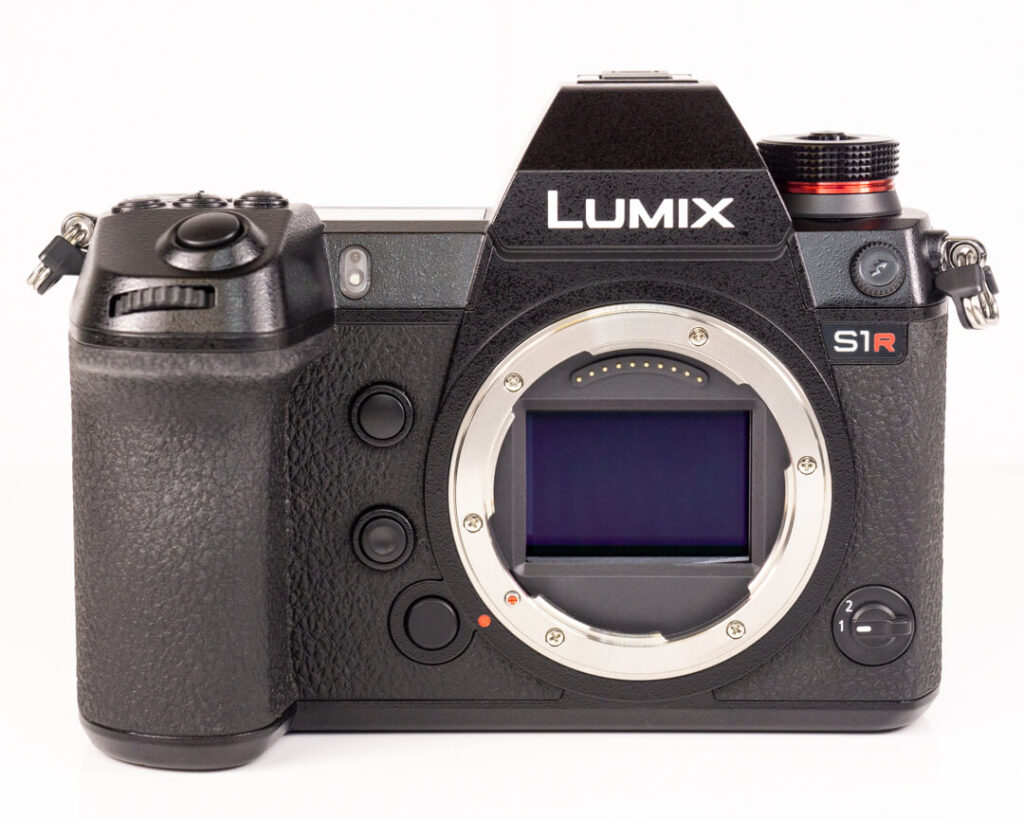
We really didn’t know what to expect going into this. Panasonic hasn’t even made an APS-C body before, nevermind a full-frame flagship mirrorless camera. Though, it seems they realized the S1 series needed to make a splash if its release was going to trail behind Canon and Nikon’s first foray into professional-grade mirrorless cameras because the S1R is massive. This body is titanic compared to its competitors: the A7R III, Z7, and EOS R. Panasonic has decisively abandoned the notion that photographers want mirrorless cameras because of their reduced size and weight. The Panasonic S1R weighs in at 1.98 pounds. That’s about half a pound heavier than the Z7, or less than an ounce shy of the medium format Fuji GFX 50S! This camera is a beast! We’ll leave it to other reviewers to let you know whether or not the S1R’s performance warrants the weight. Our job is to open this camera body up and see where all that weight is coming from. As always, we’ll also comment on the build quality and weather sealing while giving you a closeup look at what we find during disassembly.
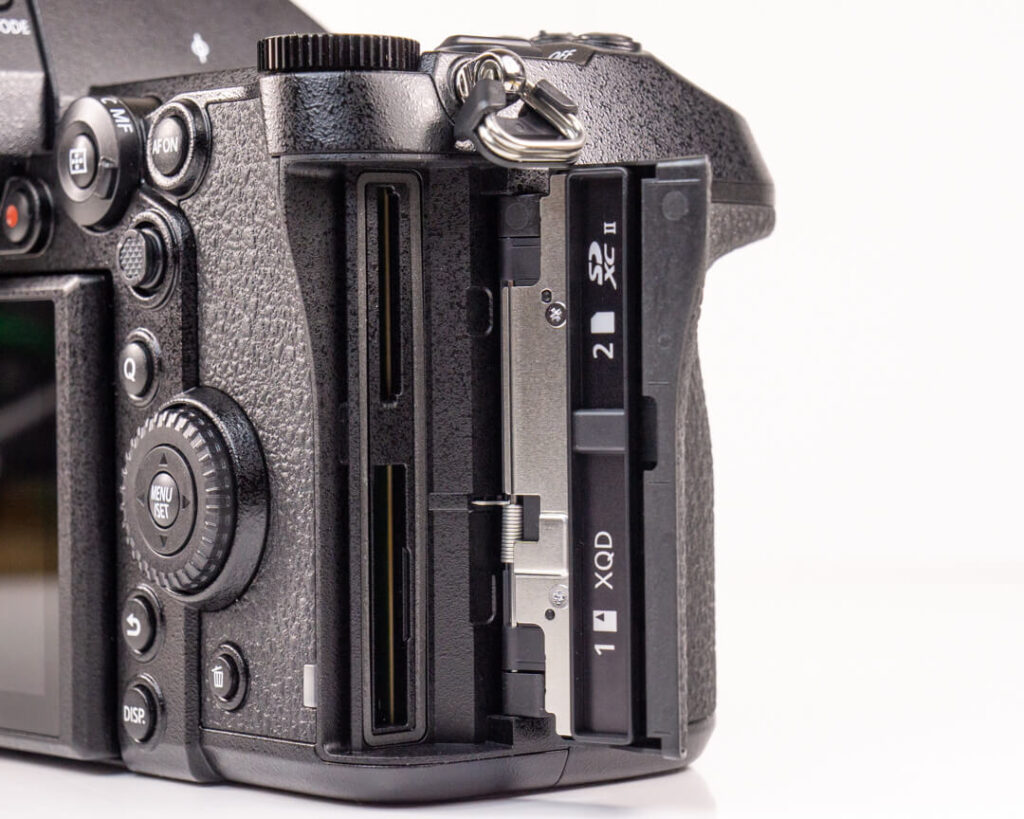
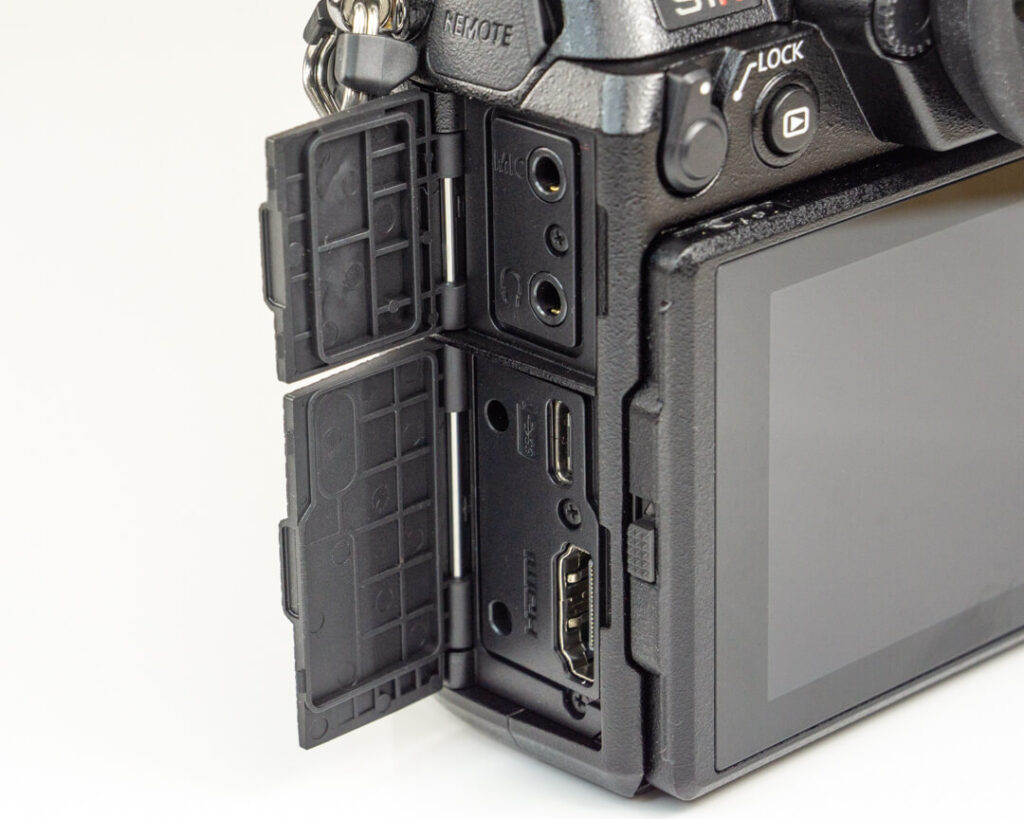
All of the S1R’s ports, doors, and covers are well sealed from the elements with deep ridges and rubberized edges. This is now the standard for full-frame mirrorless cameras, as we’ve seen with the other flagships on the market.

Before we got on with the teardown, I just wanted to point out that this hulking camera body comes with a battery to match. It’s closer to a battery you’d find with a sports camera or insert into a battery grip. Despite its size, the S1R is given a CIPA rating of only 360, just over half that of the Sony A7R III at 650. (CIPA statistics corrected 9/4/2019)
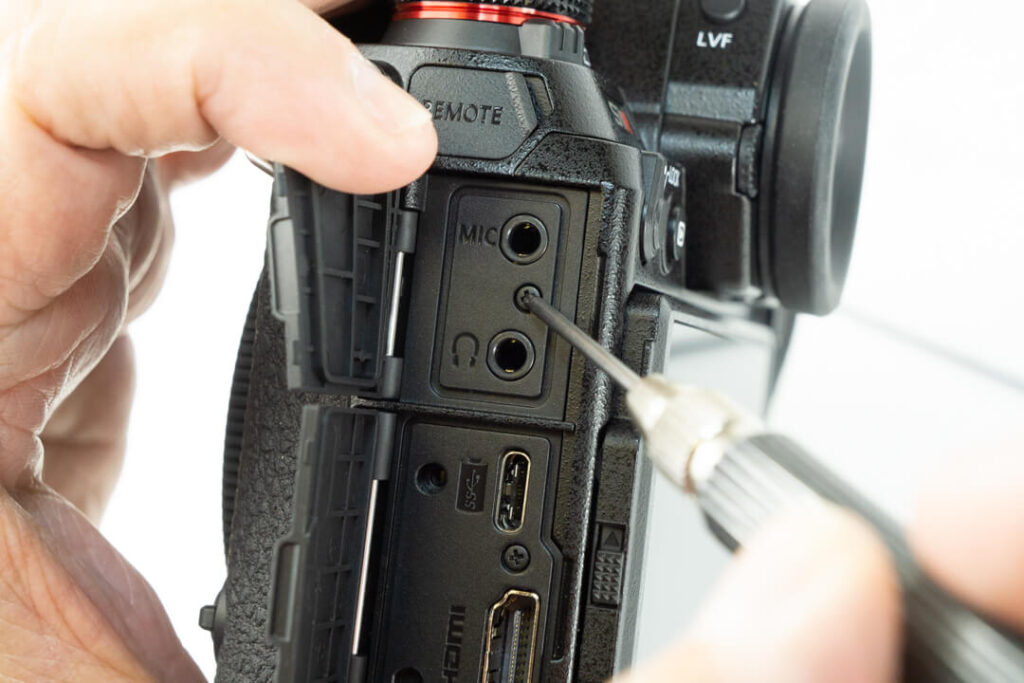

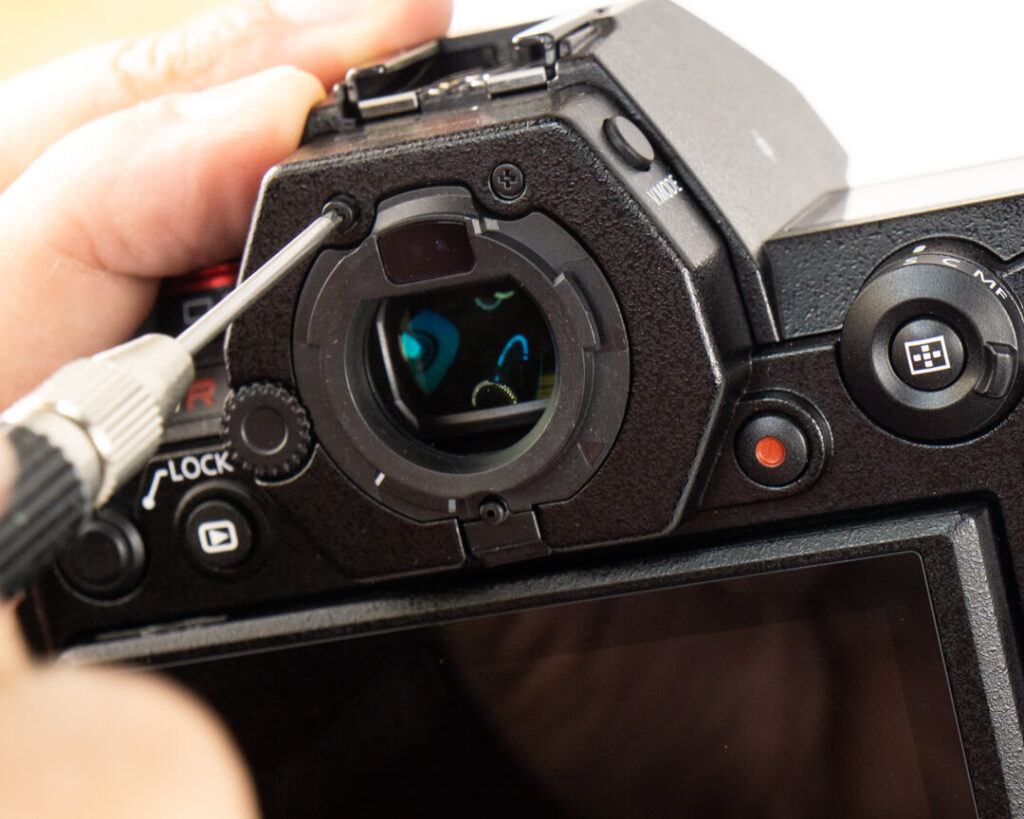
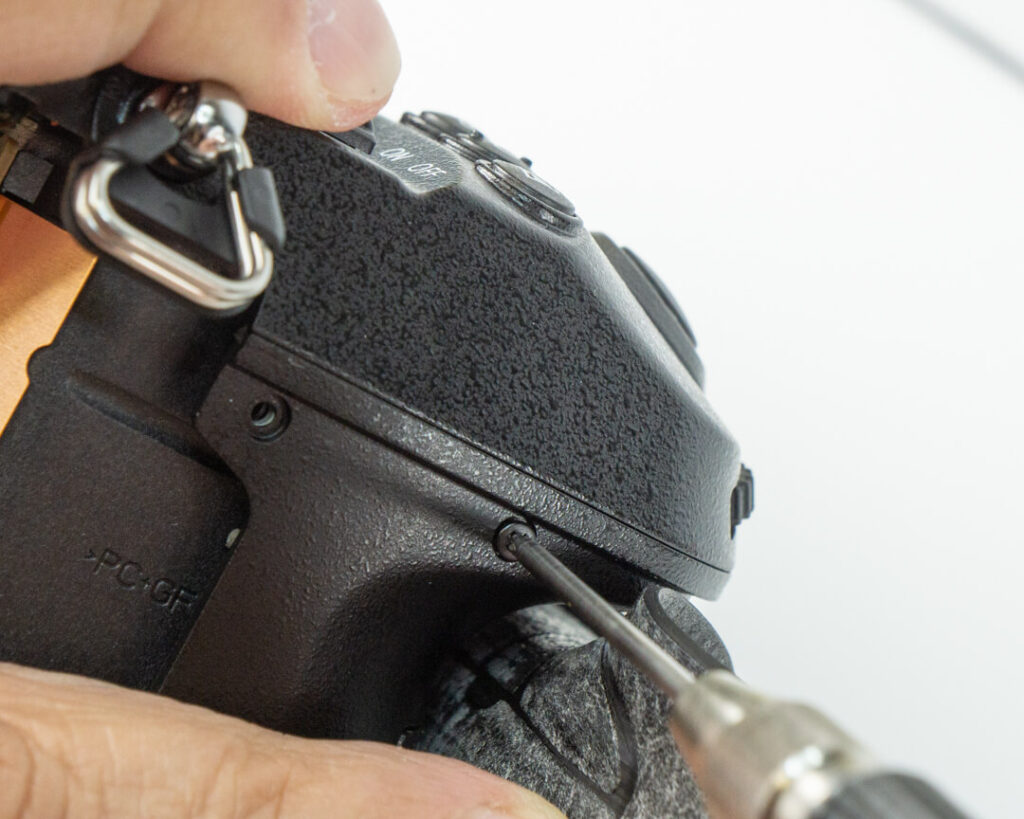
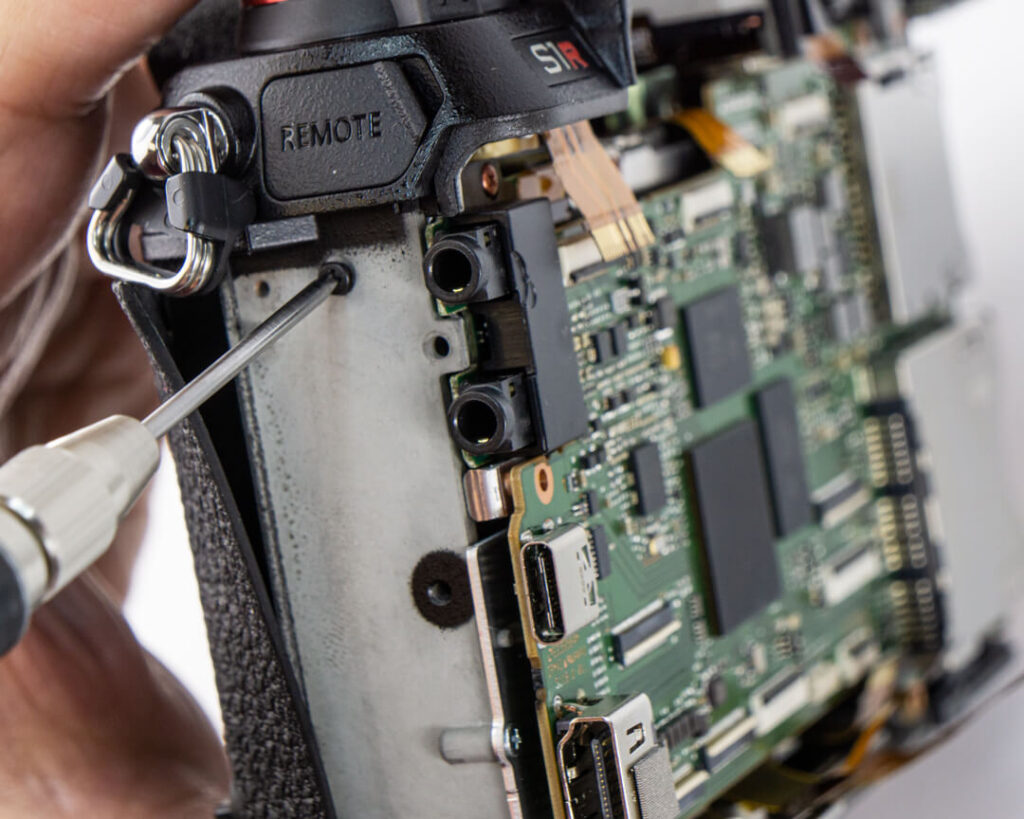
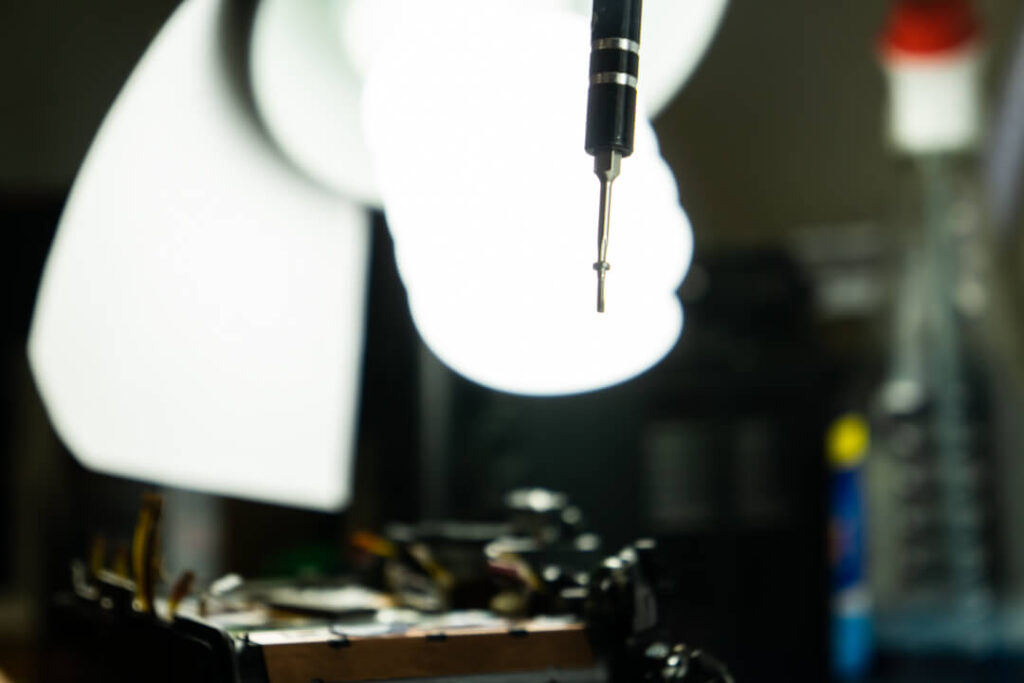
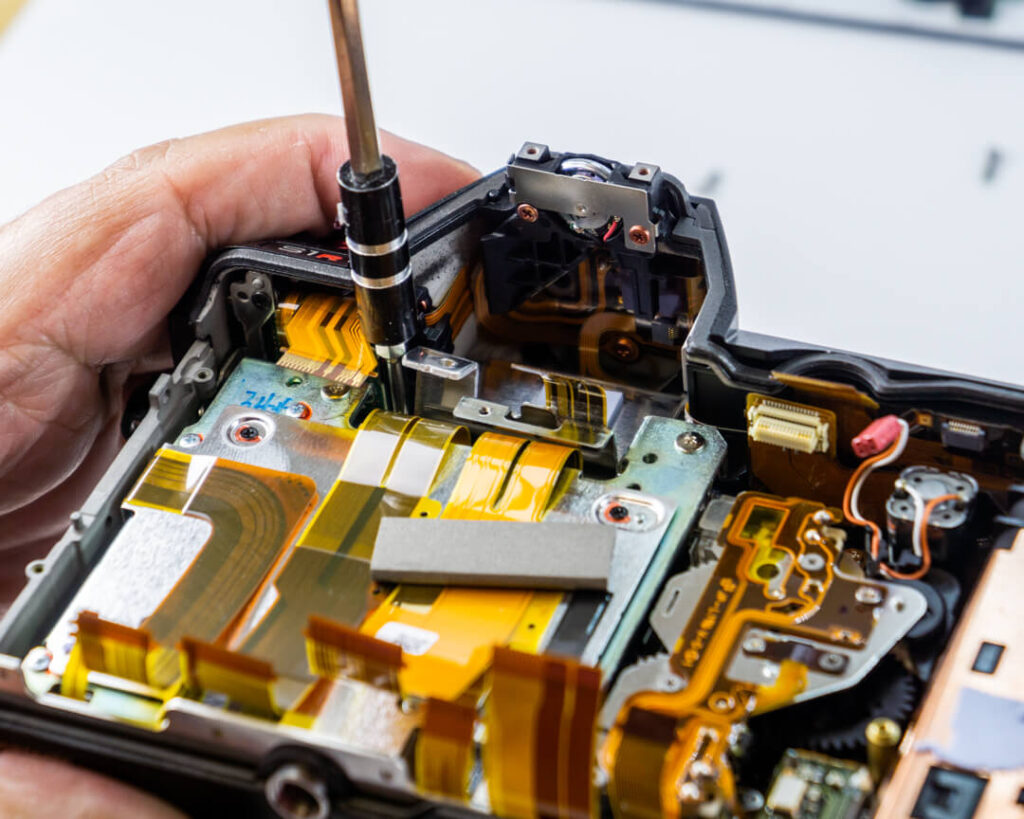
It starts, as all cameras do, by removing the screws on the outside of the body, hidden within the port covers, and behind the removable EVF eyecup.
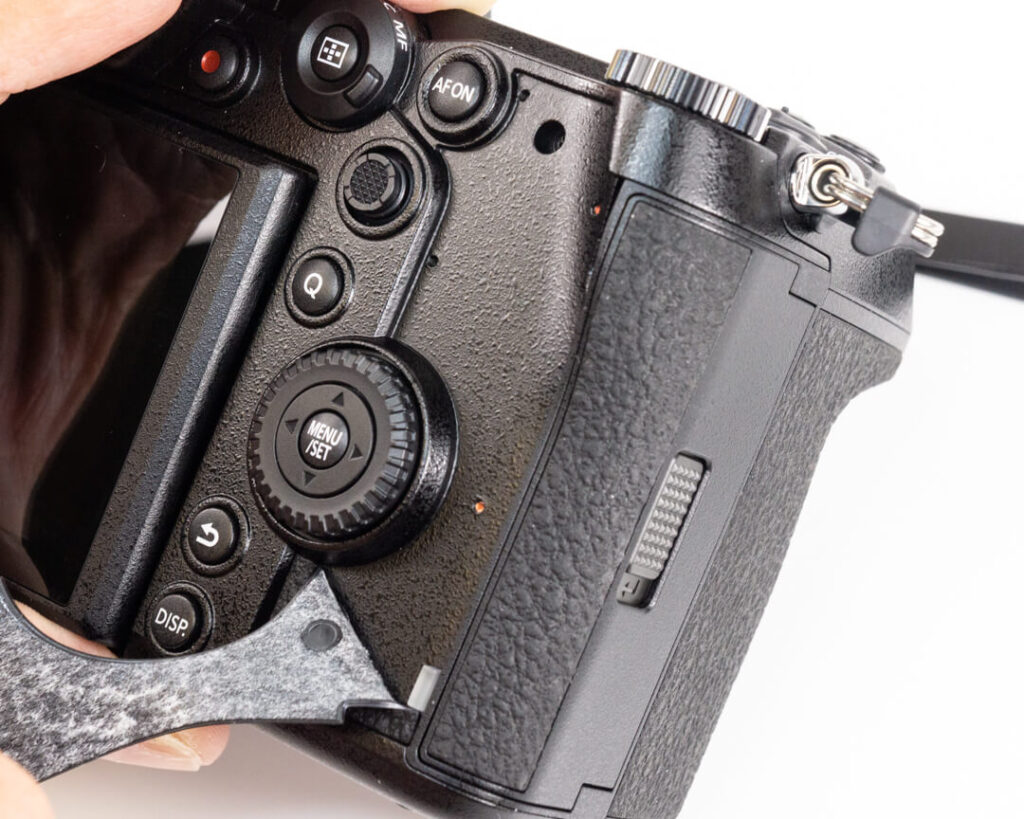
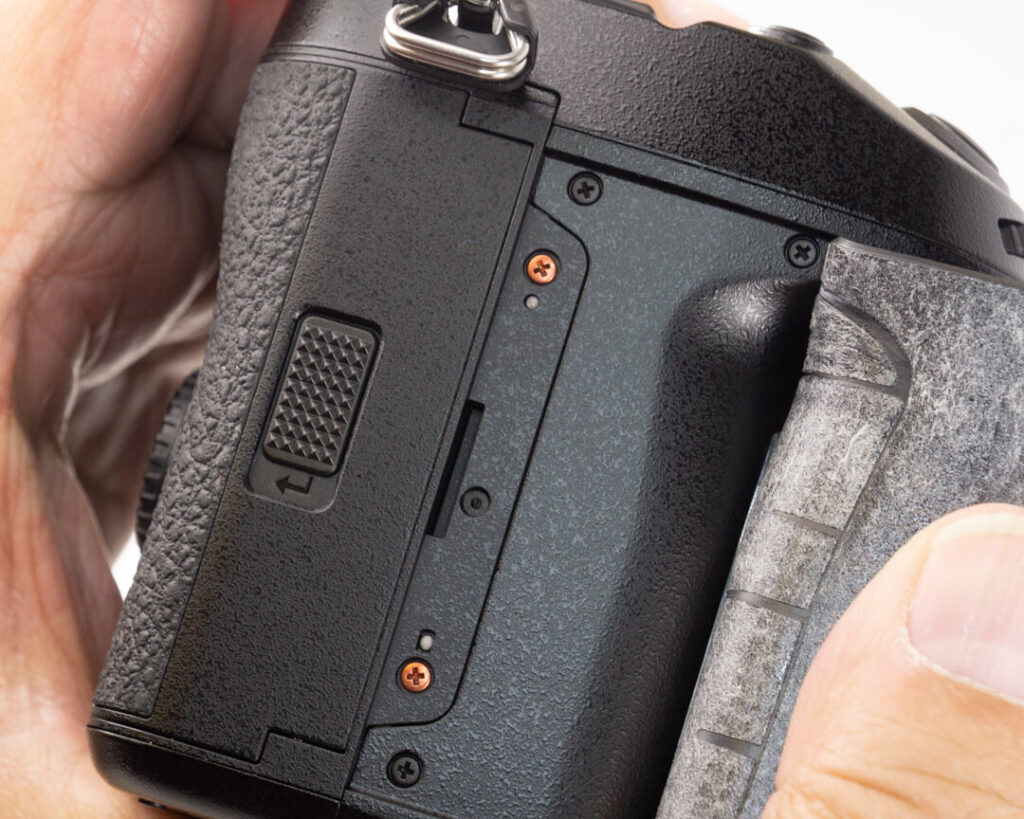
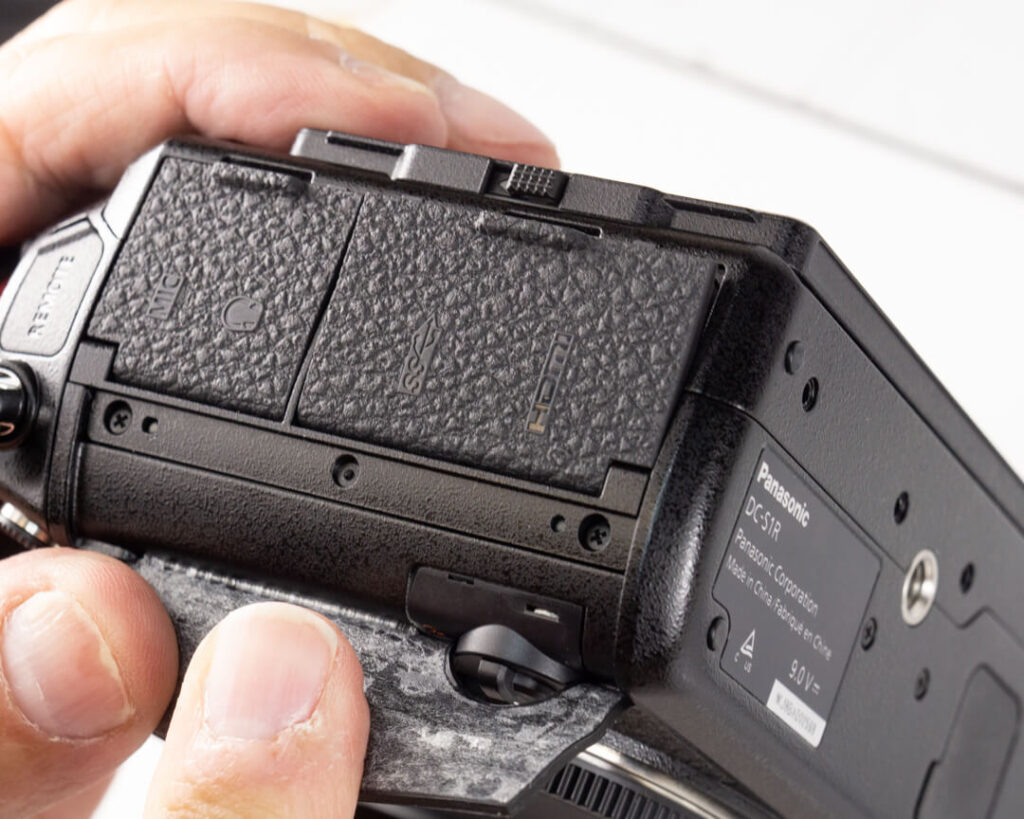
Then, you start skinning the poor thing. As you can see above, removing much of the rubber reveals screws critical for disassembly including these cool red ones. But, why are they red? We couldn’t find any particular rhyme or reason to the coloring.
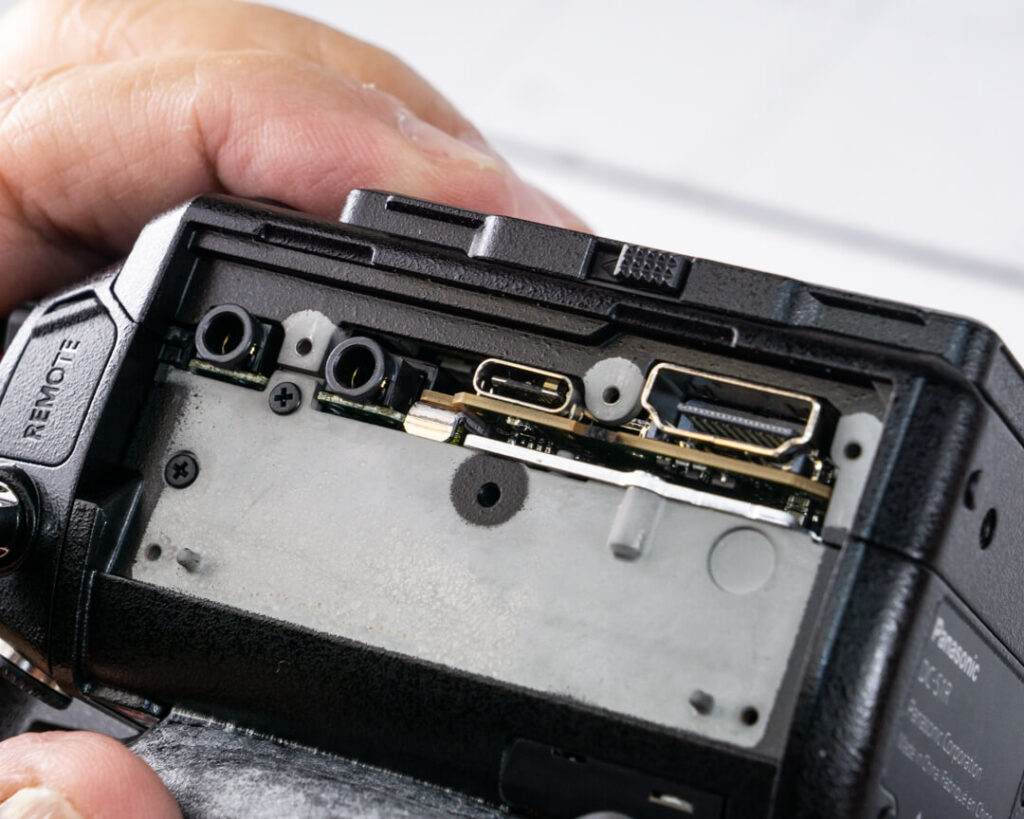
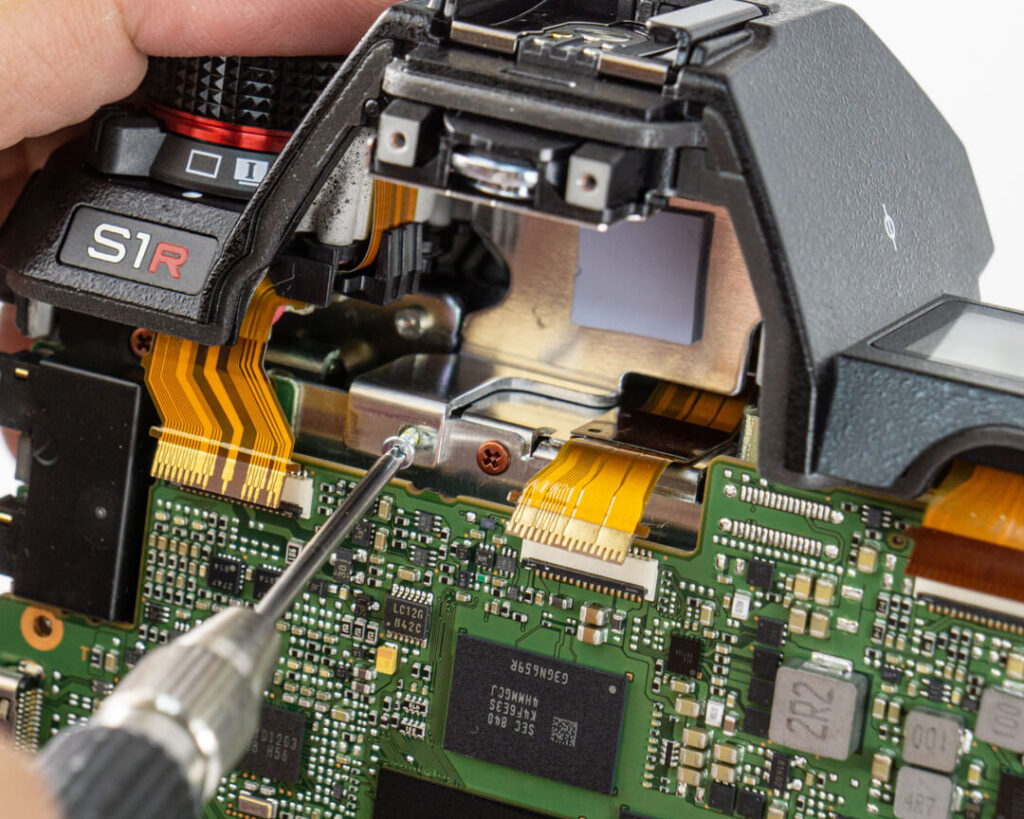
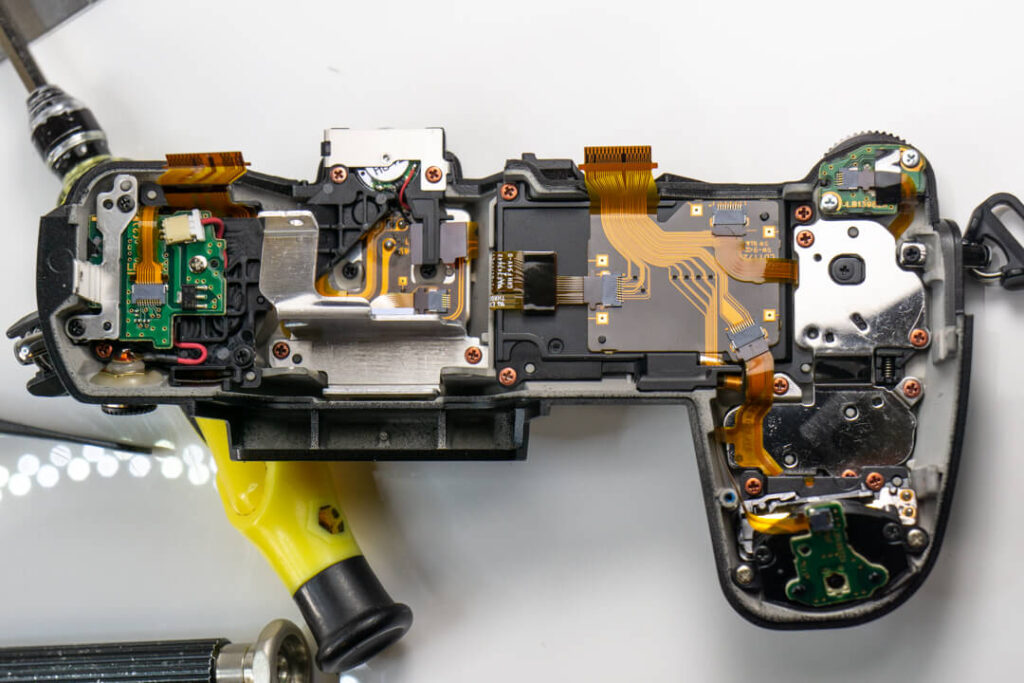
The port side cover, in the literal and nautical sense, comes off first. Then the back section including the entire LCD assembly lets go, revealing the motherboard and a first look at the inside.
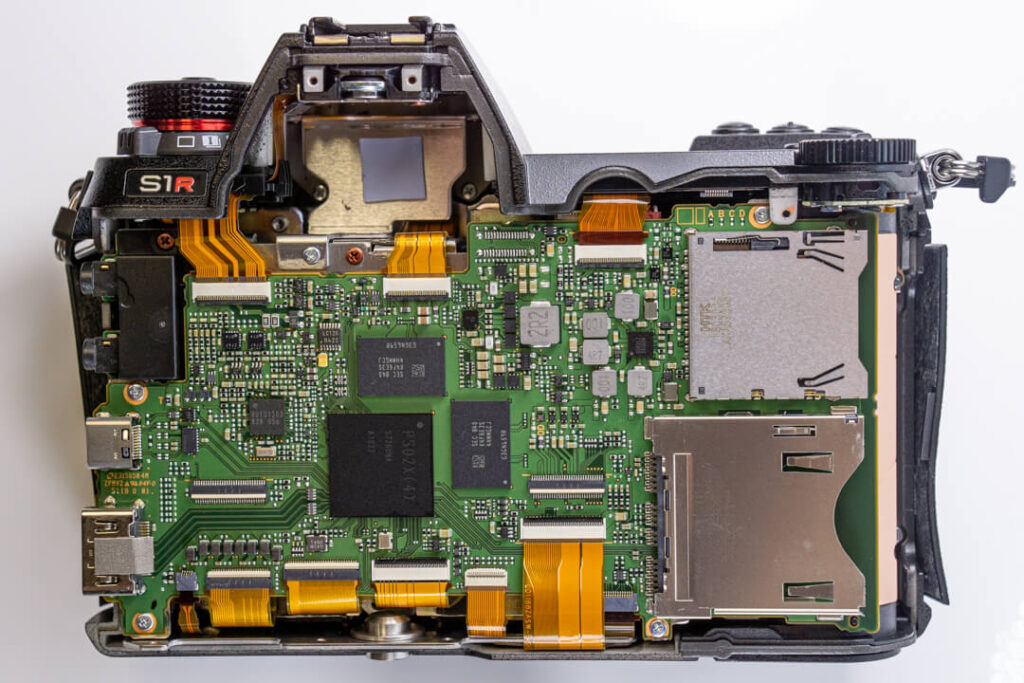
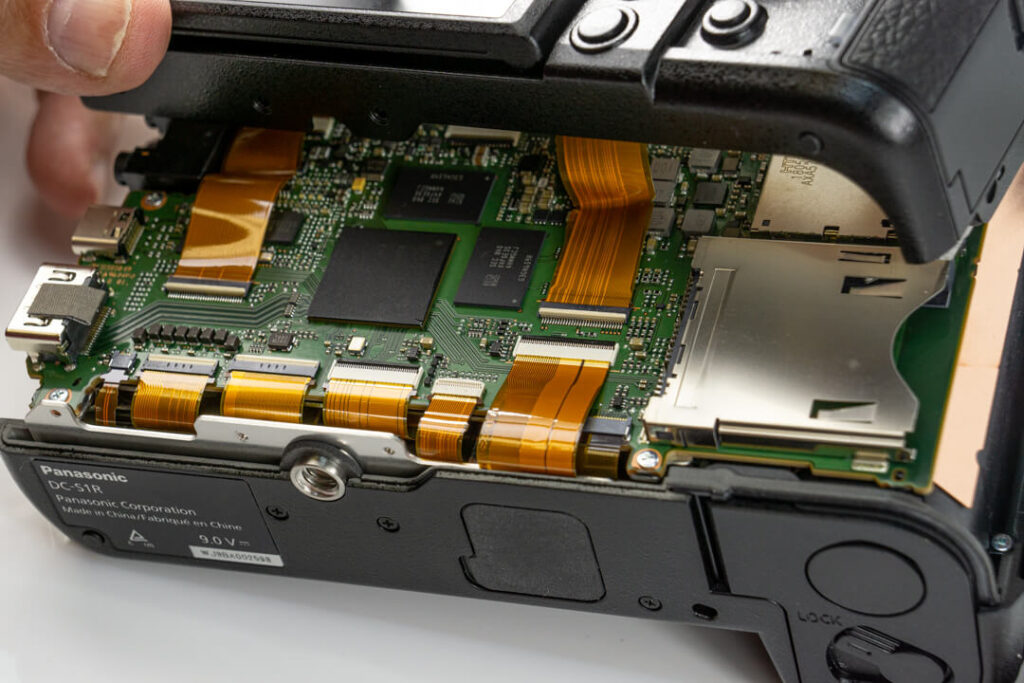
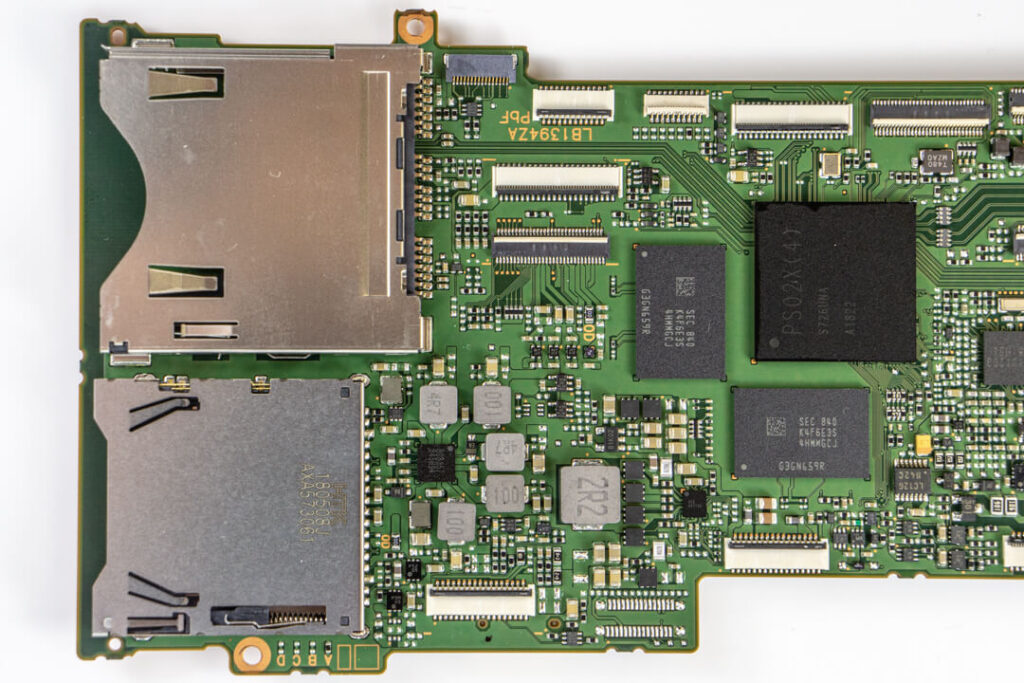
The motherboard is exceptionally neat and tidy. The connectors are neatly arranged at the top and bottom, and the card readers both fit nicely on the right side. Panasonic didn’t bury this board in heat sinking material either, suggesting the S1R has excellent heat management. We can also clearly see some rubberization around the edges where the large main outer parts meet, further suggesting that this camera does well in adverse weather conditions.
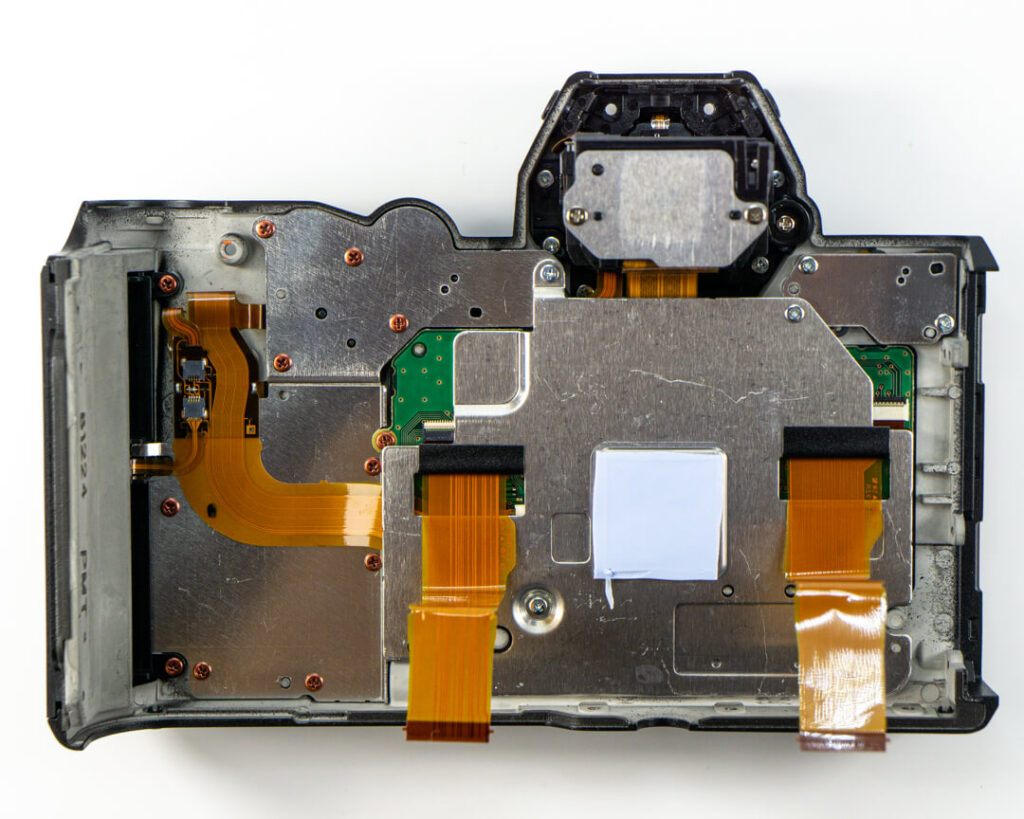
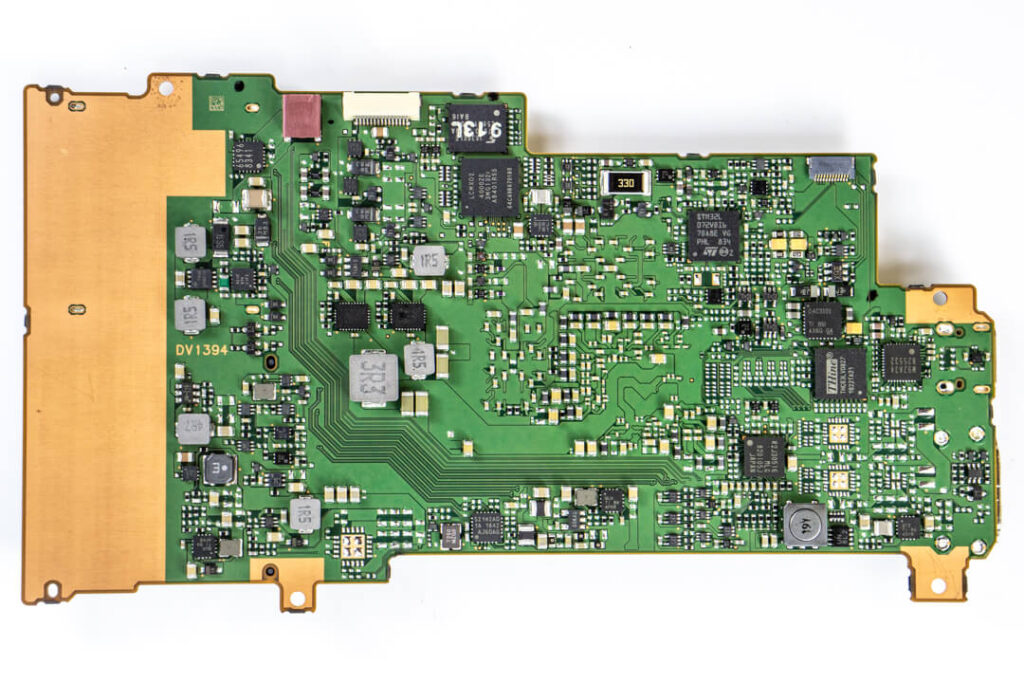
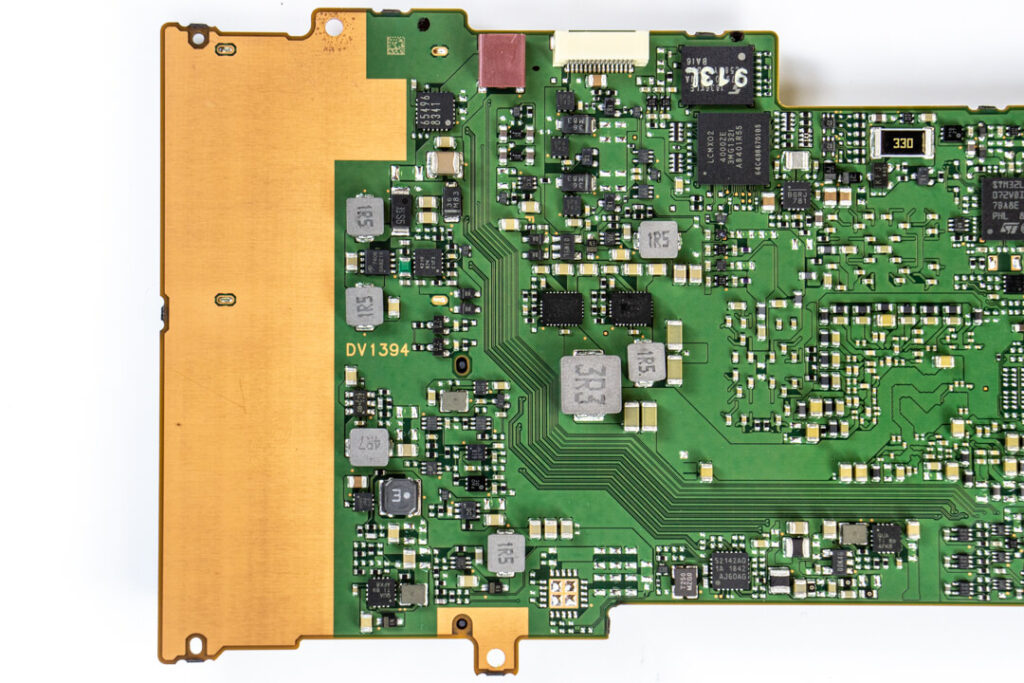
The reverse side of the back/LCD section is very tidy, with two easily accessed ribbon cables.
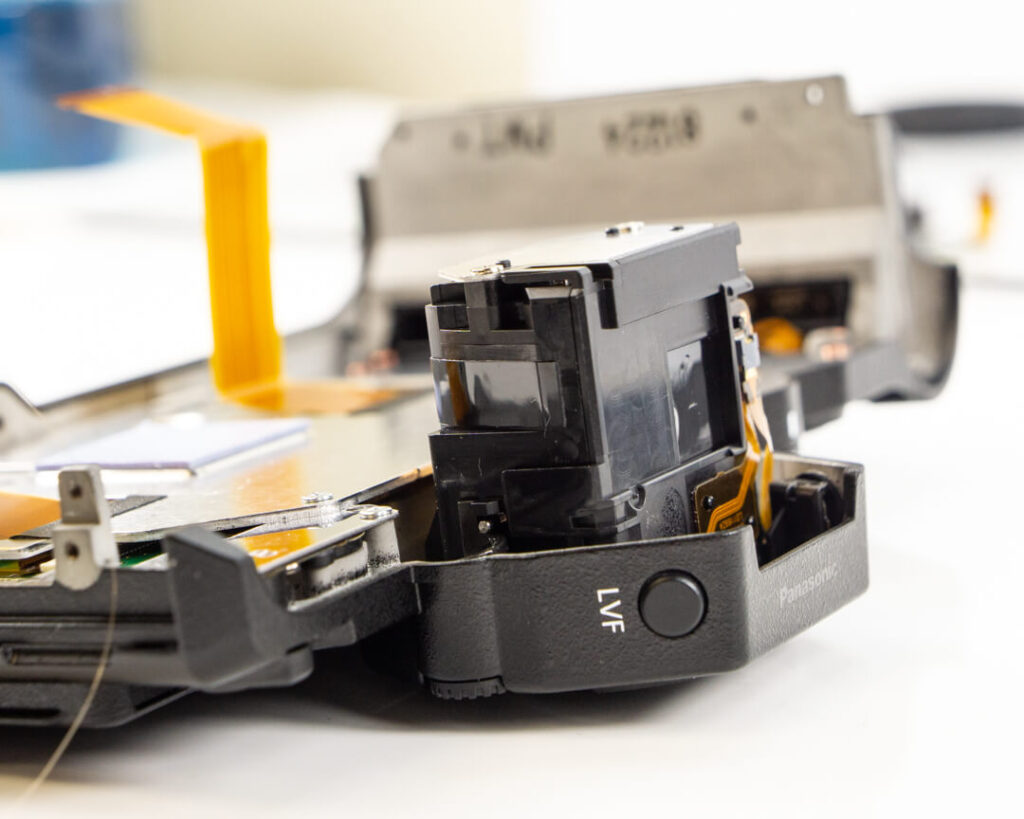
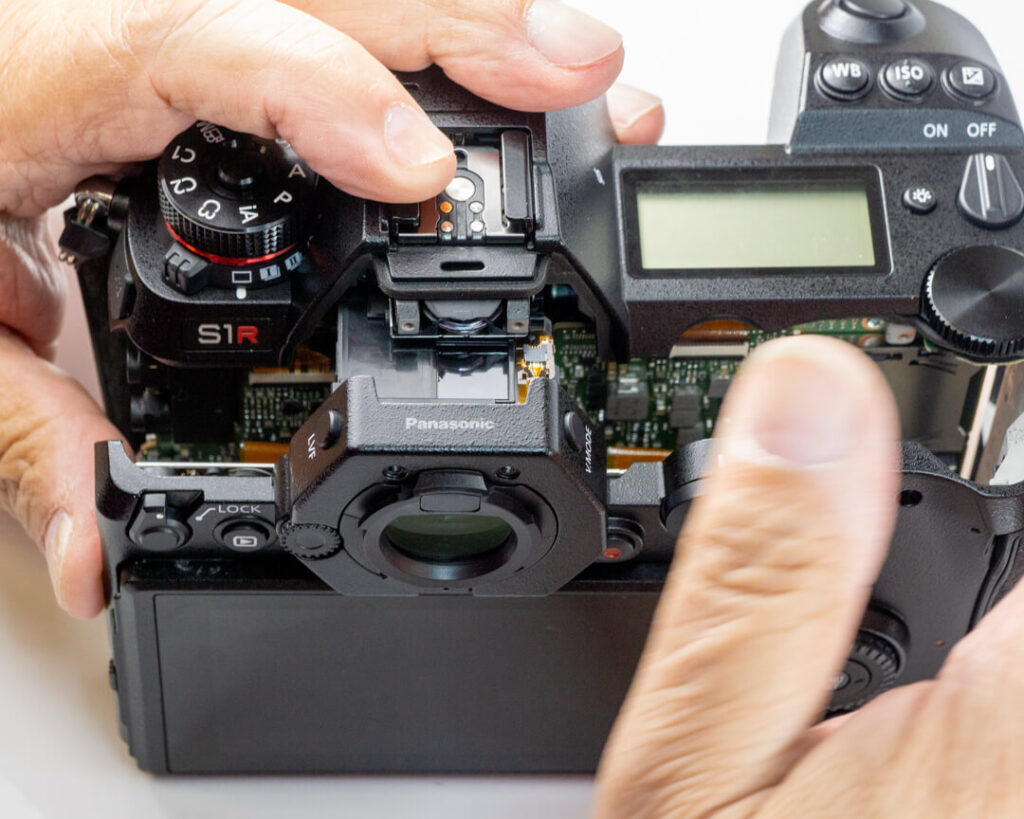
The EVF itself actually comes right out along with it. This is the first time we’ve seen this type of arrangement on a full-frame mirrorless.
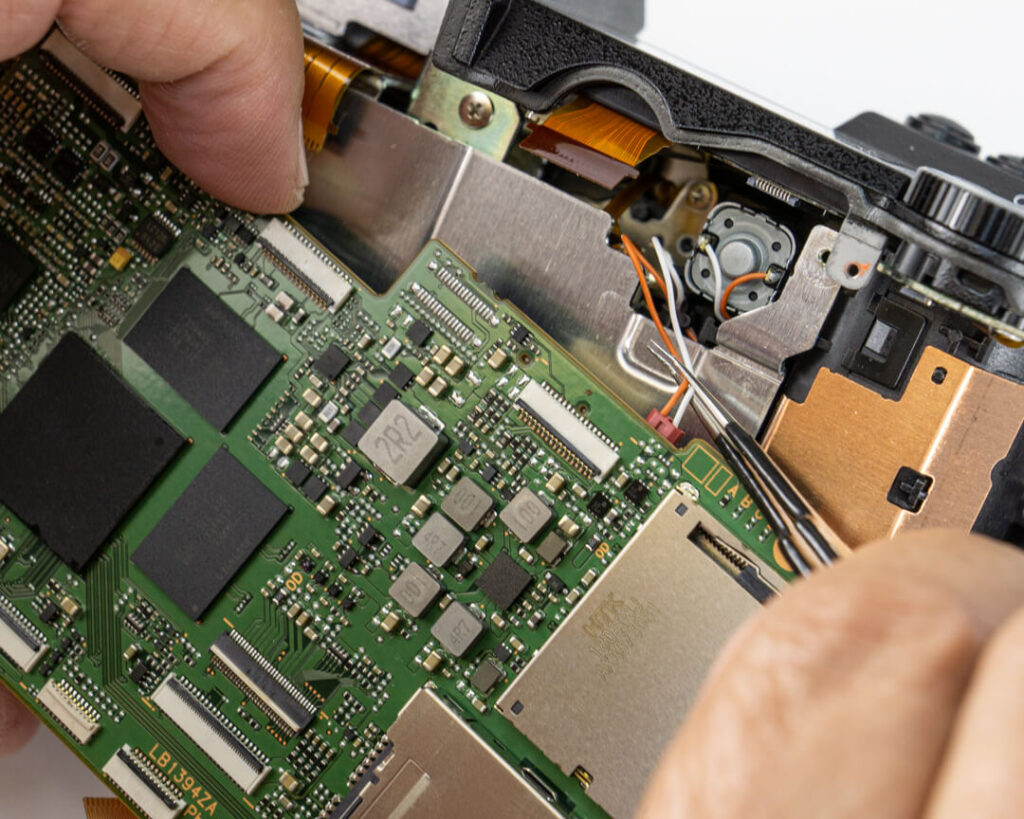
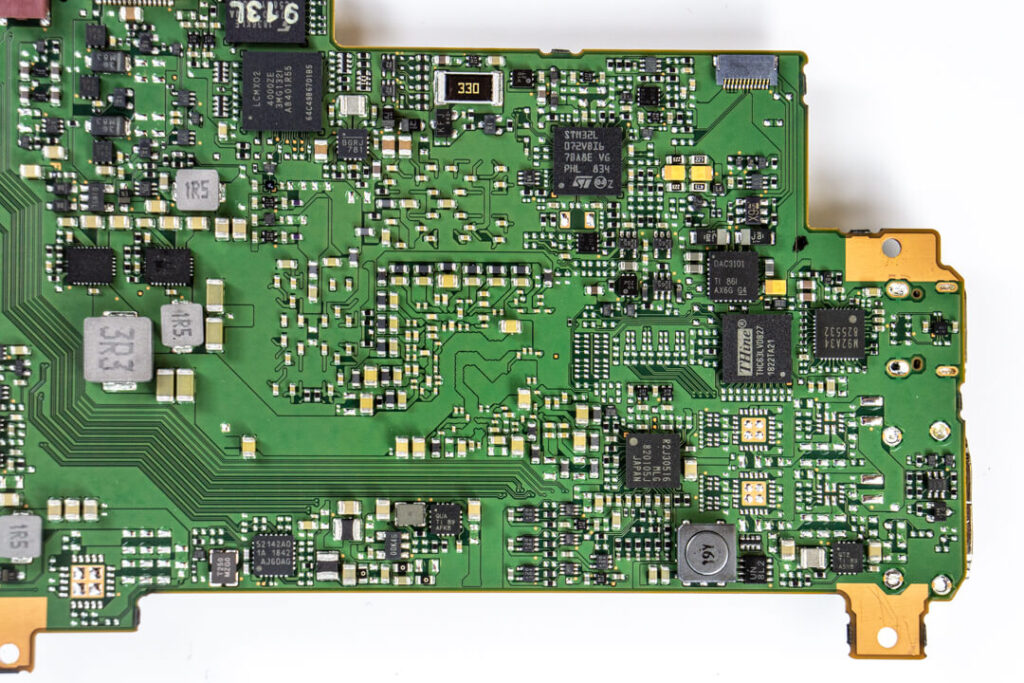
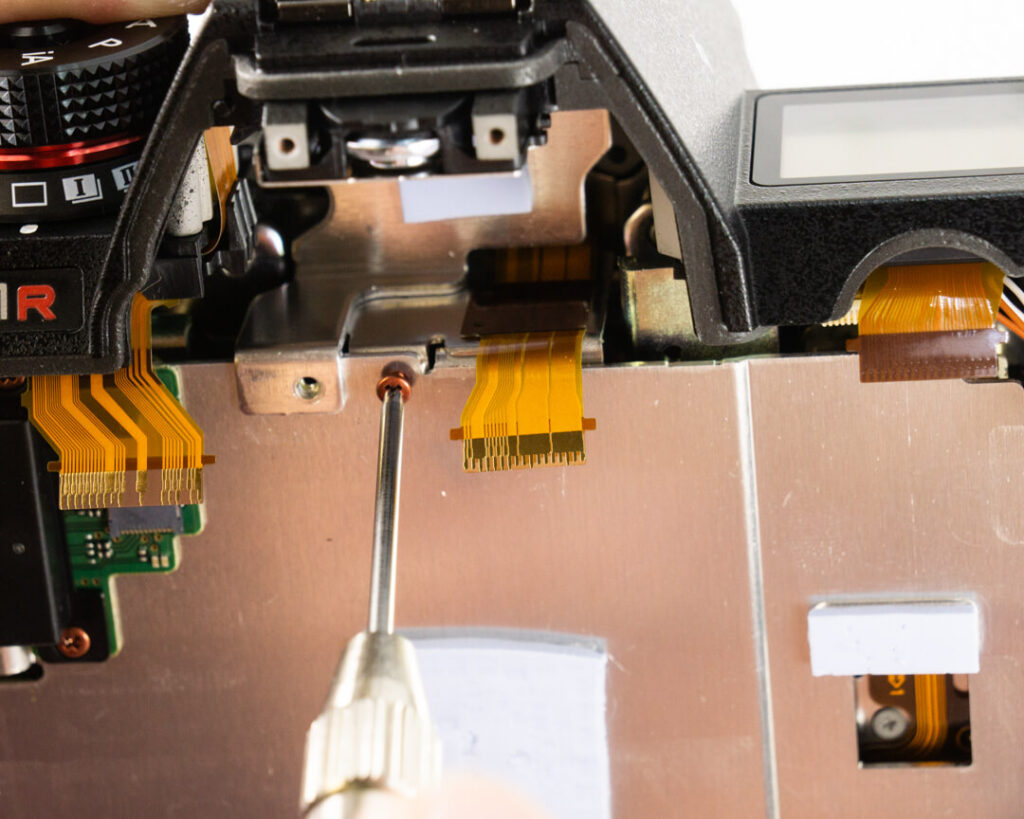
With the removal of a few more screws and all connections, the motherboard can be neatly extracted and set aside for a closer look.
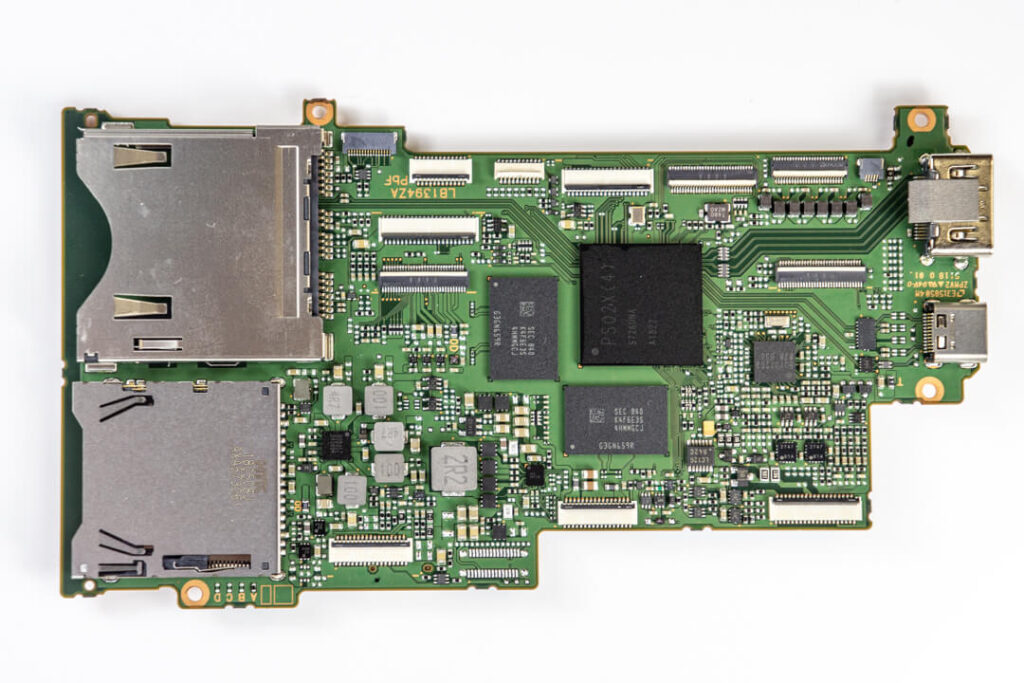

And the reverse side…
Underneath the motherboard lies a single heatshield along with a few pads of heat-sinking material stuck to its face. This comes out as one large piece once the screws are removed.
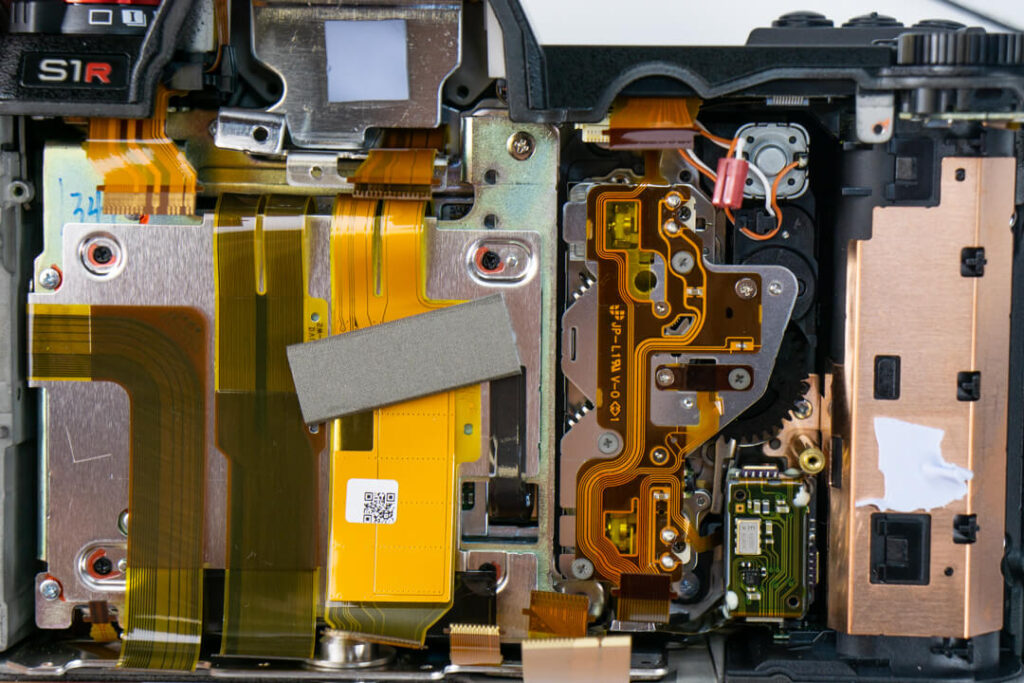
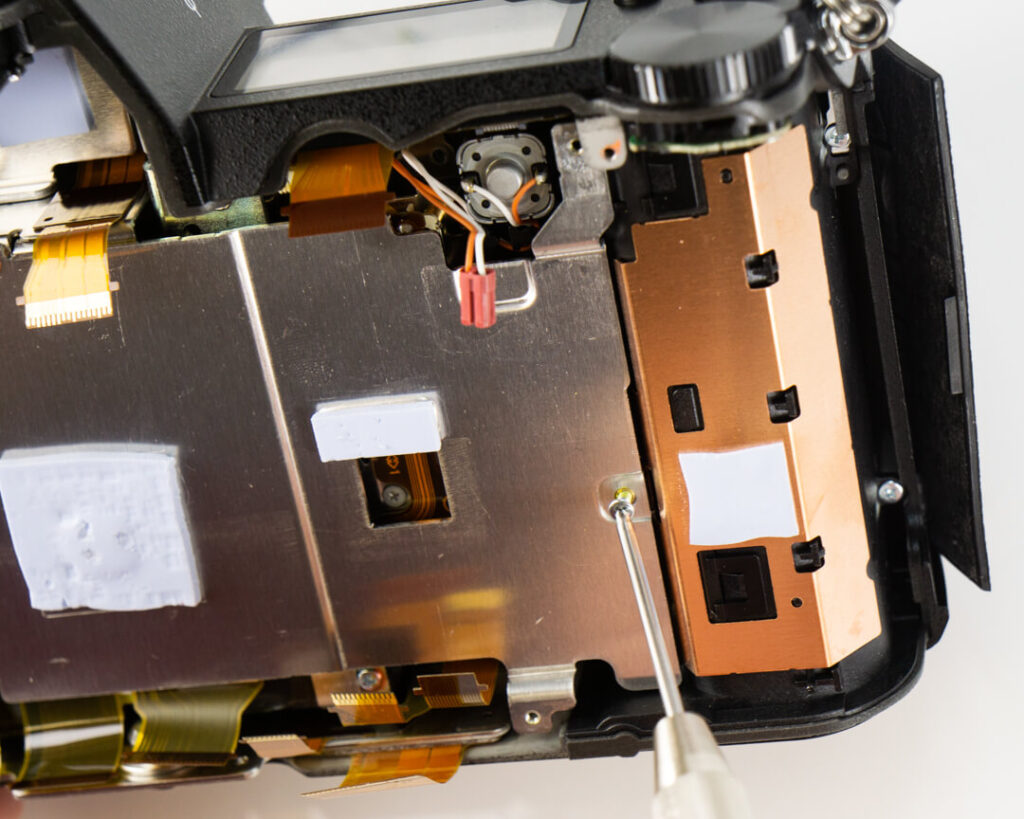
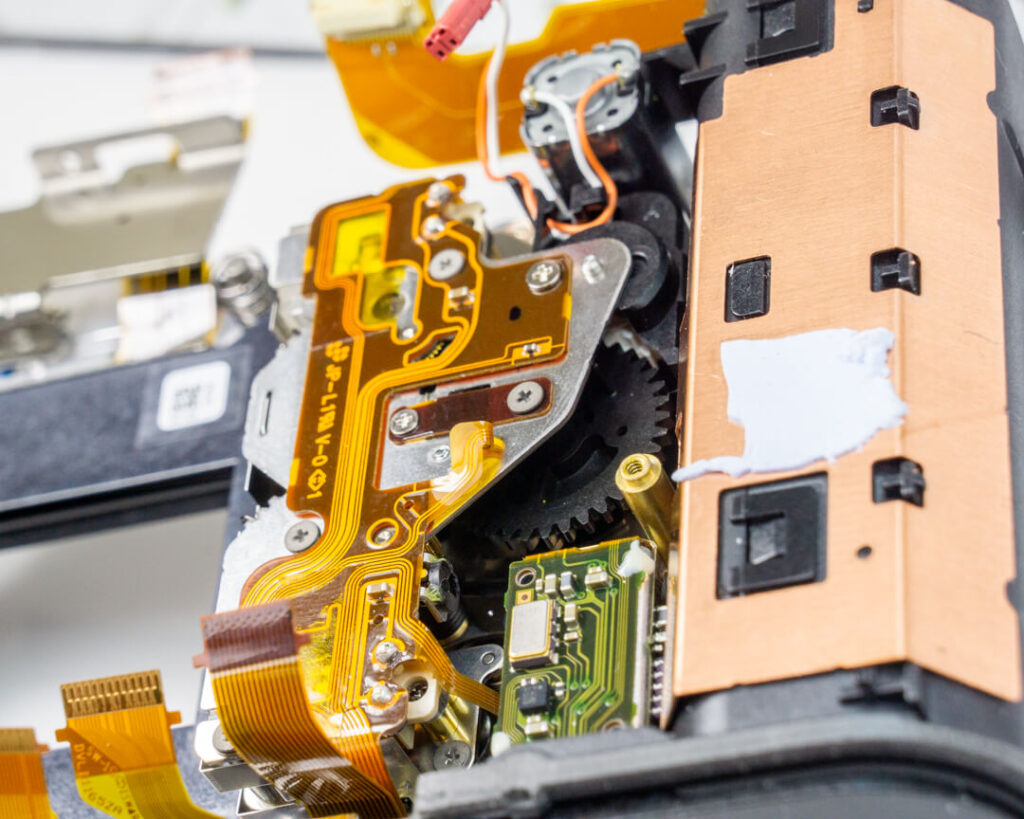
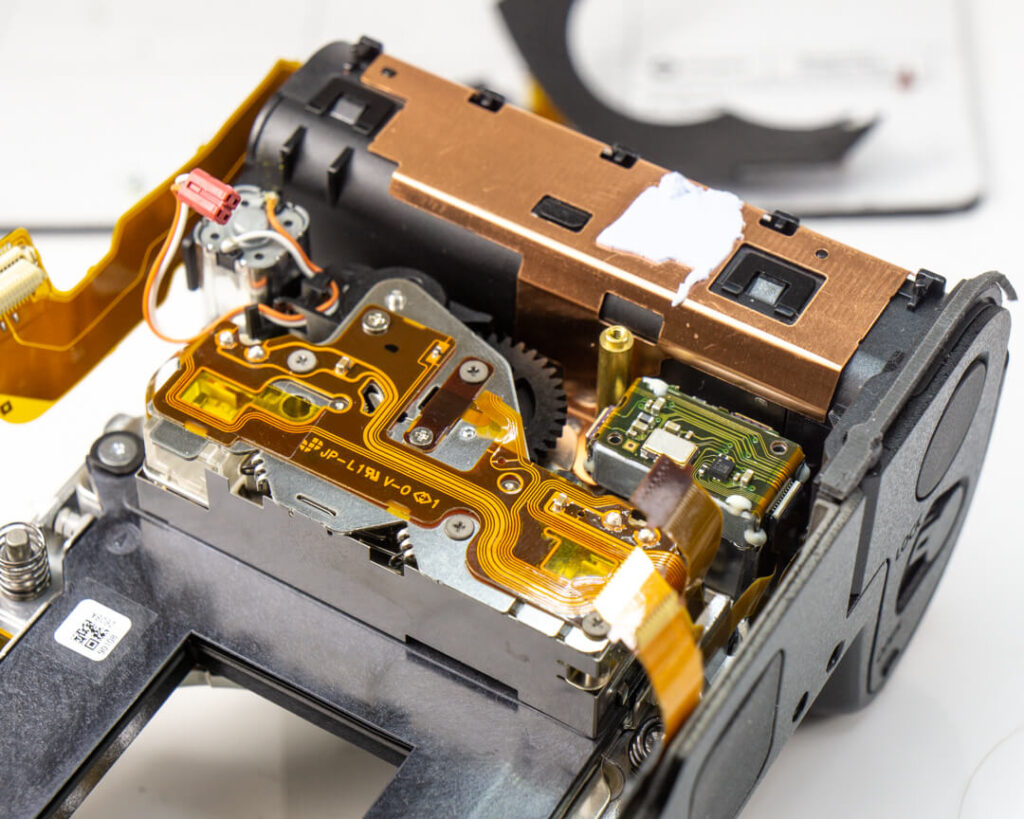
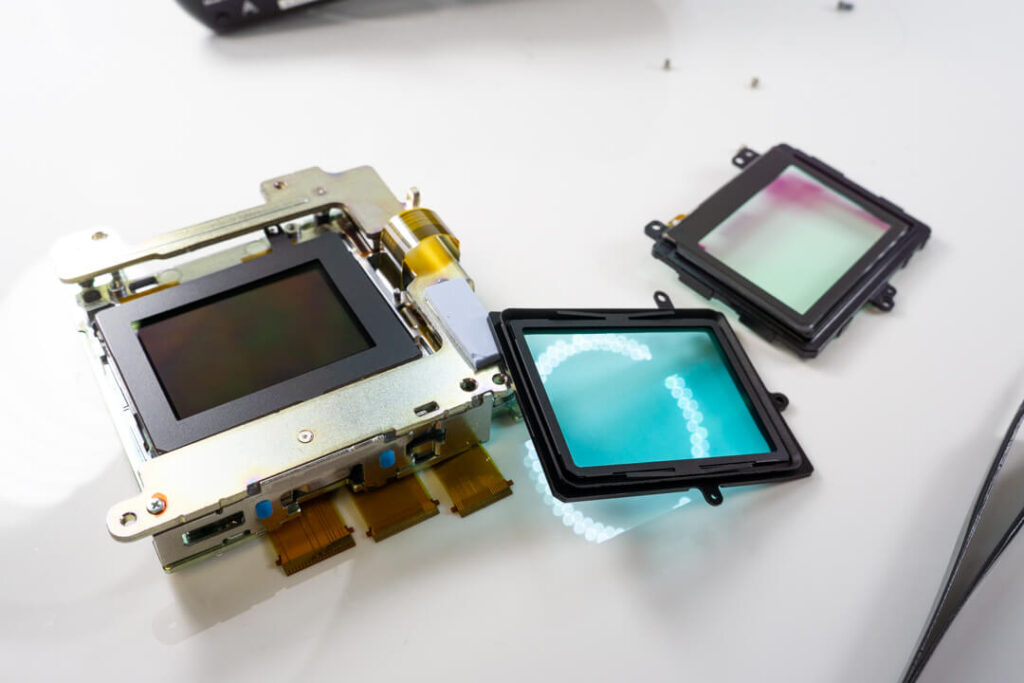
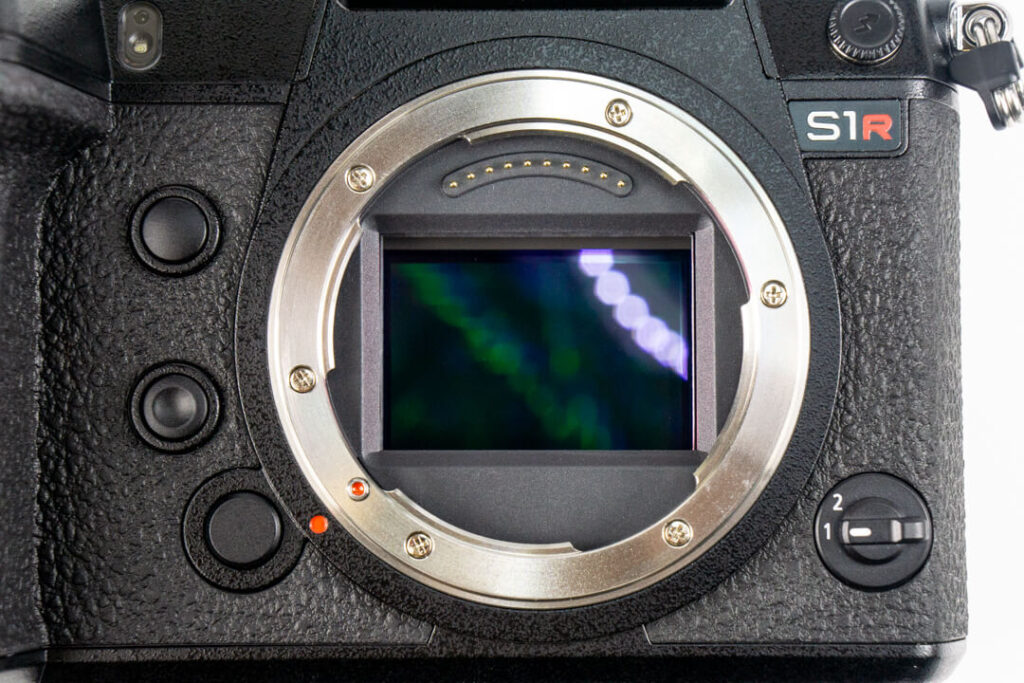
Further in, we find the shutter mechanism (right) and sensor/IBIS assembly (left).
Several very long deep-set screws must be removed to free IBIS system and sensor within. This requires a screwdriver with some extra reach.
This will also free to top section of the camera. Here is a closer look at the underside of that part group.
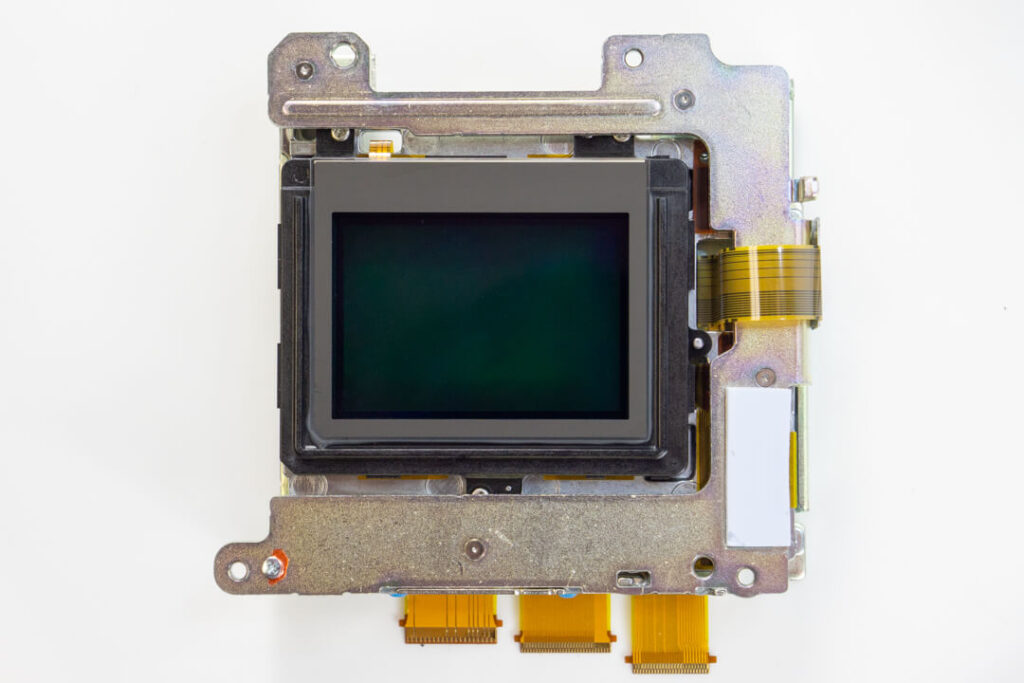
The sensor/IBIS assembly looks very similar to what we’ve seen thus far with the A7R III and the Z7, save for the fact that it is massive. Everything about this camera is big.

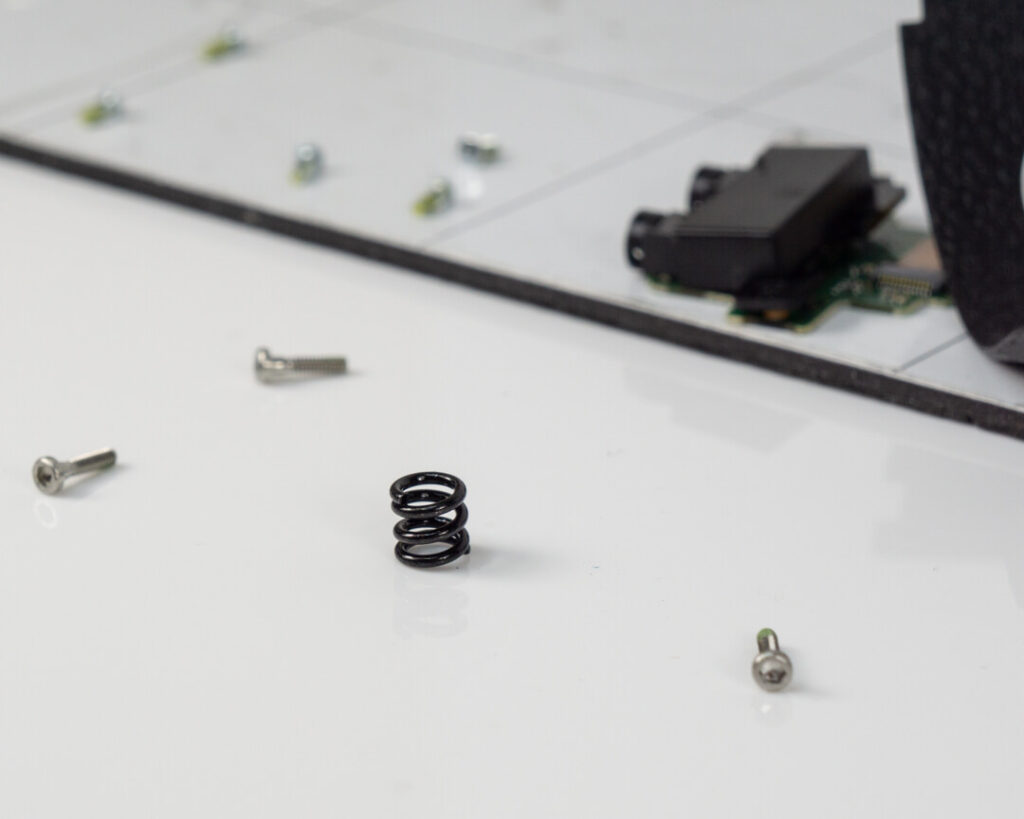
Though it may be exceptionally large (as are the springs that it rests on), it seems to be worth its weight in performance. The Panasonic S1R boasts a chart-topping CIPA image stabilization rating of 6, beating the Nikon Z7’s 5-stop rating and the Sony A7R III’s 5.5 stops.
A quick look at what lies beneath before we disassemble the sensor further.
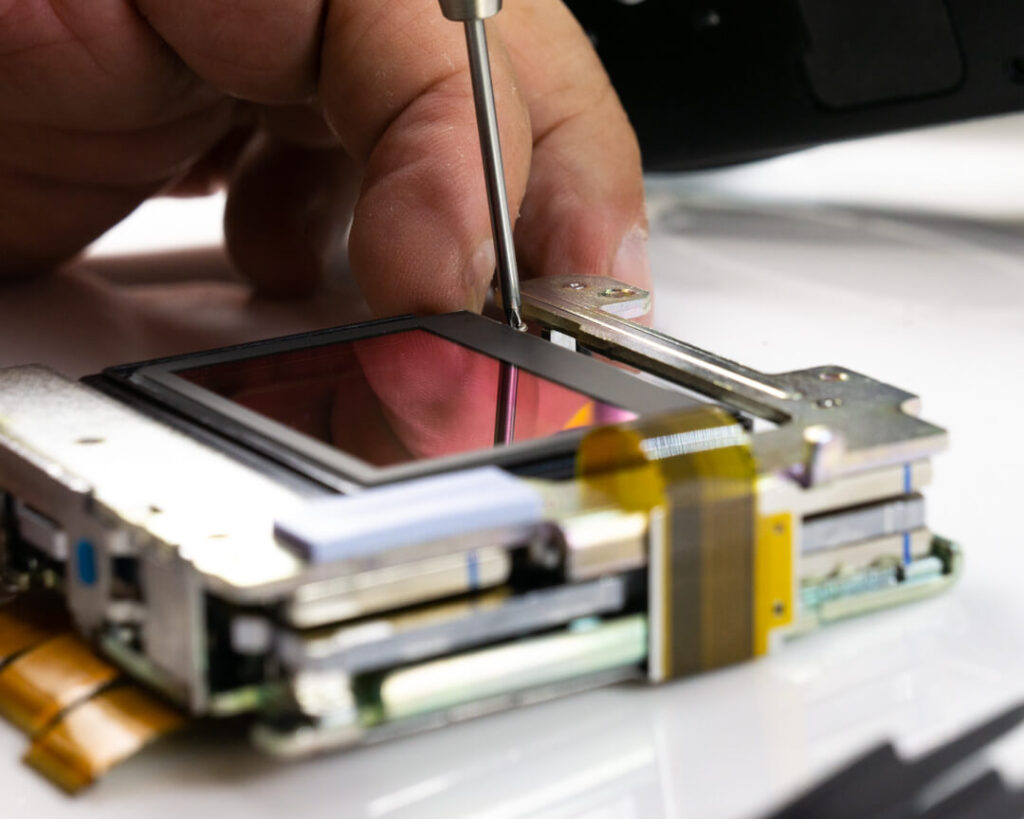
Remove the last few screws, and both layers of IR/UV blocking glass can be removed. During an infrared conversion, both of these glass layers are permanently replaced by glass with infrared or full-spectrum transmission.
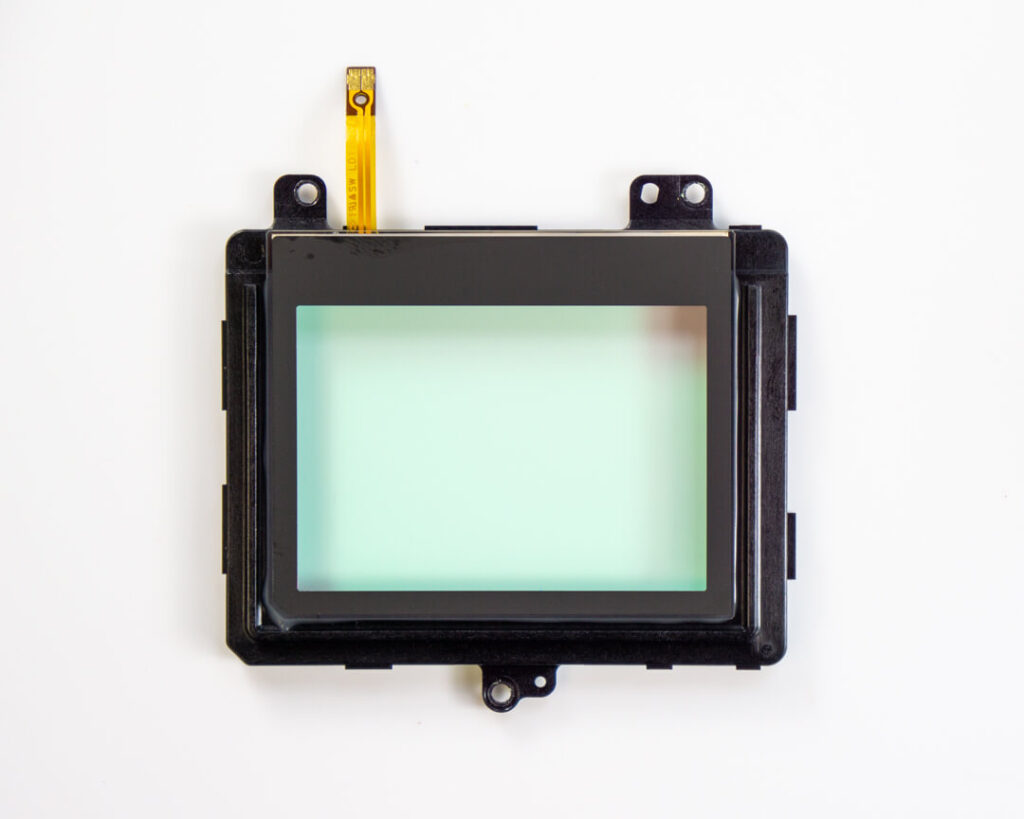
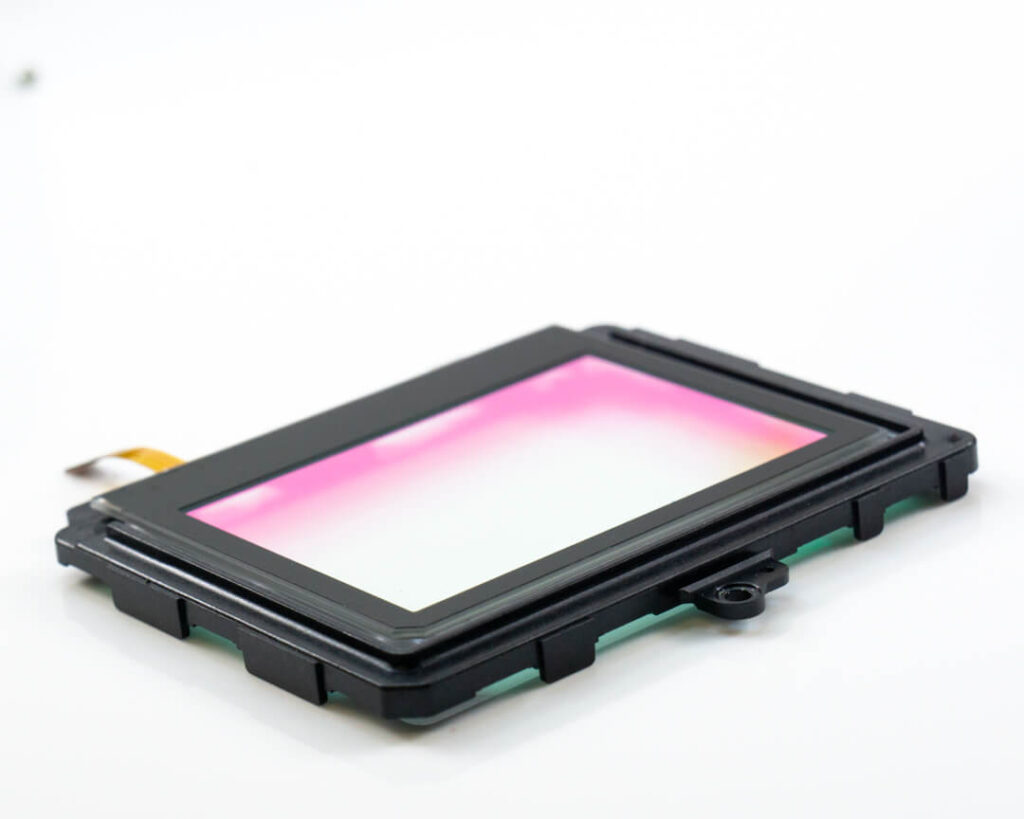
The top layer of this IR/UV blocking glass (above) doubles as the camera’s automatic sensor cleaning mechanism. It is connected to the motherboard electronically via that ribbon cable you see in the photo which can trigger vibrations that shake off surface dust particles. This is why we here at Kolari refer to it simply as a “shaker”.
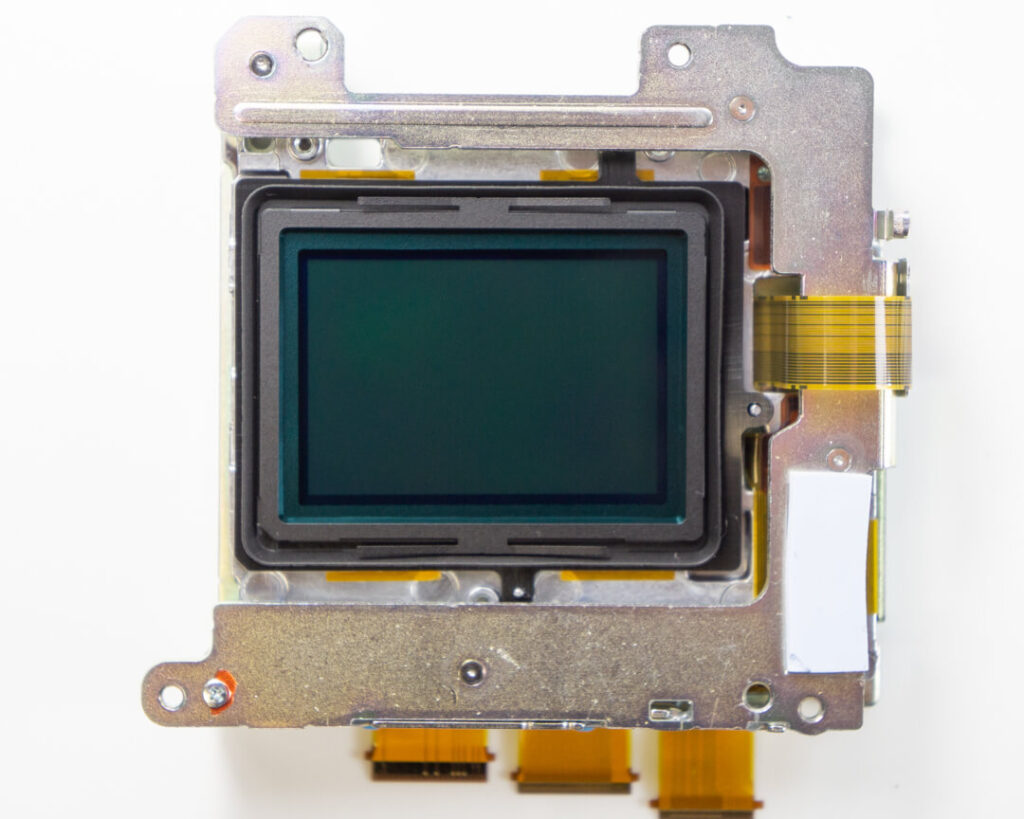
Our journey ends here, at the bare sensor. There is still a layer of clear, full-spectrum glass here separating the bayer array from the outside world, but it is physically bonded to the sensor itself and much more risky to remove.

These layers of sensor cover glass have a combined thickness of roughly 1.45 millimeters. This is thinner than the EOS R, but a decent sight thicker than the Z7’s 1.1mm, the thinnest we’ve come across yet. This makes the S1R a poor candidate for legacy Leica lens performance despite the partnership with Leica, meaning this camera is another excellent candidate for our Ultra-Thin filter modification service.
The Panasonic S1R is an impressive machine inside and out. Panasonic has clearly decided to go there own way with the design of their first full-frame while still providing something that meets the requirements of a professional photographer, or at least one with very strong arms.


13 Responses
How has the IR performance been on this camera? Any issues?