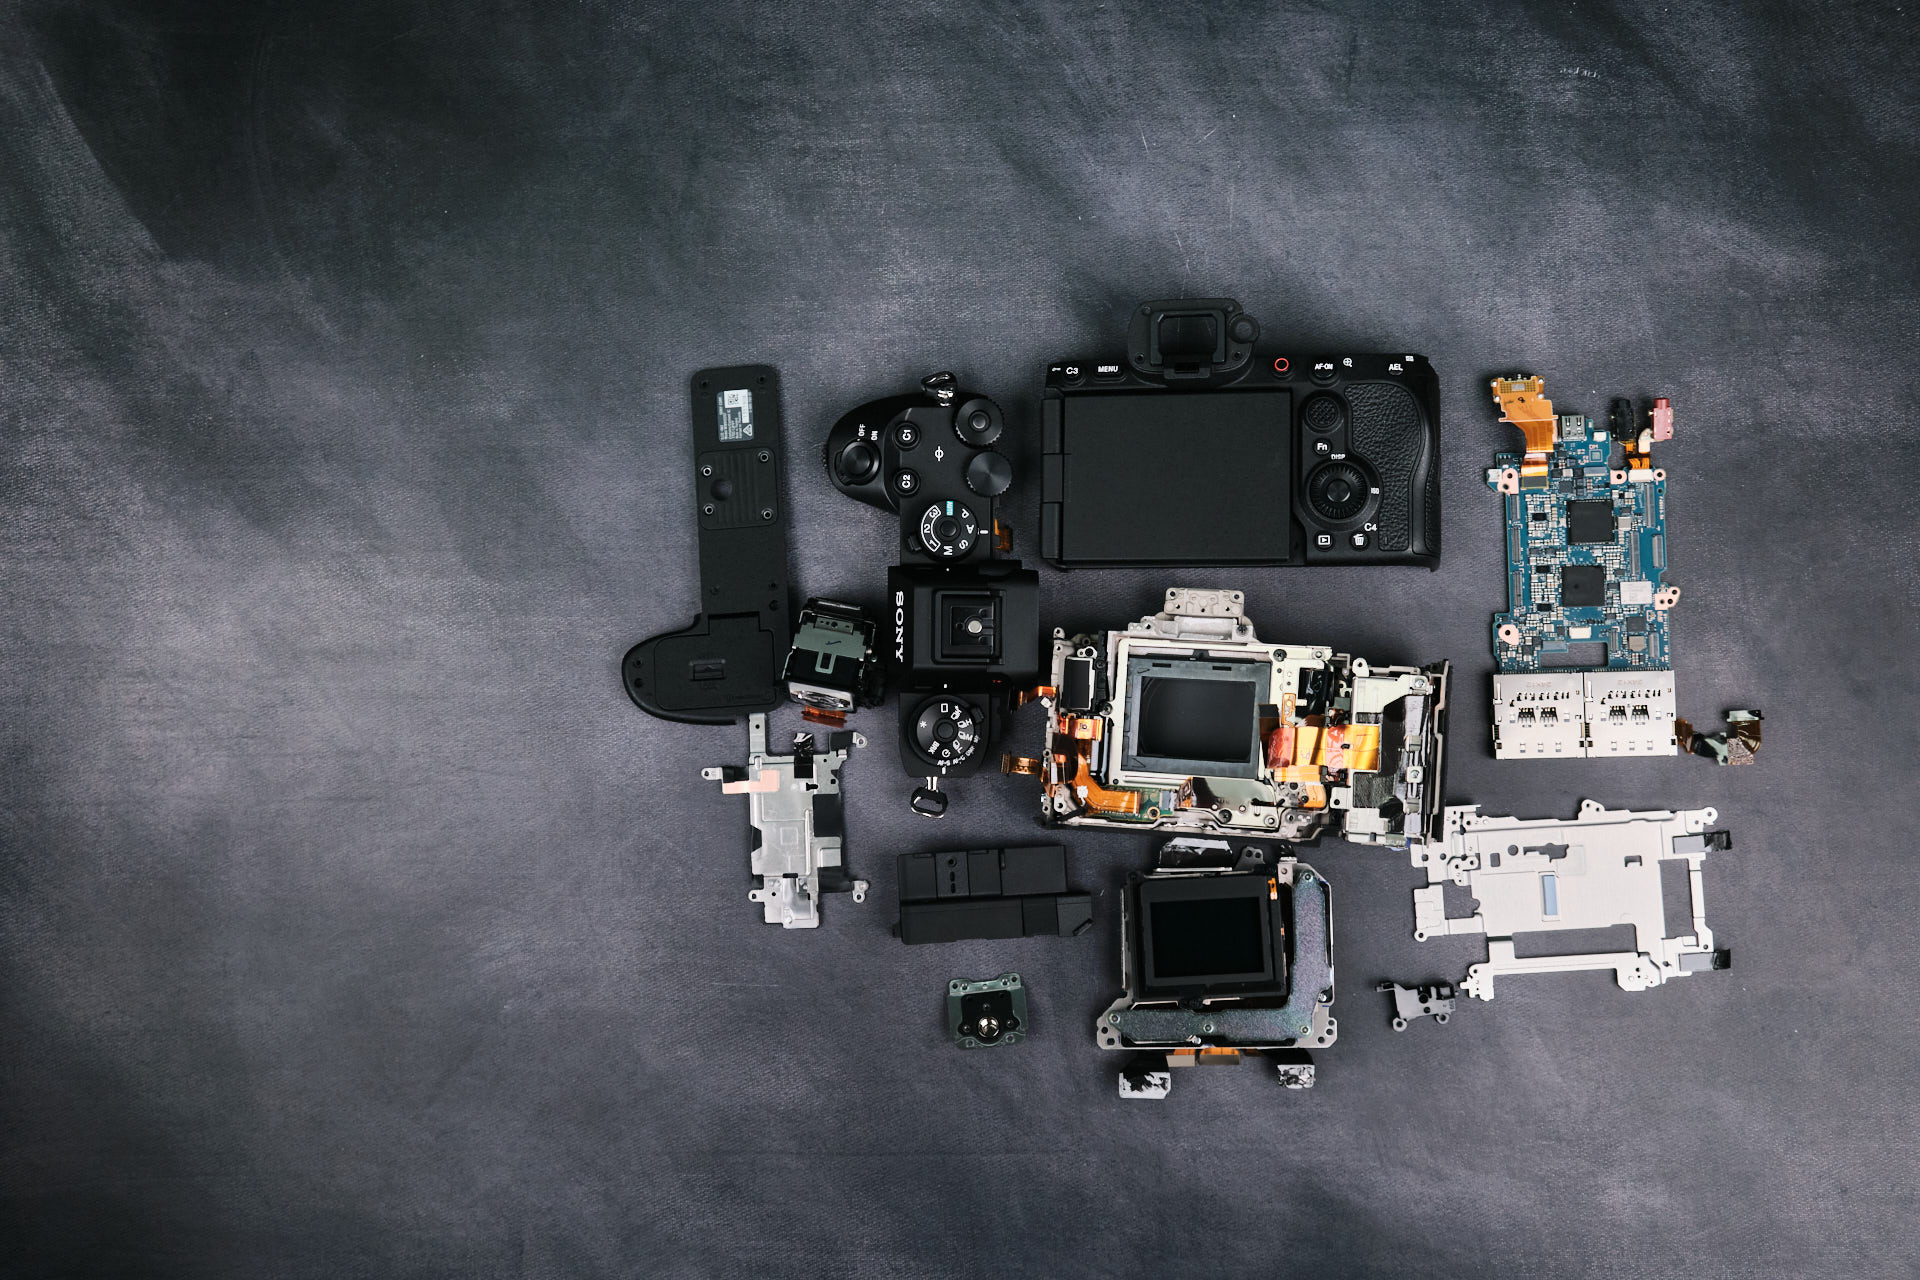
Sony A1 II Camera Overview
Back in 2022, we tore down and disassembled the Sony A1 mirrorless camera—the company’s original flagship camera. In 2025, they released the A1 II mirrorless camera as an update to their flagship, and we were fortunate enough to finally receive our preordered camera for this teardown. The Sony A1 II improves on several things from its predecessor, including a redesign of the camera body, upgraded display and EVF, and clean layout for their menu system. Despite such changes, the image quality remains largely the same between camera models.
Sony A1 II Infrared Conversion and E-Mount Clip-in Filter Compatibility
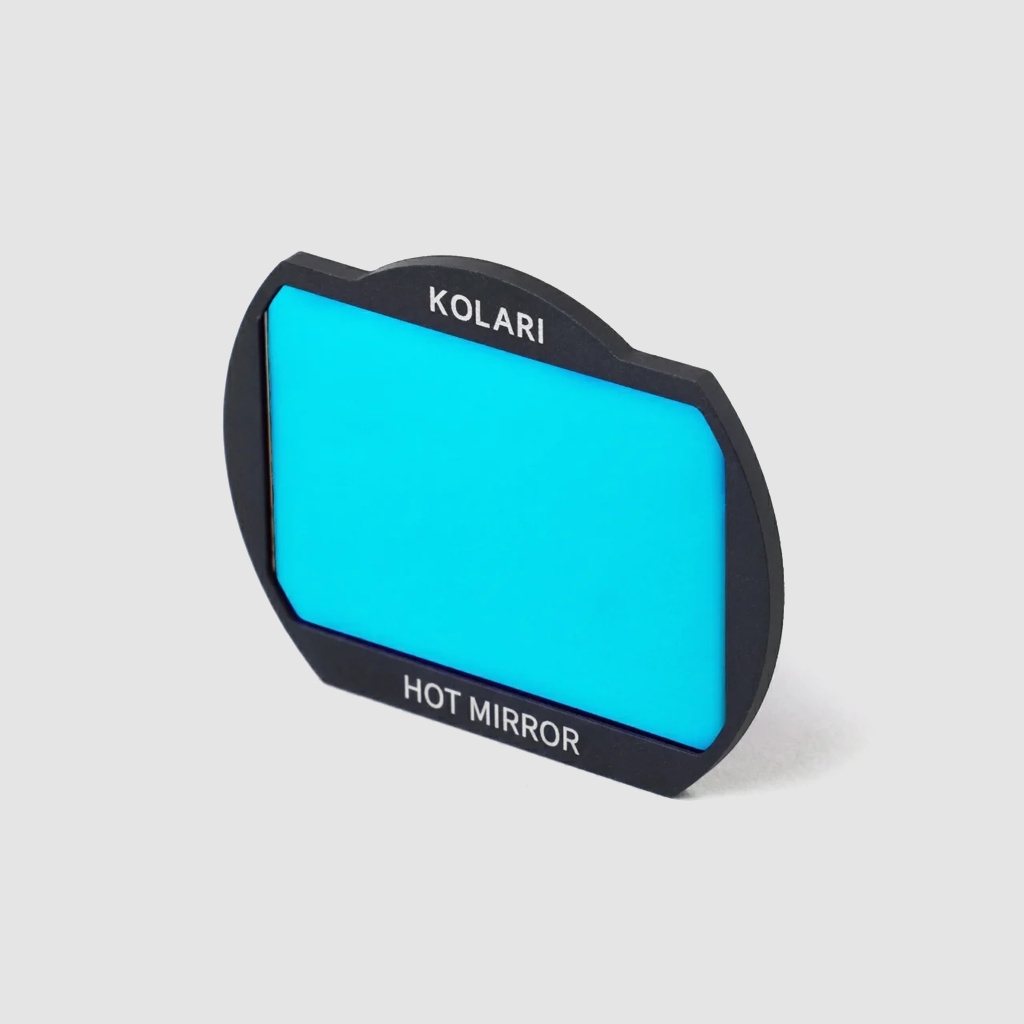
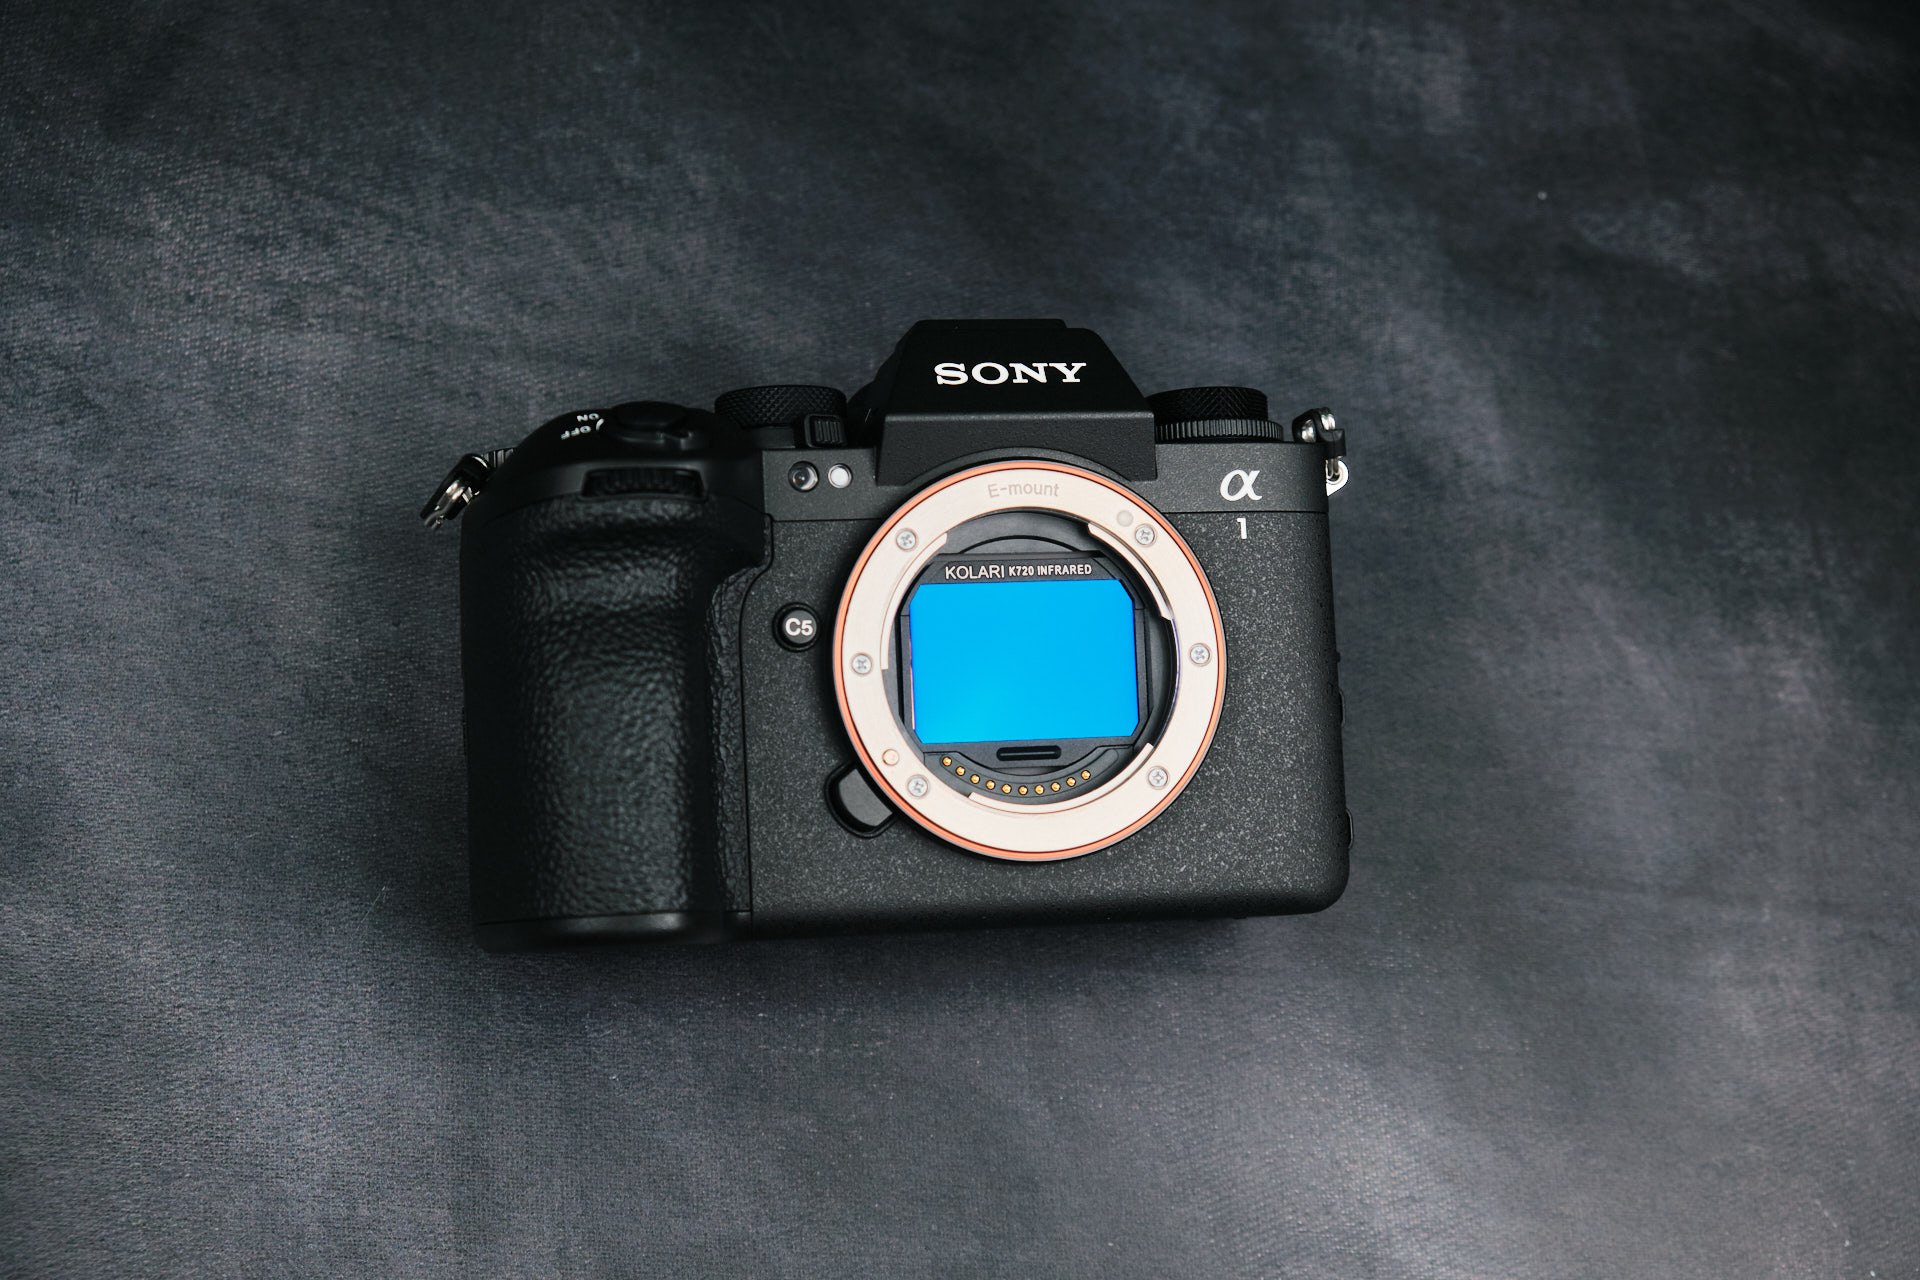
The Sony A1 II is incredibly capable for infrared shooting once it is converted to full-spectrum through our infrared conversion service, and it is compatible with our magnetic clip-in filters for Sony E-mount. However, the camera will need a magnetic mounting plate for our filters to install properly.
Now, let’s get into this teardown!
Starting the Sony A1 II Teardown With the Baseplate
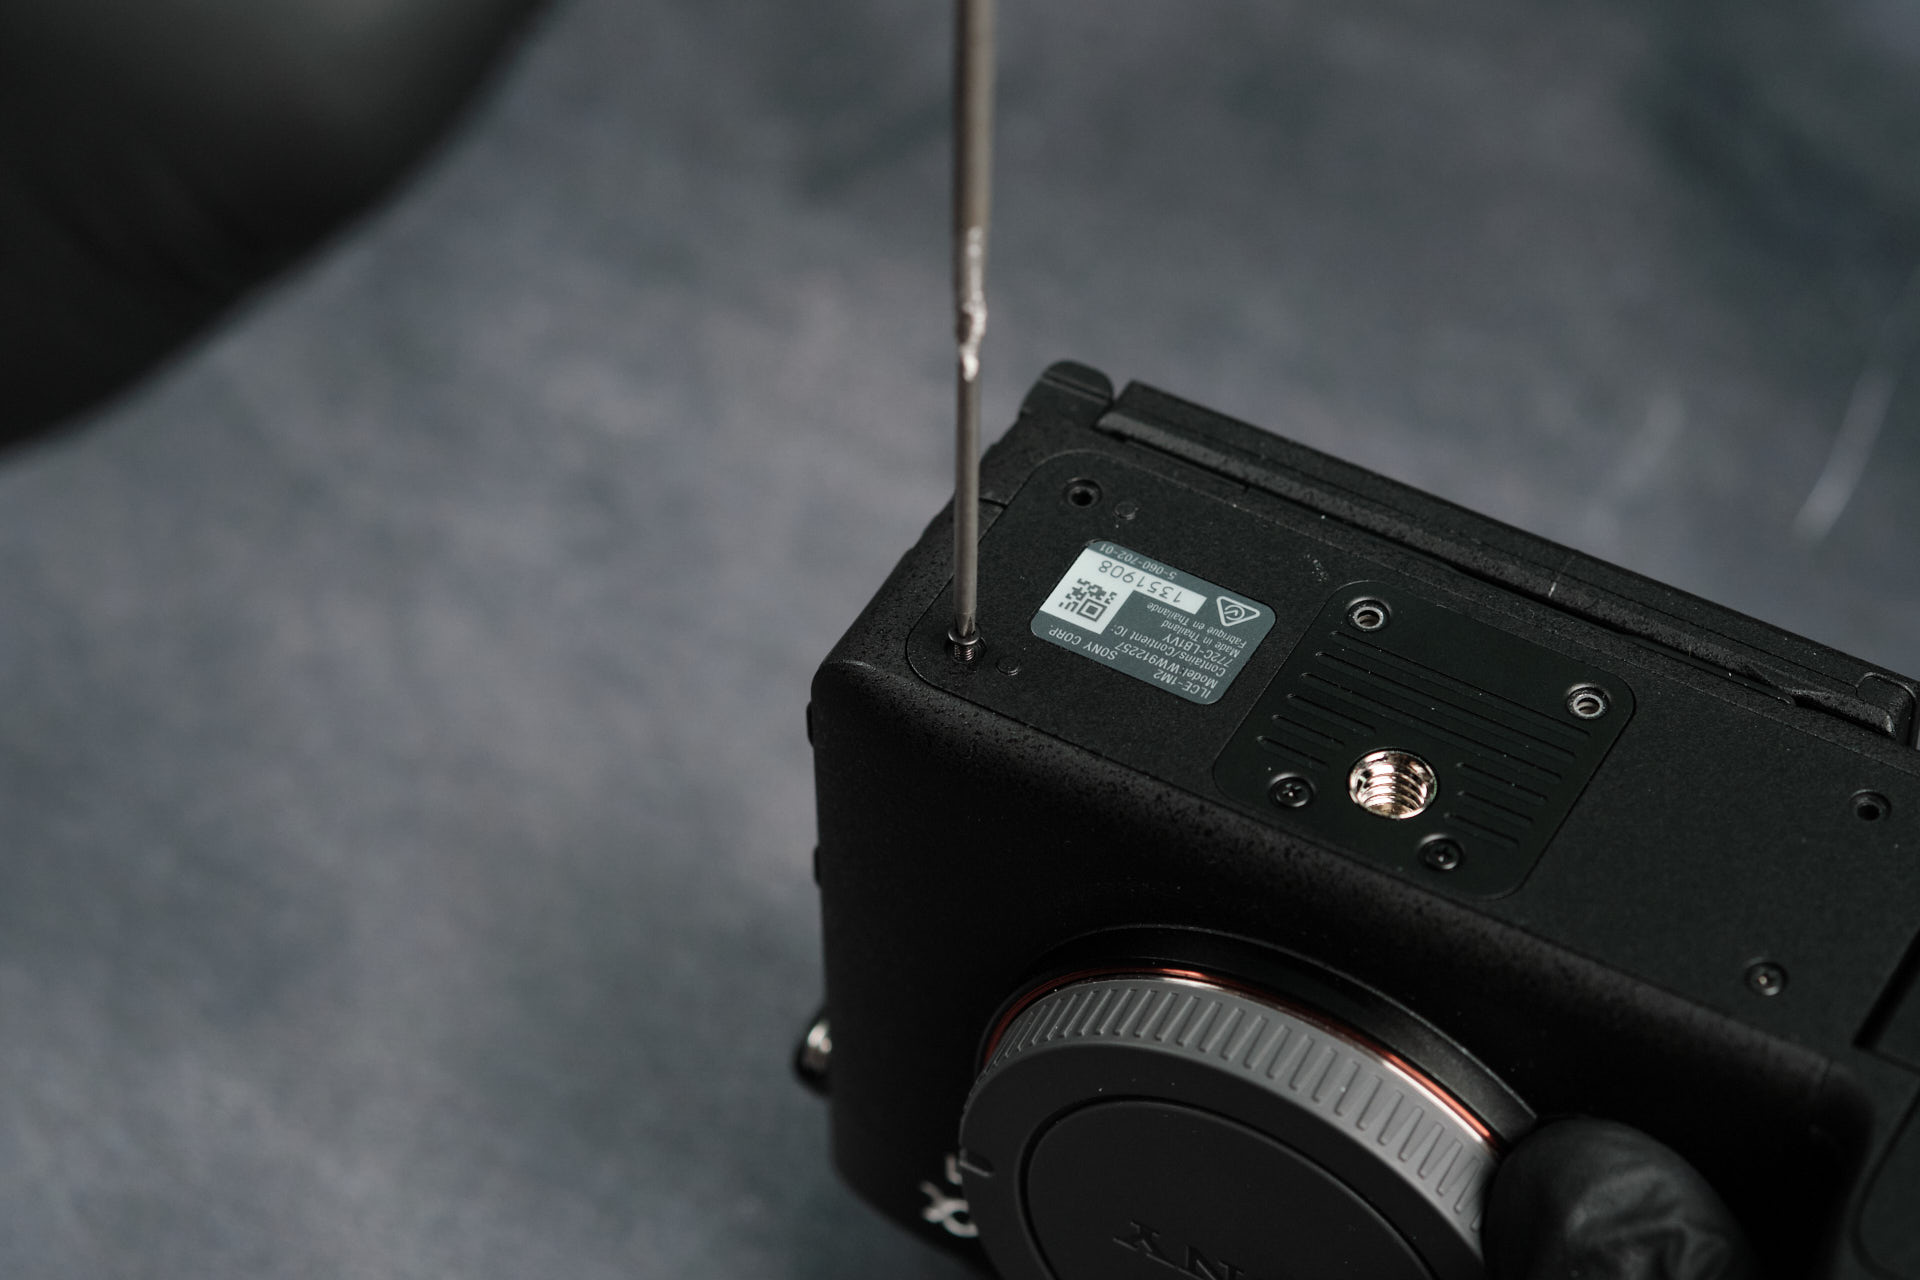
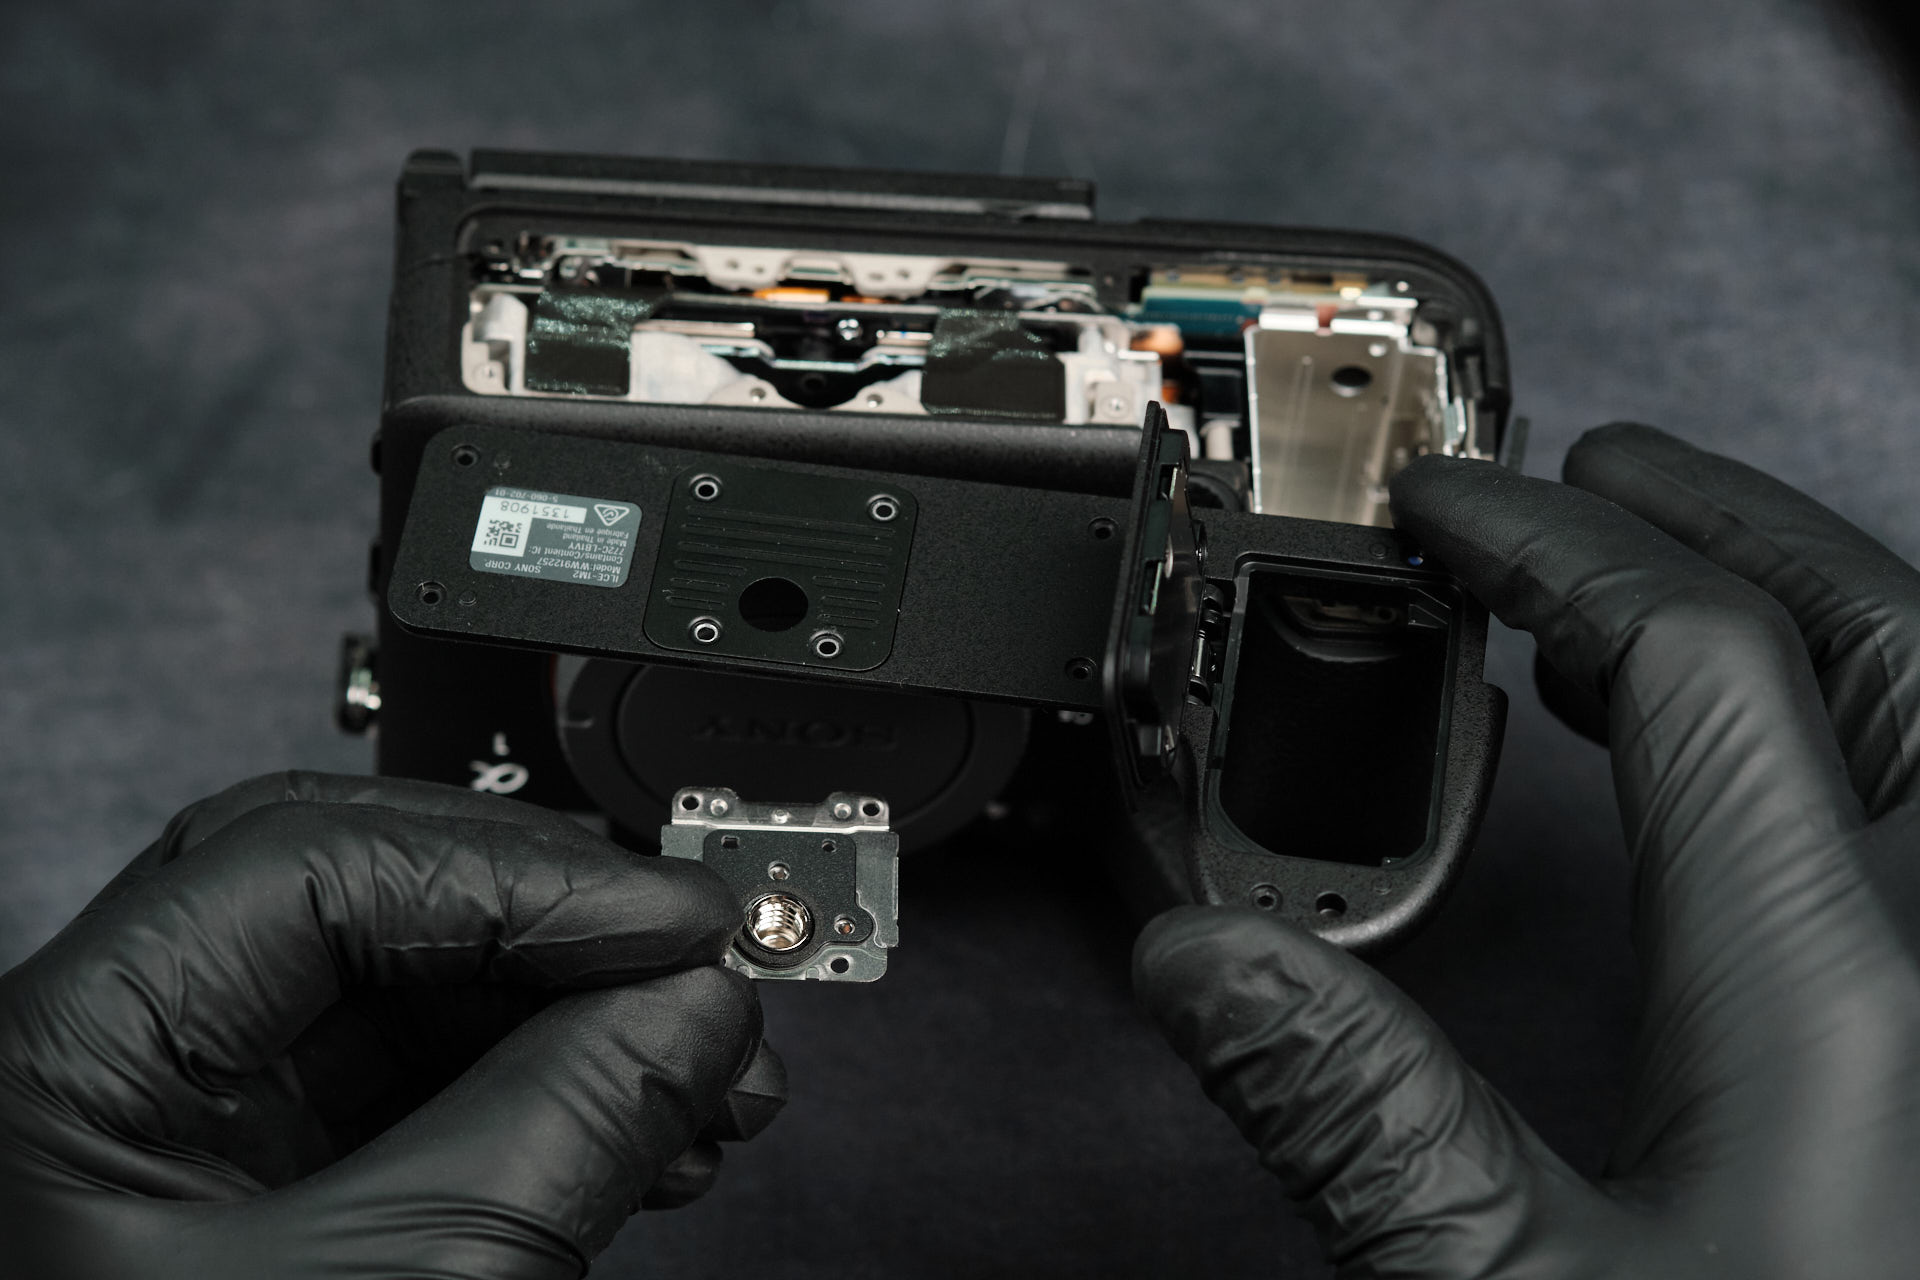
As with many of our camera teardowns, we first remove the baseplate. There are several screws along the bottom, and a hidden screw on the SD card side of the camera.Â
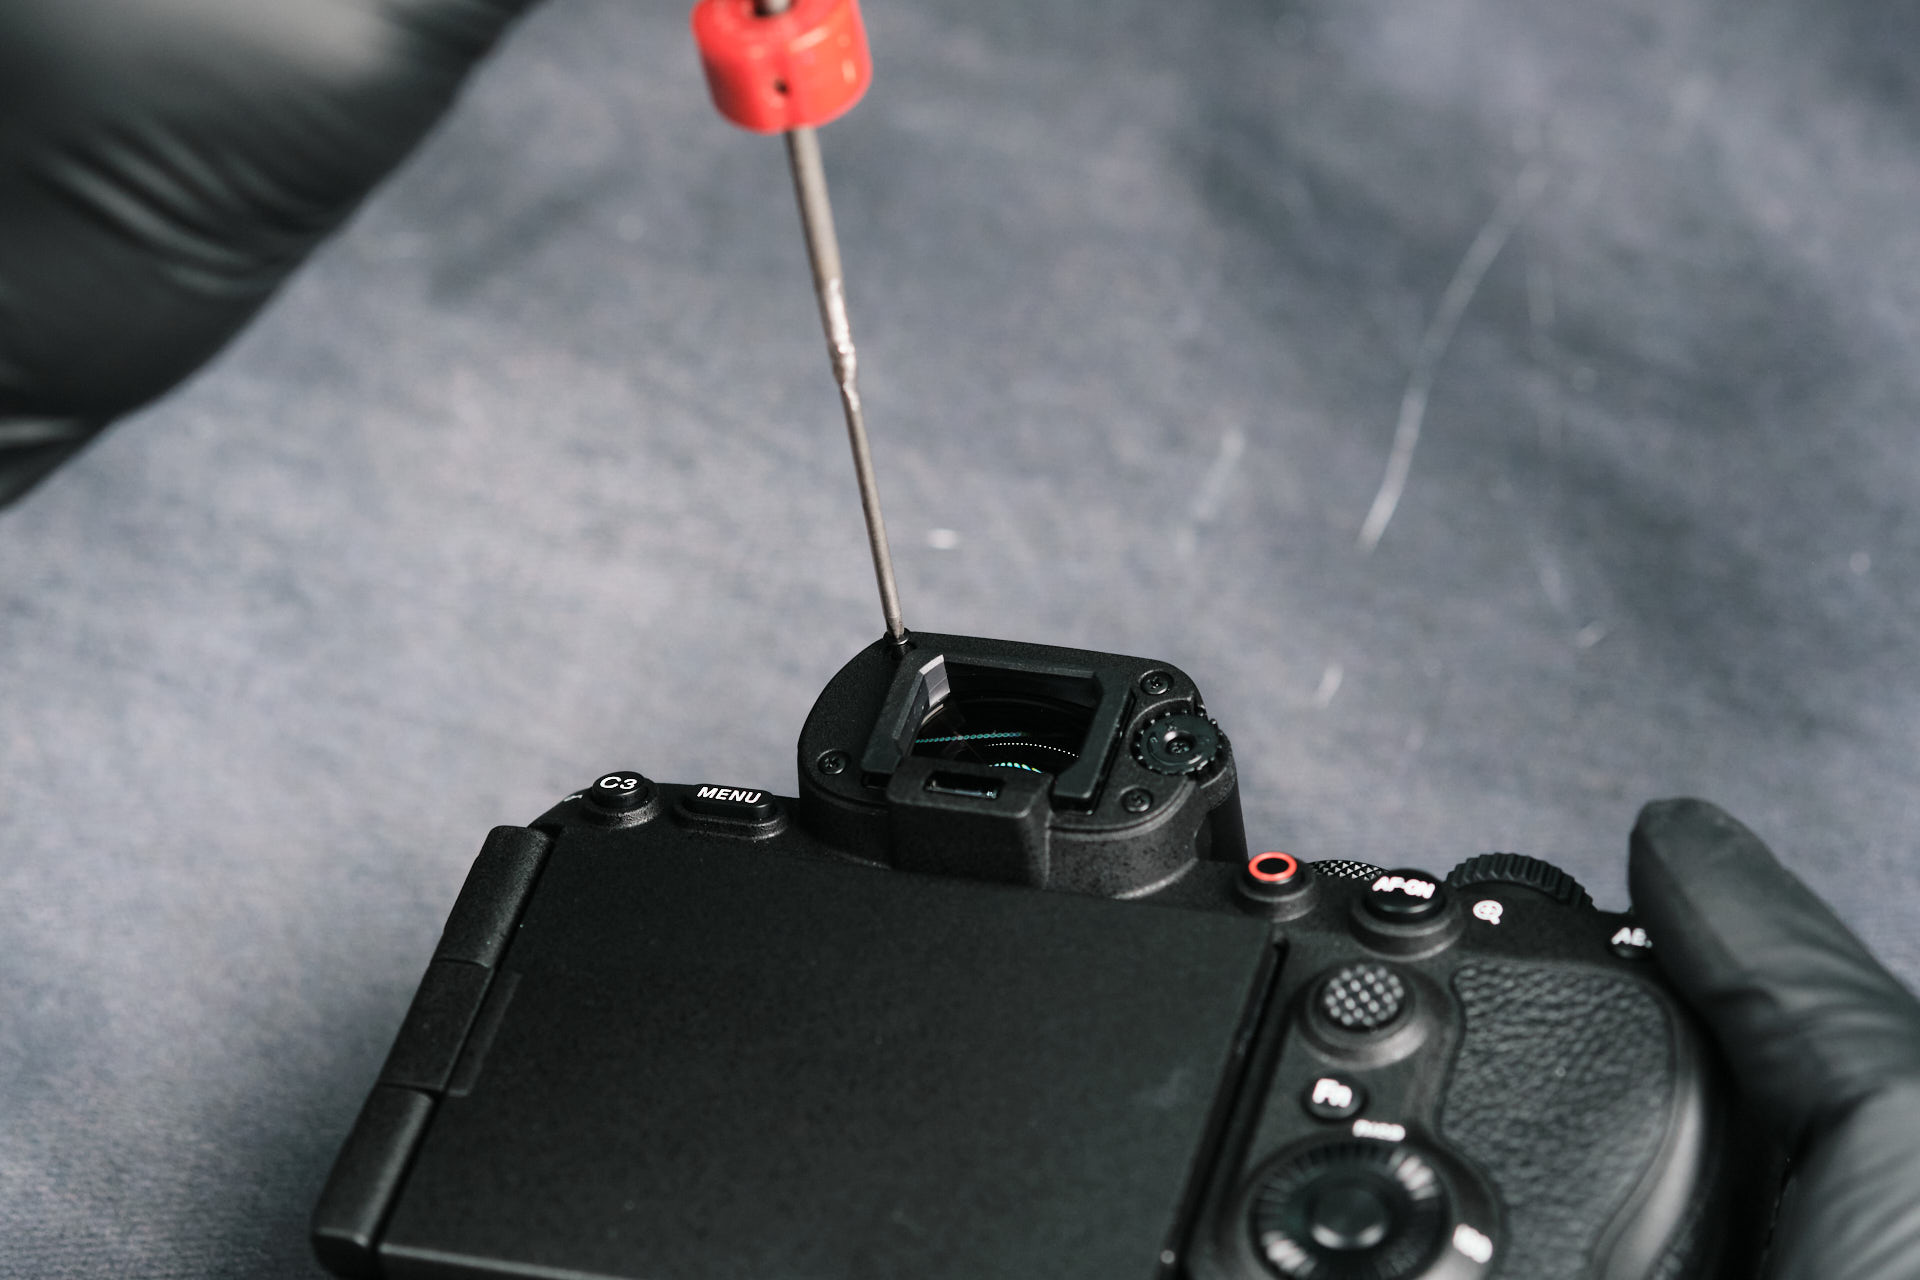
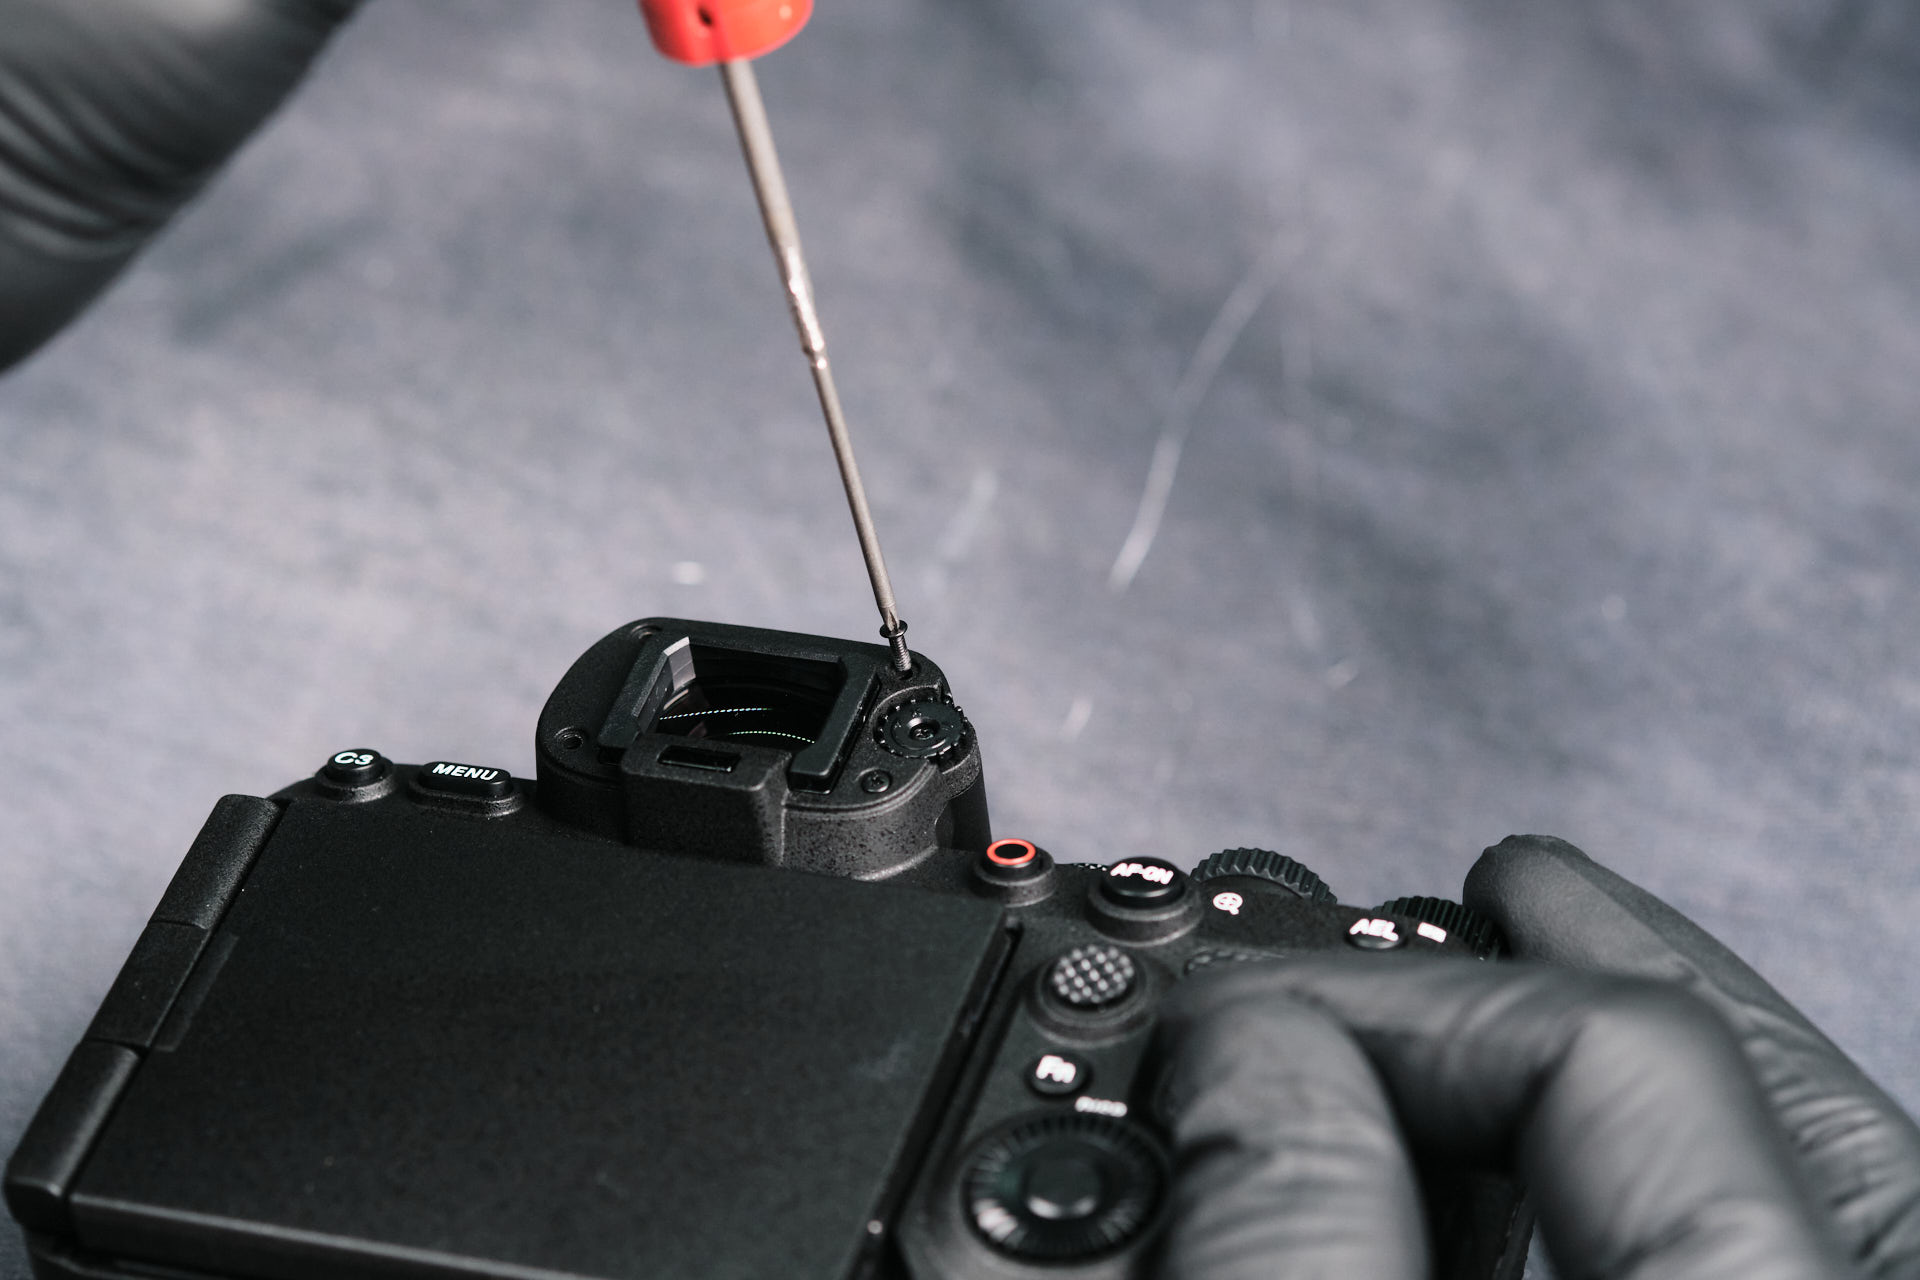
Removing the Sony A1 II EVF Screws
We removed five screws for the EVF. Although we targeted the EVF early on, we still cannot detach it from the camera because the ribbon cable is still connected to the circuitboard. To reach that, we need to remove the back of the camera, which we will get to eventually.
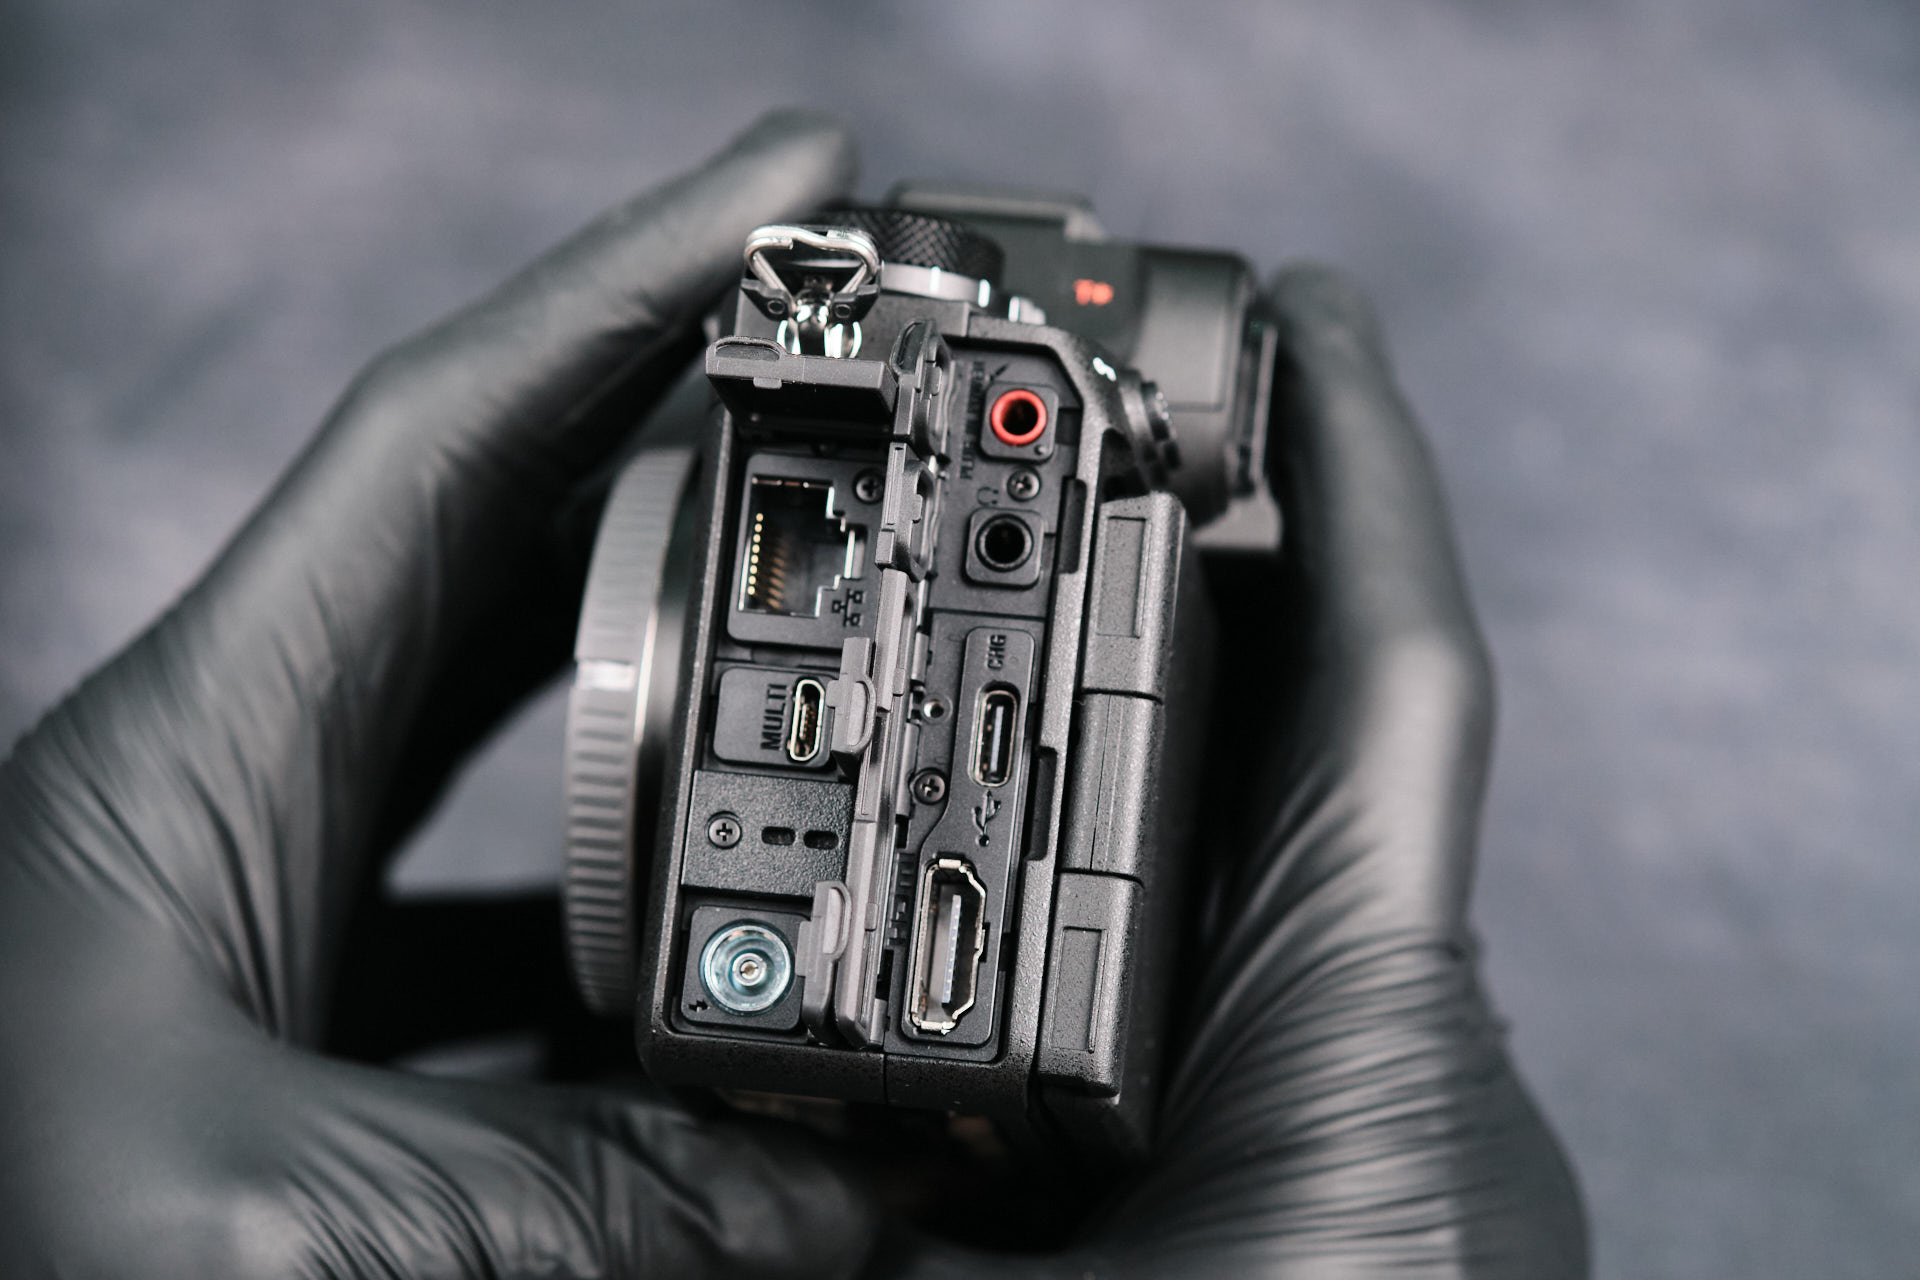
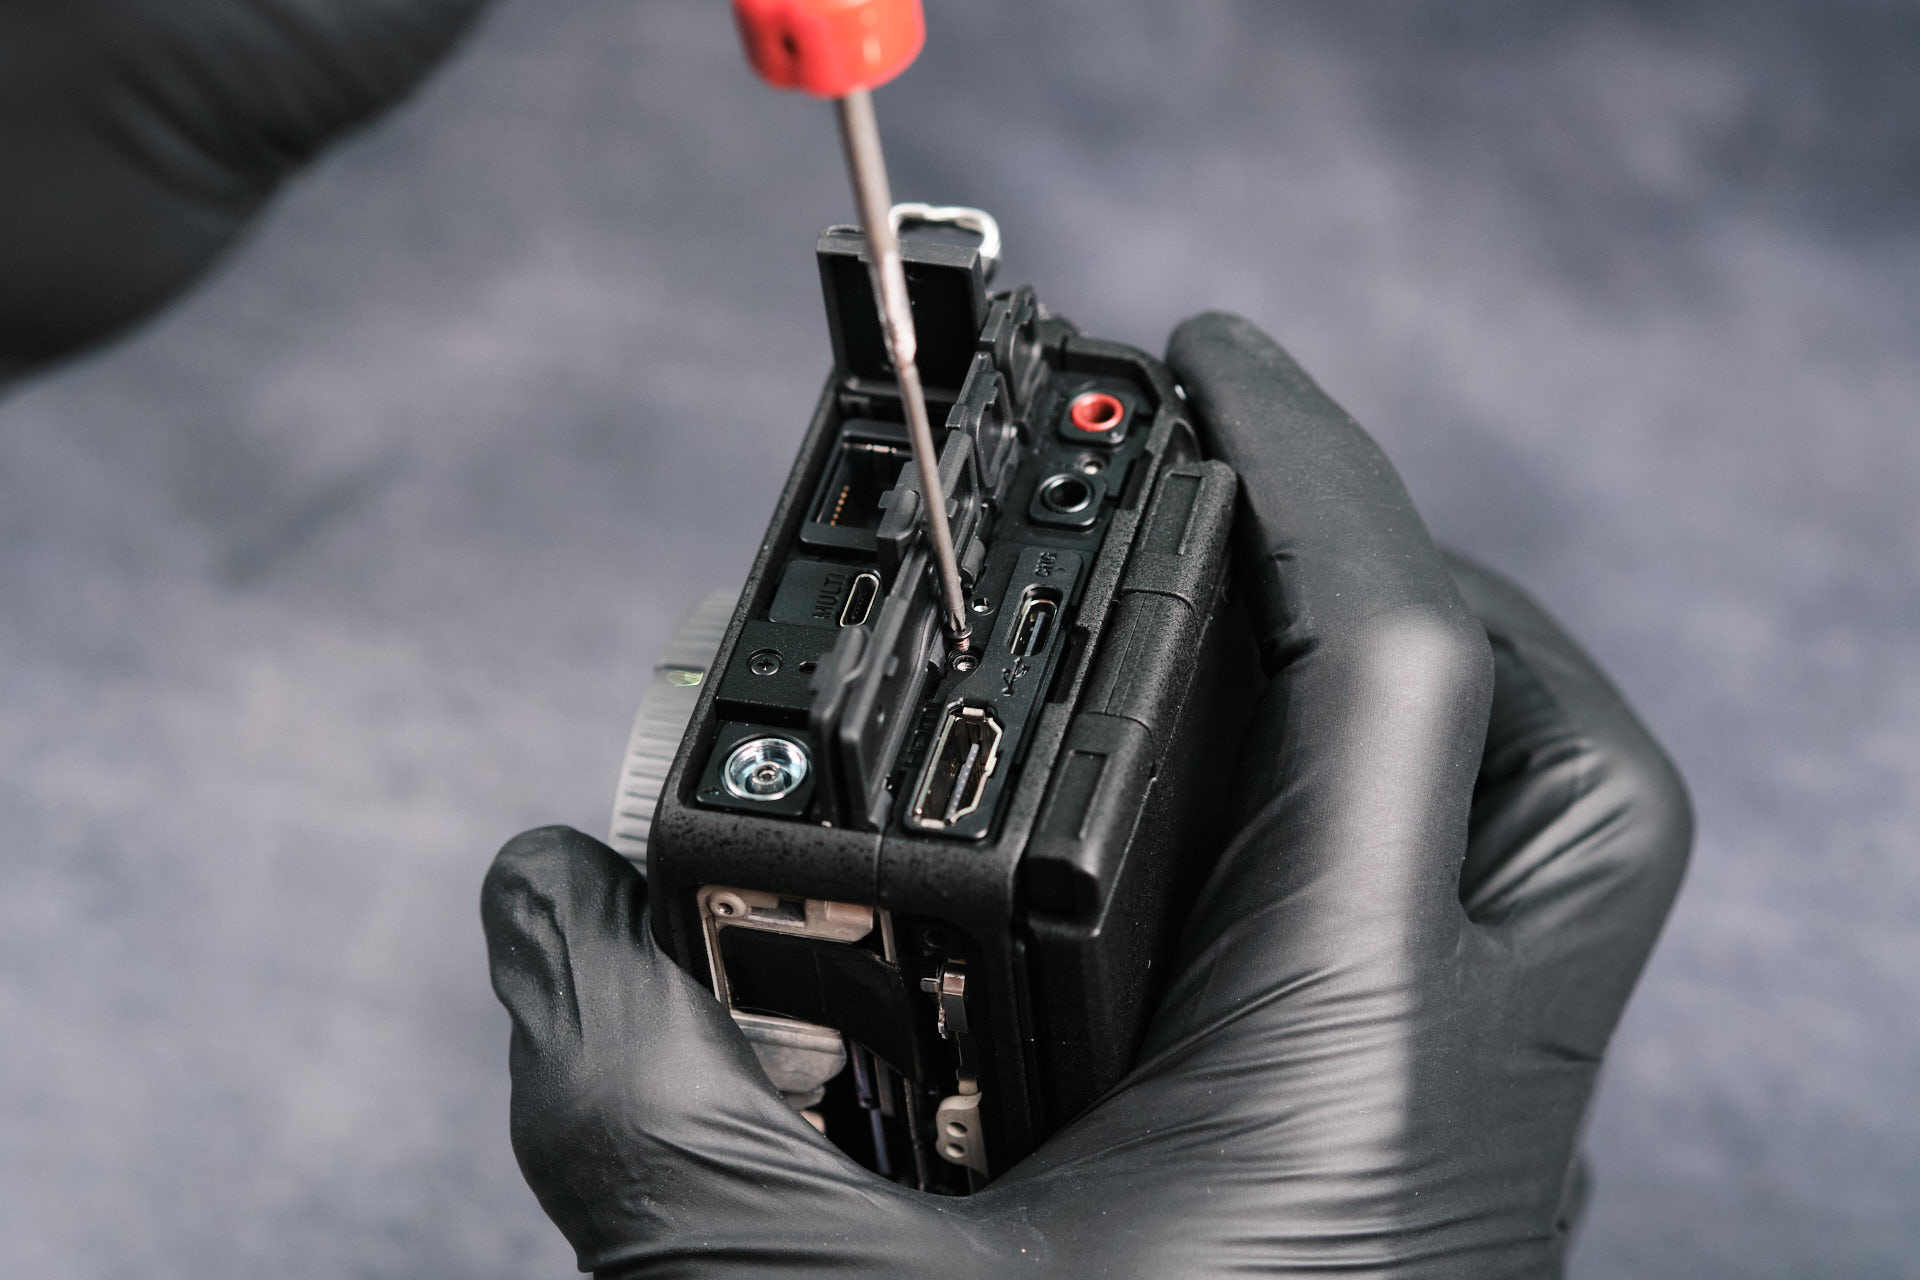
Removing Port Side Screws on the Sony A1 II
On the port side of the camera, we removed four screws.
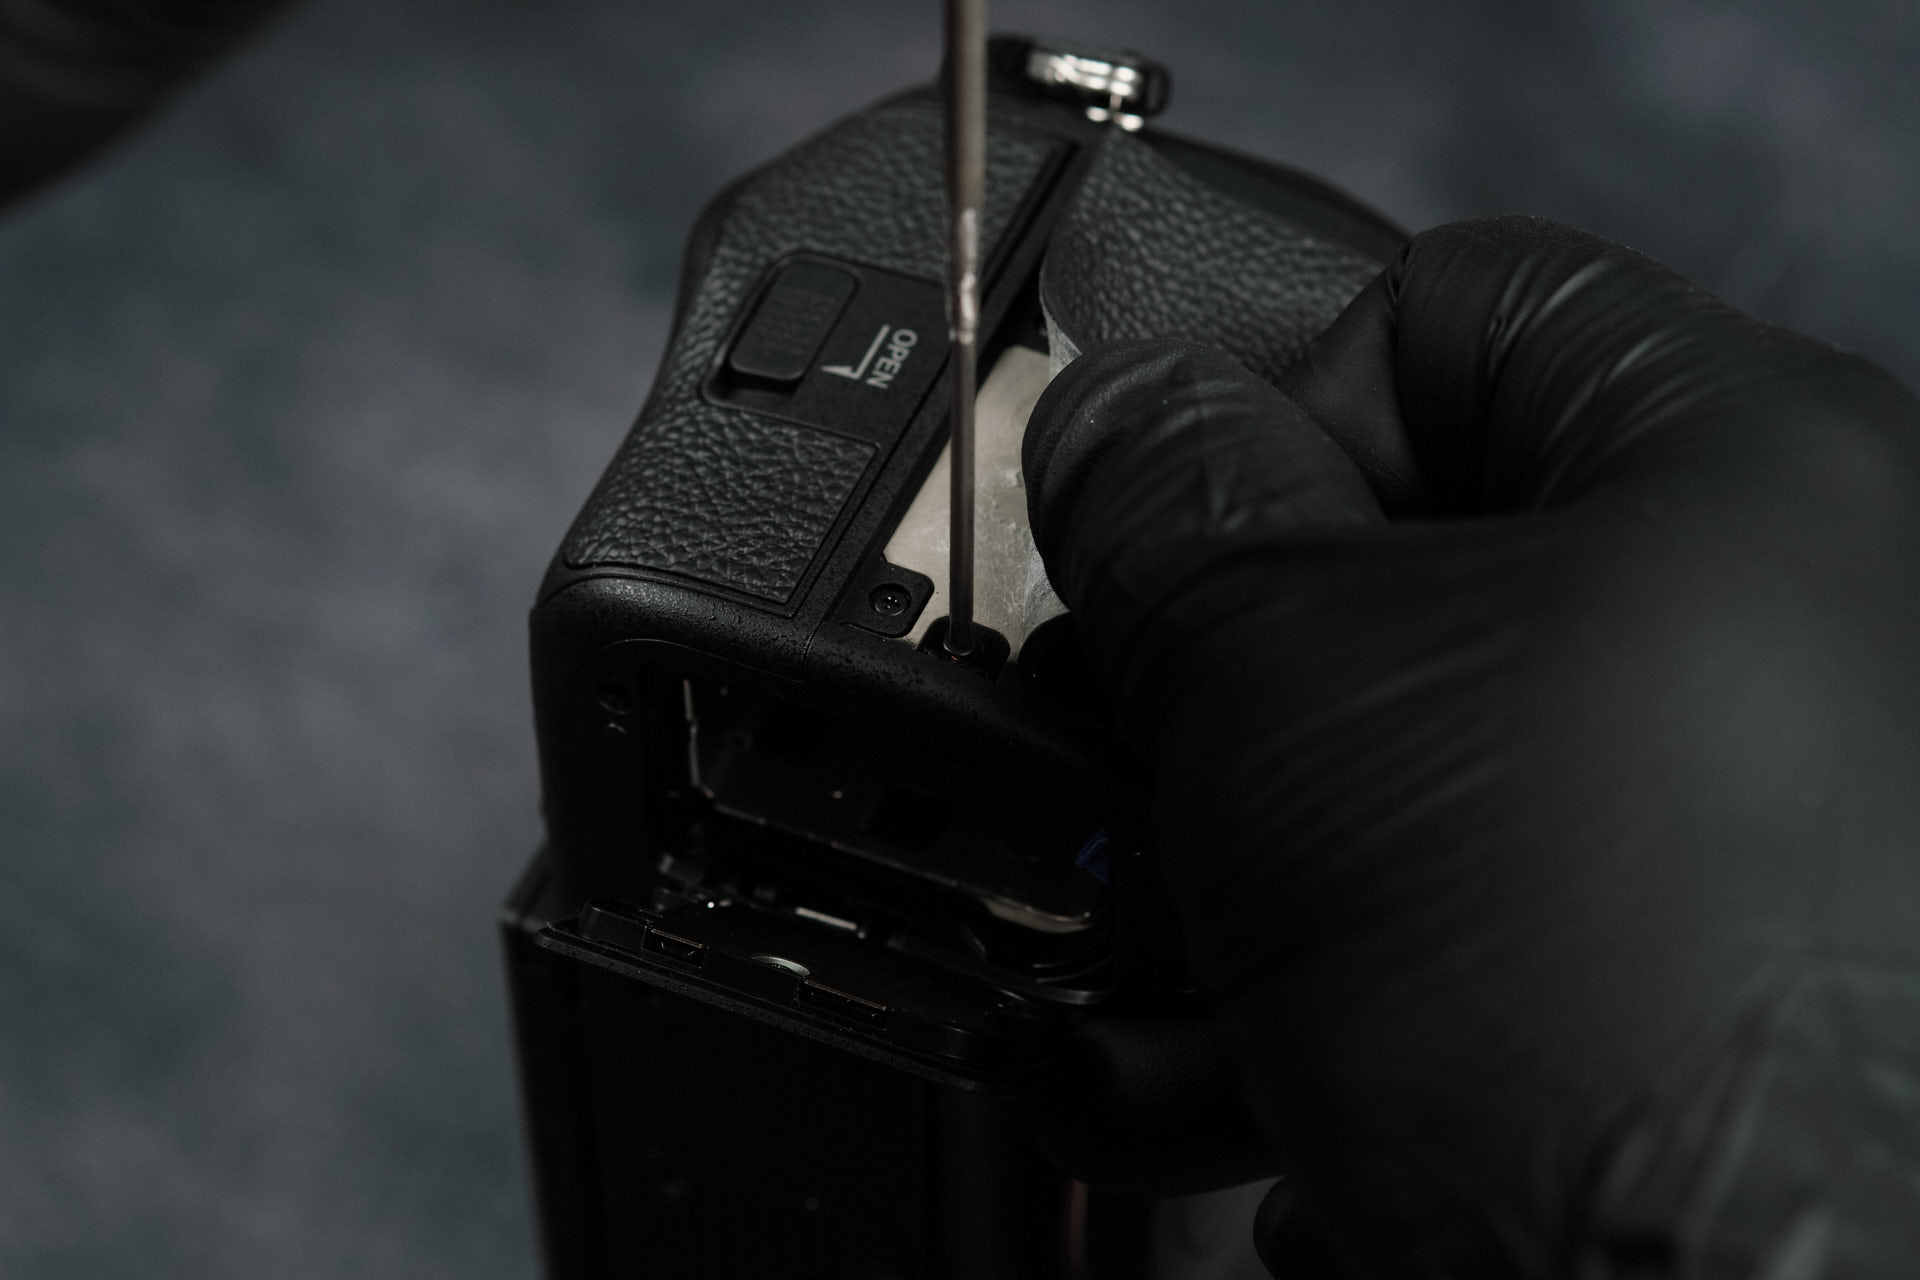
Finding Hidden Screws Beneath the Leather Skin
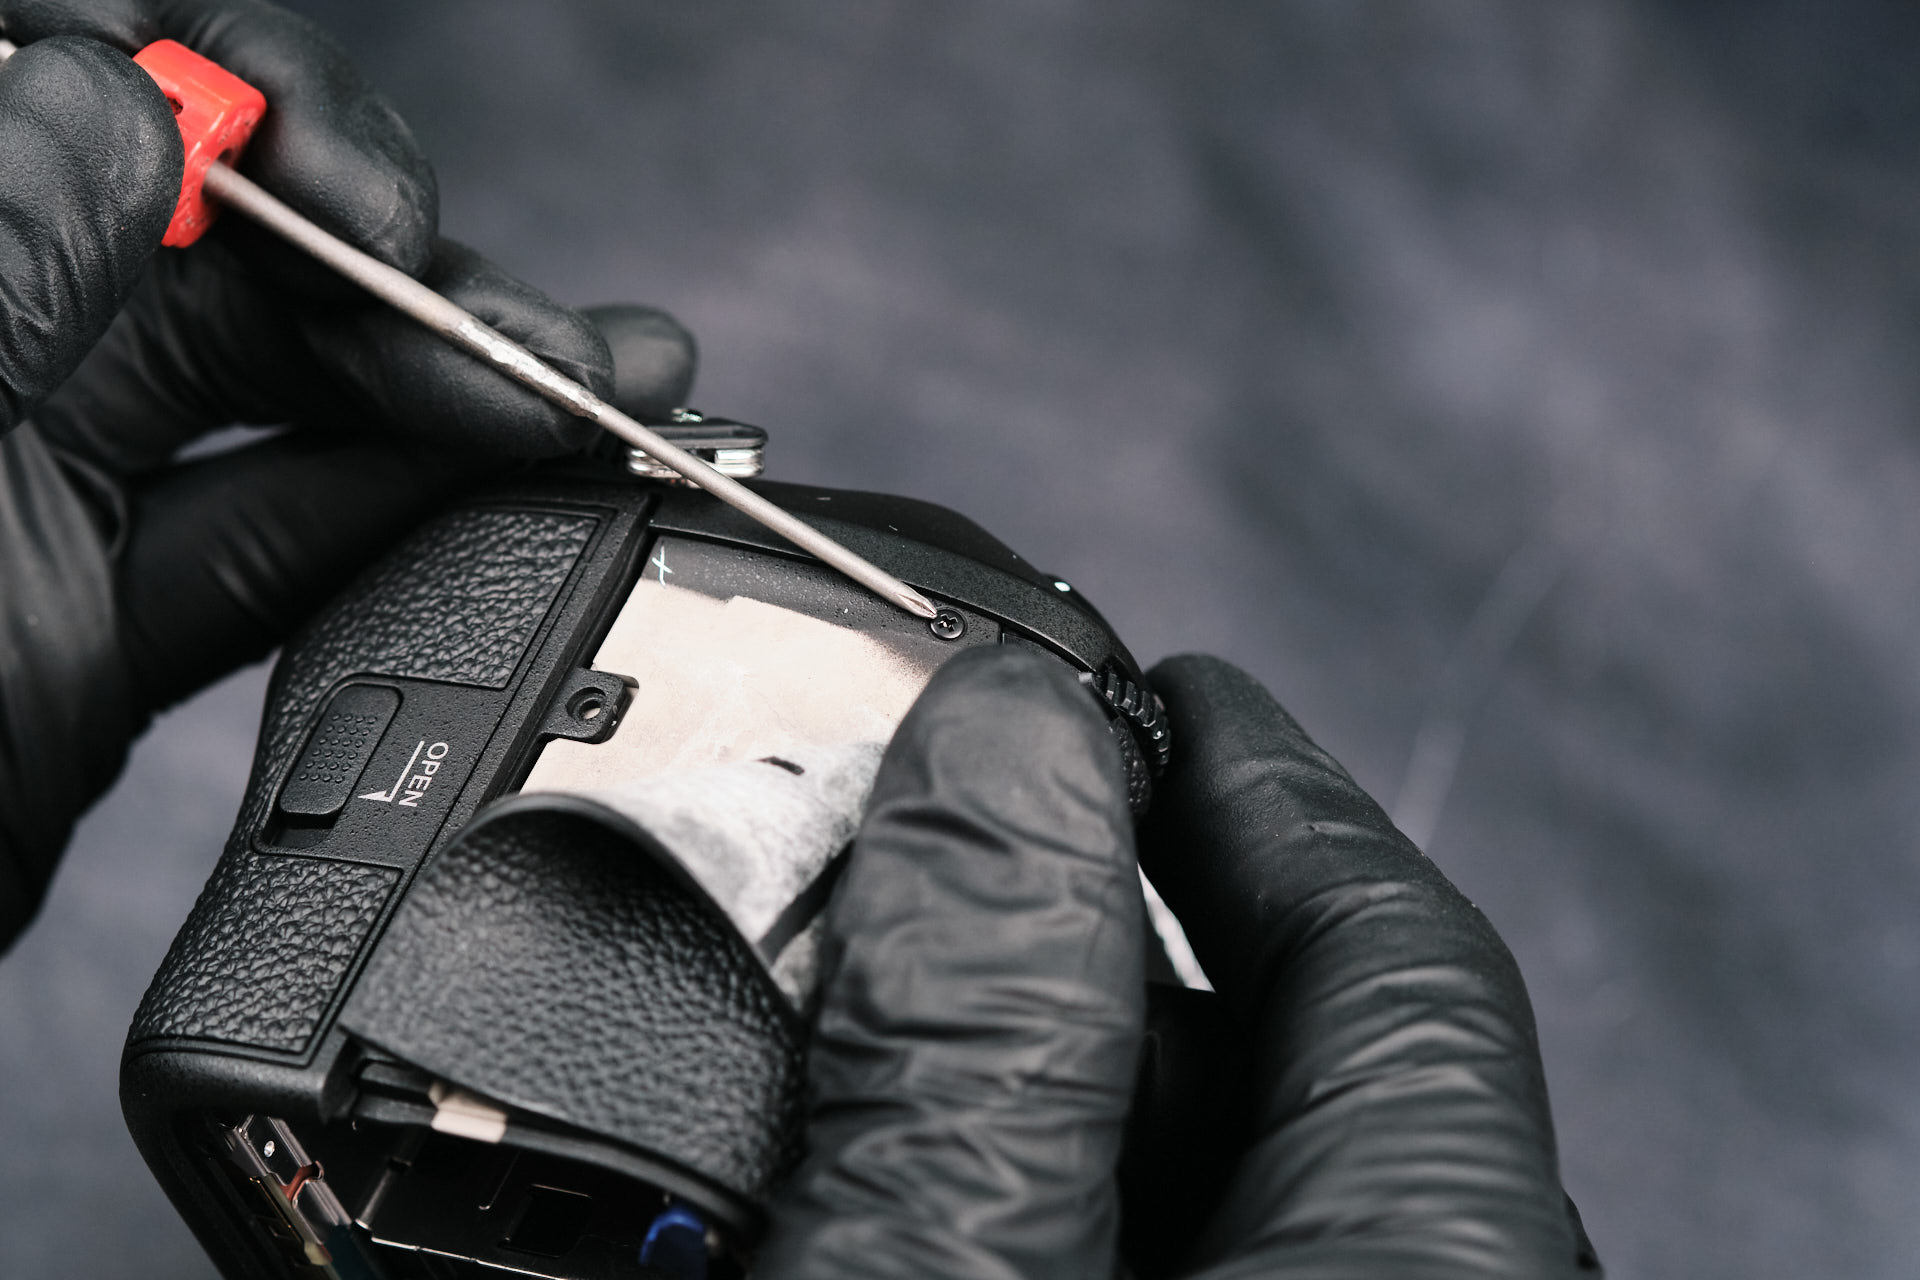
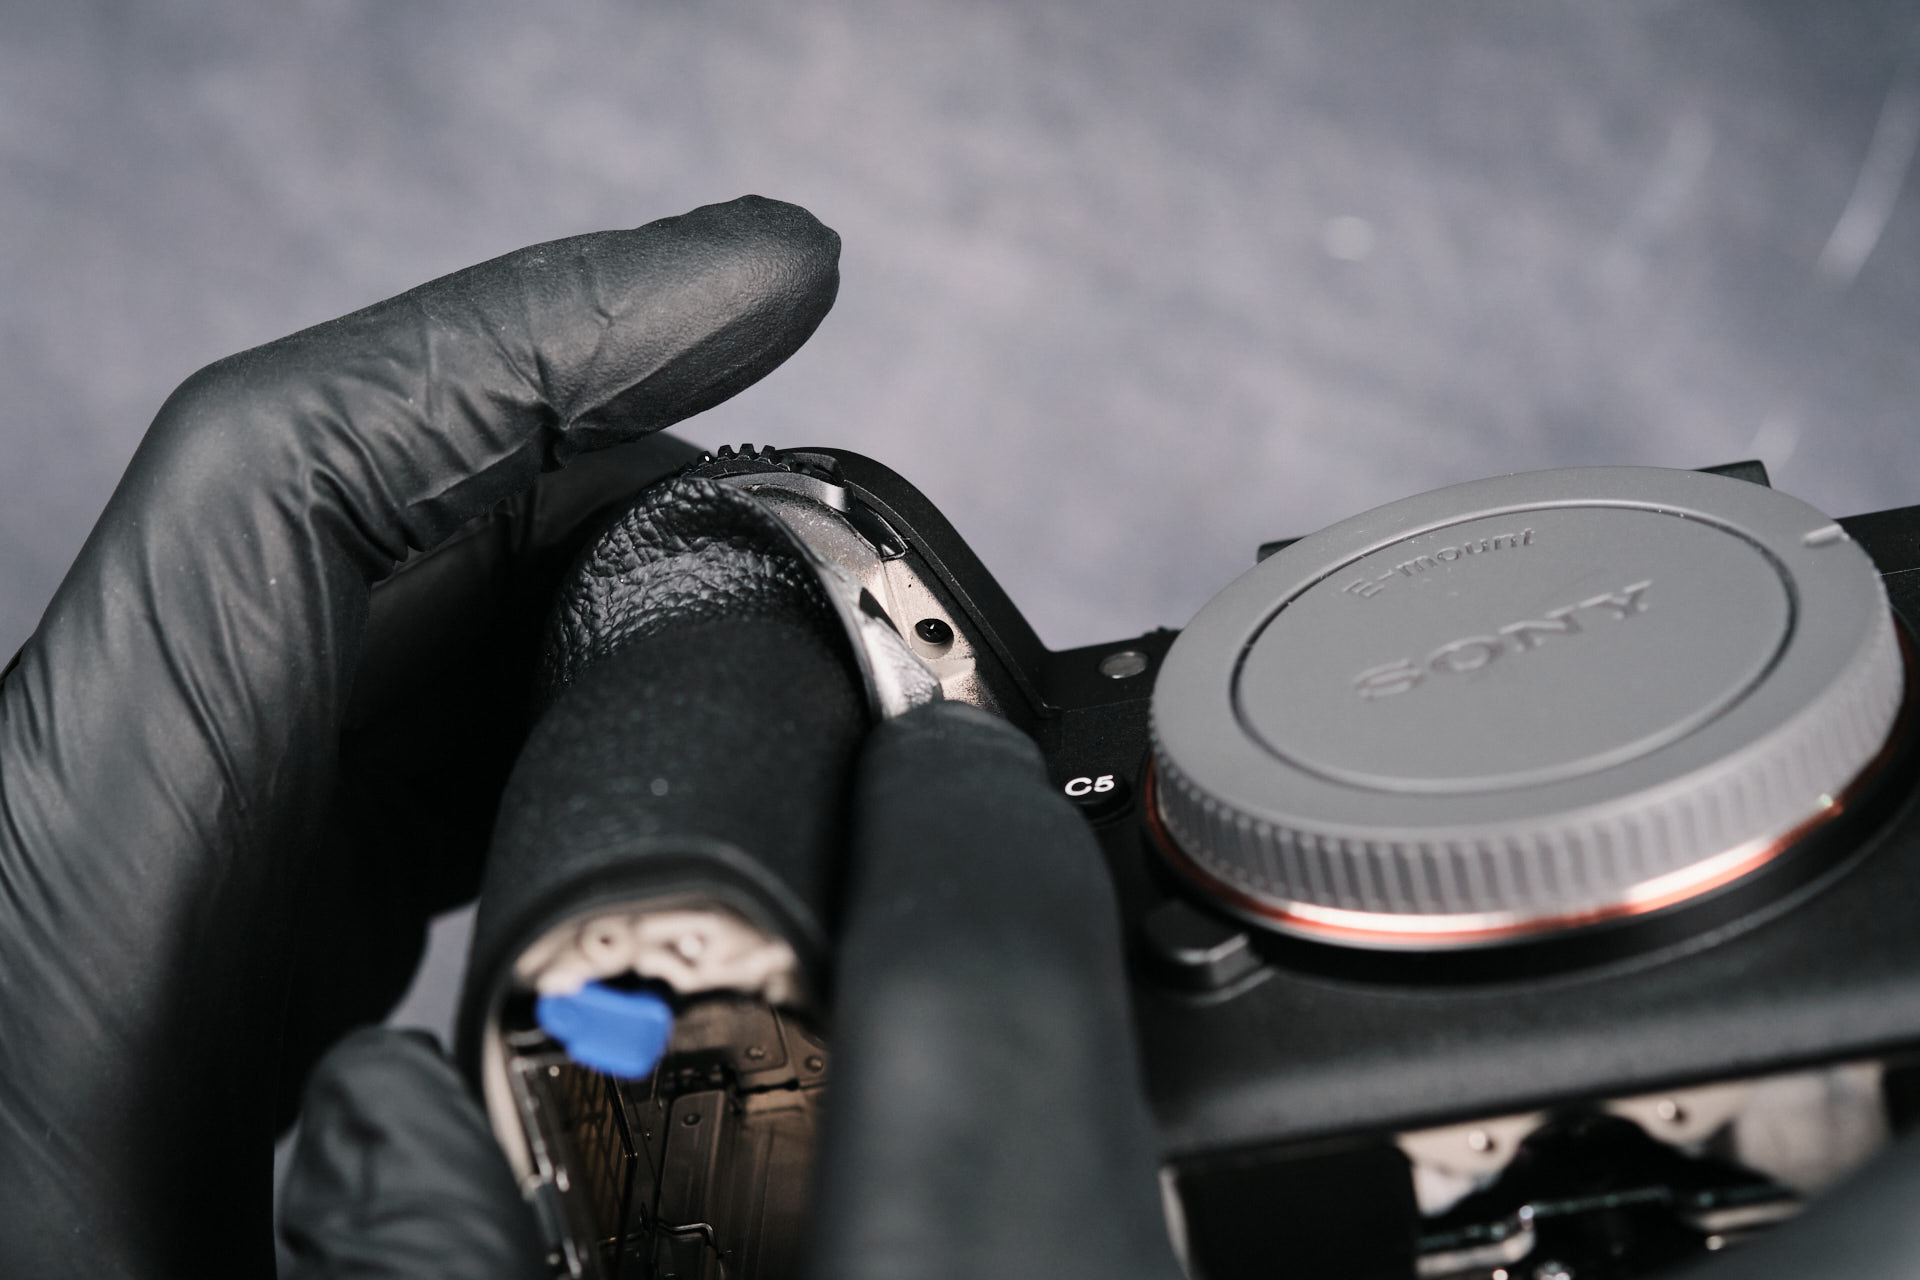
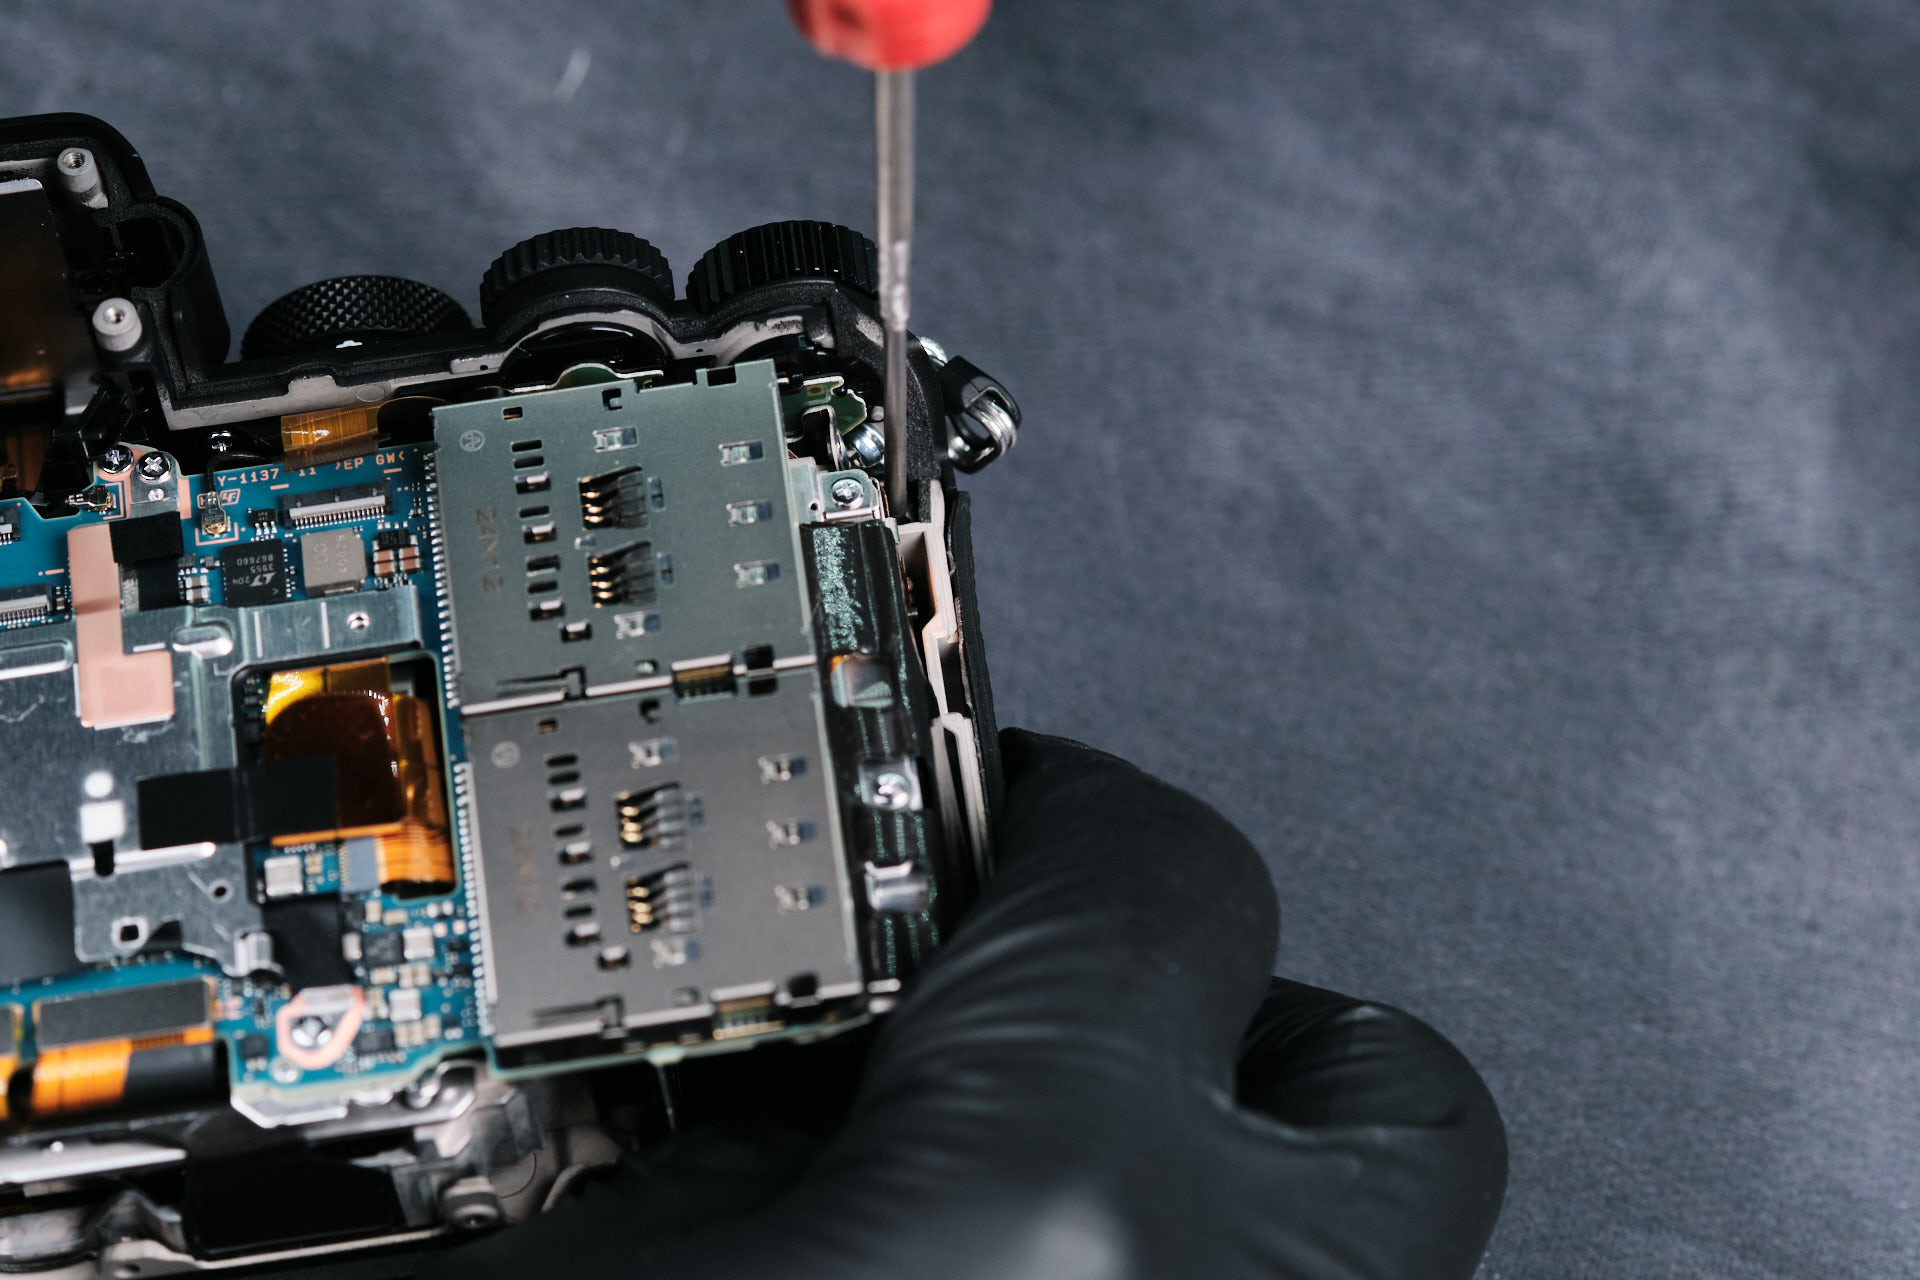
There are several hidden screws surrounding the body of the camera. Usually, they are found beneath the leather skin of the camera. In the case of the Sony A1 II, we found two screws beneath the leather skin.
Before the backplate could be removed, there was one more screw located by the bottom of the camera’s body fastened to the backplate frame.
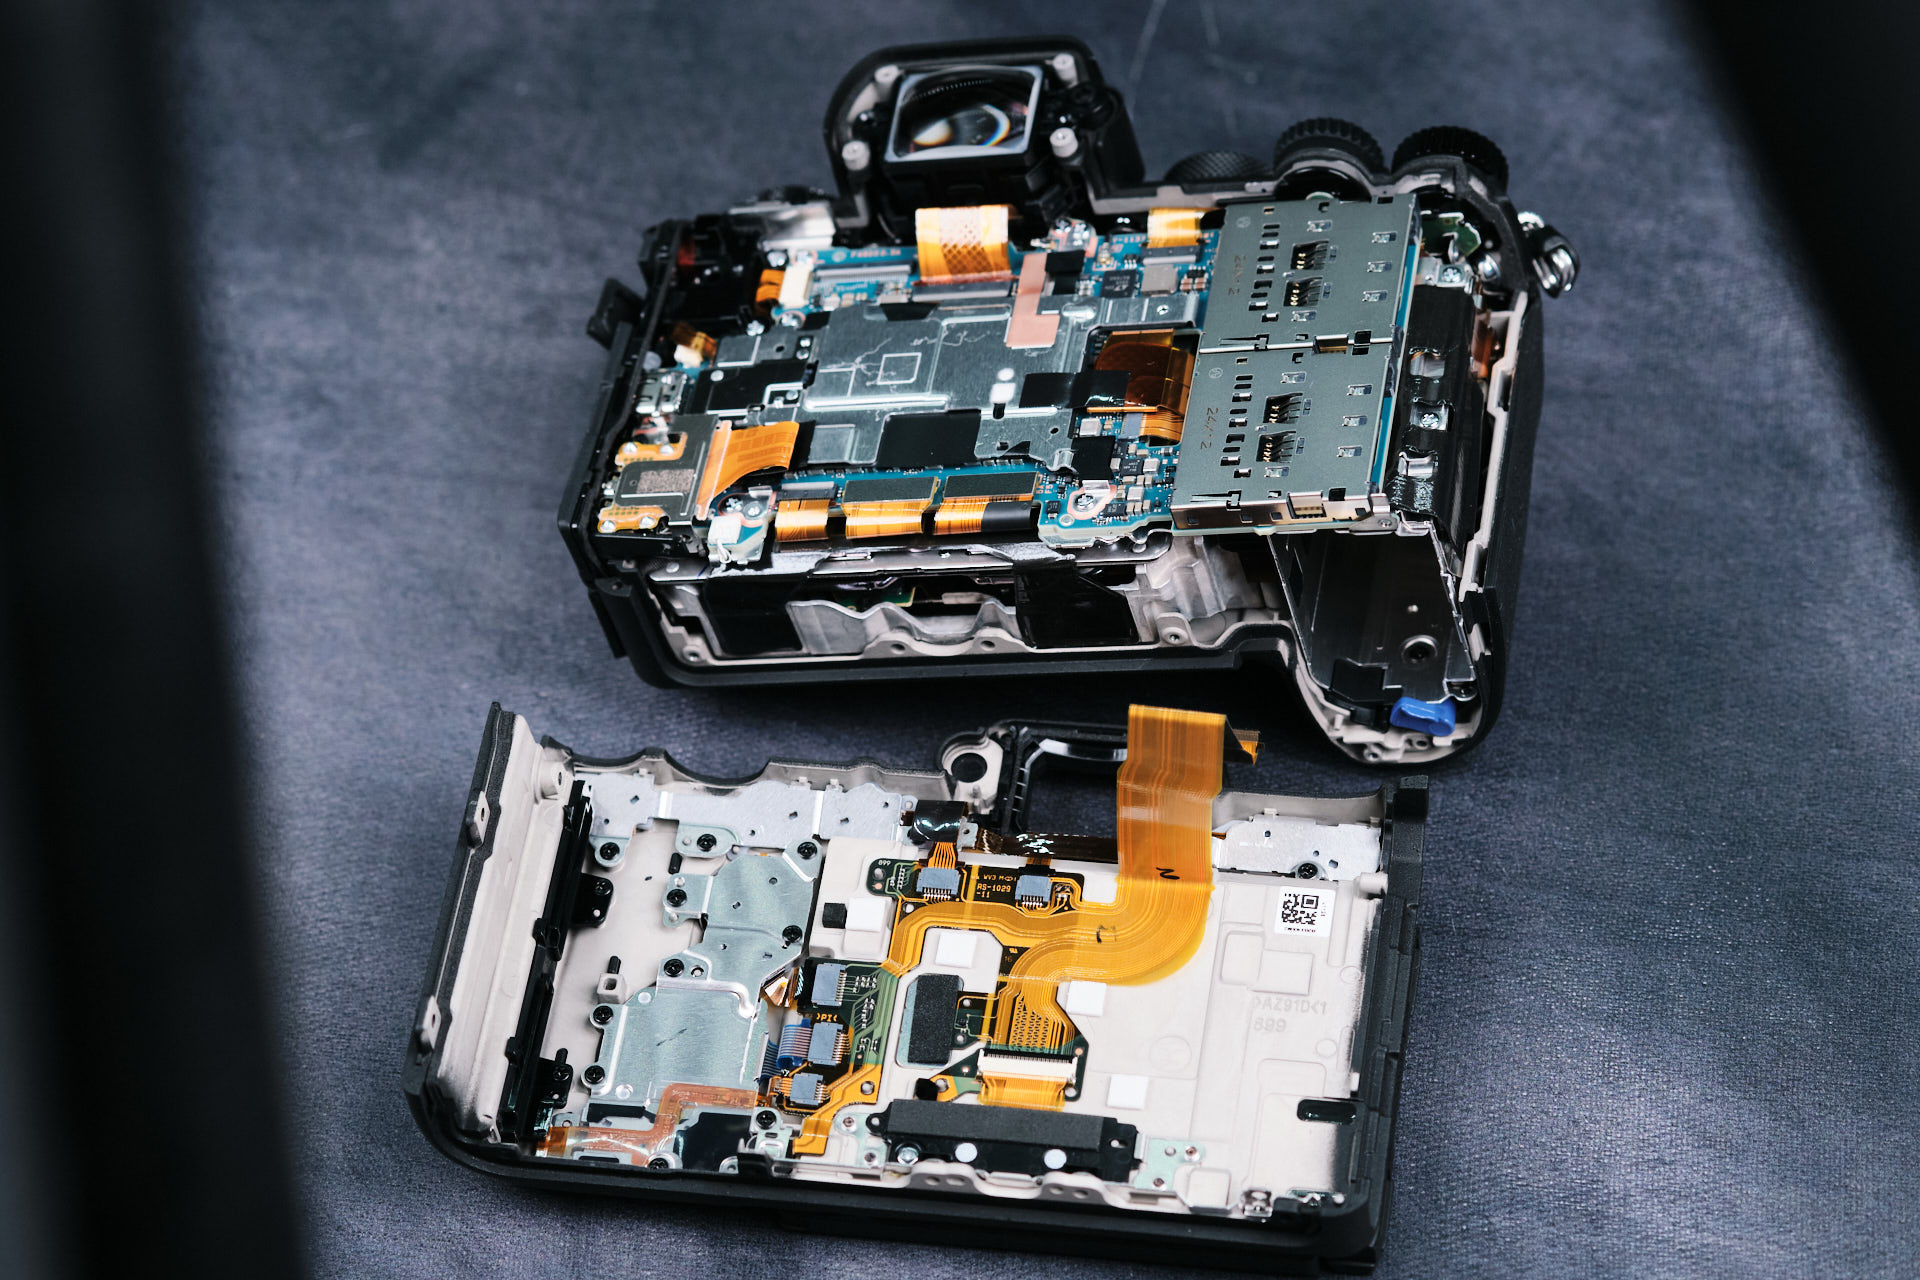
Removing the Sony A1 II Backplate
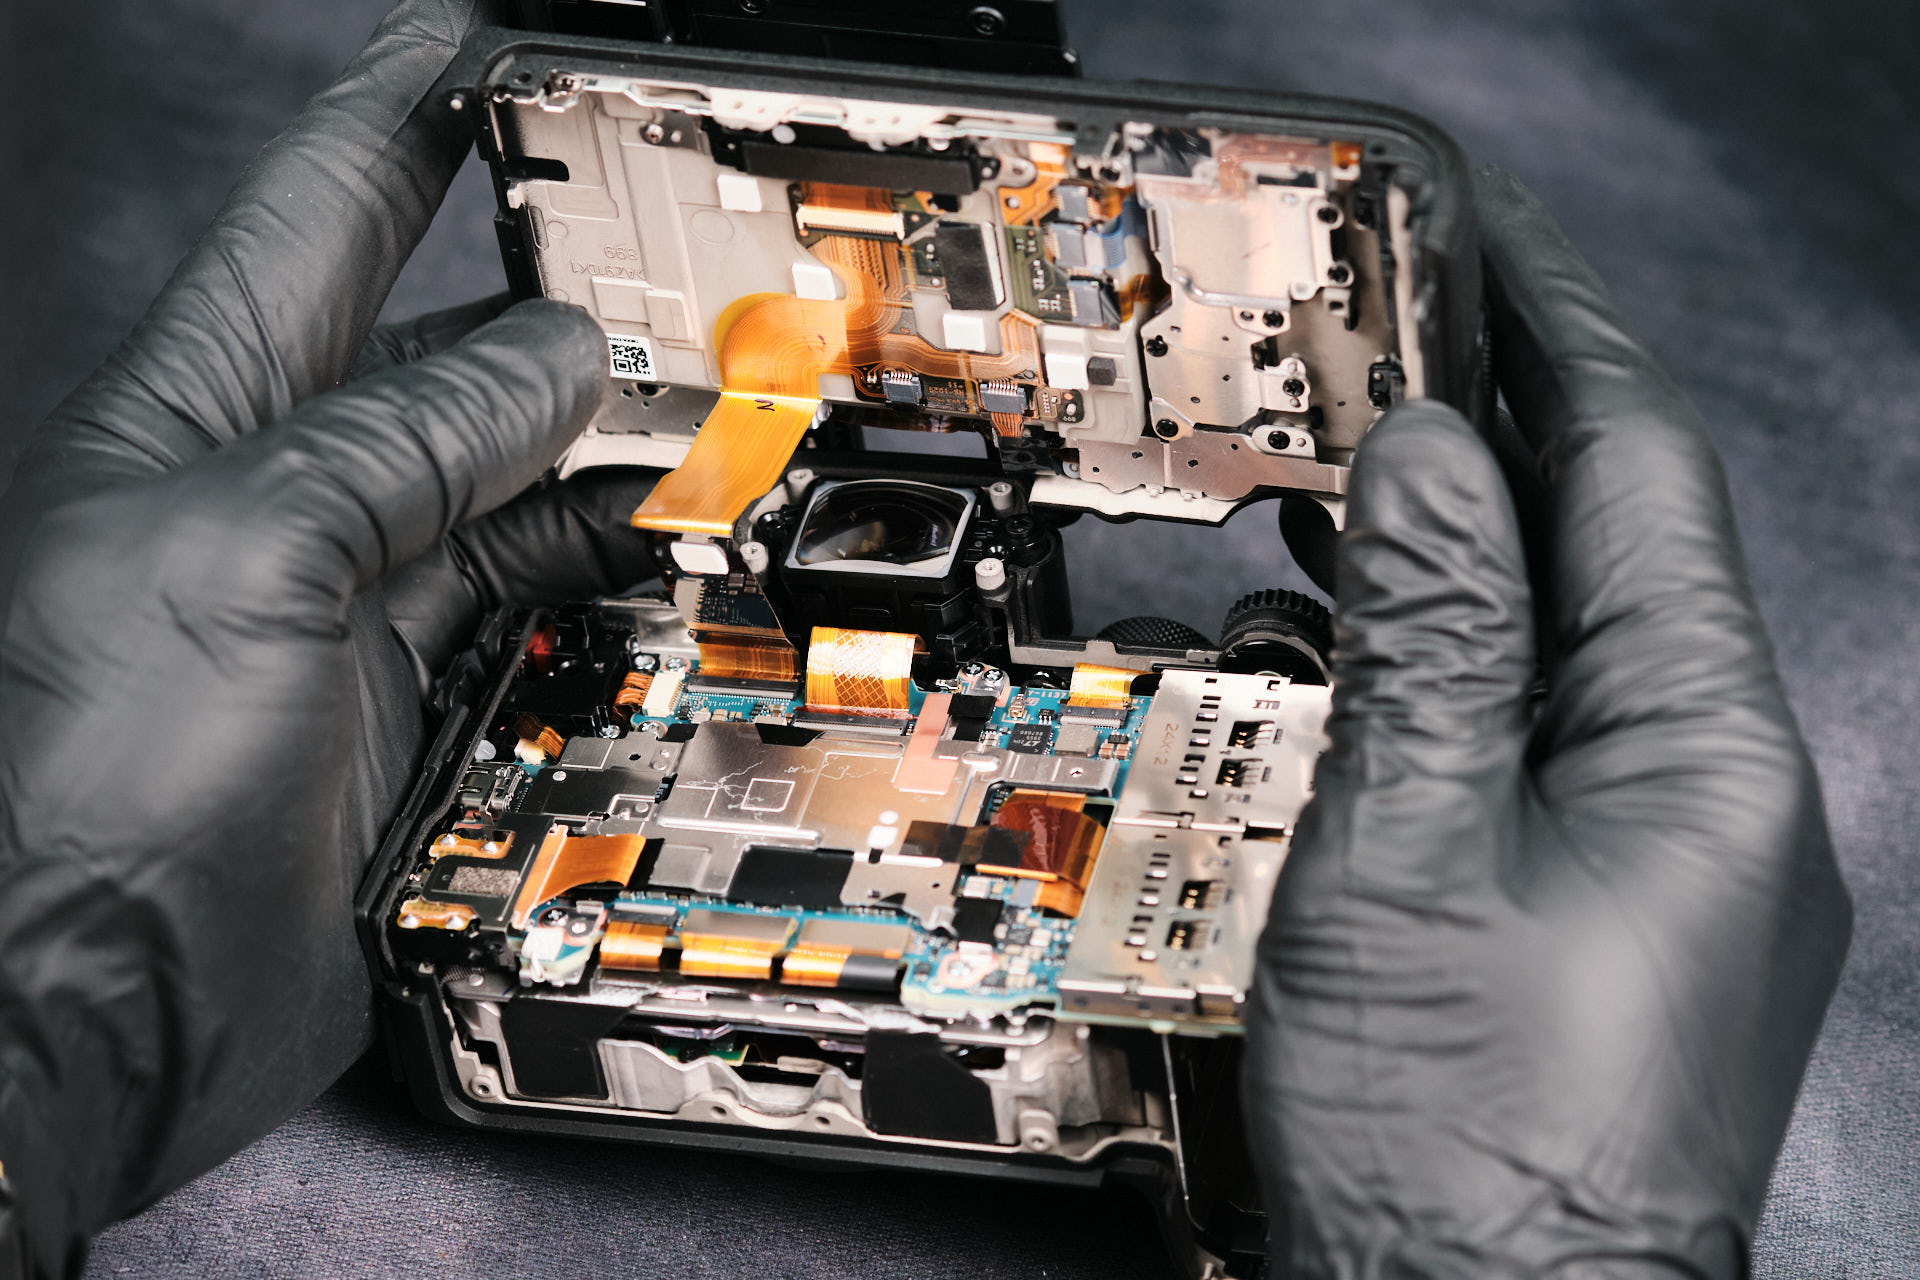
Once the aforementioned screws were removed, we were able to lift the backplate to access the camera’s internal parts. The last thing we needed to do to fully remove the back was detach the last ribbon cable connection.
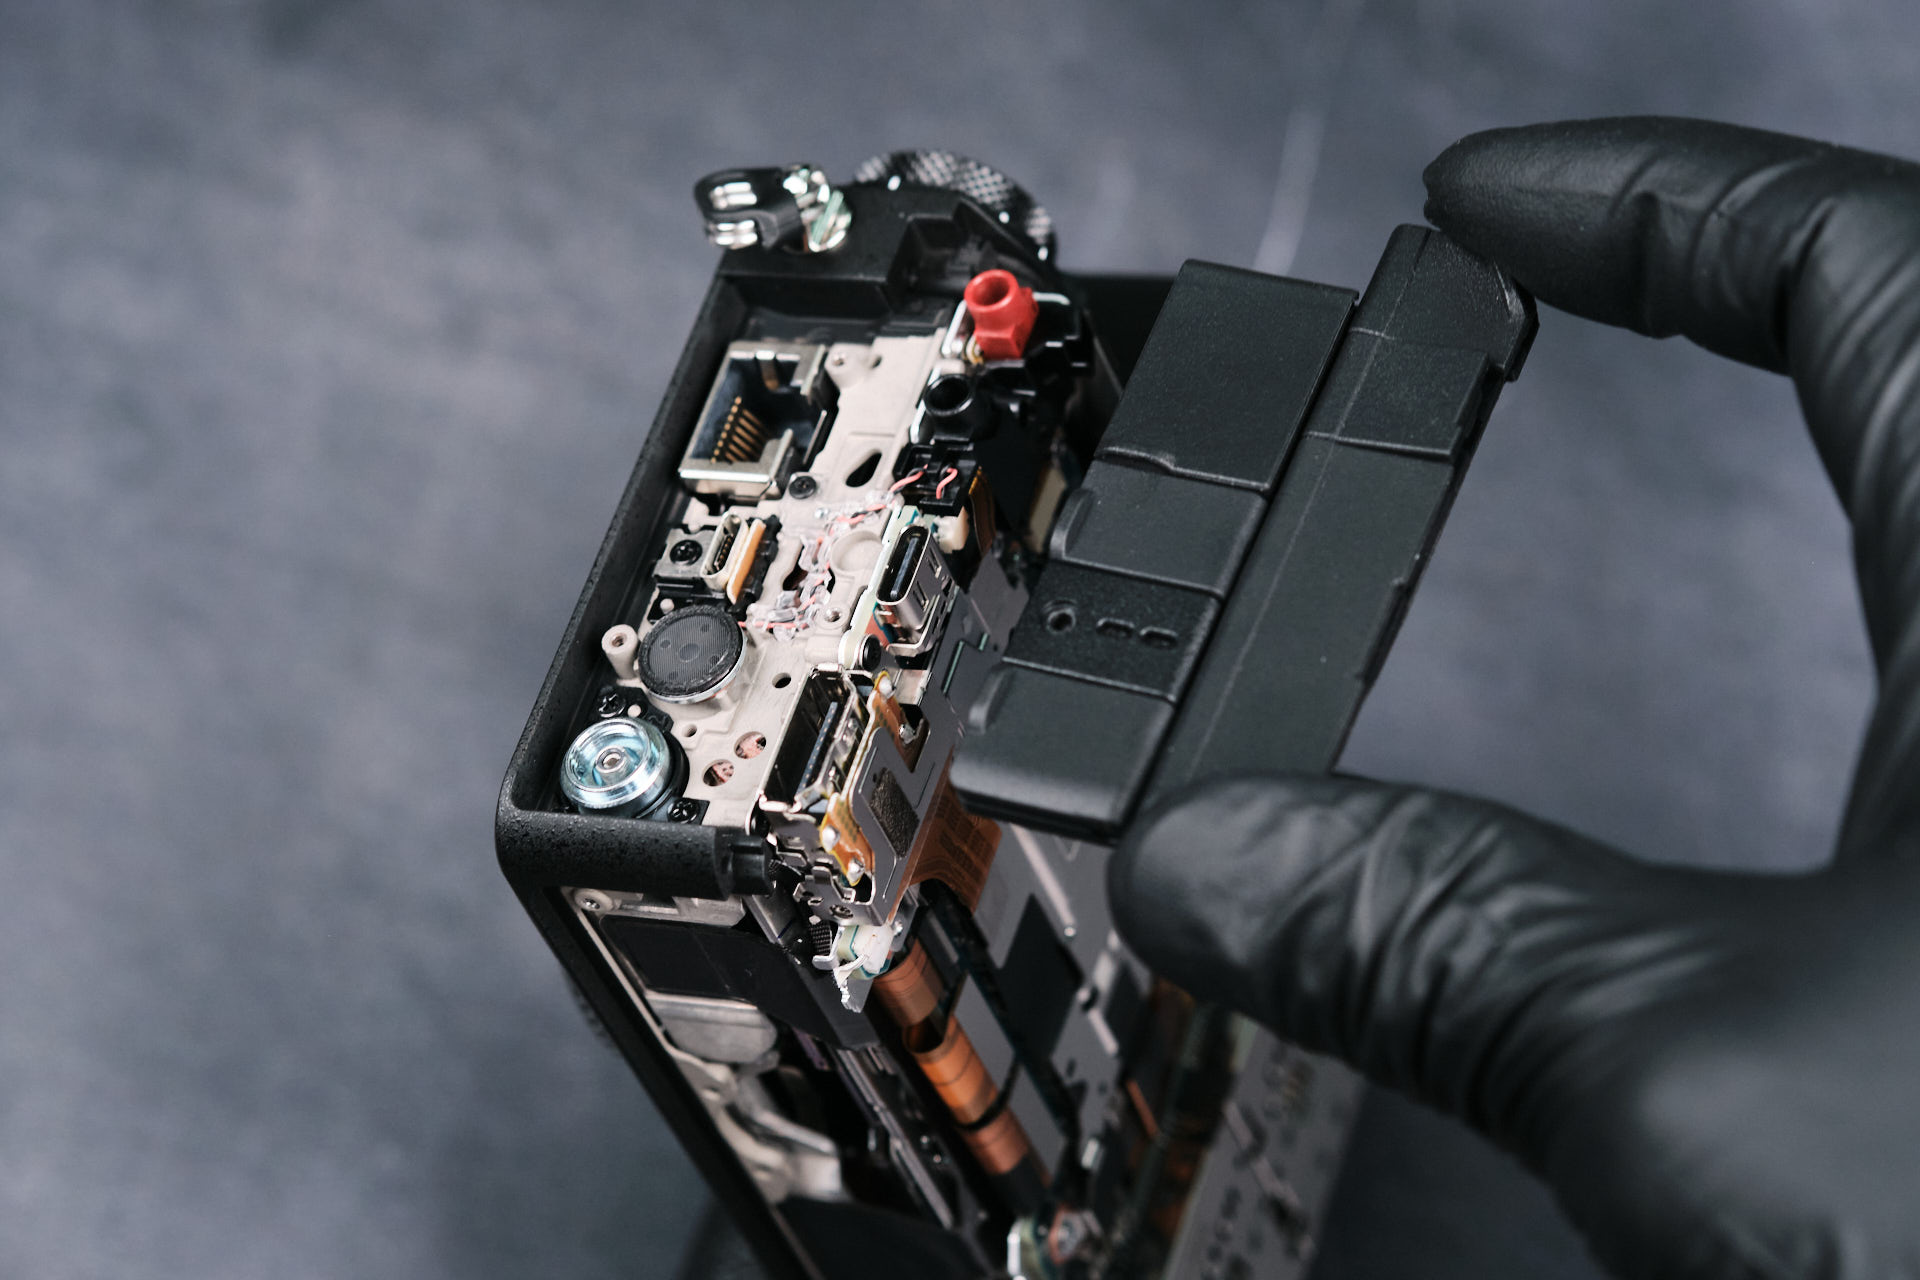
Removing the Port Side Input Covers
With the back off, we were able to pry the port side input covers.
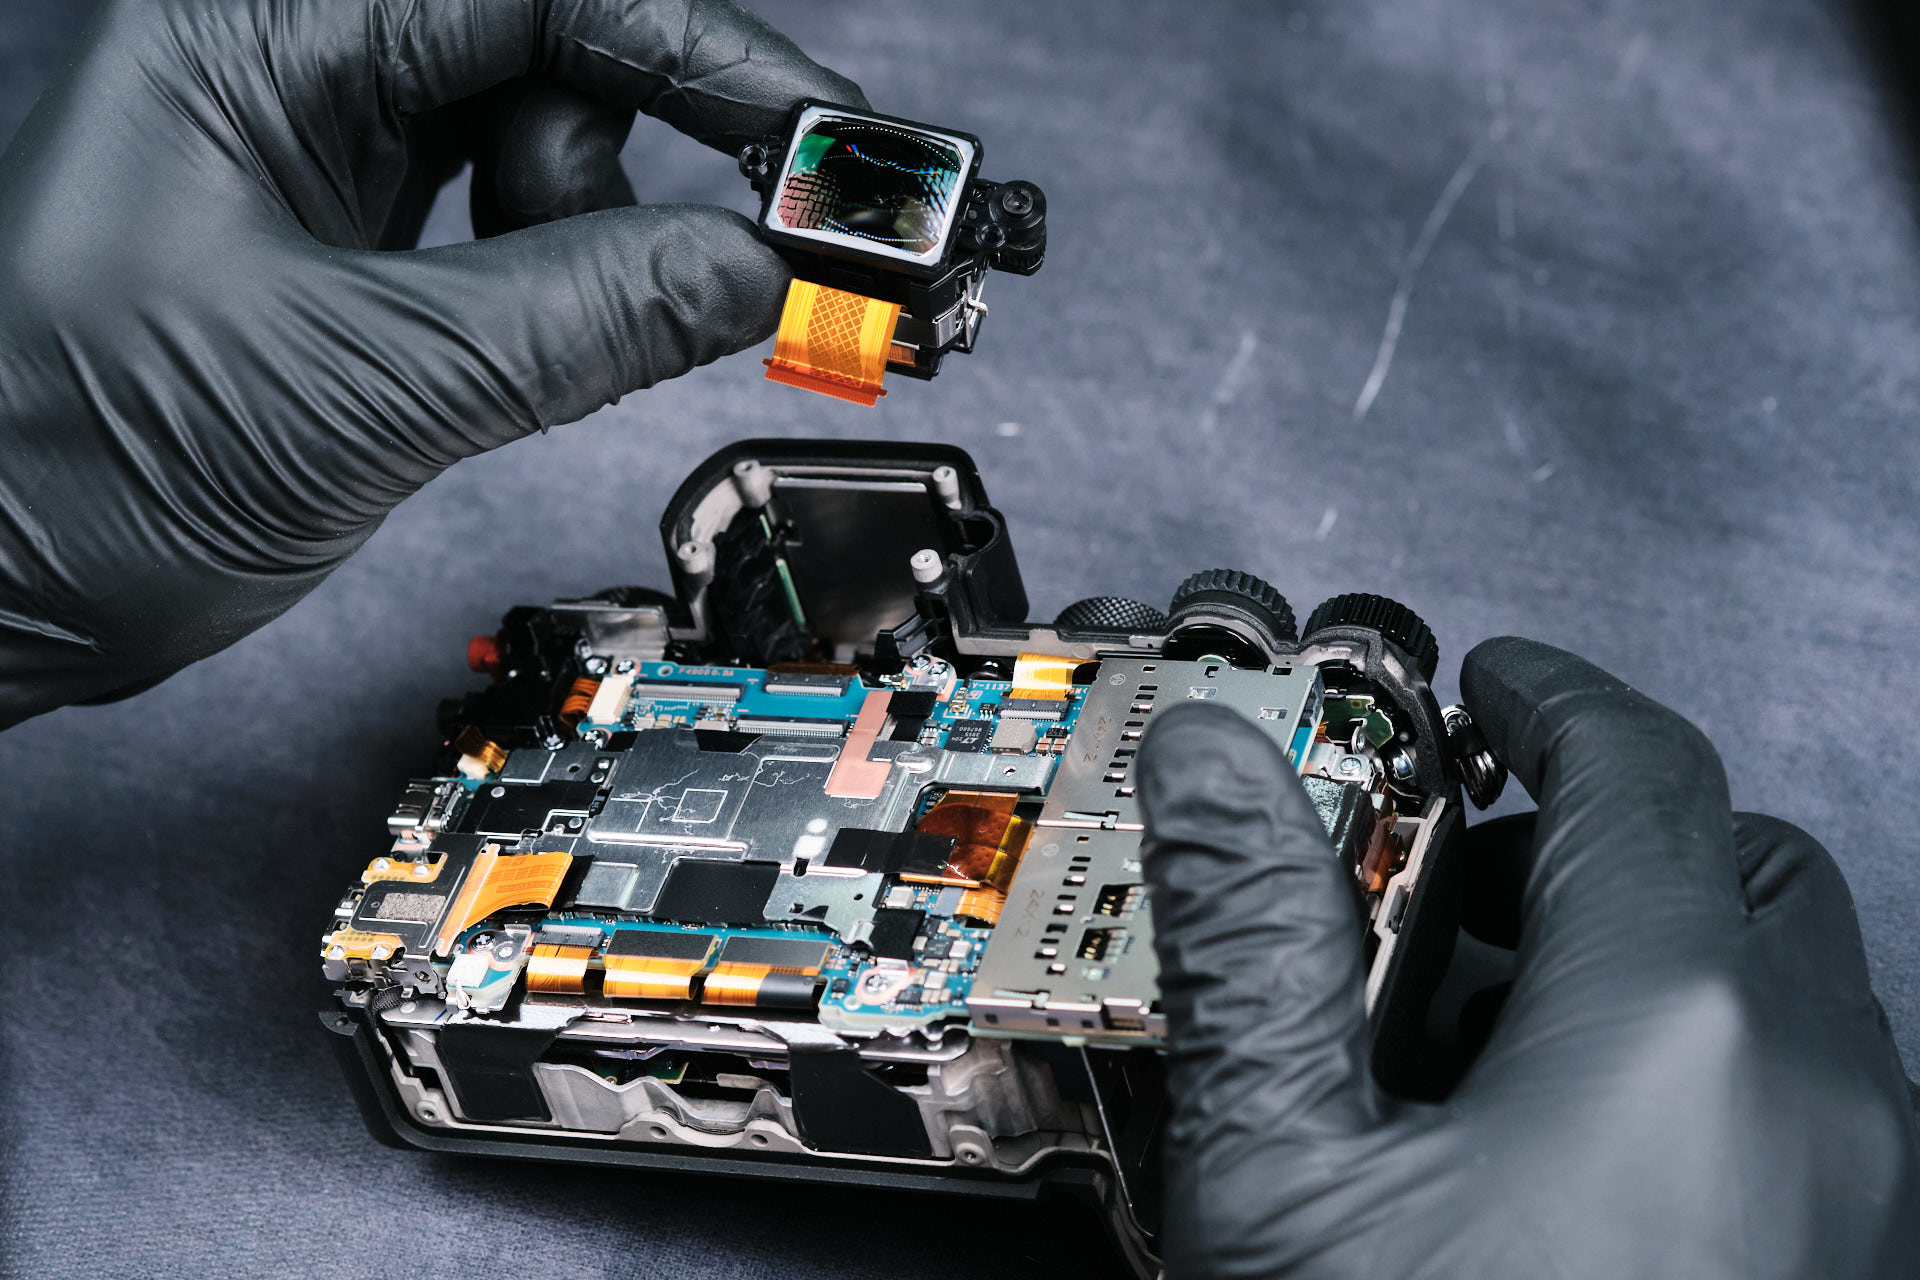
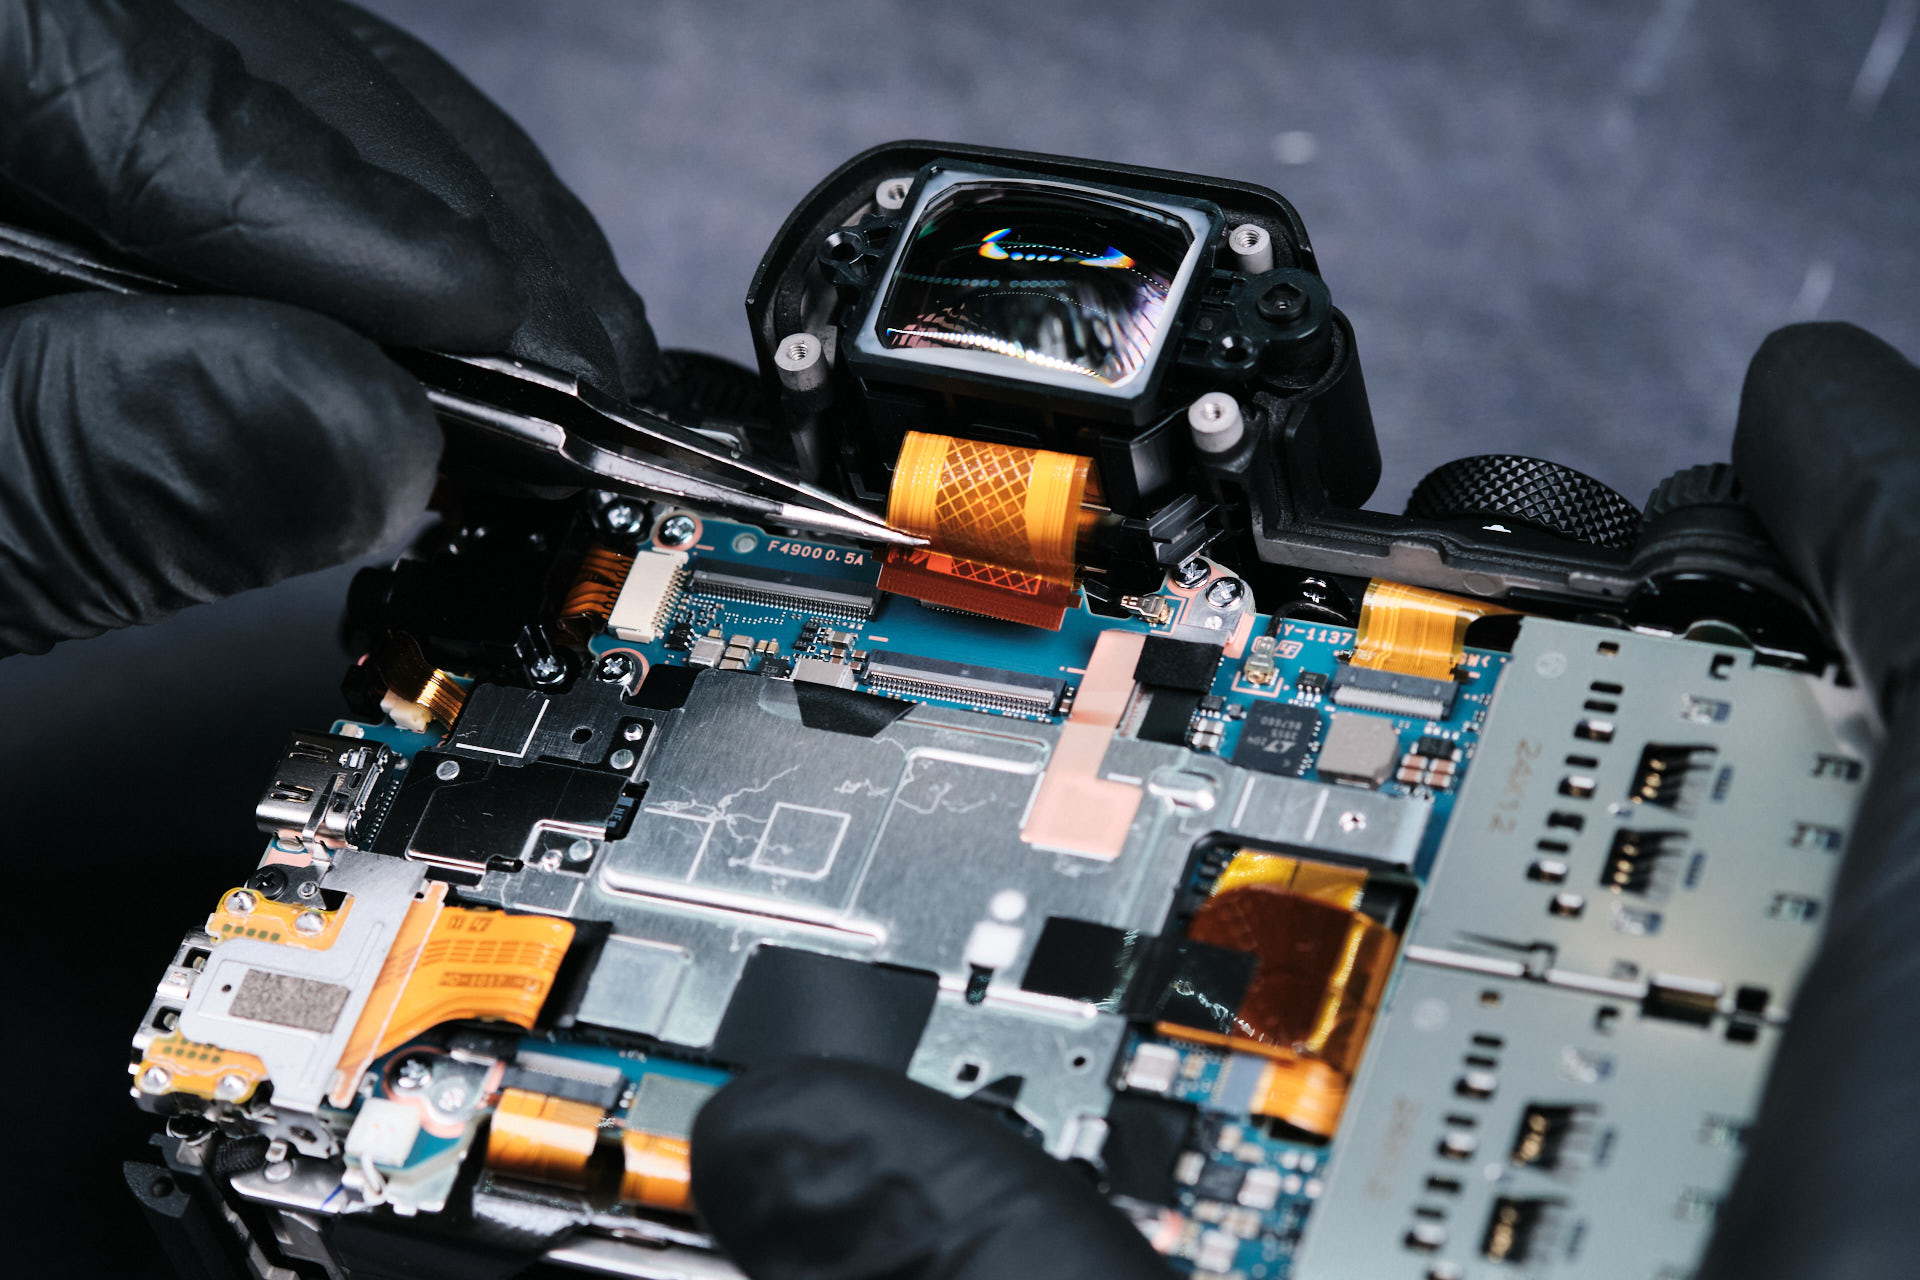
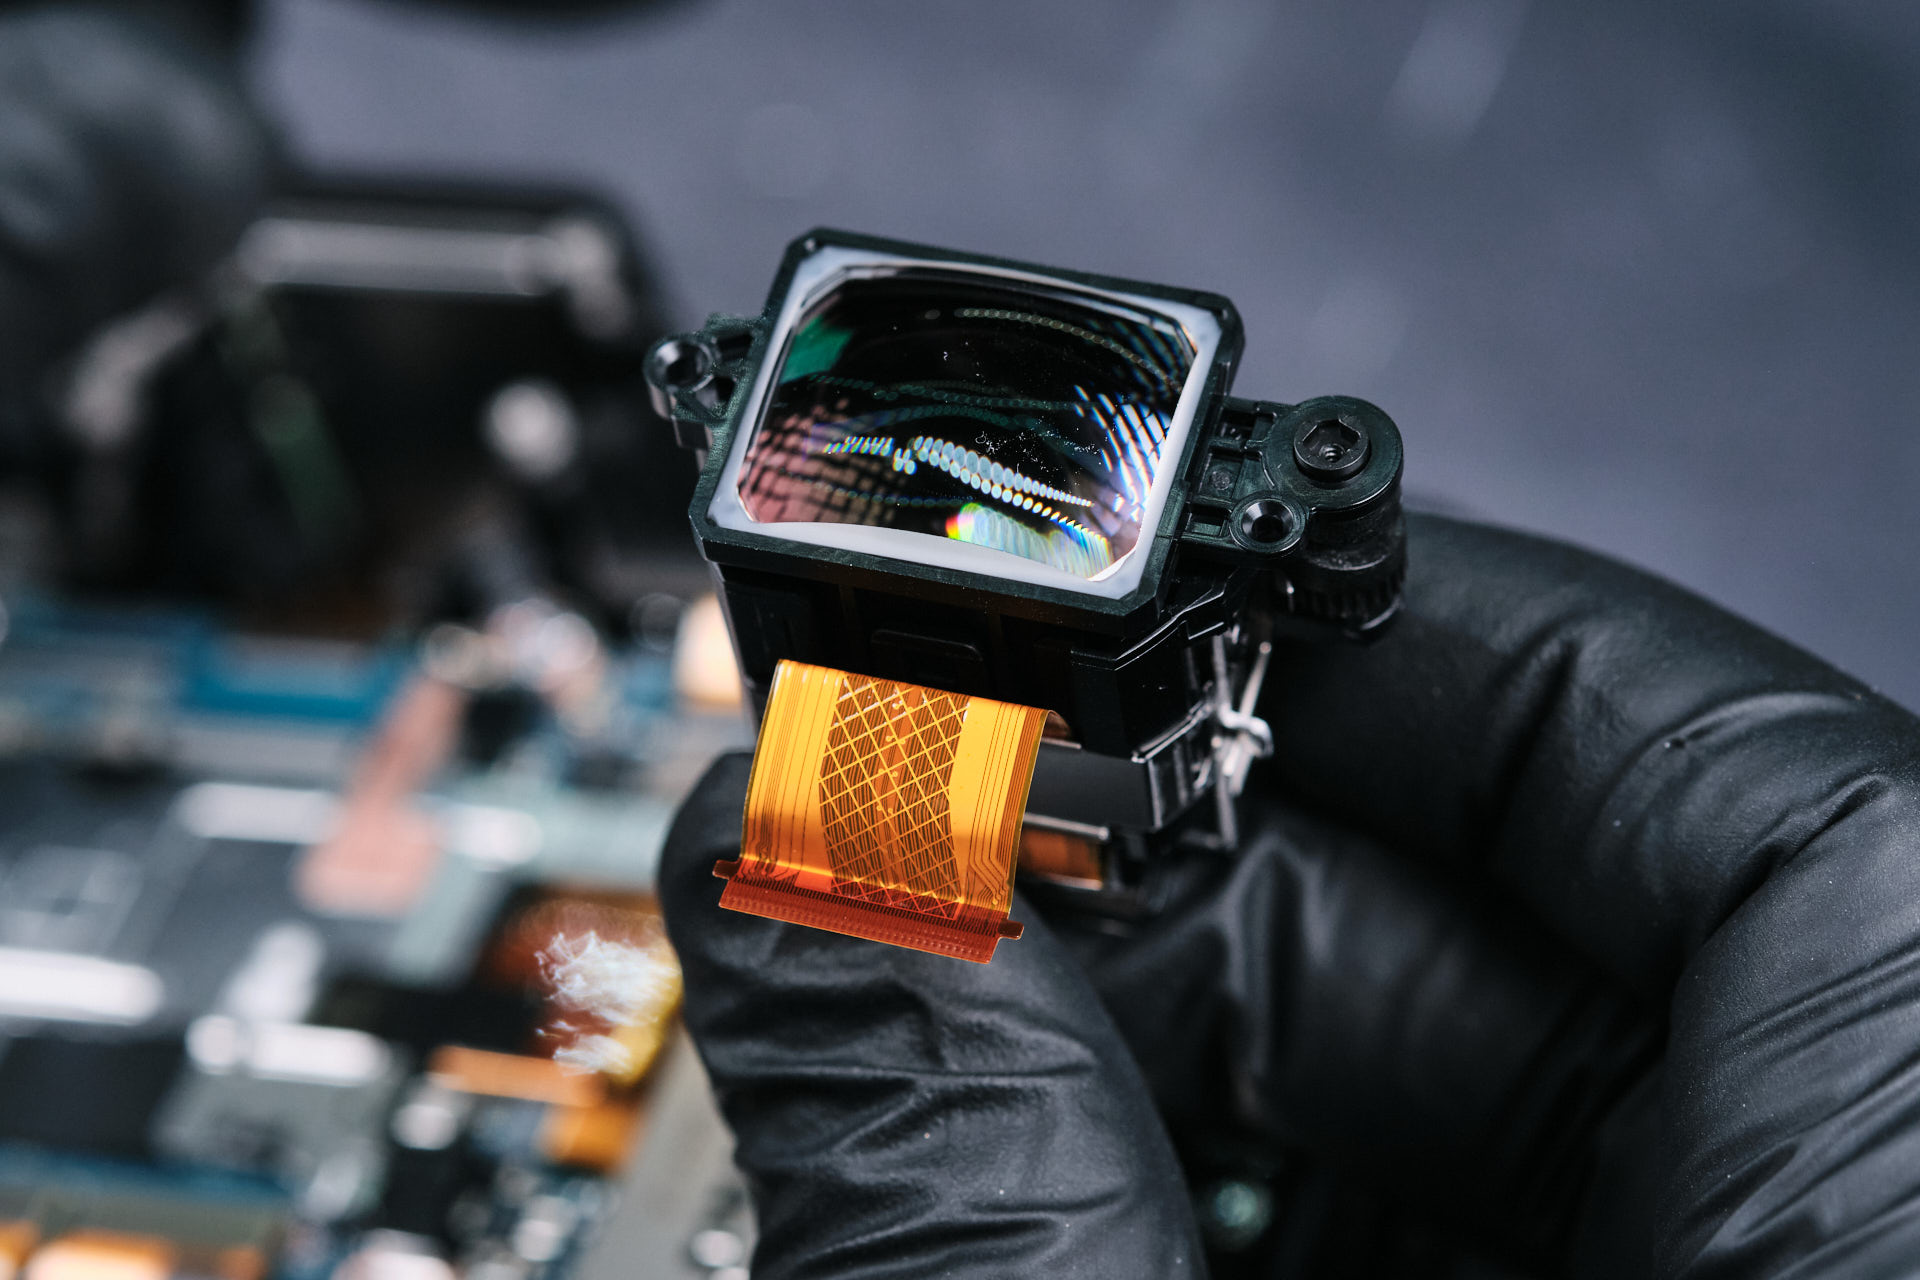
Removing the Sony A1 II EVF Assembly
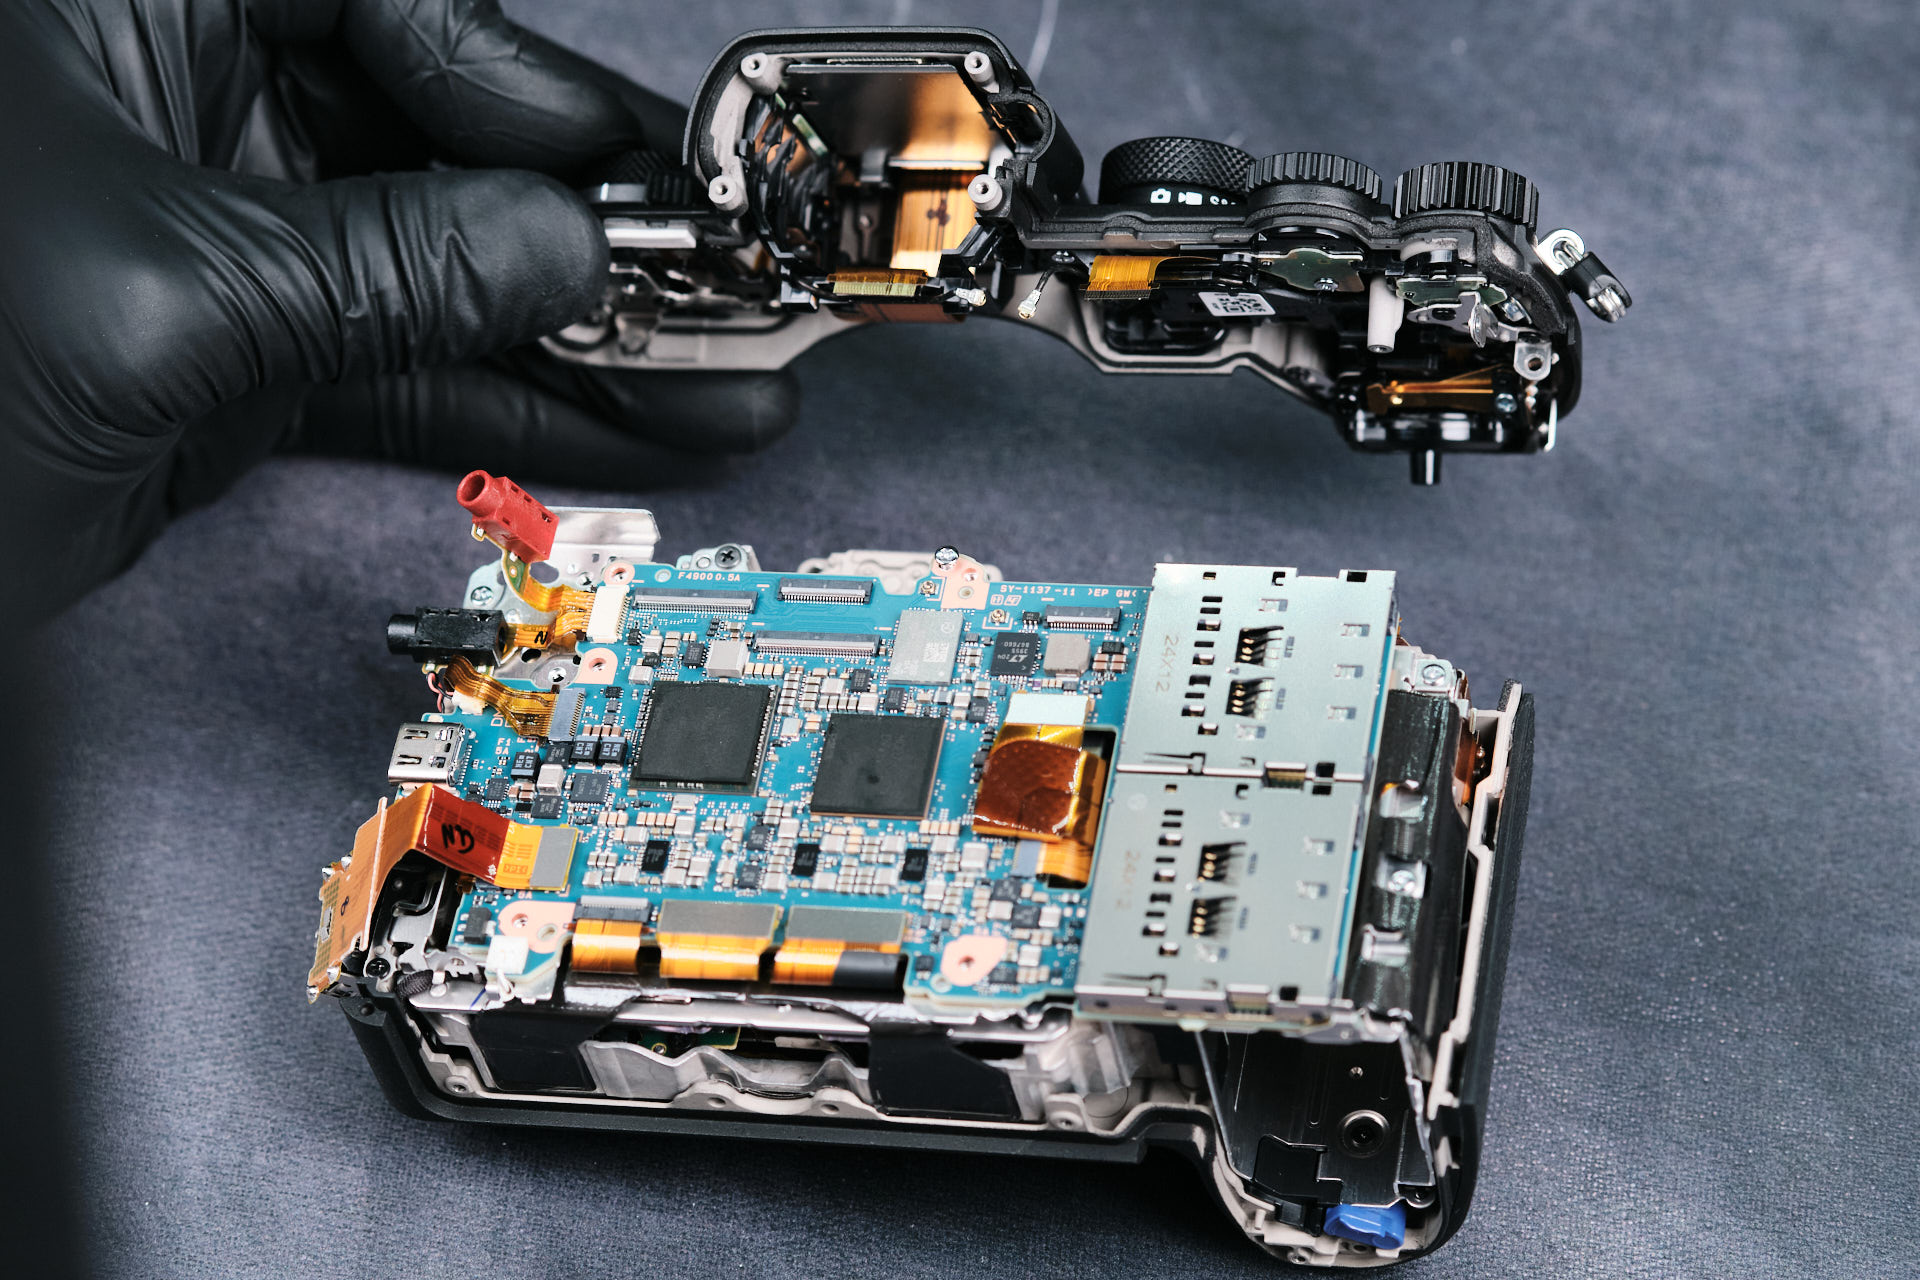
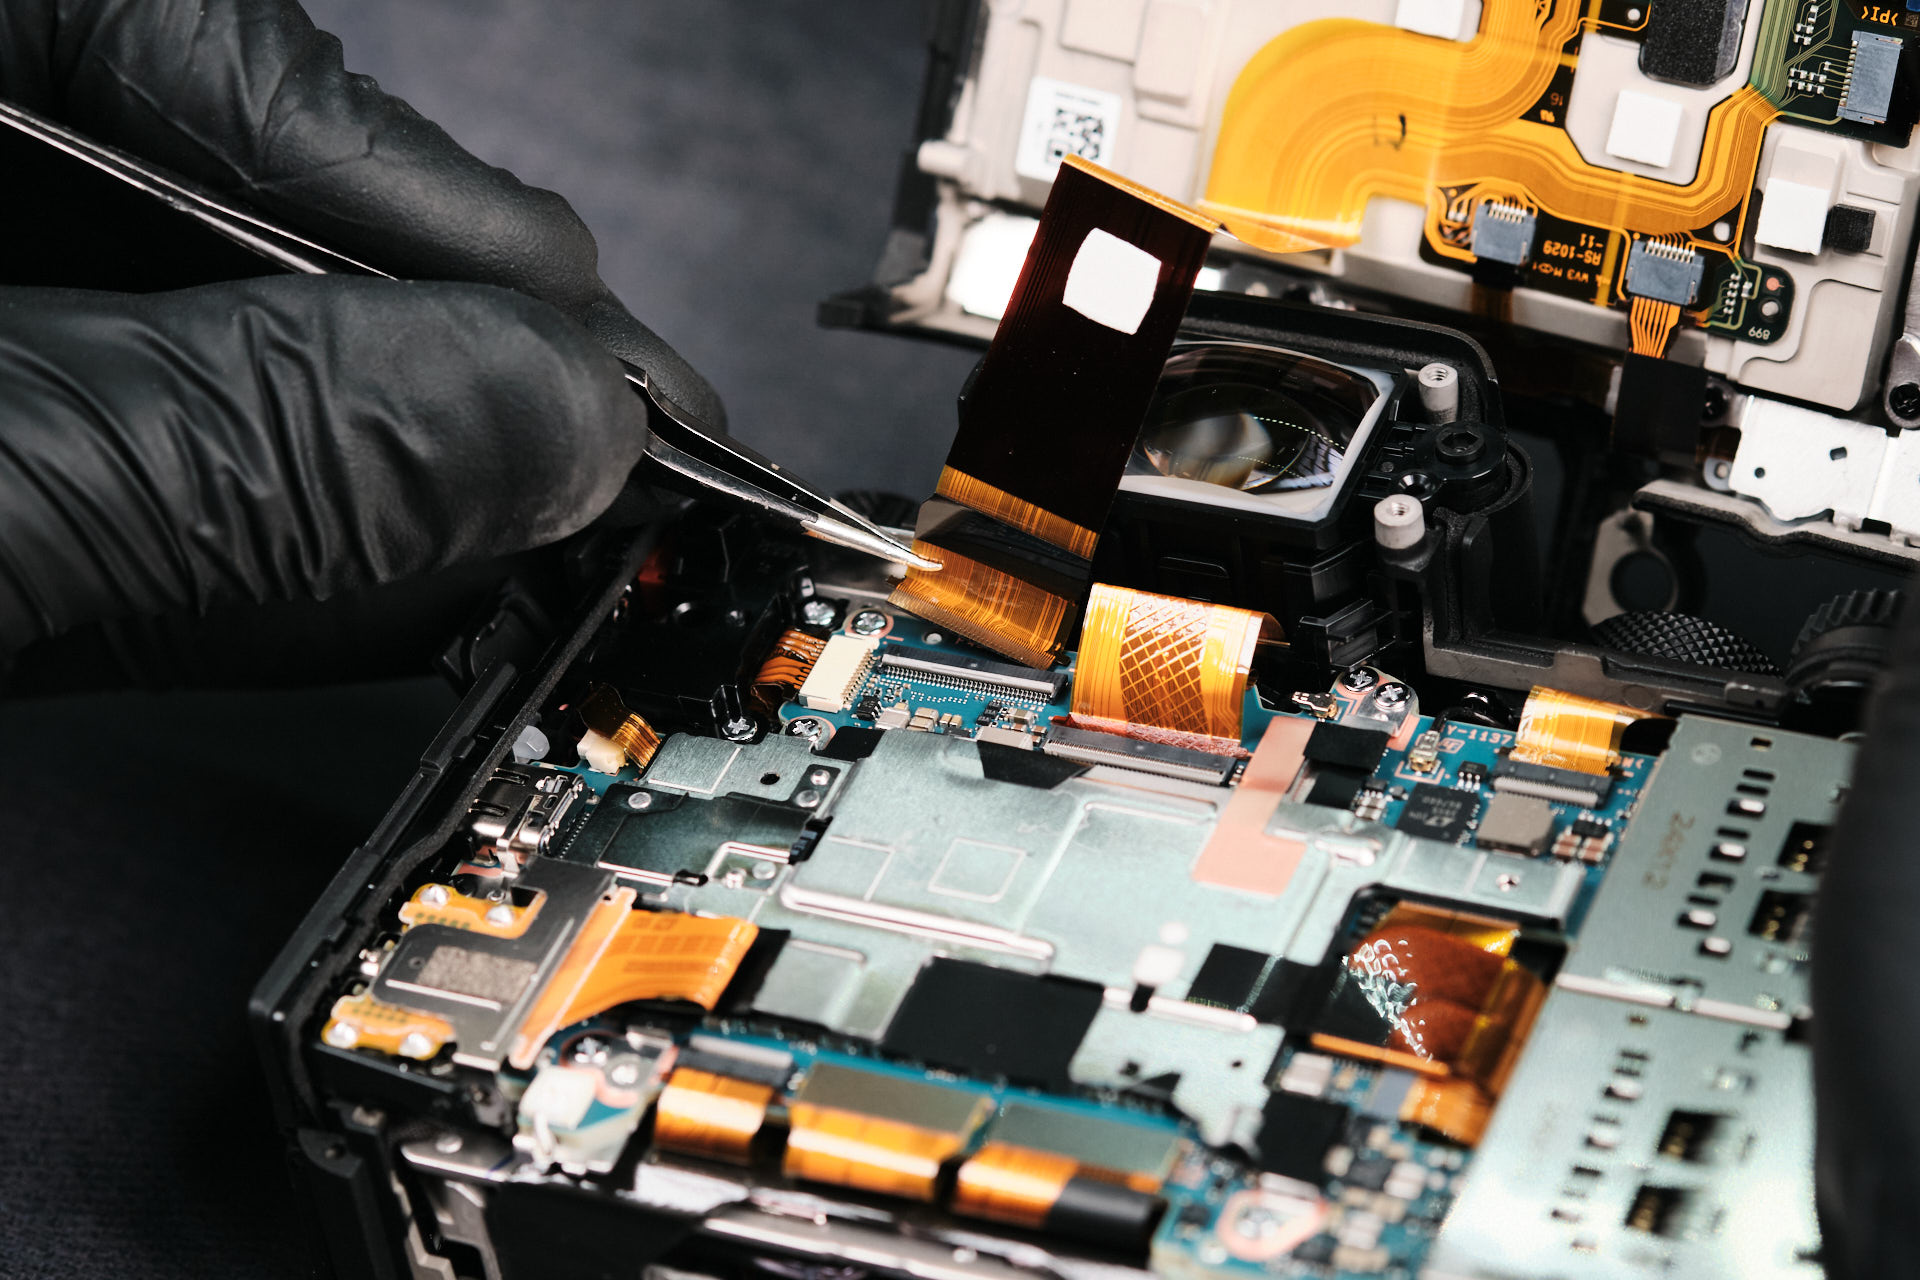
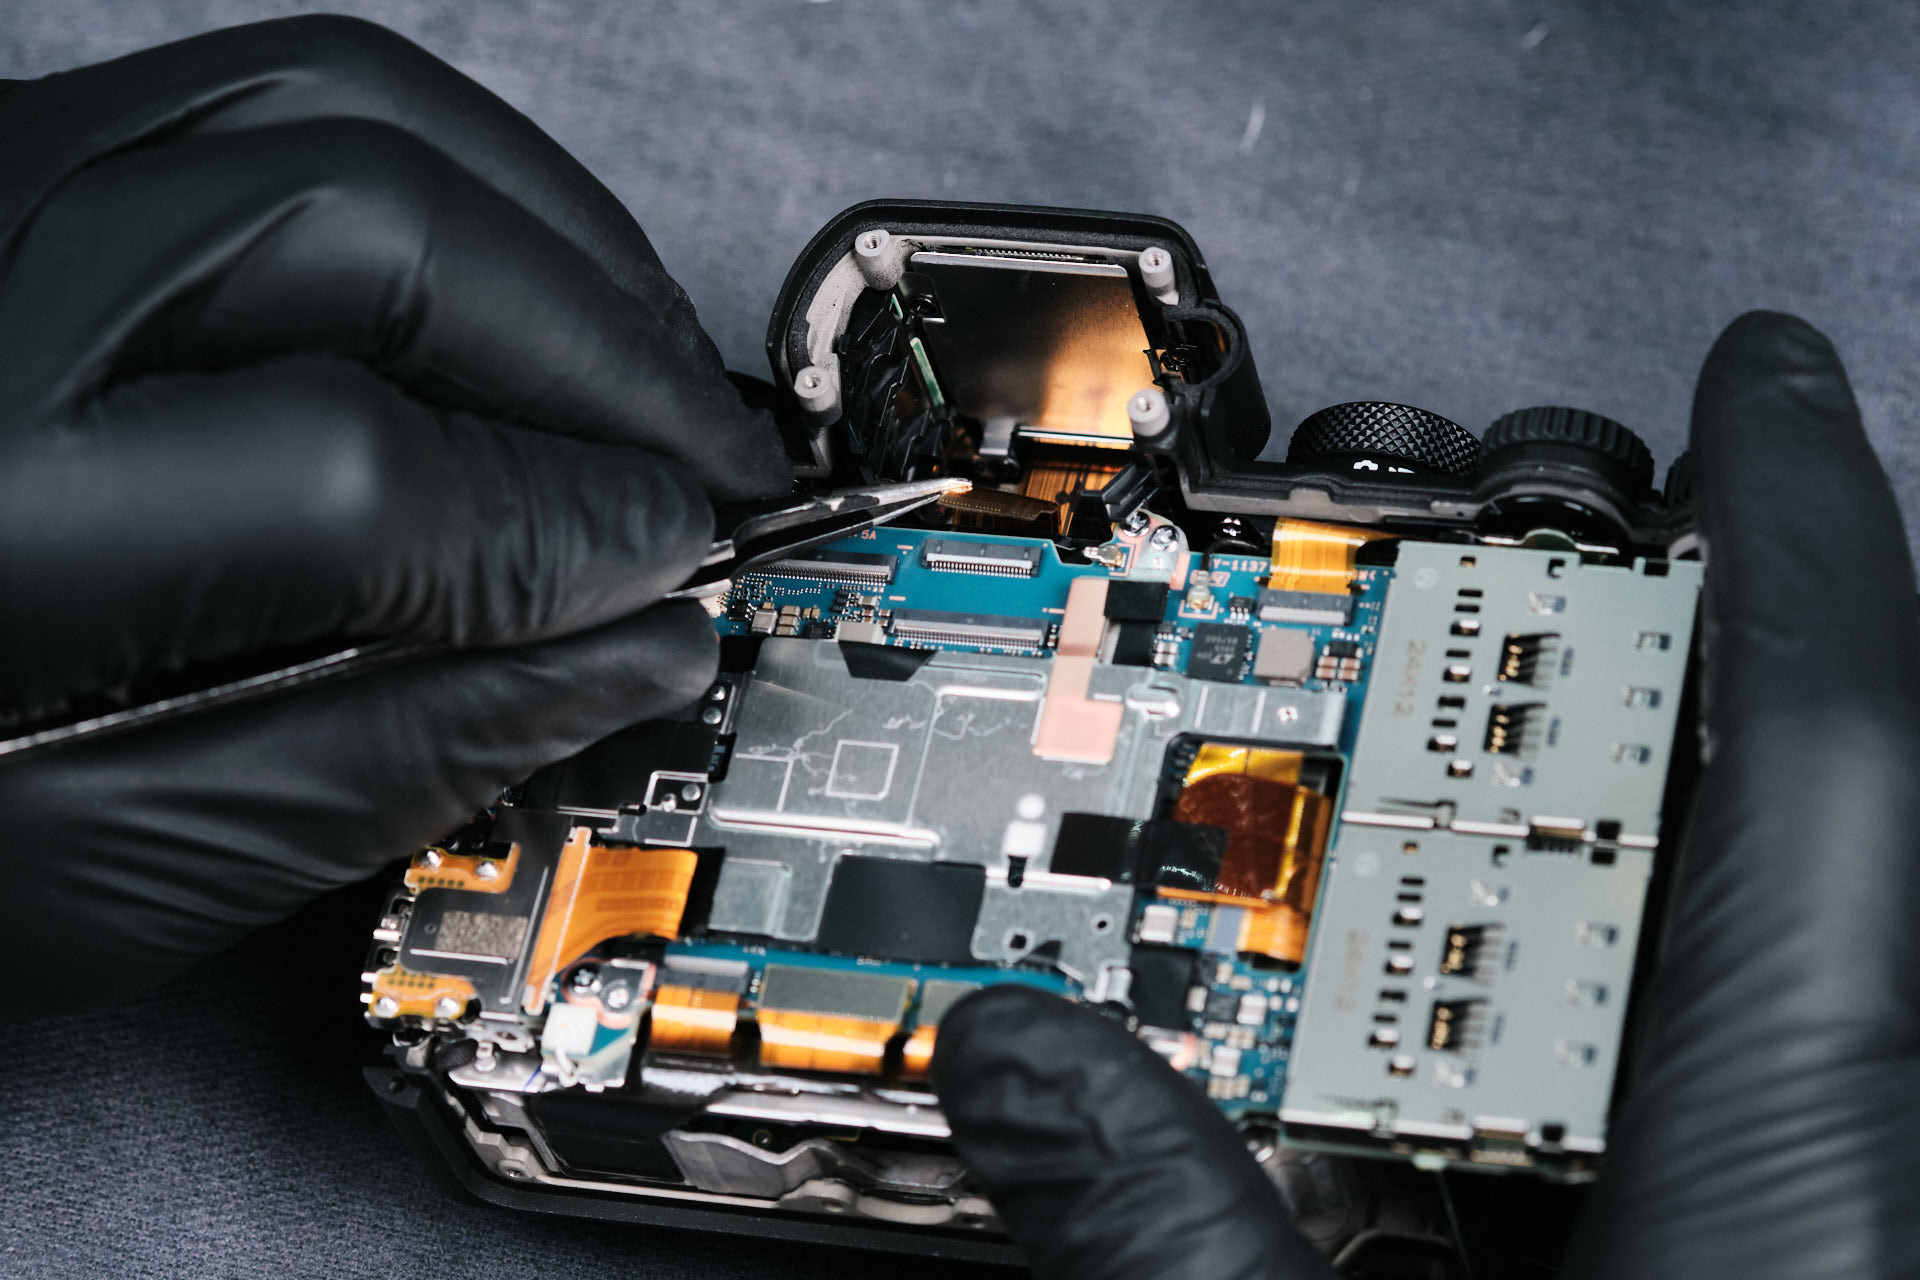
As we brought up earlier, we can finally remove the EVF assembly with the backplate removed and circuitboard exposed. All we need to do is detach a single ribbon cable to remove the EVF.Â
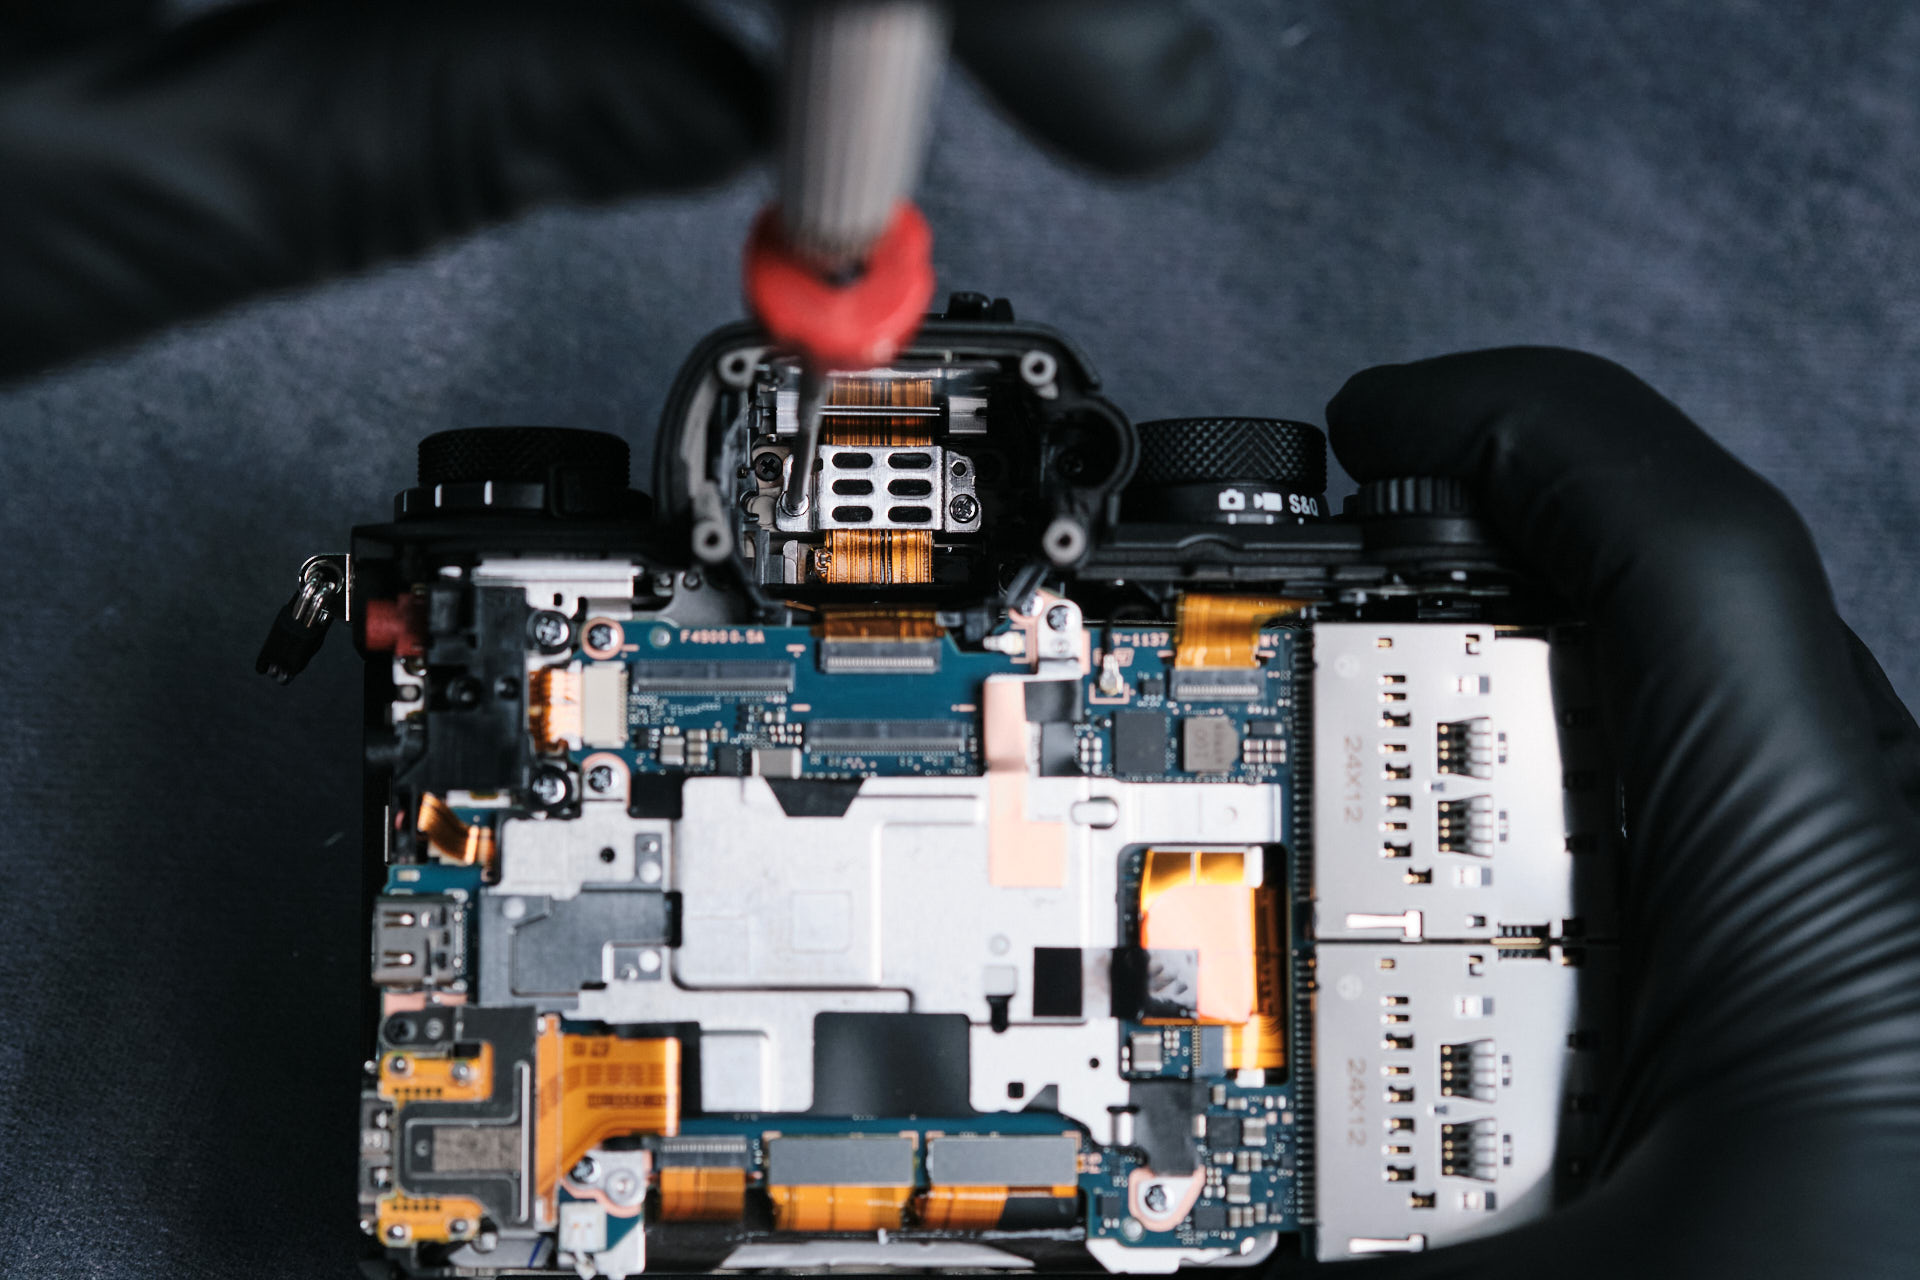
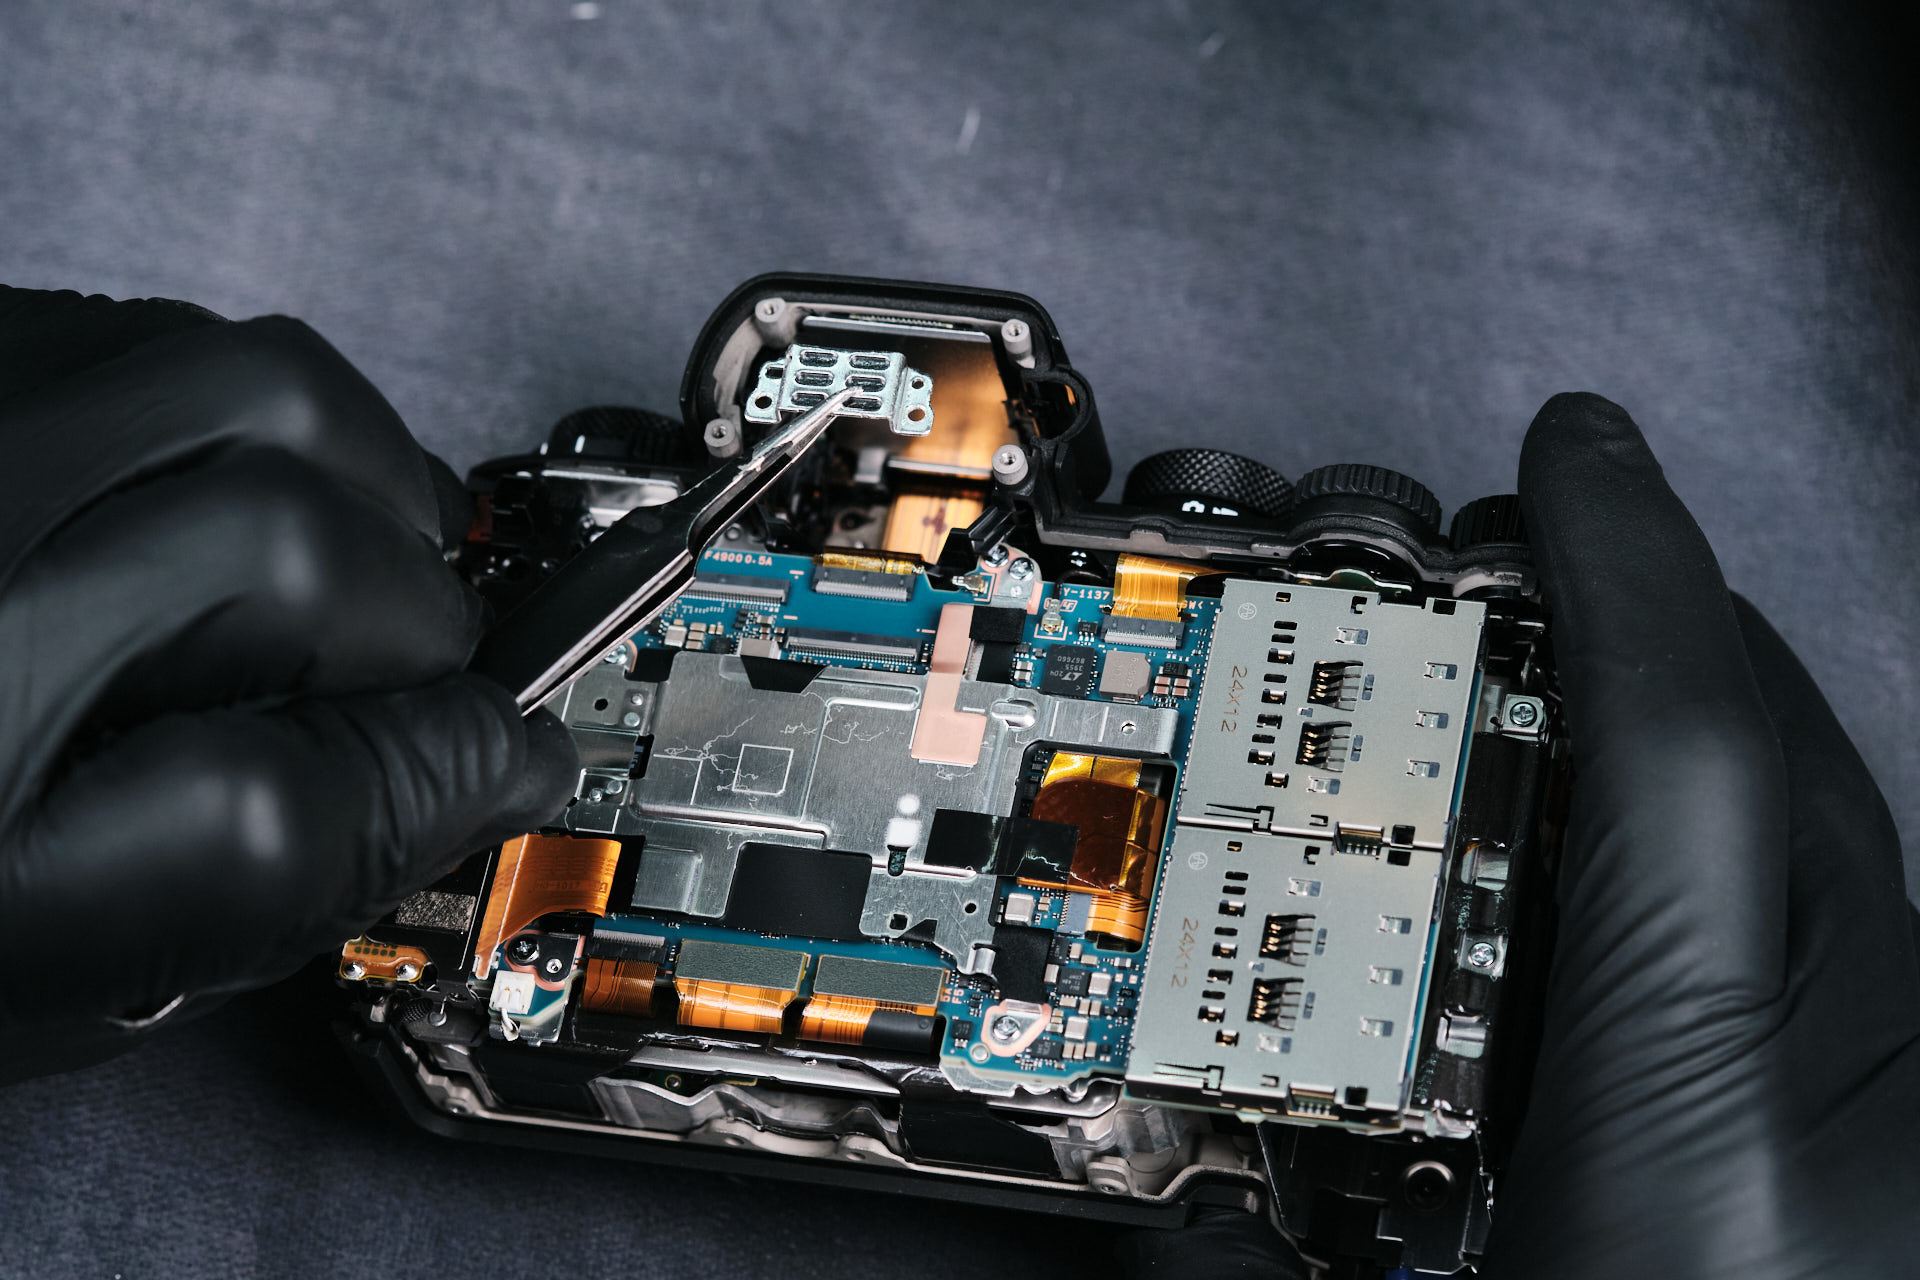
Removing EVF Cavity Brackets and Ribbon Cables
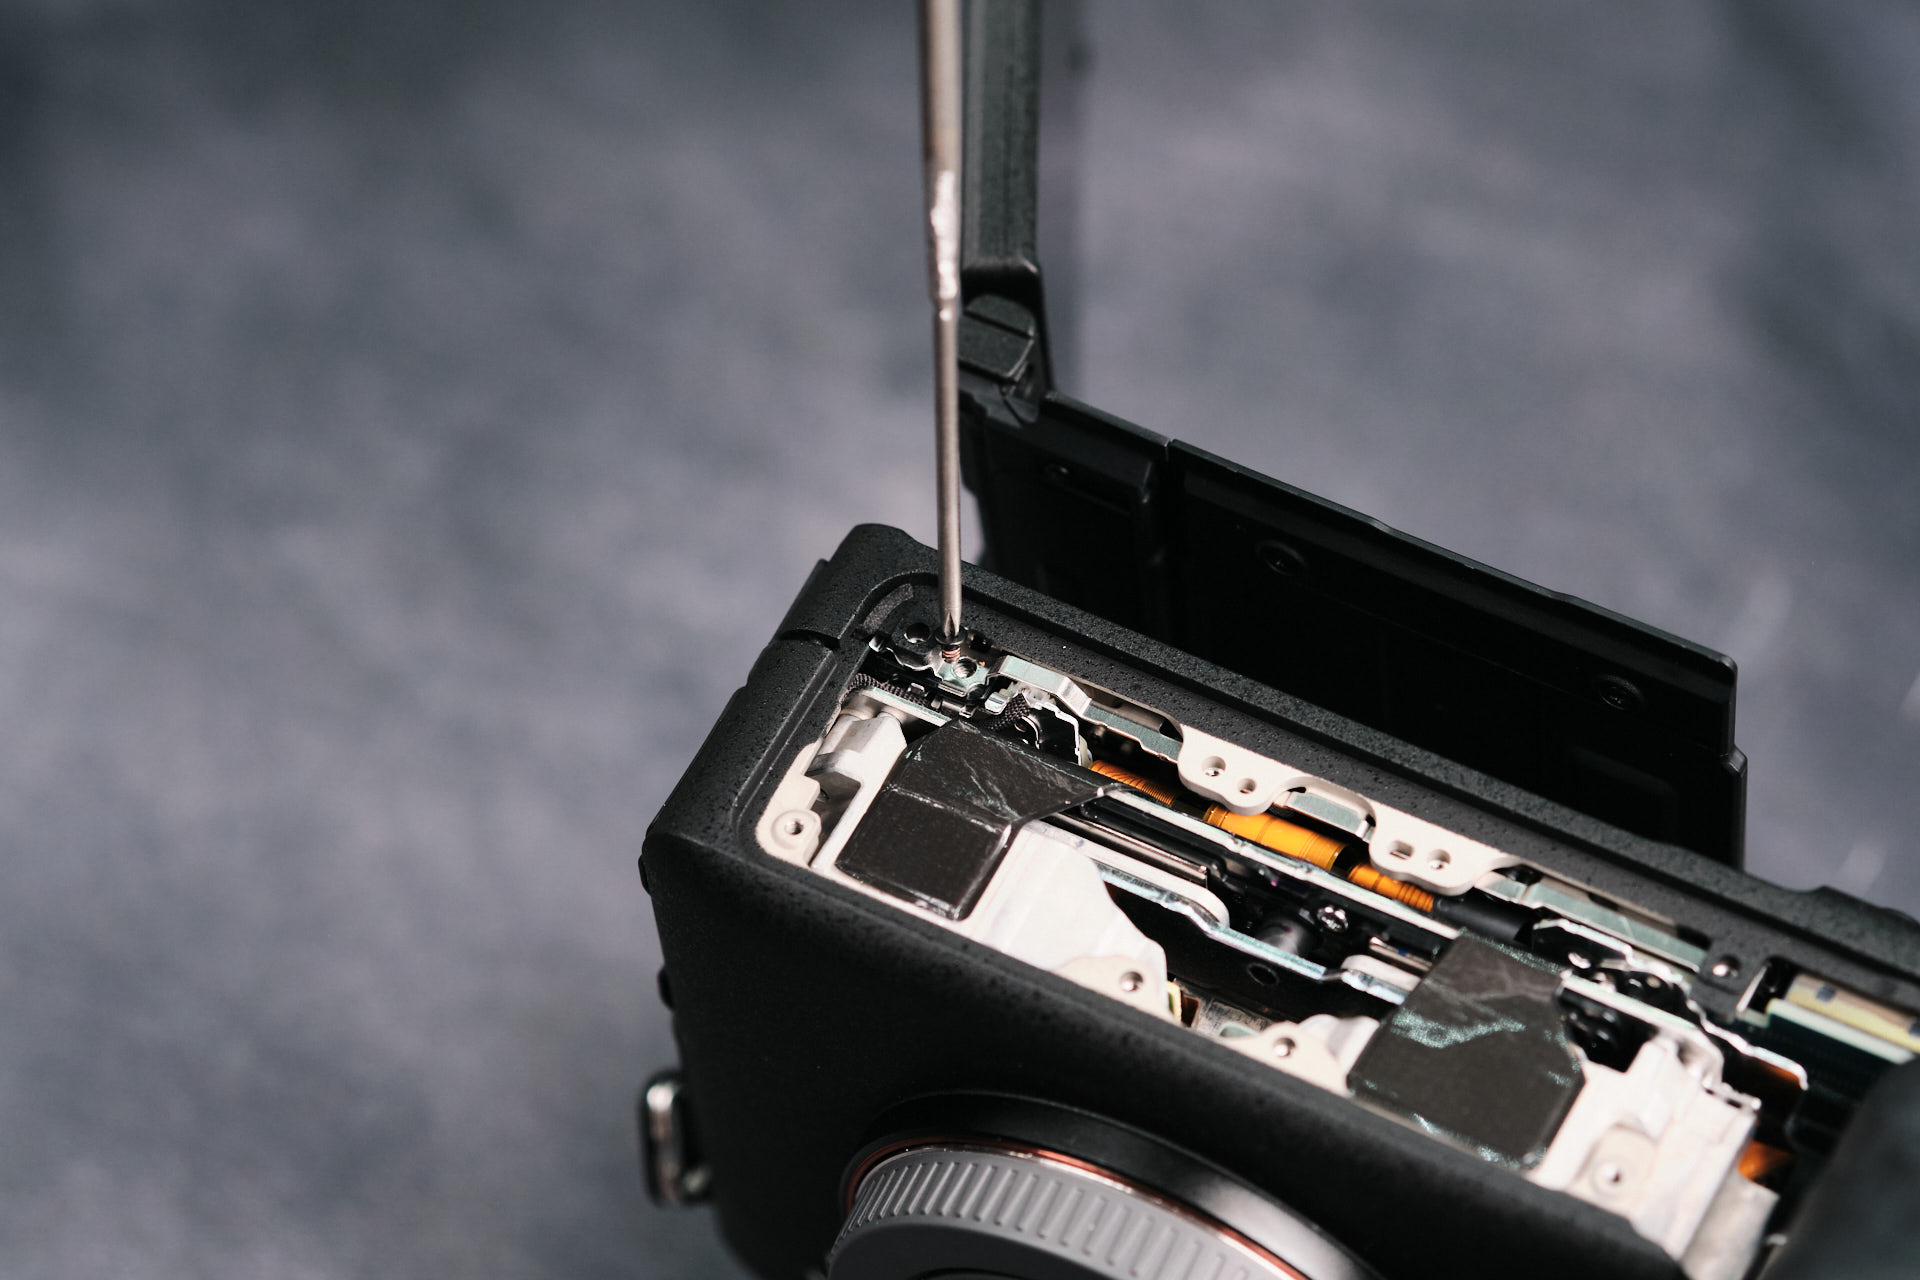
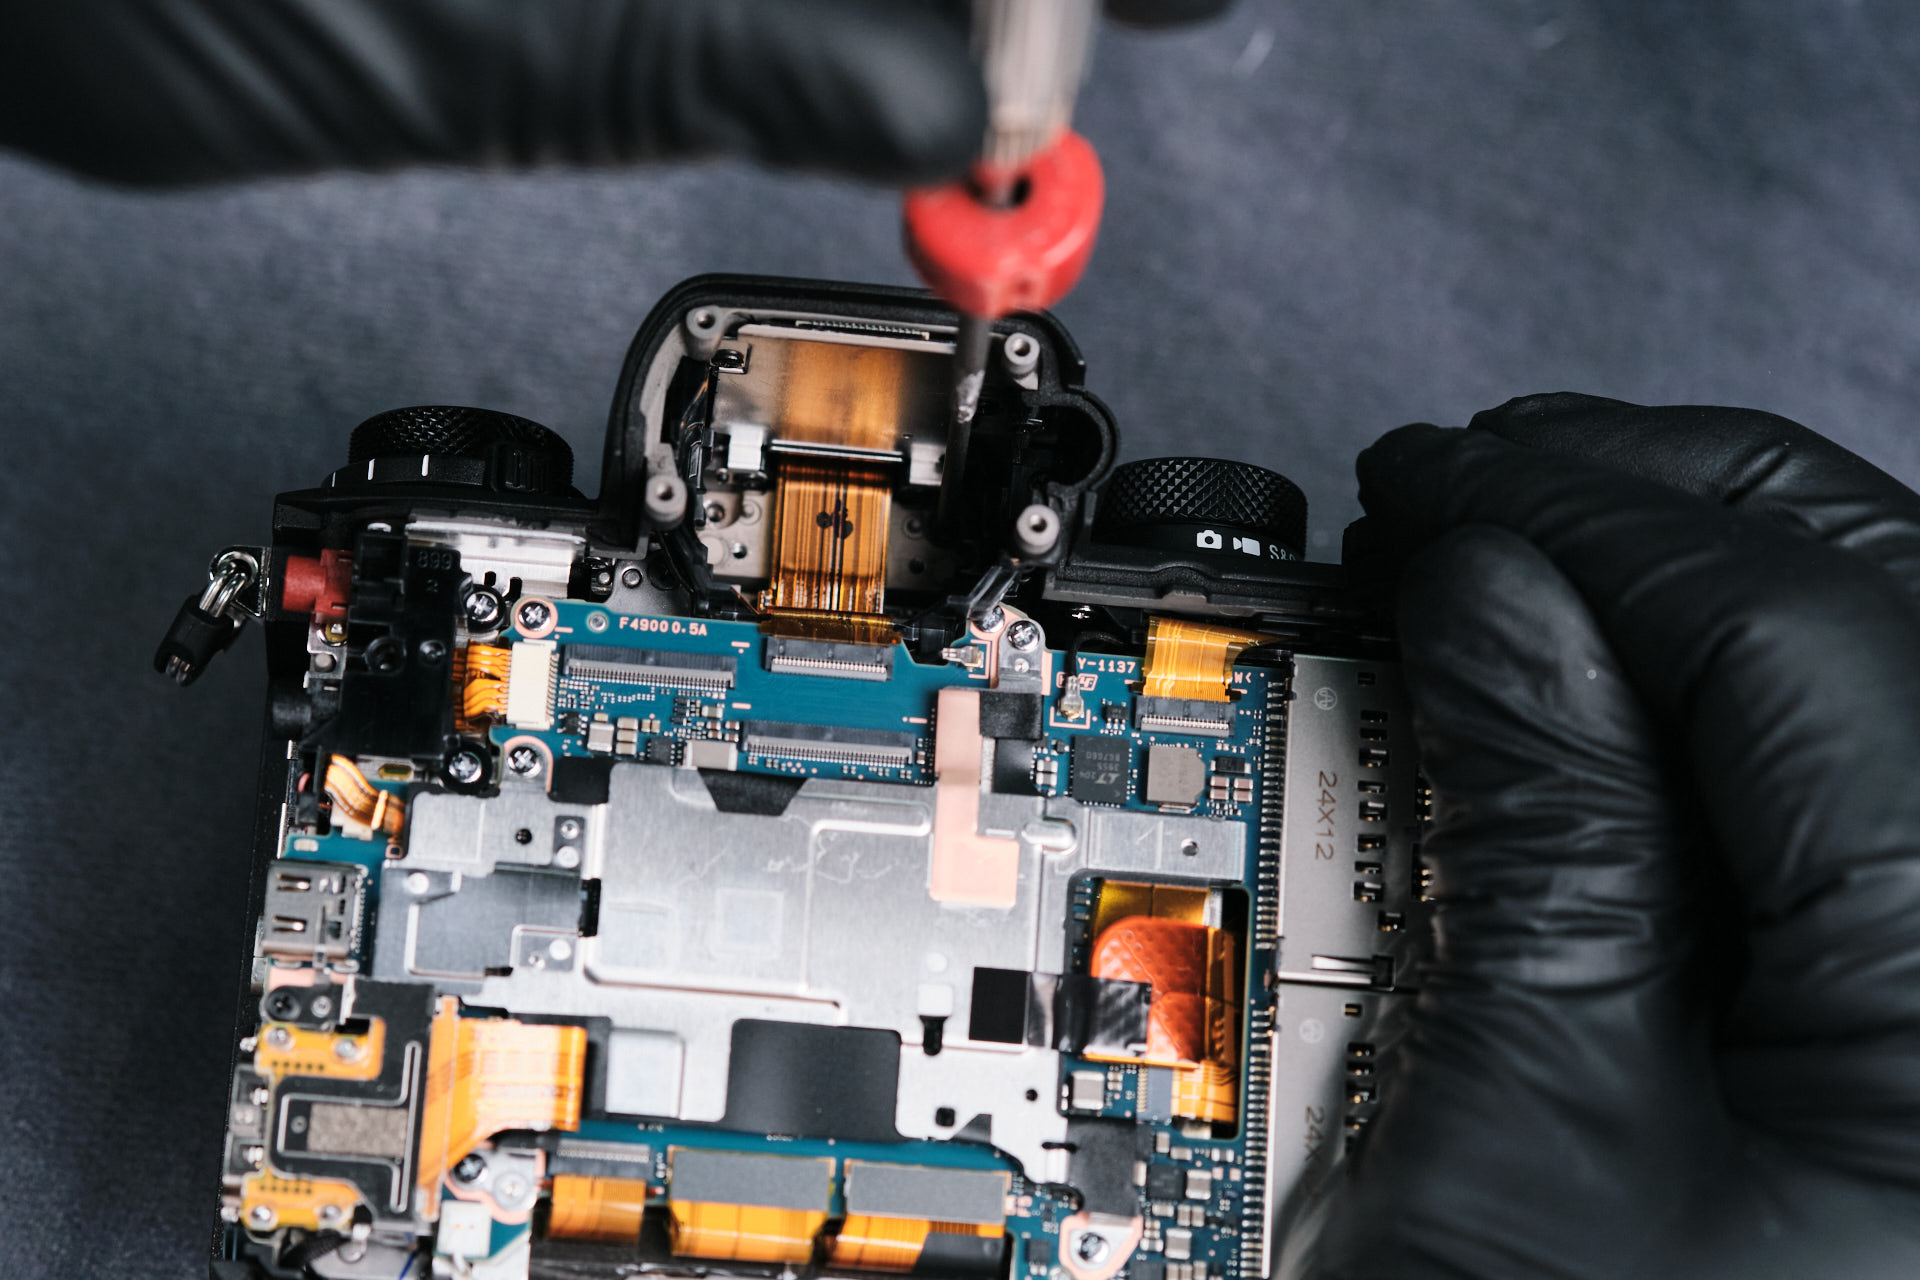
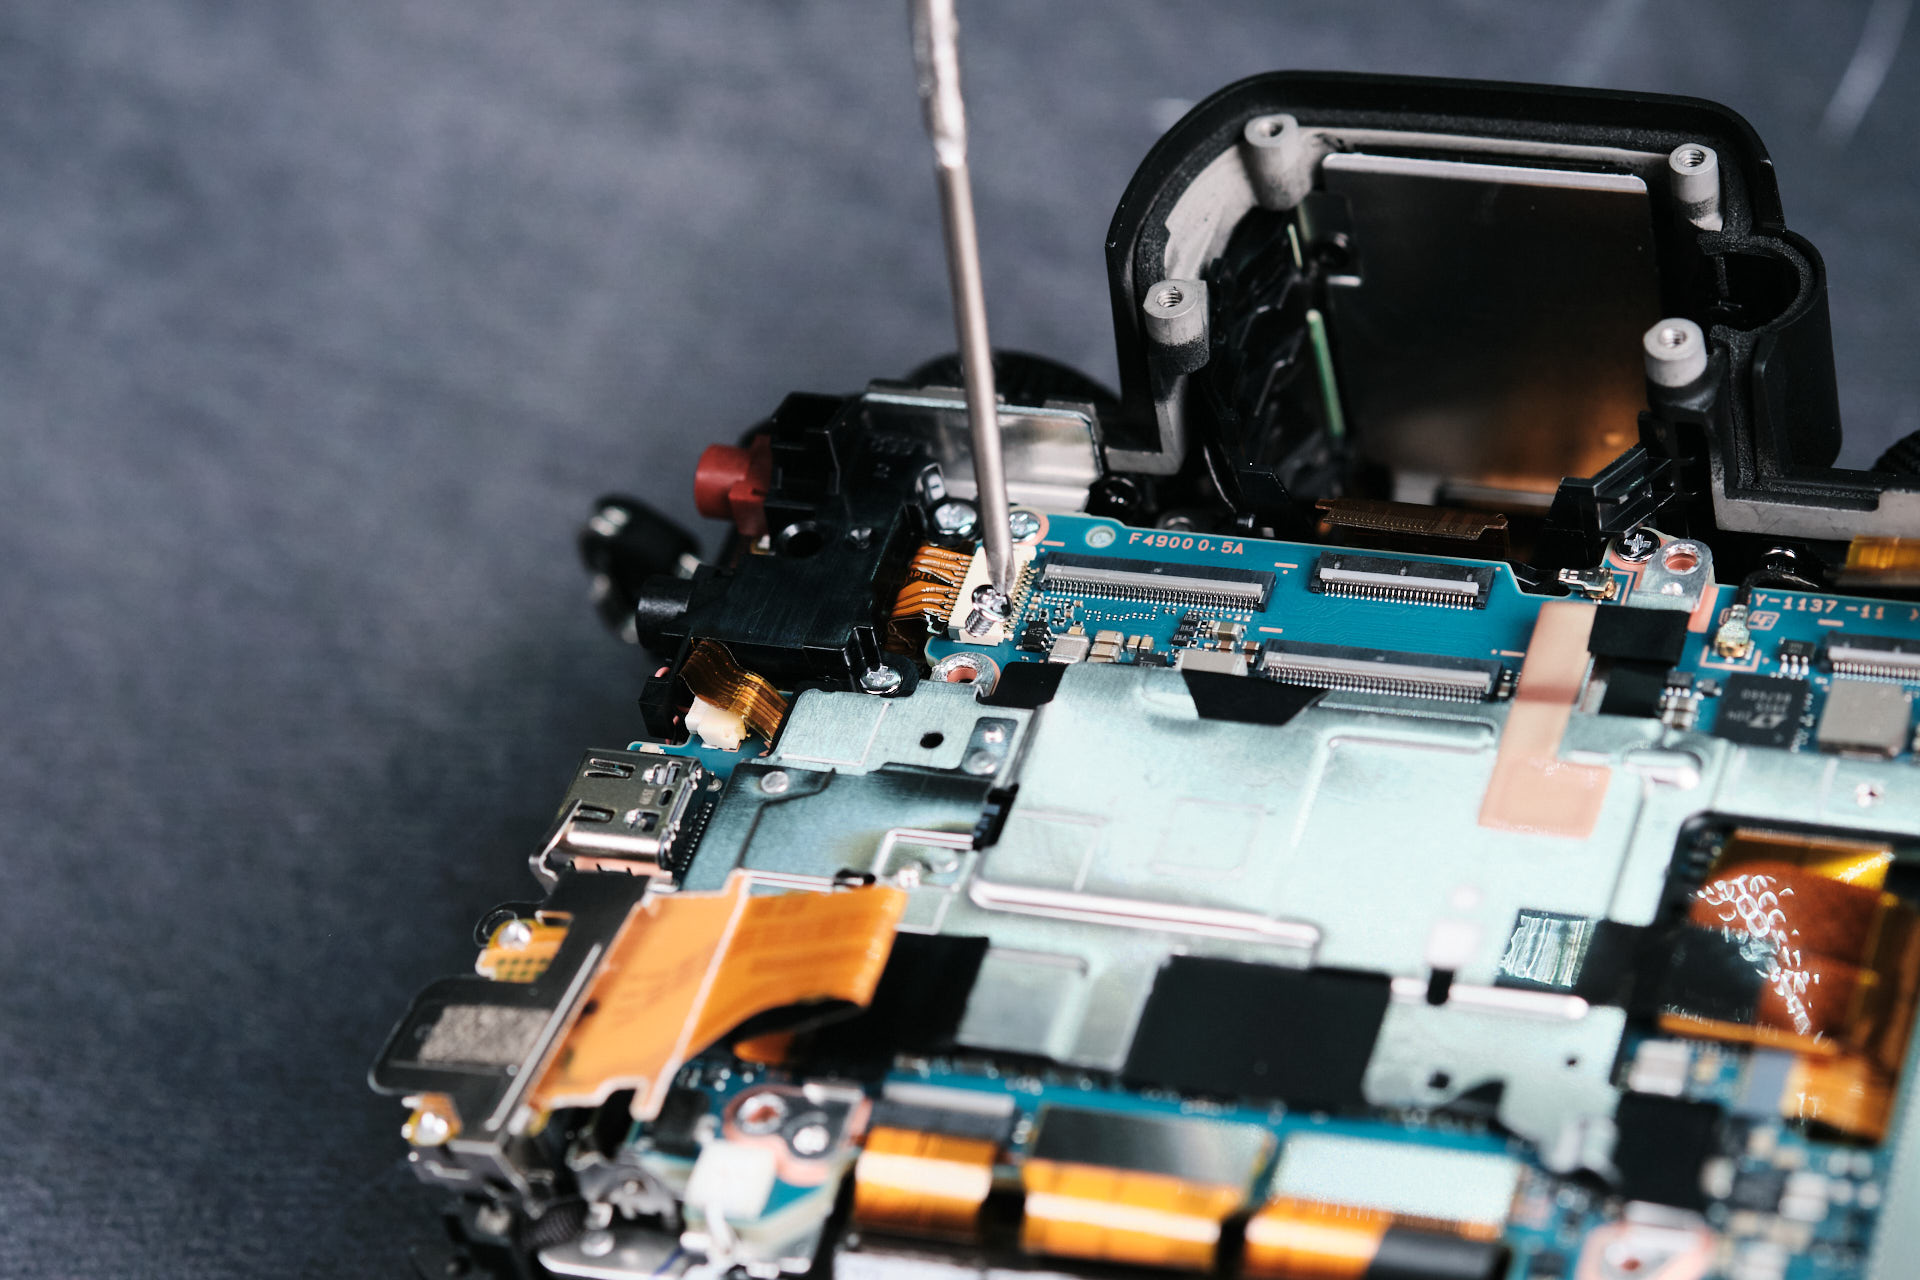
The EVF cavity had several parts for removal. A small bracket fastened with two screws covers the internal ribbon cable here. Another two screws hold down the frame. Lastly, a ribbon cable connecting the circuitboard to the body was removed.
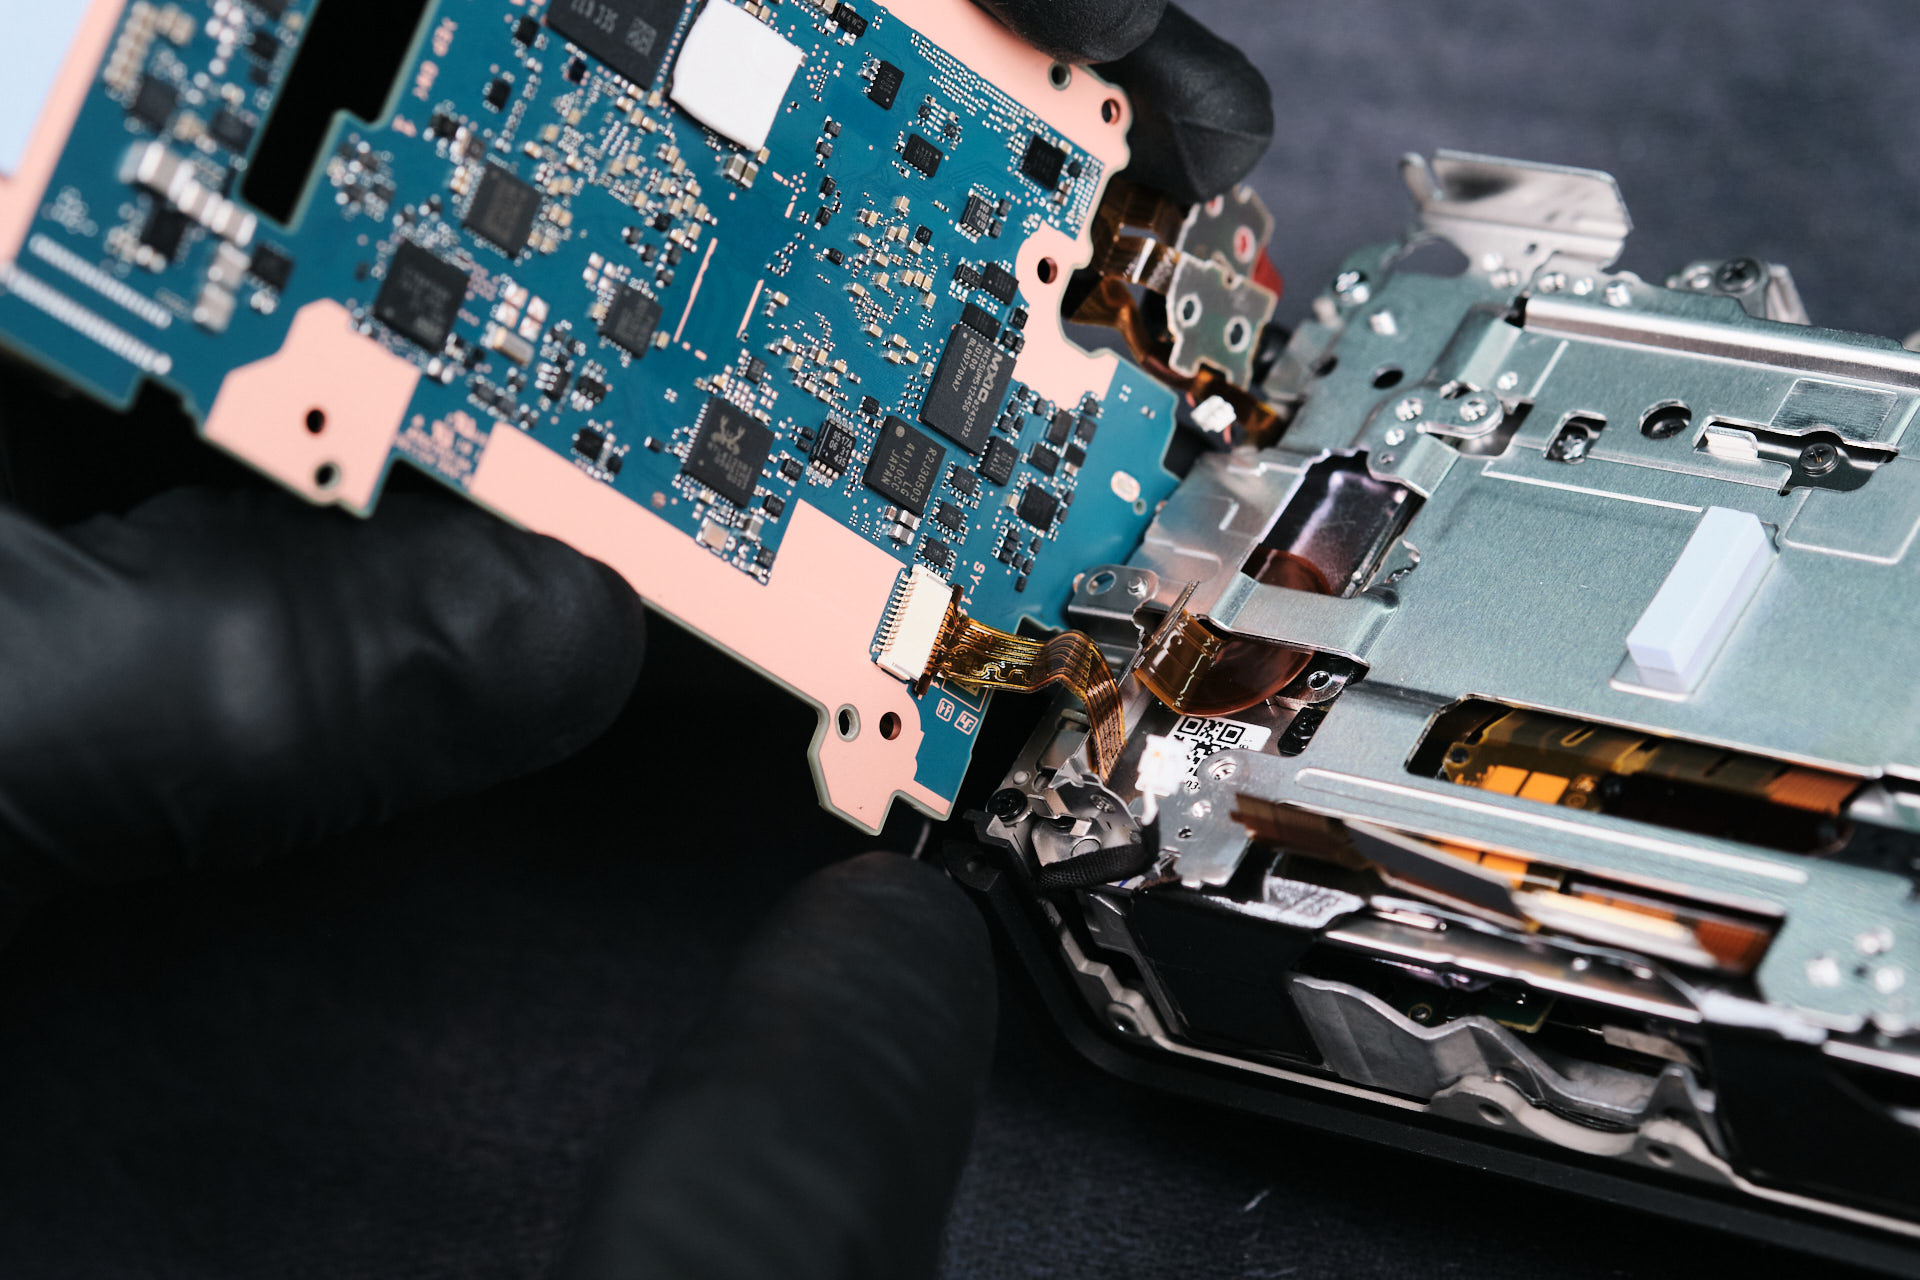
Disconnecting Initial Ribbon Cables From the Circuit Board
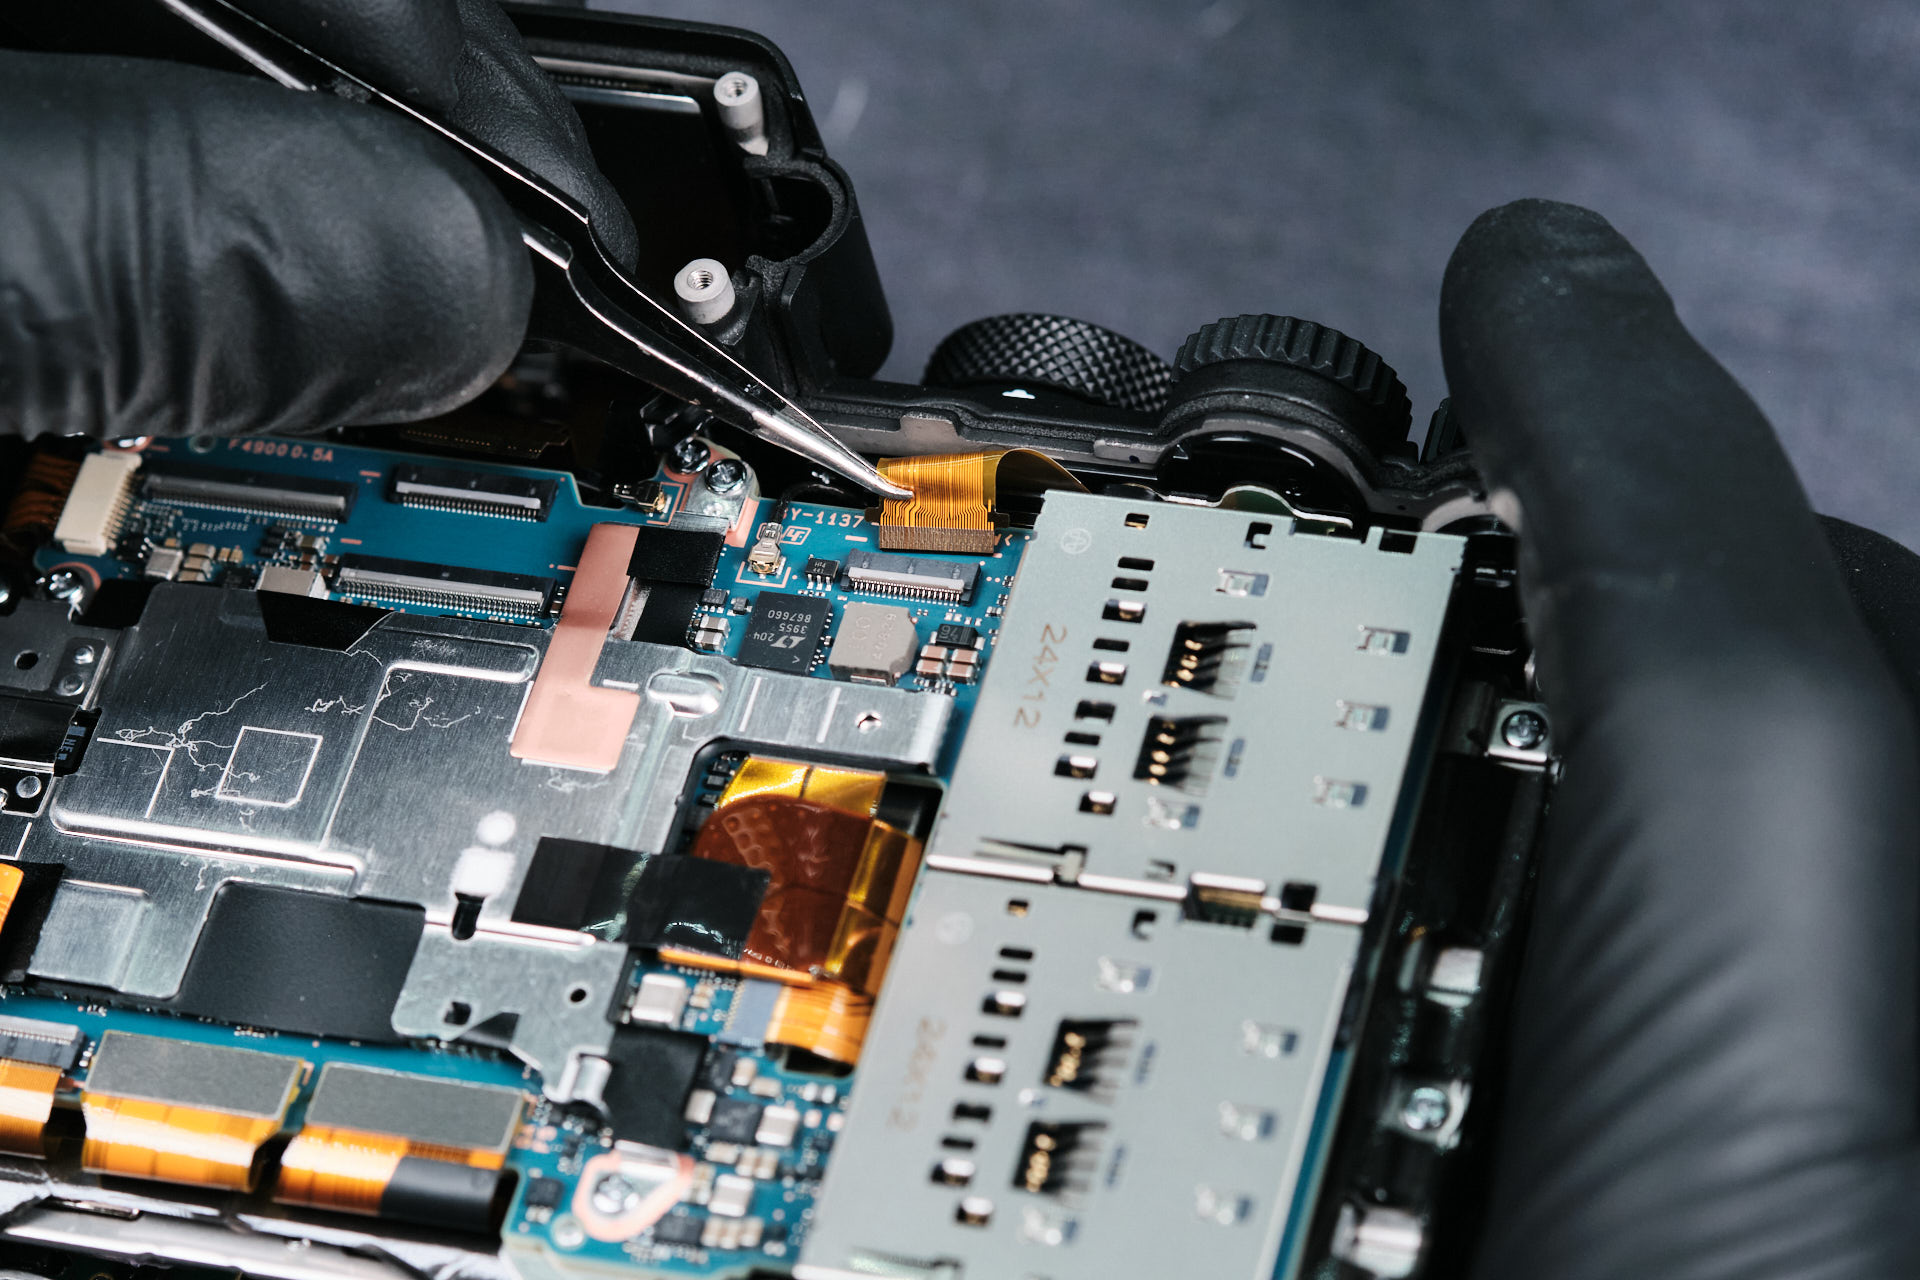
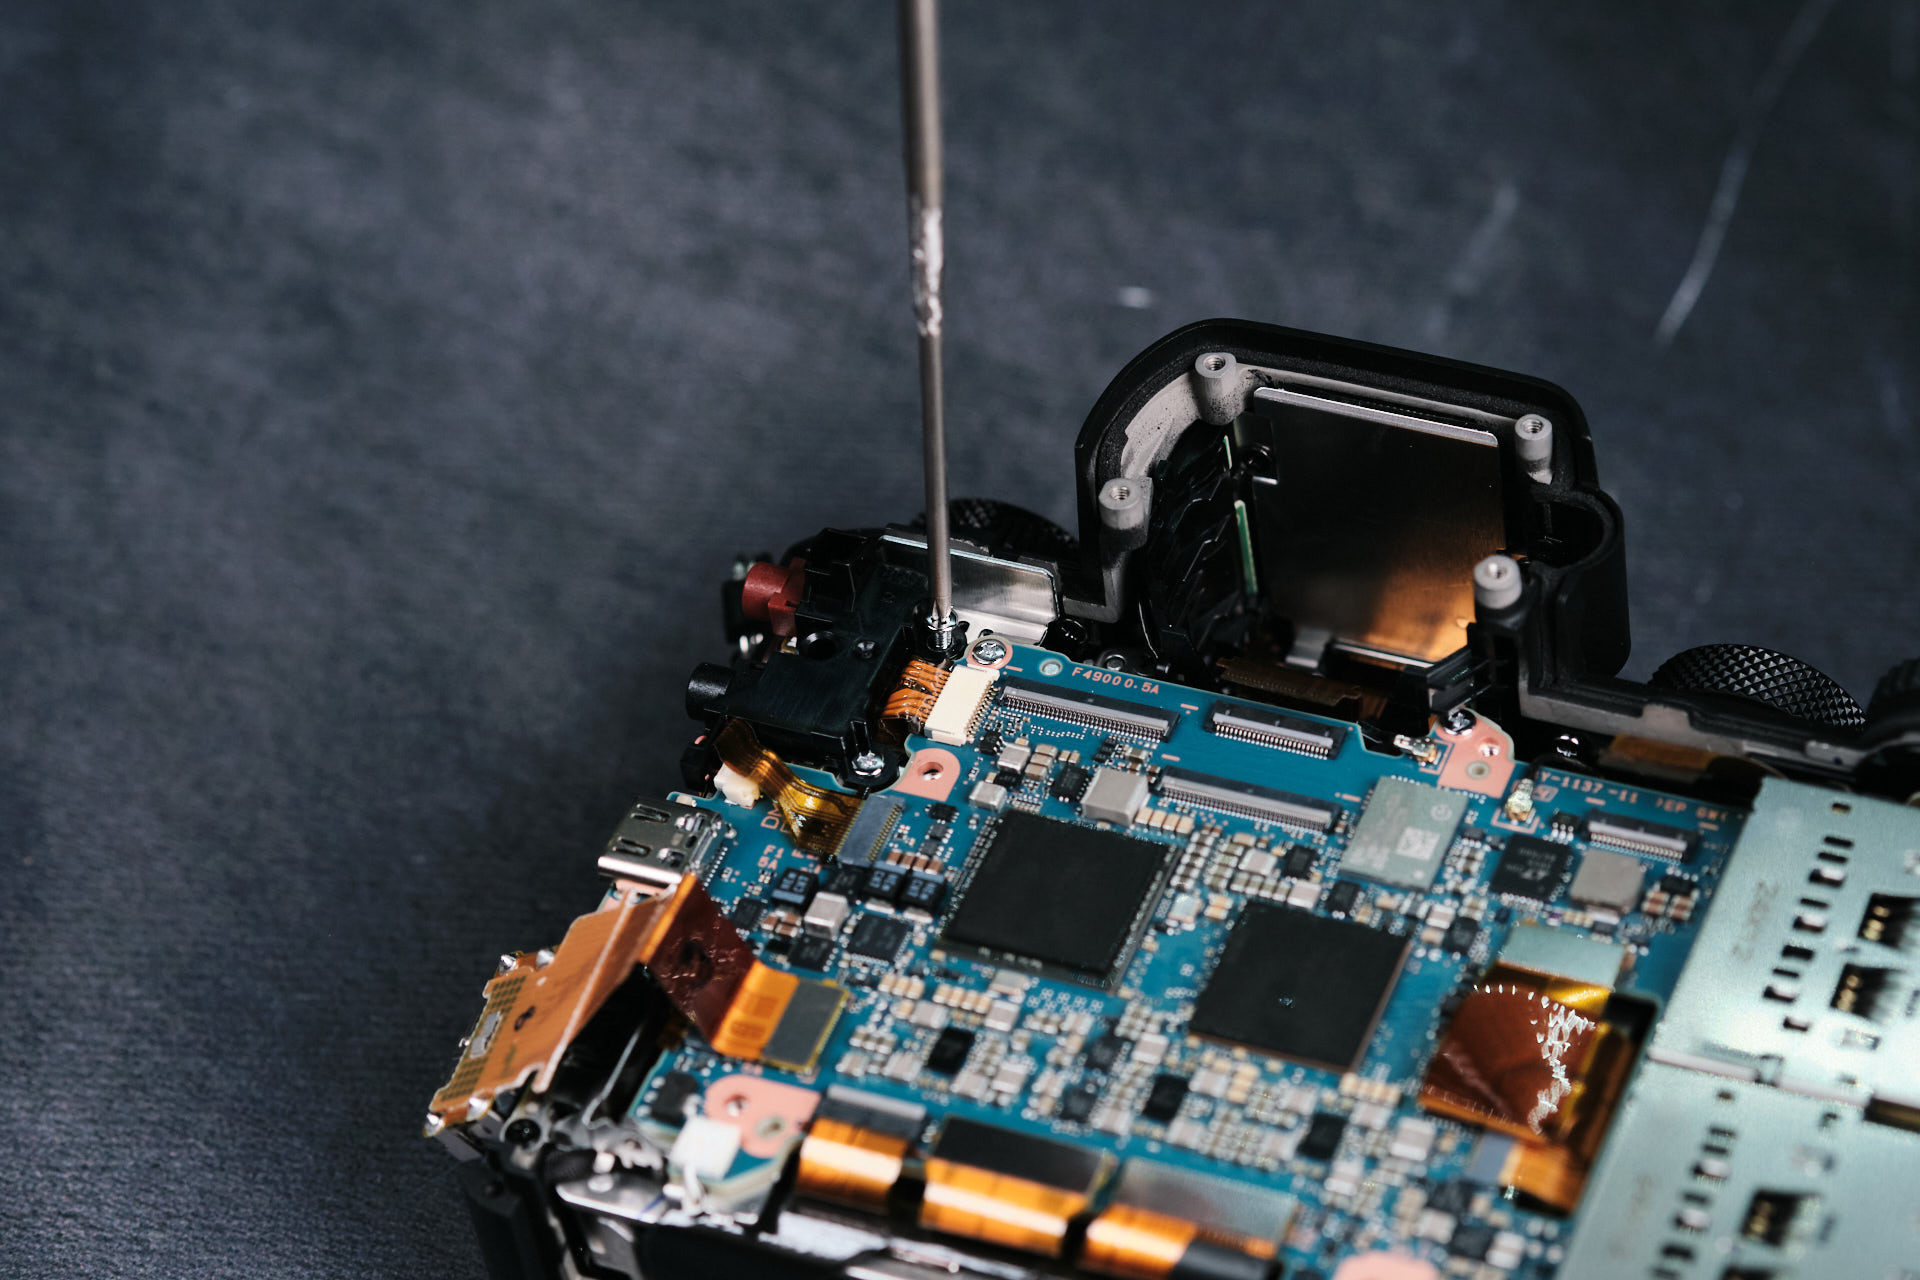
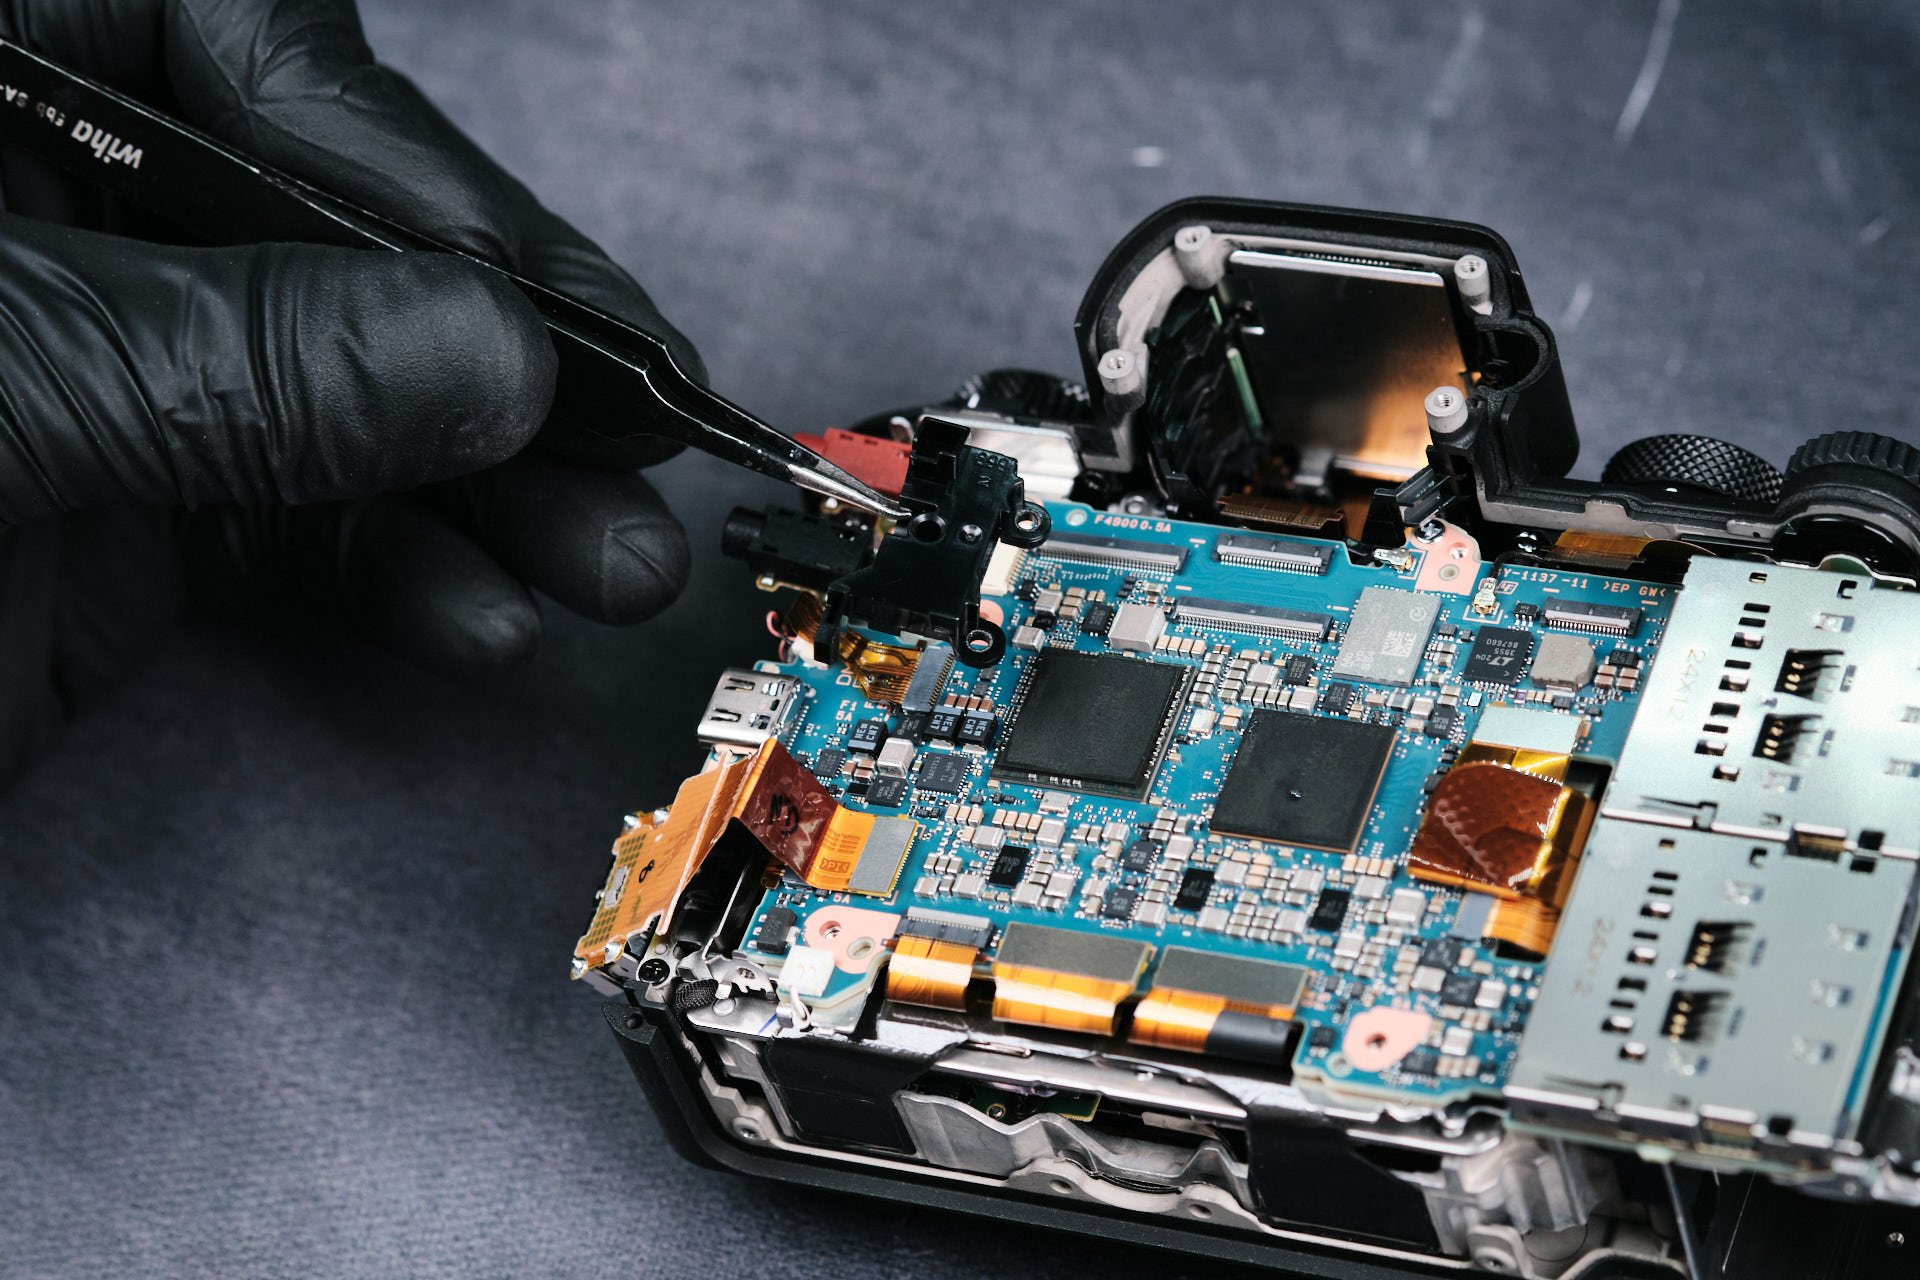
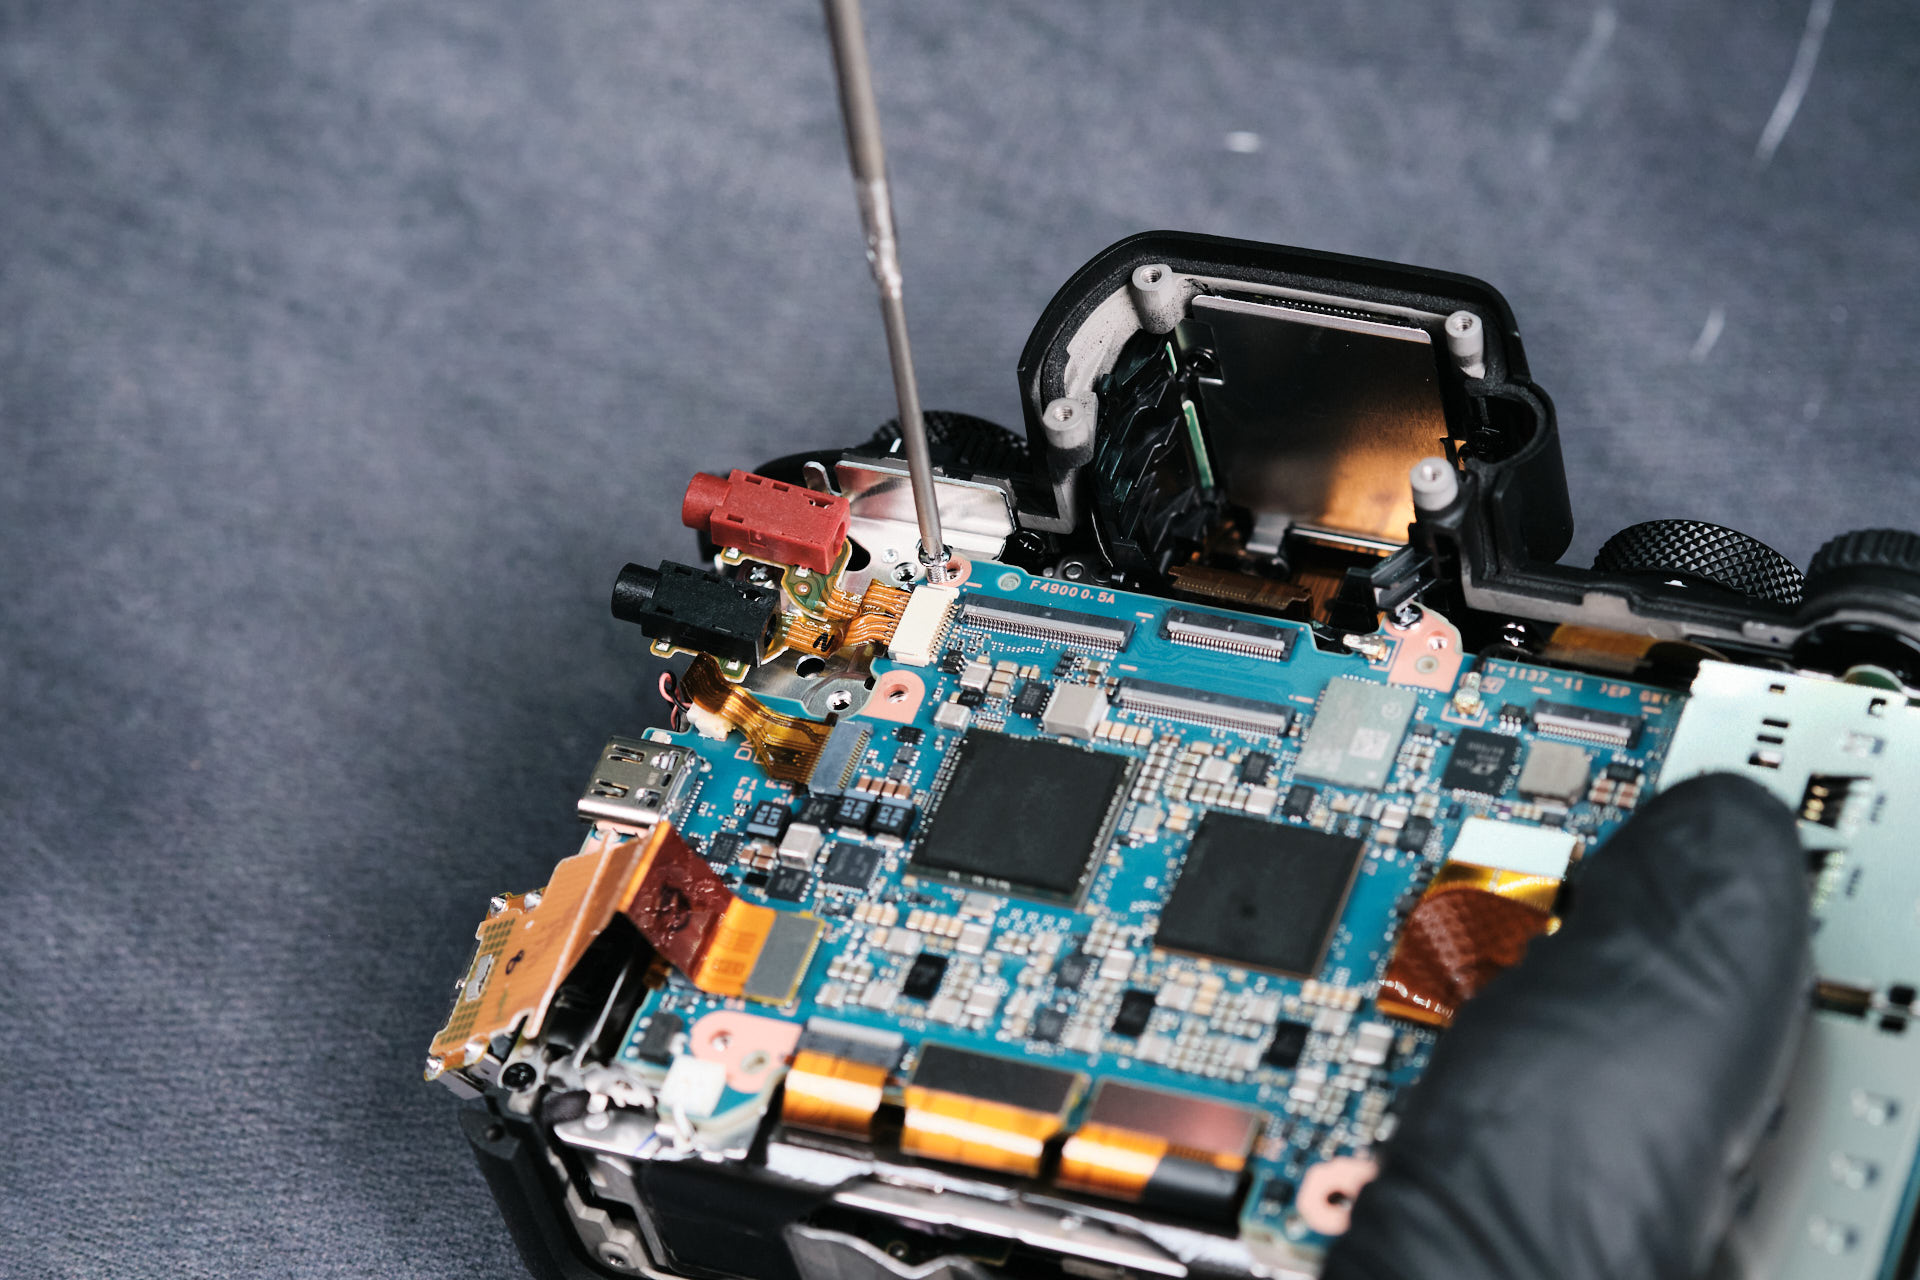
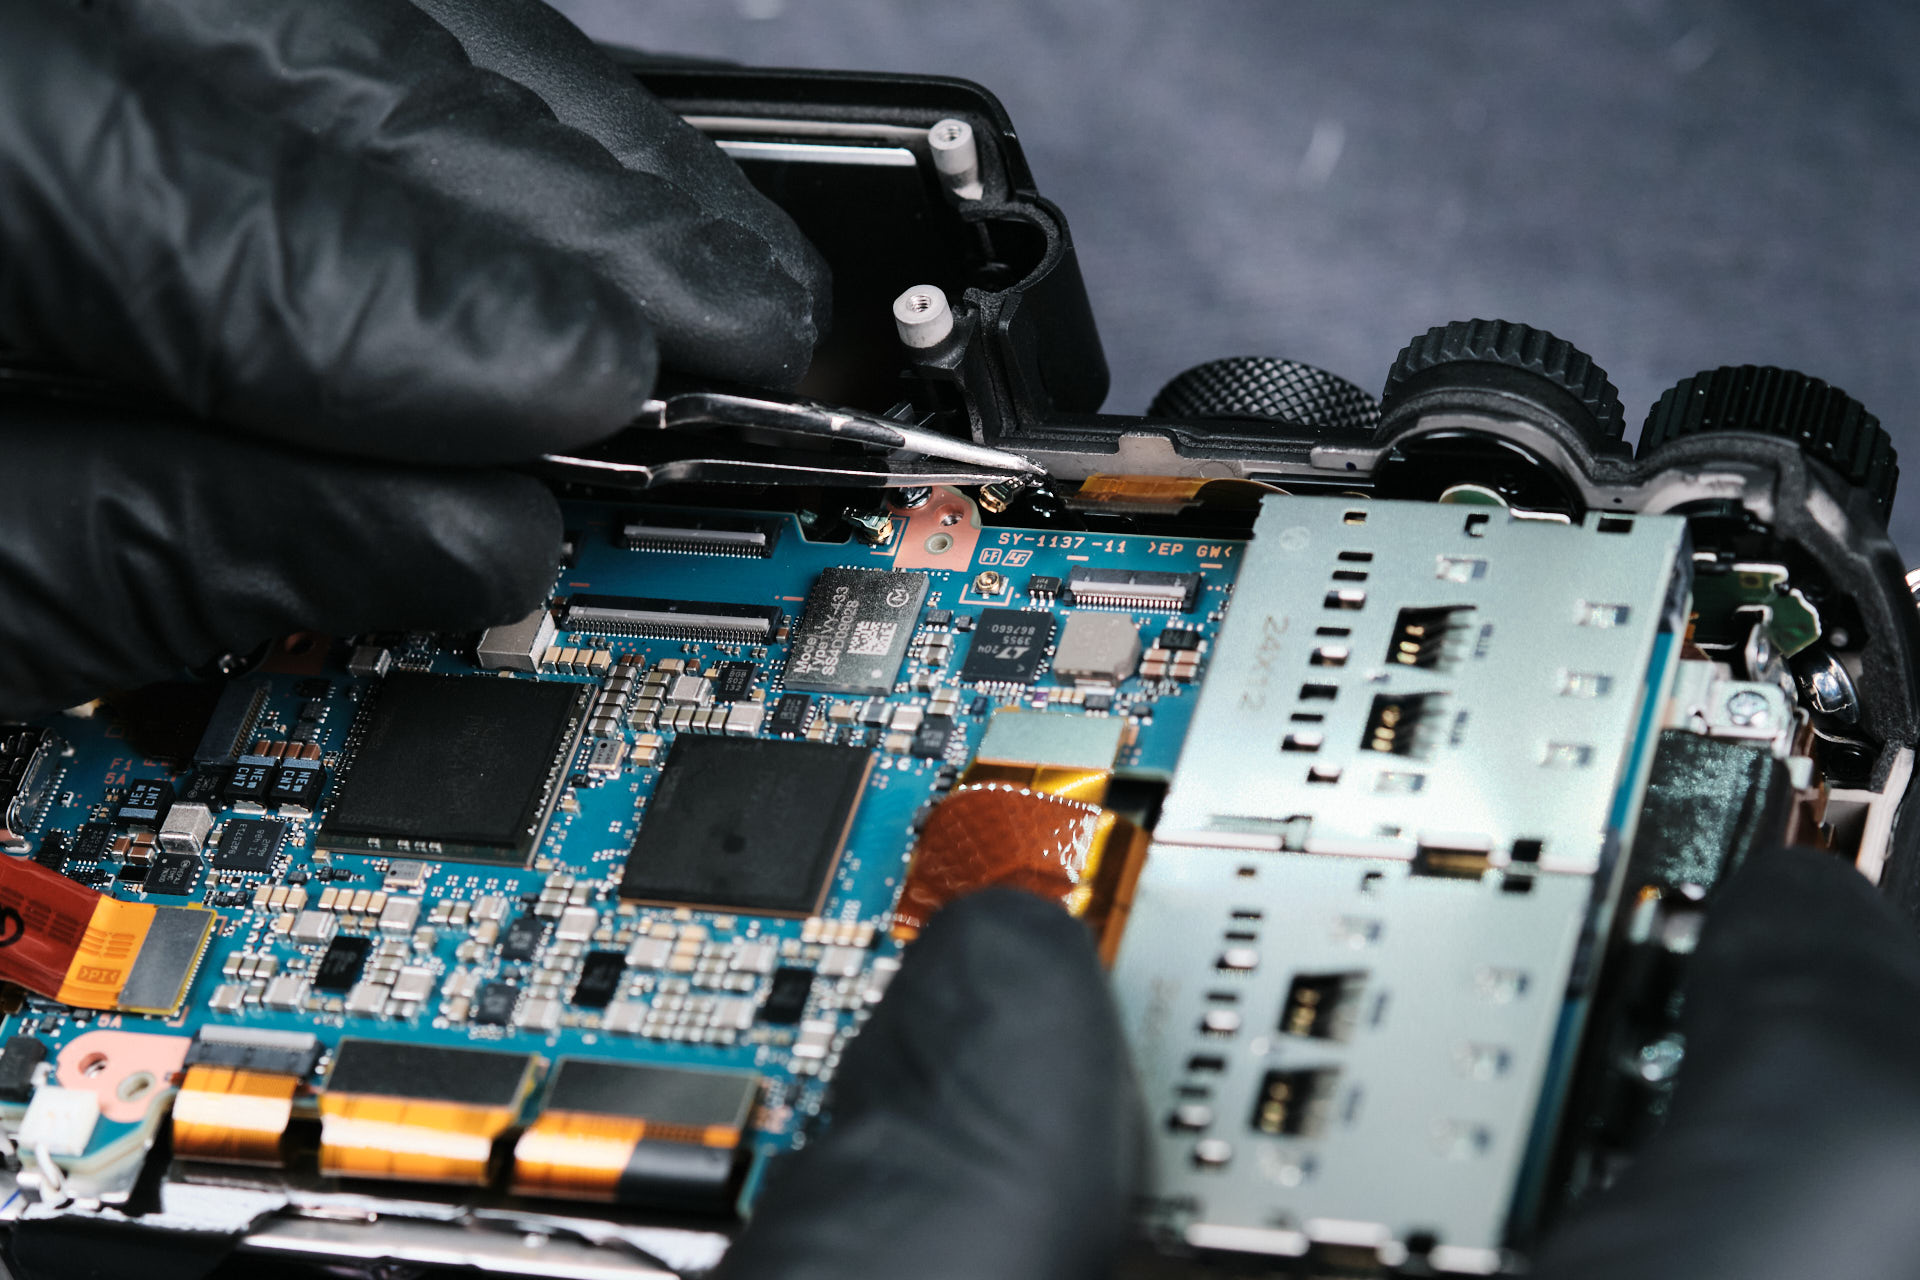
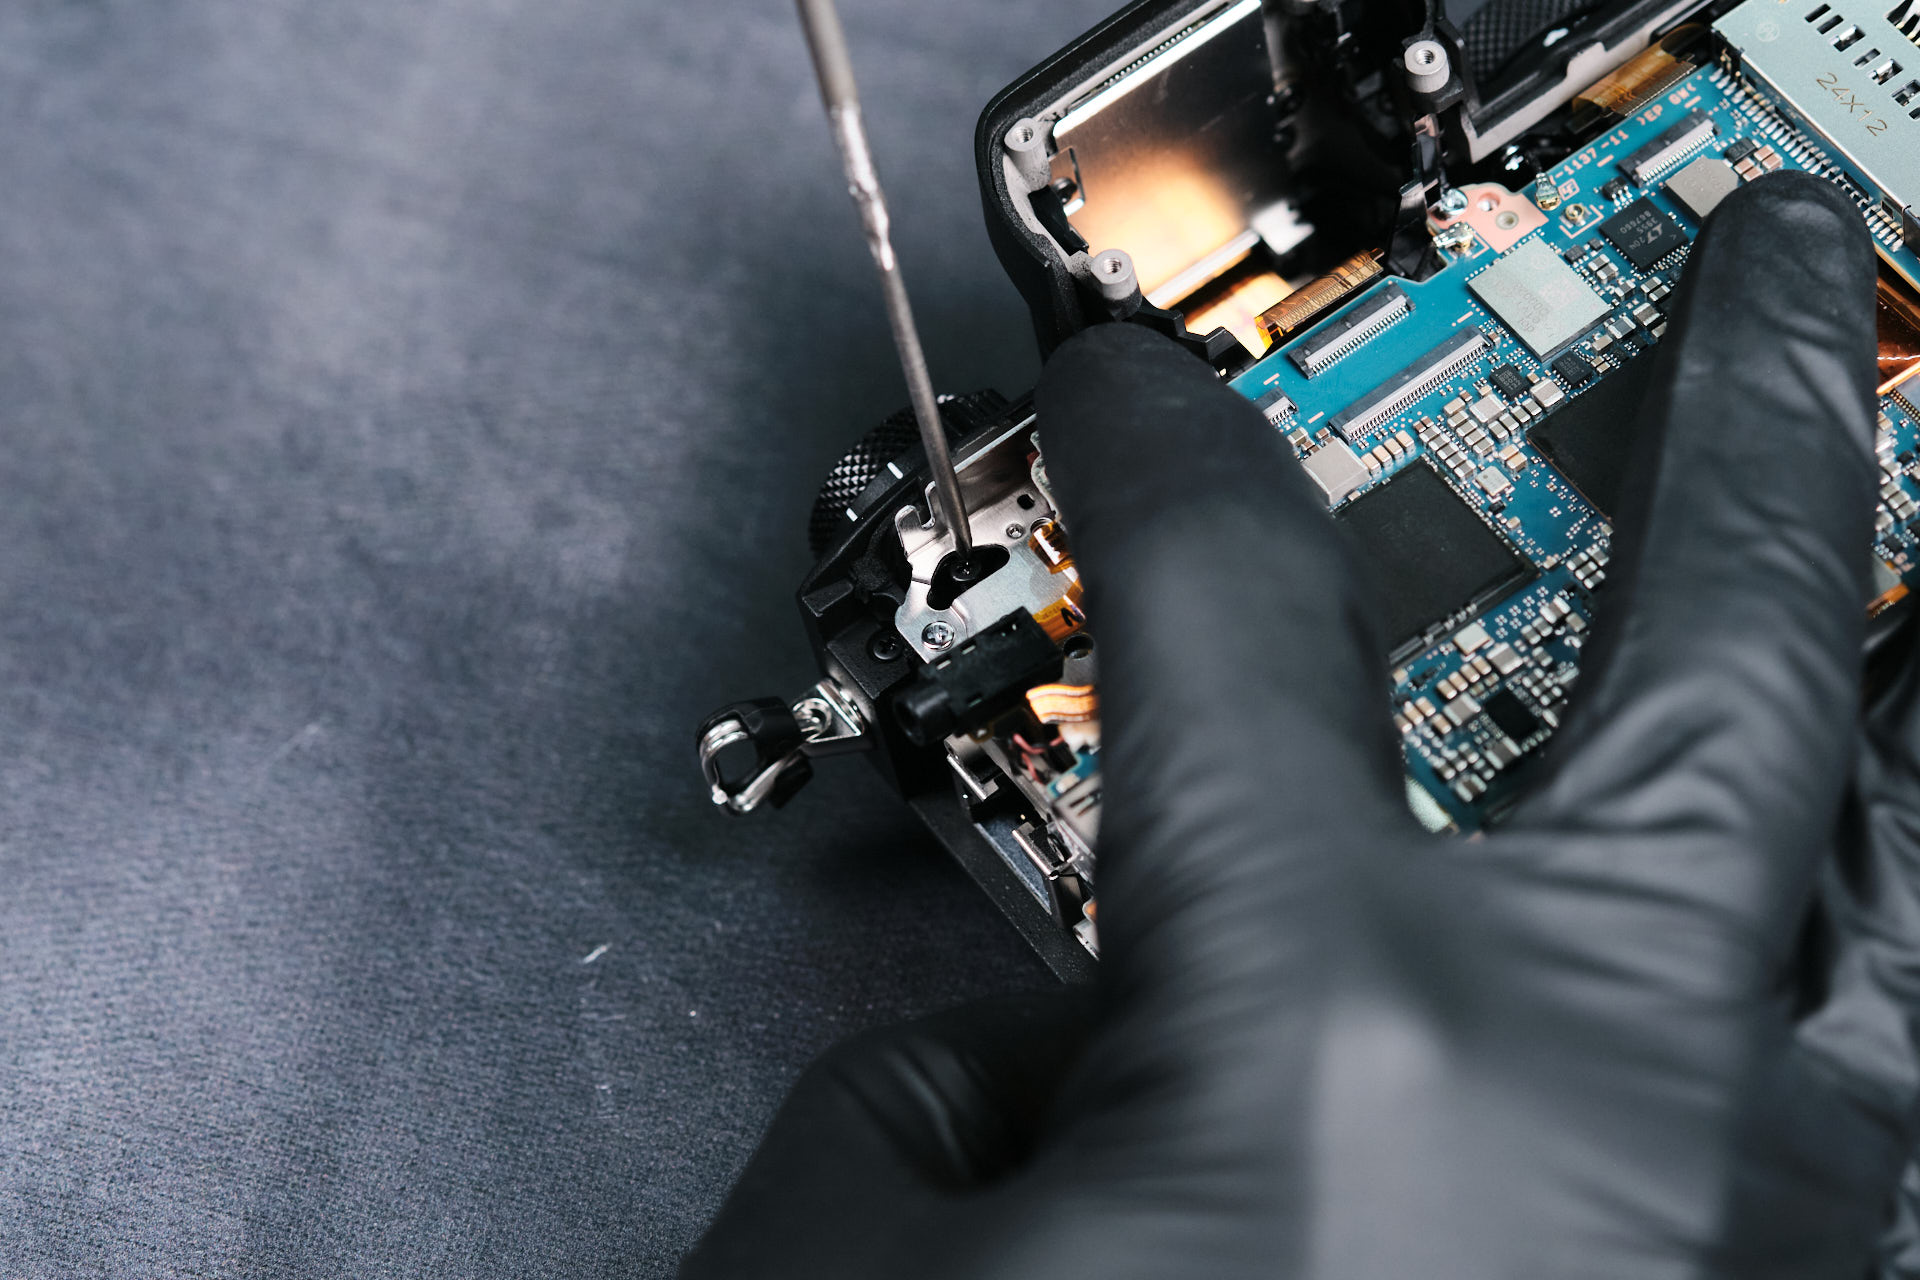
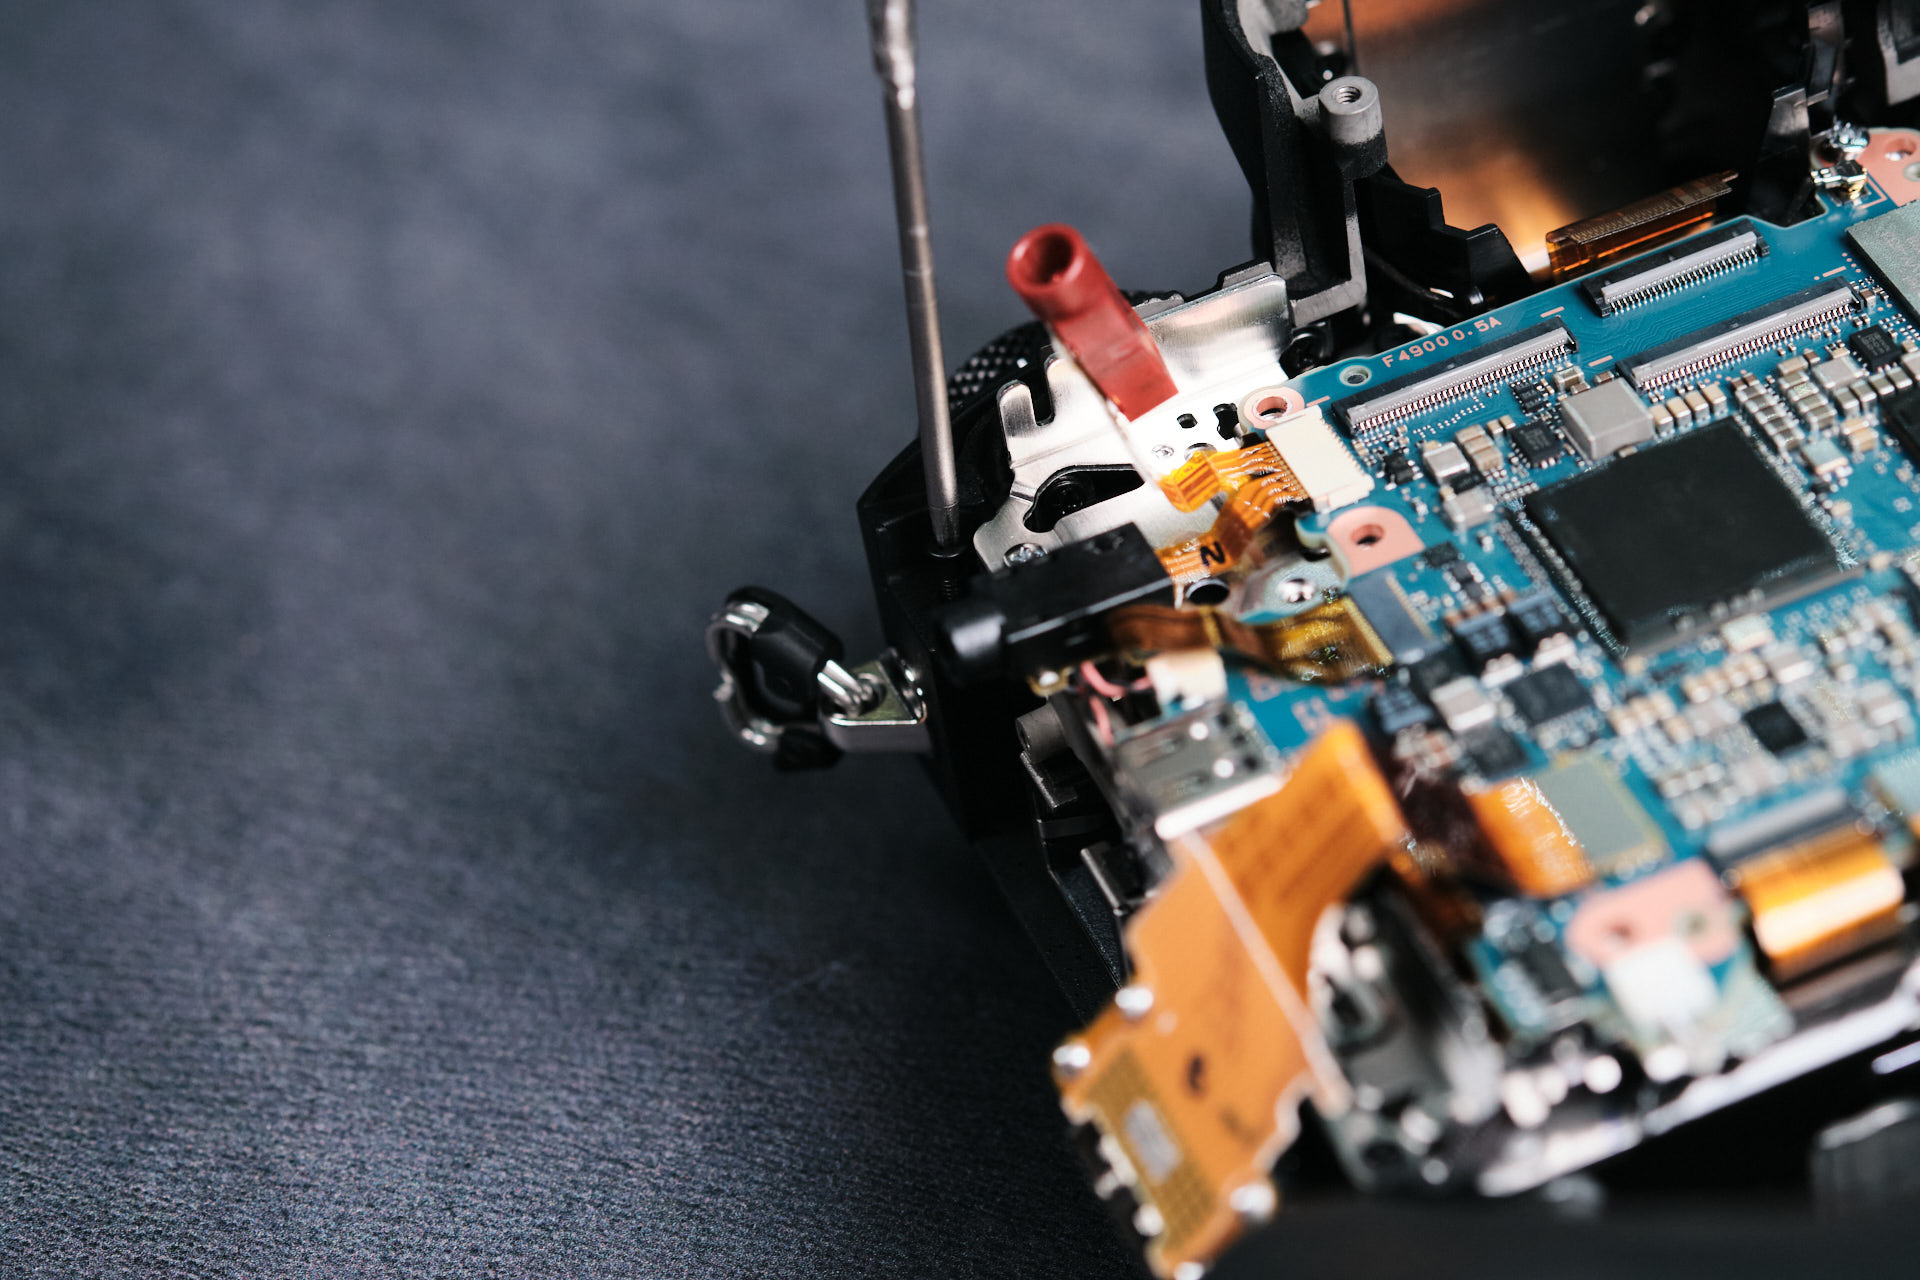
Generally, opening the back of the camera allows for removing ribbon cables from the circuitboard. We only removed one of those ribbon cables before realizing that several brackets need to be removed before continuing to the remaining ribbon cables.
Presumably, this particular ribbon cable connects the top right dials to the circuitboard.
Removing Circuit Board Brackets
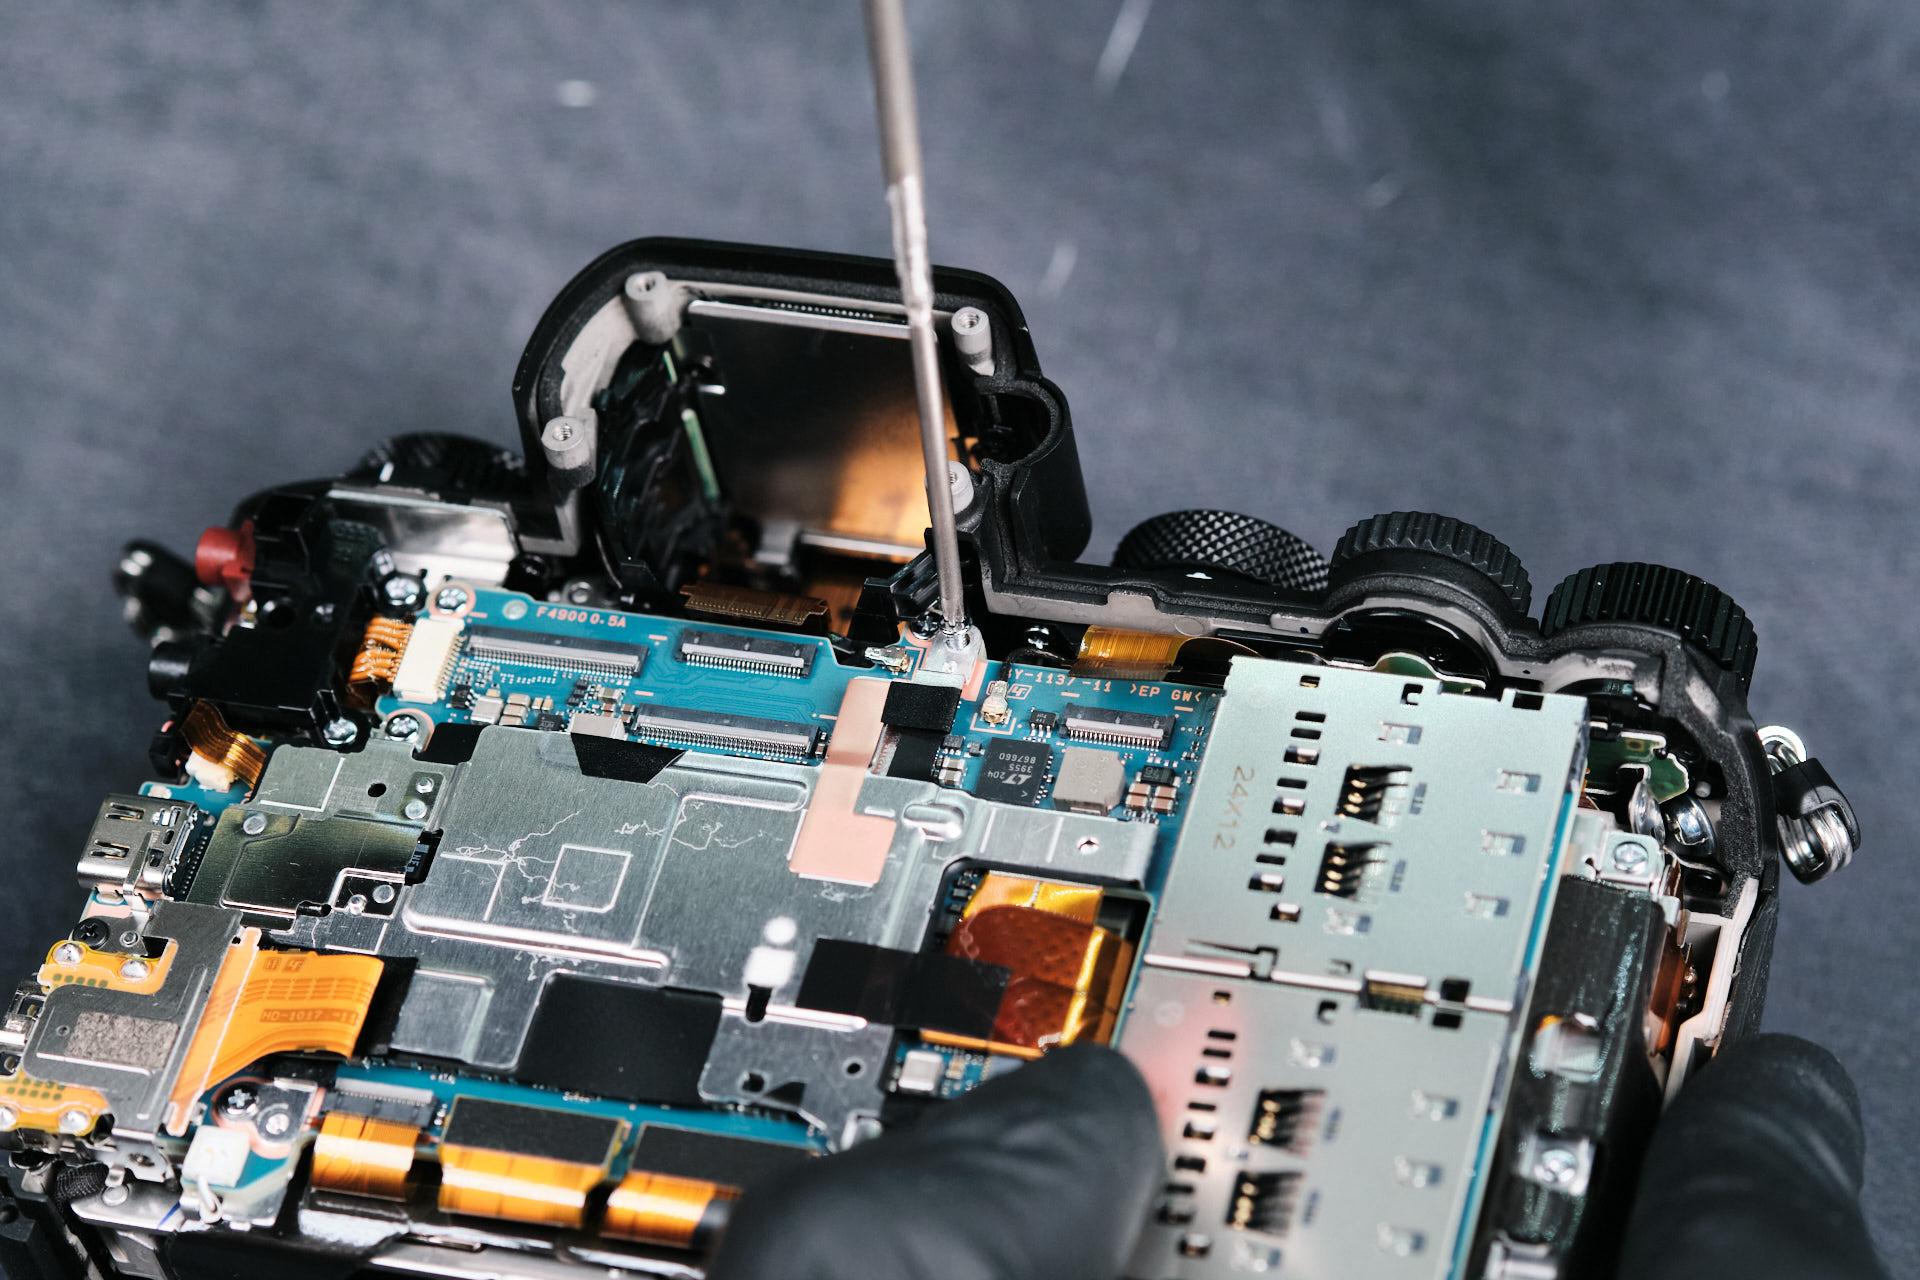
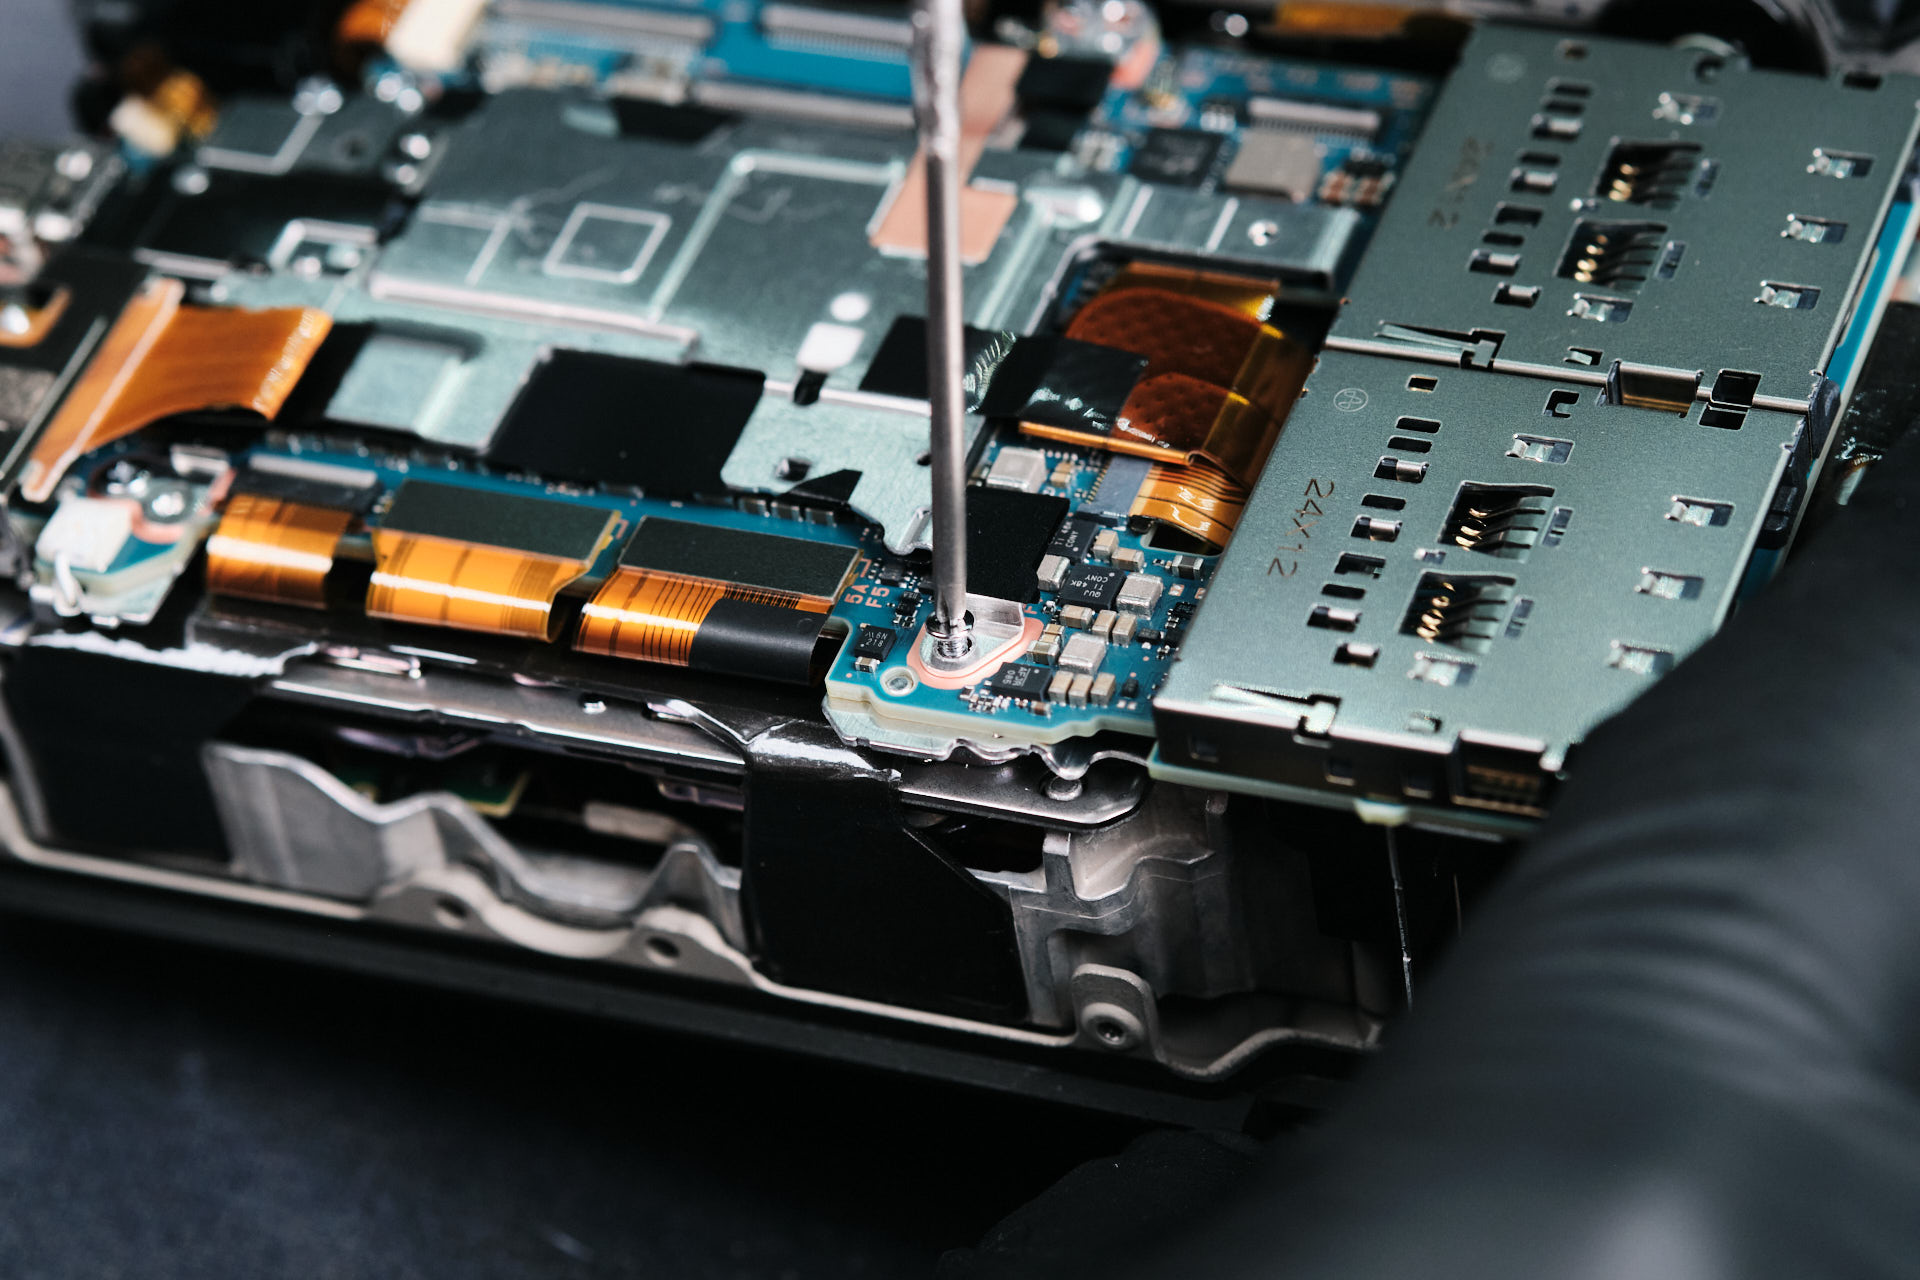
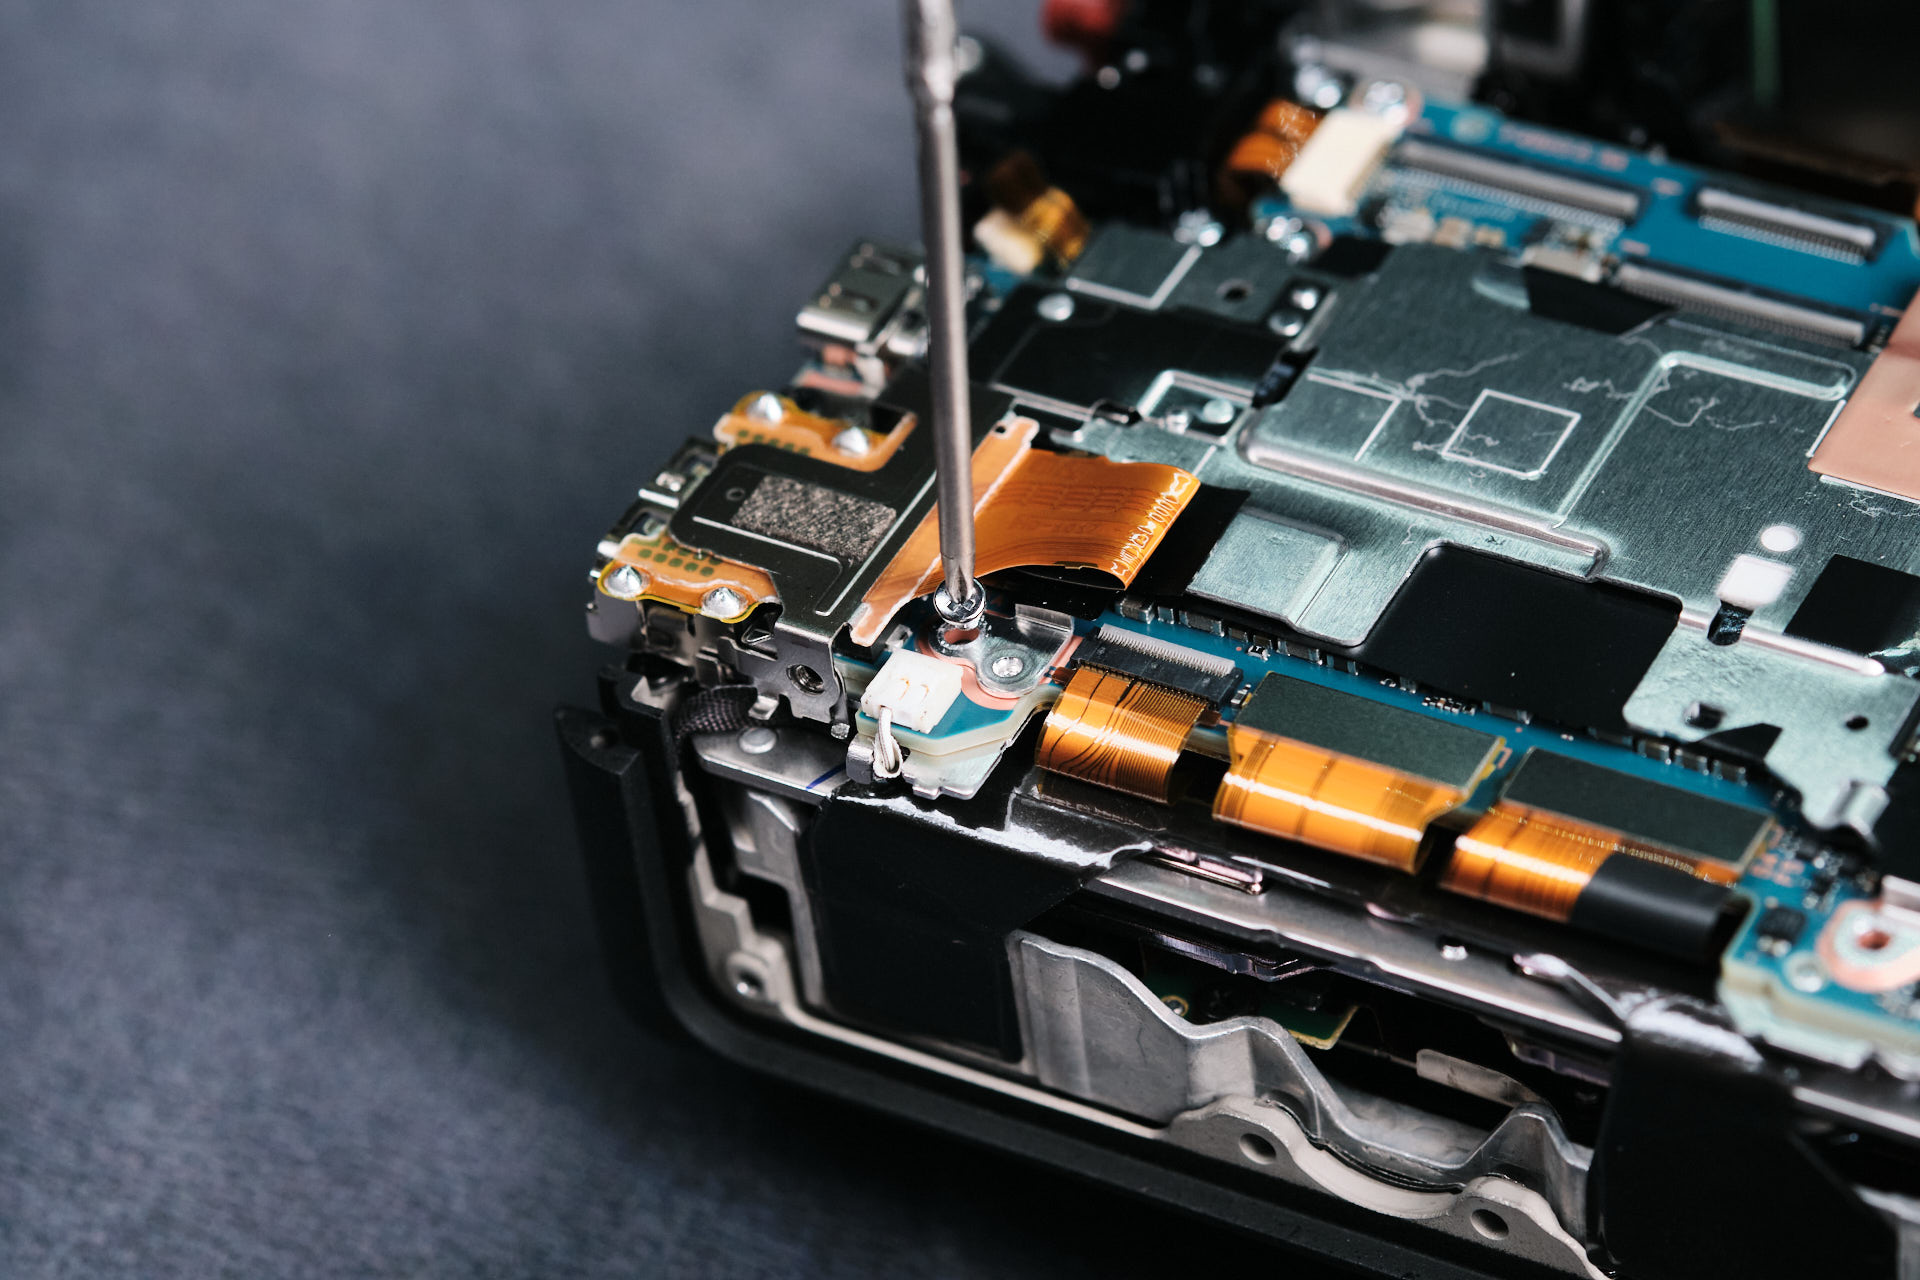
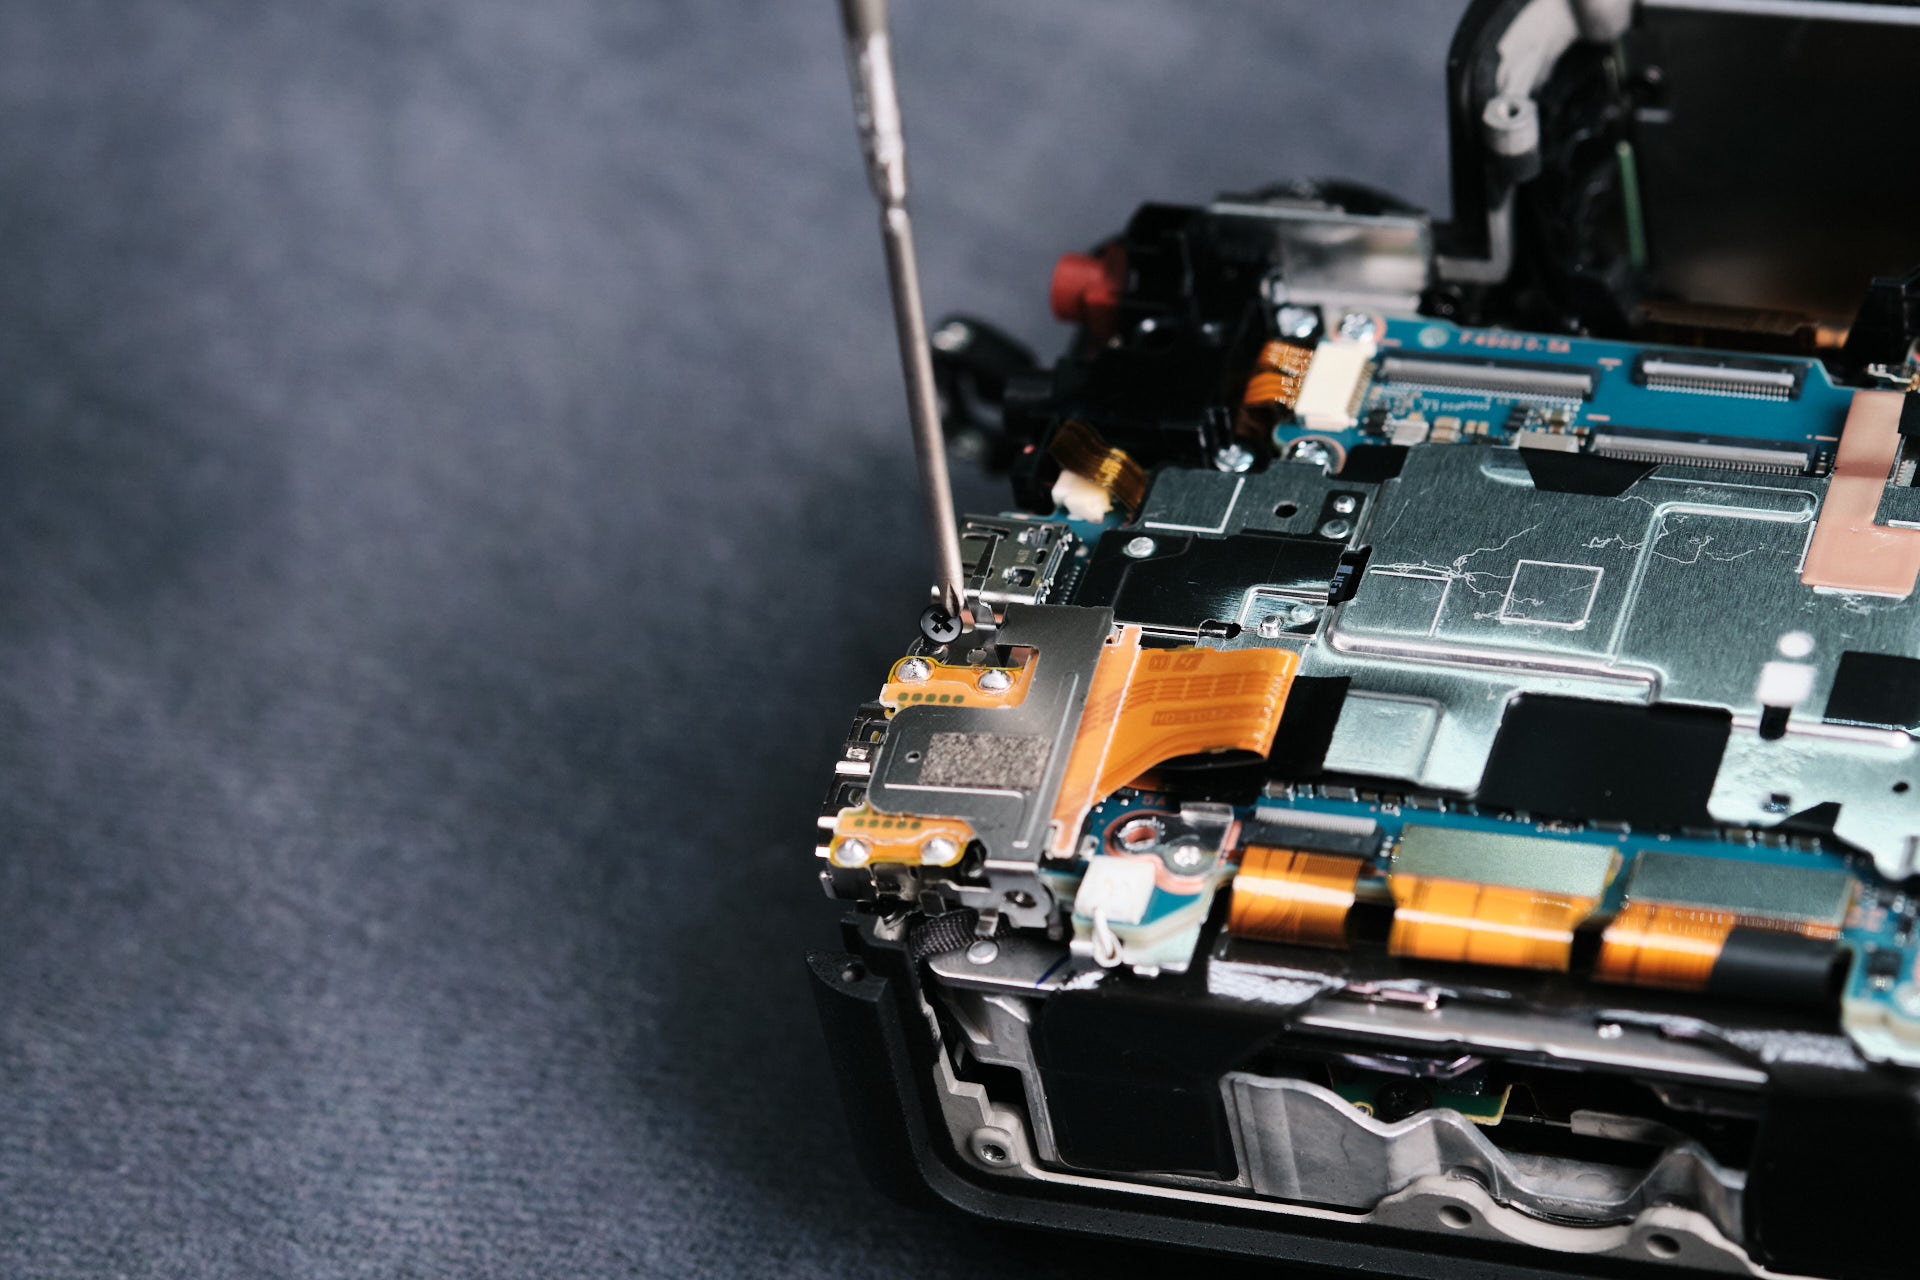
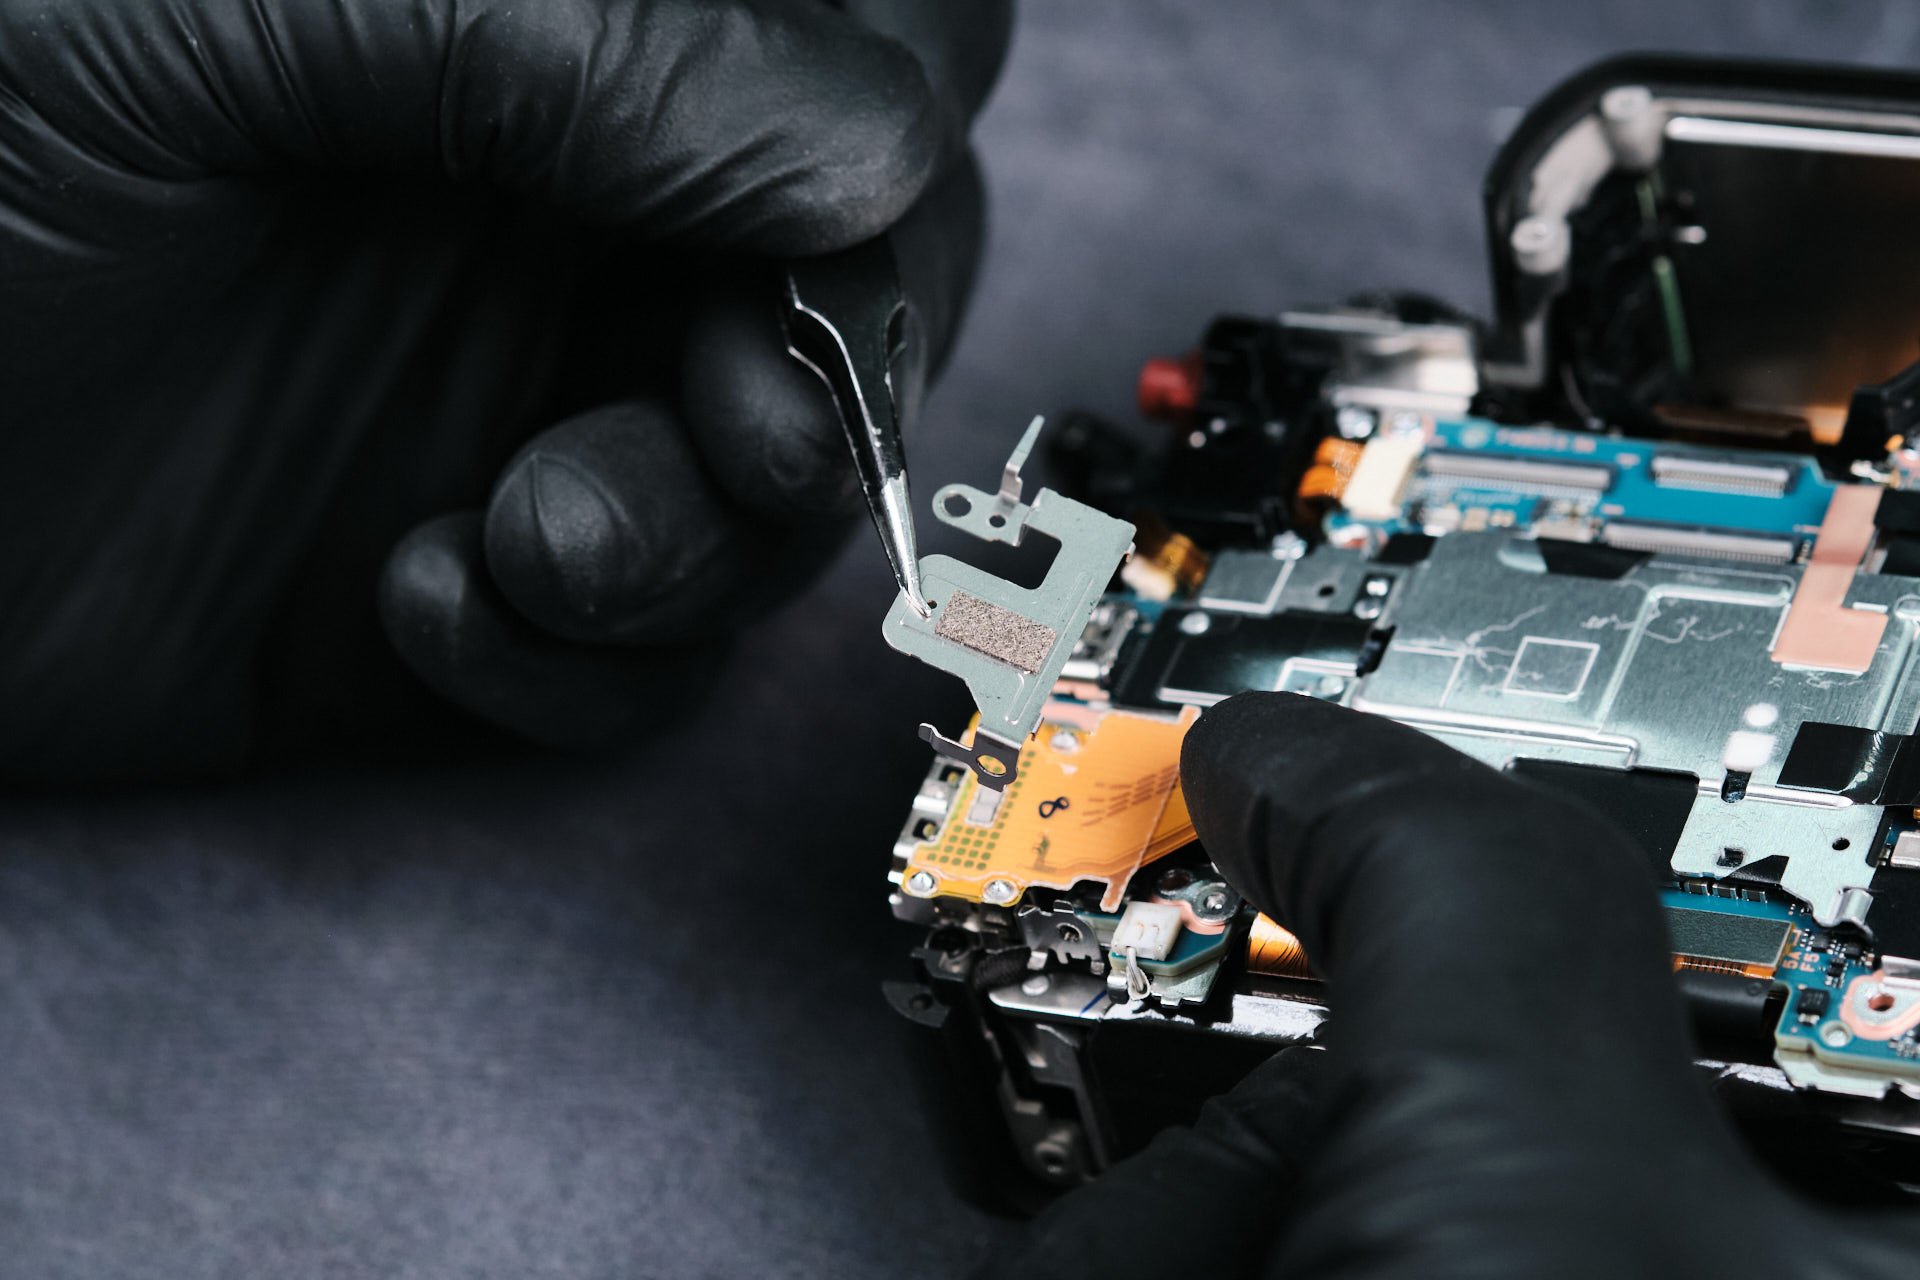
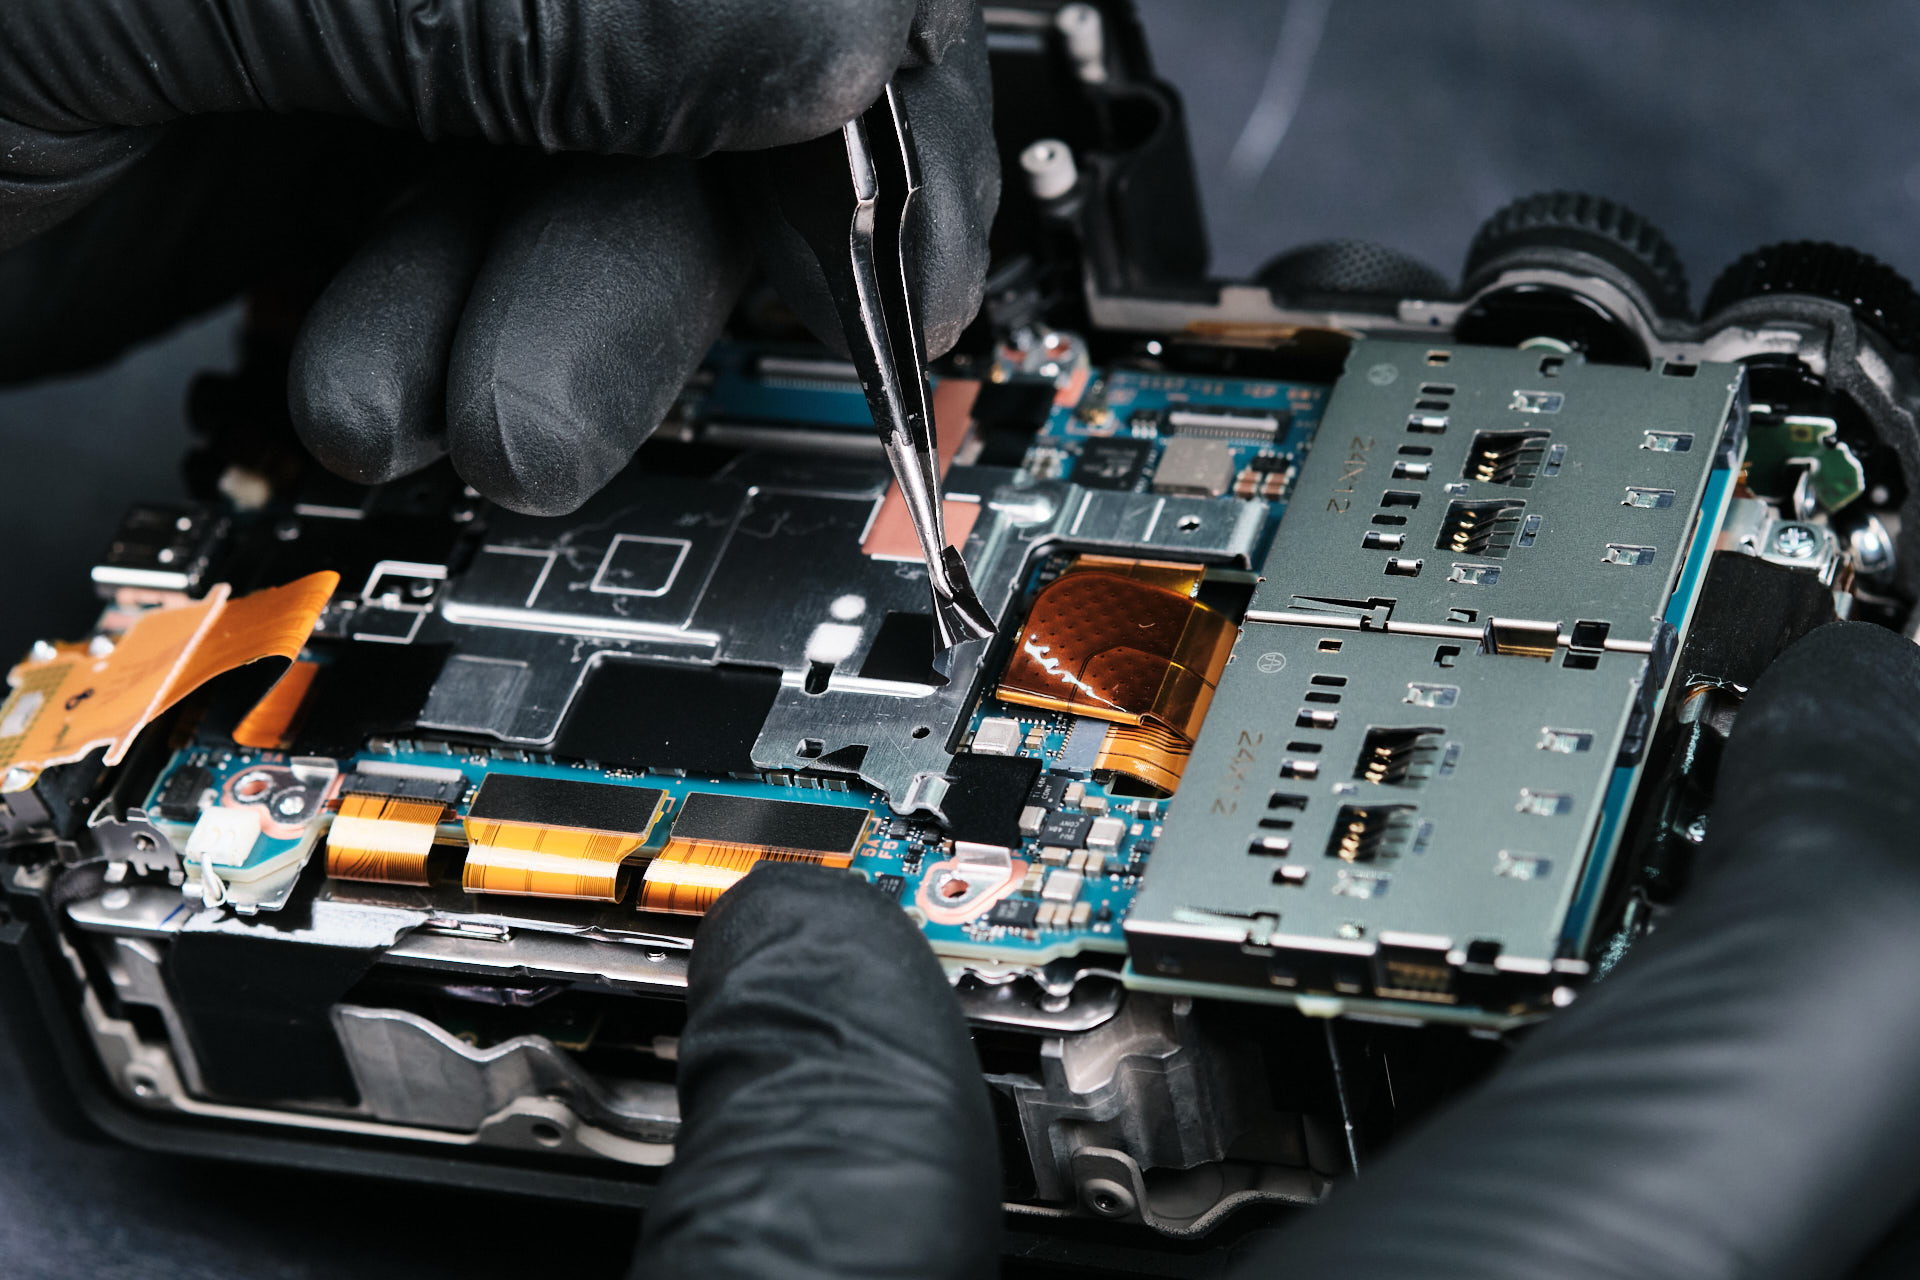
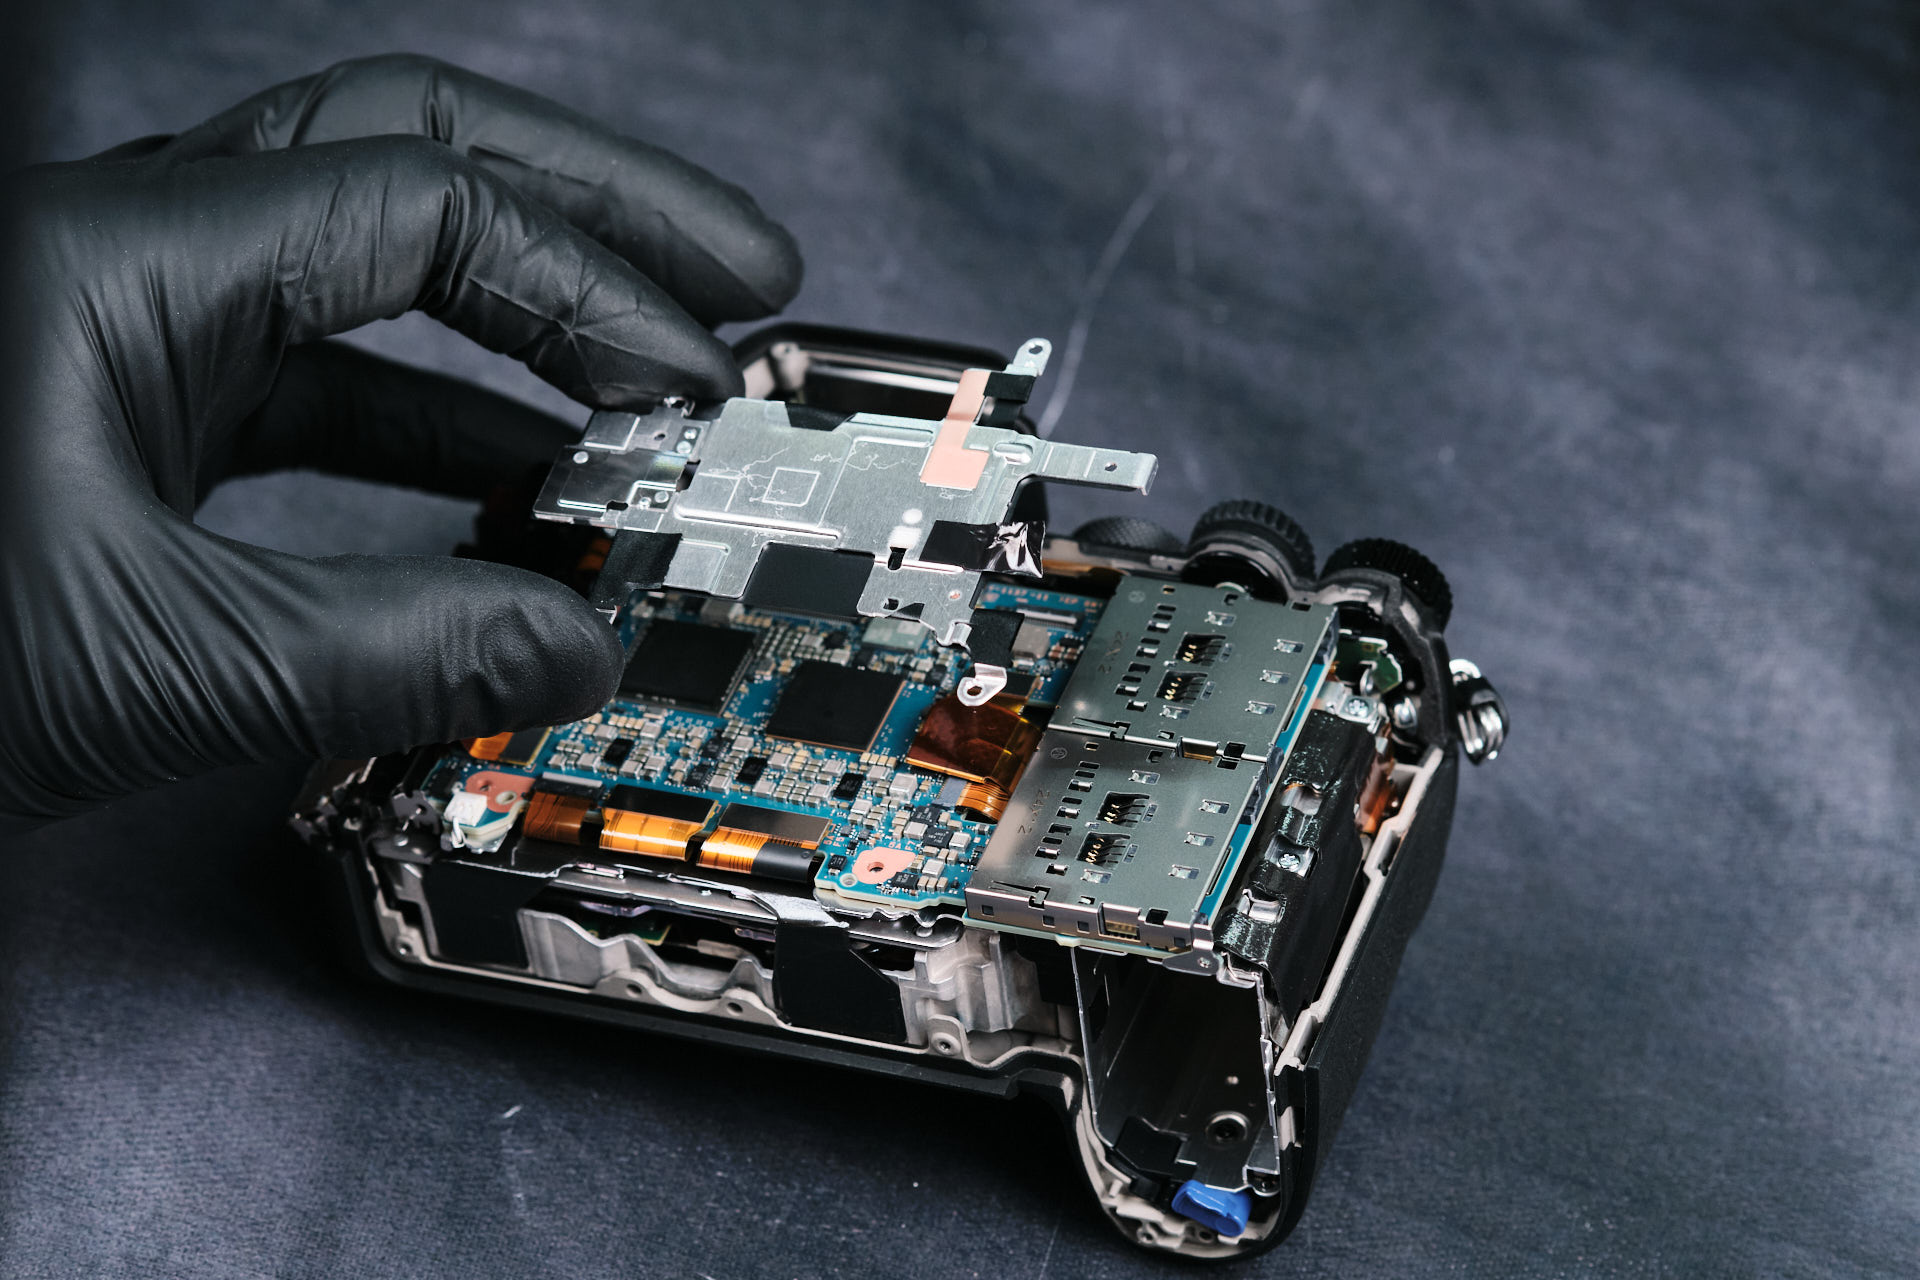
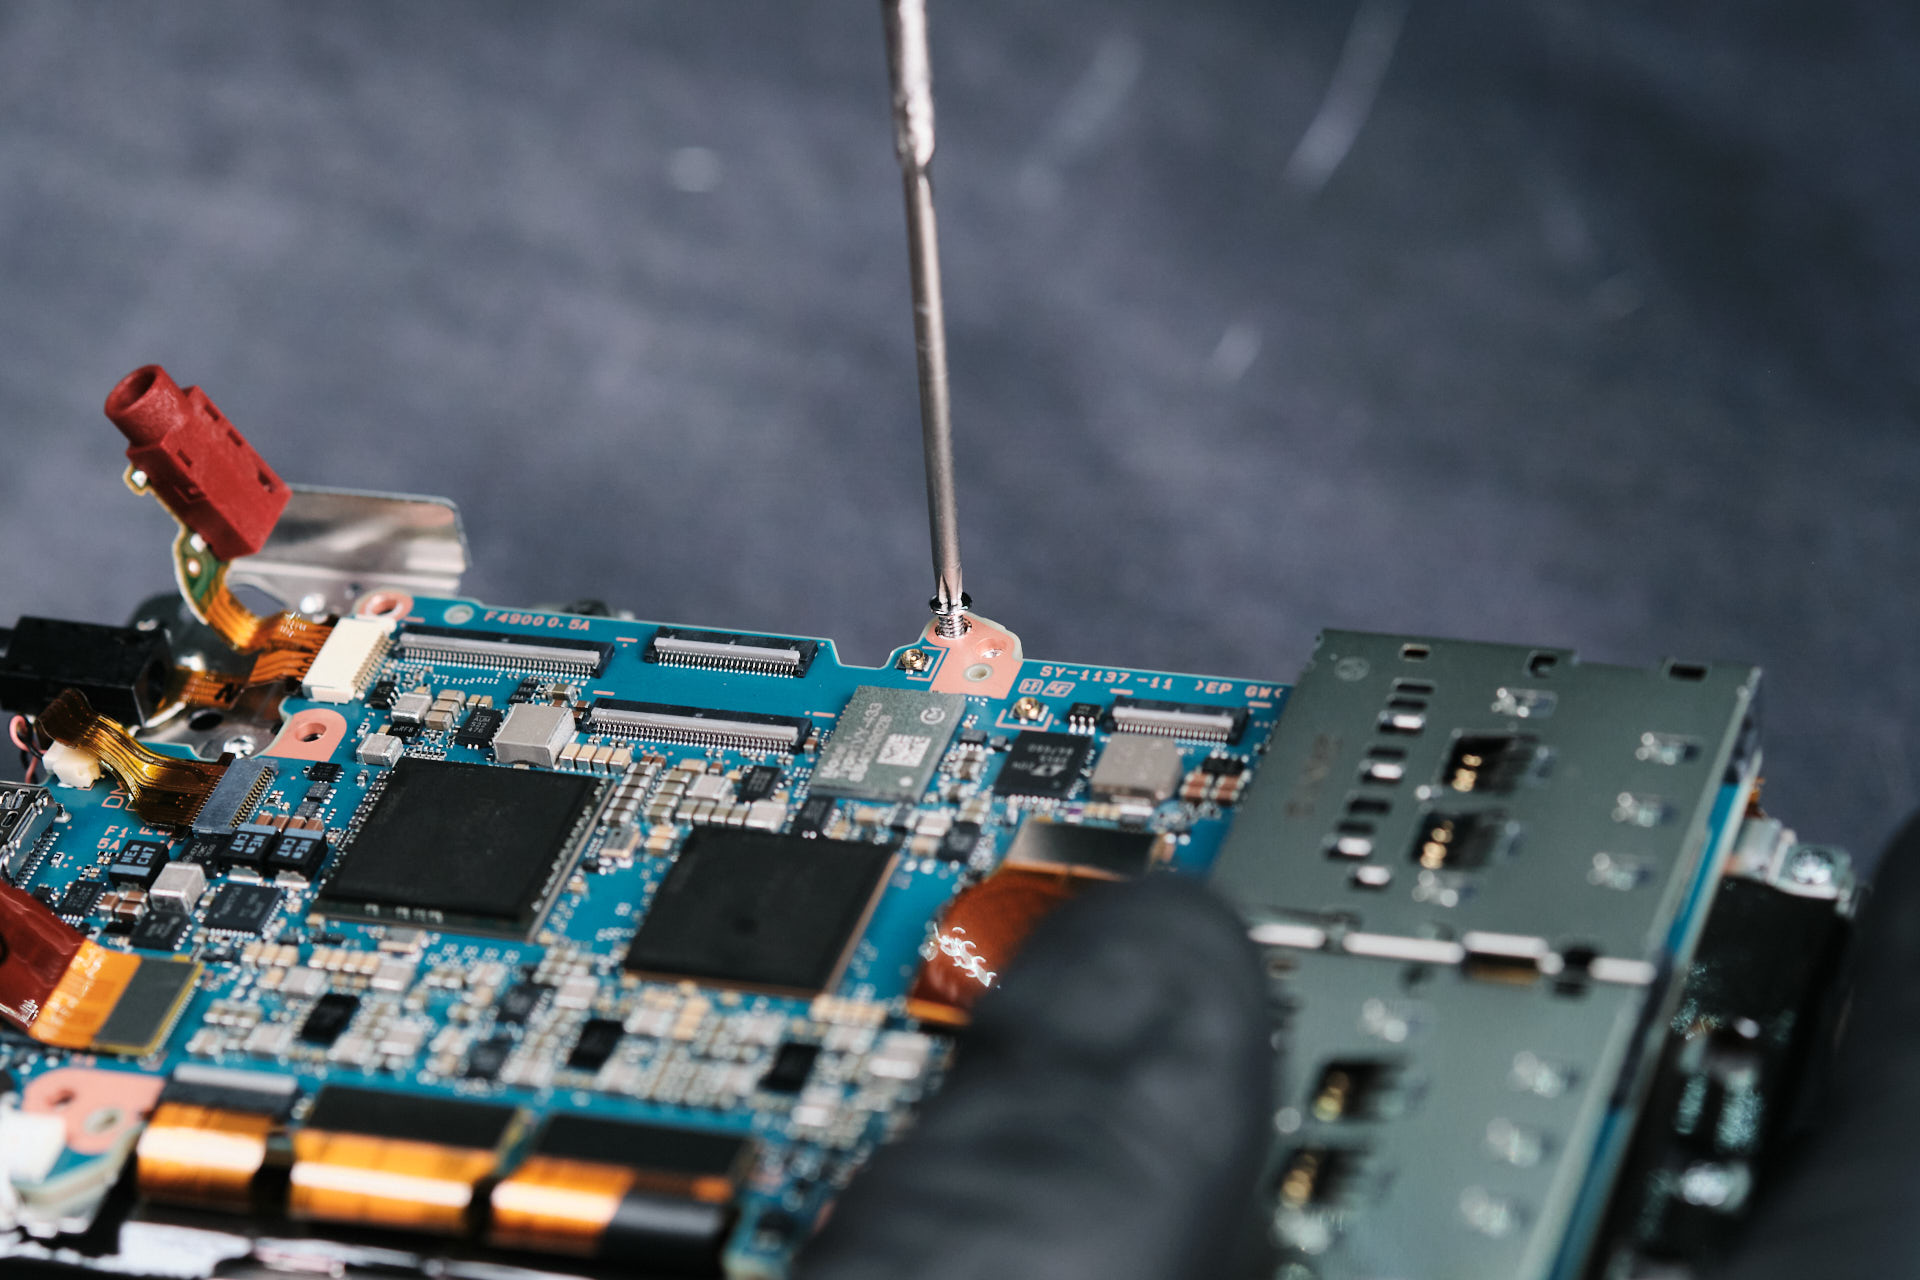
Here we started to remove several screws to disconnect the brackets covering the circuitboard. In the next sections, we’ll see that there were two brackets within this layer of camera parts.
On the left, you’ll see one small bracket. The larger brackets still had heat transfer tape connected to it. Removing it allowed us to lift the one of the brackets.
Removing the Top Plate of the Sony A1 II
Removing several screws and ribbon cables allowed us to remove the top plate of the camera.
The top plate of the camera in question.Â
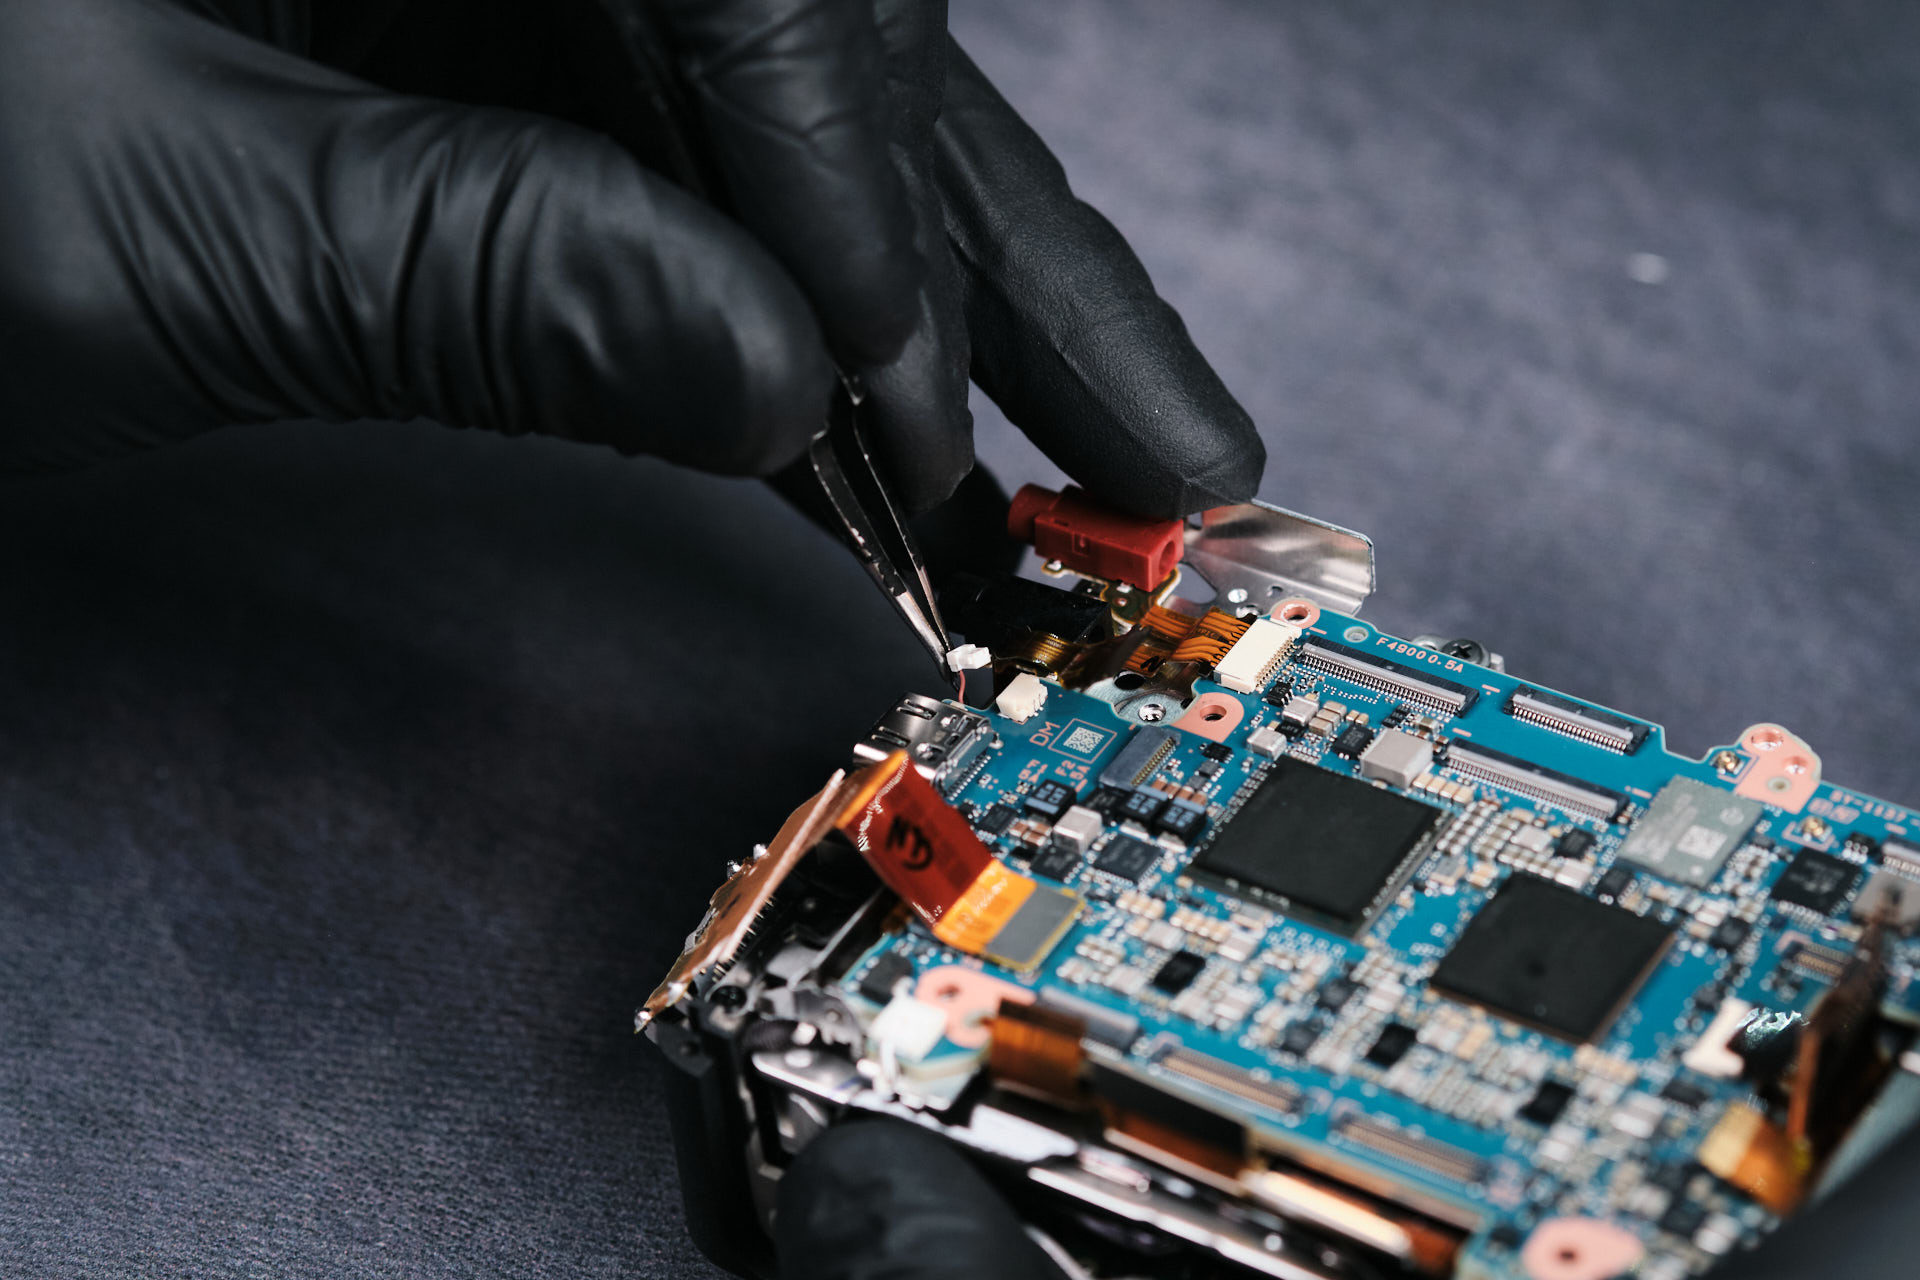
Disconnecting Sony A1 II Circuit Board Connections
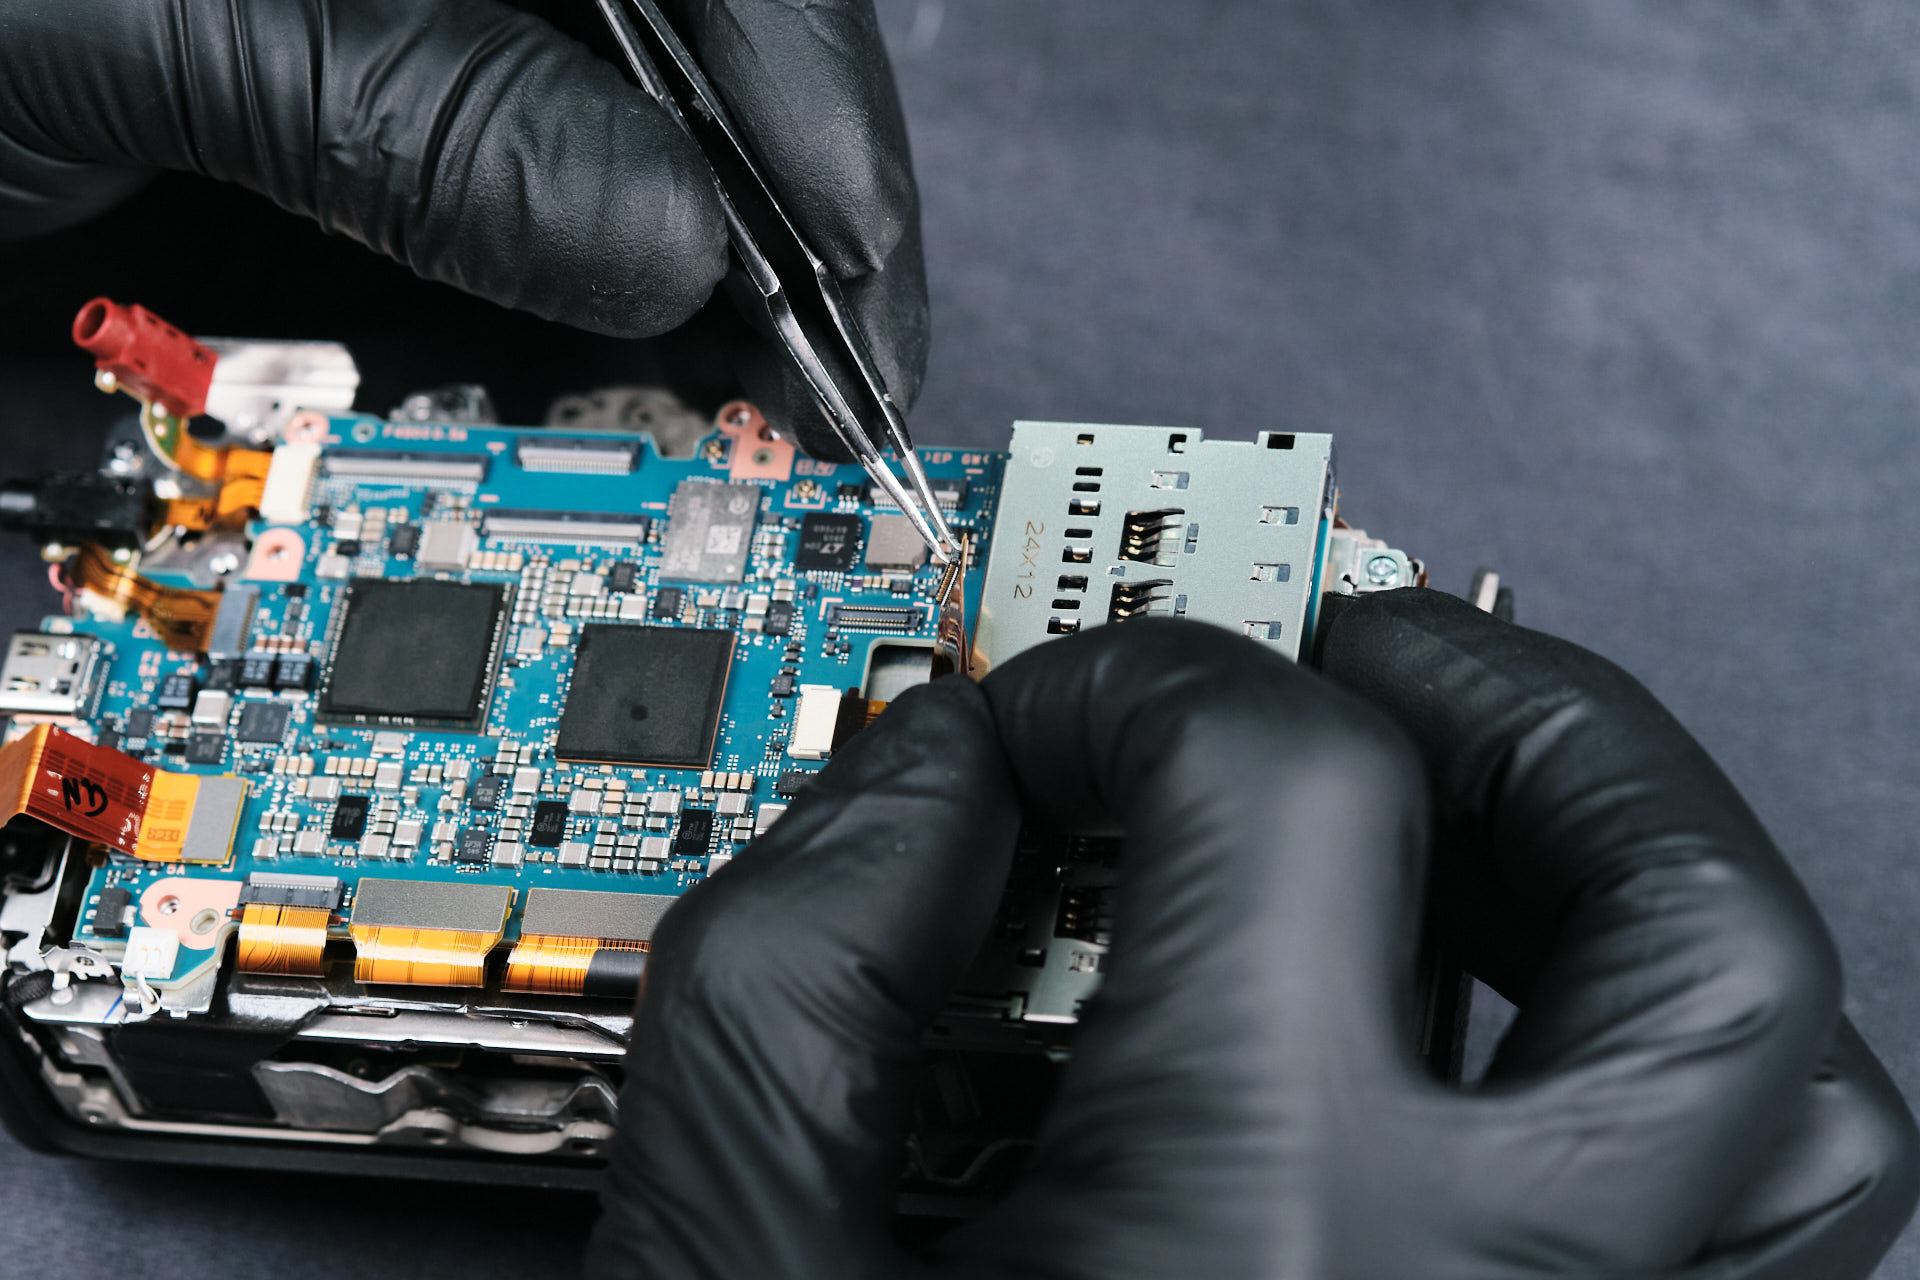
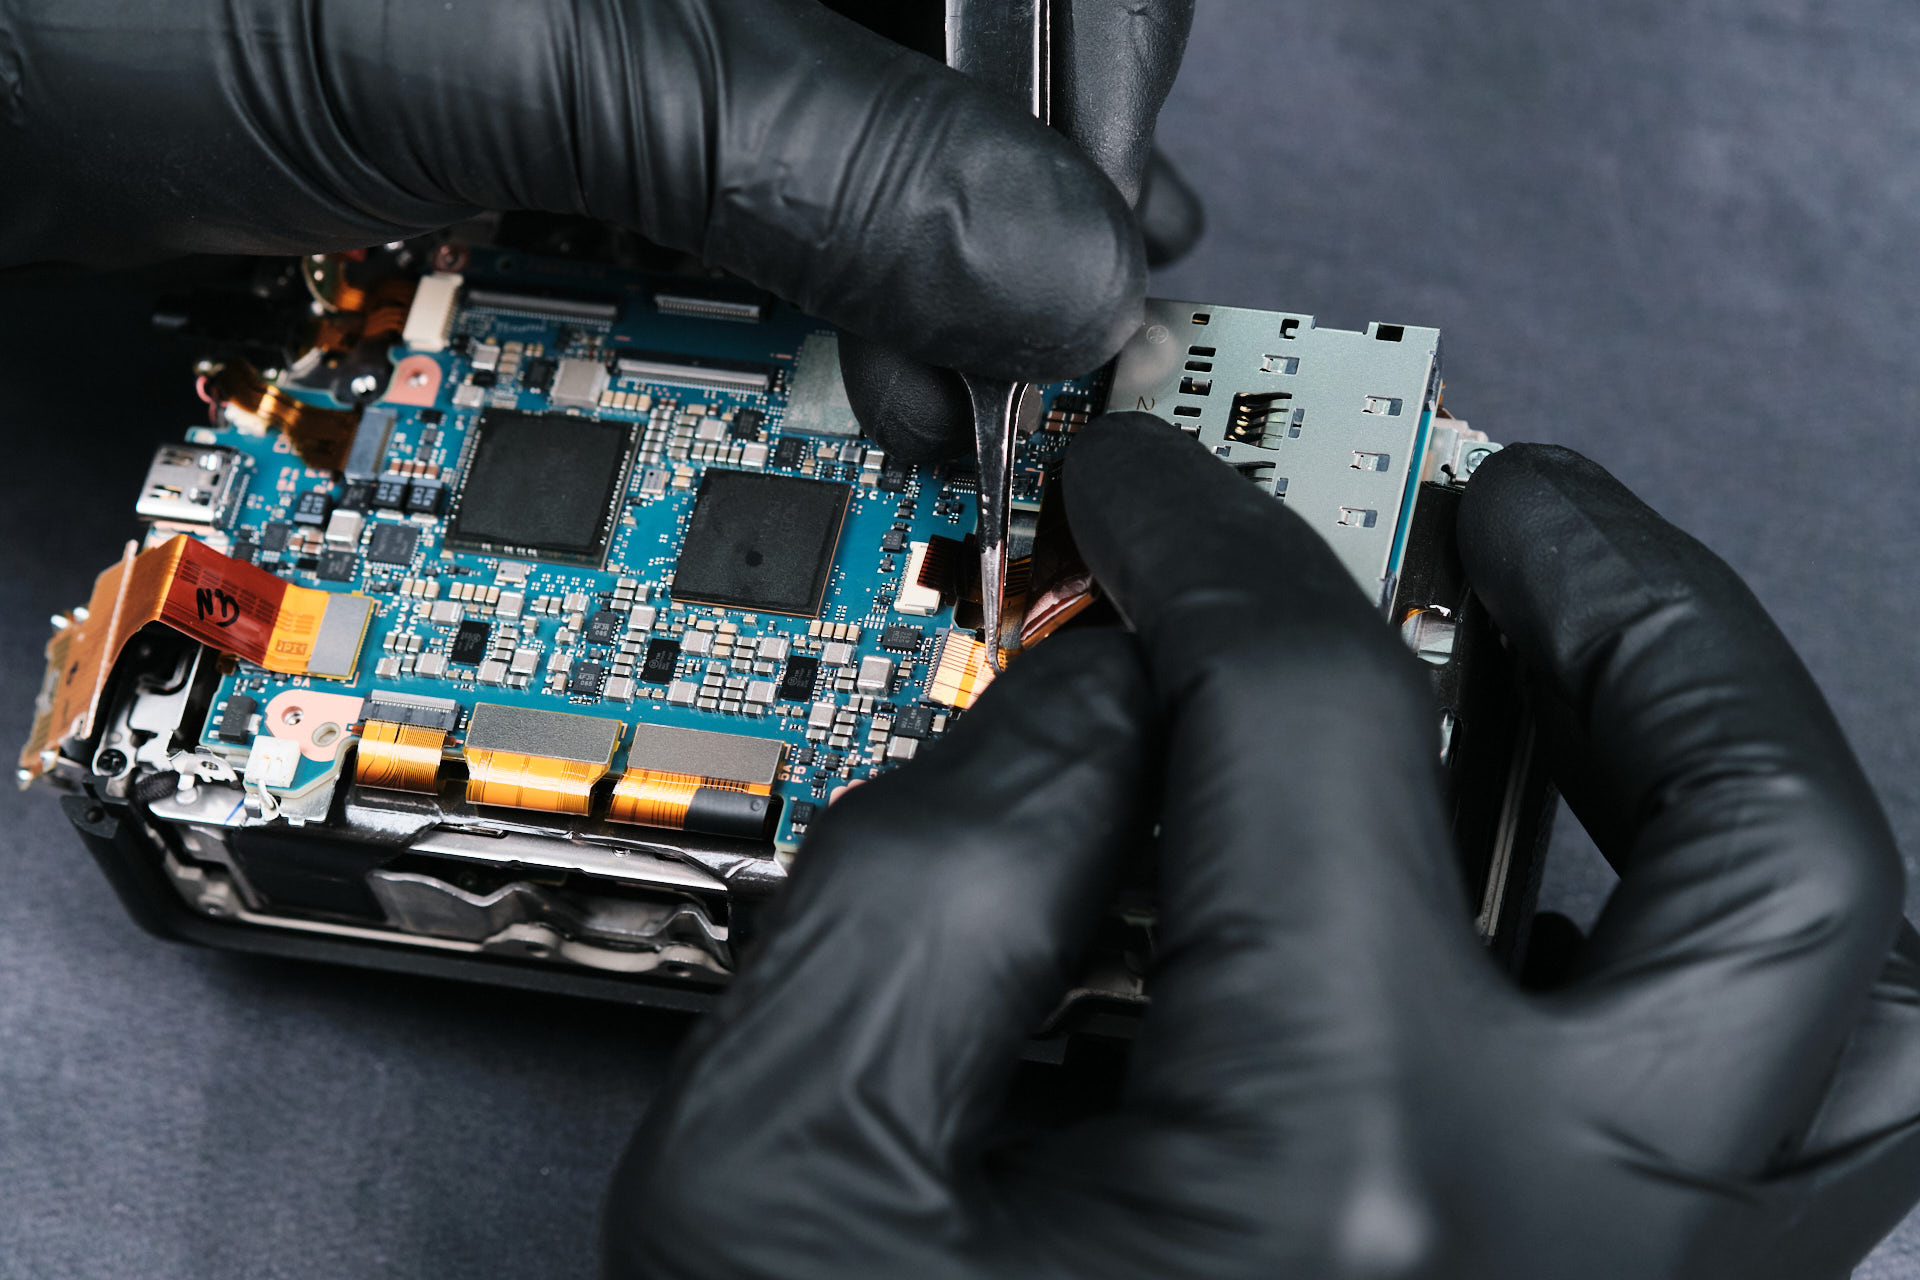
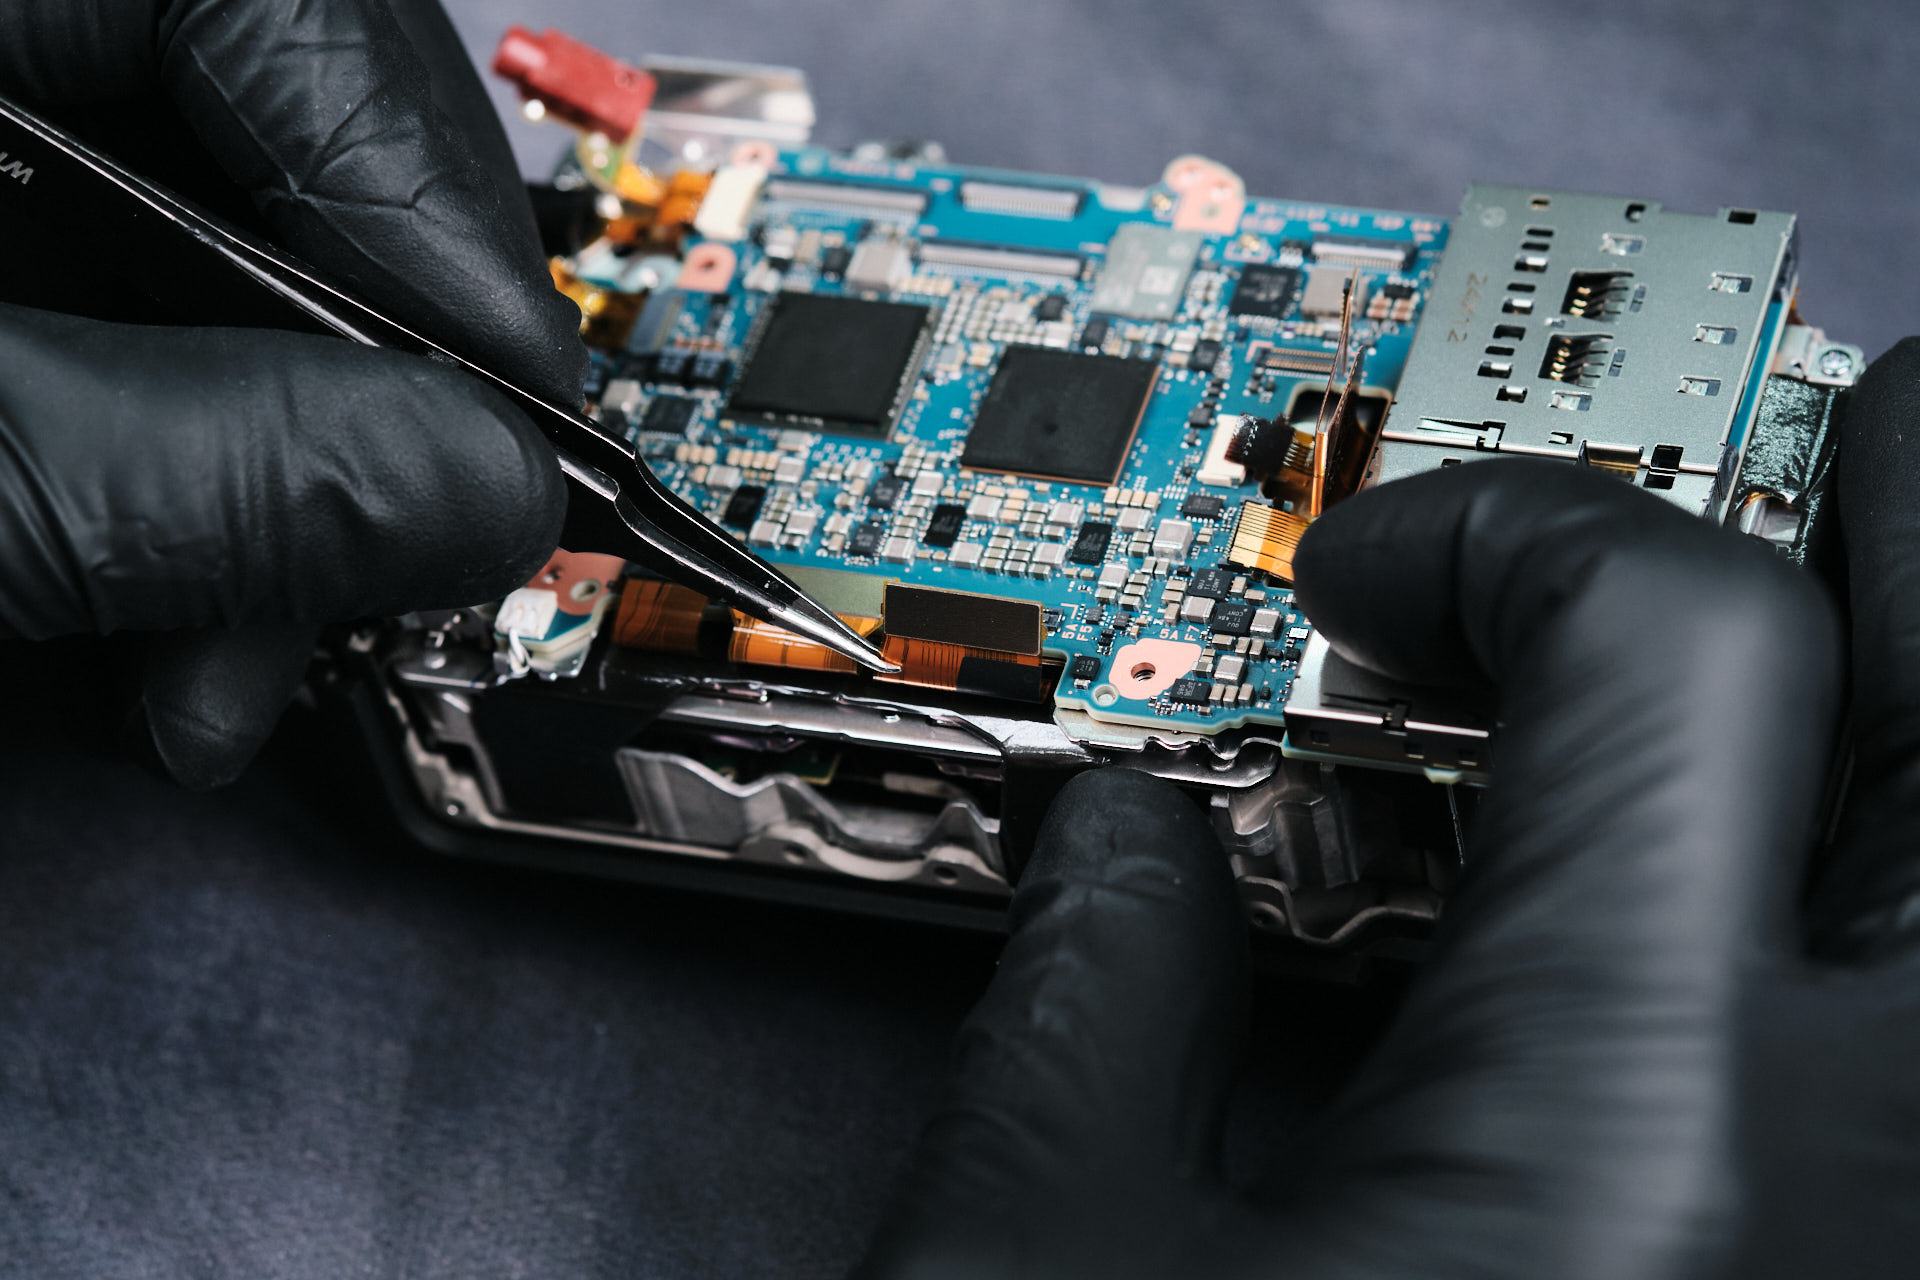
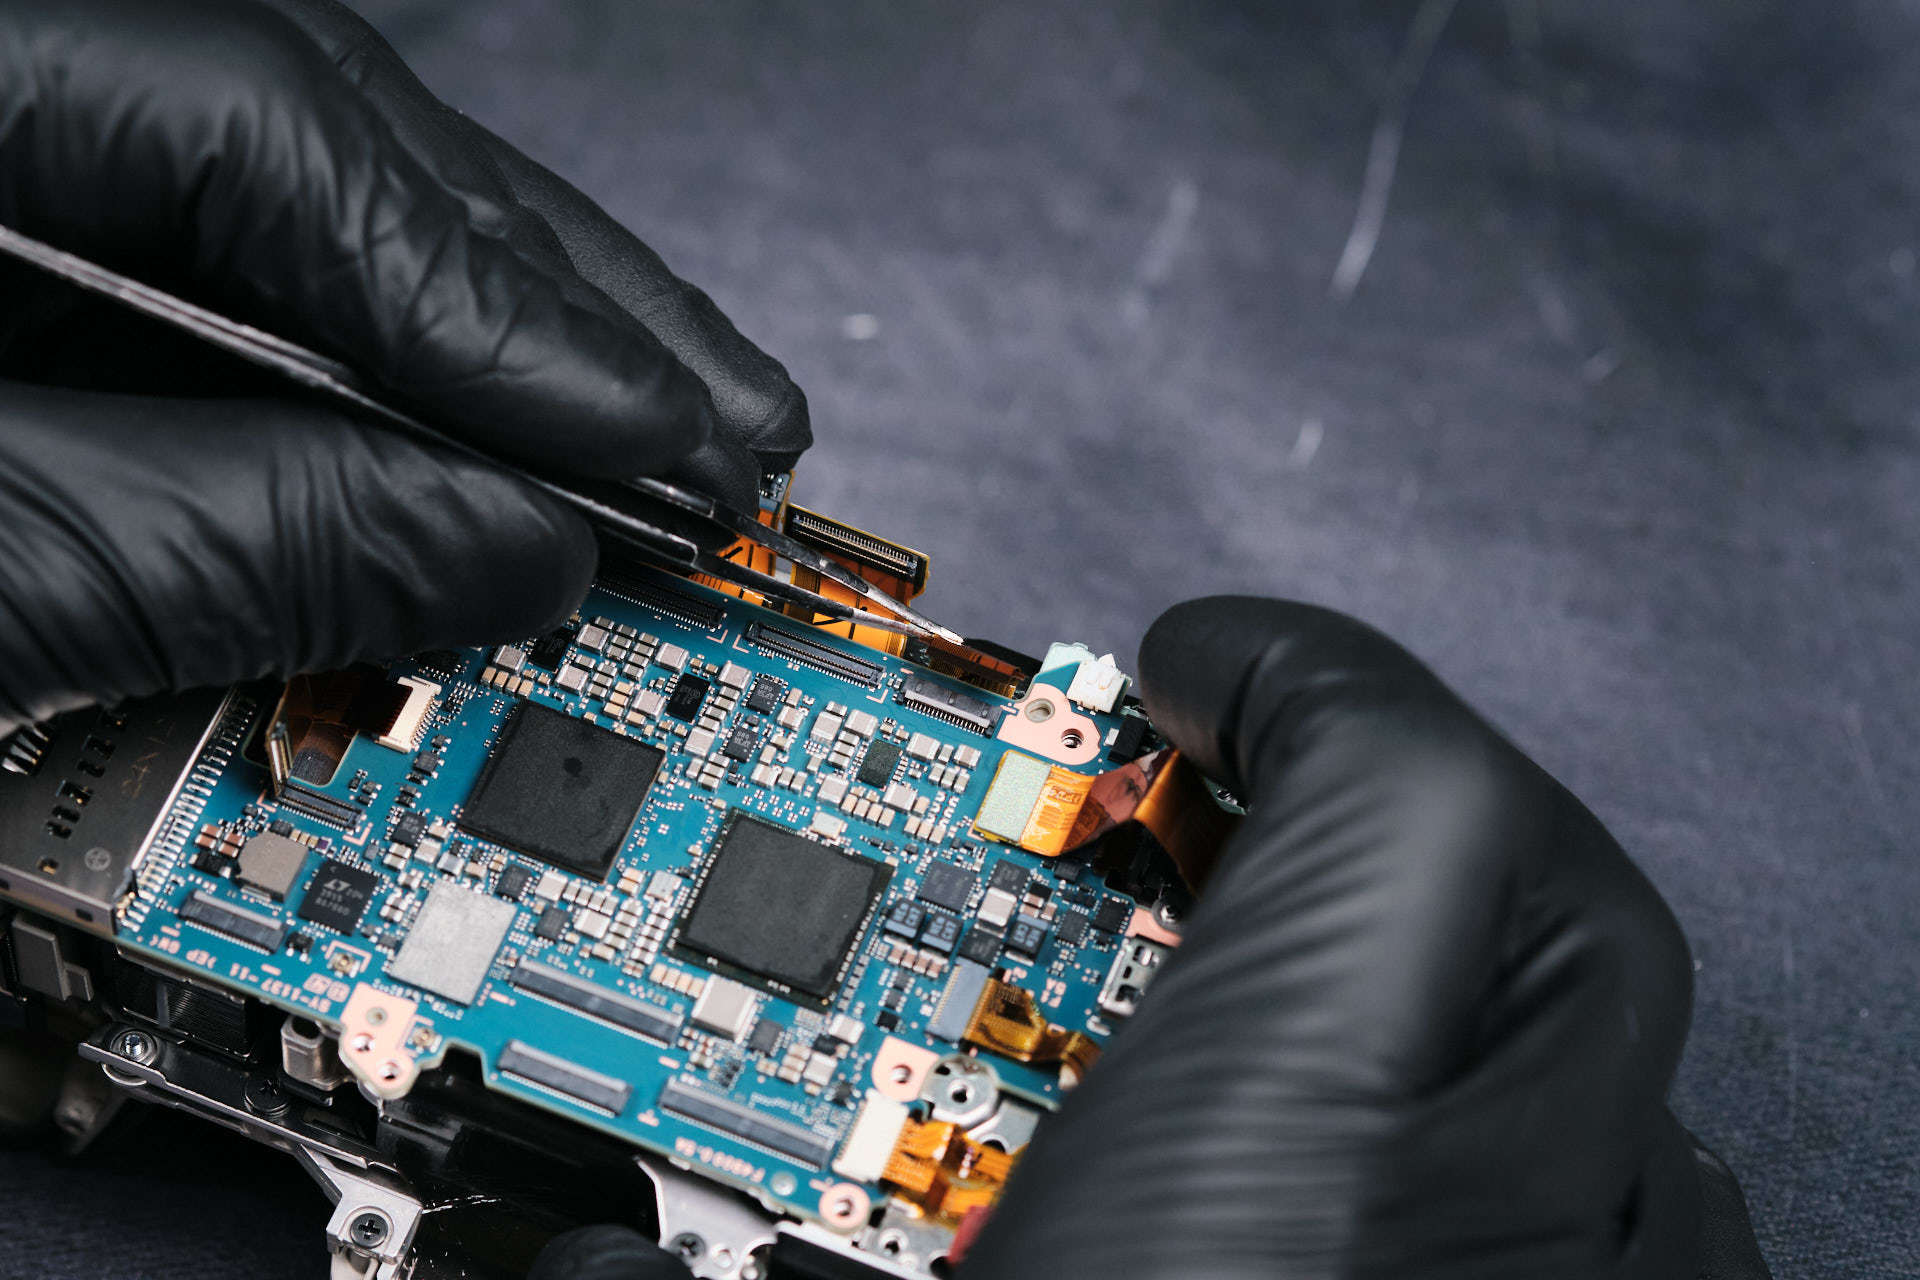
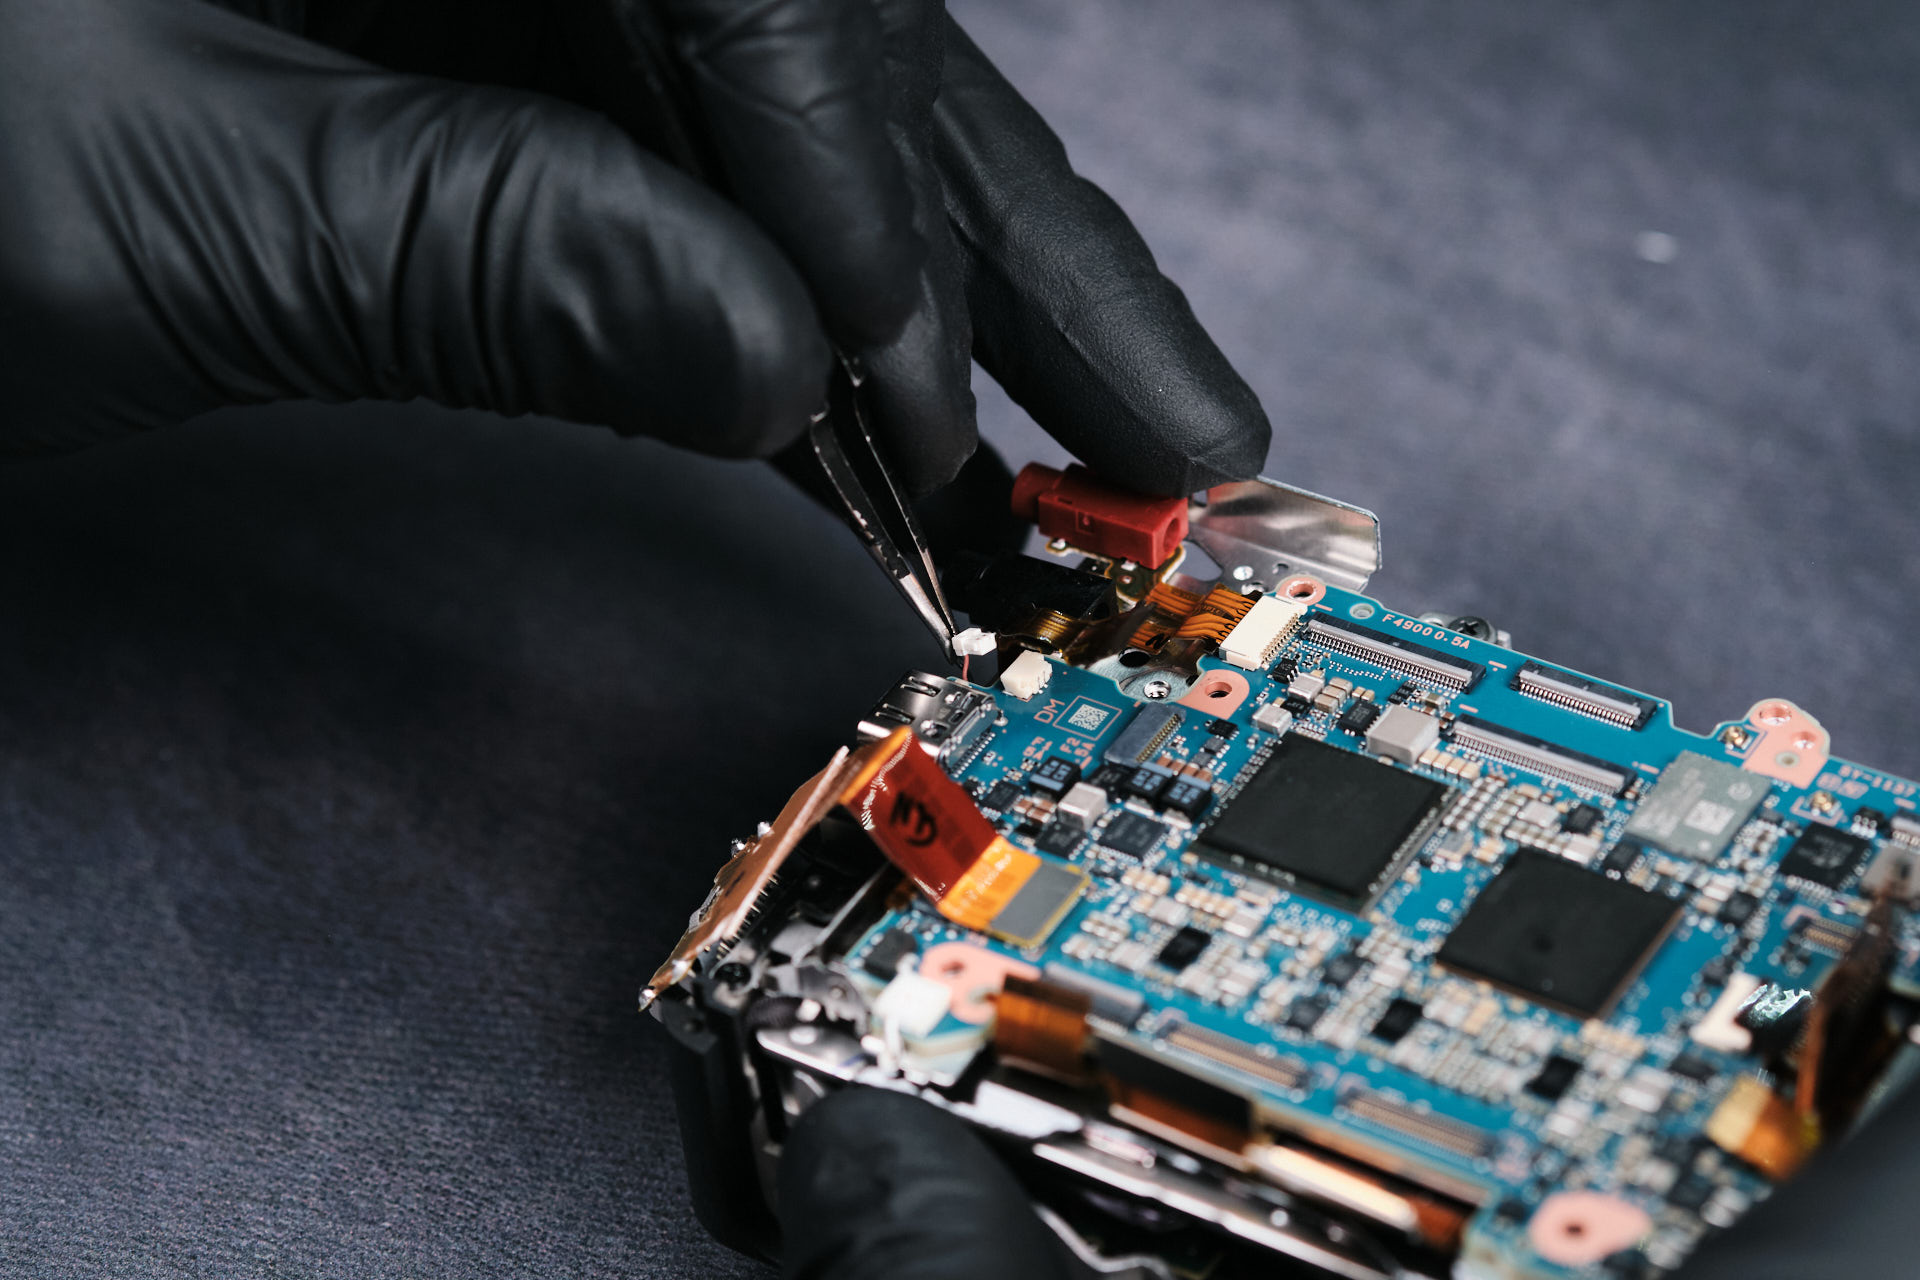
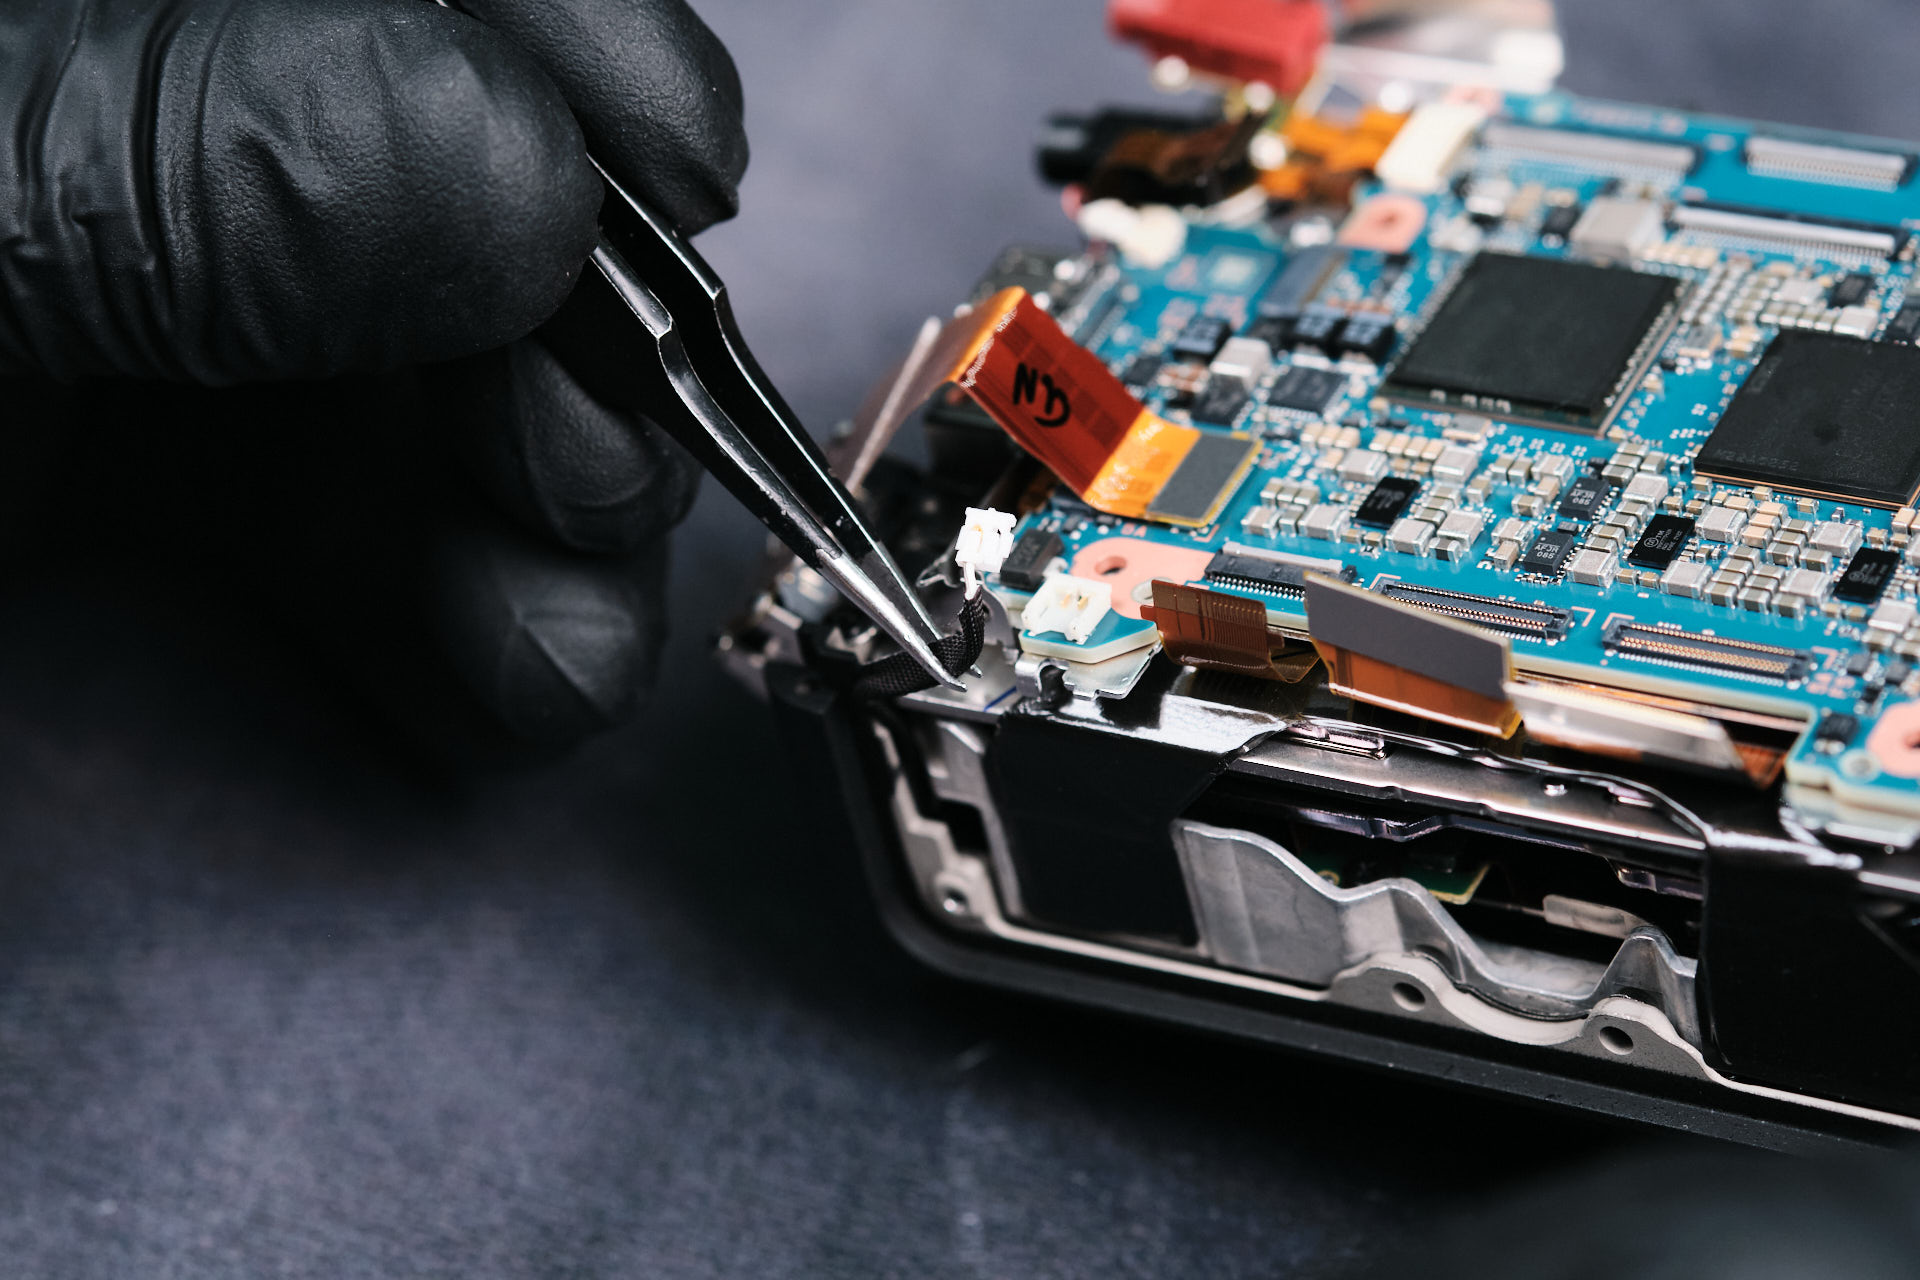
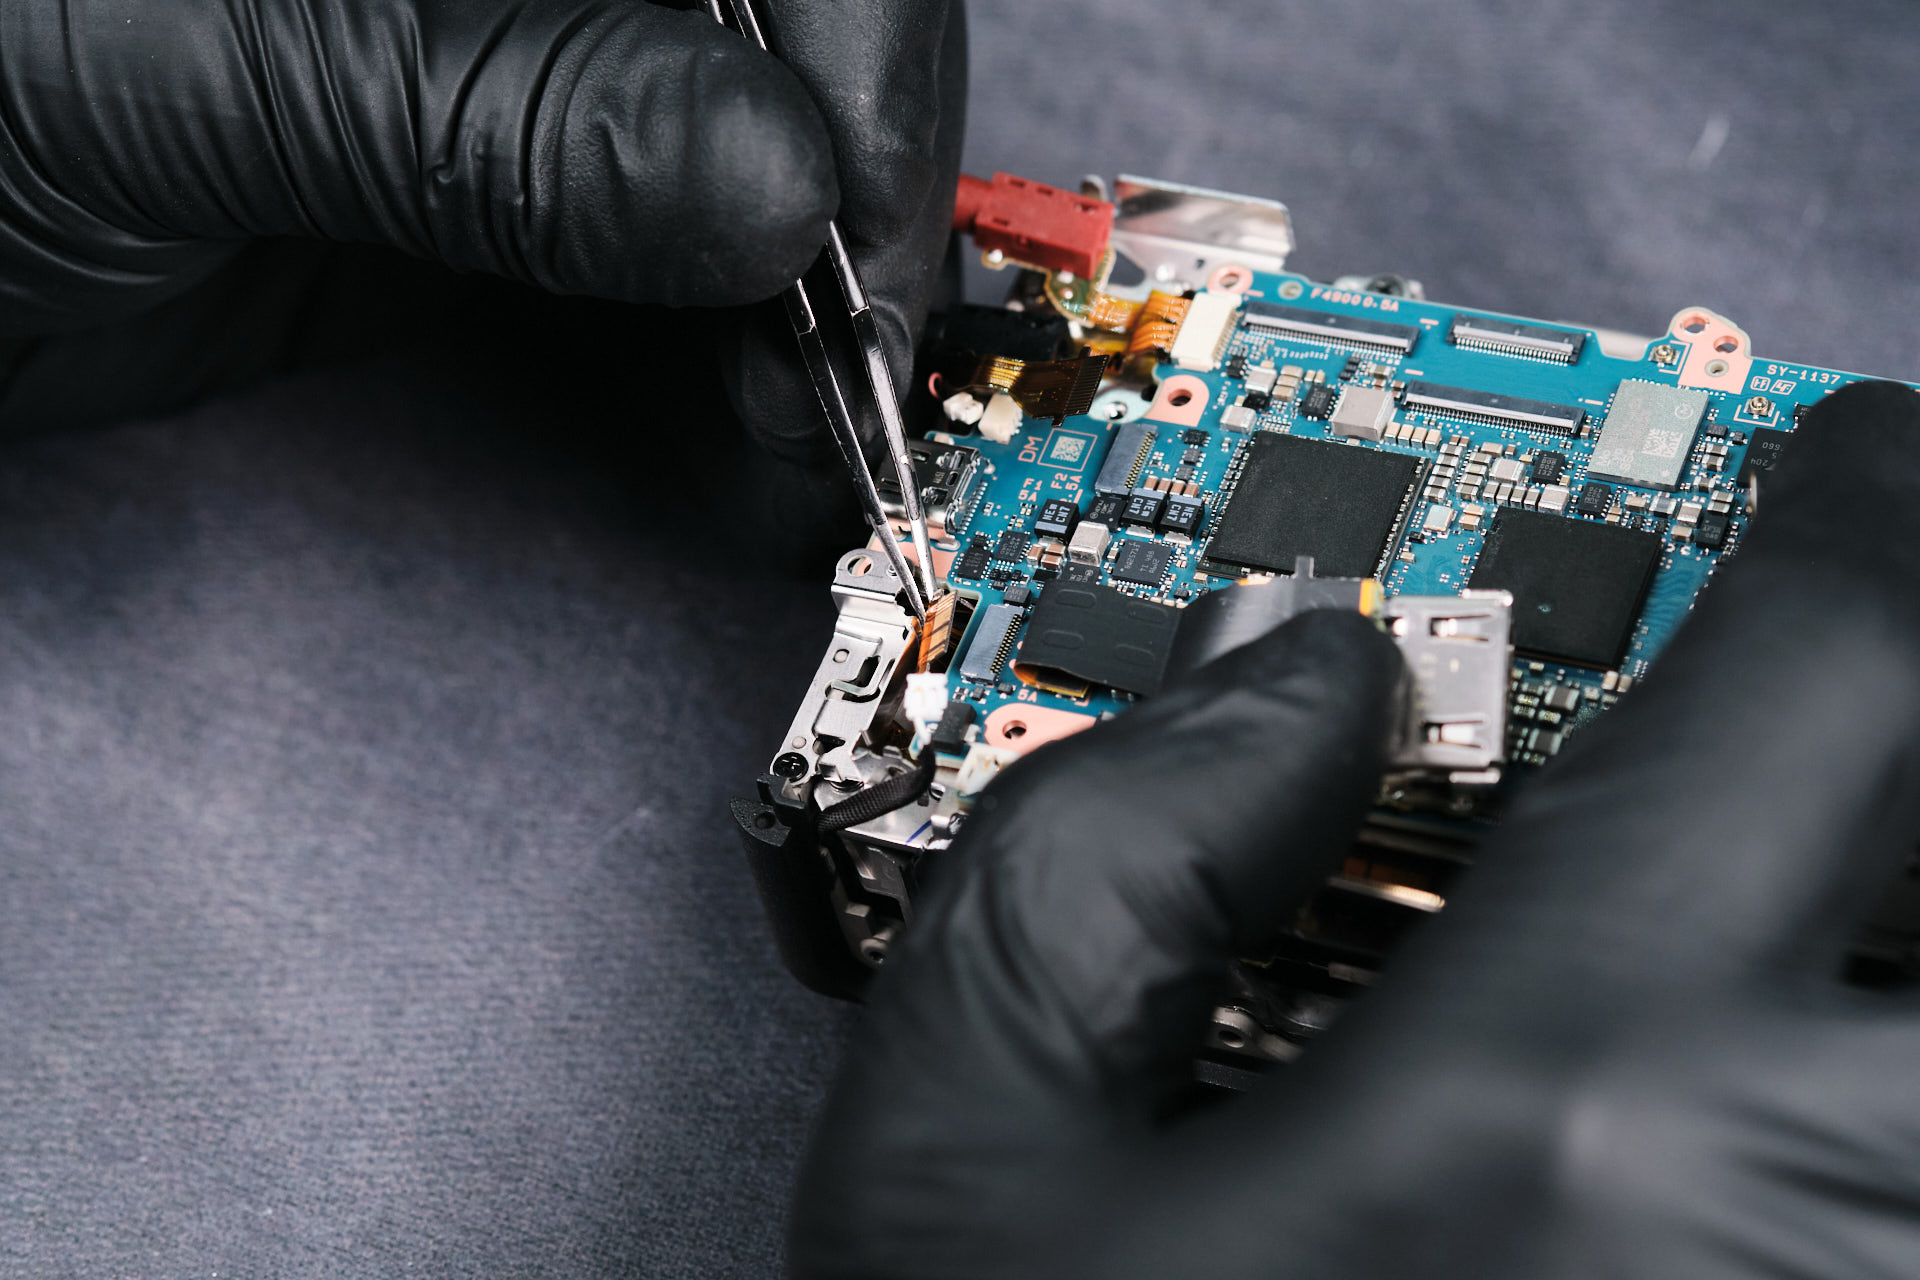
Surrounding the perimeter of the circuitboard was several ribbon cables, screws, and wires for removal.Â
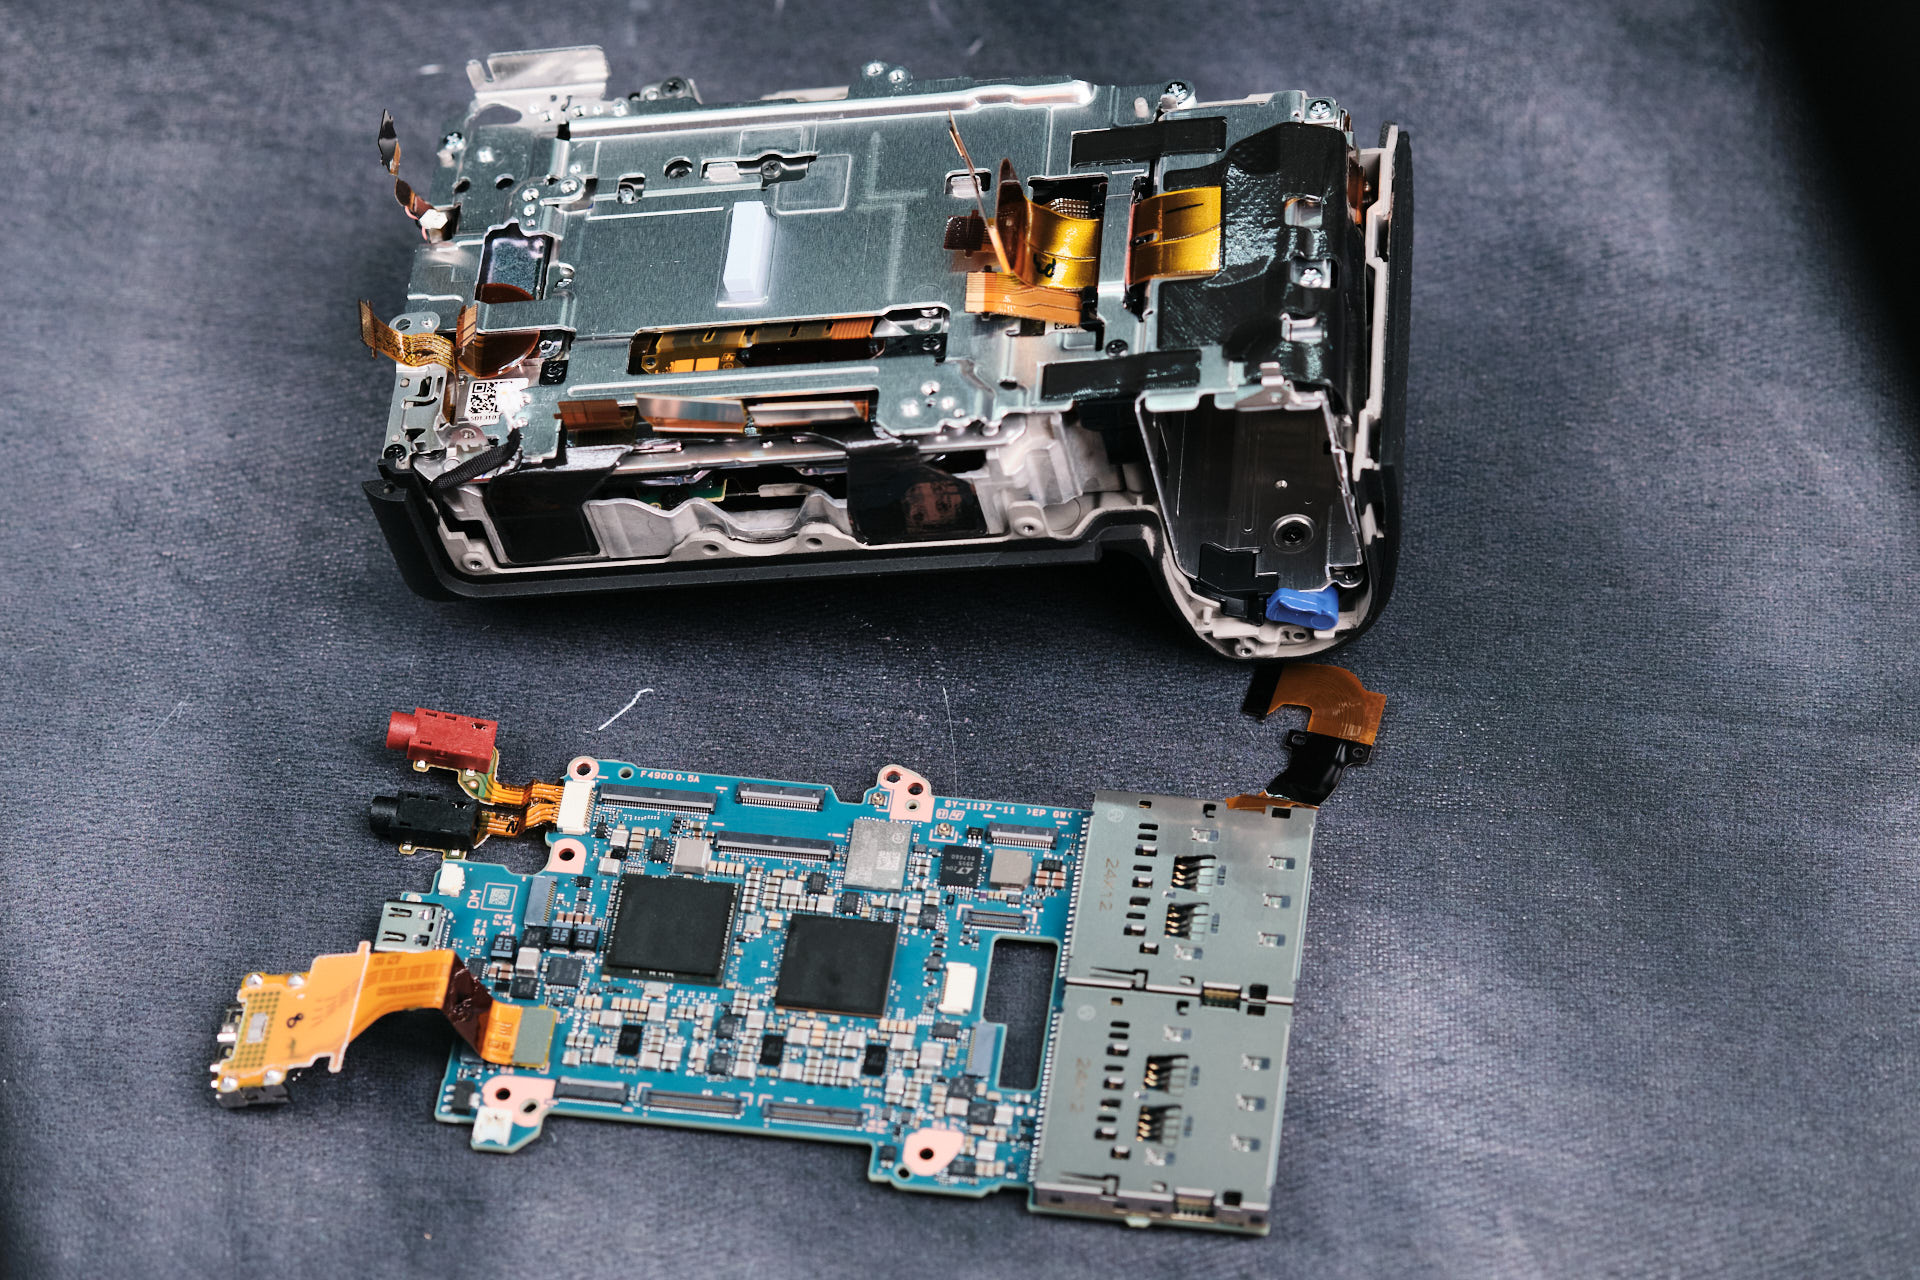
Removing Hidden Connections Beneath the Circuit Board
There were hidden connections beneath the circuitboard. Interestingly, one of the ribbon cables wraps around from the underneath the circuitboard. This was the last connection point for the circuitboard to the camera body frame.
The circuitboard of the Sony A1 II.
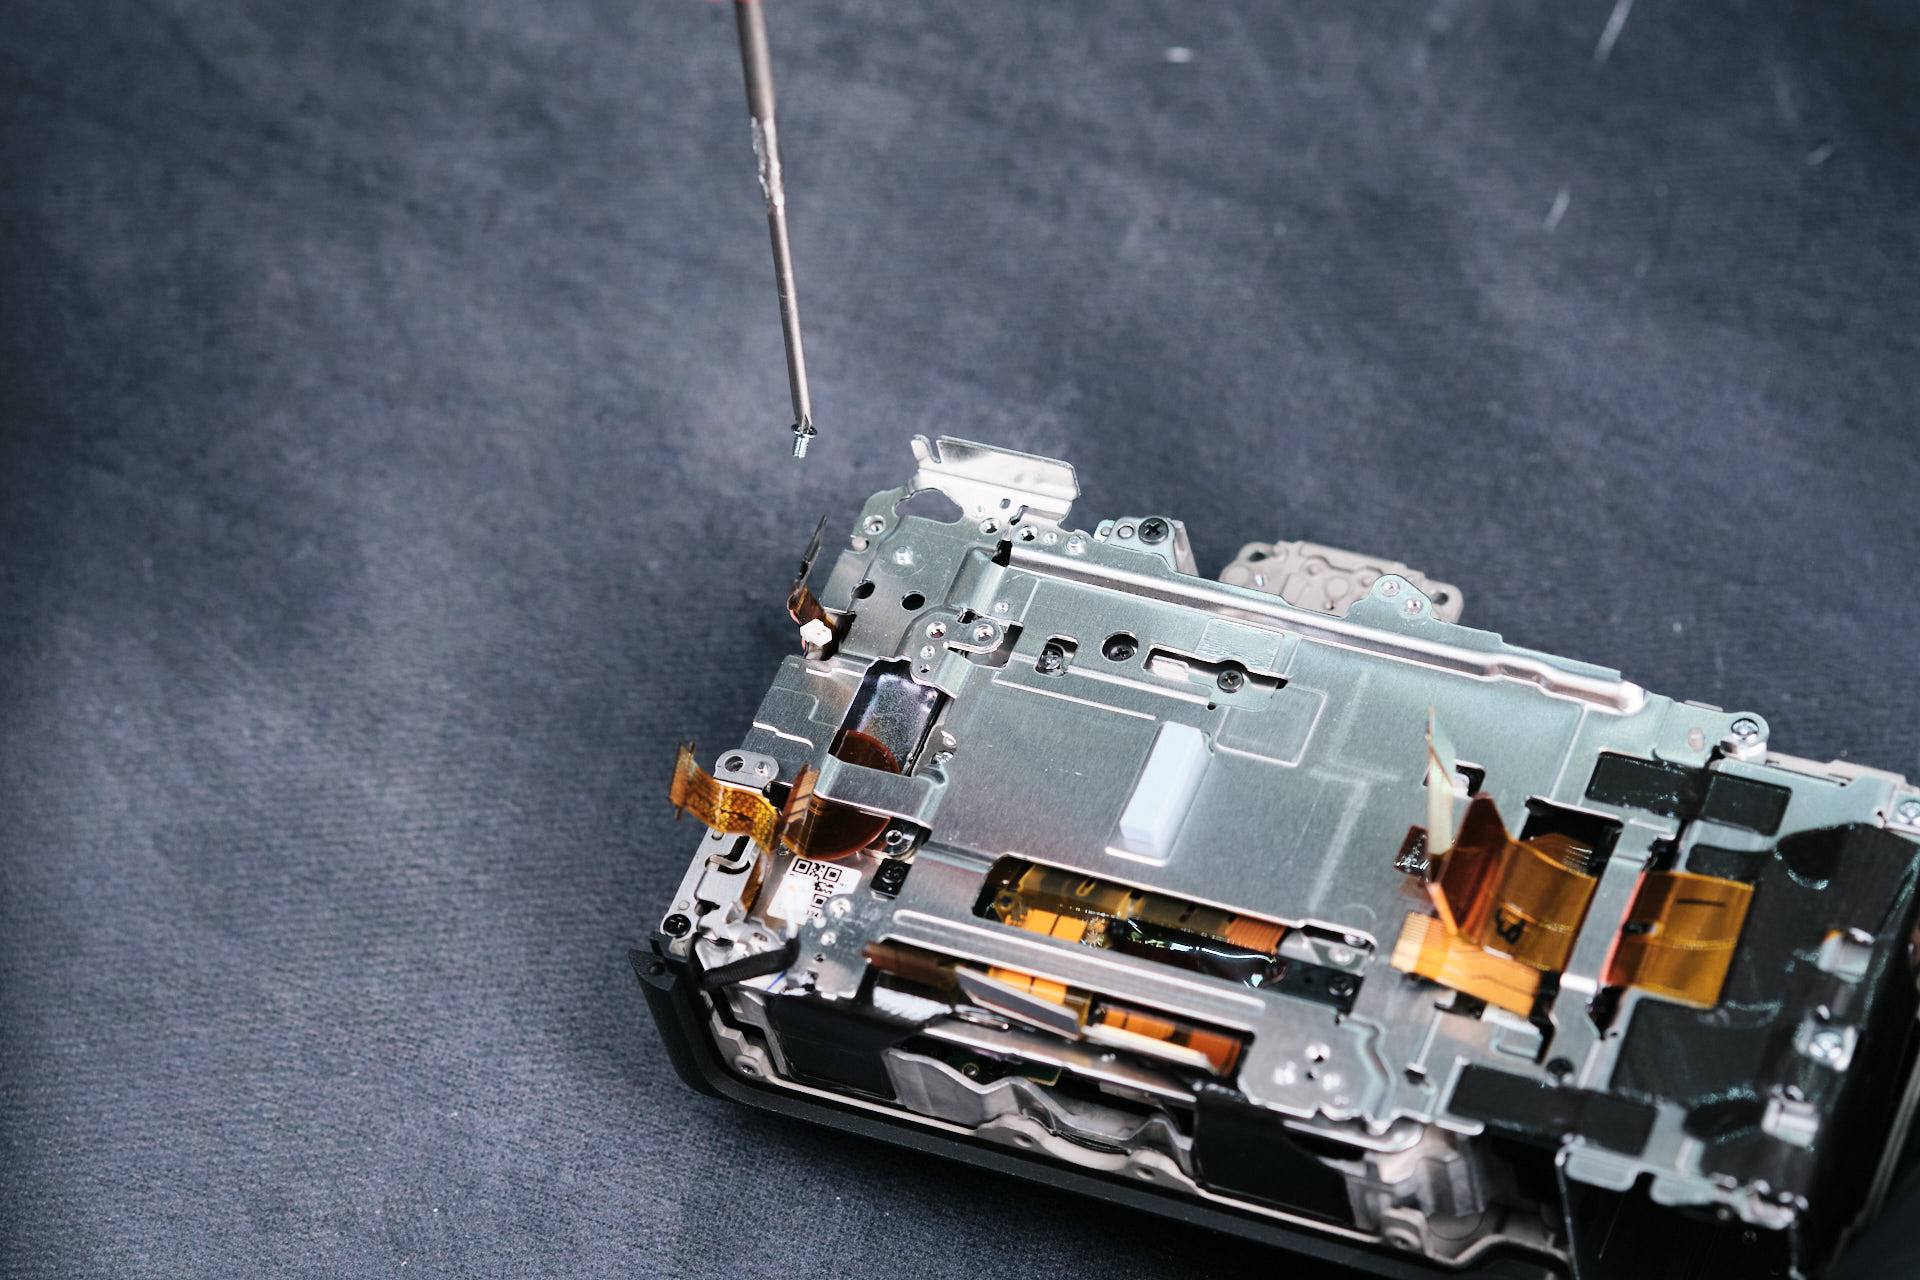
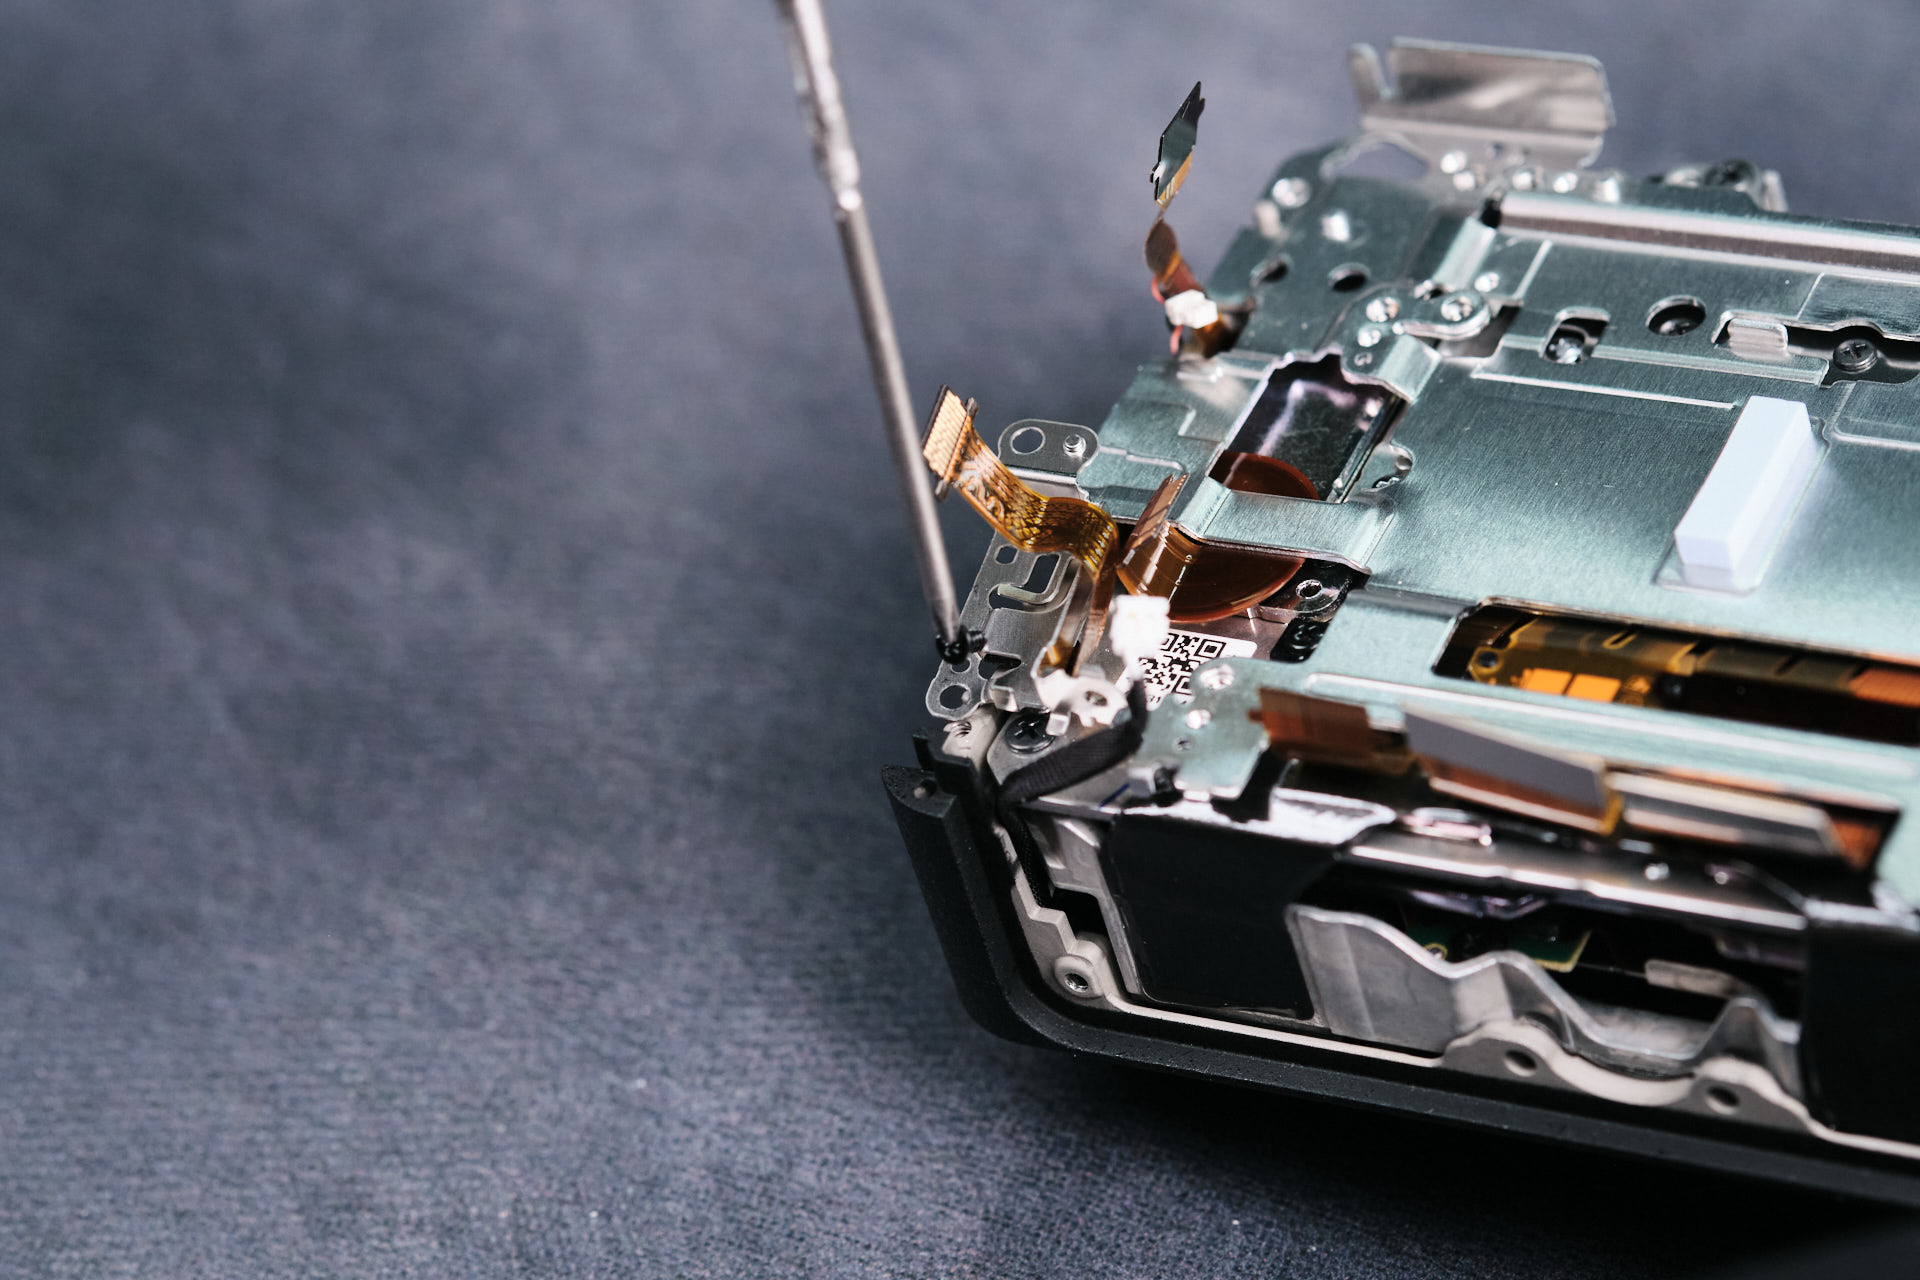
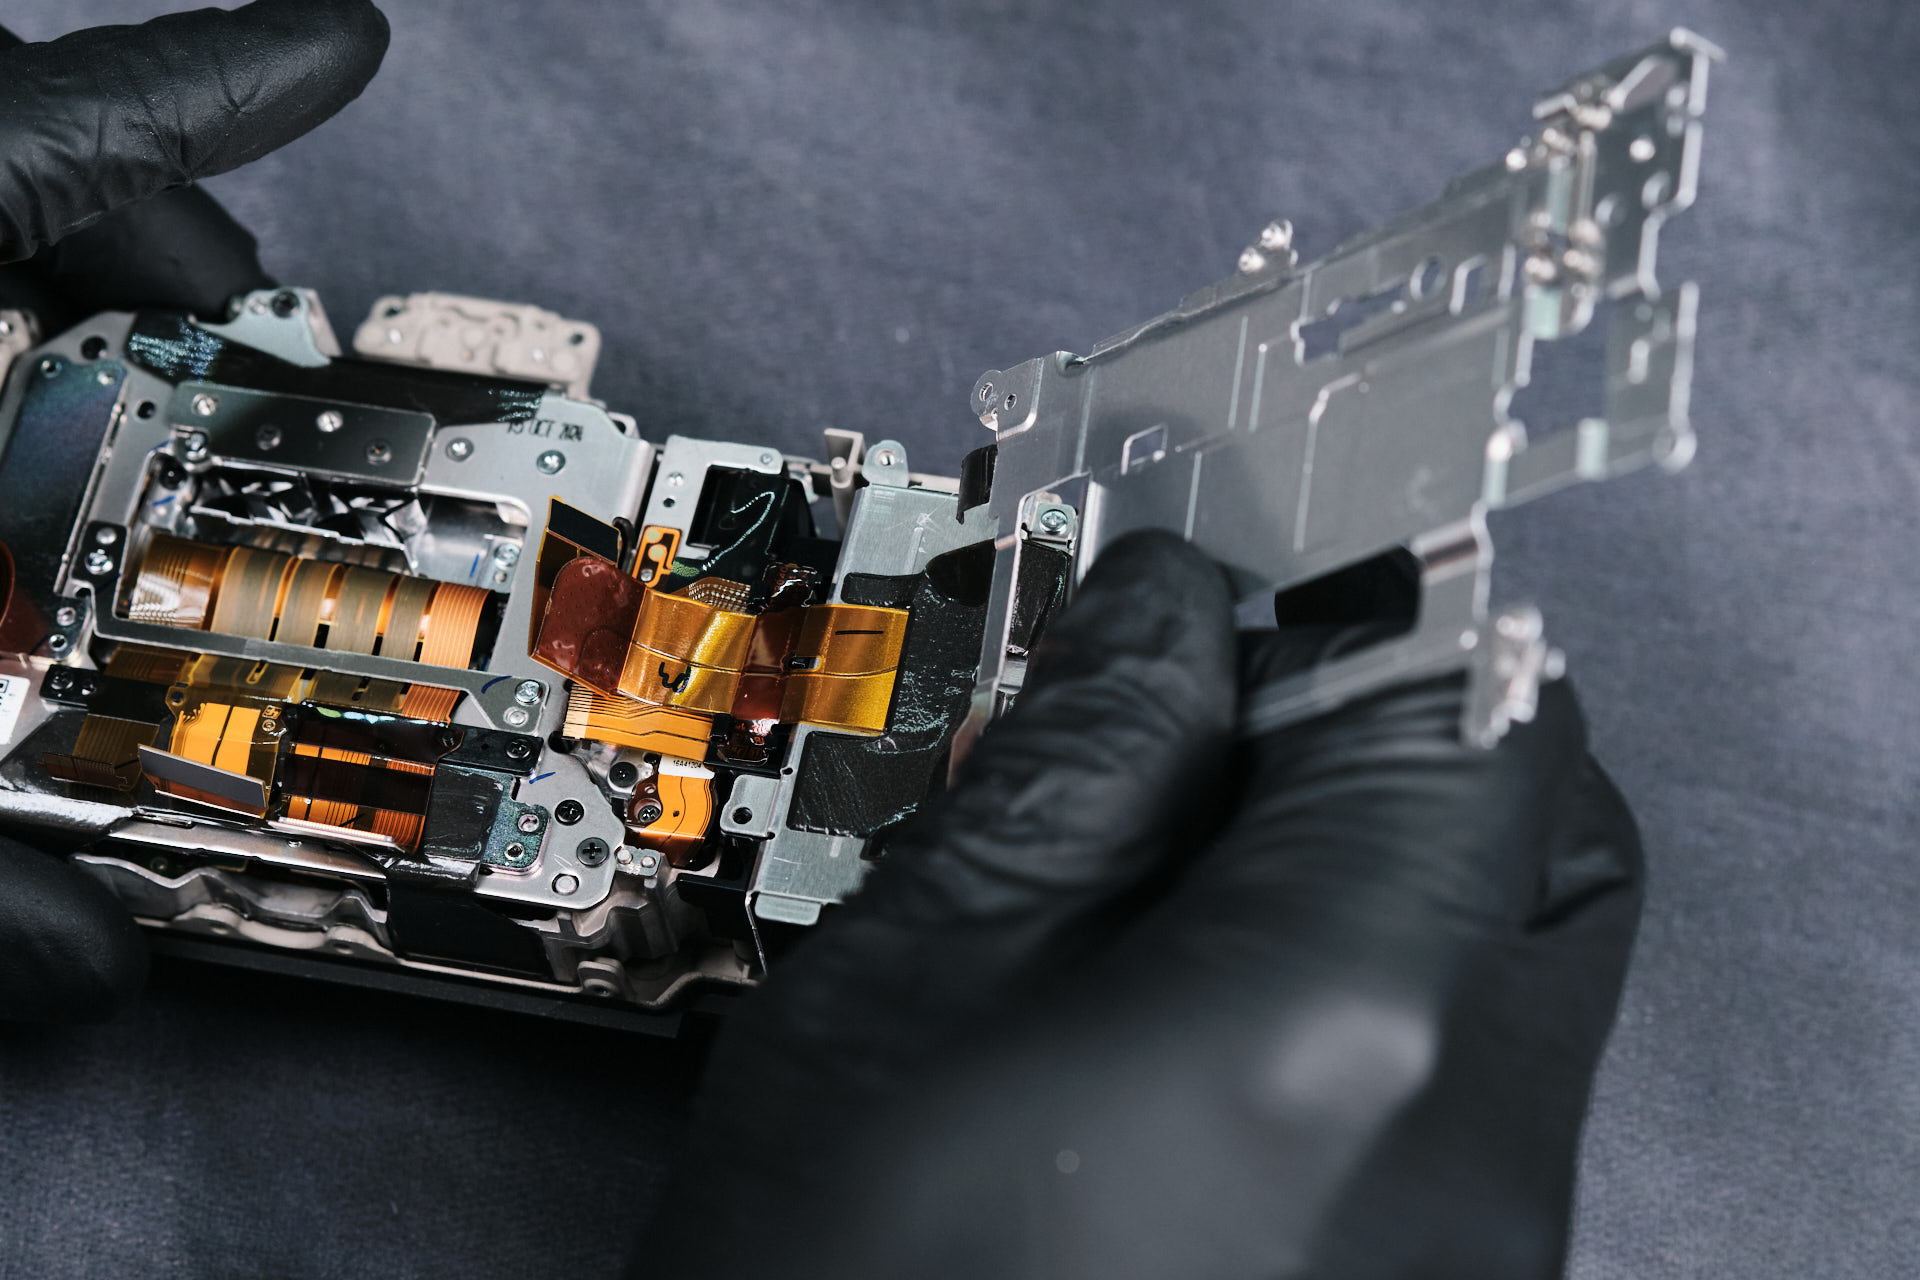
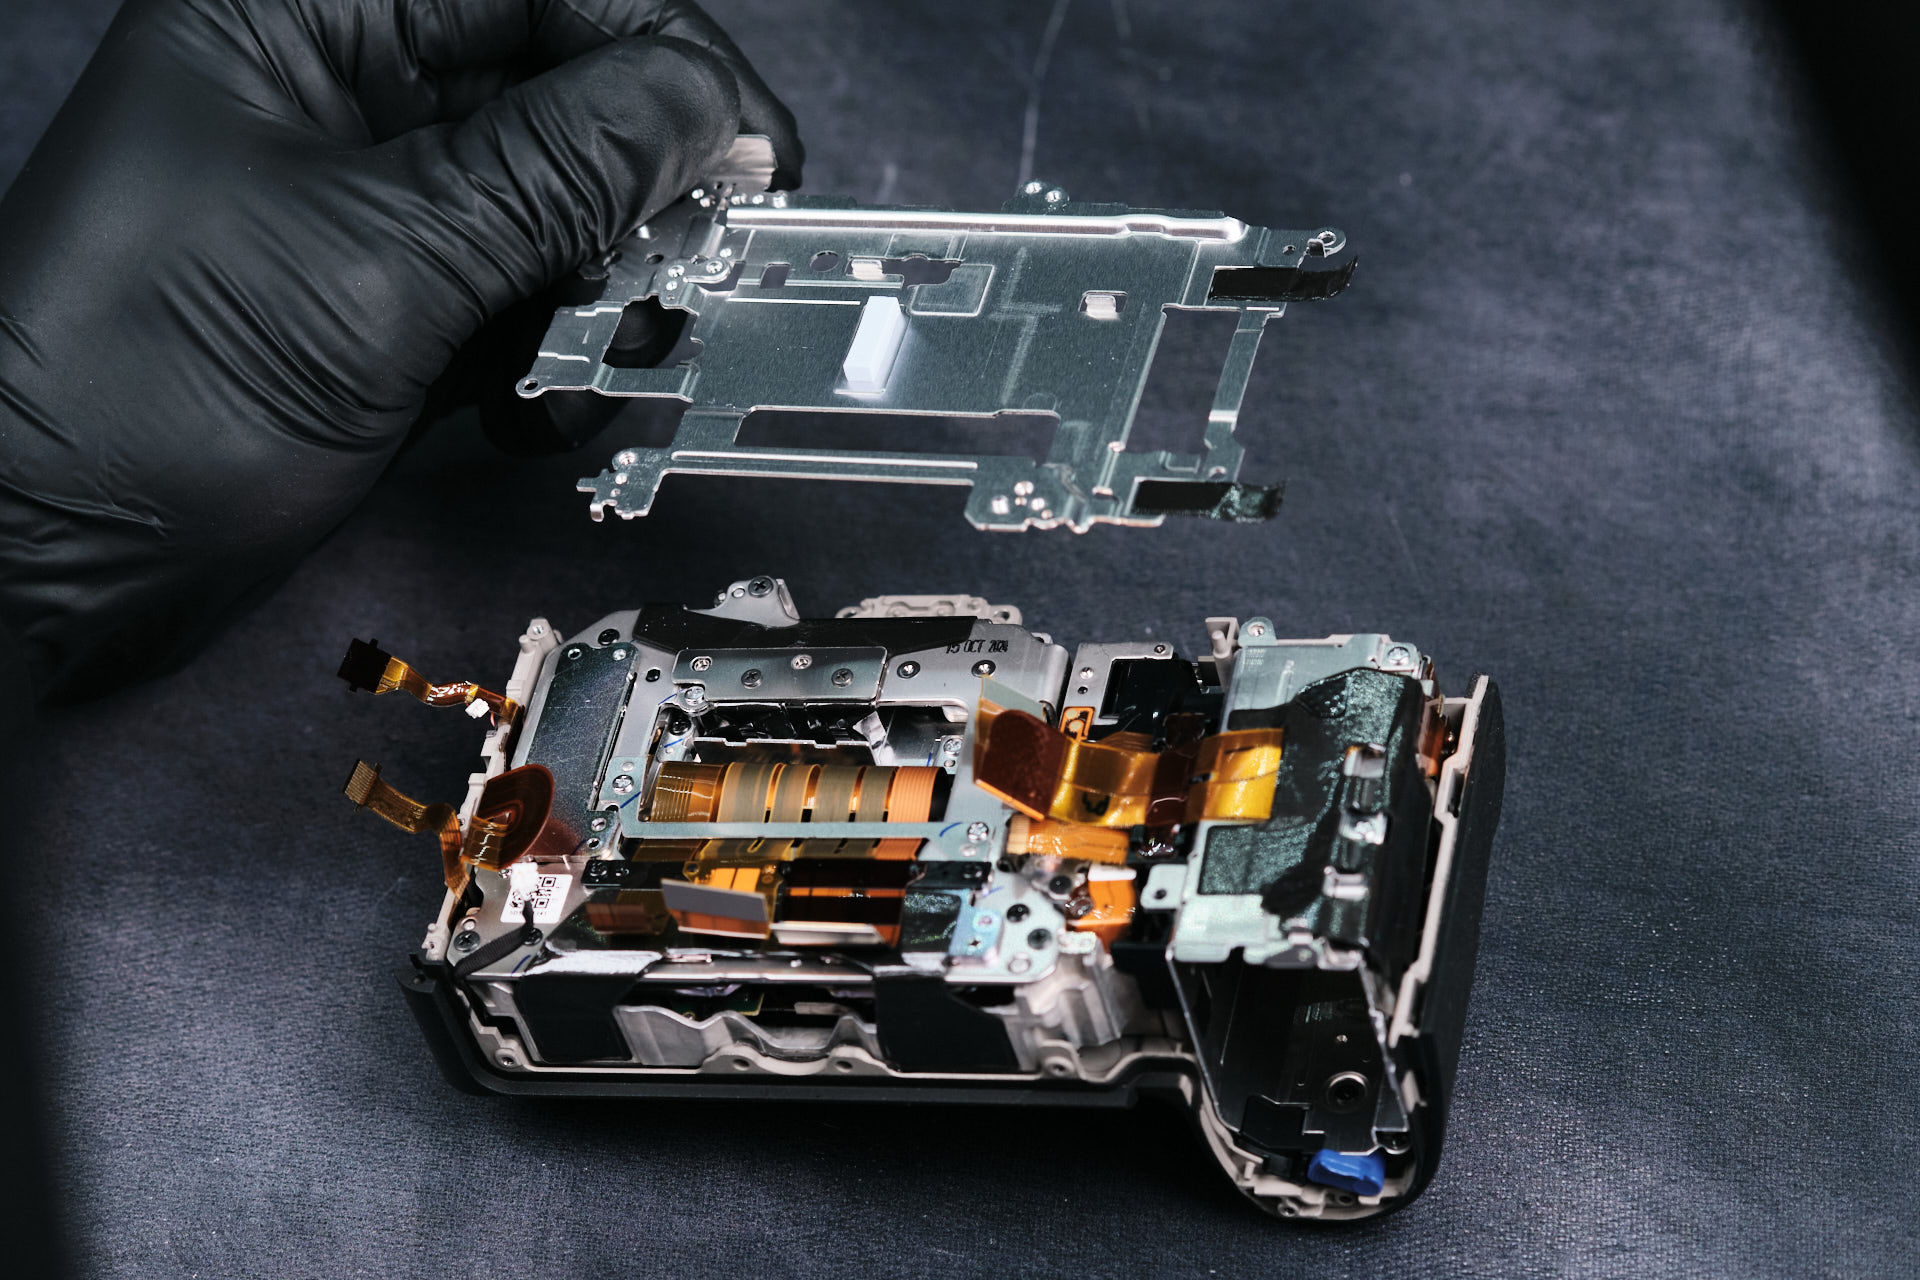
Removing the Sony A1 II Circuit Board Bracket
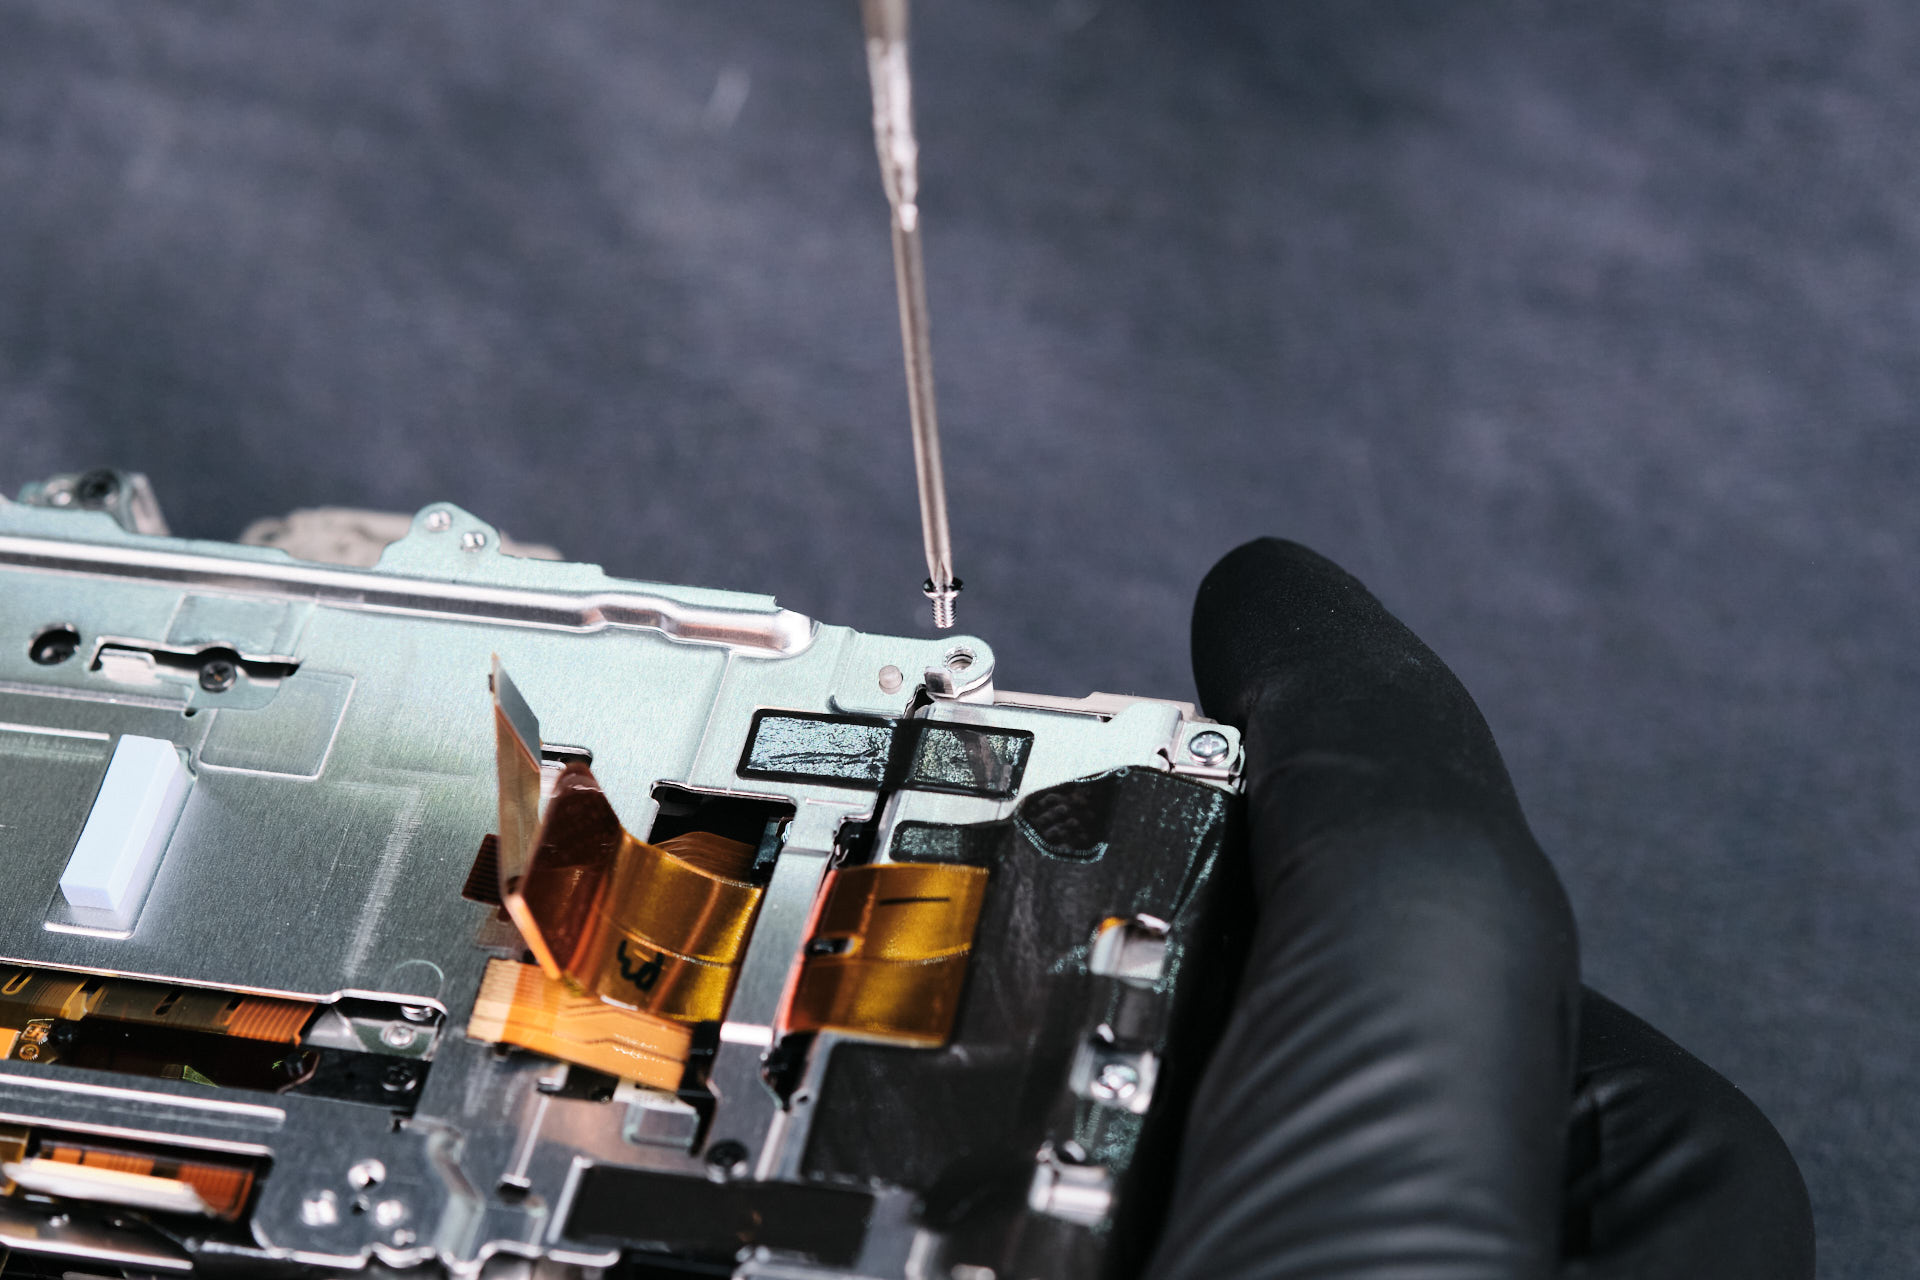
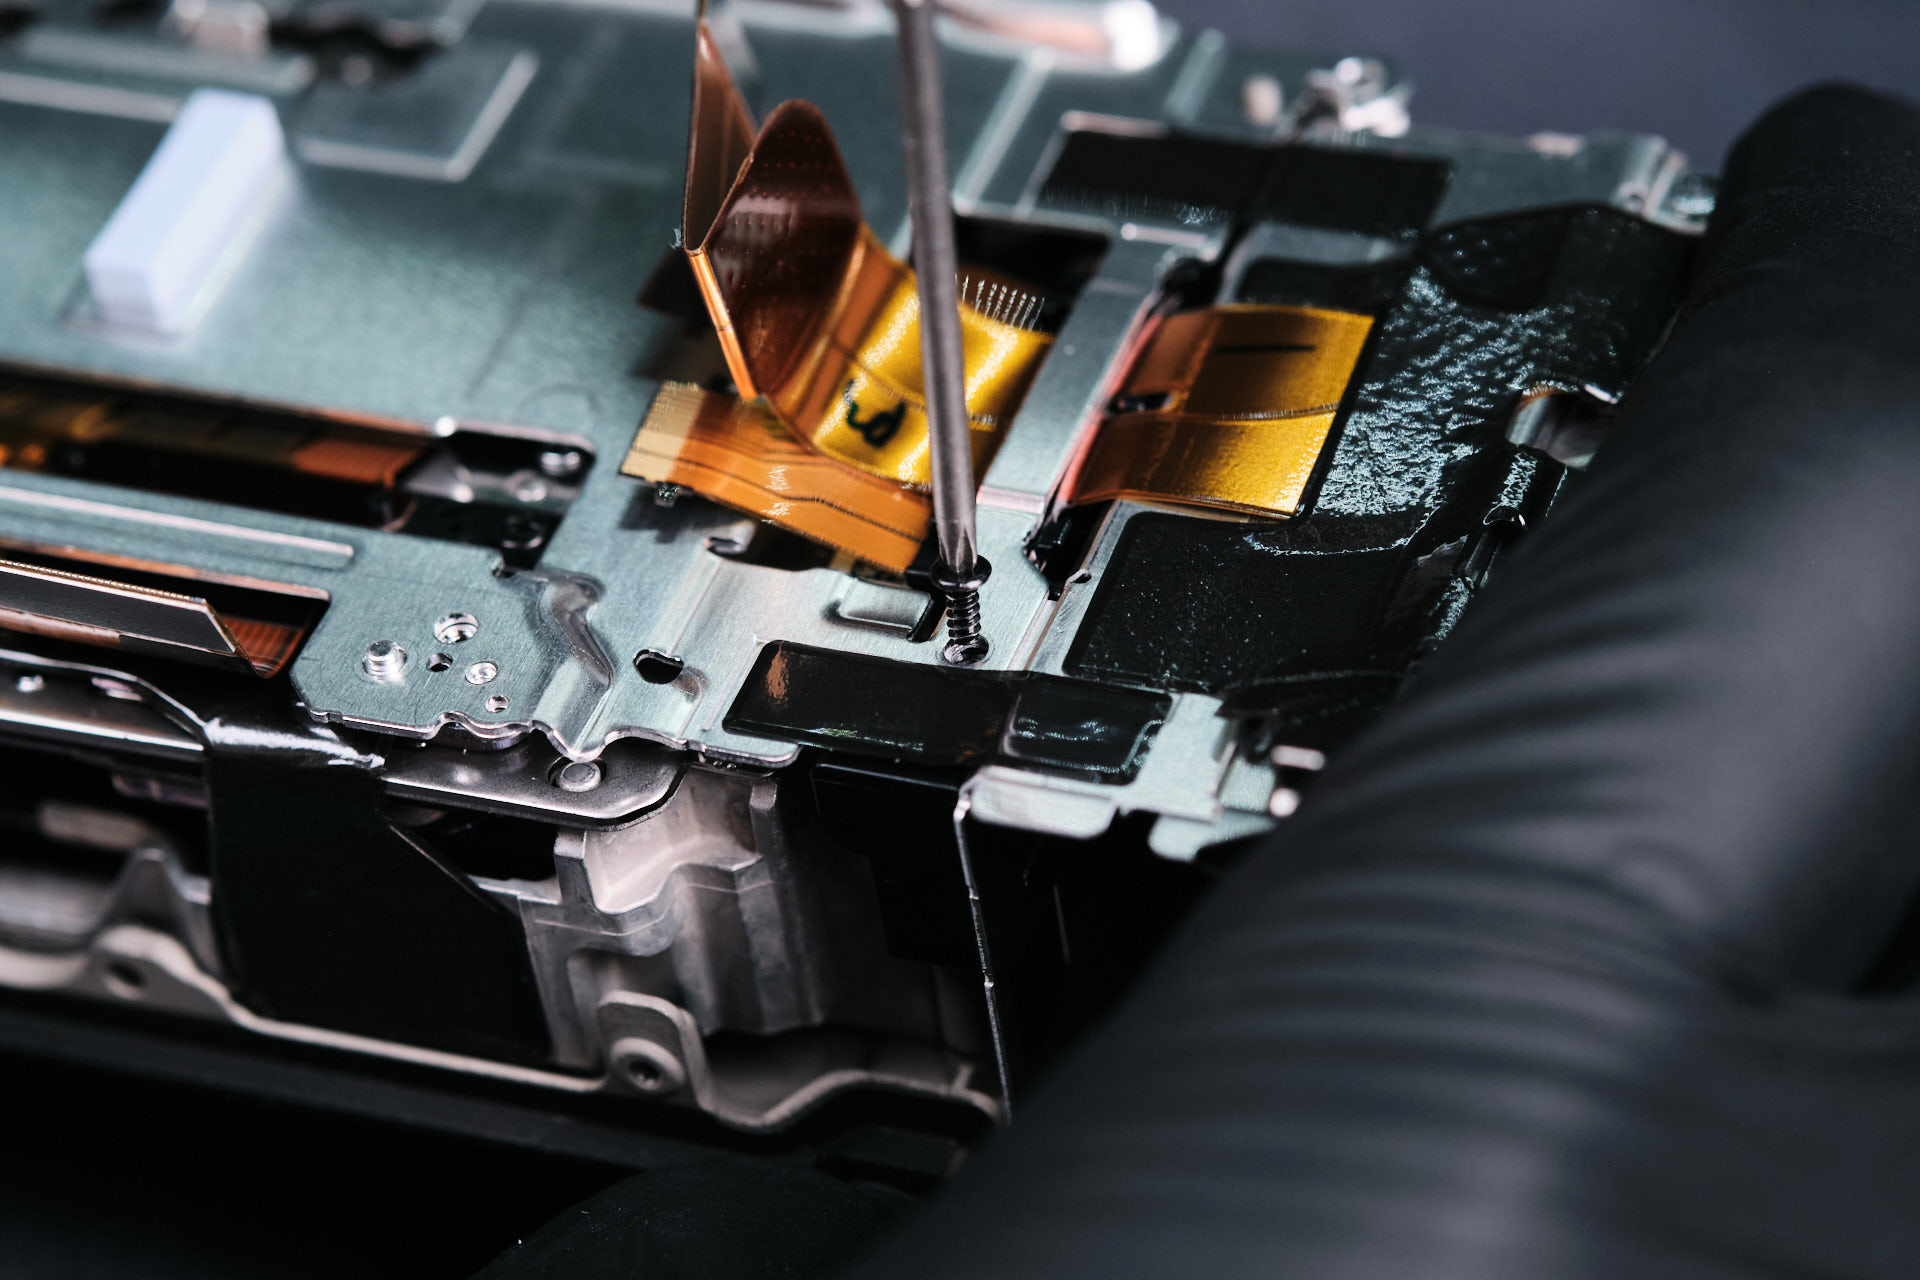
Four screws hold down the circuitboard bracket of the Sony A1 II.
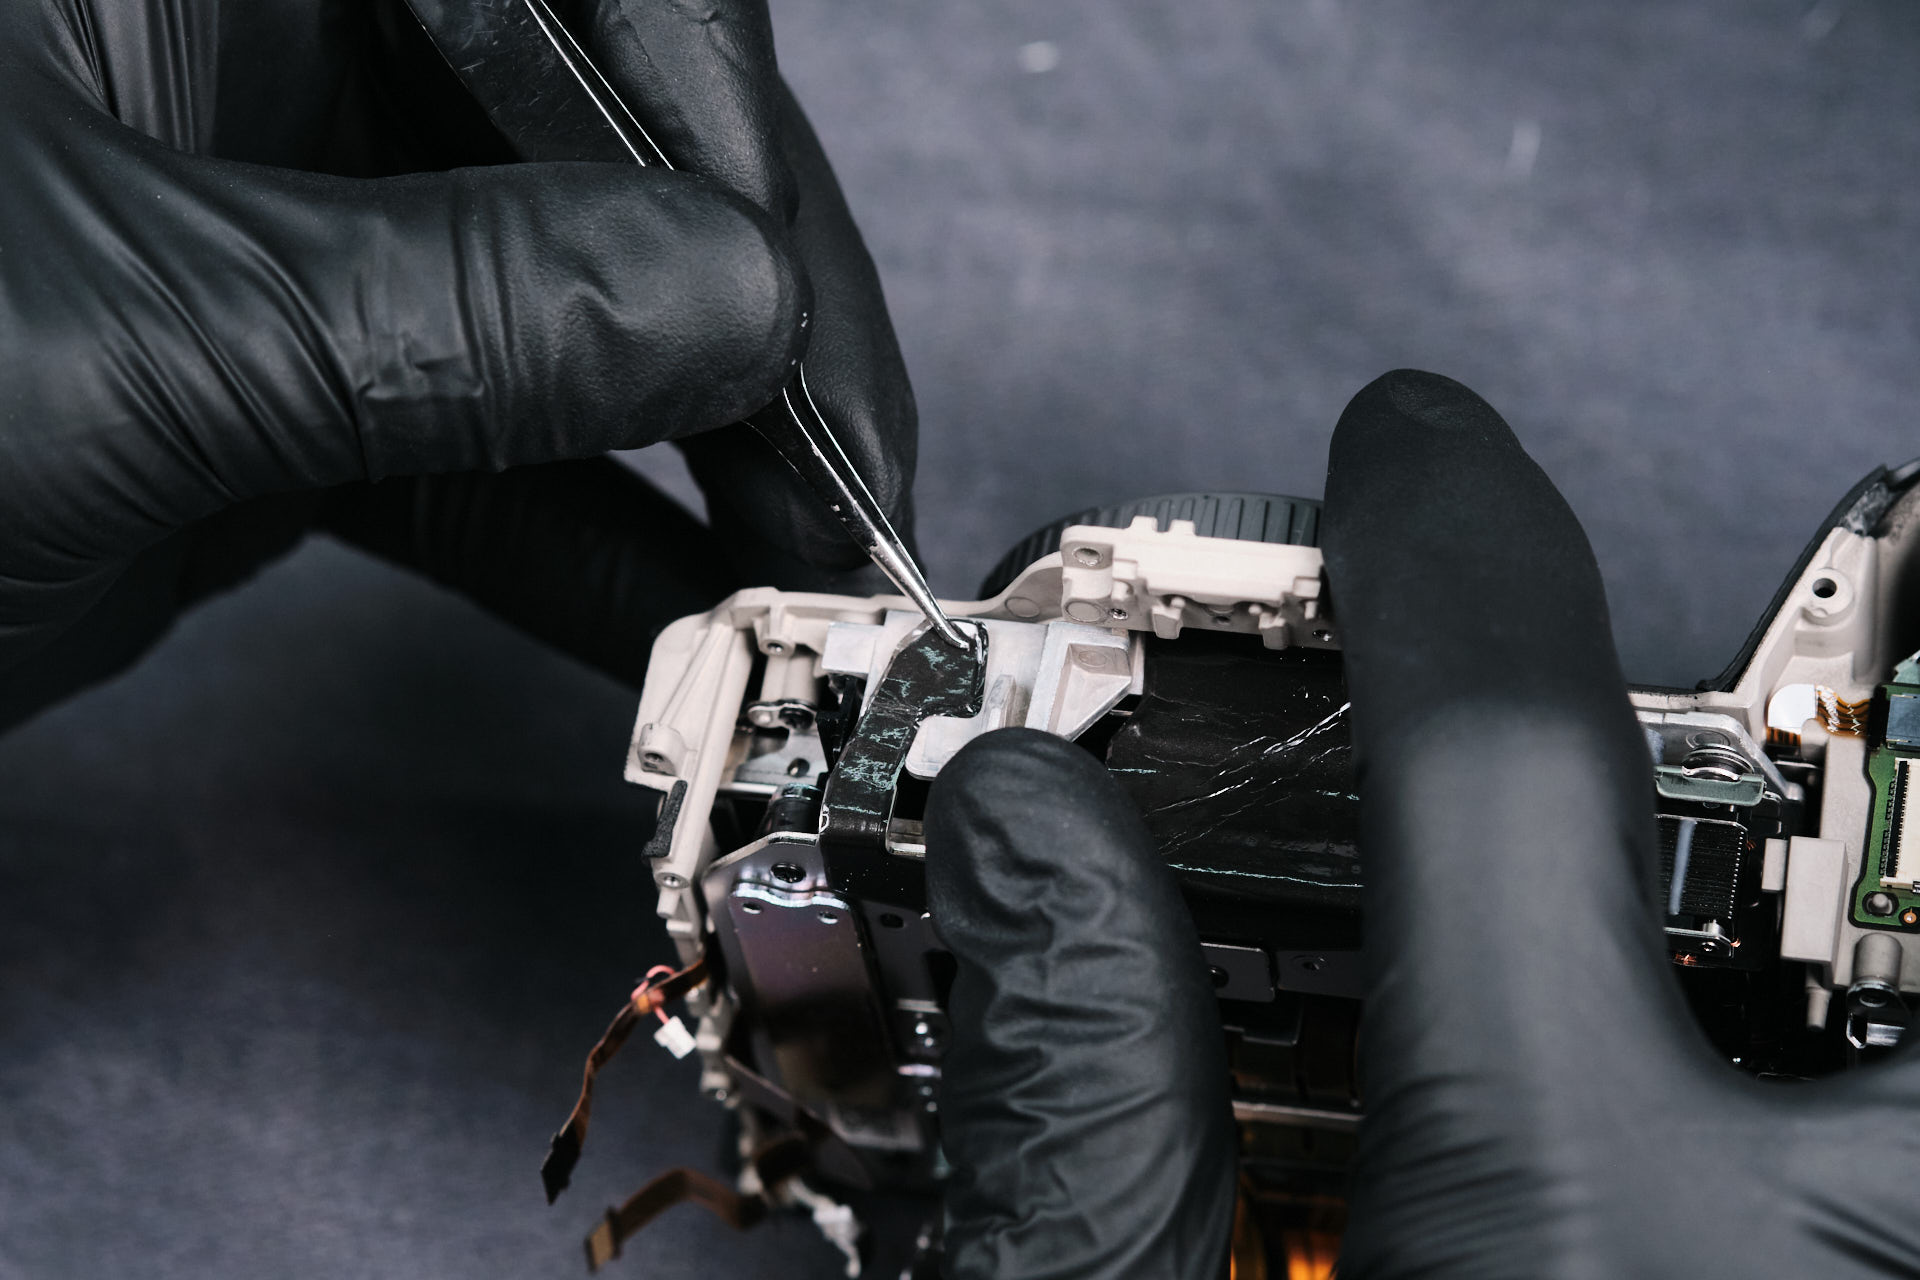
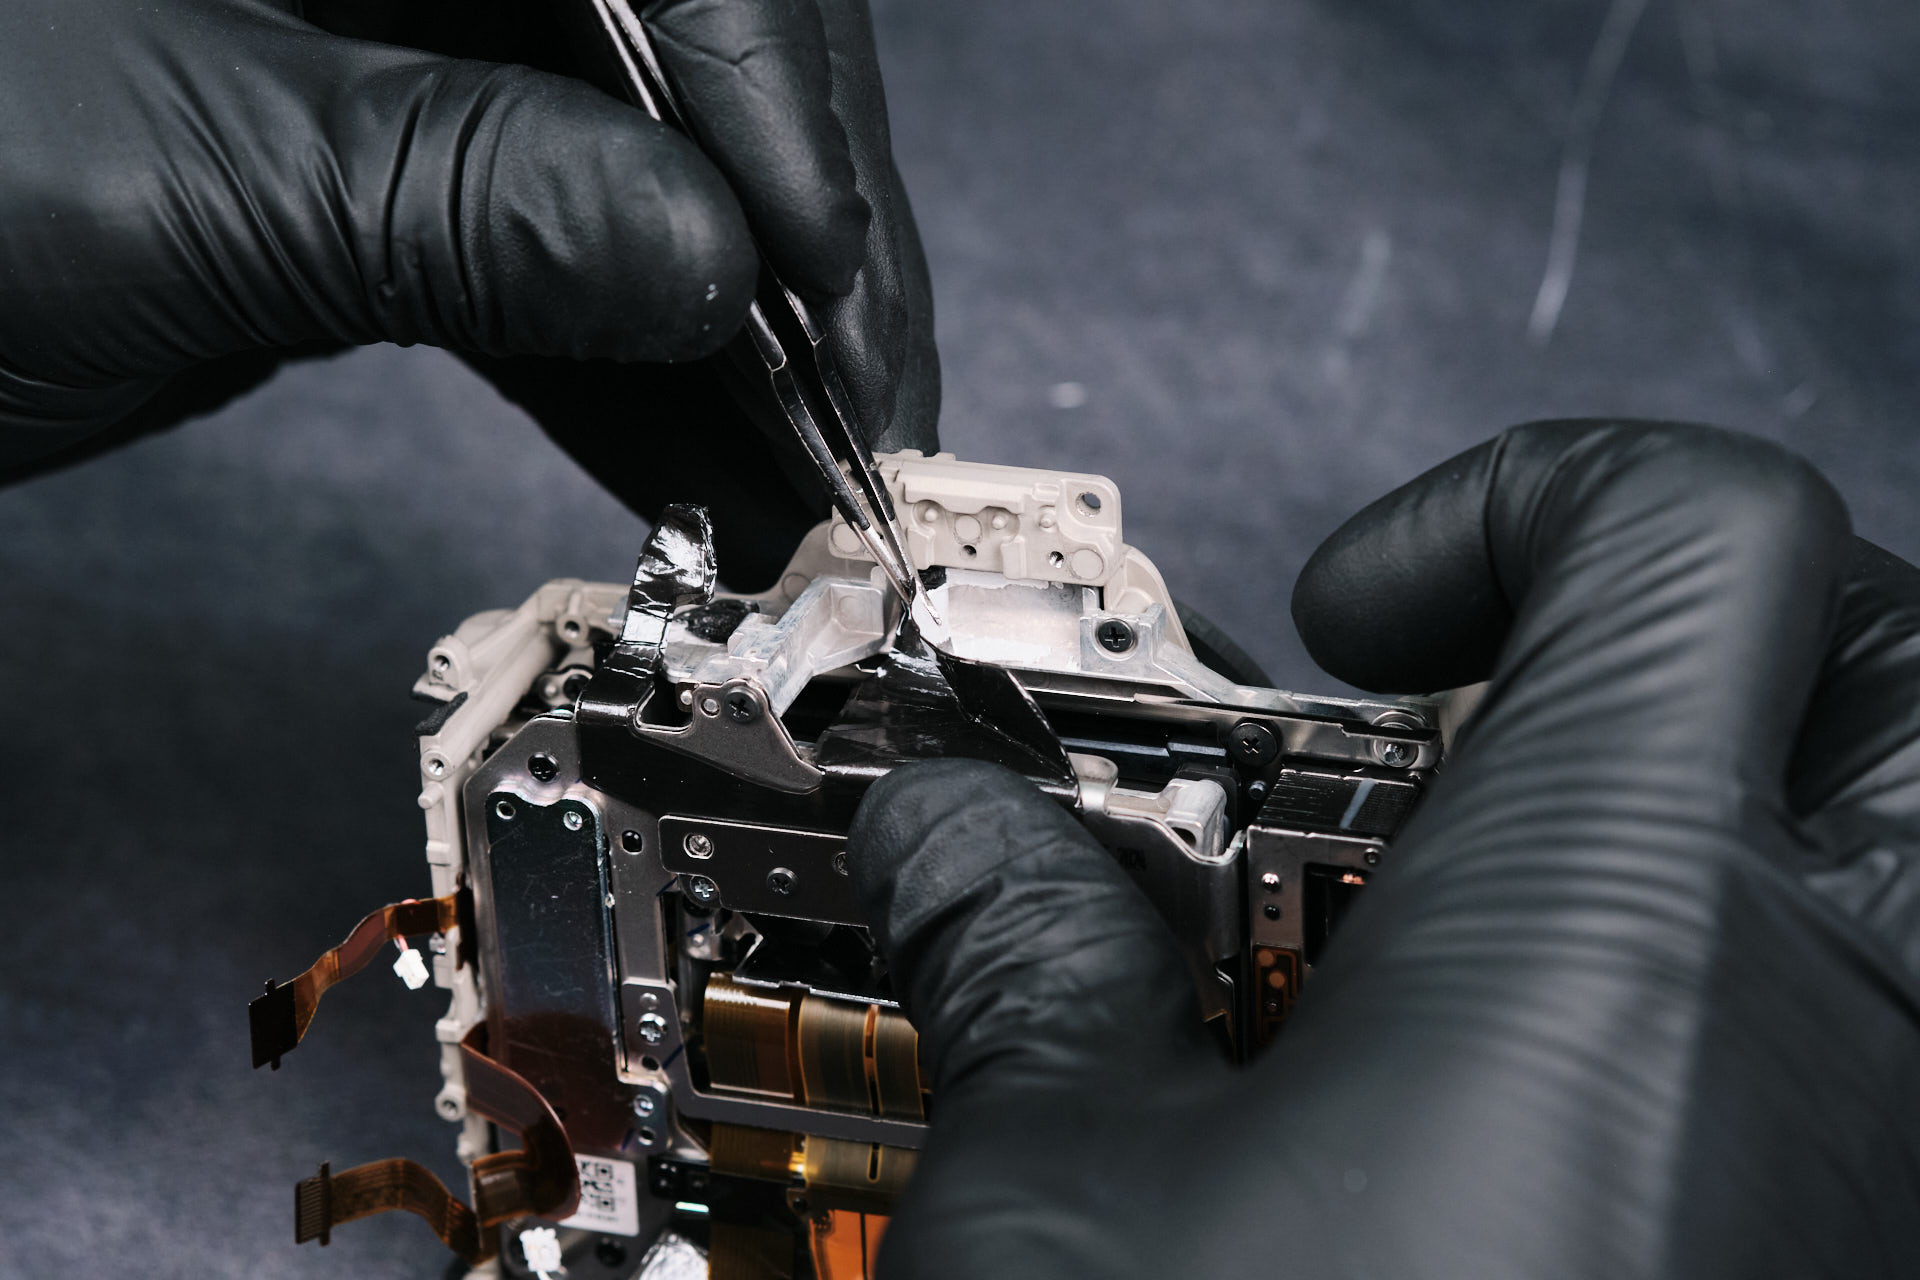
Removing Heat Transfer Tape Around the Sensor Assembly
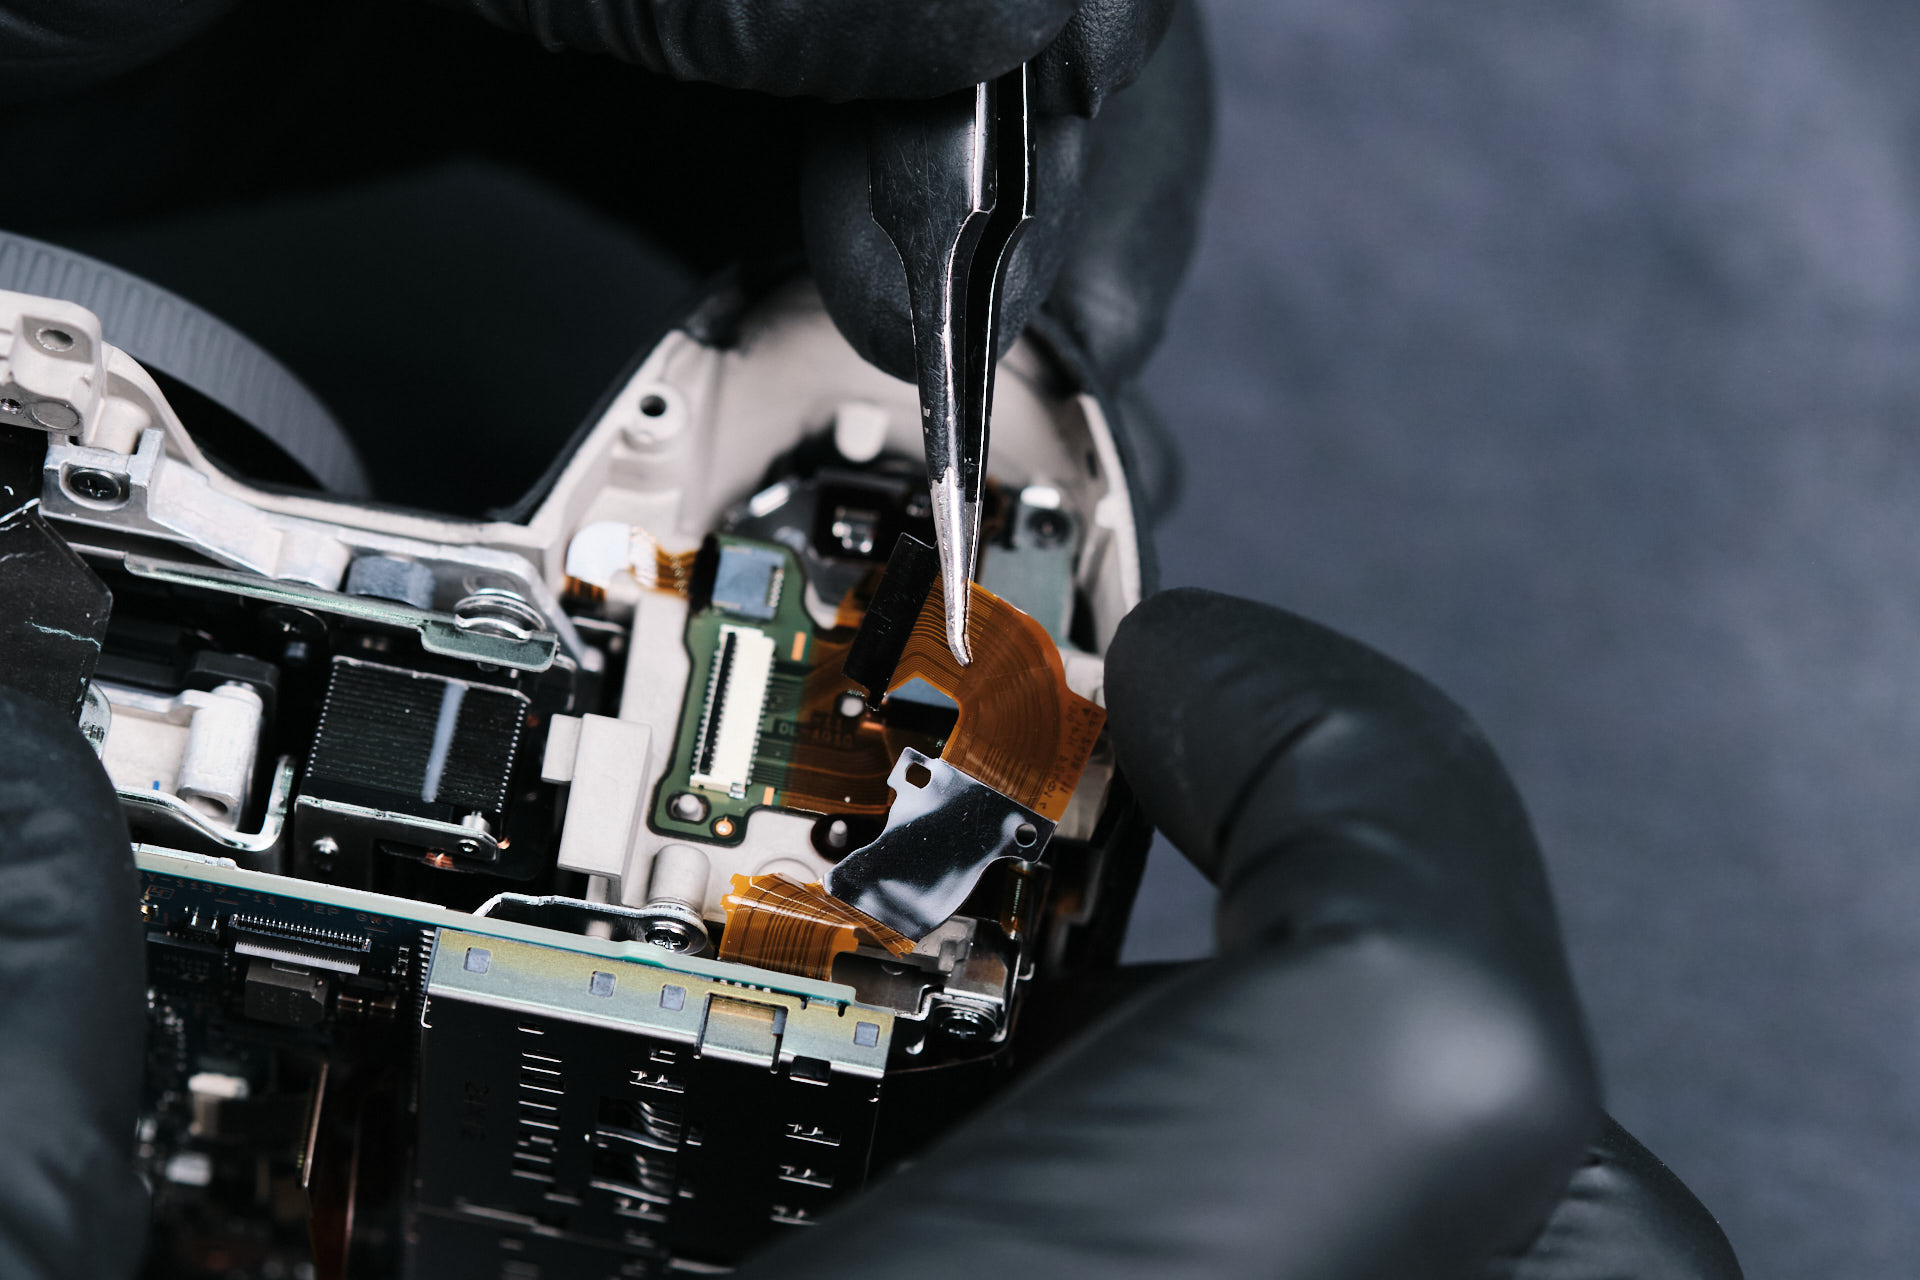
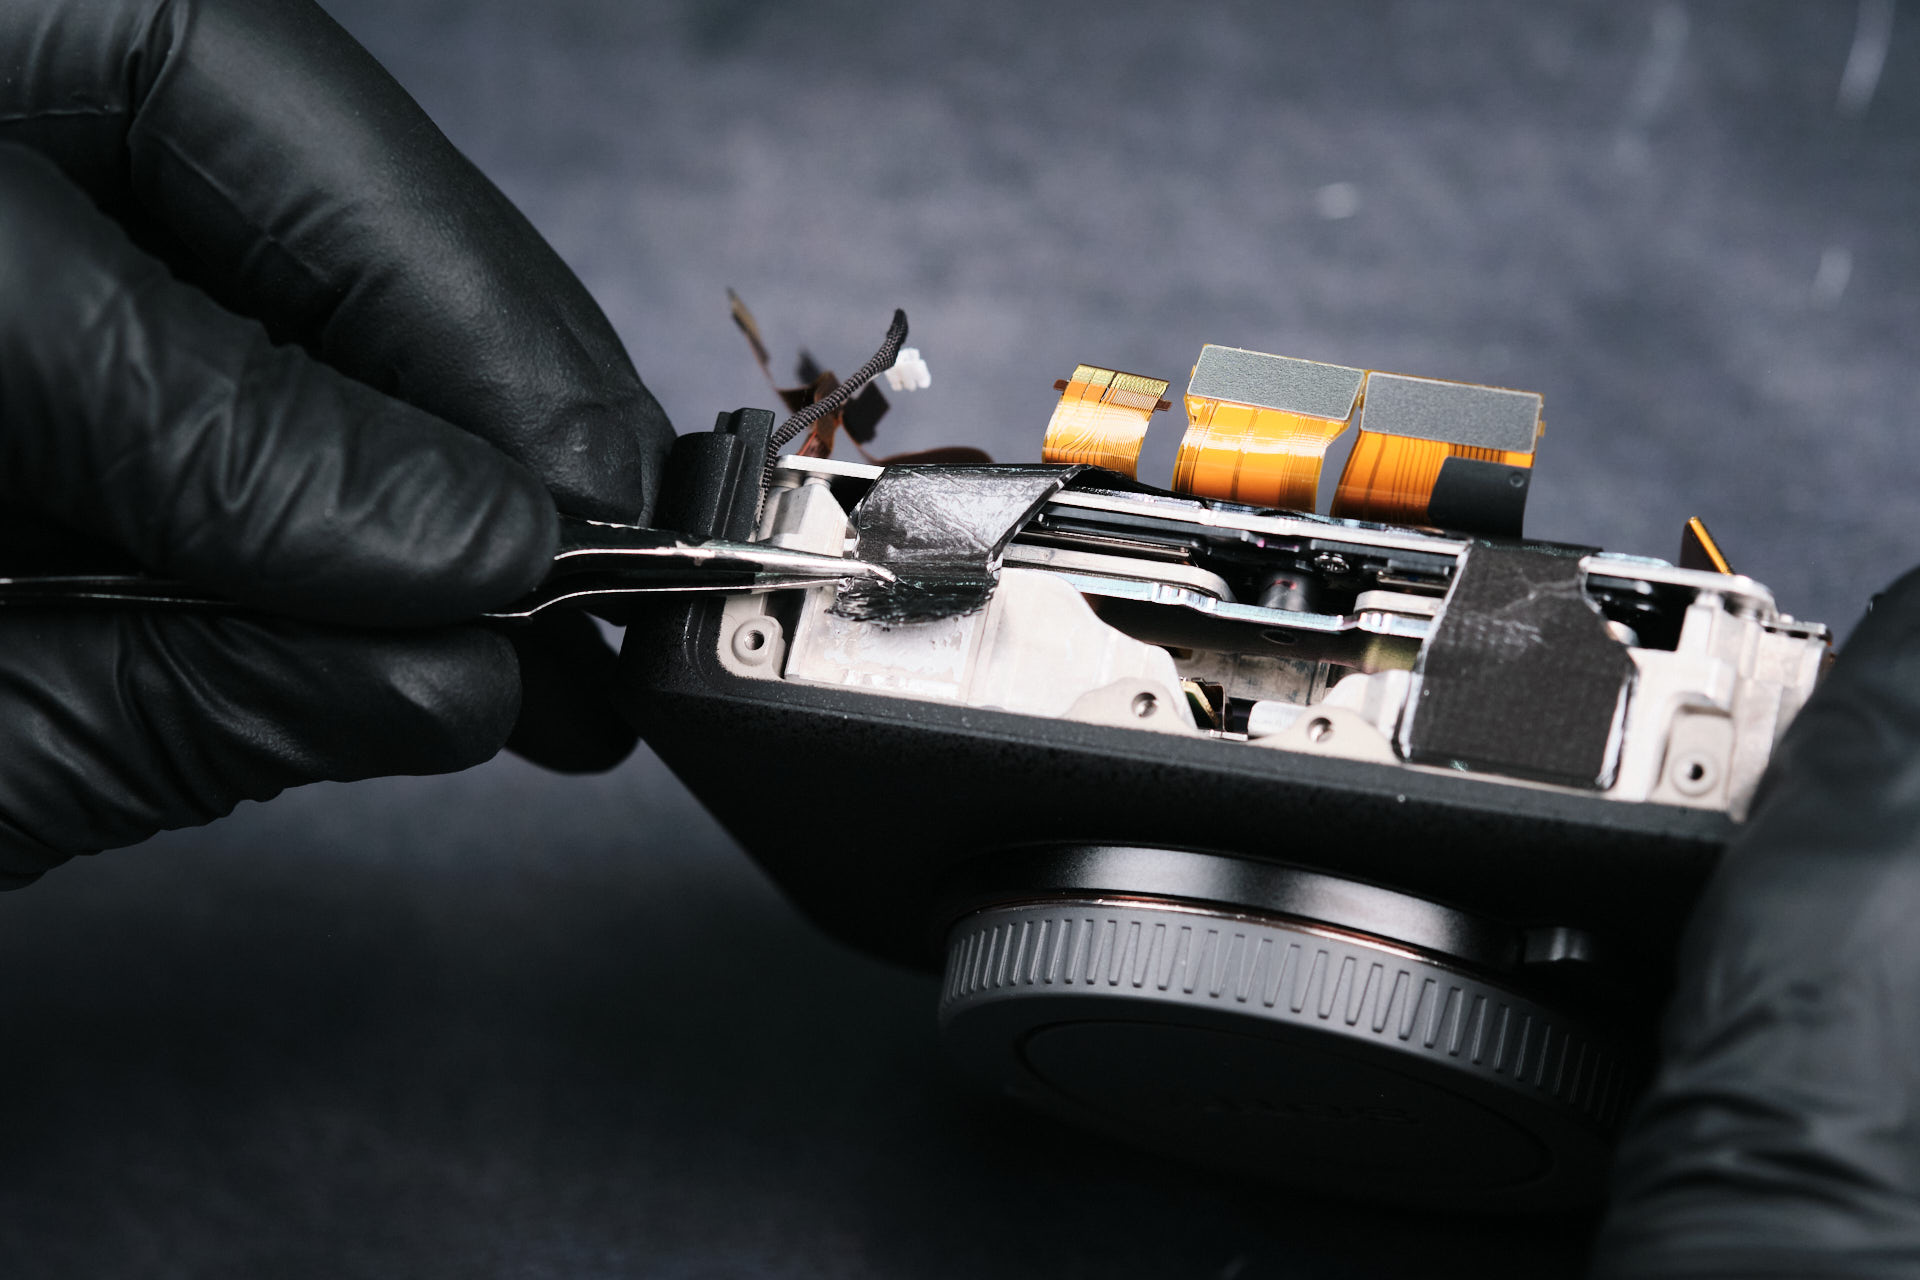
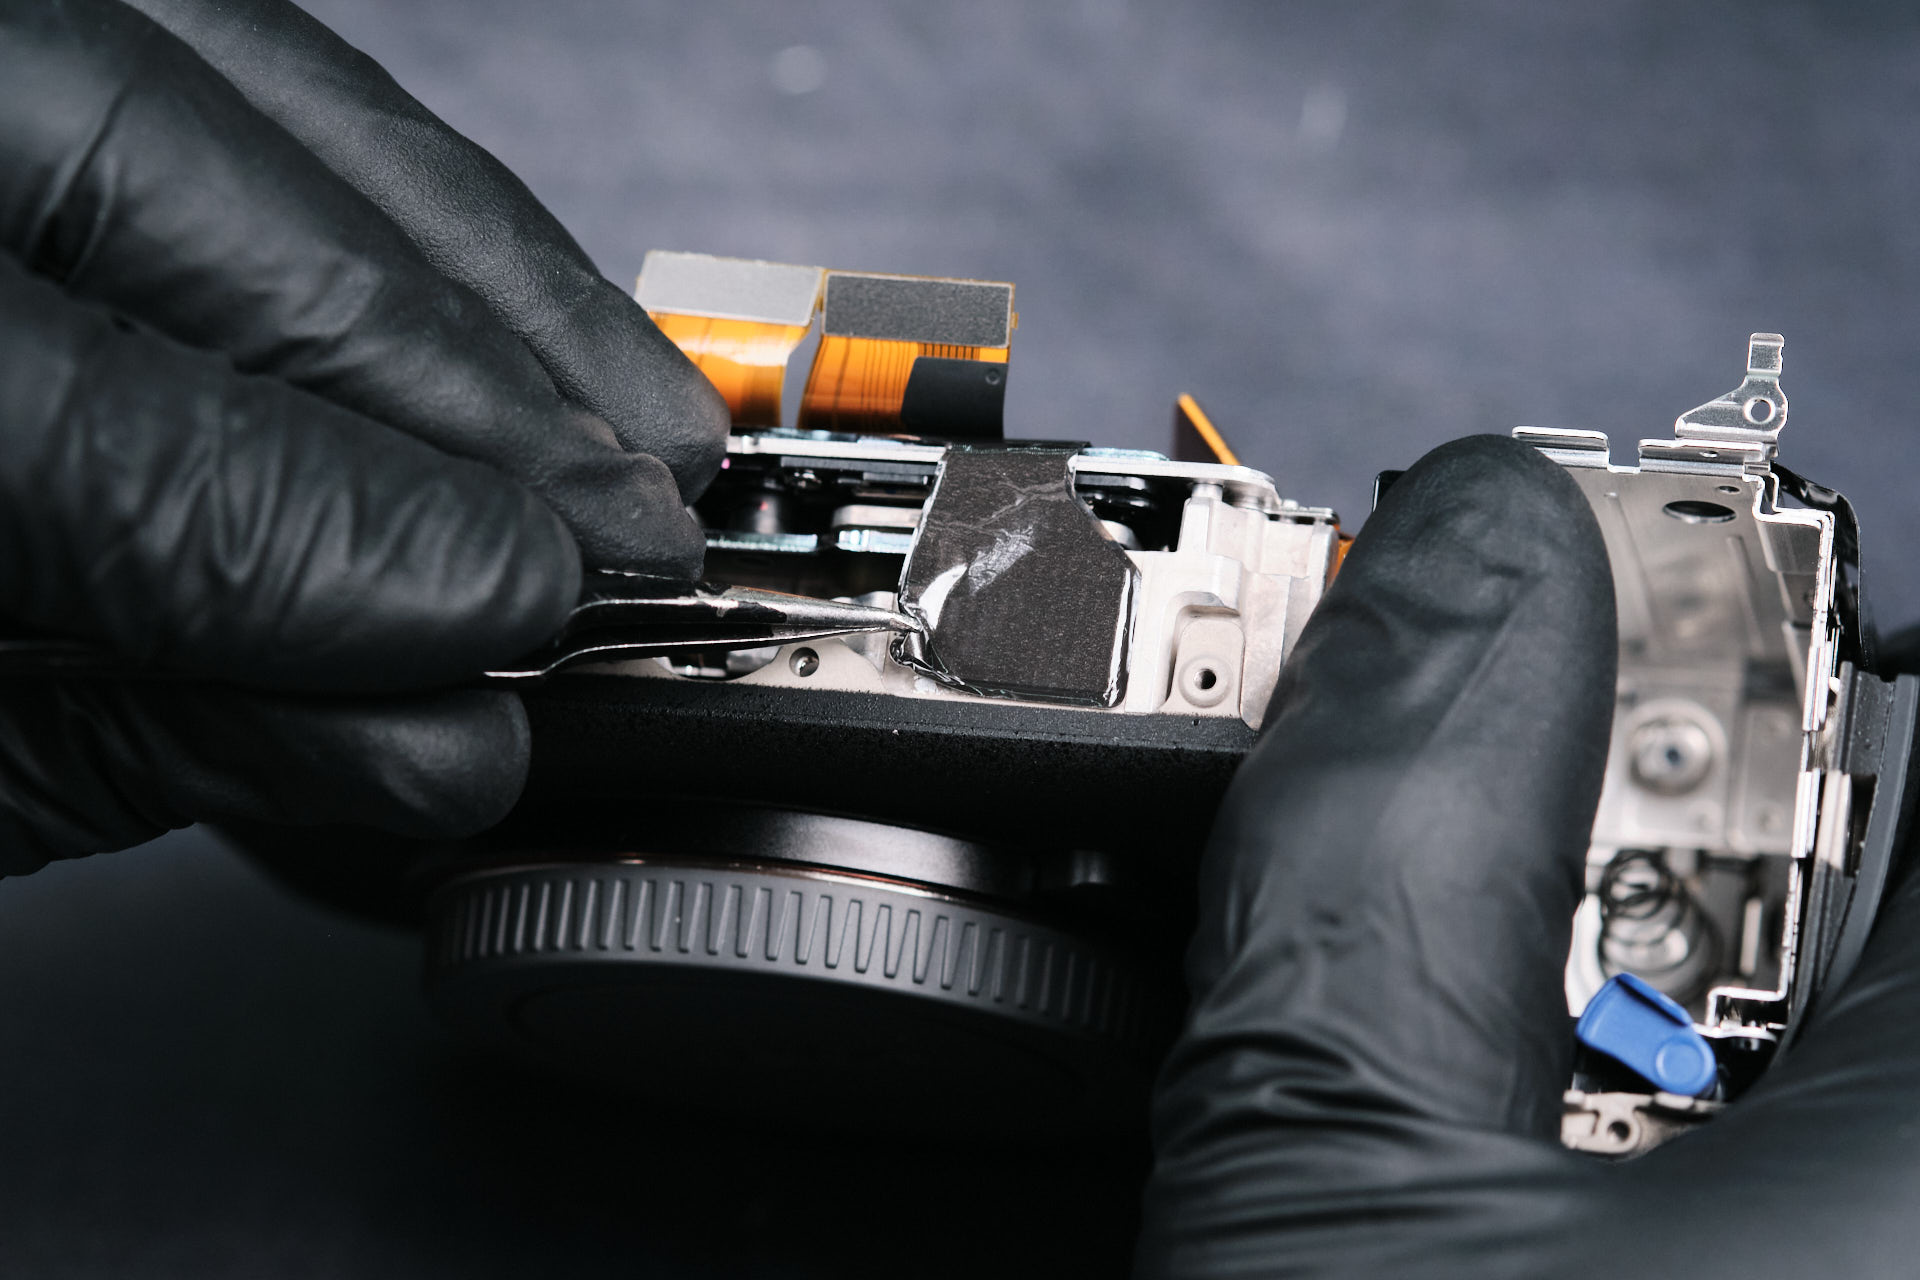
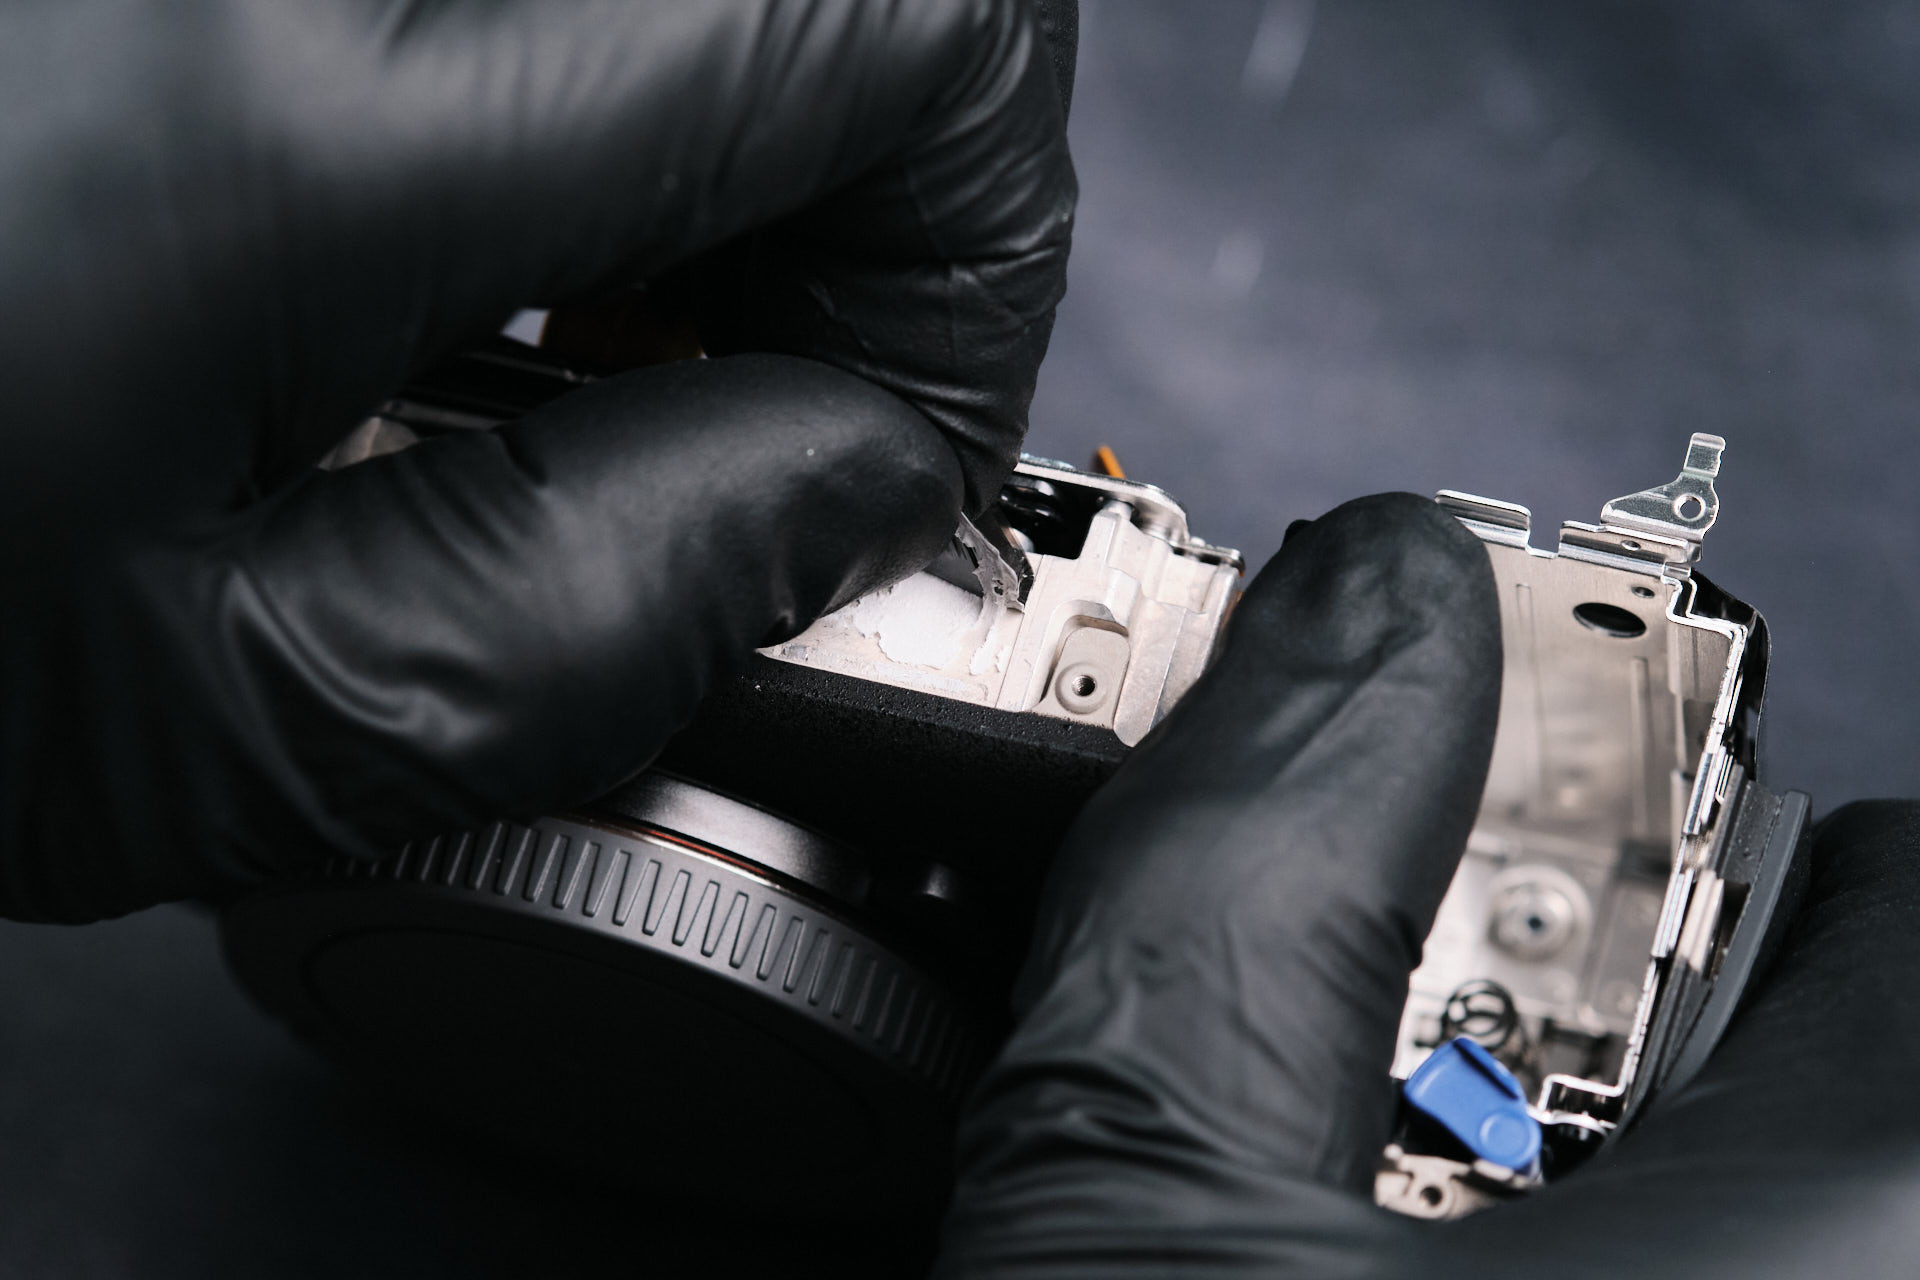
Another interesting find here: the ribbon cable from the camera sensor wraps around through the bracket to connect to the circuitboard. There’s a lot of heat transfer tape in this camera for the camera sensor and circuitboard bracket. It’s highly important that they aren’t broken so it can dissipate heat properly.
Starting the Sony A1 II Sensor Disconnection Process
Now that we removed the bracket, we could begin the camera sensor disconnection process. You can see more heat transfer tape connections here.
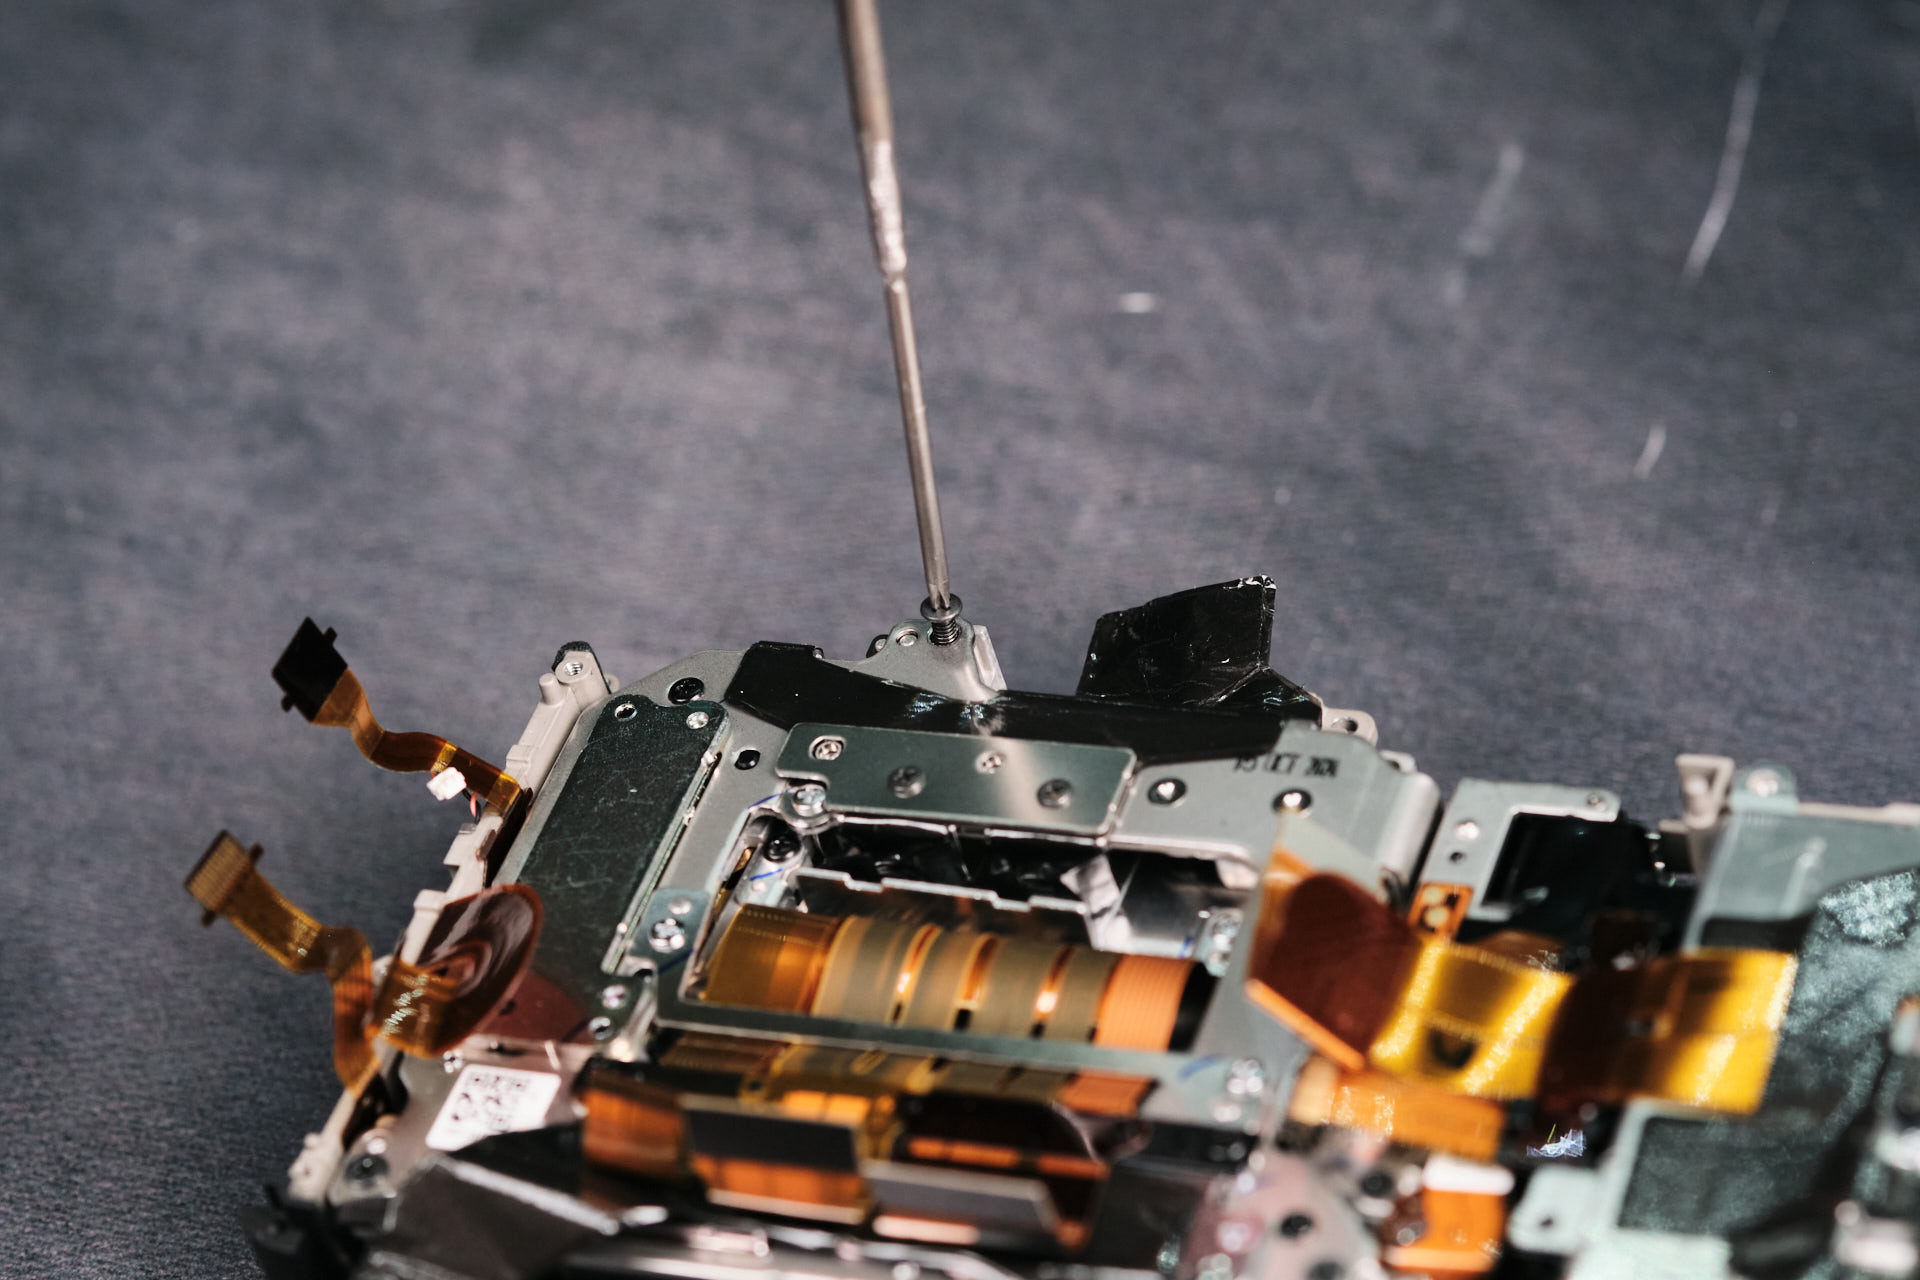
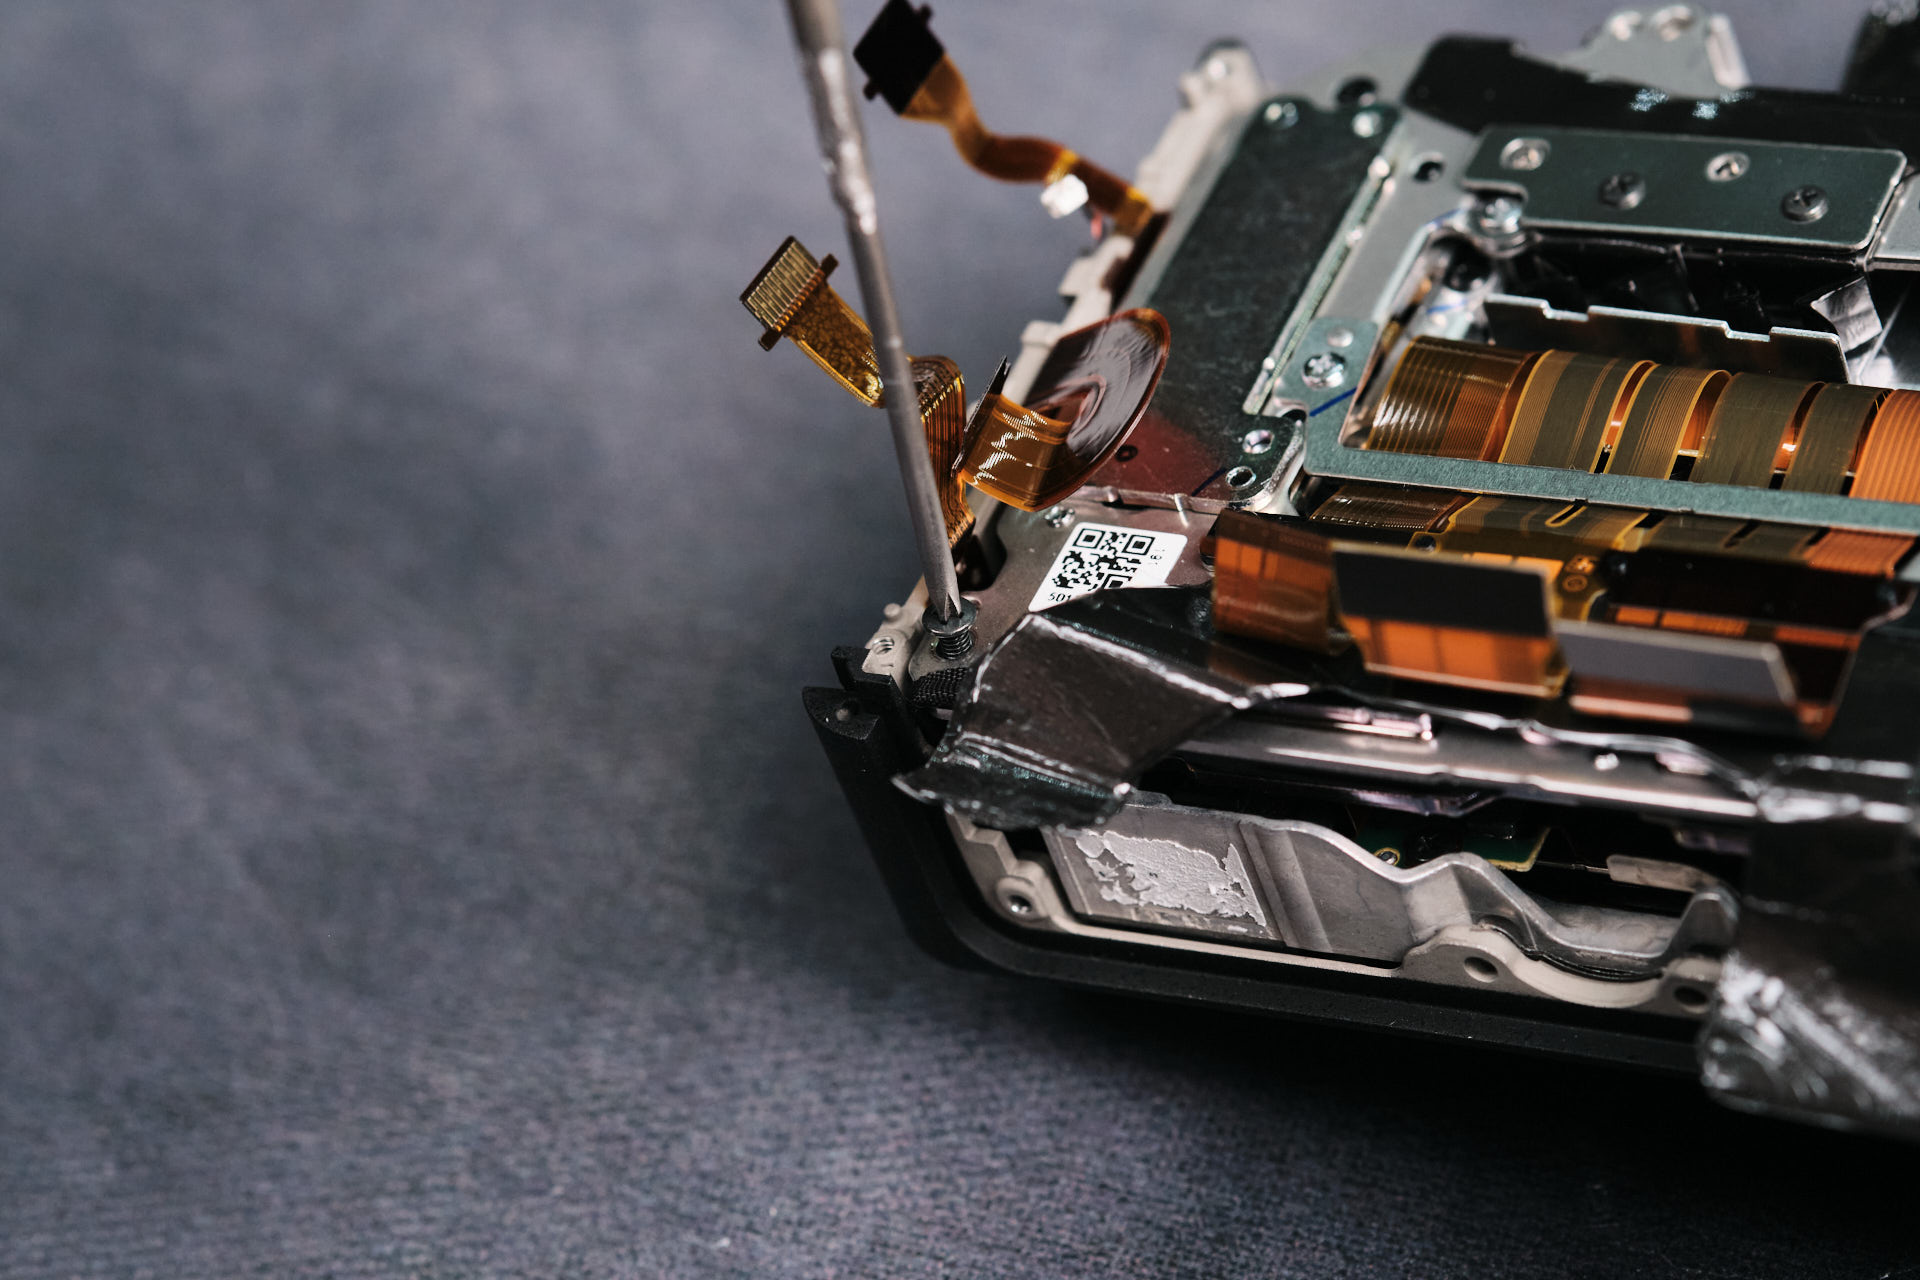
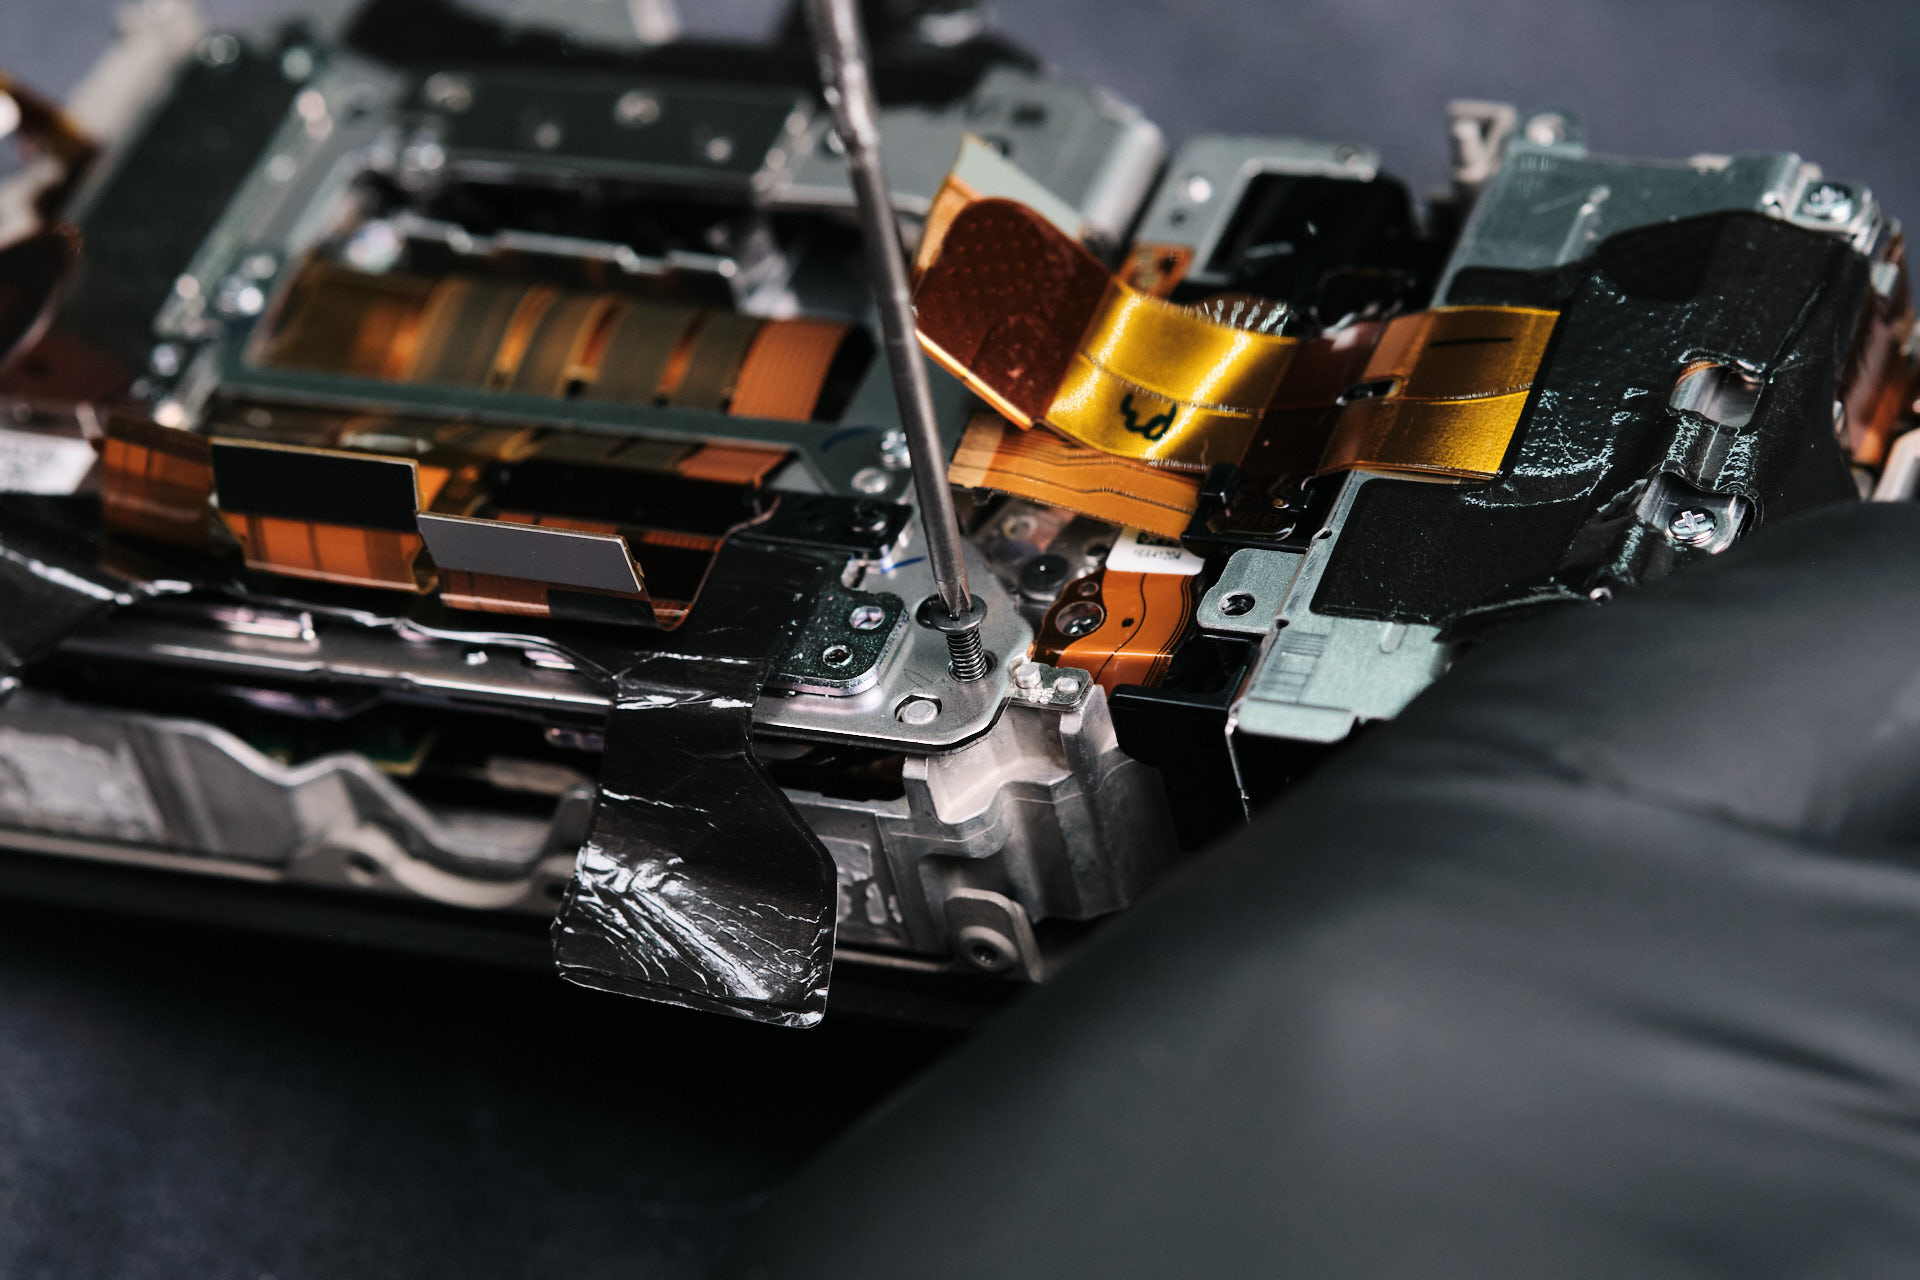
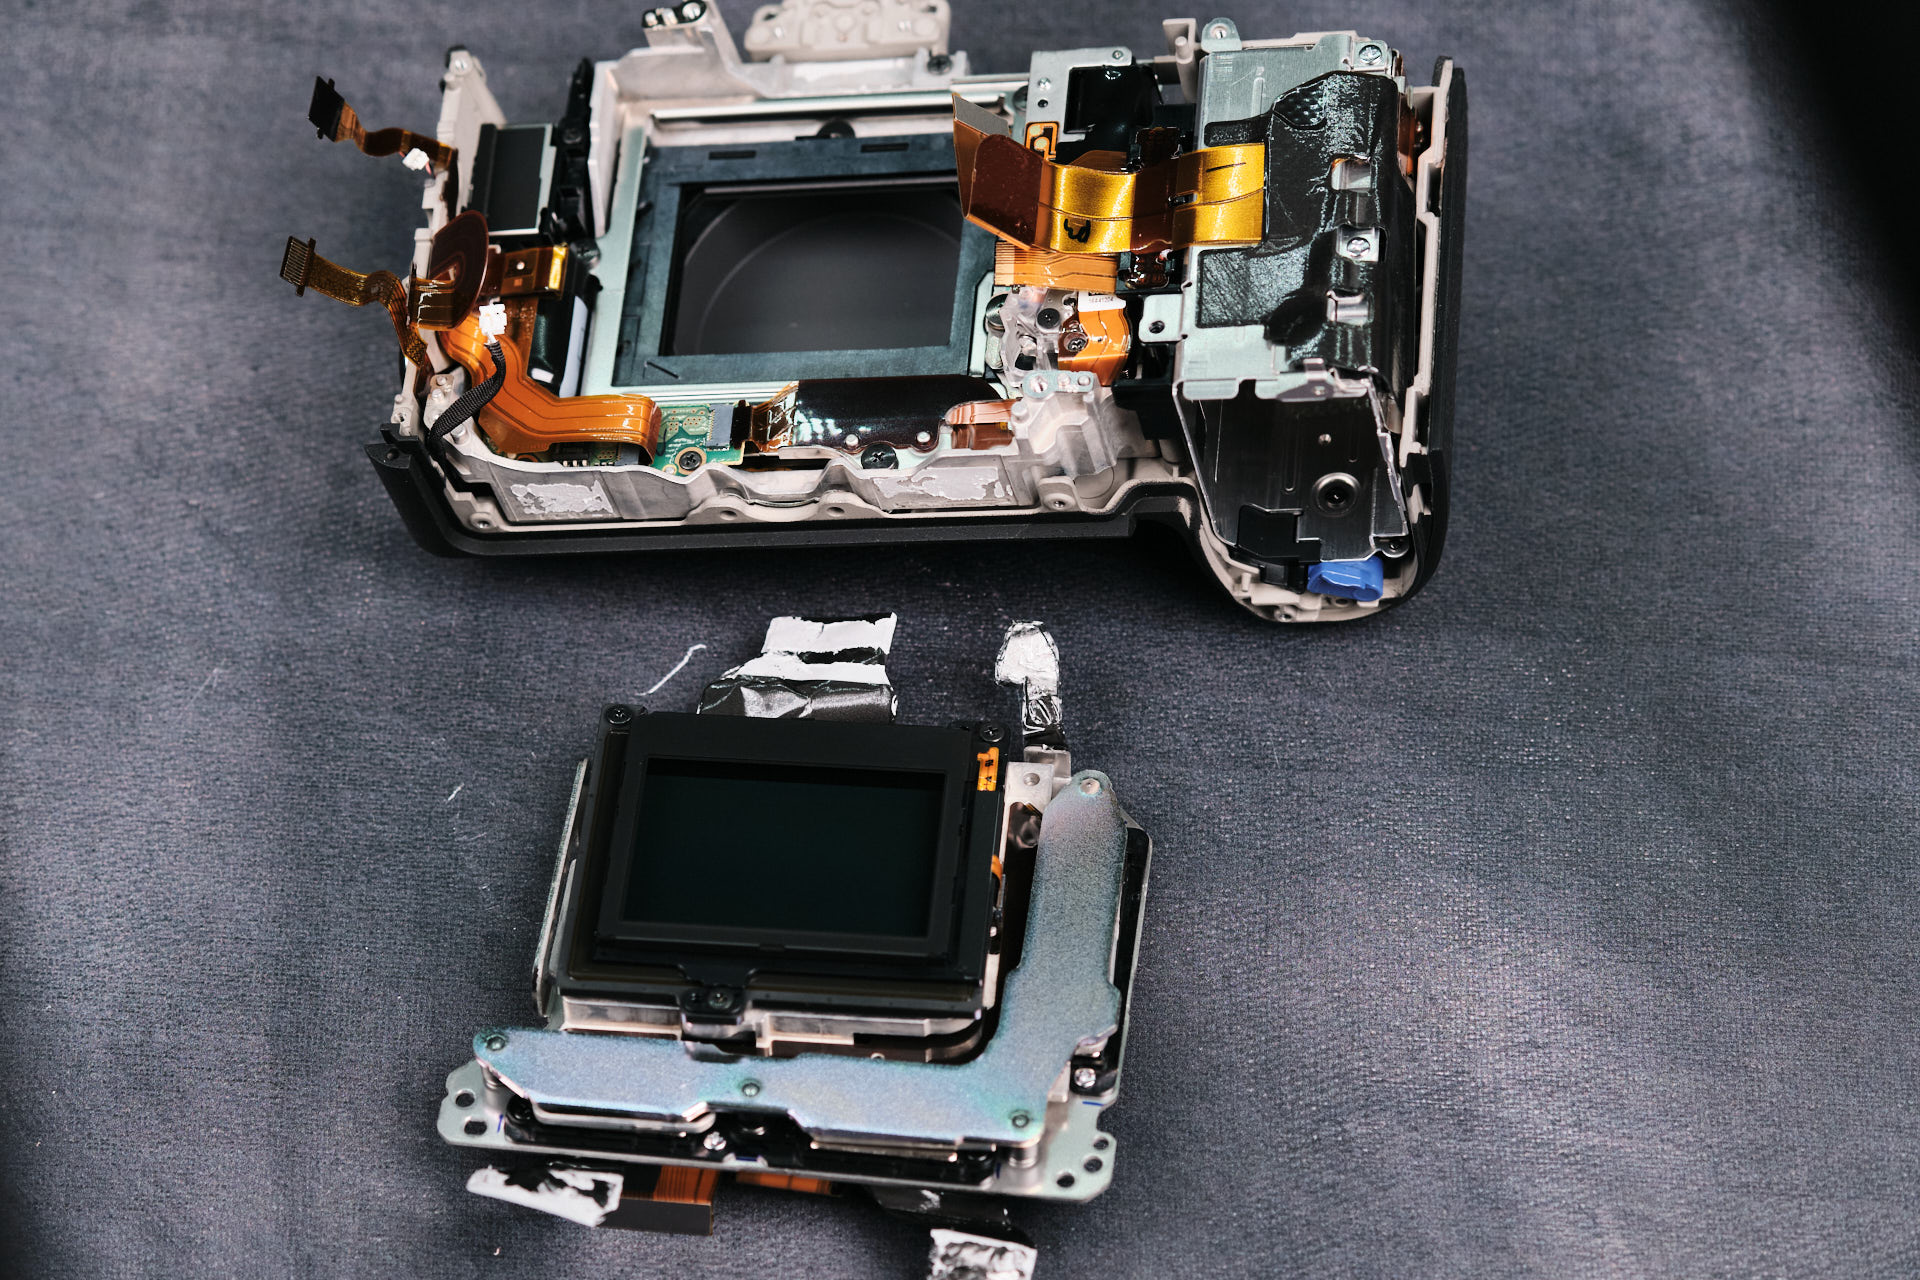
Removing the Sony A1 II Camera Sensor
With all the heat transfer tape removed, we could remove the camera sensor. There were three screws that held it down to the camera’s frame.
Final Thoughts on the Sony A1 II Teardown
The camera was largely easy to take a part, according to our lead camera technician. It was largely similar to its predecessor (which we’ve previously taken a part in our other teardown). Subtle changes in the A1 II include extra screws and relocation of some components to accommodate the camera body redesigns.
Thanks for reading. If you’re interested in more camera teardowns,
we feature a new one every month.
Be sure to sign up for our newsletter so you don’t miss them!
Frequently Asked Questions
How Do You Start Disassembling The Sony A1 II?
The Sony A1 II teardown starts by removing the baseplate. There are several screws along the bottom of the camera, plus a hidden screw on the SD card side of the camera body.
Where Are The Hidden Screws On The Sony A1 II?
The Sony A1 II has several hidden screws around the body. In this teardown, two hidden screws were found beneath the leather skin, and another screw near the bottom of the camera body had to be removed before the backplate could come off.
Are Kolari Magnetic Clip-in Filters Compatible With The Sony A1 II?
Yes. The Sony A1 II is compatible with Kolari Magnetic Clip-in Filters for Sony E-mount cameras, but it needs a magnetic mounting plate for the filters to install properly.
How Is The Sony A1 II Circuit Board Removed?
The Sony A1 II circuit board is removed after the backplate, EVF assembly, top plate, brackets, ribbon cables, screws, and wires are disconnected. The article also notes hidden connections beneath the circuit board, including a ribbon cable that wraps underneath it.
How Is The Sony A1 II Camera Sensor Removed?
The Sony A1 II sensor is reached near the end of the teardown. After removing the circuit board bracket and heat transfer tape connections, the sensor can be removed by taking out the three screws holding it to the camera frame.