Nikon Z7 Camera Overview
Our brand new Nikon Z7 full frame mirrorless camera arrived at the office this week, and we immediately got down to business. Four years ago, Sony fired the first shot of this battle with the A7 and continued to release one iteration after another, each improving on the last, and did so completely unanswered by the competition until August 23rd of this year when Nikon announced the Z7 and the Z6. Based on the popularity of our last teardown where we took the A7R III all the way down to its sensor, we’ve decided to provide model-by-model coverage of the full-frame mirrorless wars by showing you what’s under the hood. Specs and performance matter, but taking a detailed look inside can tell you a lot about a camera and how it stacks up to the competition. For this reason, we started with the most worthy challenger to the Sony A7R III: the powerful, 46 megapixel Nikon Z7.
Nikon Z7 Build Quality and DSLR-Like Design
The hype is genuine, this camera feels just like a DSLR in your hands. It is well balanced, incredibly responsive, and tightly constructed. We’ve taken our Z7 apart and put it back together and we still can’t get it to rattle or make a noise no matter how hard we shake it. Along with its very tight tolerances, the connection ports and battery and XQD card doors appear to be well sealed against the elements.
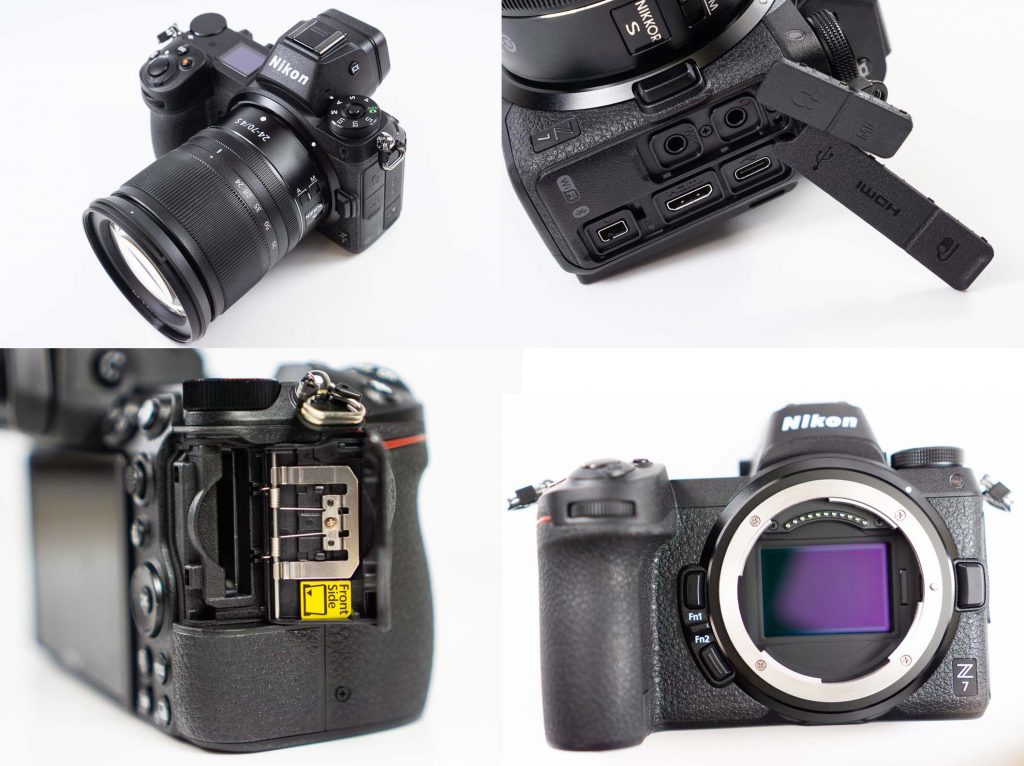
The A7R III has a new rival, and so do all the cameras that still use mirrors. So, what’s going on inside this thing?
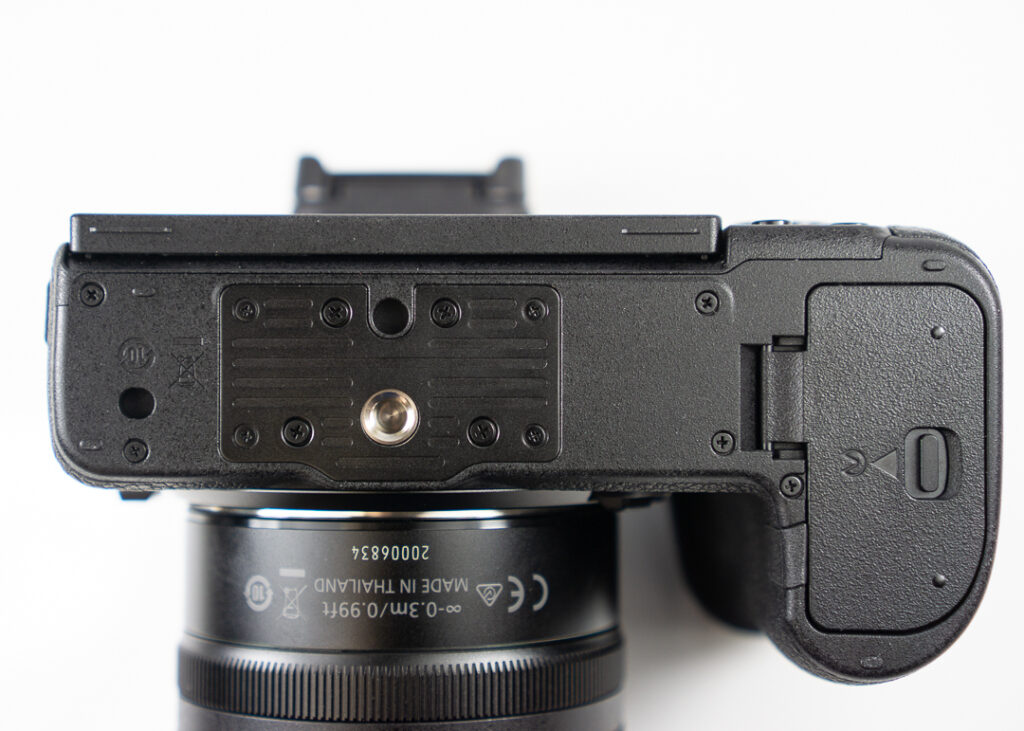
If it weren’t for the new lens mount, they probably could have called the Nikon Z7 the ‘D850 Slim’. That’s how much it looks and feels like a slender, professional DSLR.
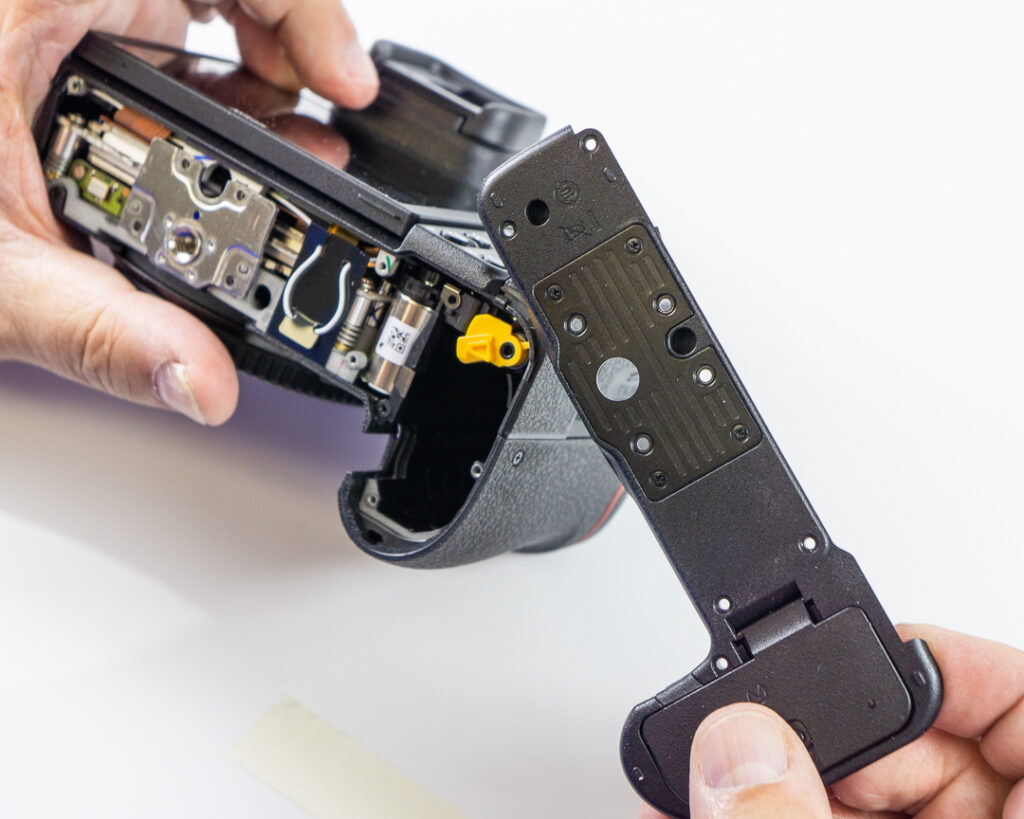
Starting the Nikon Z7 Teardown
Much like the A7R III, the bottom plate comes off first.
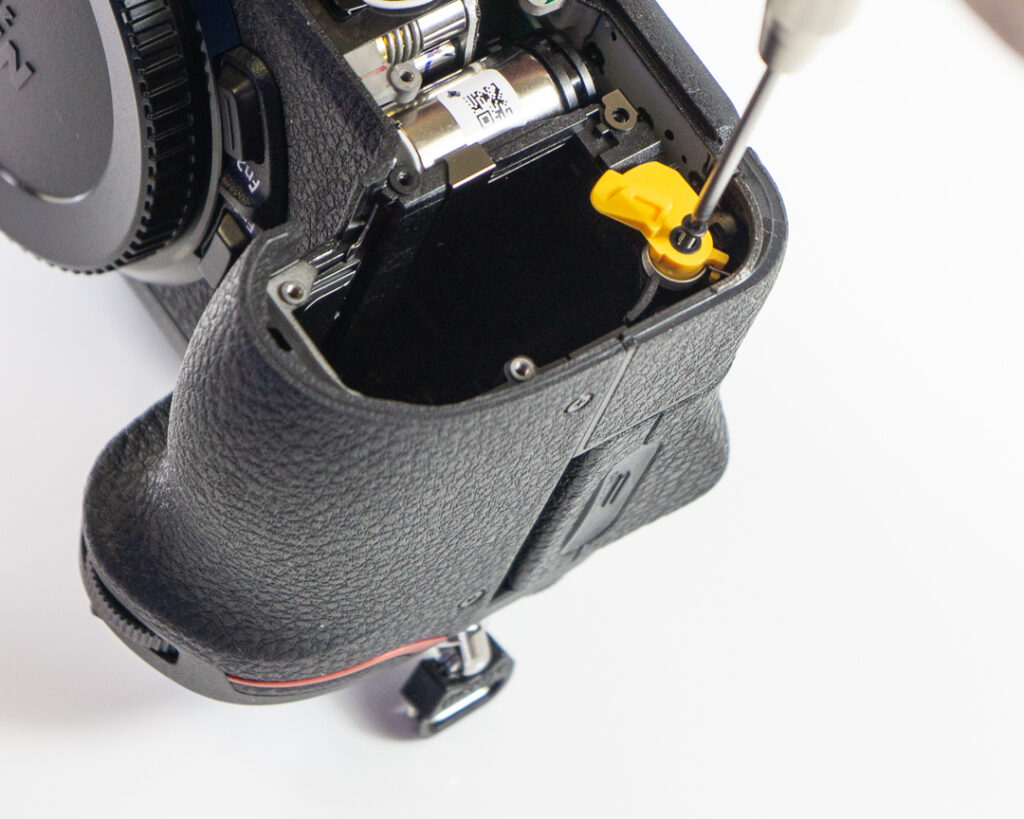
Removing Exterior Screws and Hidden Body Screws
We can not be held responsible if the battery retention clip attacks you. Unscrew carefully and be ready to catch the pieces.
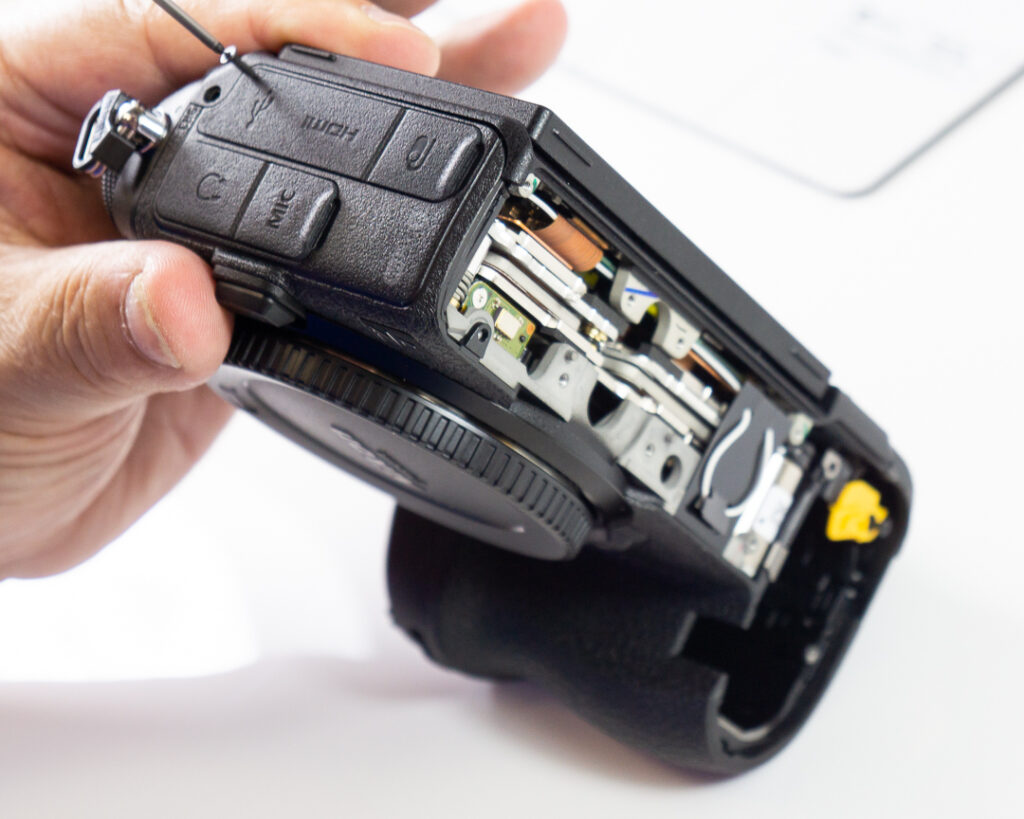
More screws on the port side.

Removing the eyecup reveals 4 screws that’ll have to come out.
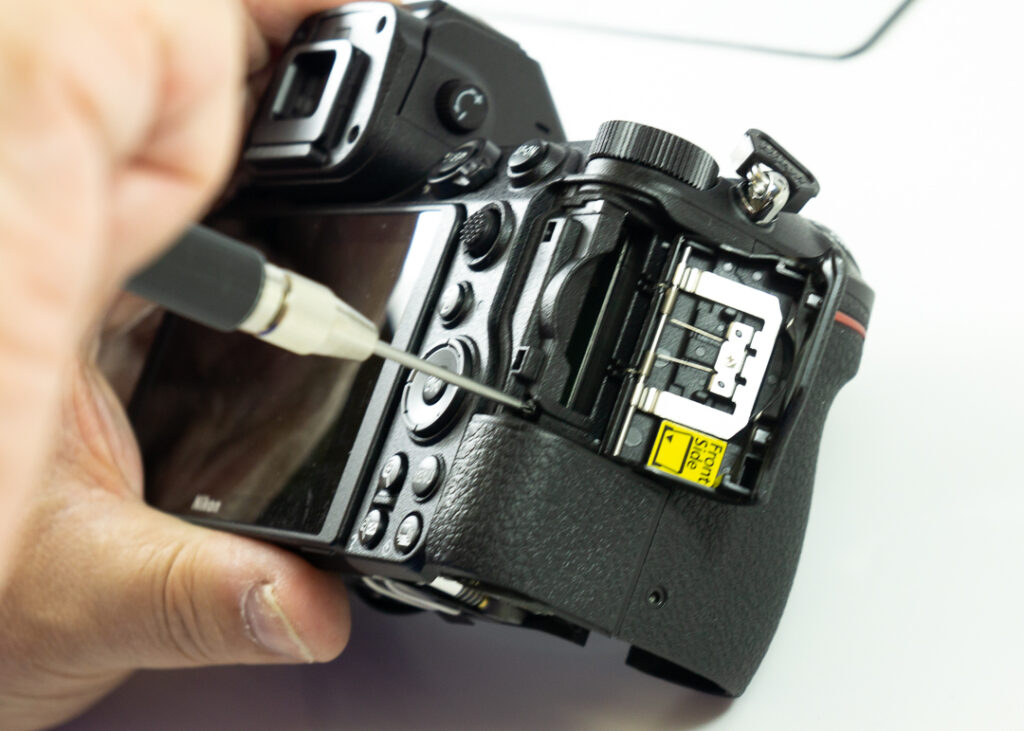
And, another under the XQD card slot. Be extra rough on this one to discipline the camera for it’s lack of dual card slots.
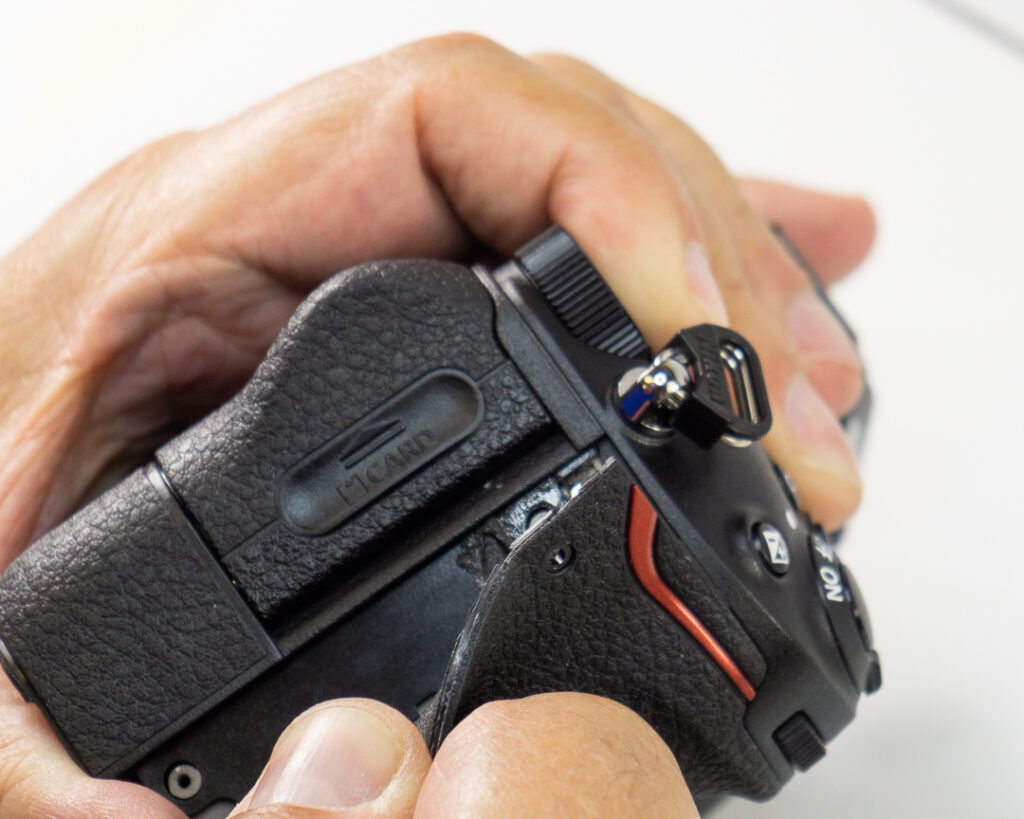
Carefully skin the grip side of the Z7. This is custom for traditional Nikon dishes and greatly enhances flavor, but it also reveals the VERY tightly interlocked frame underneath which will have to be separated to break the camera down into its main components.
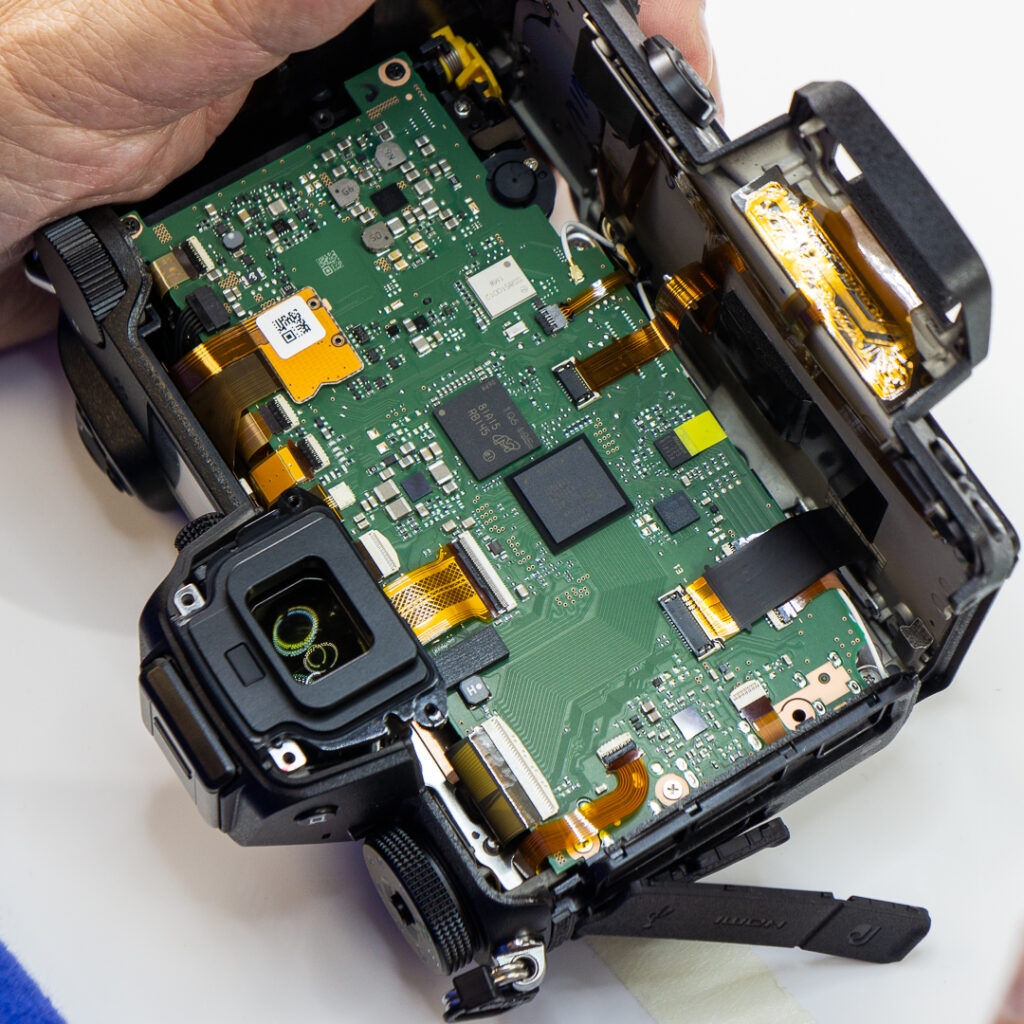
Opening the Rear Panel and Disconnecting the LCD
The back of the Nikon Z7 will then open up revealing many connectors, some of which we haven’t seen before even in other 2018 releases. We were also surprised by how plain things are looking under the hood so far. We’re not seeing the layers of heat shielding and heat sink tape that we say in the A7R III. Is this a good or bad thing? Let us know in the comments.
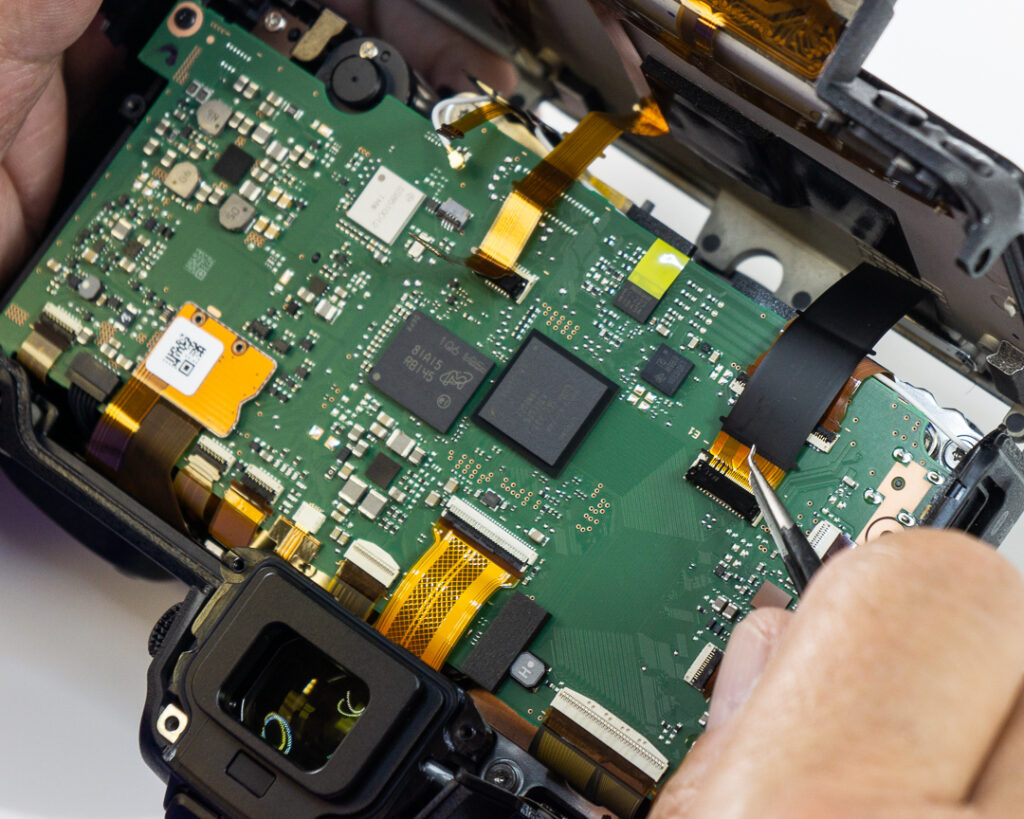
Separating some connectors frees the back and LCD from the board.
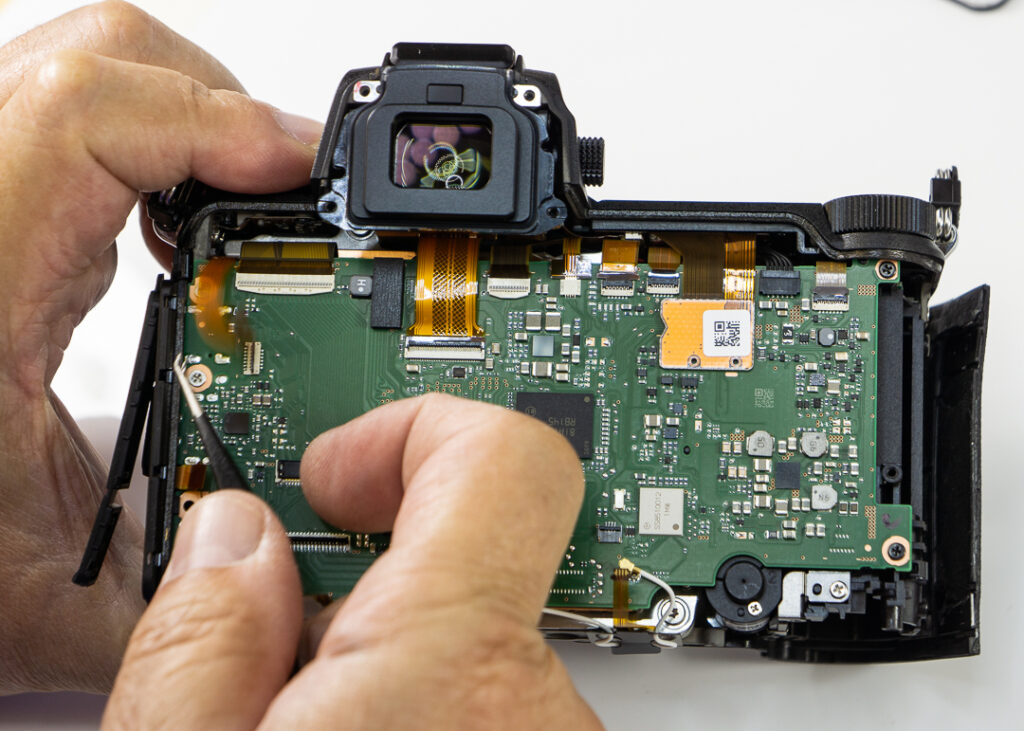
Removing the Nikon Z7 Main Board
Separate the remaining connectors and remove all screws securing the board…
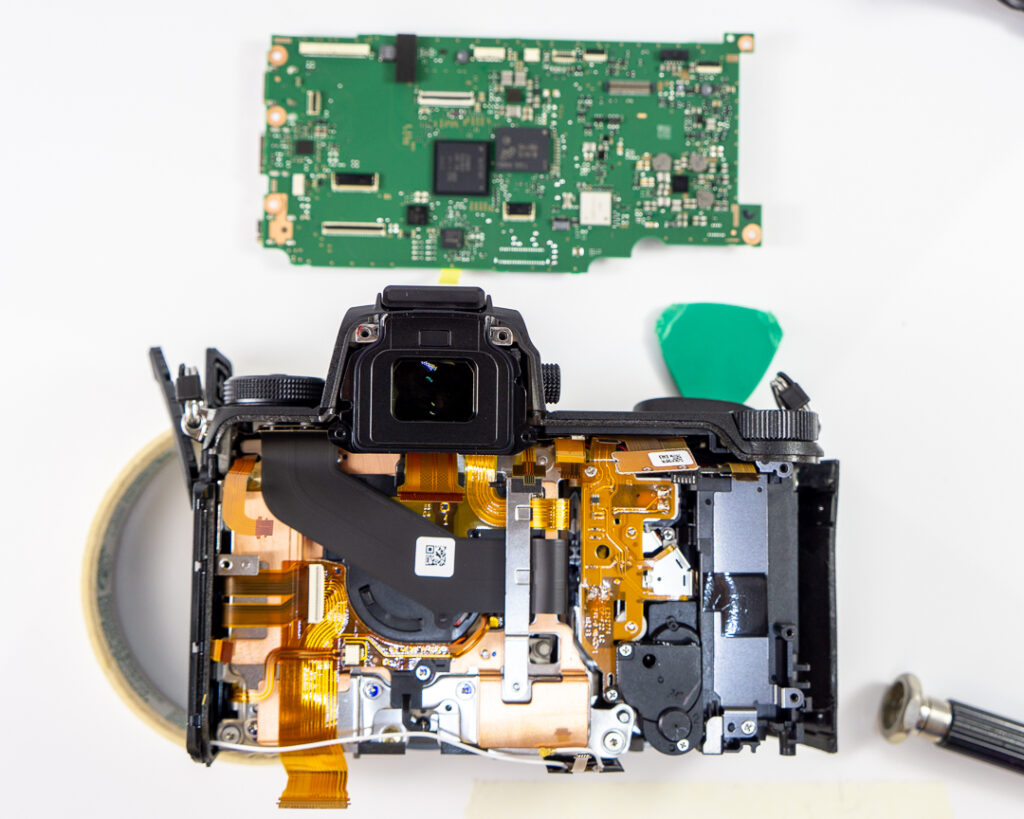
… and, the board comes right out. The Z7 has just one board with nothing too crazy going on. There are a lot of overlapping connectors that create quite a nest of ribbon cables, but they can be lifted to reveal more hidden screws. We take these out to break the camera down further.
Inspecting the Board, Lens Mount, and Internal Components
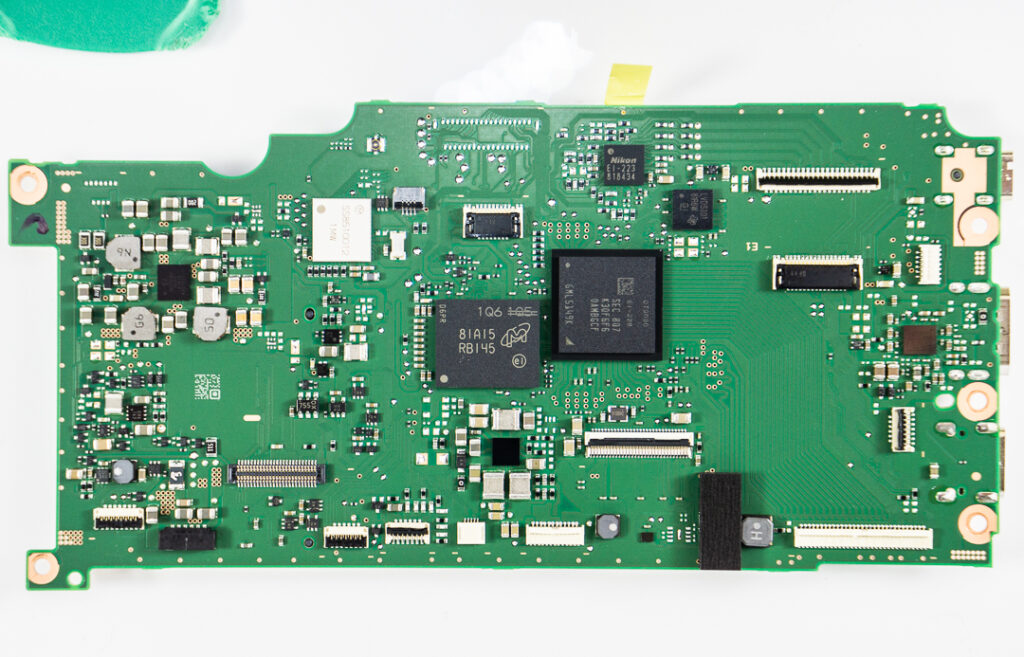
First, a closeup of the board (front). Some of those connectors near the top are definitely new.
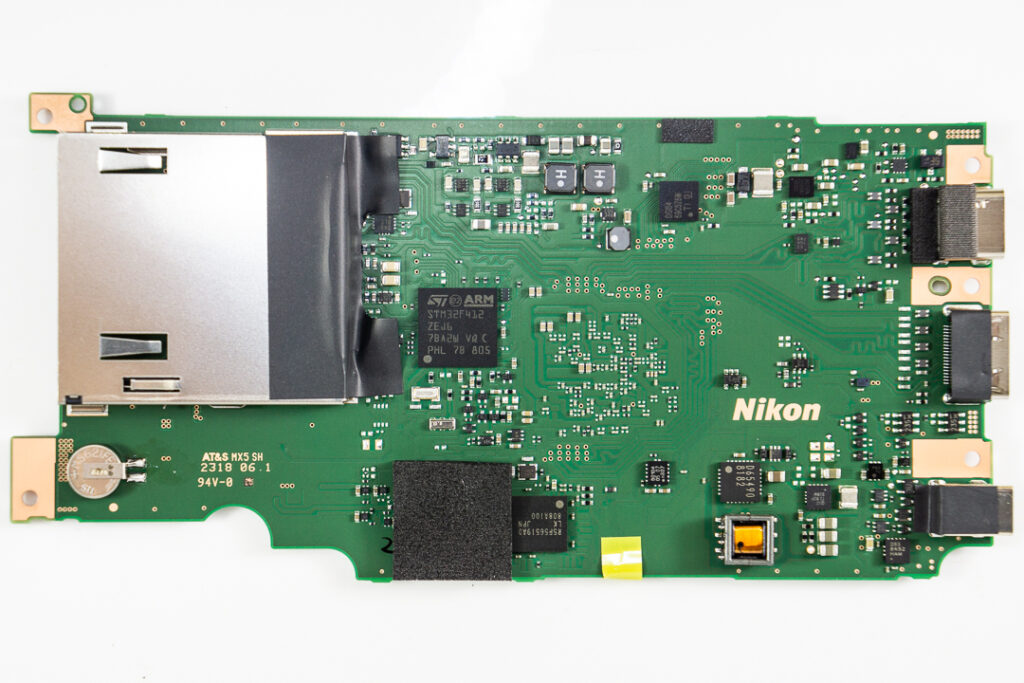
…and the back. Nikon clearly made a tough decision between one XQD card or two SD’s. The A7R III’s dual SD card slots just barely fit onto the main board as you can see from our last breakdown. Nikon went for quality over quantity here, but this is a contentious subject. Only time will tell if professionals share their philosophy.
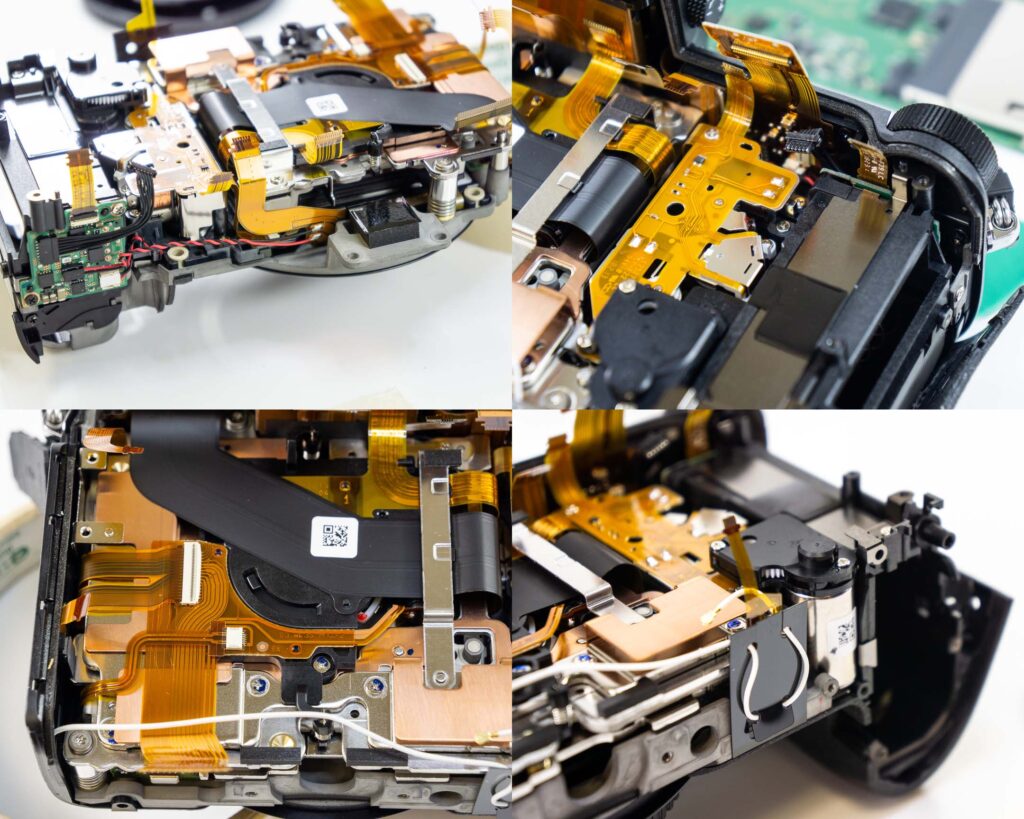
Here are some more intimate shots of how things are looking so far.
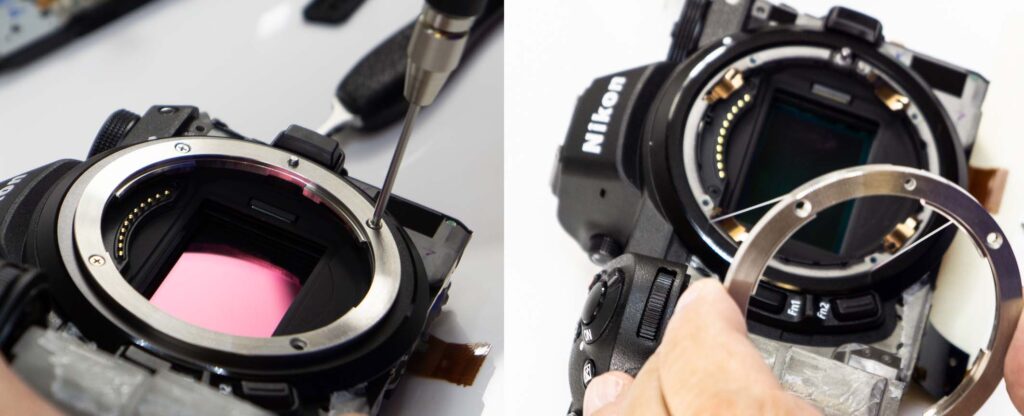
The lens mount is tightly weather sealed as well by the rubber you can see peeling off in the 2nd shot here (right) as we take off the lens mount ring.
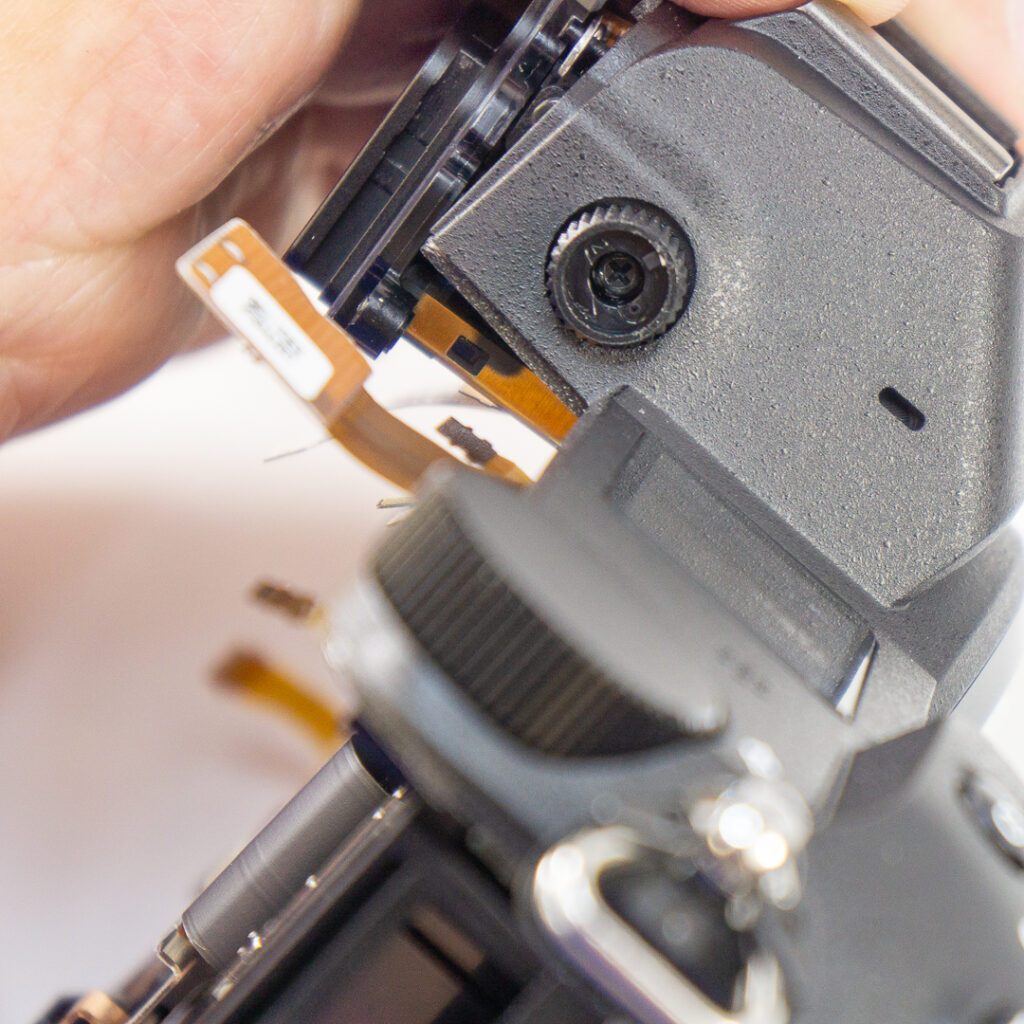
Don’t forget the secret screw hiding in the EVF diopter.
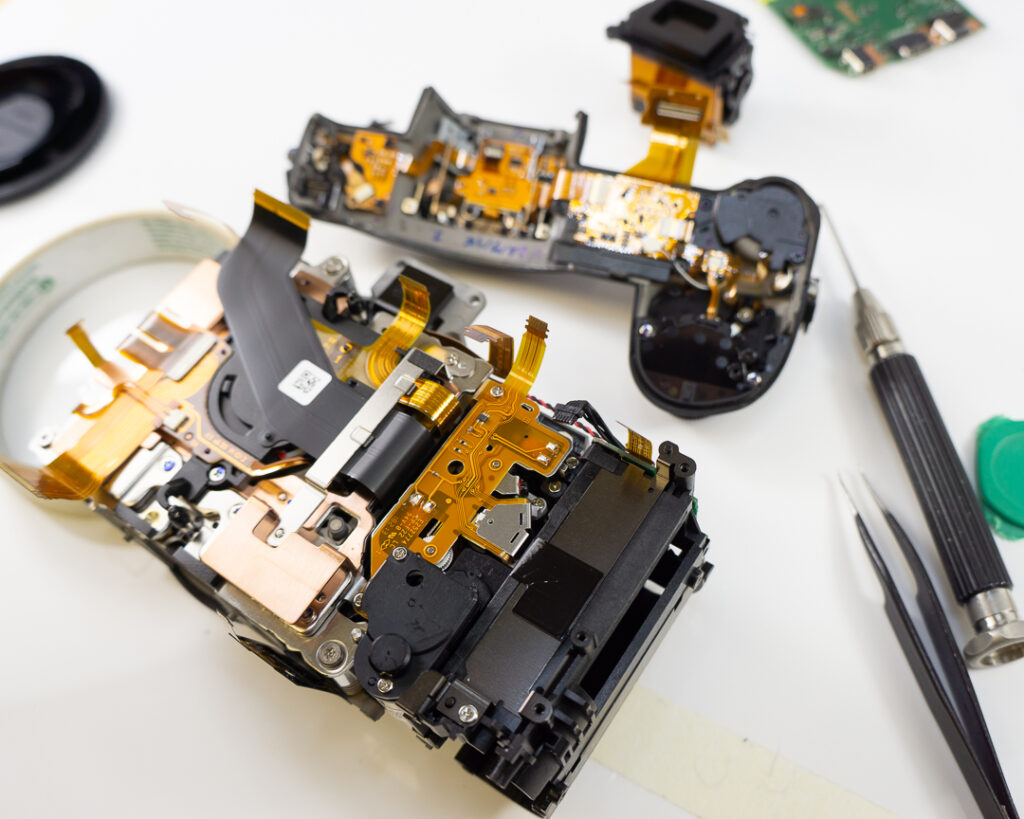
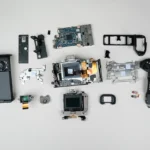
The camera is now broken down into its major component groups.
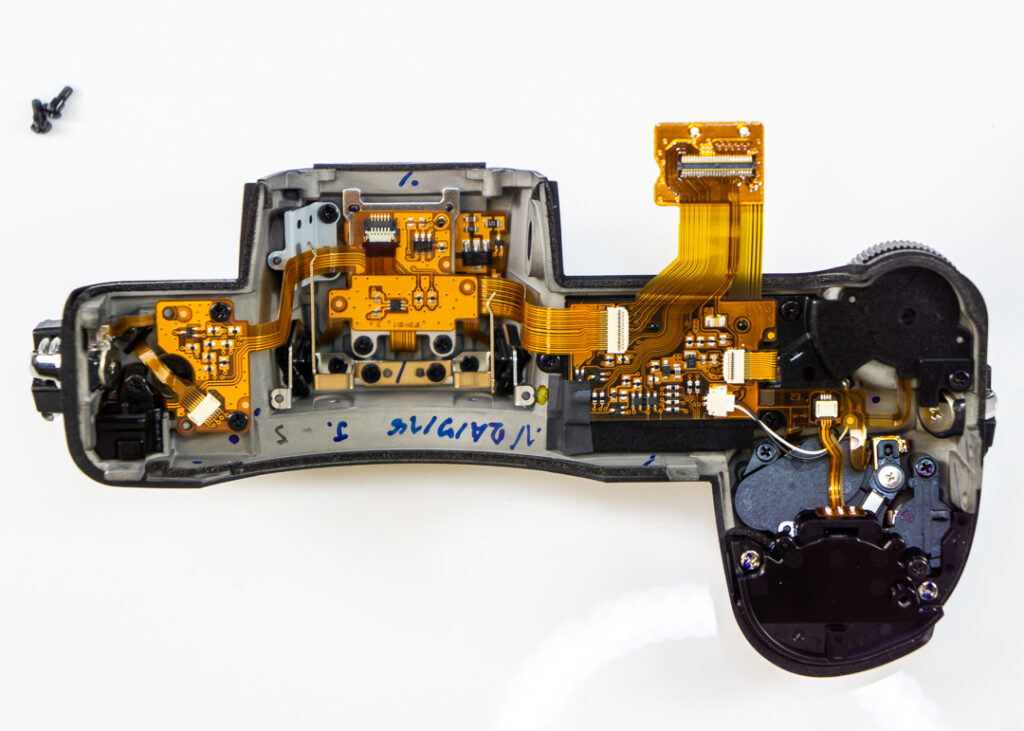
A detailed look under the top piece before we proceed.
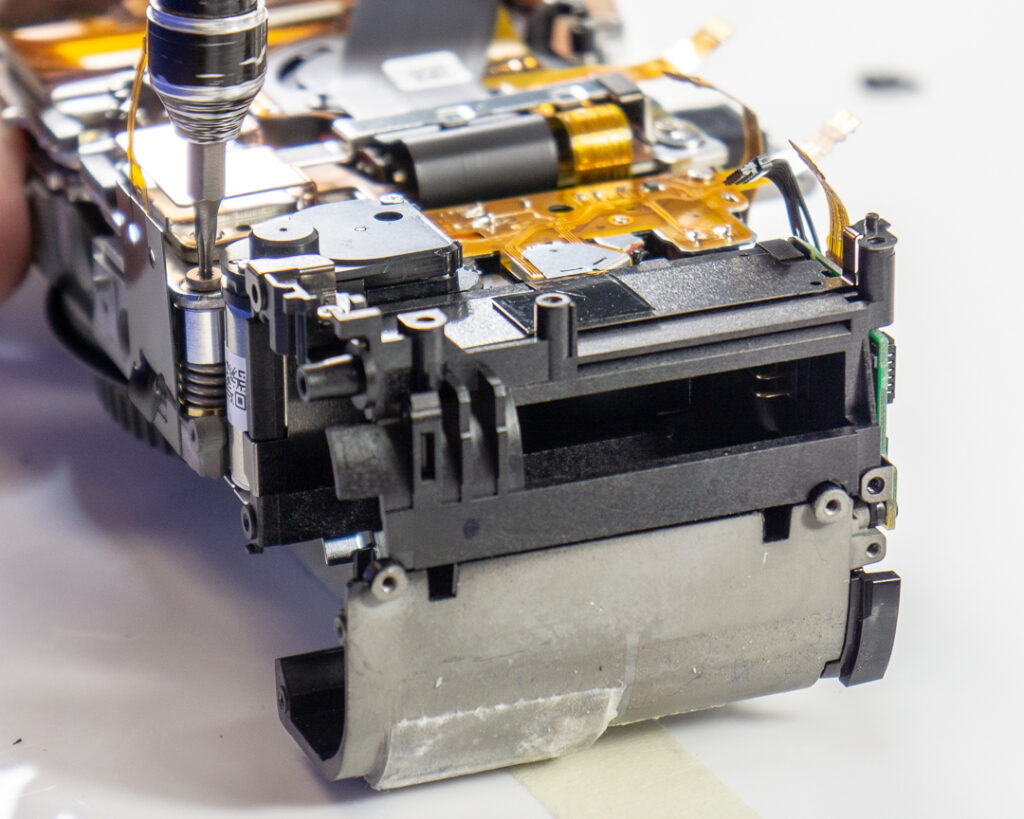
Removing the Sensor and IBIS Assembly
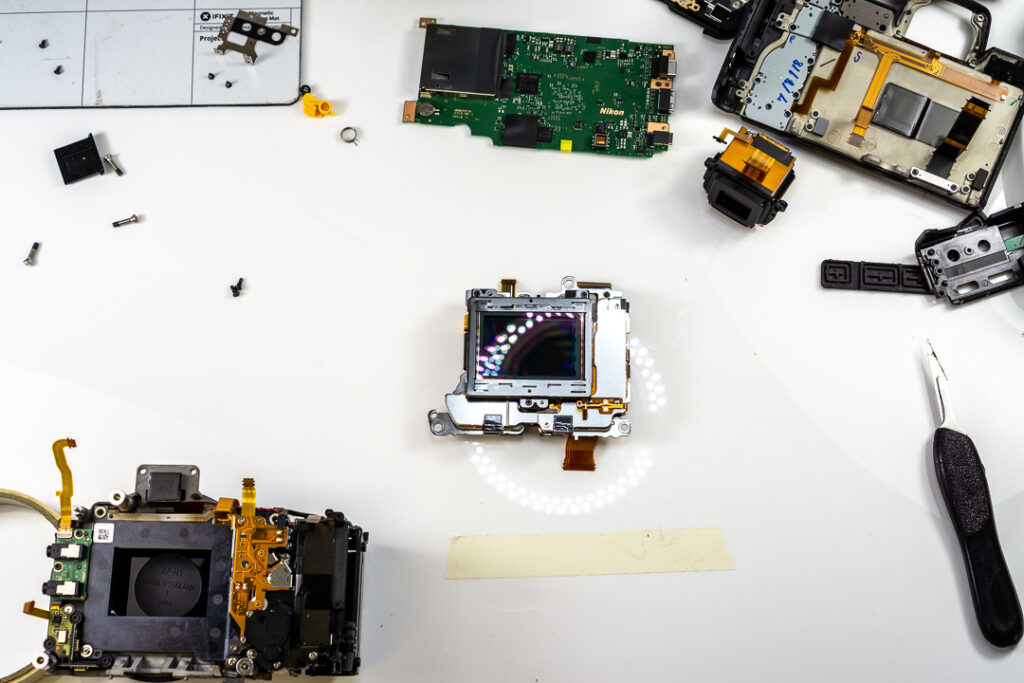
Now for the sensor and shaker components: the heart of any modern, IBIS enabled, full-frame contender for the professional mirrorless throne. Several thick and sturdy springs like the one seen here keep the sensor suspended in the perfect position for proper focusing.
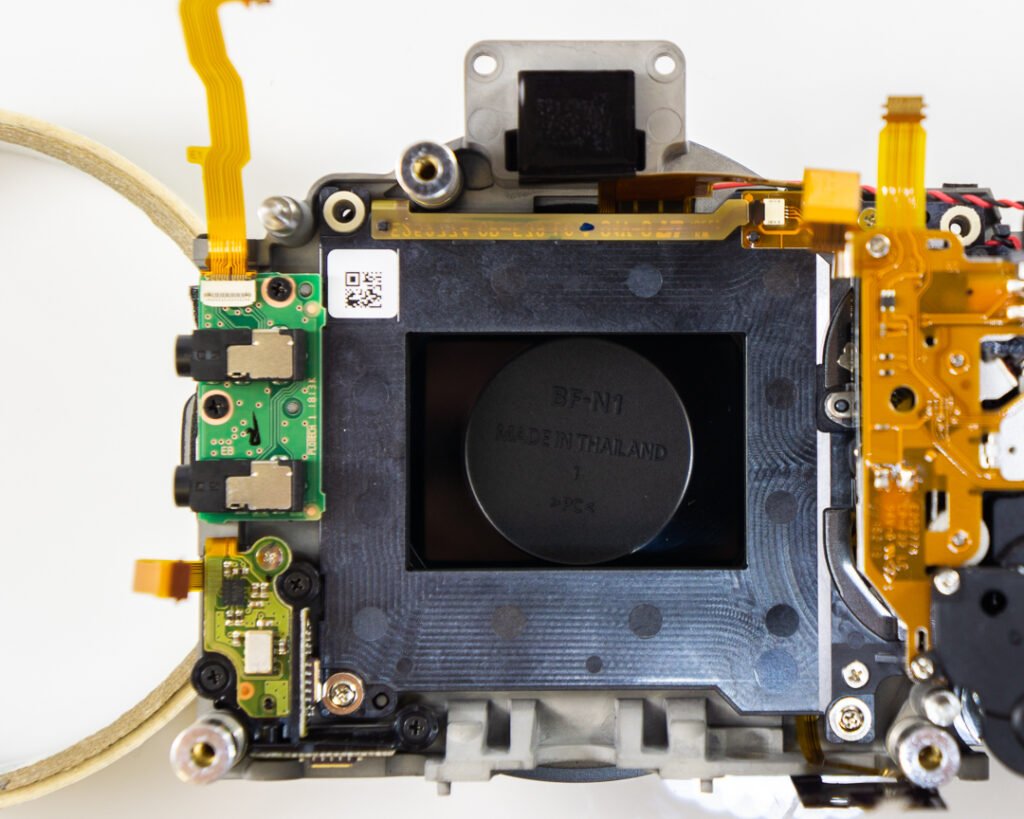
Removing the sensor assembly reveals a separate component for the headphone and microphone jacks, also like the A7R III.
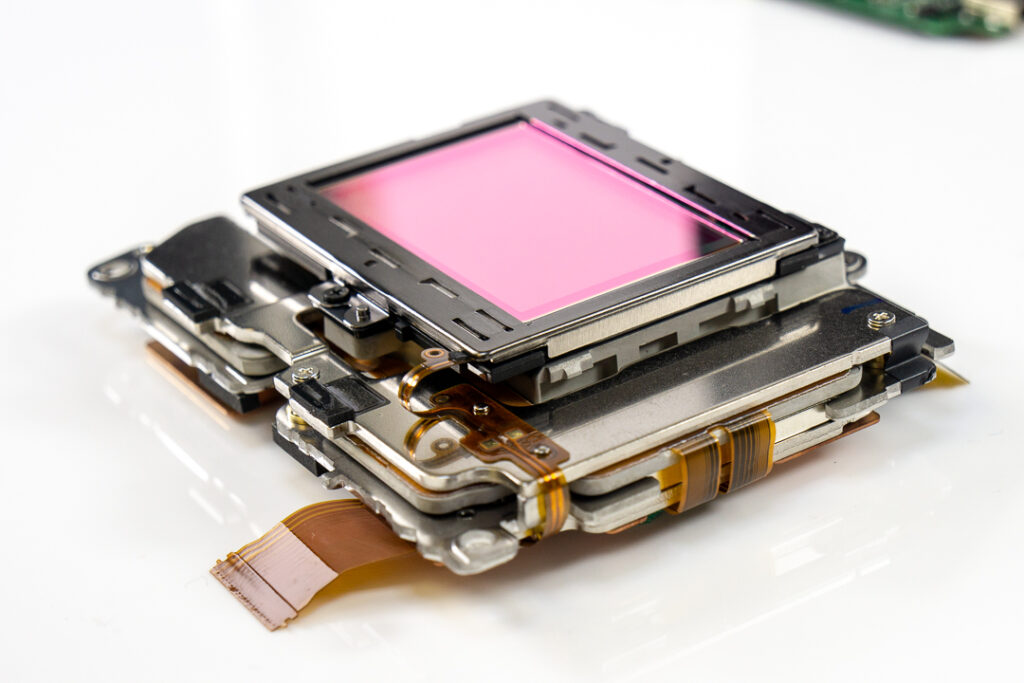
At last, the full sensor assembly, IBIS shaker included.
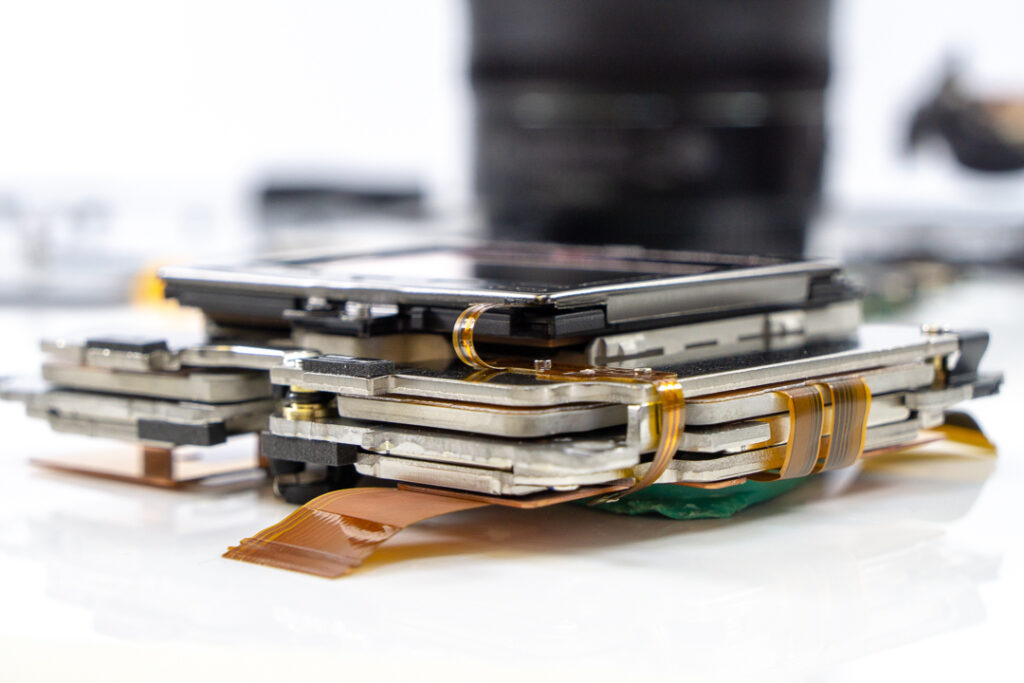
We were surprised to find that the Nikon Z7’s shaker itself does not move very much compared to Sony and others. Despite this, Nikon still claims a CIPA image stabilization rating of 5-stops, where the A7R III claims 5.5.
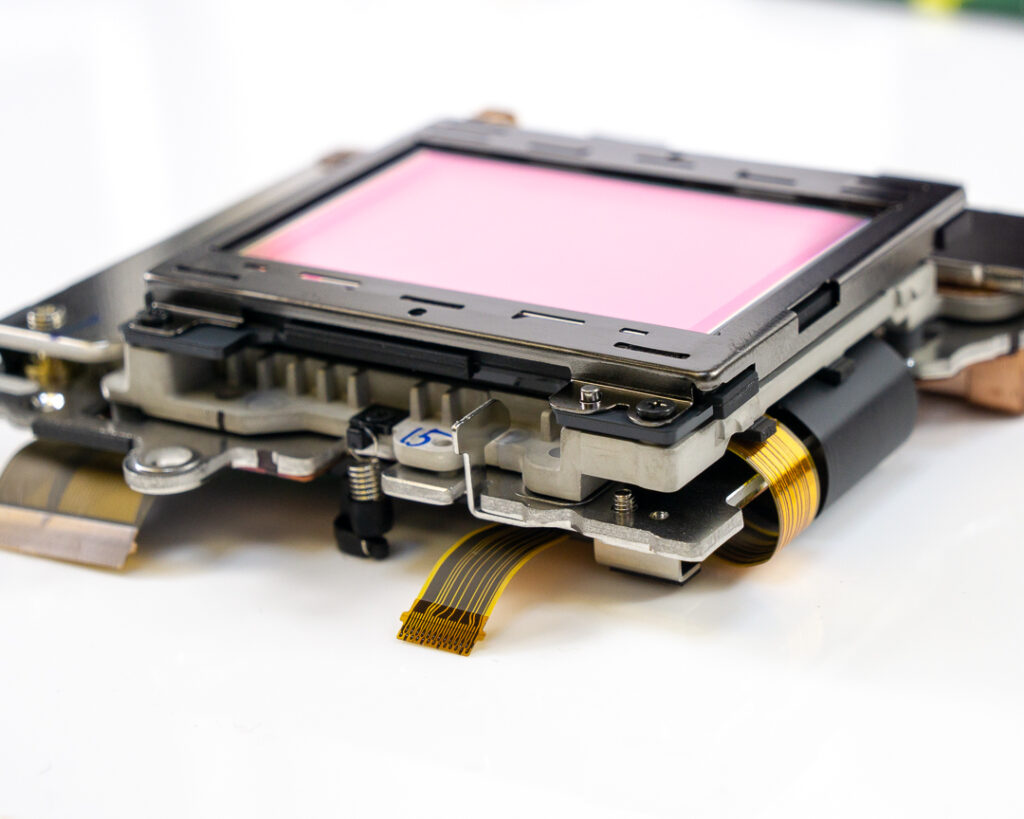
Nikon Z7 Sensor Glass and Full-Spectrum Conversion
Another unique aspect: the cover glass of the Z7’s sensor is about half a thick as the Sony’s, coming in at 1.1mm. This means the Nikon will have better performance with adapted lenses right out of the box. However, with our ultra-thin conversion measuring down to 0.2mm, the camera will still benefit a great deal from a modification service if you’re a Leica lens (or other legacy glass) enthusiast.
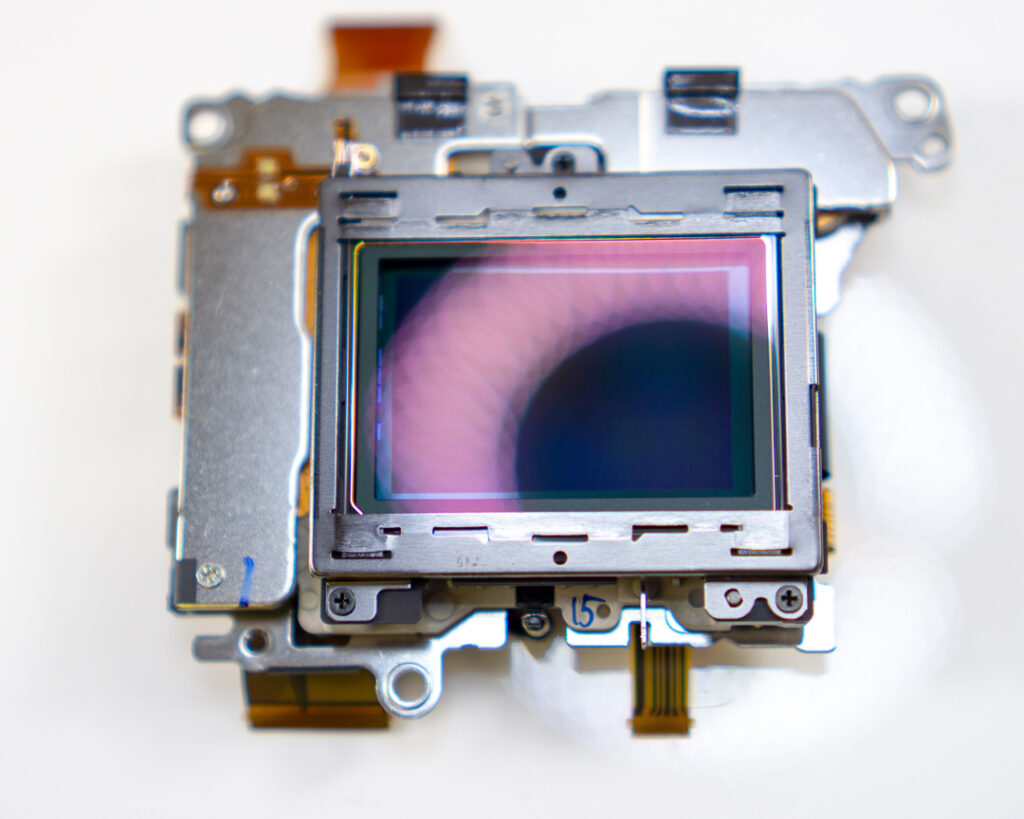
When this particular Nikon Z7 is back in one piece, it’ll be a full-spectrum camera and we’ll be testing it with each infrared filter we offer to see how the Z7 performs for infrared photography. Stay tuned.
The Nikon Z7 is a beautiful camera inside and out, one that genuinely surprised us with its simplicity when compared to other mirrorless cameras. It seems to have taken a few design pointers from the A7R III, but is still very much its own unique camera. Is it the new standard for full-frame mirrorless? Time will tell. Other DSLR titans like Canon and Panasonic are entering the arena. Old underdogs like Sigma are coming out of retirement. Fujifilm has announced another, smaller medium format mirrorless camera. This is shaping up to be the war to end all camera tech wars, and it’s only just beginning.




9 Responses
Excellent teardown!
Please let us know if this will be one of the first Nikons to do custom WB settings in multiple spectrums. Making use of all those custom WB slots would be great.
Thank you,
David
Amazing teardown
Thanks!
Canon EOS R forthcoming?
What about the ms621fe internal battery next to the card slot assembly?
MS621FE is a rechargeable lithium battery. Link is http://www.sii.co.jp/en/me/datasheets/ms-rechargeable/ms621fe/.
Hi Kolari,
Thanks for sharing.
So will it be possible to mod the z6/7 with UT thin filter of yours ?
Best regards
Vincent
Identical Sony sensor to the D850 (though with a different CFA)?
Great tear down, thank you. Can you please explain how the cover glass thickness affects performance? I didn’t get that part. What performance and why?
I am looking for the method to remove the battery door from the frame. This is necessary for attaching the Meike MK-Z&G hand grip. The battery door then needs to be installed on the MK-Z7G grip.