Canon EOS R Camera Overview and Design
The Canon EOS R was cause for some internal controversy here at Kolari Vision. After all, we’re in the middle of The Great Mirrorless Camera War. Tensions are bound to rise, turning brother against brother, camera tech against camera tech, and photographer against photographer. Despite this, I will do my best to describe the form factor and internal construction of the EOS R in a fair and unbiased manner.
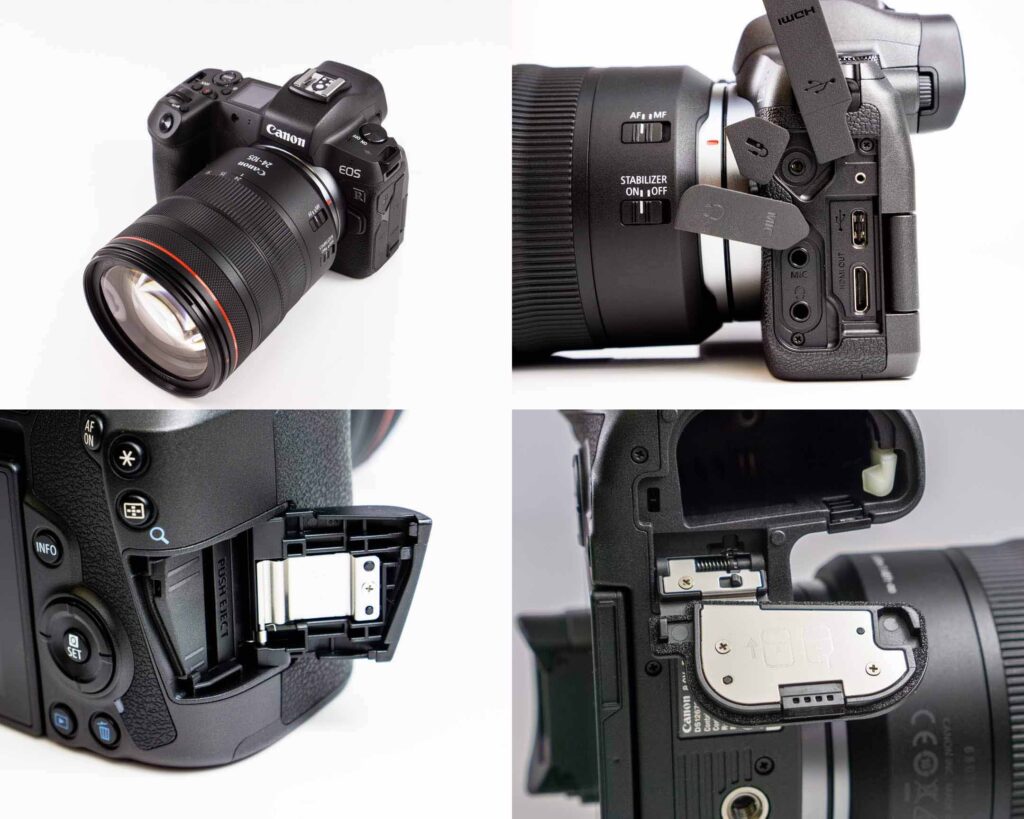
Canon EOS R Body Build, Weather Sealing, and Shutter Behavior
Let’s start with the cold, objective facts. The Canon EOS R is the best-looking mirrorless camera made to date. Just look at the smooth yet rough finish from the EOS M series, the thoughtful hand-grip shape, the flowing continuous curves of its chassis, and the way the lens mounts to the body by joining exposed matte metal. This R looks like a sportscar. It’s gorgeous. There is a bit of rattling when you shake it, unlike the Nikon Z7 and despite not even having an IBIS shaker. But, that’s because it’s a living thing with character rather than a cold, emotionless light capturing device. The body and all of its ports and slots seem decently weather sealed, no more or less than the Z7 or A7R III. All of the full-frame mirrorless cameras appear to take to the same approach to keeping the elements at bay: tight tolerances, lots of overlap, and rubber sealing on the openings. The R feels incredibly solid like it’s competitors though a bit front heavy with the lens attached, also like its competitors. Most mirrorless camera designers have clearly abandoned “small and light” as a design concept, but that’s why we have Fujifilm. Today belongs to the beautiful Canon EOS R.
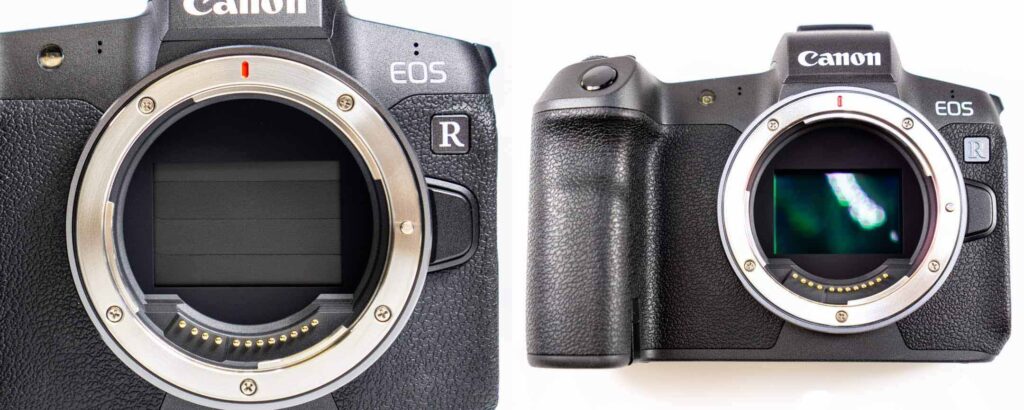
Starting the Canon EOS R Teardown
We also noticed that the shutter closes by default when the camera is turned off. I always wished my Sonys did this to keep the sensor clean, though some would argue it makes the shutter blades themselves more vulnerable to damage and shutter errors.
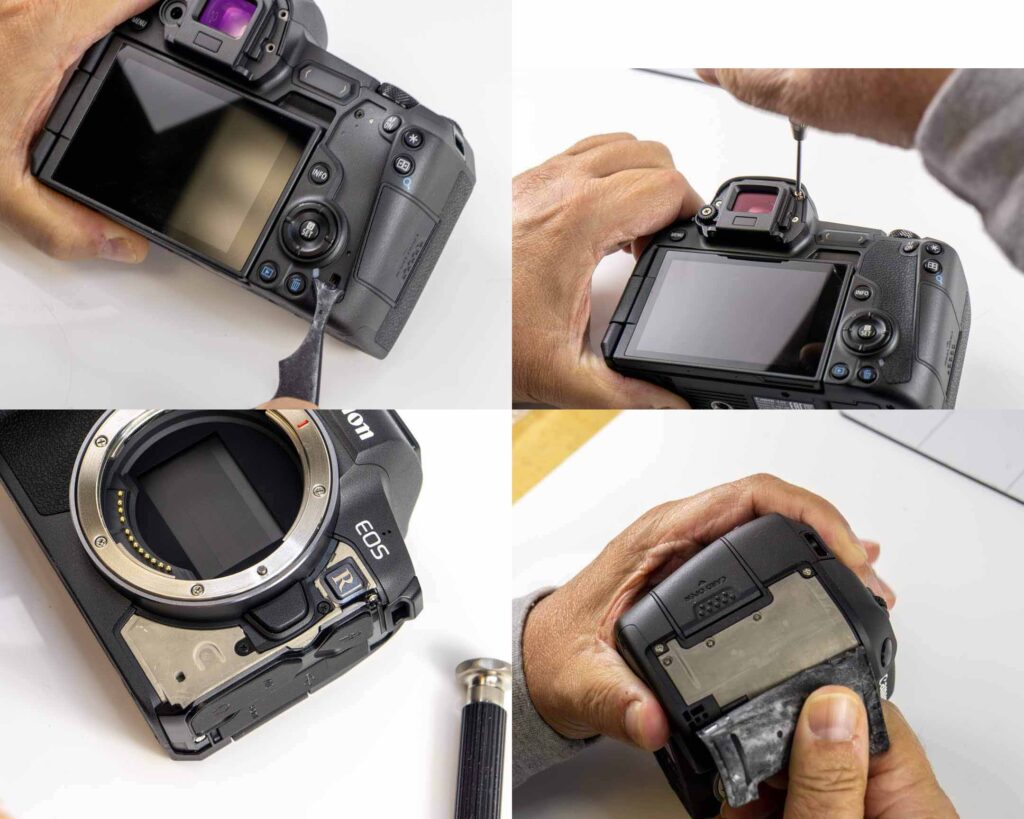
We start by removing the eyecup, port covers, and rubber grips to expose and remove all of the exterior screws. The EOS R needs to be much more thoroughly skinned than the Z7 if you want to get at its nougatty center.
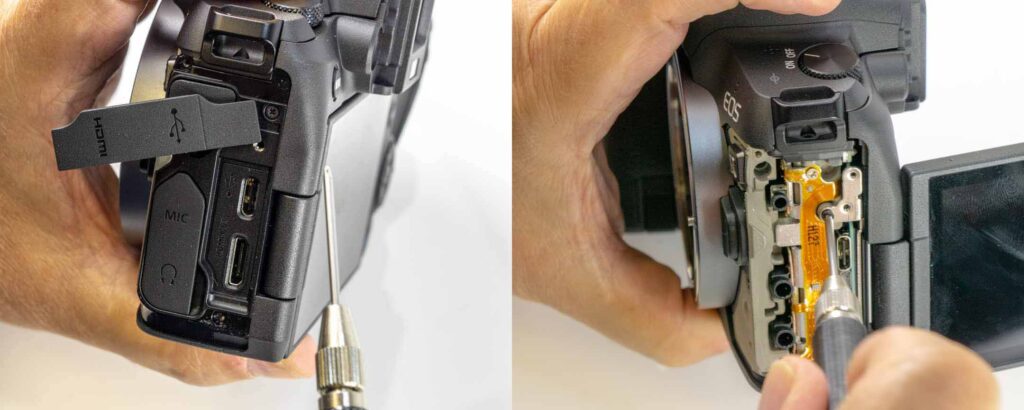
Removing Exterior Screws and Port Side Panel
The port side panel (port in both the component and nautical sense) must come out, revealing more screws that will allow the back to come off once removed.
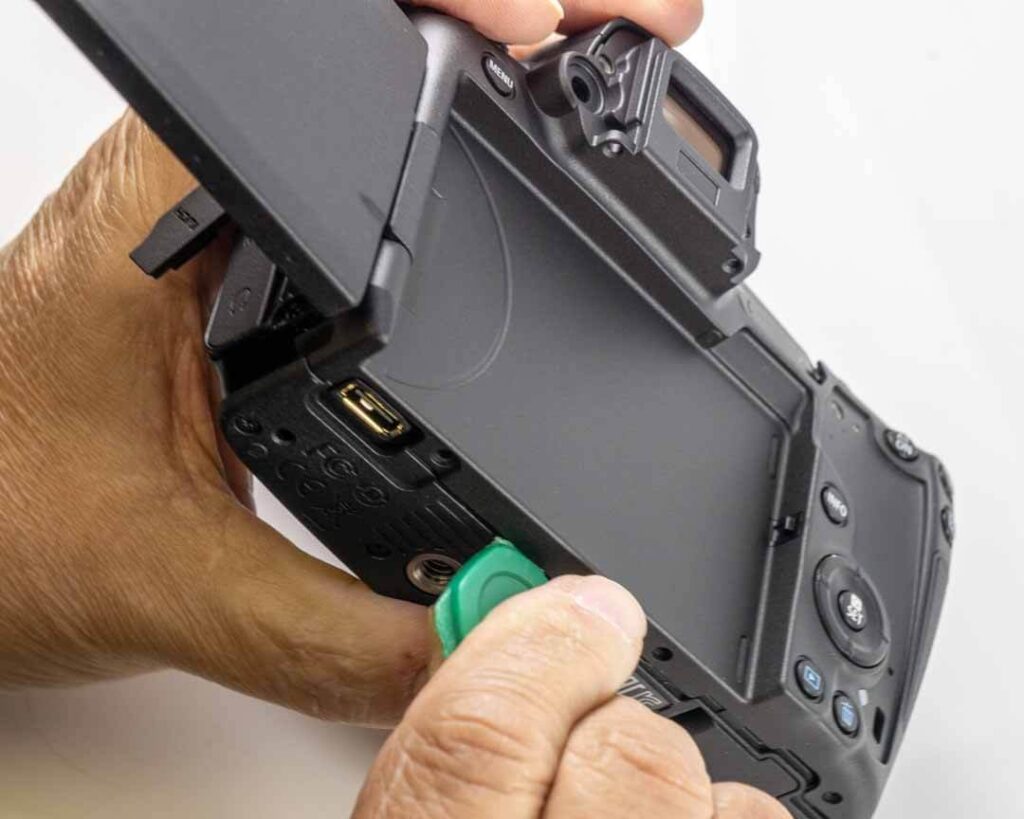
Opening the Camera Body and Accessing the Motherboard
Spudge carefully along the edges starting at the right side and bottom, and with a bit of wiggling…
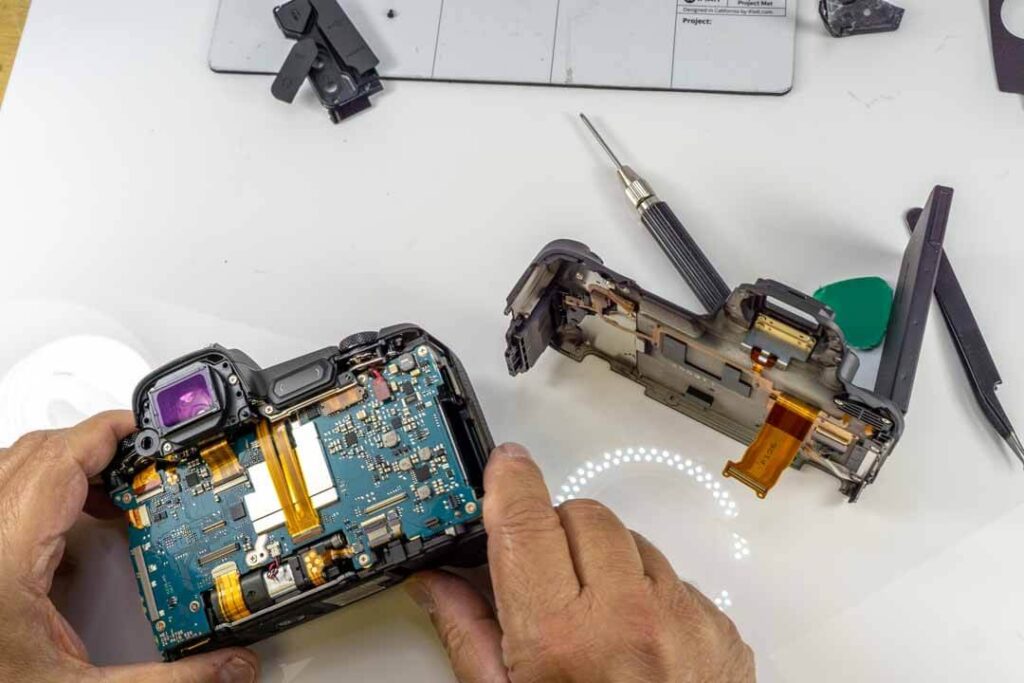
… your Canon EOS R will open up to you.
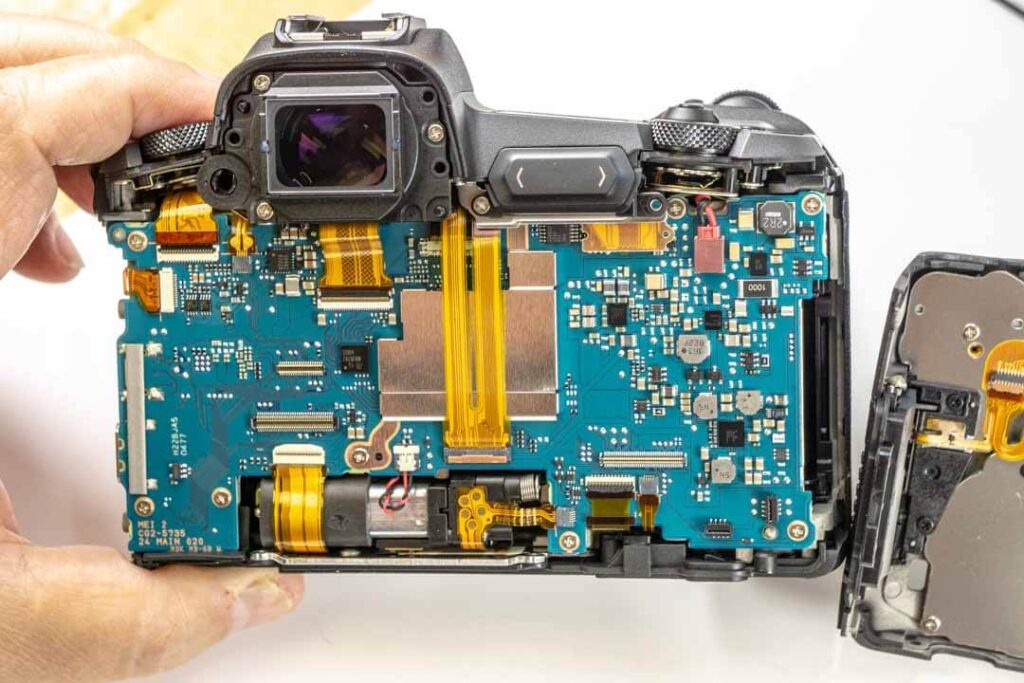
A simple, single motherboard lies beneath the camera’s back. There are some new connectors here like there were inside the Z7. Camera companies are clearly making new tech with these mirrorless models, not just repackaging the old.
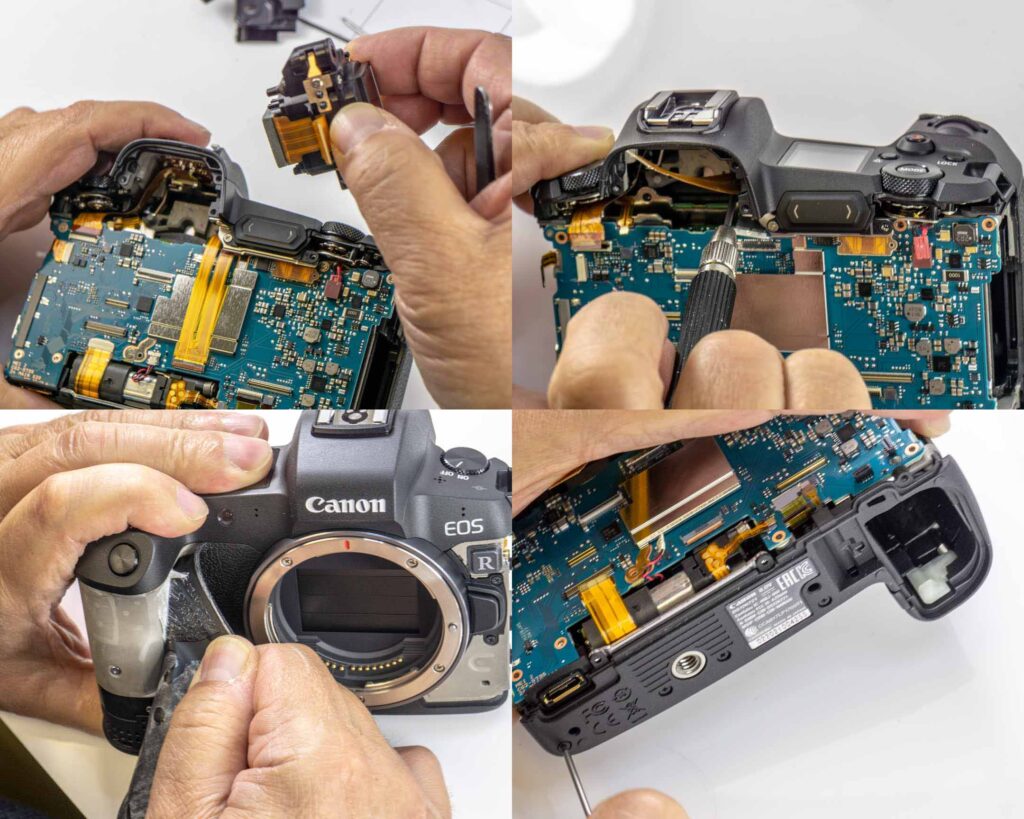
Removing the Top Section and Remaining Internal Screws
Next, we remove the few remaining screws under the electronic viewfinder, rubber handgrip, and in the bottom panel. Note the touch bar in the top right photo along with the center toggled mode dial, both examples of thoughtful if not yet perfected design.
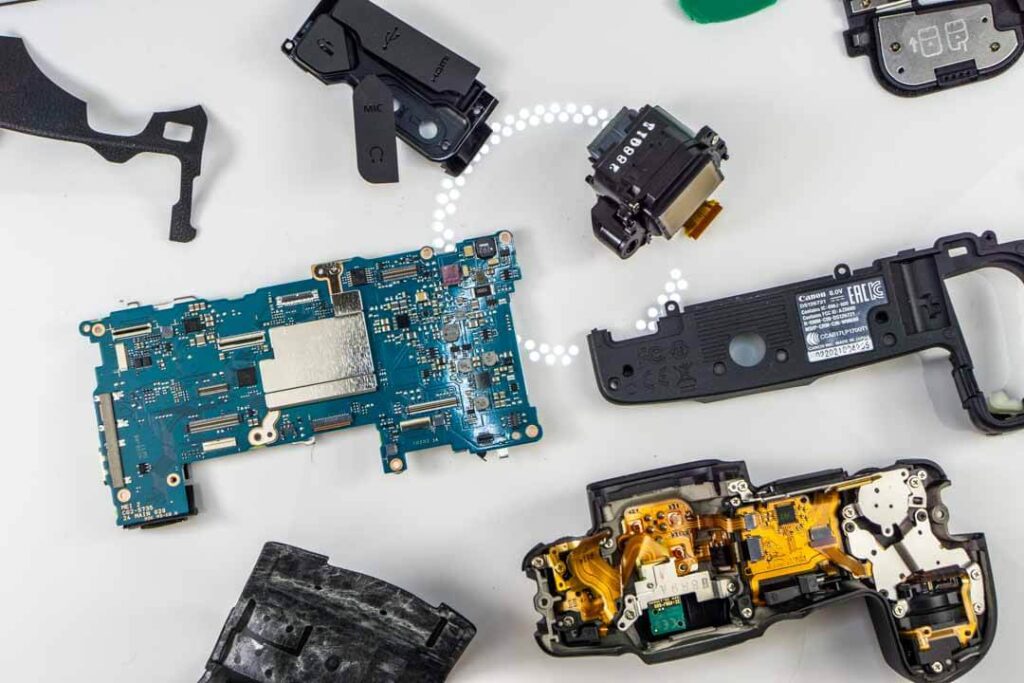
The camera comes apart very easily after all of that, which is rarely the case. We were pleasantly surprised.
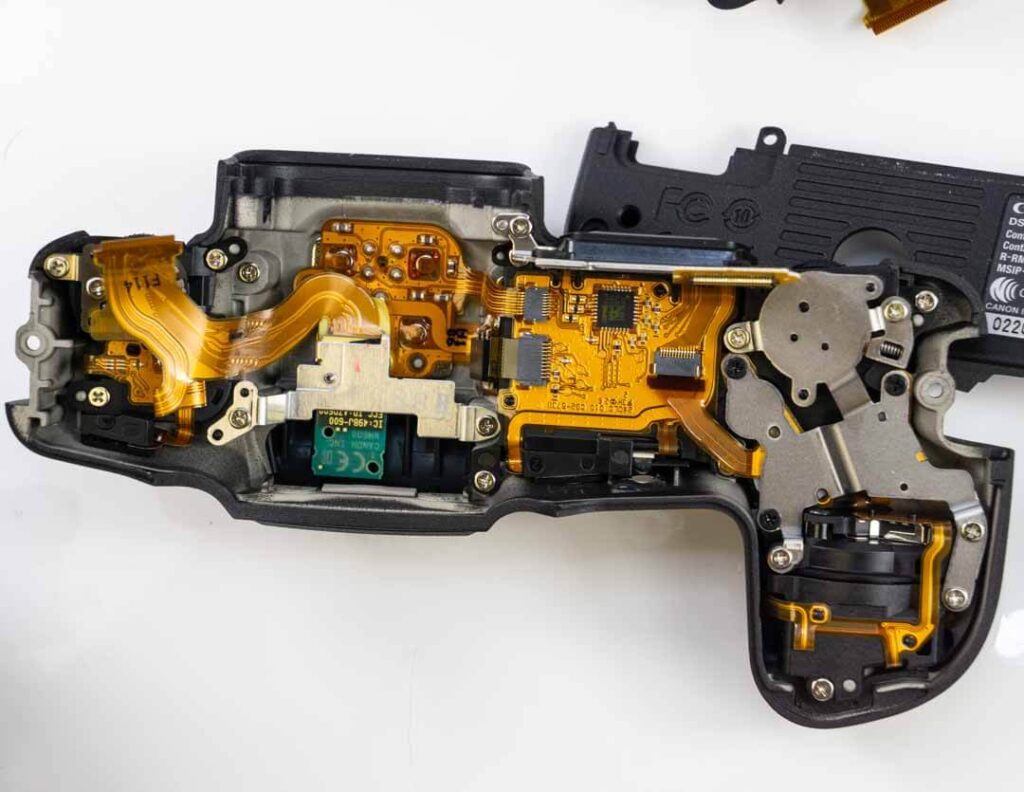
A closeup of the underside of the top section.
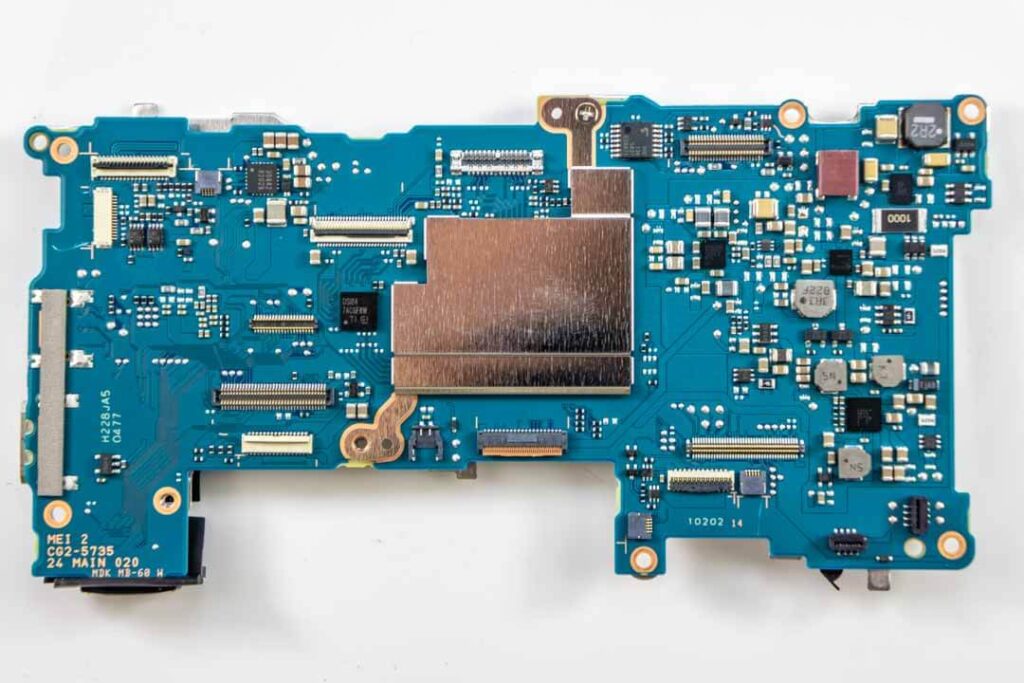
Inspecting the Canon EOS R Motherboard and Internal Layout
The front of the motherboard.
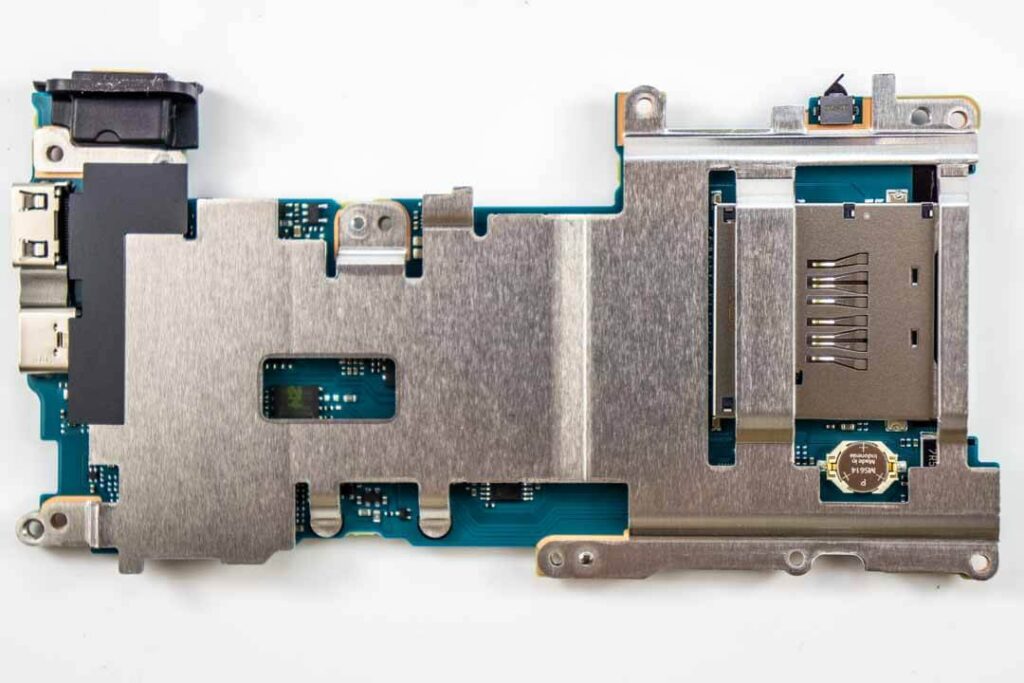
The rear of the motherboard, mostly shrouded by the heat/noise shield.
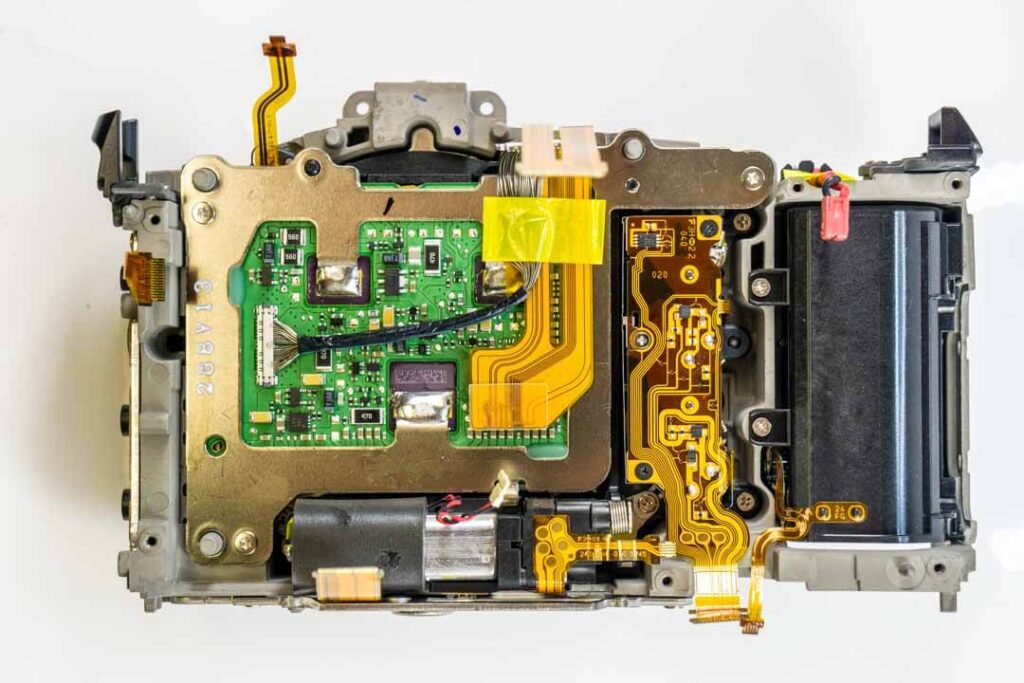
A look at what remains before we go deeper.
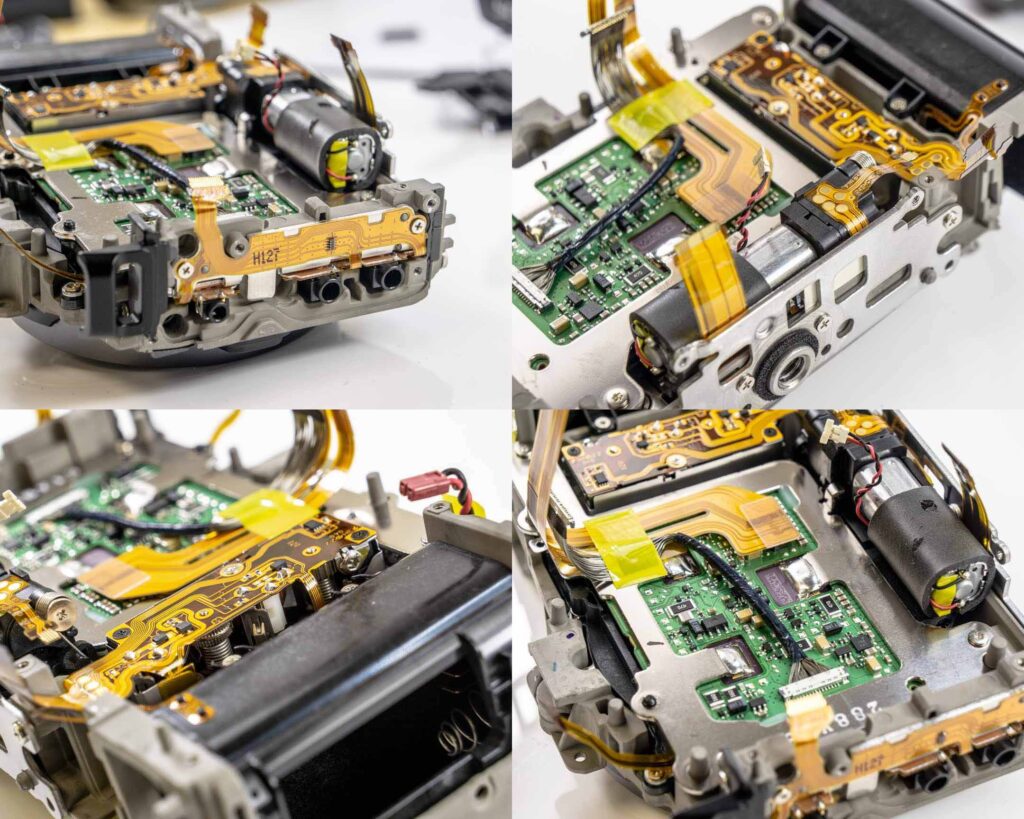
Close-ups of the of the EOS R under its motherboard. Tell us what you see in the comments.
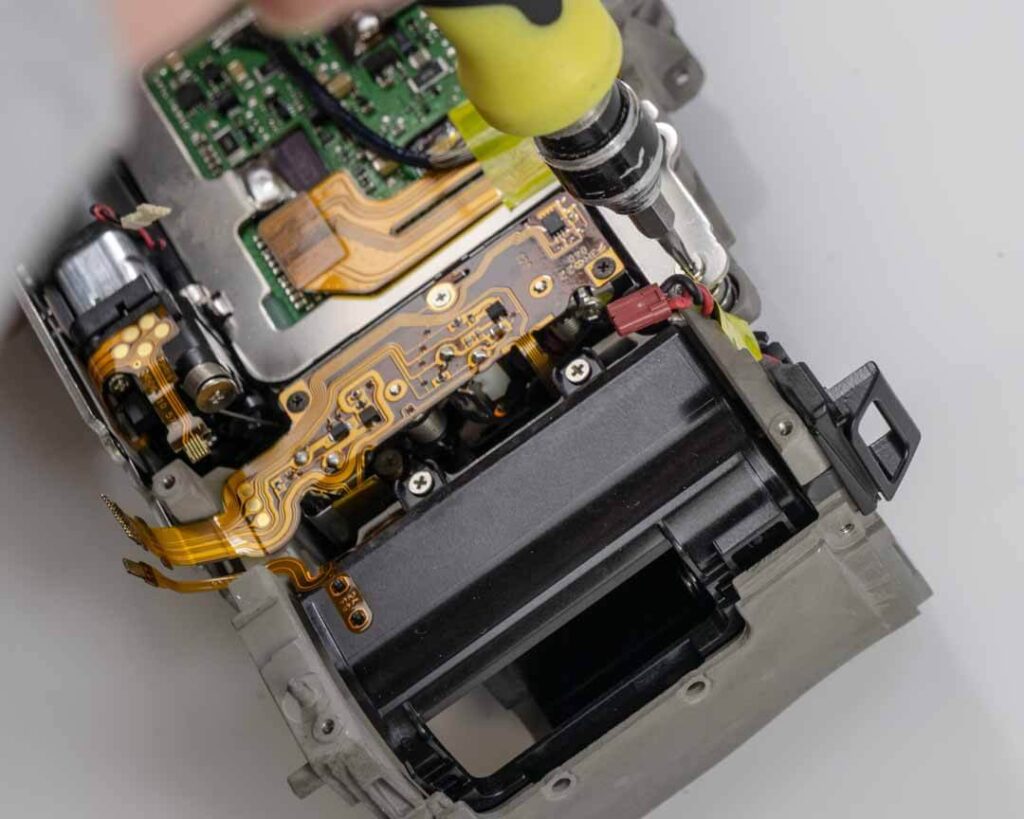
Removing the Canon EOS R Camera Sensor
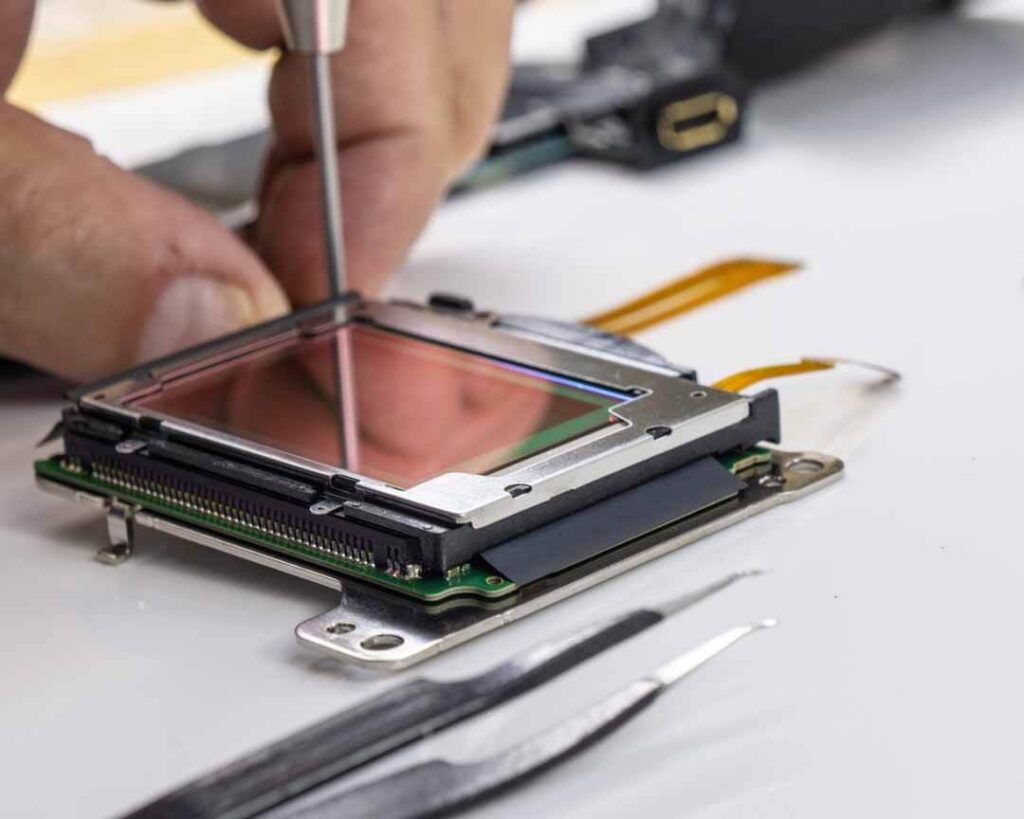
The sensor is held by 3 deep screws and rests on springs.
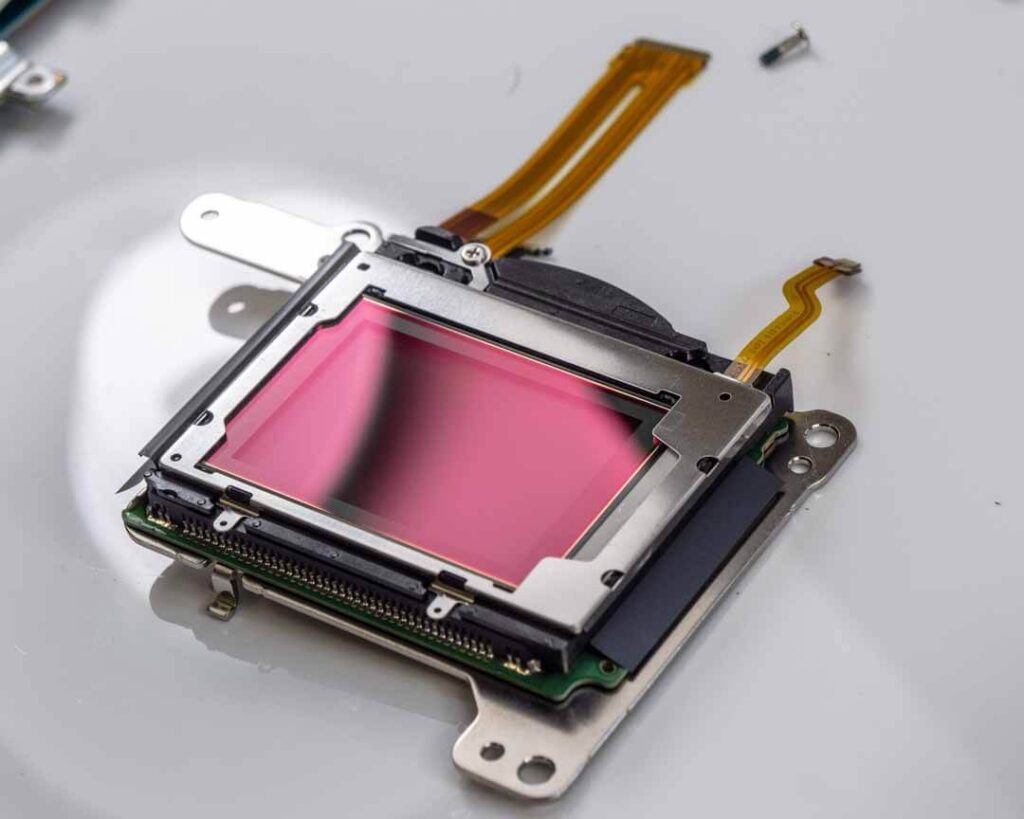
And, out comes the slimmest sensor we’ve seen thus far in the mirrorless war. The absence of a shaker for IBIS keeps the sensor assembly very lean, but a lot of unused room remains in the camera. Whether this is necessary for heat dissipation or some other purpose is anybody’s guess. Canon doesn’t seem to care much for the idea of IBIS, but they could very well intend to add it in a later model. We won’t know until it happens.
Canon EOS R Sensor Glass and Conversion Potential
Let’s talk sensor glass.
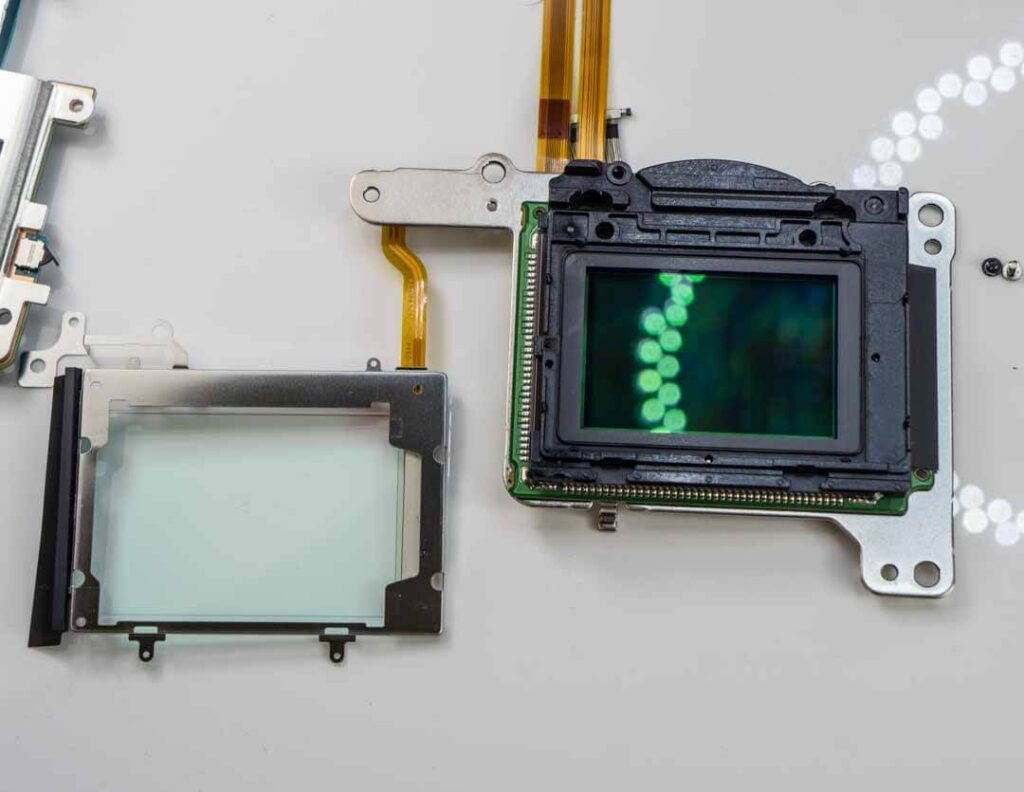
The internal low-pass filter and the dust reduction system glass combined had a thickness of about 1.6mm. This places the Canon thinner than the Sony at about 2mm, but much thicker than the Nikon Z7’s 1.1mm. If and when adapters are released for EOS R to legacy or rangefinder lenses, the EOS R could still certainly be a solid candidate for our Ultra-Thin conversion, measuring in at 0.2mm thin. However, this brave EOS R will be converted to full spectrum once it’s back in one piece! Keep an eye out for our Infrared Photography review of the Canon EOS R, we’ve already reviewed the Infrared Nikon Z7, and you’ll be the first to see to see how the two cameras stack up in alternate wavelengths! Don’t forget to tell what we missed in the comments section below!






5 Responses
The word “unbiased” was a joke, right? xD
“I will do my best to describe the form factor and internal construction of the EOS R in a fair and unbiased manner.
Let’s start with the cold, objective facts. The Canon EOS R is the best-looking mirrorless camera made to date.”
Umm, that’s a subjective observation, the complete opposite of objective.
http://www.vocabulary.com/articles/chooseyourwords/objective-subjective/
“Anything objective sticks to the facts, but anything subjective has feelings. Objective and subjective are opposites.
Objective: It is raining.
Subjective: I love the rain!
You are right. Just a little joke on my part :3
With so much room behind the sensor, is it possible to had a heat sink to keep the sensor cooler for us Astrophotographers?
Wow,unbelievable you tear down the EOS R.I own 2 of them and it works like a charm .