Sony A7R IV Camera Overview and 61MP Sensor
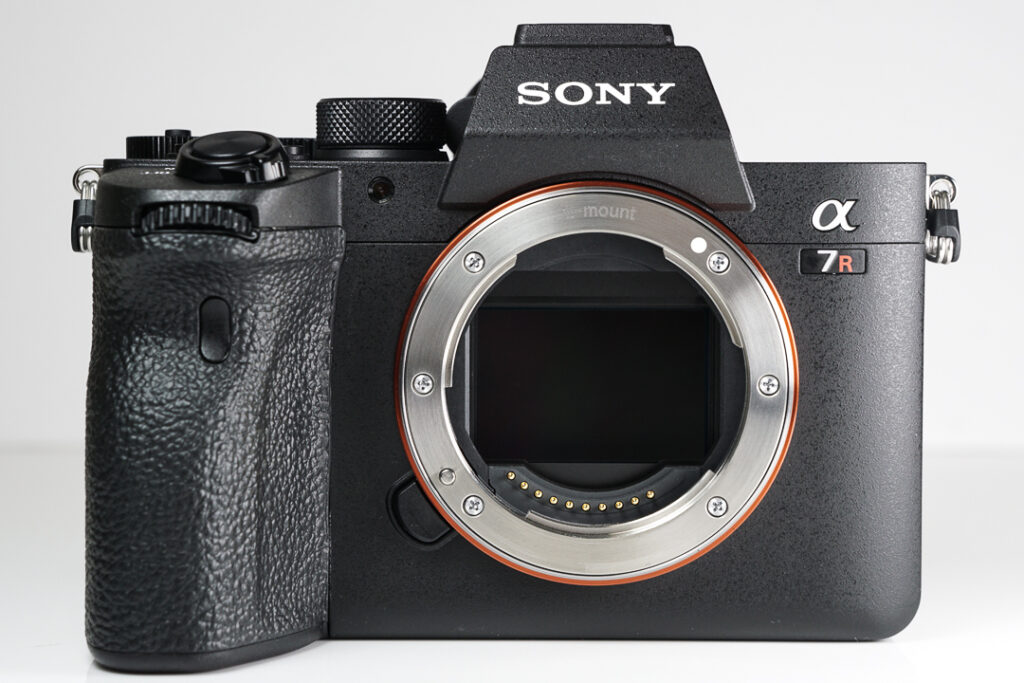
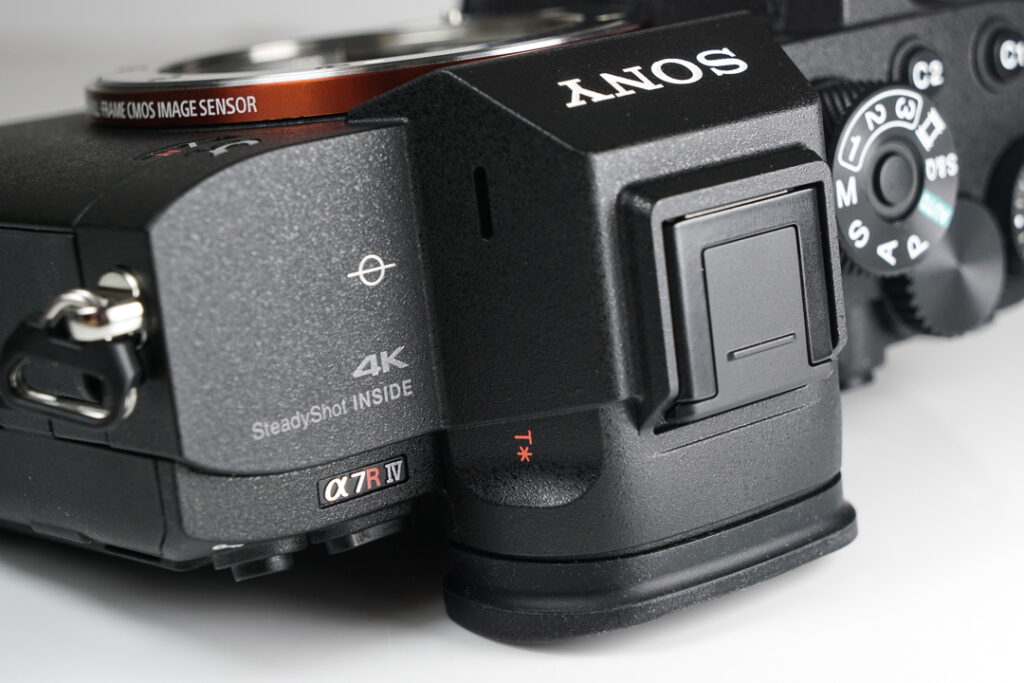
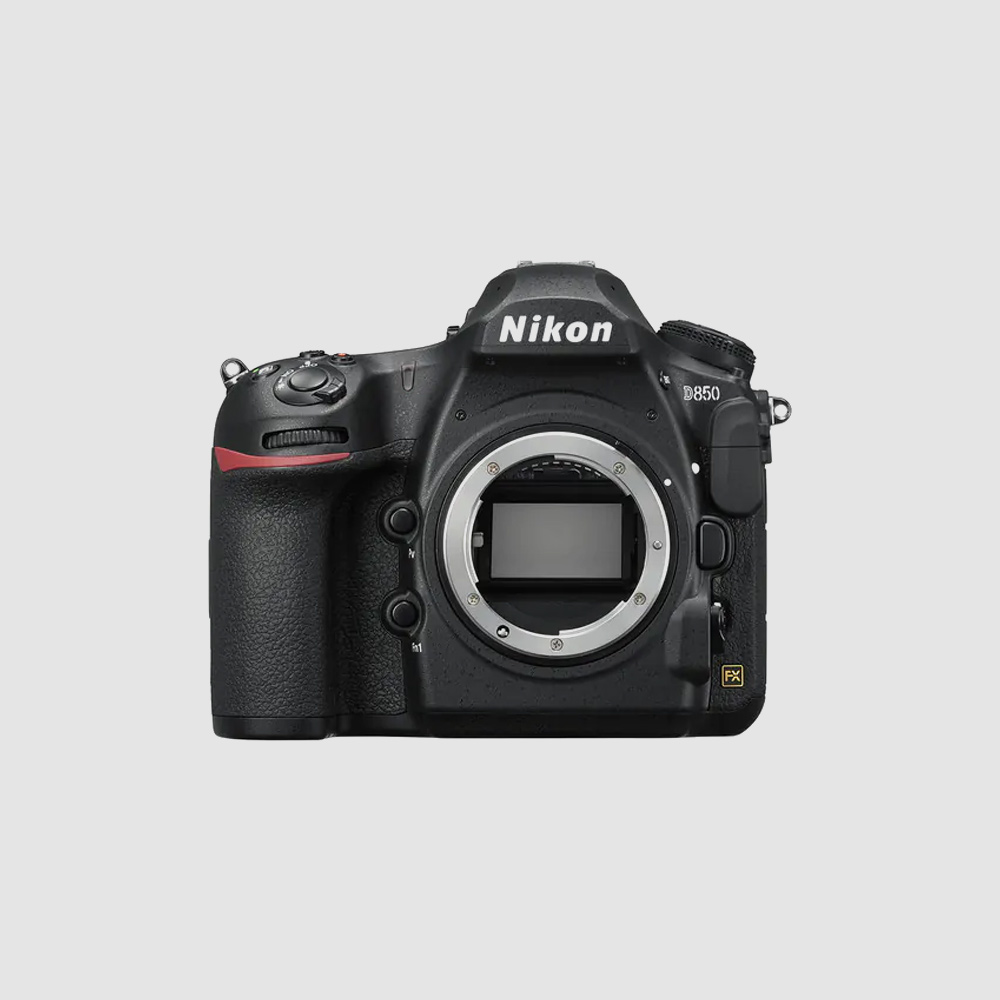
2020 is just around the corner, and if there is one thing we can be sure of, it’s that Sony probably isn’t going to be slowing down. While every iteration of the different A7 and a6000 camera lines launch with significant improvements over their predecessors, the most recent A7R took leaps and bounds in both capability and design progress. We’re at 61 megapixels on a full-frame now. The A7R IV brought us here, past the D850, the 5Ds, and even Fuji’s GFX 50 cameras. With that, it brings a 10fps continuous drive rate and all the top-notch AF and video capability we’ve come to expect from Sony. The body itself is just a little different on the outside. The grip is definitely a little beefier than before. The Nikon Z and Canon EOS R cameras’ design and ergonomics were very well received, and it makes sense for Sony to adopt as much of that “DSLR-feel” as they can. But, despite the subtle ergonomic improvements, the A7R IV is still a uniquely brick-like camera with all its rectangles and stepped edges. I don’t know about you, but at this point, I really don’t want them to change.
Sony A7R IV Weather Sealing and Exterior Updates
What I did want to see was whether they updated the weather sealing and the arrangement of the internal components. When a camera is extra neat and tidy on the inside, it gives you that extra bit of confidence out in the field. And, if anything ever does go wrong, the camera can be repaired more quickly, easily, and reliably.
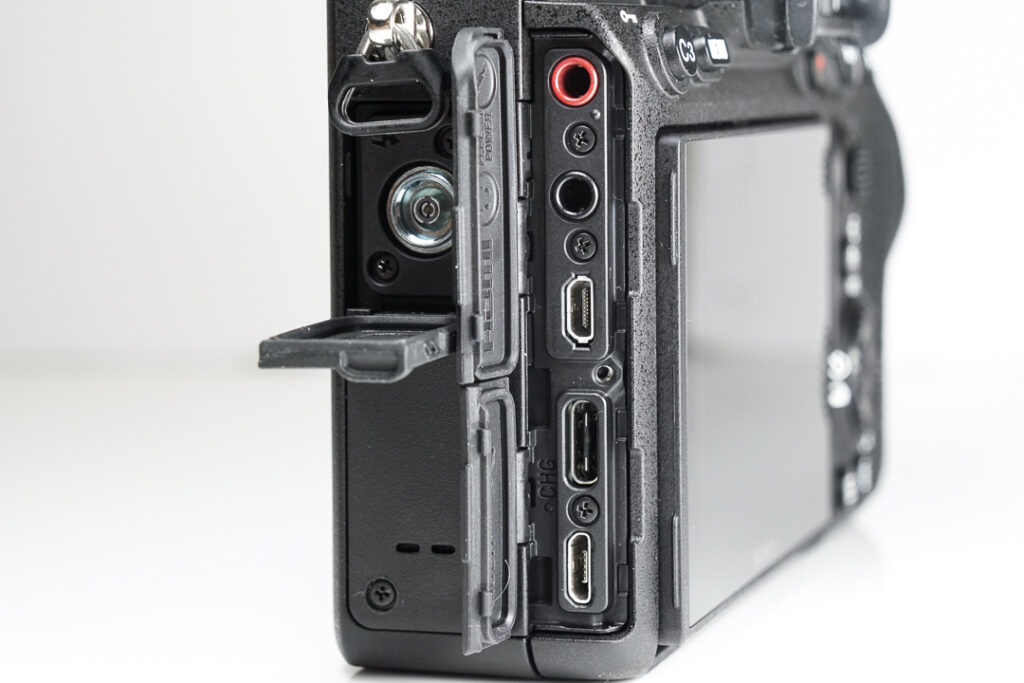
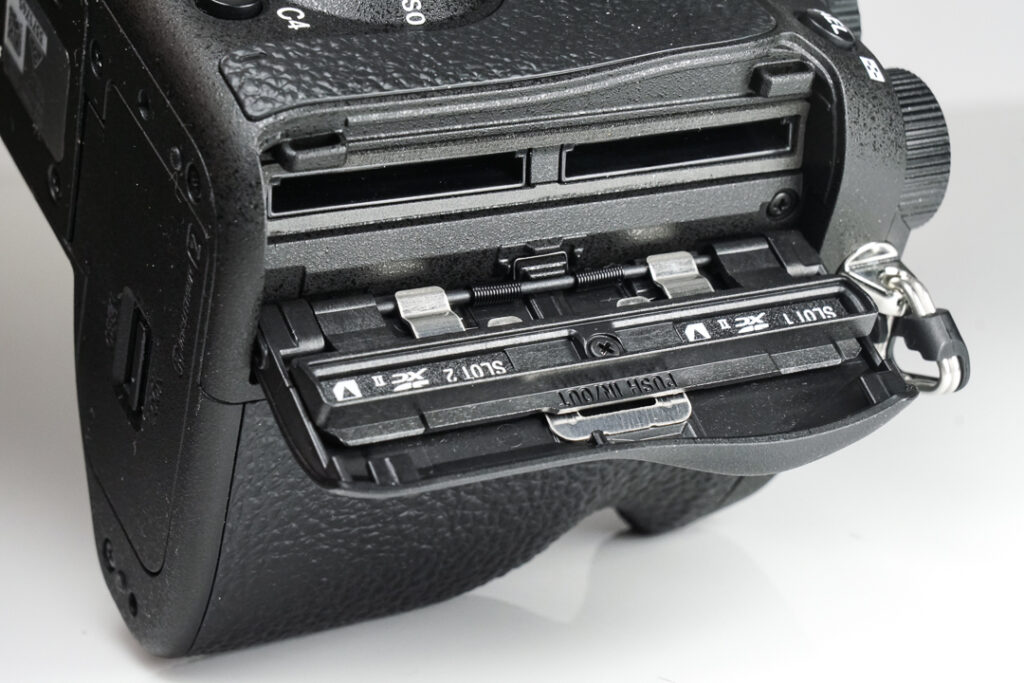
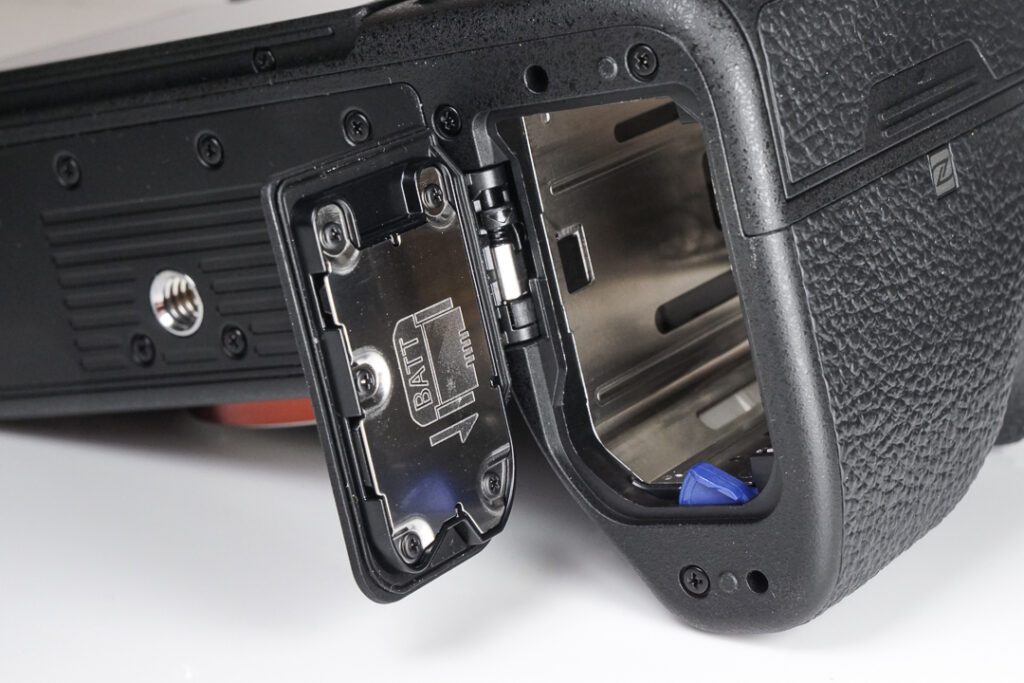
Outside port/door/slot weather sealing is very noticeably increased. The left-side ports are guarded by rubberized doors with deep grooves on the outer perimeter. We see the same big increase in rubber and ridges on the SD card slot door and the battery door. The doors are also hinged now as opposed to that pull tab thing they had going on previously, and the SD card slot door is now slide to open rather than button operated. This further improved outer sealing is new with the A7R IV. Even the A7 III and A9 did not have outer protection this aggressive. This change appears to be another instance of Sony taking pointers from the Nikon Z cameras. You can see what I mean in our Z7 teardown here. On to disassembly …
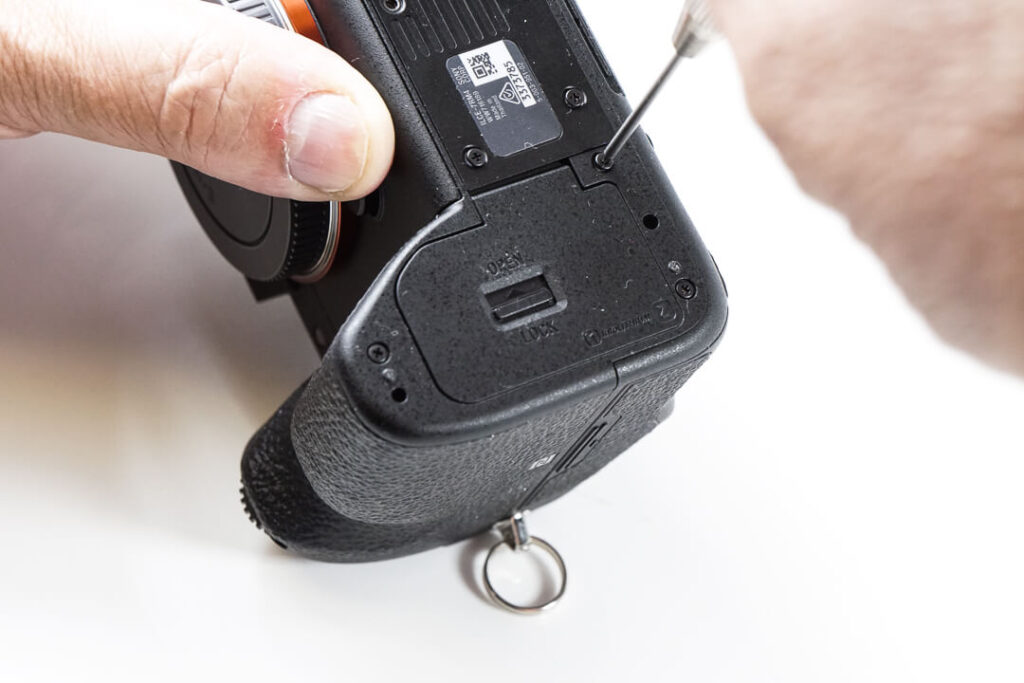
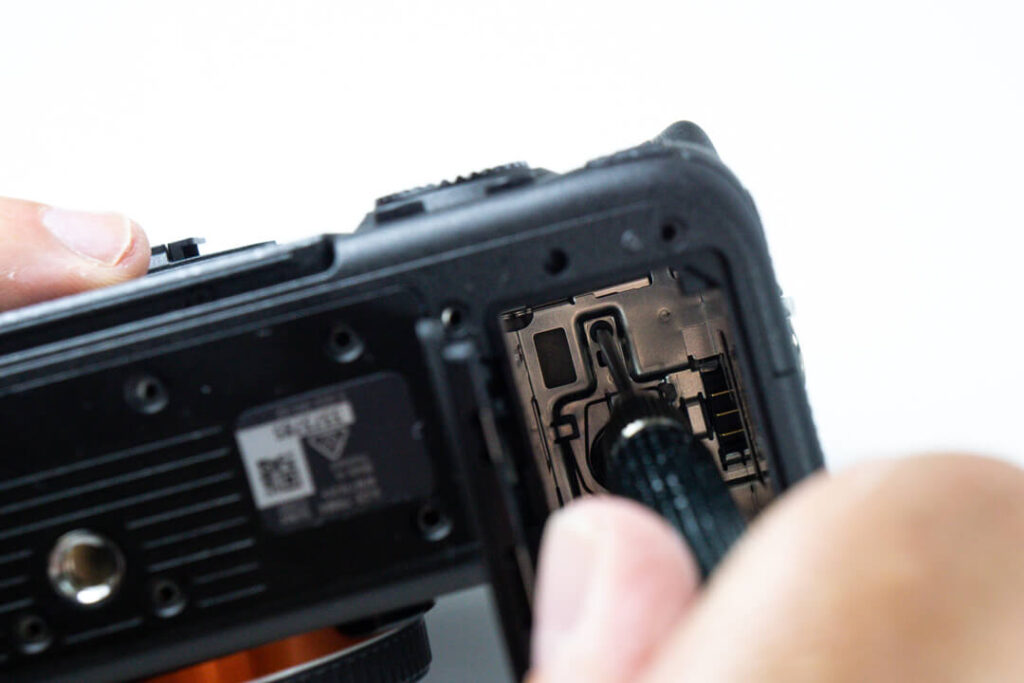
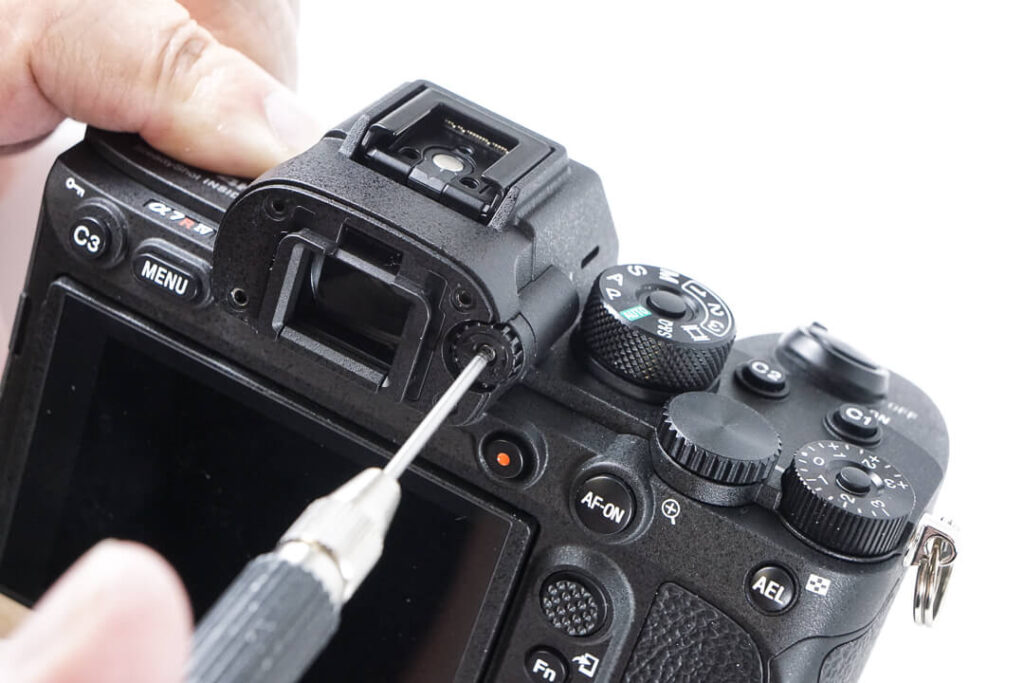
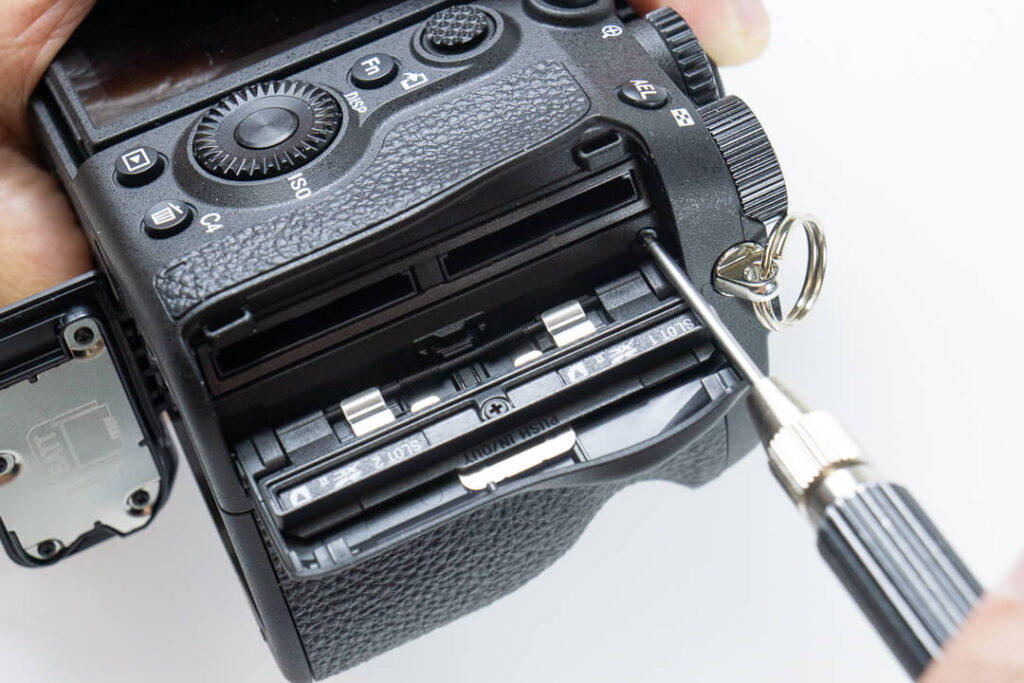
Starting the Sony A7R IV Teardown
We start by removing the outer screws on the bottom of the camera and those tucked within the battery compartment, underneath the eye-cup, inside the diopter dial, and under the SD card slot door.
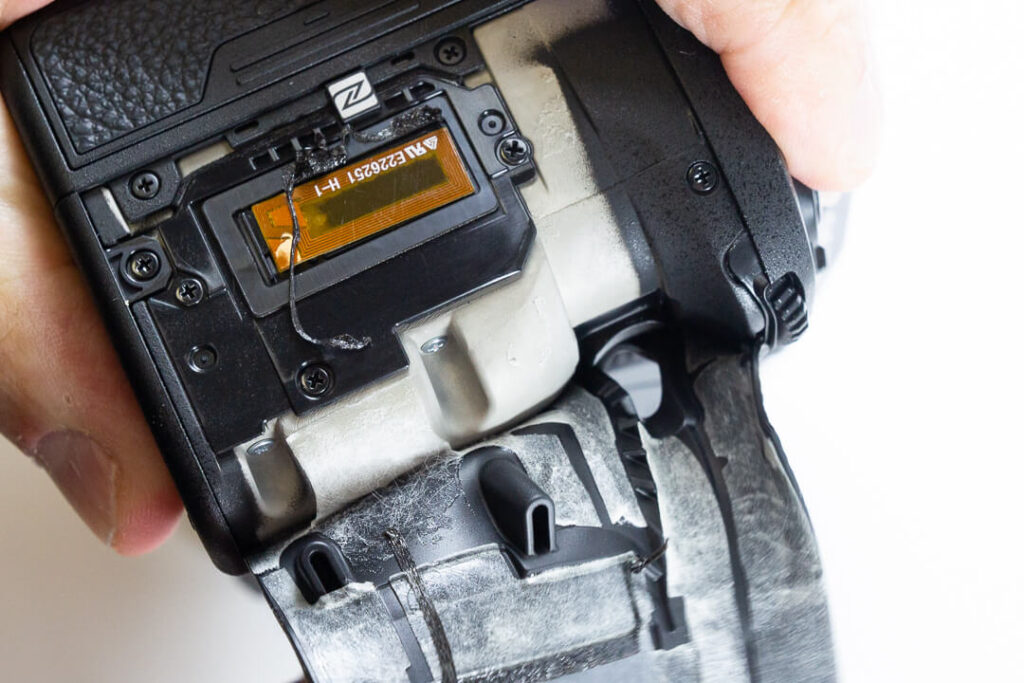
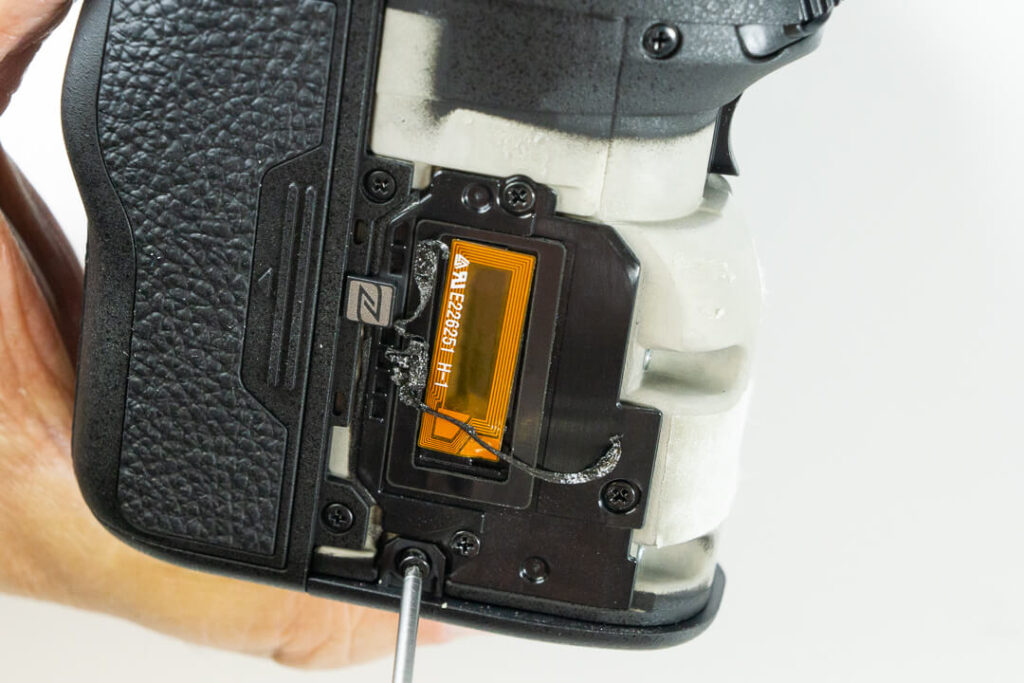
Removing the Bottom Panel, Grip, and Side Panels
Also like the Nikon Z cameras and the Canon EOS R, we need to peel the rubber grip off of that newly enlarged handgrip. Once we take out that little screw on the bottom there, we can pull the bottom panel off.
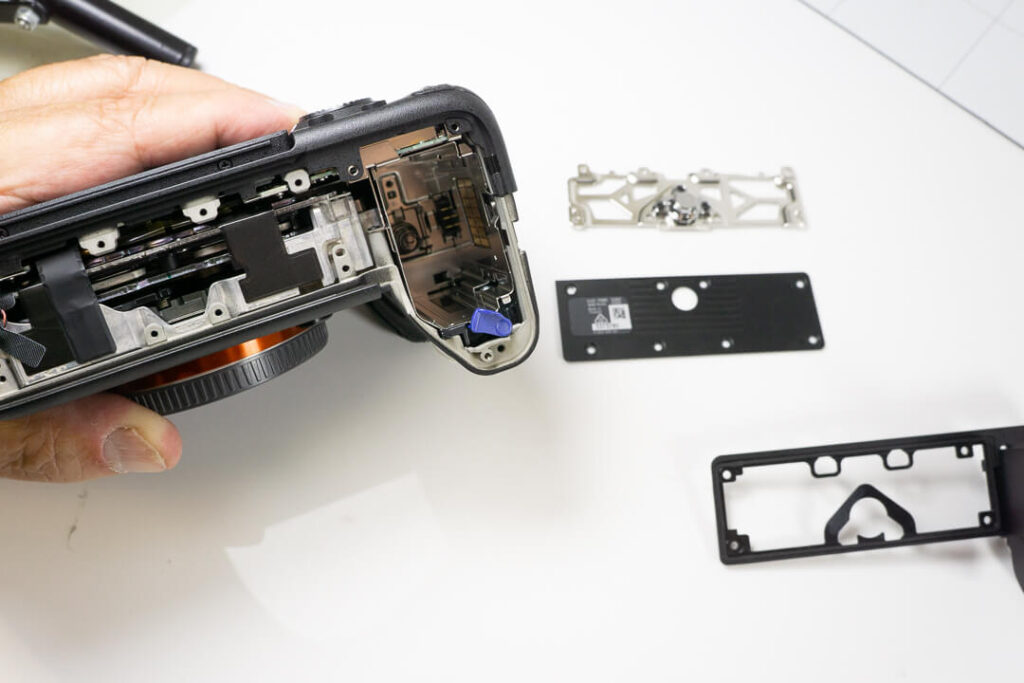
The bottom consists of a plate, an outer frame including the battery door, and another plate securing the tripod mount. They have a skeletal/cut-out design to them which suggests Sony is still trying to keep their mirrorless cameras lightweight despite competitors like the S1 abandoning that philosophy altogether.
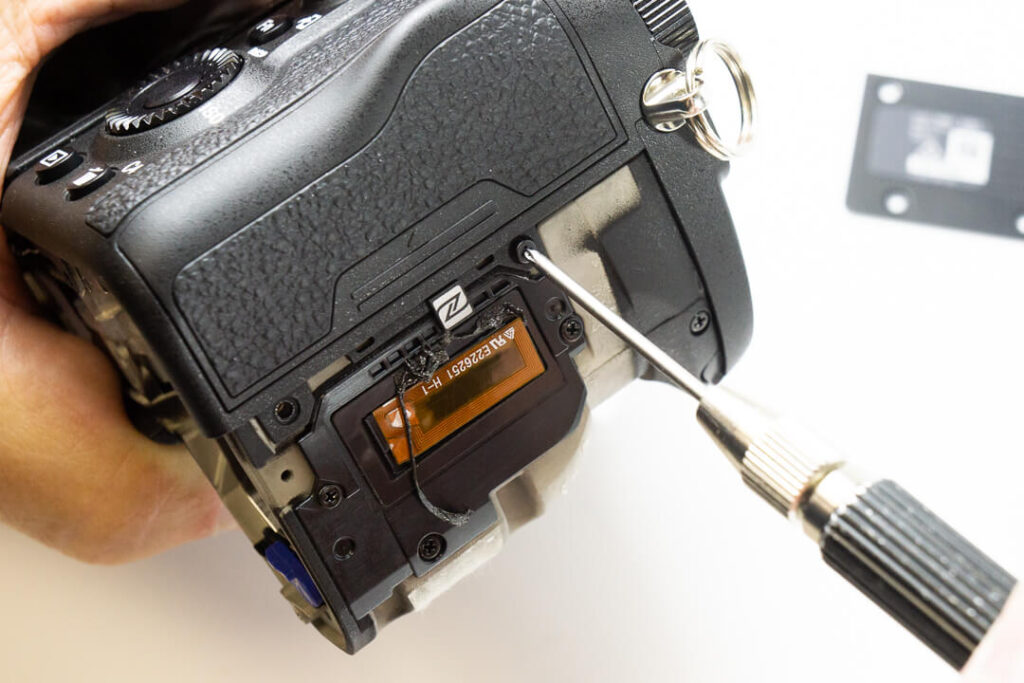
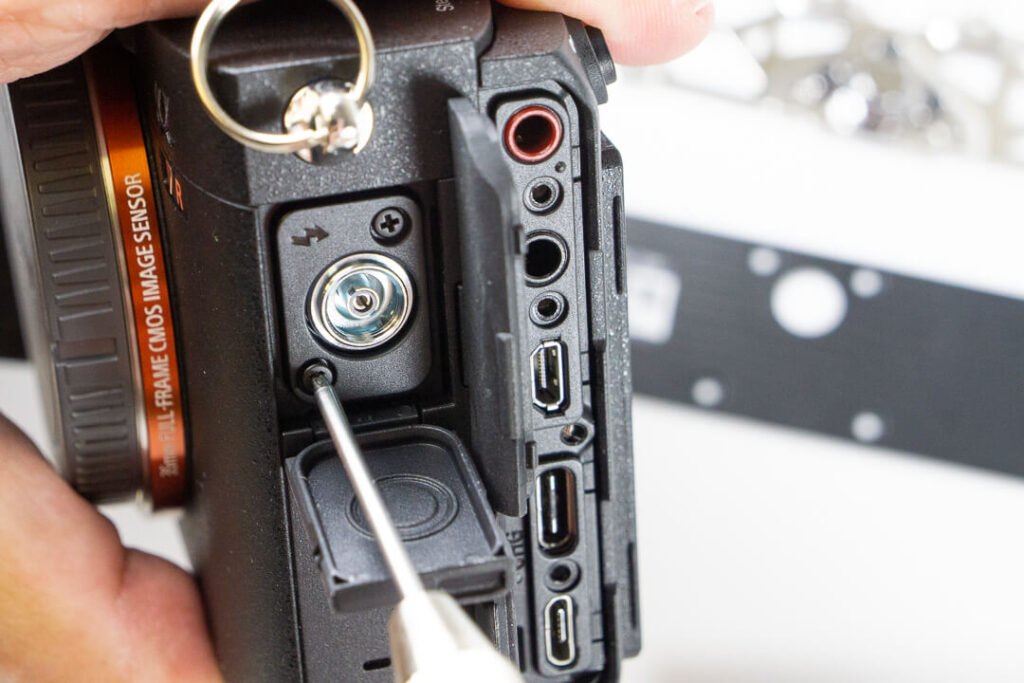
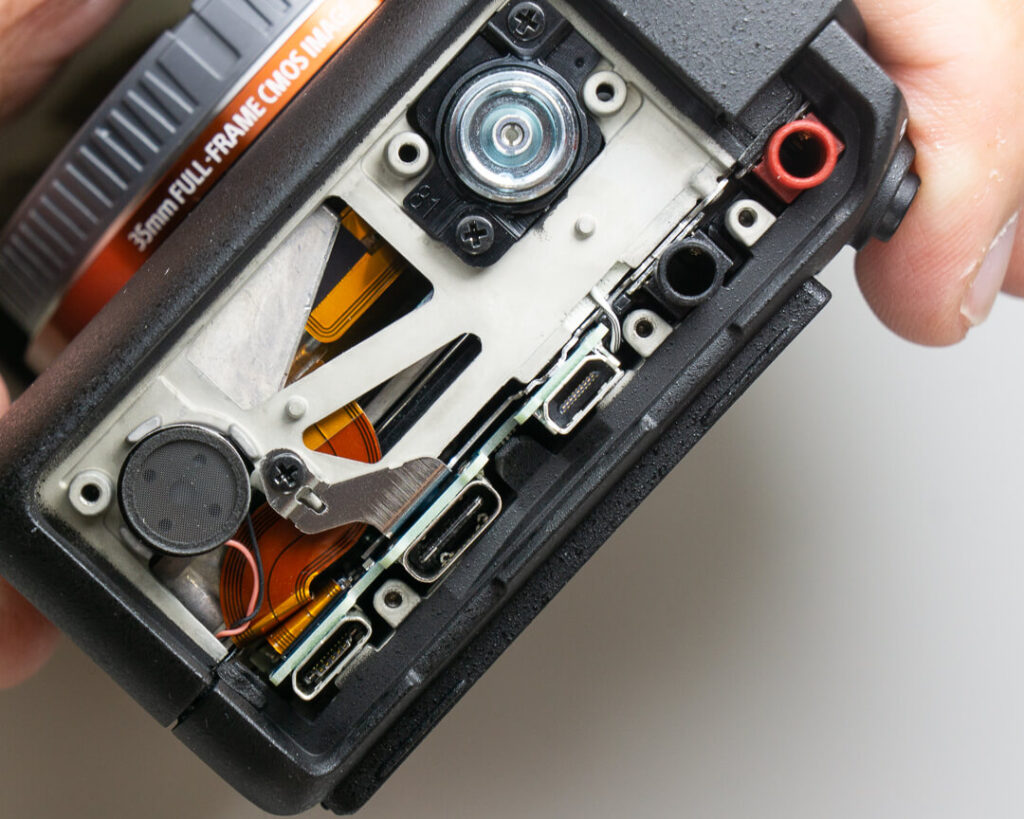
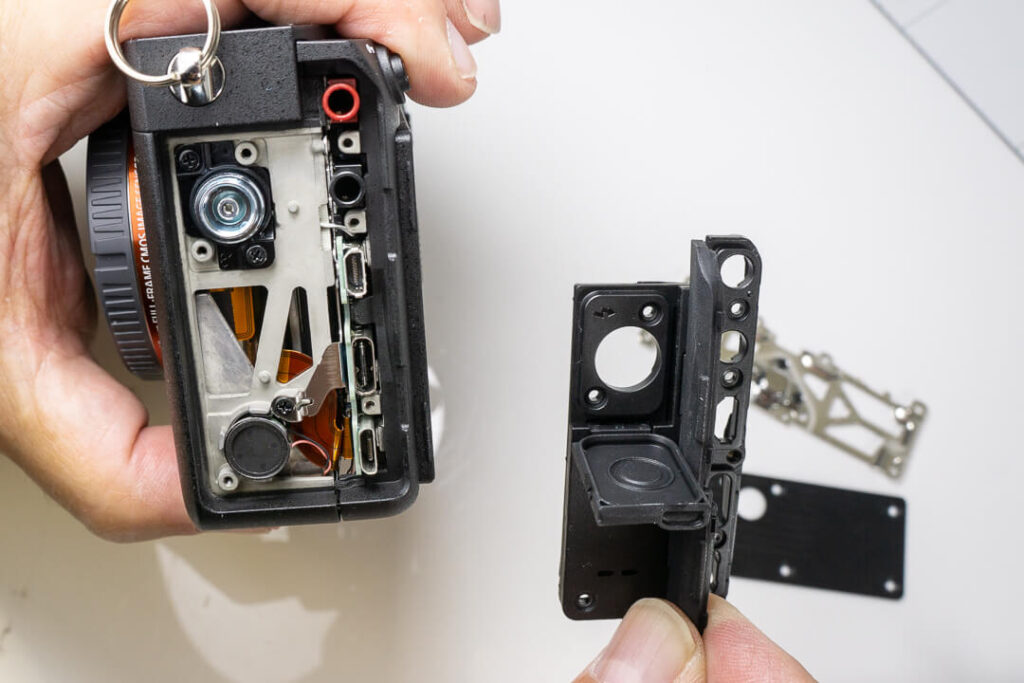
Next, we take the remaining screws out of the grip-side, then move over to the port side. Once we take that side panel off, we find more cut-out scaffolding
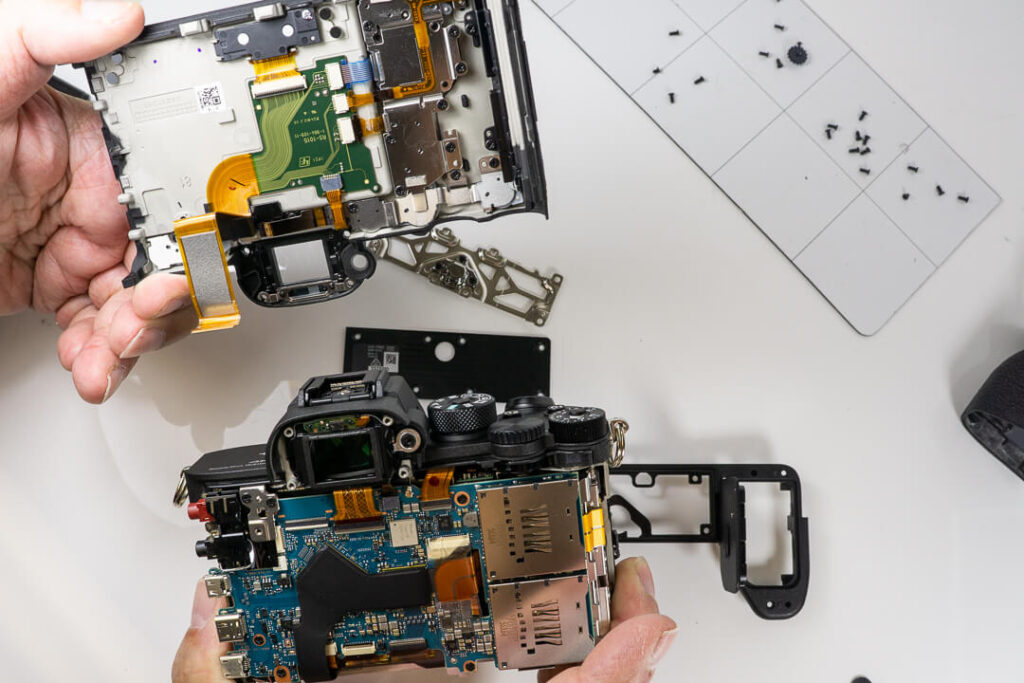
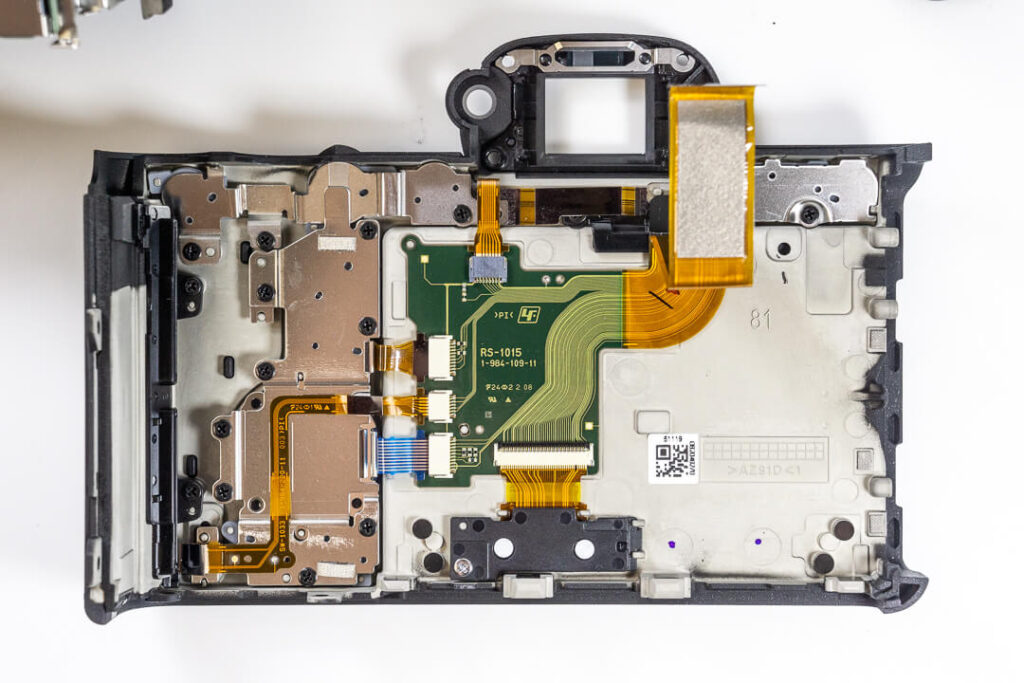
Removing the Rear Panel and Accessing the Internal Board
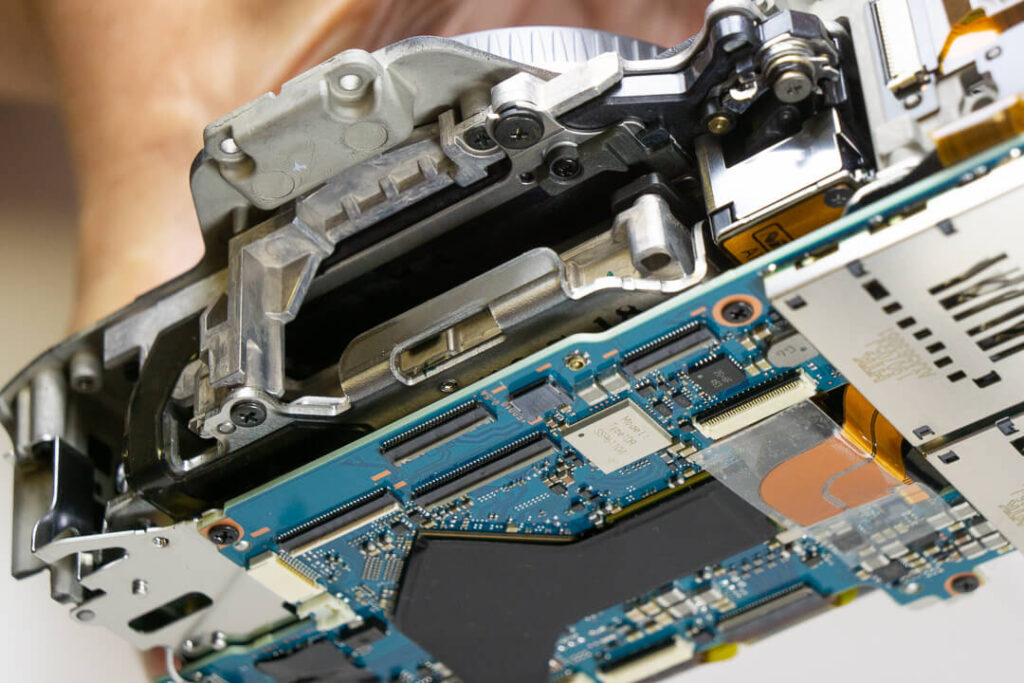
The entire back including the LCD will decouple as one solid piece. Here’s a closer look at the underside of that component group.
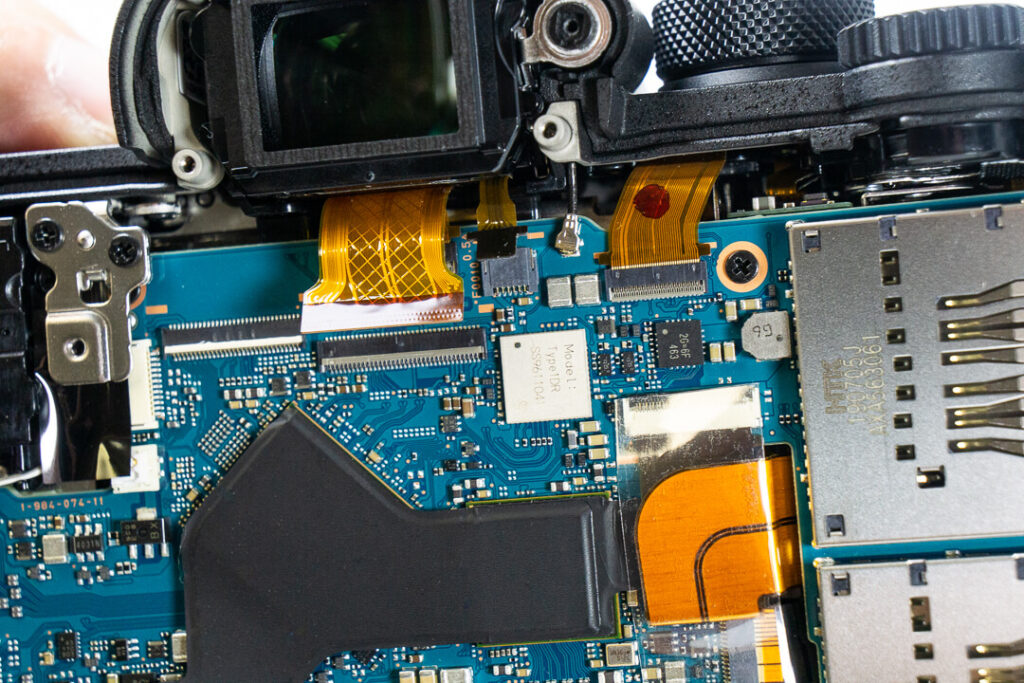
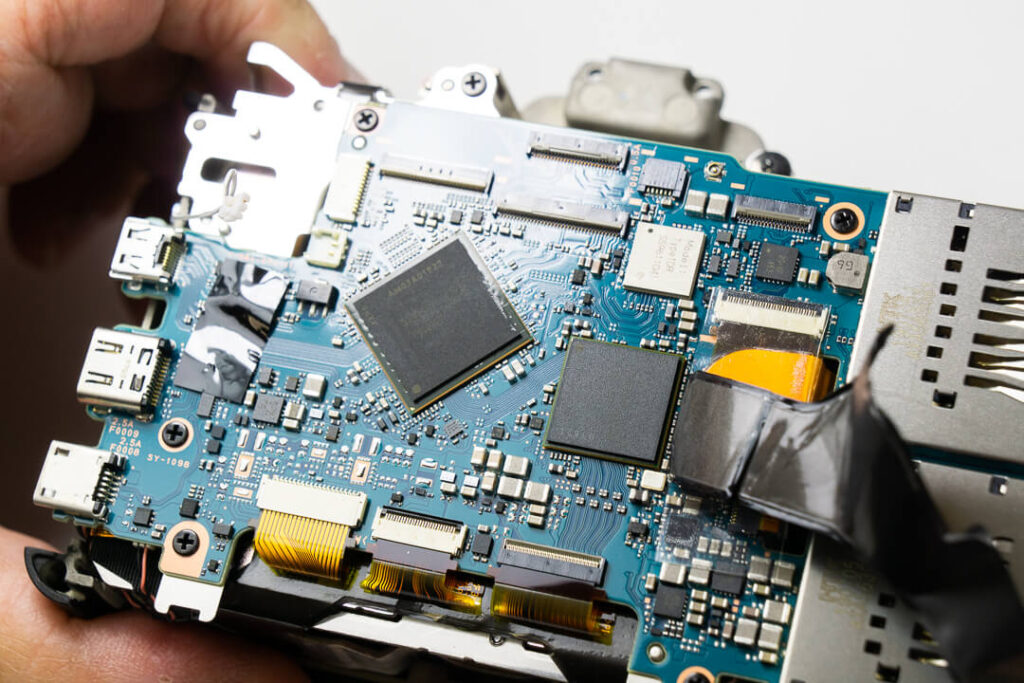
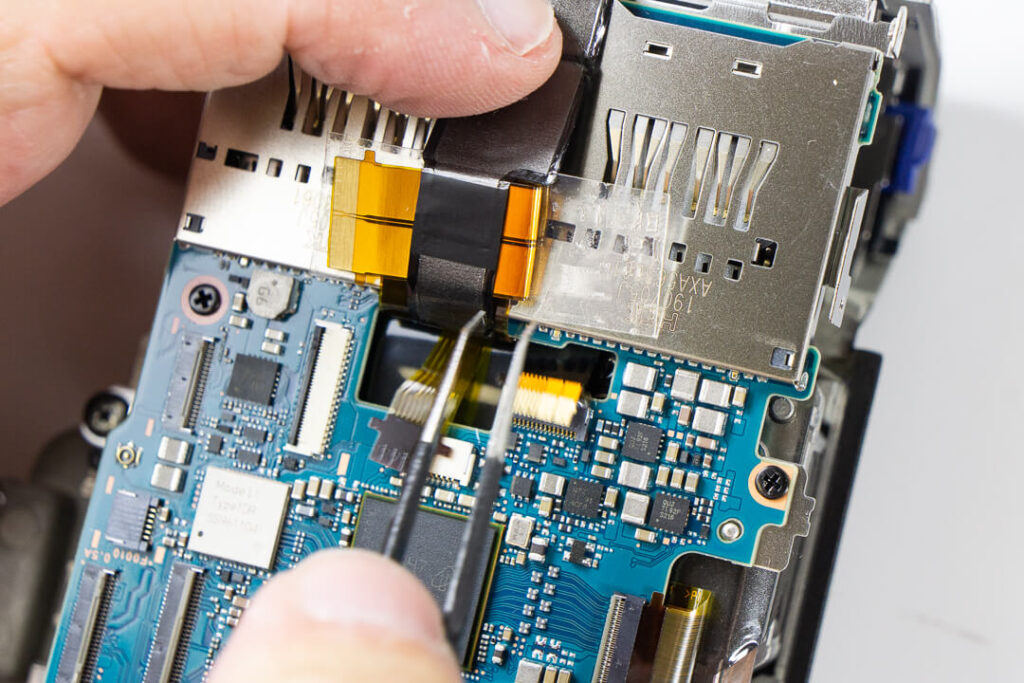
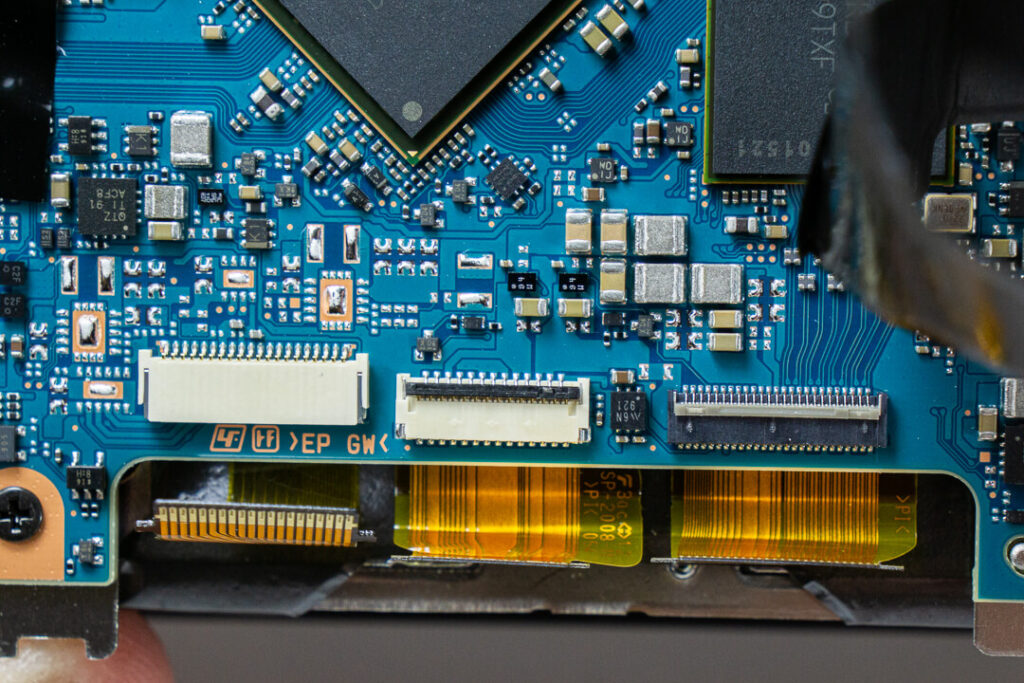
Underneath, we find a similar arrangement to what we found inside the A7R III two years ago, with a solid pad of thermal tape adhered to the processors and plenty of ribbon cables to unseat.
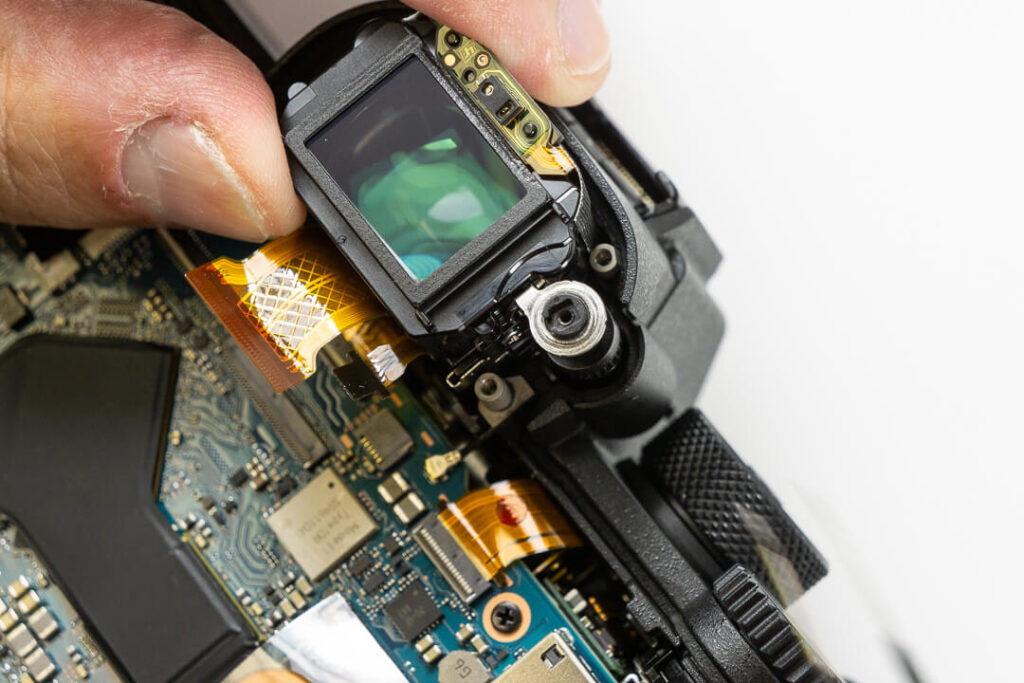
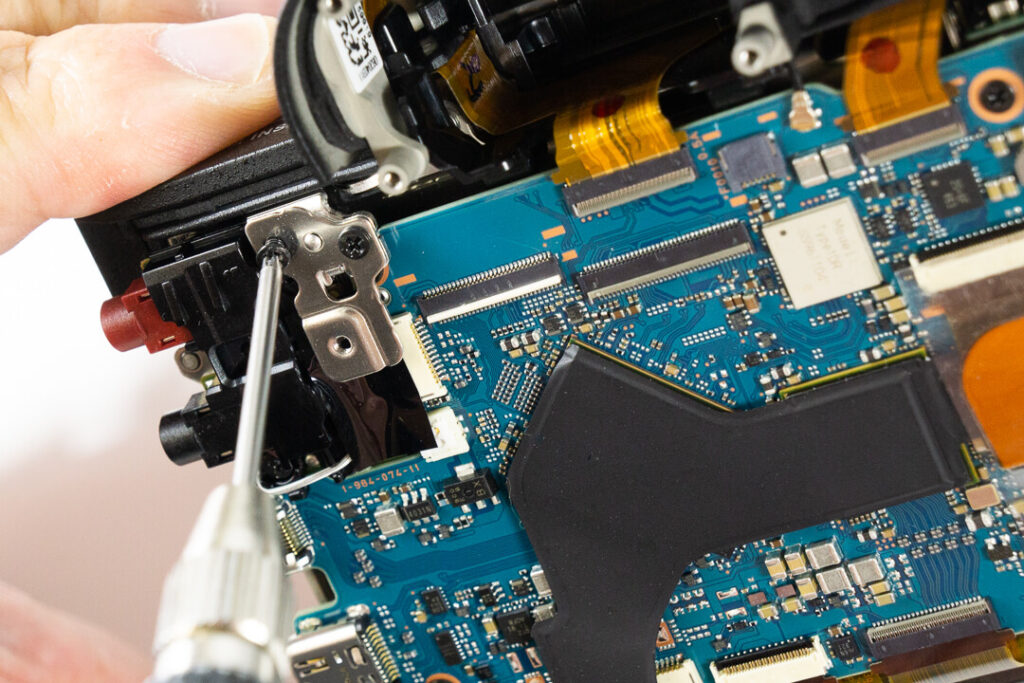
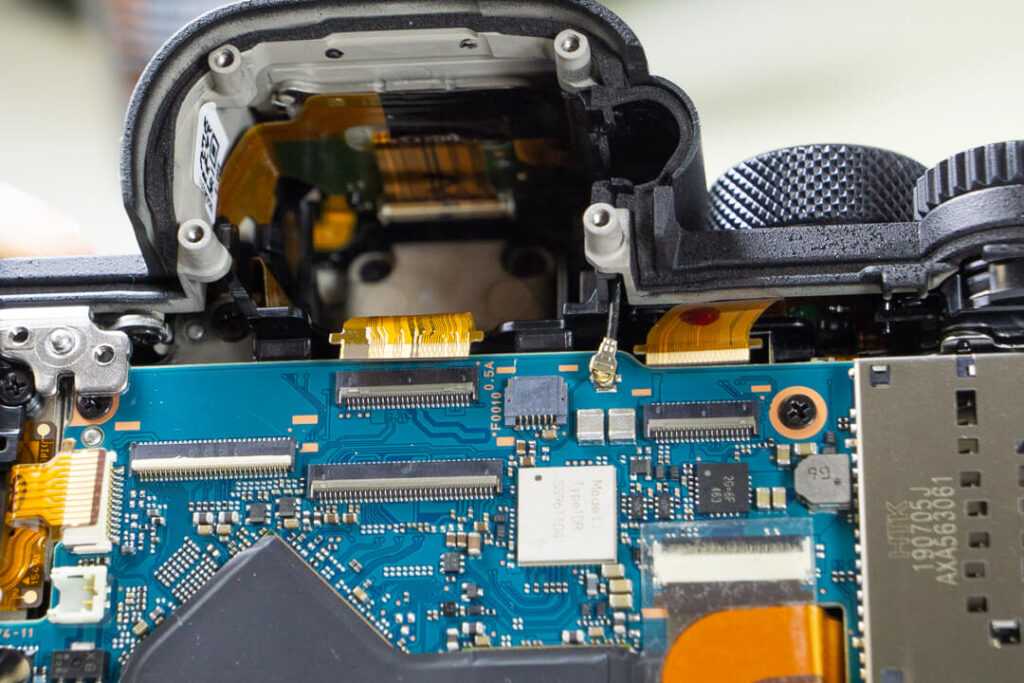
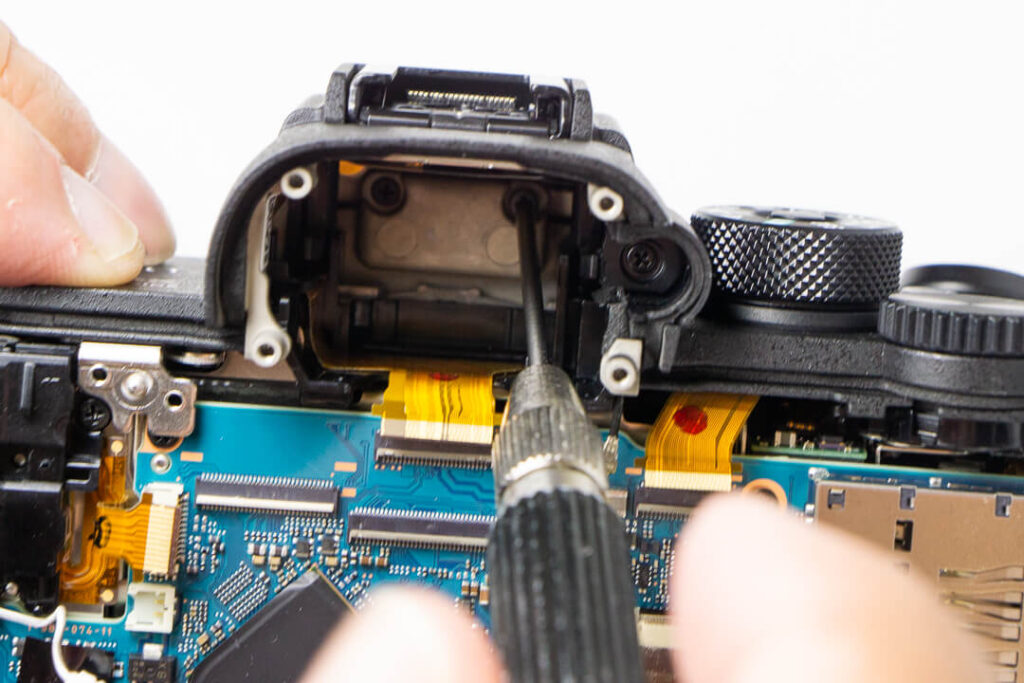
Removing the EVF, Audio Ports, and Top Cover
Next comes the EVF and audio ports. Two screws hide behind the EVF securing the top panel to the body.
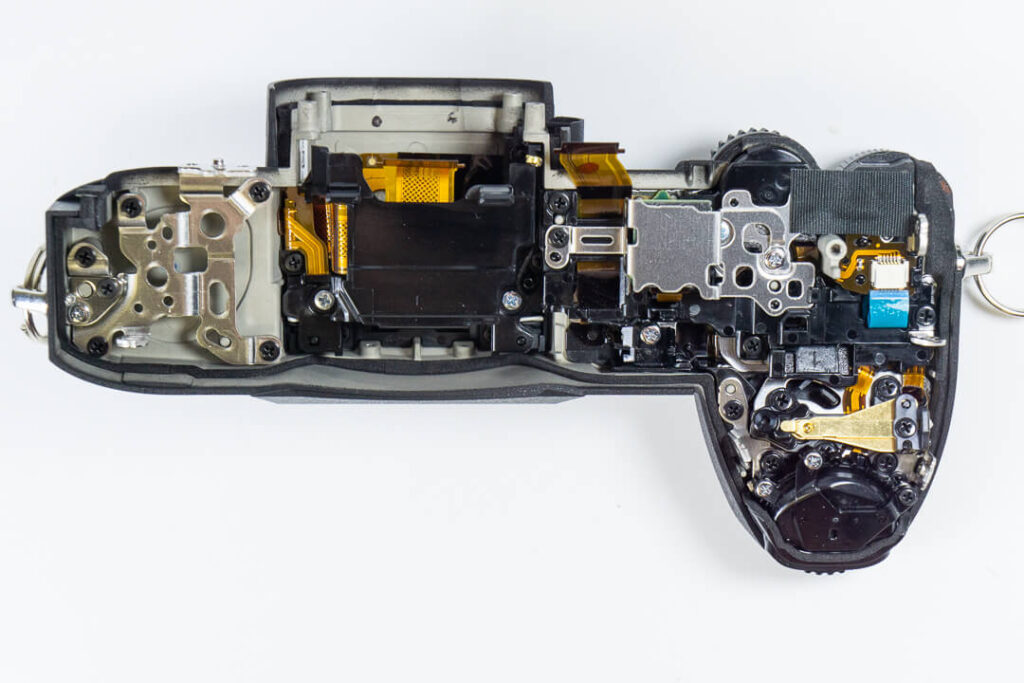
A closer look at the underside of the top cover shows off the weather sealing material found inside around the seams in the outer shell.
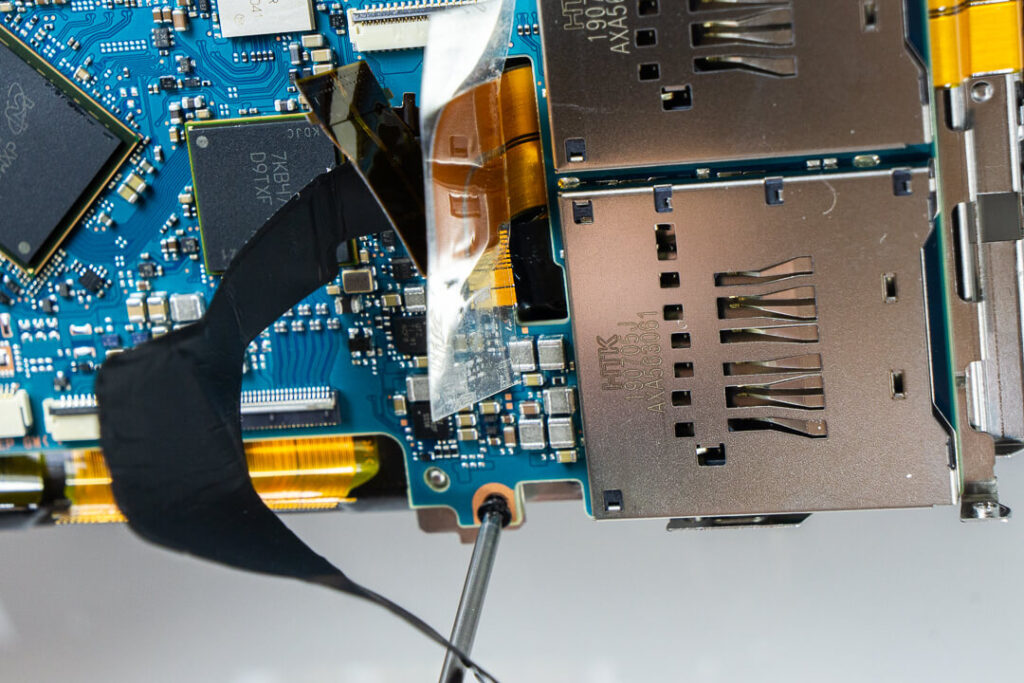
Removing the Sony A7R IV Main Board
Now, we can extract the board by removing the screws around its perimeter.
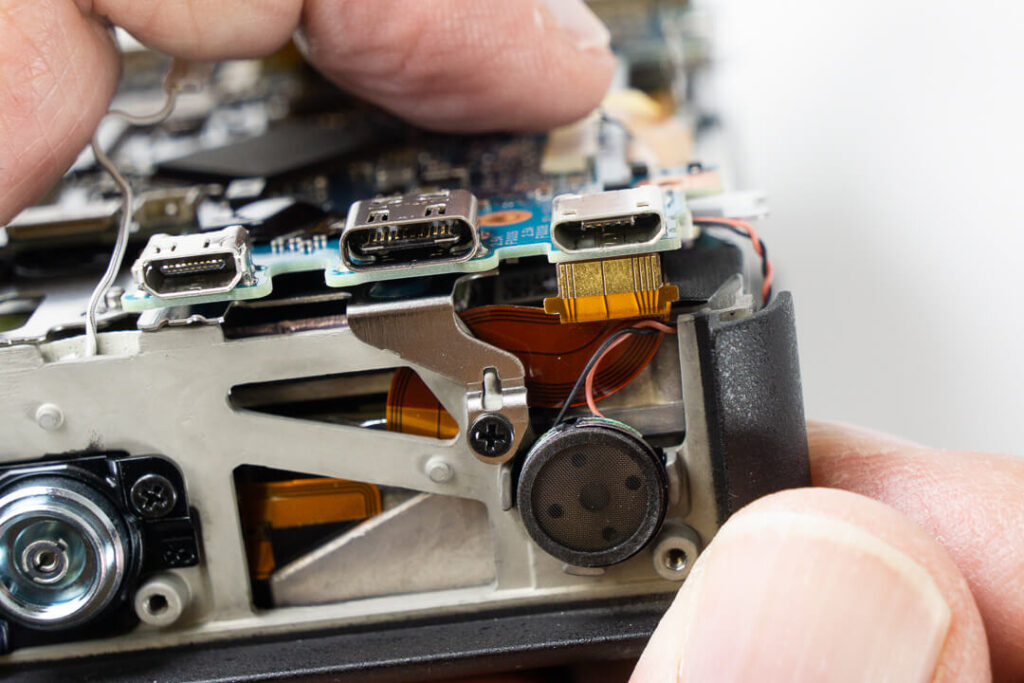

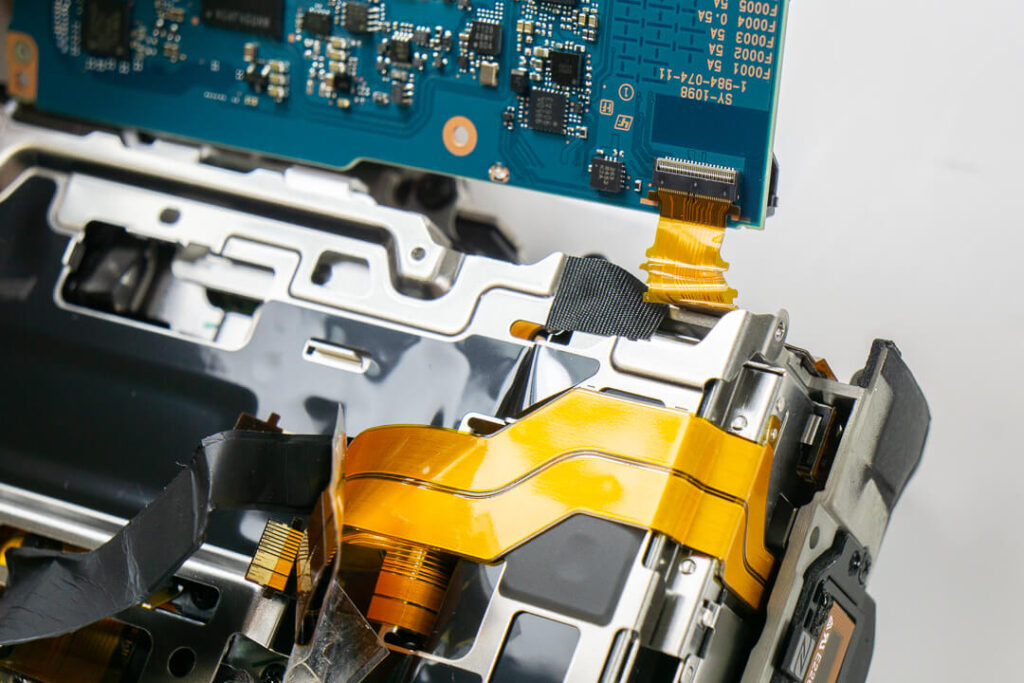
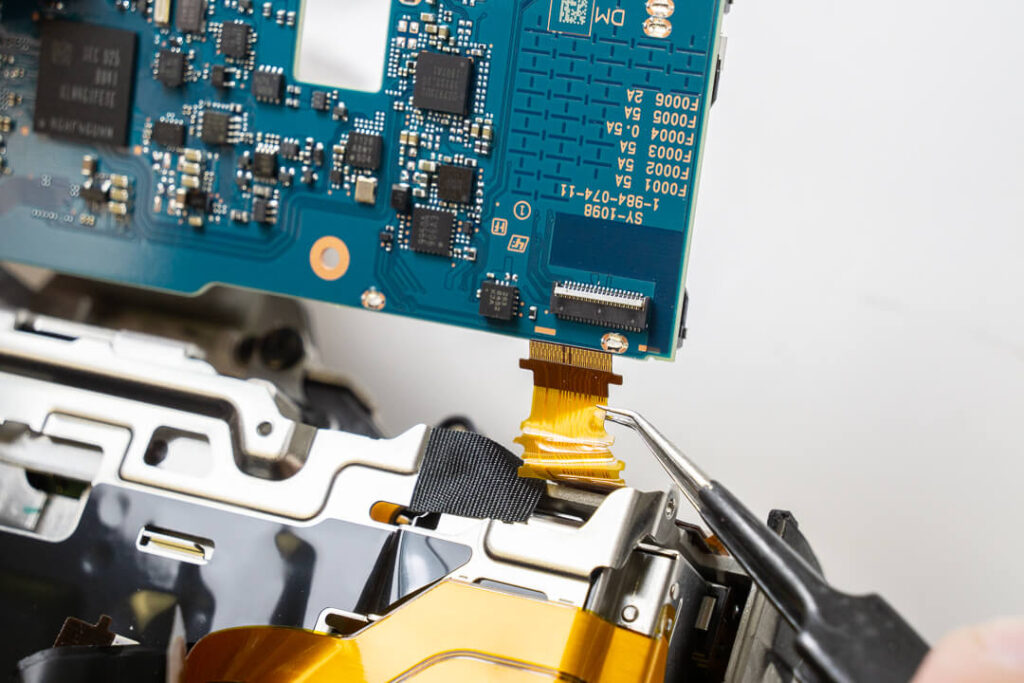
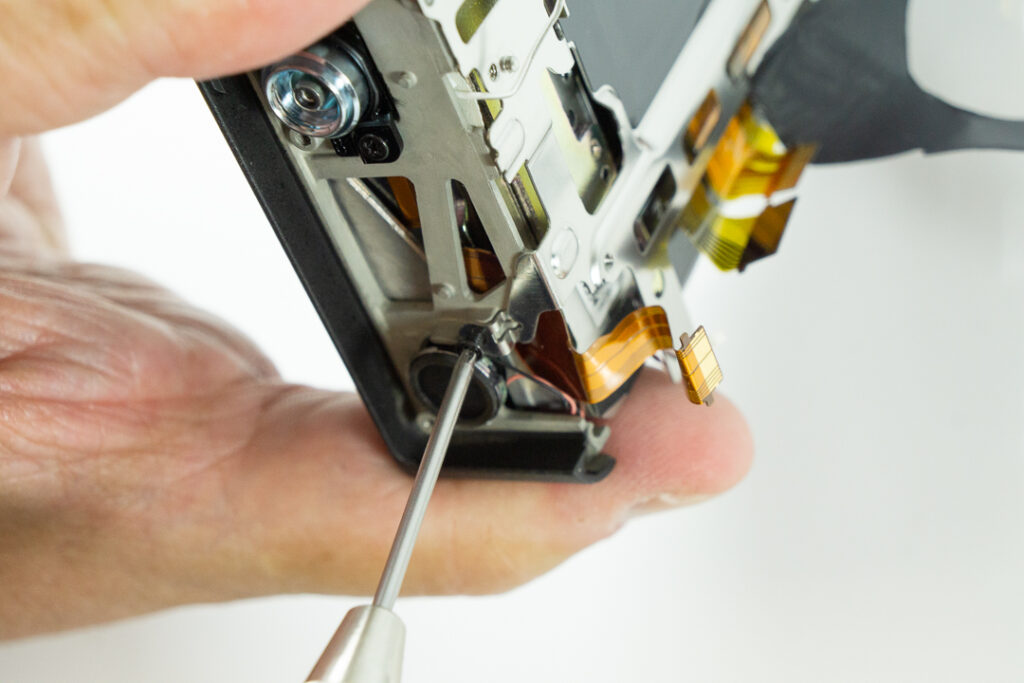
Lastly, a few cables remain, keeping the main board attached to the body. One of these is the speaker kept neat with a little tape. Another is a ribbon cable folded underneath at the top right near the main user control, dial/shutter button area. One of the most common ways to run into trouble when disassembling a new camera for the first time is to damage a small hidden connection like this. If you move too fast it can be very easy to pull a part or section away from the rest of the camera thinking it’s been totally disconnected when it hasn’t. This results in a ripped cable or worse, a damaged connector. That could leave you needing a whole new motherboard to get the camera working again.
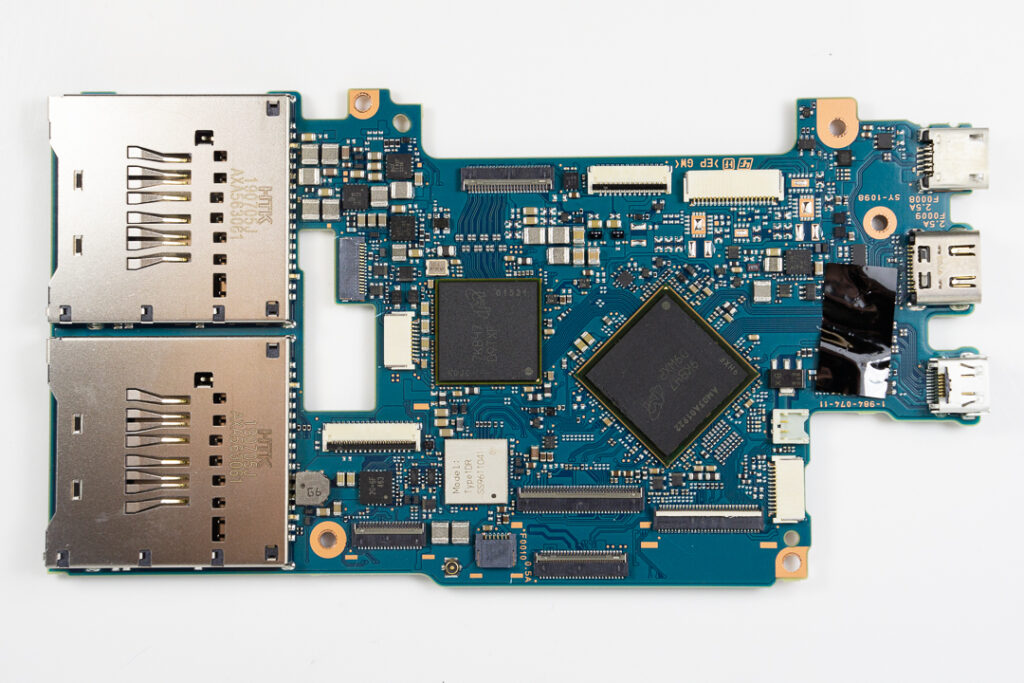
This one looks very similar to the one inside the A7R III, but much more polished. The SD card slots especially look just a little more comfortably seated than they did before. Turns out both slots now supporting UHS-II is as much improvement for aesthetics as it is for performance.
Accessing the Metal Plate and Sensor/IBIS Assembly
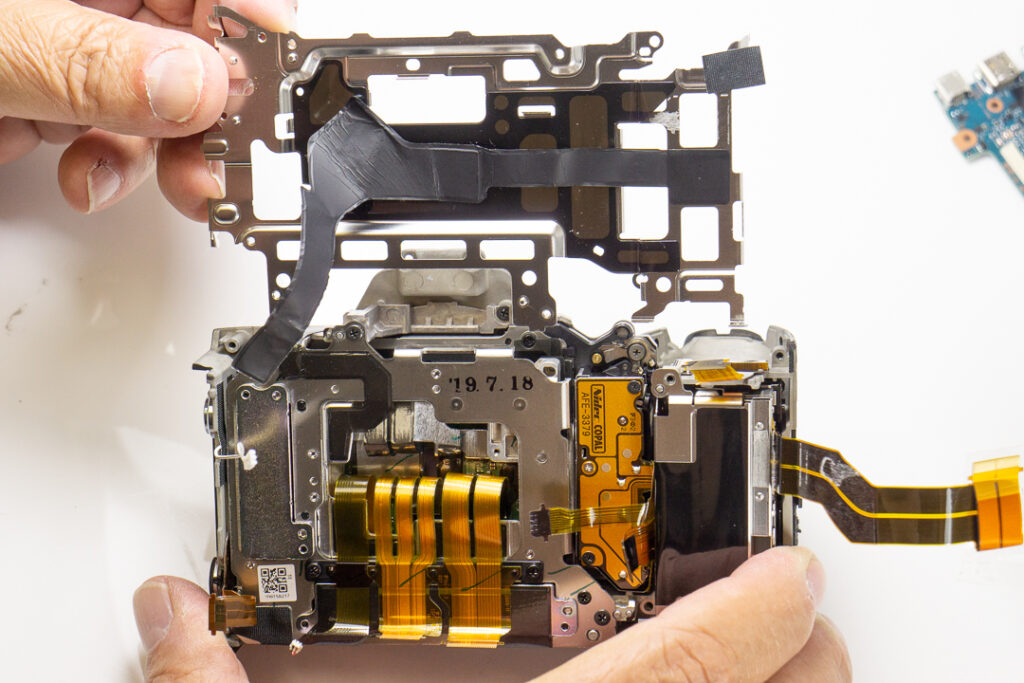
Underneath the board lies a metal plate, also like the previous version, but this time with more of those weight-saving, skeletal cut-outs. Sony has clearly taken many steps to reduce the overall weight of this camera, which would make sense in order to compensate for the increased grip size and other design changes. Despite this, the A7R IV still weighs in 8 grams heavier than the III at 665 grams. Must be all those megapixels!
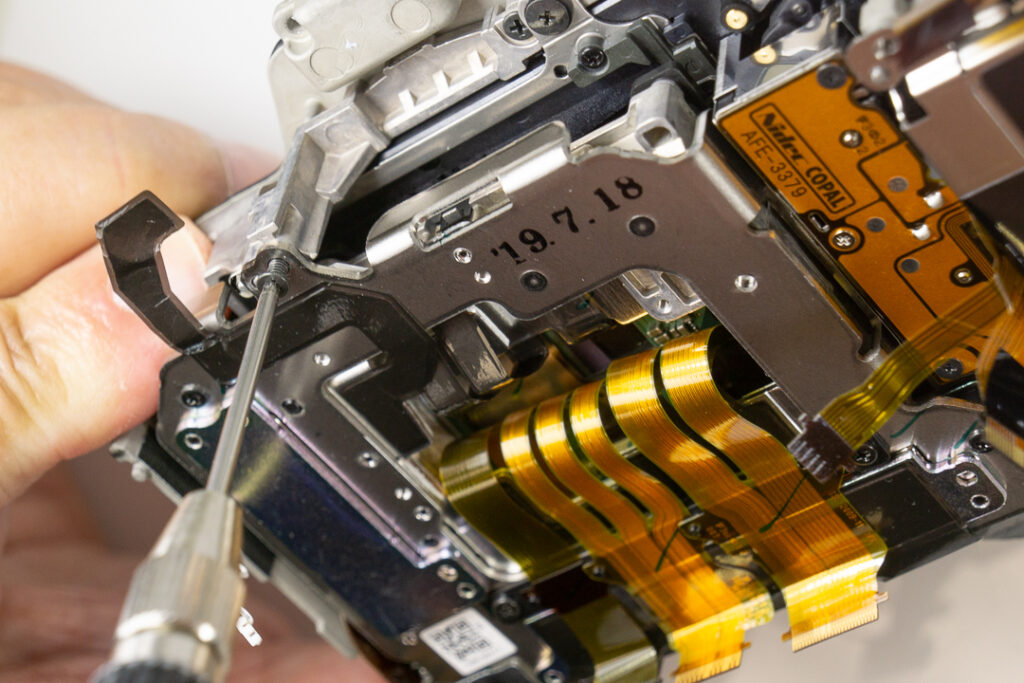
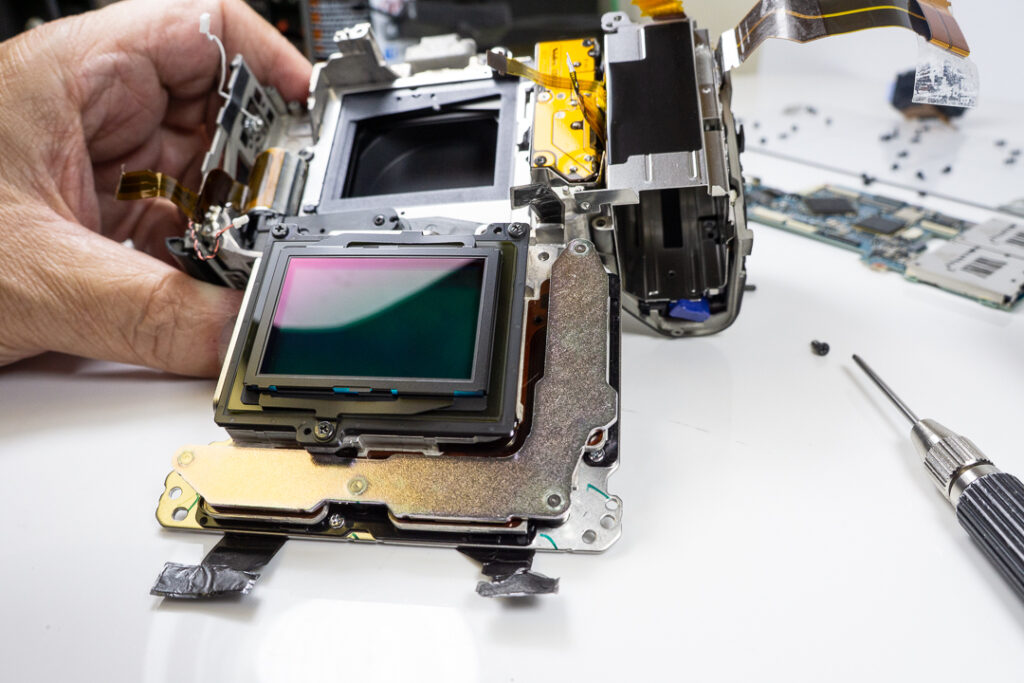
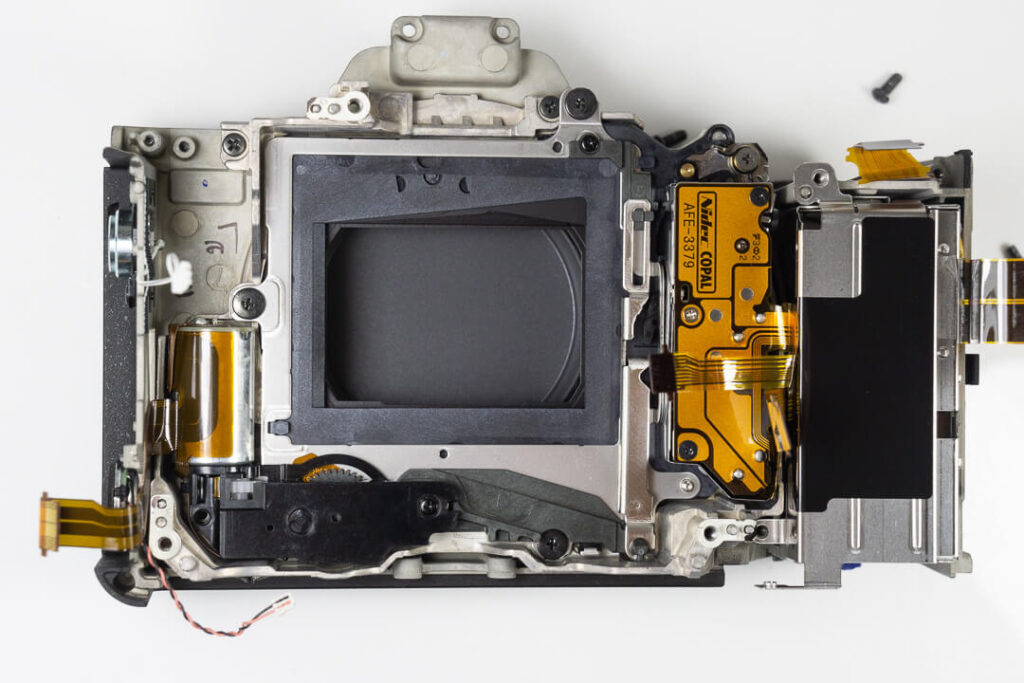
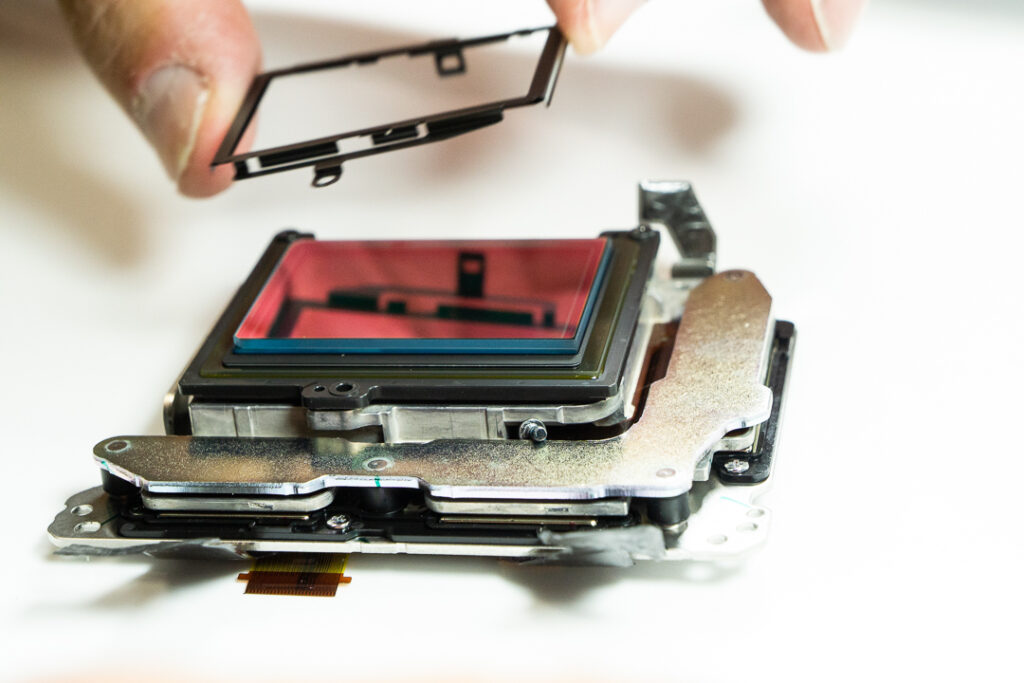
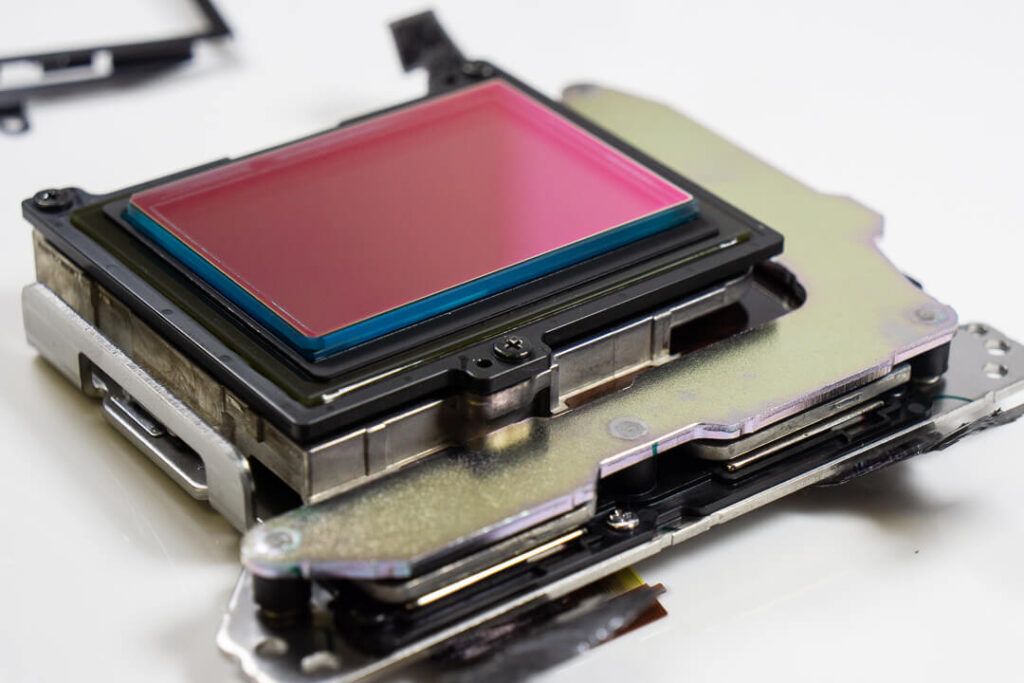
We can now access and remove the screws holding the image sensor and IBIS assembly. Like with all mirrorless cameras we’ve taken apart thus far, these parts will lift out of the body as one solid piece.
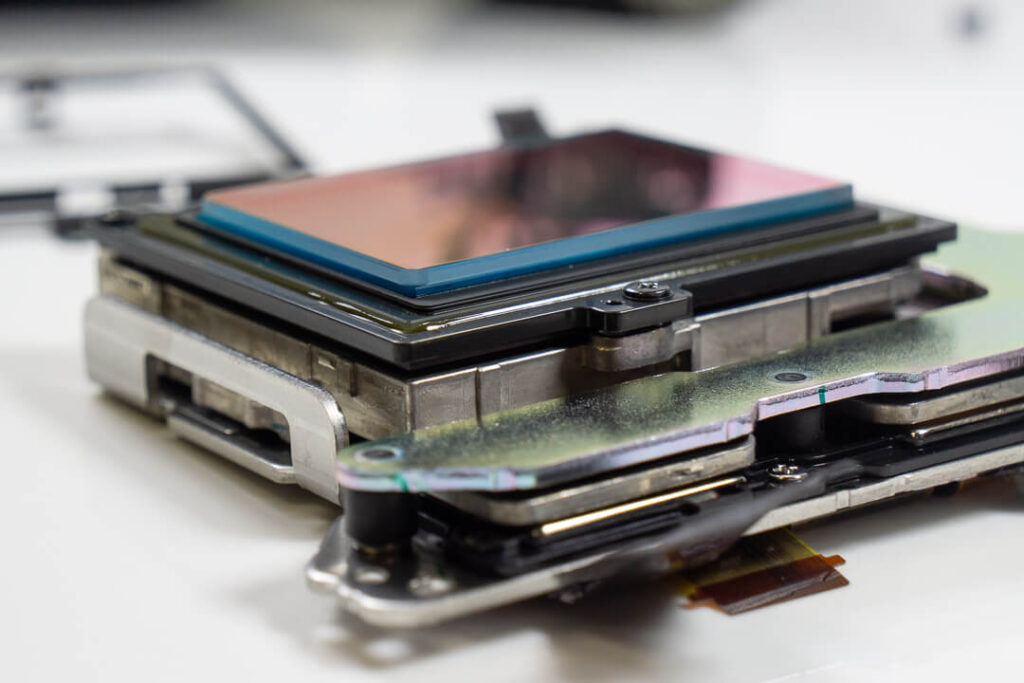
Sony A7R IV Sensor Glass, Conversion Support, and Final Thoughts
The OLPF glass stack that sits over the sensor here is 1.75mm thick, still one of the thickest in the biz. This is the glass we remove and replace during a full-spectrum conversion or Ultra-Thin filter conversion service. So, if you’re looking to use an A7R IV with Leica glass or any other kind of legacy film lens, performance will be significantly increased by our 0.2mm glass.
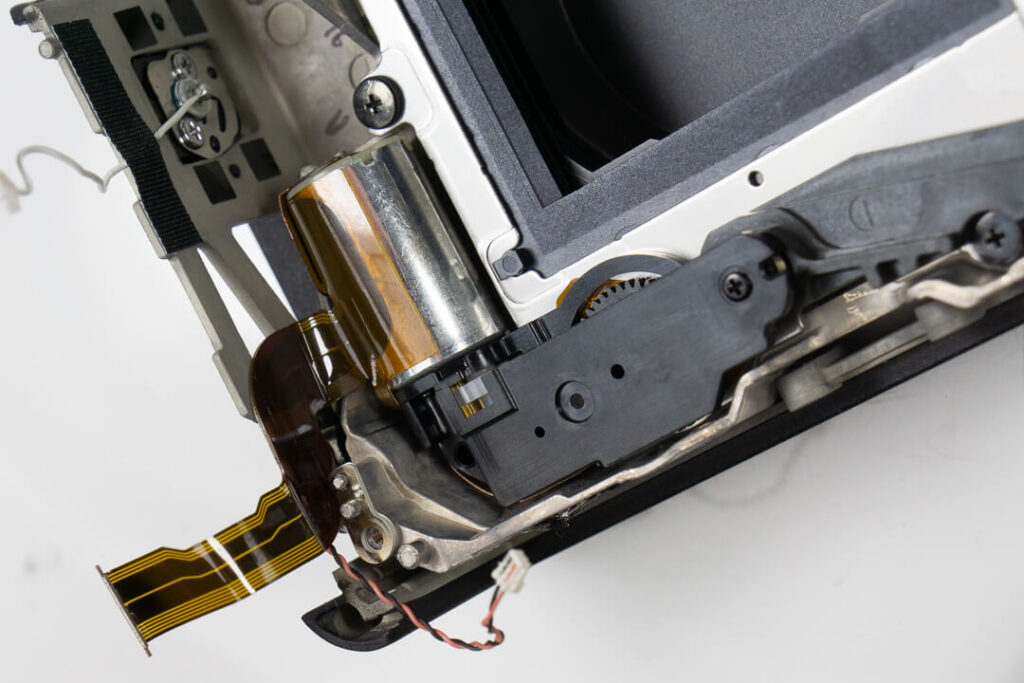
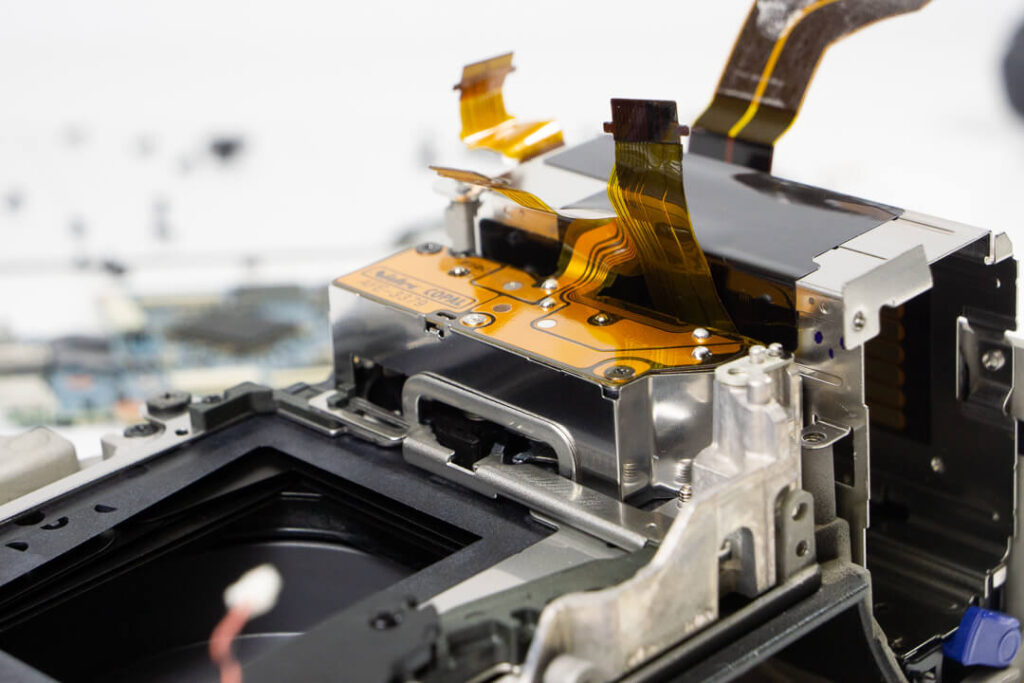
Sony catches a lot of flack for the ridiculous rate at which they release cameras, but we’ve dismantled enough of them now to see that every single iteration is a significant improvement over its predecessors. They improve the physical design both inside and out along with the always impressive specs. The A7R IV is much more than an A7R III with a new sensor dropped in.



4 Responses
Do you have a photo of other side of motherboard?
I love to see these teardowns. Thanks a lot for posting them!
Did you happen to note the location of the memory/clock backup battery? I don’t see anything that looks like one in the photos but maybe on the other side of the main board? Just wondering how fun it will be in a few years when it’s dead and needs to be replaced.
Is the bottom plate properly sealed c.f. the A7R III? The Imaging Resource article on weather sealing of the mark III refers to a LensRentals breakdown that shows no weather seal along the bottom plate.
Thanks…