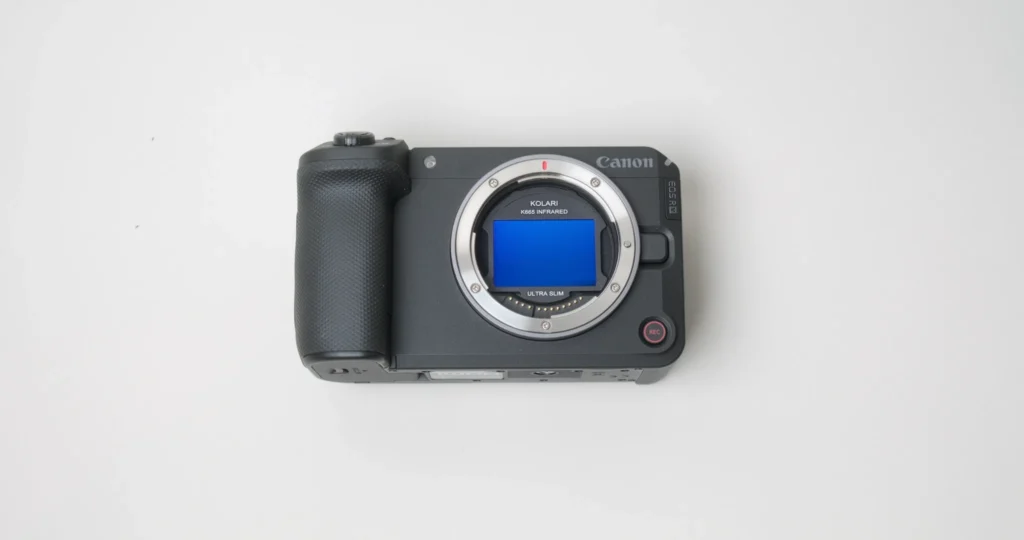
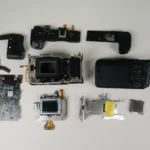
The Canon R6V is the latest video-focused camera from Canon’s mirrorless V-series lineup with the previous one being the EOS R50 V released back in March 2025.
From Canon Canada’s press release:
Designed for handheld and gimbal shots, the camera features robust in-body IS as well as a 7K / 32.5MP full-frame CMOS sensor, 7K 60p RAW, 7K 30p Open Gate, and support of Slow and Fast Mode. From short-form social video to long-form video productions and podcasts, the EOS R6 V camera is a powerful tool for exploring the expansive possibilities of self-produced storytelling.
The Canon R6 V looks incredibly promising being the company’s first full-frame video-centered camera. Let’s see what this camera is made of!
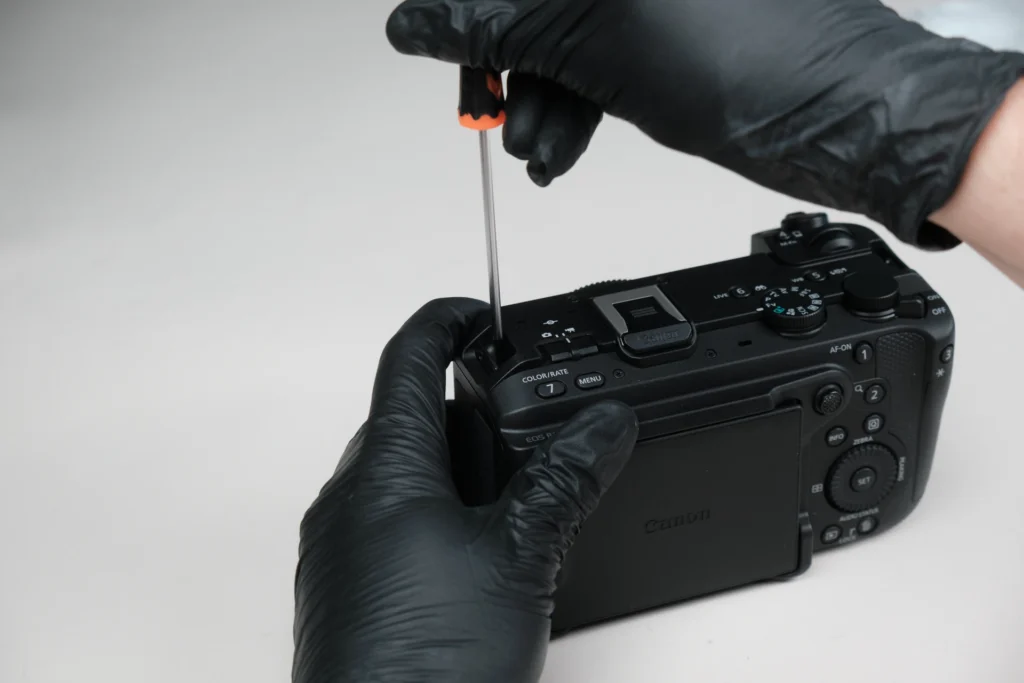
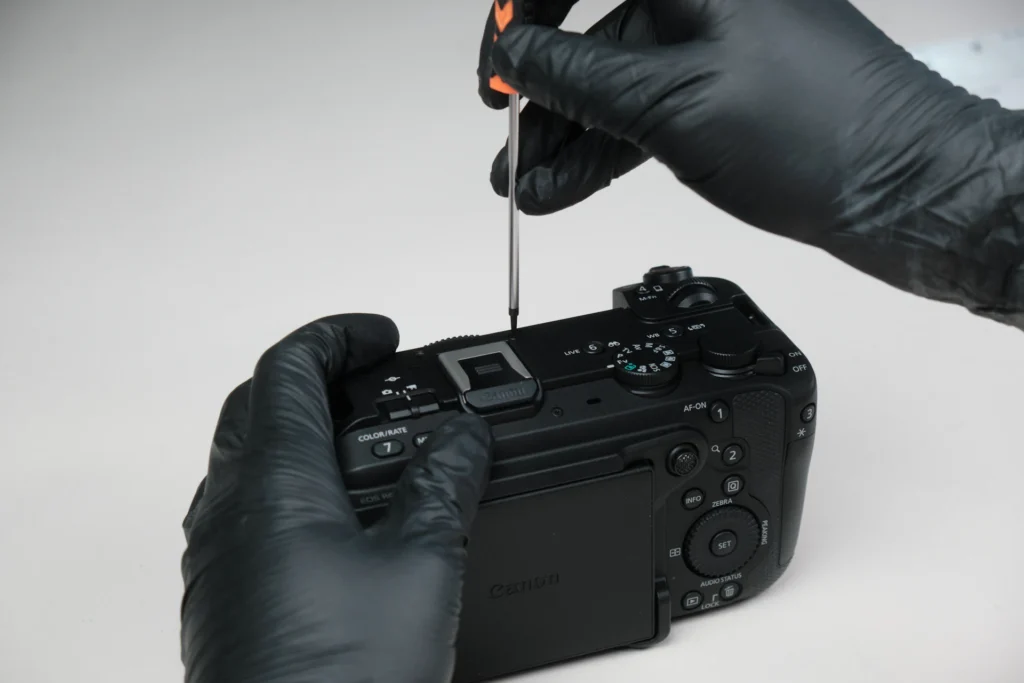
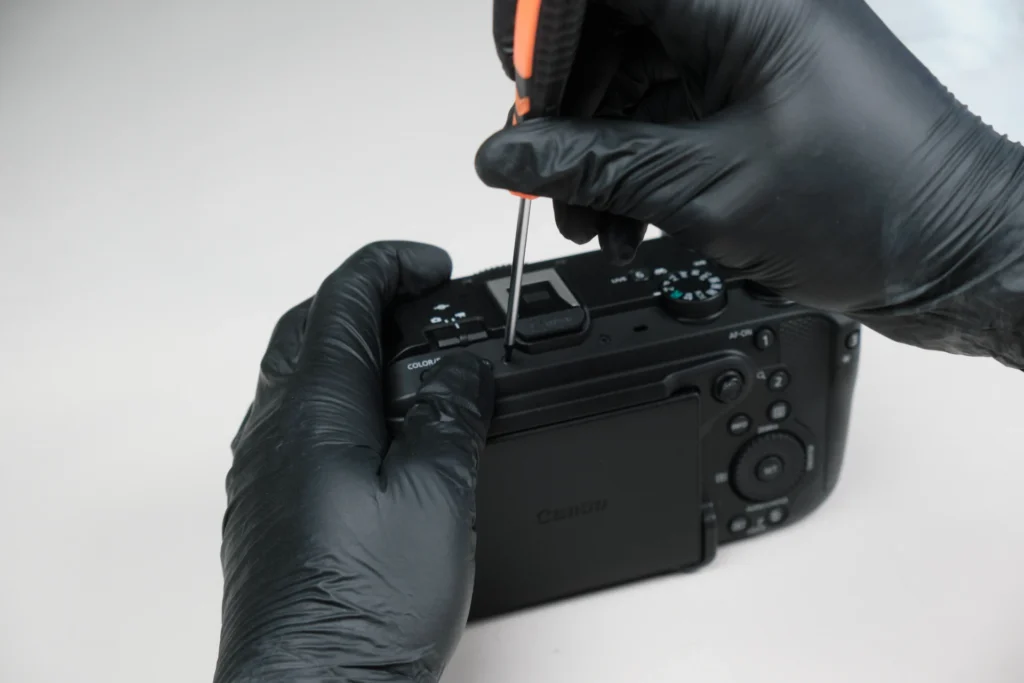
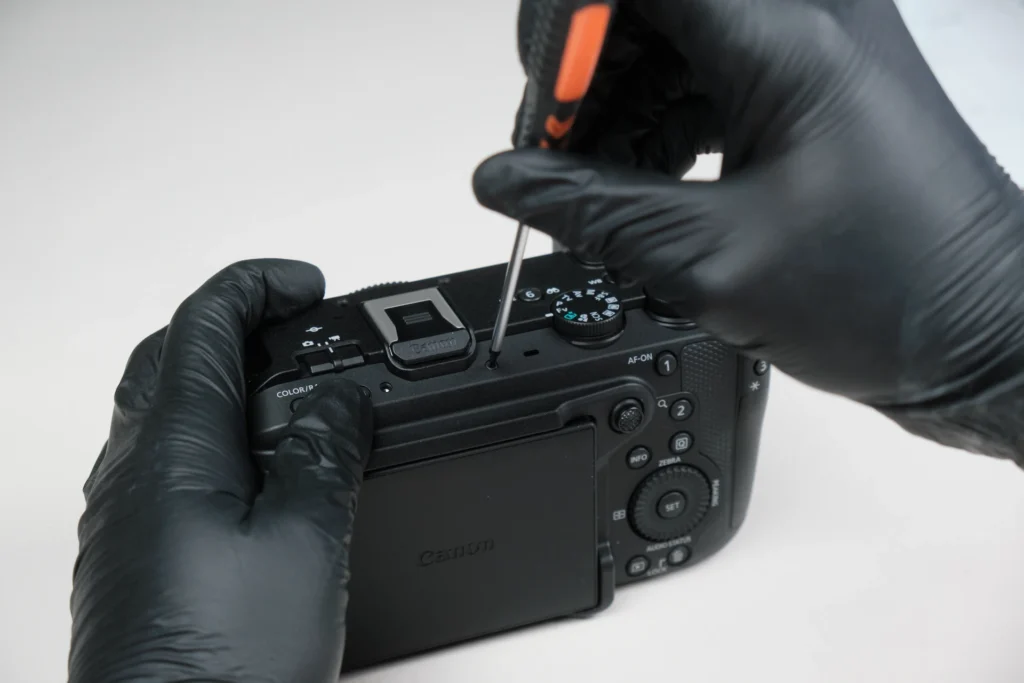
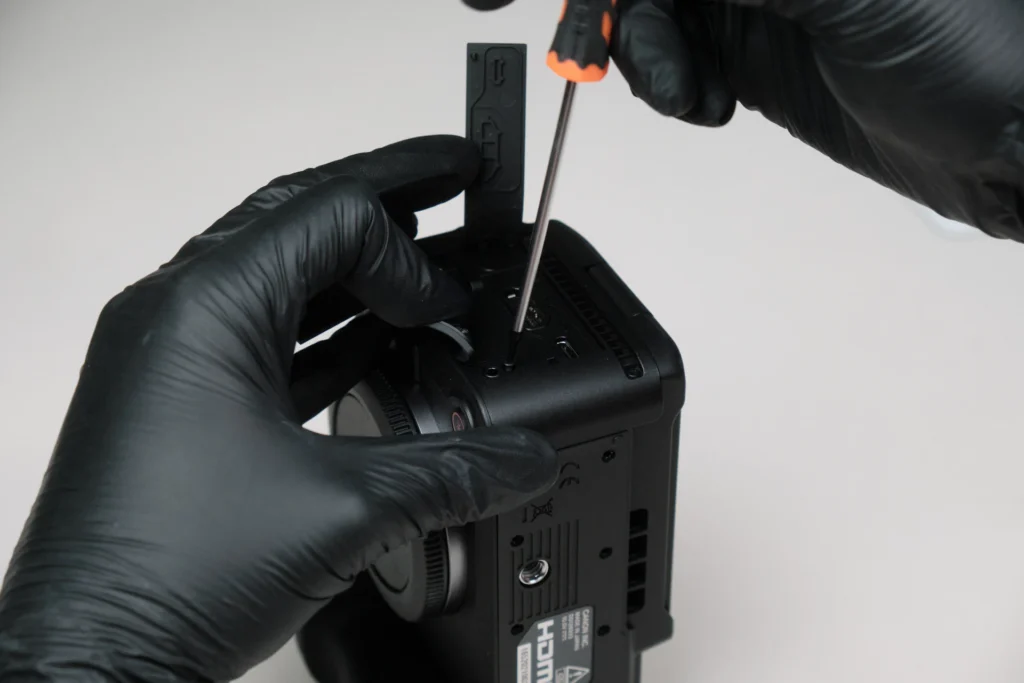
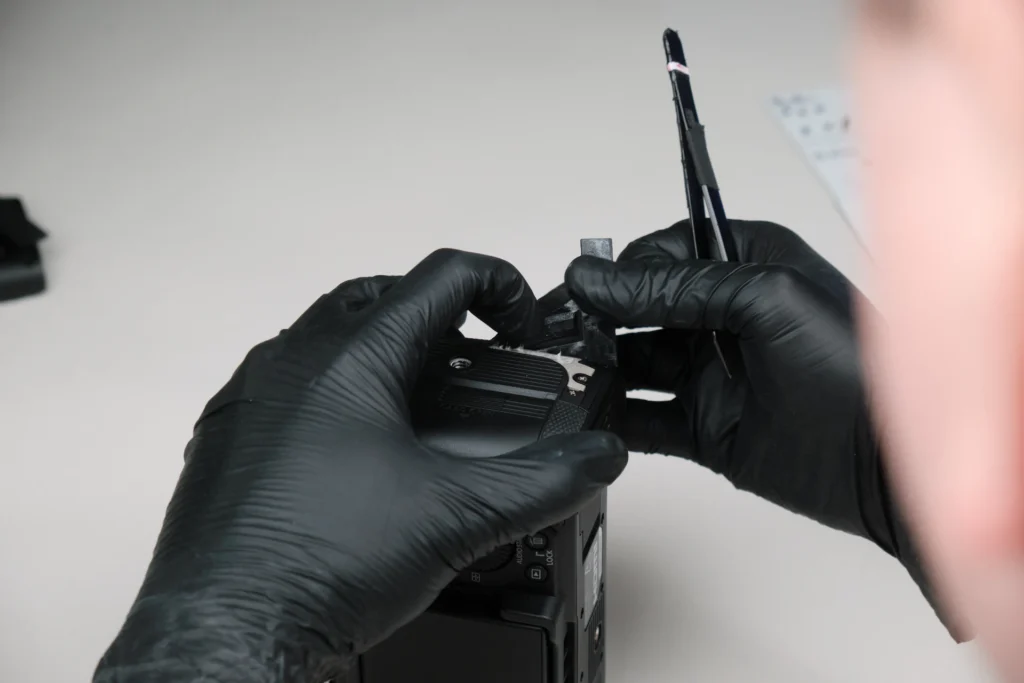
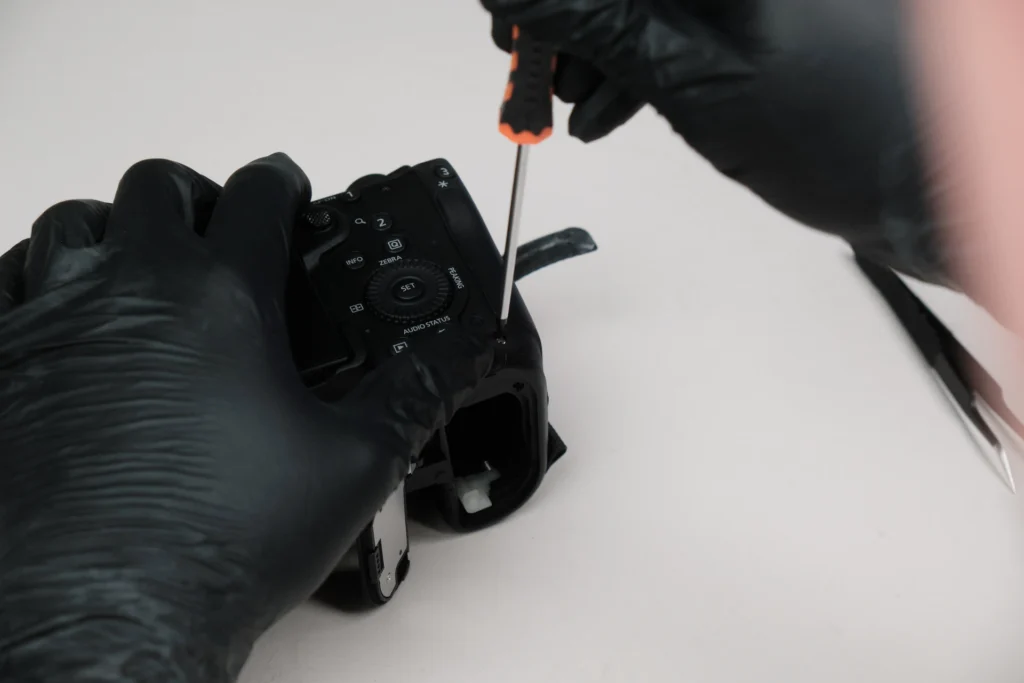
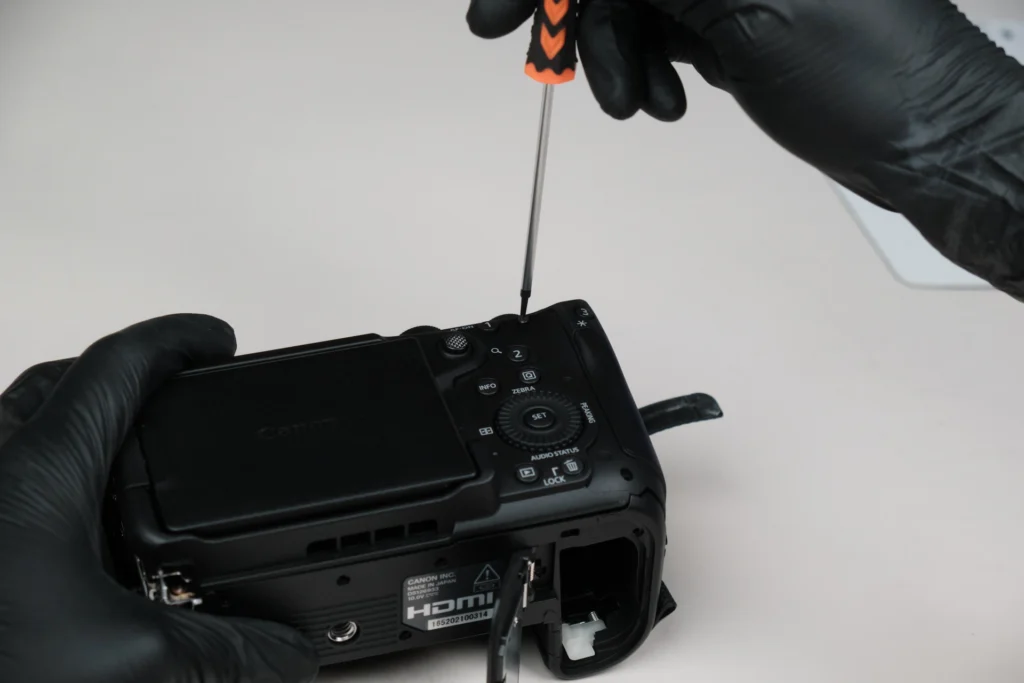
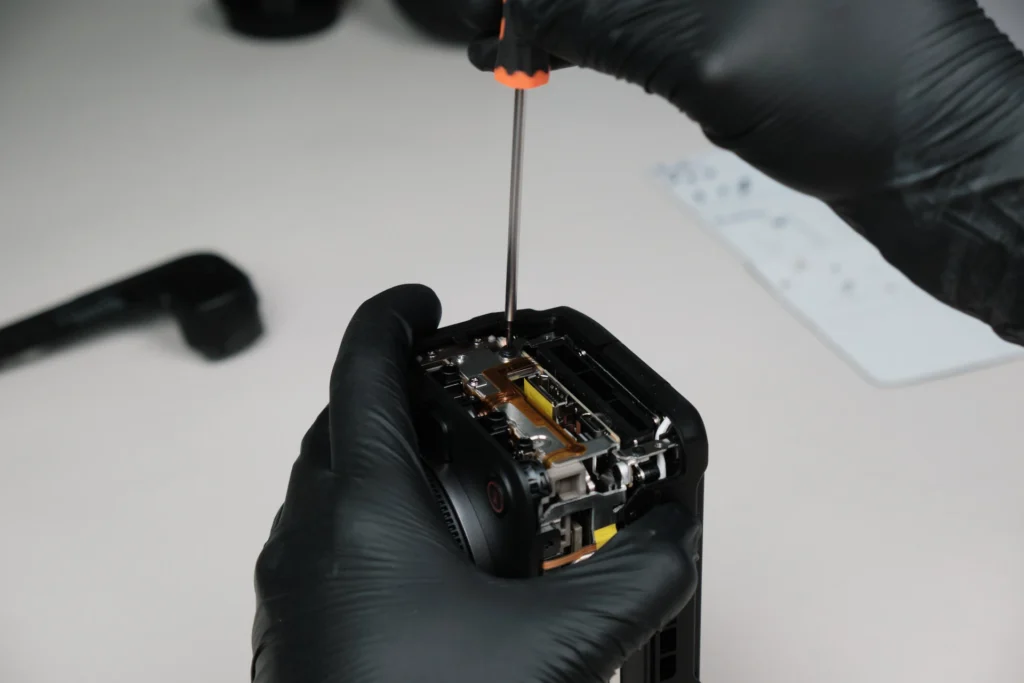
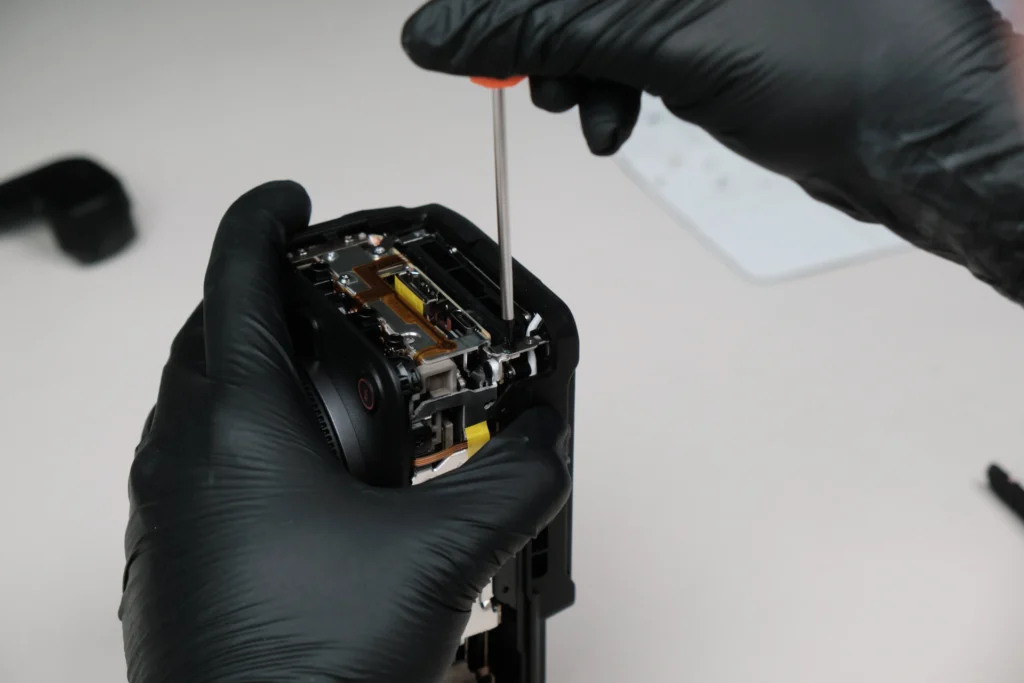
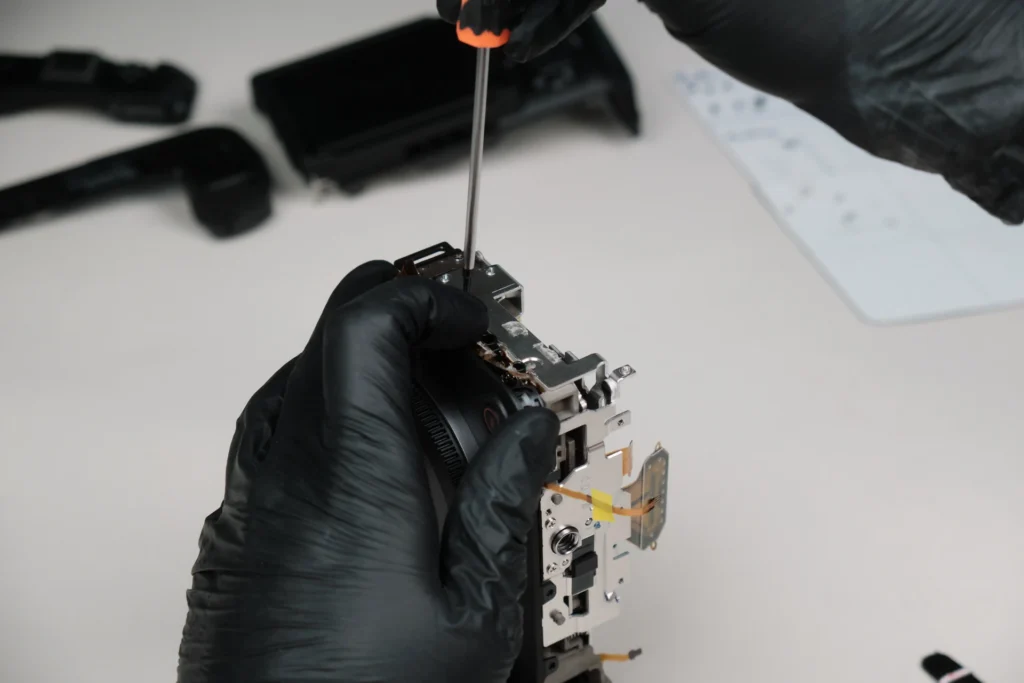
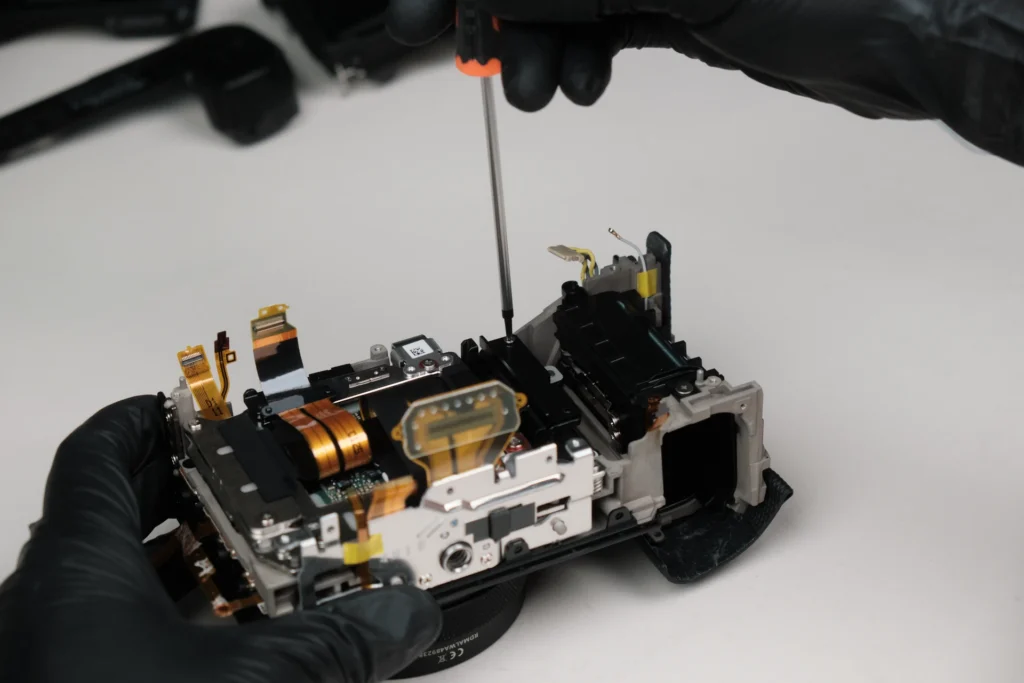
It’s generally easy to start with removing a camera’s exterior screws from the baseplate since it is visible there. This time, we opted to start with the top plate. Four screws were removed from the top plate.
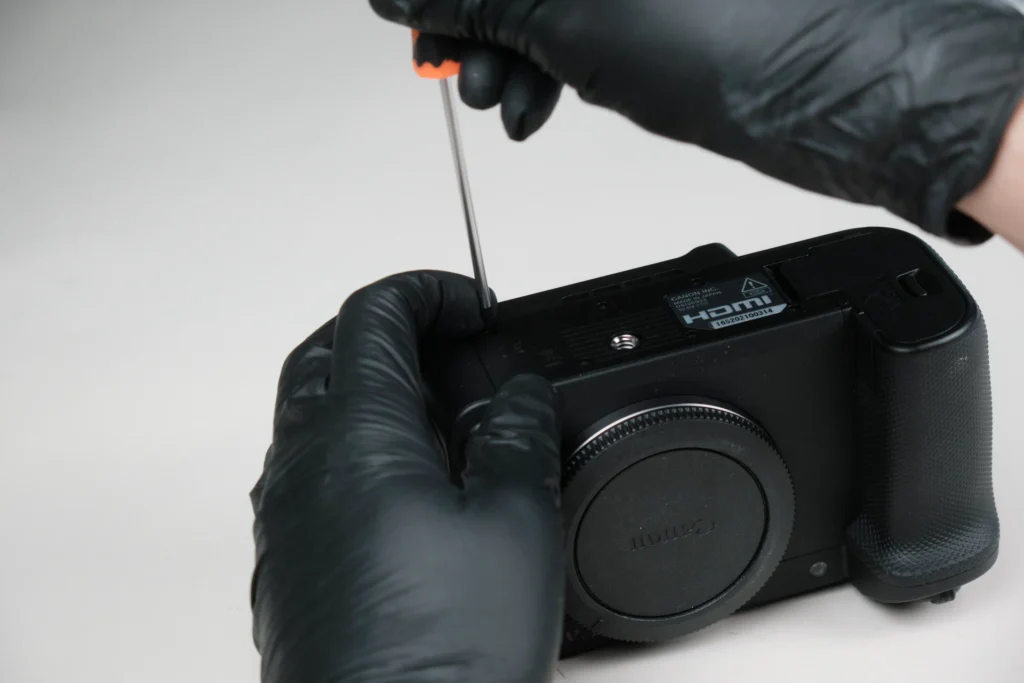
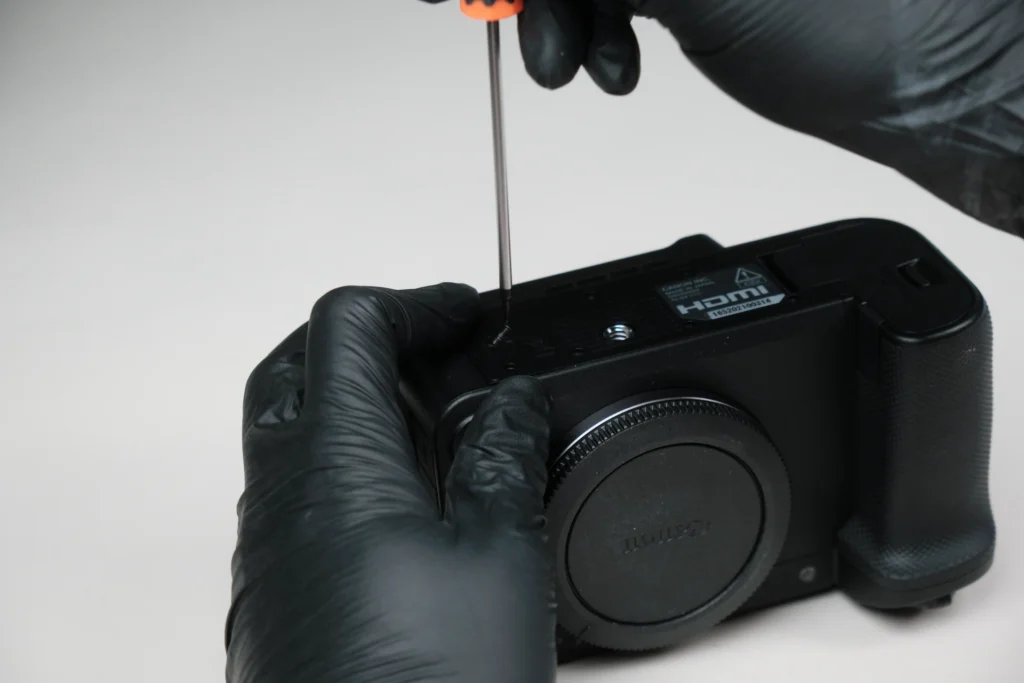
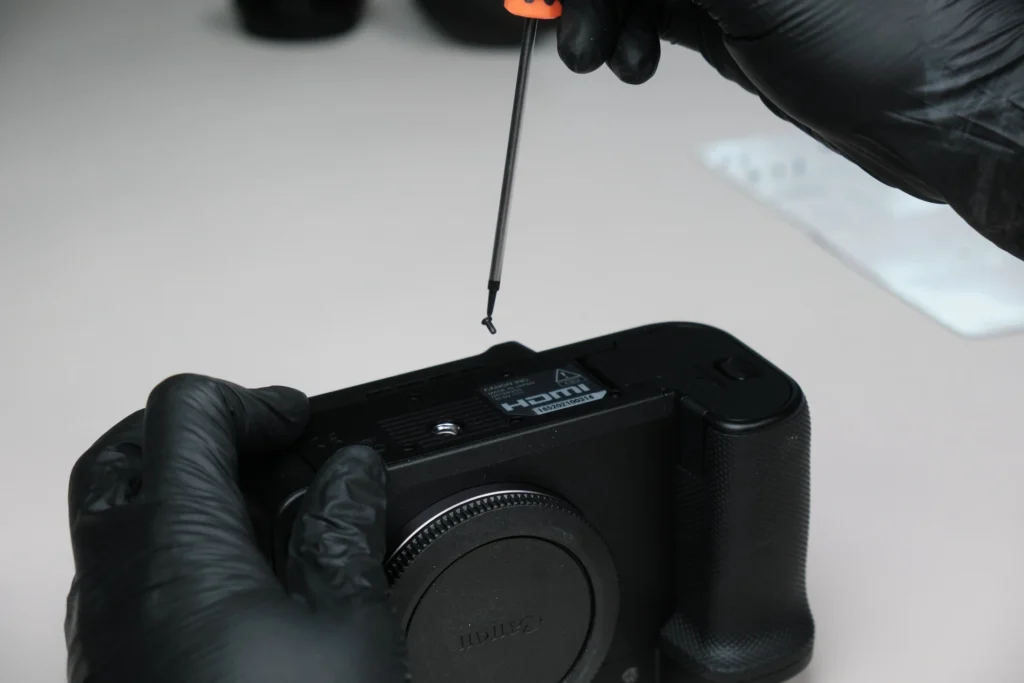
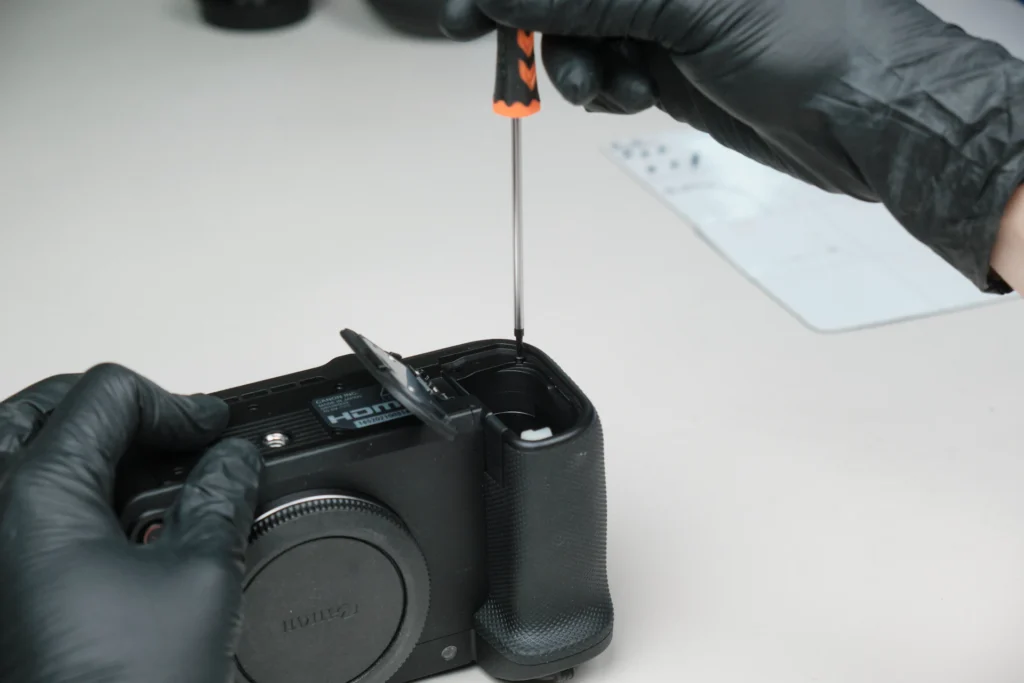
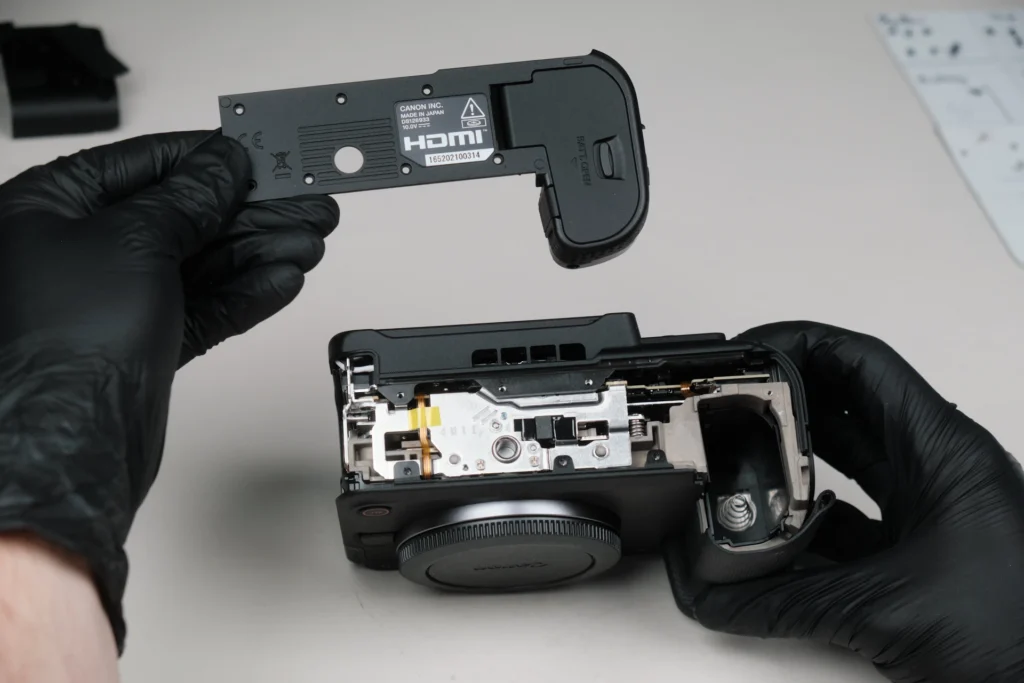
Moving on, we went to the baseplate and removed seven screws altogether. One of the screws was located under the battery door.
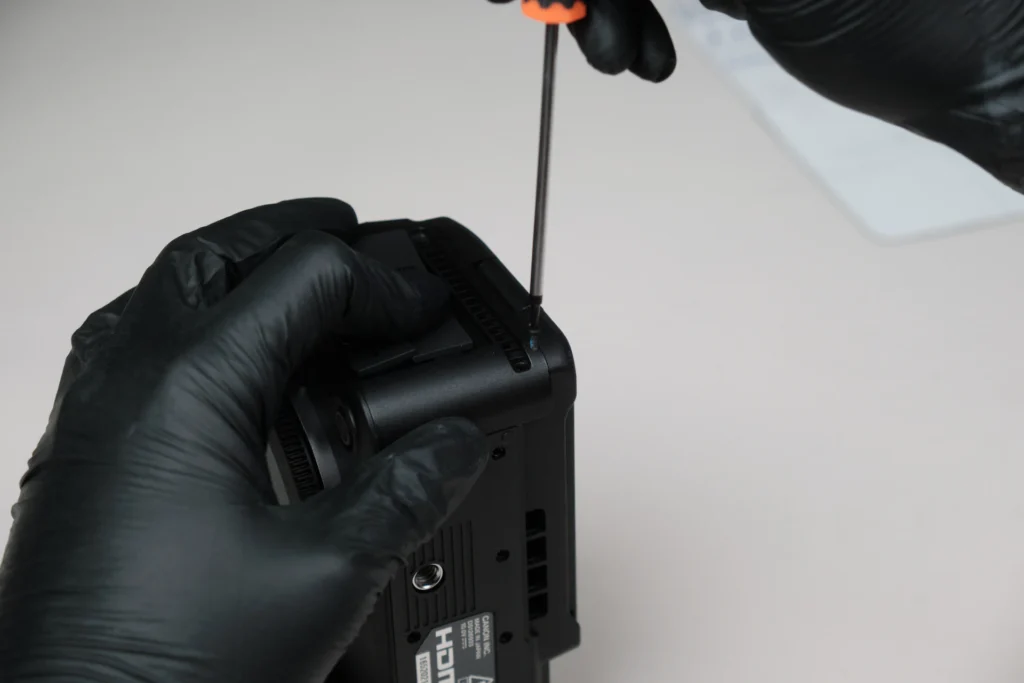
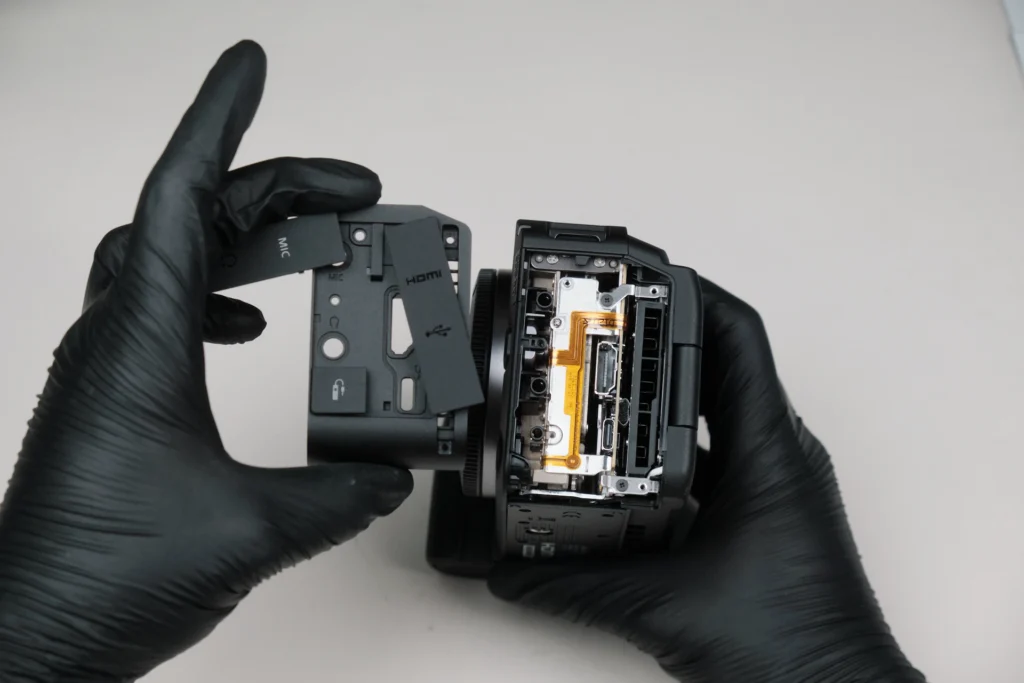
On the port side of the camera, four screws were removed. This allowed us to pop the port cover frame to expose the interior of the camera body.
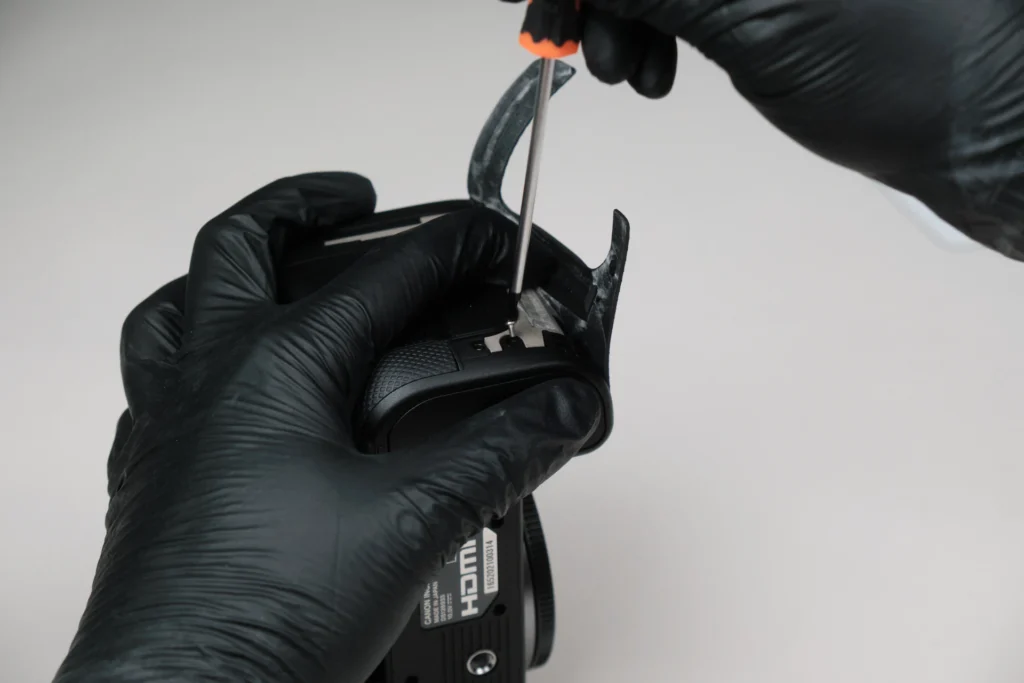
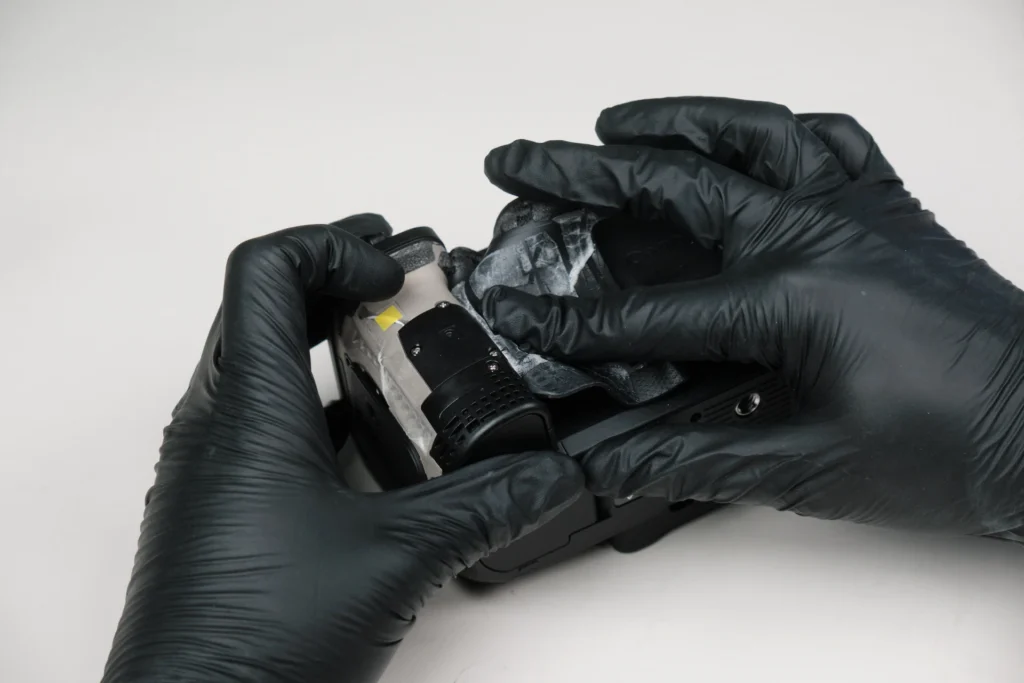
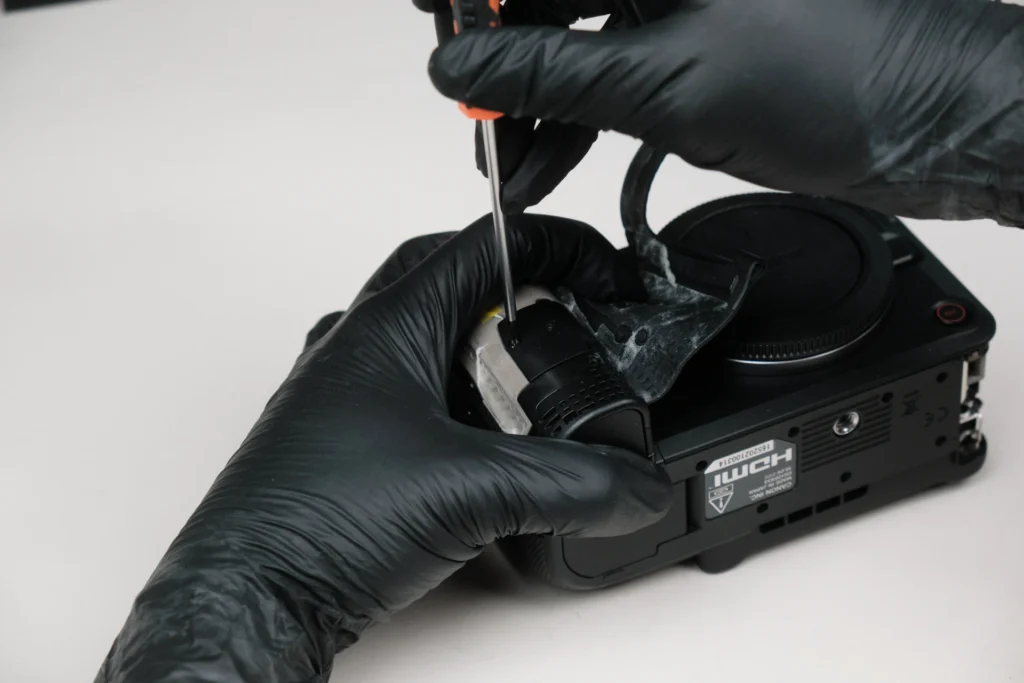
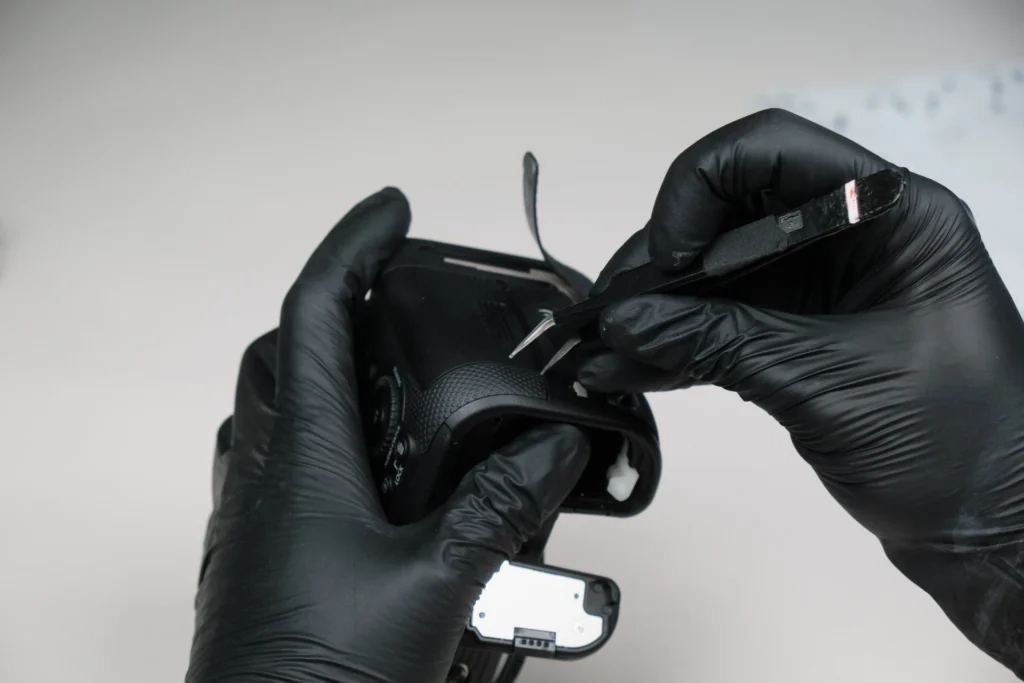
The card slot side of the camera didn’t have screws underneath the cover, so that prompted us to search underneath the faux leather covering. Peeling the covering revealed three screws. Further peeling off more of the leather off the front reveals several more screws.
The baseplate was not detachable yet despite removing the visible exterior screws from the plate itself. More screws needed to be removed. Further peeling the thumb grip leather revealed several more exterior screws.
We were then able to remove the baseplate.
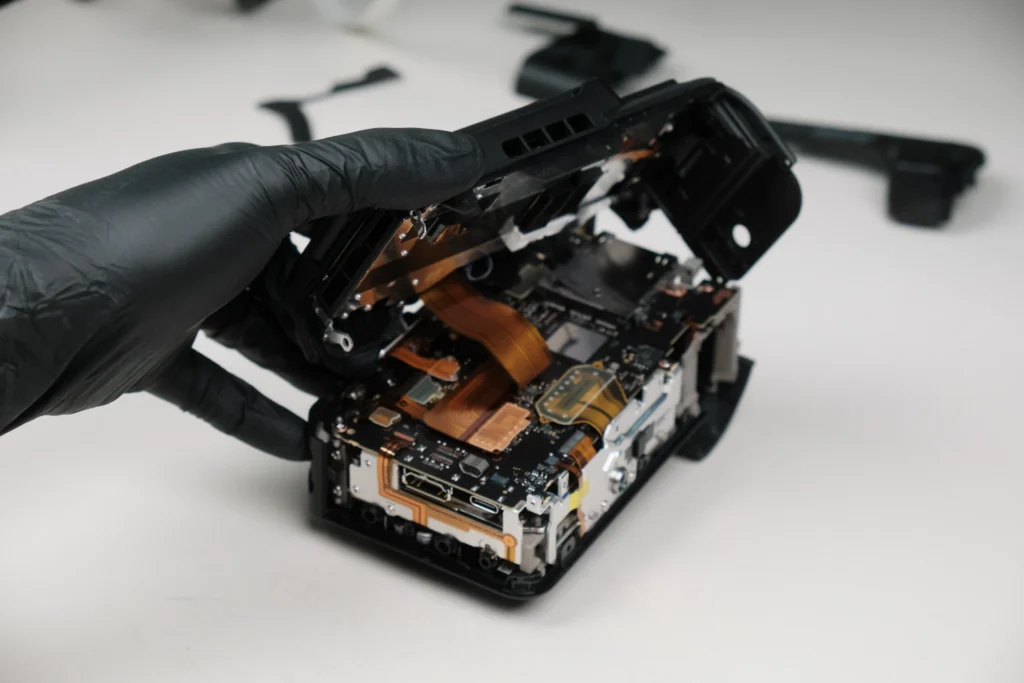
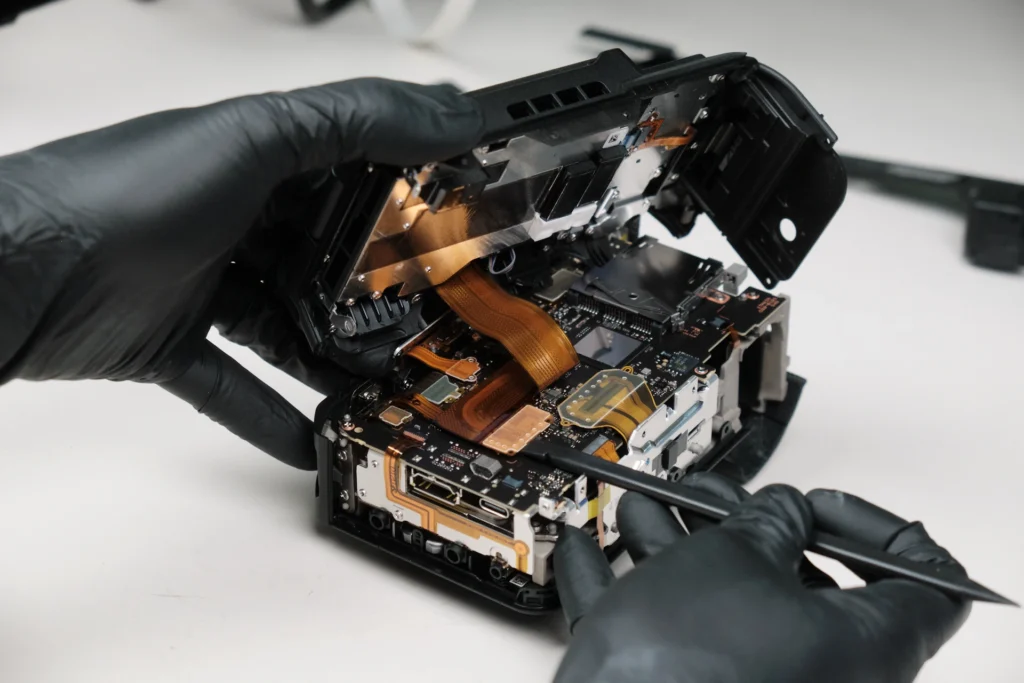
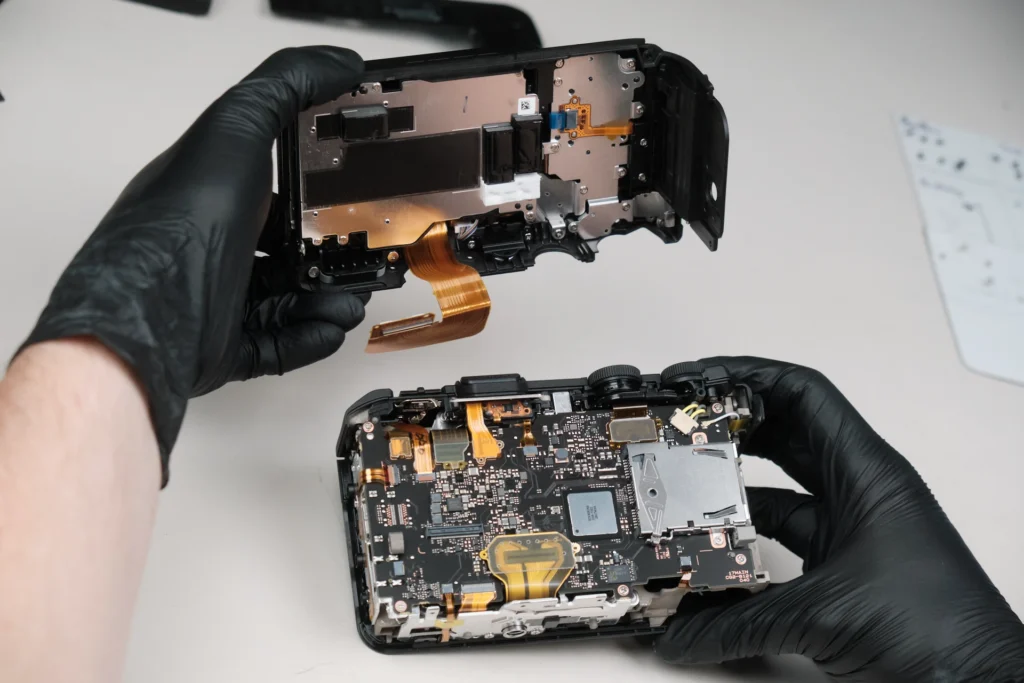
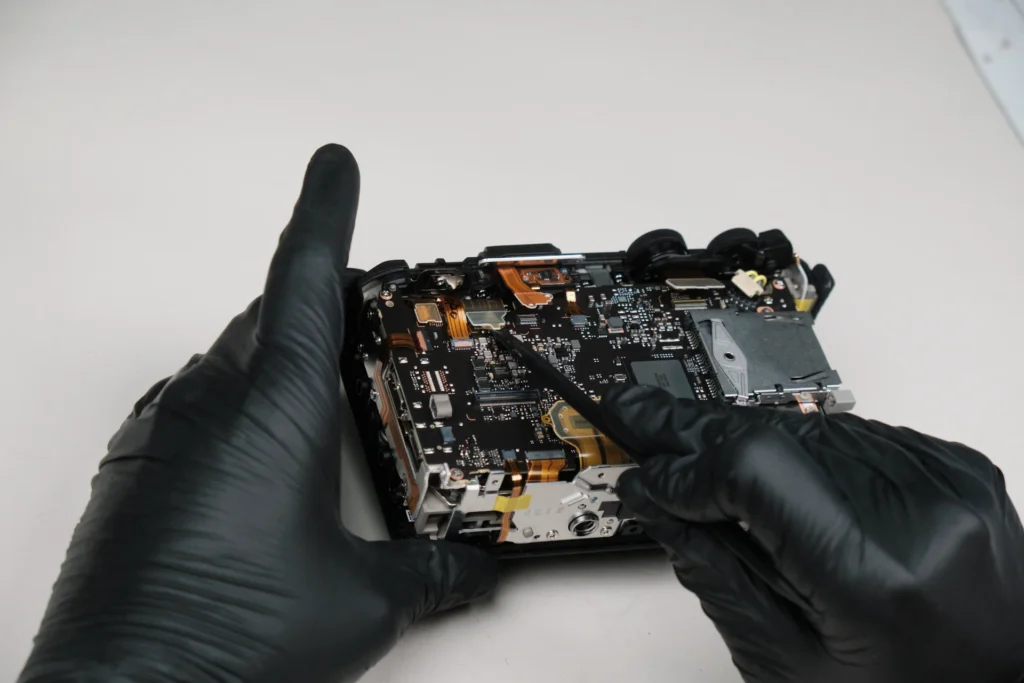
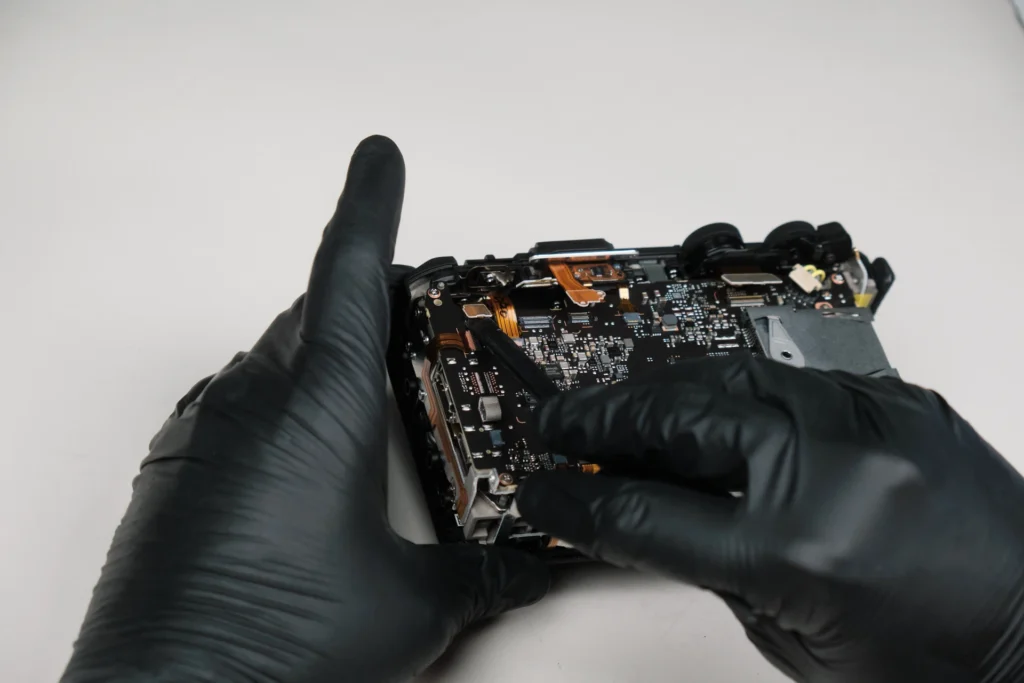
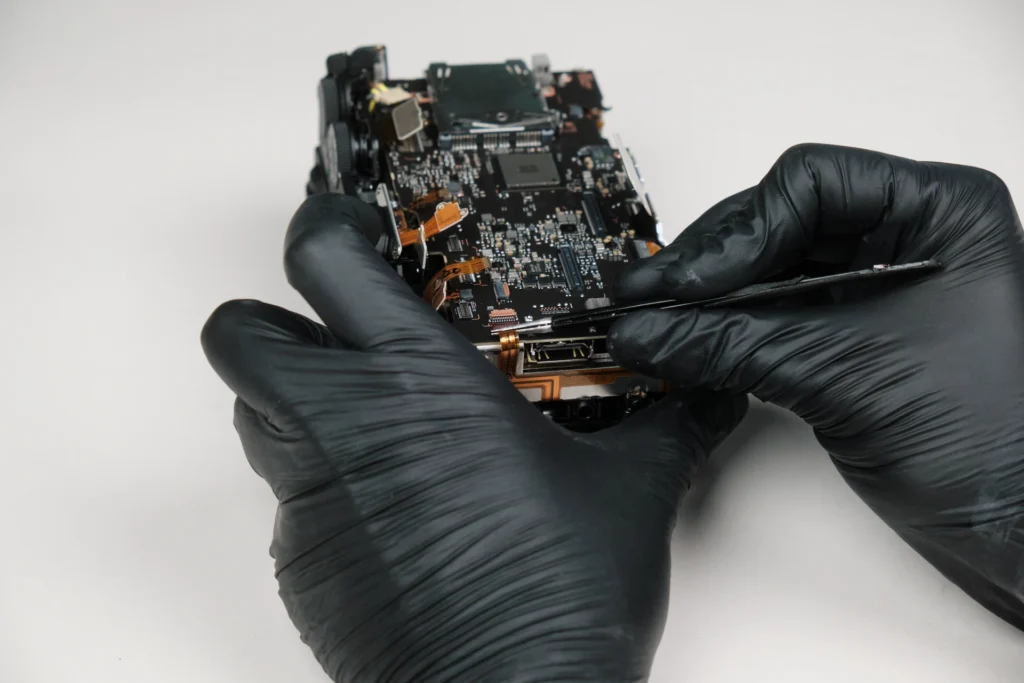
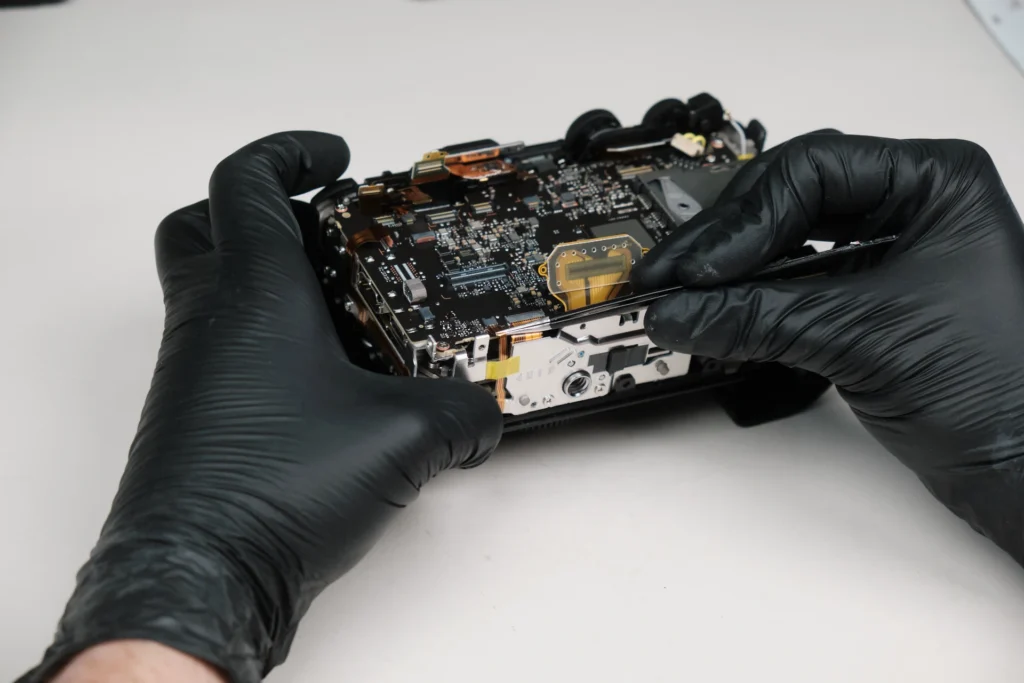
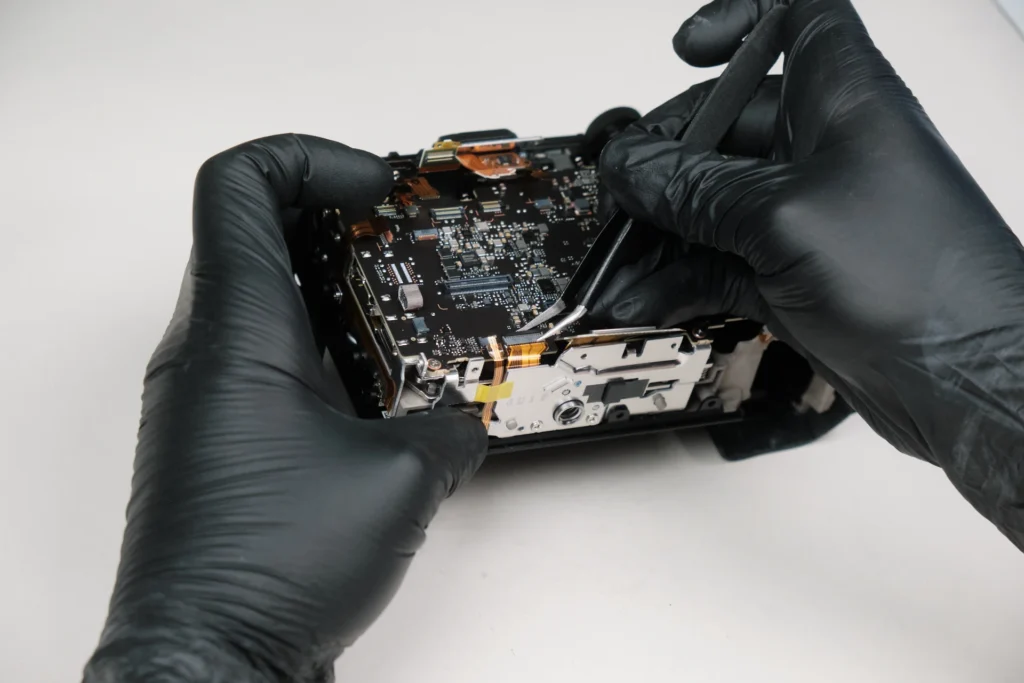
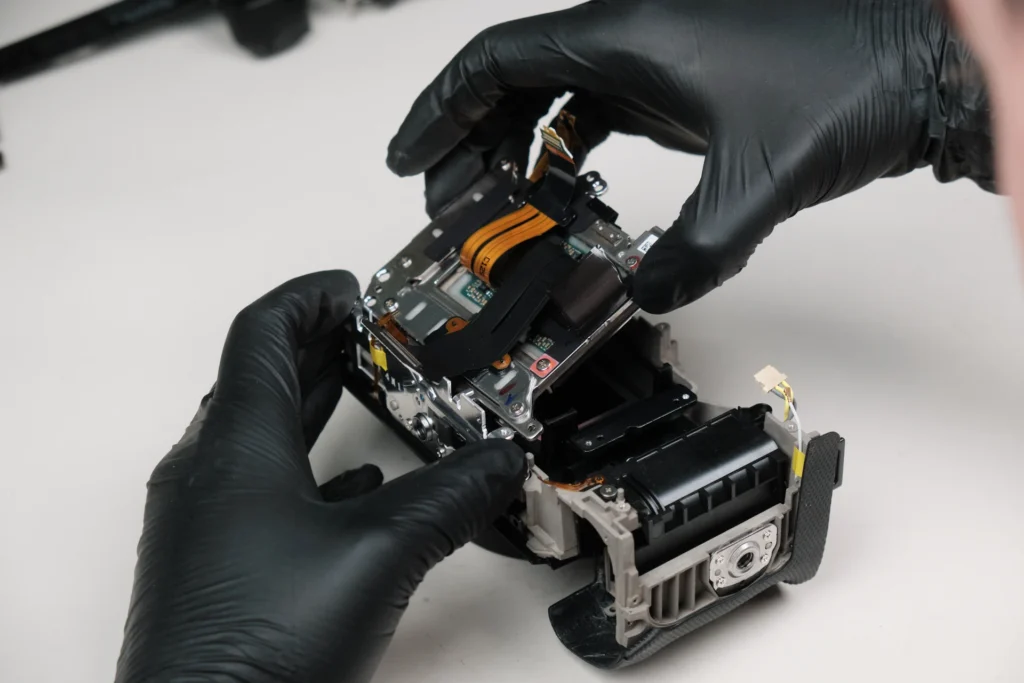
Before the back could be removed, two screws from the port side were removed. Taking off the back of the camera is always precarious since it is usually attached to the circuitboard of the camera via one or a few ribbon cables. These need to be detached before fully extracting the backplate.
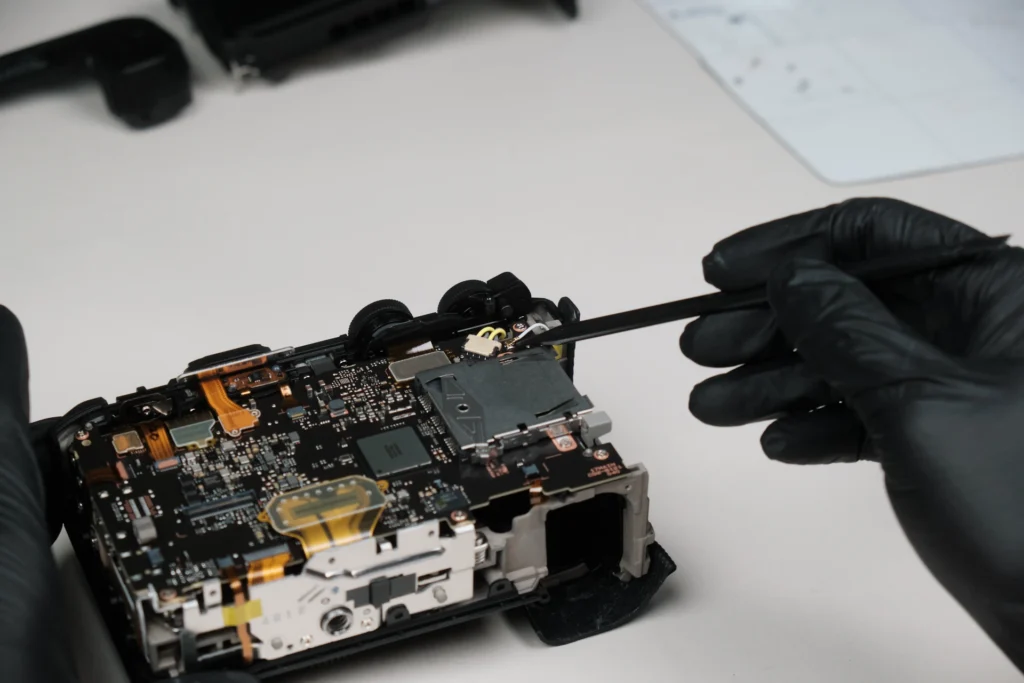
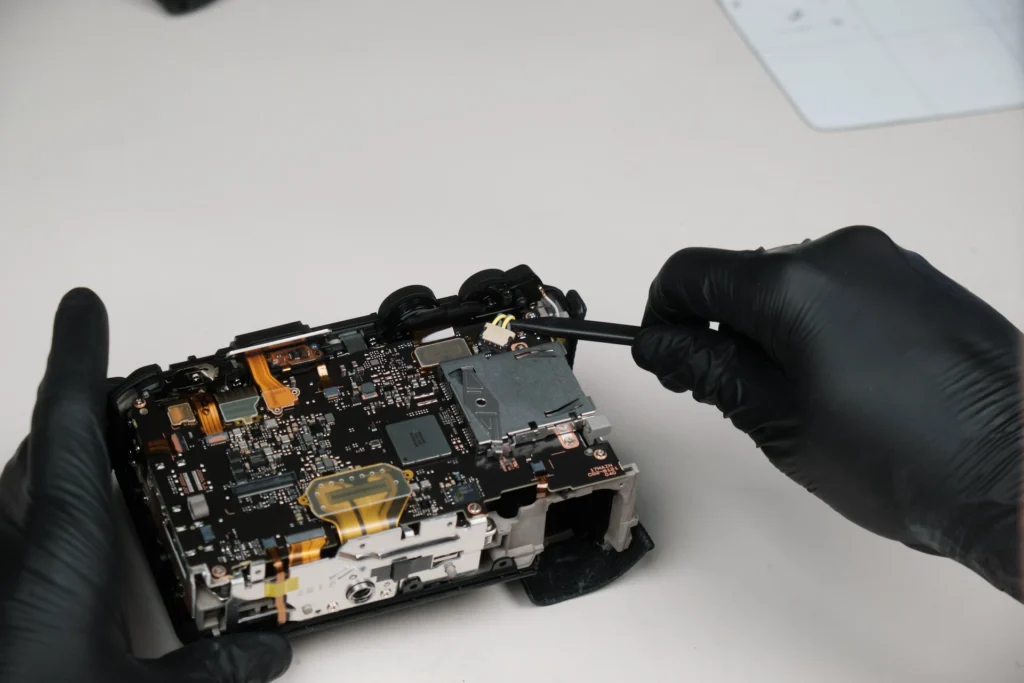
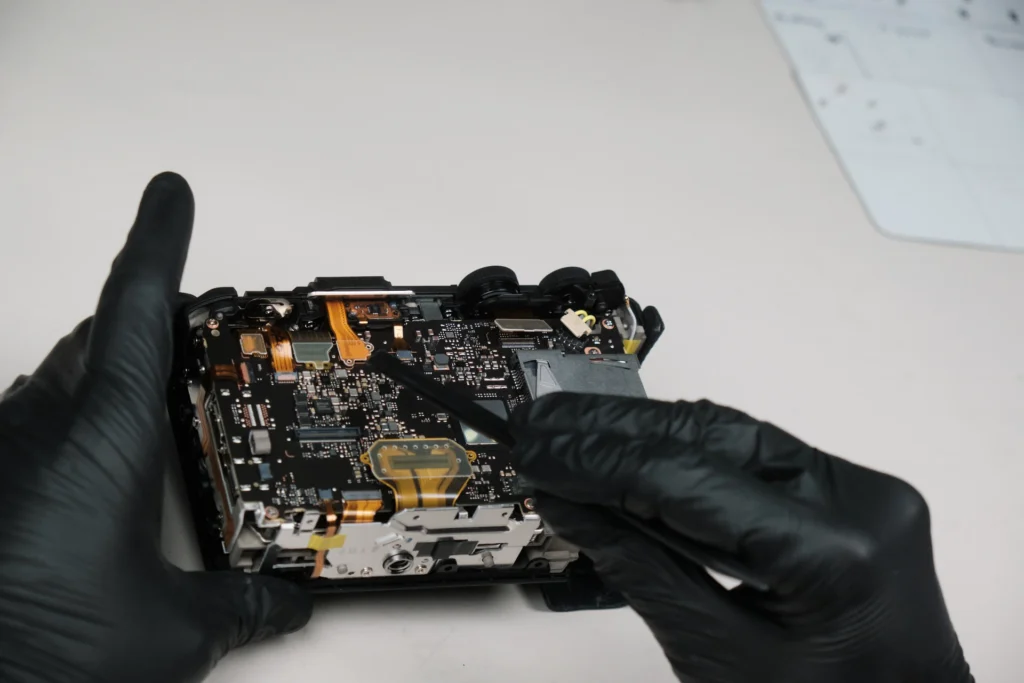
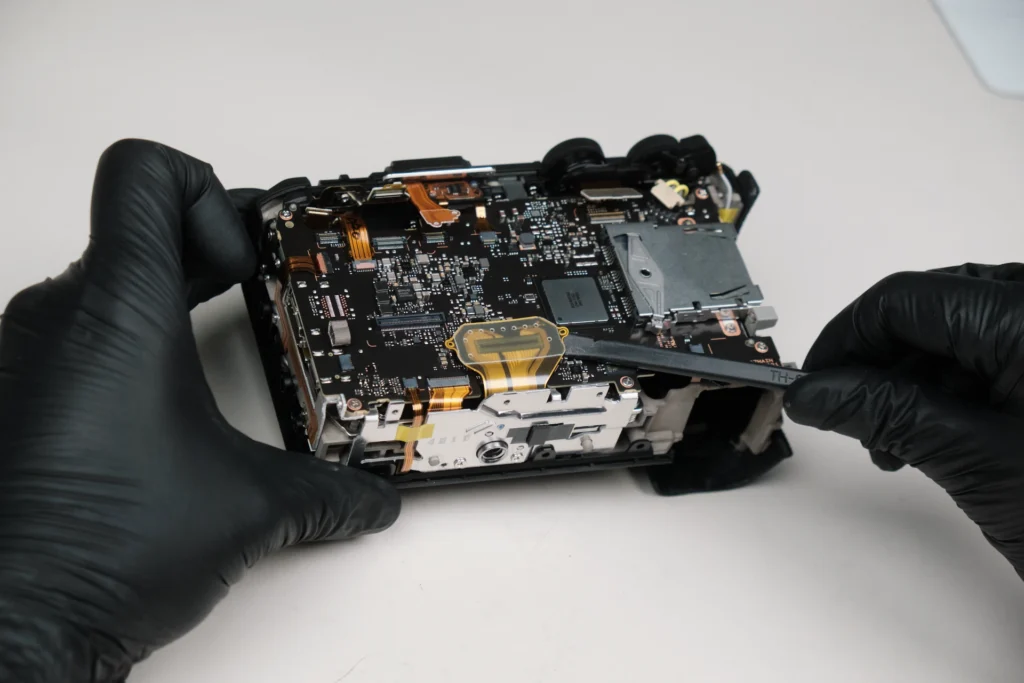
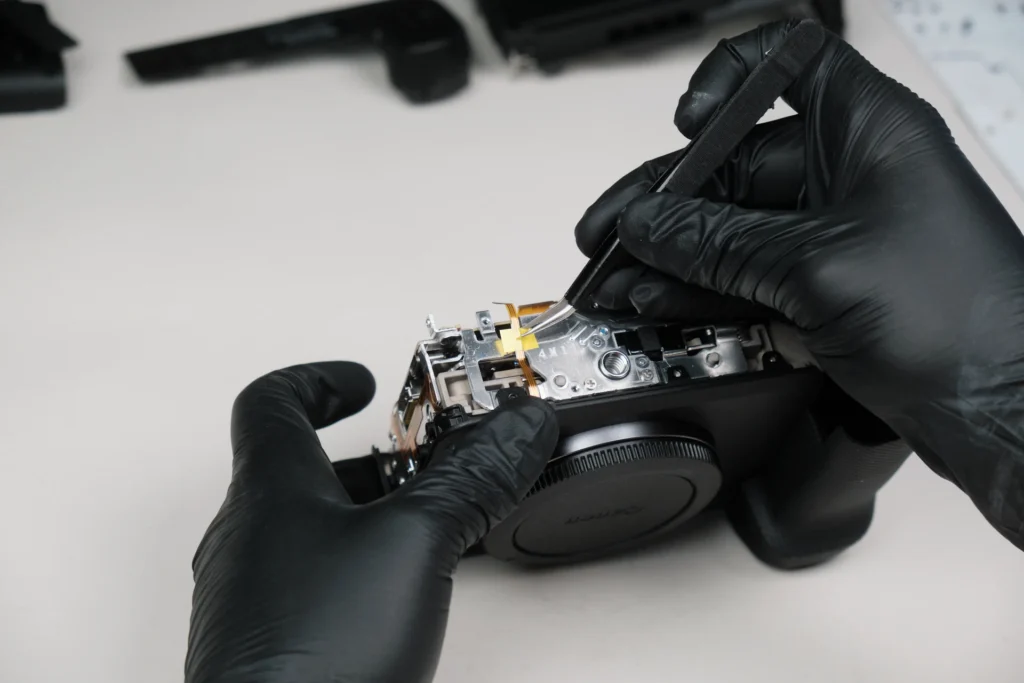
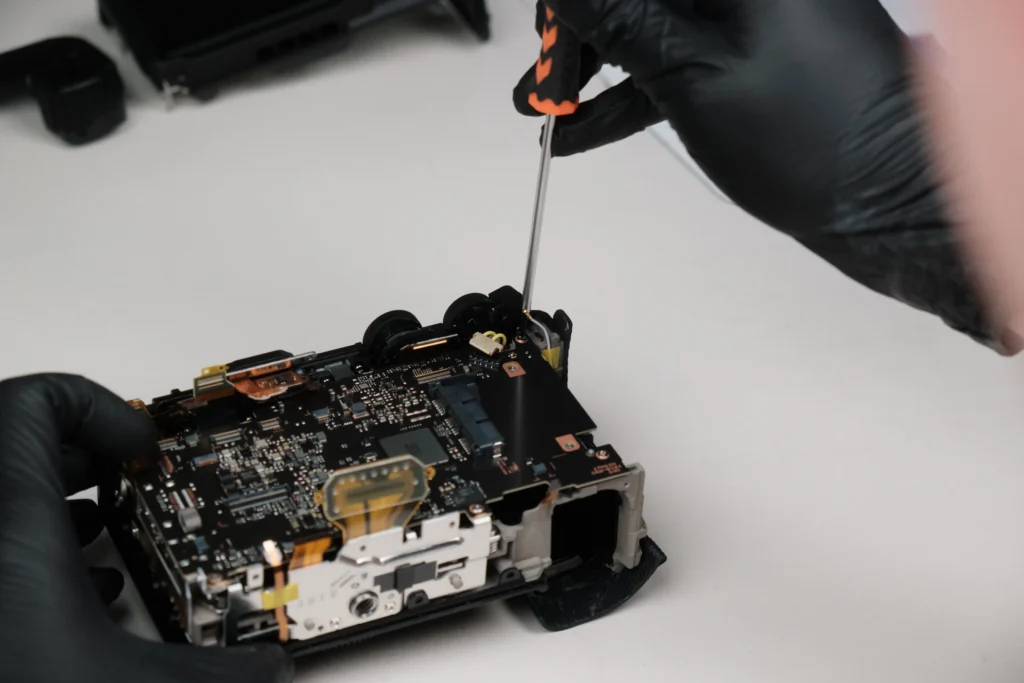
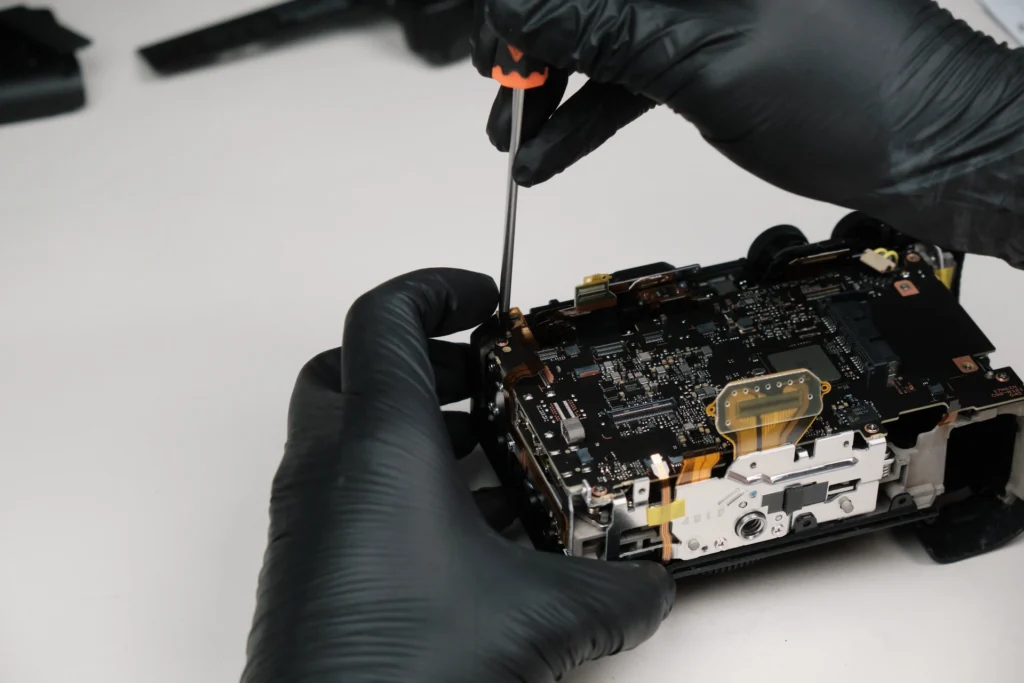
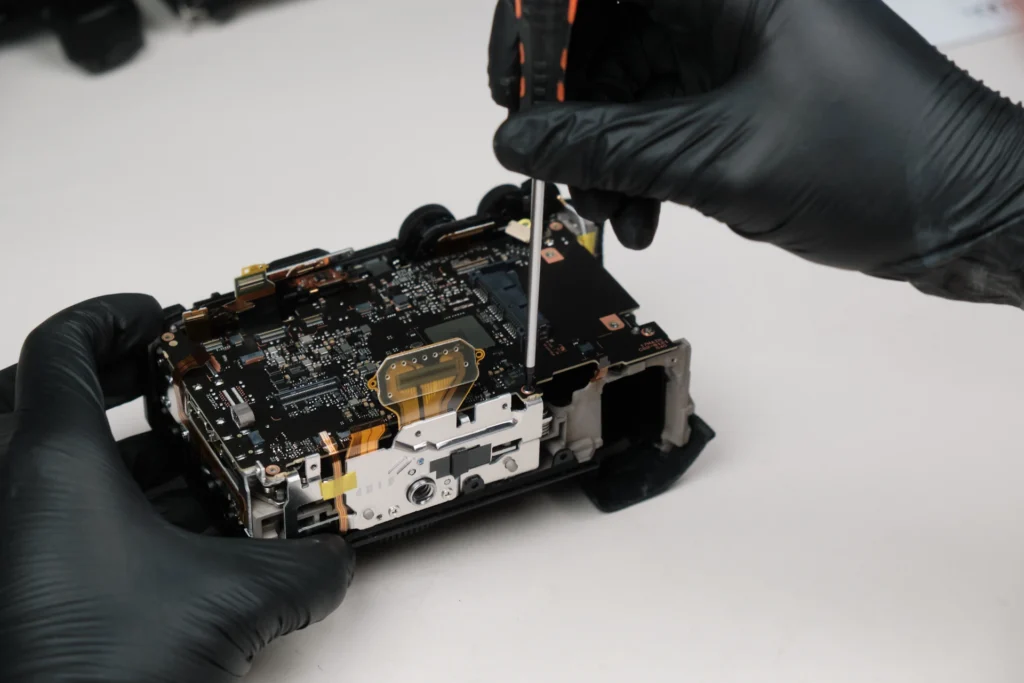
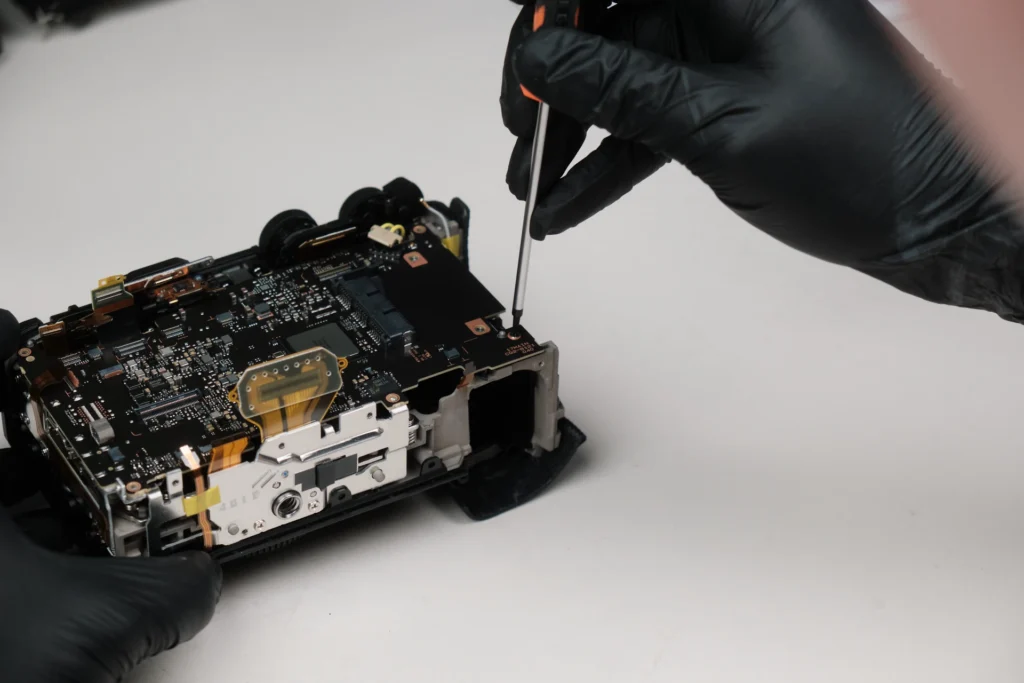
Several connections including ribbon cables and wires along the perimeter of the circuitboard were removed.
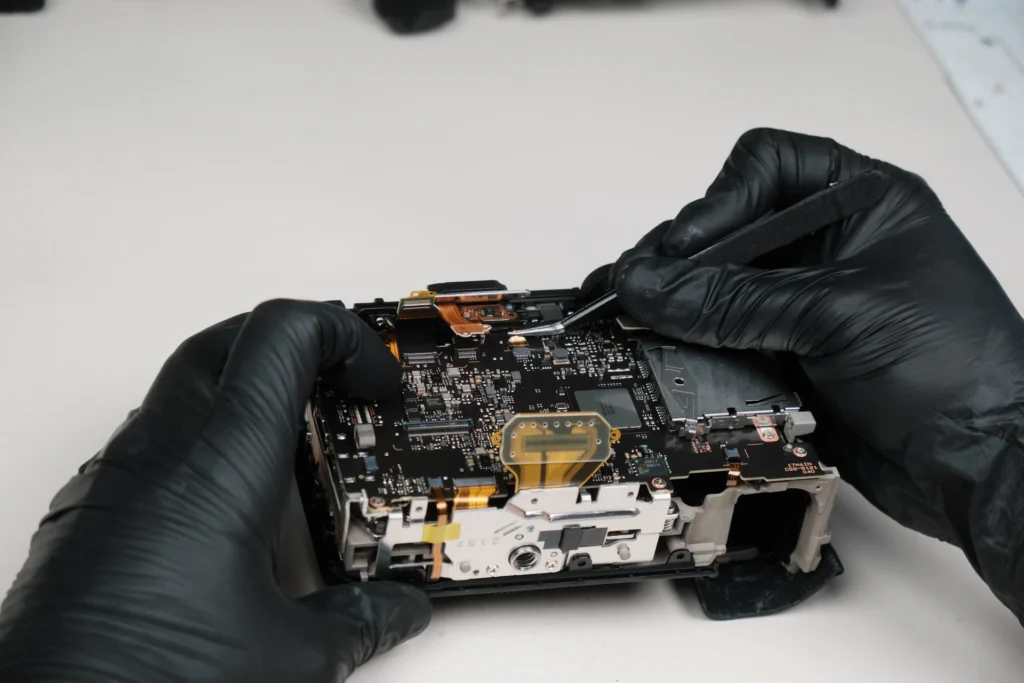
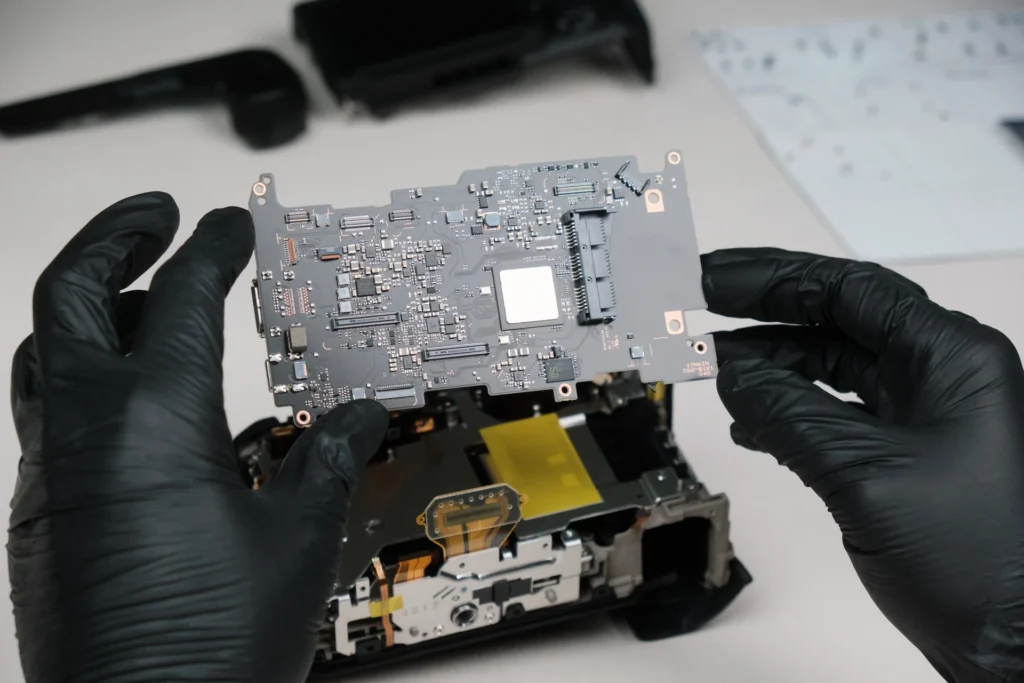
Additionally, a few more screws were removed. With the removal of all of these peripherals, we were able to separate the circuitboard from the camera body.
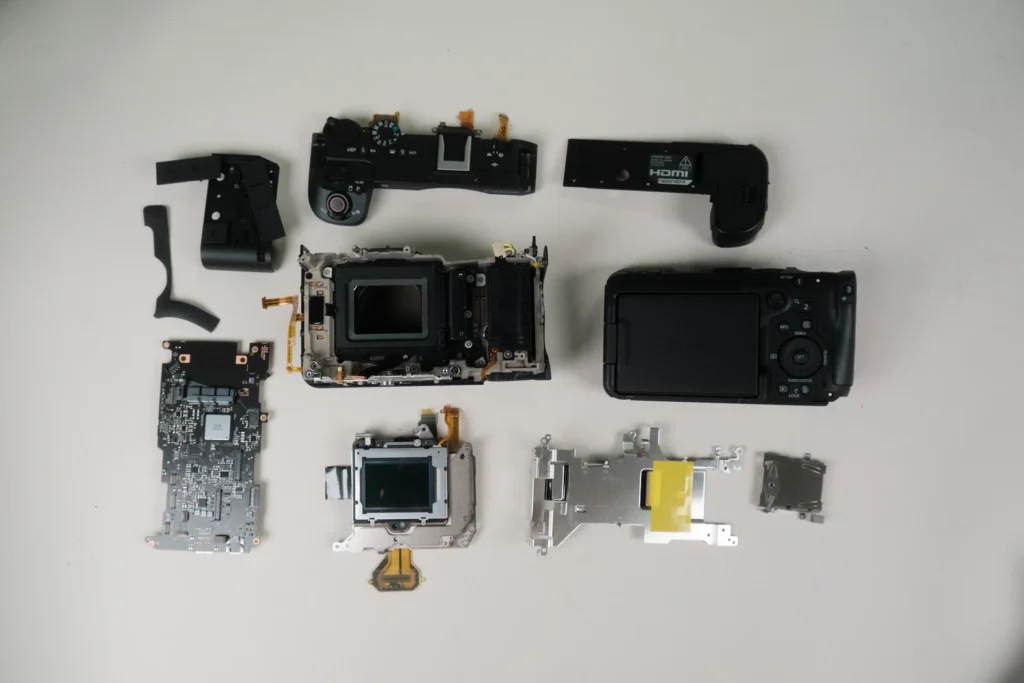
Behold, the circuitboard.
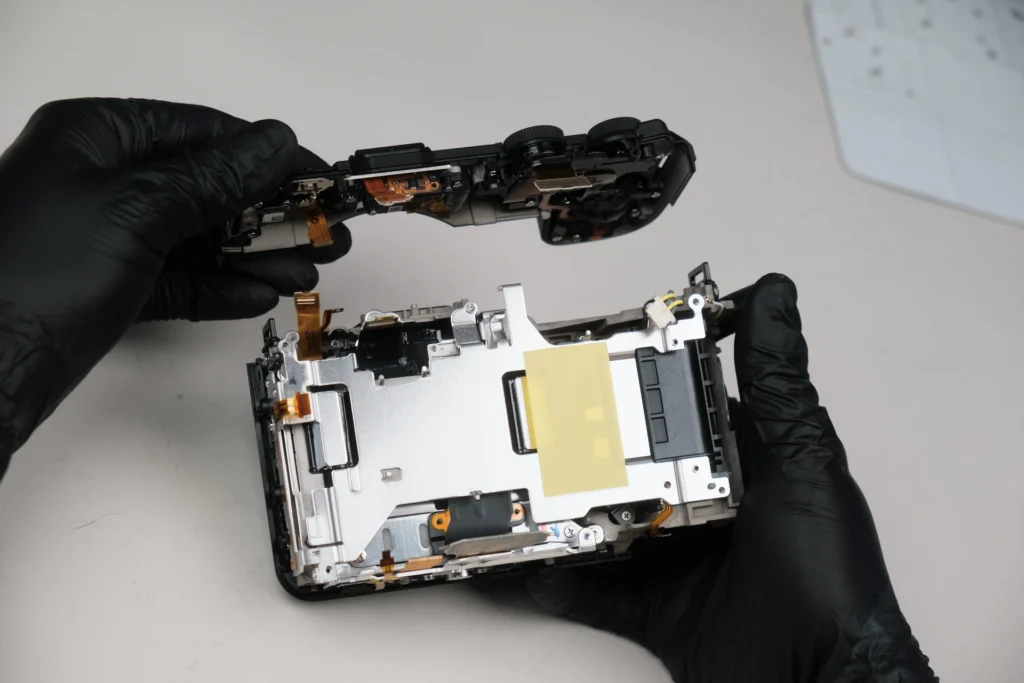
At this point, we were also able to detach the camera’s top plate as well. One of the ribbon cables for the top plate was detached earlier.
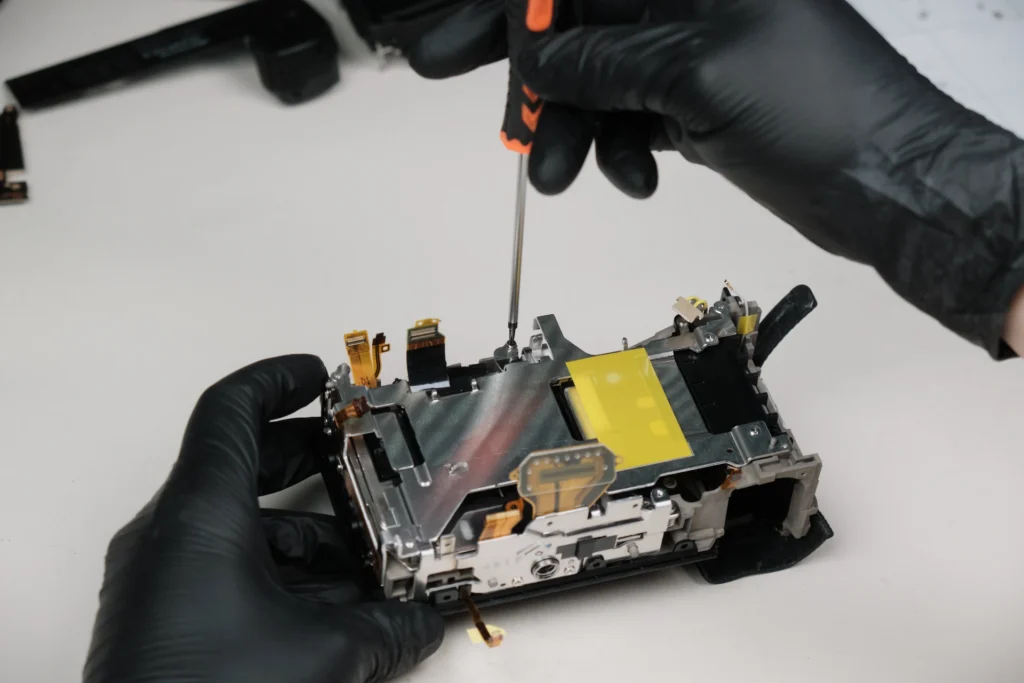
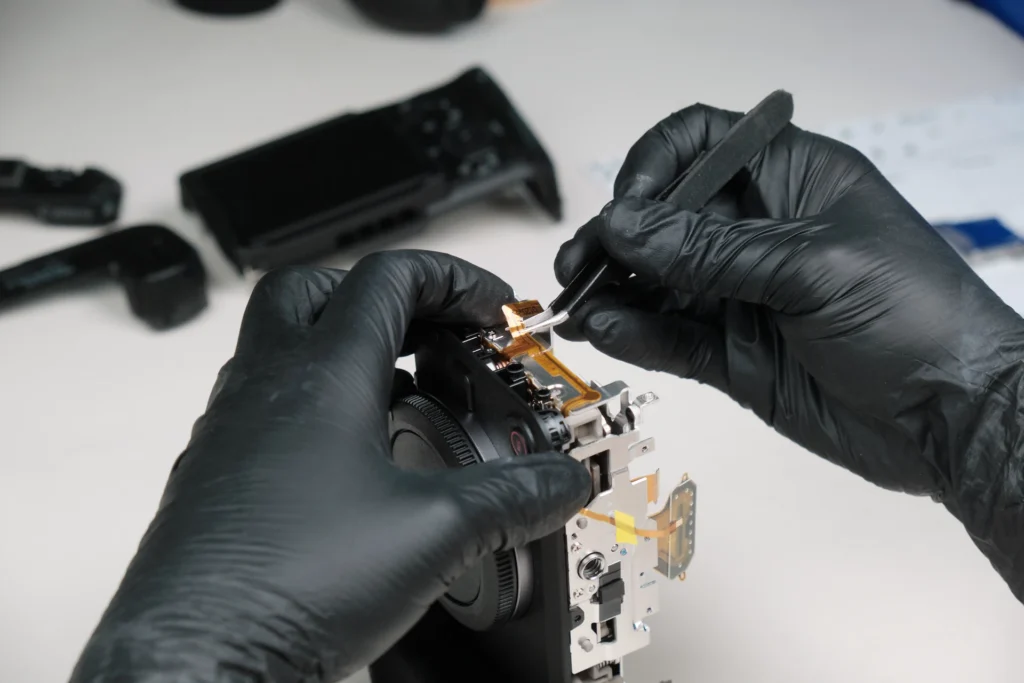
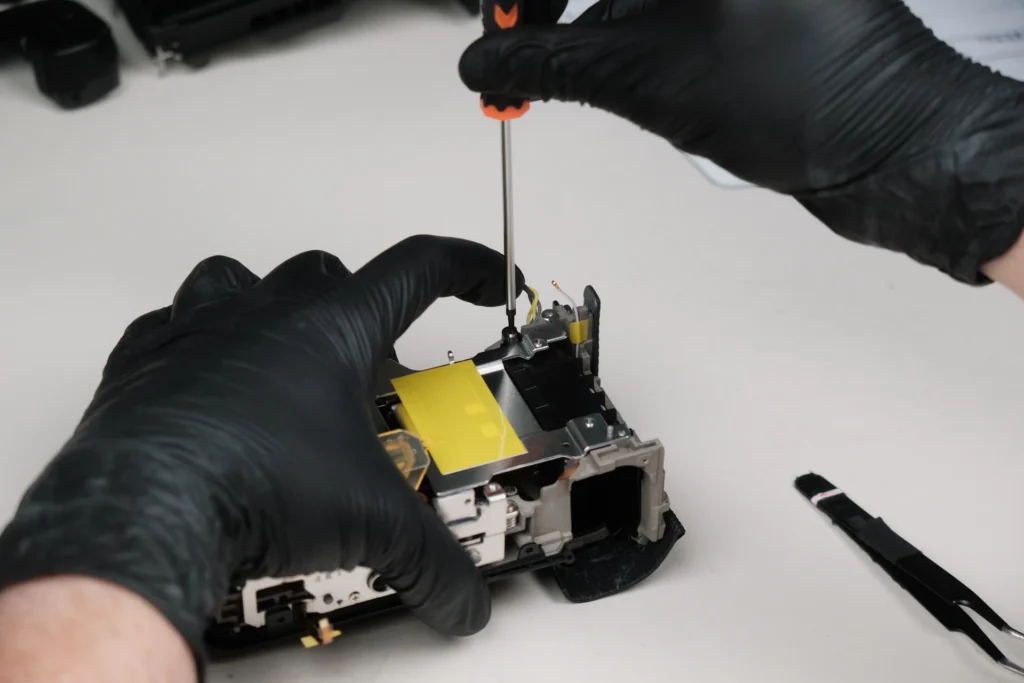
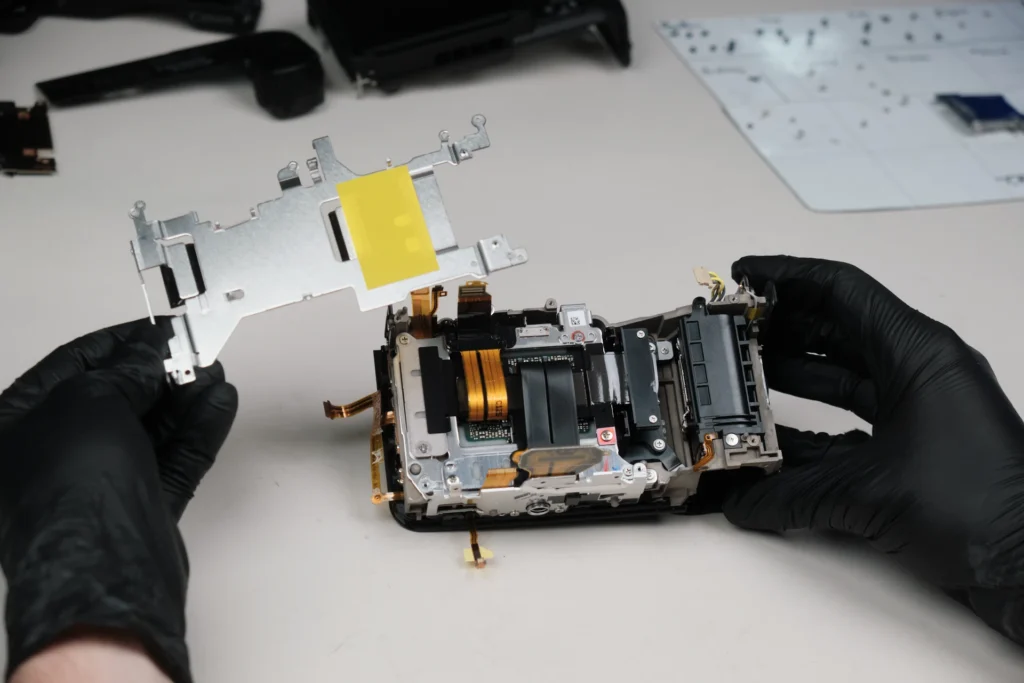
Before we reached the camera sensor, we needed to remove the bracket. Removing the screws and peeling off a ribbon cable was all that were necessary for the bracket to come off.
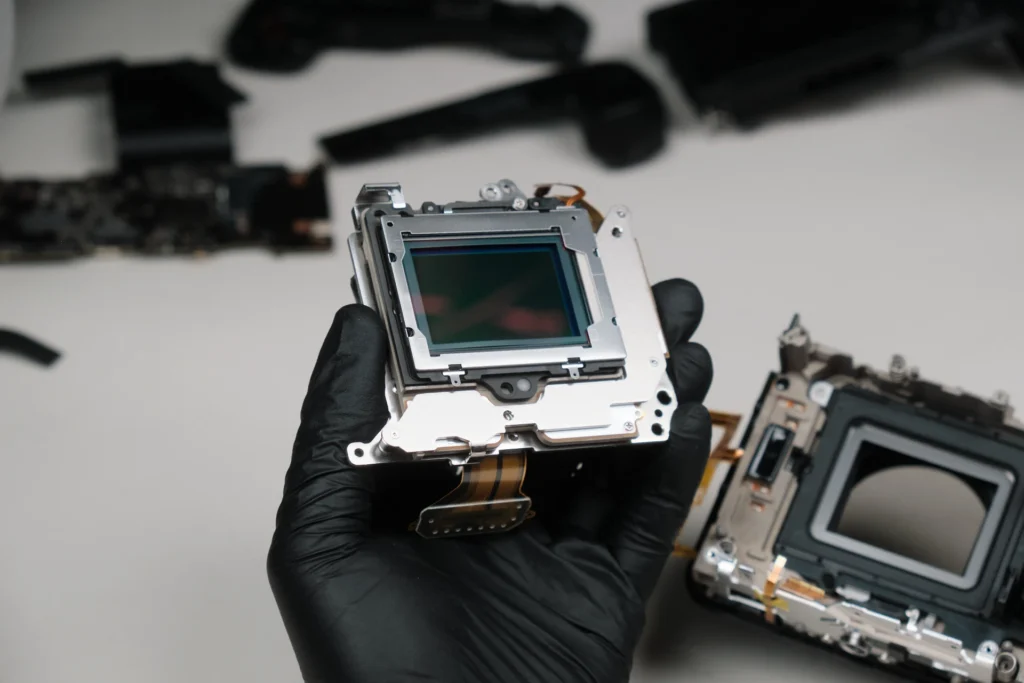
The bracket is now removed. All that’s left is to extract the sensor.
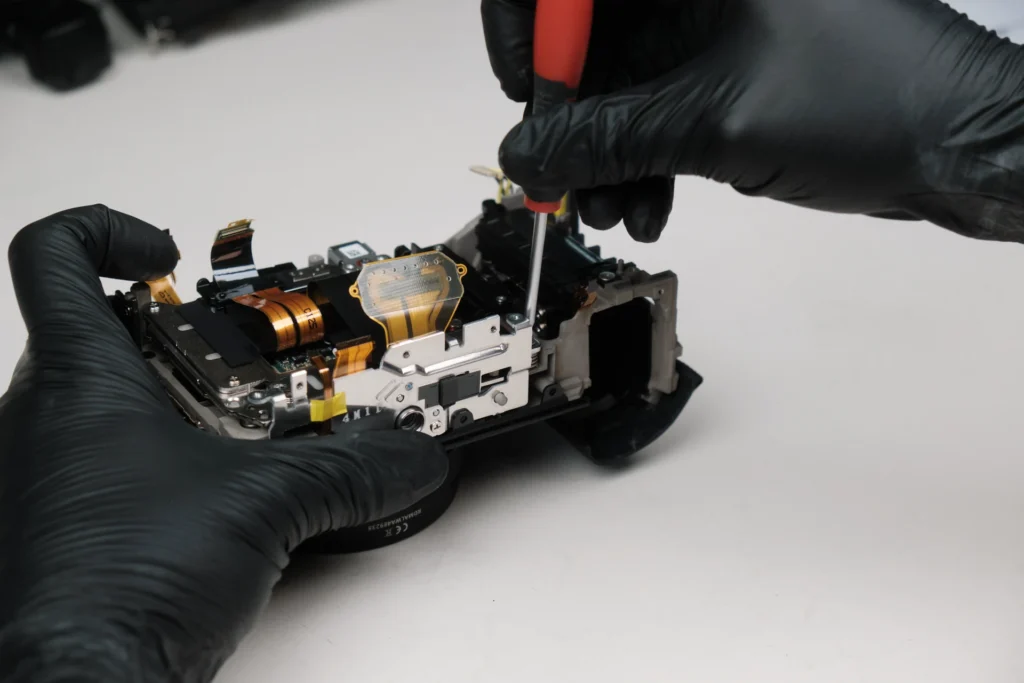
Several screws around the perimeter of the sensor.
The sensor removed from the camera body.
Overall, this wasn’t an overly complex teardown. It was still easy to disassemble minus the somewhat unorthodox layout dissimilar to the R5 and R6.
Thanks for reading. We feature a new camera teardown every month. Be sure to sign up for our newsletter so you don’t miss them!