Here at Kolari Vision, we love tearing into the newest camera gears to learn how they work and if they can be modded for infrared photography, full spectrum photography, or other things. We’ve been really excited about the R5/R6 release, and had plans to add some cooling mods and overhaul it into a proper video camera. Reports from EOSHD that Canon uses a clock rather than temperature readings left us a bit disappointed, and calls into question whether physically cooling down the camera can actually give any more shooting time. While we don’t have an R5 yet, we did get an R6 this week and tore it down to see what’s inside. Here we’ll go over the basics that we found inside, how the thermals are handled, and later share some insights we learned about how the Canon clock circuit works.
But first, back to the basics on the R6. Upon finally seeing it and handling it, Canon’s new EOS R6 looks and feels much more like the full-frame mirrorless camera we all originally expected Canon to release. It leans closer to the “DSLR with no mirror” design concept than the original EOS R, which felt like something new entirely. Likewise, many of the R’s bolder design choices have been dropped from this model as well. It’s touchbar and other, not exactly traditional buttons and control dials have also been dropped in favor of more tried and true ergonomics. The overall fit and finish, while just fine overall, feels inferior to the original EOS R. This is a bit of a contrarian stance, but no matter your personal opinion, the EOS R6 is by no means a downgrade. This camera now has dual card slot and IBIS, as well as a formidable spec sheet with video and burst capabilities that even Sony will struggle to keep up with at this price point. However, these impressive specs come at a cost, according to a sticker warning of overheating in no less than three languages underneath the LCD screen. The R6 and R5 made for the most controversial camera launch in recent memory, but what can we glean from opening them up and assessing the internals for ourselves? You might have heard the R5 is a little scarce right now, so lets start with the EOS R6 and work our way up! Coincidentally, we happen to be in the market for an EOS R5 here at Kolari Vision, so if you have one to sell please don’t hesitate to reach out to us. We’ll also modify yours for free! (More on that later.)
The port and door weather sealing certainly checks out. We’d rank it on par with other professional level mirrorless cameras. It’s very similar to the sealing found on the original EOS R.
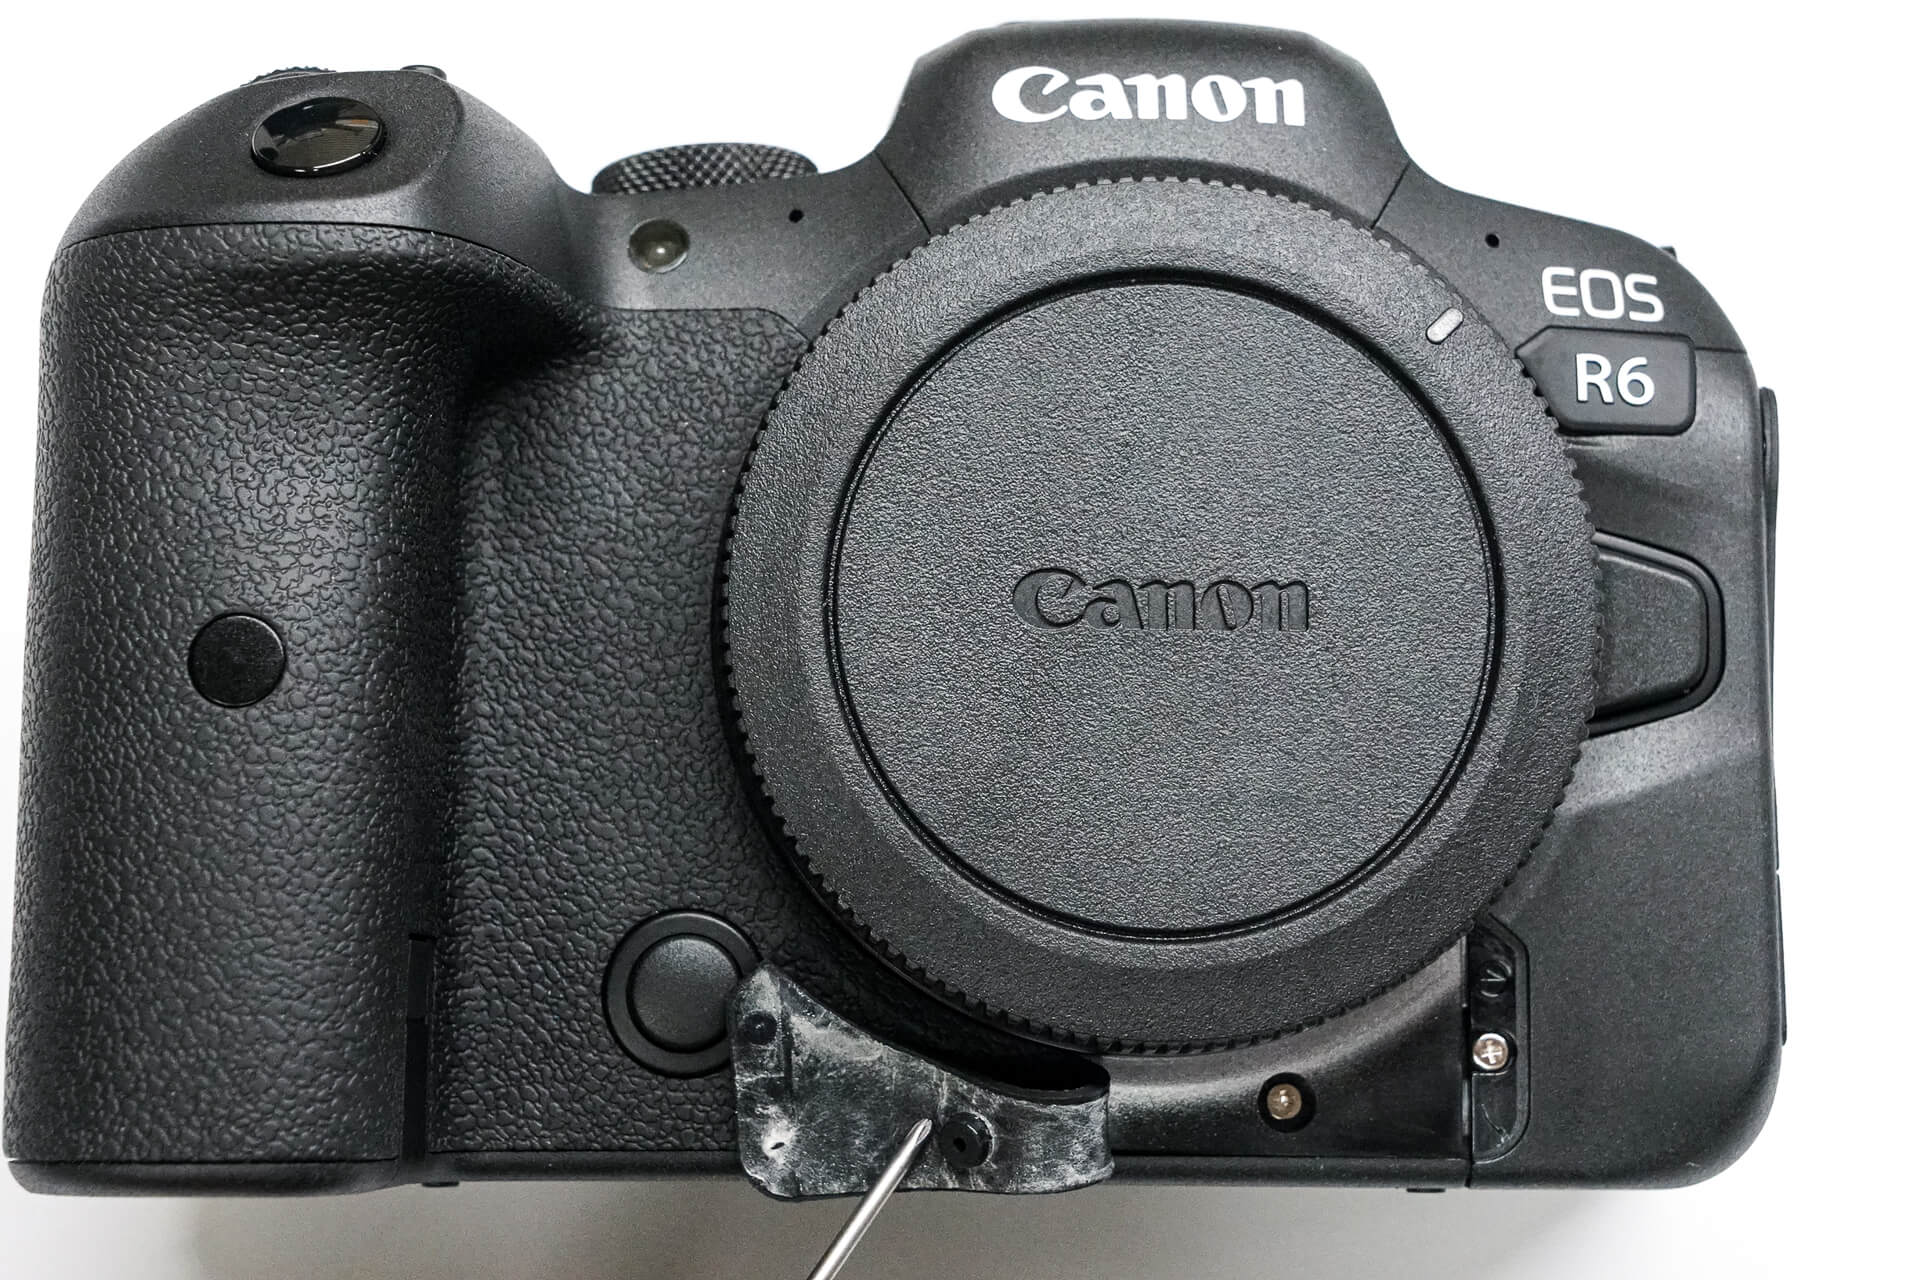
We begin disassembly be extracting all outer screw, many of which are hiding underneath the rubber grips. These pull off without tearing and reapply quite nicely during reassembly. Depending on how smoothly they’re removed, a little extra adhesive might be needed to reapply them. Also, take note of the heat warning sticker underneath the LCD.
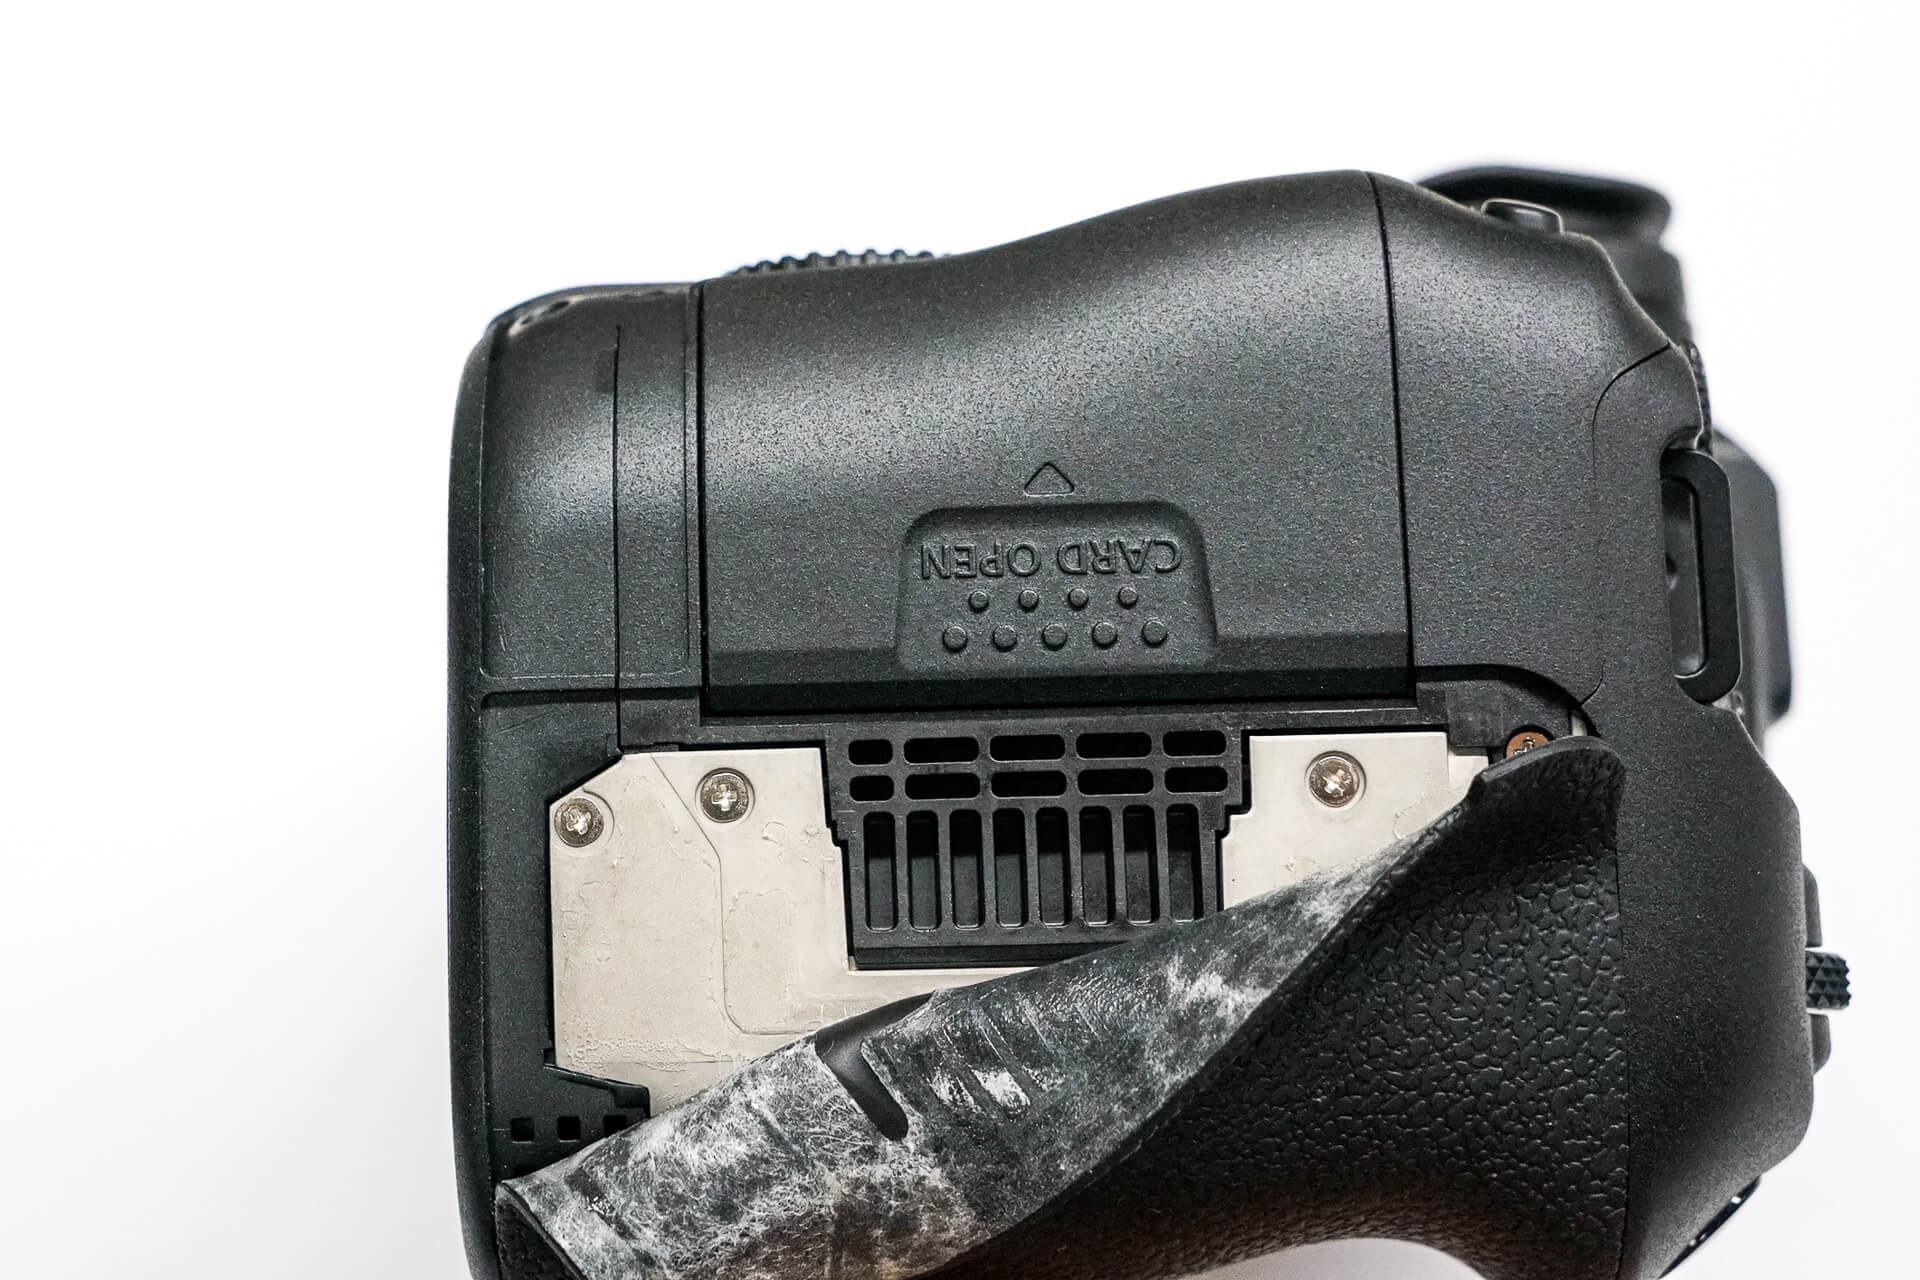
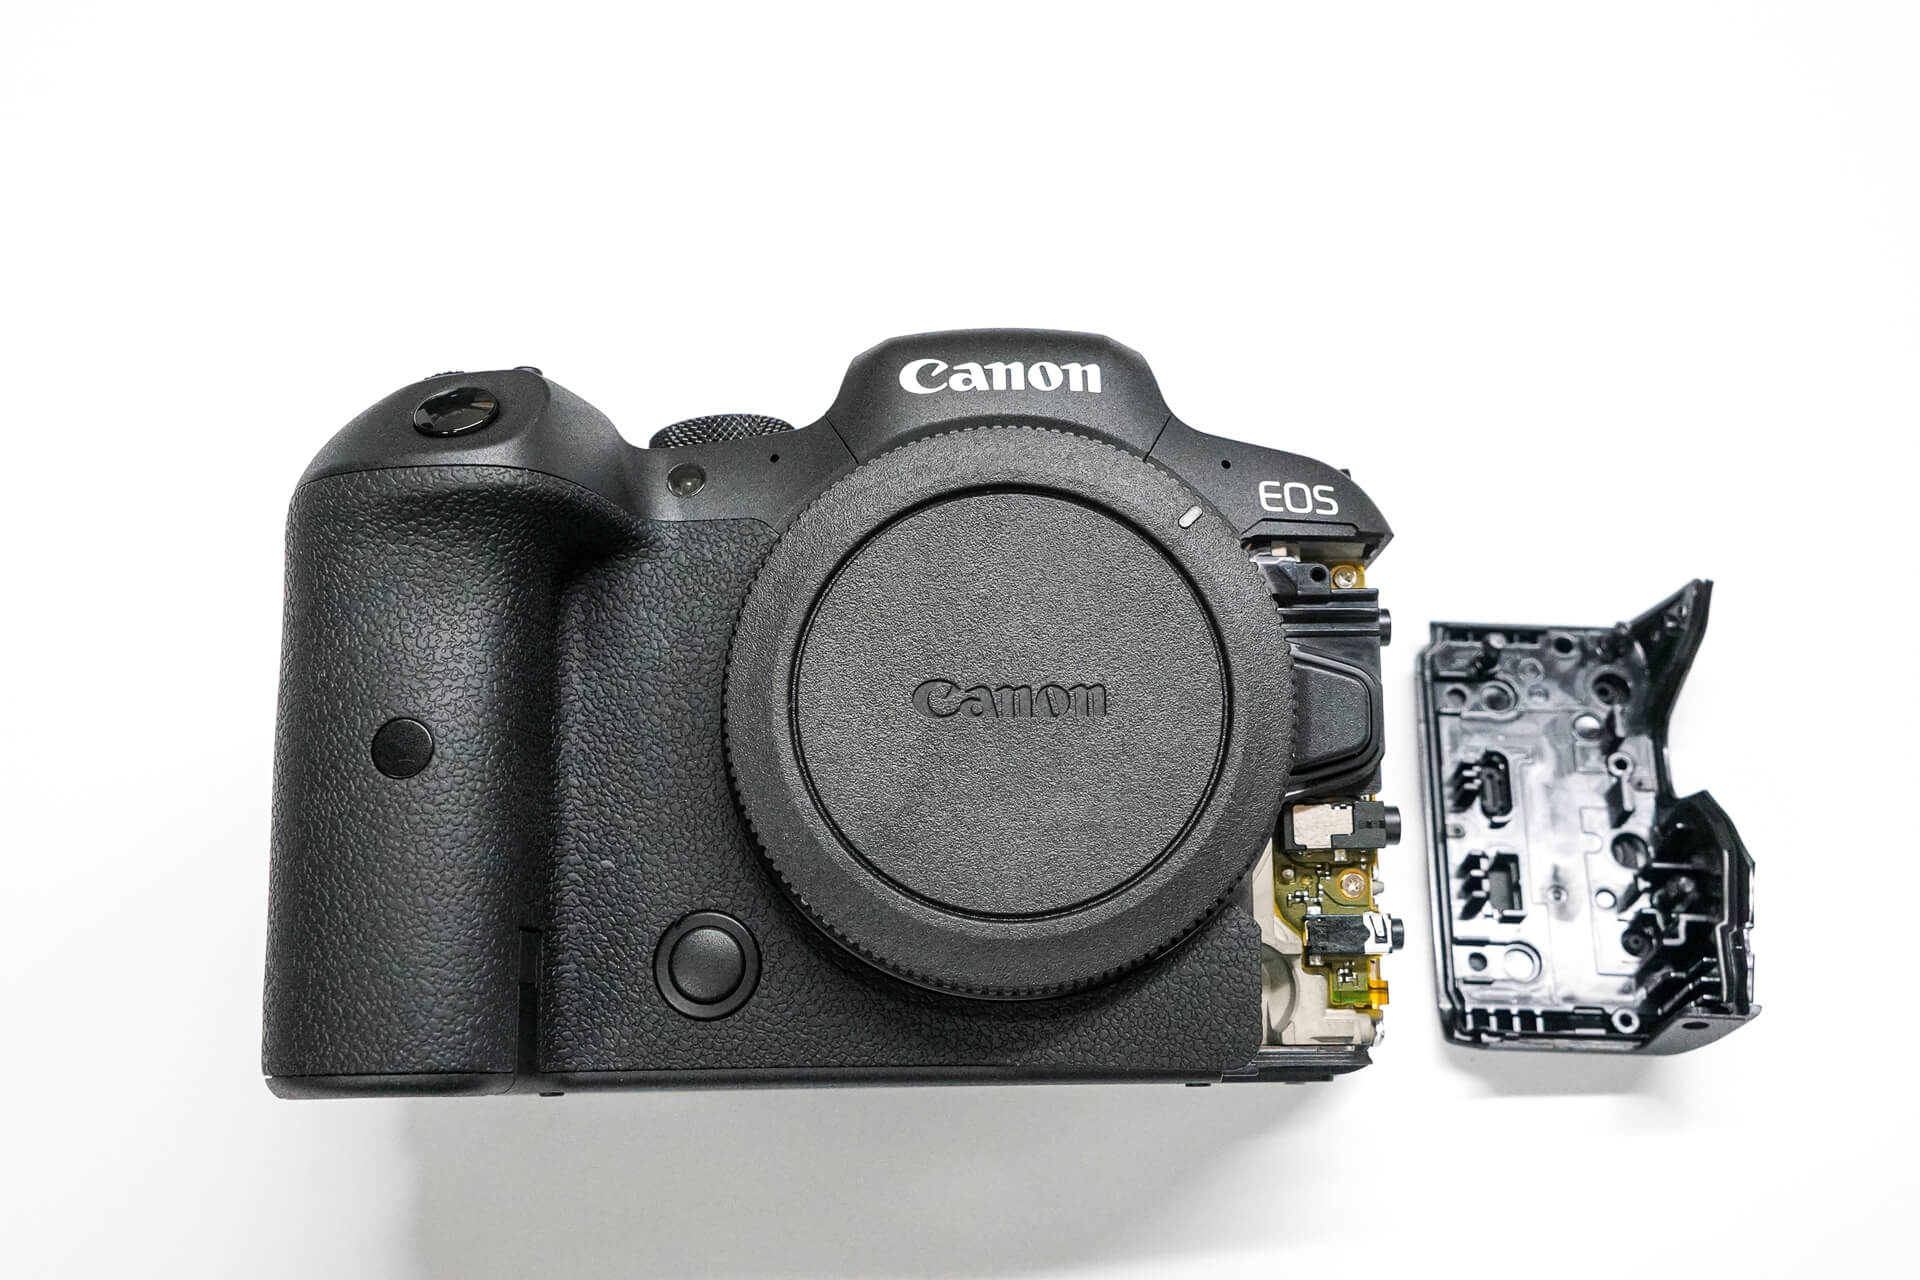
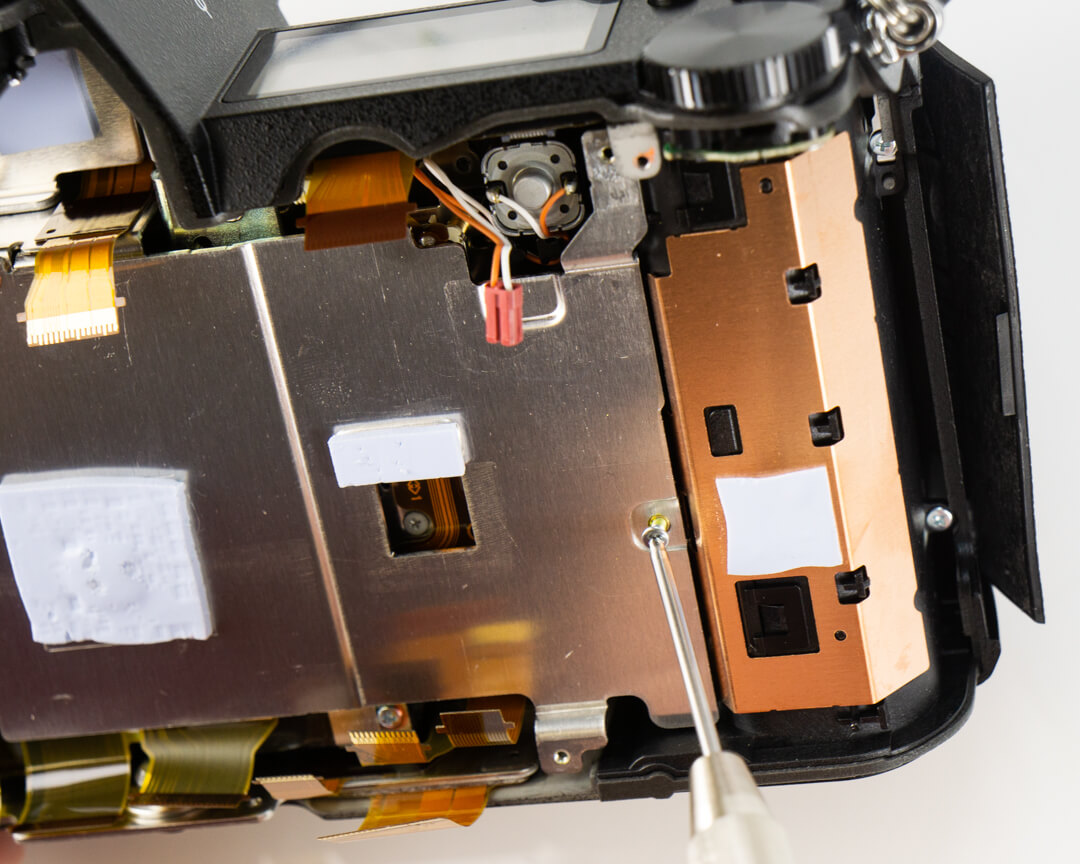
More rubber grip peels back to reveal screws in the location shown, near the lens mount and near the SD card door. You can also find a screw underneath the “R6” trim decal. Once all the outer screws are removed, you can then pull the port-side panel out giving us our first look at the camera’s internals.
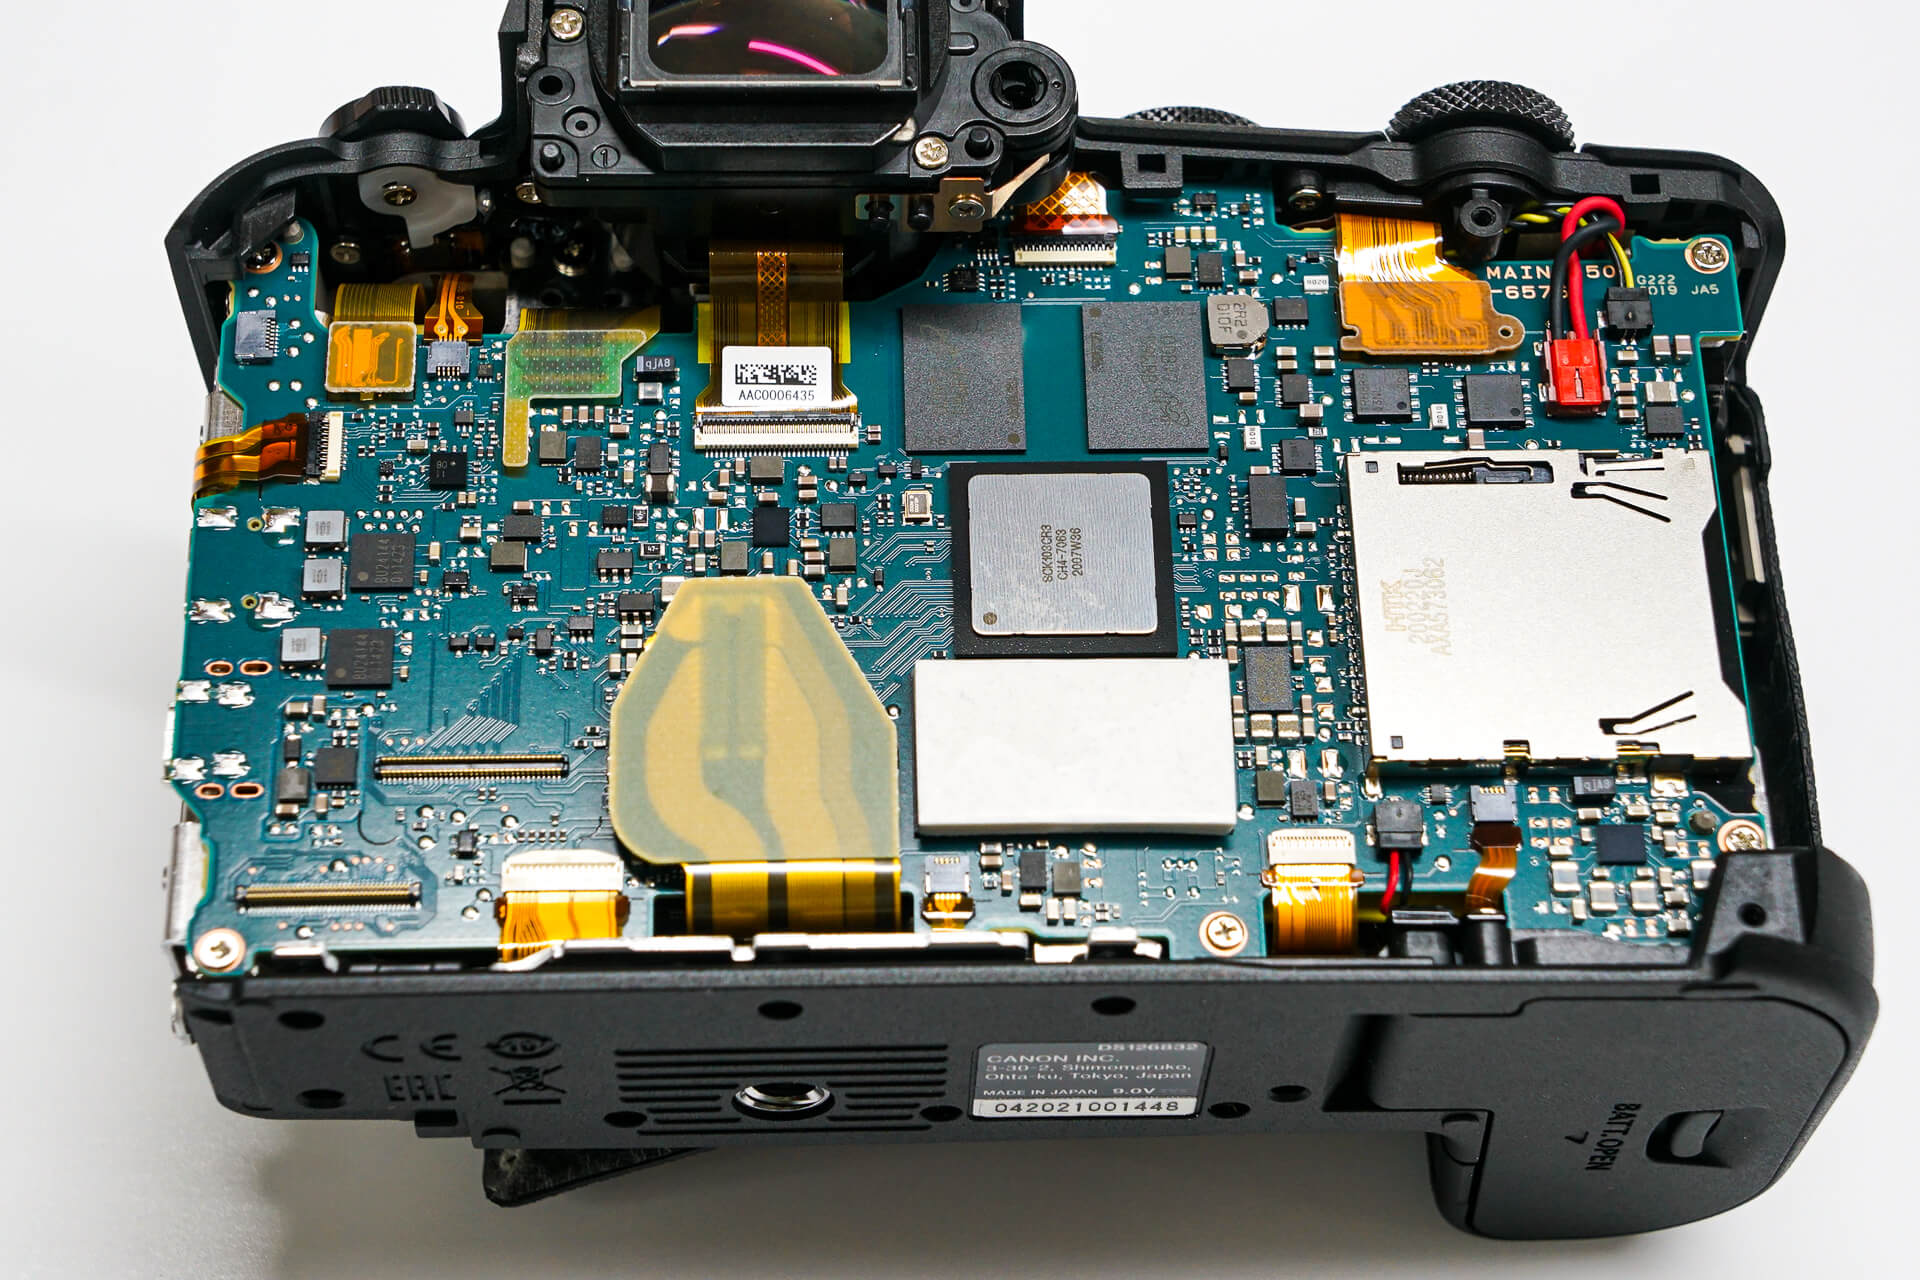
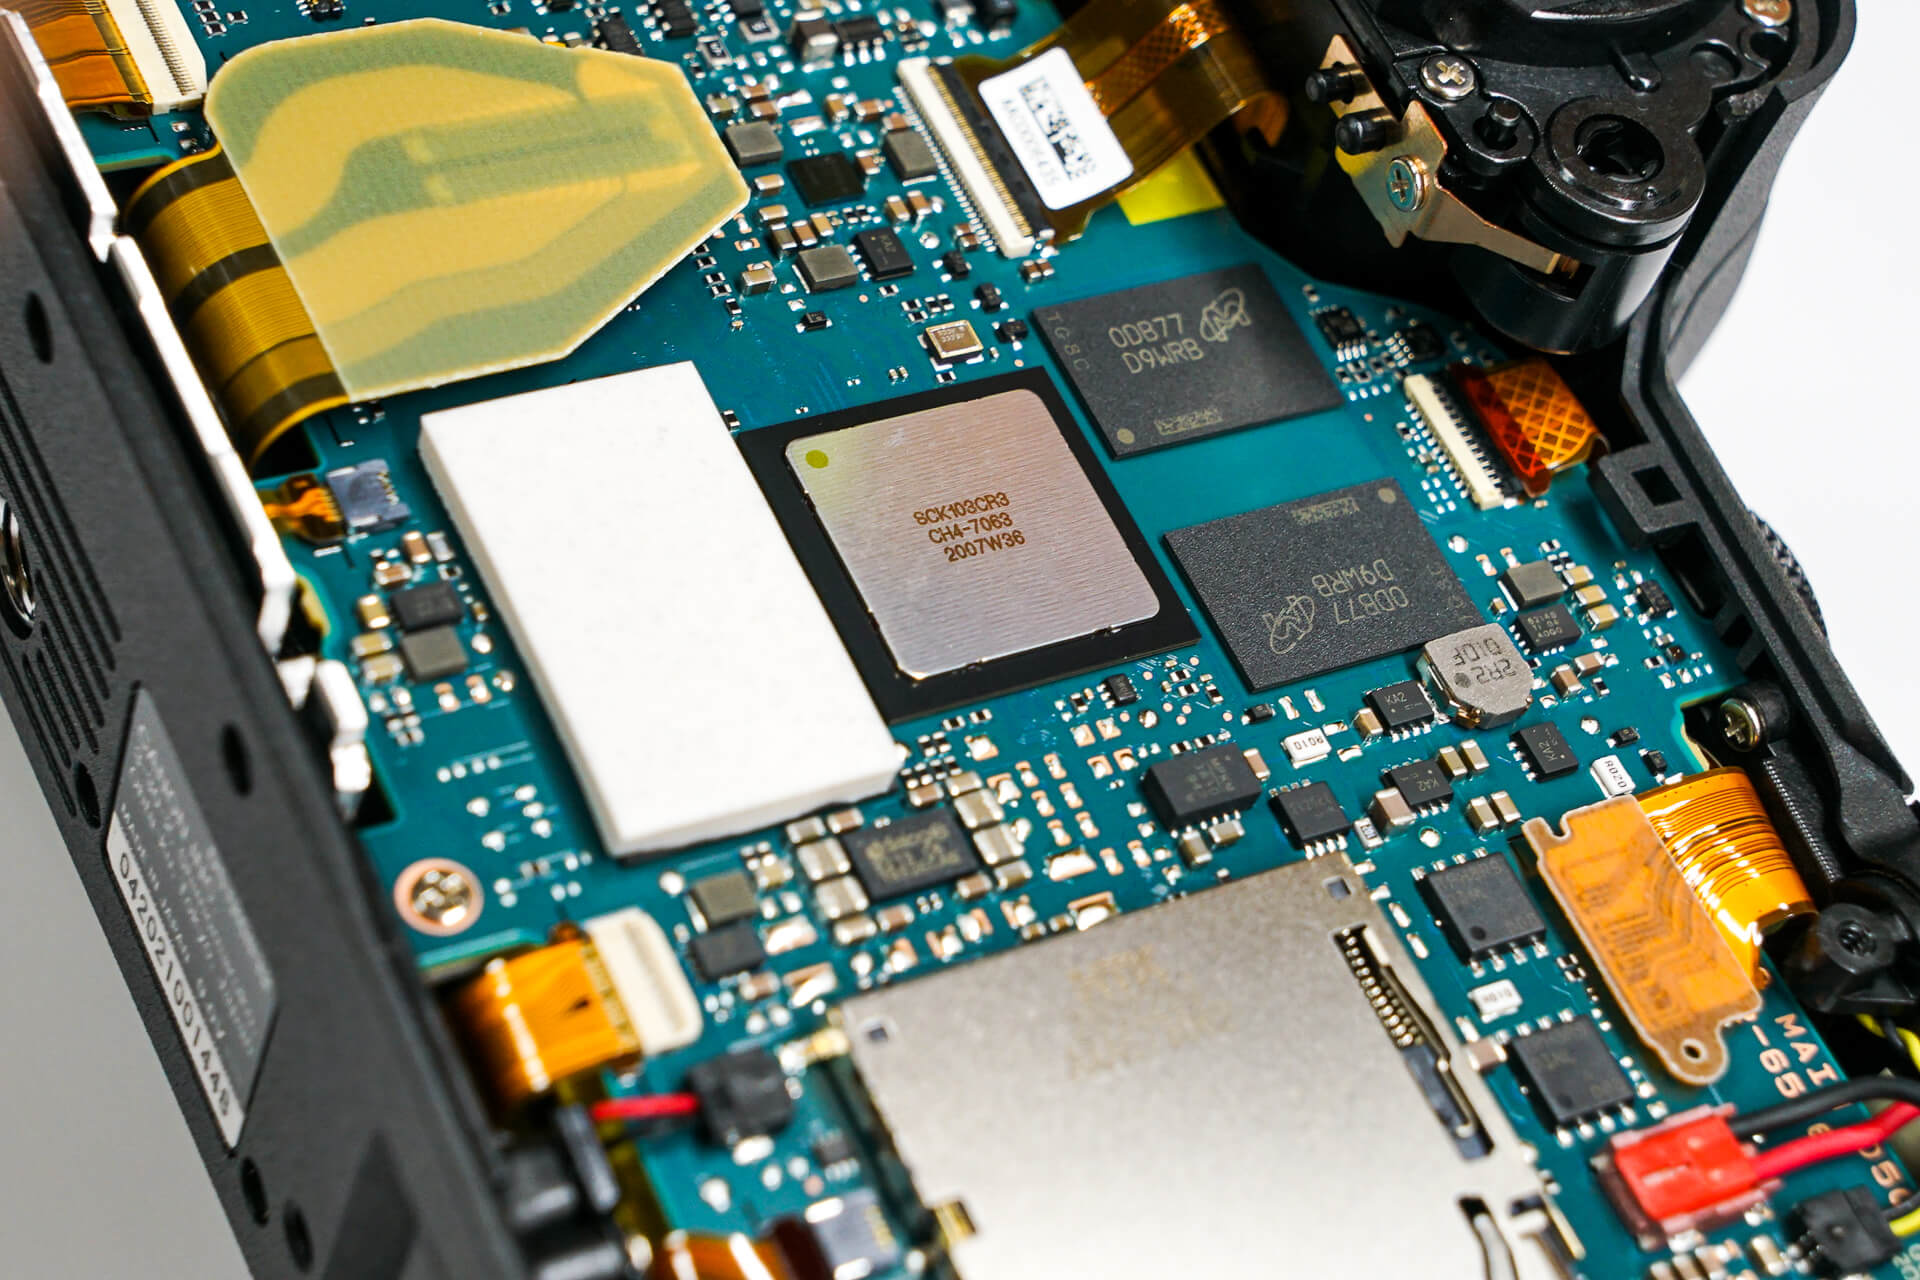
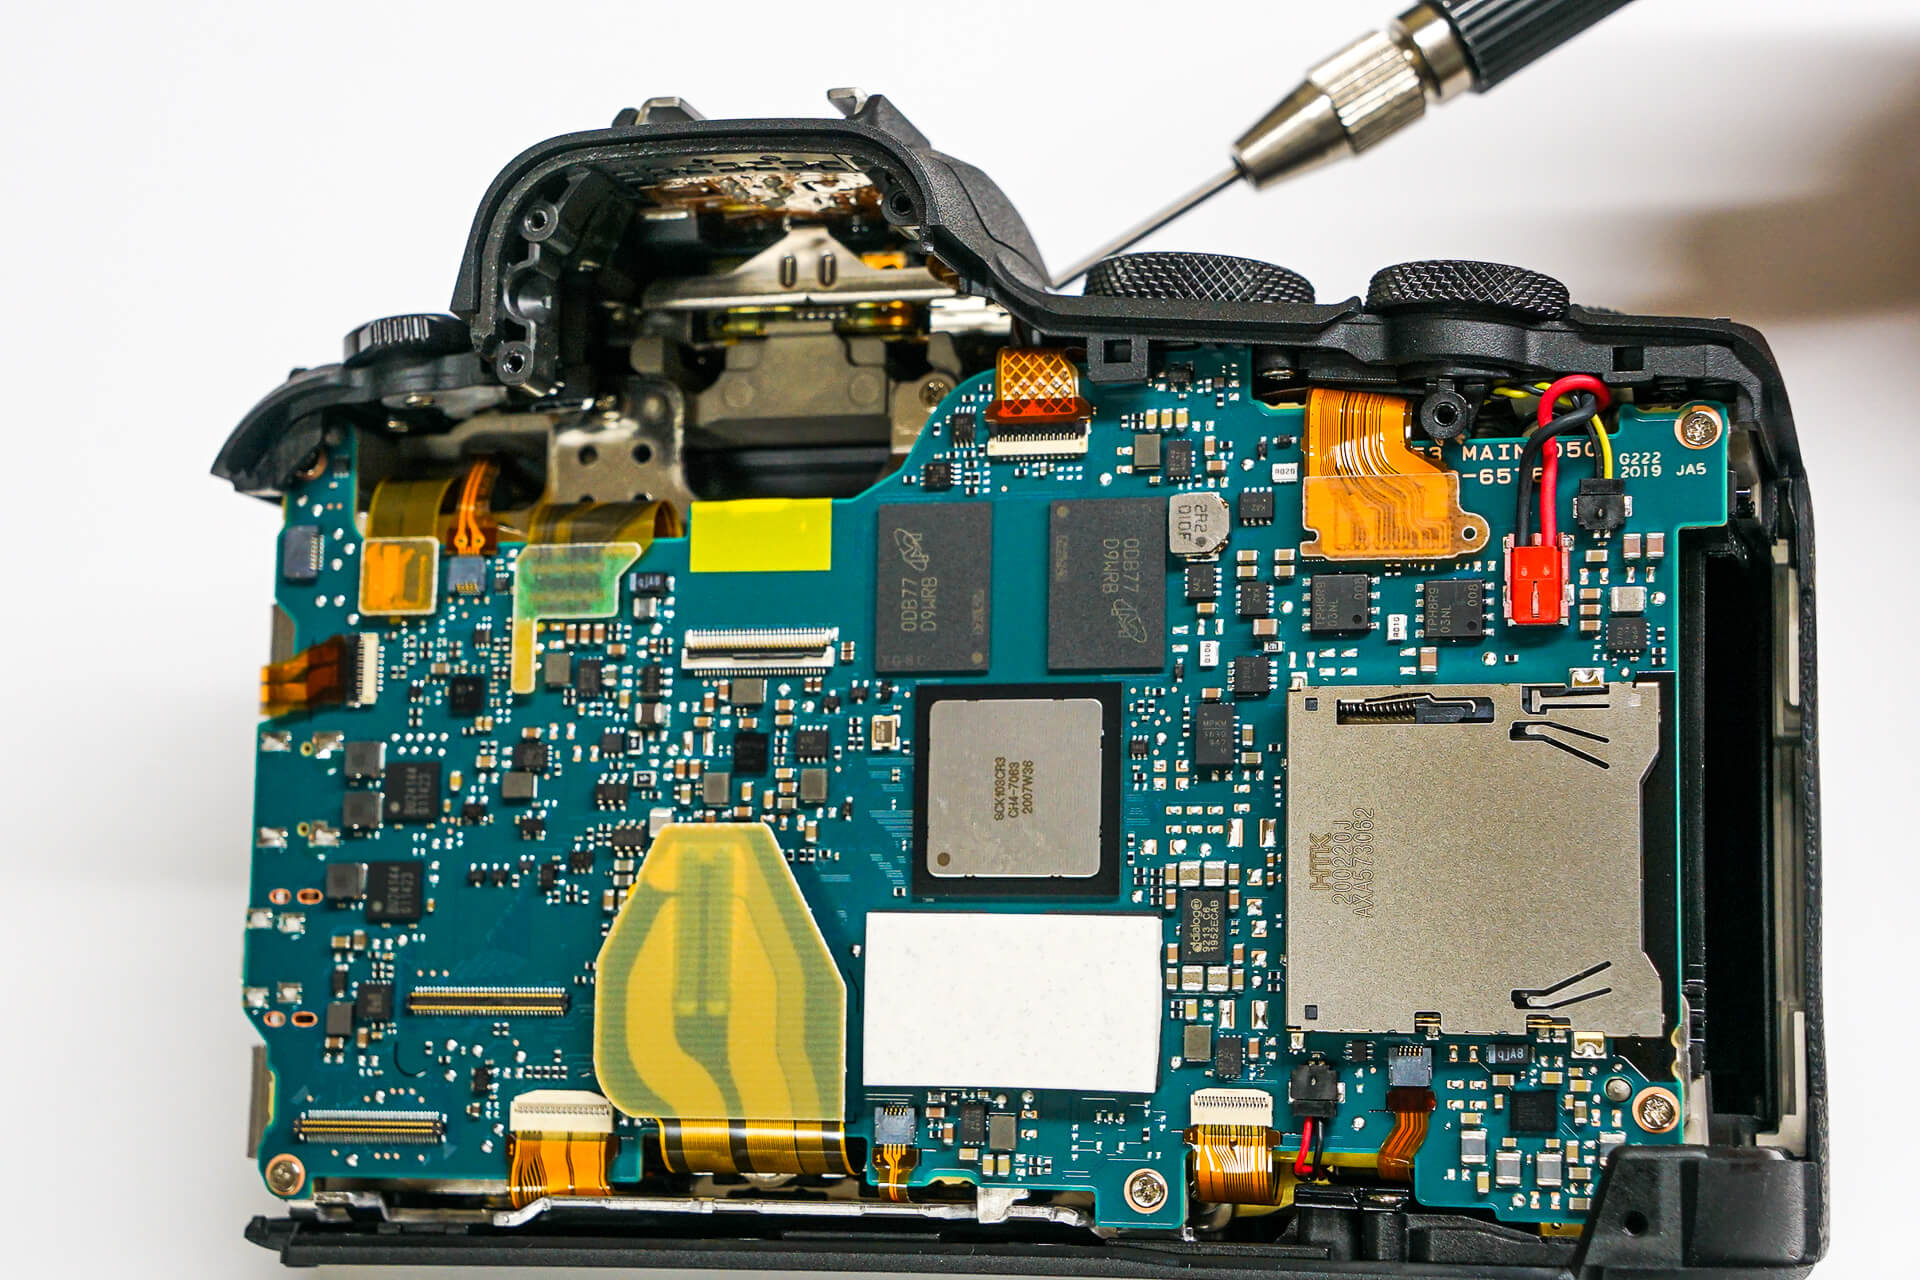
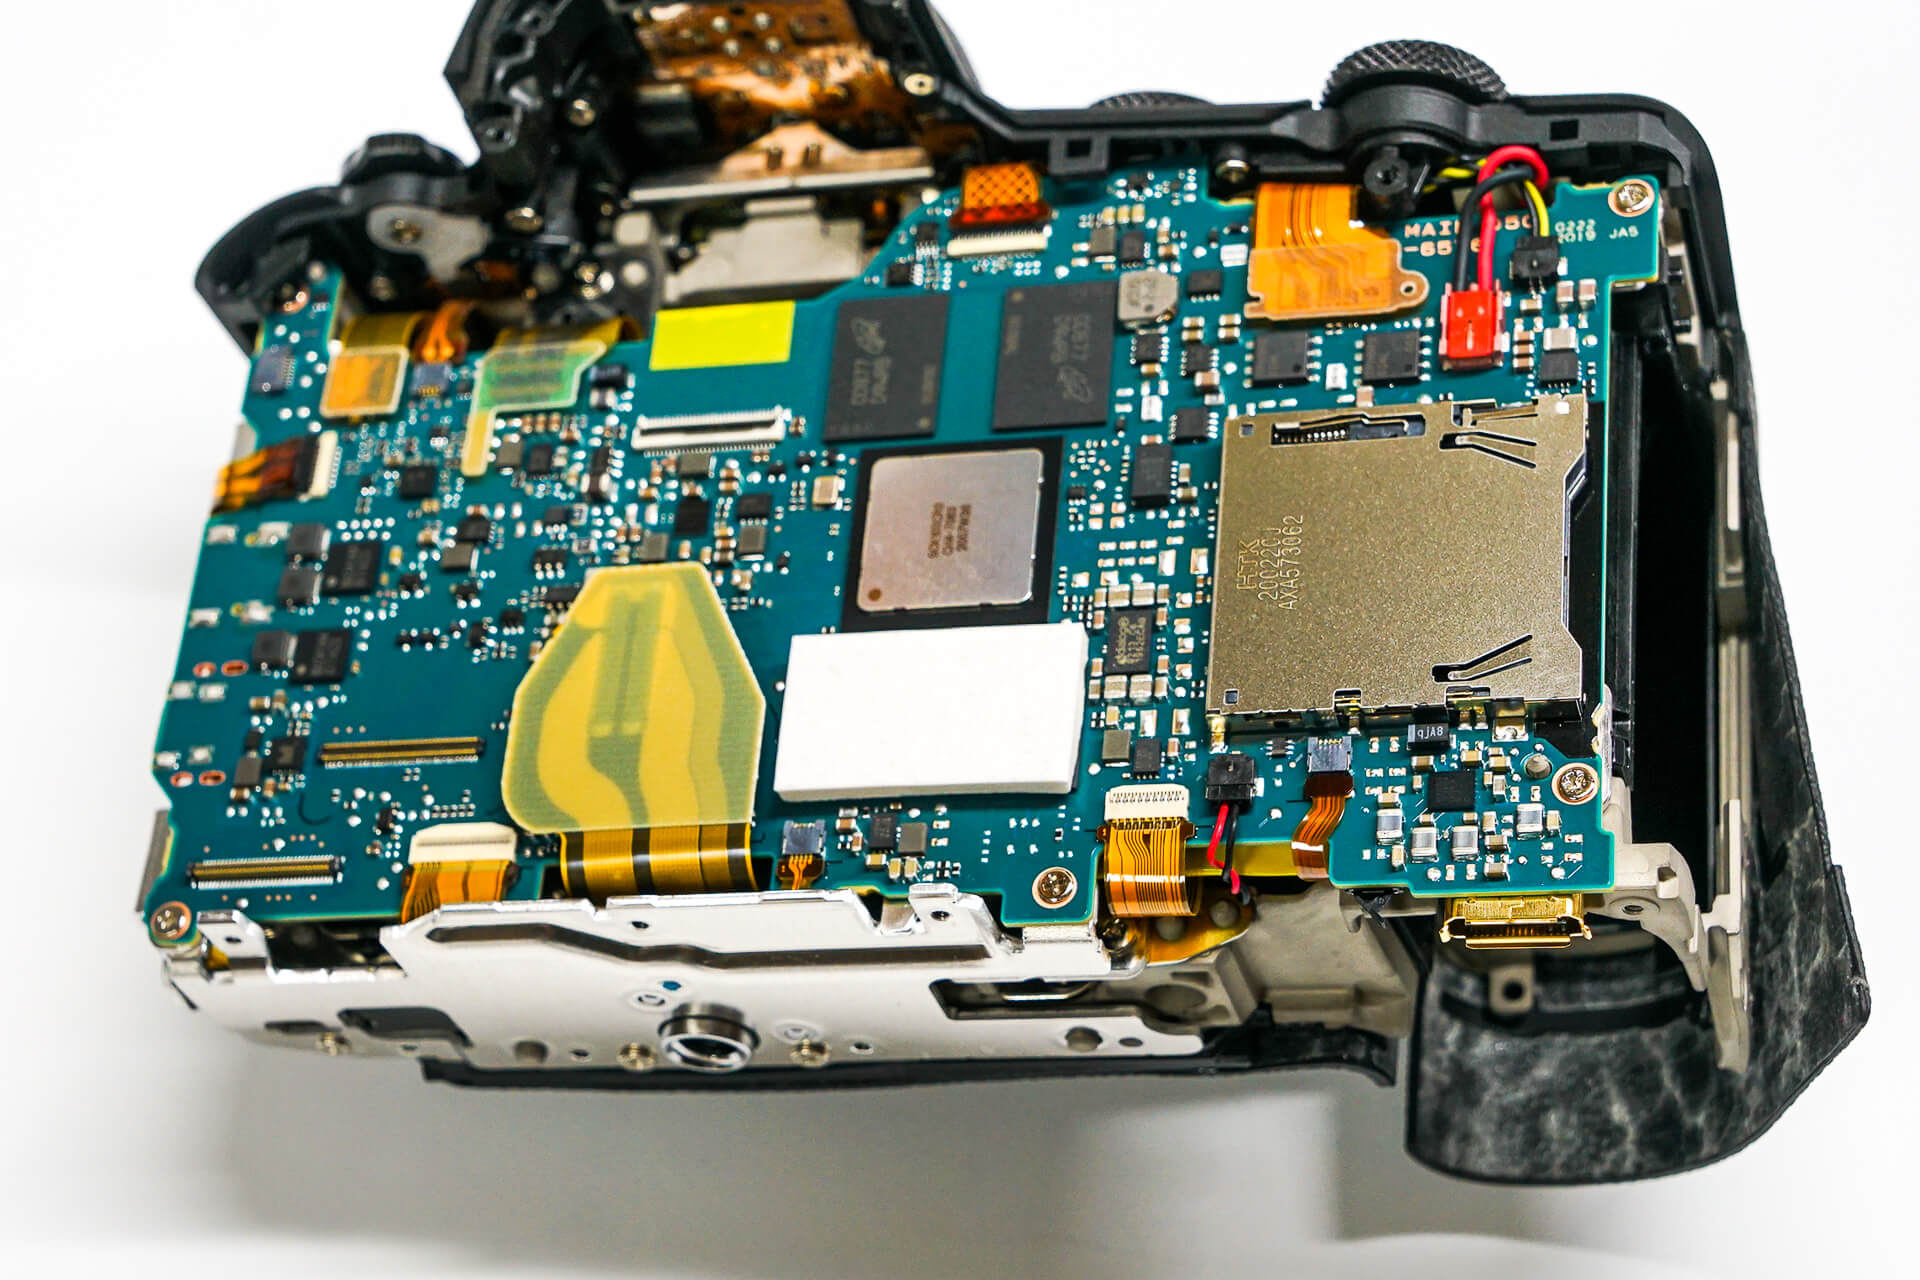
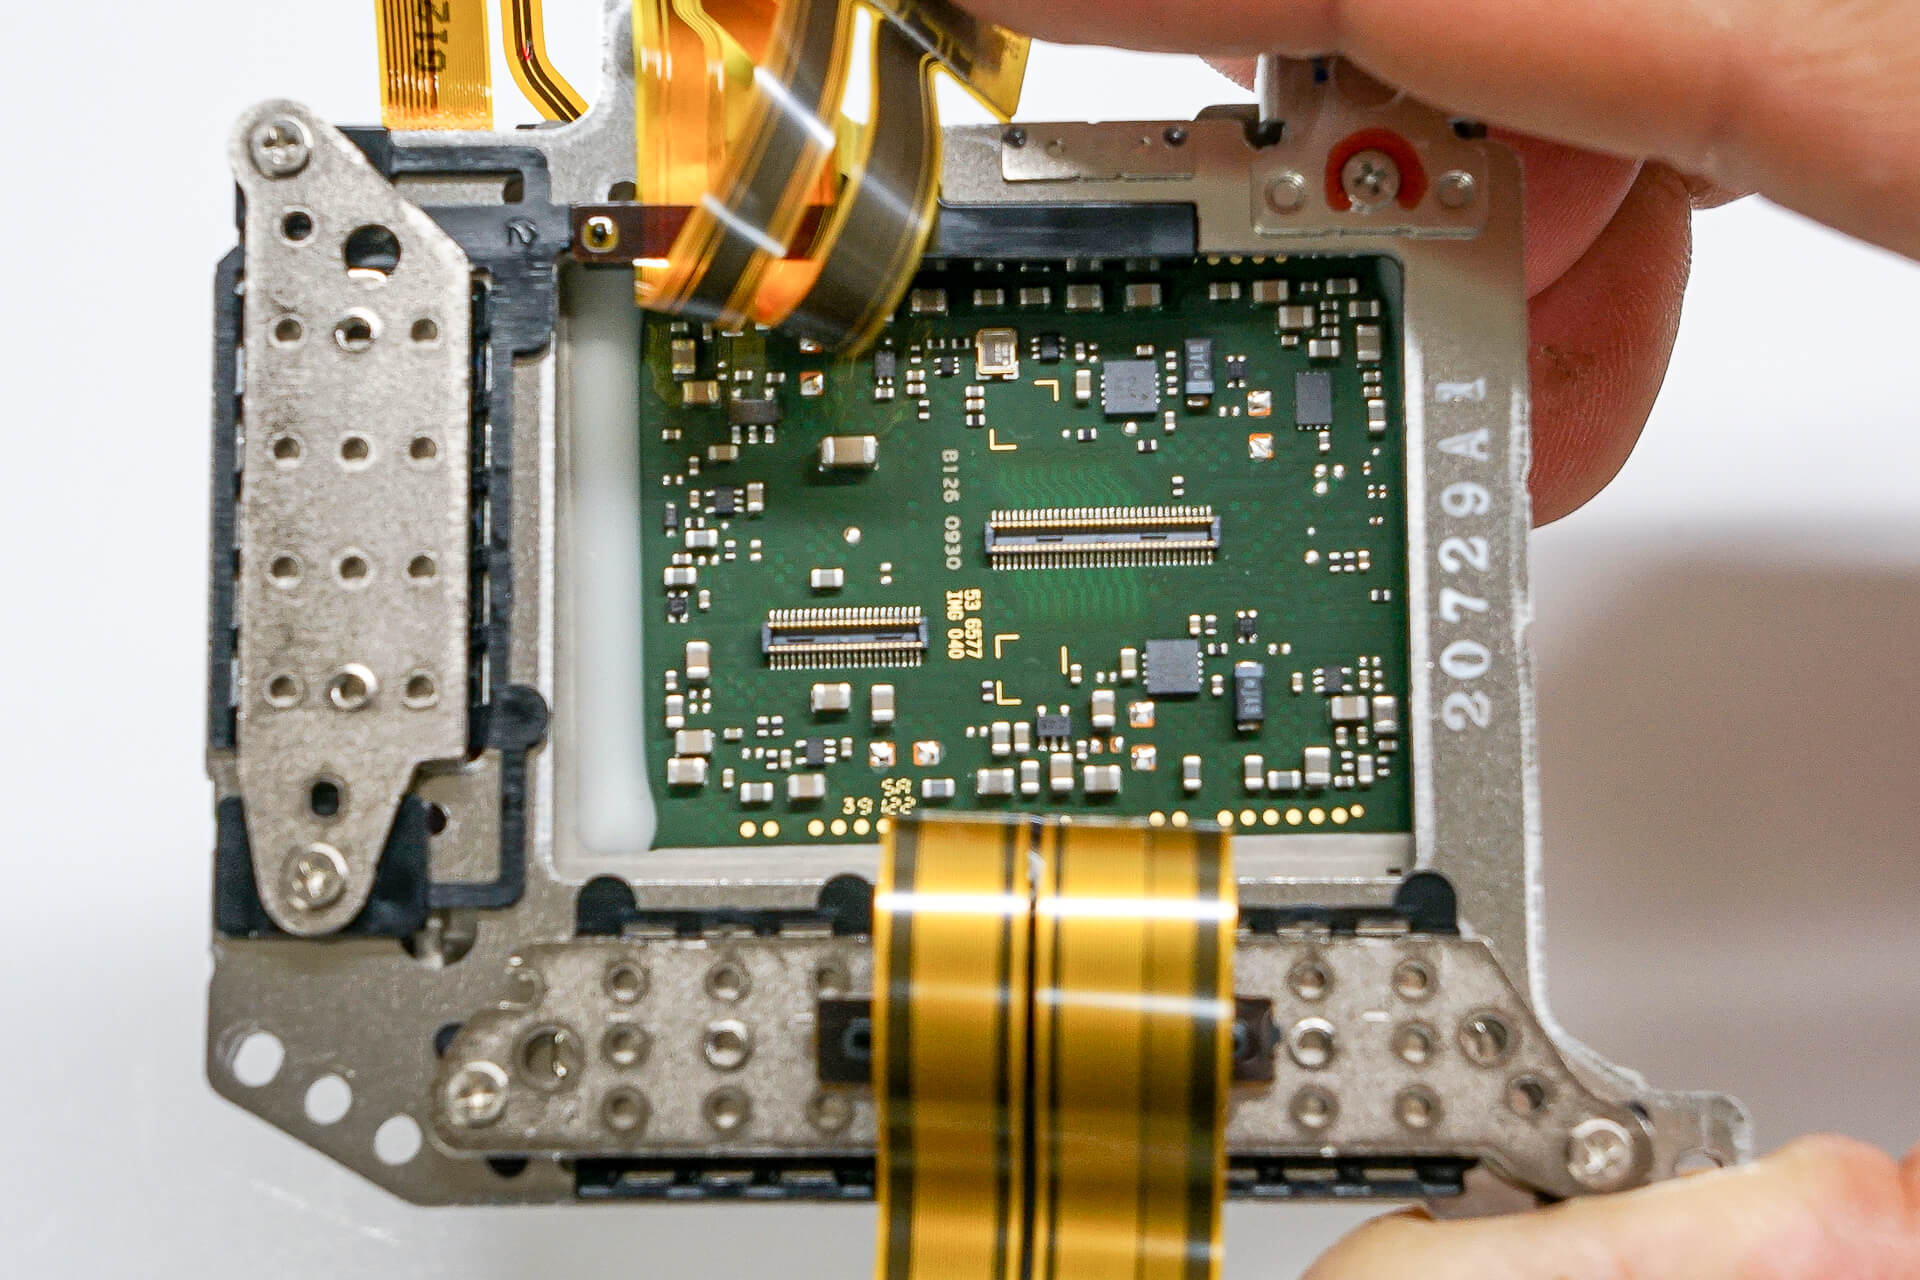
Our first look at the motherboard itself. The R6 is fairly painless and straightforward to take apart. Positioning the dual SD card readers with one slot on either side of the board makes for a very clean layout. But, for a camera with so much controversy around heat dissipation problems, you might expect more heat-sinking material or parts inside the camera. All we’re seeing here is a single thermal pad (the white rectangle) laid on a small section of board. We’ve seen other cameras in this class use a lot more in the past. Let us show you what we’re talking about.
In the now ancient A7R III (Left), a thick stretch of black thermal tape sprawls across the motherboard and completely covers the 90-dgree tilted main processor. The S1R (Center) has many different shaped thermal pads dotting the interior and contacting the main board in several areas. The Nikon Z7 motherboard (Right) has tape laying over the XQD card slot contacts and little bits of spongy black thermal pad throughout the body. With all the heat-hype around these new EOS R models, we expected to see solutions like this covering the internals, but there was very little of it to be found.

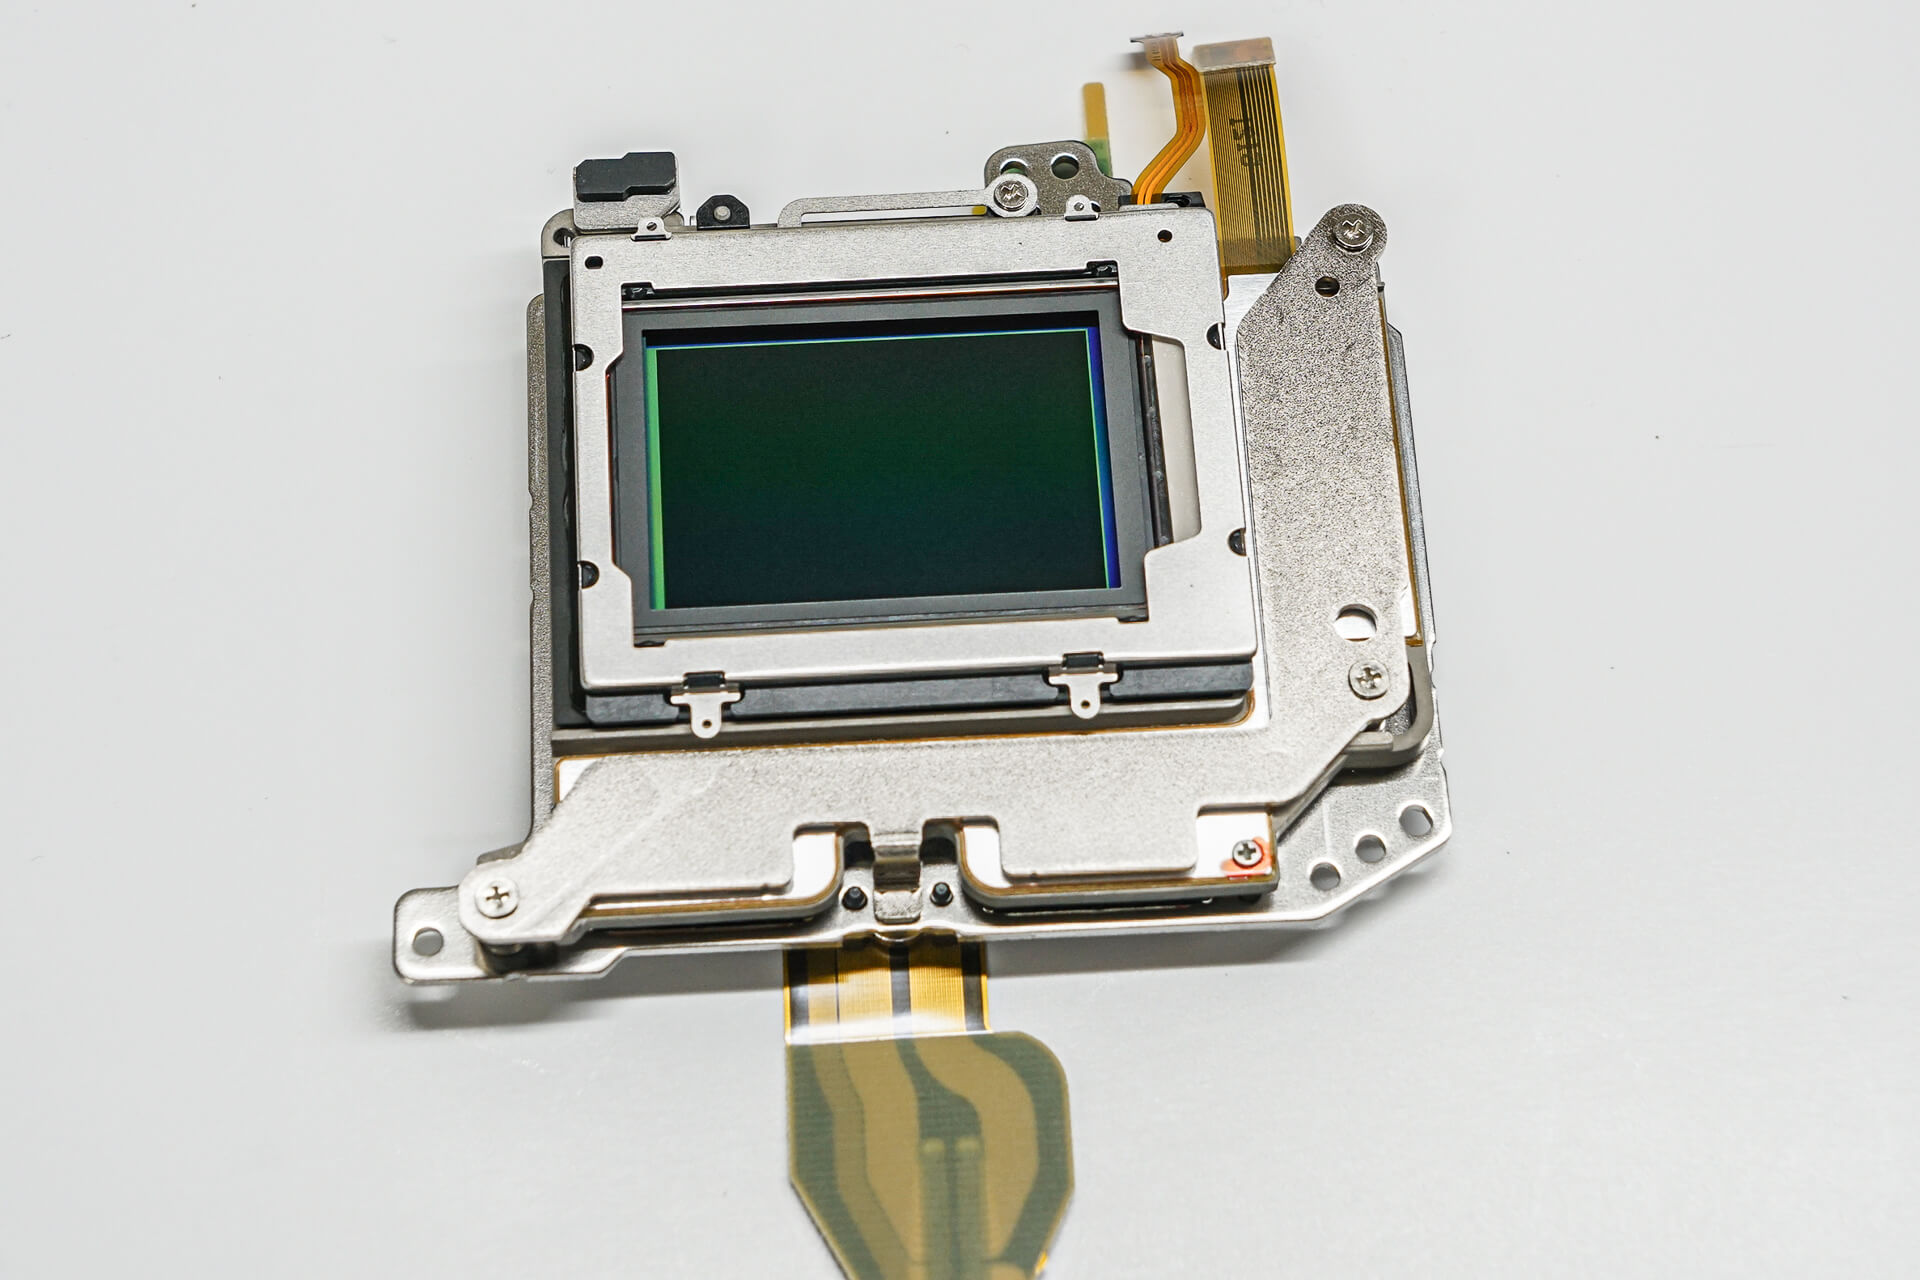
The reverse side of the sensor/IBIS assembly (Left), and the bare sensor with IR/UV cut filter removed (Right). This filter measures in at 1.25mm thick, significantly thinner than the one in original EOS R which measured 1.6mm. The trend is definitely still towards thinner sensor glass, where the Nikon Z series is still king at 1.1mm thin. This is where the journey ends for a typical sensor modification service. Our primary services here at Kolari Vision are Infrared and Full-Spectrum conversions, and we’re thrilled to extend our support for the R series through the new R6 and R5.
If you’ve read this far, you might be excited to find out that we’re offering a free modification service for an R5 owner wiling to contribute their R5 to our research and development for this model. We have some big things planned for the EOS R5 aside from our normal infrared and full-spectrum conversion services, including enhanced heat dissipation and other serious enhancements for video/cinema use! If you have an R5 you’re interested in having modified, we’ll do yours for free in exchange for the early access to our R&D team. If this interests you, drop us a line at contact@kolarivision.com!
Bonus transmission data
For anyone interested, we also measured the IR cut filter transmission profile, which you can see below.


One Response
Can the low pass filter be removed on the r6? I read that the new low pass filter for the R5 is attached.