Welcome to the world of infrared photography! Getting started can be daunting, but we’re here to simplify the process and walk you through step by step.
Step One – Choosing a Camera
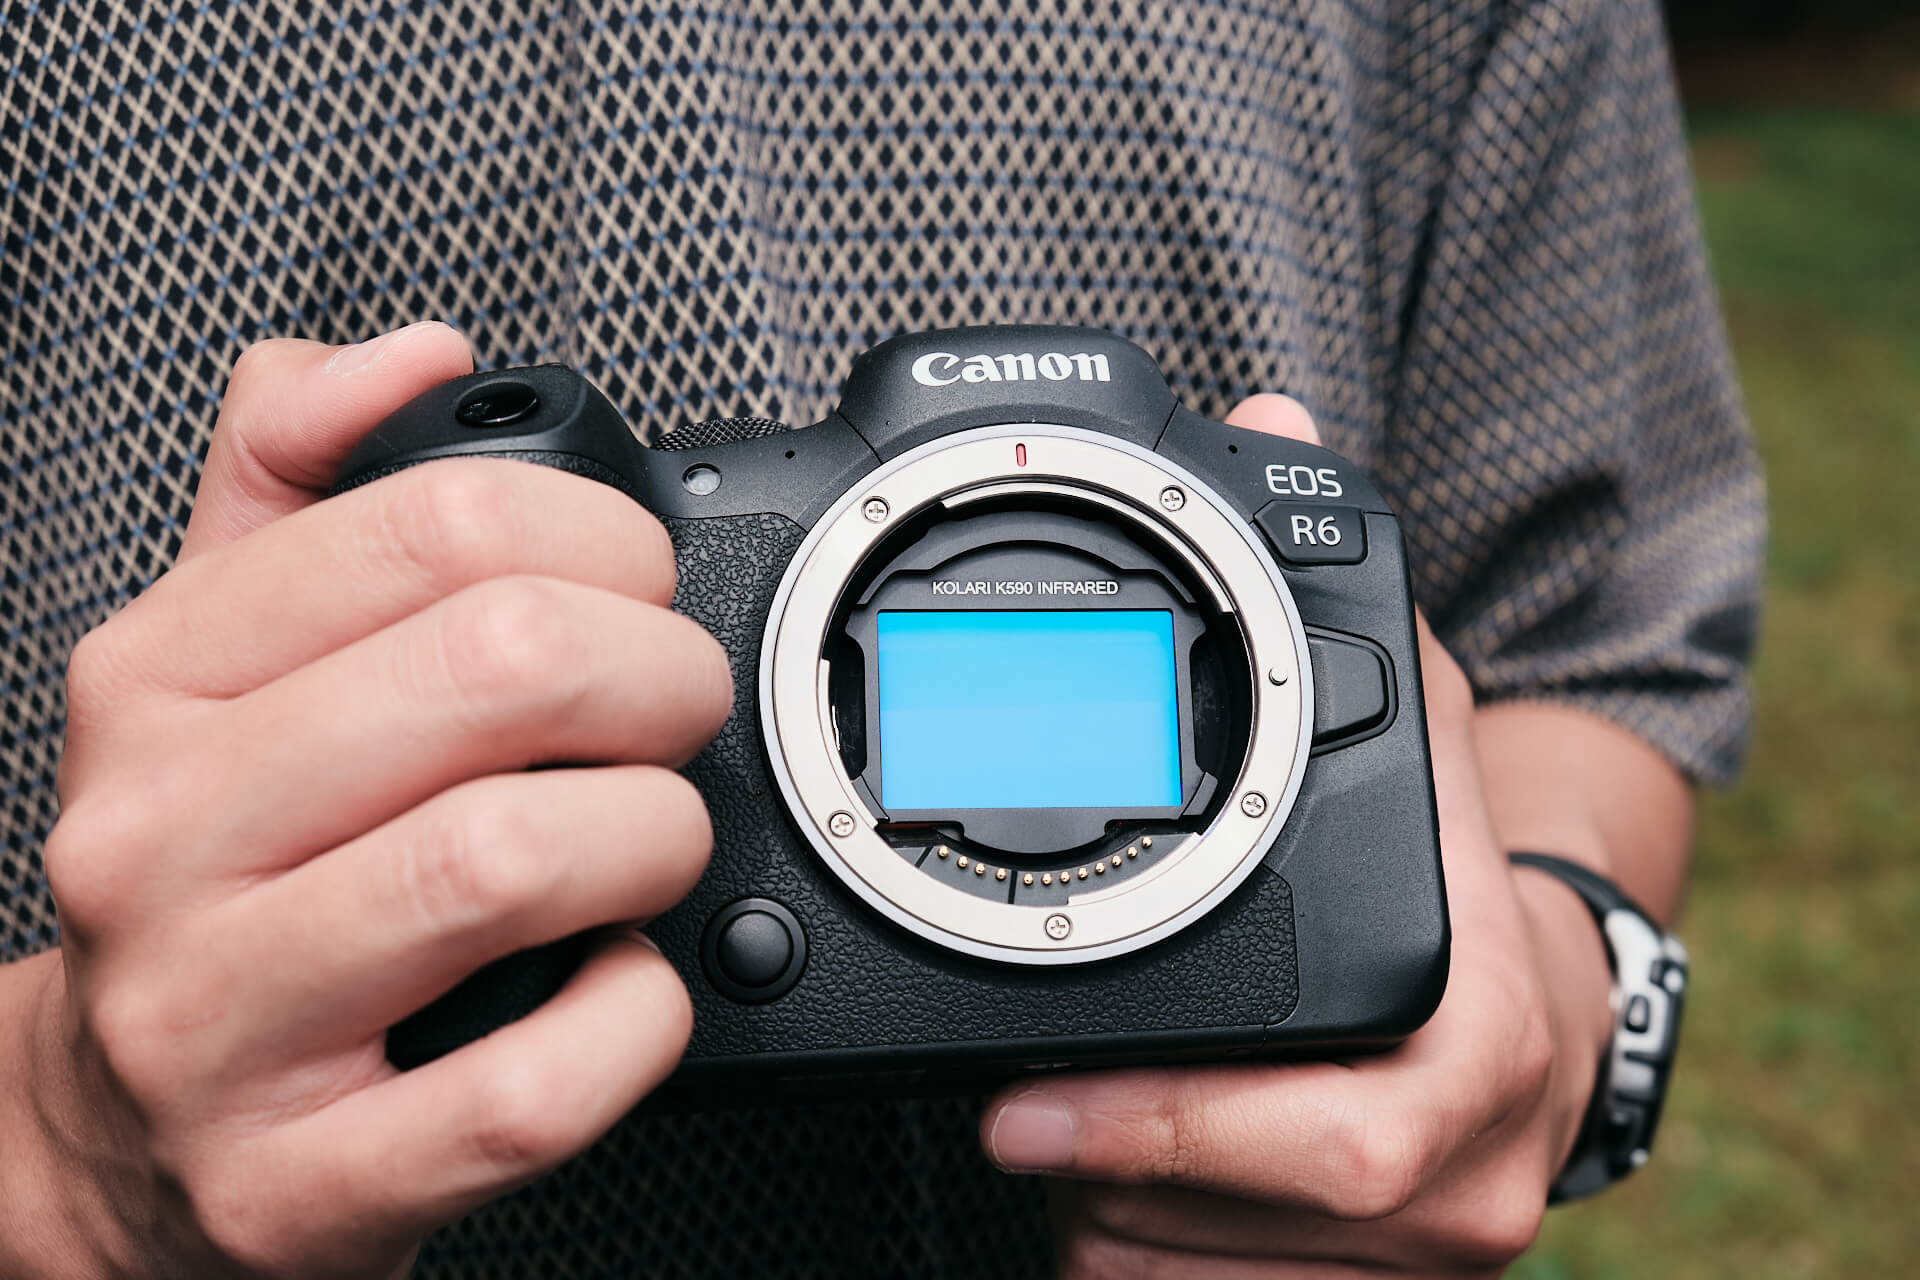
The first step is deciding which camera to convert. Often, choosing an old camera you don’t use anymore can be a great way to go and bring new life to old equipment. If we don’t support your camera, or if it’s not the best for IR, it is worth converting a new one or ordering a custom order camera from us here. You can read more about Choosing a Camera for the pros and cons of various camera systems.
Step Two- Choosing a Filter
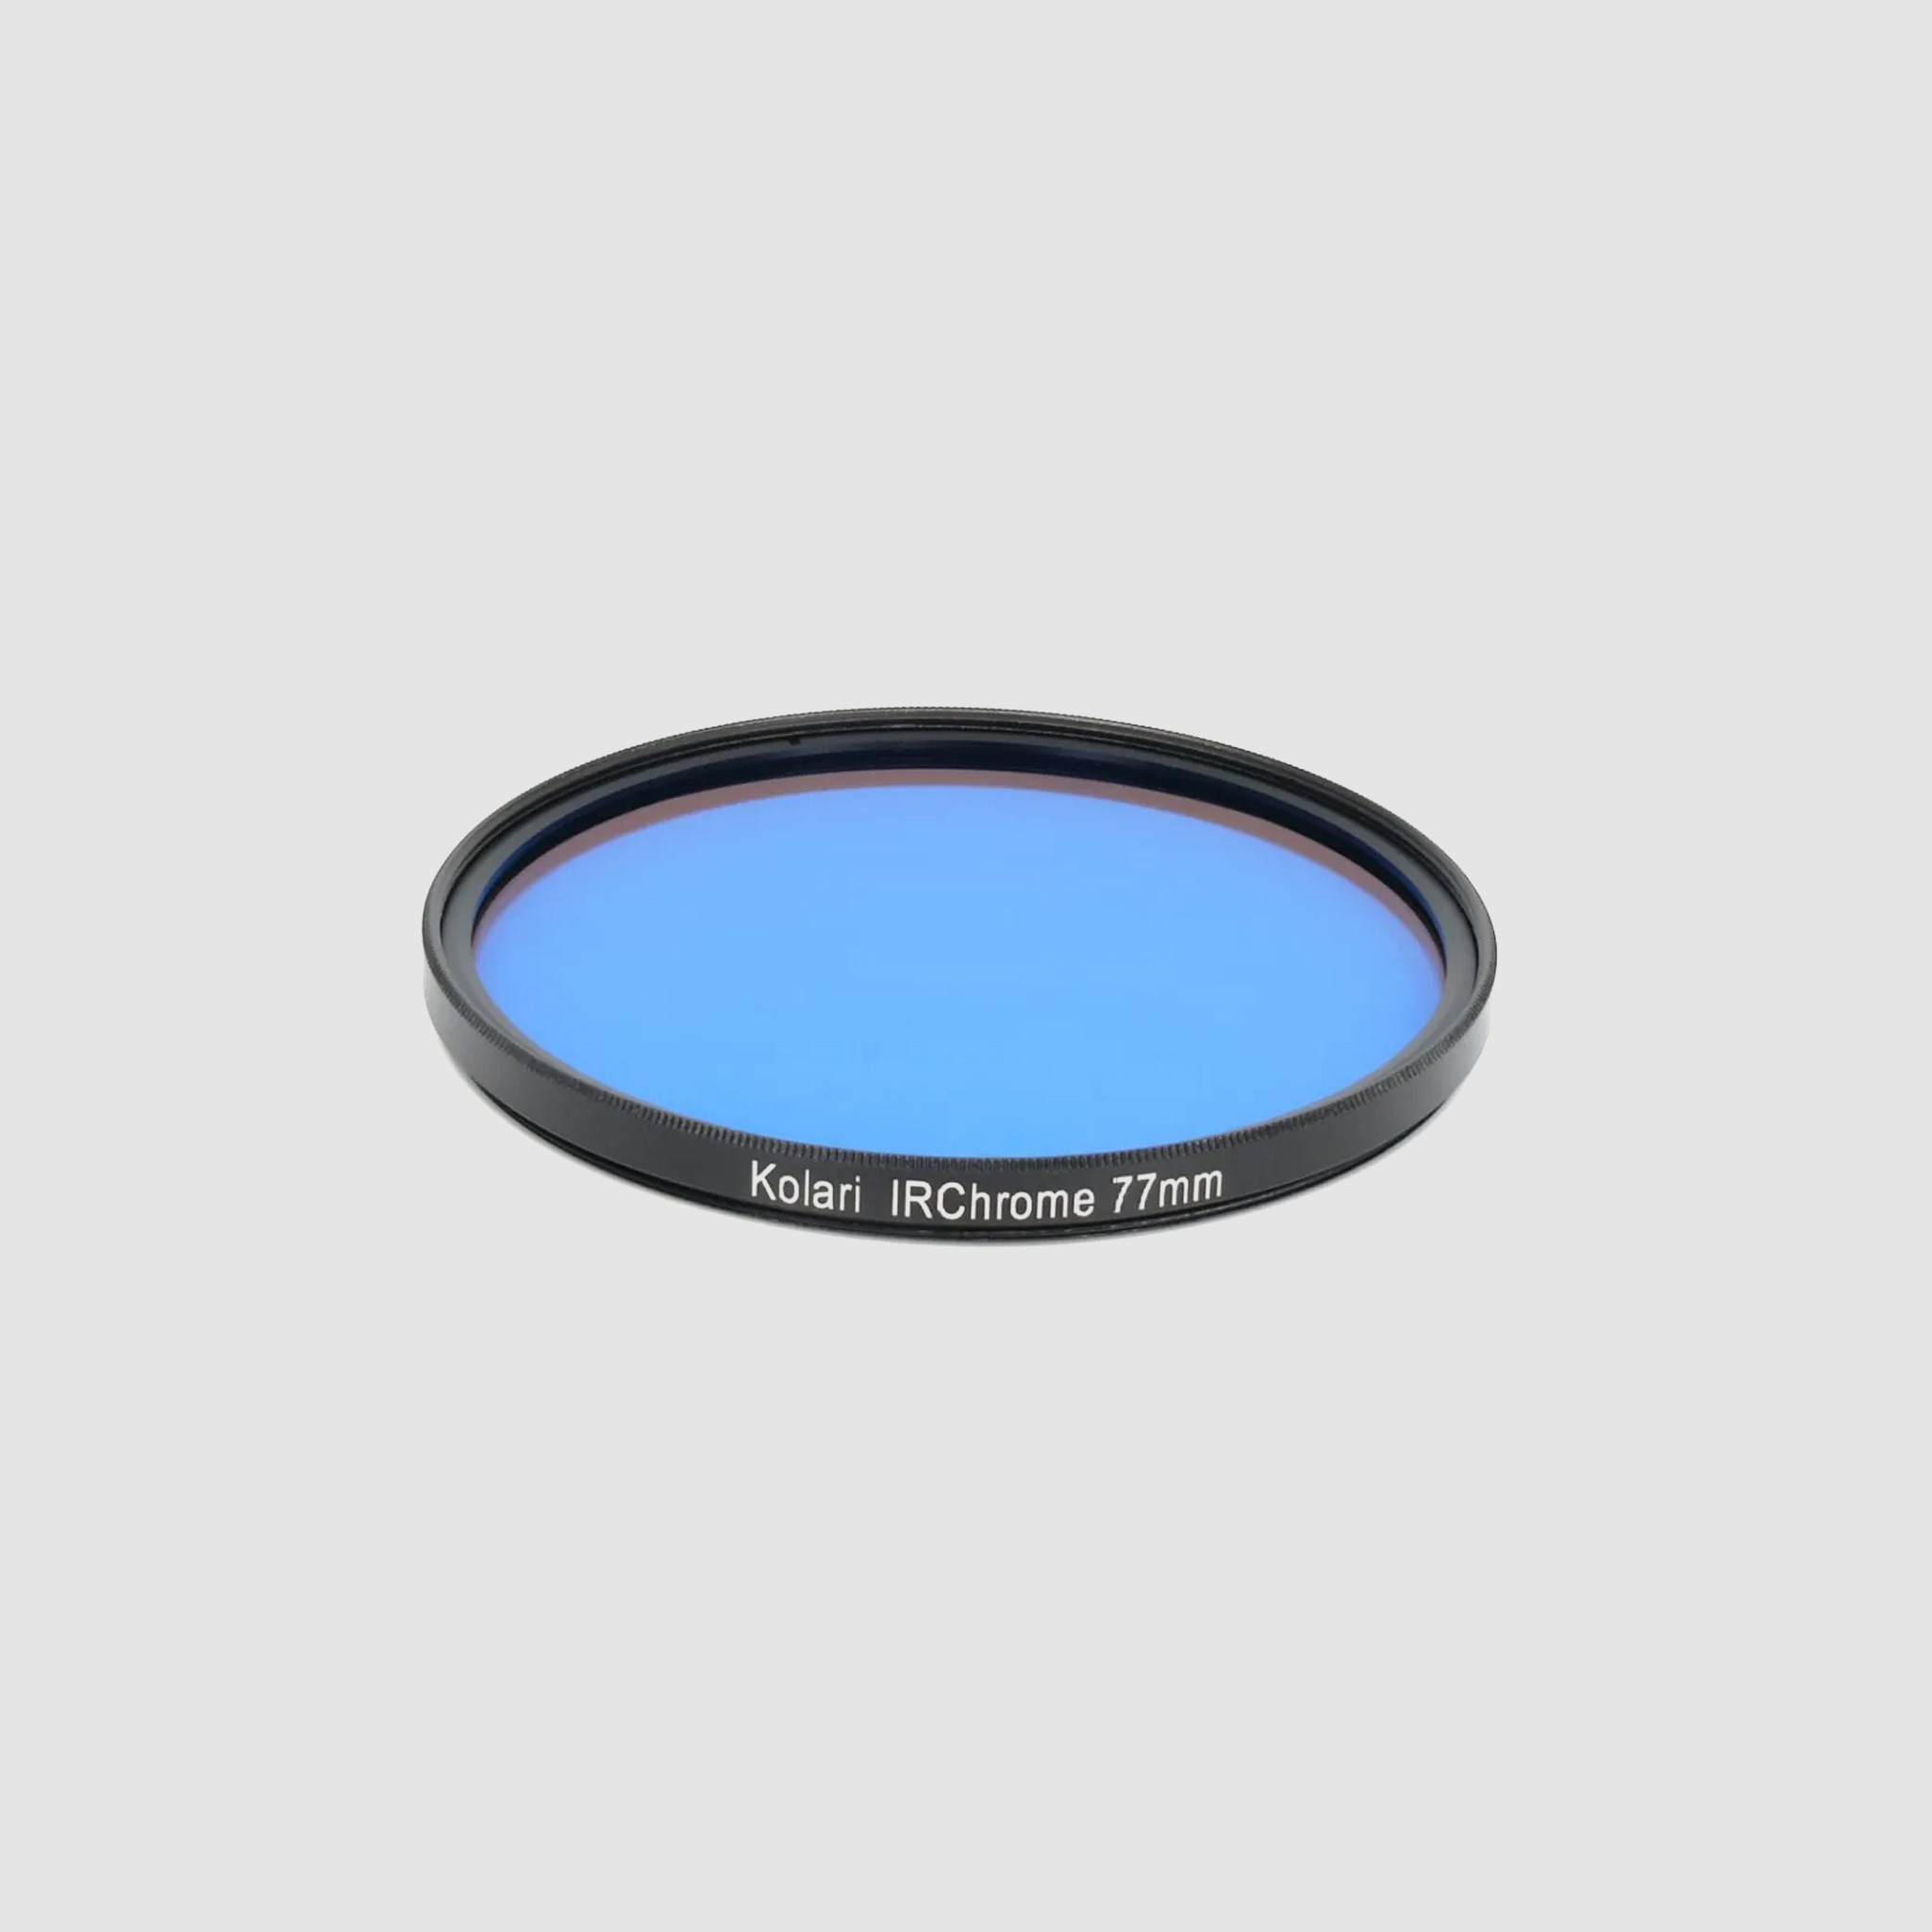
Next, it’s time to choose which filter is right for you. Check out our Choosing an IR Filter page for samples of the different filter choices and tips and considerations for using and shooting with the various filter options. If you want the ability to use multiple filters, you can read our article on the Full Spectrum conversion to see if that is a good choice for you.
Step Three – Ordering a Conversion
You can order an infrared conversion here.
Step Four – Mailing the Camera
After ordering a conversion, you will receive an email with our shipping address and instructions. If you’re based in the US, consider our custom, prepaid USPS mail-in box.
Step Five – Setting up your Camera
Once you receive your camera, there are a few things to set up to take the best photos. You should first measure a custom white balance with your camera, even with the black-and-white filters. Every camera sets a white balance differently; please refer to your camera manual for the steps to do this. For the 720nm and higher filters, you should measure the white balance using green grass or foliage as the target. For the 590nm and 665nm filters, measure the white balance using a gray card or sheet of white paper. This is best done on location prior to shooting.
If using a point-and-shoot or mirrorless camera, you’re done! You can get out and start shooting. If you are using a DSLR, you should also check your exposure. The camera meters visible light, which may be inaccurate depending on lighting and IR filter type. Take a few test shots outdoors to determine if you need to dial in an EV compensation. A rough guide to how much compensation is necessary for the different infrared filters can be found here.
With a DSLR, you should also check your various lenses for focus accuracy to see if there is a focus shift between them. If you have a DSLR that supports micro-adjustment, you should take the time to calibrate the focus for each lens you use.
Step Six – Process your photos
You can find several guides for processing your photos in our tutorials section. We have tutorials for all the different filter options, as well as how to perform a channel swap in various programs. Try our false color action suite plugin for Photoshop—it can simplify the processing very nicely.
Step Seven – Share your experience
Now that you’ve taken some great photos, we’d love to see them! Share your photos to our gallery, or use our hashtag #kolarivision when uploading them to Instagram! If you converted a camera we have not yet reviewed, let the world know how it performs! We are always looking to expand our reviews section. If you are happy with our service and products, please take a minute to let the world know. We work hard to bring you quality content and products, and your word of mouth helps keep that possible.


11 Responses
Last year I had a Nikon D80 converted by your company to 590nm and Iam very happy with the results. Iam new to IR photography and in the last few times out I have used grass as the area for custom WB. After reading several of your articles I should have been using a gray card for 590nm. Shooting landscape by the lake my colors seem wrong using the green. My question is could I use an Expo Disc for getting proper white balance for the shot , or use a grey card?
I use an expo disk on my full spectrum converted EOS R with whatever filter I am using at the time including 590nm
Need ensure the incident light is managed correctly as usual.
That being said it works a treat
Eric
Thank you. This website is really cool
I have a question. This may seem kind of basic but I’m new to this so hopefully my question will help some other people. When you’re measuring the white balance do you do that with the filter on the camera? I have a fully converted camera and the full set of filters.
Hi Jill, I believe you would set a different white balance for each of your filters. Good luck!