1. What is ultraviolet photography and why I need a UV camera?
Ultraviolet photography (UV photography ) is a new way to realize unique pictures by photographing near ultraviolet spectrum, below 380nm. This part of the electromagnetic spectrum is invisible to human eyes. Camera sensors can be sensitive to it once they are modified. It is the same for infrared photography.
Ultraviolet impacts the environment a totally different way than infrared. we can use UV photography for artistic photography (macro, portrait, landscape) as well as for analytic photography (dermatologic and forensic analysis).

2. What do I need for UV photography?
Camera:
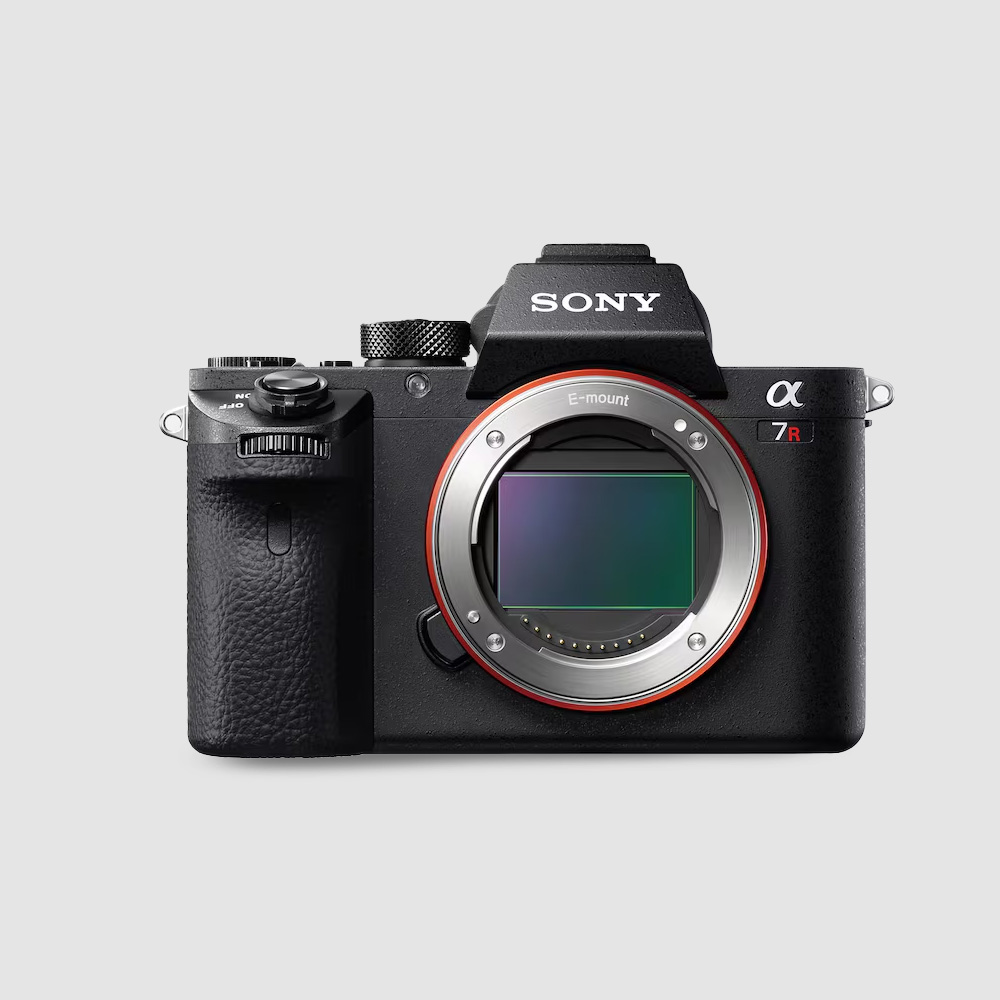
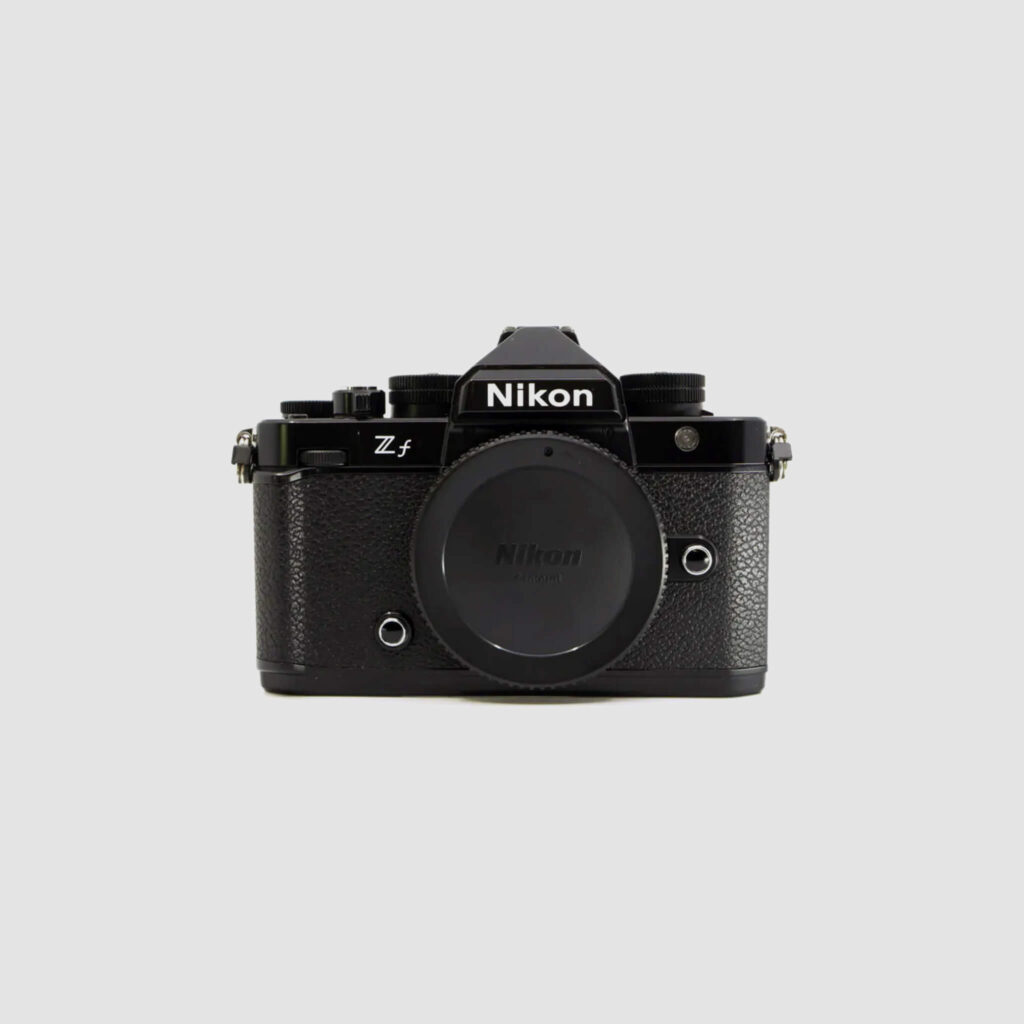
Ultraviolet photography requires some modifications to the camera like infrared photography. The only way to make the camera sensitive to ultraviolet spectrum is to convert the camera to a full-spectrum conversion. Due to, when using the corresponding filters, it will allow you to do both ultraviolet and infrared photography.
If you already have a full-spectrum camera, then you will not need any extra modification to do ultraviolet photography.
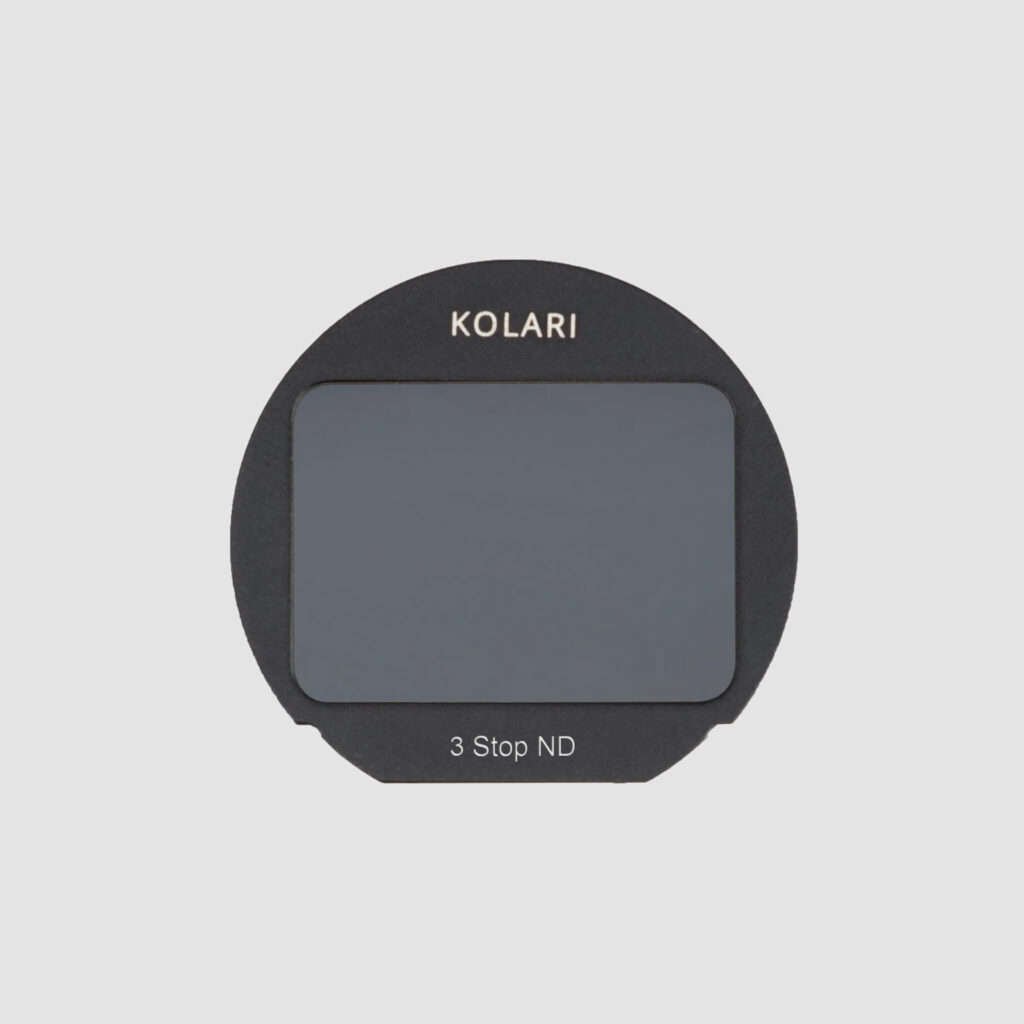
Filter:
The necessity of a full-spectrum camera implies the use of a filter to put on the front of the lens. The UV transmitting bandpass filter made by Kolari Vision provides the best filter solution in term of coating, transmission diagram purity and building, offering well contrasted and detailed pictures.
Lenses:
Modern lenses have an anti-UV coating on their front element. Because of that ultraviolet photography requires specific lenses letting UV light pass through their optical elements. The best UV-capable lenses are also the most expensive: quartz lenses. These lenses are made of quartz and are dedicated to scientific use. Fortunately, far less expensive solutions exist lenses with few (or even no) anti-UV coating and a small number of optical elements. We can divide these lenses into 3 categories:
- Entry level lenses
- Old lenses
- Enlarging lenses
Lighting:
Lighting for UV photography can be very tricky. The most reliable source of lighting for UV photographs is strong, direct sunlight. If you’re shooting indoors, you will need a specific UV light source which we cover in our article here. This article goes over a range of options including our UV LED flashlight as well as our KV-FL1 multi-spectral flash, which are great solutions for shooting UV when sunlight is not an option:
- Direct Sunlight
- UV LED Flashlight
- UV Flash
3. How do I do UV photography?
Focus and composition:
Use a modified camera offering live view to compose your pictures and focus on your subjects, as for infrared photography. With live view, you can directly compose and focus thanks to the sensitivity of the sensor for ultraviolet light.
If your modified camera does not offer live view, you will have to follow these steps:
- Remove the UV transmitting bandpass filter from your lens
- Compose your picture and focus on your subject in visible light
- Disable the AF of the lens
- Put on the UV transmitting bandpass filter
- Shoot
Some UV-capable lenses suffer from focus shifting in ultraviolet compared with visible focusing. Using this method, you will have to take this parameter into account.
Warning! Safety information: NEVER put your eye in the viewfinder when the UV transmitting bandpass filter is put on the lens. It could seriously damage your eye. Also, NEVER look through the UV bandpass filter itself.
White balance:
Before shooting, we have to use a grey chart so we have perfect white balance. This way, the sensor will be calibrated to offer perfect hue and contrast without a color cast. Do not forget to shoot RAW!
4. How to process UV photography?
Basic processing:
Ultraviolet photography does not require advanced skills in digital processing. It is enough a simple white balance done on a grey chart. This way, you will obtain a subtle purple/blue hue on your subjects.
Therefore, you can also do a classic black and white processing to avoid this hue. It will give a silver effect and a specific distribution of contrast.
Advanced processing:
For static subjects, you can mix visible and ultraviolet shots to mix ultraviolet contrast with visible colors. This technic only works with static subjects. You have to take the same 2 pictures of your subject. One picture in the ultraviolet and one classic in visible light (with a hot mirror filter).
Then in Photoshop (or other software using layers), put the visible shot on the ultraviolet shot and use “color” mode on the top layer (shot with visible colors).

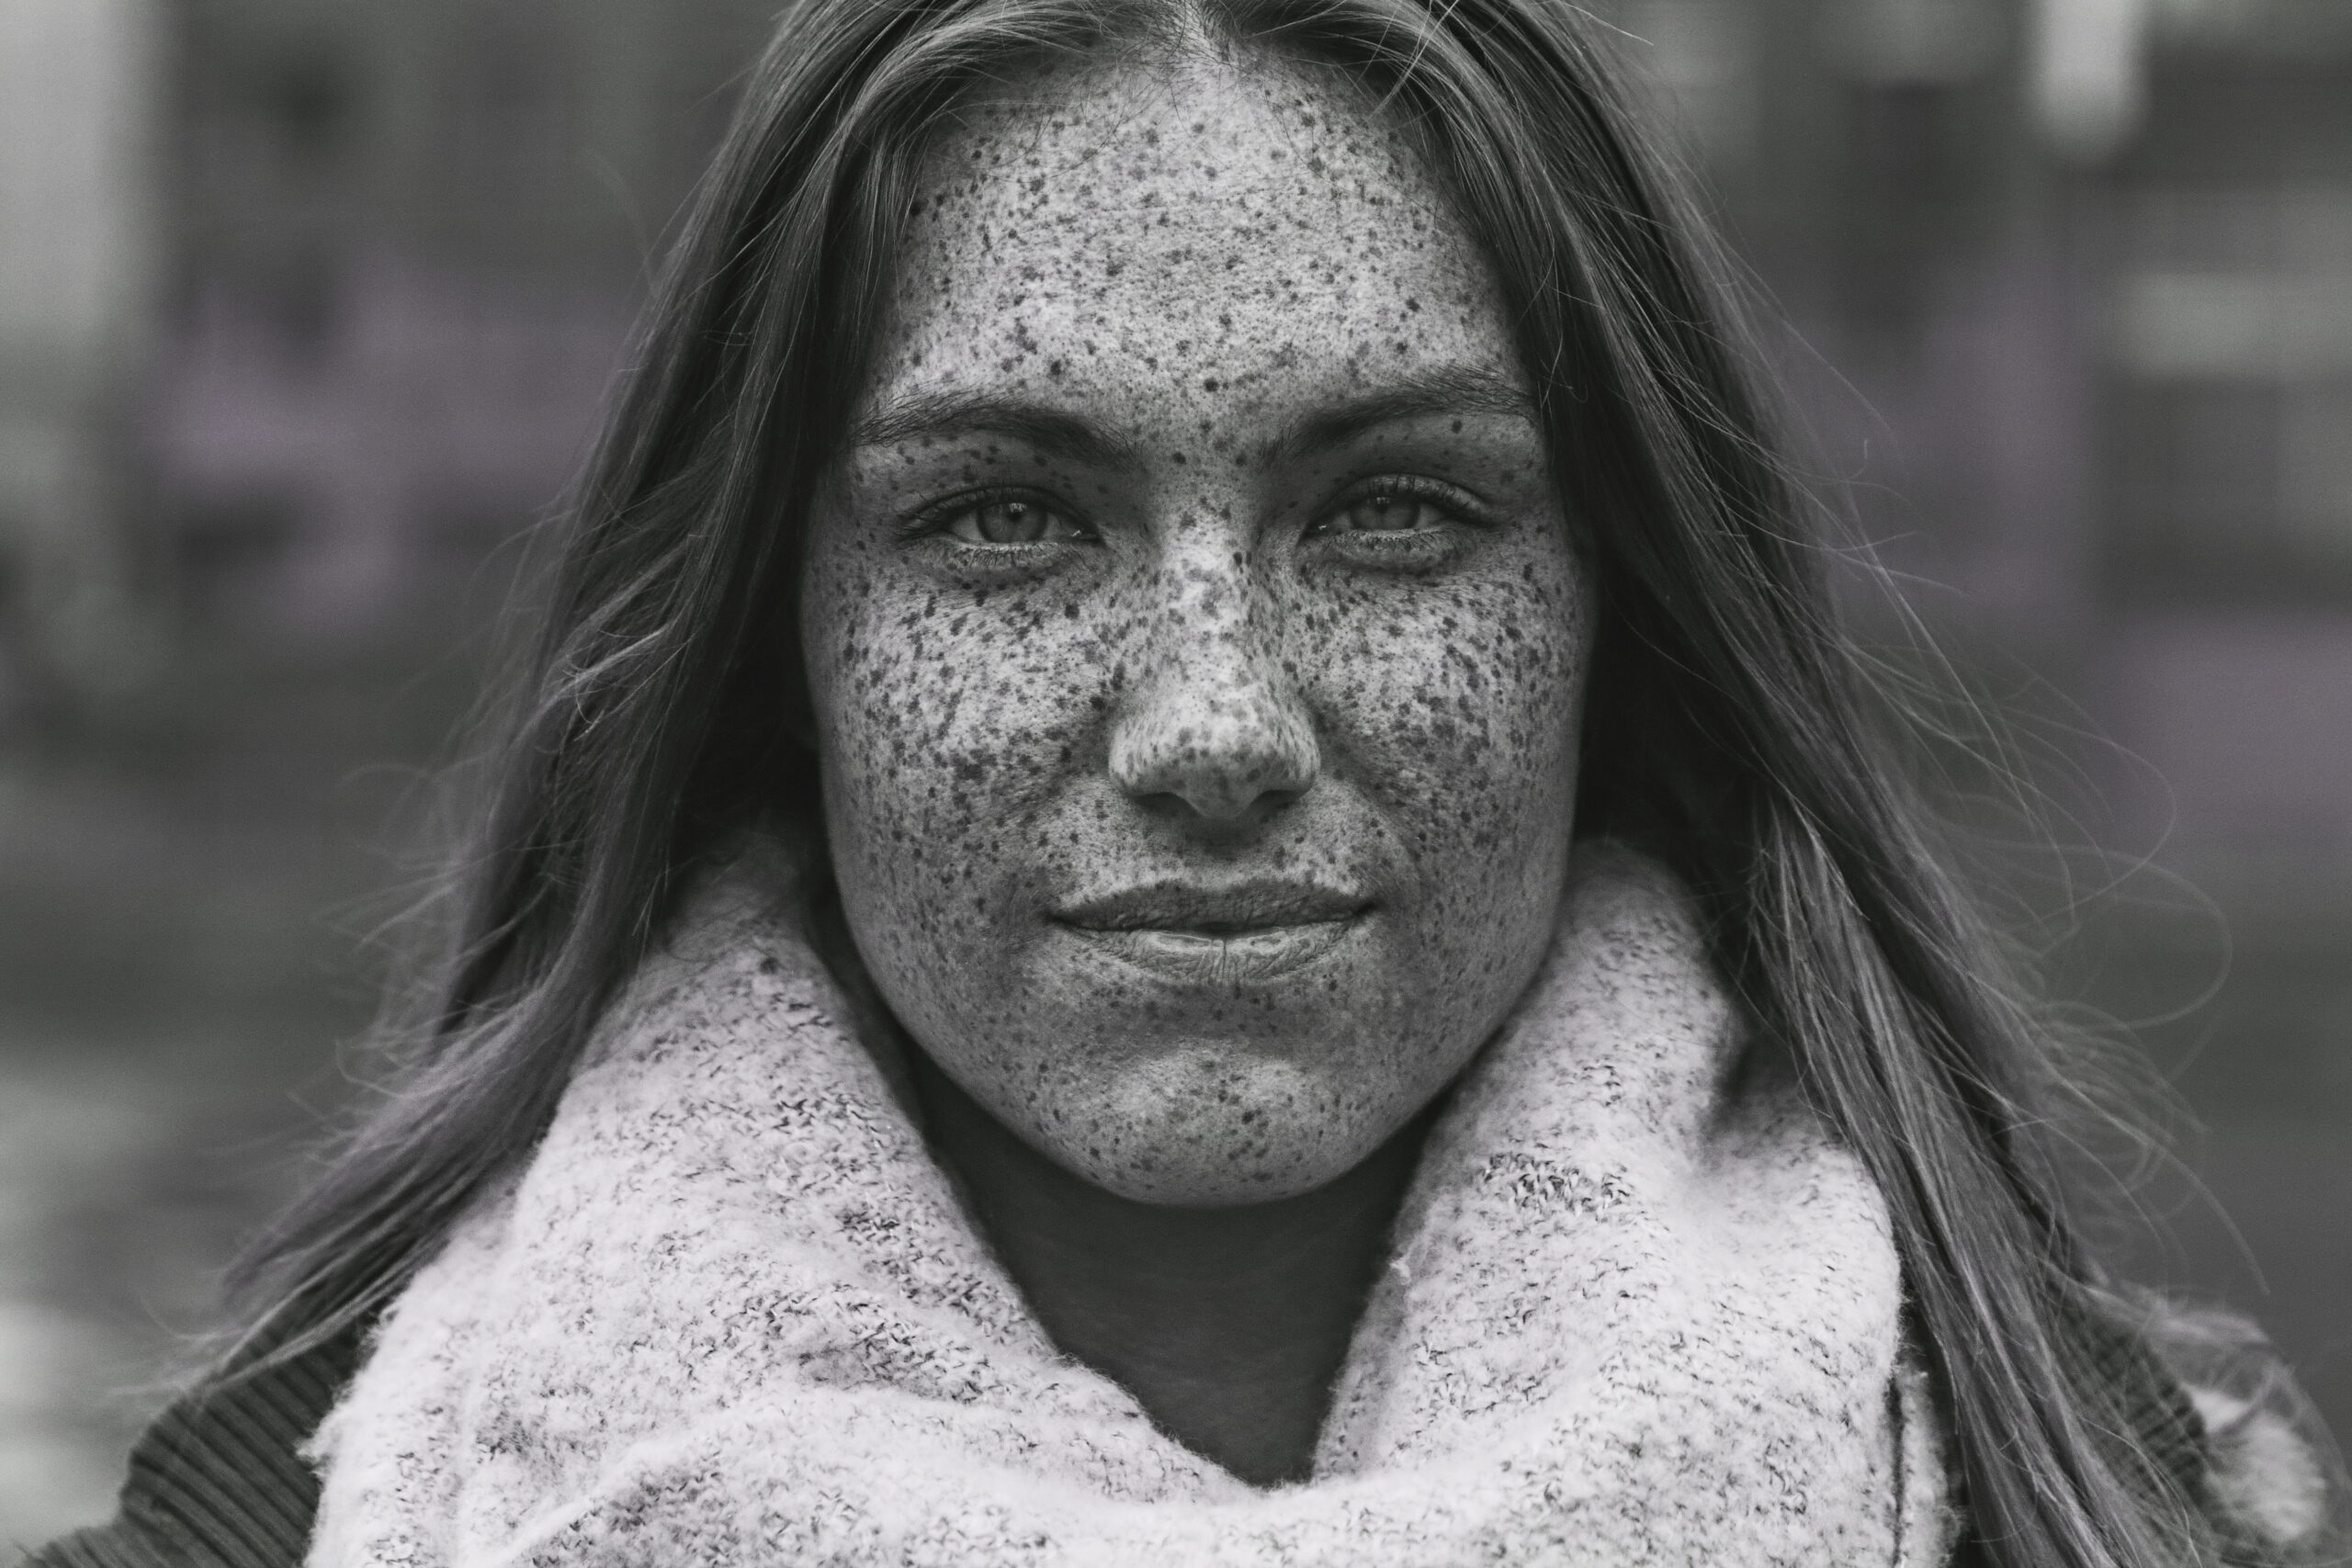
5. UV picture examples with Canon 6D FS and different filters:


8 Responses
Very interesting, and thanks for the information. I am having a camera converted now. 🙂
i have a question… could i use the lens to look through and see the filter. Or would i need a camera?
Curious about the warning against looking through the bandpass filter itself. I’m assuming you meant while directly viewing an ultraviolet light source (flash, flashlight or Sun)? Otherwise, how’s it more dangerous than not looking through it? The filter is not magnifying or amplifying any ultraviolet radiation we aren’t already seeing, or being exposed to. No?
Why is looking through a UV bypass filter dangerous?
Thanks for this- one question on the safety warning. Given that we are all exposed to UV light all the time, what is the harm in looking through a UV bandpass filter, whether on our off the camera? How is that different from walking outside without sunglasses?
While the amount of light is the same, when you walk around your eye adjusts to the amount of light, and if you look at the sun it will hurt. If you are looking through a UV bandpass filter, you won’t see anything so you won’t know you are looking at intense light.
I’m pretty sure that if your camera has an electronic viewfinder you will be OK as the viewfinder wouldn’t produce UV light. Definitely don’t look through a DSLR with a mirror as it will send the UV right on through. The screen on the back should be good, too. Your eyeglasses may provide substantial protection; to check take a picture (on manual) with and without the glasses in front of the lens. If the glasses filter out UV that image should be darker (but if you have the camera on auto it may adjust f-stop, shutter speed and/or ISO to compensate and both images might appear the same. I always wear my glasses when using UV flashlights.
Maybe you can help me out. I’ve got a Nikon D610 modified full spectrum camera. Coming straight out of the camera UV images are tinted orange, and IR images are tinted lavender. Is this normal or is there a problem with the camera?