Does your video footage look jittery and uncinematic, despite purchasing that well-acclaimed professional camera recommended by your favorite YouTuber? Let’s stop for a second and see if this sounds familiar: you put your camera in movie mode and set everything correctly as you would when you take a photo – widest aperture for nice bokeh, a fast shutter speed of maybe 1/4000 so your footage isn’t overexposed. Then you start filming, but it doesn’t come out how you imagined.
So what went wrong?
Well, it turns out the concepts of taking a good photo differ slightly from capturing good footage. That is what we will discuss in today’s article: the combination between shutter speed, frame rate, and ND filters, all of which contribute to capturing good video footage.
Shutter Speed and Frame Rate
Typically in photography, one of the ways to compensate for an image that is too bright is to set a faster shutter speed to get a perfectly exposed photo. However, this is the opposite of what you should do to capture smooth and natural-looking footage.
Setting a high shutter speed produces jittery footage, like in the video clip below. This is because a high shutter speed captures sharper still images every second, which results in that jittery look when each frame is played in sequence. In other words, a high shutter speed doesn’t allow a proper amount of motion blur between frames to produce a natural look for video footage.
To capture natural-looking footage, set your shutter speed at twice the number of your frame rate. This is known as the 180º Rule, where the Frame Rate = 2x Shutter Speed.
So if you’re shooting at 24fps, the standard frame rate for cinema, you would set your shutter speed at 1/48. If you’re shooting at 120fps, you would set your shutter speed at 1/240. This ensures that your footage looks natural, closer to the video clip below.
This is the standard setting (i.e., setting your shutter speed at twice the number of your frame rate) for filming.
ND Filters
This raises a few questions: Won’t that slow shutter speed create overexposed footage? What if I want to use a wide aperture to get that creamy bokeh?
This is where ND filters play a role in filmmaking.
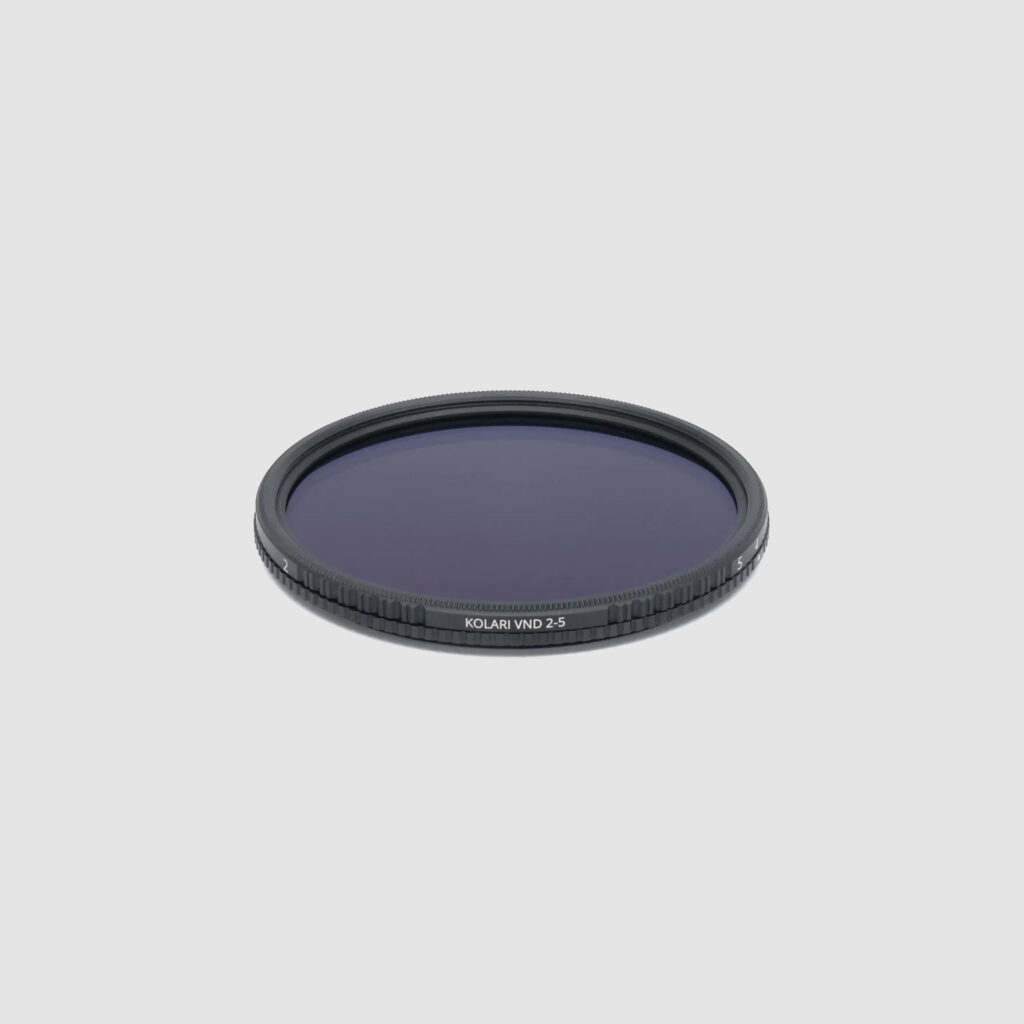
ND filters are glass apparatuses that block a certain level of light transmission through the camera lens; in other words, they are sunglasses for your camera. There are multiple types of ND filters, such as front lens filters or magnetic clip-in filters. You can check out the different types of ND filters here.
This allows you to use a wide aperture for bokeh, set a slower shutter speed for natural-looking footage, and set a proper exposure with a slow shutter speed while filming outside.
Ideally, a high-quality ND filter will do several things:
A good ND filter will produce accurate colors where there isn’t any color shifting. This ensures that all your footage remains consistent between shots if you film with and without your ND filters, which is especially important for editing your footage in post-production.
It’ll also protect your camera lens. Aside from the optical performance of ND filters, it serves a functional purpose in protecting the front lens element from scratches from the inside of your bag or outside elements such as sand, sea salt, or anything else.
ND filters should stay intact if it drops. Of course, your ND filter should be strong enough to protect your camera lens and survive any filming situation, either in professional shoots or in everyday use.
There are two types of ND filters: fixed and variable, available on our website.
Fixed NDs block a certain level of light transmission, measured in stops like 1-stop, 2-stop, 6-stop, and so on.
Variable ND filters cover a wide range of stops. You can find VND filters measured as 2-5 stops or even 6-9 stops.
Final Thoughts
Although ND filters aren’t always necessary for filming, they can improve your video footage quality and personal workflow. They allow you to shoot with a wide aperture and slow shutter speed for natural-looking footage in bright conditions and protect your camera lens from damage.
Interested in reading more about photography, videography, and infrared? Head to our Education section and sign up for our newsletter.
ND Filters for Video FAQs
Why Do You Need ND Filters For Video?
ND filters are useful for video because they reduce the amount of light entering the lens, allowing you to use a slower shutter speed, wide aperture, and proper exposure in bright conditions. The article explains that this helps create more natural-looking footage instead of jittery, overly sharp motion.
What Is The 180-Degree Rule In Video?
The 180-degree rule means setting shutter speed at roughly double the frame rate. For example, if shooting at 24fps, the article recommends around 1/48 shutter speed; if shooting at 120fps, it recommends around 1/240.
Why Does Fast Shutter Speed Make Video Look Jittery?
Fast shutter speed captures sharper individual frames with less motion blur. When those sharp frames play back in sequence, the footage can look jittery or unnatural instead of smooth and cinematic.
What Is The Difference Between Fixed ND And Variable ND Filters?
Fixed ND filters block a specific amount of light, measured in stops such as 1-stop, 2-stop, or 6-stop. Variable ND filters cover a range of light reduction, such as 2–5 stops or 6–9 stops, making them more flexible when lighting changes.
What Makes A Good ND Filter For Video?
A good ND filter should reduce light without major color shifting, keep footage consistent between shots, protect the front lens element, and be durable enough for regular filming conditions. The article also notes that ND filters can improve video workflow and footage quality even though they are not always required.