Fujifilm GFX 50S Camera Overview
In this edition of of Disassembly and Teardown, I want to take you back to simpler time. It’s September of 2016. Everybody is running around outside taking beautiful photos with their new cameras. The full-frame mirrorless camera showdown has yet to turn into a hot war. It has officially become cool to shoot with Sony. The Pentax 645z, a digital medium format DSLR, is fighting to hold its throne as best digital medium format body with the arrival of the new Hasselblad X1D. Today, Fujifilm decided to throw it’s hat in the ring as well and skip full-frame cameras altogether in favor of the ascended medium-format sensor.
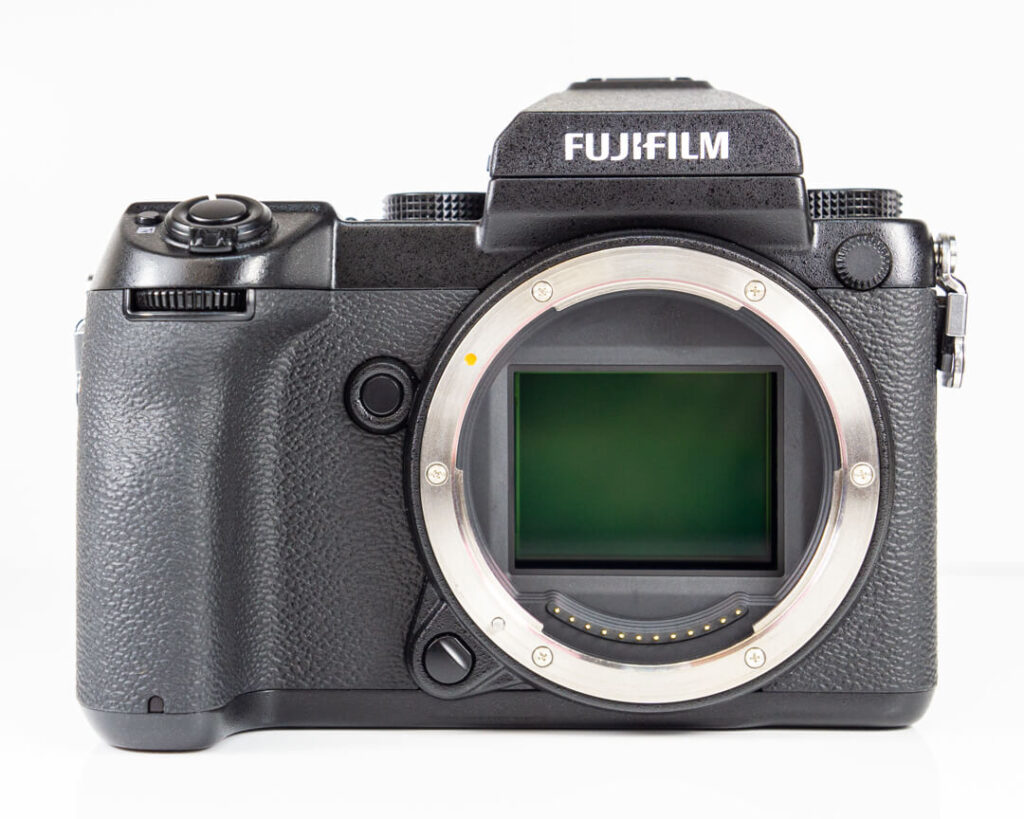
Fujifilm GFX 50S Medium Format Design and Exterior Build
A historically significant camera, the GFX 50S aimed to make a mirrorless medium format sensor for the rugged and pragmatic shooter. They also made it (somewhat) more affordable in a world of 5-figure price tags. What will we find when we get into the nuts and bolts of a camera of this stature?
Everything about the exterior of this camera is well sealed, hearty, and professional, but we already expected that.
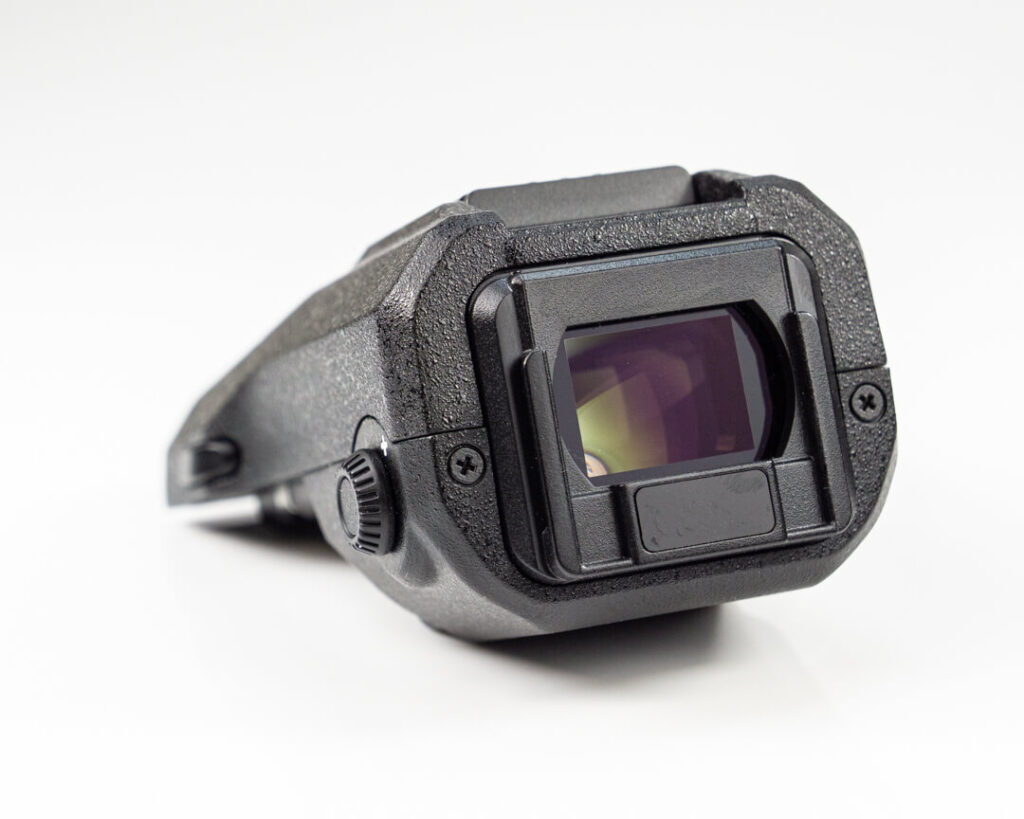
Keep the detachable EVF in safe place as we continue on to disassembly.
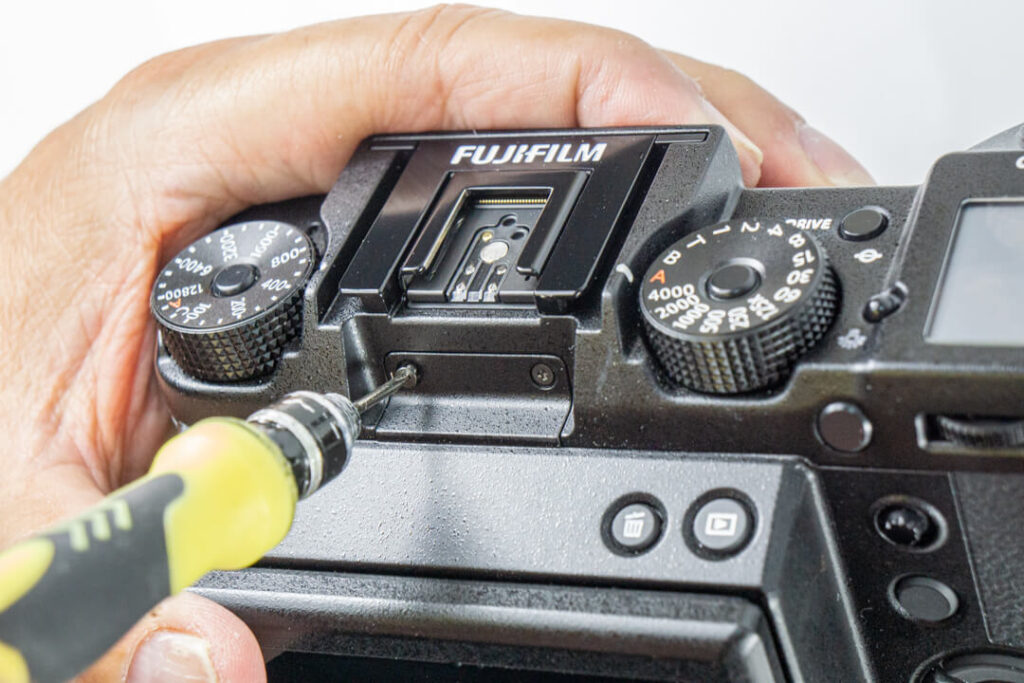
Starting the Fujifilm GFX 50S Teardown
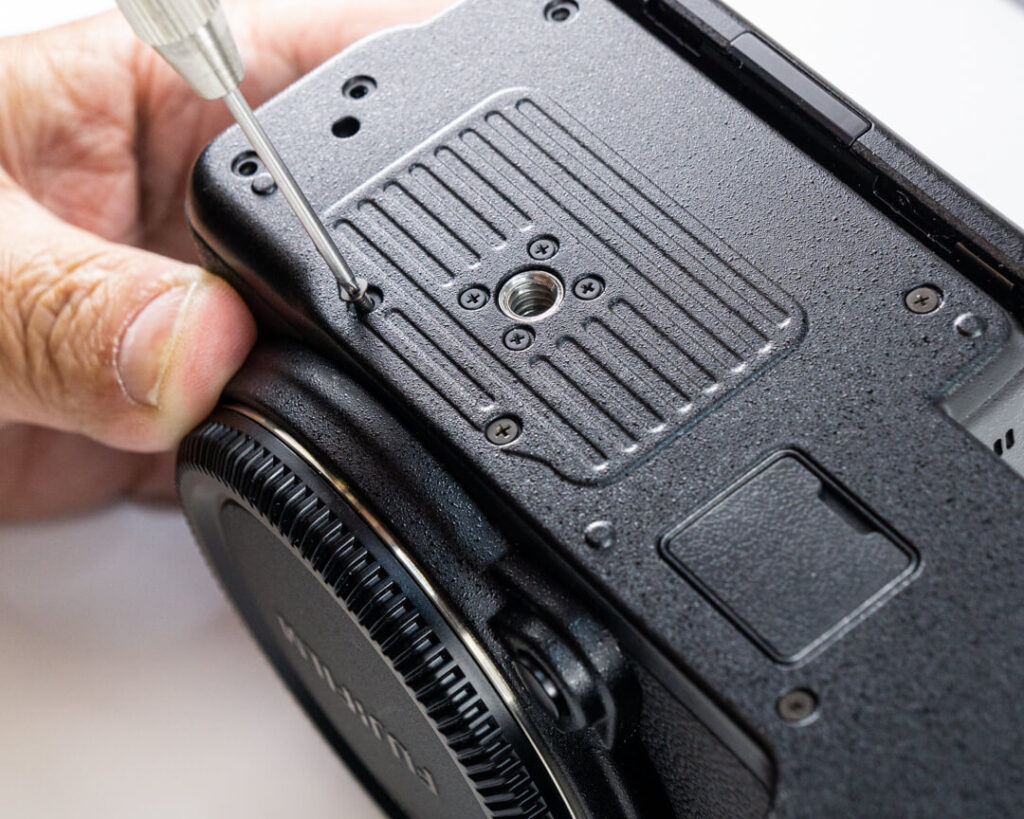
We start by removing the bottom plate. We can already see that the size of this camera allows for a lot of space between components. This space makes it much easier to work with than a smaller camera with cramped internals.
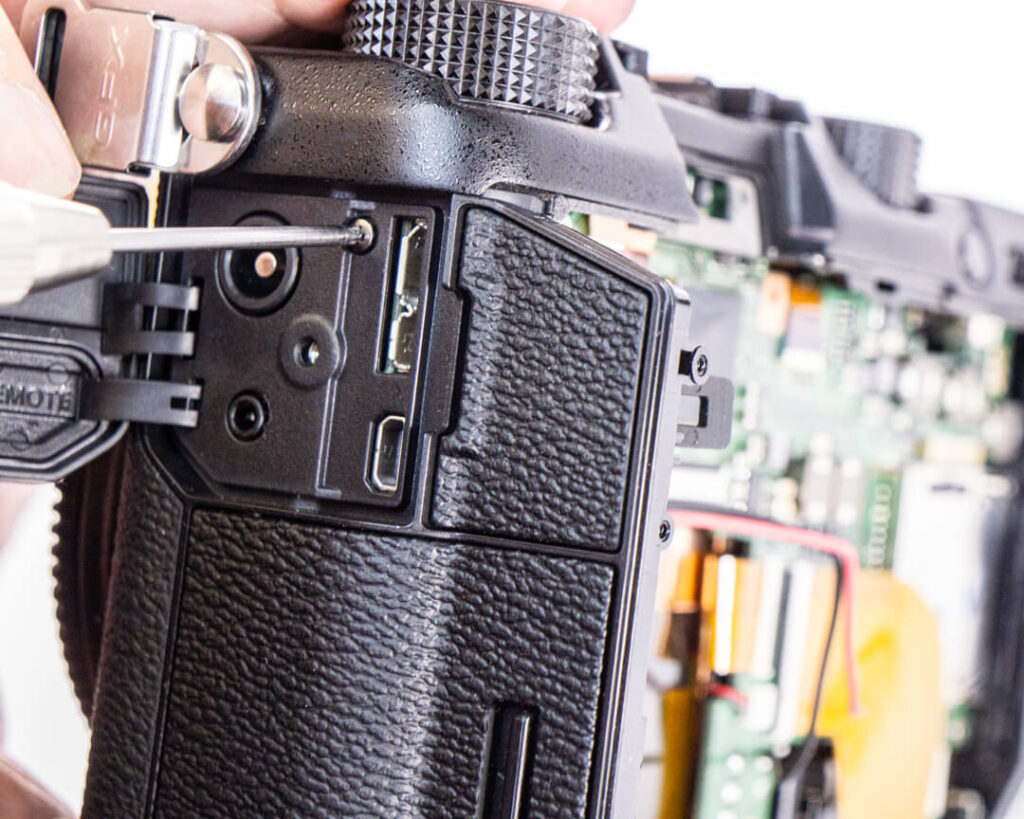
Removing Hidden Screws and Opening the Camera Body
Next, we move on to a game of finding and removing all of the cleverly hidden outer screws to get the rest of the body to come apart. Fuji made this one pretty challenging.
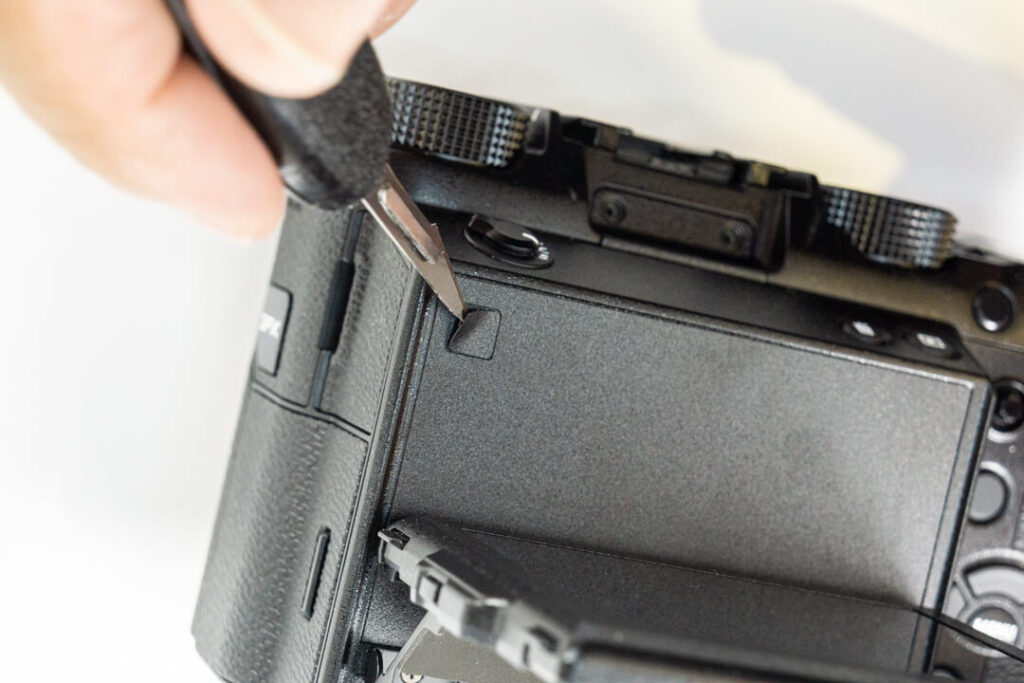
One behind the Flip-out LCD and this sticker.
Two behind the detachable EVF.
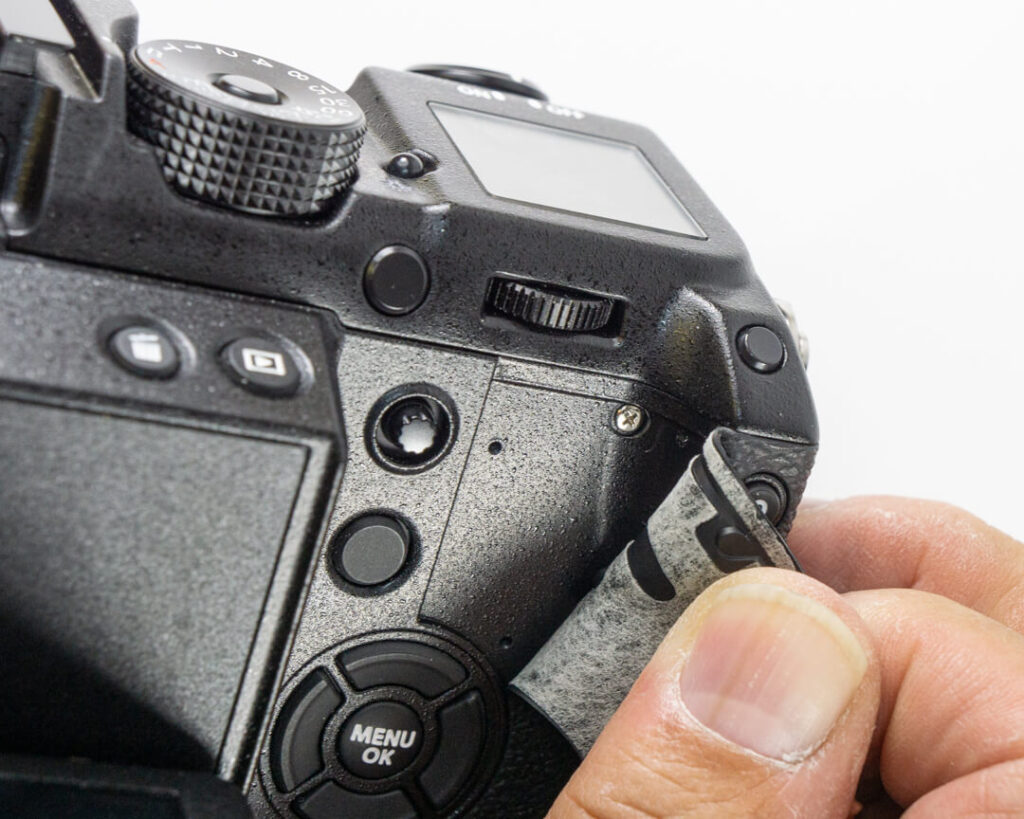
Two behind the starboard side strap loop and a bit of rubber.
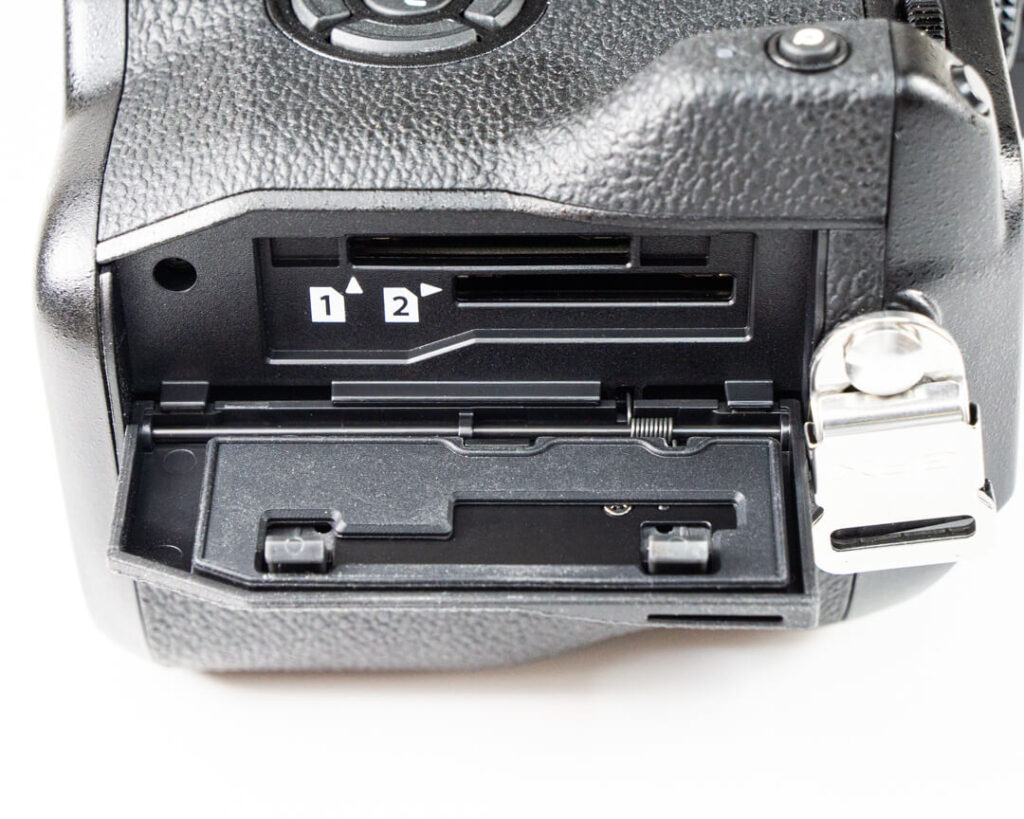
One inside the dual SD Card slot door, and another underneath the main controls’ grip rubber.
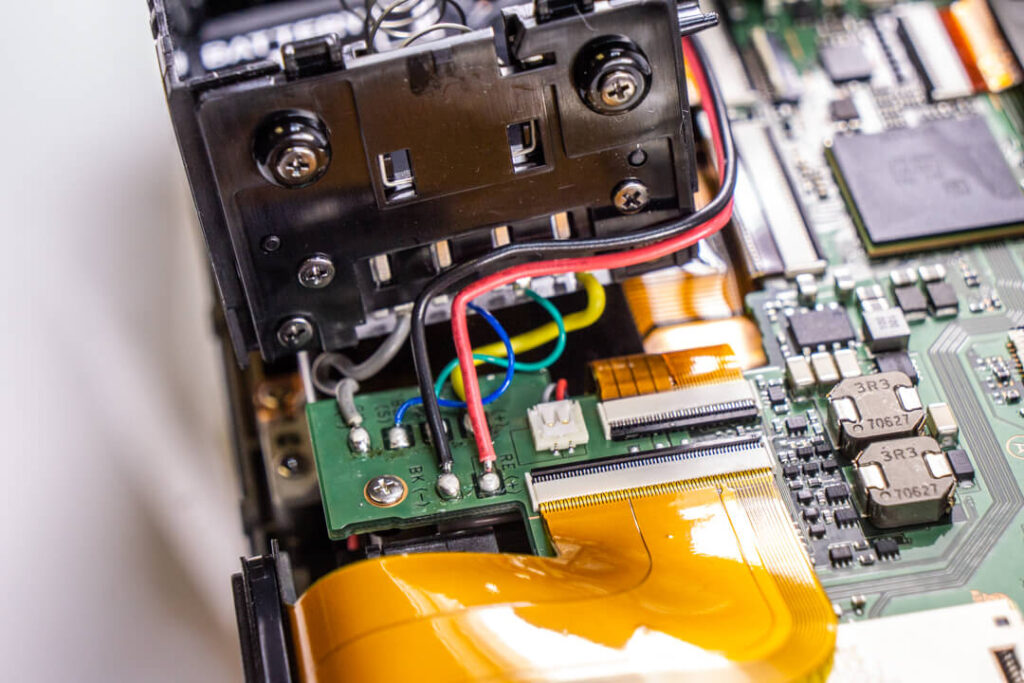
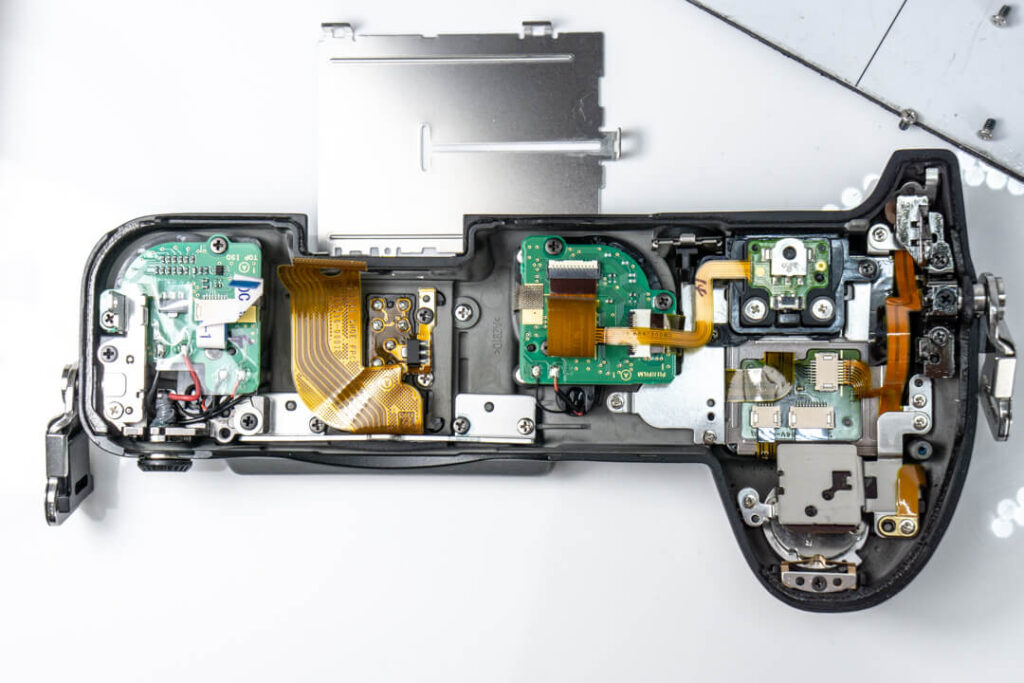
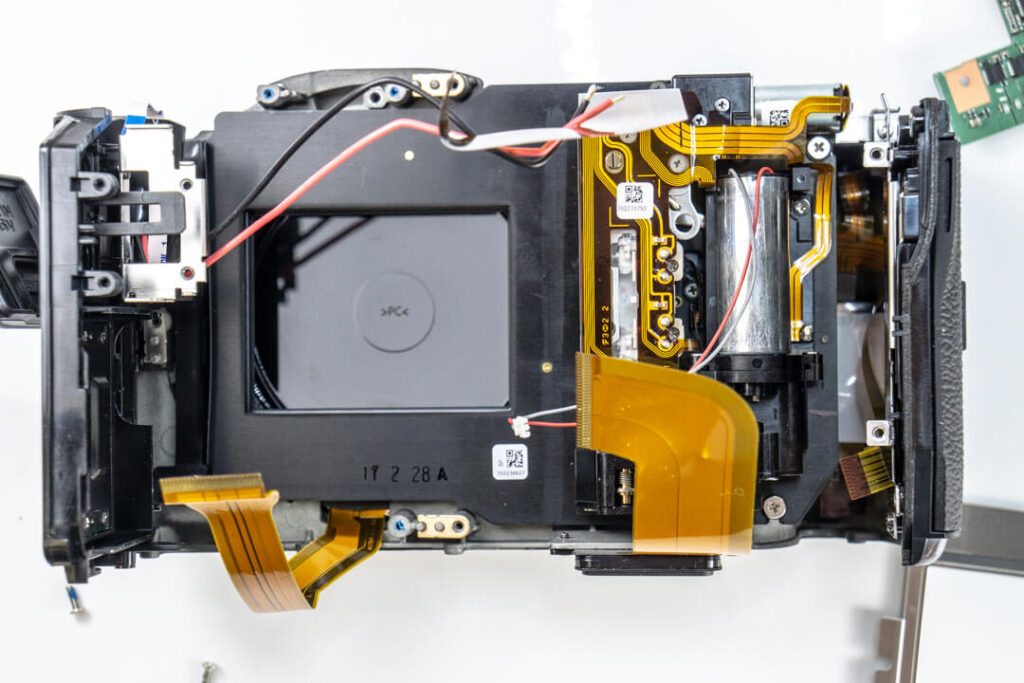
Rear Panel, Interior Space, and Heat Dissipation
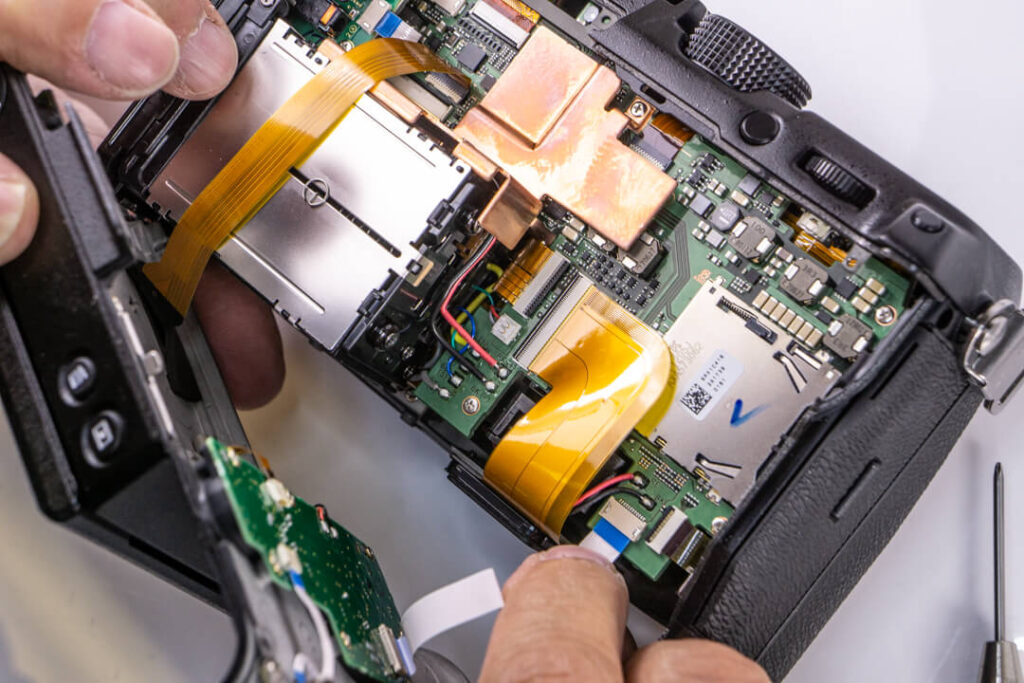
And, with that, it opens up giving us our first look at the board(s) and cabling. This part of disassembly can often be very hazardous and prone to ripping short cables that attach the back and LCD to the rest of the camera, but Fuji gives us plenty of slack here which is much appreciated.
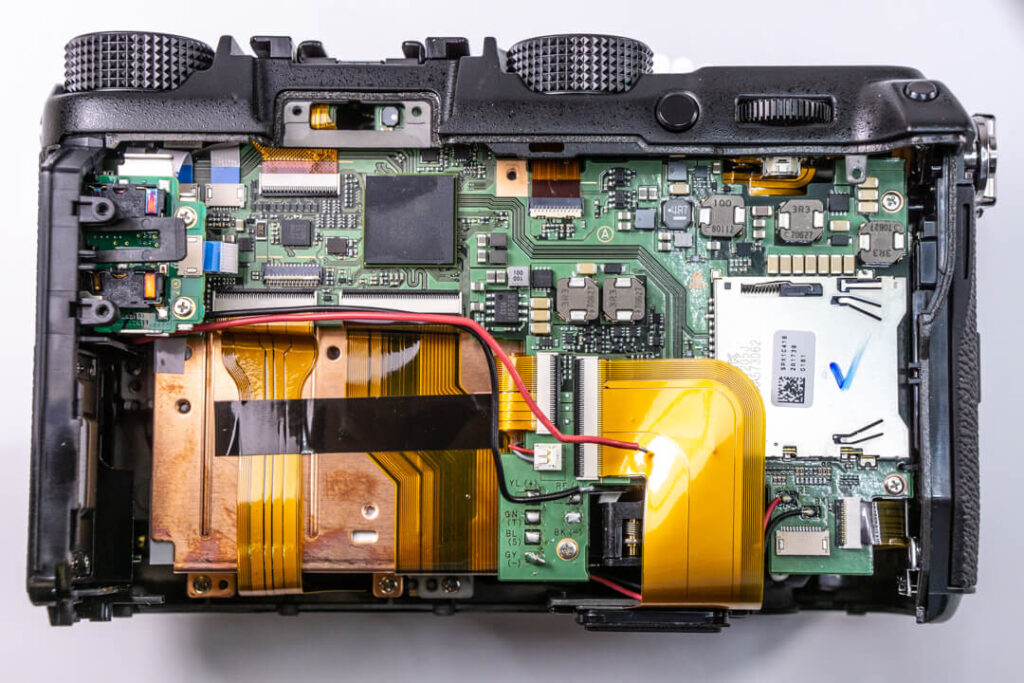
Here is the camera body so far…
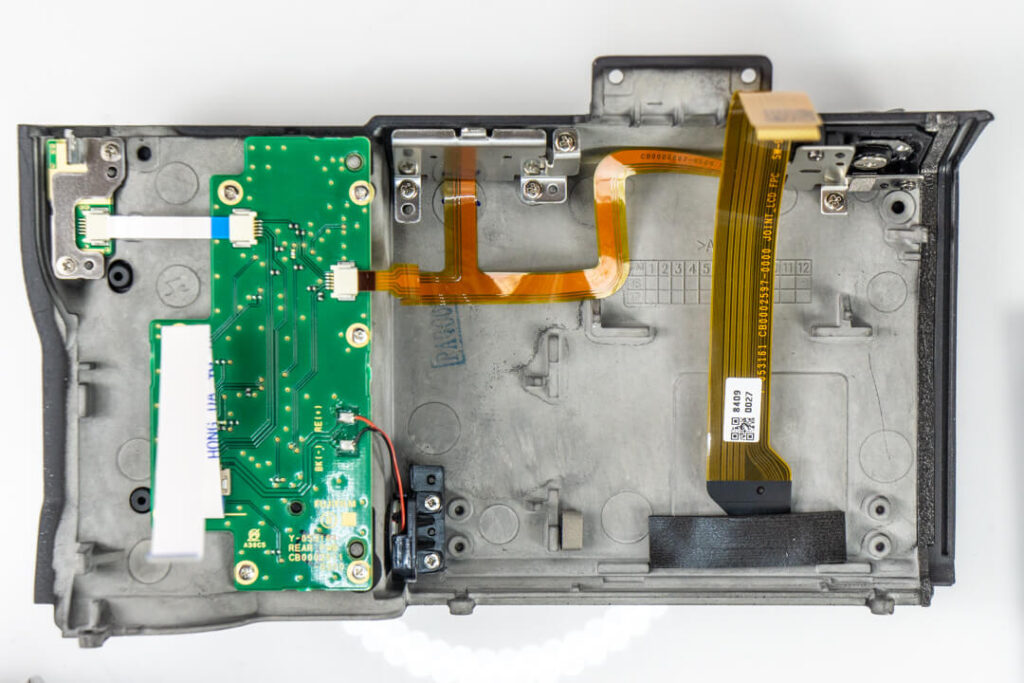
And, a closer look at the interior of the back panel.
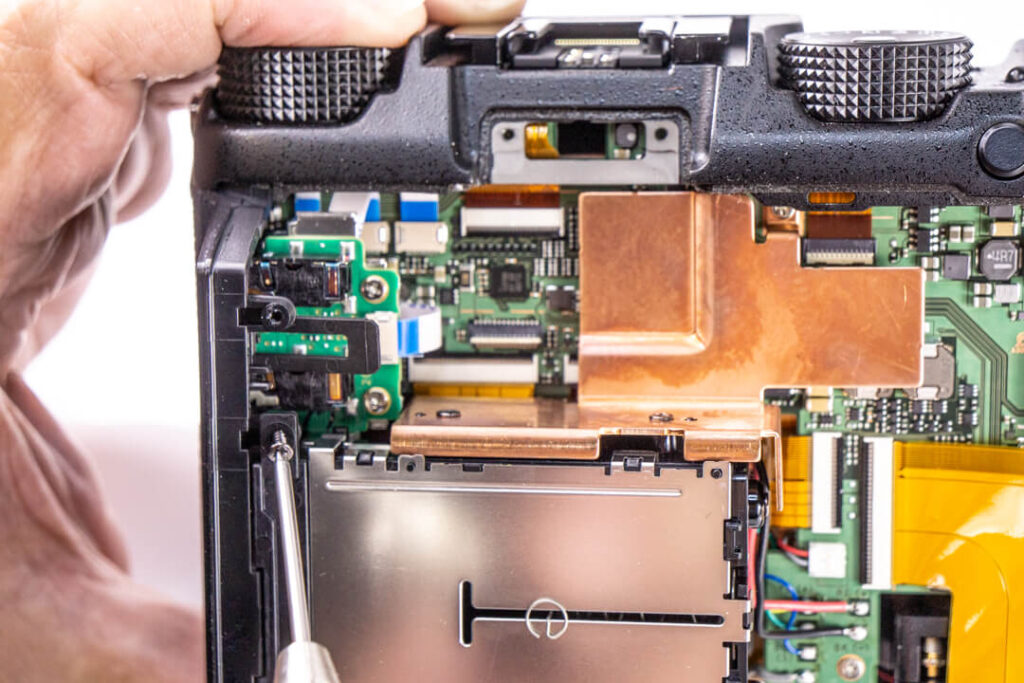
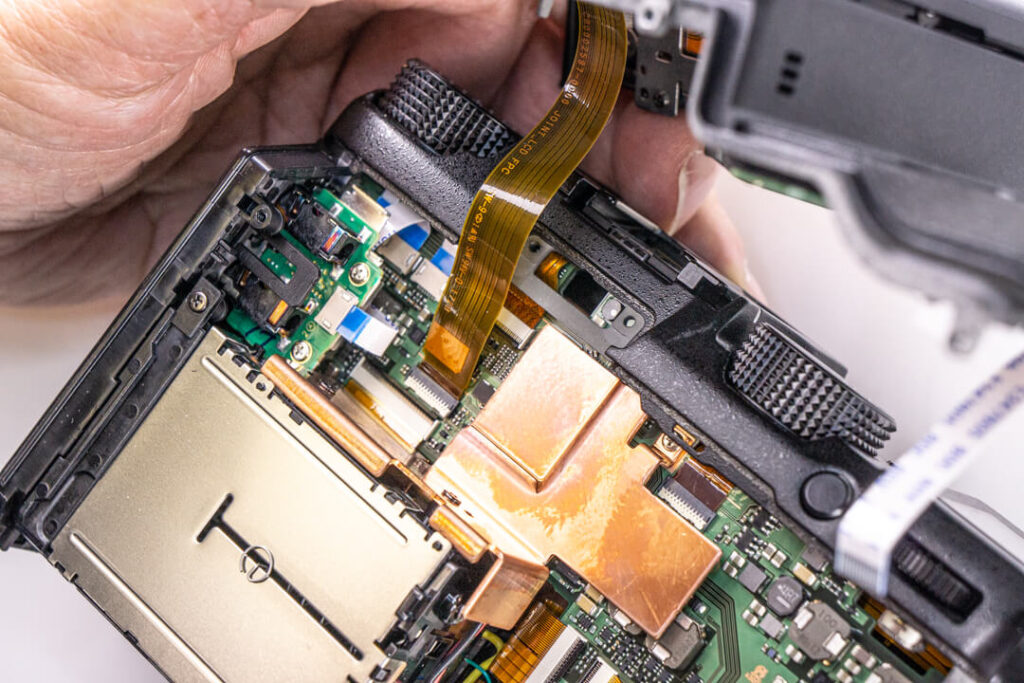
We continue be extracting more screws along the perimeter of the frame.
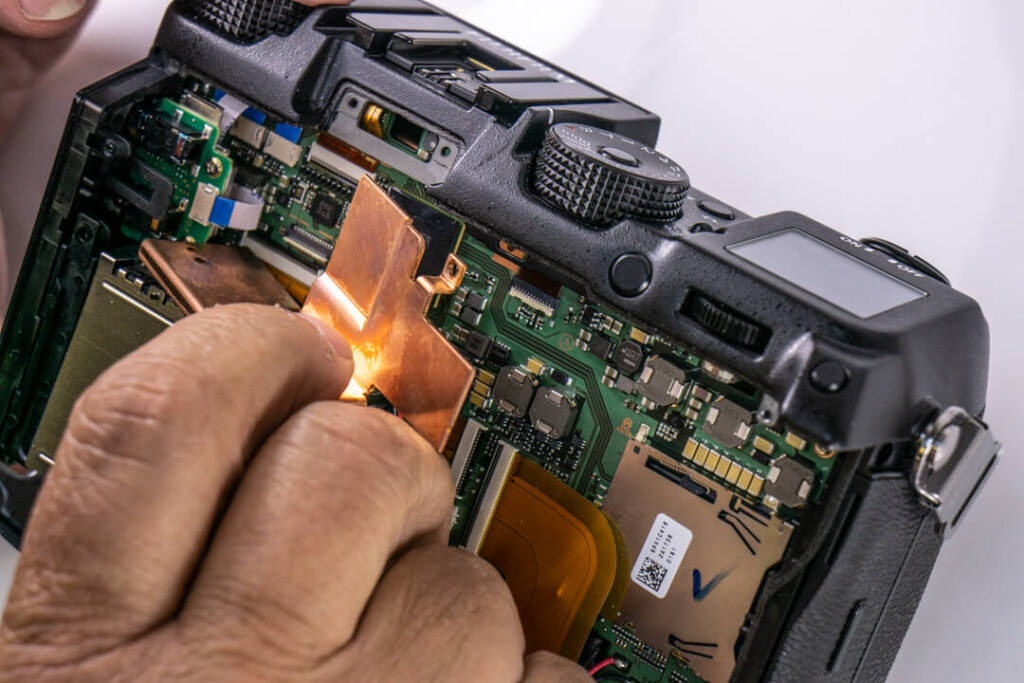
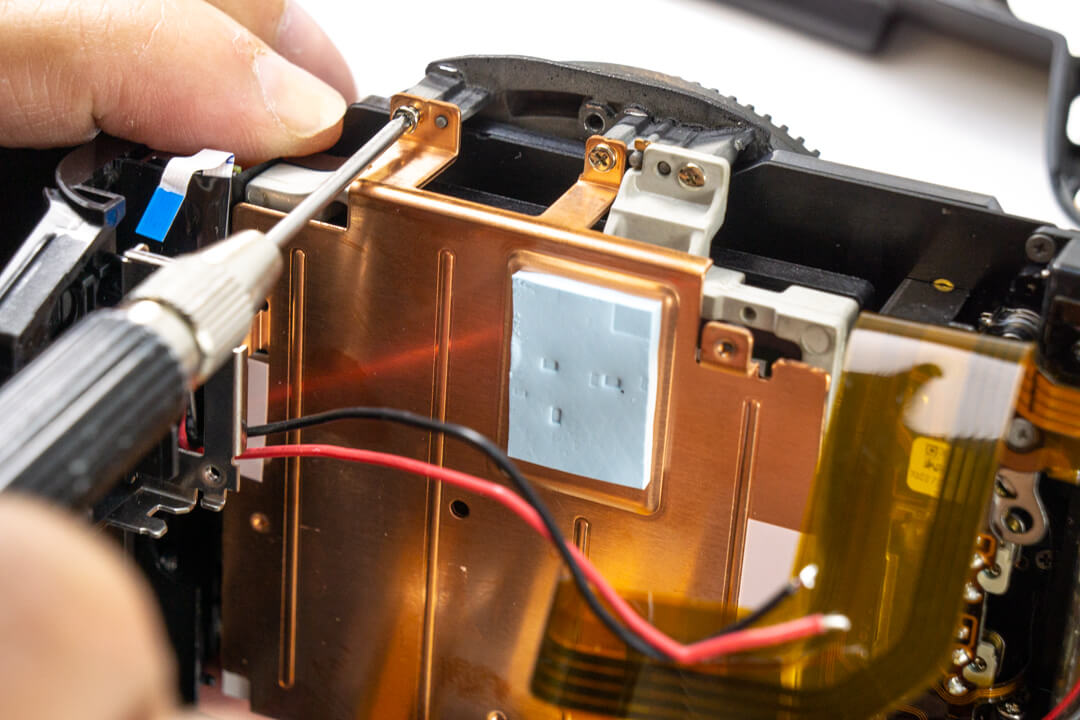
We also remove the copper plate up top the rests over the CPU and helps to hold everything together. This is the only obvious heat sinking material we’re met with when we open the camera up. Excellent heat dissipation is probably a byproduct of the cameras size and negative space, if not a specific reason for the design choice.
Moving on…

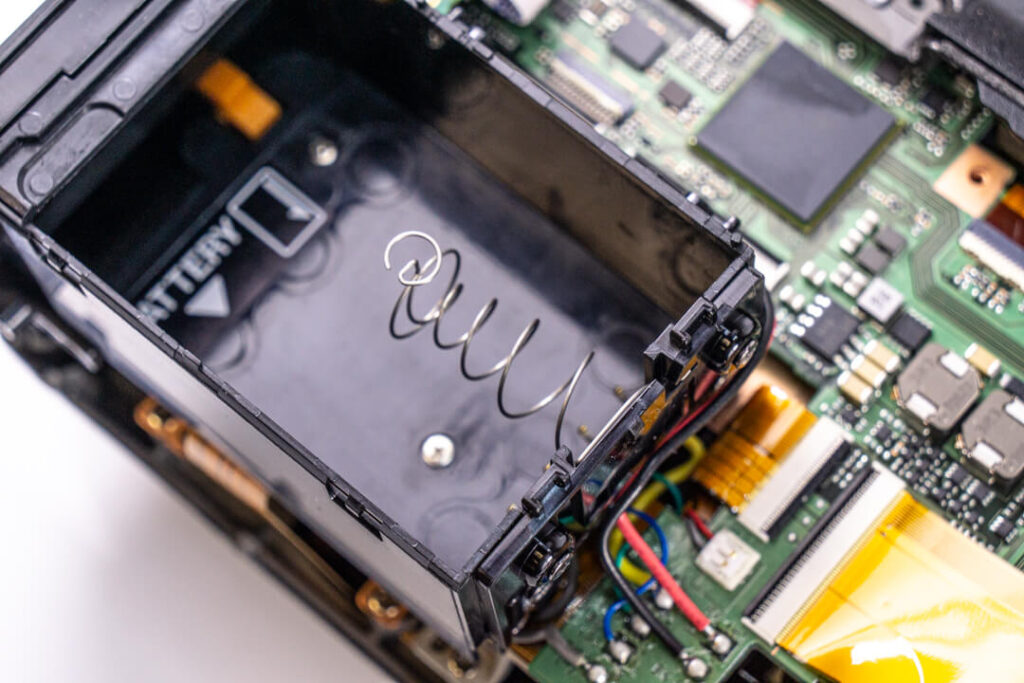
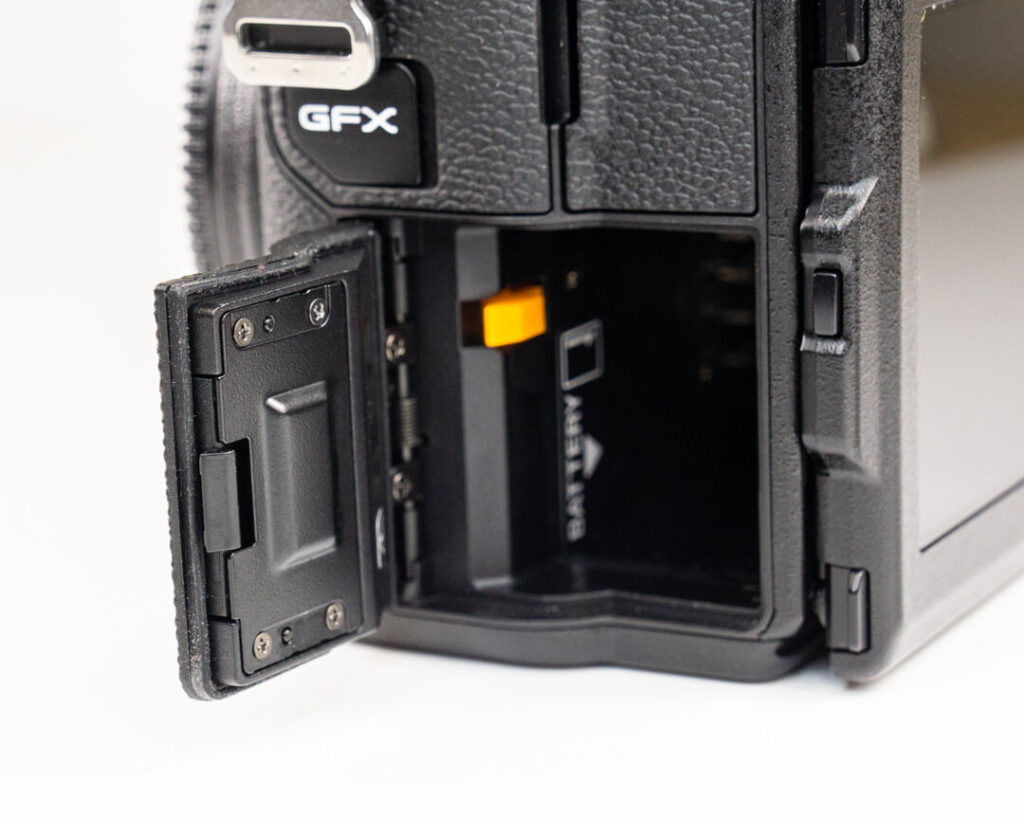
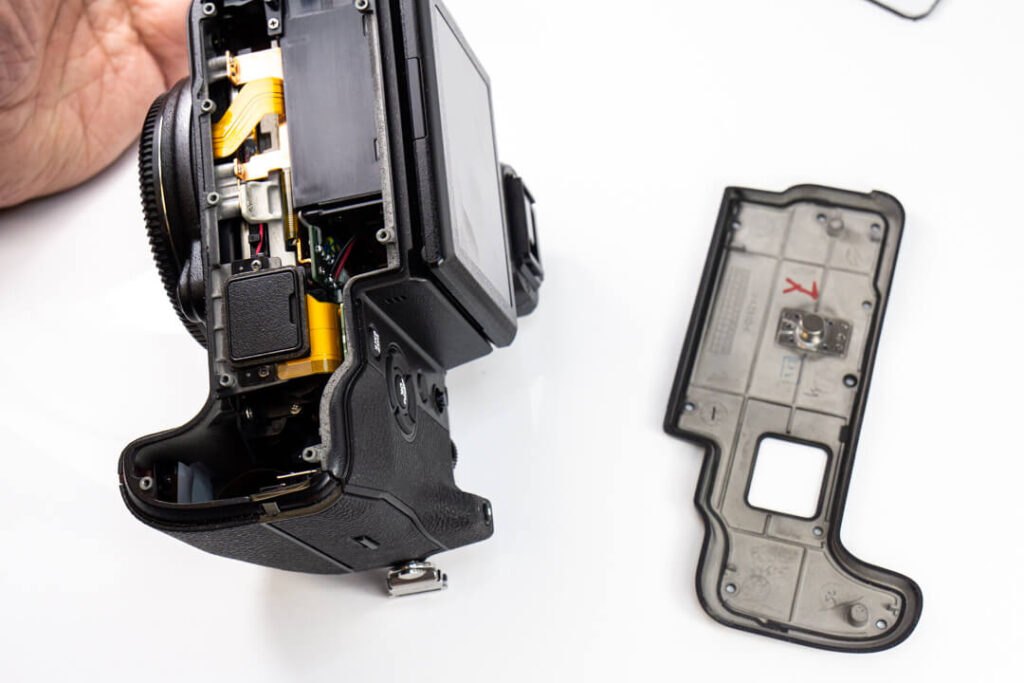
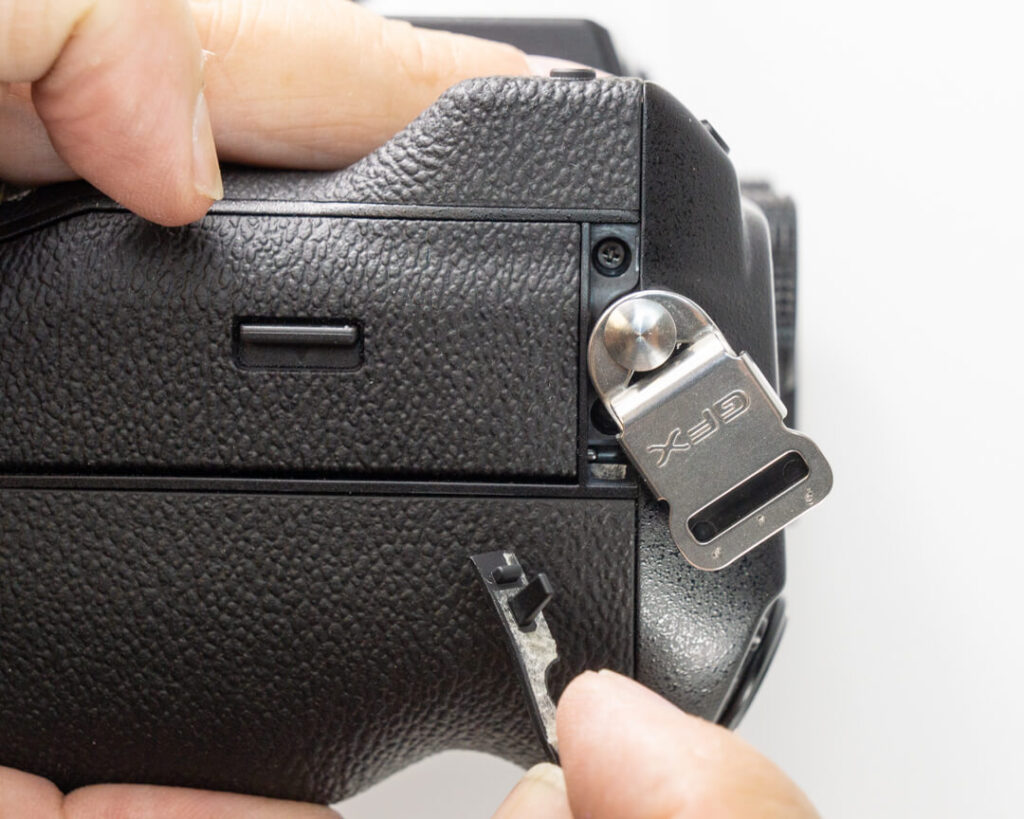
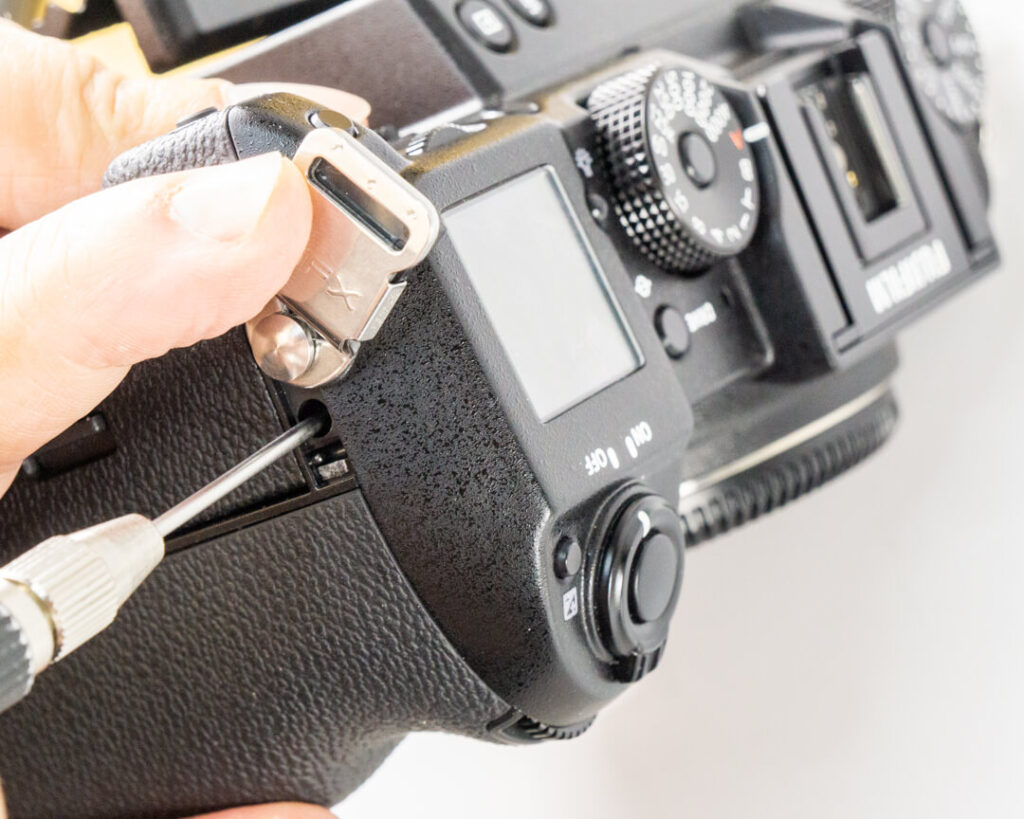
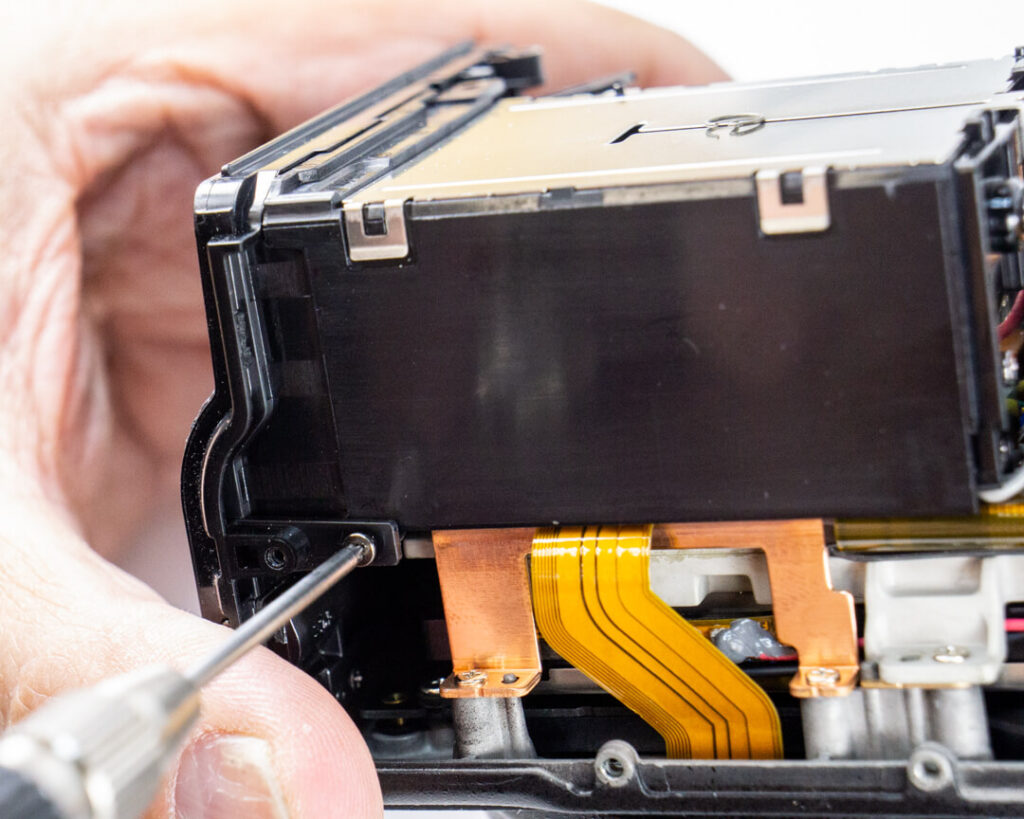
Removing the Battery Compartment and Top Panel
The fact the we even need to remove the battery compartment at all is a very unique thing about this camera’s design. First, we extract this metal plate by clipping and sliding it out of this little circular spring hook you see here that extends off the side of the actual battery spring. Then we can access the screw underneath and loose the compartment from the port side of the frame.
The only things still holding the battery compartment in place after all of that are the solder points you see here.
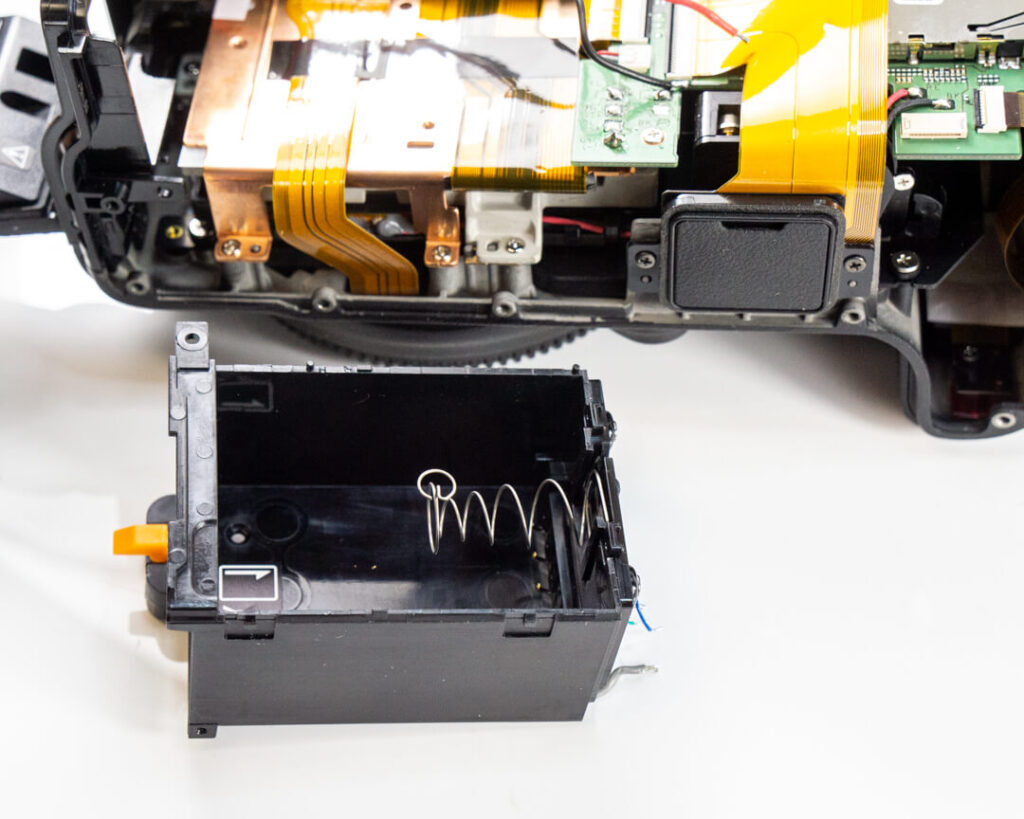
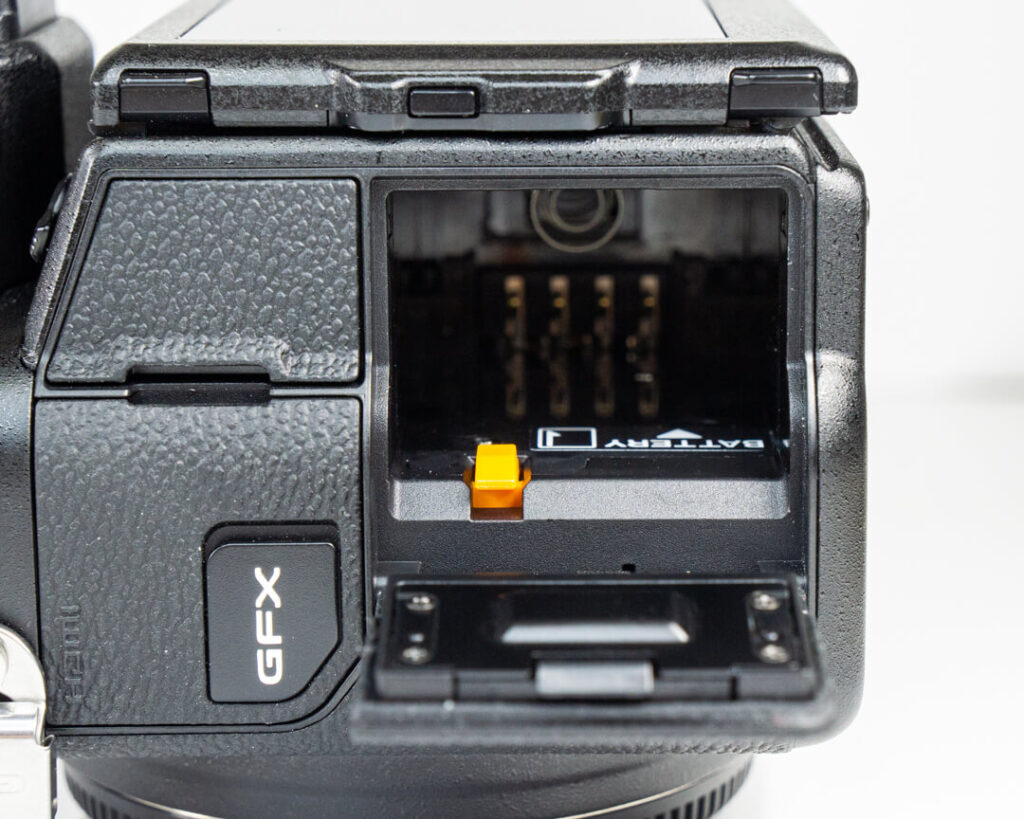
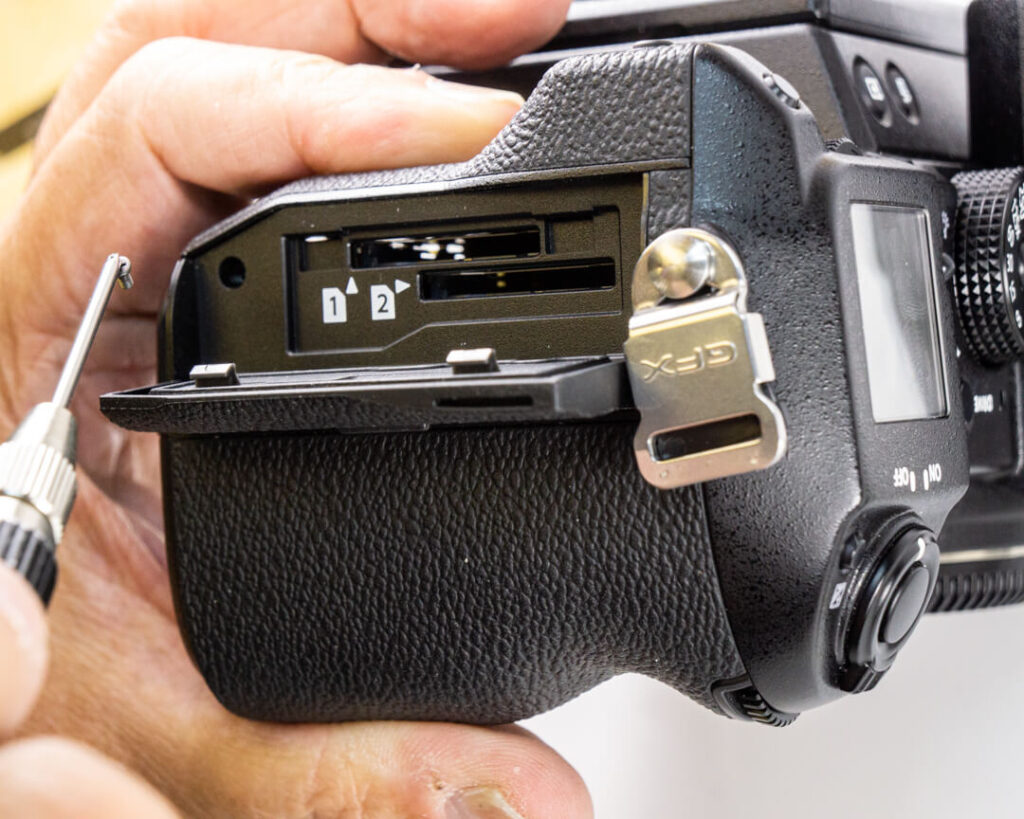
The battery compartment comes out as one whole piece.
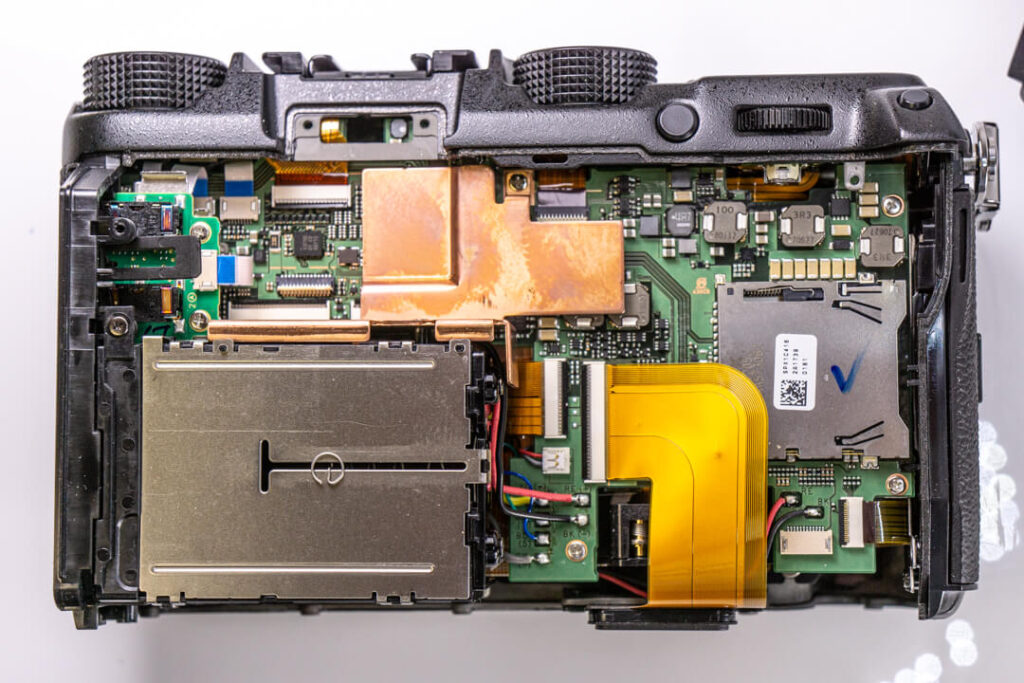
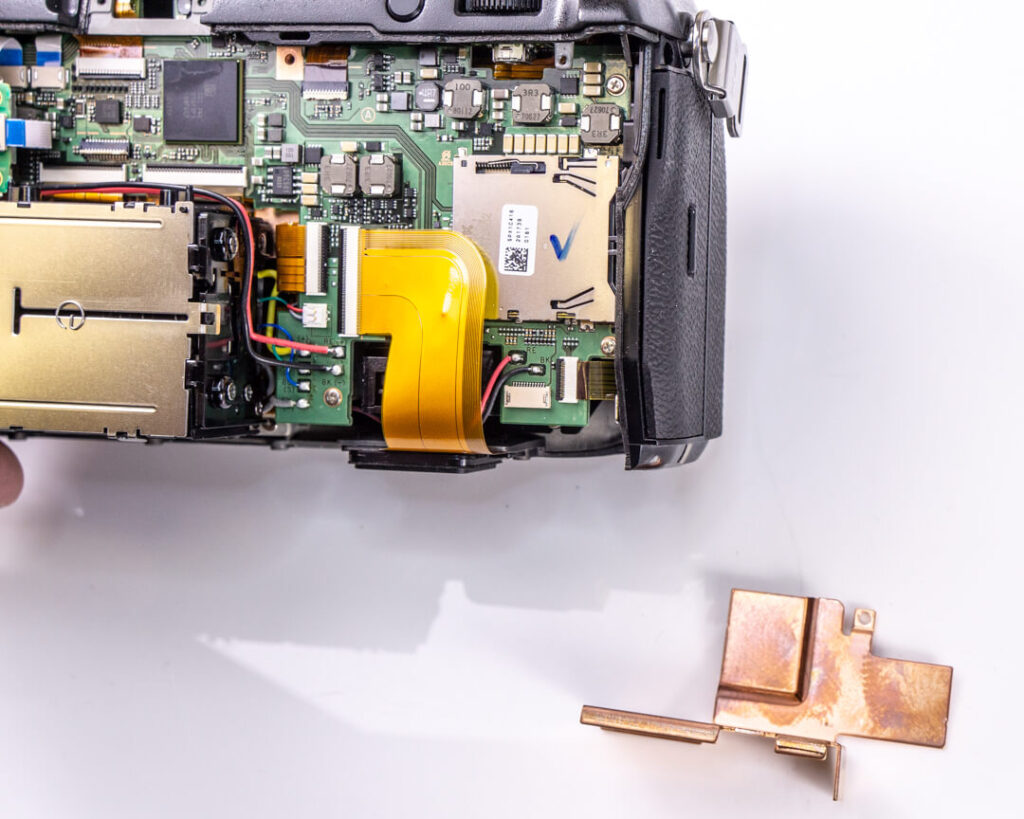
Our progress so far. Another big copper plate was hiding underneath the battery compartment.
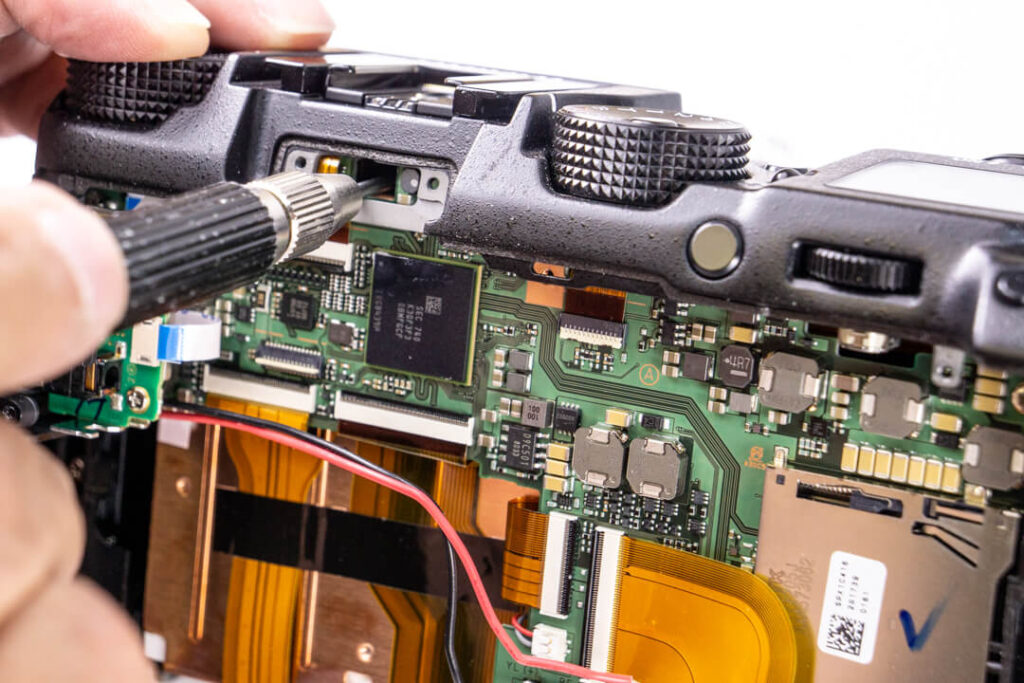
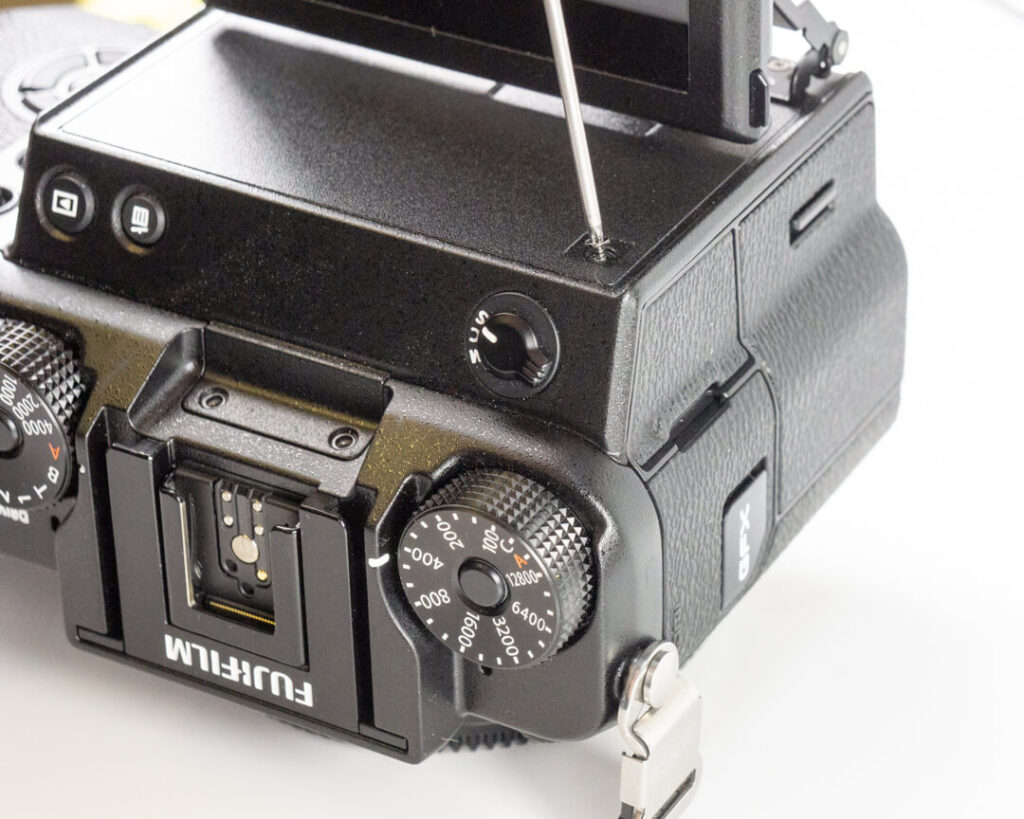
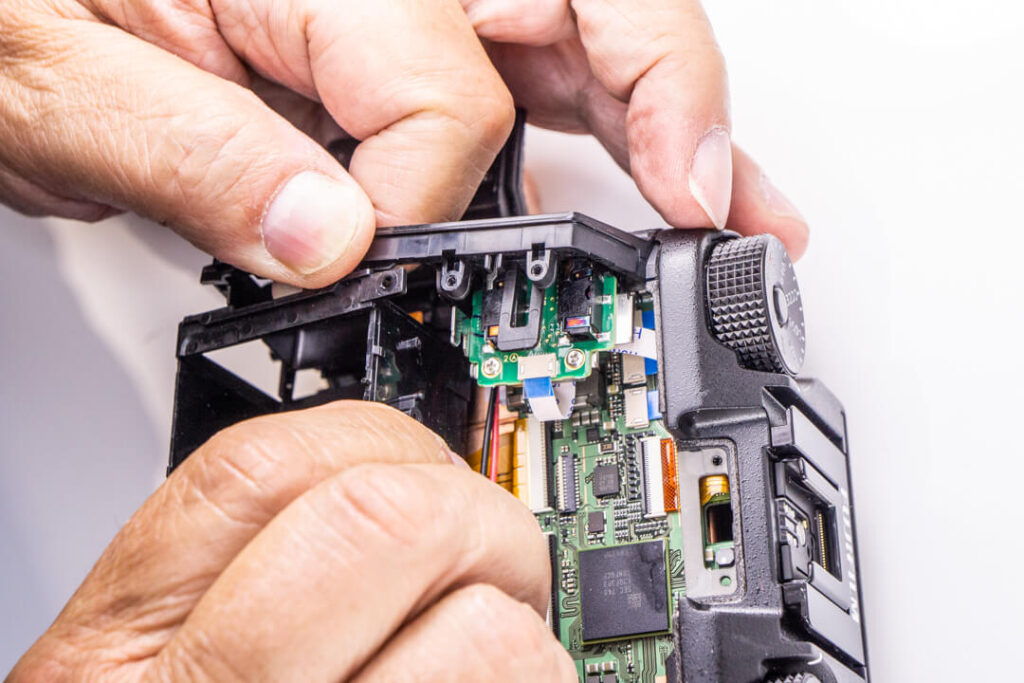
If you’ve been paying close attention, you may have noticed that rather conspicuous hole underneath the hotshoe. There is a screw deep inside there, and taking that out along with the a screw near the peripheral ports will allow us to pop the top panel off as well.
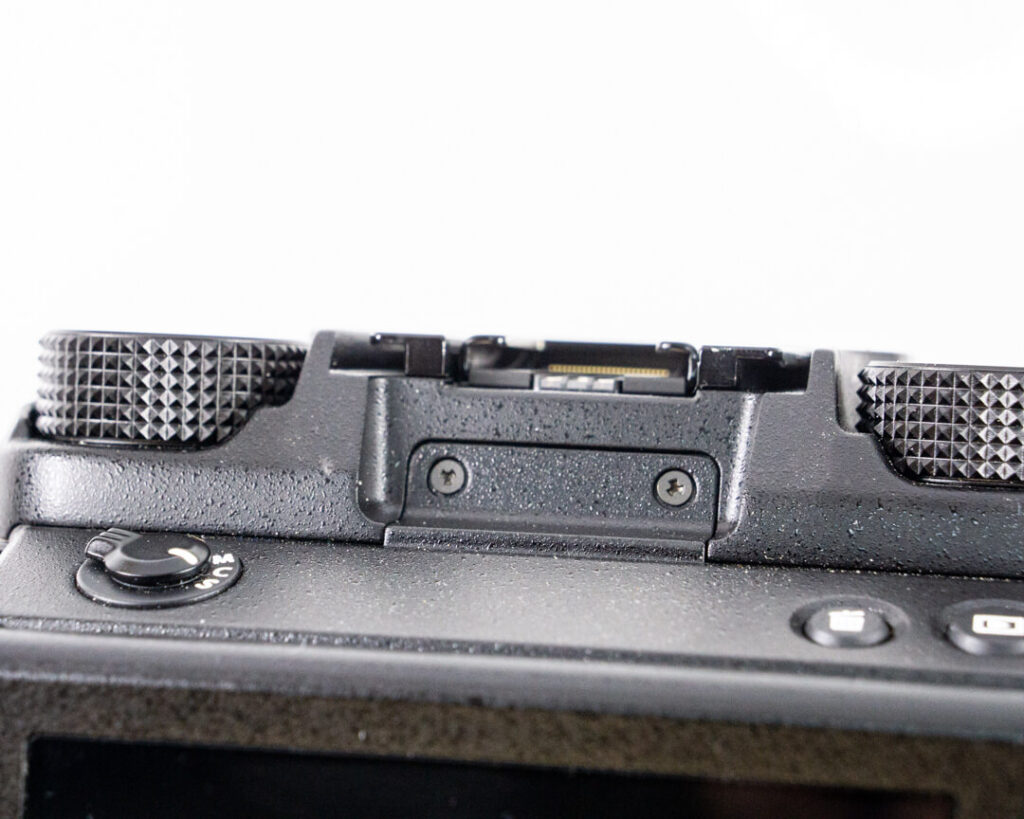
A look underneath the top panel.
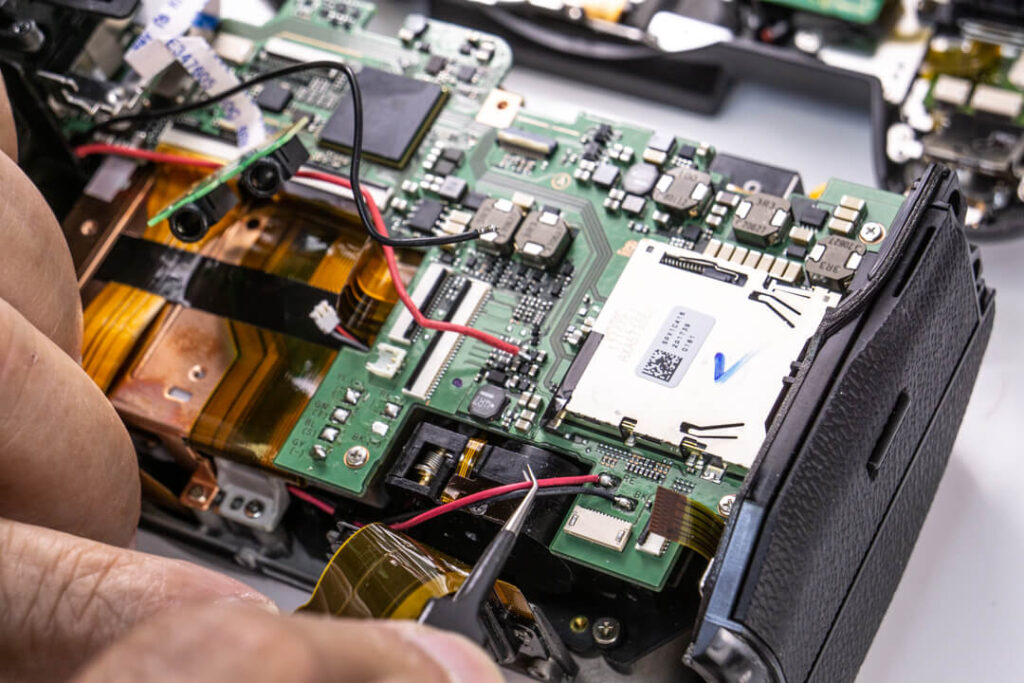
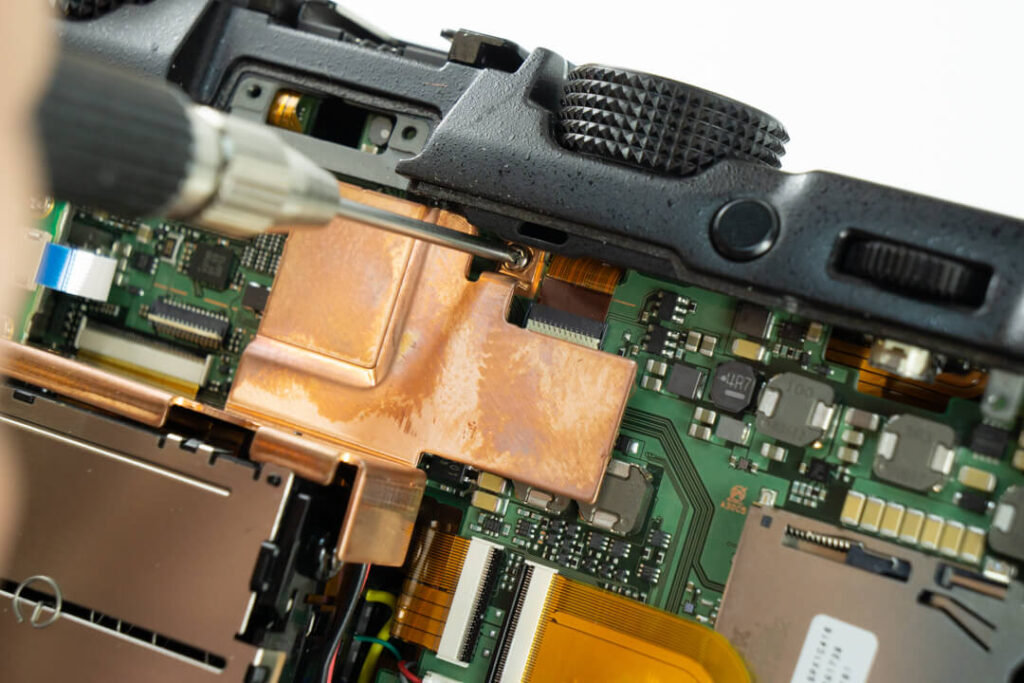
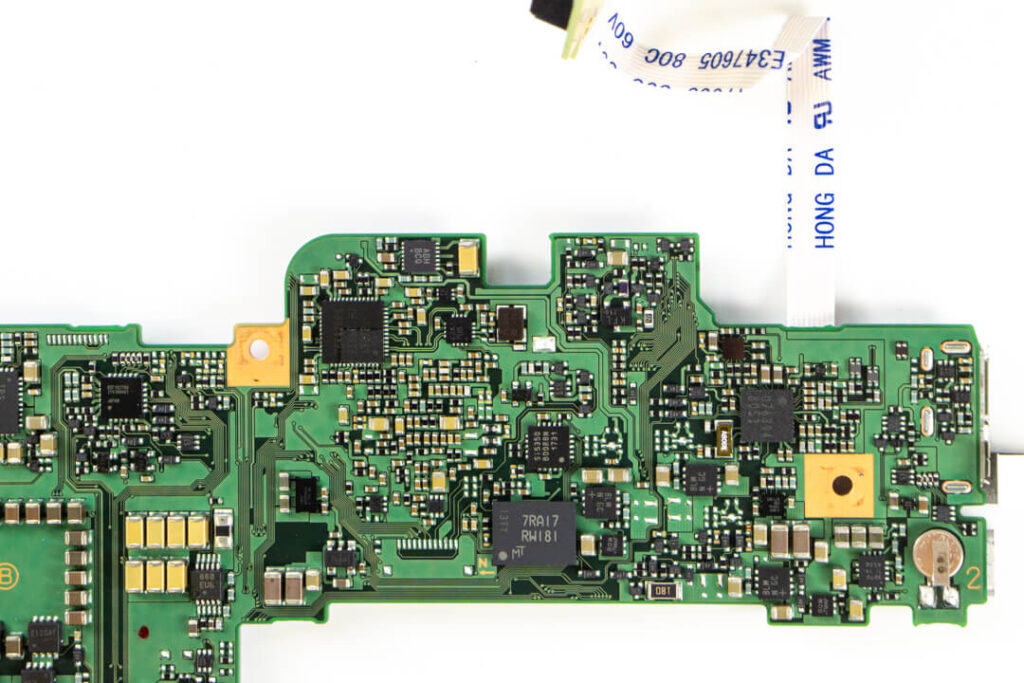
Removing the Main Board and Internal Copper Plate
Dislodge and de-solder all remaining cables, extract the screws, and the board lifts out freely. We brought the audio ports along for the ride for the sake of keeping things together. The two are attache via this little ribbon cable.
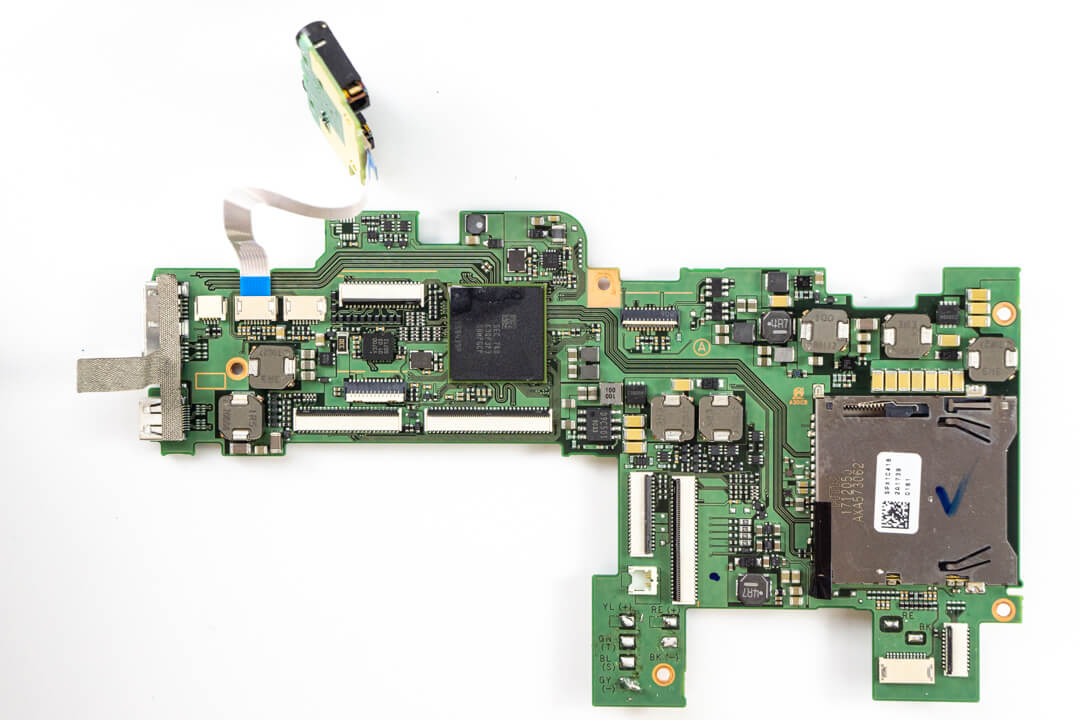
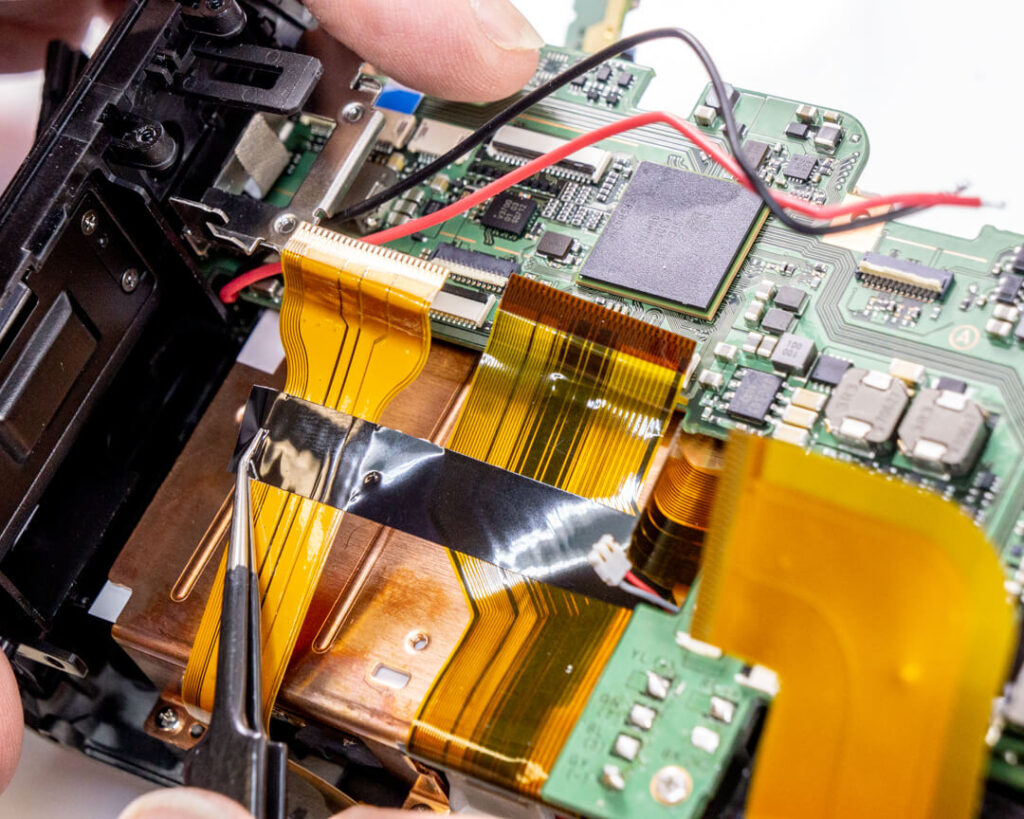
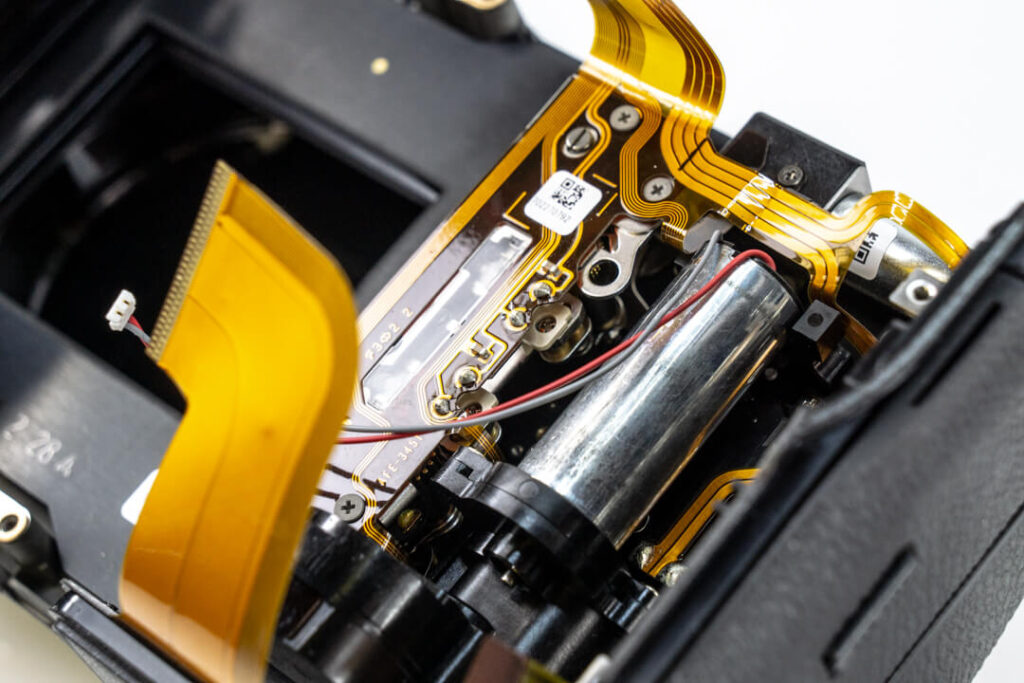
There’s a lot of board here, so lets hover over for a closer look.
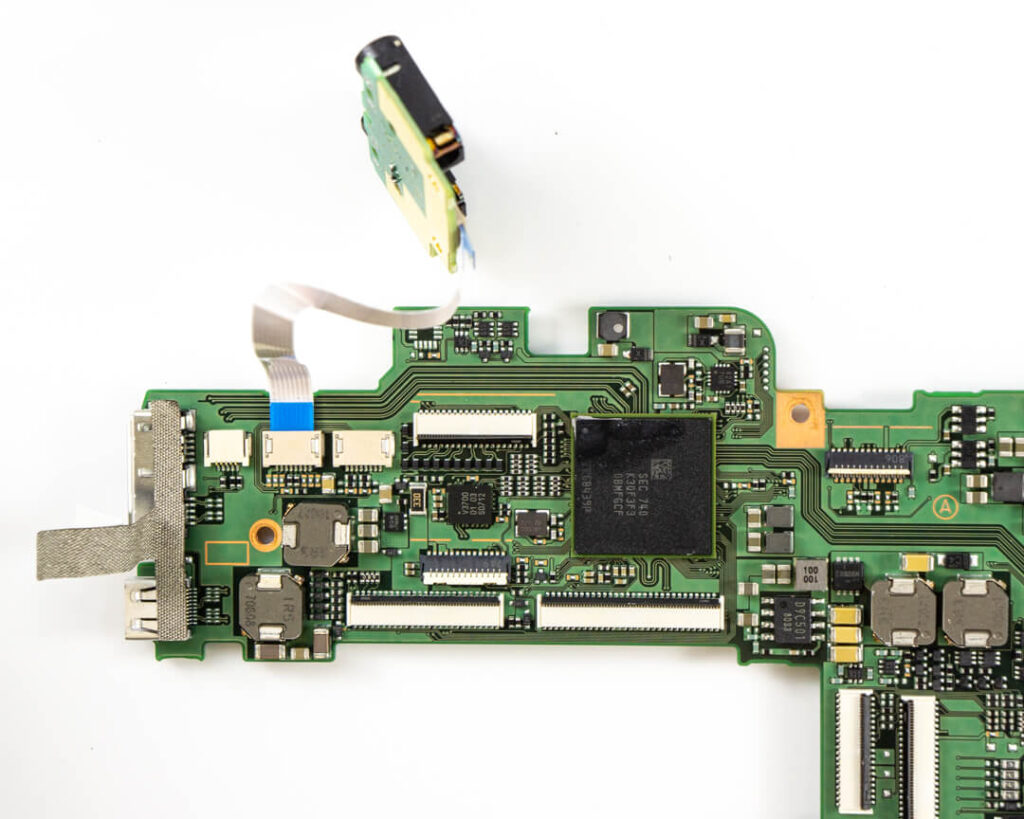
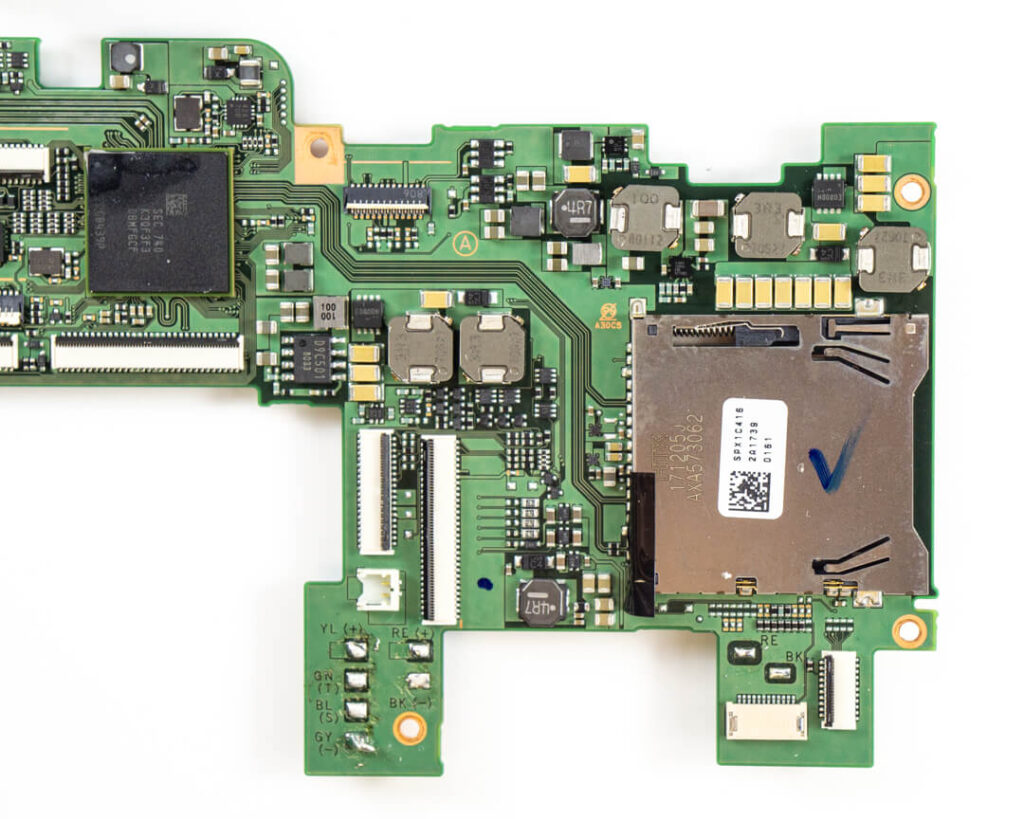
It looks like one of those dinosaur shaped chicken nuggets from back in the day, doesn’t it? Anyhow, there’s still work to be done. Moving on…
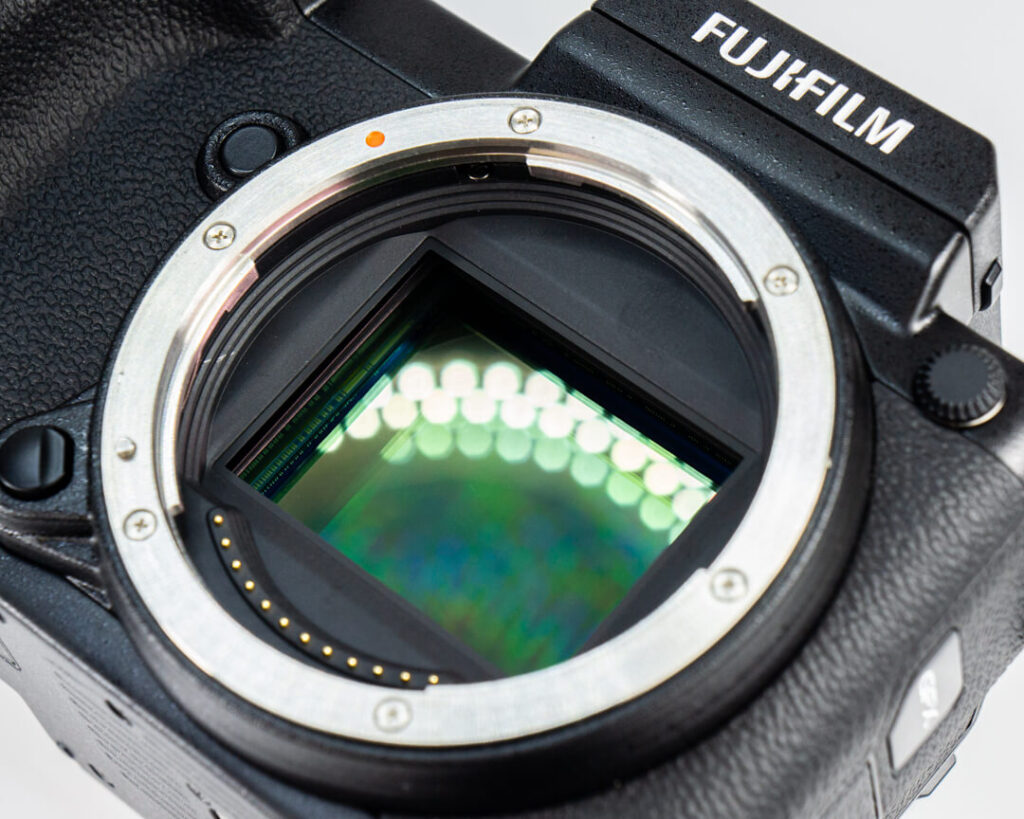
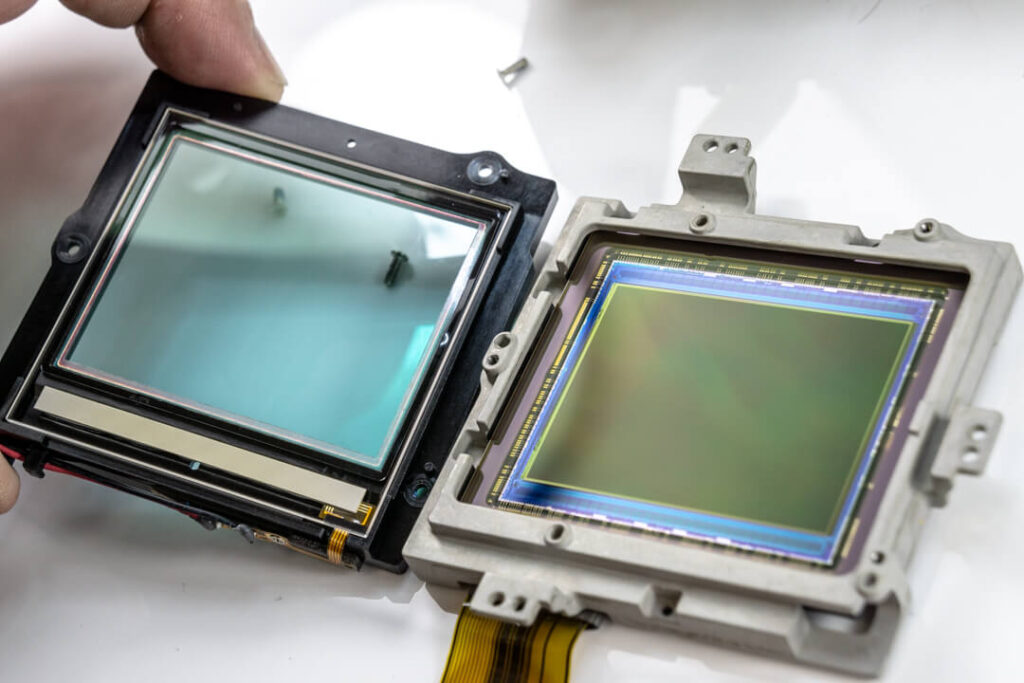
Removing the Fujifilm GFX 50S Camera Sensor
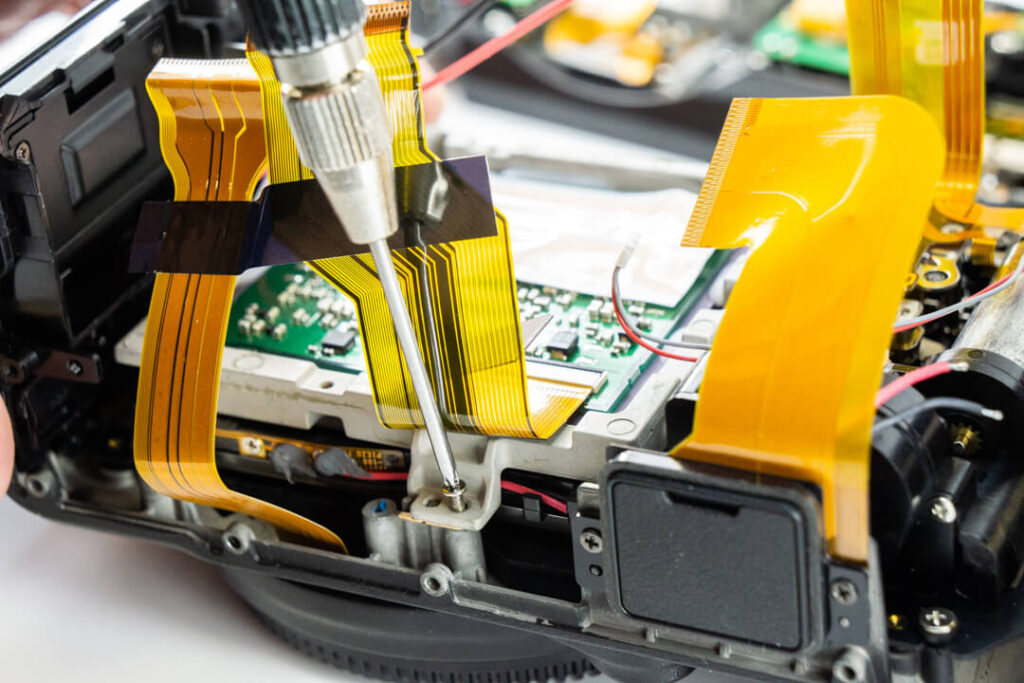
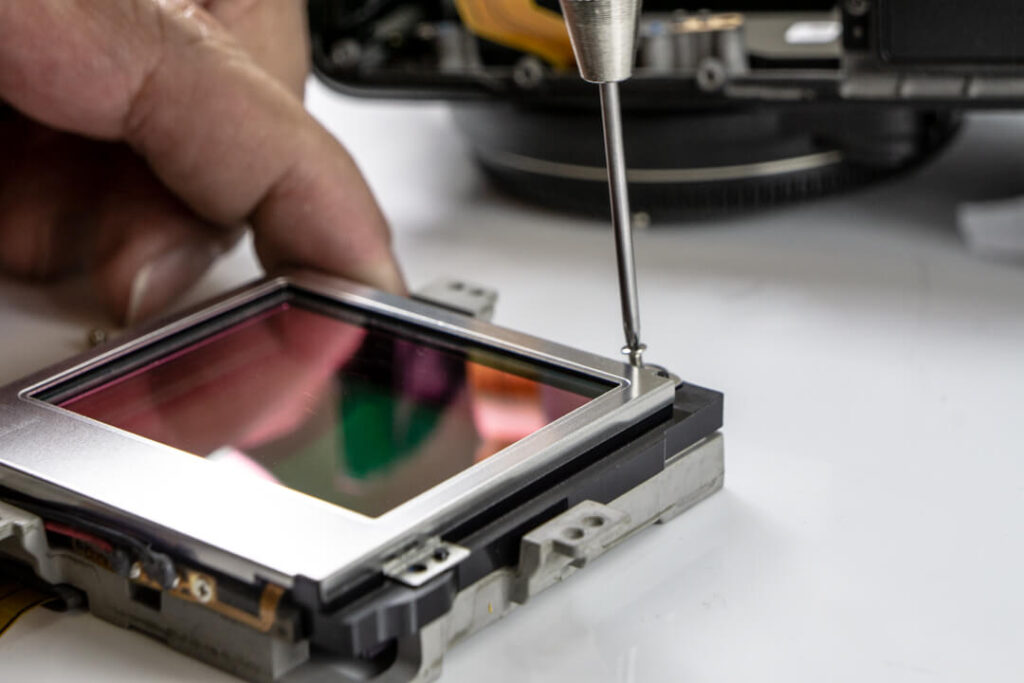
With the board removed and safely set aside, we can remove the large underlying copper plate that rests between us and that monster of a sensor.

Extract the screws on the top and bottom of the sensor’s backside. The sensor is held in alignment by being wedged just right into the frame of the camera body itself. This is a tried and true method manufacturers have used for a long time.
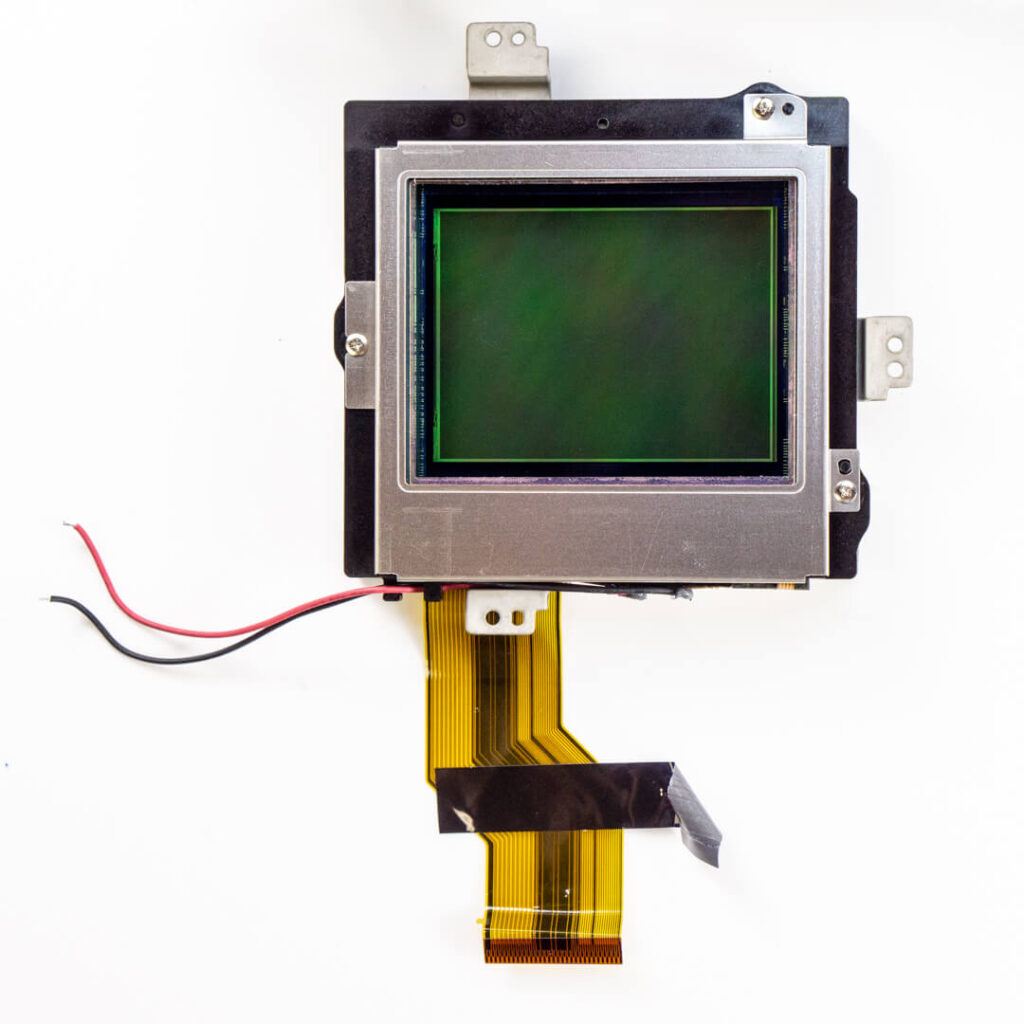

And, out it comes. You can now throw it into the bottom rack of your dishwasher for cleaning. (just kidding, camera sensors are not dishwasher safe.) This thing is huge. We can only imagine how big it would be if it had a whole IBIS assembly attached to it like the latest full-frame mirrorless cameras’ do.
A closer look at what’s still attached to the body. You can see thick weather sealing in the panel gaps as well. While not nearly as titanic as the full-frame Panasonic S1R, this is a big camera that punches hard and should keep punching due to what appears to be some very wise design choices. Though, it is clear to see why Fuji might be tempted to shrink this body down into, perhaps into a 50R, since they have all of that extra room.
Fujifilm GFX 50S Full-Spectrum Conversion and Final Thoughts
Now, while conducting full-spectrum conversions, which we now support for medium format models here at Kolari, we remove the massive IR/UV cut filter permanently and set it aside so that it can be replaced with full-spectrum or infrared glass. (This work is done in a clean chamber.) As always, head to the comments section to let us know what you think and point out any interesting bits we may have missed!


8 Responses
Awesome post! I’ve wondered what the inside of a camera looks like, especially the Fuji MF beasts.
Hey glad you enjoyed it! We’re looking forward to doing the 50R as well as GFX 100 hopefully in the near future!
I think you did an awesome job. Thanks for sharing
Pat! Great piece of work on this teardown, but o such complexity and such a price tag!
As competition, I would offer my 1953 Zeiss folder: it’s mirrorless (!), It produces amazing 11 x14 prints, it fits in my hip pocket. It cost me $200.
hi, nice carefull work there , one question though . After the dismantle , do you re assemble the camera too ????
Haha of course, that’s the hard part.
I’m curious if the GFX native lenses have any hotspots. Have you tested them with an IR conversion?
This is a really interesting piece, and I’ve been loving IR on my Fuji X-series camera. But I have to wonder, has anyone at Kolari tested yet for IR Hotspots on the GFX lenses yet?