Canon EOS RP Camera Overview
I’d think most people were pleasantly surprised with the release of the EOS RP. Full-frame mirrorless cameras were getting increasingly sophisticated, which is a good thing, but they were getting increasingly expensive along the way. After all, it’s the enthusiast and pro-sumer crowd that wants mirrorless cameras more than anyone else. Top tier professional photographers are still largely sticking with traditional DSLRs, for now. The only full-frame mirrorless options for that growing crowd of serious but not seriously paid photographers were the now 5 year old (time is really flying) Sony A7 II or the even older and clunkier A7. Anything with current tech would run you $2,000 minimum, namely the A7 III. I’m not saying this camera wasn’t an absolute steal considering what it can do, but $2,000 is still a lot of money for most people who do not shoot full-time for a living and leaves little room for modern, mount-native glass. If only there was something to fill that gap. Canon has seized this opportunity, with $1,300 being the first of the EOS RP’s many impressive specifications. The ability to put out low-cost, high-performing designs like this might explain why Canon has been so adamant about never integrating in-body stabilization. As we know from our previous teardowns, these IBIS systems add a ton of bulk and extra cost to a given camera body. There are also recent models like the bare-bones EOS 4000D that show us how… resourceful… Canon can be when it comes to keeping down costs. They definitely did not sacrifice green paint and a metal lens mount ring on the RP, however. So, just how did Canon manage it?
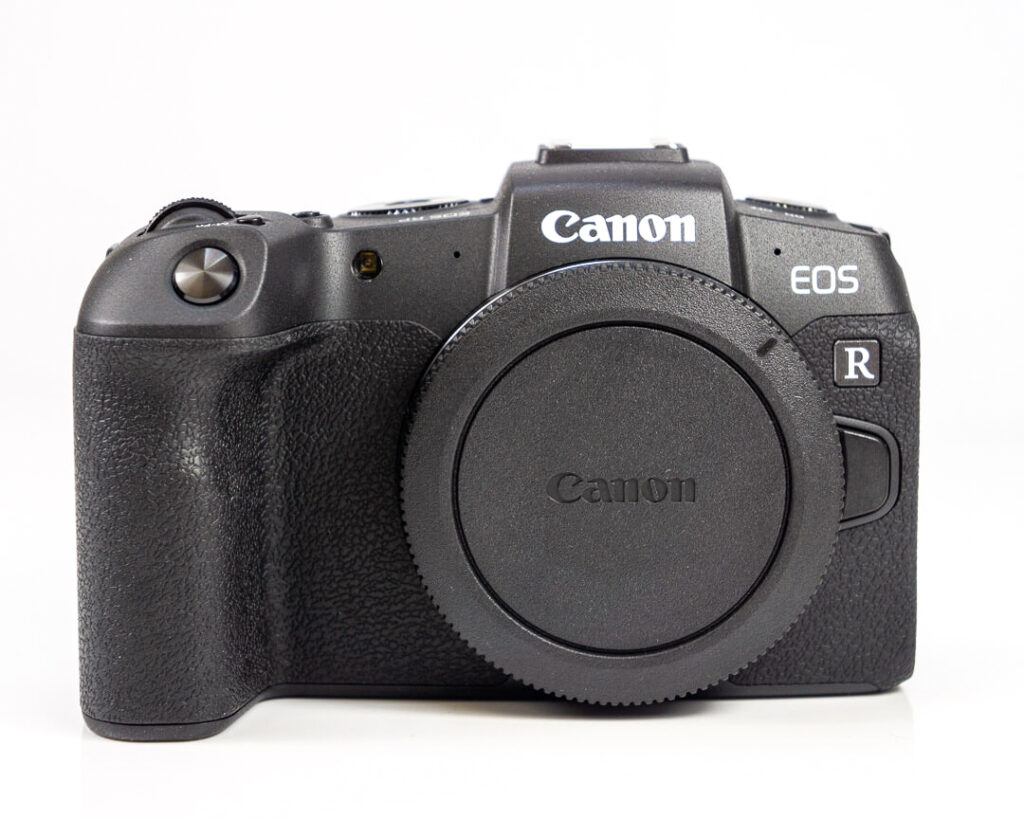
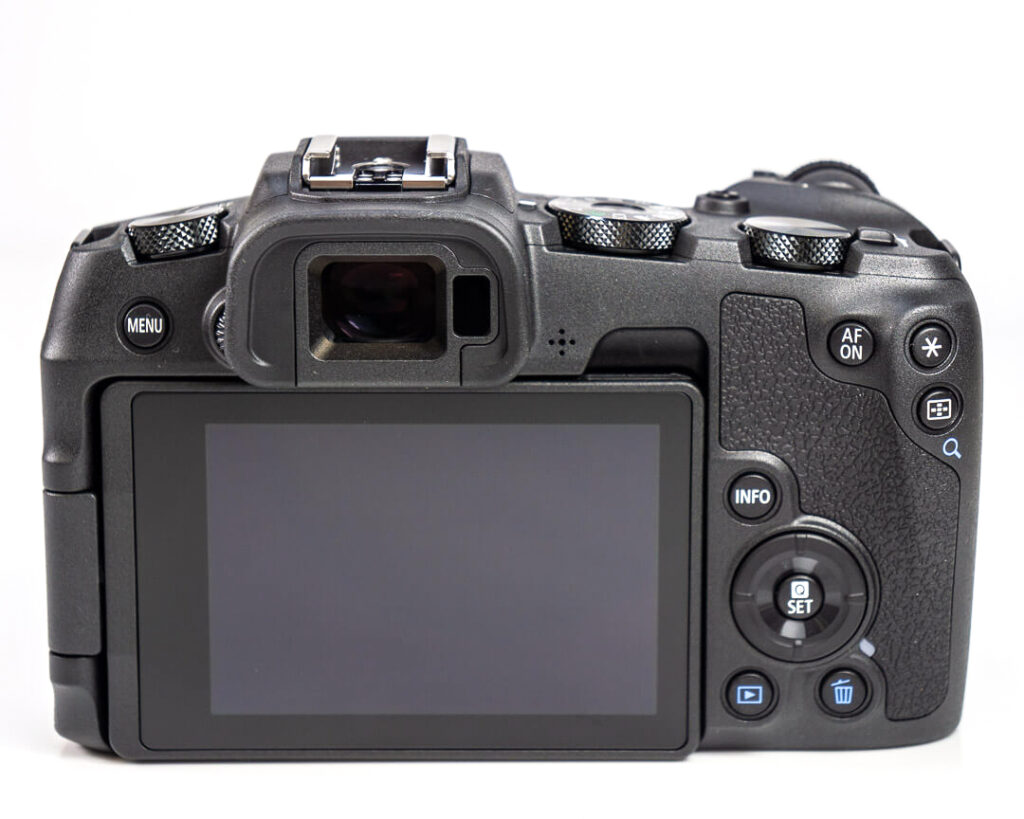
Canon EOS RP Body Design and Weather Sealing
The first thing you notice is that the RP has retained the EOS R’s thoughtful ergonomic form and very pleasing-to-touch finish. The touch bar is gone, if anyone was wondering, but overall the camera feels very similar in the hands while being smaller and lighter than the R.
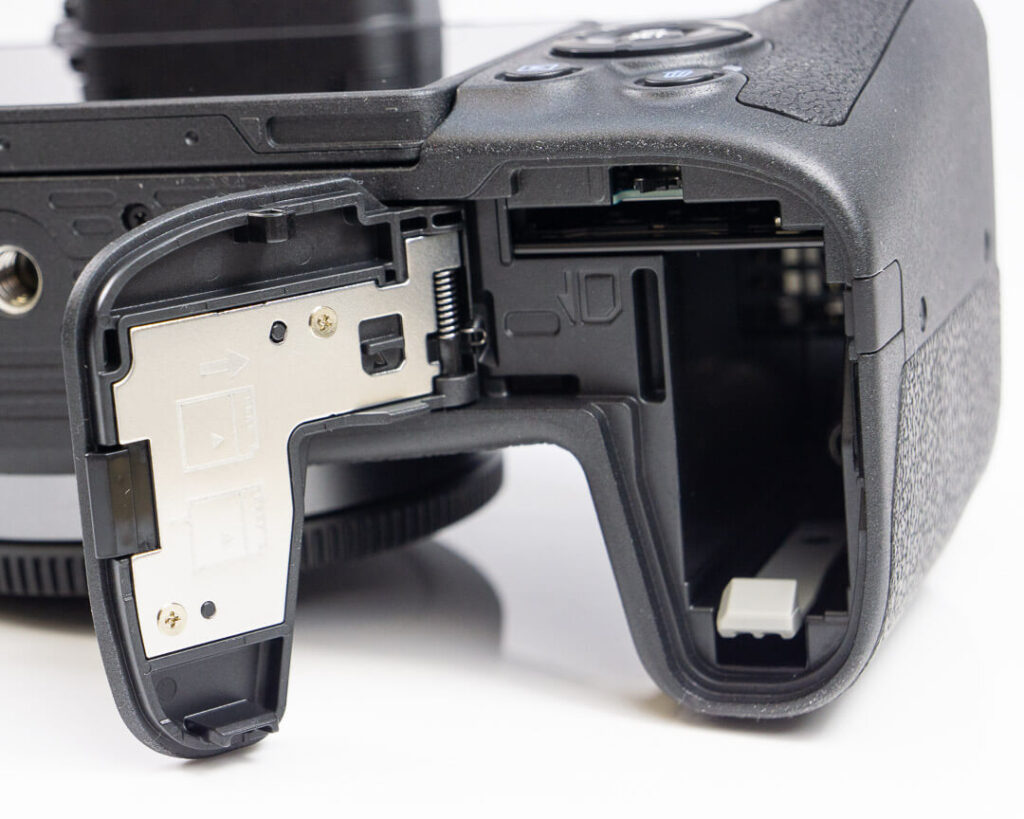
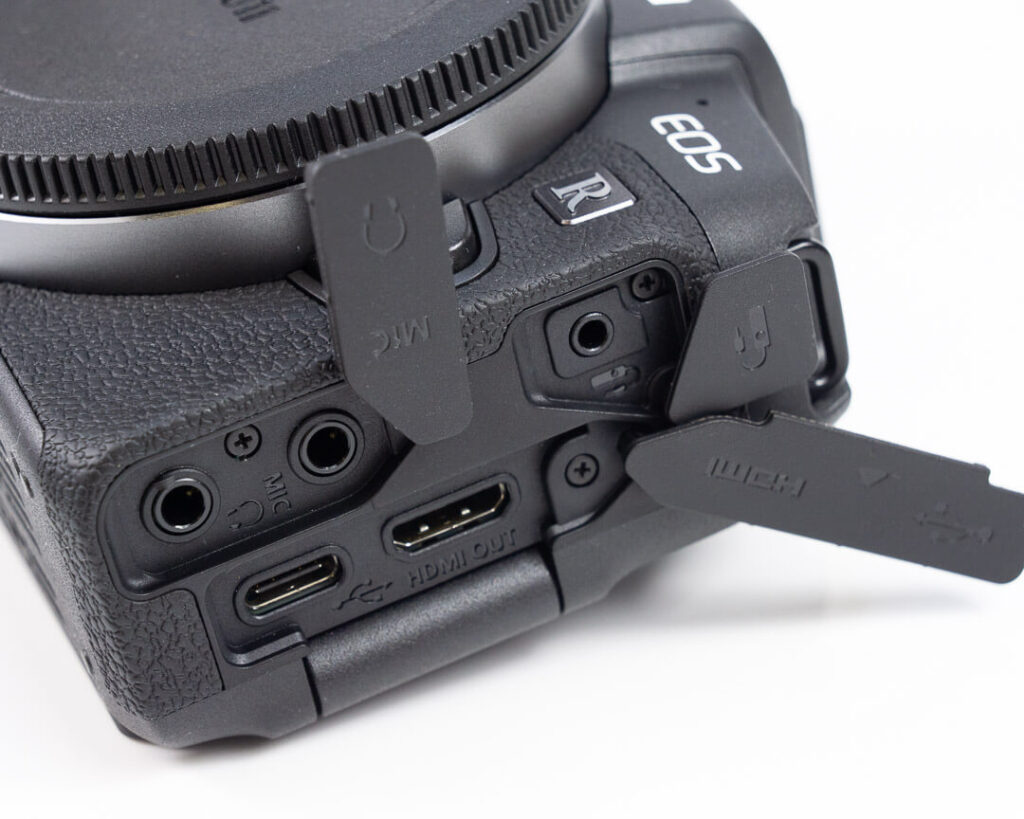
External weather sealing, on the other hand, is greatly reduced if not completely absent on the RP. The rubberized battery door we originally found on the R has been swapped out in favor of bare plastic. The deep ridges meant to protect the ports on the left side are also gone, leaving those connections more vulnerable to the elements.
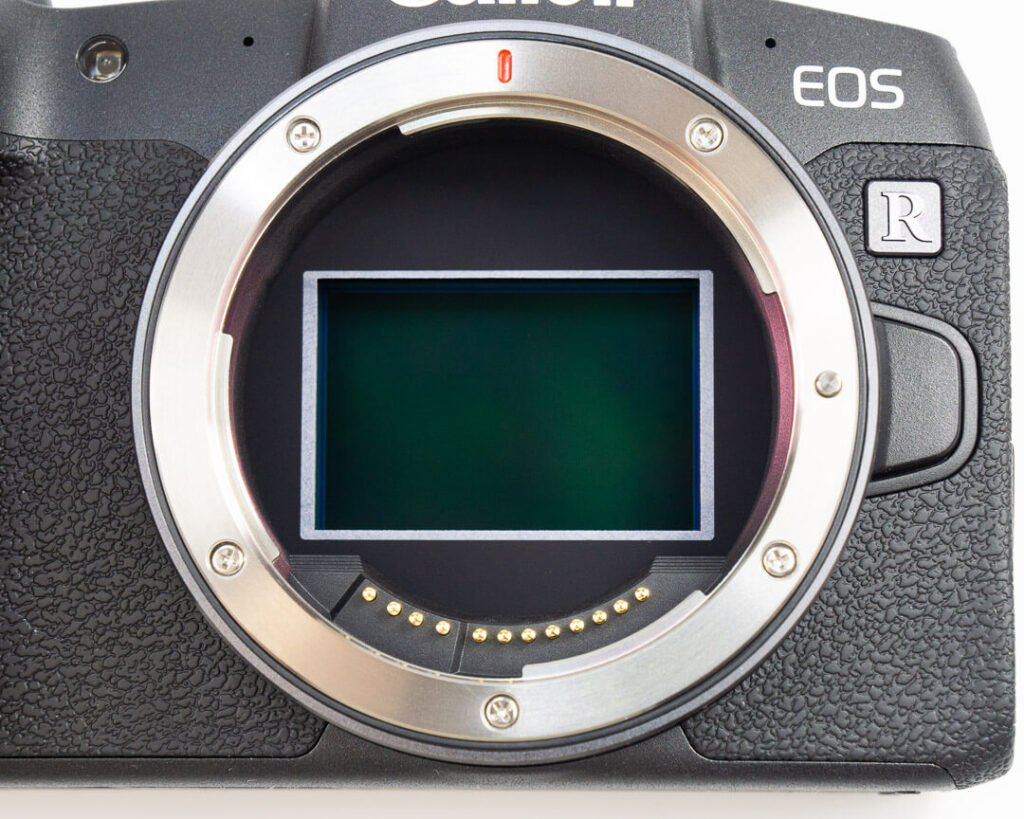
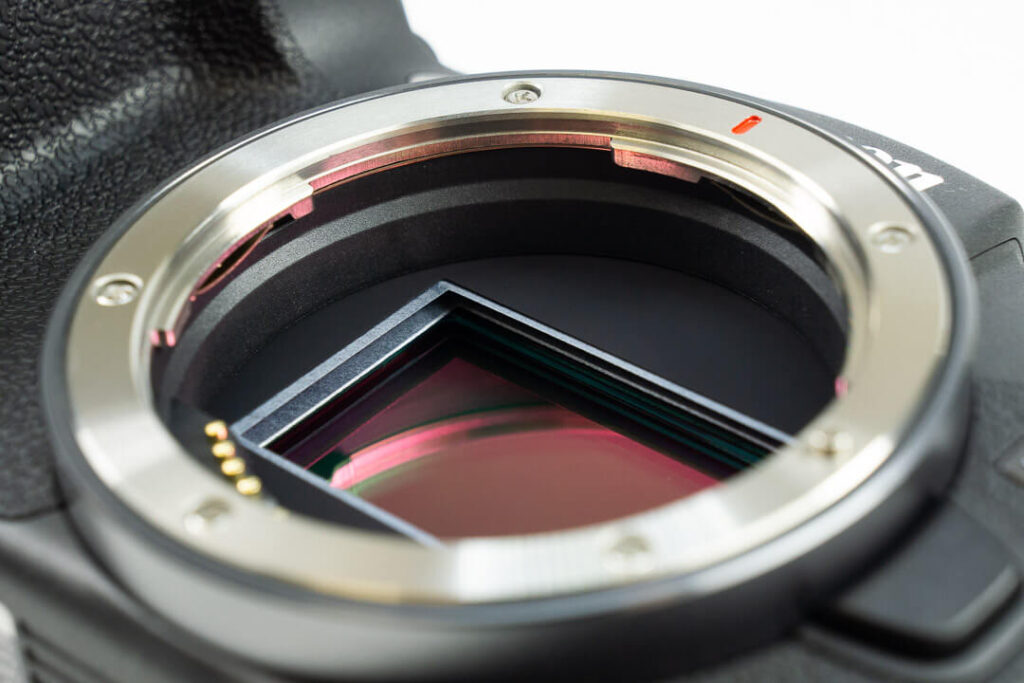
The EOS RP looks a little rough and unpainted around the edges inside the lens mount. This shouldn’t affect function any more than green paint on the mode dial would, but it was a bit of a surprise to us upon our initial inspection of the camera.
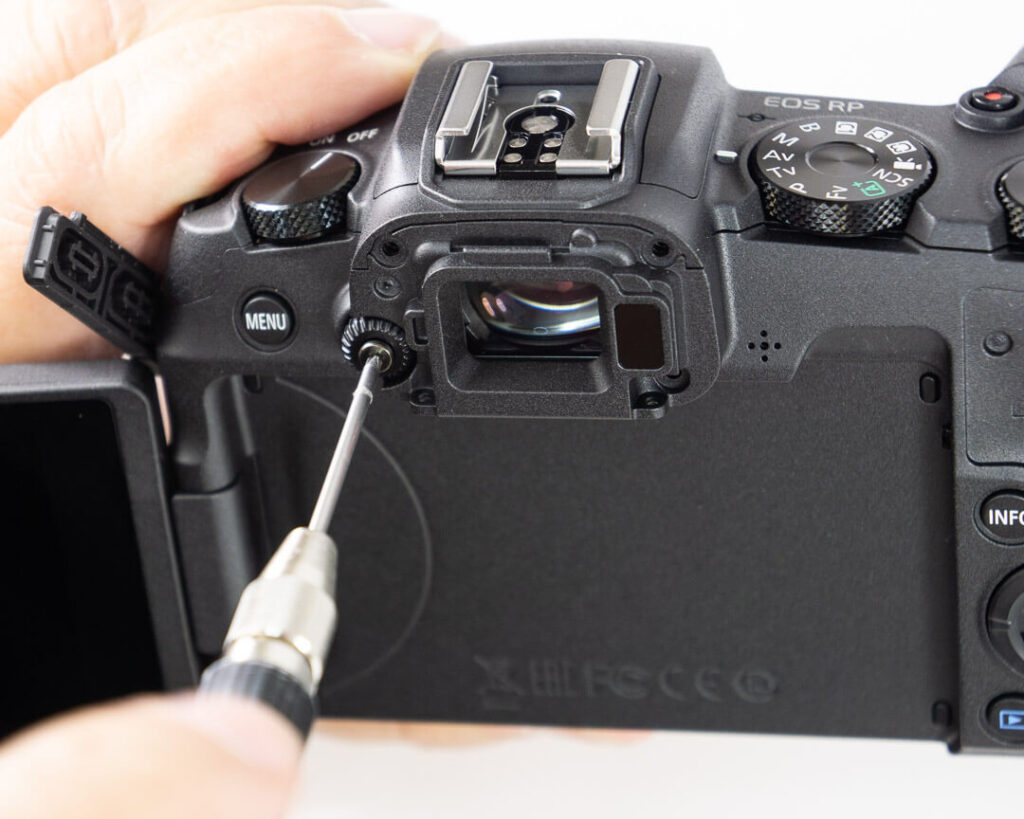
Starting the Canon EOS RP Teardown
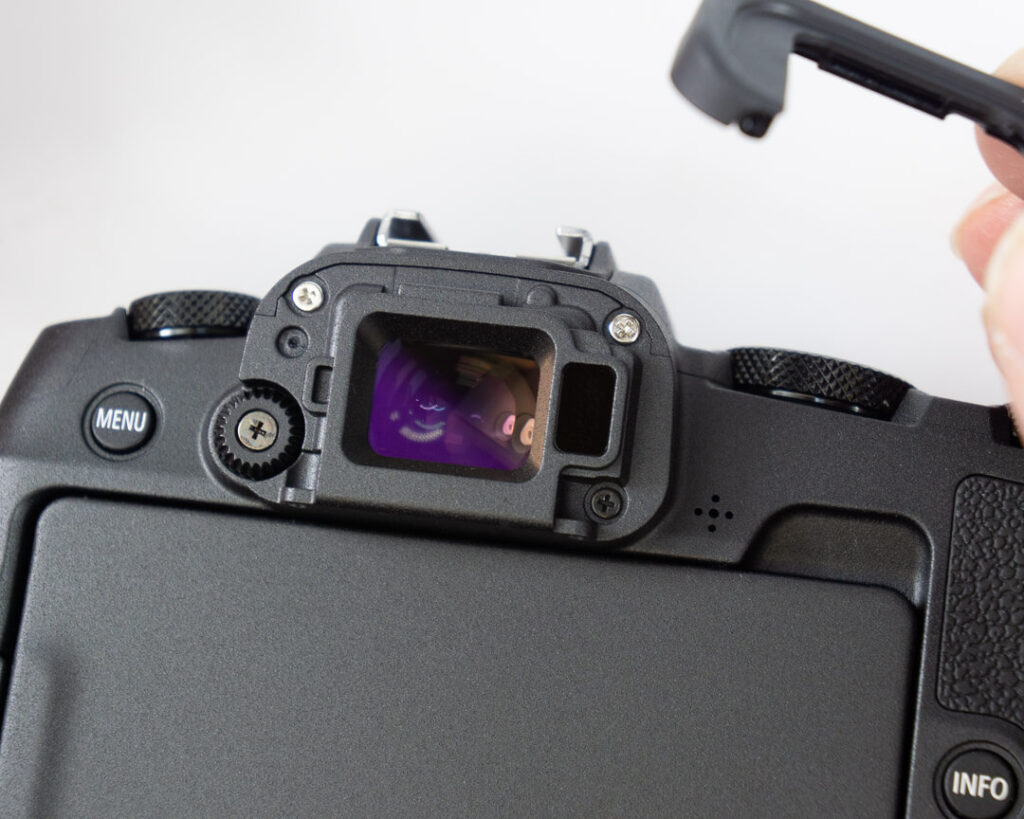
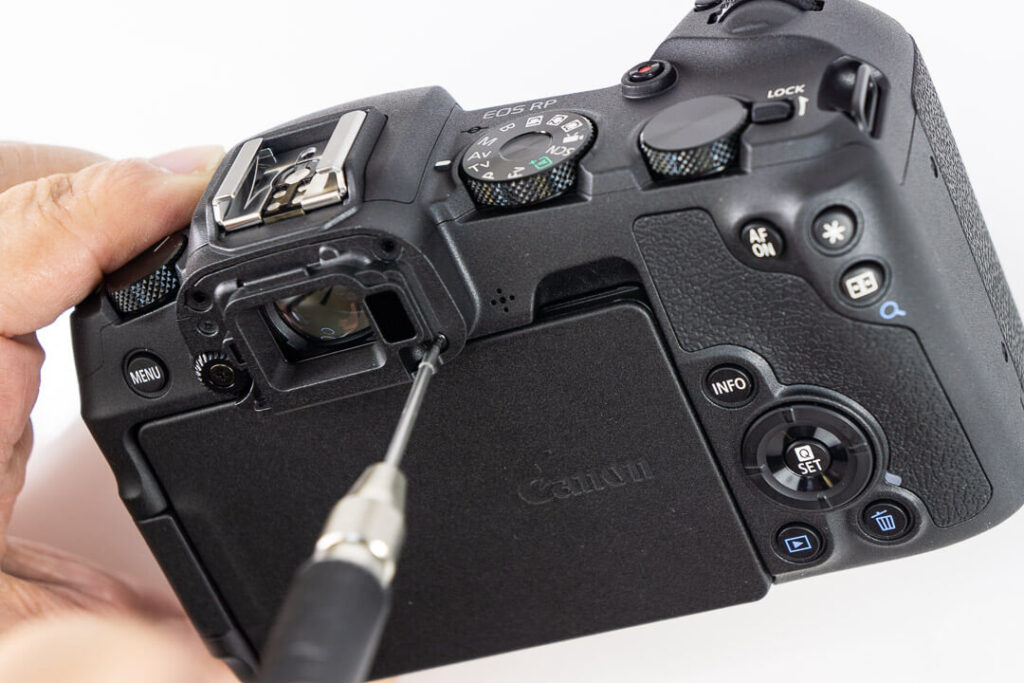
On to the disassembly. First, we have screws behind the very aesthetic rubber eyepiece and in the EVF diopter dial. The rubber on the left side also has to be stripped.
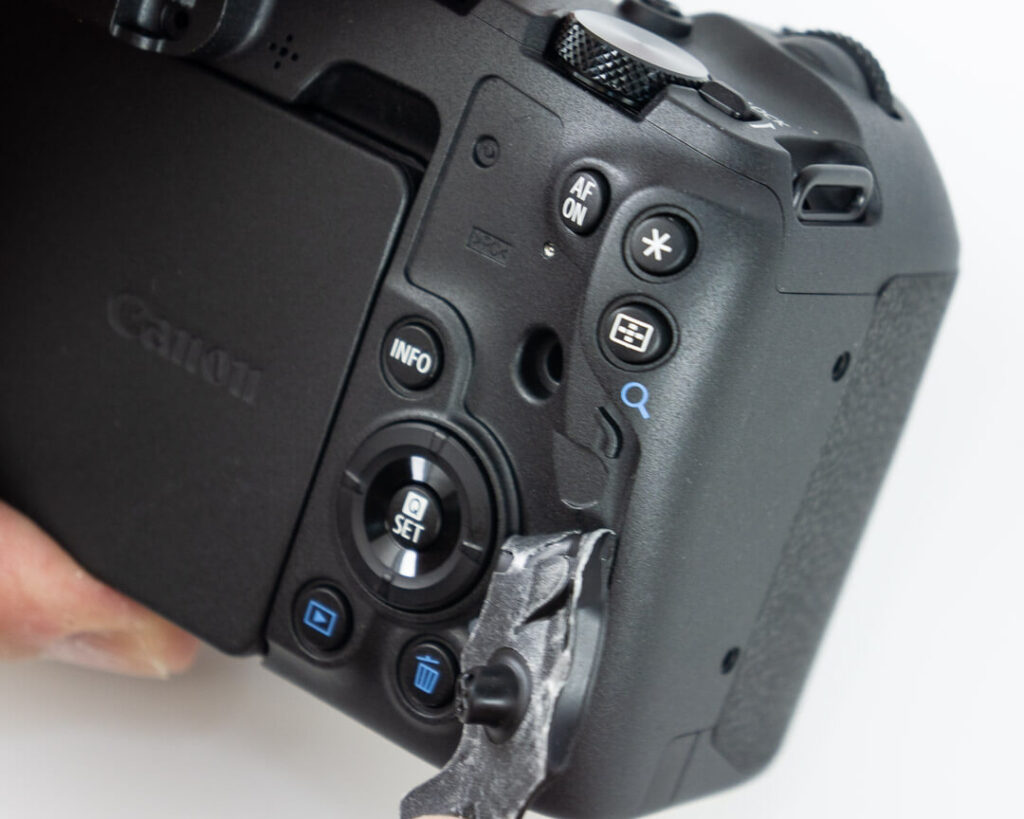
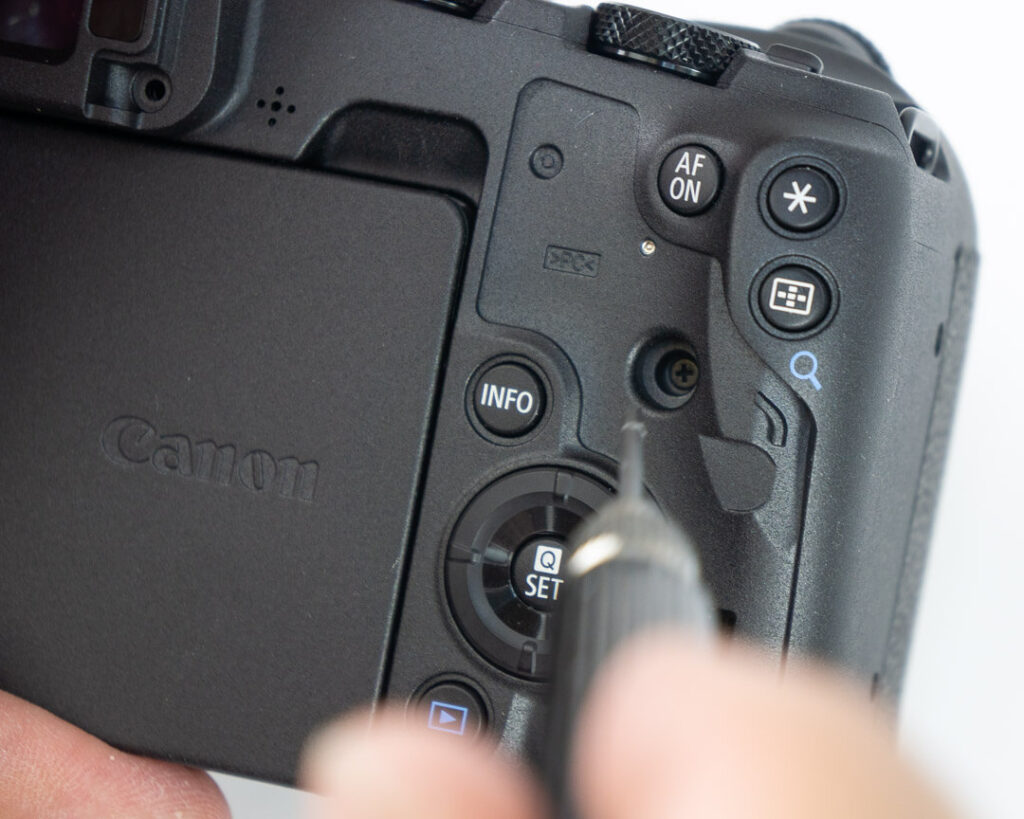
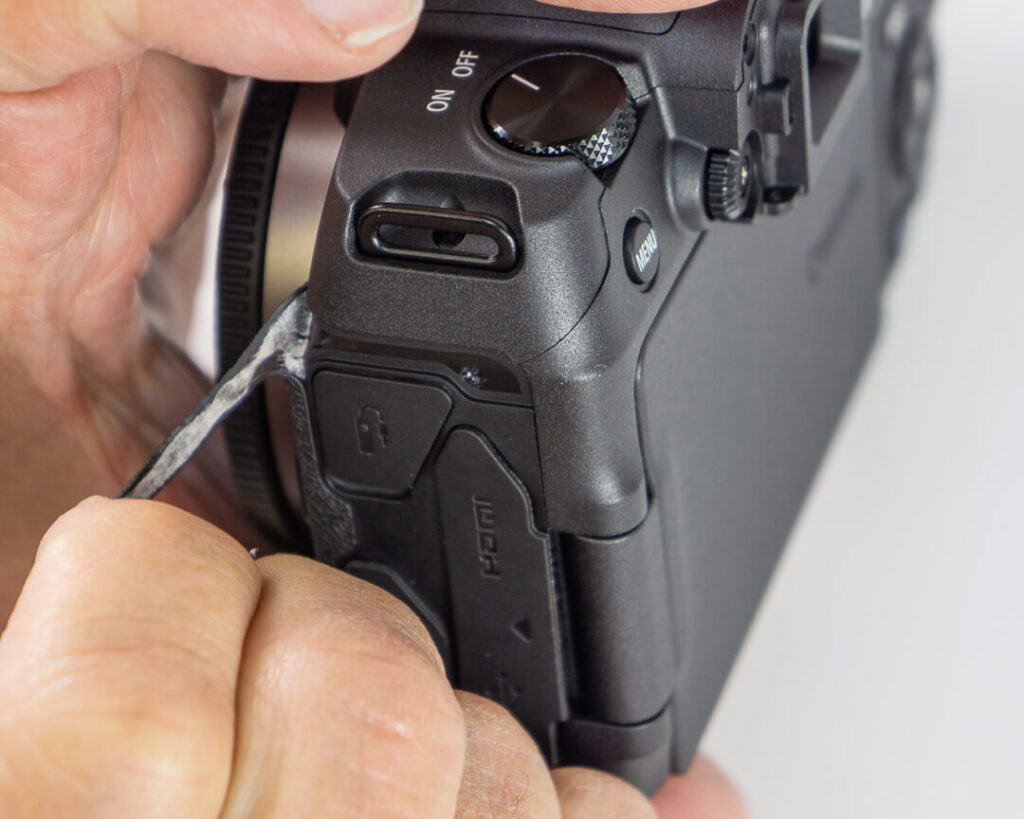
Removing Exterior Screws and Hidden Rubber Screws
A few more hide behind the button pad rubber which needs to peeled away, also like the EOS R.
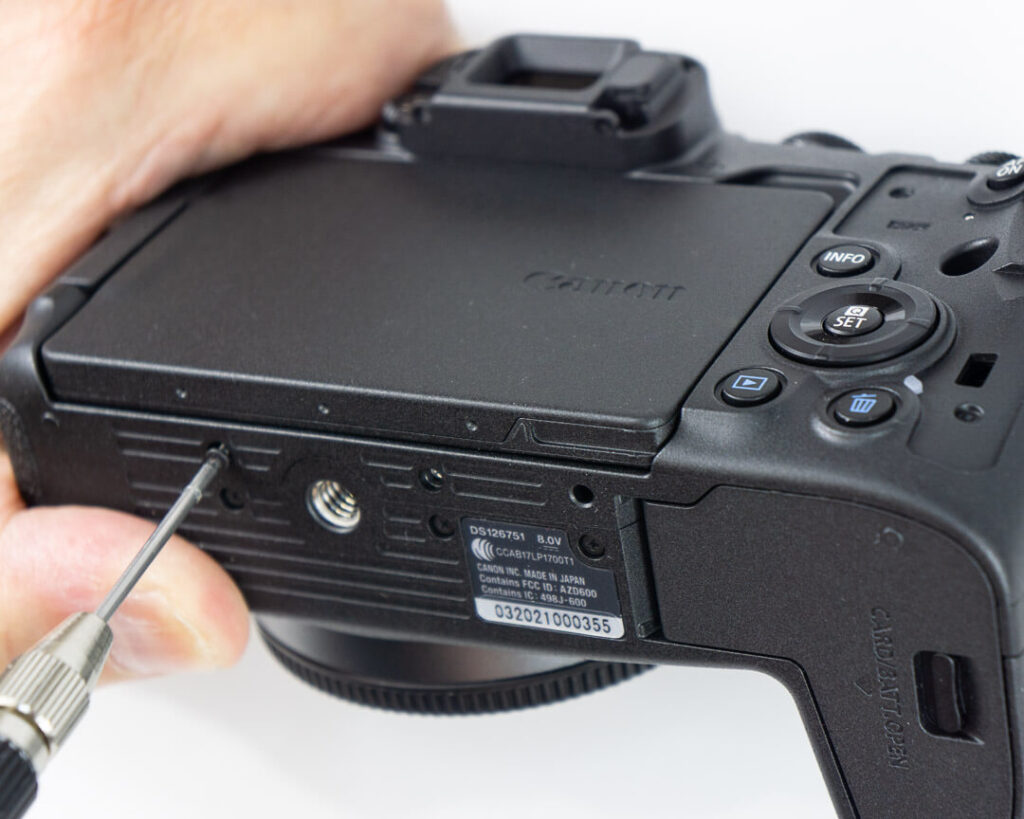
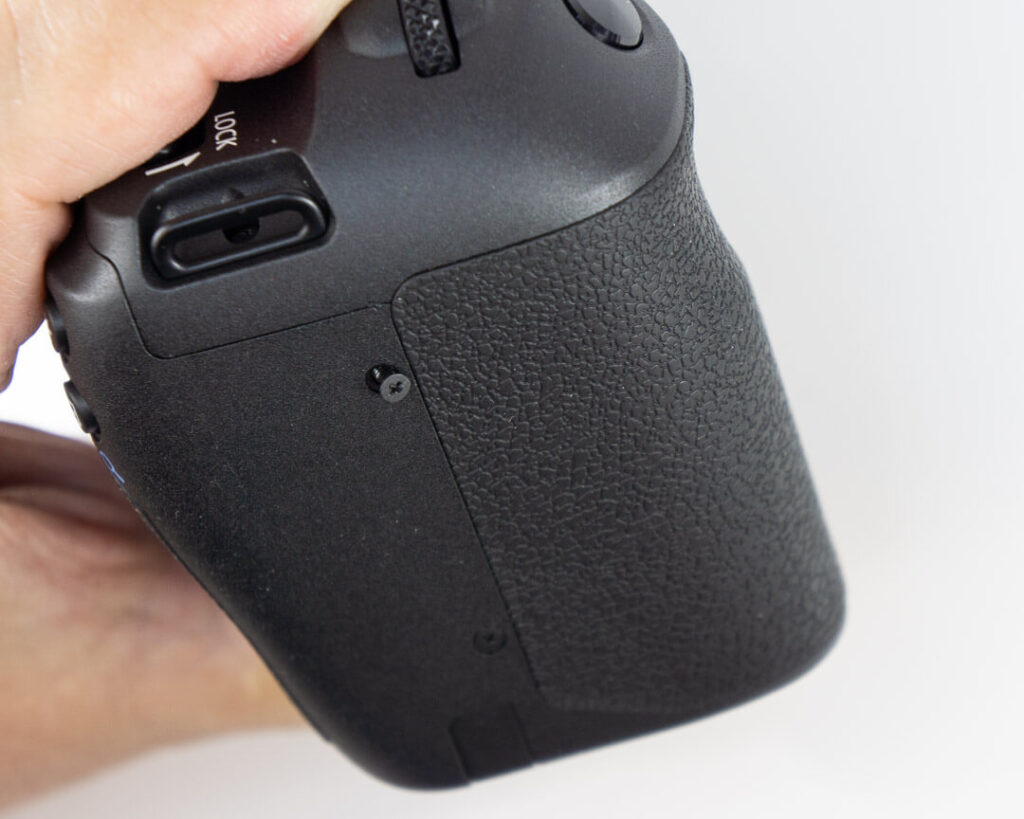
Next come the obvious ones on the bottom and right side, of course, taking a moment to appreciate the ergonomic form of the DSLR-like hand grip.
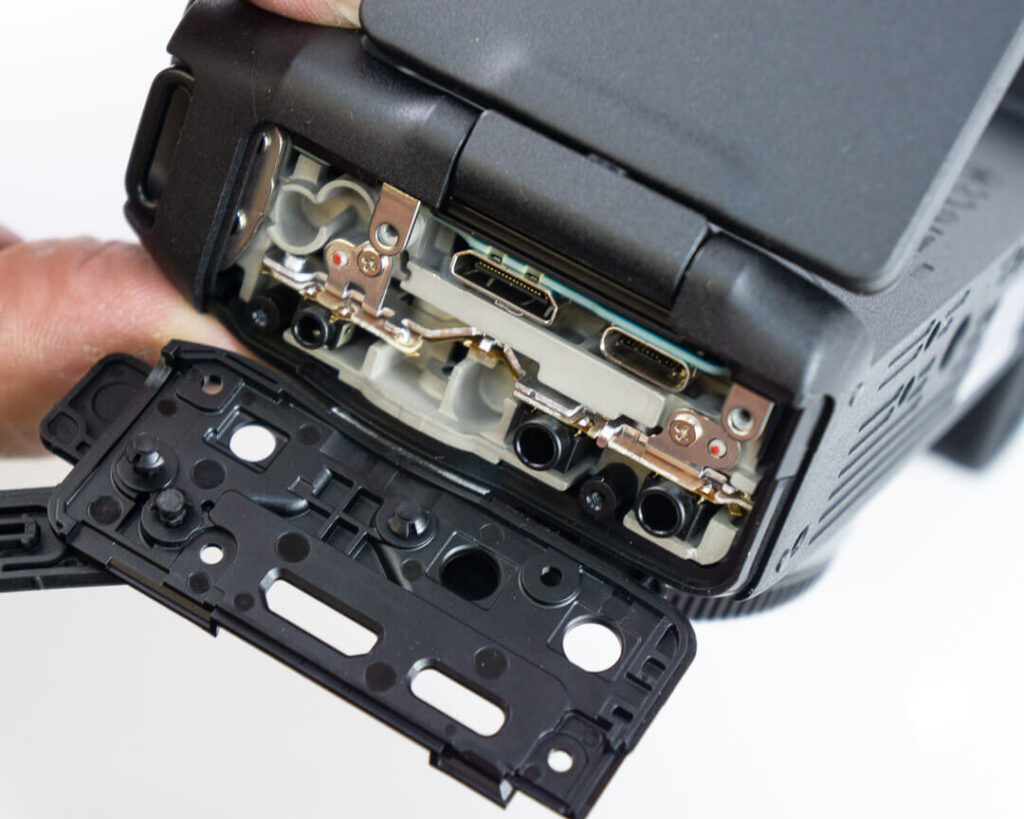
Remove the hidden screw under each rubber port cover, and the EOS RP will begin to reveal its secrets to you.
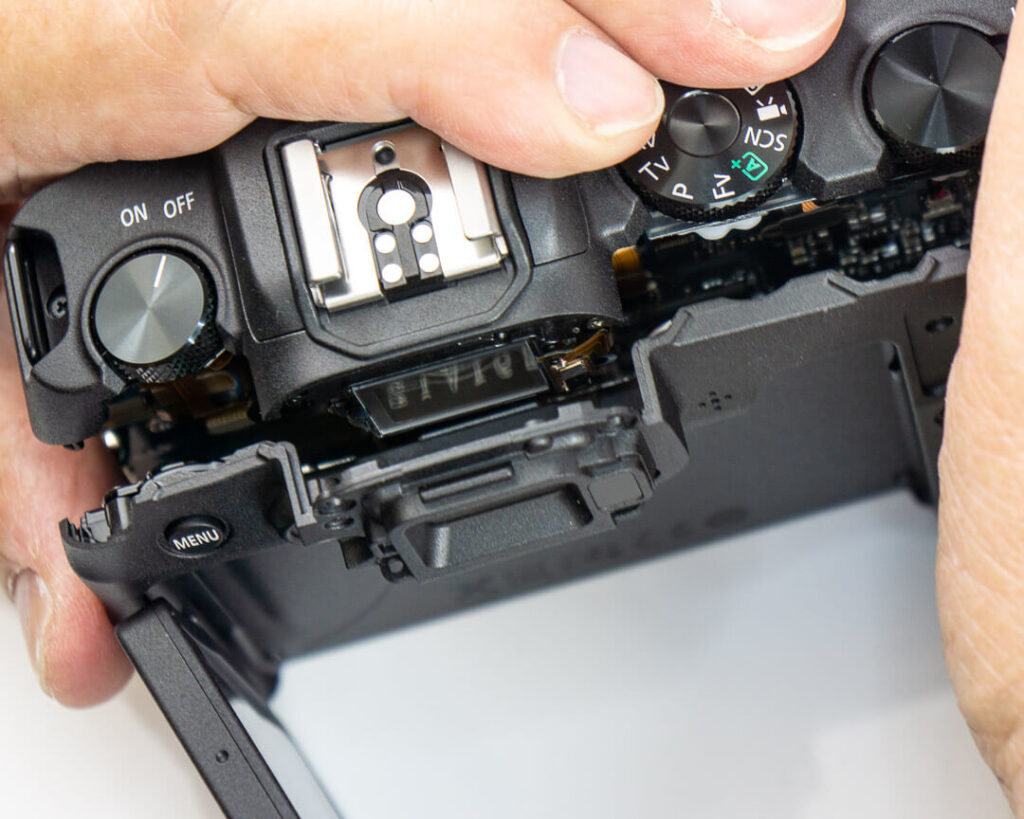
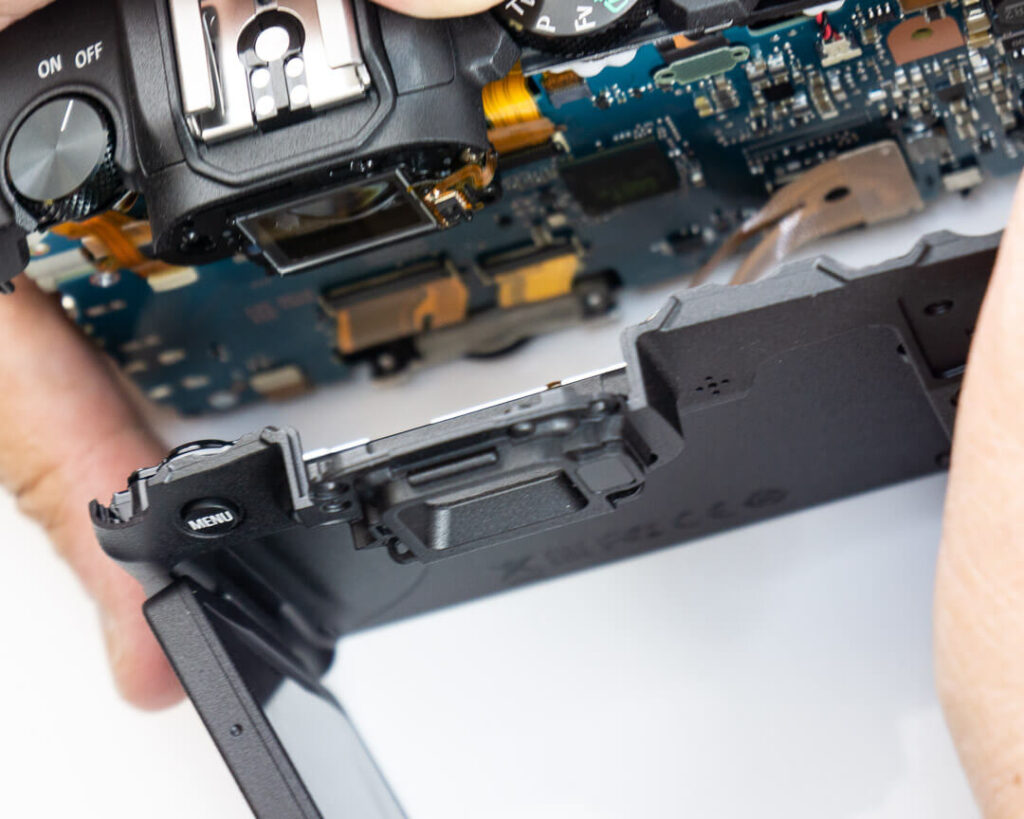
Opening the Camera Body and Rear Panel
The first of these secrets being how easily the RP comes apart compared to the EOS R. There is very little overlap of the parts that make up the outer shell. This will not weather seal the camera nearly as well. At this point, it’s obvious that survivability in adverse conditions got axed to meet the low price point, which makes plenty of sense. You probably shouldn’t expect professional durability from an entry level full-frame.
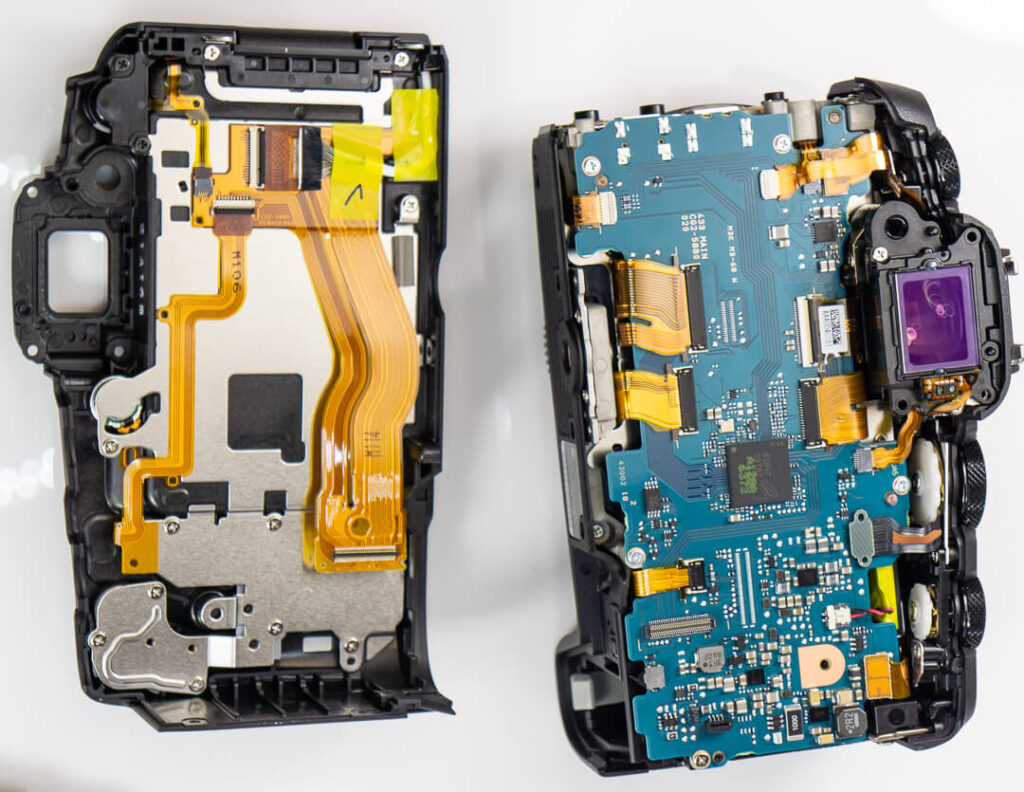
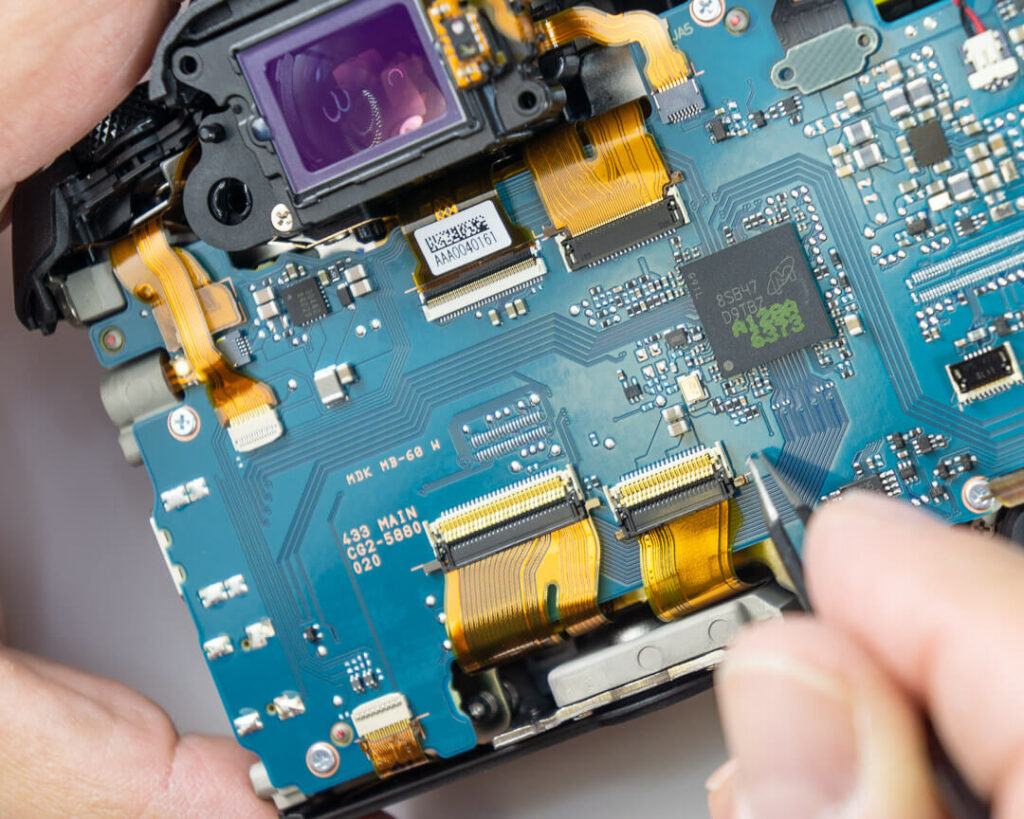
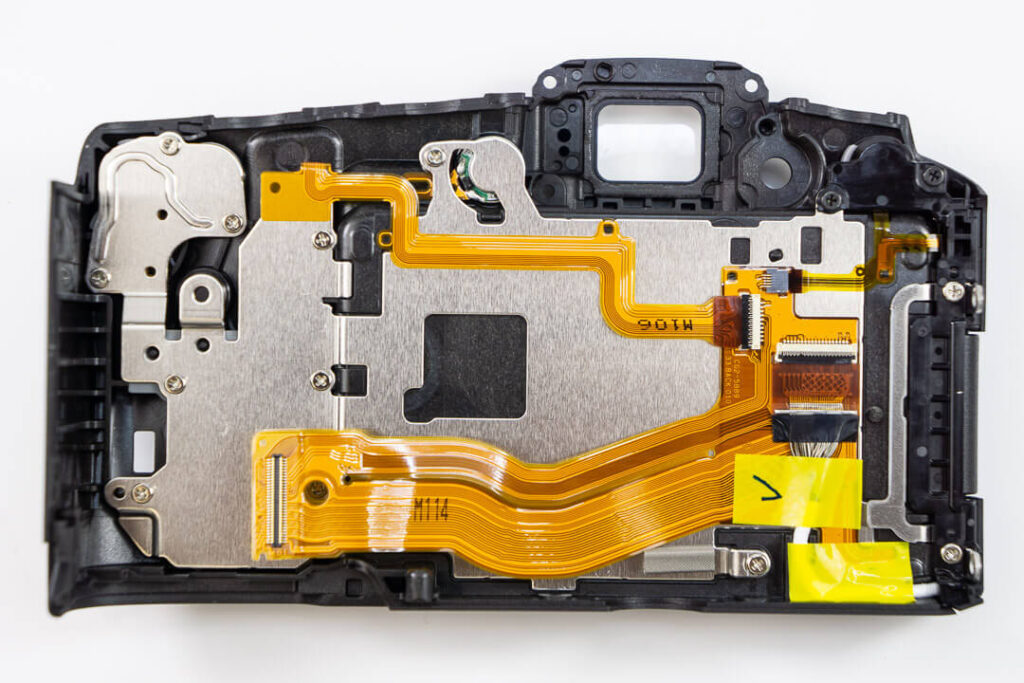
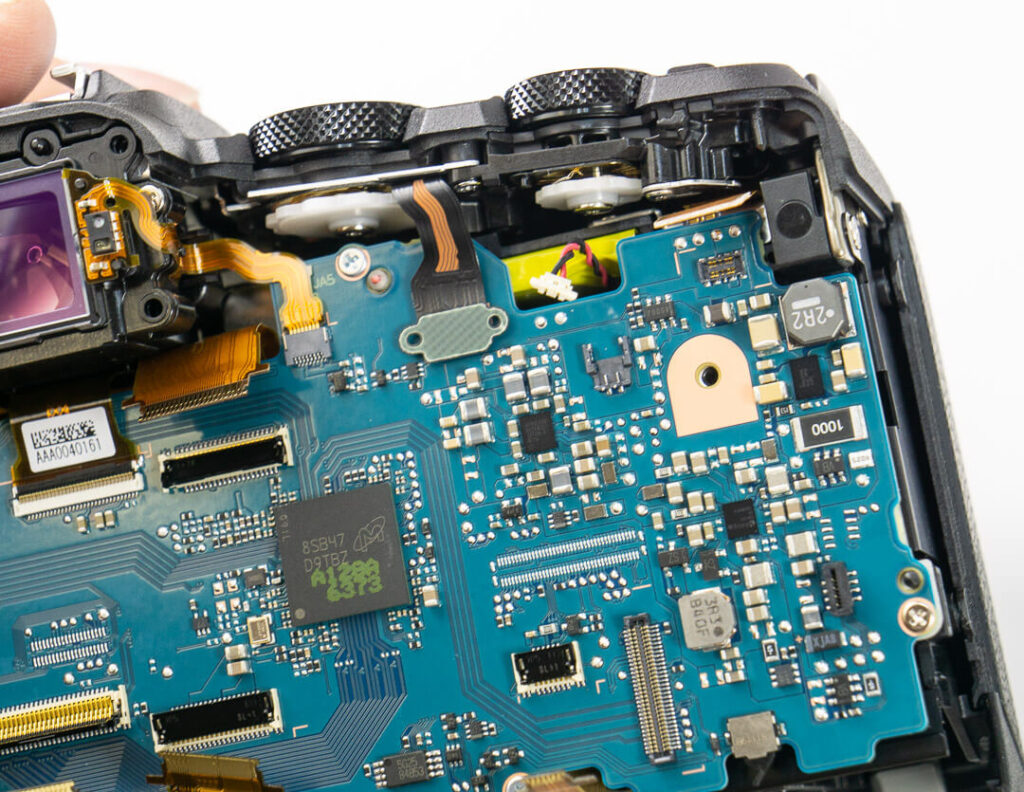
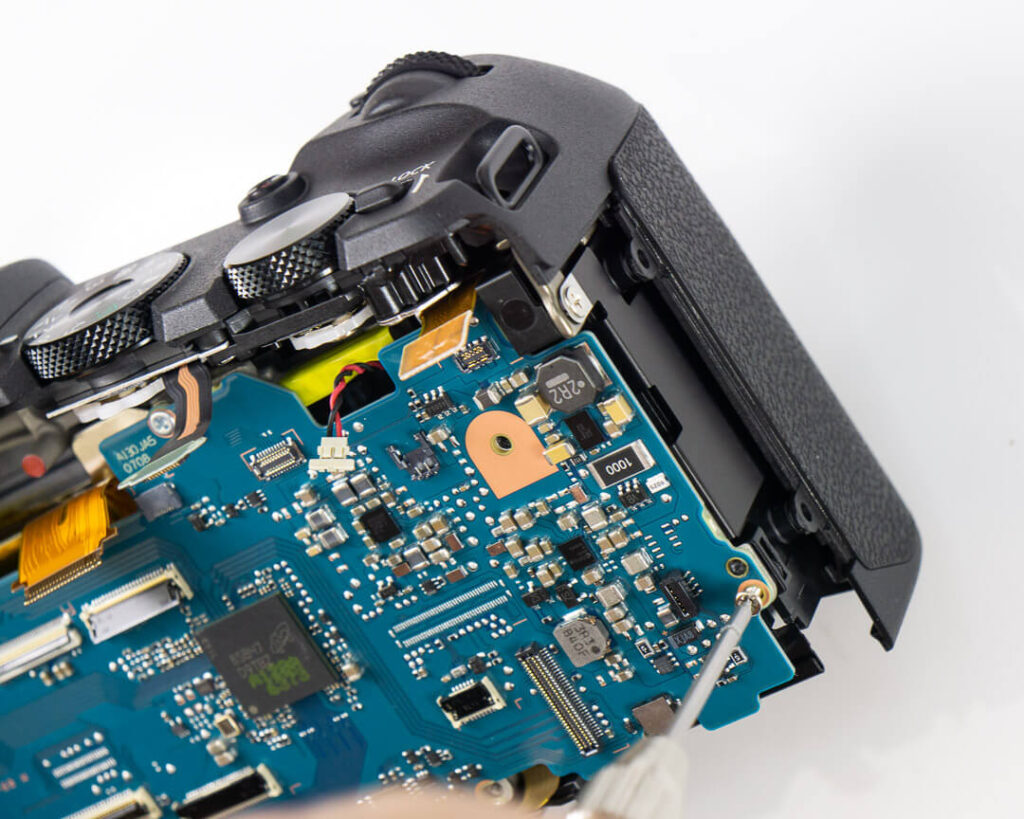
The RP opens up rather painlessly, and what lies underneath is arranged logically and easy to work with. This one was a fast technician favorite.
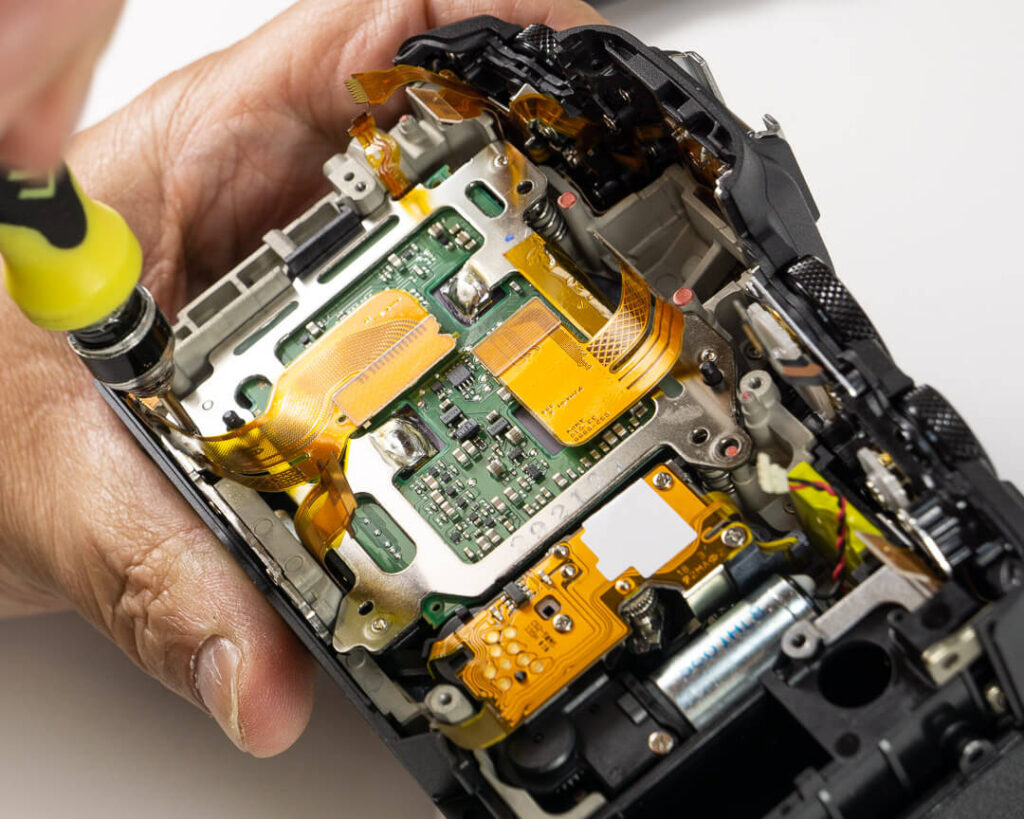
Removing the Canon EOS RP Main Board
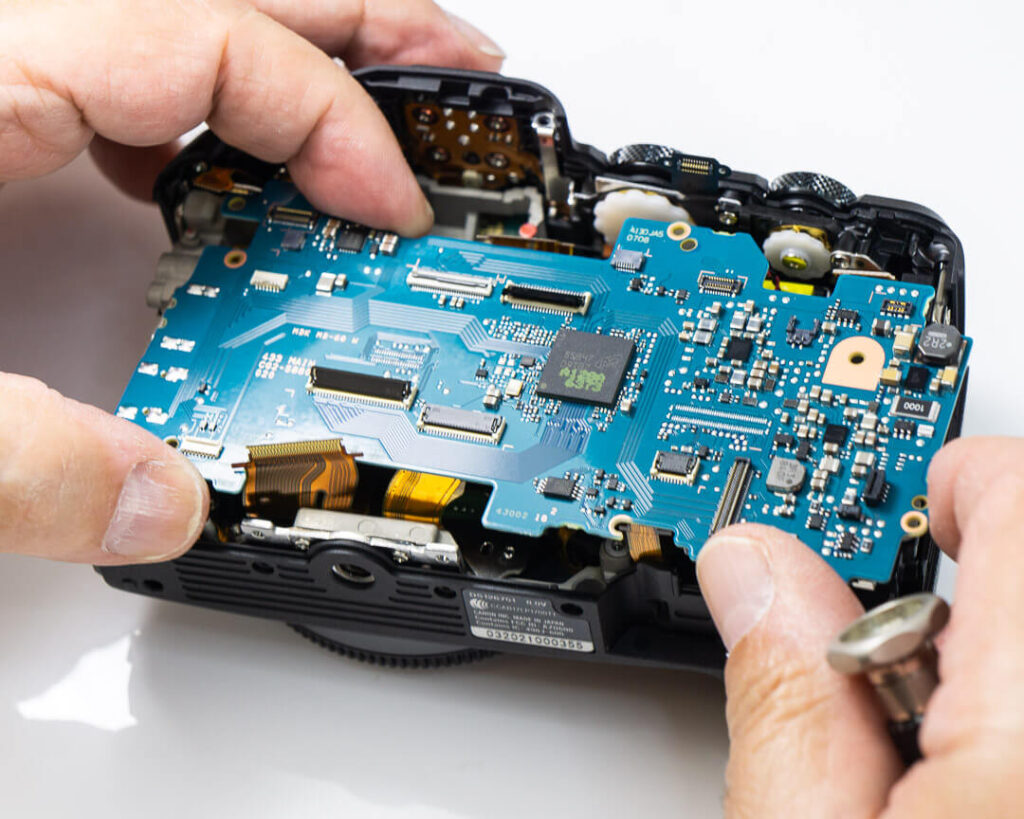
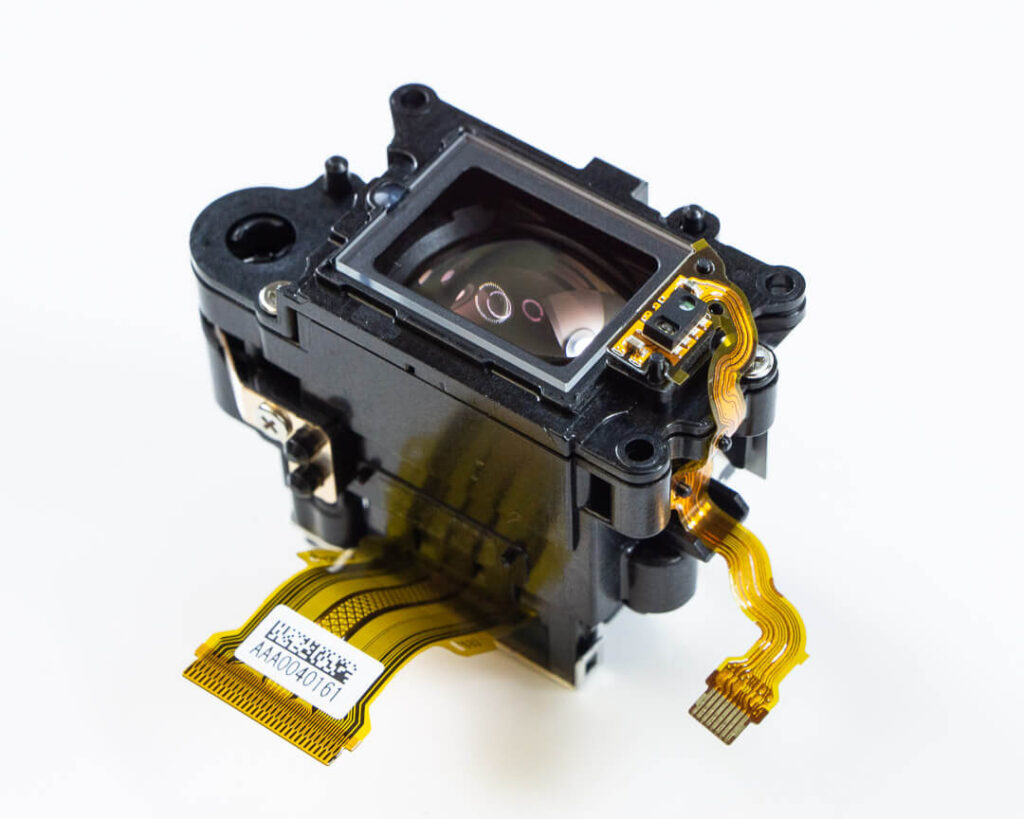
The main board lifts out easily with the removal of the EVF and 4 more screws. No nasty surprises like hidden cables that tear when you try to extract the board.
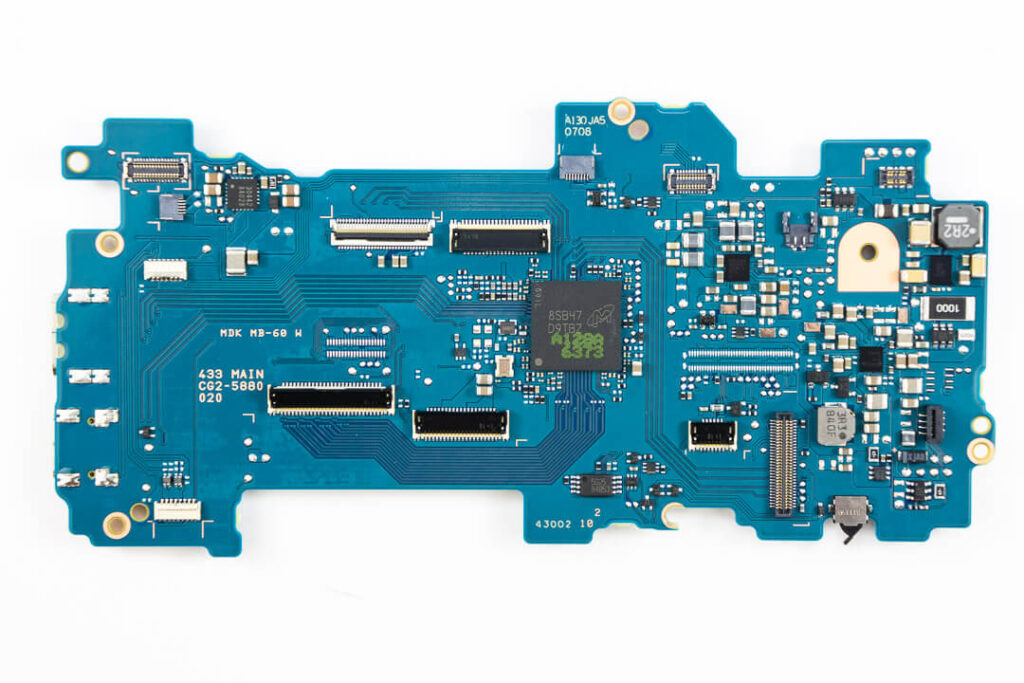
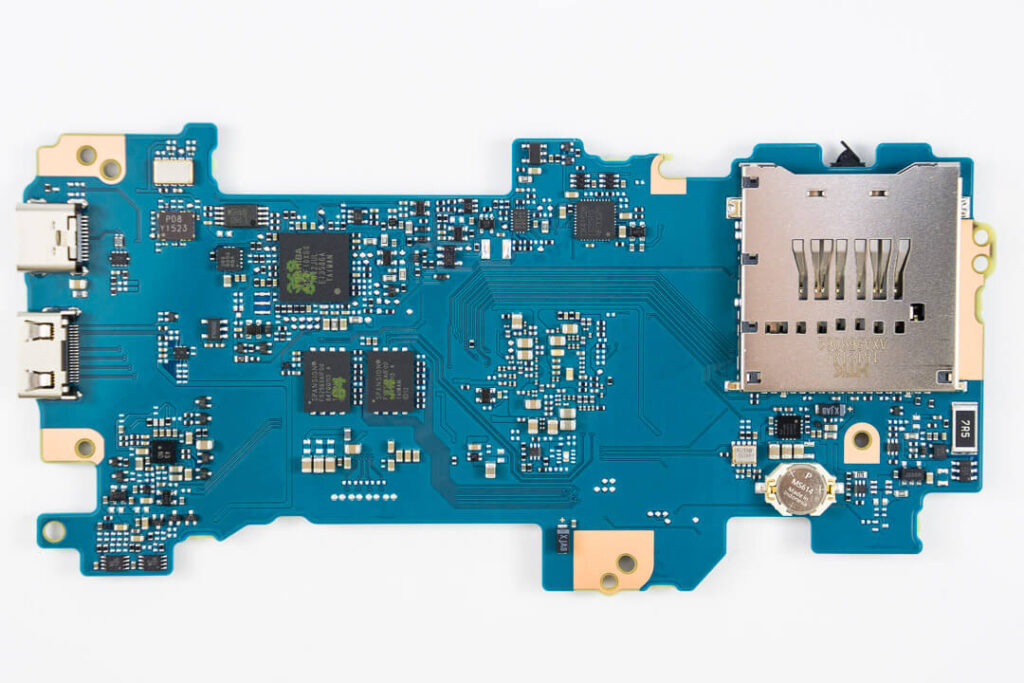
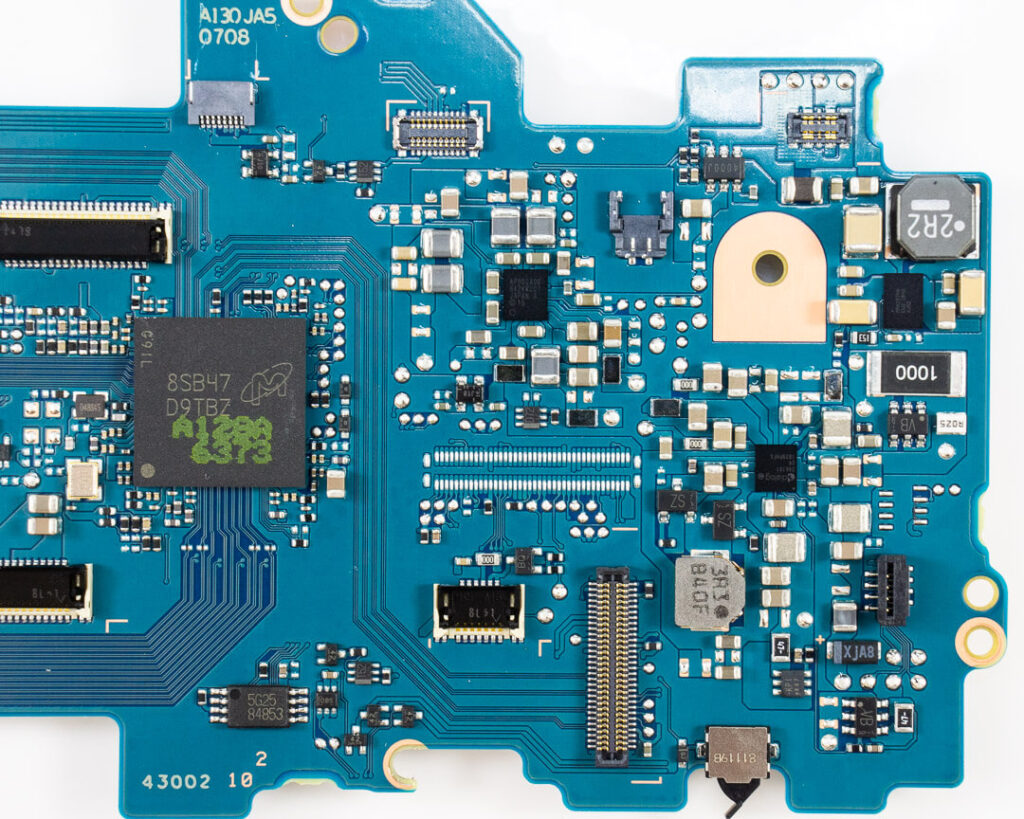
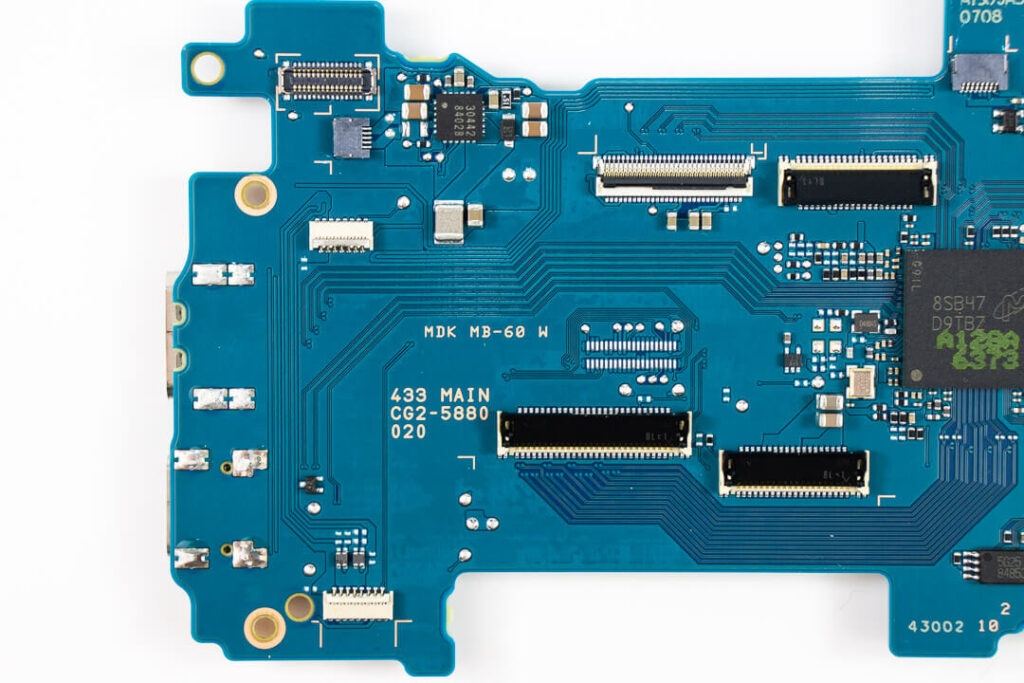
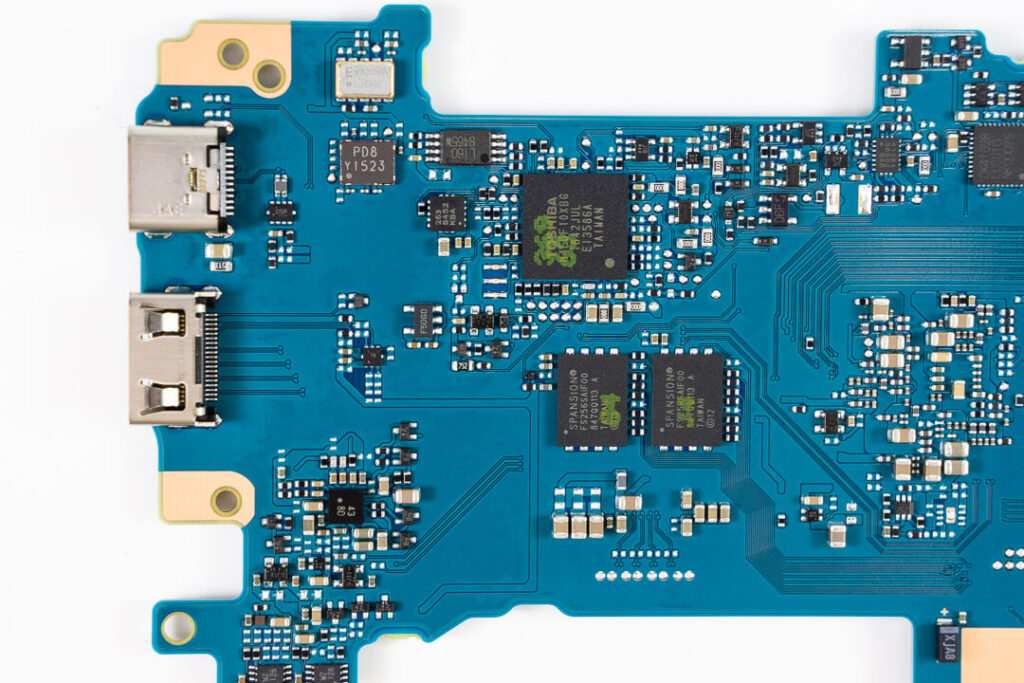
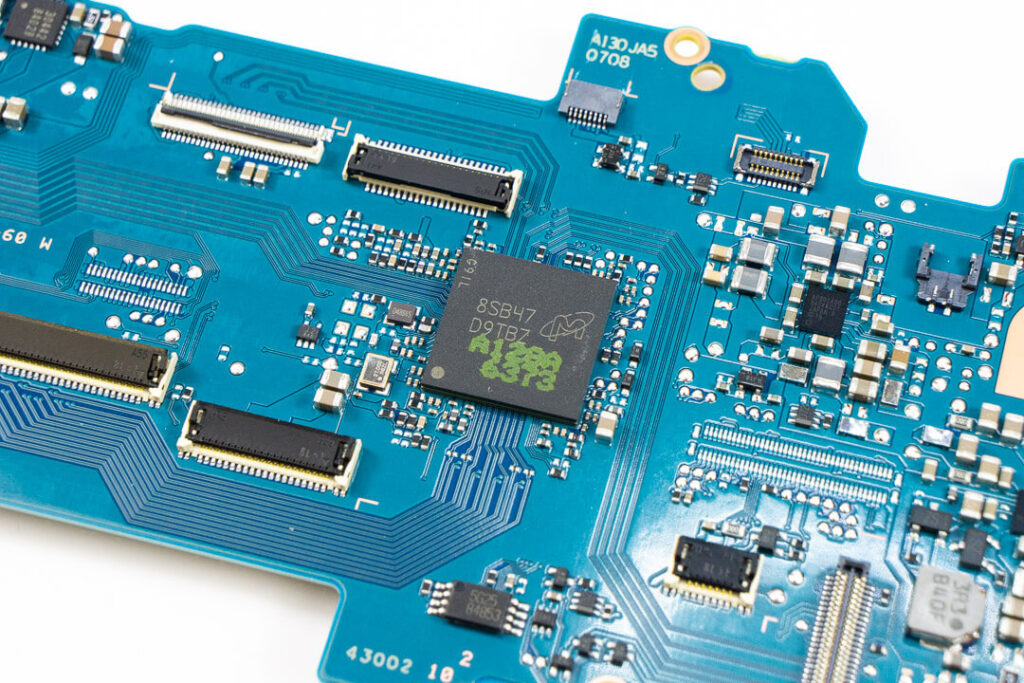
The main board. Let us know what think in the comments section!
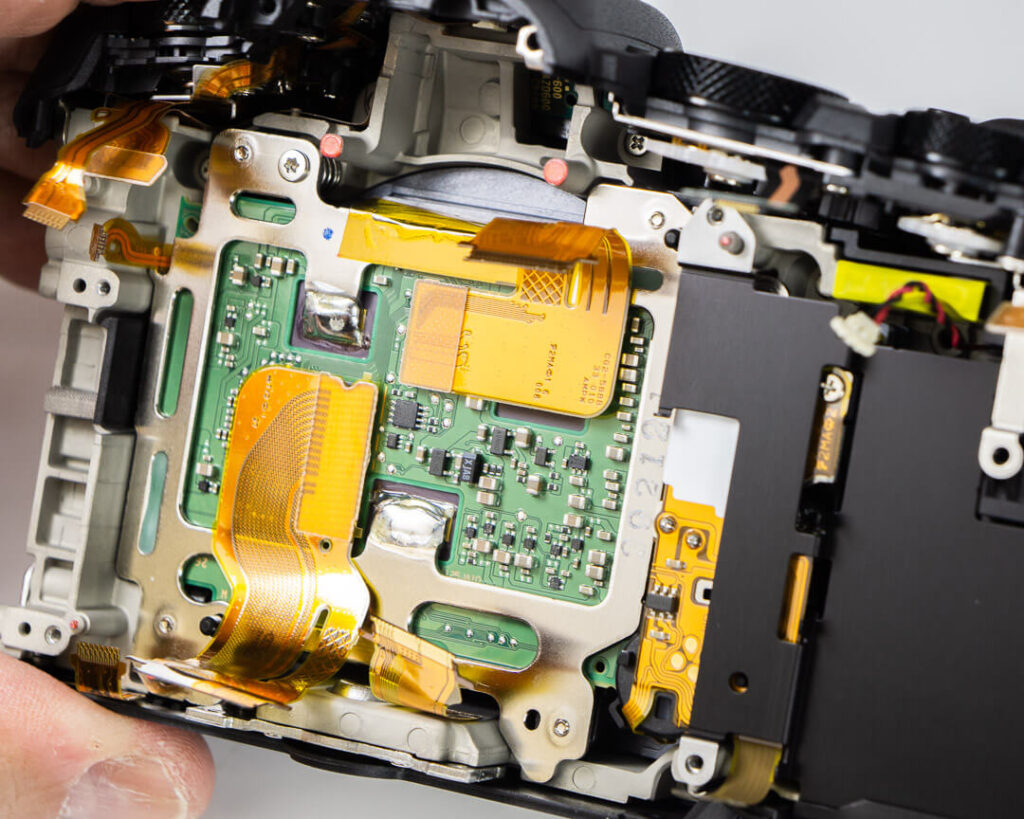
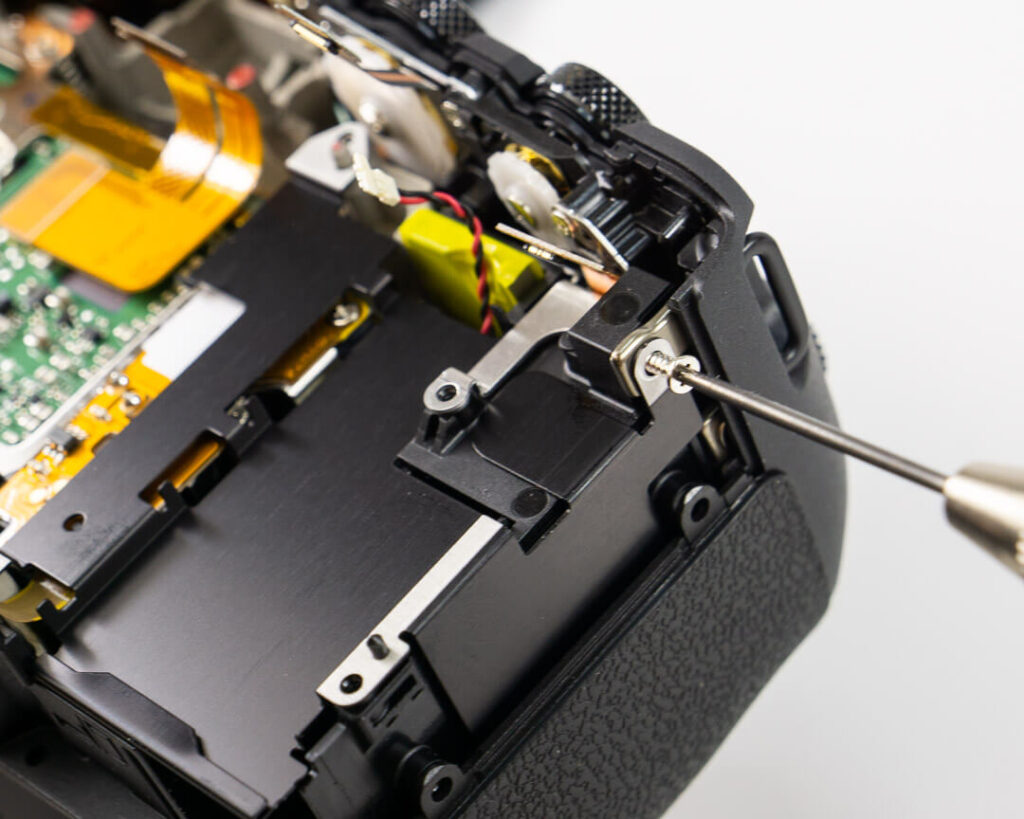
Accessing the Spring-Loaded Sensor Assembly
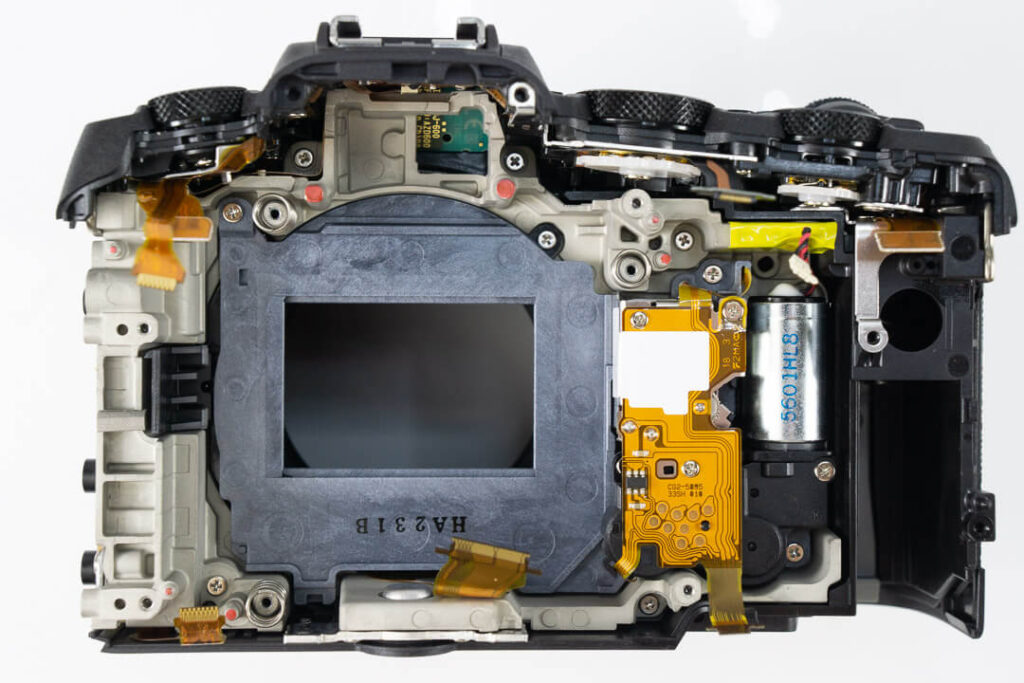
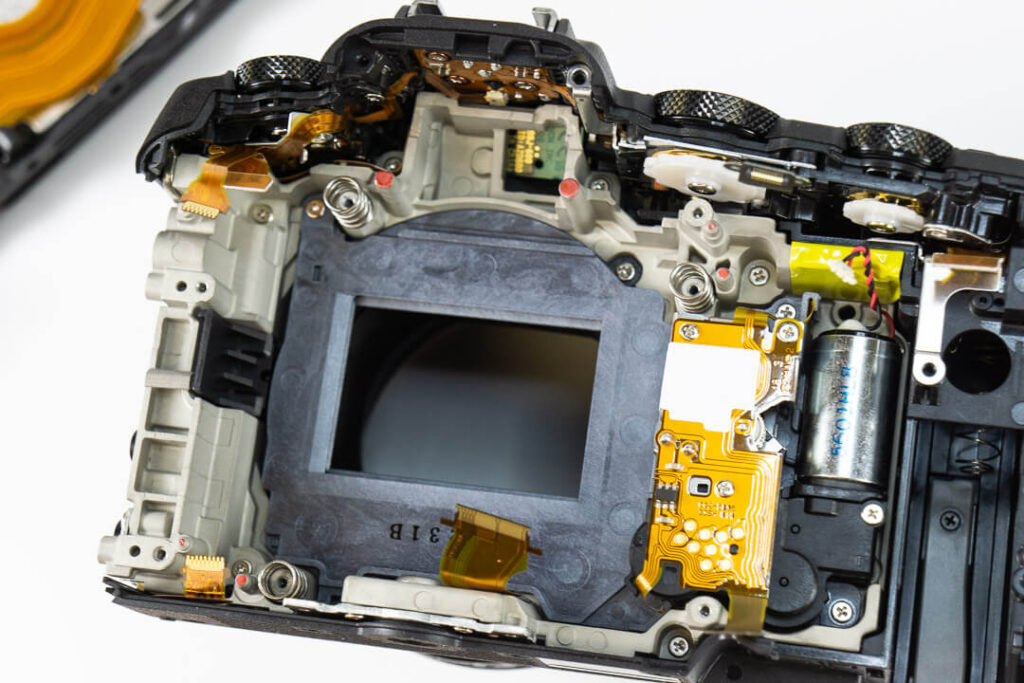
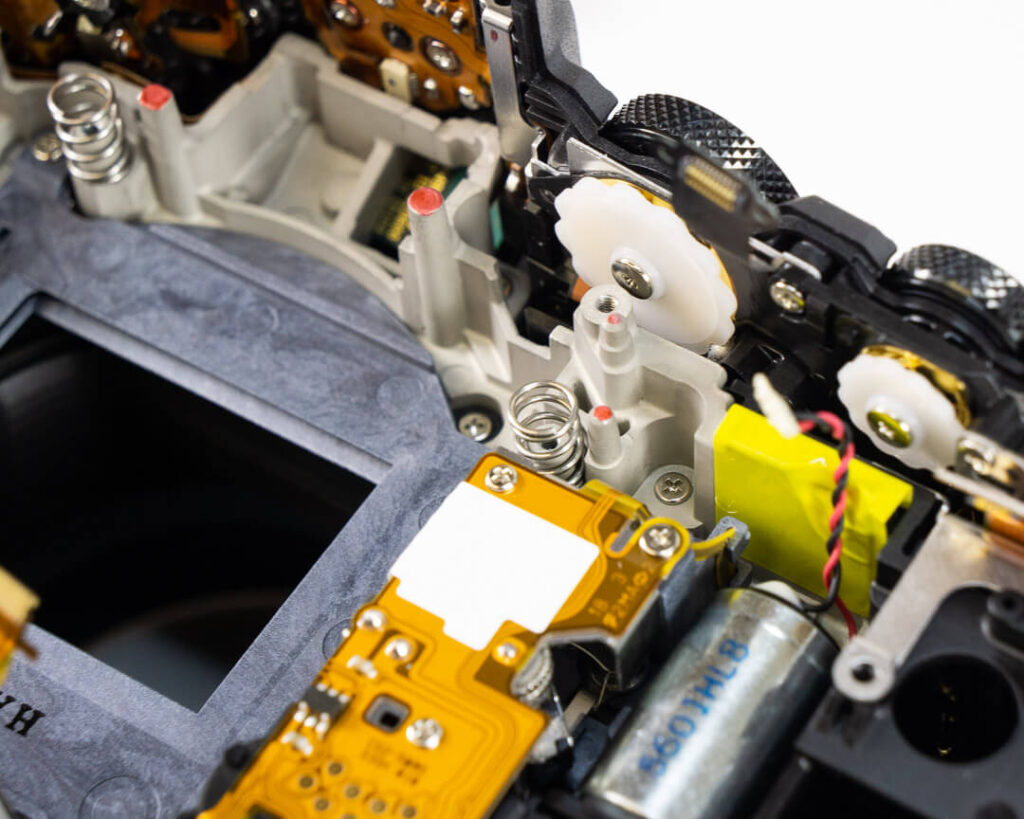
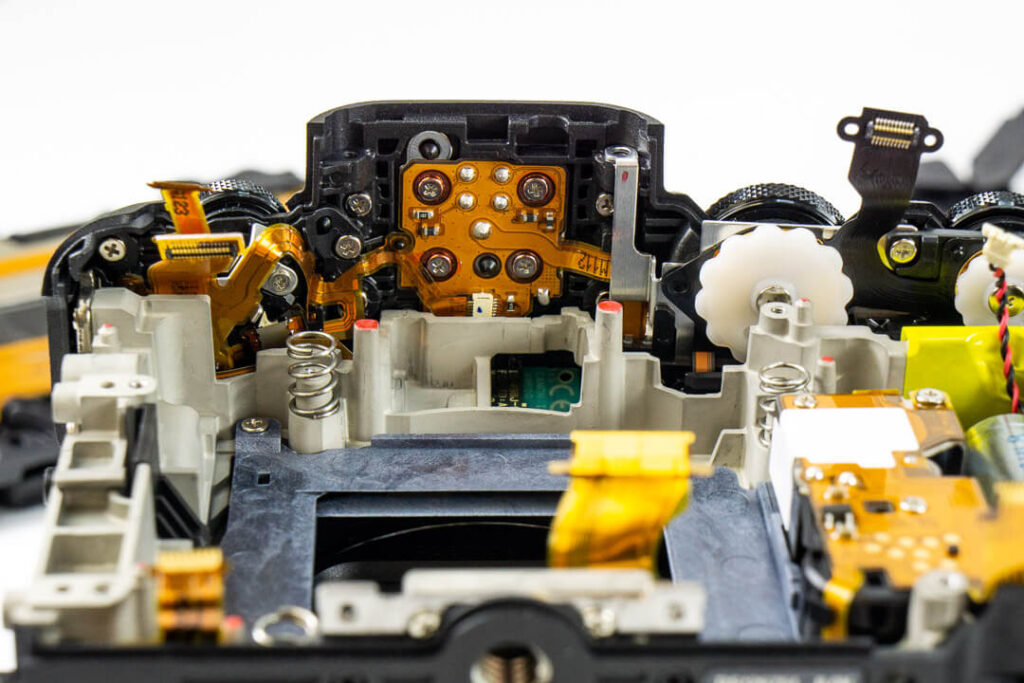
Underneath the board we find the back of the sensor. It’s secured by 4 screws on hefty springs, one of which is obscured by this black metal sheet. Remove the screw holding this sheet in place, and you’ll be able to reach and extract the sensor.
Canon EOS RP Sensor Glass and IR Conversion Support
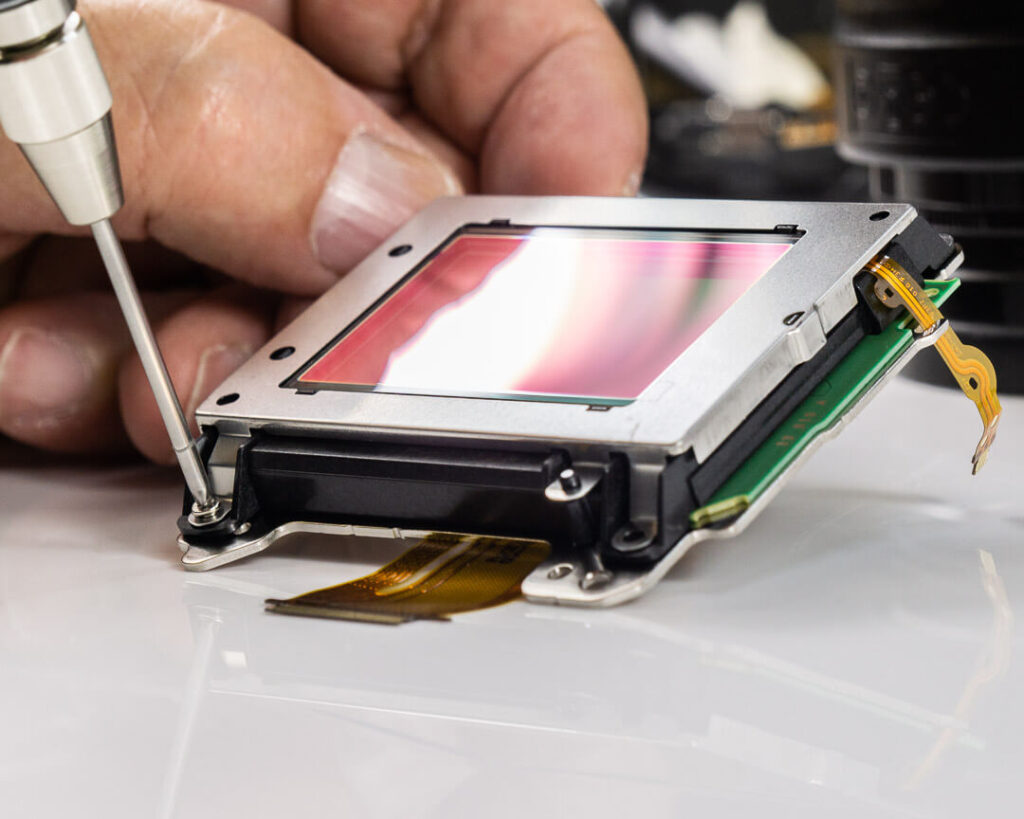
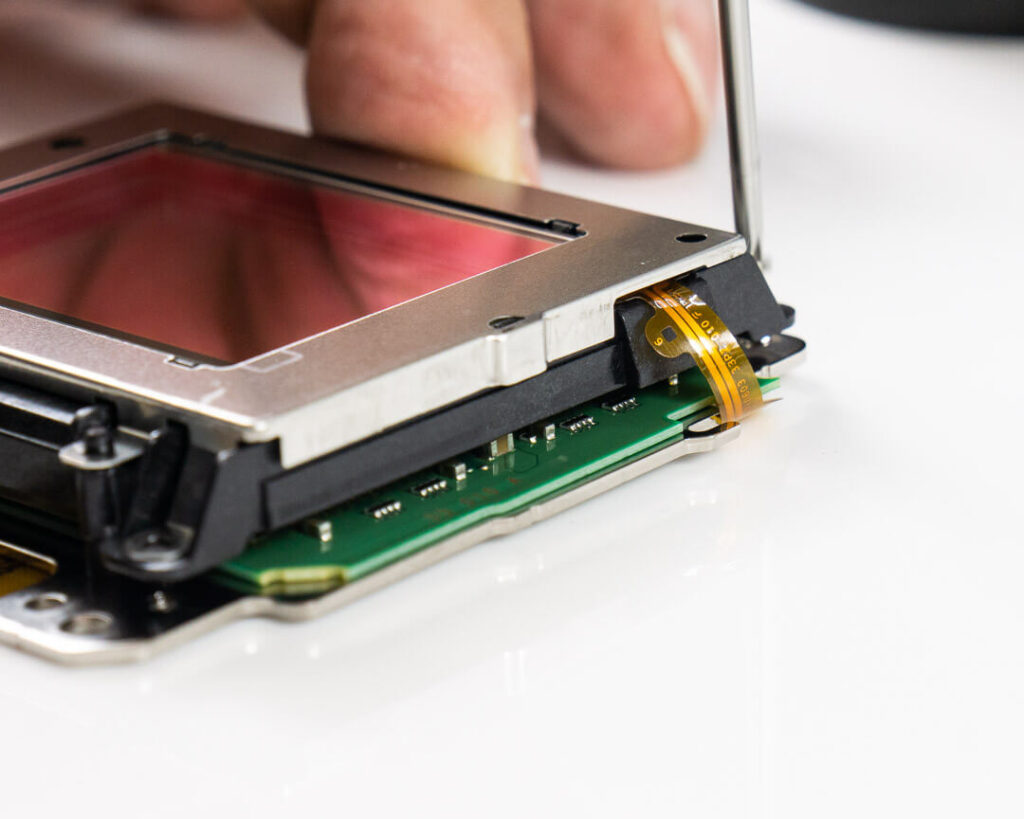
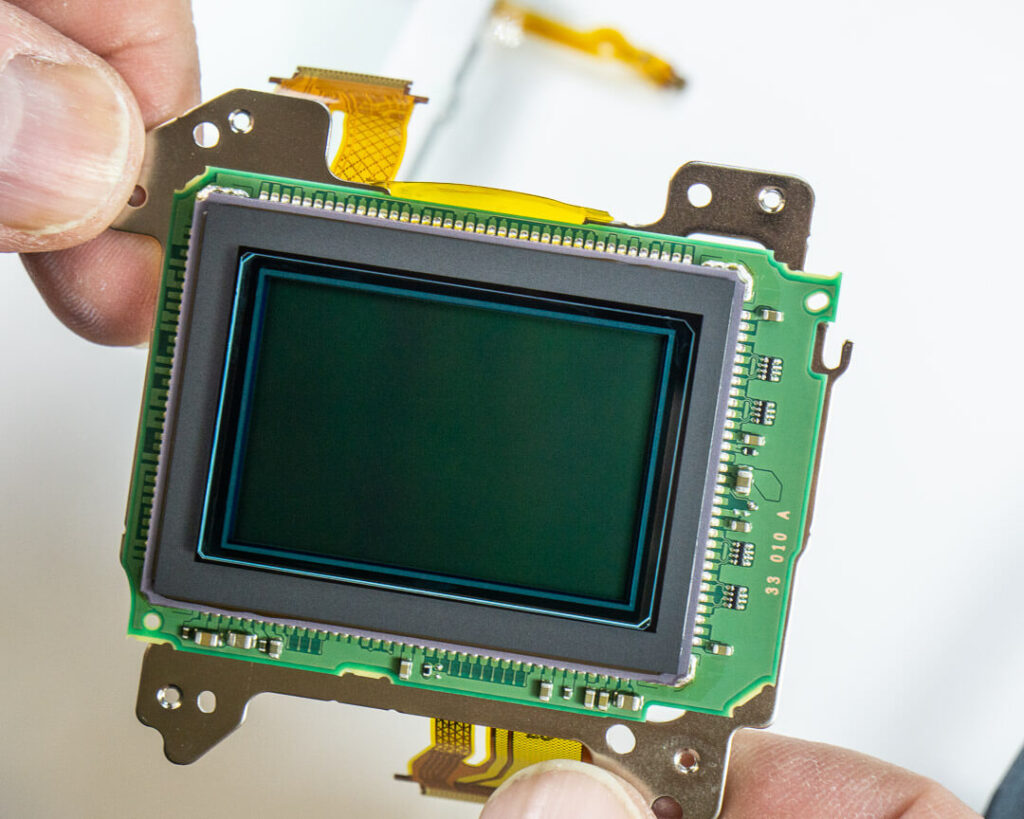
Lastly, we have the 26 megapixel, full-frame sensor. 4 more screws release the dust-reduction glass and retaining bracket. That little ribbon cable on the right is what enables automatic dust reduction, which shakes dust off the surface of the sensor with varying effectiveness depending on who you ask. It might help get rid of the big stuff, but we still prefer to do our own manual cleanings.
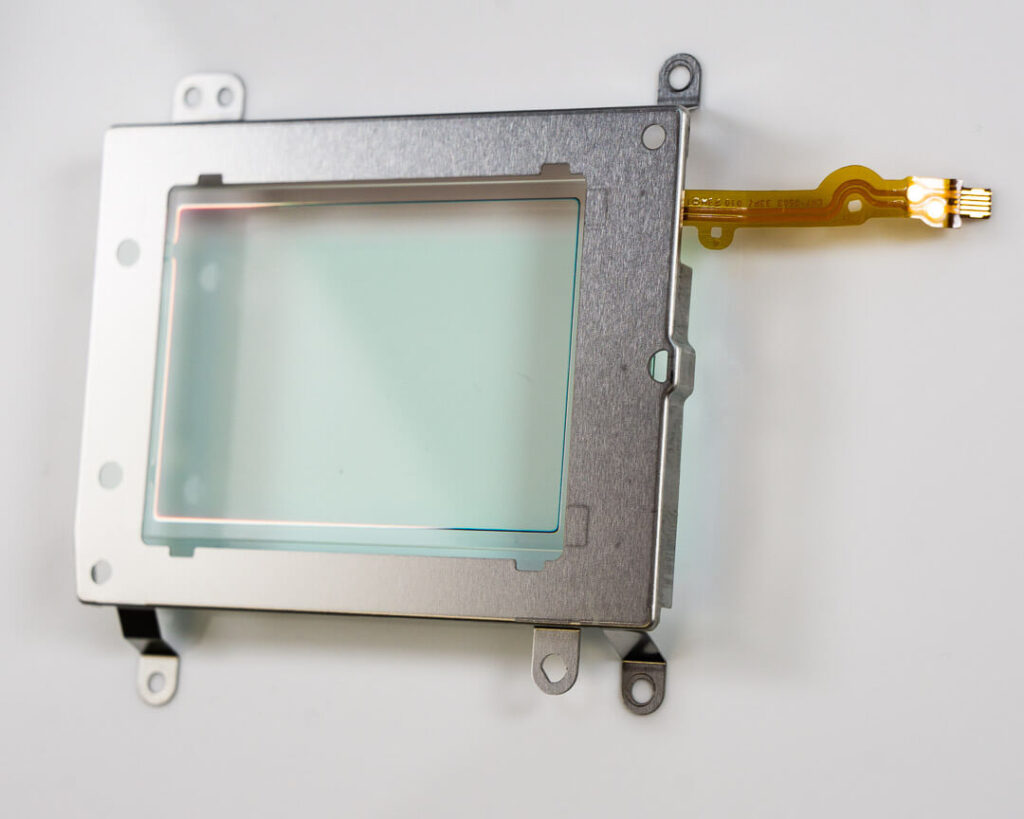
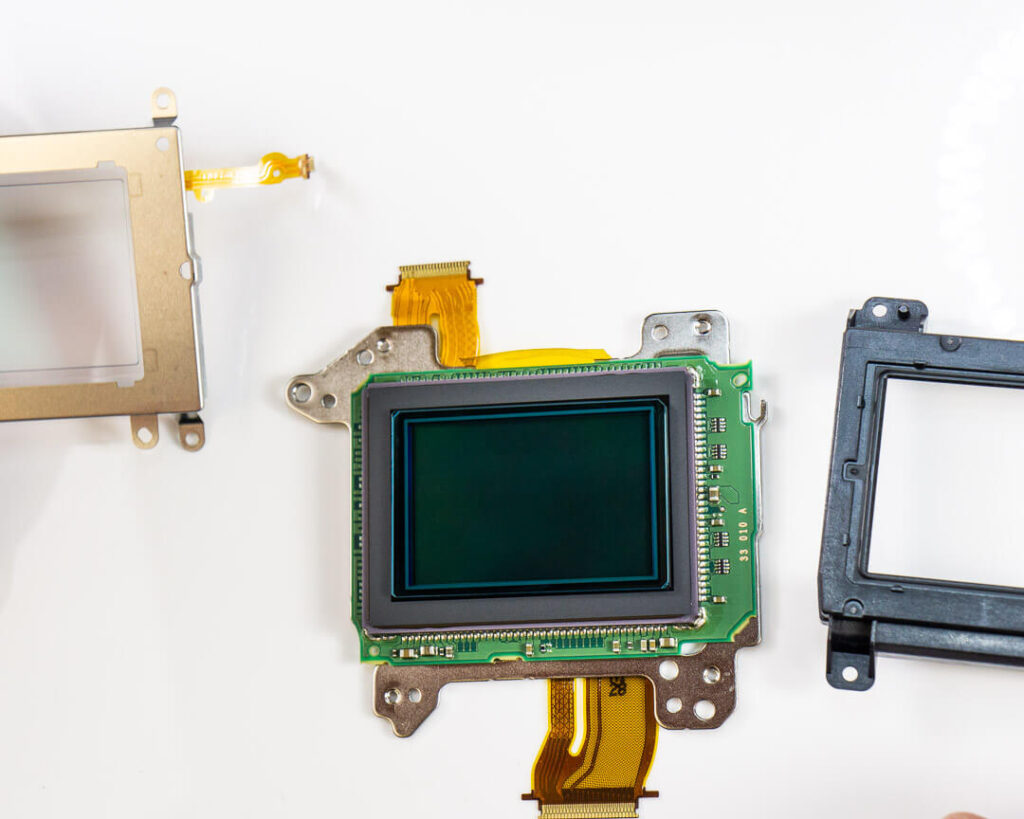
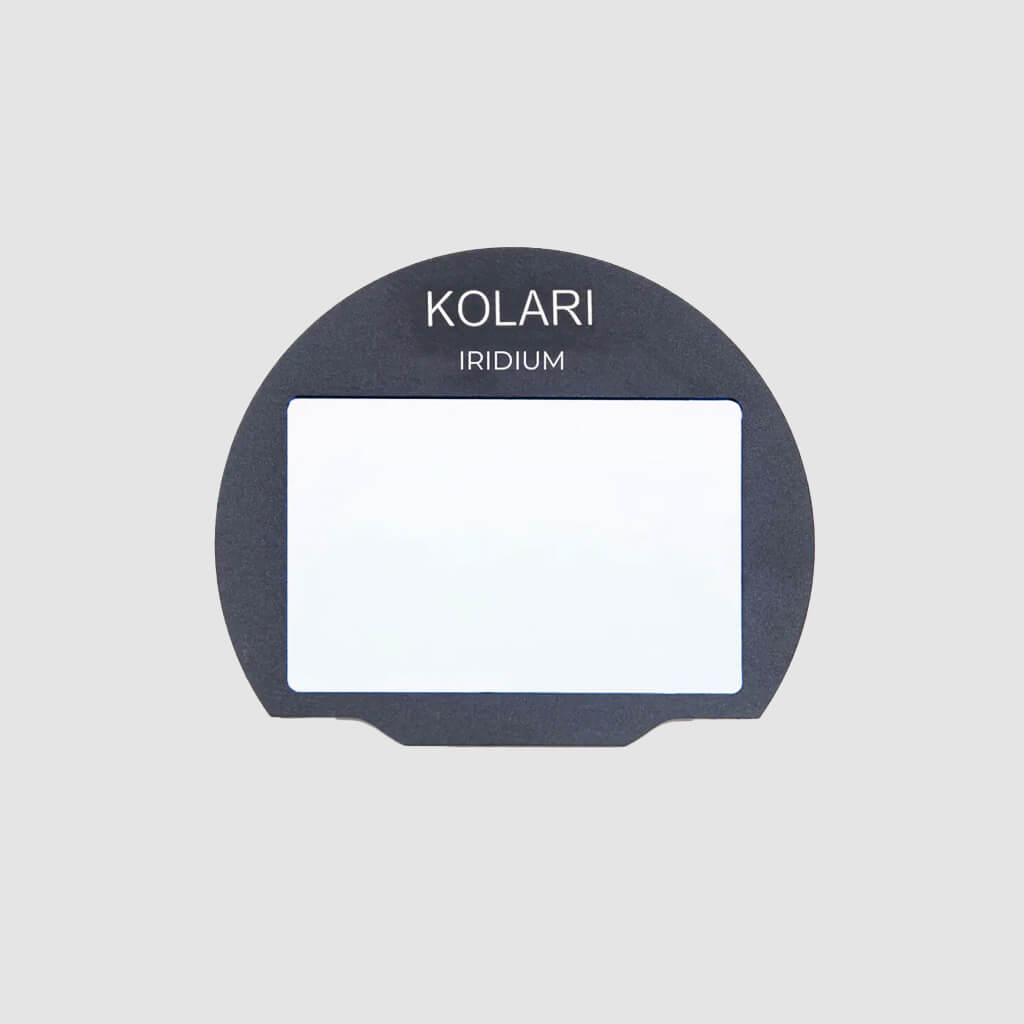
There is yet another IR/UV blocking filter under the dust removing glass, as with most cameras. During an infrared or full spectrum conversion, this piece is removed permanently and replaced with either an Infrared pass filter, or clear full-spectrum glass that allows the sensor to see UV, Visible, and Infrared light all at once which you can then selectively photograph with specific lens filters.
Canon EOS RP Teardown Difficulty and Final Thoughts
Canon went with a simple and straightforward design in order to bring current generation full-frame shooting to a bigger market, but that’s not why we love this camera. The EOS RP is the easiest to work with and most easily modifiable full-frame mirrorless camera we’ve encountered to date. We’re going to do a lot of cool stuff in the IR and UV spectrums with this body, so stay tuned.



6 Responses
Great tear down. I look forward to the Uv/IR review. Can it be compared to the Nikon Z6? You did a great tear down article, but didn’t mention if it suffers the same problem as the z7 sensor. Since its a different sensor, would be good to know.
Thank you,
David
is that blue ir block filter glued onto the sensor cover glass? looks very hard to remove! any testing results yet?
Hello Mark,
No, the hot mirror filter is not glued on to the sensor cover glass. We have successfully converted this model and support it for our conversion service here:
kolarivision.com//kolarivision.com///product/canon-dslr-infrared-conversion/
Hello, know it’s a old article, but I need your help, I am going to replace myself the shutter mechanism on my canon rp due to error 30. My question is I have see a disassembly video on YouTube saying it’s important to mark the sensor before you remove it in order to align it correctly when you install it again, is this so important? The screws doesn’t do this job to align the sensor in the correct place?
When converting the Canon EOS RP, we use a depth gauge to precisely record the sensor’s original position.
We also mark the screw positions to ensure accurate reinstallation. Since the sensor is spring-loaded, it’s critical to return the screws to their exact original placement to maintain proper focus. After reassembly, we recheck the sensor depth with the gauge to confirm it matches the original measurements.
If the screws are not returned to the correct positions, the camera will no longer focus accurately.
Thank you for the information, I will do all the necessary measurements