DIY Aerial Full-Spectrum photography: The complete start to finish guide for how to convert your DJI Mavic 2 Pro Hasselblad camera to full-spectrum using our DIY conversion glass.
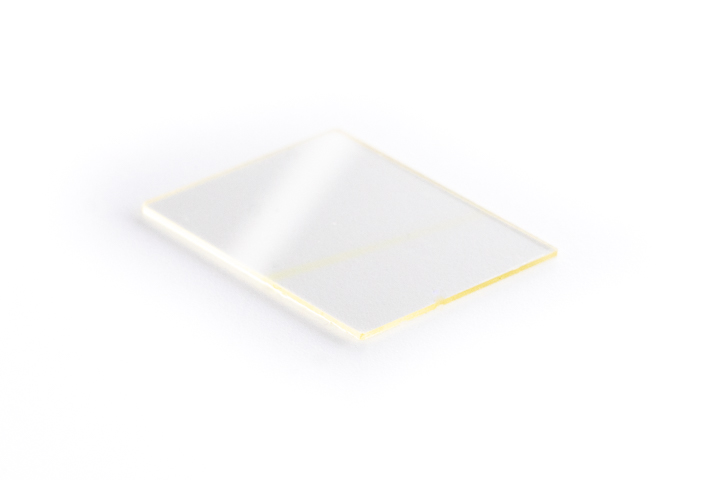
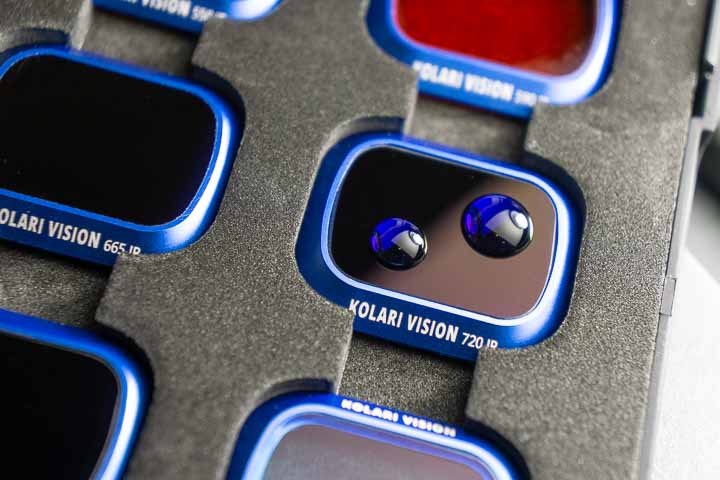
Let’s take it from the top and go through each step for converting your Mavic 2 Pro sensor to full-spectrum so that you can make full use of our Mavic 2 Pro IR Filter Set and shoot for any full-spectrum application. (if you’d rather have us convert your drone for you, click here!)
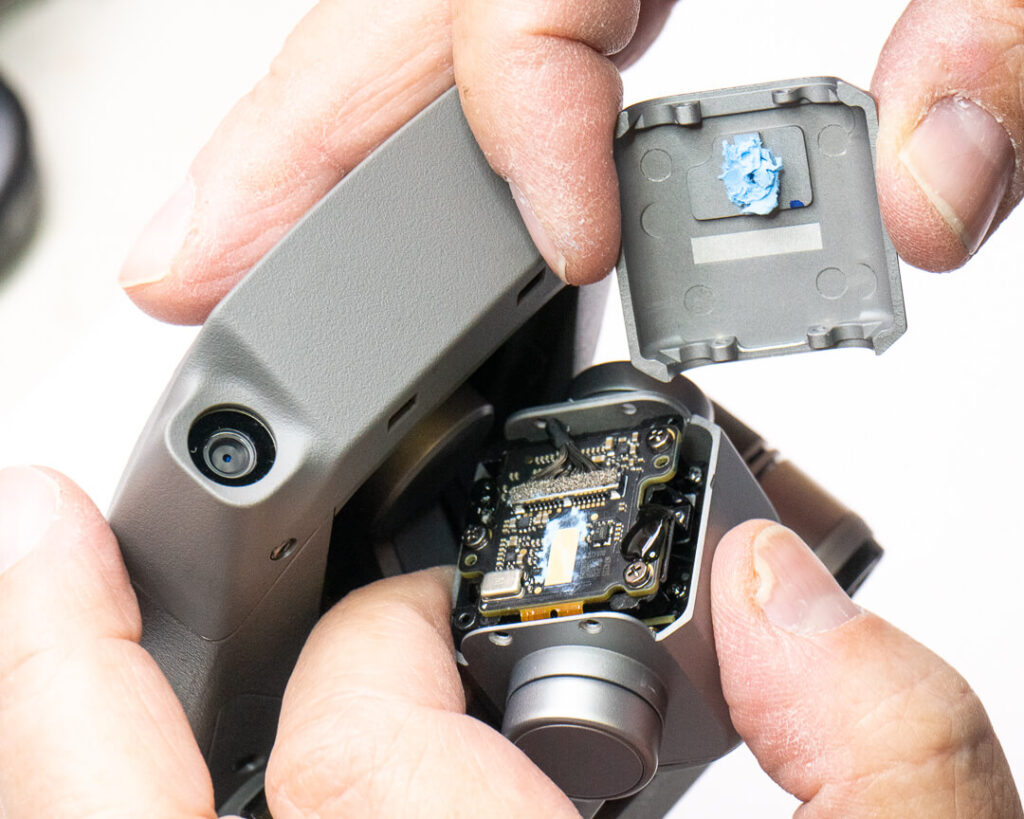
Step 1: Remove outer screws from camera and remove rear cover.
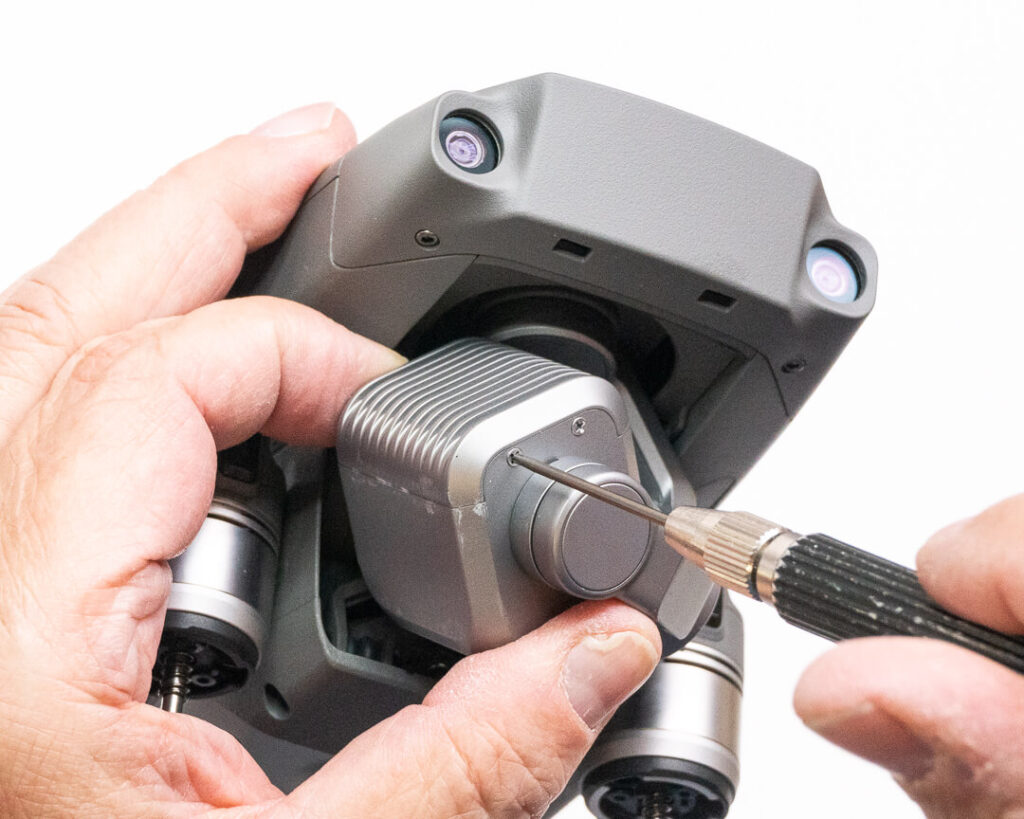
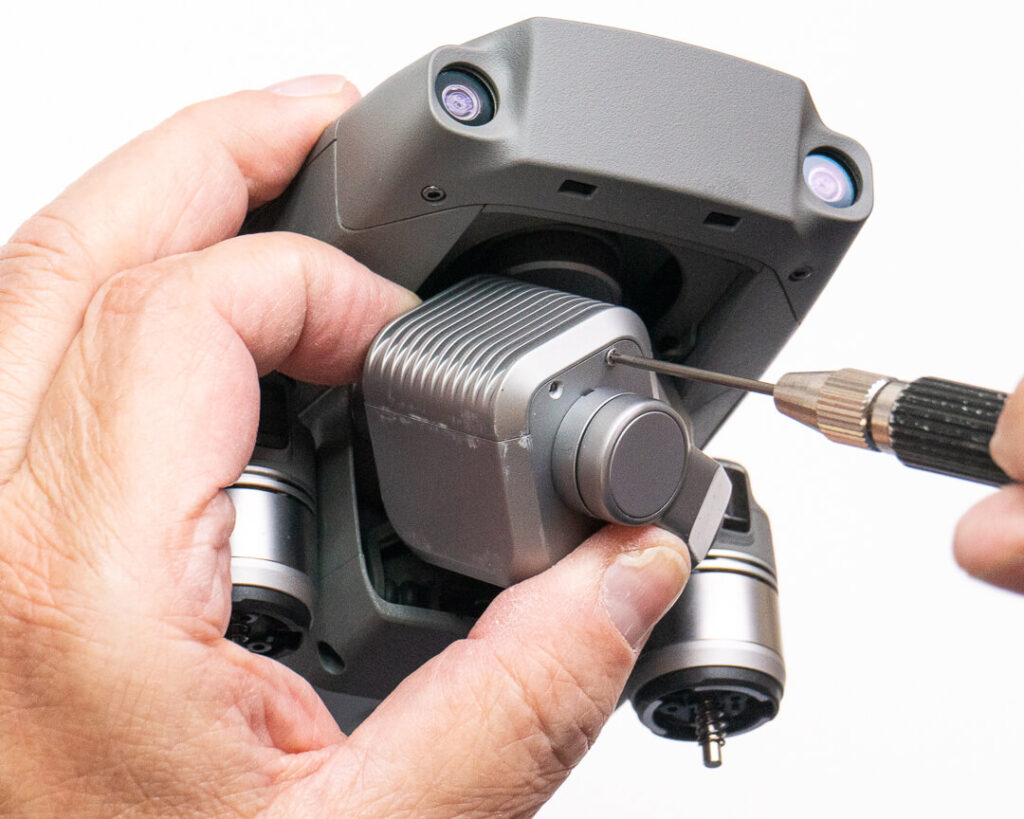
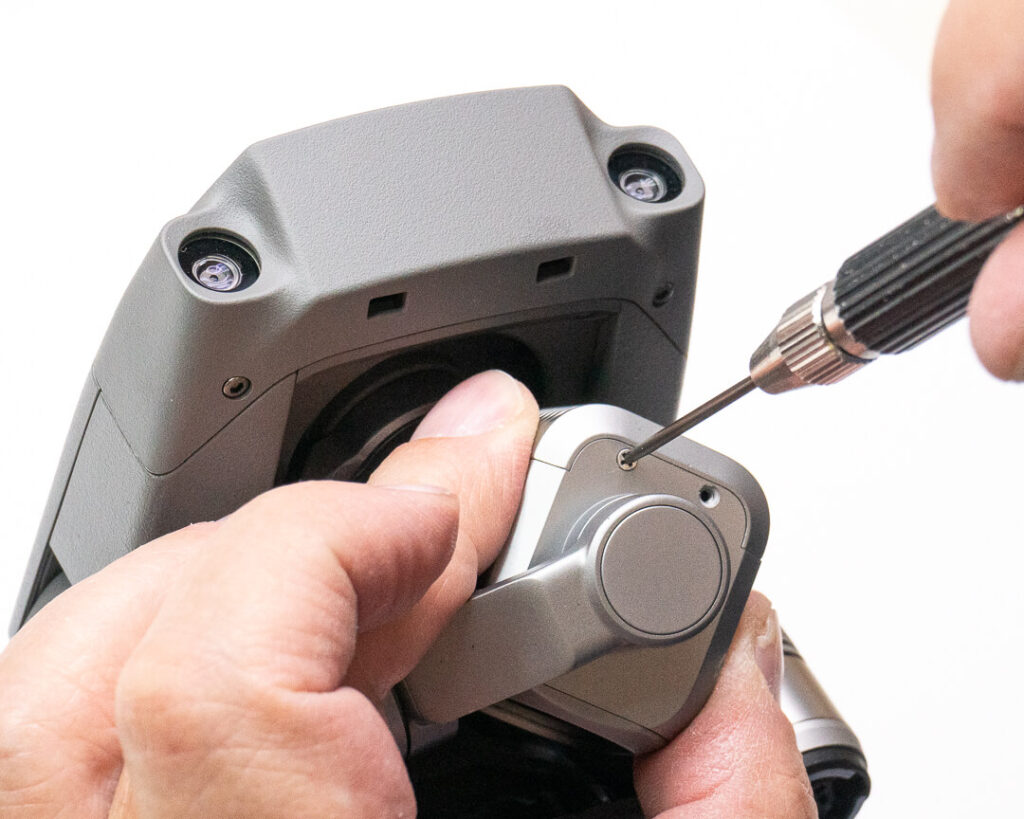
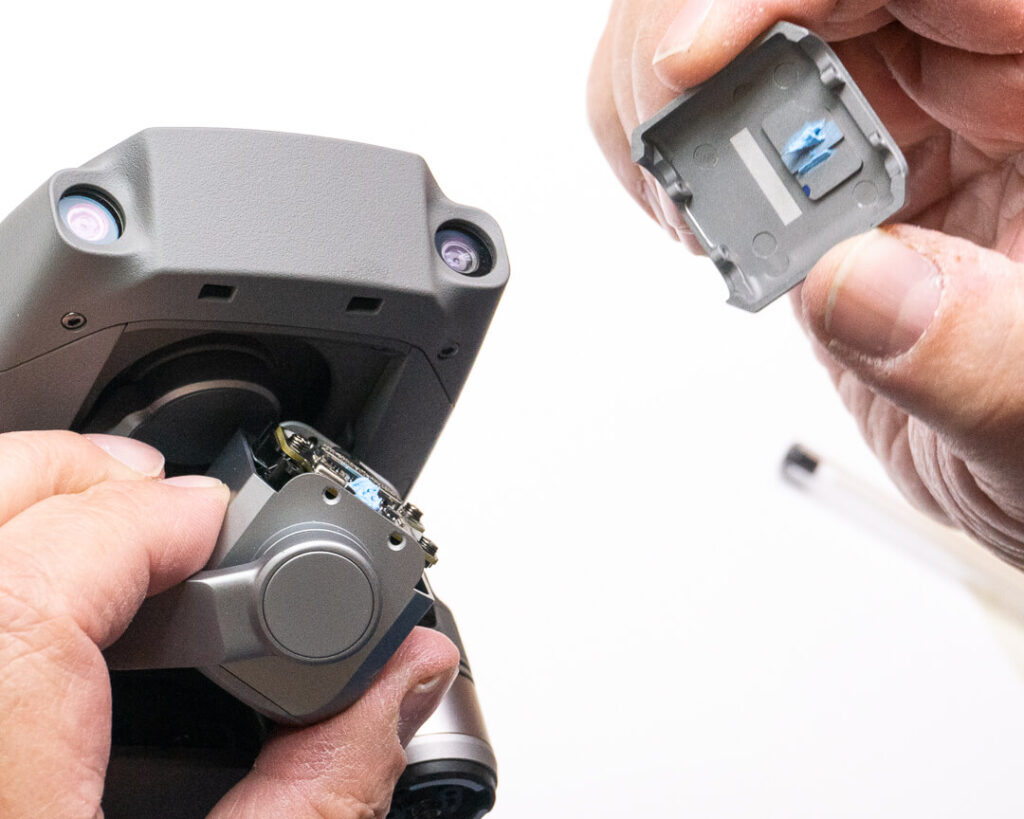
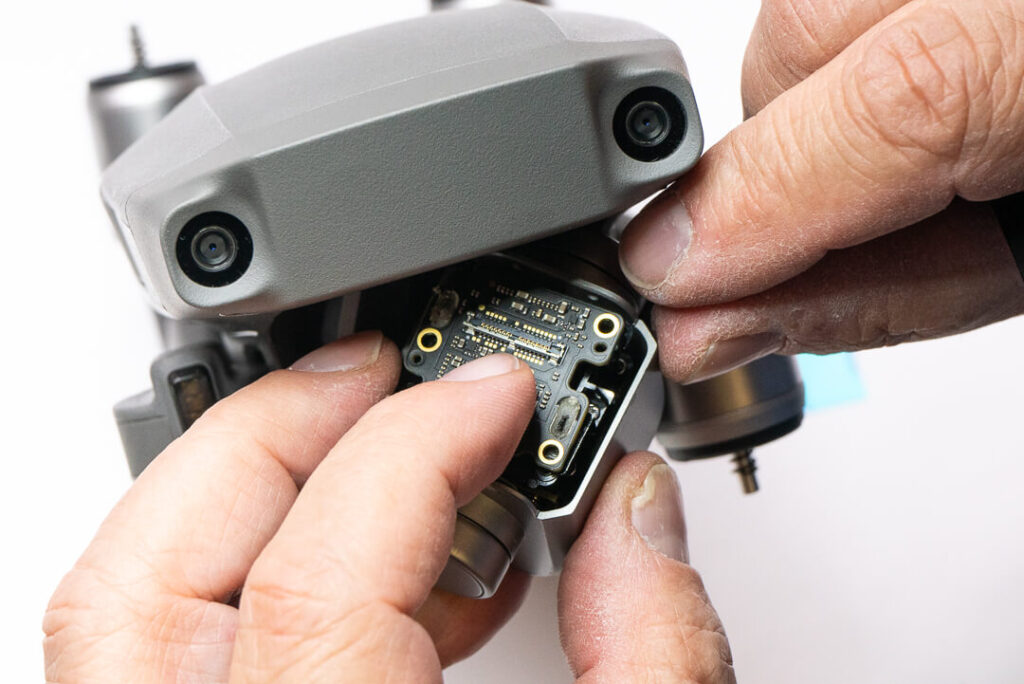
Hold the gimbal head in firmly in place while you extract all 4 screws, 2 on each side. Once they’re out, you can simply pull off the rear cover/heat sink, exposing the back of the camera sensor. The rear cover will probably take some blue thermal paste along with it.
Step 2: Remove and set aside remaining thermal paste.
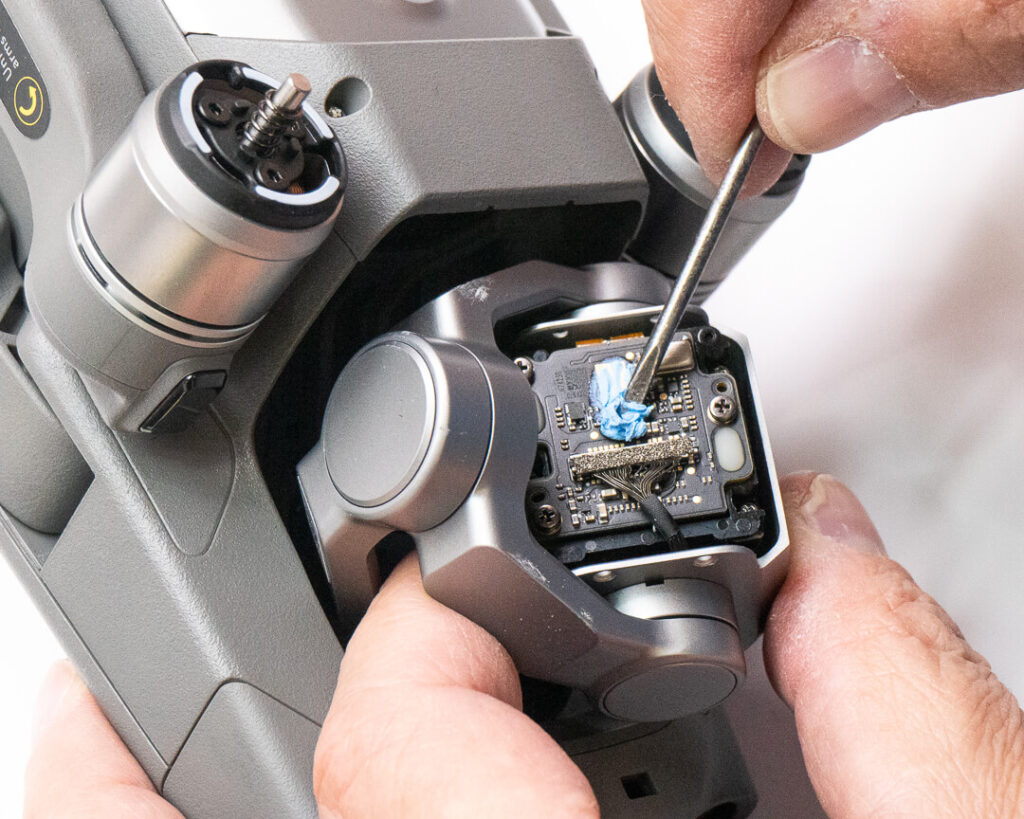
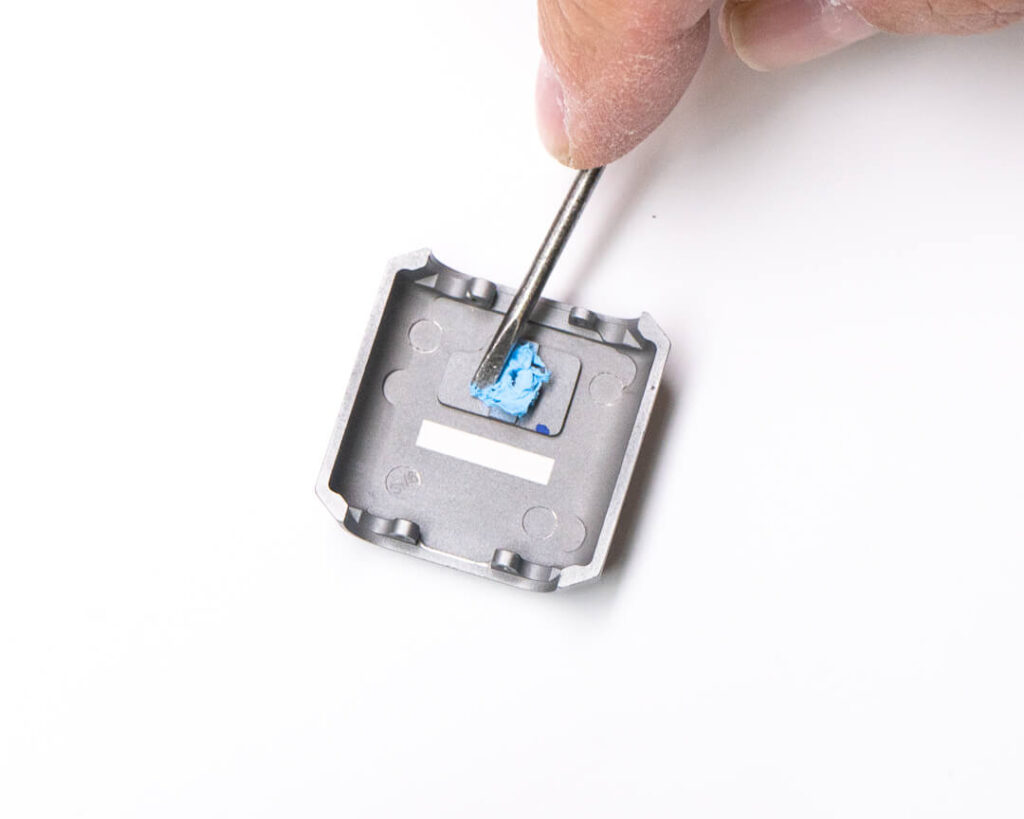
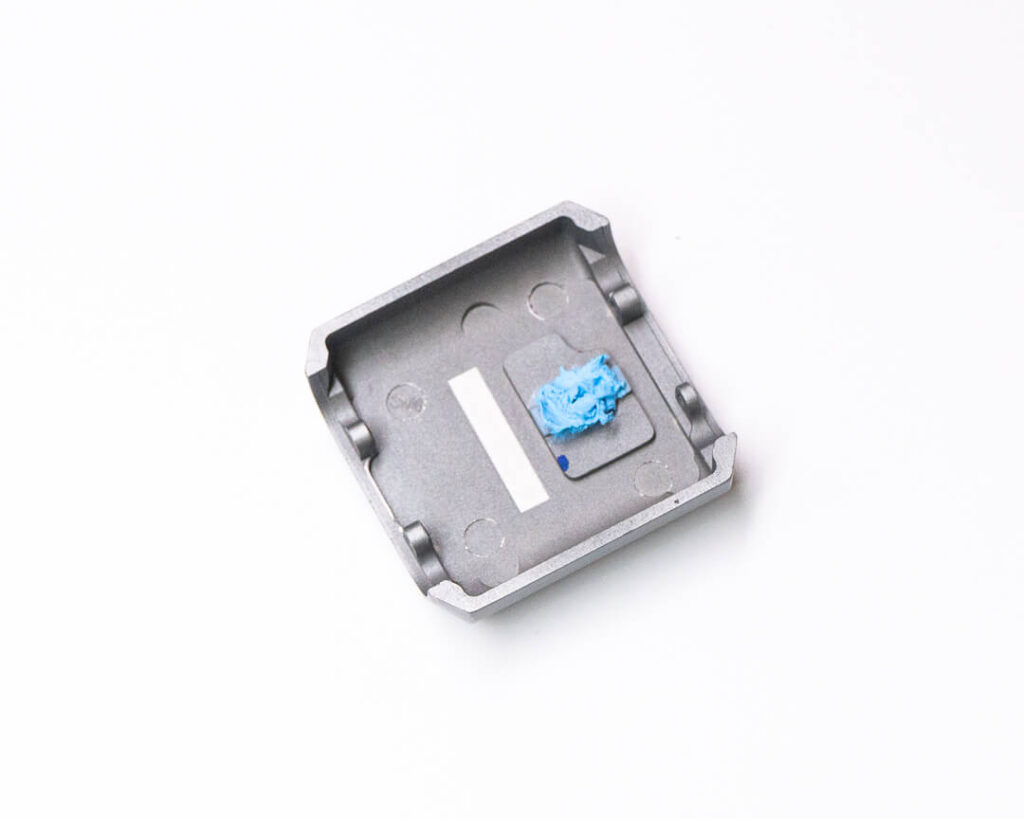
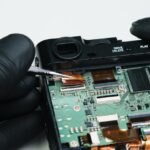
Gently scoop all the thermal paste that remains from the back of the sensor and place it with the rest on the extracted back cover. This will keep things clean while you work, and all thermal paste will be neatly reapplied when you put the cover back into place when you finish the conversion.
Step 3: Remove sensor screws.
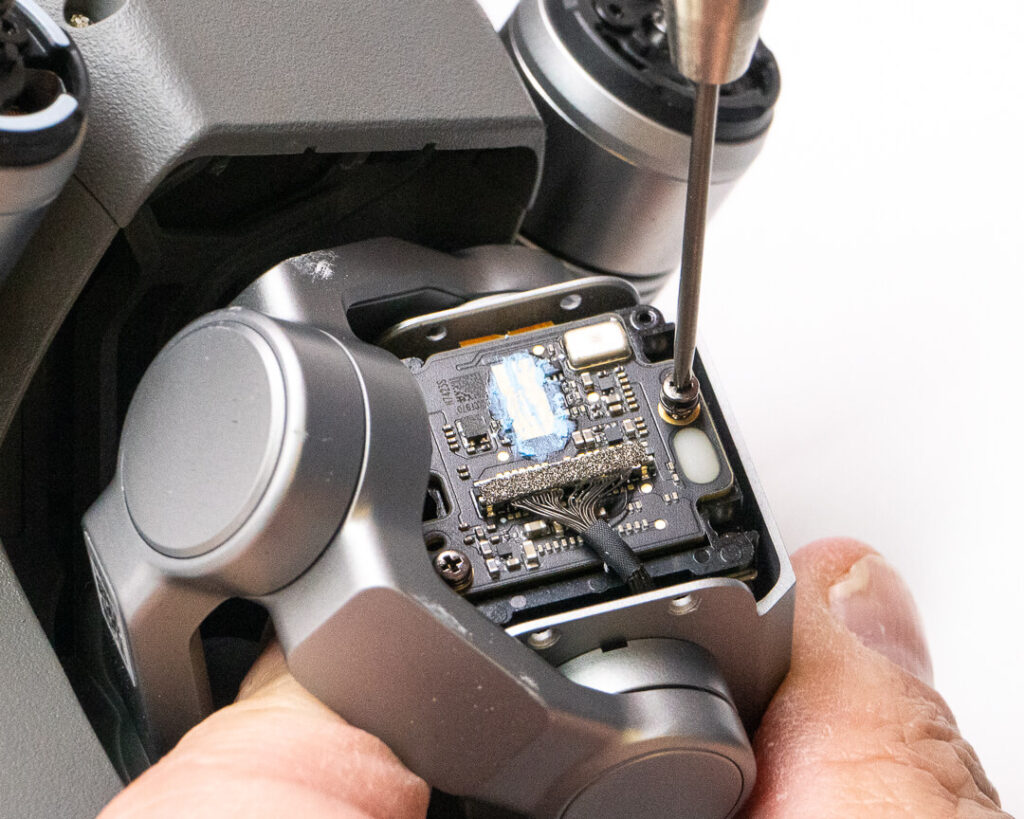
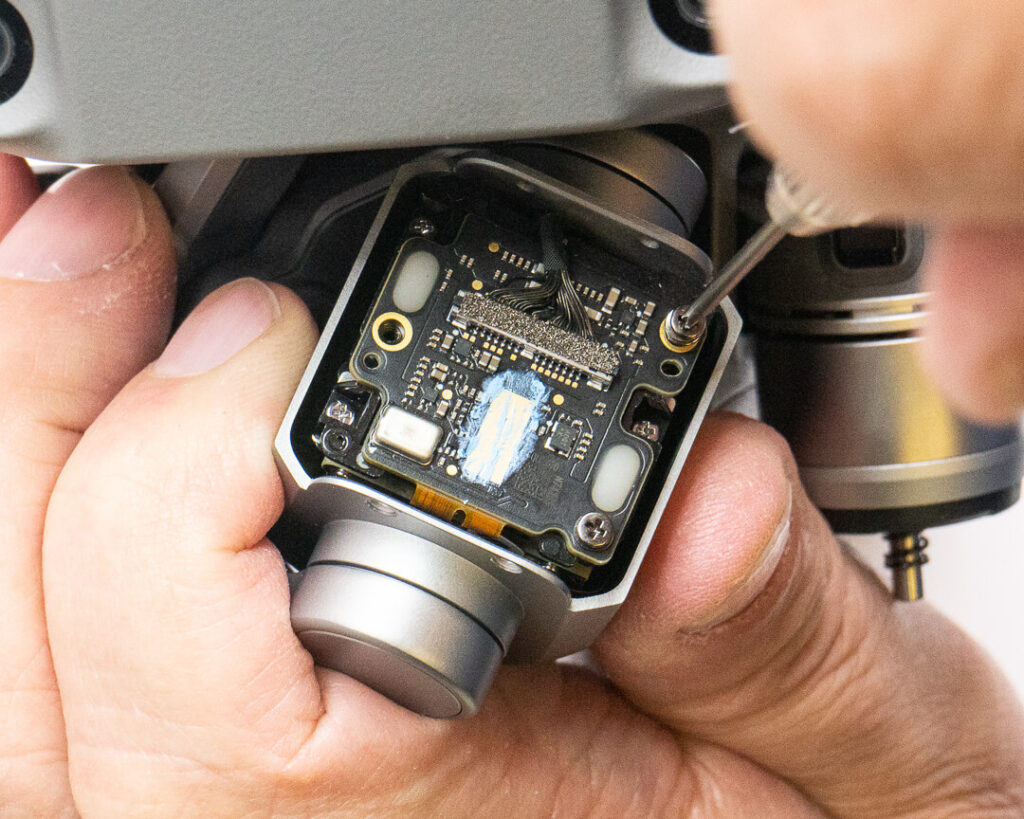
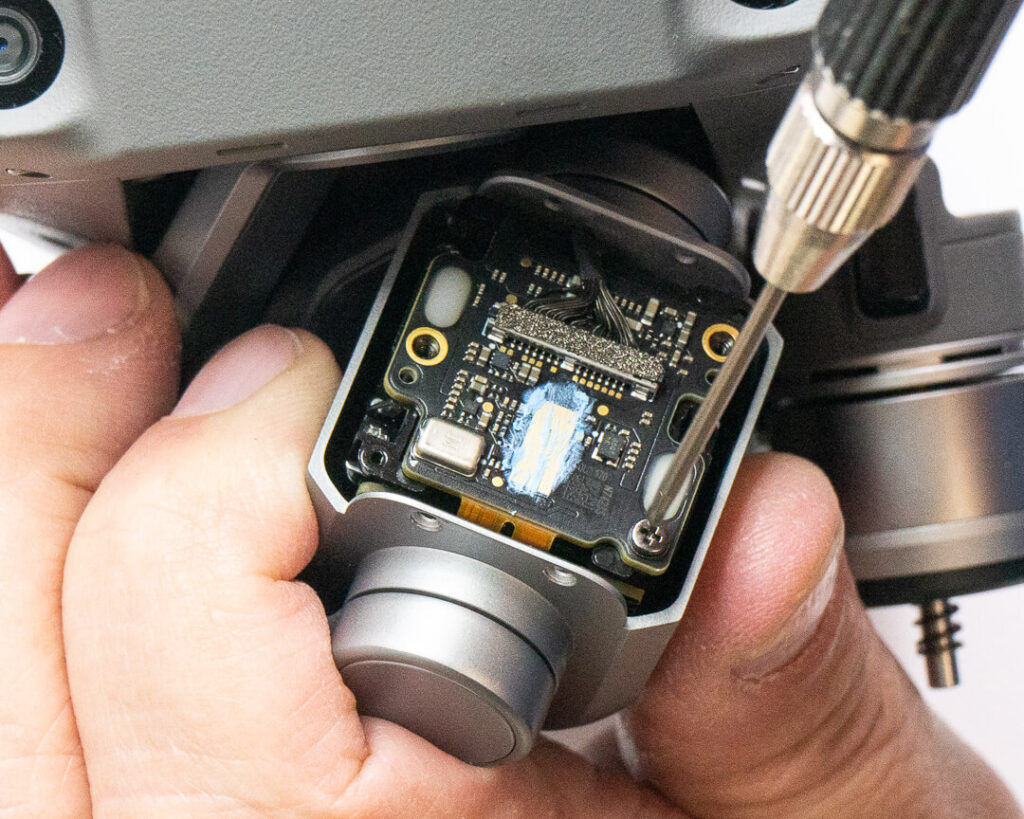
Remove the 3 screws in the back of the sensor, but don’t try to pull the sensor out just yet.
Step 4: Unglue the sensor.
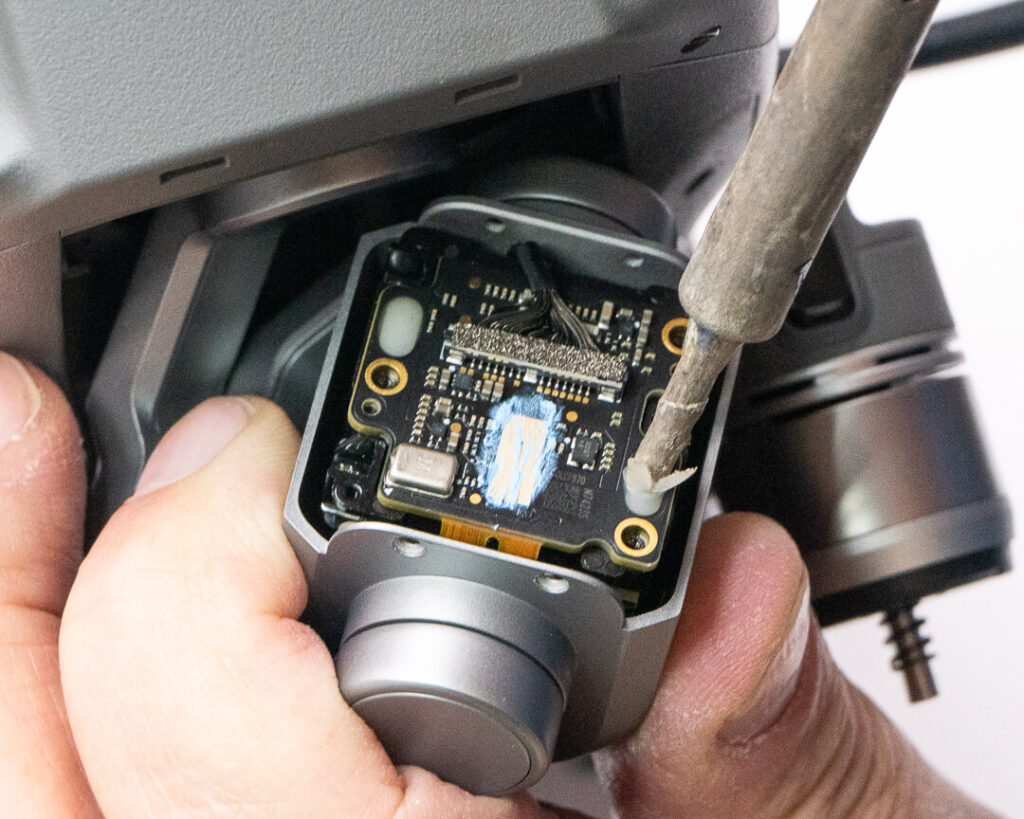
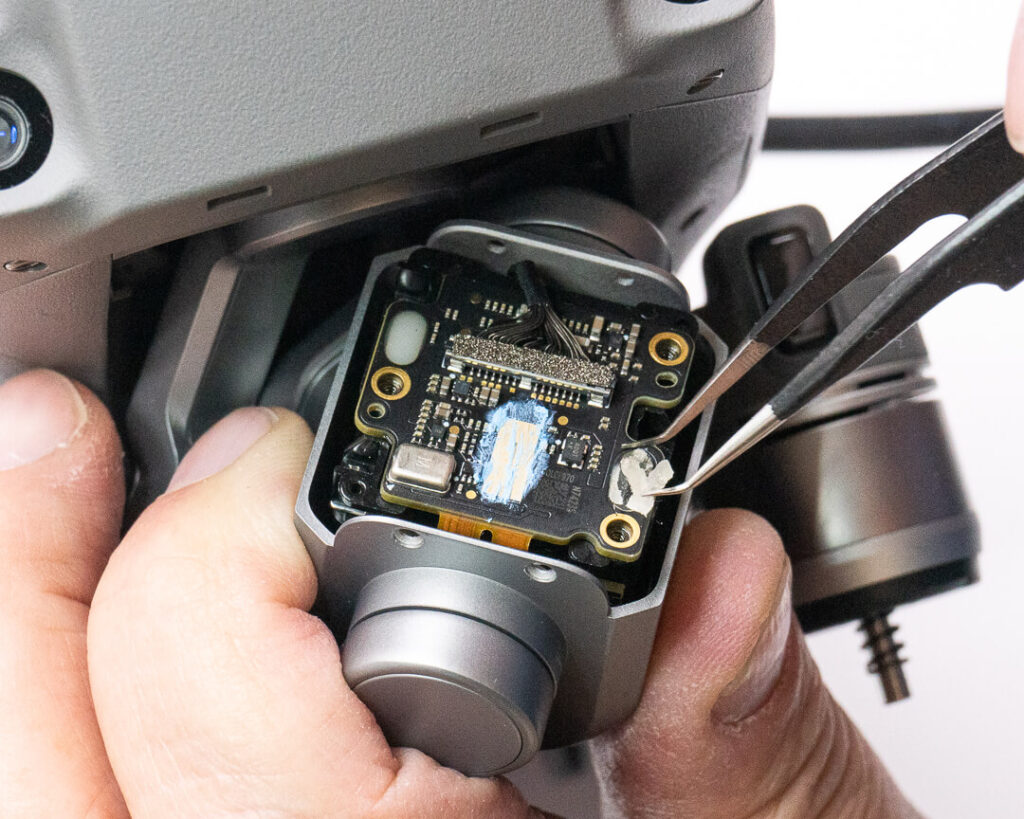
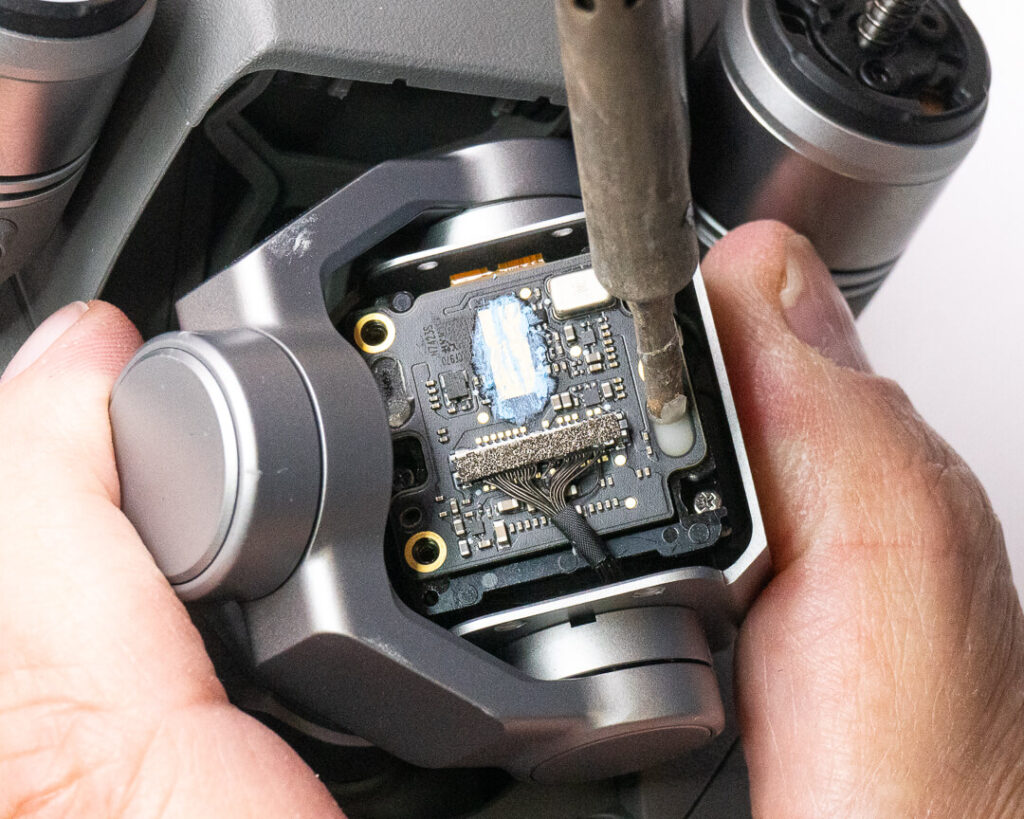
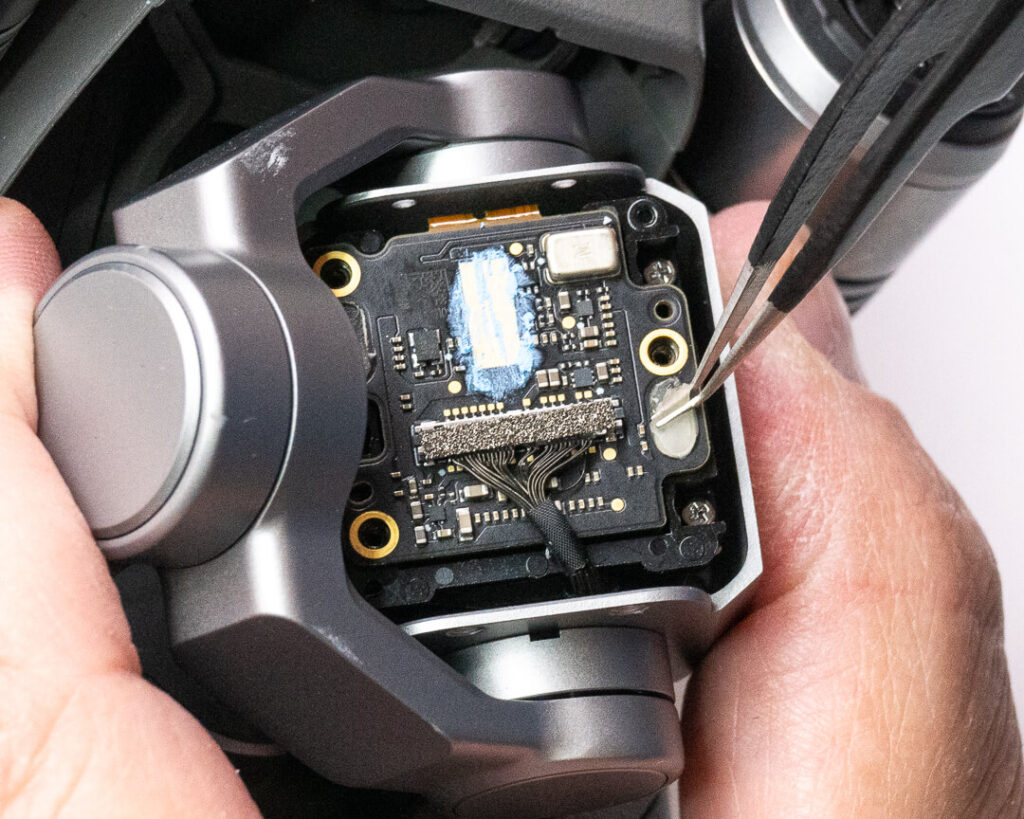
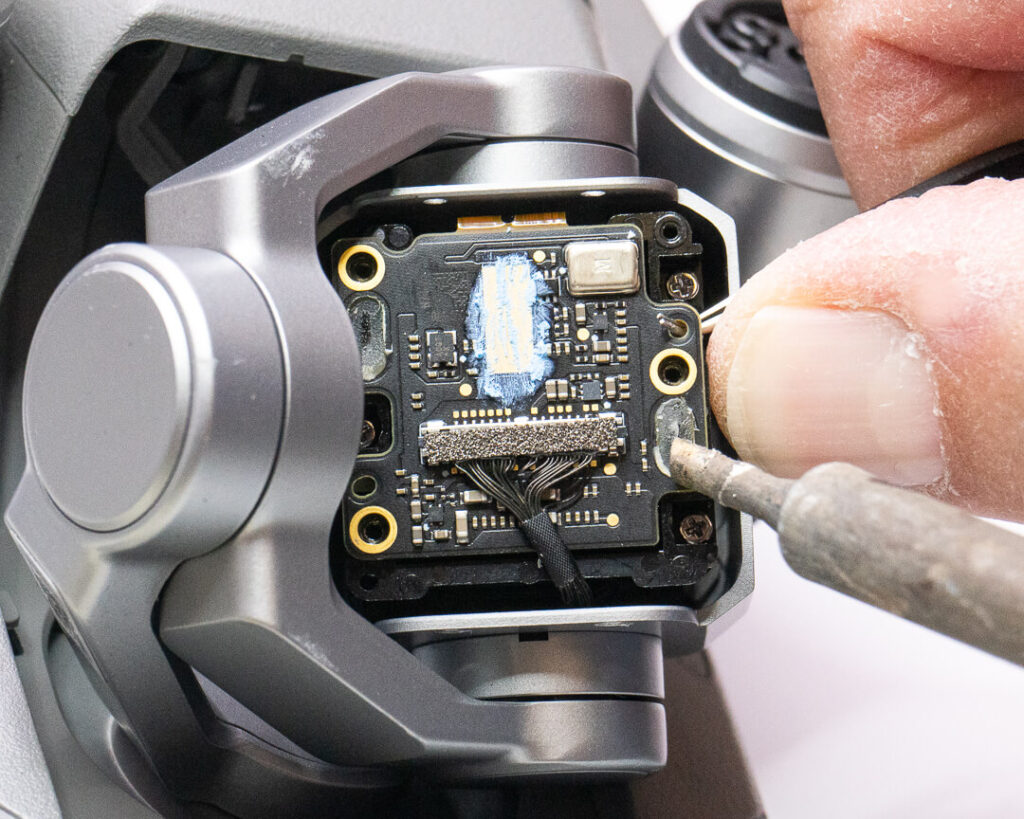
Using a soldering iron (preferably with a wedged tip like the one shown here) slowly peel back the two glue points on either side of the sensor. Remove and discard the partially melted glue with tweasers. You may need to apply extra heat to the glue points to get them to finally release their hold, as we do in the last image above.
Step 5: Access the sensor, remove IR/UV cut glass.
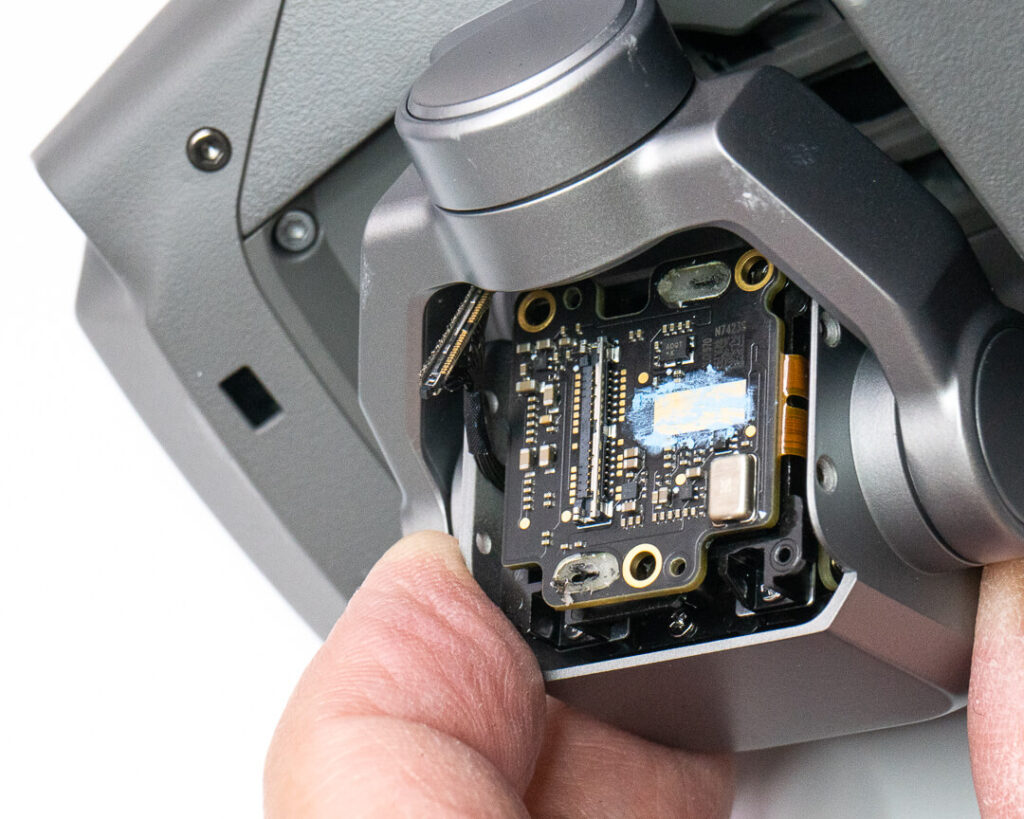
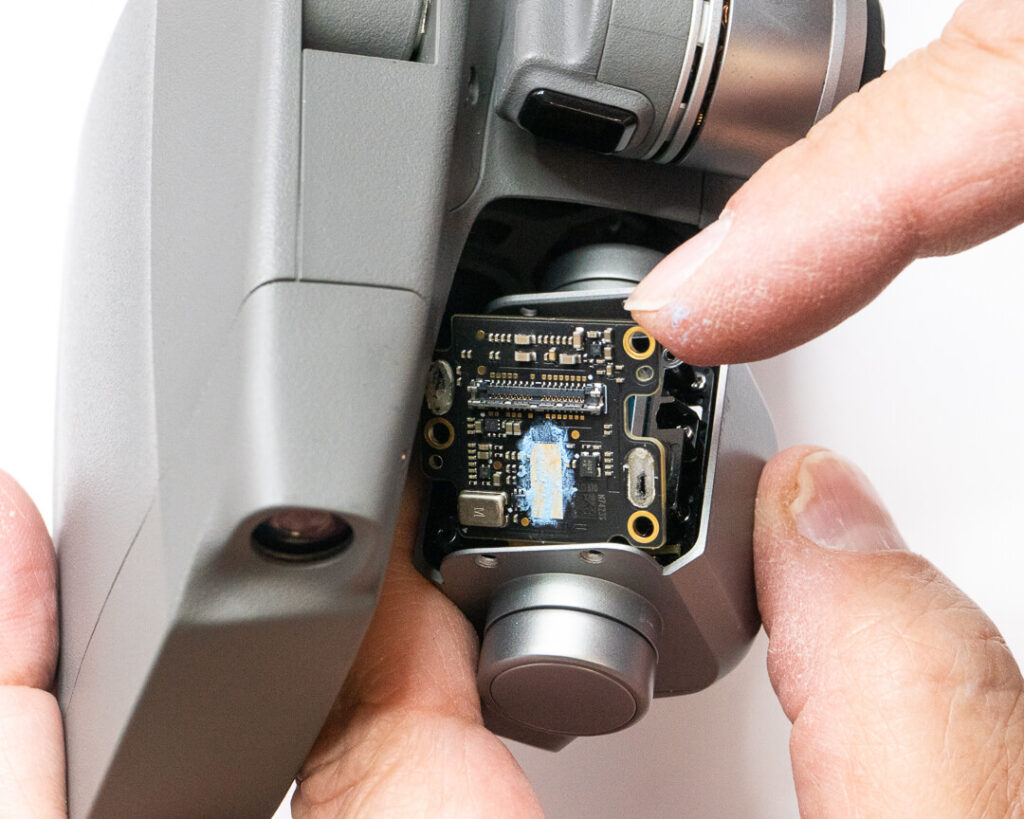
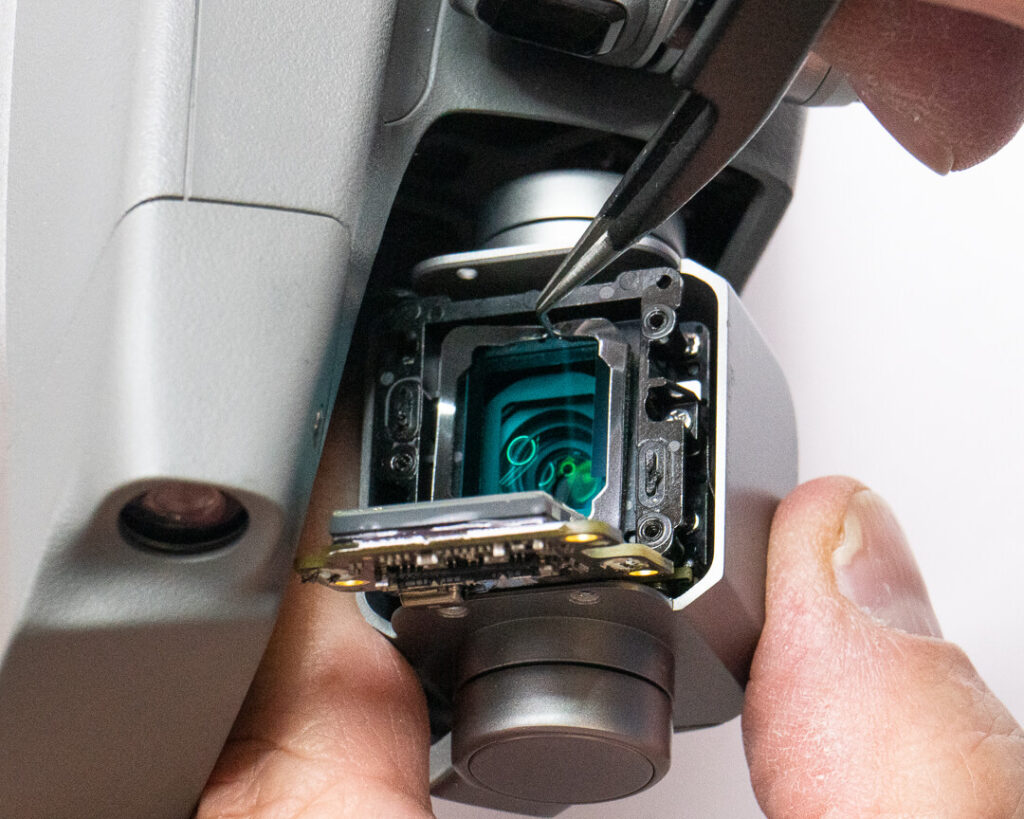
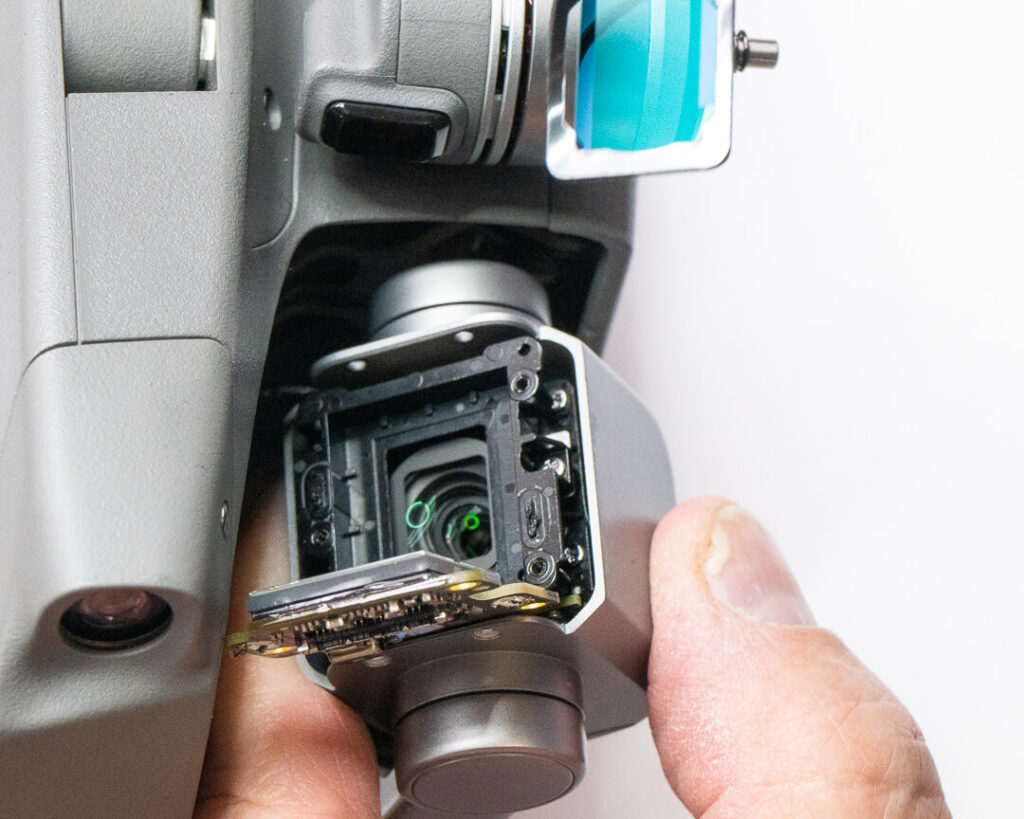
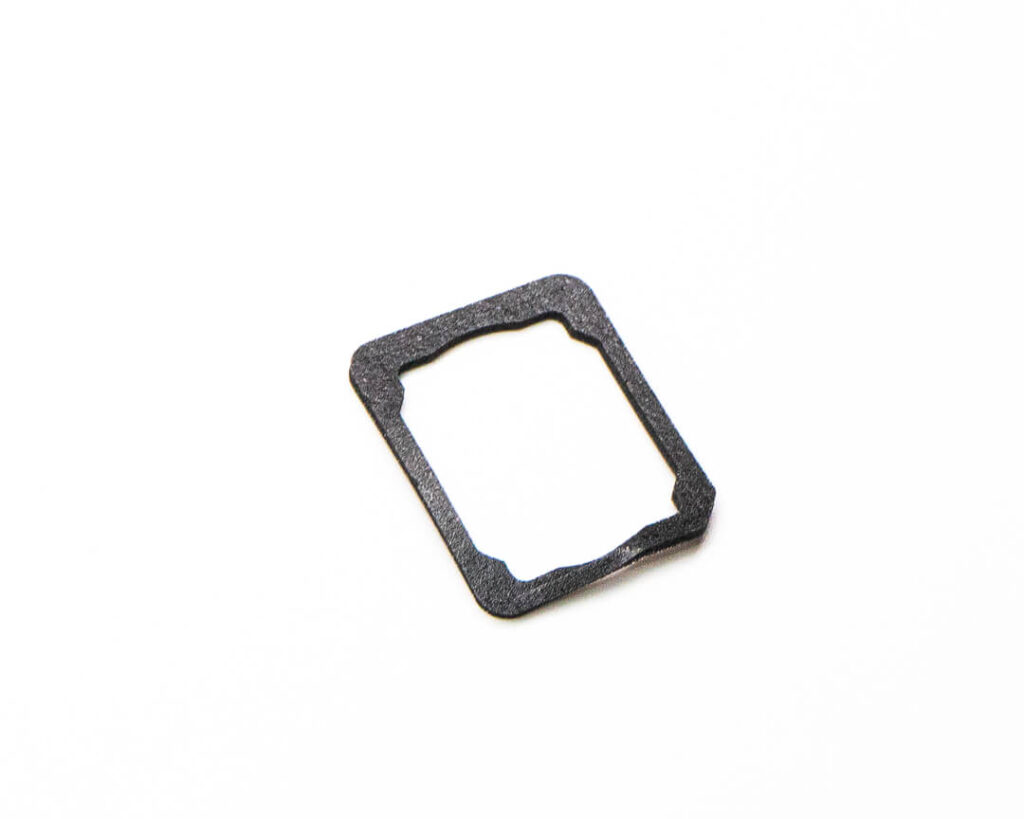
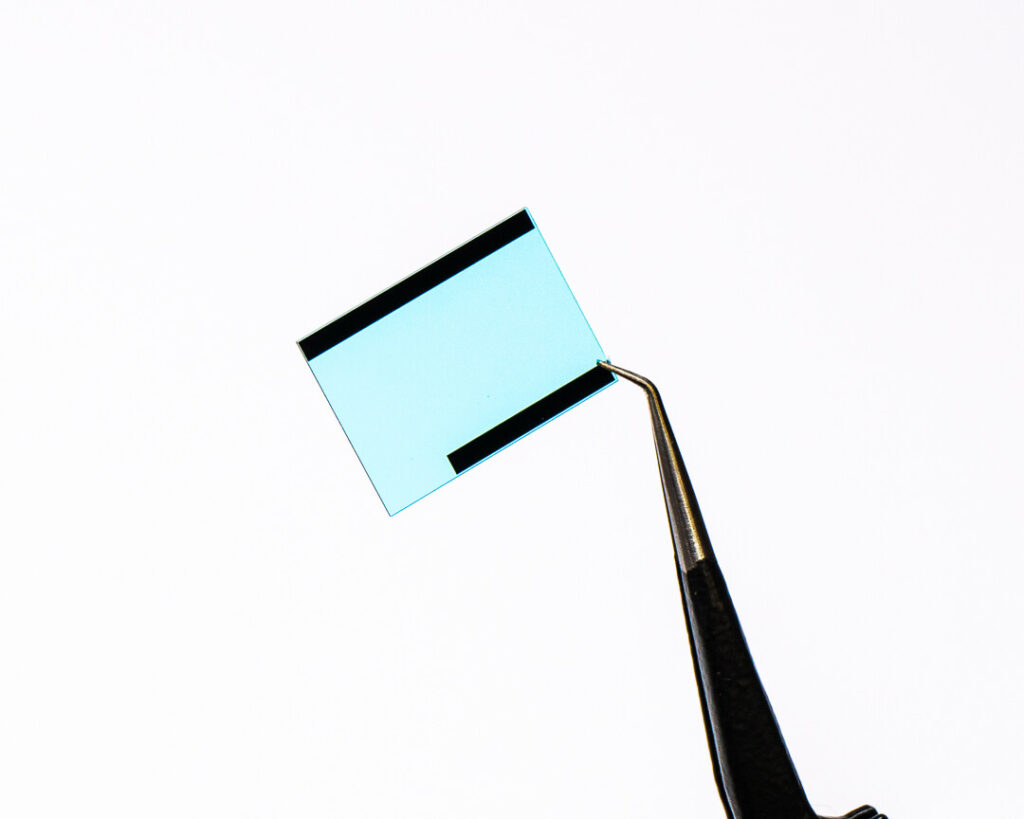
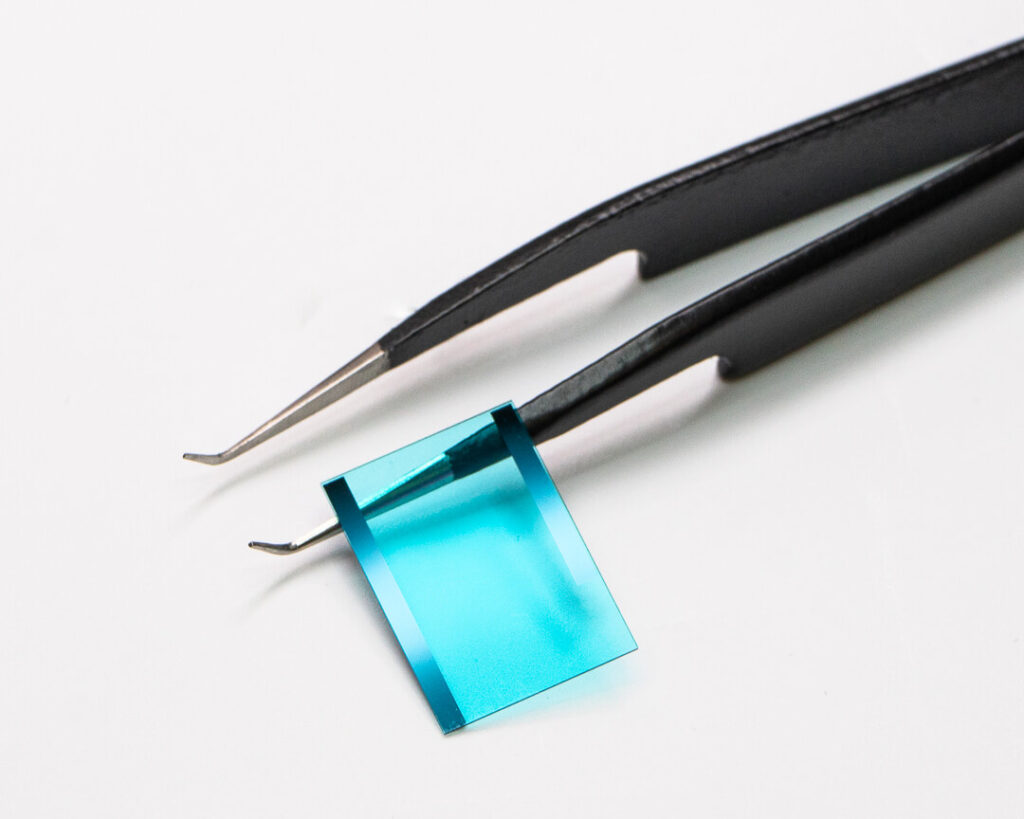
Pop off the single large connector on the rear of the sensor. You can now let the board flex outward revealing the sensor, the blue-green IR/UV cut glass, and the rear element of the lens. Carefully remove the IR/UV cut glass and cushion that holds it in place and set them aside. Here is a closer look at those parts once removed.
Step 6: Place Full-Spectrum glass in UV/IR cut glass slot.
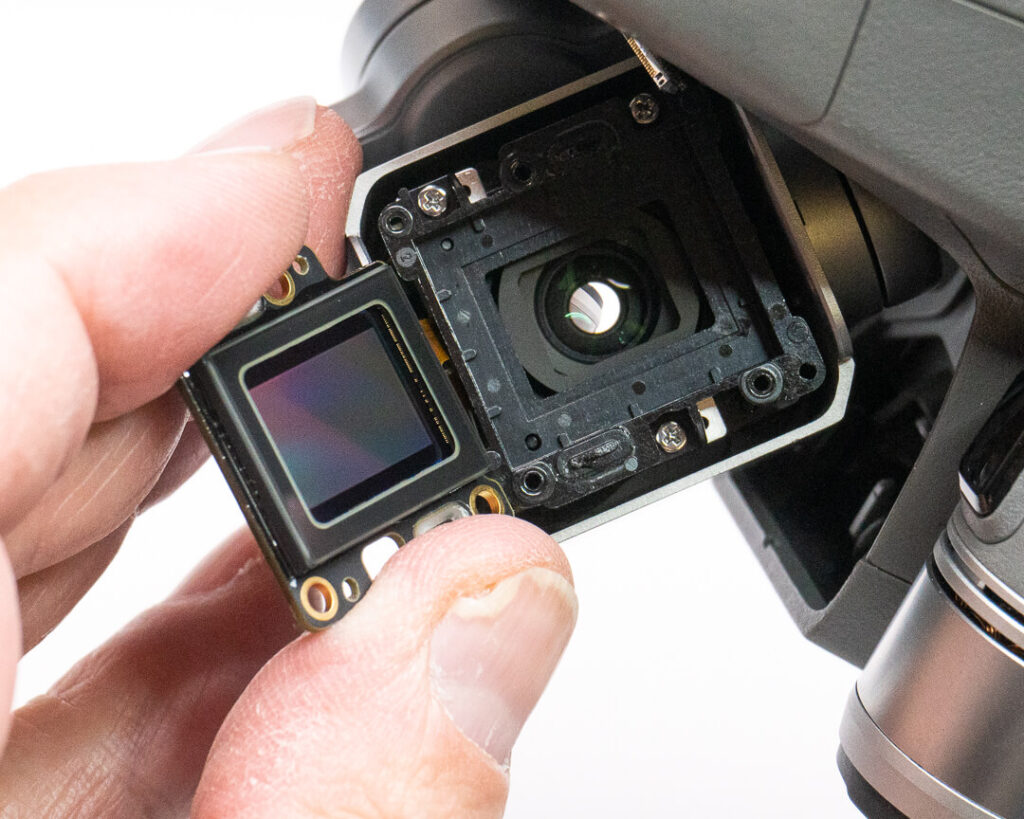
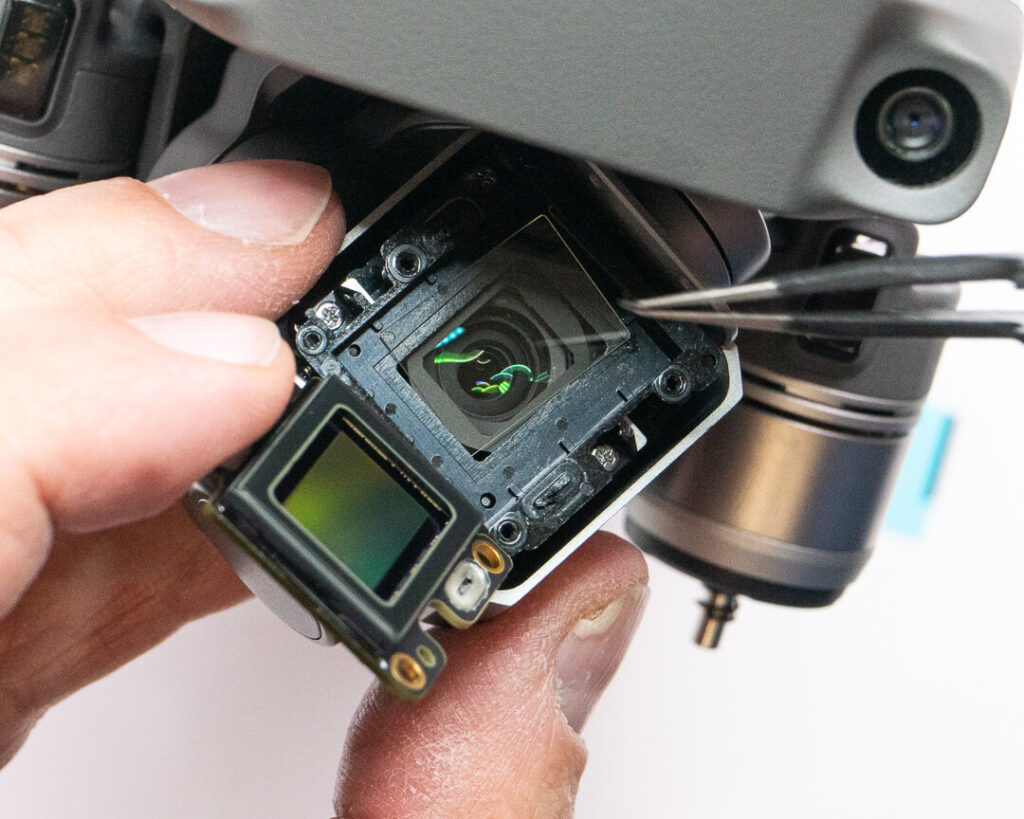
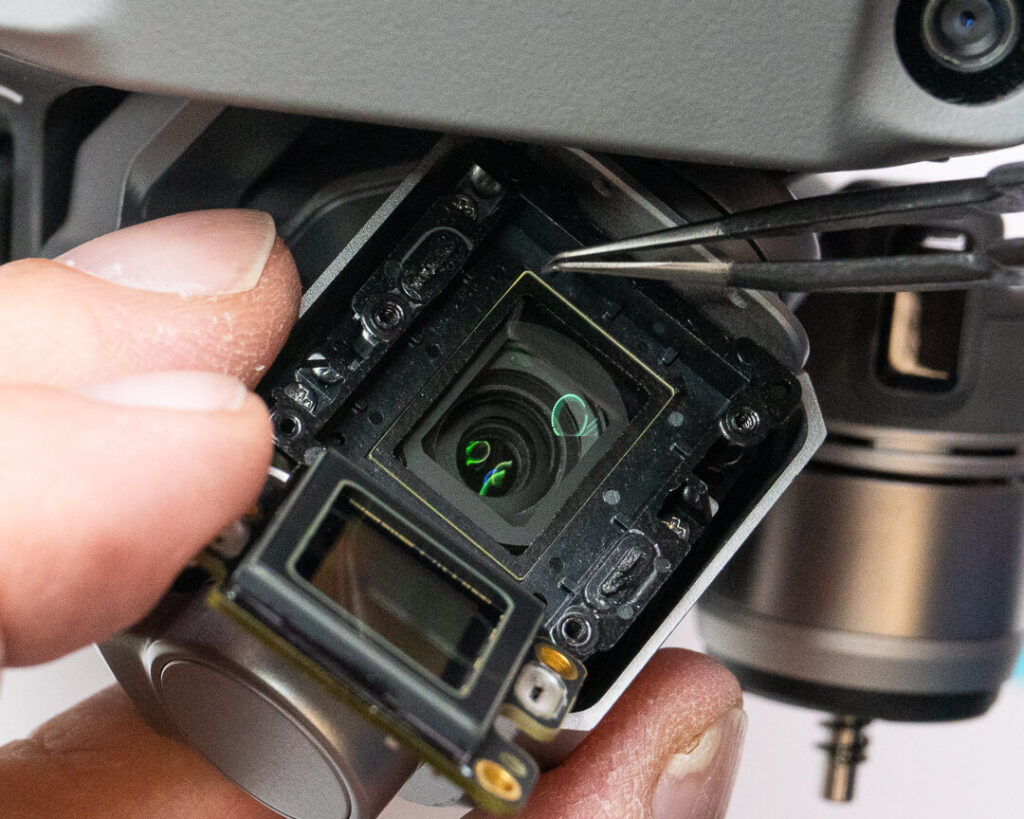
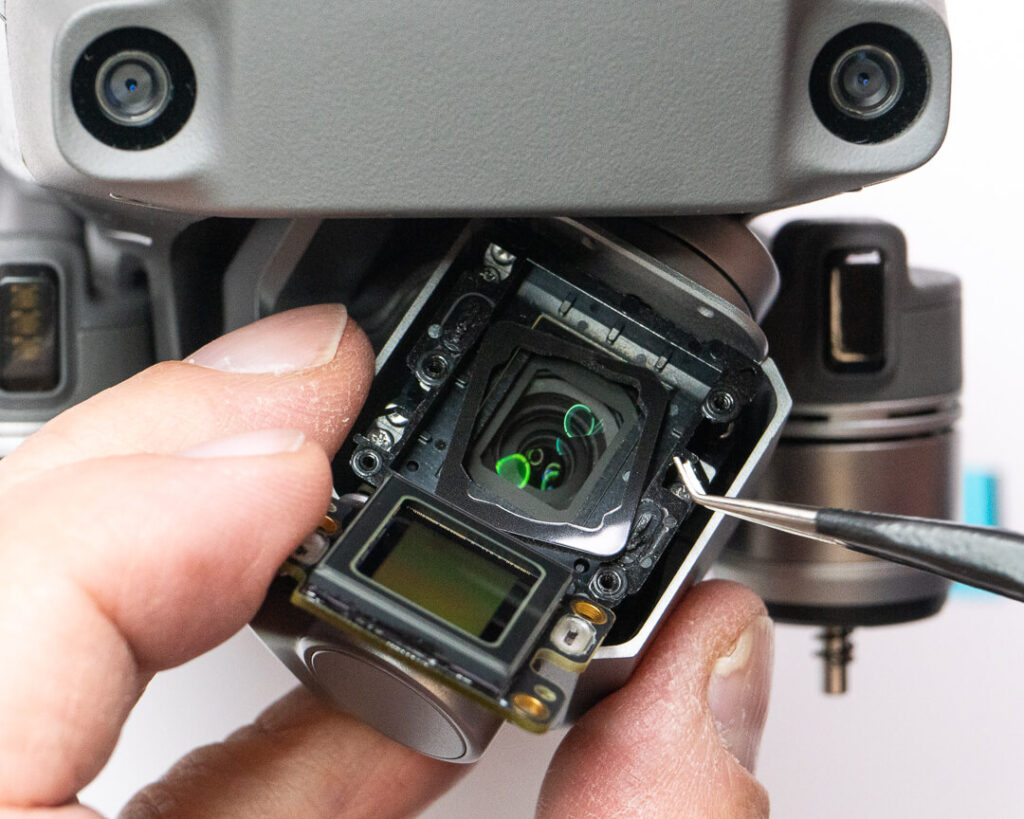
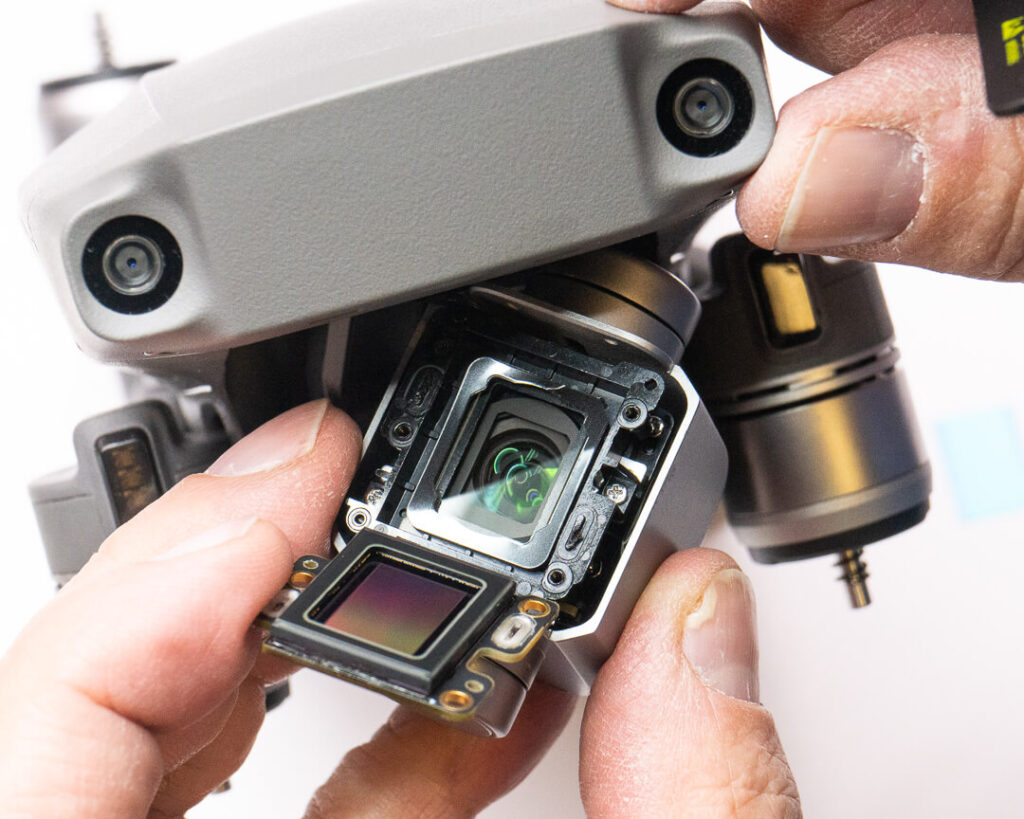
Place the Full-Spectrum Mavic 2 Filter in place of the UV/IR cut glass that you removed, then cover it with the same cushion. Think of it as simply swapping a stock part for a different custom part.
Step 7: Screw the sensor back into place.
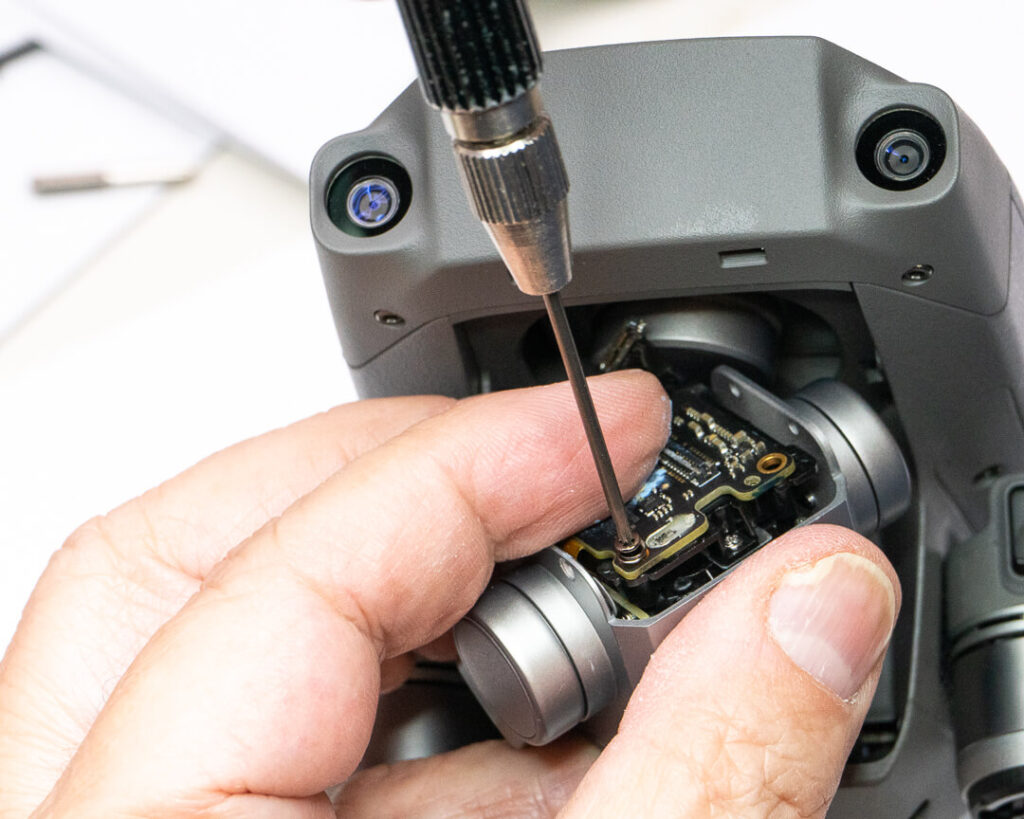
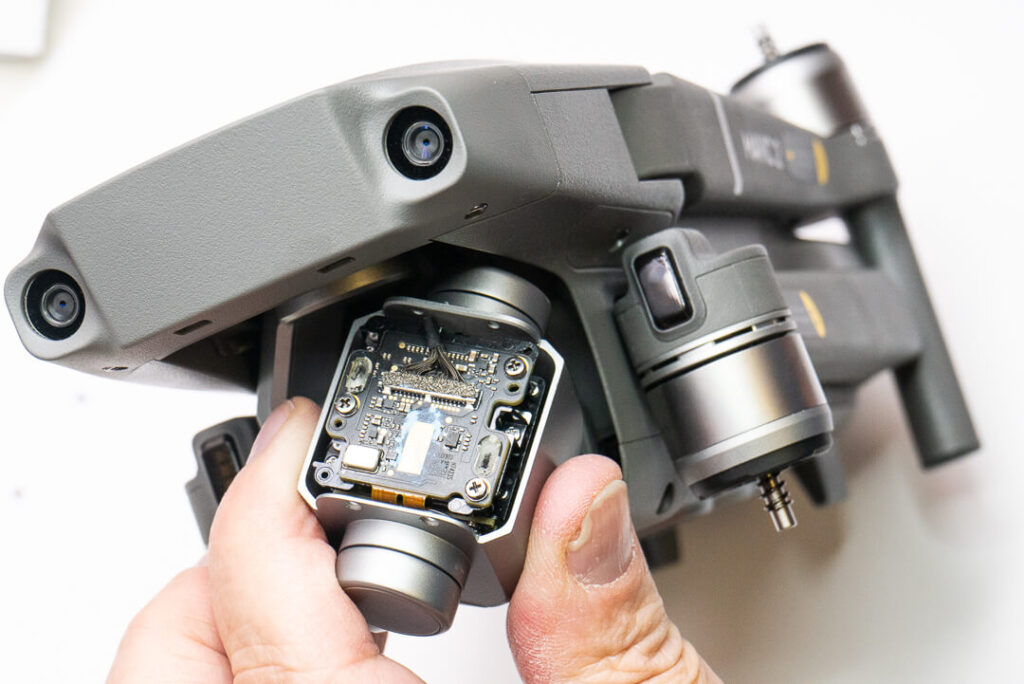
Press the sensor back into its original position and screw the 3 sensor screws back into place.
Step 8: Re-glue the sensor.
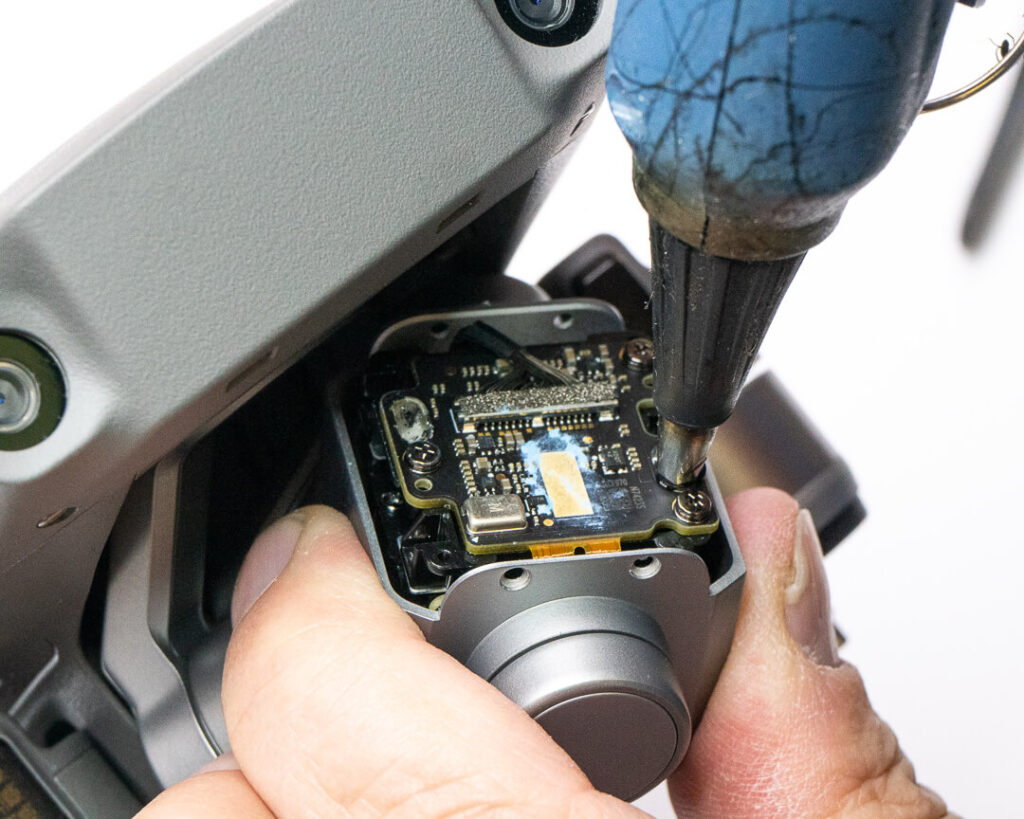
With a hot glue gun, re-glue the same glued spots you removed before.
Step 9: Close up the camera.
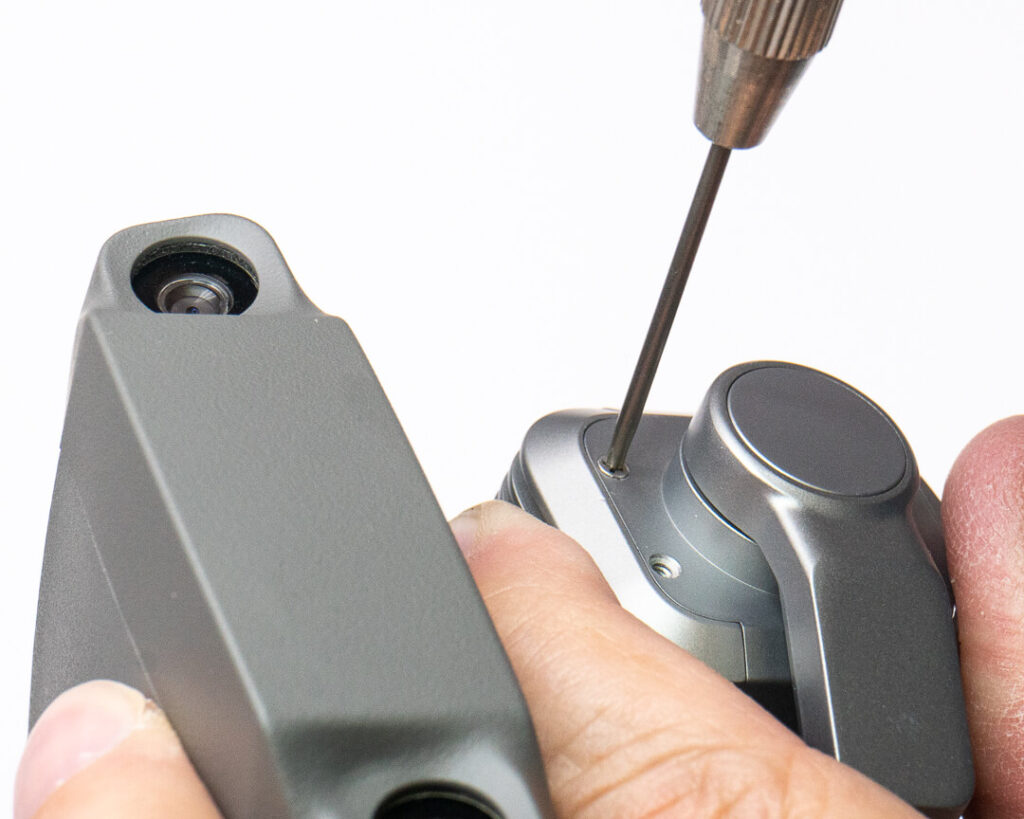
Place the back panel with thermal paste back into its original position, and screw the 4 outer screws back in.
The conversion is now complete, and your DJI Mavic 2 Pro is now a fully capable, full-spectrum photography and video enabled drone! Test for function and focus to make sure the conversions was successful, attach a filter, and go fly! By the way, if this looks like something you’d rather leave to the professionals, feel free to send your drone to us for a conversions service (click here), or purchase an already converted full-spectrum Mavic 2 Pro from our store (click here).



One Response
Just finished! Image looks good through the drone app, with the hot filter. I’ll fly and get some shots tomorrow. My glue gun decided not to work, so I didn’t re-glue those spots. They seem like redundant security with the screws. Is that correct?
Thanks,
Len Bates