Introduction
In the first article, we saw how to process 850nm infrared pictures in black and white with global adjustments. This second tutorial deals with the expansion of gray shades without impacting the brightest and darkest parts of the picture. The final image from the previous tutorial will be used as our starting point.
Expansion of gray shades
The expansion of gray shades is useful for high contrast black and white pictures because it creates a more subtle effect with greater detail. We will do this with our luminosity masks from last time: “light 2” and “dark 2”.
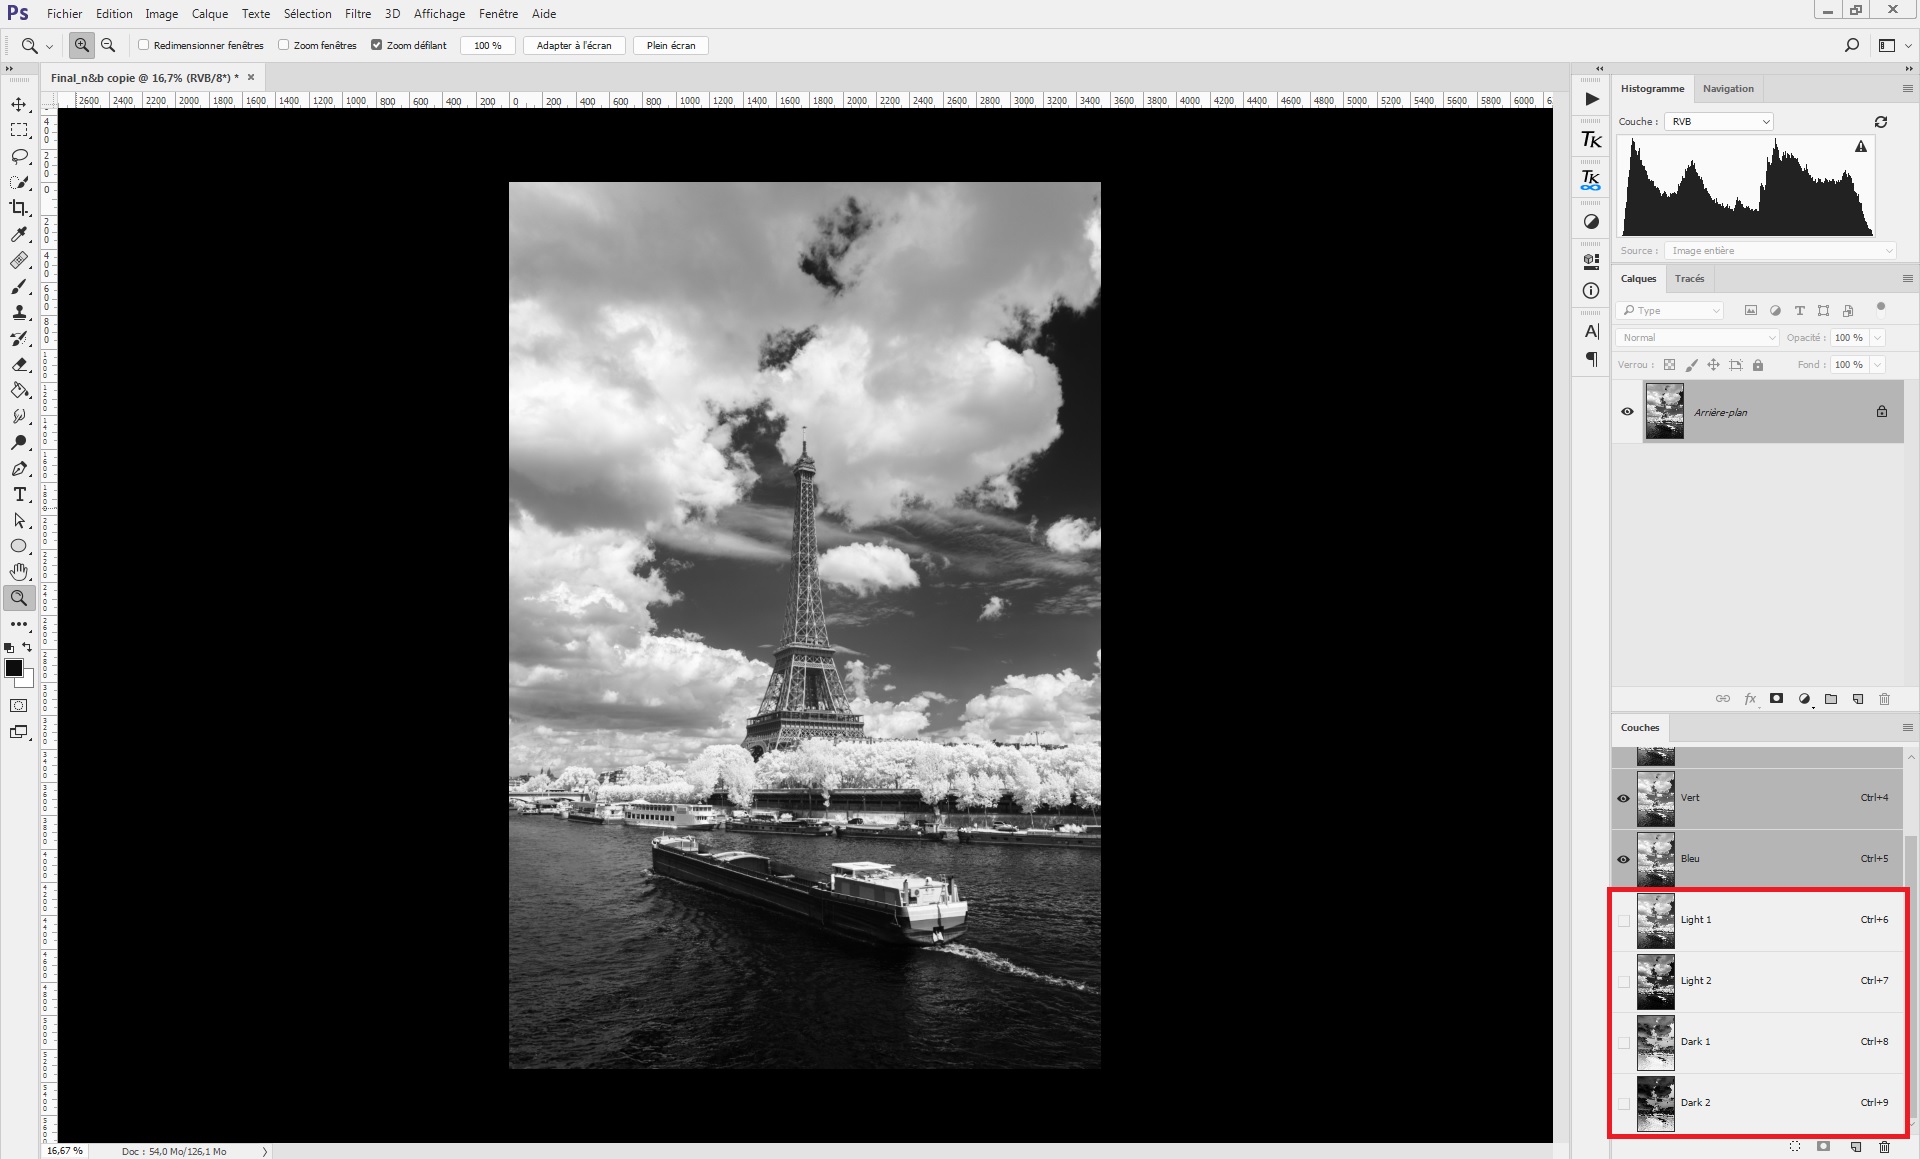
These two channels are first used to create luminosity masks applied on the curve function.
Expansion of bright shades
- 1: Ctrl + click on “Light 2” channel to select the corresponding areas
- 2: Create a curve layer to generate the mask
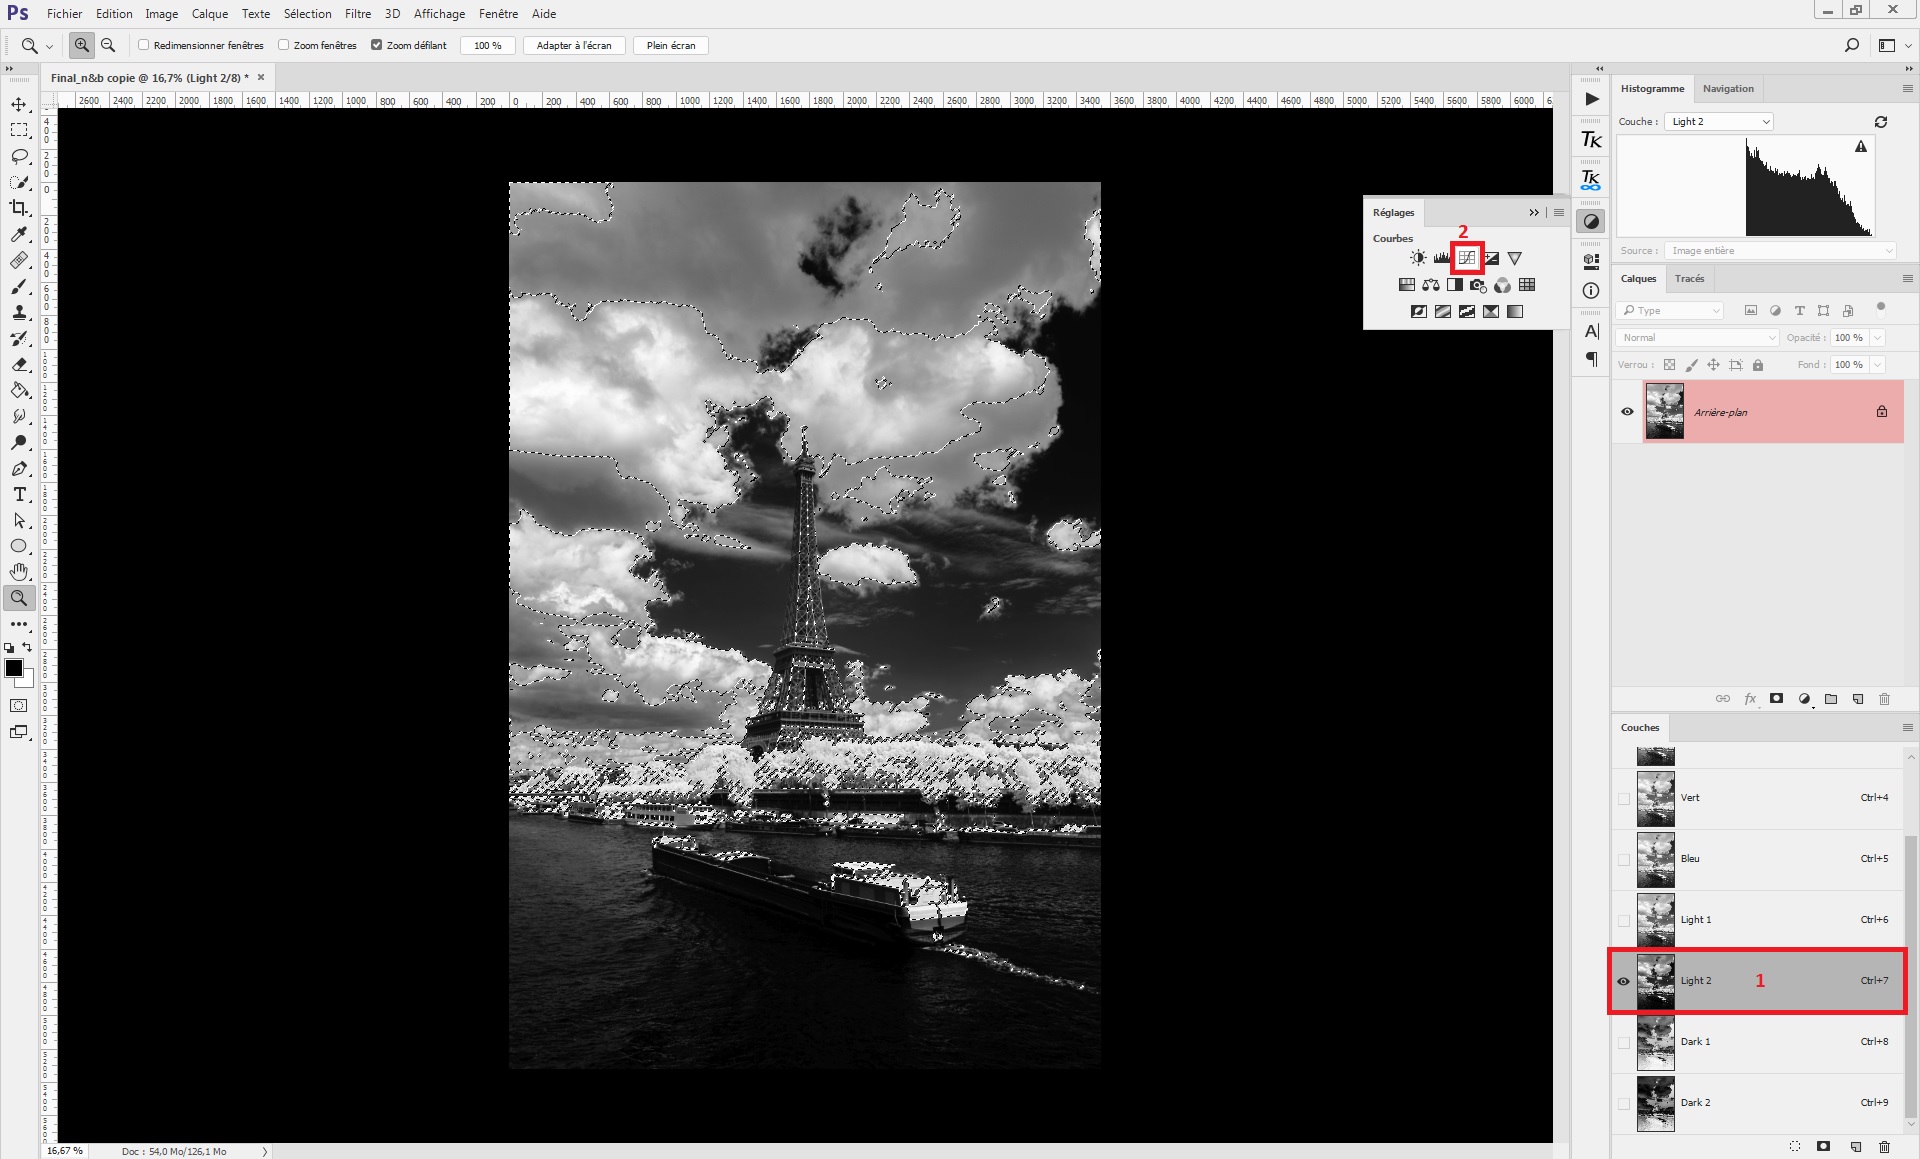
The curve created will only impact the brightest grey shades thanks to the luminosity mask attached:
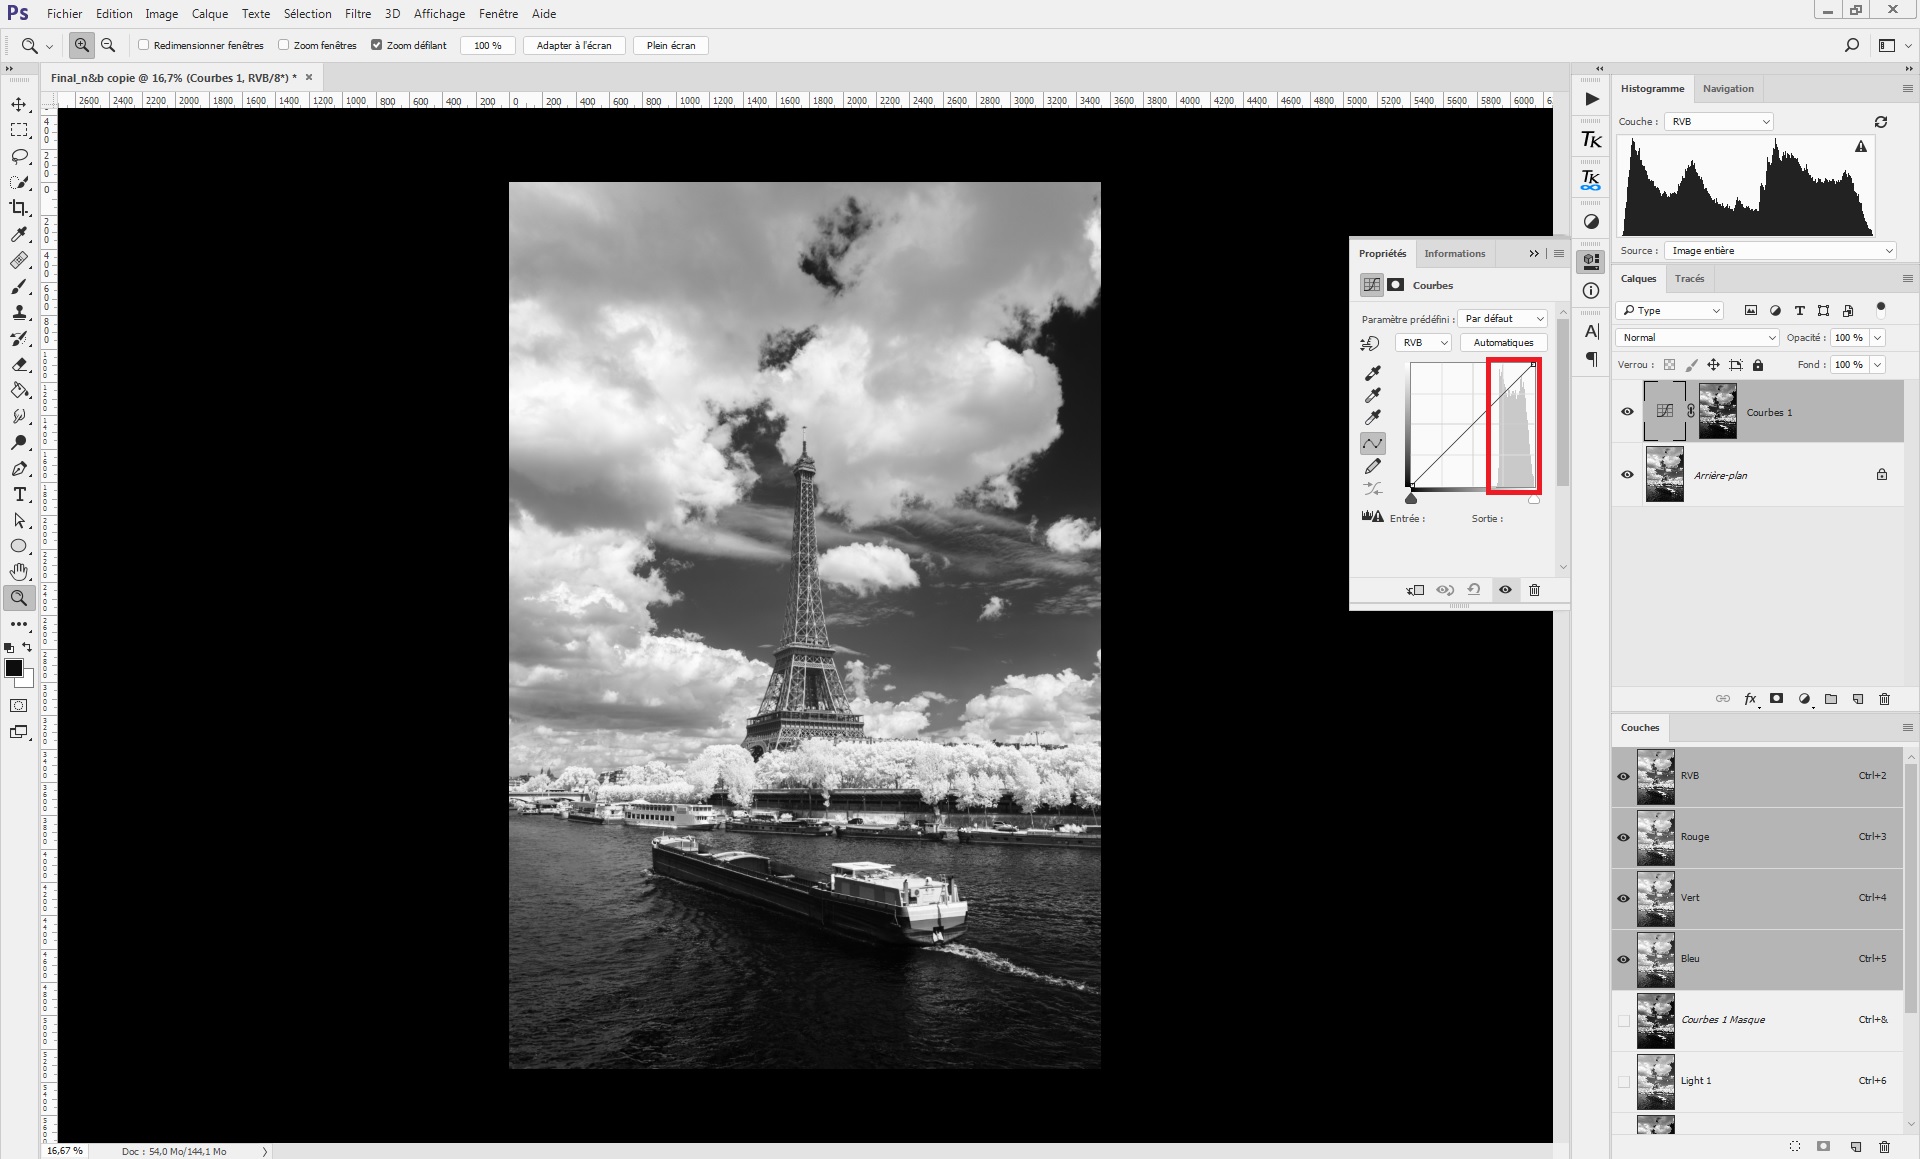
In the curve created, drag down the following point as shown:
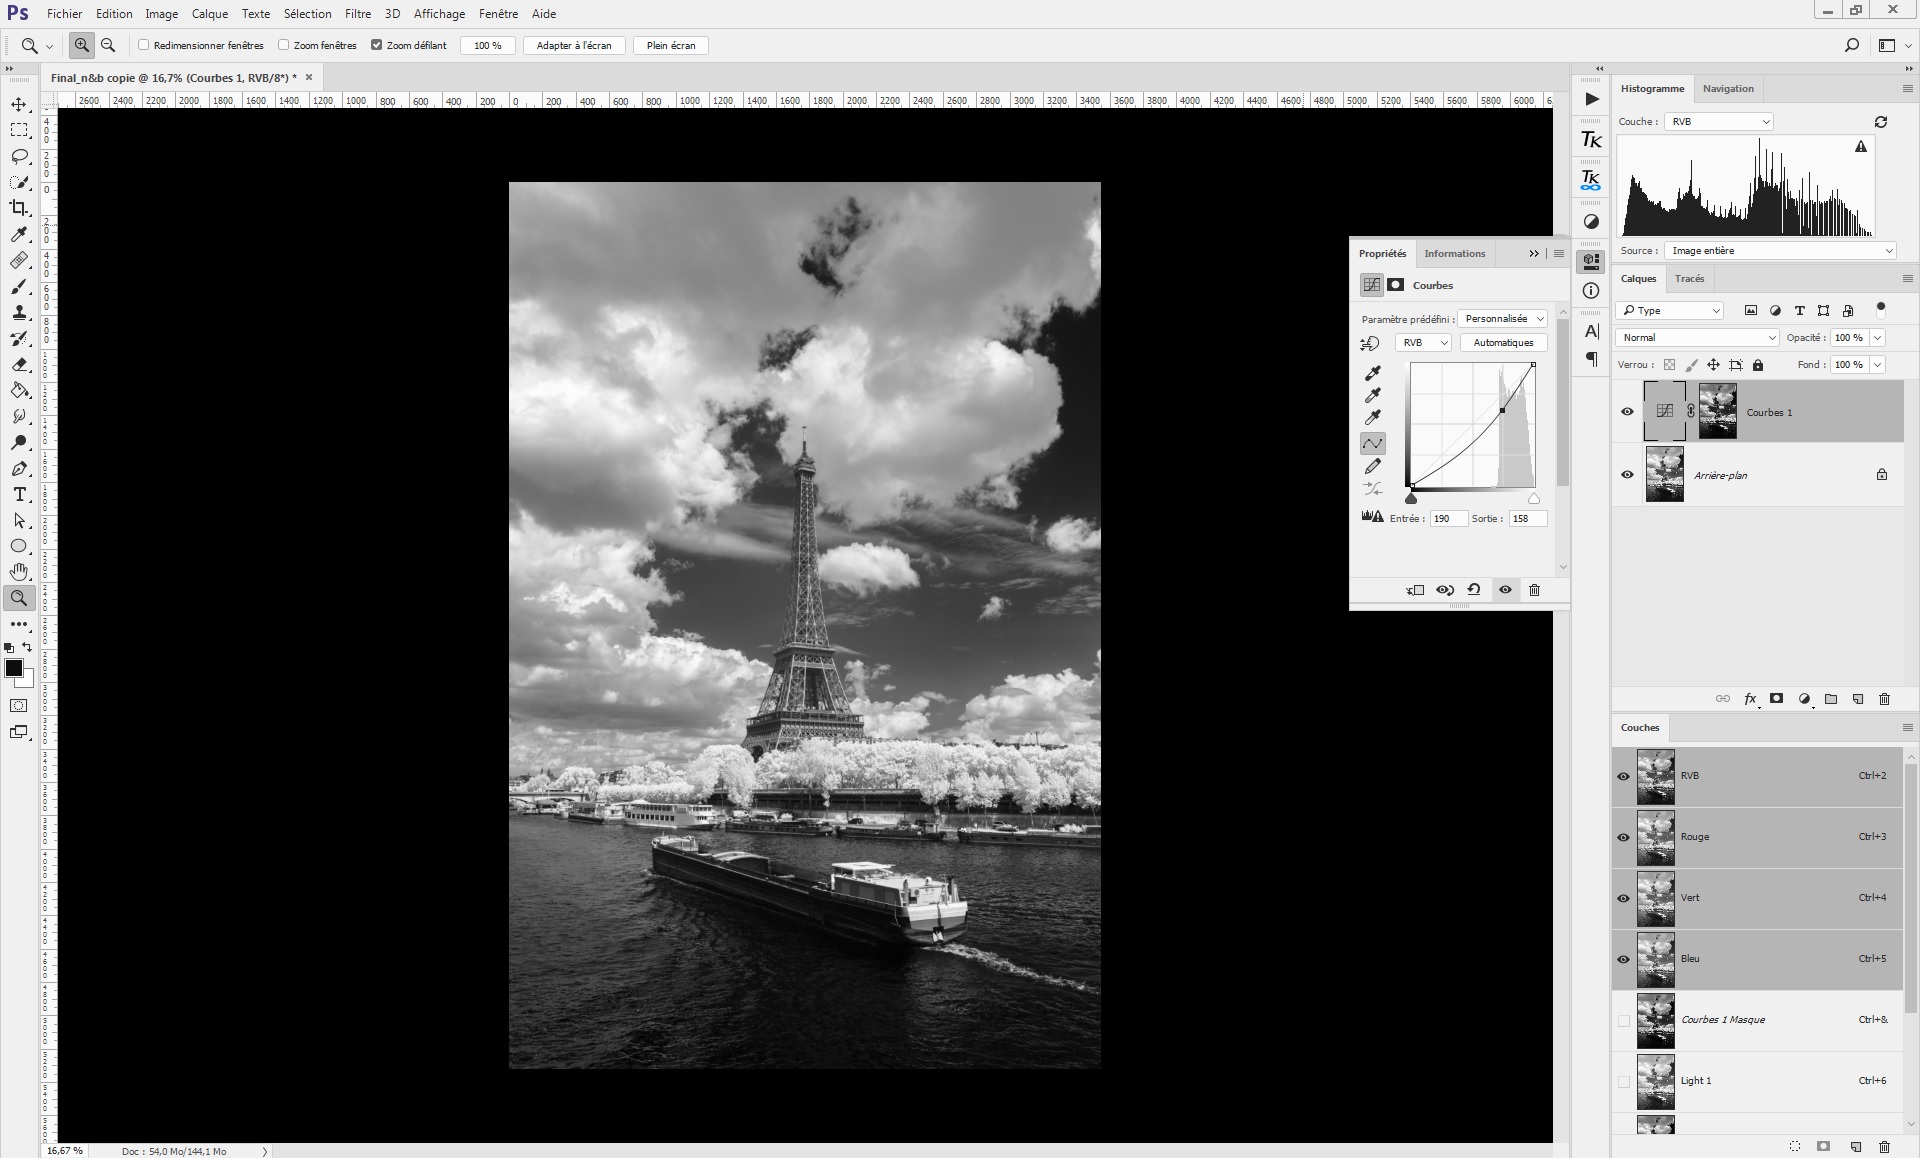
This causes brightest part of the picture to darken. To keep the very brightest parts the same, drag up a new point as shown:
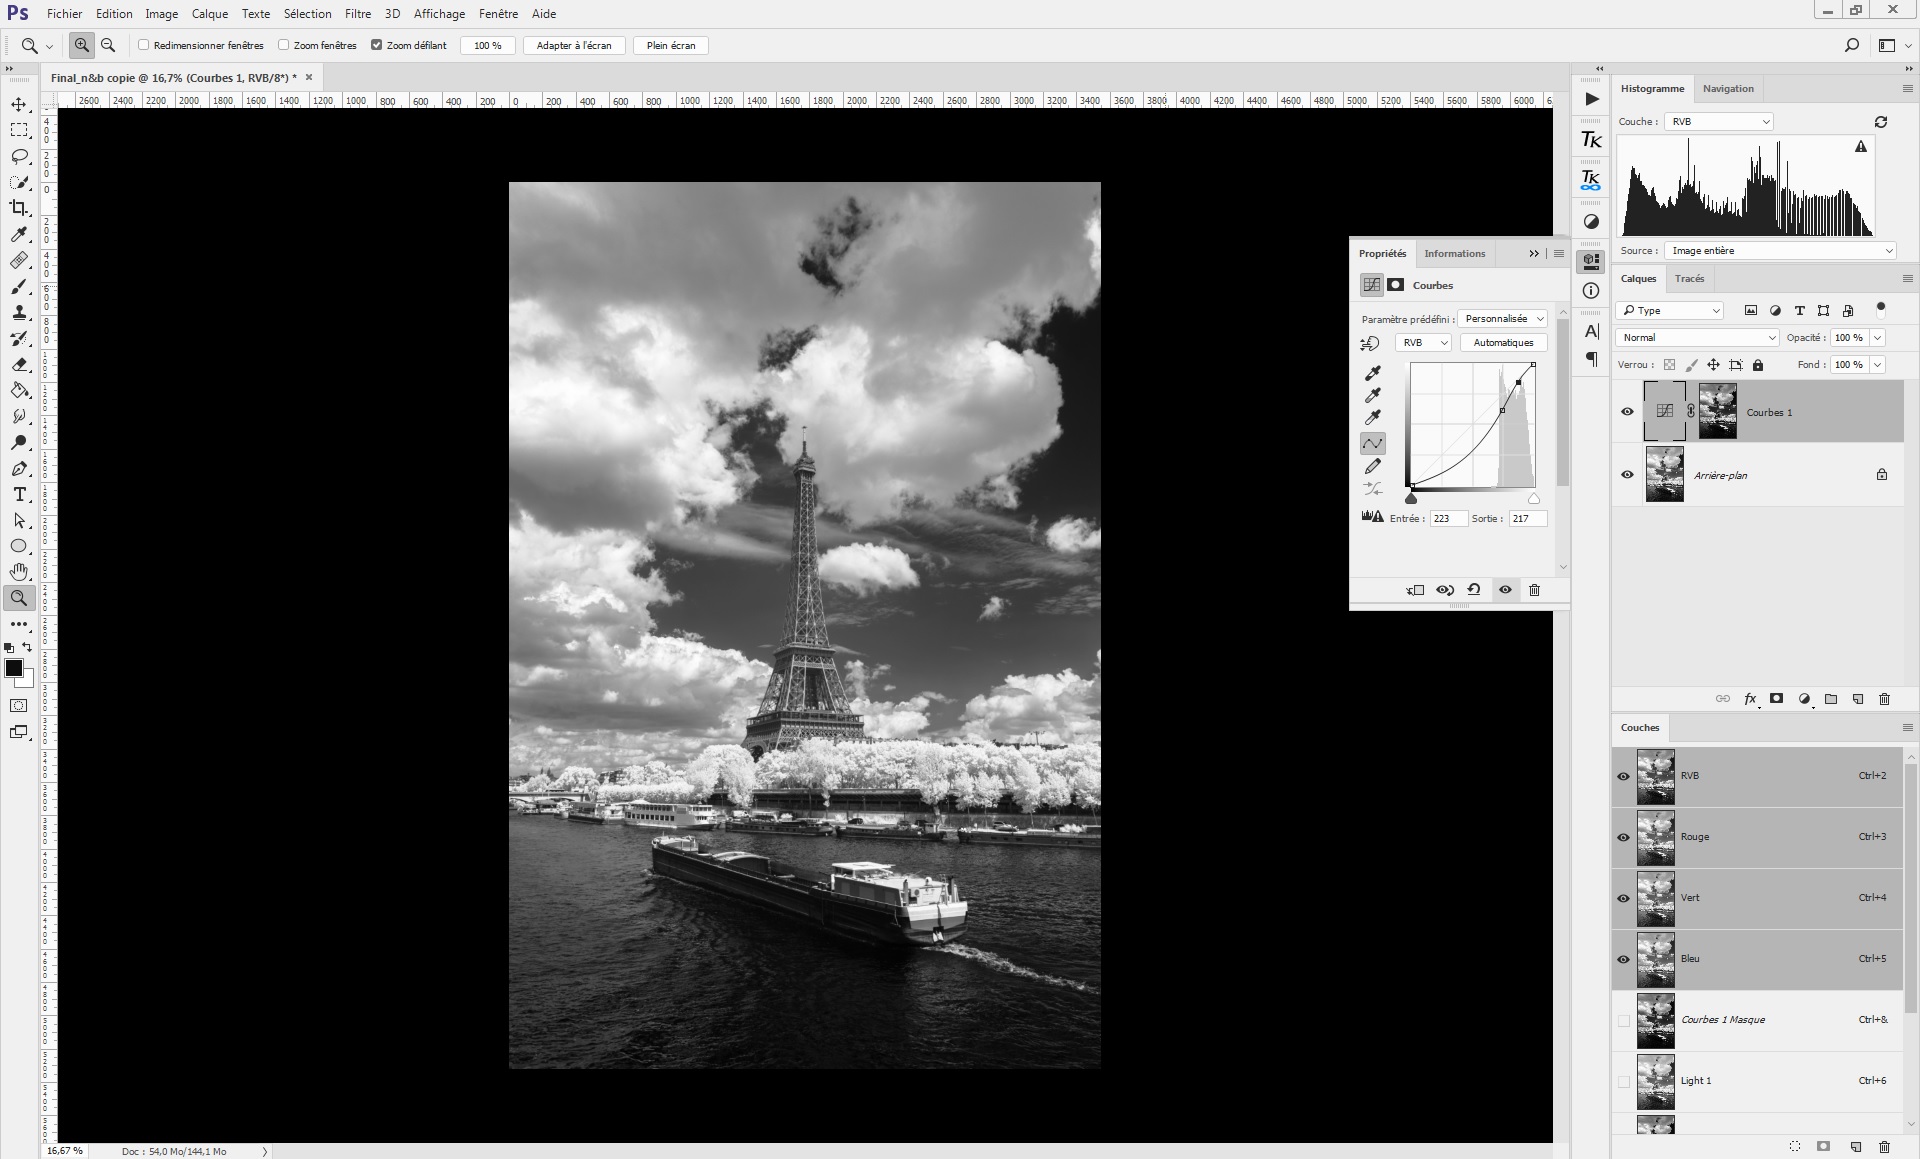
With this adjustment, the gray shades of the bright part have been expanded without impacting the brightest level of the image.
Expansion of dark shades
- 1: Ctrl + click on “Dark 2” channel to select the corresponding areas
- 2: Create a curve layer to generate the mask
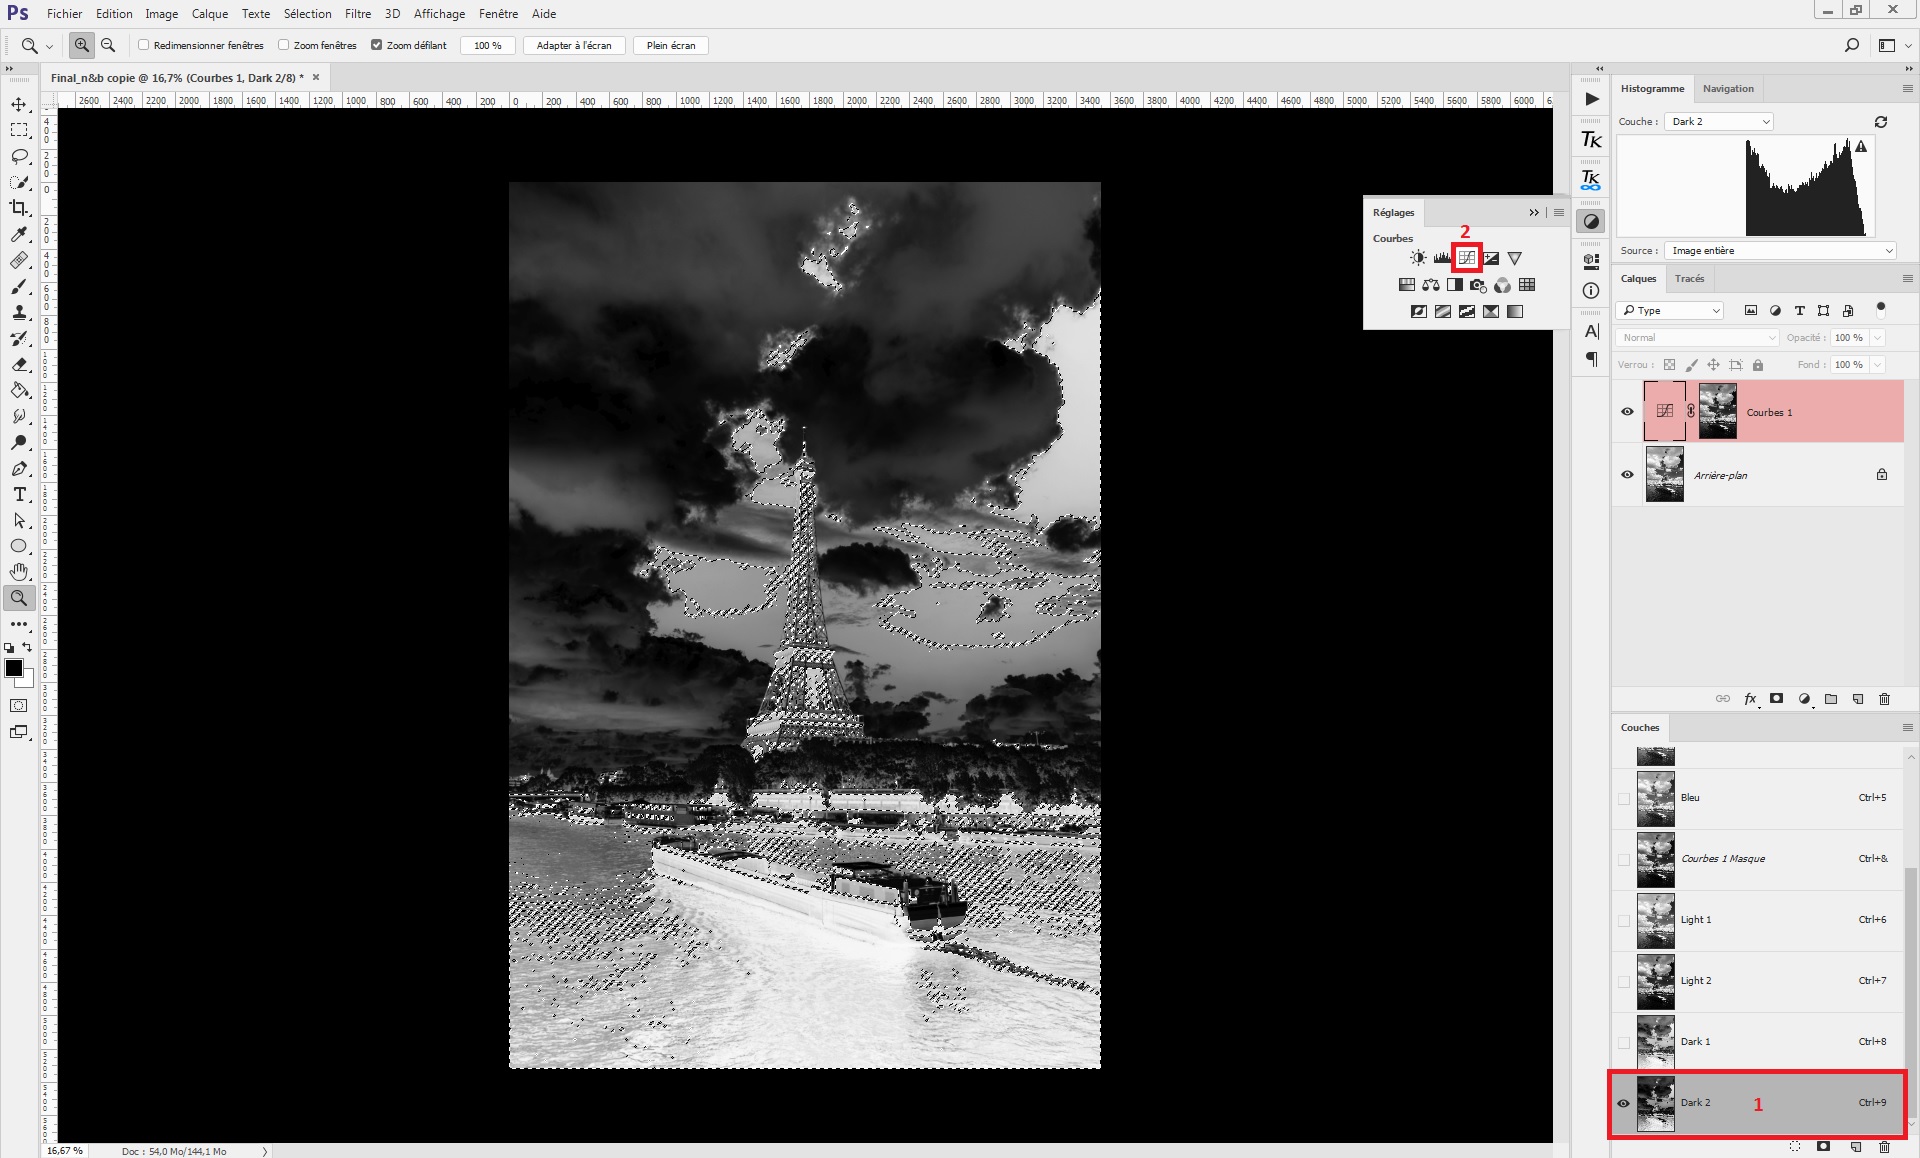
The curve created will only impact the darkest grey shades thanks to the luminosity mask attached:
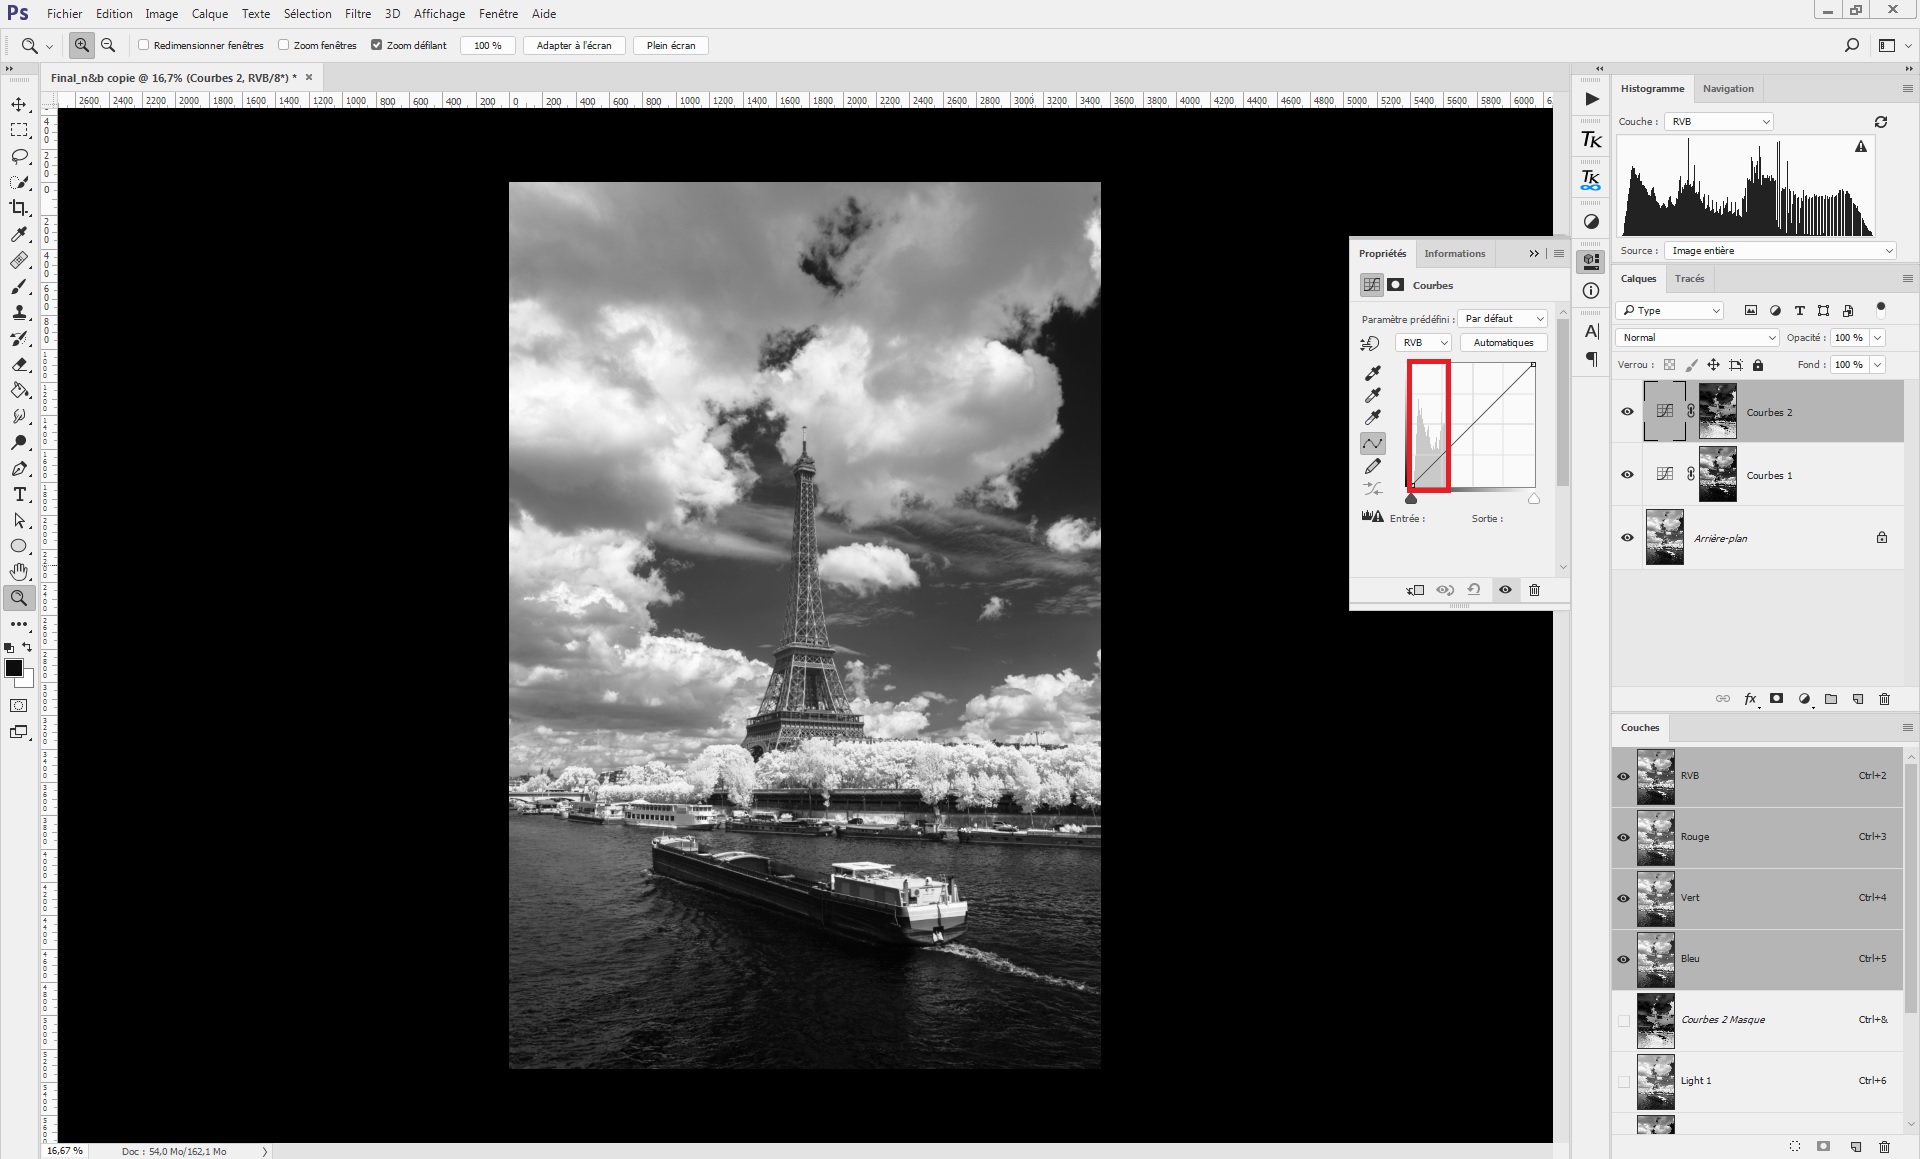
In the curve created, drag up the following point as shown:

This causes darkest part of the picture is lighten, just as it did with the highlights. To keep the very darkest parts the same, drag down a new point as shown:
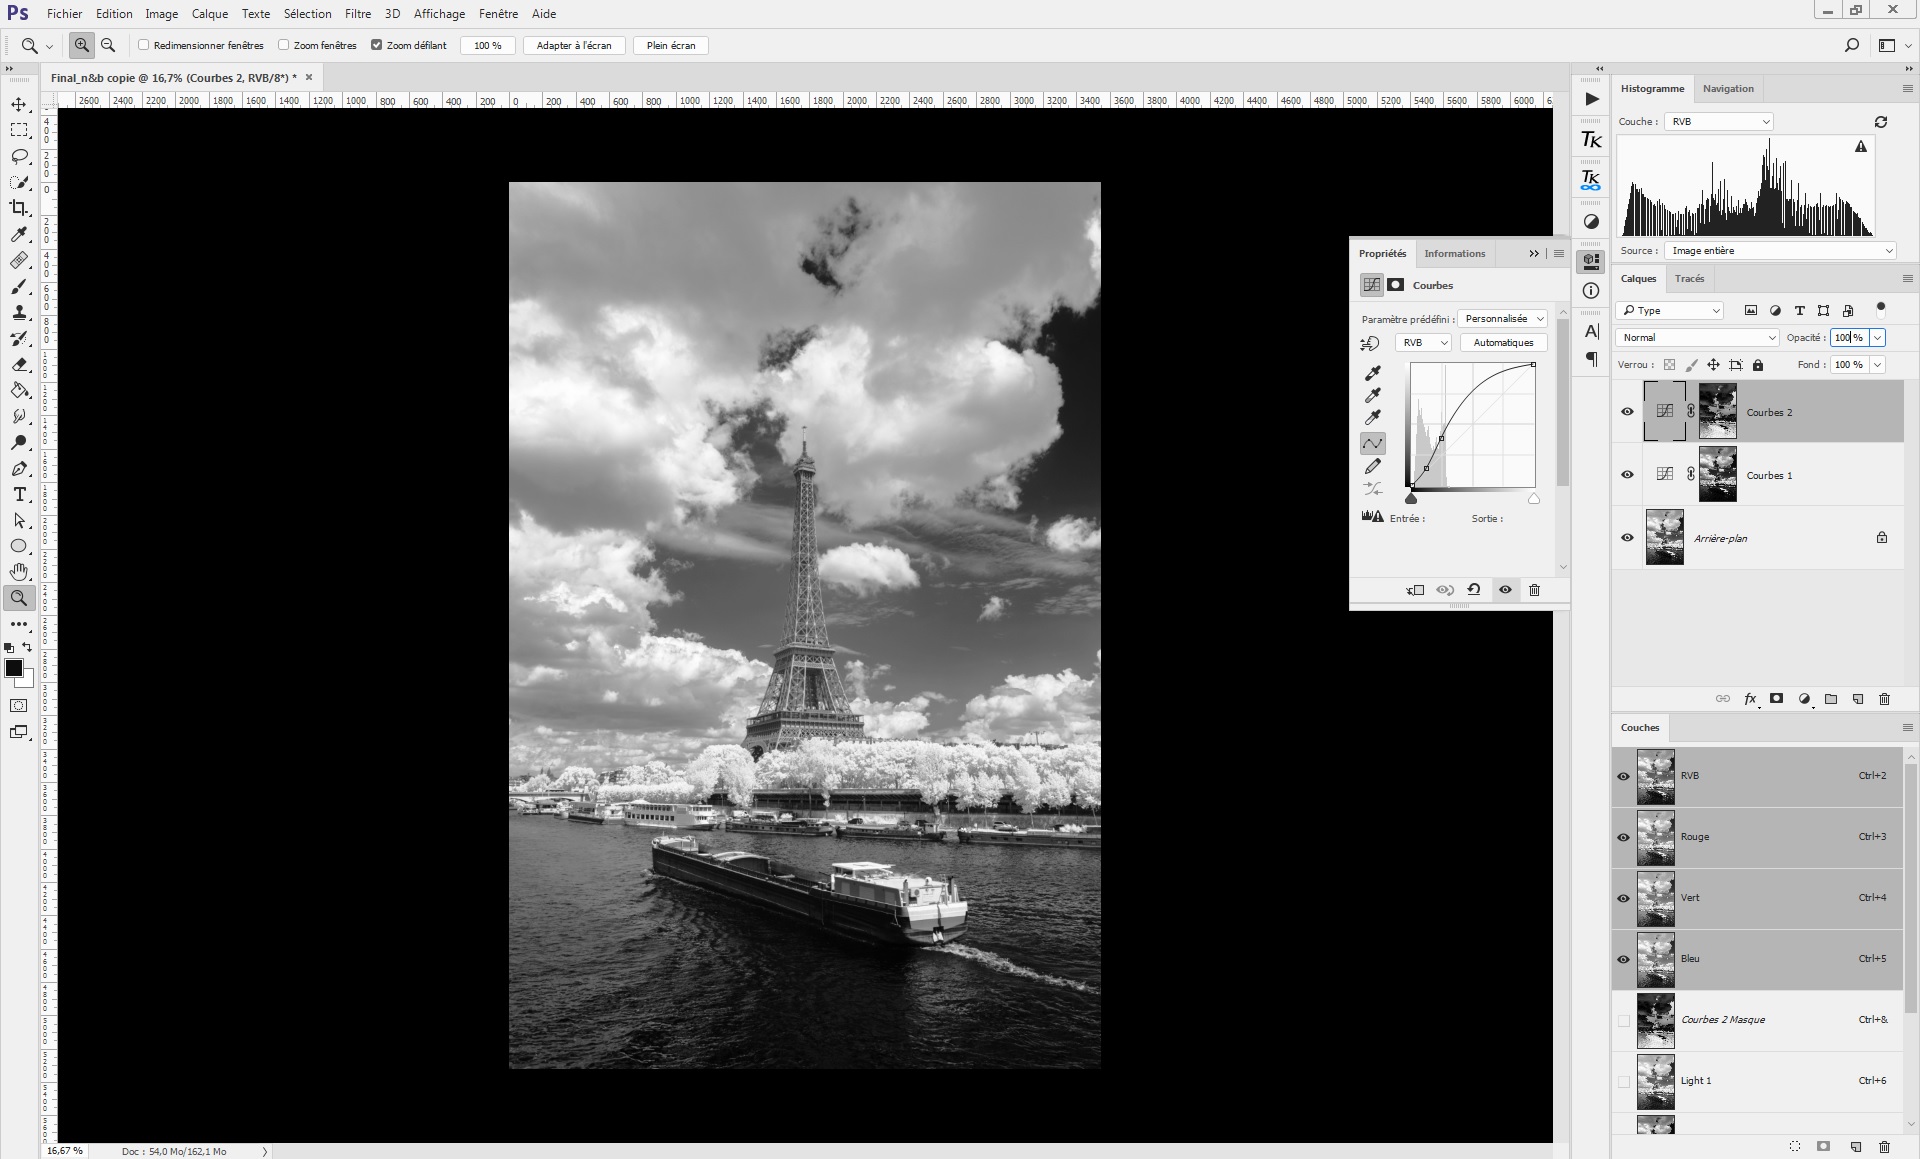
With this adjustment, the gray shades of the dark part have been expanded without impacting the darkest level of the picture.
Result
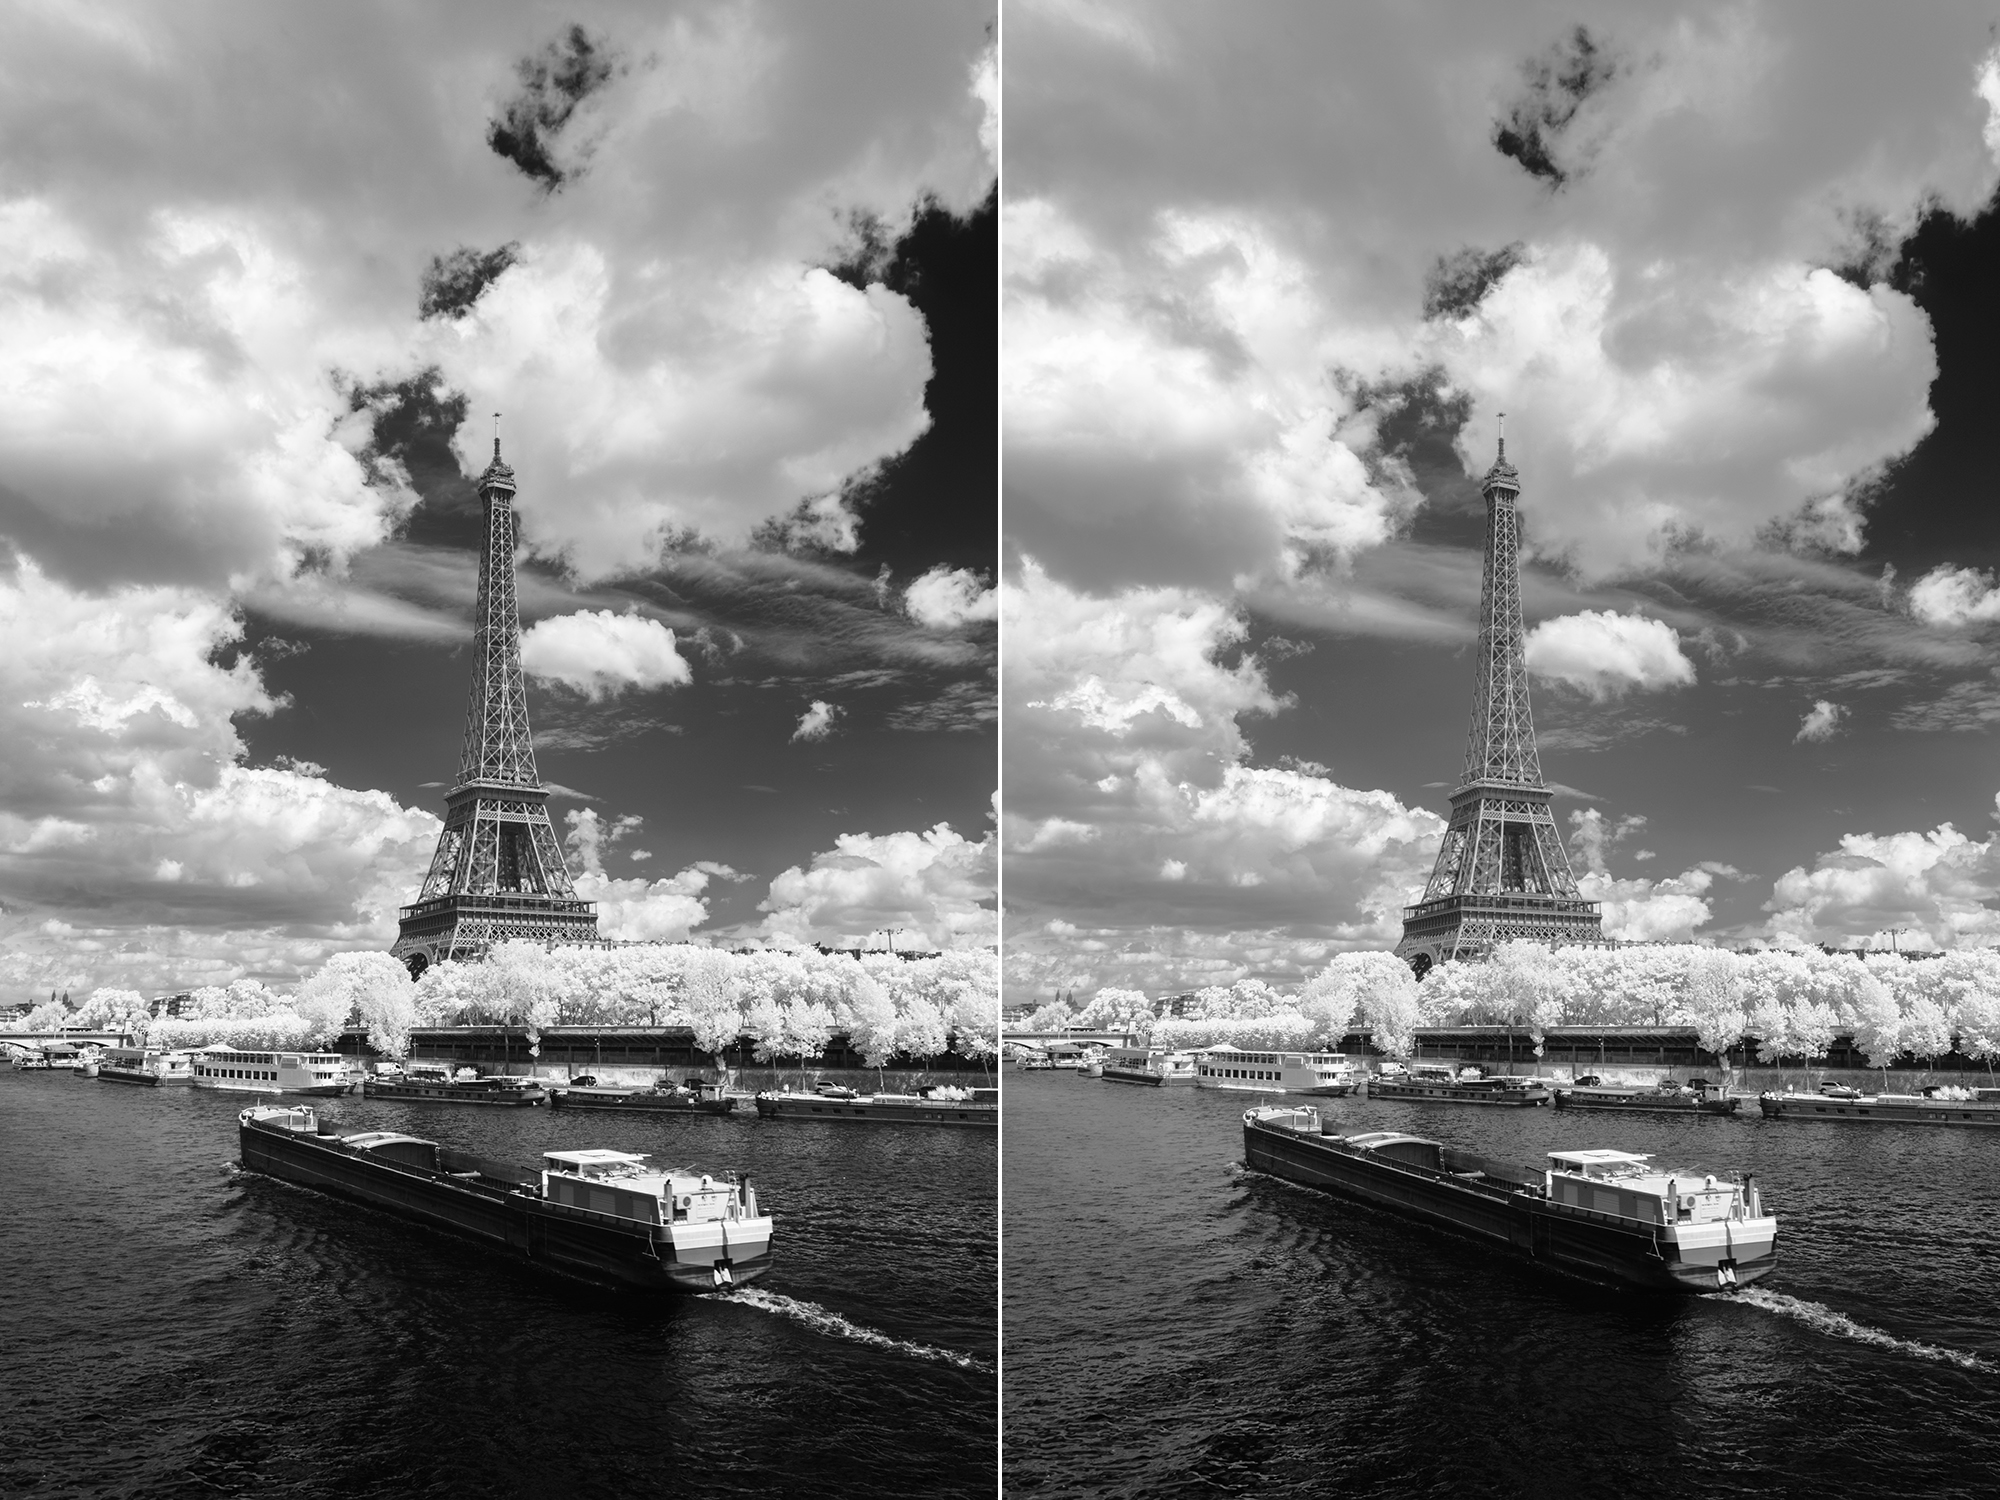
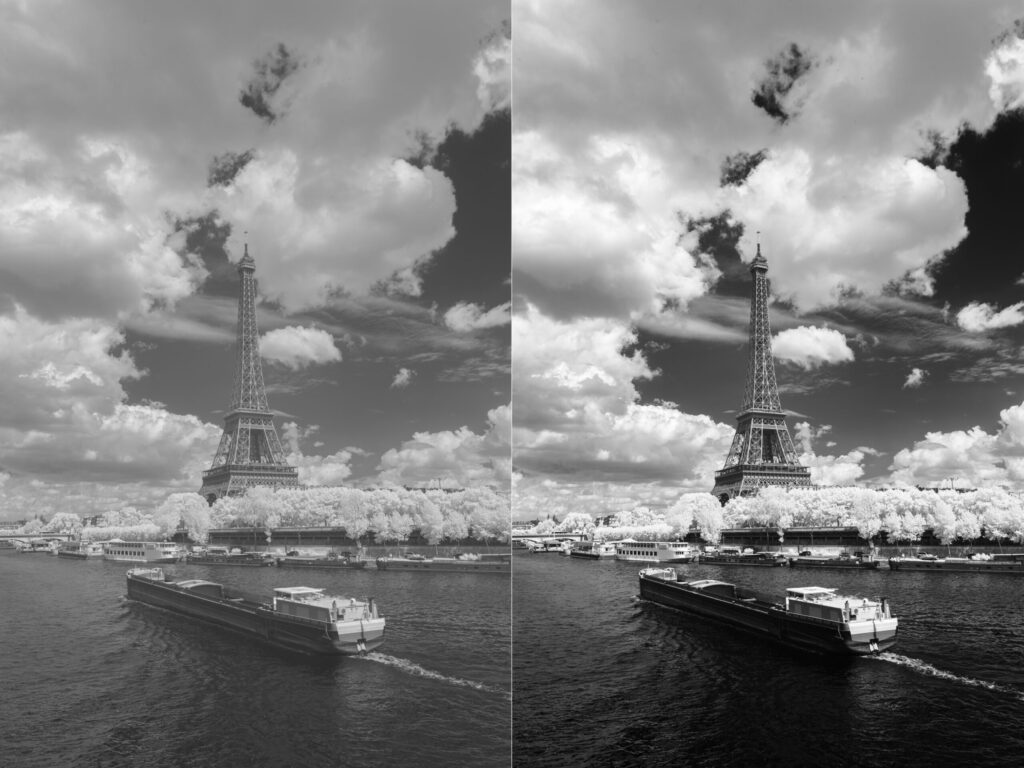
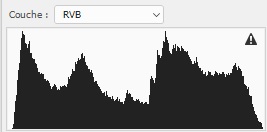
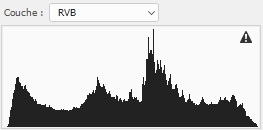
This comparison shows the expansion of gray shades from the left image (before) to the right image (after). The darkest and brightest parts of the initial image are not impacted by this process, as proved by the evolution of the histogram:
“B&W_Shades” action:
You can download the “B&W_Shades” action to apply the gray shades expansion technique more easily in all your black and white photos. This action will carry out all the steps described in this article to generate to masked curves with correct adjustments. The action also enables you to play with the opacity of these layers to obtain a softer effect.