As an artist, identifying and refining your creative niche is a daily challenge. Visually, as a photographer, this can translate to exploring the edges of possibility when it comes to cameras, lights, filters, and post-processing. This post will showcase the unique visual combination of neutral density filters in situations with strong ambient light (i.e., midday) with high-powered strobes to achieve a creative final image.
What is an ND filter, and why should I have one in my kit?
ND stands for “neutral density,” and this filter has several common uses. Overall, it reduces the intensity of light that reaches your camera’s sensor, allowing for (1) shallow depth of field in extremely bright conditions and (2) long exposures to capture motion. While commonly used by videographers, ND filters are less widely used by amateur and hobbyist photographers because they are seen as less useful than they were in the past. With the rise of mirrorless cameras with electronic shutters that can shoot at shutter speeds of 1/8000 (or faster), the need for an ND filter to capture shallow depth of field may seem unnecessary.
However, when shooting with creative or artistic effects in mind, it is important to note that electronic shutters can impact the final look of the bokeh, or blurred background, in an image. This is a story for another day, but see this video for a more in-depth comparison. I prefer a mechanical shutter as I feel it gives the final product a more organic and relaxed look.
An ND filter can be essential when the ambient light is too bright for my mechanical shutter to compensate. The shutter speed is typically even more limited when using older film cameras or large format cameras. This makes sense, given the physical constraints—the shutter has to cover a larger surface area in the same amount of time.
If you’re budget conscious, I recommend looking for ND filter options at second-hand stores, camera shops, and online resellers. Given how ubiquitous they used to be, they’re not too hard to find; however, there will be sacrifices to image quality and potential wear and tear on the filter that can subtract from the final result.
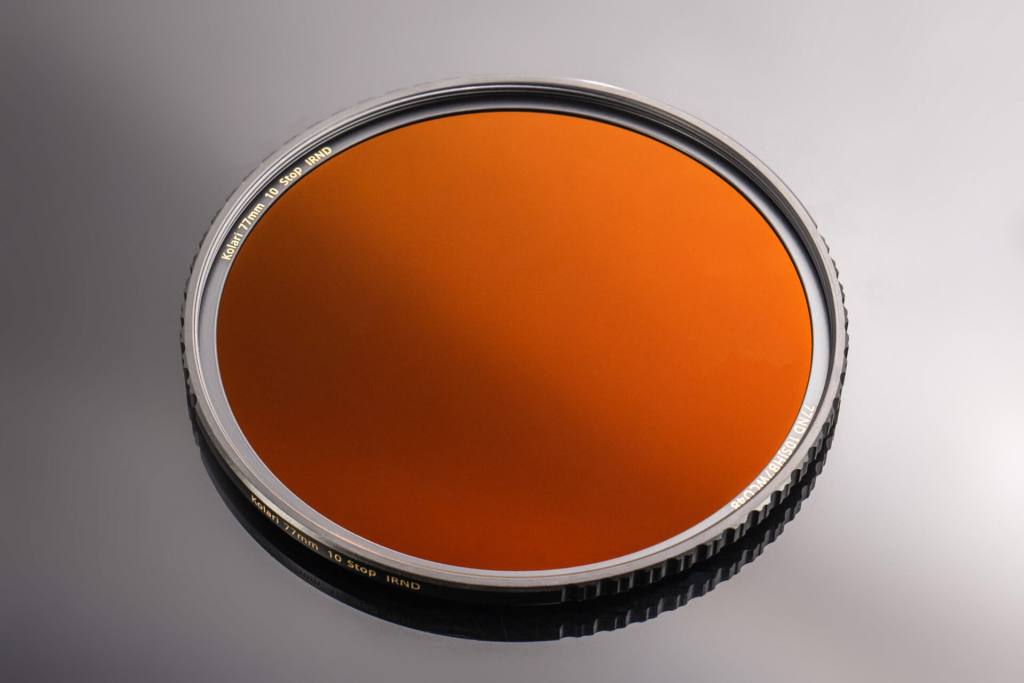
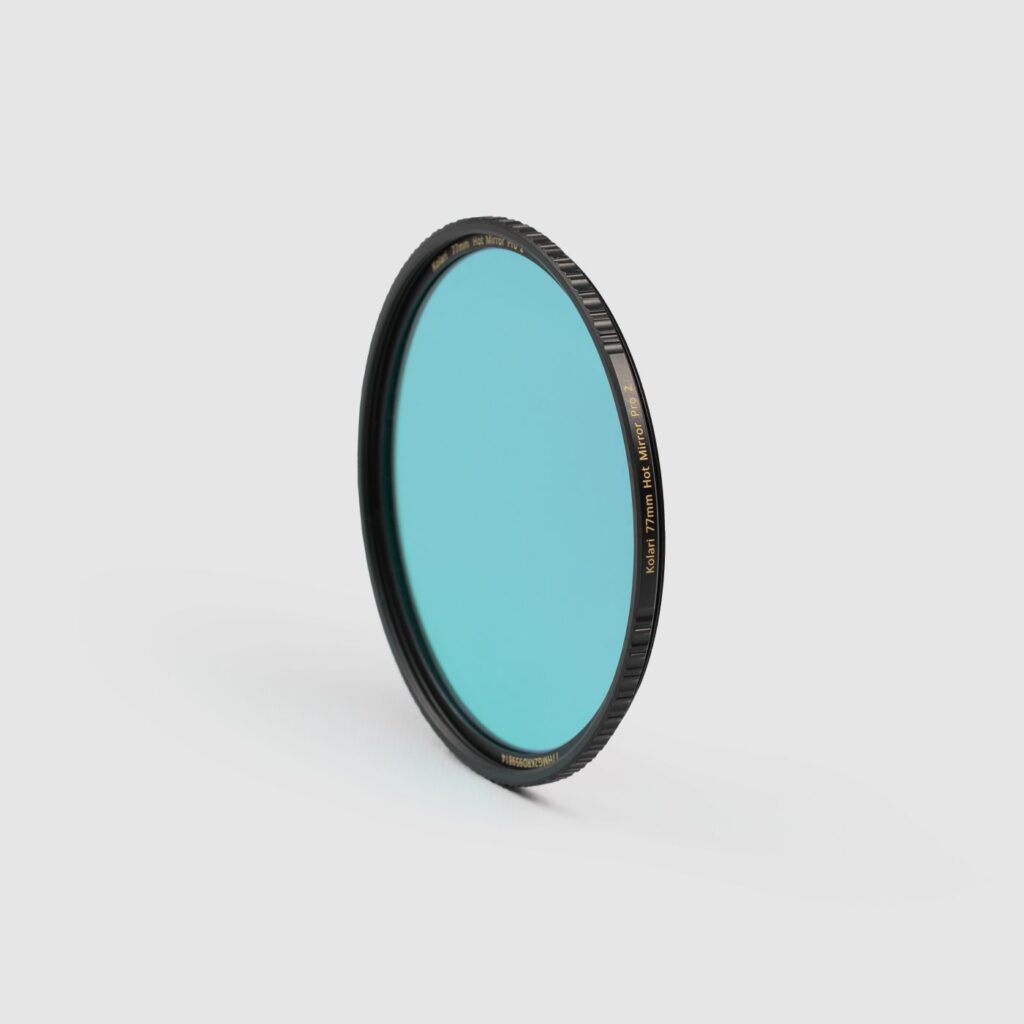
If you’re looking to apply these techniques professionally, I cannot recommend a high-quality ND filter enough, and I encourage you to do your own research to find the best fit for your needs. Low-quality filters will introduce unwanted color shifts and image distortion and are typically quite cheap. For this post, all the images have been taken with a Kolari Pro ND filter kit.
Why do you need a strobe to properly expose in the daylight?
Most people associate strobes and flashes with low-light environments (i.e., an indoor event, a wedding reception, a windowless studio, etc.). However, they play an essential role as fill and key lights in a variety of bright outdoor applications whenever you want to tame (or overpower) the ambient light to establish a specific look. These looks are powerful because they step outside the most common visual techniques and resonate in the mind. If not overdone, these effects can be introduced subtly to blend light seamlessly across an image for an in-camera exposure that would take ages to reproduce in Photoshop.
How to set ambient exposure and balance with a strobe?
While some strobes have TTL metering that allows for automatic exposure when working outdoors in ambient conditions, I’ll cover the basics of establishing an ambient exposure for those who may have manual restrictions or older equipment without this technology.
At its most basic, assuming a constant aperture, ambient exposure is dictated by the ISO and shutter speed that you’re shooting at. Generally, lower ISO values will result in less noise and better image quality, so start by selecting the base ISO of your camera (often ISO 50, 64, or 100). You can adjust this later if needed.
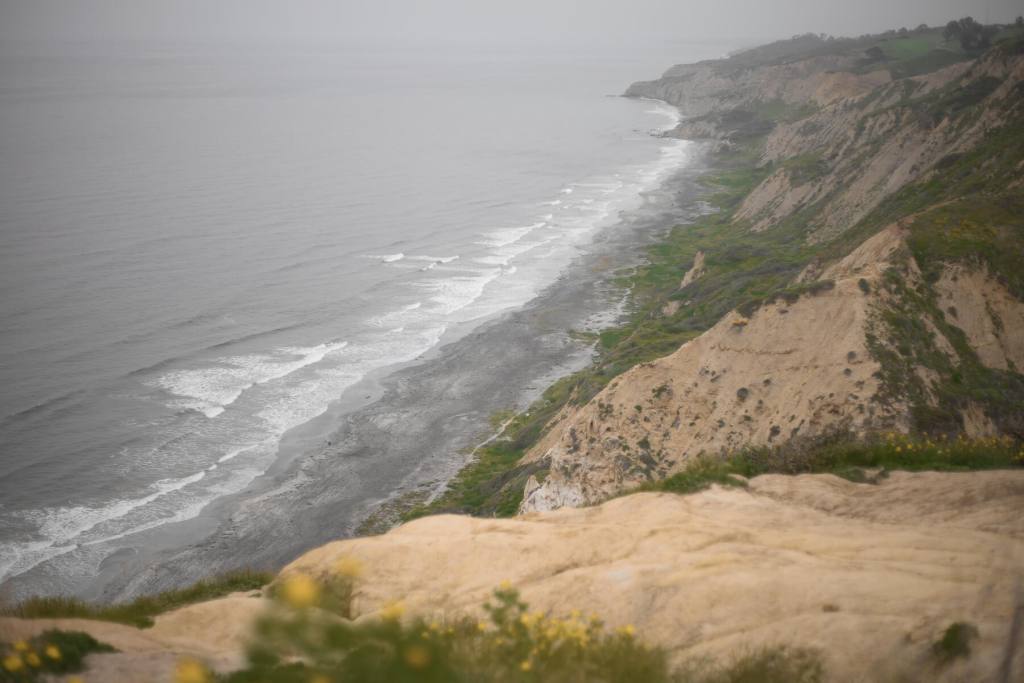
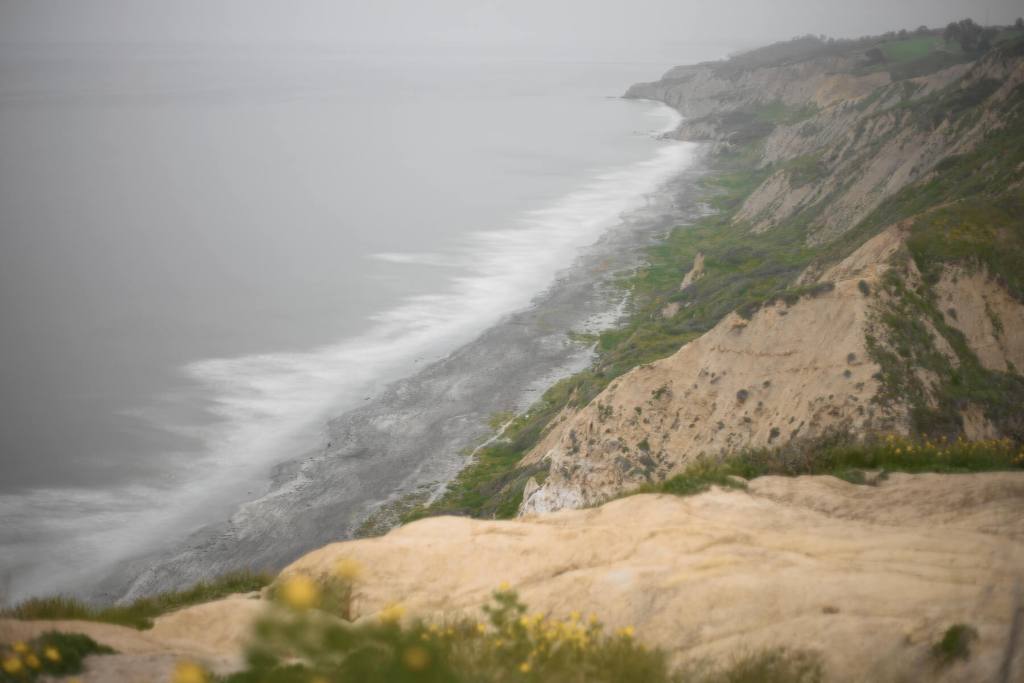
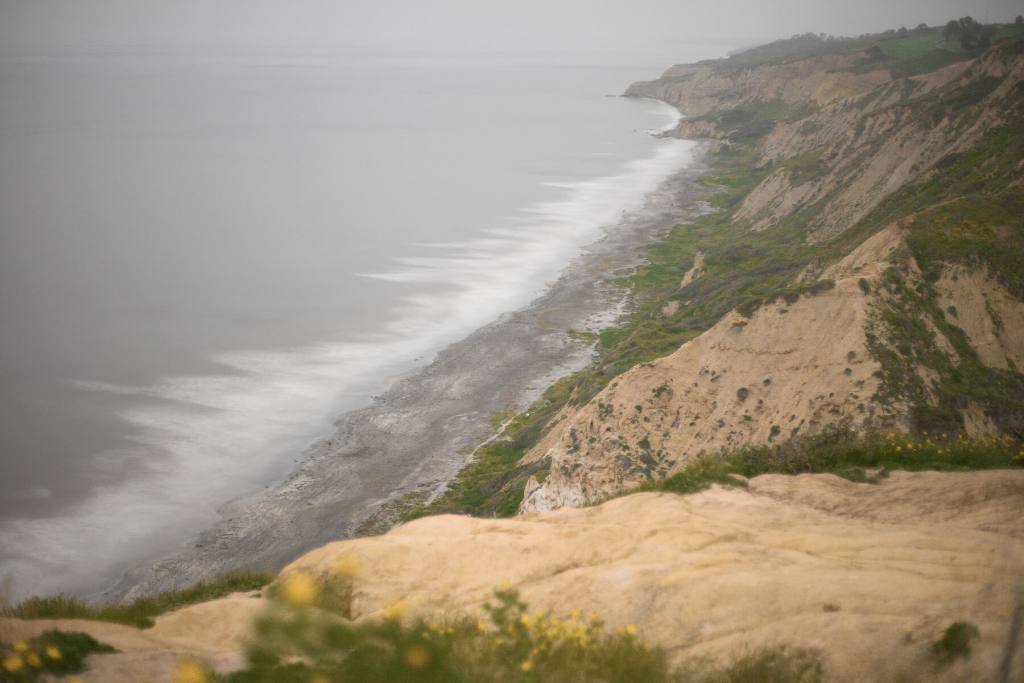
Next, choose a shutter speed that will bring your background elements into the part of the exposure histogram that you’d like. They should go to the highlights if you want them to be brighter than your subject. However, using ND filters for creative effects typically means pushing the background elements into the midtones or shadows. If you go any lower, you’ll lose visual information and the benefits of using an ND filter to balance the exposure.
Following the finalization of an ISO and shutter speed, you’ll want to introduce your flash or strobe and choose a power level to start working from. This power rating—typically expressed as a ratio of the total power (i.e., 1/16th)—will vary depending on the total power of your strobe and the ambient light in your scene. Stronger, more powerful flashes can almost always be powered down to give a less intense burst of light, but they can be heavy, cumbersome, or require an outlet to be powered. Weaker, battery-powered flashes, on the other hand, can be taken almost anywhere, but they may lack the power to tone down the ambient light in the scenes into the midtones or shadows. You’ll have to experiment and research for yourself to find what is the best for your creative needs.
How does flash sync impact the type of strobe you use?
Cameras use various technologies to ensure that the triggering of a strobe is aligned with the time the shutter is open in the camera. Traditionally, before the advent of advanced mechanical focal plane shutters and electronic shutters, leaf shutters (located within the lens of the camera rather than within the body) provided significant advantages when it came to working outdoors and taming ambient light.
For example, my medium format Mamiya 645 possesses a focal plane shutter that cannot sync with a flash faster than 1/60s. In contrast, my medium format Bronica SQ-A has lenses with leaf shutters that sync up to 1/500s, no matter the focal length. Some manufacturers also sold lenses with leaf shutters to supplement bodies with focal plane shutters to allow for the same sort of creative freedom; however, these can be more expensive and hard to find.
For this series of images, I’ll be using a mirrorless camera with a mechanical shutter and a film camera with a leaf shutter to shoot the scene with the same settings across each camera to simplify exposure calculations.
Gear setup
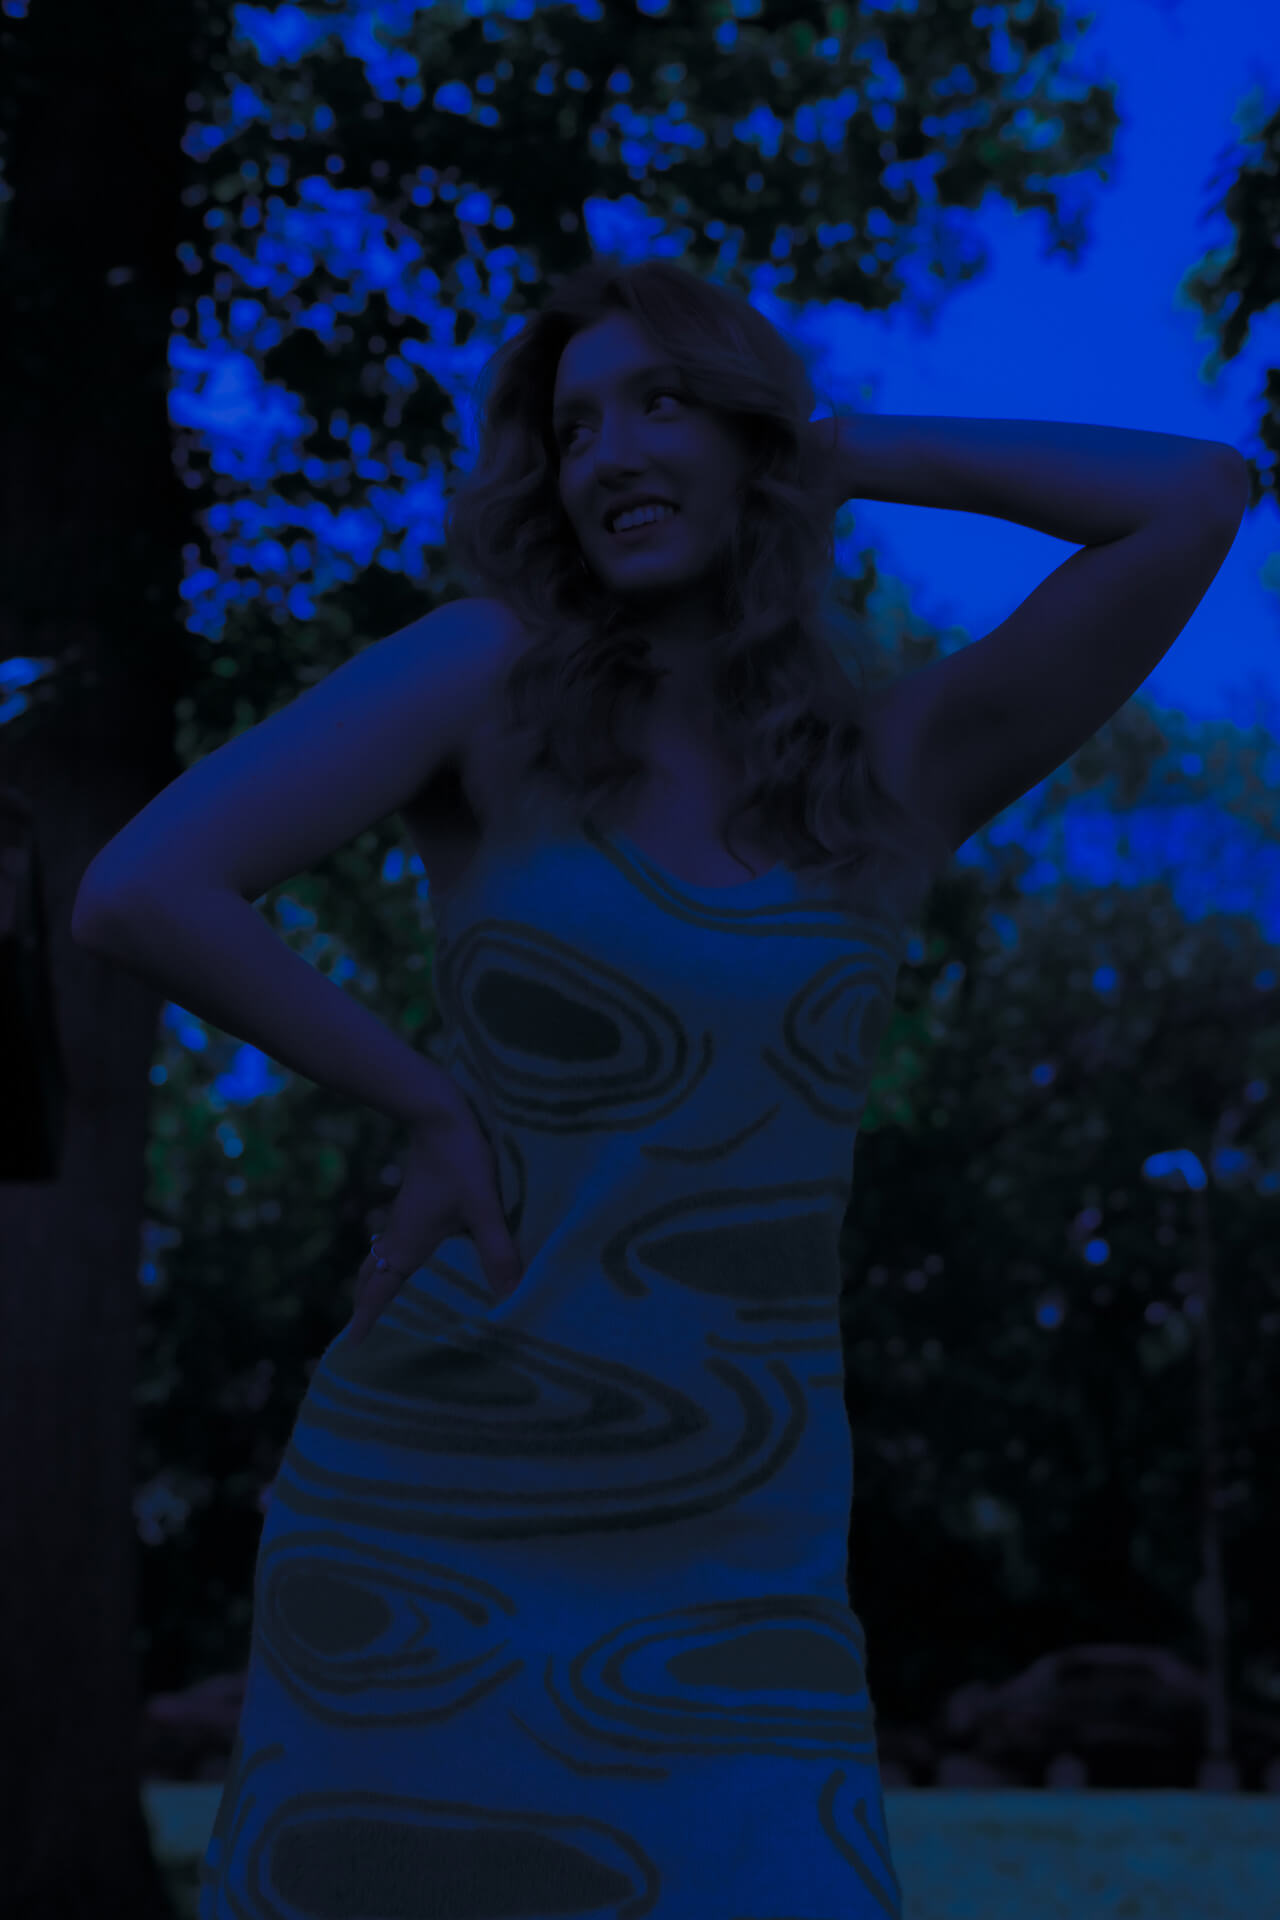
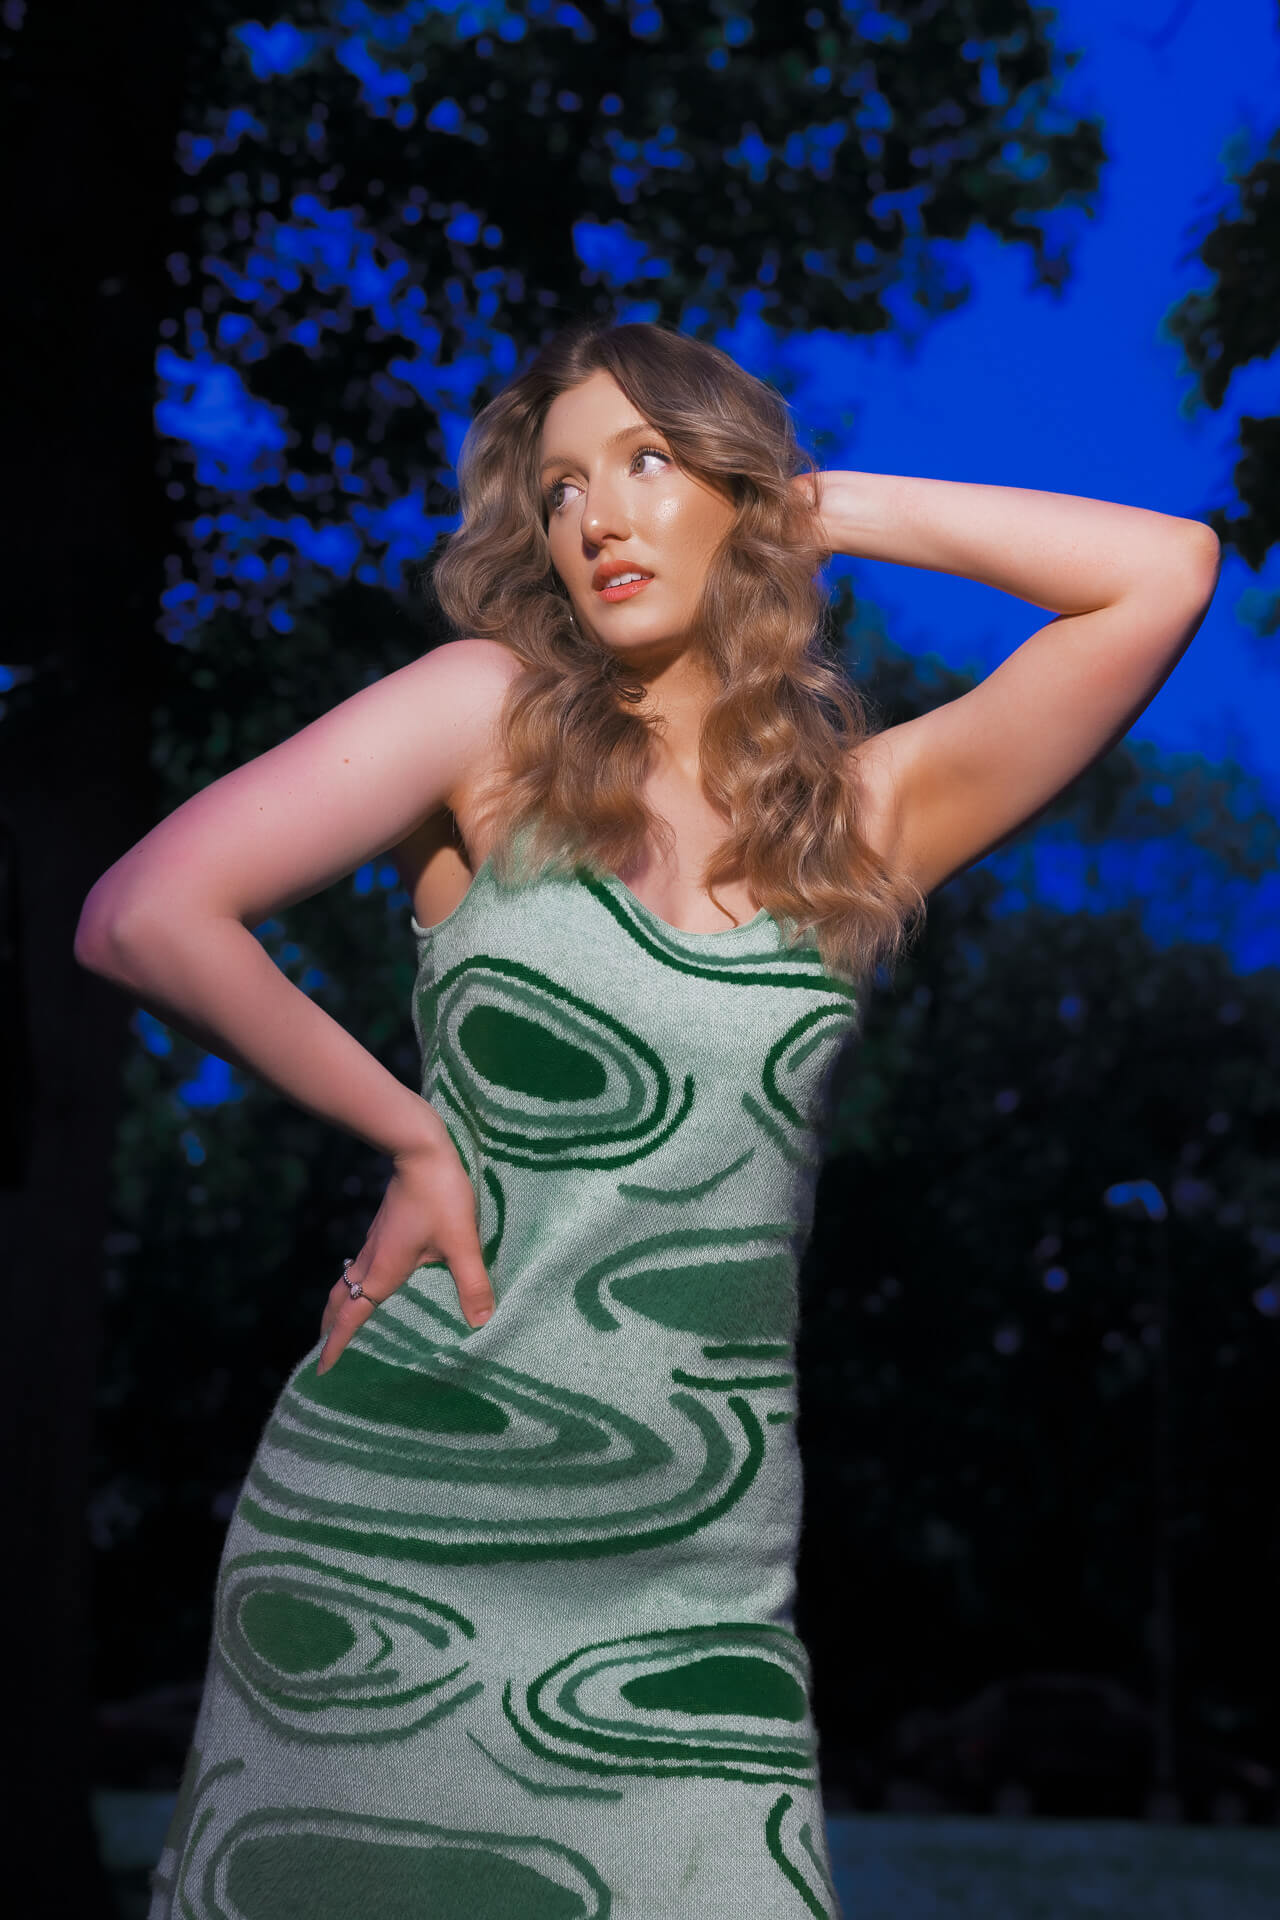
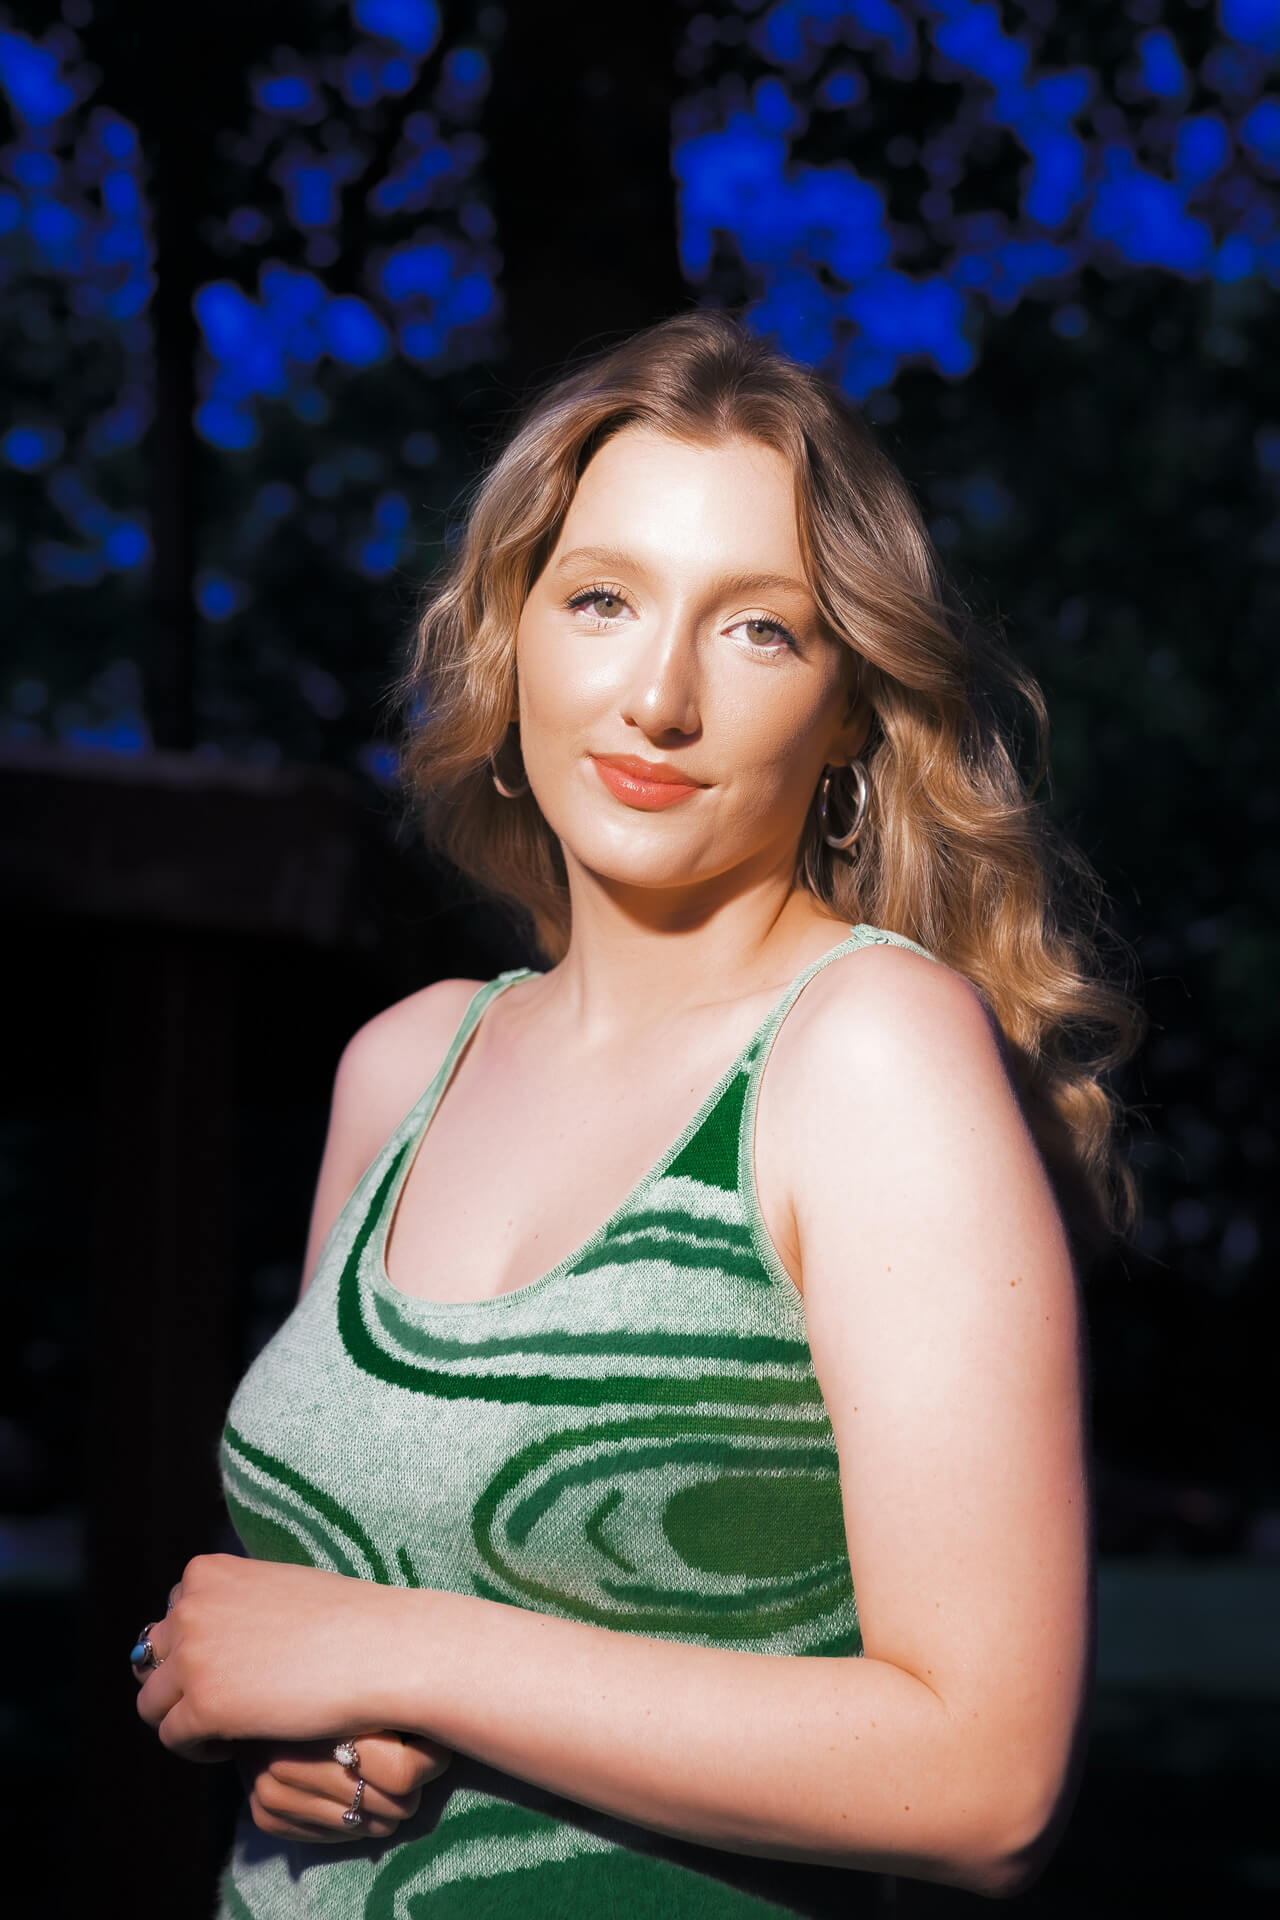
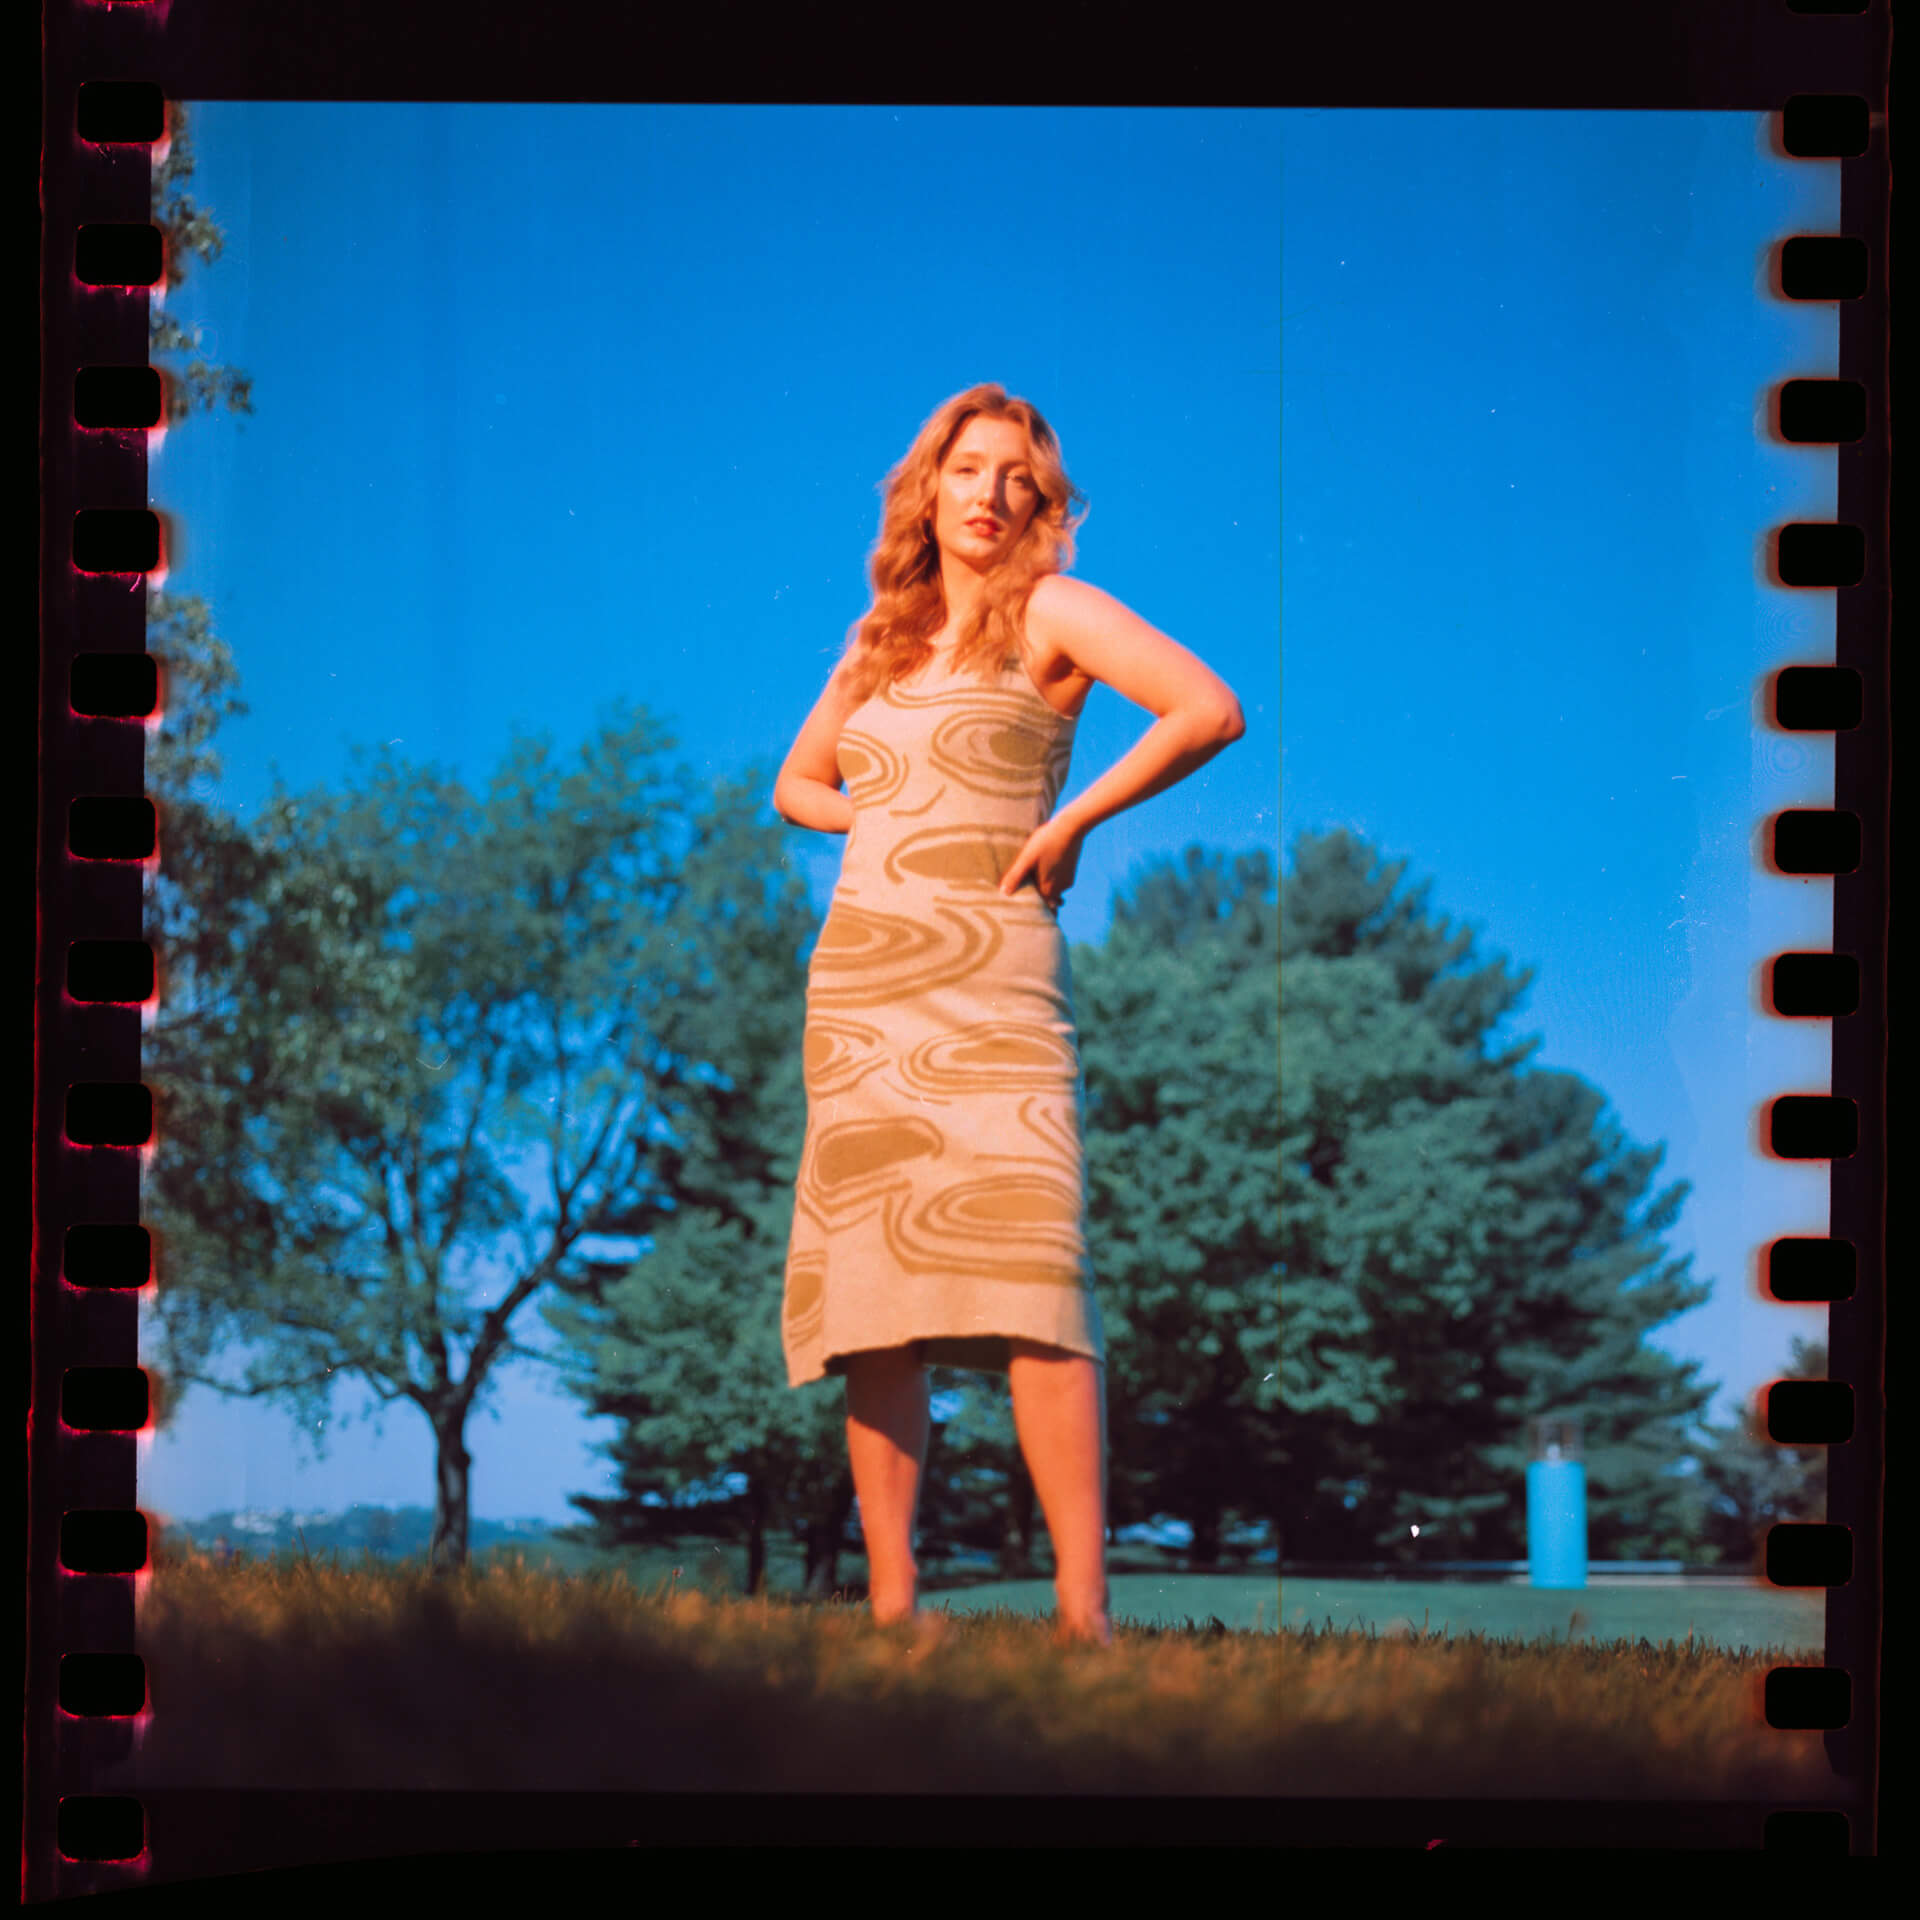
I shot this look with my friends Cassie & Ben. Ben assisted me by carrying the flash and strobe head (bare bulb with tungsten gels connected to a Norman P2000D strobe pack), aiming it at Cassie, and collecting behind the scenes footage. I set my white balance in camera to “tungsten” (also known as “incandescent” in some menu settings, depending on the brand). This allowed me to shoot natural skin tones with dramatic, colorful backdrops that contrast the subject. For reference, this photoshoot was completed during midday, around 11am.
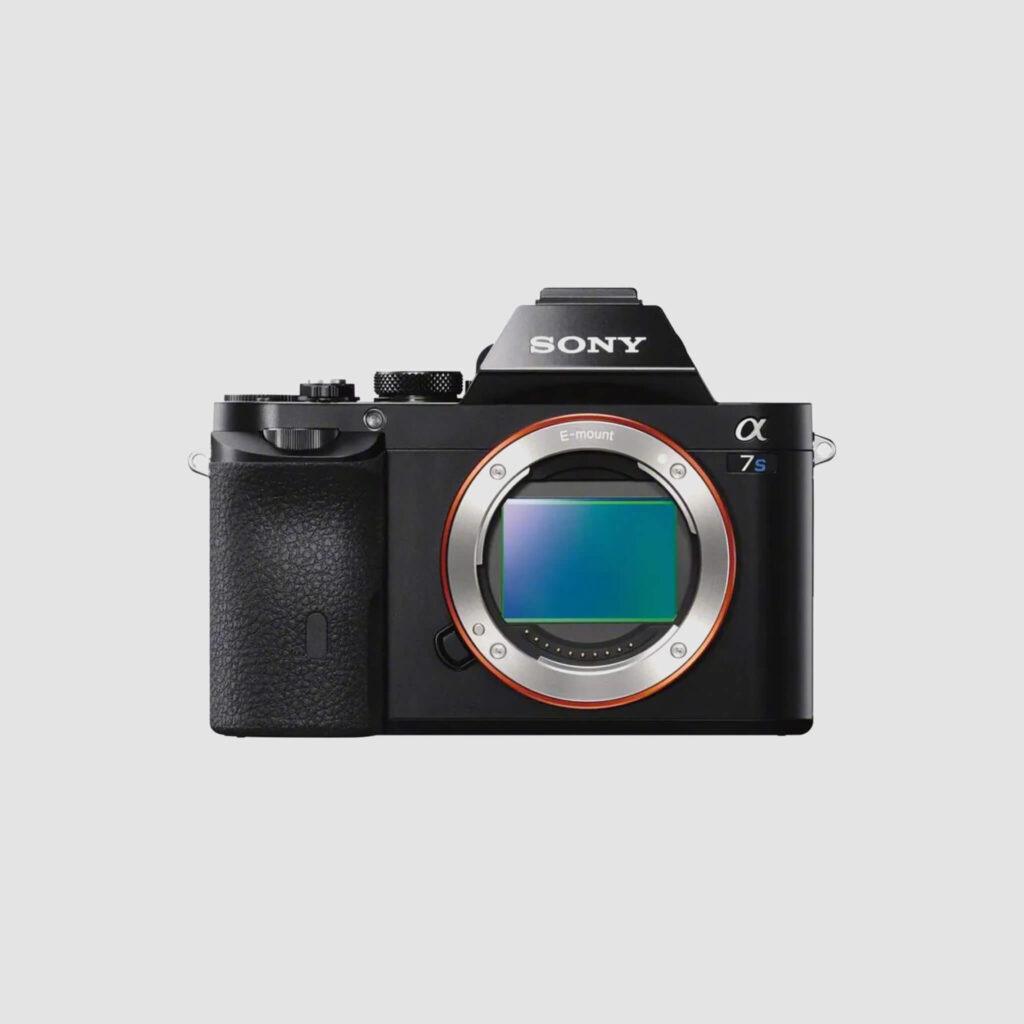
I captured the images with my Sony A7II, an adapted Zeiss ZE 50mm Planar T* lens, and a Kolari Pro 5-stop ND. This setup will be dark under normal circumstances with an EVF, so make sure to turn the “live view” effect setting OFF in your settings before shooting a similar look; otherwise, it will be nearly impossible to focus!
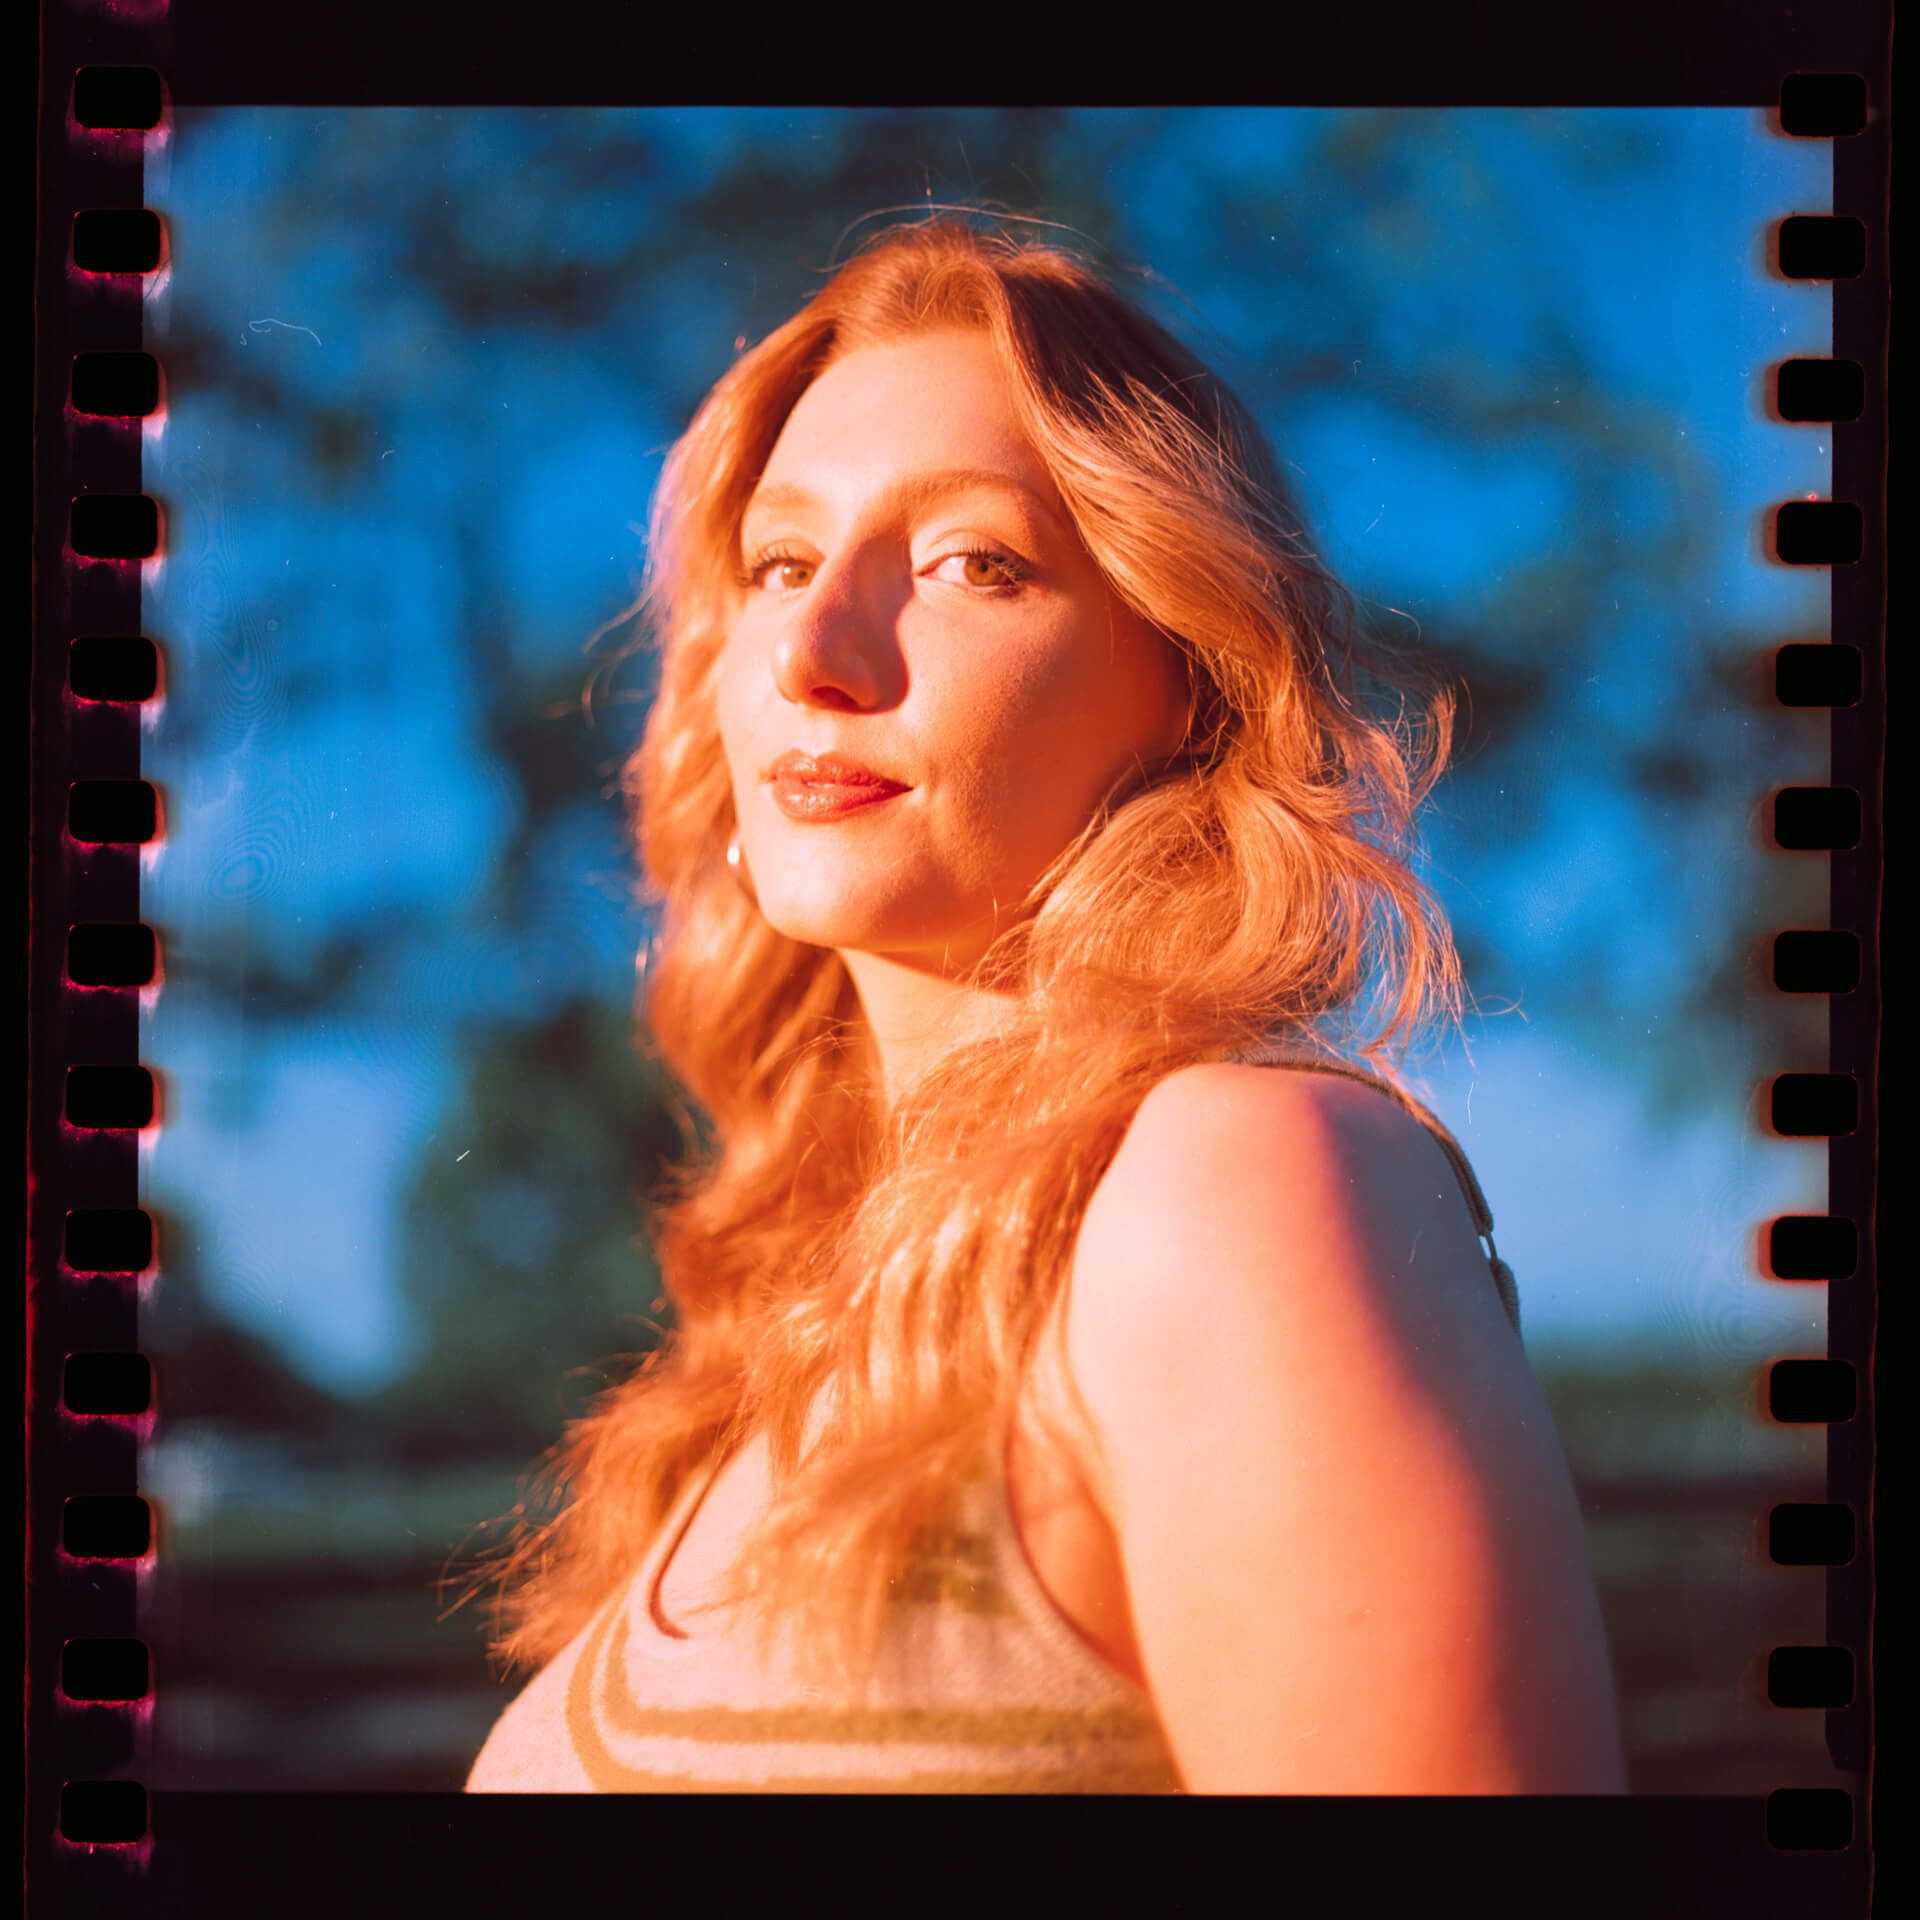
I used the same lighting setup for the film shots with my Bronica SQ-A with an 80mm lens and the same Kolari Pro 5-stop ND filter. Both cameras were shot at f2.8, 1/250s, ISO 200, but these settings will vary depending on the amount of ambient light present.
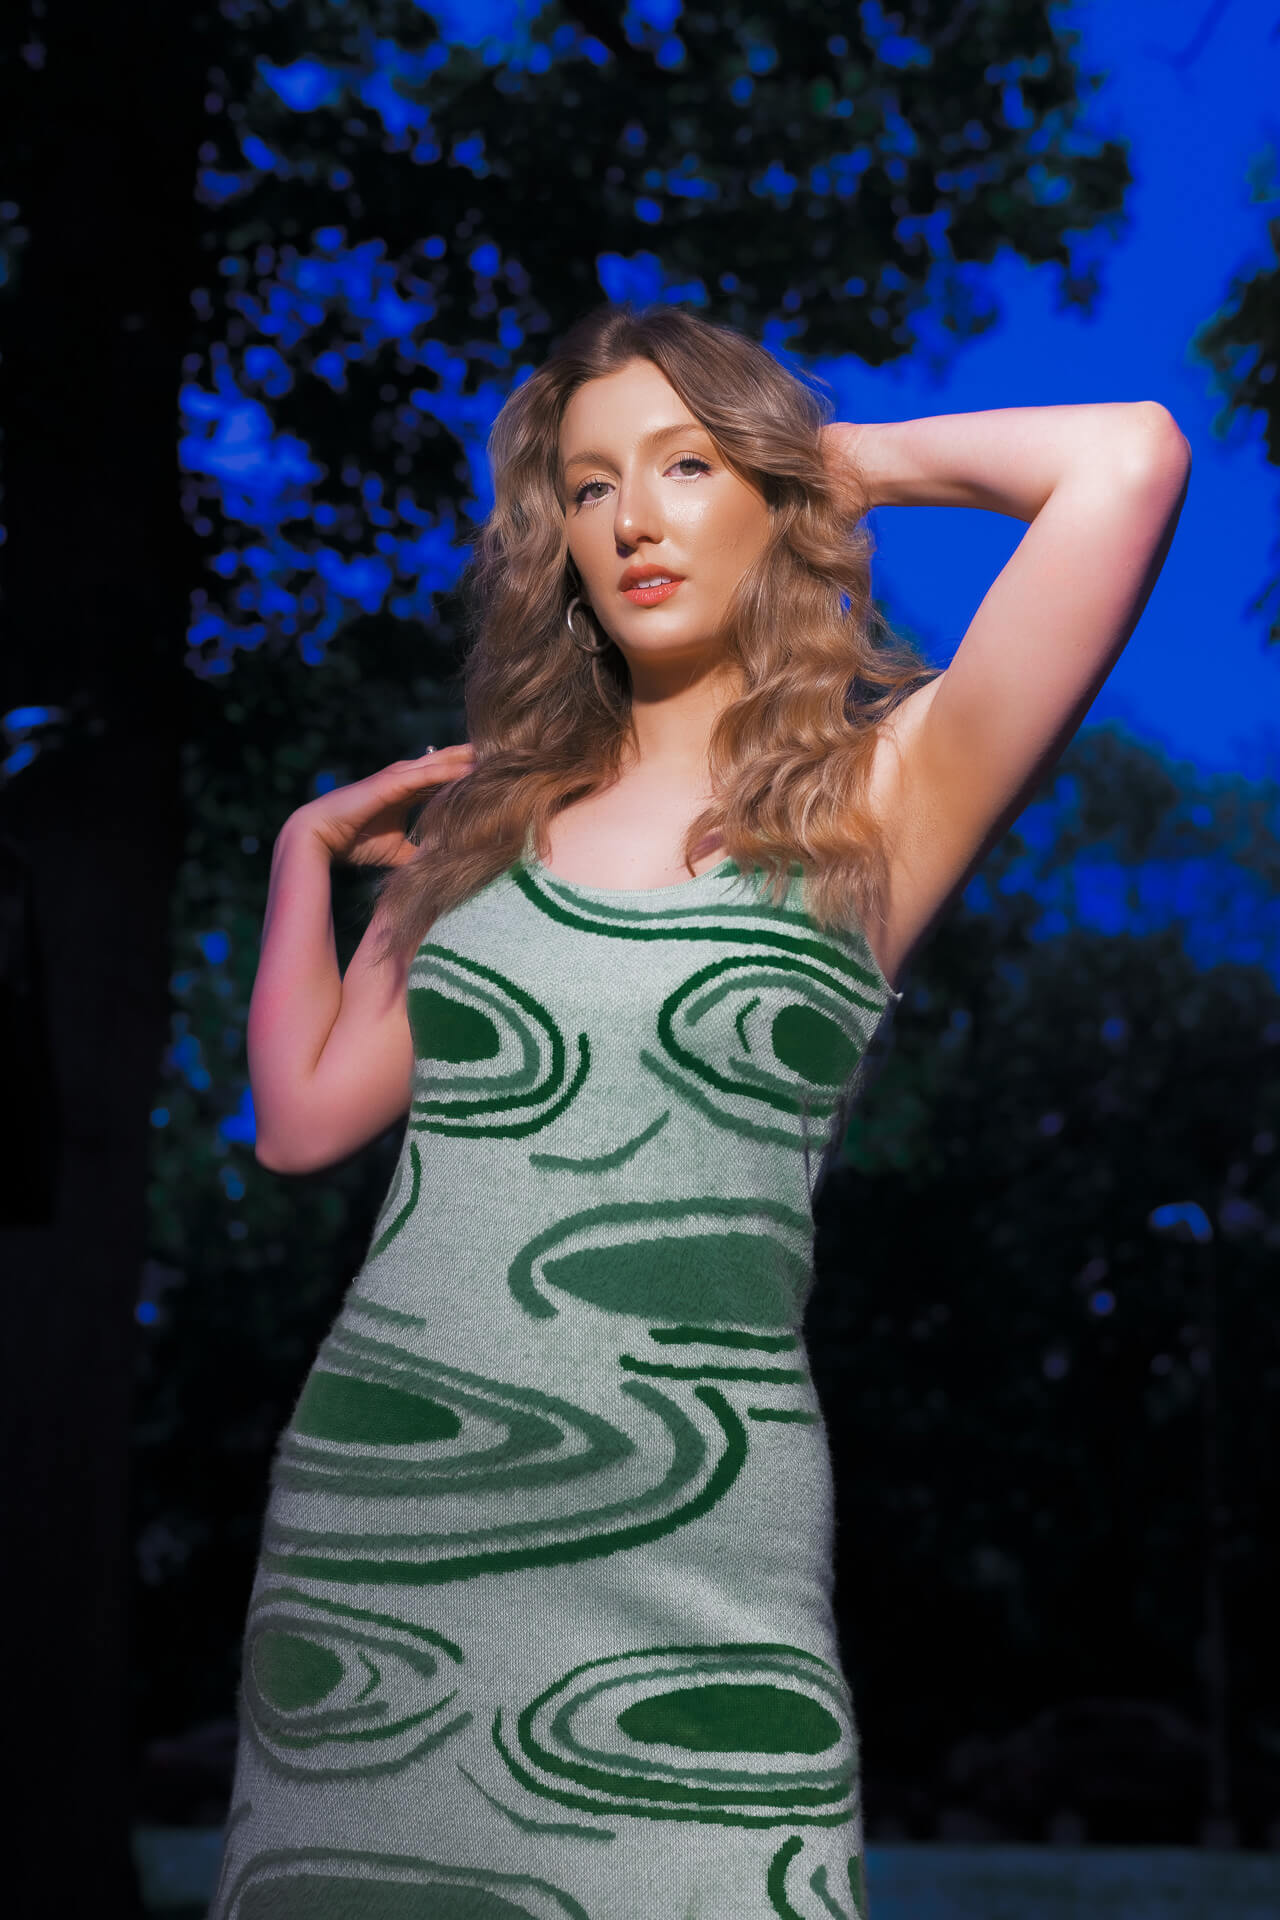
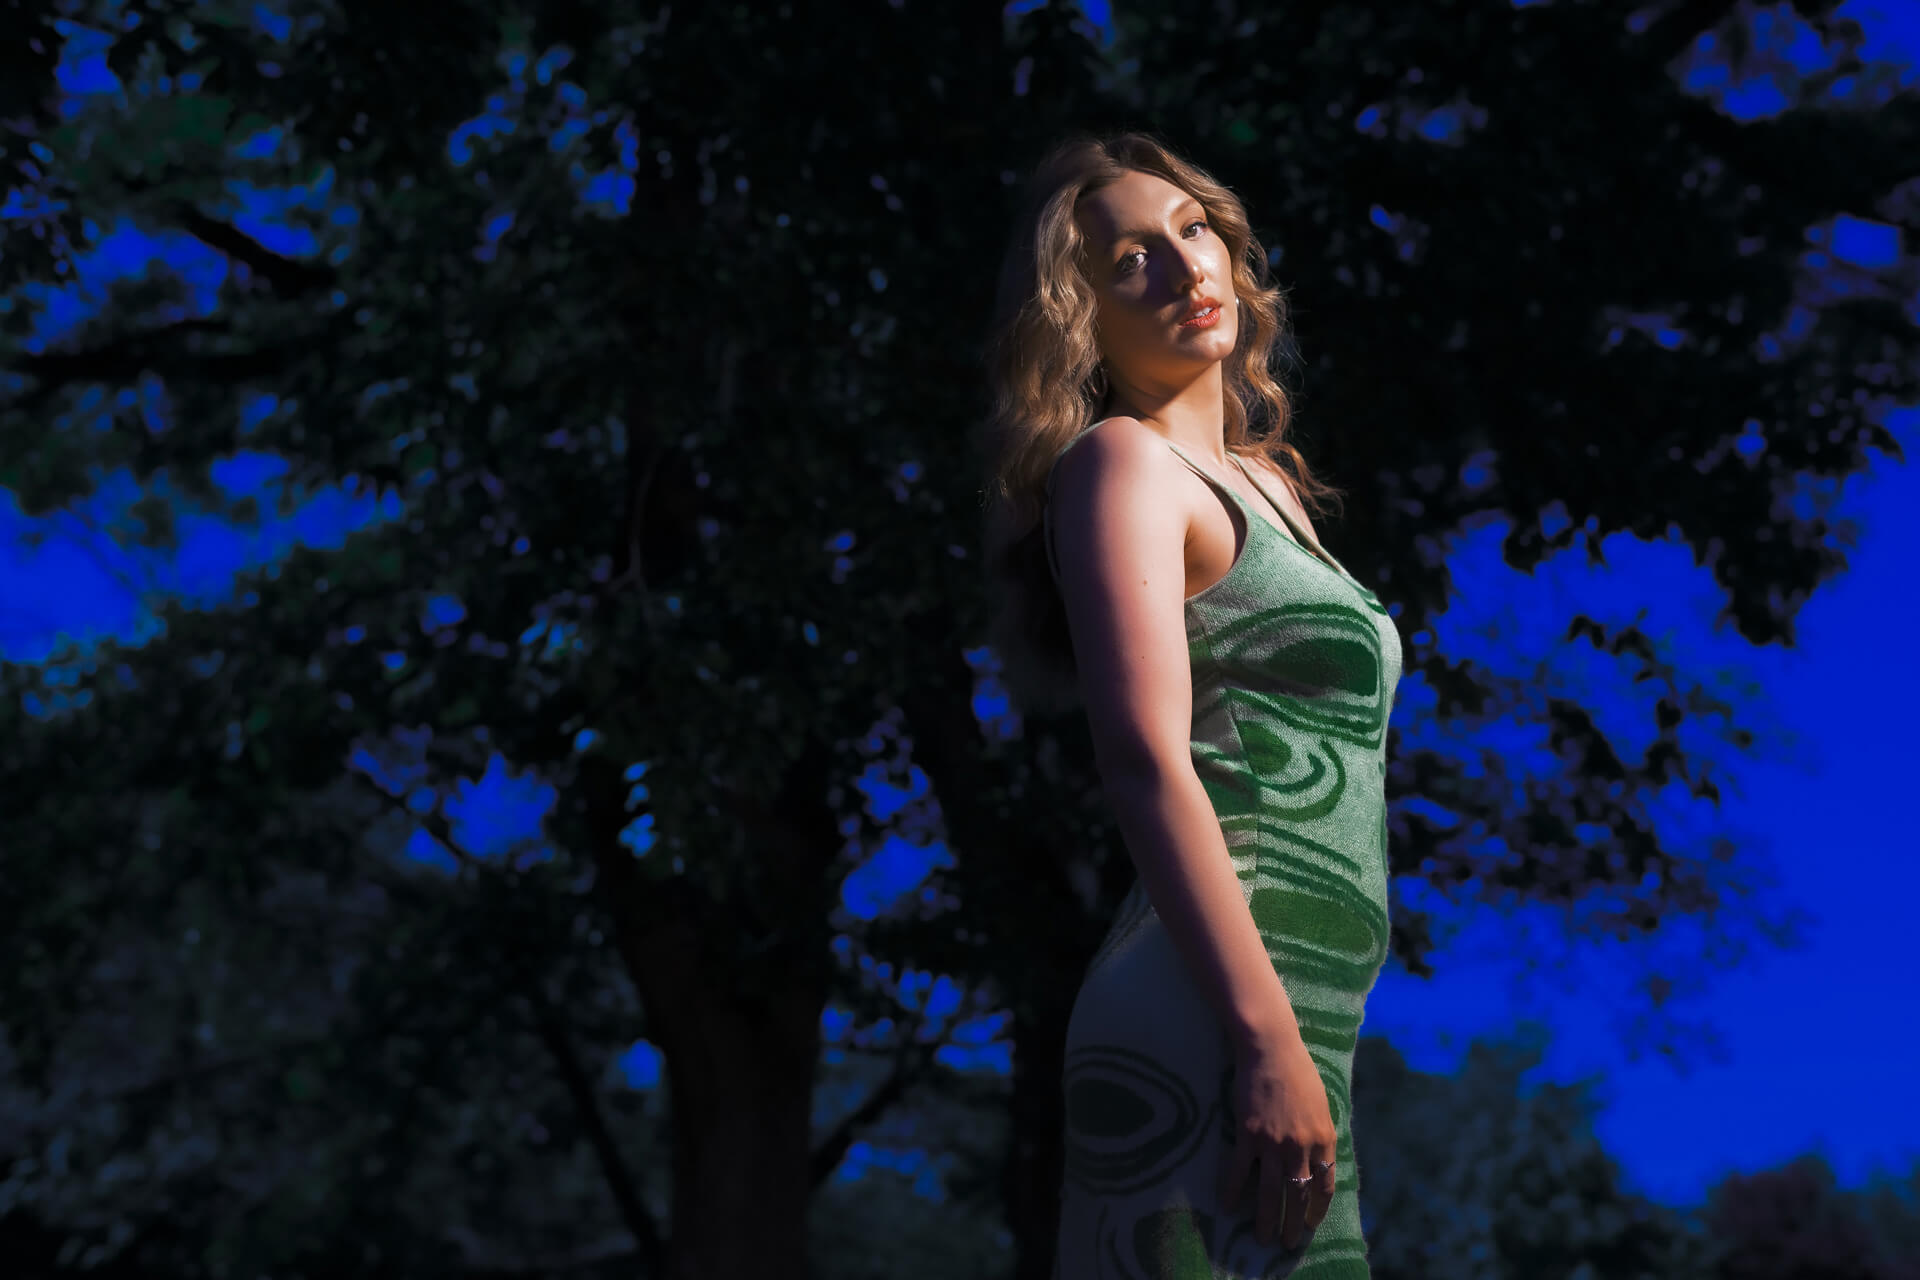
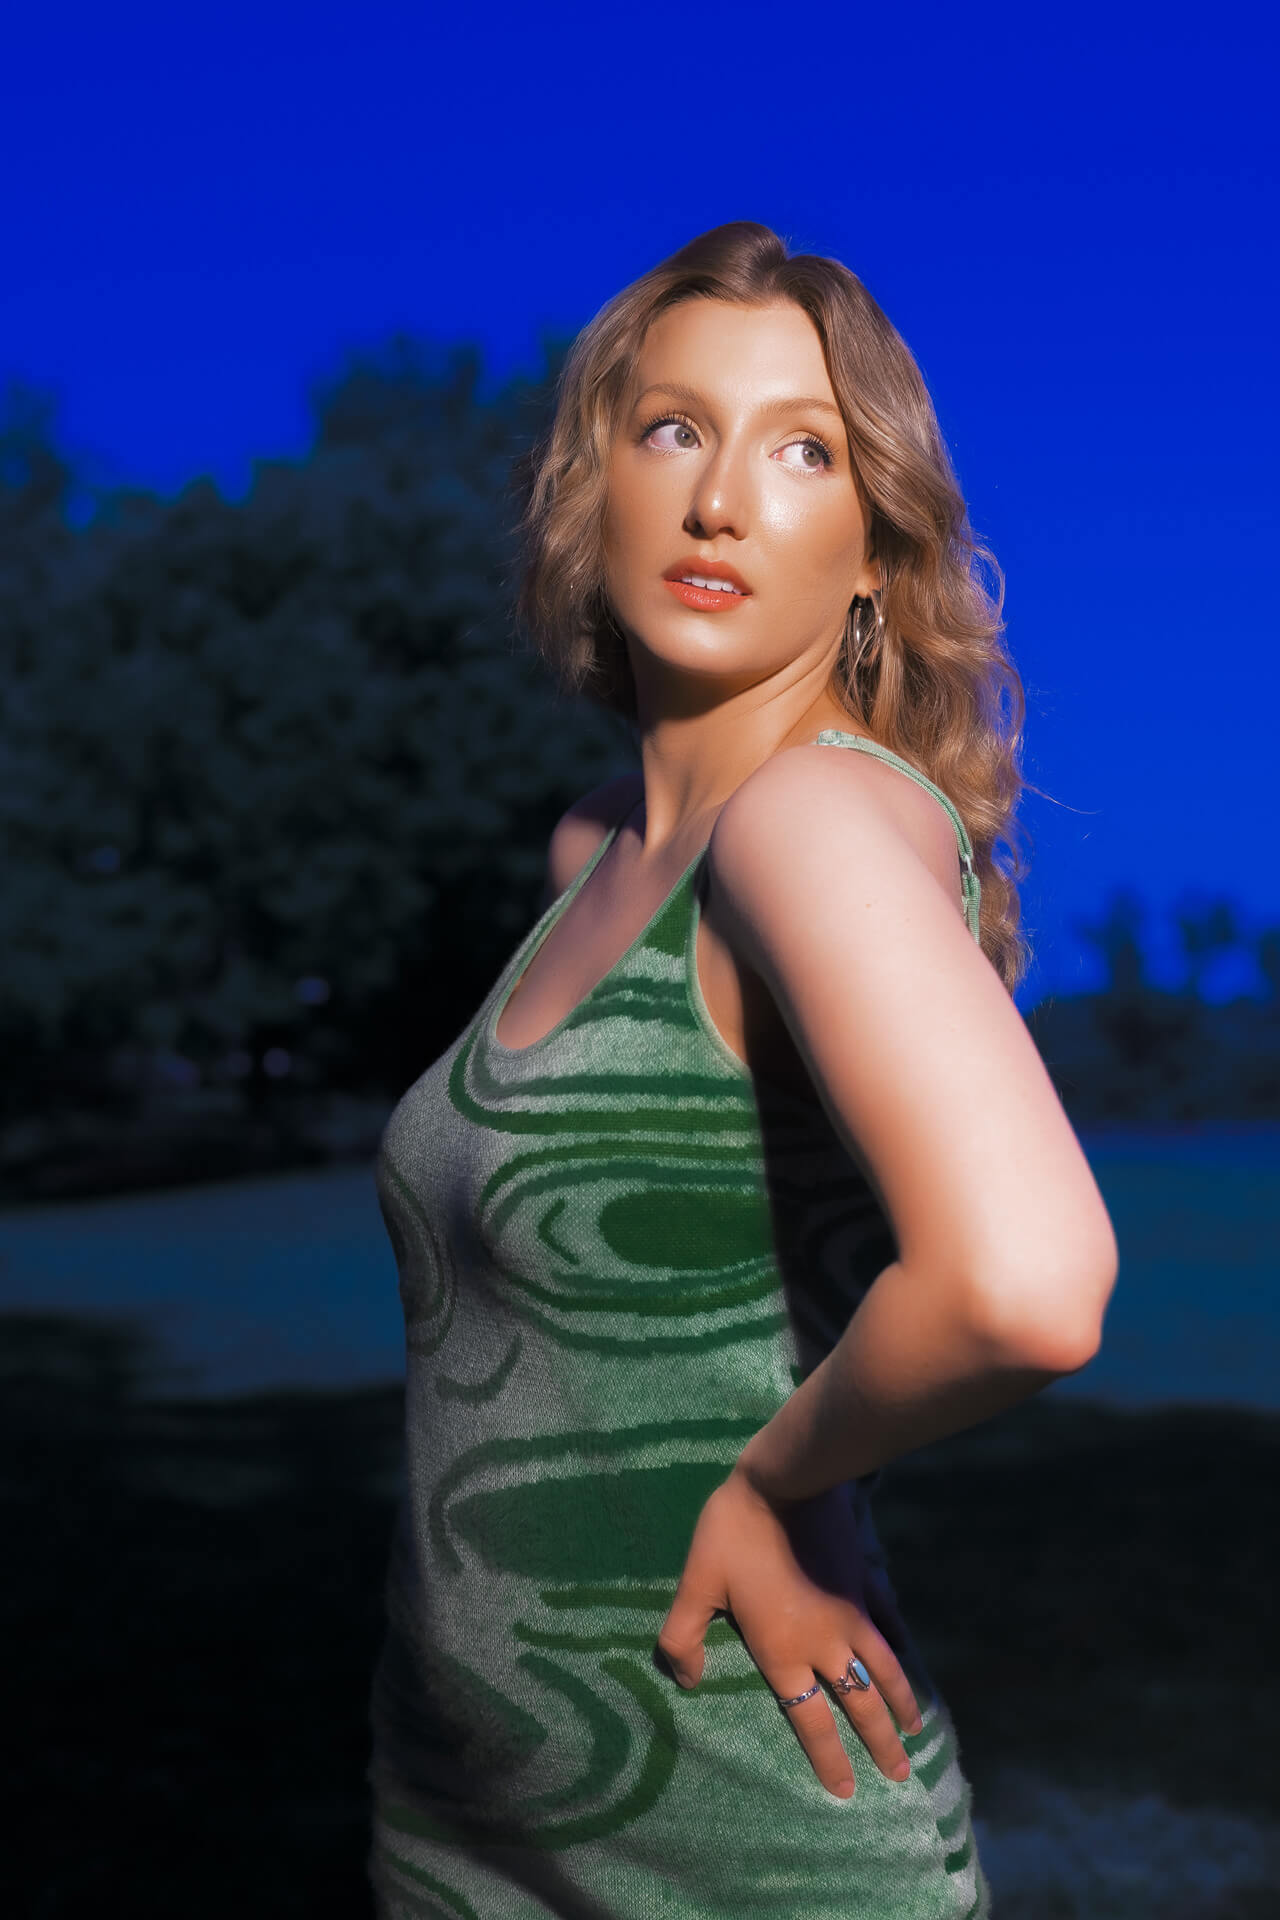
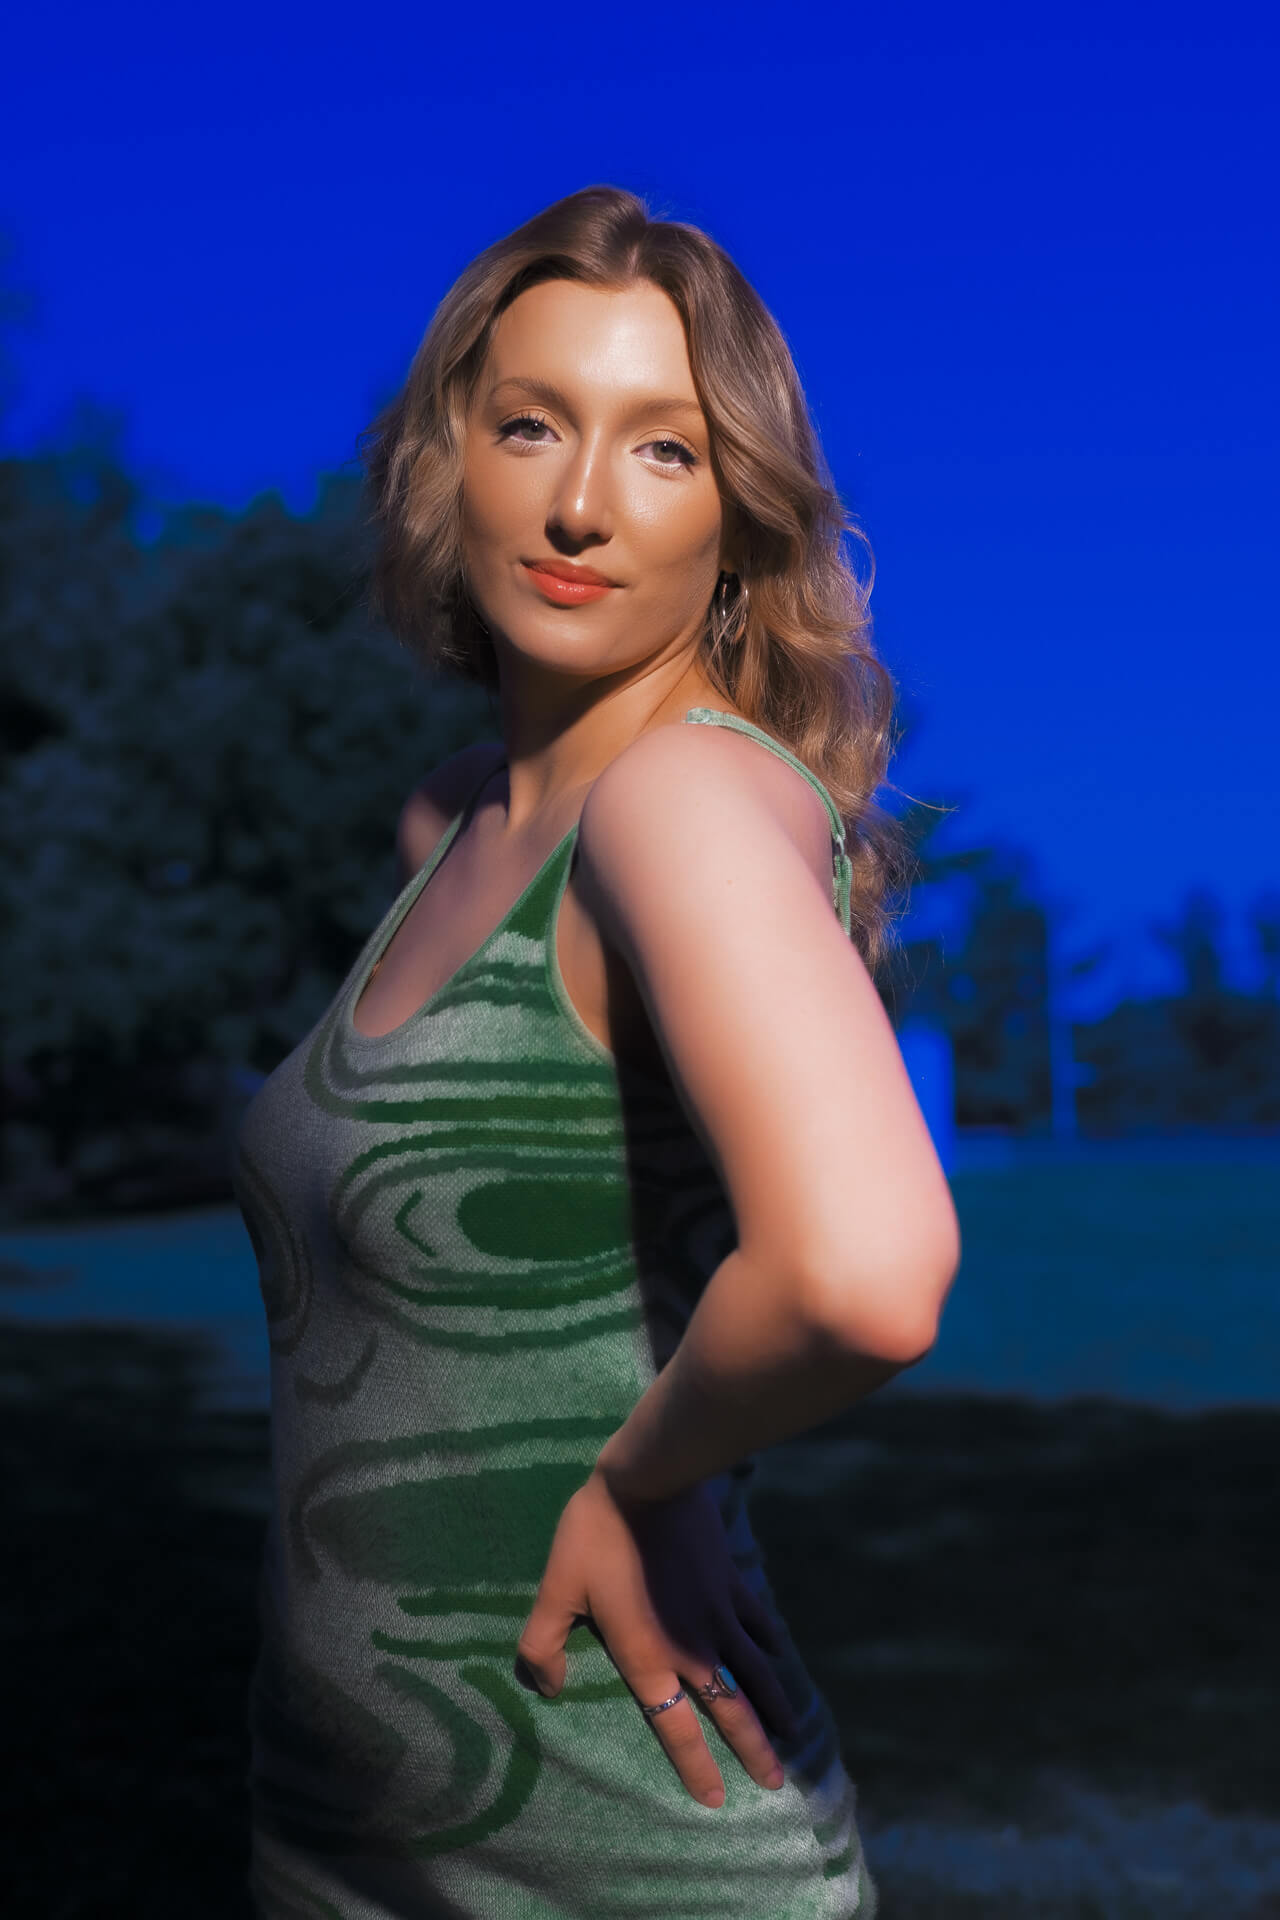
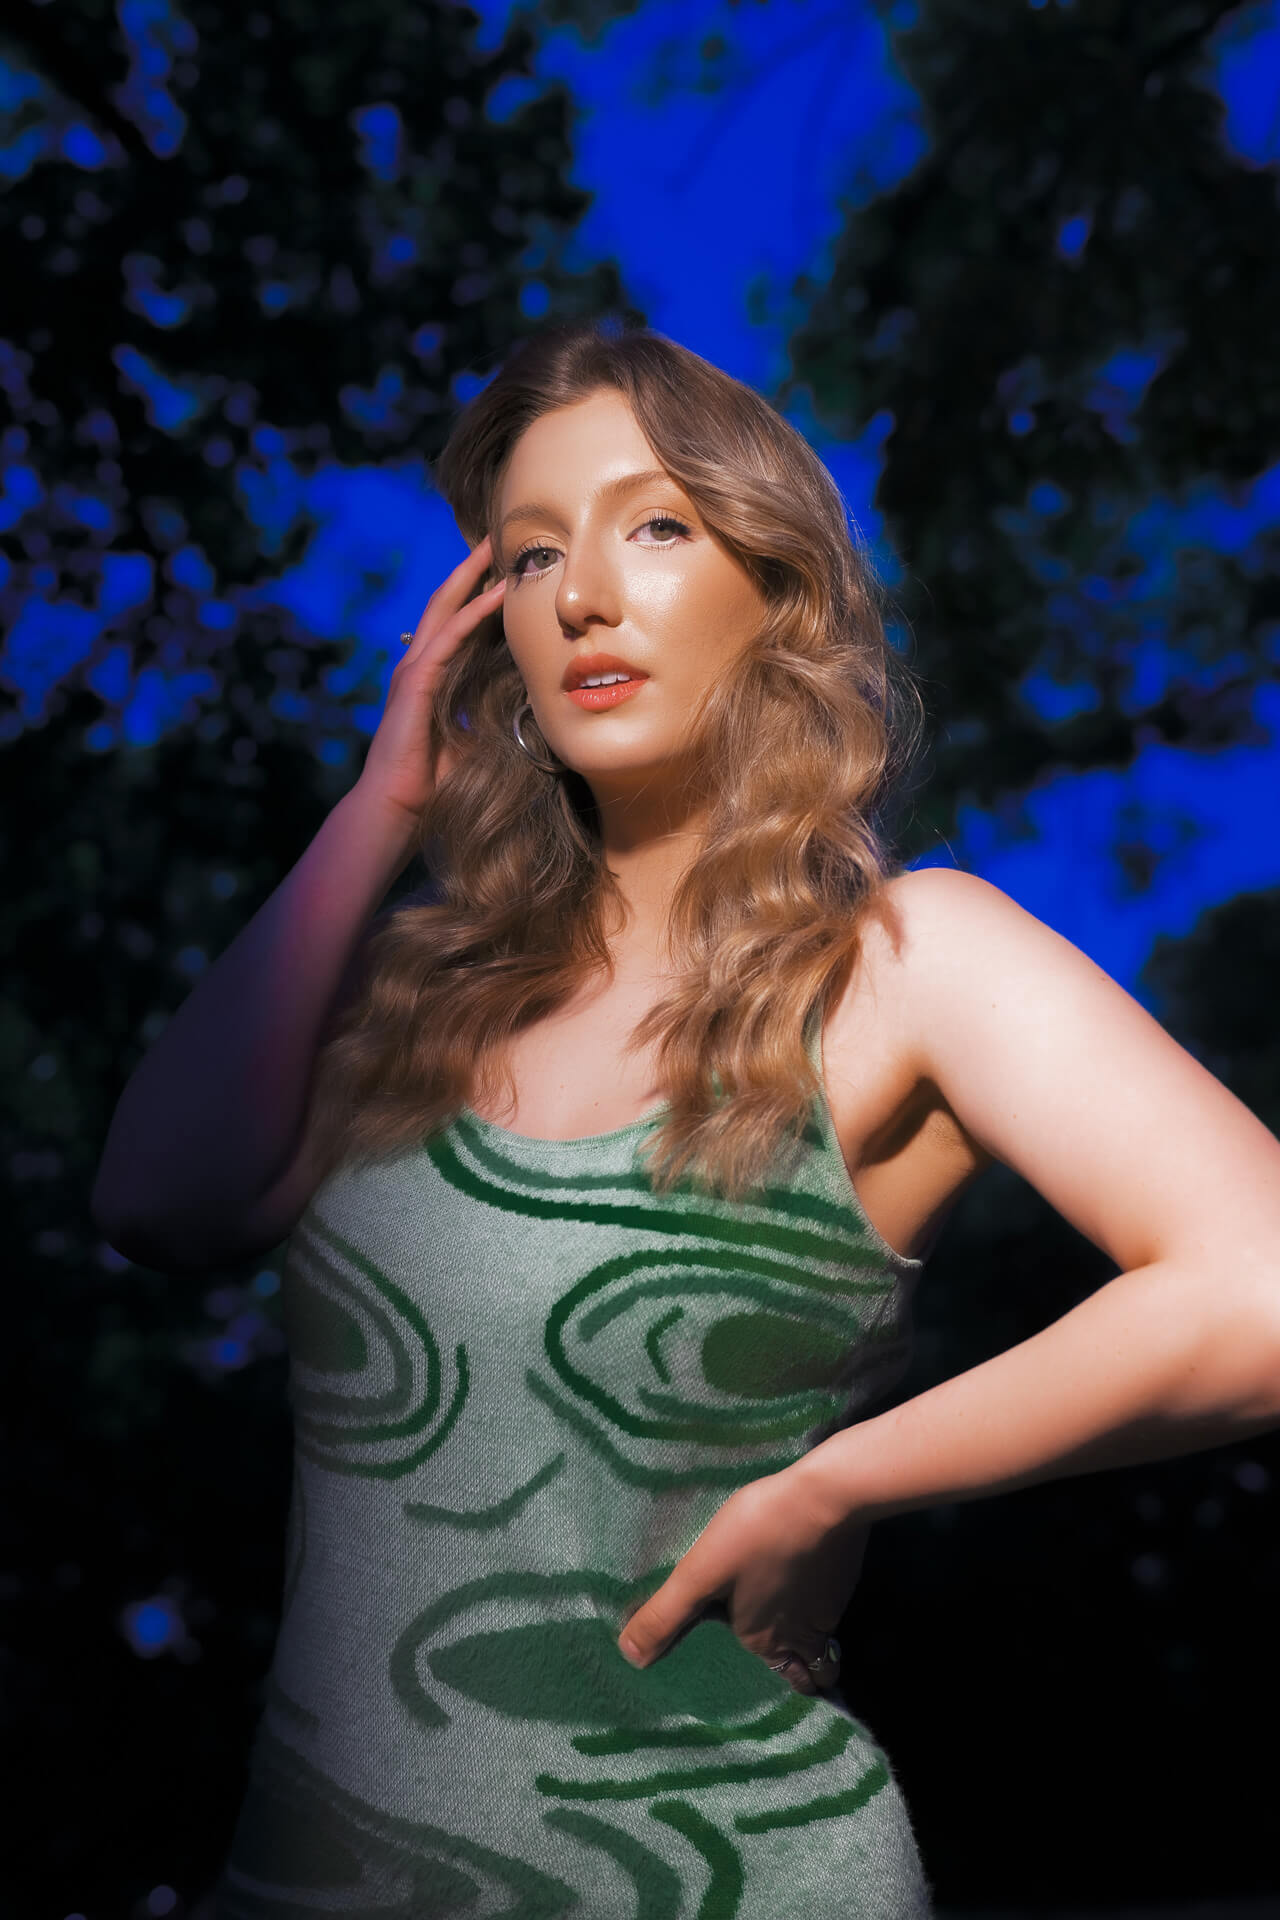
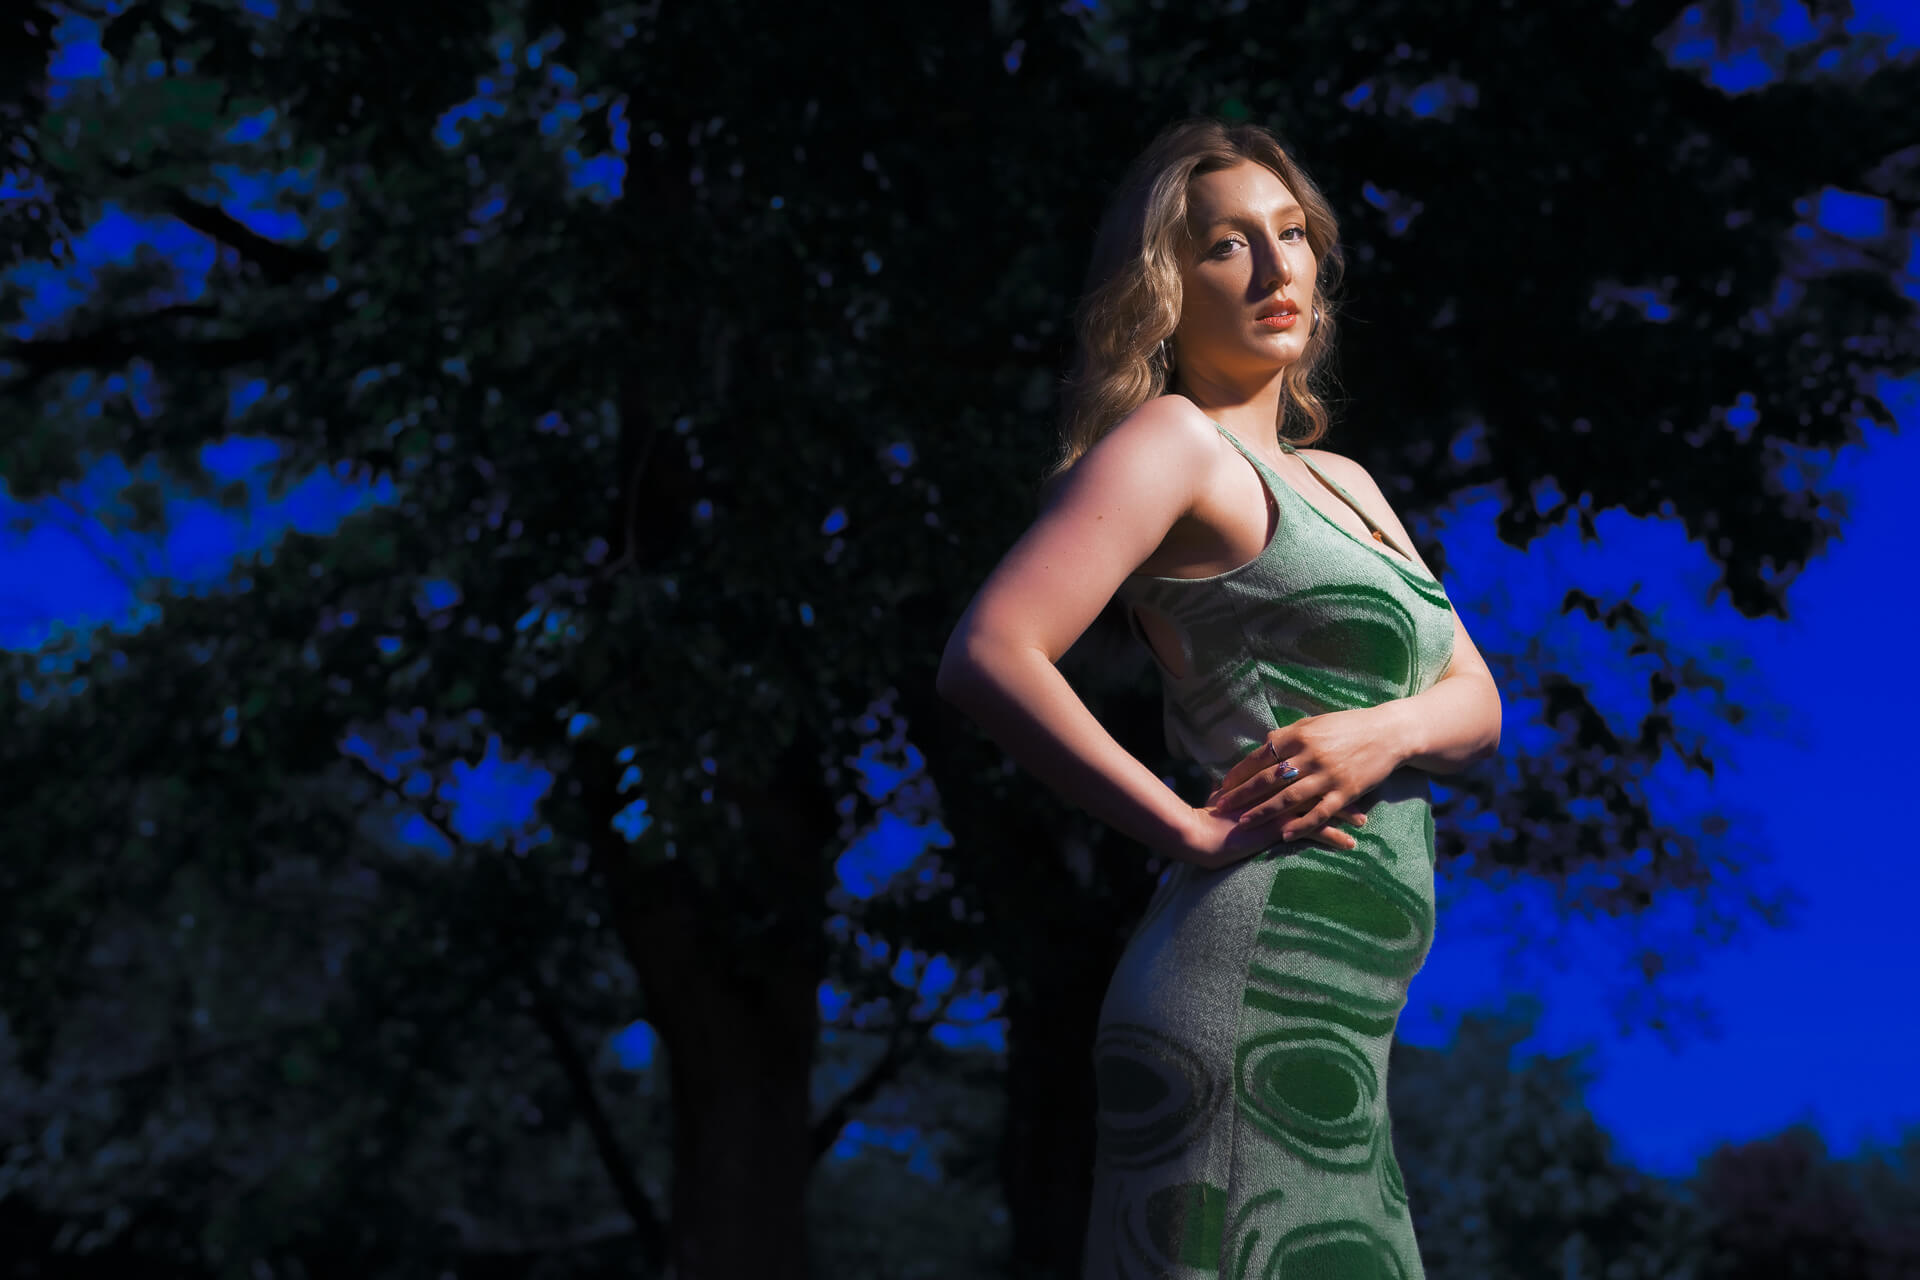
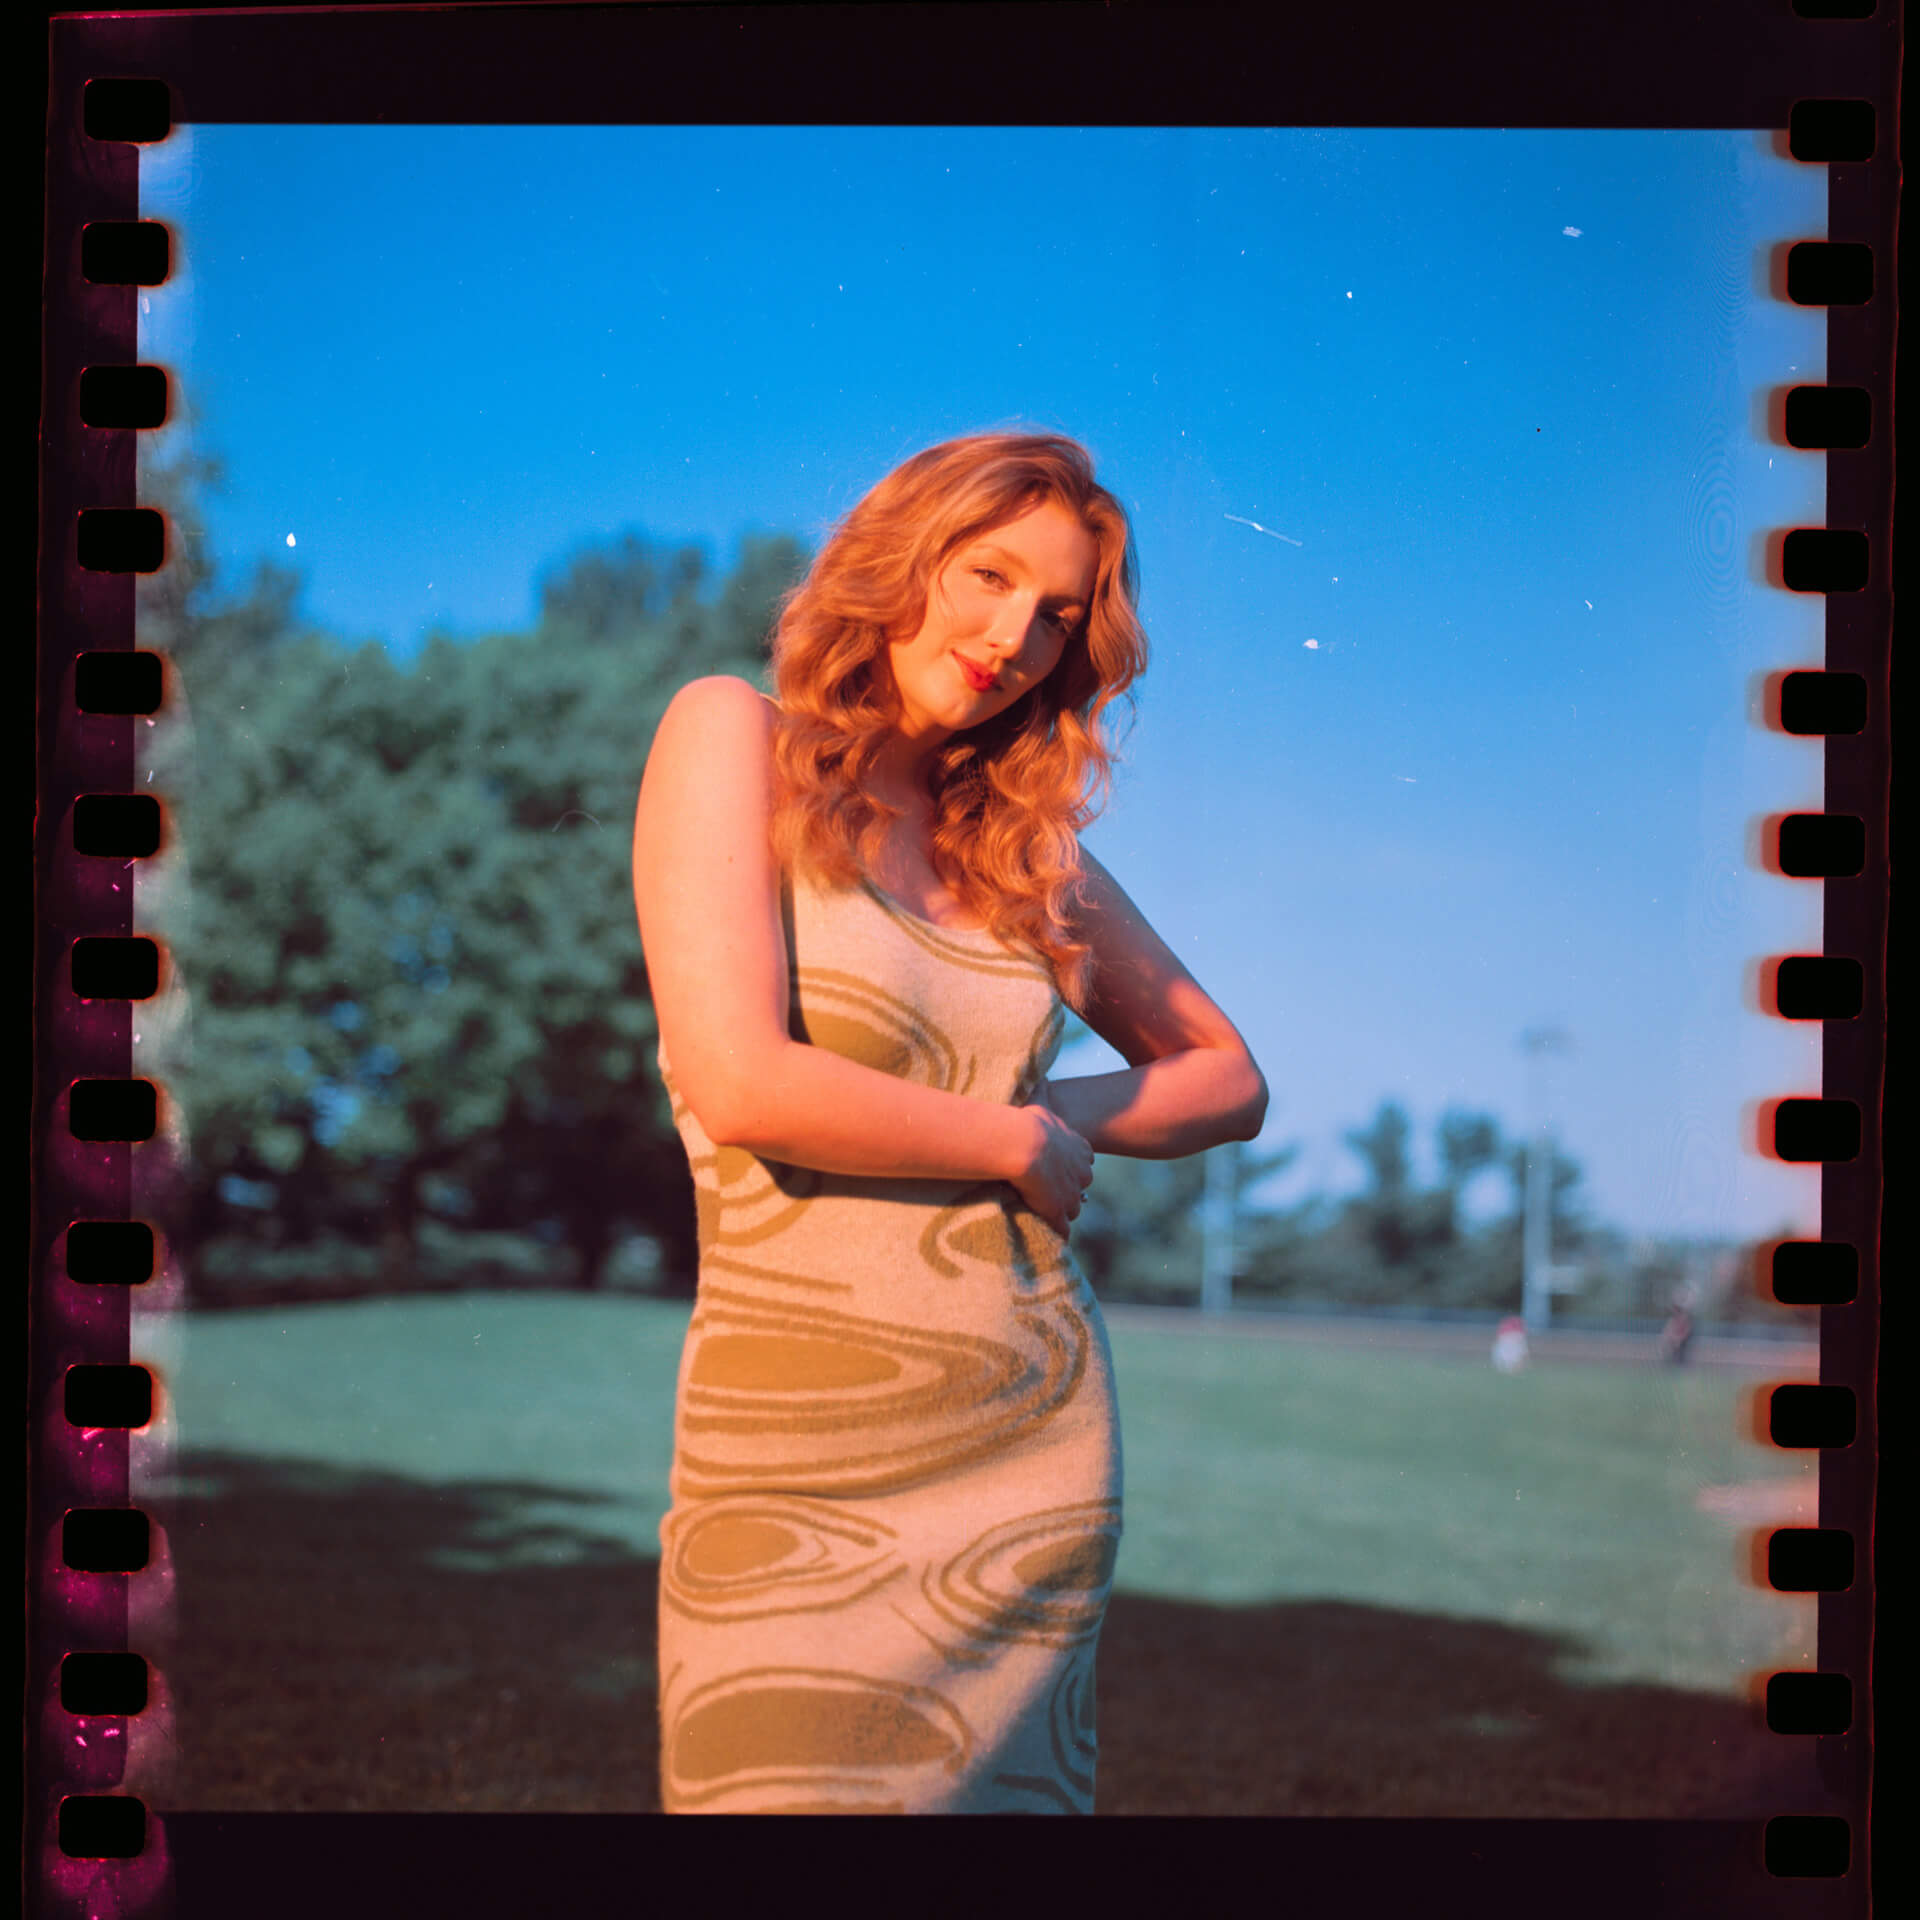
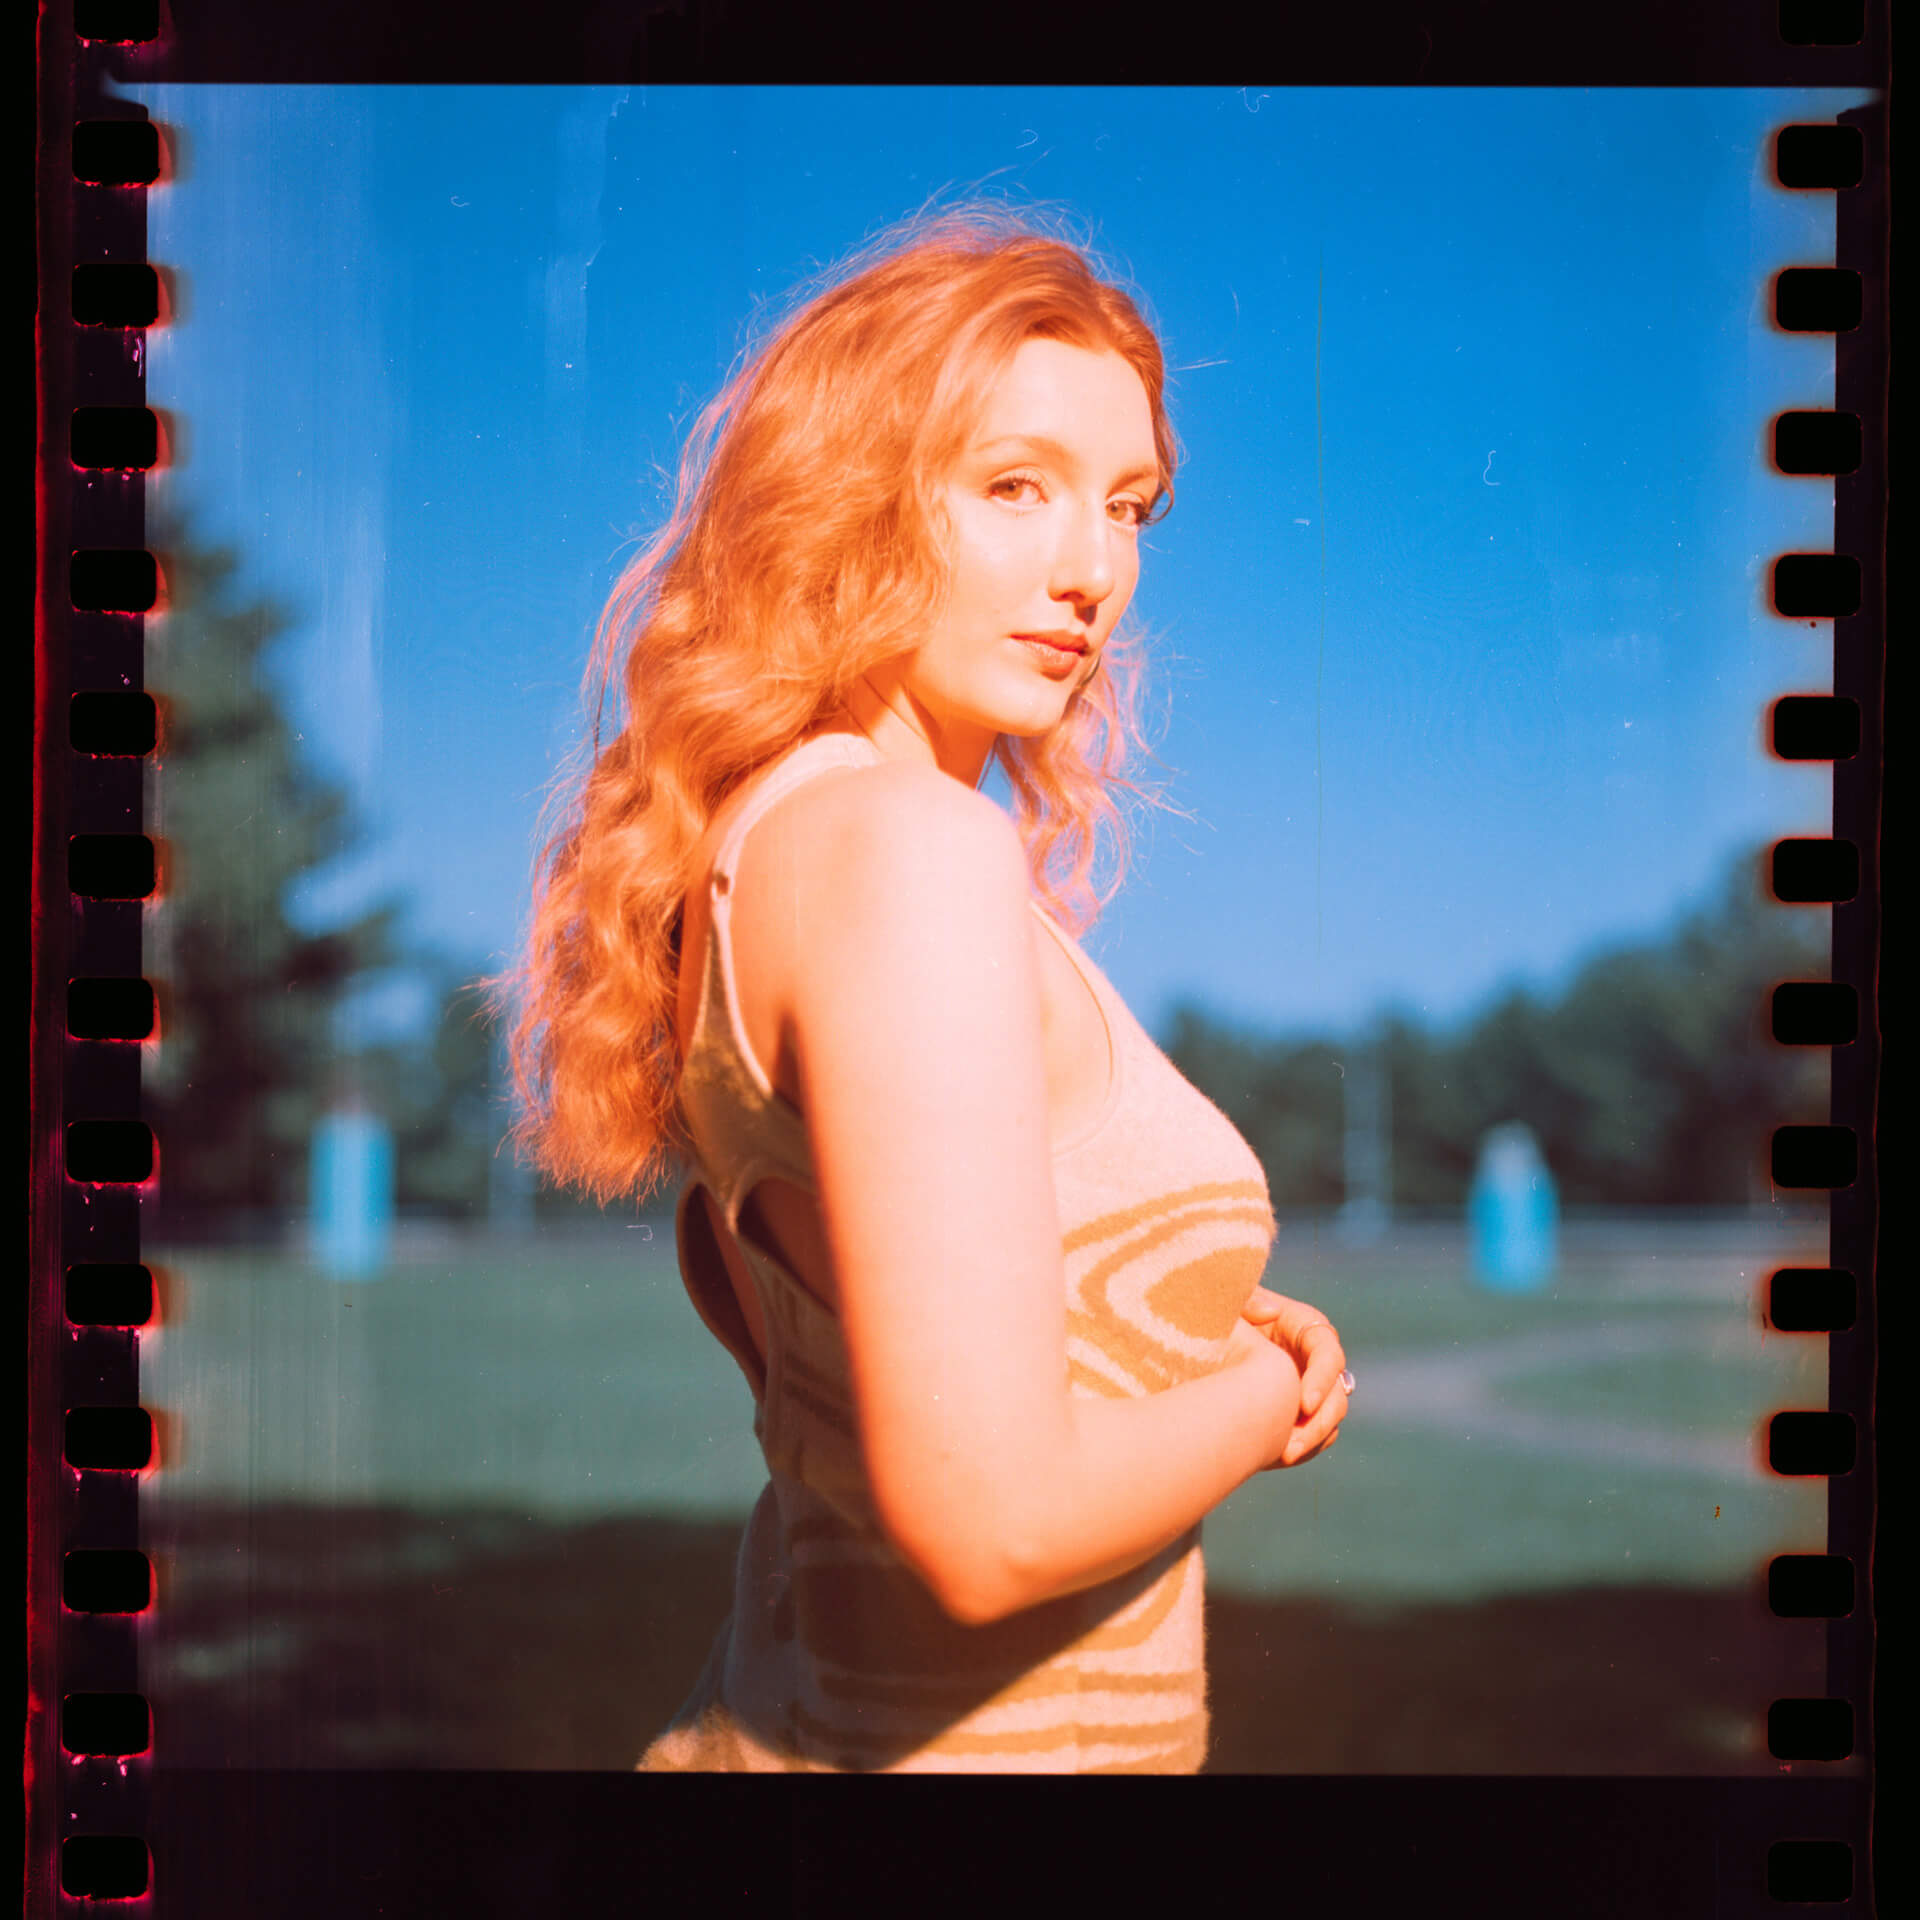
Final Photos – Digital
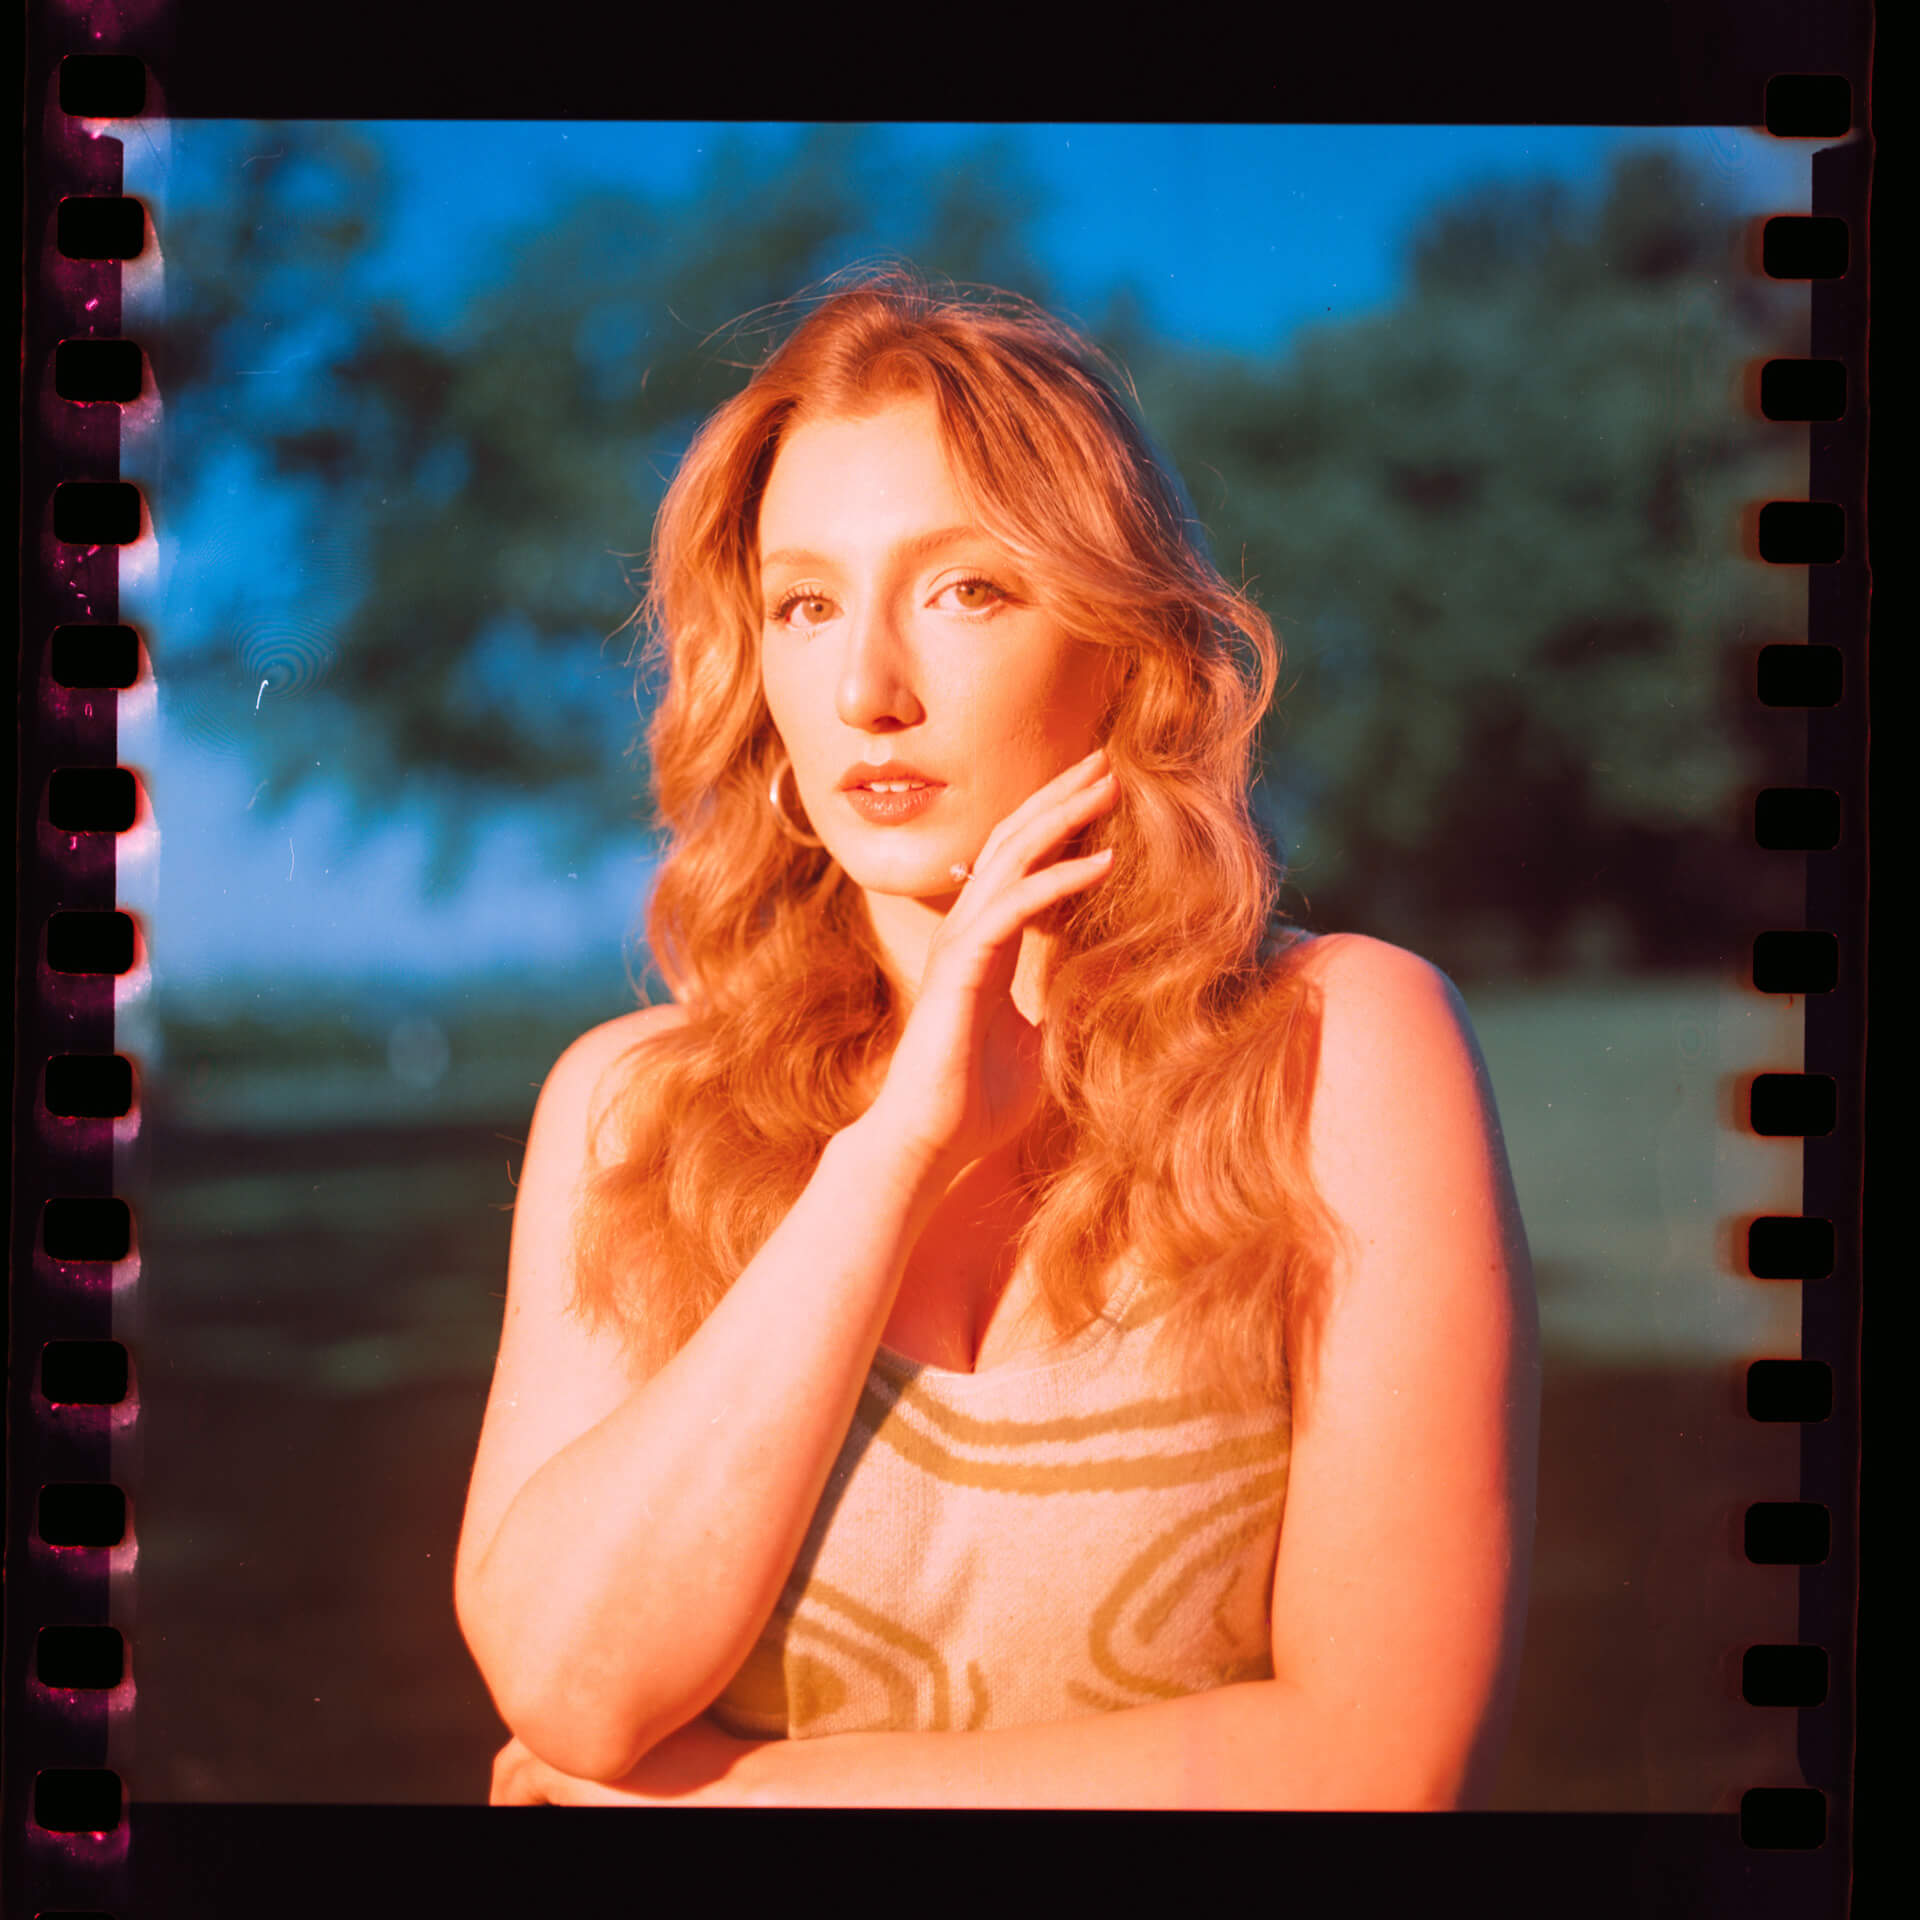
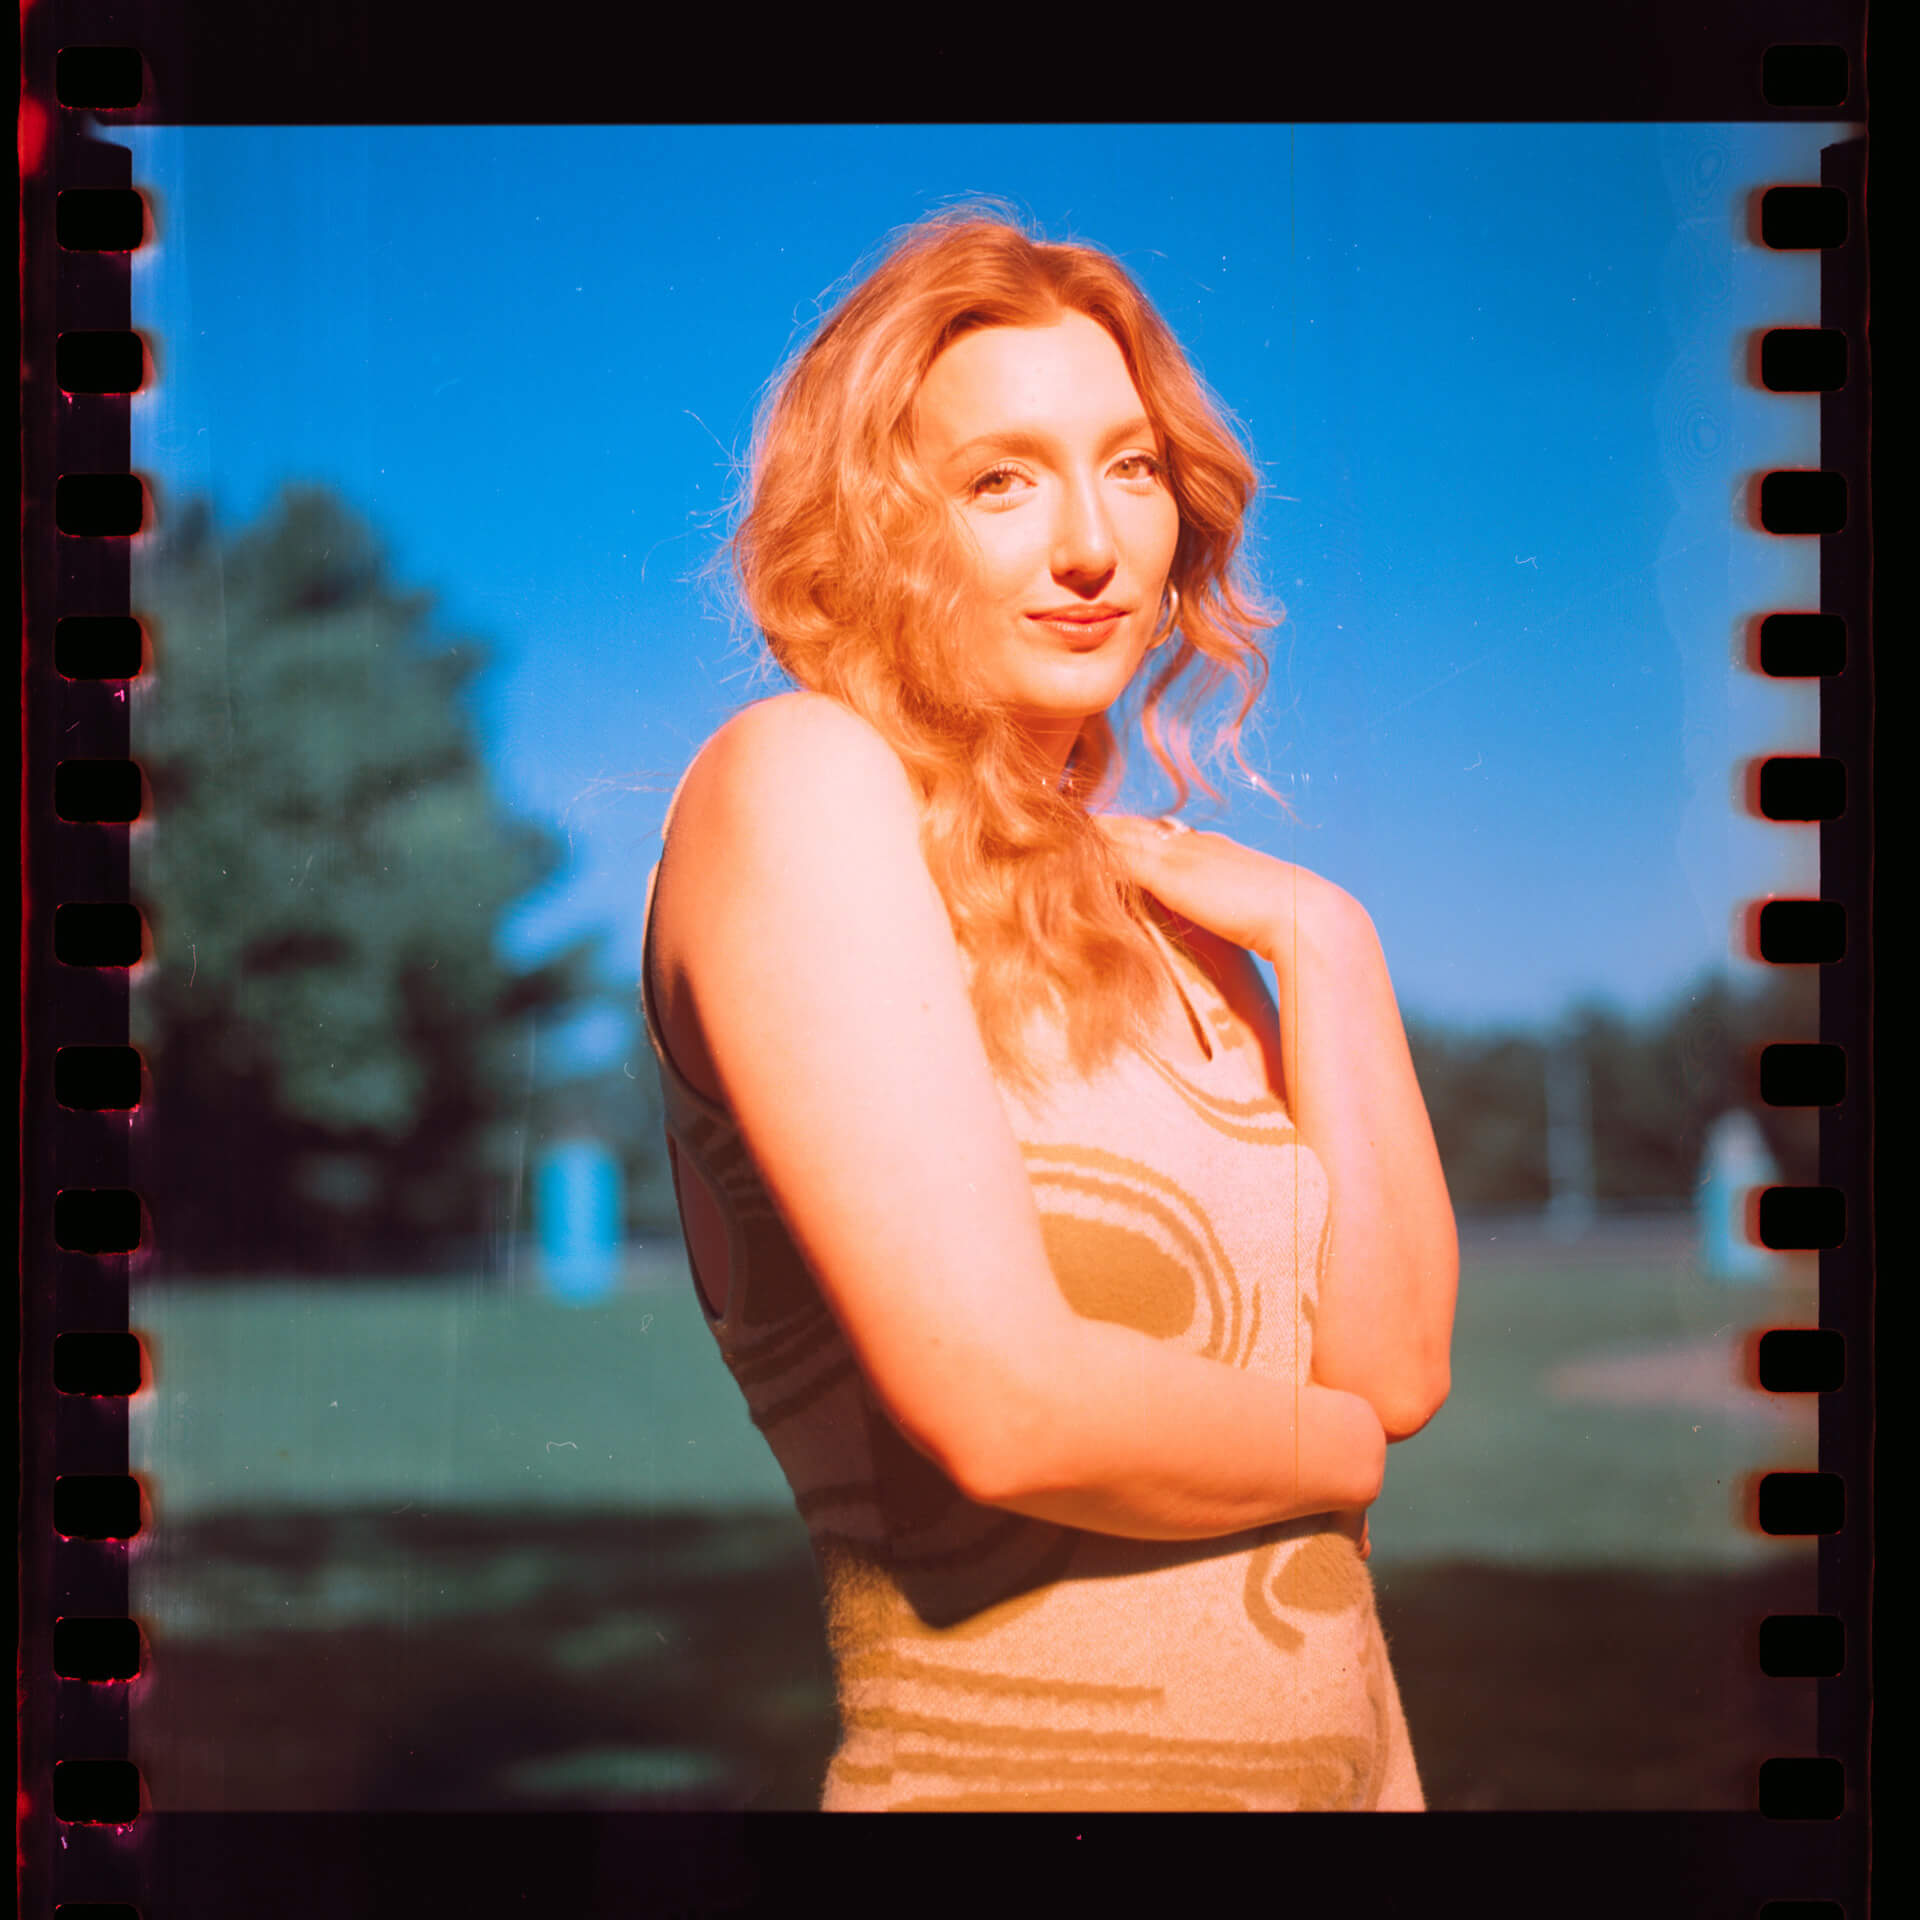
Final Photos – Film
I hope this article has inspired you to experiment with the creative possibilities of using an ND filter in your work! By varying filter strength, you can control the final look of your image; but these techniques will often require a bit of planning beyond what you would typically do to really shine. Don’t be afraid to pop your camera on a tripod for any longer exposures you might also capture. For similar creative articles, check out the others on this site, and feel free to drop a comment on this article or message me directly on instagram (@cameran.click). Happy shooting!


