When it comes to buying filters, the multitude of options can be overwhelming. How do you know which ones to invest in? In this article, we walk you through the different options for ND filters and how to choose the best one for you.
What is an ND?
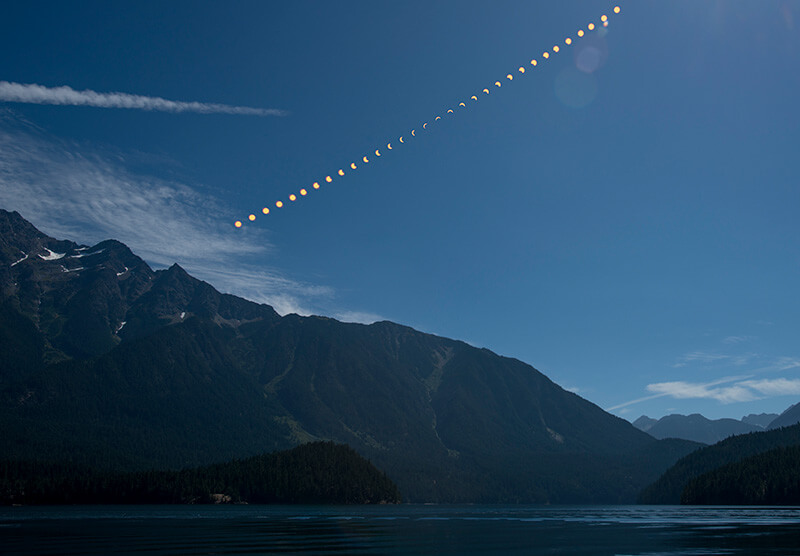
If you’re new to ND filters, check out this article here to understand what they are and what they do. In short, ND filters, or neutral density filters, simply reduce the amount of light entering your camera by a certain number of stops. These can help you to properly expose your image in overly bright conditions, shoot long exposures, create motion blur, or create a shallow depth of field.
There are three main types of ND filters: fixed, graduated, and variable. A fixed ND limits the amount of light by a specific amount evenly across the whole frame. Graduated NDs only reduce the light across half of the frame with the strongest density at the top gradually decreasing as it reaches the middle of the glass. Variable NDs, or VNDs, limit the light evenly across the whole frame like a fixed ND, but they have an adjustable ring to allow you to switch between strengths on one filter.
Fixed and variable NDs are the most common ones on the market. These pieces of glass darken your image in a neutral way without affecting the color’s hues and tones. The ability to shoot in virtually any lighting conditions without having to compromise your camera settings is what the ND is all about. They are one of the many simple tools that can help to elevate your work, making it look more professional with minimal extra effort on your part. However, not all NDs are created equal. ND filters come in different styles and densities and, depending on the manufacturer, can vary greatly in quality.
A high-quality ND filter will not affect the colors of your image, only the exposure. A cheap, low-quality one may cause color casts. You may also experience vignetting around the edges when using wide-angle lenses. Additionally, lower quality VNDs may have an X-effect when pushed past their maximum limit. The X-effect can appear as an X mark on your image as a result of cross-polarization from the alignment of the two glass elements when past their maximum limit. All of these unwanted features can easily be avoided by investing in high-quality filters.
When to use
Deciphering the numbers on ND filters can be a bit tricky for beginners. Review the chart below for a quick reference on the different strengths and the best lighting situations to use each. For a more in-depth look at what it all means, check out this article for more information.
f-stop Reduction | ND Factor | Light Transmission | Best Lighting Conditions |
|---|---|---|---|
1-stop ND | ND2 | 50% | Low Light |
2-stop ND | ND4 | 25% | Low Light |
3-stop ND | ND8 | 12.5% | Low Light |
4-stop ND | ND16 | 6.25% | Low Light |
5-stop ND | ND32 | 3.125% | Bright Light or Long Exposures |
6-stop ND | ND64 | 1.563% | Bright Light or Long Exposures |
7-stop ND | ND128 | 0.781% | Bright Light or Long Exposures |
8-stop ND | ND256 | 0.391% | Harsh Light or Ultra-Long Exposures |
9-stop ND | ND512 | 0.195% | Harsh Light or Ultra-Long Exposures |
10-stop ND | ND1000 | 0.1% | Harsh Light or Ultra-Long Exposures |
15-stop ND | ND32000 | 0.03125% | Harsh Light or Ultra-Long Exposures |
20-stop ND | ND1000000 | 0.00098% | Harsh Light or Ultra-Long Exposures |
How to choose
When selecting an ND filter, there are a few key features to look for. Firstly, you will want to determine which strength will be the most beneficial for your specific shooting conditions. If you are just starting out and aren’t sure which strength to get, a VND can be especially helpful. VNDs generally come in 2-5 and 6-9 stop variations. These are great because they allow you to experiment with the different strengths while investing in fewer pieces of equipment. VNDs are also the preferred option for cinematographers who need the ability to adjust their exposure quickly while moving through different lighting conditions.
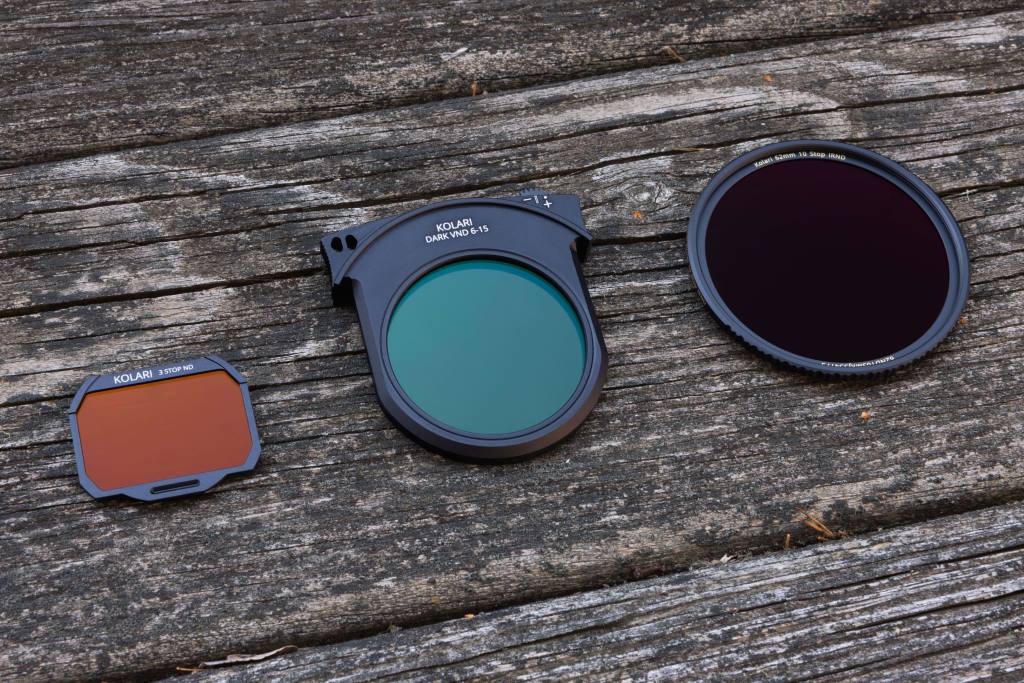
Depending on the type of camera you have, the next thing to consider is whether you want to use a filter on the front of your lens or behind it. Everyone is familiar with the traditional front-end lens filter, but if you are using a wide-angle lens or your lens doesn’t have any threads for attaching filters, you may need an alternative way of filtering. If you are using a full-frame mirrorless camera from Canon, Nikon, or Sony, clip-in filters may be a more attractive option. Additionally, Canon R-series users also have the option of using drop-in filters in an EF-EOS R Drop-in Lens Adapter which allows for the use of EF lenses on an RF-mount camera.
If you are looking for a front-end lens filter, you will need to decide what size you need. If you know which lens(es) you’ll be using your filters on, you can find the filter thread diameter on the front of the lens. This is indicated by a circle with a slash through it. The number next to this symbol will be the size in millimeters (mm) that you will need to get your filters in. If you have multiple lenses with varying diameters, it may be more economical to buy one filter to fit your largest lens and then invest in step-up rings to adapt the filter to the rest of your lenses.
The last thing you want to consider when buying ND filters is their quality. To get the most out of your ND filter and save you any headaches in the long run, it is best to invest in a high-quality filter. The features to pay particular attention to are the quality of the glass, the ring material, and any coatings used on the glass. There are some additional features that may not necessarily be included in all high-quality filters but may provide you with some added benefits. Ultra-strong glass increases the filter’s durability against intense conditions; premium coatings can help to reduce any stray reflections; and a strong, sturdy ring ensures your filter can withstand any drops or falls. For VNDs, hard stops (at the maximum and minimum) and tactile stops (physically felt indicators at each stop) can prevent the x-effect as well as let you know which stop is being used.
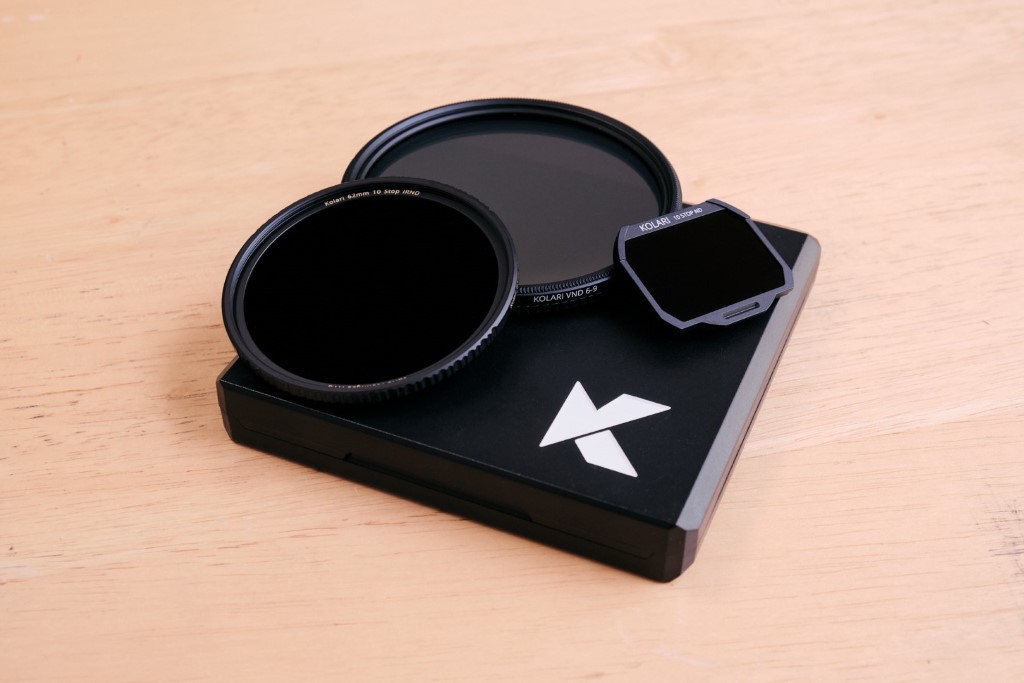
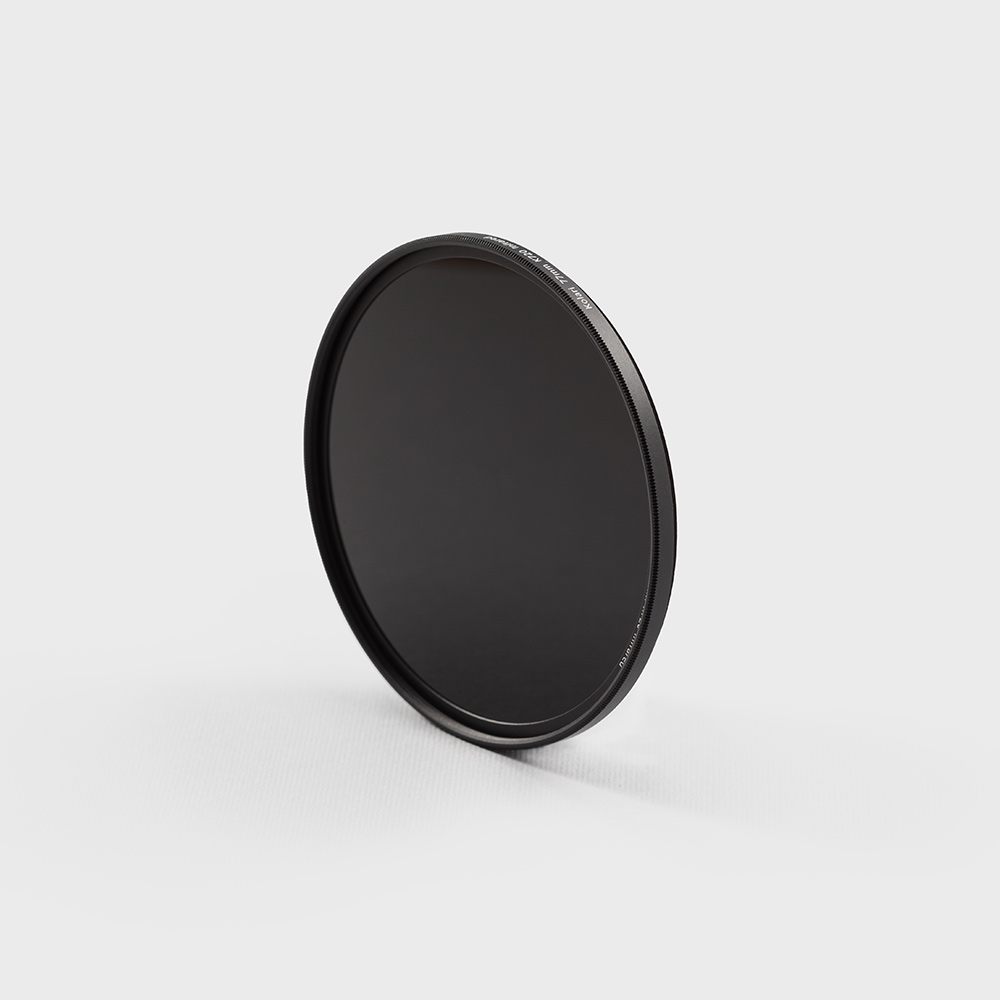
Our Kolari Pro ND was built with all of these features and more in mind. Optically engineered to be the most neutral filter in the visible light spectrum and beyond into the infrared range, this filter delivers the most neutral darkening we’ve achieved yet in every wavelength and at every angle. This filter has been ultra-wide-angle tested and approved for excellent vignetting and color cast performance. Built with premium ultra-thin, ultra-strong Corning Gorilla Glass, this filter is more than two times stronger than Schott B270 glass to direct impacts, and more resistant to scratches for better long term durability, all while also boasting a high internal transmission and lower refractive index than Schott B270 for sharper images. We topped off the perfect glass with premium coatings to make the already durable glass water, oil, and scratch-resistant while reducing reflectivity. We housed our filter in a precision-machined slim brass frame for reduced vignetting and a smoother installation than aluminum, reducing cross threading and jamming. The high friction knurling also provides an easier grip with gloves or dry hands in any weather. This filter just feels great.
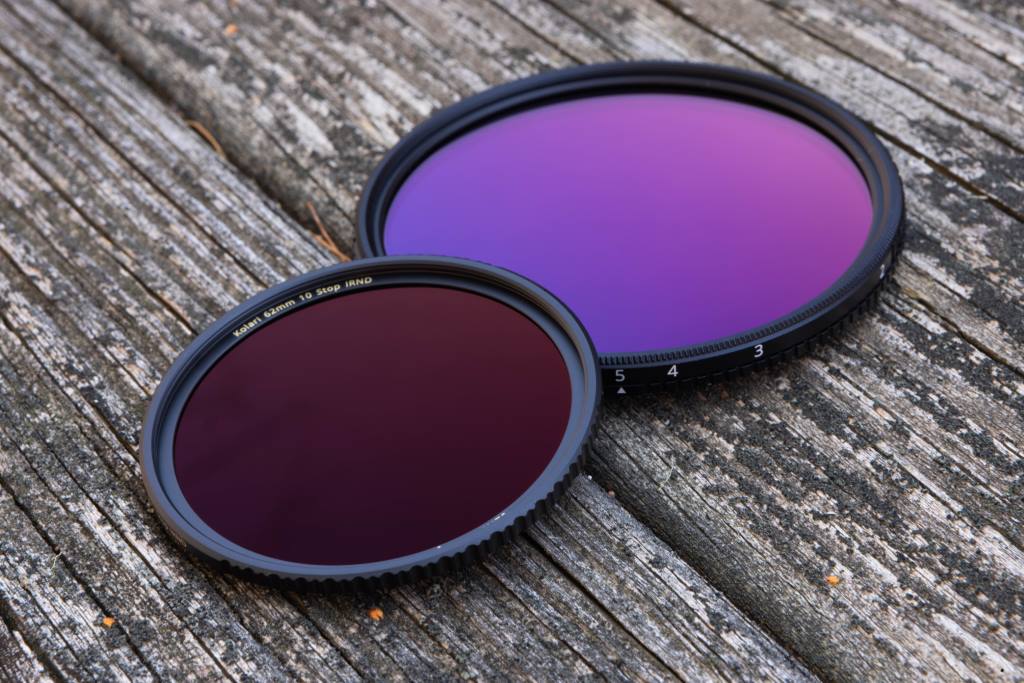
Our Kolari Pro VND consists of two pieces of premium-class glass coated in our signature Anti-Reflective (AR) and Anti-Smudge (AS) coatings. The AR coating increases light transmission and reduces flares and ghosting, while the AS coating is hydrophobic, dust-resistant, scratch-resistant, smudge-resistant, and lends itself to effortless cleaning. Our VND is fitted in a slim aluminum ring to reduce vignetting when using wide-angle lenses or when stacking filters. The ring is constructed for superior lens threading, and the aggressive grip knurling allows for easier filter removal. This filter also features tactile feedback and hard stops to prevent it from extending past its maximum limit, eliminating any risk of encountering the dreaded x-effect.
Whether you’re just starting out in photography or you’re on the hunt for a gift for a photographer, this buying guide will help you choose the perfect ND filter for you every time.
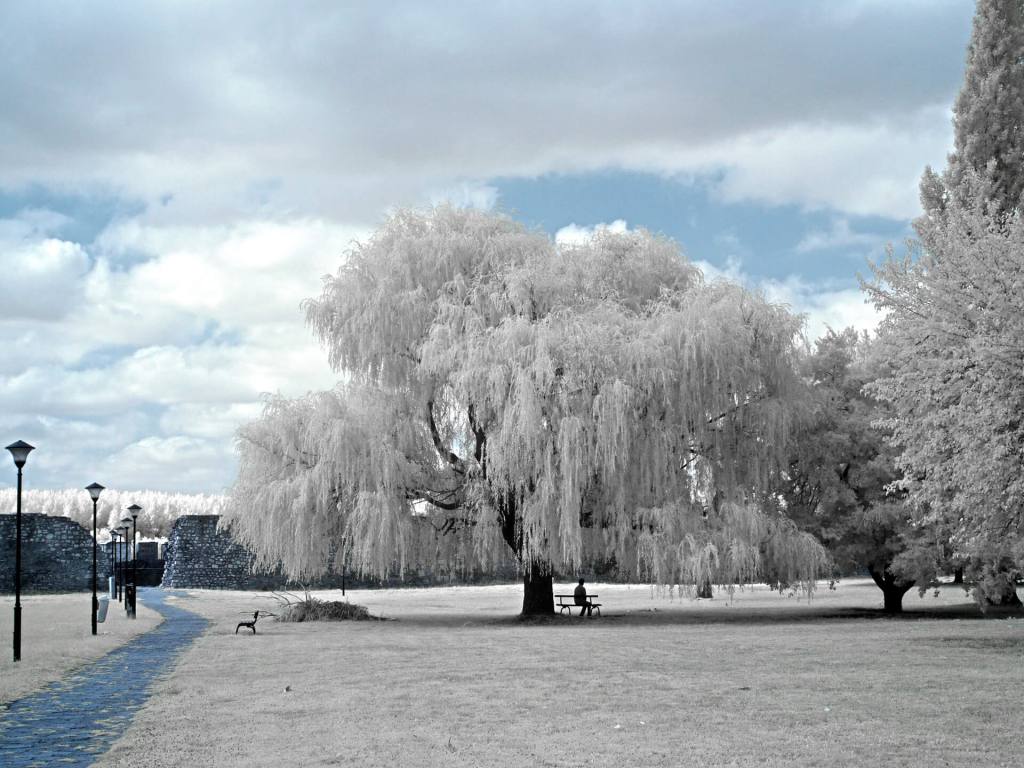
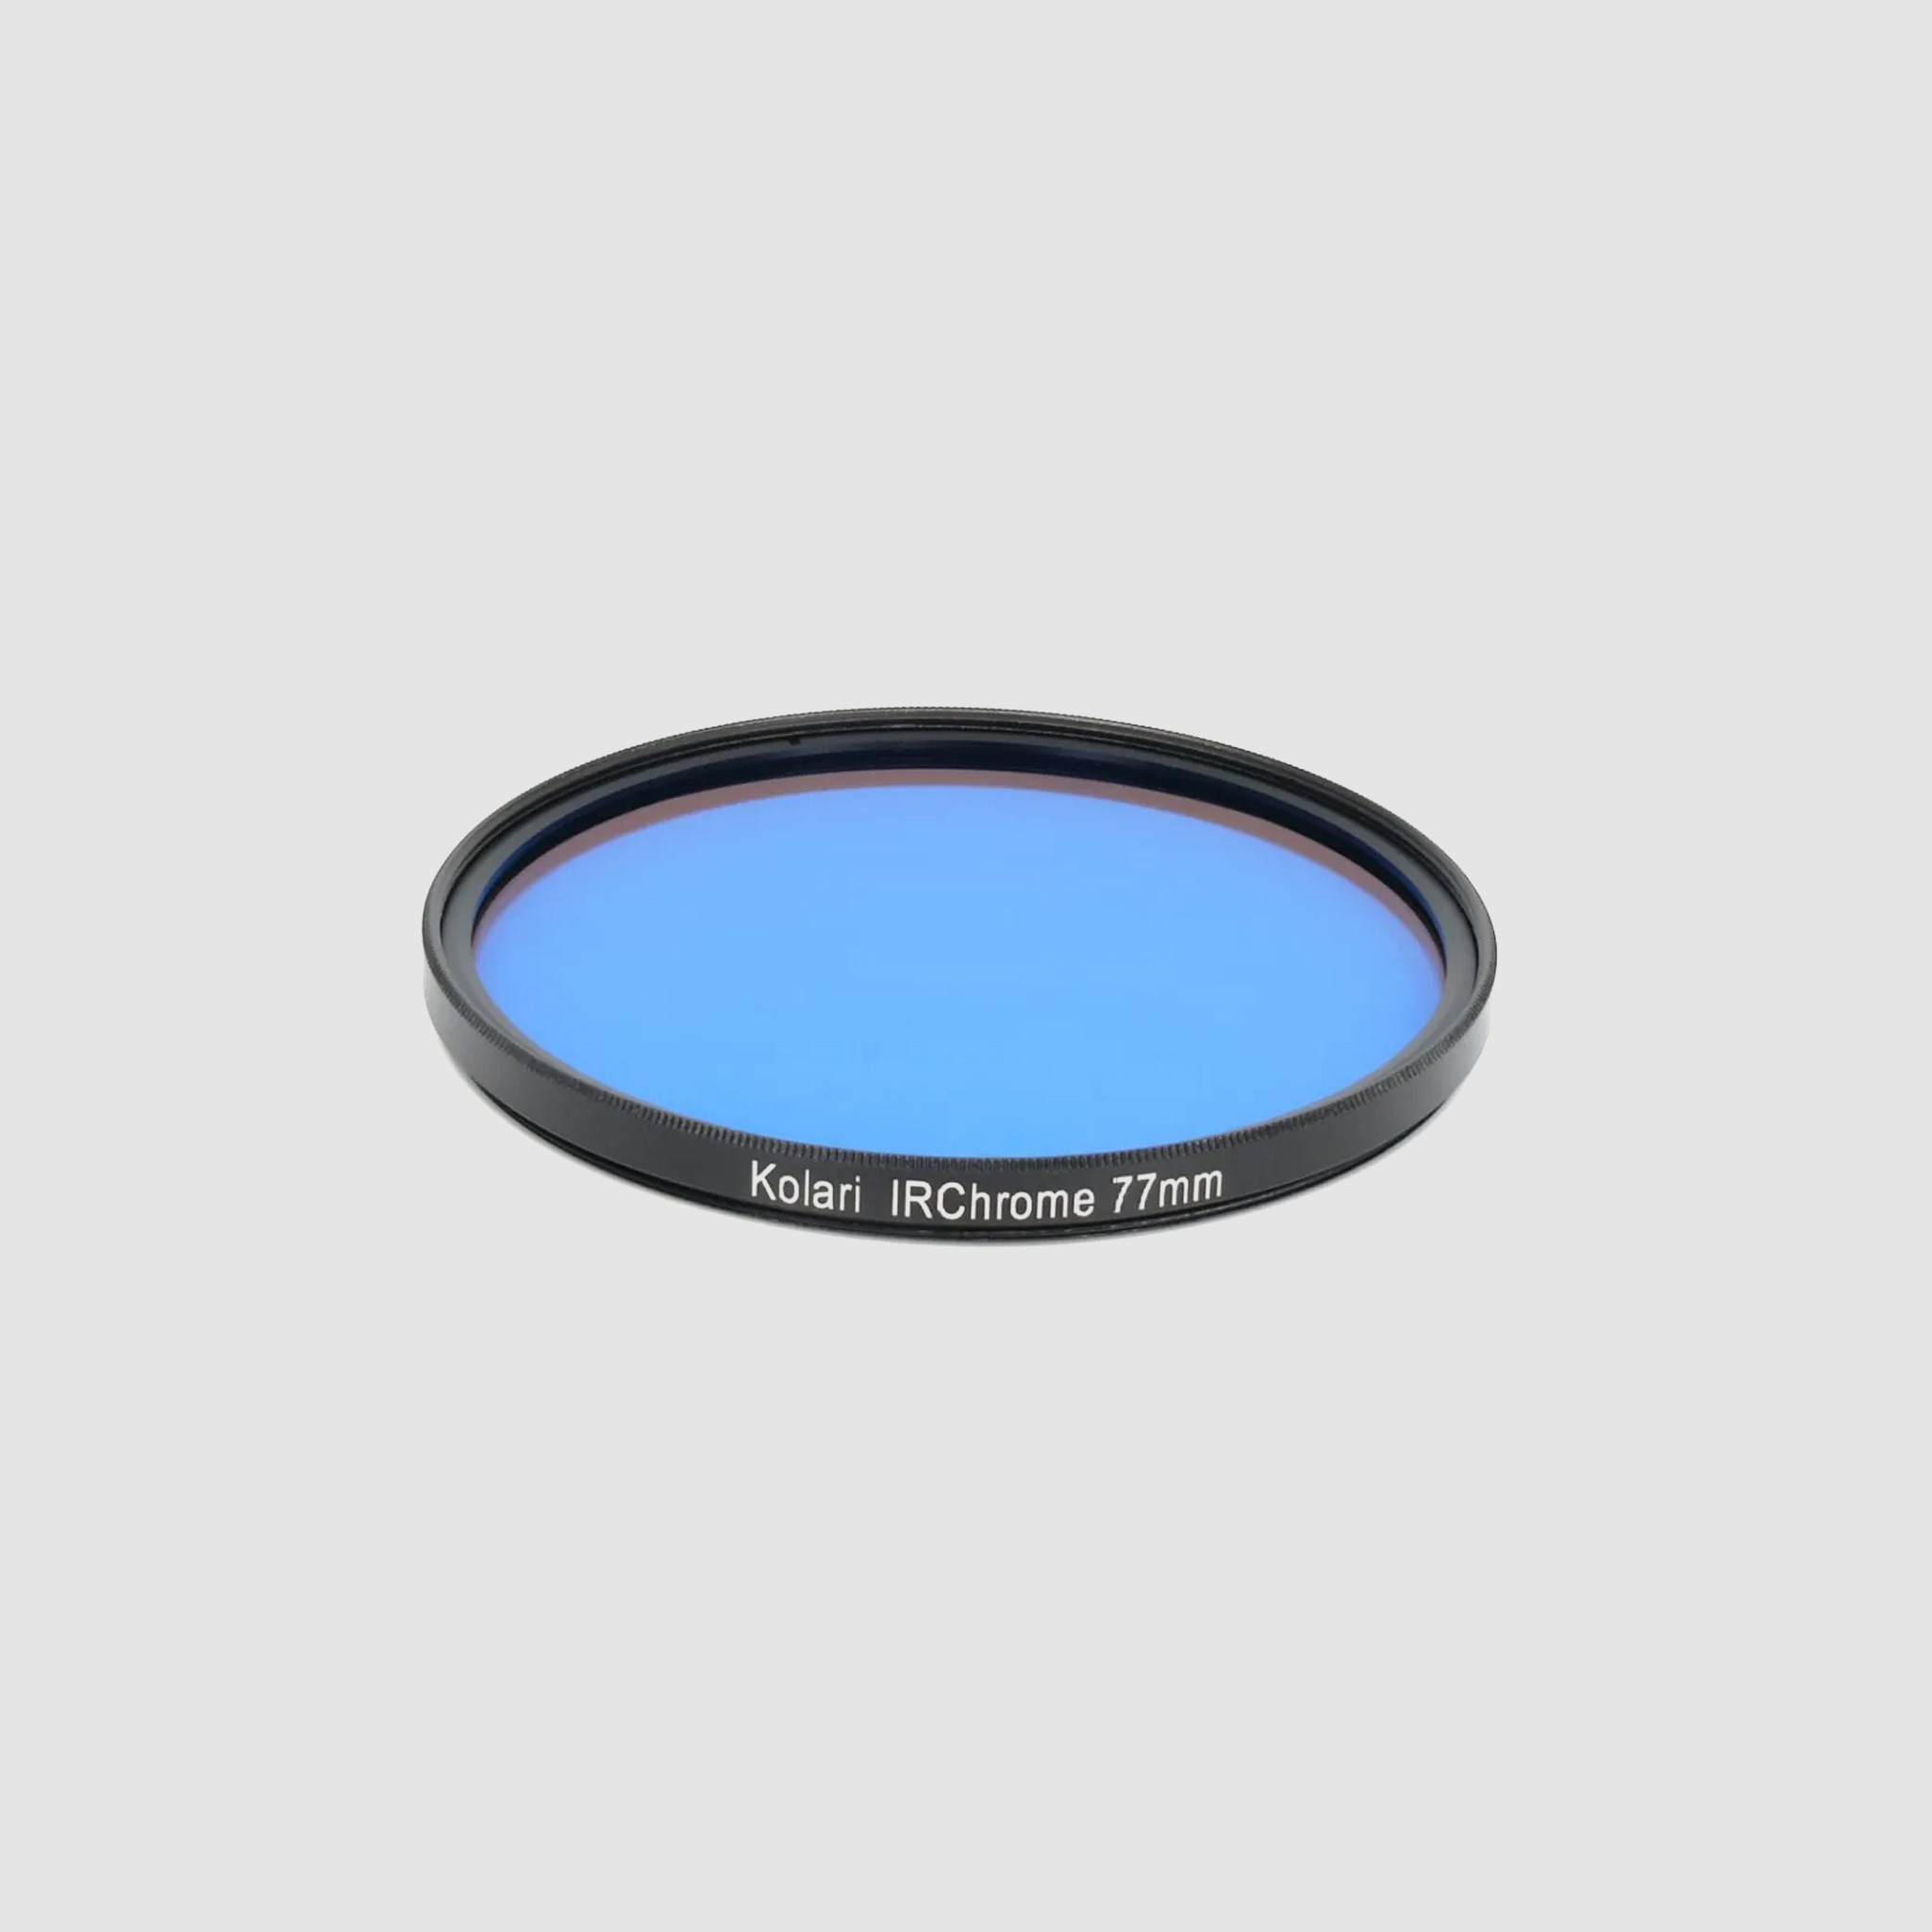
*Trying to shoot IR? Be careful–most NDs won’t work in infrared, but we’ve got one that does.
**The Kolari Pro VND does not work with an 850nm filter.
To stay up to date on new releases and updates, be sure to subscribe to our newsletter.
Visit our shop to learn more about our ND filters and other products to see if there’s something there for you.
