As a beginner photographer, learning to shoot in manual mode can seem like a daunting task. However, it’s an essential skill if you want to have full control over your camera so that you can capture creative images. While you might start your photography journey with other skills, such as creating more intentional compositions, eventually, you’ll see the benefits of understanding your camera.
There are arguments for times that you might use aperture priority mode or shutter speed priority mode, but neither mode works for all situations. Luckily, if you understand when your shutter speed is more important than the aperture or vice versa, then you’re not actually that far from understanding how to control everything. This article will help you get from where you are to where you need to be to start confidently shooting in manual mode.
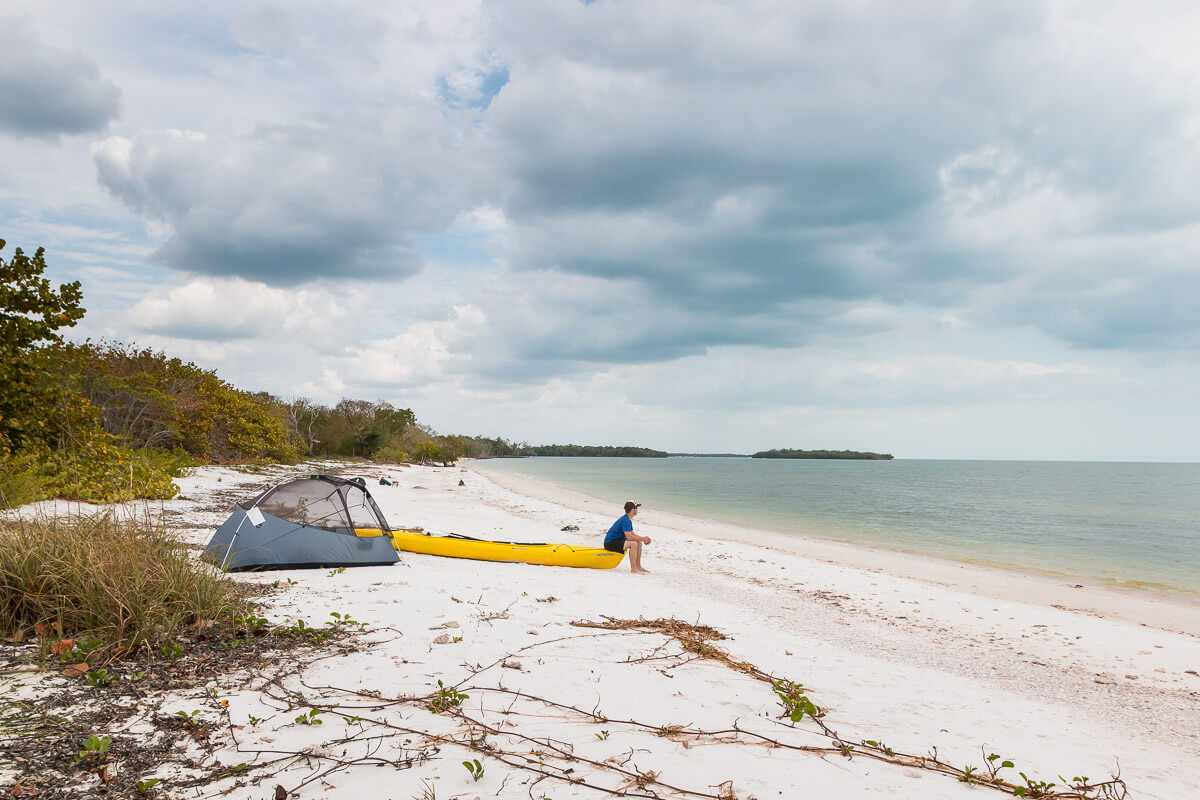
After over a decade as a professional photographer, shooting in manual mode comes naturally to me. Whether in a fast-paced environment like a wedding or out in the wilderness on an adventure, adapting to variable lighting conditions instantly is crucial. Let’s walk through why you should shoot in manual mode and then what you need to learn to be able to do so.
The Importance of Learning to Shoot in Manual Mode
Depending on the type of photography you’re most interested in, shooting in manual mode will be more or less critical. But regardless of your photography genre, being able to use your camera’s full capabilities will take your photos up a level. Photography is about light, and shooting in manual mode is about controlling how your camera sees the light.
If you’re photographing in low-light conditions, for example, your camera will struggle to capture a sharp image if you’re not intentional about your settings. If your ISO is too high, your image will be grainy, and if your shutter speed is too low, you’ll see blur from camera shake. Meanwhile, if your aperture is too low, you might struggle to get sharpness on your intended focus area due to the shallow depth of field, but if it’s too high, you won’t be able to use an appropriate shutter speed and ISO.
Don’t worry; we’ll dive deeper into detail on each situation so you’ll understand the power of knowing how your camera works. This is what sets the professional photographer apart from the amateur and gives you a reason to carry a camera rather than just shoot on your iPhone. Additionally, understanding this information will make you better at both composing and editing more impactful images.
Understanding the Exposure Triangle
To be able to shoot in manual mode, you must understand the exposure triangle. Aperture, shutter speed, and ISO make up the three elements of the exposure triangle. Understanding how these three elements work together is crucial to telling your camera how to expose an image.
Aperture refers to the size of the opening in the lens that determines how much light enters the camera. For example, a big numbered f/16 is a small aperture/small hole that allows in less light. Conversely, the low-numbered f/1.8 is a large aperture/big hole that lets in a lot of light. Lenses capable of low aperture are considered fast lenses because the large hole allows enough light for a fast shutter speed.

Shutter speed refers to the duration of time that a shutter is open, and the longer the shutter is open, the more light enters the camera. A fast shutter speed doesn’t allow much time for light to get through. A slow shutter speed allows more light, but if it is open for a long time, it will start to capture movement, such as a long-exposure image of a waterfall or star trails. In these cases, you would use a tripod to prevent camera shake from trying to hold it still by hand.
The last element in the exposure triangle is the ISO which indicates the camera’s sensitivity to light. A higher ISO will make the image brighter, but you risk grain or noise in the photo. The key to understanding the exposure triangle is that these settings need to be balanced properly to let in the proper amount of light for a properly exposed photo.
Deciding on Your Dominate Setting
Often aperture is selected as the dominant setting for a photo. Aperture impacts the amount of light the camera lets in and the depth of field. Depth of field is the area of the photo that is in focus. With a larger aperture, you get a shallow depth of field, creating a bokeh effect, whereas with a small aperture, you get a deeper depth of field and more image sharpness.
If you want that nice shallow depth of field, choose the lowest aperture number that your camera is capable of. Since this low number is a large hole, it will let in a lot of light, so you’ll select a fast shutter speed to balance it. Sometimes you might want a deeper depth of field, such as in a group photo when you want to ensure that everyone is sharp or when you want to create a cool sunburst effect from the sun.

Sometimes your shutter speed will be your dominant setting, such as when you want to create a long exposure to capture the movement of a waterfall or the stars. You’ll want to use a tripod so that the only movement you capture is what you intend to. You might also have times when you set a minimum shutter speed because you know you need to let in a lot of light but don’t want to risk any blur from camera shake when shooting handheld.
Note that the longer the focal length, the higher your minimum shutter speed will be because a slight movement at your eye will result in a more significant movement at the point in the distance you’re shooting.
Lastly, you’ll choose your ISO. Typically, you want your ISO to be as low as possible for your conditions but high enough that you don’t have to worry about your shutter speed being too slow. This will maximize the image quality and minimize graininess.
A Few Examples
If you’re shooting in the middle of a sunny day and interested in a shallow depth of field, you’ll choose your smallest number aperture. Since that big hole lets in a lot of light on an already bright day, you’ll want to use a fast shutter speed and low ISO. You might set your camera at f/1.8 and ISO 100 and then adjust your shutter speed to expose the photo properly.
If it’s cloudy, you might set your camera at f/1.8 and ISO 400 and then adjust your shutter speed to properly expose the photo. Or if you know you’re shooting some group photos and want the people to be sharp, you might choose f/4 and then raise your ISO slightly to compensate for the smaller hole. From there, you adjust the shutter speed as you shoot to expose accordingly.
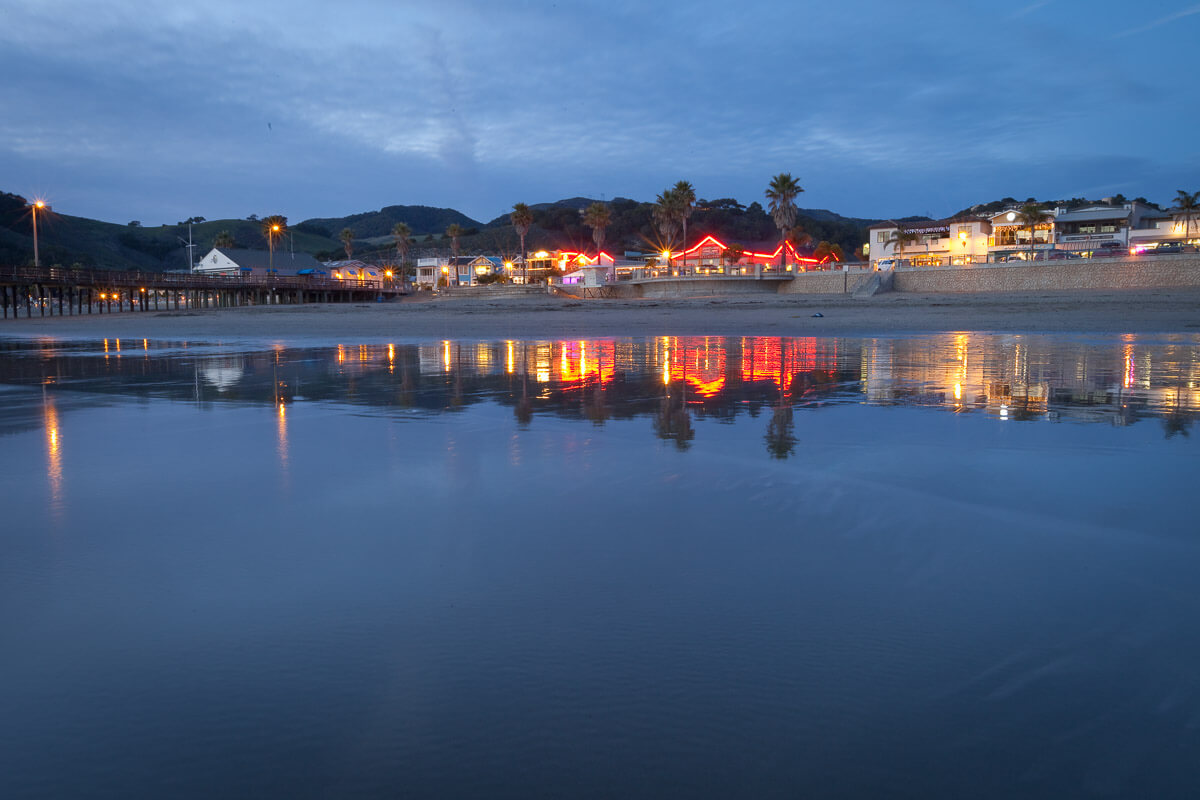
If you’re shooting in low light conditions, you need to work harder to let light in, so you might set a high ISO. It’s really helpful to know your camera’s ISO capabilities—some of the newer cameras produce very crisp images at fairly high ISOs. From there, you set your widest aperture so that you can then adjust for the fastest shutter speed possible for the conditions.
Conclusion
For many situations, I set my ISO and aperture for the conditions and type of image I want to create. Then, I only have to worry about changing my shutter speed while shooting a scene. I just have to be aware of my shutter speed so it doesn’t get too slow and risk camera shake.
As you can see, once you understand how the settings work together, you can easily control the outcome of your images. You can play with depth of field or even add motion to your photos. And with technological advancements, image stabilization and low-light capabilities make more creative ideas possible.
Shooting in manual mode is a crucial step that will open up even more possibilities as you shoot in more challenging conditions or add creative ideas. You might play with creating cool bokeh effects from twinkle lights or use flash to freeze your subject on a moving background. The options are limited only by your camera and creativity. I can’t wait to see what you create!
Author Bio:
Marc and Brenda Bergreen are a husband and wife photo and video team based in Evergreen, Colorado. They photograph weddings and other adventurous stories in beautiful places.