Overview
When getting started in photography, all the different technical words and settings can seem overwhelming and confusing. If this feeling resonates with you, read on to uncover our Complete Beginner’s Guide to Understanding Aperture, Shutter Speed, and ISO.
Exposure
One of the most important technical pieces to master when you’re first starting out in your photography journey is exposure. ‘Exposure’ refers to how light or dark your overall image is. As a photographer, you get to control how much light enters your camera. If you let in too much light, your photo will be too bright, or overexposed. If you don’t let in enough light, your photo will be too dark, or underexposed. Your exposure is determined by three settings: aperture, shutter speed, and ISO. Each setting has its own purpose, but their relationship to one another determines your overall exposure. Finding the right balance is all about understanding what each one does, how it affects the others, and how you can use it to create your ideal image.

Aperture controls how much light enters your camera.
Shutter Speed controls how long light enters your camera.
ISO controls how sensitive your camera is to light.
A technically ‘correct’ exposure, meaning your image is neither too bright nor too dark, may not always be the right look for a particular photo. Once you understand the fundamentals of these three settings, you can be more creative in how you adjust them to achieve your desired effect. Check out our article on How to Make a Great Photograph for examples.
Shooting Modes
Your digital camera likely came with a mode dial on top with a plethora of different shooting modes available. But how do you know which one to use? Let’s break down the different options.
P, A (Av), and S (Tv)
Program (P), Aperture Priority (A or Av), and Shutter Priority (S or Tv) are the only modes you really need when you’re first starting out. They allow you to set certain settings that are most important to you while the camera sorts out the rest. This is super helpful while you’re learning as you don’t have to waste time trying to figure out all the settings yourself and potentially miss your shot.
Program mode allows you to set your ISO while your camera determines the ideal aperture and shutter speed for the scene. If you know what aperture you want to use, Aperture Priority lets you set your aperture and ISO, and your camera selects the appropriate shutter speed. The concept is the same for Shutter Priority.
Scene Modes
The modes indicated by little picture icons are called ‘scene modes’. These are factory presets for specific situations–such as night mode, sport mode, portrait mode, etc.–that adjust your camera’s settings to shoot your subject in a certain way. But because there are many ways to photograph any one subject, these modes generally do not result in very good images. These modes should be avoided as they do not allow for any creativity.
Auto
Similar to scene modes, Auto mode gives all control over to your camera. Instead of using factory presets, Auto mode will select whatever settings it deems appropriate for a ‘correct’ exposure based on what you point your lens at. You have no control over any of the settings and, if your camera thinks the scene is too dark, it will automatically fire the flash and undoubtedly ruin your image. Avoid Auto mode.
Manual
Manual mode gives you full control of all your settings. Your camera will do none of the work for you. You may hear a lot of people say that you have to shoot in Manual mode in order to be considered a professional. This is simply not true. As a beginner, Manual mode can be a source of great anxiety. But even many professionals choose to shoot in Aperture or Shutter Priority mode as they allow them to get their settings right faster in the field when they may not have time to adjust each one individually.
Aperture
The aperture is actually a hole in your lens, not in your camera itself. Your lens’ aperture functions much in the same way as the pupil of your eye. When it’s dark, it opens wider to let in more light, and when it’s bright, it gets smaller to let in less light. Where the confusion comes in for most people is how this is measured.

The exact size of the hole is measured in ‘f-stops’, or a fraction of the focal length of your lens. Let’s take a look at a simple example to understand what these measurements mean. If you use a 50mm lens at an aperture of f/2, the aperture opening is ½ the size of your focal length, ie. 25mm. Conversely, if you use an aperture of f/22 on the same lens, the aperture opening is 1/22 the size of your focal length, ie. 2.27mm. If math isn’t your favorite subject, though, you can simply remember that the smaller the f-stop number, the wider the aperture, and the bigger the f-stop number, the smaller the aperture.
Because the aperture is in the lens and not the camera, different lenses may have varying f-stop ranges.
When shooting in Aperture Priority mode, your shutter speed will change as you change your aperture. By choosing a wide aperture, such as f/2, your camera will select a faster shutter speed to compensate for how much light is entering the lens. By using a narrow aperture, such as f/22, your camera will select a slower shutter speed.
Depth of Field
Along with controlling how much light enters your camera, aperture also determines the depth of field in your image. Depth of field, simply put, is how much of your image is in focus.
Shallow Depth of Field
A shallow depth of field allows you to throw the background of your image out of focus, ridding it of detail and drawing focus to your subject. Distance plays an important role in focus, so make sure there is enough distance behind your subject for the background to fall out of focus. Depth of field is at its most shallow when shooting close-ups, which makes it ideal for portraits.
To achieve a shallow depth of field, use a wide aperture (low f-stop).


Deep Depth of Field
Deep depth of field is often ideal for landscape photography. This allows every part of your image to be in focus from the foreground to the background and retains the most detail throughout. To achieve a deep depth of field, use a narrow aperture (high f-stop).
Shutter Speed
Shutter speed is how long light is able to pass through to your sensor. When you click the shutter button to take a photo, your camera’s shutter opens to let in light and then closes to block the light. The length of time the shutter stays open (and thus, the length of time light is allowed in) is determined by your shutter speed.

Shutter speed is measured as a fraction of one second. You may see it written as a fraction (1/125) or a whole number (125), but either way, it refers to a fraction of a second unless the whole number is followed by a double quotation mark. If the shutter speed is written as 1”, that means your shutter will be open for one whole second.
Darker shooting conditions will require you to use a slower shutter speed, such as 1/60, to let in enough light to fill the scene. In brighter conditions, you need much less light, so you should use a faster shutter speed, such as 1/500.
When shooting in Shutter Priority mode, your aperture will change as you change your shutter speed. By using a slow shutter speed, such as 1/60, your camera will select a narrower aperture to compensate for how long light is entering the lens. By choosing a fast shutter speed, such as 1/500, your camera will select a wider aperture.
More than controlling how long light is allowed to enter your camera, shutter speed can capture movement in two distinctive ways.
Slow Shutter Speeds
Slow shutter speeds blur movement. When the shutter stays open for a longer period of time, objects in the frame have more time to move while the image is being exposed. Everyday subjects, such as passing cars, will typically begin to see clear motion blur at shutter speeds of around 1/60 and slower. The slower the shutter speed, the more blur you will get.
While distinct motion blur may be your desired effect, you don’t want your entire image to become blurred. When using slow shutter speeds, take care to avoid unnecessary camera shake by using a tripod instead of shooting handheld.


Fast Shutter Speeds
On the other end of the spectrum, you have fast shutter speeds, which freezes movement. When you use a fast shutter speed, nothing in the frame has enough time to move, so objects are captured in the instant the photo is taken. You can freeze moments in time, such as an object falling with shutter speeds starting at 1/125 and faster.
You don’t need to worry about camera shake with fast shutter speeds, but be careful not to underexpose your image. Using a wider aperture will ensure your camera receives sufficient light to properly expose the scene.
ISO
ISO controls your camera’s sensitivity to light. In dark situations where you need to make the most of the available light, you can increase the sensitivity by increasing your ISO. In bright conditions, sensitivity becomes less important, so you can decrease it by decreasing your ISO.

A general rule of thumb for determining which ISO to use is an ISO of 400 is perfect for an overcast day. Whether your scene is brighter or darker than an overcast day will help you to decide if you should use a lower or higher ISO. In darker conditions where you need to use a higher ISO, you may run the risk of introducing visual noise into your image.
Depending on your camera, you may only begin to see signs of noise when shooting an ISO of 800 or higher. Digital noise is a type of visual distortion. It looks similar to grain found in film images, but in severe cases, it can also look like discolored splotches. If it’s bad enough, it can ruin your entire photo.
When setting up your shot, you should always set your ISO first. Your ISO will affect what apertures and shutter speeds you’re able to use.
In low light conditions where you want to use a fast shutter speed, you may need to increase your ISO. This can help to avoid camera shake. Camera shake occurs at shutter speeds slower than 1/60, so increasing your ISO can allow you to use a slightly faster shutter speed. Be careful not to increase it too much, however, or you may run the risk of unnecessary image noise.
Exposure Compensation
Manual mode gives you full control over every setting. You choose your aperture, shutter speed, and ISO. Your camera’s internal light meter will still tell you what it thinks is the ‘correct’ exposure just like it does in every other mode, but it won’t make the changes for you. This can be confusing and time-consuming when you’re still learning. While the other modes will adjust your settings to the ‘correct’ exposure for you, you may find that, at times, you want to override this and intentionally over or underexpose your photo. Instead of using Manual mode to do this, you can opt for exposure compensation.

Exposure compensation allows you to manipulate the overall exposure of your entire image by making it brighter or darker. Just like the exposure slider in your favorite editing software, you can scroll towards the + to overexpose your image and towards the – to underexpose in the camera. Remember to always set your exposure compensation back to 0 or it will be applied to your future shots.
You may be wondering why you’d ever want to intentionally over or underexpose your images, but it’s often a much more common necessity than you’d think. If you photograph something bright like snow, it may look sort of grey or underexposed, and if you photograph something dark like the inside of a bar, it may look too overexposed. This can ruin the overall atmosphere of the image, but you are able to combat this with exposure compensation. Backlit subjects are another instance where exposure compensation is extremely important.
If you are shooting someone in front of a window, for example, they may become silhouetted as the light coming through the window is much brighter than the light inside. You can increase your exposure to bring back the details in the shadows, making your subject more recognizable. This will likely blow out the highlights, but if there are no important details in the highlights then this doesn’t matter as long as you are able to see the details in your subject.
On the other hand, if you want your subject to be a silhouette, you can decrease your overall exposure. This will deepen your shadows and pull out more details in your highlights. Of course, you don’t want to over or underexpose every image, but it’s a technique that can add softness or drama to certain photos to help you express your creative vision.
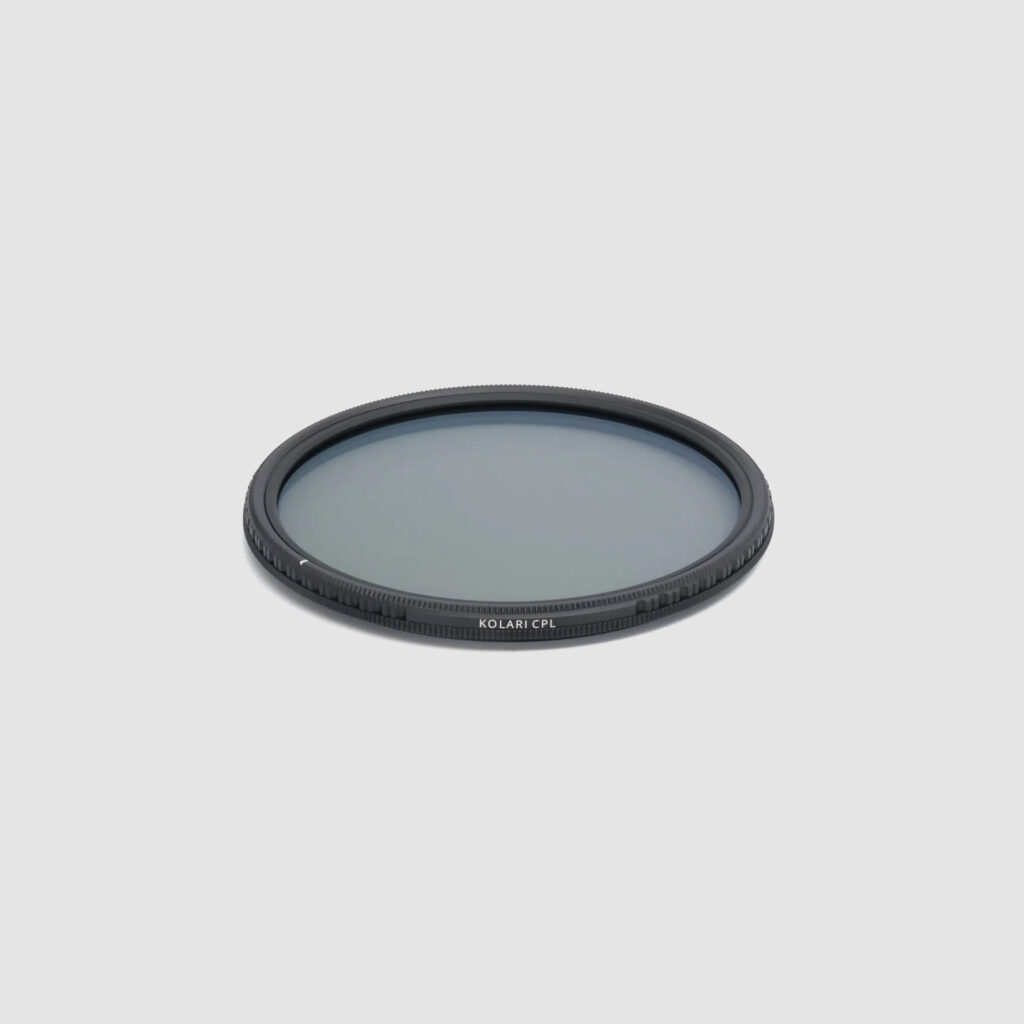
Mastering Exposure With Kolari Pro ND Filters

Kolari Pro ND Filter

Kolari Pro VND Lens Filter

Kolari Pro Magnetic ND Filters
Achieving the perfect exposure in bright conditions can be challenging, especially when trying to maintain a shallow depth of field or achieve motion blur. That’s where our Kolari Pro ND Filters come in, providing precise light control without compromising image quality. Designed for superior color neutrality and IR-blocking capabilities, our ND filters help you slow down your shutter speed for silky smooth motion or open up your aperture for beautiful bokeh, even in harsh sunlight. Whether you’re a beginner or a seasoned pro, these filters are an essential tool for mastering exposure in any lighting condition.
In addition to our lens filter options, our neutral density filters are also available in our Kolari Magnetic Clip-in Filter form factor.
Final Thoughts on Mastering Camera Settings
Mastering your camera’s settings likely won’t happen overnight, but with enough practice, you will be able to adjust them with ease. Eventually, you won’t even think about it, and you’ll be able to manipulate them to get the exact image you want.
To learn more camera basics to help you master your camera, check out our Education Hub.
To stay up to date on new releases and updates, be sure to subscribe to our newsletter.
Aperture, Shutter Speed, and ISO FAQs
What Are Aperture, Shutter Speed, And ISO?
Aperture, shutter speed, and ISO are the three main settings that determine exposure. Aperture controls how much light enters the camera, shutter speed controls how long light enters, and ISO controls how sensitive the camera is to light.
What Is The Exposure Triangle In Photography?
The exposure triangle is the relationship between aperture, shutter speed, and ISO. Each setting has its own purpose, but the final brightness and creative look of the photo depends on how the three settings balance together.
How Does Aperture Affect A Photo?
Aperture controls both light and depth of field. A wide aperture, such as f/2, lets in more light and creates shallow depth of field, while a narrow aperture, such as f/22, lets in less light and creates deeper focus across the image.
How Does Shutter Speed Affect Motion Blur?
Slow shutter speeds blur movement because the subject has more time to move while the image is exposed. Fast shutter speeds freeze motion because the image is captured in a shorter moment, which is useful for action, falling objects, sports, or handheld shooting.
What ISO Should Beginners Use?
Beginners should keep ISO as low as possible when there is enough light, then raise it when the scene is darker or when a faster shutter speed is needed. The article gives ISO 400 as a general starting point for an overcast day, while warning that higher ISO can introduce digital noise.