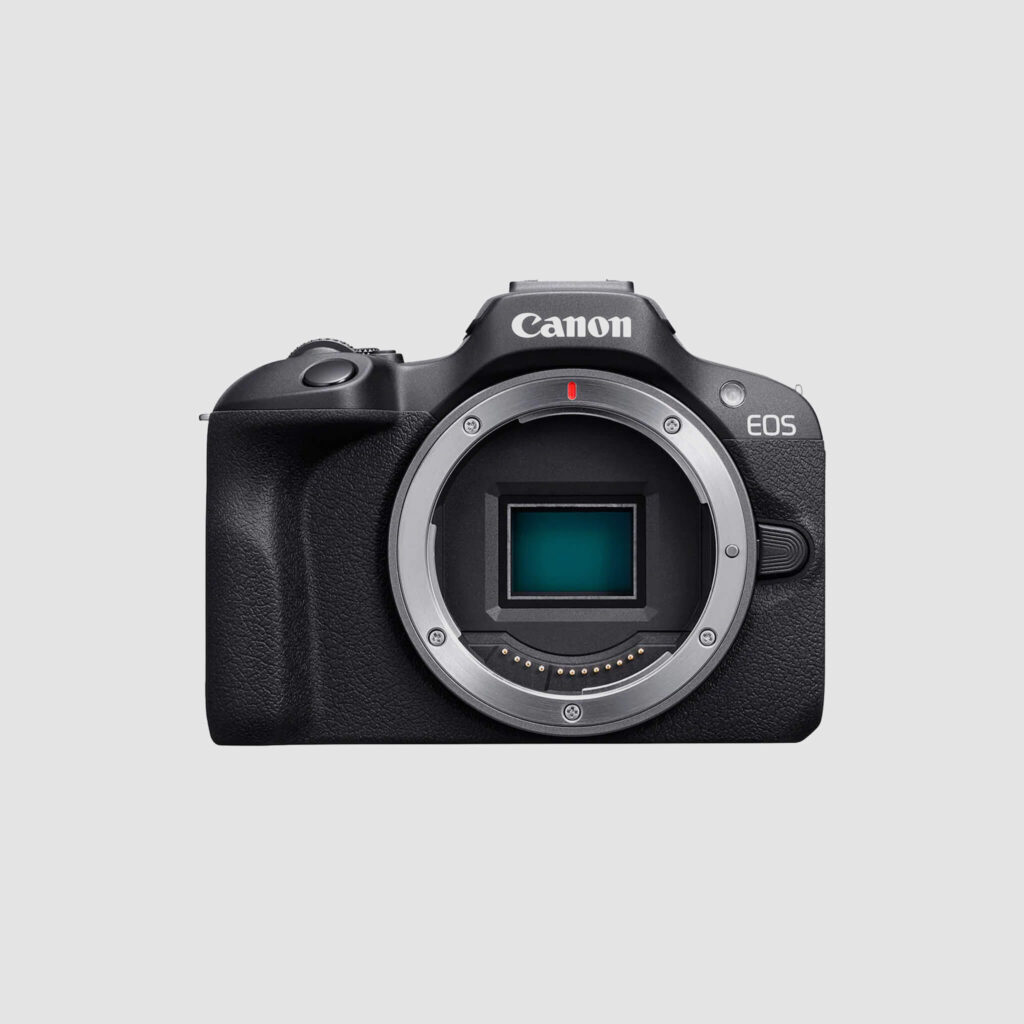
Once you own a modified full-spectrum camera, it’s only a matter of time before you dedicate this special approach to a project. For my first professional piece, I decided to create a music video for the legendary Slovenian band Siddharta, who have been on the scene for 30 years. It’s crucial that clients trust you and want something bold and new, especially when, like me, you’re still relatively fresh in the world of manipulating invisible light. I chose to use the Kolari Vision UV Bandpass filter with a Canon R6 Mark II camera, modified to Full Spectrum by Kolari Vision.
During the initial tests, which I conducted in sunlight, I quickly noticed that the effects we get on people vary due to many factors. I tested with photographs, which is much easier than shooting video material, so we decided to get as close as possible during the tests to the technique and approach we would use on the actual shooting day. We tried HMI lights, which do contain UV light. We got some mild effect, but faced a big problem—the amount of light required for even a minimal effect was enormous.
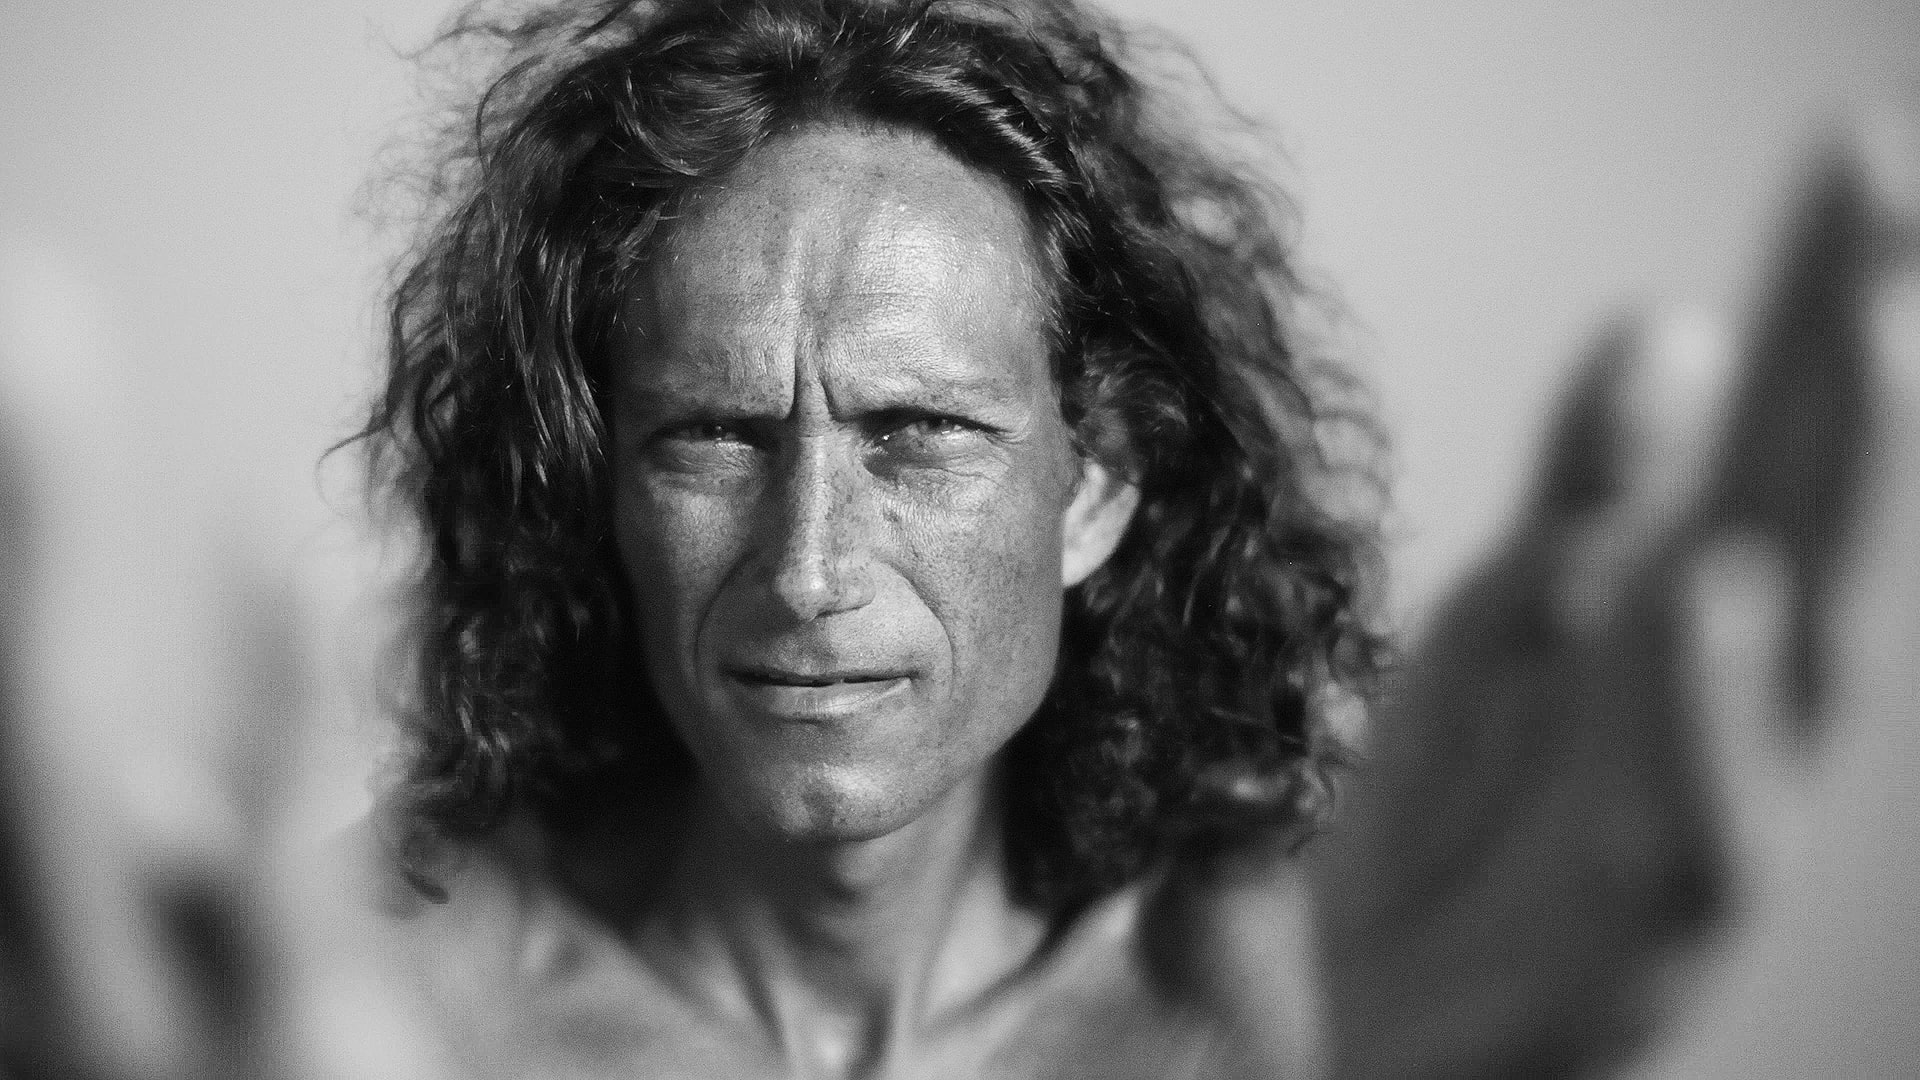
HMI Light Test and Exposure Challenges
We used two spotlights, M18 ARRI and Film Gear 2.5K HMI, placing them 1.3 meters from the subject. Amount of light was so intense that it was almost impossible to keep the eyes open for more than six seconds. We searched online for solutions but mostly found photographers using flash lighting, which was unusable for us.
The attempt with LED lighting gave us slightly better result. But we still didn’t achieve the results that the photographers who inspired us with their UV photography were getting. We were using Aputure P300
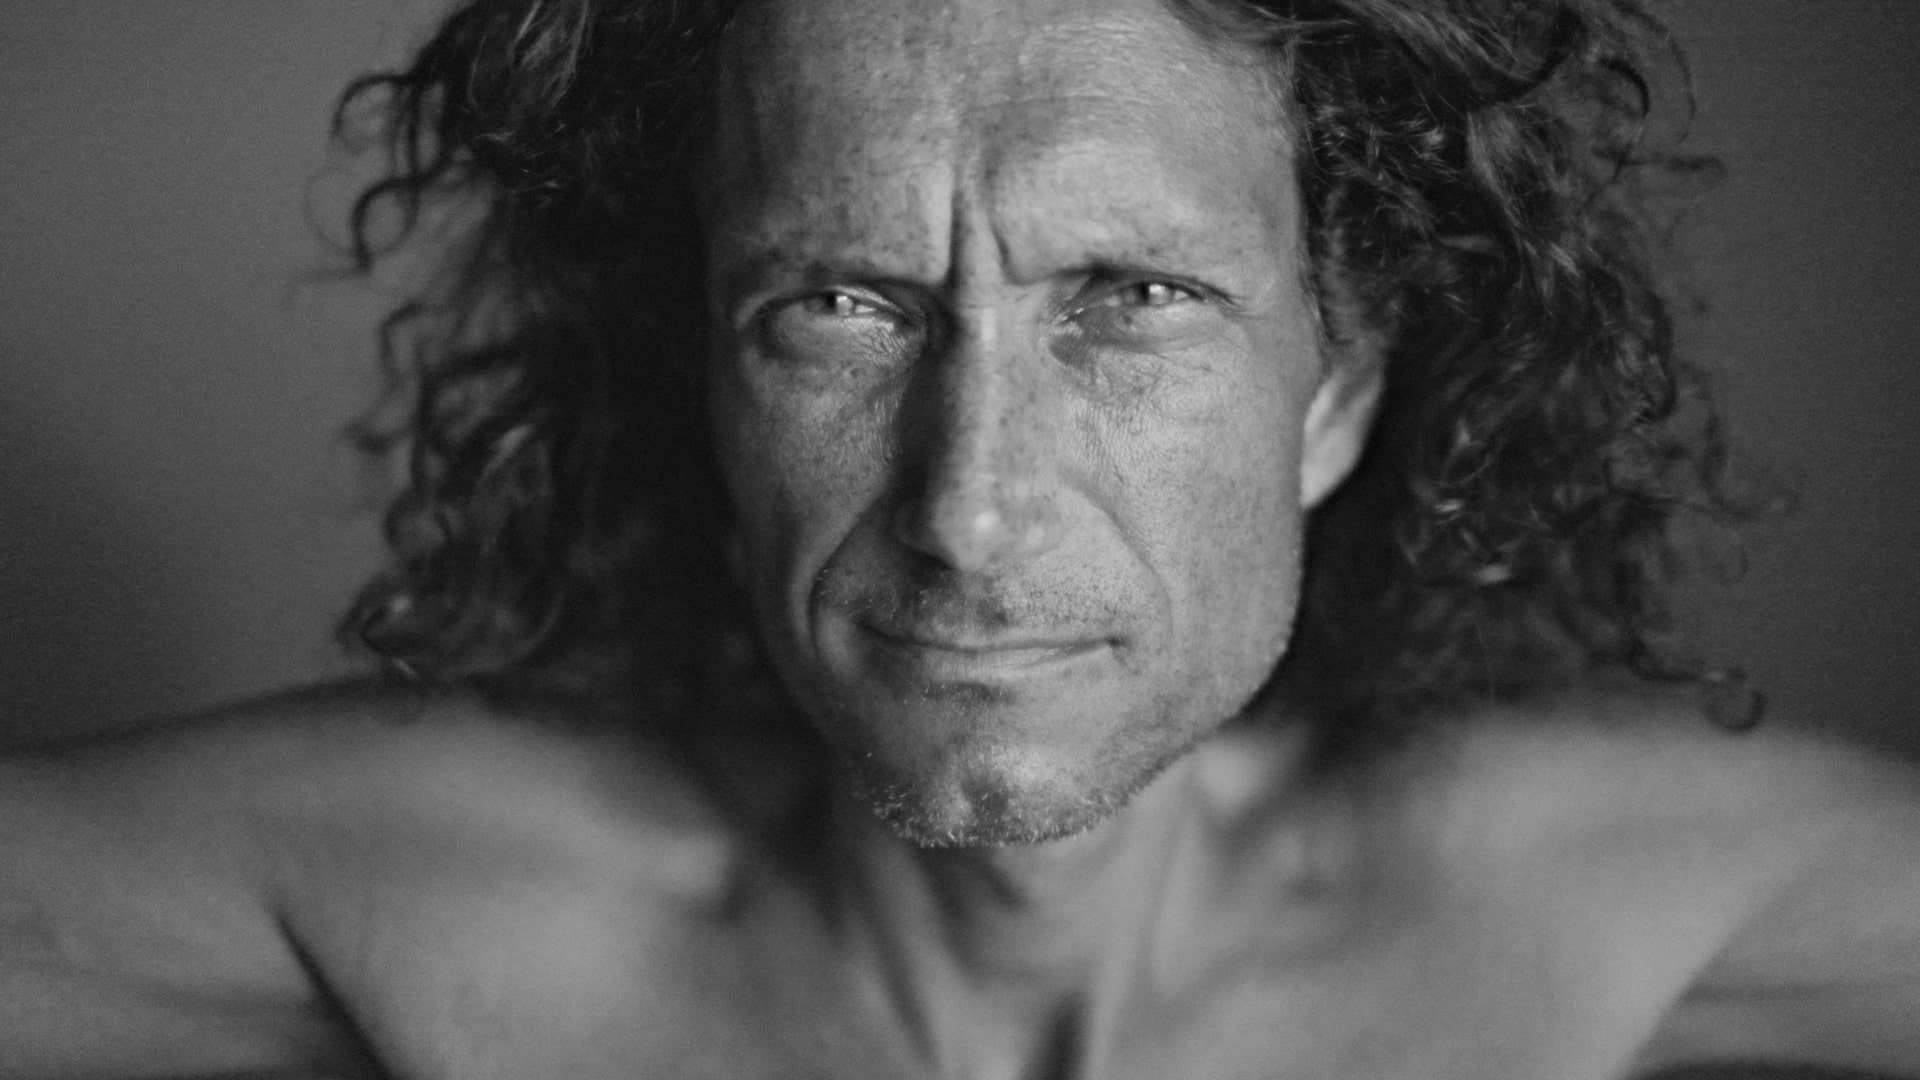
Black Light Tubes for Soft UV Lighting
Just before the shoot, the director of photography, Darko Heric, and I found two black light tubes in the studio, typically used for illuminating glowing objects. The light output wasn’t much—the tubes were 120 cm long—but the effect was maximal, though still not enough light. We borrowed eight more black light tubes and placed them in Kino Flo 4-bank lights, which gave us beautiful soft lighting that we moved as close to the protagonists as possible.
Now the performers could comfortably keep their eyes open. The darker, more intimate atmosphere was especially appealing to the women who undressed in front of the camera, as it made the process feel more personal.
Nevertheless, we still lacked sufficient light, so we set the ISO to 12,800 and hoped to resolve any issues in post-production. The grain was slightly better at ISO 6400 compared to 12,800, but we chose to work on f/2 aperture instead of f/1.4 for more flexibility in movement and to avoid any halo effect with a fully open aperture.
We had always had good experiences with Canon cameras in low-light situations, though we’d never filmed at such high sensitivity before.
Testing Lenses for UV Bandpass Shooting
Once we achieved the maximum effect with the UV bandpass filter, it was time to test the lenses. Our first choice was Canon Cinema Prime lenses, but due to certain coatings, they didn’t achieve the desired effect. Canon RF Prime lenses worked well, but autofocus lenses aren’t the easiest to use for manual focusing. We finally settled on Carl Zeiss ZE series full-frame manual lenses— 50mm, 85mm, and 100mm. Only after the shoot did we realize that even these lenses differed slightly, but not to the extent that they couldn’t be used in the edit.
We set the shutter to 1/50, filming at 25fps in Canon Log3 and Cinema Gamut settings. Focusing was done manually. We captured the footage on an external recorder, the Atomos Shogun Ultra, in 4K PRORES HQ resolution. We used a drop-in Kolari Vision UV bandpass filter with an EF adapter.
None of the performers wore any makeup. They also didn’t apply sunscreen or any other cream for 24 hours before the shoot.
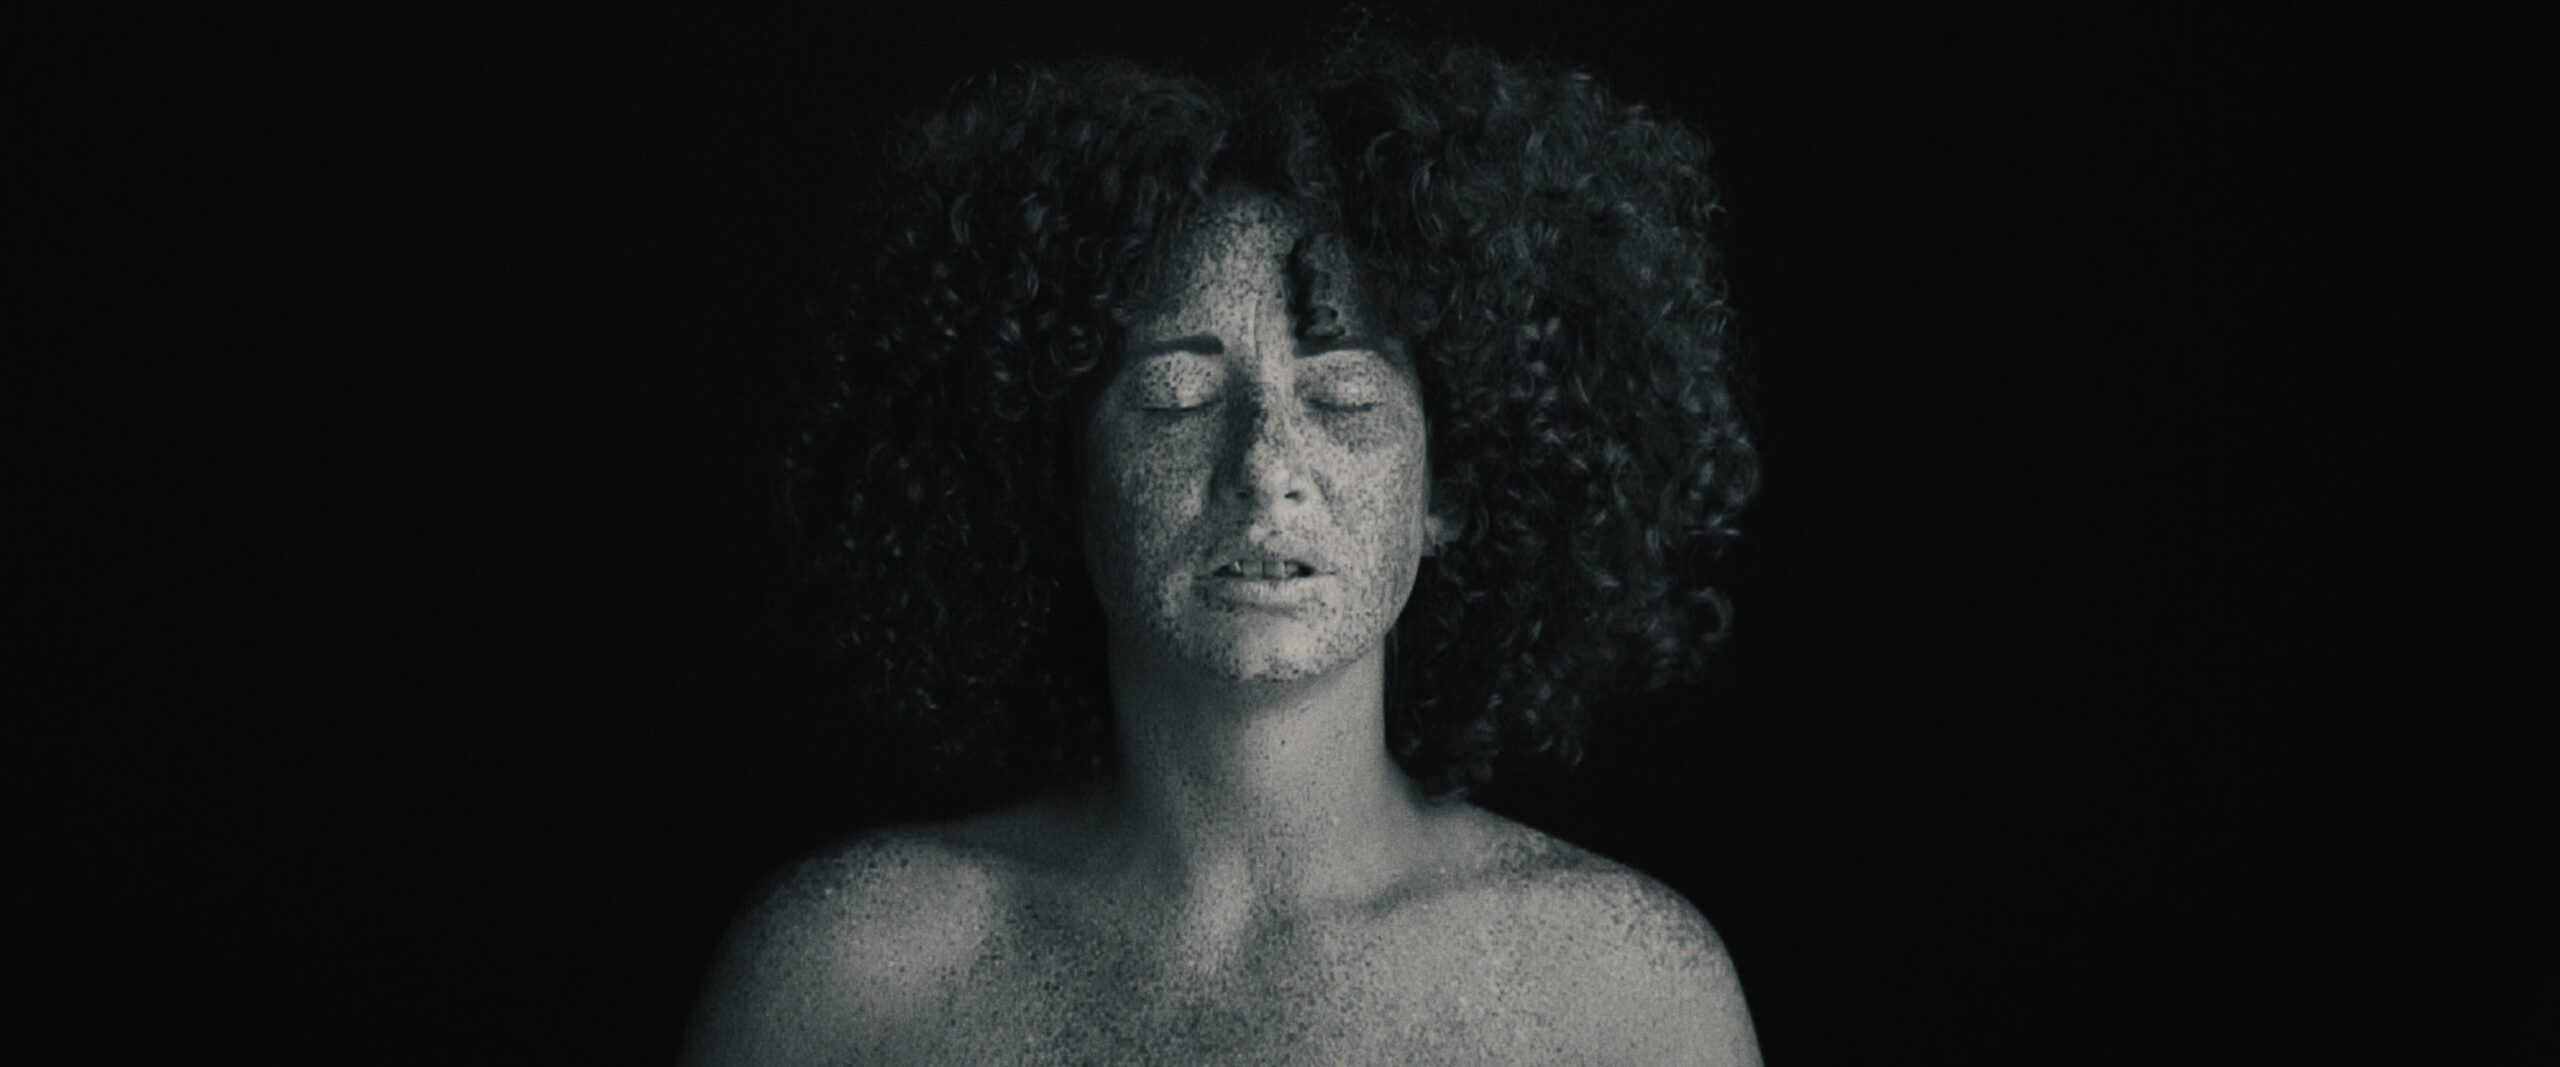
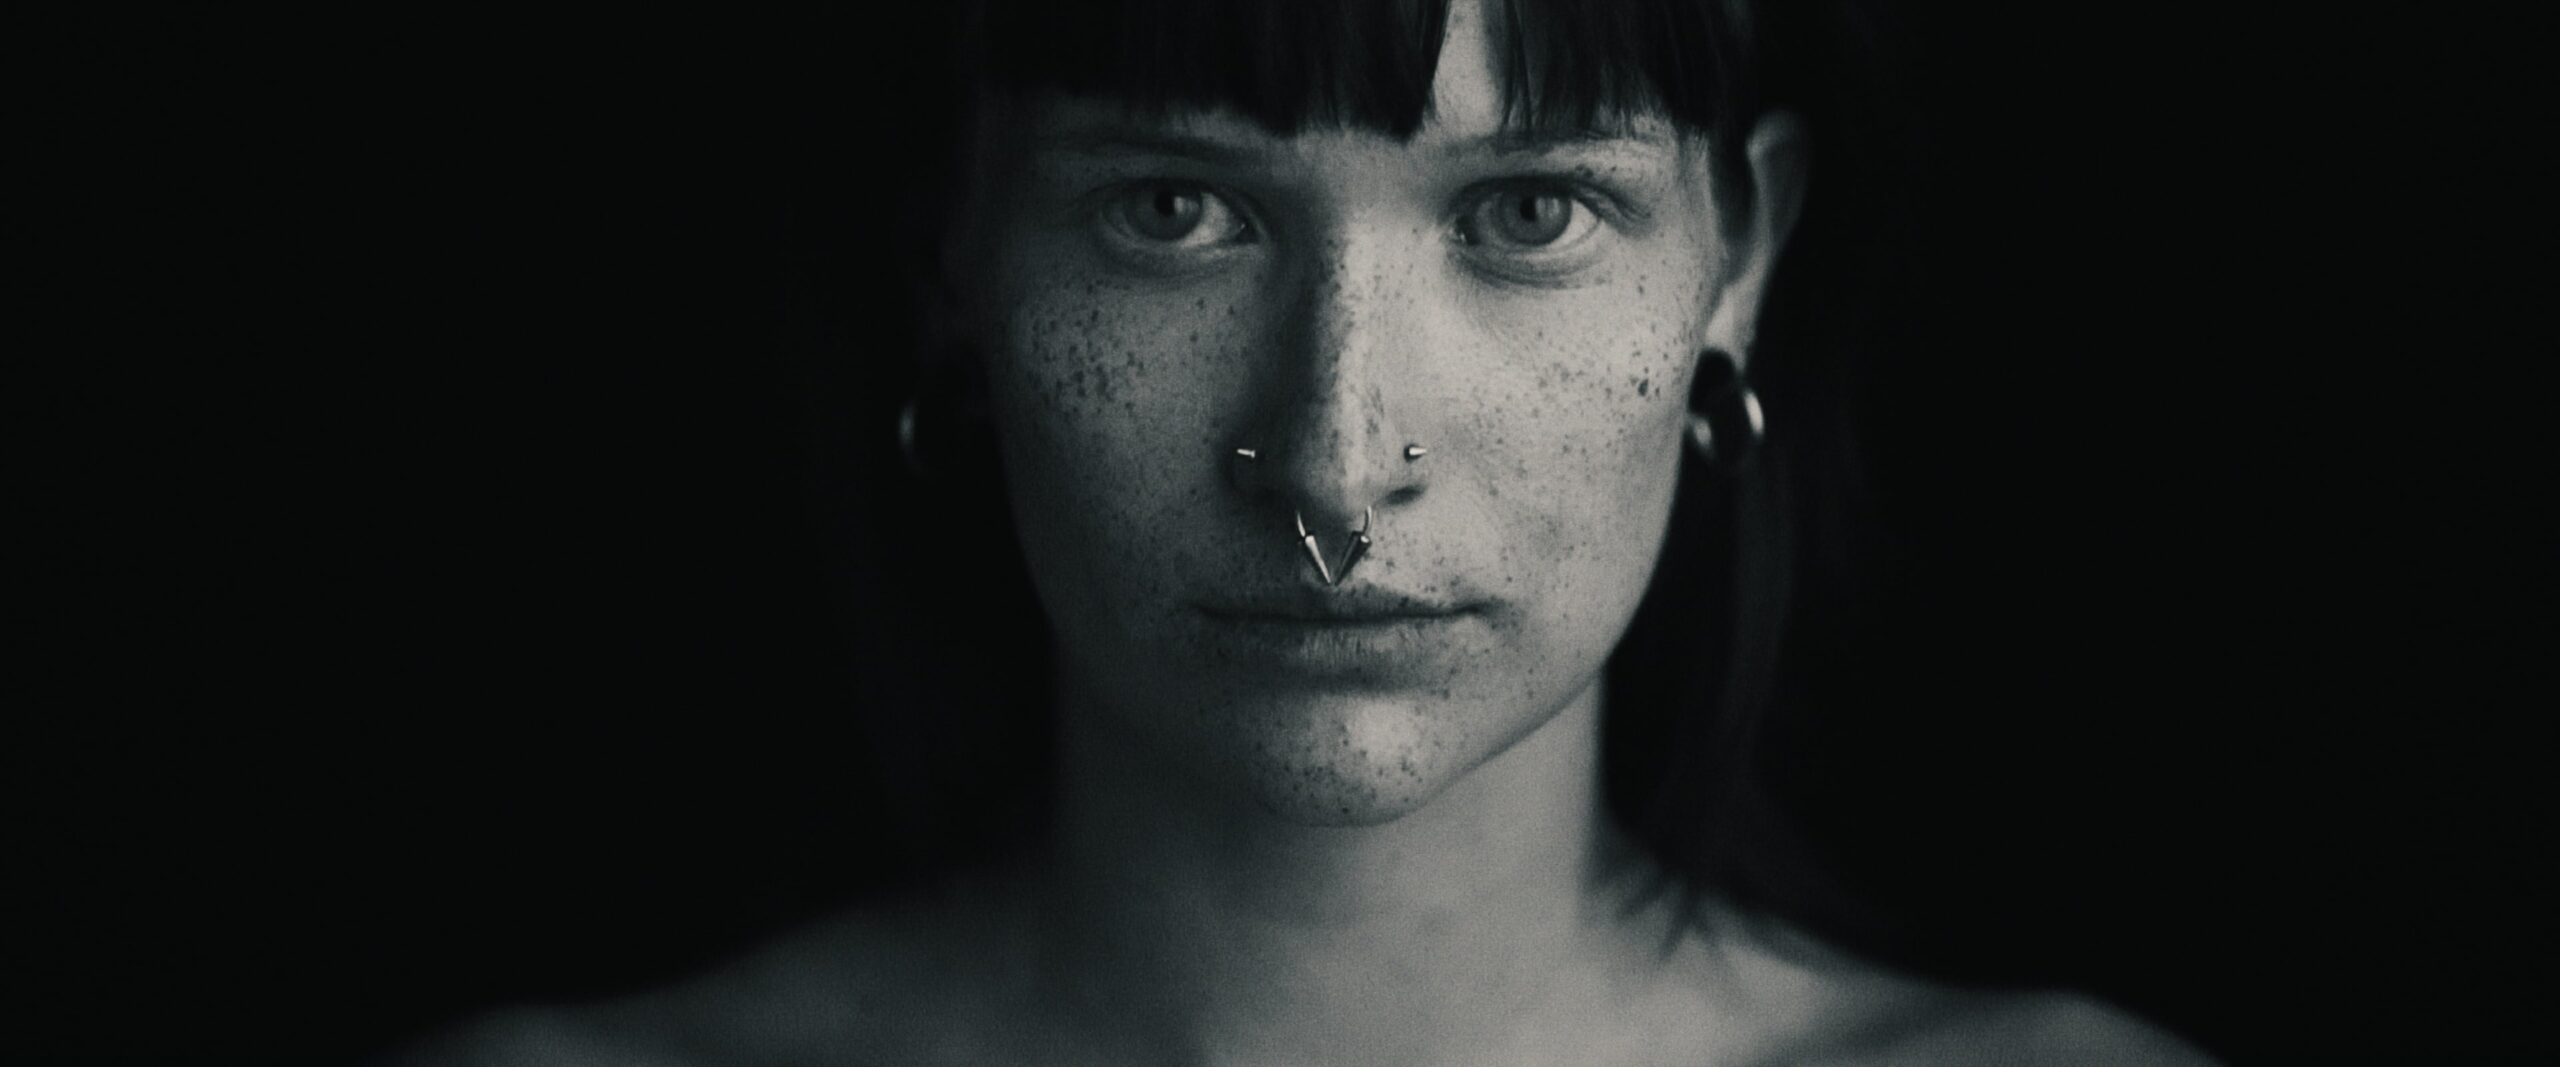
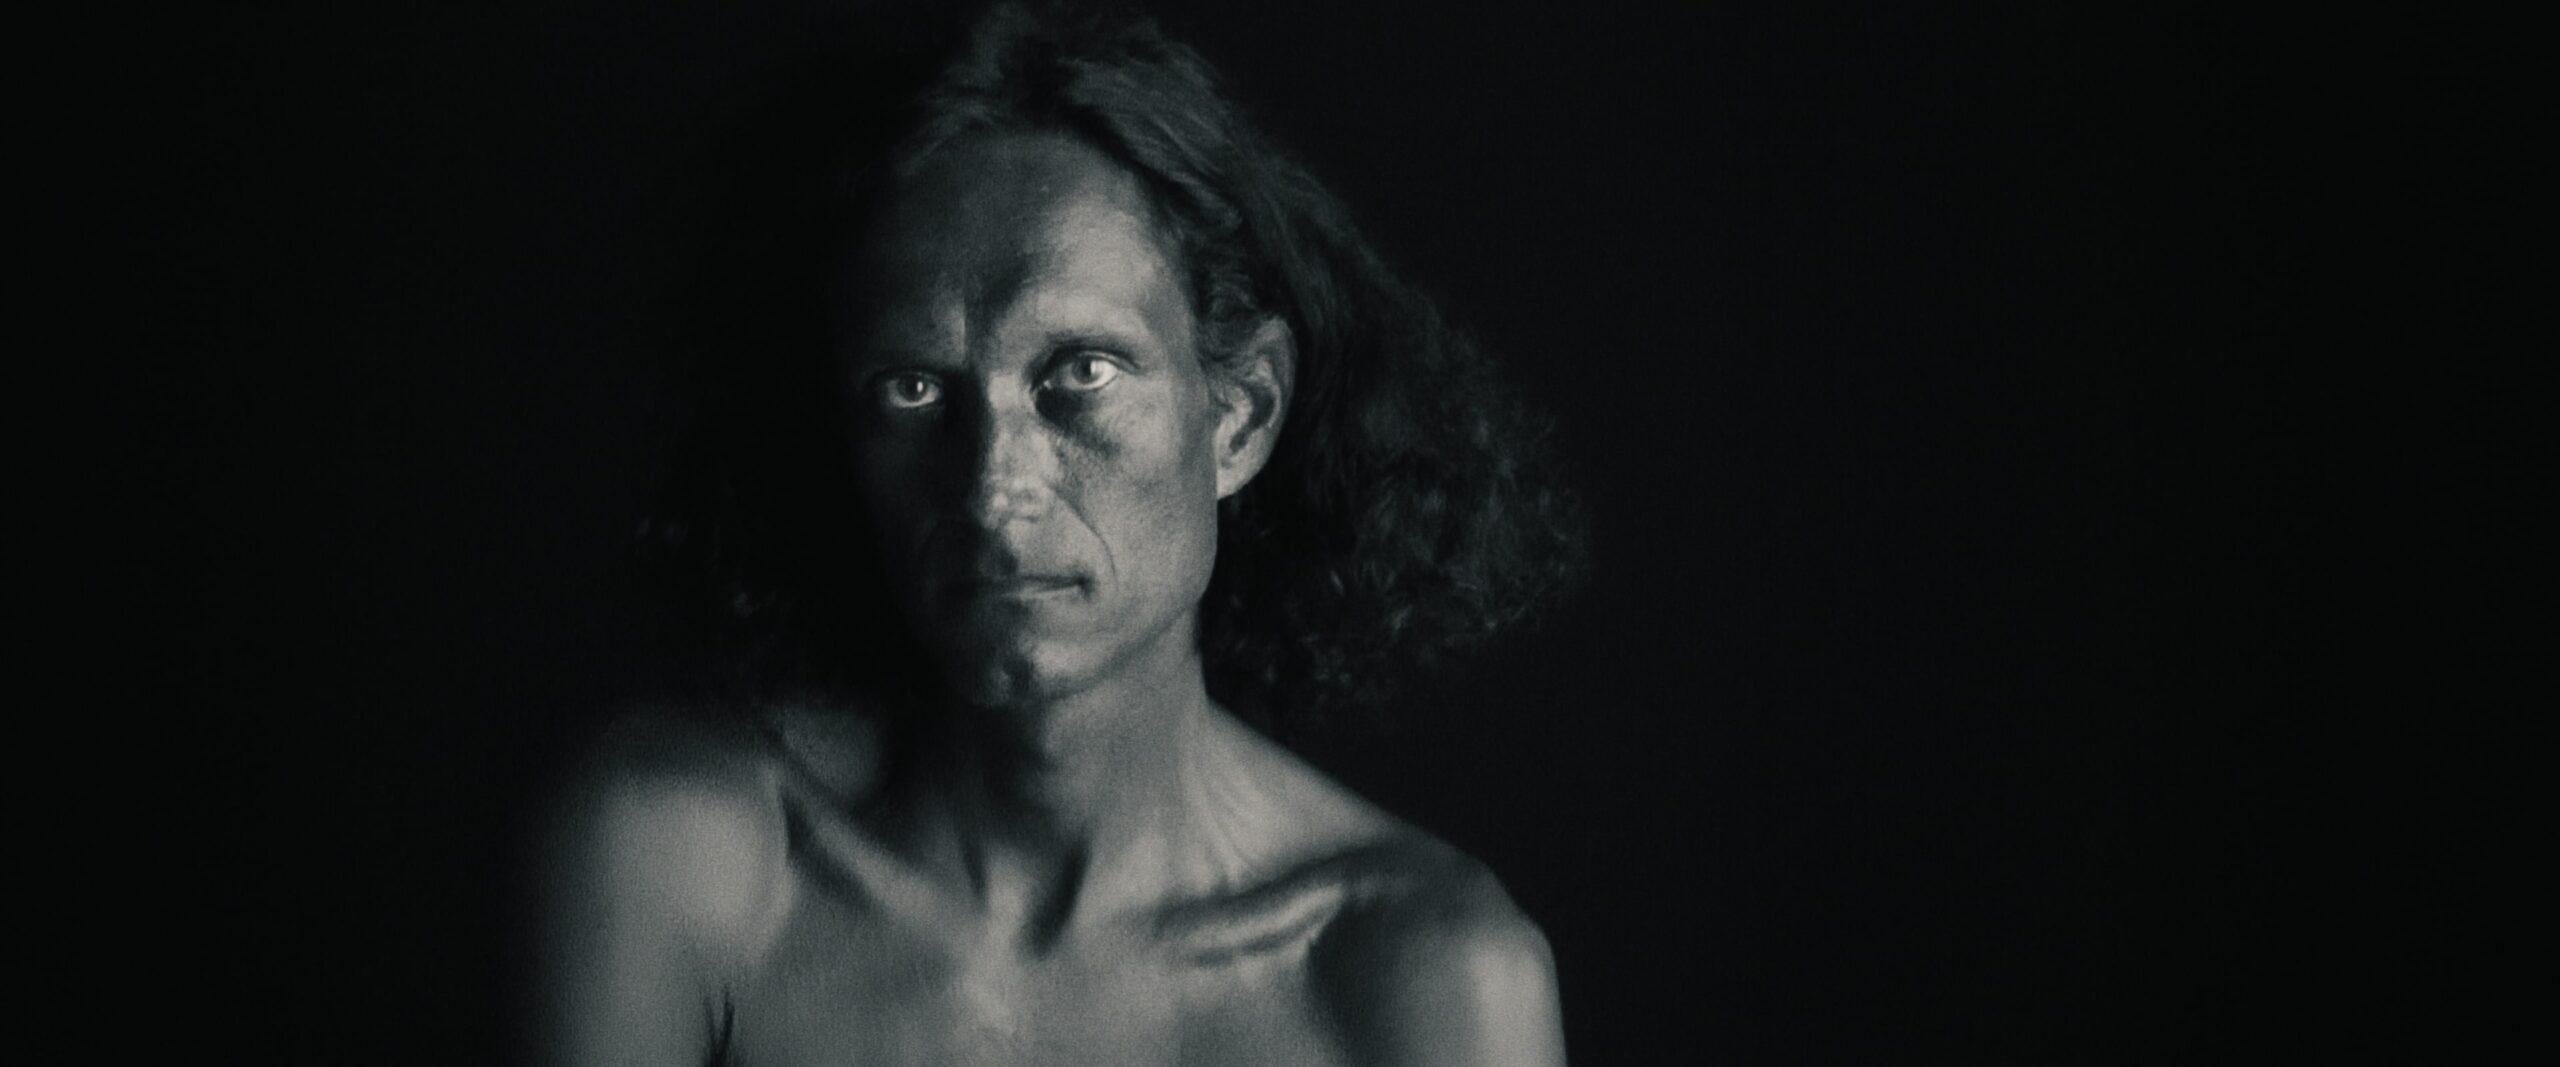
The biggest post-production challenge was the fear of dealing with the grain, but we were pleasantly surprised by the results of colourist Teo Riznar from post-production company NuFrame. Noise reduction successfully eliminated all unwanted artifacts, and the result was stunning. The client was more than happy.
Lessons Learned From the UV Music Video Shoot
From this whole process, we learned a few important lessons. When filming with a UV bandpass filter indoors, it’s crucial to have a significant amount of UV light, which can be effectively provided by cheap black light tubes. It’s also essential to test not only the lens series but individual lenses within the series, as each coating can create subtle but important differences. Using two monitors is recommended—one for the live image and another for a black-and-white view, which helps better understand the final result.
We also noticed how differently the UV filter affected various skin types. Some with lighter skin turned almost completely black under UV light, while others less so. Some got a glow, while others’ skin remained more neutral. Everyone’s teeth turned an unappealing color, but in our case, it suited the concept. We wanted people to appear raw, organic, and primal. It was fascinating to see how some tattoos almost completely disappeared under UV light, others were partially visible, and some remained unchanged. Artificial teeth can turn completely black under UV light, which can be problematic if you’re filming someone with a bright smile.
Final Advice for UV Video Projects
My advice is this: test as much as possible and replicate the exact conditions of the shooting day. If possible, test with the people you will be filming, as the effects can vary significantly. If you’re shooting video, be sure to test video, not just photos—the differences are noticeable.
After the premiere of the music video, we received some feedback that the video was too scary and reminiscent of a horror film, but that was the effect we were aiming for, so such comments didn’t bother us. I wish you all success with your UV projects. If you have any questions, feel free to contact me, and I’ll be happy to help.
You can check out more about our other projects on our production company’s website: www.supermarket.si
Ven Jemeršić
UV Bandpass Music Video FAQs
What Gear Was Used For First Encounter With The Invisible Demon?
The project used a Kolari Vision UV Bandpass filter with a Canon R6 Mark II modified to full spectrum by Kolari Vision. The final setup also used a drop-in UV bandpass filter with an EF adapter.
Why Was UV Lighting Difficult For The Music Video?
UV video required much more light than expected. The article explains that HMI lights produced only a mild effect despite intense output, while black light tubes later created a stronger and more comfortable UV effect for the performers.
What Camera Settings Were Used For The UV Shoot?
The shoot used ISO 12,800, f/2, 1/50 shutter, 25fps, Canon Log3, Cinema Gamut, and external 4K ProRes HQ recording on an Atomos Shogun Ultra. These settings helped manage the very low-light UV setup.
Why Was Lens Testing Important For UV Bandpass Video?
Lens coatings changed how the UV effect appeared. The article notes that Canon Cinema Prime lenses did not achieve the desired effect, Canon RF primes worked but were harder for manual focus, and Carl Zeiss ZE full-frame manual lenses were finally chosen.
What Was The Biggest Lesson From This UV Video Project?
The main lesson was to test as much as possible under the exact shooting conditions, including lights, lenses, people, and video rather than only photos. The article also recommends using separate live and black-and-white monitoring to better understand the final result.