Diving into the world of underwater photography unveils a breathtaking realm teeming with vibrant marine life and stunning underwater landscapes. However, capturing the true essence of this world through the camera lens often presents a unique set of challenges. The dominant blue hues of water and how light interacts with it can give images a heavy blue tint, making color correction a crucial aspect of underwater photography. So, what can you do to overcome this challenge? We’ll be taking a closer look at a good solution: using a 590nm infrared filter as a red filter to correct colors.
Understanding the Challenge of Underwater Photography
In the depths of the ocean, red is the first color to be absorbed, resulting in the desaturation of anything reflecting this color, particularly objects distant from the camera. The ocean’s natural blue hue further washes out and suppresses other colors, making color correction even more difficult. The intensity of the blue cast extends past just the water’s color and is influenced by multiple factors, including any floating sediment, dive depth, turbulence, and water temperature.
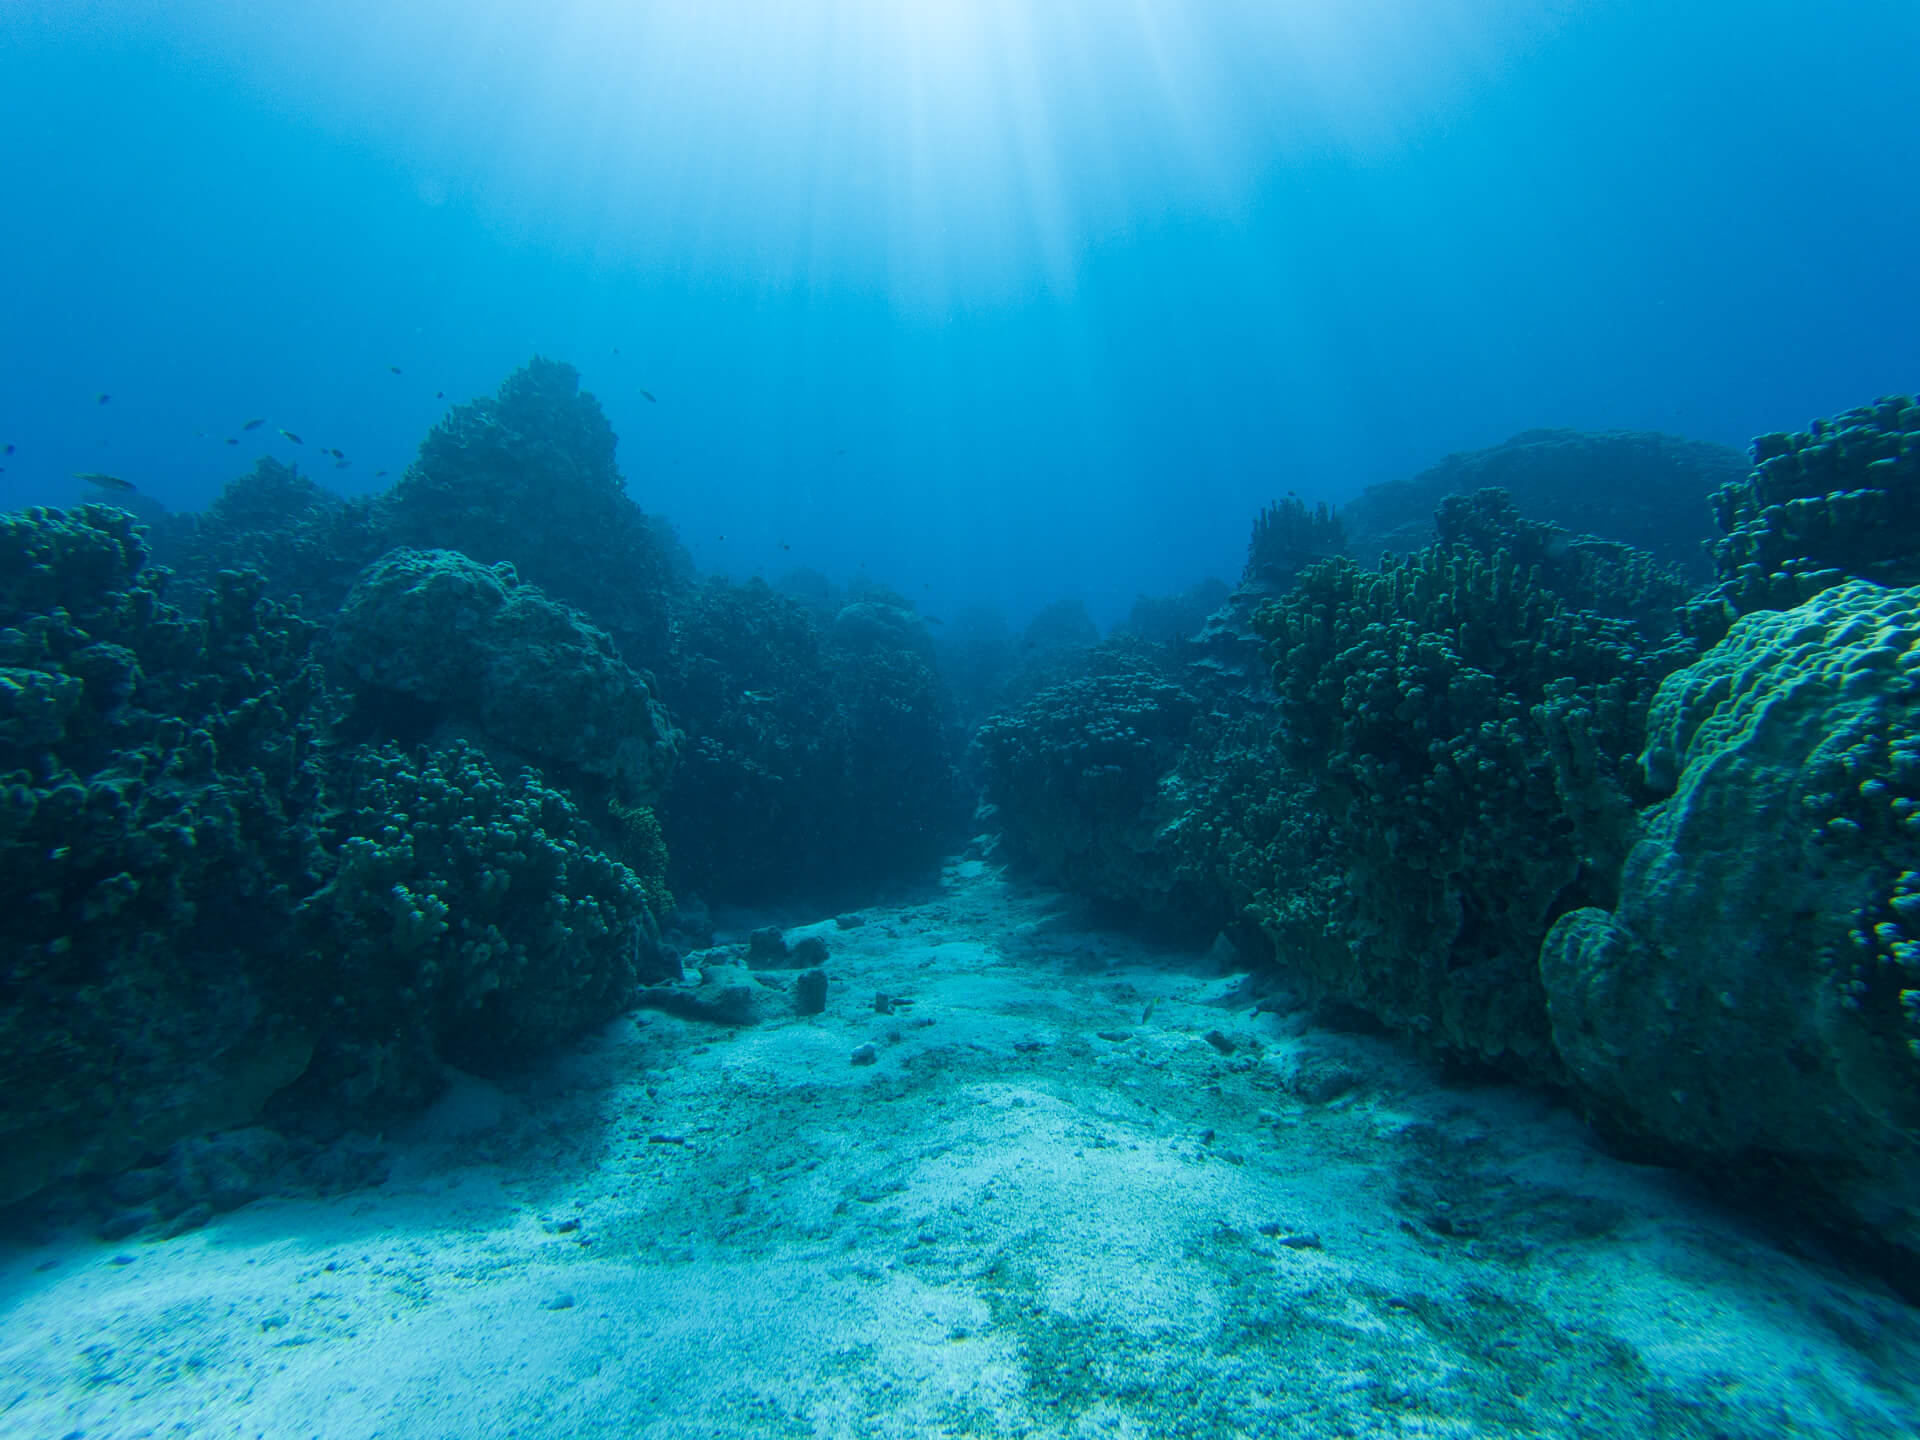

Oftentimes, the blue hues of the ocean water can prevent the photo from looking its best. Color correction can improve the image tenfold.
The 590nm Filter: A Tool for Color Correction
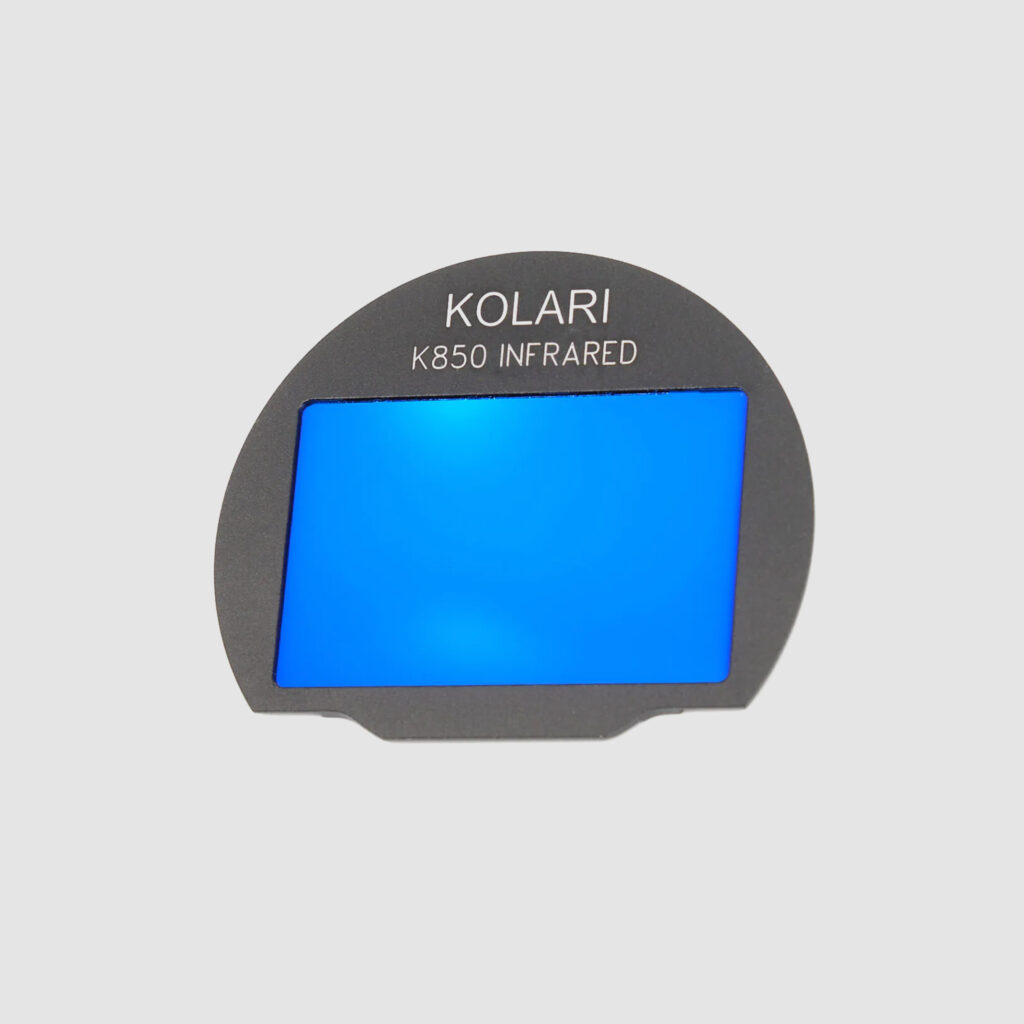
Typically, photographers would edit the hues during post-production. However, a red filter or our Kolari Pro Gen 3 590nm Infrared Lens Filter is an easier way to fix this naturally and before the editing phase. Historically, photographers would utilize red filters over their lenses to naturally correct colors. However, a 590nm infrared filter works similarly: it blocks the transmission of light below 590nm wavelengths and allows wavelengths above 590nm to pass through the filter. This roughly translates to blocking some yellow light and all green, teal, blue, and violet light, which has the effect of “reintroducing,” or more accurately, compensating for the warm tones to provide a more balanced color scheme in your images. By using this technique, less time is needed for color correction during post-production.
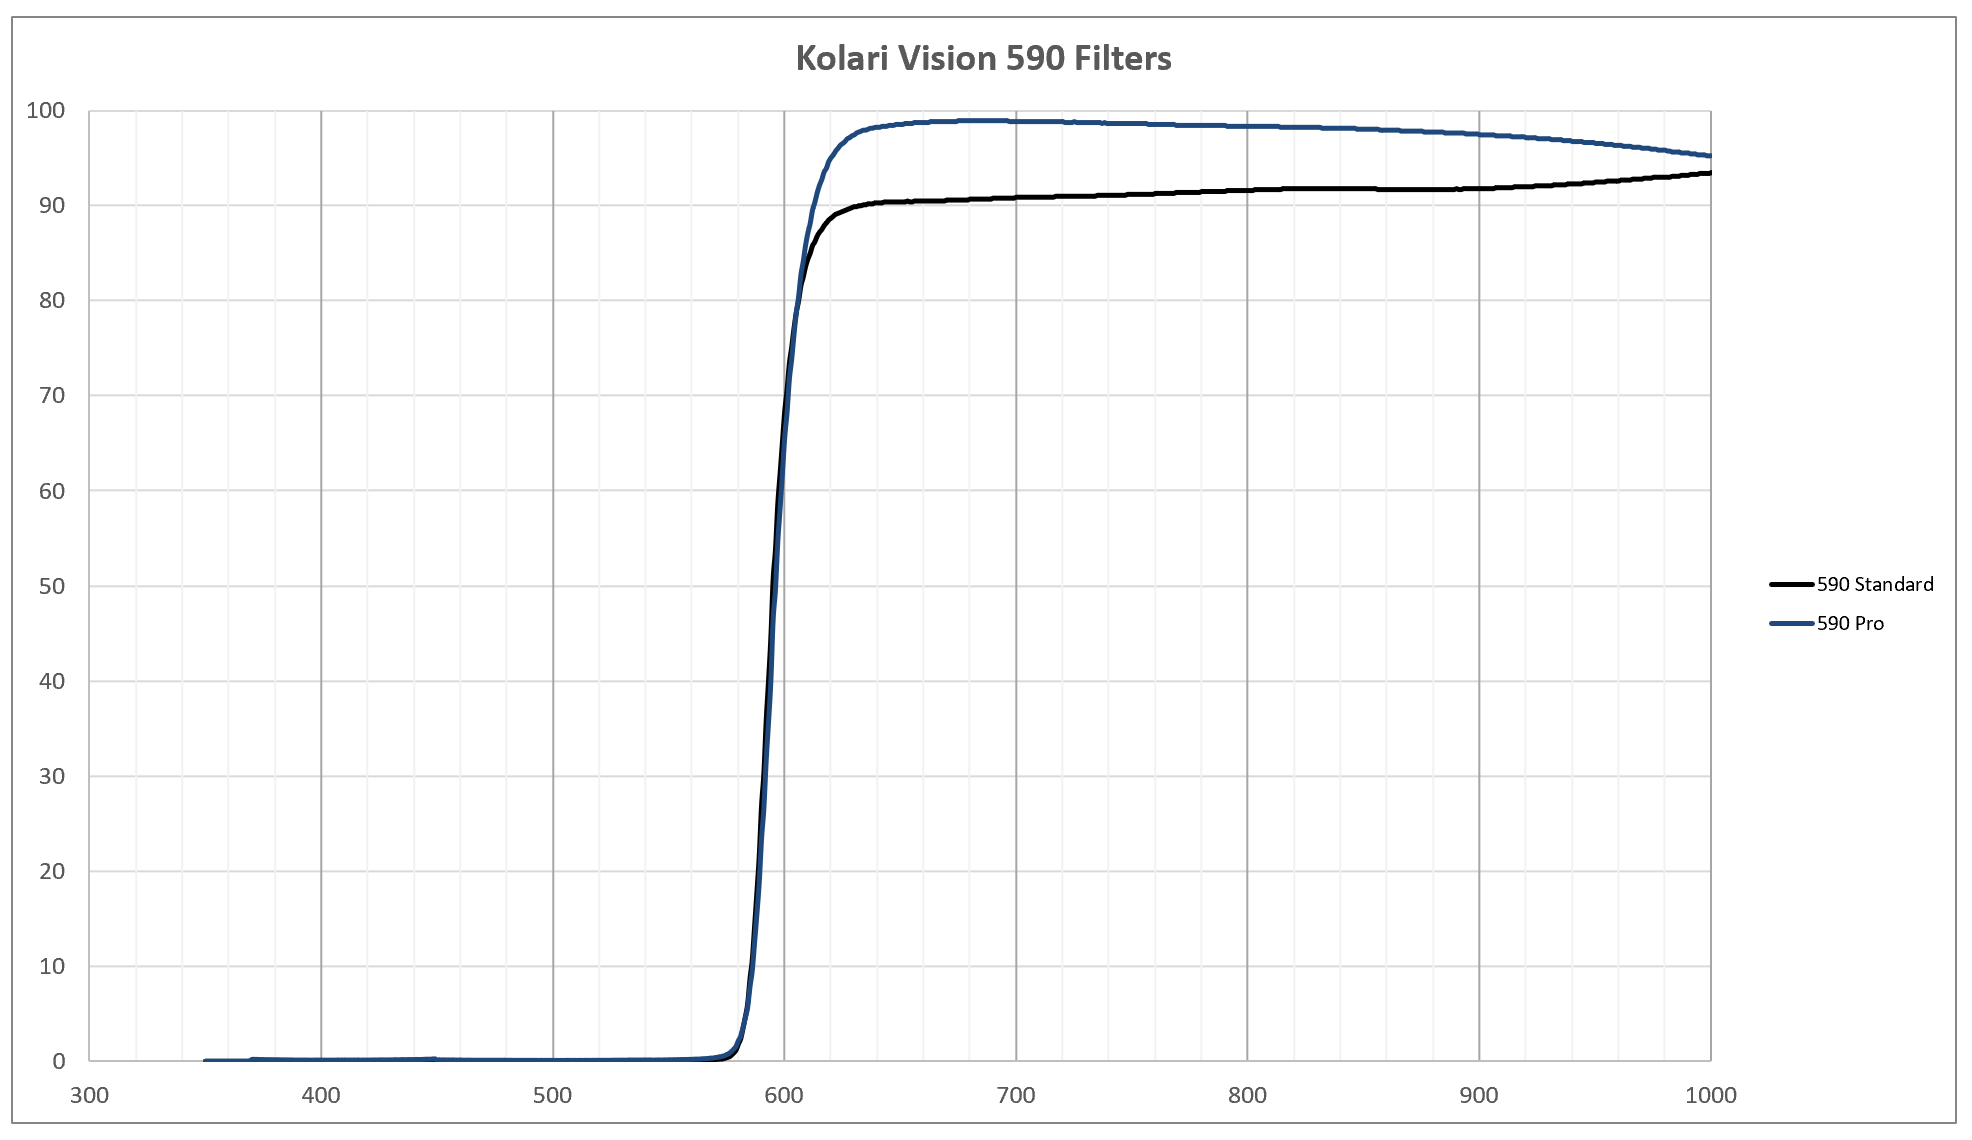
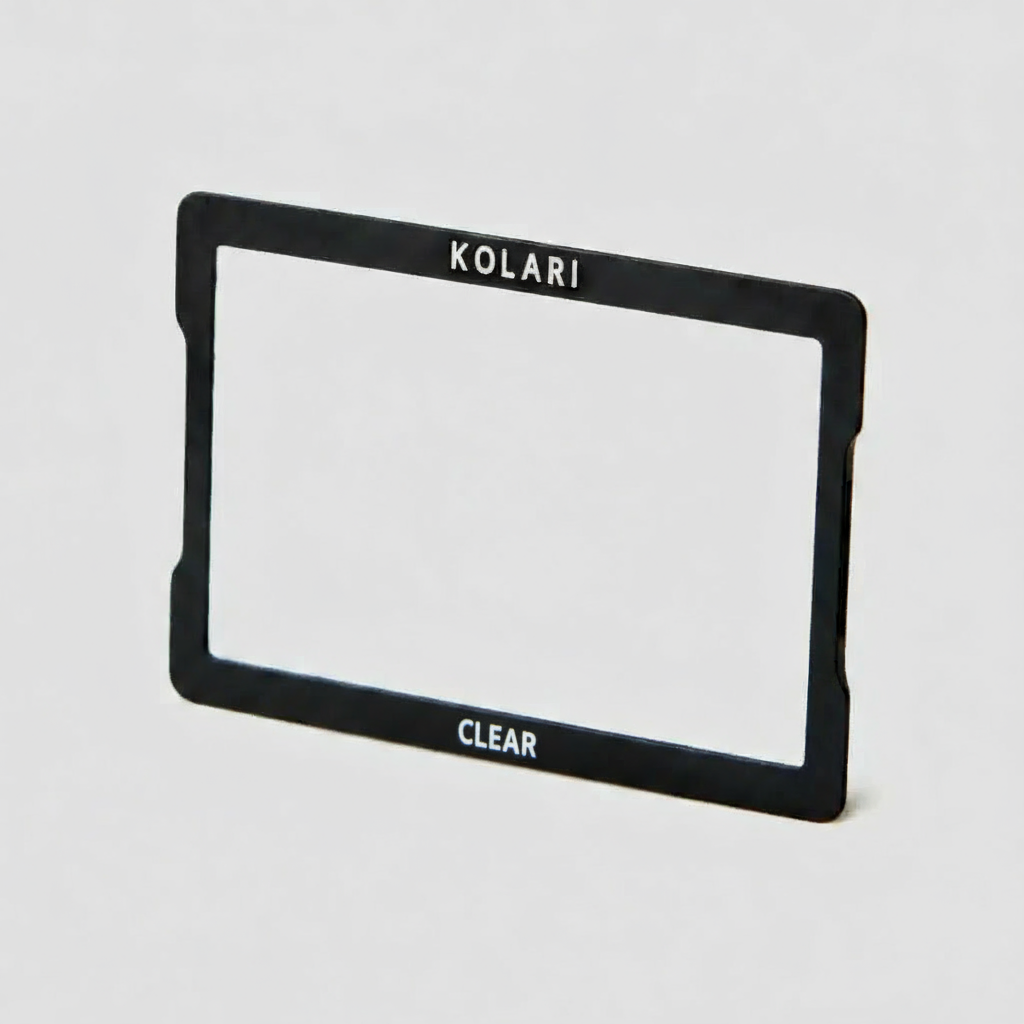
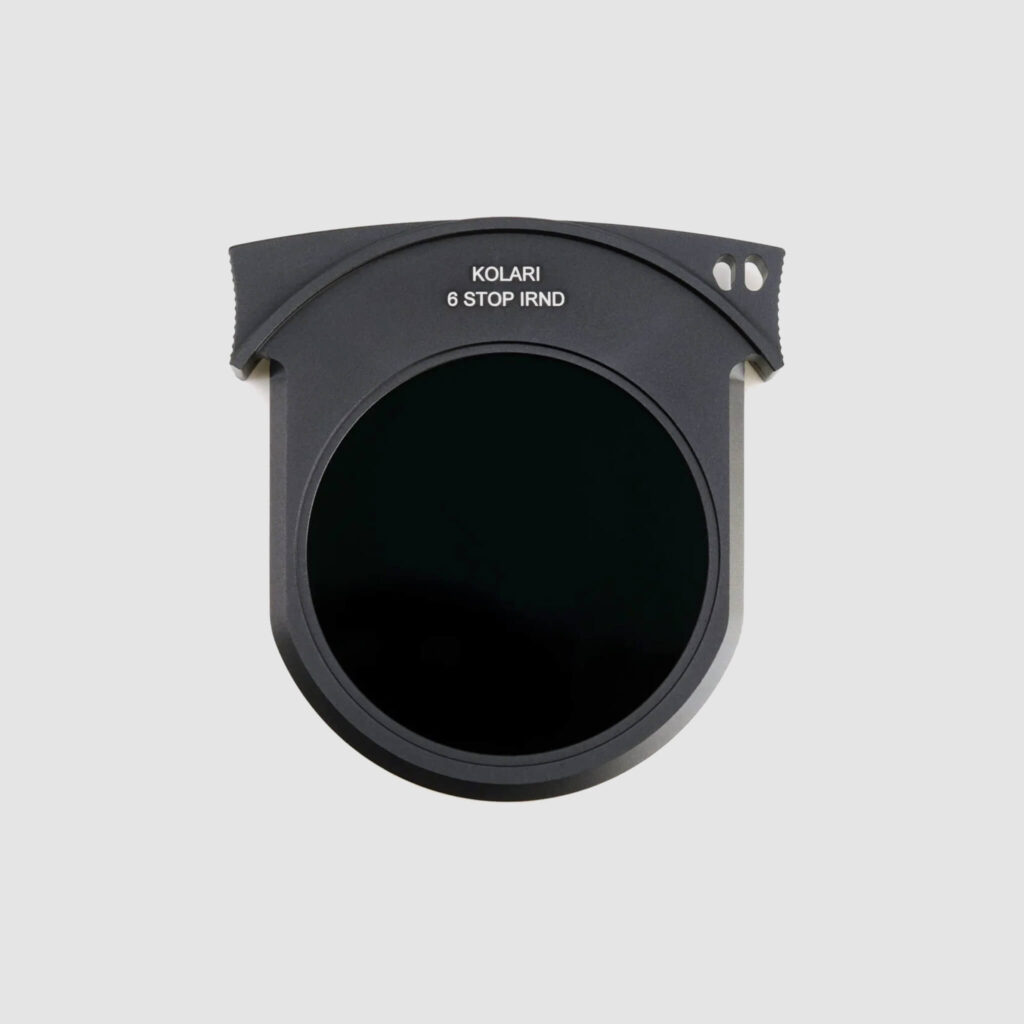
The 590nm infrared filter is available as a lens filter, a drop-in filter, and a magnetic clip-in filter. The latter form factors have the benefit of sitting behind the lens and in front of the sensor, which is super useful with wide-angle lenses that aren’t capable of using lens filters.
Tips for Capturing Stunning Underwater Shots
To master the art of underwater photography and make the most of color correction tools, consider incorporating these best practices:
Shoot in RAW Format
Opt for RAW over JPEG to grant yourself more flexibility during the editing process, allowing for better color correction and reduced graininess.
Embrace the 590nm Filter
Leverage the capabilities of a 590nm filter to naturally correct colors underwater, compensating for the dominant blue cast and achieving a more balanced color palette.
Take Control in Manual Mode
Set your camera to manual mode to control all your settings. The best settings are typically using a low ISO (set to 100), wide aperture like f/1.8 or f/2.0, and fast shutter speed (never below 1/100th of a second) to tailor each shot.
Customize White Balance
Without a red or 590nm filter, a white balance with a color temperature set to 7000k provides good results. Using a red or 590nm filter, you can adjust the white balance based on your camera and preferences for accuracy in color representation and easier images to work with during the editing phase.
Optimize Camera Settings
There are a plethora of settings you can utilize in your camera, so it will help to take advantage of any settings that will reduce shakiness and motion blur. If your camera provides, turn off in-camera noise reduction and use in-body-image-stabilization (IBIS) to ensure clean-looking photos. It will also help to use continuous autofocus and burst shooting to track the constant movements in the dynamic underwater environment.
Use Professional Editing Tools
Take advantage of advanced editing software like Lightroom or Capture One Pro for photography and Adobe Premiere or Davinci Resolve for videography to perfect your underwater media during post-production. Using professional programs gives you the tools to edit photos cleanly and reliably.
Final Thoughts
By embracing these tips and employing the power of a 590nm filter, you can elevate your underwater photography to new heights (and sink to lower depths). Capture the beauty and brilliance of the underwater world with precision and artistry, creating visuals that tell a captivating story of this enchanting realm.