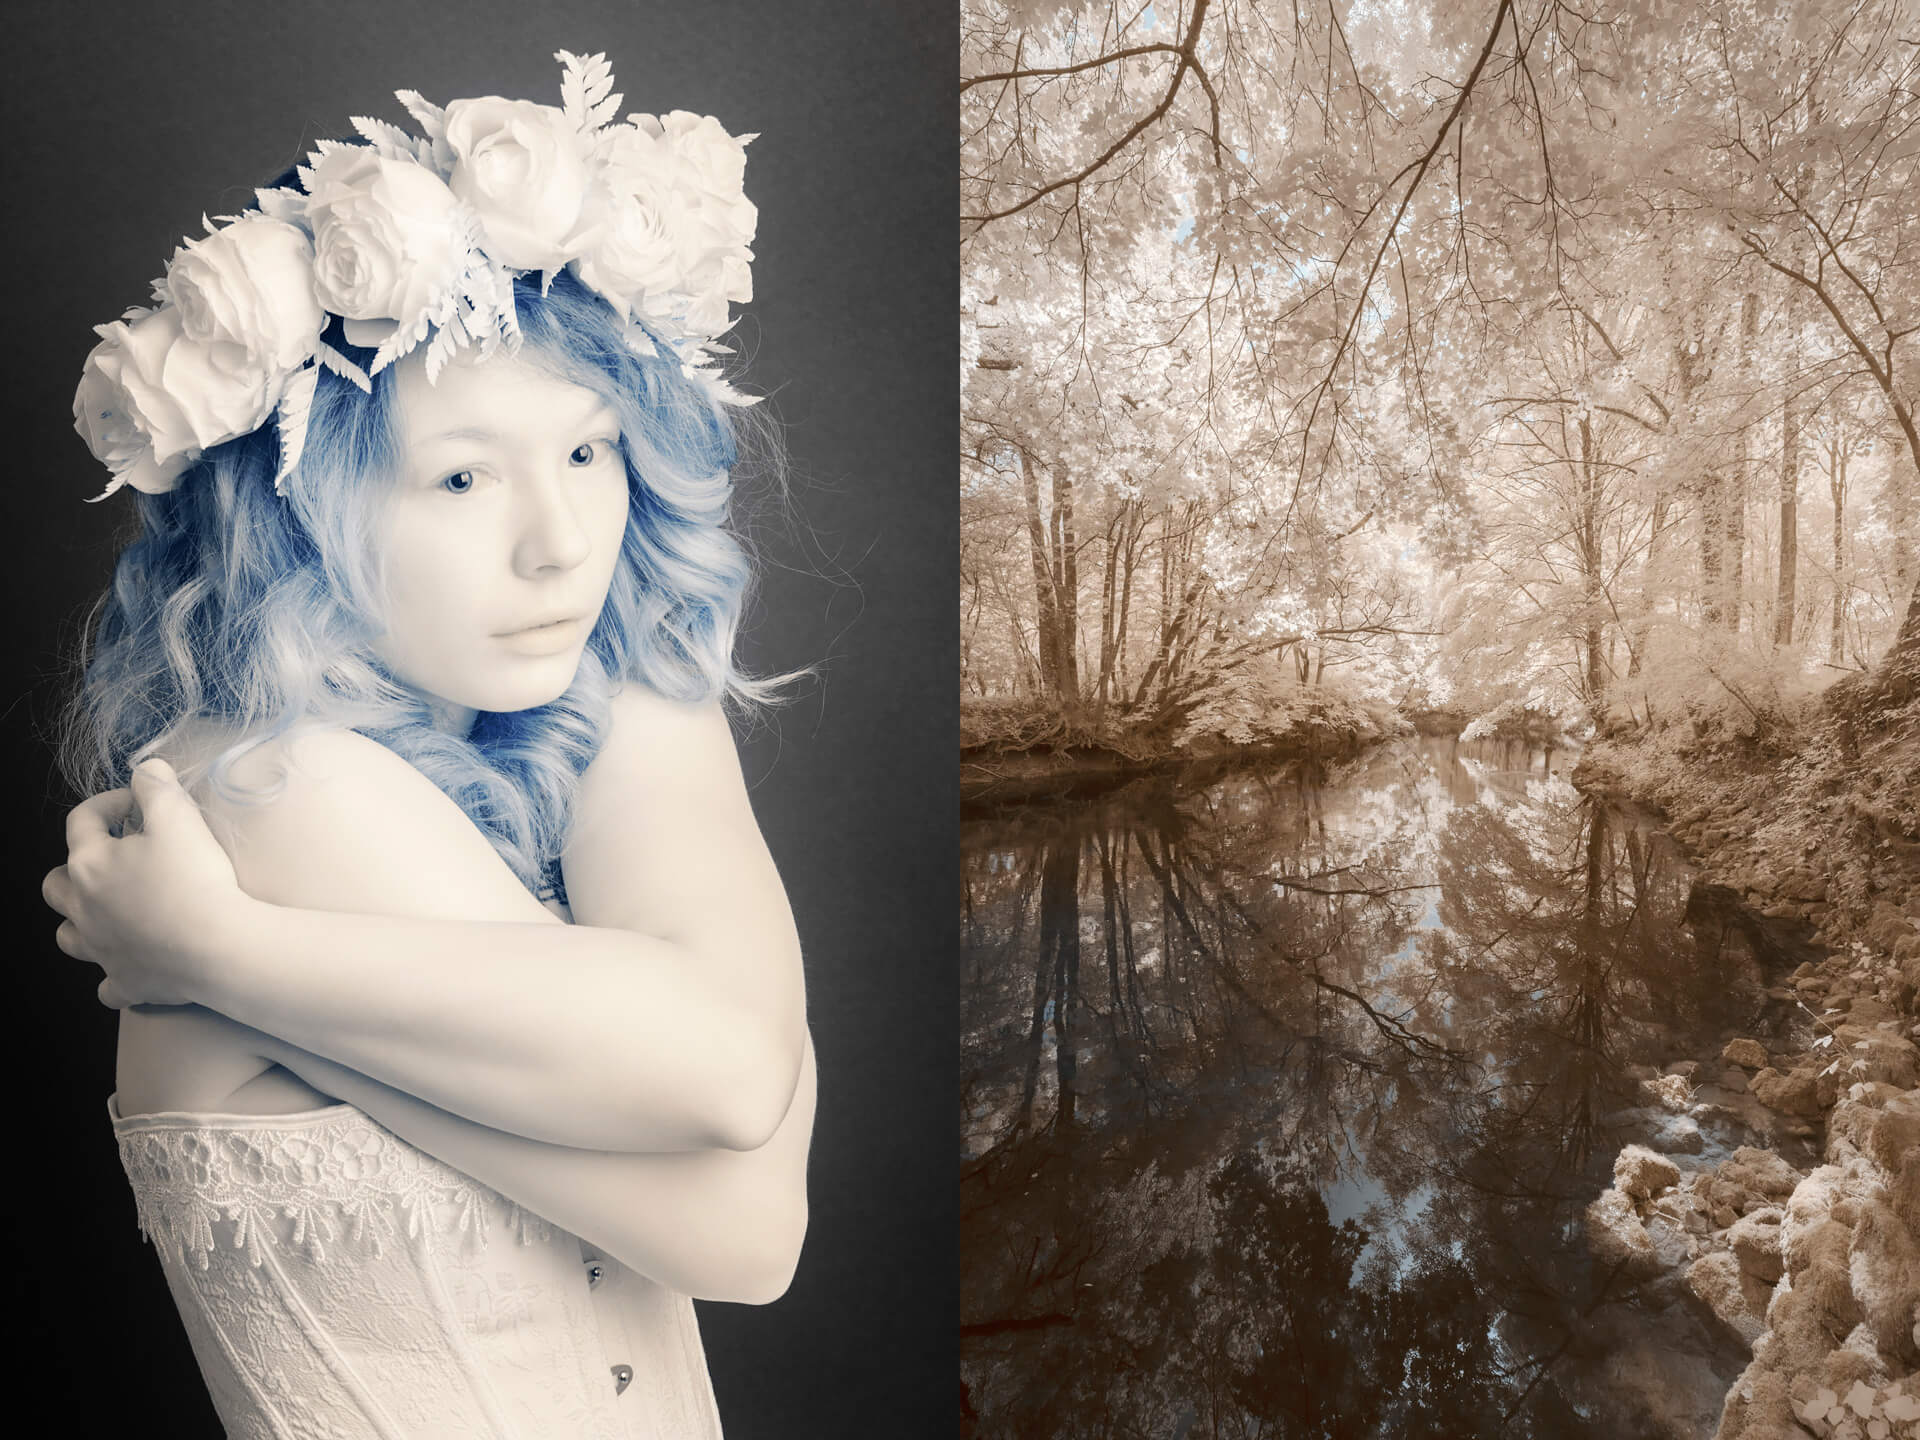
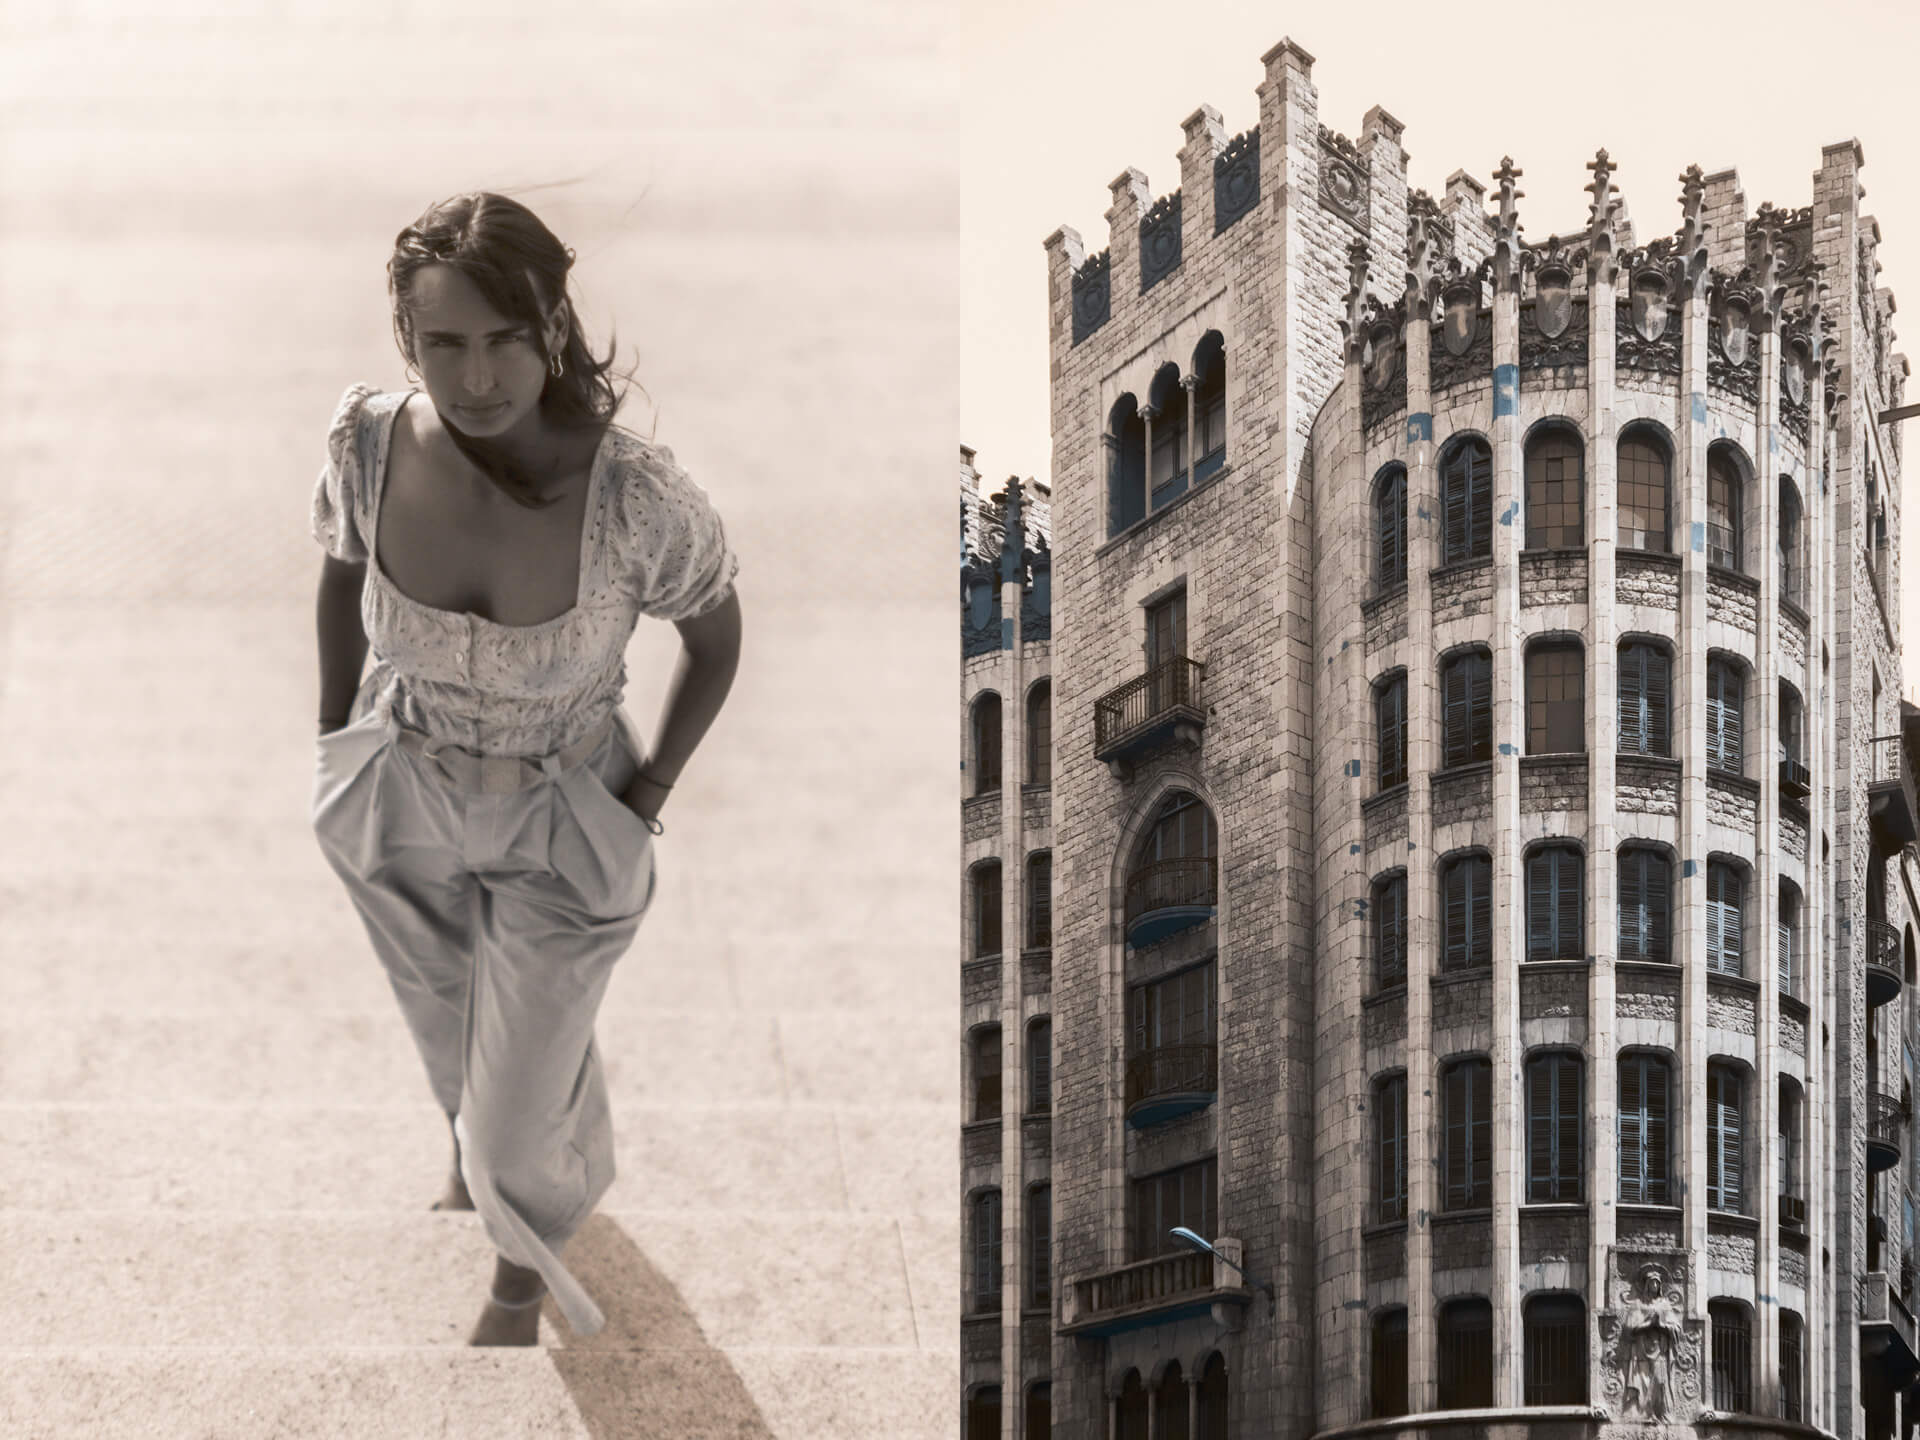
The creation of photo diptychs is an exercise that I practice from time to time to give a boost to my older images. Far from simply recycling “second-hand” photos, the diptychs are an opportunity to return to photos from my archives and combine them with each other to create a whole new story.
In this new article, I present some tips for creating photo diptychs easily and finding powerful narrative axes. Let’s go!
Before you start, get organized
The creation of photo diptychs begins with a phase of research, sorting, and categorizing your images. This first step is the most tedious because you will have to dive into your archives to group your images by characteristics.
The choice of its characteristics is free, but I advise you to choose only one to start — i.e., grouping by color (black and white, red, blue, green), by shape (straight lines, curves, circles, squares), or by location (city, mountain, night, day, summer, winter, etc.).
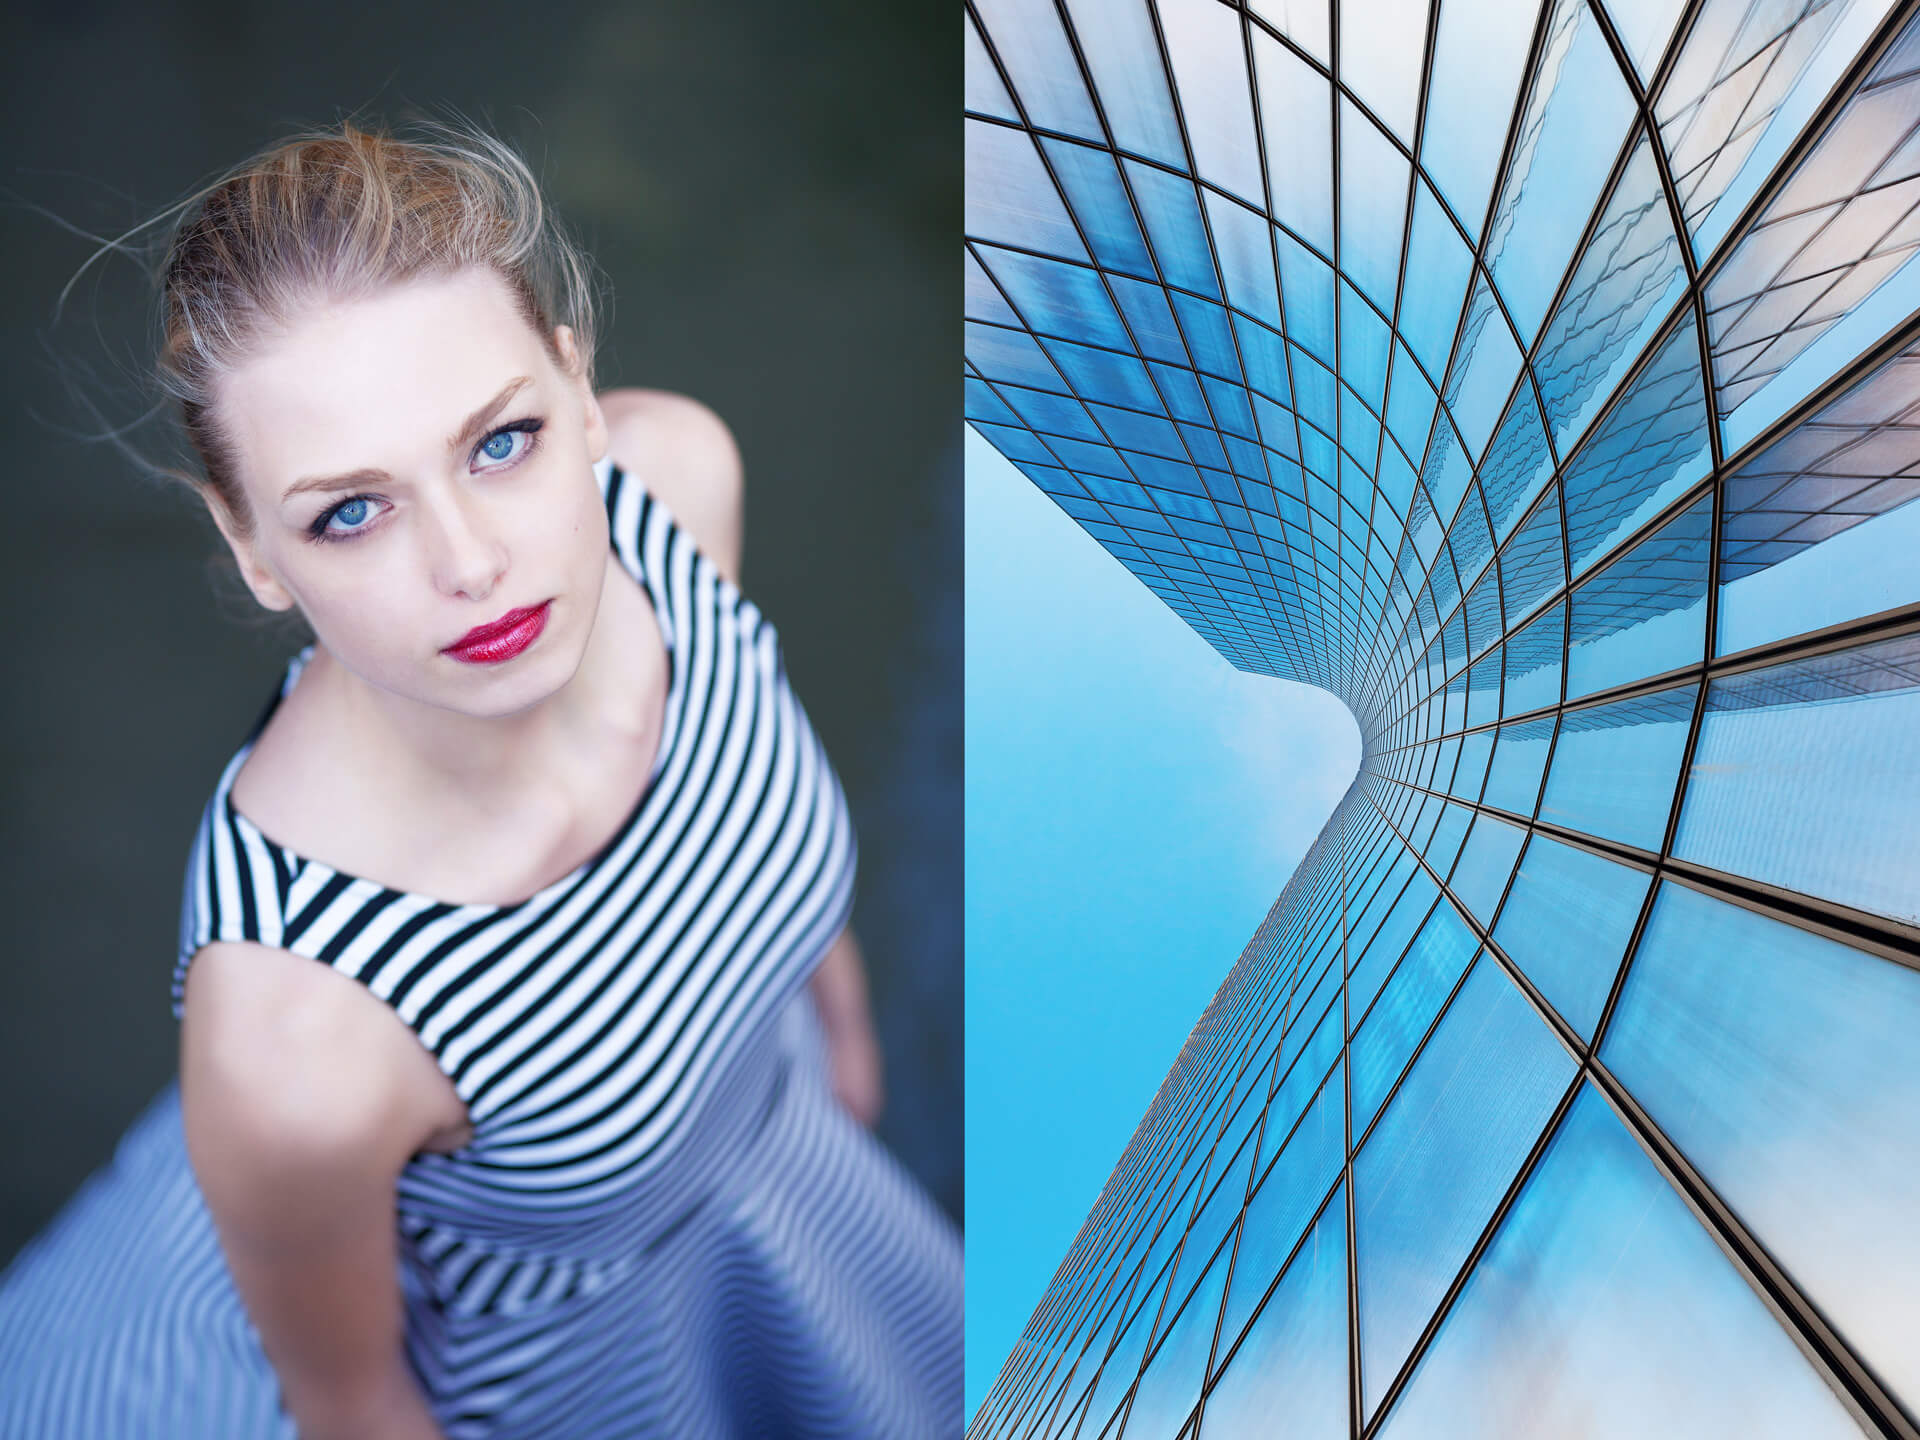
By characteristic, I mean the elements explicitly characterizing an image. For example, in the diptych below, the two images share a dominant color (blue) and a geometric shape (black lines). The strength of this diptych, beyond these common points, is the link created by the upward gaze of the model, which responds to the low-angle view of the building.
Combinations galore
Once this organizational work is done, you have “thematic” files ready to be used. Next step: find the combination you want to develop. This can be done within the same folder (associating two images with similar colors/shapes/locations) or having images from two different folders respond (combining two images with opposite or complementary colors/shapes/locations).
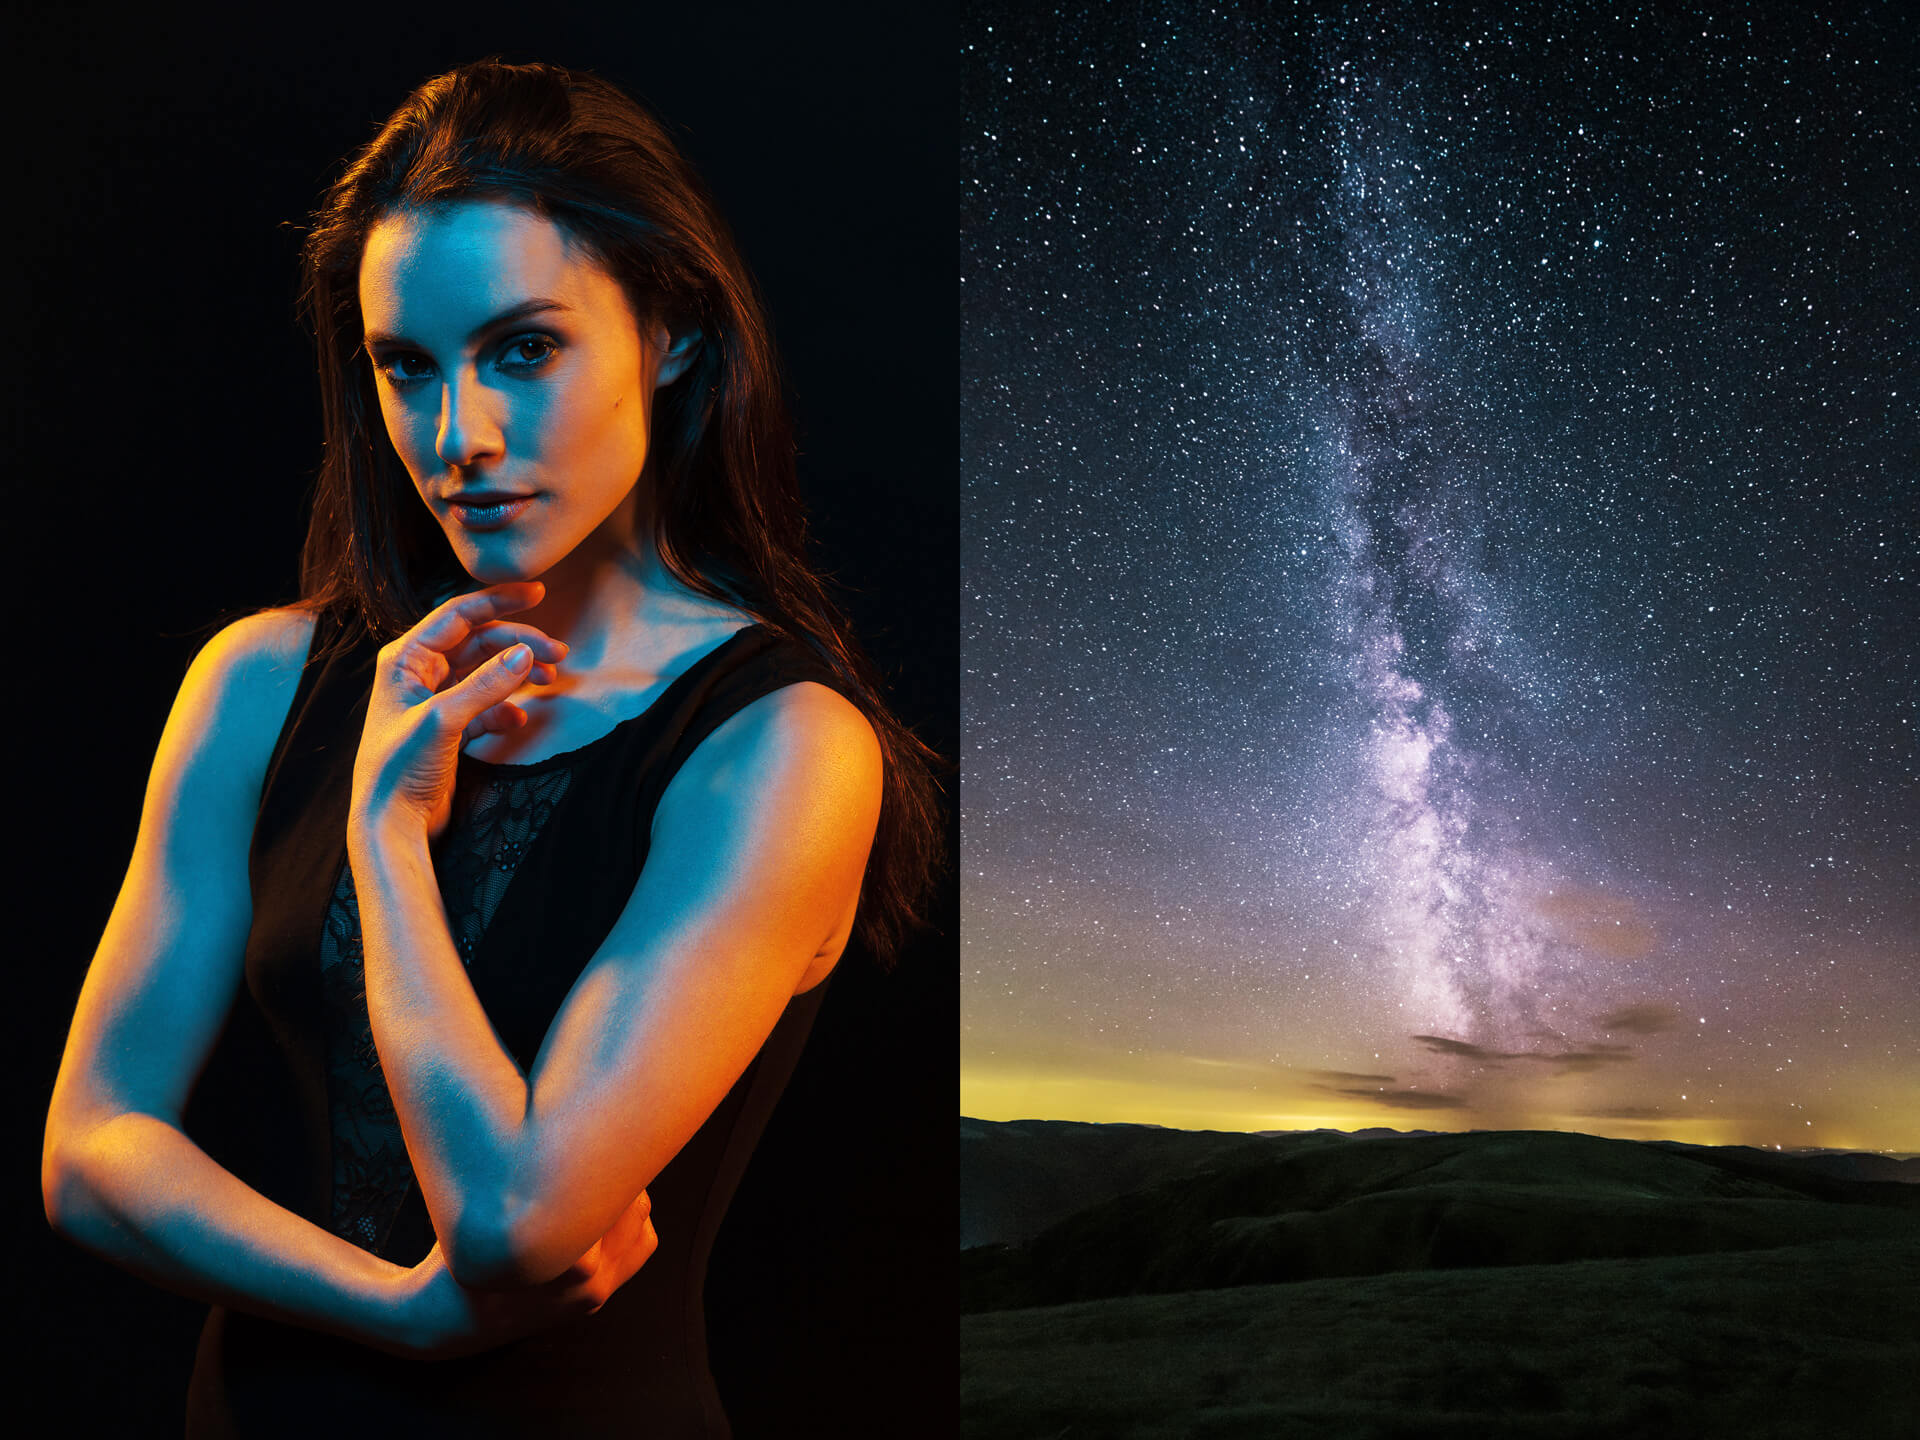
The diptych below incorporates a double combination: the similarity of blue and yellow hues and the complementarity of the portrait/landscape couple. Its reading is all the richer in that it operates on several levels.
Create links beyond the simple formalism
You now understand that creating photo diptychs aims to assemble two images by similarity, complementarity, or opposition. Beyond the objective assembly criteria, remember that the purpose of a diptych is to create a new story from two existing images.
A diptych’s real success is finding the sufficient gap between the two images composing it. That way, the link between them brings the viewer to an original thought, inaccessible via one or the other of these images taken individually. Two images that are too close are redundant in the subject they present, while two images that are too far apart lose the viewer who cannot find the link that unites them.
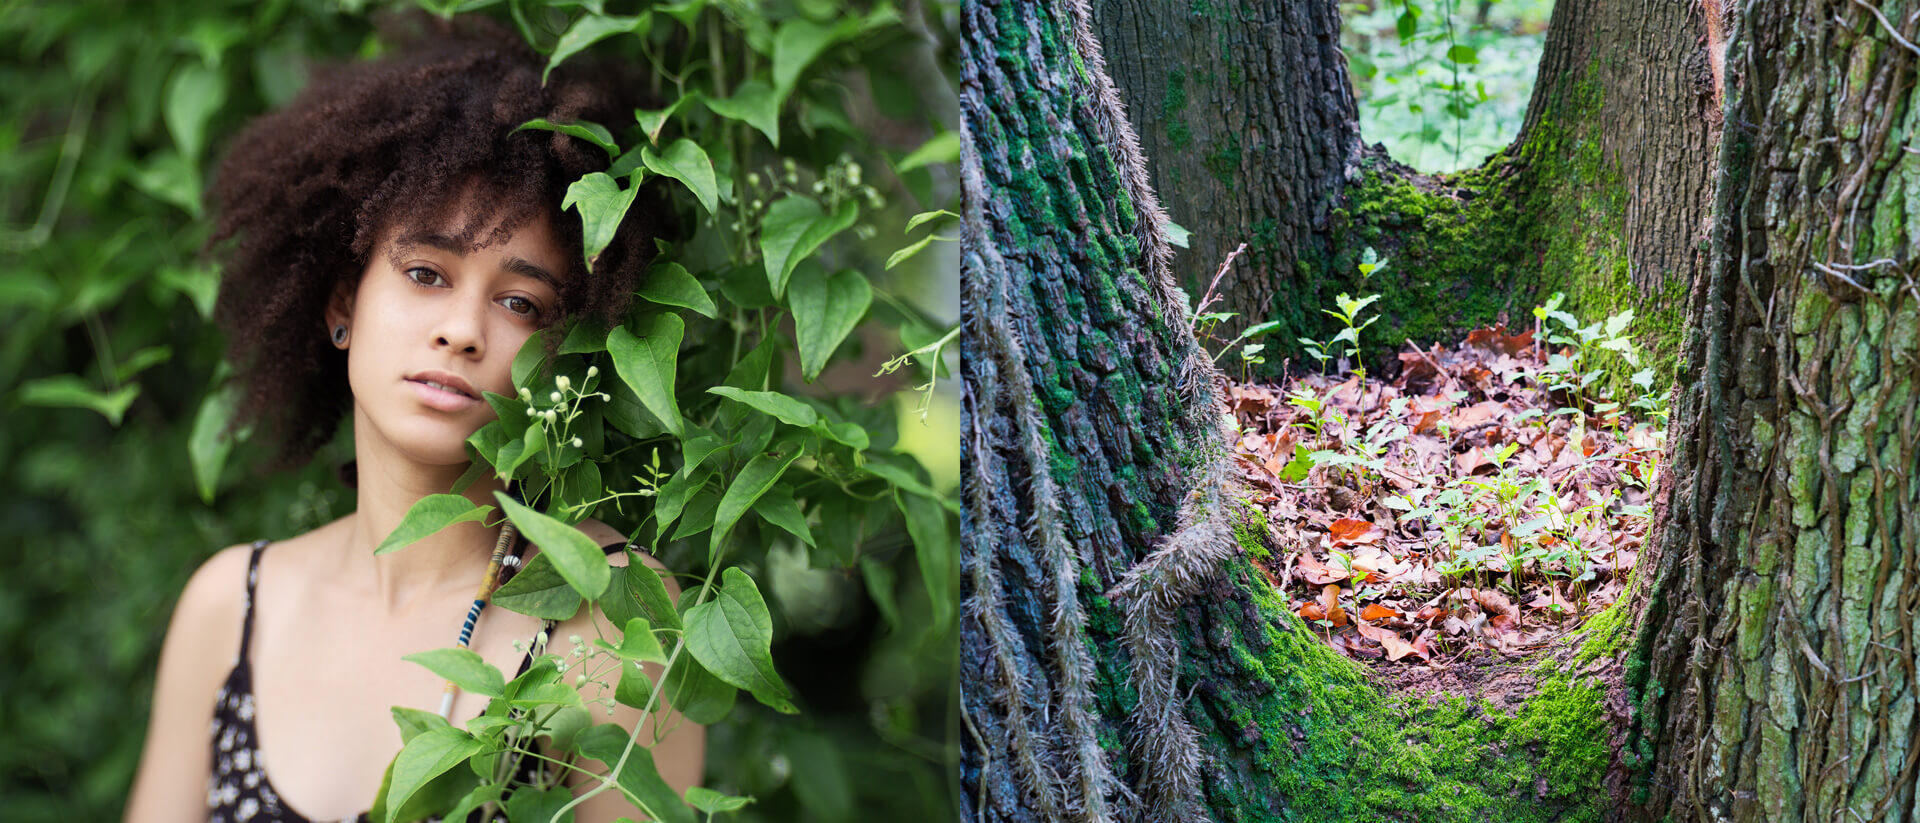
The diptych below develops the imagination of Mother Nature by combining young shoots in the hollow of a tree and a very natural portrait of a model outdoors. This combination then forms a sort of allegory.
Ready to create your own photo diptychs?
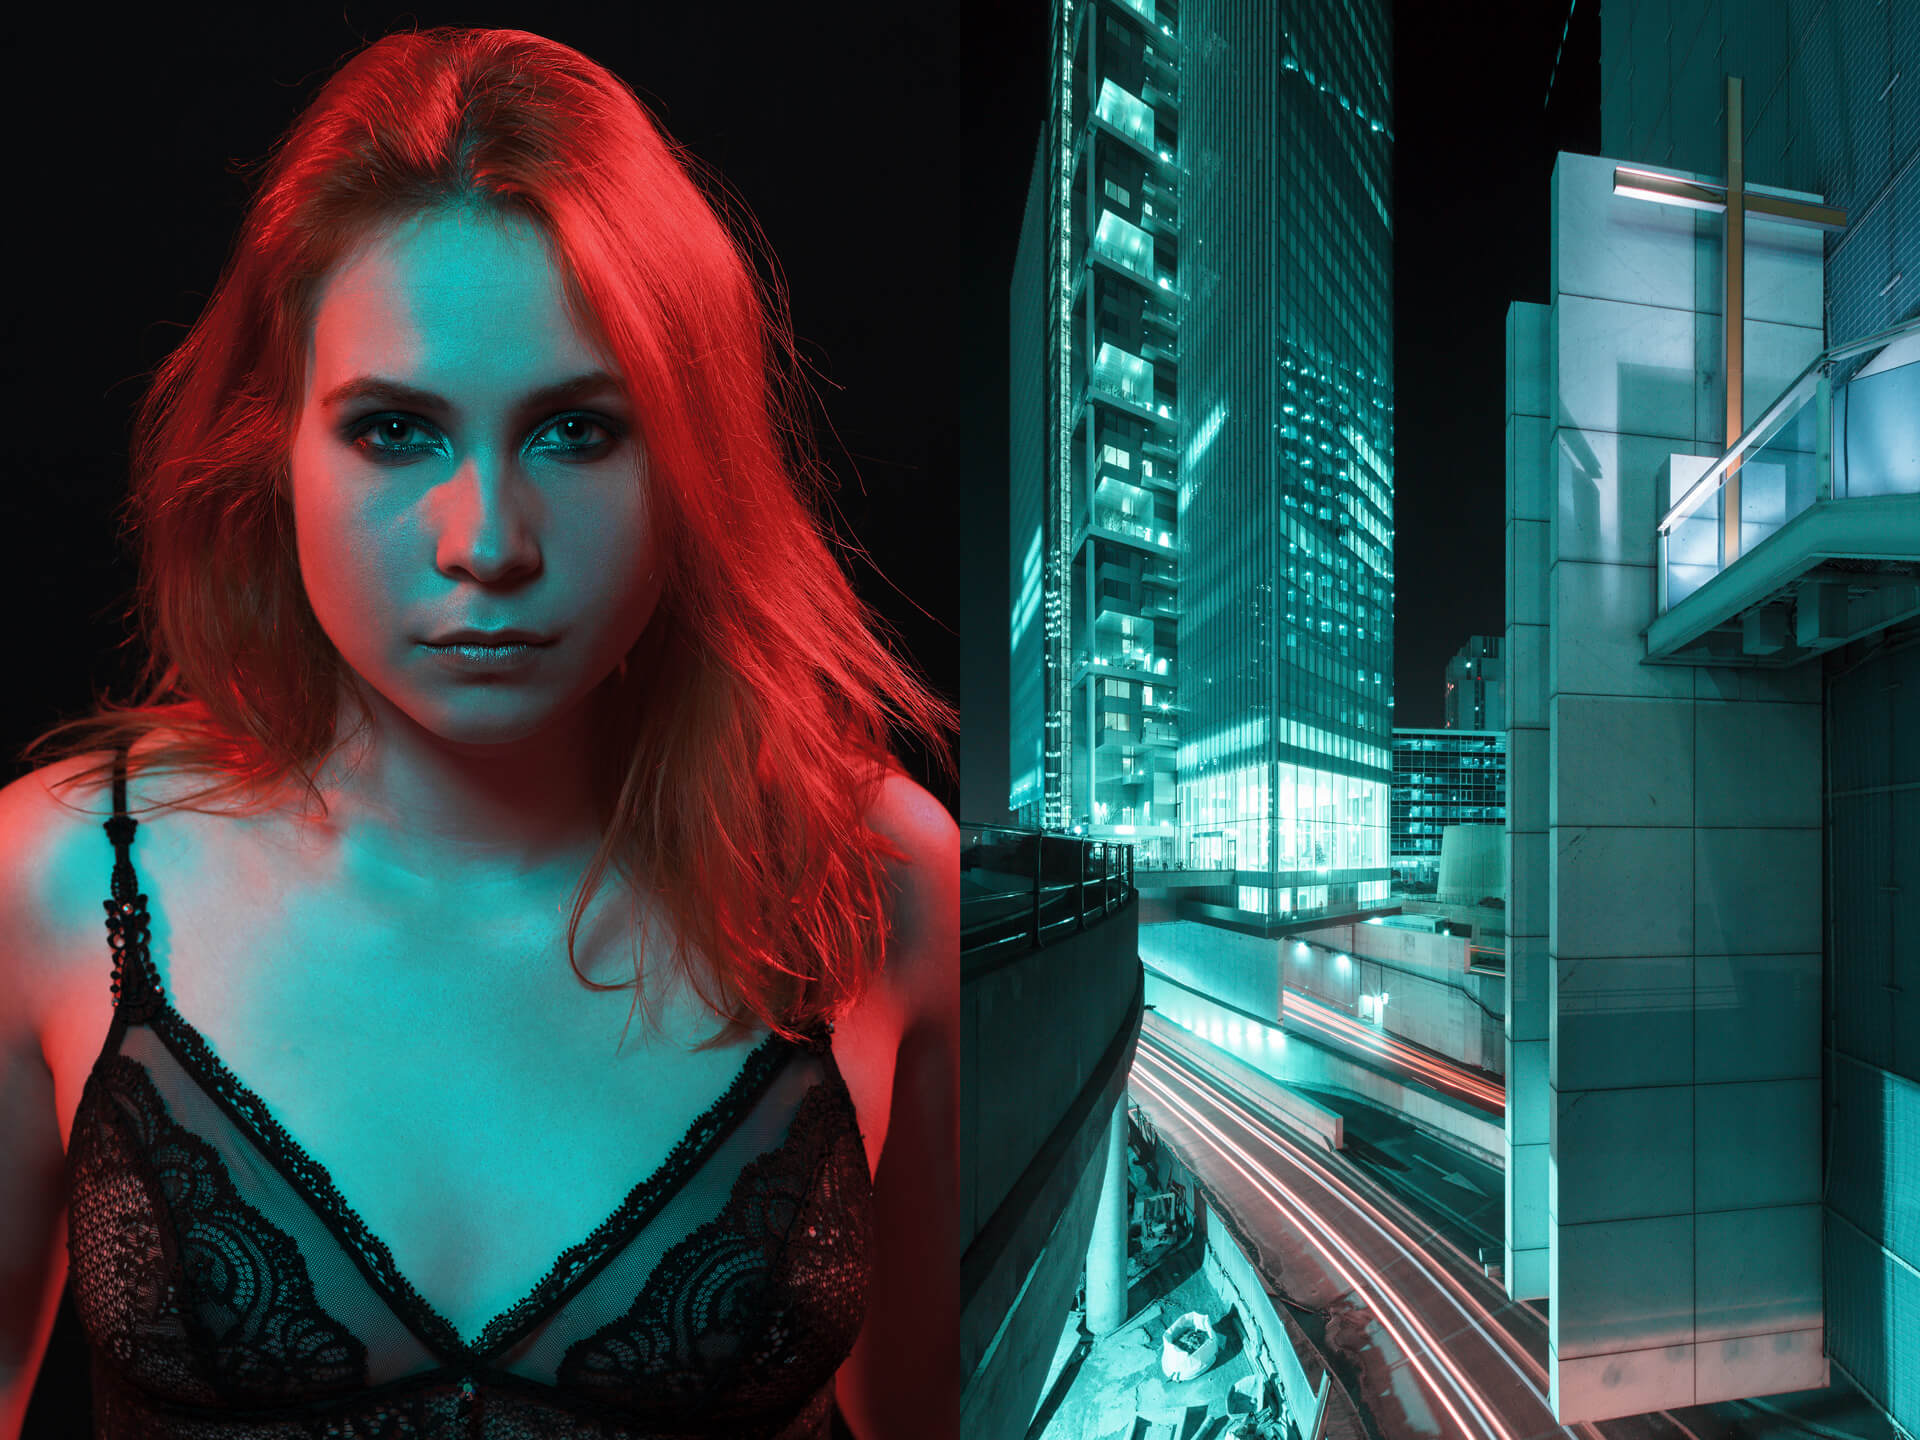
With this overview of creating a photo diptych, you are ready to try this exercise for yourself! To inspire you, here are some of my latest creations:
