Photography is the art of capturing light, so it’s safe to say that light is the most important element of any photograph. Learning to work with natural light is the best thing you can do to improve your photography. Not only is natural light free, but it is also readily available and abundant during the day, no matter where you are. Studio lighting can be intimidating, but natural light is easily accessible and can become a photographer’s best friend with the right knowledge. Continue reading to learn how to use natural light to its fullest potential.
1. Learn to read light
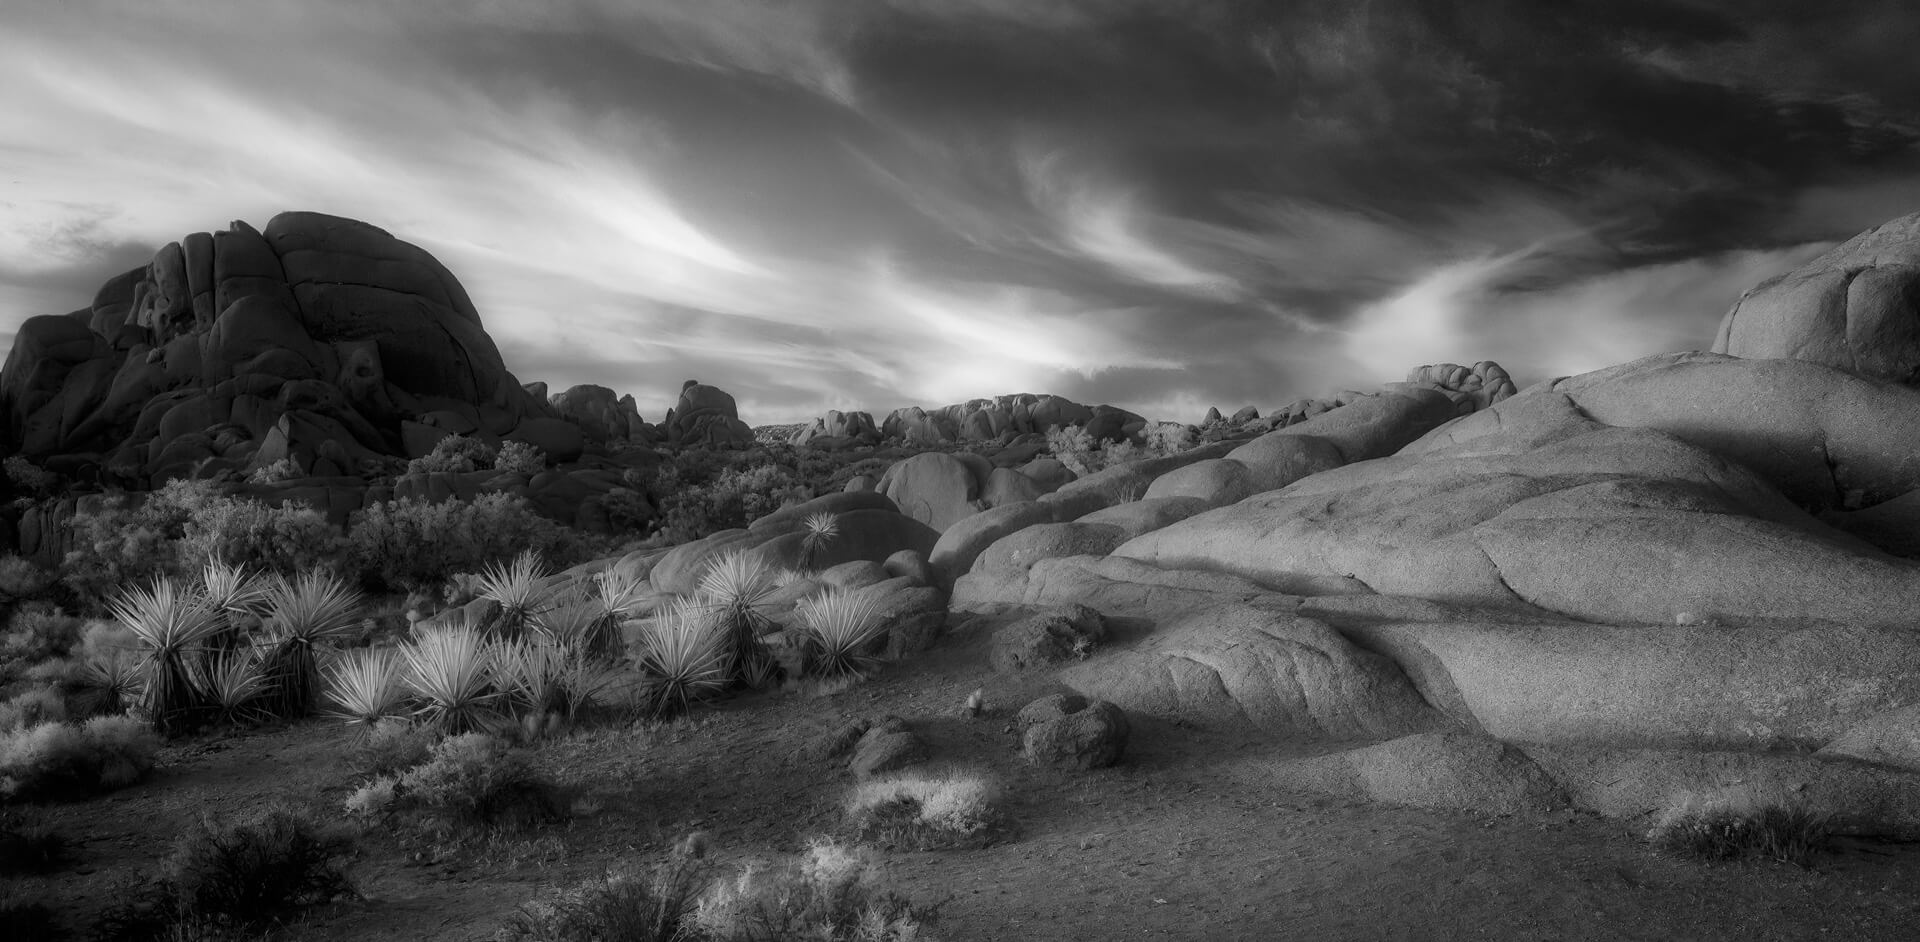
The best way to understand how natural light affects the outcome of your images is to simply observe it without a lens. Spend time noticing how light behaves in different conditions. What does it do on a sunny day as opposed to an overcast day? What is the direction and intensity of the light, and how does it interact with various surfaces and subjects?
Once you have an idea of how light falls, you can start thinking about this in relation to the type of images you might like to create. Do you prefer hard light and shadow for a bold look, or are you more drawn toward soft, filtered light that feels ethereal and warm? Learning to read light is the first step before taking any images, but once you have a clear understanding of what you like, then you can begin to experiment with capturing it.
2. Look for patterns and textures in the environment
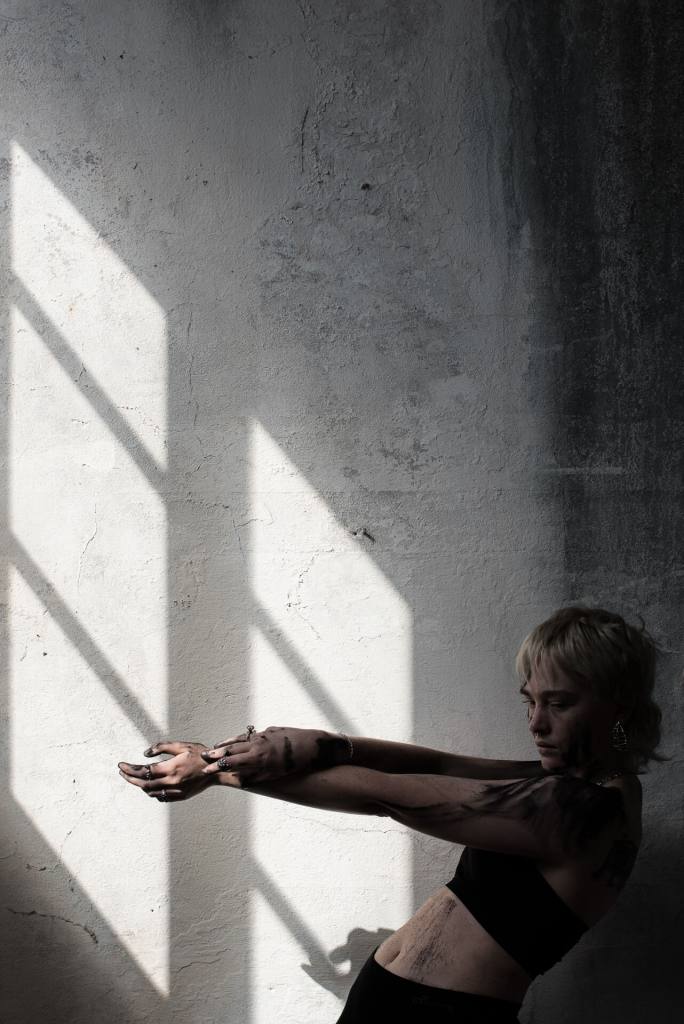
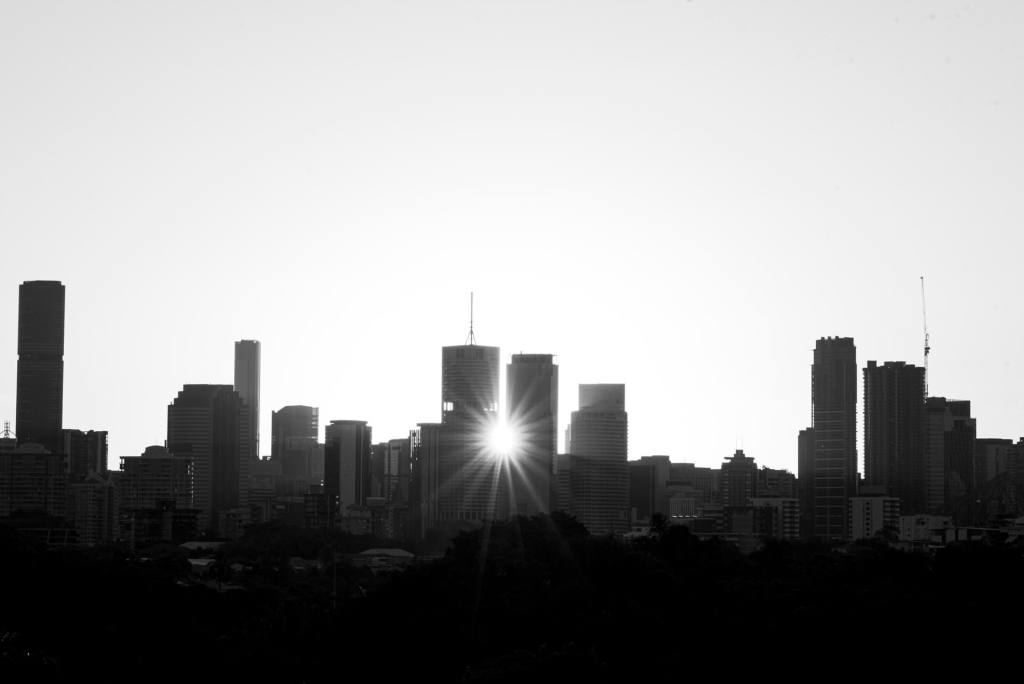
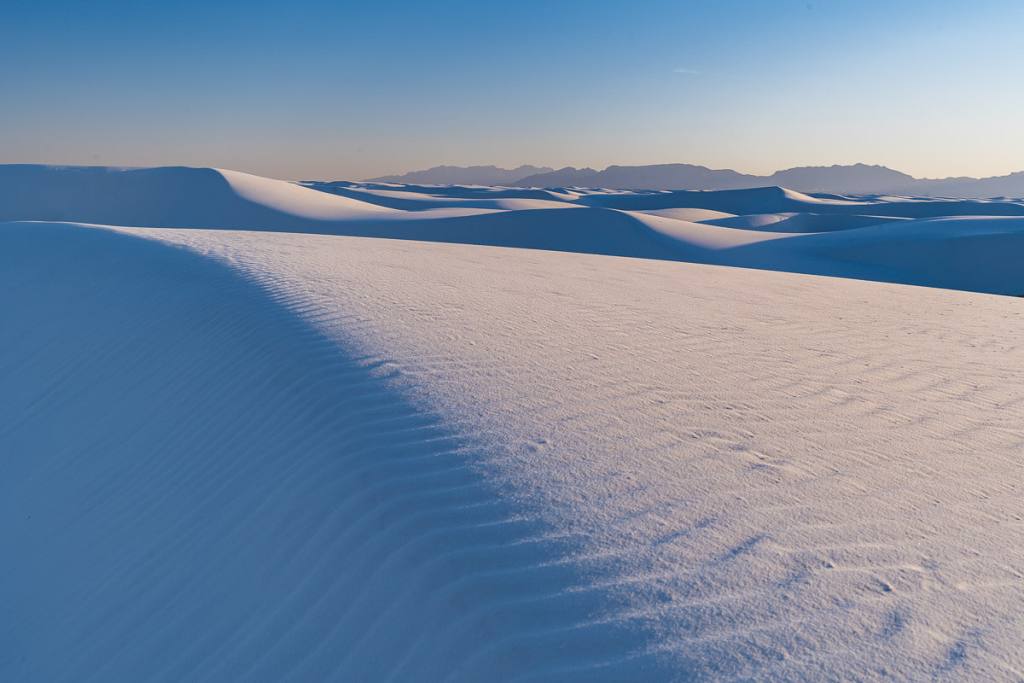
A great way to utilise natural light is to seek out interesting patterns or textures created by the surrounding environment. Look for sharp angles or slices of light peeking out between buildings in cityscapes or dappled light that might float through the branches of a tree.
The interesting patterns cast by light in the environment can add to or detract from an image, and it is always a great idea to think about these as you are considering locations to shoot in. Try to work the pattern of light into your image in a way that tells or compliments the narrative of your capture.
3. Try capturing backlit subjects and silhouette images
Shooting with the light coming from behind your subject can create a beautiful, soft, and ethereal quality to an image. Backlighting creates highlights behind your subject that give them a halo effect that will add layers of depth and interest to the final image.
Be careful when exposing for backlit subjects, however. You want to make sure that your subject always remains correctly exposed. Unless, of course, you want to create silhouette images.
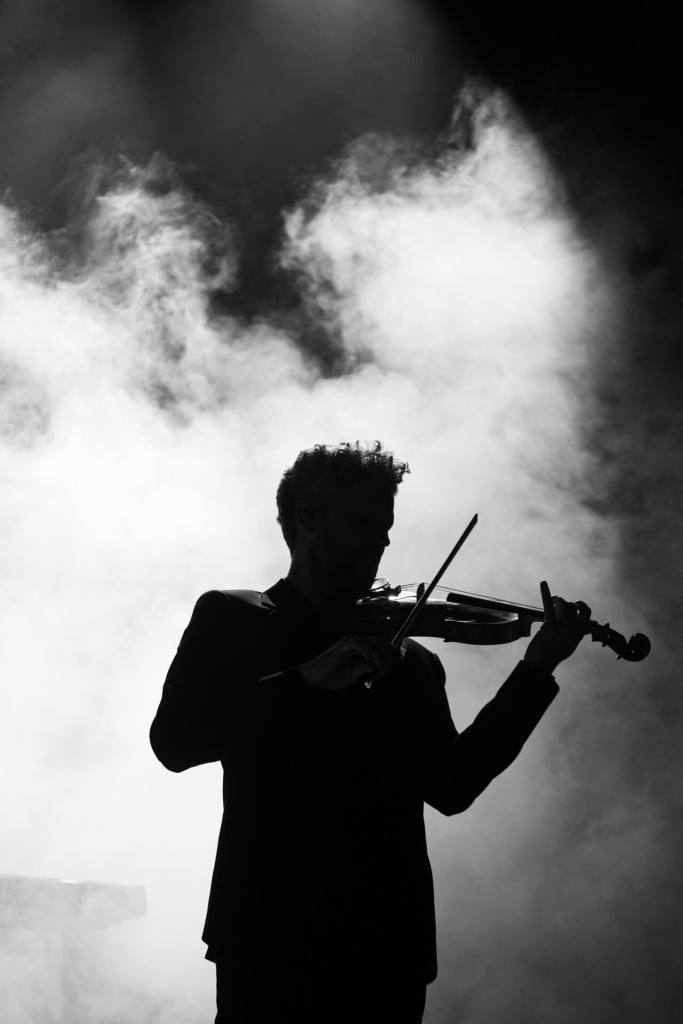
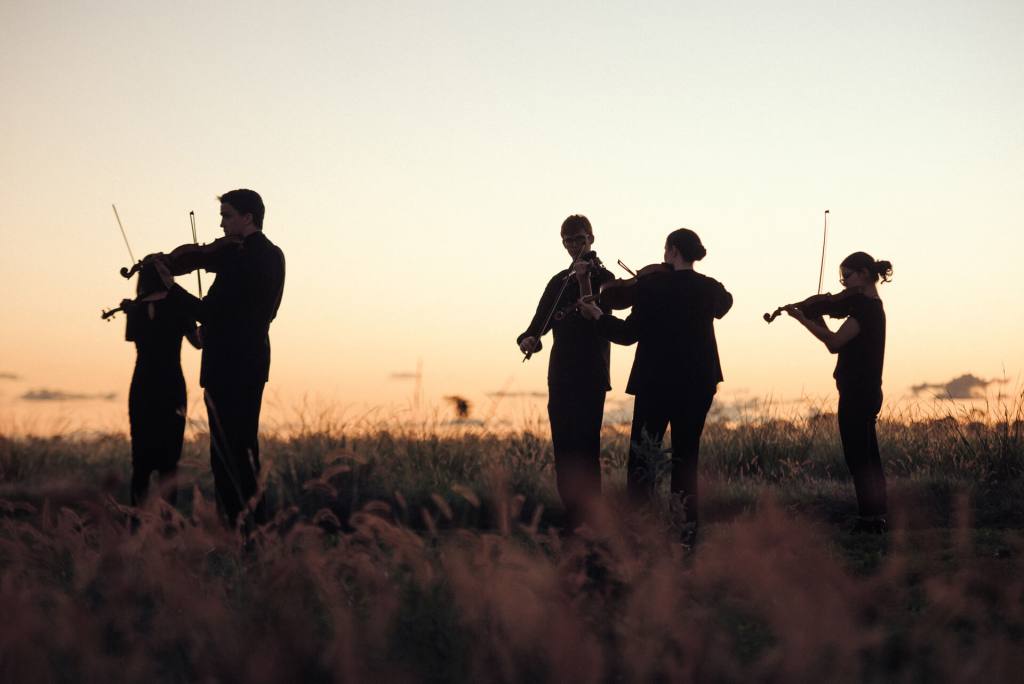
Silhouettes are dramatic and can look genuinely impressive when shot at the right time of day and in the right location.
To capture a stunning silhouette image, position your subject in front of a naturally bright light source, such as the sun, and expose your image for the background, allowing your subject to become a black figure.
Silhouette images work well at locations like the beach or mountainscapes where the vastness of the location should be the hero of the frame, allowing your silhouetted subject to be witness to it.
4. Shoot during golden or blue hour
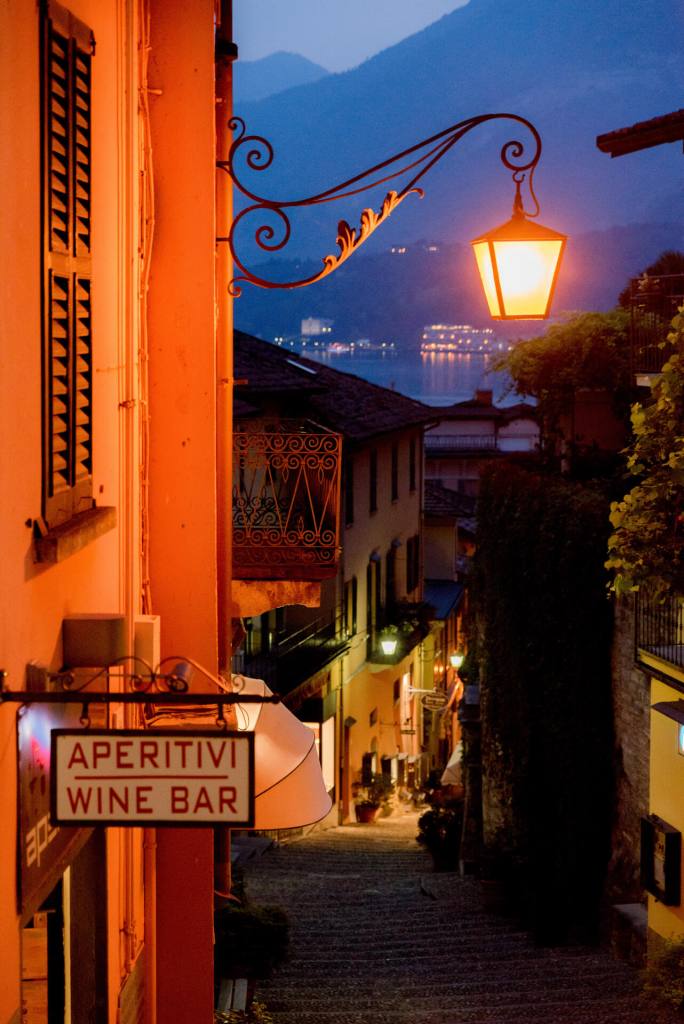
There’s a reason most photographers love golden hour (just after sunrise and just before sunset when natural light is soft, warm, and diffuse). Golden hour gives subjects the most flattering light falling on their skin, and the warmer tones of your resulting images will provide a sense of emotion and feeling when captured at these times of the day.
Next to golden hour is blue hour. Blue hour is the period of time after sunset when the sun is at a particular depth below the horizon, resulting in a mostly blue shade. Shooting during the blue hour will give your images a particularly cool-hued, cinematic feel.
Experimenting with shooting images at different times of day can teach you a great deal about the colour, quality, and resulting feel of different types of light.
5. Look for open shade when shooting in direct sunlight
Direct sunlight is considered “hard” light in that it can create harsh and unflattering shadows on a subject. One of the best things you can do when shooting in direct sunlight is to look for areas of open shade, like under trees or building structures, where the light is softer and more diffuse, should you need it for your images.
6. Learn to love cloudy days
Clouds are like a huge softbox for the sun; they diffuse the very bright rays and take the edge off the harshness of direct sunlight. While no one loves a grey, cloudy day, don’t get too disheartened when the clouds come over. They can often create a gentle light that makes your images all the more appealing to the eye.
7. Try a lens flare
Lens flares are often accidental leaks and streaks of light created by shooting into a light source at a specific angle. However, it is possible to create lens flares for an interesting and dramatic effect on your images.
To create a lens flare, remove your lens hood and point your lens directly into the sun or a source of bright light, ideally shooting on a wide-angle lens and at a smaller aperture for a more detailed flare. You can also try creating “sunburst” style lens flares by partially blocking the light source with an object, such as a tree branch or building, while still directing your lens at the sun.
8. Modify natural light where you can
A photographer can manipulate or modify natural light to use it to their advantage in several ways. One of the easiest of these would be to use a reflector. There are many options on the market, but a typical pop-up silver reflector will allow you to bounce light onto your subject, filling in shadows and reducing contrast. Comparatively, white reflectors can create a soft fill light, and gold reflectors will add warmth to your image.
There are several other ways to modify natural light, like using black drop sheets or boards, bouncing light with styrofoam sheets, or shooting through different types of materials. Remember that you can always get creative and experiment with ways of blocking or bouncing light around — you’re only limited by your creativity here.
9. Experiment with different angles
Changing which angle you shoot from can dramatically affect how natural light interacts with your subject. So don’t be afraid to move around and try shooting from different heights and angles to get a different outcome.
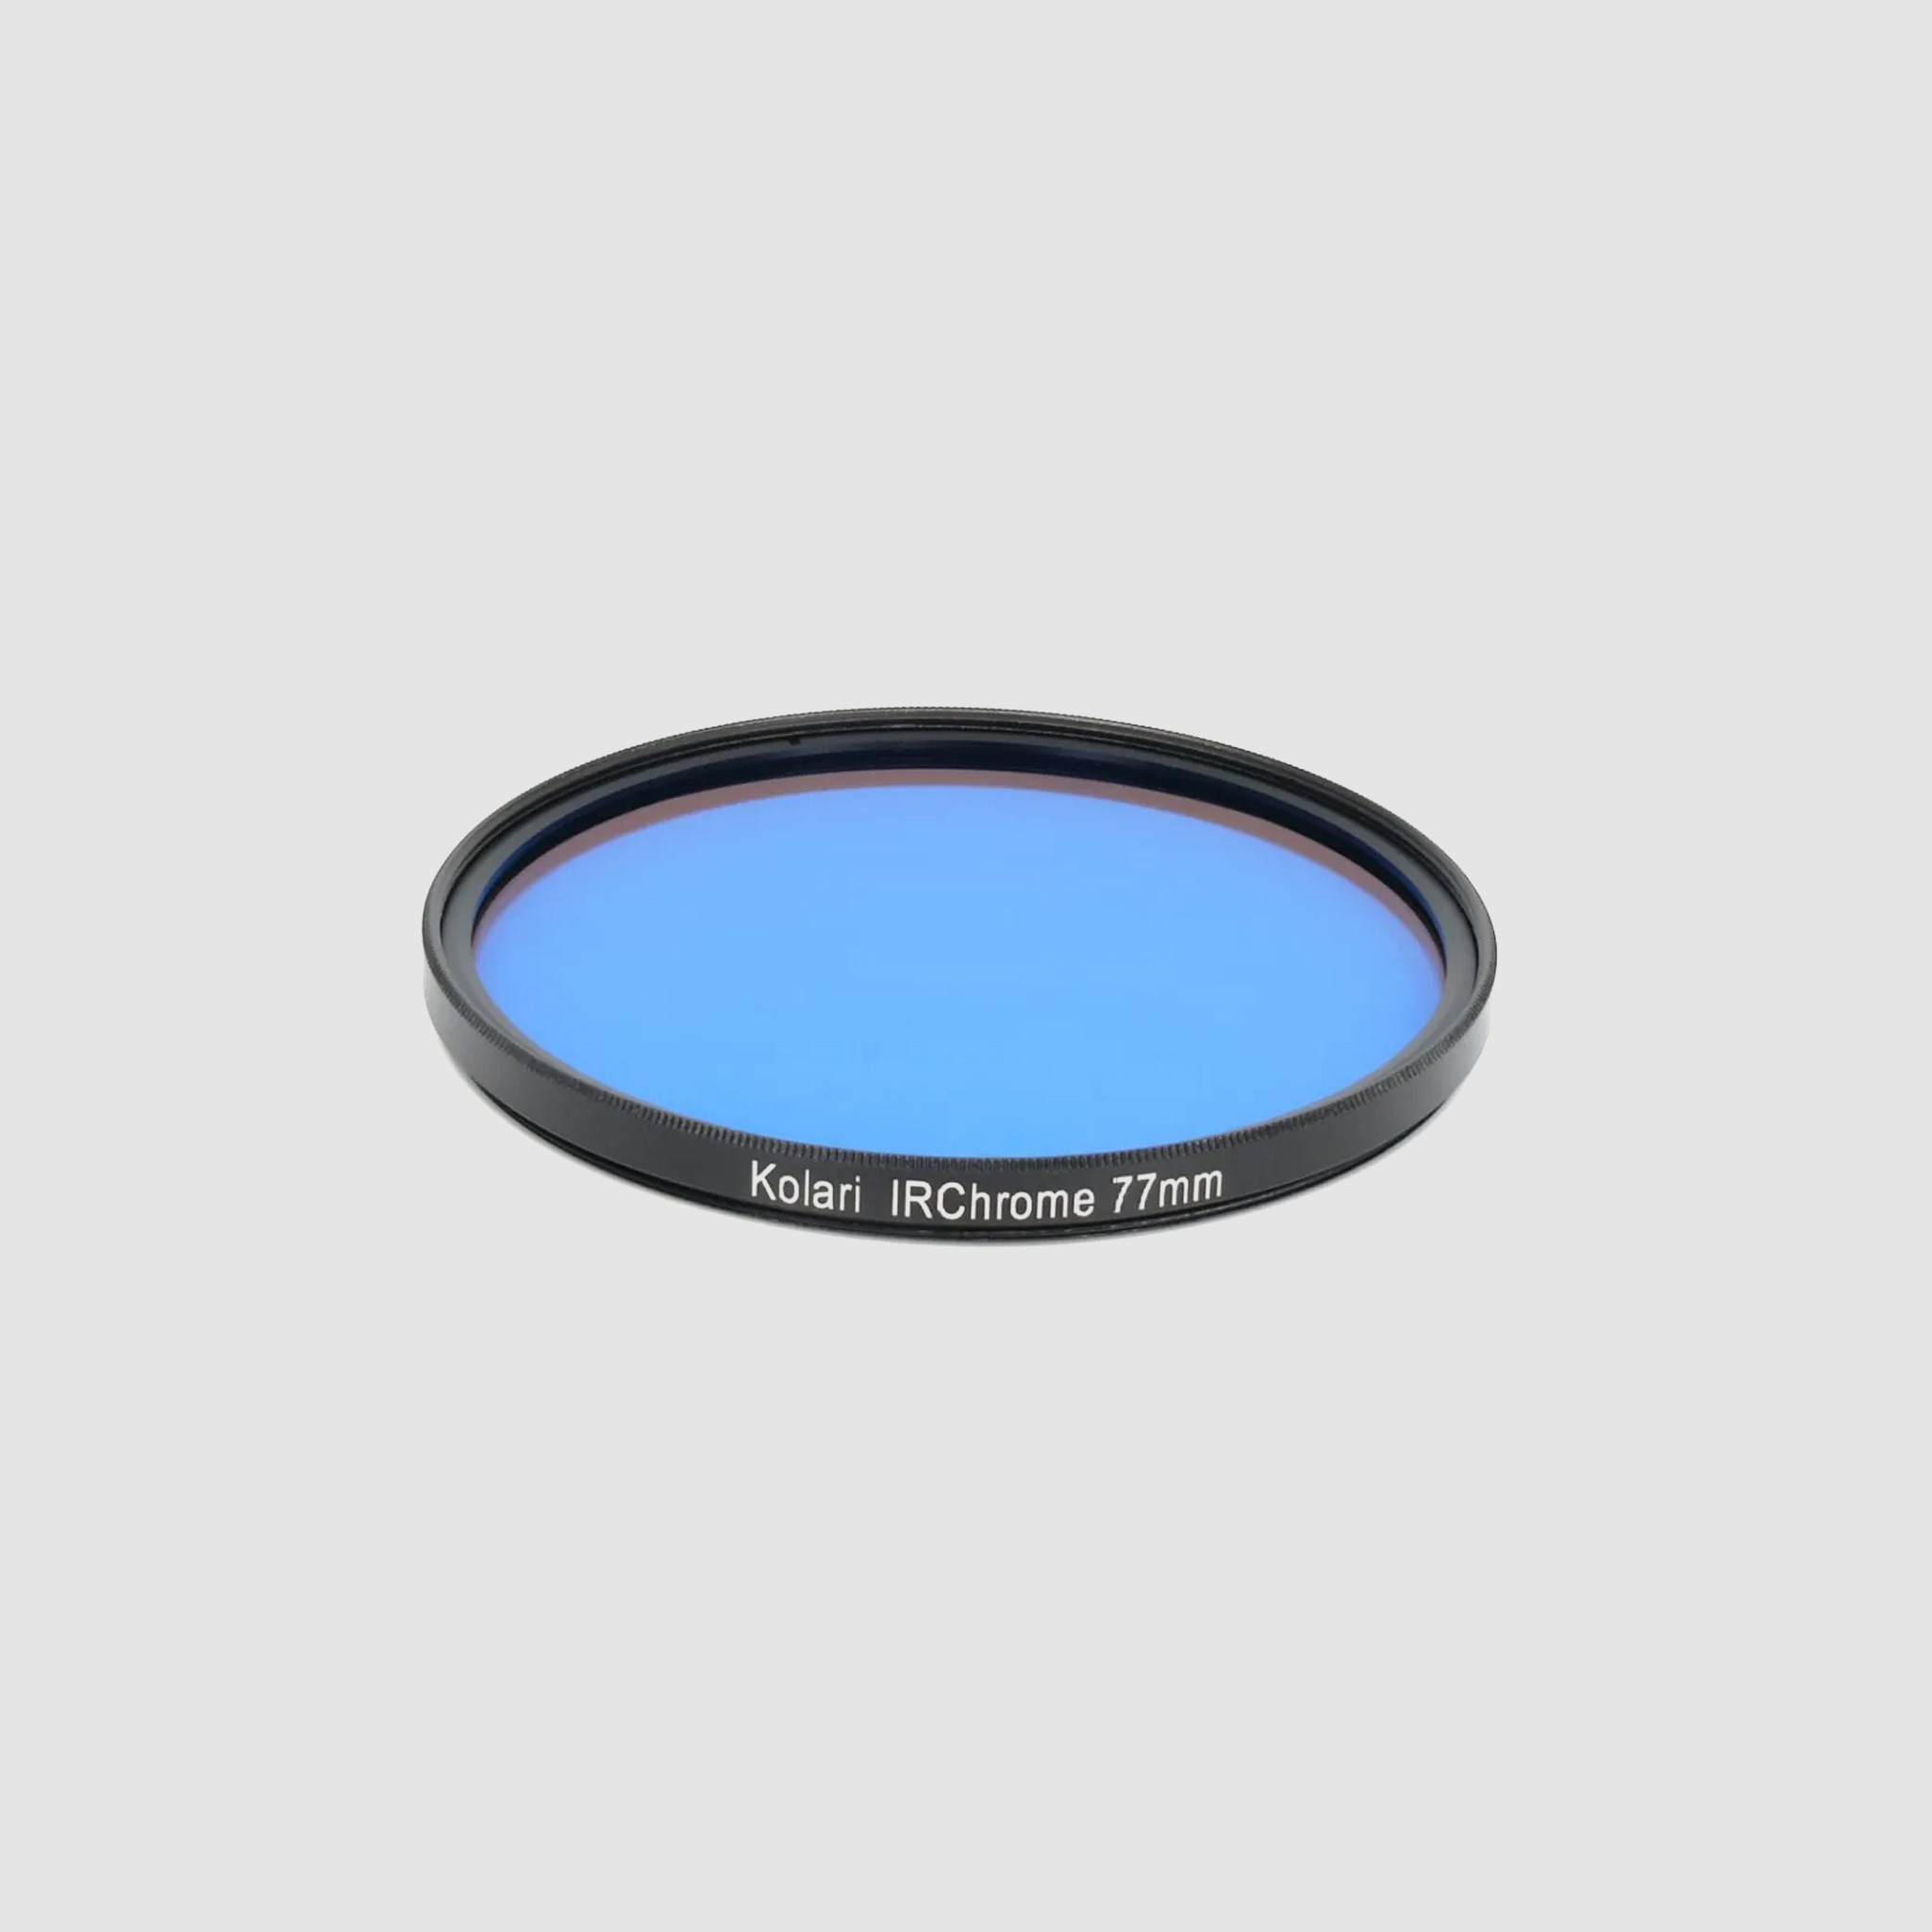
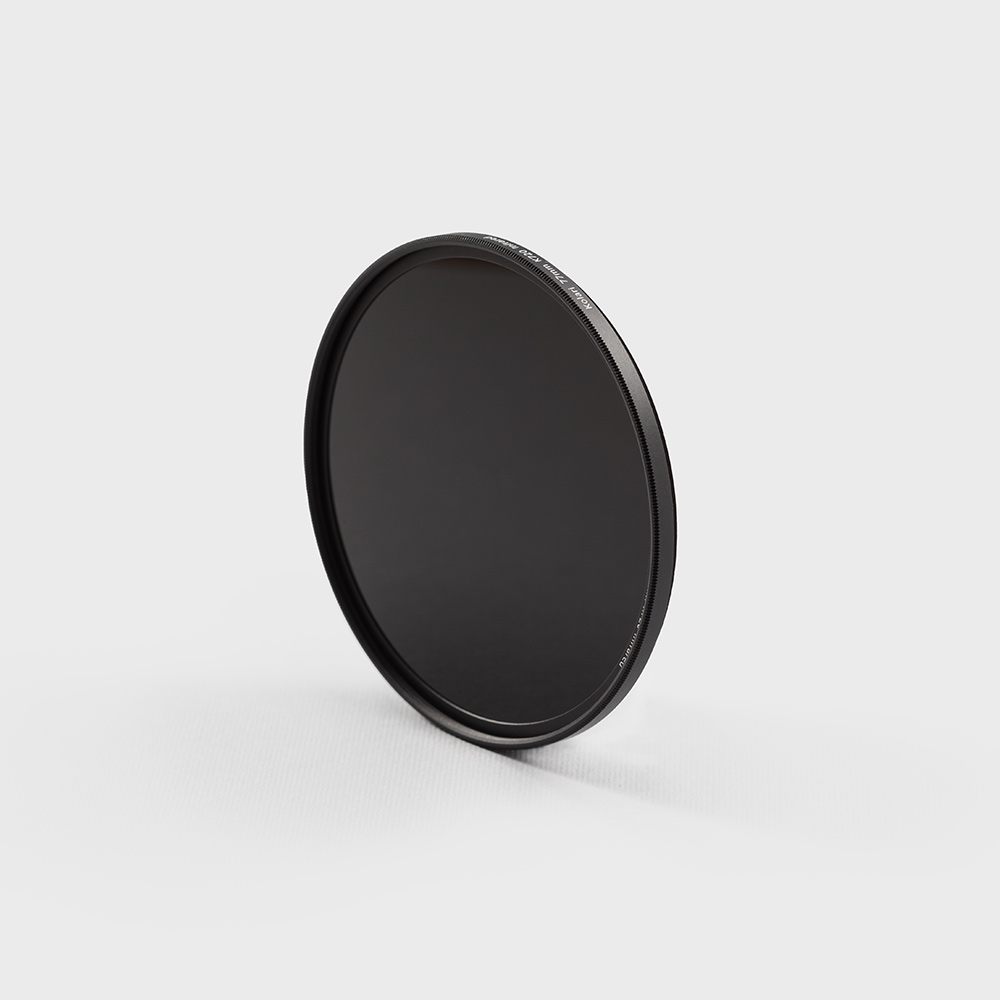
10. Try some lens filters
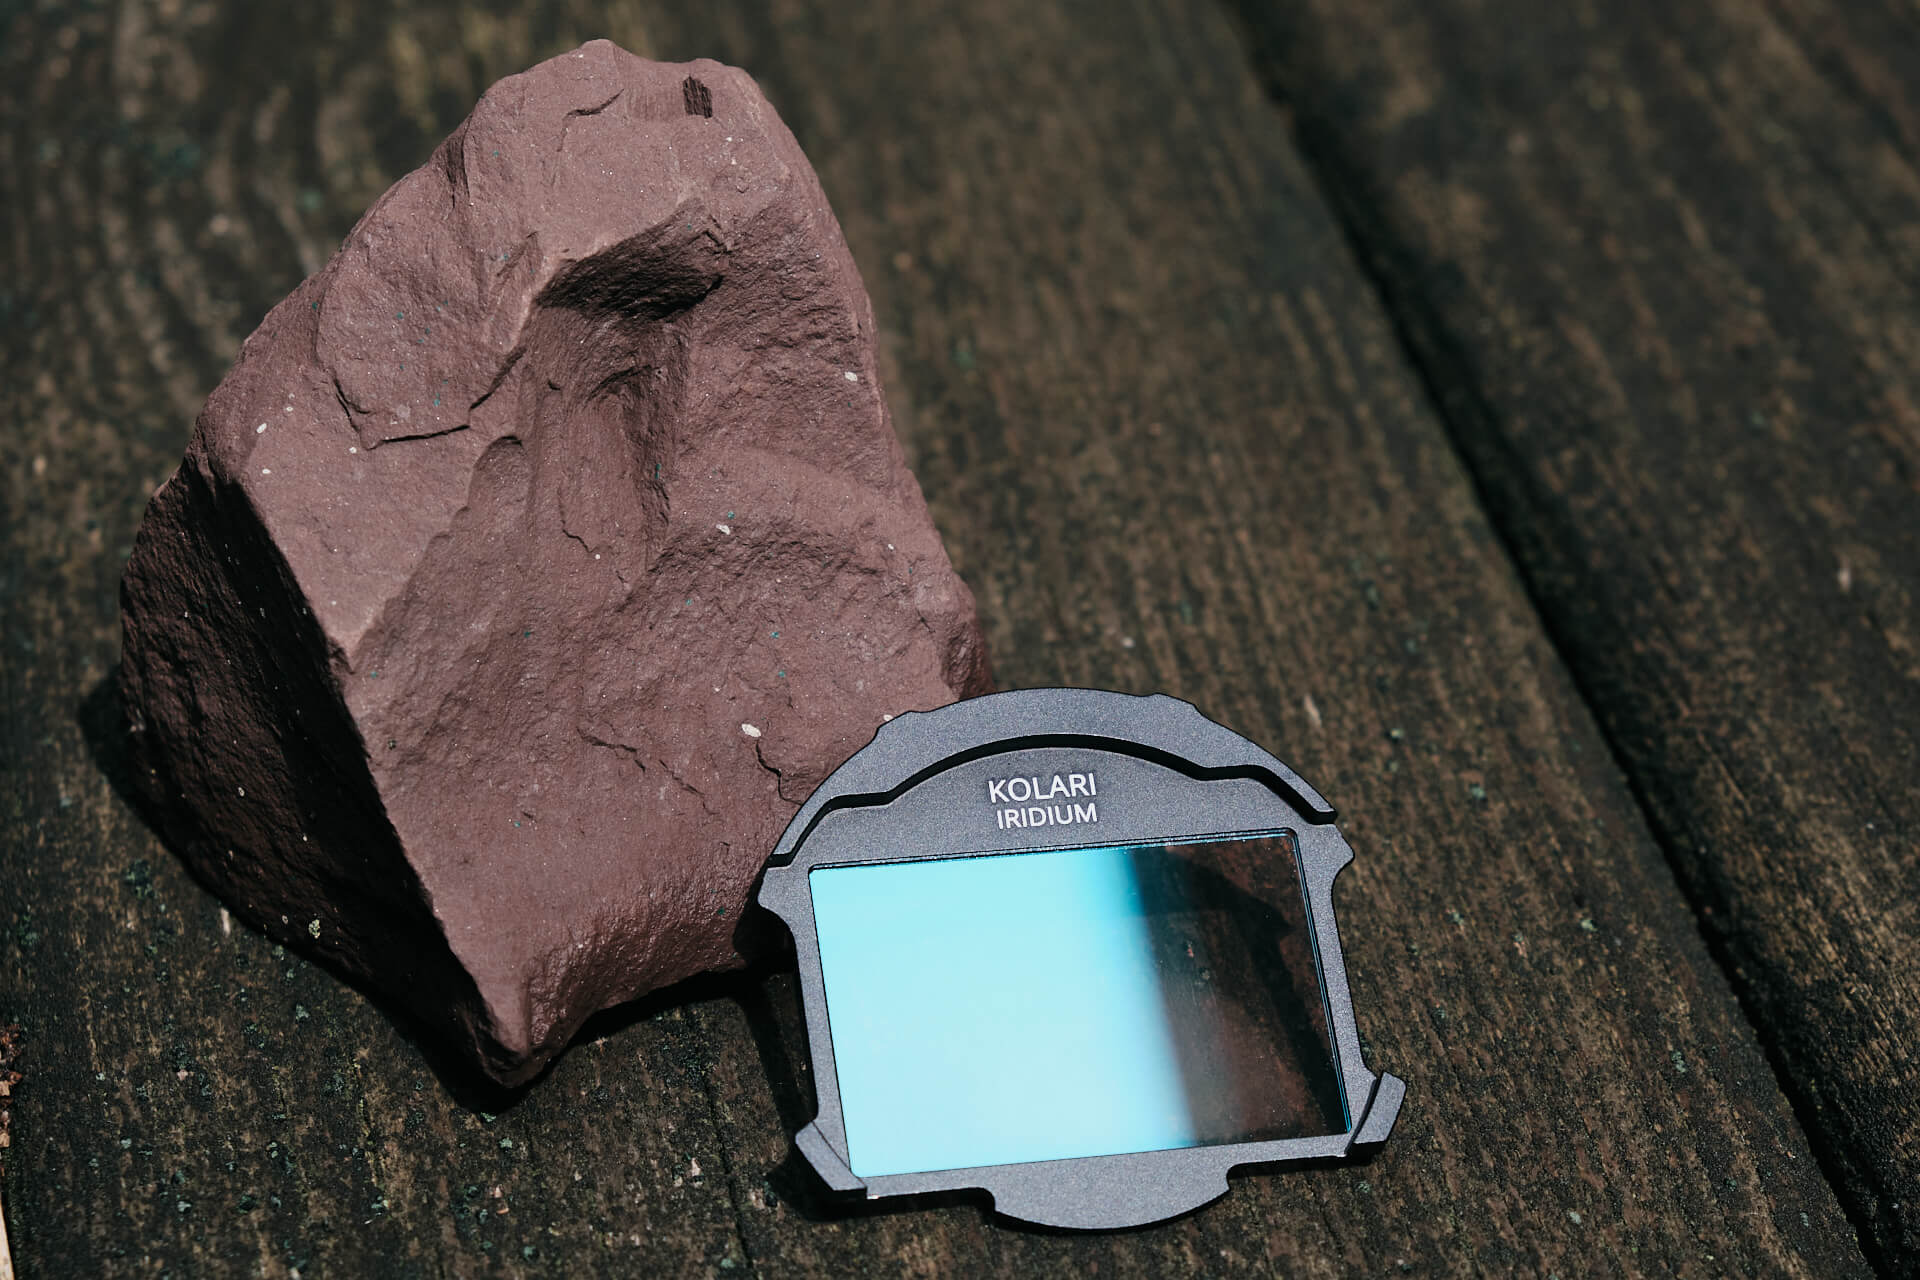
There are innumerable lens filters on the market, and which you choose to use will depend upon the creative outcome you are trying to achieve. Still, it is always handy to keep a couple of basic lens filters on hand to help you control natural light. In particular, a neutral density (or ND) filter can help you shoot scenes at a larger aperture for a shallower depth of field on a bright sunny day by blocking some of the available light.
Special effect filters such as mist, streak, or flare filters can manipulate light in different ways for interesting creative outcomes, so don’t be afraid to try using a couple of different types of filters when you’re out shooting in available light—you never know what you might create.
Final Note
There are so many ways we can learn to use natural light to our advantage as photographers, and the sooner you learn to read light, the more creative and experimental you can get with your images. Never be afraid to keep experimenting with ideas and practise shooting in different types of light so you can be confident as you move forward with your photography journey.
There are no real rules when it comes to using natural light, but remember that it is dynamic and constantly changing, so being observant and responsive is key to creating a good image.
Author Bio:
Jade Ferguson is a Brisbane, Australia-based photographer who applies a fine art approach to the subjects she shoots. As an early-career photographer, her work attempts to create an emotionally visceral experience for the viewer by capturing the unseen. She works with film and digital formats; her subjects cover portraiture, performing arts, and a developing personal art practise. She is currently an undergraduate at Griffith University, Queensland College of Art, studying for a Bachelor of Visual Art.
