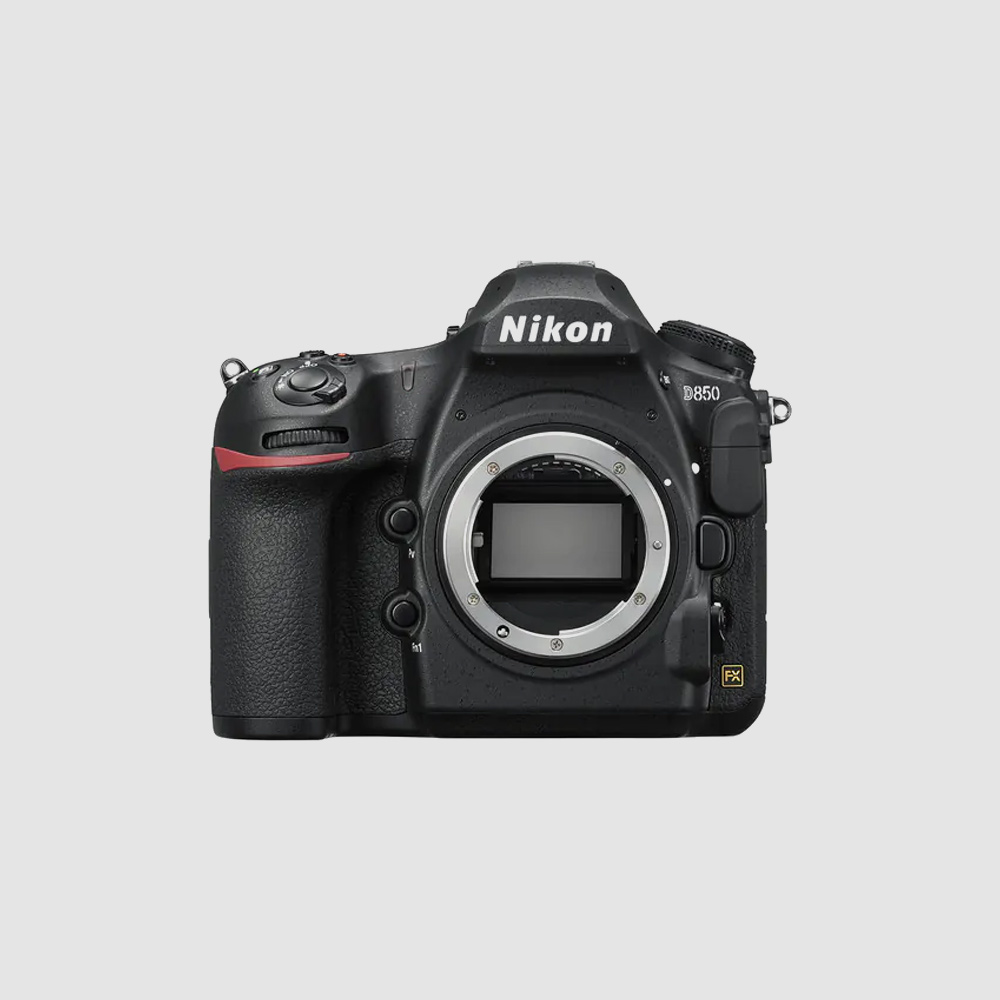
Released on November 27, 2021, The Canon EOS R3 is a part of Canon’s RF-mount series lineup of professional cameras. The R3 is particularly hailed as a great camera for event photography. There is some amount of debate between the Canon EOS R5 (a camera that we’ve previously tore down and disassembled) versus the R3 on which camera is best, but you seriously can’t go wrong with either or, since each camera operates at a such a high level of performance.
Canon EOS R3 RF-Mount Clip-in Filter Compatibility
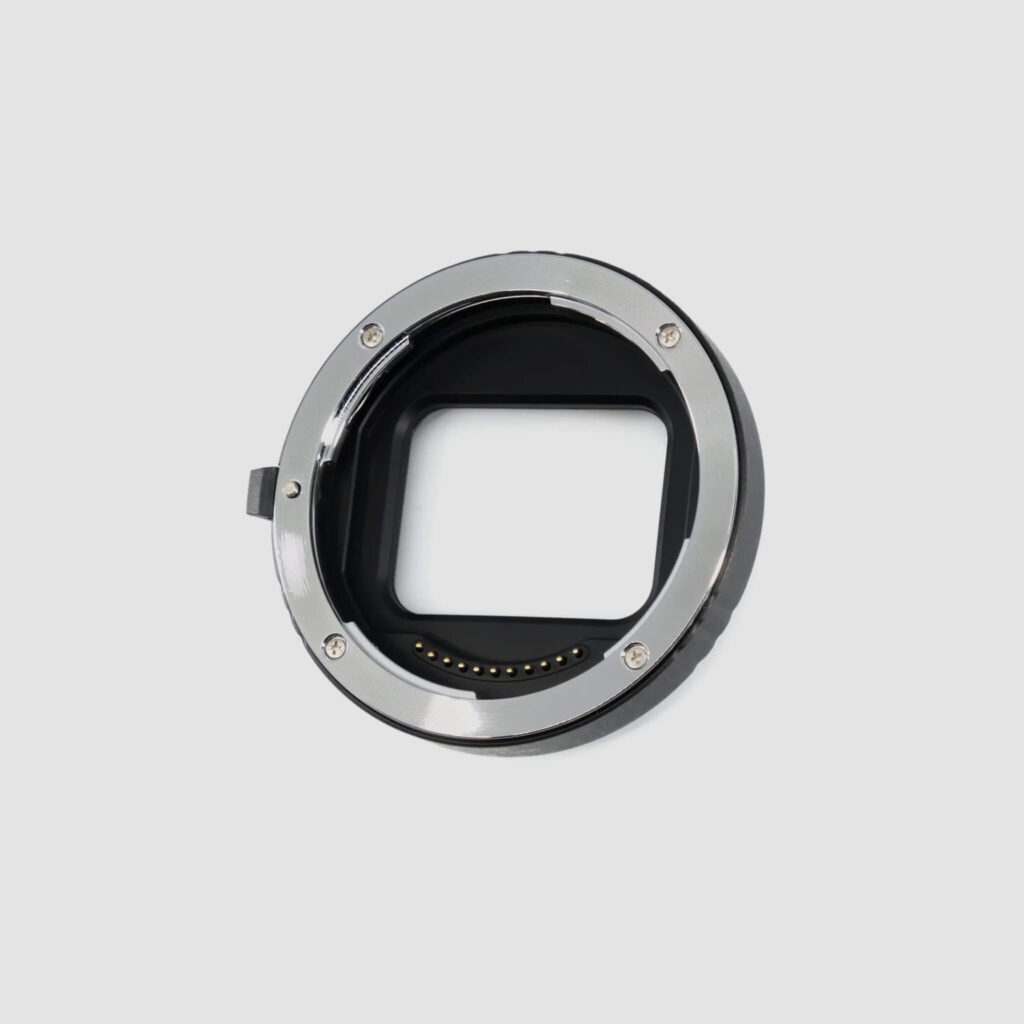
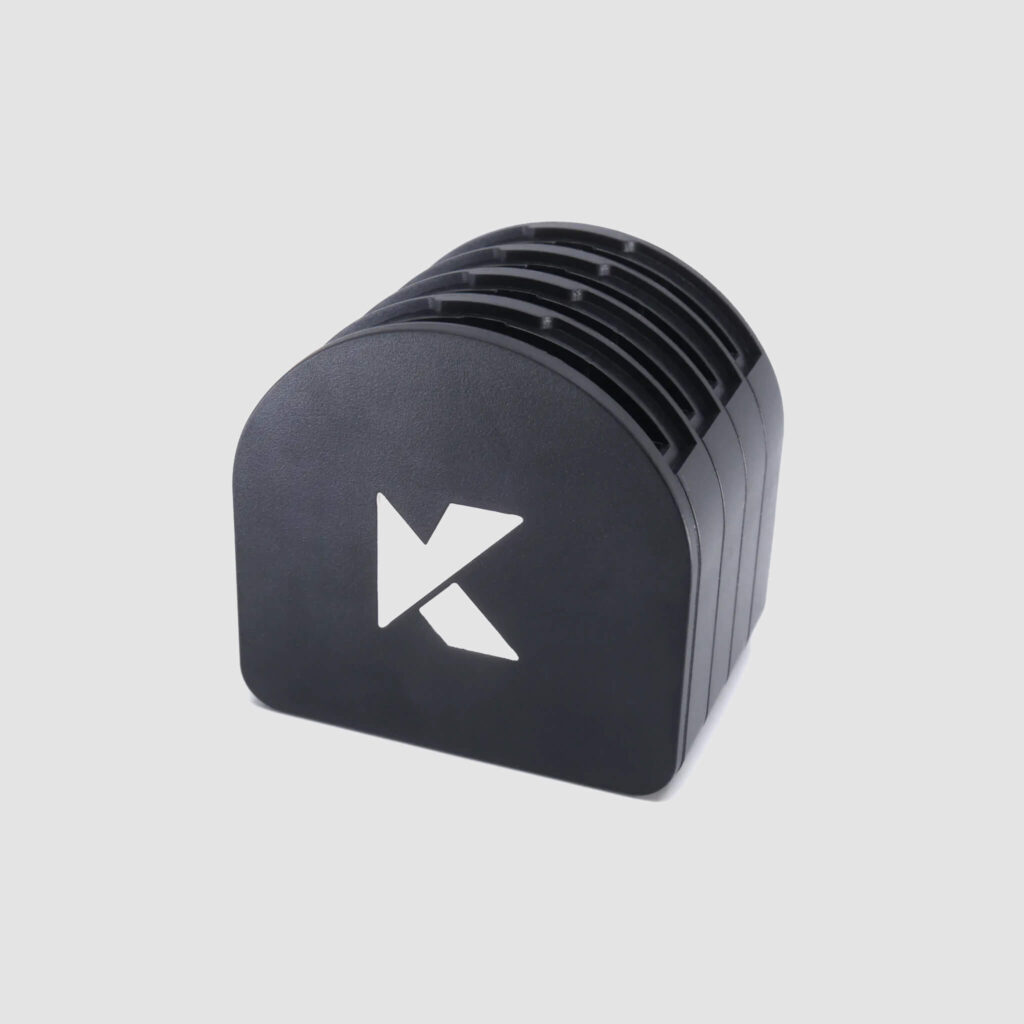
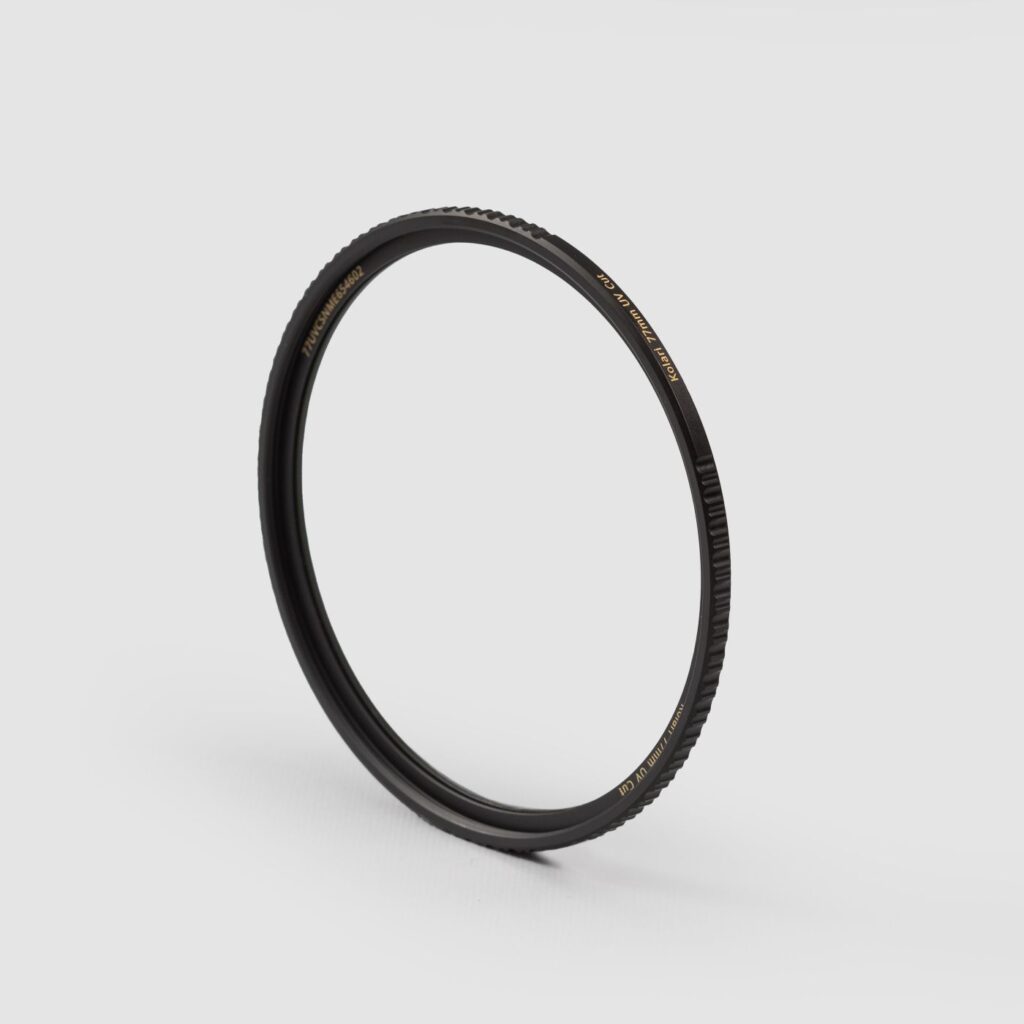
Fortunately, the R3 is compatible with our Magnetic Clip-in Filters for RF-mount cameras—our filter magnetically attaches to the inner mount of the camera without the use of installation mounts or tools.
Starting the Canon EOS R3 Teardown
Standard procedure of disassembling the camera starts with the baseplate. However, as opposed to having front and back housing pieces closed off by a baseplate, the Canon EOS R3 body housing is comprised of two main pieces, likely to accommodate the battery compartment.
Removing Exterior Screws and Body Housing
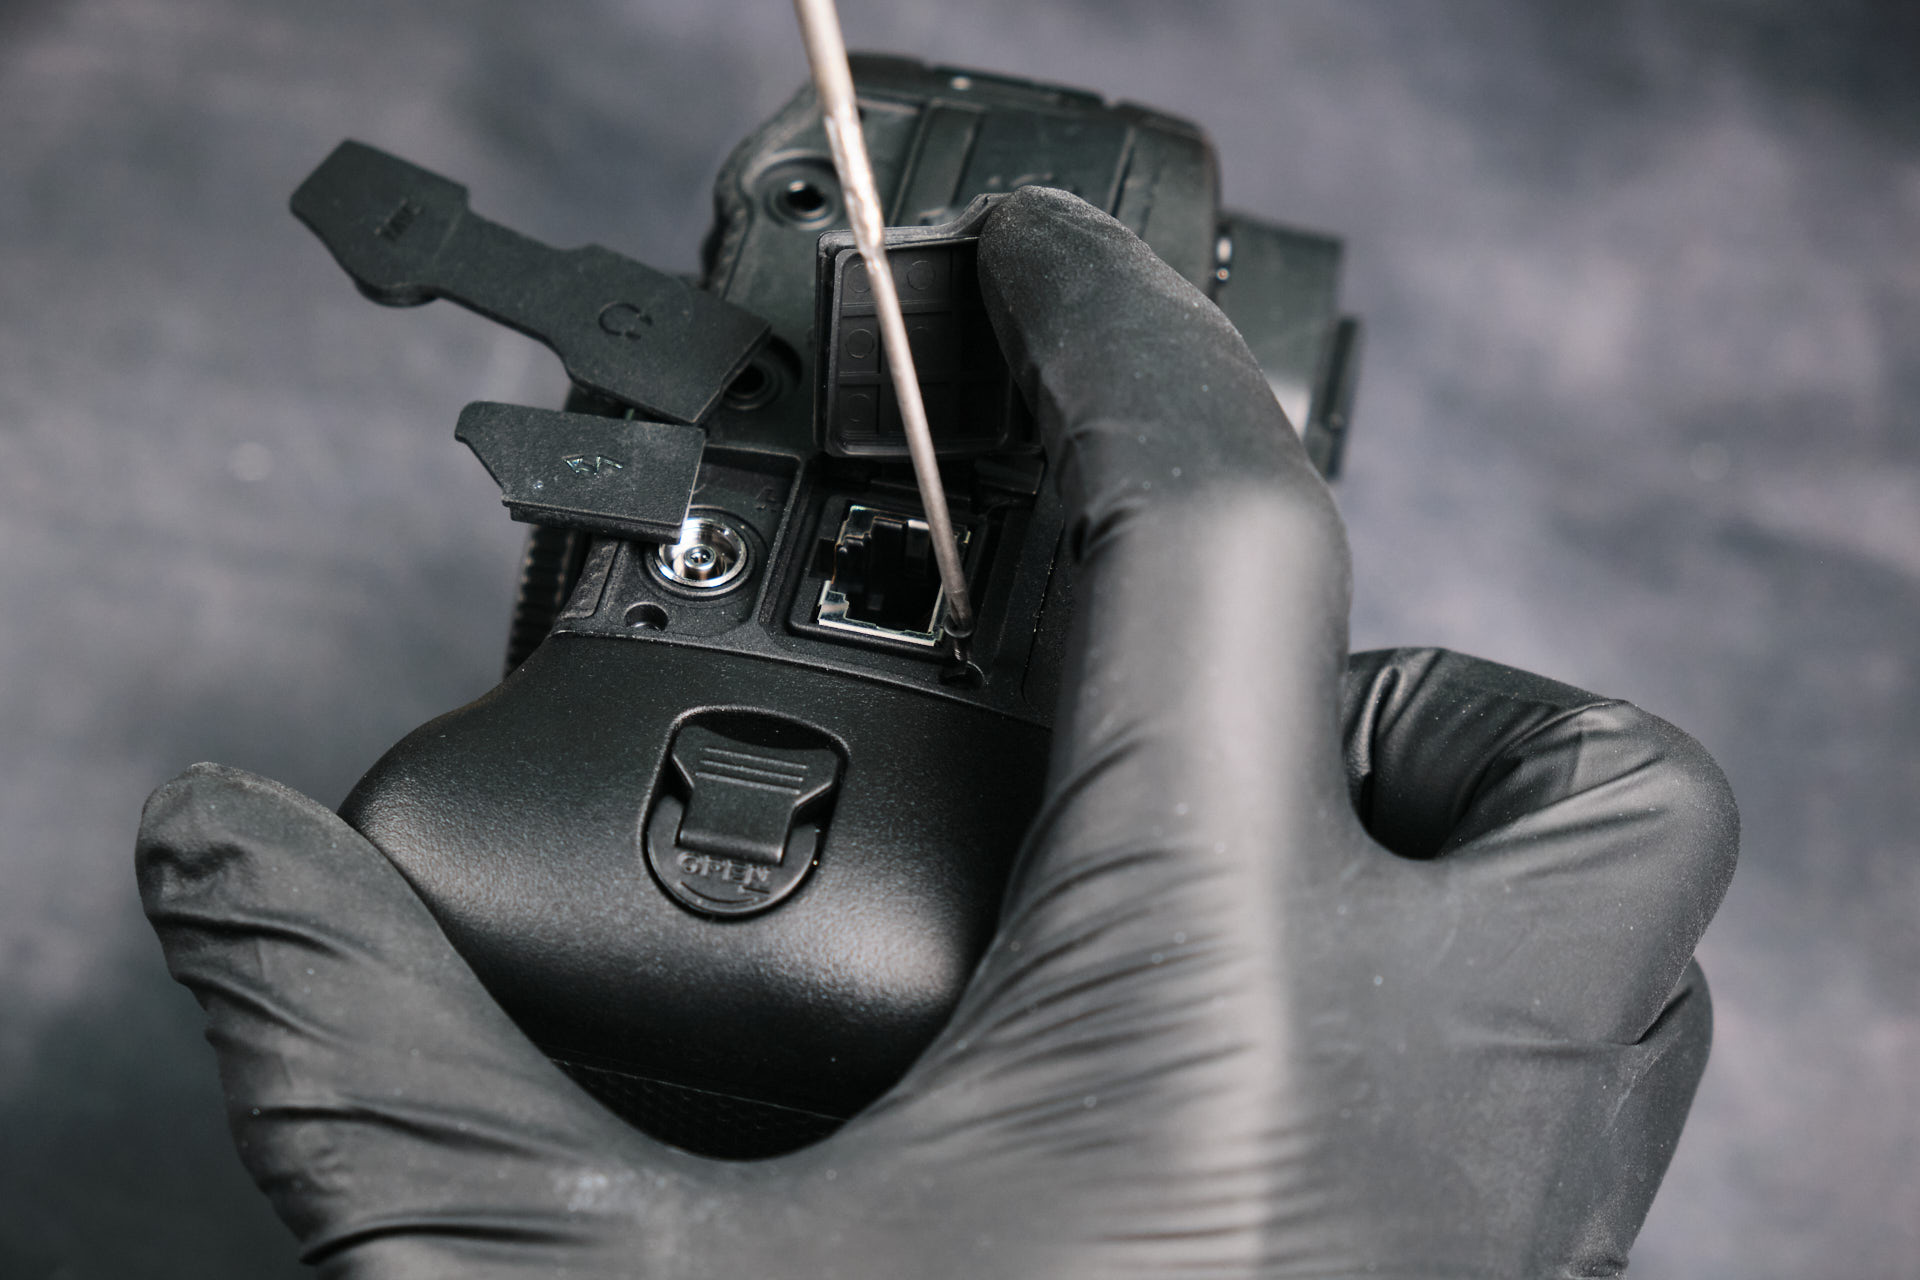
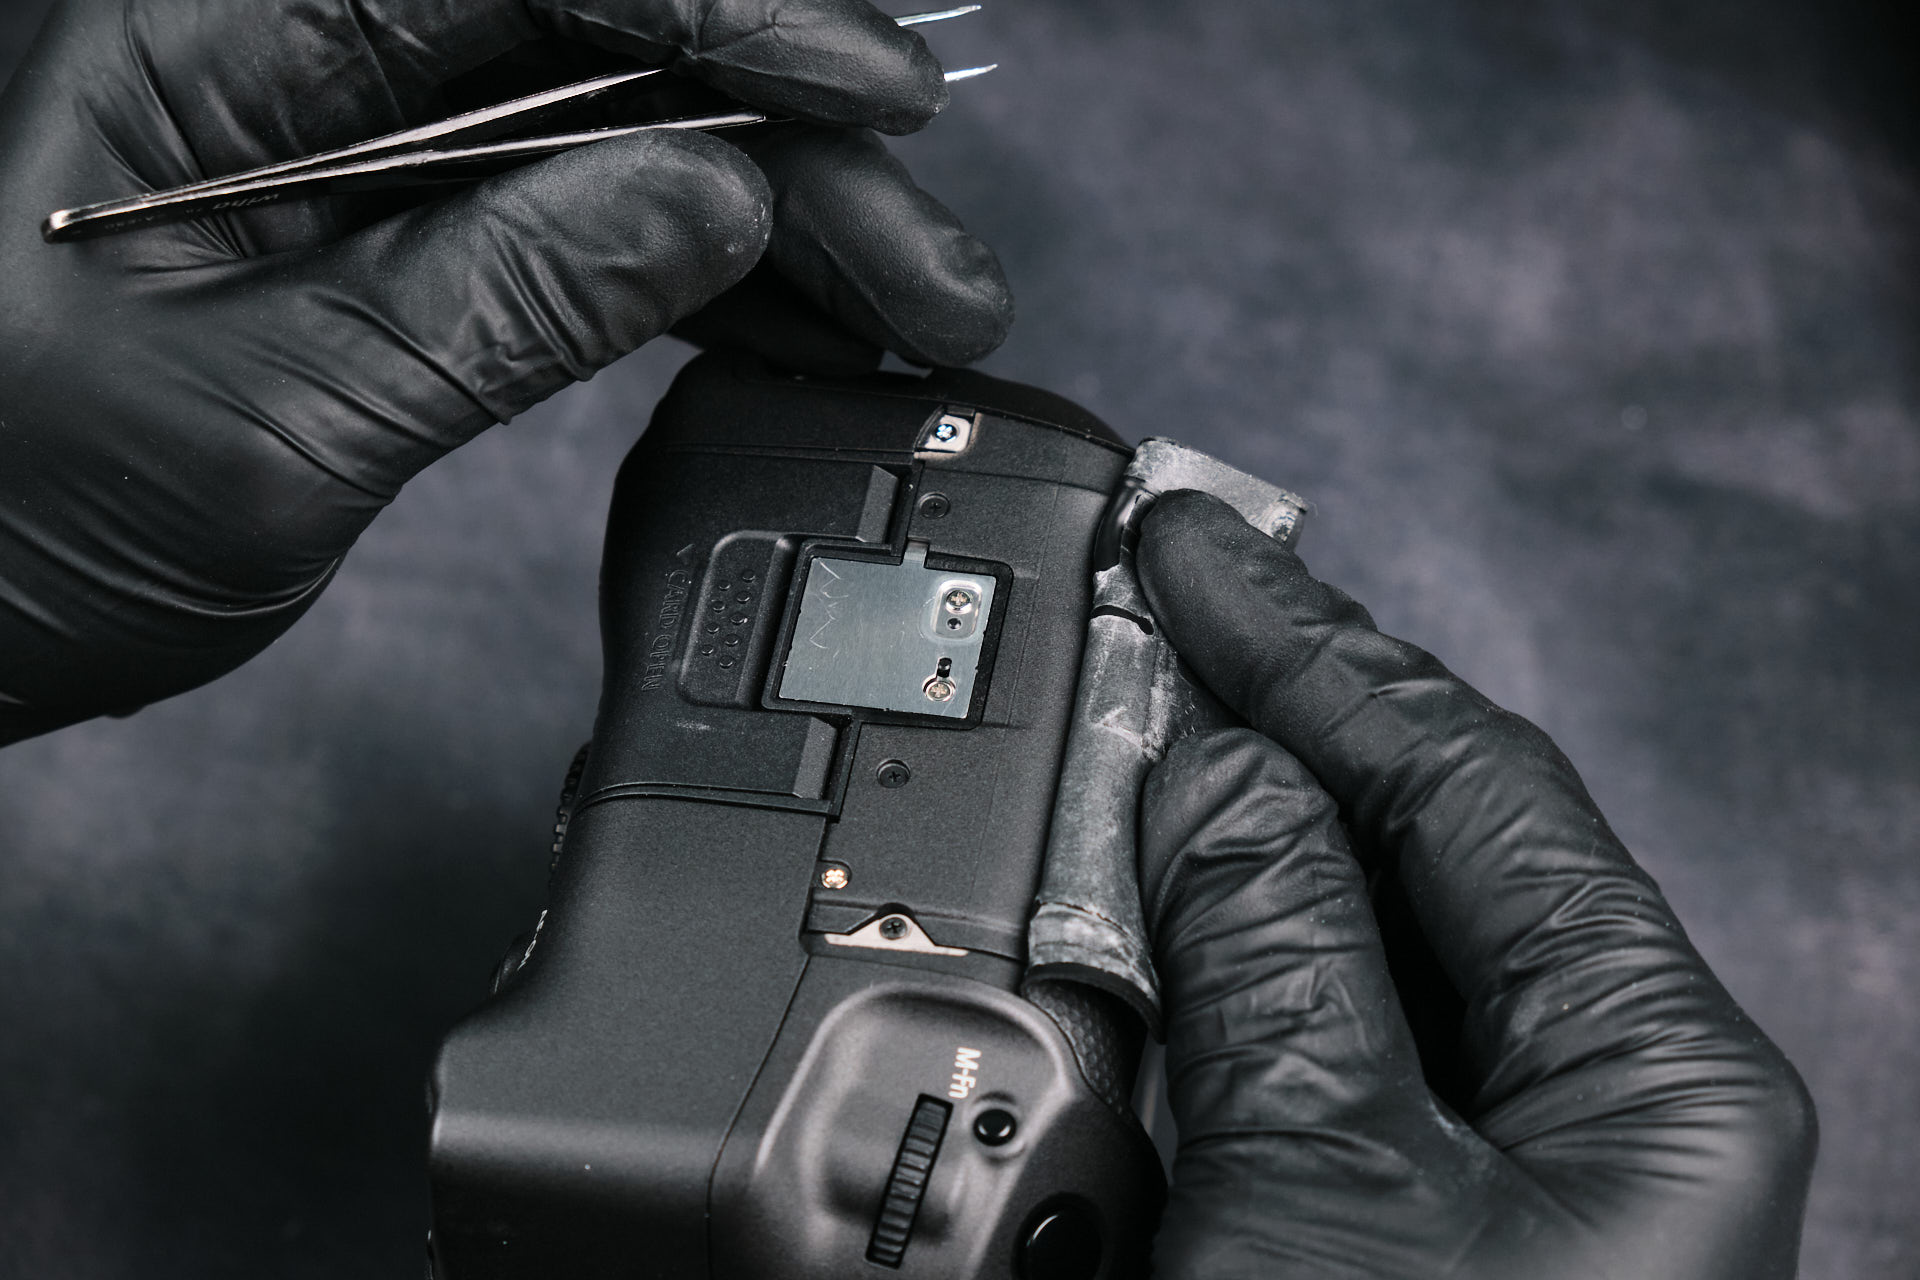
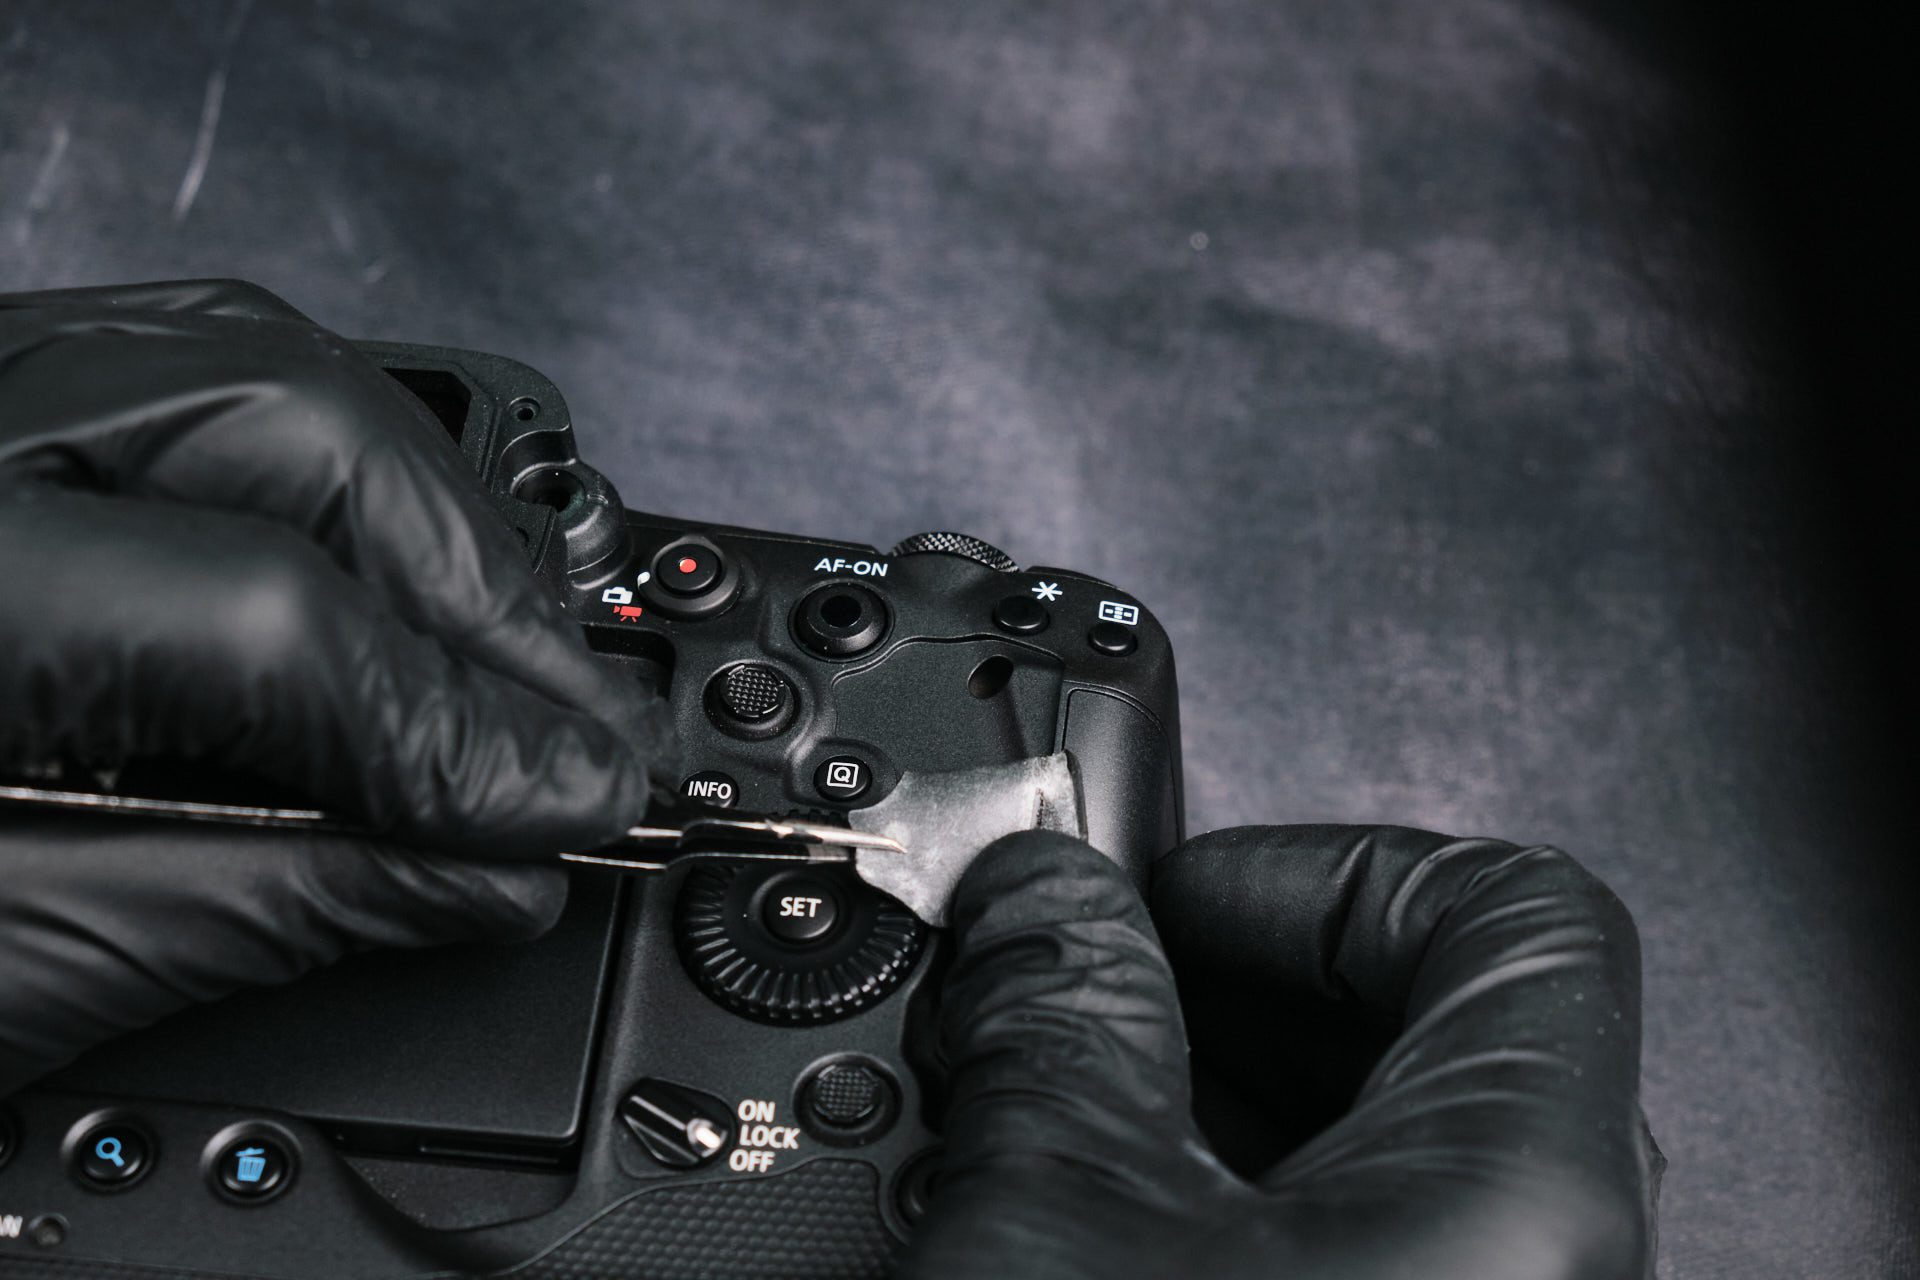
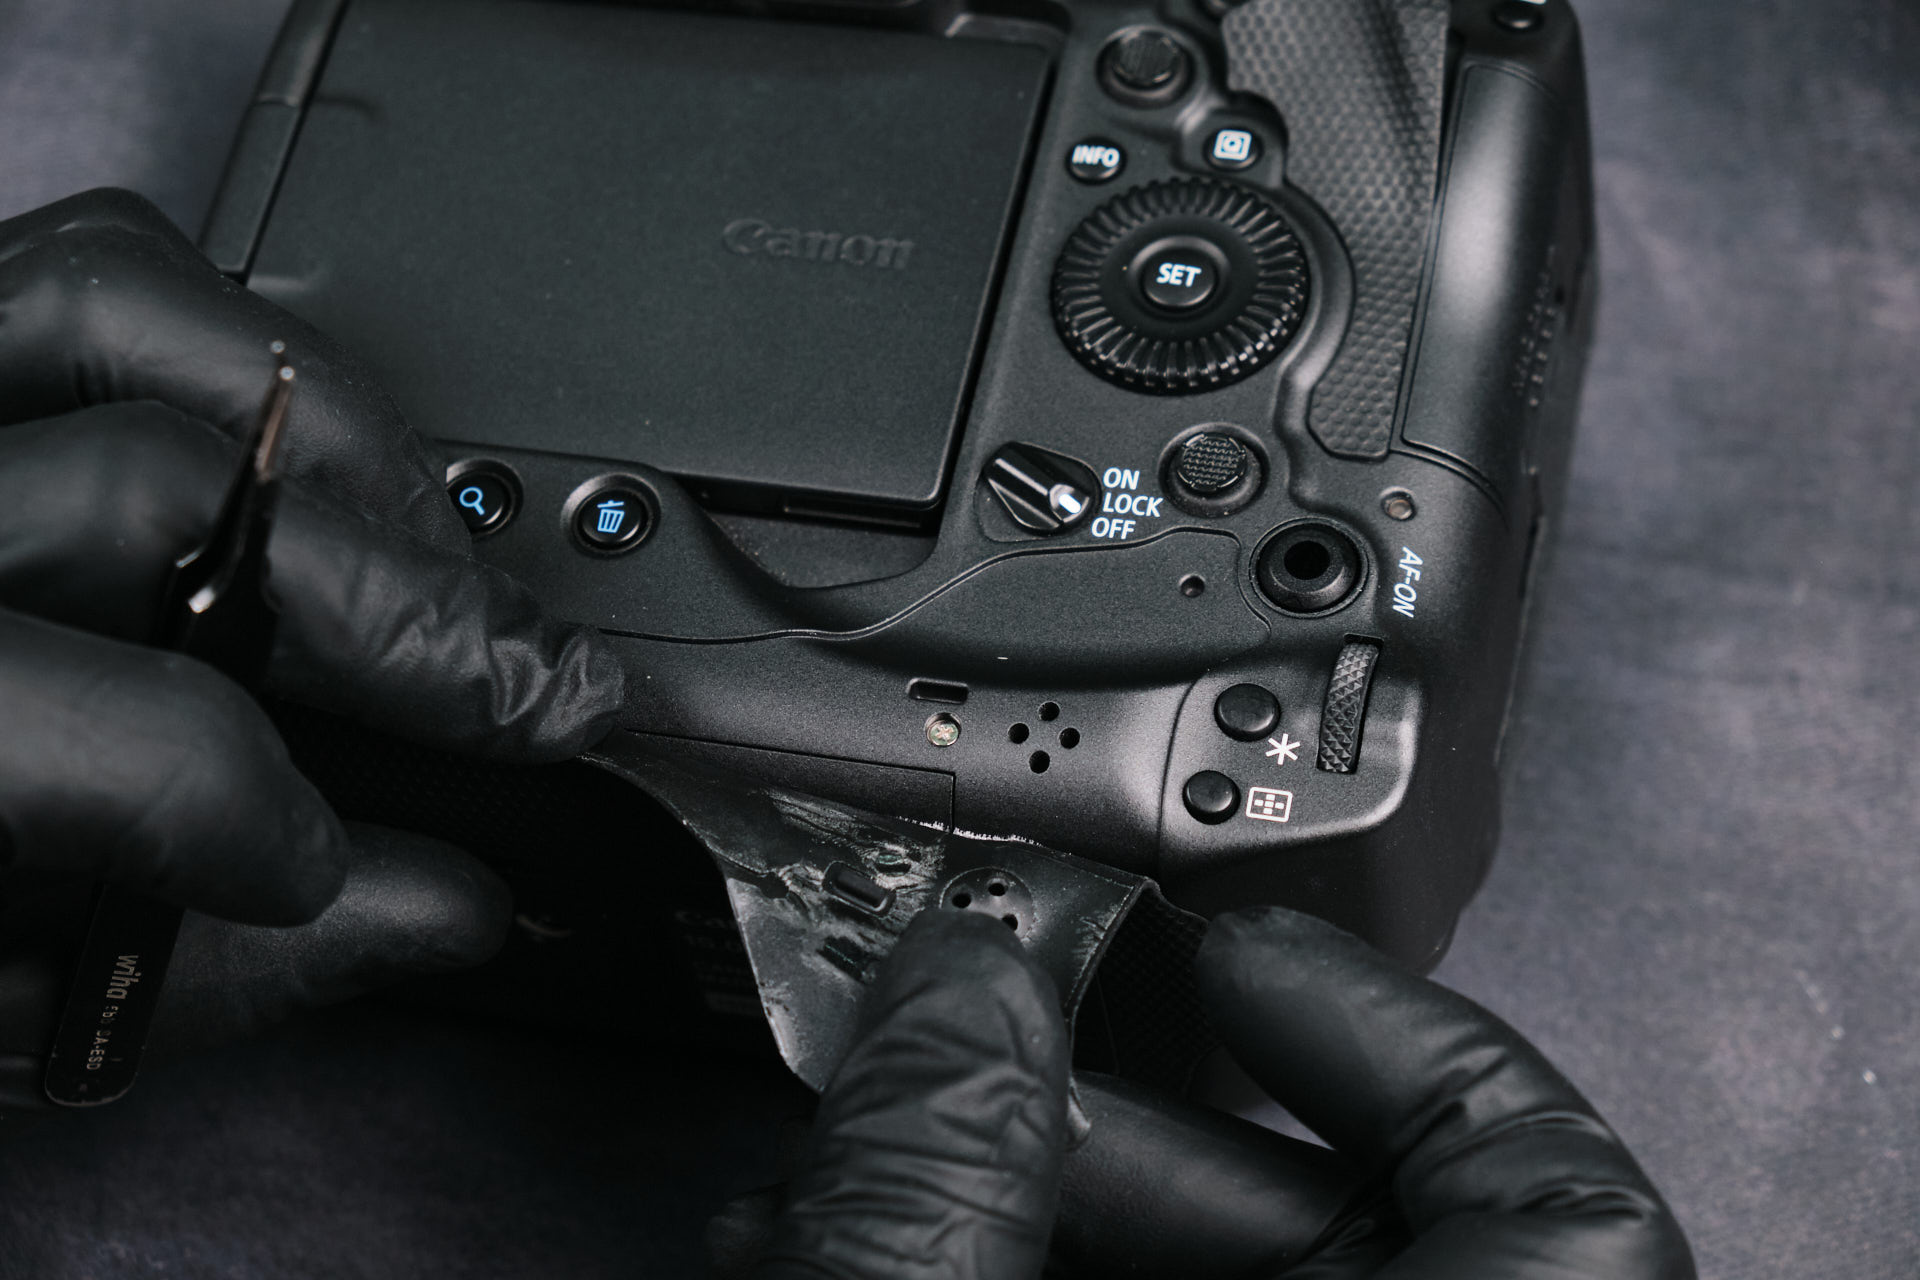
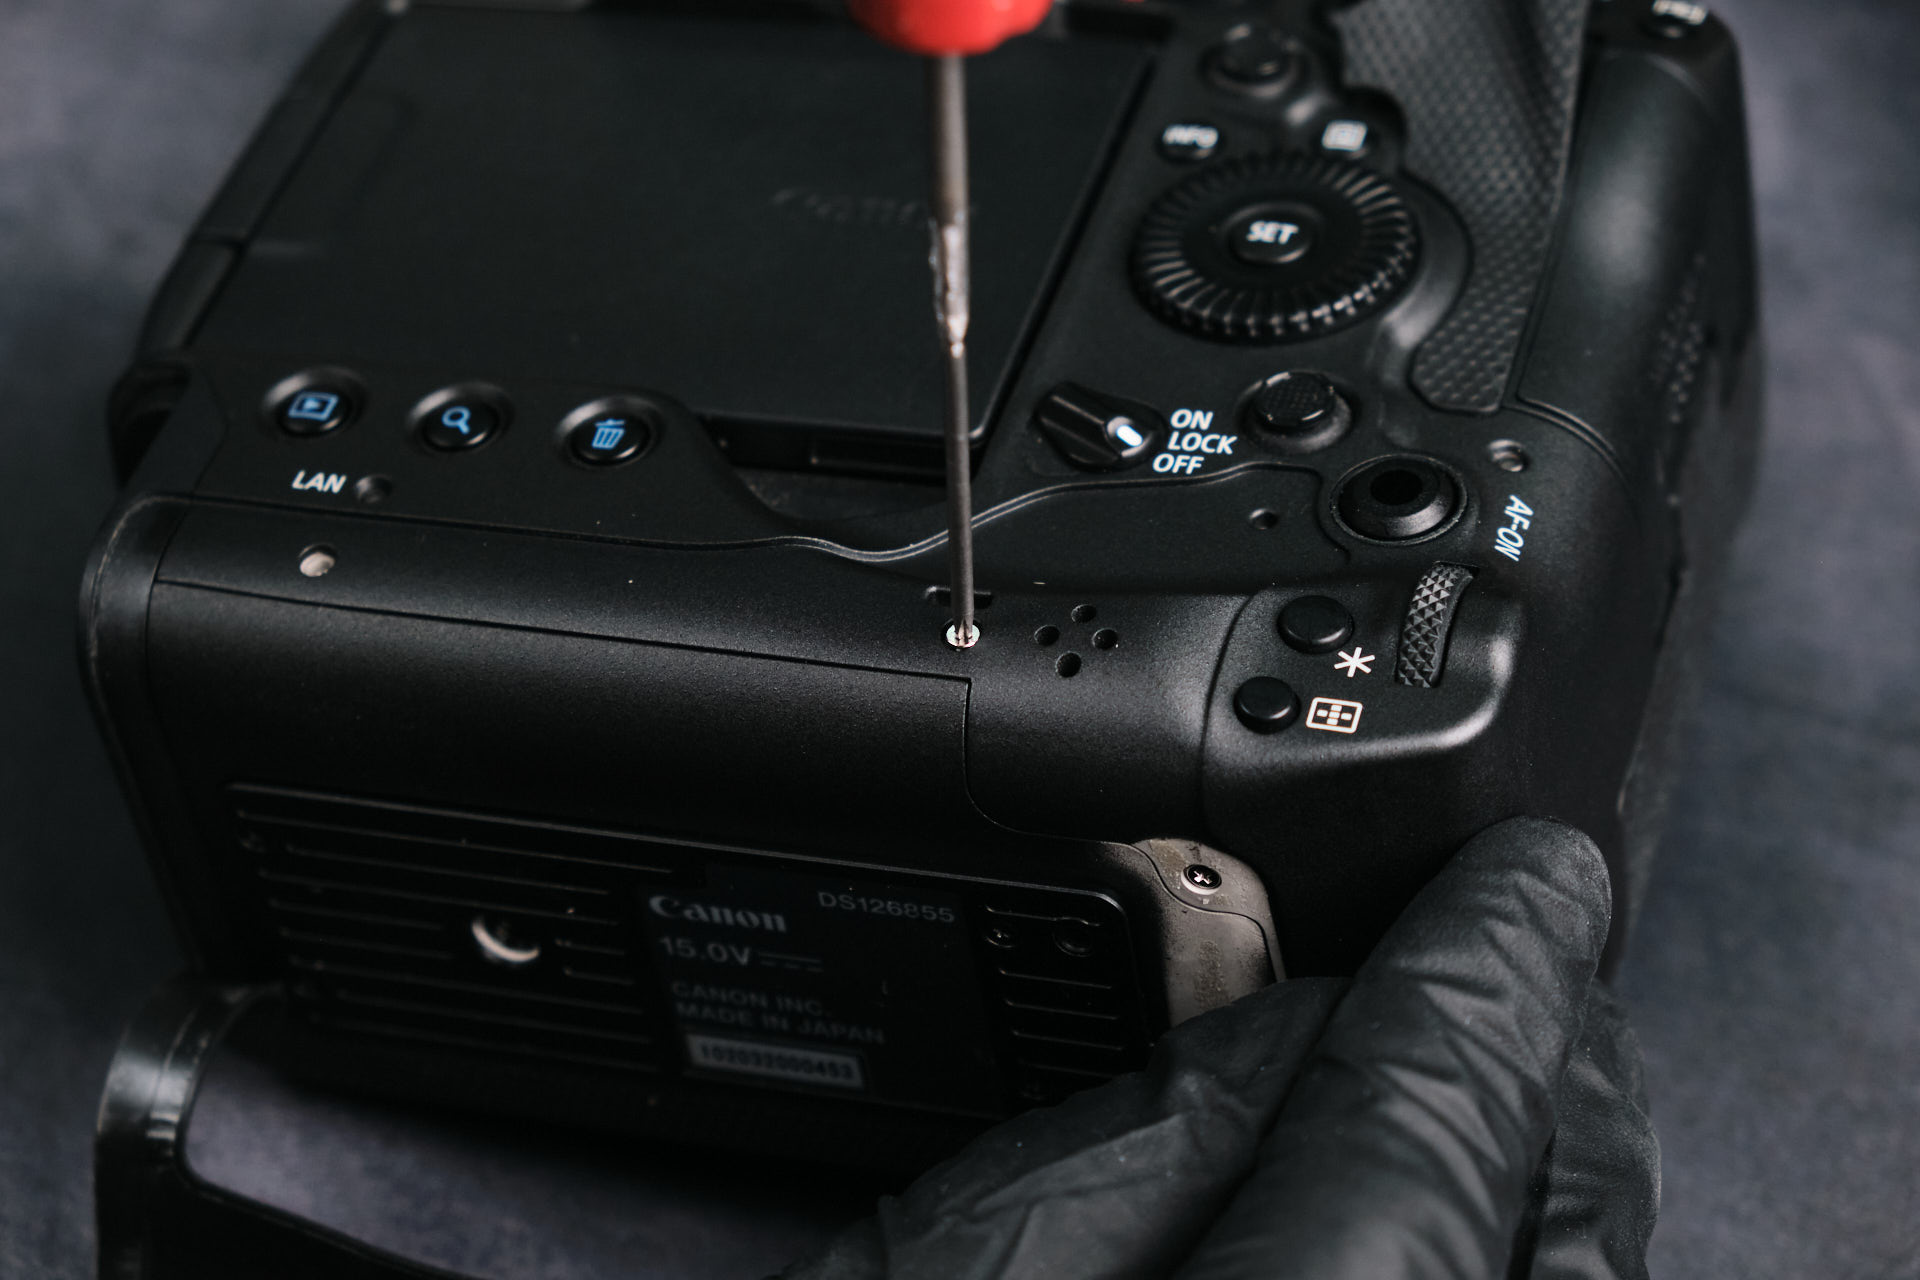
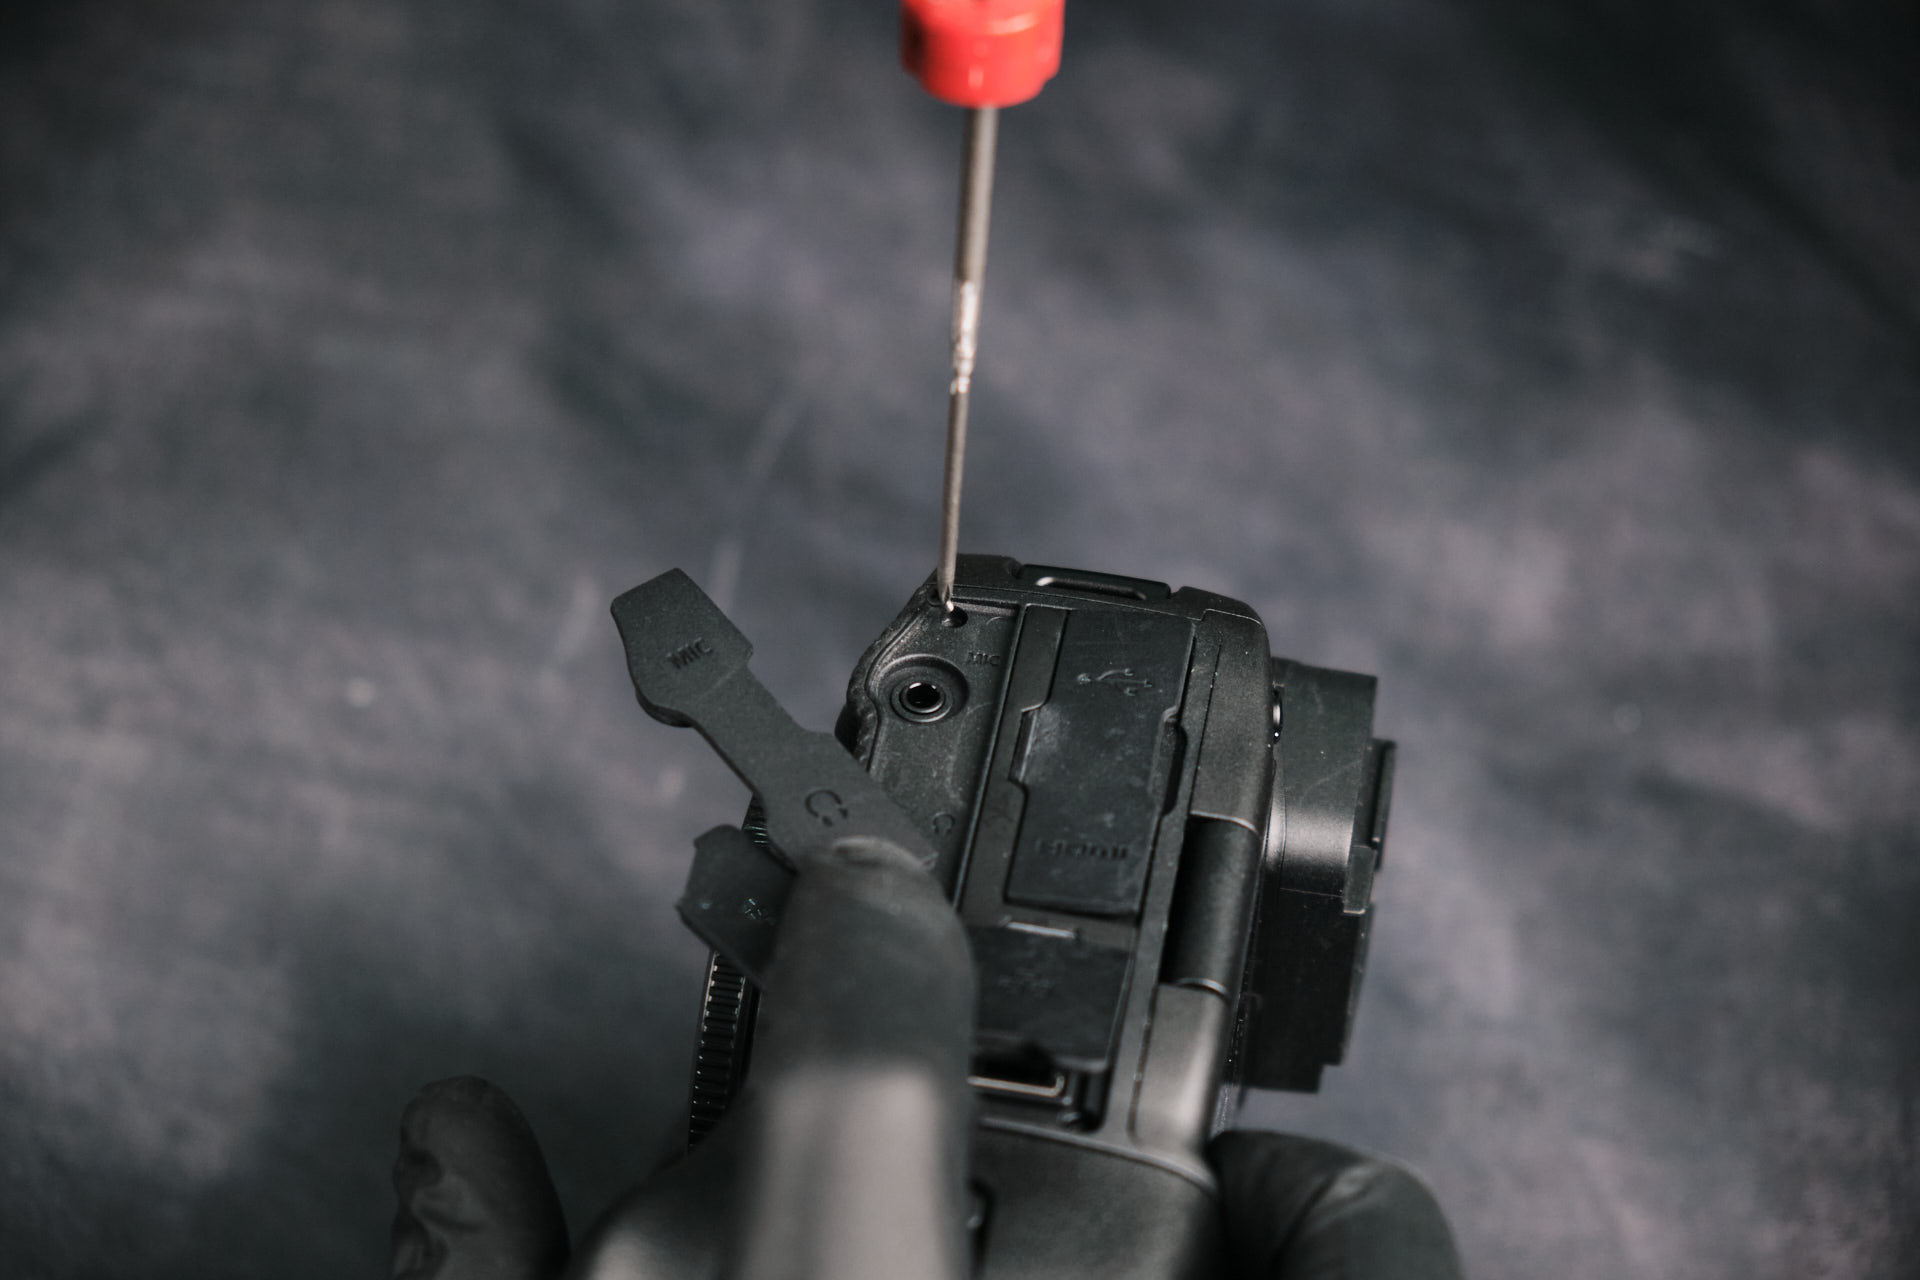
To begin taking a part the camera, we had to remove several screws surrounding the entire body. Some screws were exposed while others were hidden beneath the leather skin or port side covers.
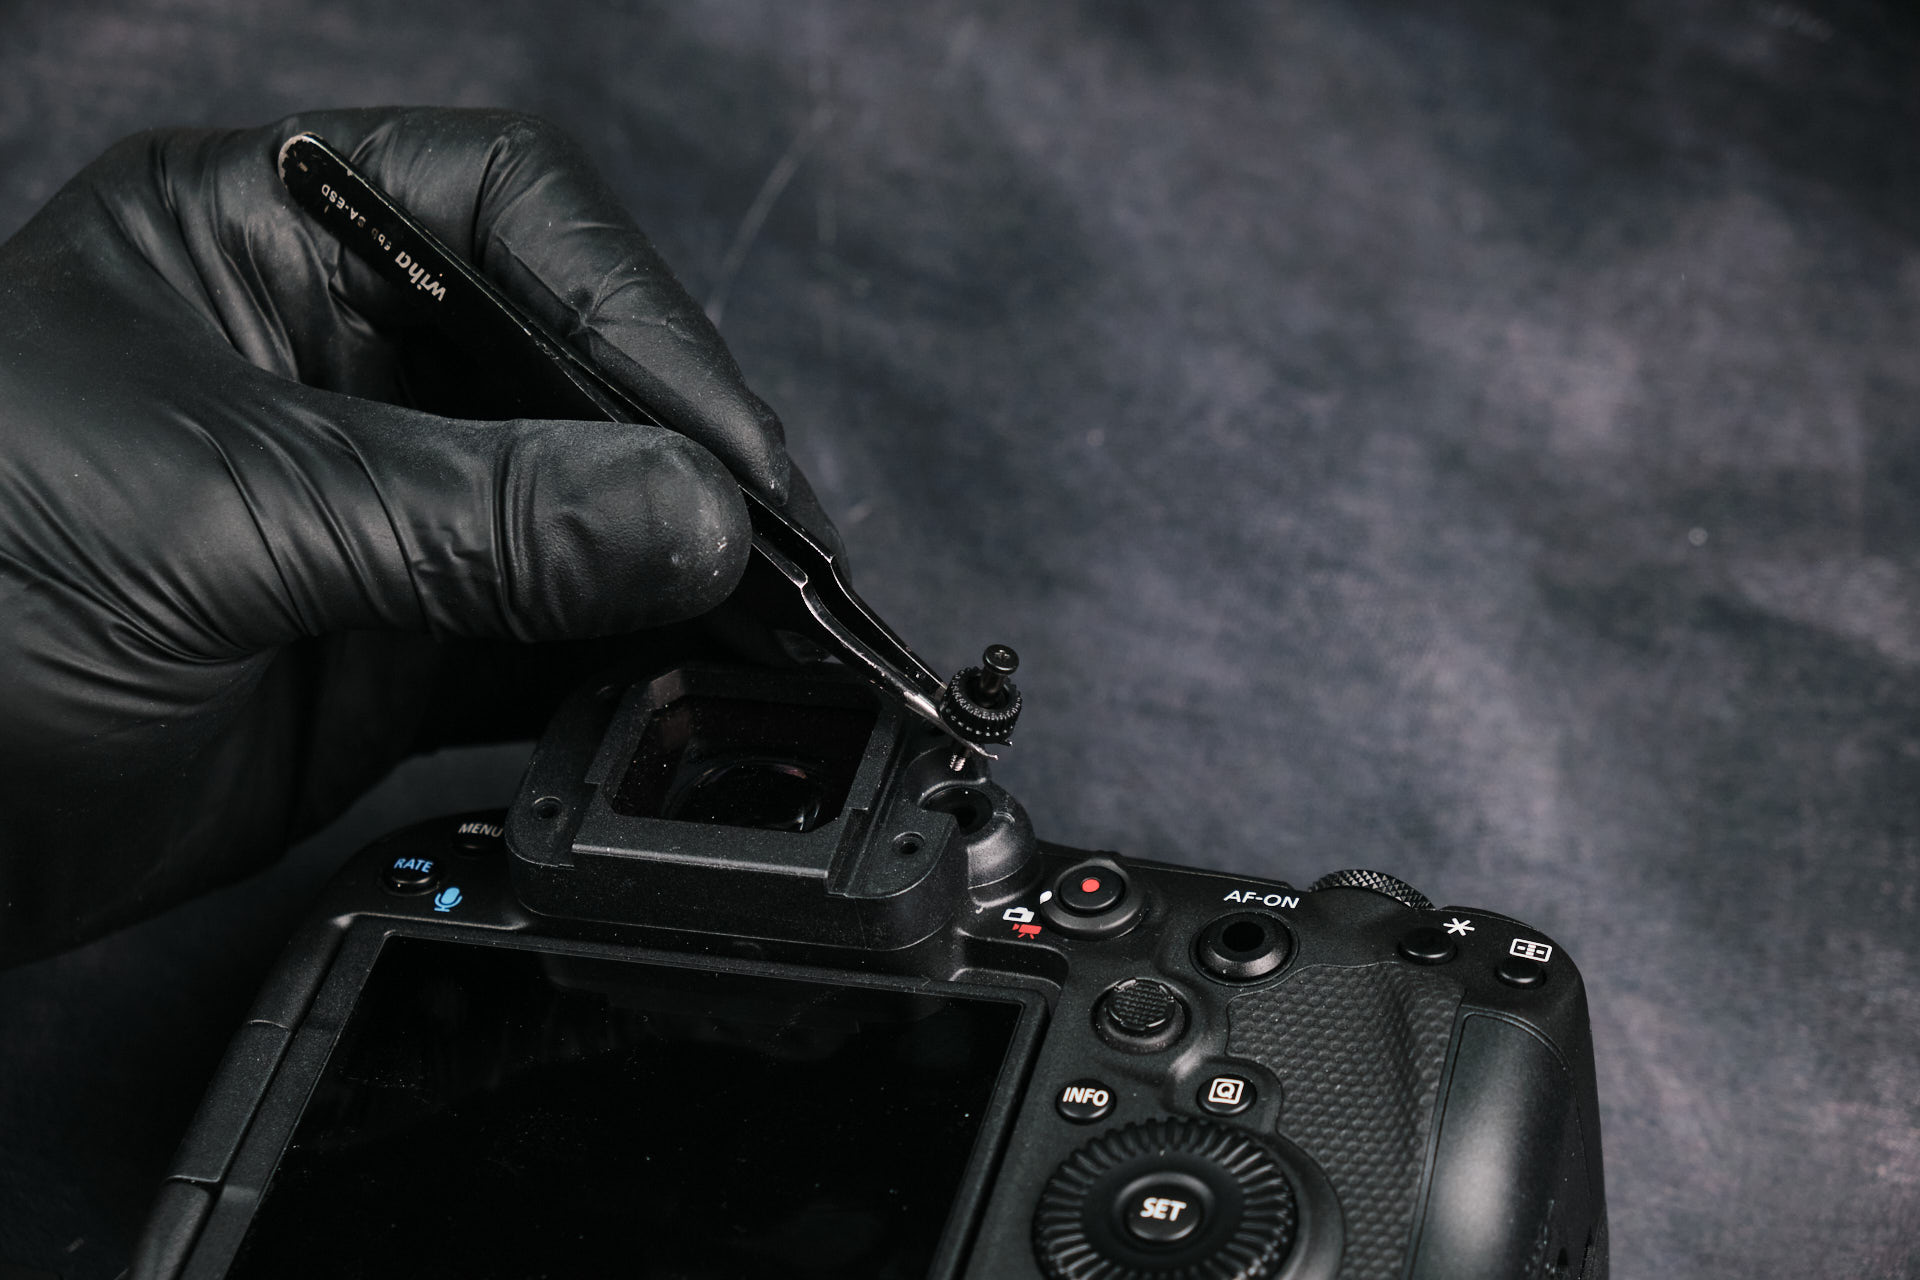
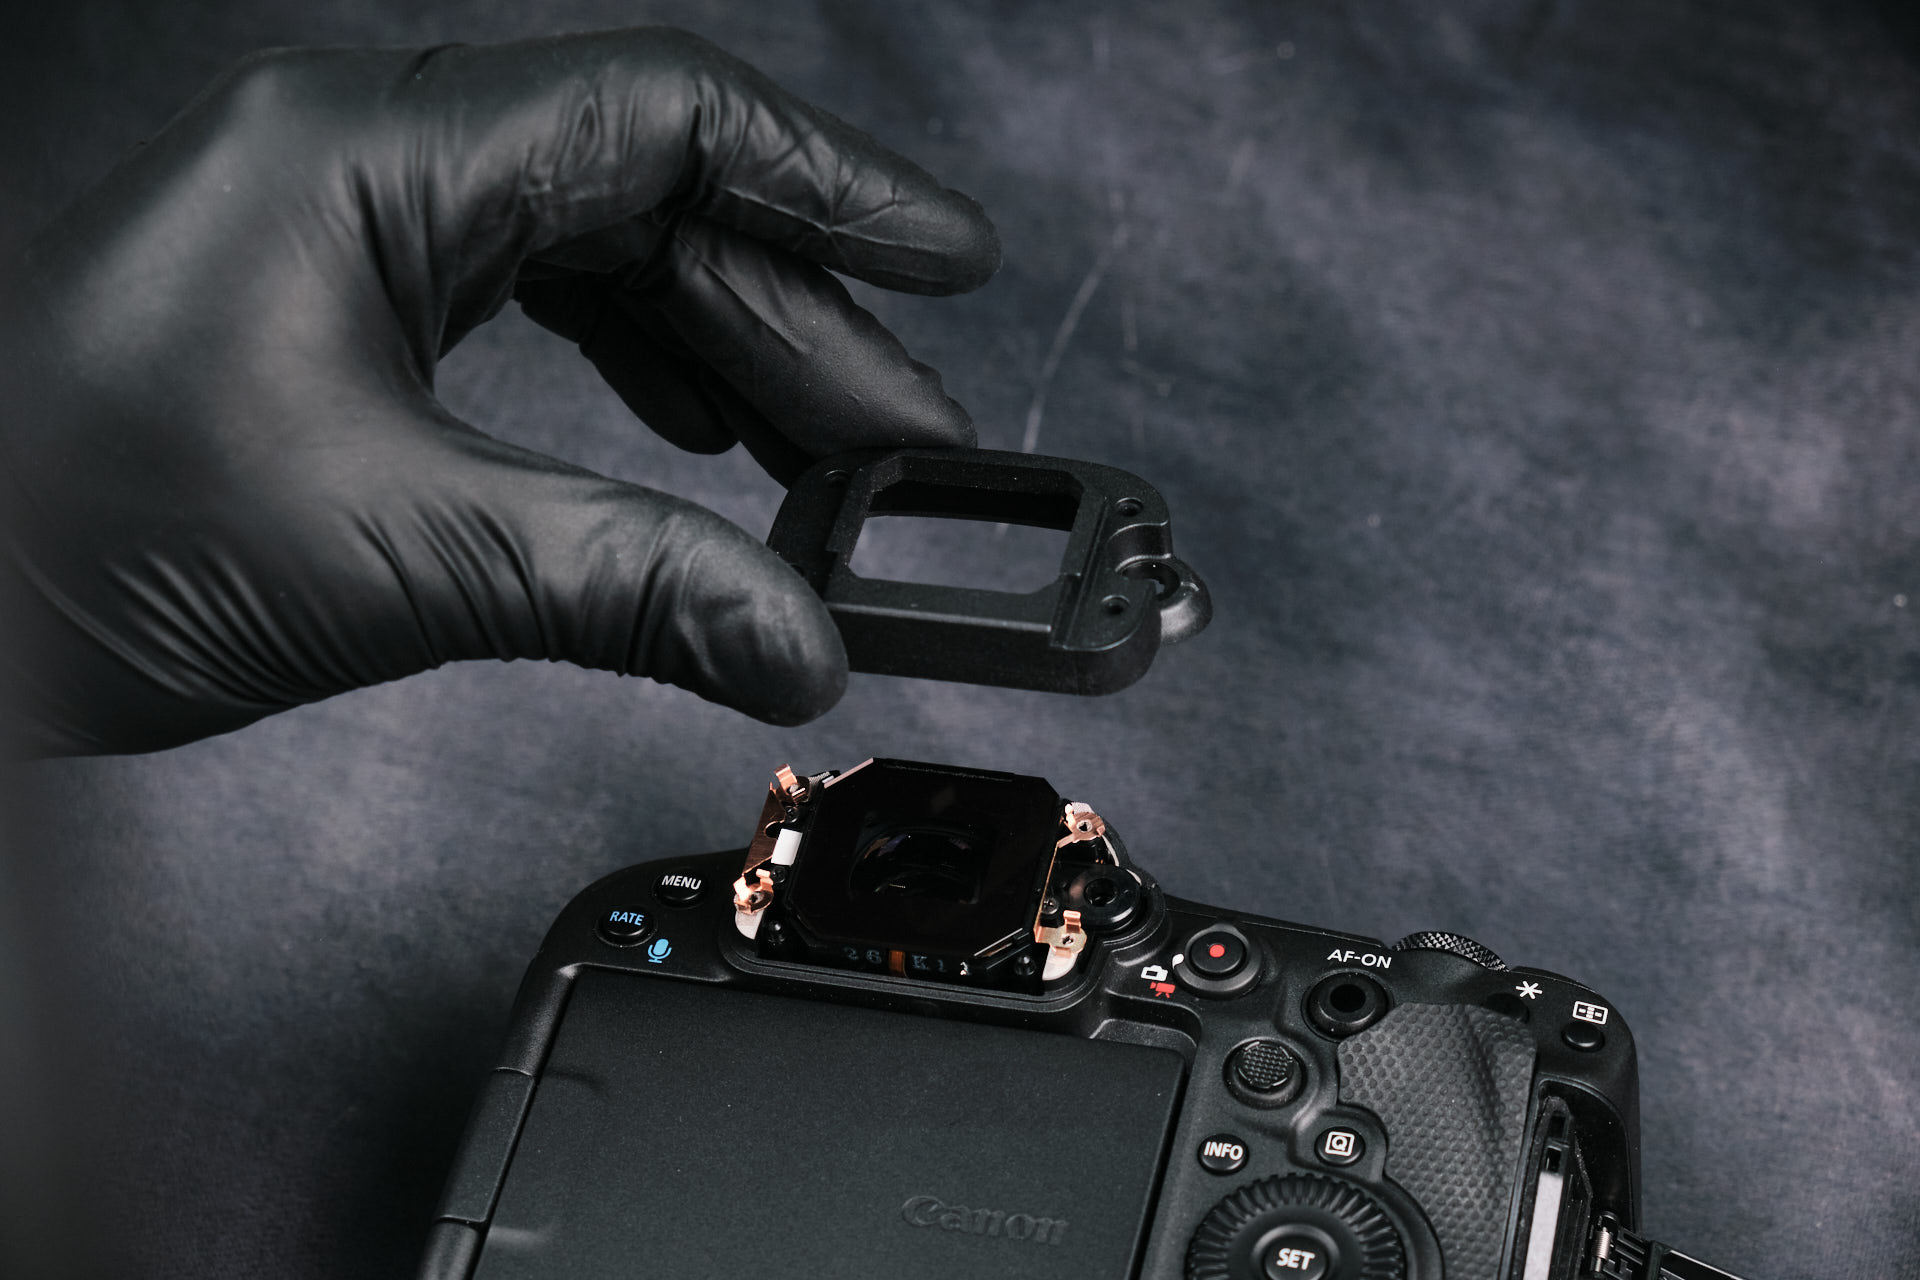
Removing the Canon EOS R3 EVF Screws
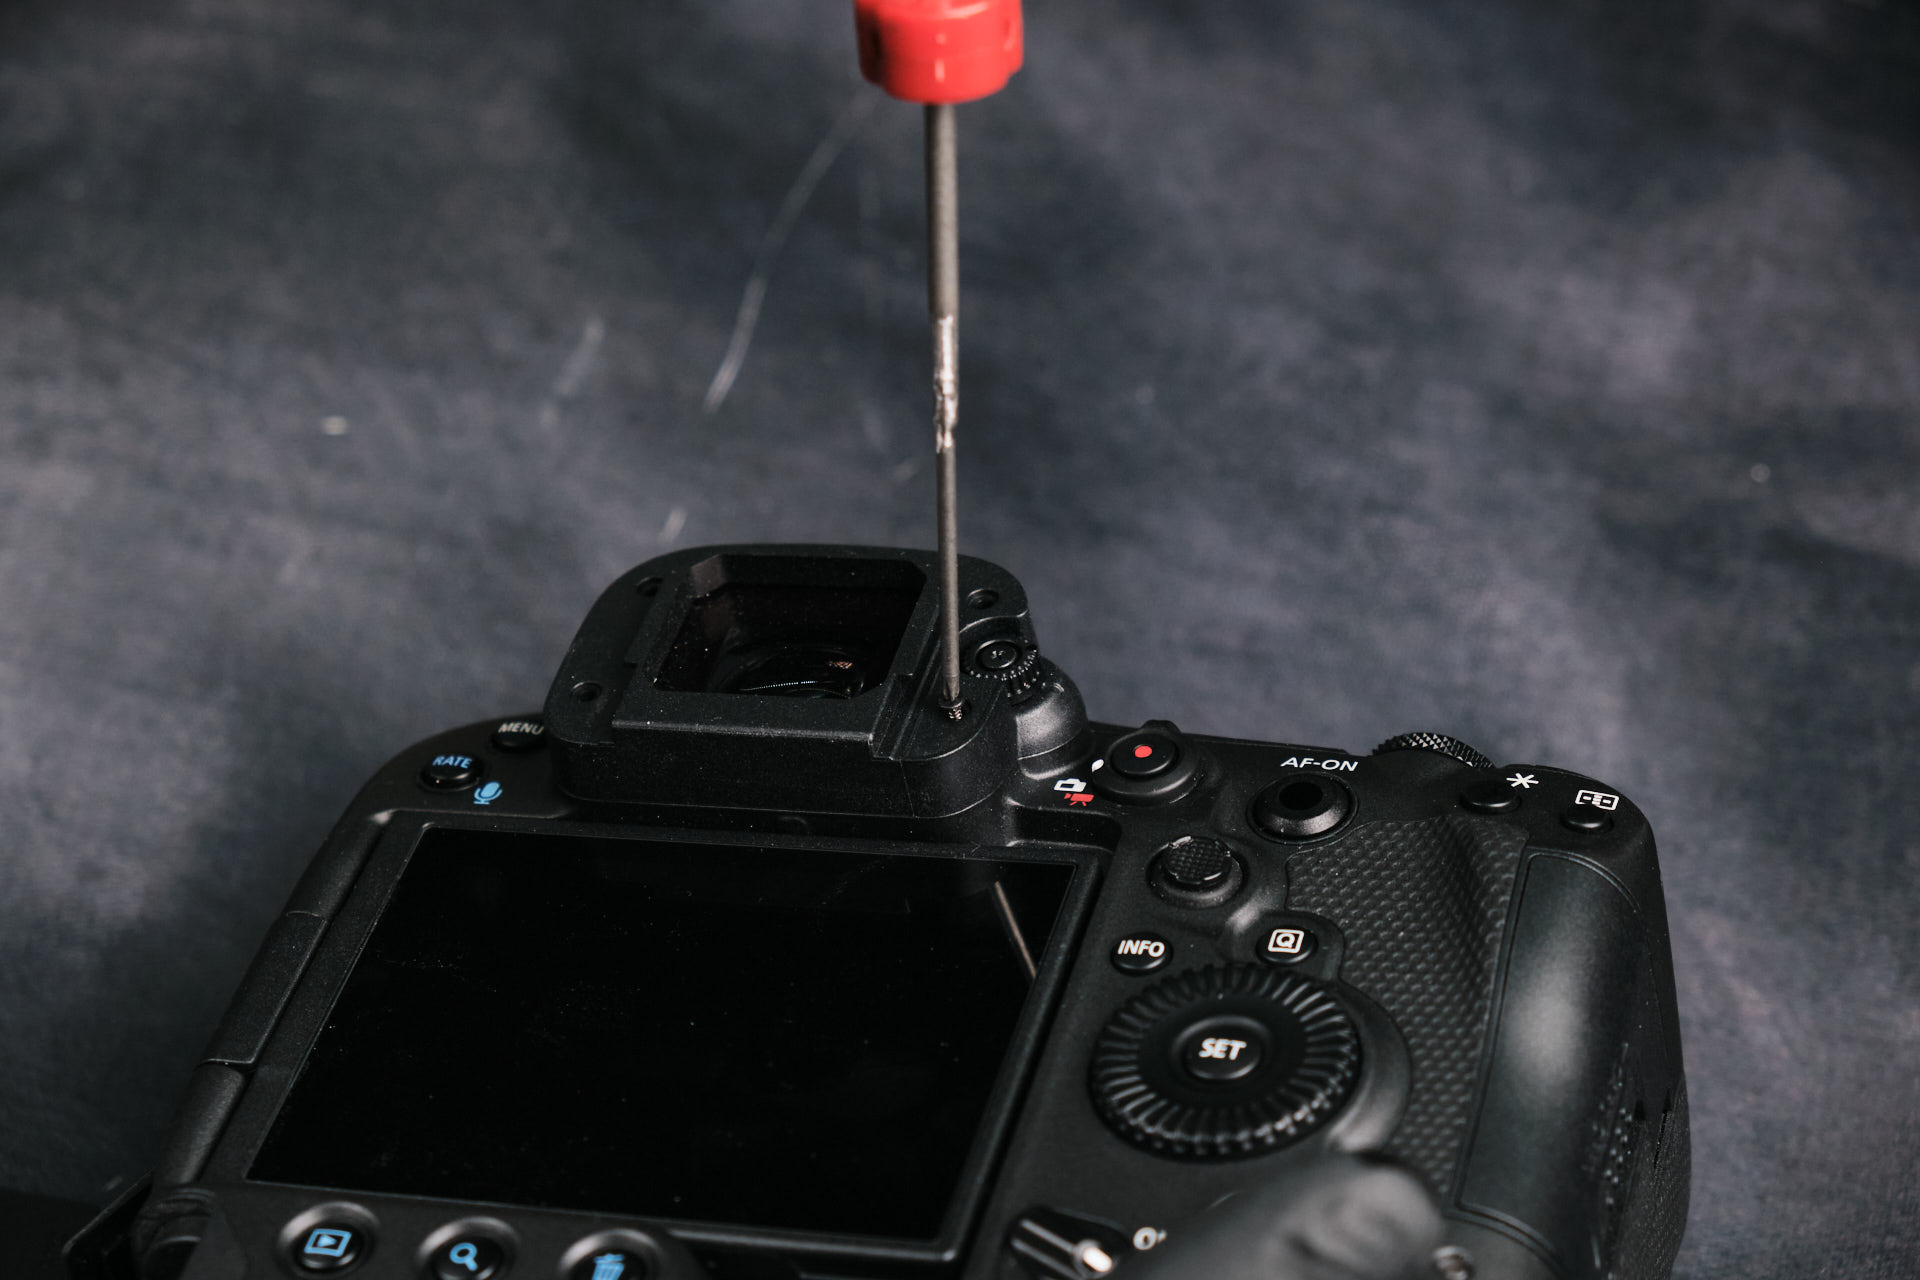
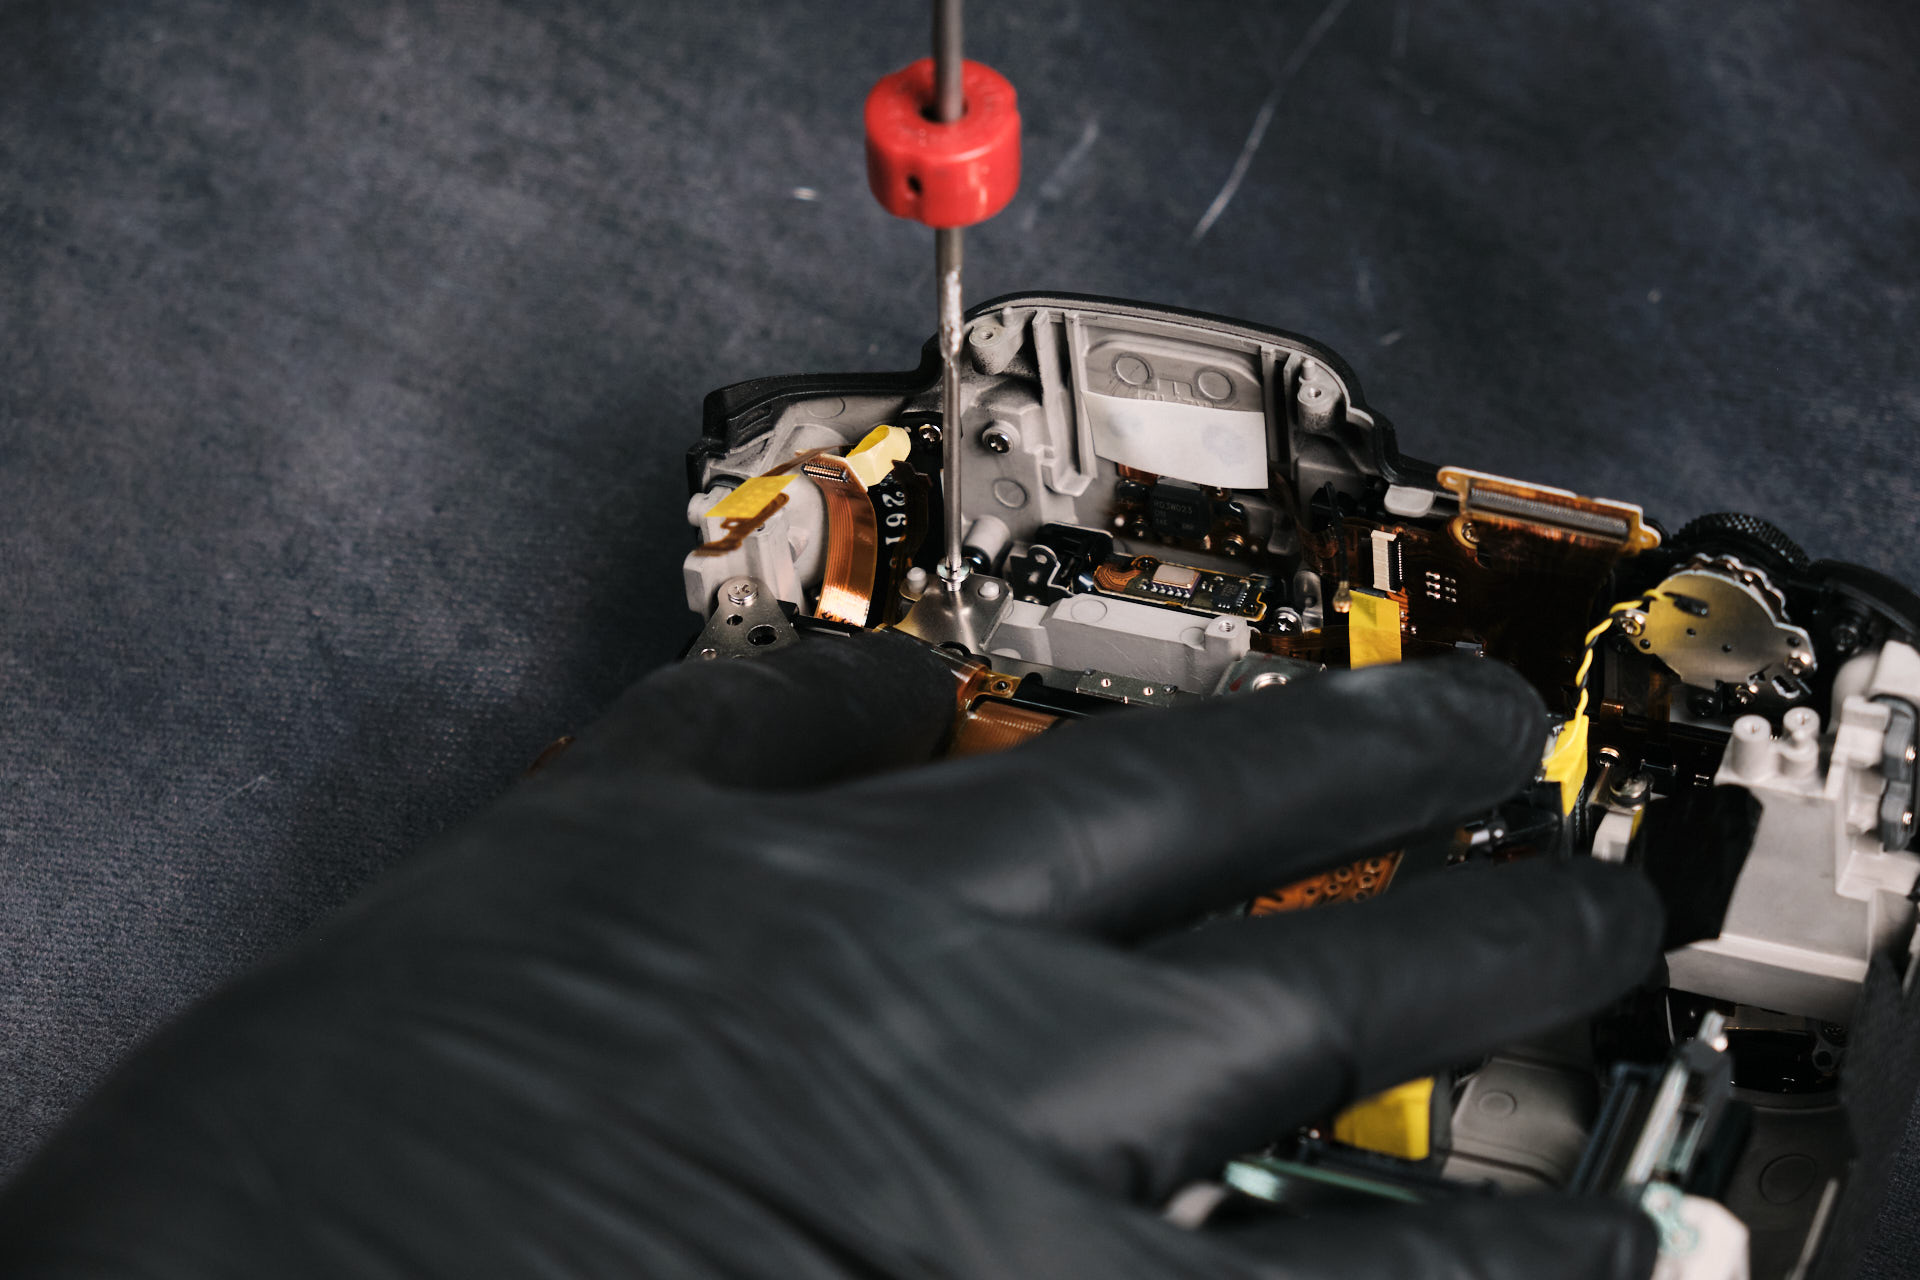
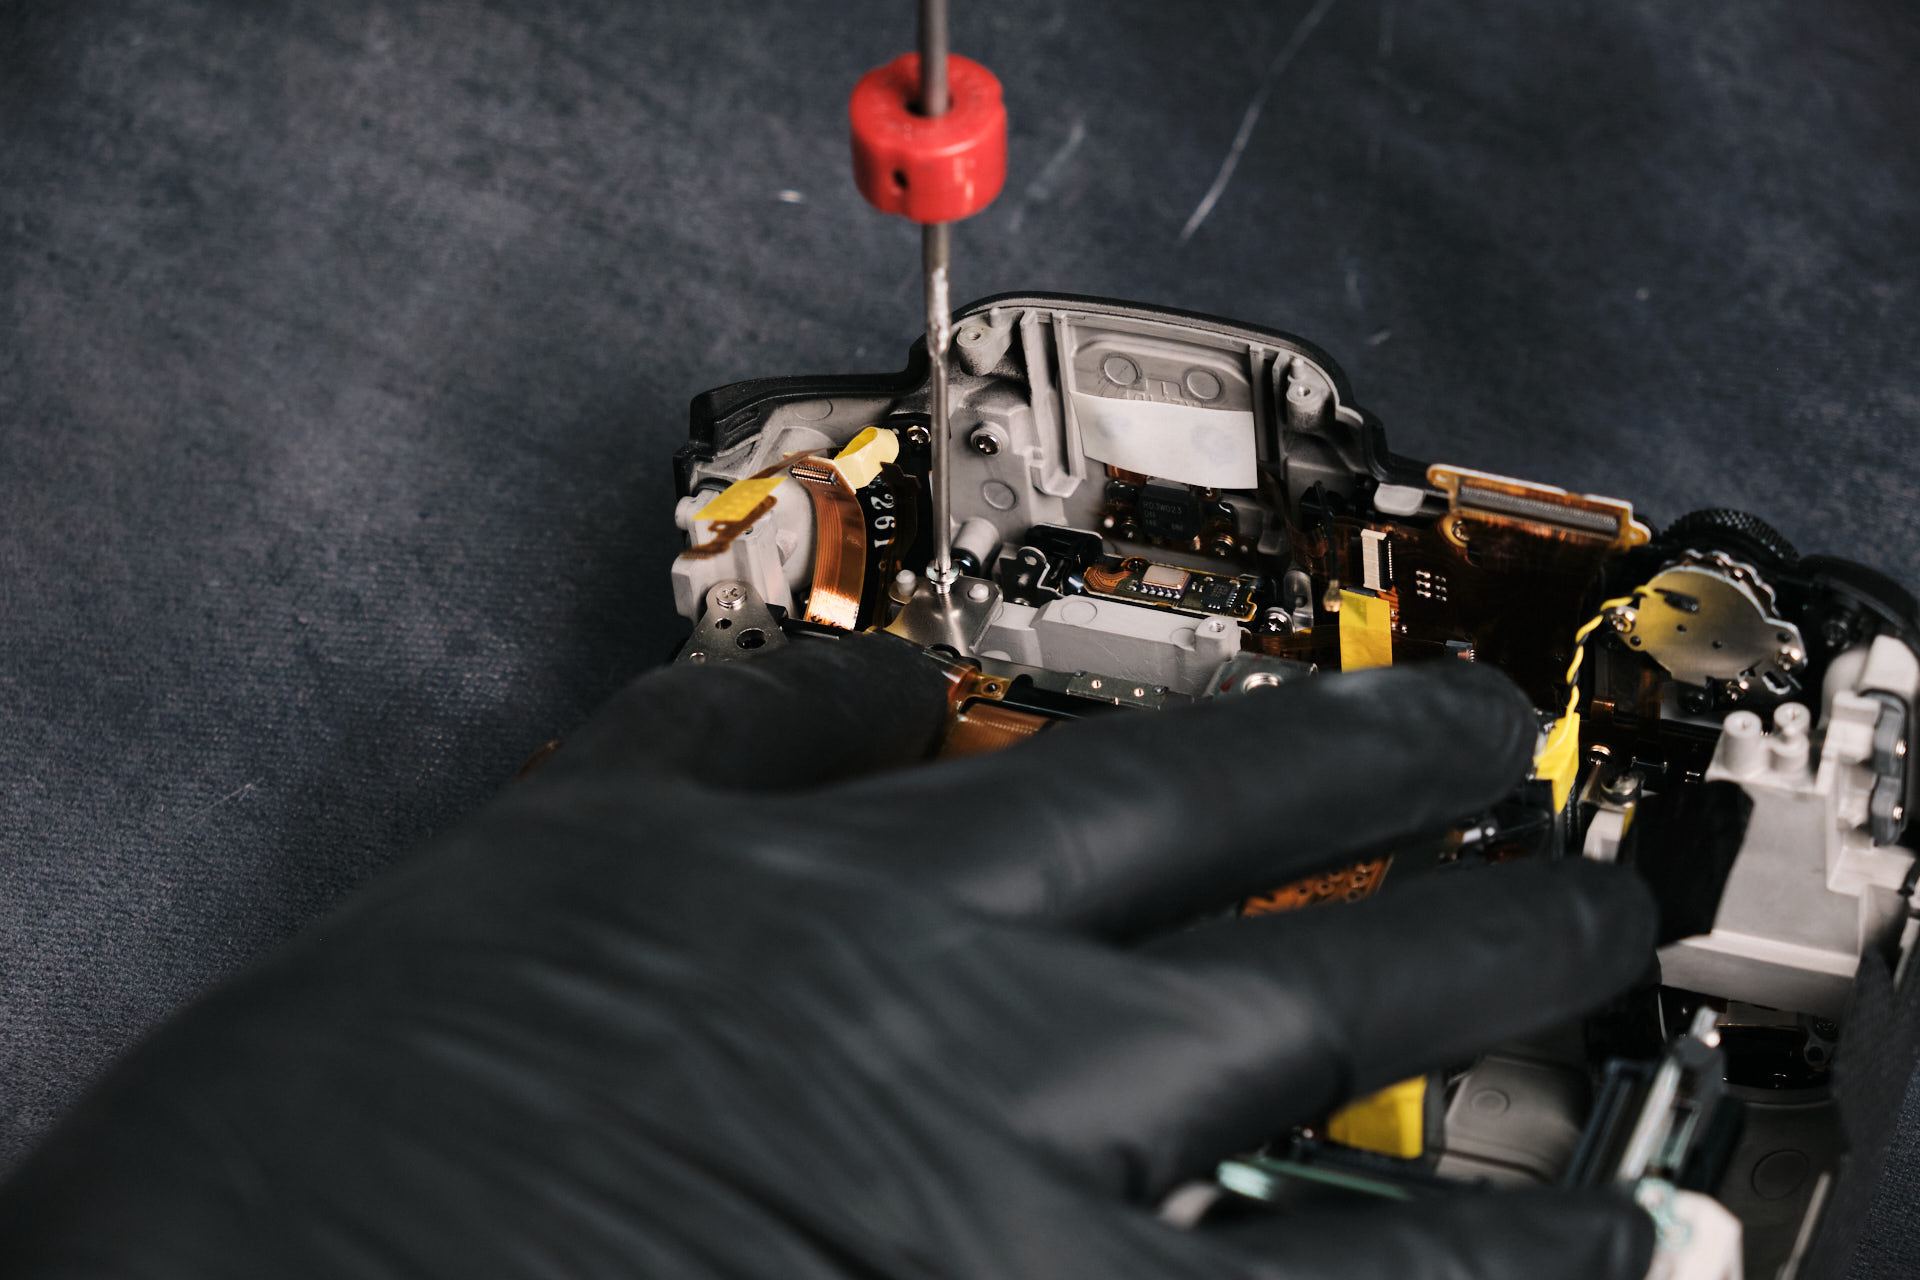
Removing the screws for the EVF is a simple, straightforward process here. Four screws hold the rubber eye covering, and one screw holds down the diopter dial.
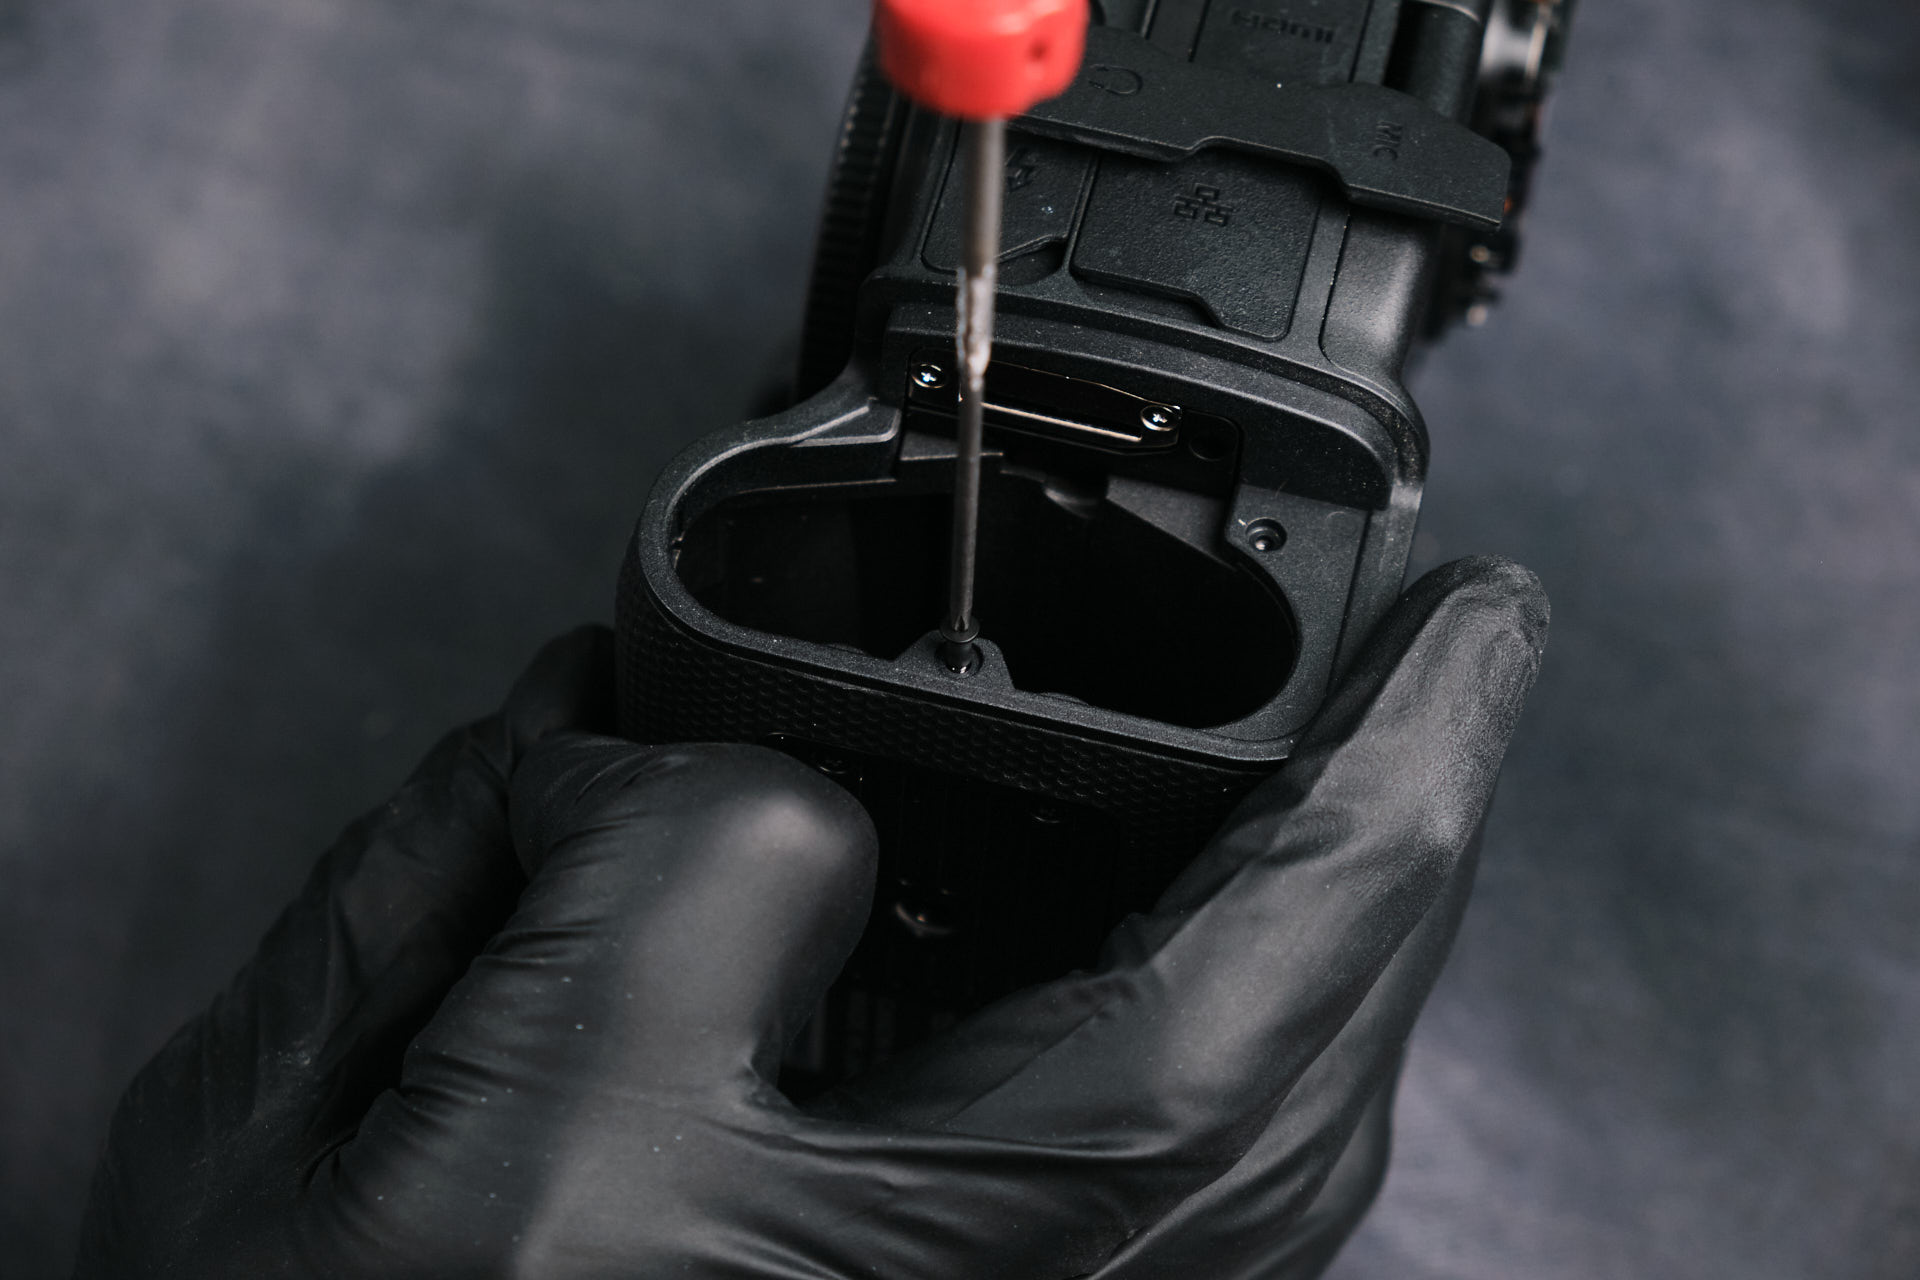
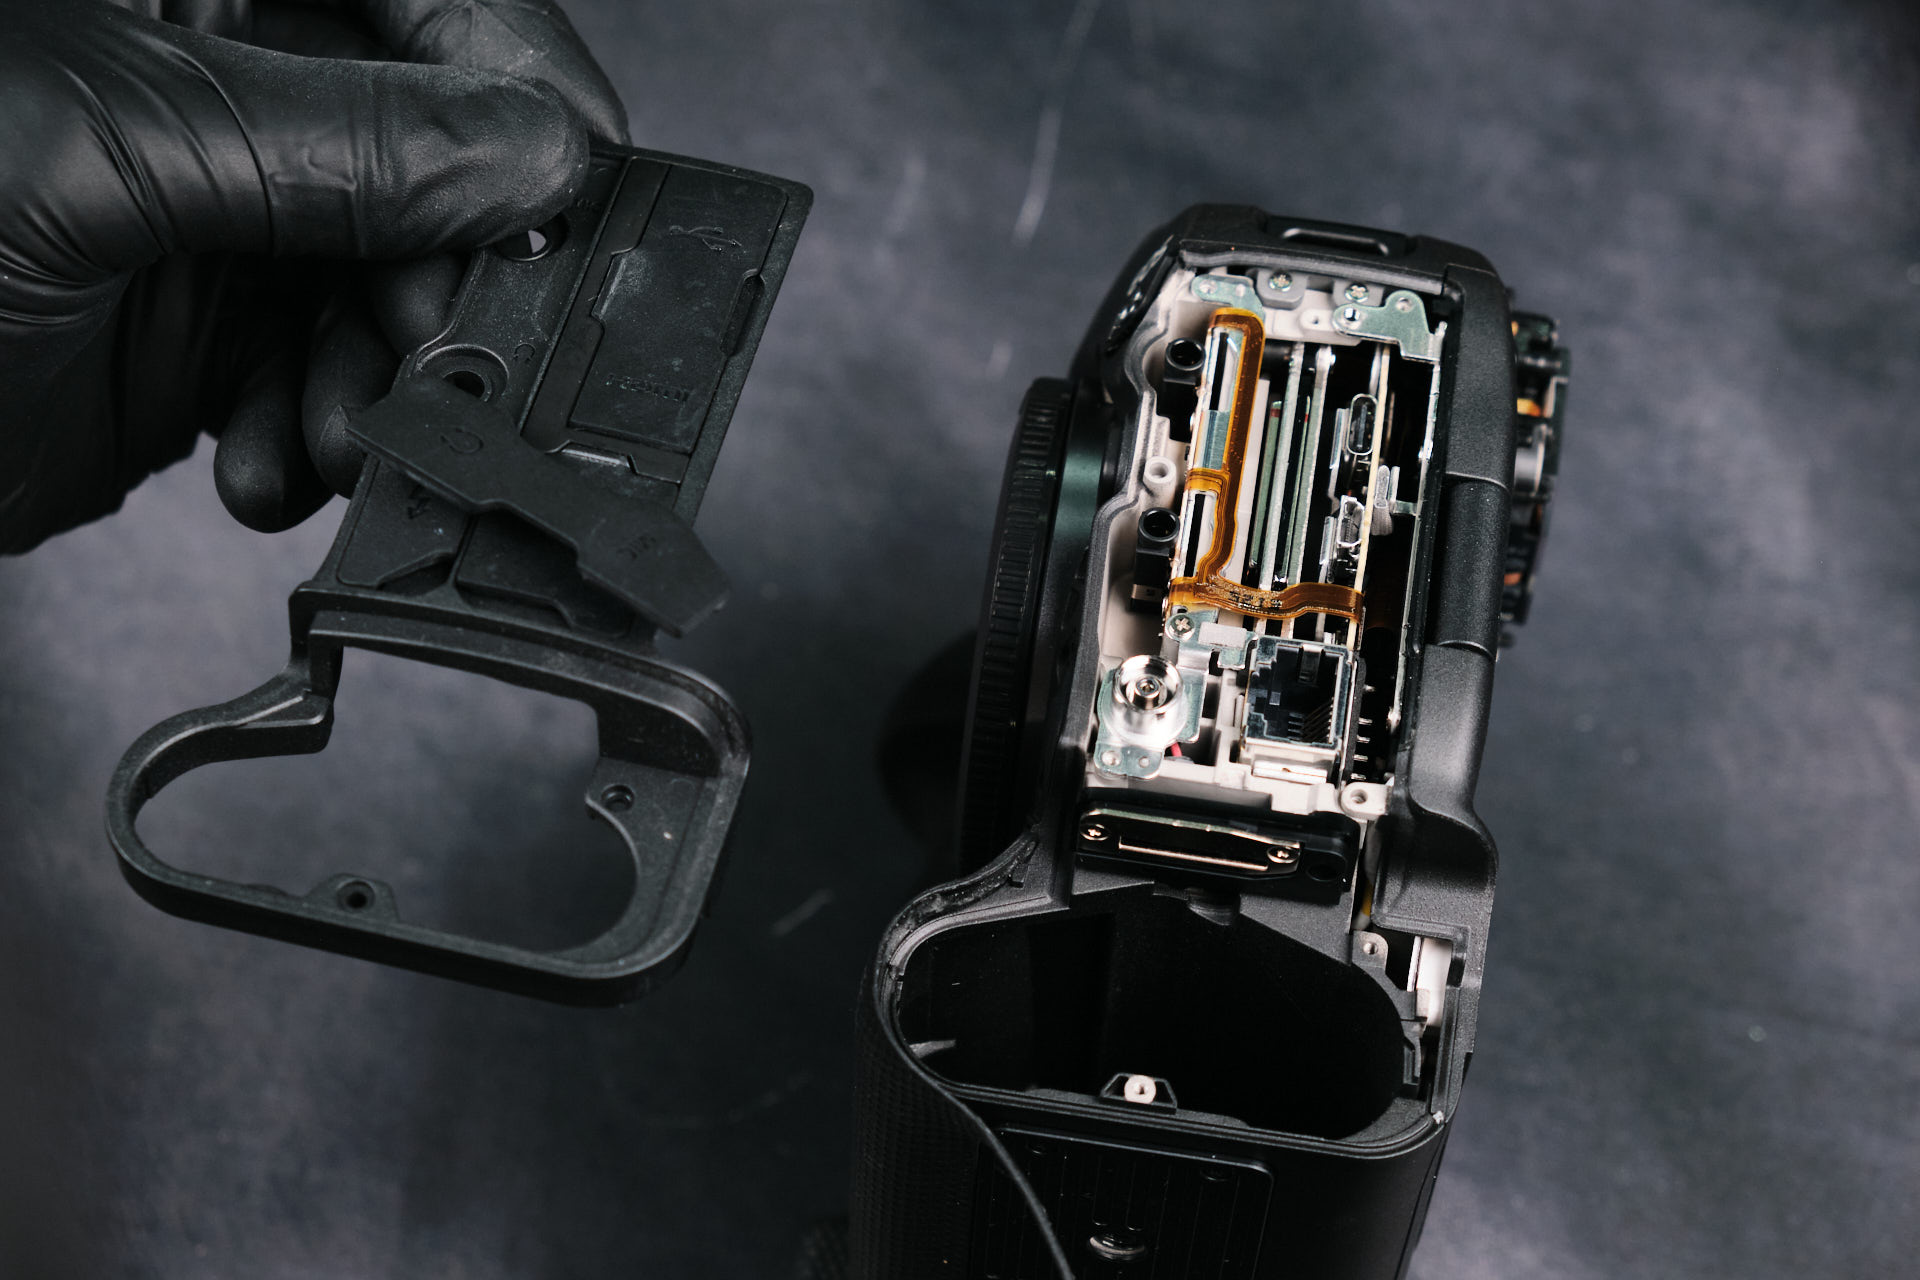
Removing the Port Side Cover and Rear Housing
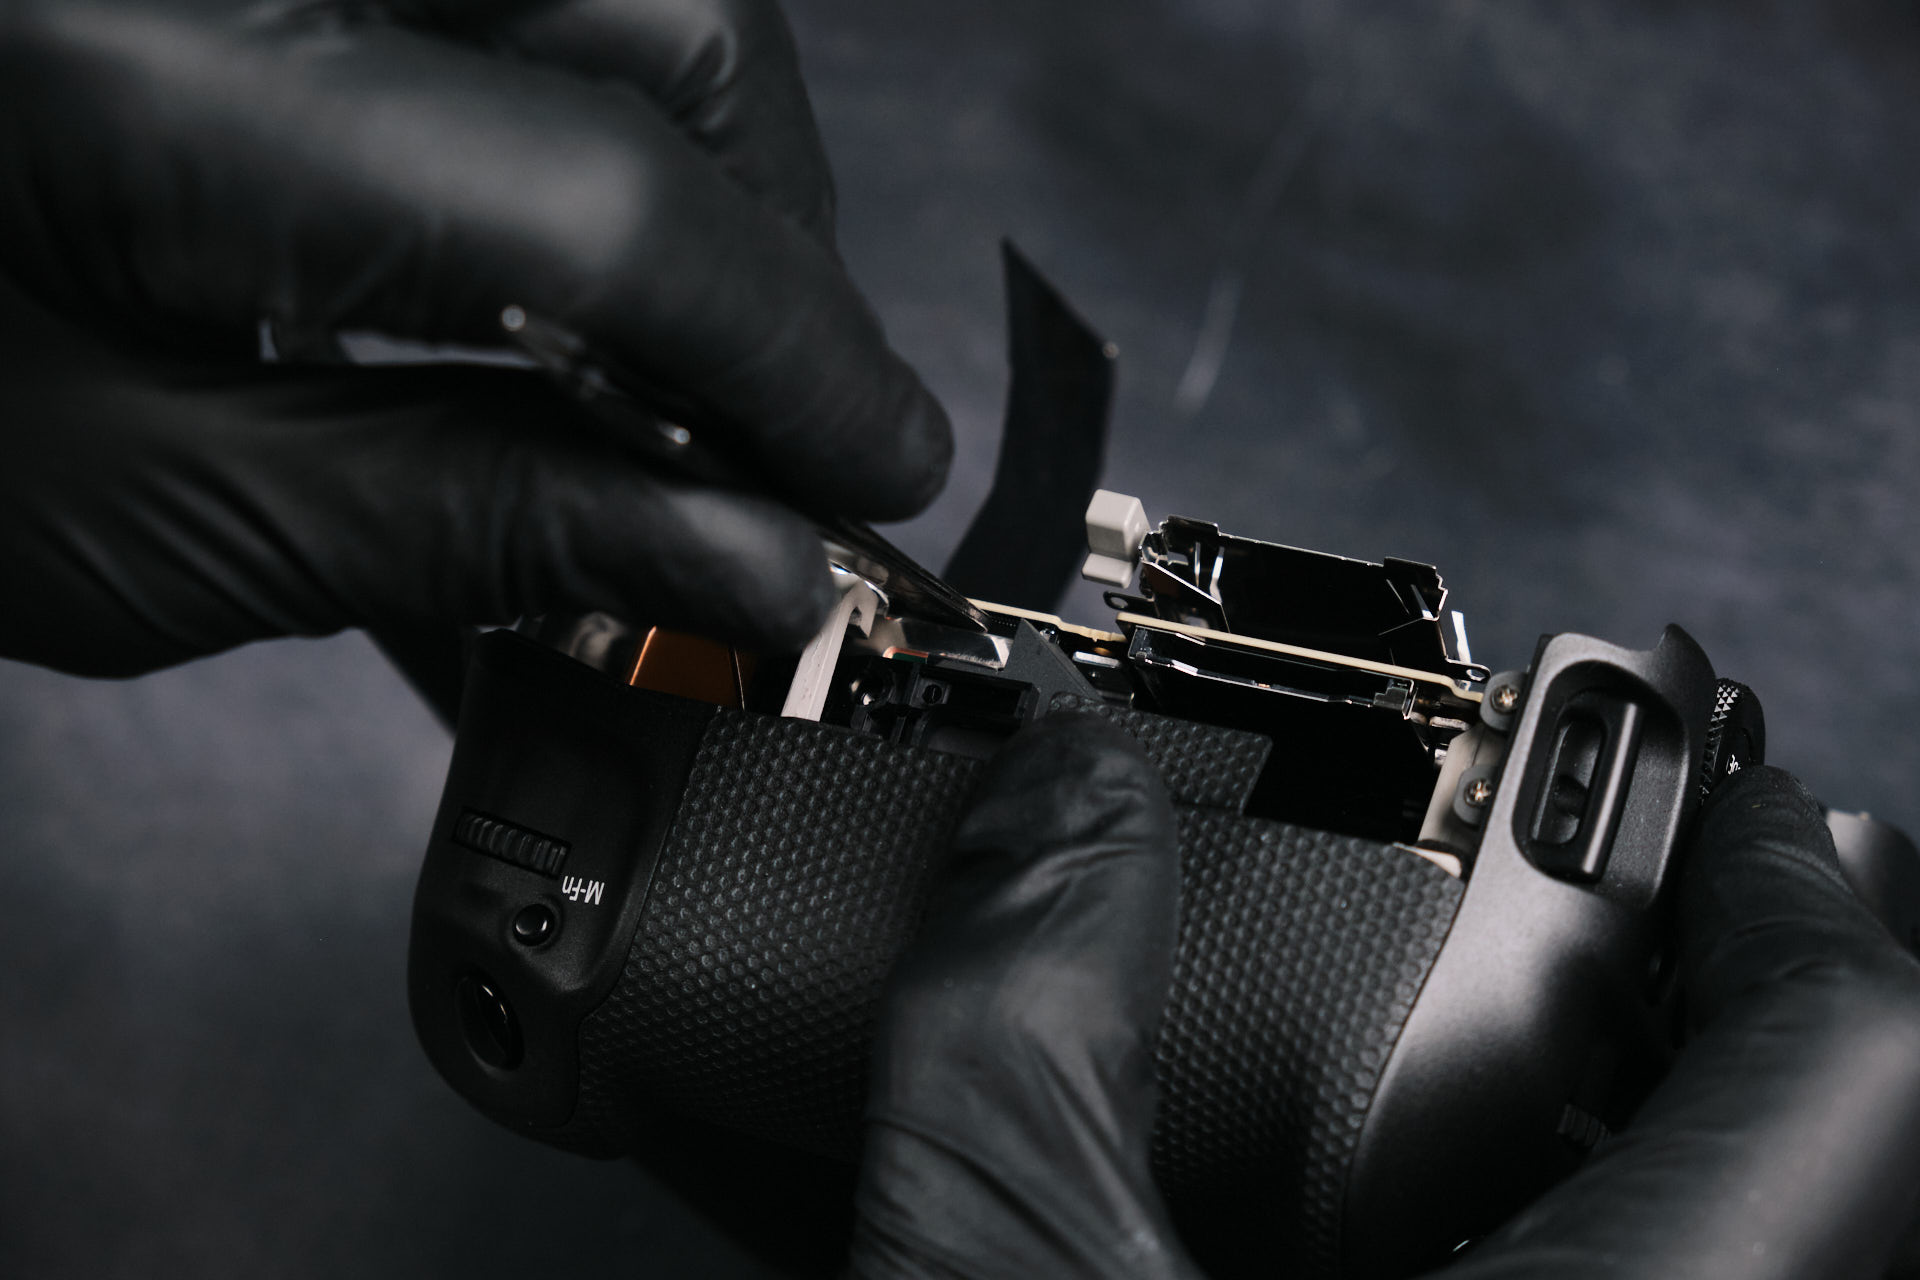
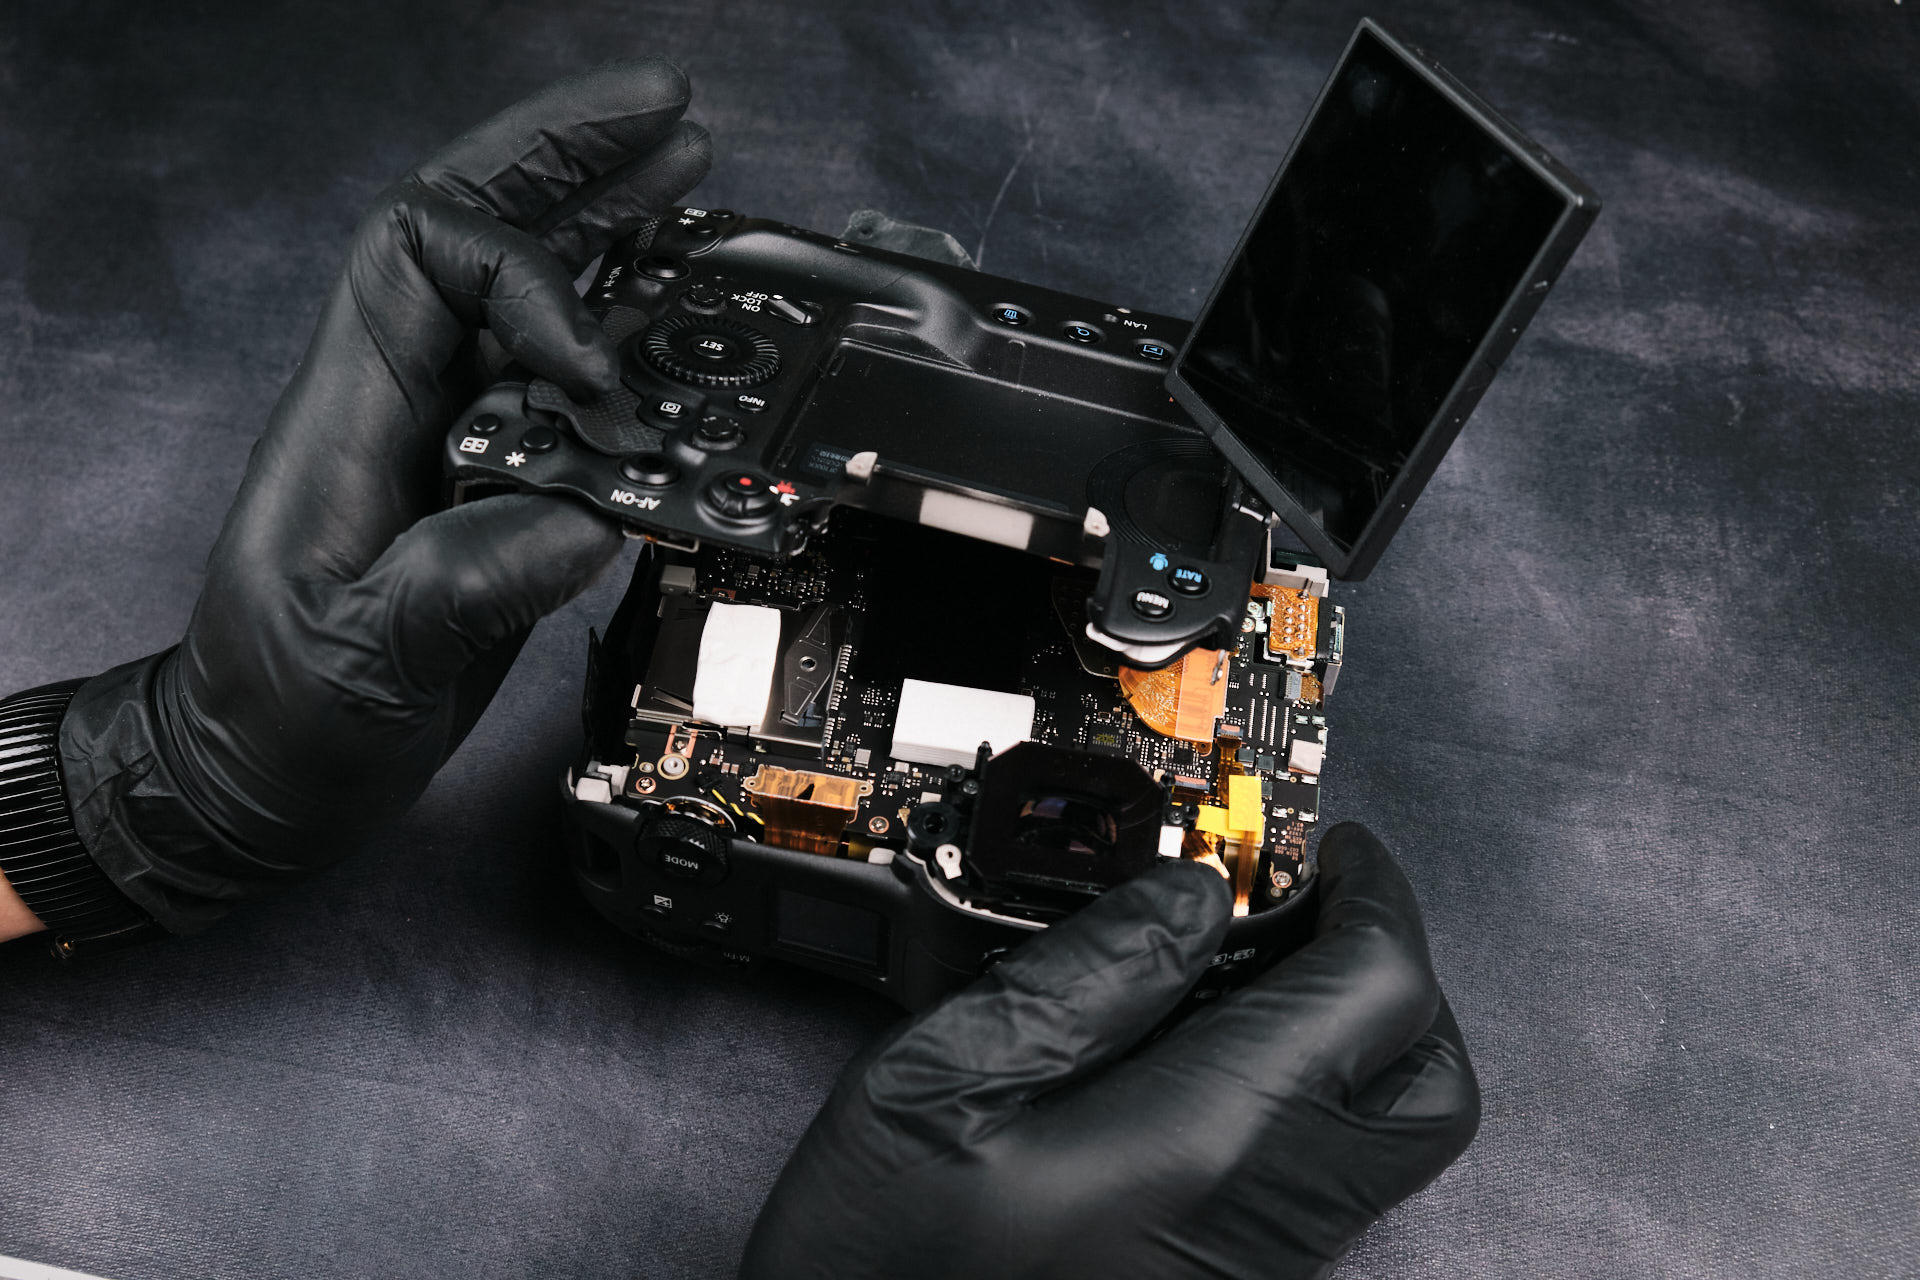
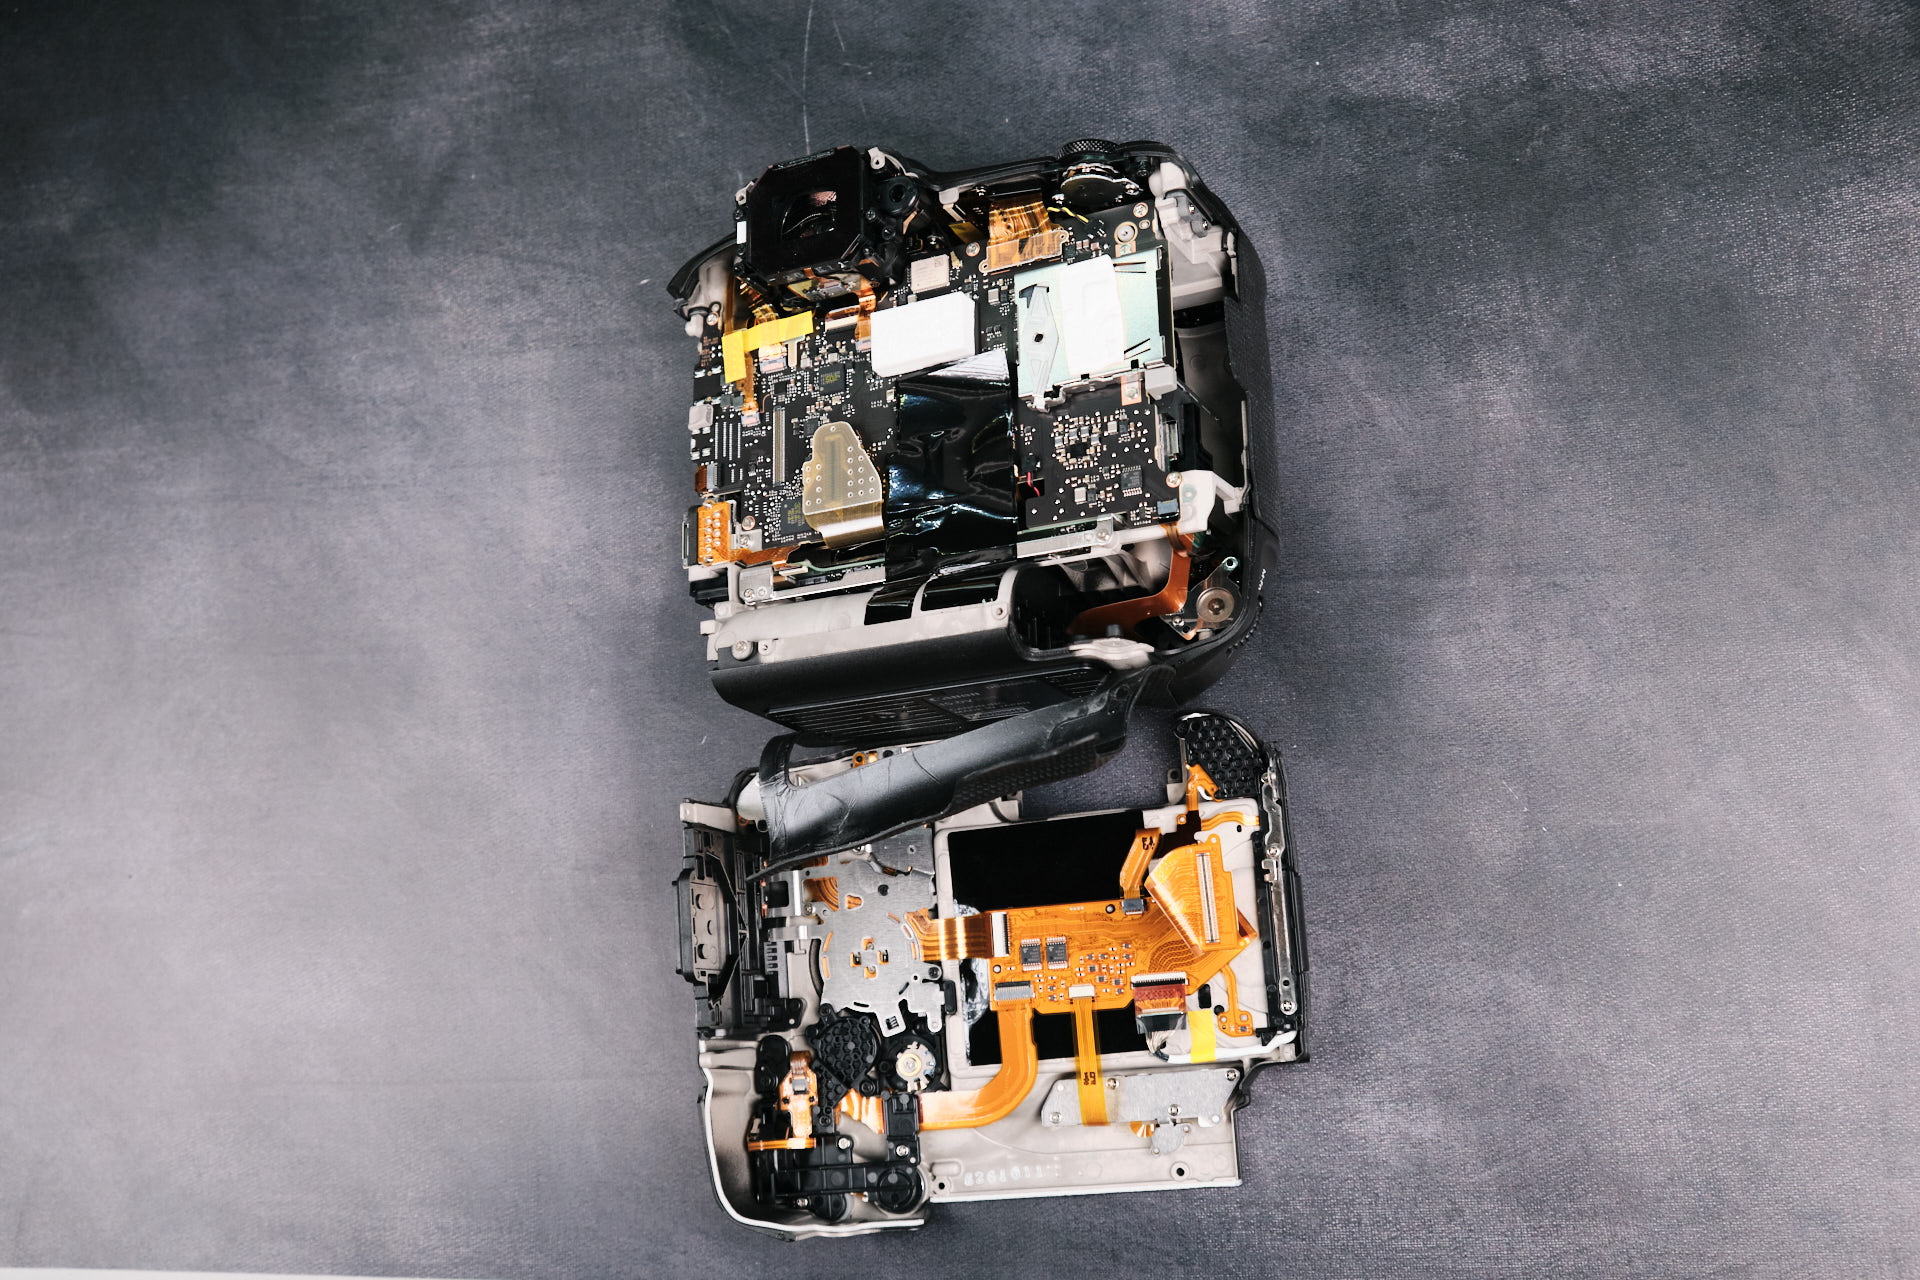
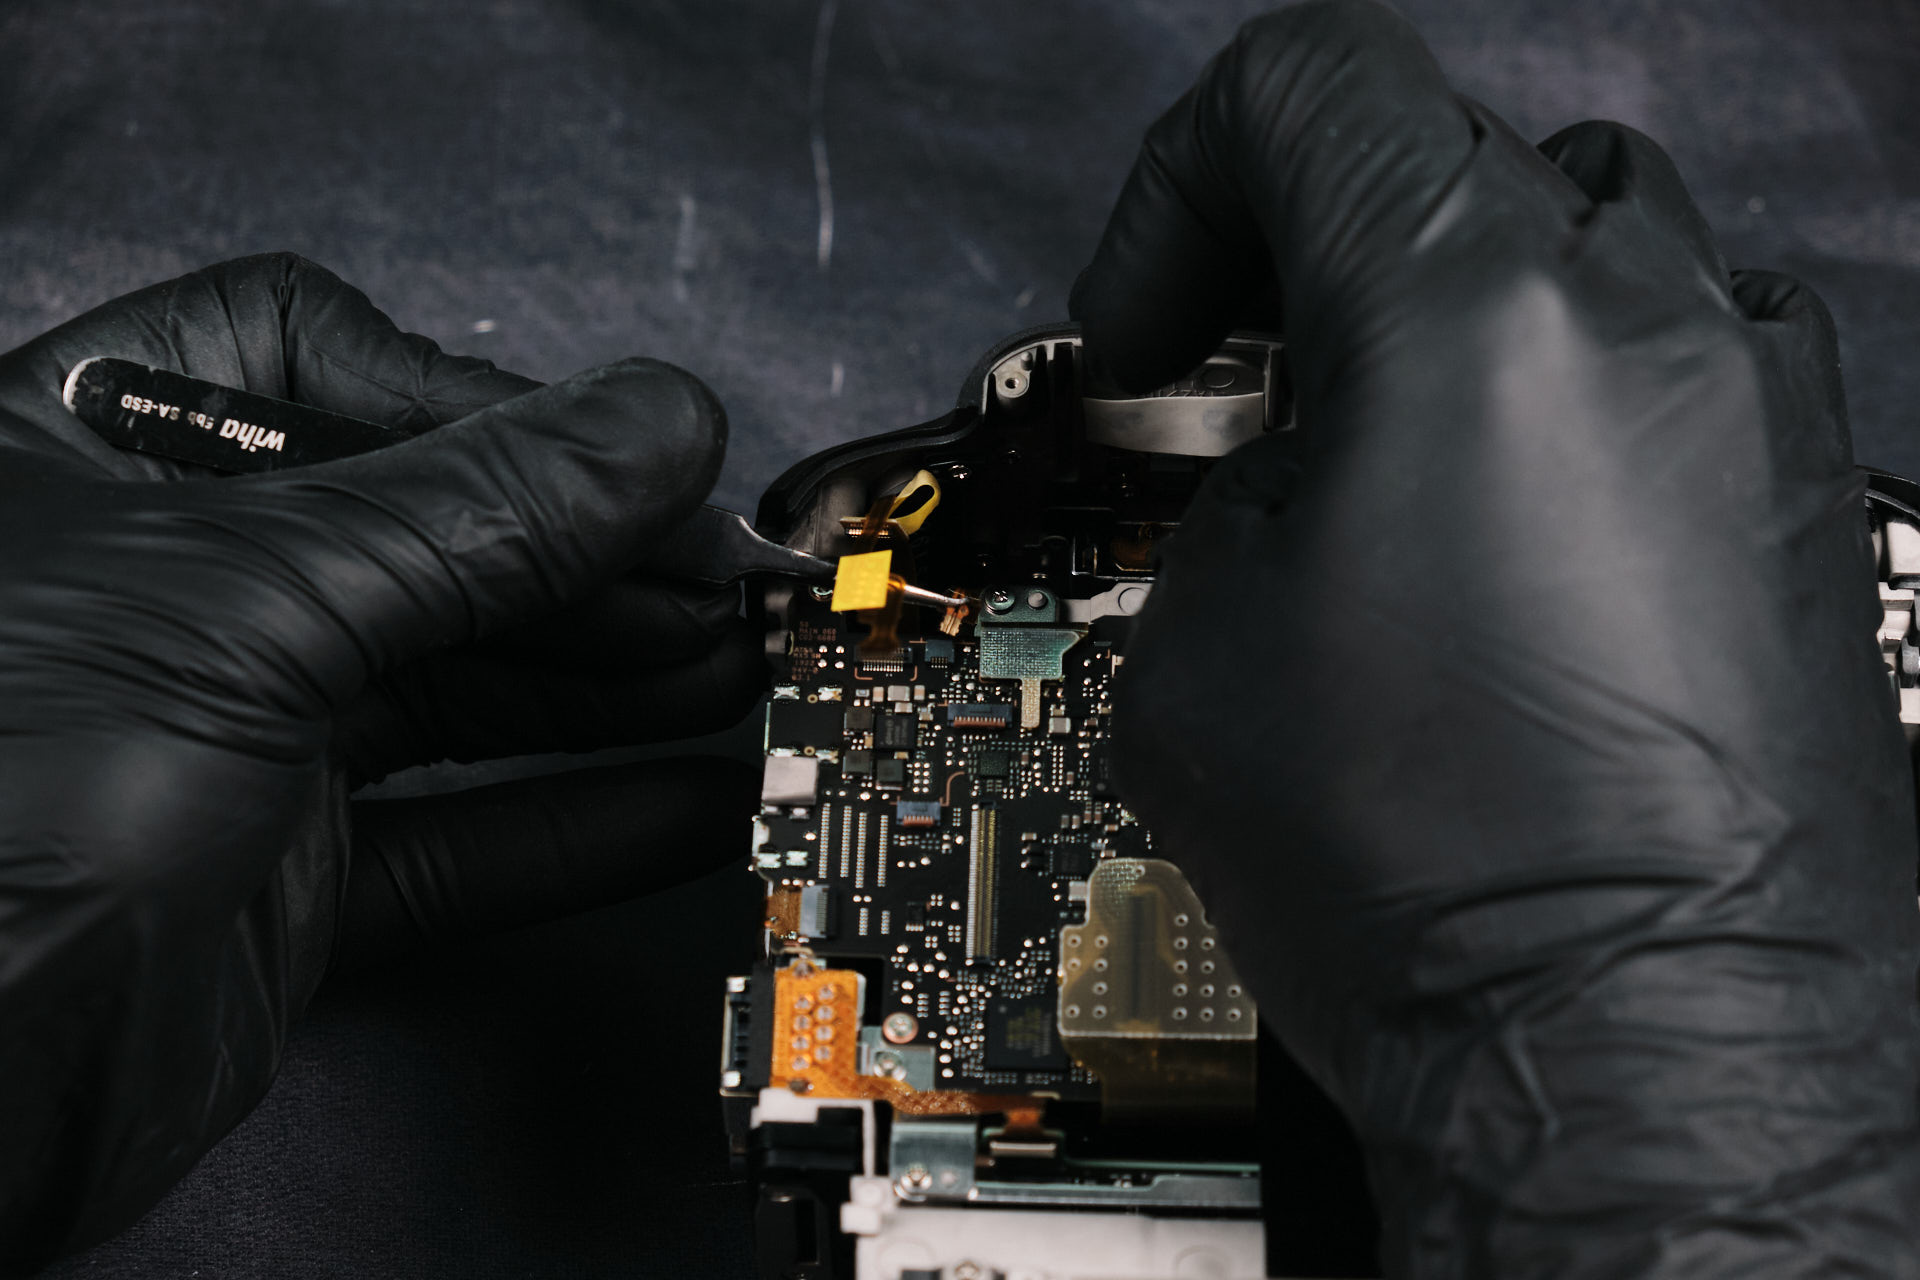
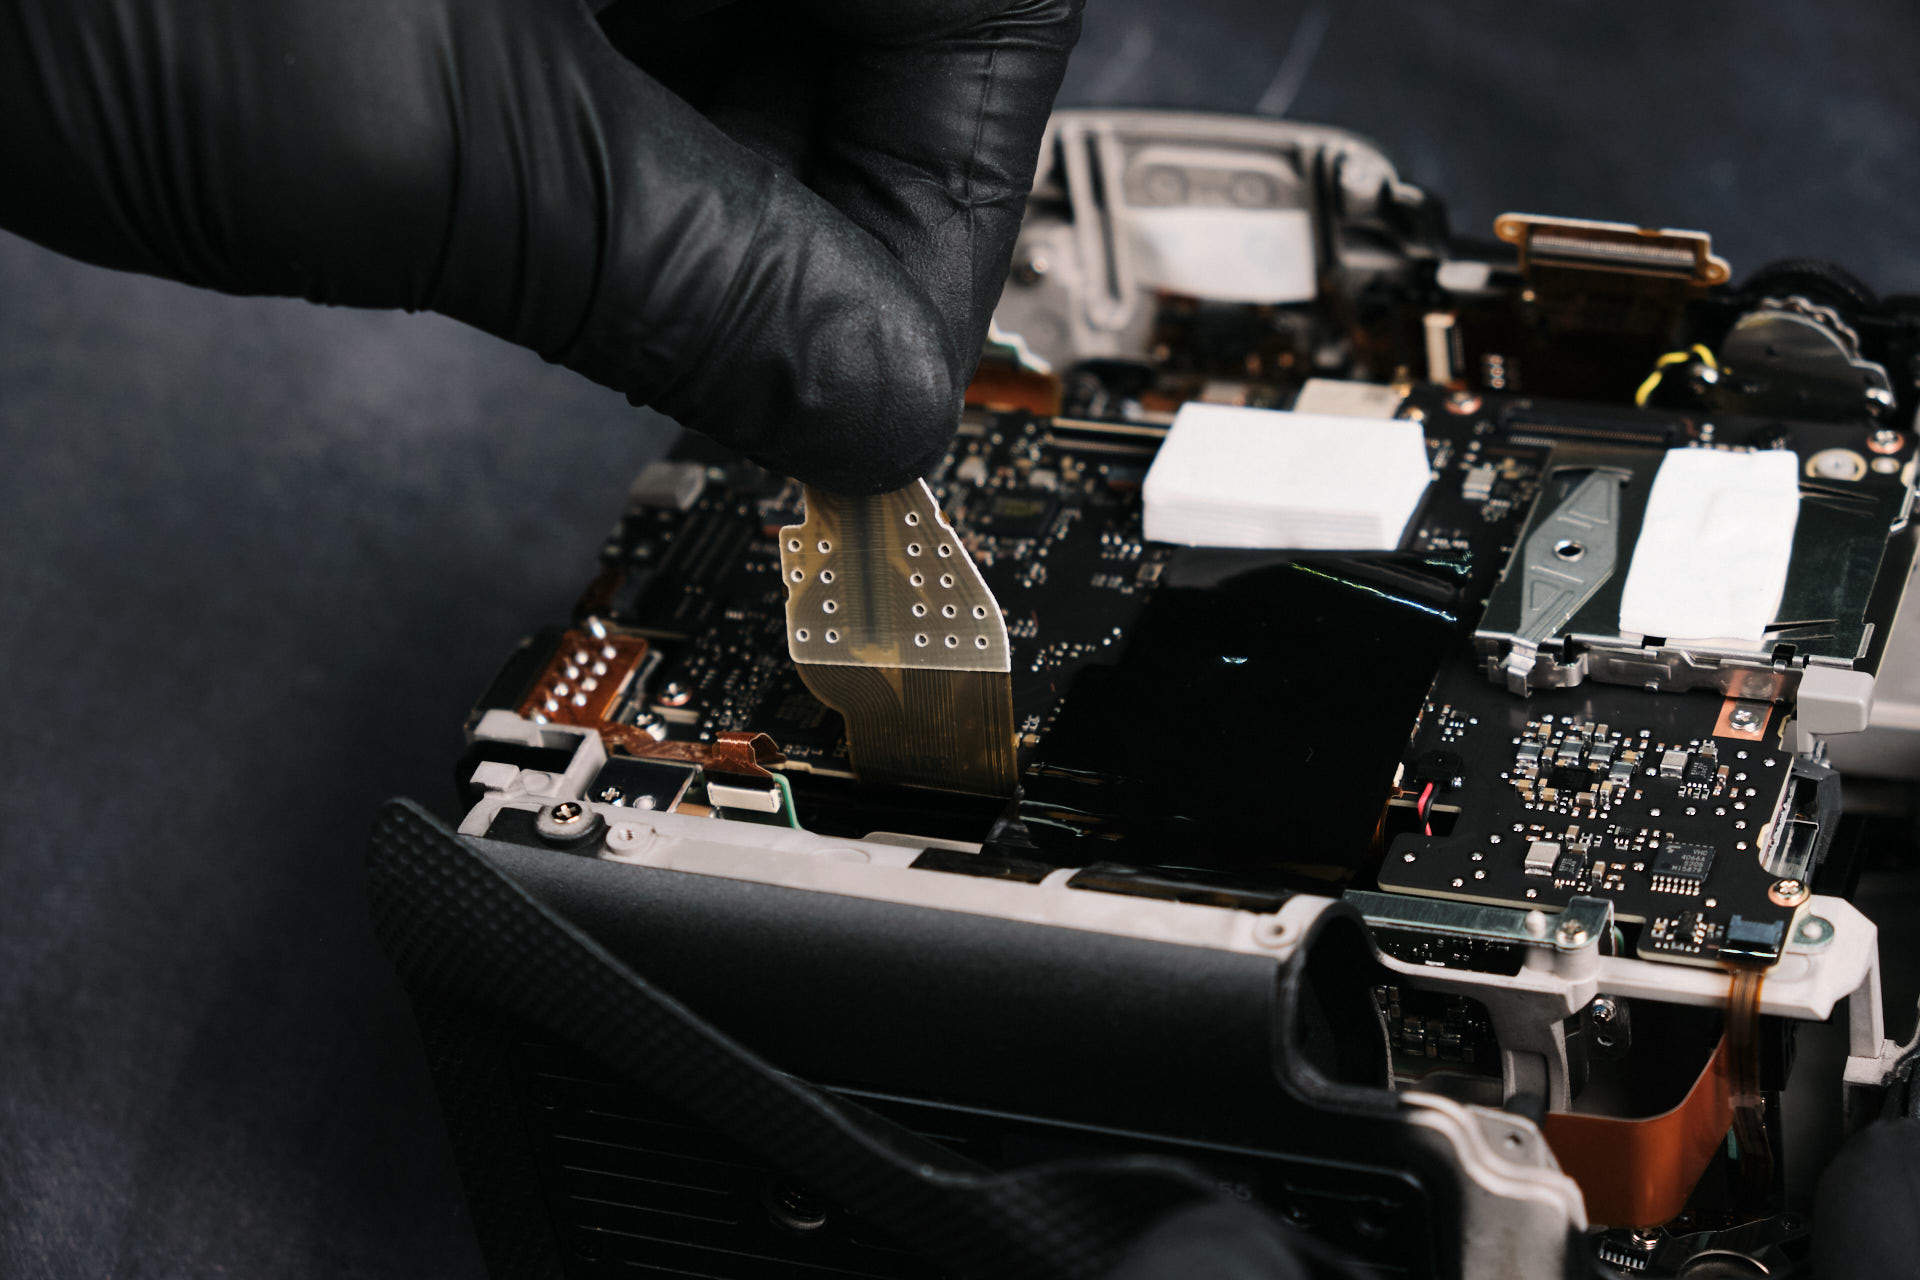
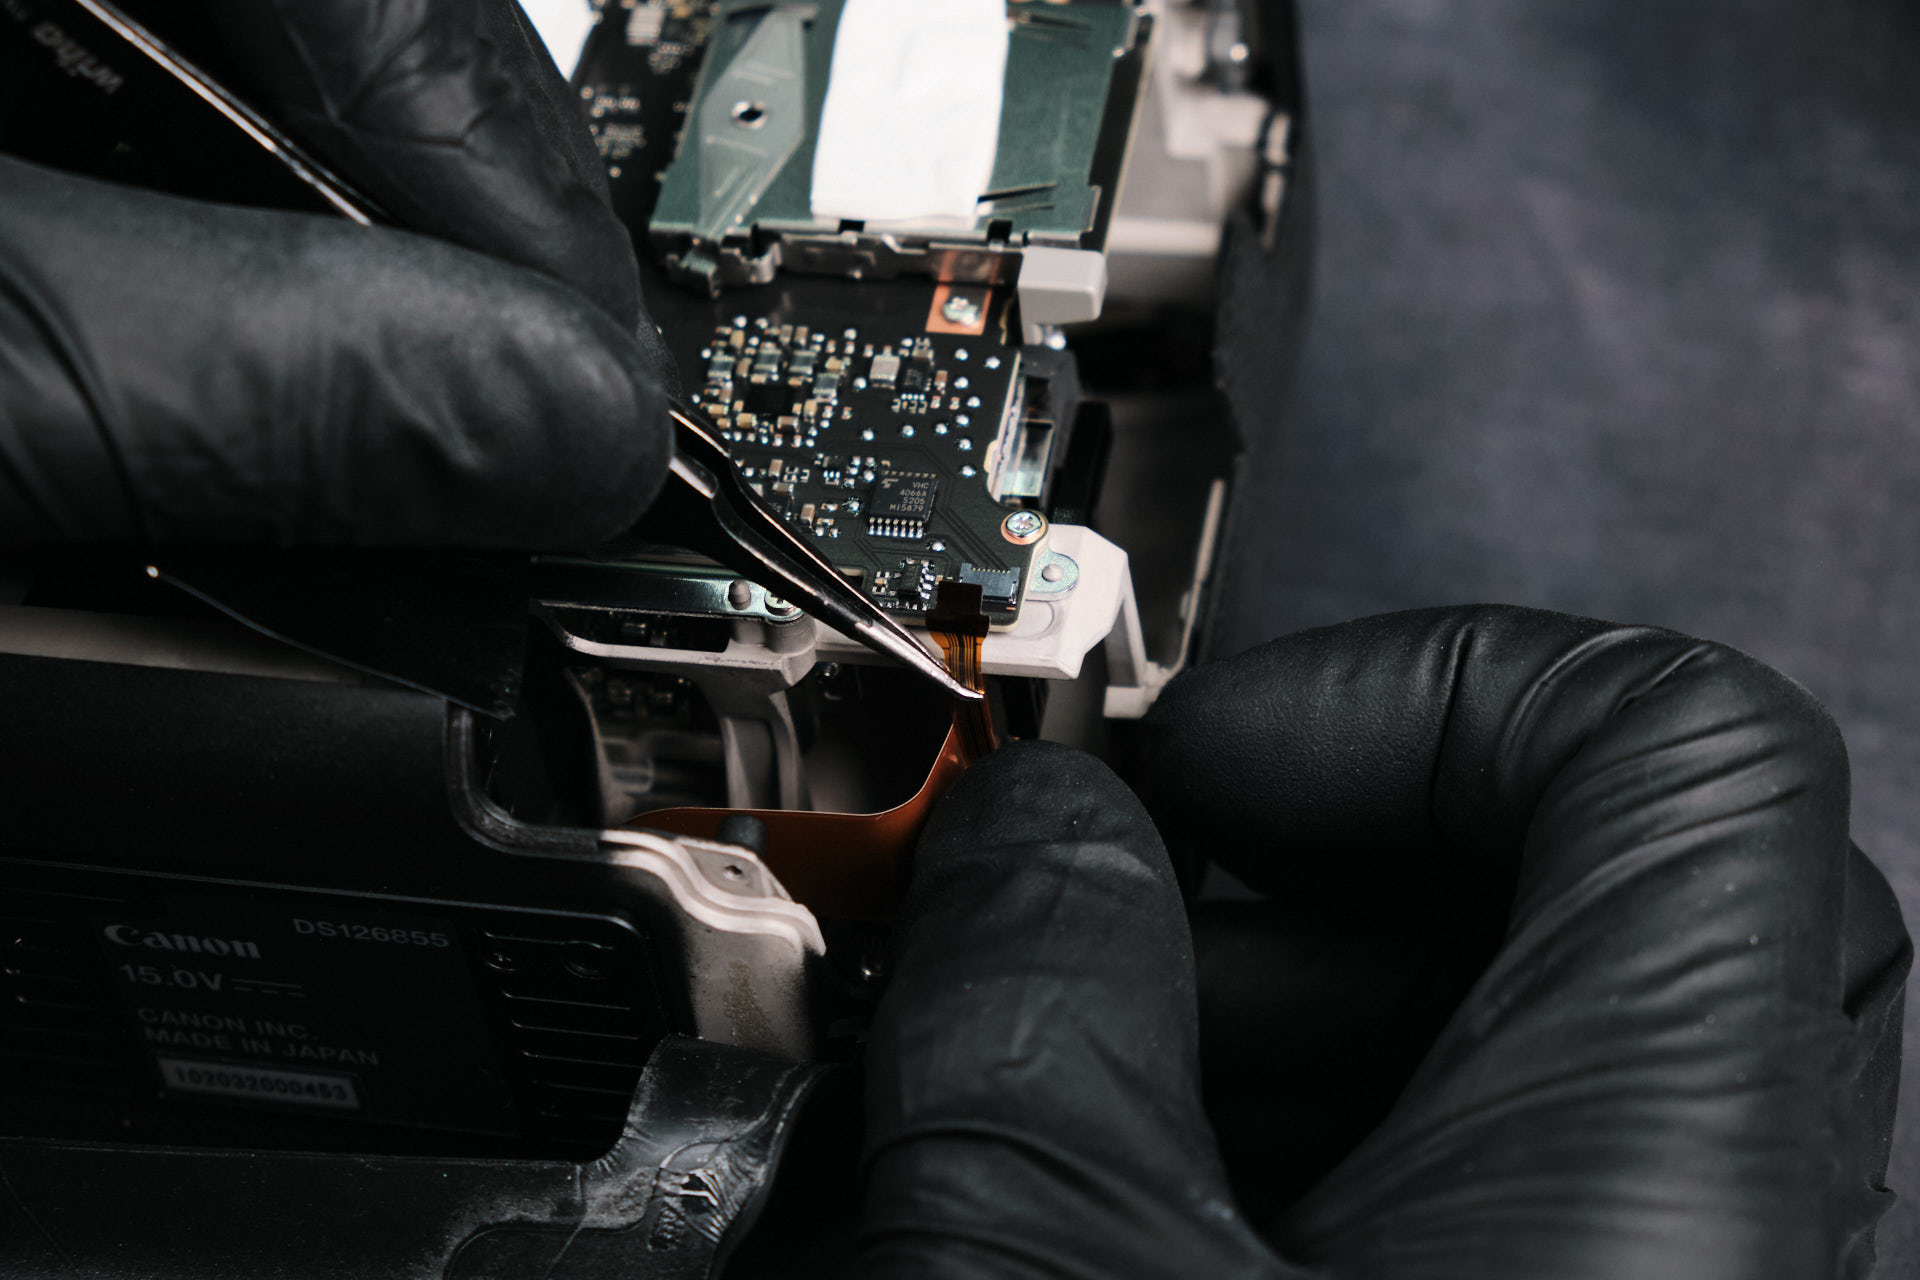
There were two screws around the perimeter of the battery compartment hole. Removing these screws allowed us to fully detach the port side cover, which let us lift the backside of the camera’s housing. Before we could detach it entirely, we needed to remove one ribbon cable that connected it to the circuitboard. Presumably, this cable connects the LCD screen and dials to the camera.Â
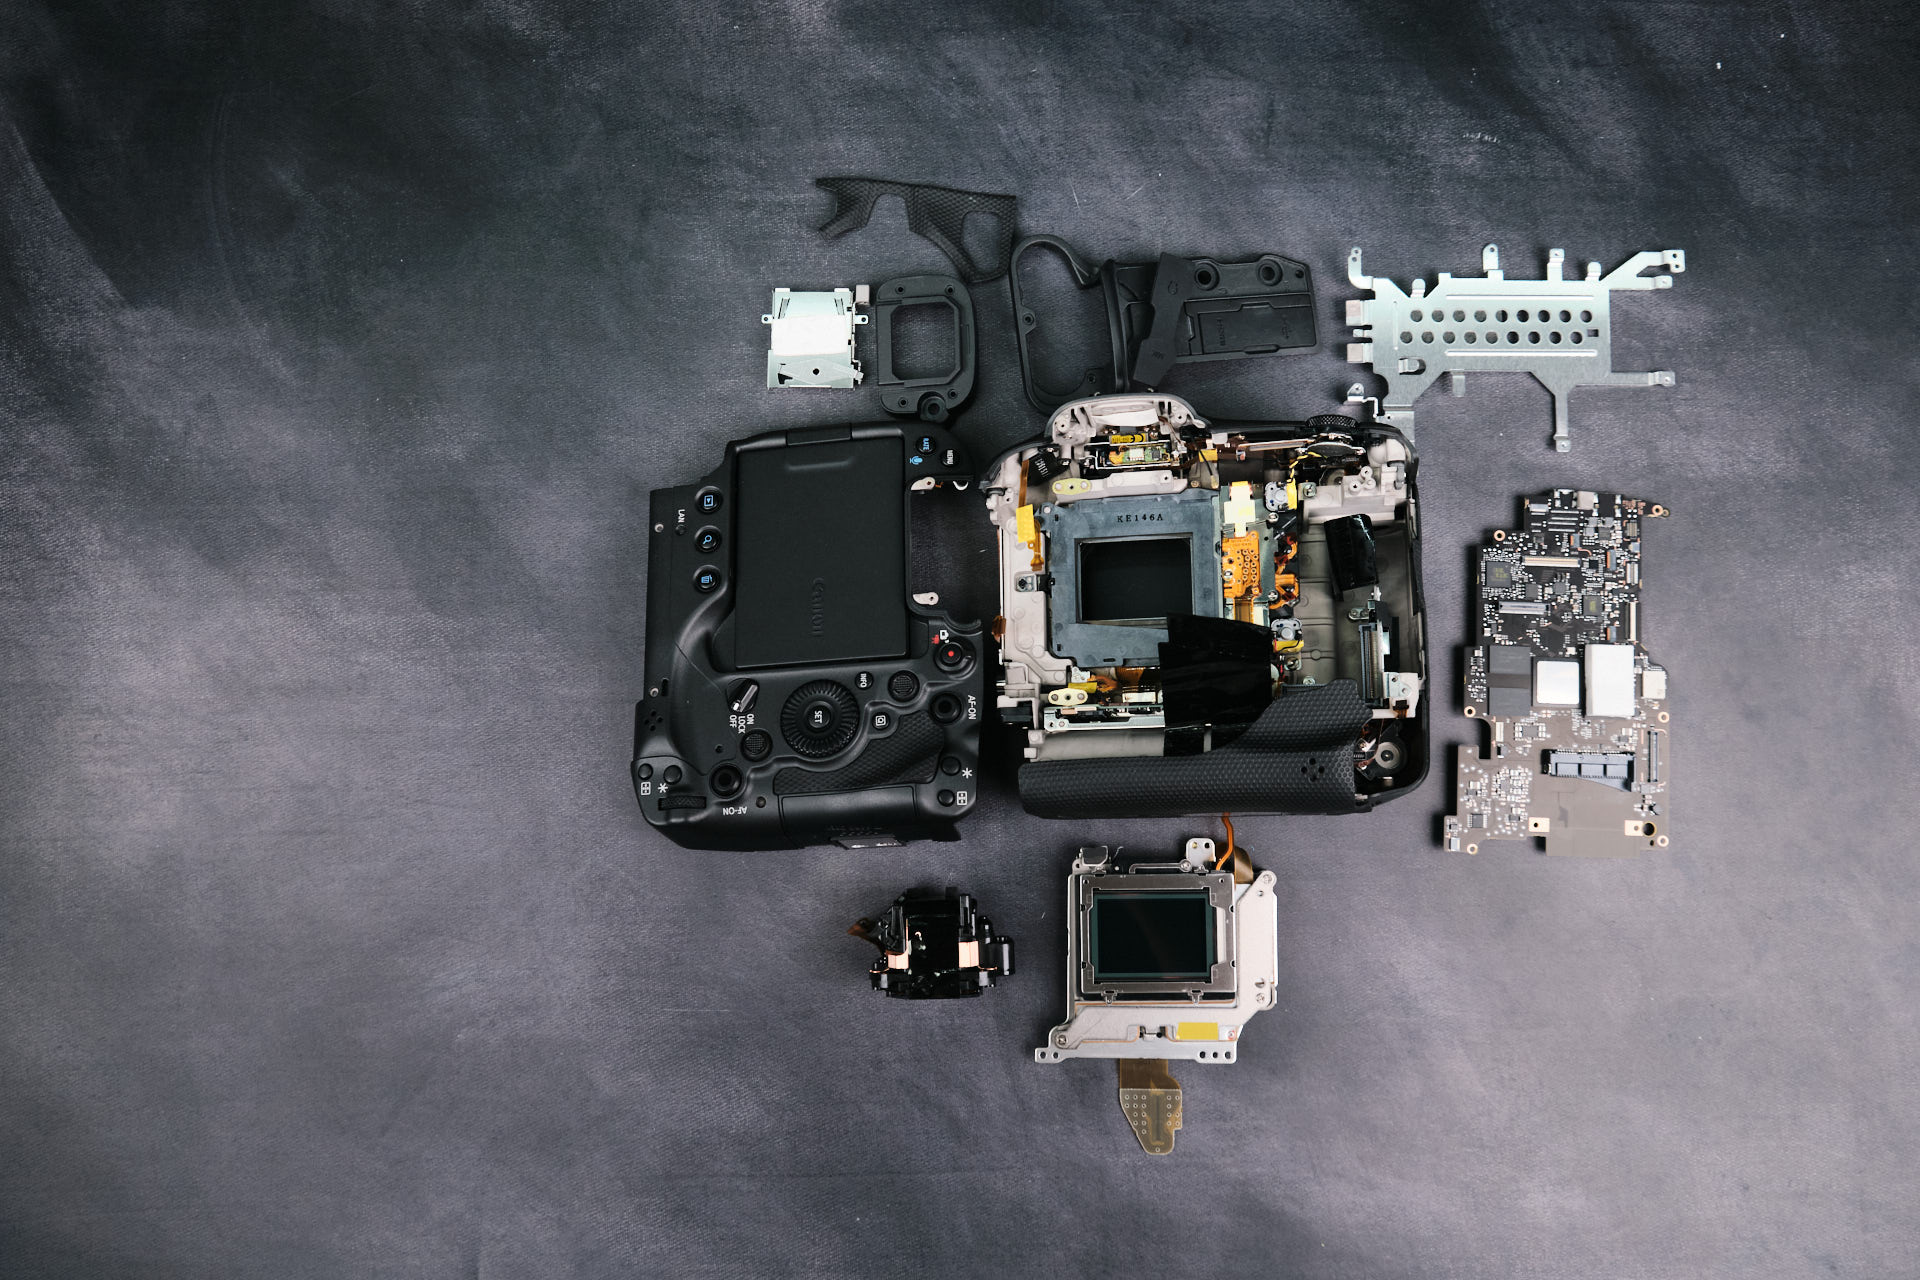
Here is the backside housing detached from the camera body. The leather skin covering is still connected to both frame pieces.
Inside the Canon EOS R3 Camera Body
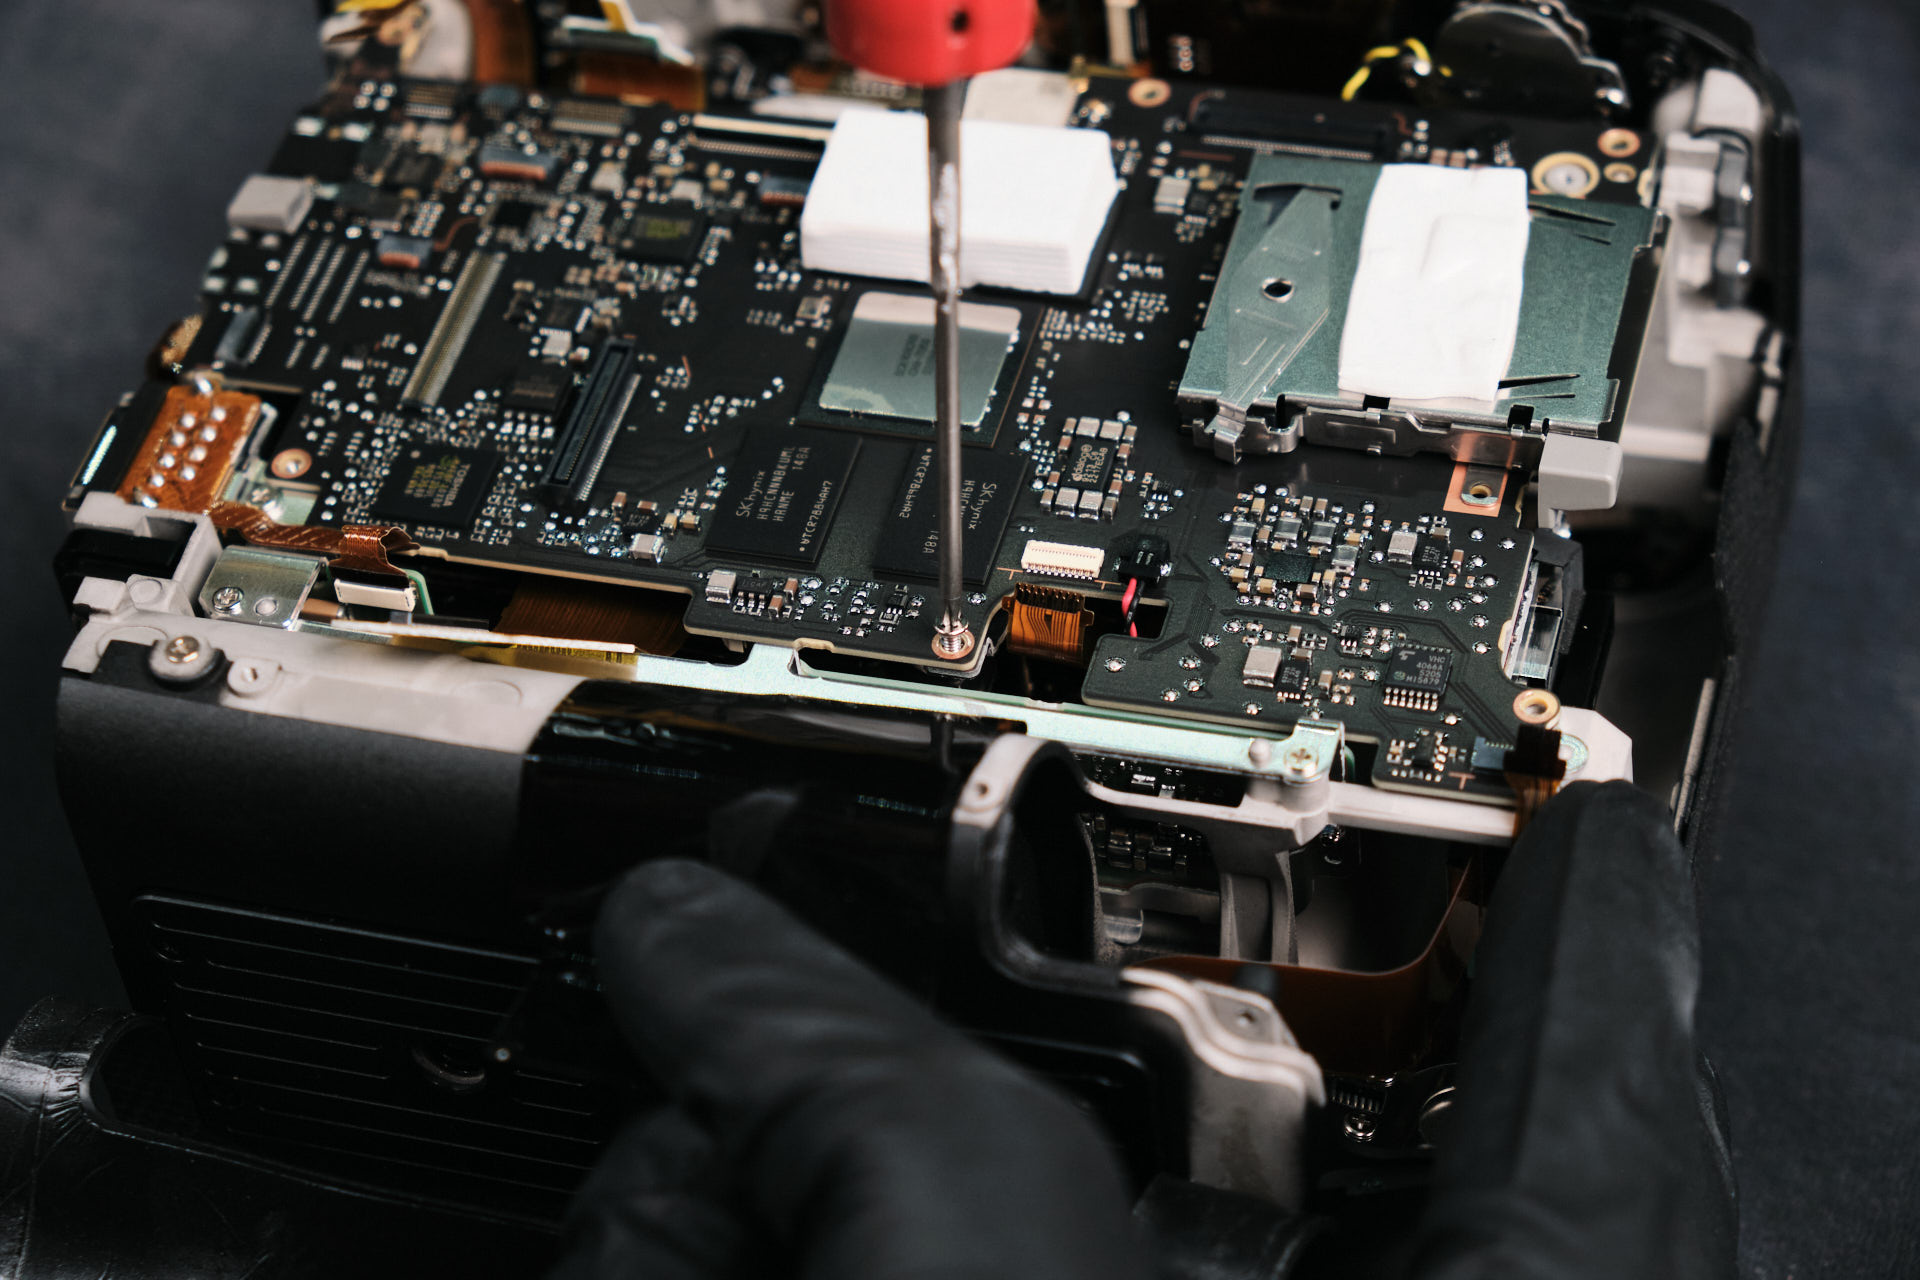
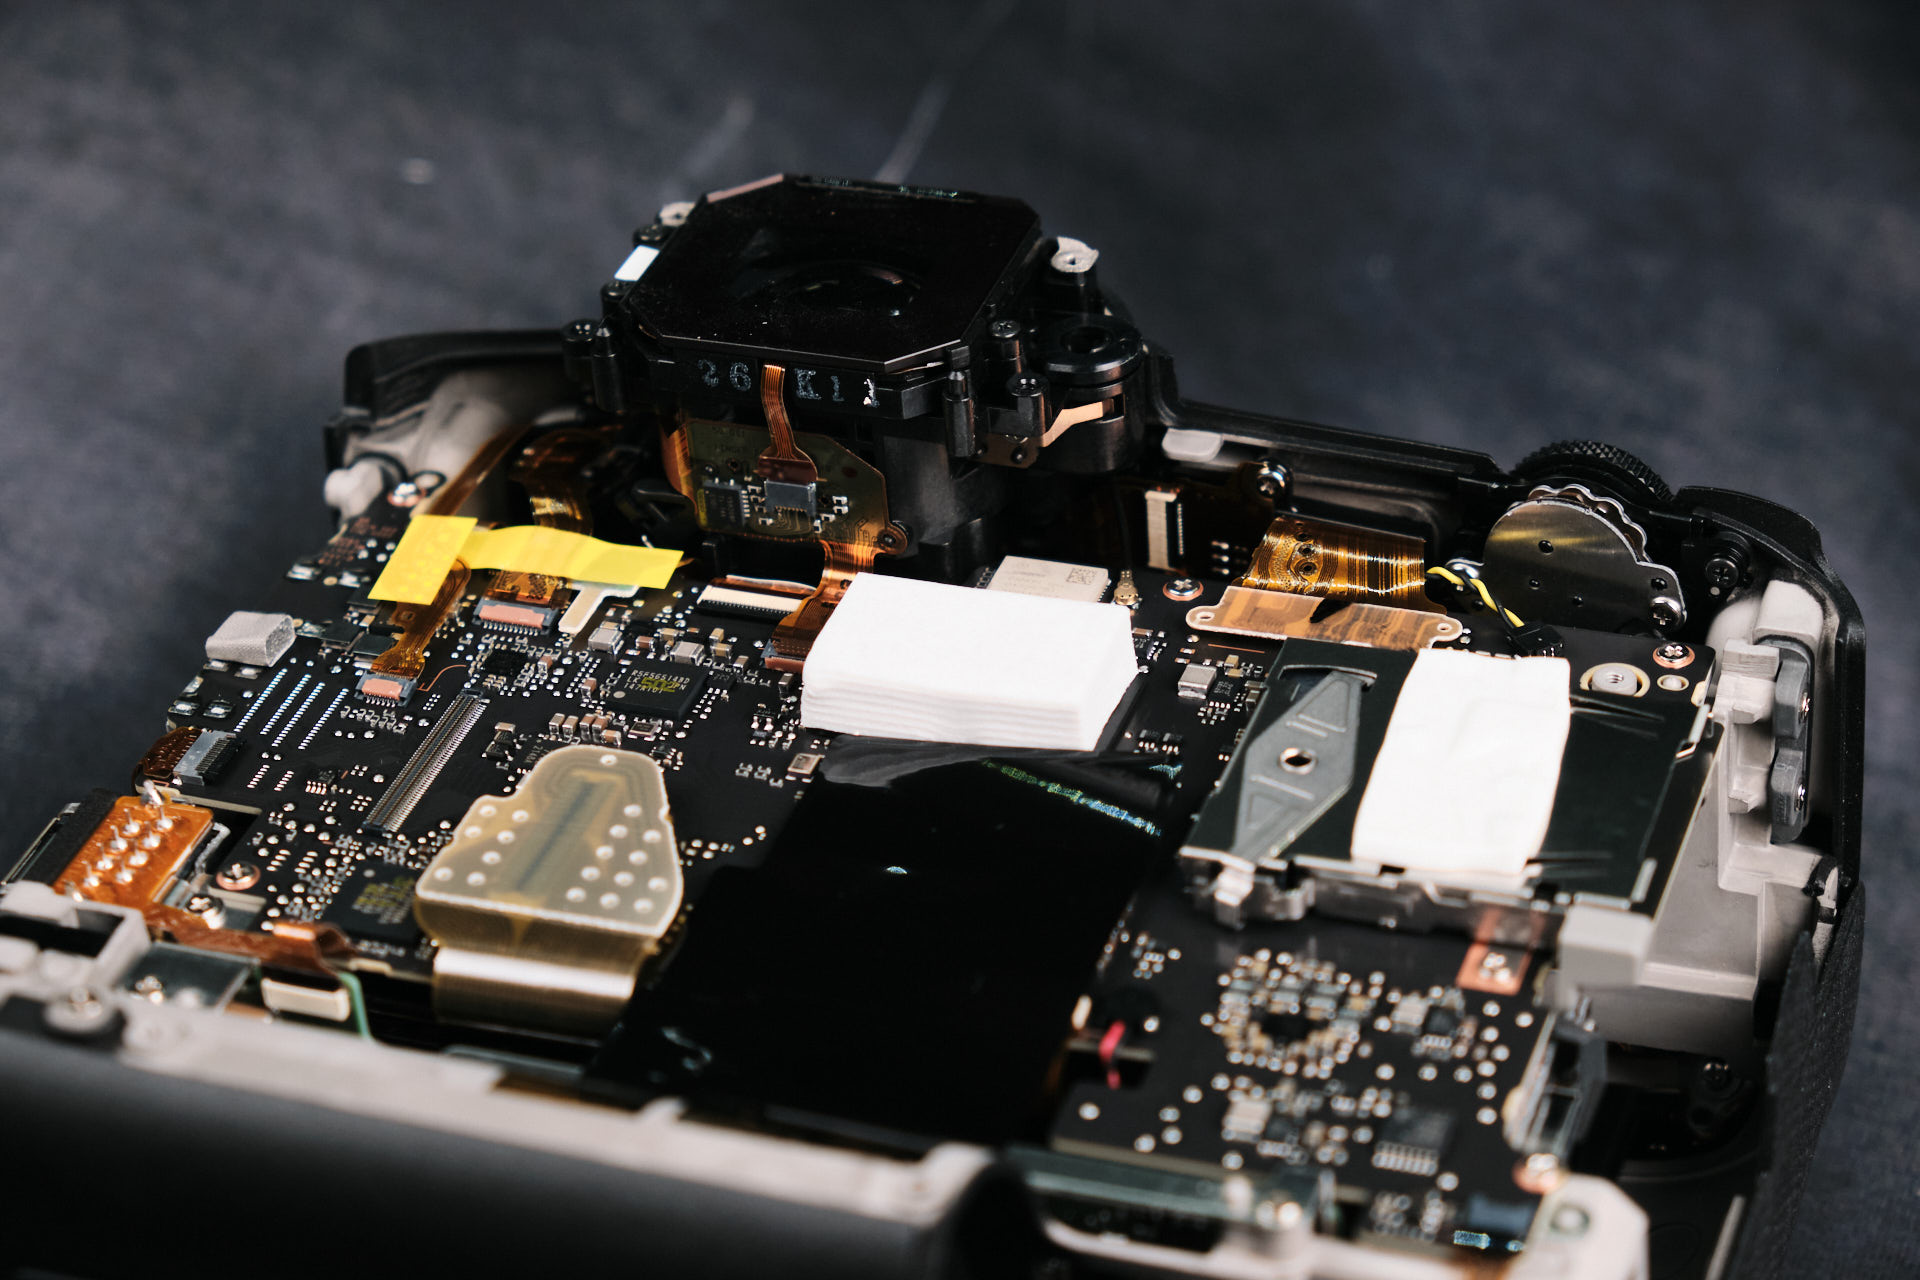
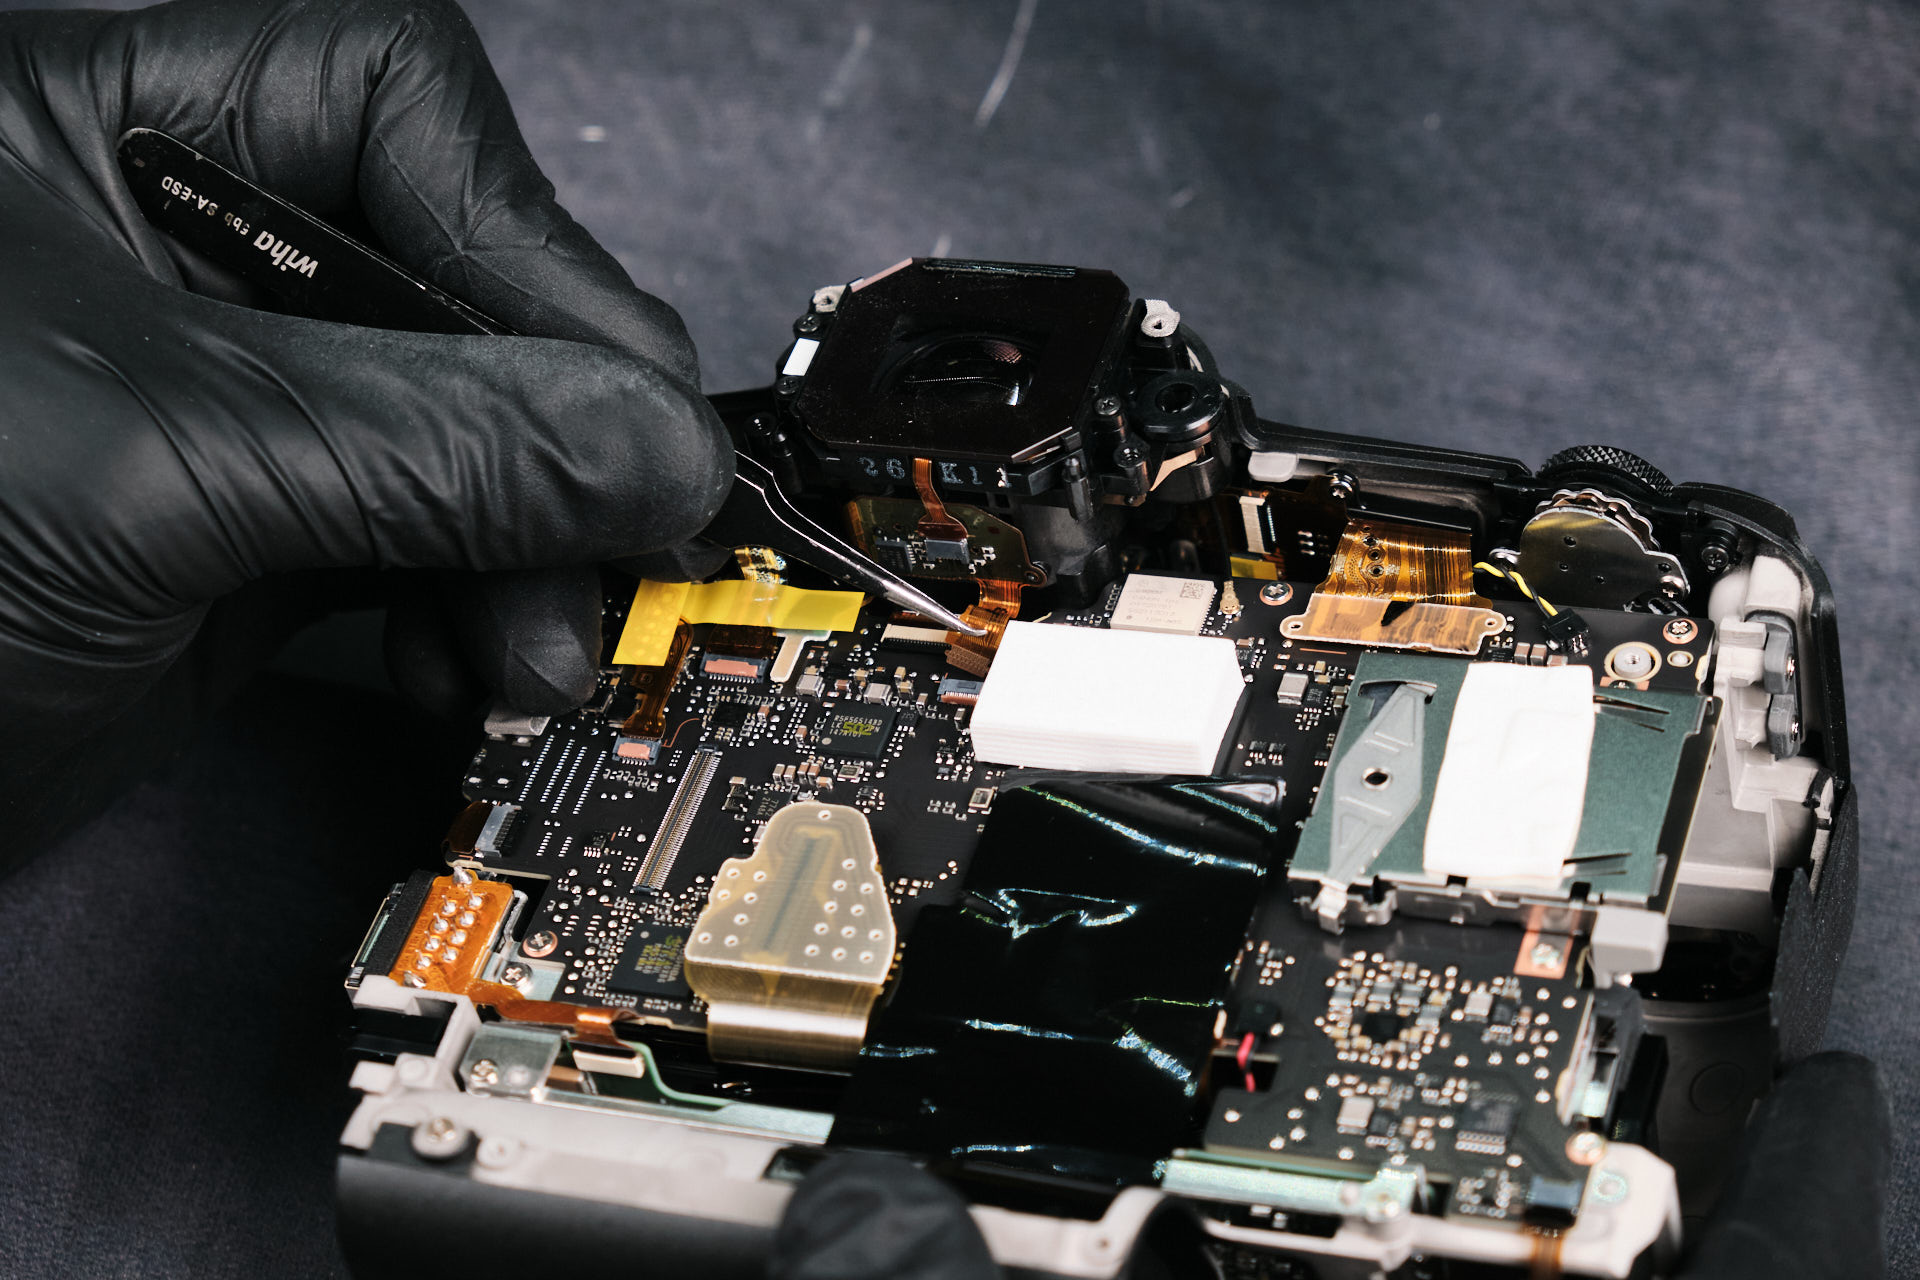
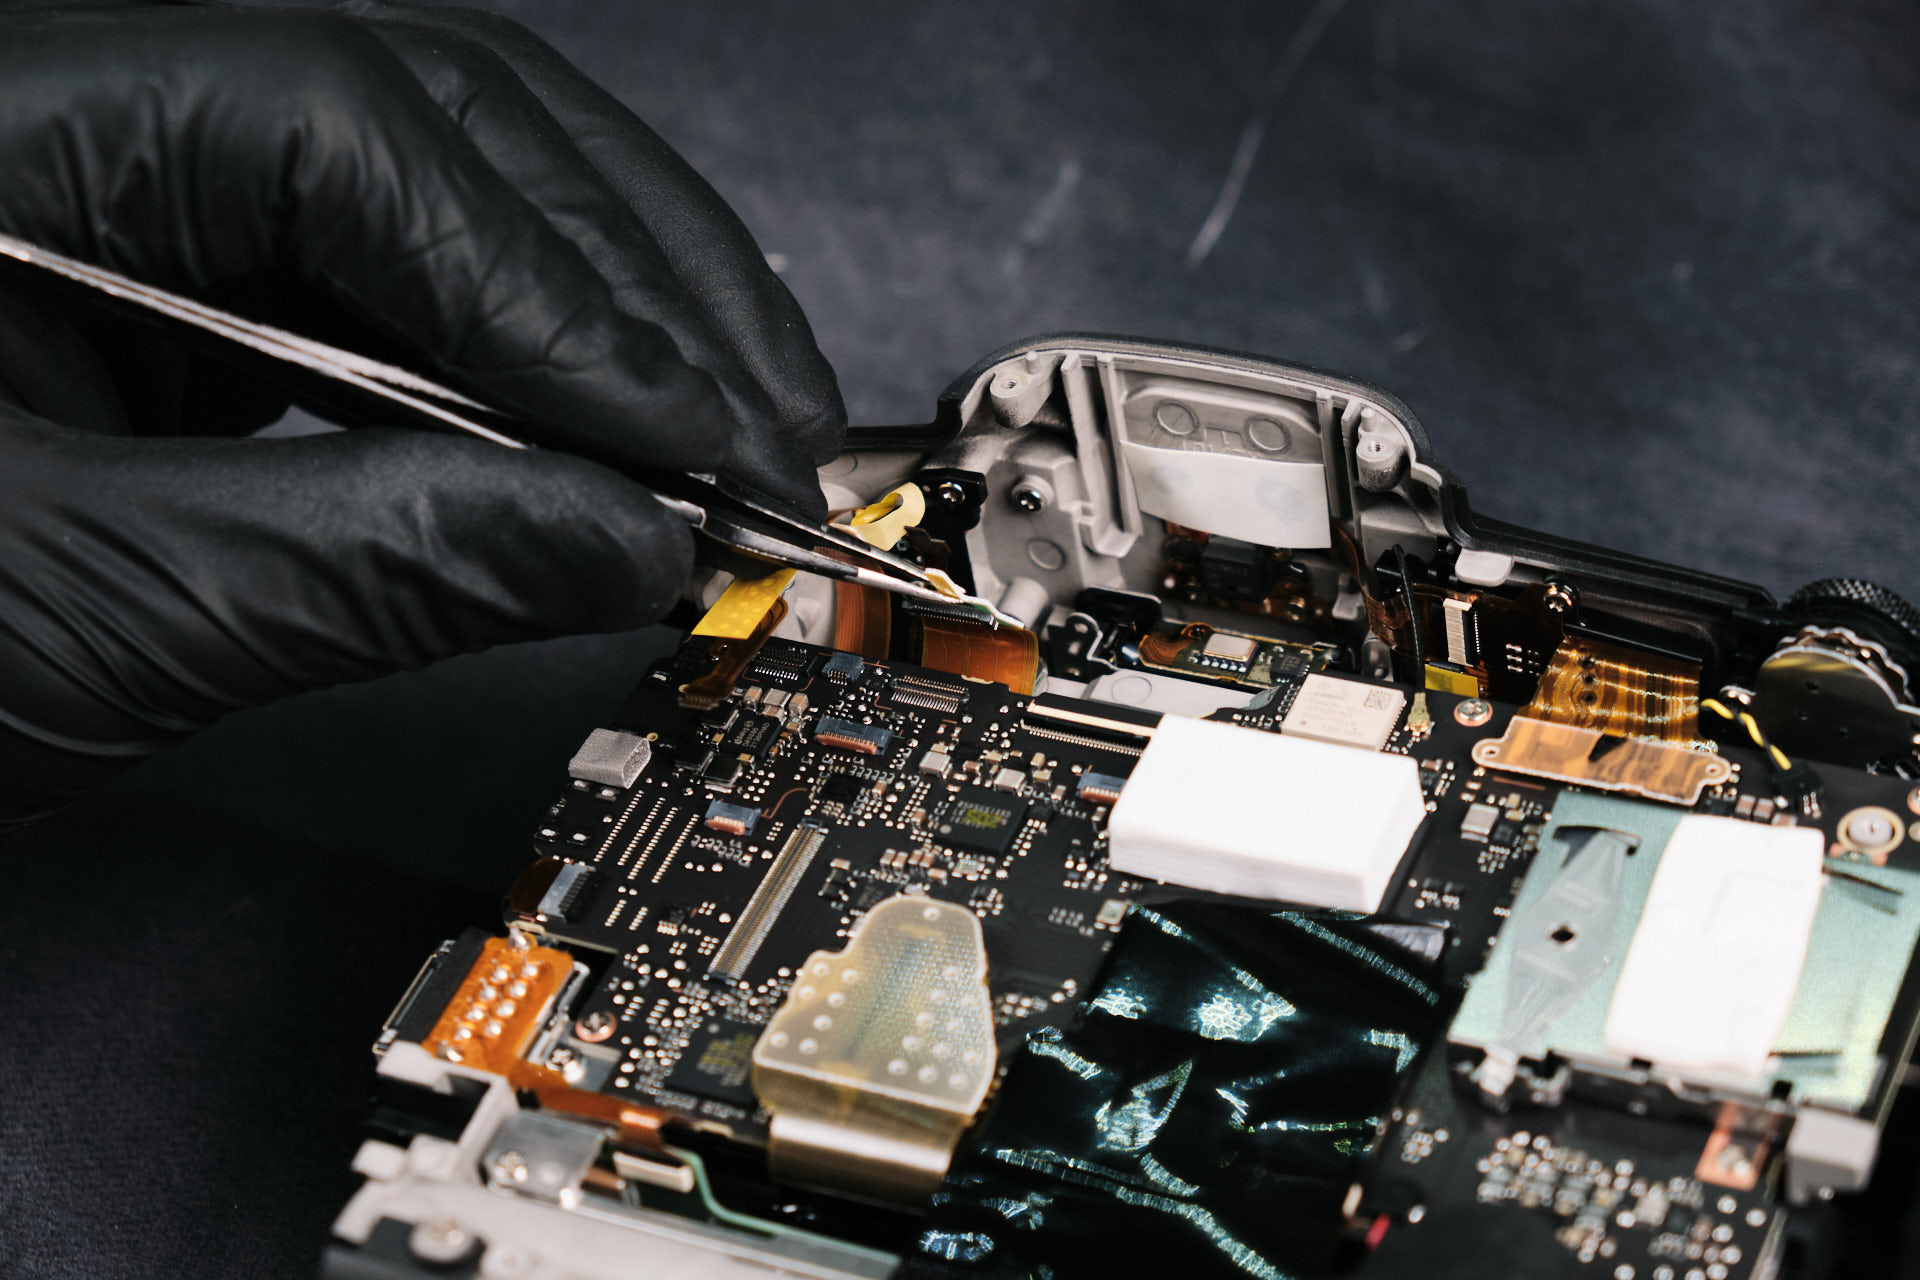
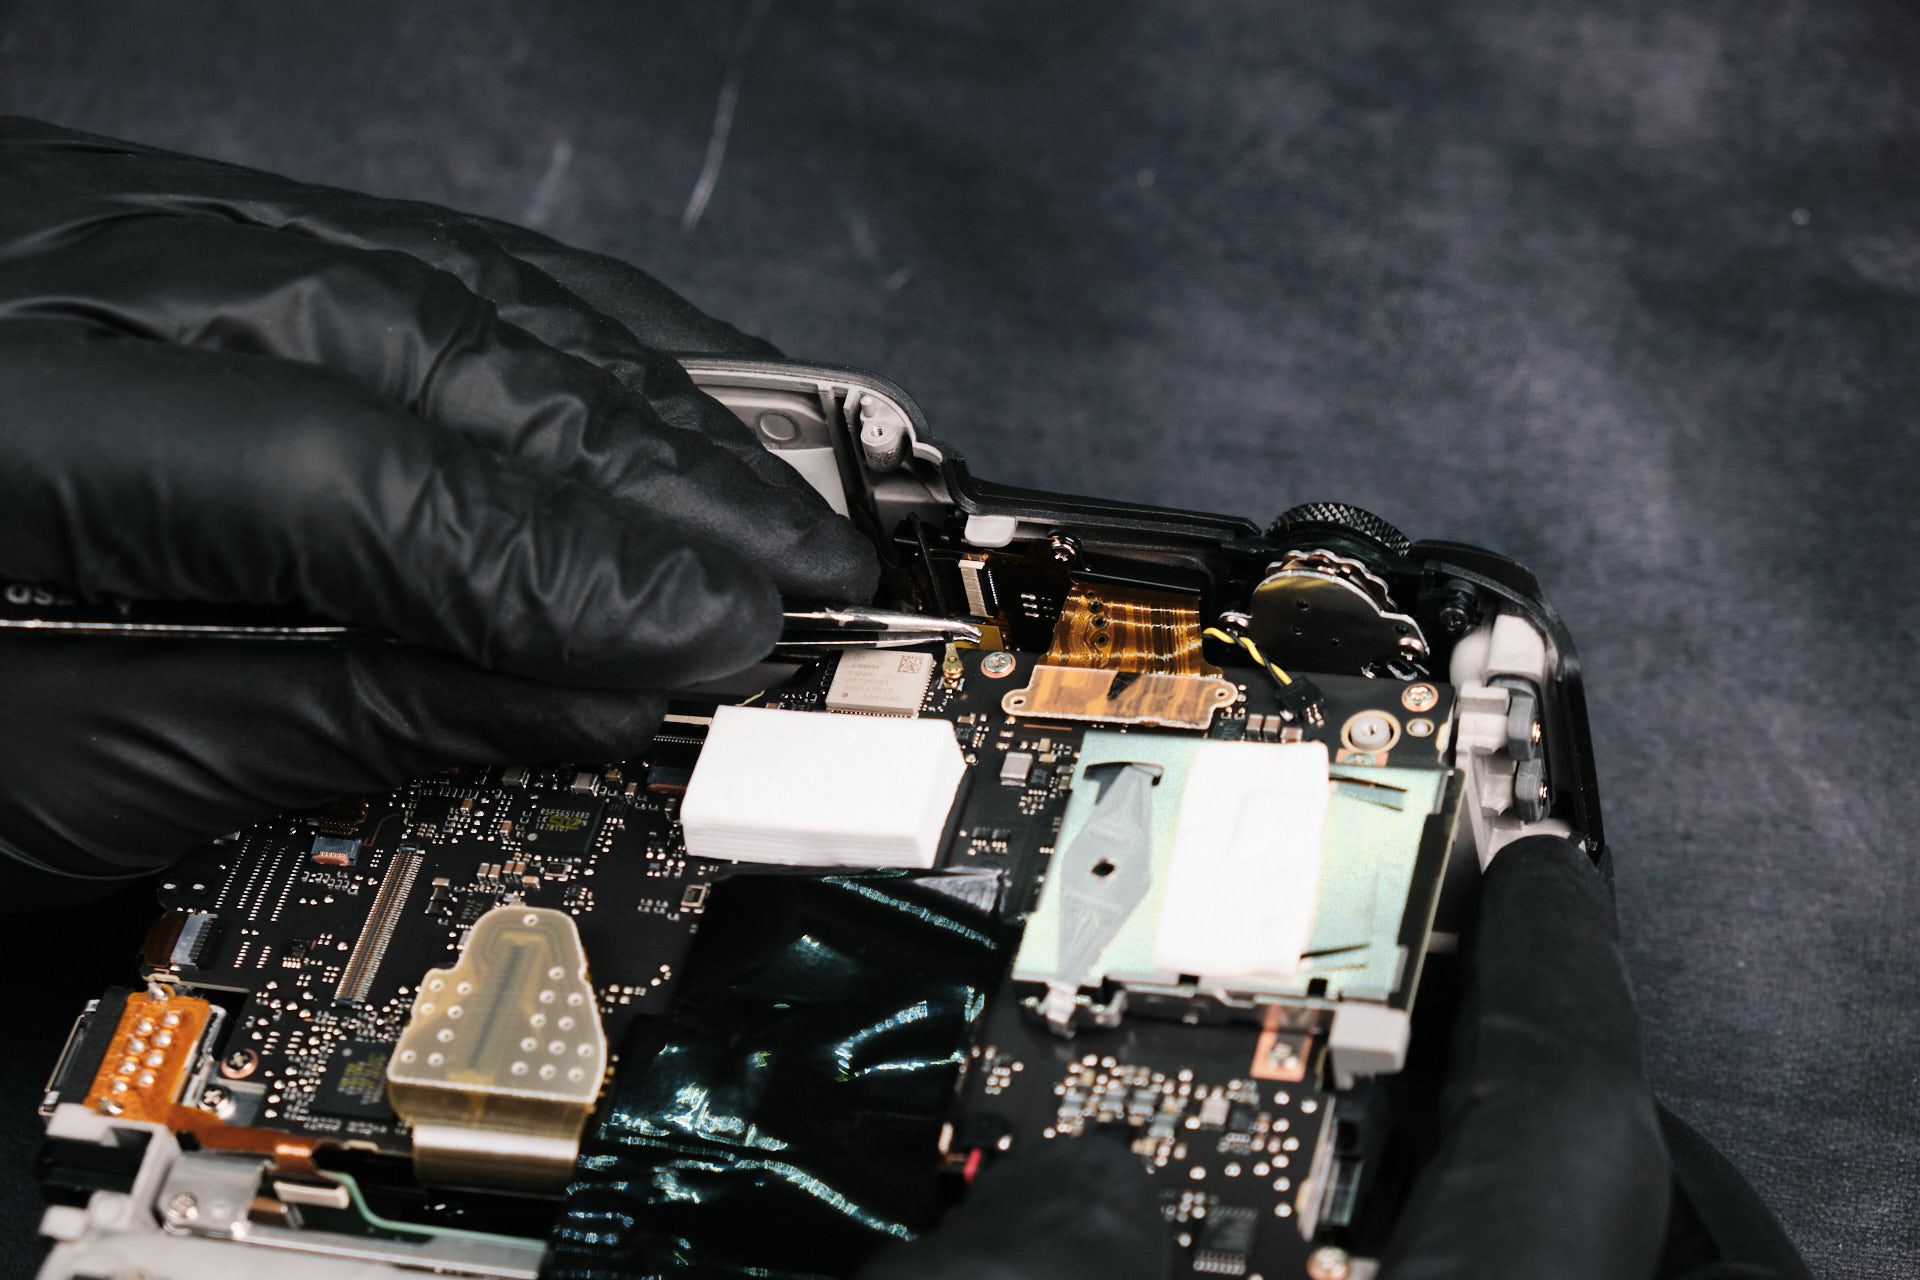
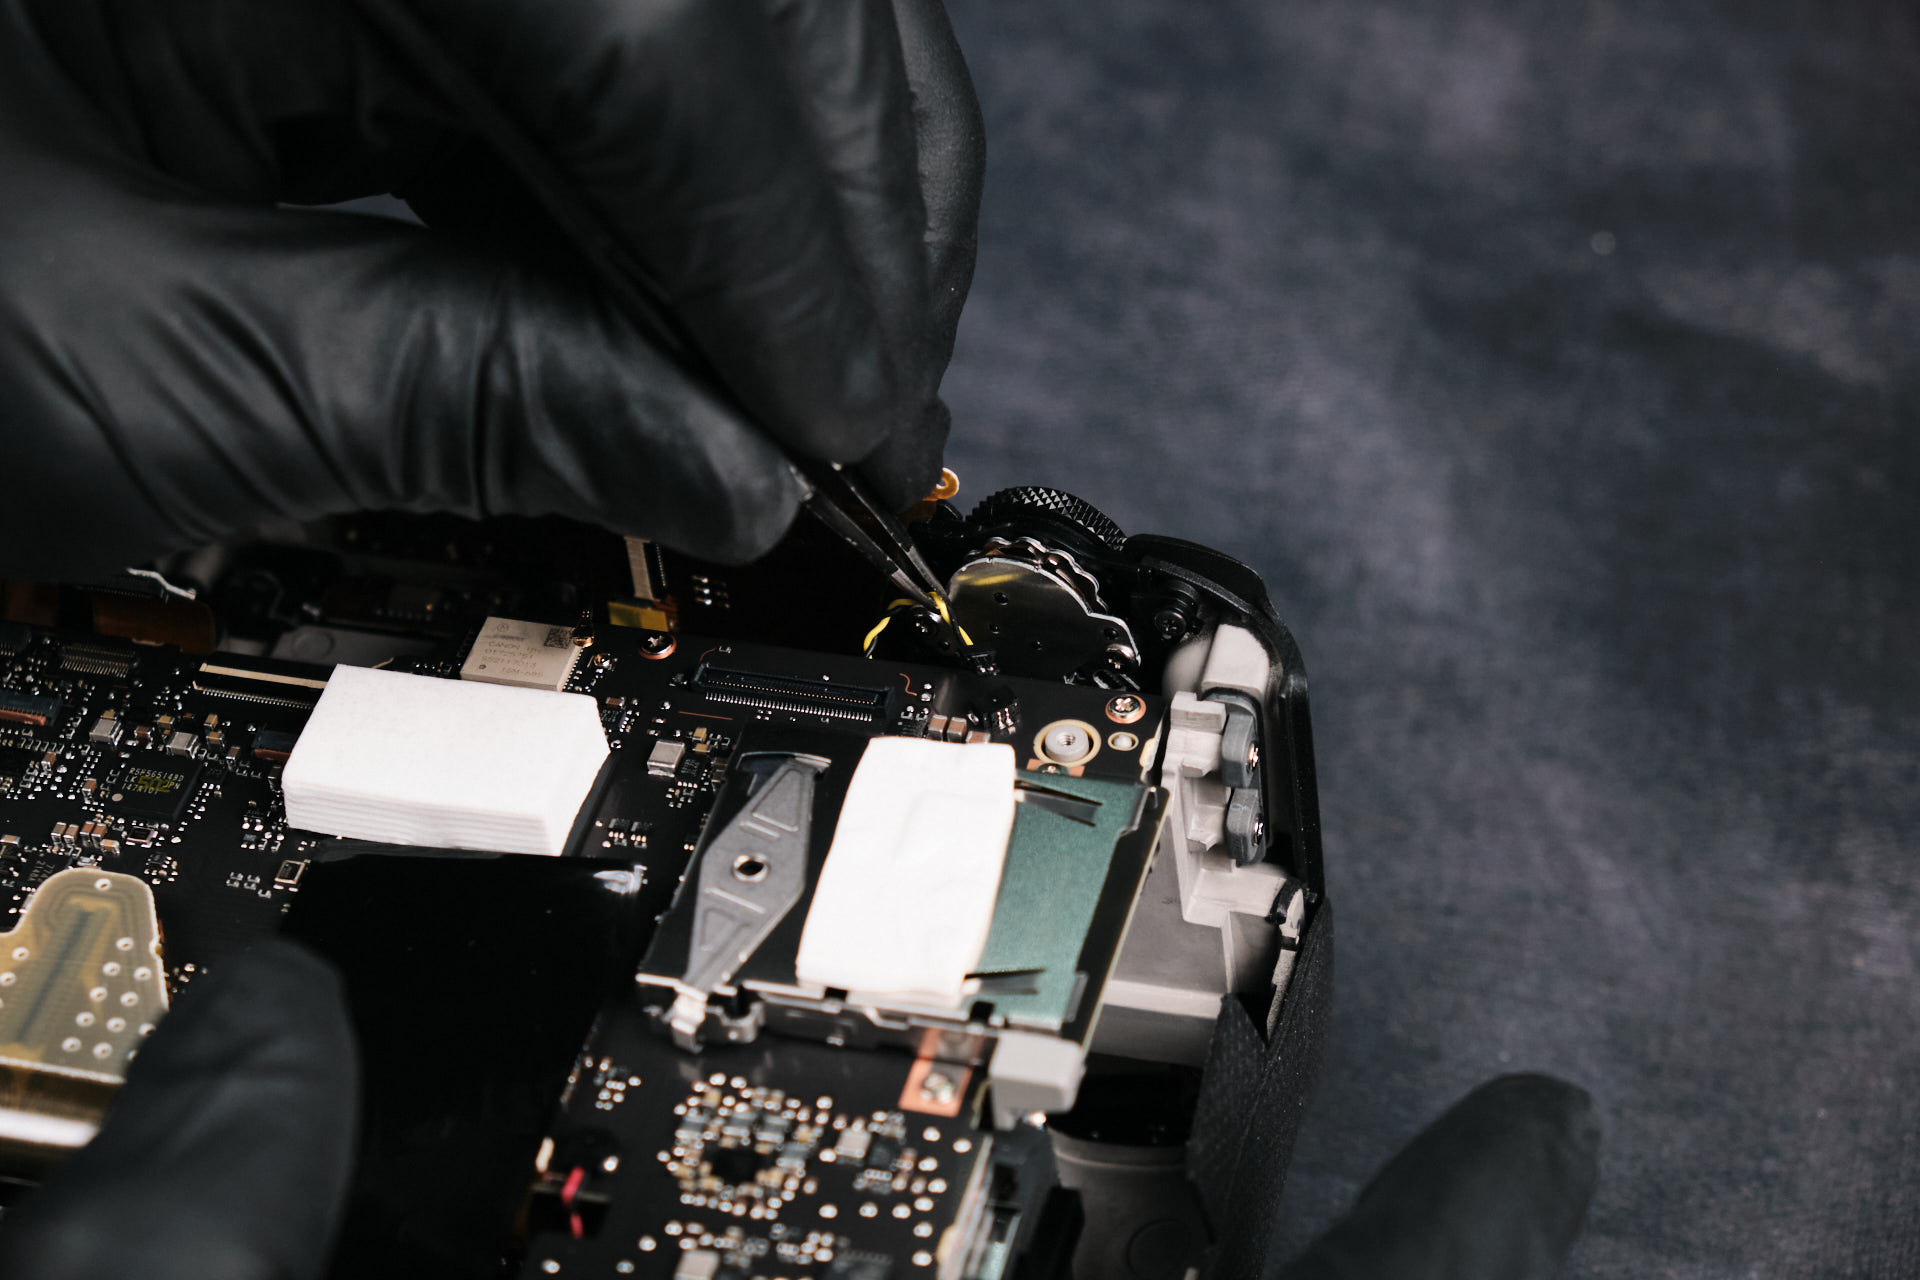
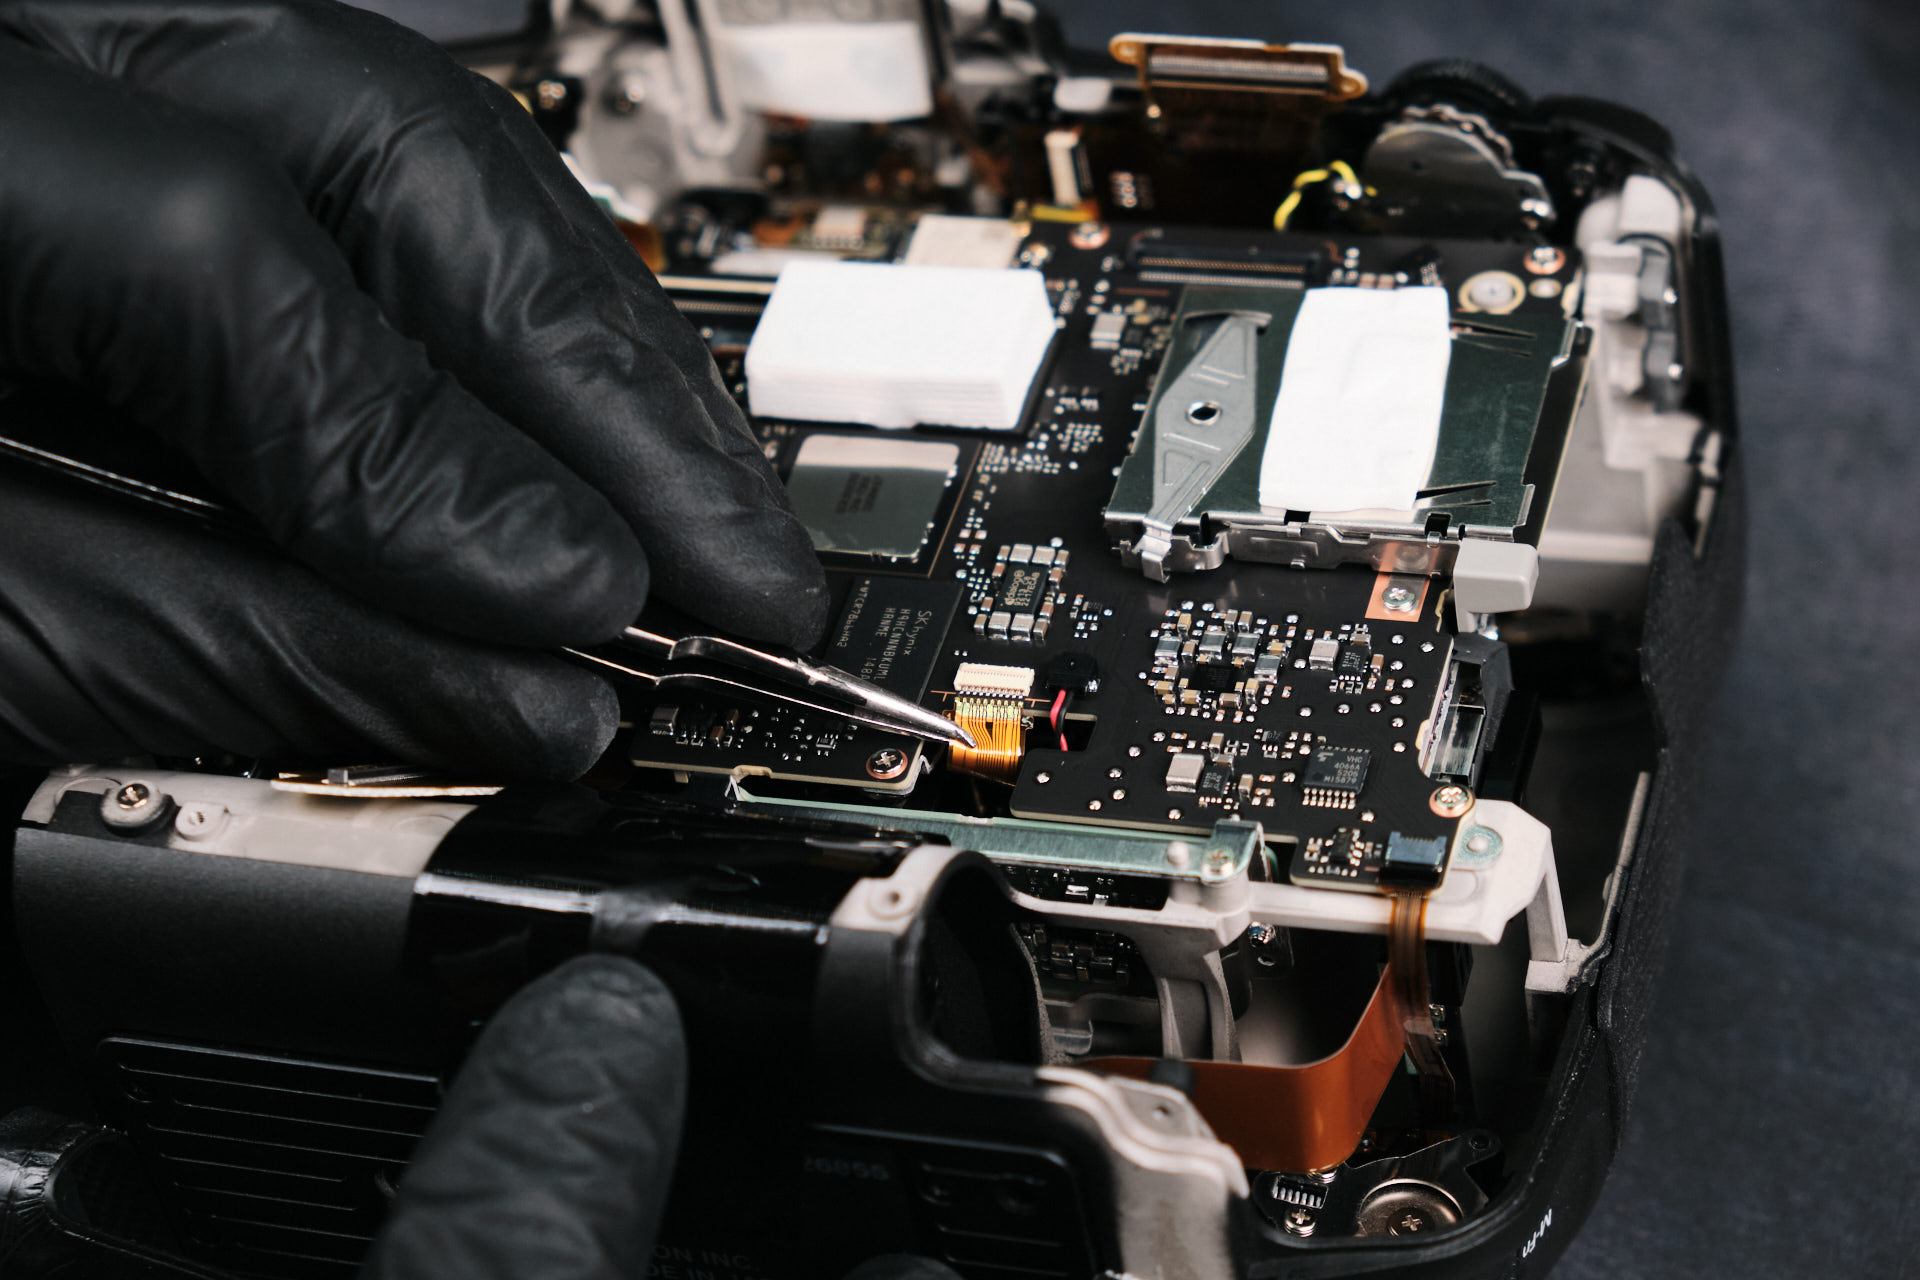
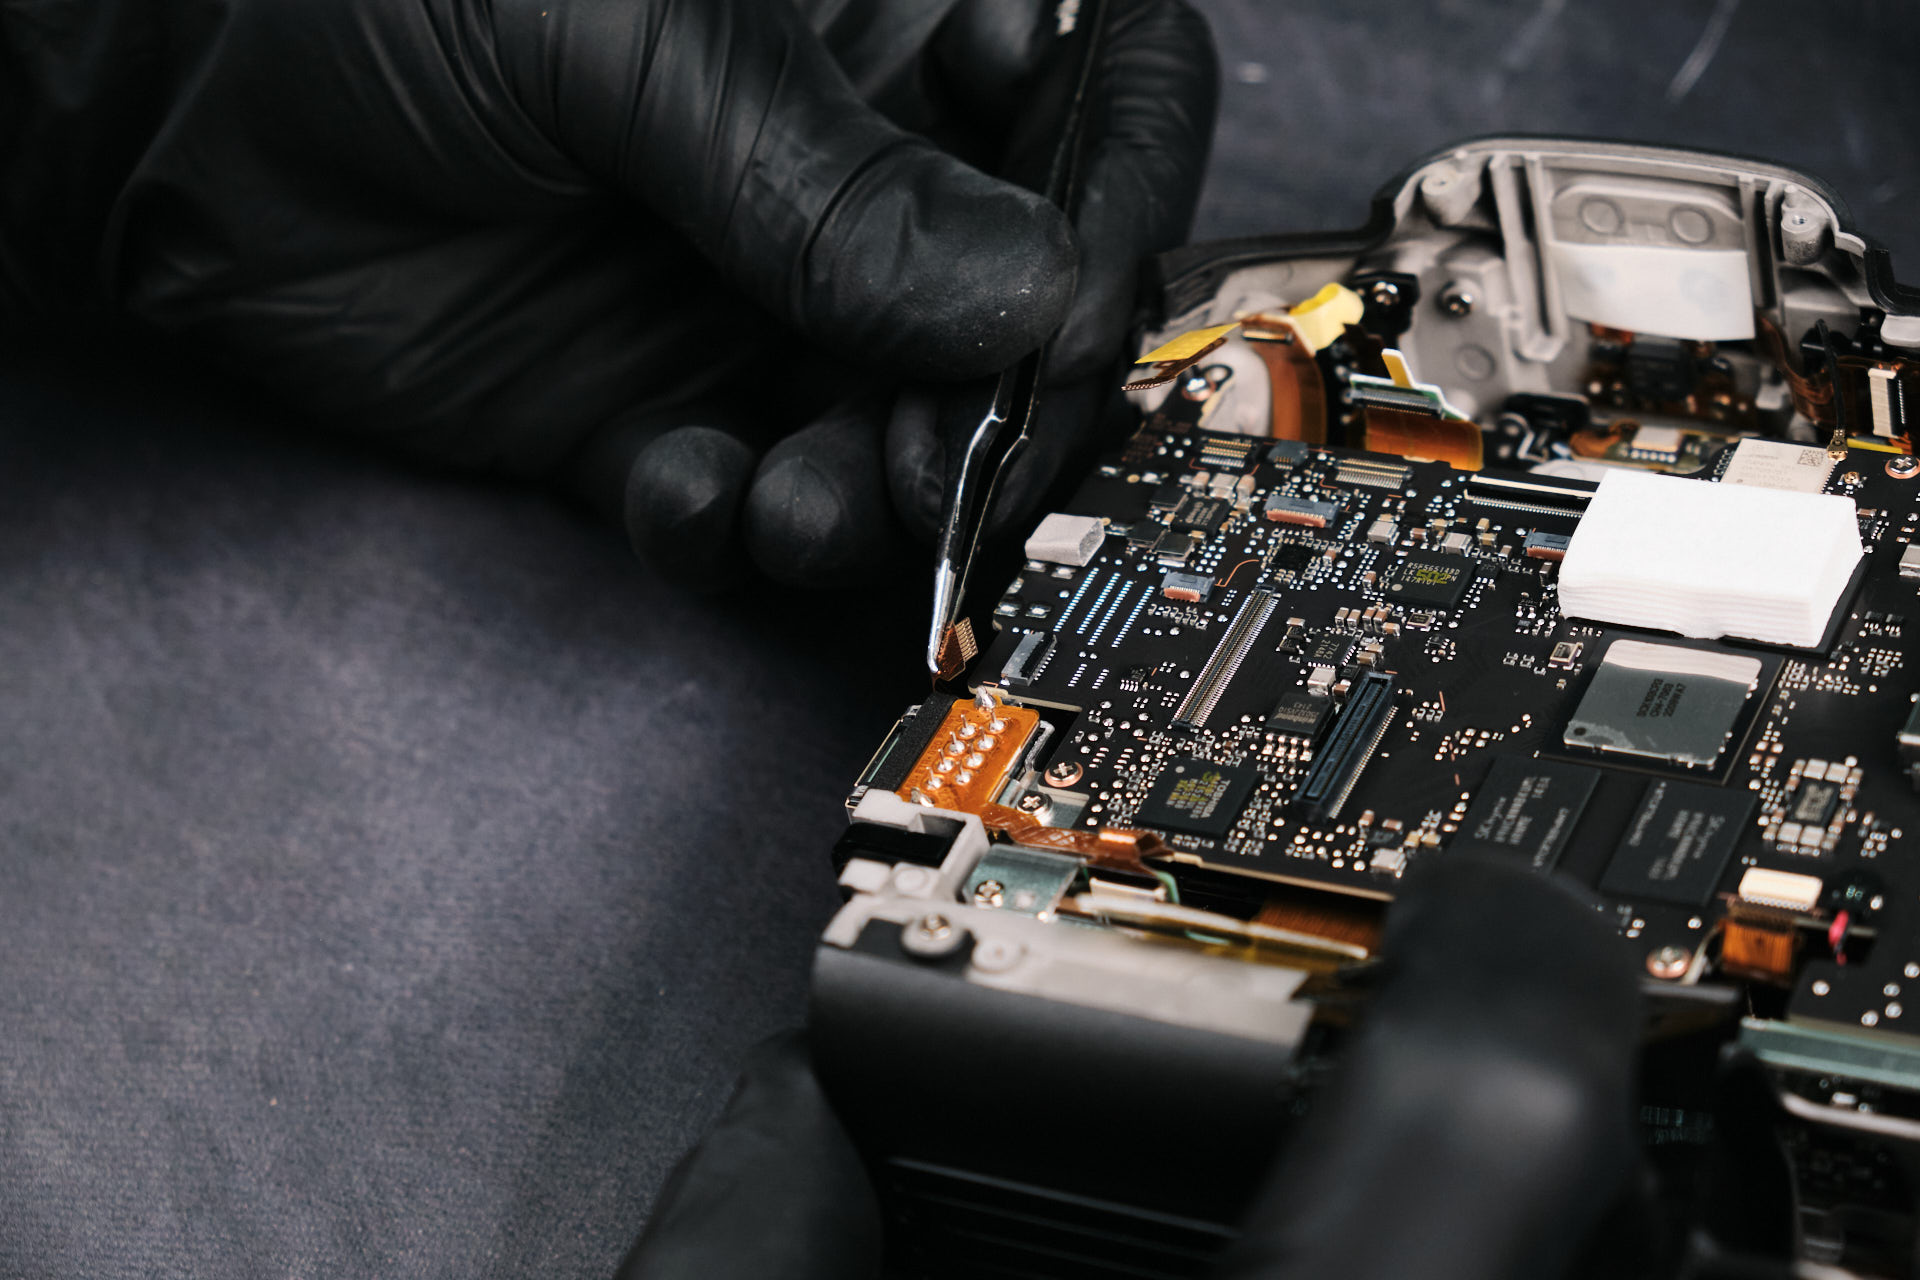
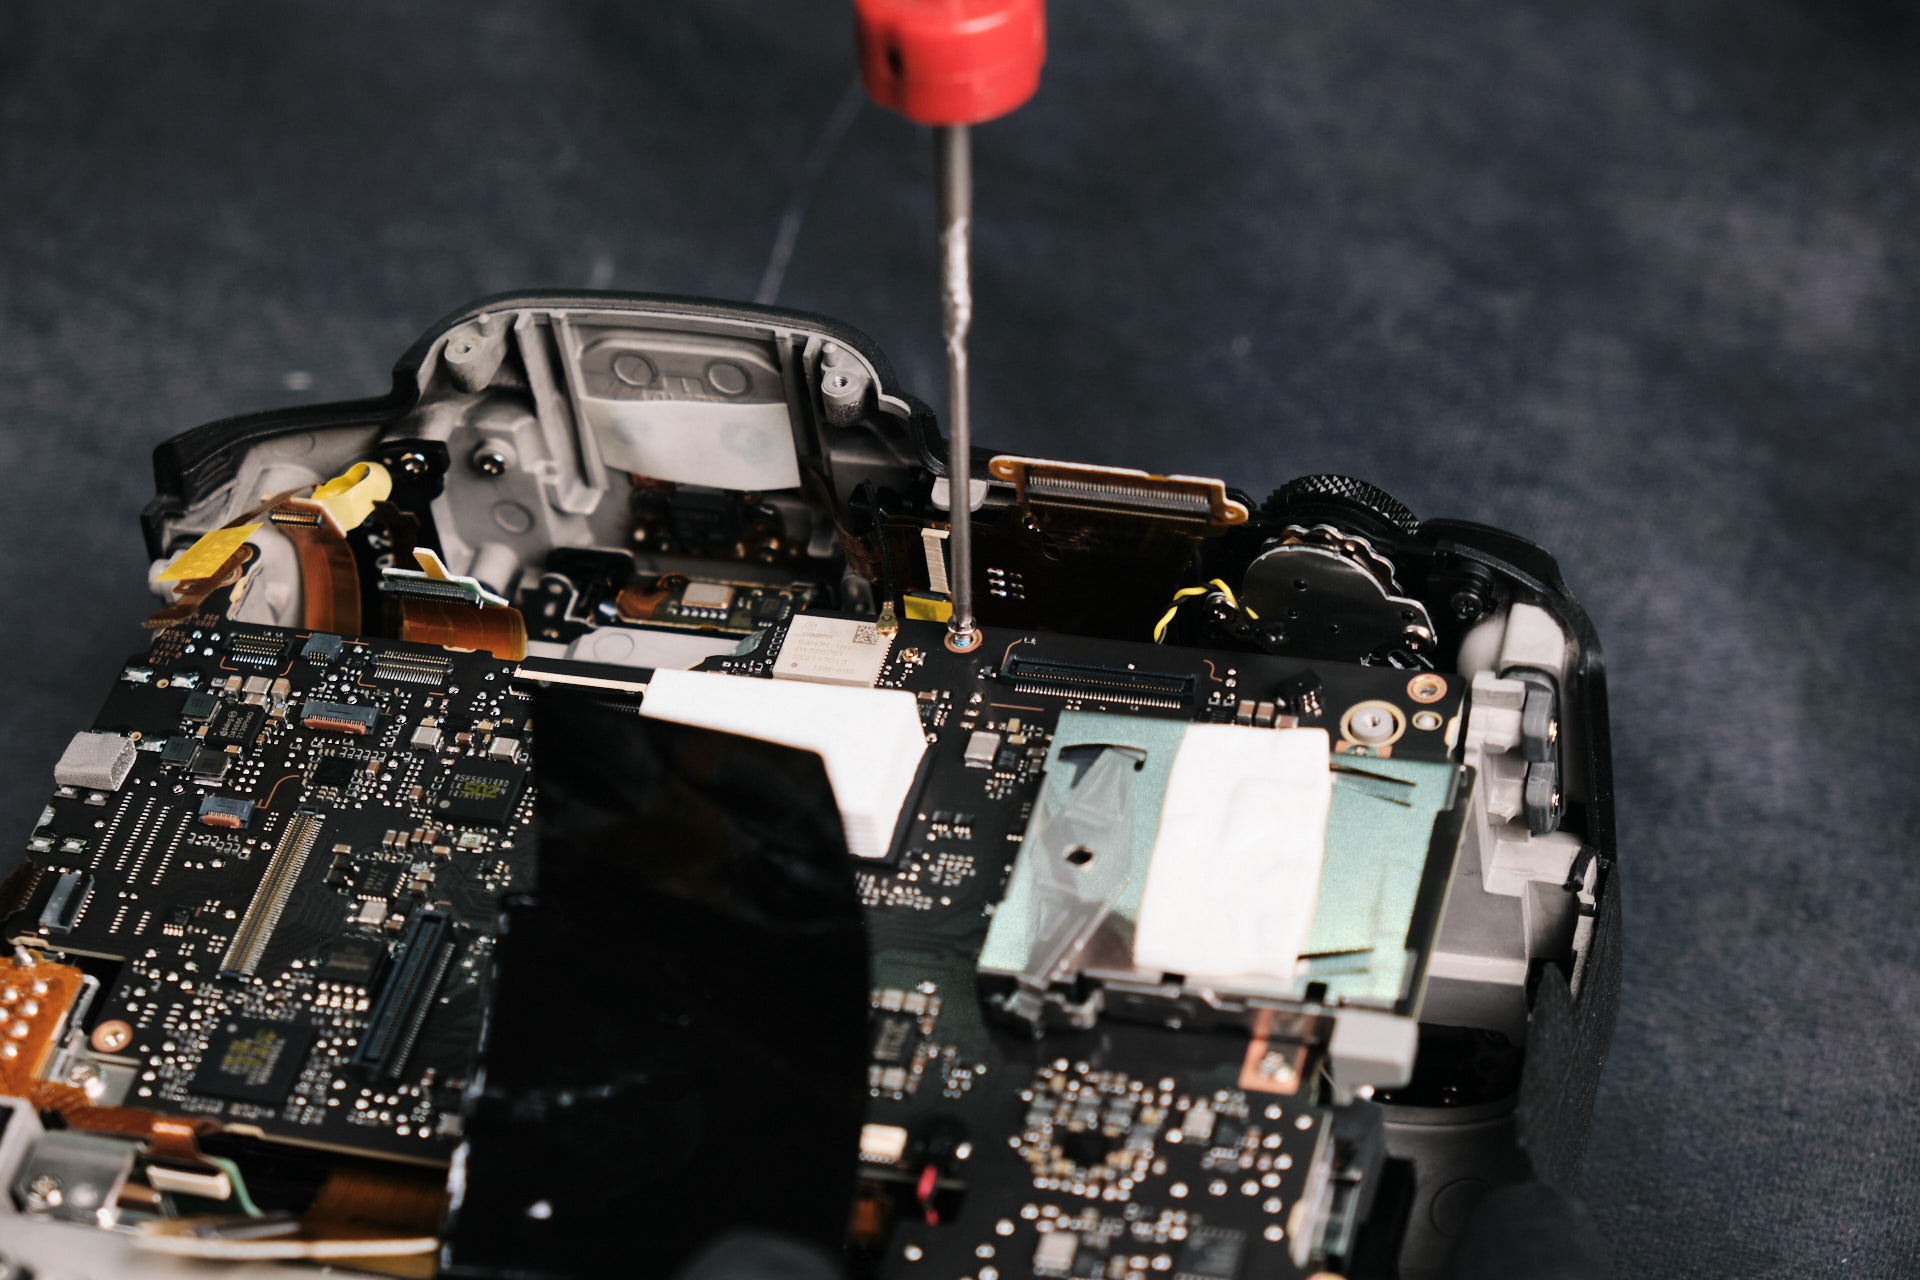
With the backside panel removed, we can begin disassembling the internals of camera. Here, you can see the entire assembly of ribbon cables and screws along with the Printed Circuitboard (PCB). Notice the large heat dissipation pads, which are comparable to the size of a piece of tofu.
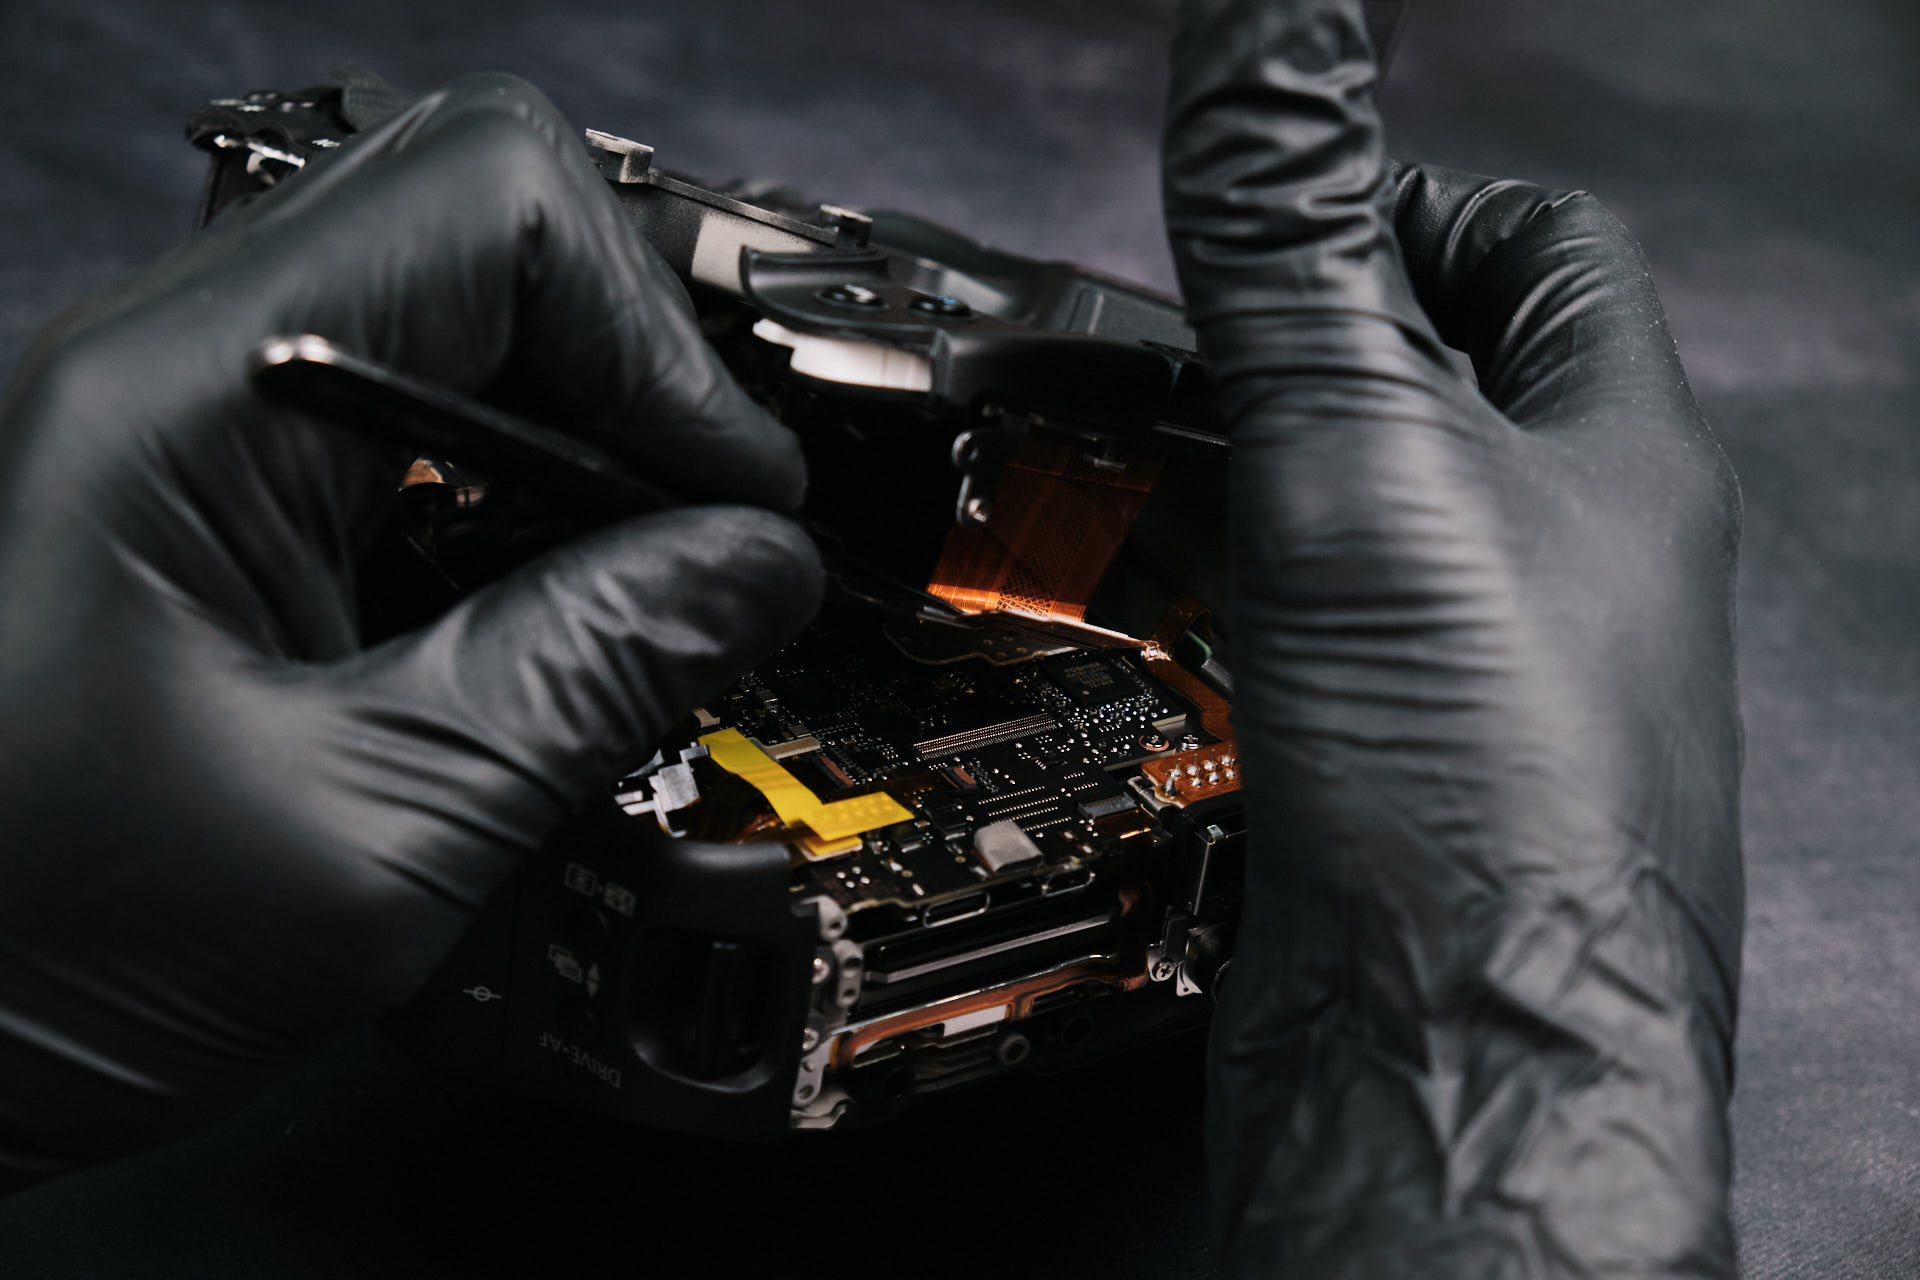
Disconnecting Wires and Ribbon Cables
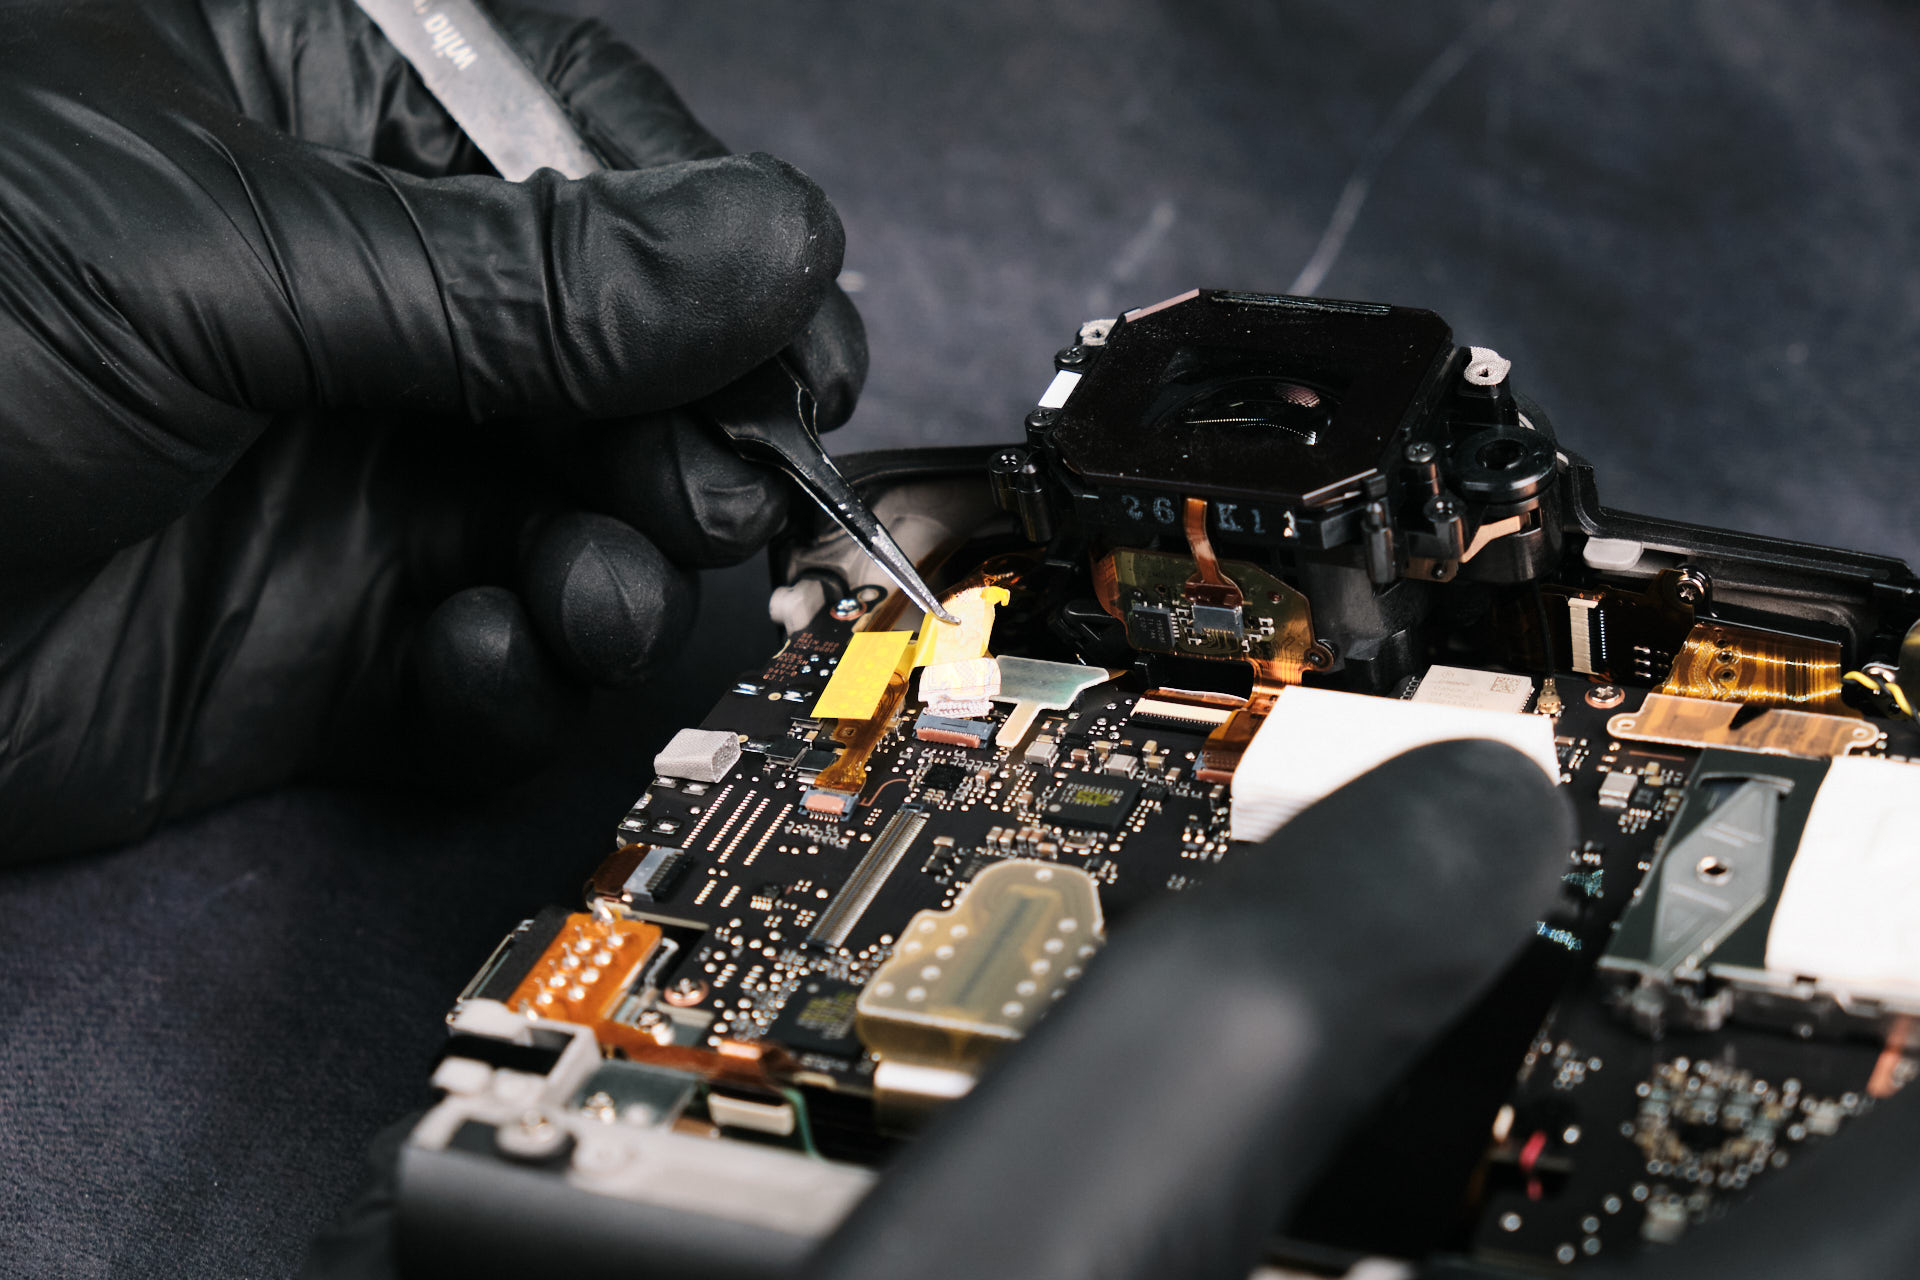
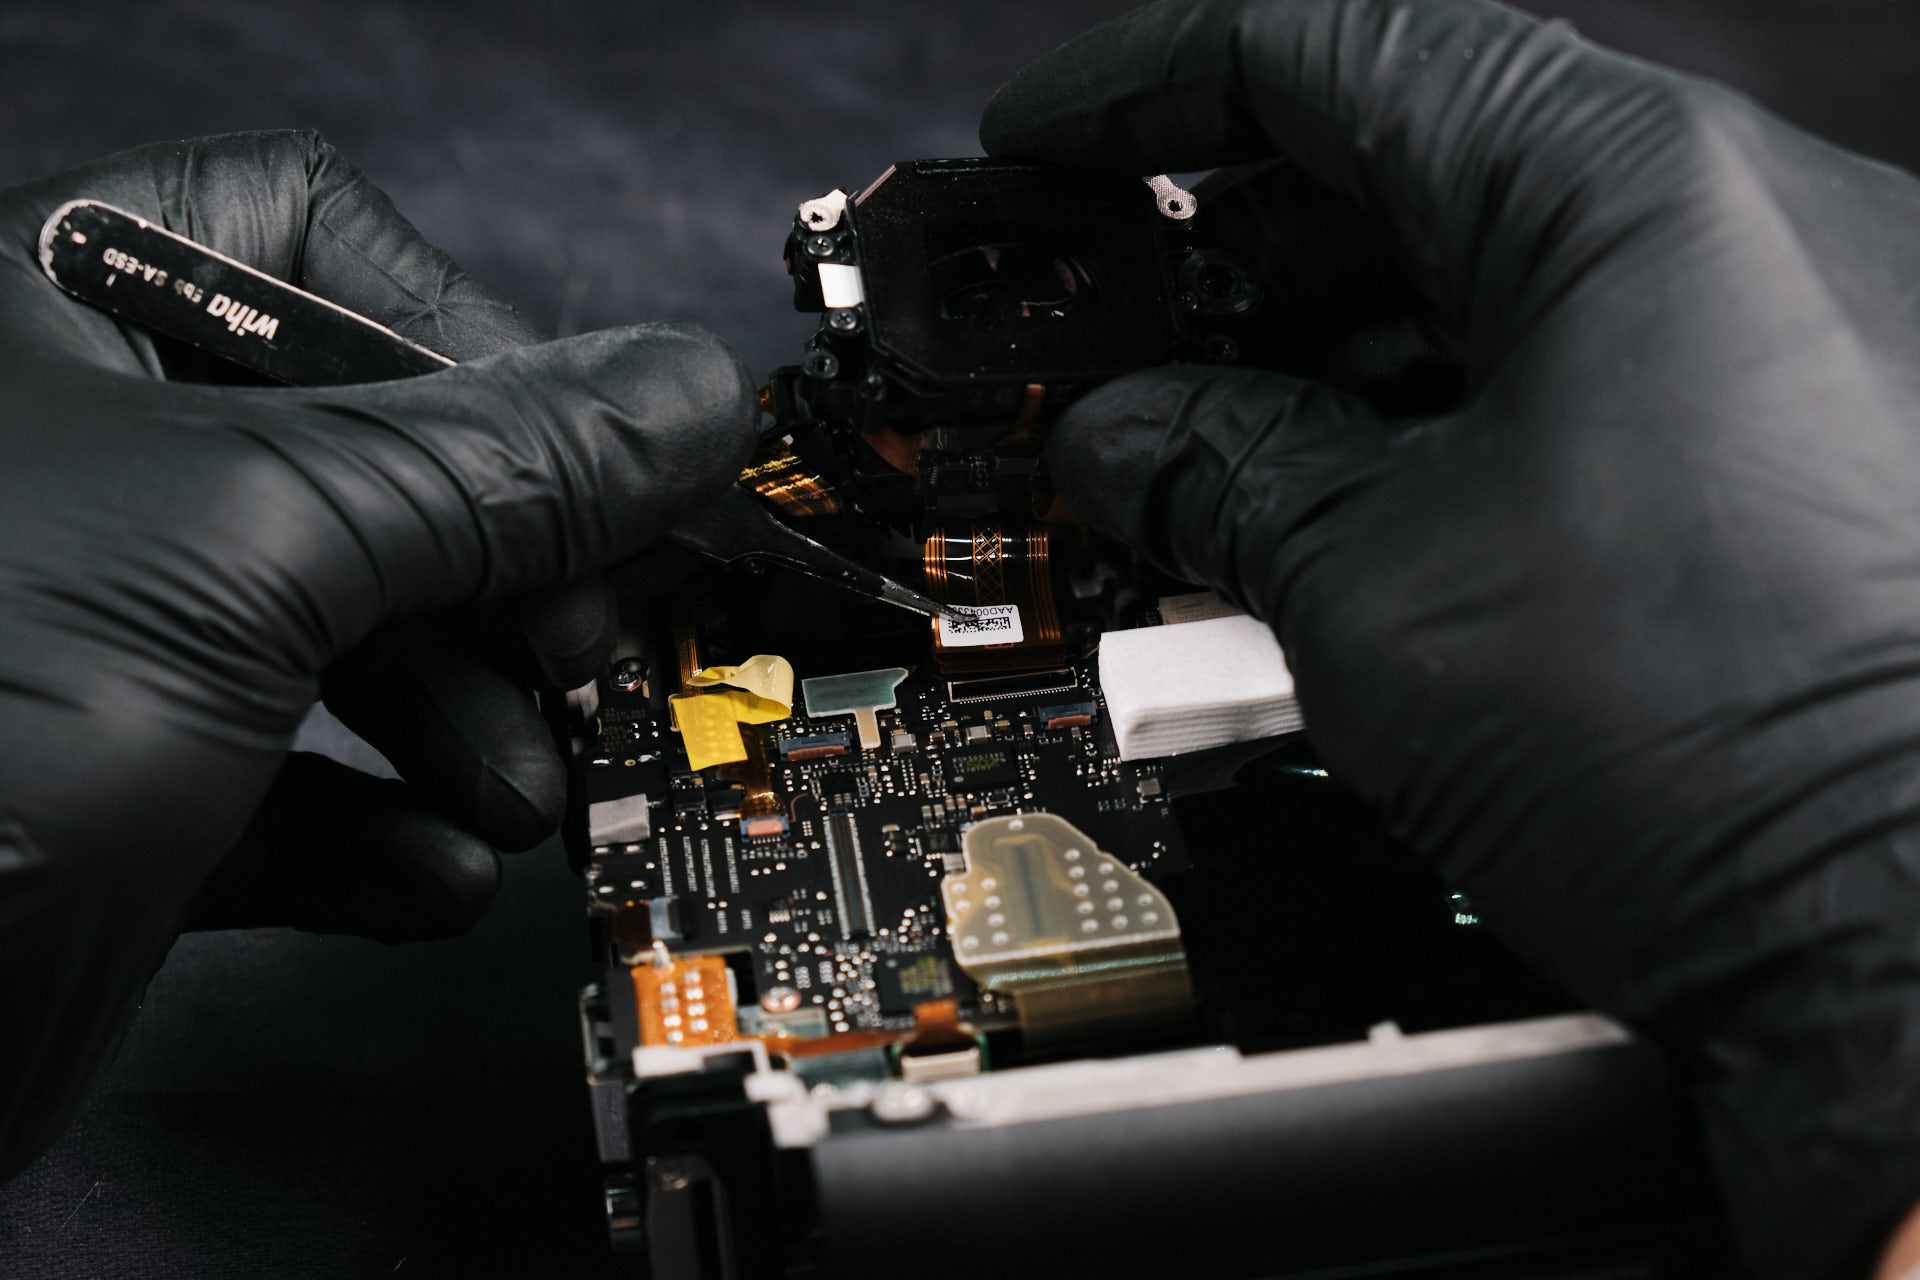
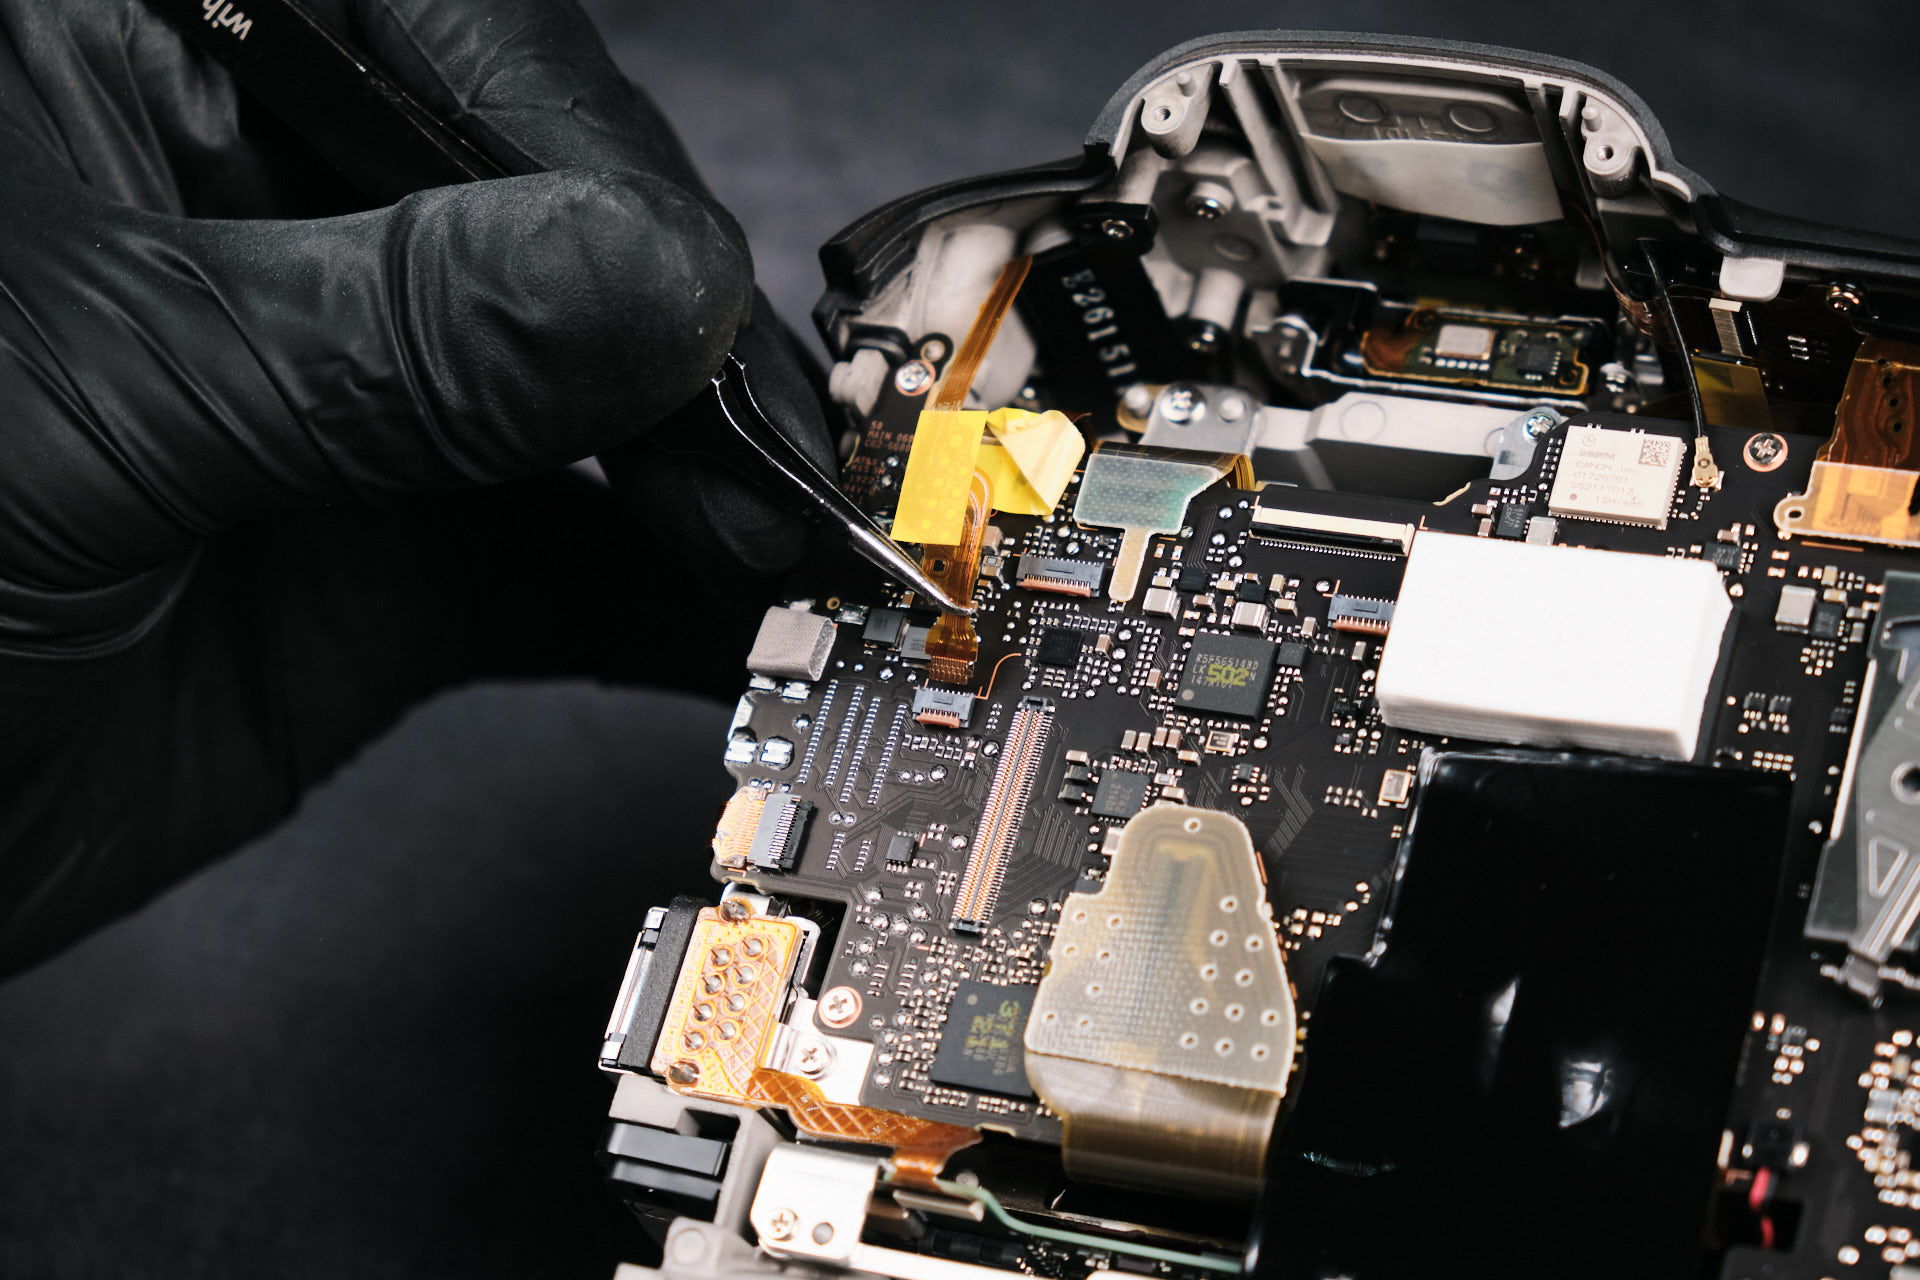
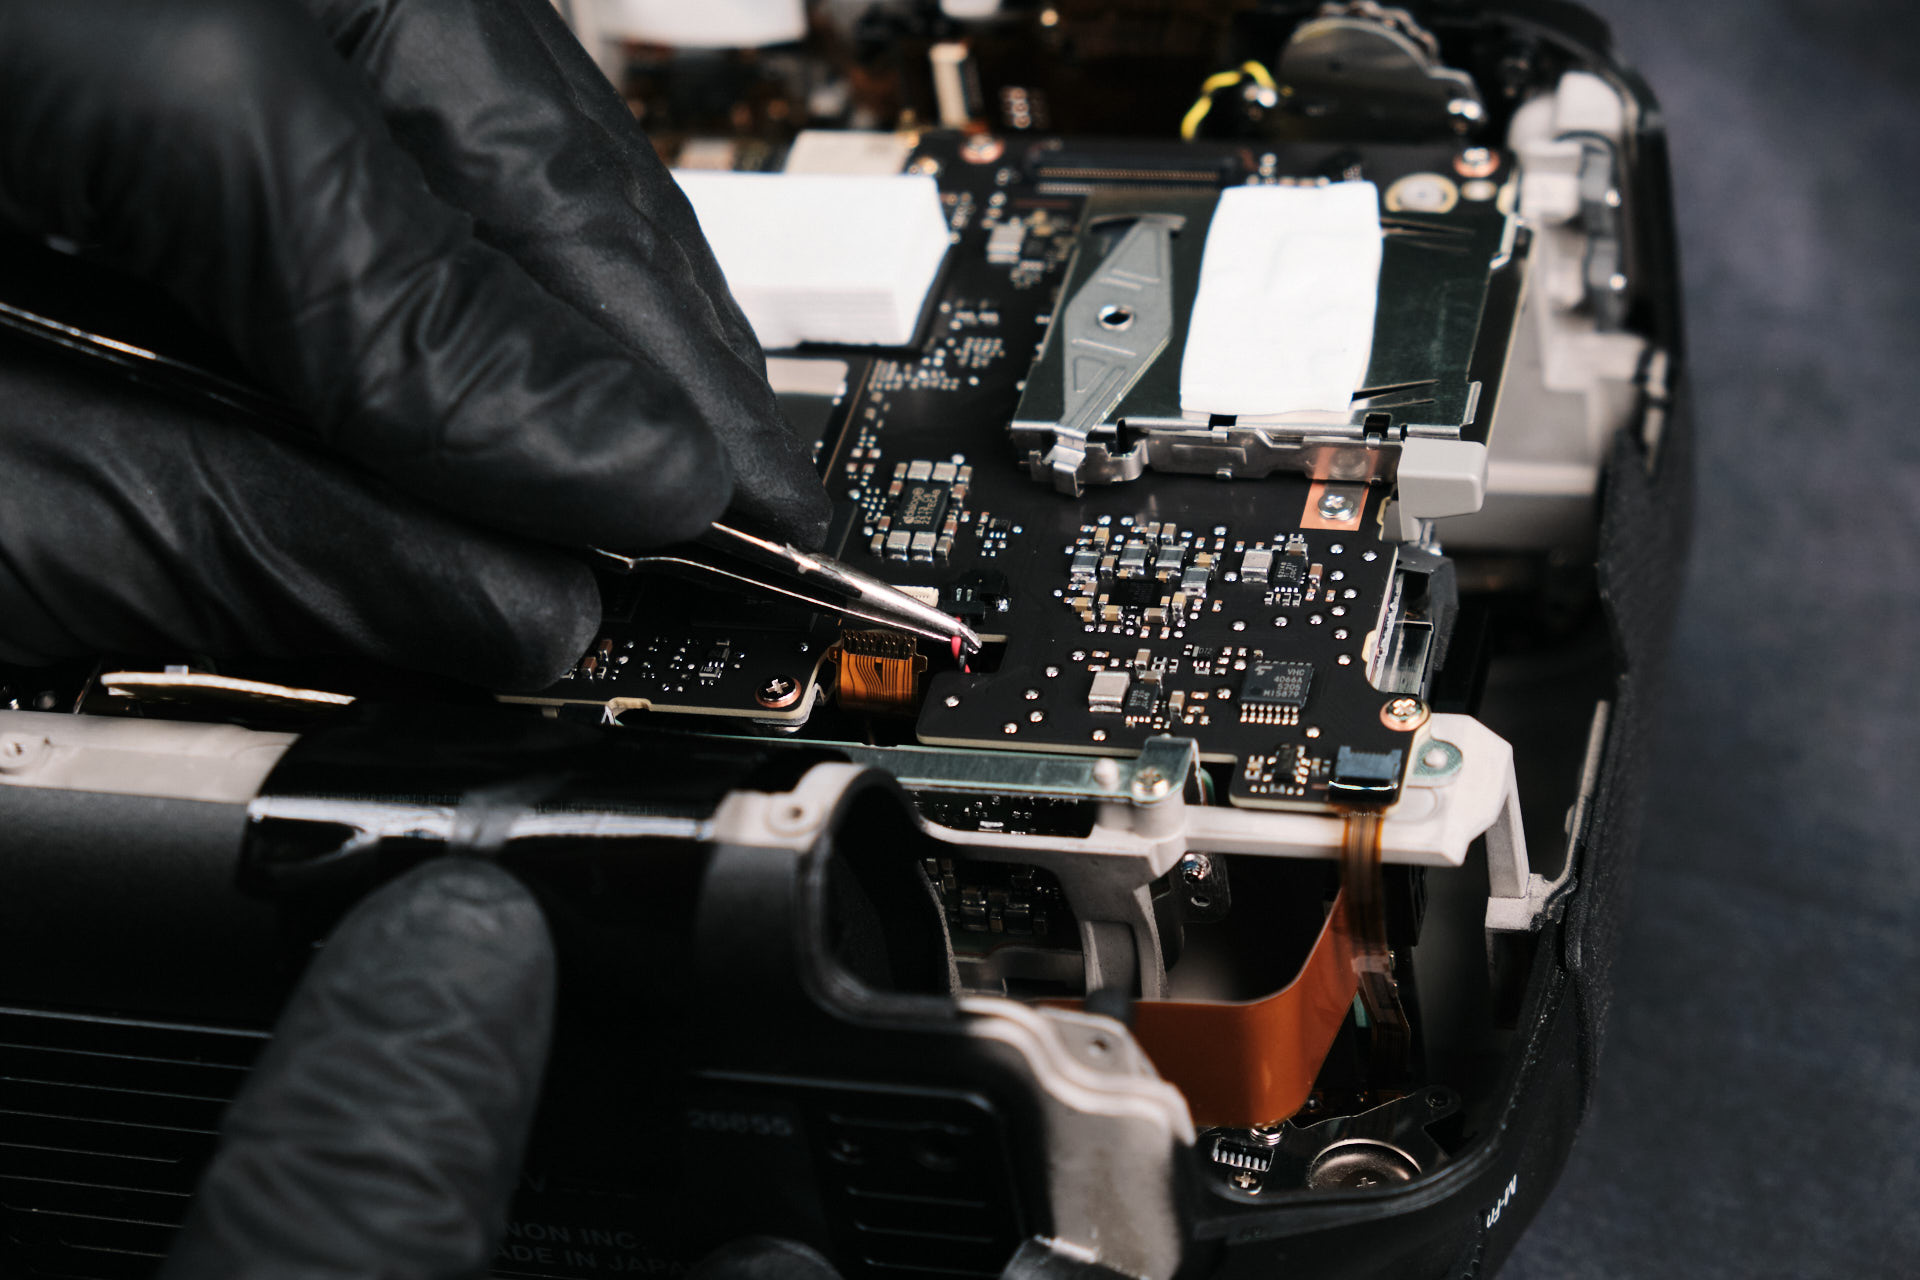
There were many things that needed to be disconnected here between the wires and ribbon cables. Altogether, there were __ attachment points for disconnection.Â
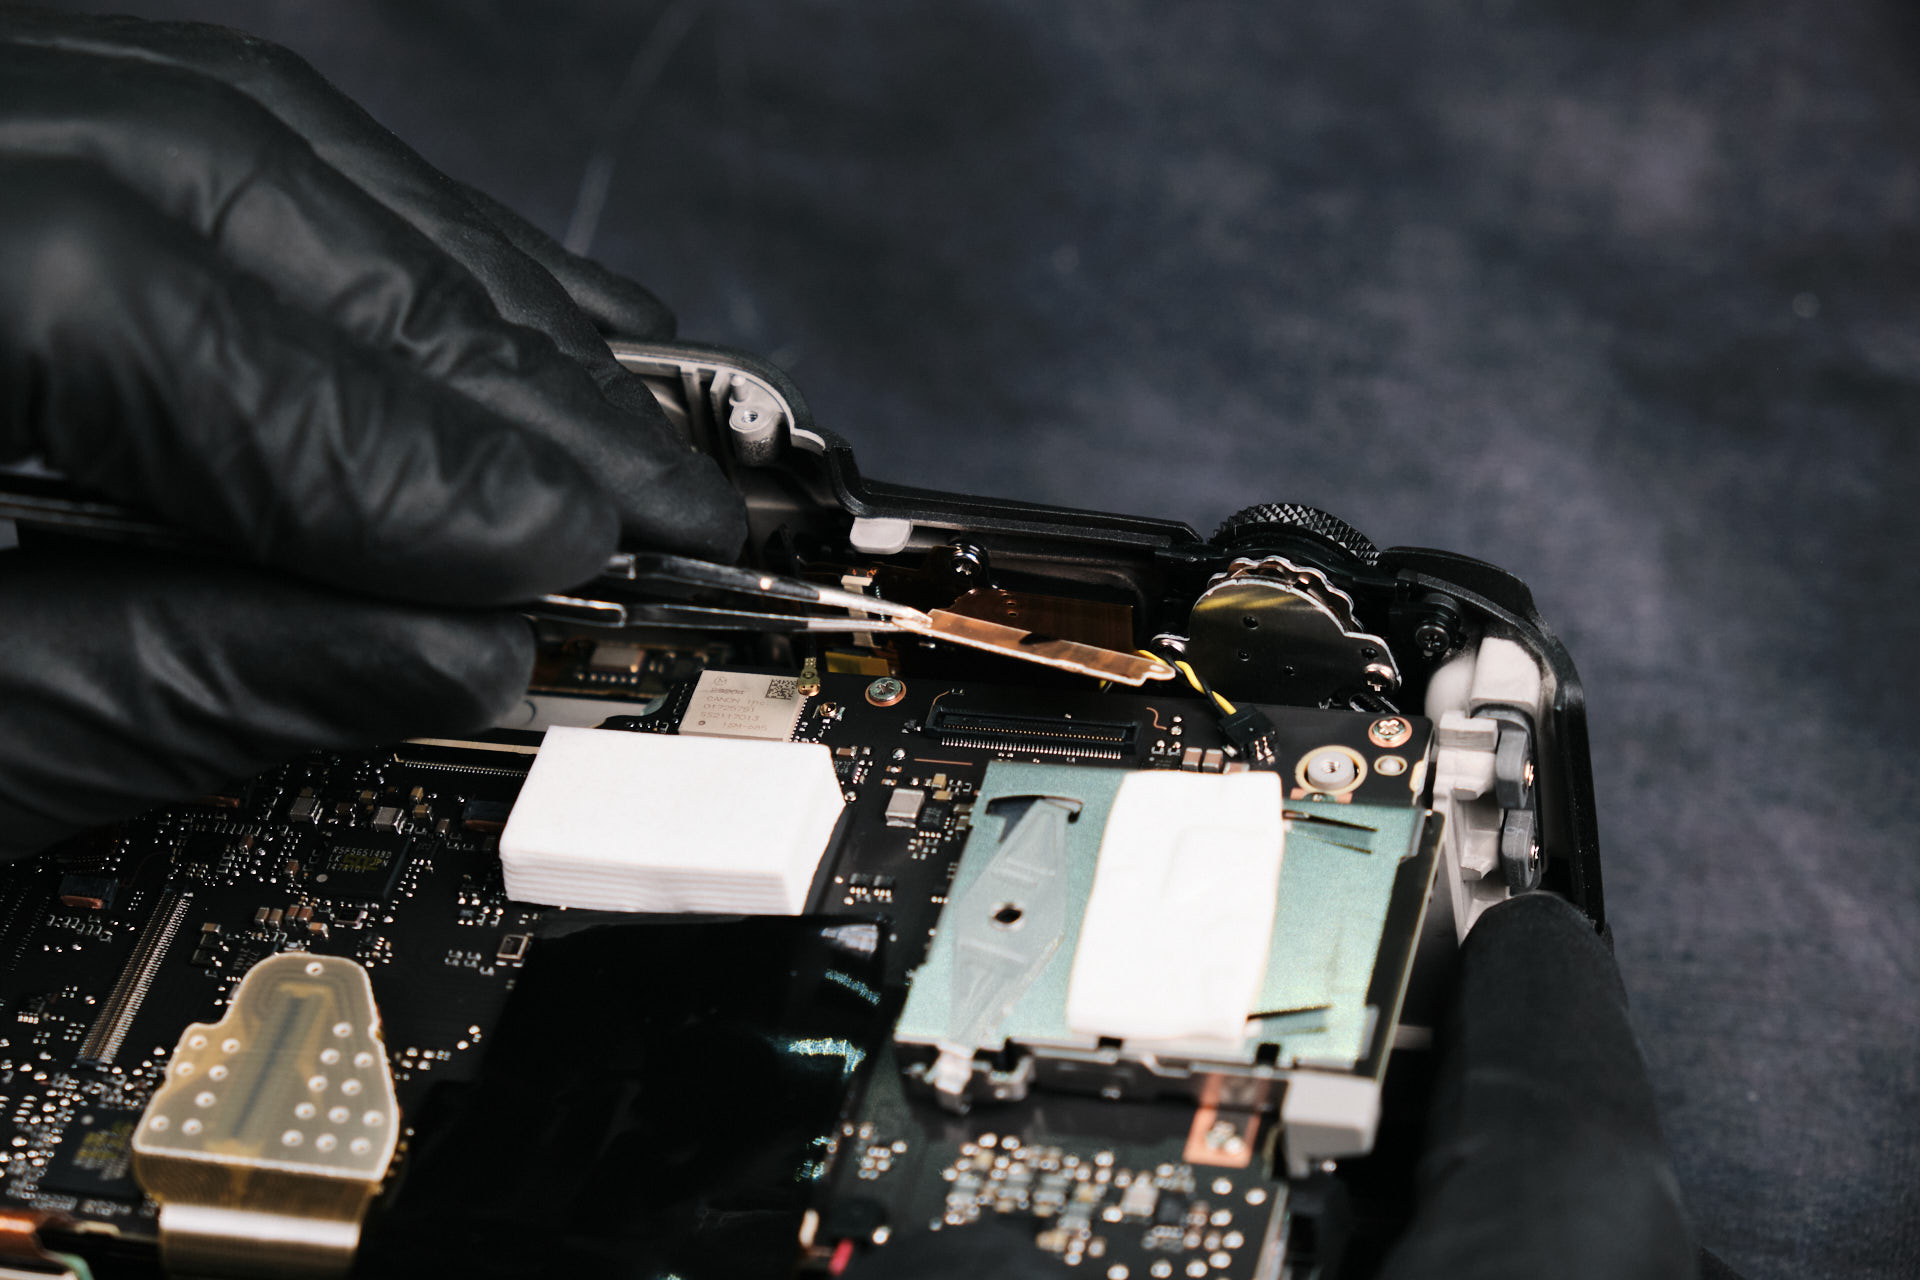
Finding Hidden Wires and Ribbon Cable Connections
Further inspection of the camera showed a few hidden connection points. Evidently, there were some hidden wires and ribbon cables.
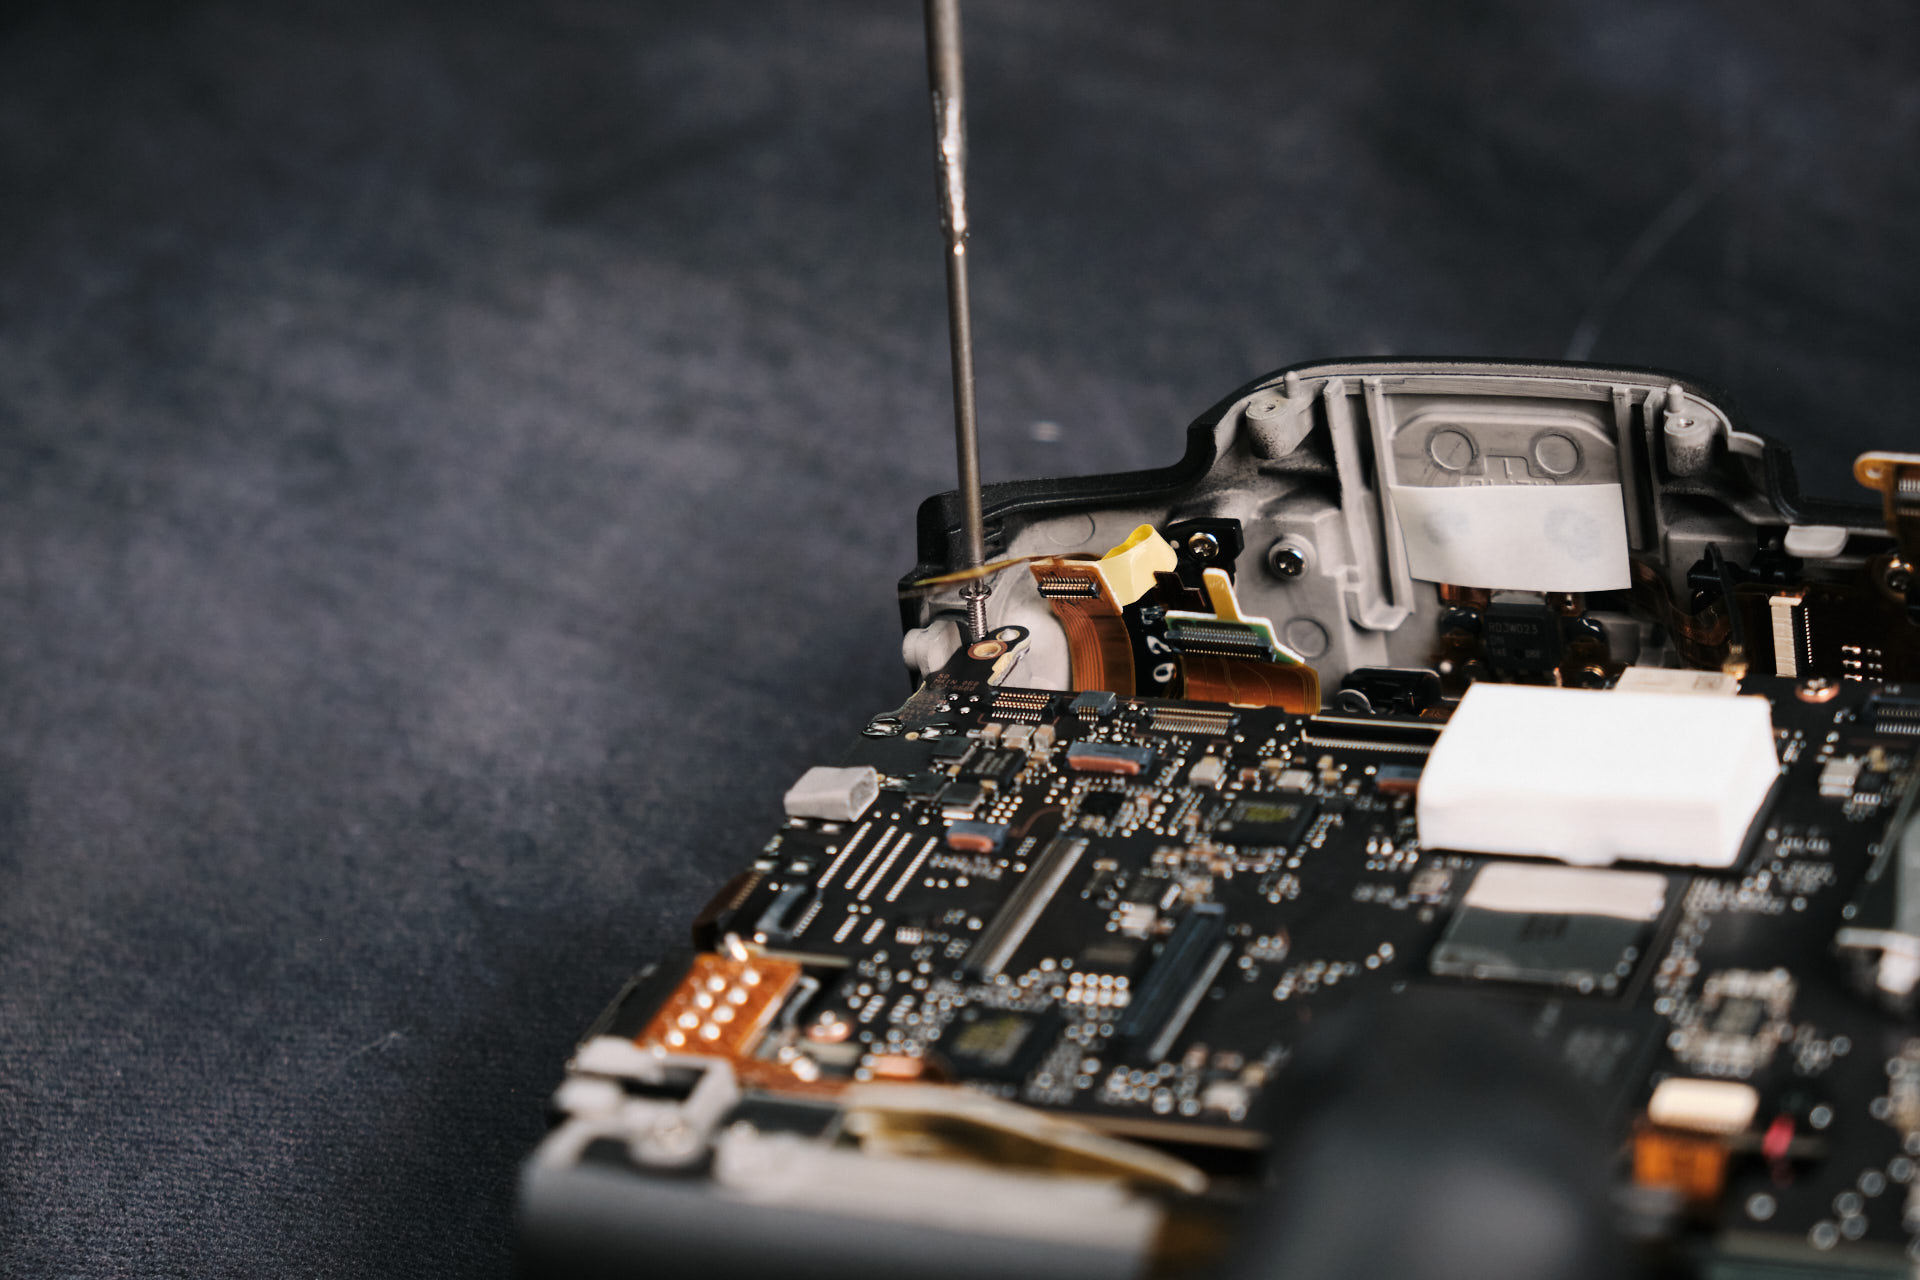
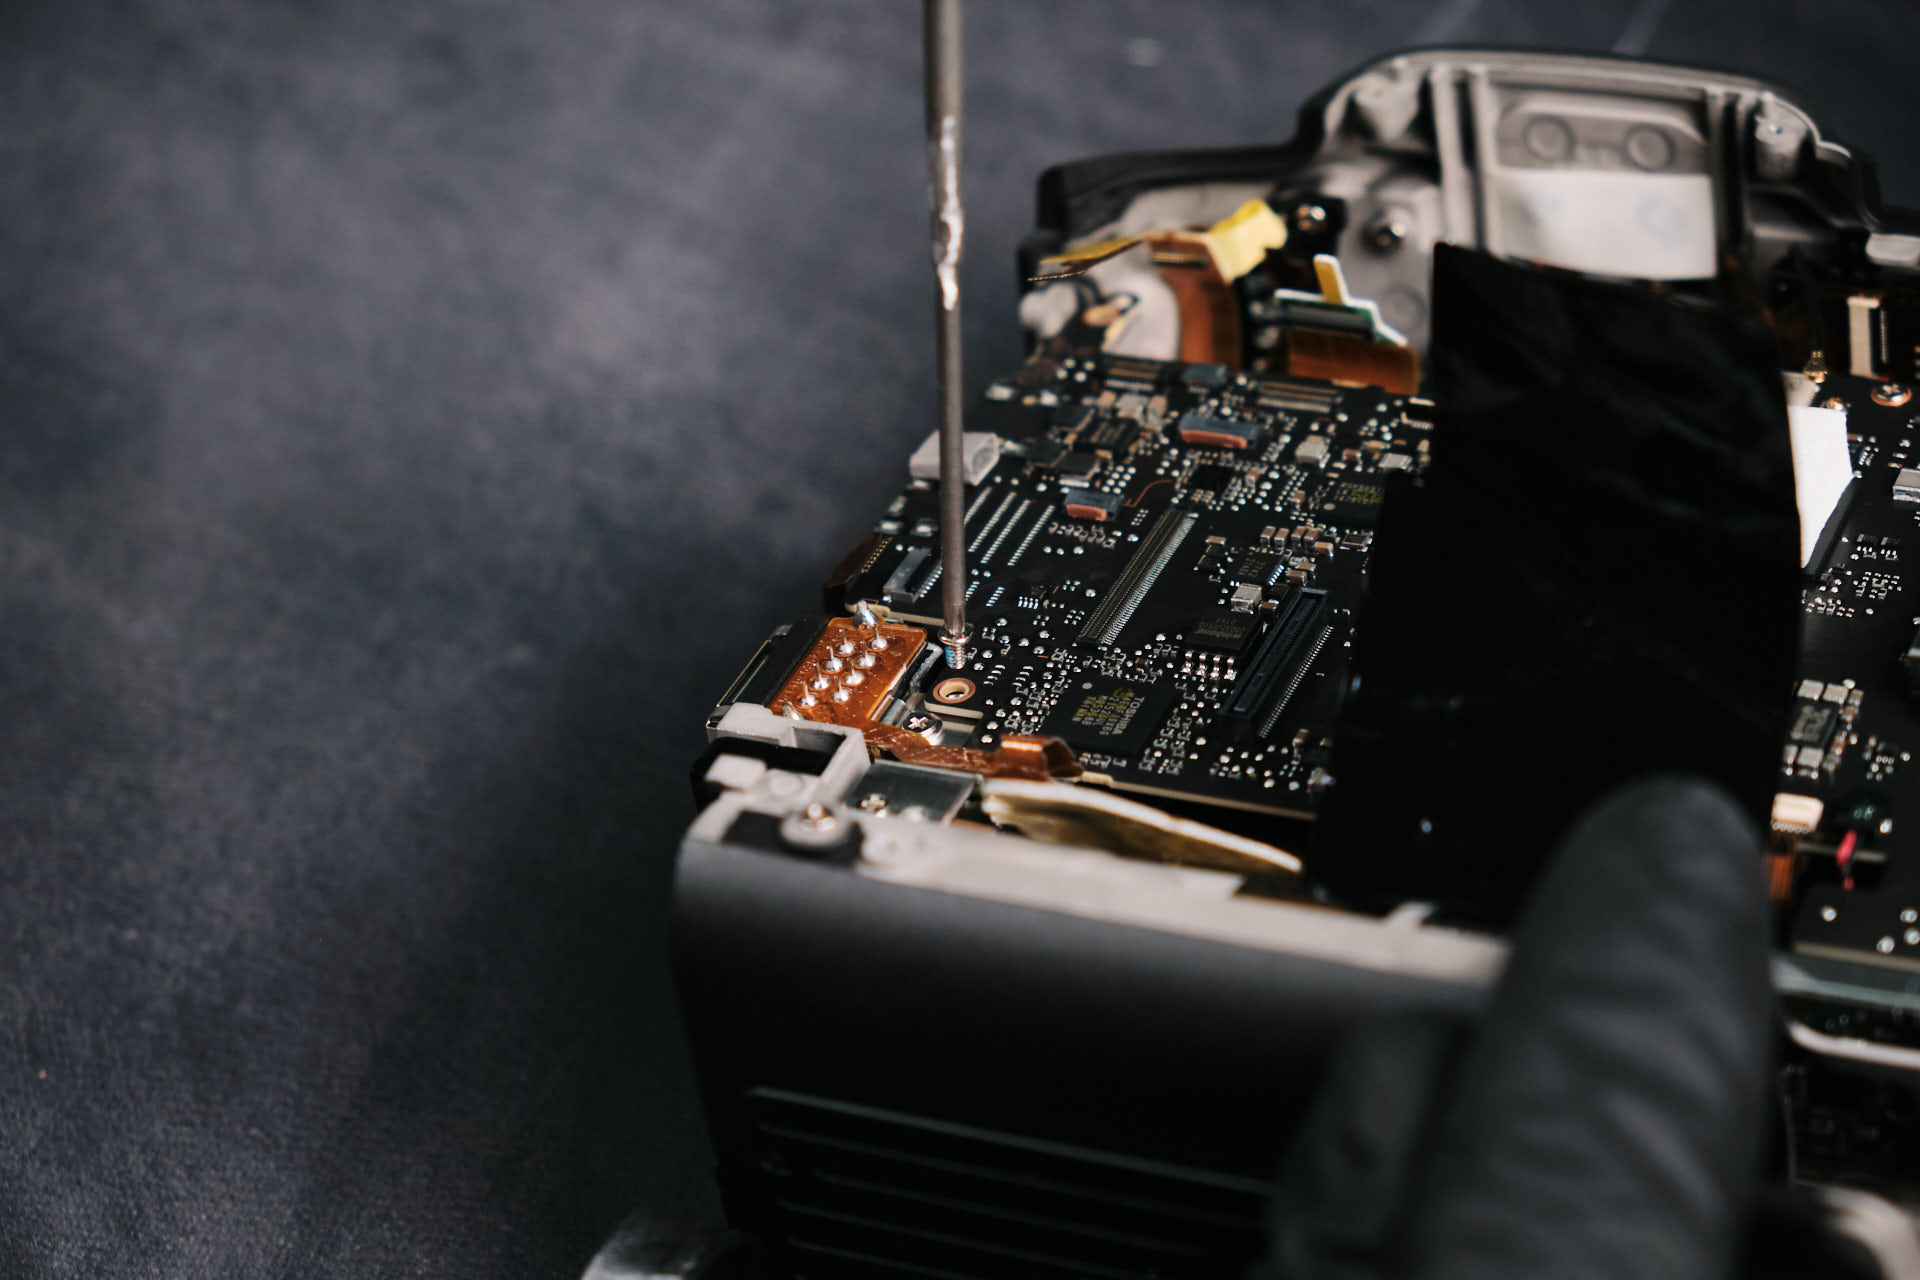
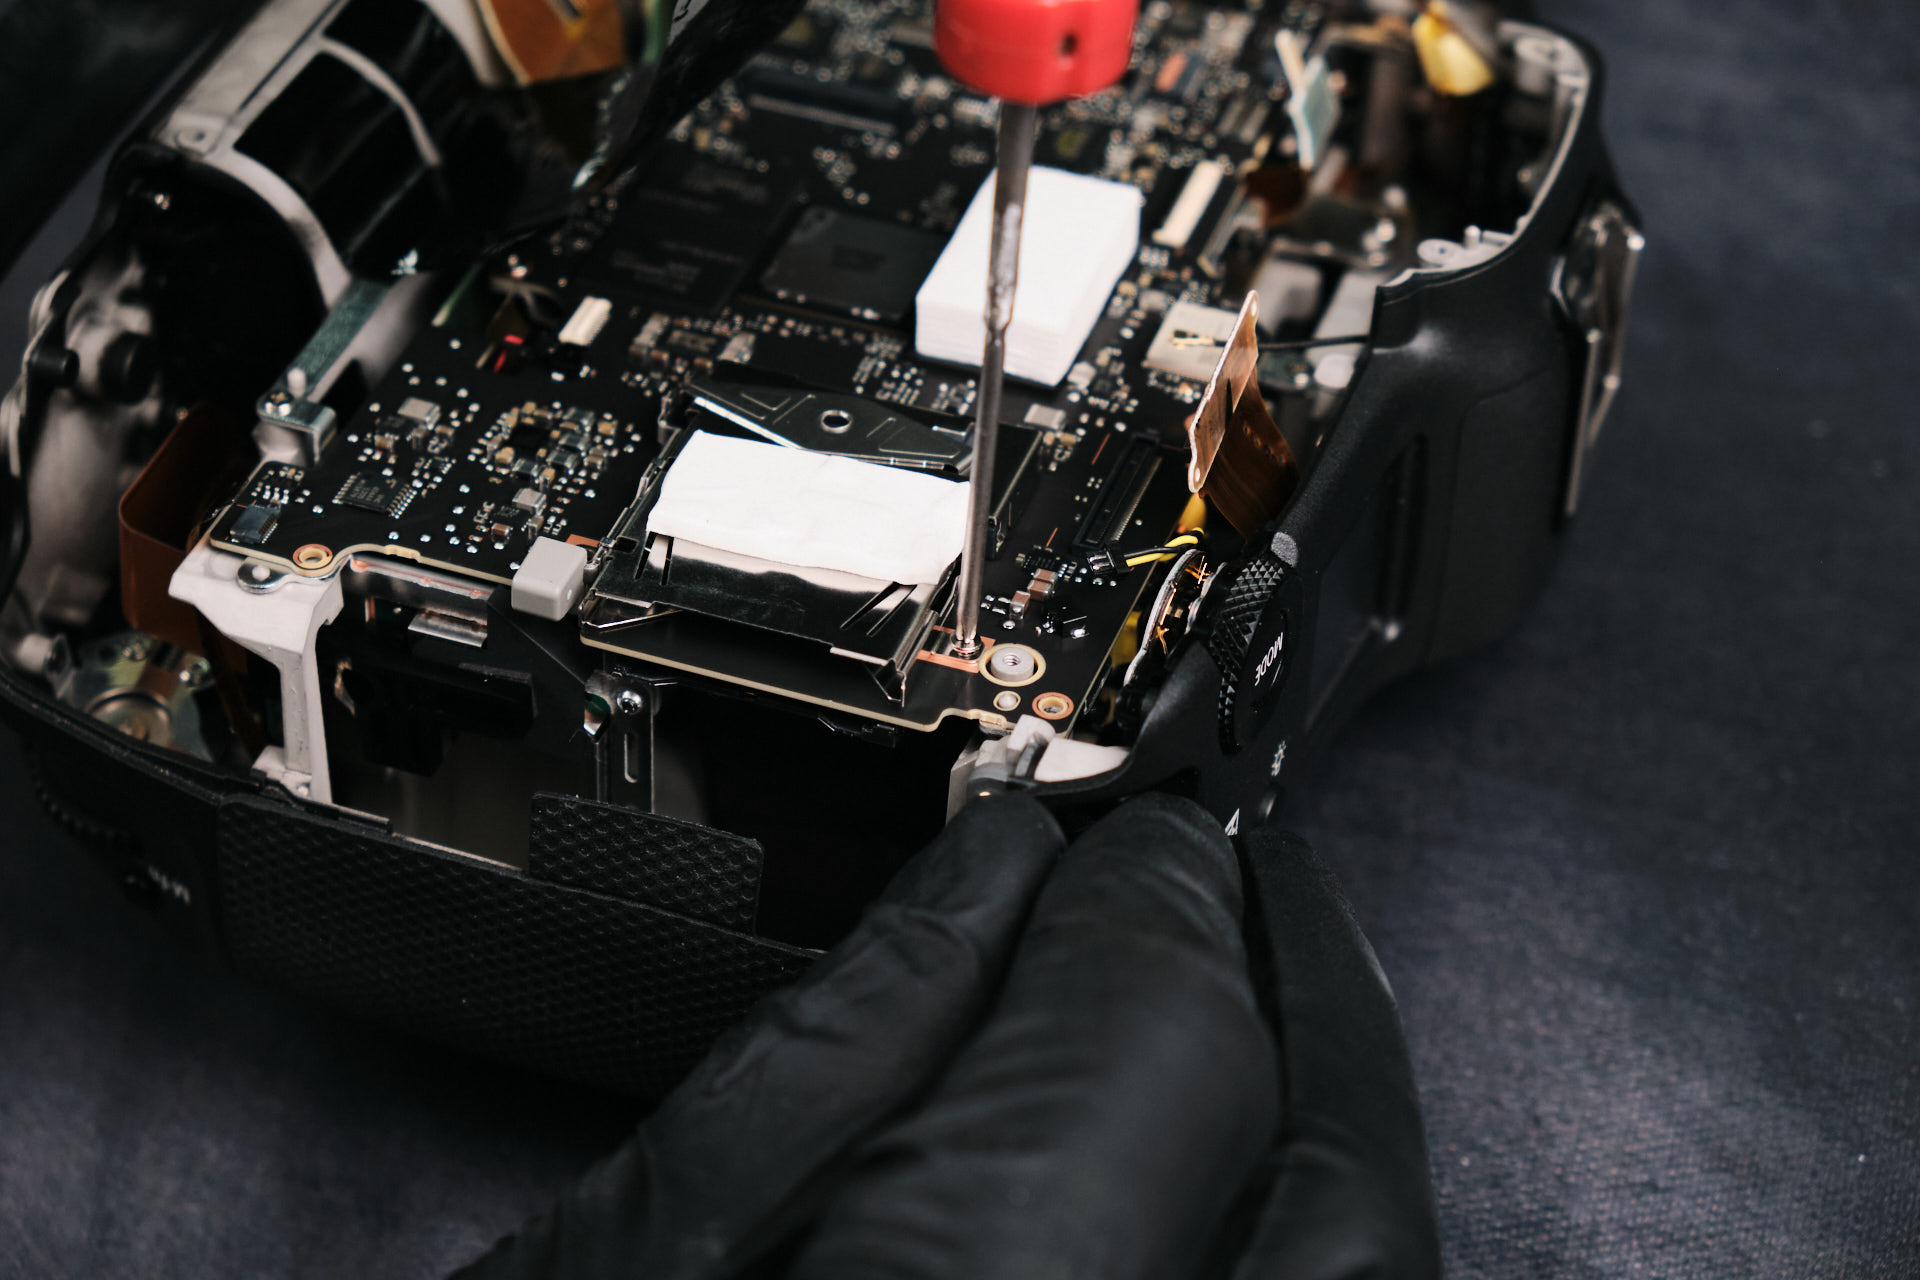
Removing the Canon EOS R3 Circuit Board Screws
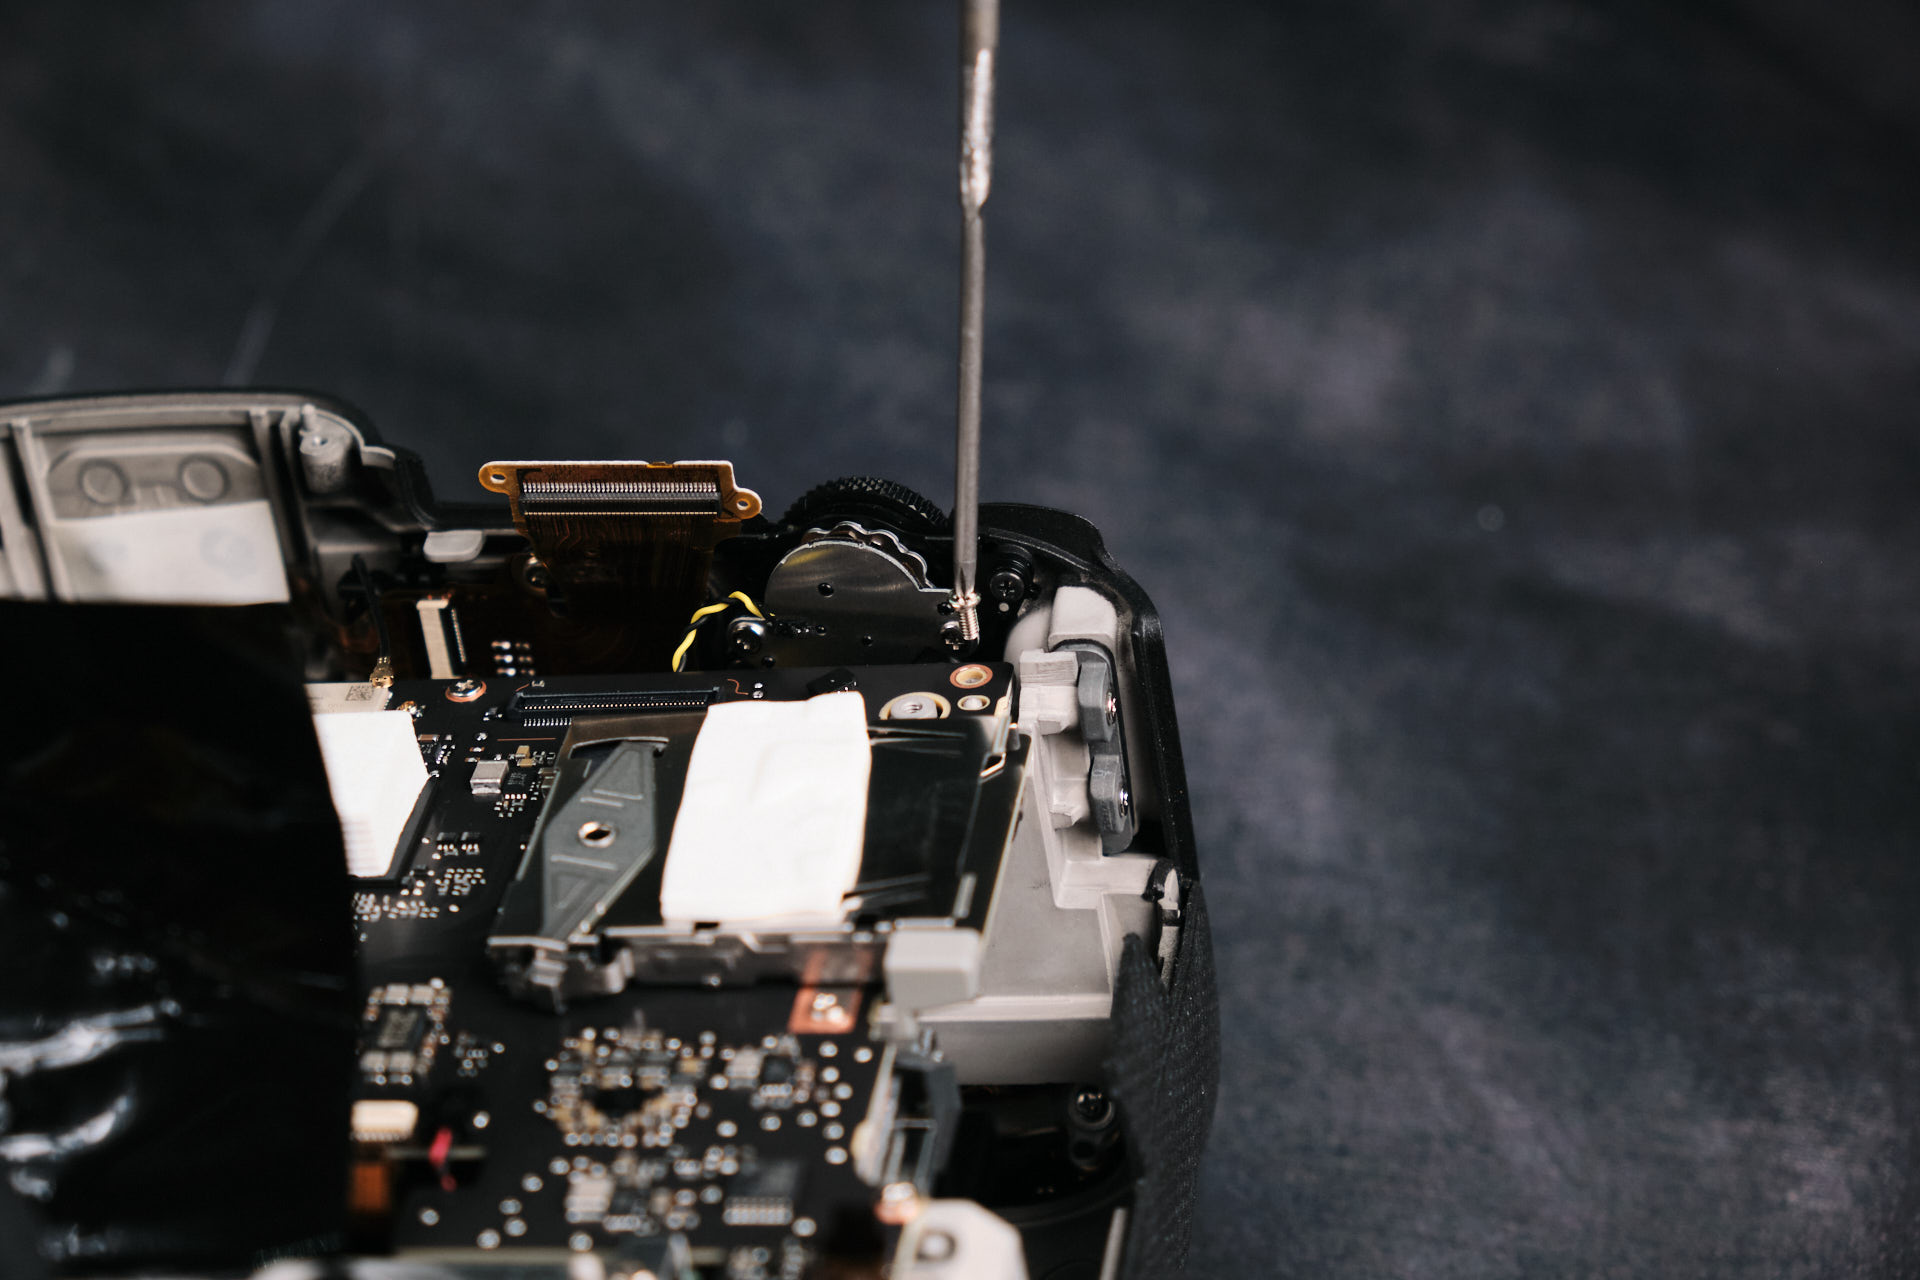
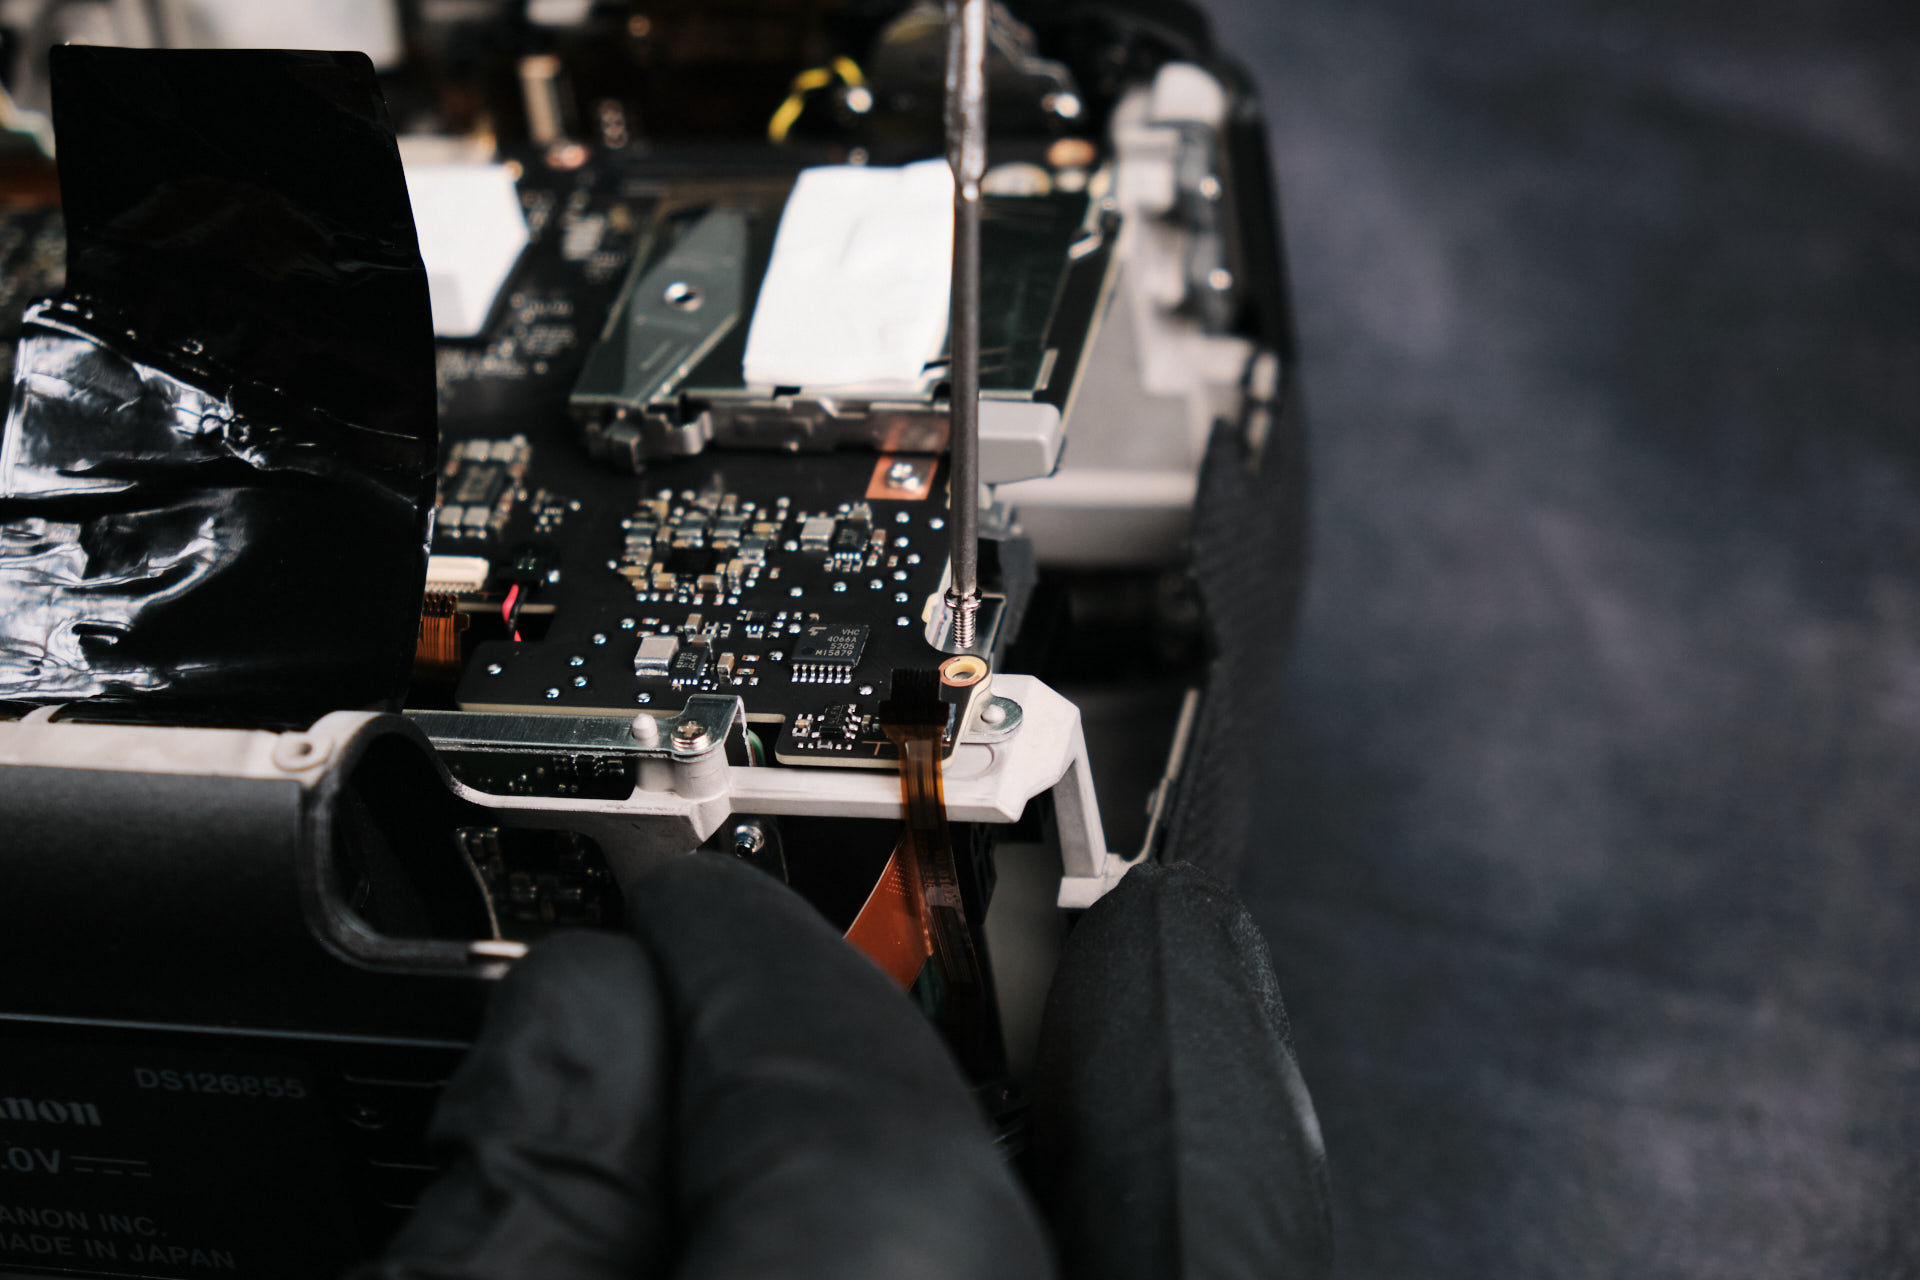
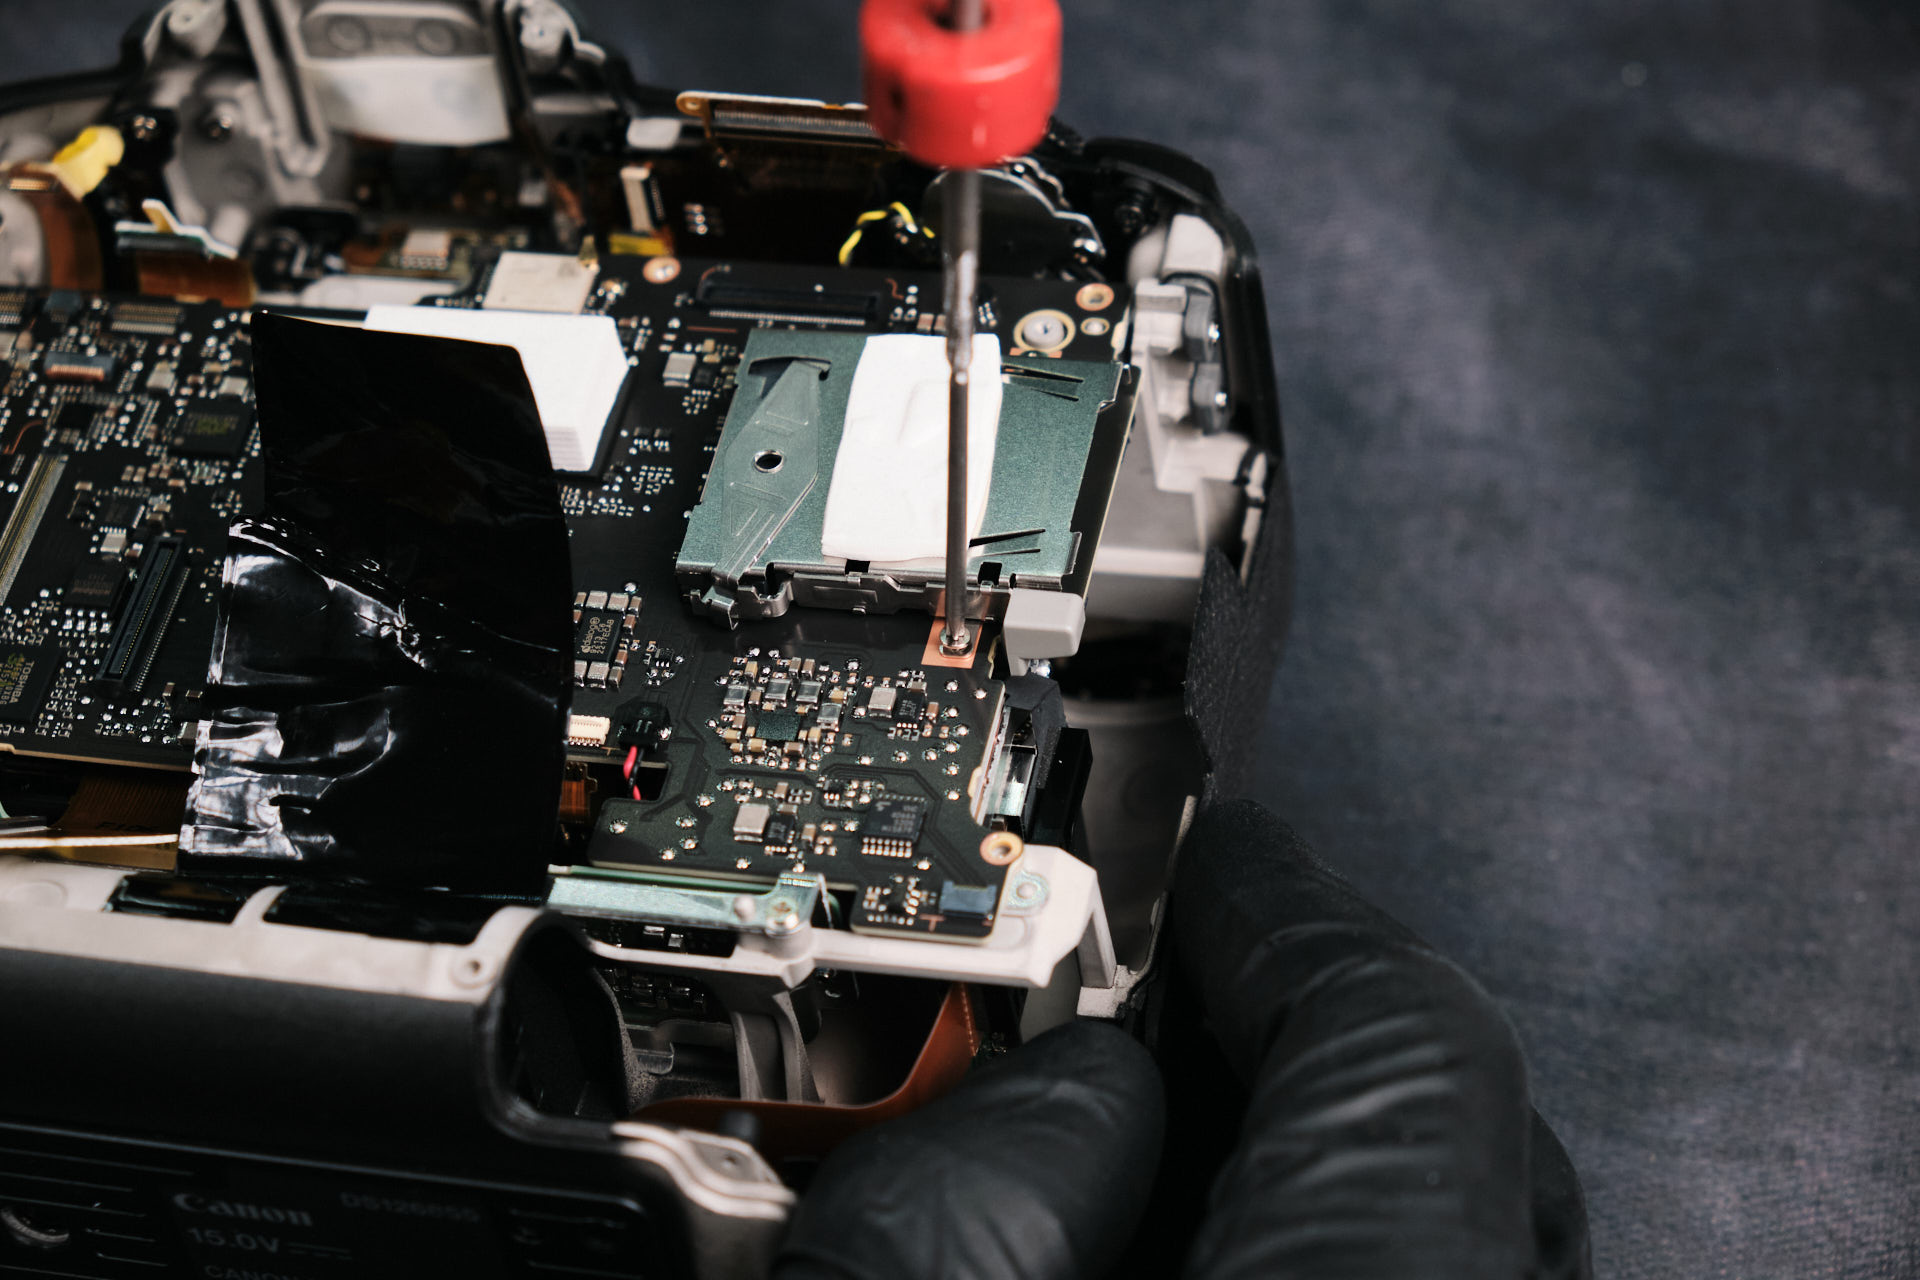
Following the detachment of ribbon cables, we removed the screws around the perimeter of the circuitboard. There were eight in total.
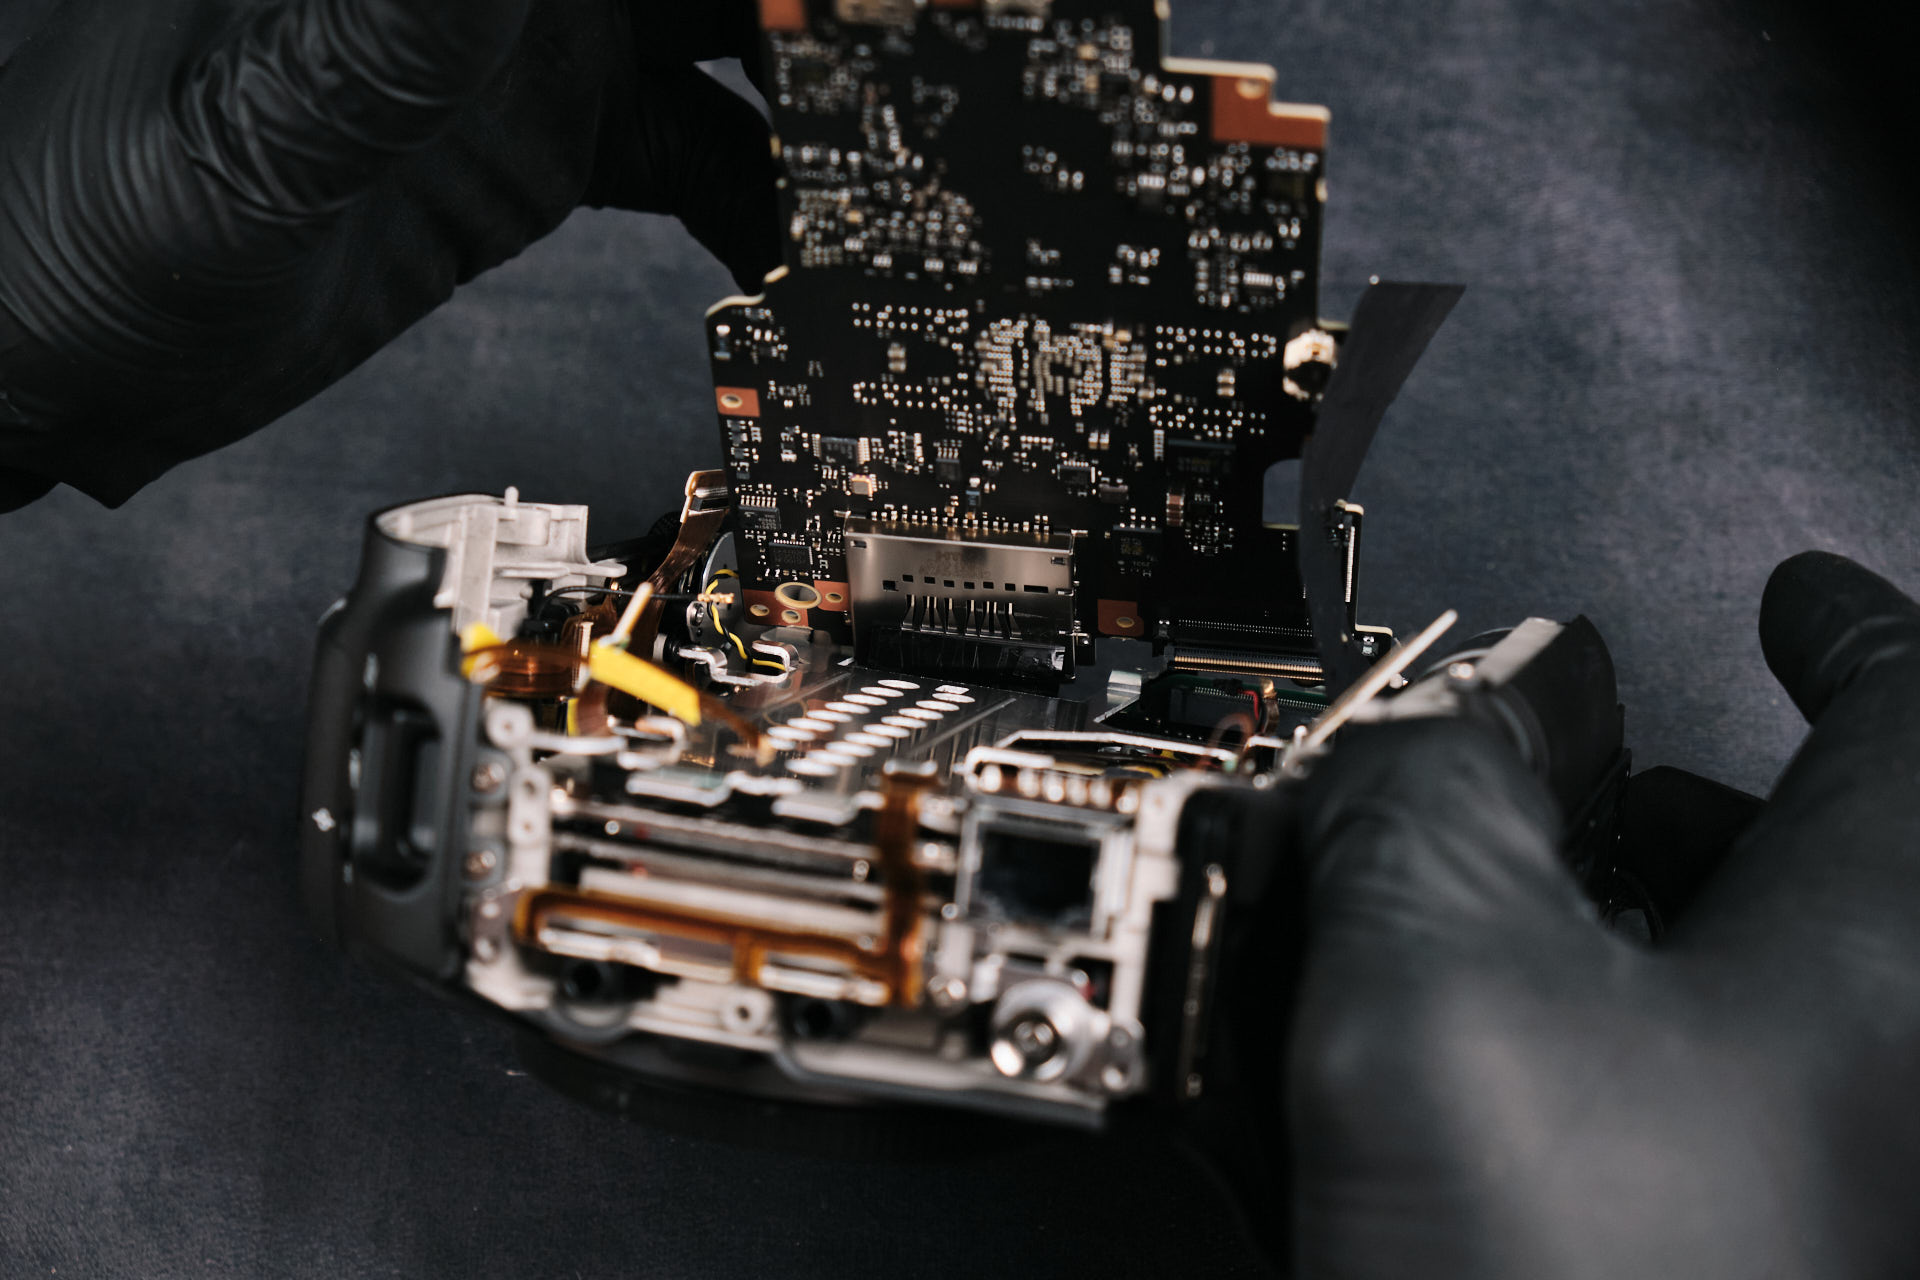
Removing the Canon EOS R3 Circuit Board
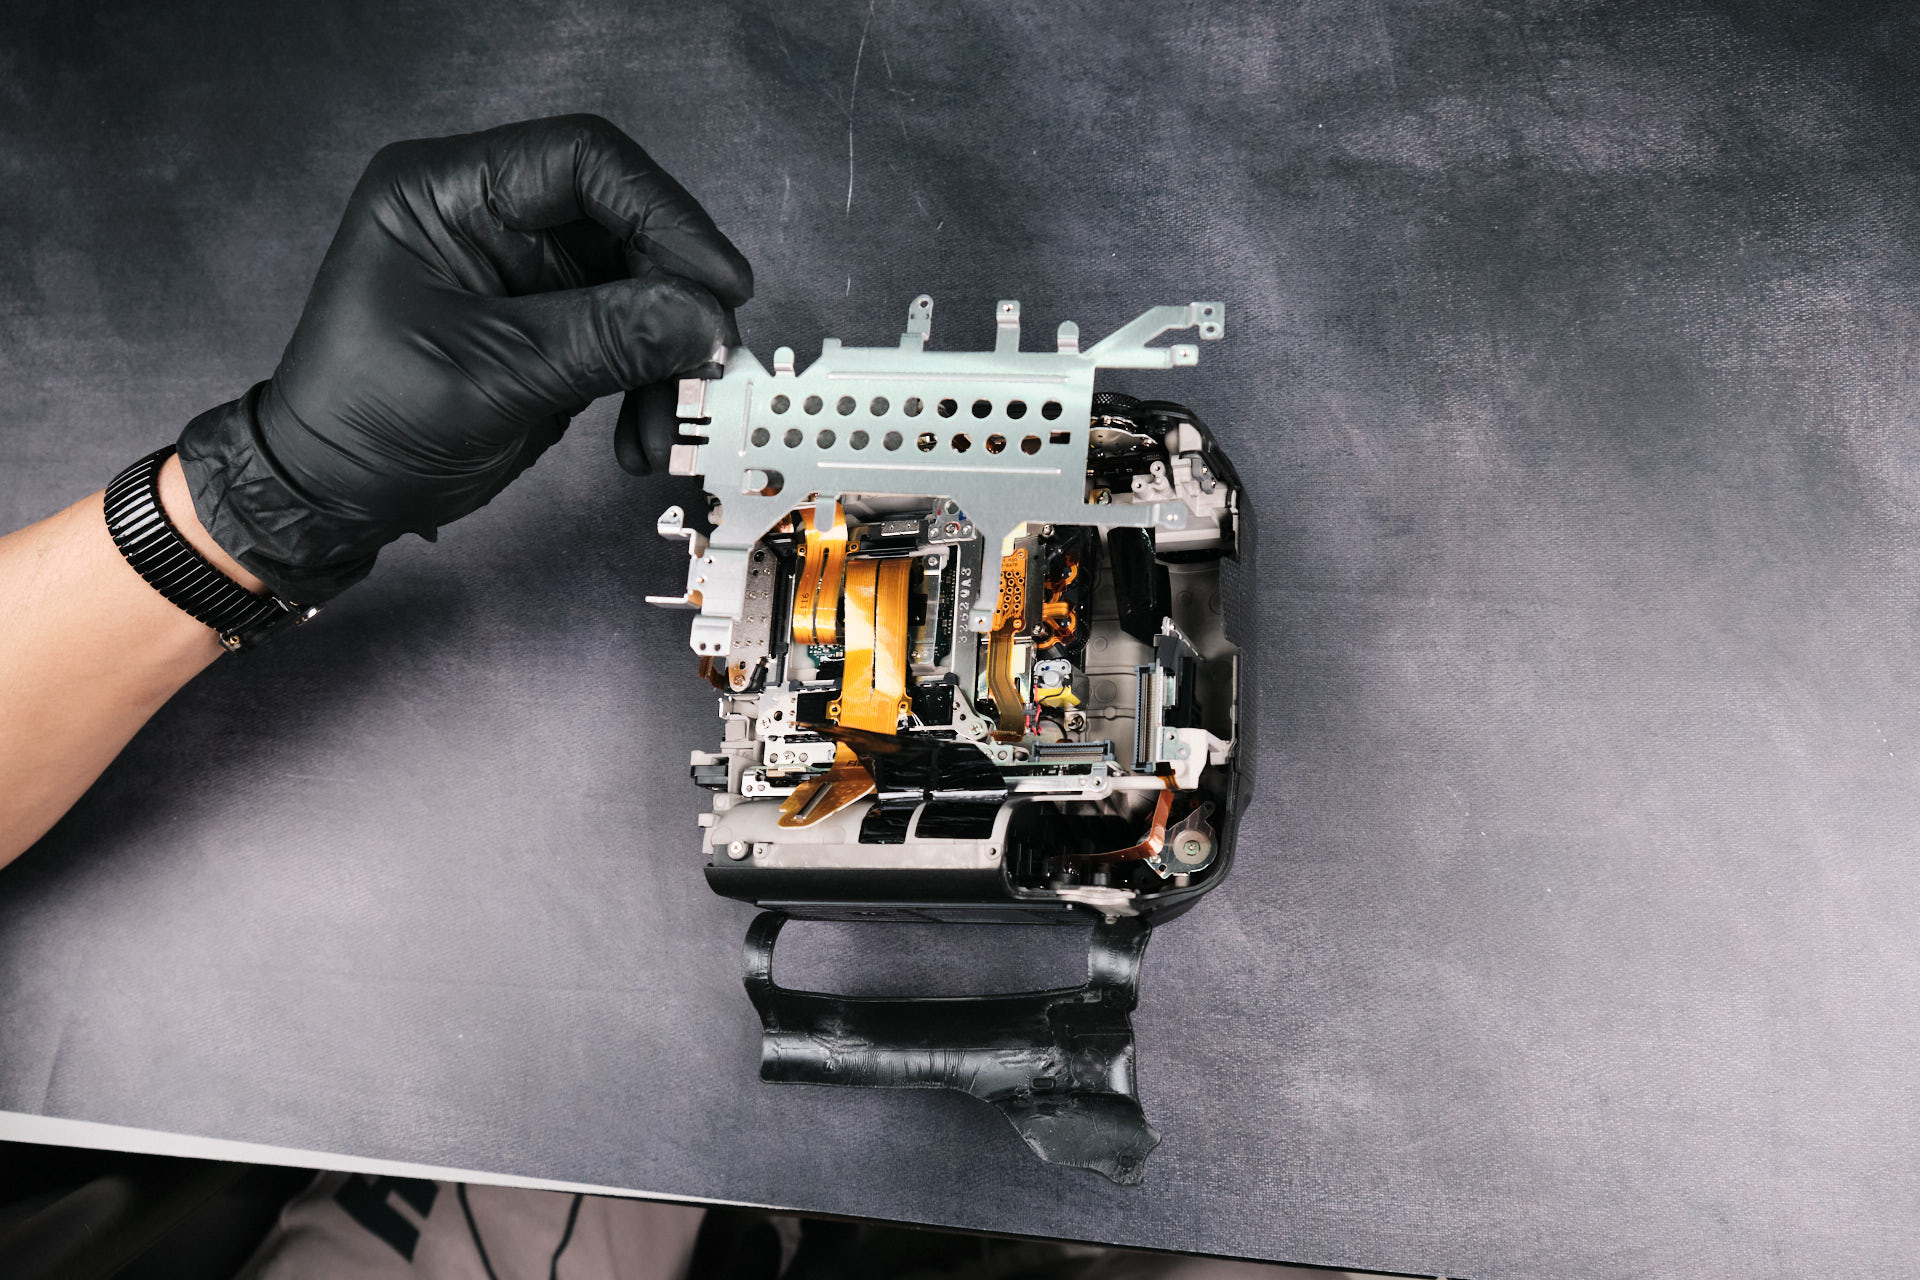
The circuitboard fits pretty snug along the camera frame, so it needed a little prying to remove it completely.
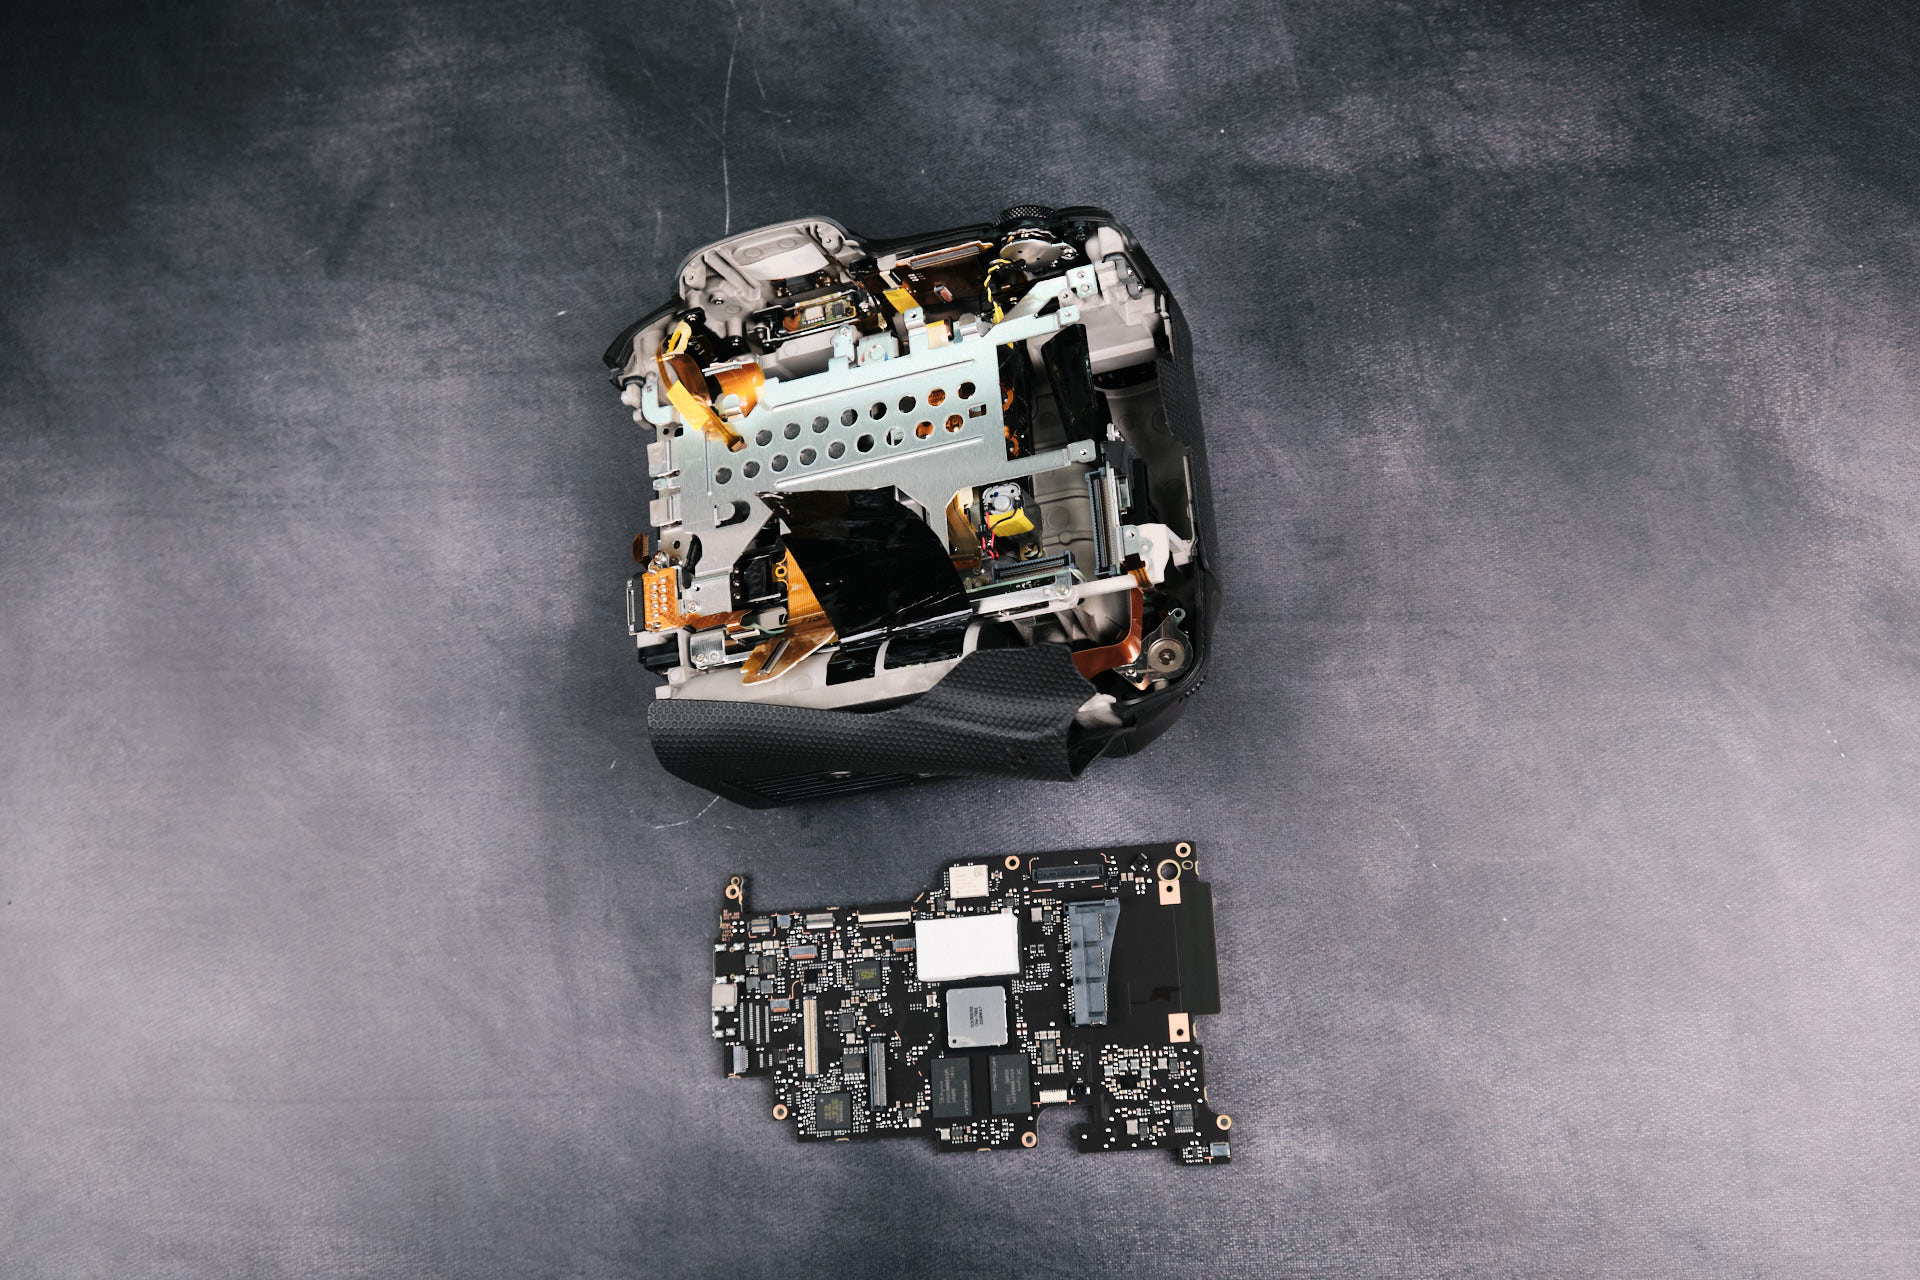
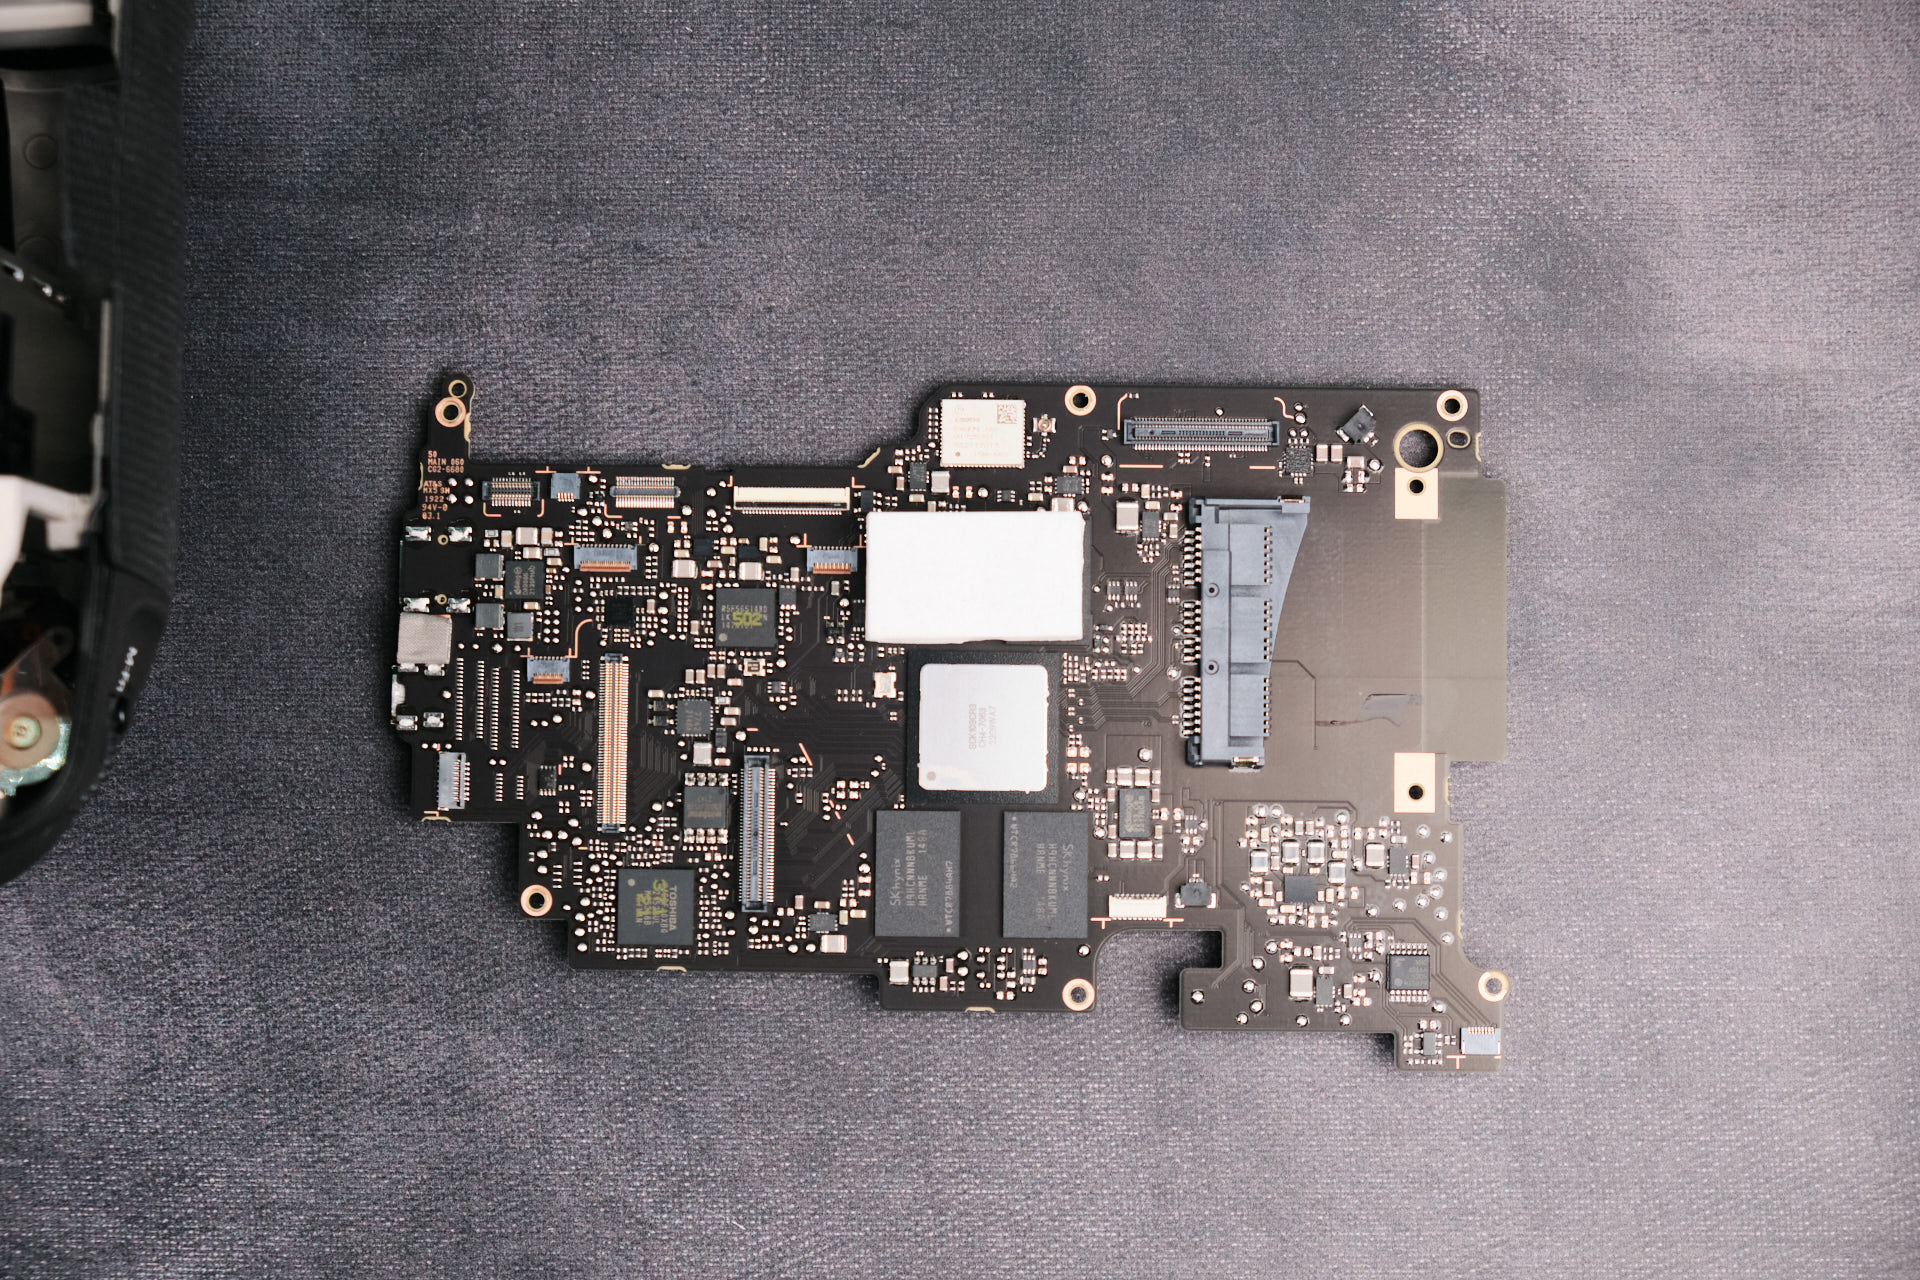
Here is the circuitboard removed from the camera body frame. The circuitboard has many small parts to it.
Removing the Ethernet Input Assembly
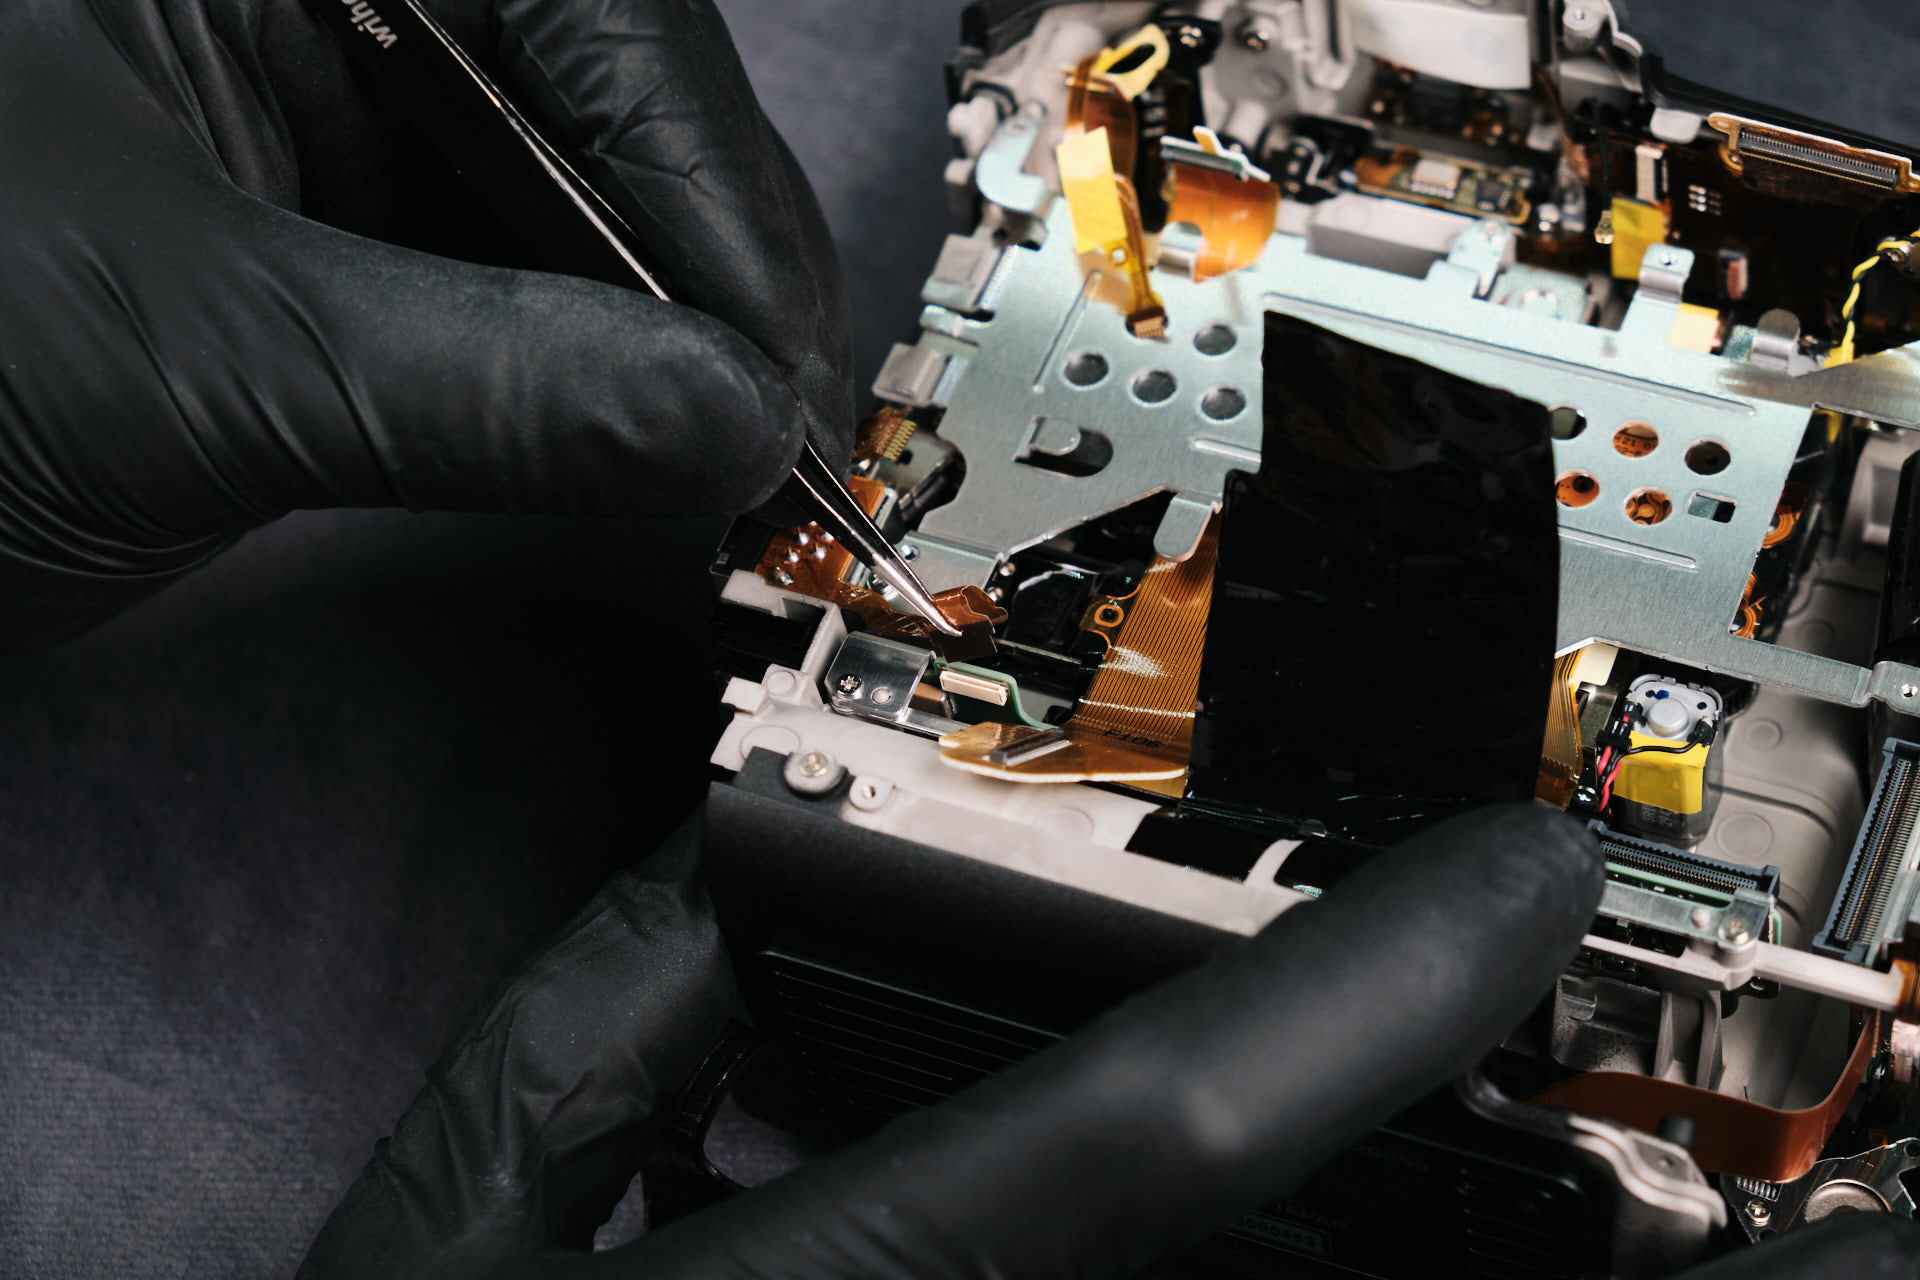
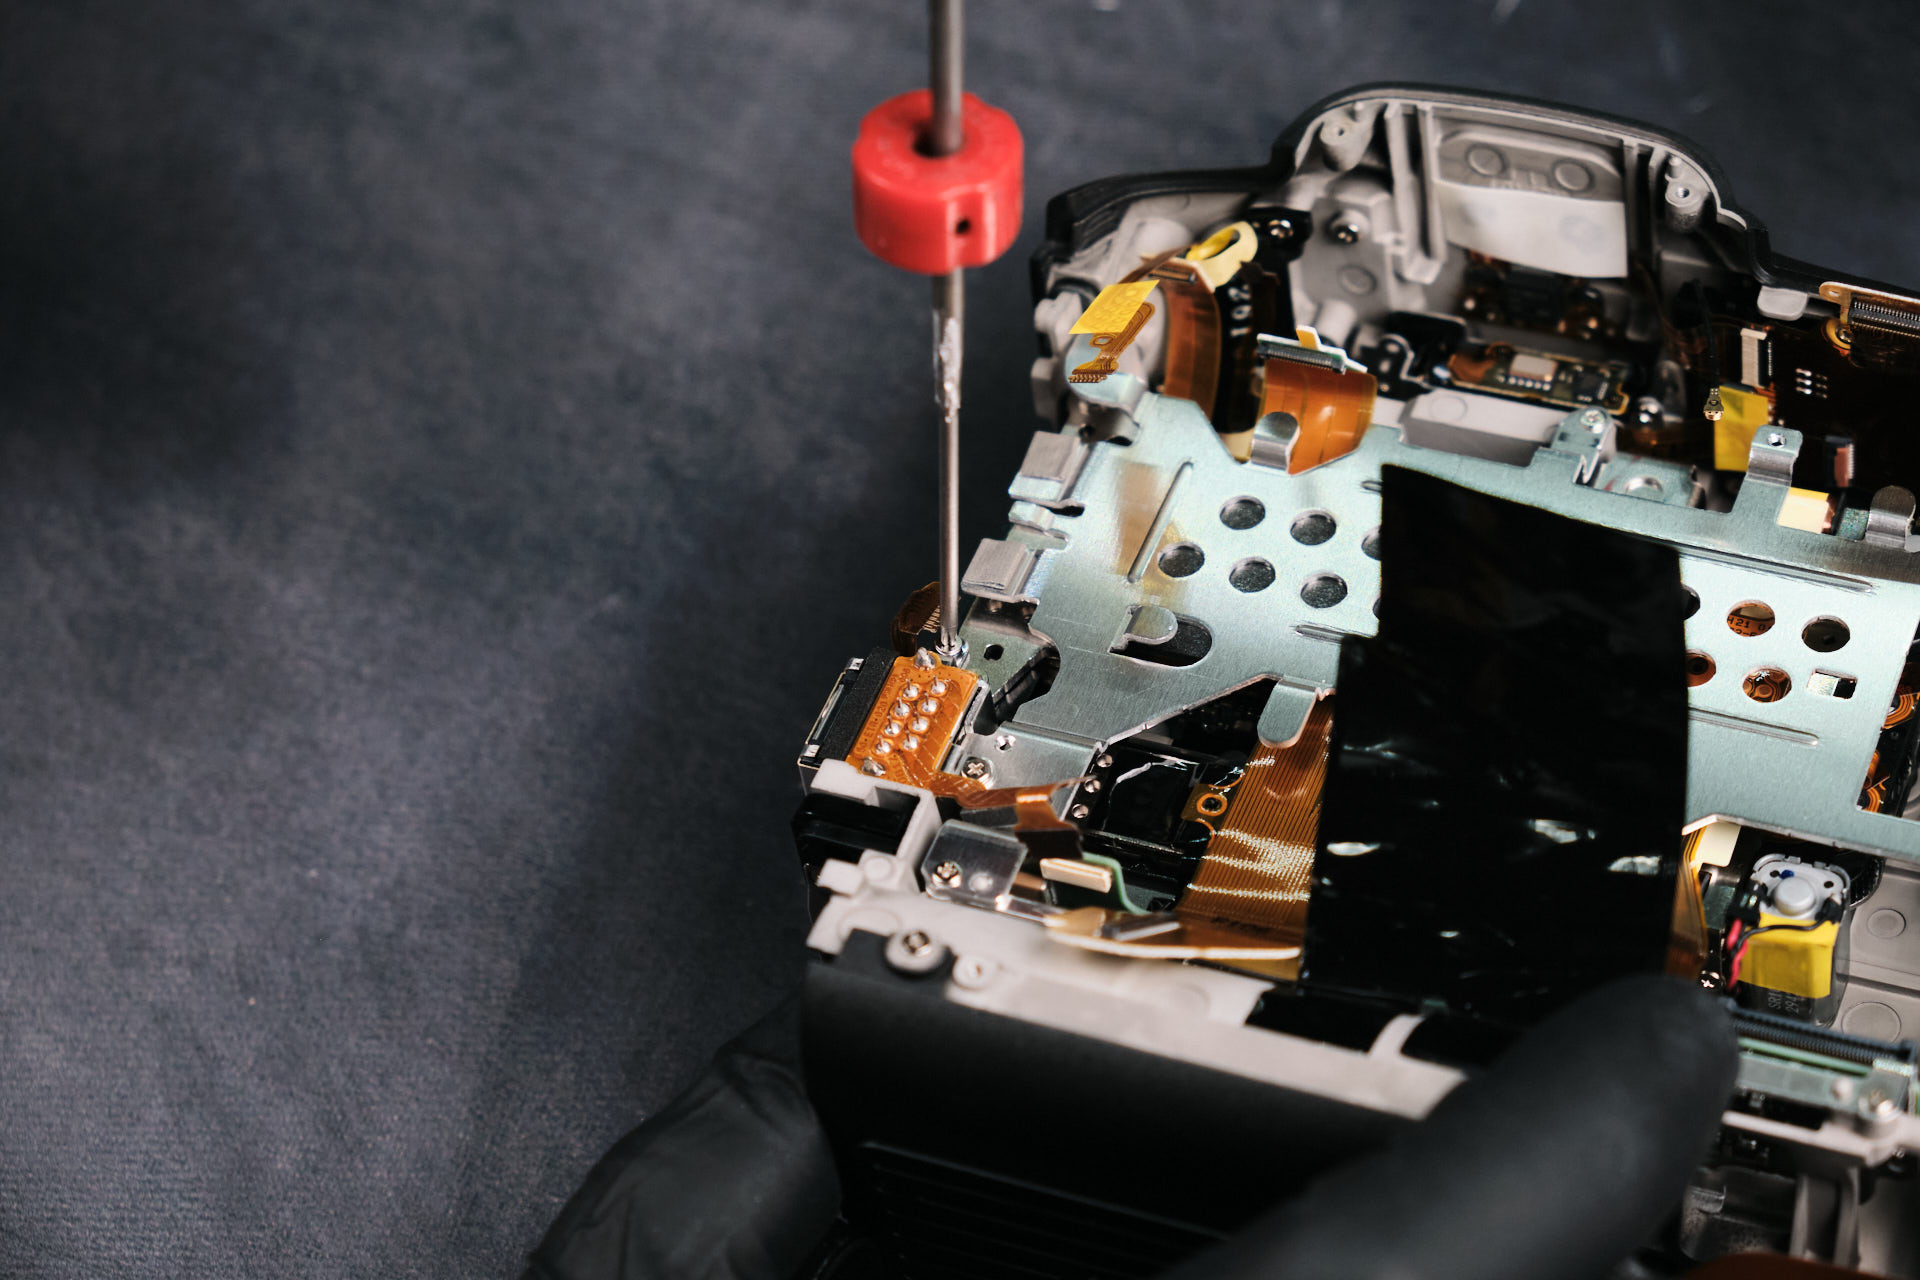
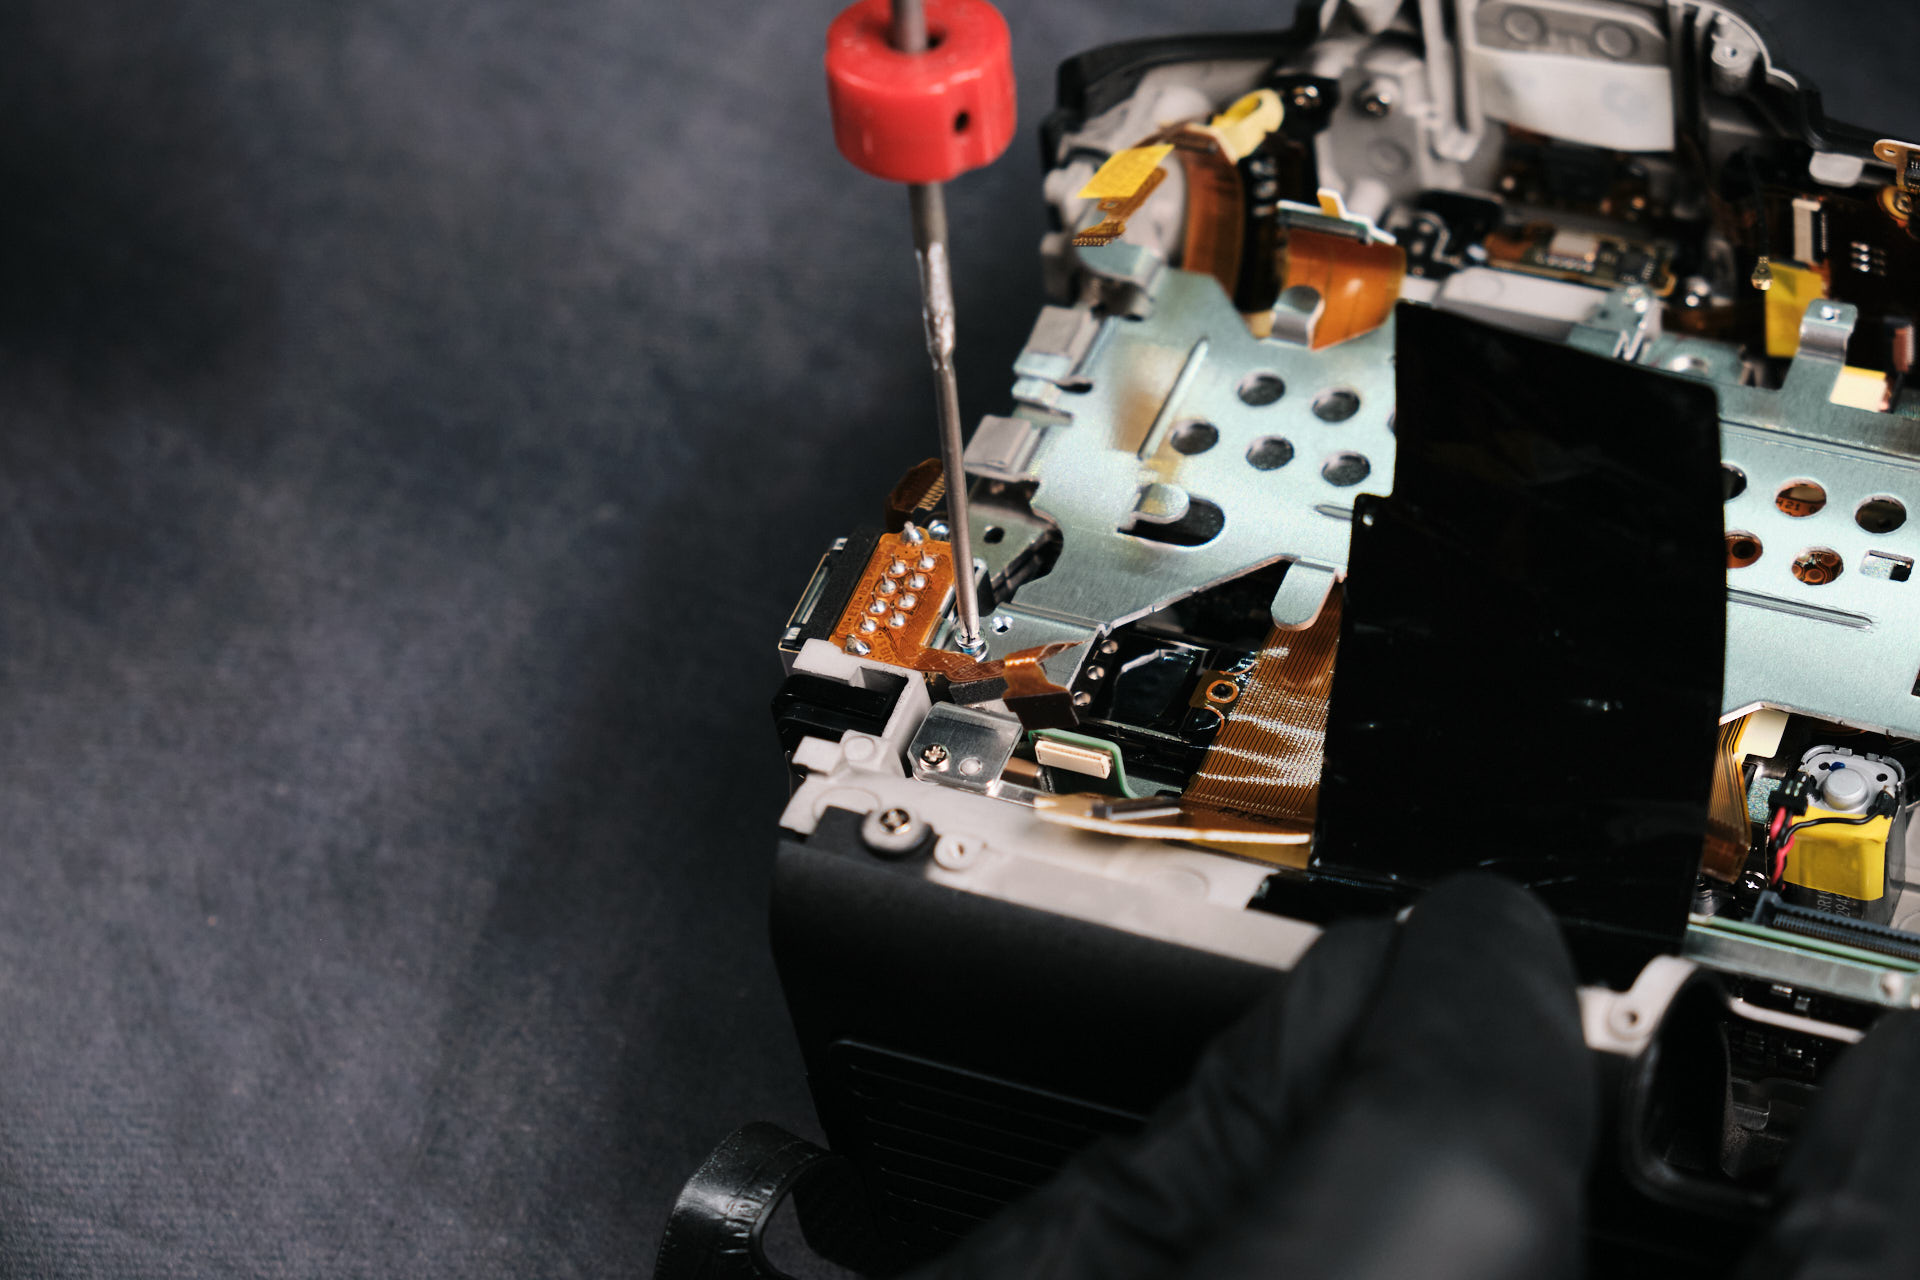
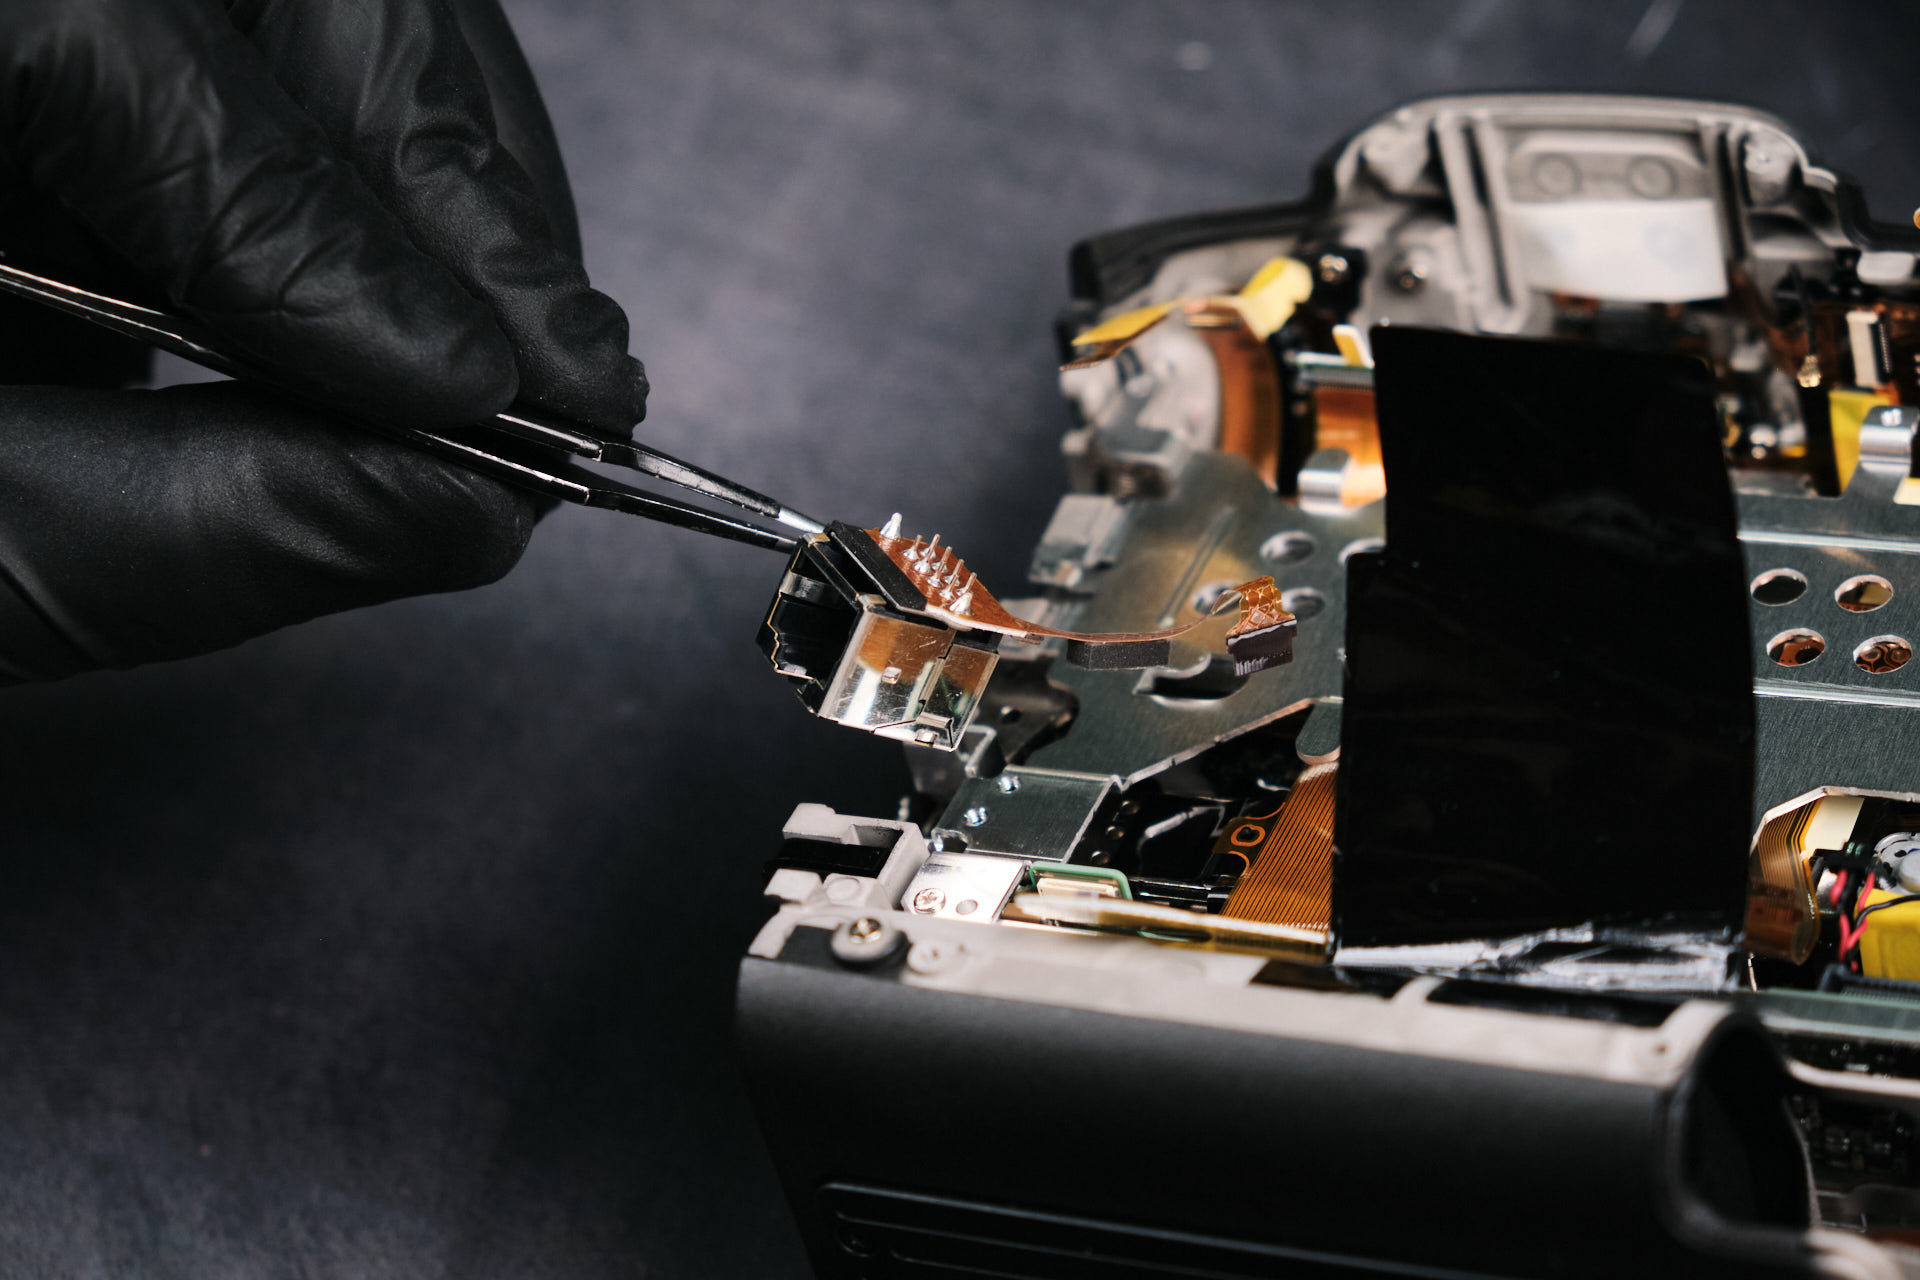
The ethernet input was a removable assembly that was fastened by two screws and a ribbon cable.
Removing the Internal Sensor Bracket
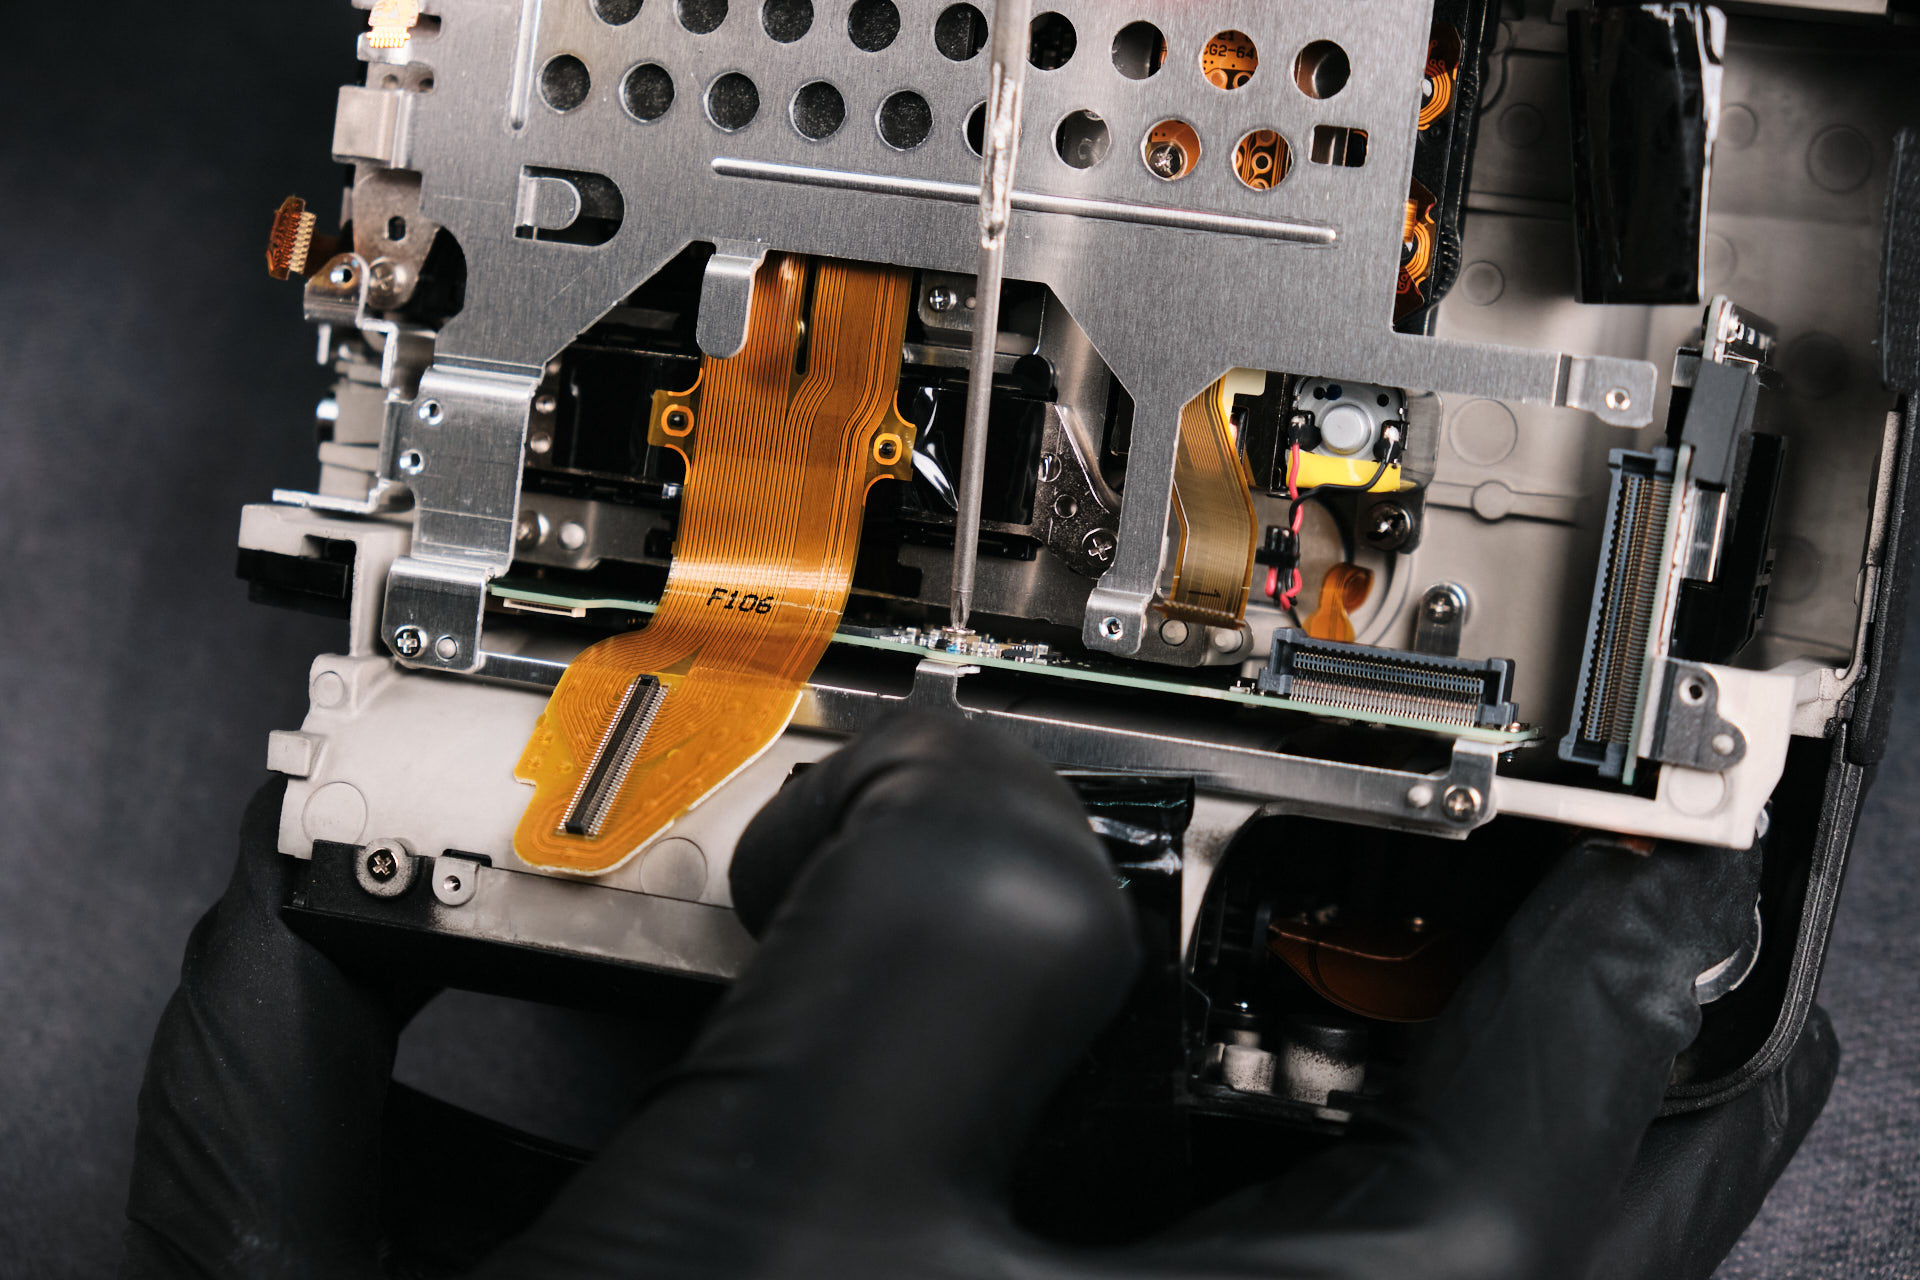
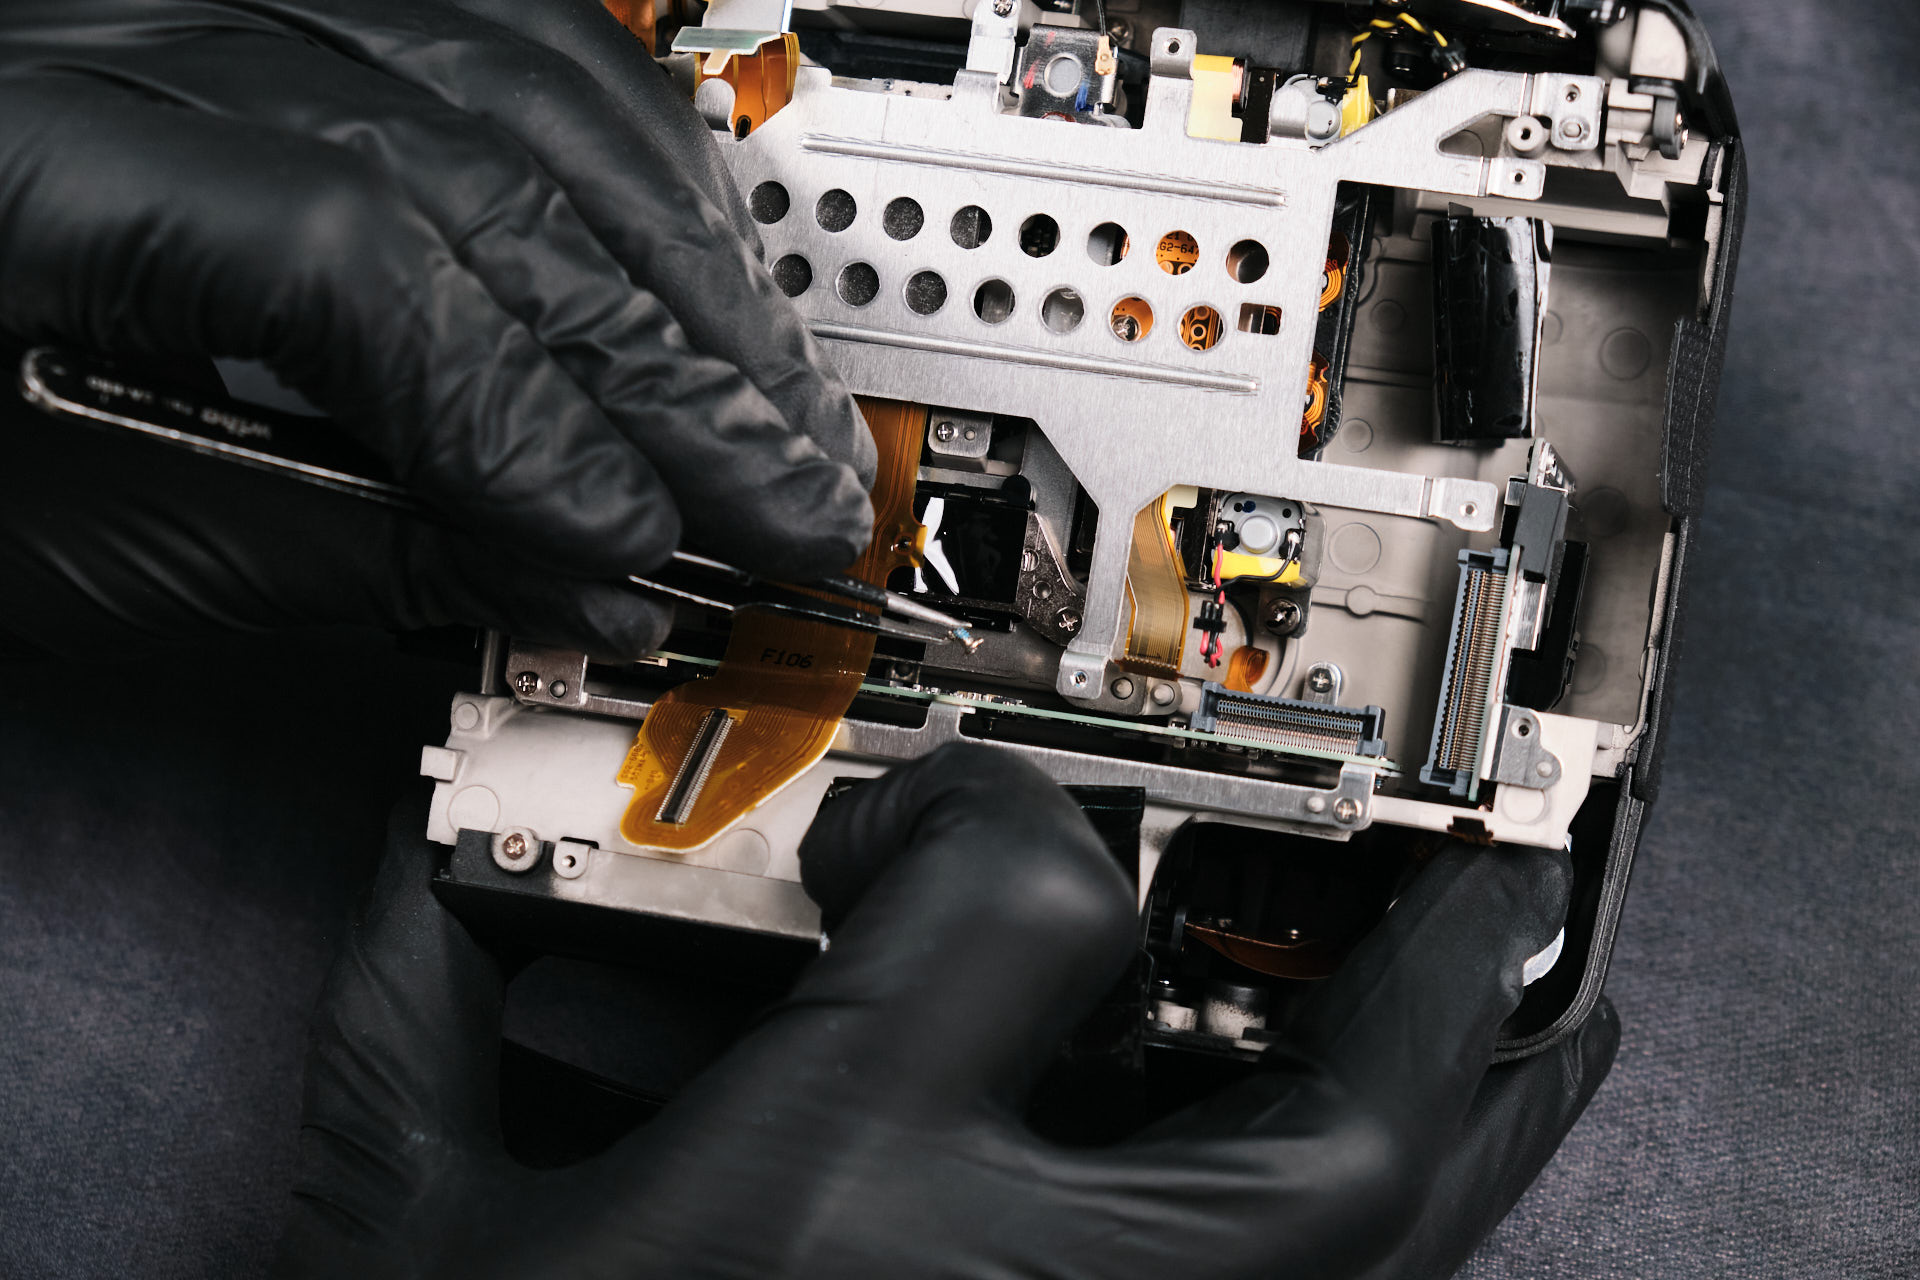
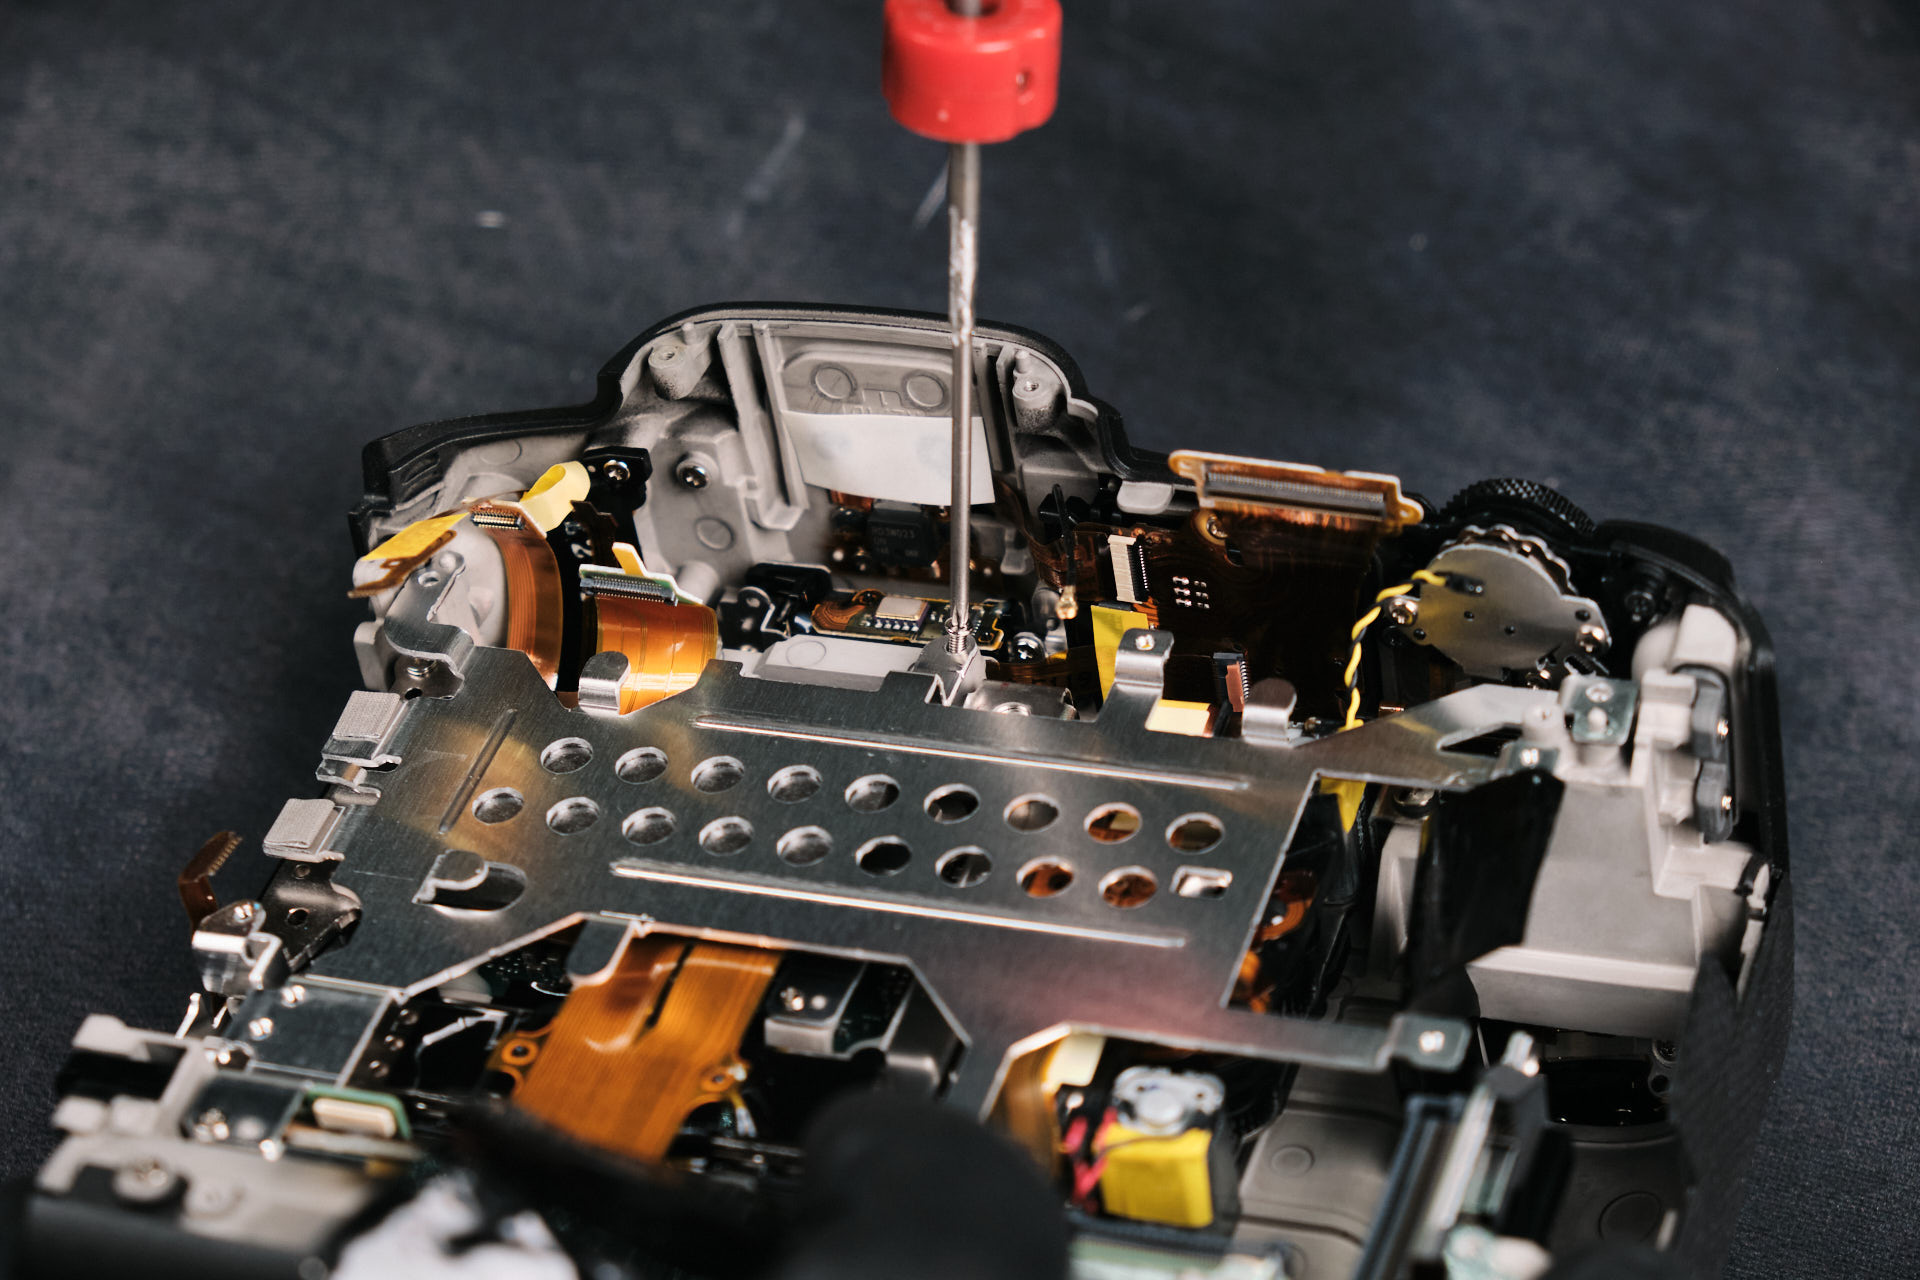
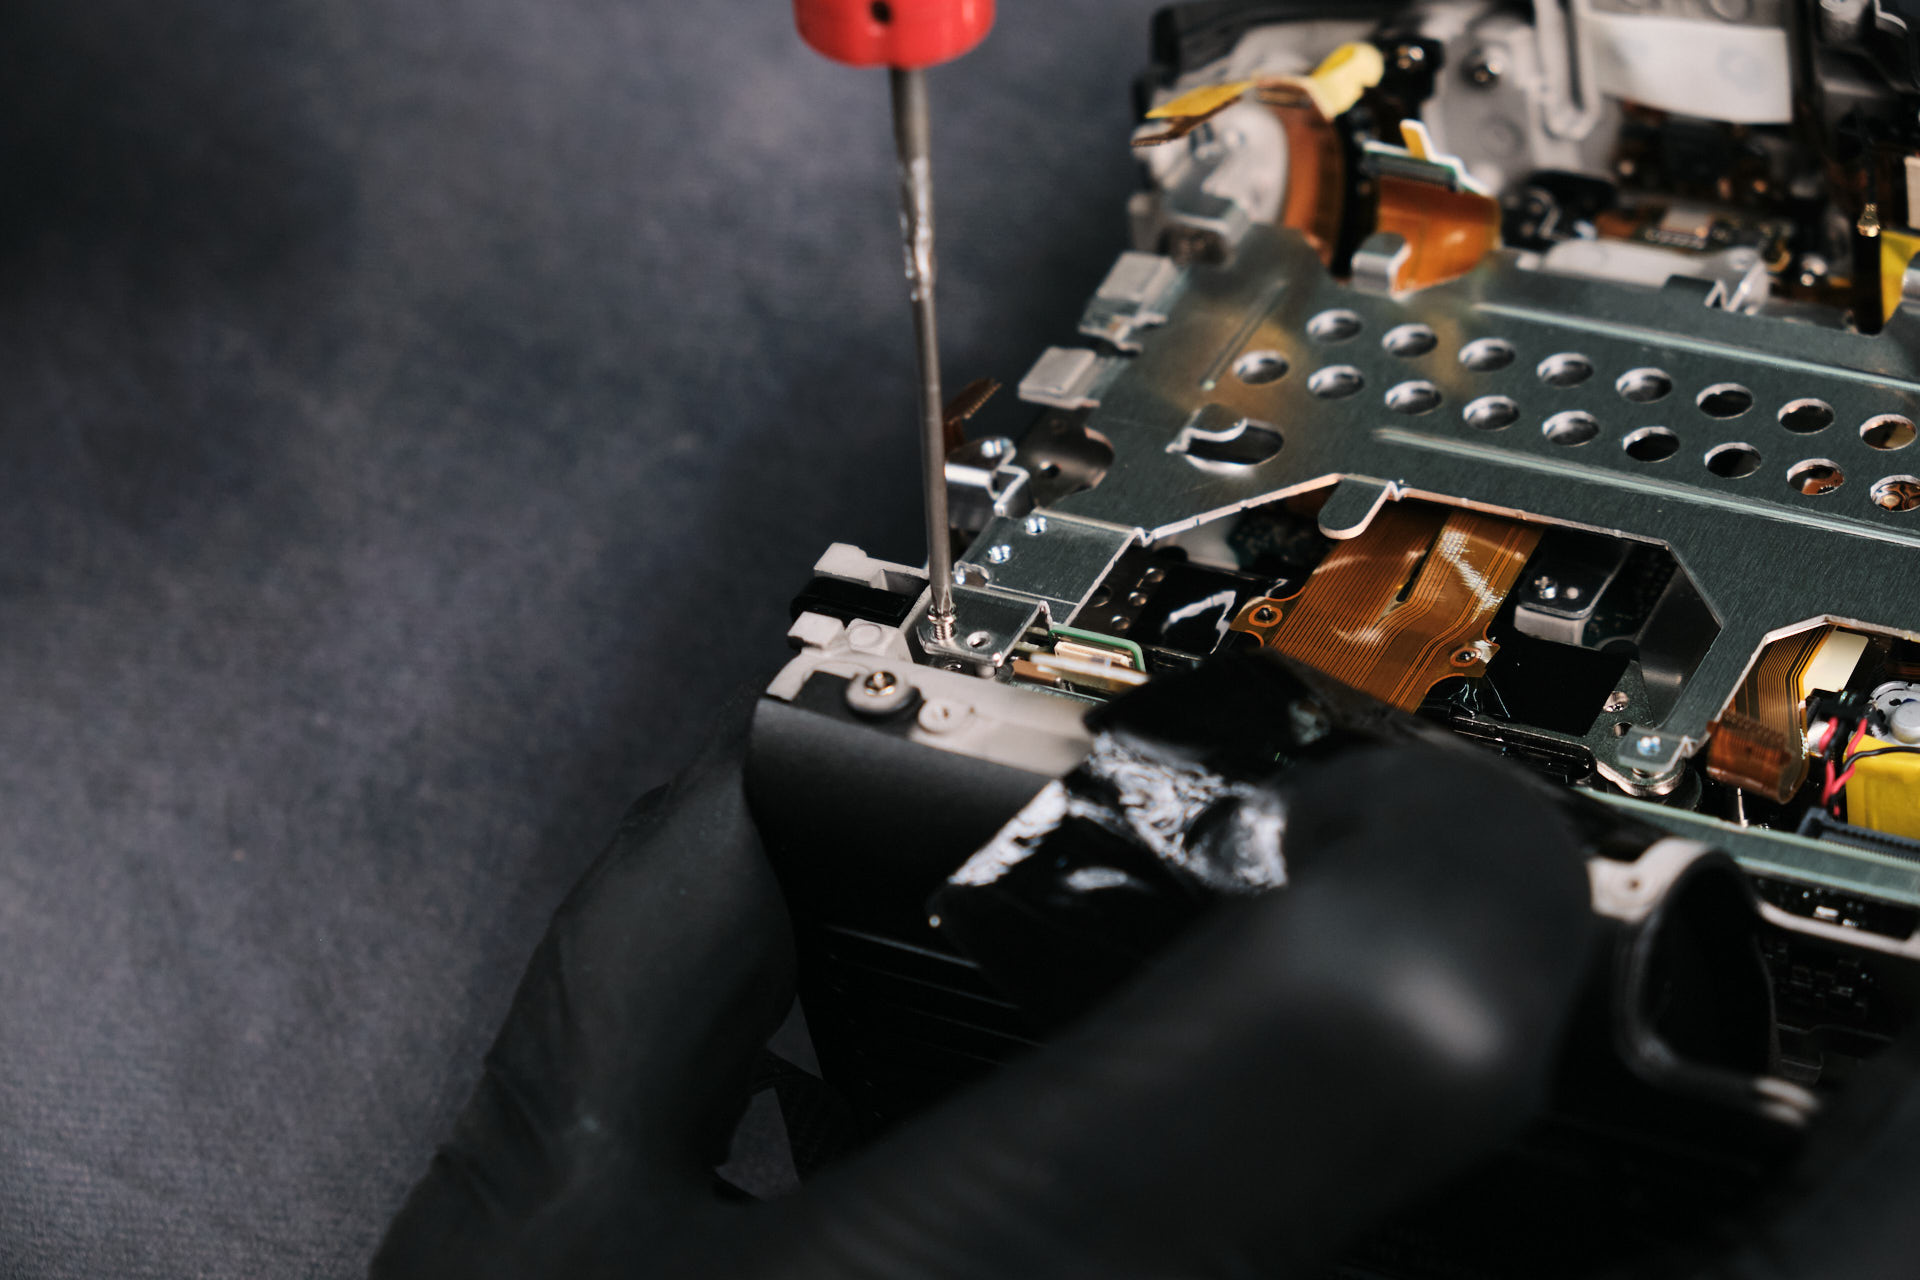
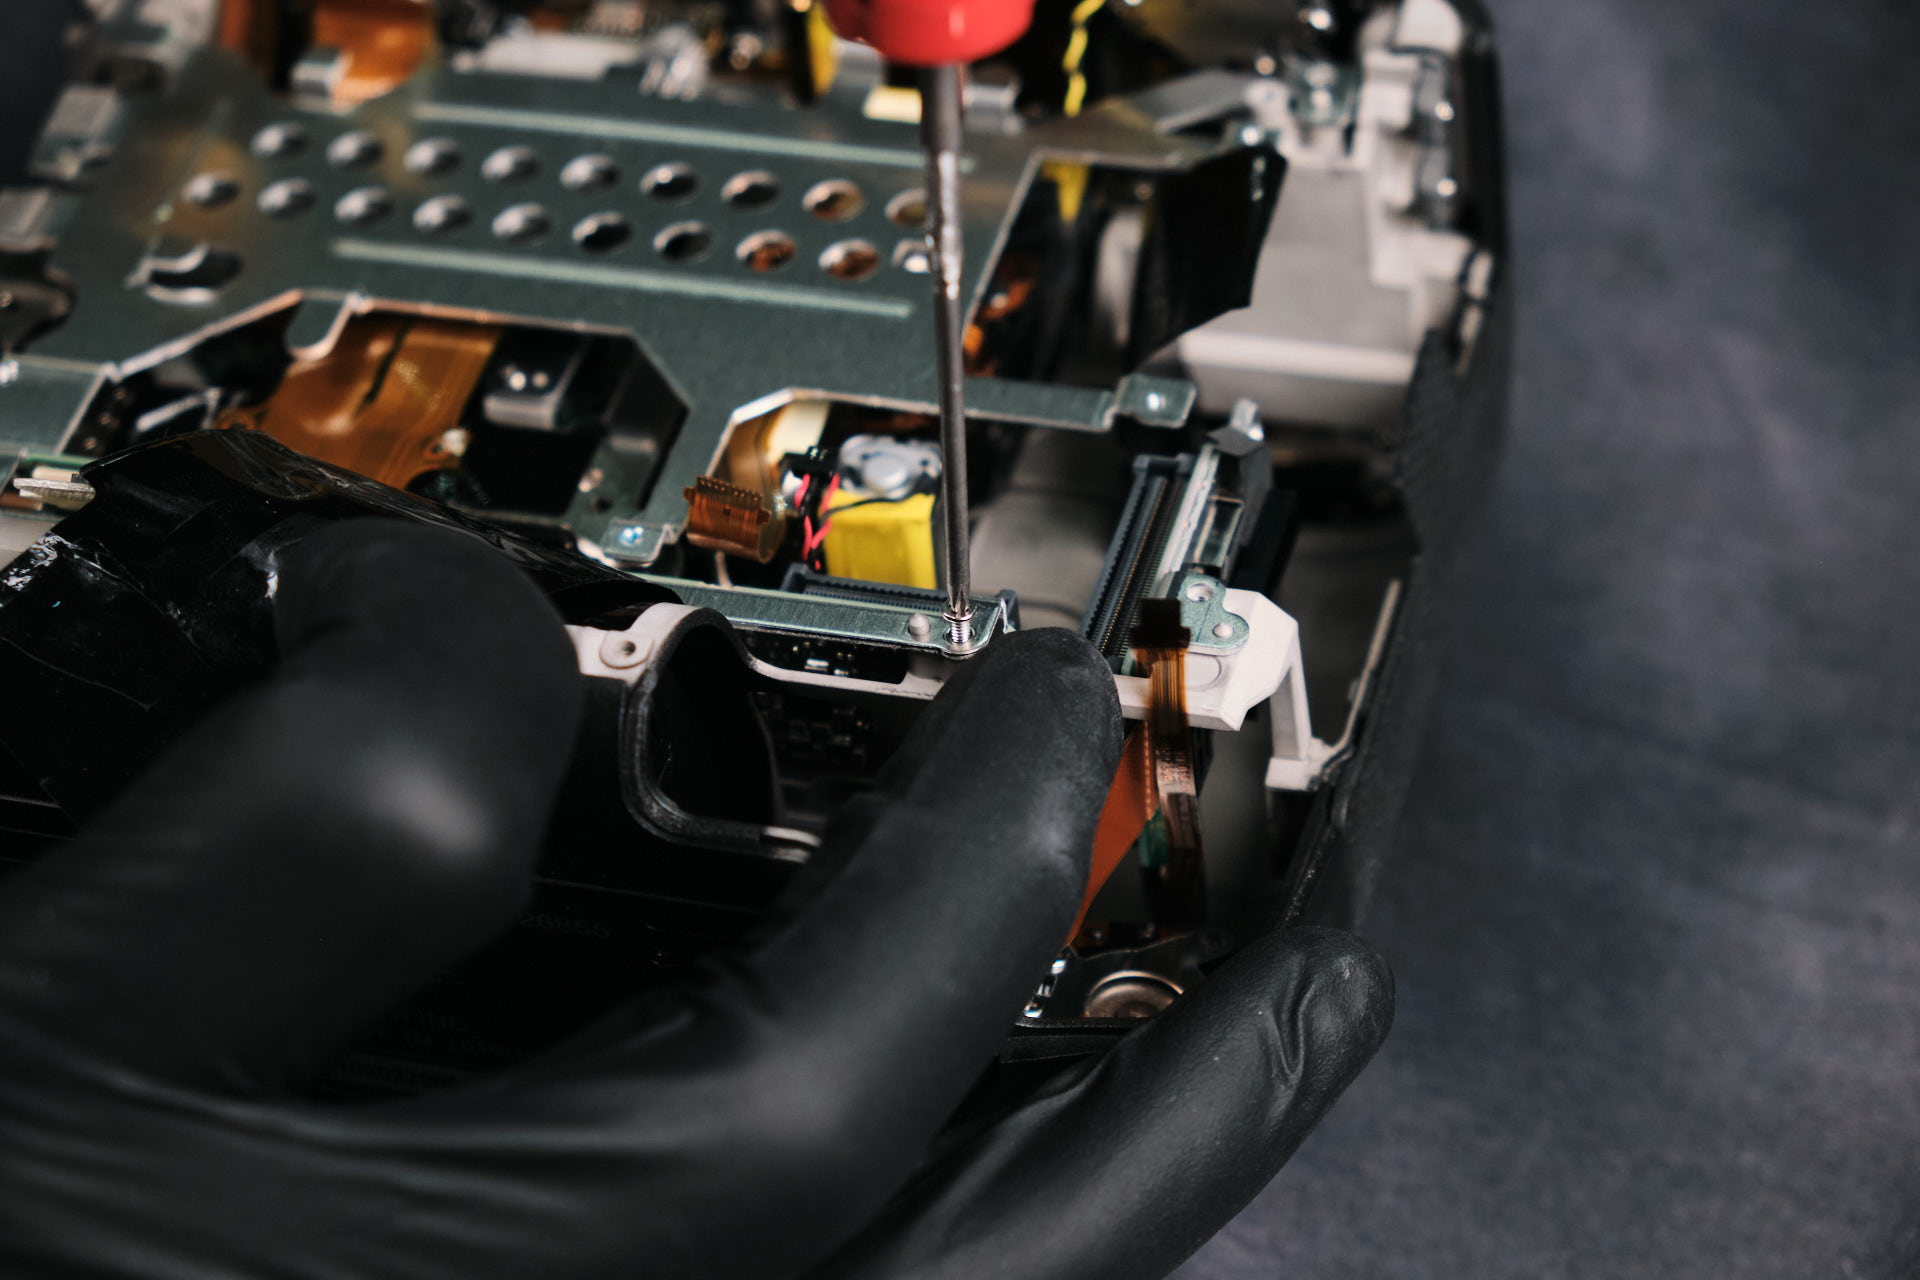
The next item for removal was the bracket. Interestingly, one of the screws faces downward.
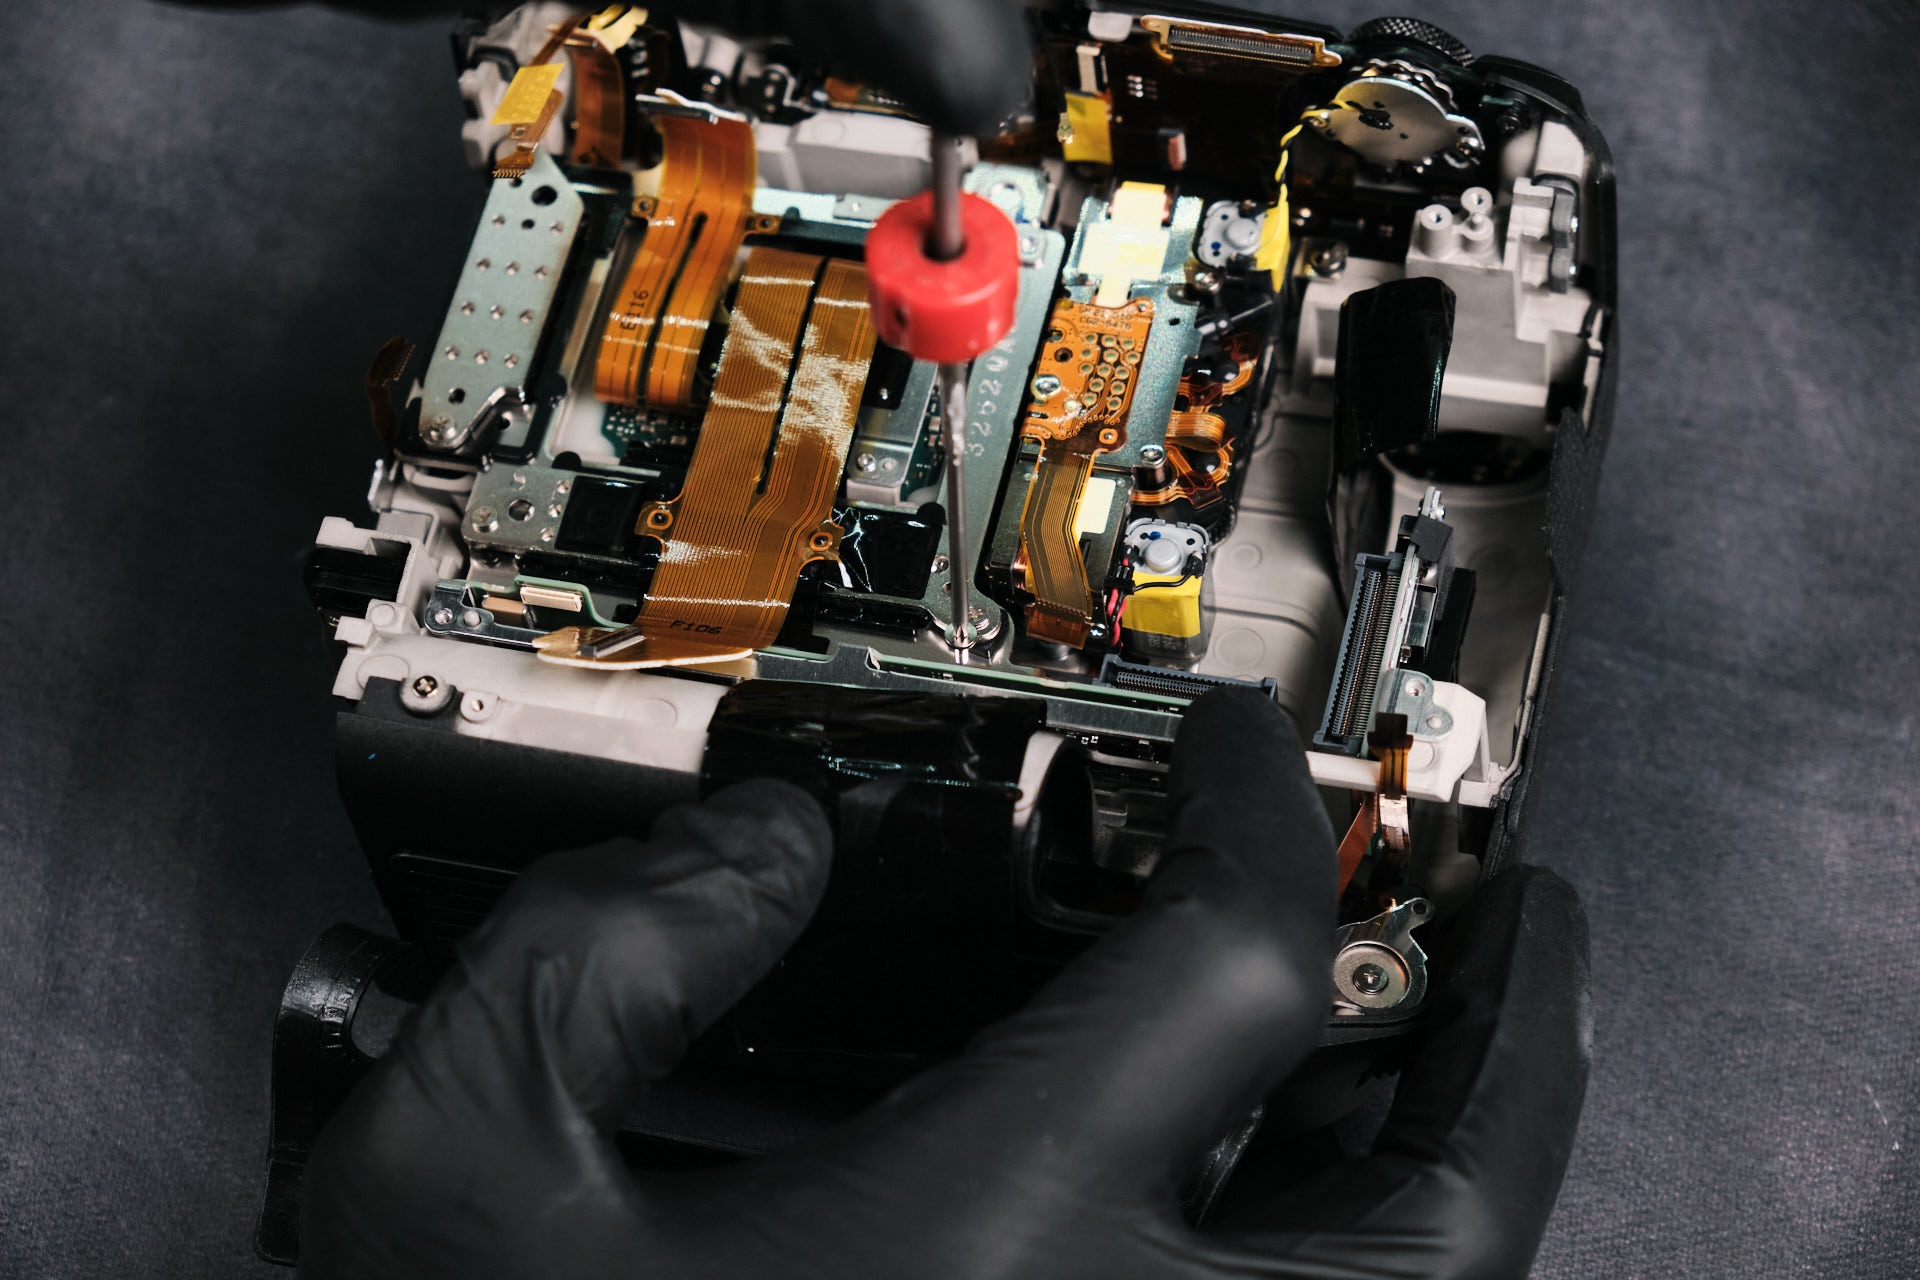
Three more screws held down the bracketÂ
Removing the Canon EOS R3 Camera Sensor
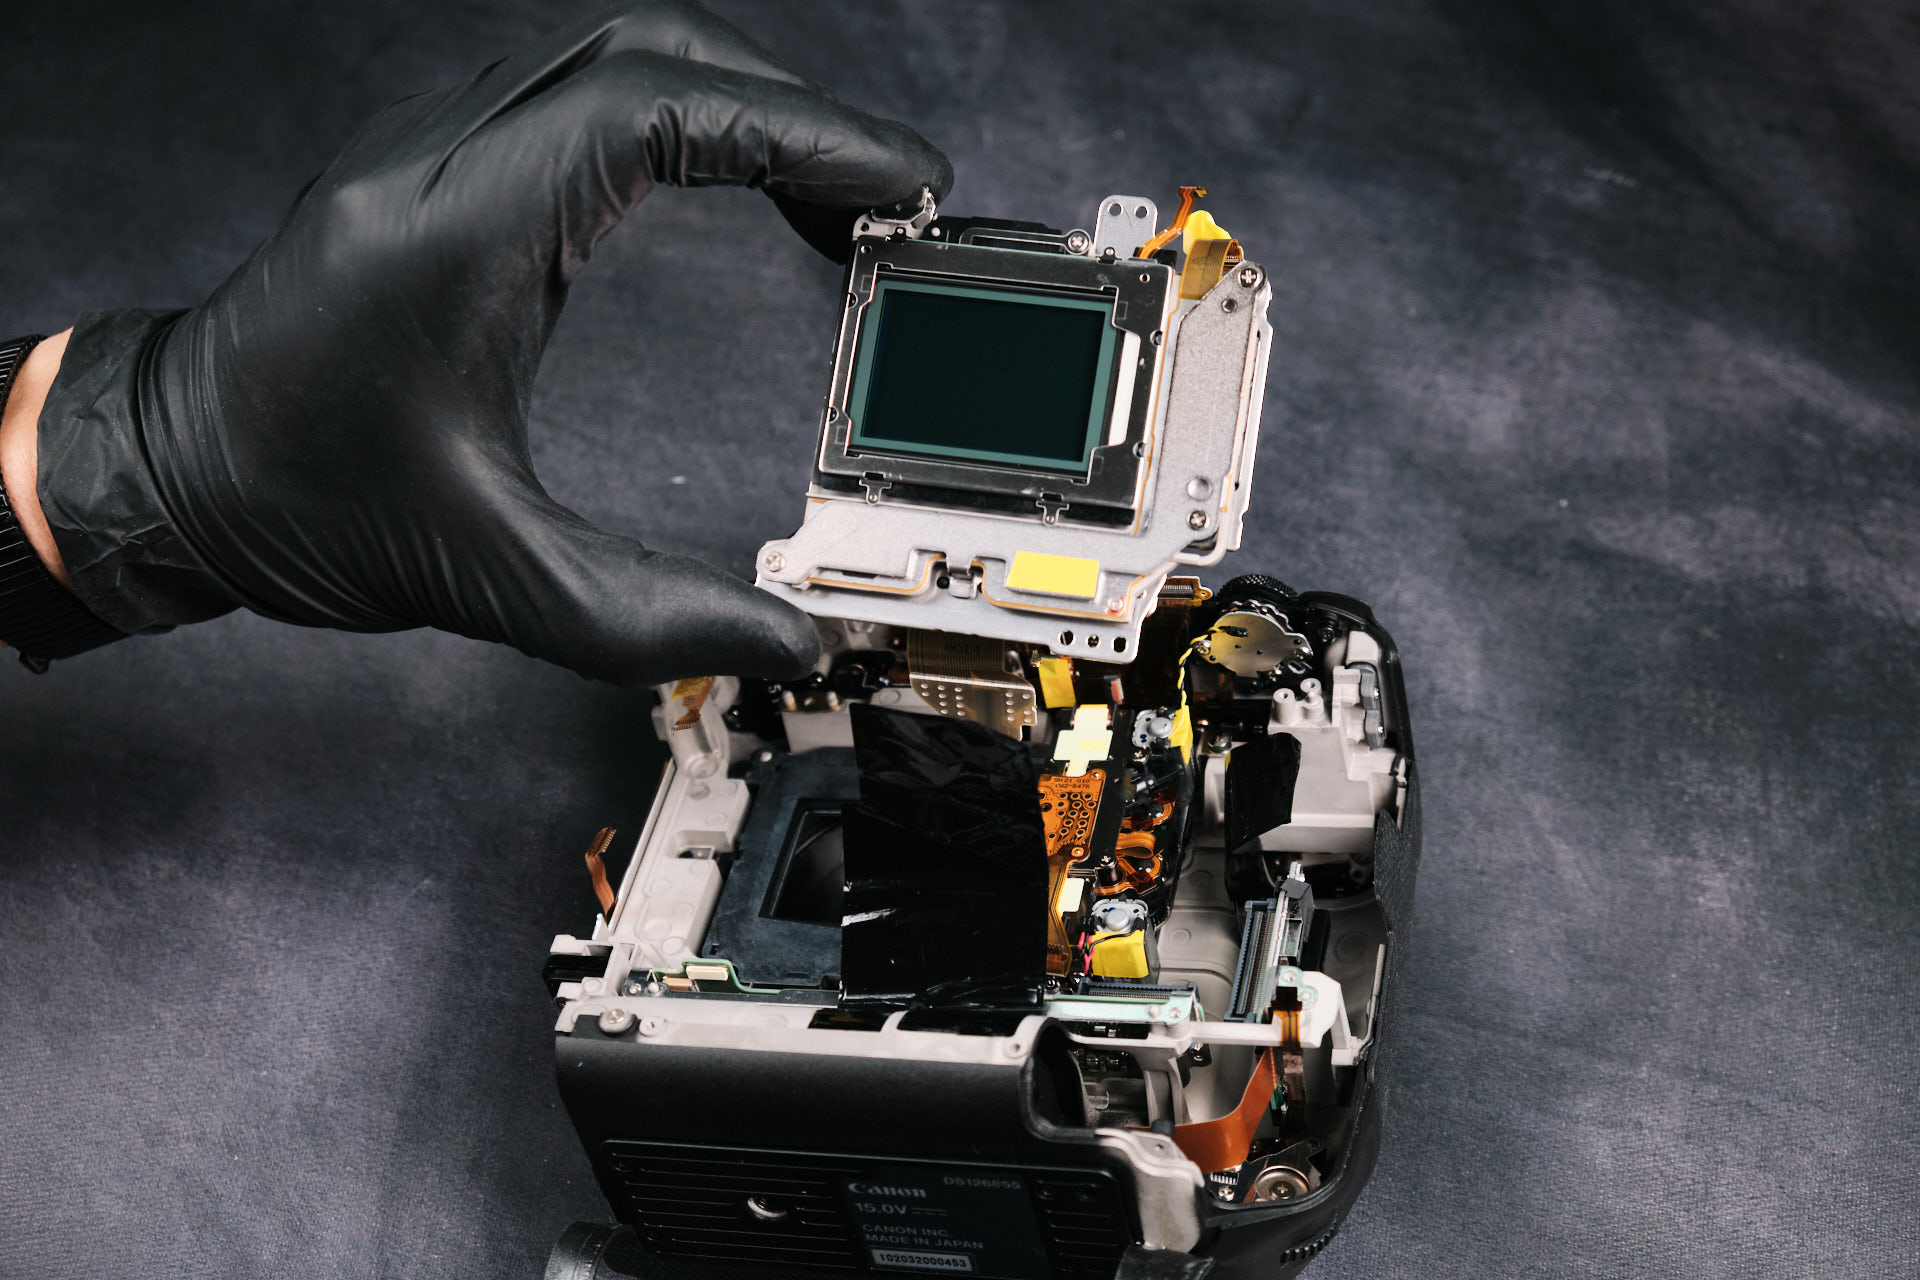
The last thing to remove was the camera sensor. Only __ screws held it down.
The removed camera sensor.
Final Thoughts on the Canon EOS R3 Teardown
Canon RF-mount cameras are generally easy to disassemble due to their straightforward assembly, according to our lead camera technician.Â
Thanks for reading. If you’re interested in more camera teardowns, we feature a new one every month. Be sure to sign up for our newsletter so you don’t miss them!
Frequently Asked Questions
How Do You Start Disassembling The Canon EOS R3?
The Canon EOS R3 teardown starts by removing screws around the camera body housing. Unlike cameras with a more typical front and back housing closed by a baseplate, the EOS R3 body is made from two main housing pieces, likely because of its larger battery compartment.
Are Kolari Magnetic Clip-in Filters Compatible With The Canon EOS R3?
Yes. The Canon EOS R3 is compatible with Kolari Magnetic Clip-in Filters for Canon RF-mount cameras. These filters magnetically attach inside the camera mount without installation tools.
How Is The Canon EOS R3 Backside Housing Removed?
The backside housing can be lifted after removing the exterior body screws, EVF screws, port side cover screws, and screws near the battery compartment. Before fully detaching it, one ribbon cable connected to the circuit board needs to be disconnected carefully.
How Is The Canon EOS R3 Circuit Board Removed?
After disconnecting the wires and ribbon cables, the screws around the circuit board perimeter are removed. The article notes that there are eight circuit board screws, and the board fits tightly along the camera frame, so it needs careful prying to remove.
How Is The Canon EOS R3 Camera Sensor Removed?
The Canon EOS R3 sensor is reached near the end of the disassembly. After the rear housing, circuit board, ethernet input assembly, and internal bracket are removed, the sensor can be detached from the camera body.