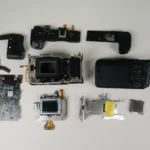
Nikon ZR Mirrorless Cinema Camera Overview
Last year, Nikon bought out RED cinema cameras, leaving photographers and videographers eagerly waiting to see what would come out of the acquisition. Lo and behold, Nikon|RED took the cinematography world by storm on September 10, 2025 with its unassuming and unexpected launch of their first cinema camera, the Nikon ZR mirrorless cinema camera. Their announcement came right after Canon launched their latest cinema camera, the C50, the day before.
Nikon ZR Features and Z-Mount Filter Compatibility
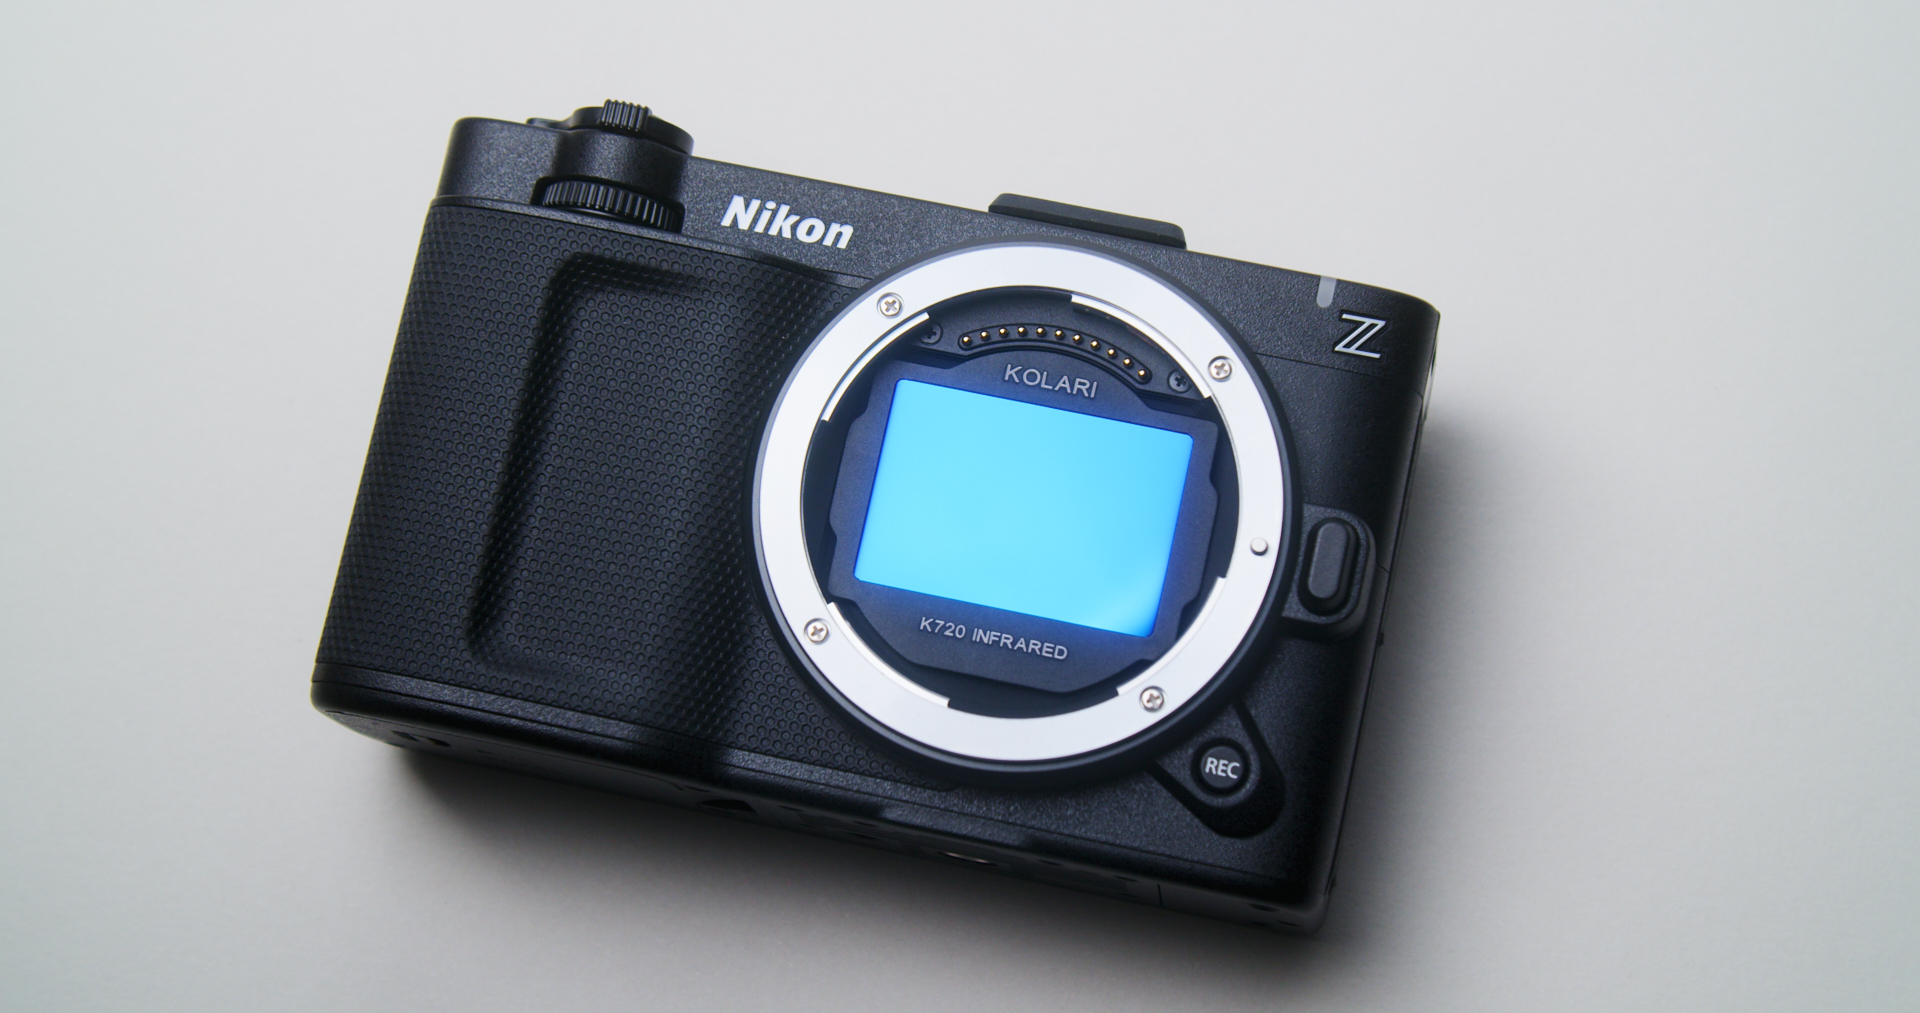
The Nikon ZR is an entirely new camera that utilizes advancements from both Nikon and RED to create a truly groundbreaking cinema camera in terms of features and affordability, starting at $2,199.95 USD at the time of this article. Some of its features include utilizing RED’s file codec REDCODE RAW (R3D NE), 32-bit float audio, and a sizeable 4″ DCI-P3 monitor. The camera competes with the Canon EOS C50 and the esteemed Sony FX3.
Fortunately, the Nikon ZR allows for full lens compatibility with our Magnetic Clip-in Filters for Nikon Z-mount cameras. Our filters sit above the camera’s sensor and behind the lens, making for convenient filtration between multiple different lenses. These are currently compatible with Nikon’s full-frame Z-mount lineup.
With that out of the way, let’s get into this teardown and see what makes up the Nikon ZR!
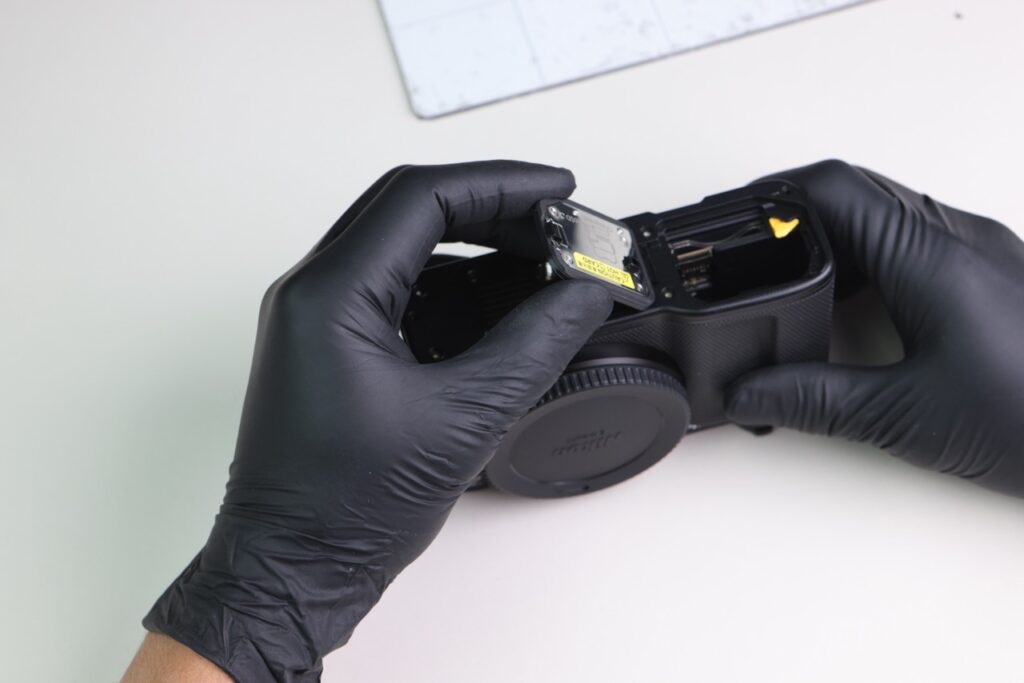
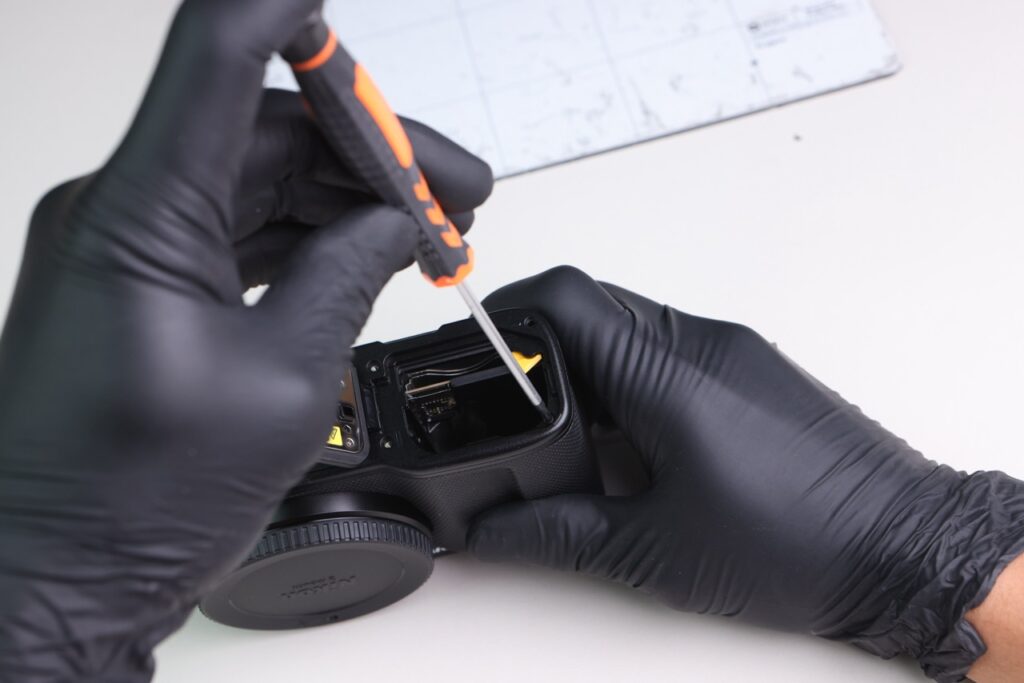
Starting the Nikon ZR Teardown by Removing the Baseplate
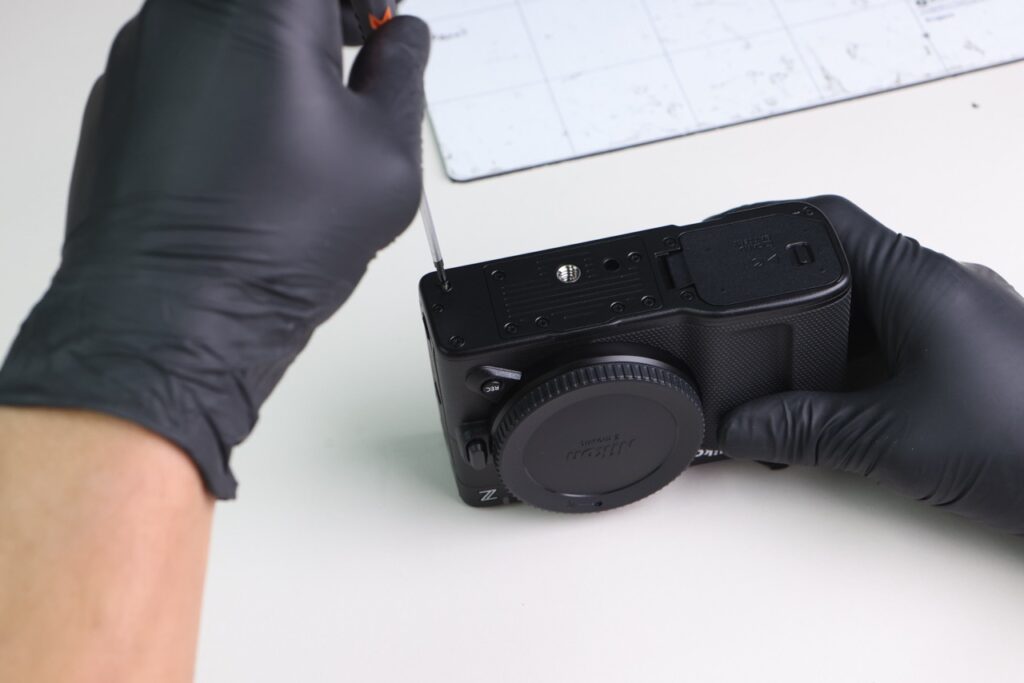
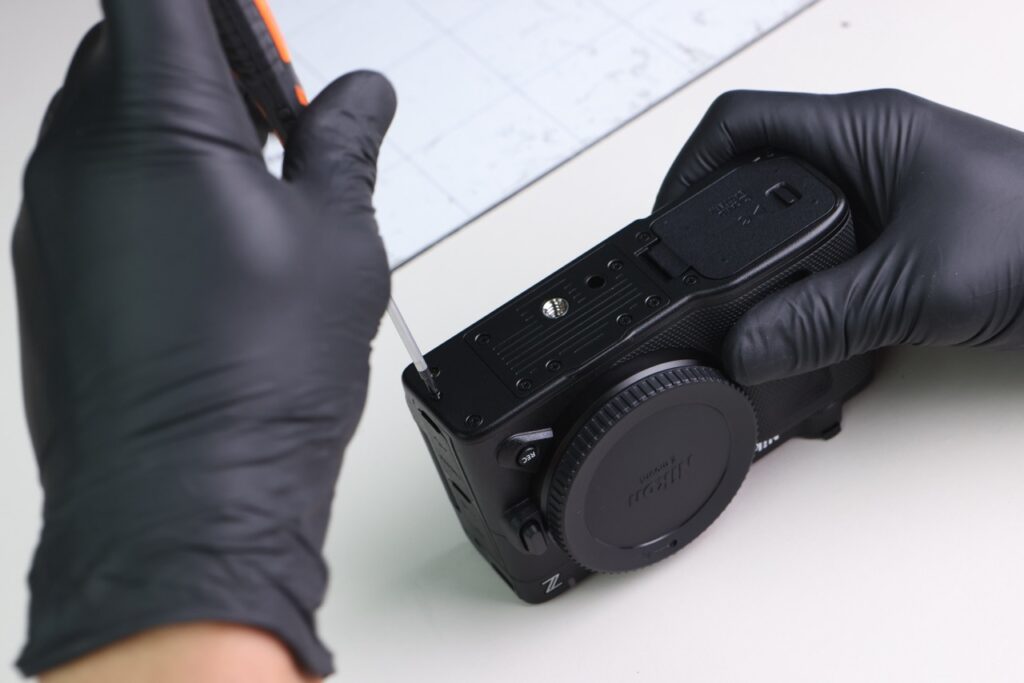
As is standard with most camera teardowns, we start with removing the baseplate. Several screws surrounded the perimeter of the bottom, with several located underneath the battery compartment door and within the compartment itself. Altogether, there were twelve screws that fastened the baseplate to the camera frame.
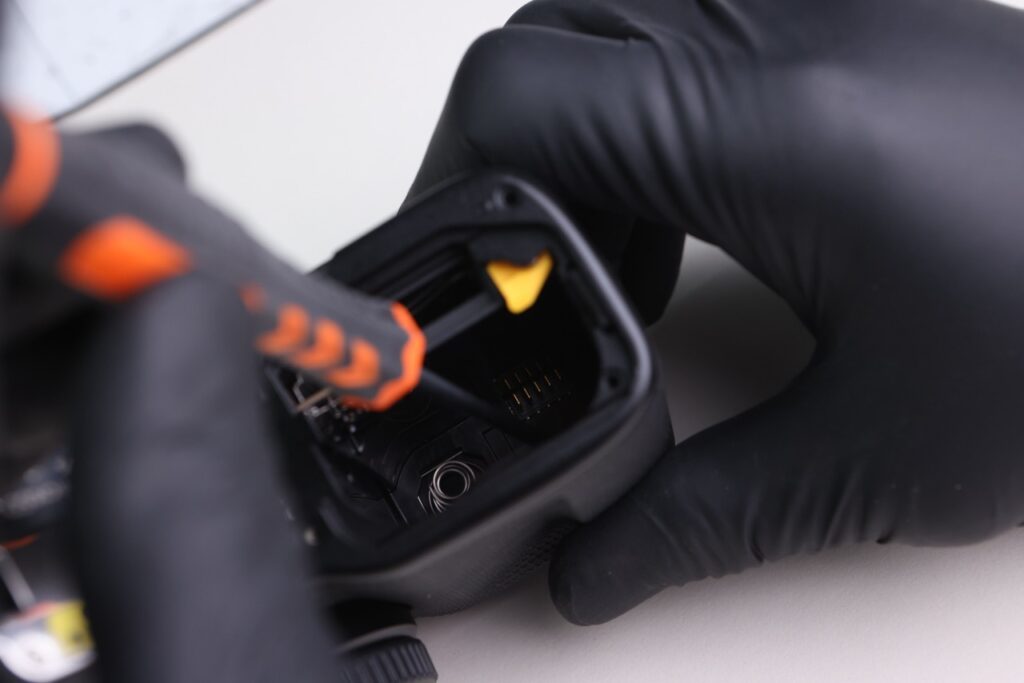
Inside the Nikon ZR Battery Compartment and Storage Slots
Interestingly, Nikon opted to use CFExpress in tandem with MicroSD slots for the camera’s storage needs, located in the battery compartment. We’re curious about the decision, since it seems that there is enough space to use two CFExpress slots, as we will see throughout this teardown.
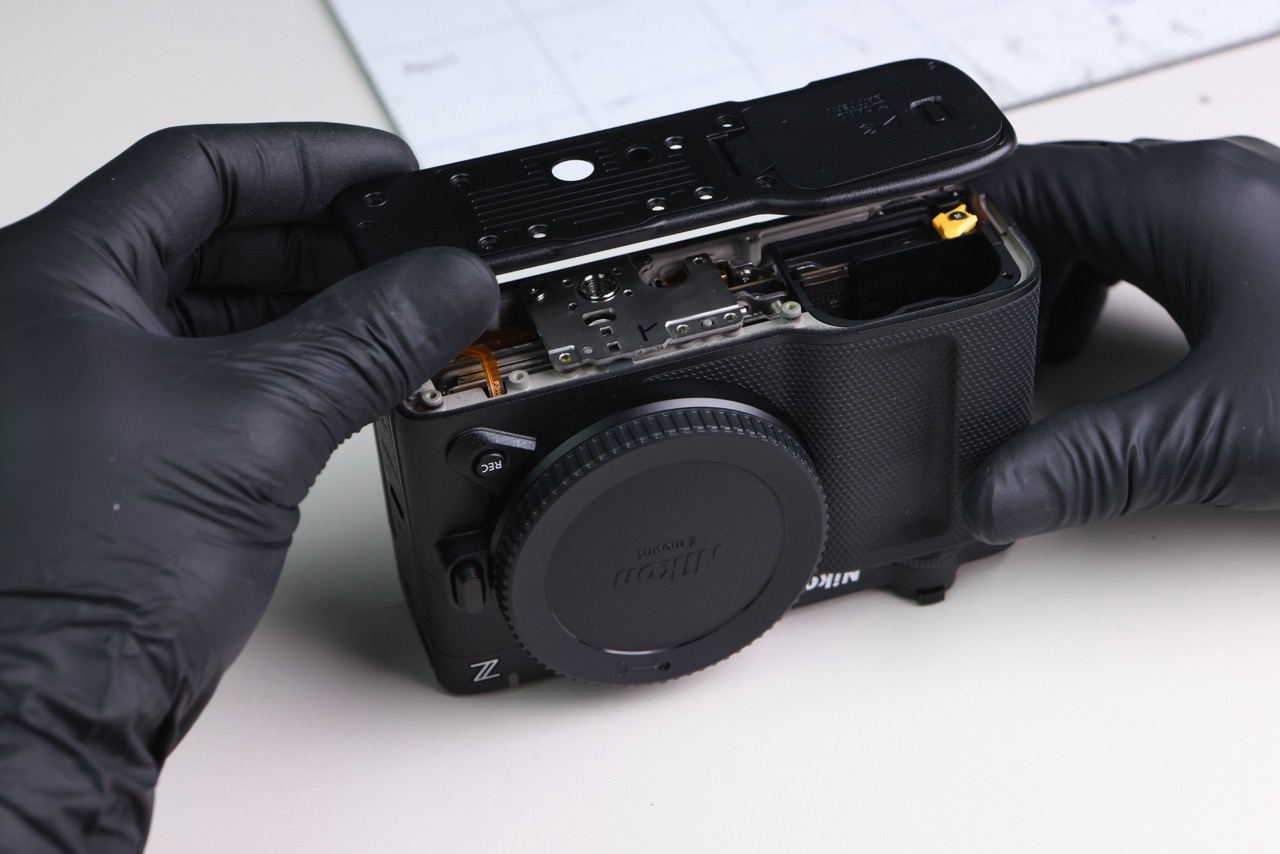
Removing the Nikon ZR Tripod Mount and Backplate Screws
Here is the baseplate detached from the camera.
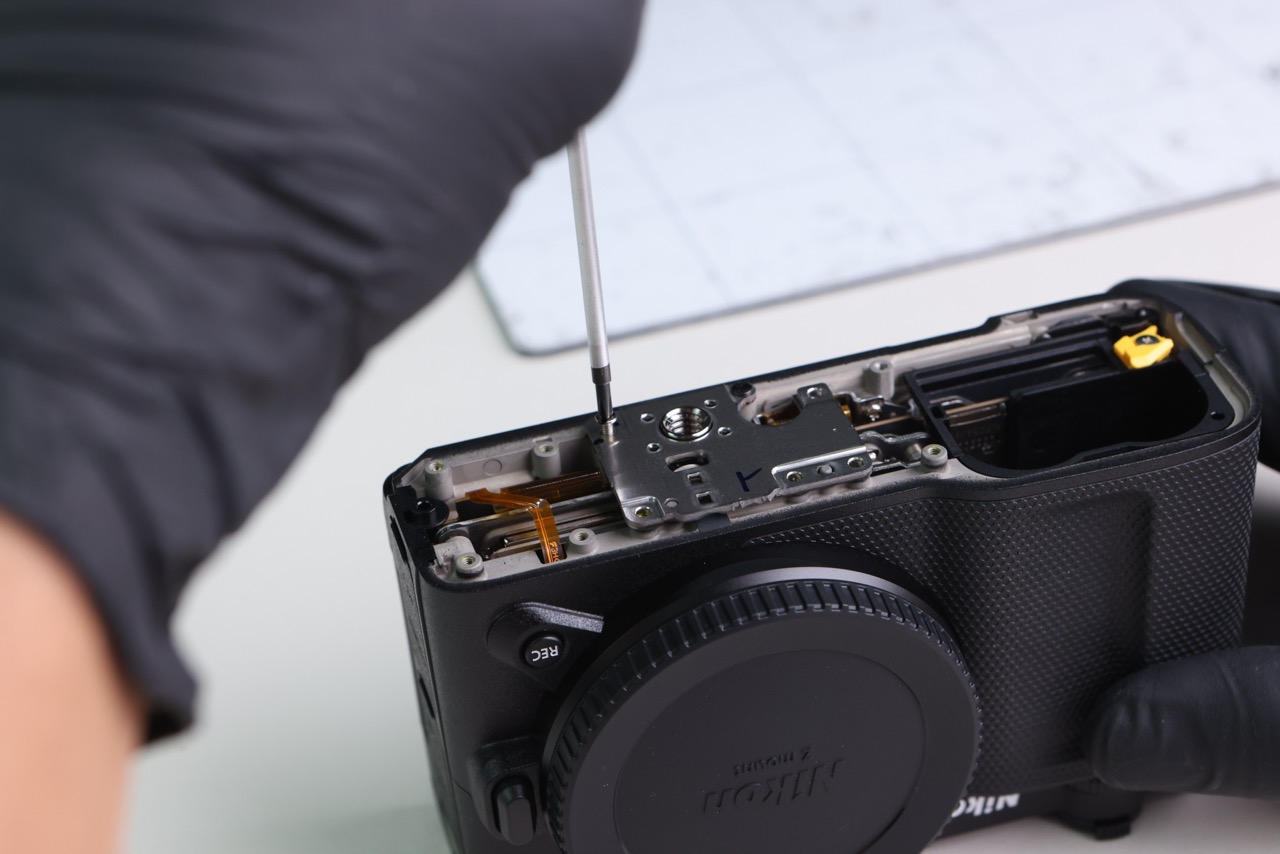
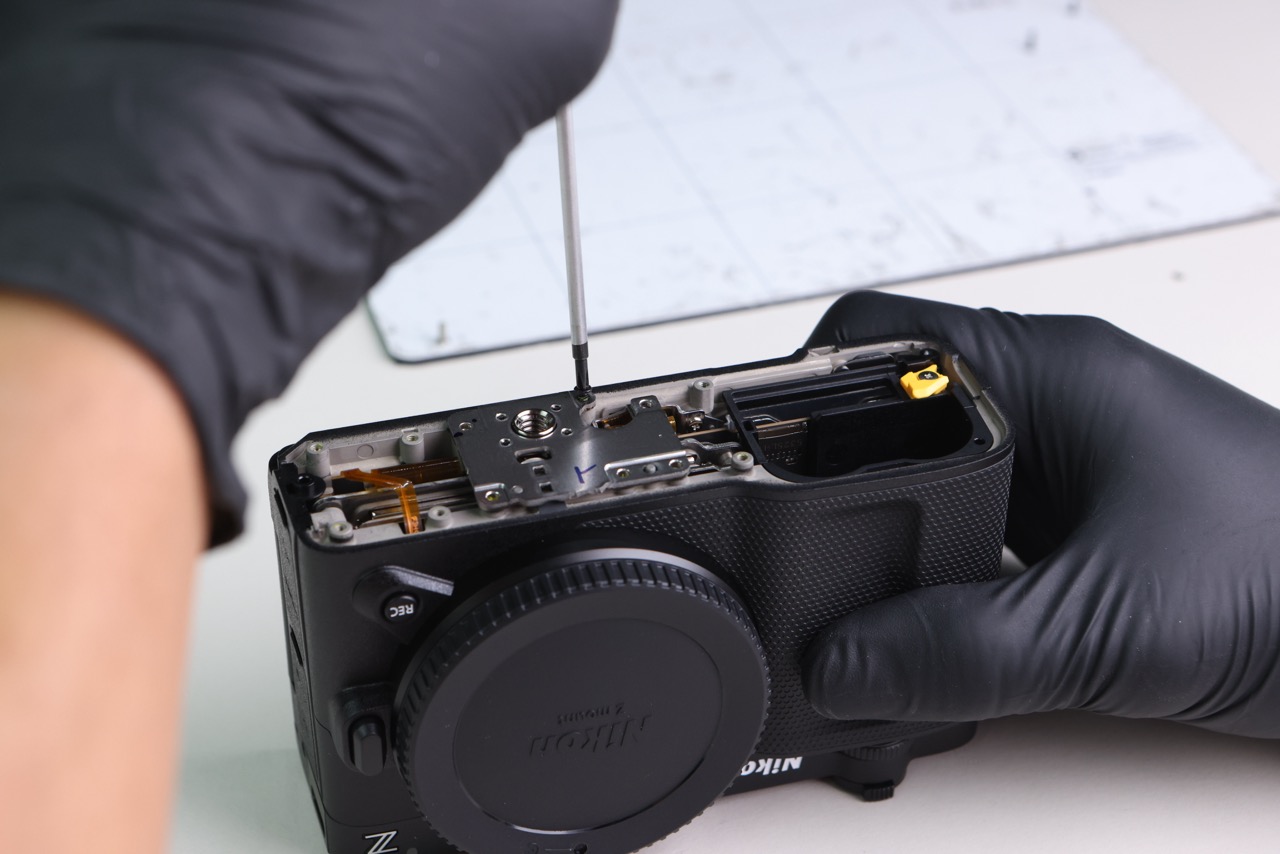
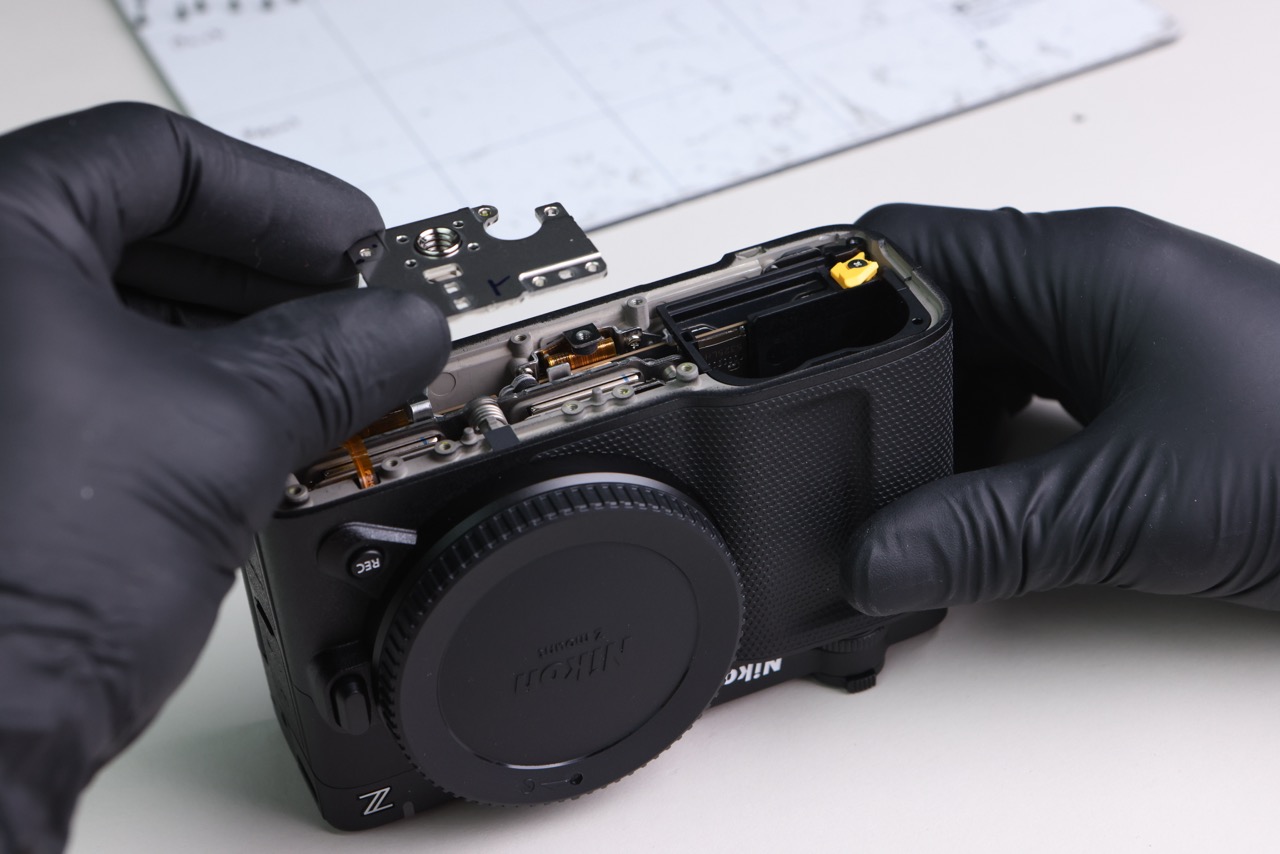
Three screws hold down the camera tripod mount.
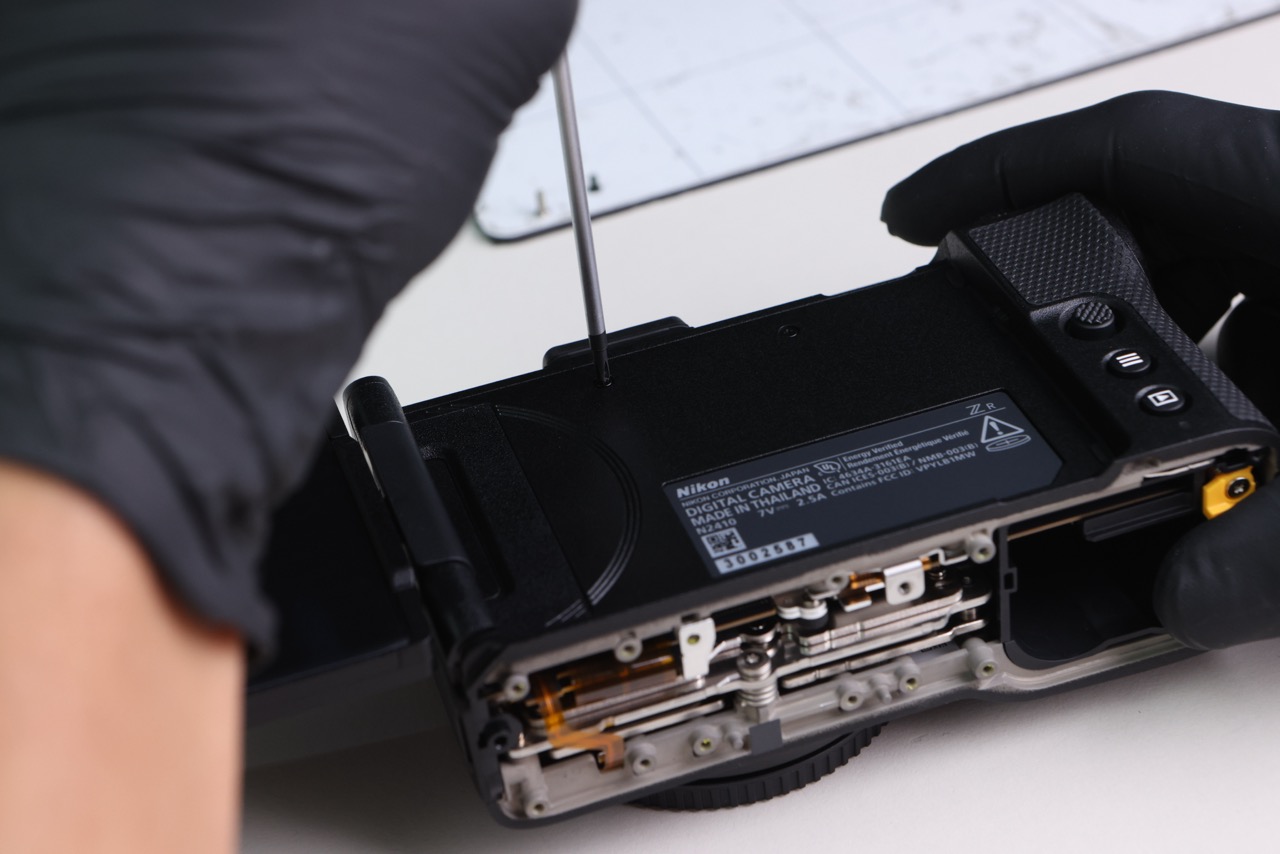
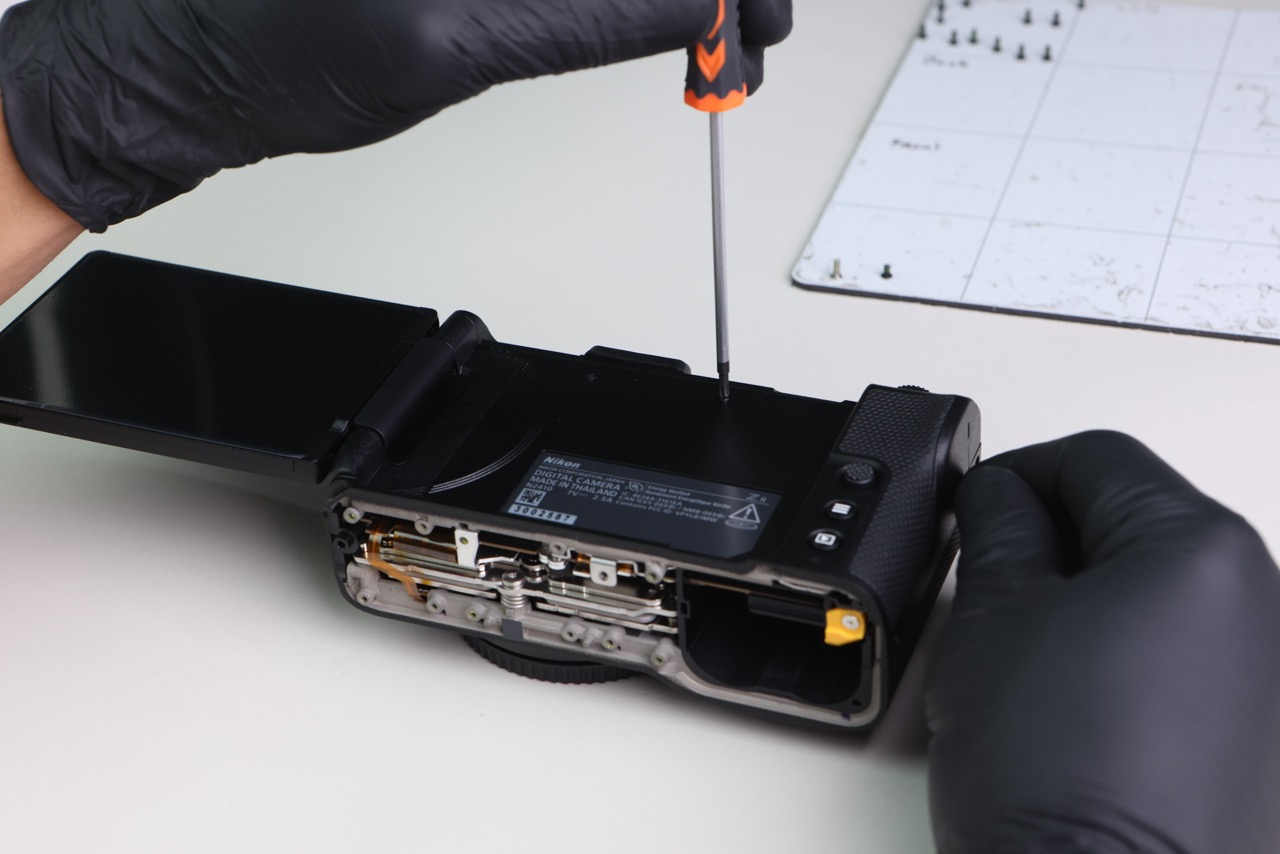
There are two exposed screws on the backplate. Oftentimes on other cameras, the screws are located behind a tape cover that spans the entire backplate.
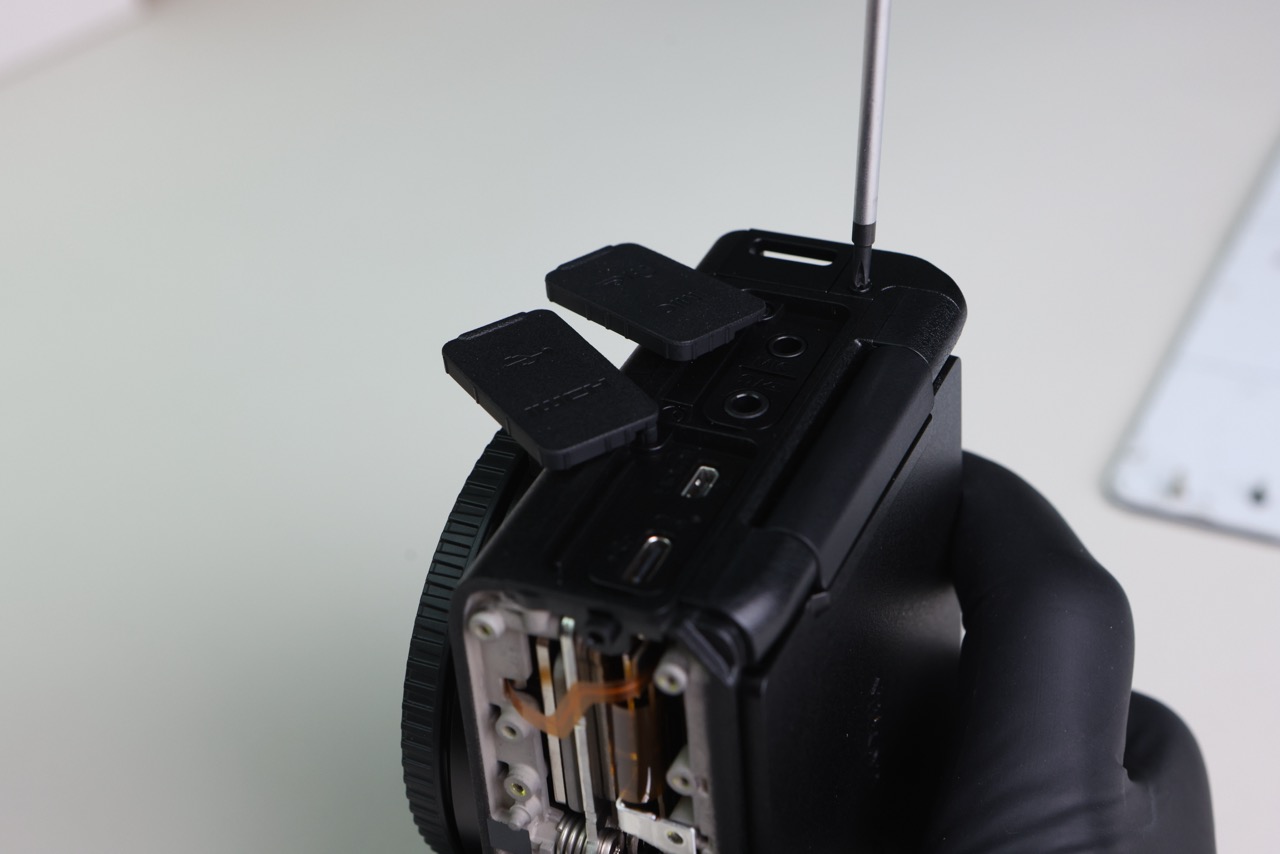
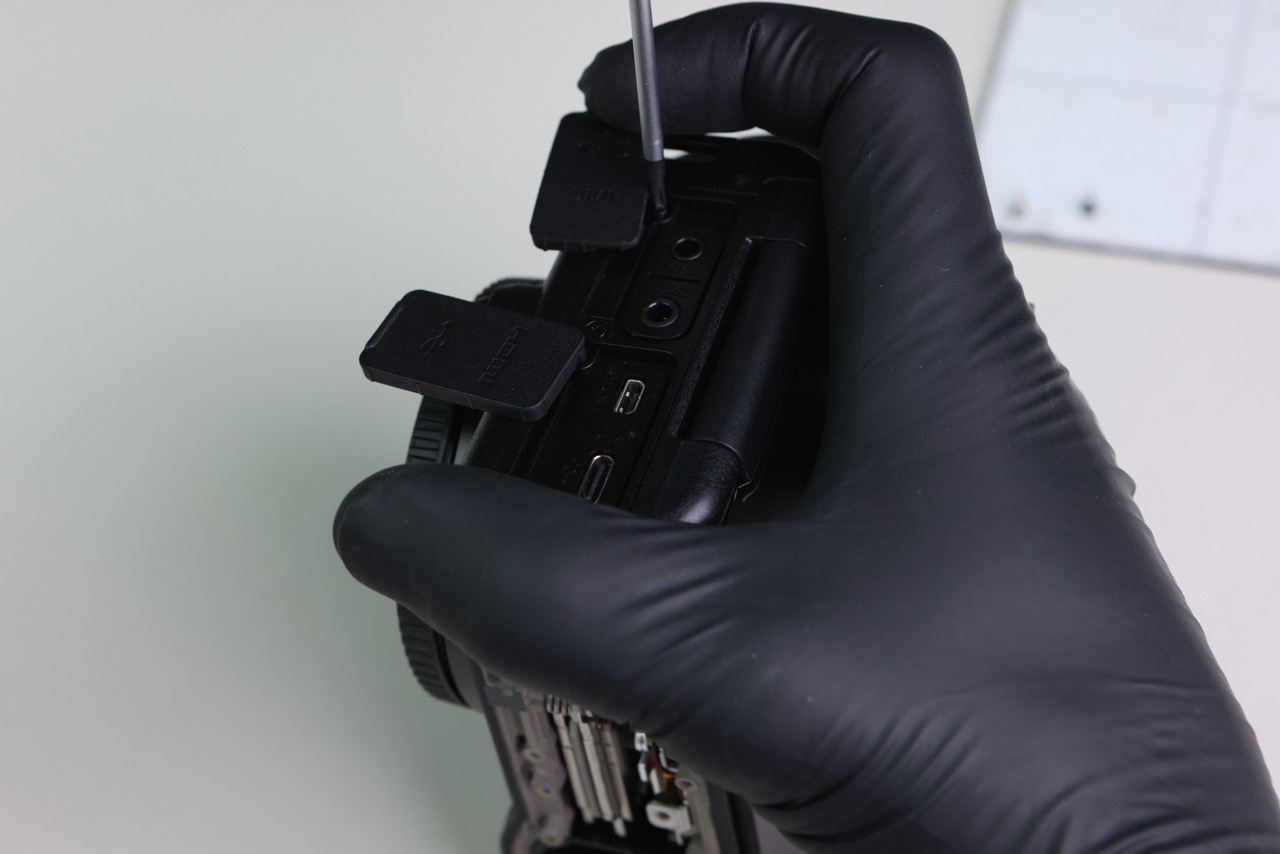
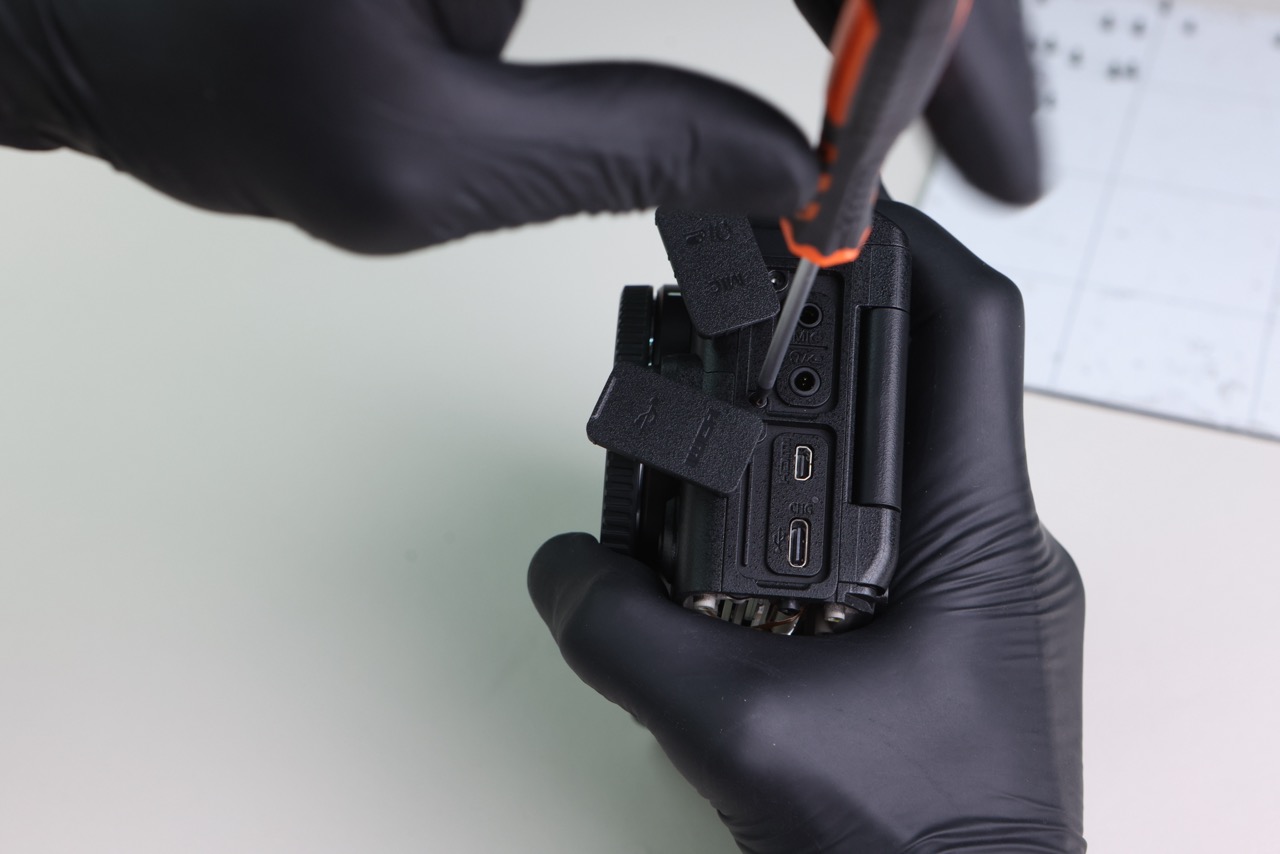
Three screws on port side of camera. These are easily accessible beneath the removable port covers.
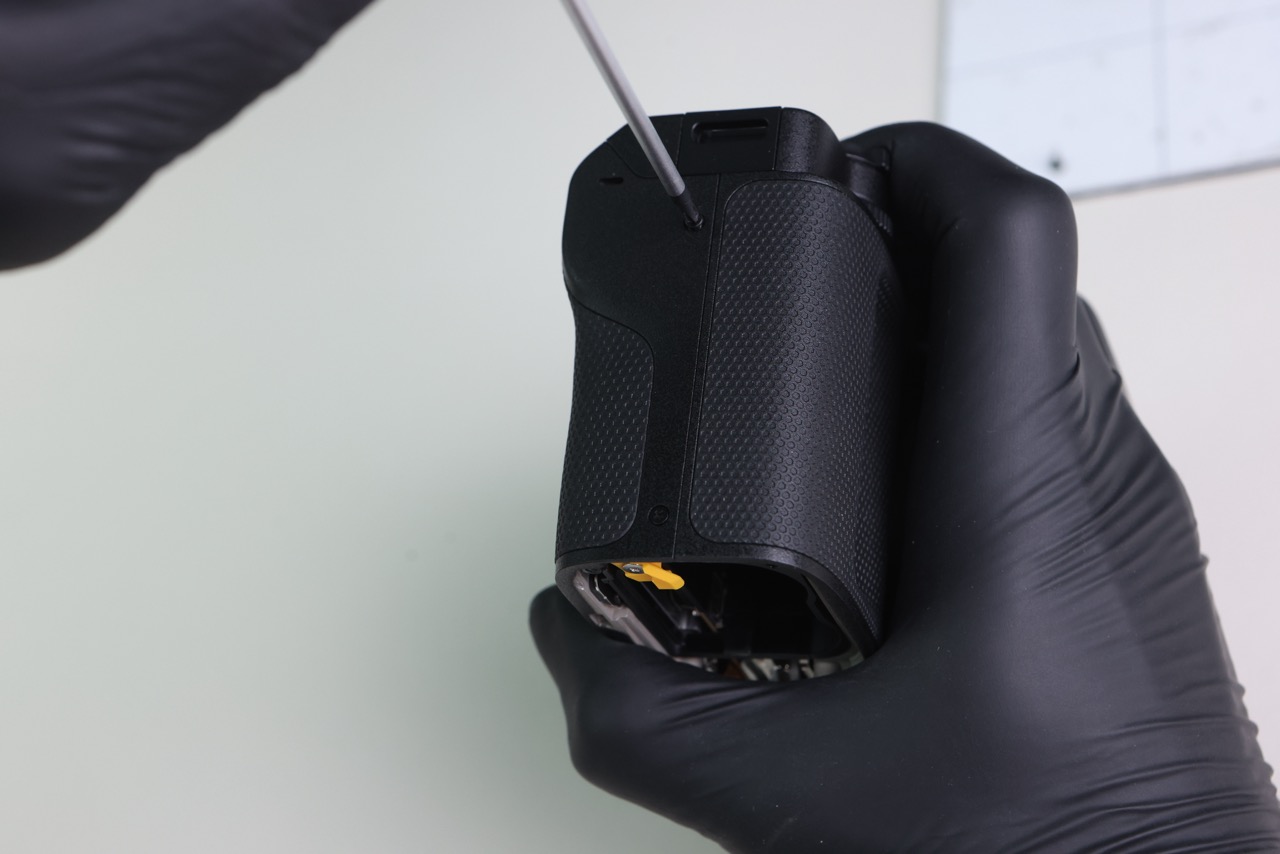
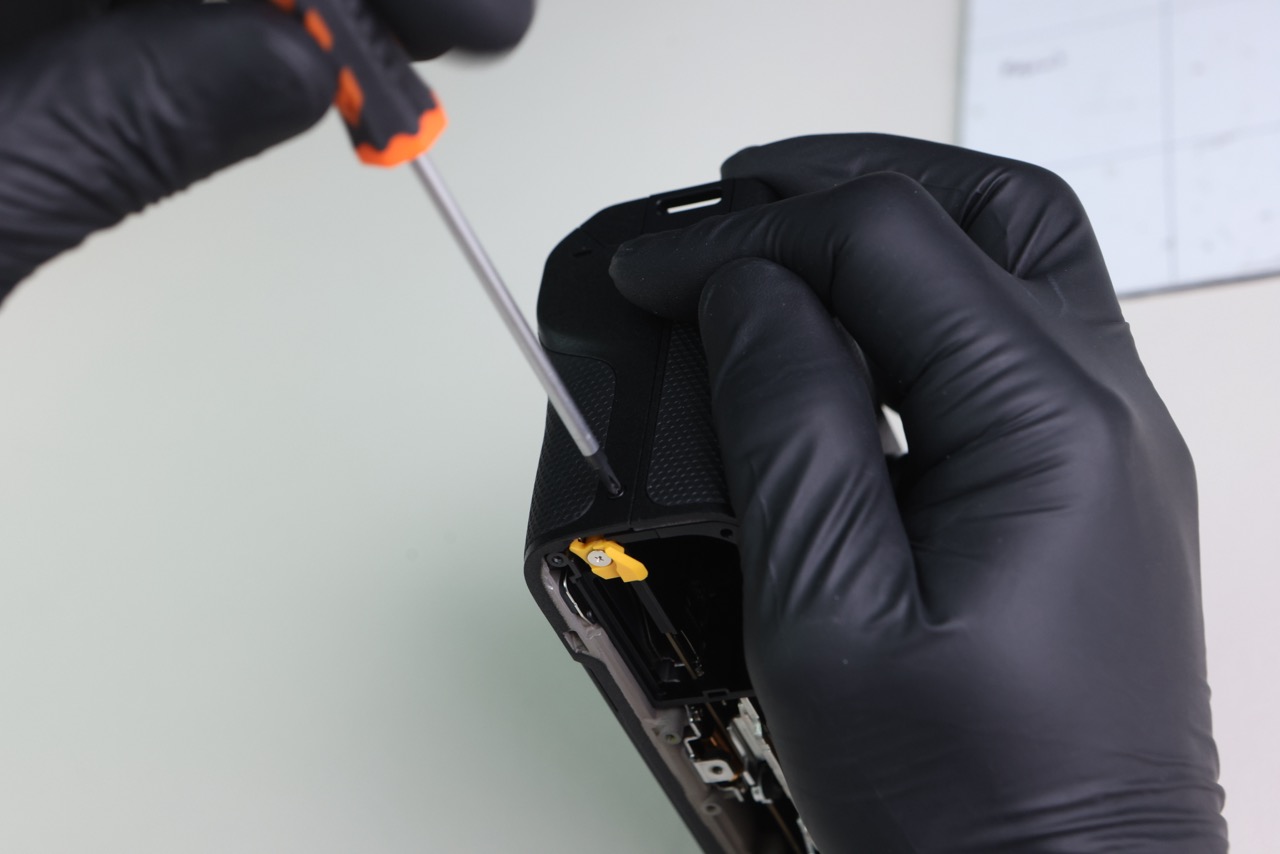
Two screws on handle side of camera.
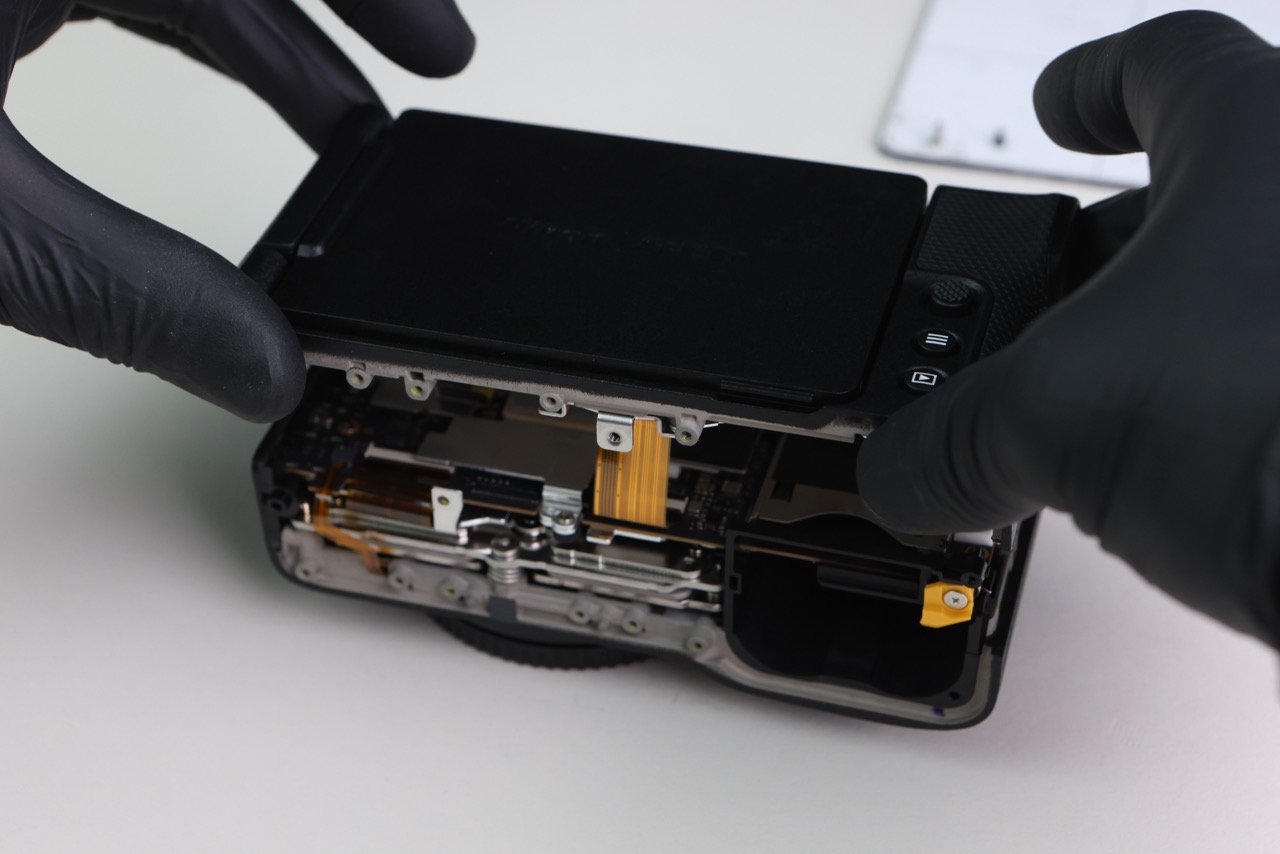
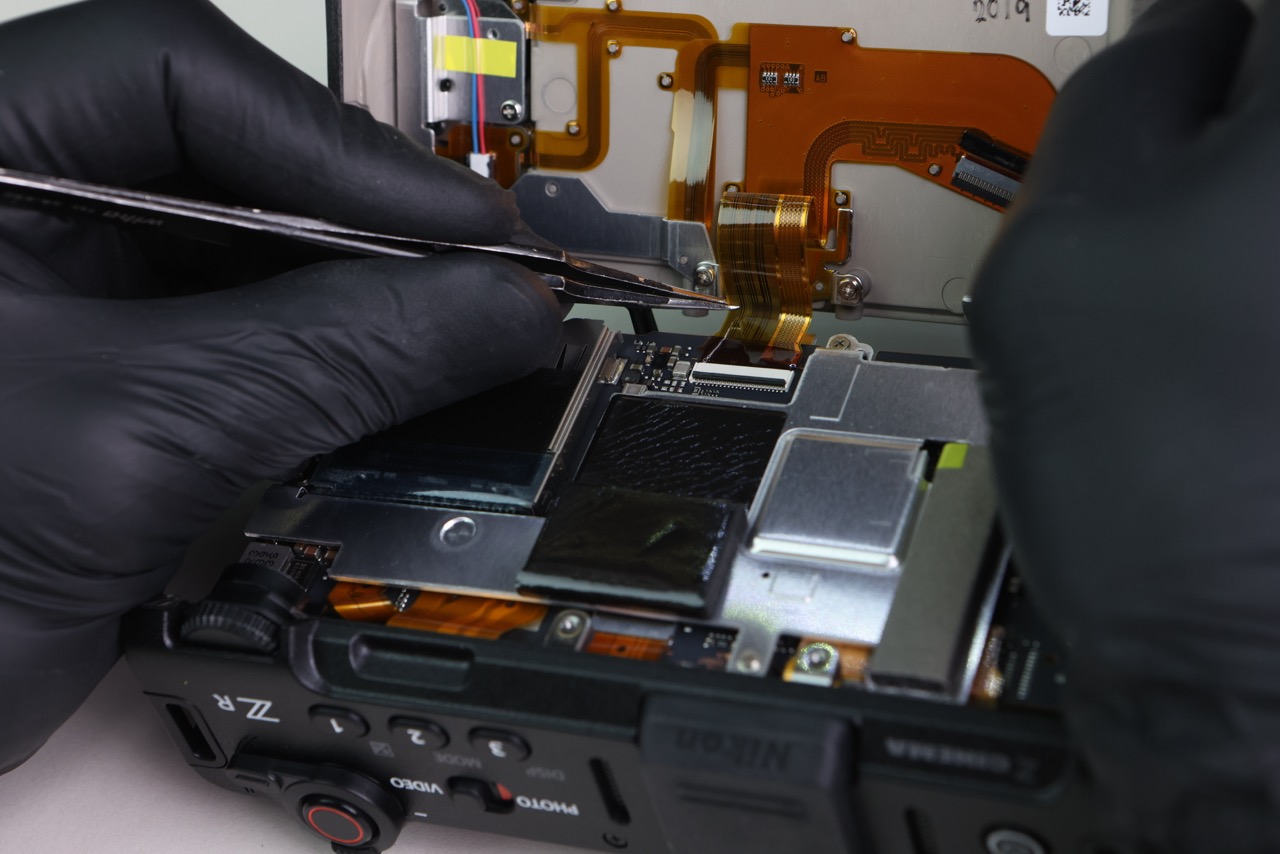
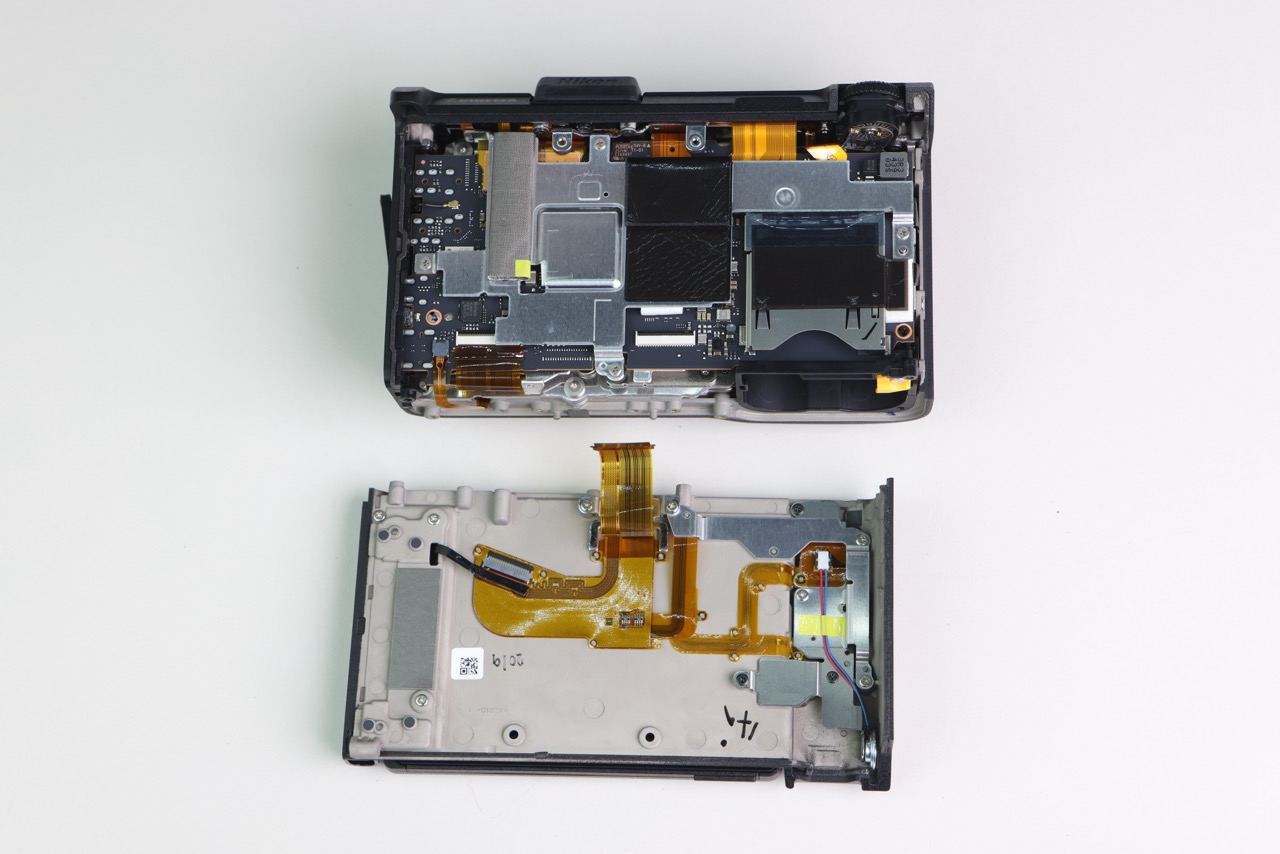
Removing the Nikon ZR Backplate and Ribbon Cable
Removing the all of the aforementioned screws allowed us to lift the backplate. A single ribbon cable connects it to the circuitboard of the camera.
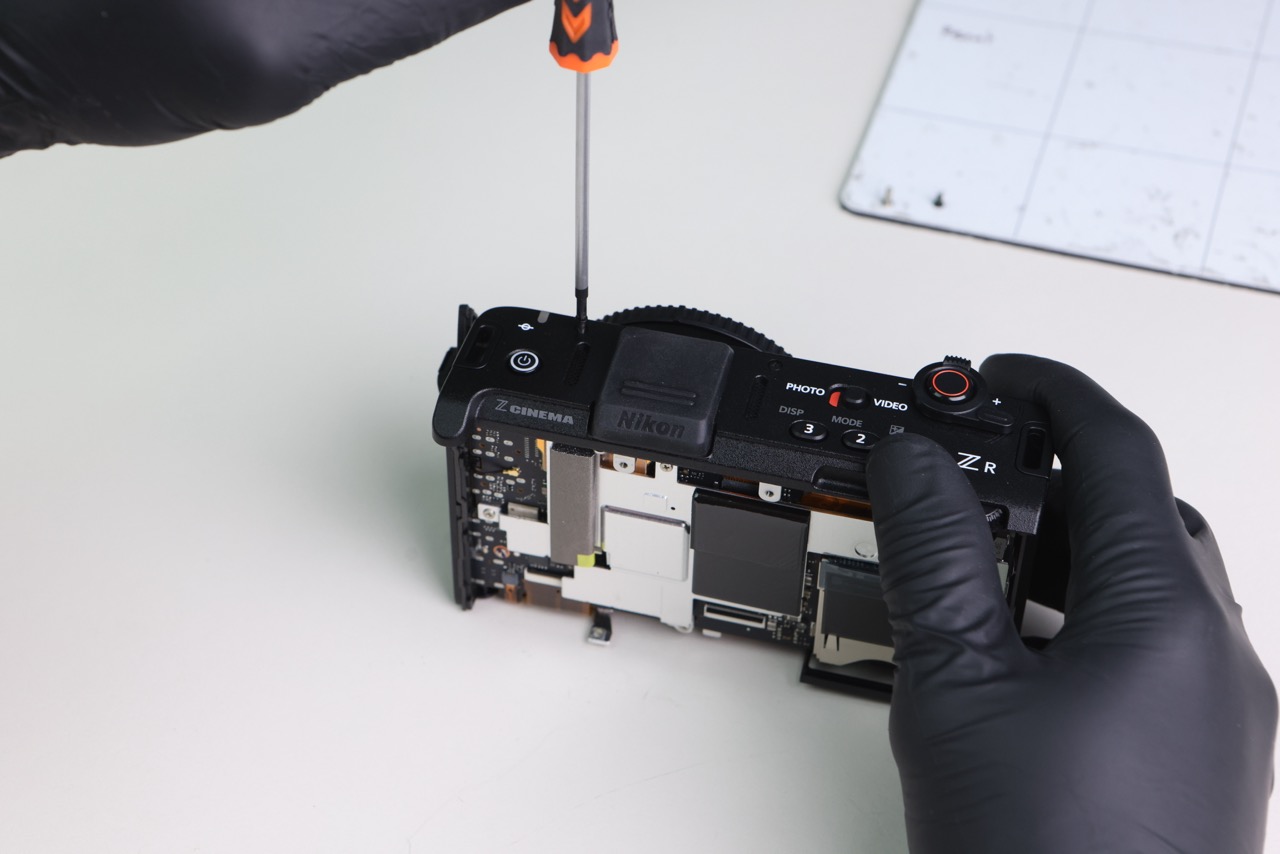
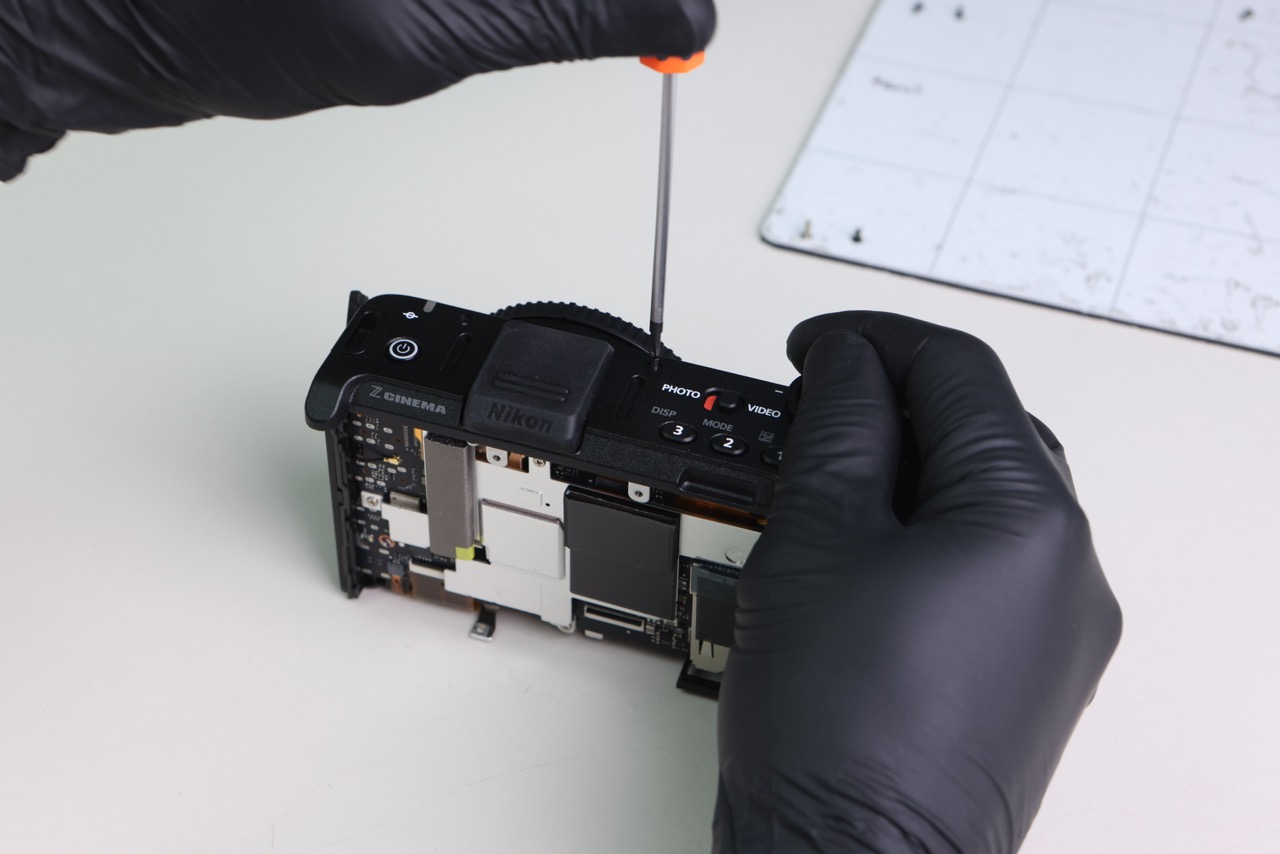
Removing the Nikon ZR Top Plate and Heatsink Bracket
With the backplate off, we can begin to remove other sections of the camera. The top plate, which completes the camera’s frame, is the next part to remove. There are two screws on the top plate.
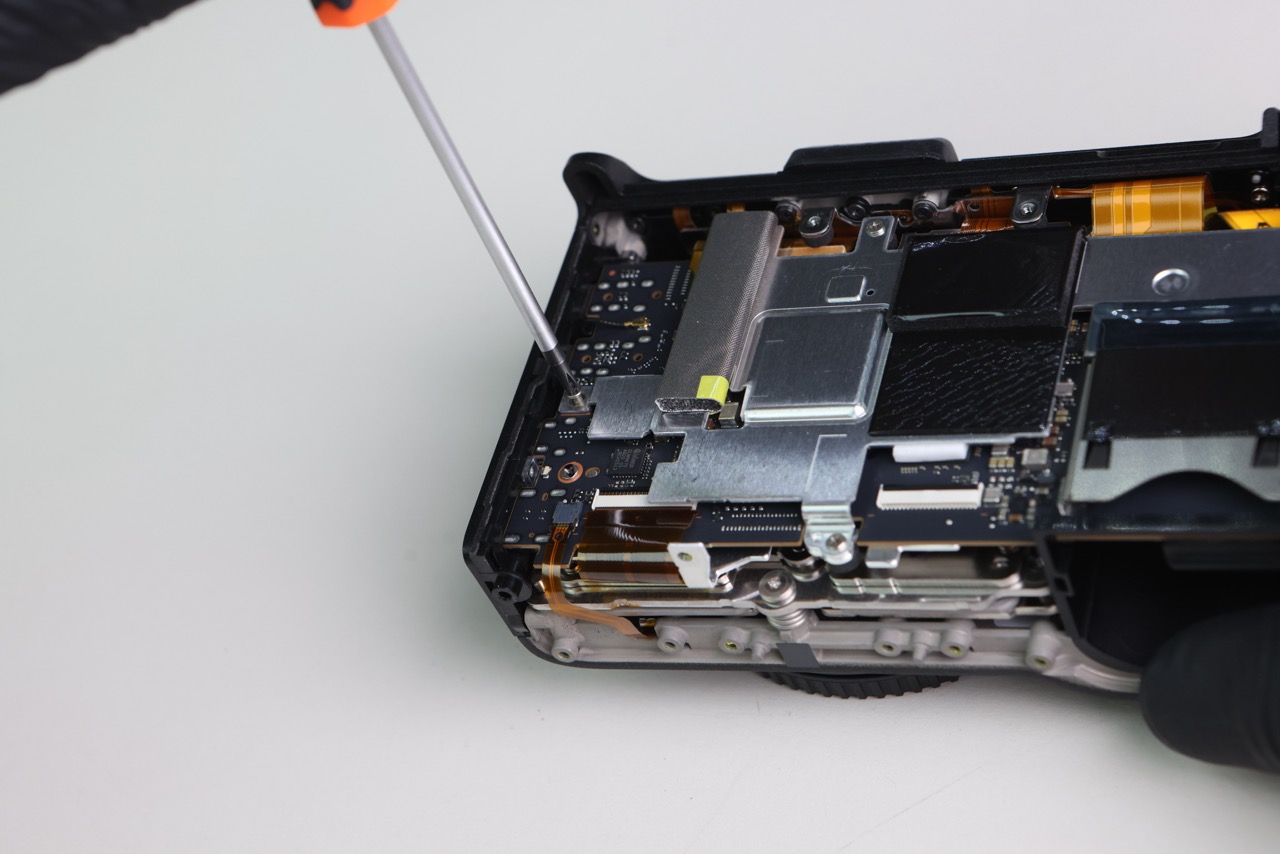
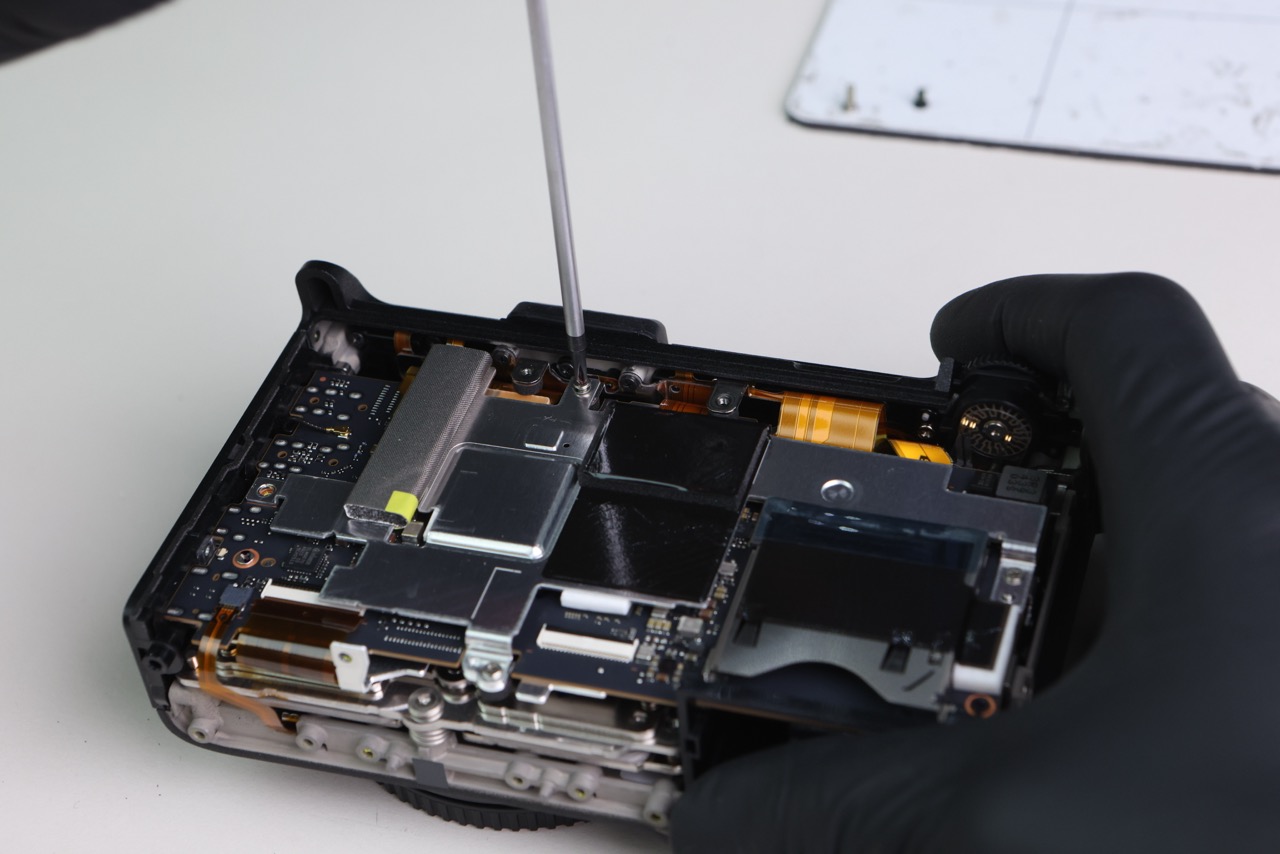
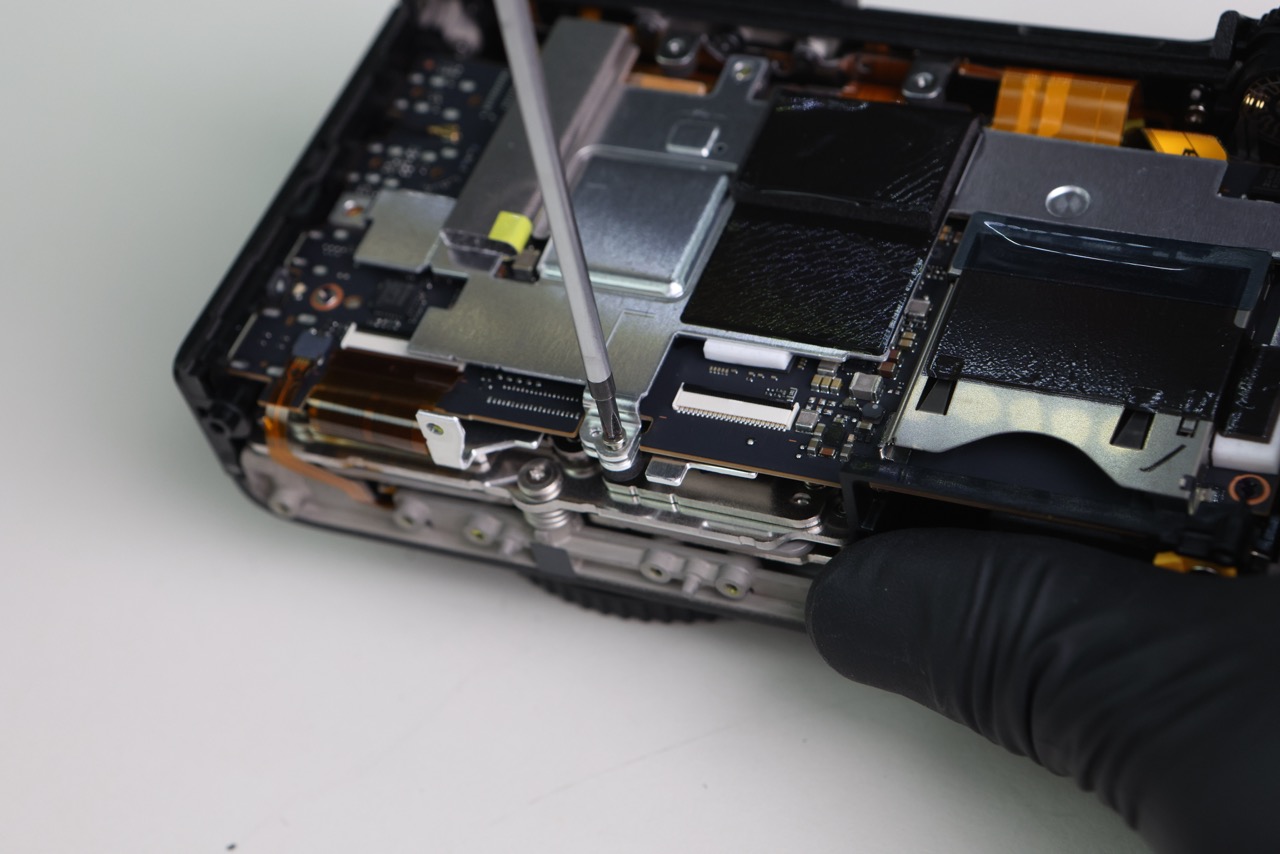
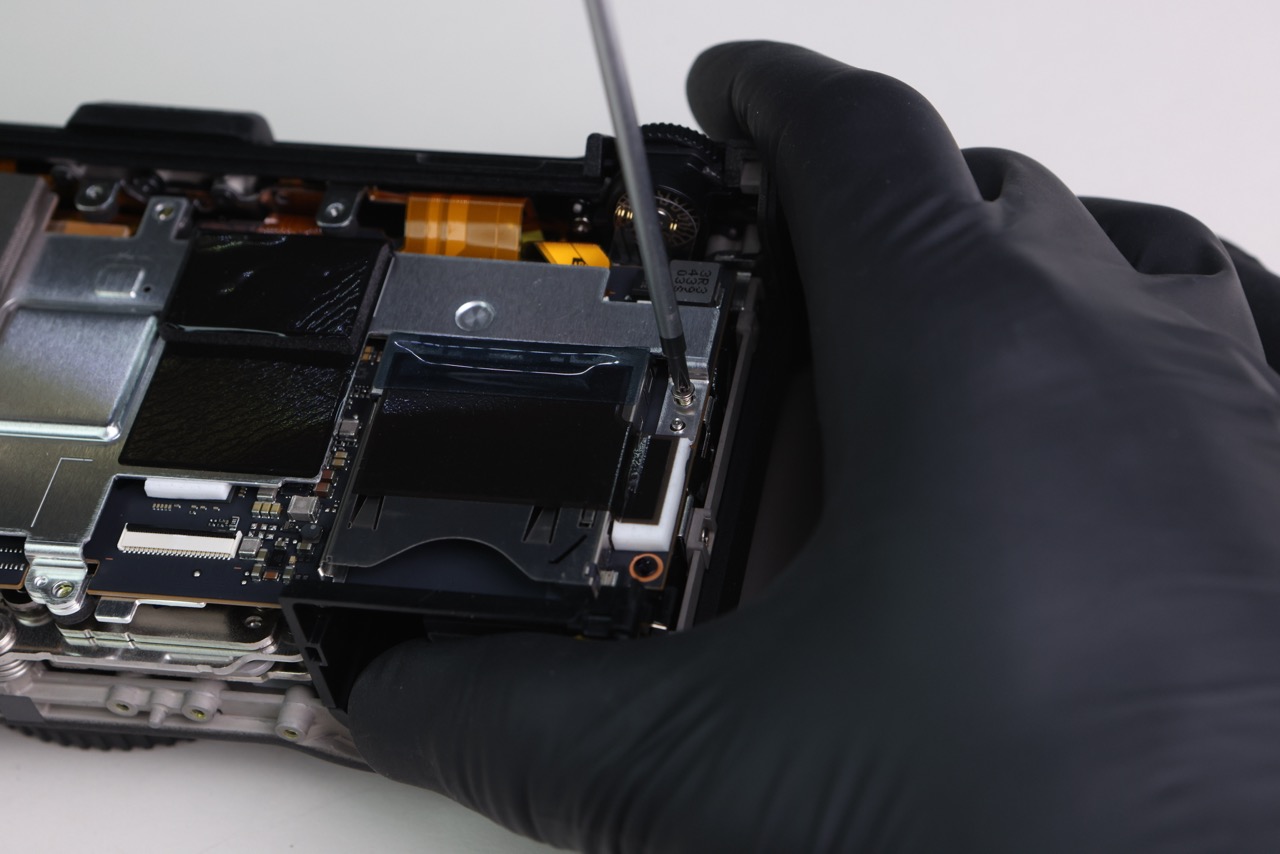
Four screws hold heatsink bracket to the frame. One of the screws was fastened to the top plate, so it was necessary to remove this part prior to finishing the extraction of the top plate.
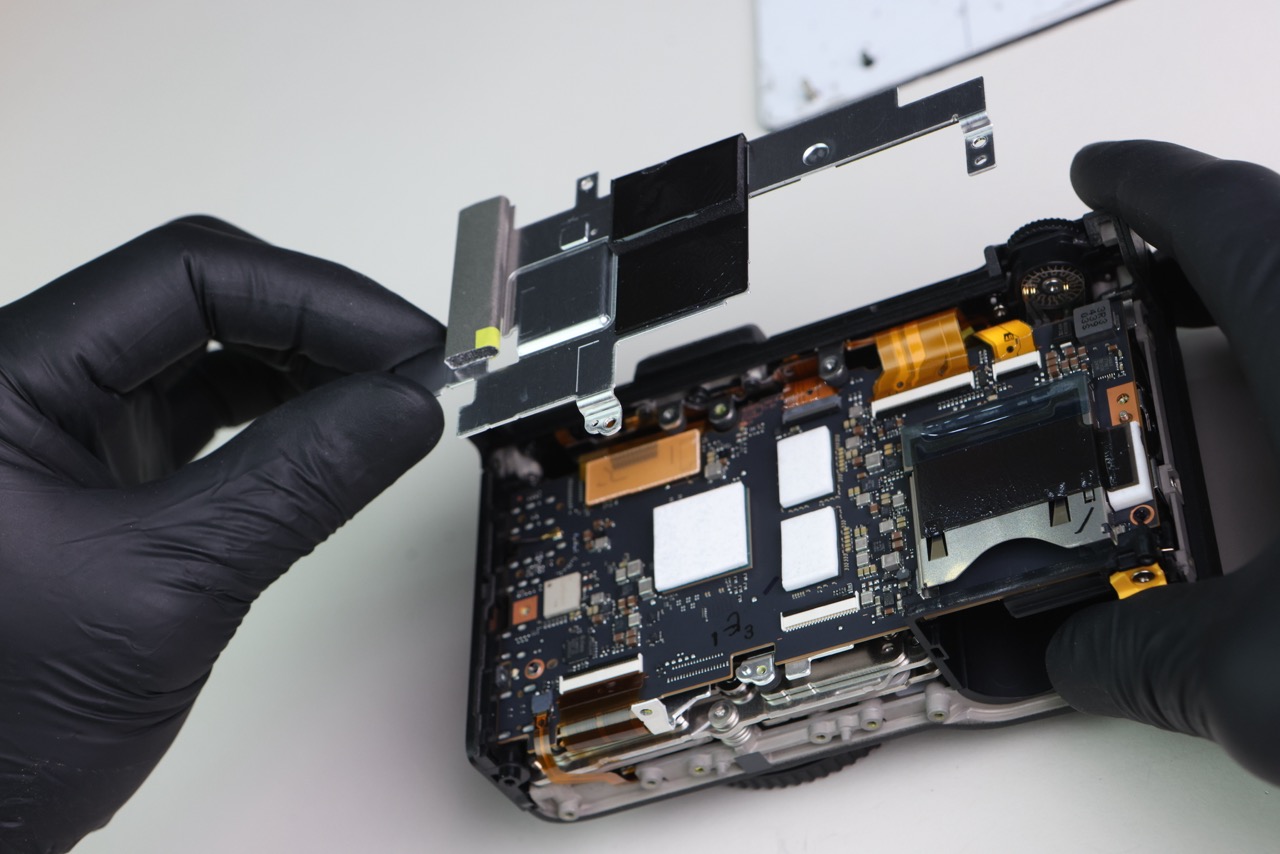
Here is the bracket removed.
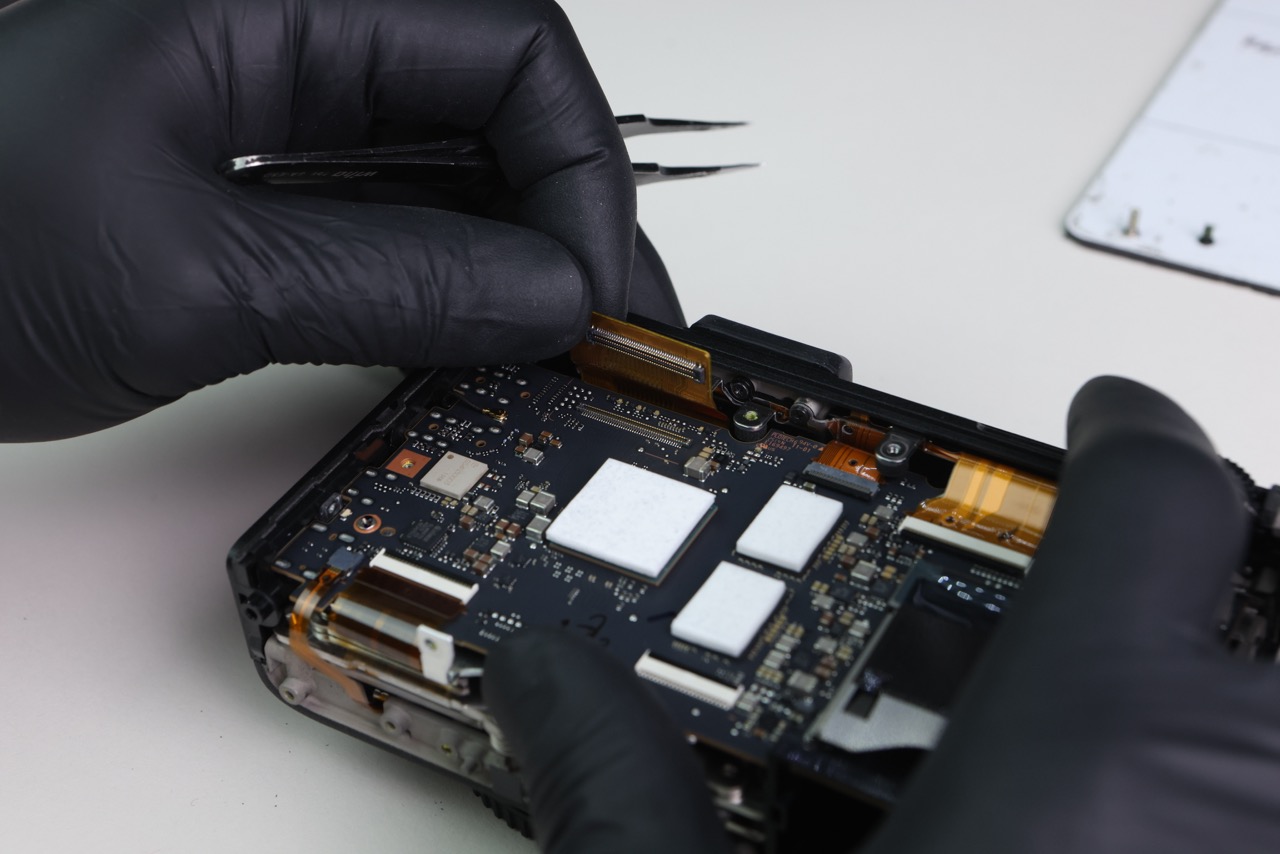
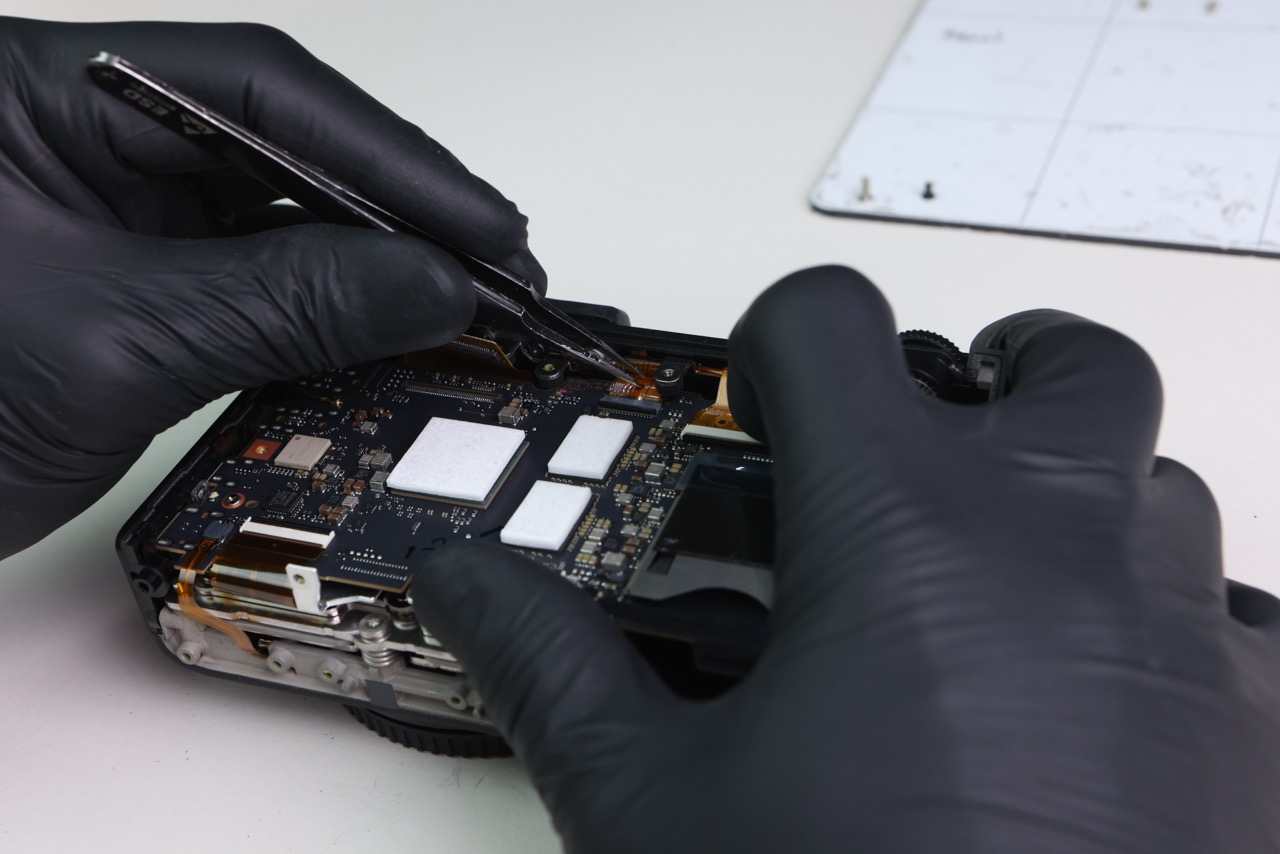
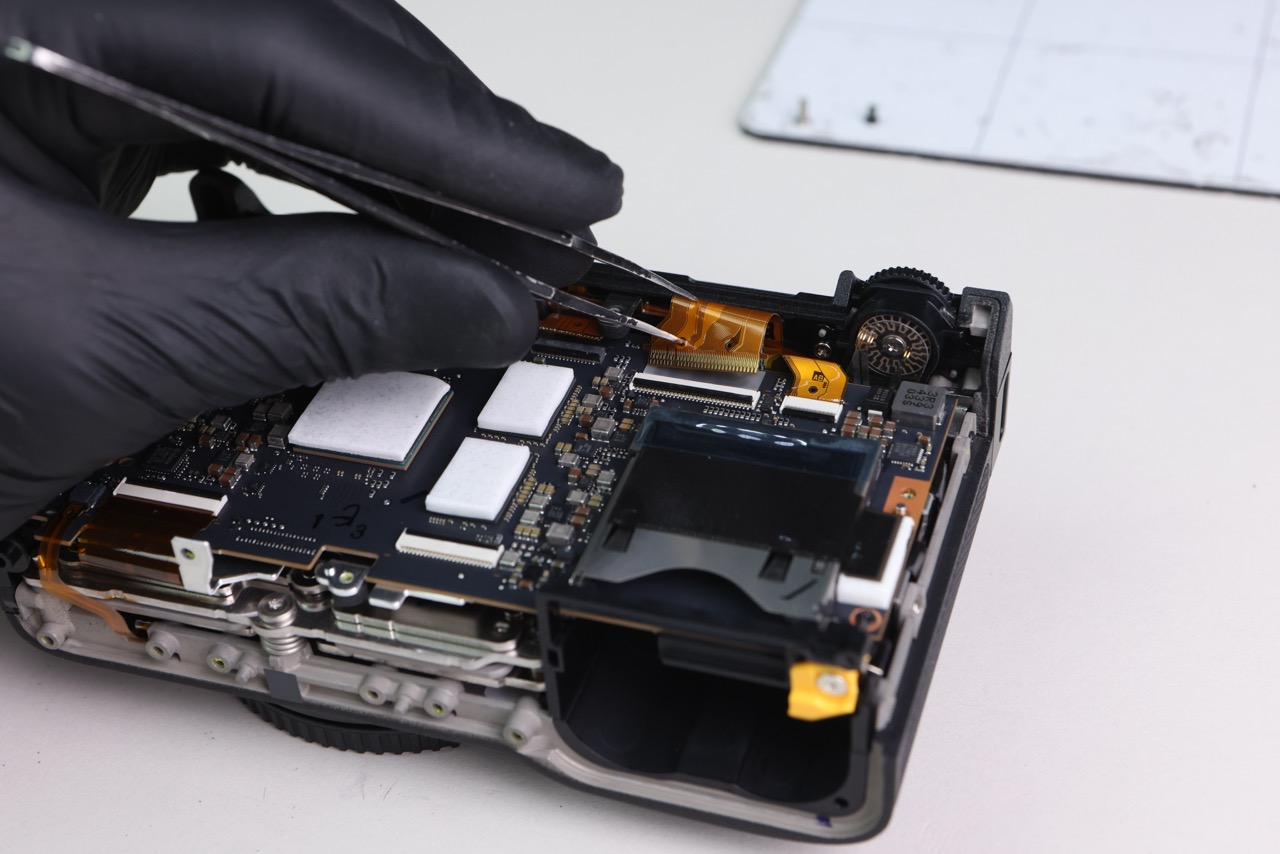
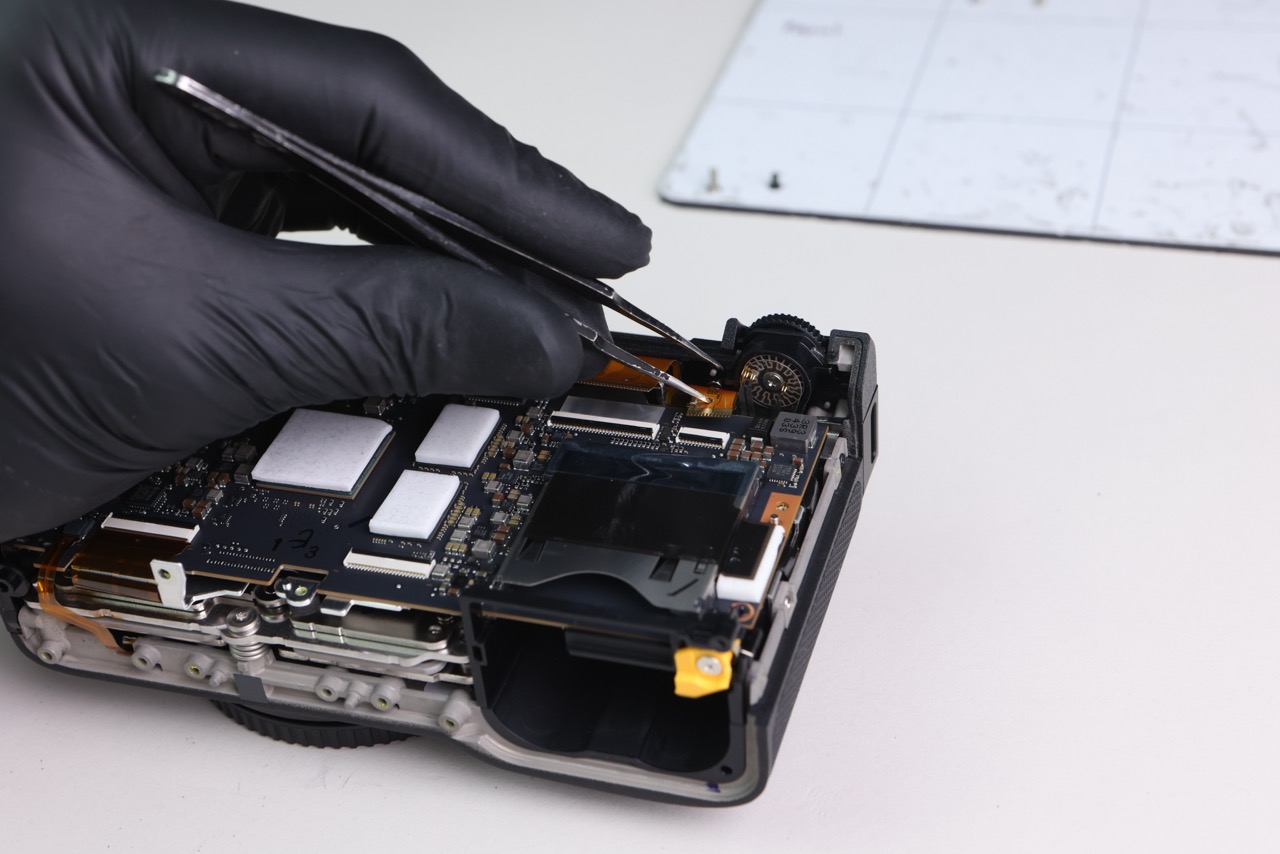
Disconnecting the Nikon ZR Top Plate Ribbon Cables
Four ribbon cables connect the top plate and circuitboard.
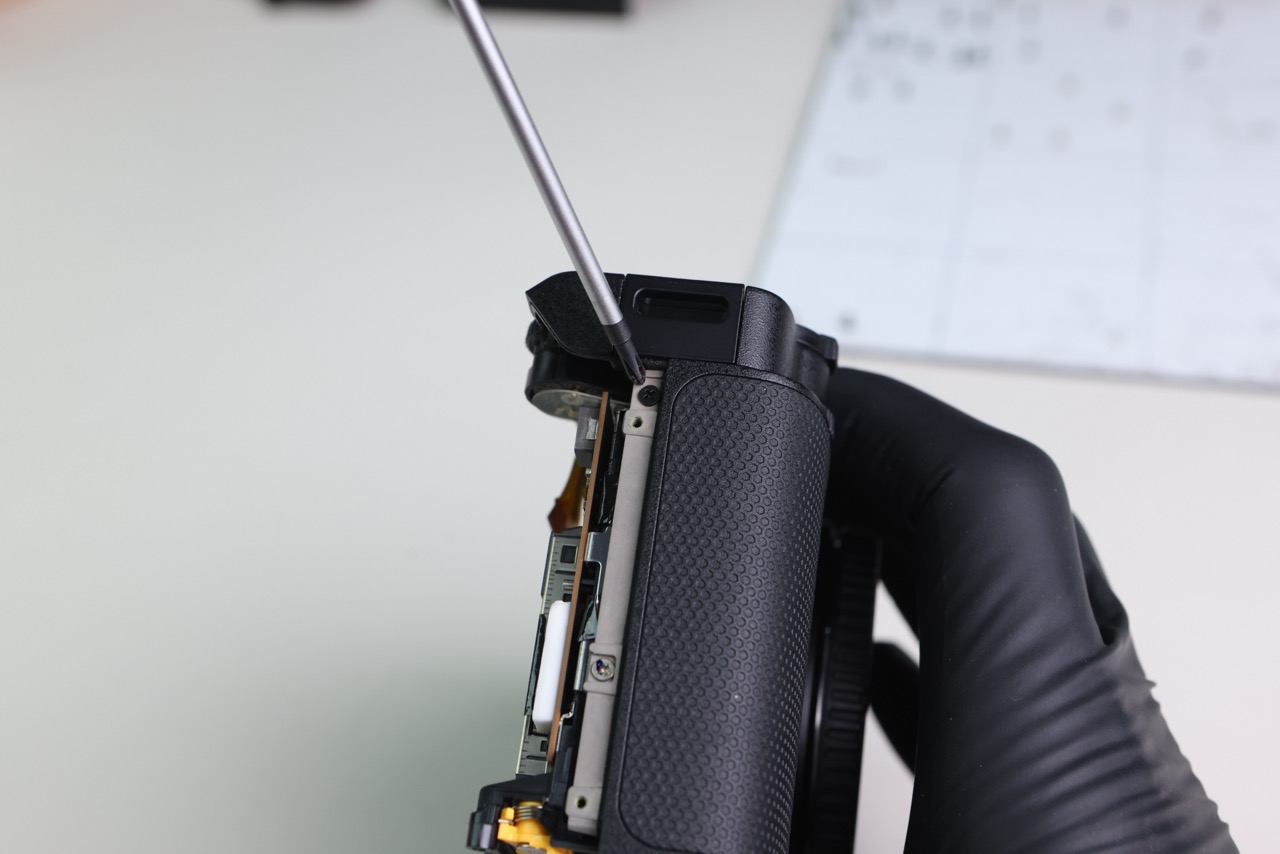
Lastly, we found one screw hidden on the side of the camera.
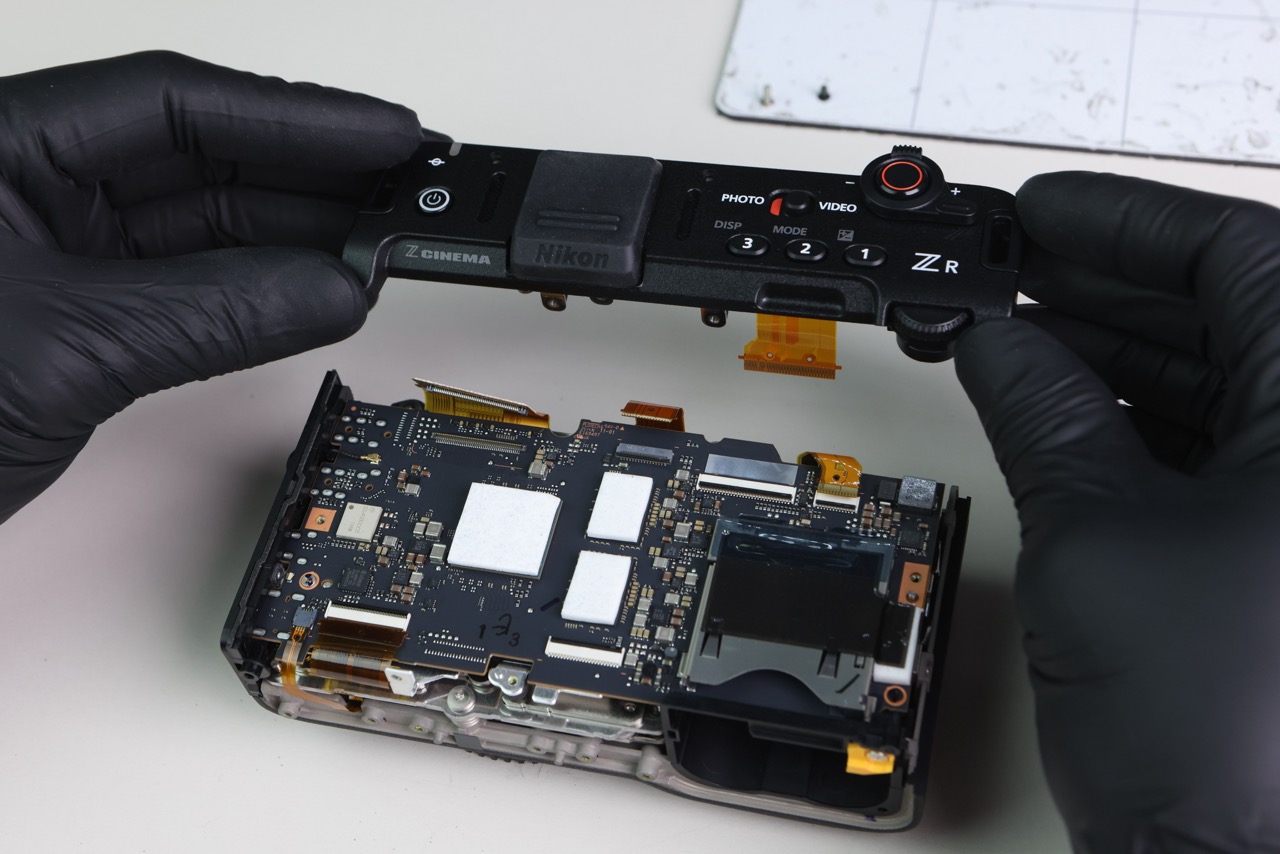
Removing the aforementioned parts in that order allowed us to remove the top plate.
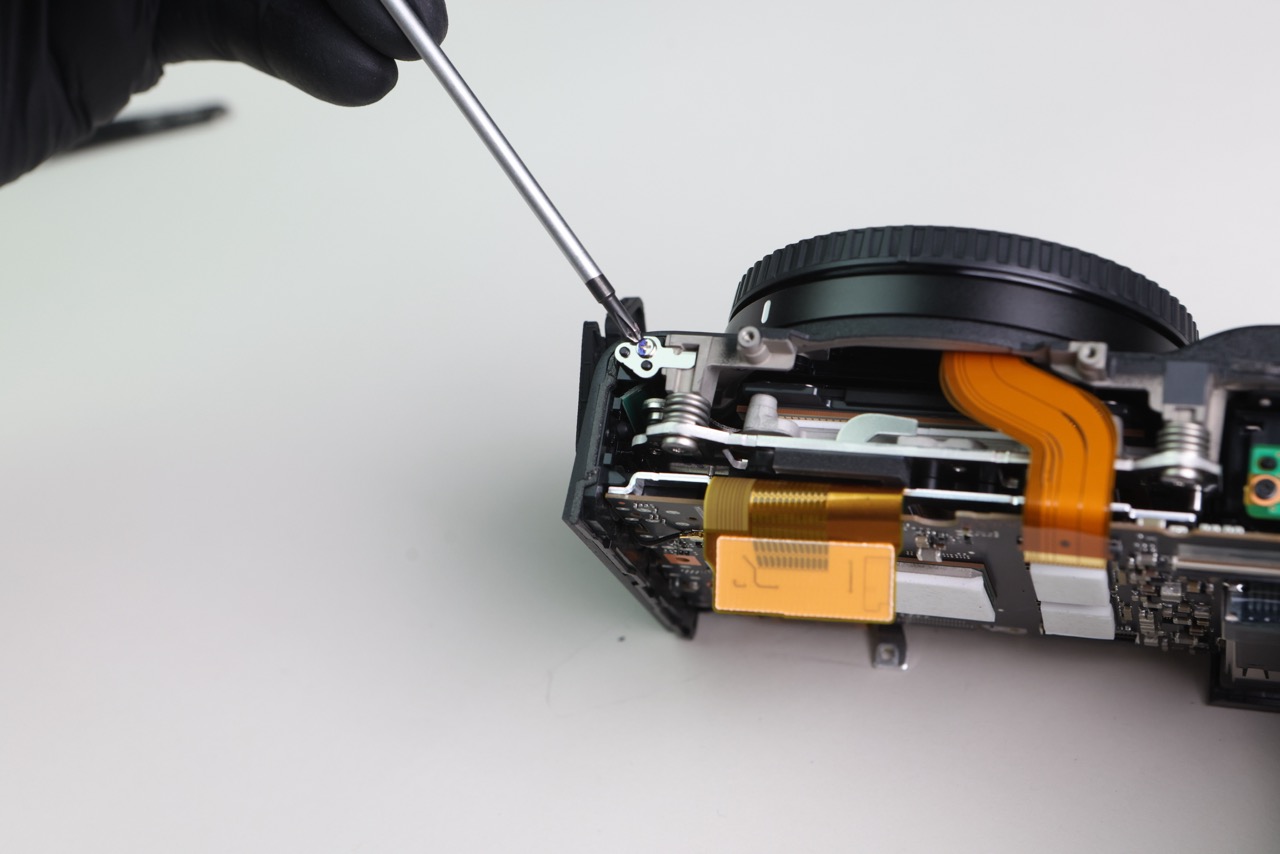
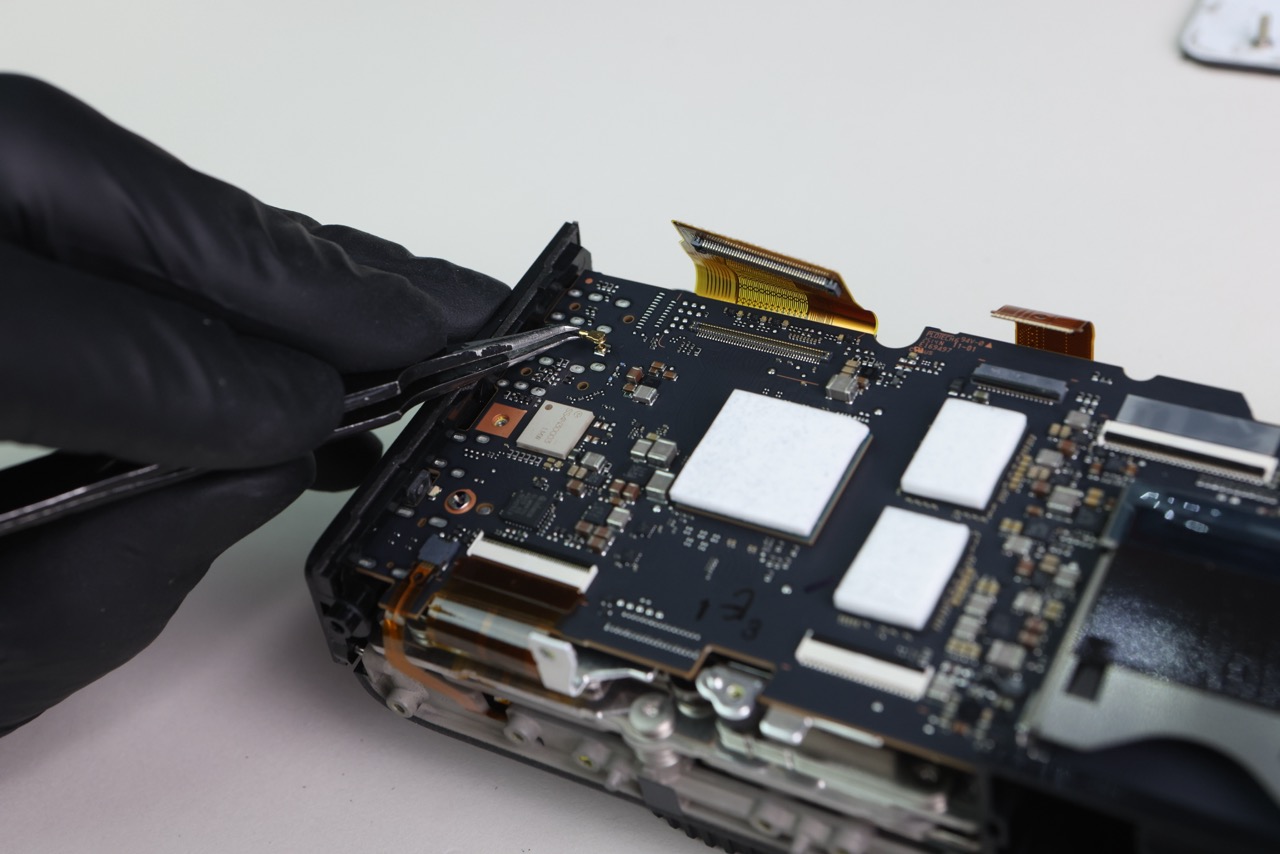
Removing the Nikon ZR Circuit Board
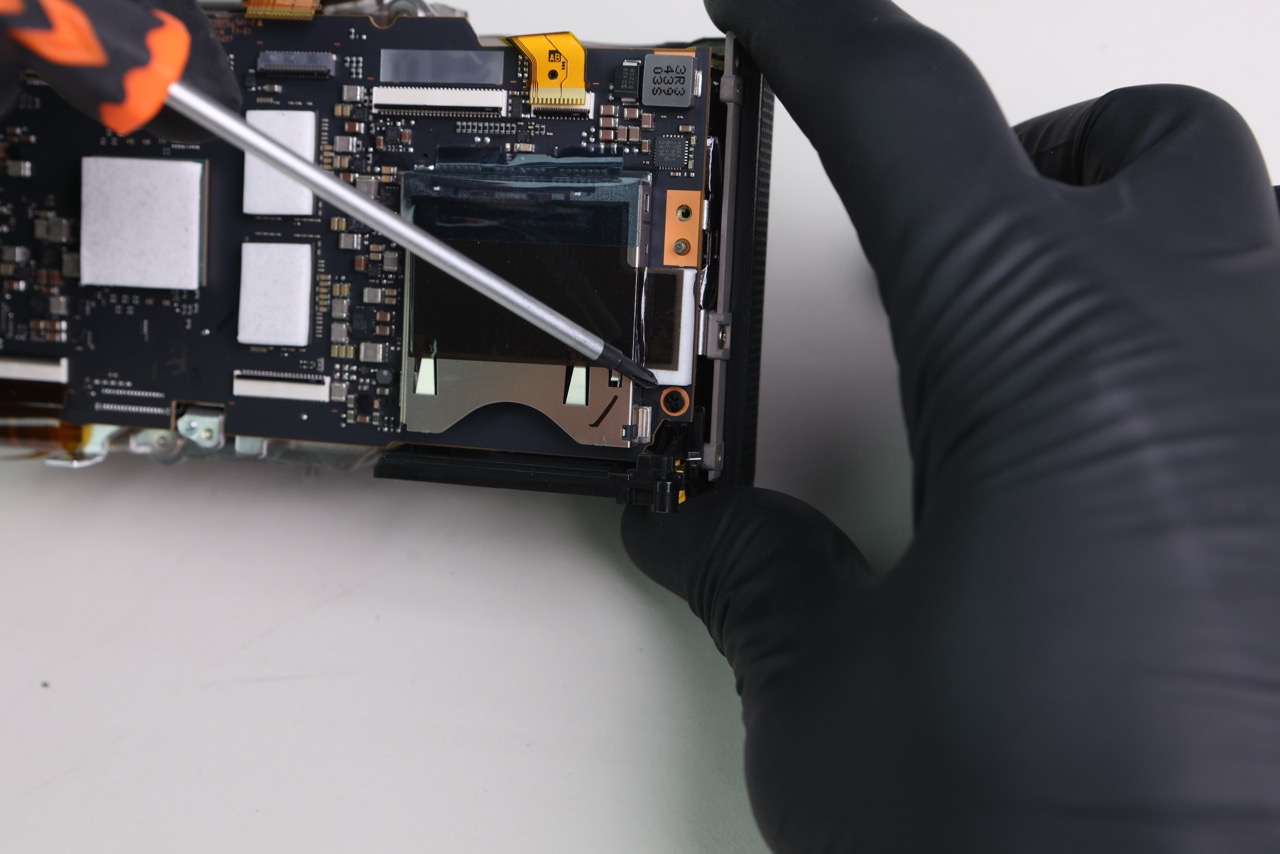
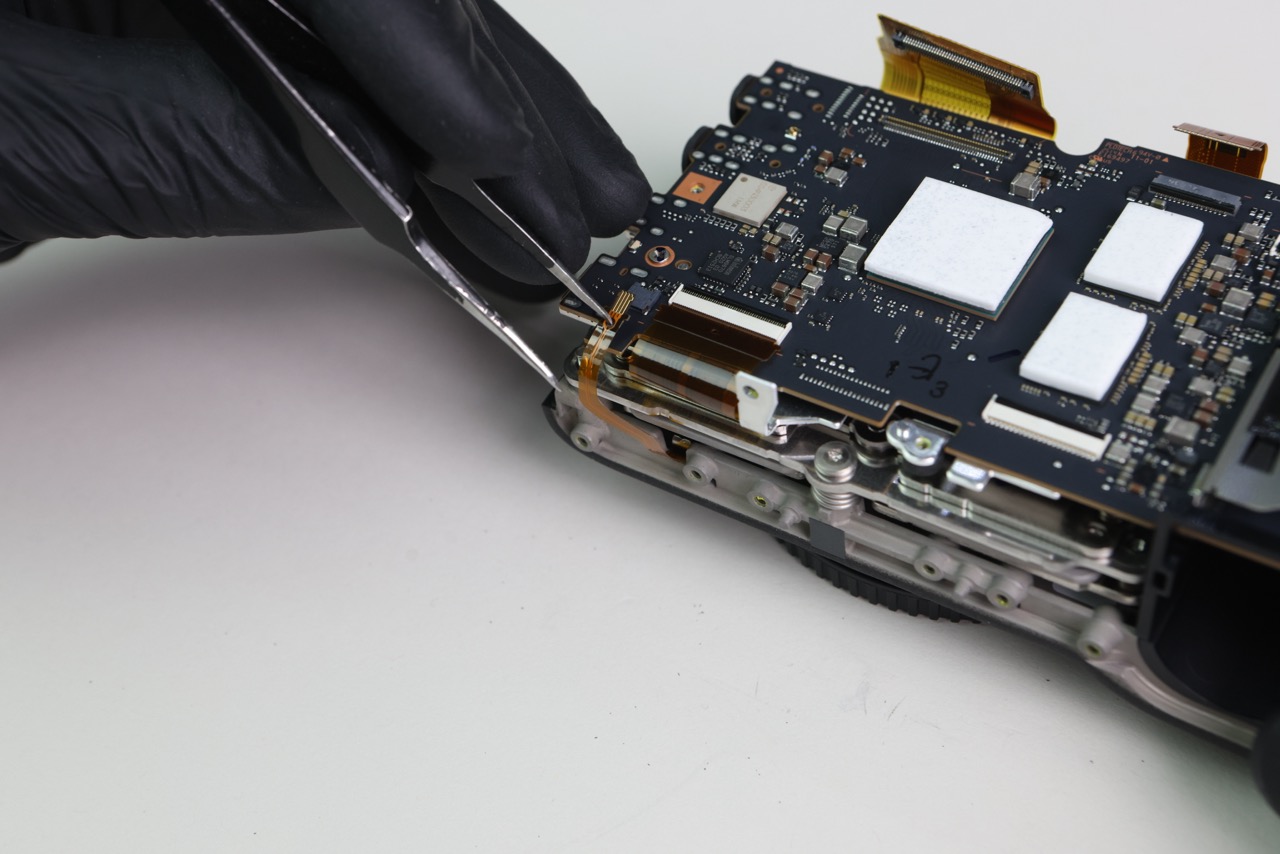
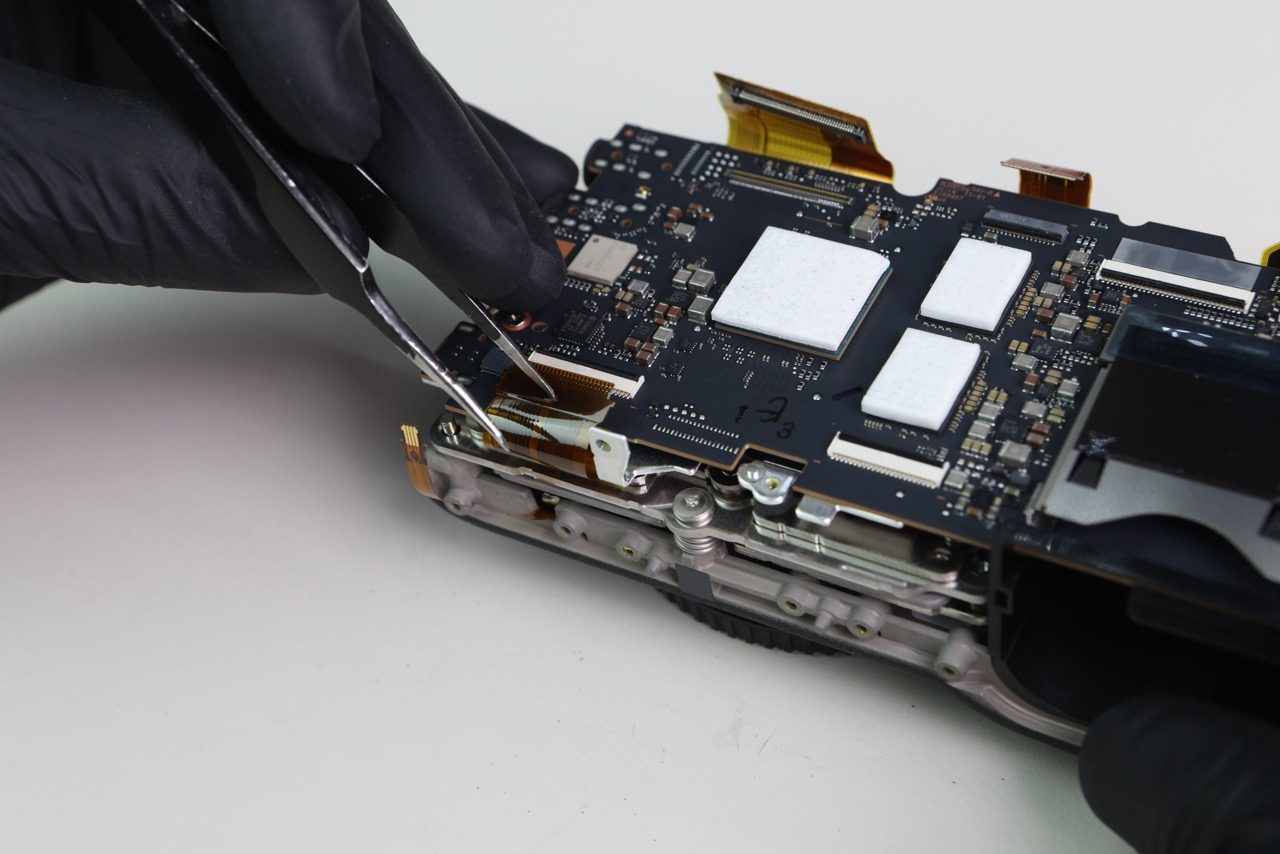
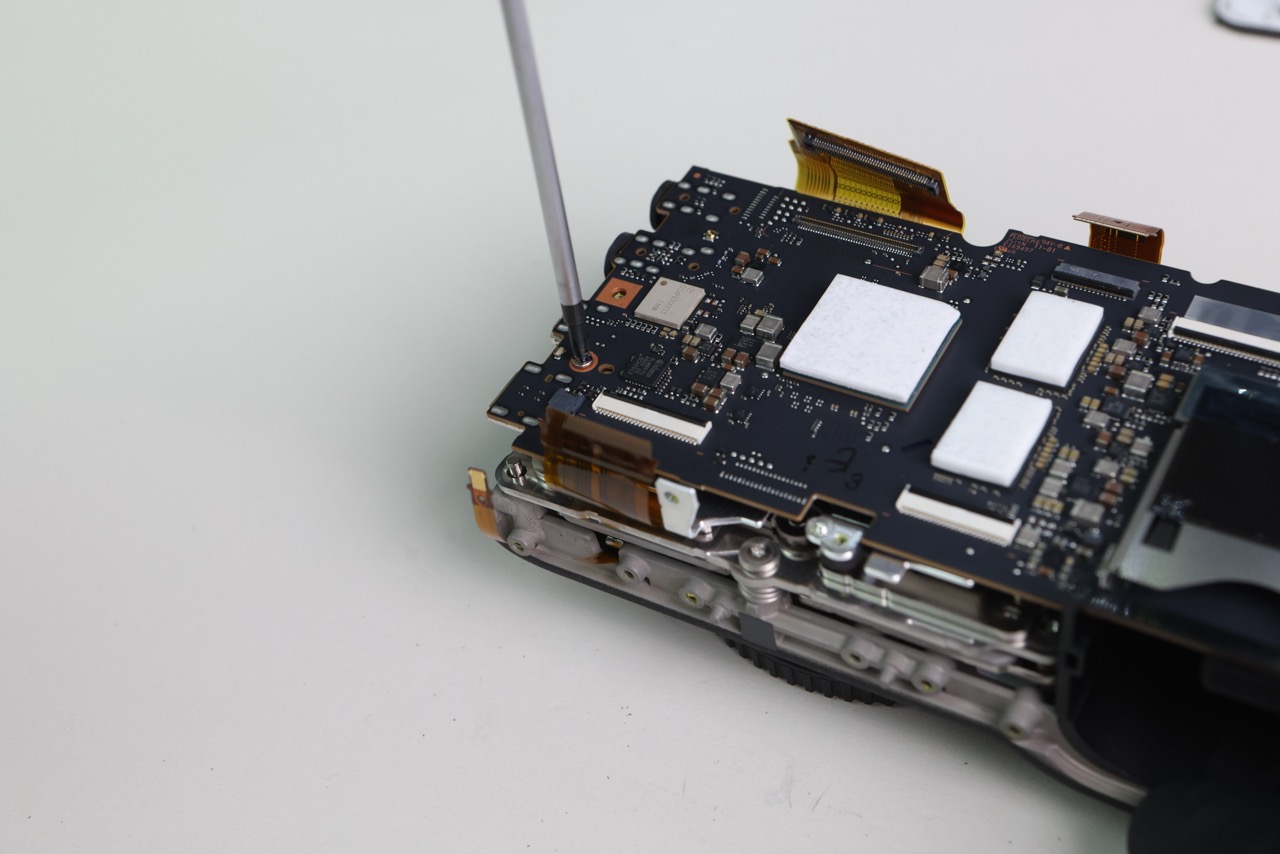
Because we removed the bracket earlier, it was easy for us to access the circuitboard for removal. Several things to remove here. There were three screws and three cable connections to detach.
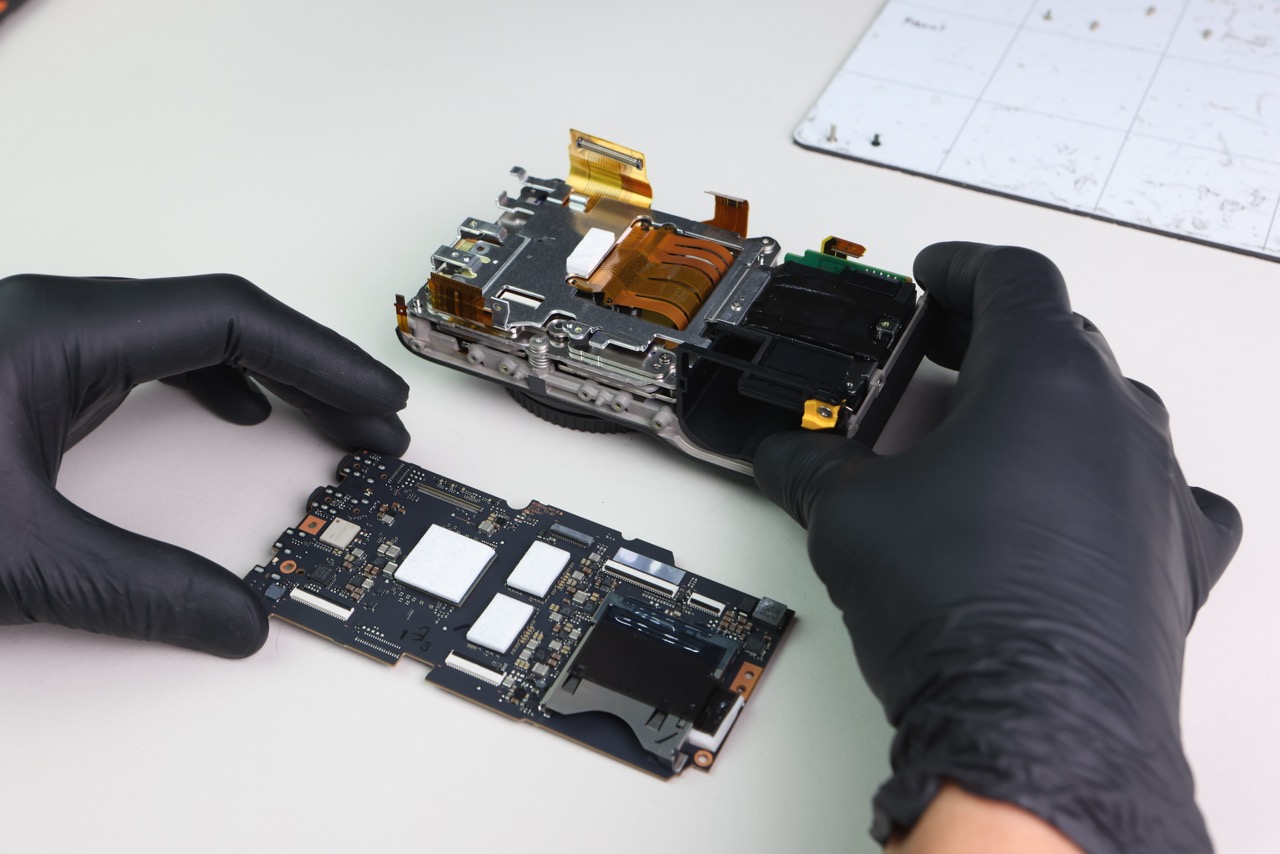
Here is the extracted circuitboard.
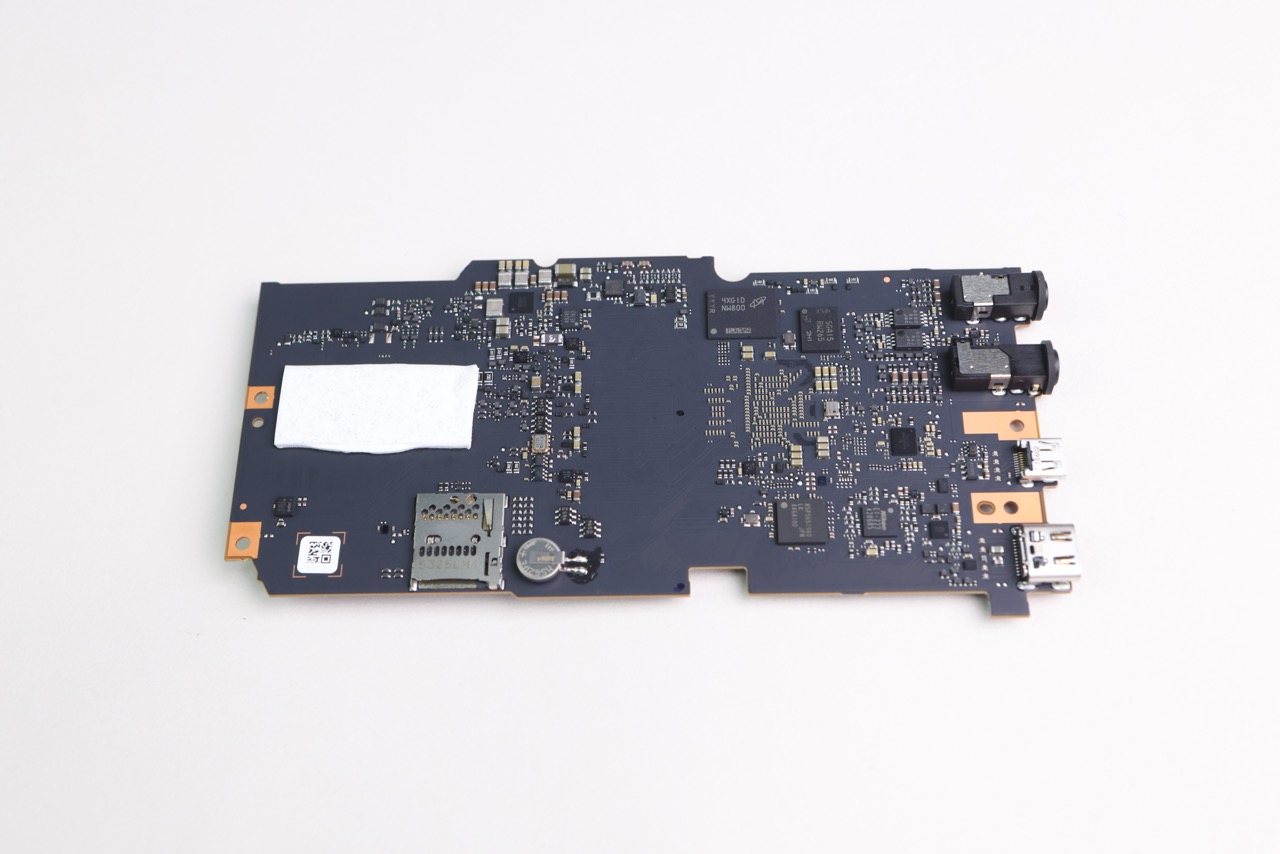
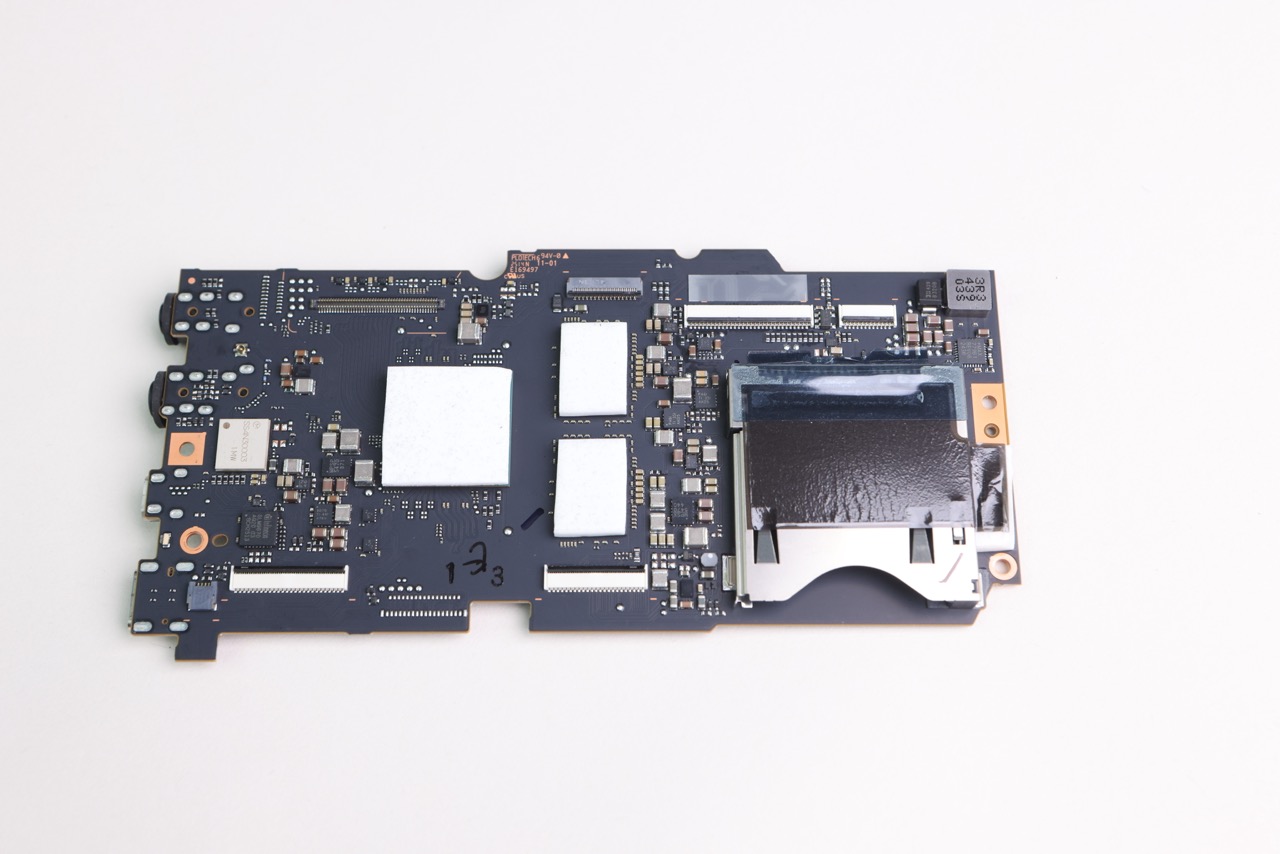
Circuitboard front and back.
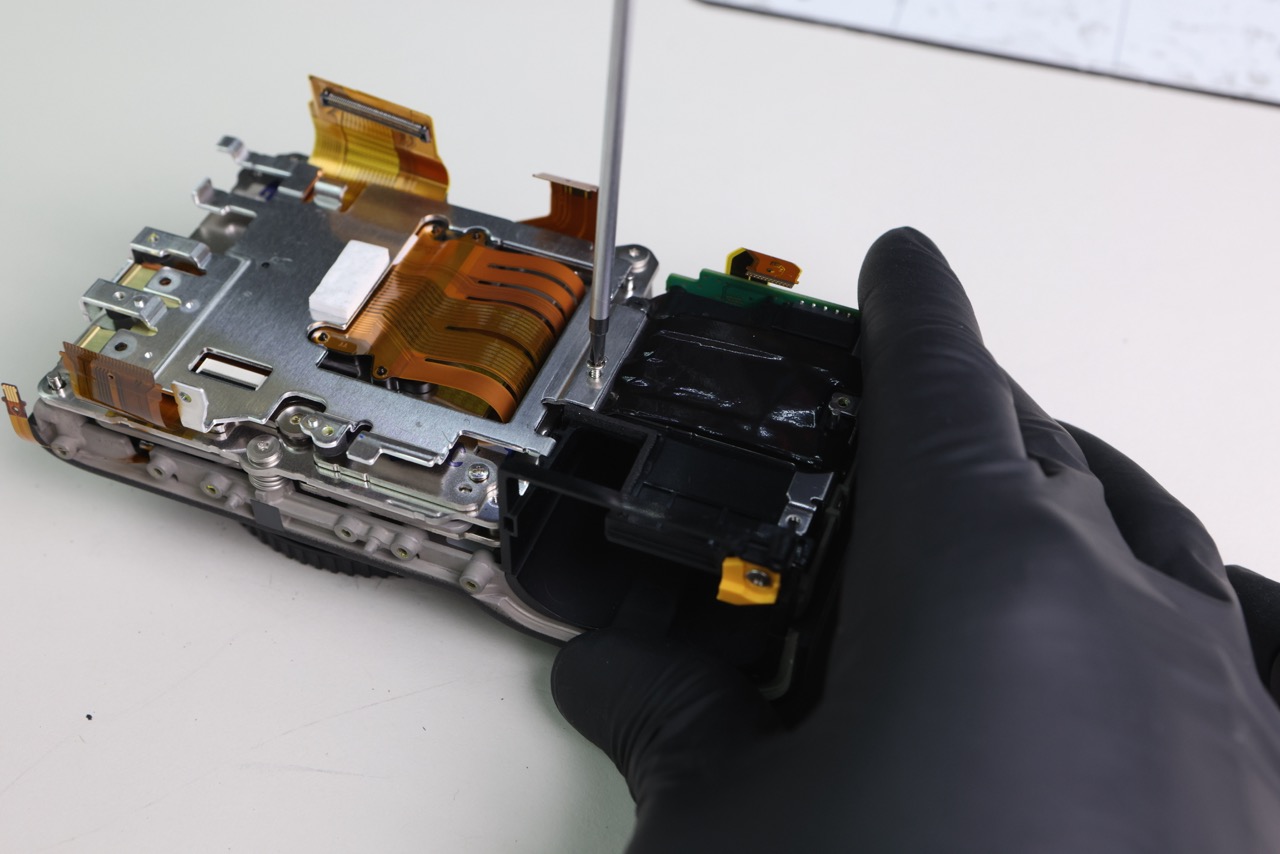
Removing the Nikon ZR Camera Sensor
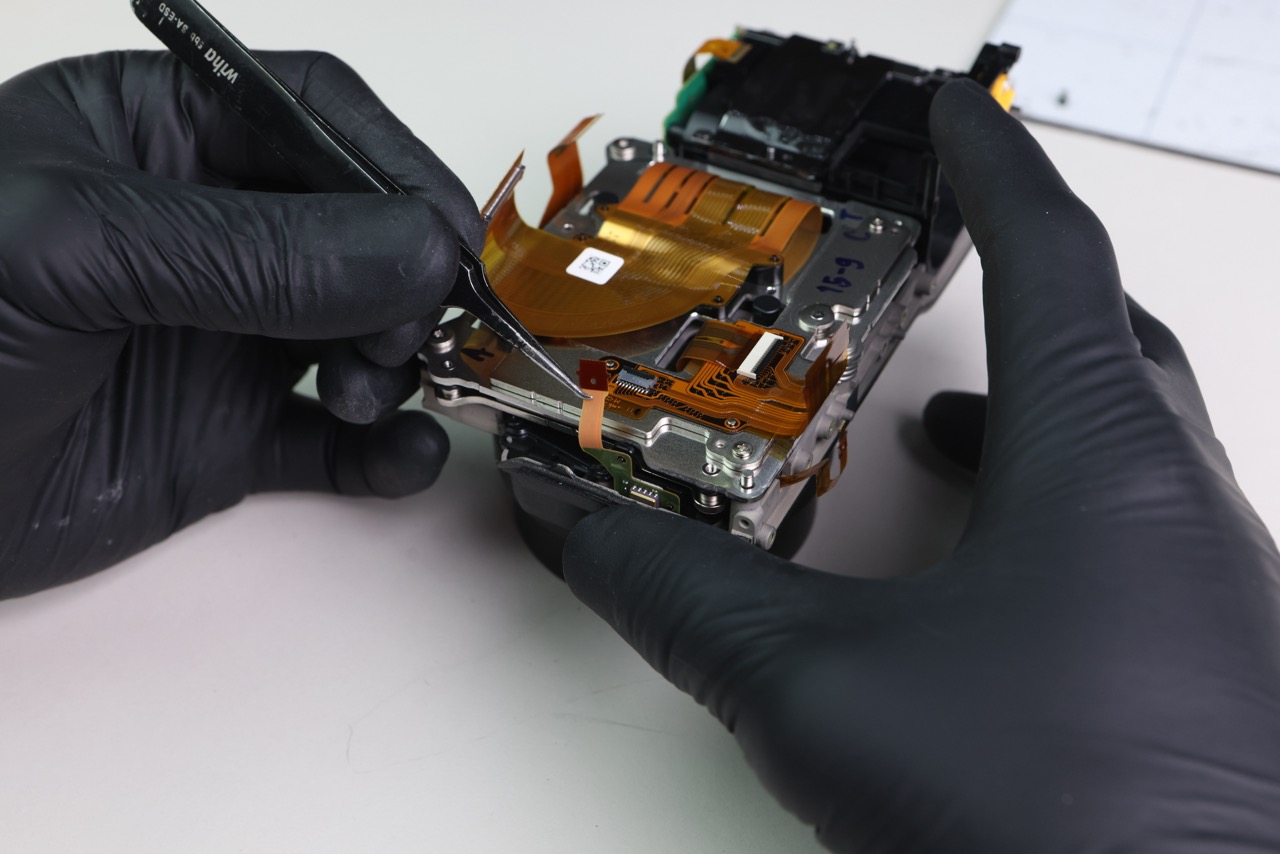
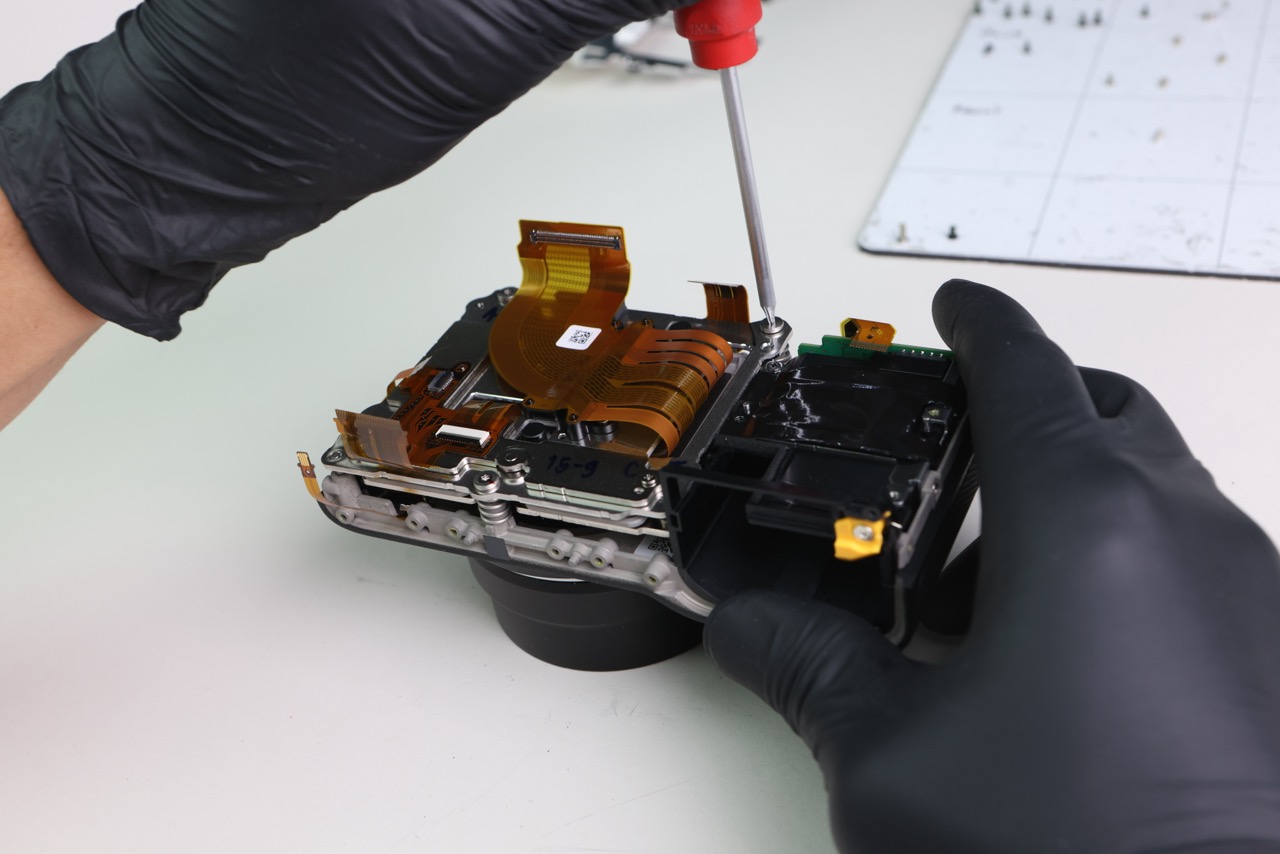
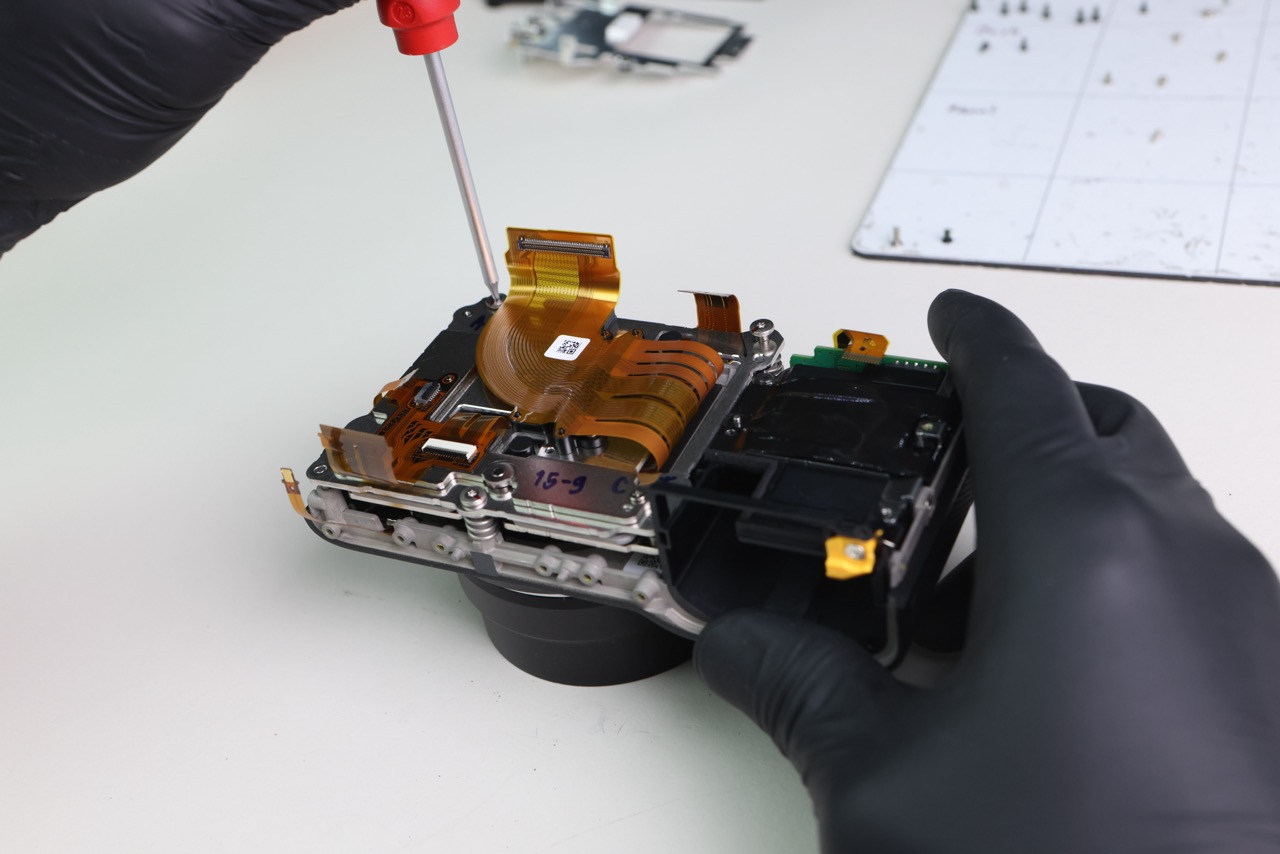
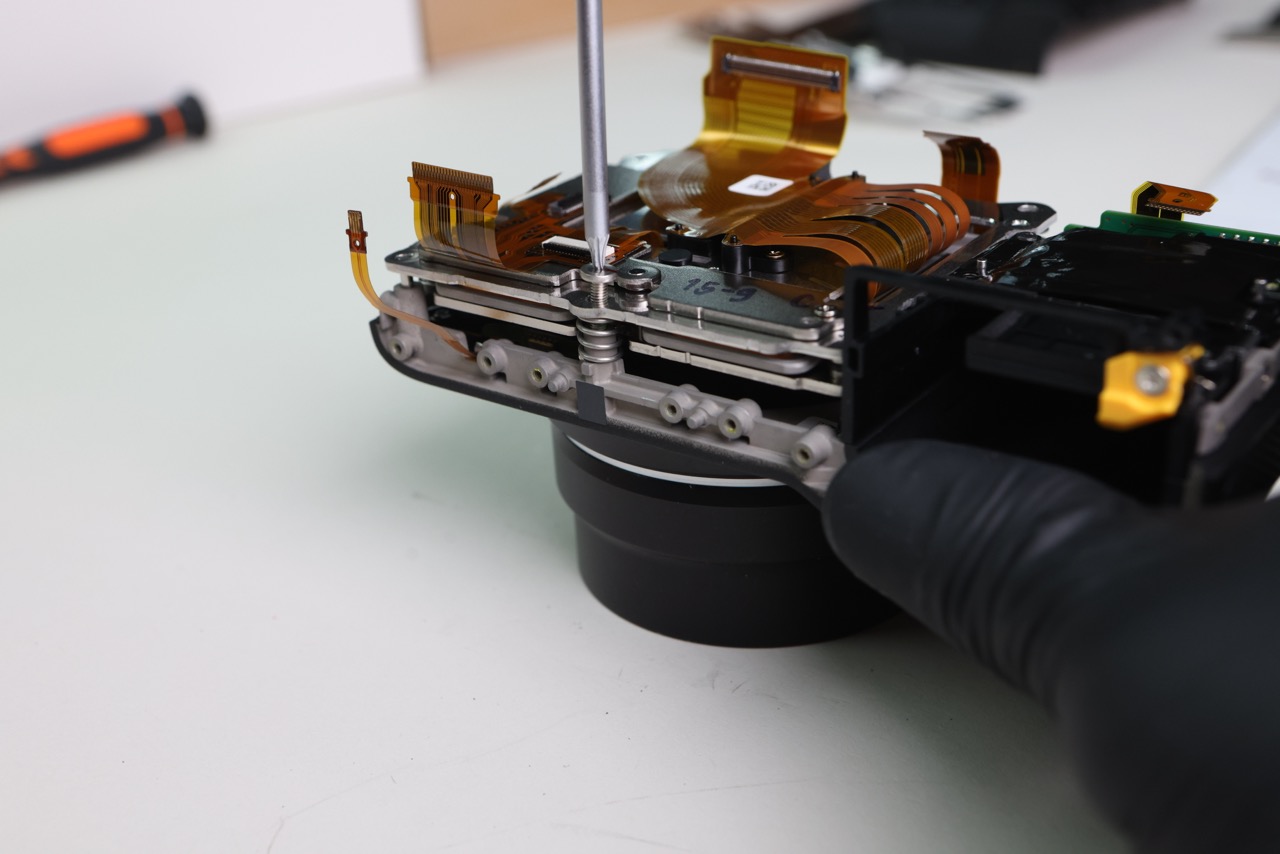
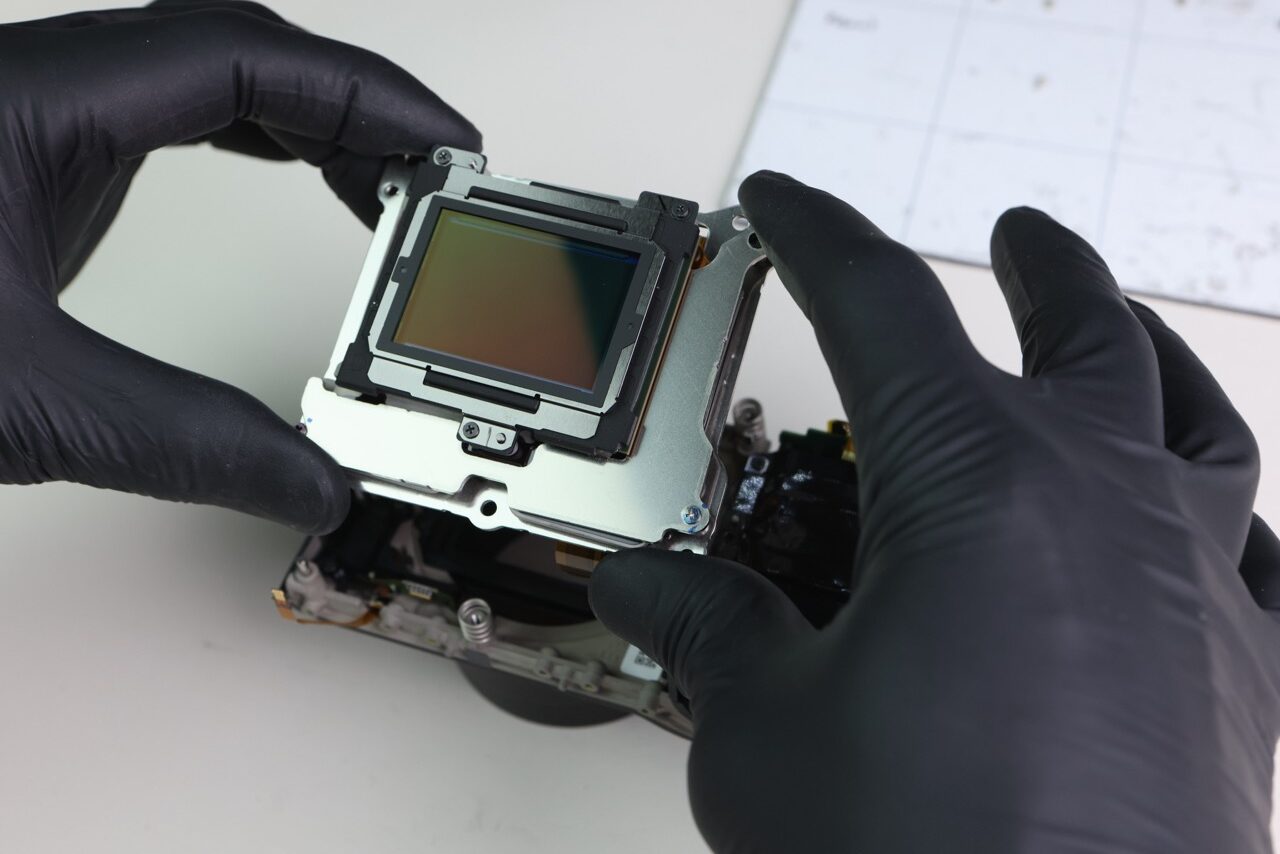
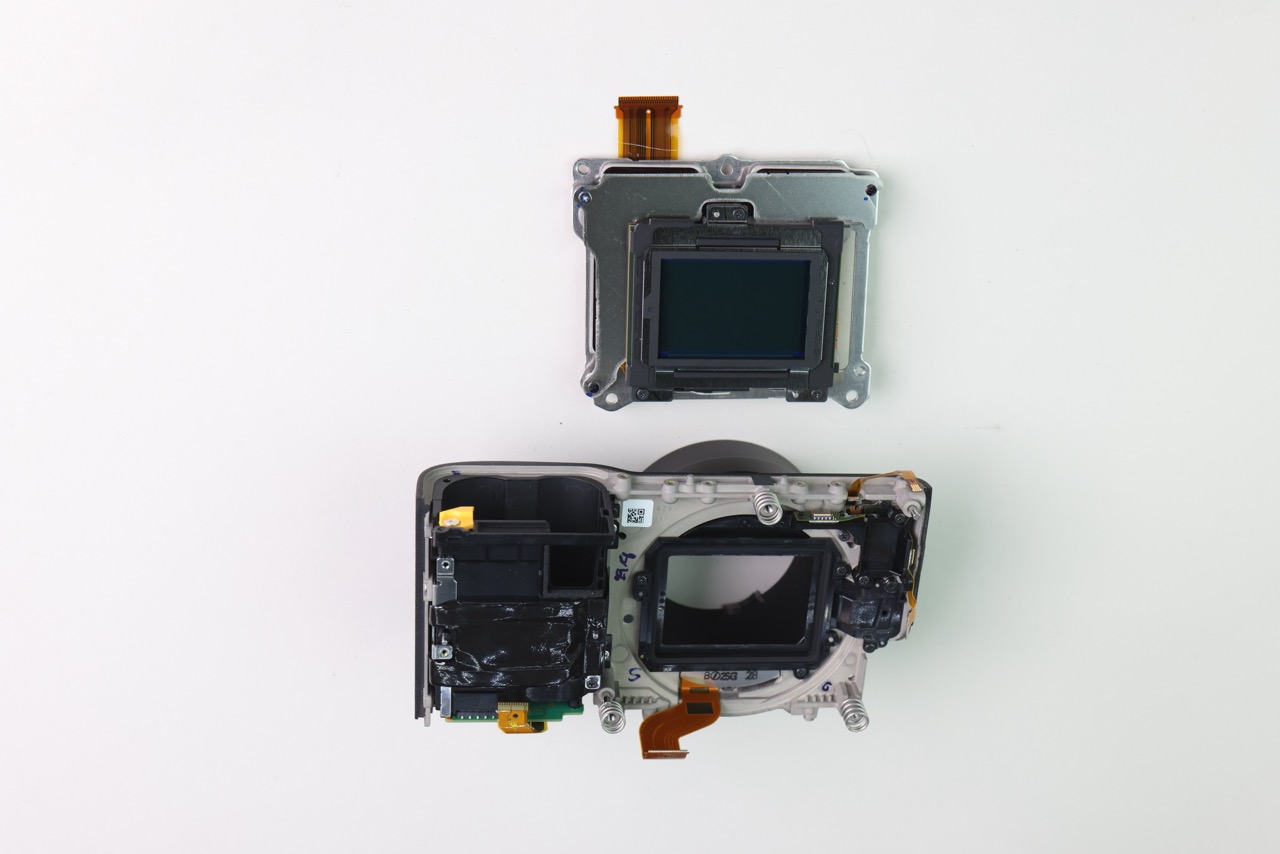
Sometimes a camera’s design lends to a difficult removal process, but the Nikon ZR conveniently had each important part layered one after the other. Now that we finally reached the camera sensor, we were able to remove it by removing four screws and one ribbon cable.
Nikon ZR Sensor Similarities With the Nikon Z6 III
Here is the sensor removed. Interestingly, our camera technician noted that the Nikon ZR sensor is remarkably similar looking to the Nikon Z6 III. Could they be the same sensor? It’s also important to note that we’re talking about the sensor itself and not the IBIS assembly surrounding the sensor.

Final Thoughts on the Nikon ZR Teardown
Something we’ve noticed about most cinema cameras is that they typically have a bit more streamlined designs compared to other consumer mirrorless cameras, which leads to a rather simple disassembly process. The Nikon ZR is no exception, as this was among one of our shorter teardowns.
Thanks for reading. If you’re interested in more camera disassembly and teardowns, be sure to subscribe to our newsletter so you don’t miss them!
Frequently Asked Questions
How Do You Start Disassembling The Nikon ZR?
The Nikon ZR teardown starts by removing the baseplate. Several screws are located around the bottom of the camera, including screws underneath the battery compartment door and inside the battery compartment.
How Many Screws Hold The Nikon ZR Baseplate In Place?
The Nikon ZR baseplate is held to the camera frame by twelve screws. These screws need to be removed before the baseplate can be detached and the internal teardown can continue.
What Storage Slots Does The Nikon ZR Use?
The Nikon ZR uses a combination of CFExpress and MicroSD storage slots. Both are located in the battery compartment, which is noted during the early stage of the teardown.
How Is The Nikon ZR Backplate Removed?
After removing the screws from the backplate, port side, handle side, and related body sections, the backplate can be lifted. A single ribbon cable connects the backplate to the camera’s circuit board, so it needs to be handled carefully.
How Is The Nikon ZR Camera Sensor Removed?
The Nikon ZR sensor is reached near the end of the teardown. After removing the backplate, top plate, heatsink bracket, ribbon cables, and circuit board, the sensor can be removed by taking out four screws and disconnecting one ribbon cable.