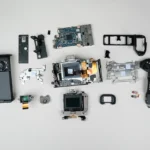
Nikon Z6III Camera Overview
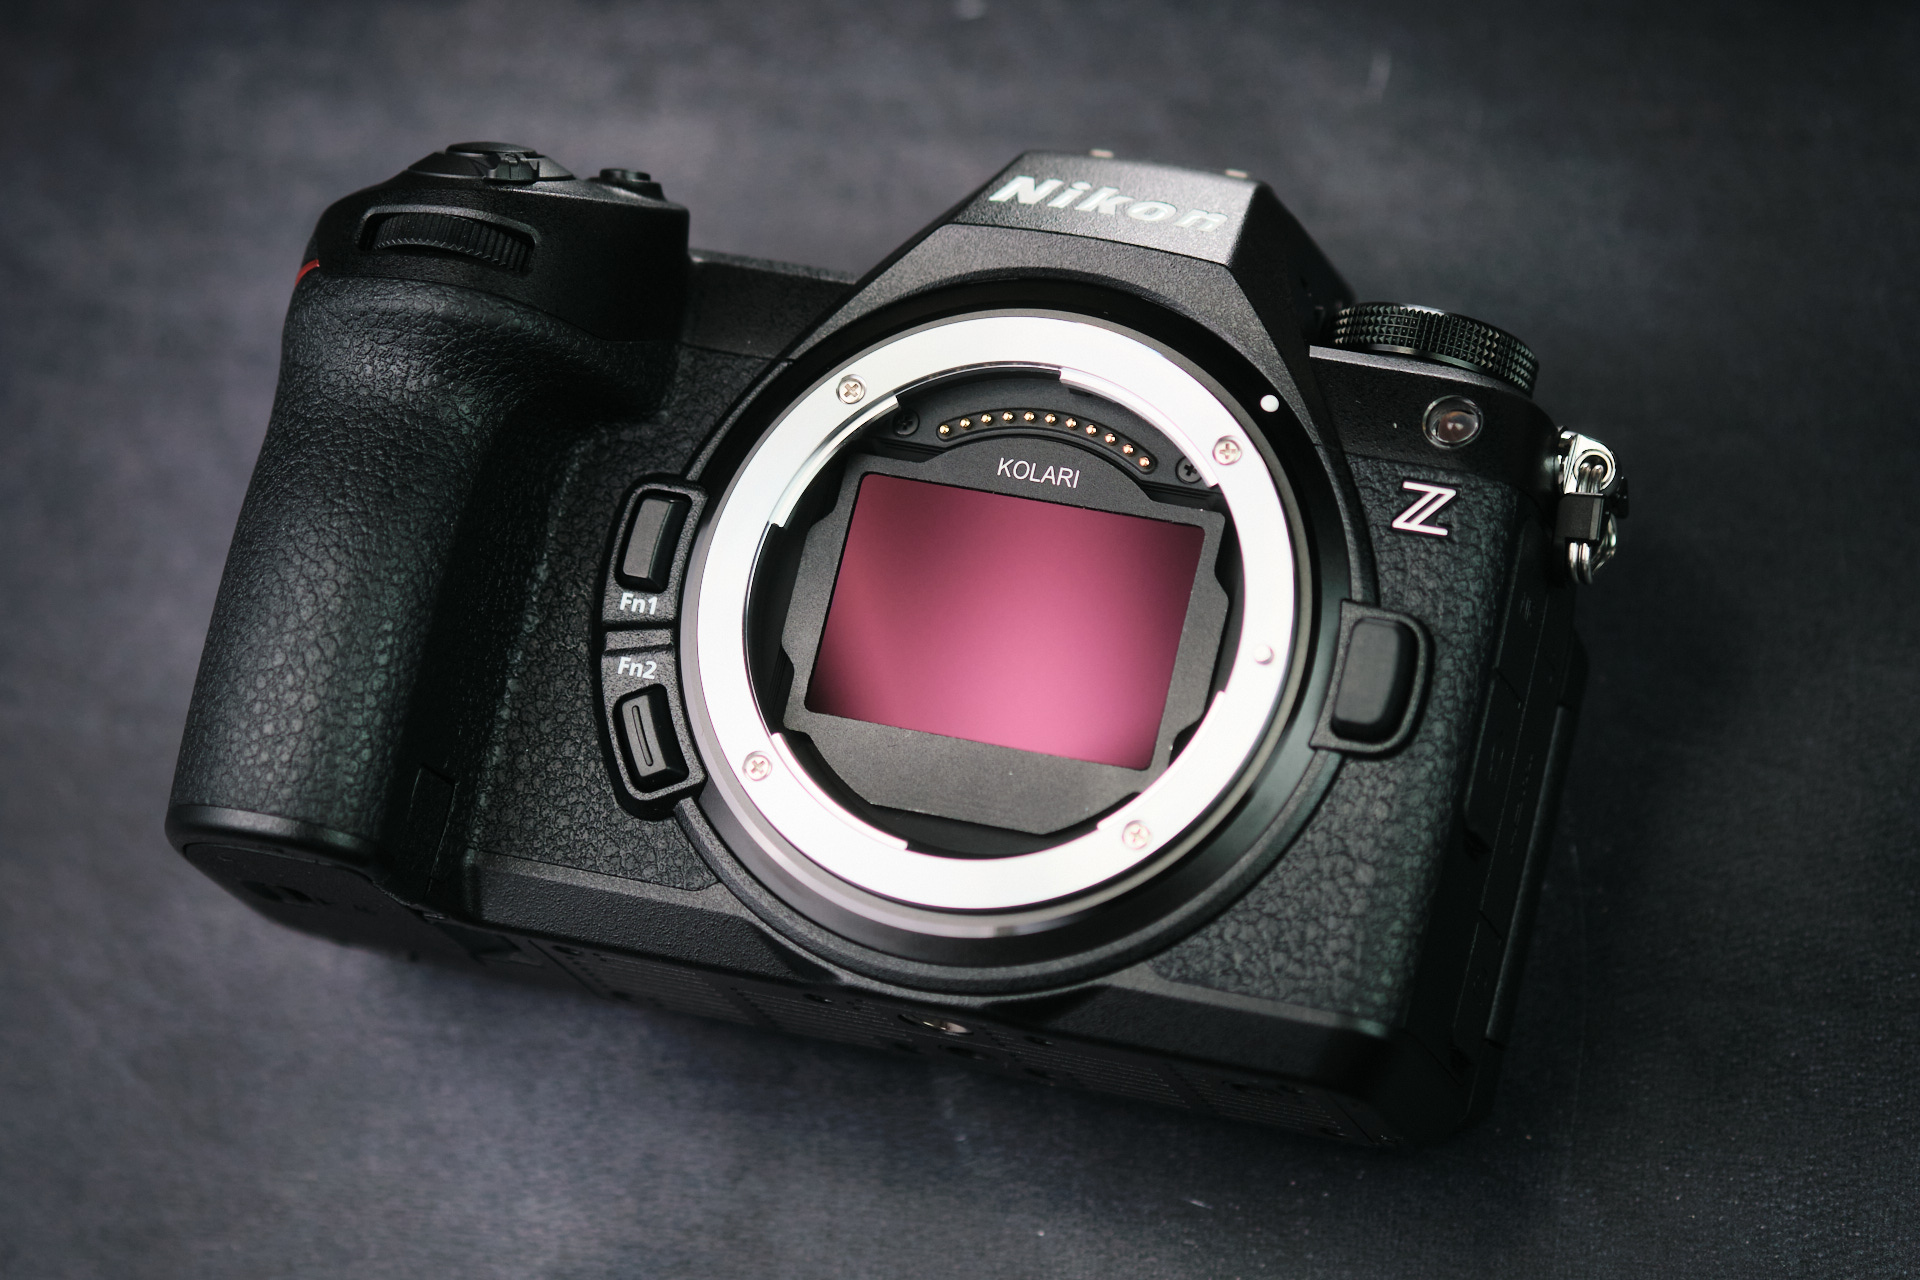
The Nikon Z6III comes in as the camera company’s newest iteration in the Z-mount full-frame mirrorless line being released in June 2024. The camera boasts blistering autofocus speed, up to 6k/60p RAW high-quality video, and a partially-stacked CMOS sensor, giving this camera several welcome improvements over its previous iteration, the Nikon Z6II.Â
Nikon Z6III Z-Mount Filter Compatibility
The Z6III is no different from its predecessors in featuring Nikon’s proprietary Z-mount, which is capable of housing our Kolari Magnetic Clip-in Filters for Z-mount Cameras. Without further ado, let’s get to taking a part this camera!
Starting the Nikon Z6III Teardown With the Baseplate
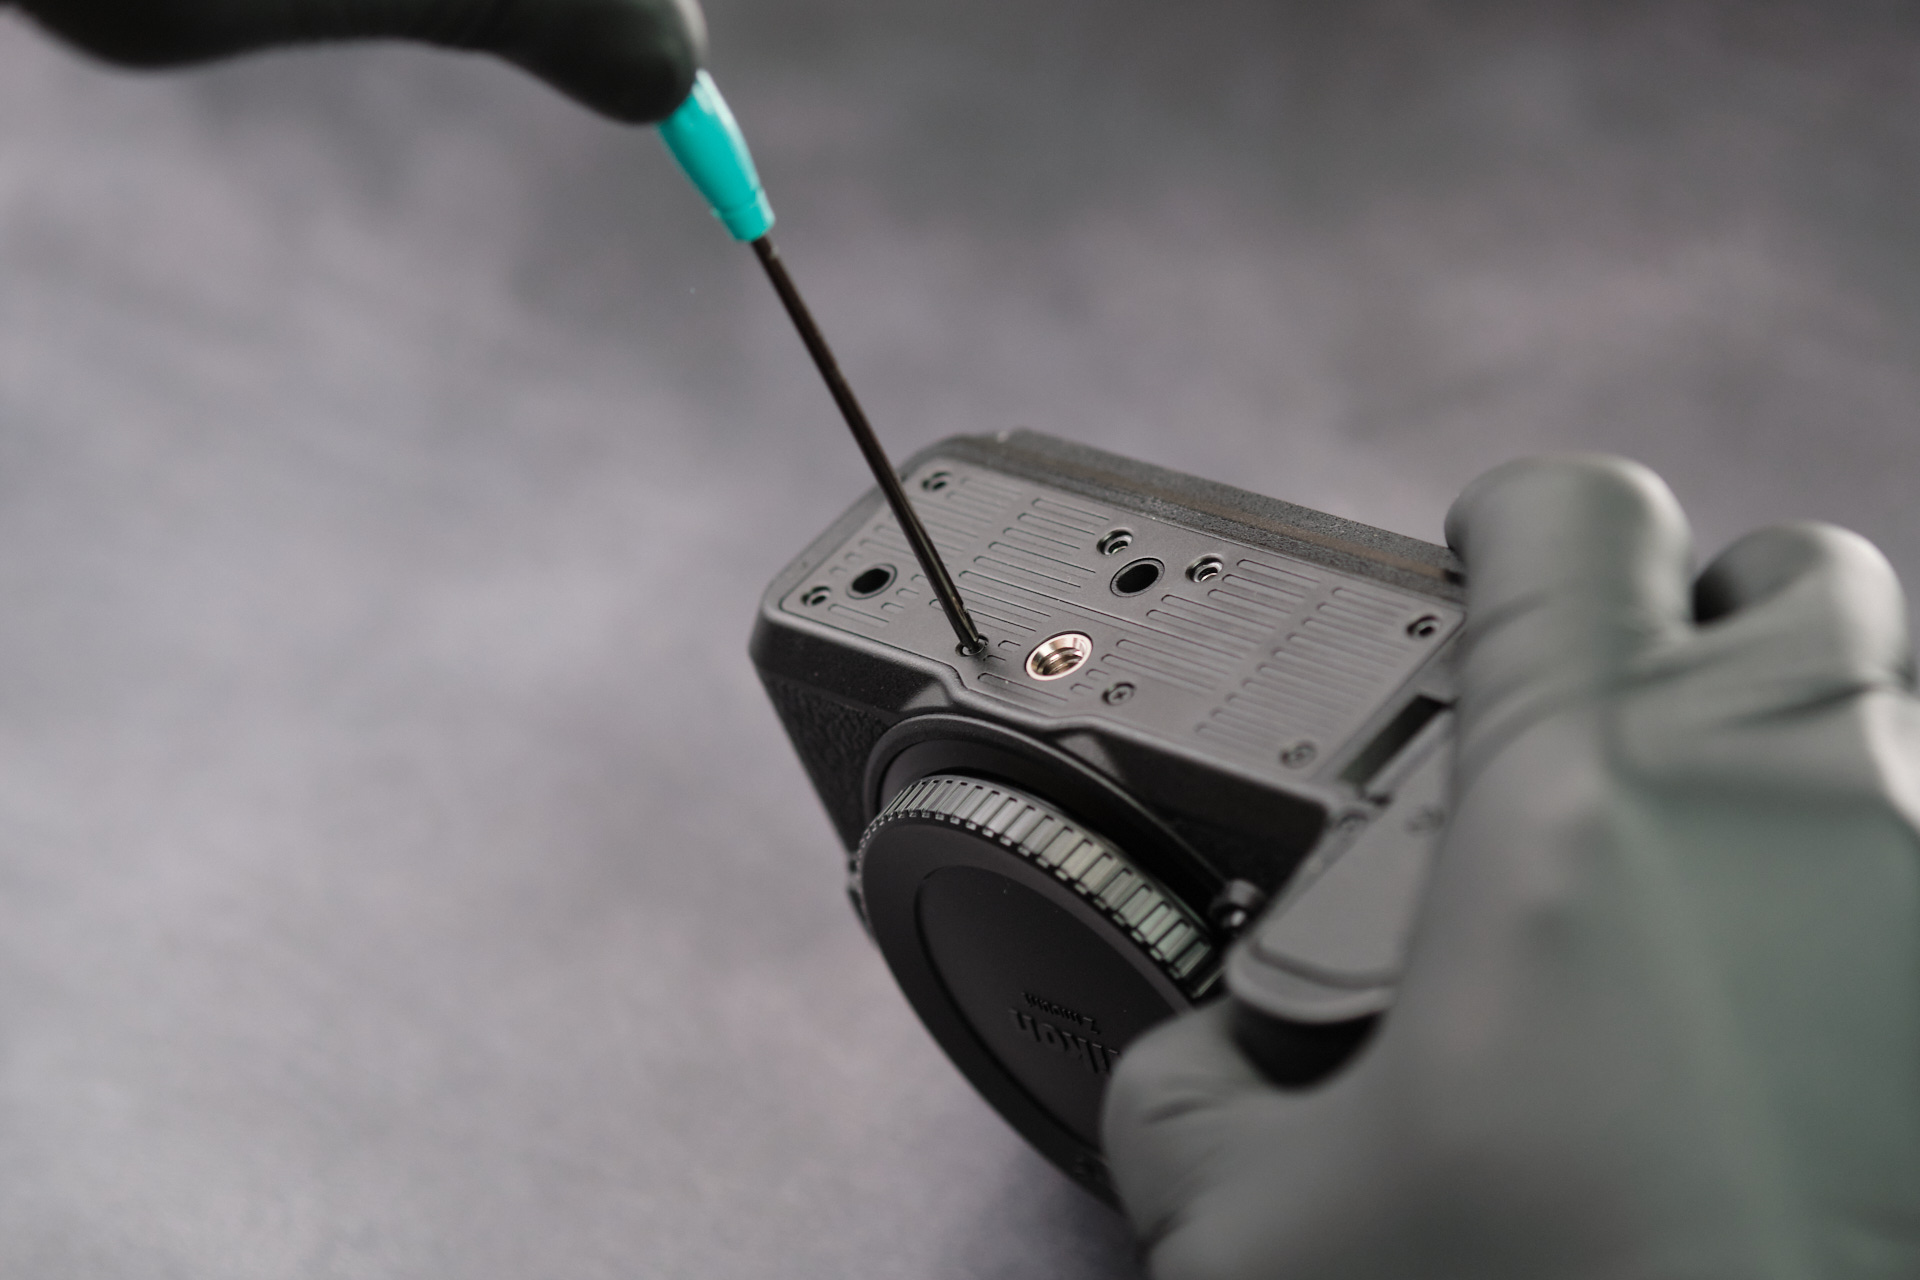
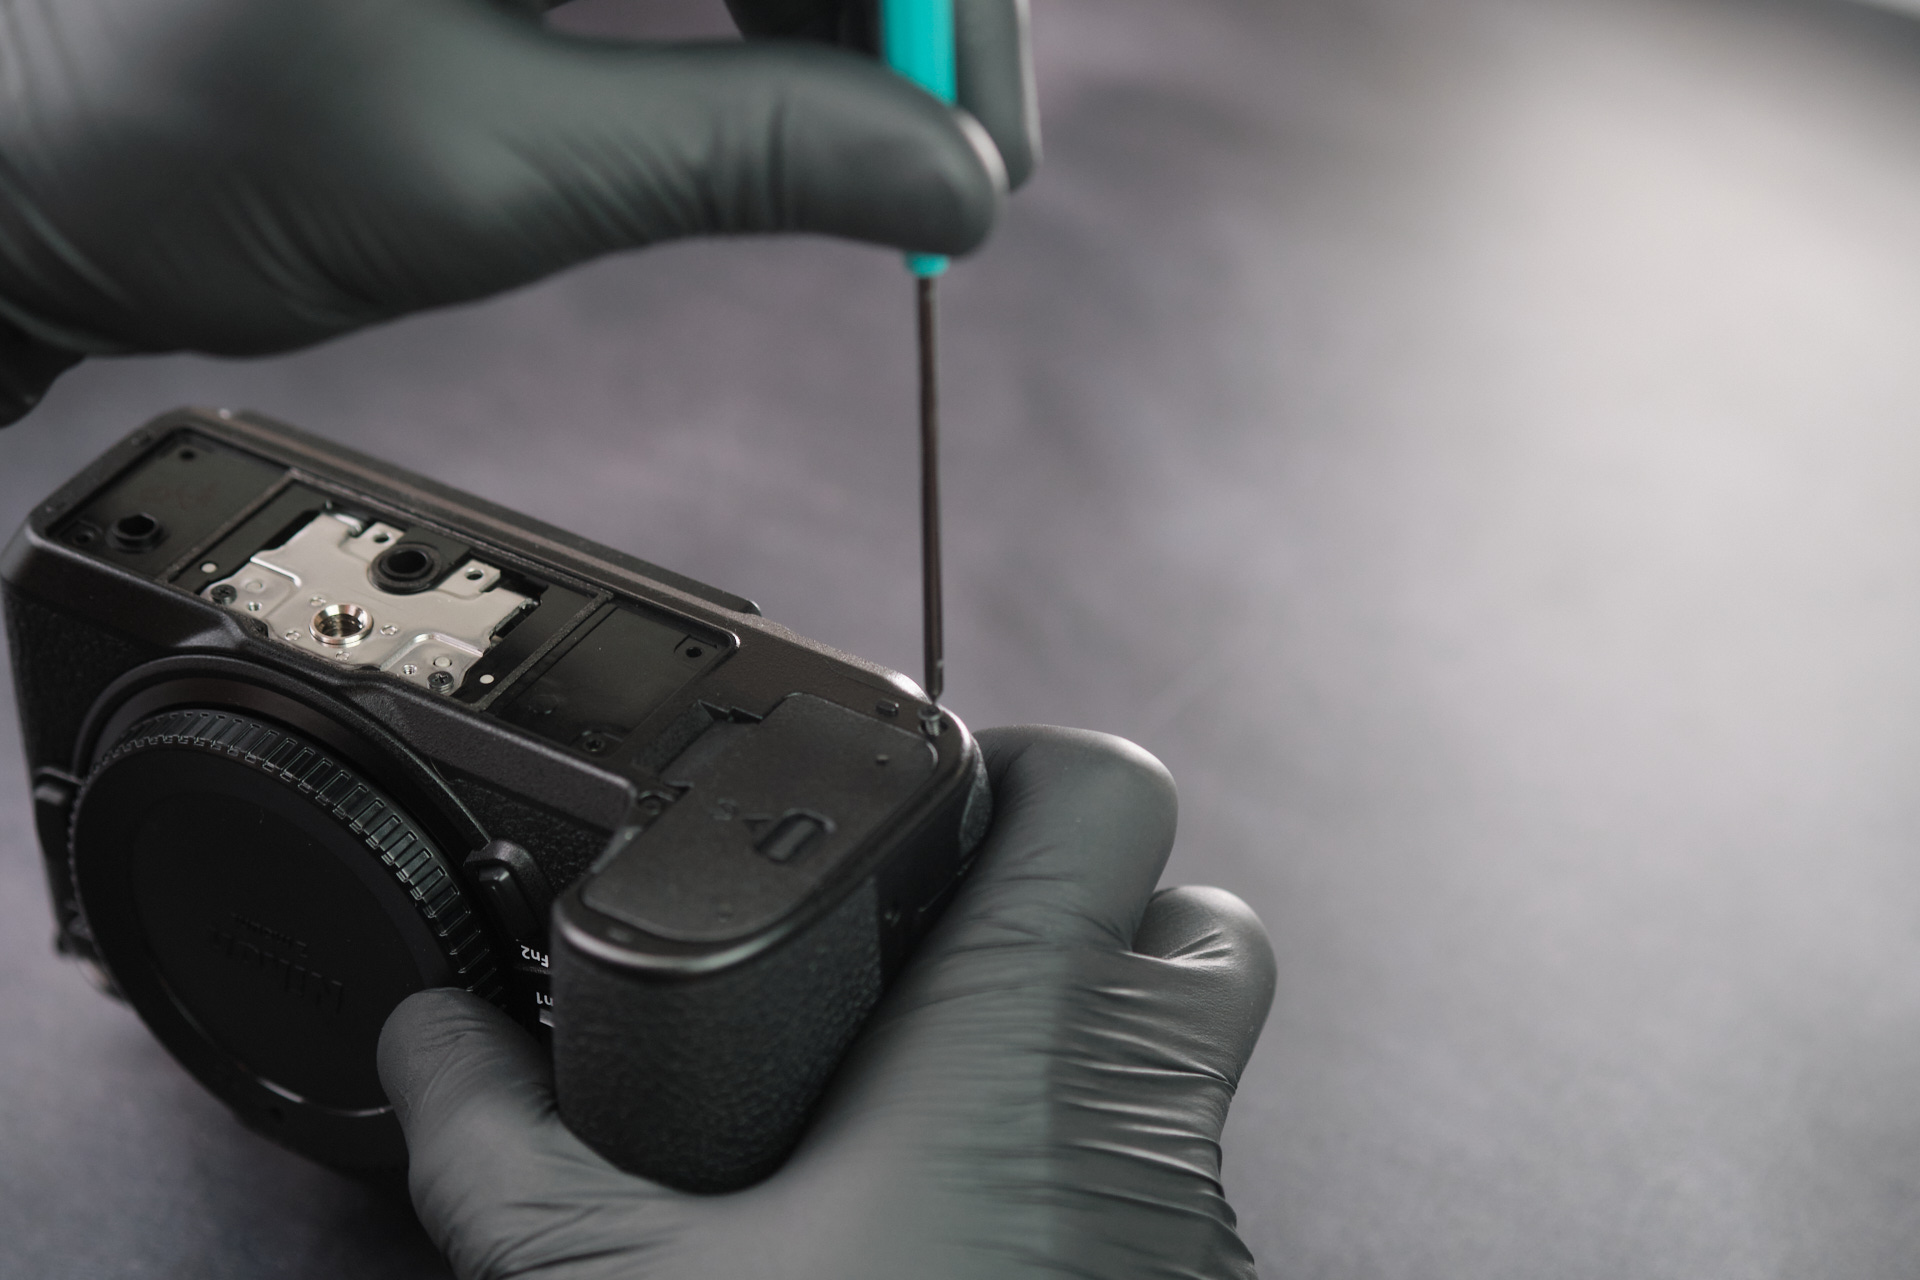
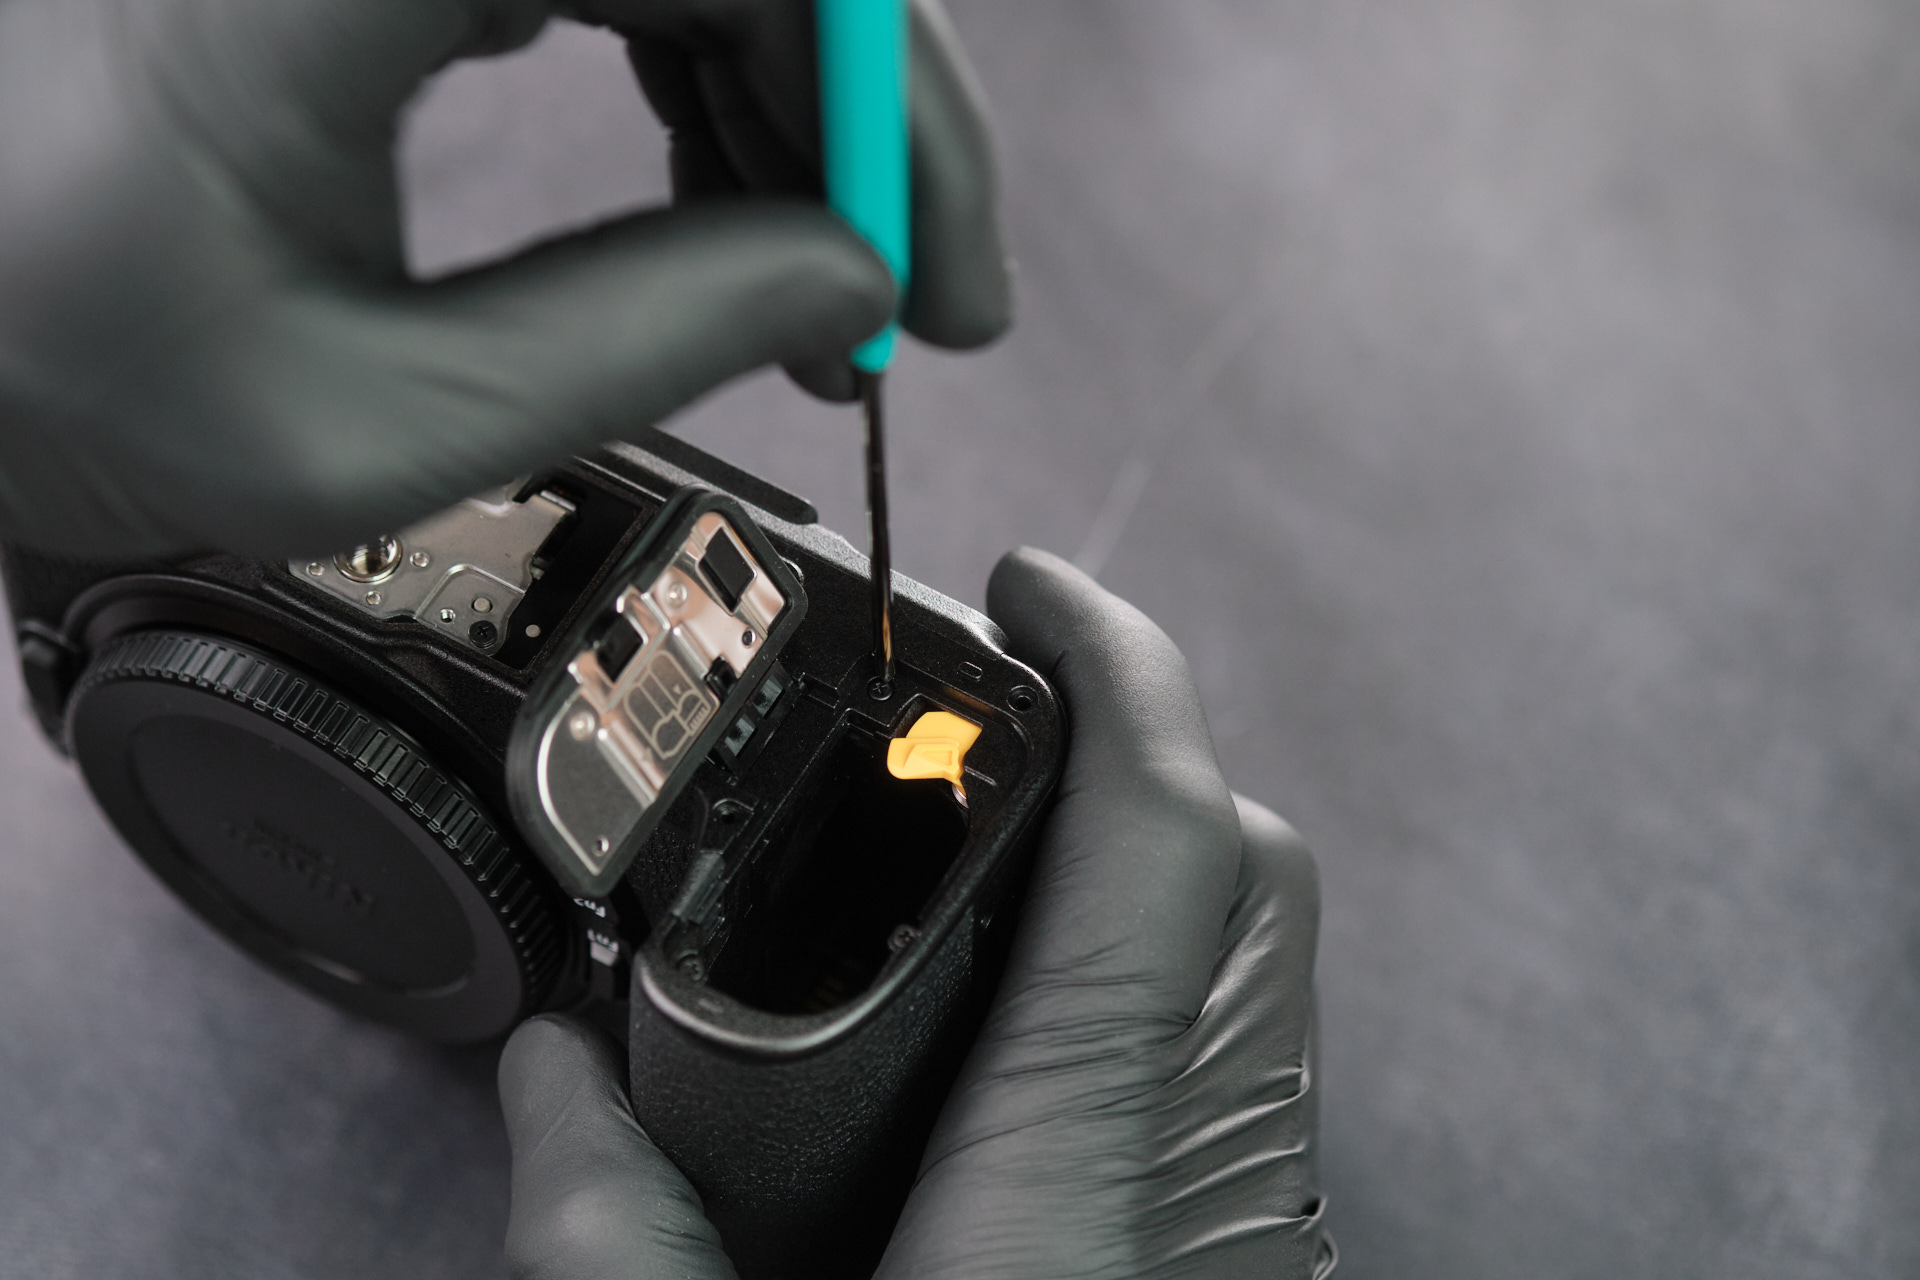
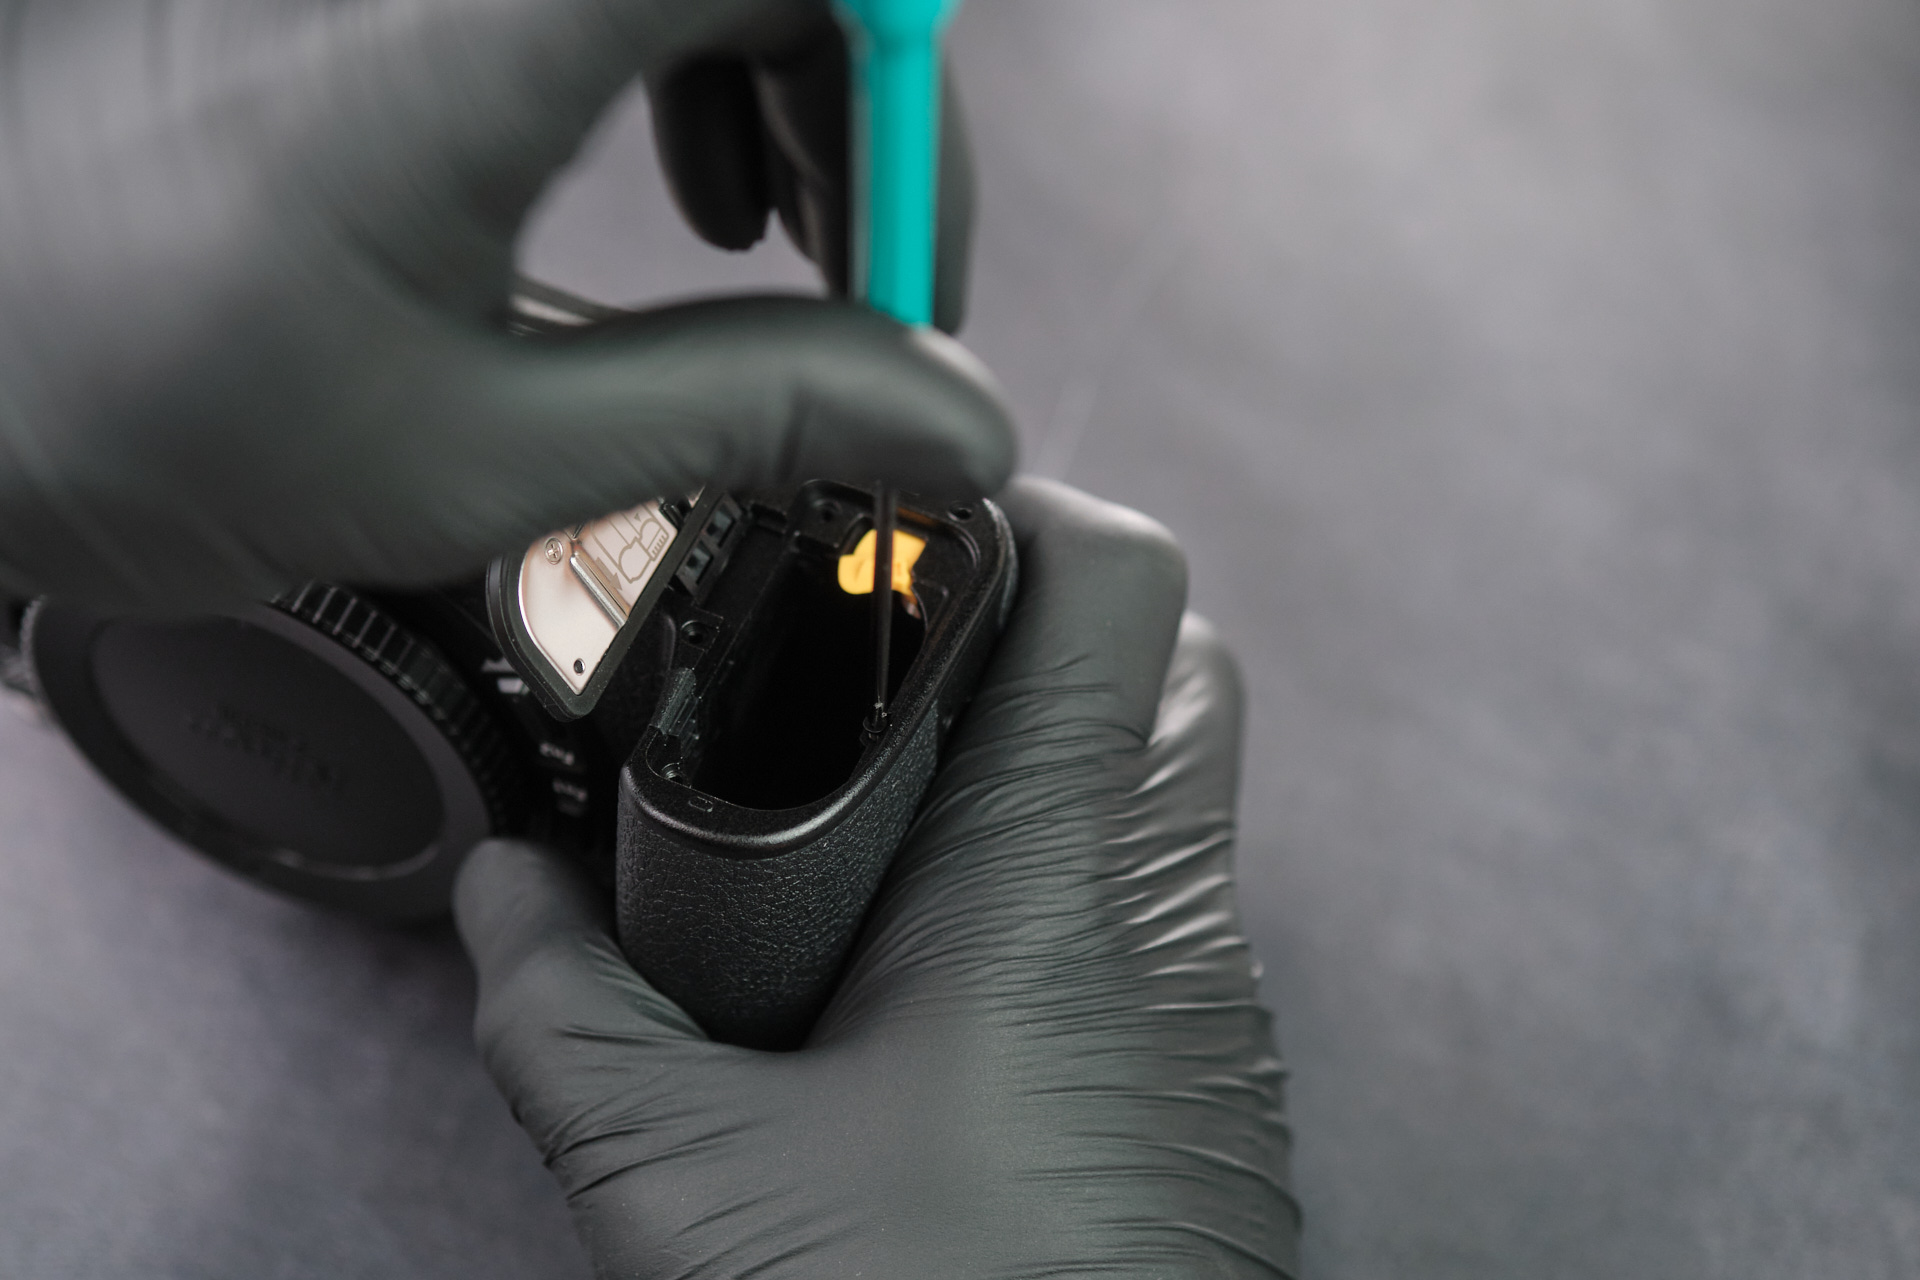
Like most cameras, we started with removing the camera’s baseplate to access the internals. Eight screws held down the cover of the baseplate.
Removing the Nikon Z6III Baseplate
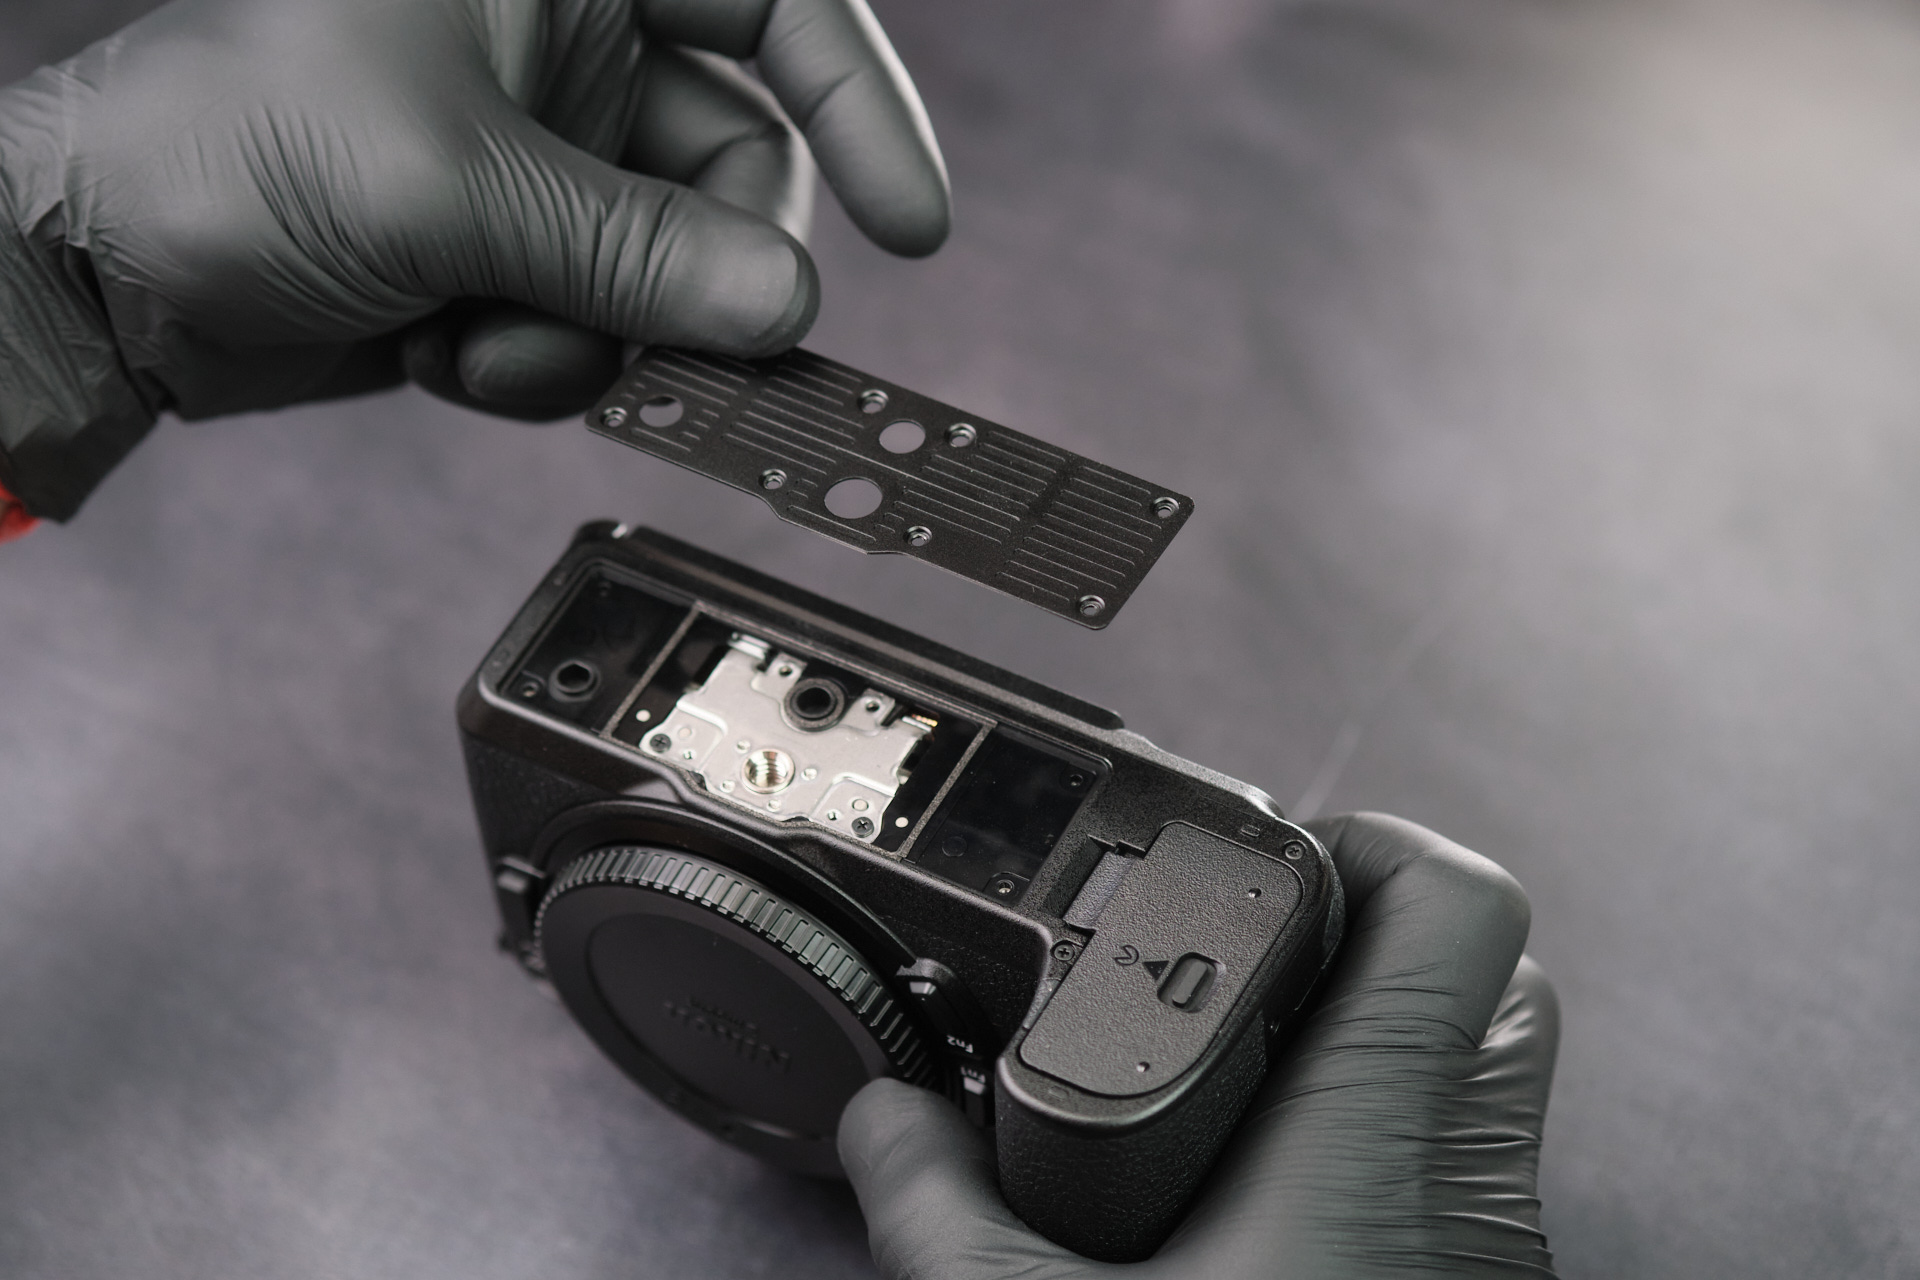
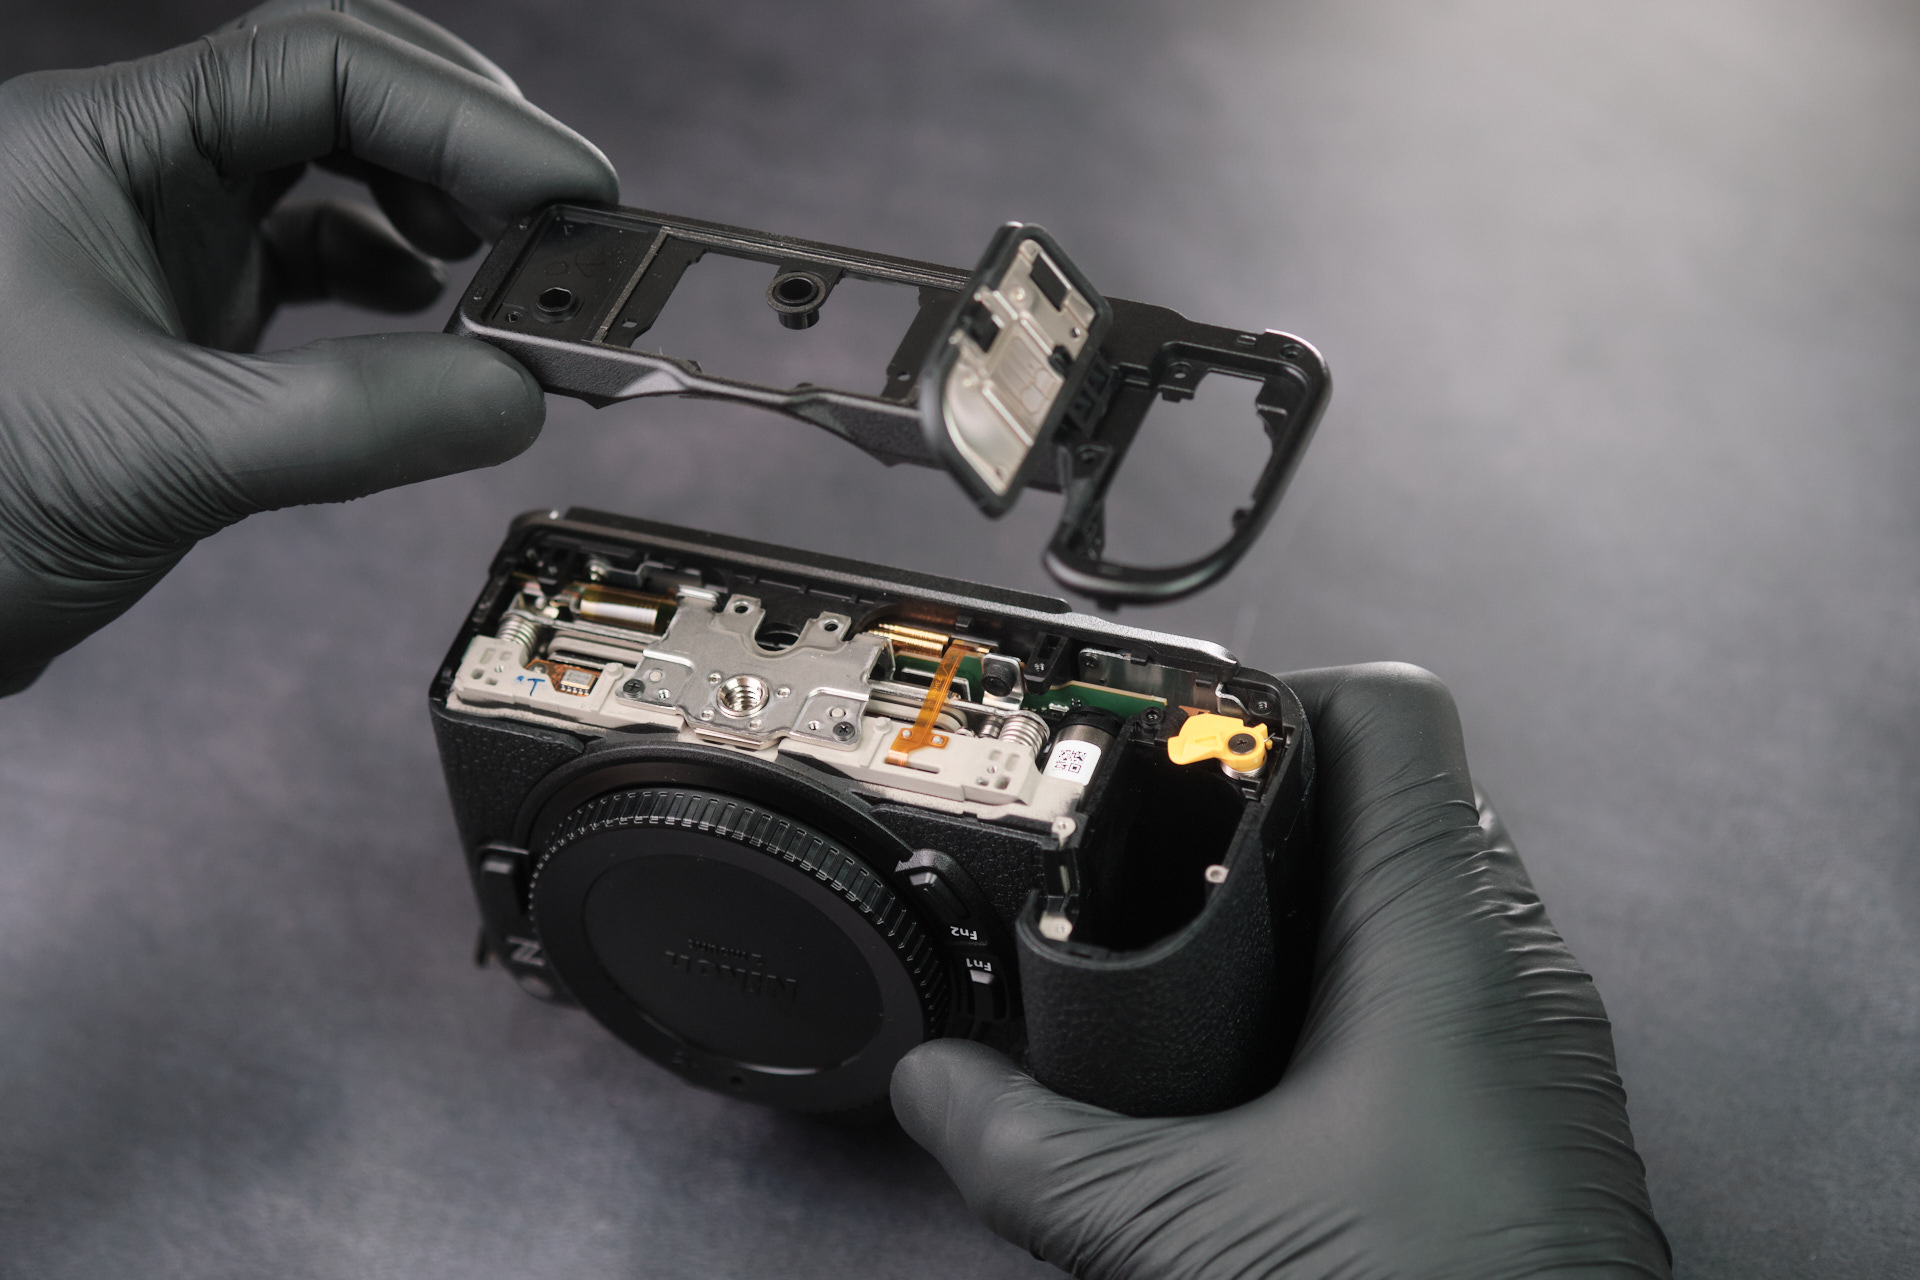
Removing the aforementioned screws allowed us to remove the camera’s baseplate.Â
Removing LCD and Memory Card Side Screws
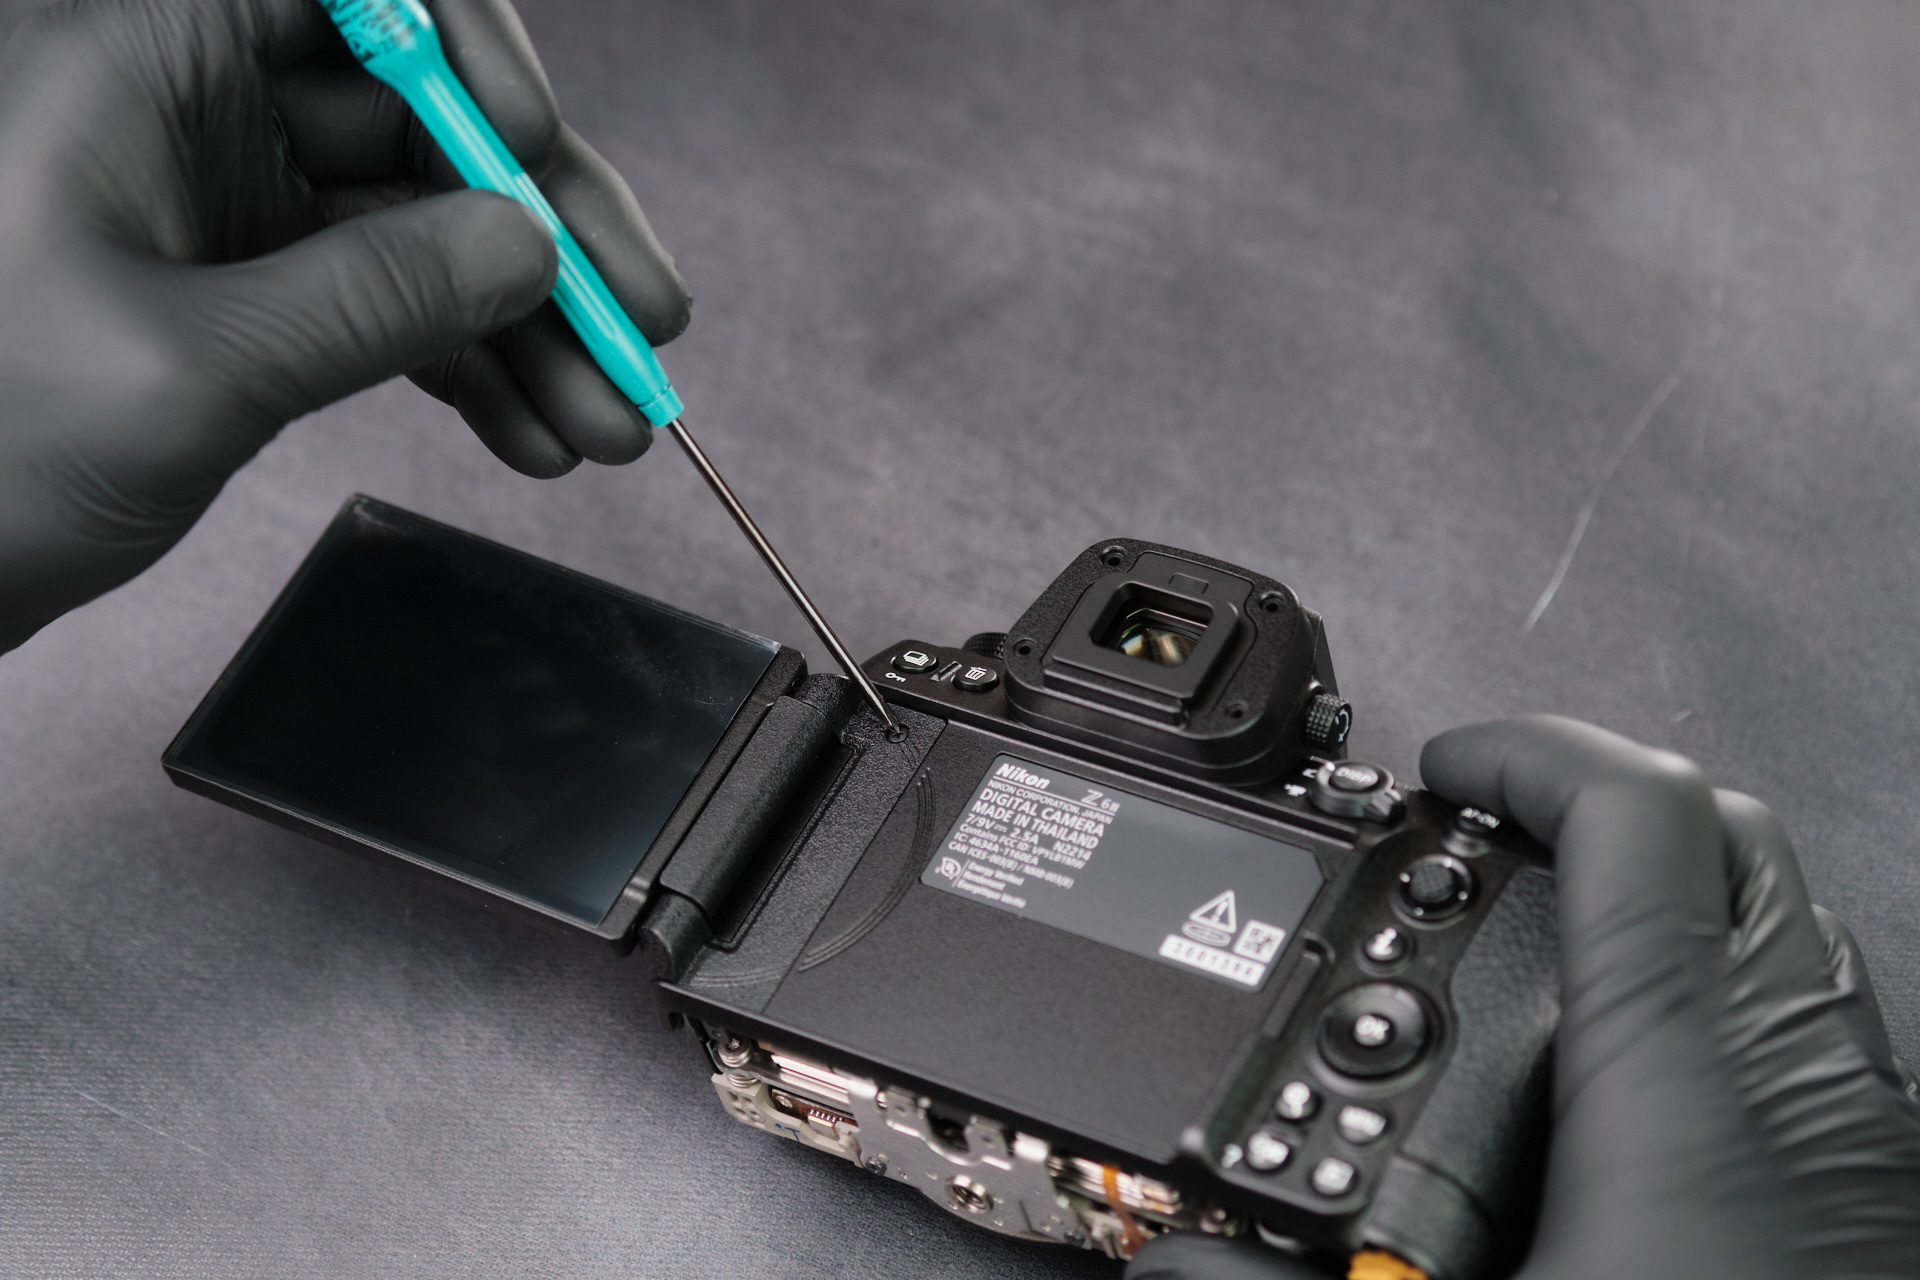
There was only one screw under the LCD screen. Depending on the camera, there could be no screws or up to six in this area, like with certain Fujifilm cameras.
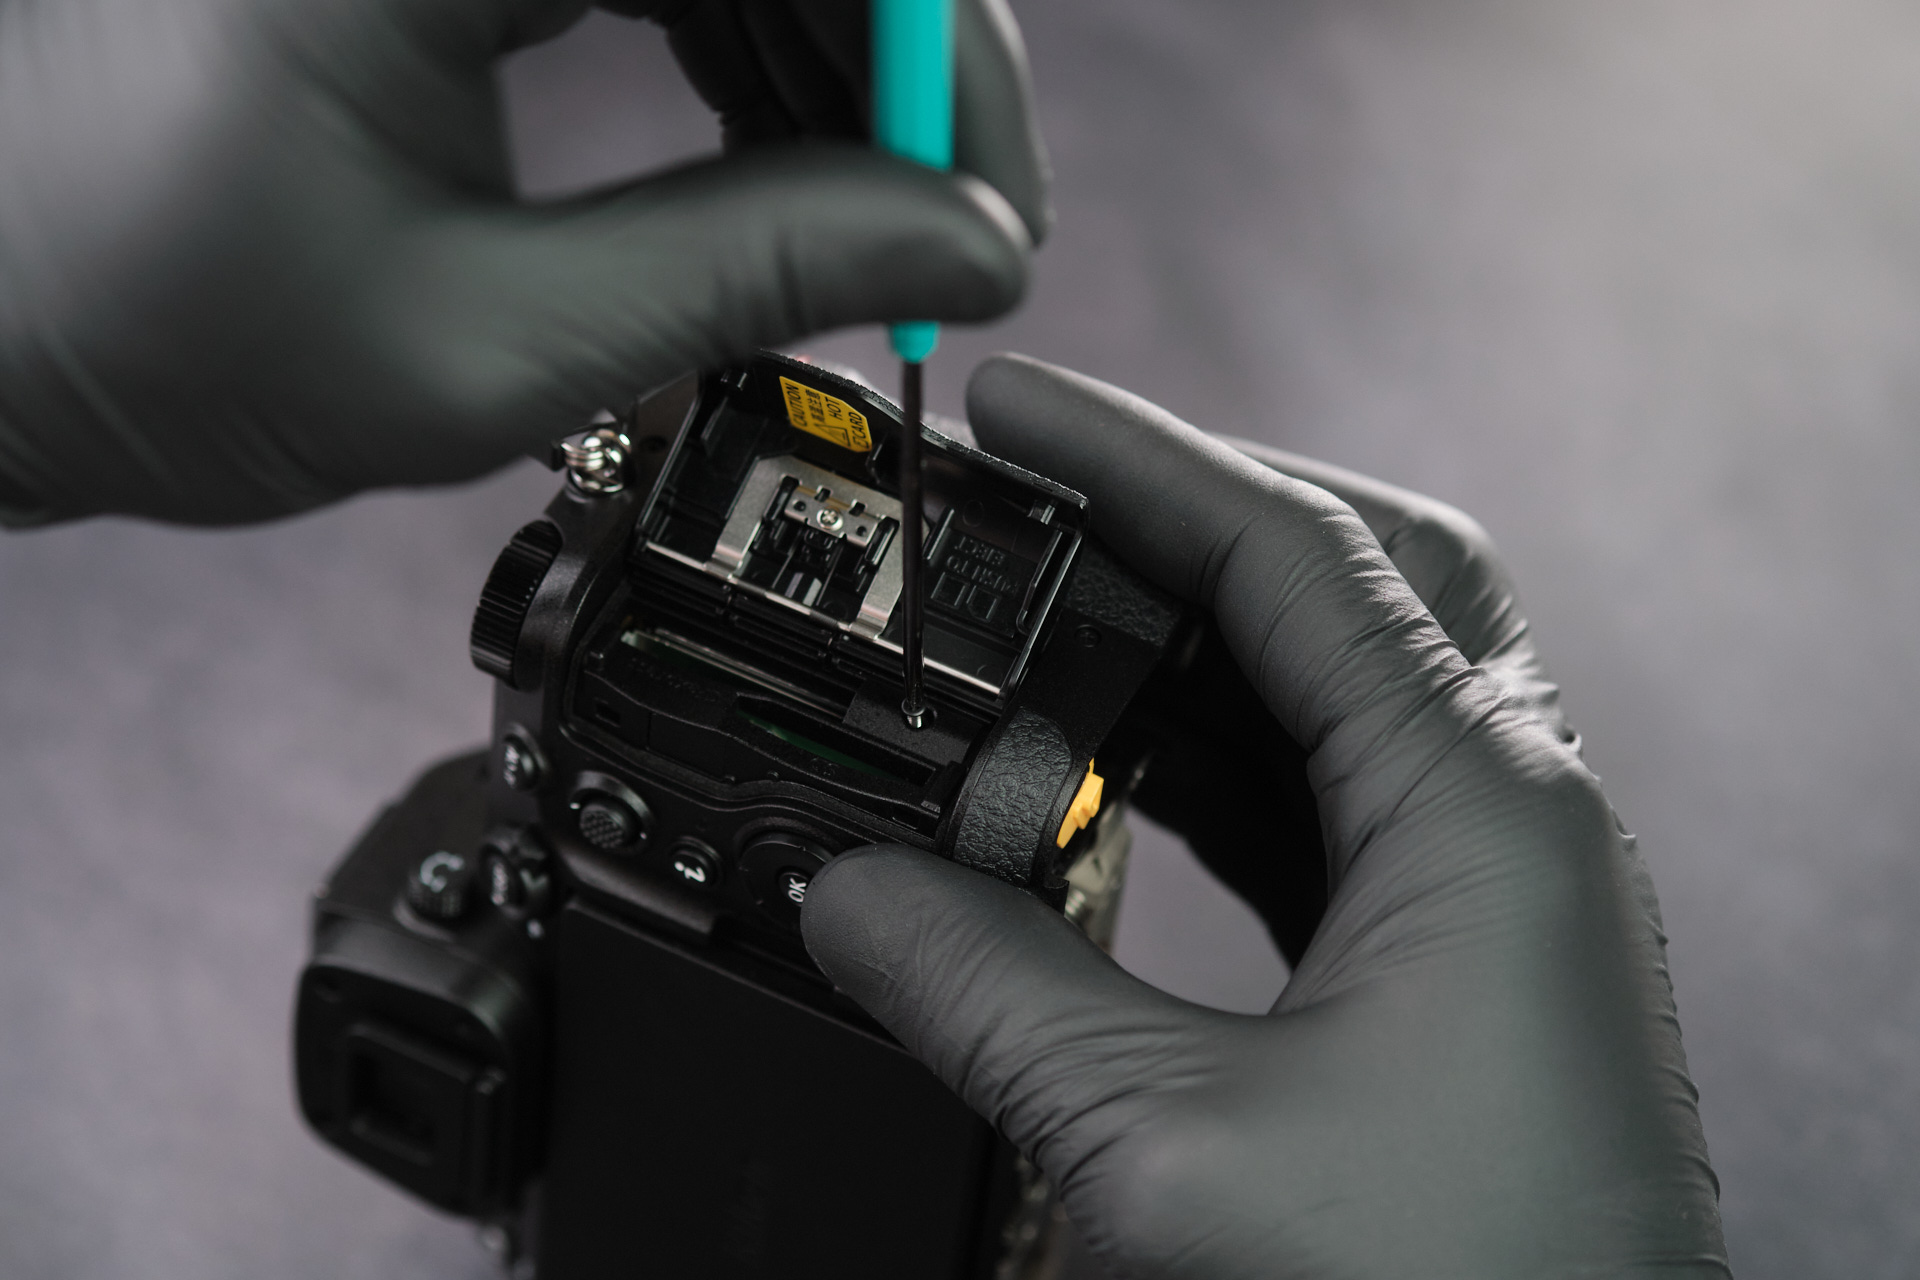
On the memory card side we found three screws: one underneath the slot cover and two on the exterior.
Removing Port Side Screws
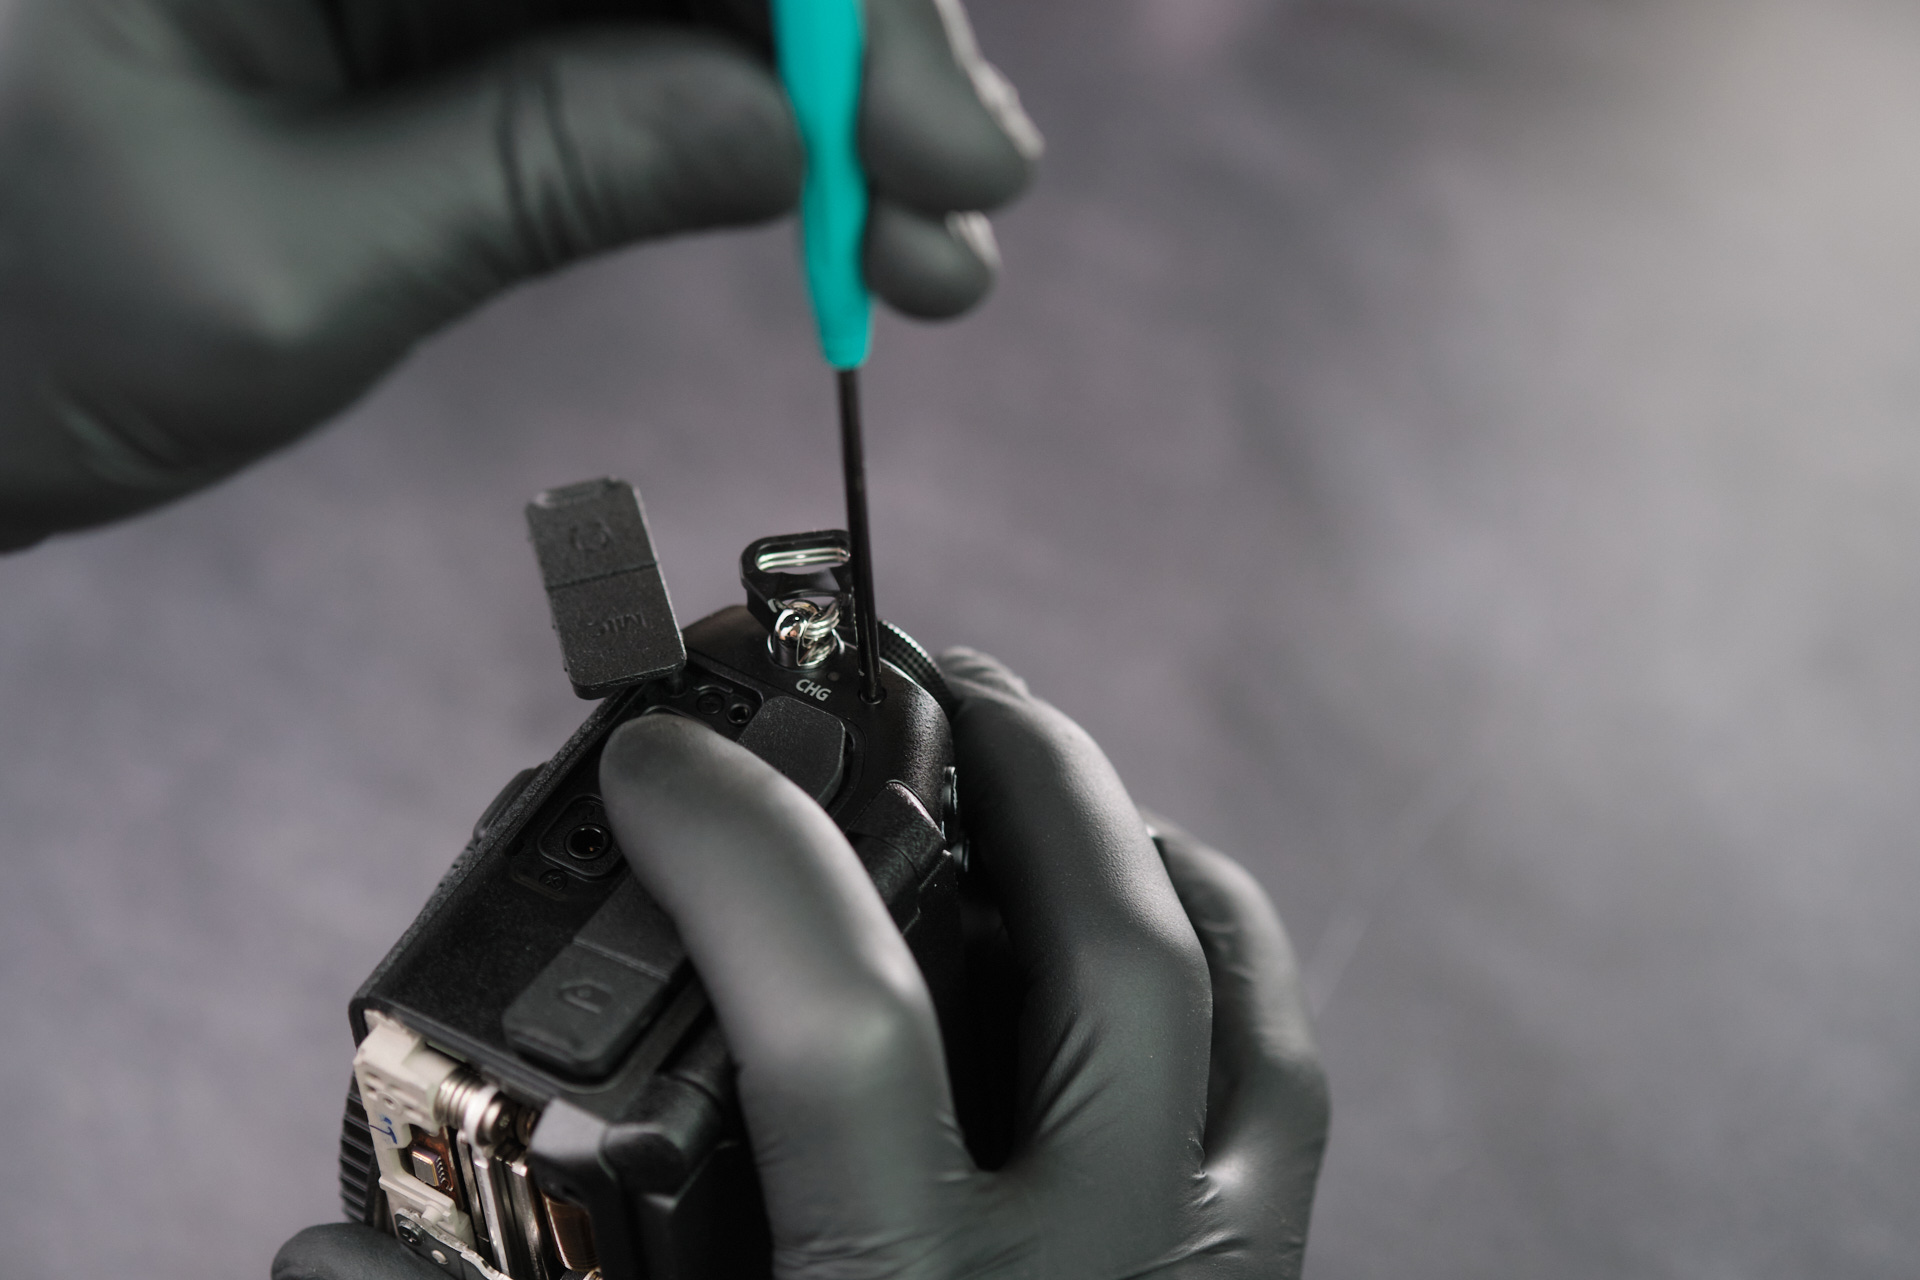
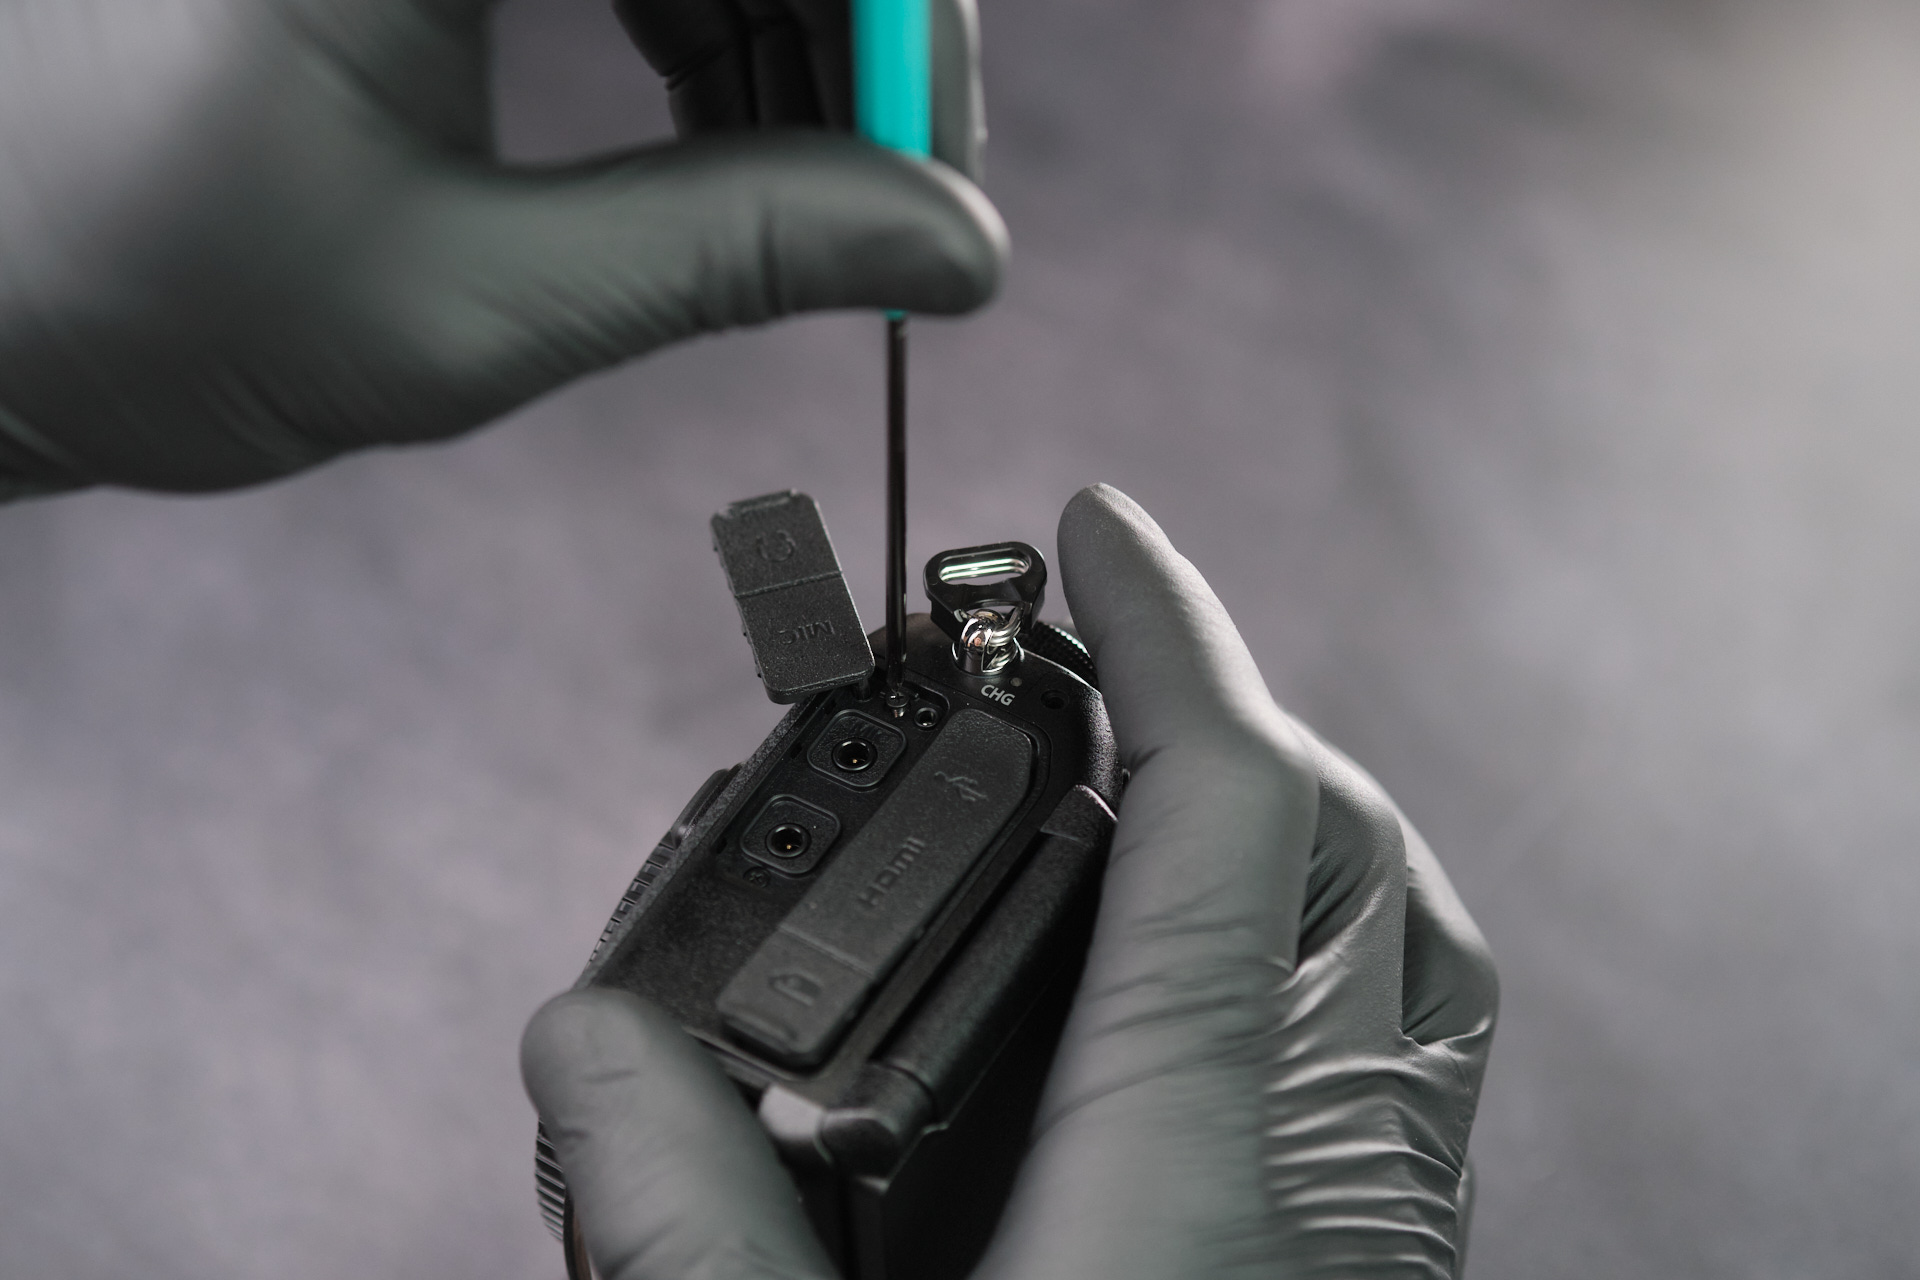
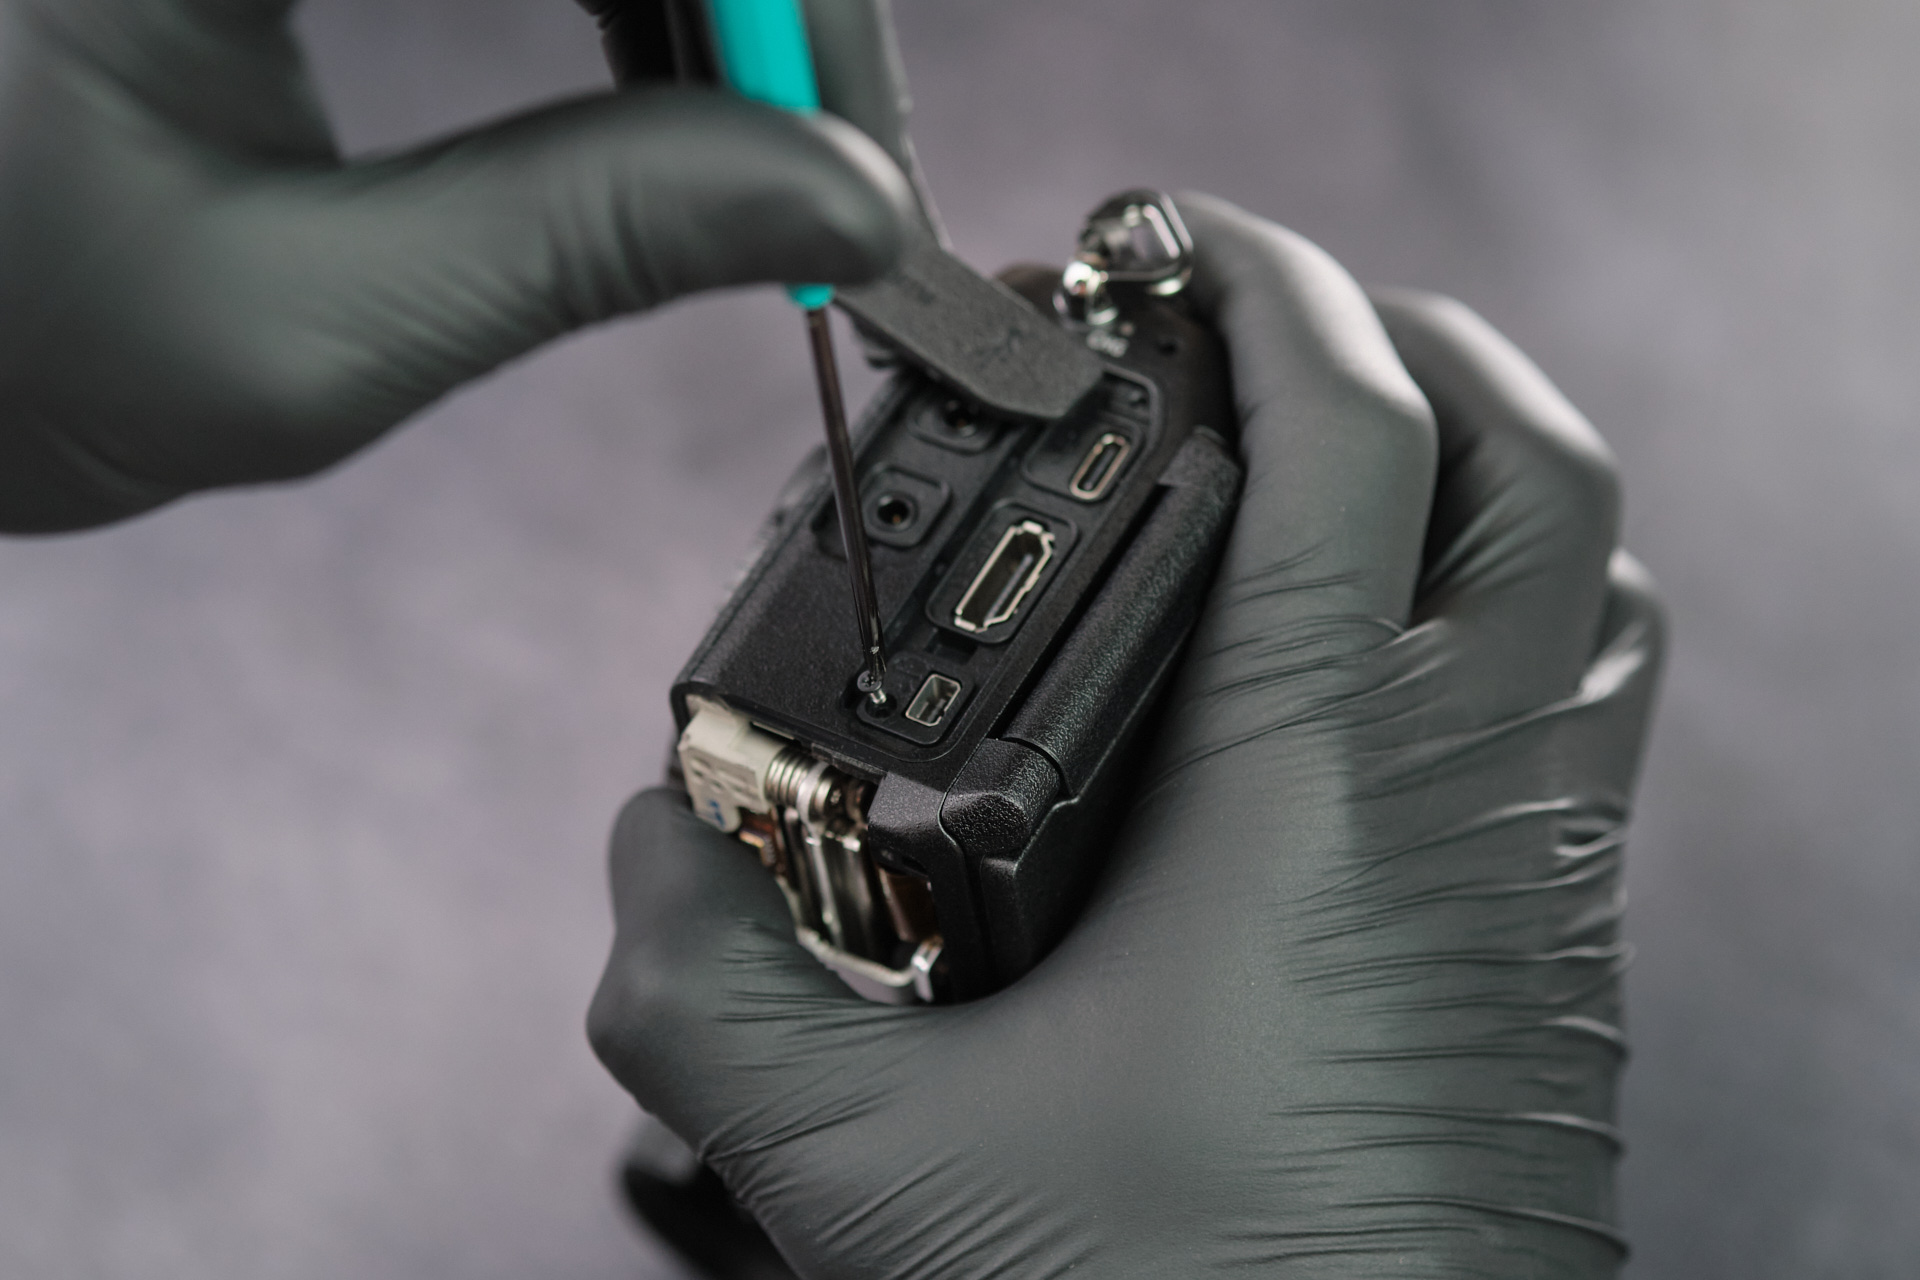
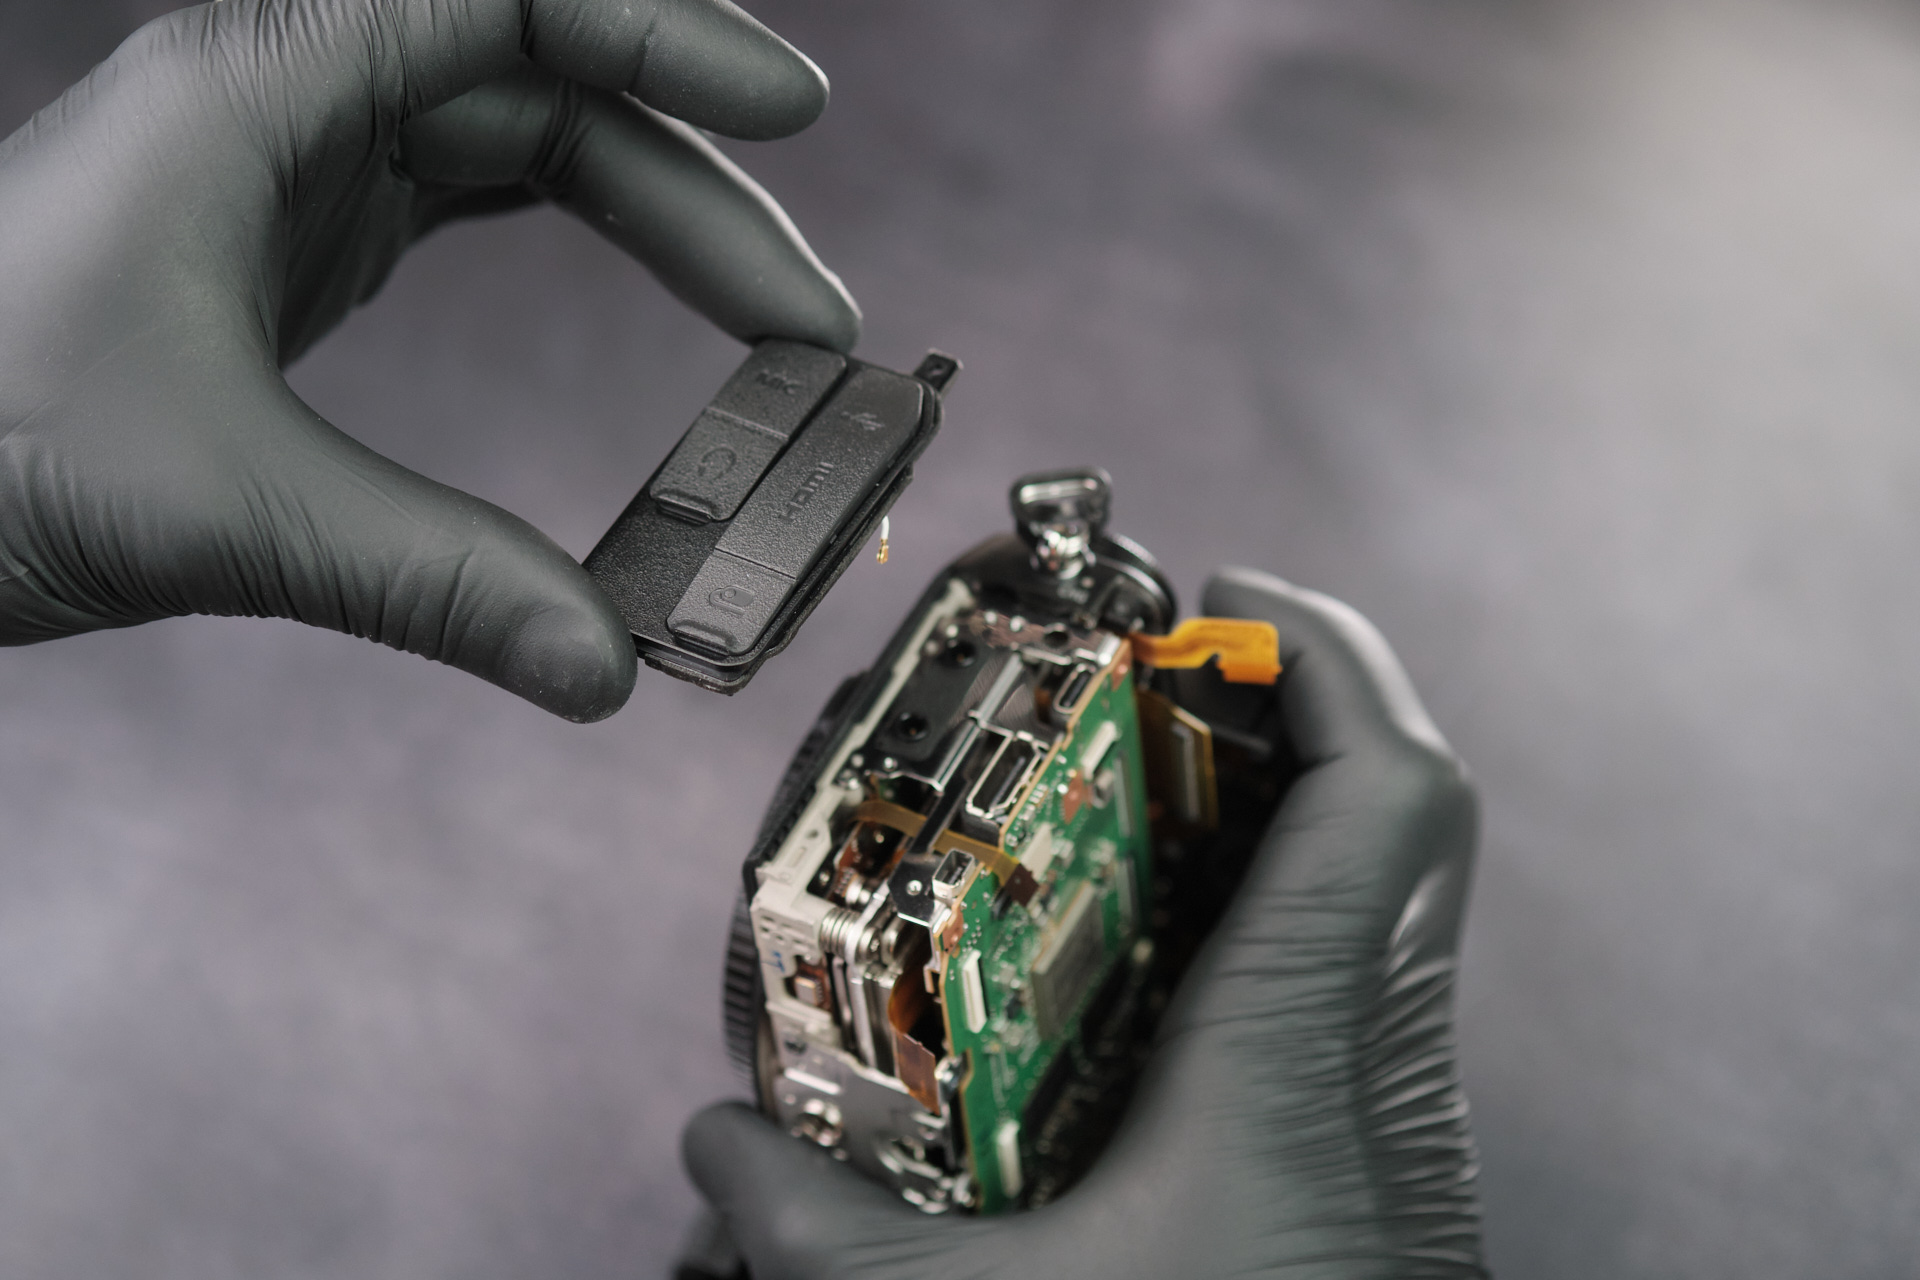
On the port side, there was one visible screw on the exterior of the camera and three beneath the dust caps.
Removing the Rear Panel and Ribbon Cable
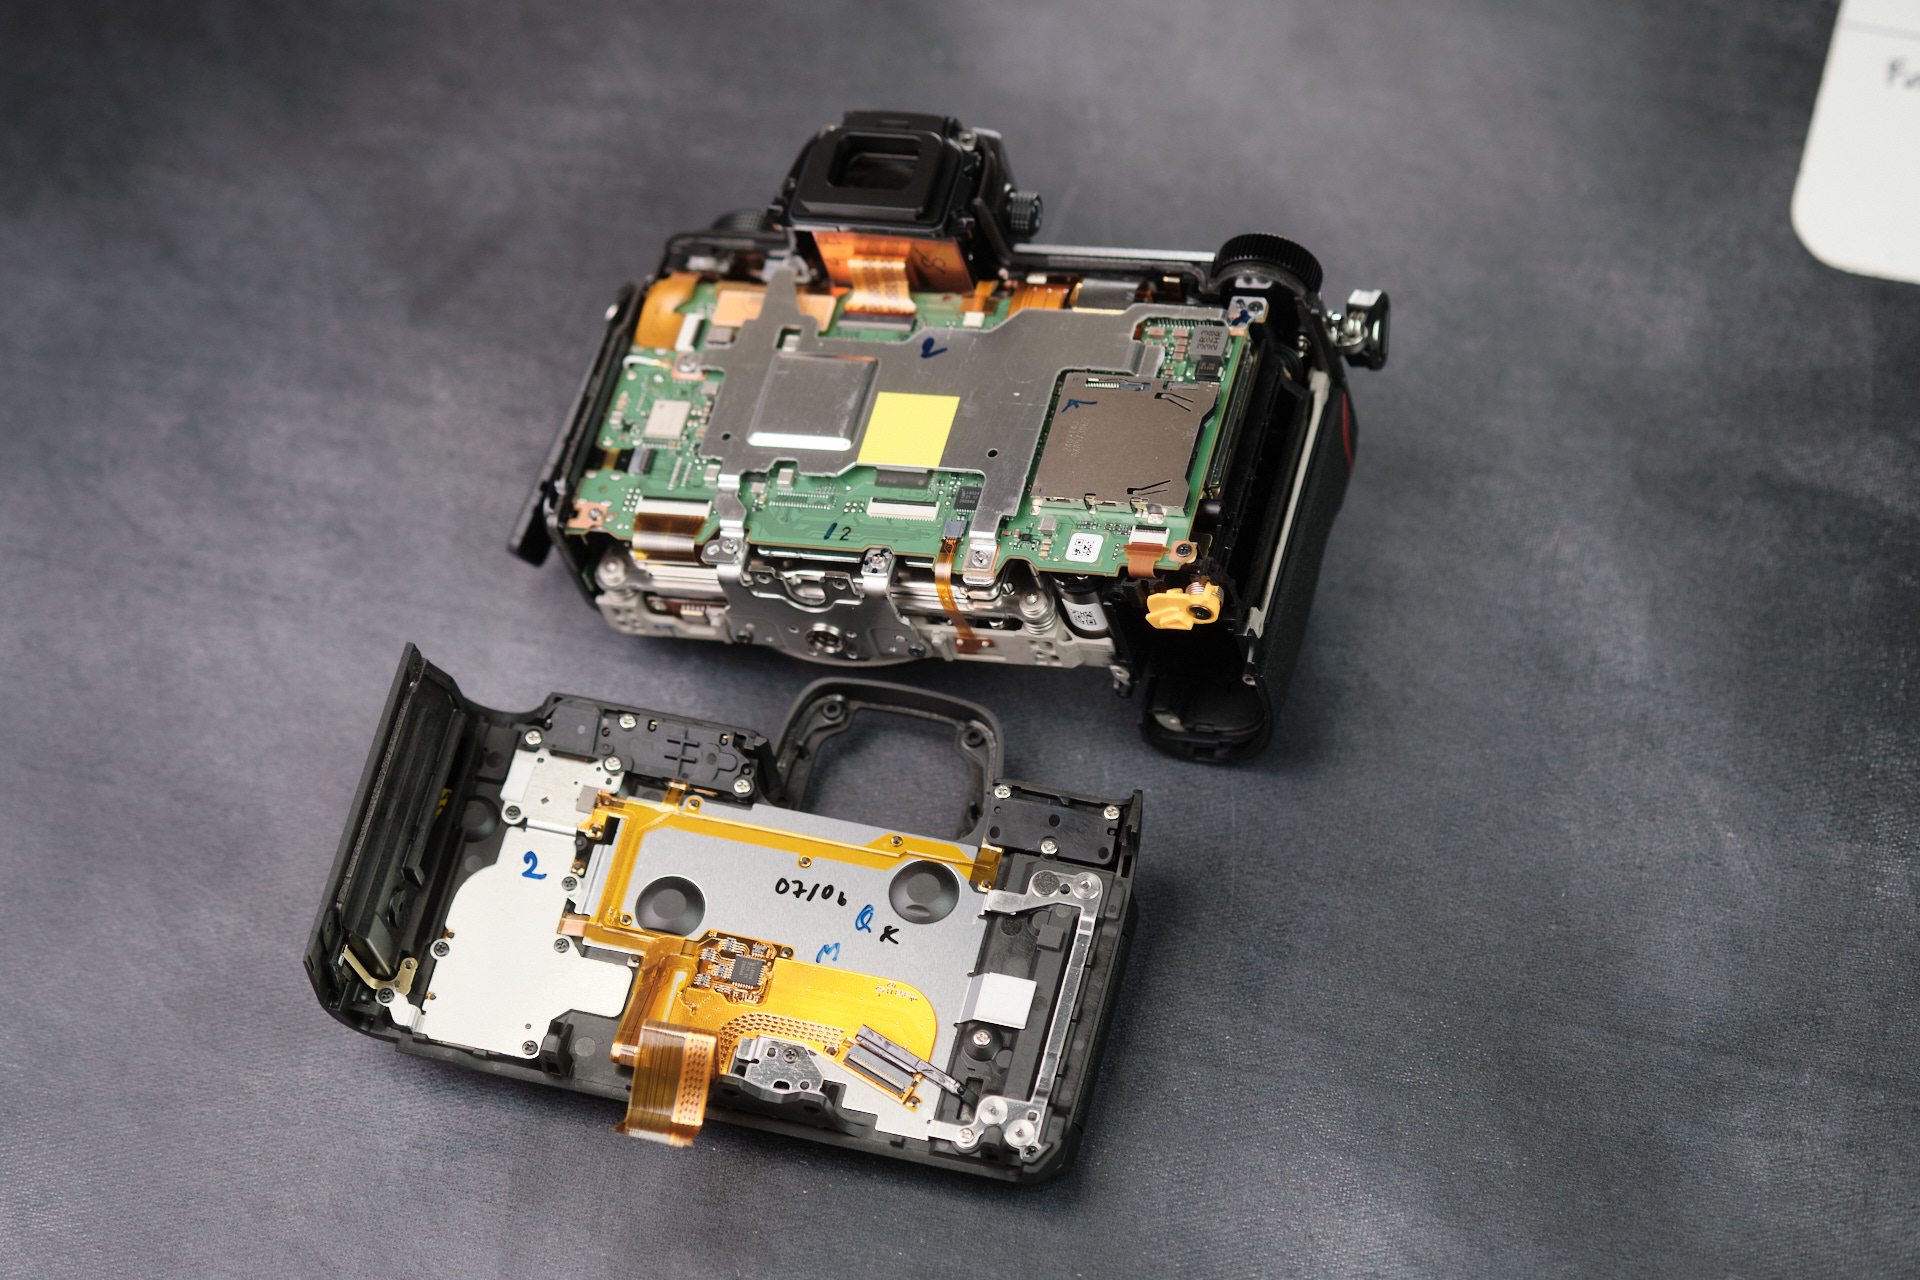
After removing the screws on the left and right sides of the camera, we separated the rear panel from the body. One long ribbon cable connects the rear panel to the circuitboard, so it was unfastened to fully remove the rear panel.
Removing the EVF Diopter and EVF Assembly
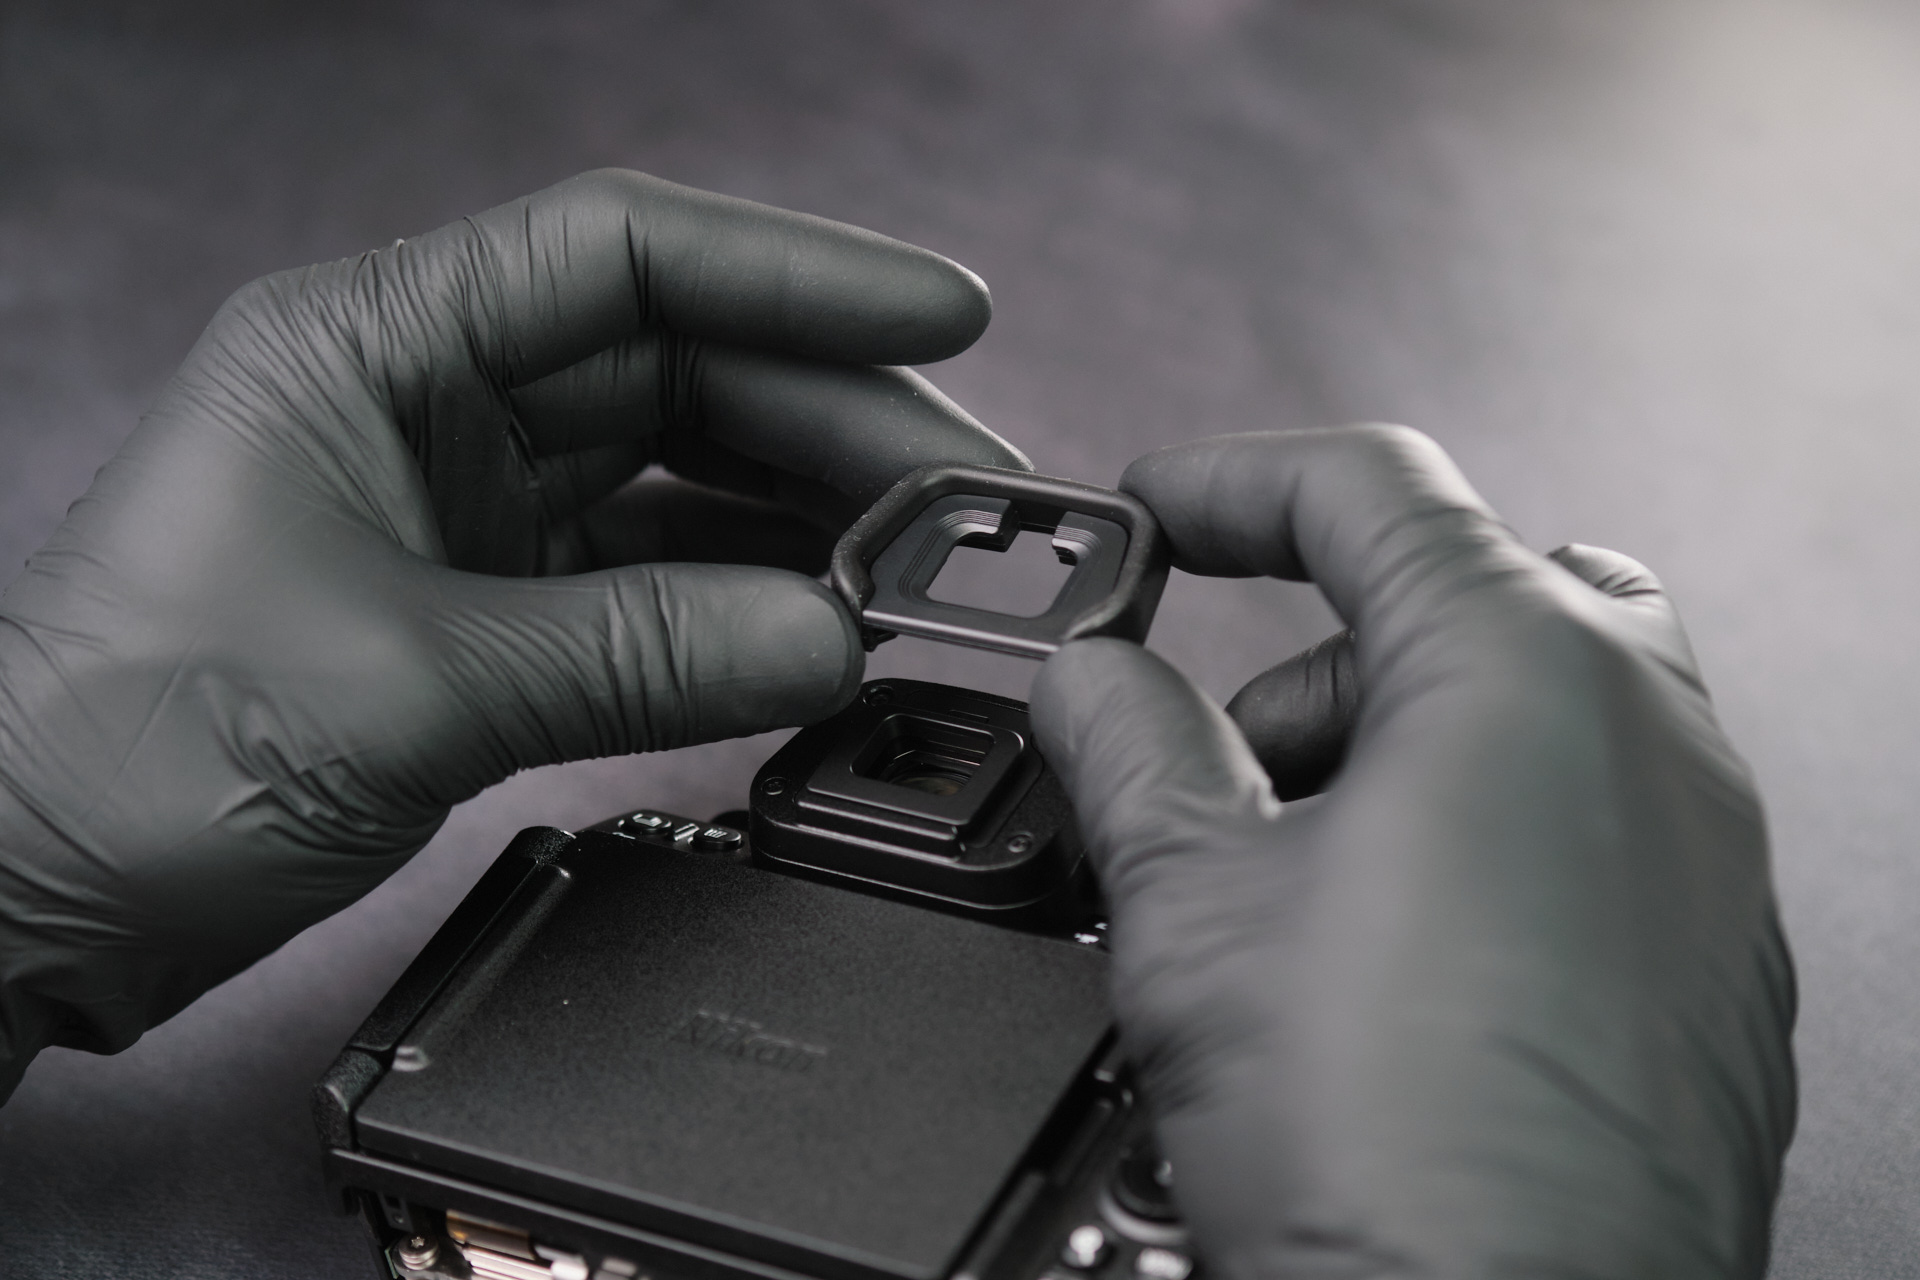
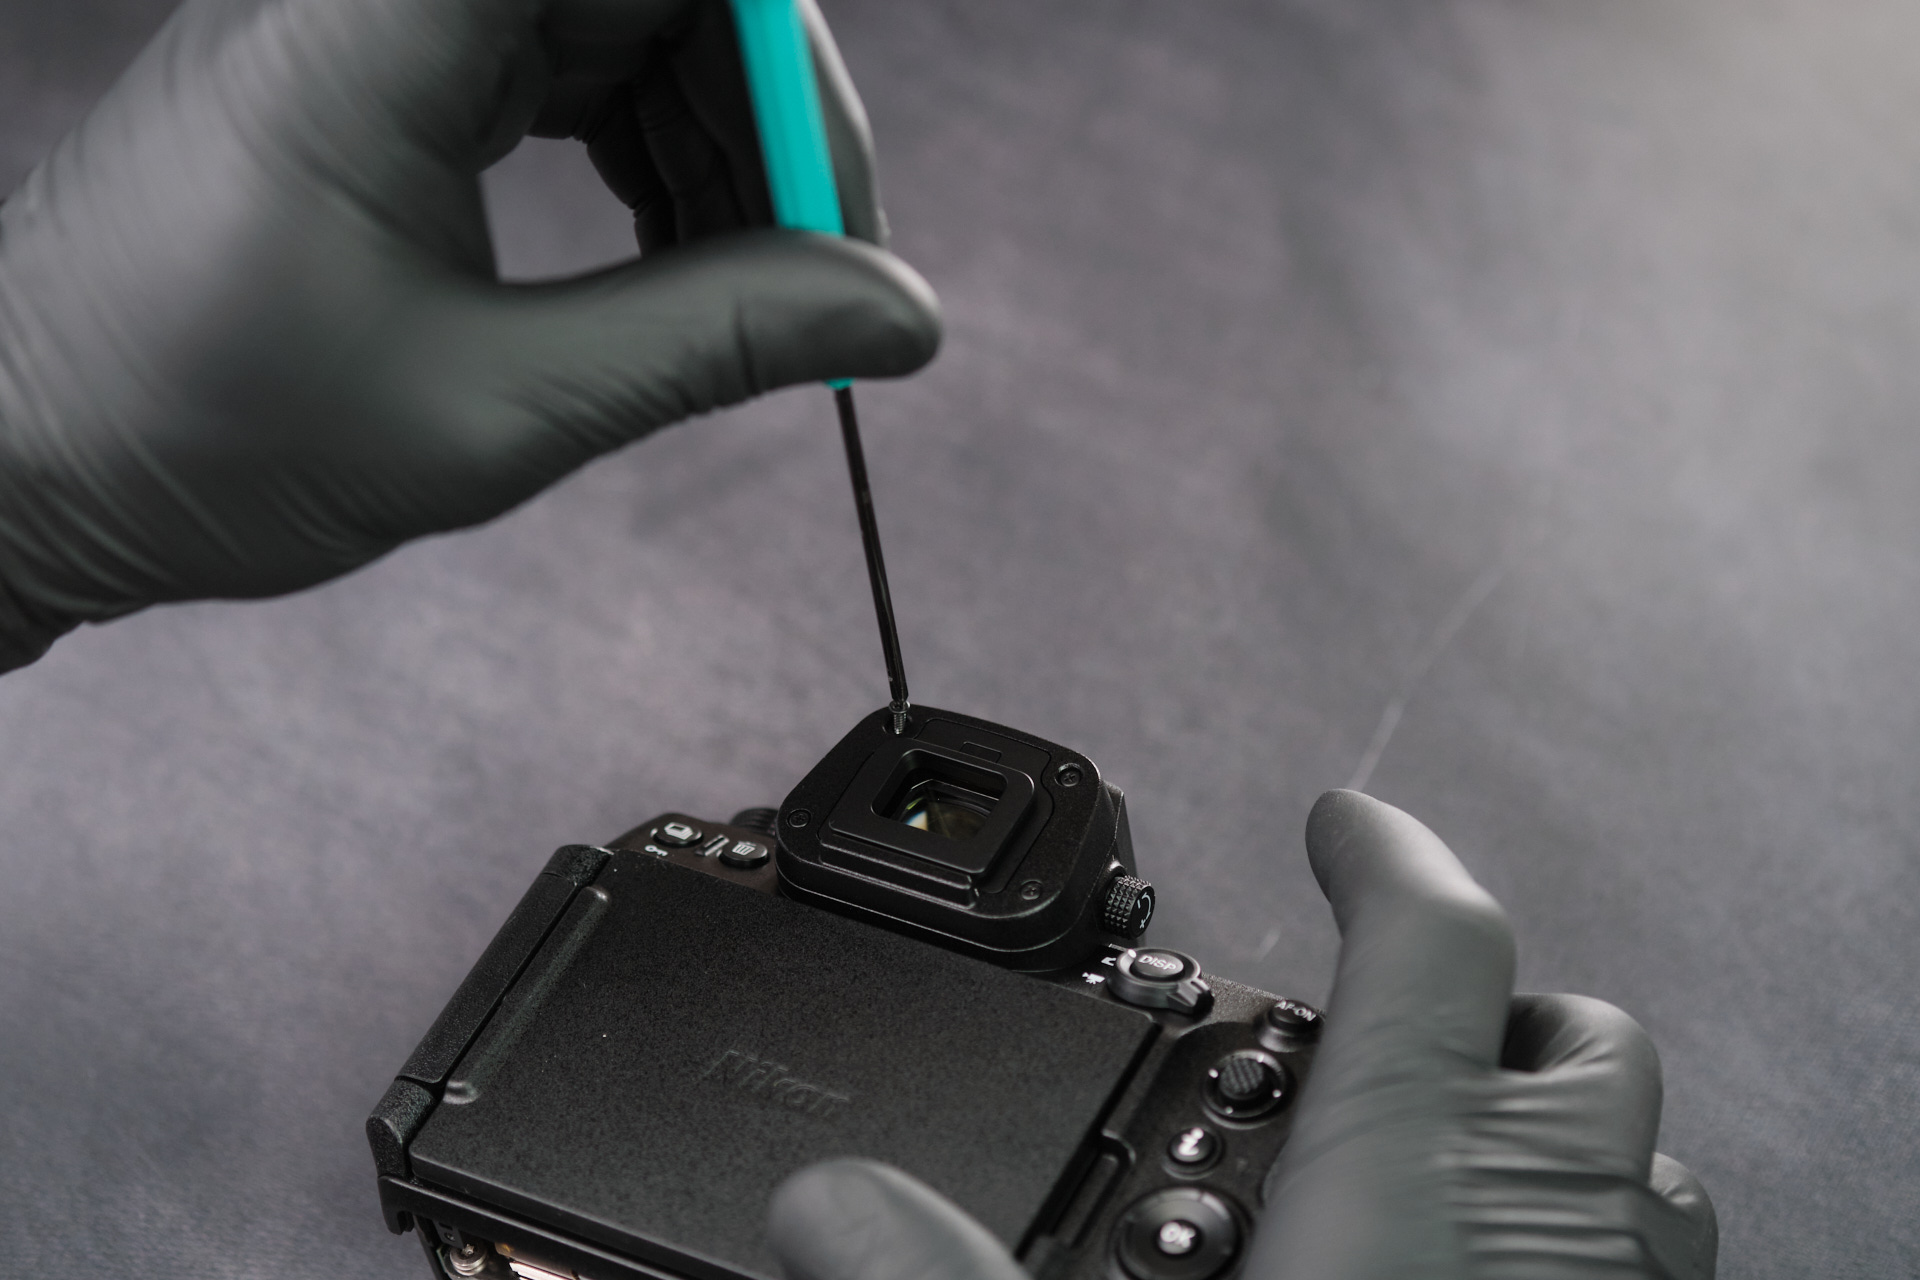
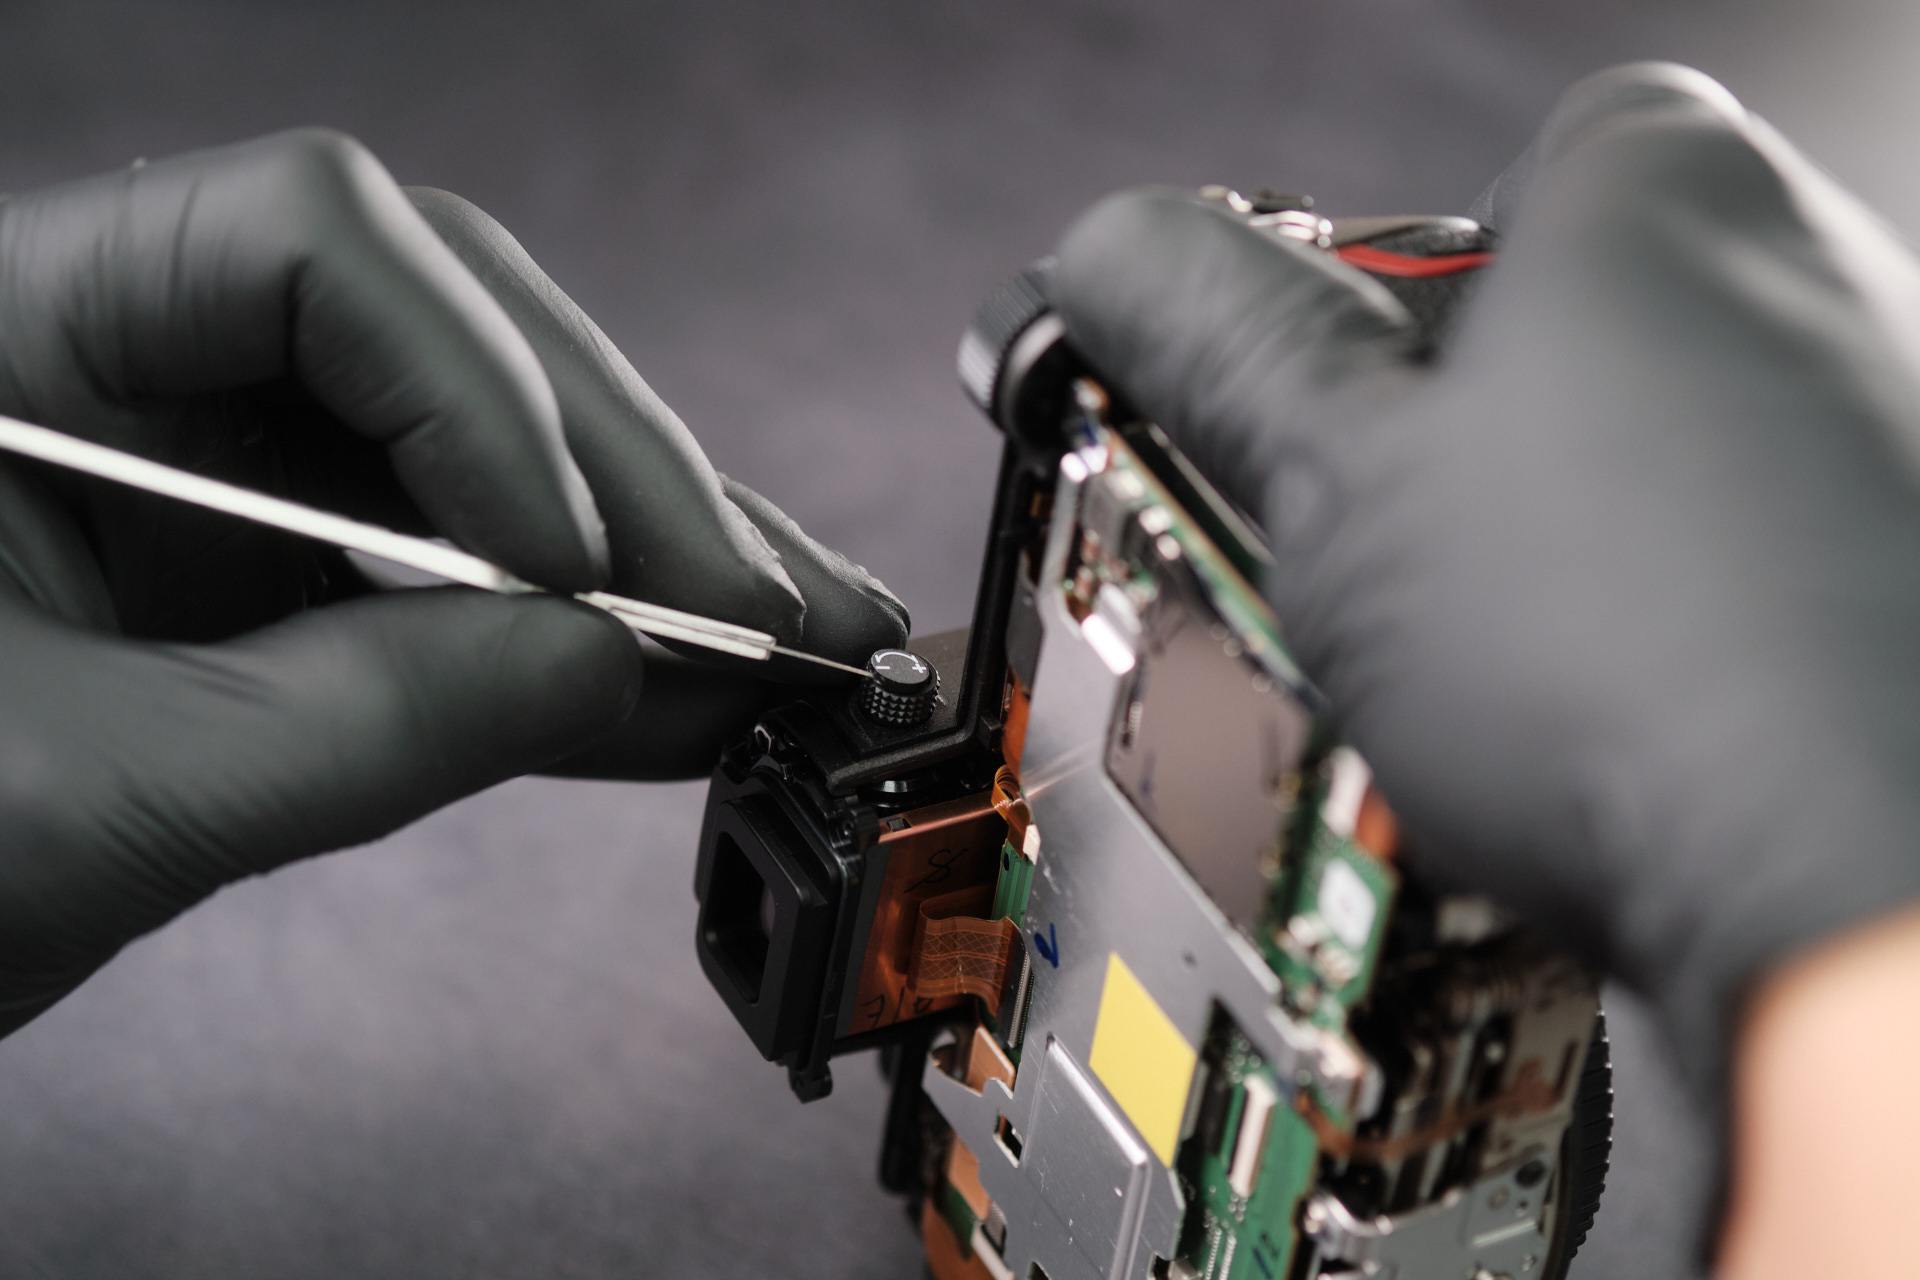
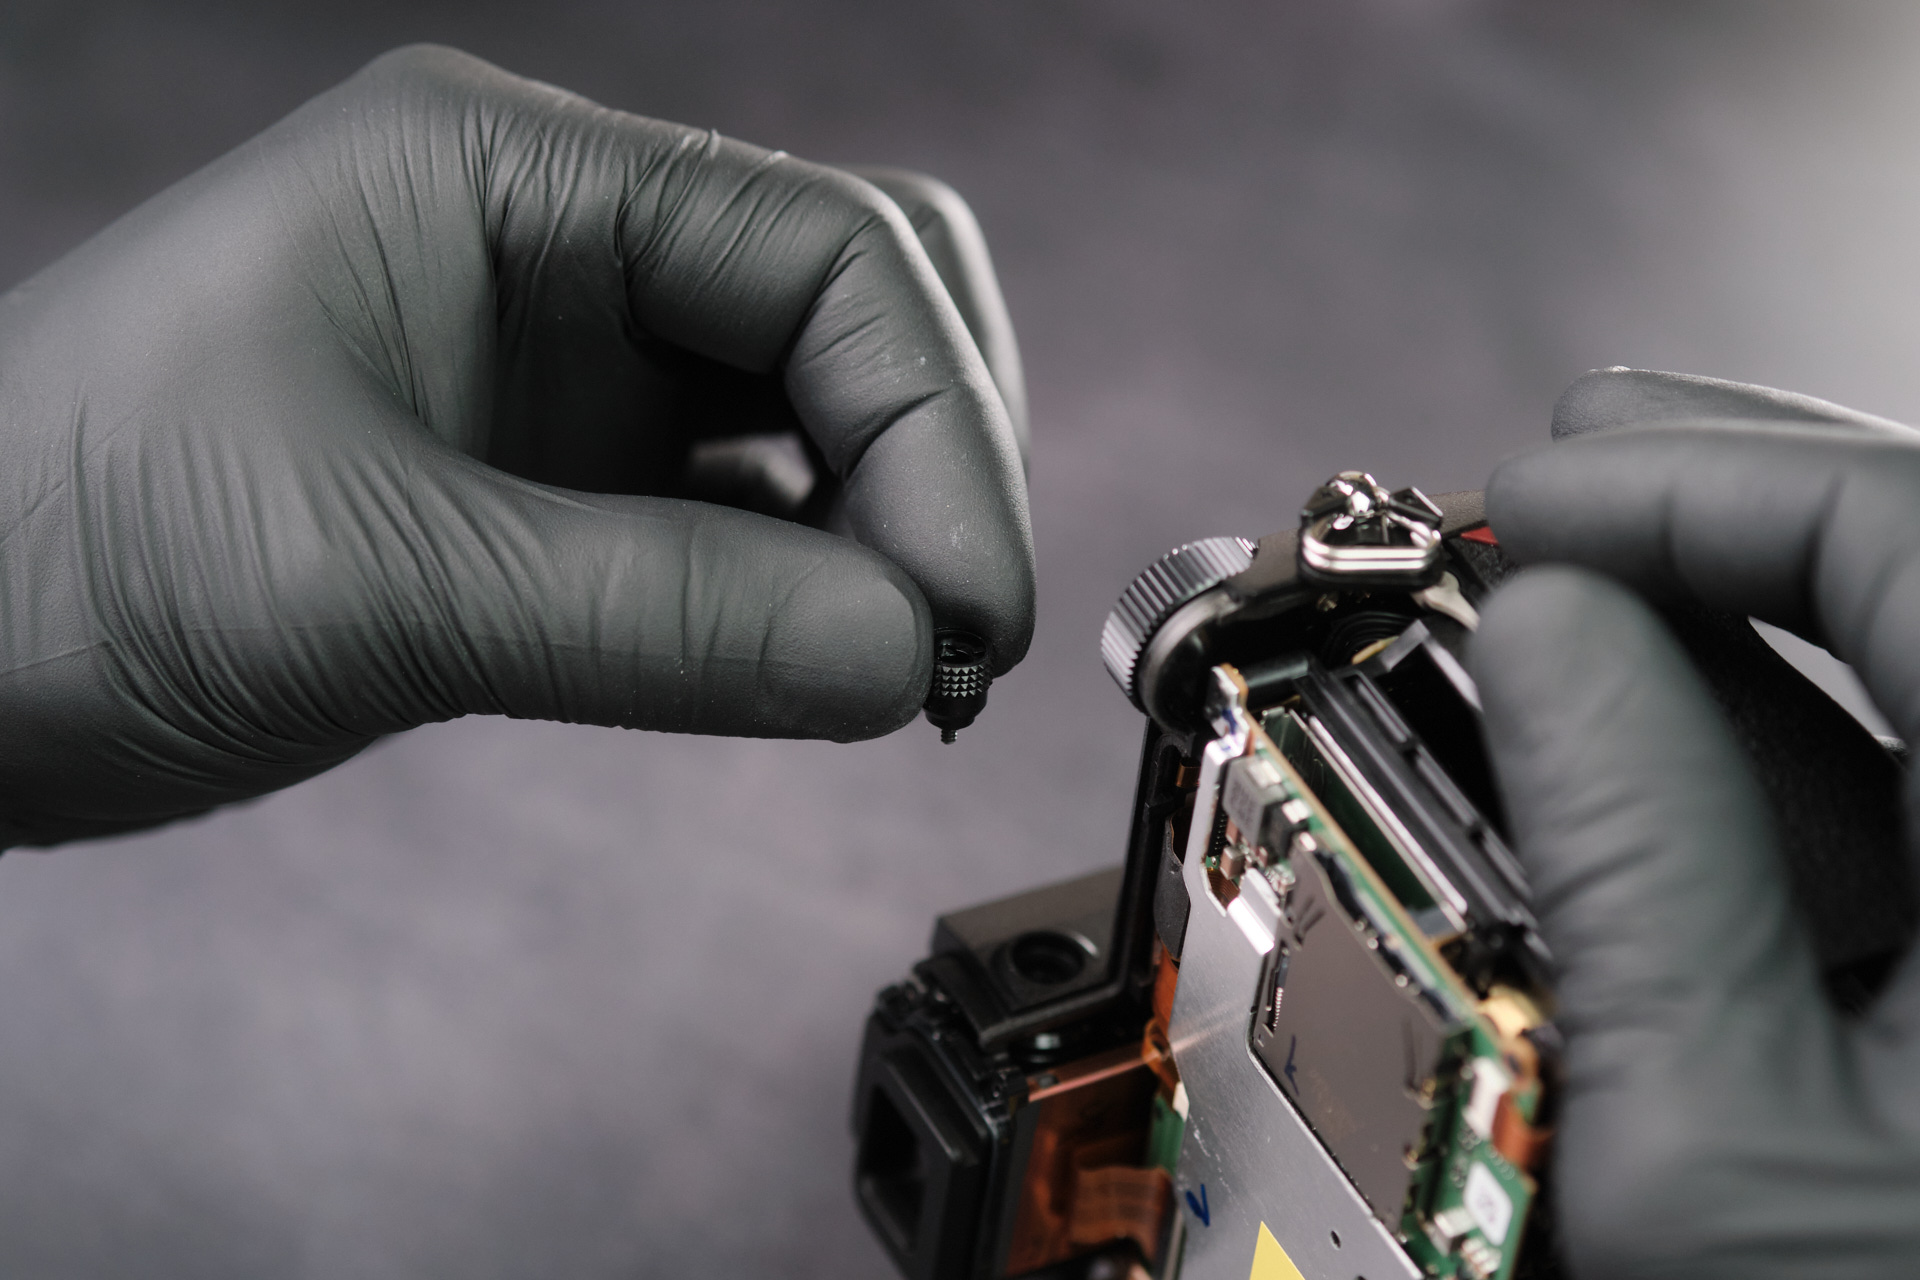
We extracted the EVF diopter. Removing the (-/+) indicator sticker revealed a single screw that held the diopter knob to the EVF assembly.
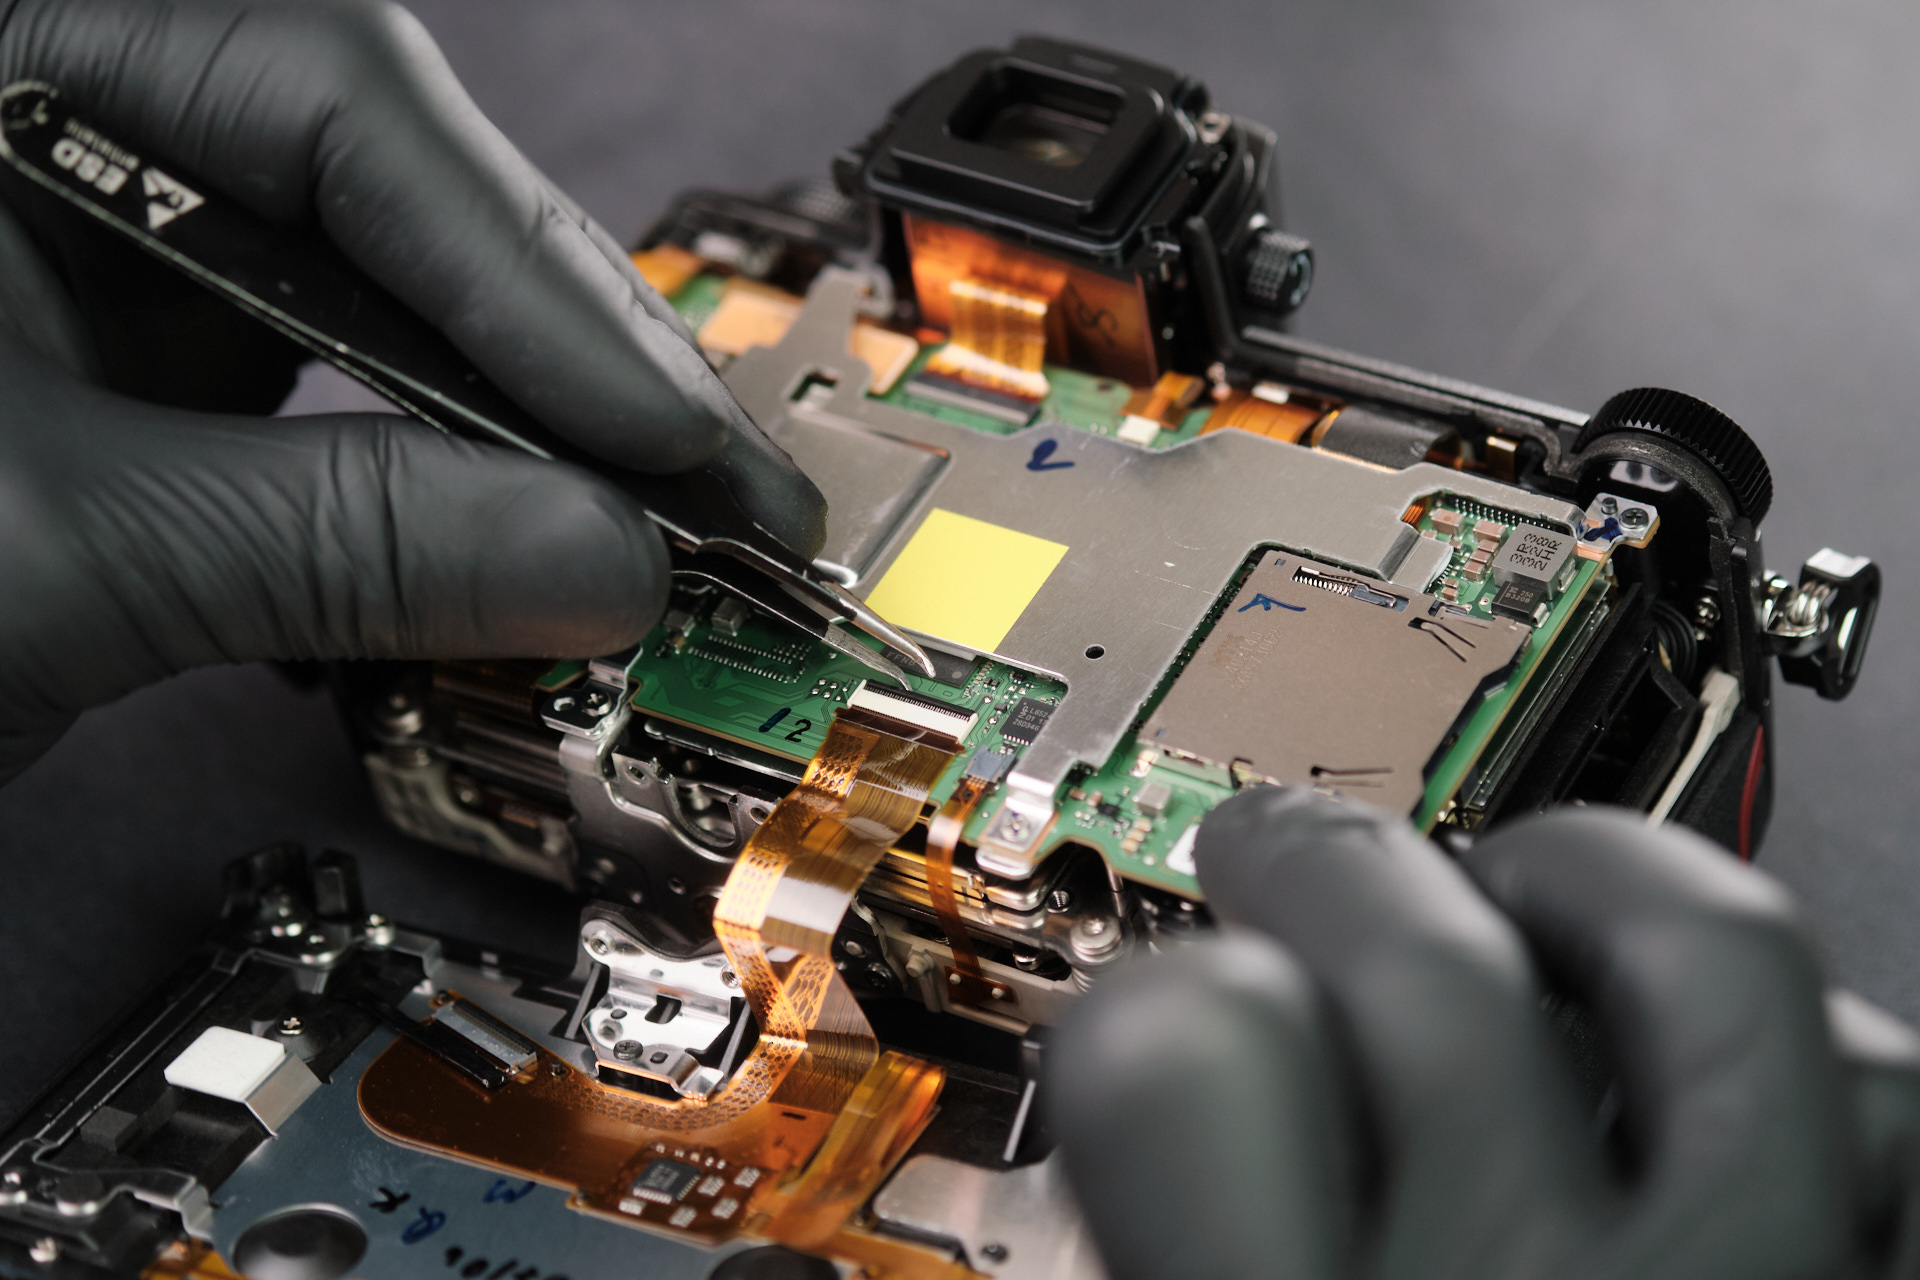
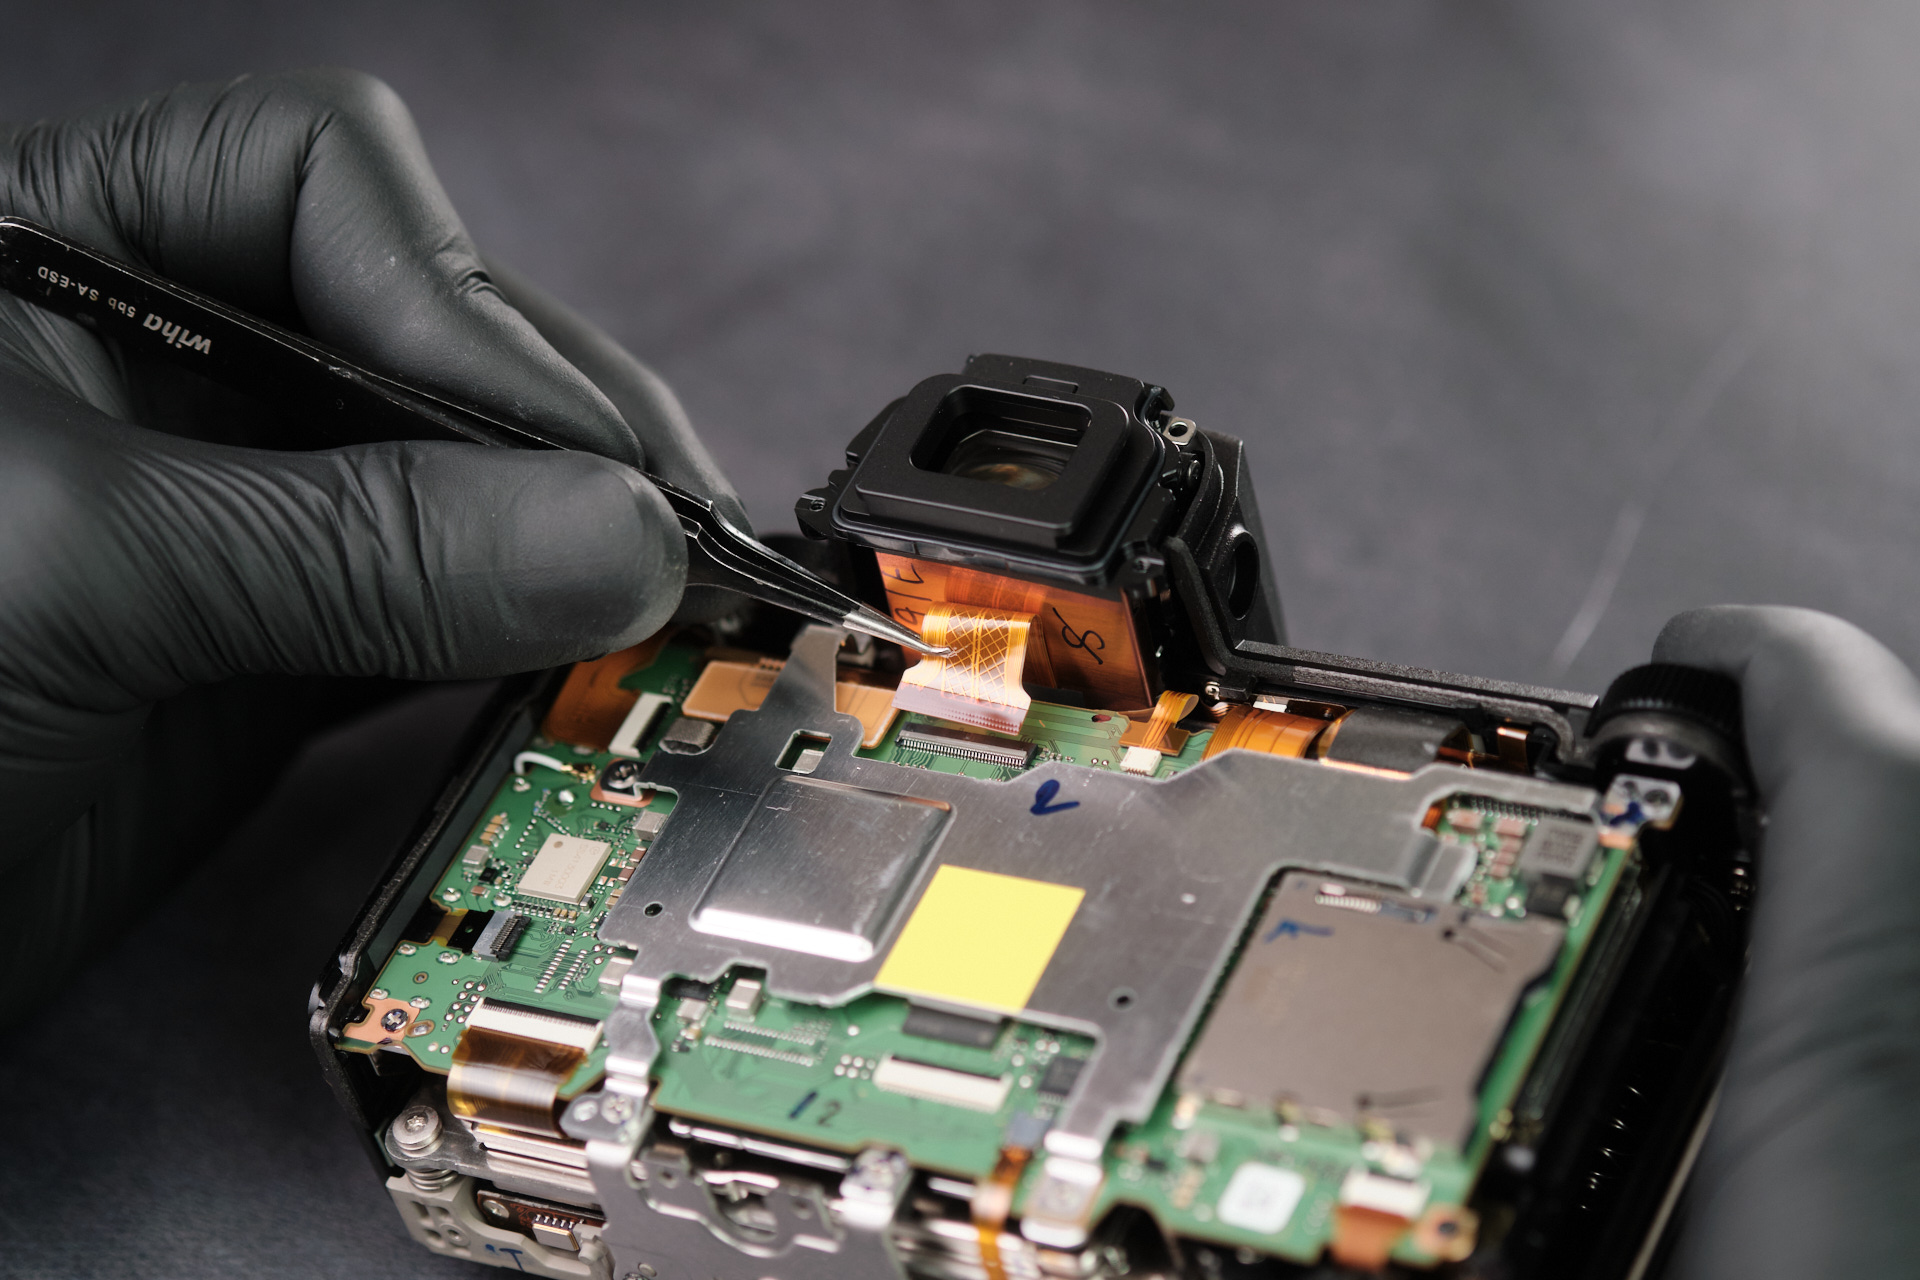
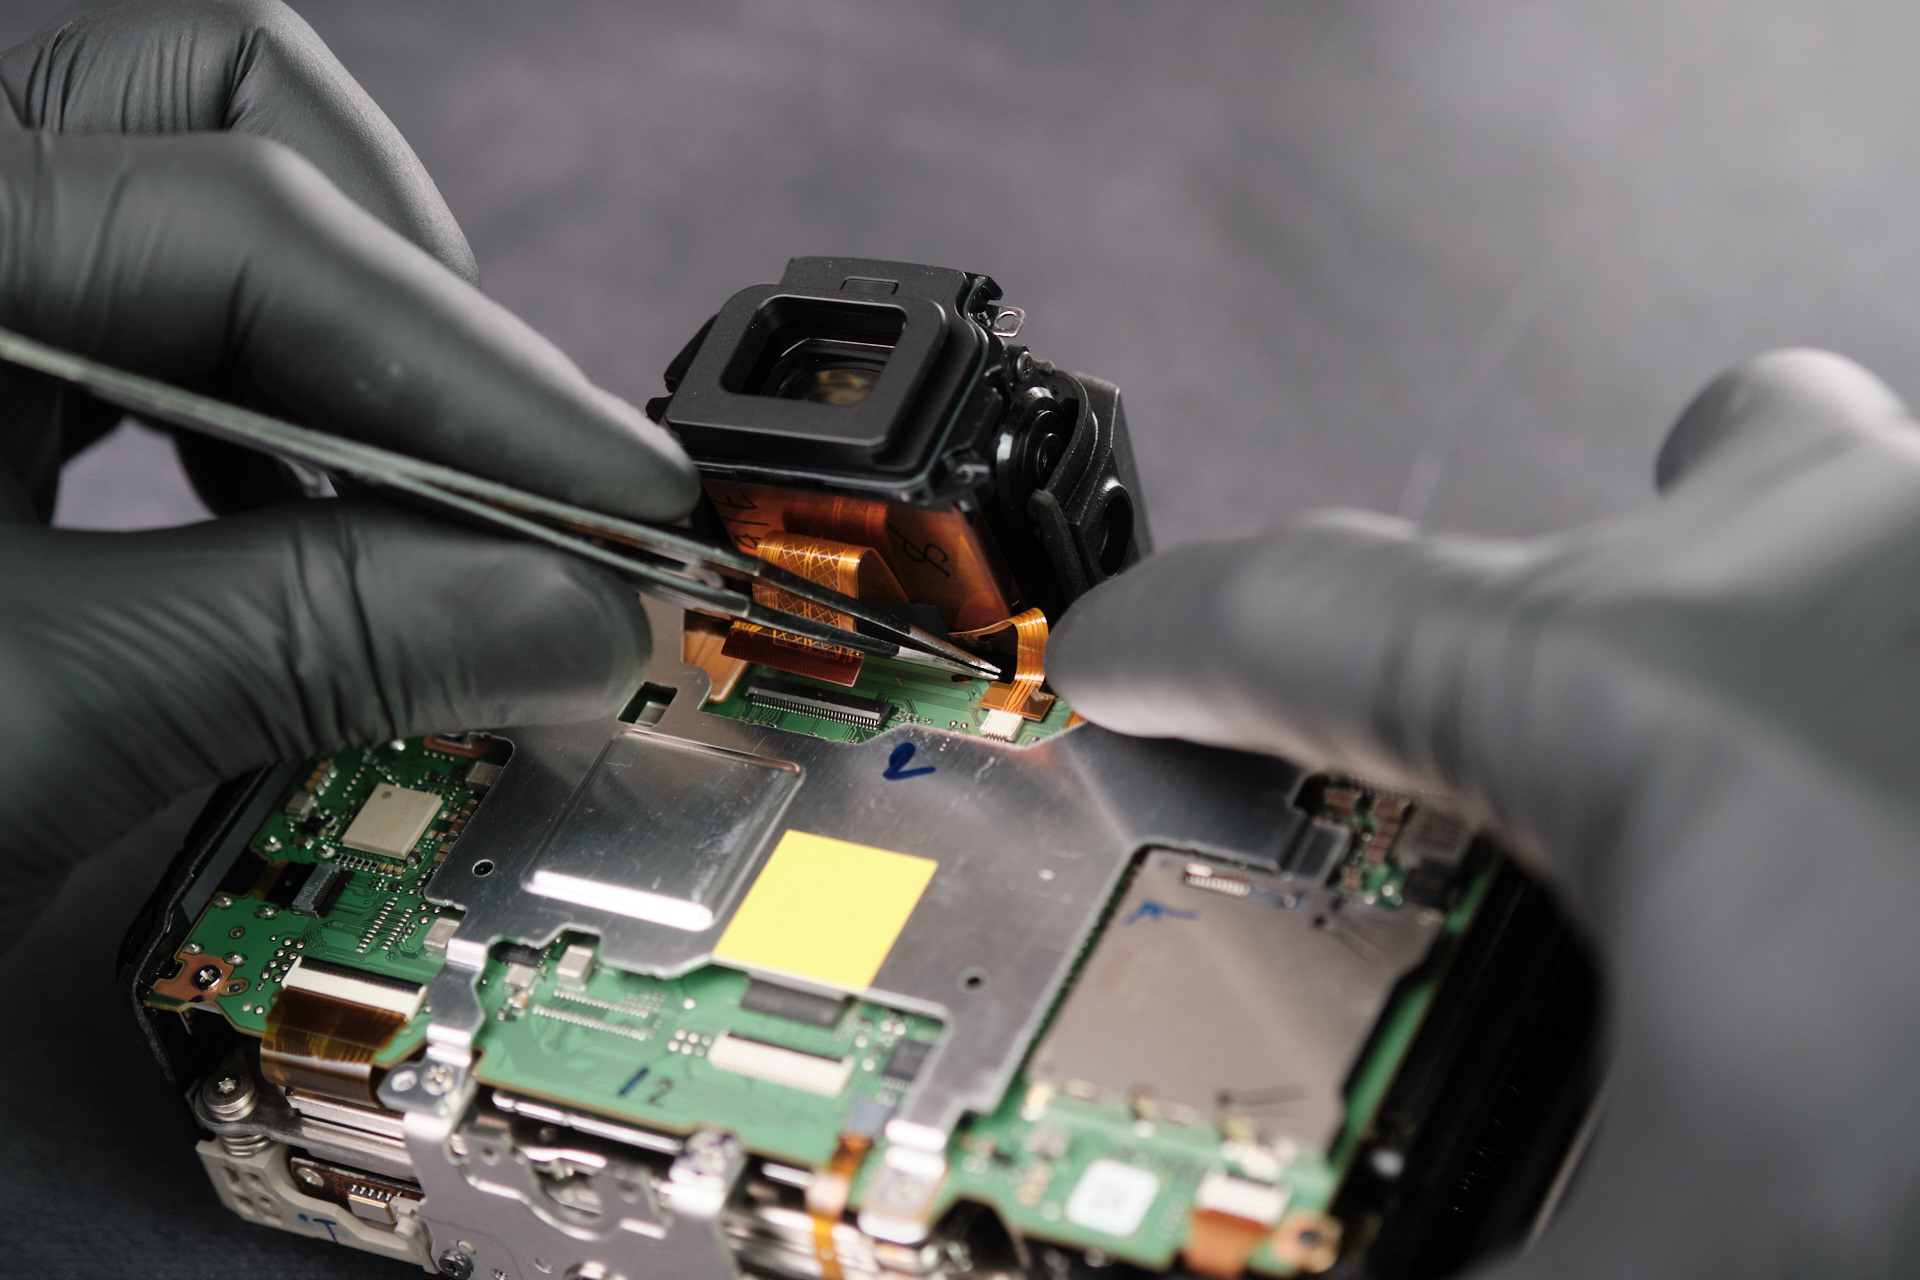
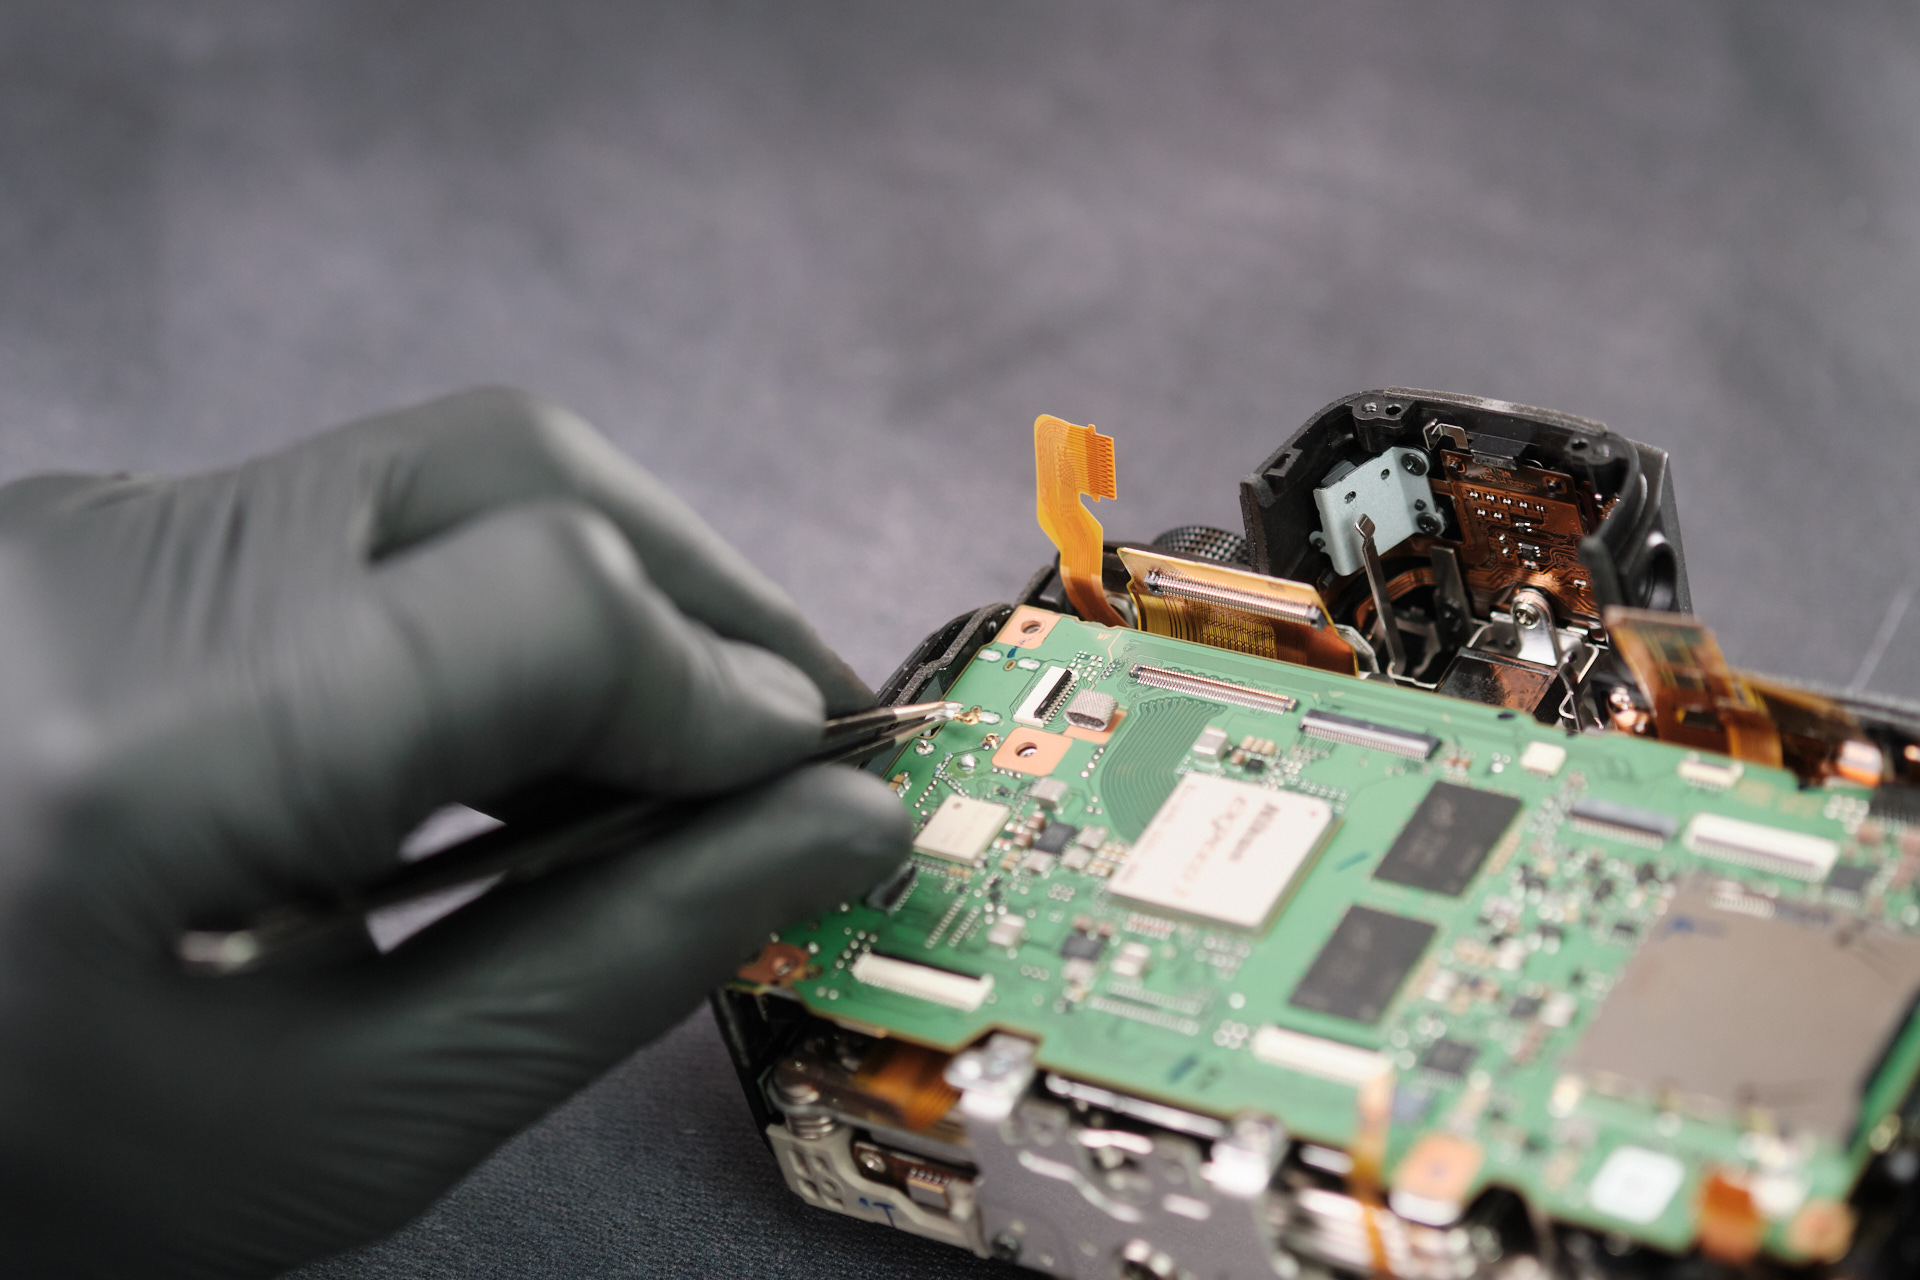
Next we disconnected two ribbon cables that attach to the EVF. This allowed us to finally remove the entire EVF assembly.
Removing the RF Shield and Circuit Board Connections
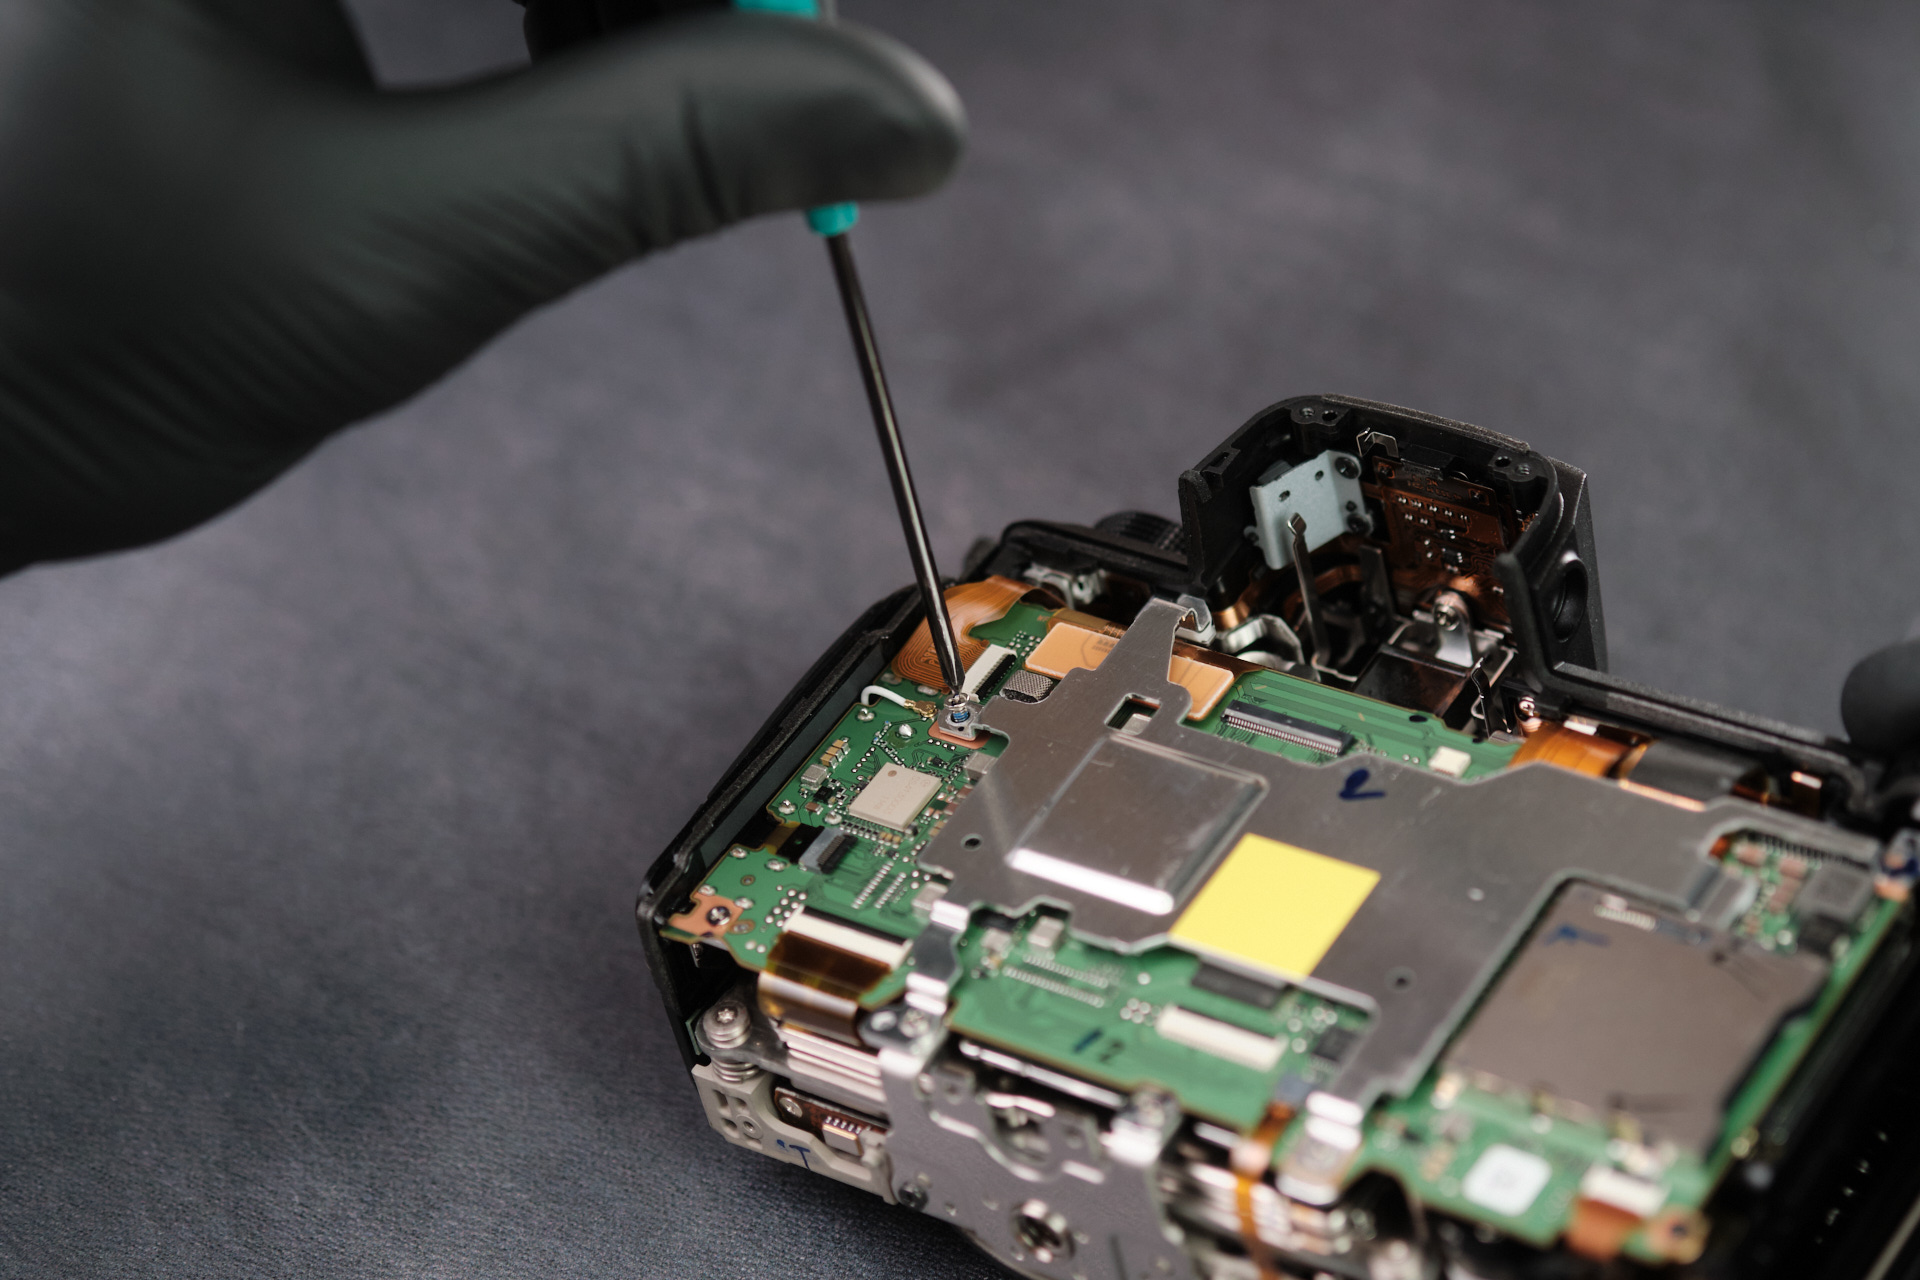
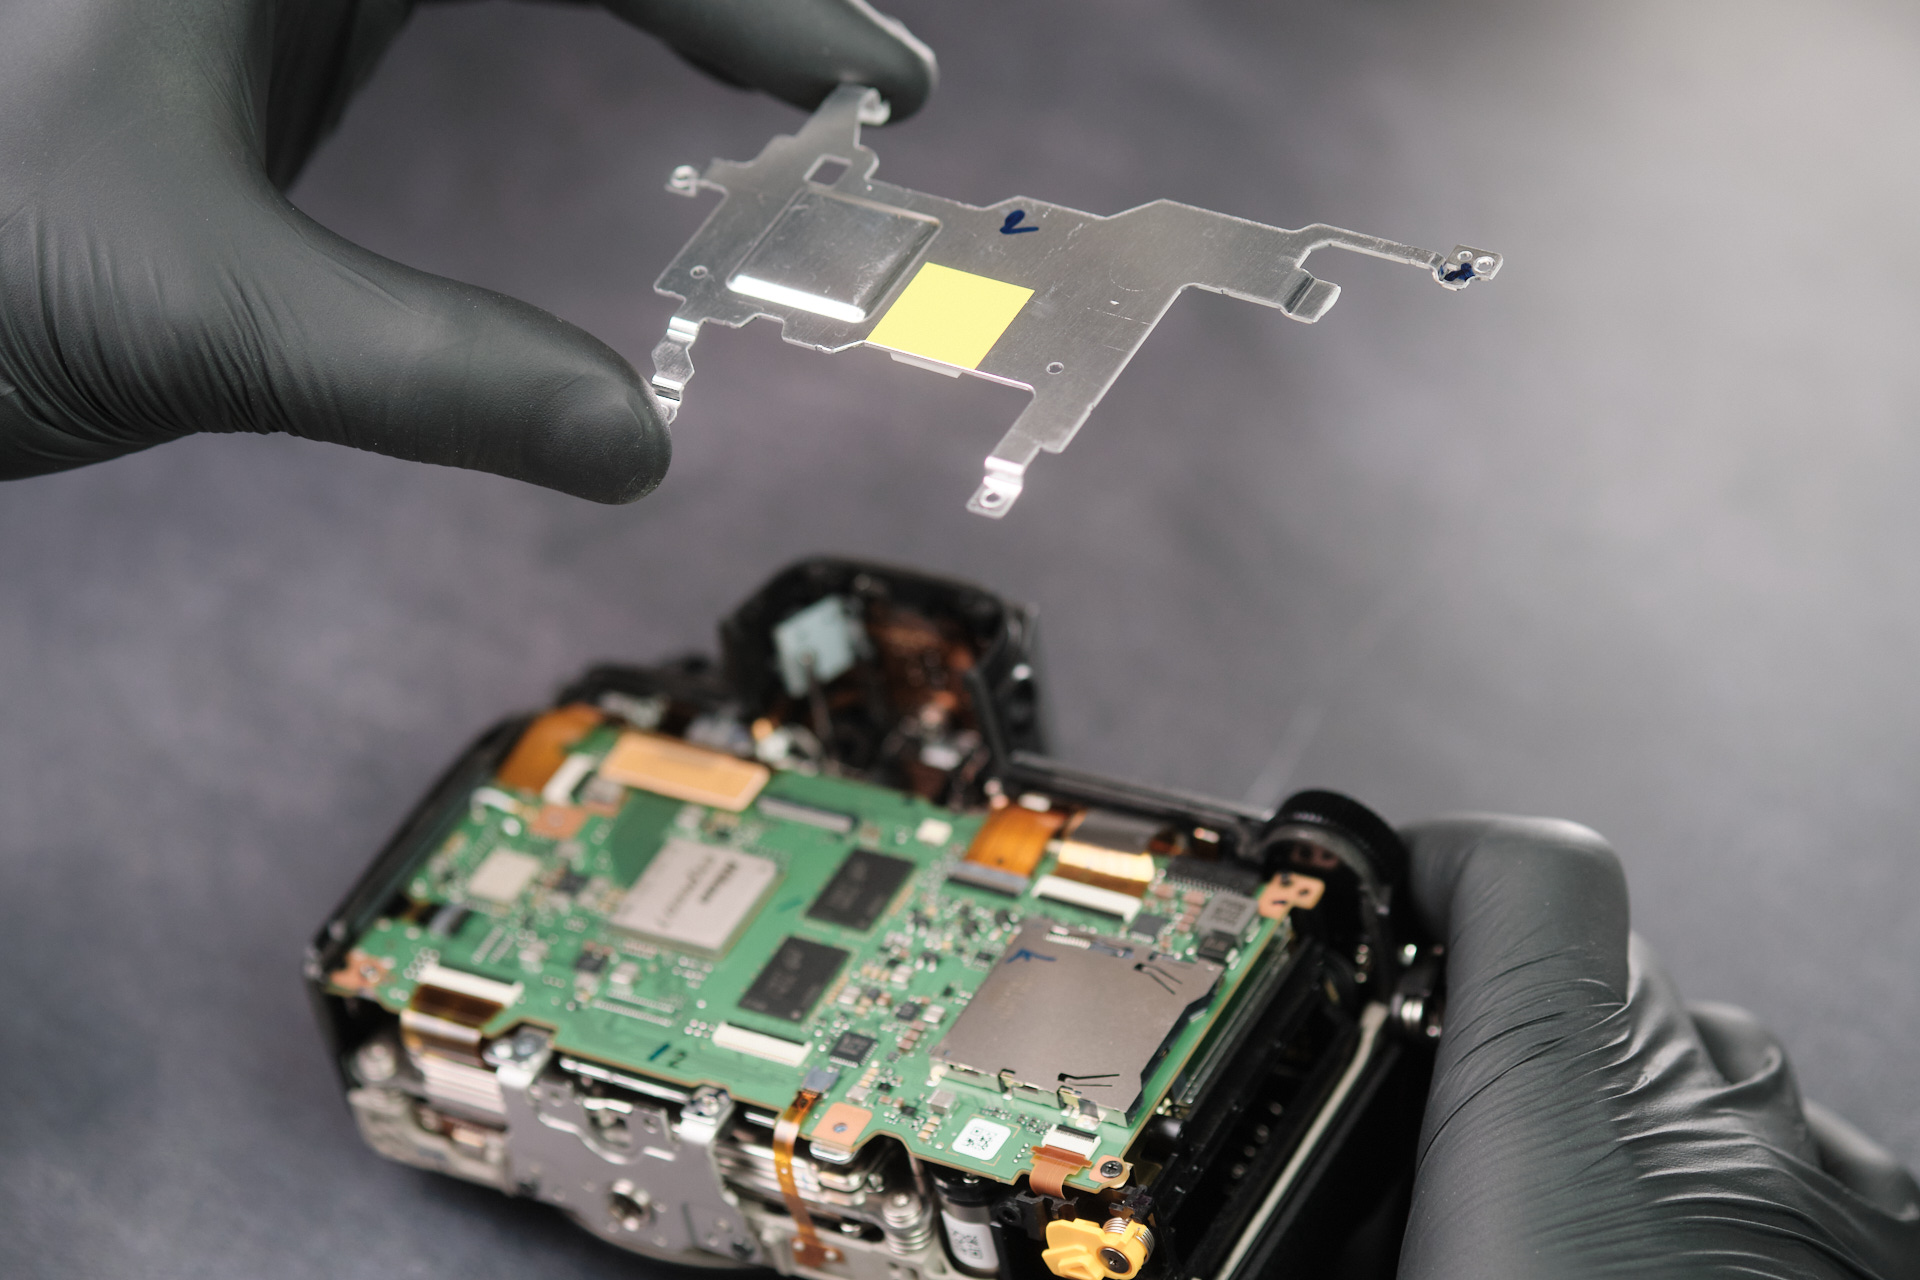
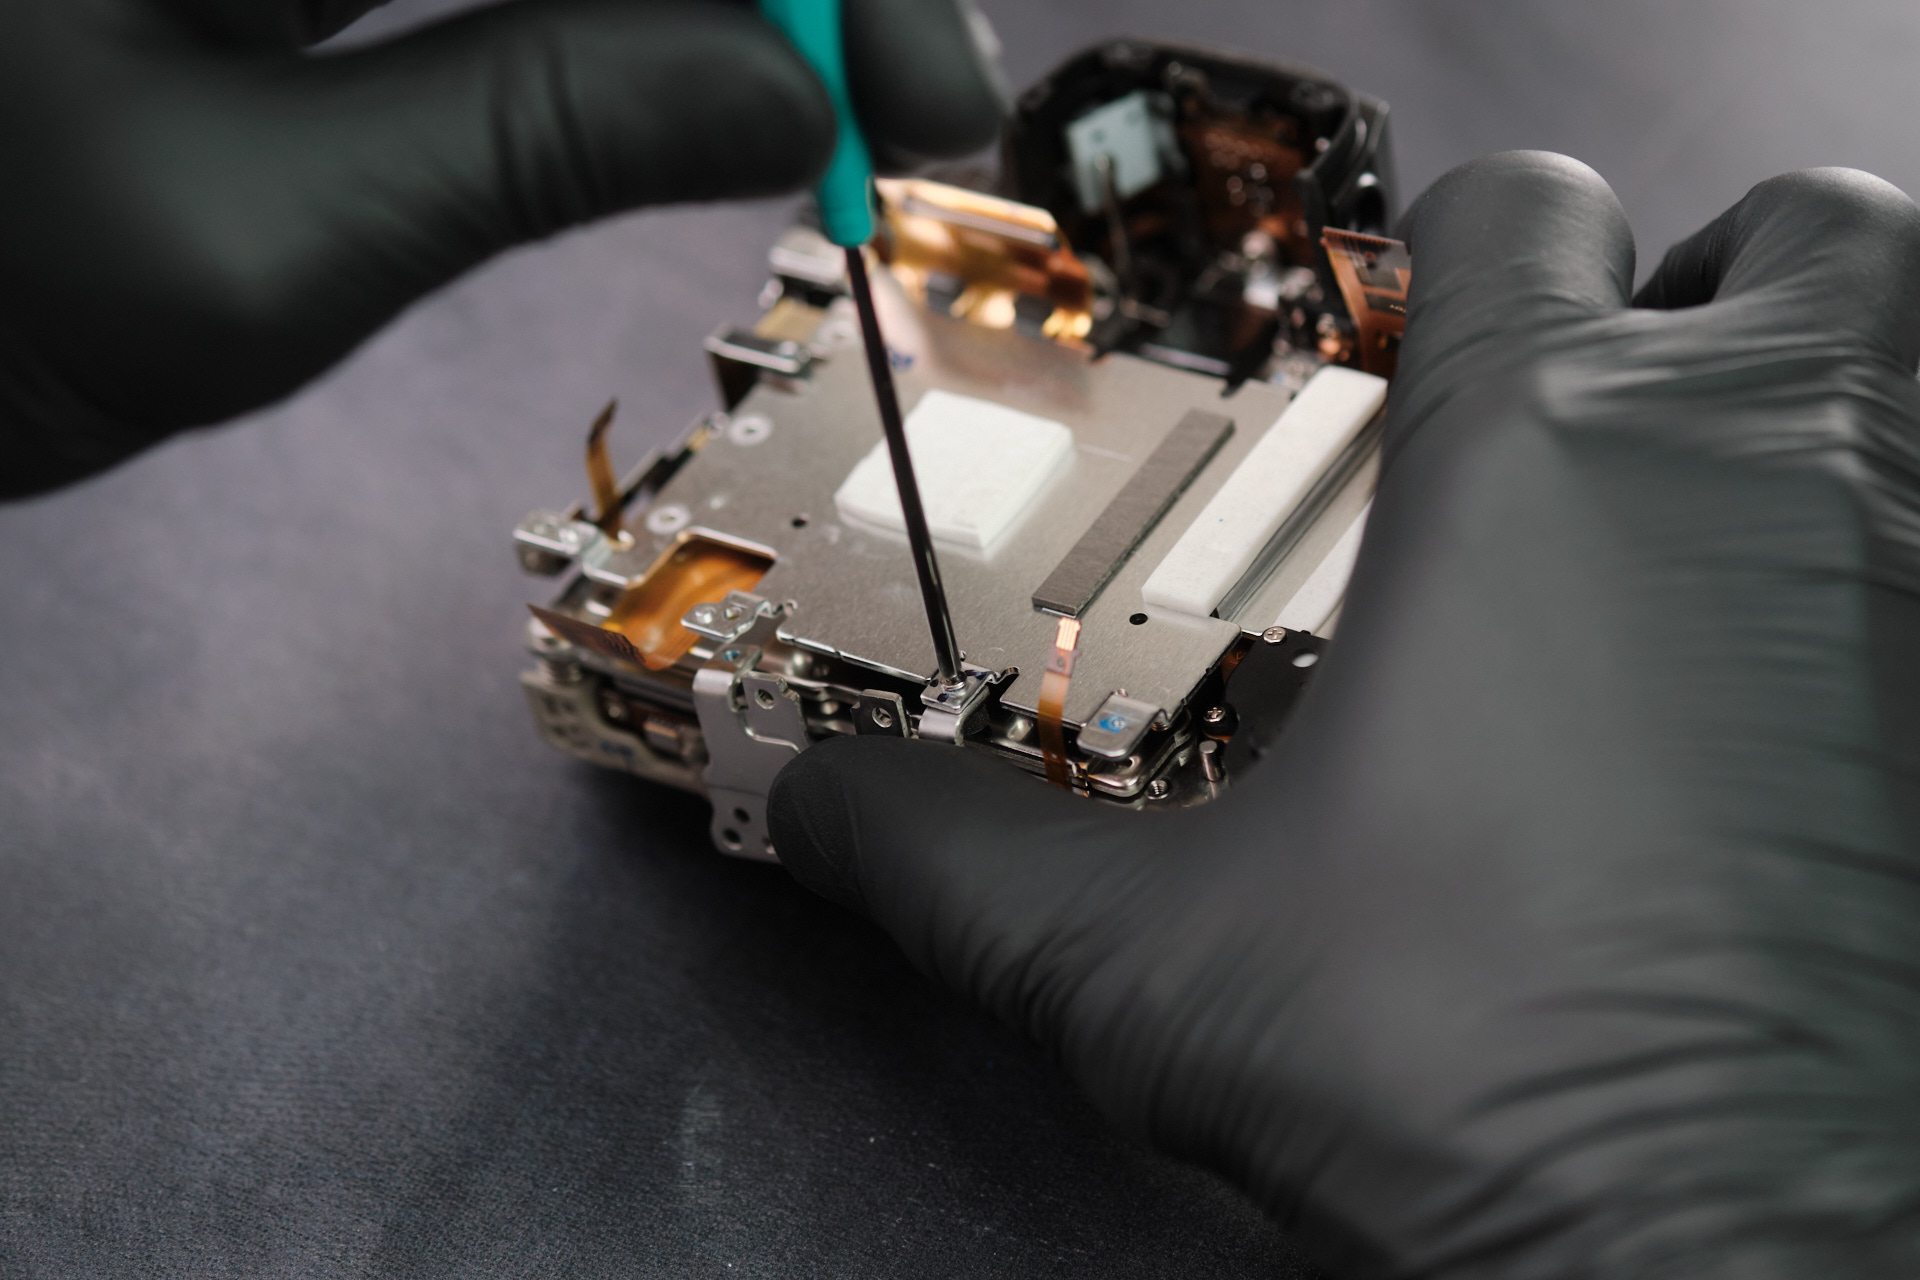
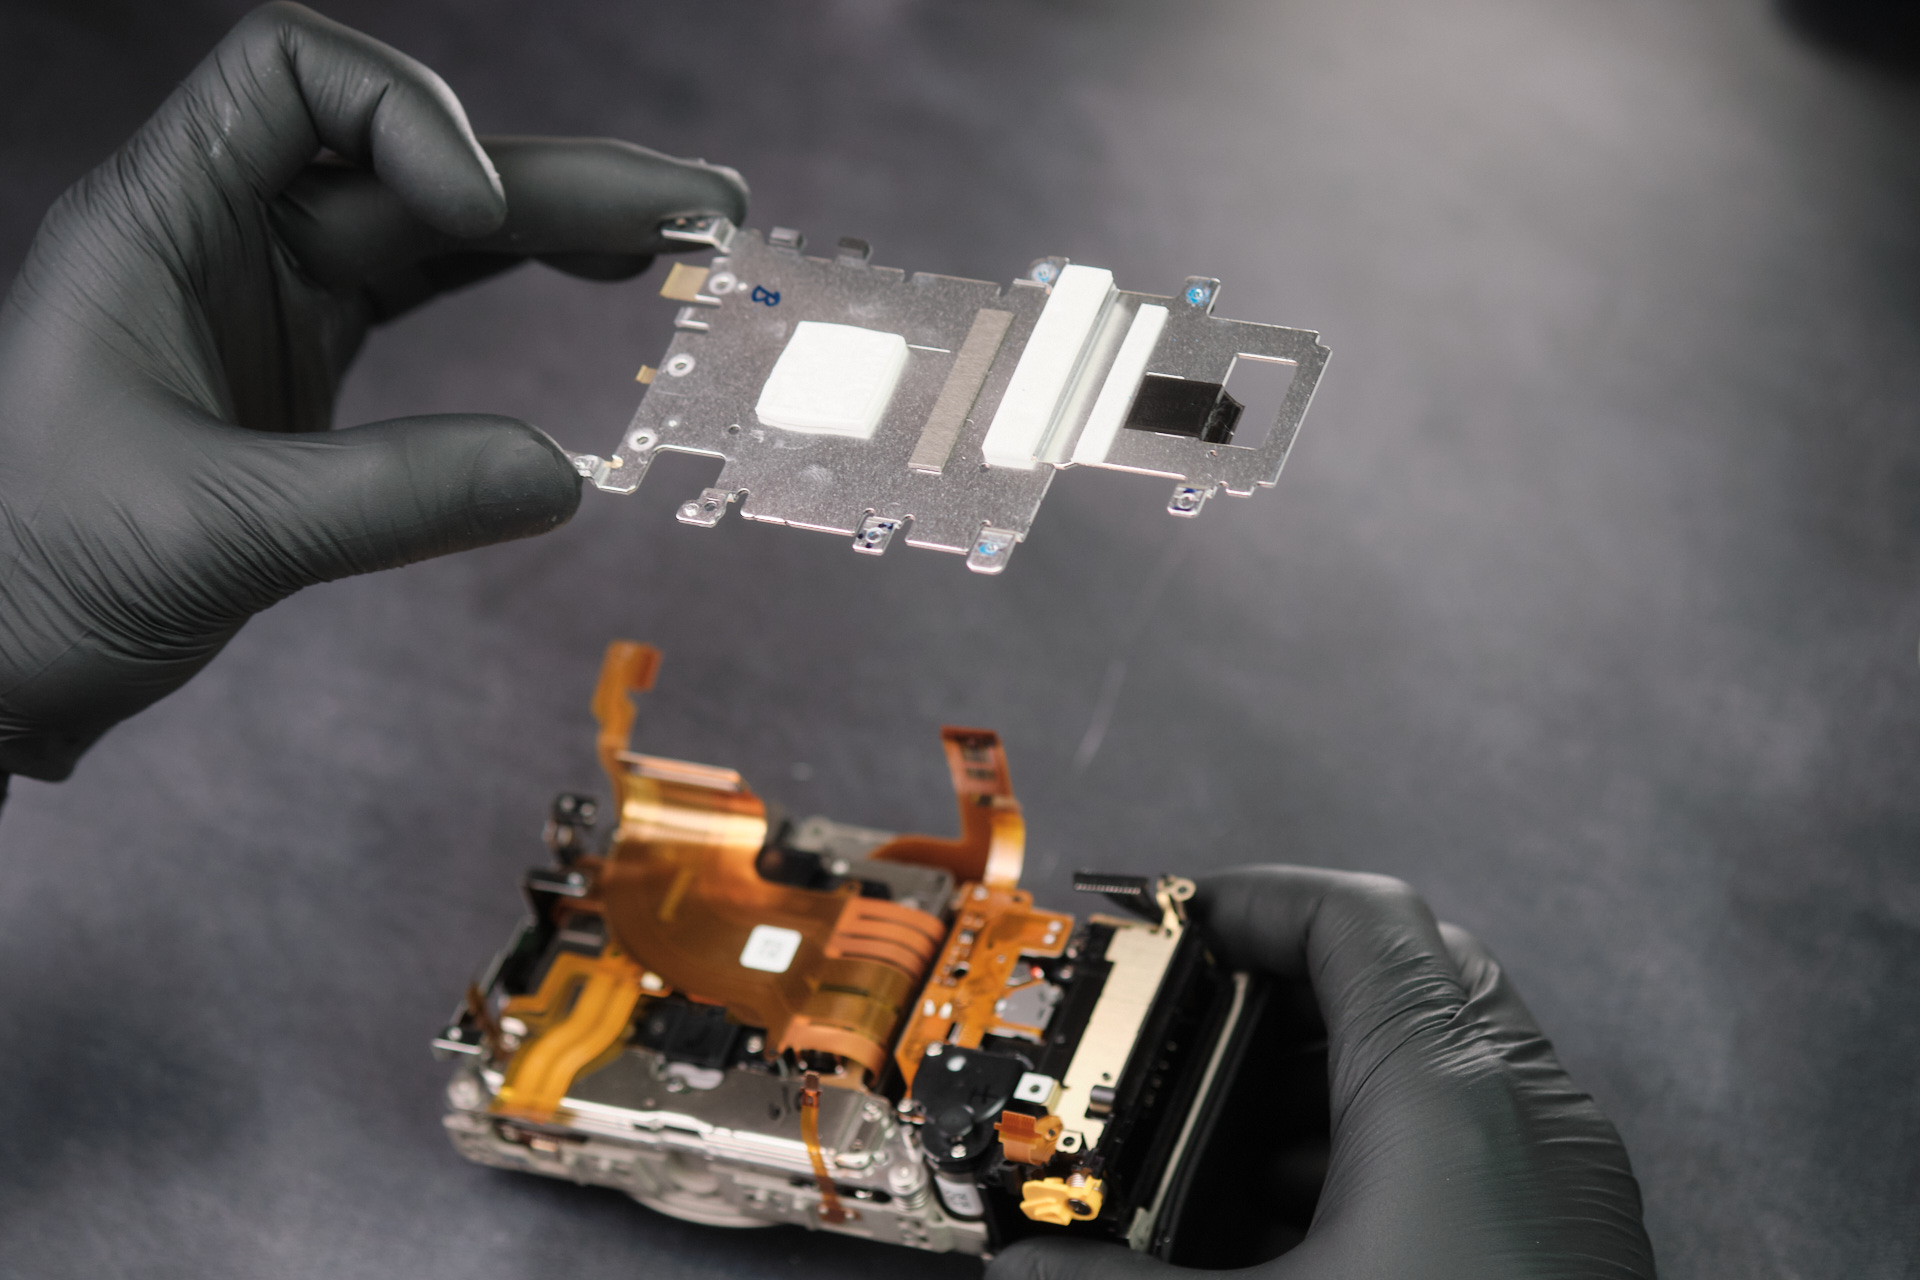
Five screws held the RF shield to the circuitboard.
Removing the Nikon Z6III Circuit Board Screws
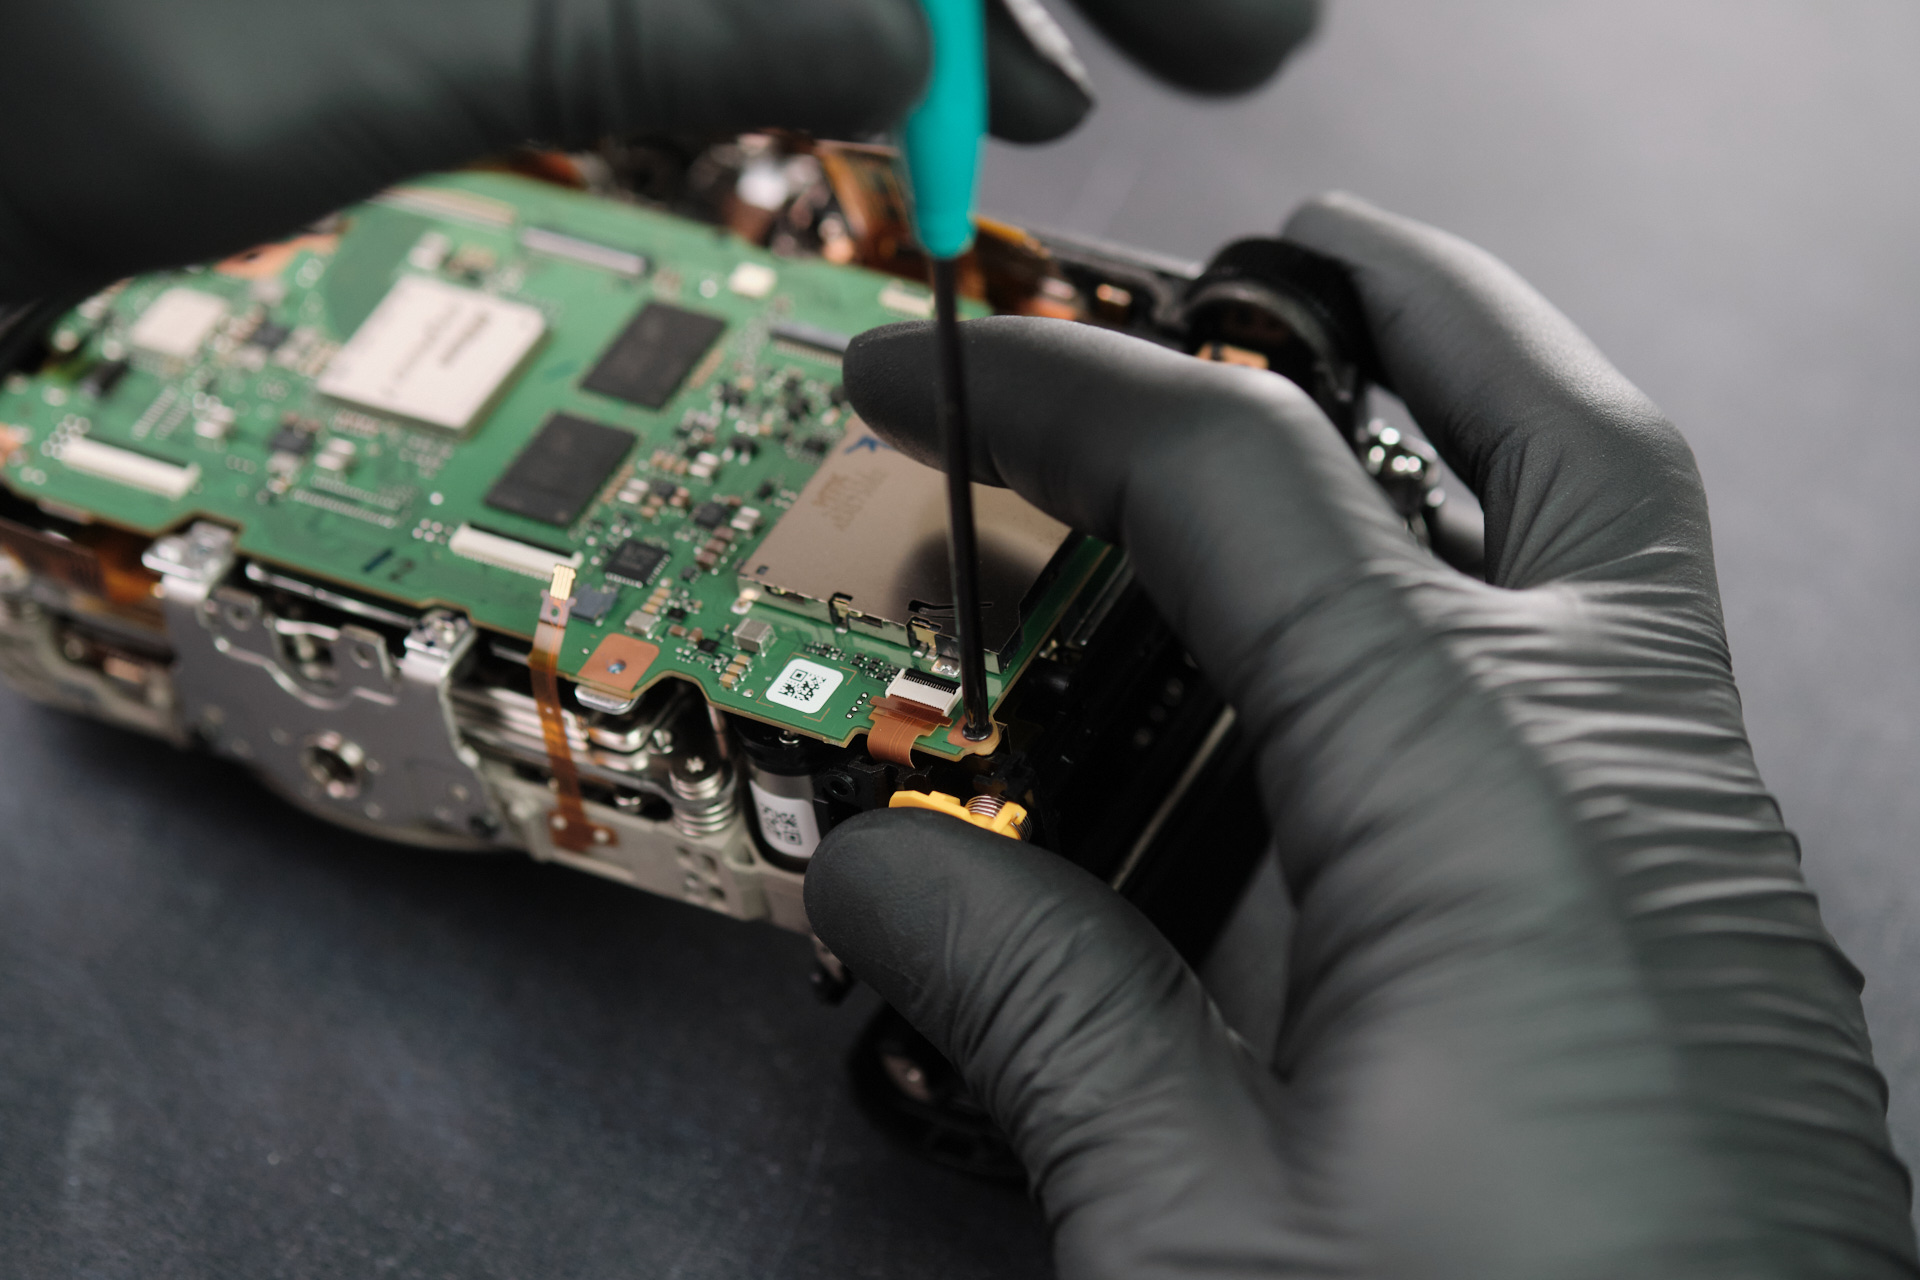
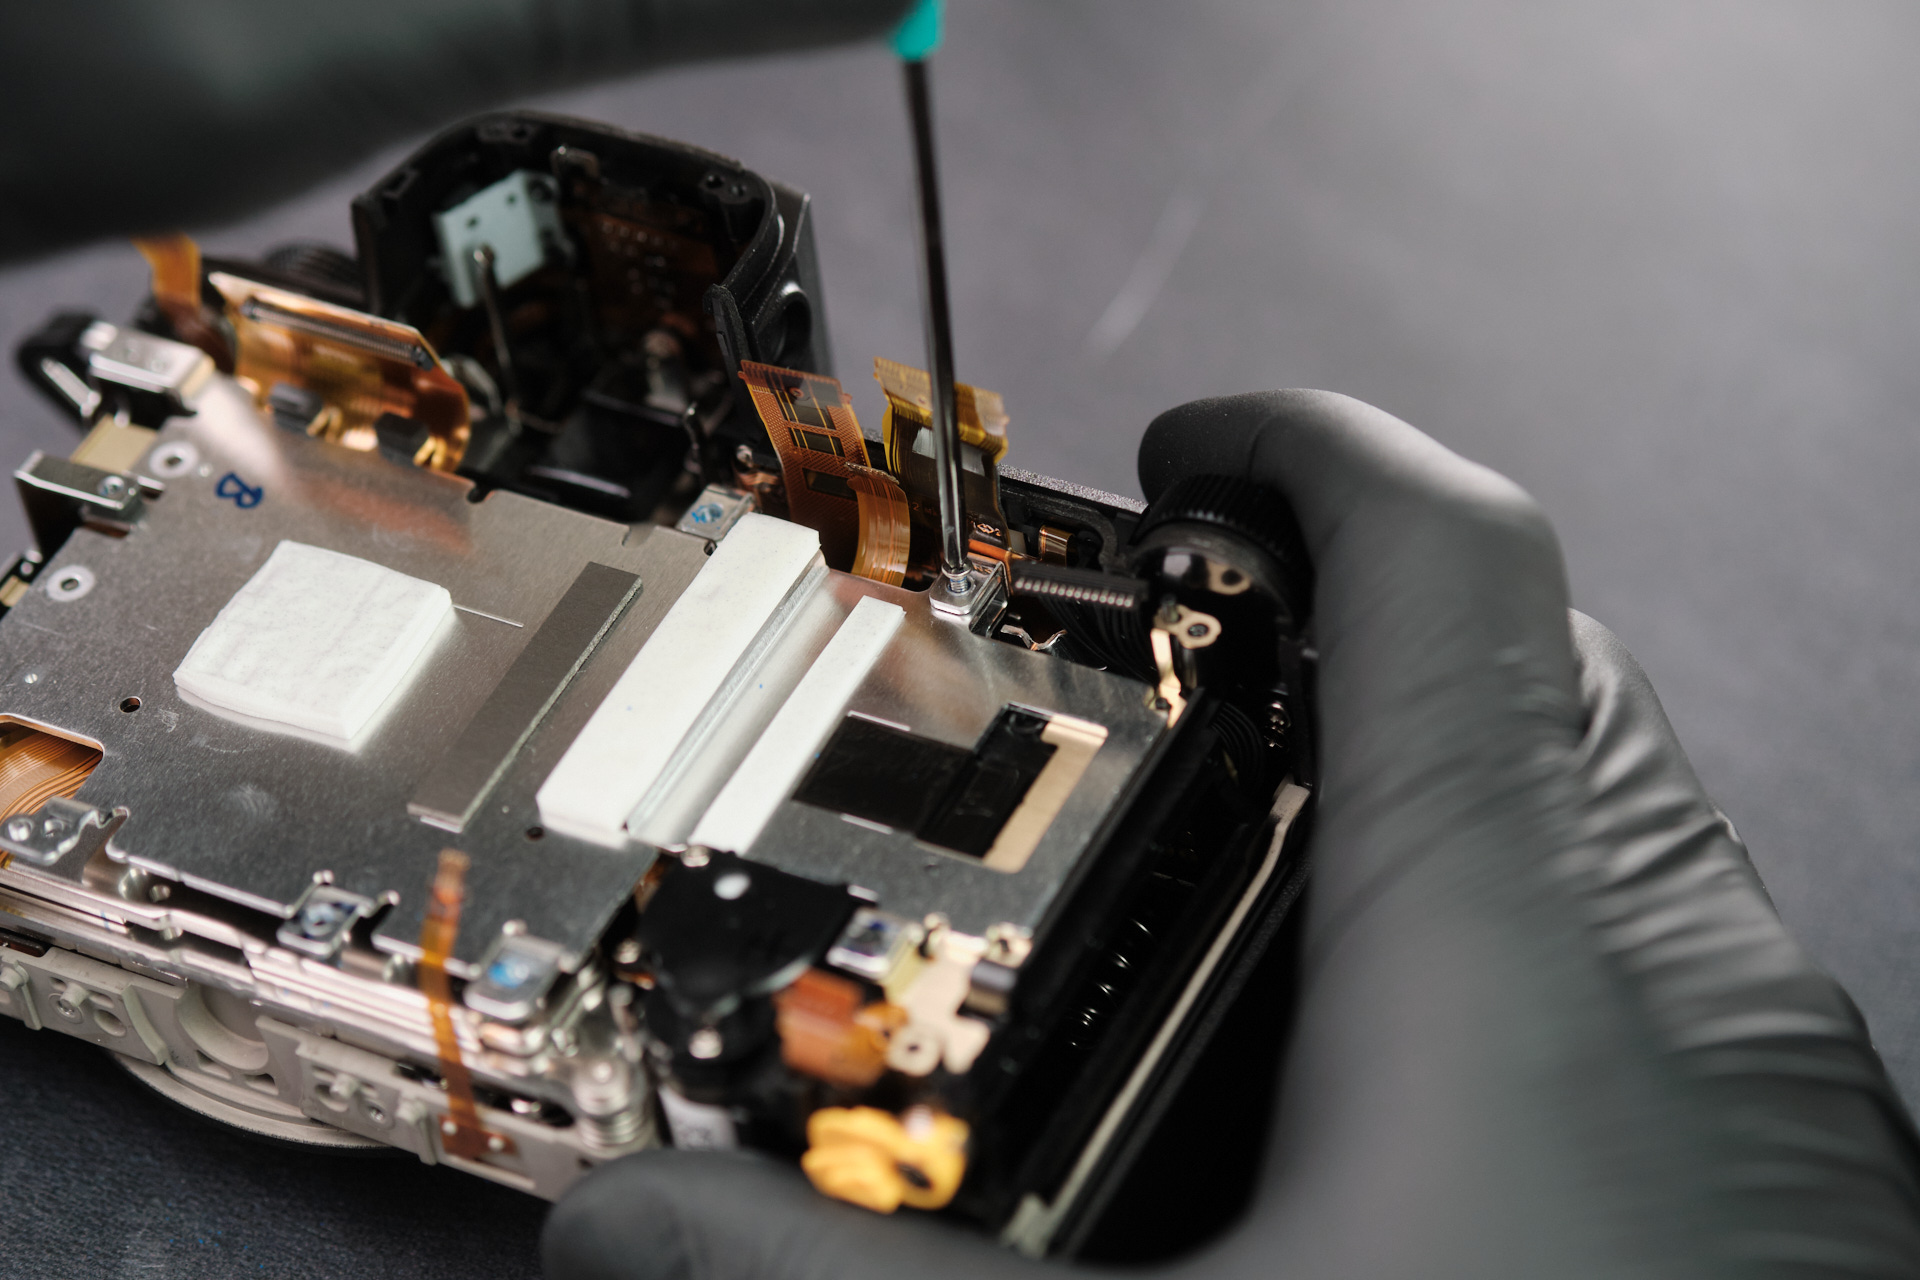
Three screws around the circuitboard’s perimeter held it down inside the camera body.
Removing Port Side Dust Caps and Final Ribbon Cable
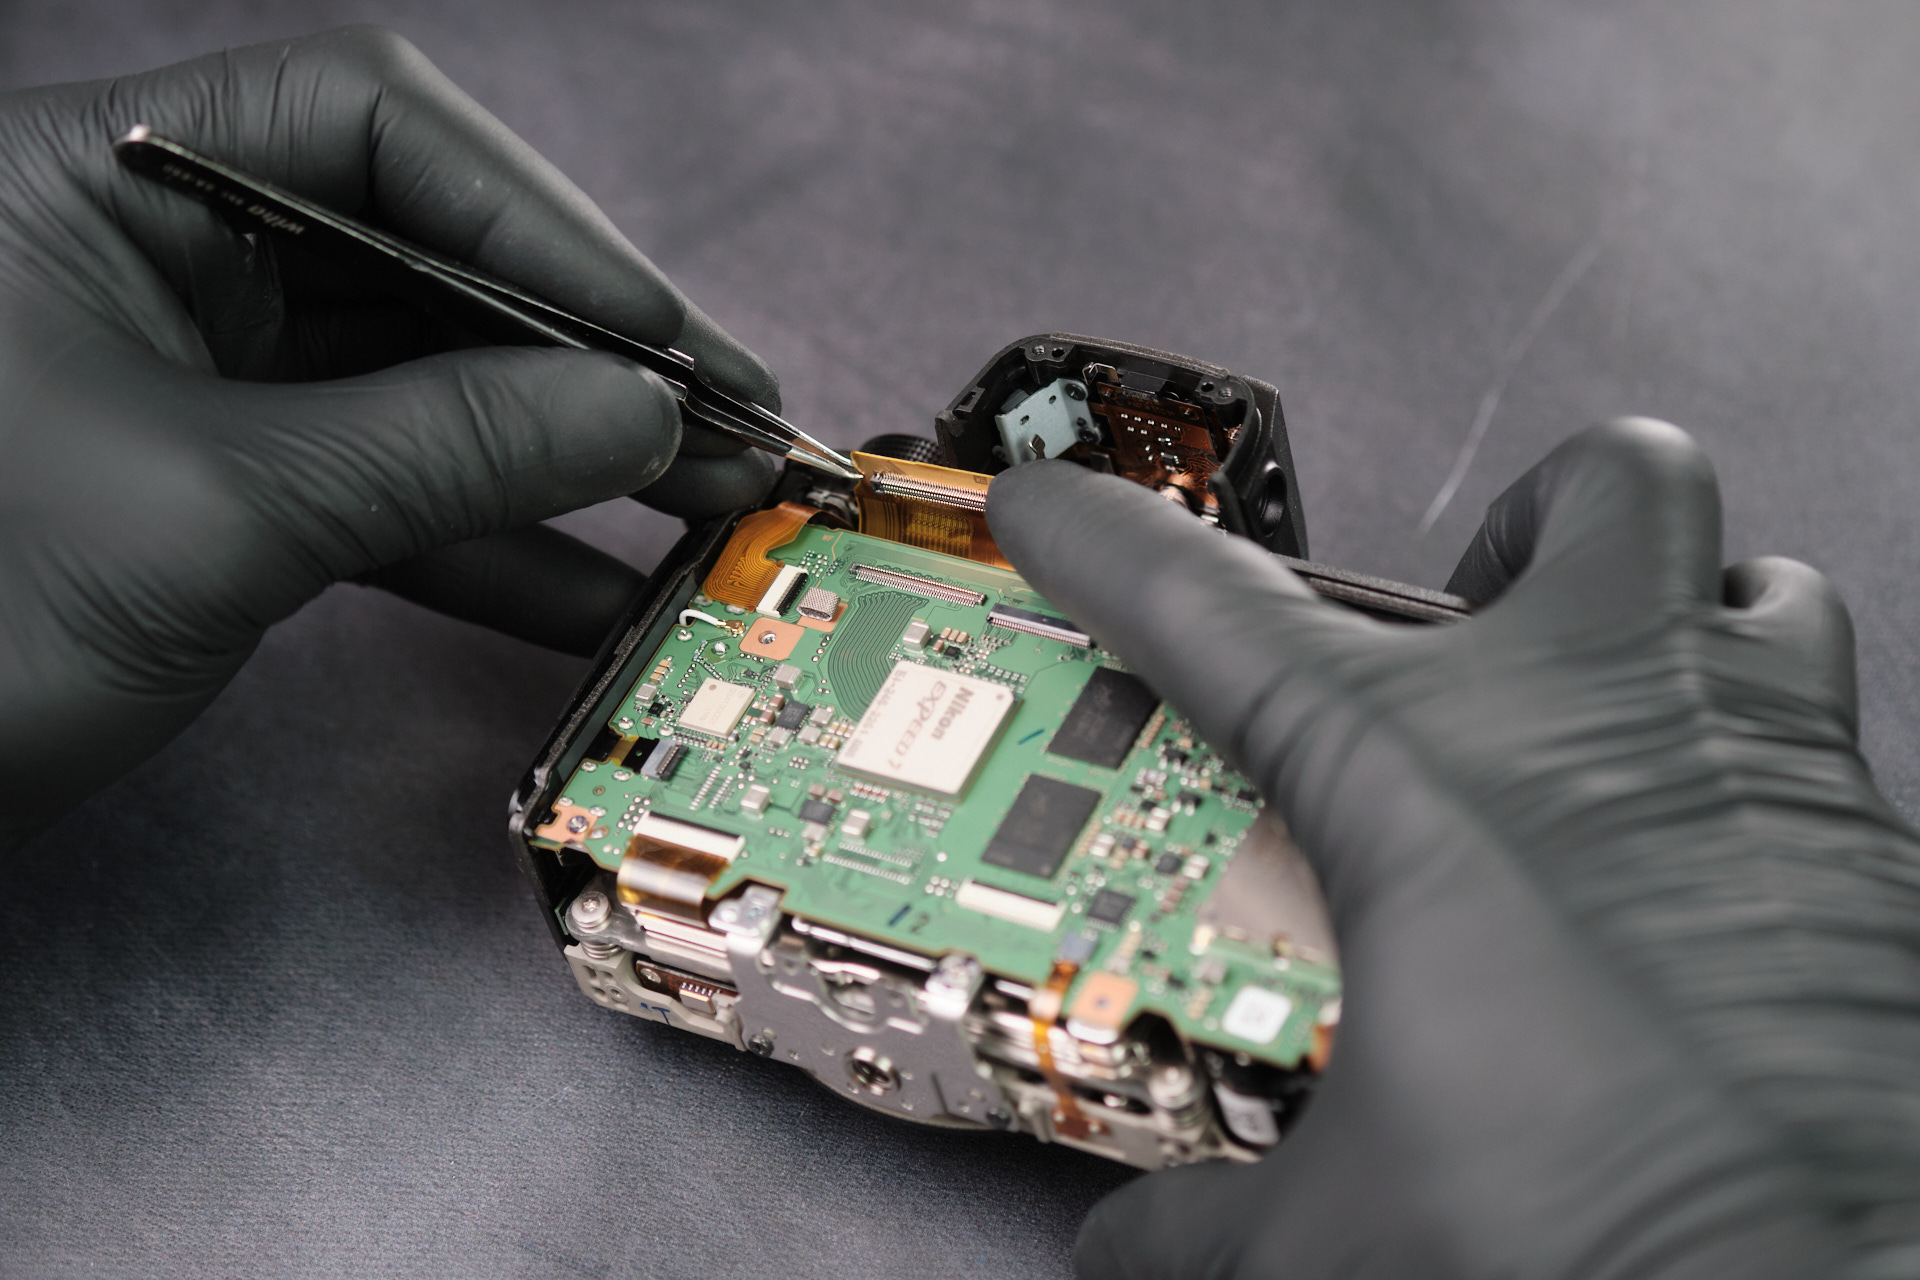
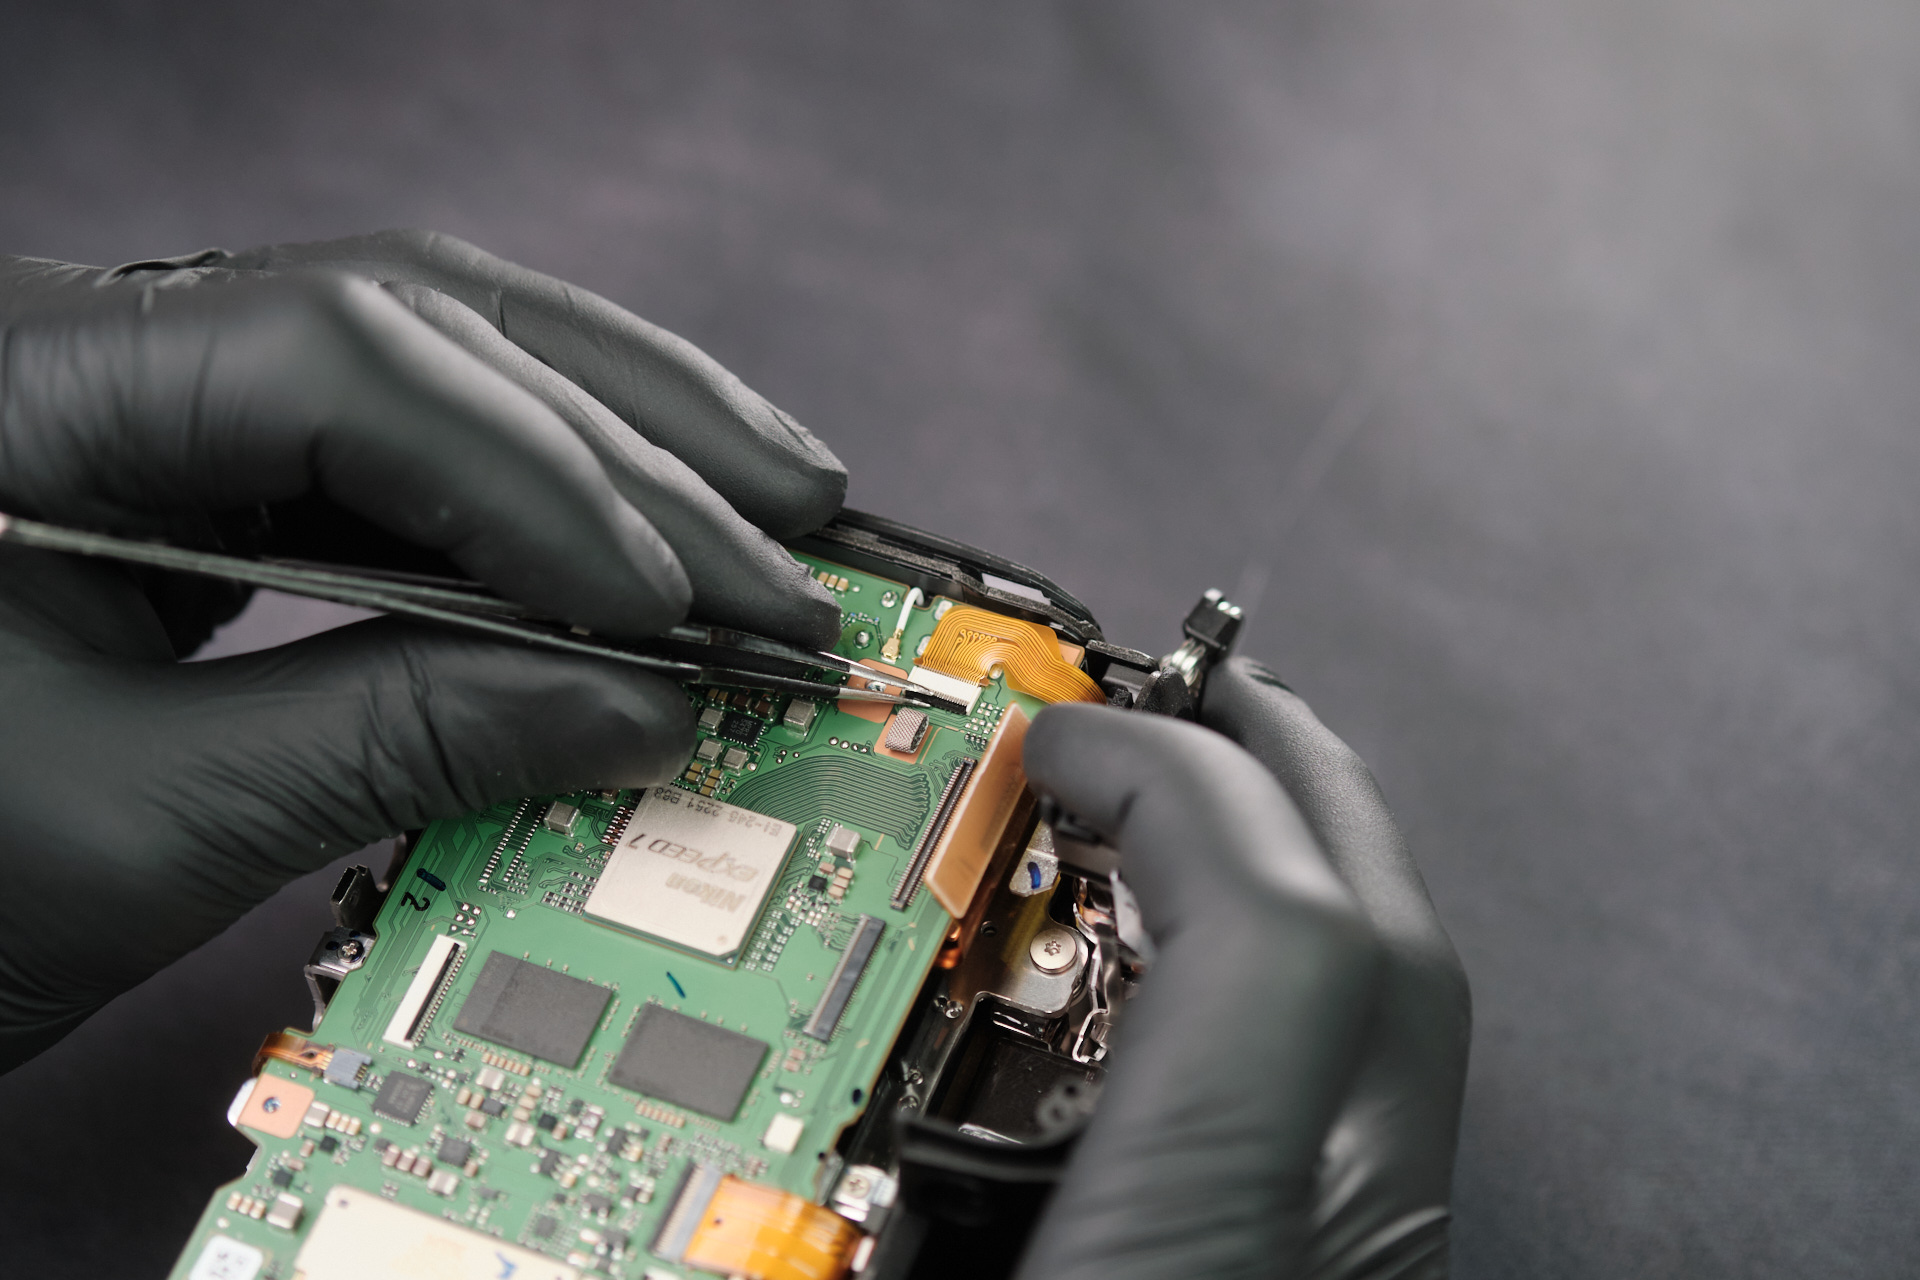
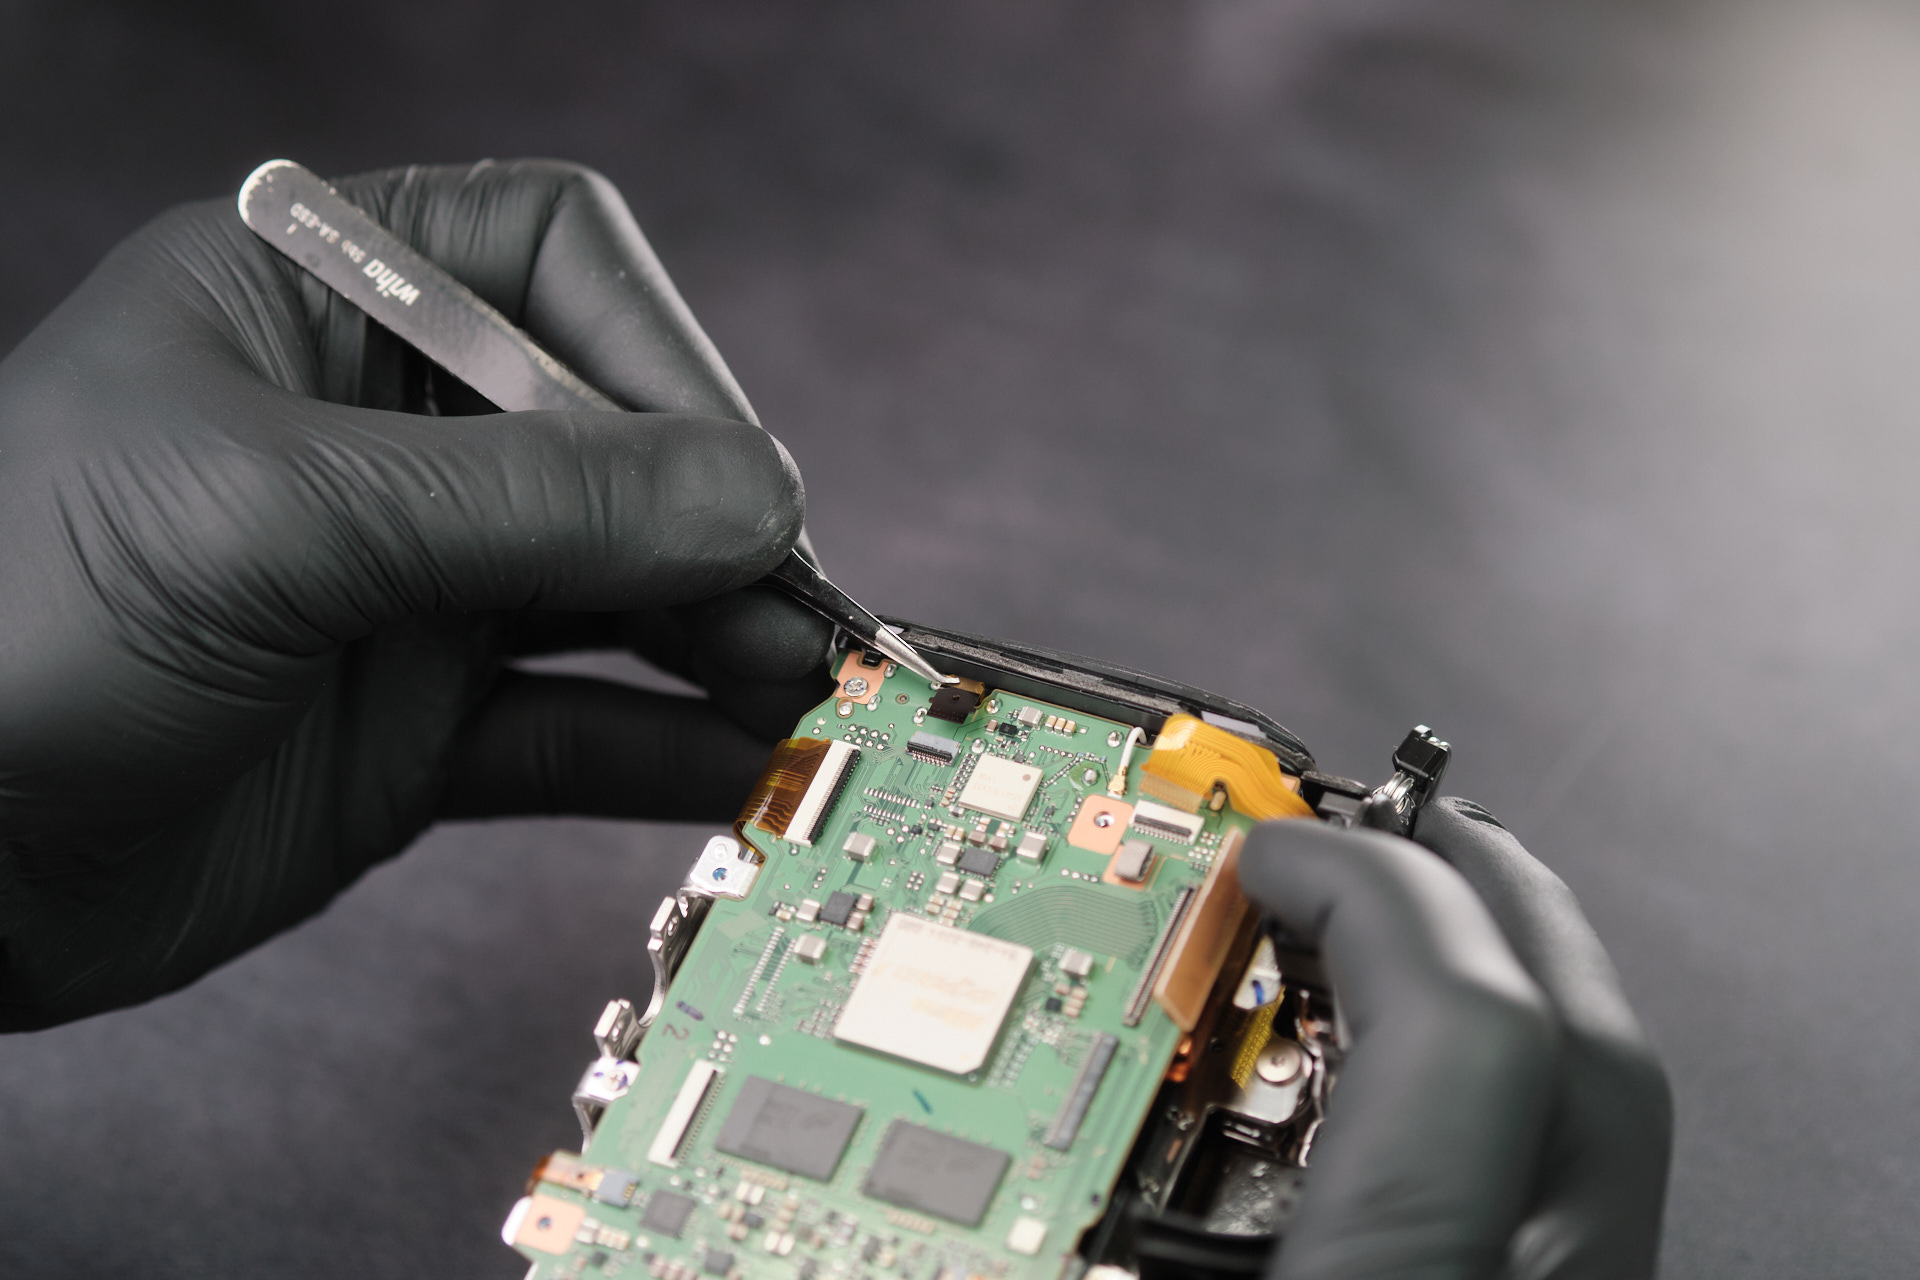
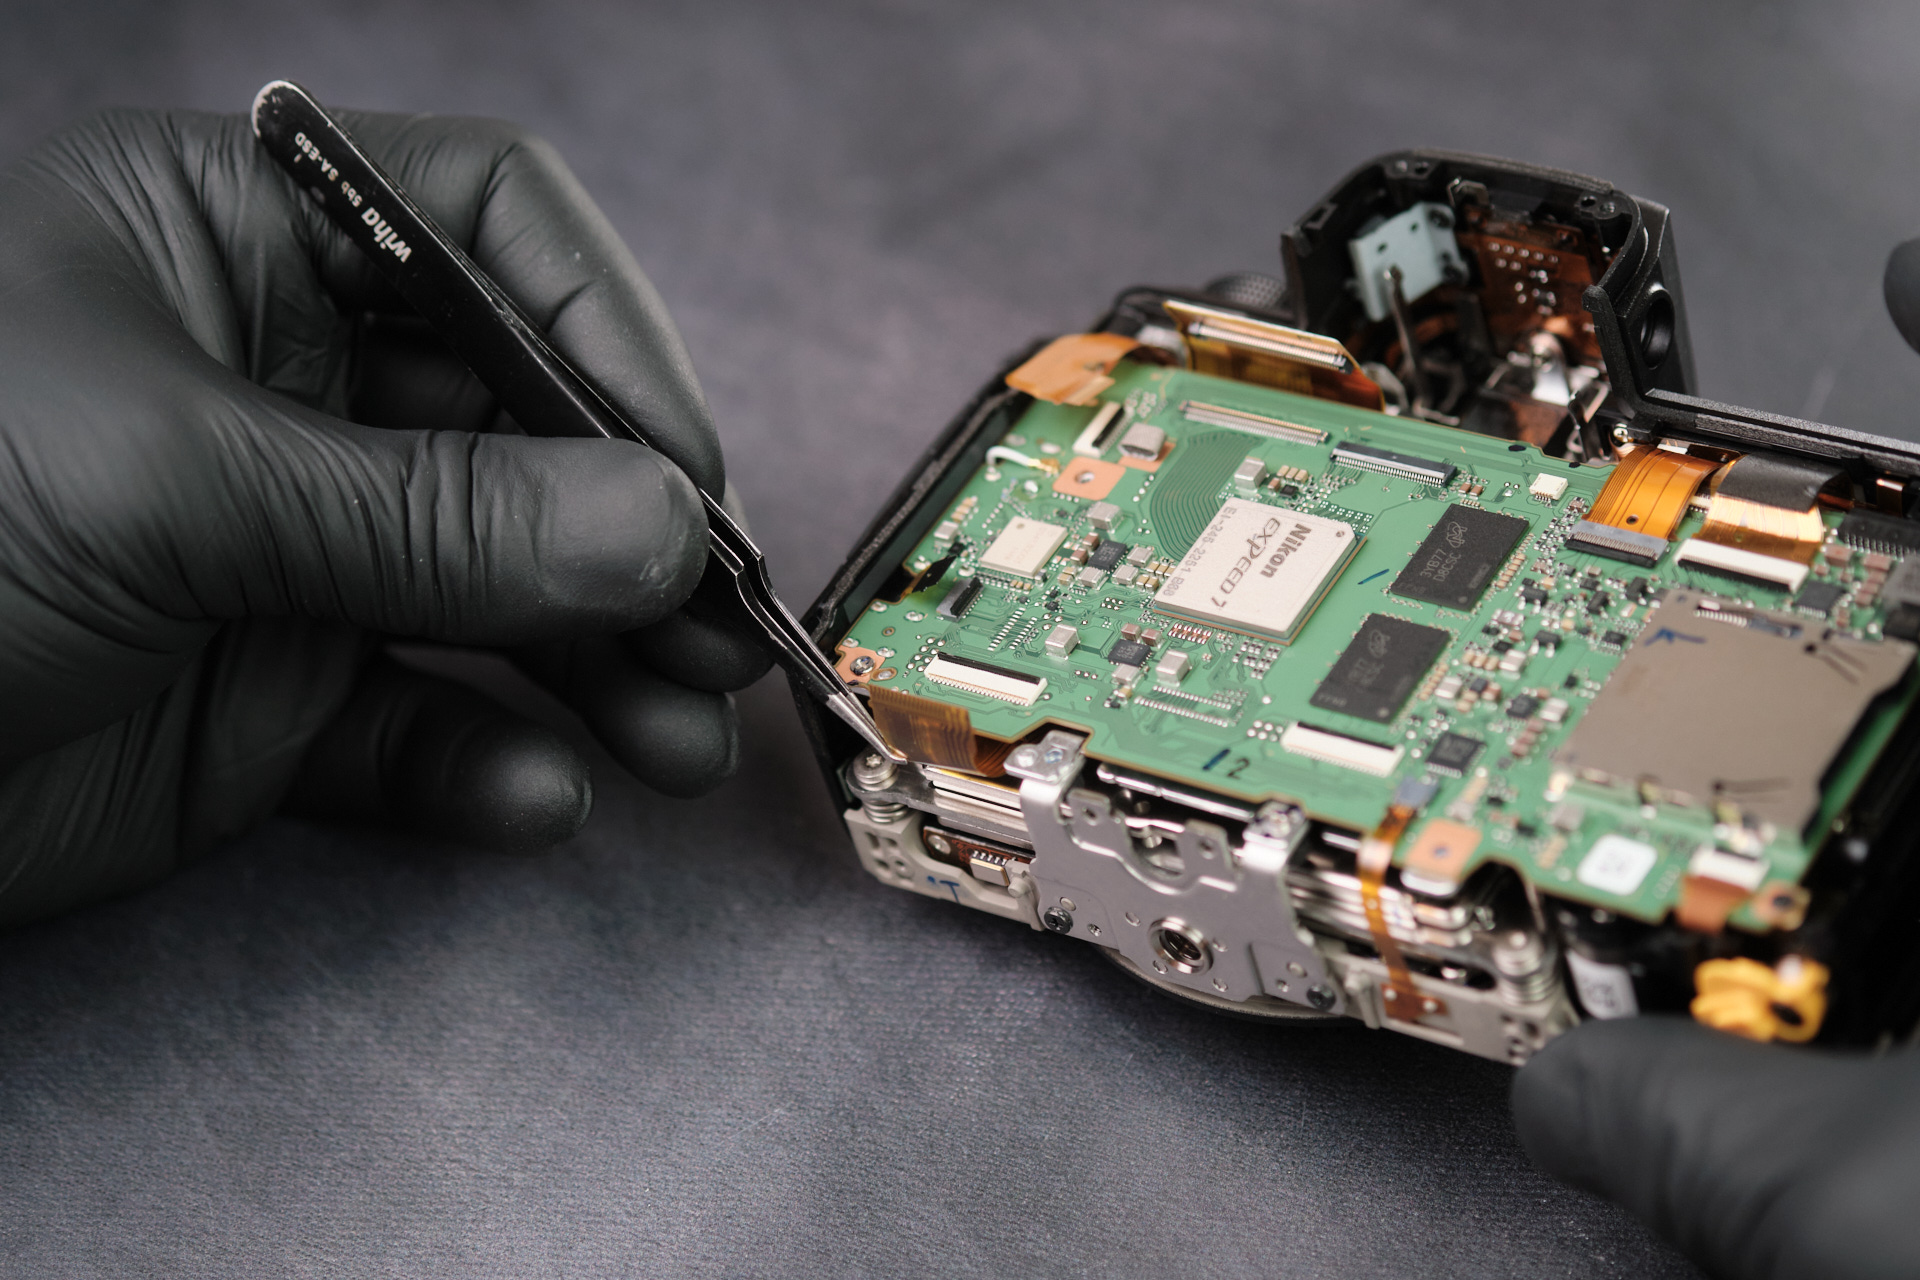
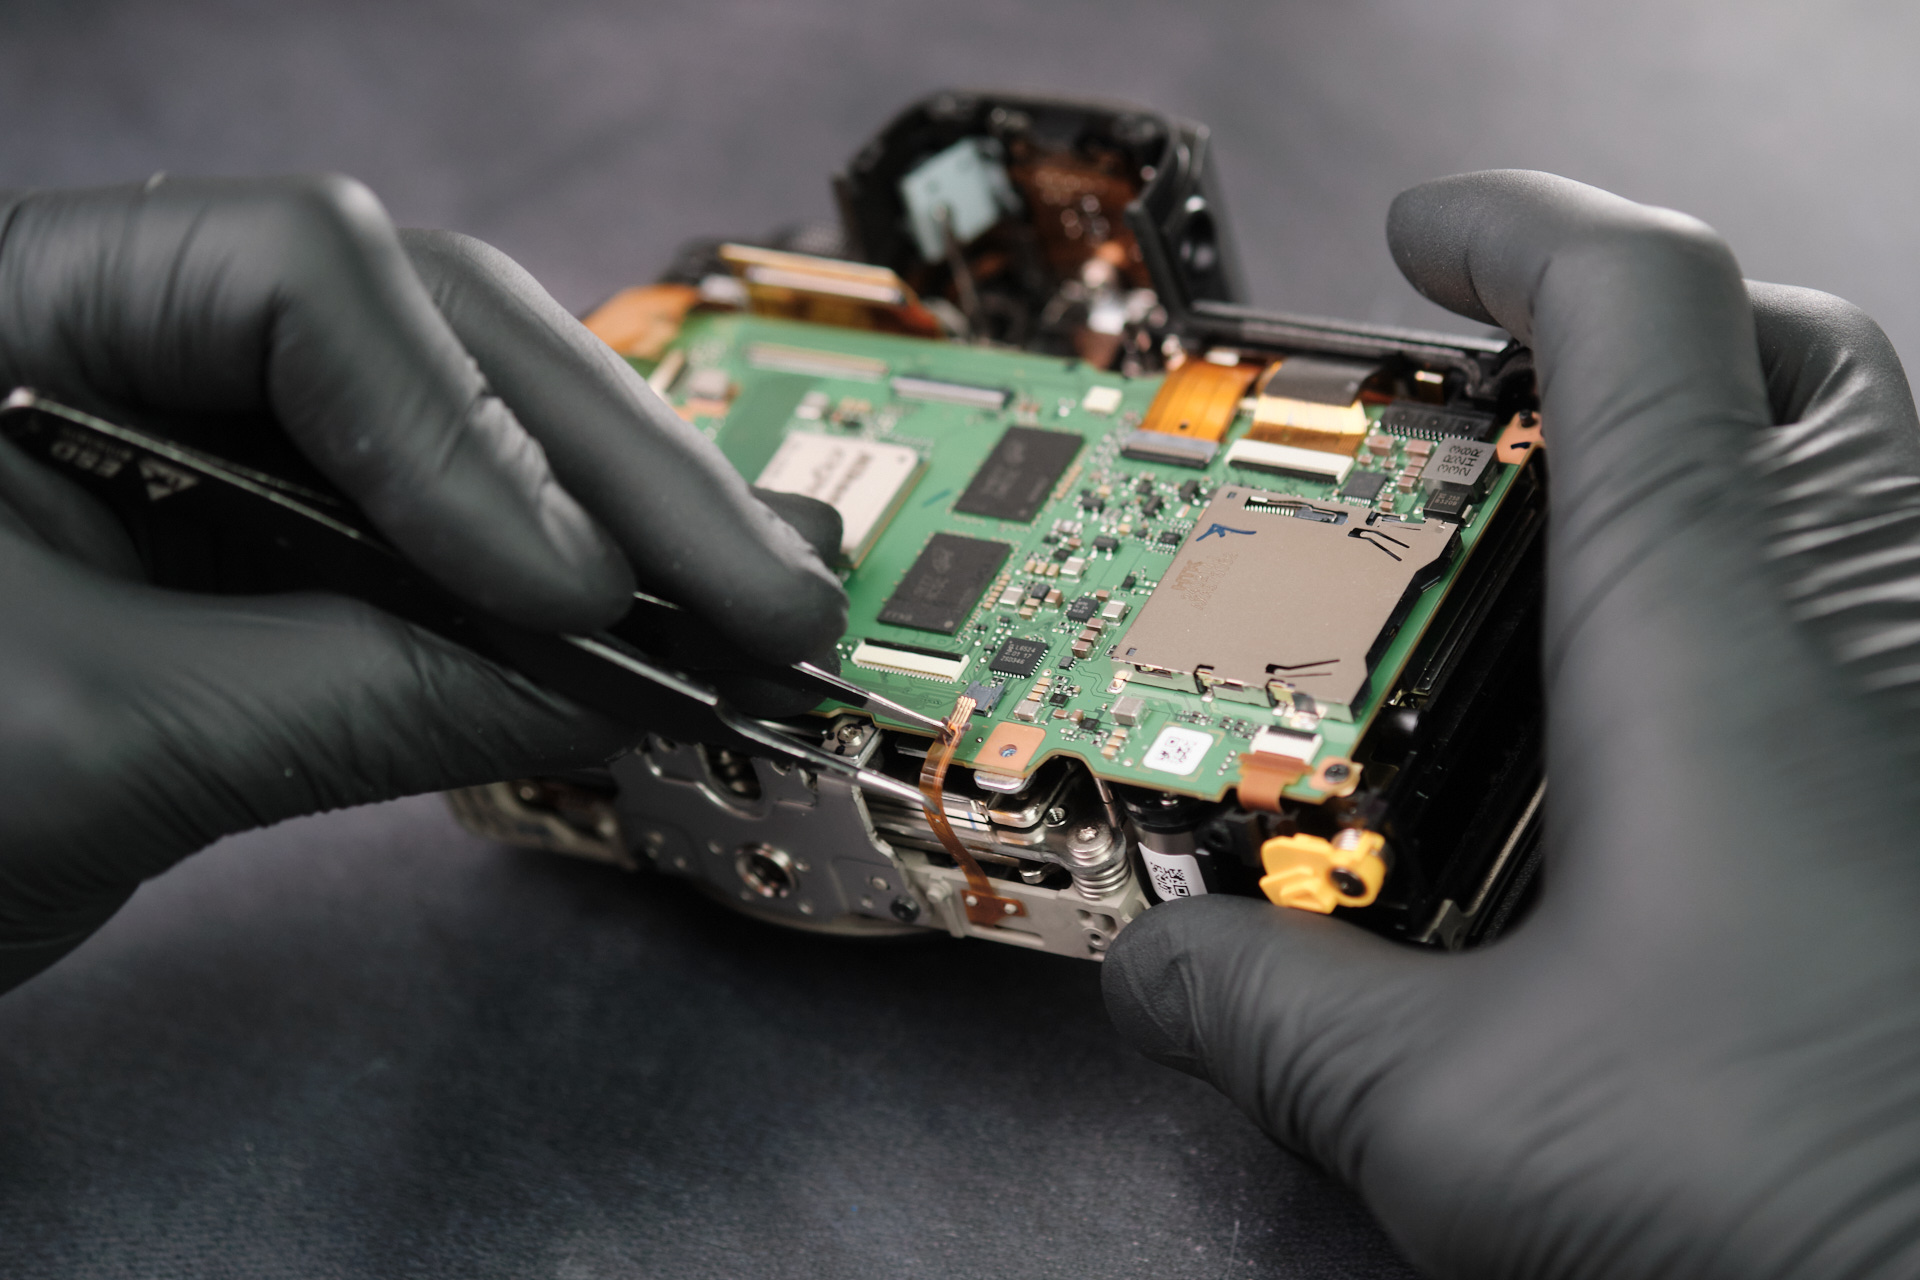
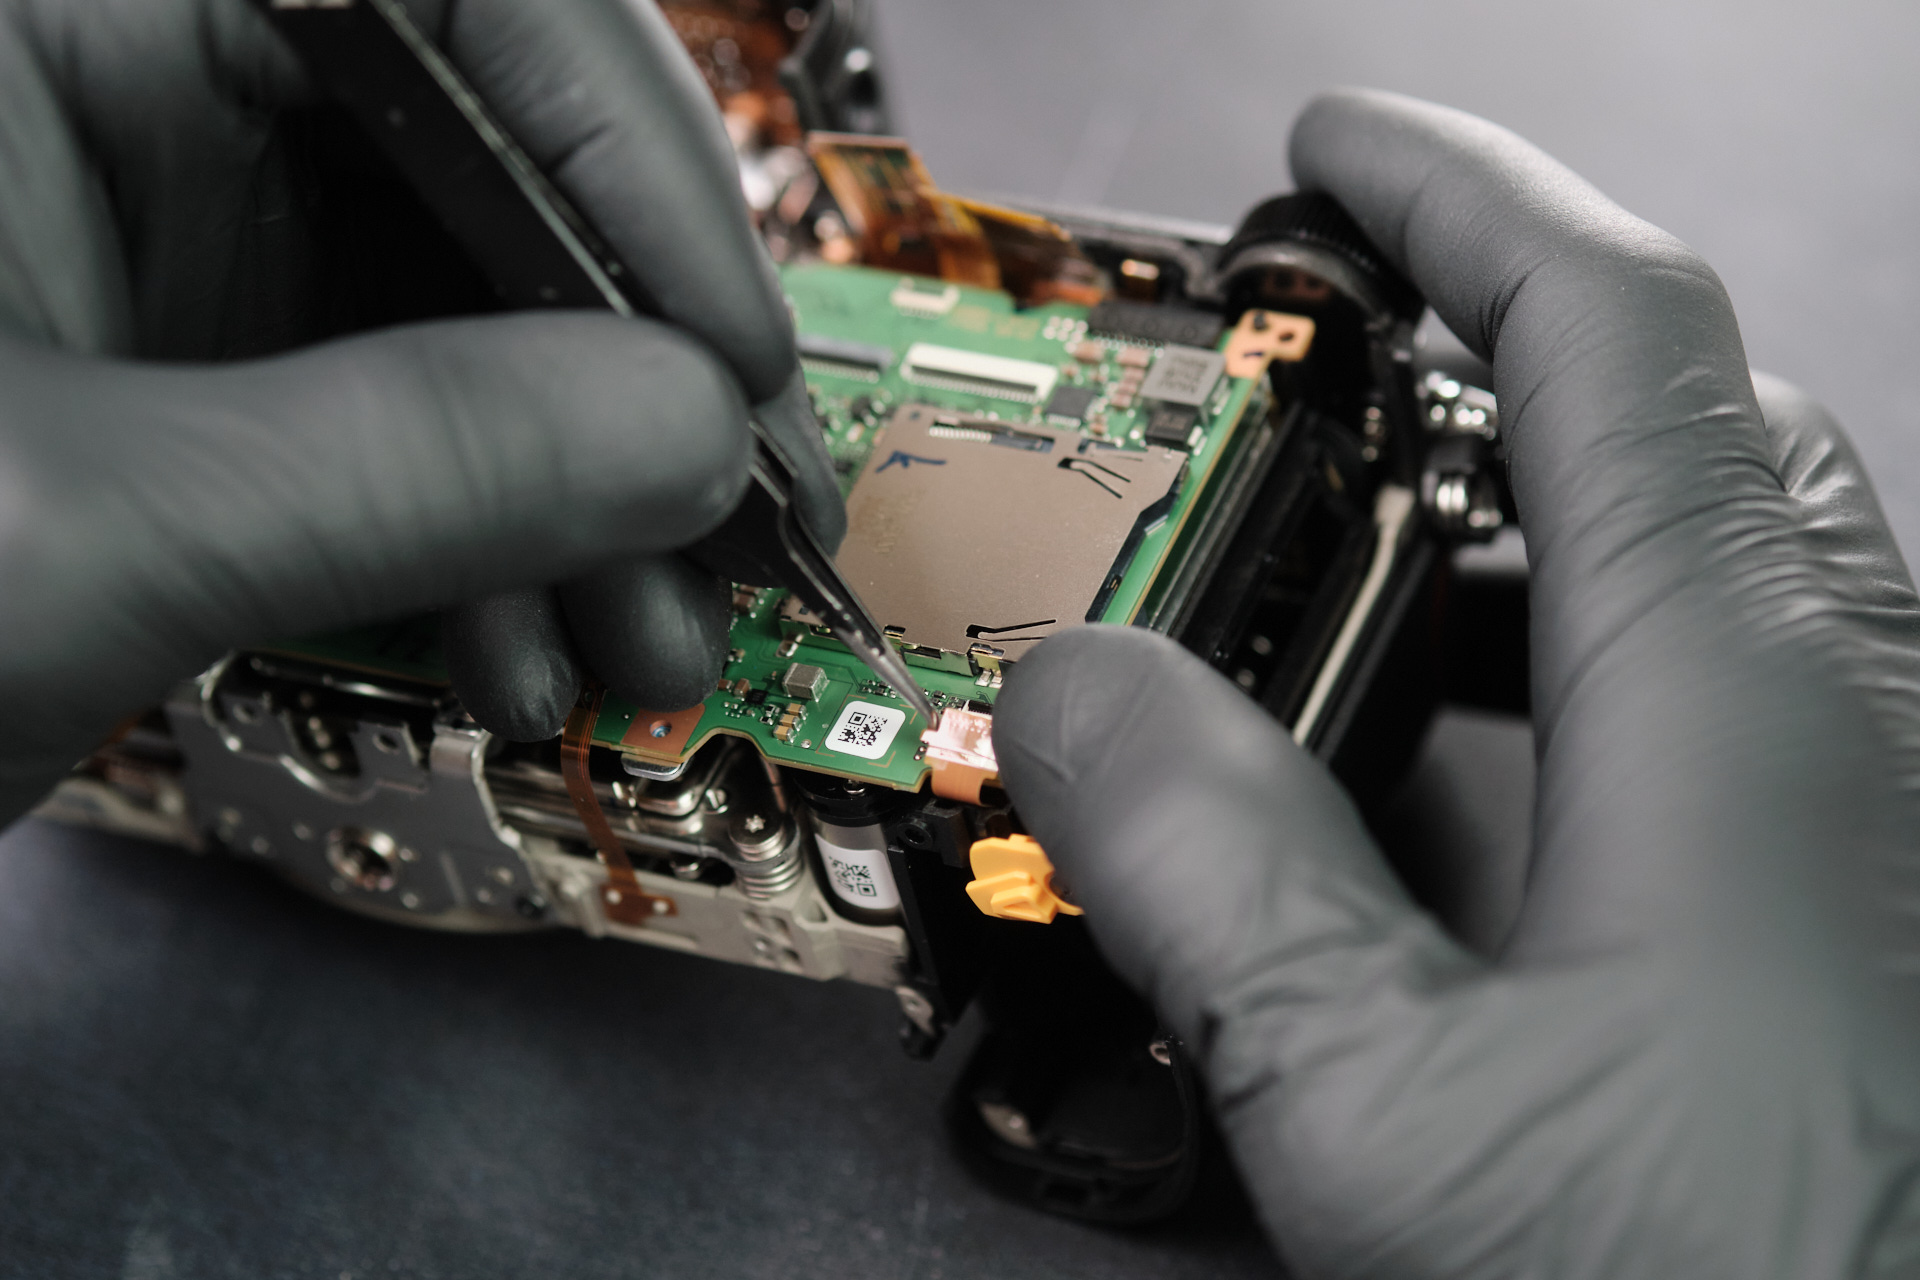
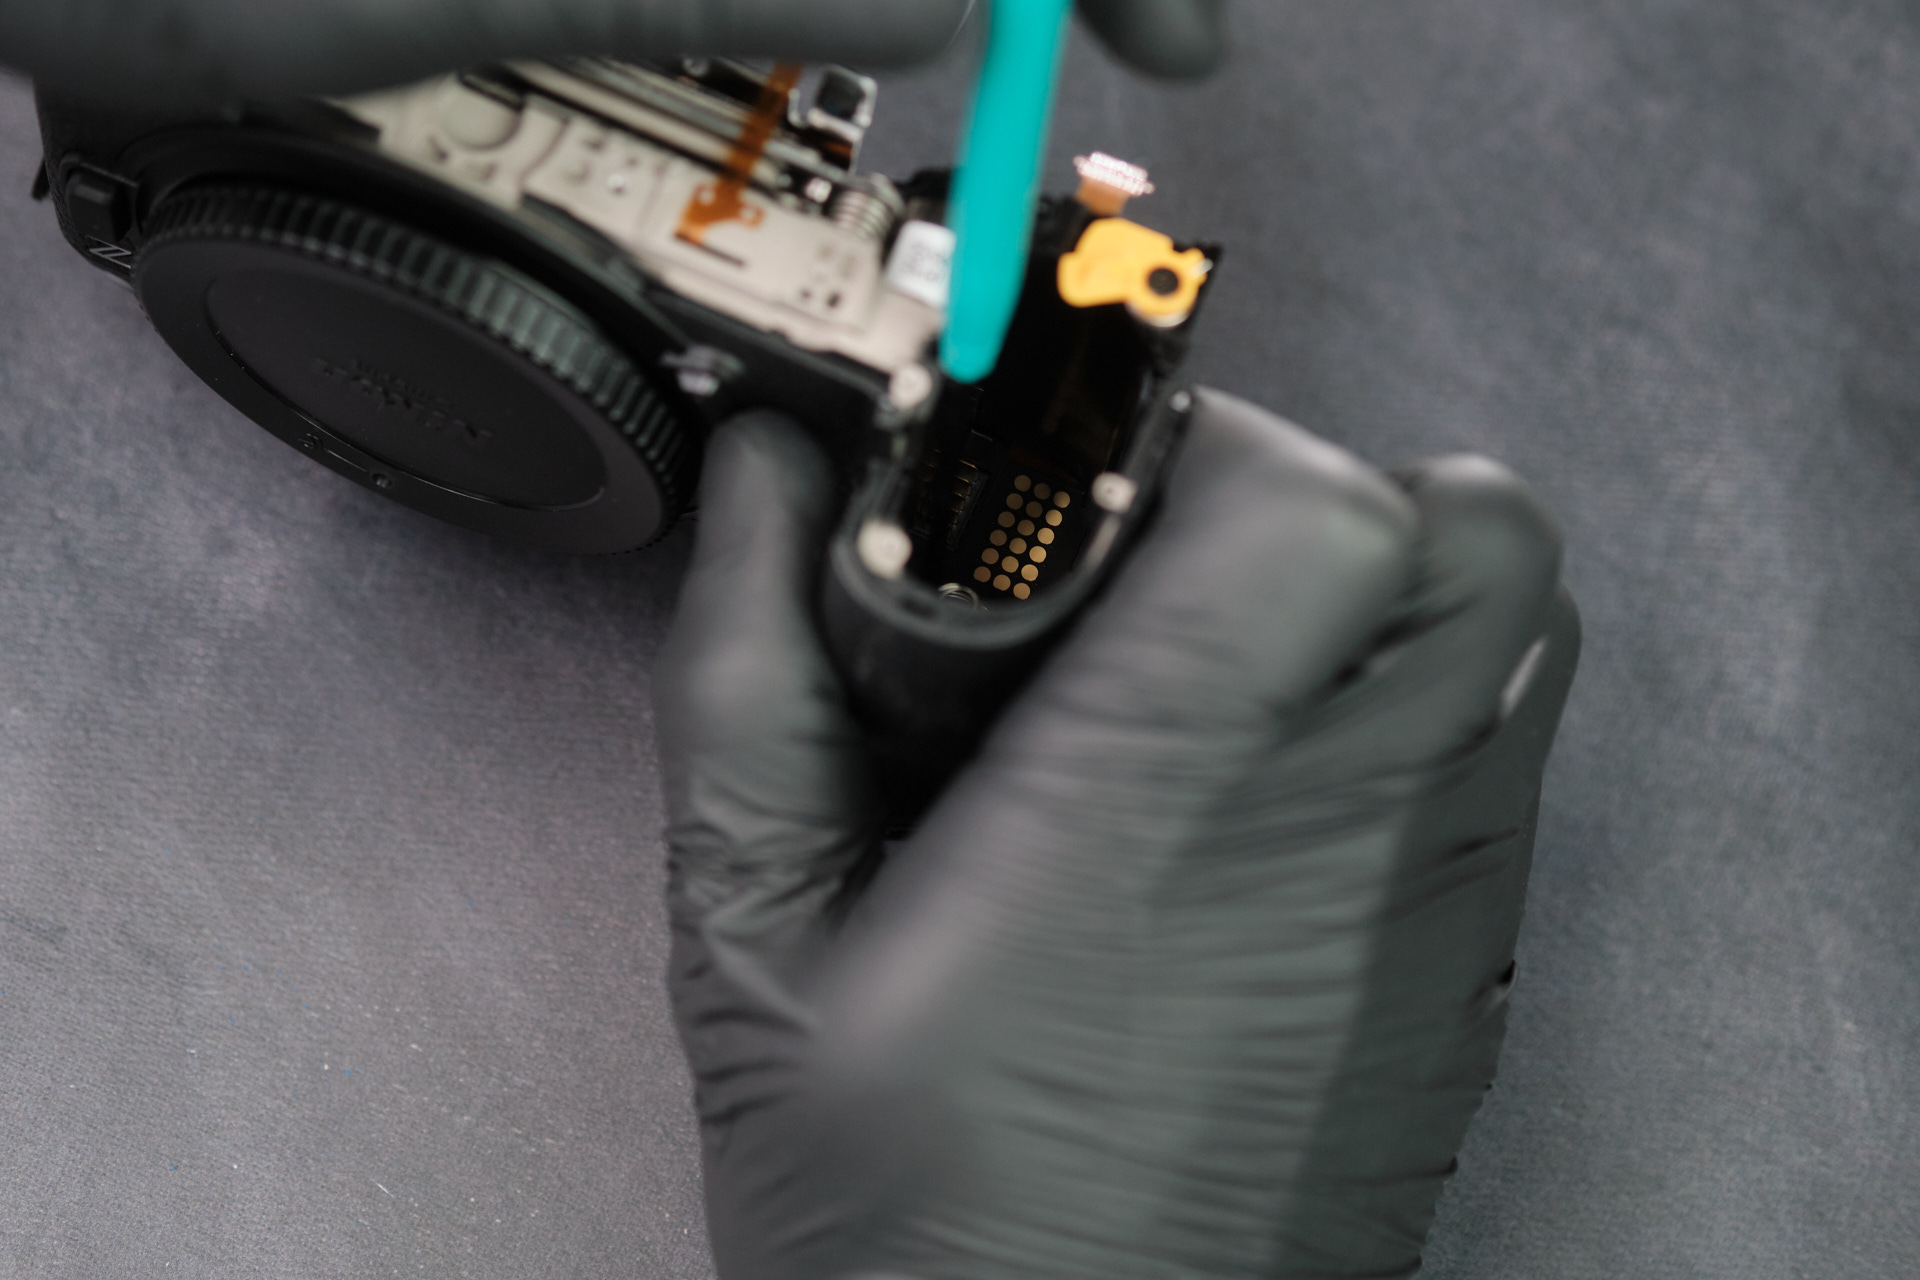
We nearly forgot to about two ribbon cables. The smaller ribbon cable to the left of the camera connects to the dust caps piece.
Since we removed the ribbon cable, we were able to remove the dust caps on the port side.
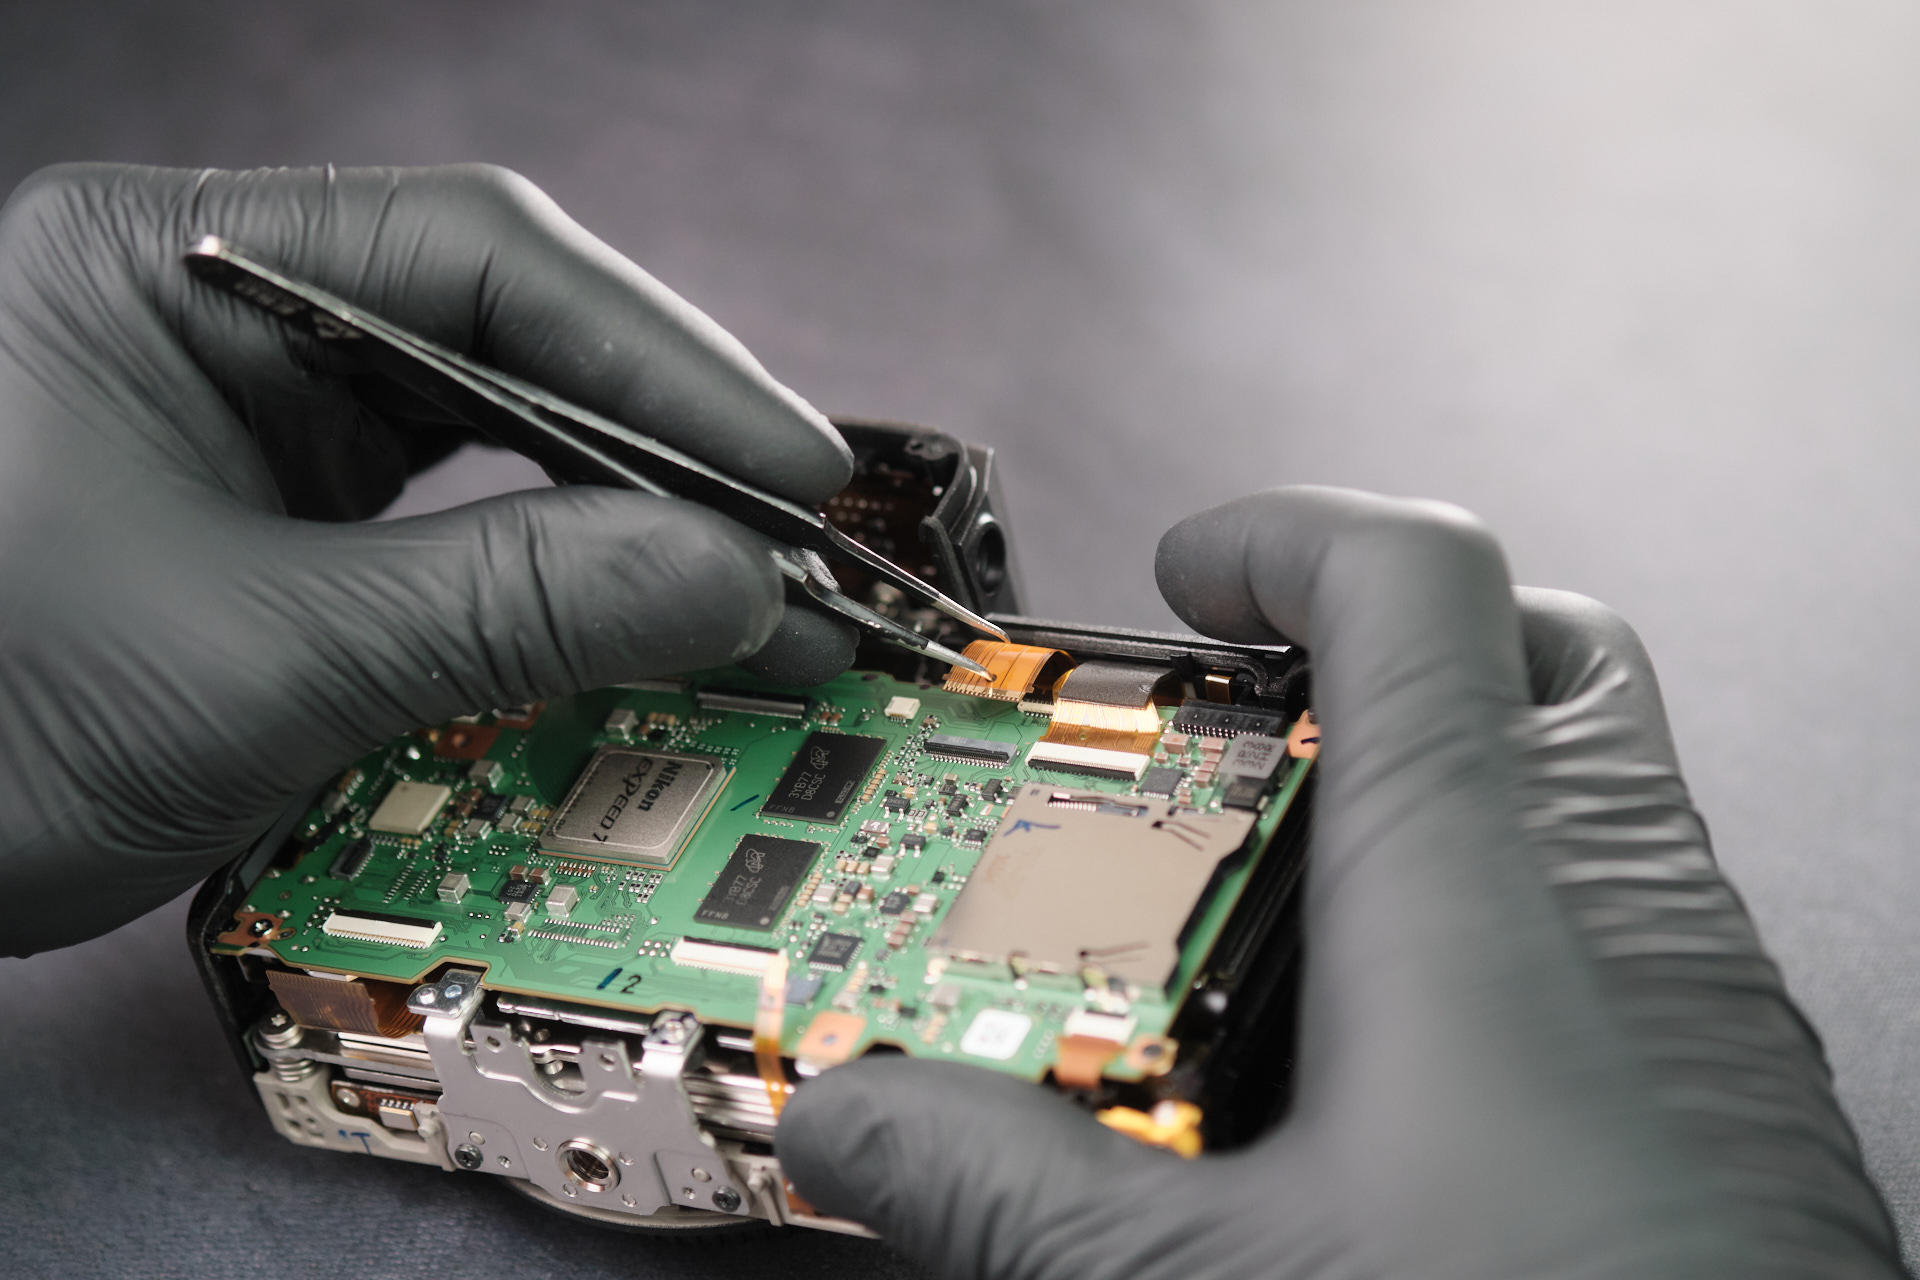
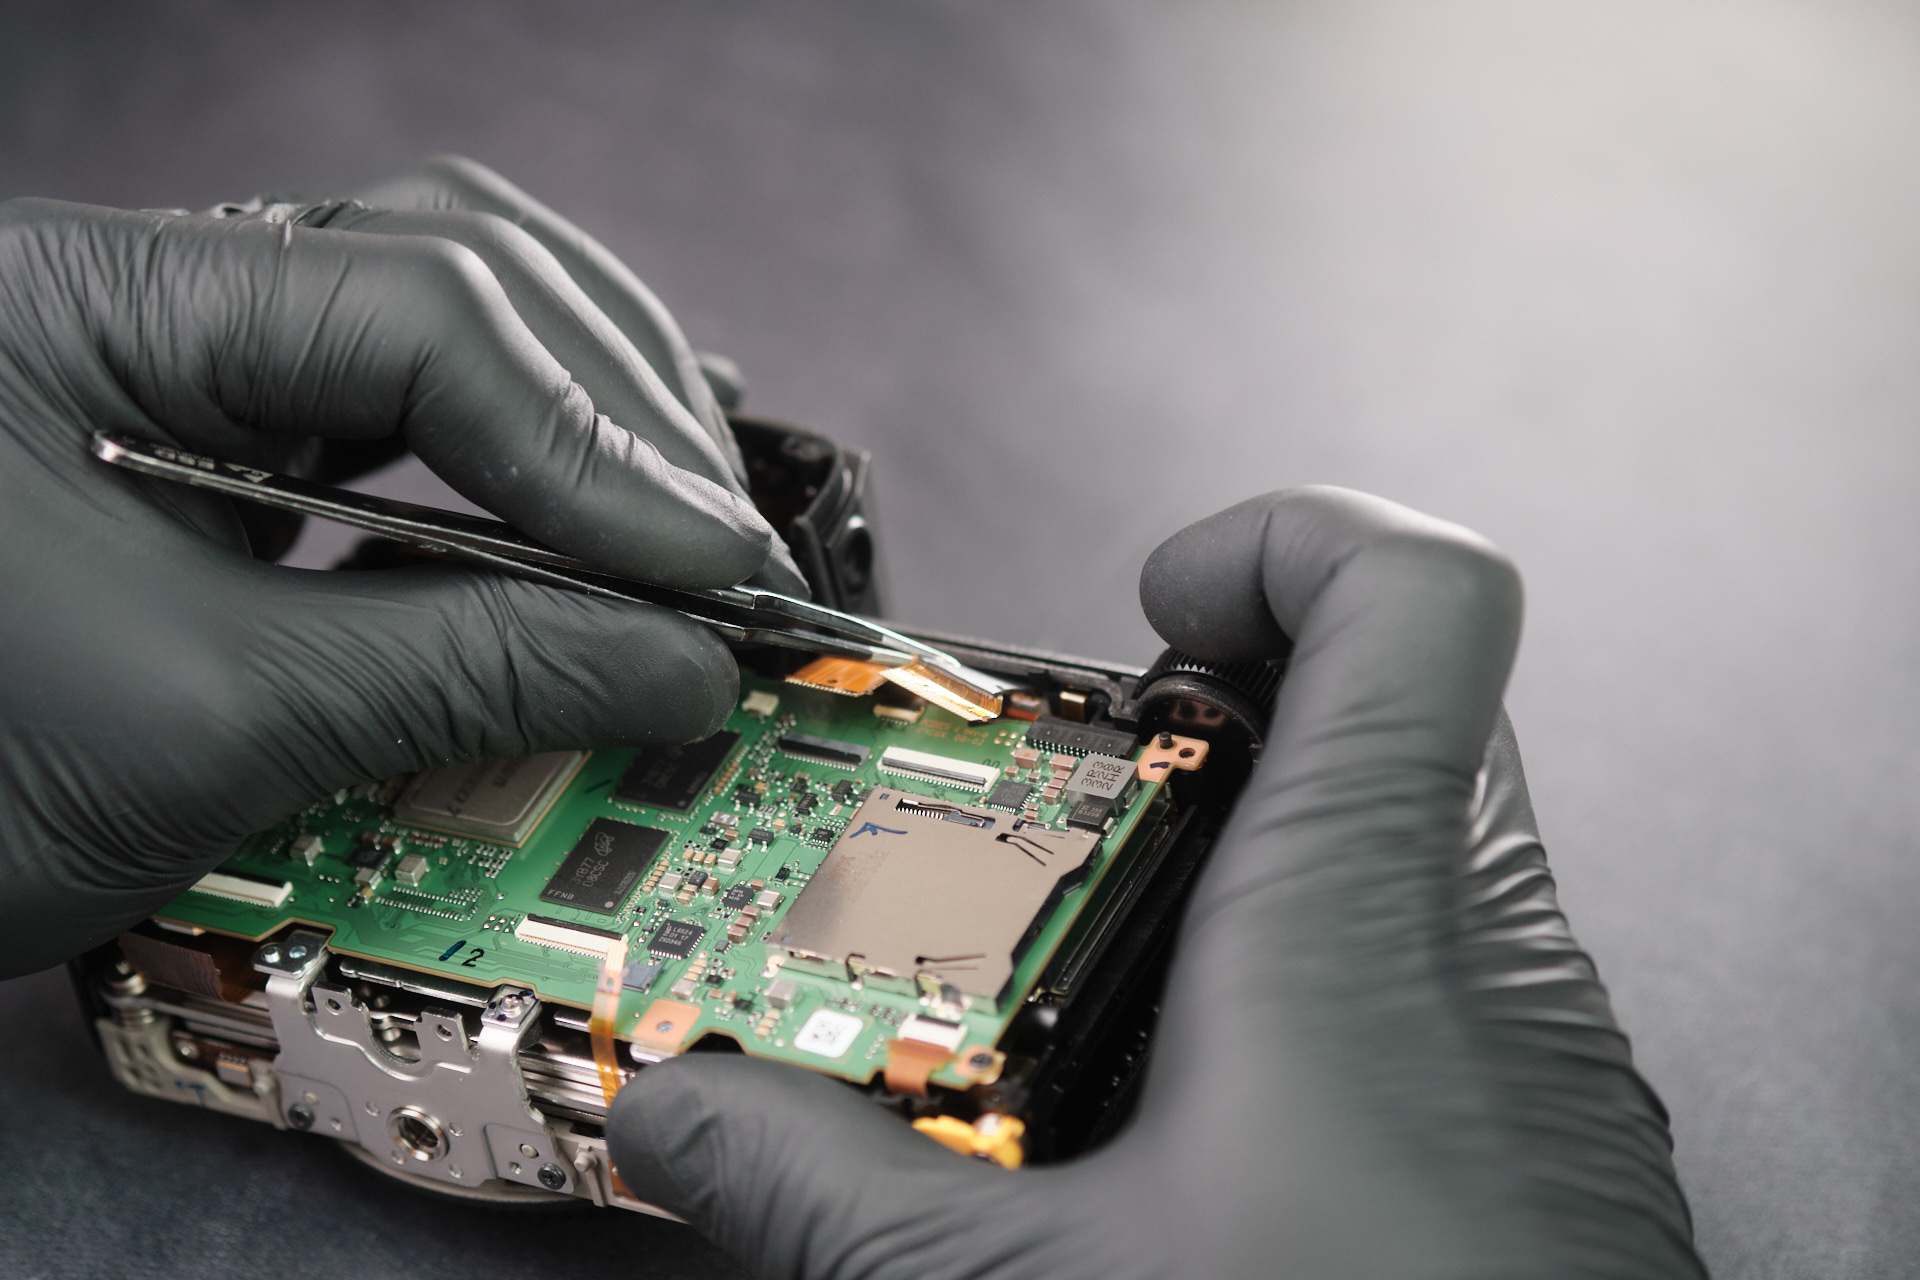
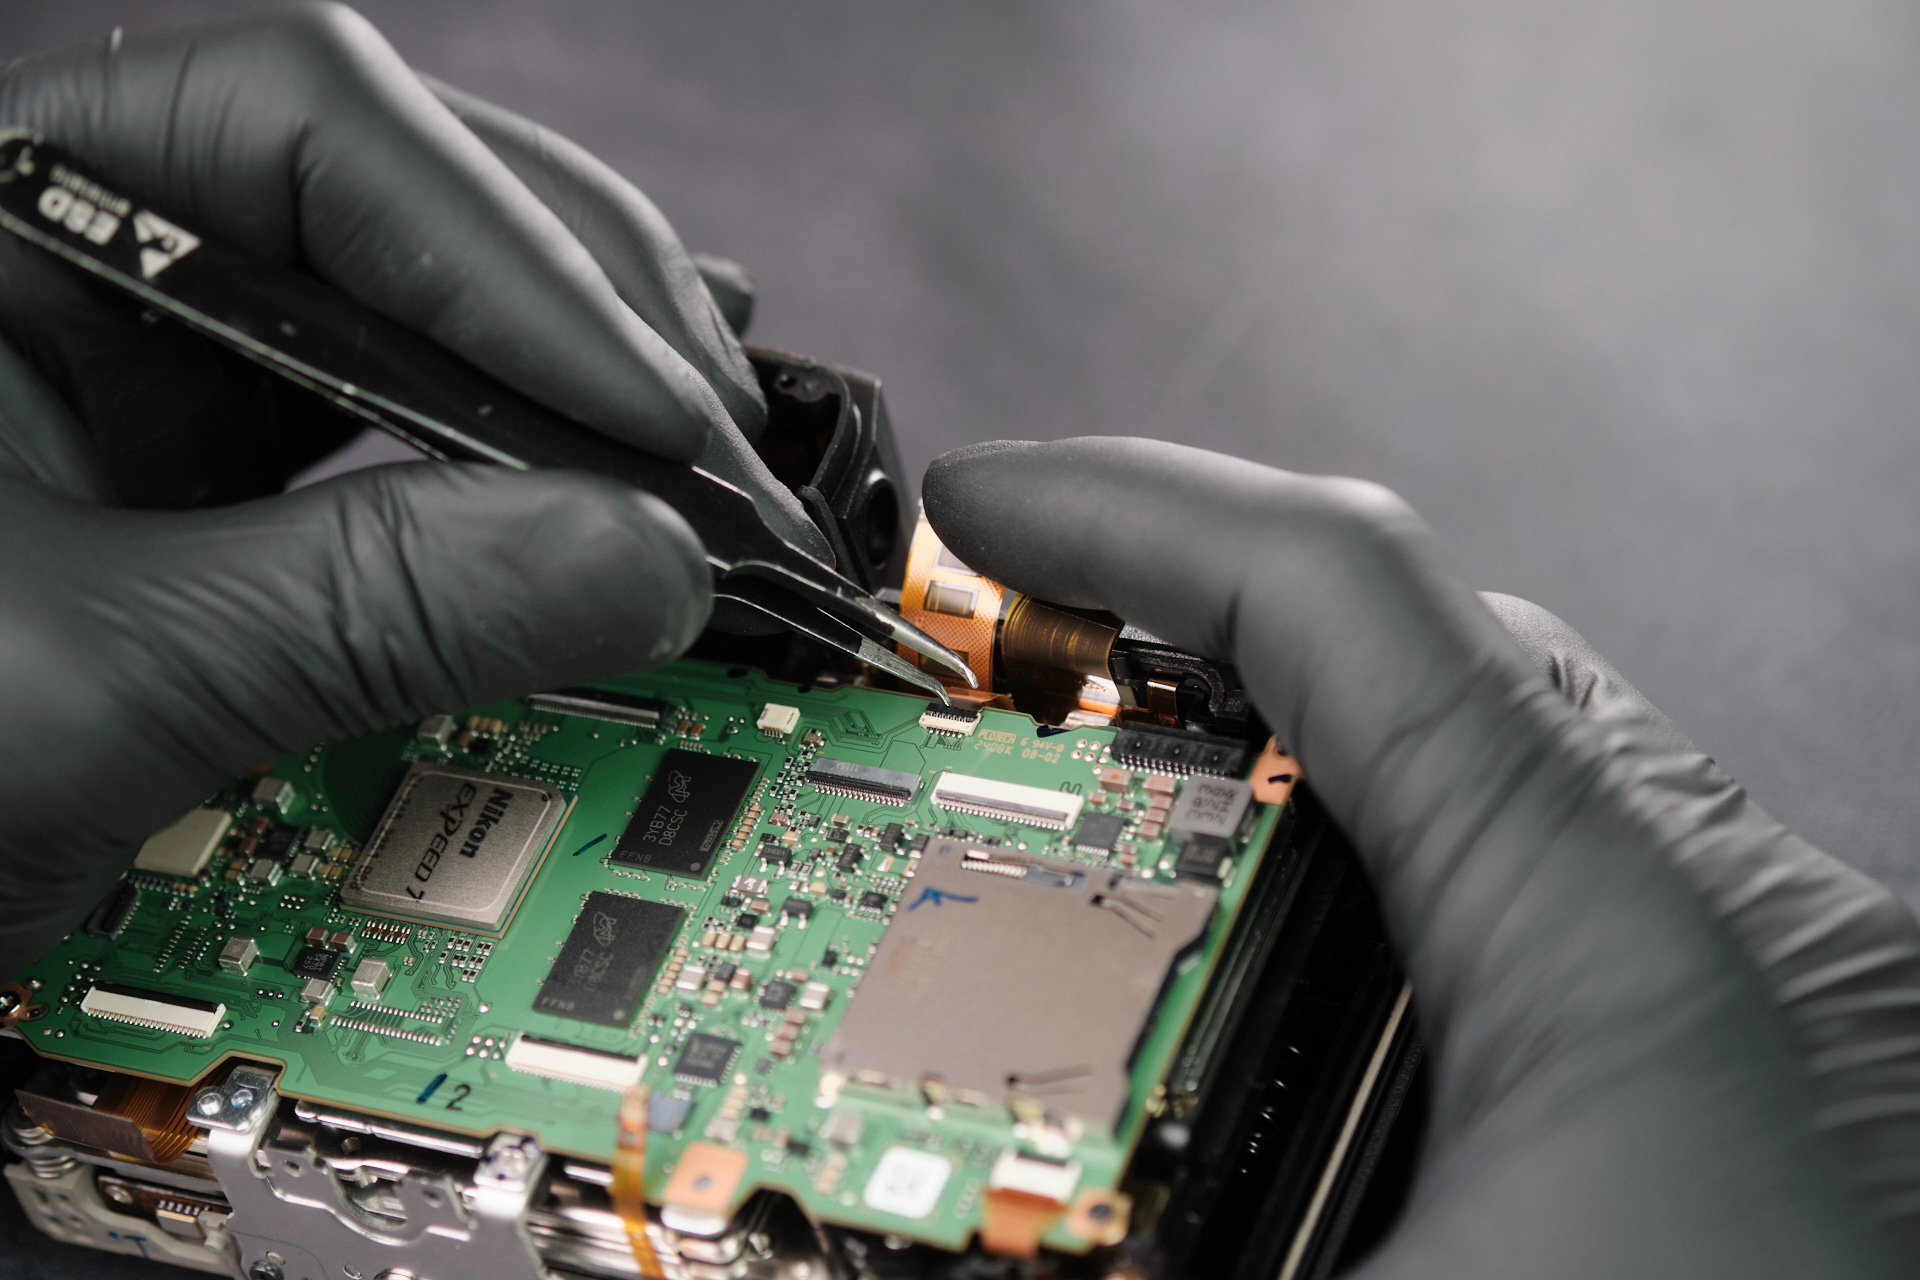
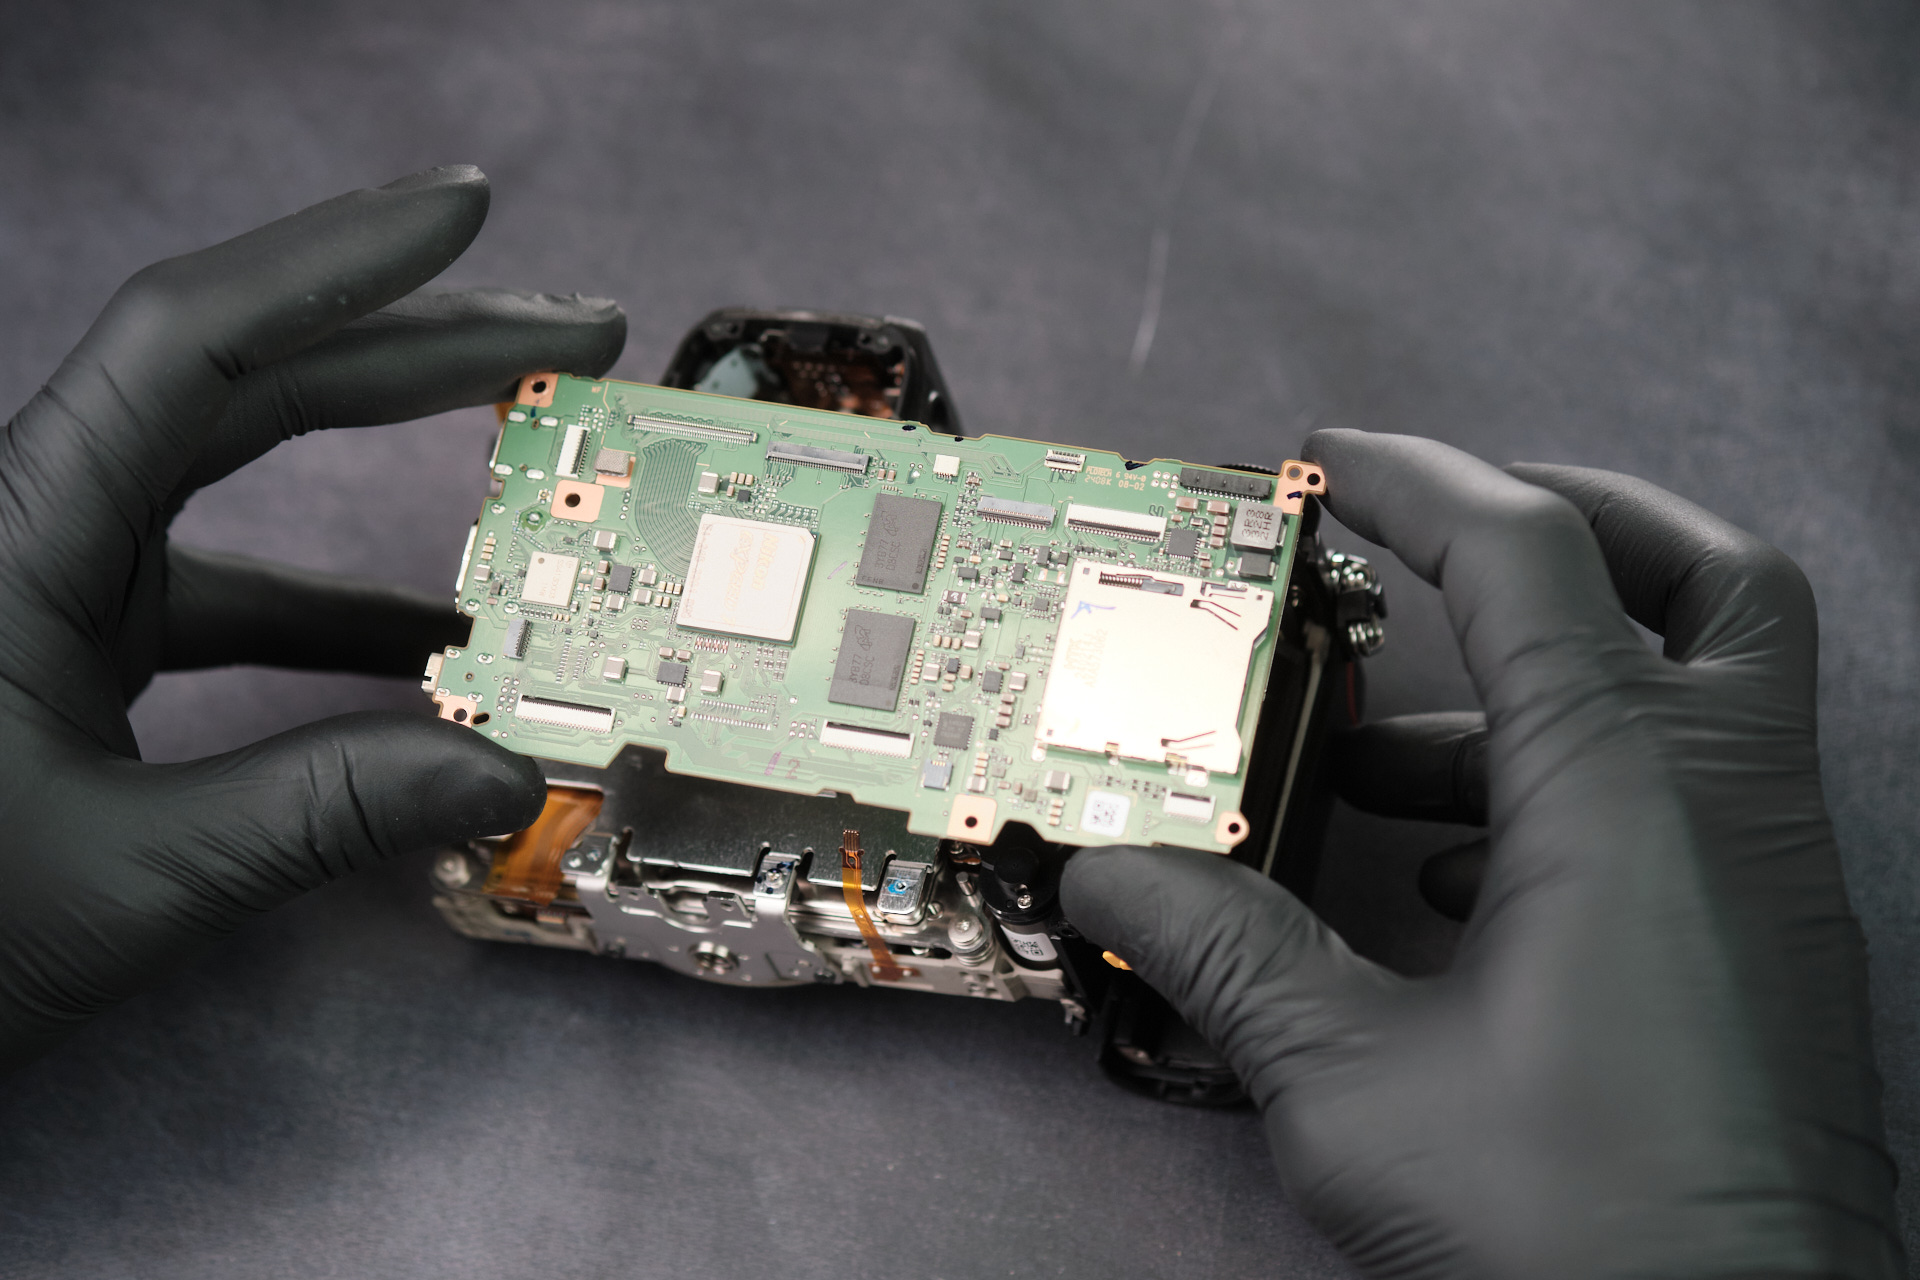
Removing the Nikon Z6III Circuit Board
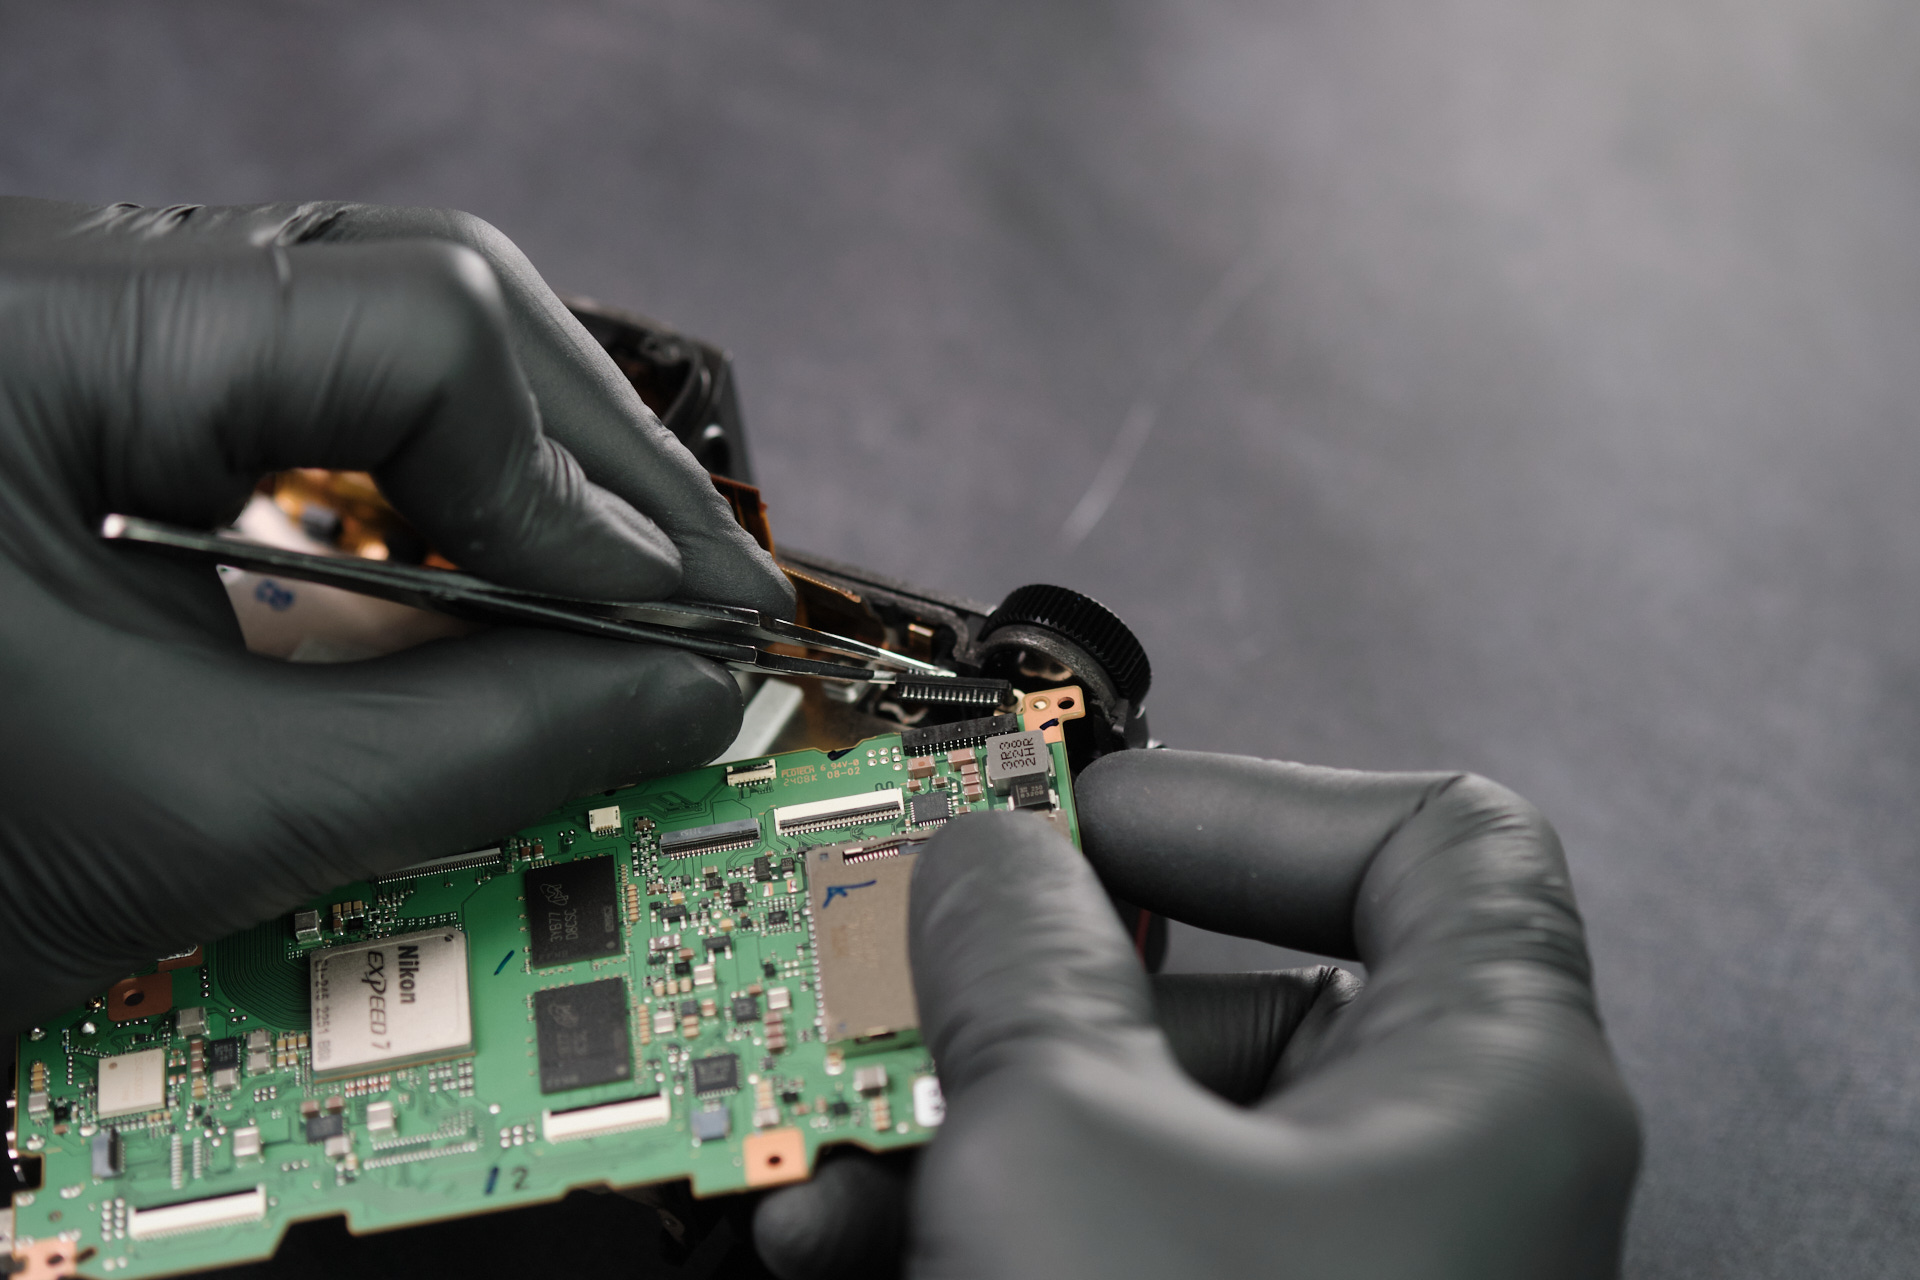
One last ribbon cable was disconnected which finally allowed us to remove the circuitboard.
Two additional screws inside the EVF slot secure the circuitboard mounting frame.
Finding Remaining Frame and Top Panel Screws
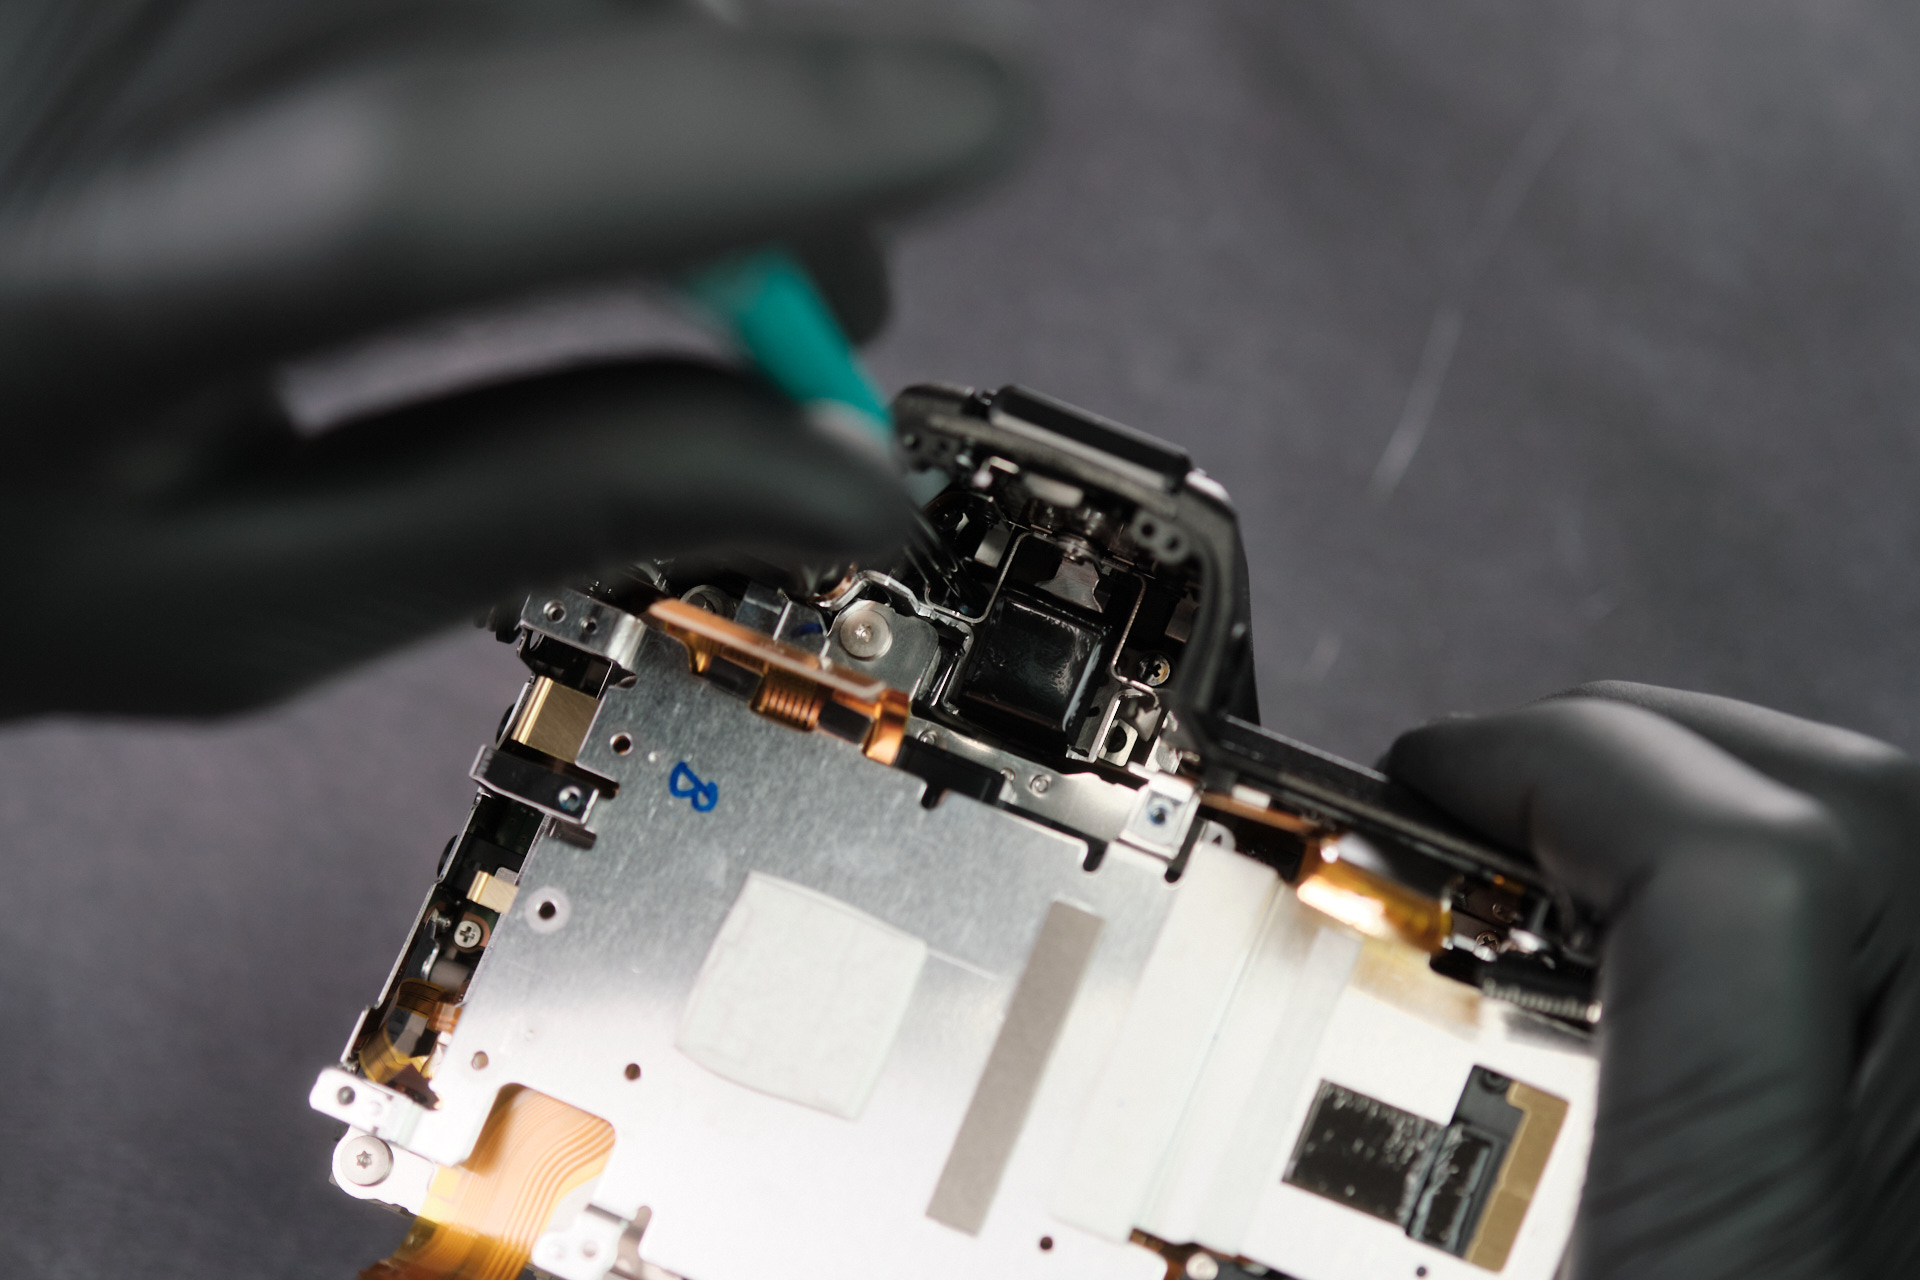
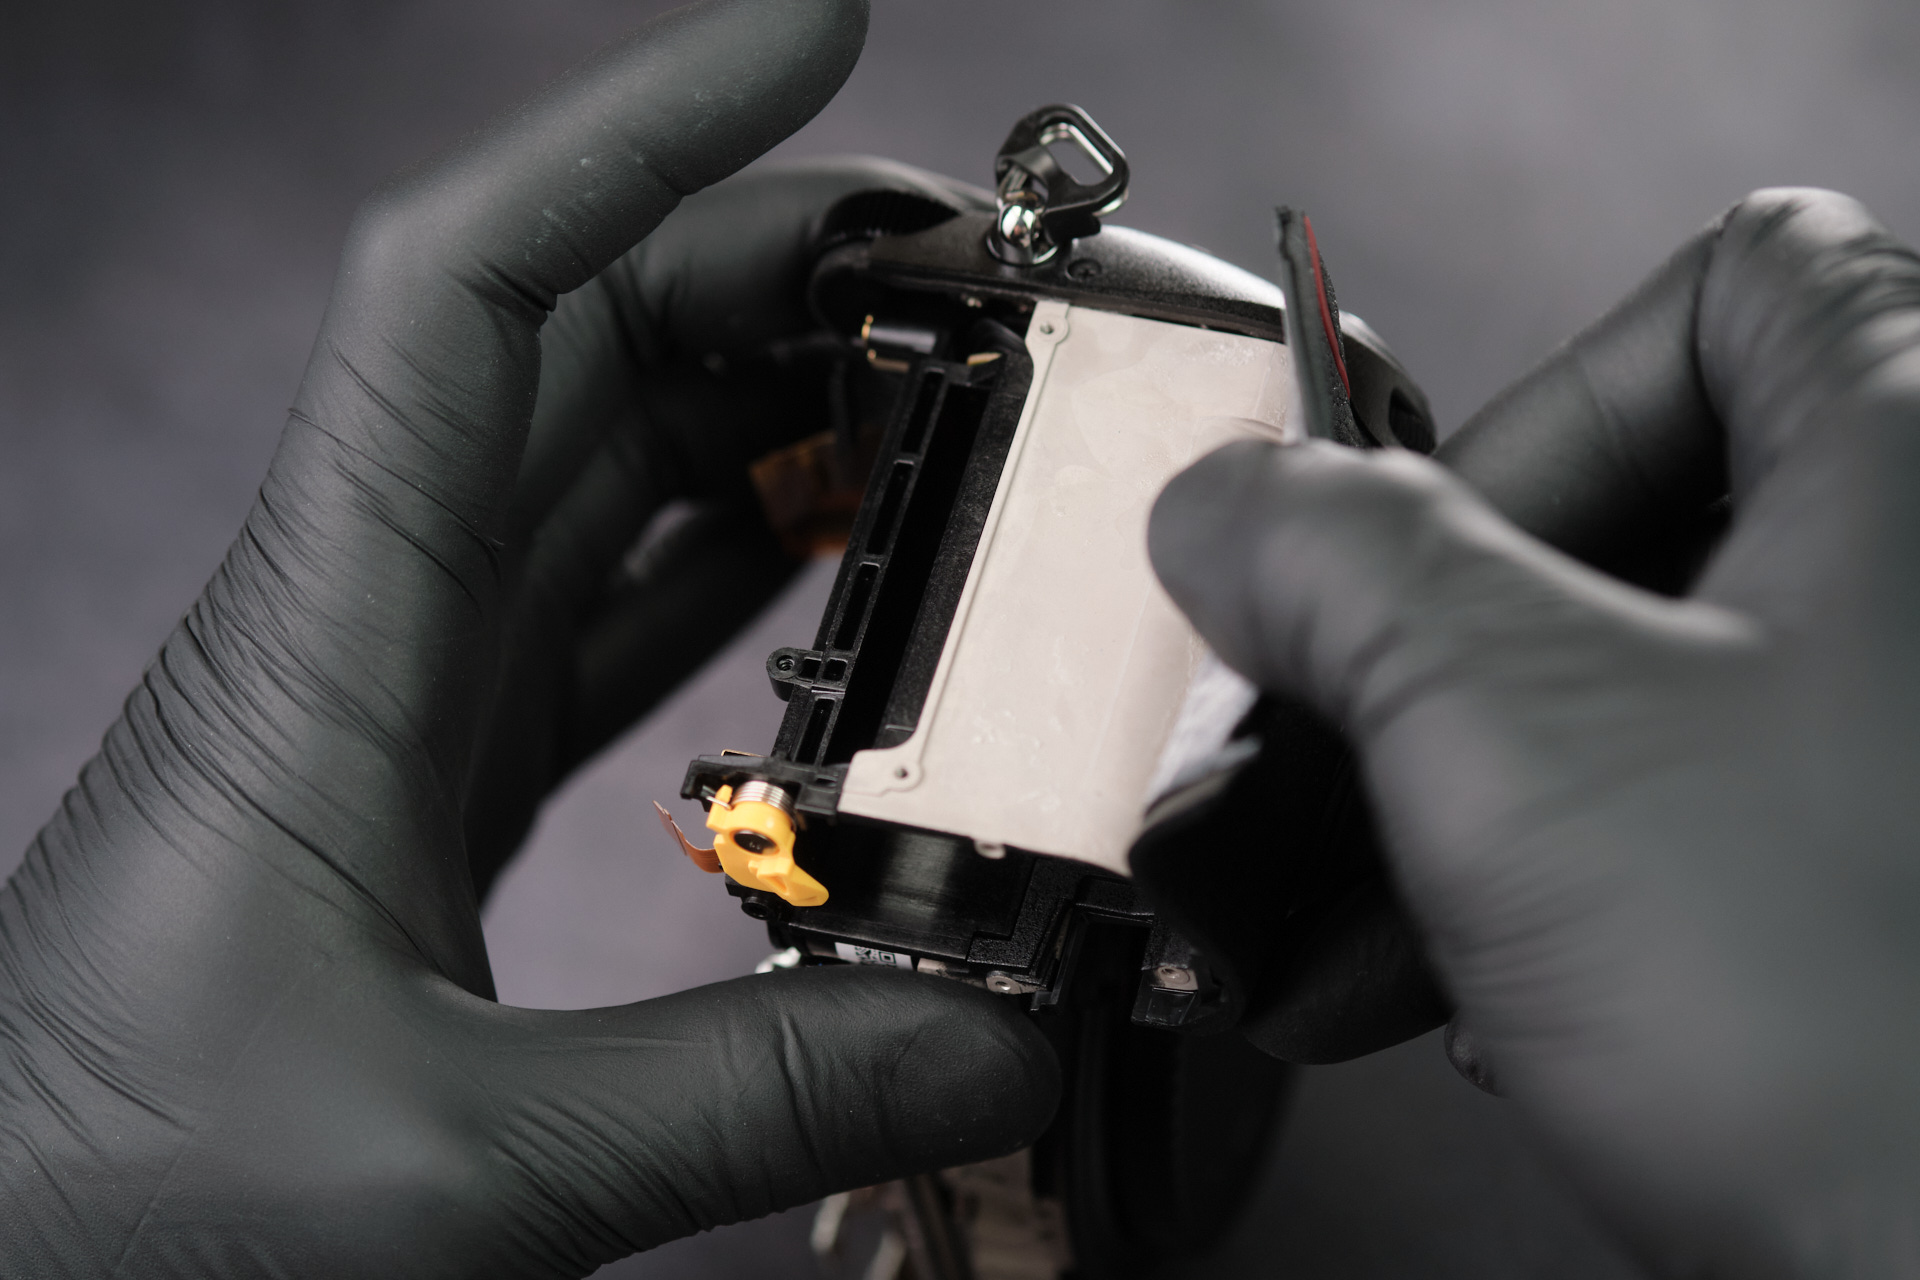
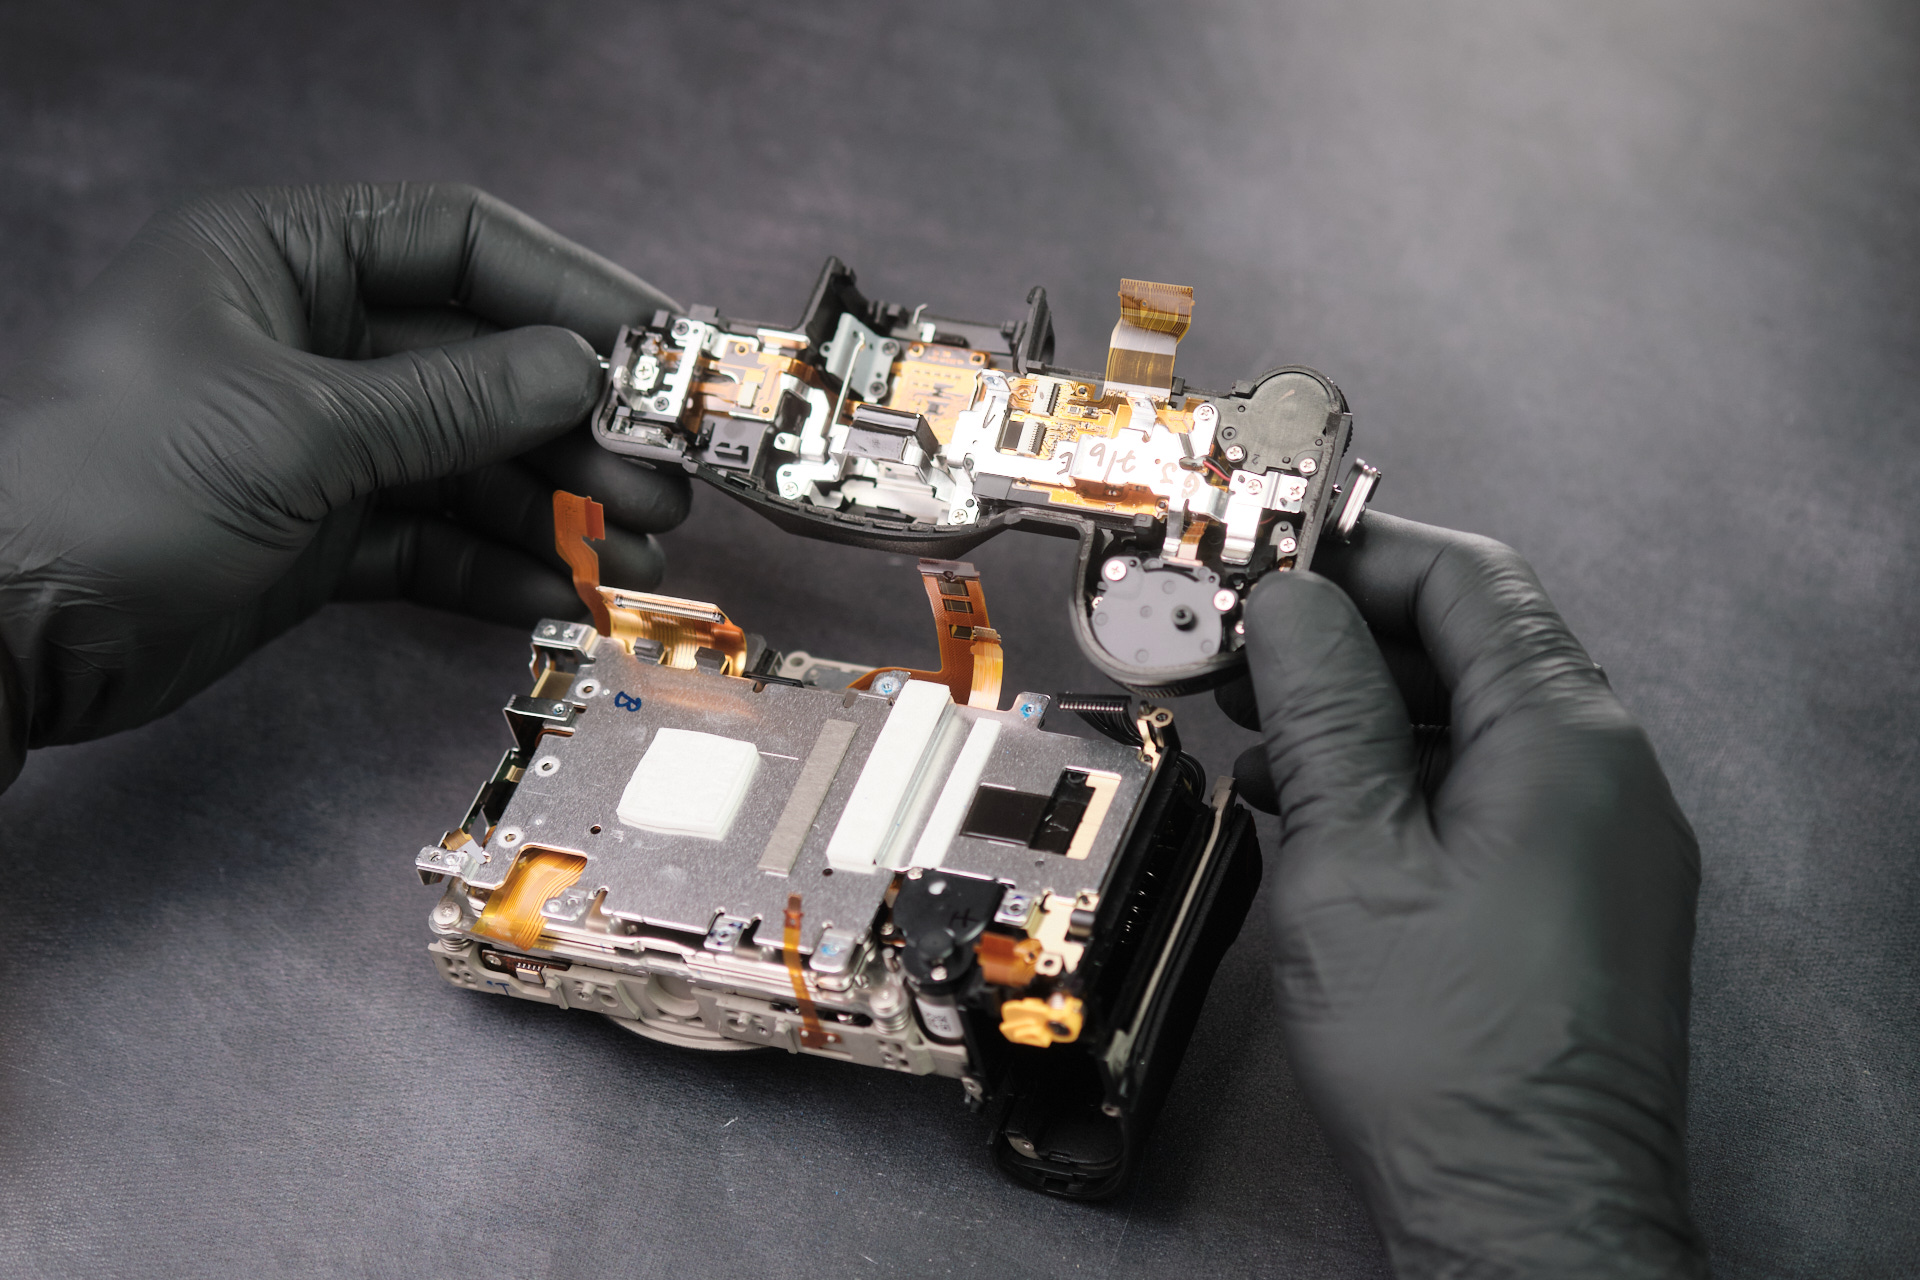
At this point, we were unable to remove the circuitboard frame to fully reach the camera sensor. We carefully peeled back the textured grip on the right hand side of the camera, but surprisingly found no screws underneath. Typically, one can find screws on either side of the camera beneath the rubber grip.
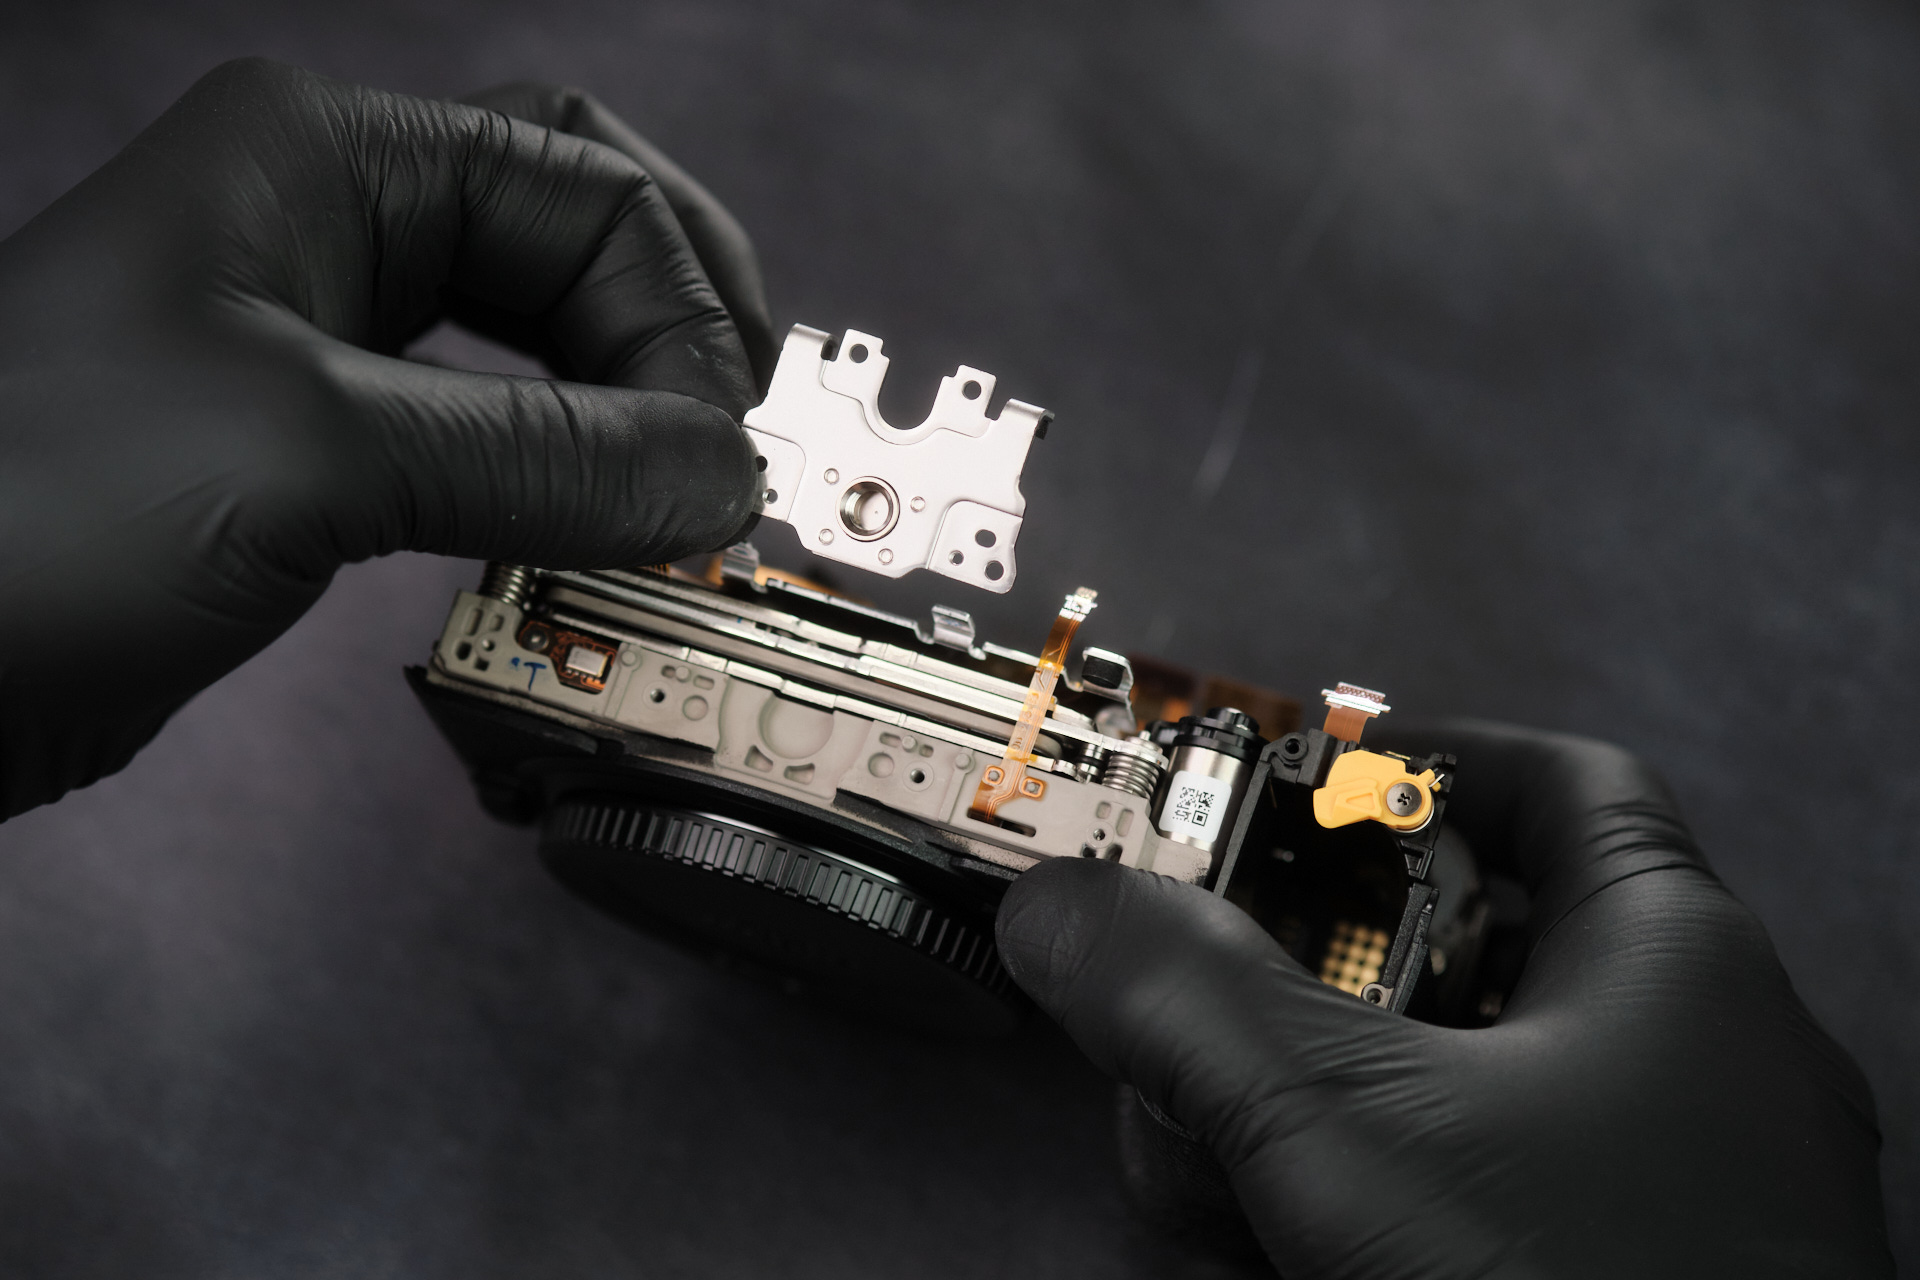
Removing the Top Panel and Mounting Frame
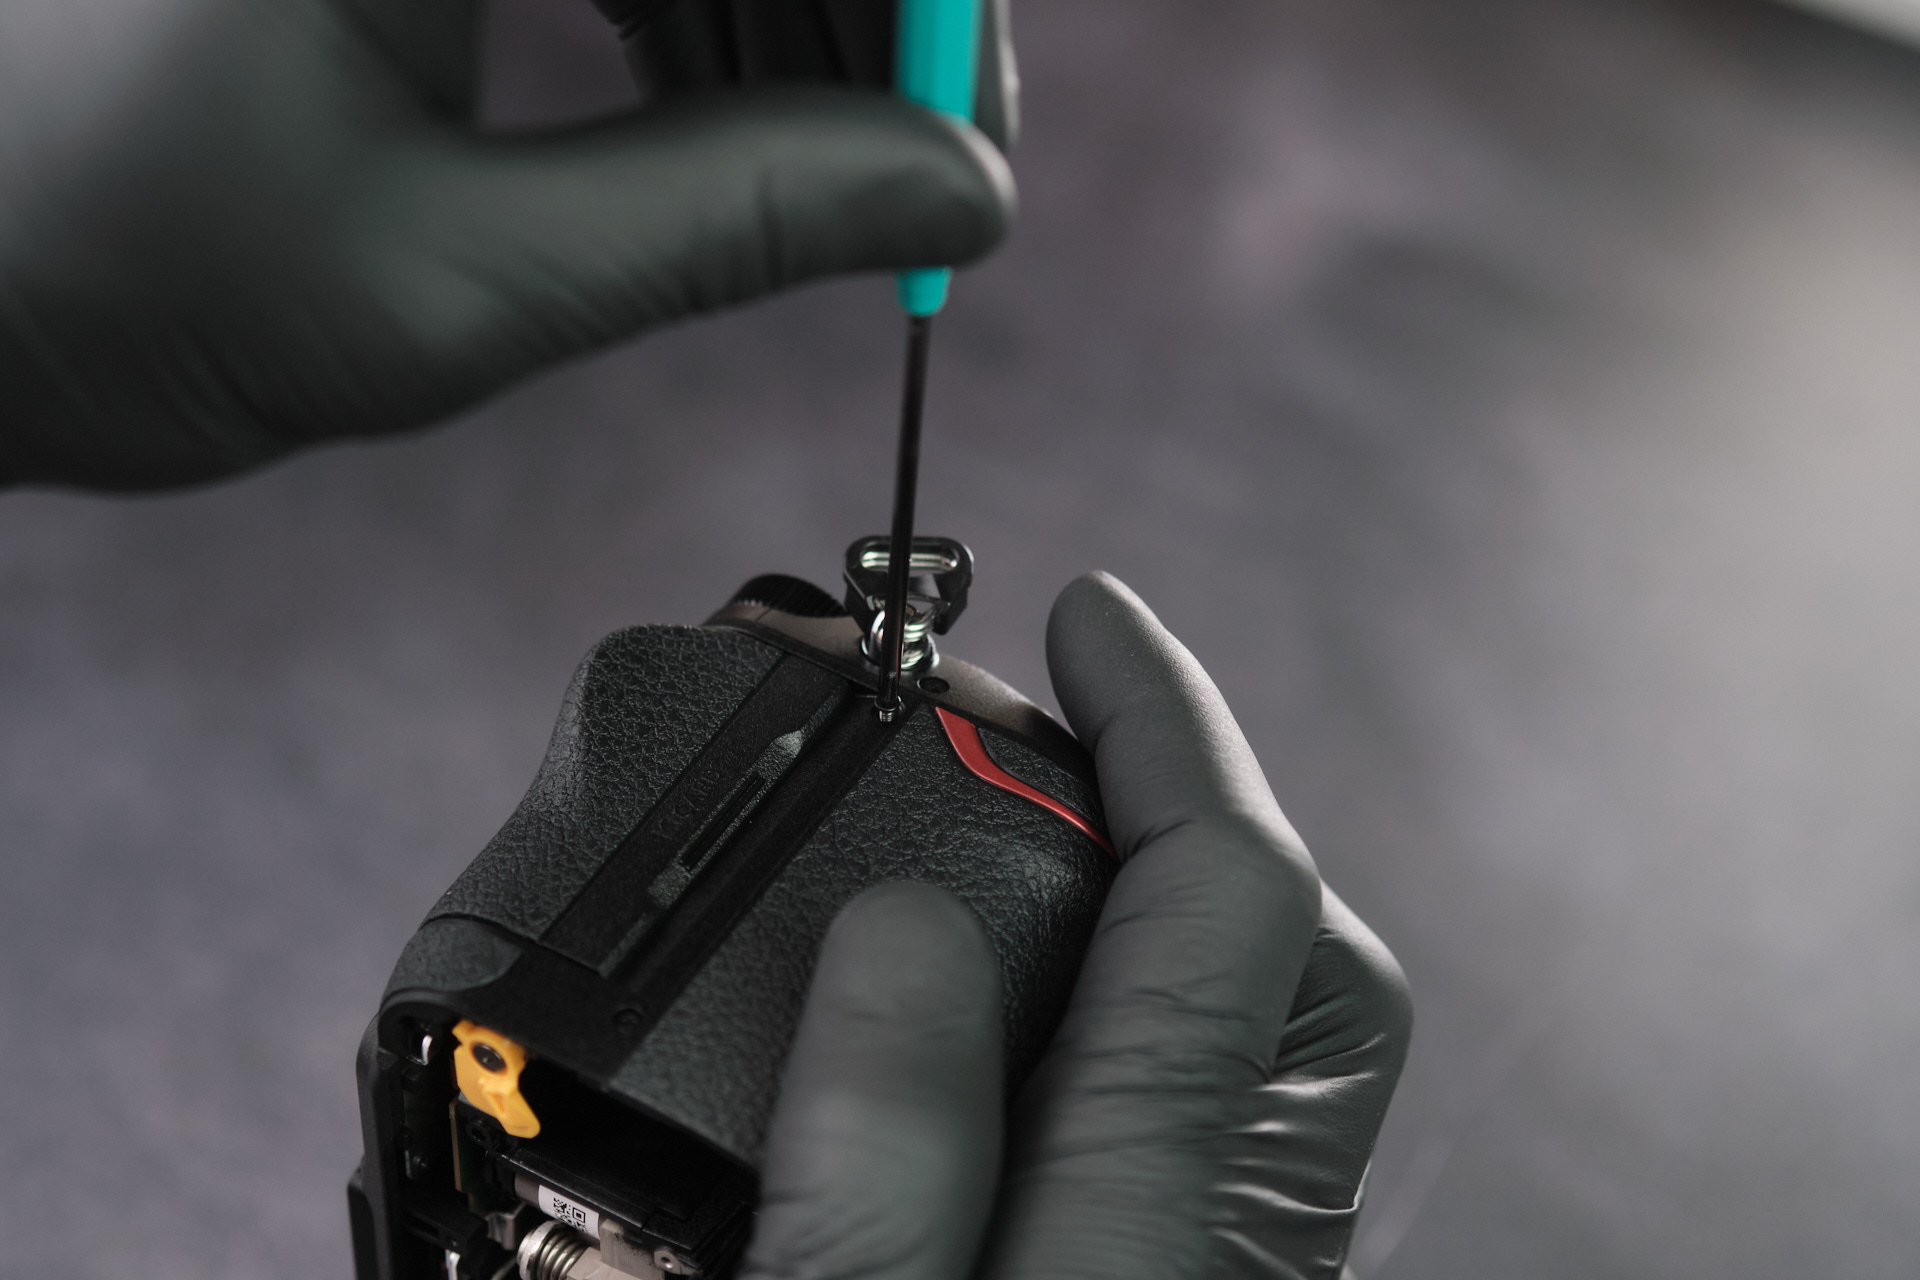
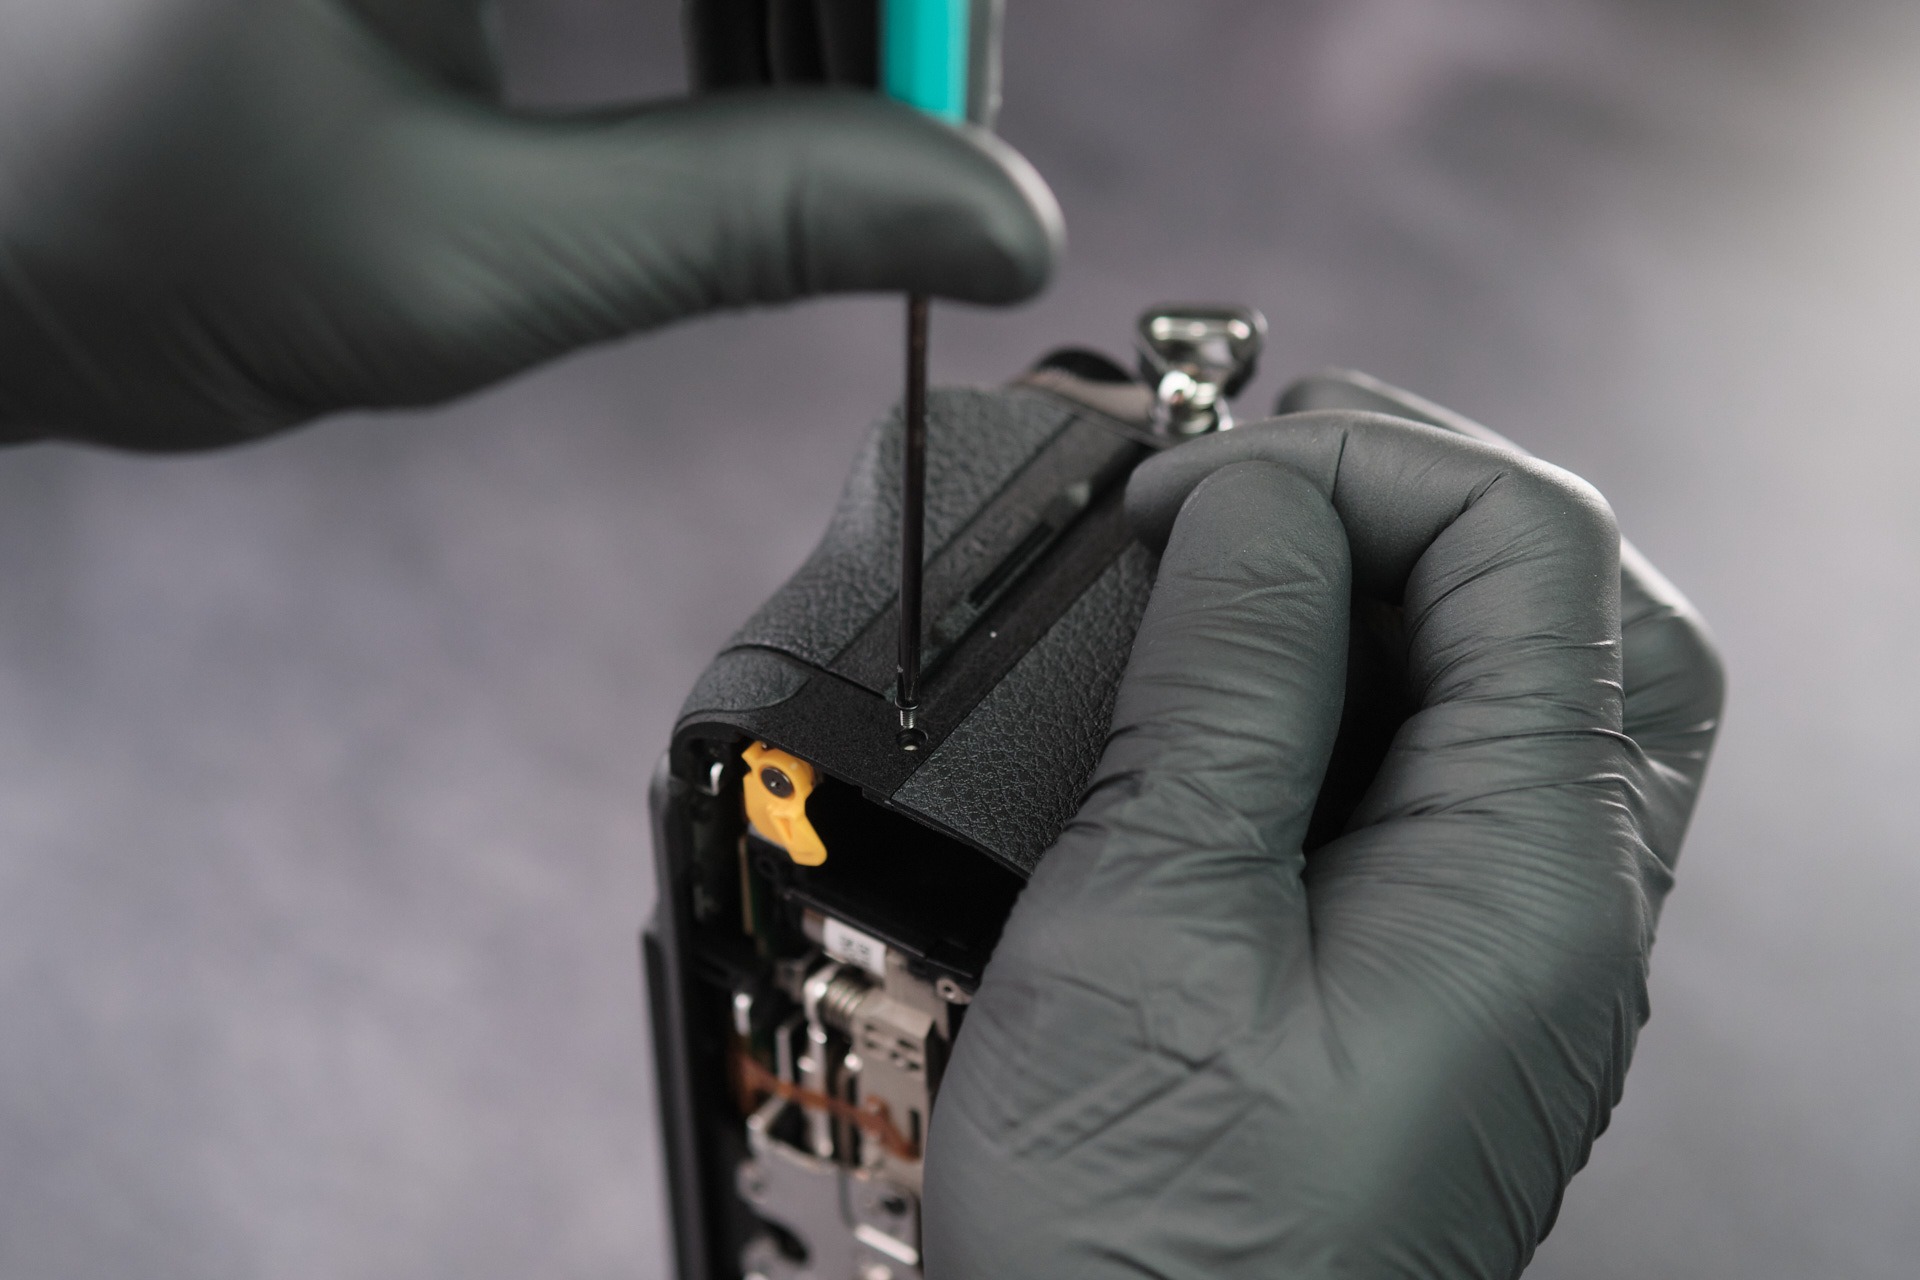
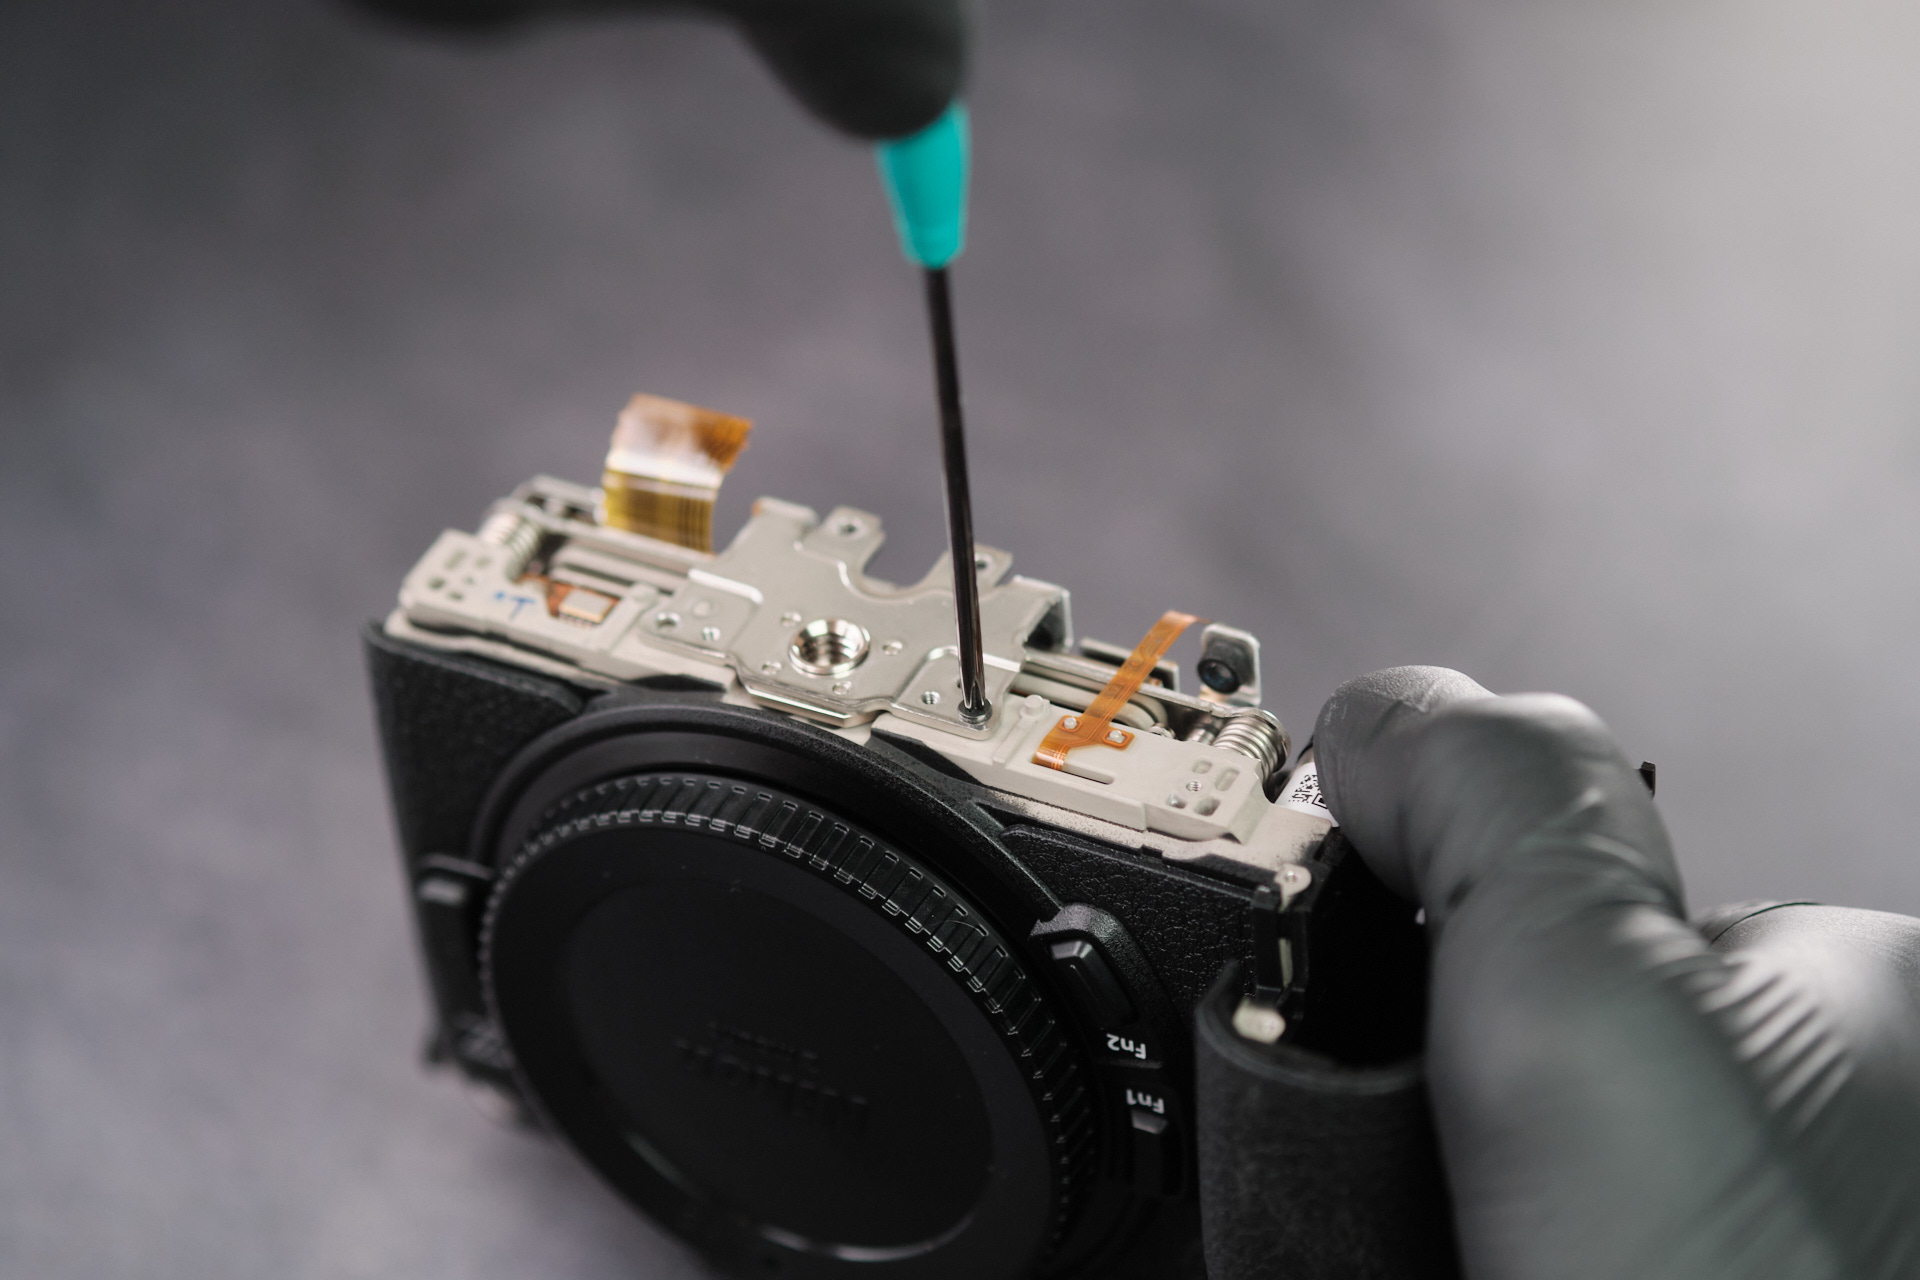
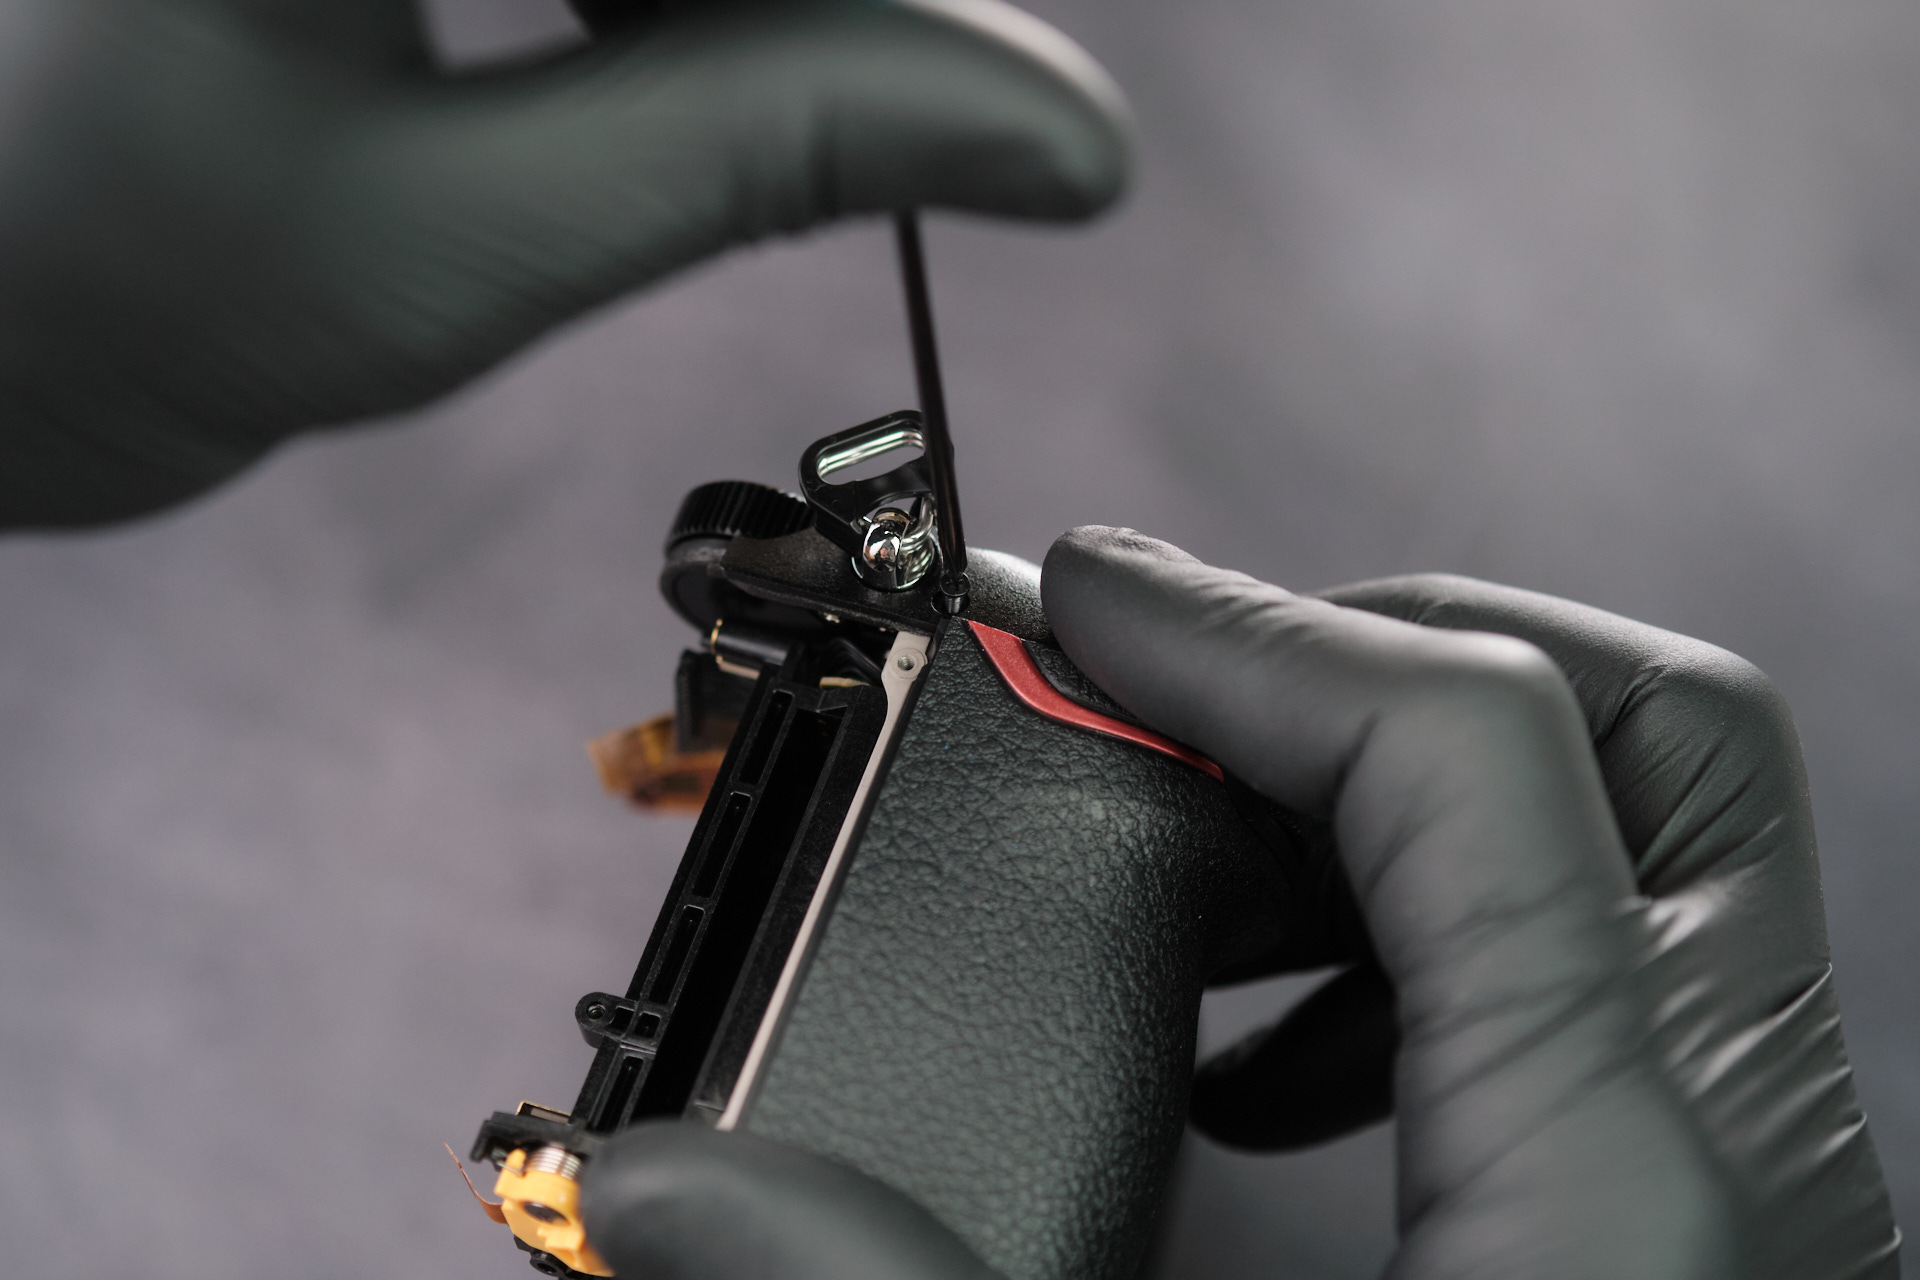
One screw was removed above the textured rubber grip on the memory card side.
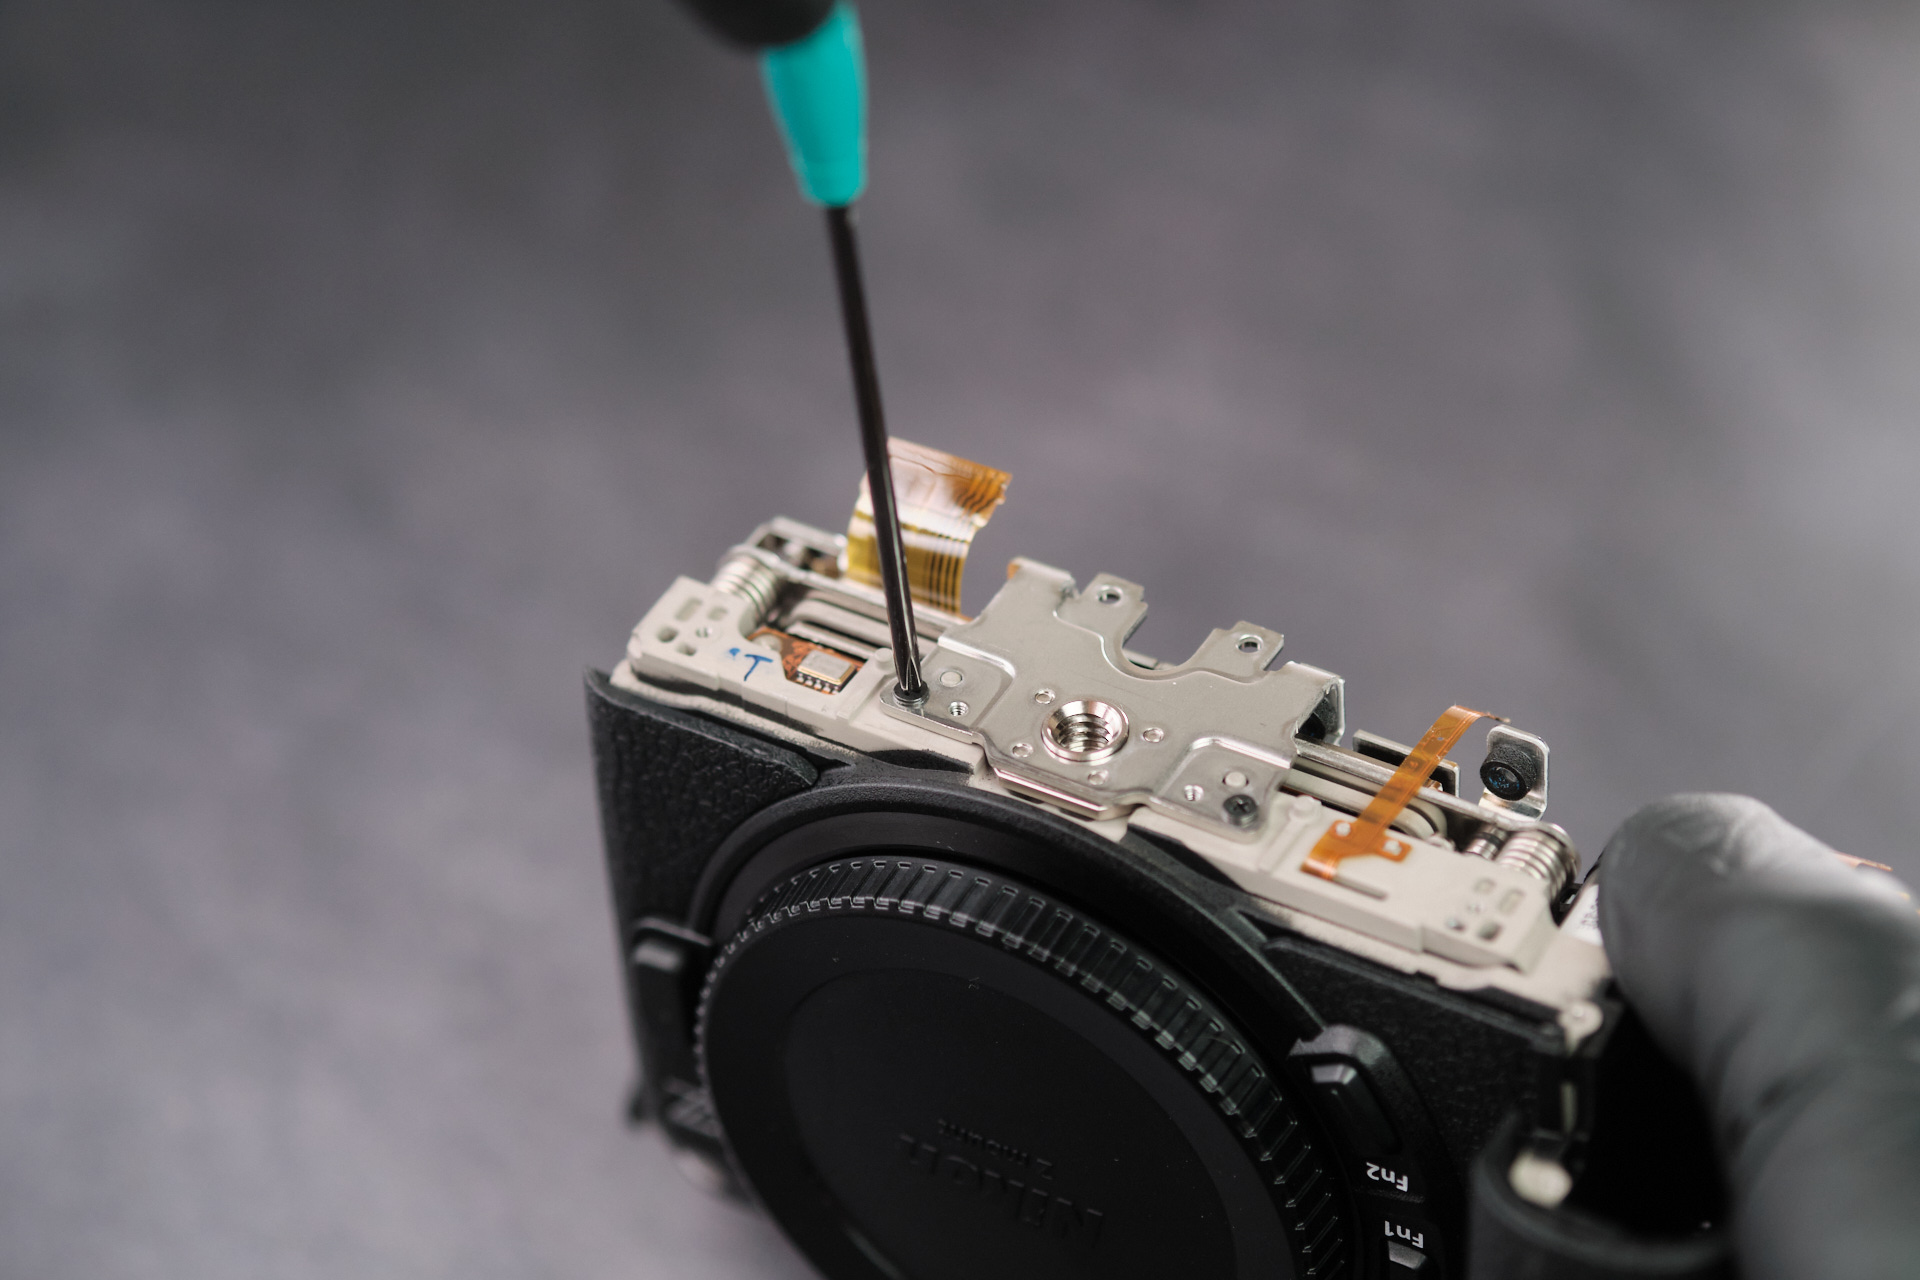
One screw below the circuitboard was removed. This held the top panel in place, and allowed us to fully remove the top panel and circuitboard mounting frame.
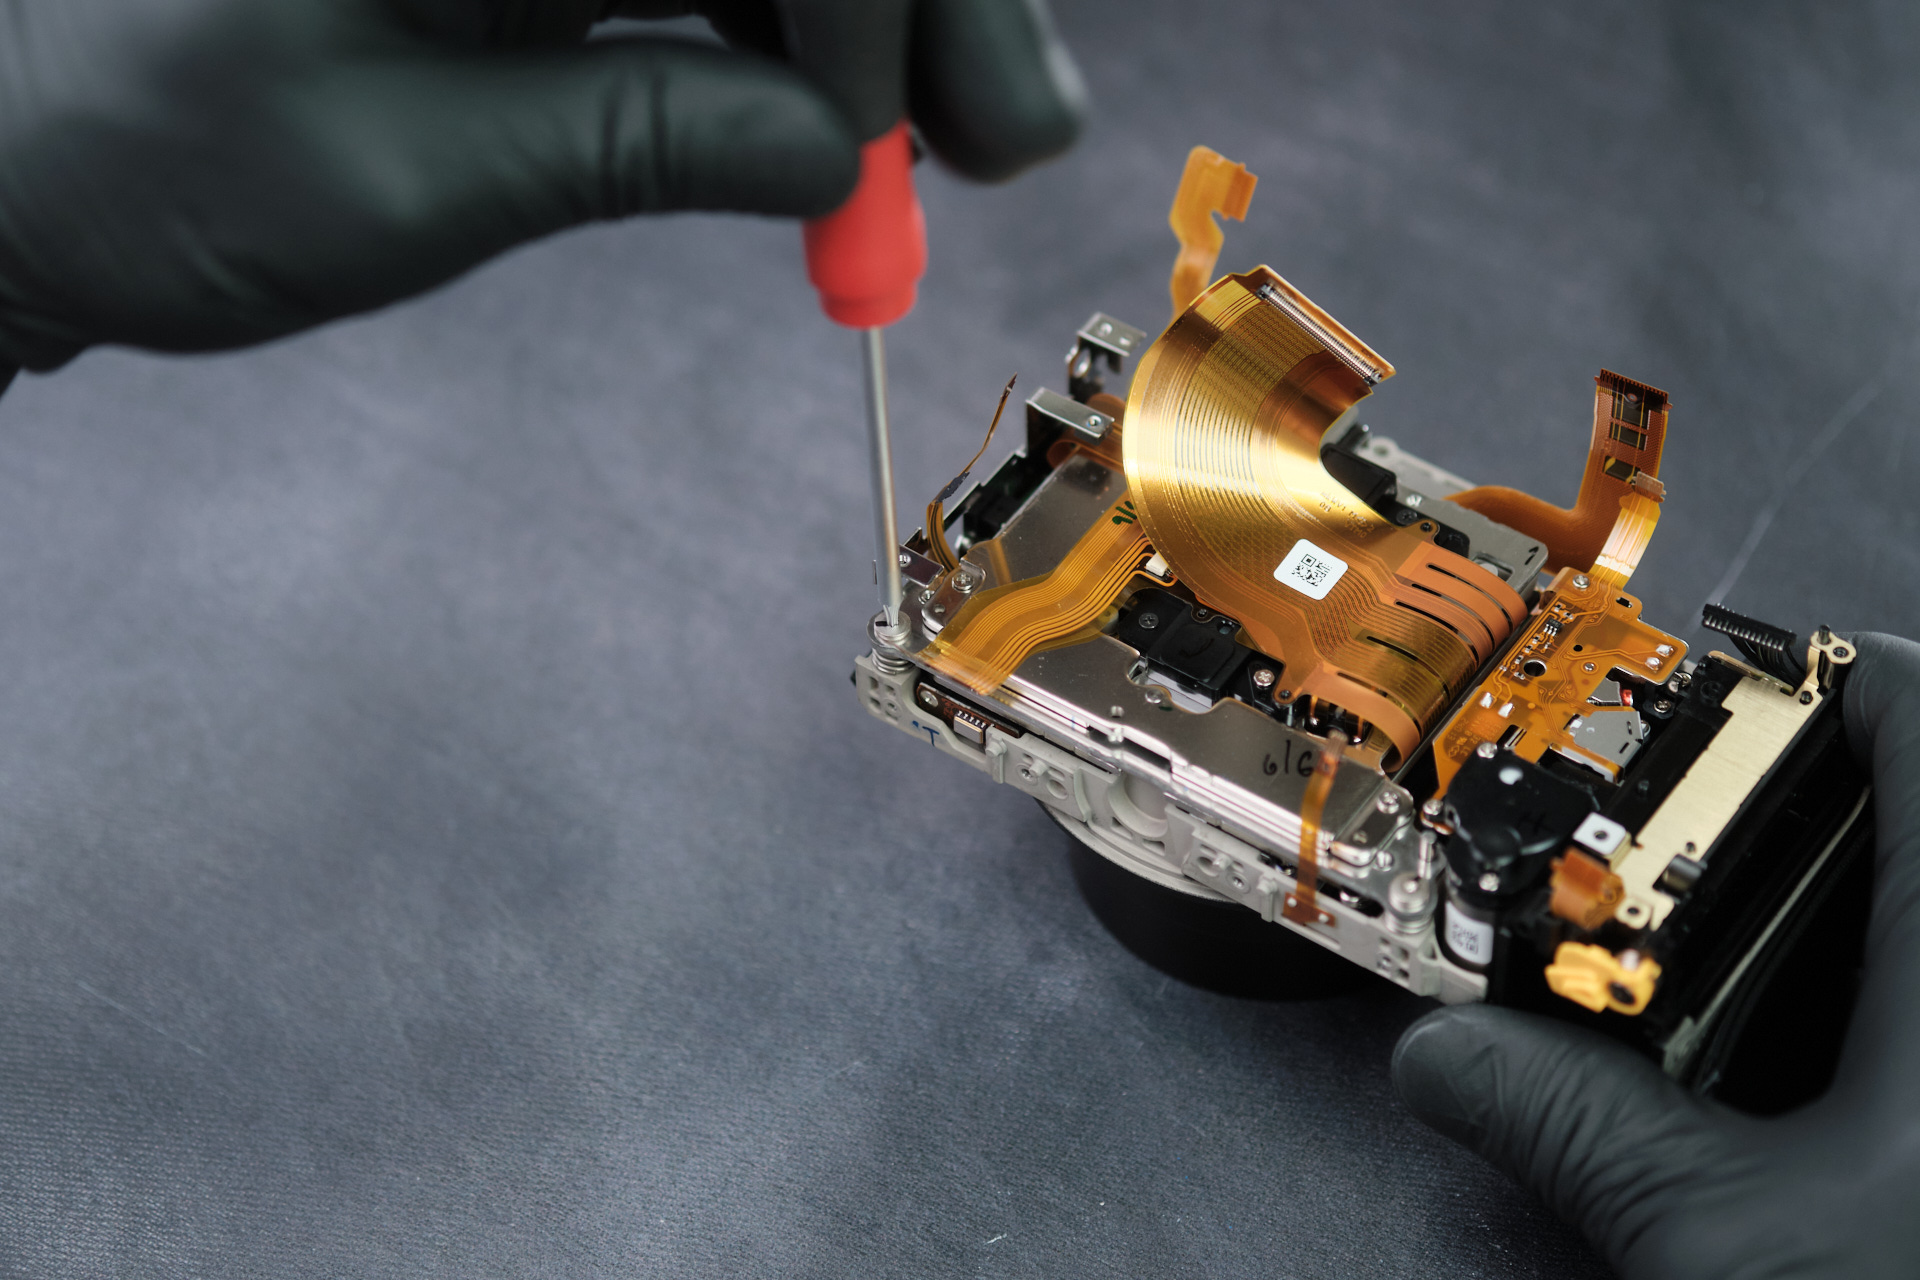
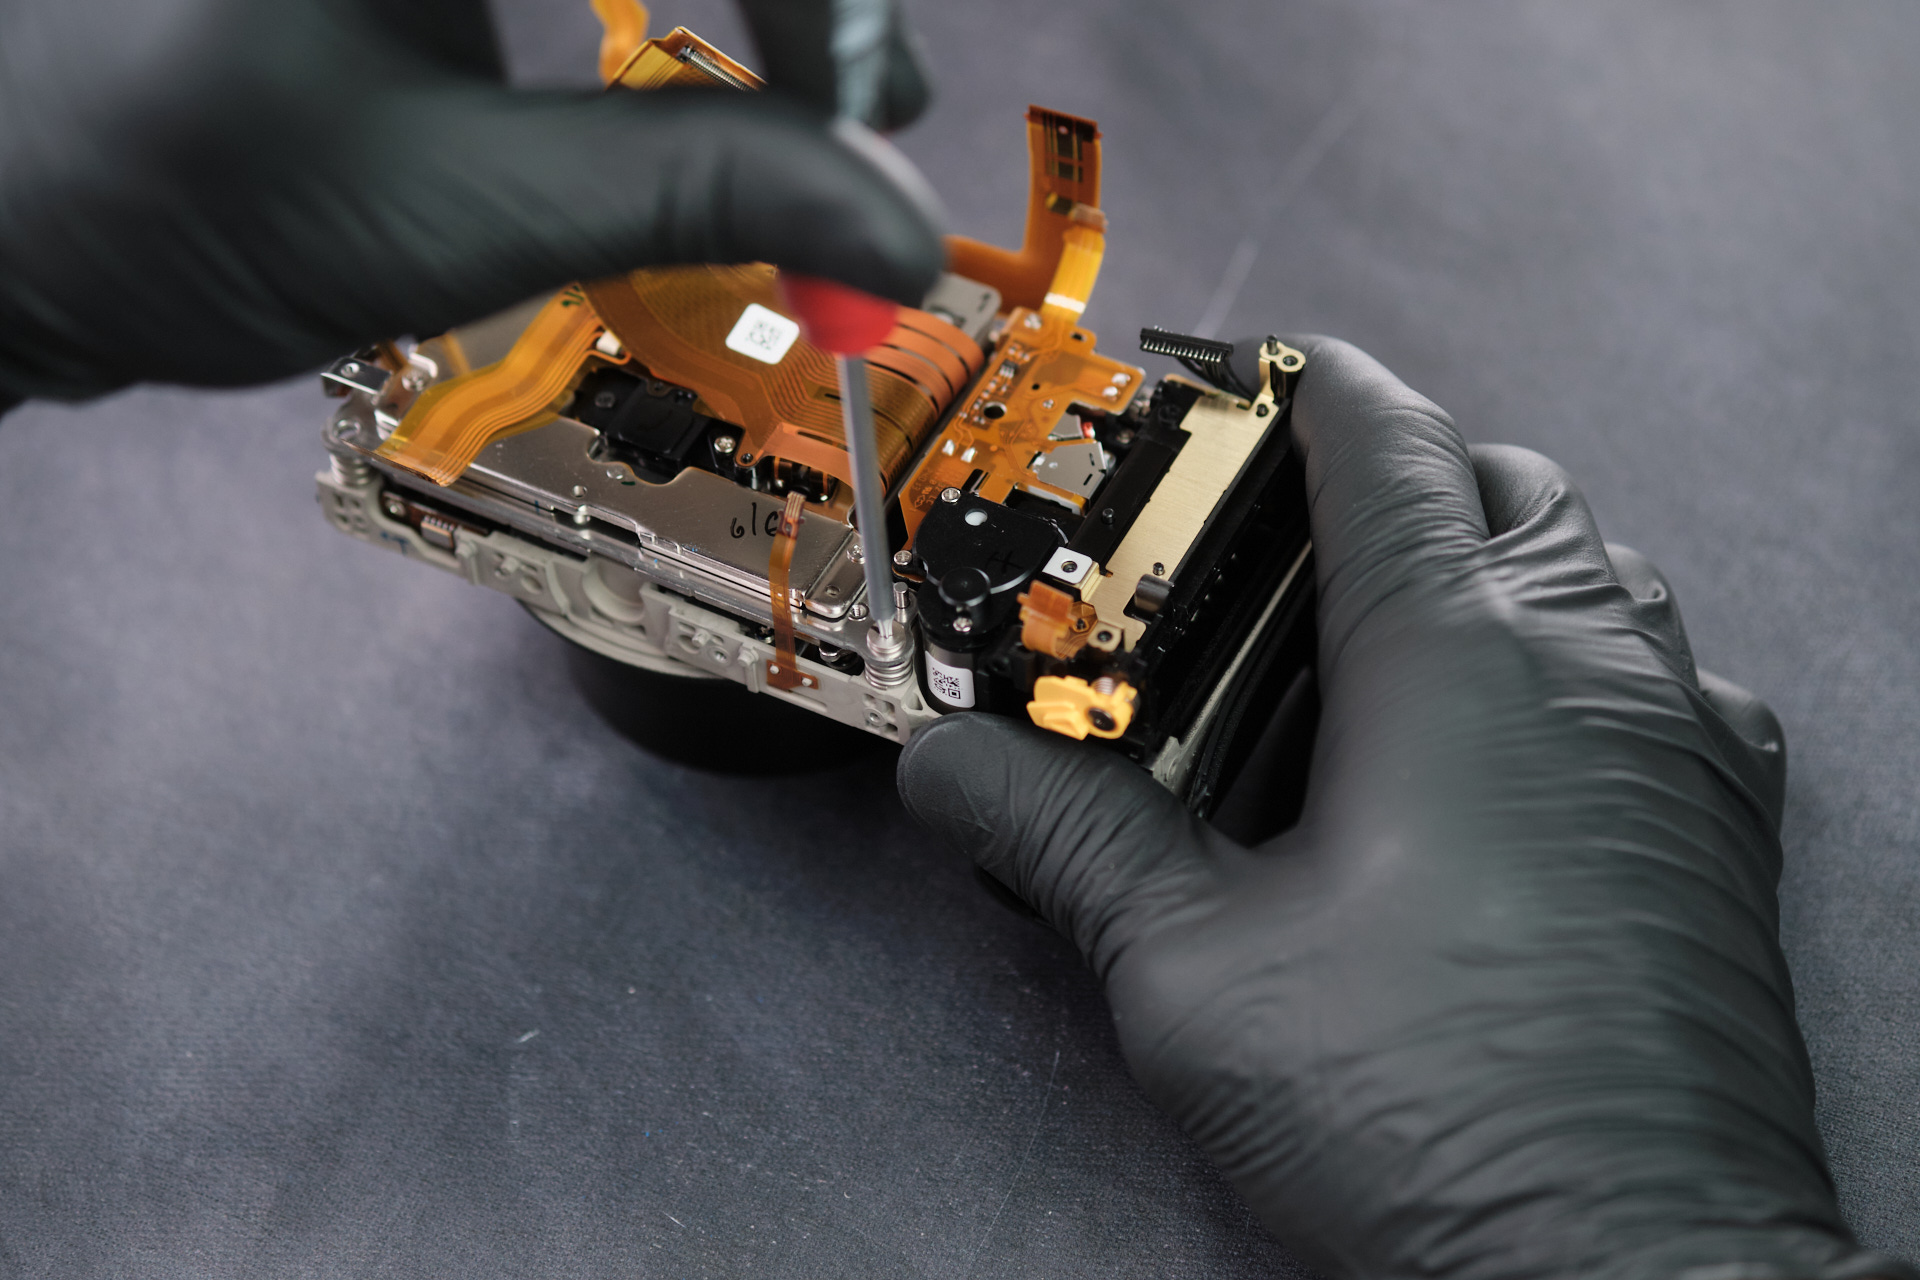
Removing the Nikon Z6III Camera Sensor
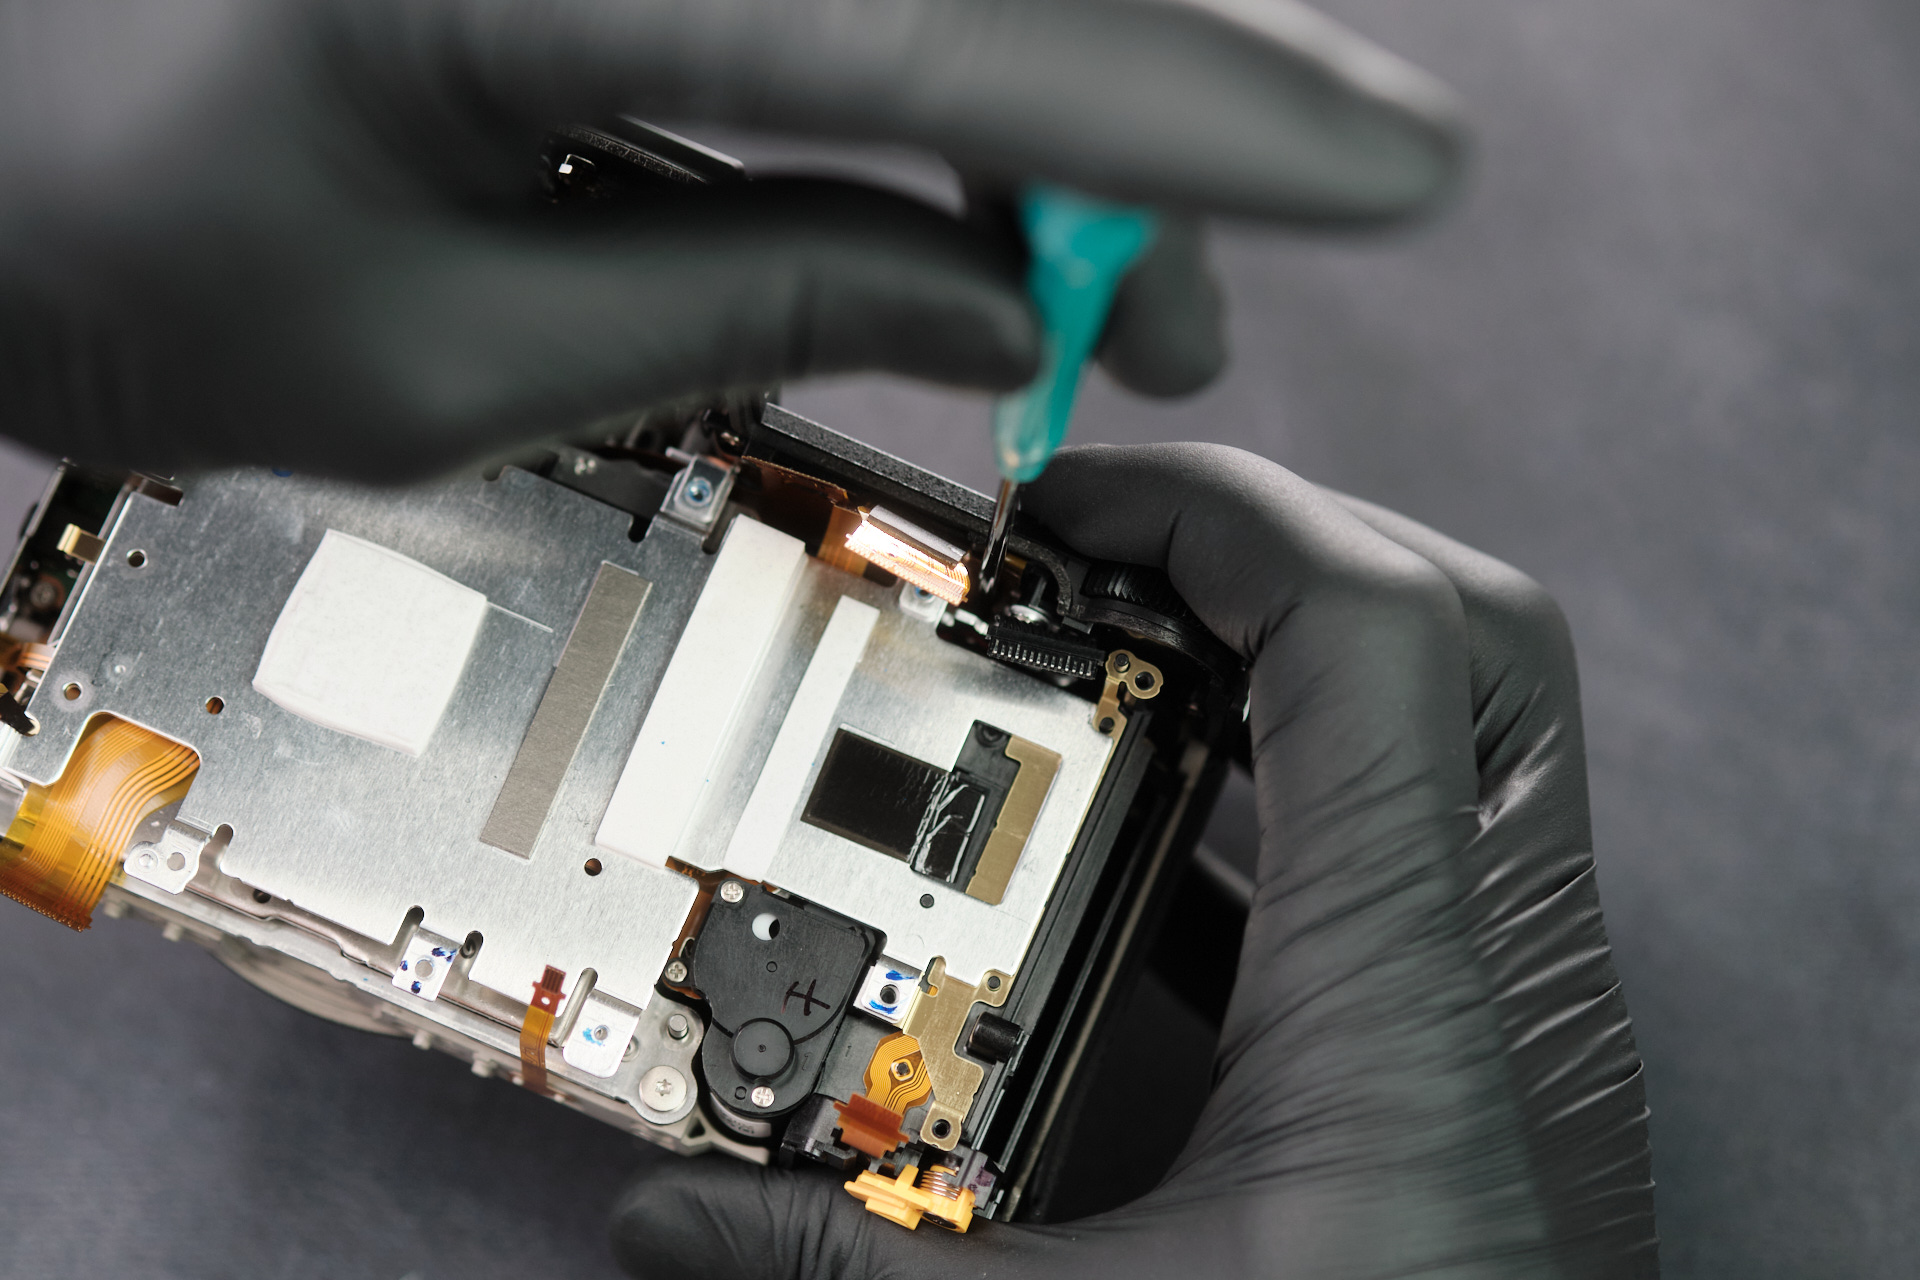
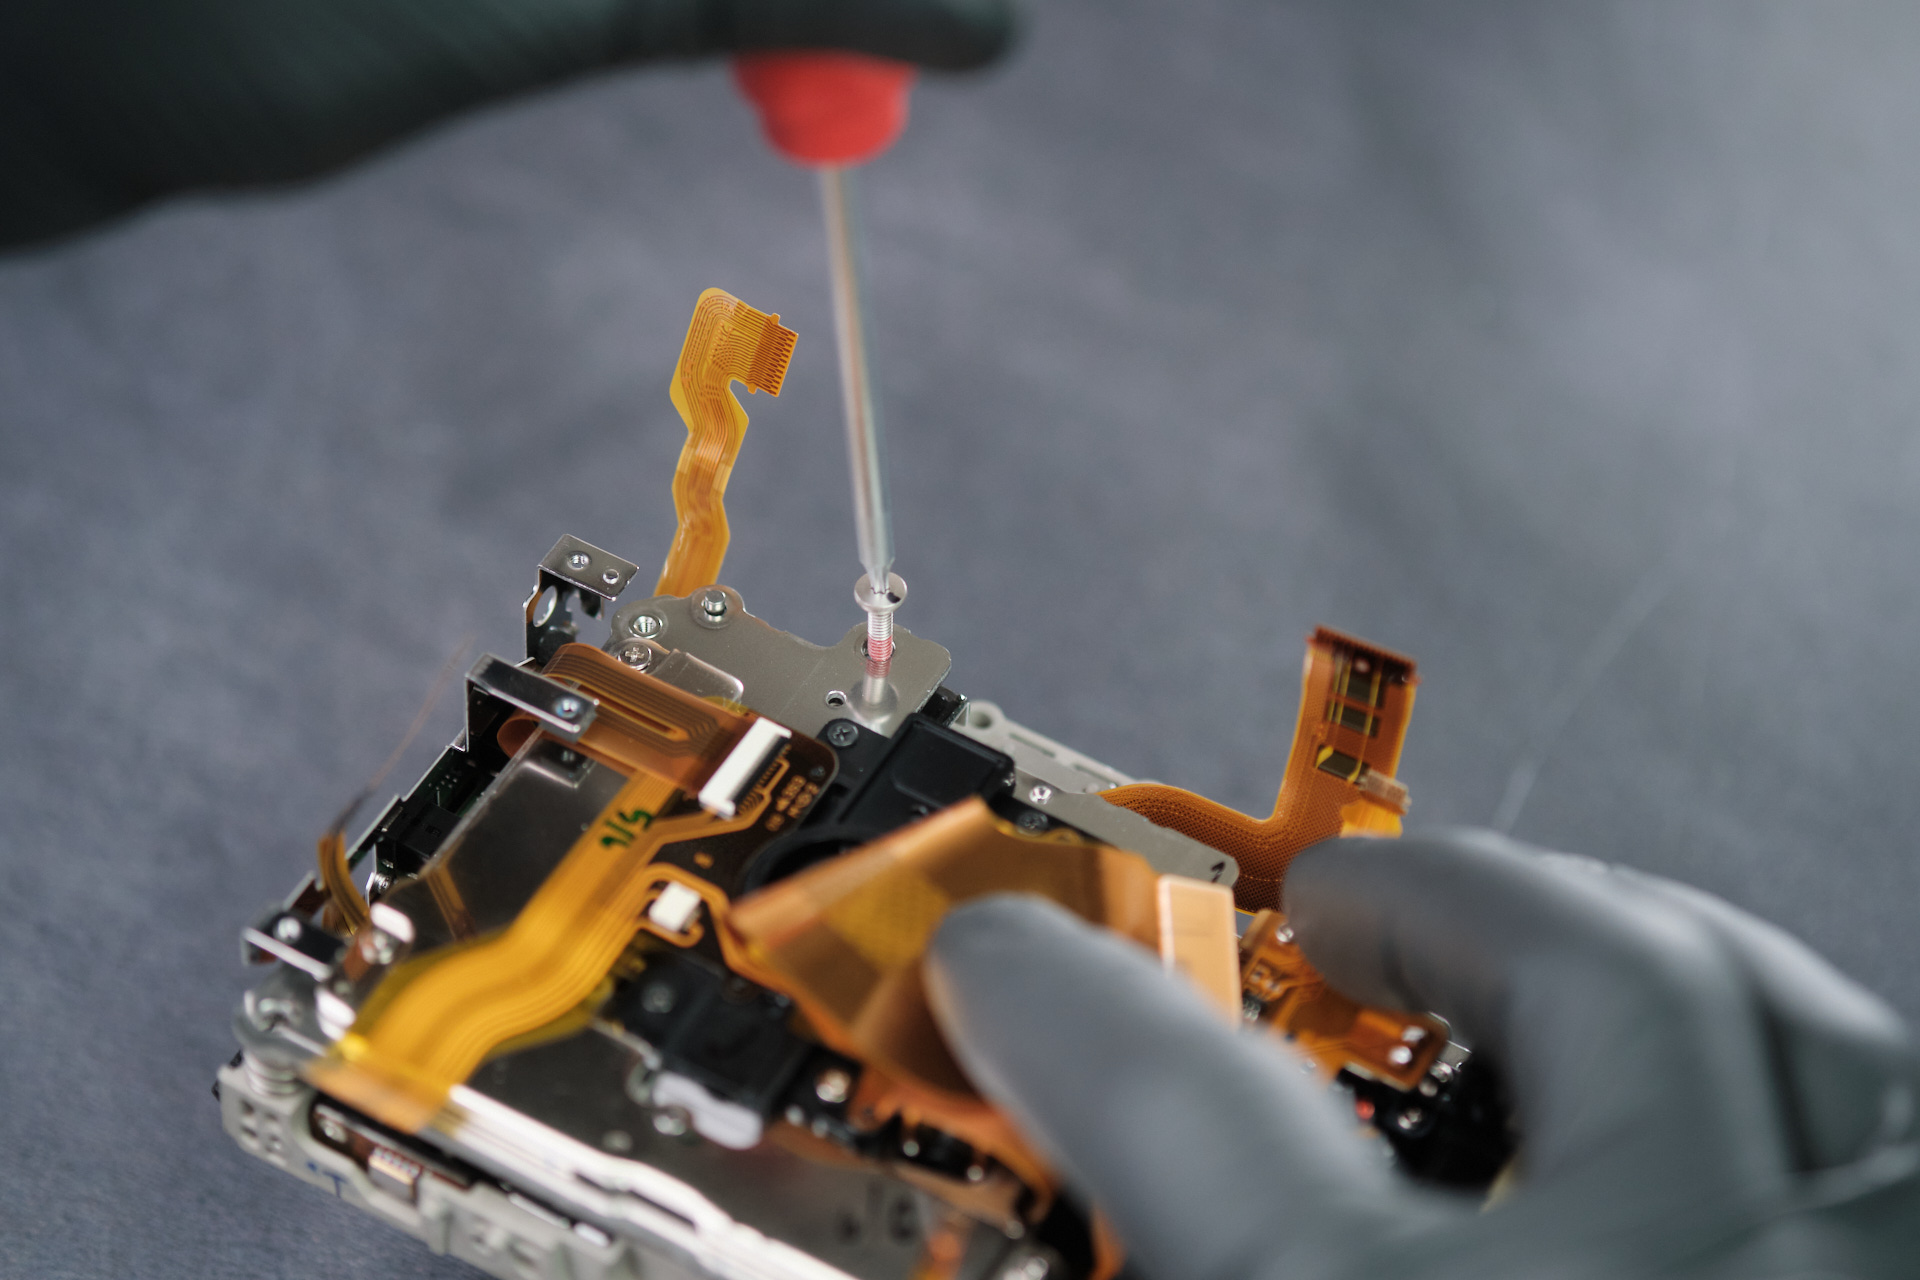
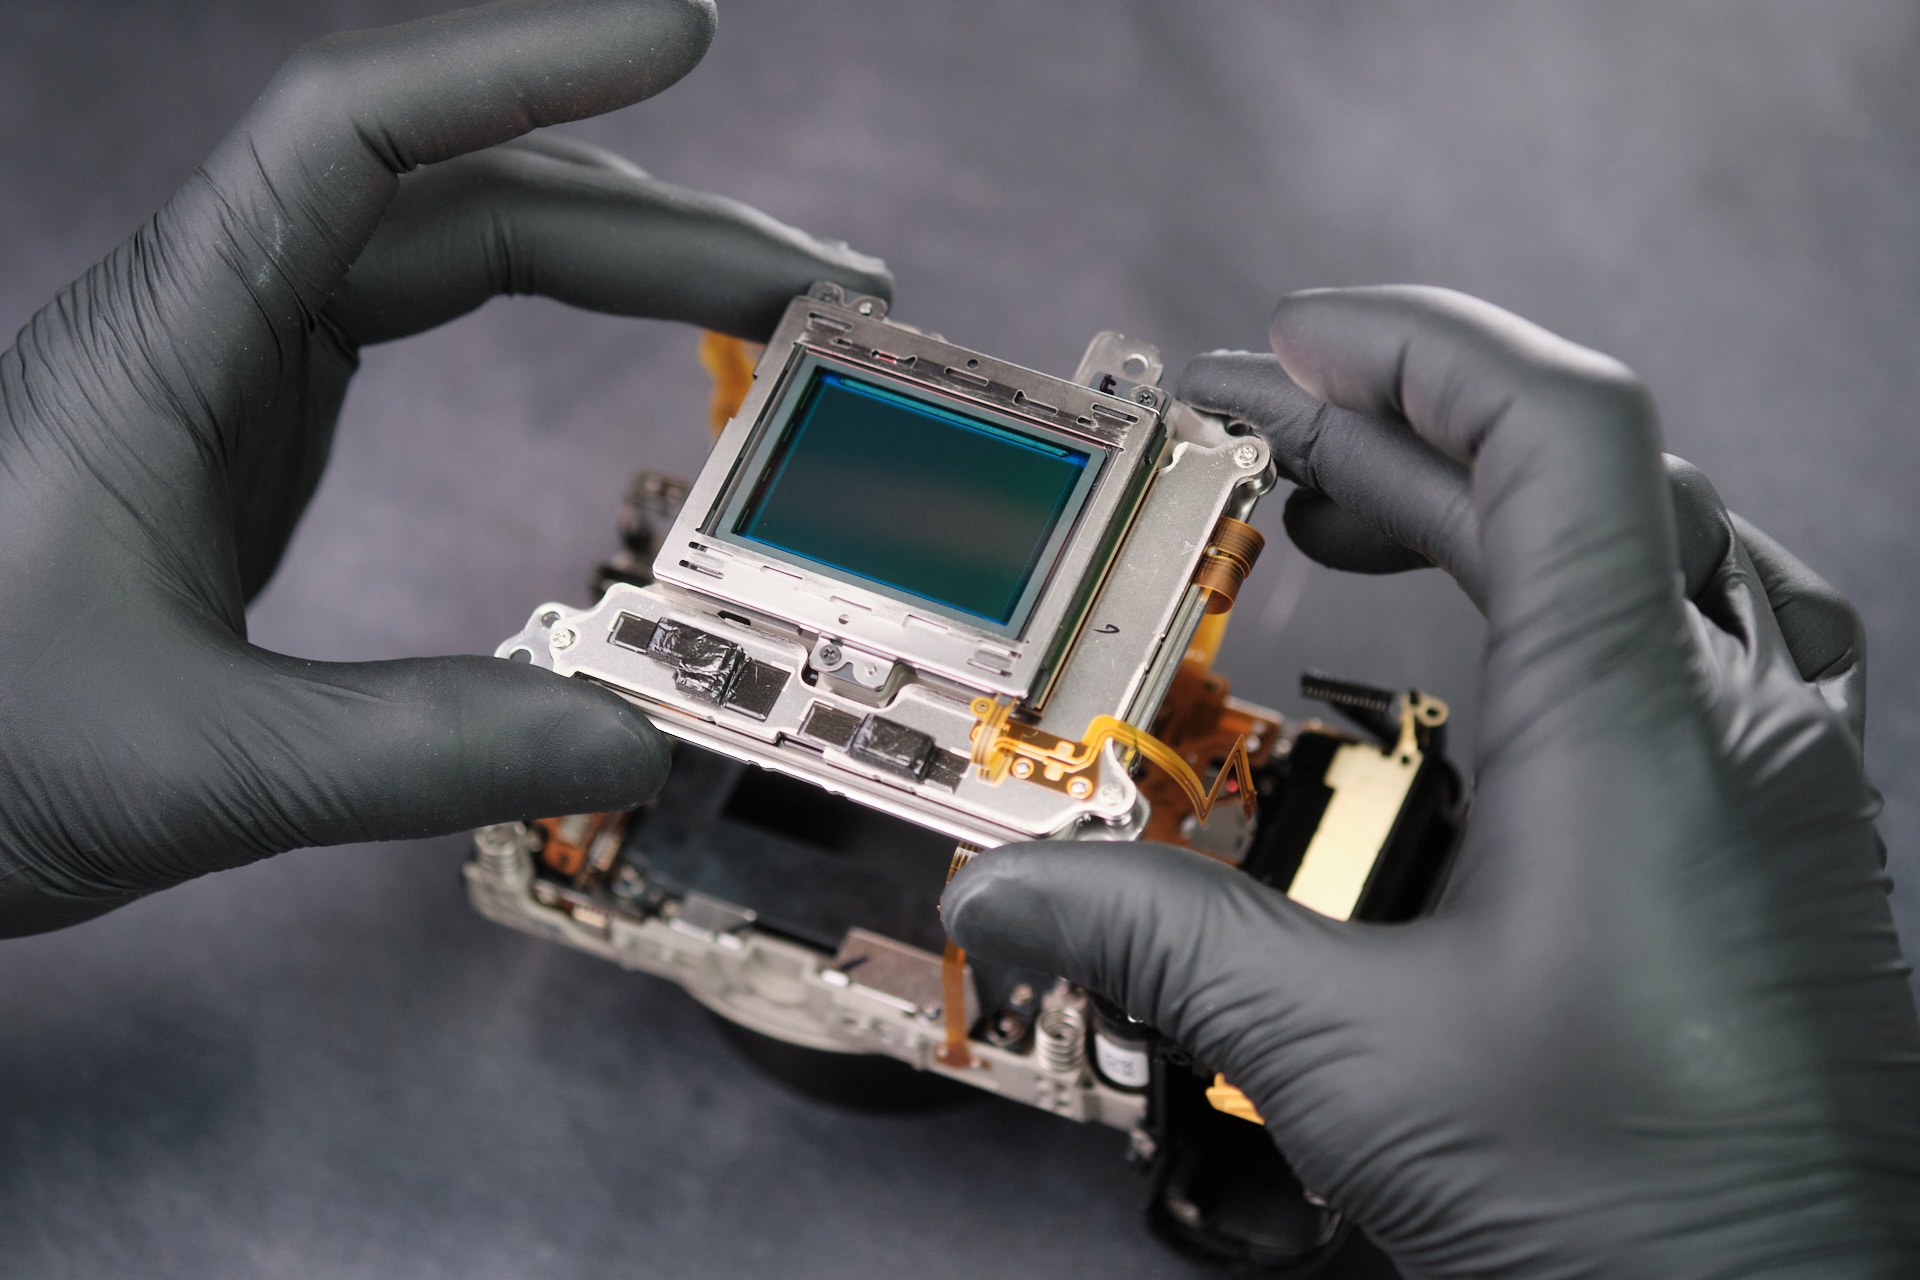
Three screws fastened the camera sensor in place.
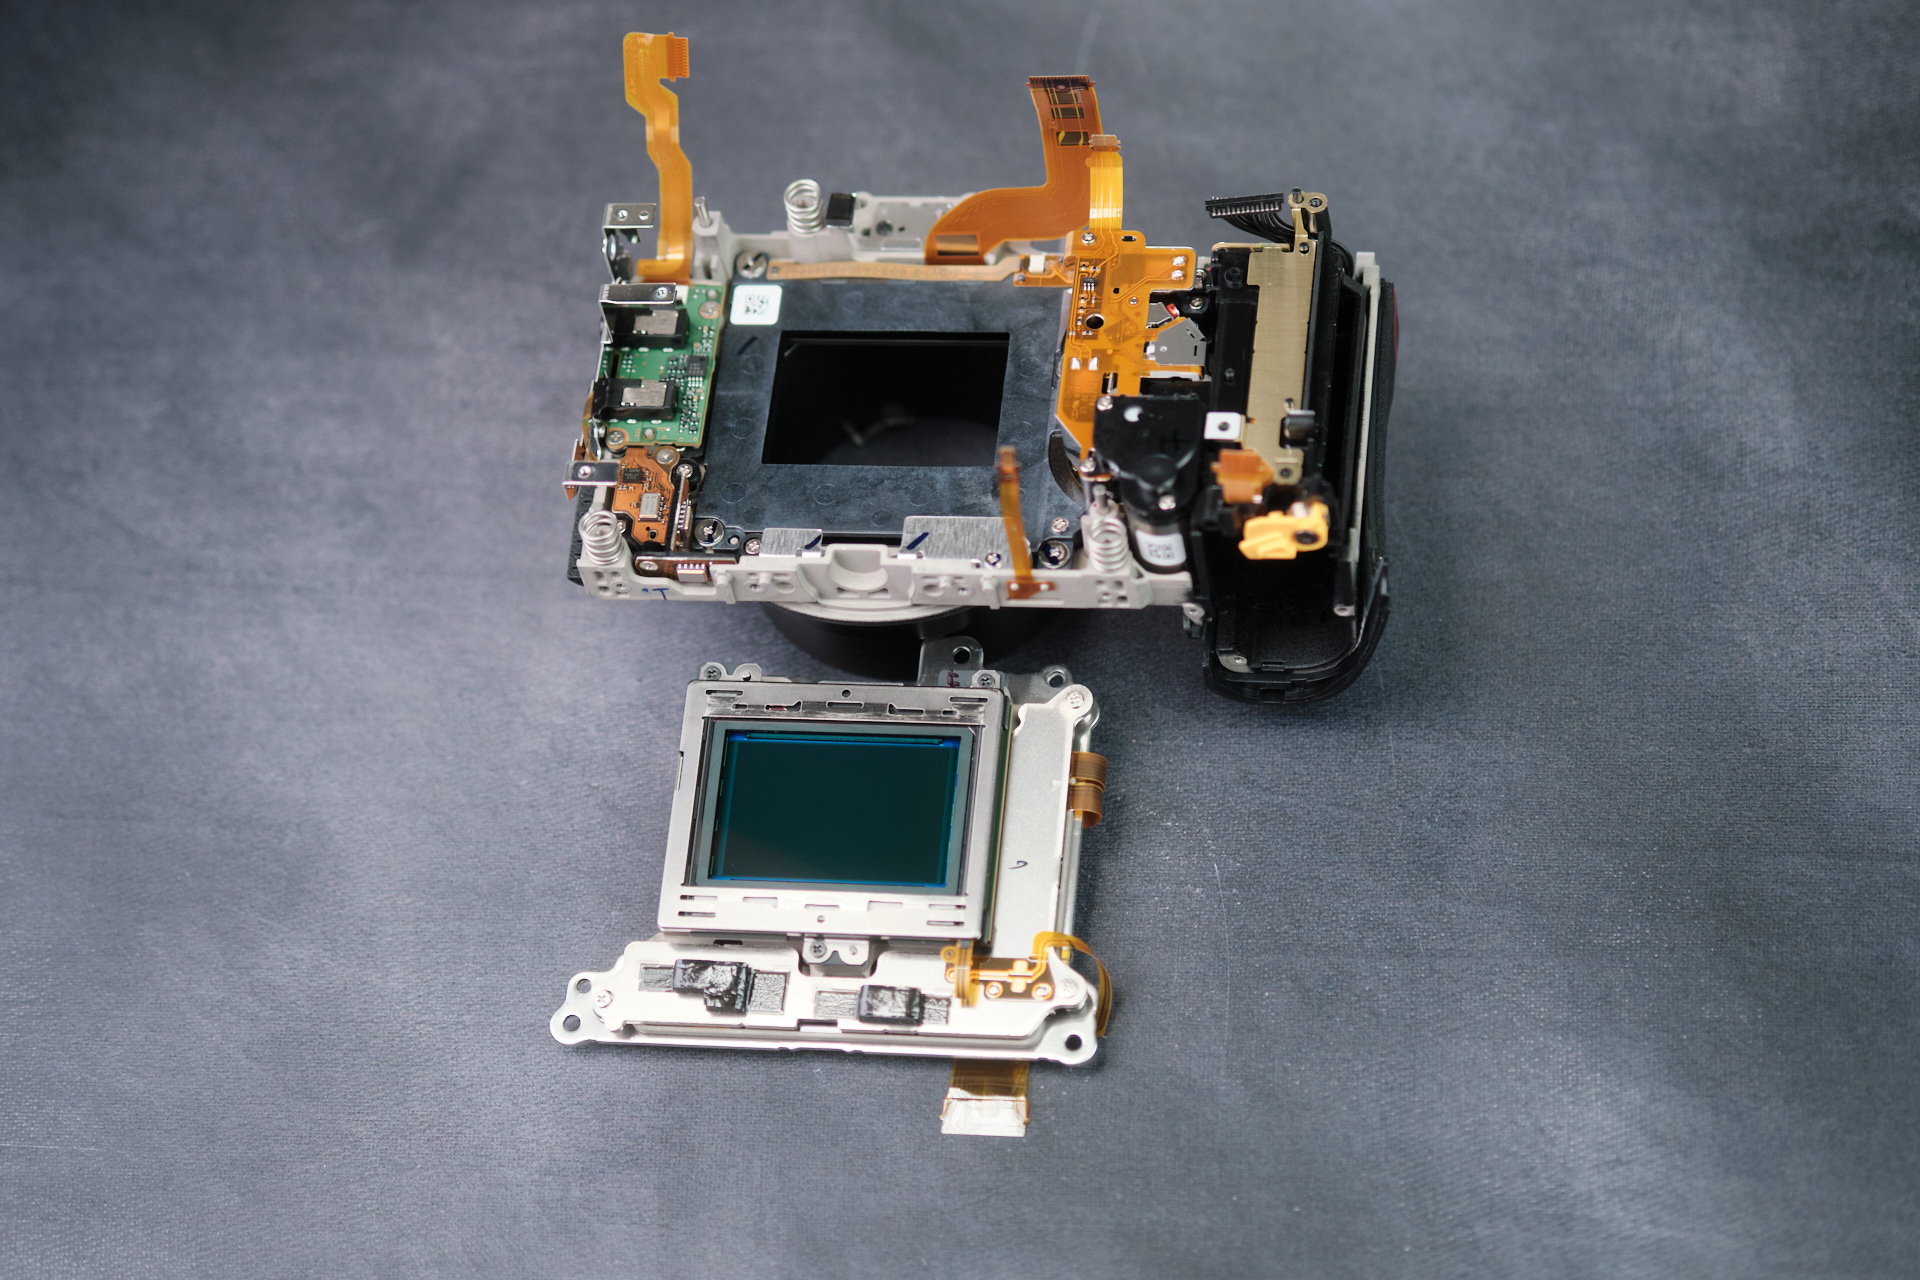
Once the screws were removed, the camera sensor was able to be extracted.
Final Thoughts on the Nikon Z6III Teardown
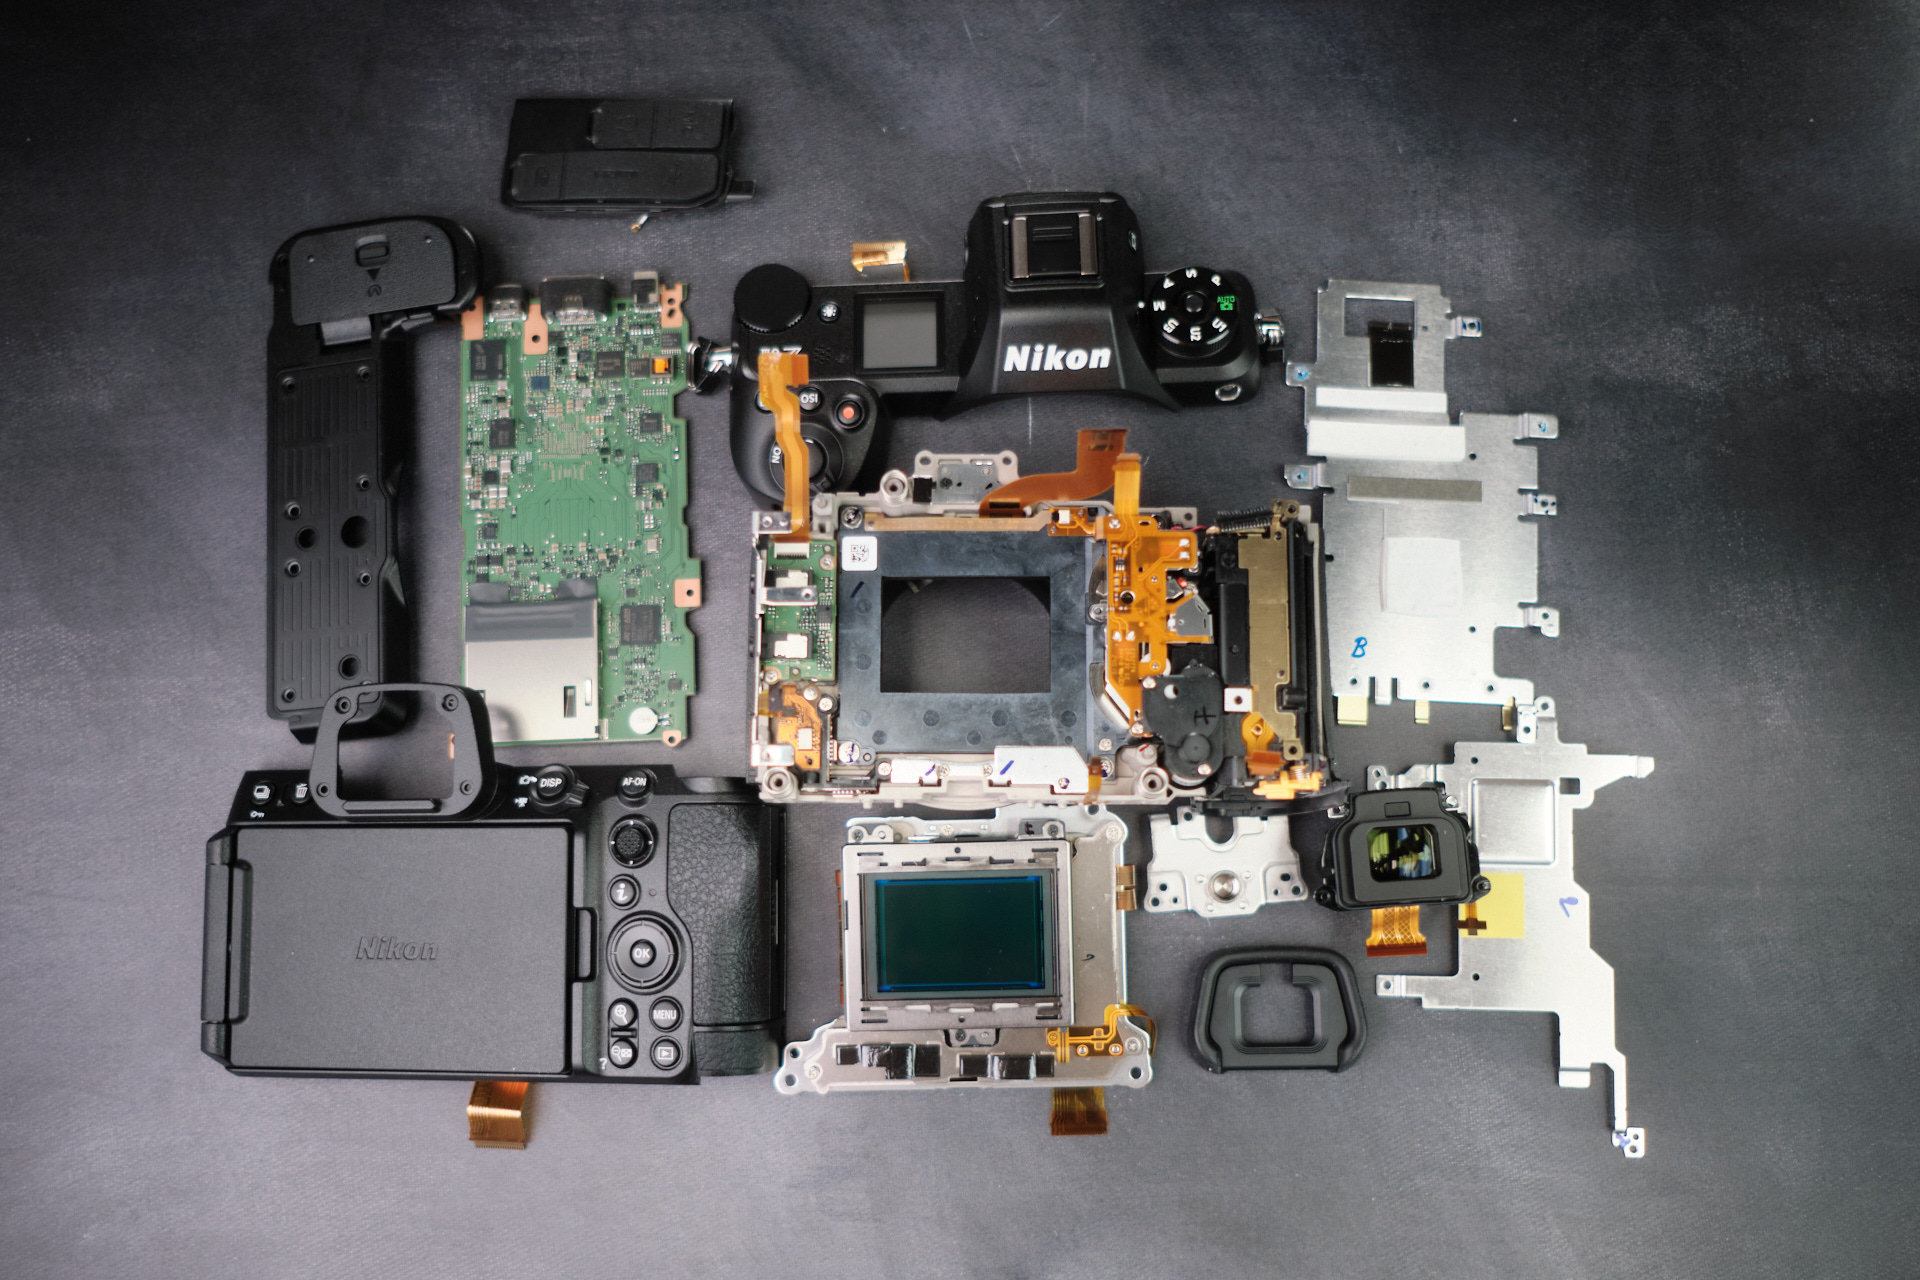
The Nikon Z6III is somewhat similar to the Nikon Z7 (which we’ve previously taken a part in our other teardown) with the exception of more screws and parts. According to our lead camera technician, this camera is relatively easy to disassemble.
Thanks for reading. If you’re interested in more camera teardowns, we feature a new one every month.
Be sure to sign up for our newsletter so you don’t miss them!
Frequently Asked Questions
How Do You Start Disassembling The Nikon Z6III?
The Nikon Z6III teardown starts by removing the camera’s baseplate. Eight screws hold down the baseplate cover, and additional screws near and beneath the battery door need to be removed before the baseplate can come off.
Are Kolari Magnetic Clip-in Filters Compatible With The Nikon Z6III?
Yes. The Nikon Z6III uses Nikon’s Z-mount, which is compatible with Kolari Magnetic Clip-in Filters for Nikon Z-mount cameras.
How Is The Nikon Z6III Rear Panel Removed?
The rear panel is removed after taking out the screws on the left and right sides of the camera body. One long ribbon cable connects the rear panel to the circuit board, so it needs to be disconnected before the rear panel can be fully removed.
How Is The Nikon Z6III Circuit Board Removed?
The Nikon Z6III circuit board is removed after the RF shield, eight main ribbon cables, three circuit board screws, two overlooked ribbon cables, the port side dust caps, and one final ribbon cable are disconnected.
How Is The Nikon Z6III Camera Sensor Removed?
The Nikon Z6III sensor is reached after removing the circuit board, tripod mount, circuitboard mounting frame, top panel, and remaining frame screws. Three screws hold the camera sensor in place, and once they are removed, the sensor can be extracted.