Infrared Photography for Beginners
Author: Alexis Hartman
Table of Contents
Infrared photography is an entirely different world than that of general visible light photography. There are terms, concepts, and options that your average photographer will never encounter throughout their career. This can be daunting for those just starting out in the infrared realm. That’s why we’ve put together this beginner’s guide to infrared photography.
What is infrared photography?
What even is infrared photography anyway? Well, without getting too technical, all light exists on a spectrum. We can see some wavelengths in this spectrum with our own eyes, others we cannot. The section we see is known as “visible light,” which exists within the 400-700nm range. Below 400nm is the UV spectrum and above 700nm is the infrared spectrum. Infrared photography utilizes specialized equipment and processes to capture the IR light—typically what’s known as “near-infrared,” which lives in the 700-1200nm range.
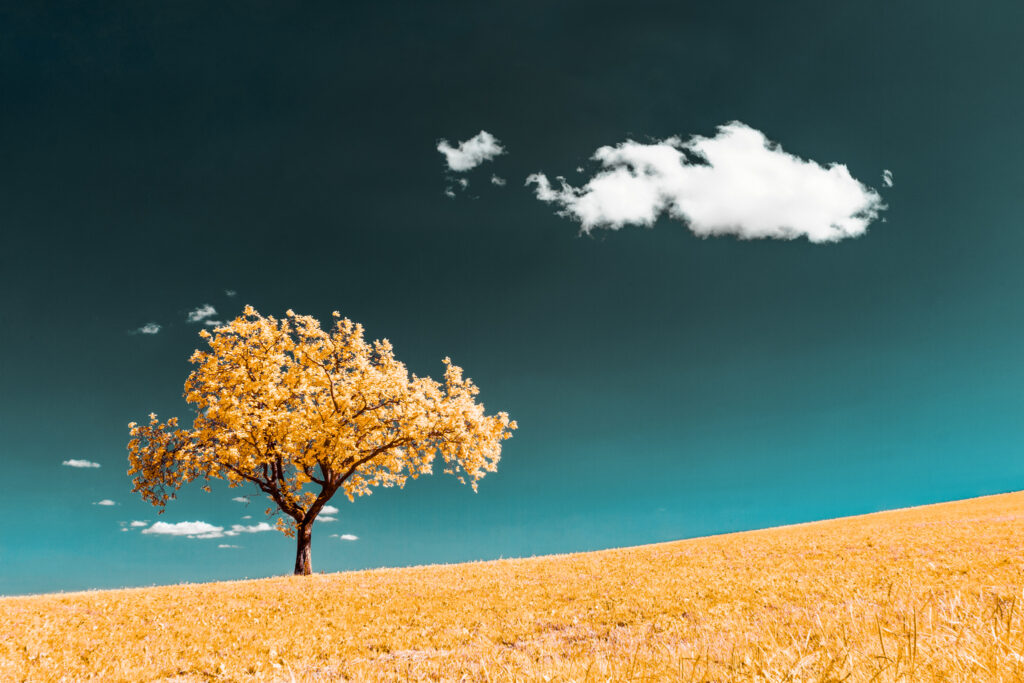
Different IR wavelengths produce distinct effects that are quite different from visible light. The higher wavelengths in this spectrum produce high-contrast black and white infrared images and are great for medical, scientific, and forensic purposes. They are also popular among landscape photographers. You can also find false color infrared in lower wavelengths, i.e., 550nm-665nm. These are varying combinations of IR and visible light, which produce surreal color images. These are most popular for artistic applications.
How to do infrared photography
Film vs. Digital
Infrared photography has been around longer than the digital age. So it stands to reason that film used to be the only way to do it. This was a very elaborate process, more so than it is now with digital IR photography. The amount of IR light in a scene is not the same as the visible light, so multiple exposures must be taken. Infrared film is sensitive to both visible and IR light, so an opaque infrared filter is needed to get a proper image. This means you must use a tripod, compose your shot, and then place the filter on your lens before pressing the shutter.
It’s worth noting that IR light focuses differently than visible light. It is difficult to properly focus a film camera for IR photography. Additionally, infrared film is rather hard to come by these days, and film labs with the means to develop infrared film are few and far between.
Filter vs. Conversion
All digital camera sensors are sensitive to infrared light. But to prevent any issues with general photography, you’ll notice that all stock cameras come with an internal UV/IR cut hot mirror attached to the sensor. This filter allows for accurate, natural colors without the user having to do anything extra. This internal hot mirror makes an unconverted digital camera less than ideal for infrared photography, but it doesn’t mean it’s impossible.
Technically, your stock camera can still capture infrared light; it—and you—will just have to work a bit harder for it. By using an IR filter on the lens, your camera can still take an infrared image. Only a 720nm, 780nm, or 850nm lens filter will work with the internal hot mirror intact. Because of the opacity of these filters and the fact that the hot mirror and IR filters cancel each other out, you will need to use a much longer exposure time to get a usable image. Similarly to shooting infrared film, you will need to use a tripod, compose your shot, then place your filter on the lens and adjust your settings while using your camera’s live view or electronic viewfinder before pressing the shutter.
Conversely, getting your digital camera converted for infrared use makes the whole process much simpler. An infrared conversion is the process of removing your camera’s internal hot mirror and replacing it with a filter that allows the passage of IR light, whether that be a filter for a specific IR wavelength or a clear piece of full spectrum glass. Not only are you able to shoot handheld and with more normal settings on a converted camera, but you also have far more options when it comes to filters.
Dedicated Infrared vs. Full Spectrum Conversion
There are two main conversion options for infrared photography: a dedicated infrared conversion and a full spectrum conversion. With a dedicated IR conversion, your camera’s internal UV/IR cut hot mirror is replaced with a piece of infrared glass in your chosen wavelength. The choices range from 550nm-850nm.
While there are quite a few options for a dedicated IR conversion, they are ultimately limited. This conversion type means that your camera will be able to shoot in infrared and only in infrared forever. Depending on which IR filter you select for the conversion, it may be possible to explore other wavelengths using external infrared filters. Whichever internal filter you choose will determine which external filters you can use. You can use any wavelength that is higher than the one inside your camera but not lower. For example, you can use a 720nm lens filter on a 665nm converted camera, but you cannot use a 665nm lens filter on a 720nm camera.
Alternatively, a full spectrum conversion gives you virtually unlimited possibilities. This conversion involves replacing your camera’s internal hot mirror with a clear piece of glass. This allows your sensor to see in UV, visible light, and infrared, making full spectrum the most flexible conversion. With only one camera, you can shoot in any spectrum you want. External filters allow you to select which part of the spectrum or which IR wavelength you want to shoot in at any given time, and you can easily switch it up simply by swapping out the filter you’re using for another. Full spectrum conversion is also the only conversion that is compatible with our IR Chrome and Blue IR filters, as well as capable of UV and visible light shooting with the proper filters.
If you’re still not convinced that full spectrum is the best conversion option, you can read more about its benefits here.
Getting Started in Infrared Photography
Gear
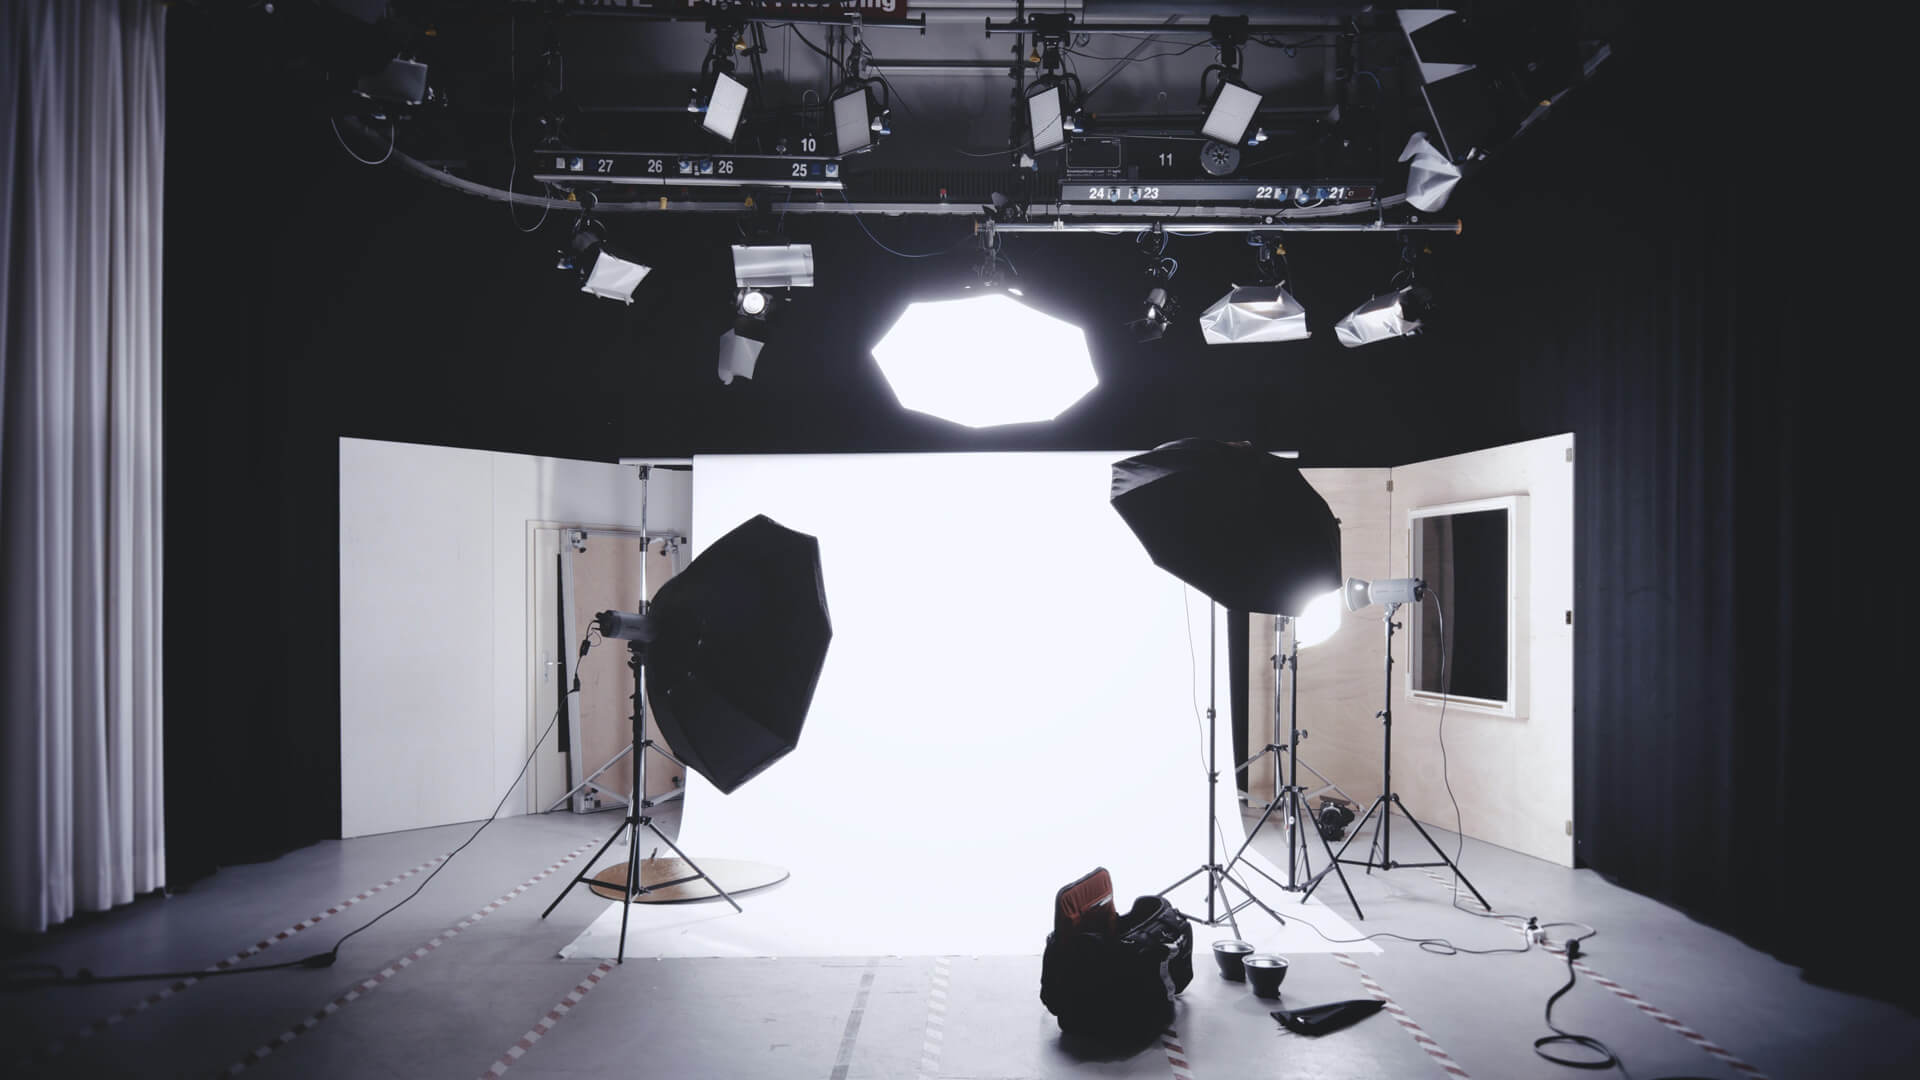
Now that we’ve covered what infrared photography is and the different ways you can do it let’s take a look at the gear you’ll need in order to become an infrared photographer. The first thing is to choose which camera you want to use. The first step in selecting a camera is deciding which type works best for you: point-and-shoot, DSLR, or mirrorless. You may choose to convert a camera you already have or purchase a new camera to be converted.
Point-and-shoots are a great, lightweight, and inexpensive option if you’re just dabbling in the infrared world and want to see if it’s for you before going all in. Conversion may be a great way to breathe new life into an old DSLR, and the flexibility of interchangeable lenses, manual settings, and the ability to shoot in RAW gives them a leg up on point-and-shoots. Mirrorless cameras are smaller and lighter than DSLRs, and their additional features make them perfect candidates for infrared photography. If you want to read more about the pros and cons of each camera type, check out this article.
Once you’ve decided on a camera, next is selecting your filter(s). Whether you’ve opted for a dedicated infrared conversion or a full spectrum and need to decide which external filters to get, it can be helpful to compare all the options side by side. That’s why we’ve put together this comparison chart of all the infrared filters we offer. If you choose to go with a dedicated IR conversion, we recommend selecting the lowest wavelength you might want to experiment with. That way, you can always use additional external filters to achieve the results of the higher wavelengths.
The last thing to consider is which lenses you want to use with your new IR setup. Unfortunately, cameras and lenses were not designed for infrared use, so it should be no surprise that not all lenses will perform well in IR. Due to the varying number of internal elements within lenses, the light passes through them in different ways. This can sometimes result in a bright circle in the center of your images; this is known as a hotspot. Some lenses have terrible hotspots, some have none, and some have only a mild hotspot at certain apertures. Lucky for you, we have compiled the world’s most extensive collection of lenses and their hotspot performance in our Lens Hotspot Database.
Settings
There are a couple of differences in settings to take into account when it comes to infrared photography. Other than the differences in color and aesthetics, the first is the change in your camera sensor’s sensitivity to light. Depending on the filter you use, you may notice an increase or decrease in sensitivity. You can get an idea of how much of an exposure difference you can expect from each filter here.
Another thing to consider is ensuring that your light source emits infrared light. If you’re not shooting in natural daylight (which is the best source of light across the full light spectrum), you’ll want to make sure your subject is properly and adequately lit with sufficient infrared light. You can discover various appropriate light sources for IR photography here.
Lastly, it is a good idea to always shoot in RAW and set a custom white balance for infrared photography. This will be most helpful to you during the post-processing stage. Some filters will require you to set your custom white balance differently when shooting infrared. A good rule of thumb is to set your white balance on green grass or foliage for a 720nm filter or above (this is what gives you the classic white trees) and use a grey card or a white object for any wavelength below 720nm and any other IR filters such as the IR Chrome.
Post-Processing
Post-processing infrared images is an entirely different beast than post-processing visible light photos. A common term you will hear, and a necessary technique for editing most infrared images is “channel swapping.” Channel swapping is the process of inverting the color channels of your image in your editing software to make them more visually appealing. You can find many tutorials online for channel swapping and other IR post-processing techniques. Our IR tutorial section is a great place to start.
If you want to supercharge your learning process and get a clear, simple, and predictable editing workflow for your infrared images, we have just the thing for you. We partnered with Tonee Gee to bring you the world’s first and only all-inclusive infrared photography course. CLiR Infrared Phototography Mastery is the ultimate online IR photography course and Photoshop panel that will walk you through the entire process step by step, from getting your camera converted to finding your unique style as an infrared photographer.
Final Thoughts
The world of infrared photography can be a lot for those who have yet to become familiar with it. But it doesn’t have to be as complicated as it may seem. We hope this introductory guide has given you the information and confidence you need to dive into this unique and exciting photography niche. Get out there and explore life in another light.
Check out our Education section for more information, and be sure to sign up for our newsletter to stay up to date on new releases.

Related Posts