Seldom does a person get their hands on a RED Komodo 6k cinema camera, so naturally, a person’s first instinct is to disassemble it, right?
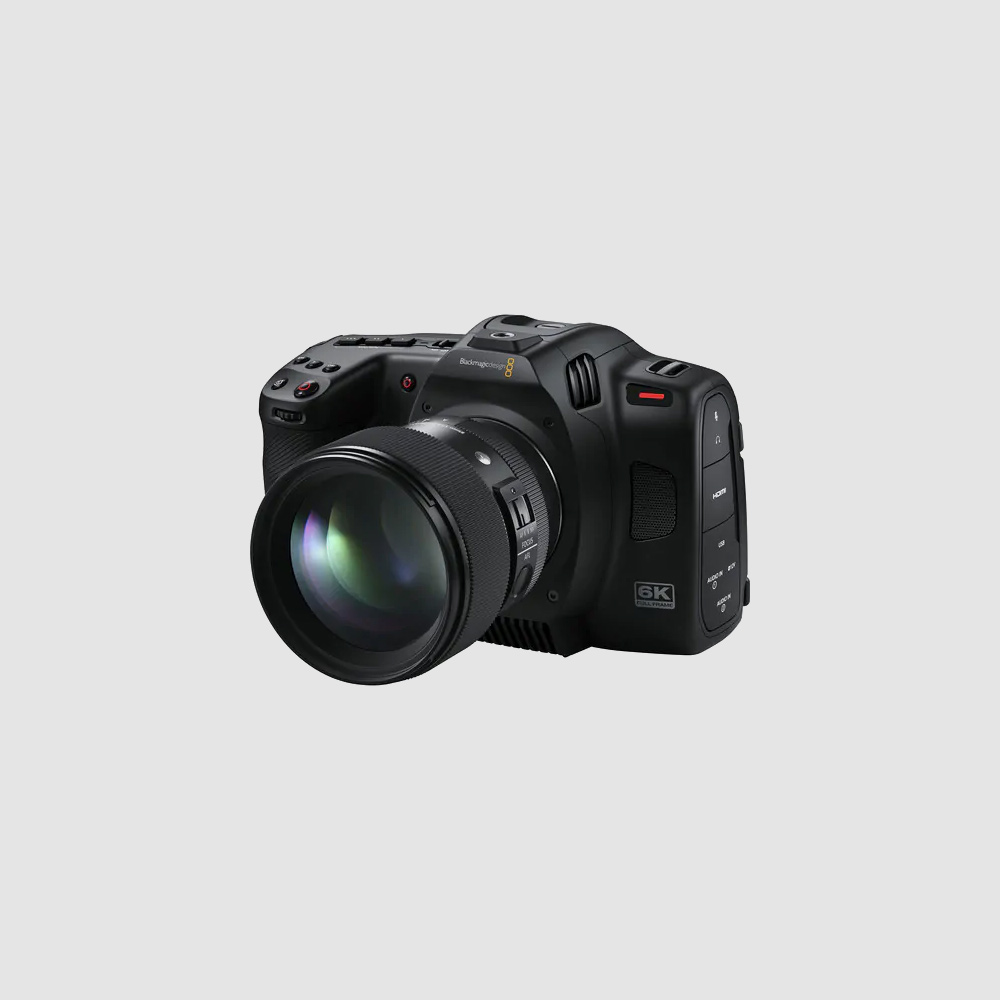
The RED Komodo 6k cinema camera is just one of the powerhouses in RED’s lineup, which includes the V-Raptor XL, V-Raptor, and Komodo itself. Among the cinema cameras, the Komodo is the most “budget-friendly” option – but this camera is by no means a budget option for anything short of a large production. It boasts a 19.9MP full-frame CMOS sensor; up to 6K40, 5K48, 4K60 & 2K120 recording; Canon RF mount; and 16+ stops of dynamic range, among a plethora of other features packed into a tiny yet hefty box of a camera.
Before we get to the teardown, let’s first run through the design and functions of the camera.
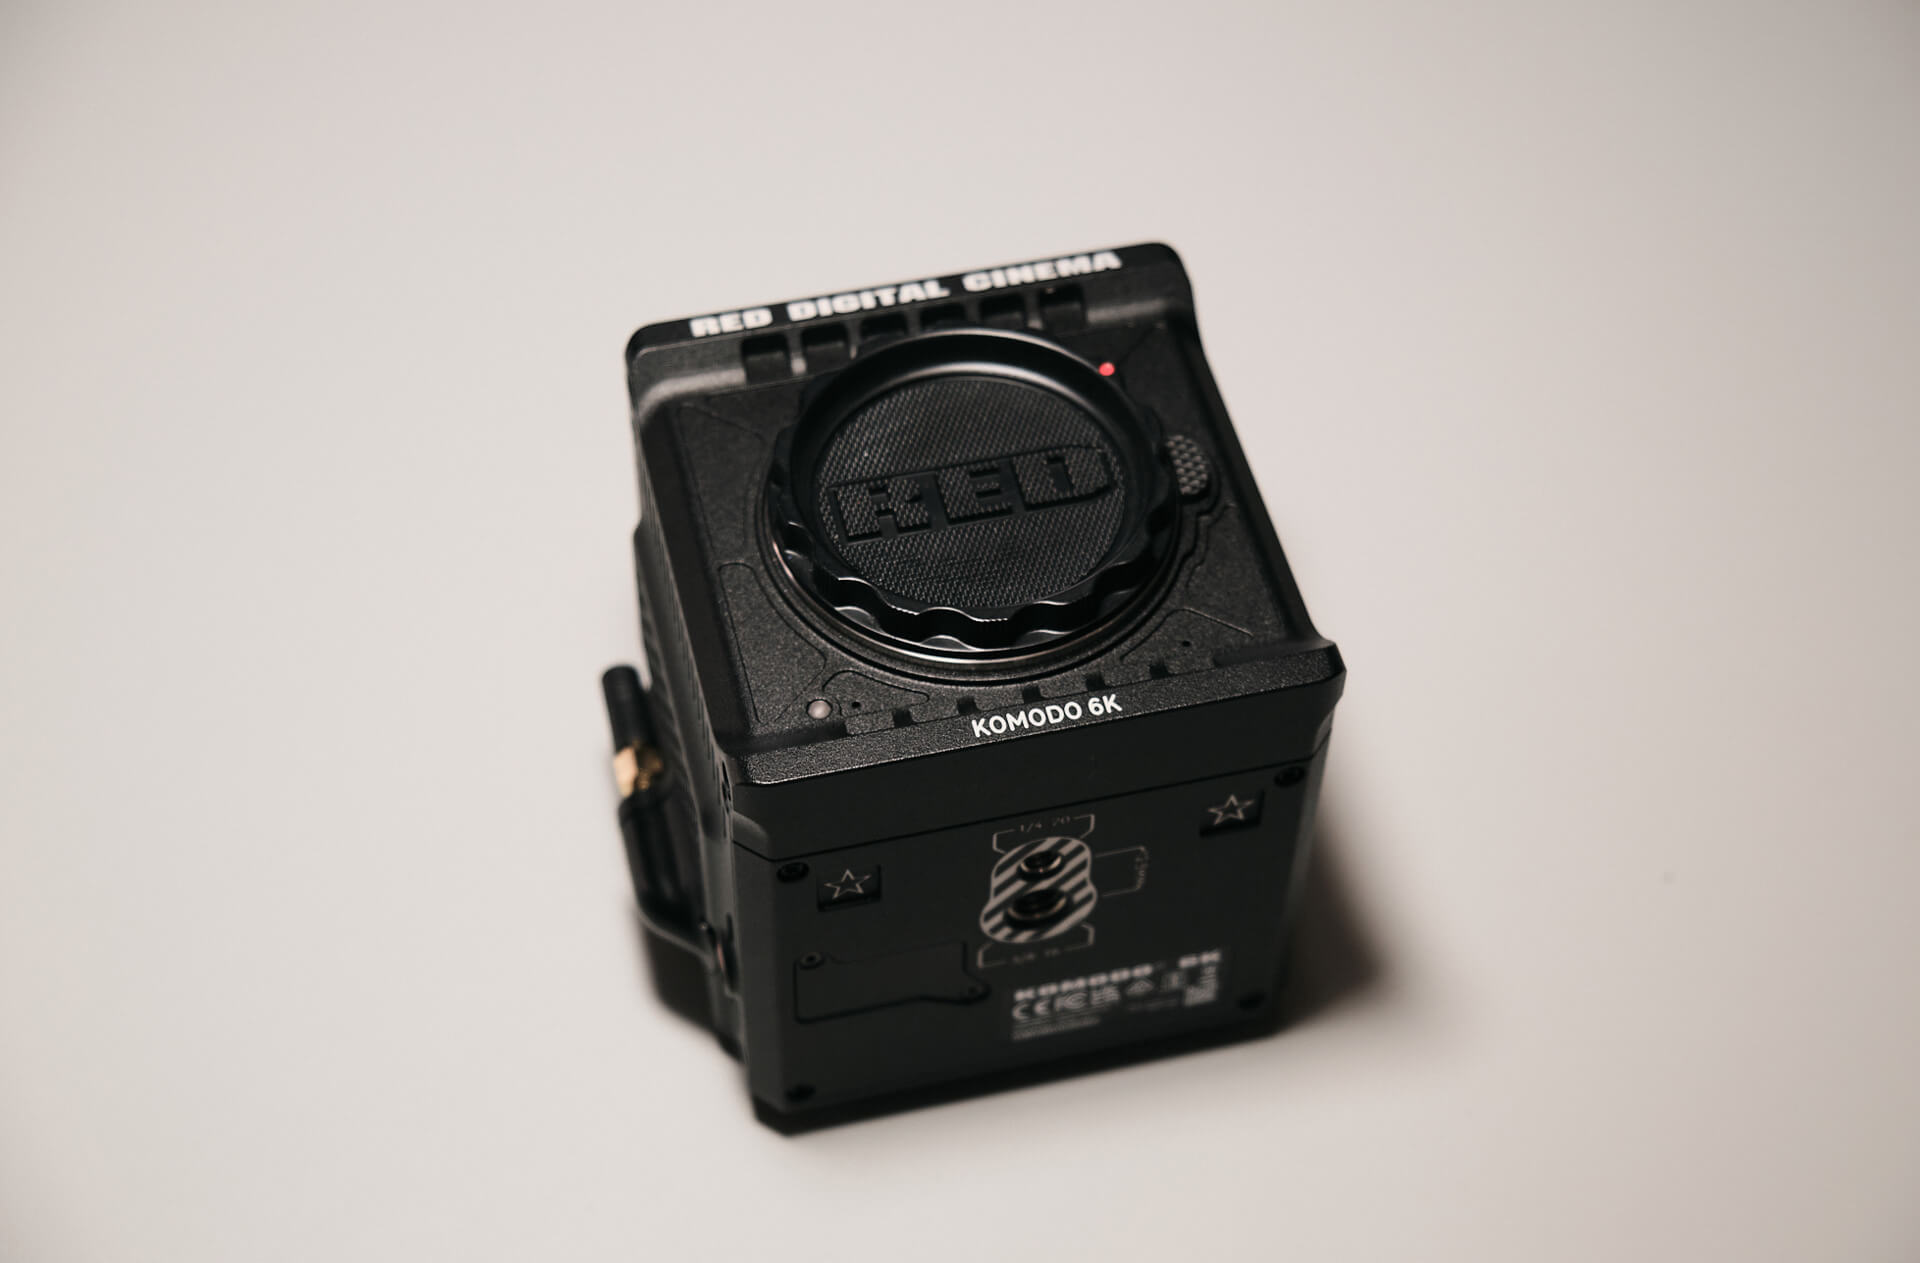
On the front, we see the lens mount of the camera. The RED Komodo 6k uses Canon’s RF-mount, which allows photographers to use a variety of Canon lenses, as well as the RF-EF Mount Drop-in Adapter for rear filter options. The lens mount is nearly as large as the camera body itself, so you can truly see the camera’s compactness.
Behind the mount cover is a 19.9MP full-frame sensor, capable of 6K40, 5K48, 4K60, and 2K120 recording, as well as REDCODE RAW HQ/MQ/LQ and Apple ProRes file recording formats.
The left side of the camera contains separate jacks for an external mic and headphones, the media bay which accepts CFast 2.0 memory cards, the left battery eject button, and M4 mounting holes for accessories.
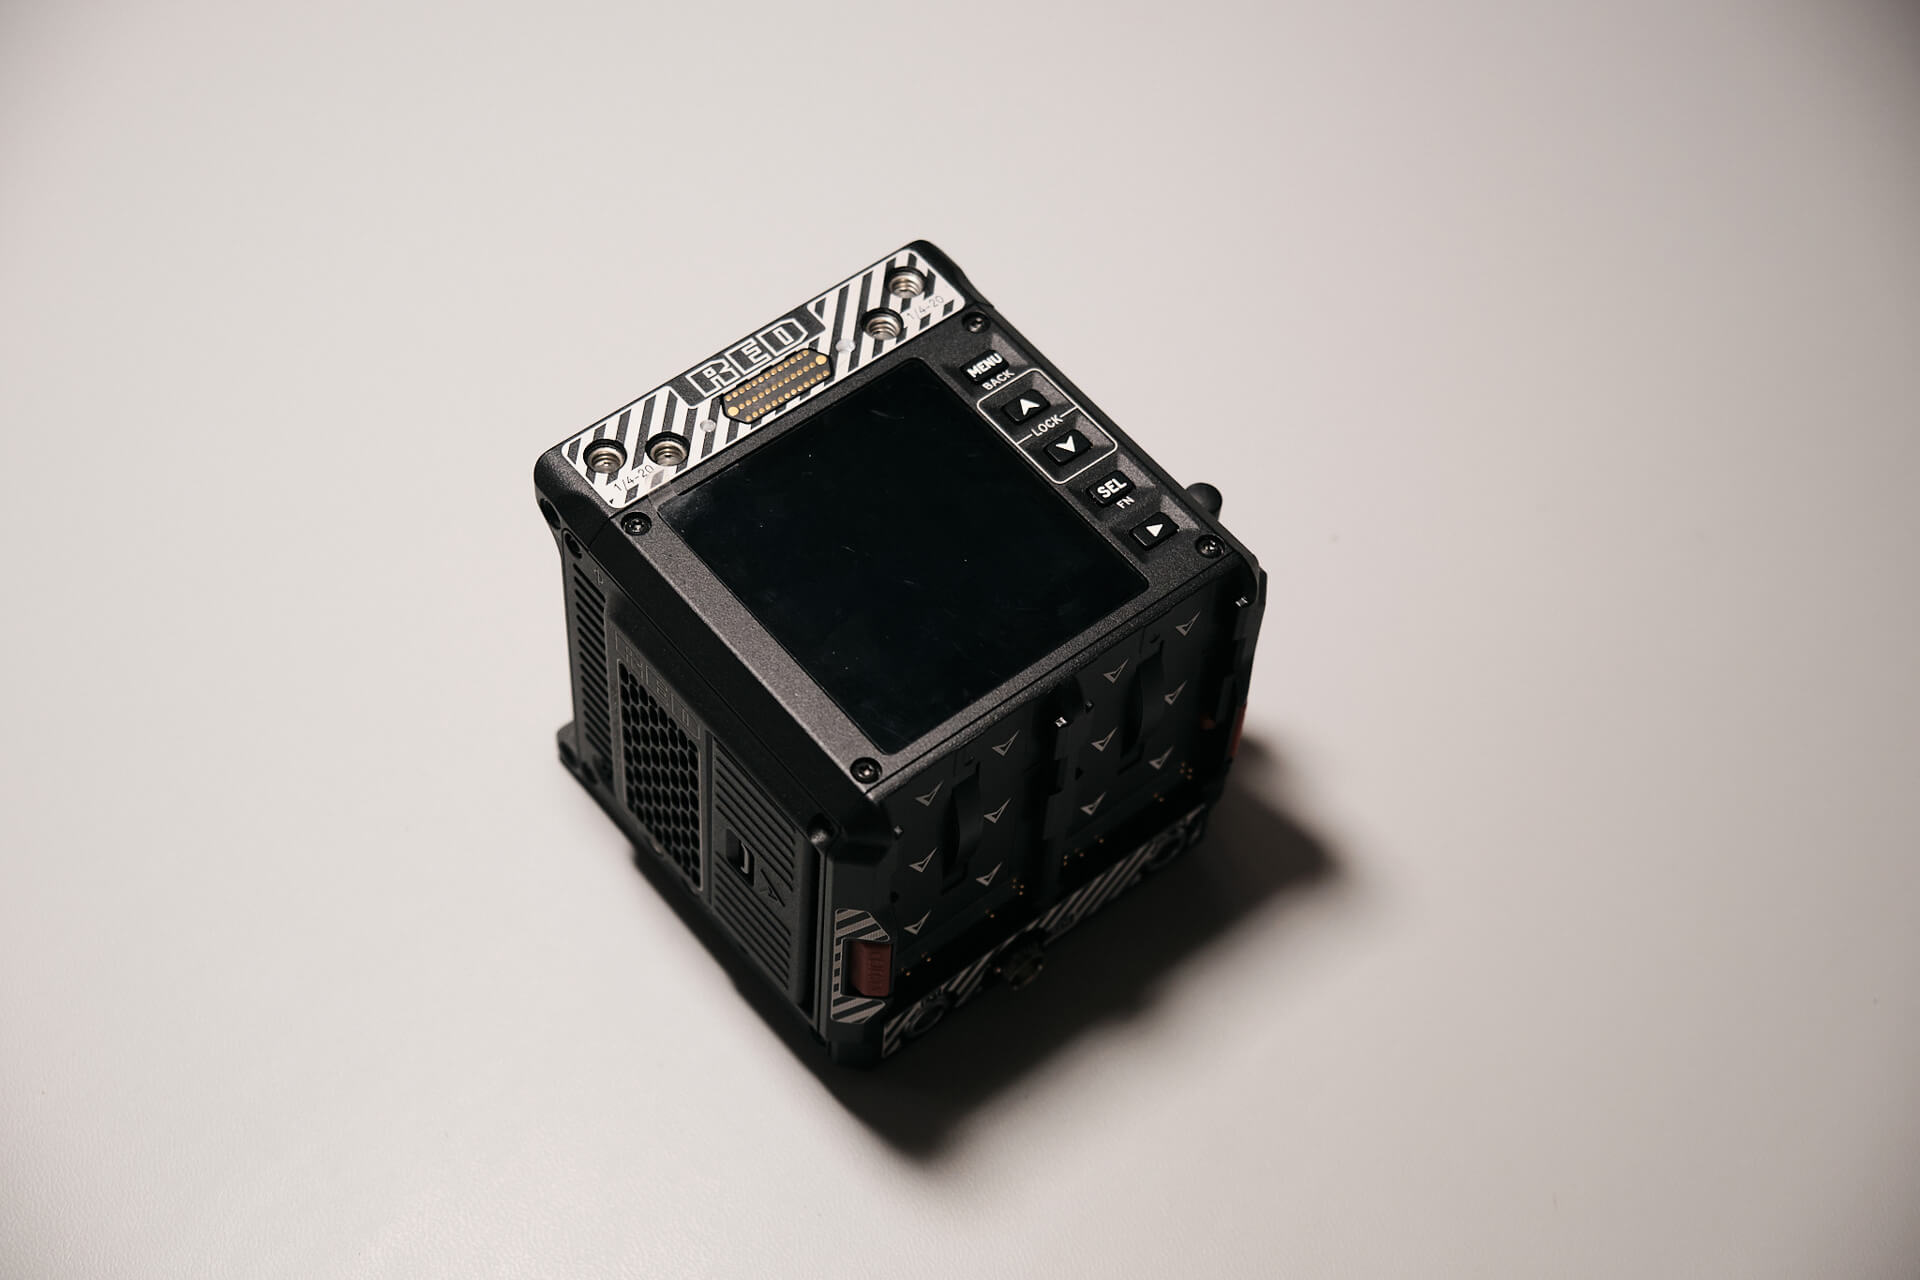
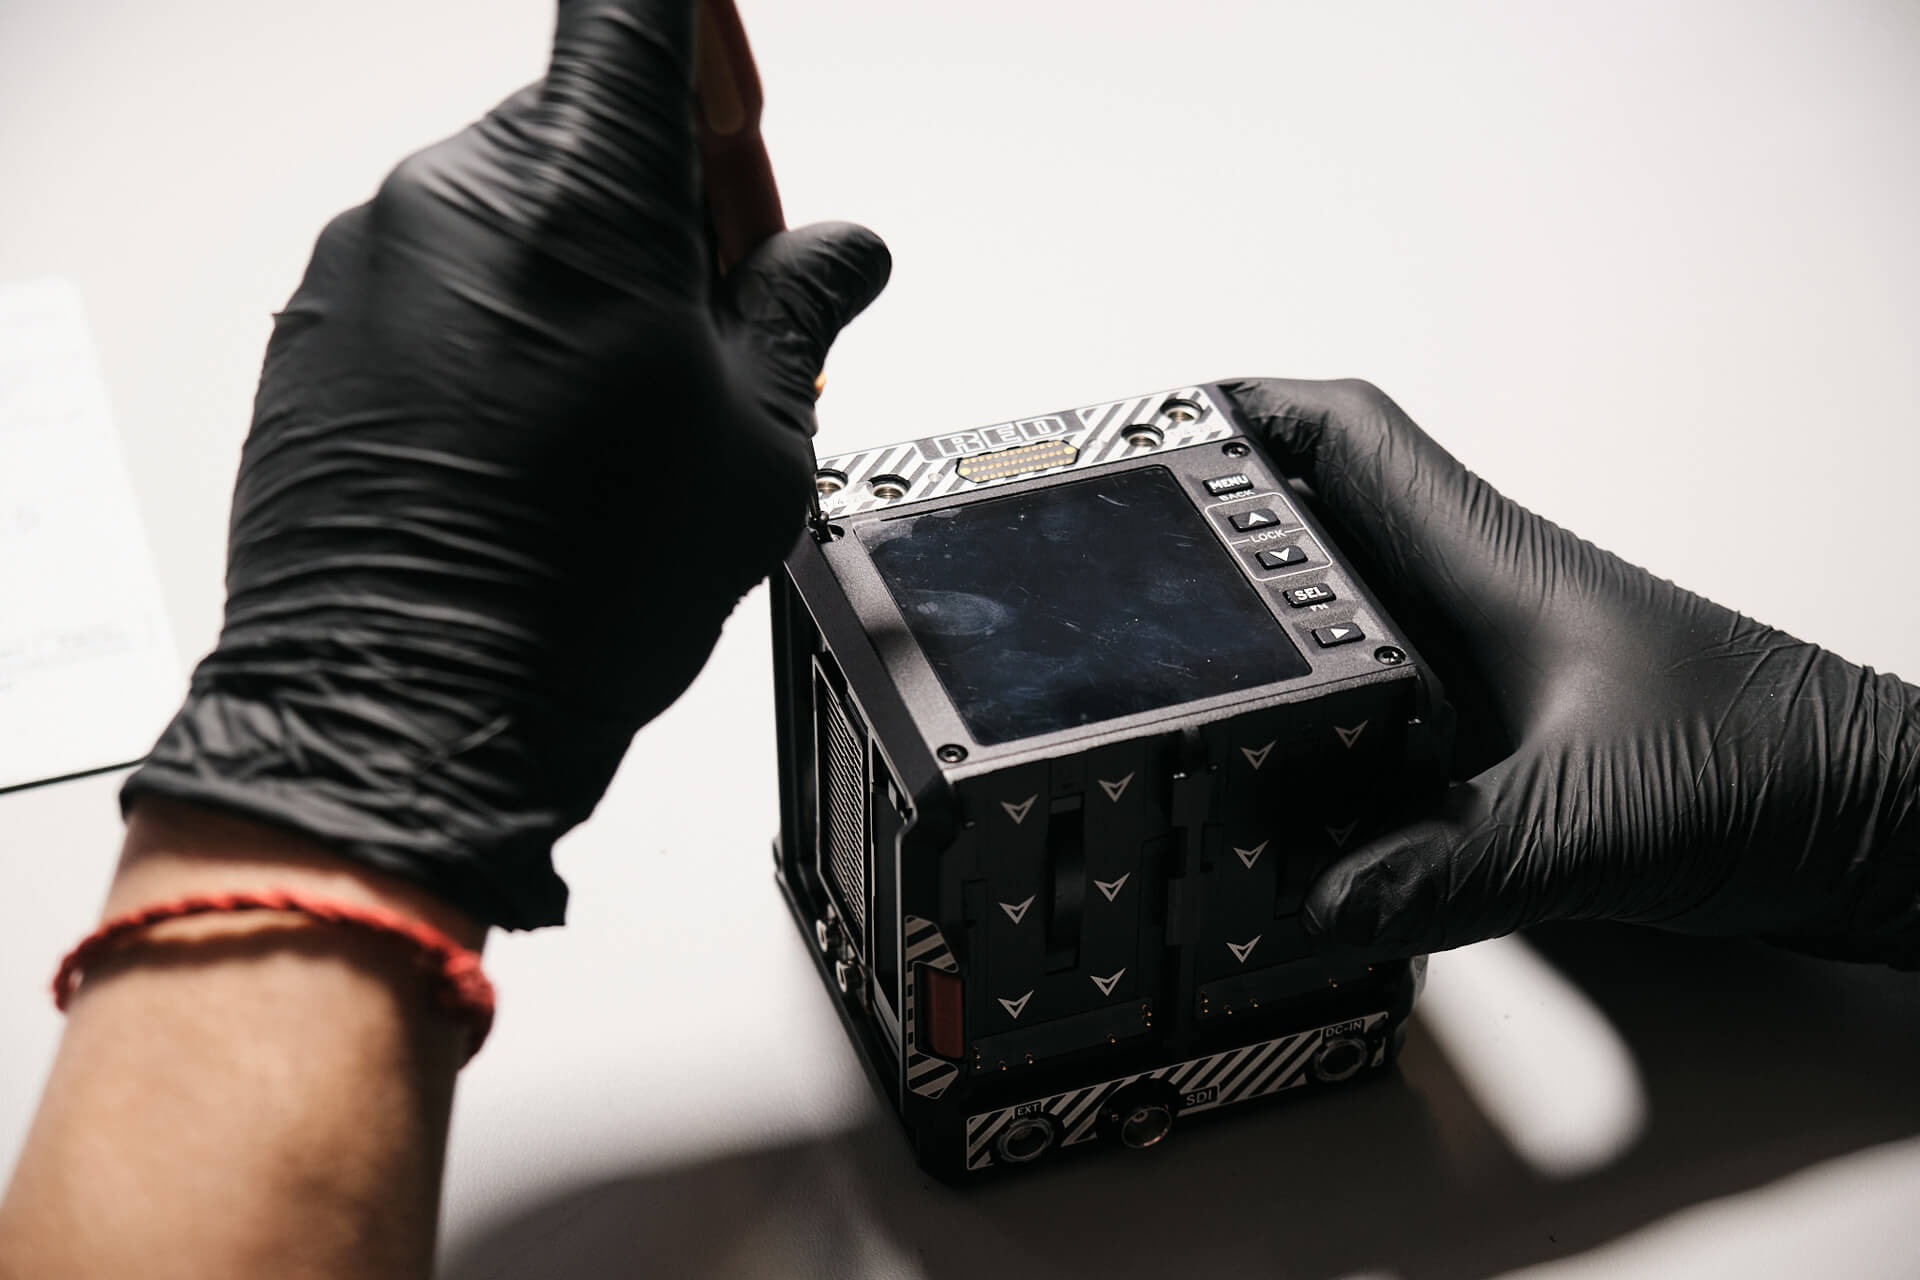
On the top of the camera, we can see the LCD touchscreen and navigation buttons – MENU (Back), Up (Lock), Down (Lock), Select (Fn), and Playback. It also features an accessory port and mounting holes for extra peripherals. Typically, something like the Komodo Outrigger Handle would be mounted to the top part.
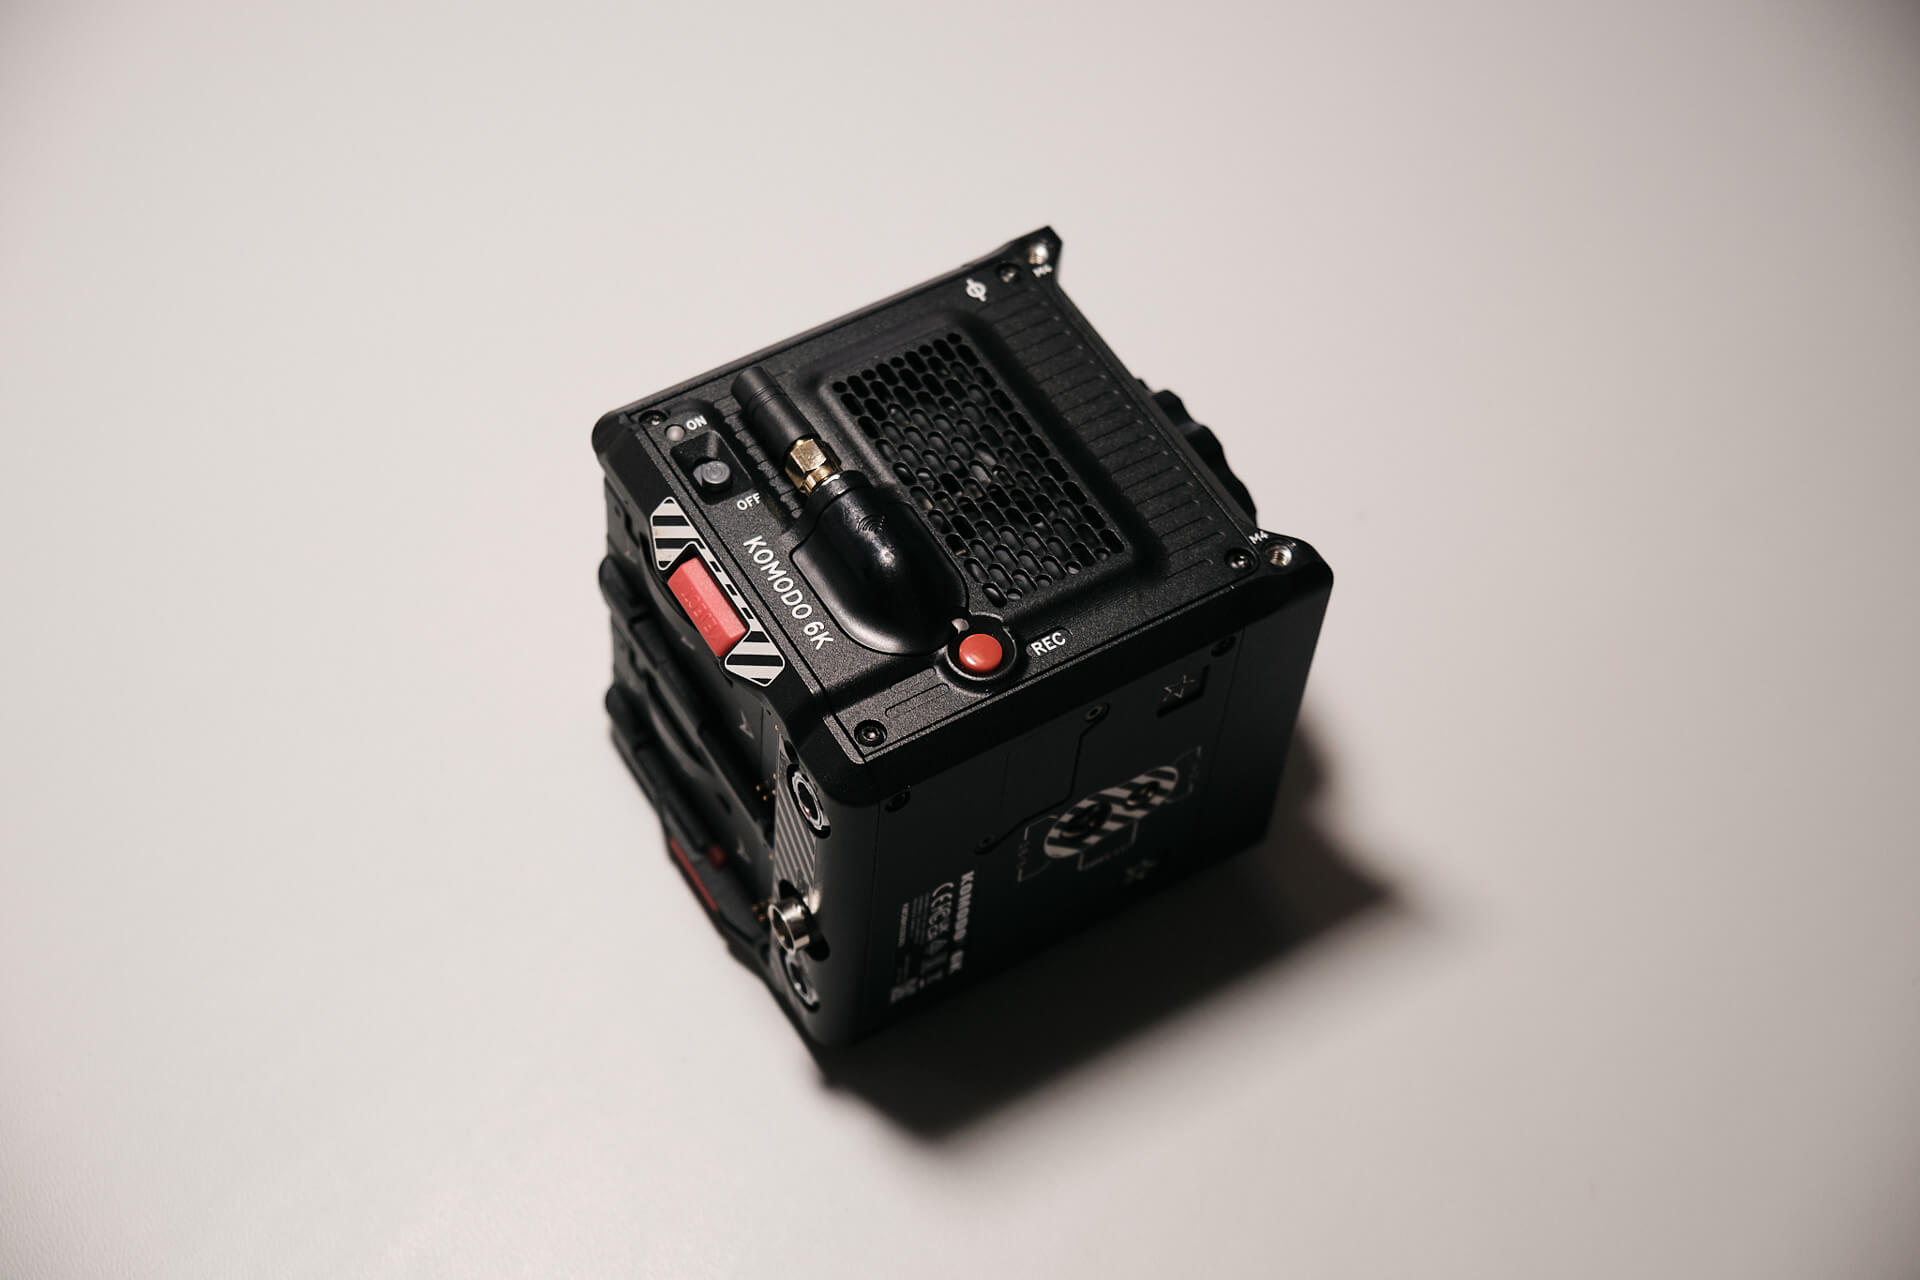
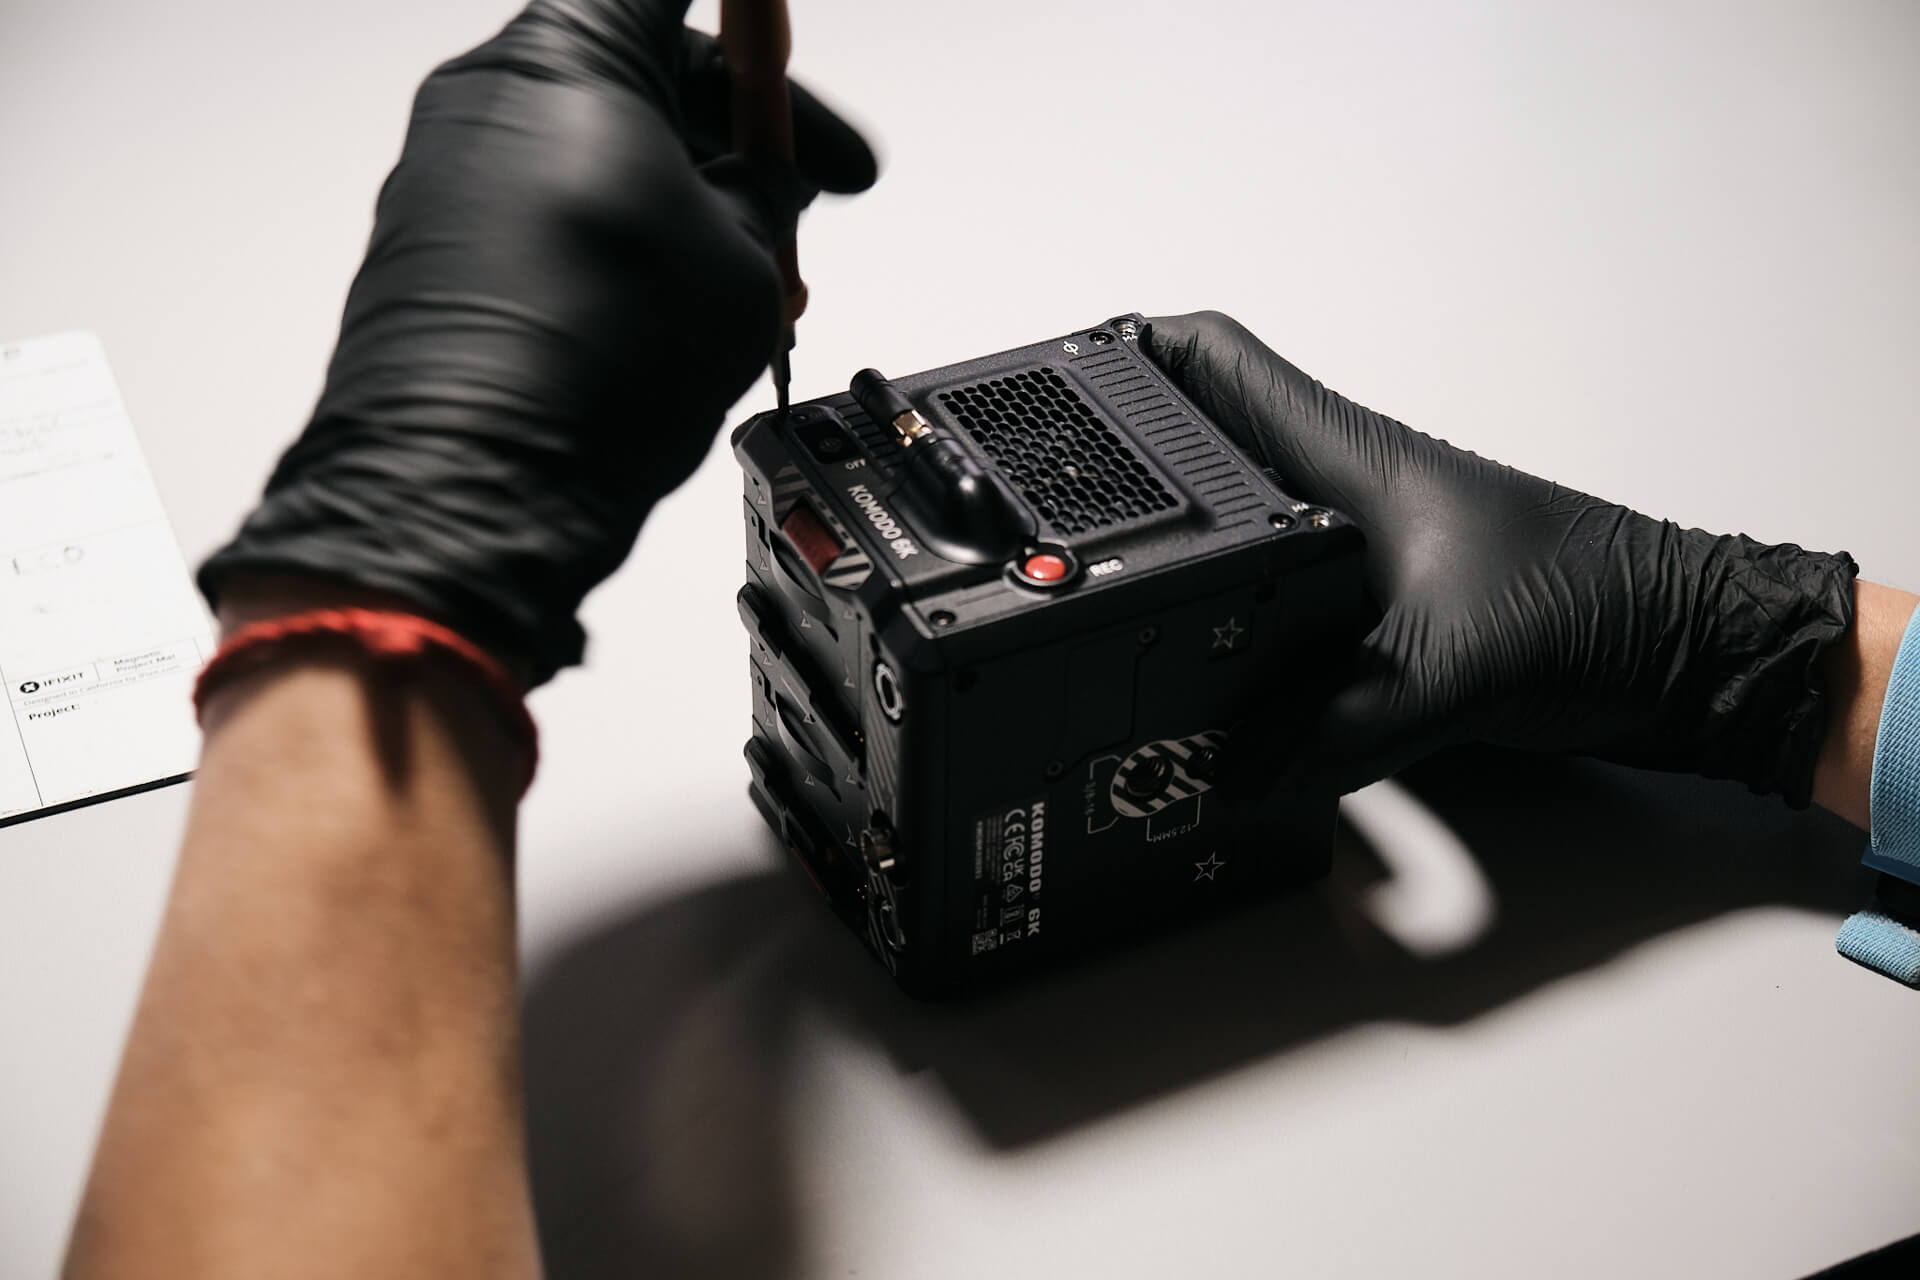
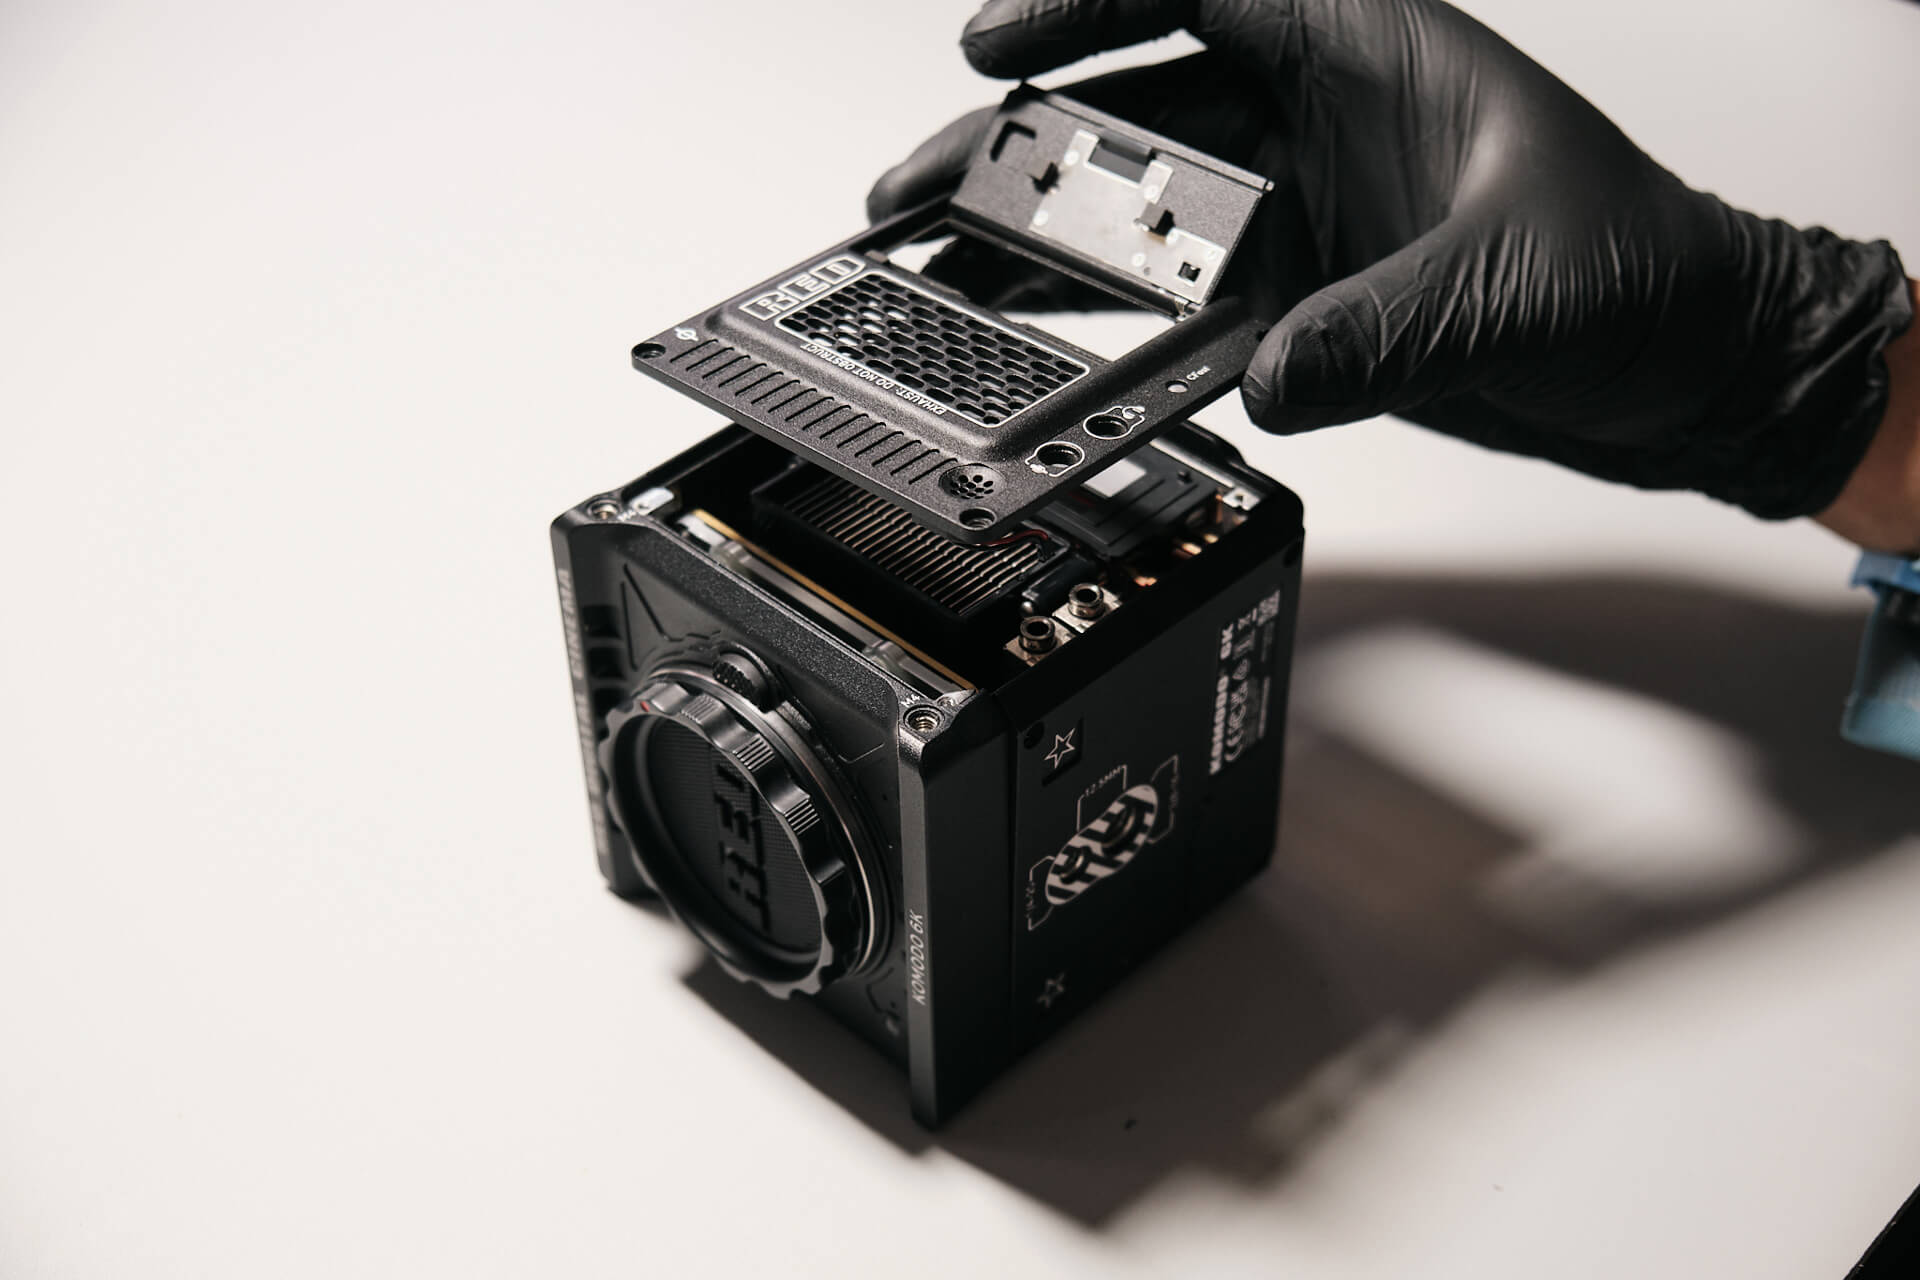
The right side of the panel features the Power LED, On/Off switch, and REC button. The large metal grille acts as an air intake vent to regulate thermal temperatures and maintain smooth operation of the camera.
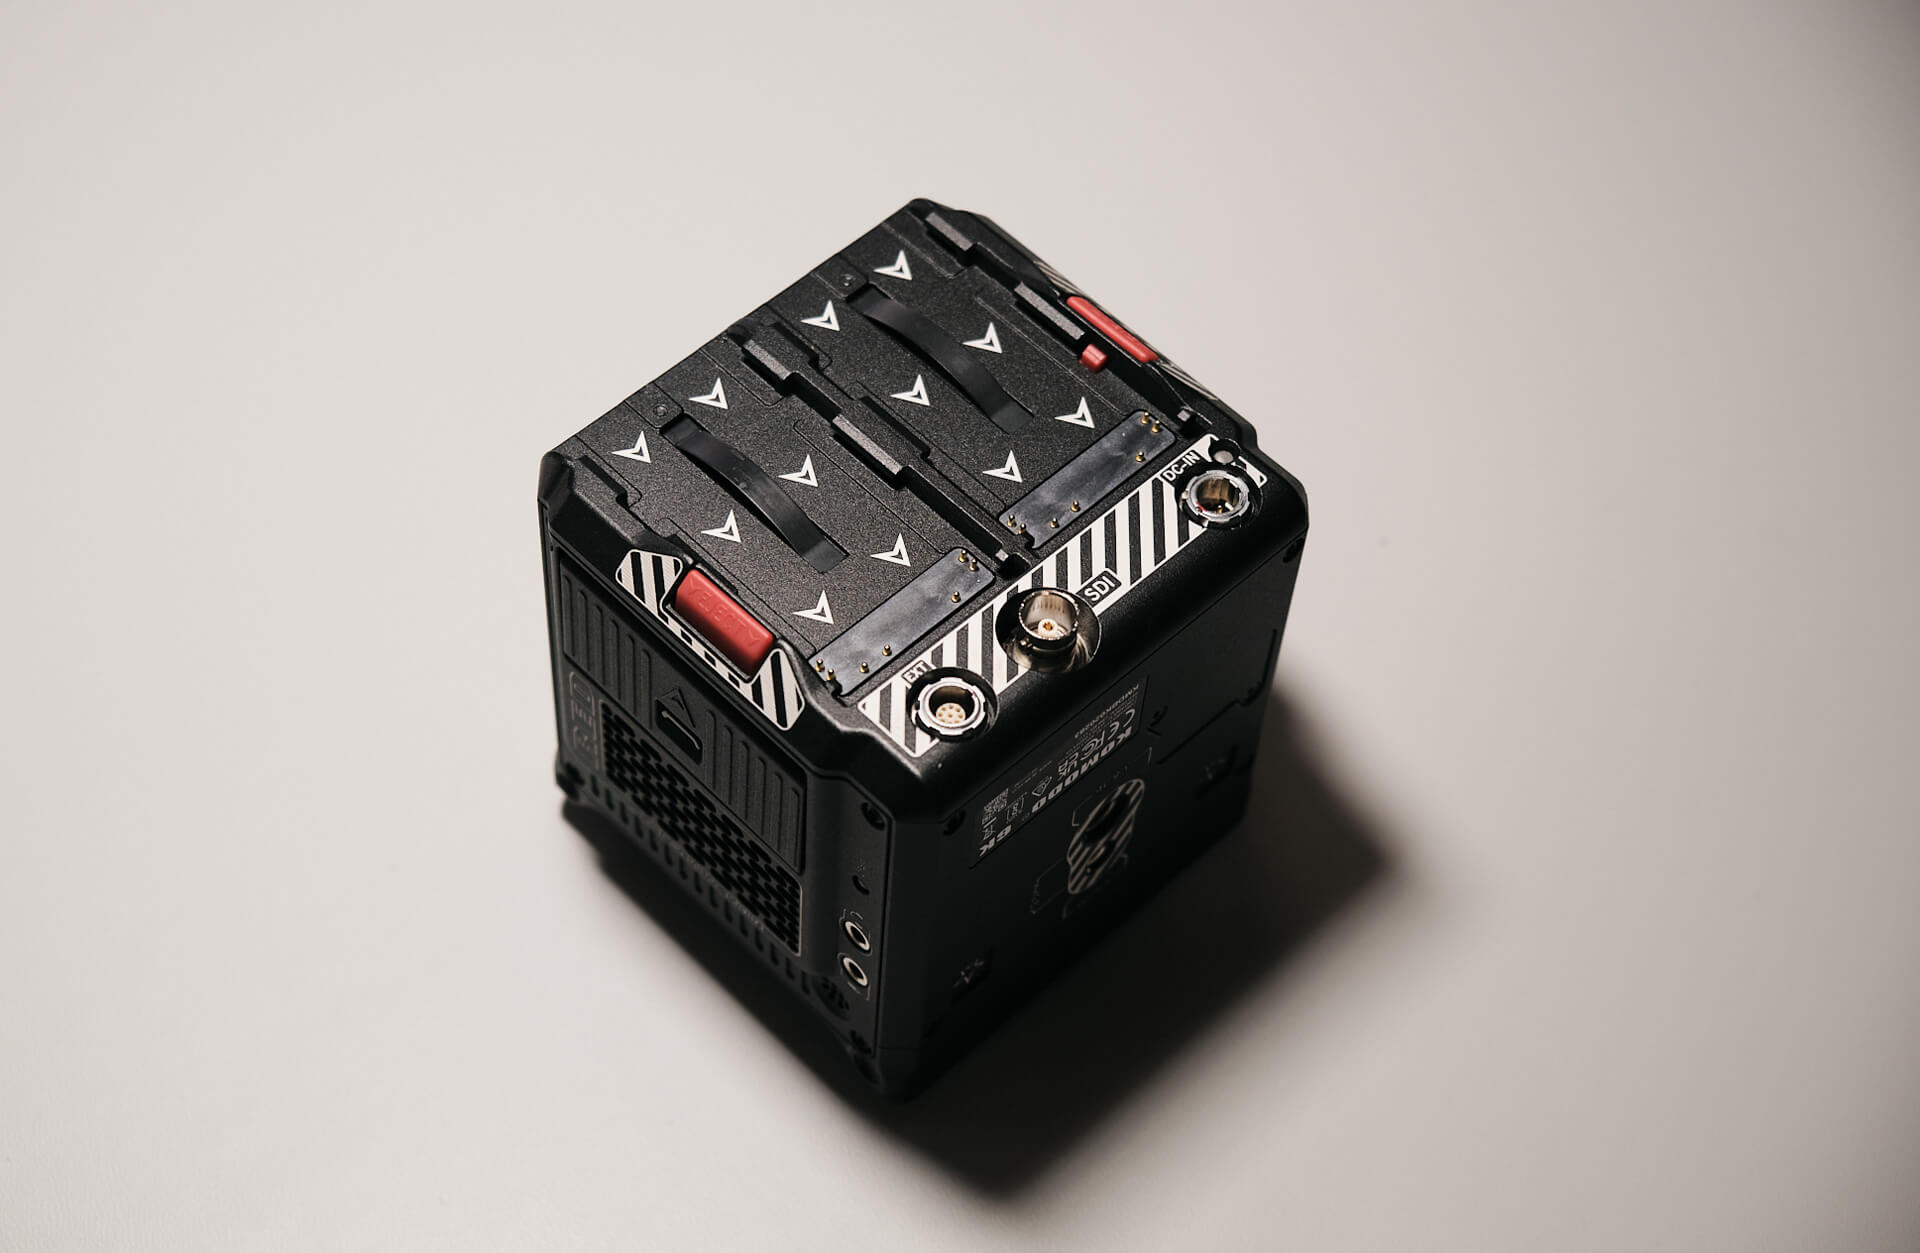
On the back, we can see two battery compartments and the eject buttons for each. There is also a 9-pin extension port for accessory expansion.
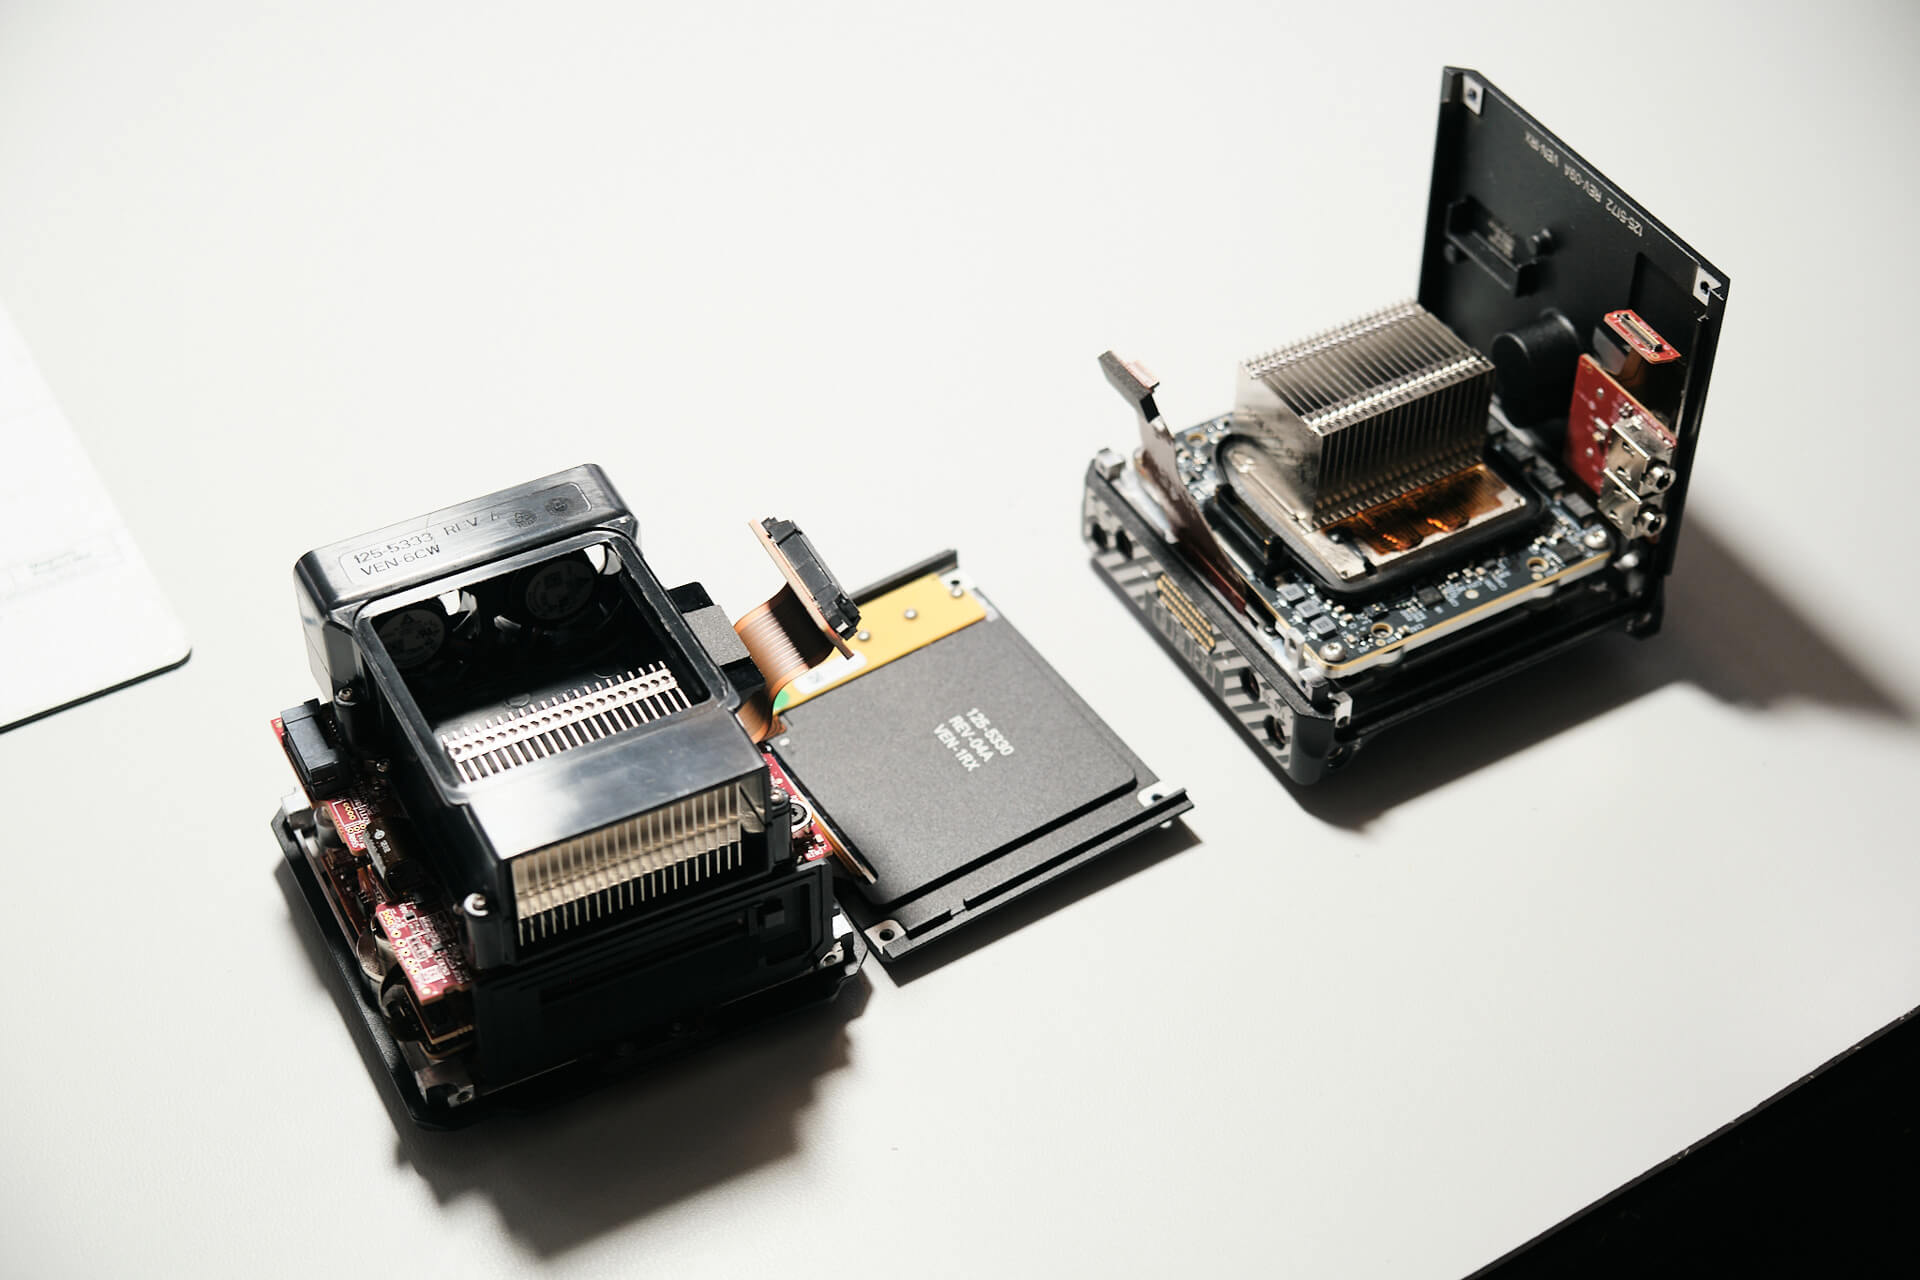
With that out of the way, let’s take this camera apart!
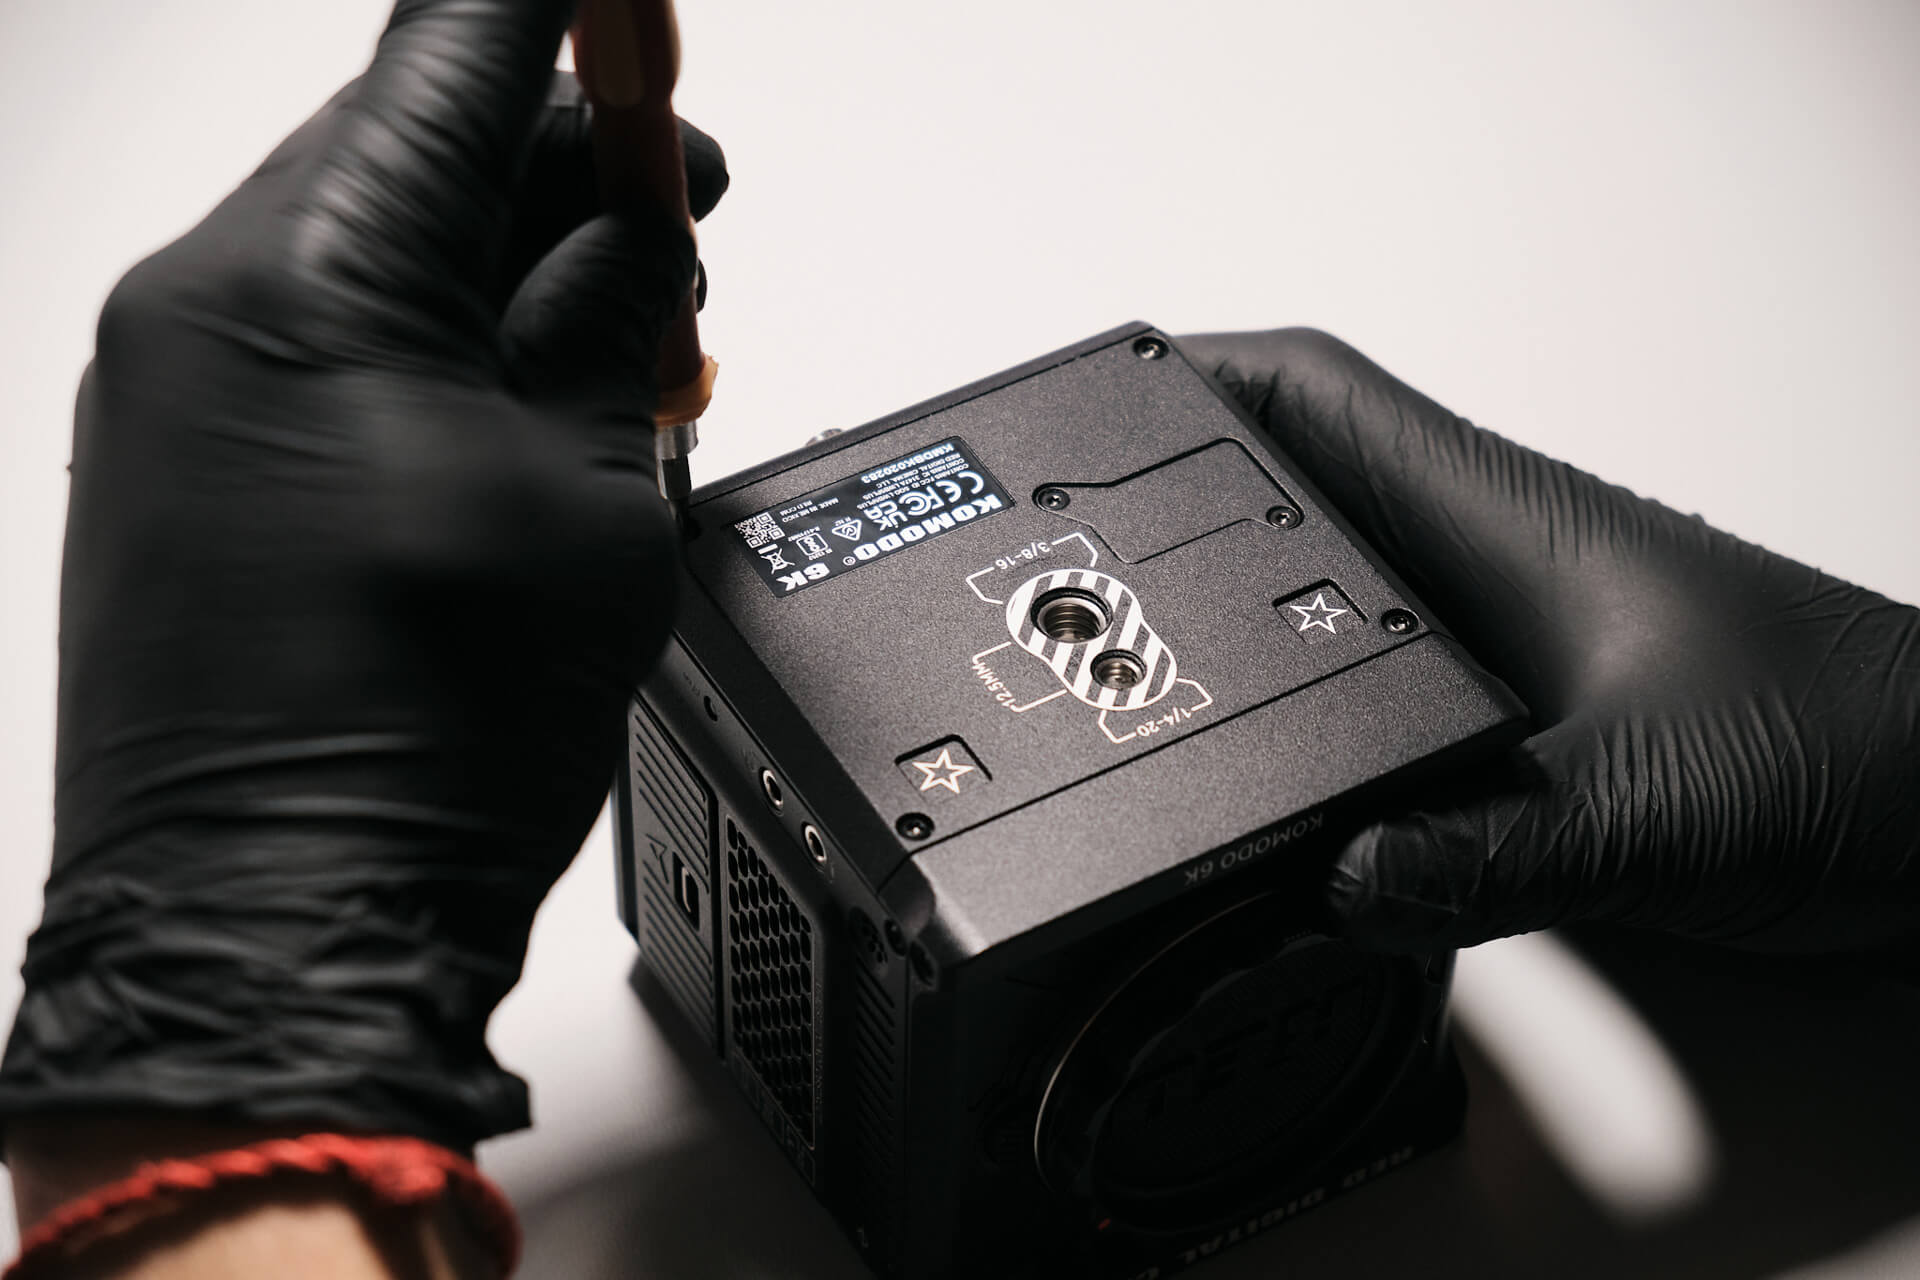
Let’s start with the bottom plate of the camera.
On the bottom of the camera, we remove four T-9 Torx screws. These screws are covered in thread locker glue to protect the threads from vibrations. Otherwise, the screw threads would strip easily.
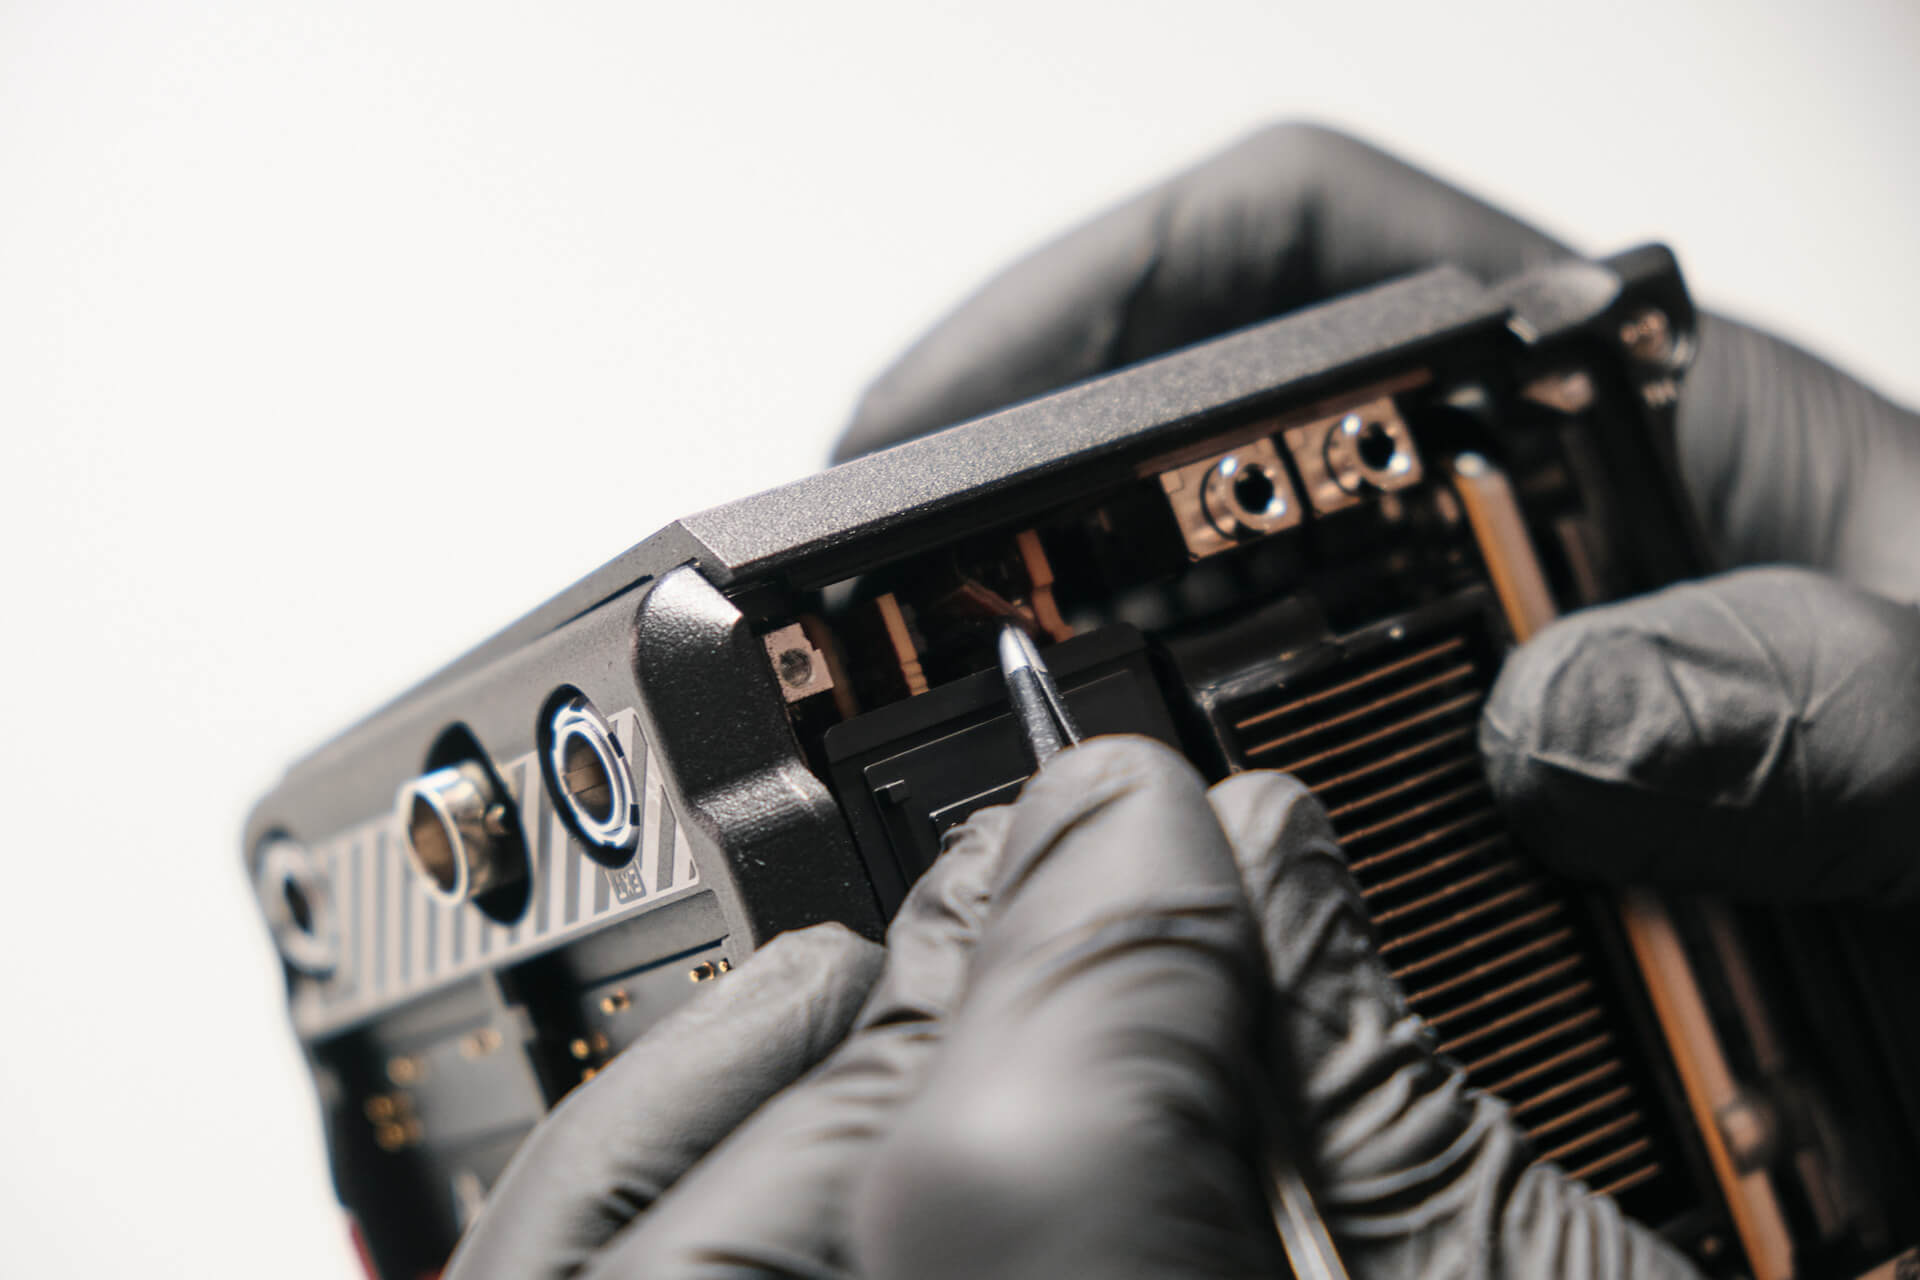
Moving on to the right panel, we remove the four T-9 Torx screws there as well.
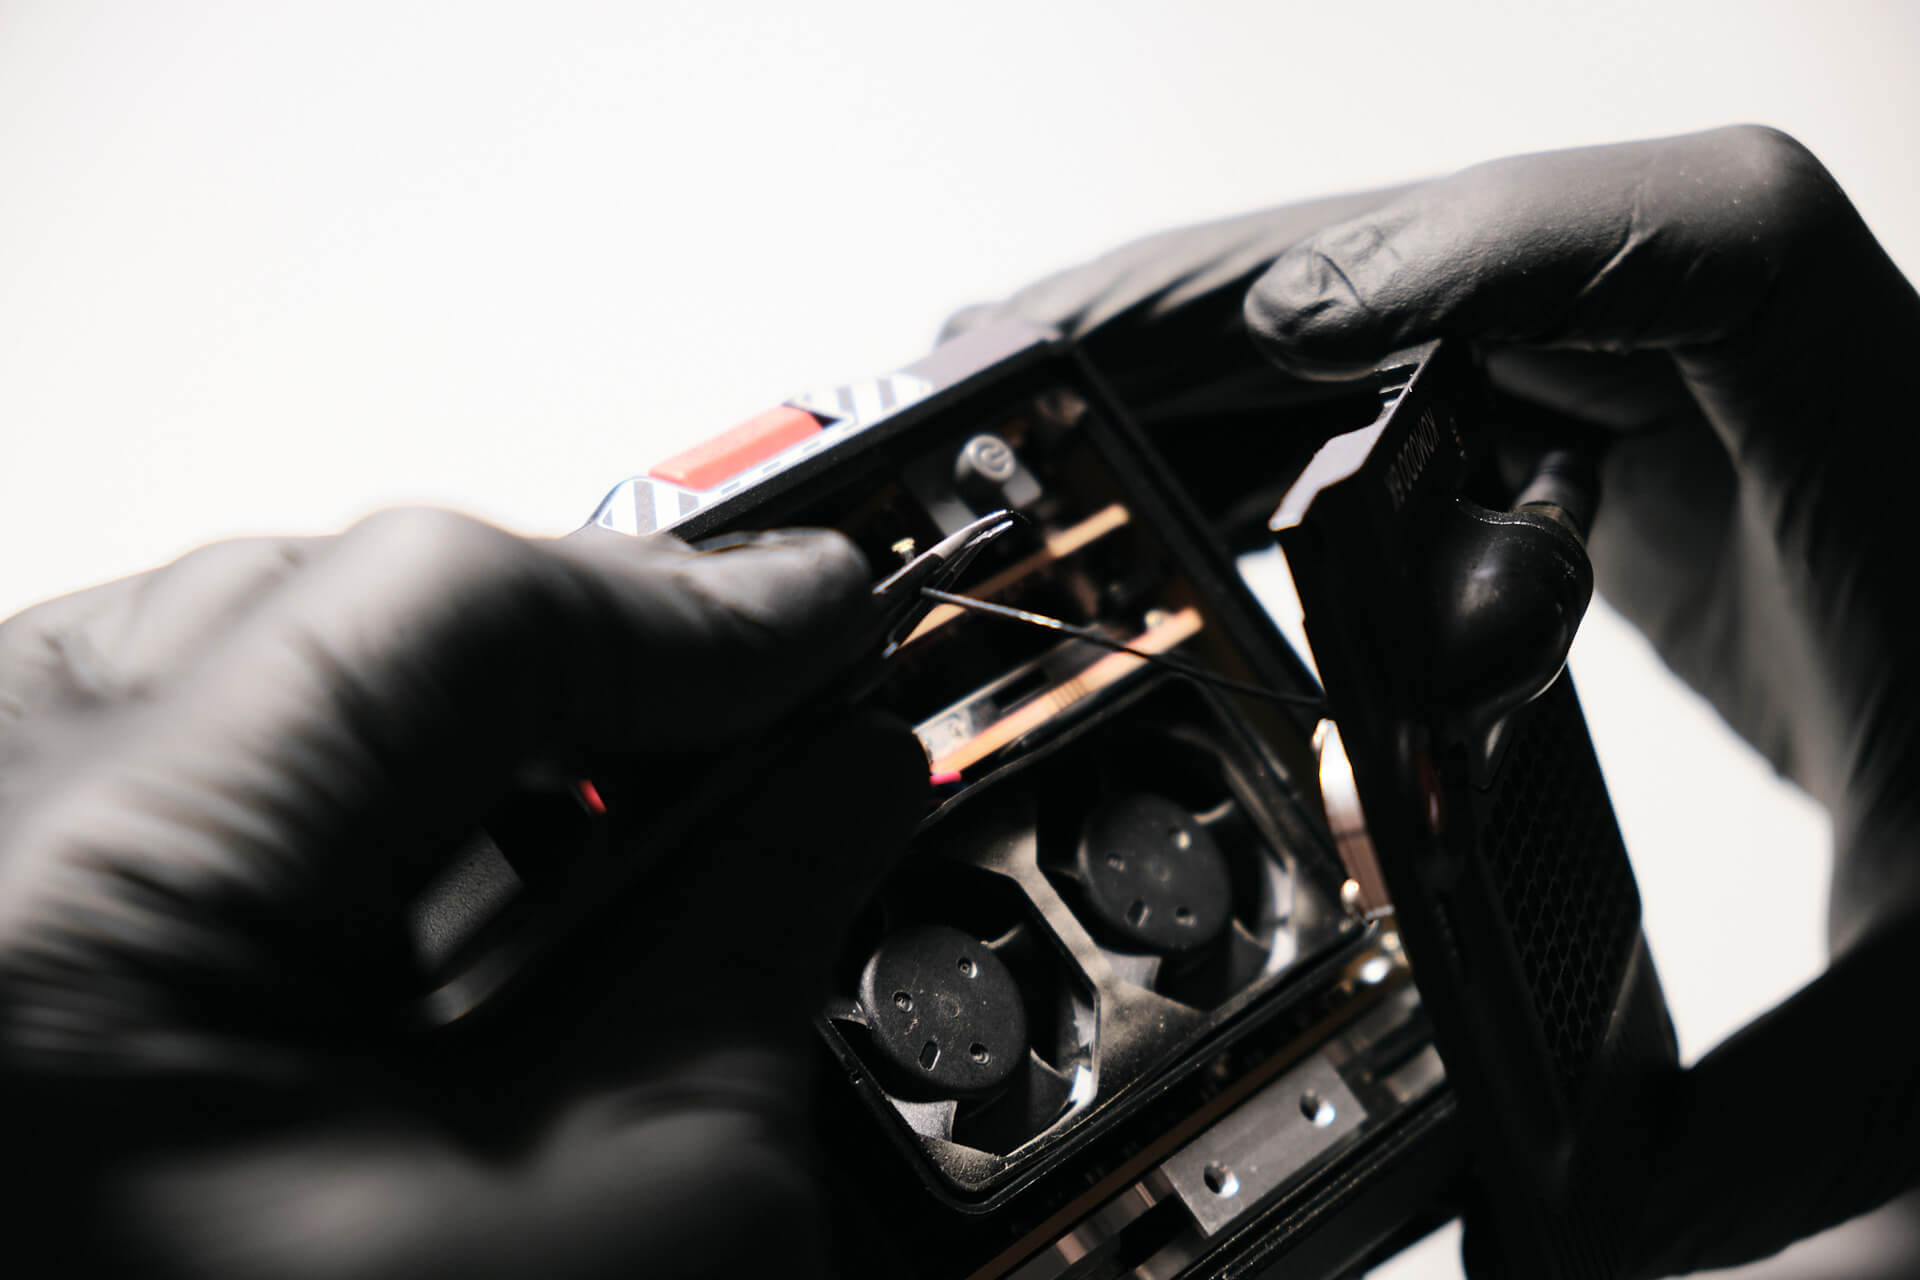
Before removing the right panel, we must carefully remove the coaxial cable. It looks like the cable connects to an antenna of the camera. Afterward, we can safely remove the panel.
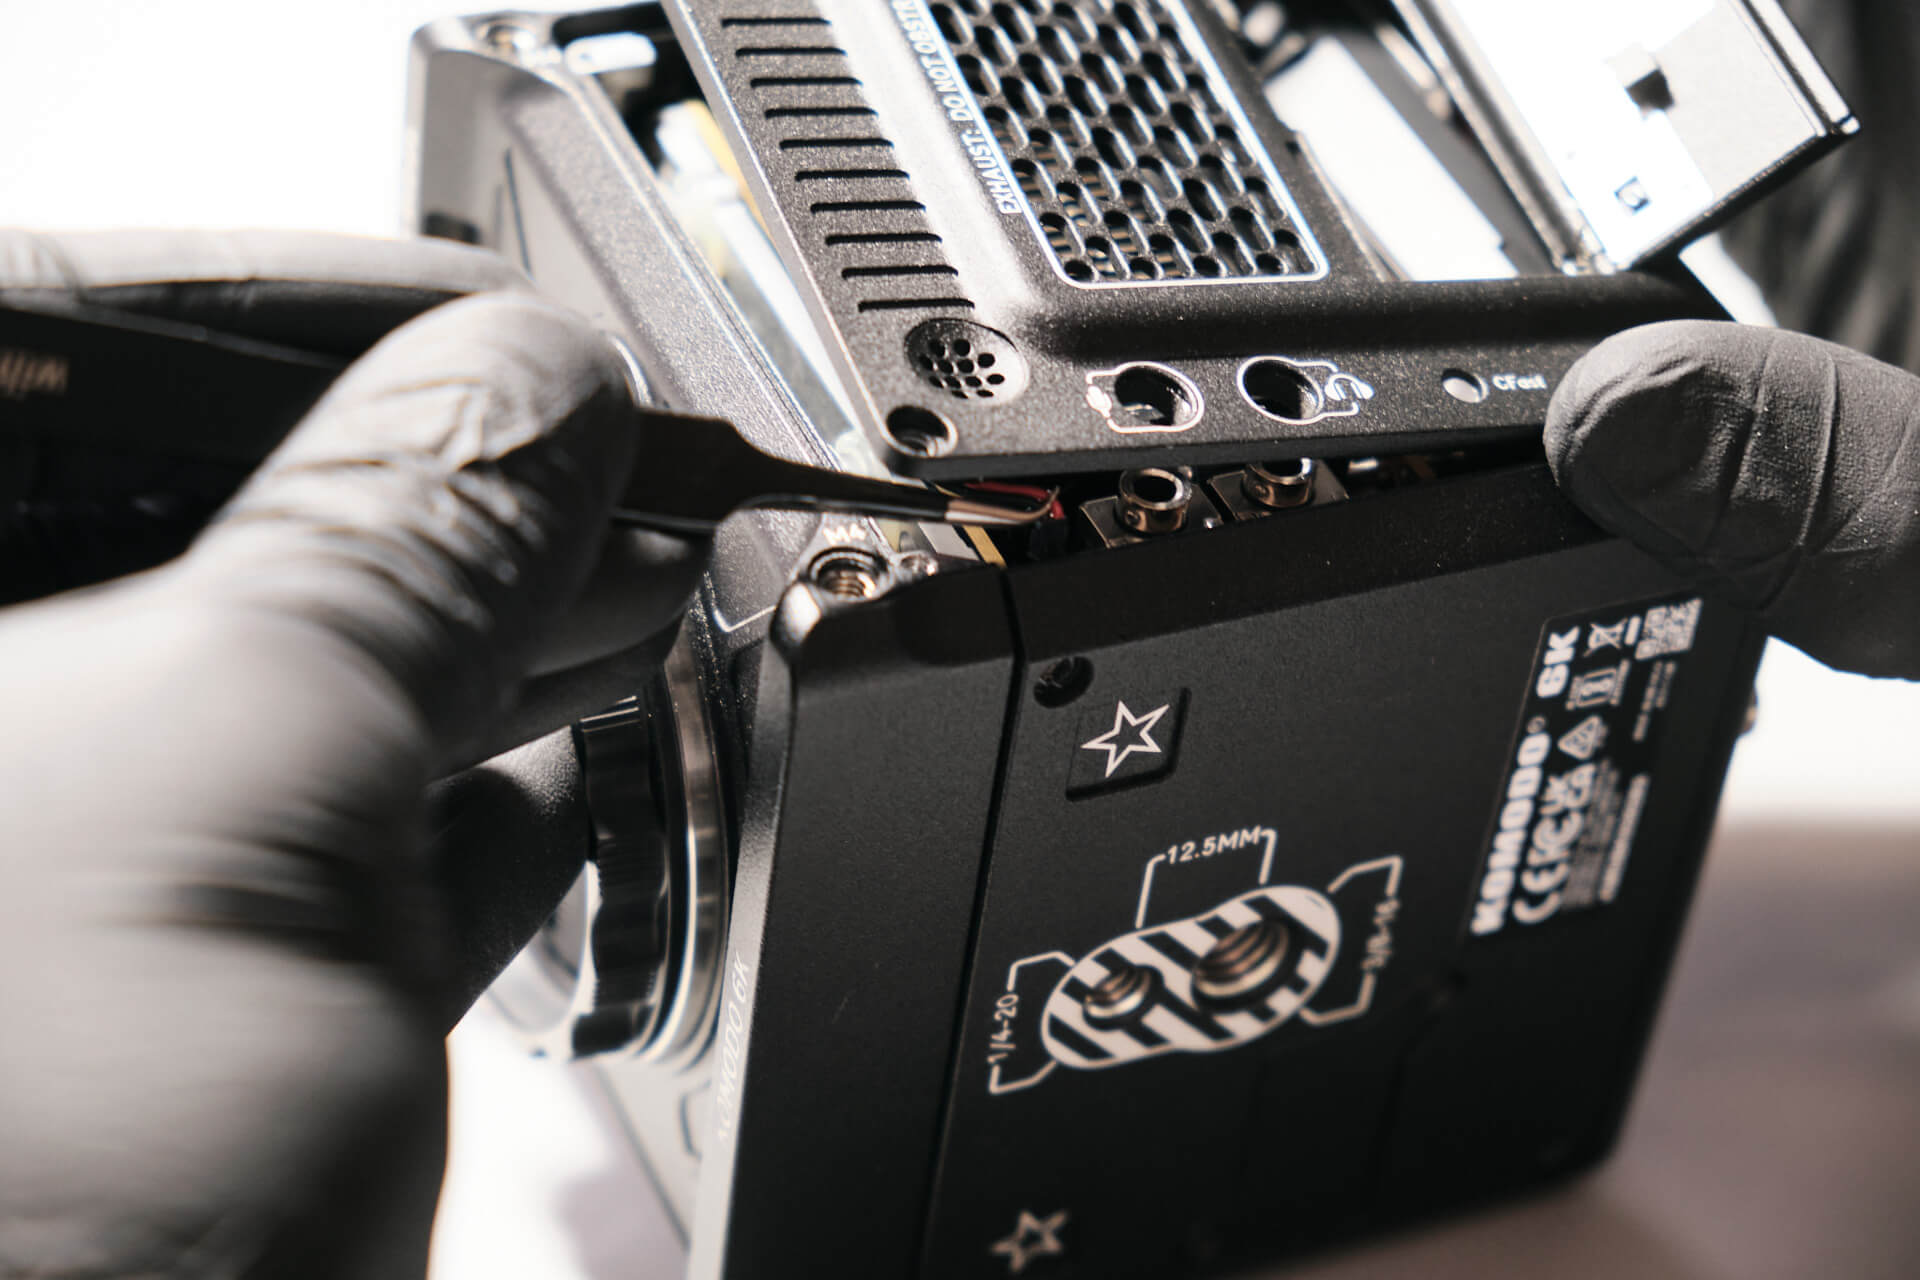
Now we can move to the left panel. Once the four T-9 Torx screws on the left side are removed, we carefully detach the beep speaker cable. This cable connects the entire panel to the camera, so it can be removed entirely after it is disconnected.
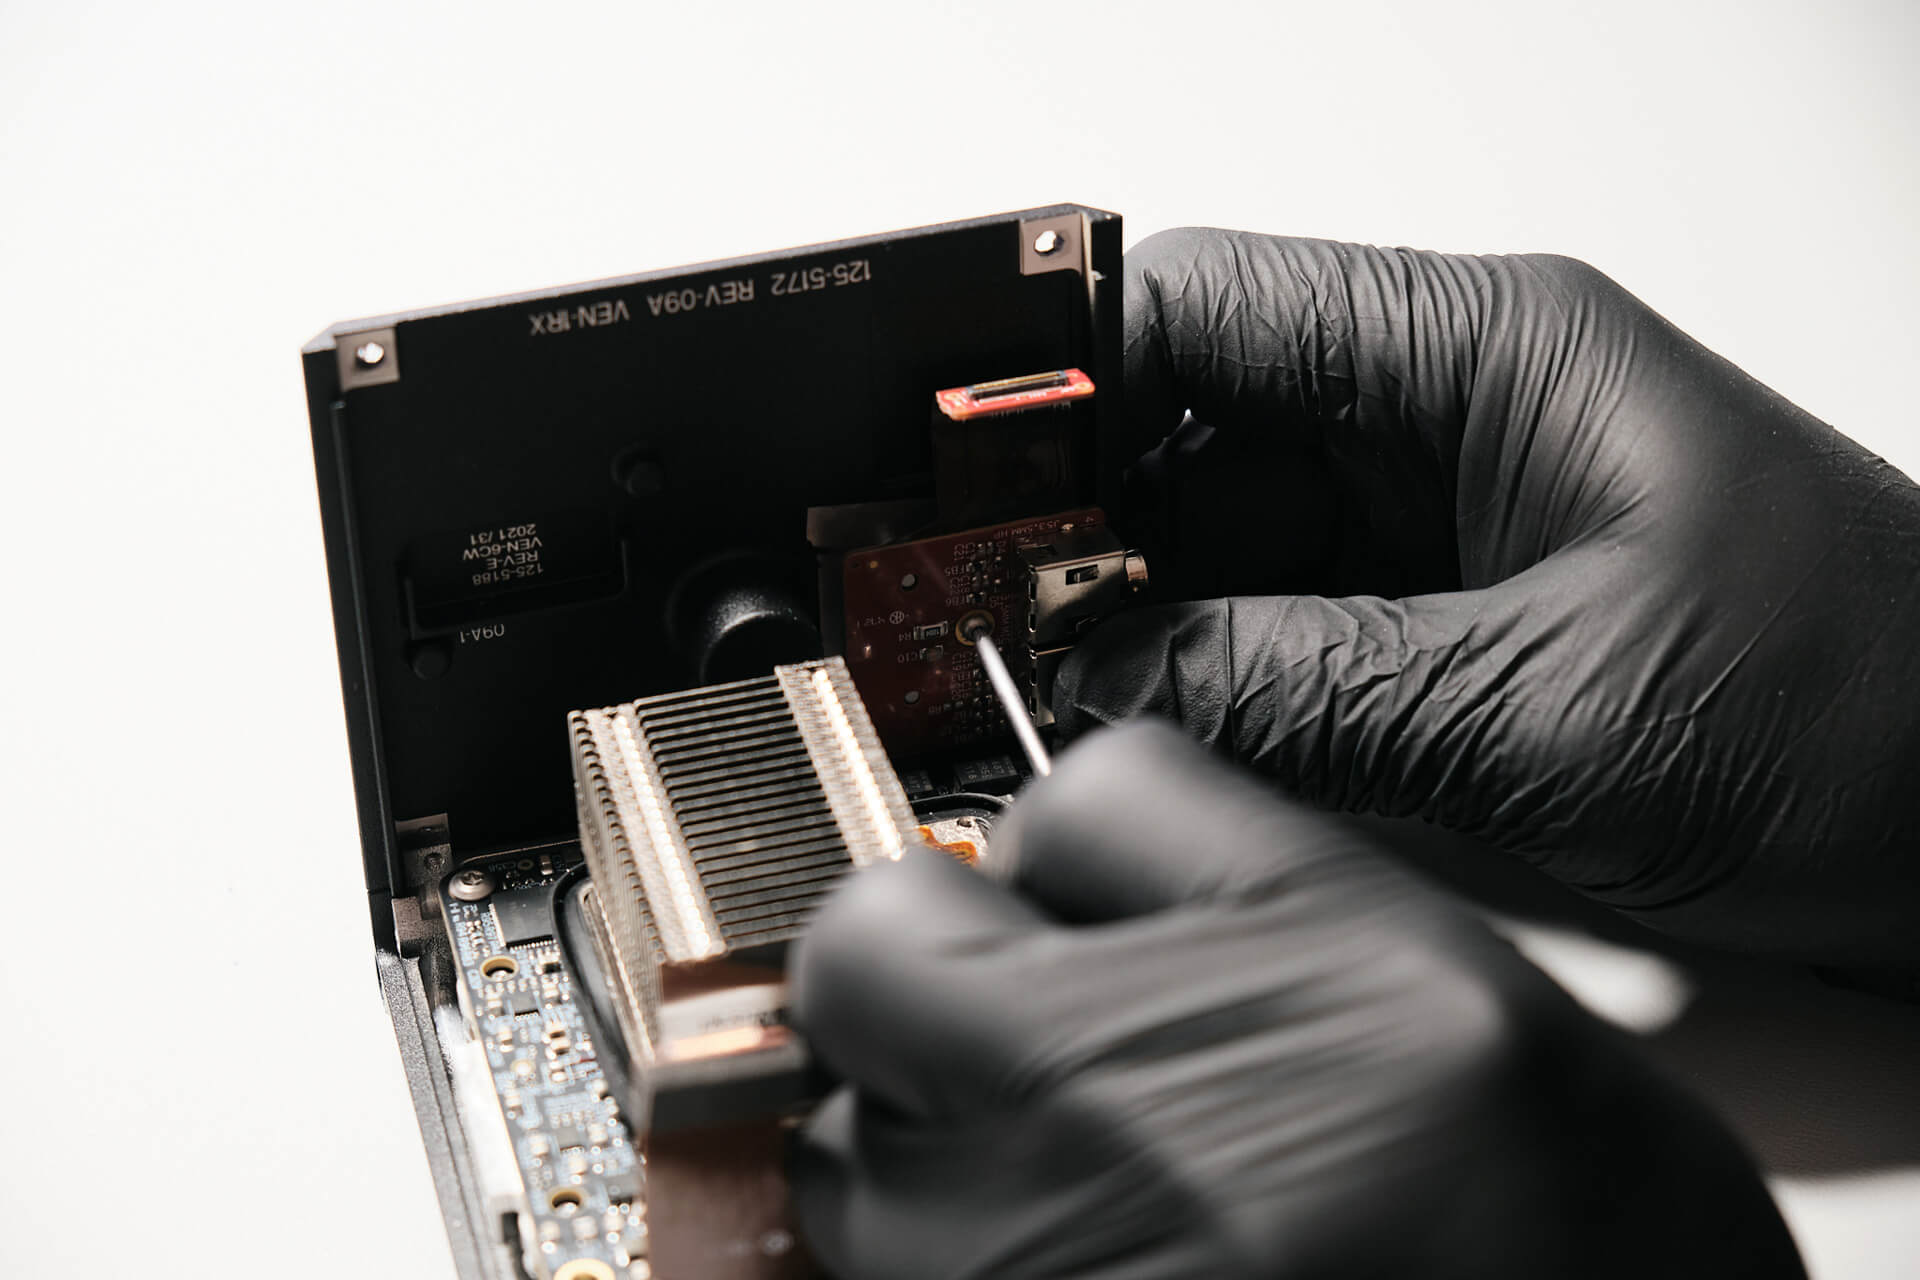
Next, we remove the 3.5mm external mic and headphone jack ribbon.
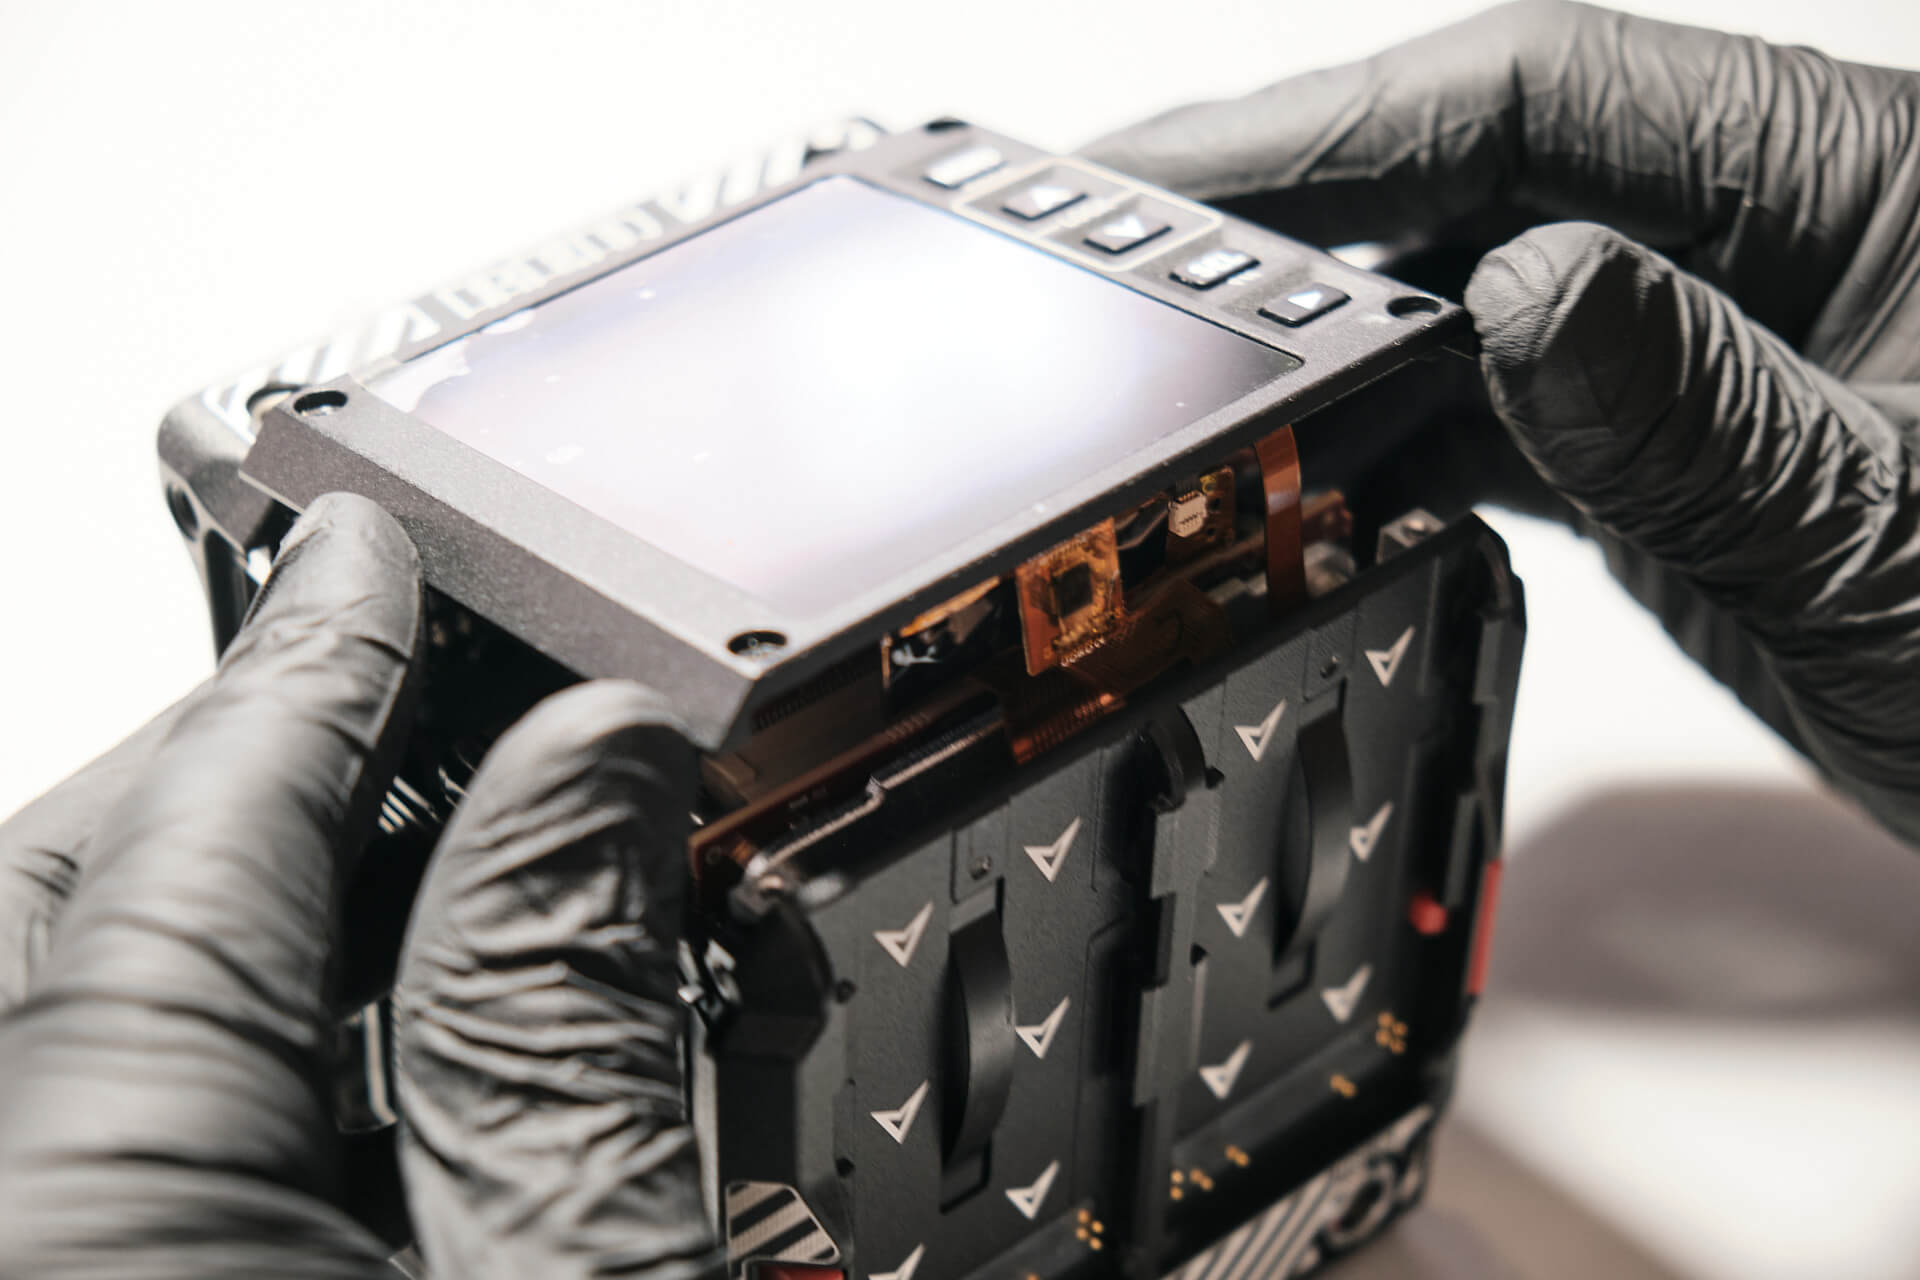
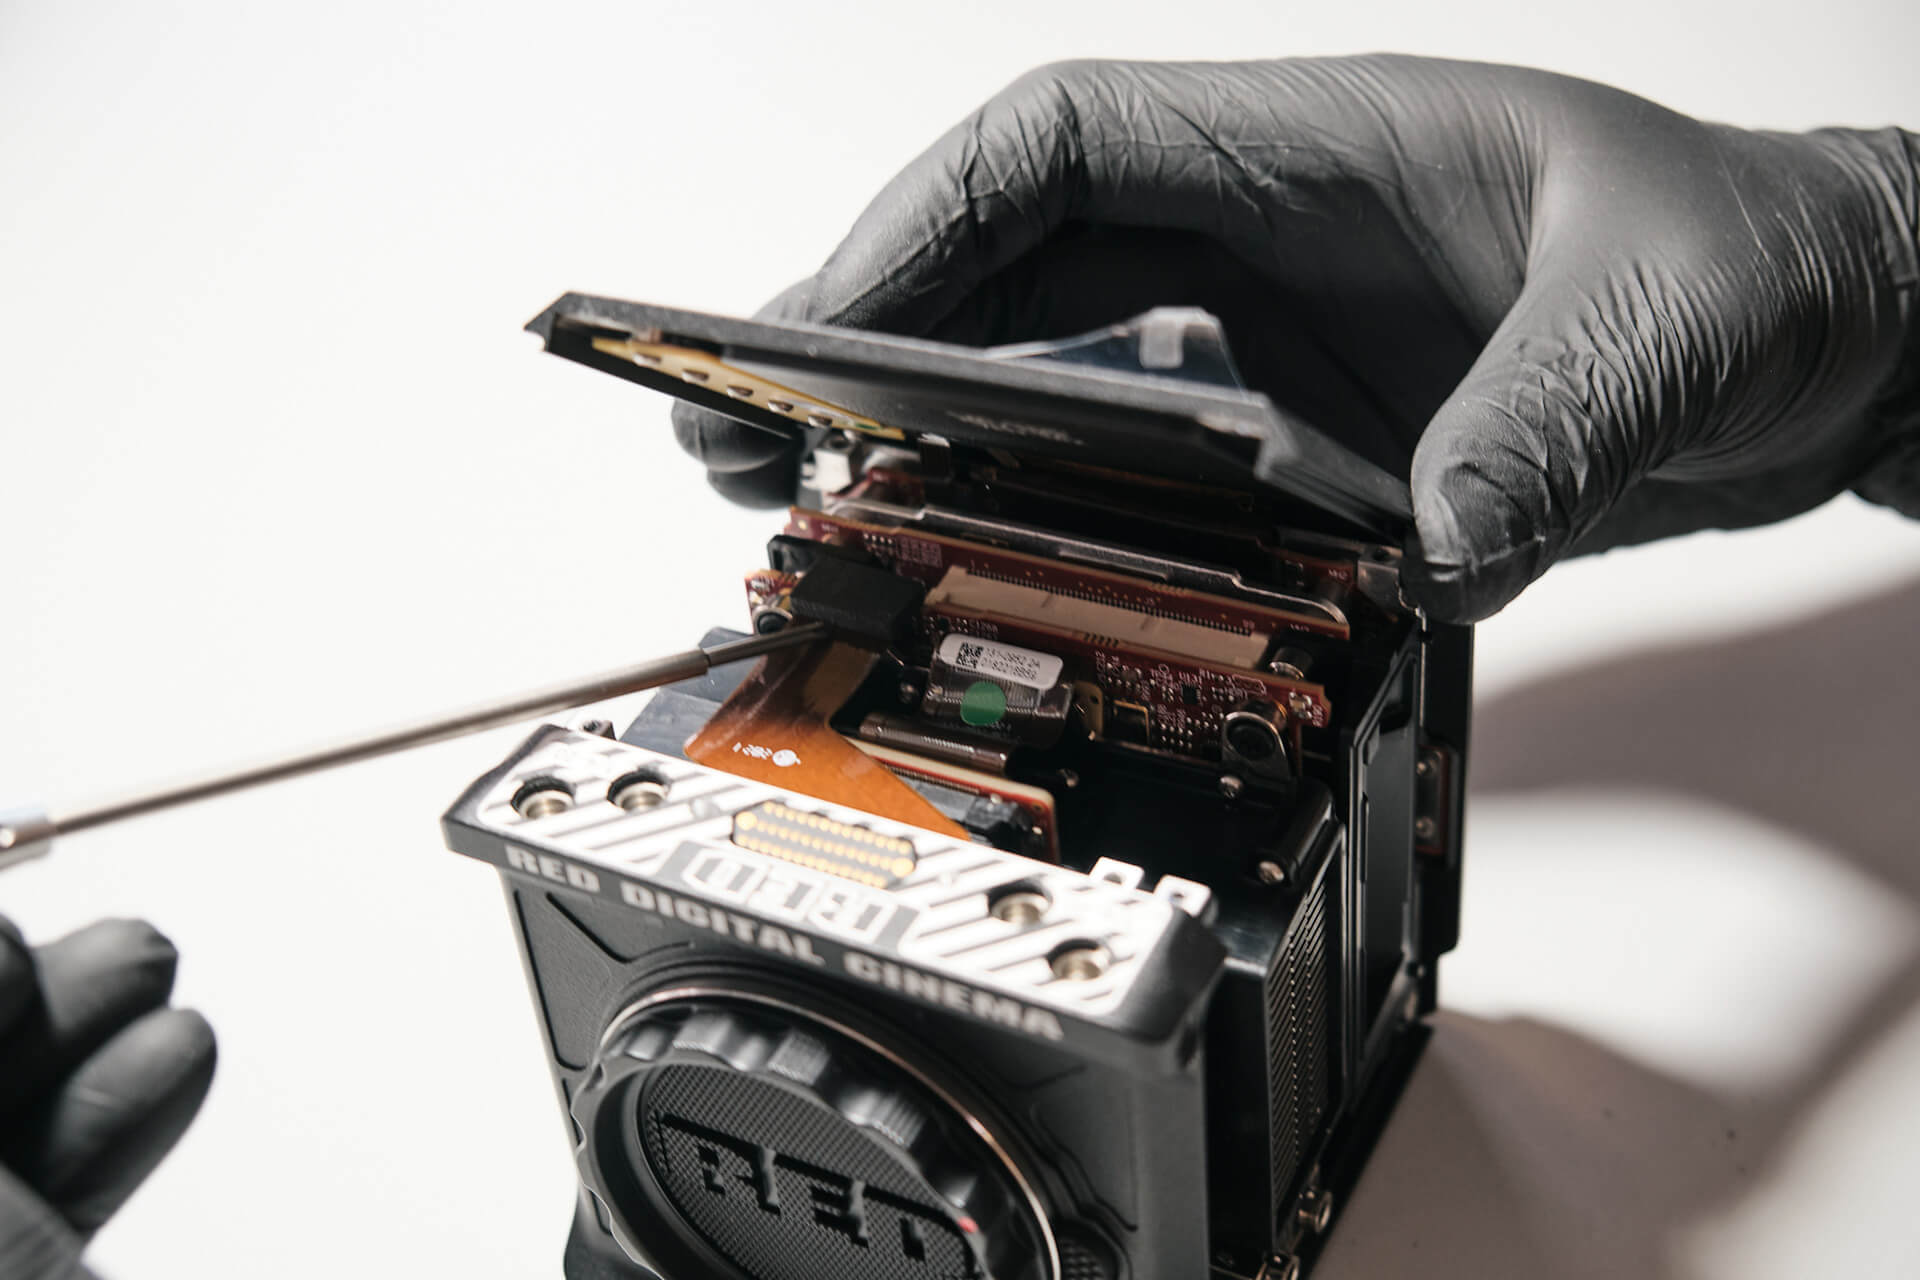
After removing the left panel, we can proceed with the top panel. Four more T-9 Torx screws for the top LCD panel.
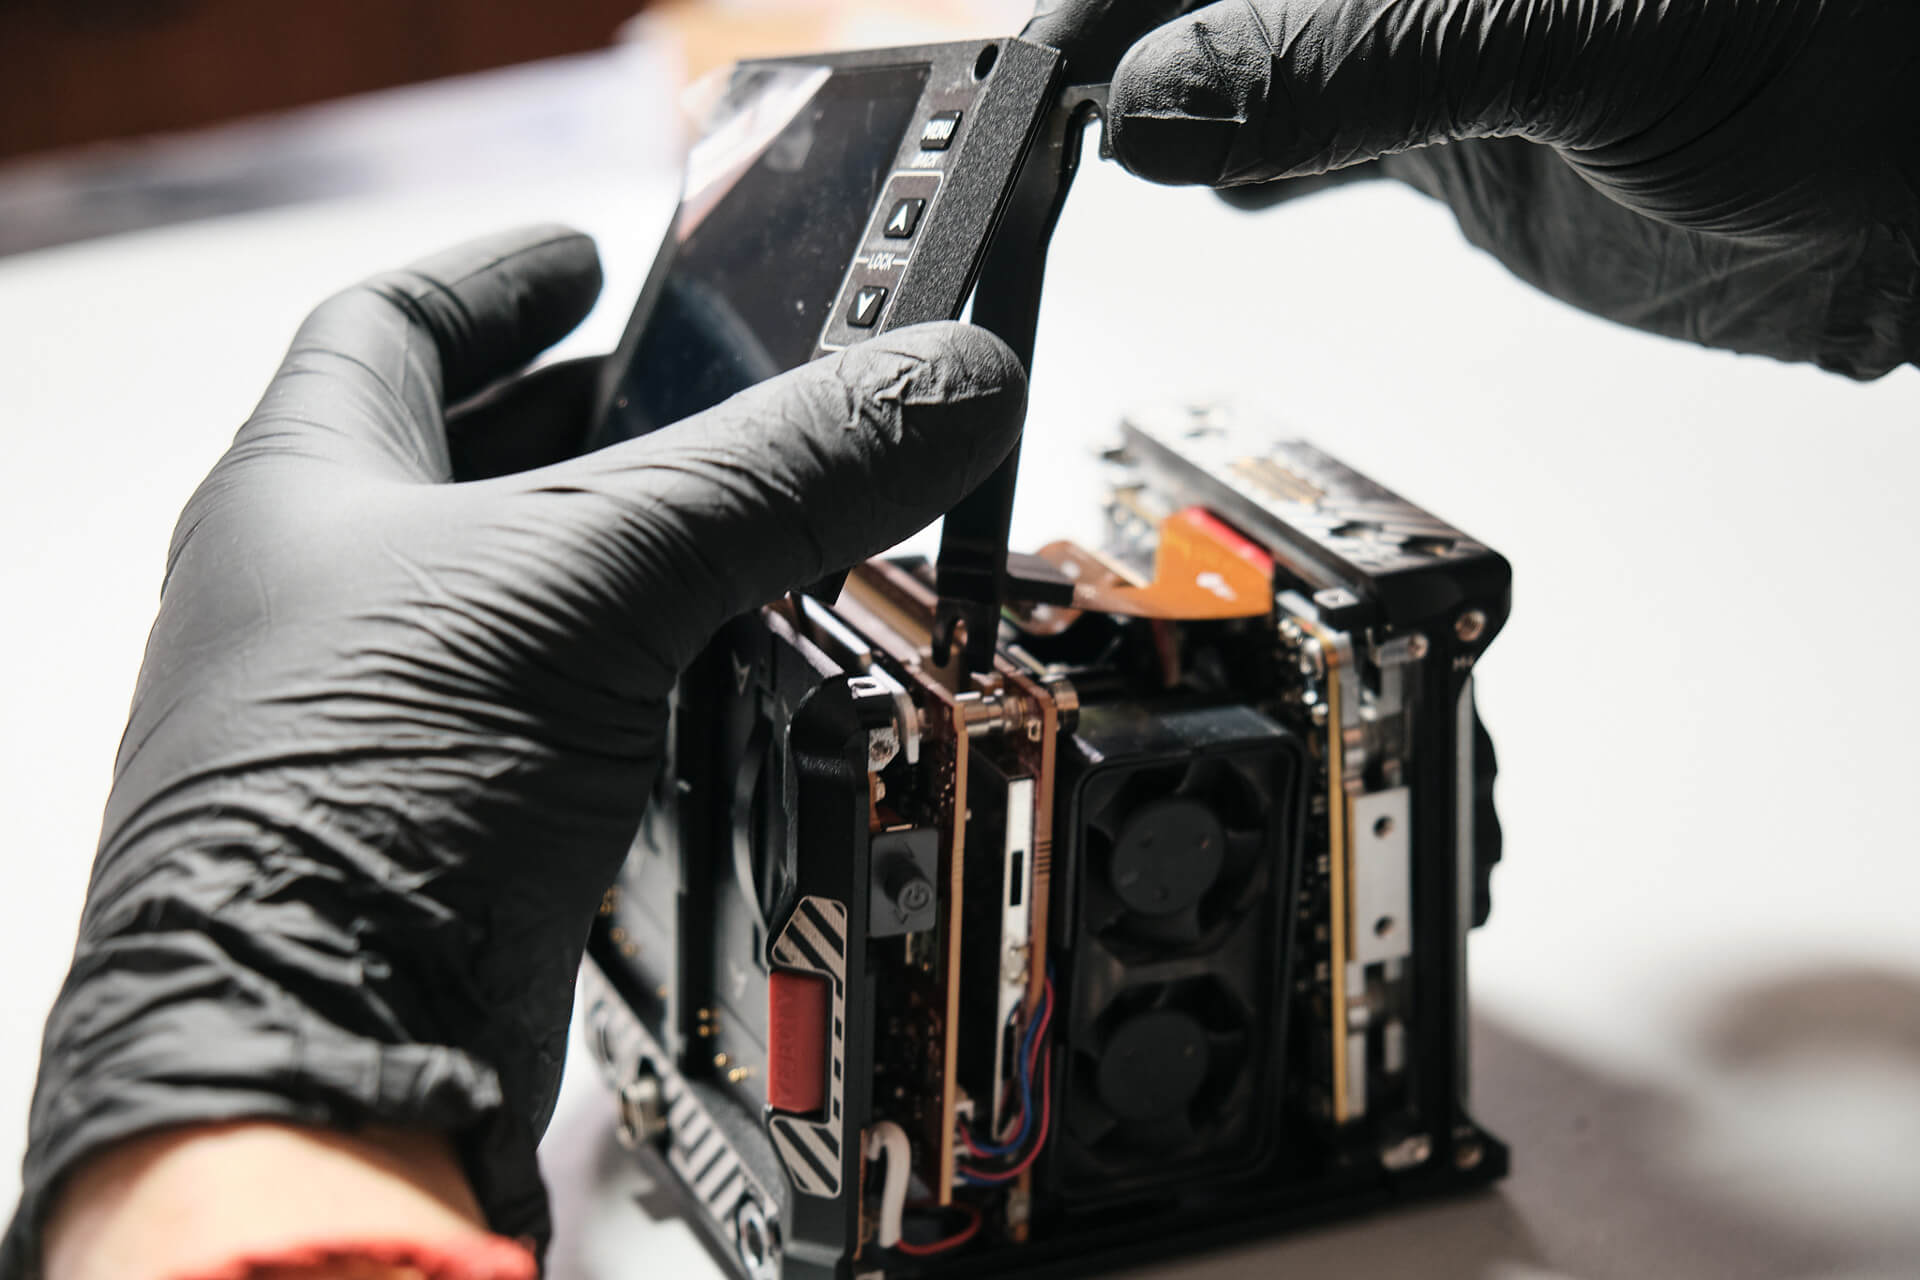
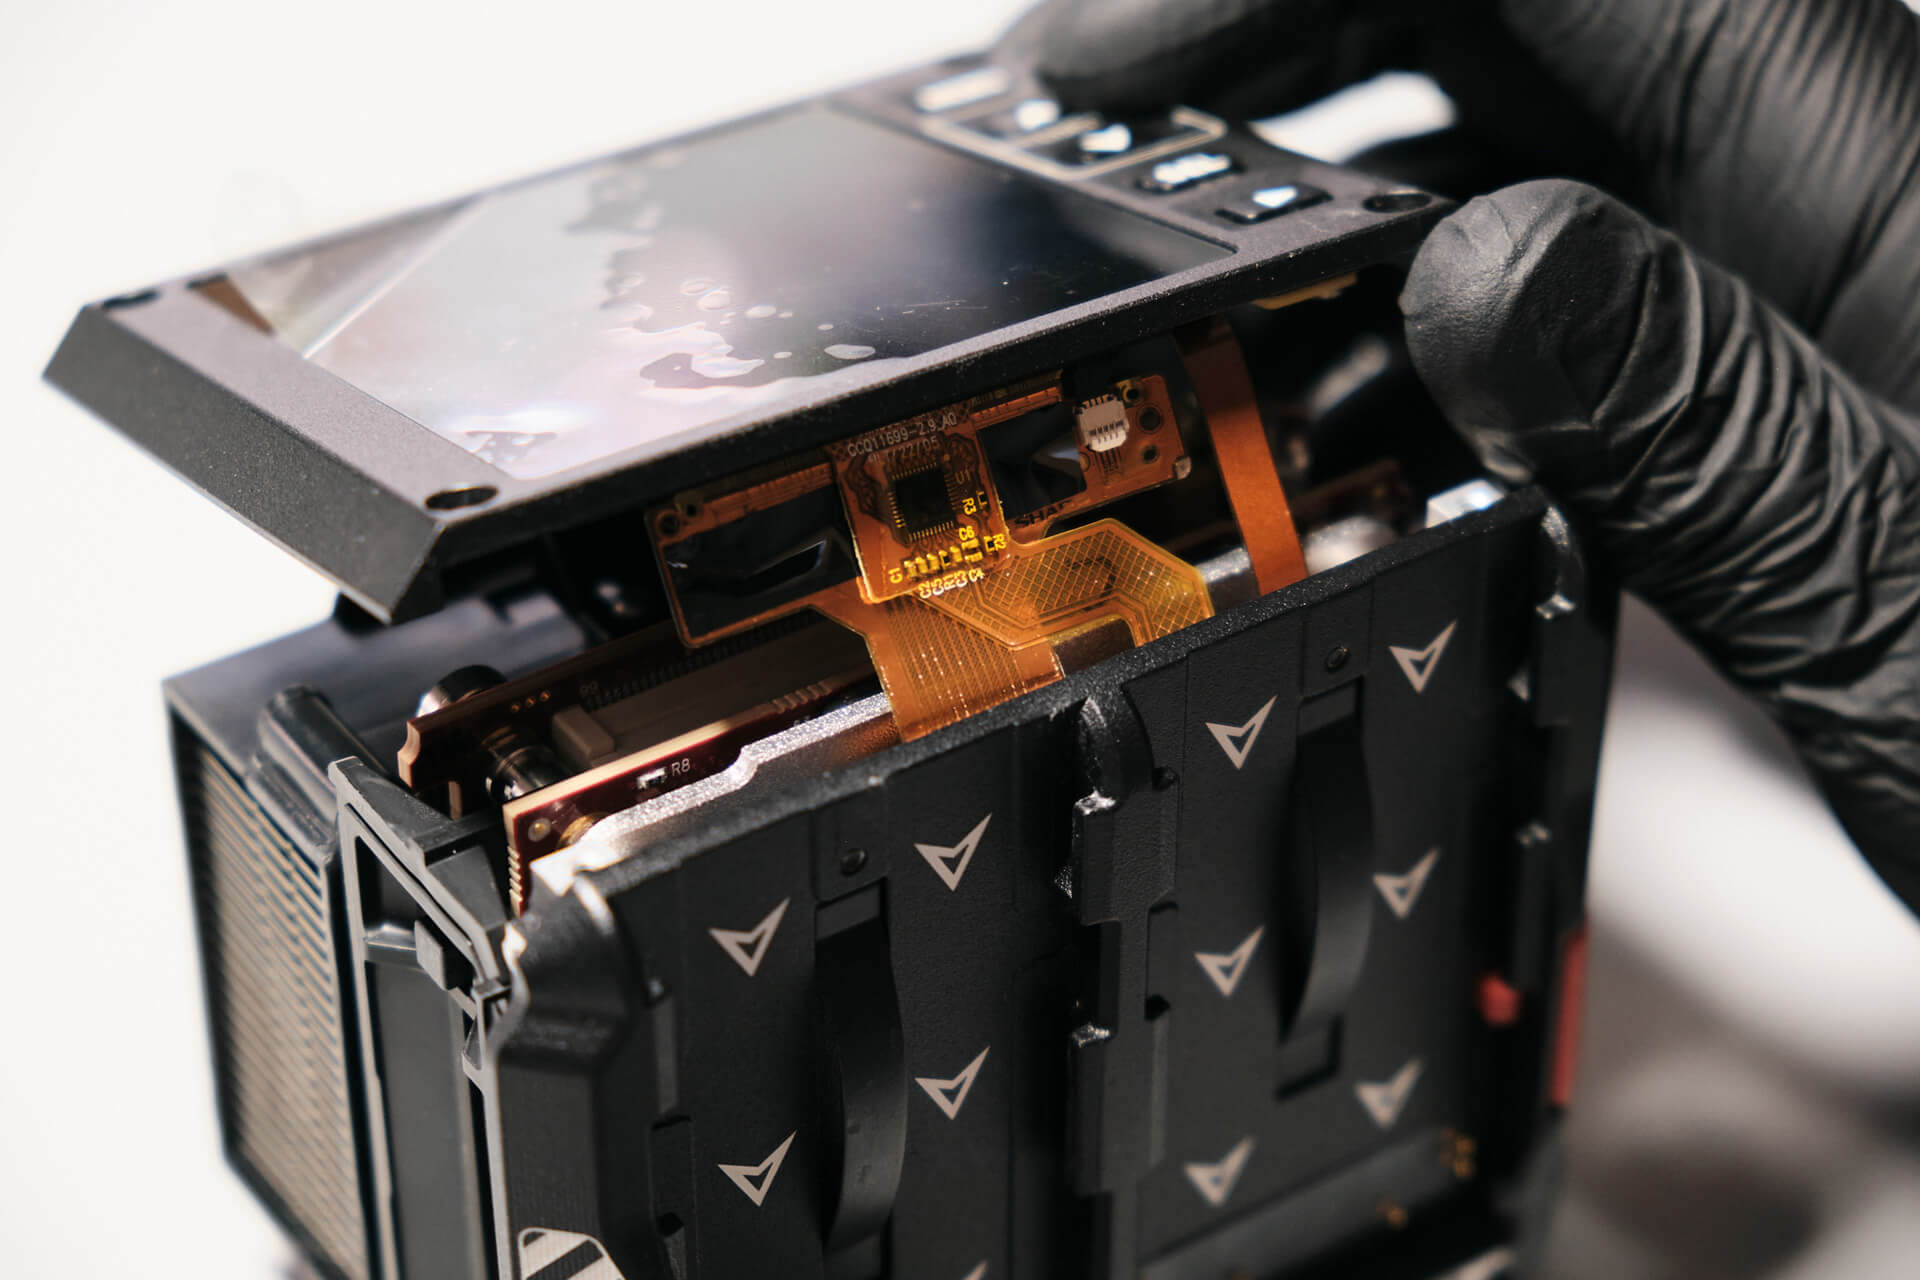
We have to carefully lift the LCD panel and remove the accessory port ribbon.The ribbon cable is thick, and it looks like a lot of data passes through it, so it’s crucial to handle this step with the utmost care.
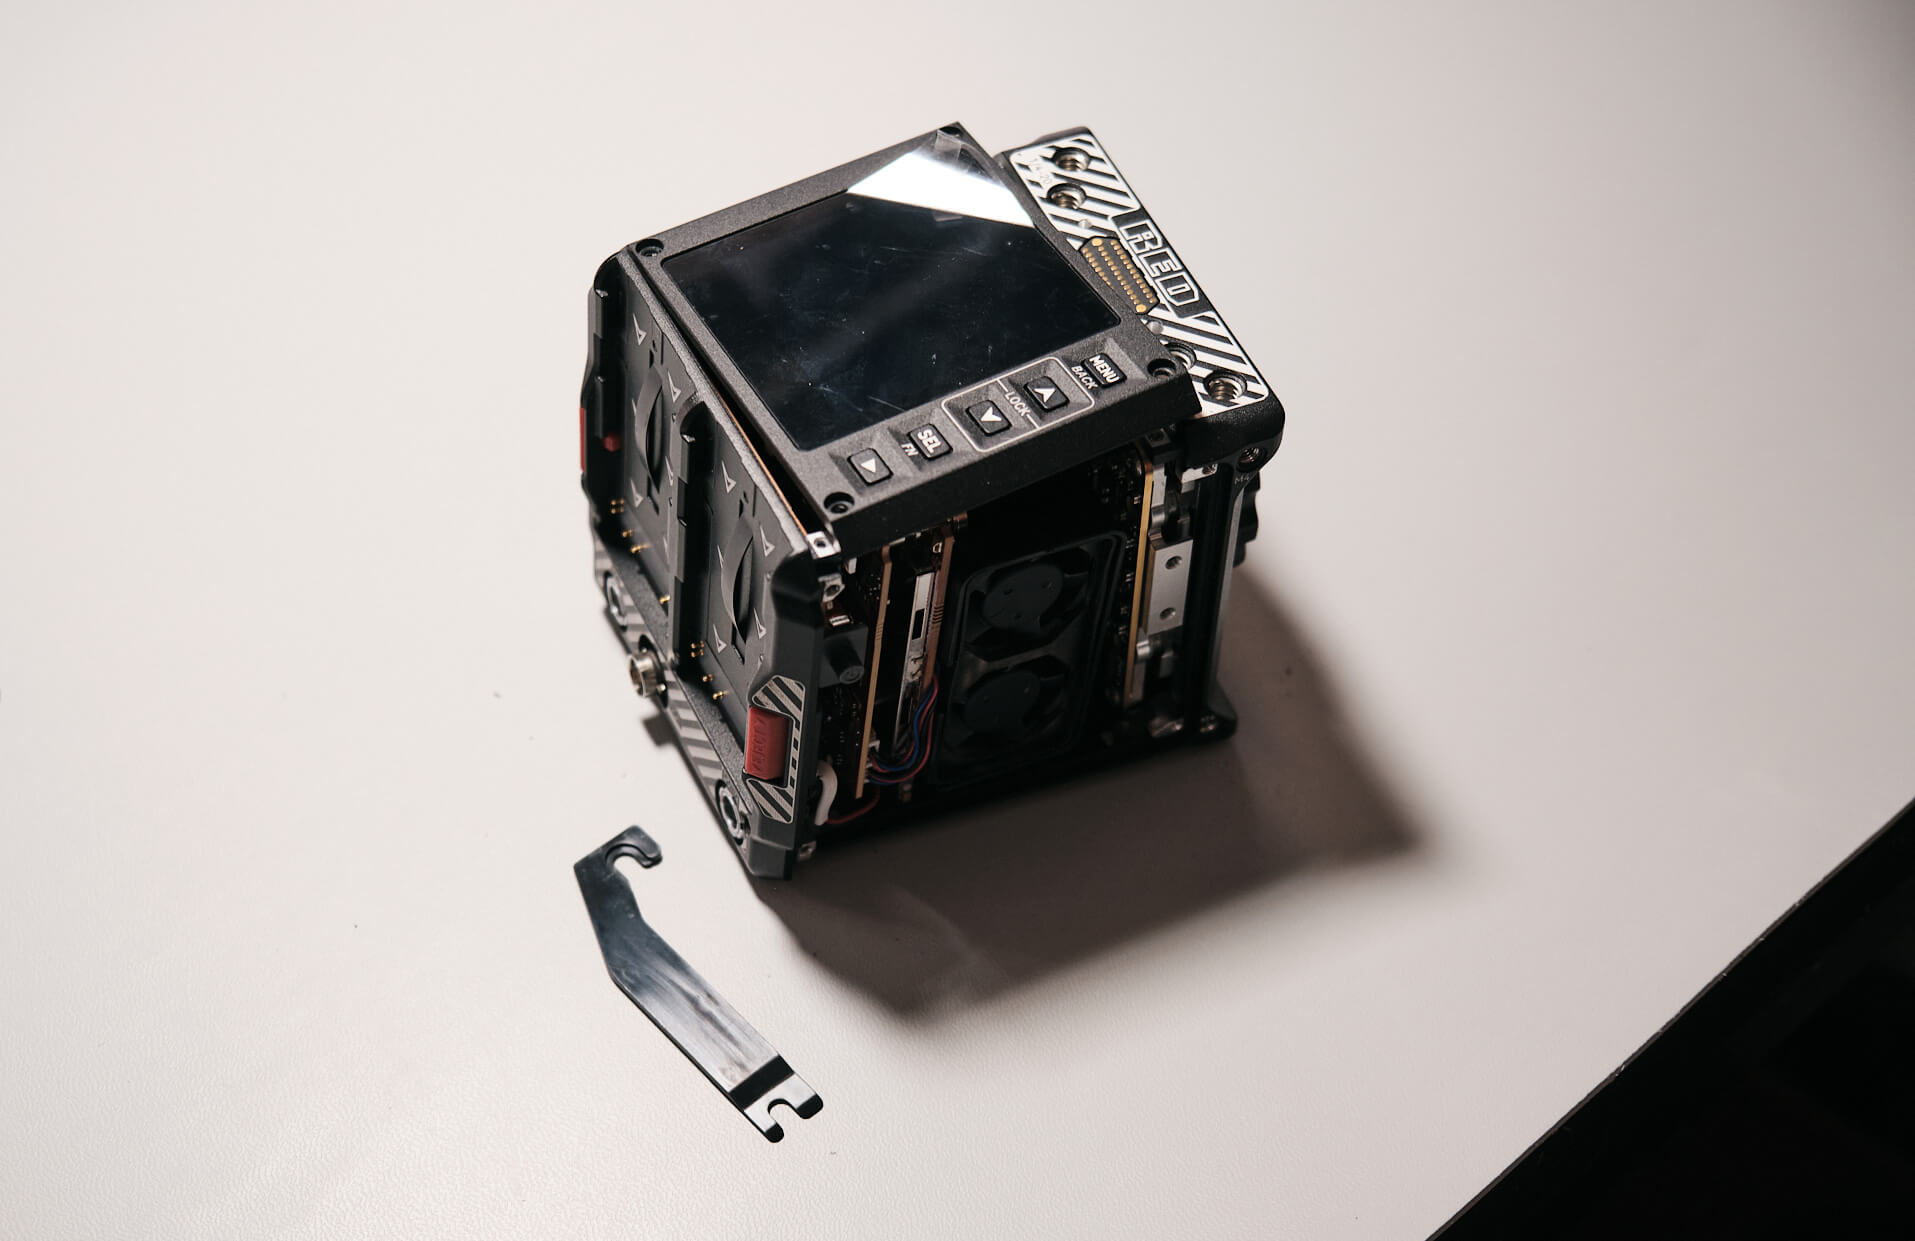
While lifting the top panel, we found a plastic piece clipped onto the screw studs. We weren’t sure about the function of this plastic piece. Our theory is it serves as a stud-locking tab.
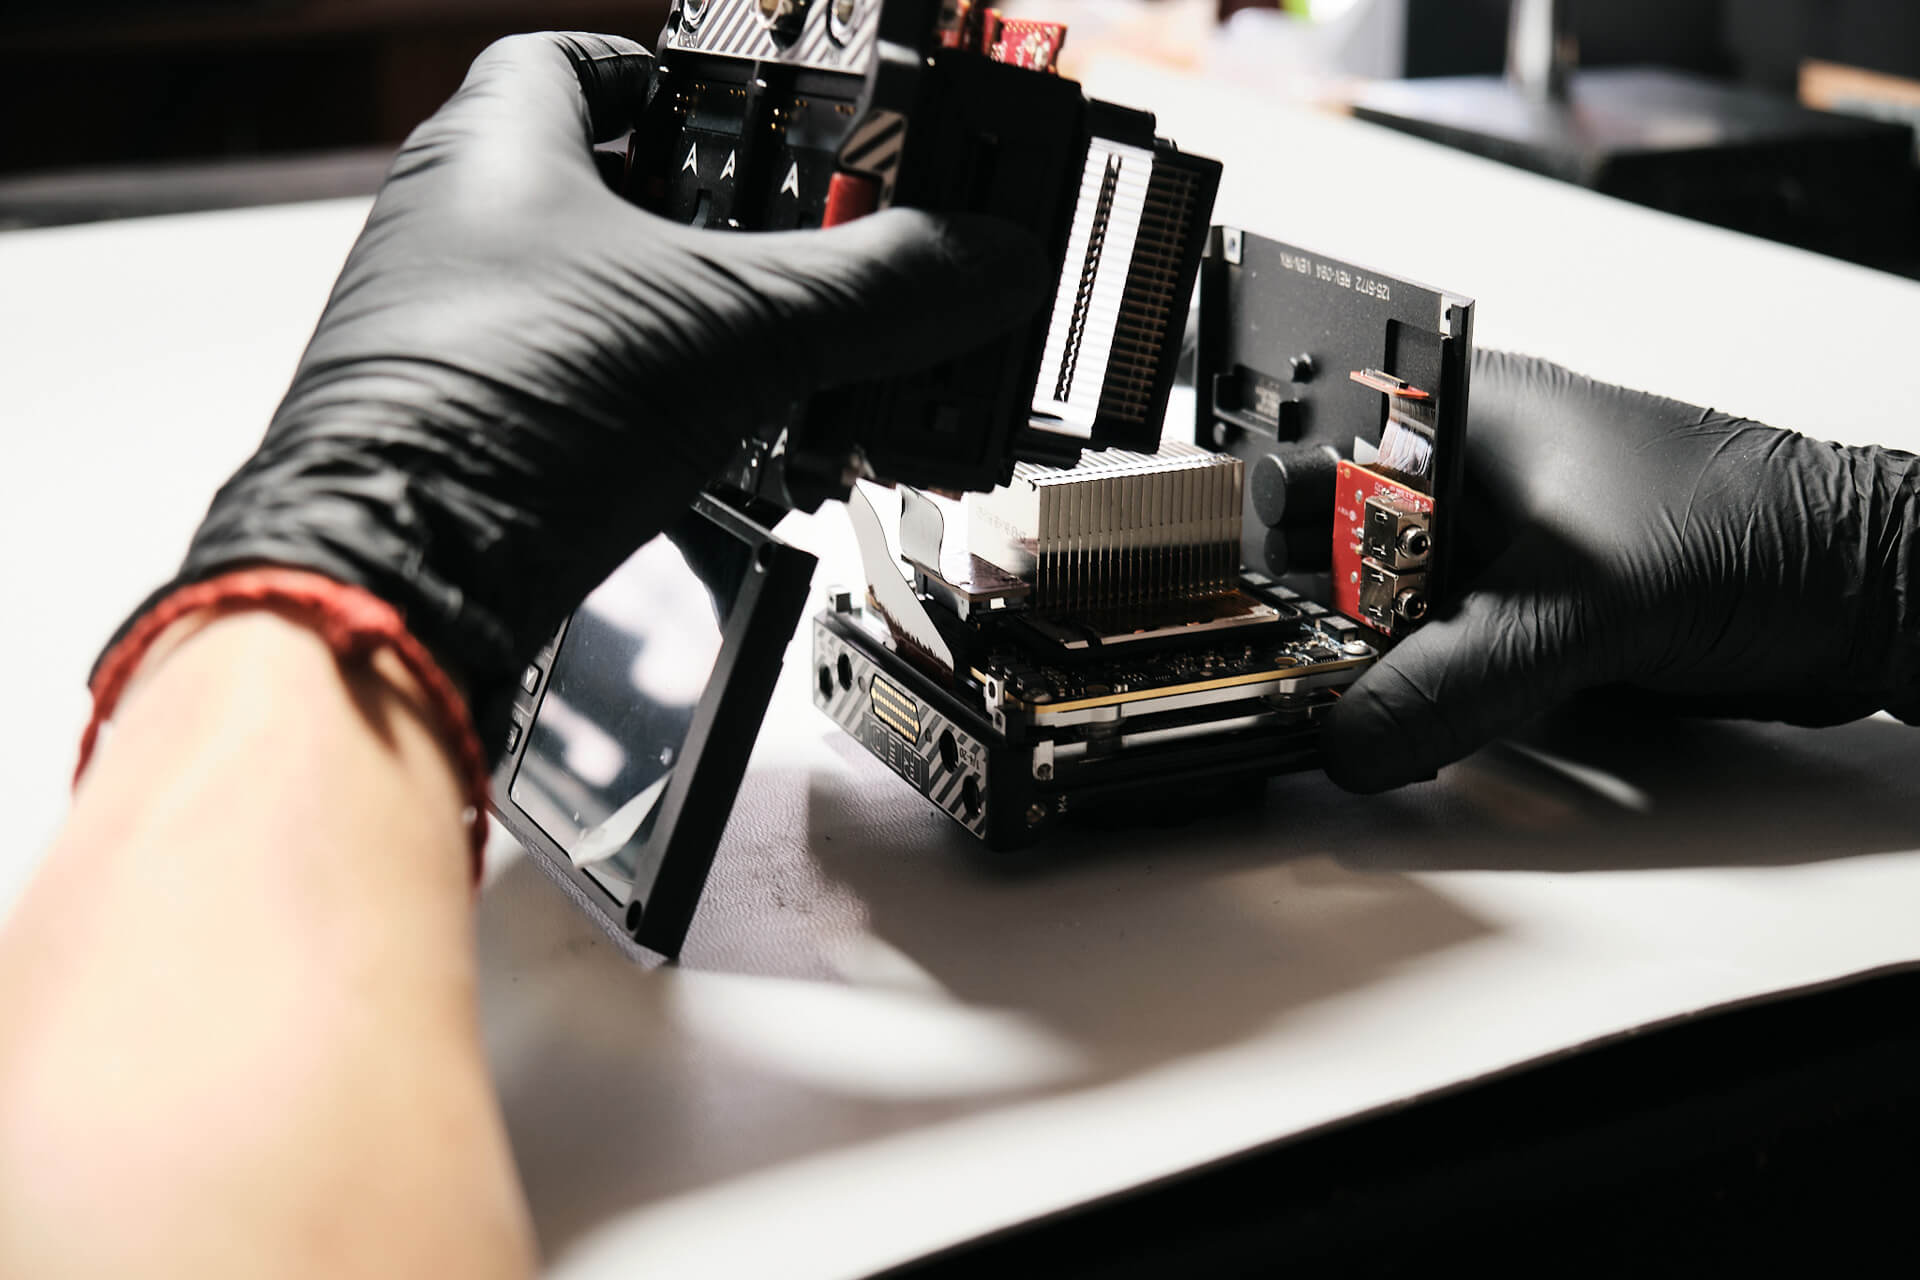
Once the top panel is removed, we can split the camera into two main parts. The circuit board ribbon cable connects the camera parts, so this needs to be detached before separating the main camera parts.
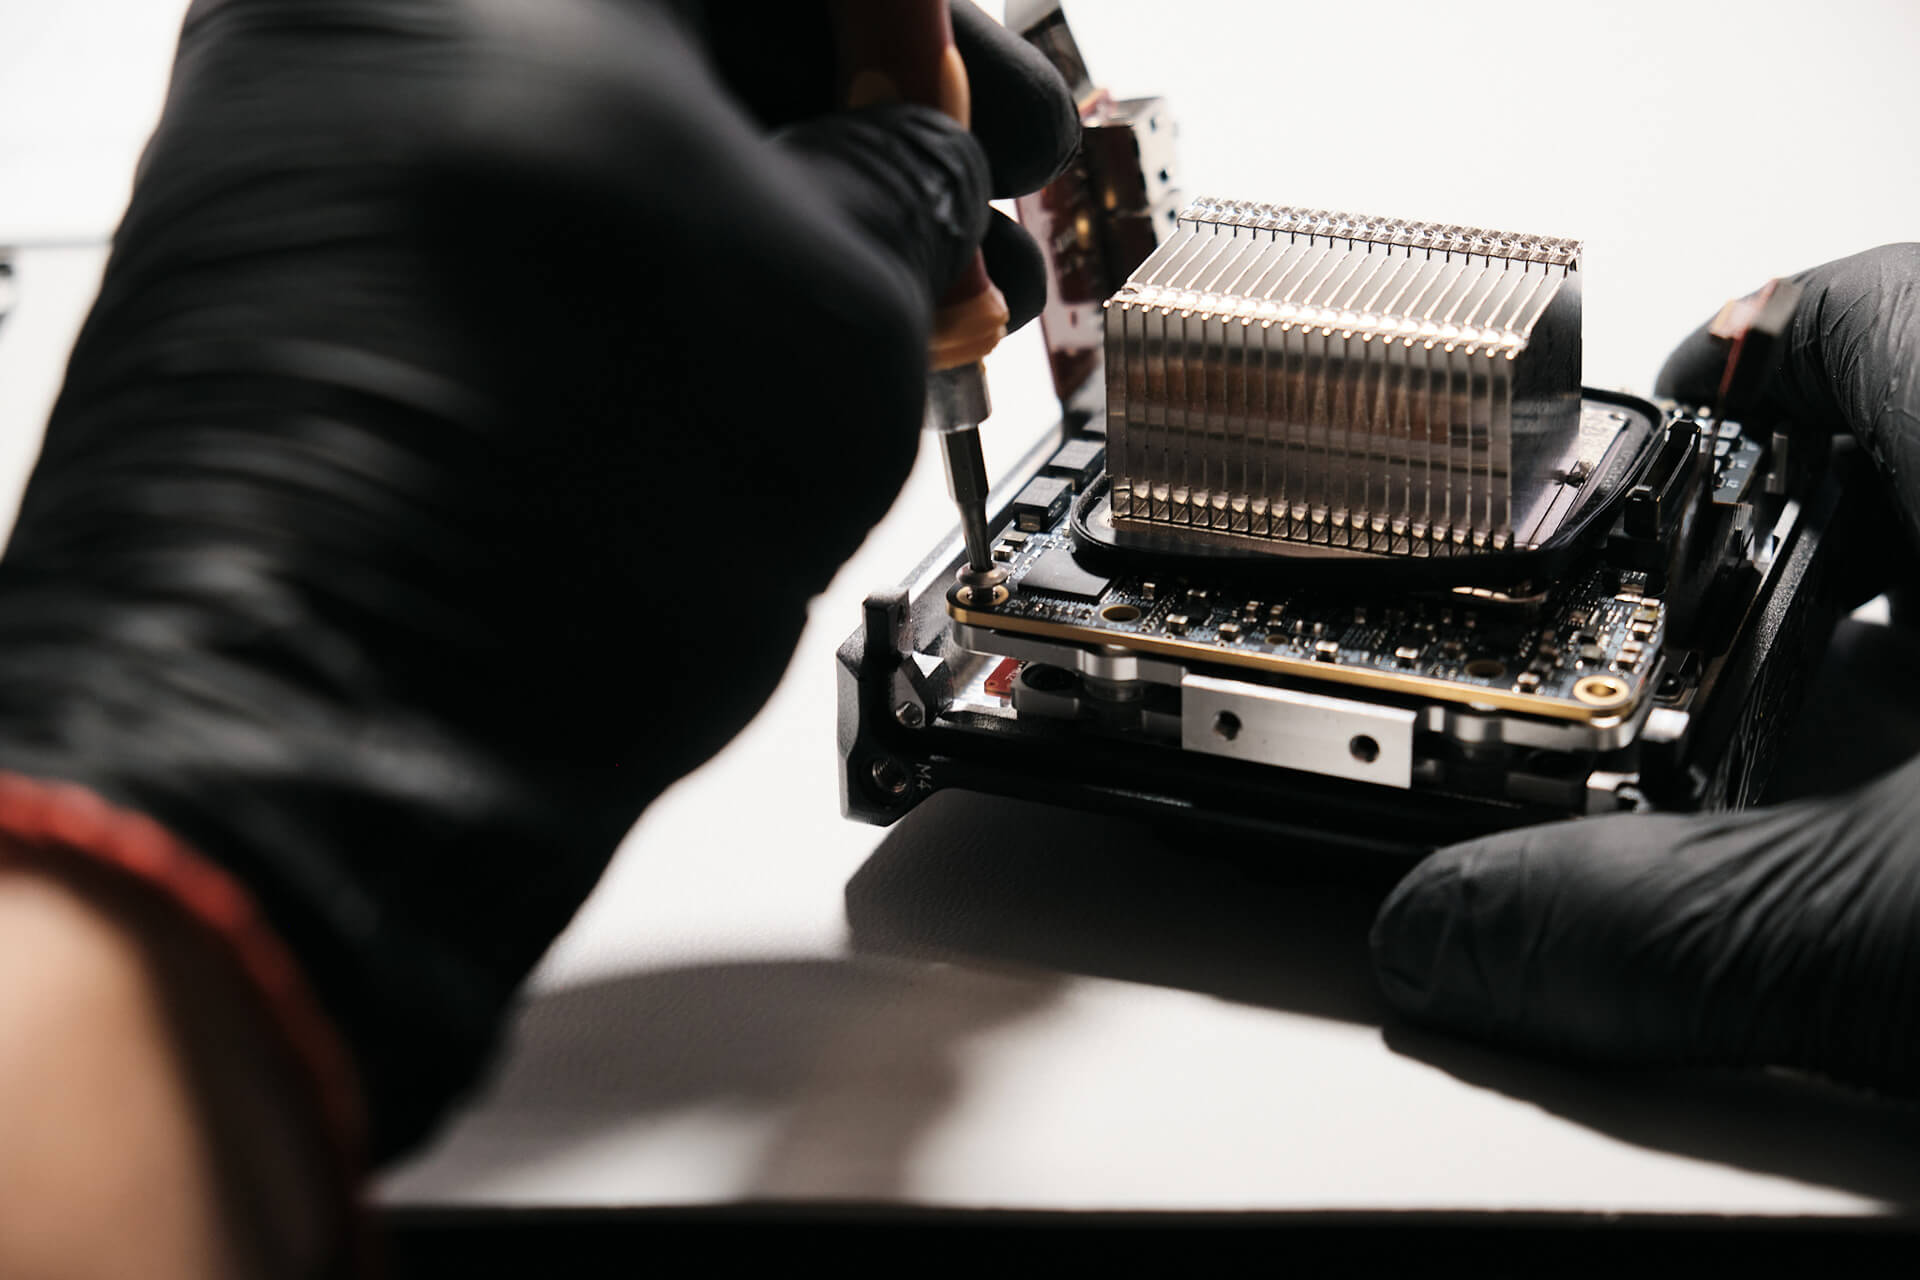
The external mic and headphone jack board is held down with a single T-6 Torx screw on the bottom panel. After removing that, the bottom panel will come off.
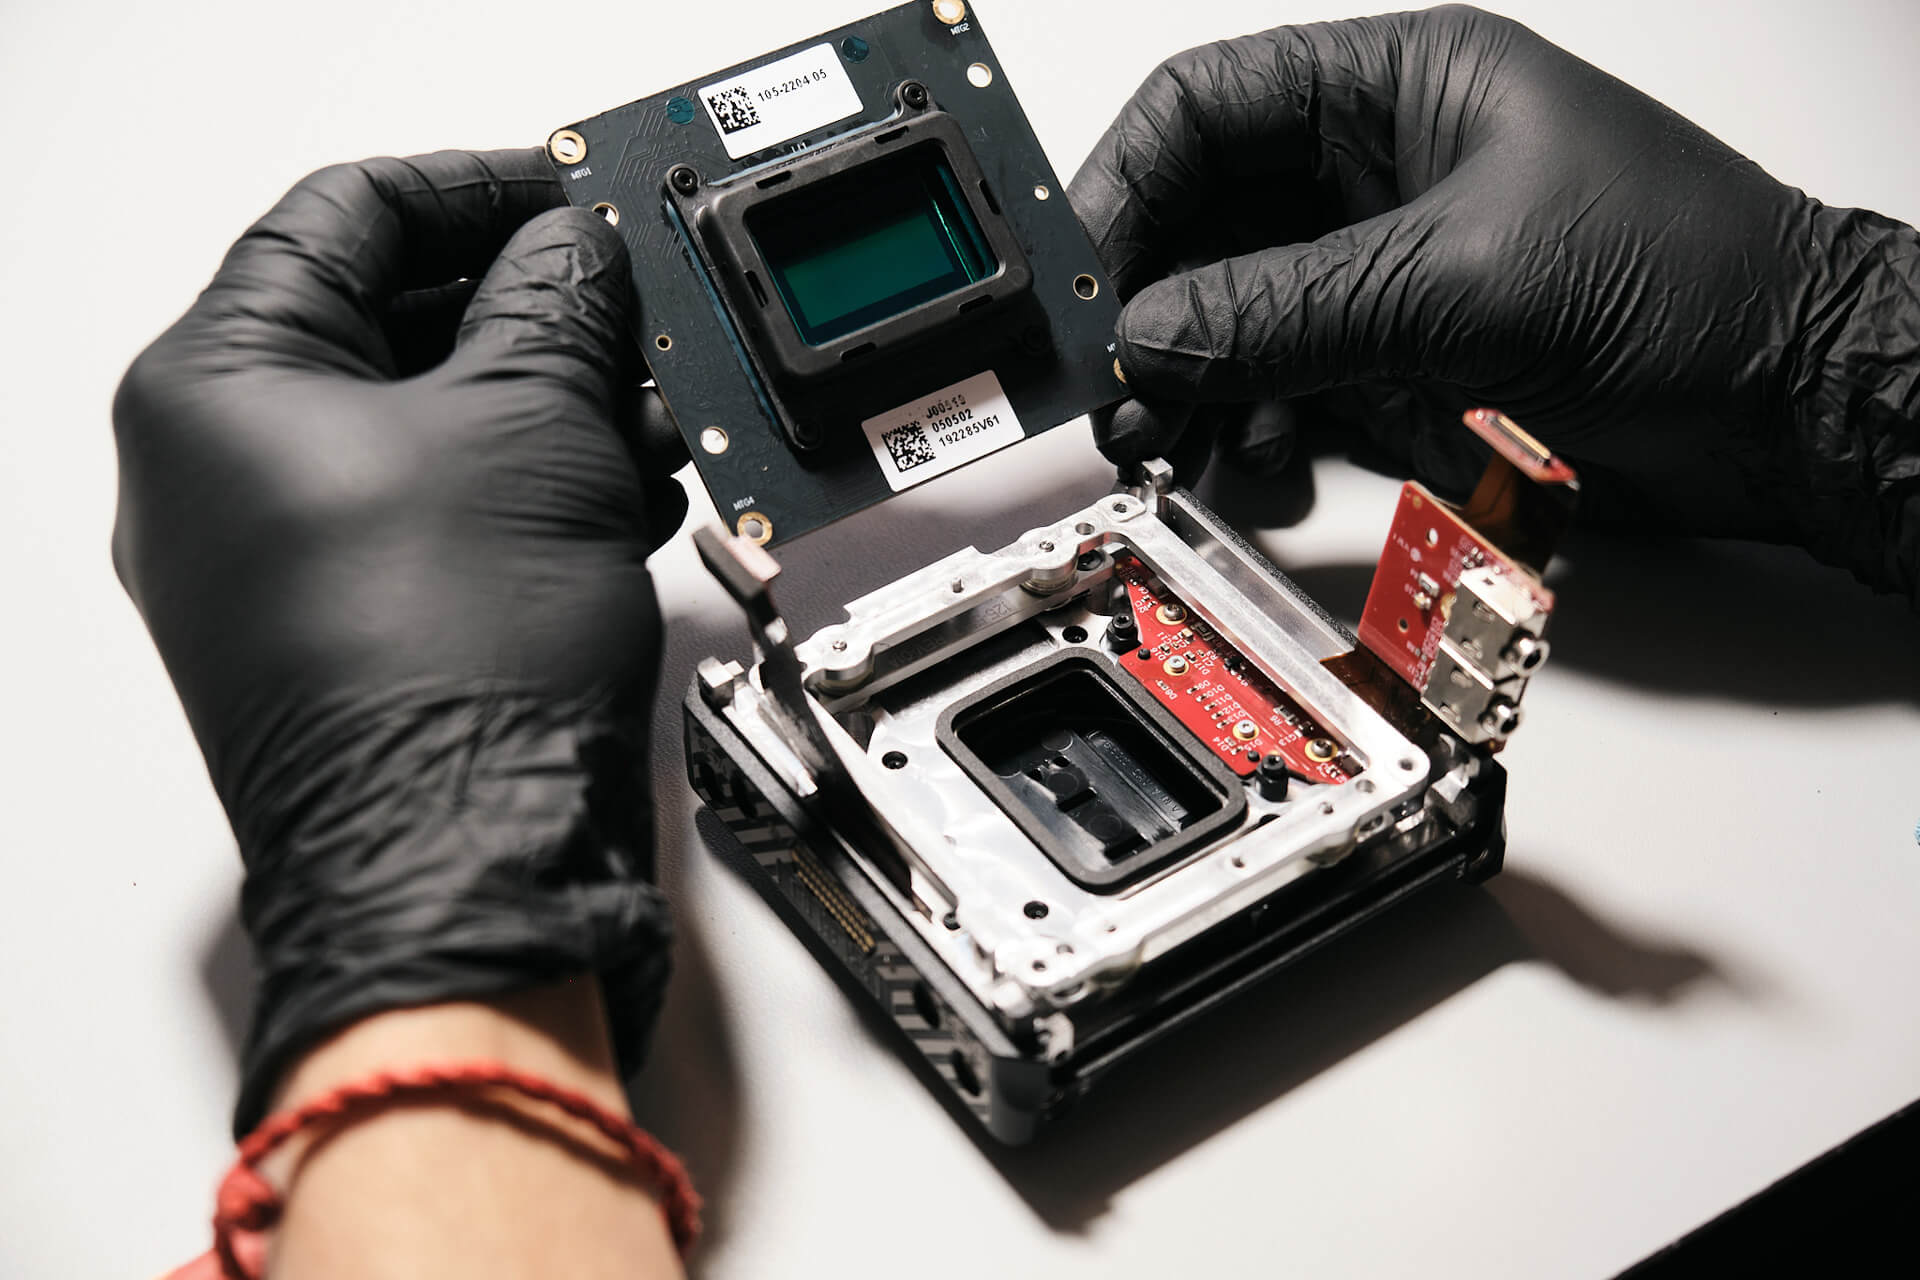
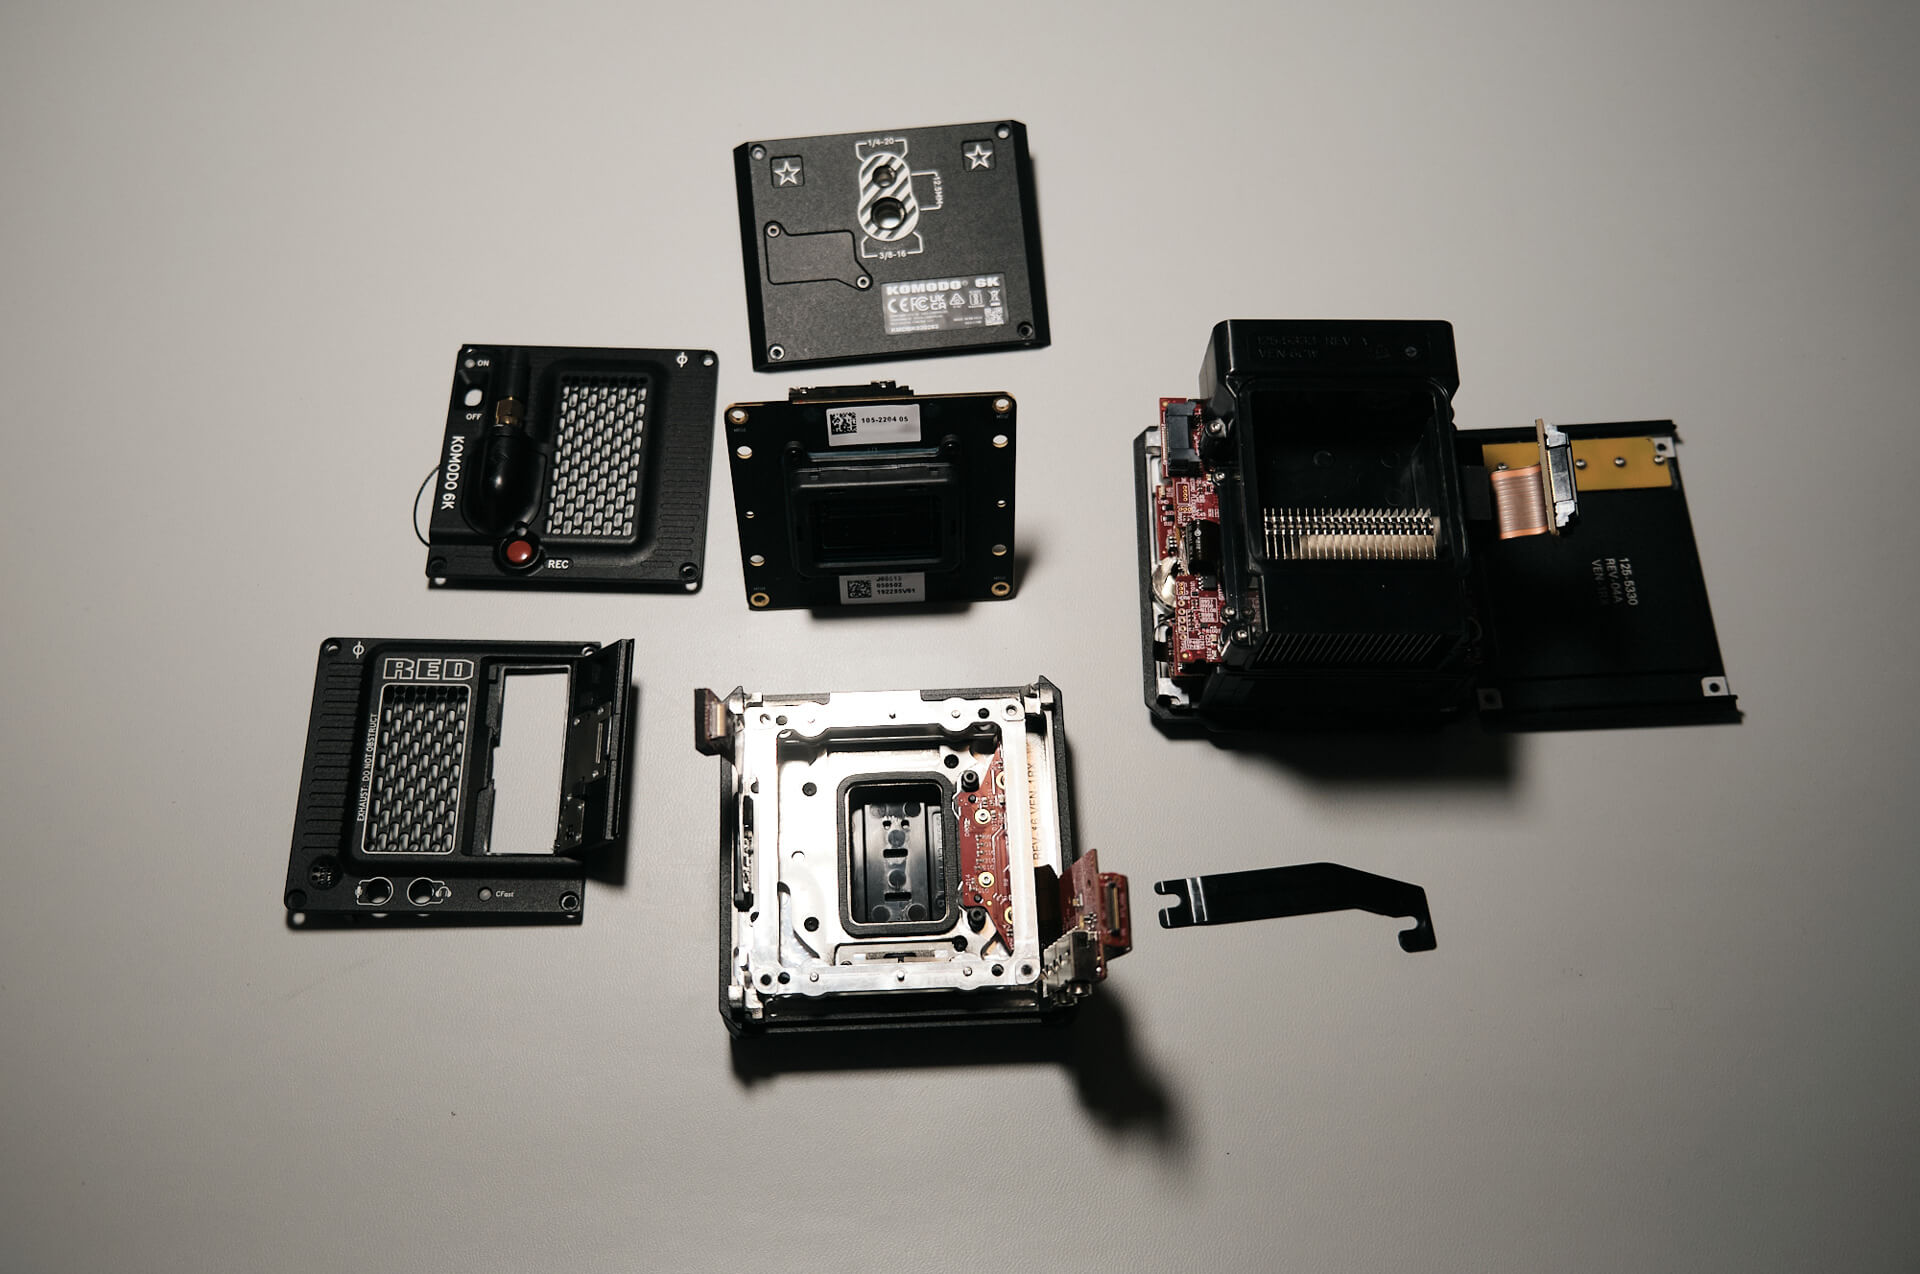
The camera sensor is secured with four T-9 screws. It seems there are no springs or shims present.
At this point, we can lift and remove the sensor.
Looking closely here, the LCD ribbon cable is labeled ‘SHARP.’ SHARP is a renowned electronics company located in Japan.
The heatsink ribbon is stamped by Birk Manufacturing. They specialize in thermal heating systems and are located in Connecticut, USA.
We found the RED Komodo 6k Cinema Camera was a relatively simple camera to disassemble, which is understandable given its remarkably small package. Despite the simplicity of the build, it delivers high-quality footage as you would expect from RED cameras.