GIMP is a freely distributed photo editing software that has all the necessary tools for false color post processing of infrared images. This is a great alternative if you don’t want to spend a lot on Photoshop, and will produce just as good results.
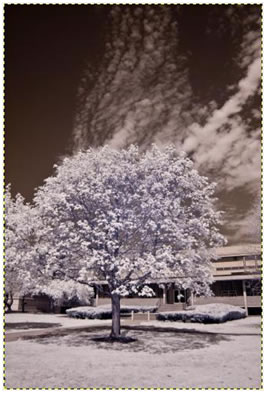
First start with the basic image from the camera. If you set a white balance prior to shooting, your image will look something like the one below. If you did not set a white balance, we will fix that later.
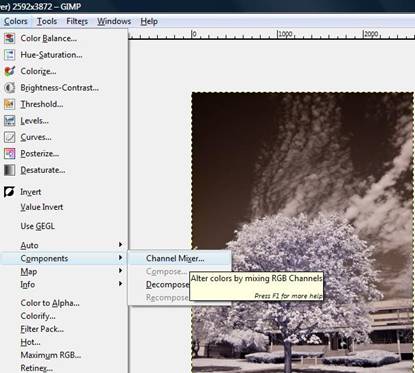
Next you want to navigate to the Colors tab, go down to Components, and open up Channel Mixer.
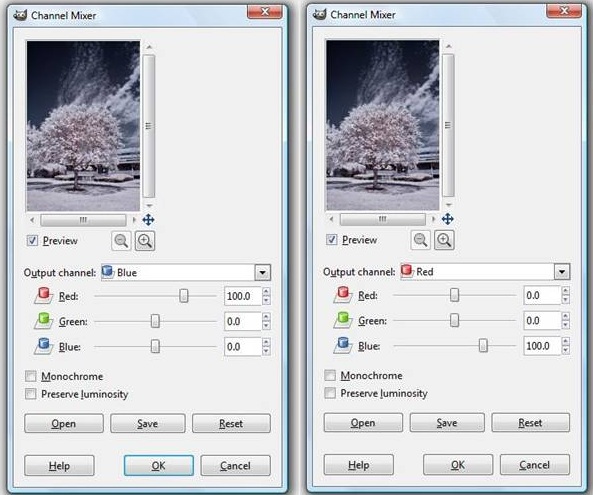
Next, go to the Blue output channel, and change blue to 0 and red to 100. Do the same for the red channel, changing red to 0 and blue to 100. Sometimes I’ve seen a bug with this where setting a channel to 0 causes problems, if the picture doesn’t come out right try changing the channels down to .1 instead of 0. You should also save the channel mixer settings for future use.
Your image should come out something like this:
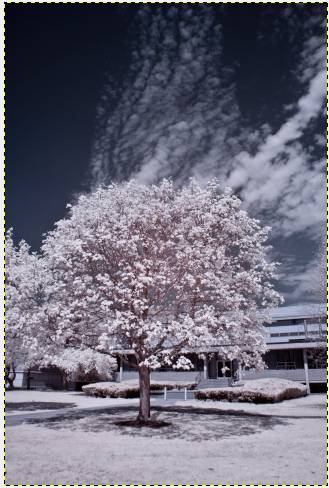
From here, you can adjust levels and other settings to taste. With a properly set white balance not much is needed, but for images that do not come out well an important setting is Hue and Saturation. Desaturating the Magenta and Yellow channels, as well as adjusting blue and cyan can dramatically help an image.
If you did not set a white balance, or your camera does not have the feature, your image will usually come out looking very blue. The auto white balance tool will go a long way in fixing this, this is also found under the Colors tab.
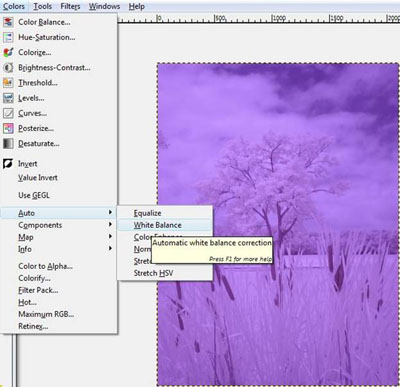
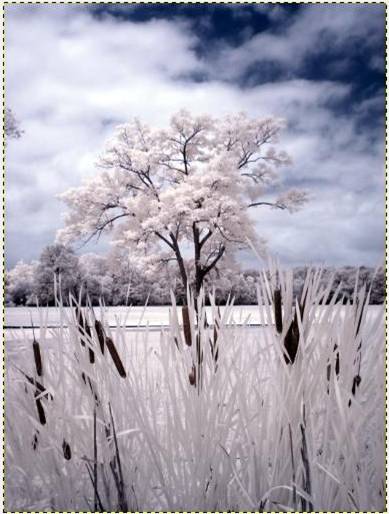
The auto white balance results actually come out a little better than Photoshop’s Auto Tone. If you are still not satisfied with the pictures, take a look at the other tutorials on our page for more detailed explanations.
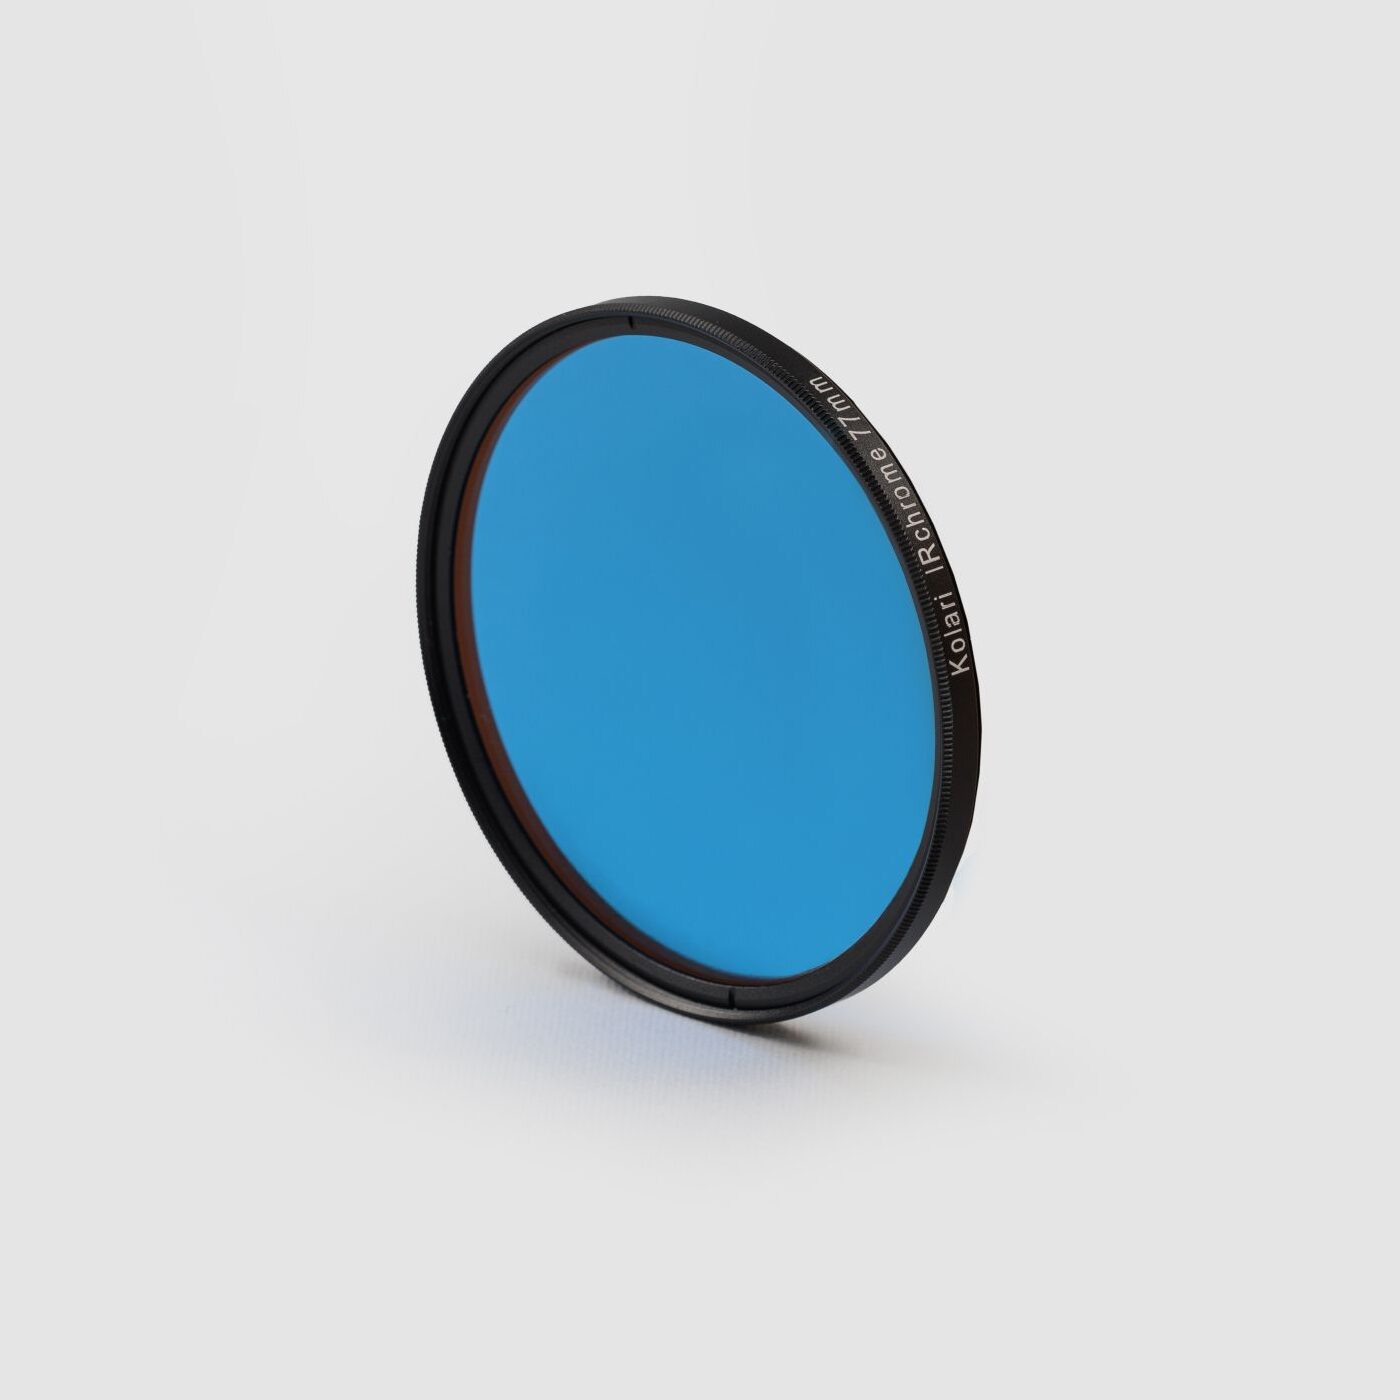


Using an IR filter on a modified DSLR, the image looks nothing like the image in the first example. The images are actually red or magenta (even properly setting white balance). The image shown here looks like what I achieve with a sepia setting on my camera.
Can you give us a little more information, like what camera and filter you are using?
My infrared images straight form the camera are very ‘red’ to begin with – they look nothing like the image you have shown as the initial photo. Secondly, when I swap the red & blue channels as described the image is simply a blue version of the original. Can you shed some light on this please?
I noticed something weird. I export the shot from Lightroom to Gimp so I can do the color swap. If I export in sRGB colorspace, the red/blue swap works as expected. However, if I export using Pro RGB colorspace, it looks weird. Instead of a blue sky, it looks blue/green. Any ideas on how to make this work without being forced to convert to sRGB?
I have the exact same issue – I am using a canon 6D with a B+W IR filter. Th image is “reddish” in color and I do not get the effect shown above.
The Canon 6D is unmodified – so it is Canon 6D + 16-35 / 2.8L Canon lens + B+W IR filter.
Hi I have a canon EOS 6Dmk2 unmodified, You should take a first shot of foliage and use this as a reference custom white balance (WB) then after having select the custom WB the next shot will have the correct colors.
The camera’s red sensitivity is higher when it’s looking at IR, because red is close to IR. So, the photos will tend to be reddish. You can use an ND neutral density filter instead of a full cut filter to allow a little of the other colors onto the sensor.
Hi,
I am using Olympus em1 II, 12-100 F4 and R72 Hoya filter. Gimp 2.10.8
If i leave WB image is deep red. If I custom WB i get a Monochrome looking image.
The interface of the latest gimp is different to above and no matter what I do I cannot produce images anything like yours, channel swapping just gives an overall Bluish cast or Green cast.
Di need to get an early version of Gimp or am I missing something.
Thanks
Frank
On Sony Nex7 I use custom white balance where you aim at a spot to set. I aim at a green color and press, the camera produces WB error but sets to the extreme 2700k A-B: 0, G-M:7 then I move the B to 3 for less yellow in the clouds. Then the foliage is bright blue and the sky is beige to off white. I’ve done it manually on other cameras but you have to have control over color channels and color temperature.
I’m using Gimp version 2.10. I used IR film and a 720nm IR filter. The channel mixer doesn’t look like yours and I can’t get my photo to look like your’s at all. Any suggestions?
Such extreme custom white balance will not work on many cameras. So how you get rid of that extreme strong red color cast? Often there is very little information left in the green and blue channel.
I have a Sigma where I can remove the hot mirror filter to make it full spectrum, and then use a 720nm filter.