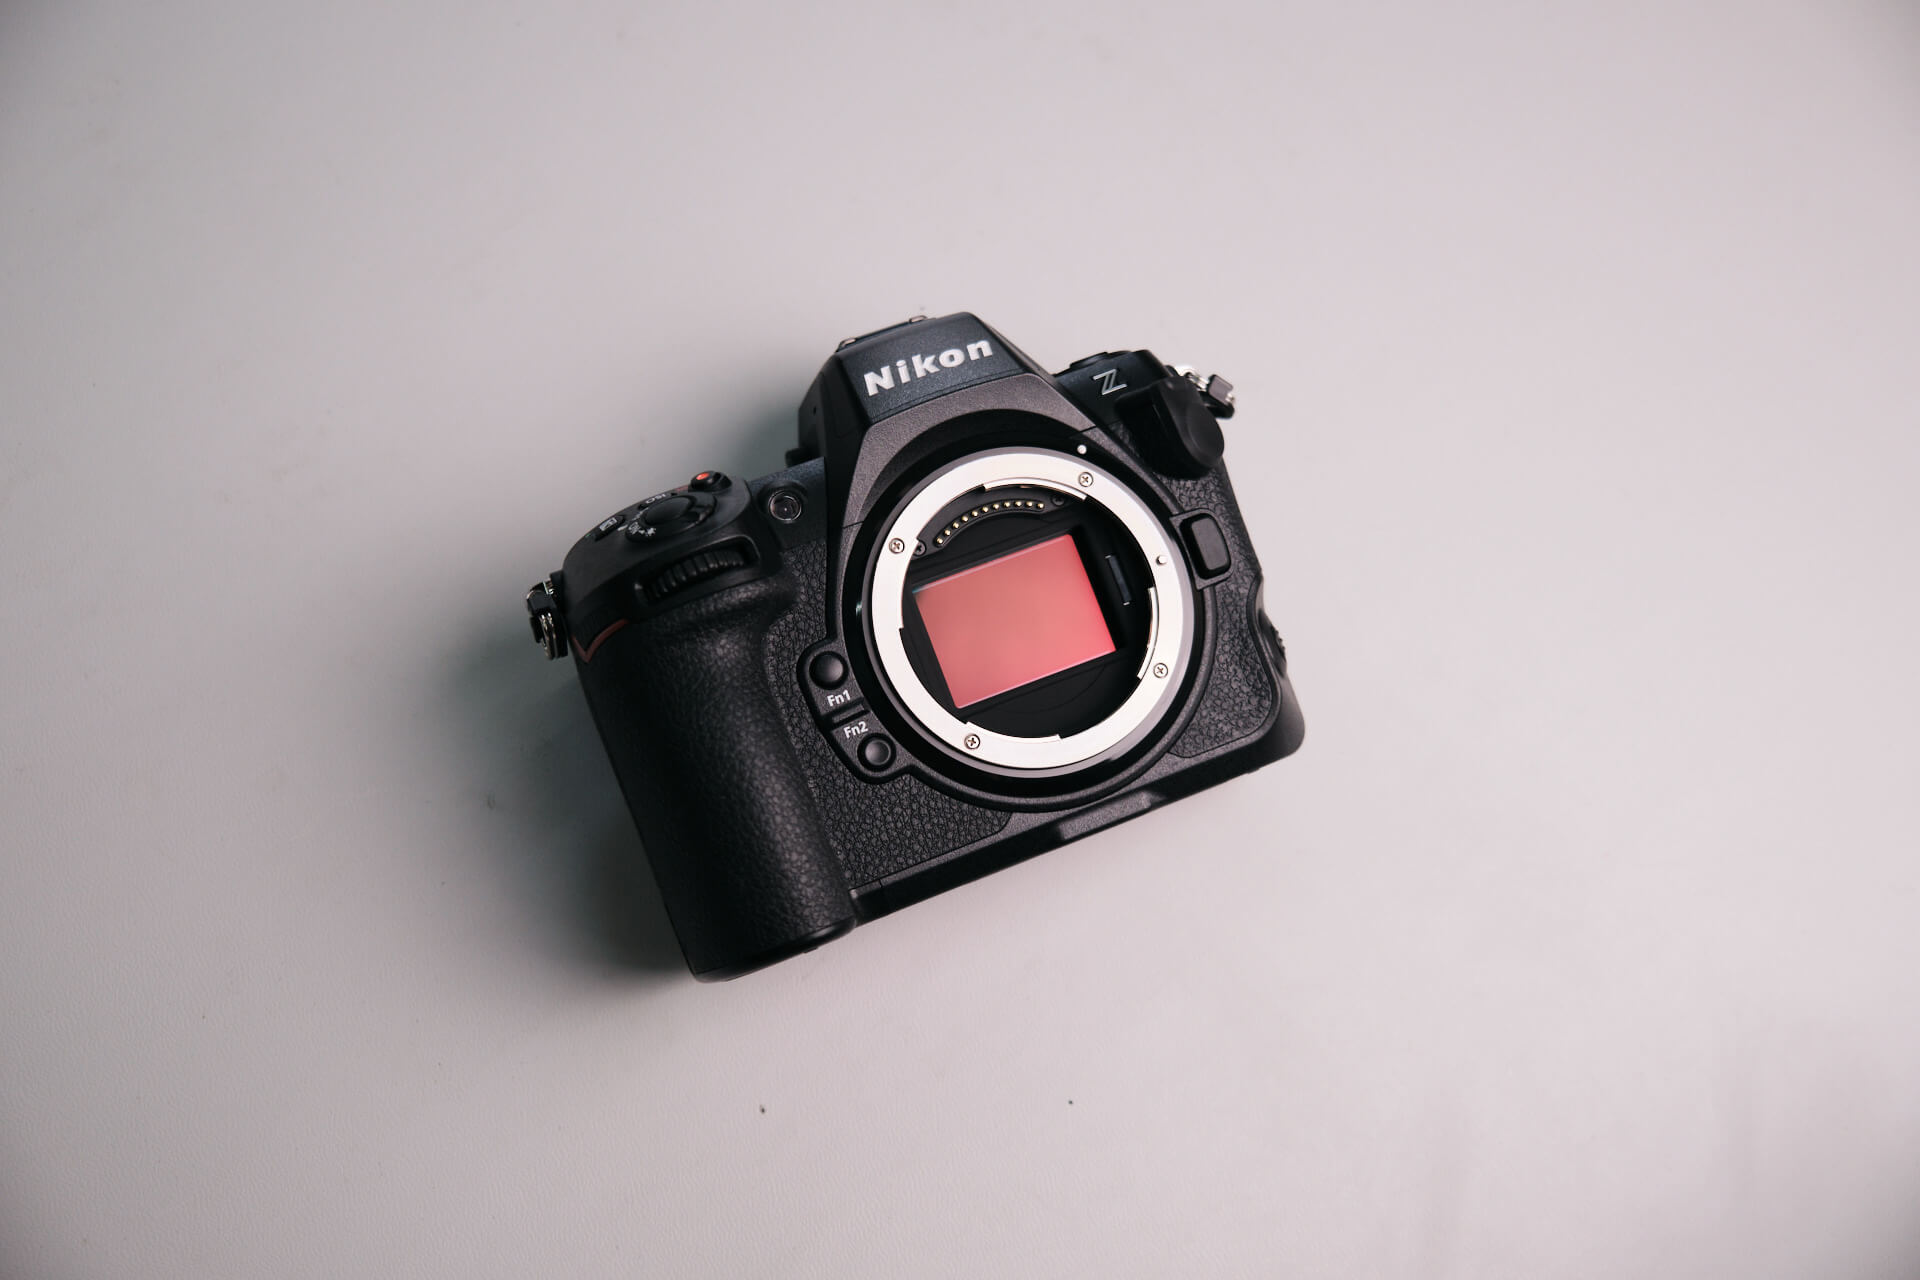
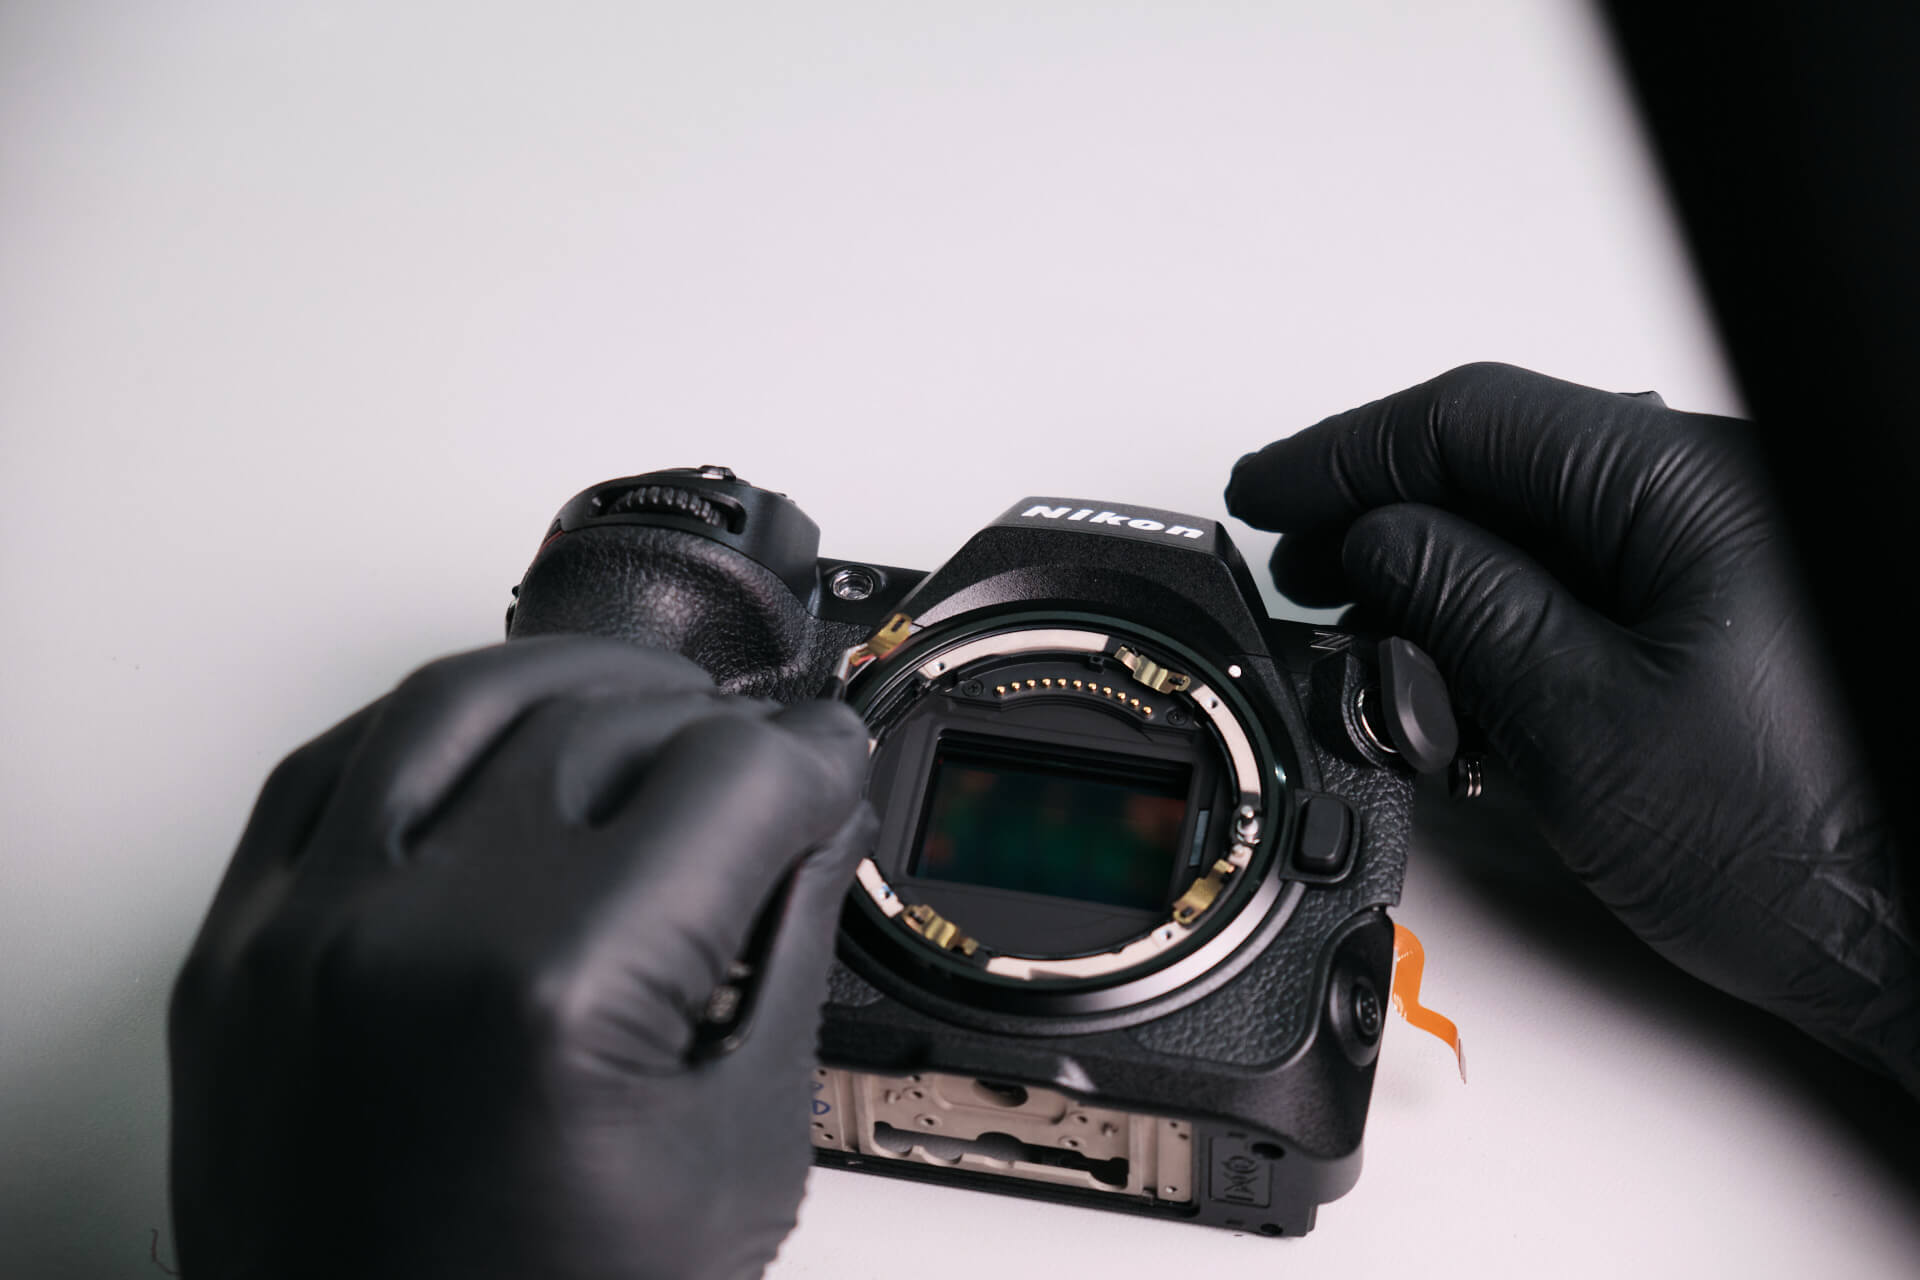
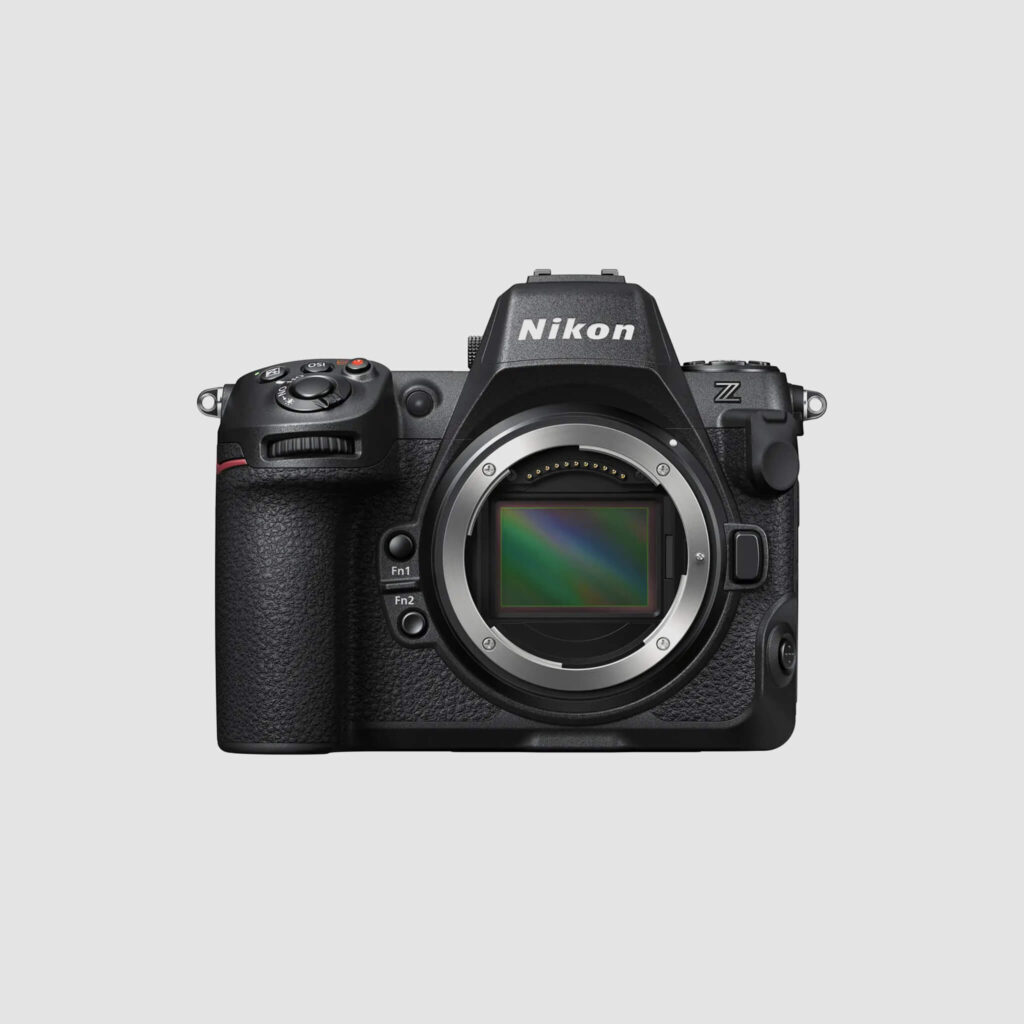
The Nikon Z8 is a mirrorless camera released on May 25th, 2023 that reduces the size and weight of its predecessors without compromising on image quality and power.
The Nikon Z8 was announced on May 10th, 2023, and released later in the month as a professional mirrorless camera. Despite its name, it sits as a compact alternative to the Nikon Z9 and the “true successor” to the Nikon D850, according to the camera brand’s website. One of the most interesting features of this camera is the absence of a mechanical shutter—it has an electronic-only shutter function that boasts “no vibration, noise or wear and tear and virtually no rolling shutter distortion.”
Let’s get into technical specifications. While the camera is labeled with a lower number than its Z9 companion, it’s certainly no slouch. In fact, the Z8 shares many specifications with the Z9 and is nearly identical: a 45.7MP stacked CMOS full-frame sensor, EXPEED 7 processing engine, up to 8.3k N-RAW 60p frame rate, 1/32000 second electronic shutter speed, 20fps RAW/120fps JPG continuous shooting, and Z-mount.
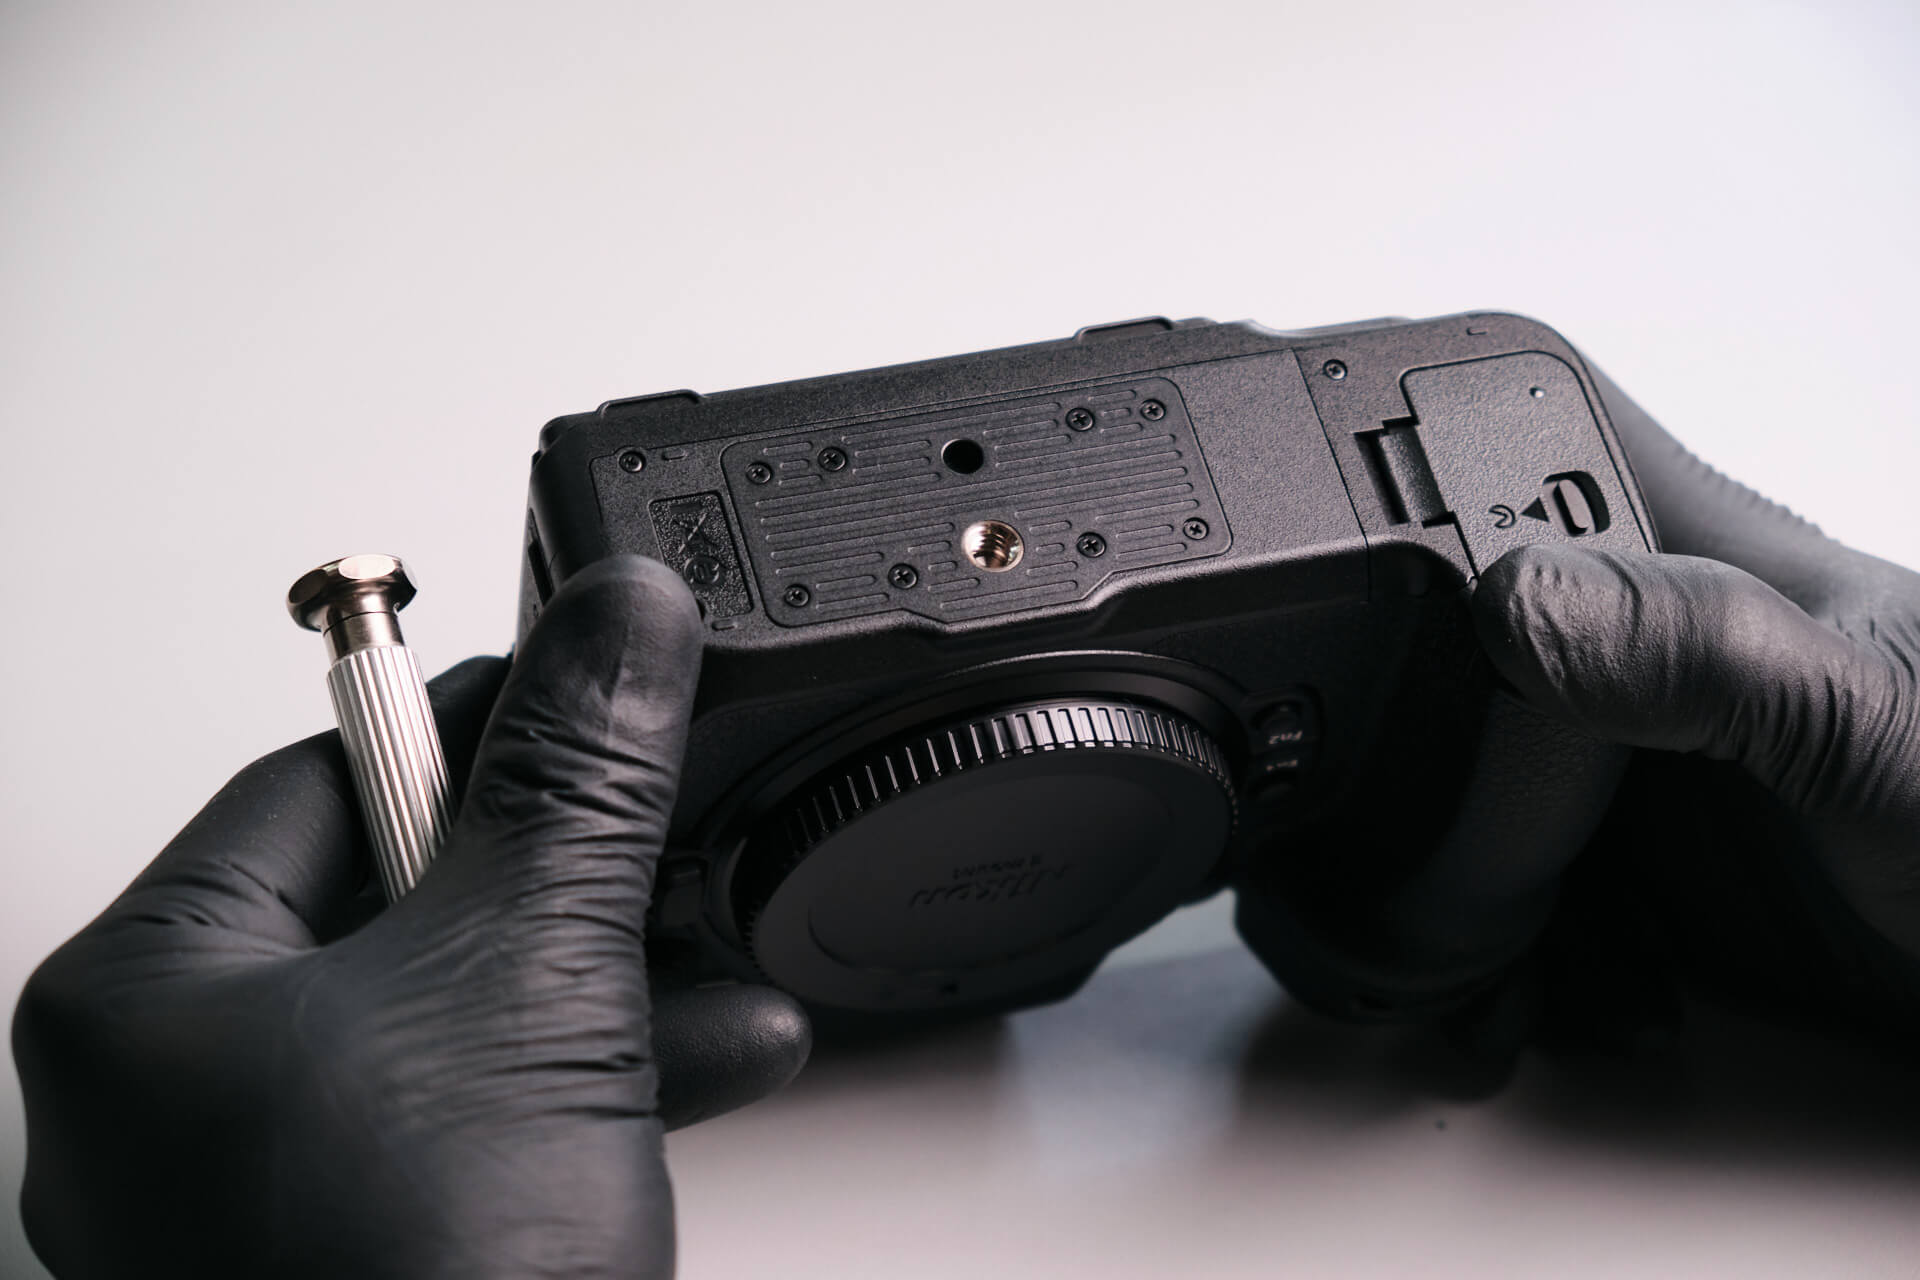
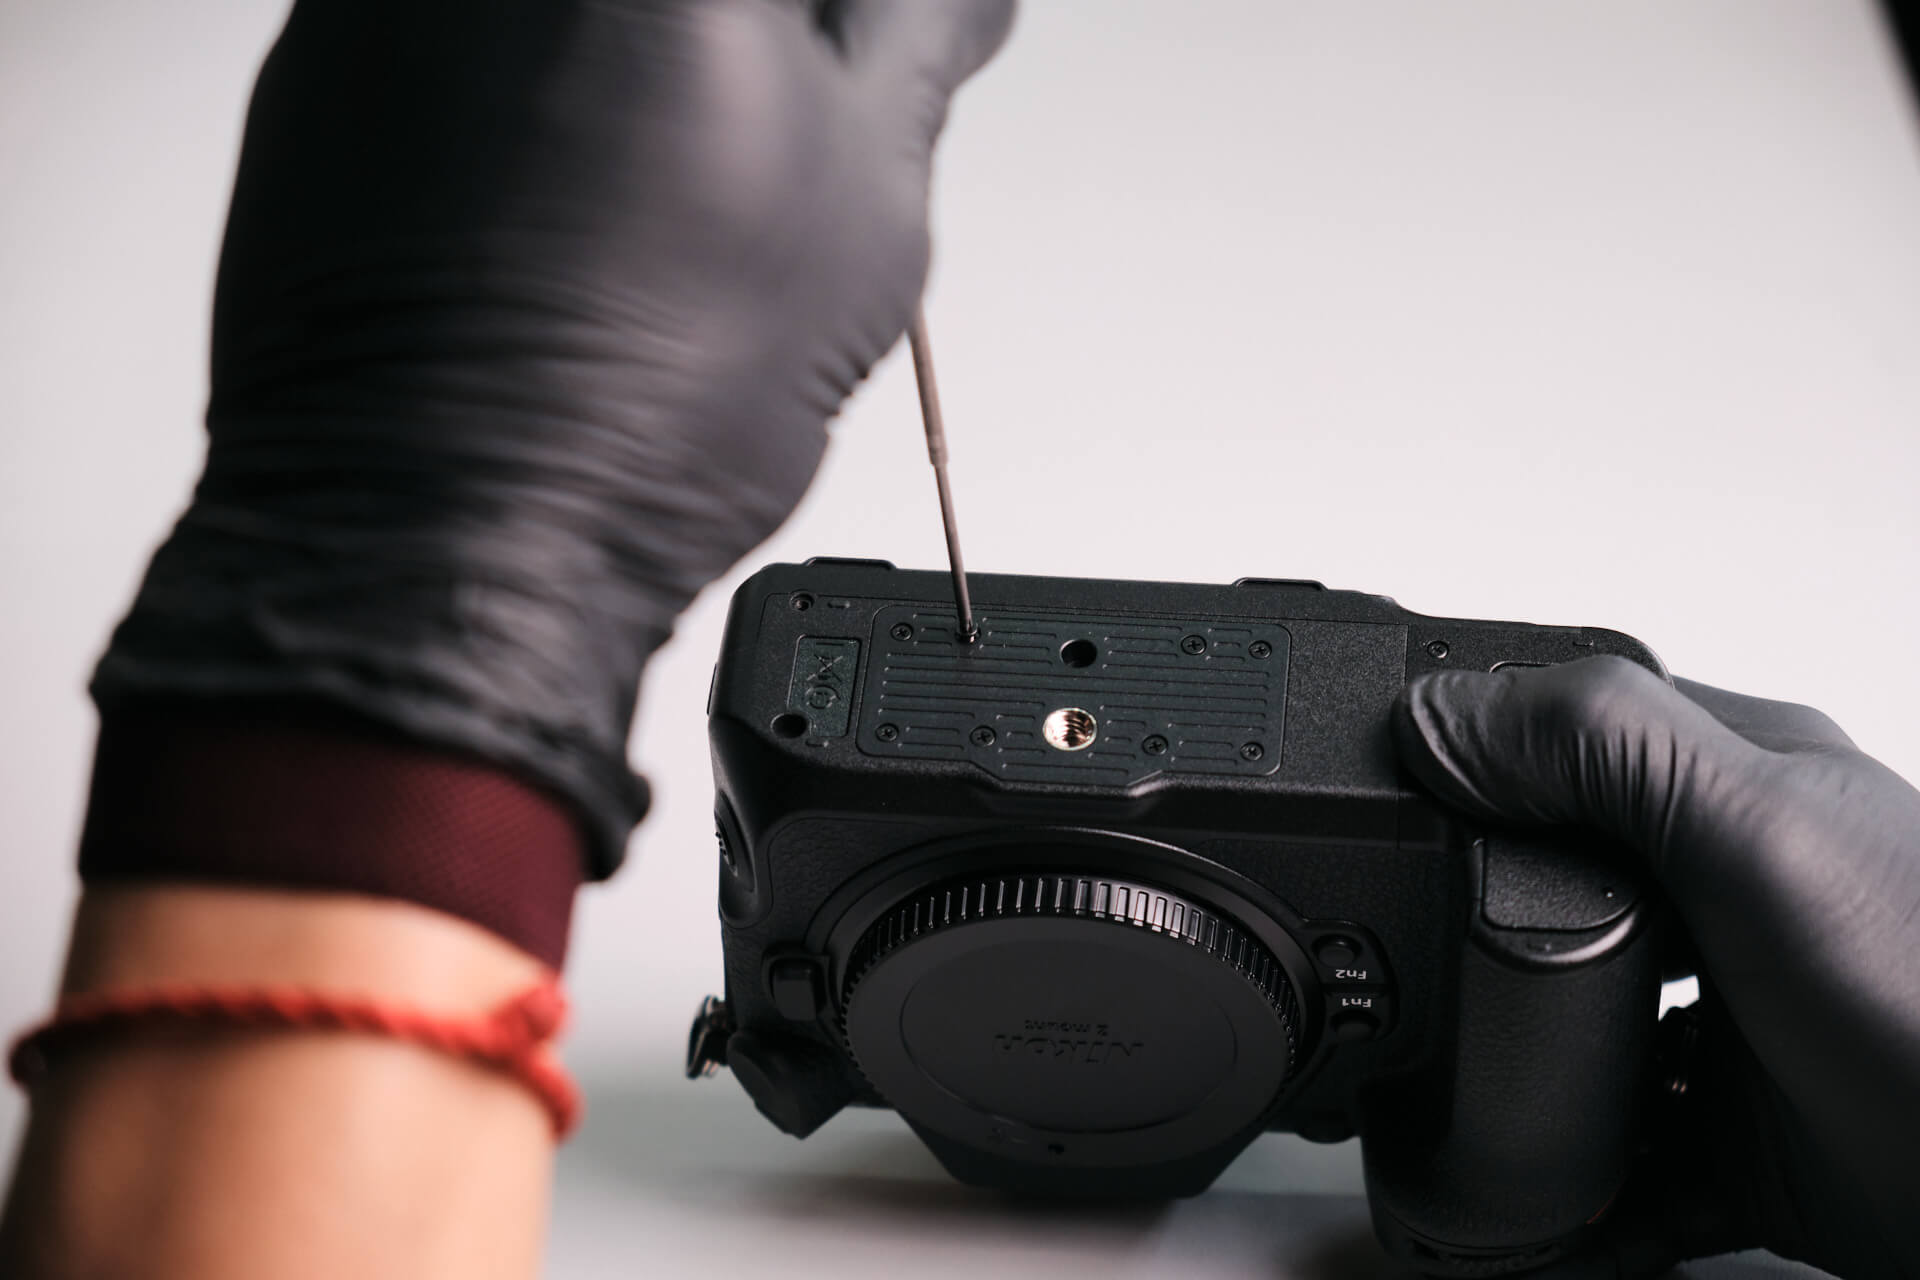
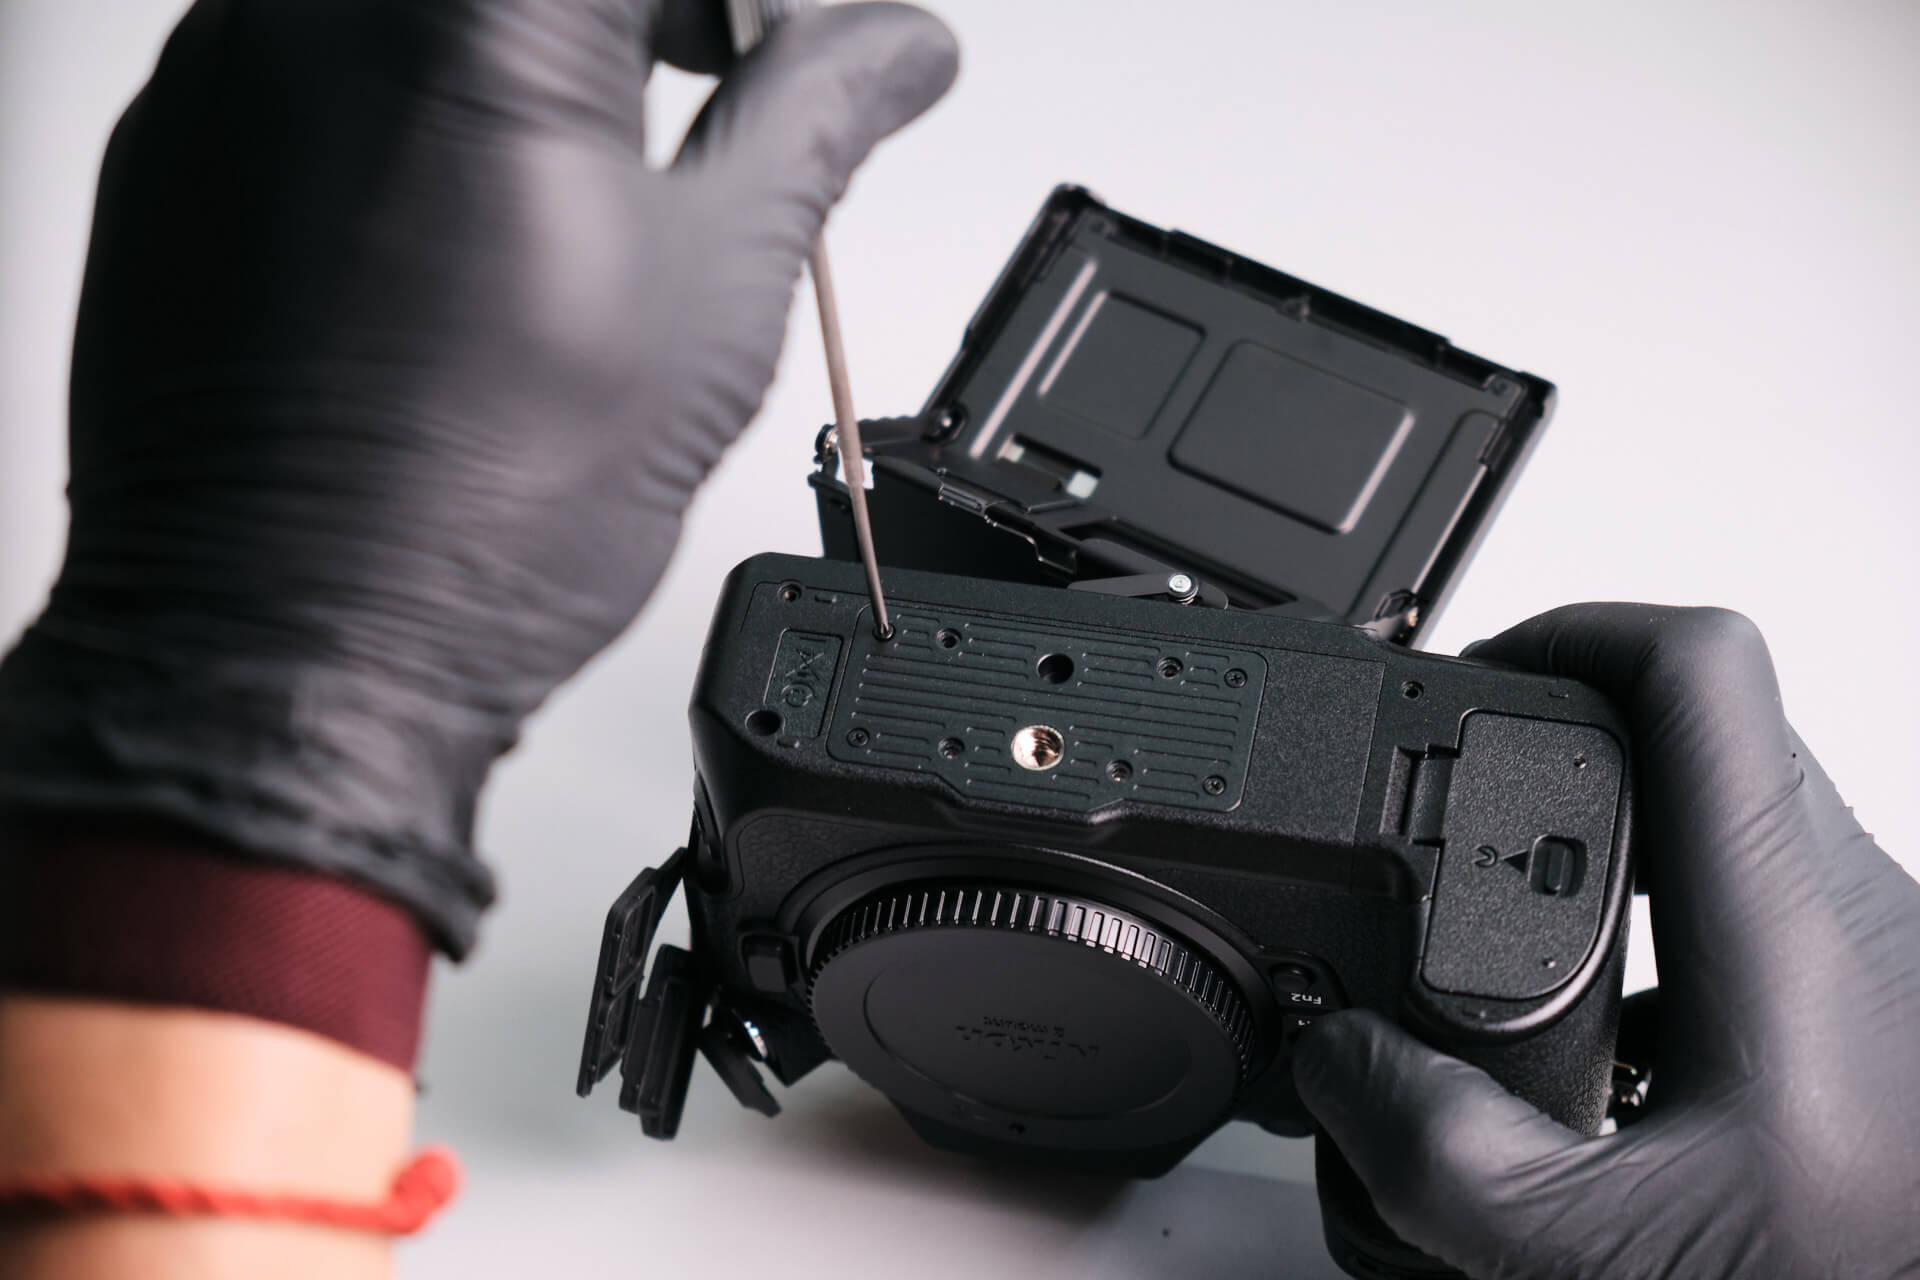
As with most of our teardowns, we first targeted the camera’s baseplate and removed seven screws. The baseplate wouldn’t come off, so we further investigated the other parts of the camera.
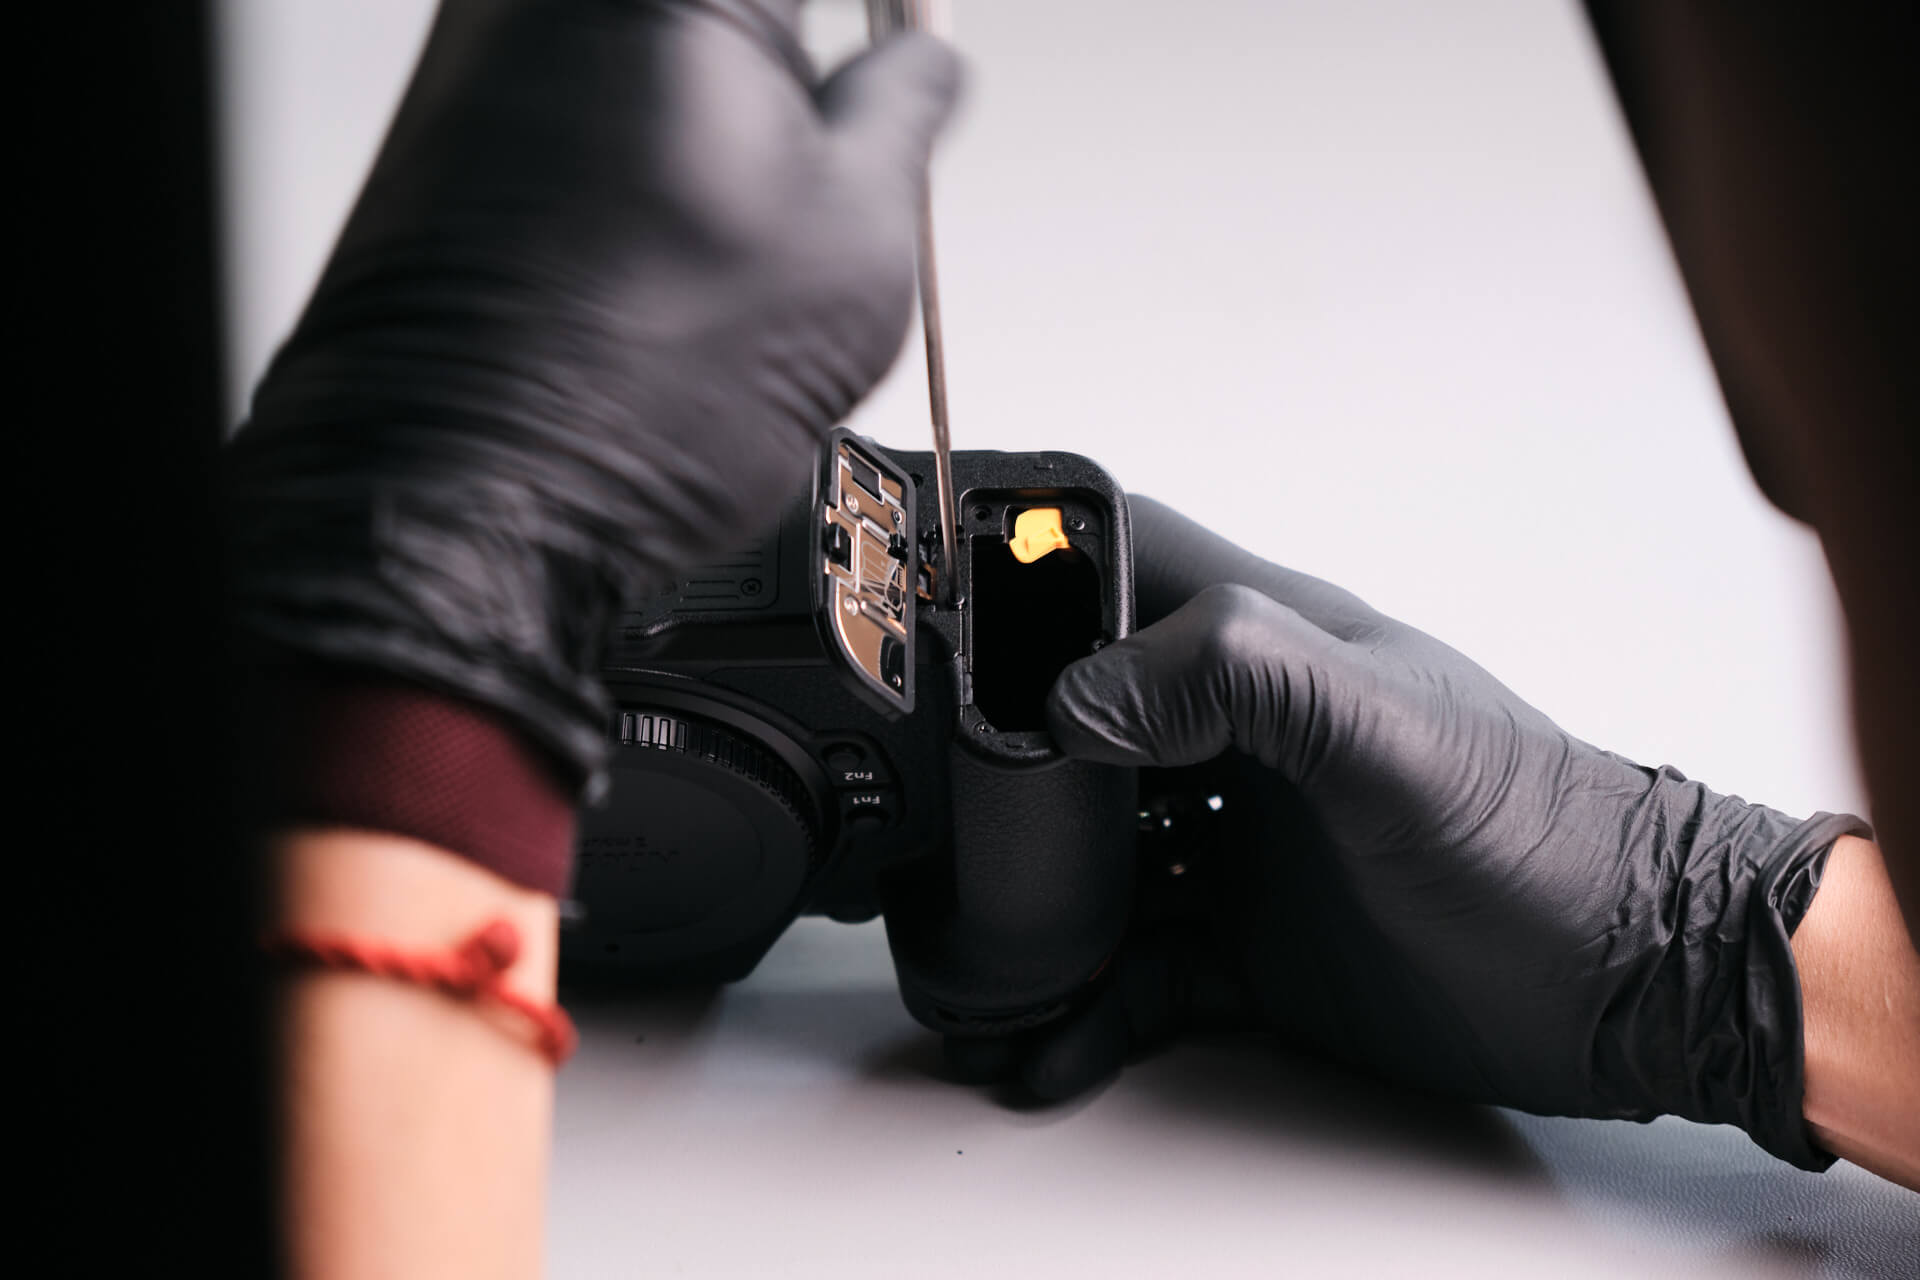
We found five screws under the battery door surrounding the compartment.
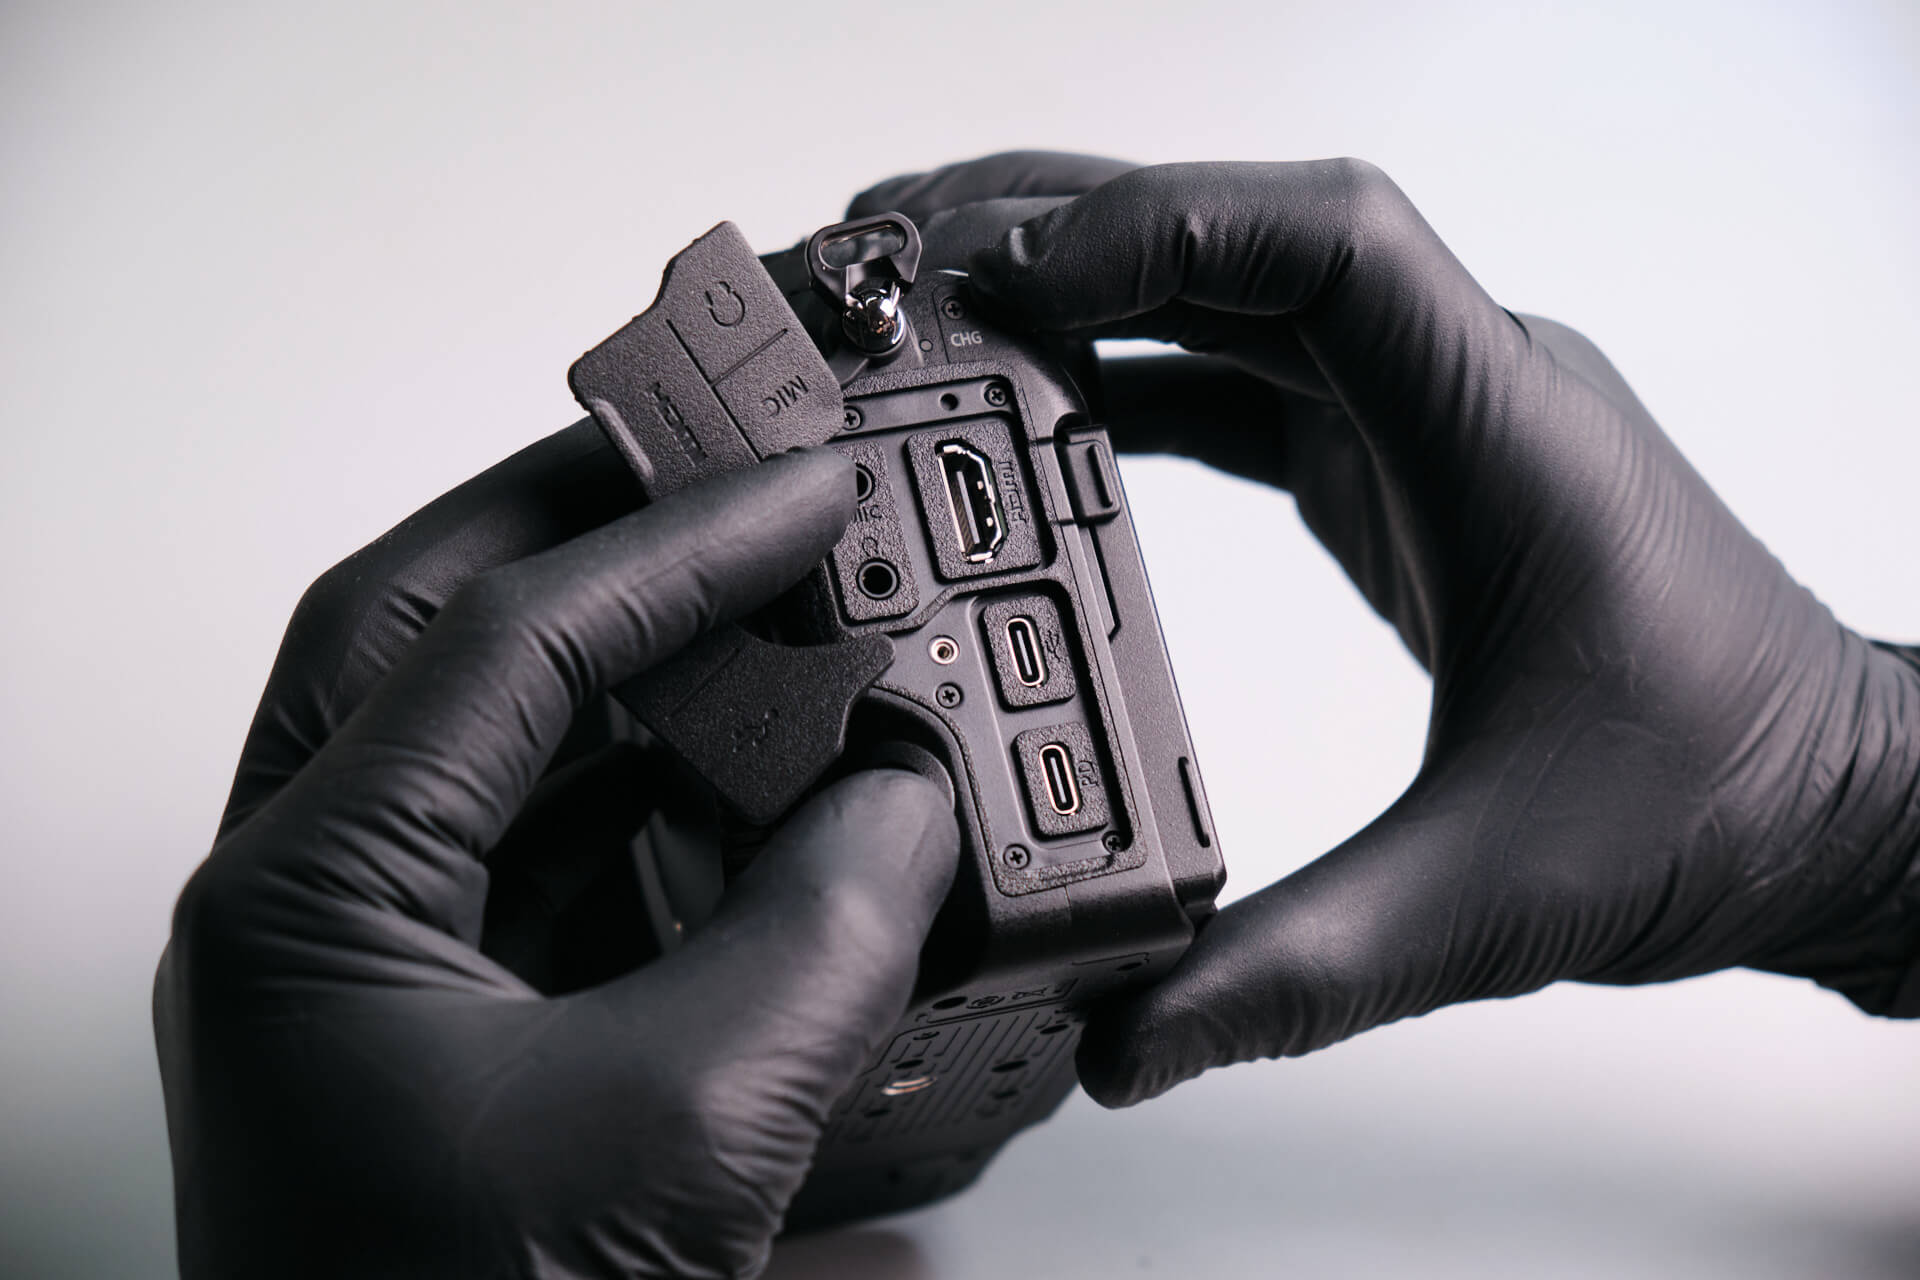
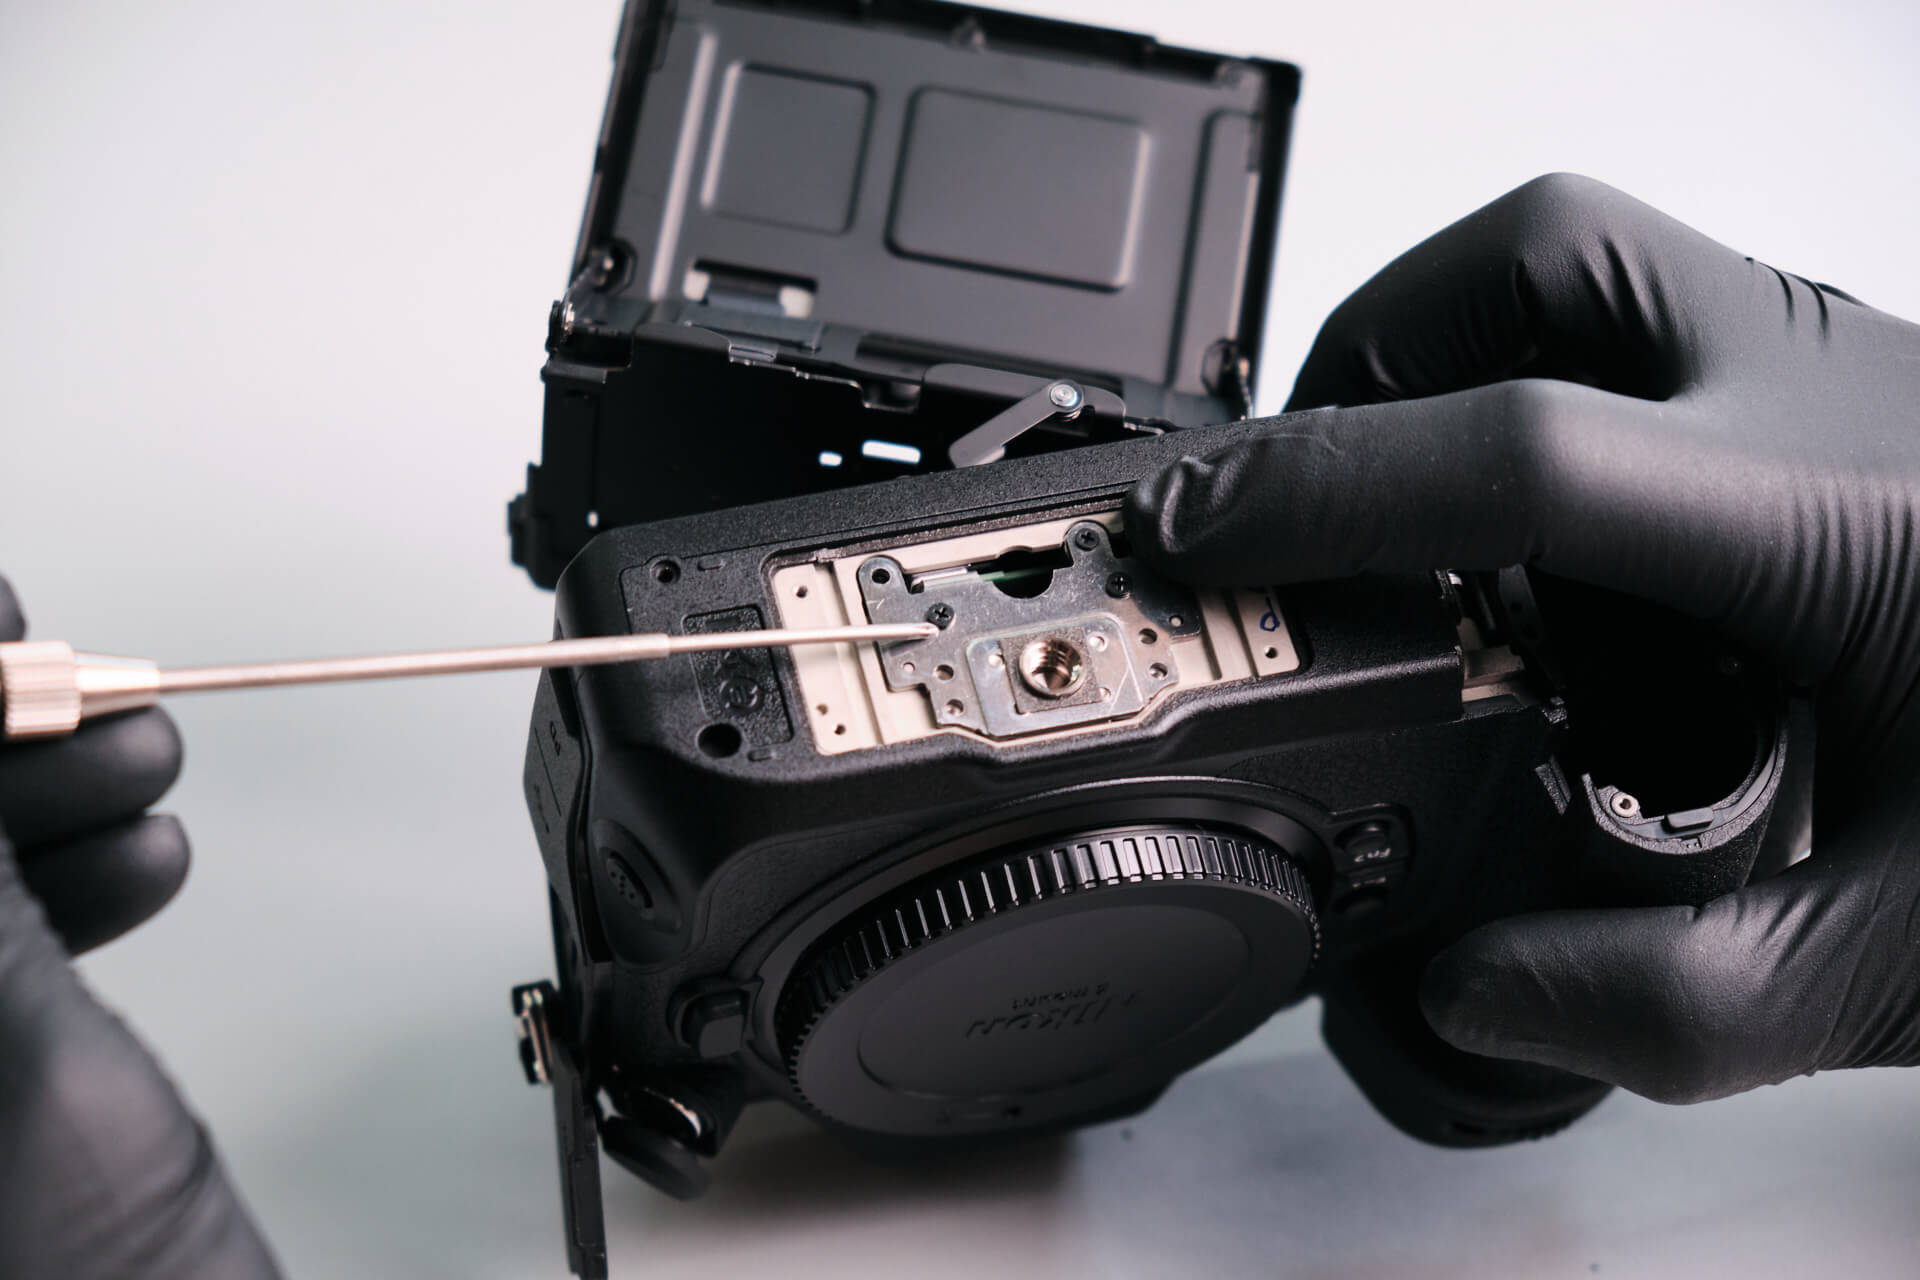
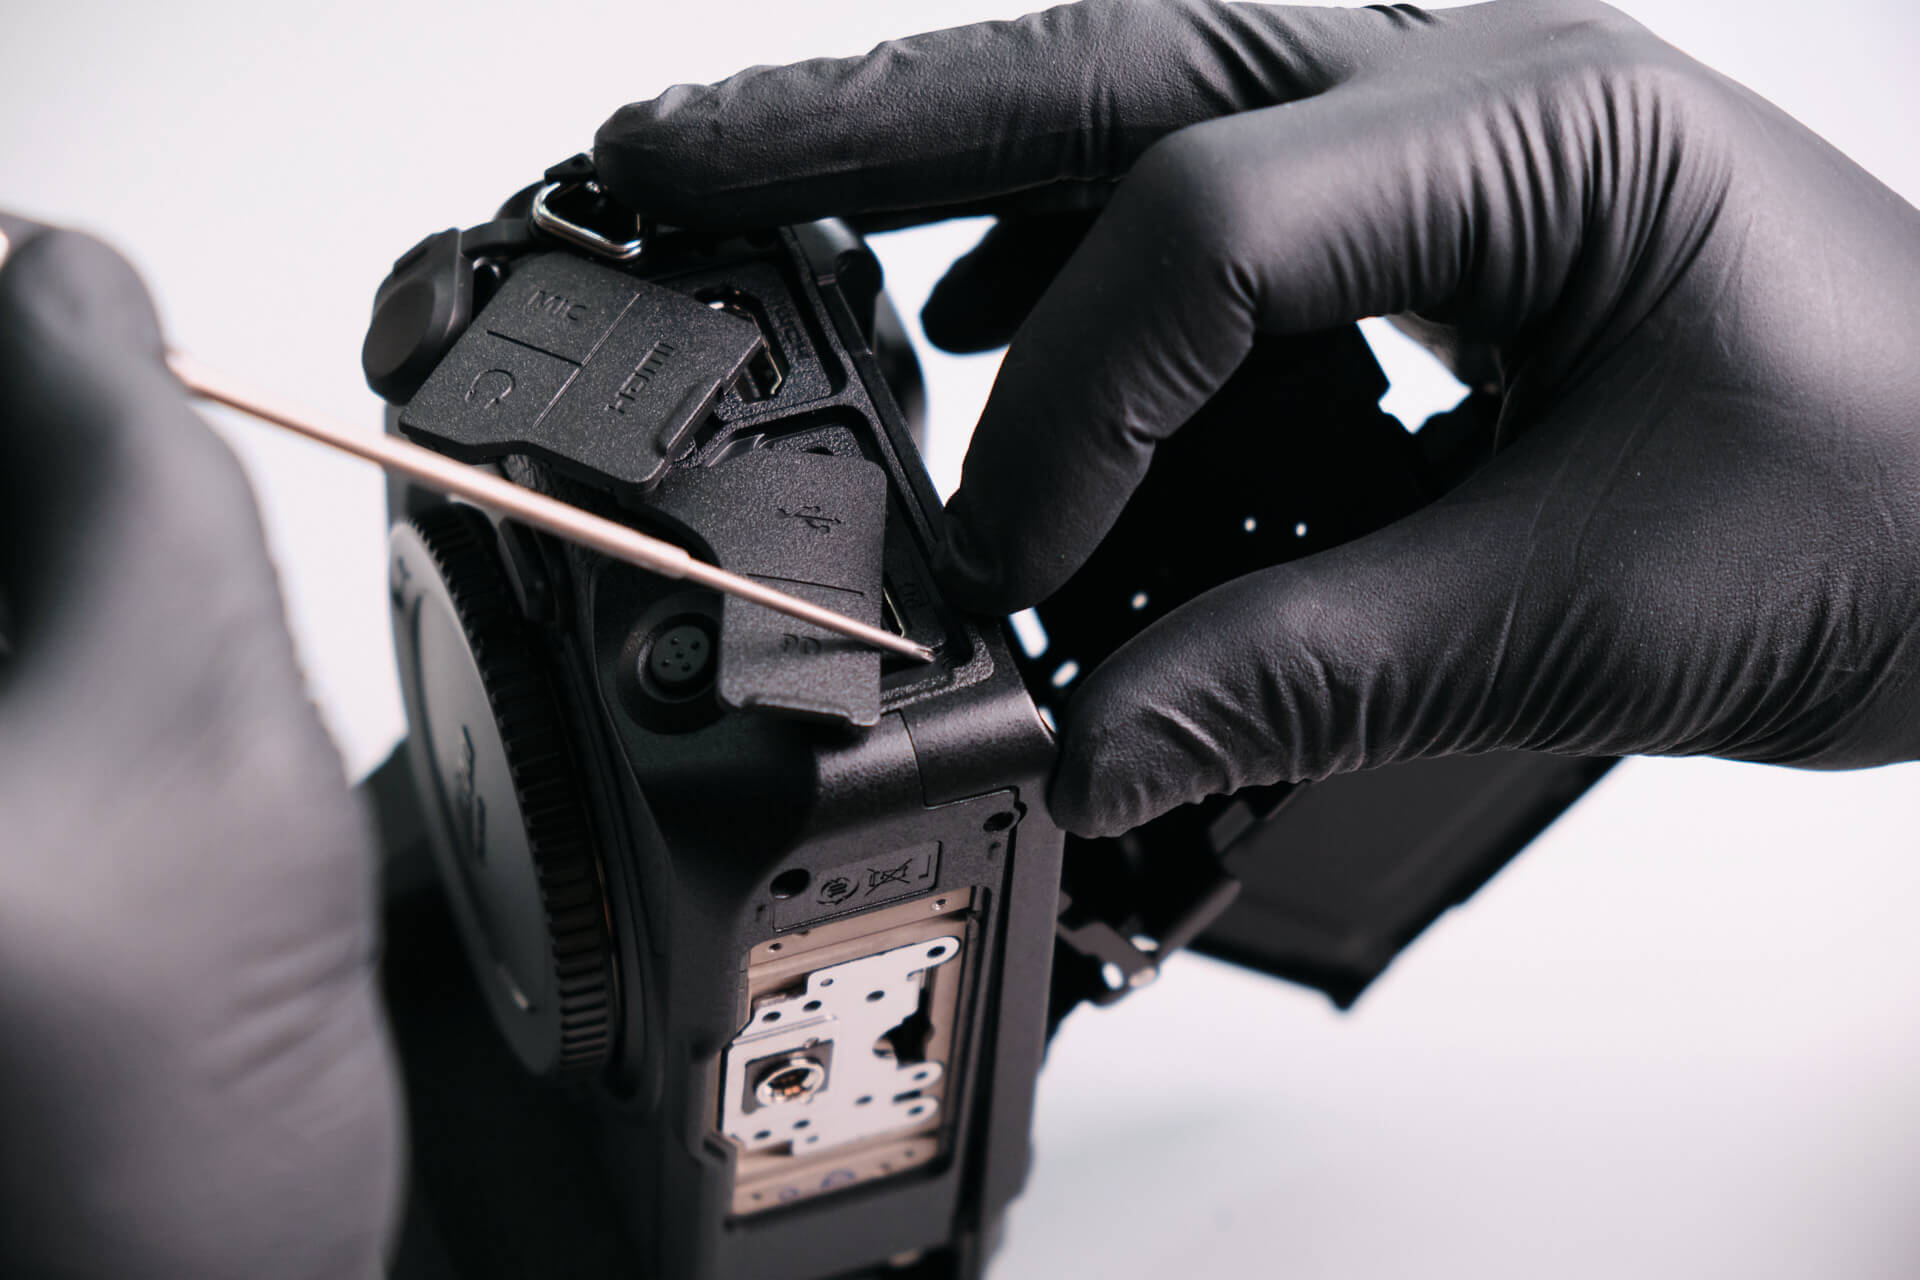
We found five screws underneath the dust caps on the camera’s port side.
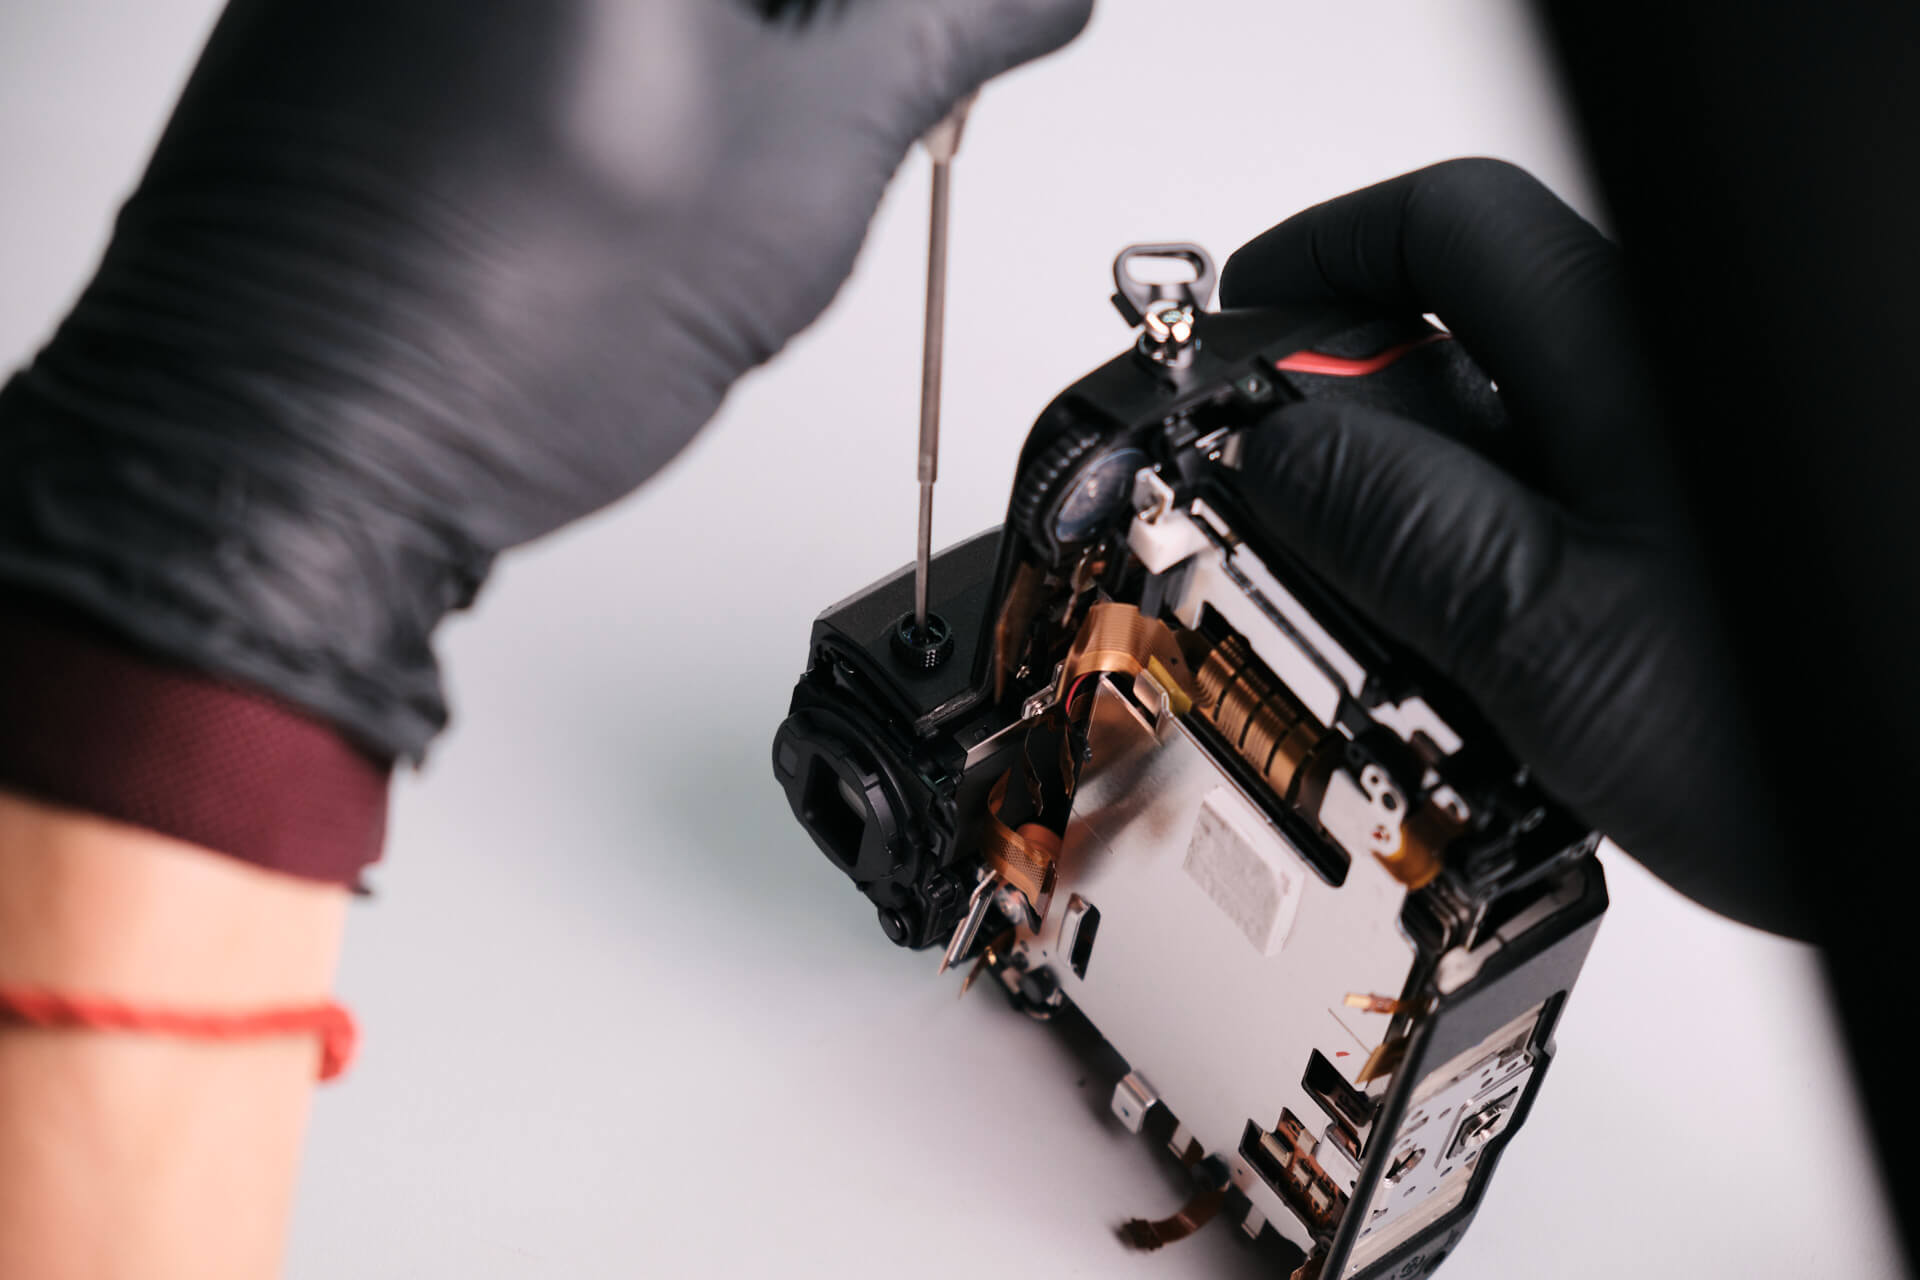
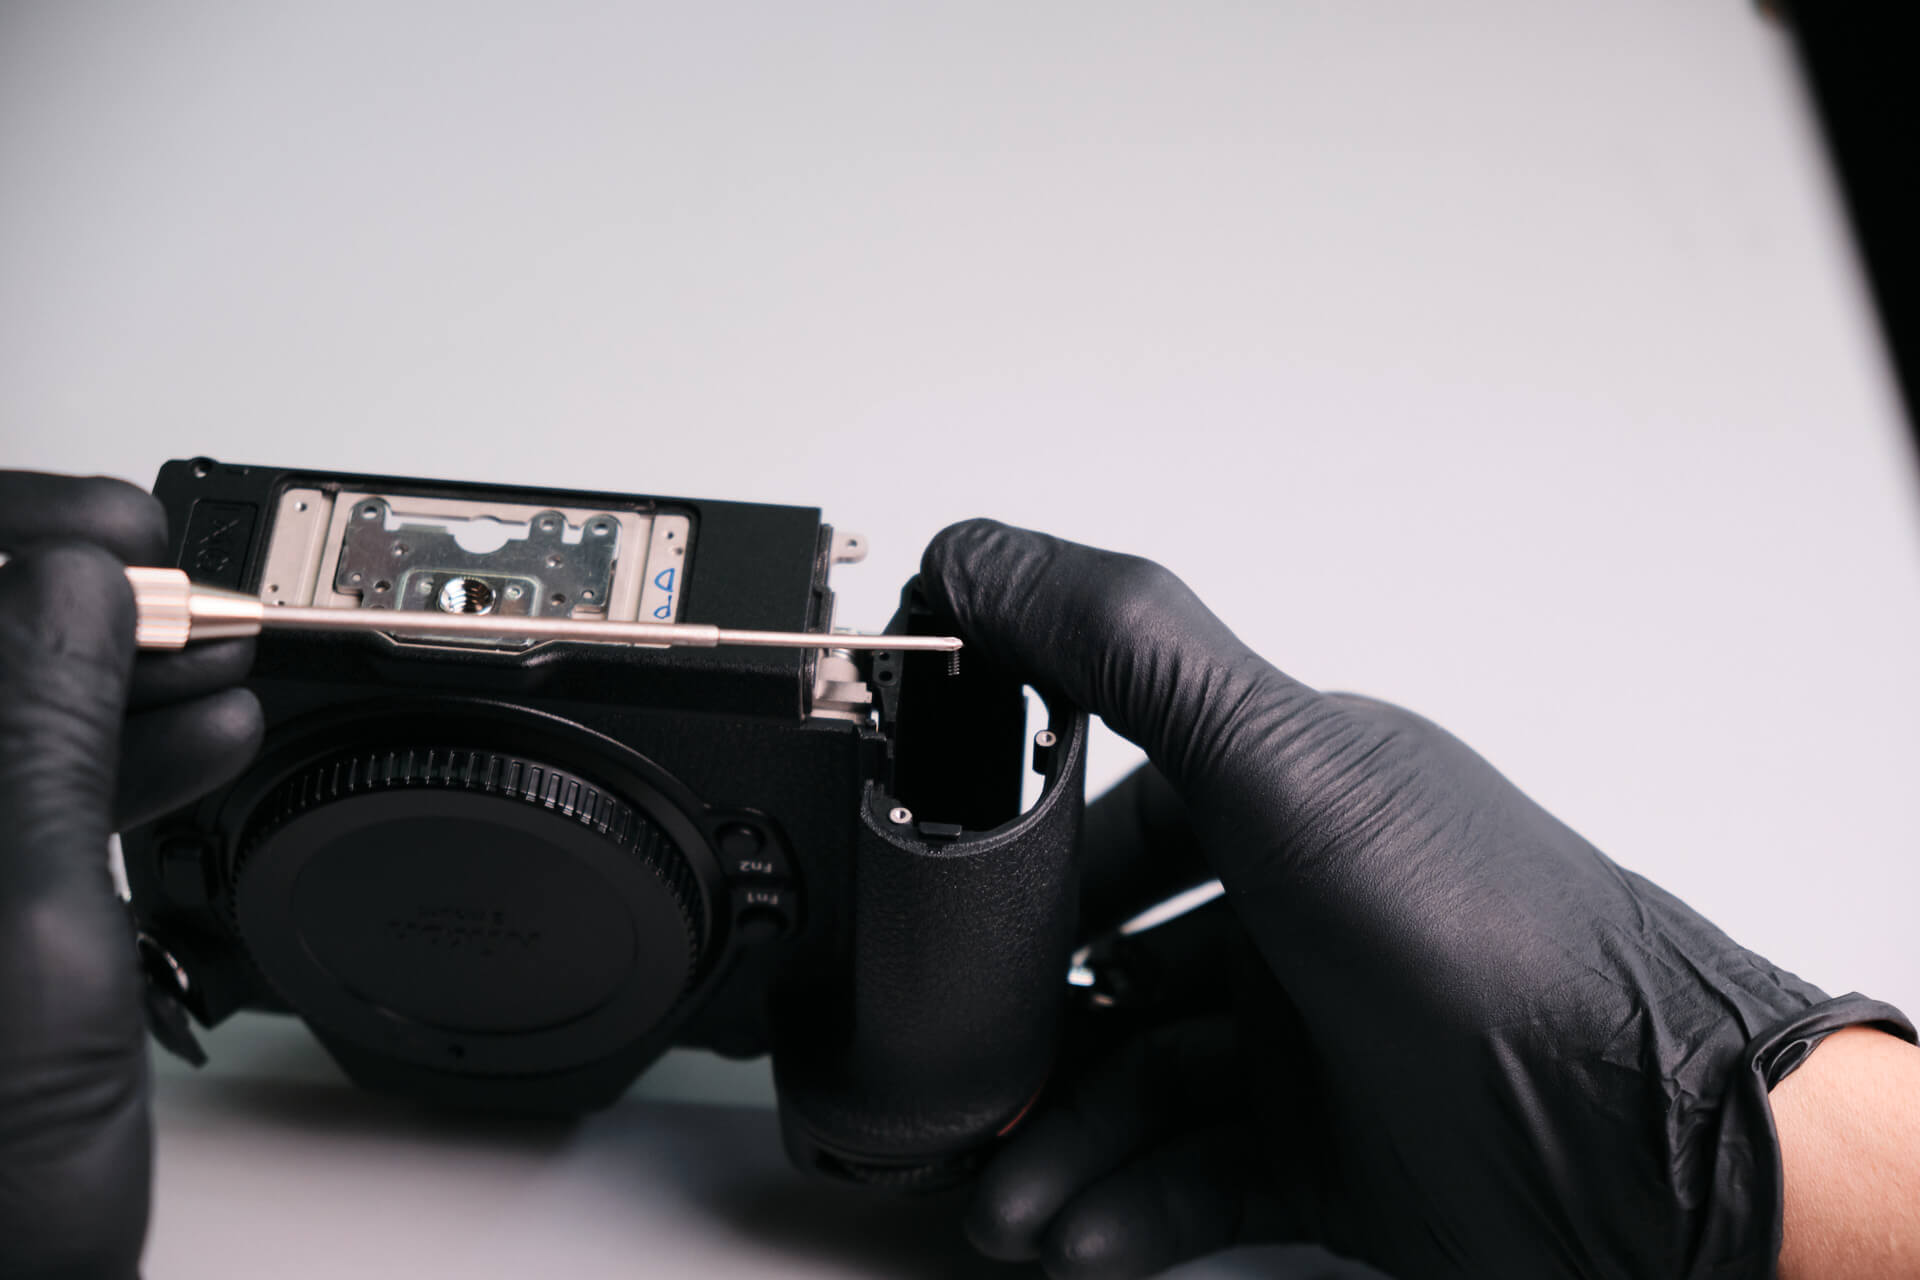
Just above the EVF, we removed two screws.
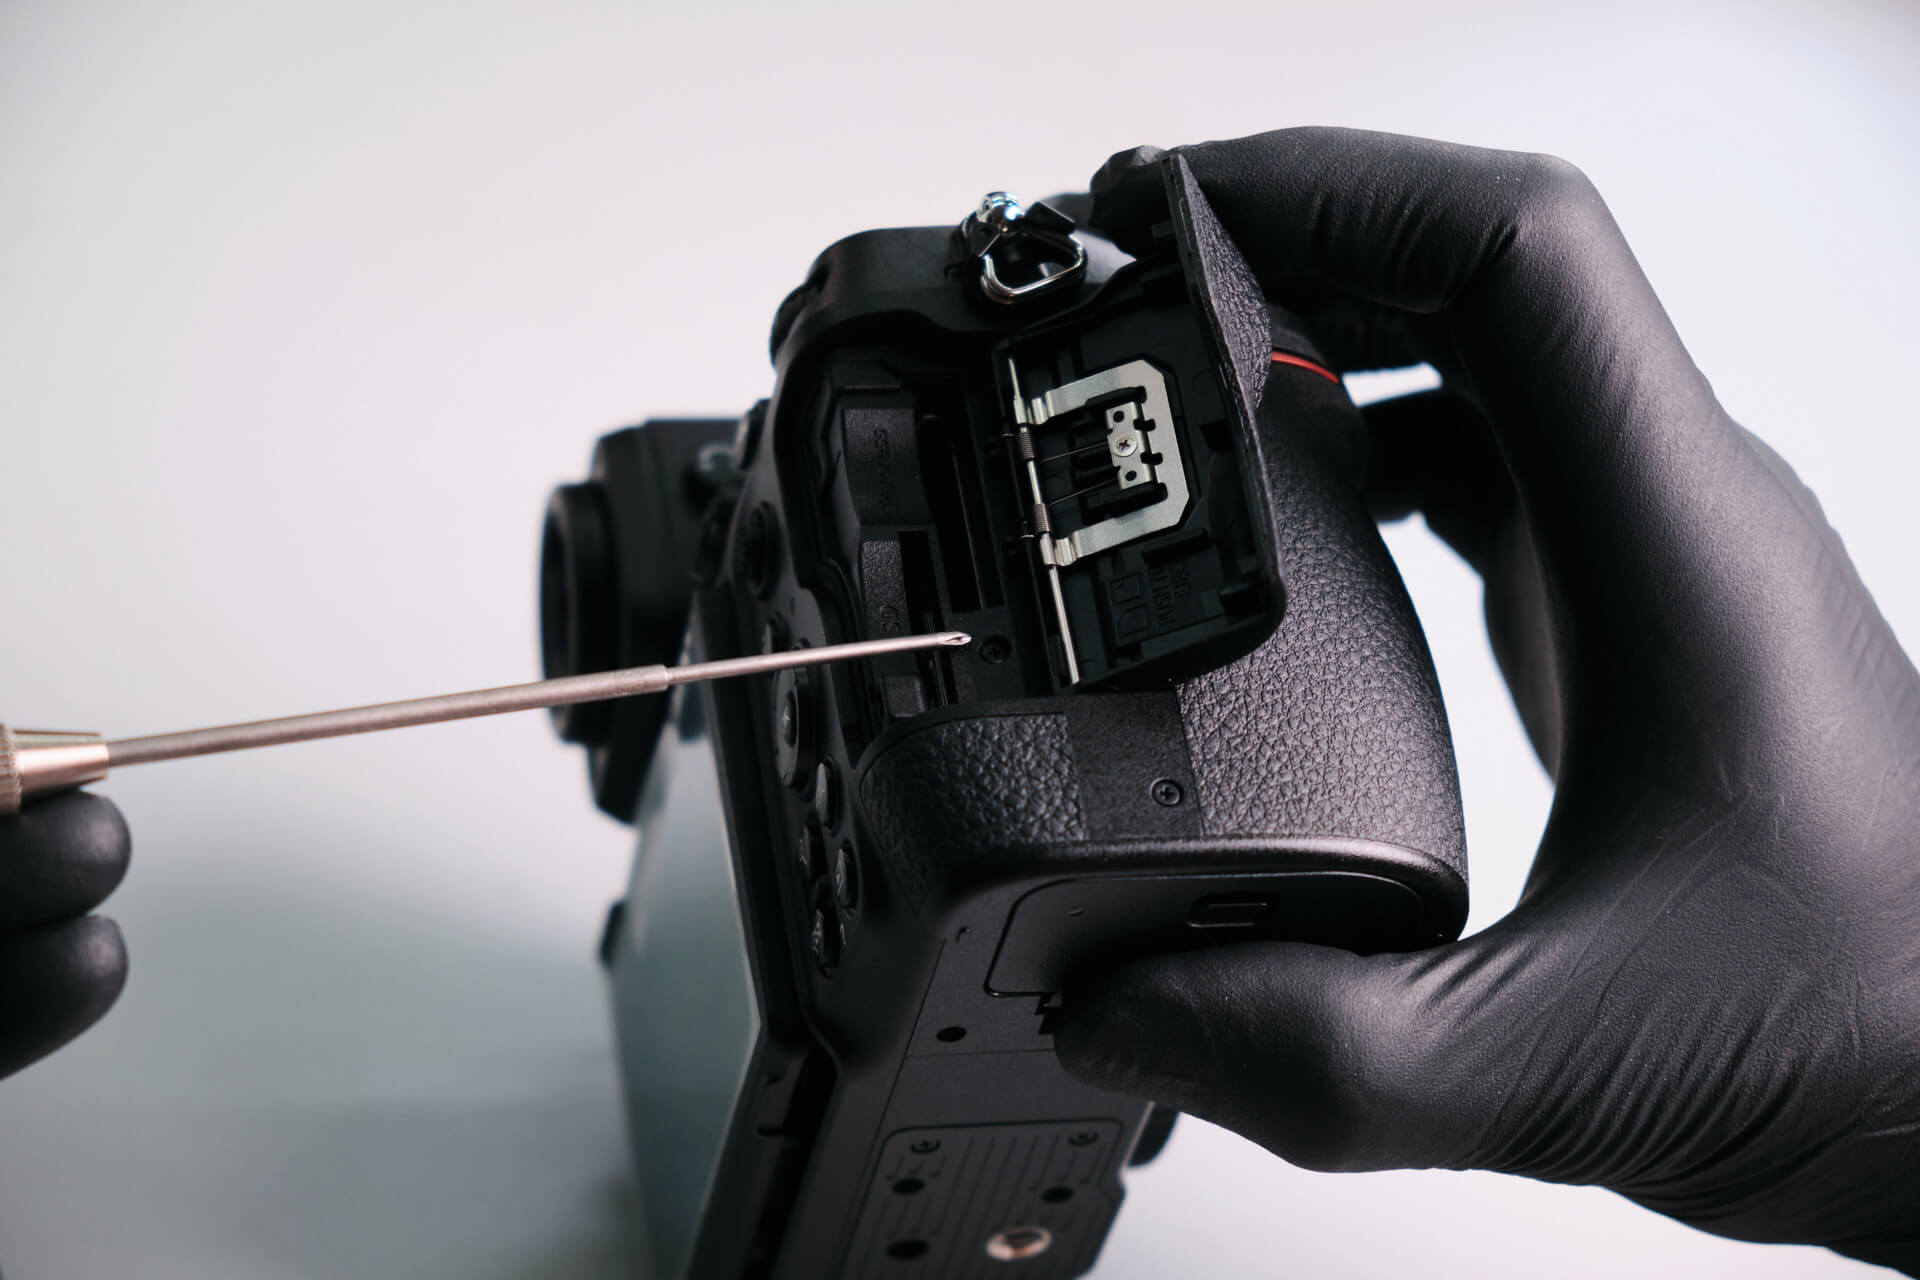
On the memory card side, we found one screw below the slot cover and underneath the card slot cover itself.
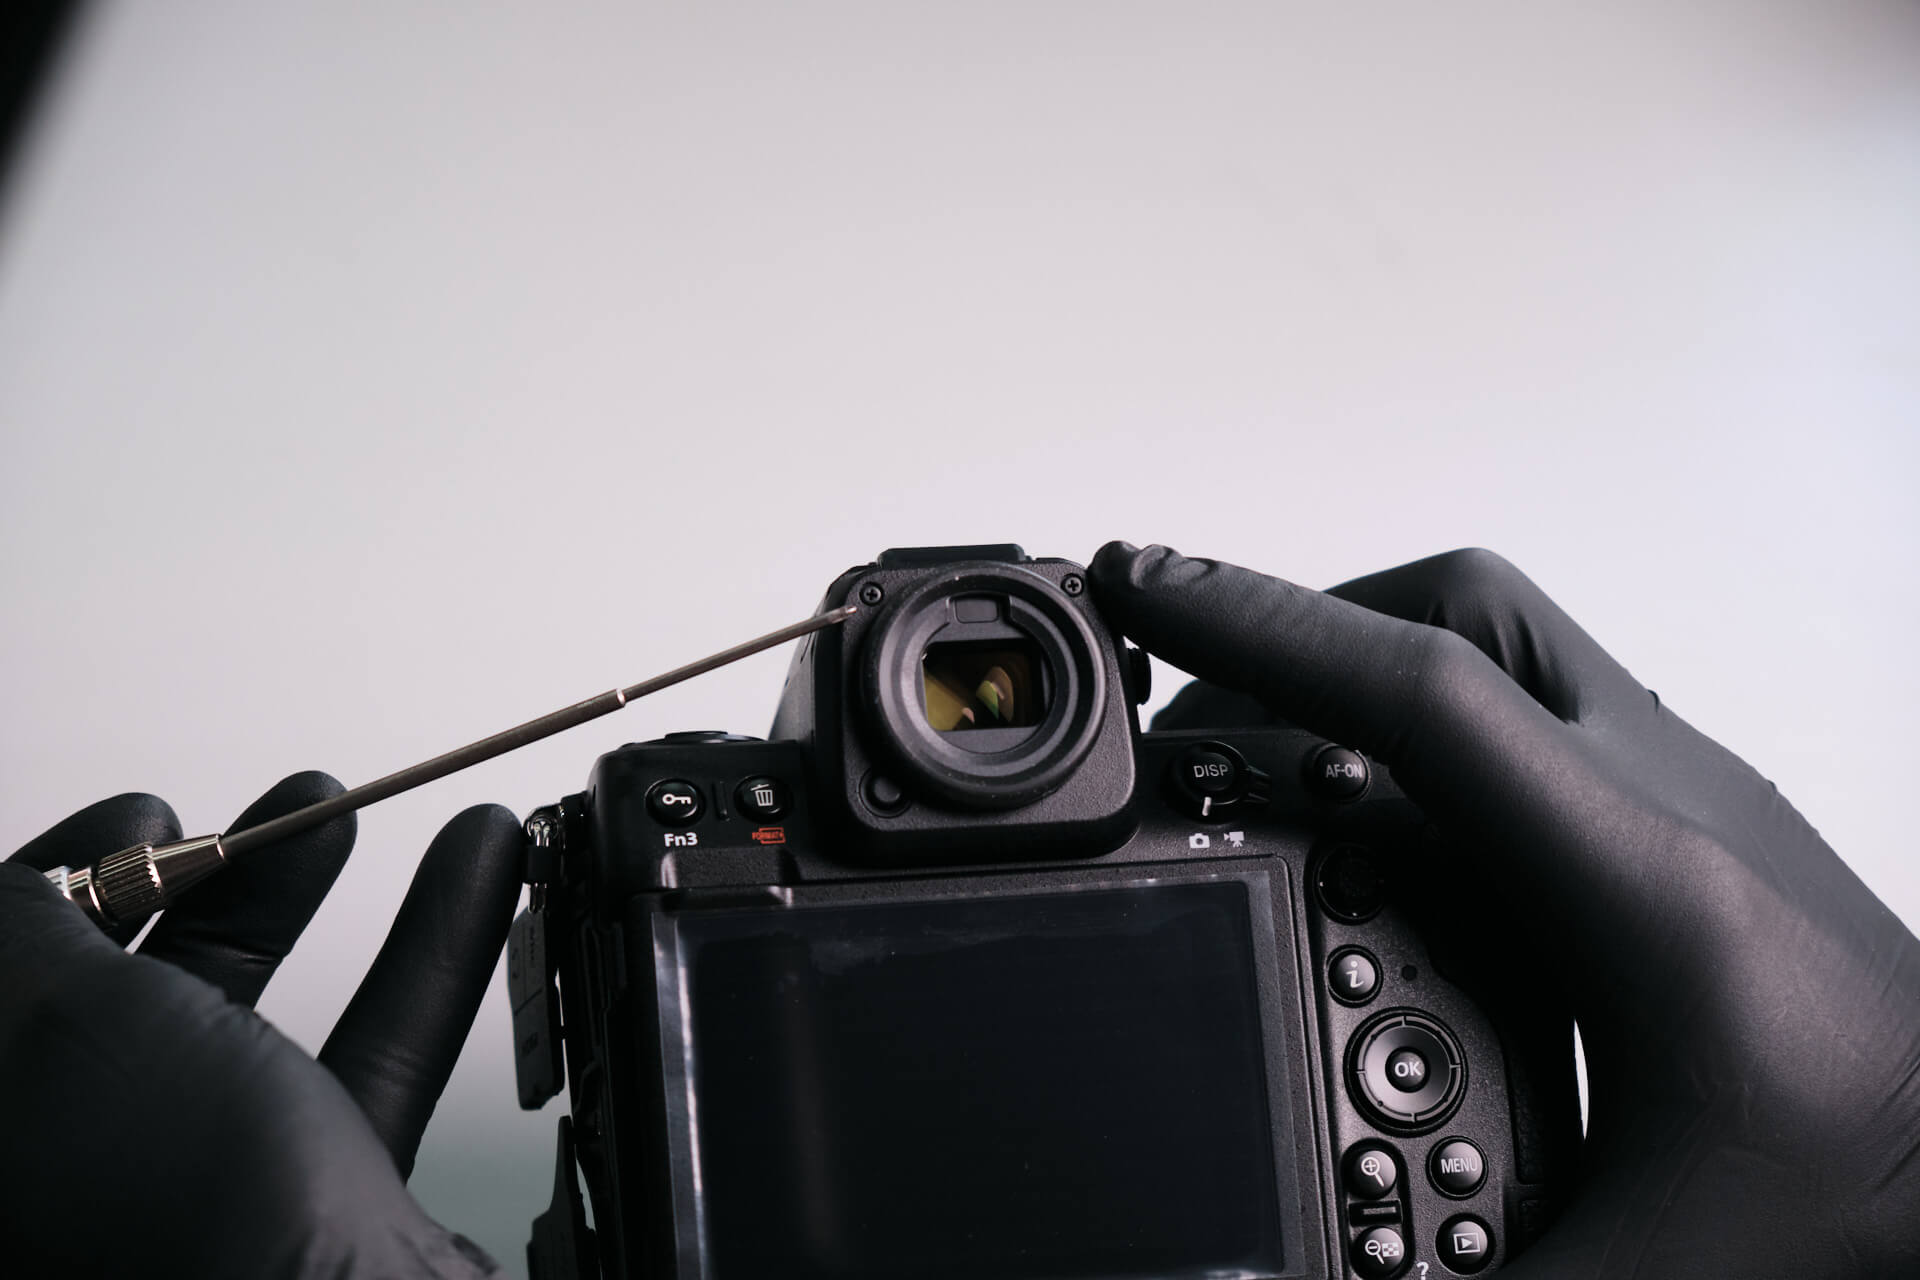
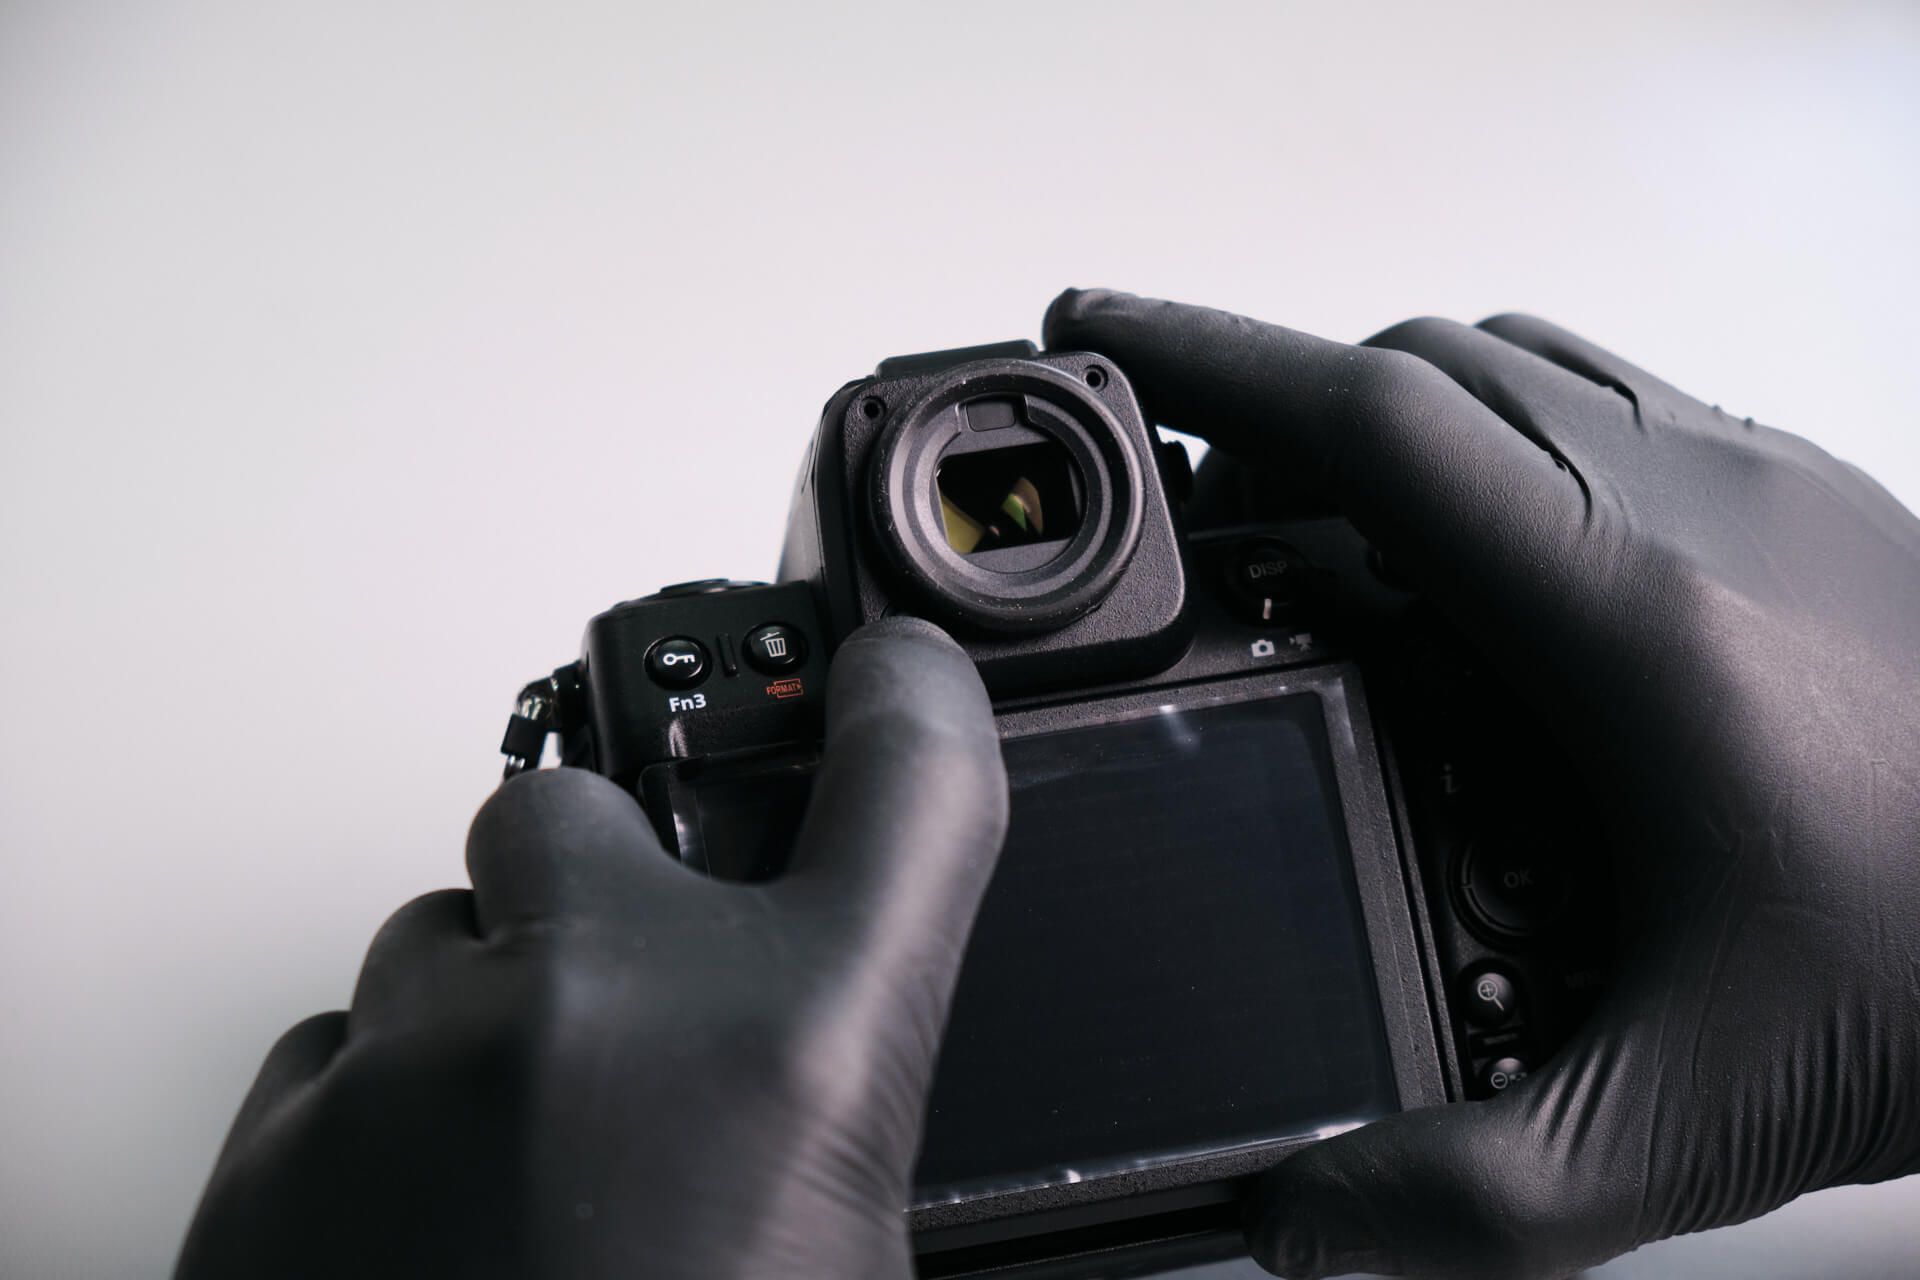
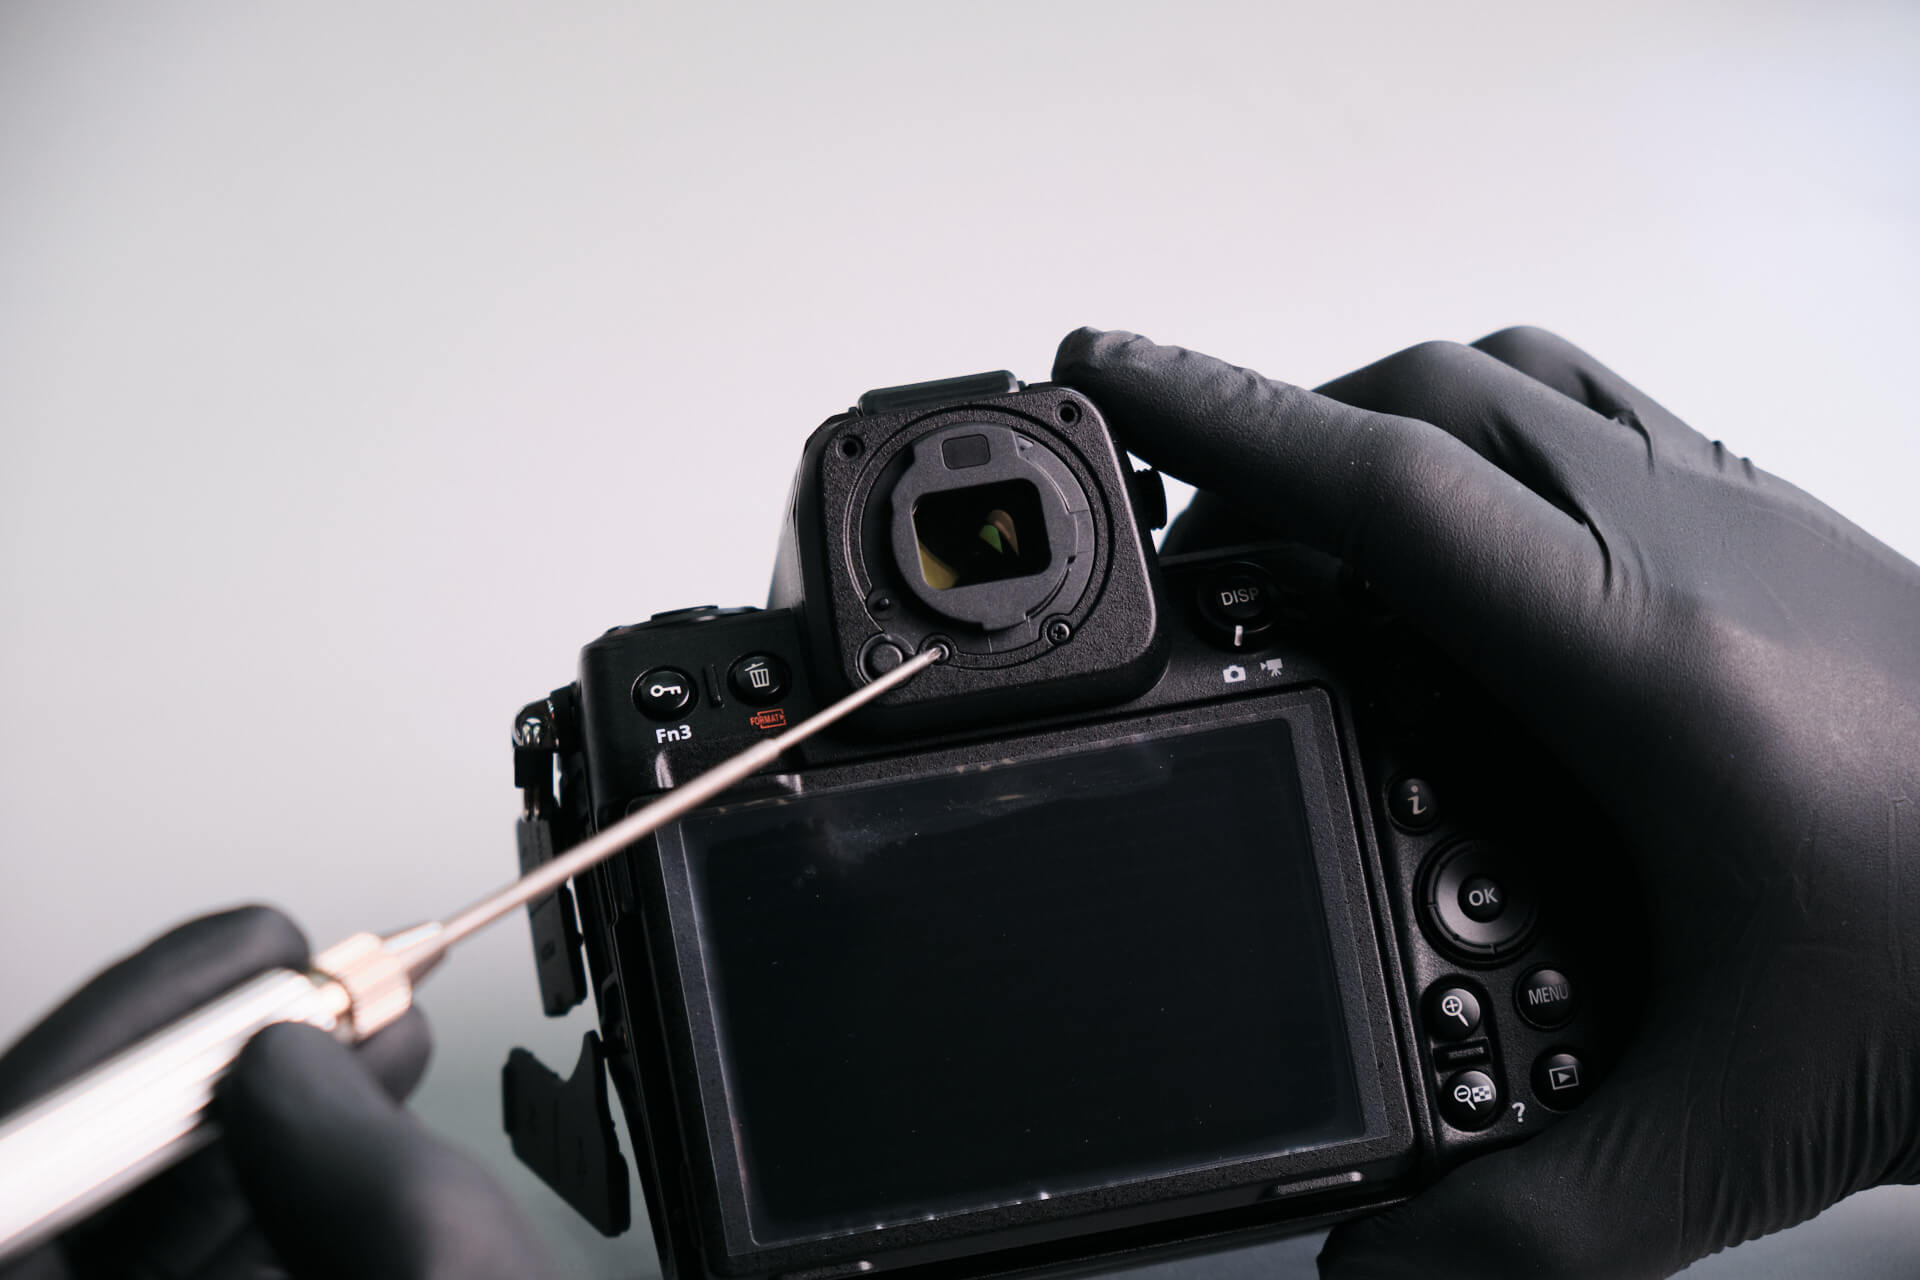
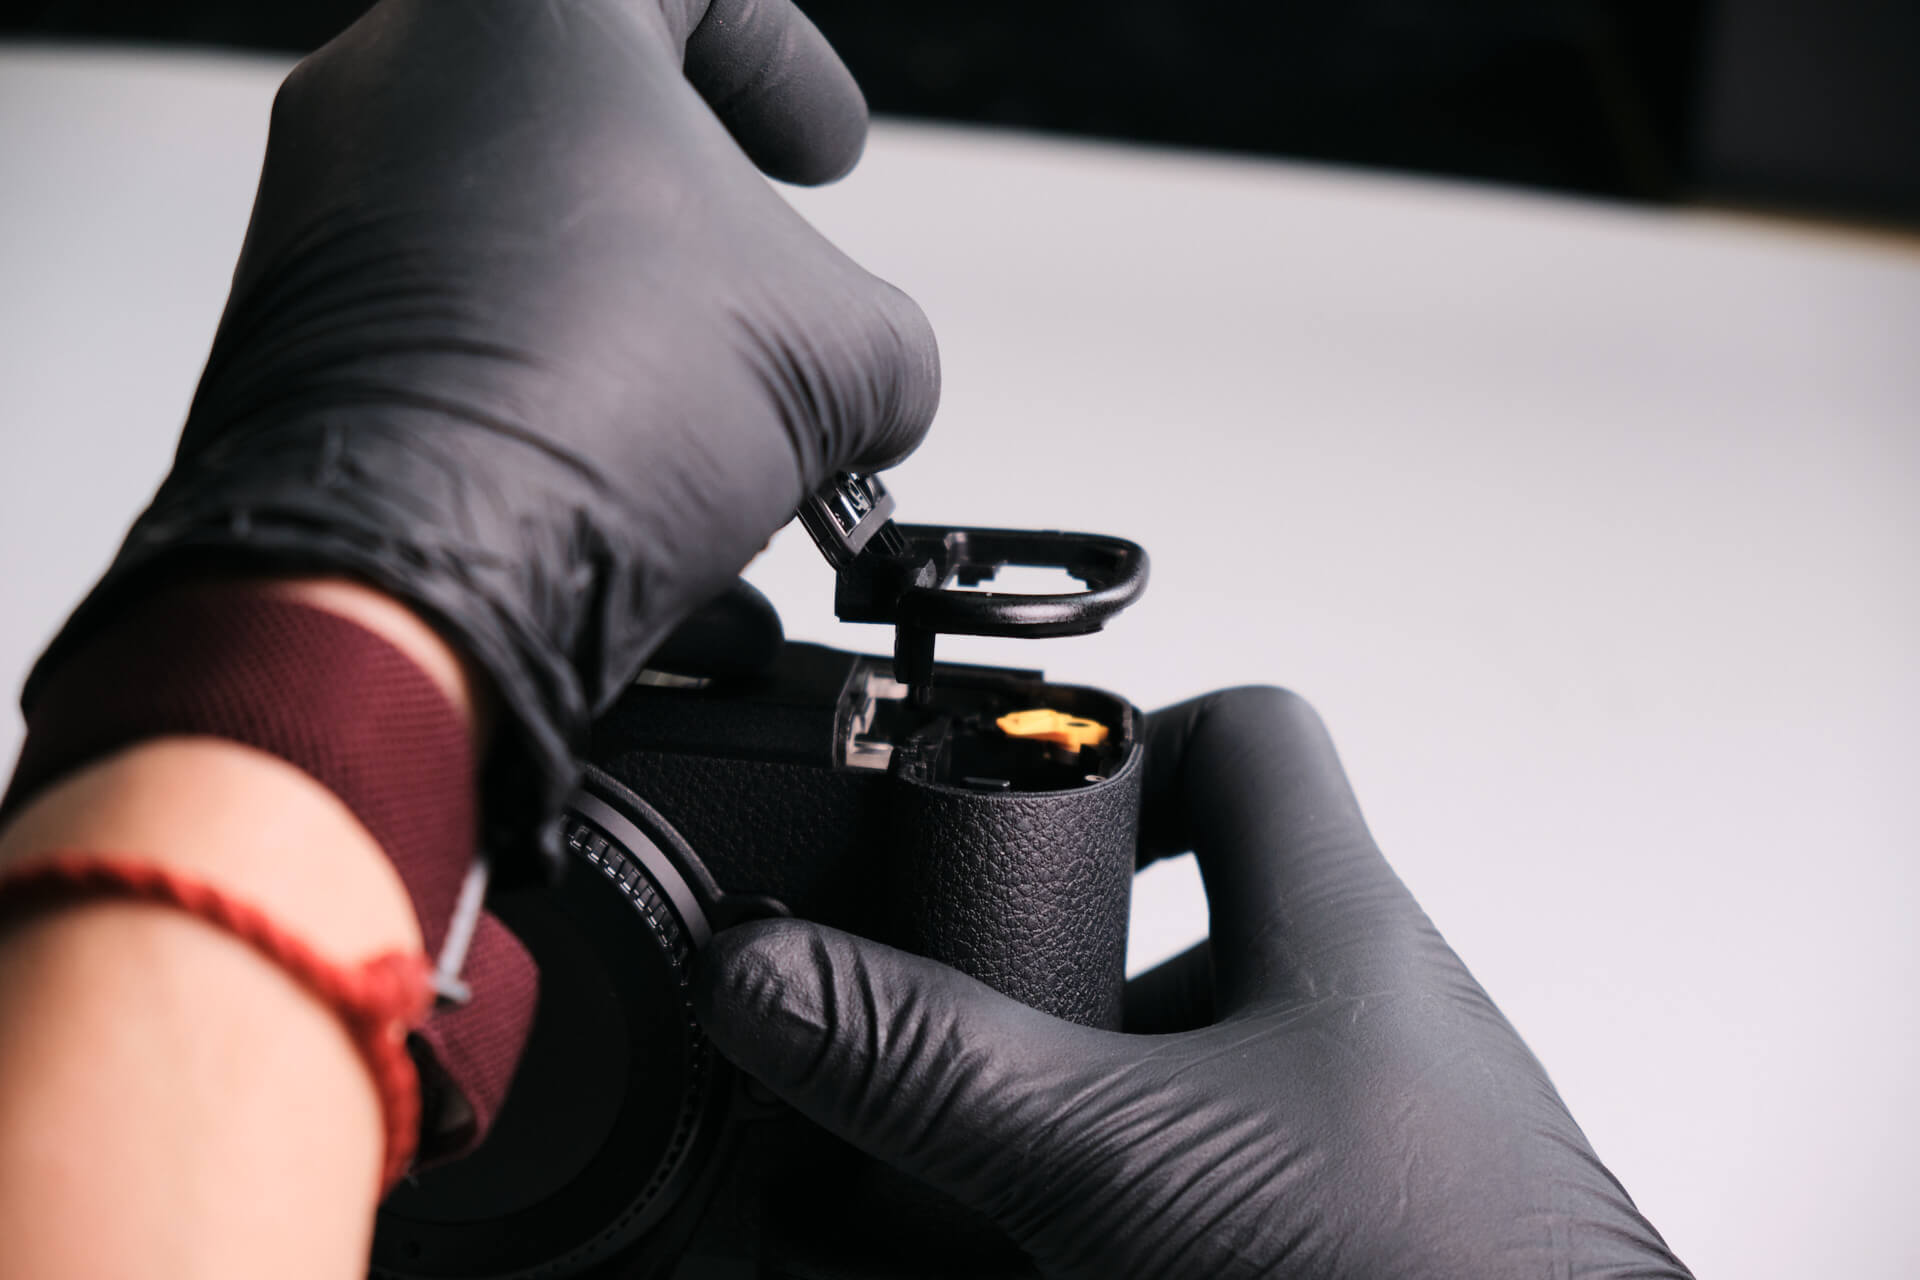
It’s easy to forget that the eyecup is removable on some of the Z model cameras. After removing it, it exposed two screws that needed to come out.
We thought we would be able to remove the rear panel at this point, but it wouldn’t budge. So, we continued to fully take off the baseplate by removing the remaining screws.
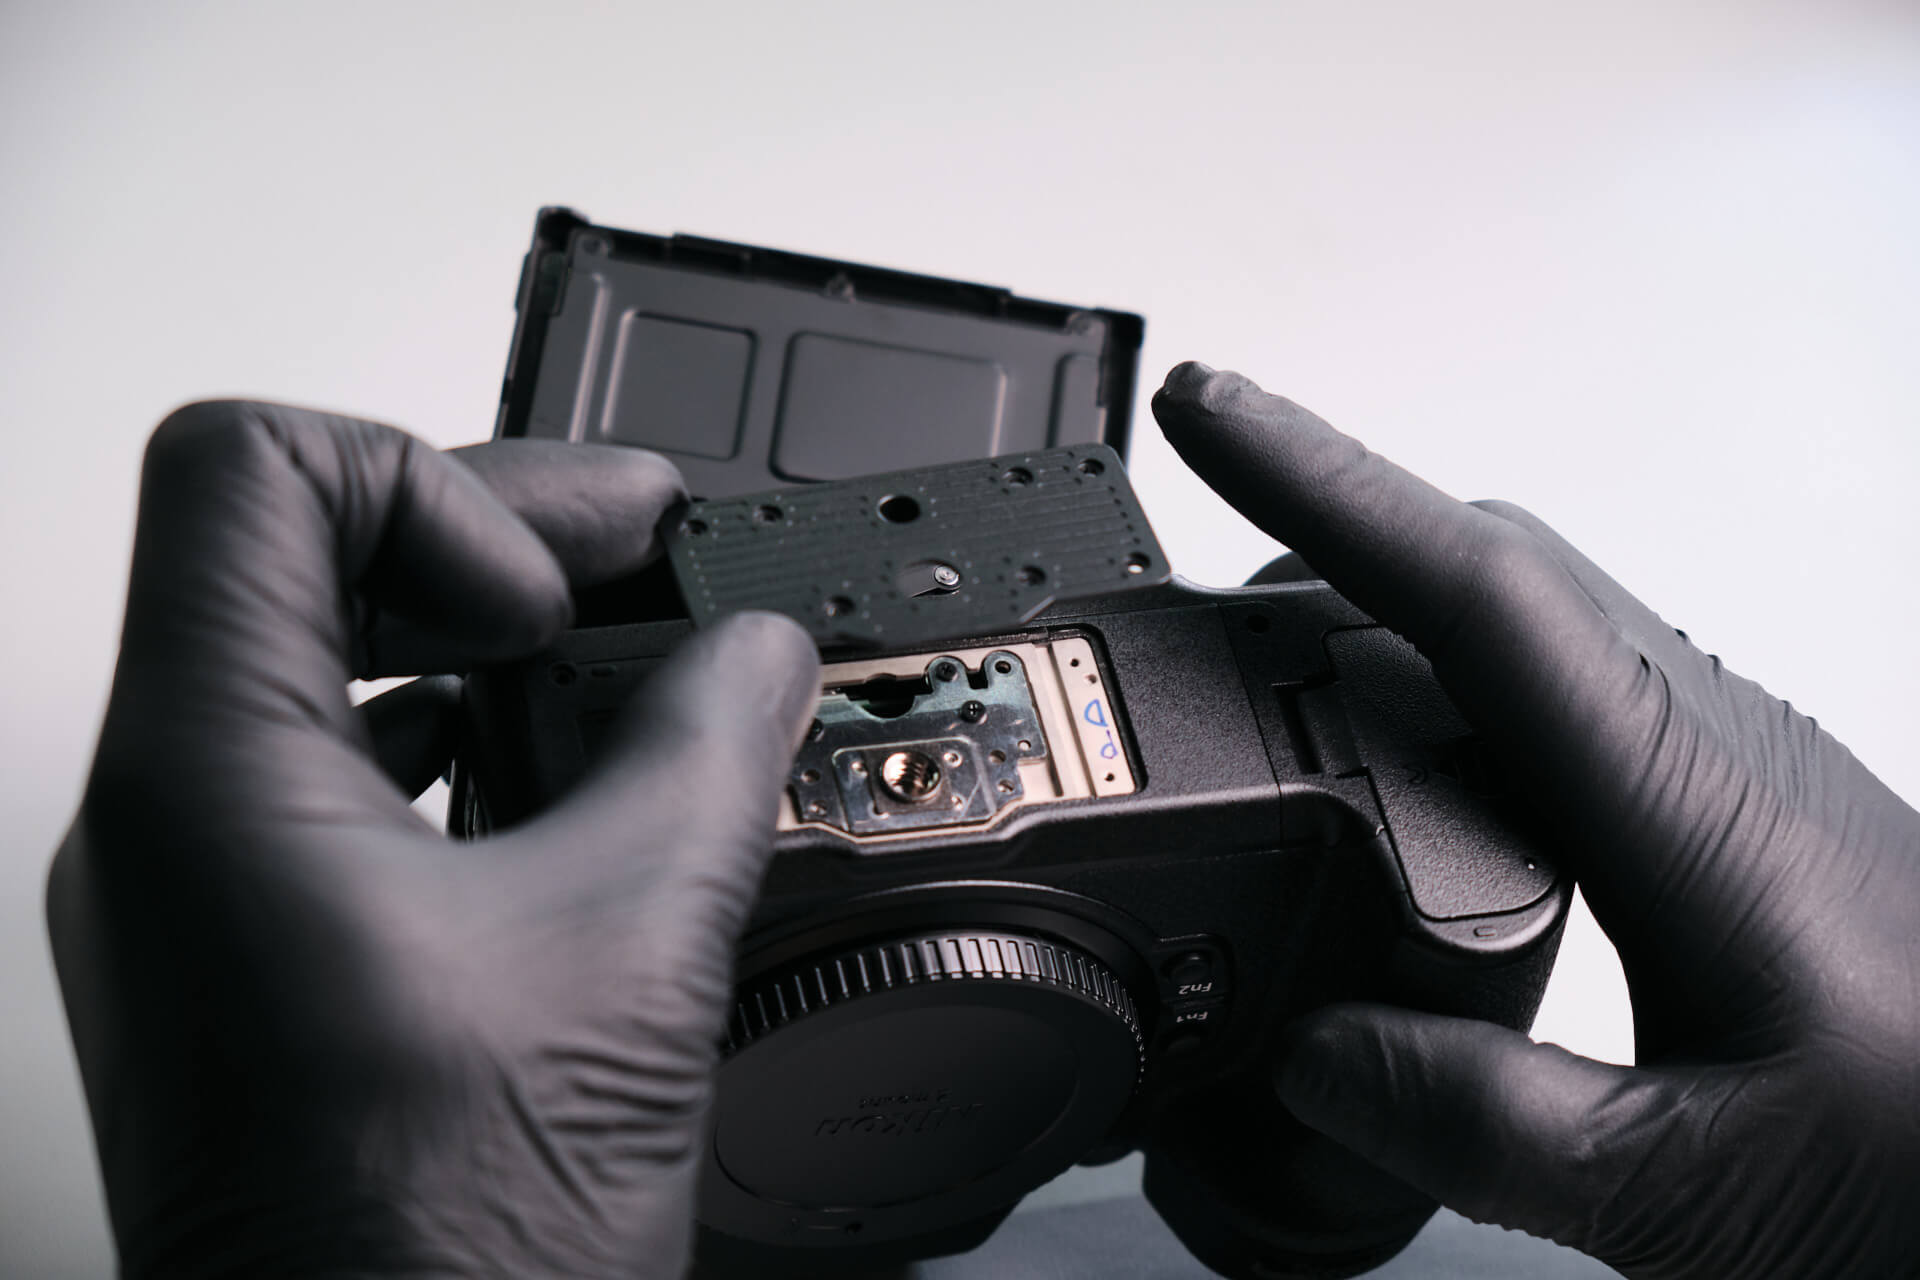
Next, we removed the metal tripod plate and the outer battery door trim.
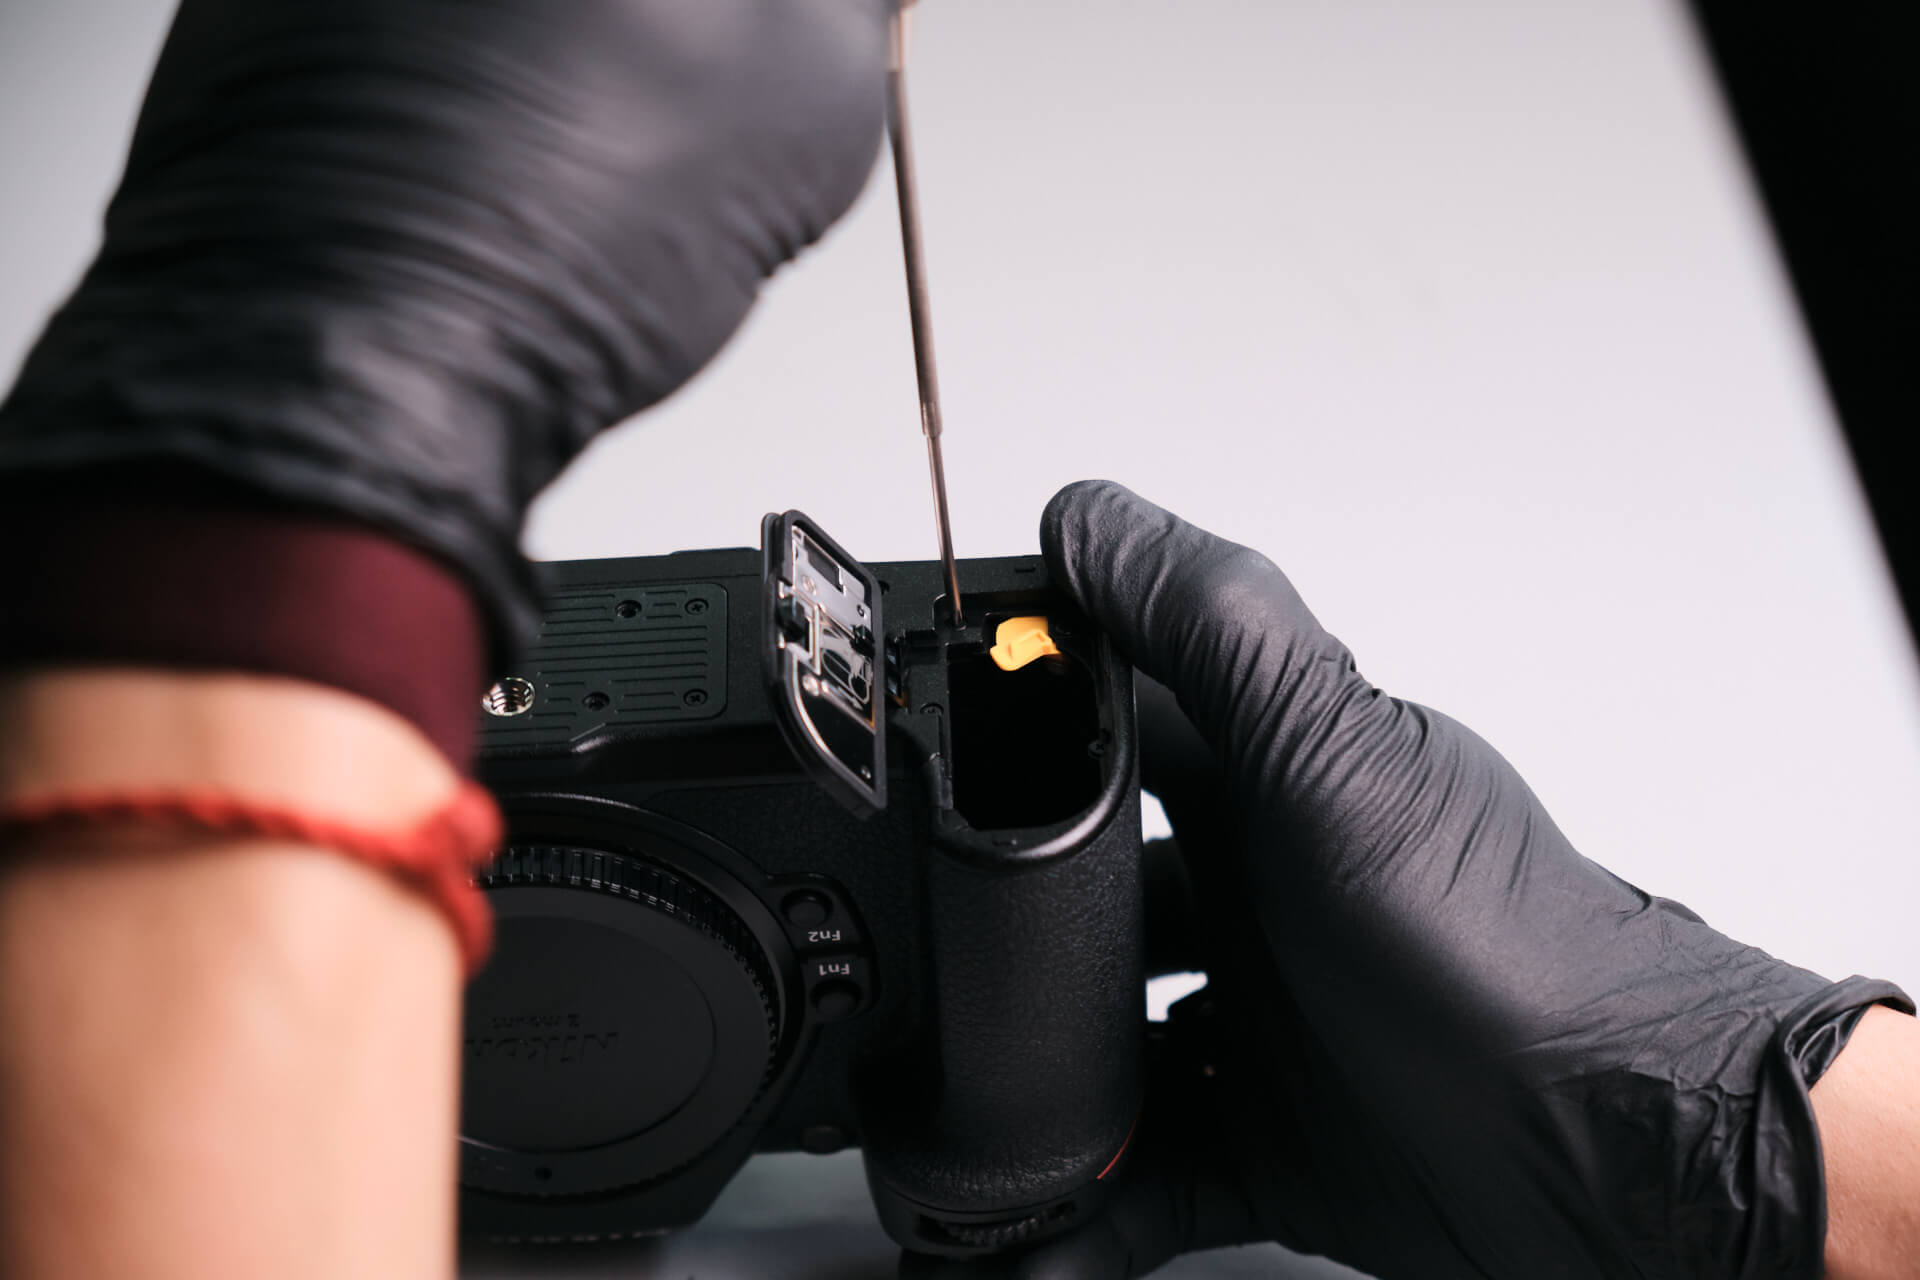
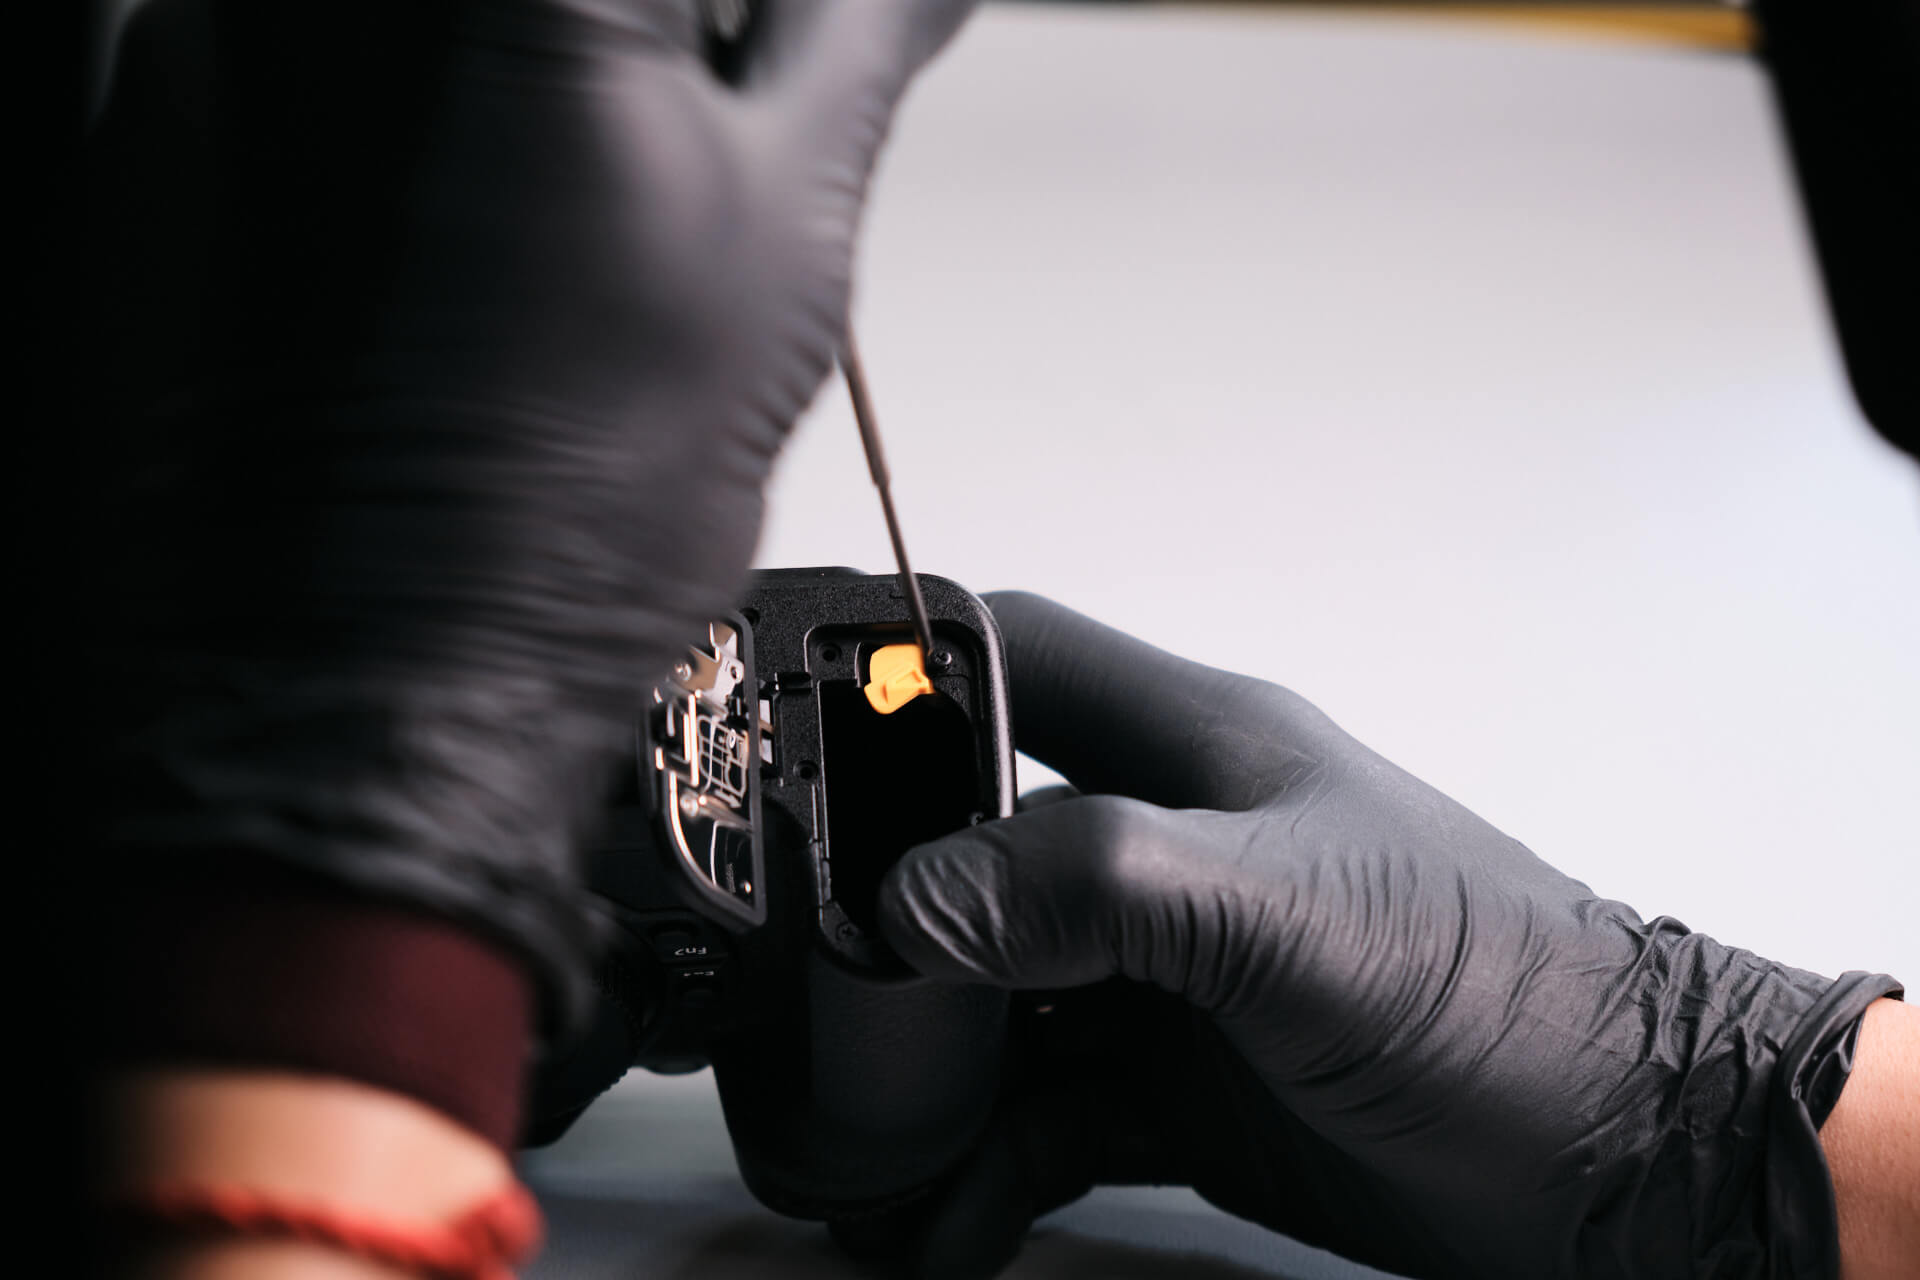
Here, we removed the battery lock. It is spring-loaded, so be careful not to let it fly and lose it.
Under the metal tripod plate, we removed three screws that hold the tripod socket.
There was a hidden screw near the USB power delivery connector that we missed earlier when checking the port side of the camera.
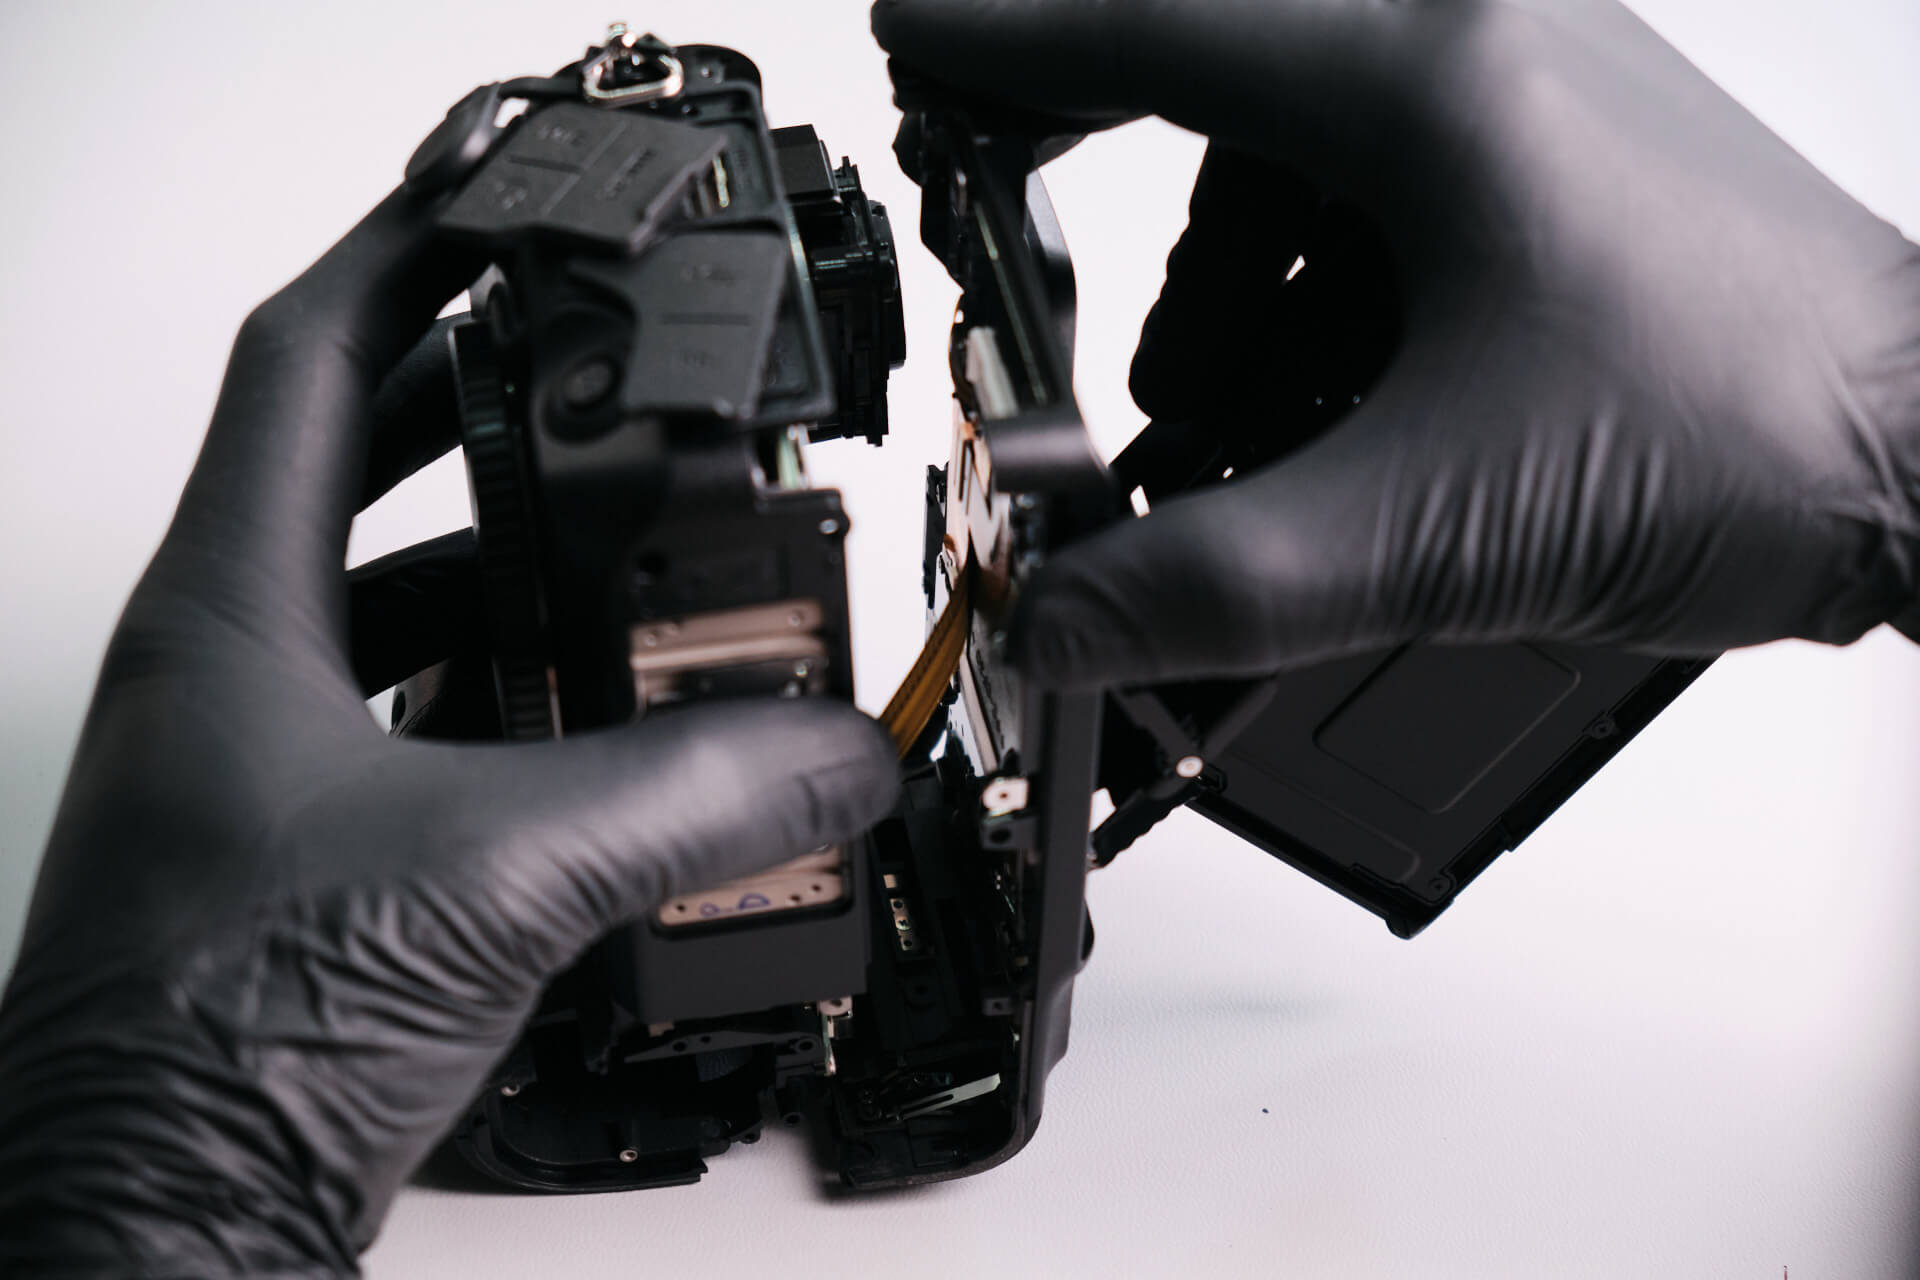
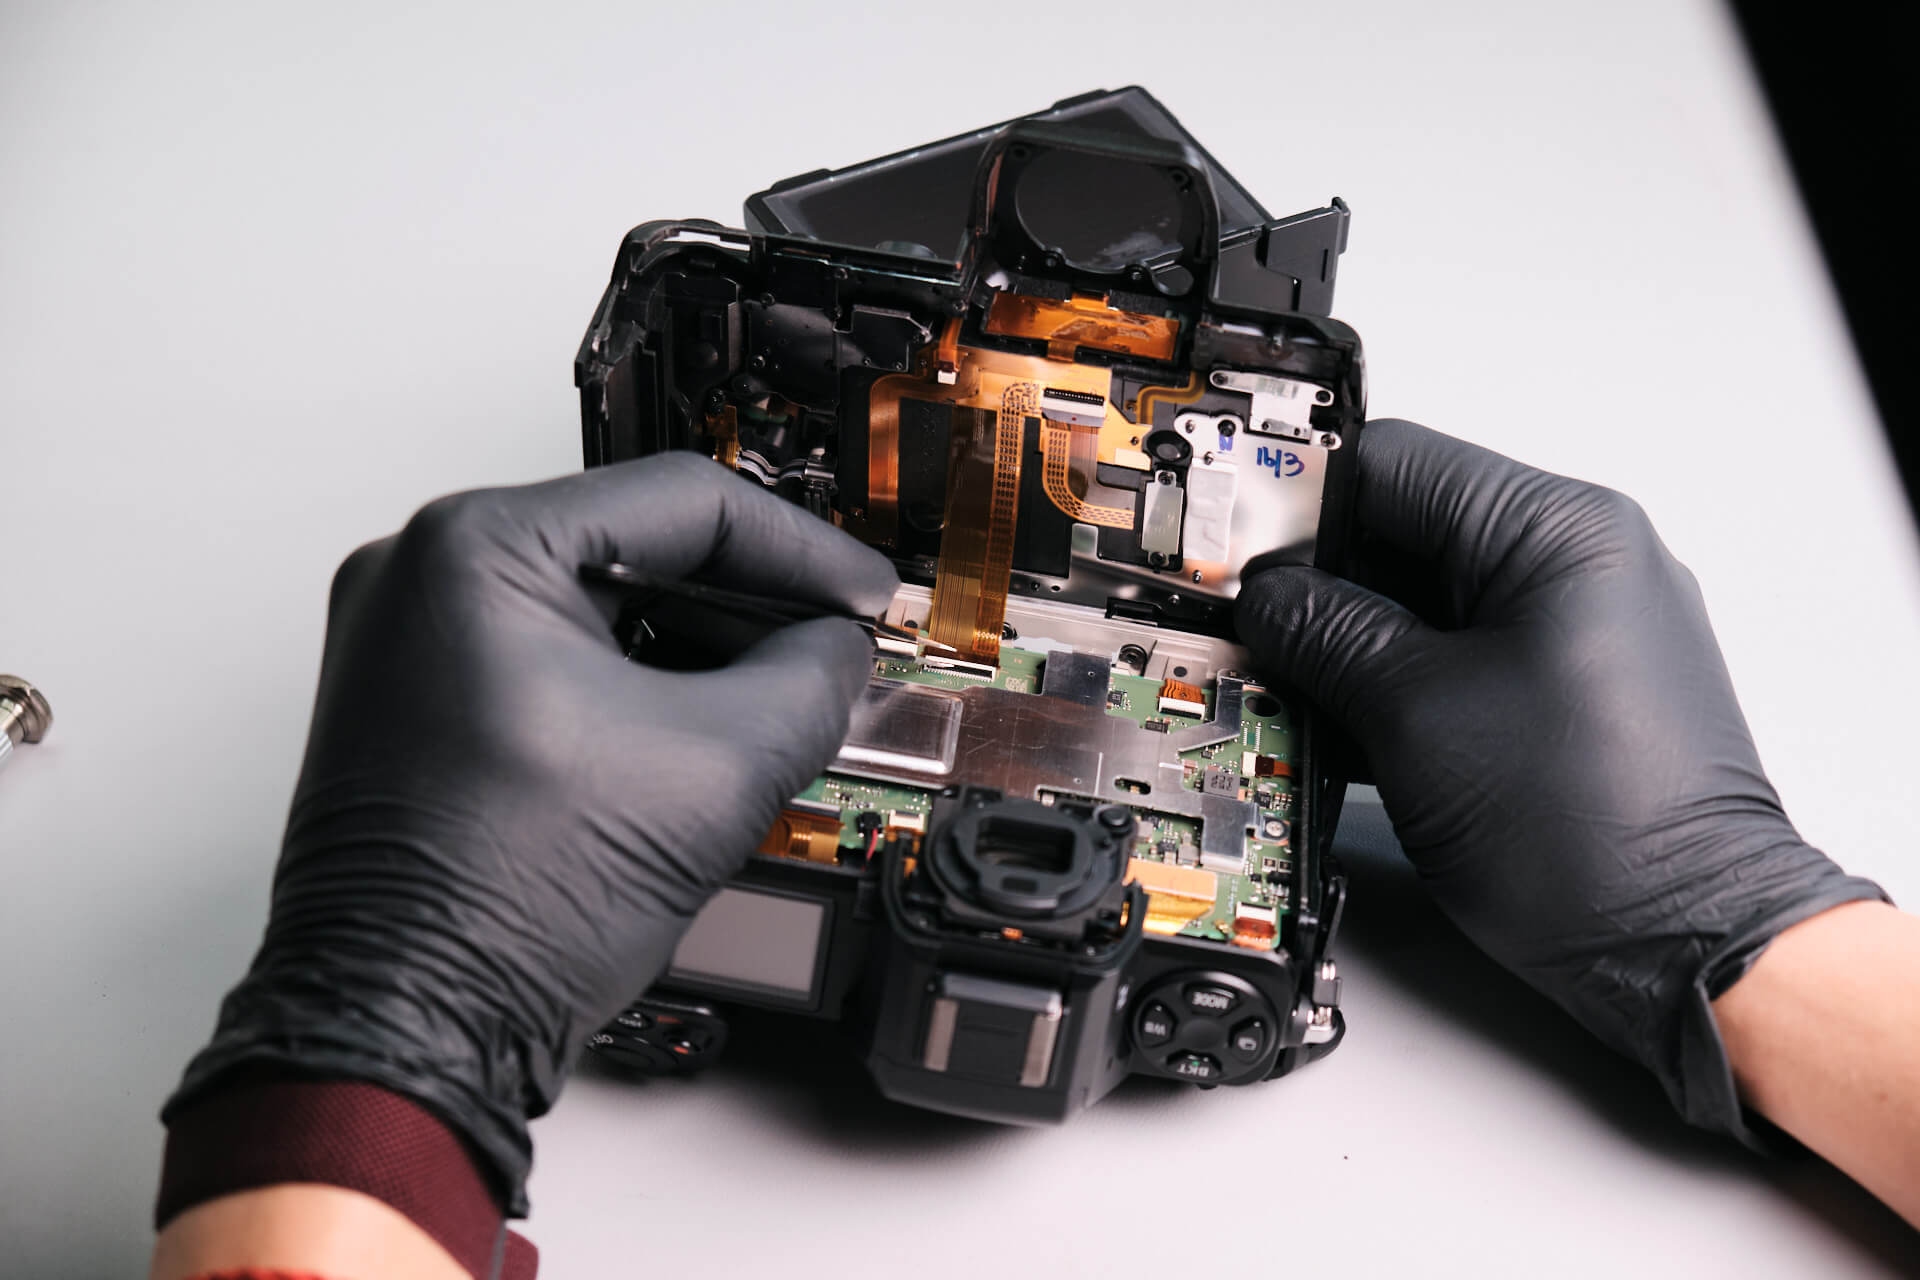
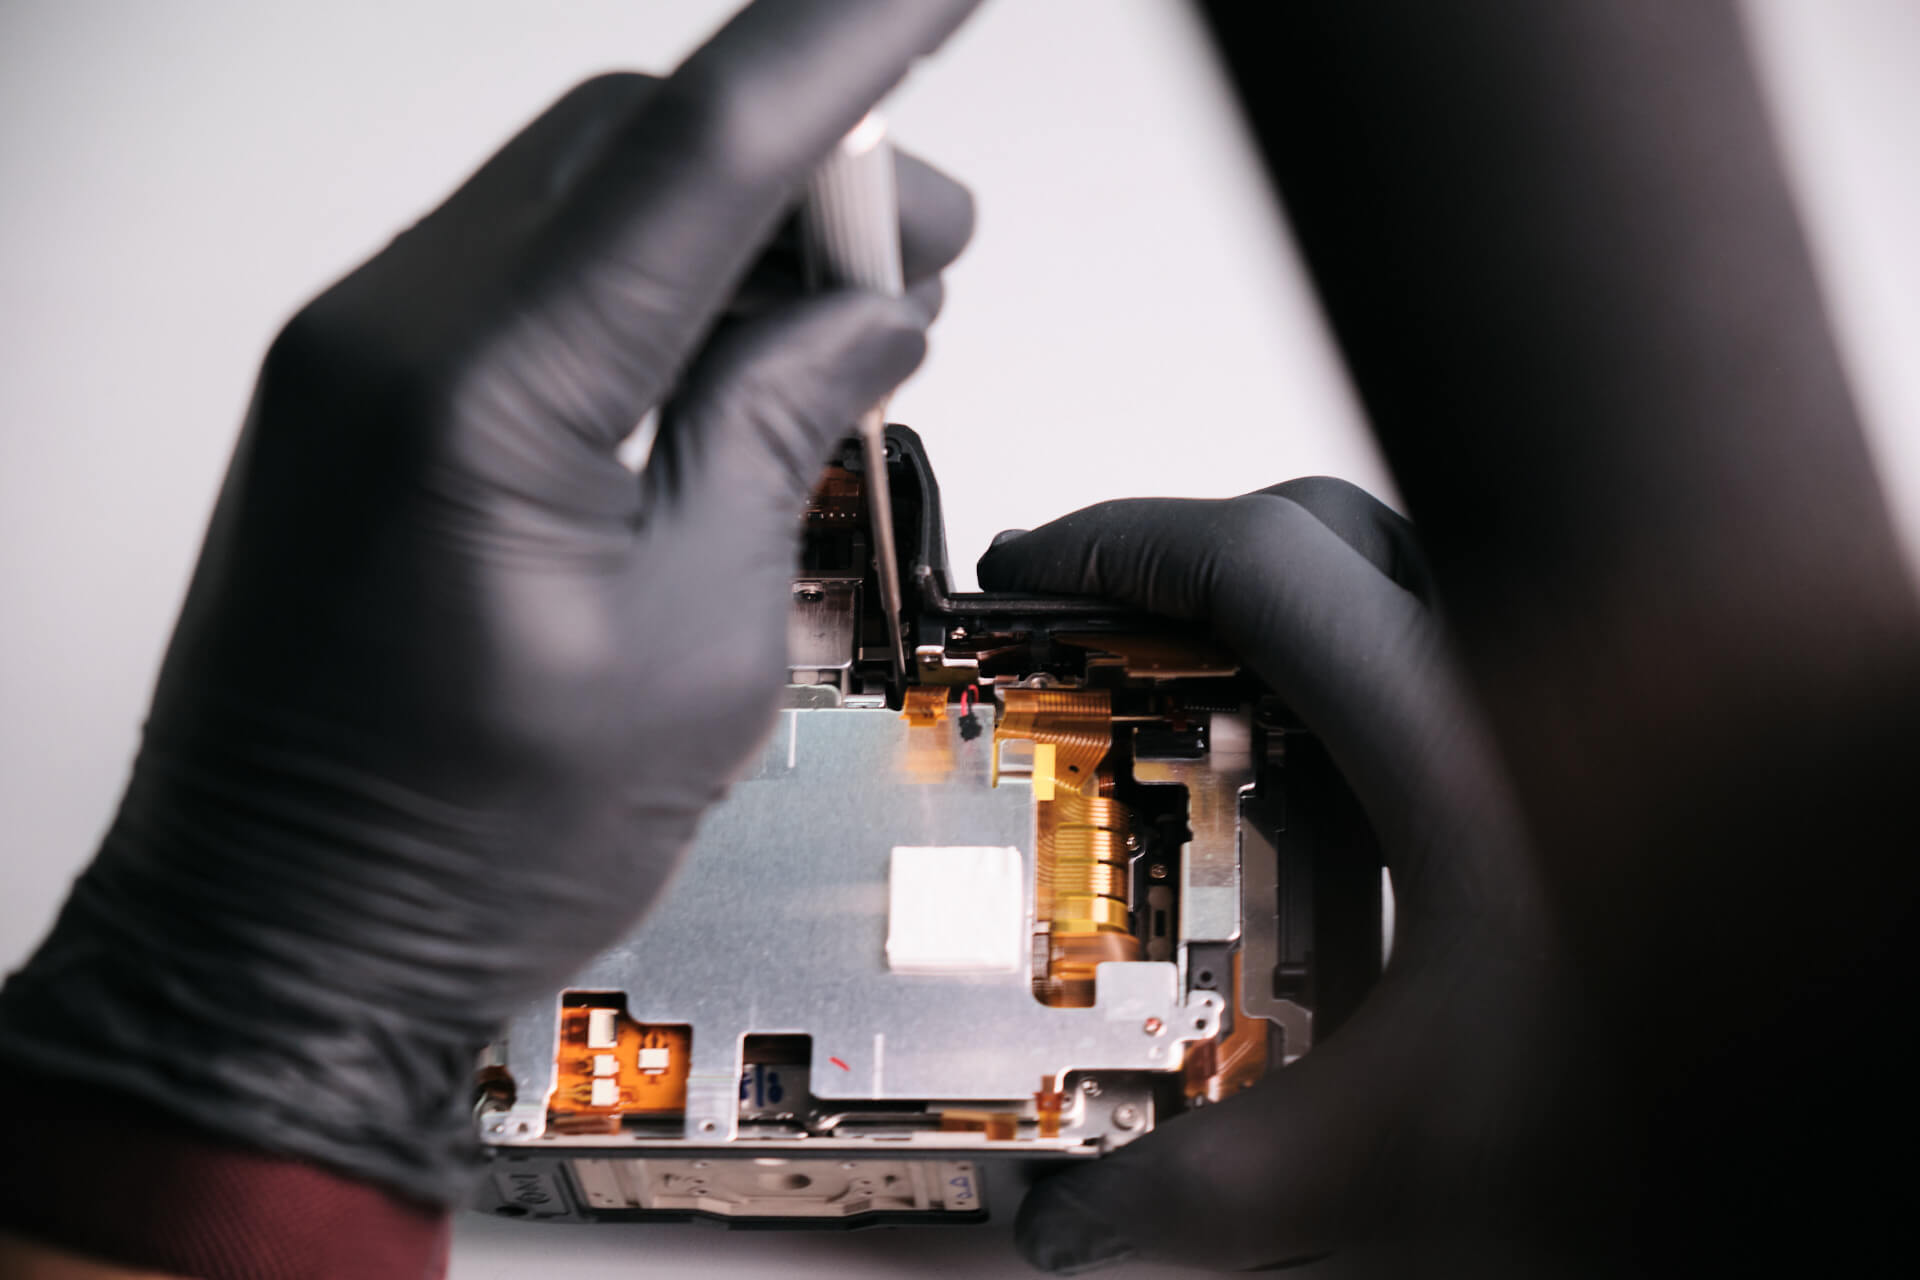
After removing the aforementioned screws, we separated the rear panel. The ribbon cable connecting the panel to the motherboard was thin and long.
We disconnected the ribbon cable for the rear panel. It controls the button and LCD screen so we had to be careful not to damage it.
We didn’t find any screws after removing the large port cover trim.
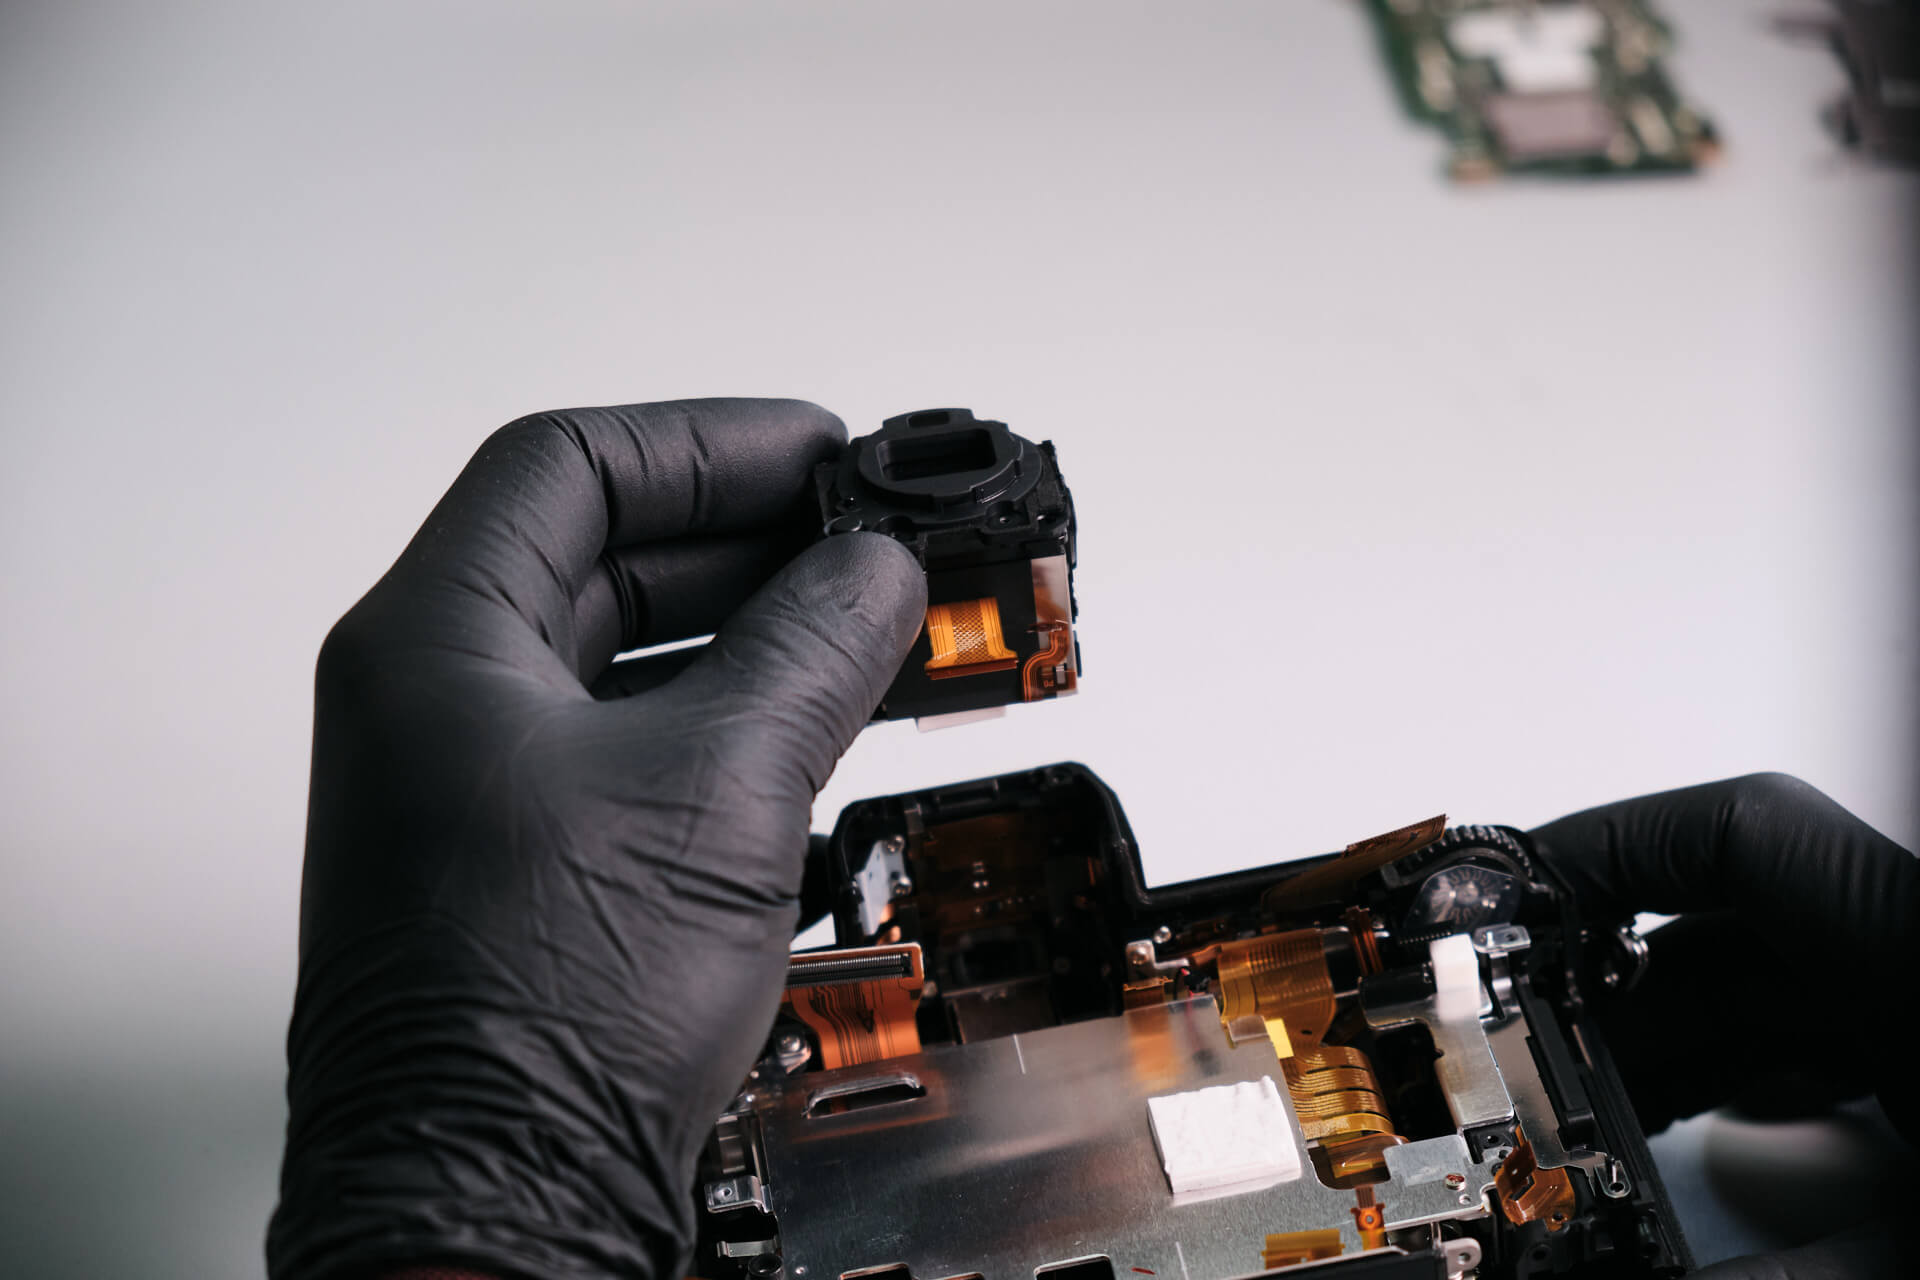
The EVF cable was disconnected. We didn’t entirely remove the EVF mechanism yet.
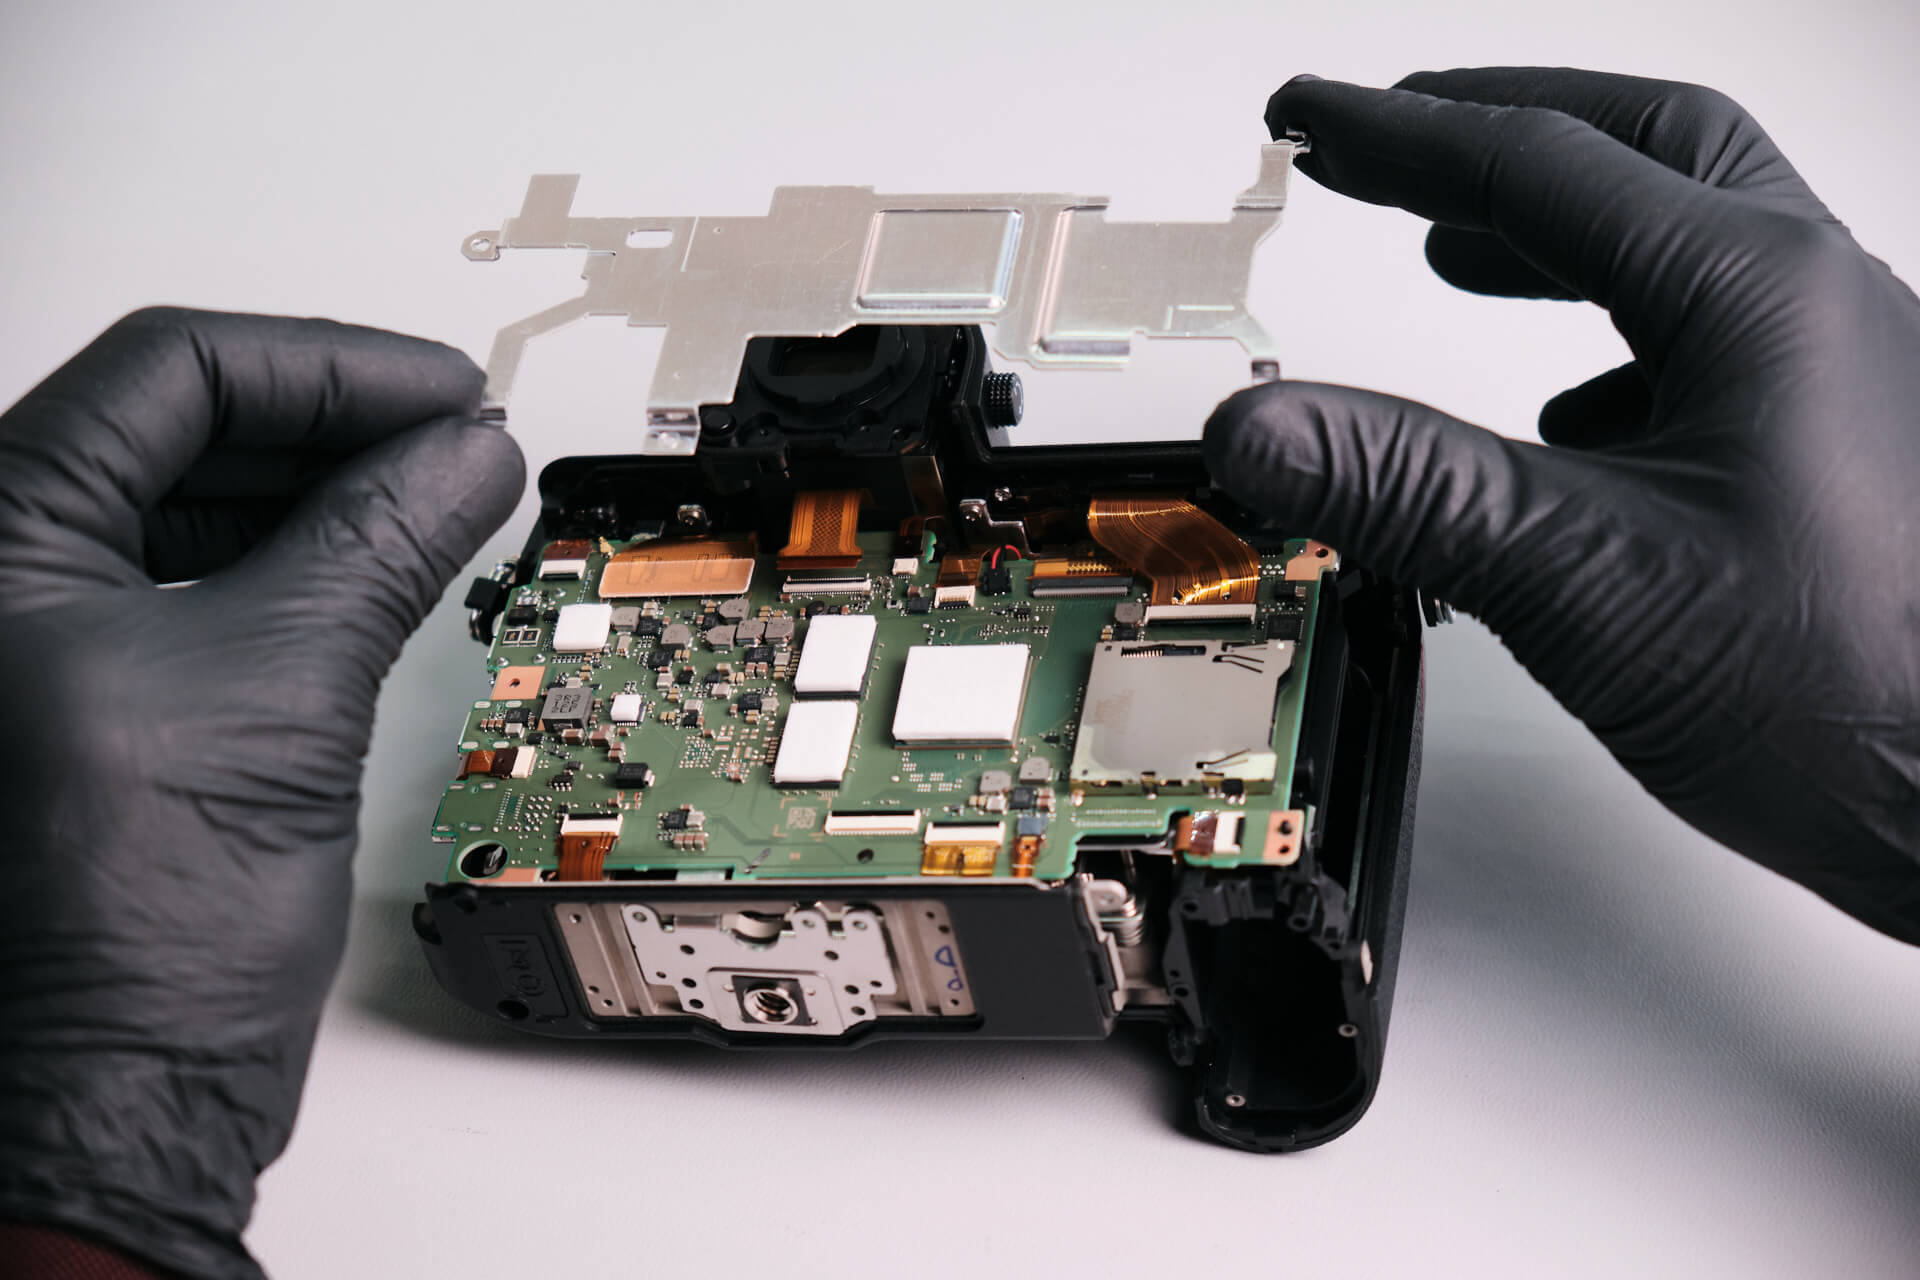
Five screws held down the RF shield of the camera.
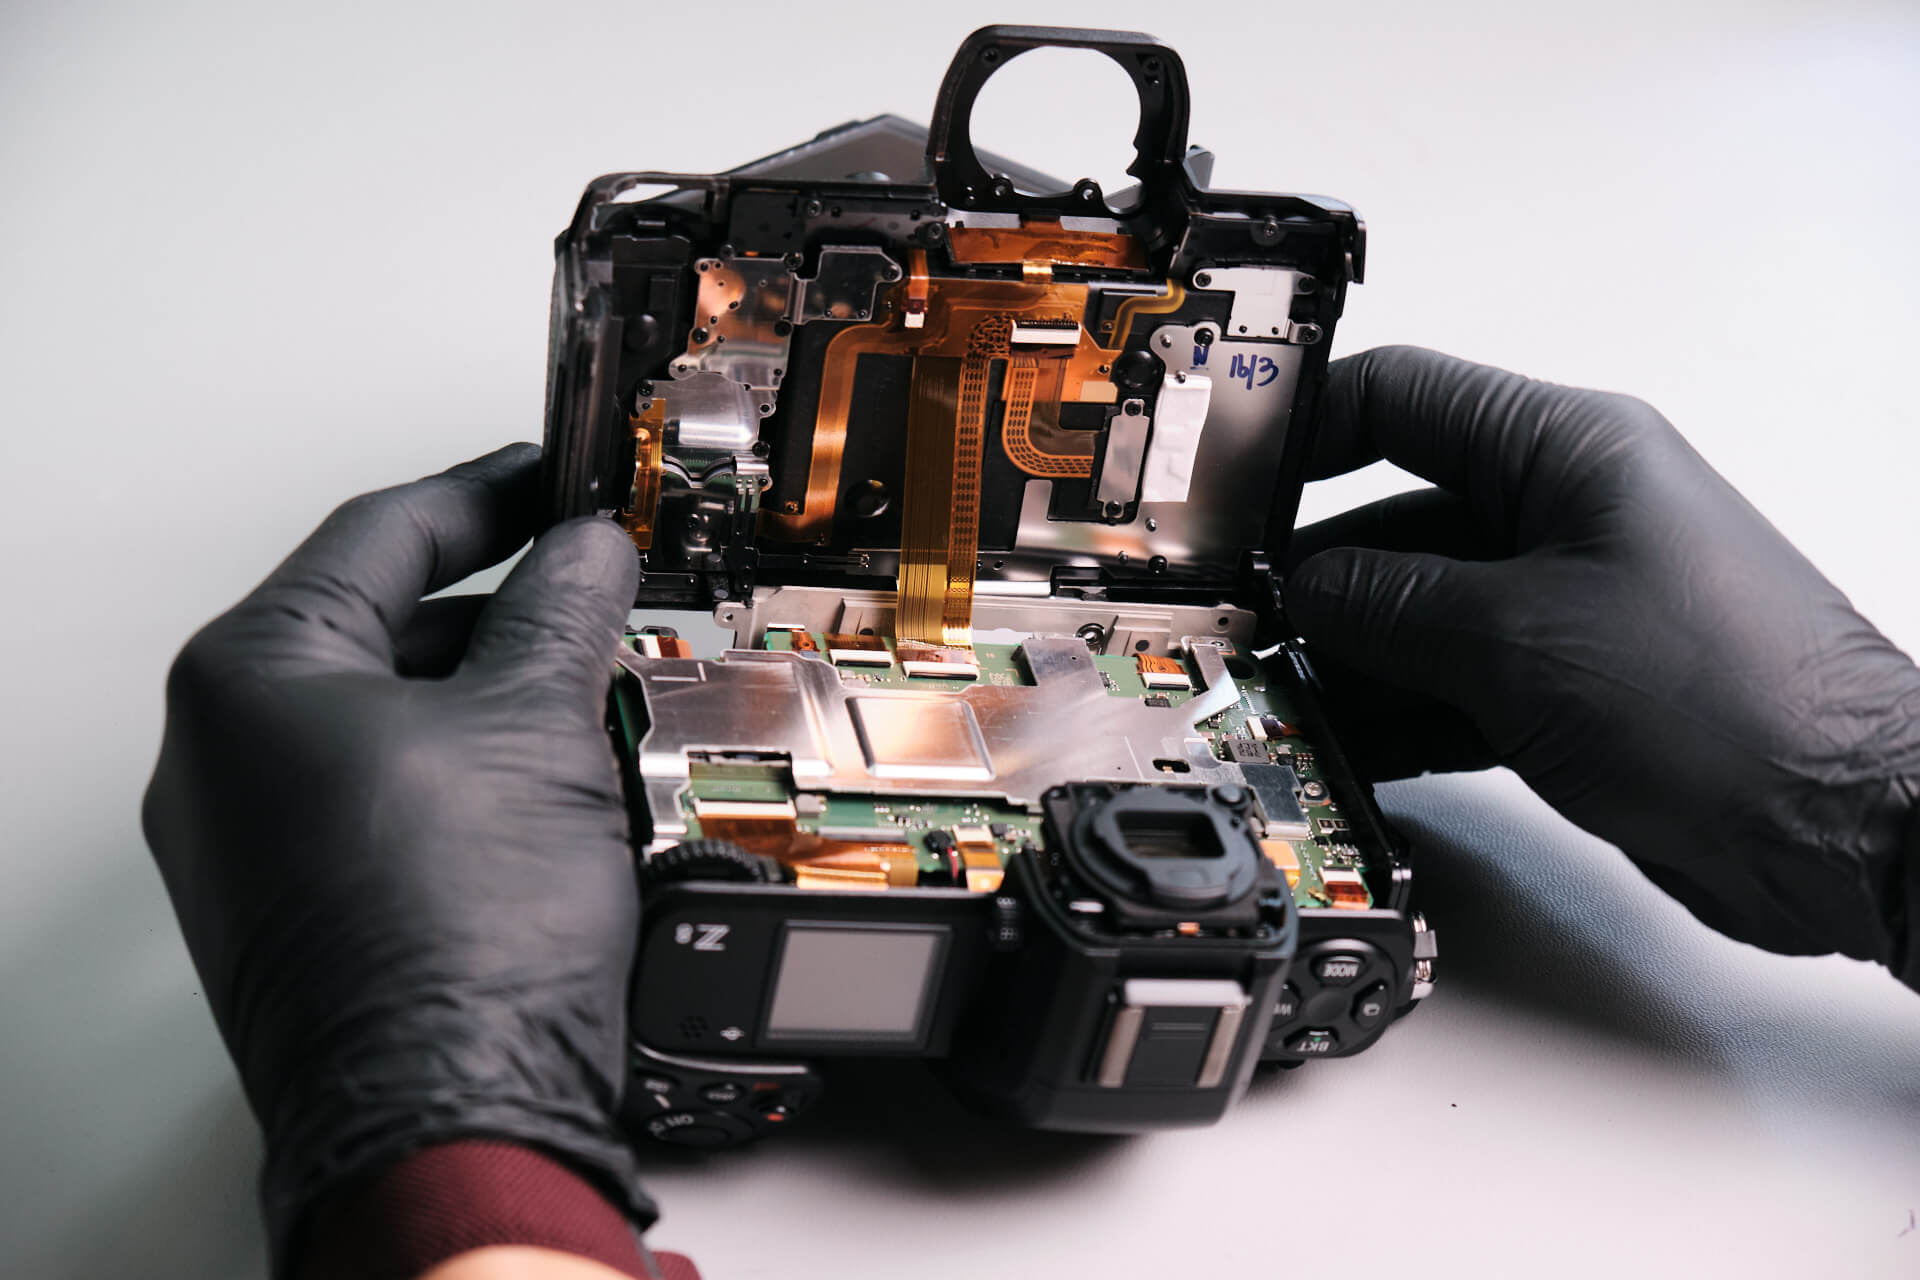
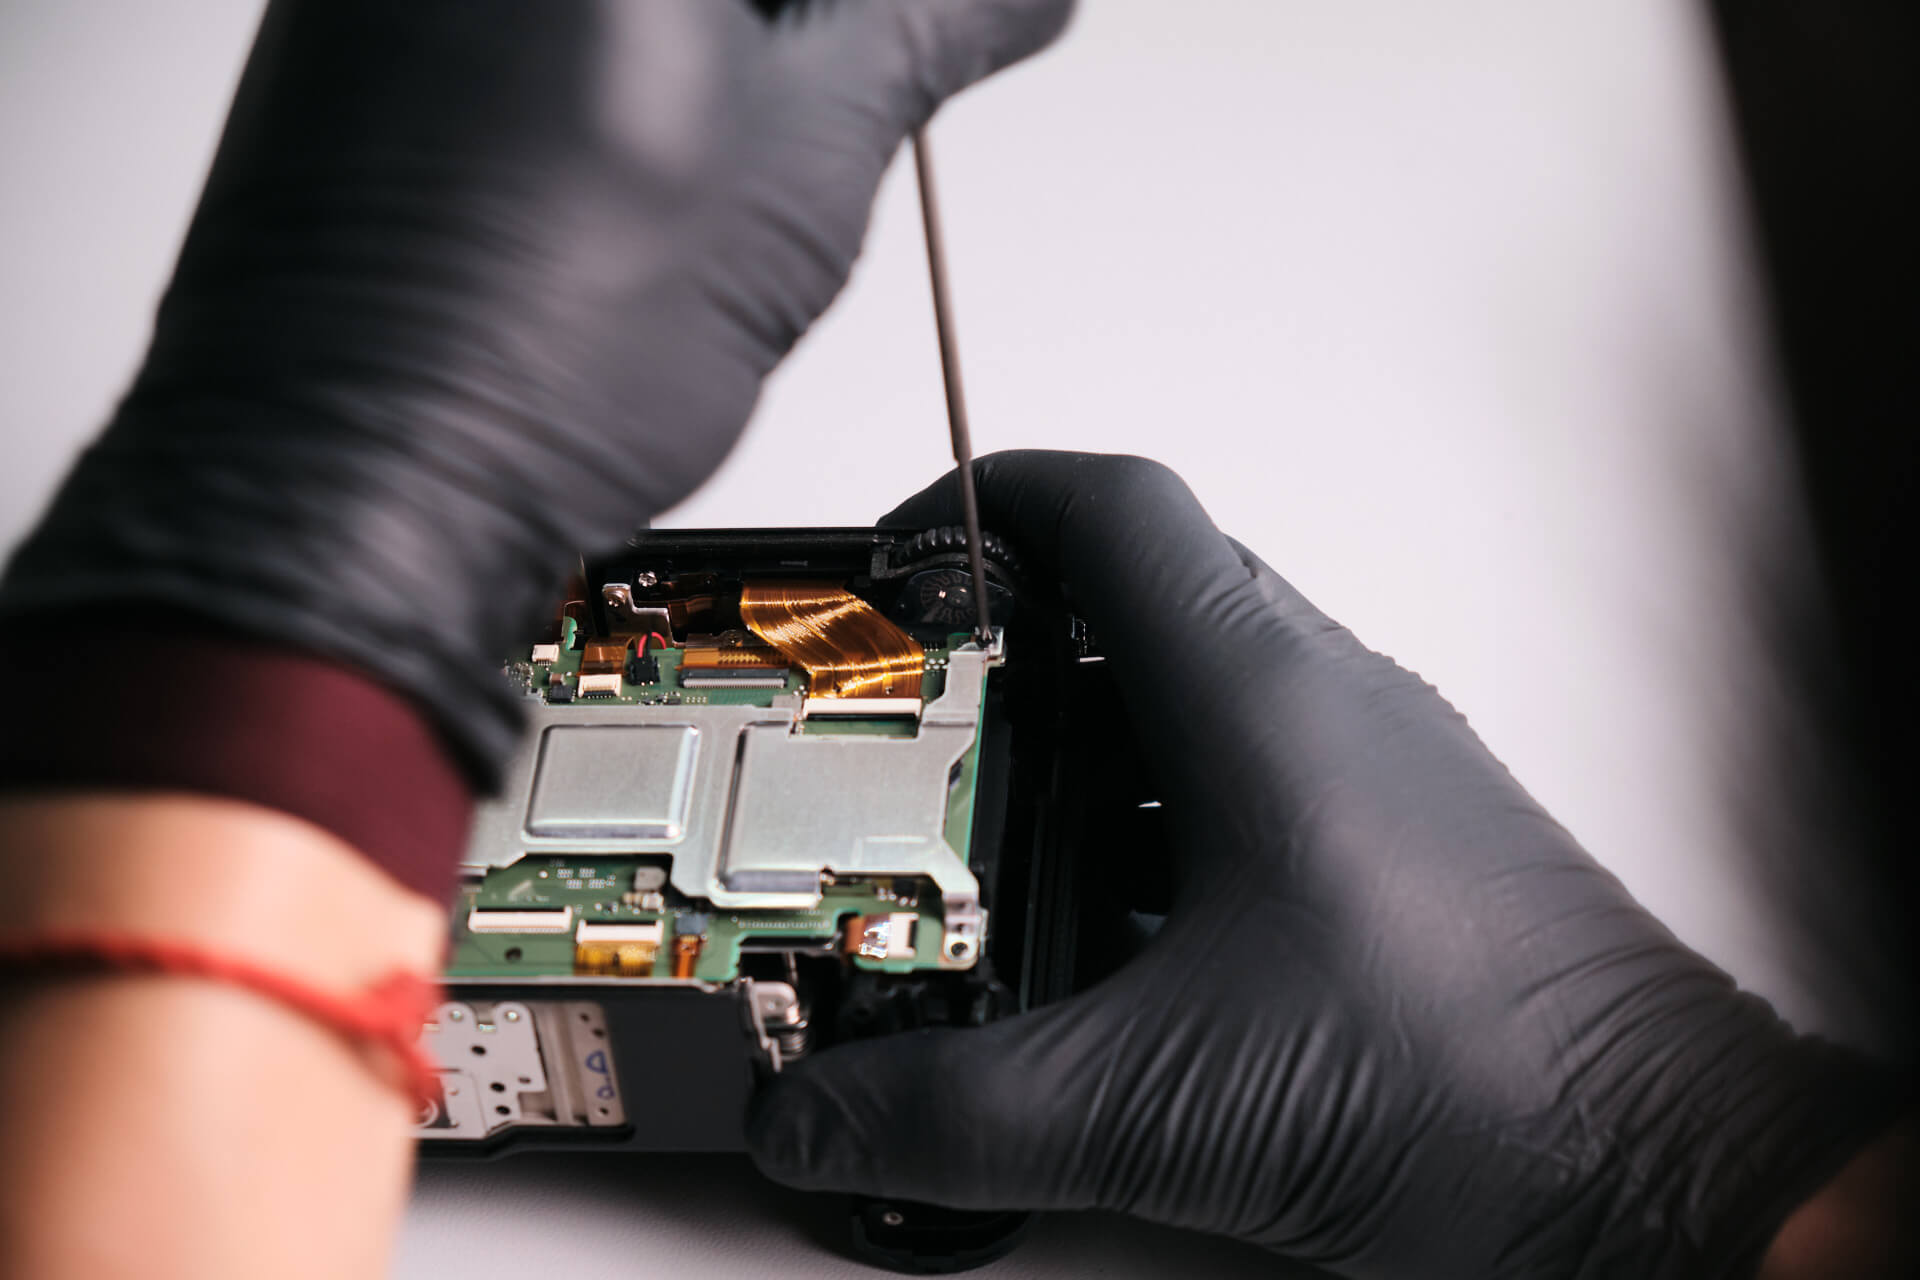
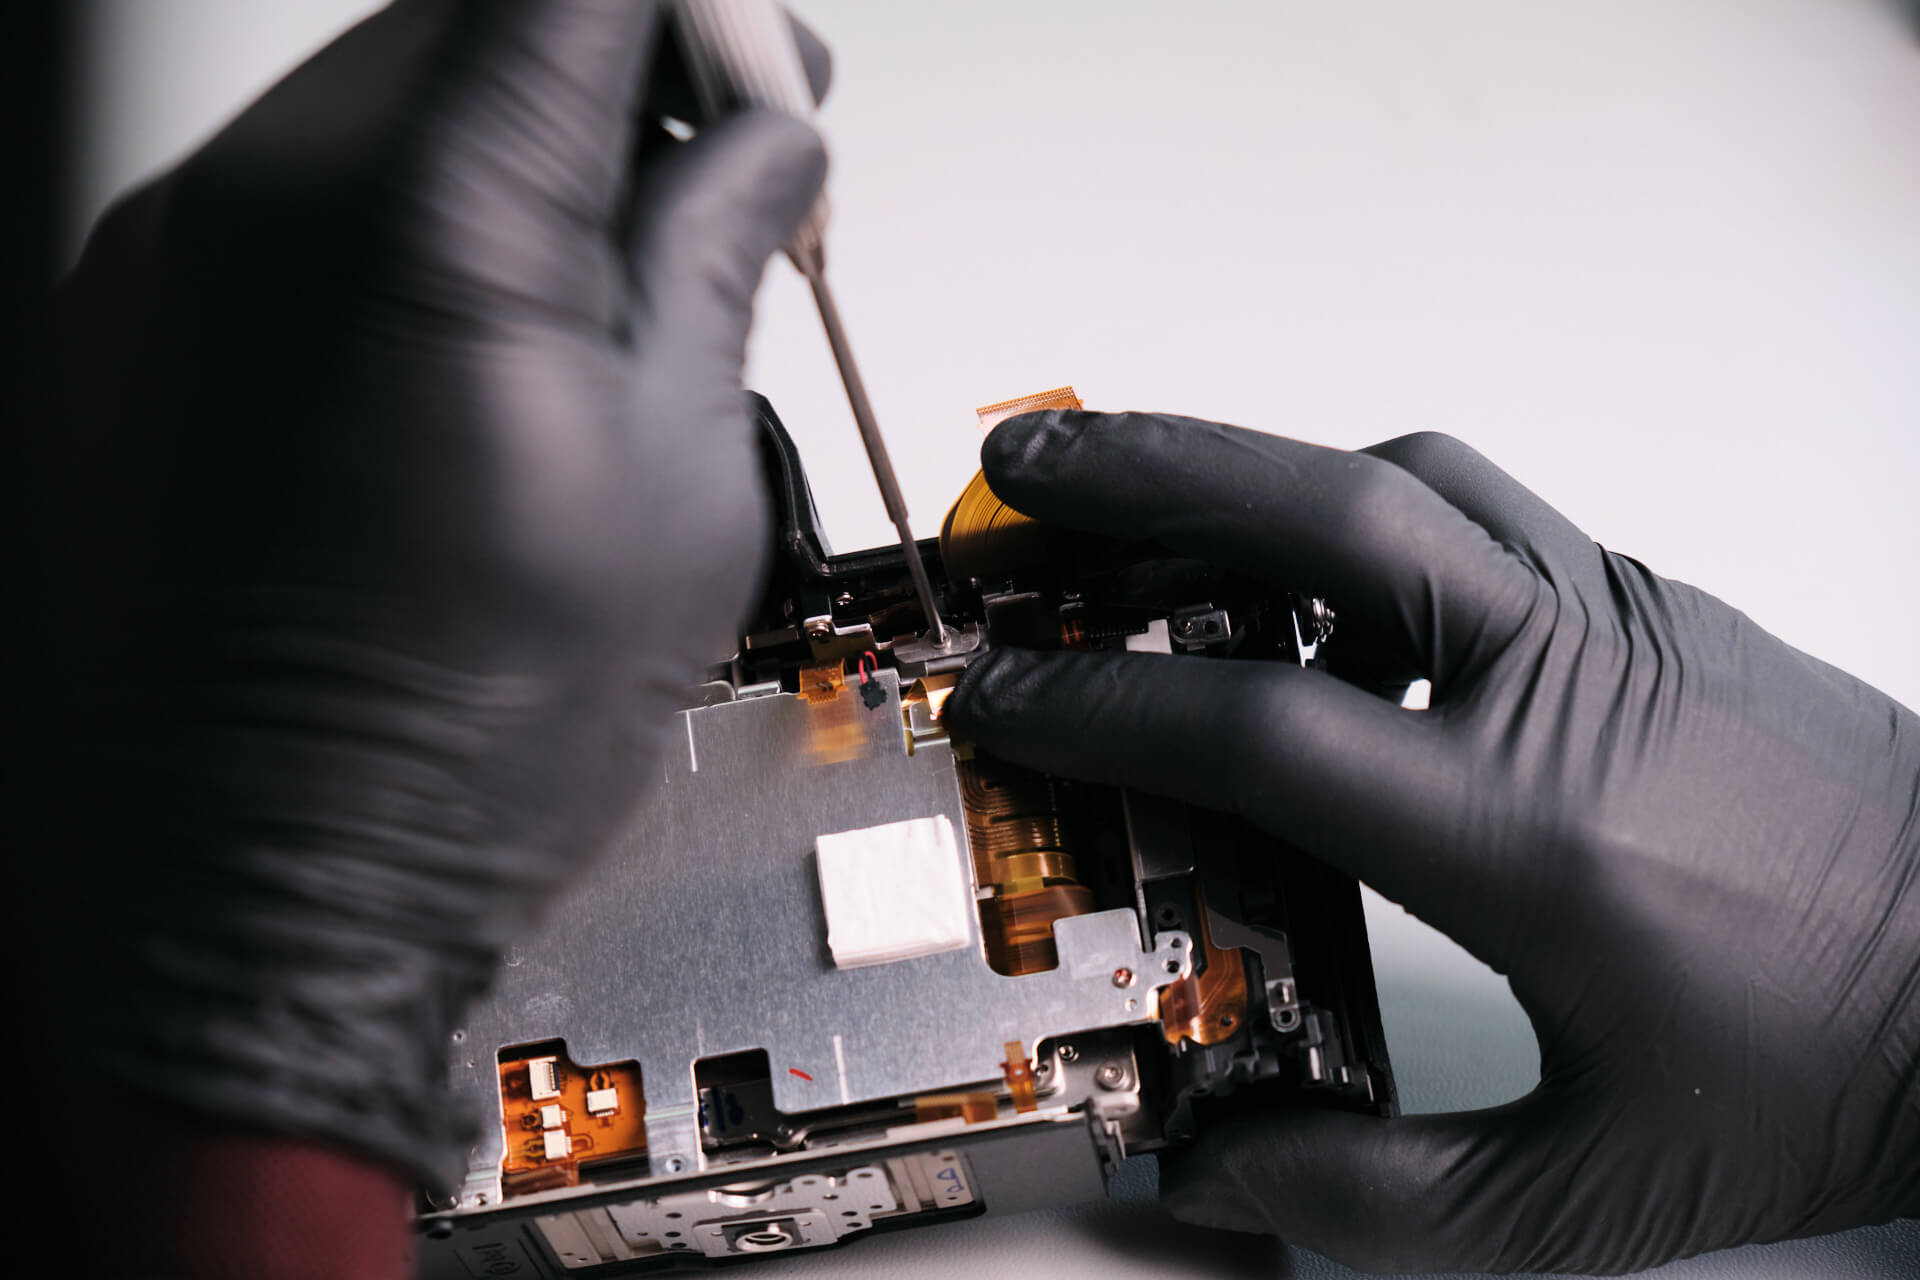
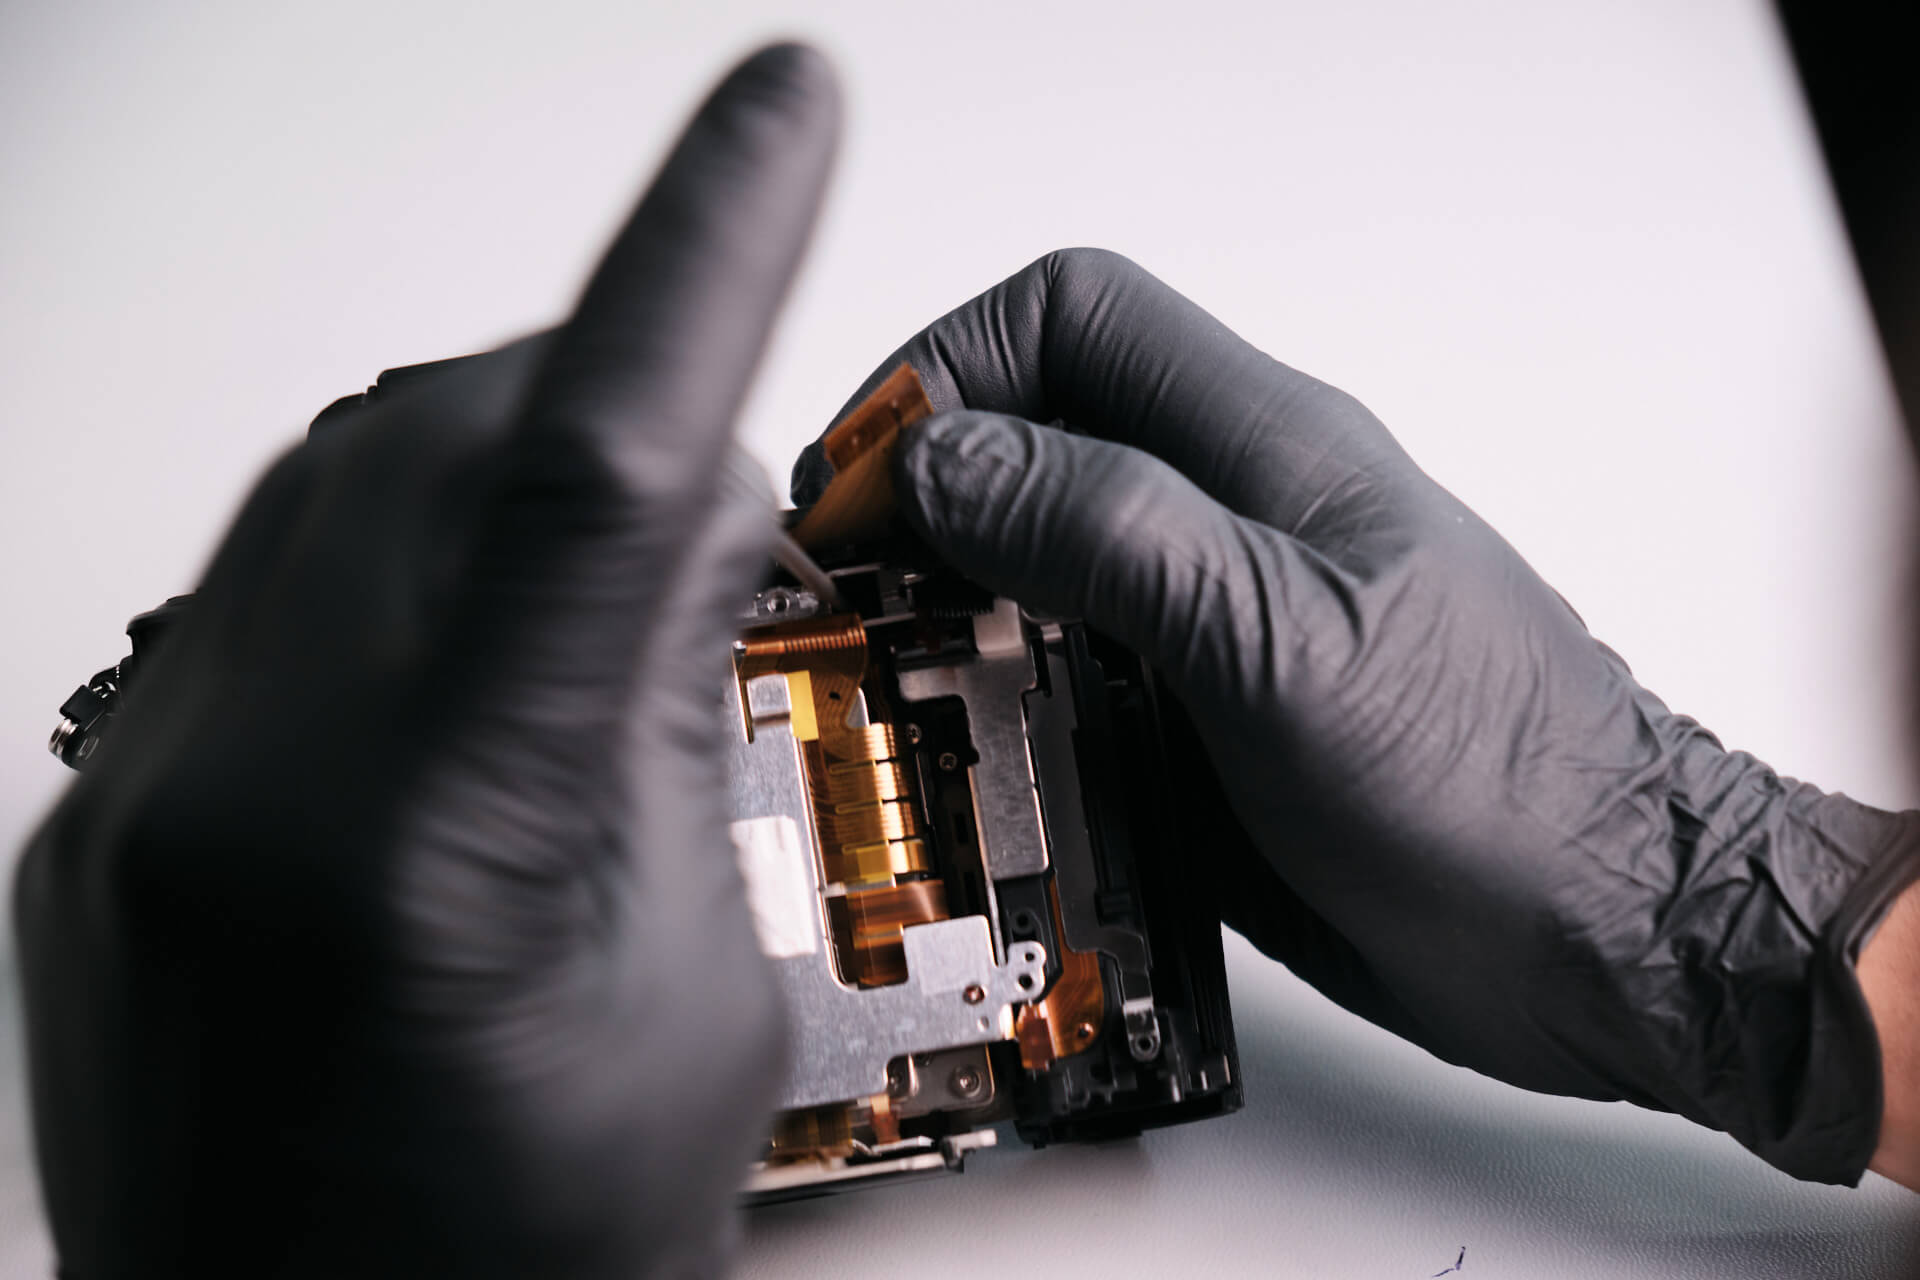
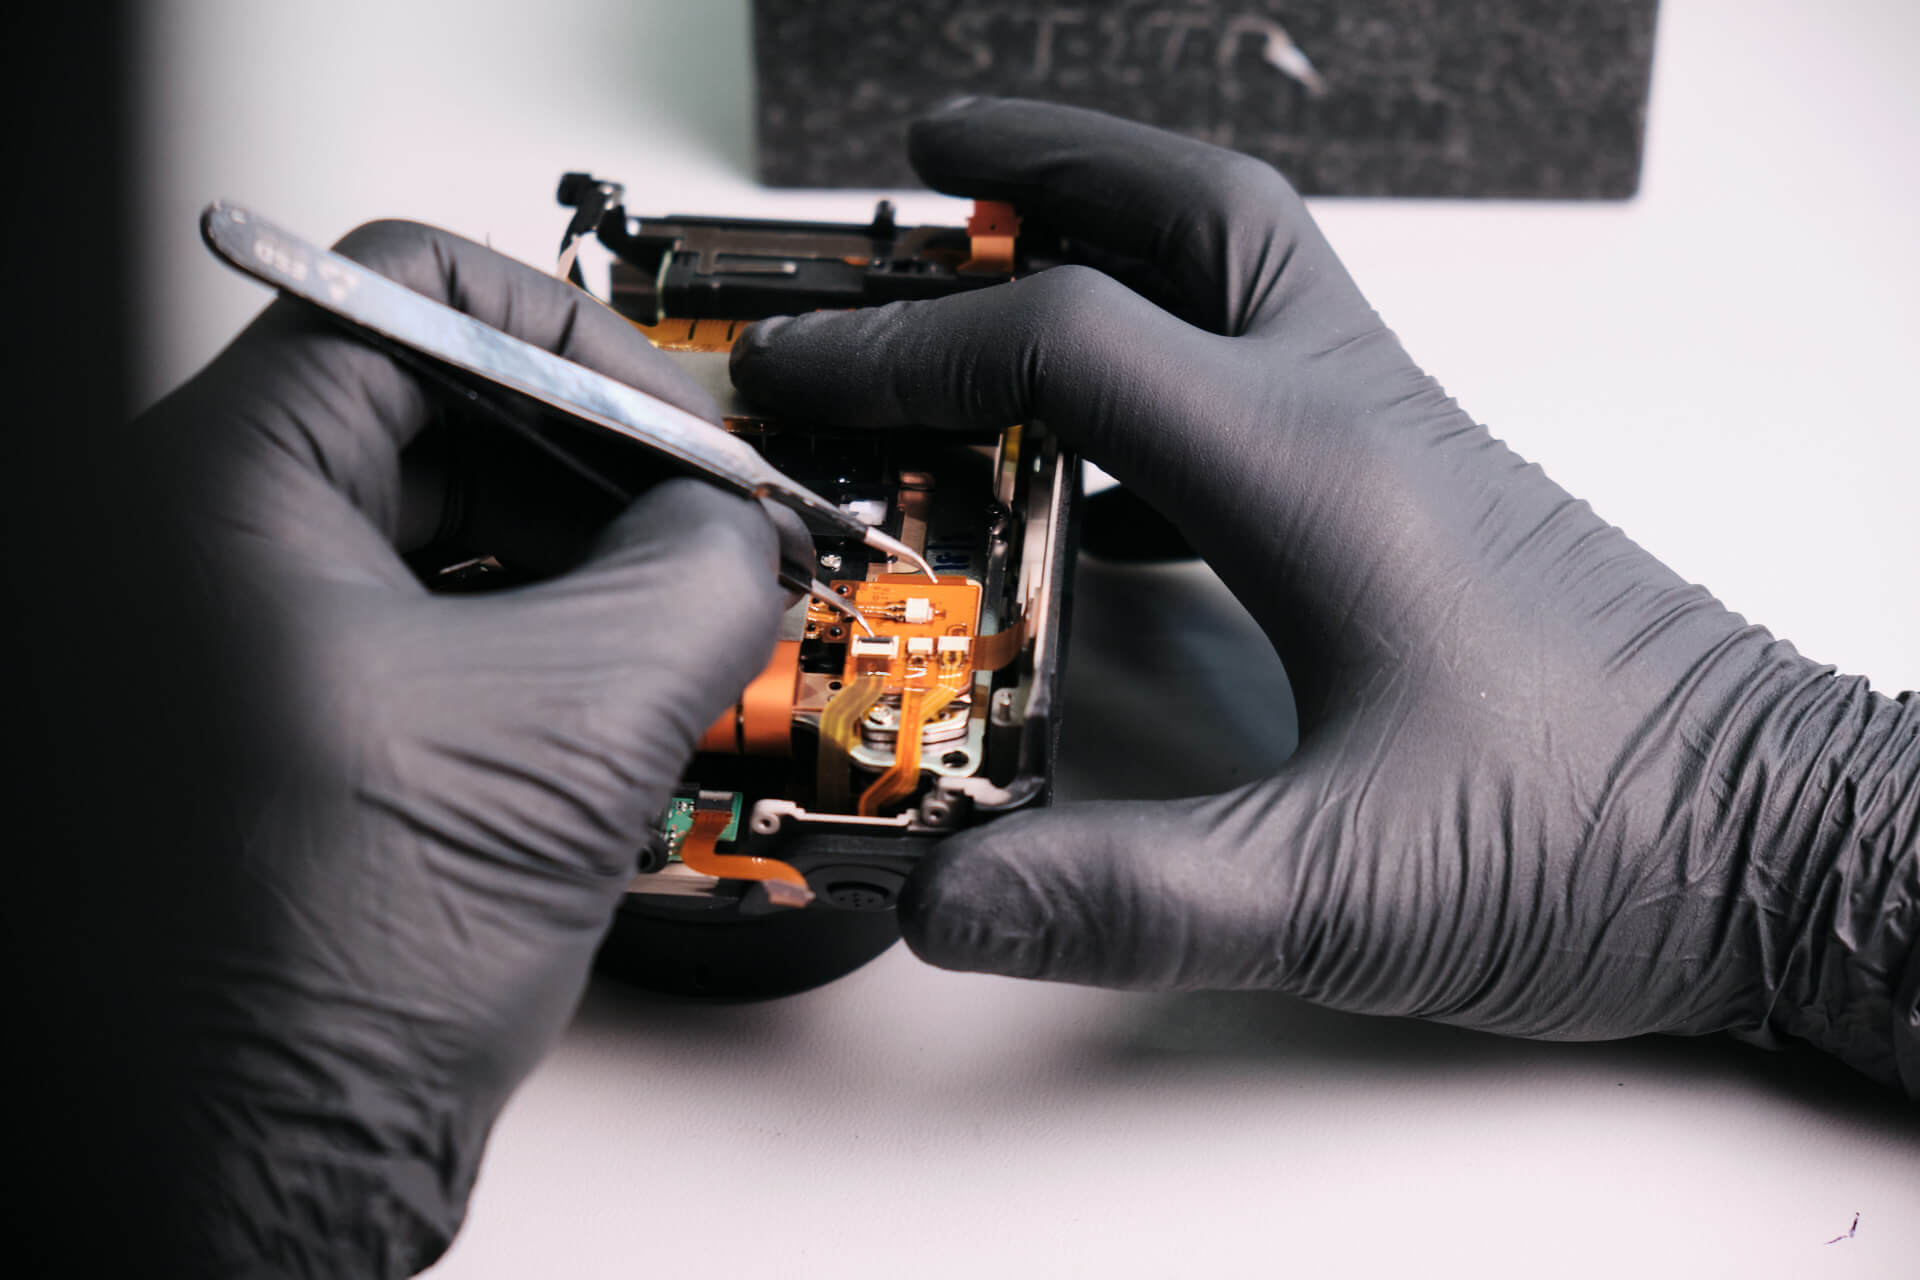
There were fifteen ribbon cables connected to the circuit board. They were especially thin, so we needed to be careful here.
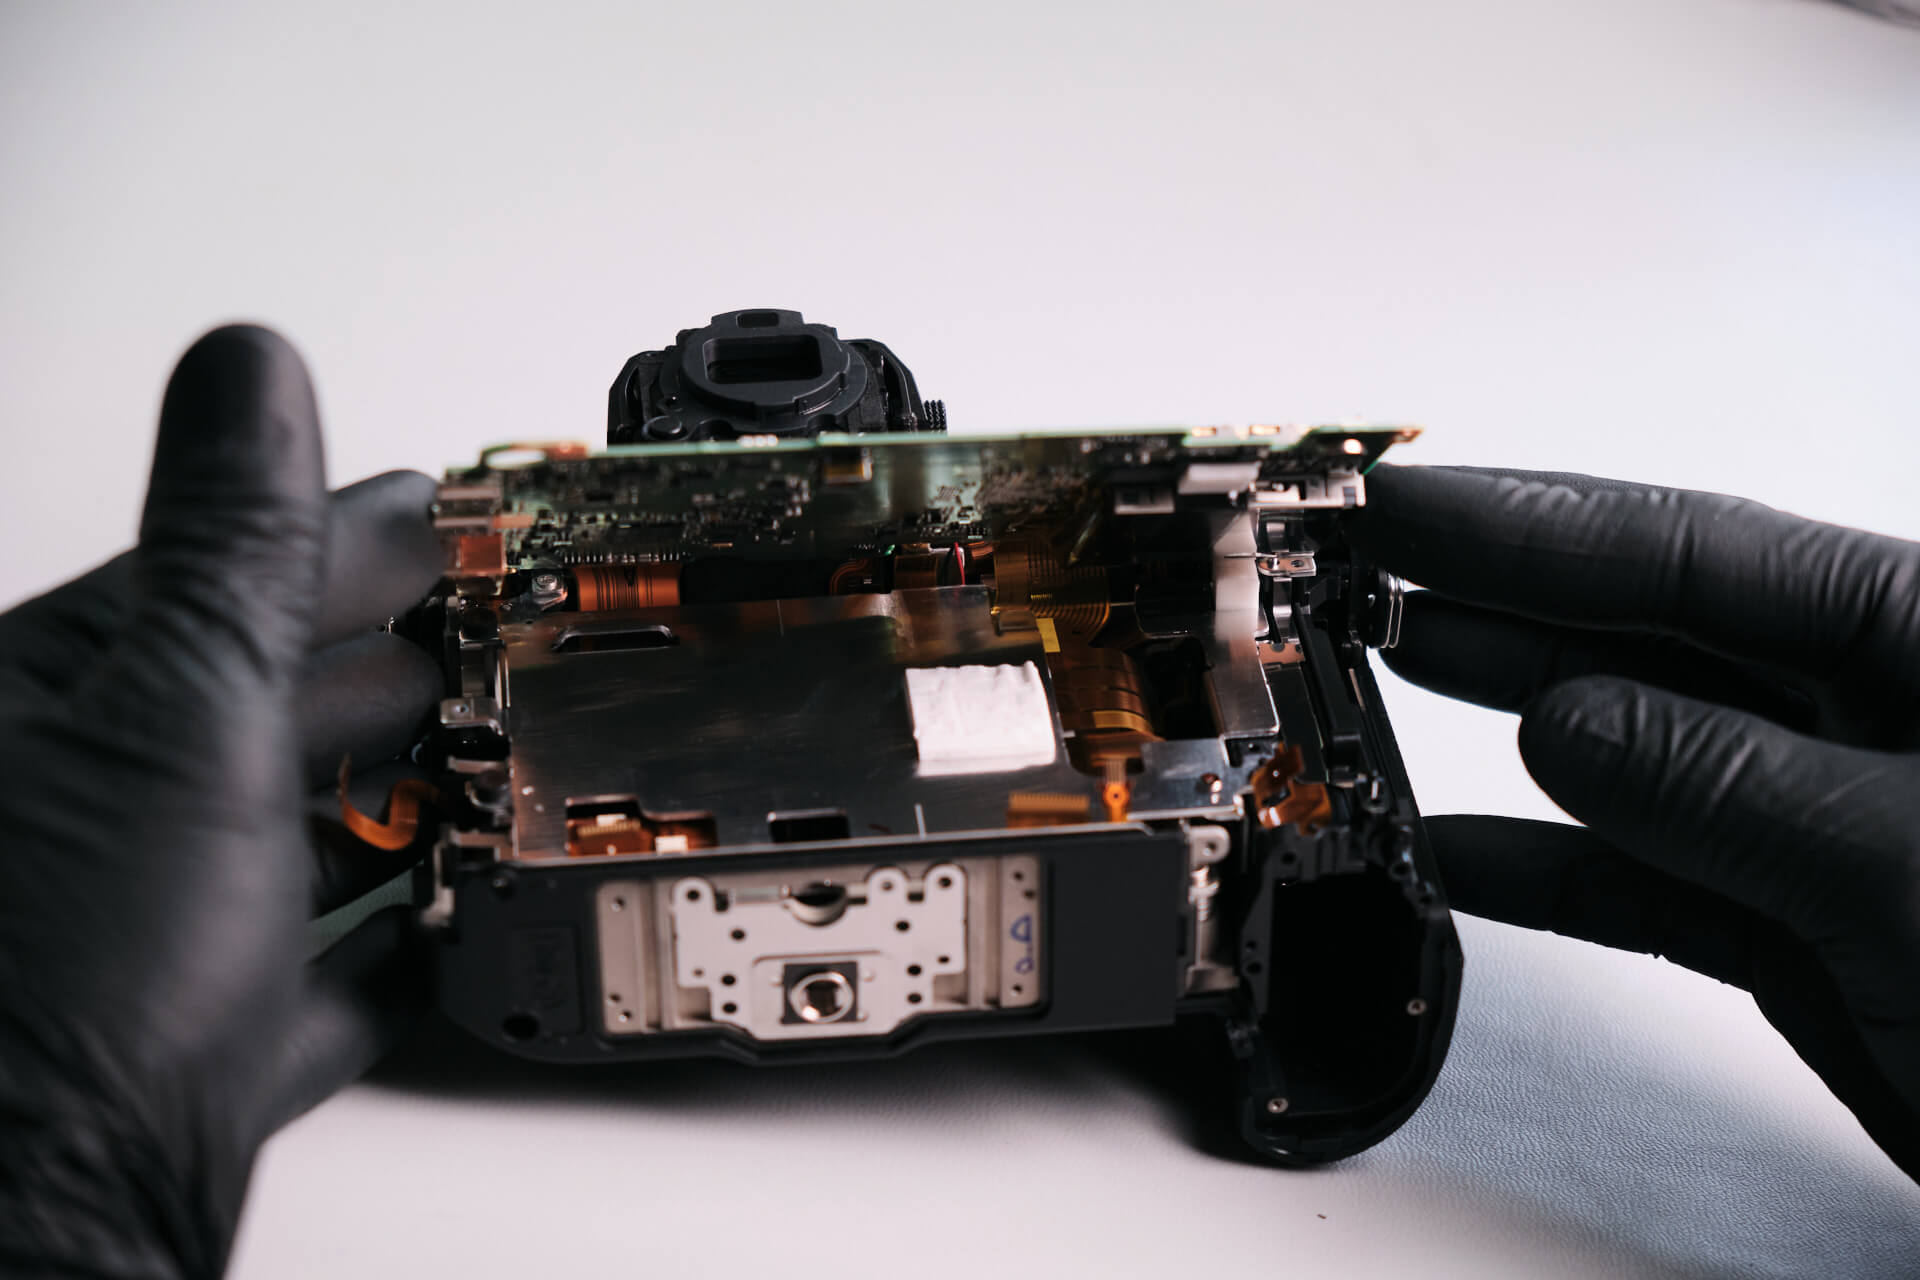
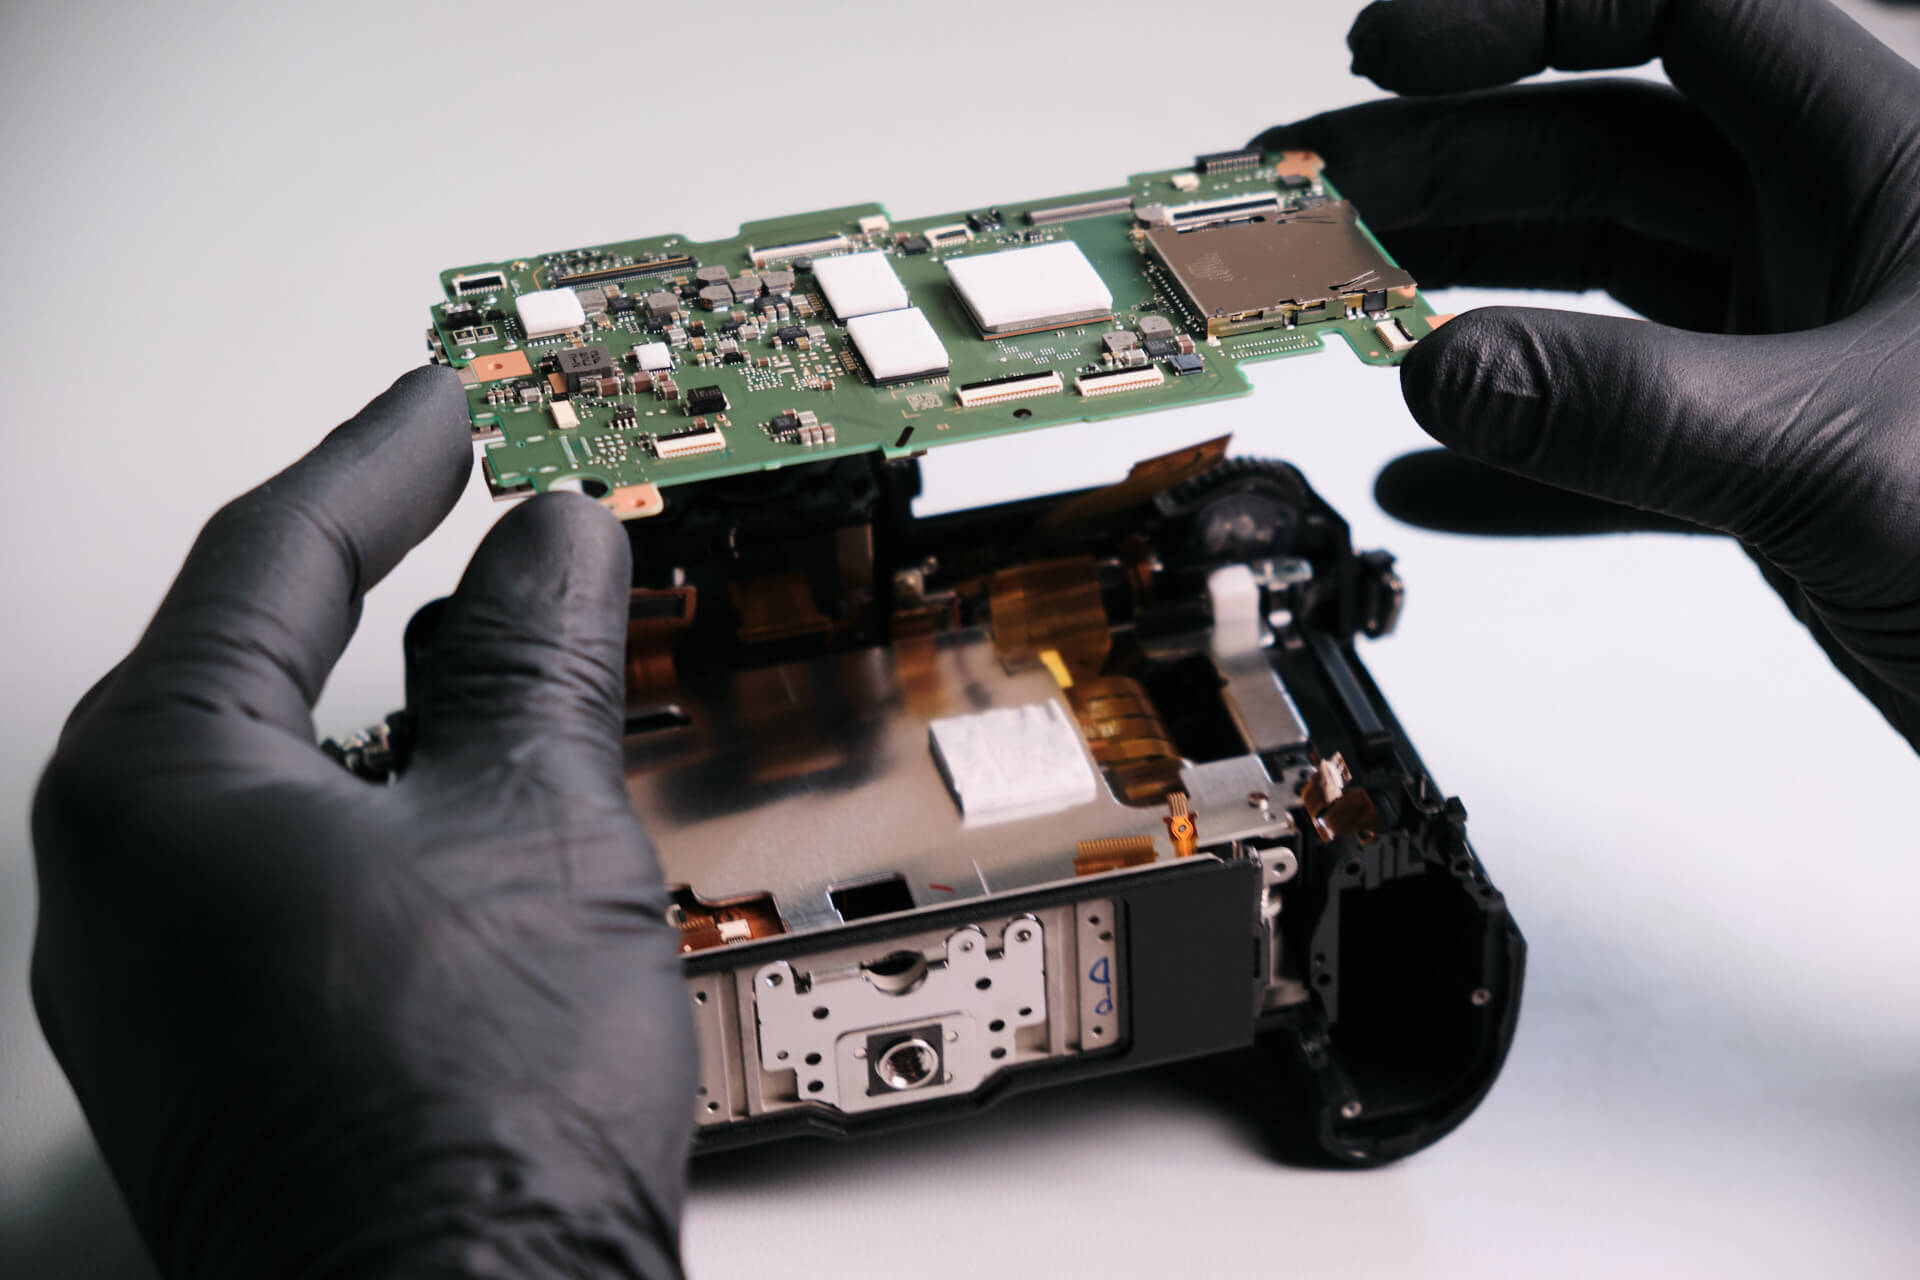
Once the ribbon cables were detached, we removed the circuit board from the body. It was somewhat difficult to remove, but that was only because of the heat pad that was sticking to the board.
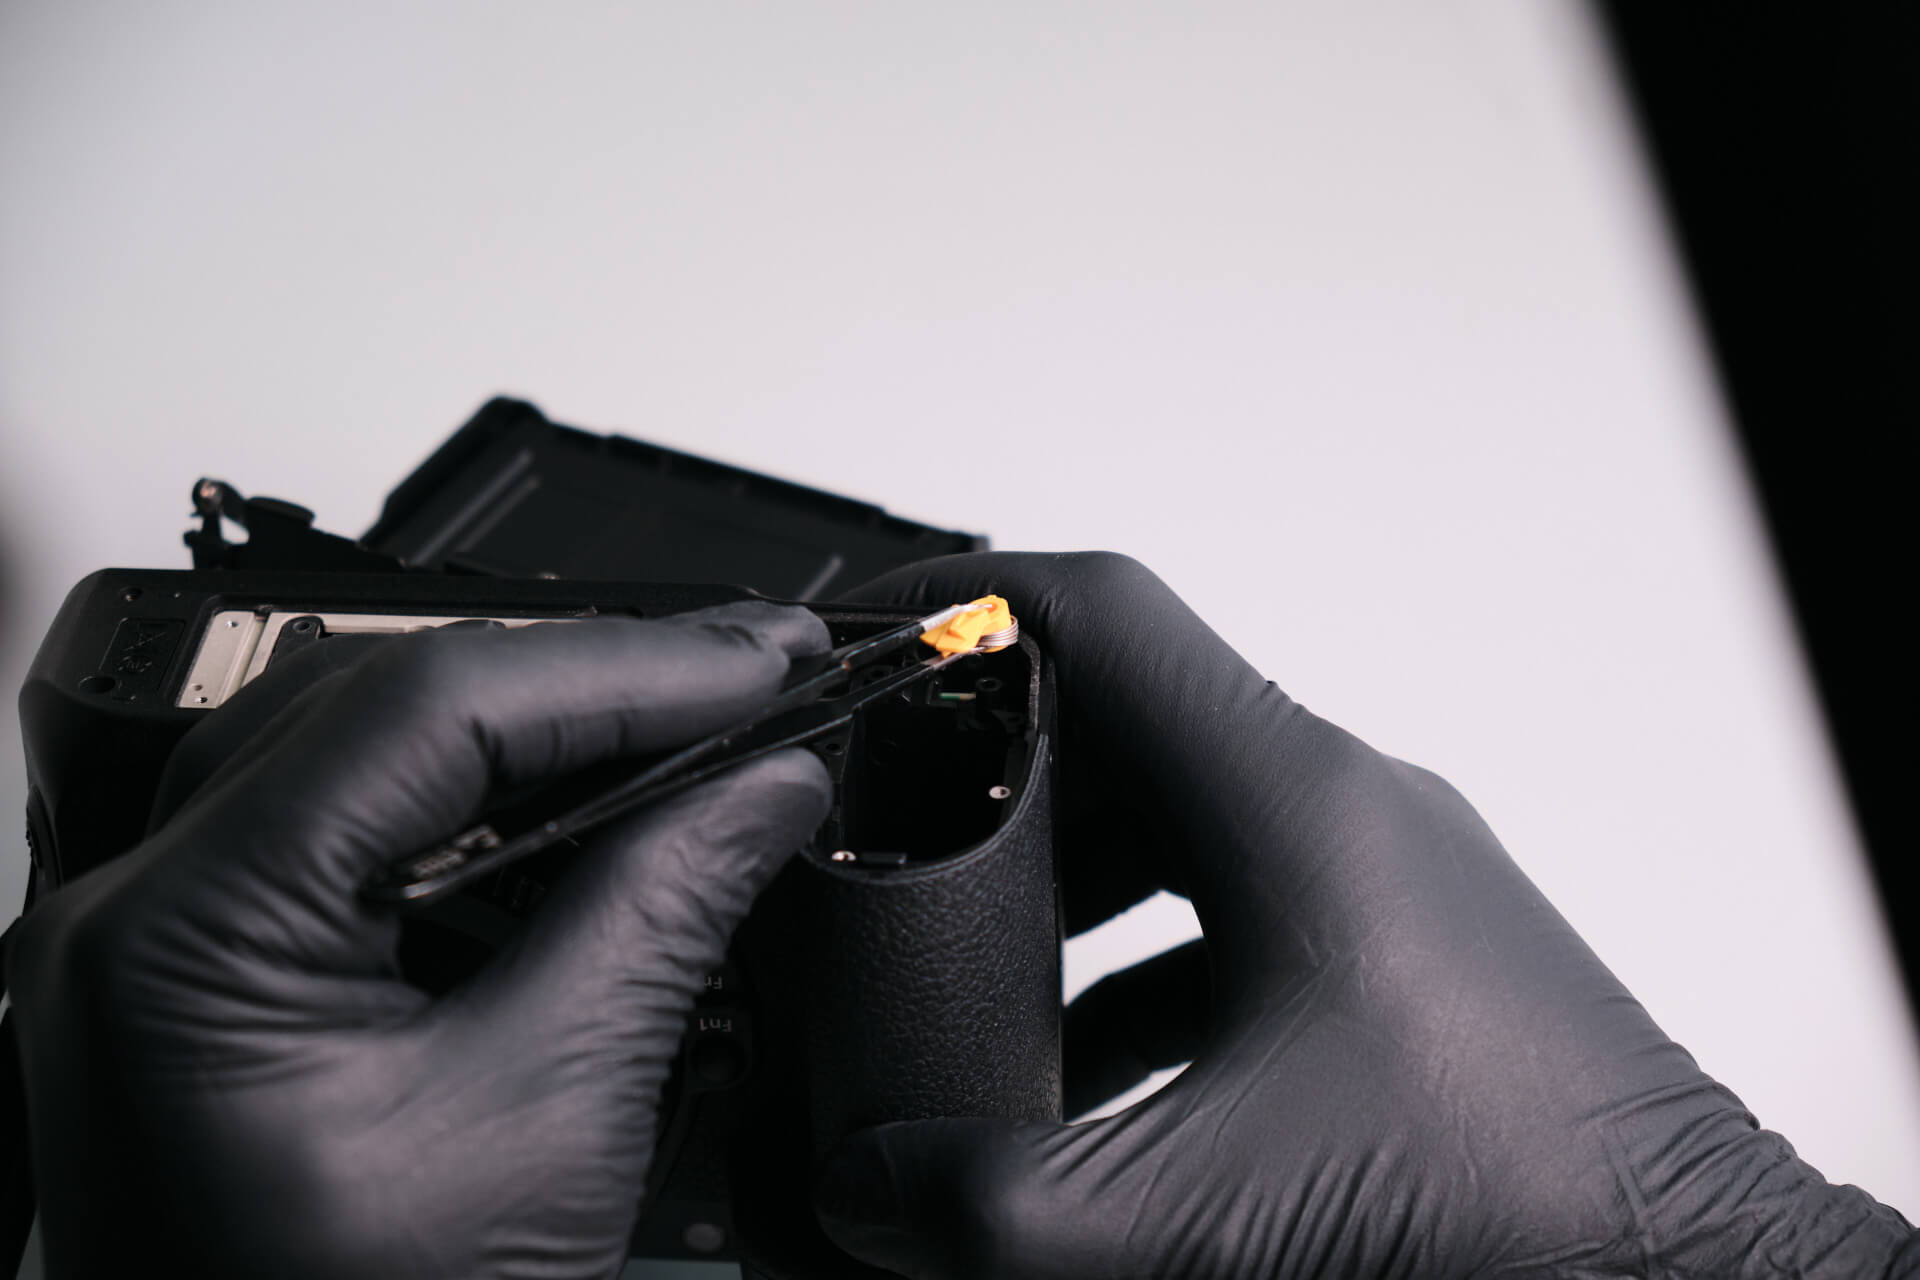
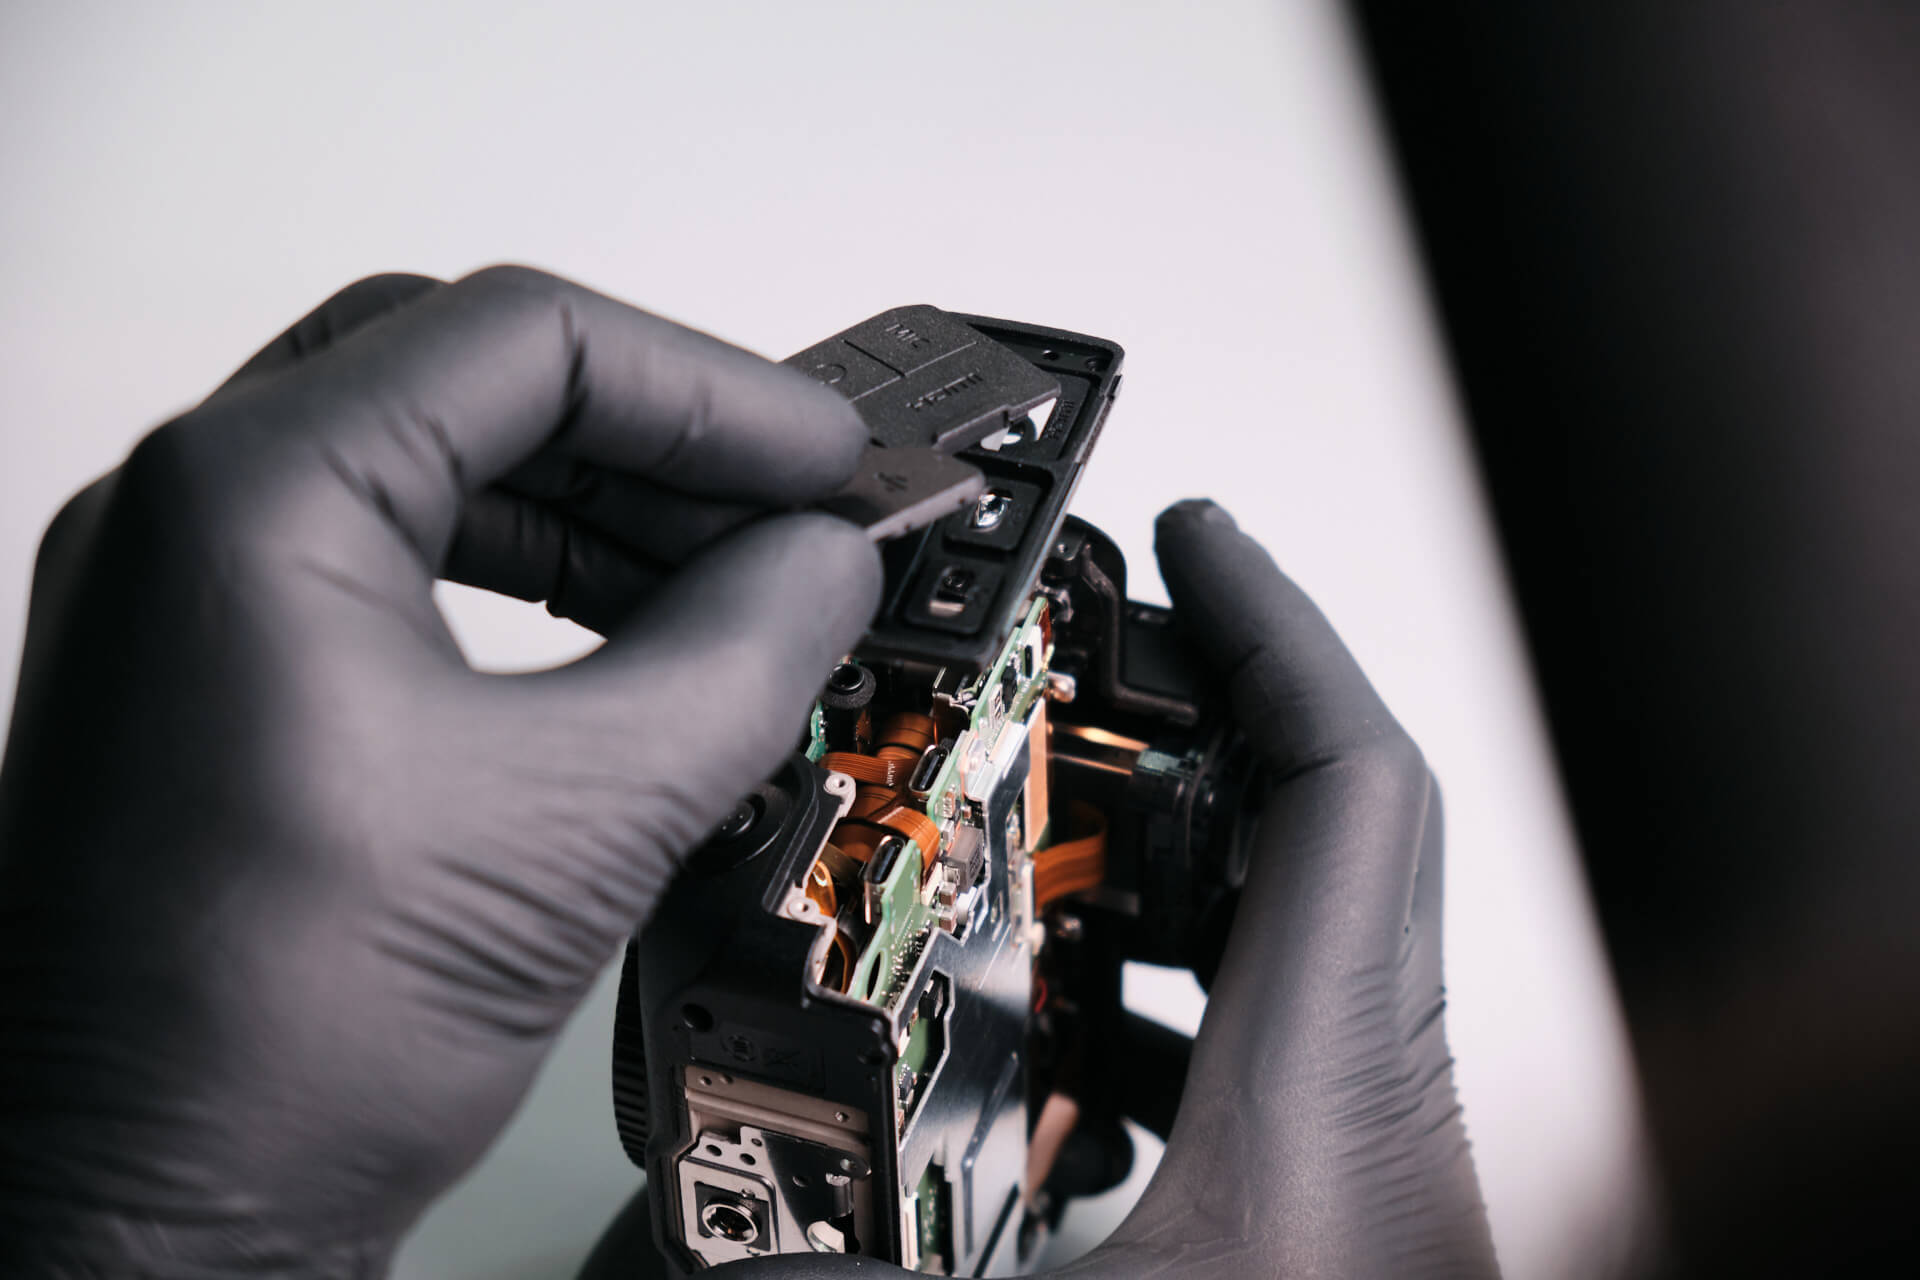
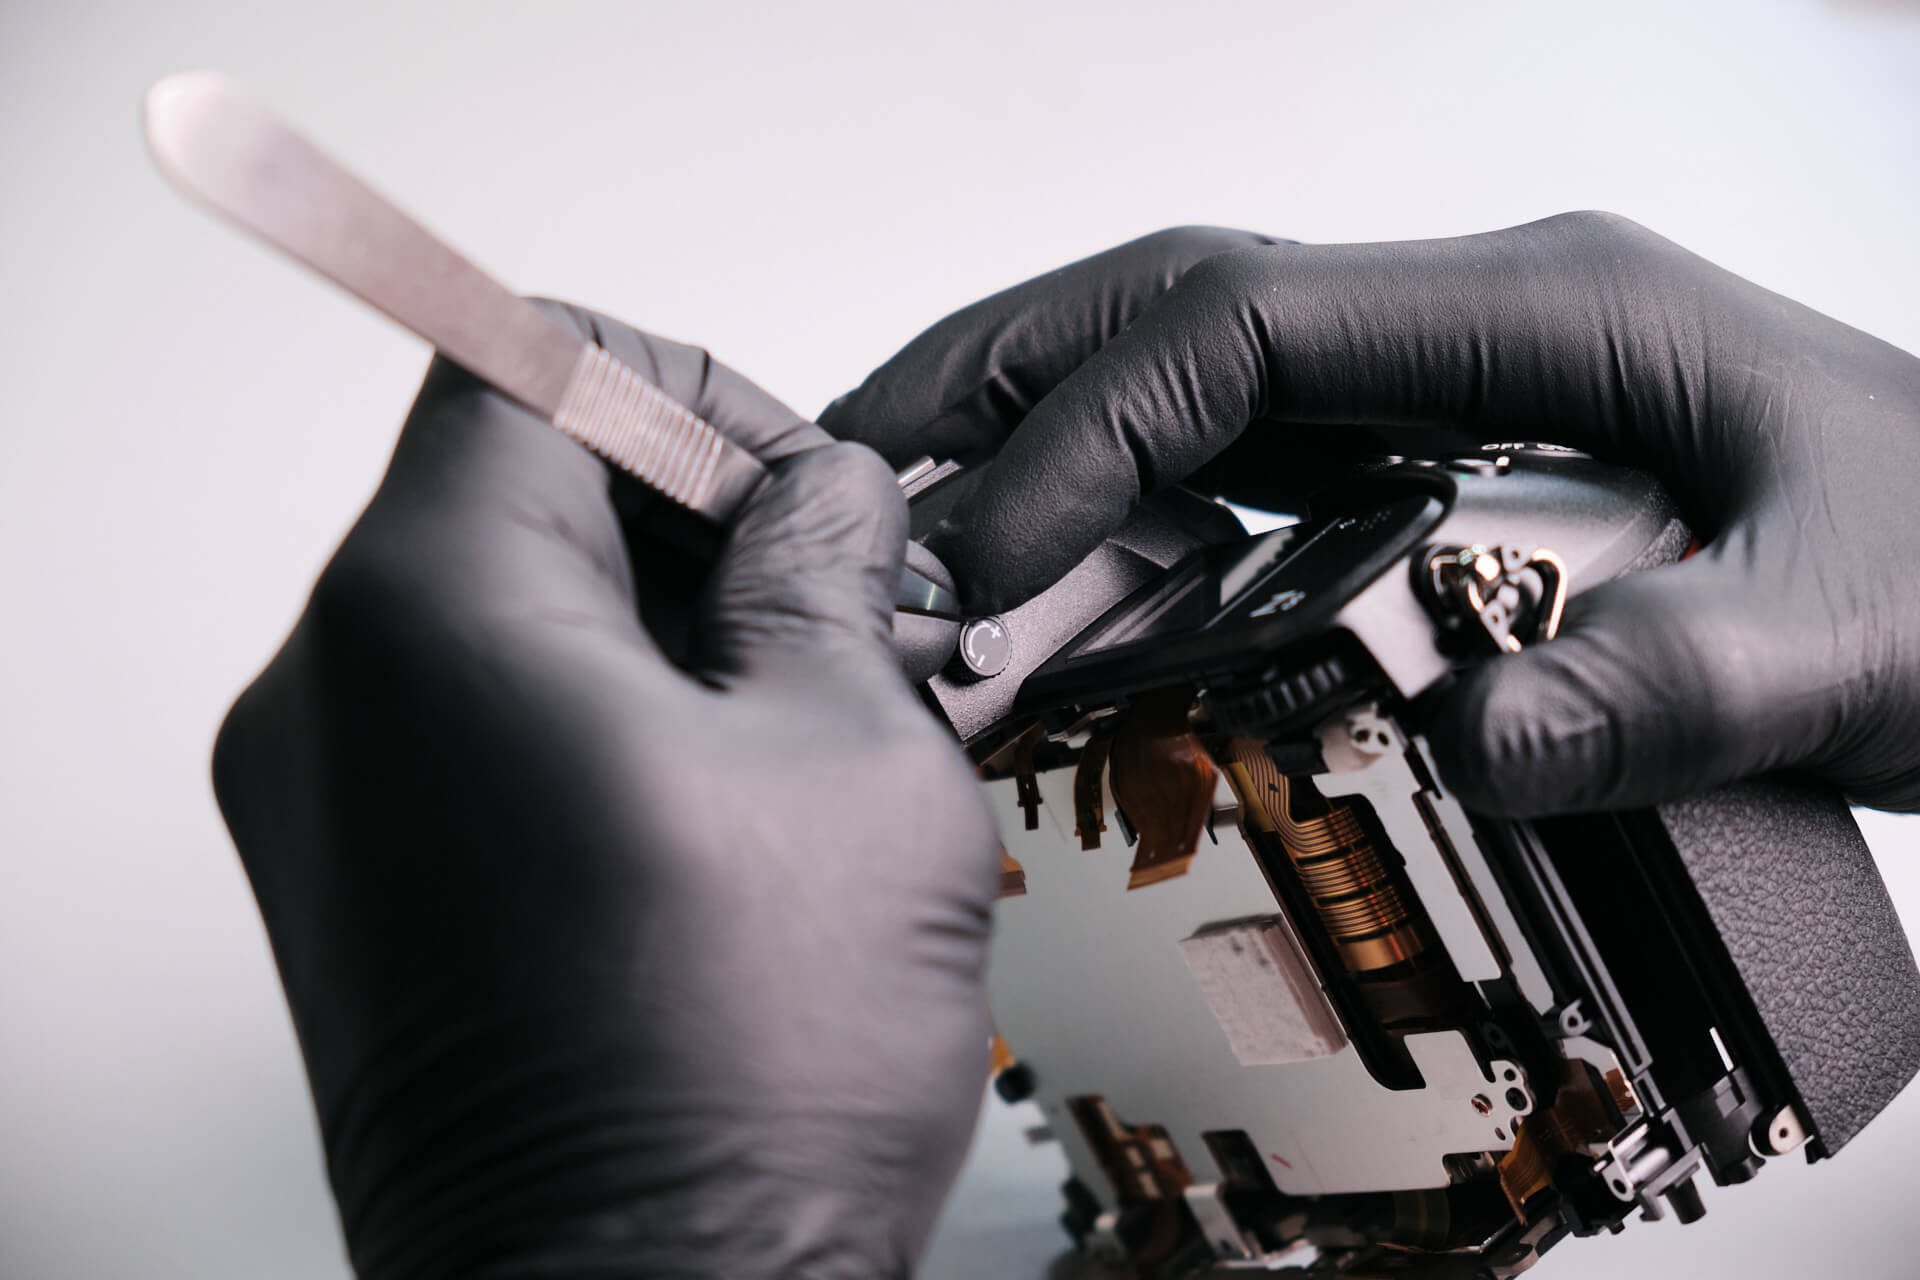
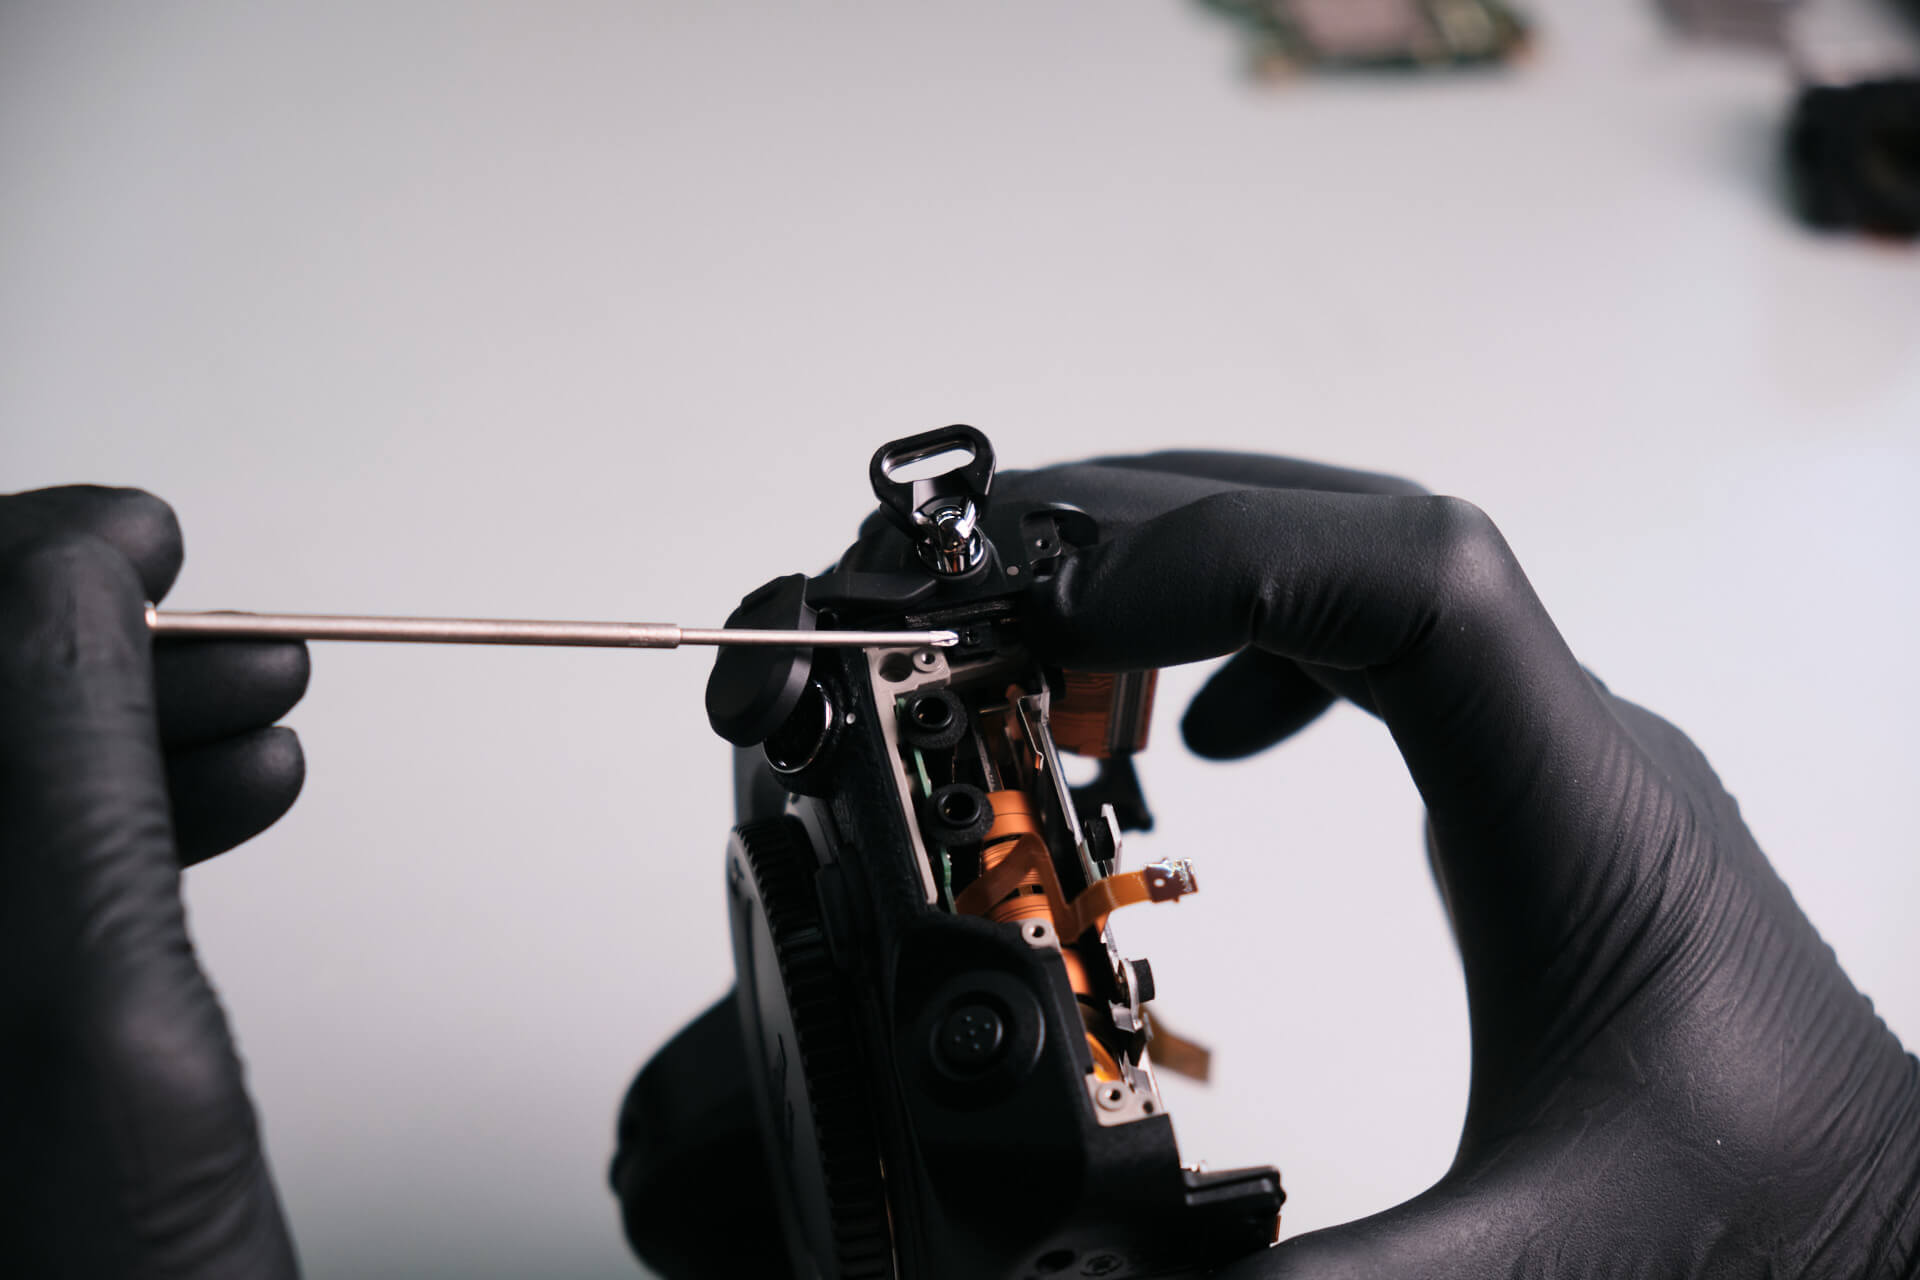
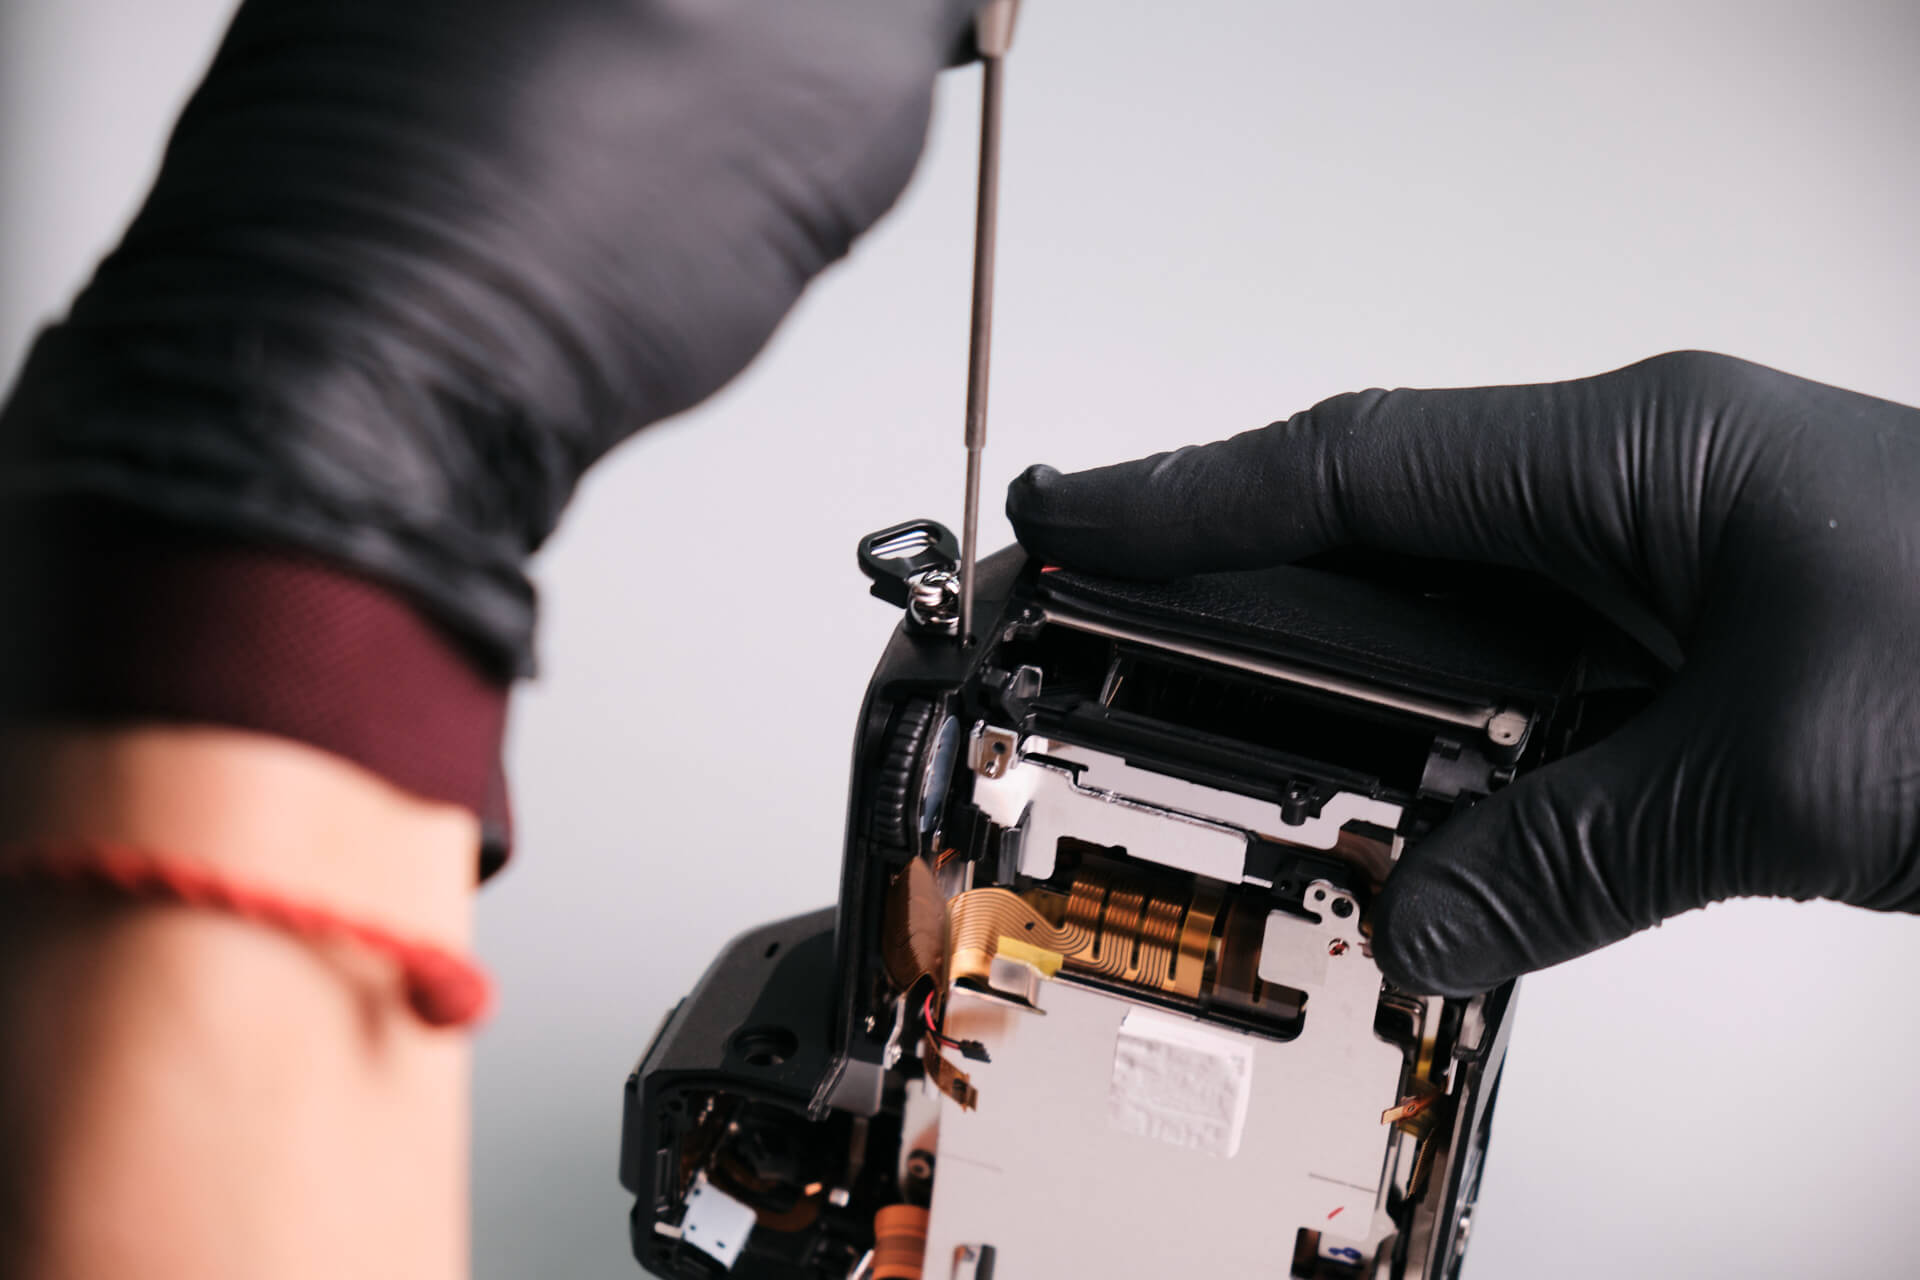
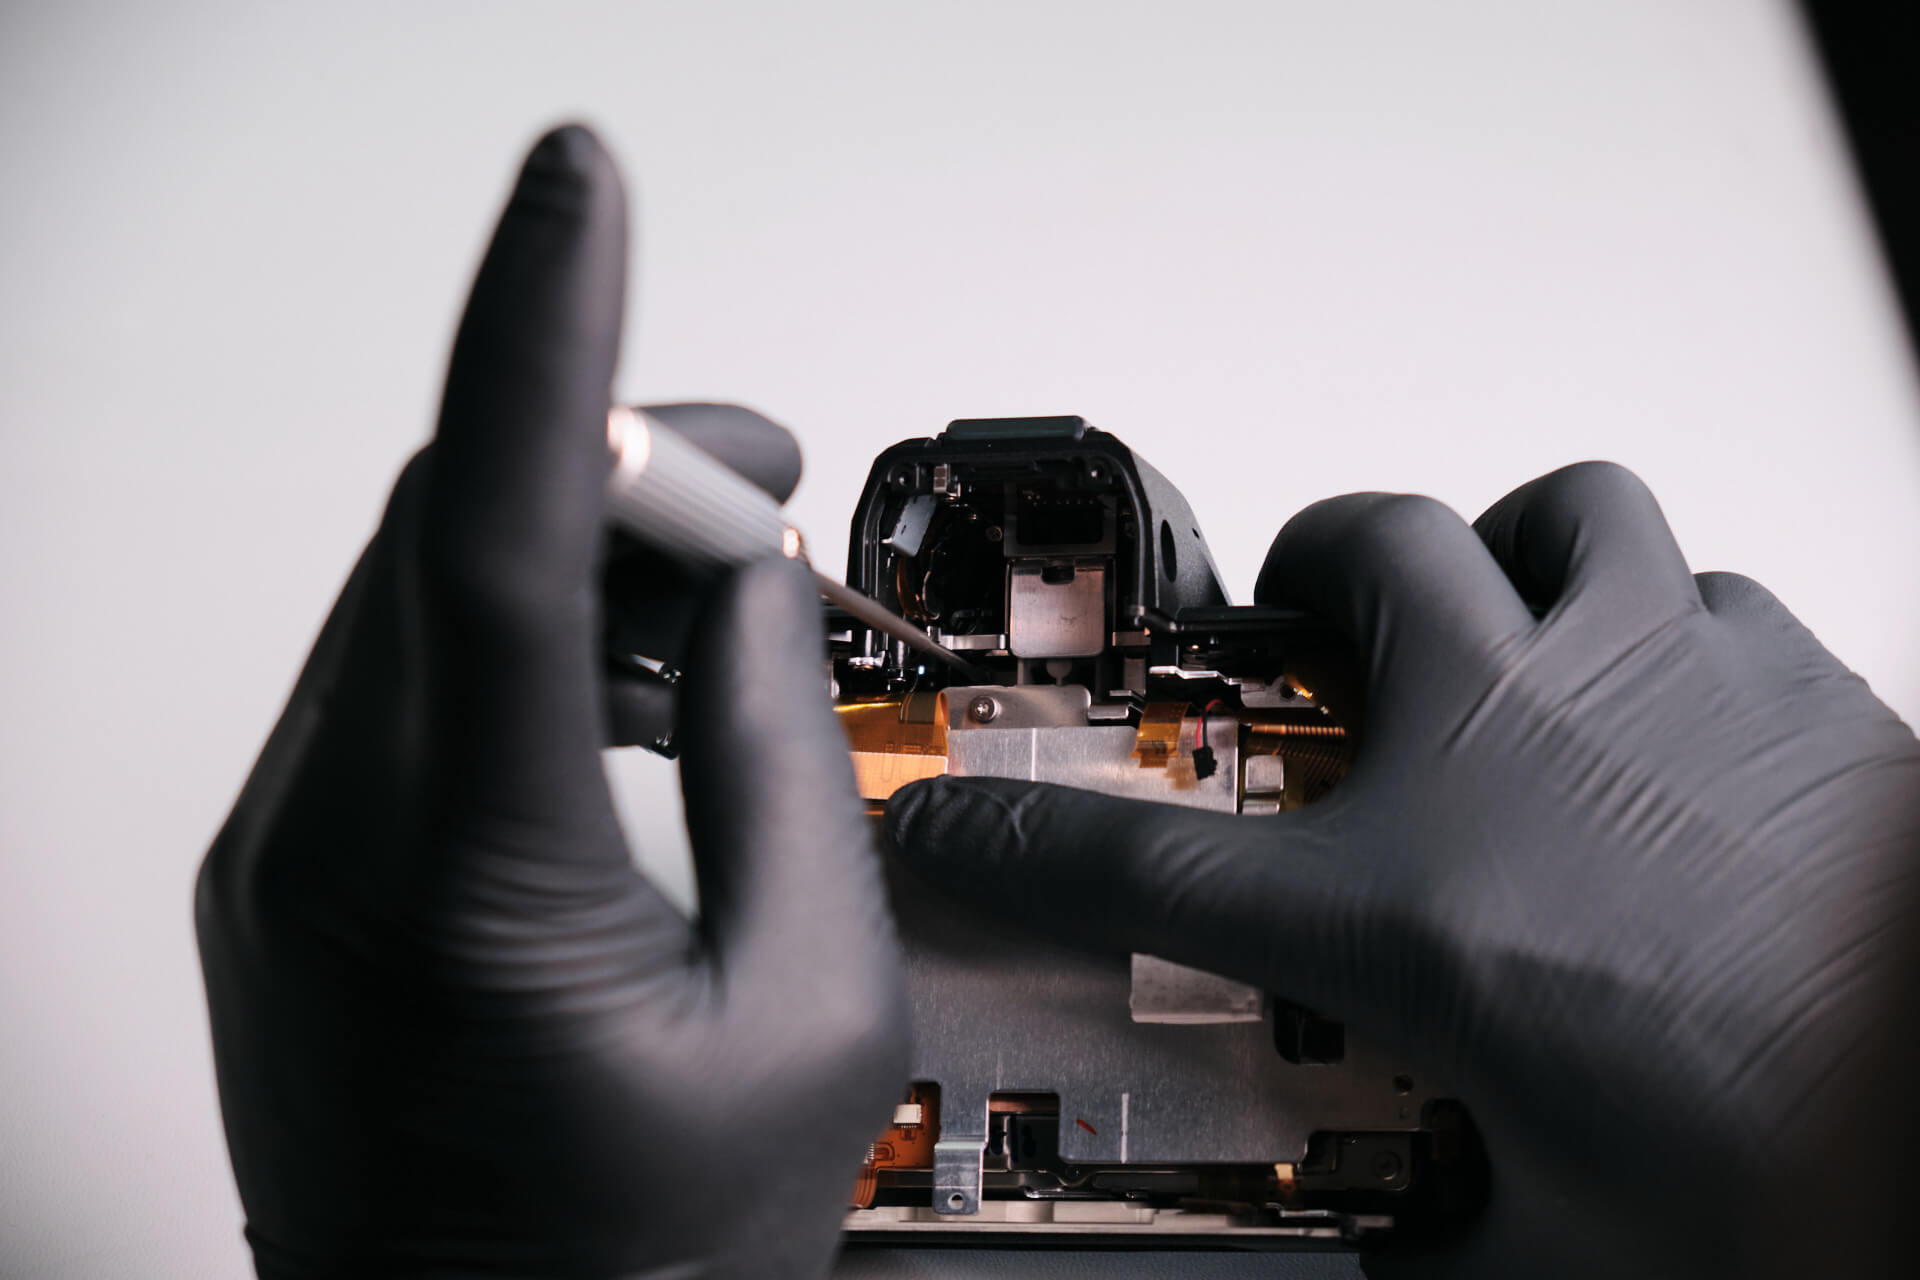
The EVF assembly was still in the camera, so we removed the diopter cover and unfastened one screw. We needed to be careful not to lose this cover because it was prone to flying—it was only held with double-sided tape.
The EVF assembly was detached.
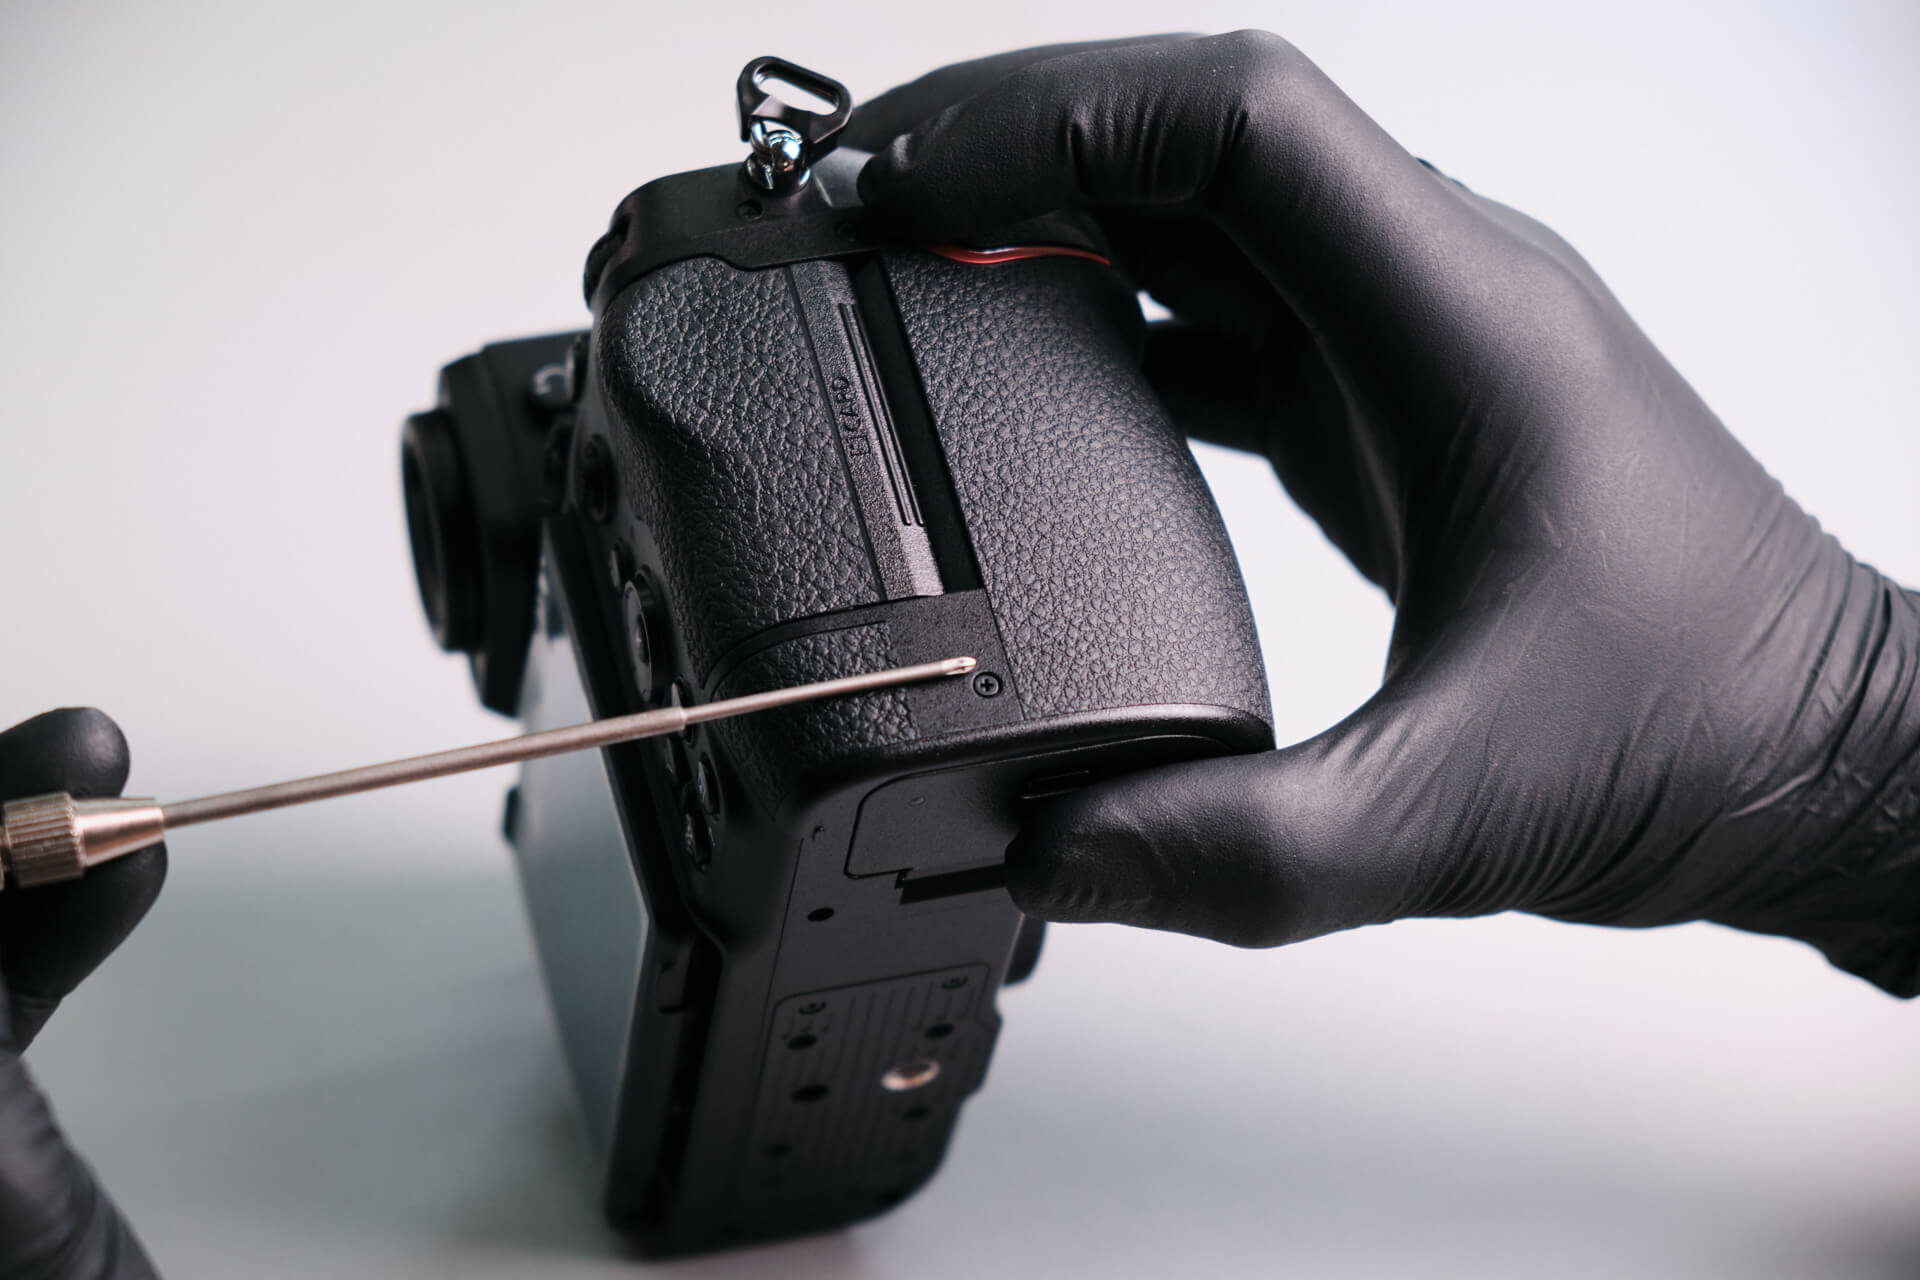
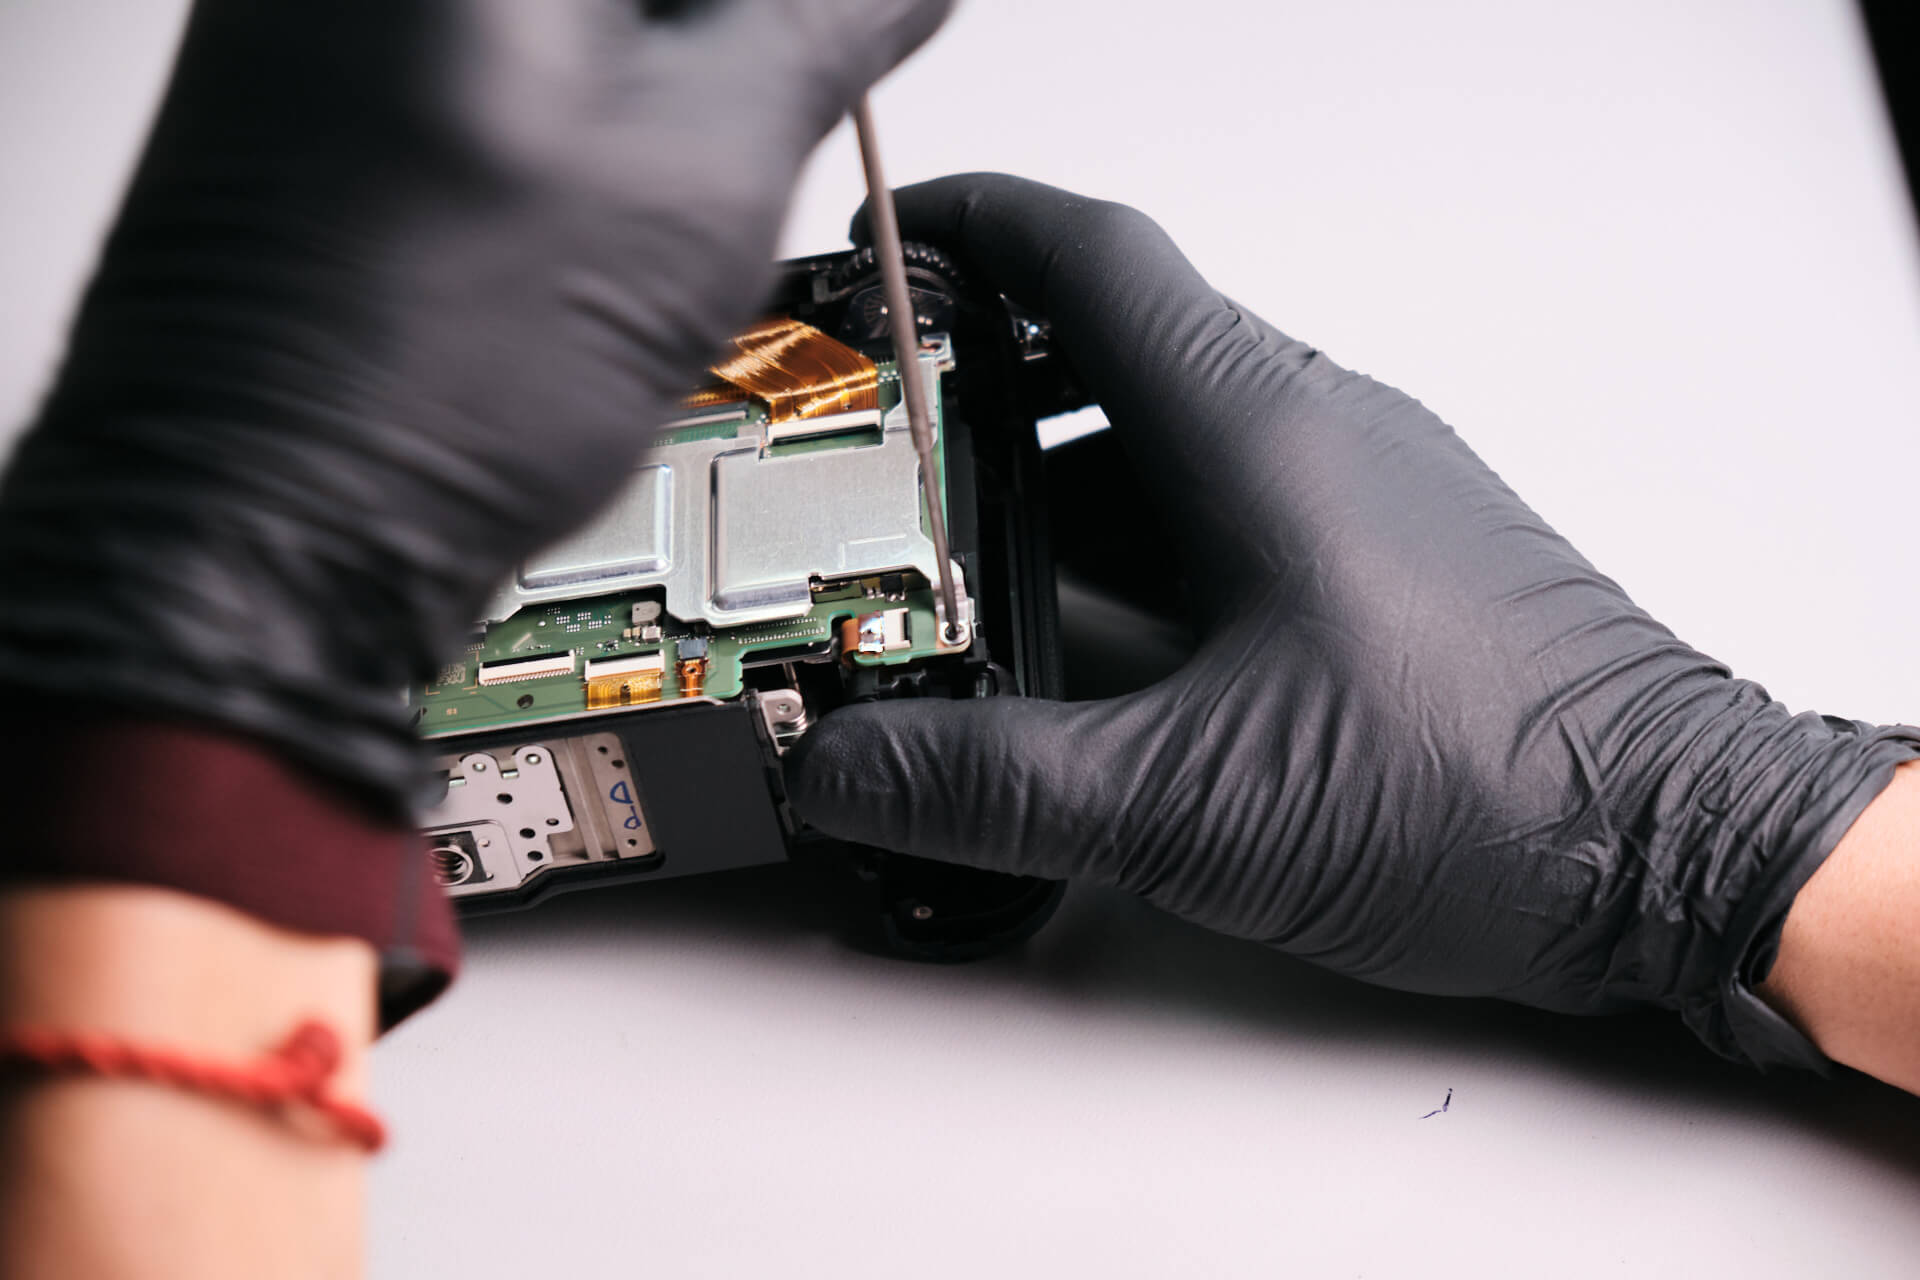
Like all Z cameras, the top panel must be removed to access the sensor. However, we turned the camera back to the port side and removed one screw. We will get to the top panel later in the article.
After further inspection, a hidden screw in the battery compartment needed to be removed.
There was a screw above the memory card slot by the right side of the back of the camera.
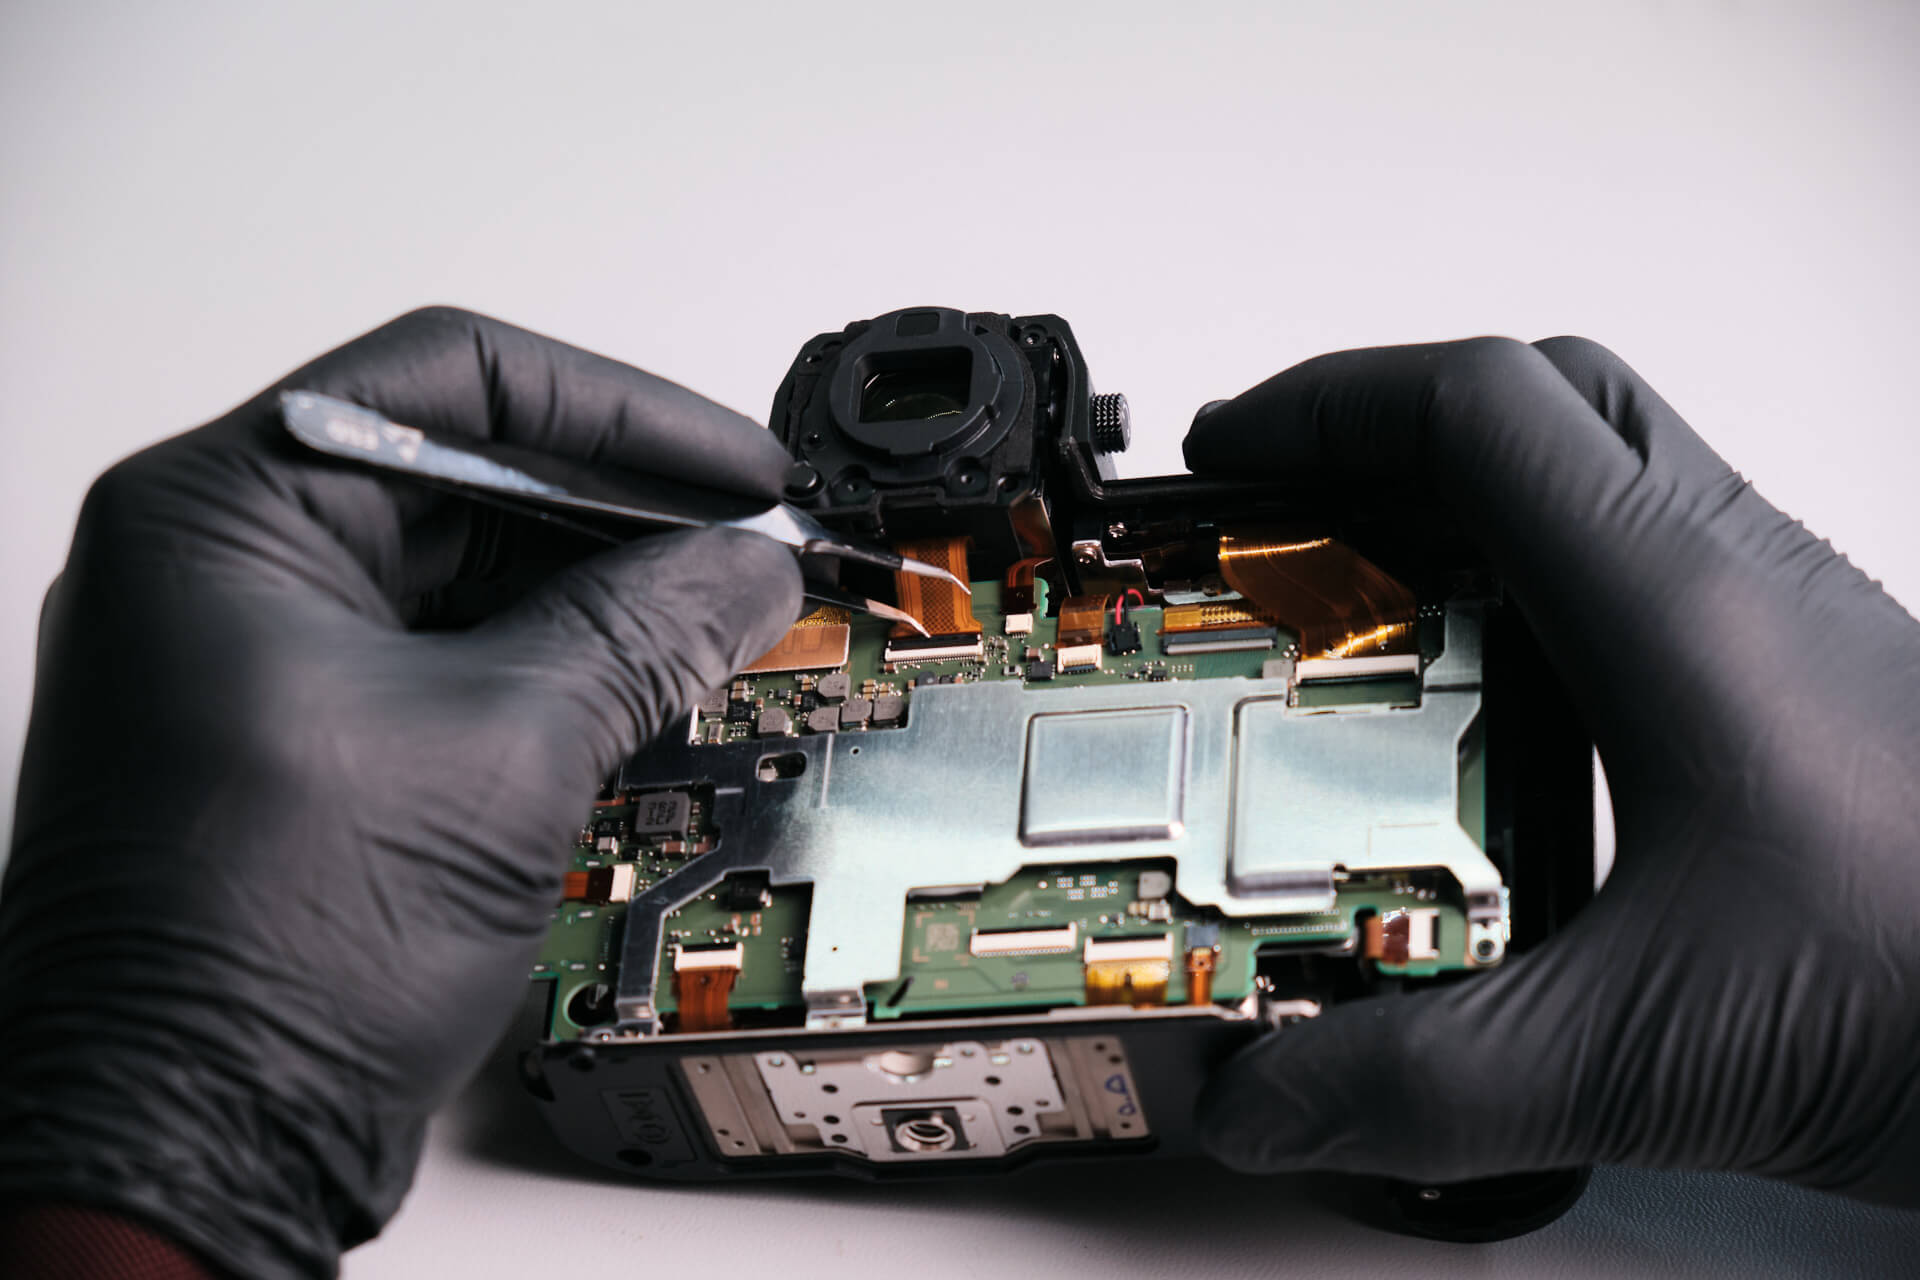
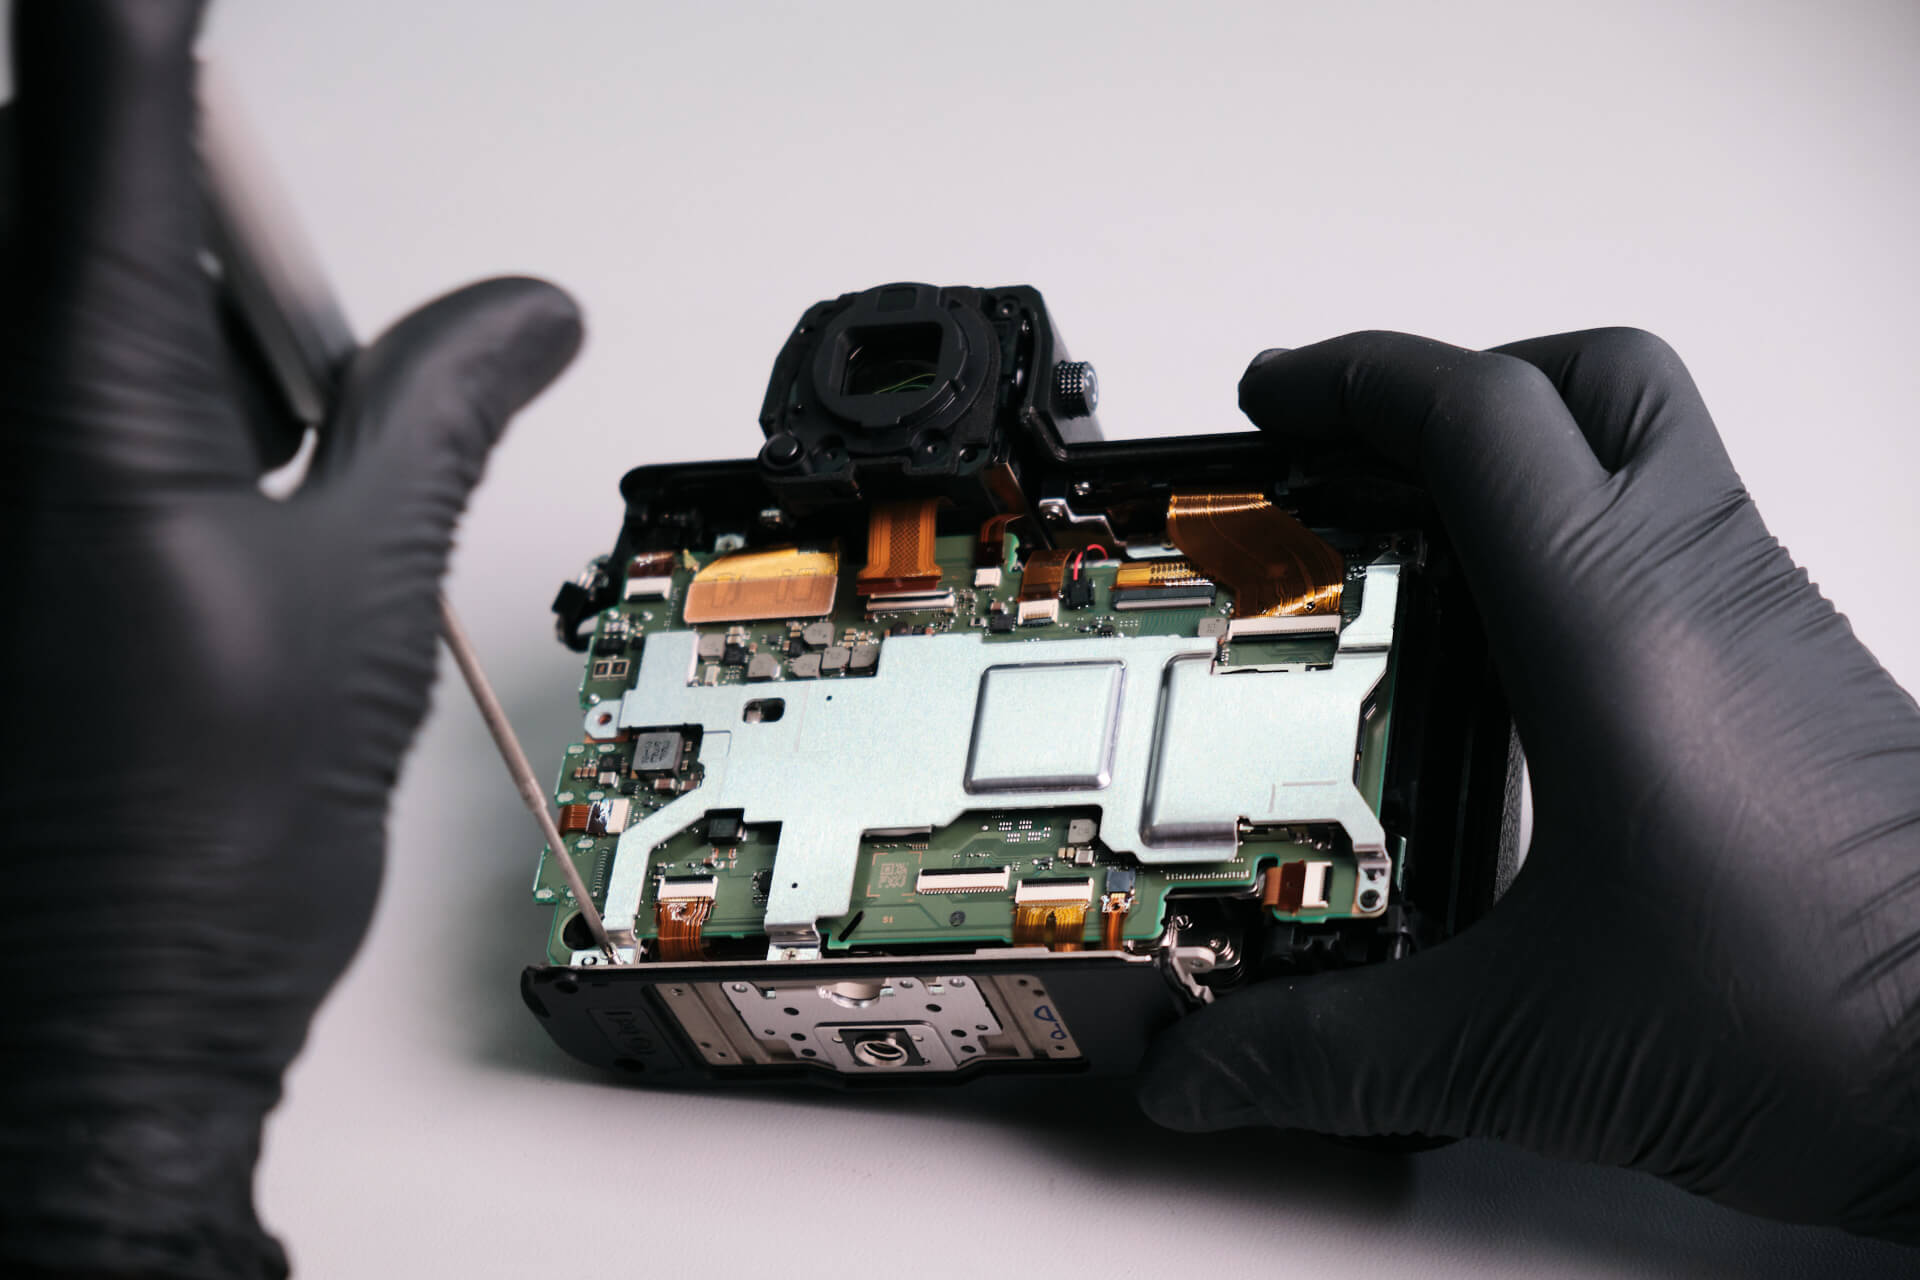
We found five screws tightened to the circuit board plate frame.
The top panel wouldn’t come off—usually, we would find two screws underneath the rubber on the front of the camera that holds the top panel in place, but we didn’t find any at this time. In the meantime, we removed the front lens mount, lens mount shims, and rubber grip.
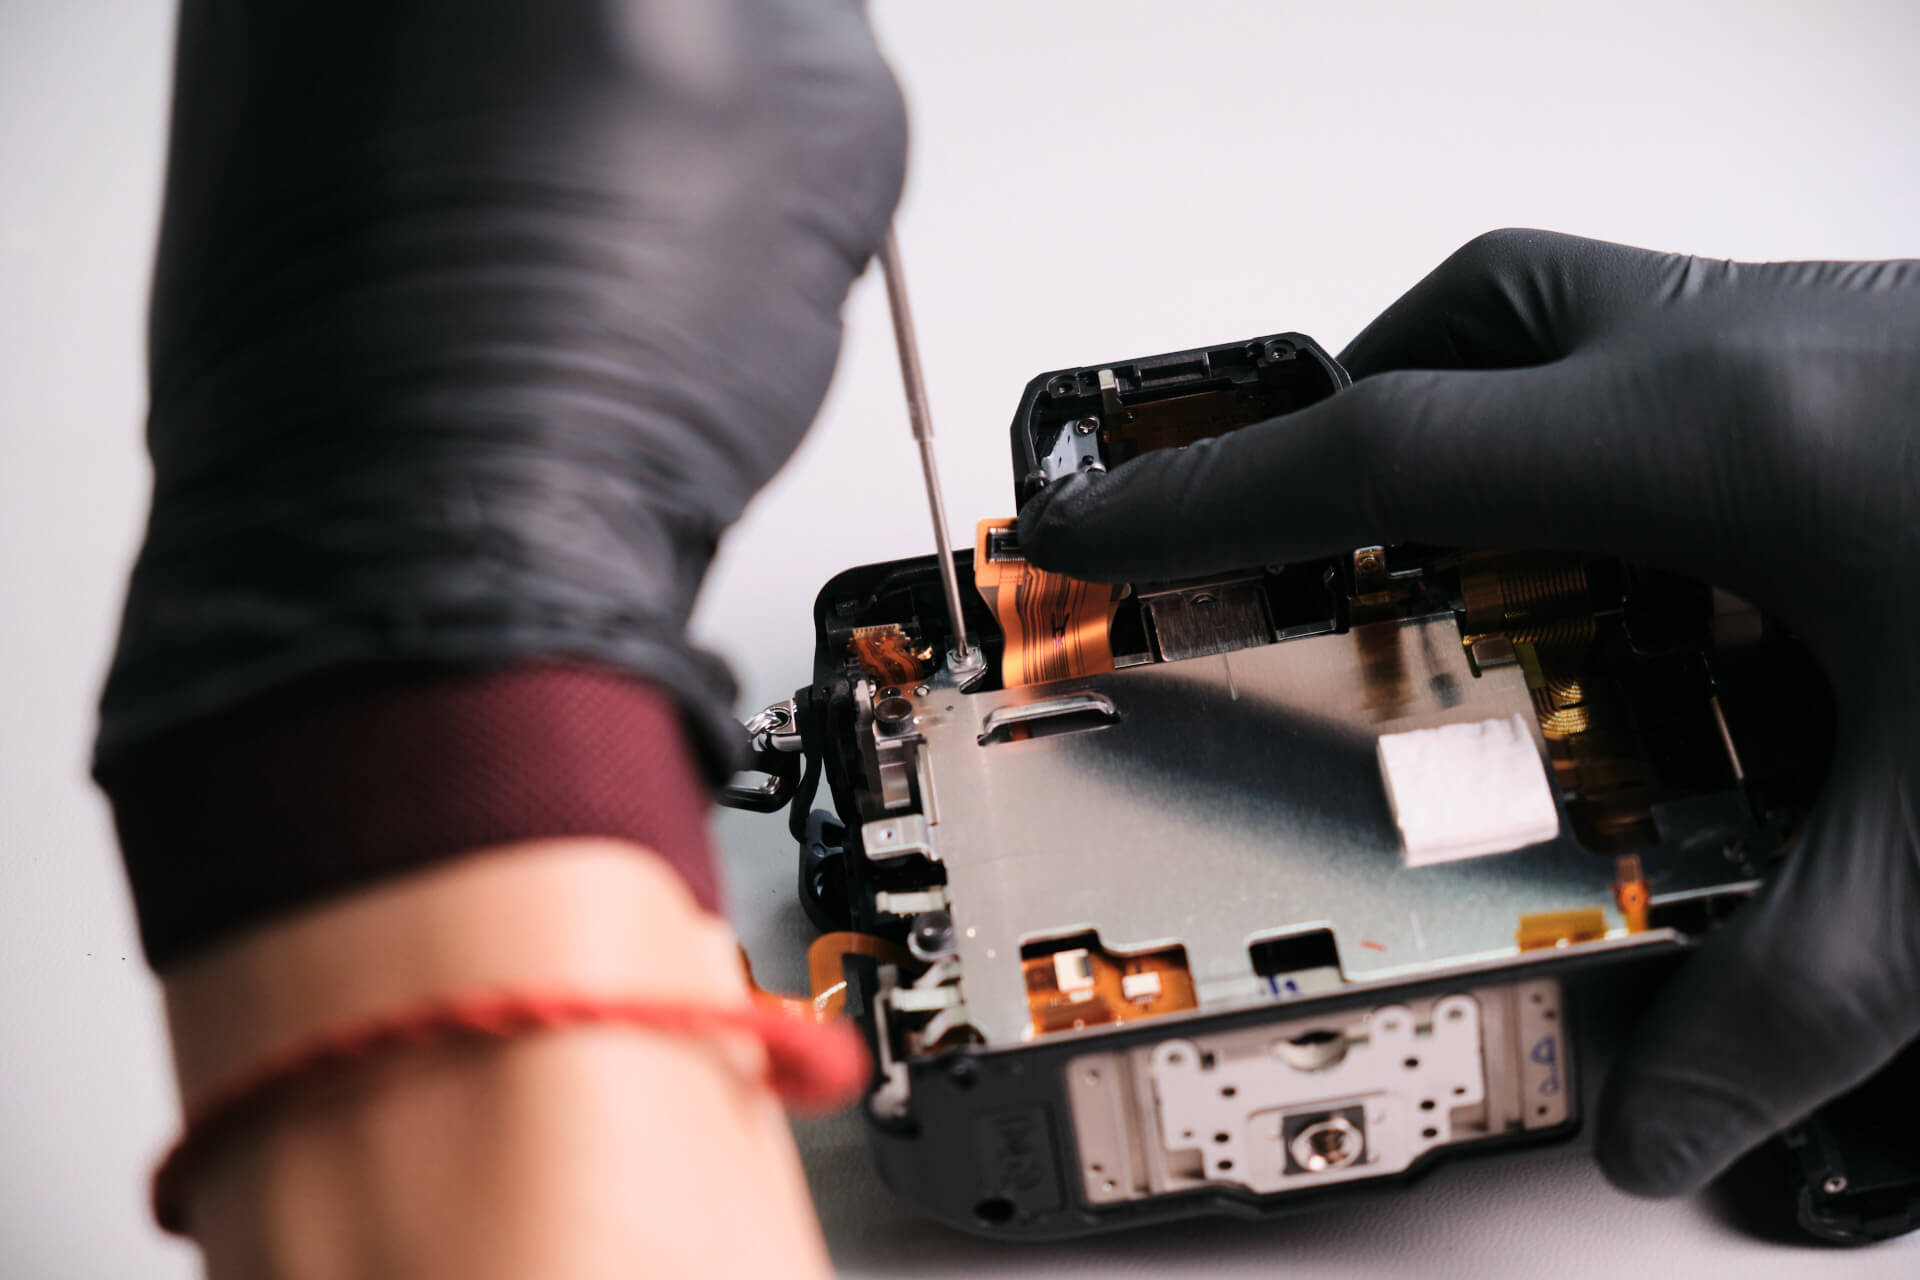
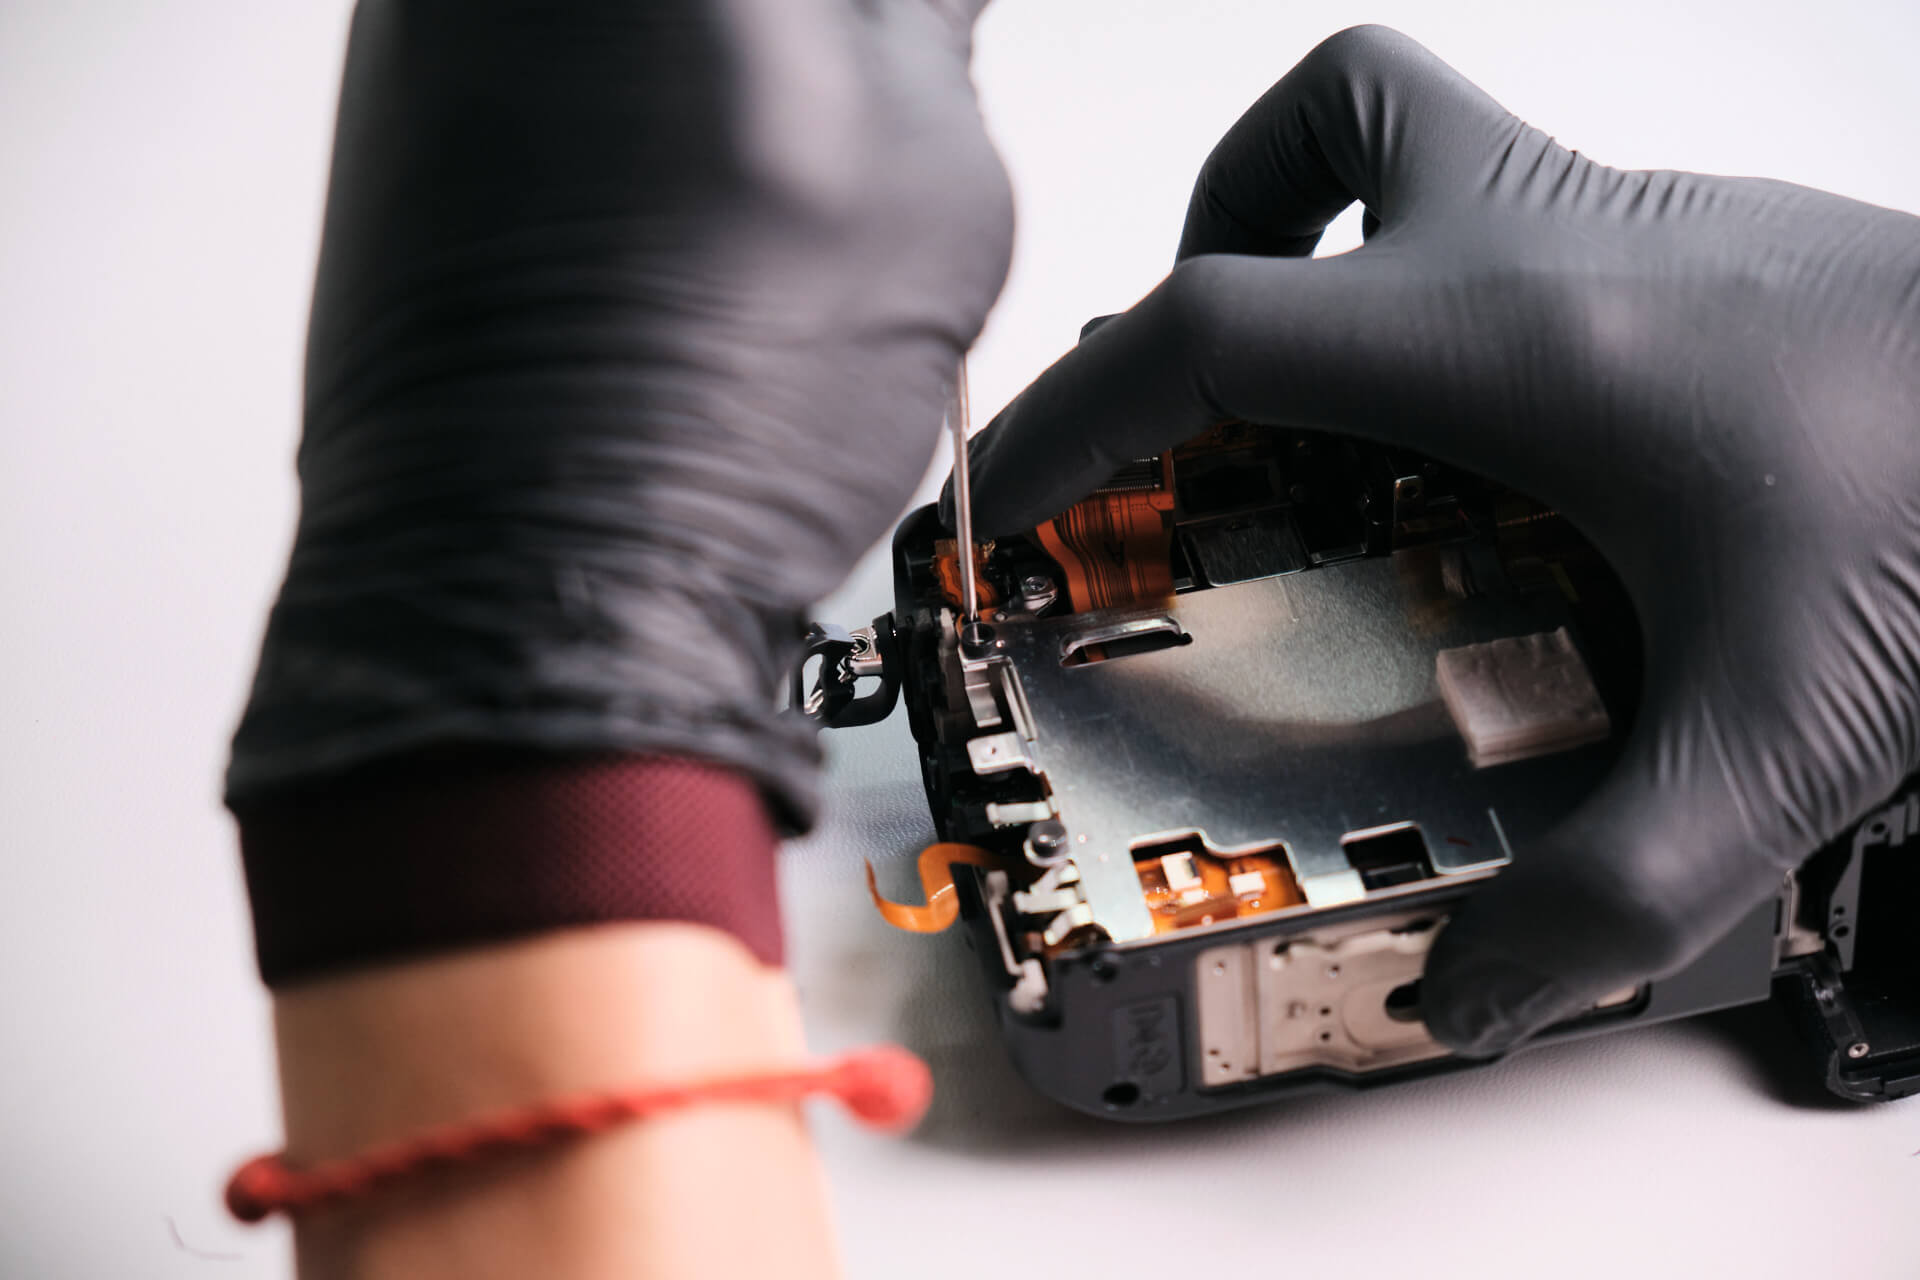
In the back of the camera, we found three hidden screws just above the sensor.
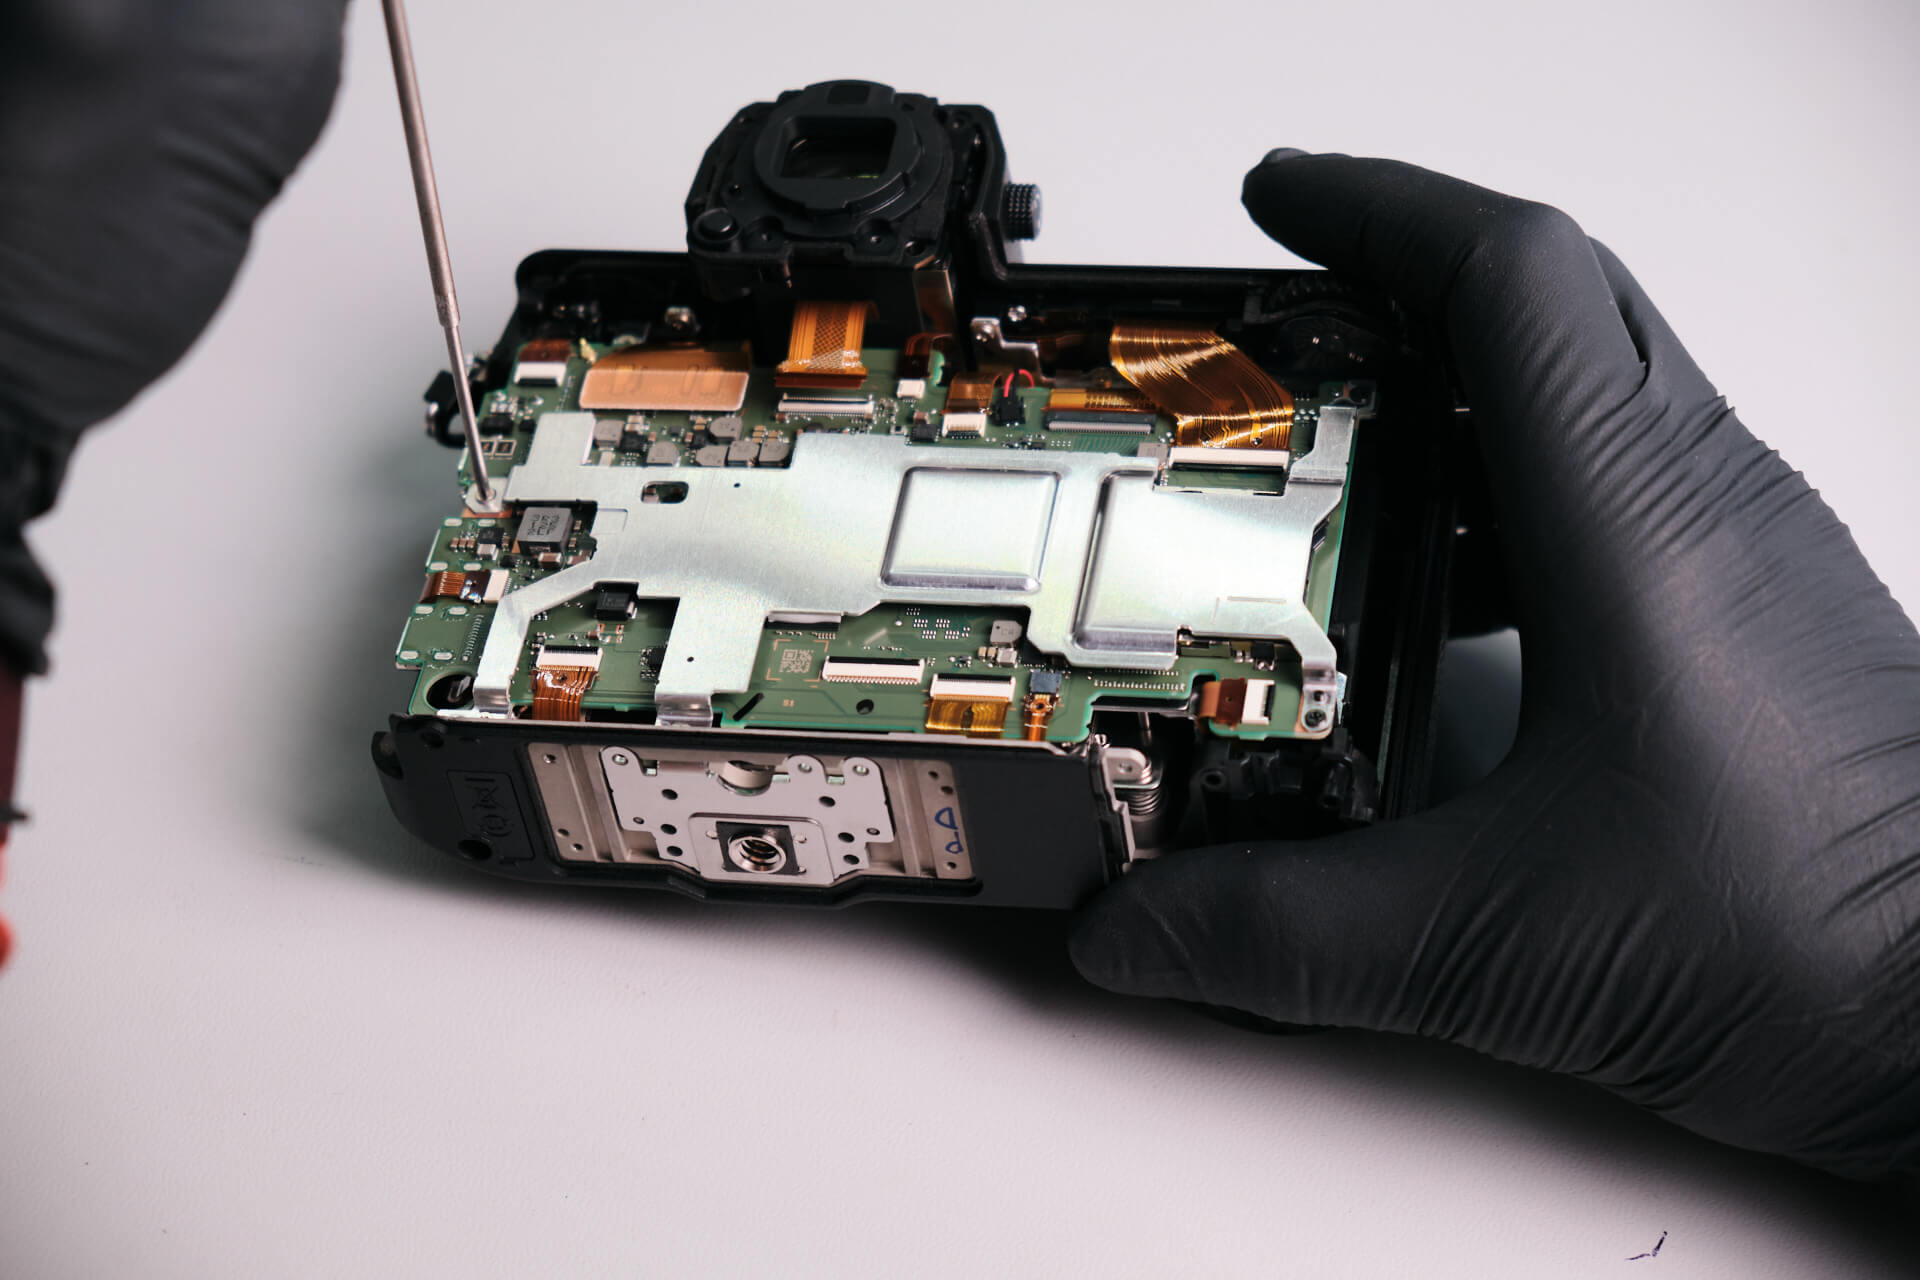
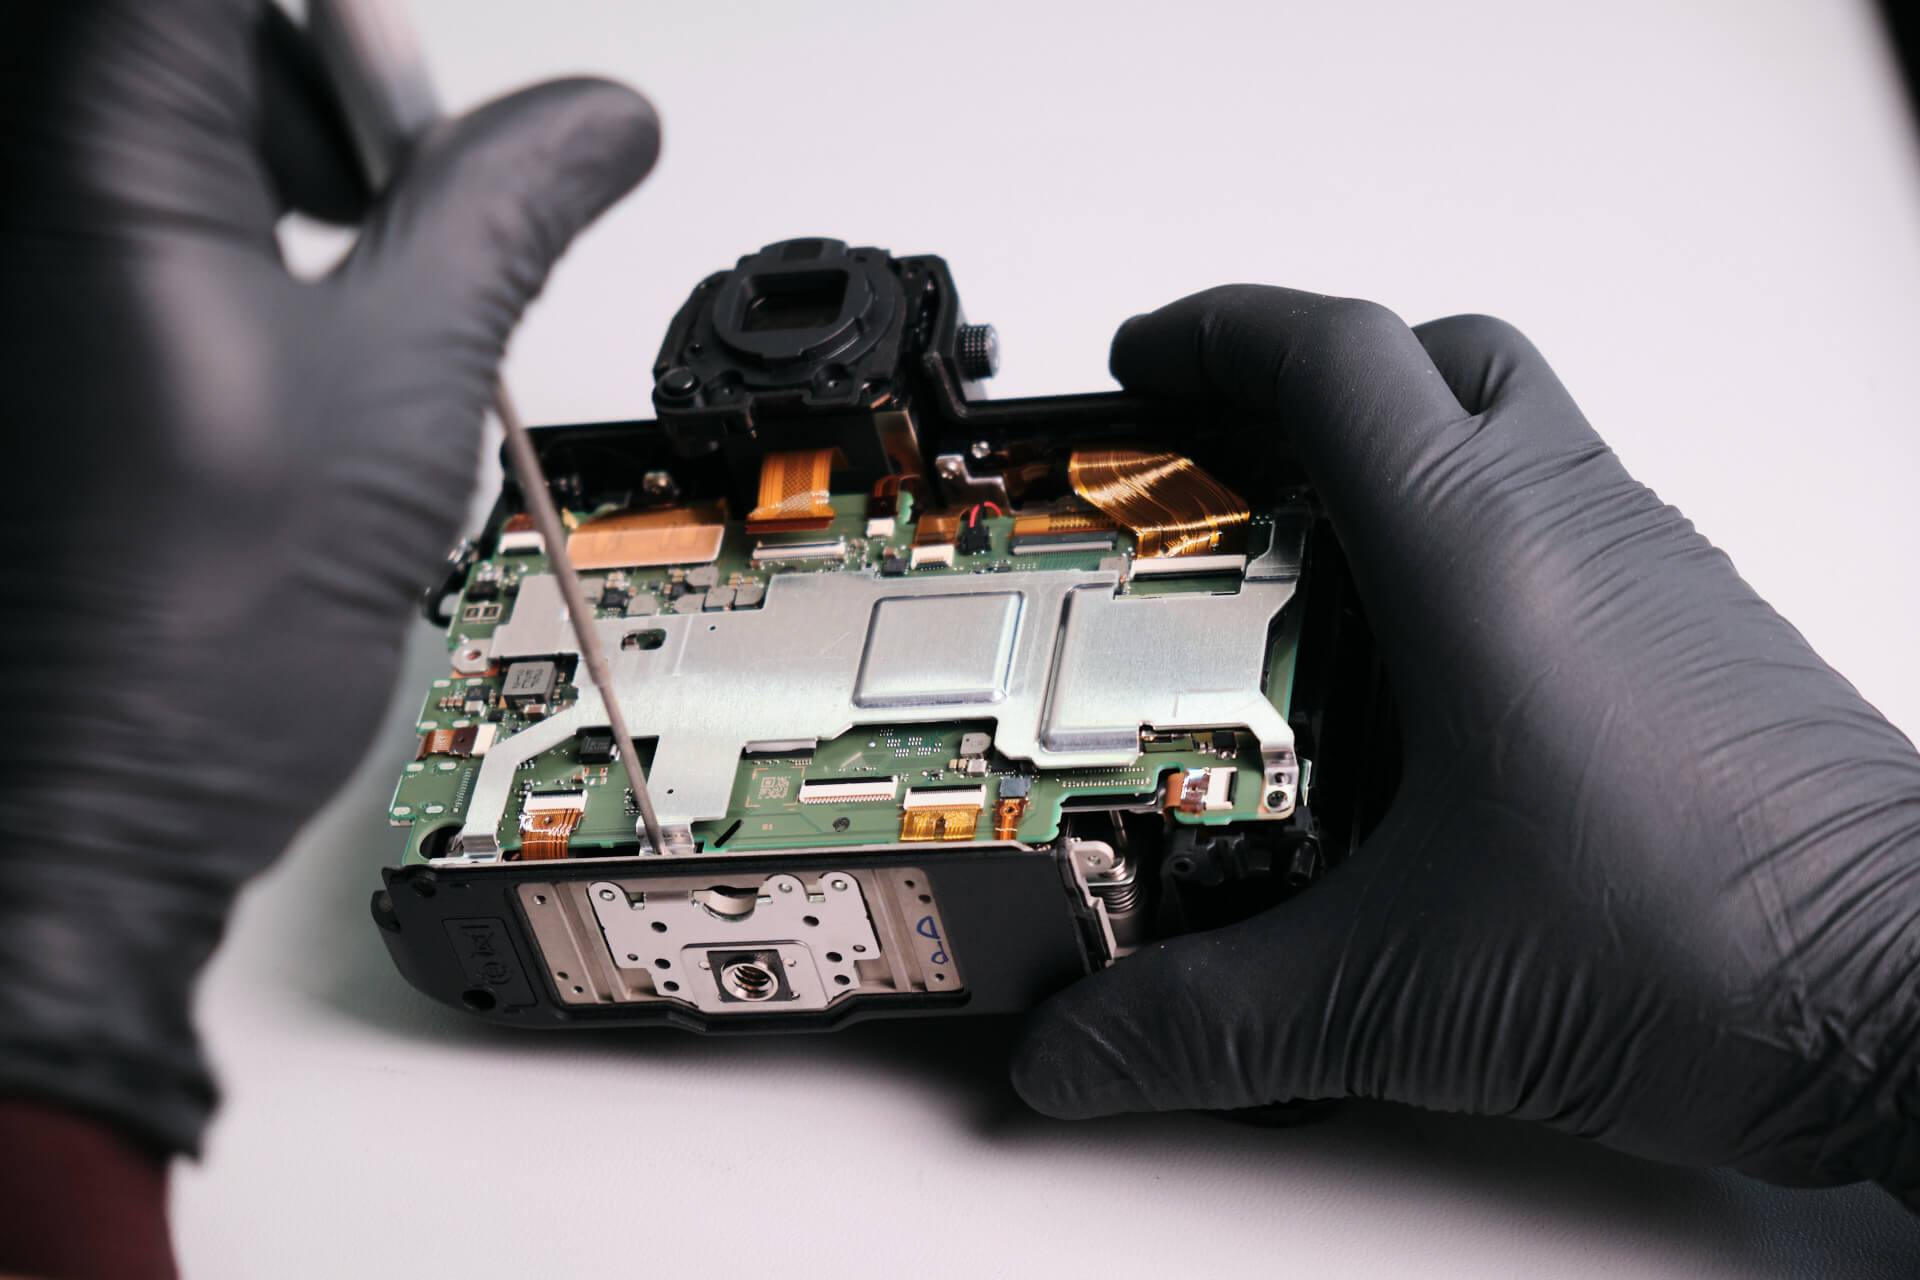
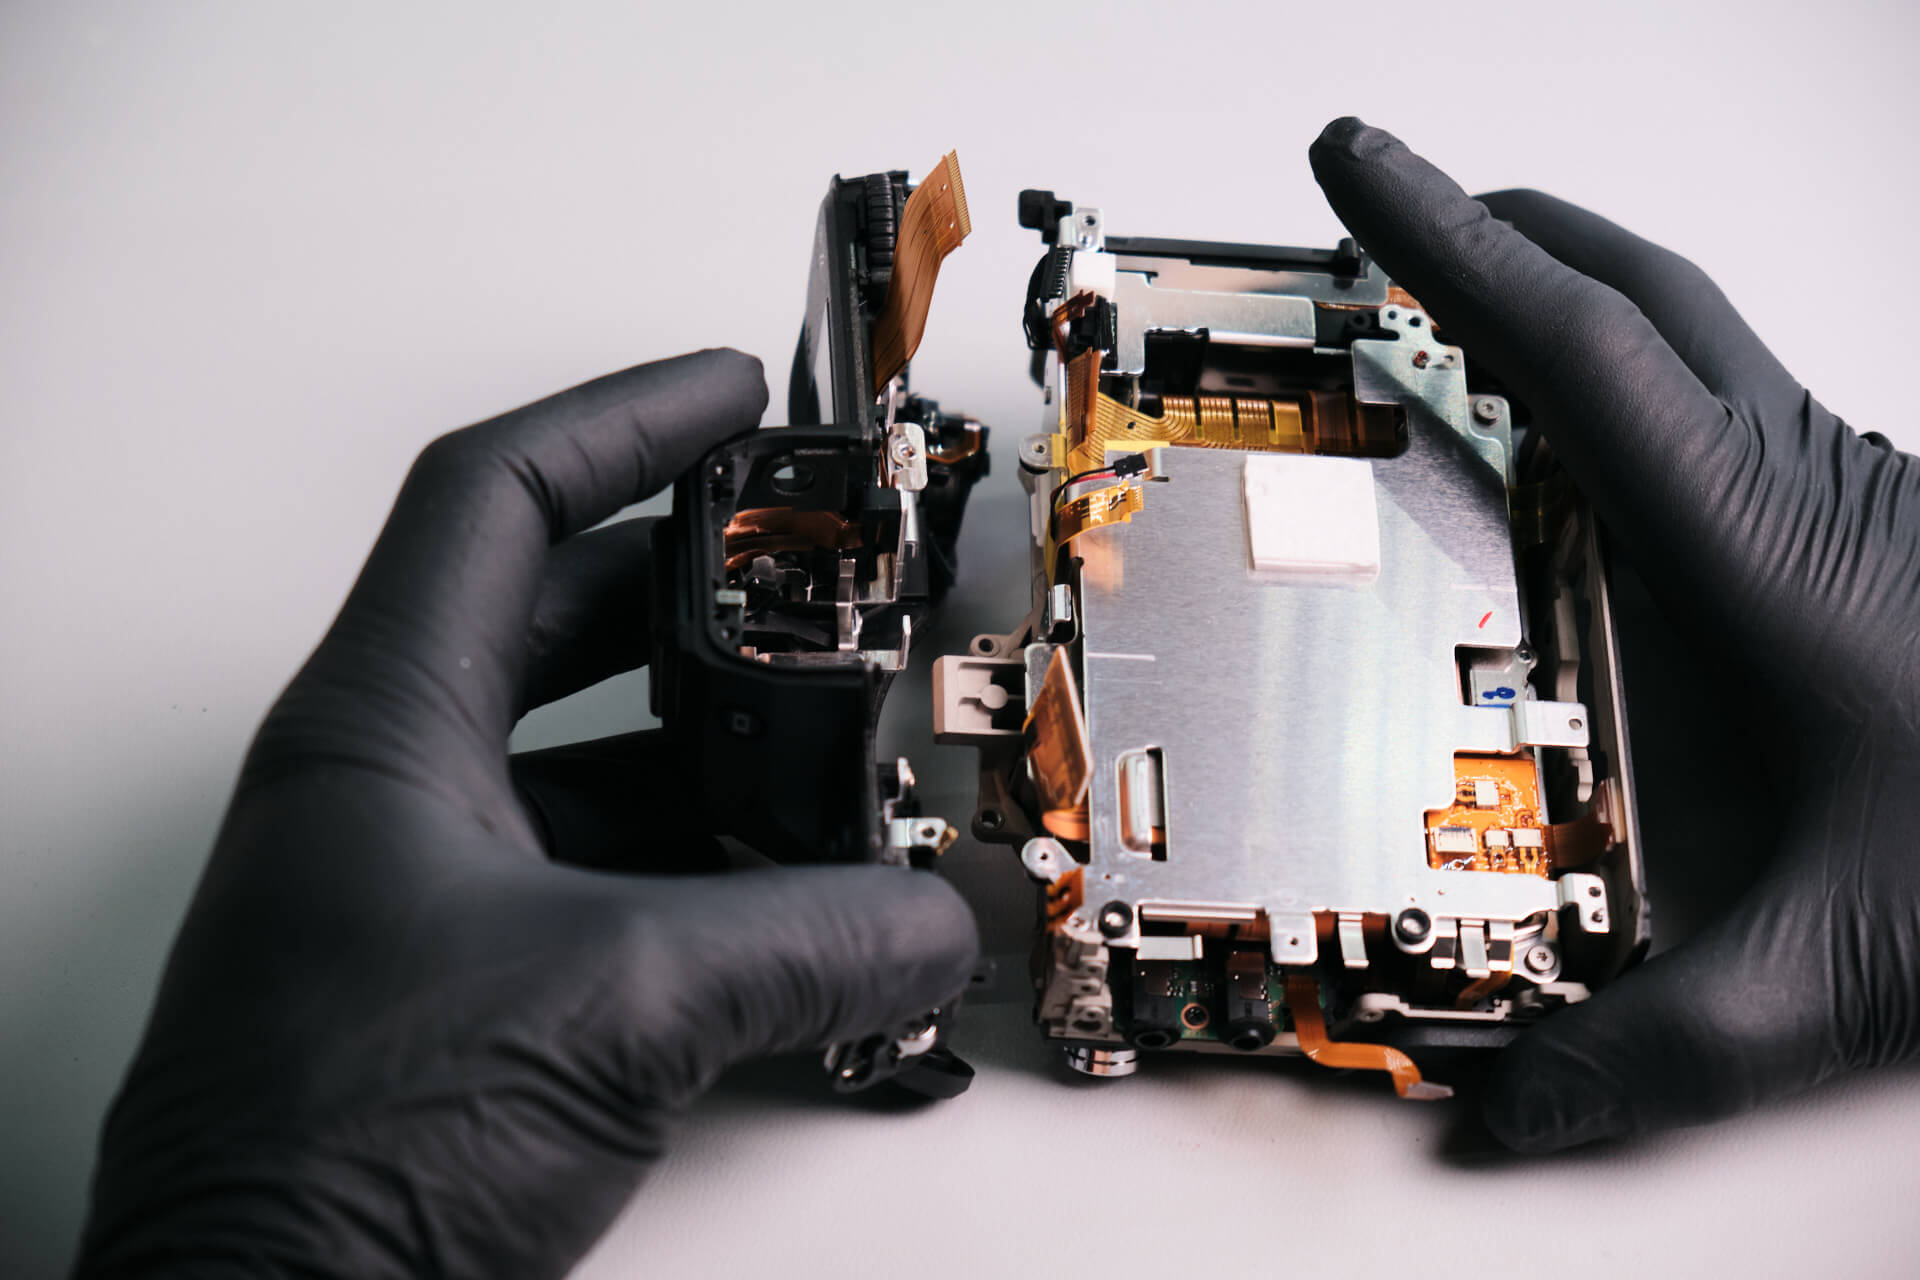
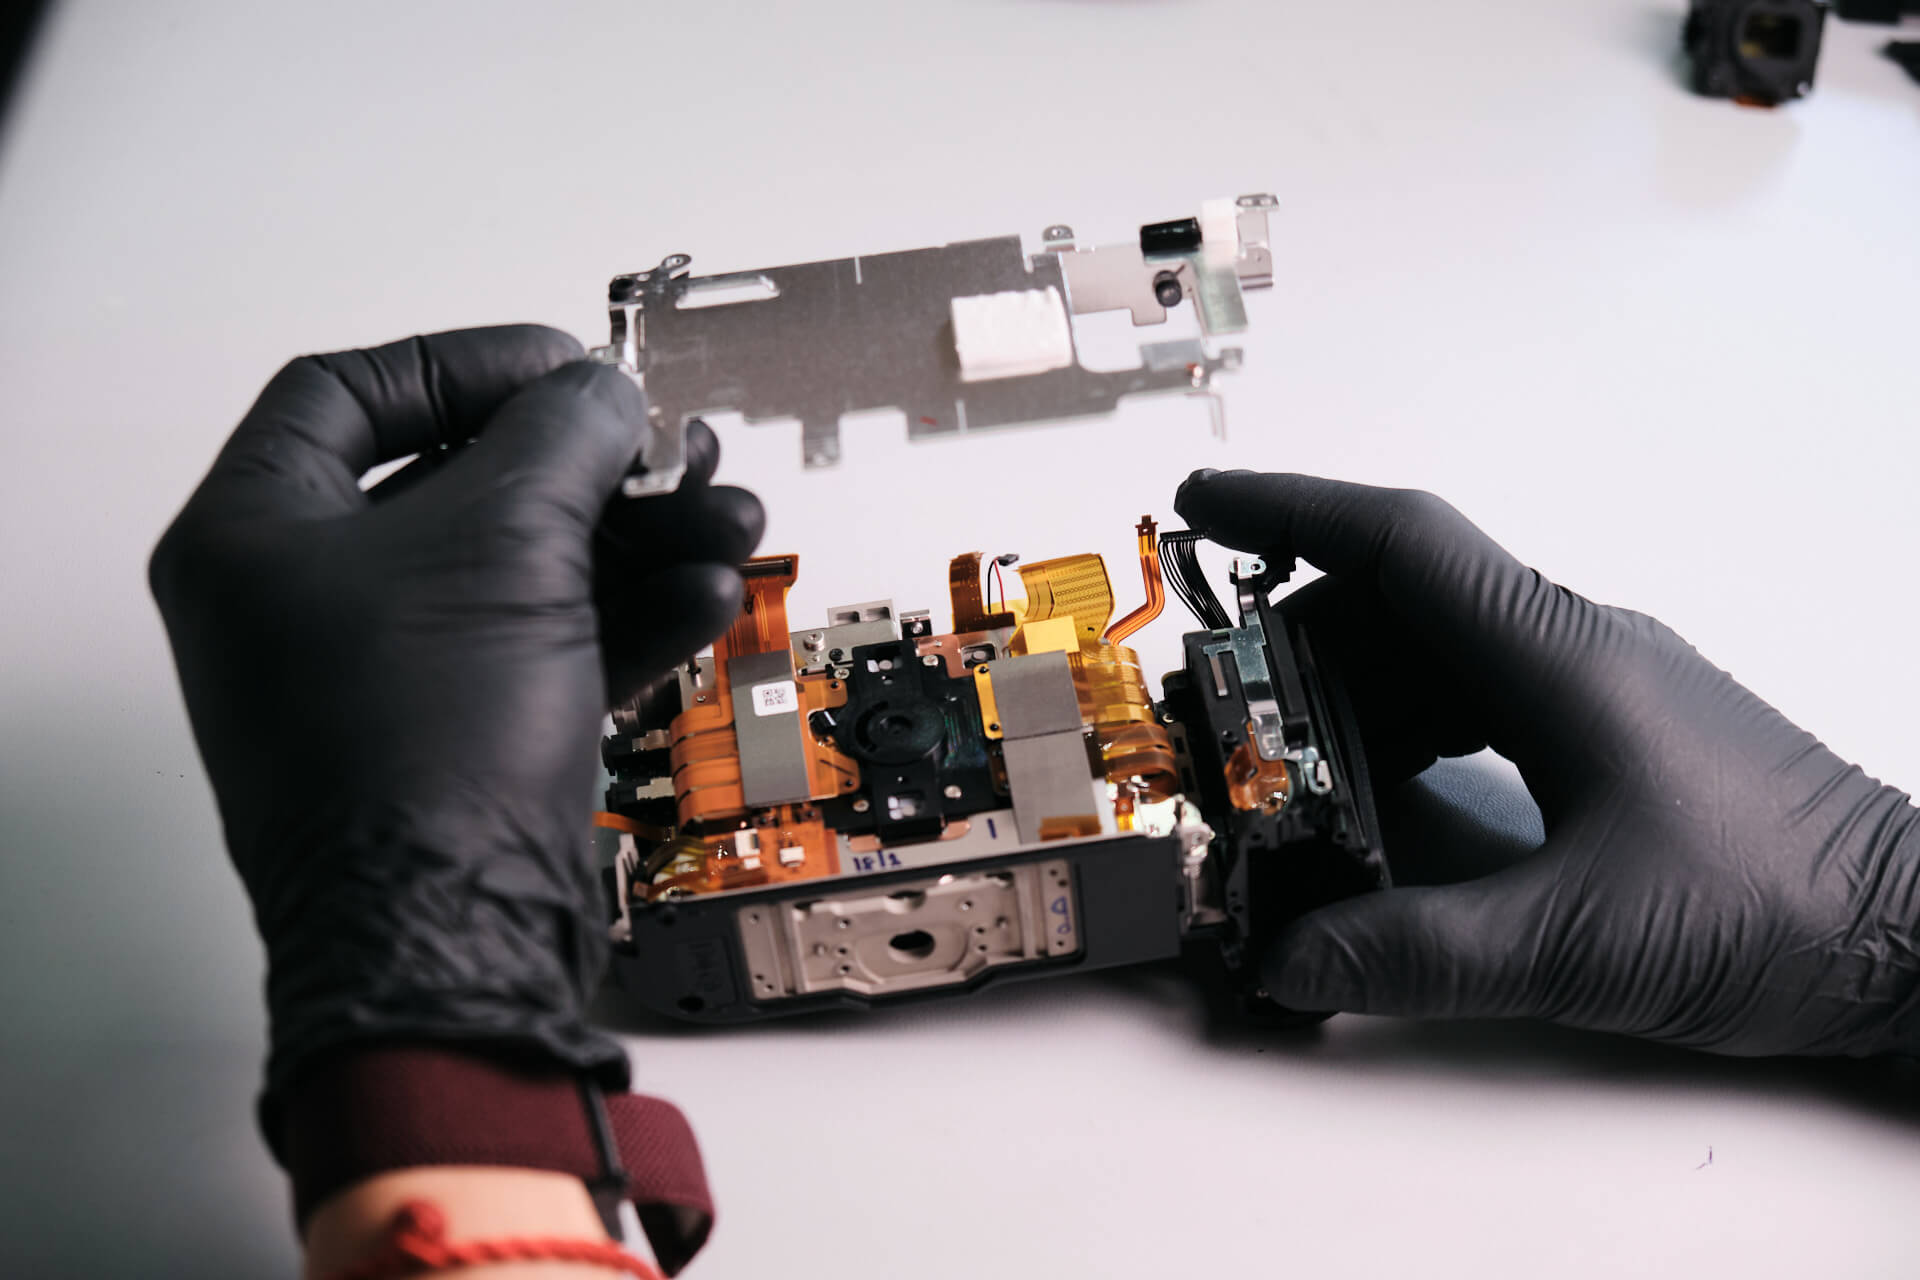
After removing the screws, we removed the top panel and circuit board frame.
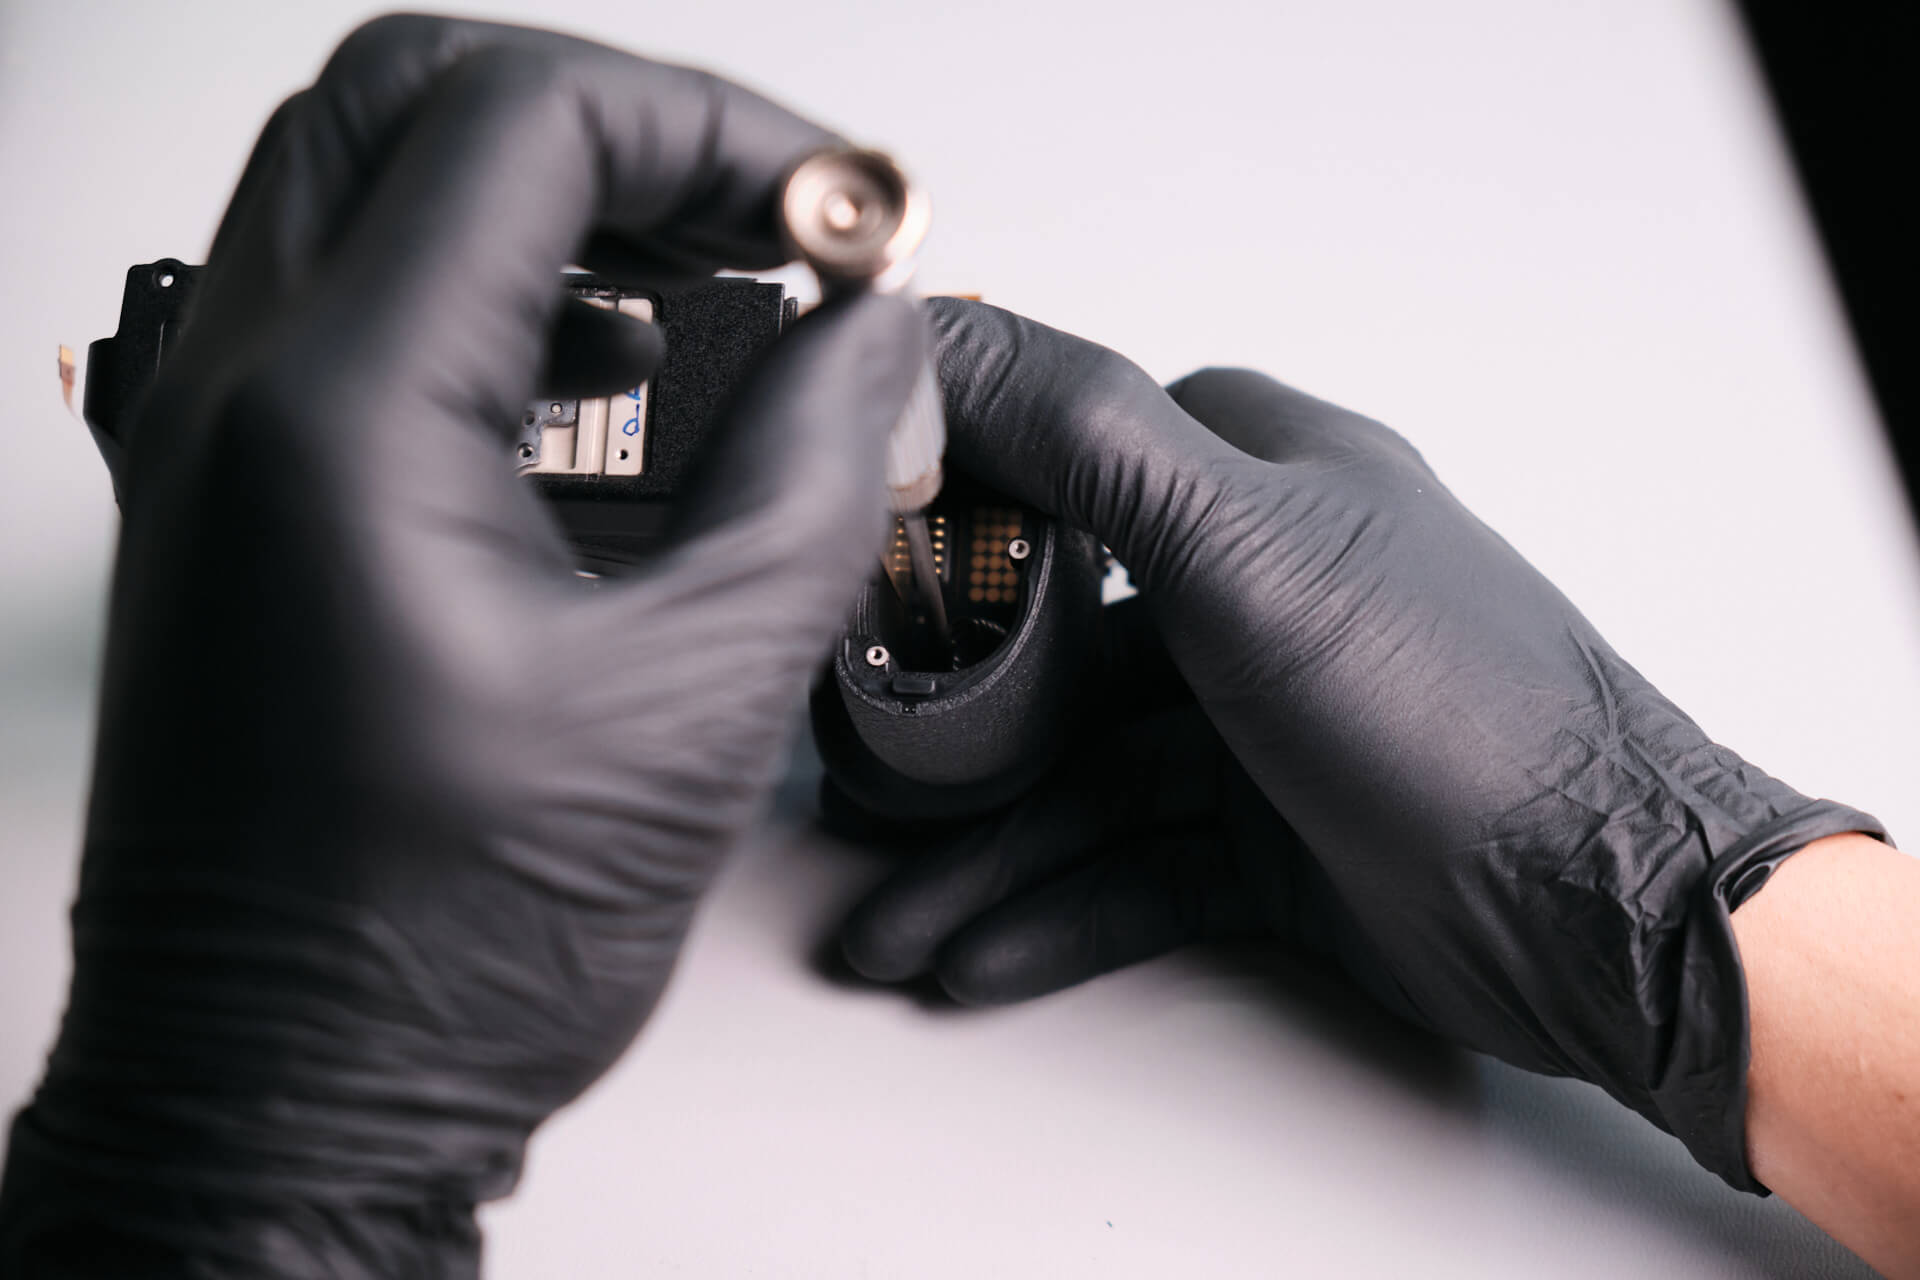
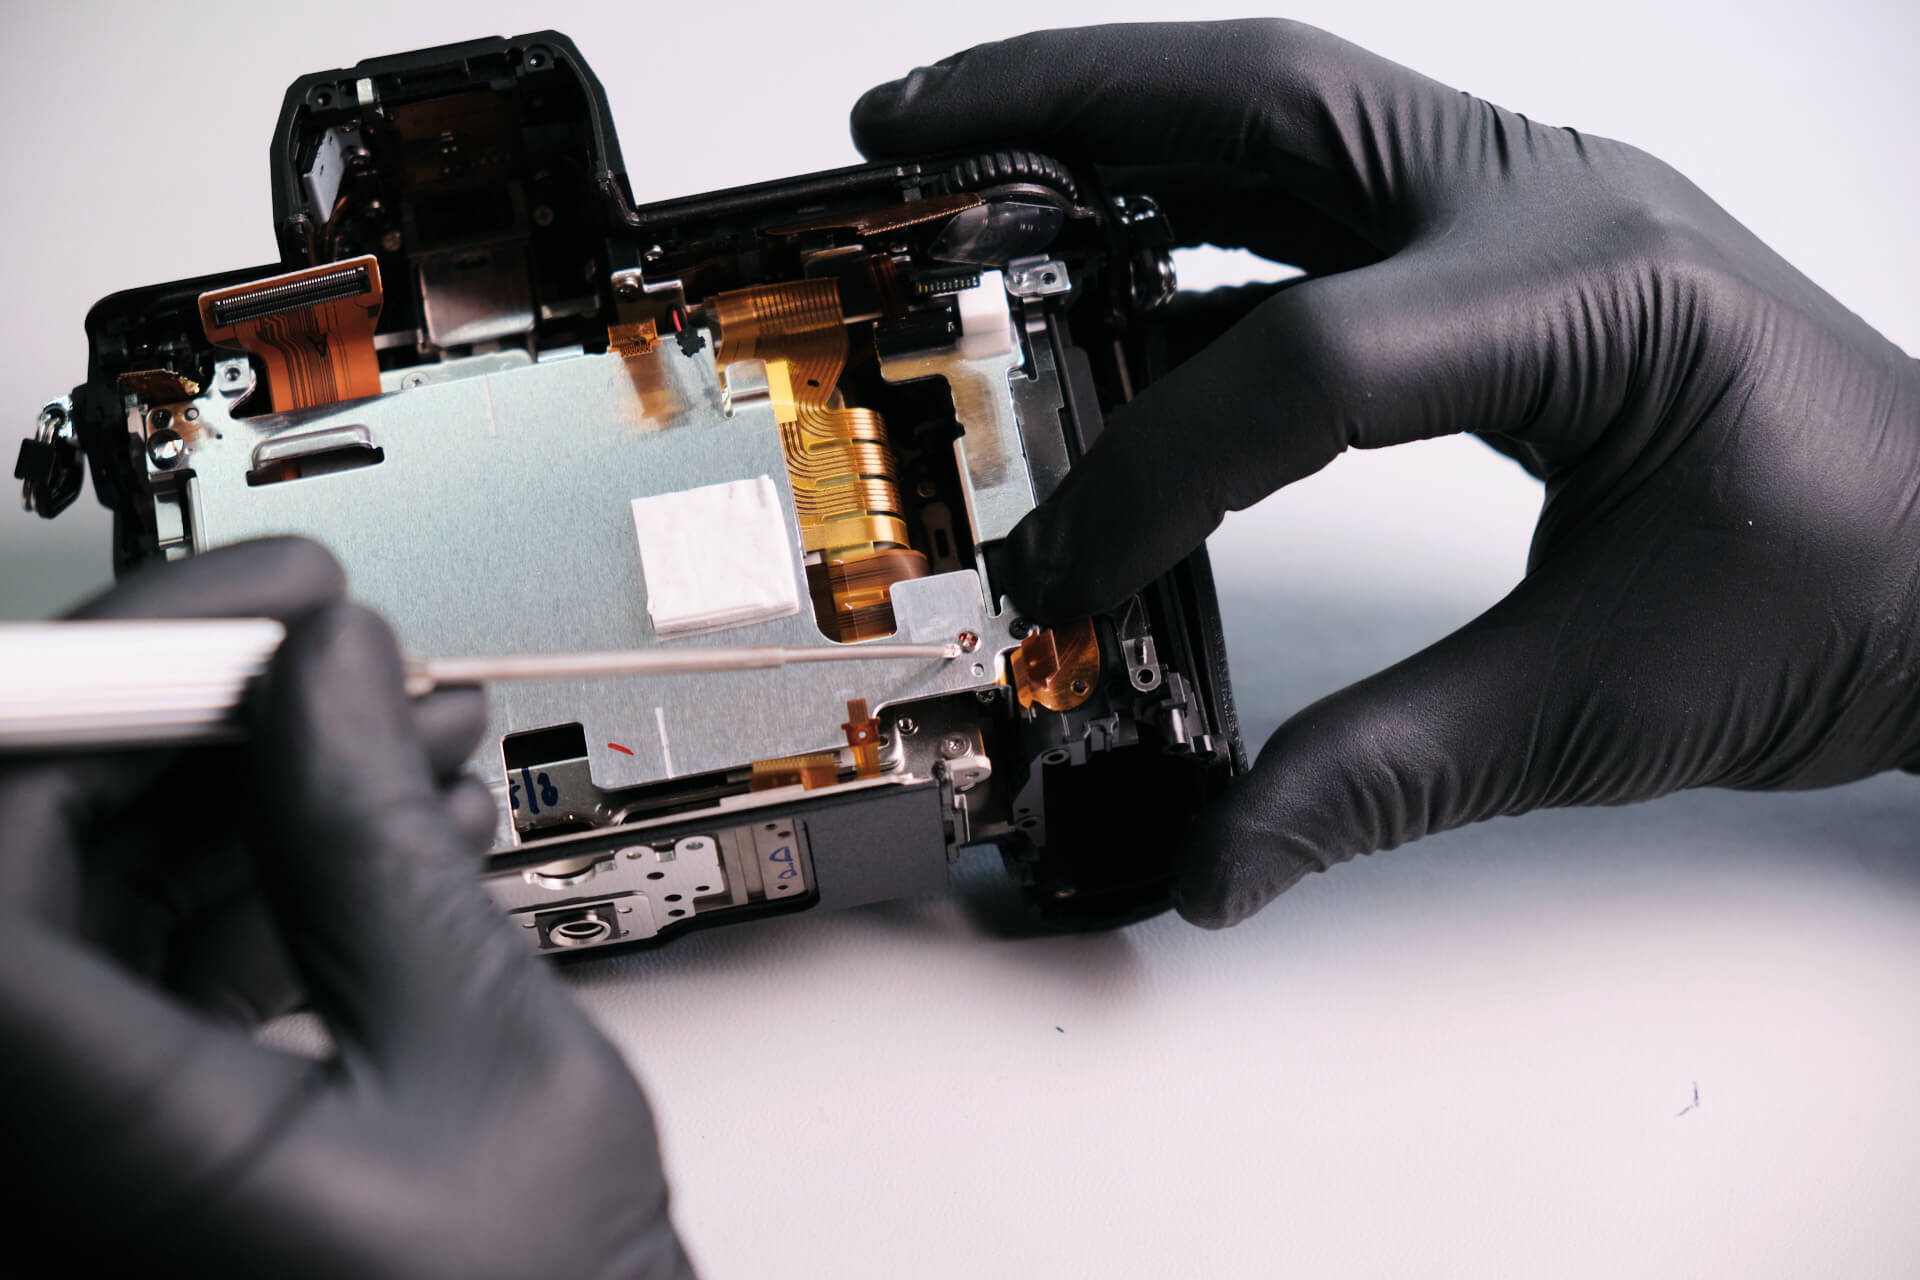
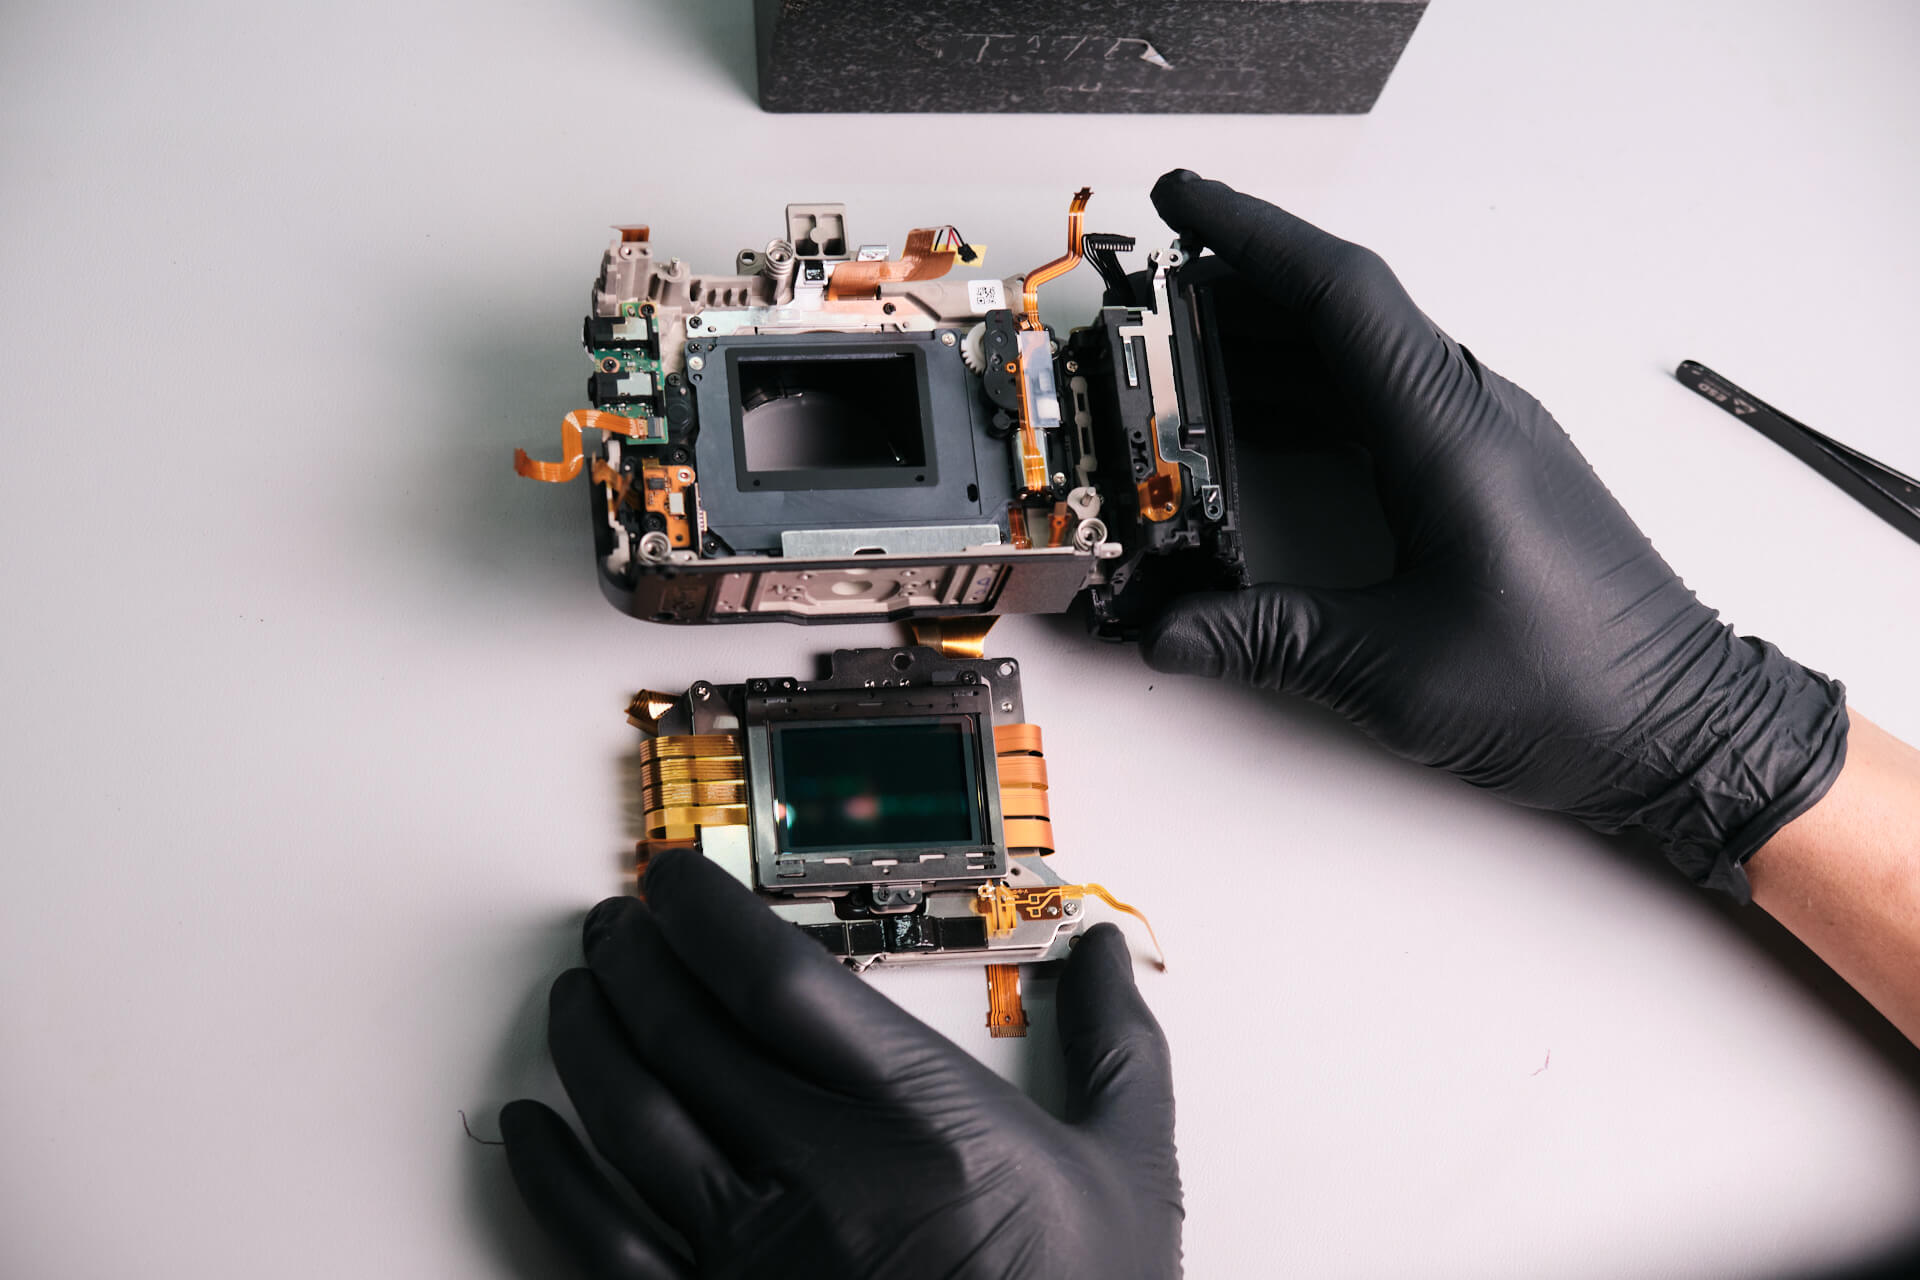
Three ribbon cables were attached to the sensor housing.
We consider the Nikon Z8 camera a mid-difficulty camera to tear down. According to our camera tech, there were so many screws to keep track of. This usually makes for a difficult process of tearing down and putting back together.
Thanks for reading. If you’re interested in more camera teardowns, we feature a new one every month. Be sure to sign up for our newsletter so you don’t miss them!