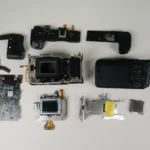
Back in 2012, Leica partnered with Hermès to create the Limited Edition Hermès Leica M9-P, a $50,000 luxury edition of the Leica M9-P camera.The camera features several changes to its design that differ from the standard, including the top deck, base plate, shutter speed dial, multifunction wheel and shutter release. Most notably, it features the ‘Veau Swift’ calfskin leather that makes it even more distinguishable. Only 100 limited edition units were ever created.
Despite its lofty status, it is a camera at heart, and that means it wasn’t immune to degradation. This Leica was in much need of a fix. So with that out of the way, let’s dive in to this camera teardown and disassembly!
Starting the Hermès Leica M9-P Teardown
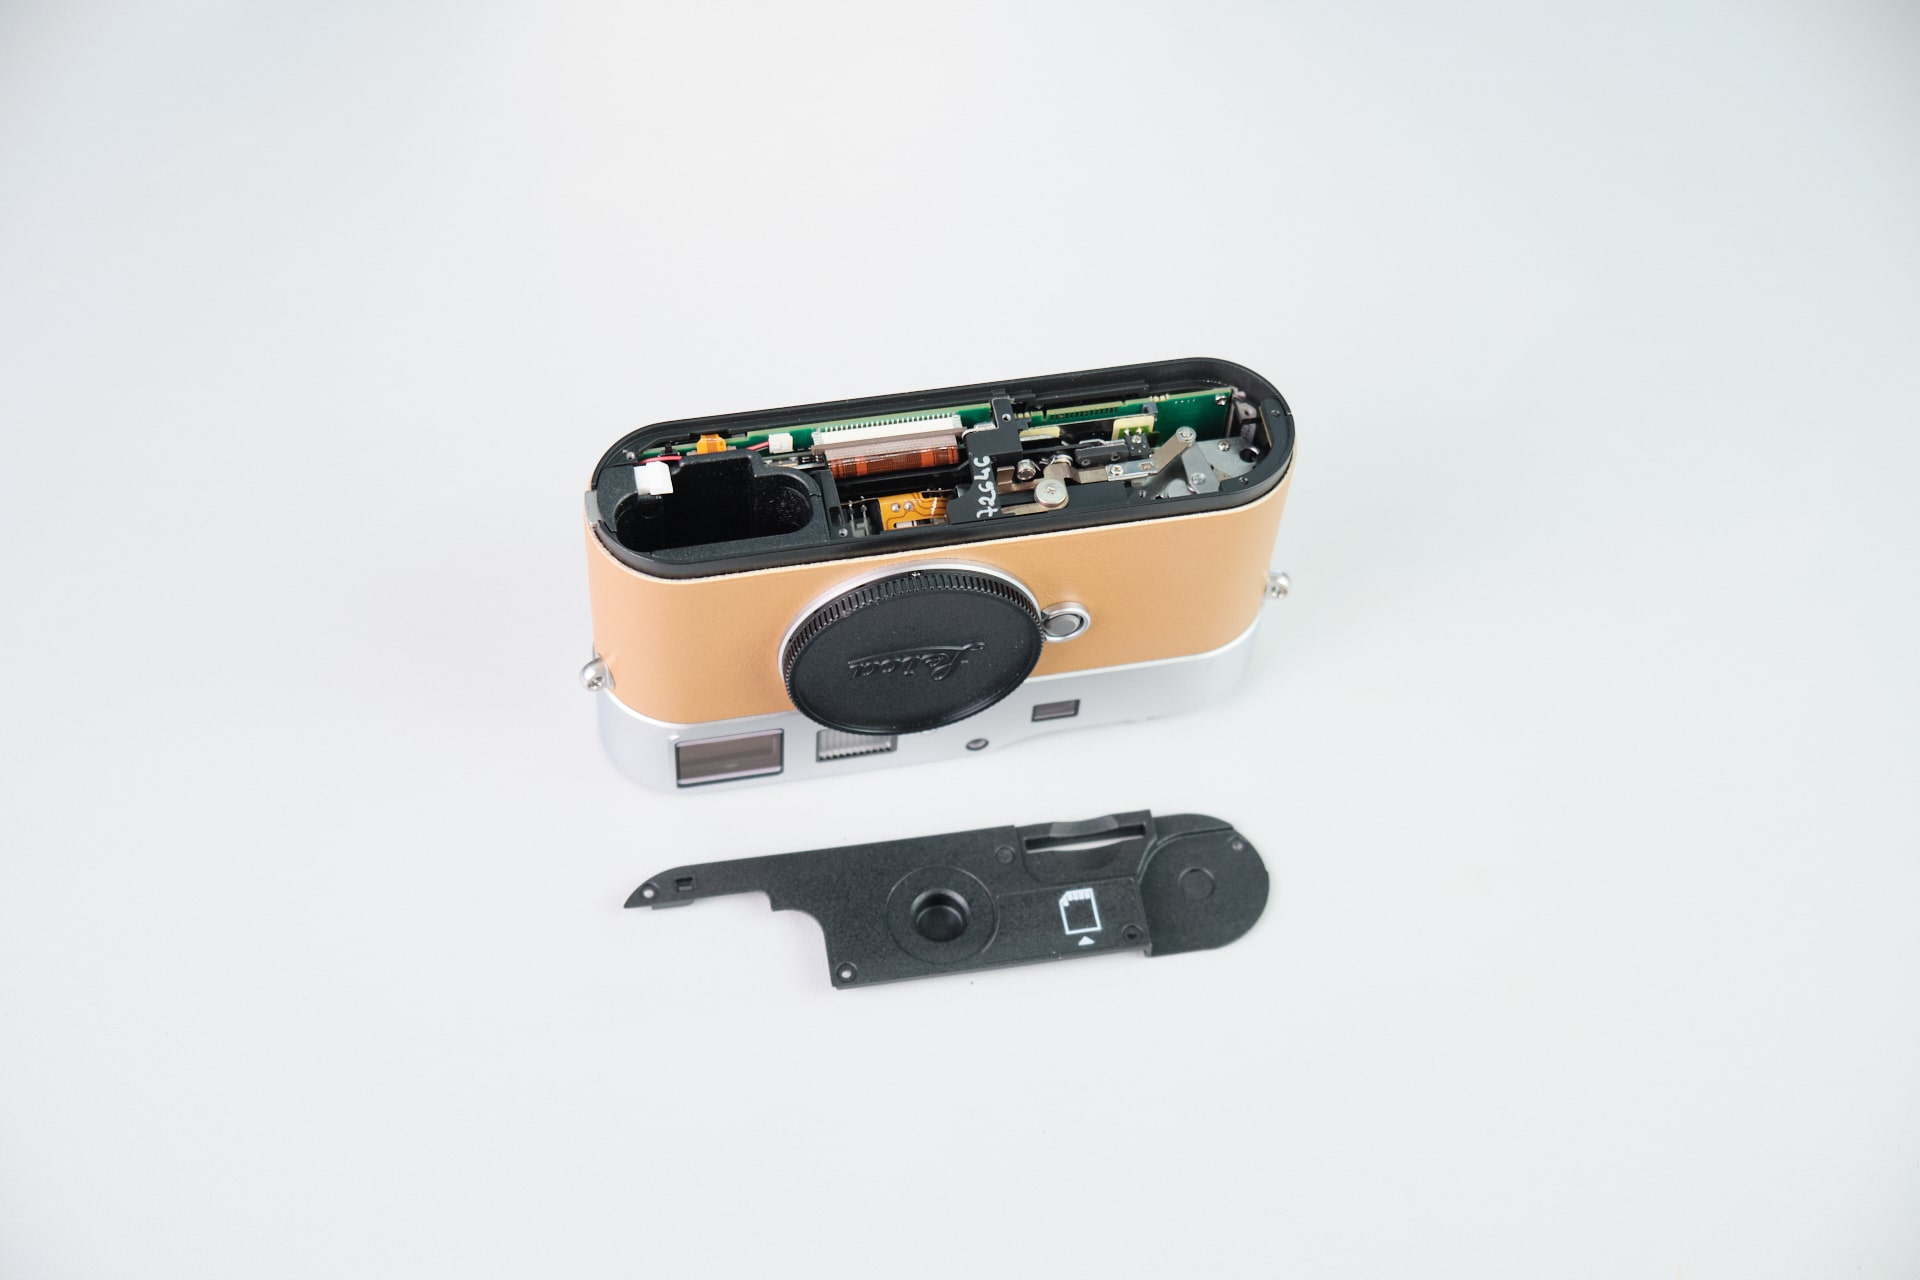
As usual, we first removed the bottom cover plate by extracting 5 Philips screws.
Removing the Top Panel Screws
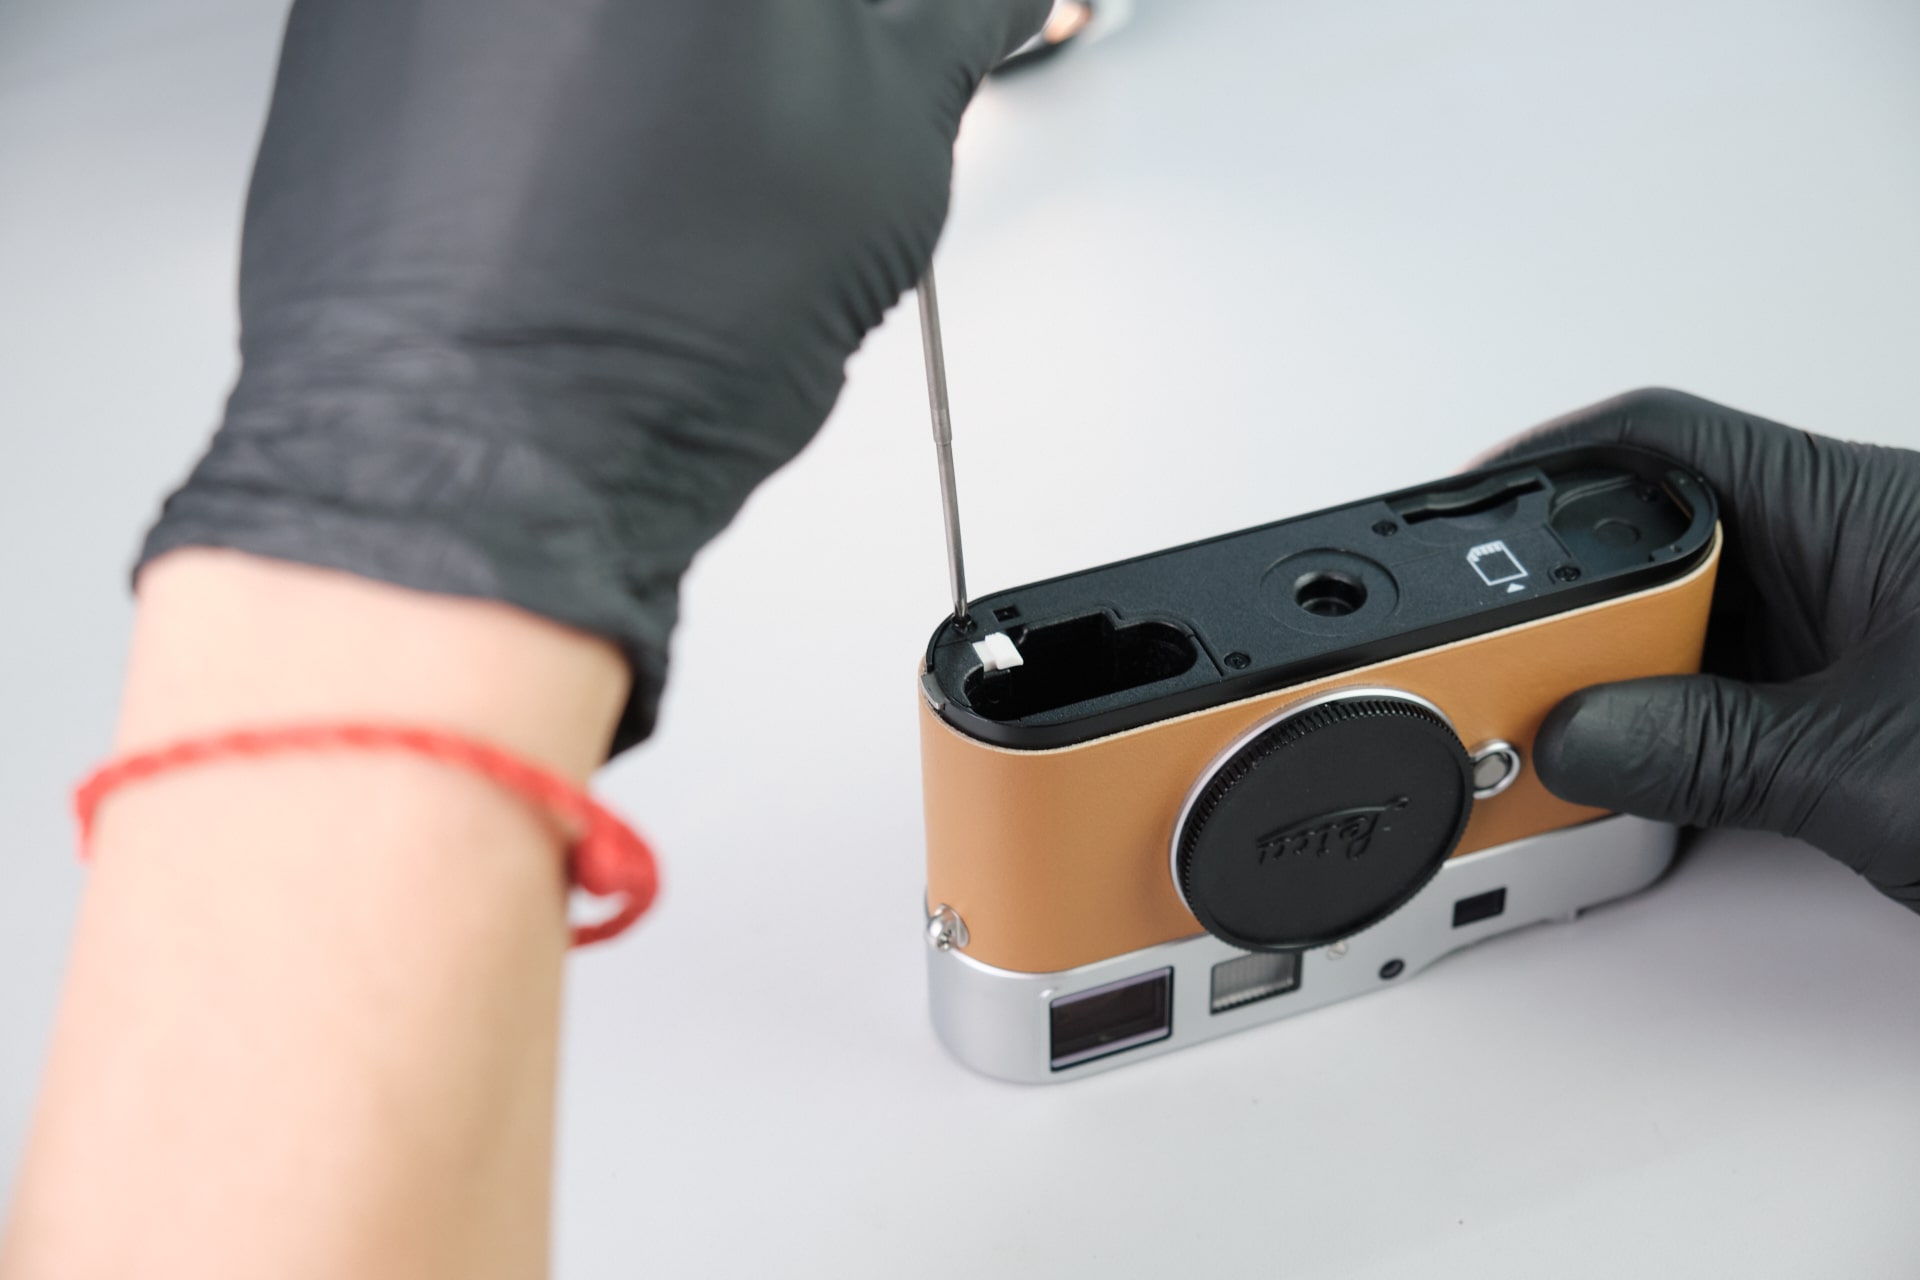
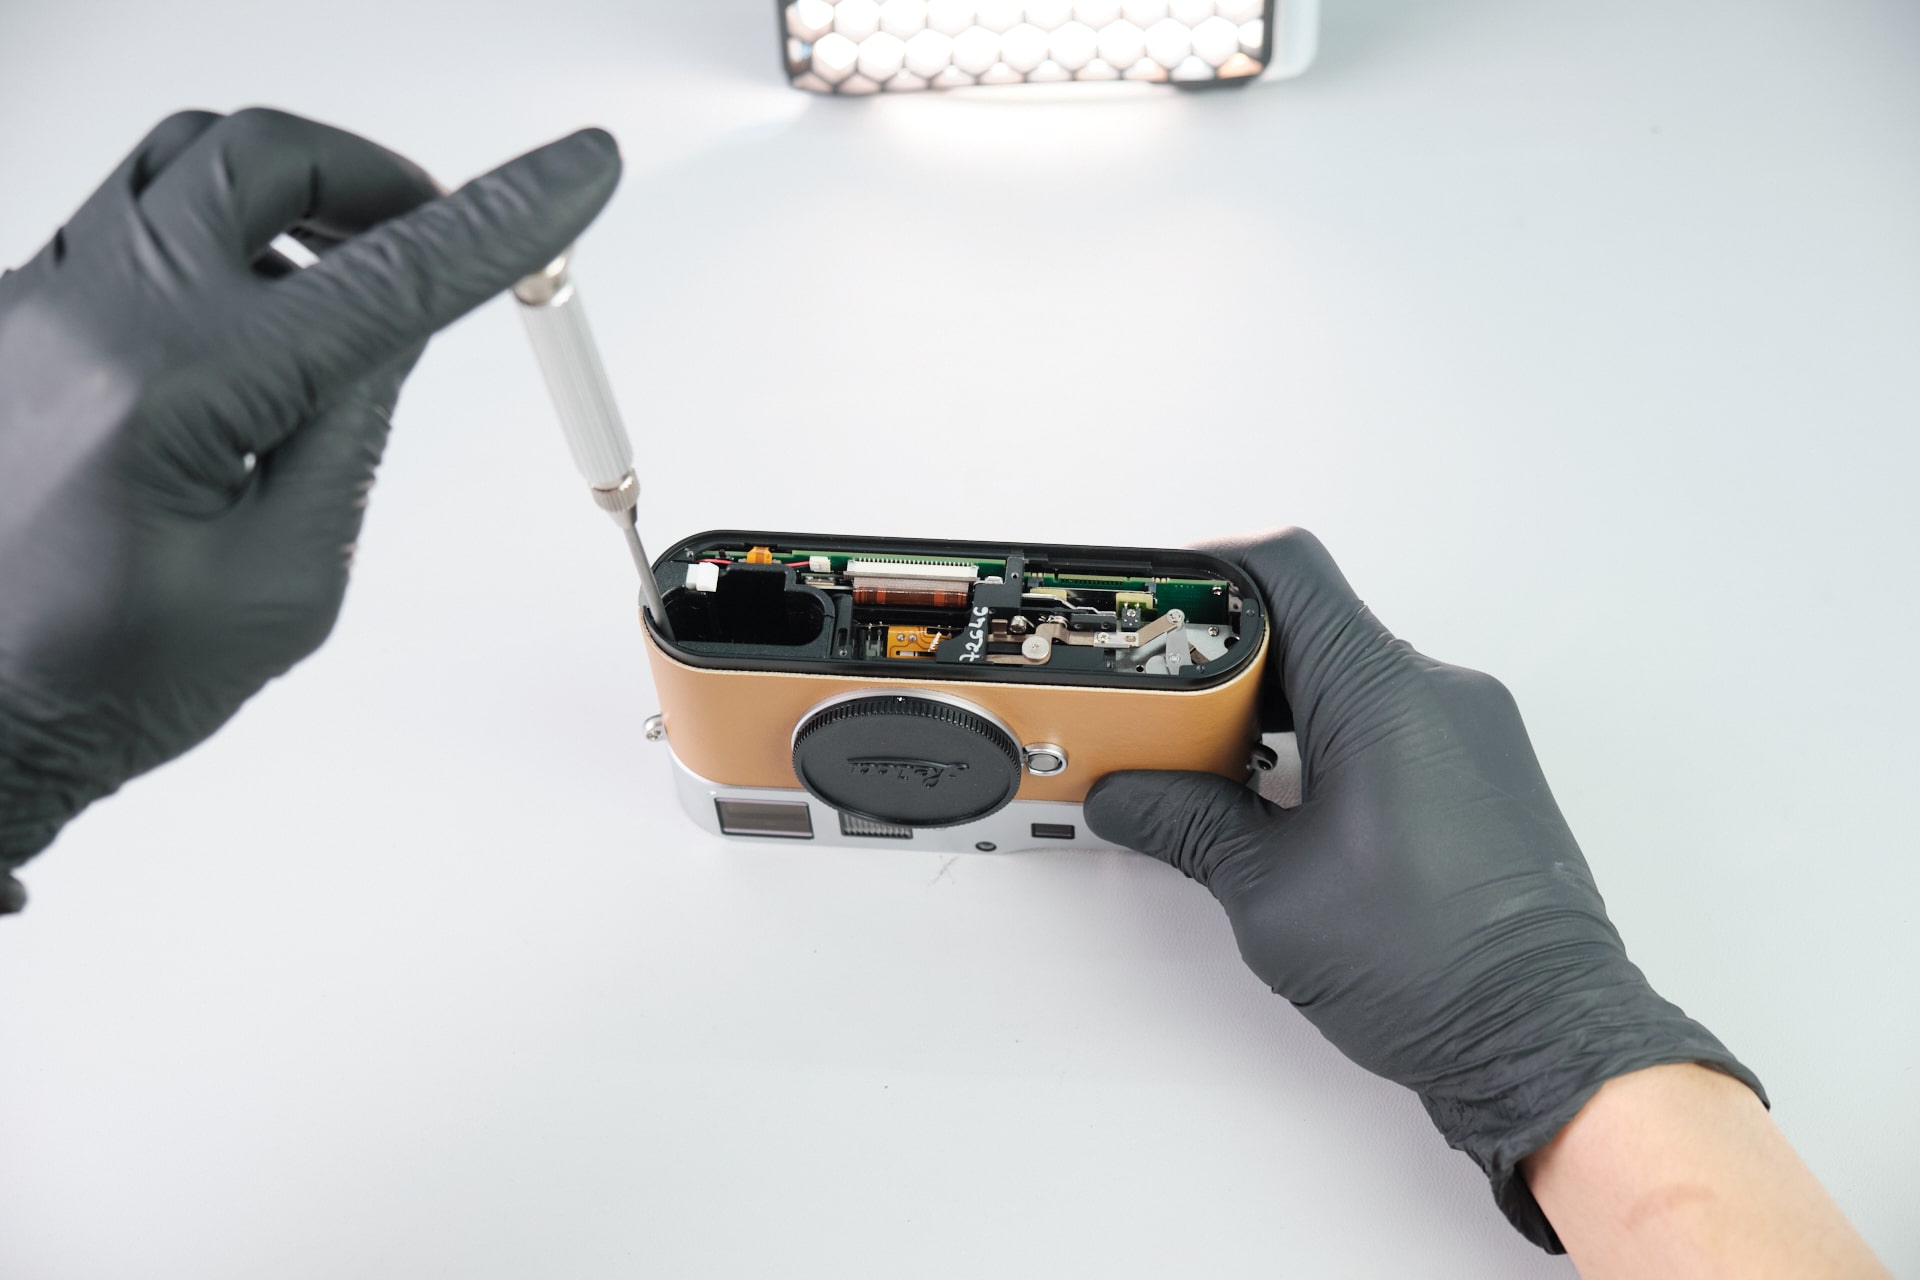
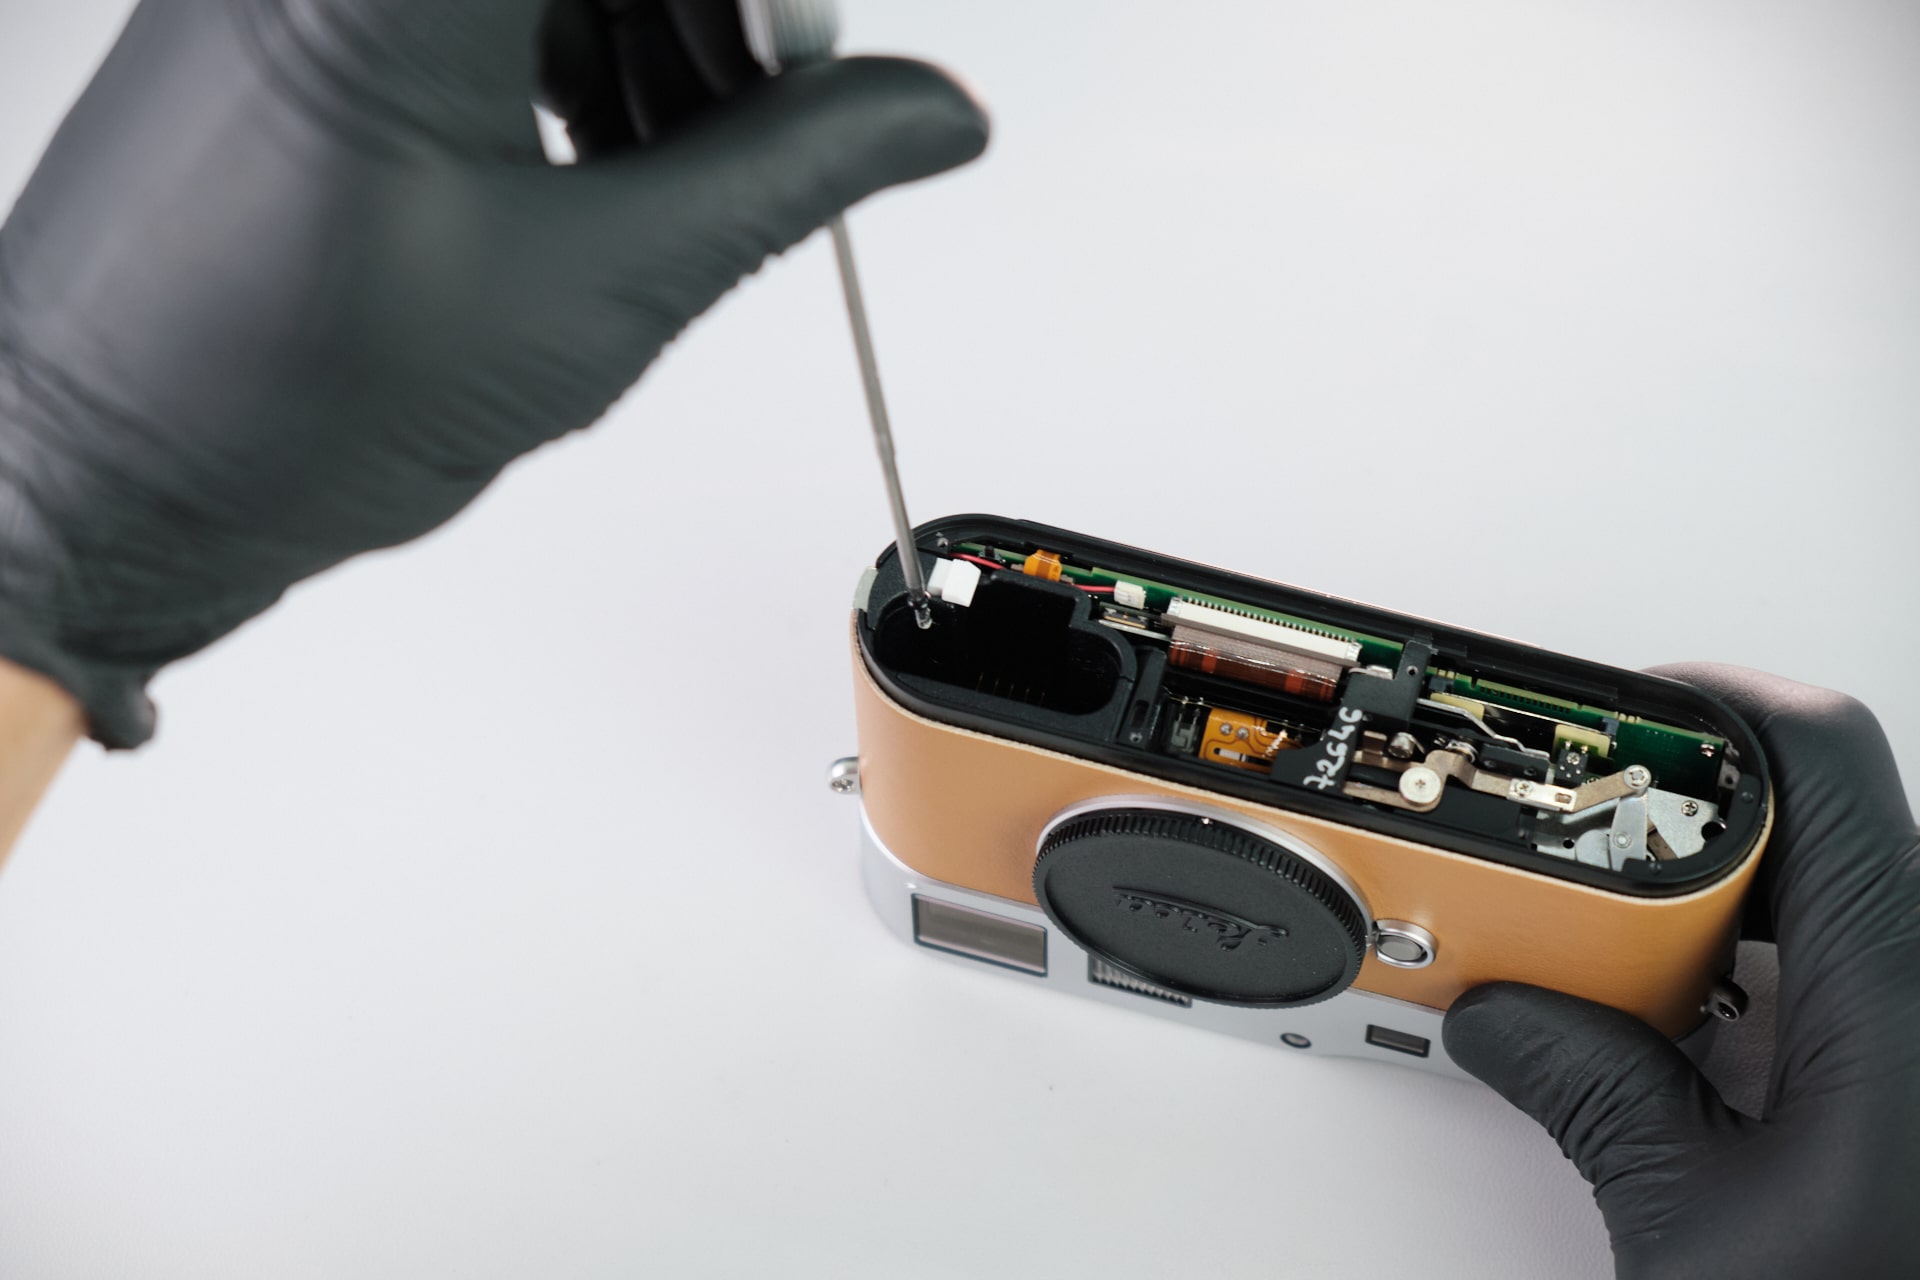
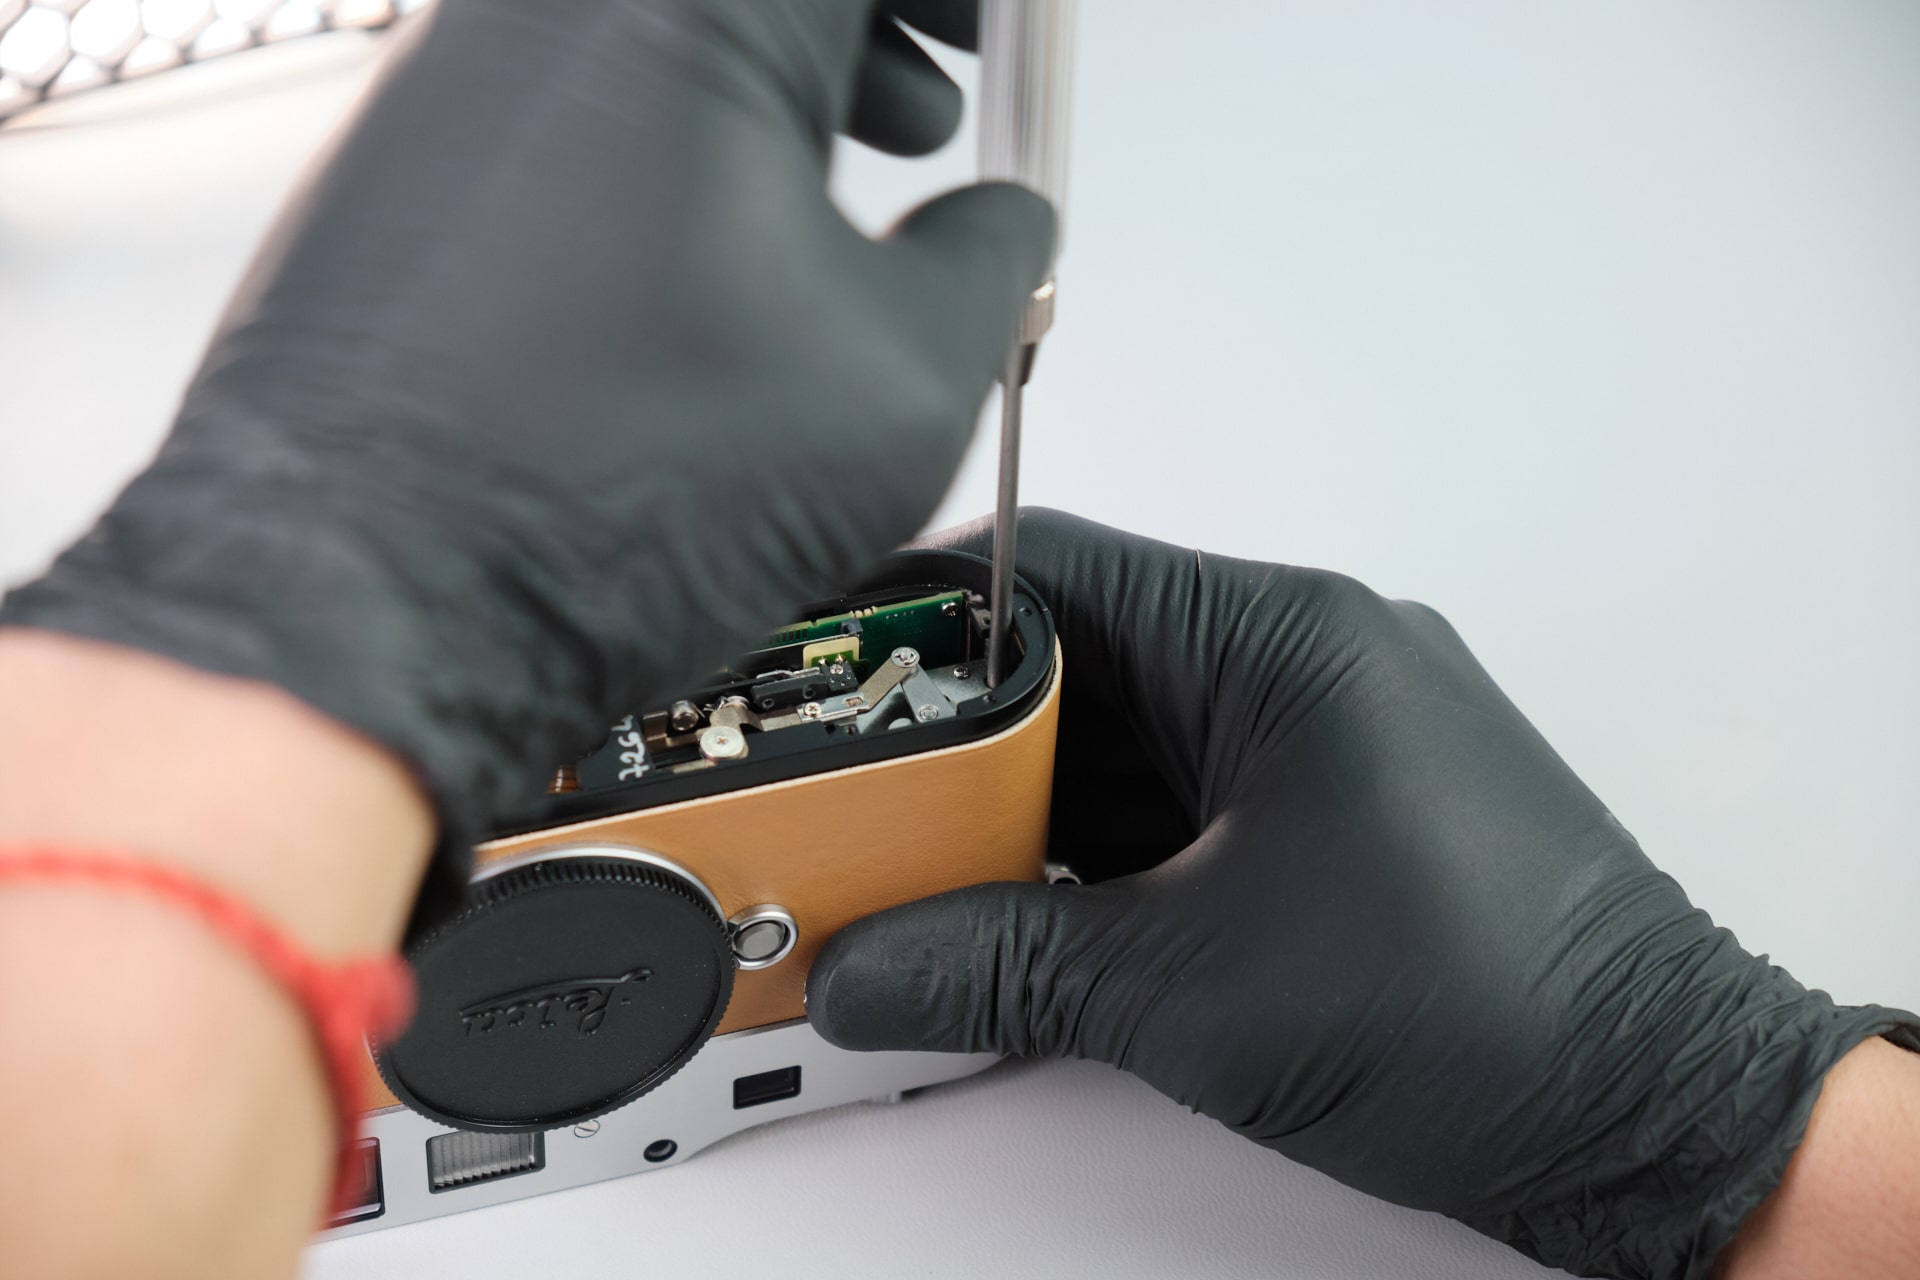
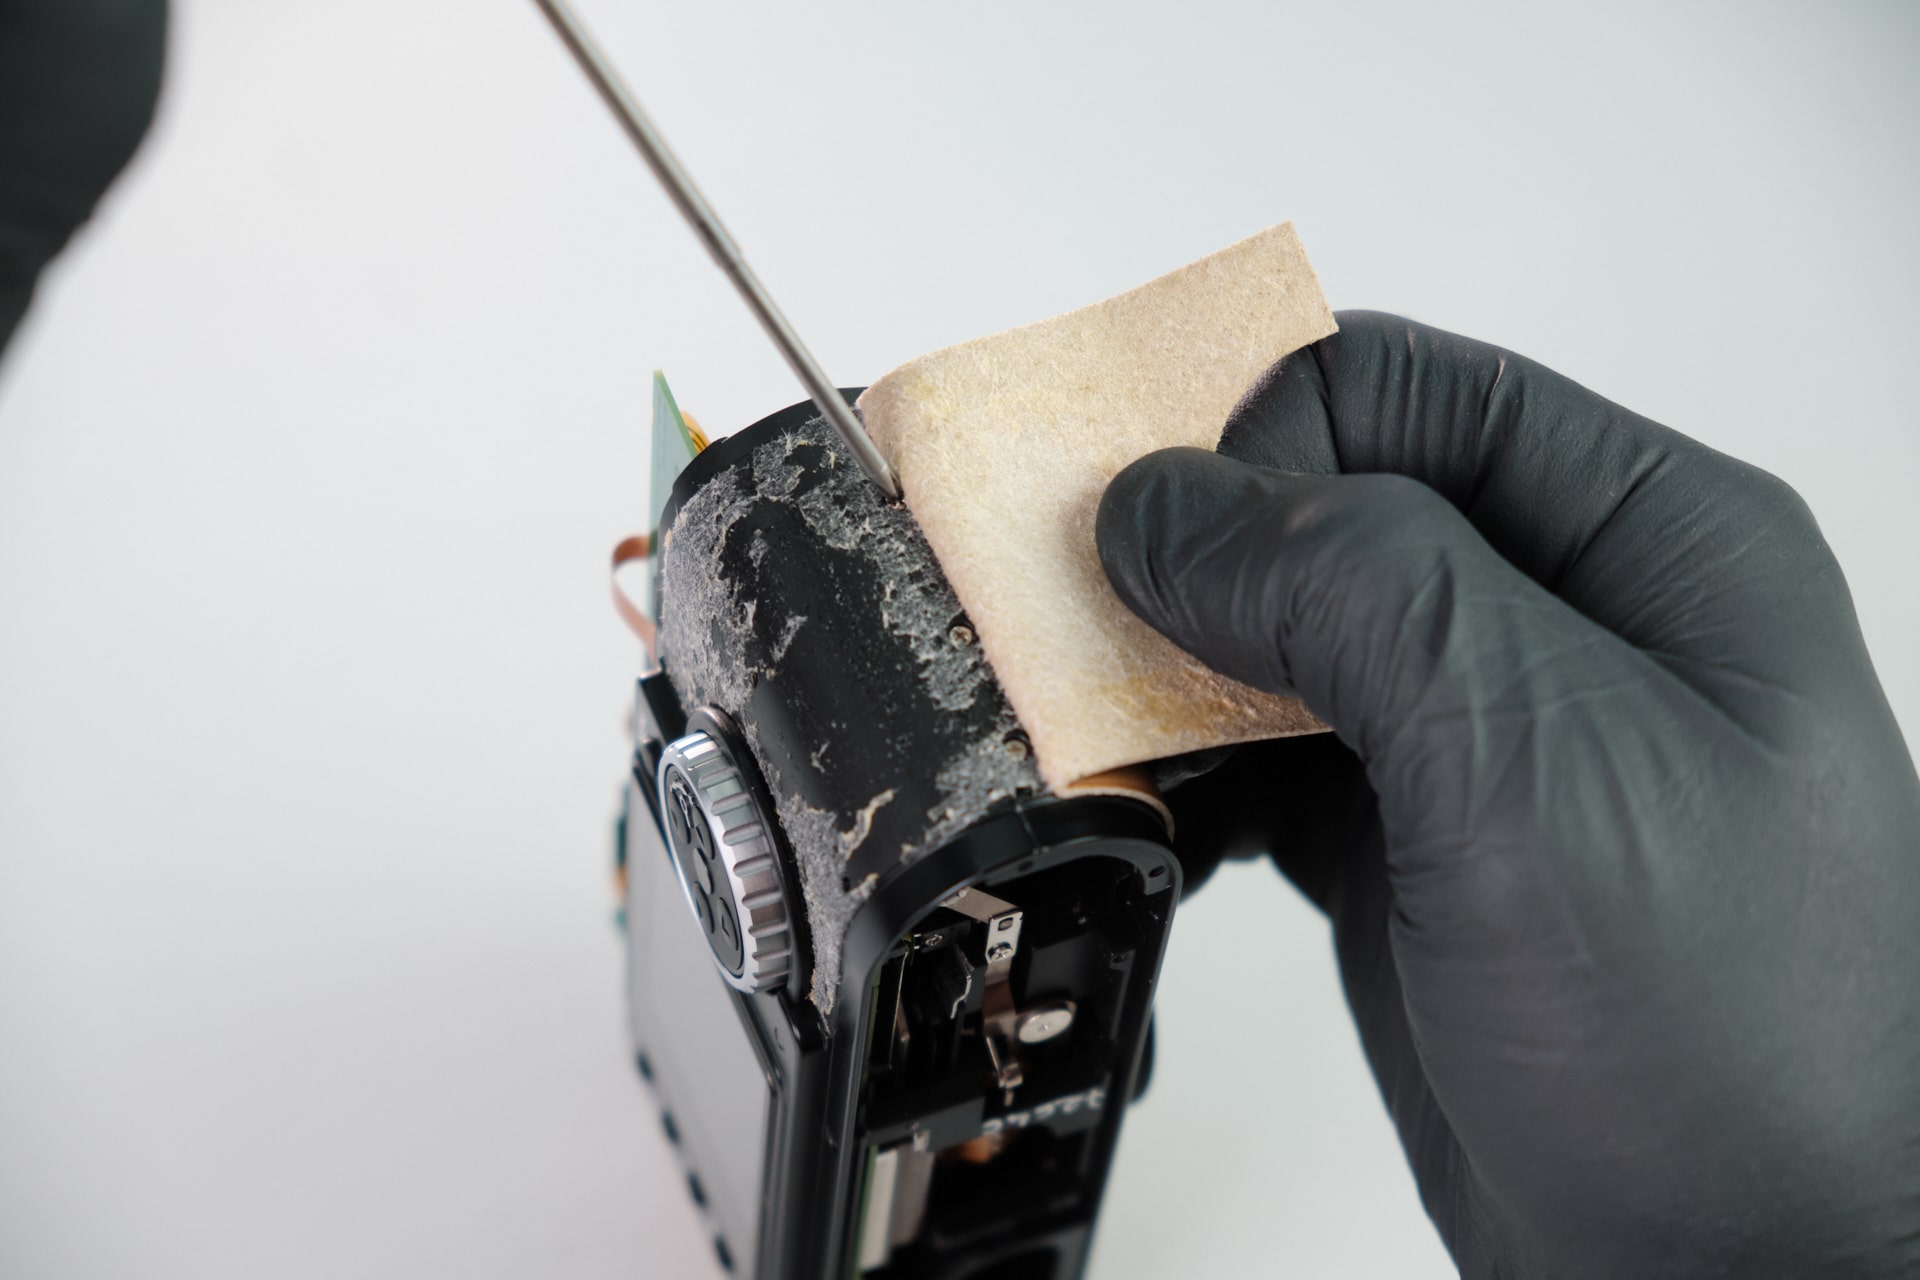
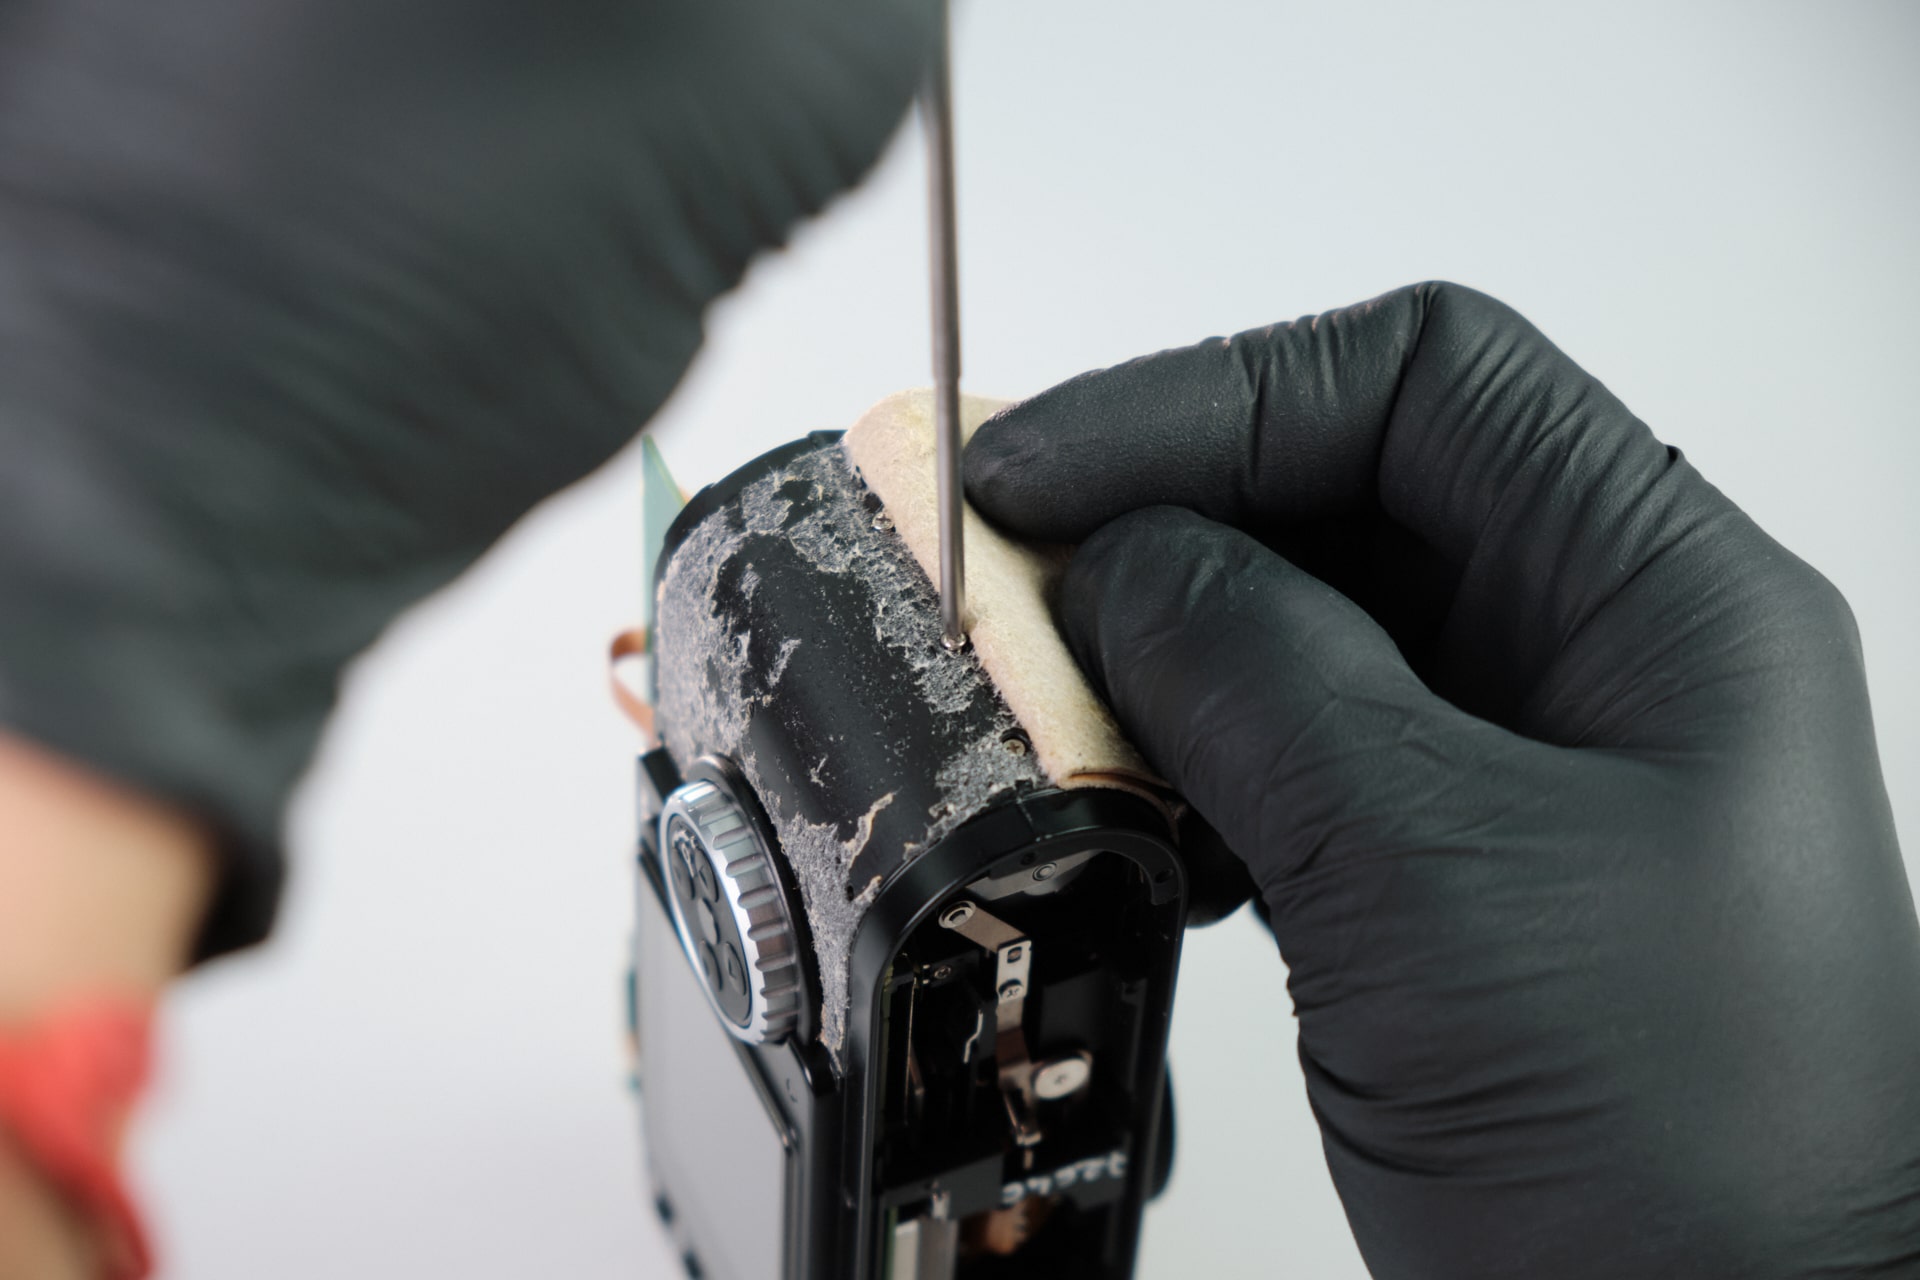
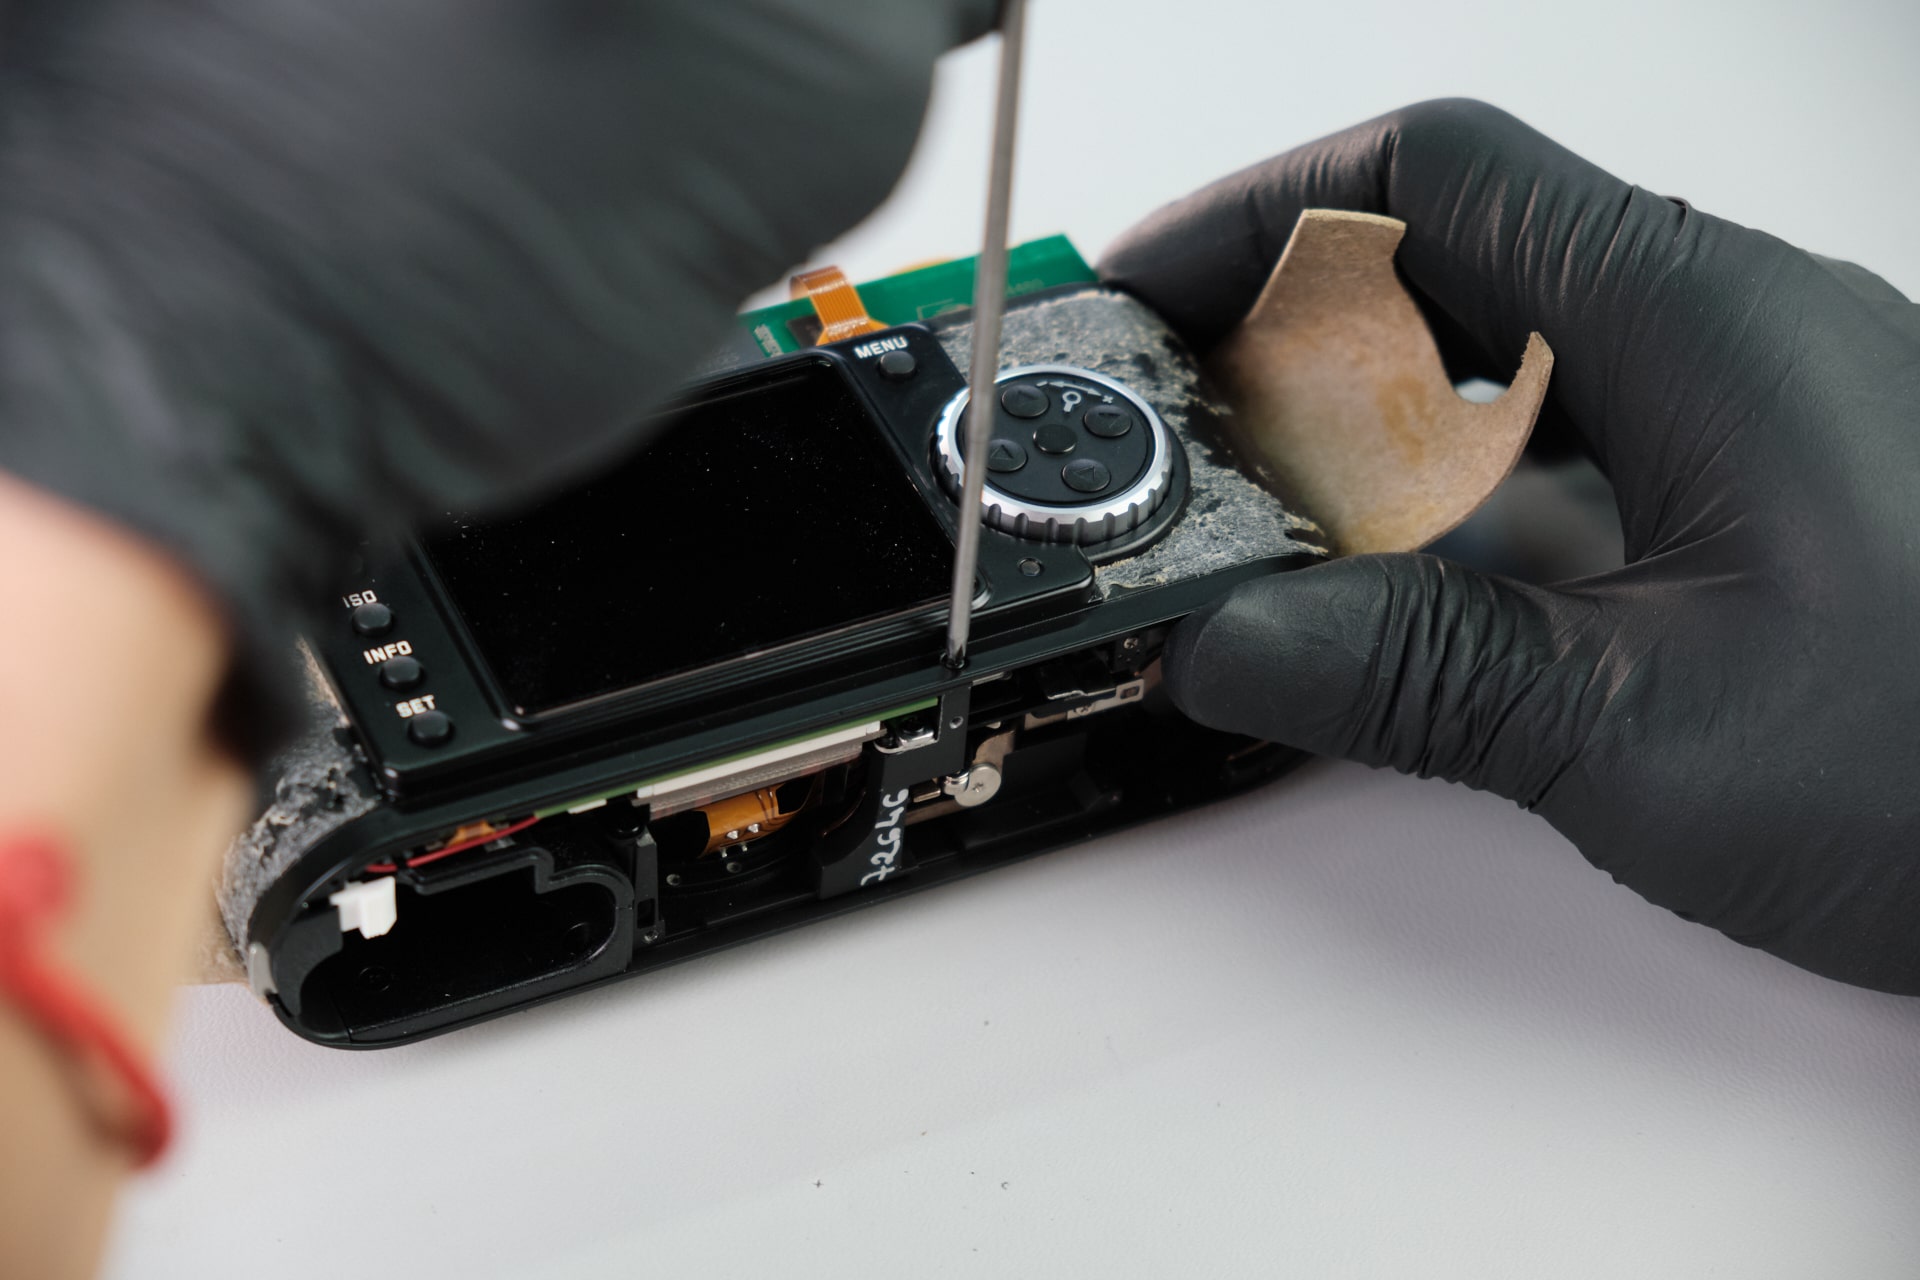
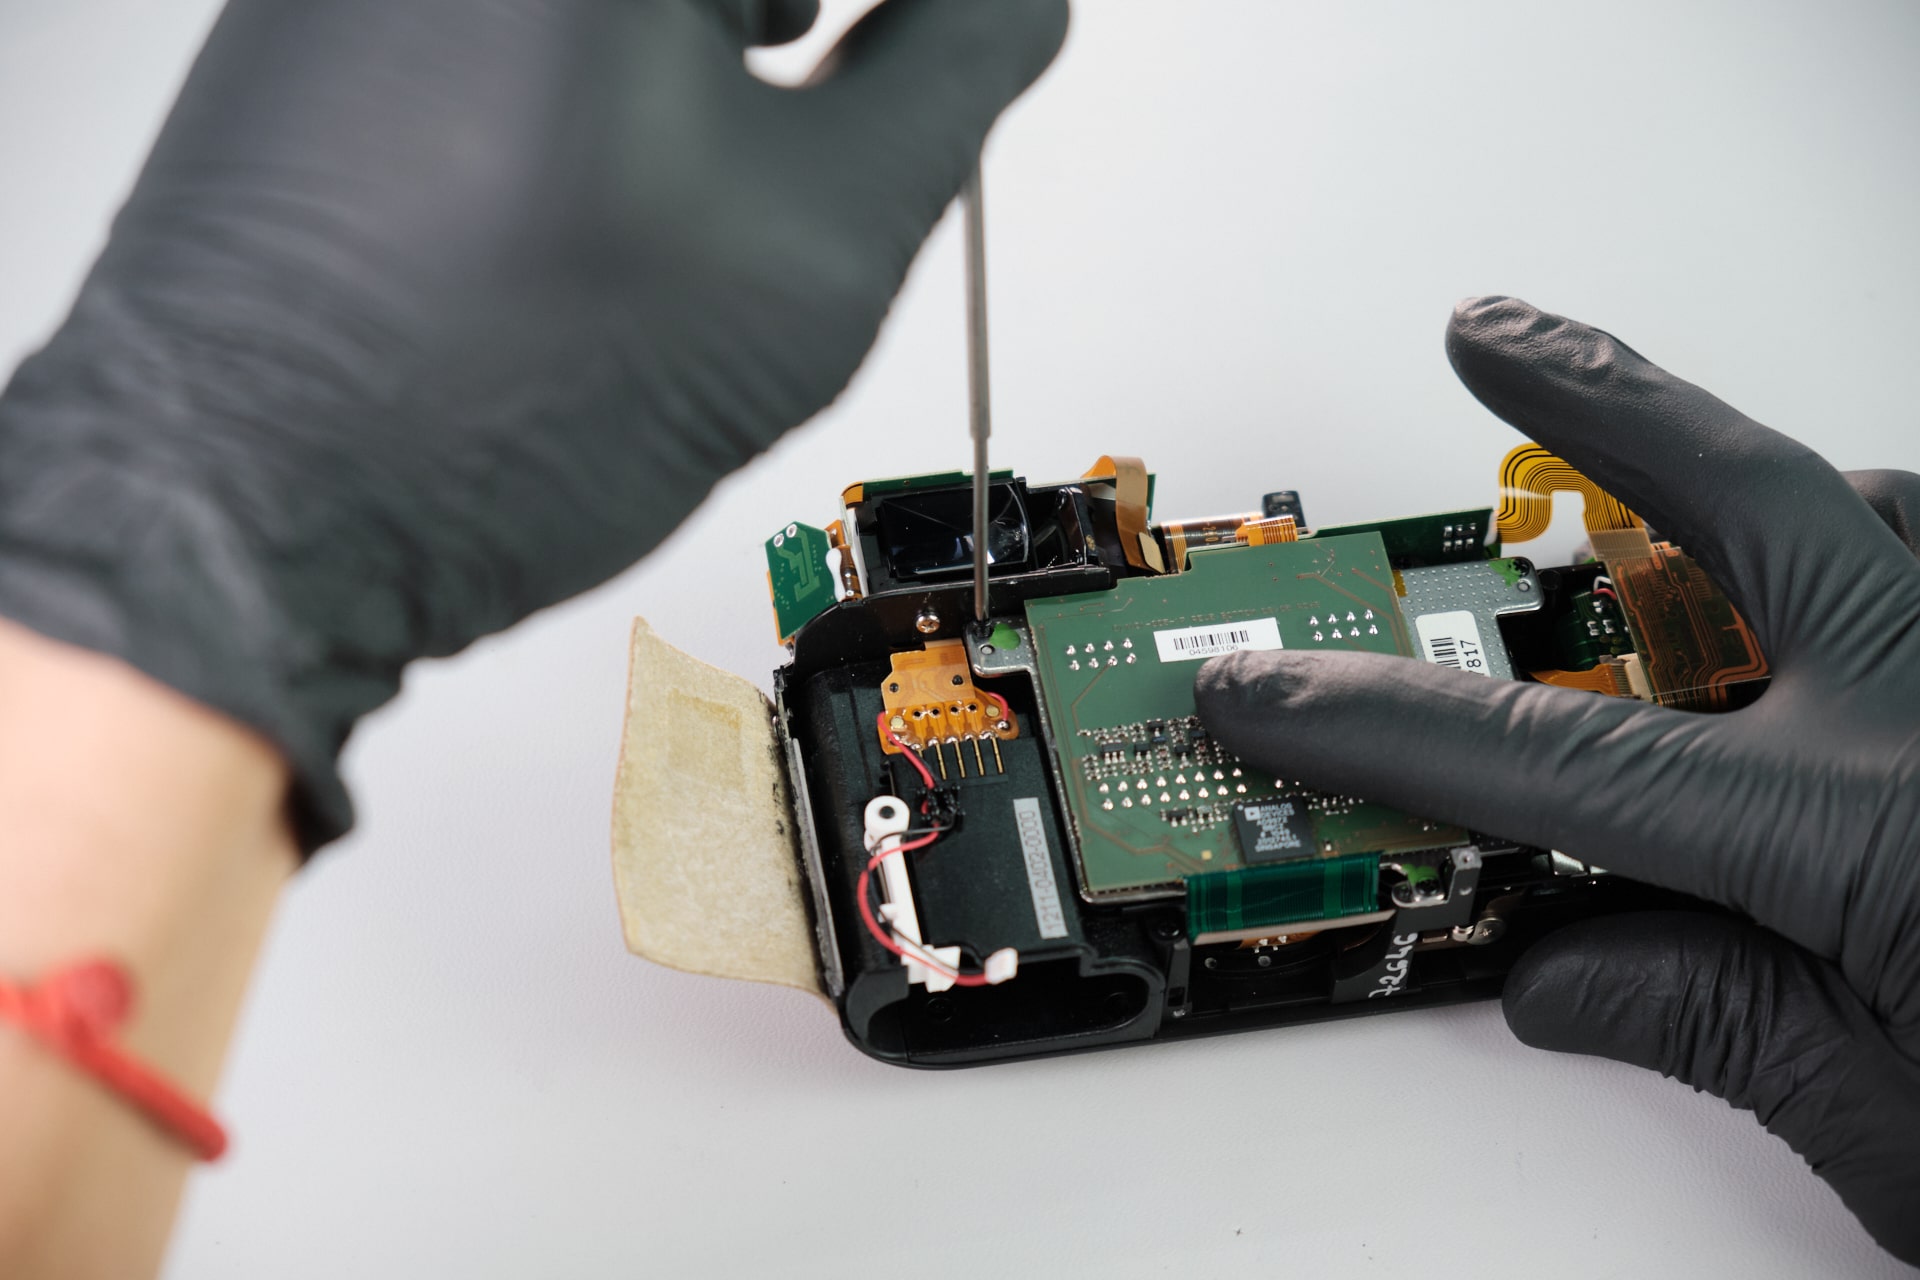
Next, we needed to remove the top panel. Using a long screwdriver, we removed 1 Philips head screw in the battery slot. This is just one of two screws fastened to the top panel.
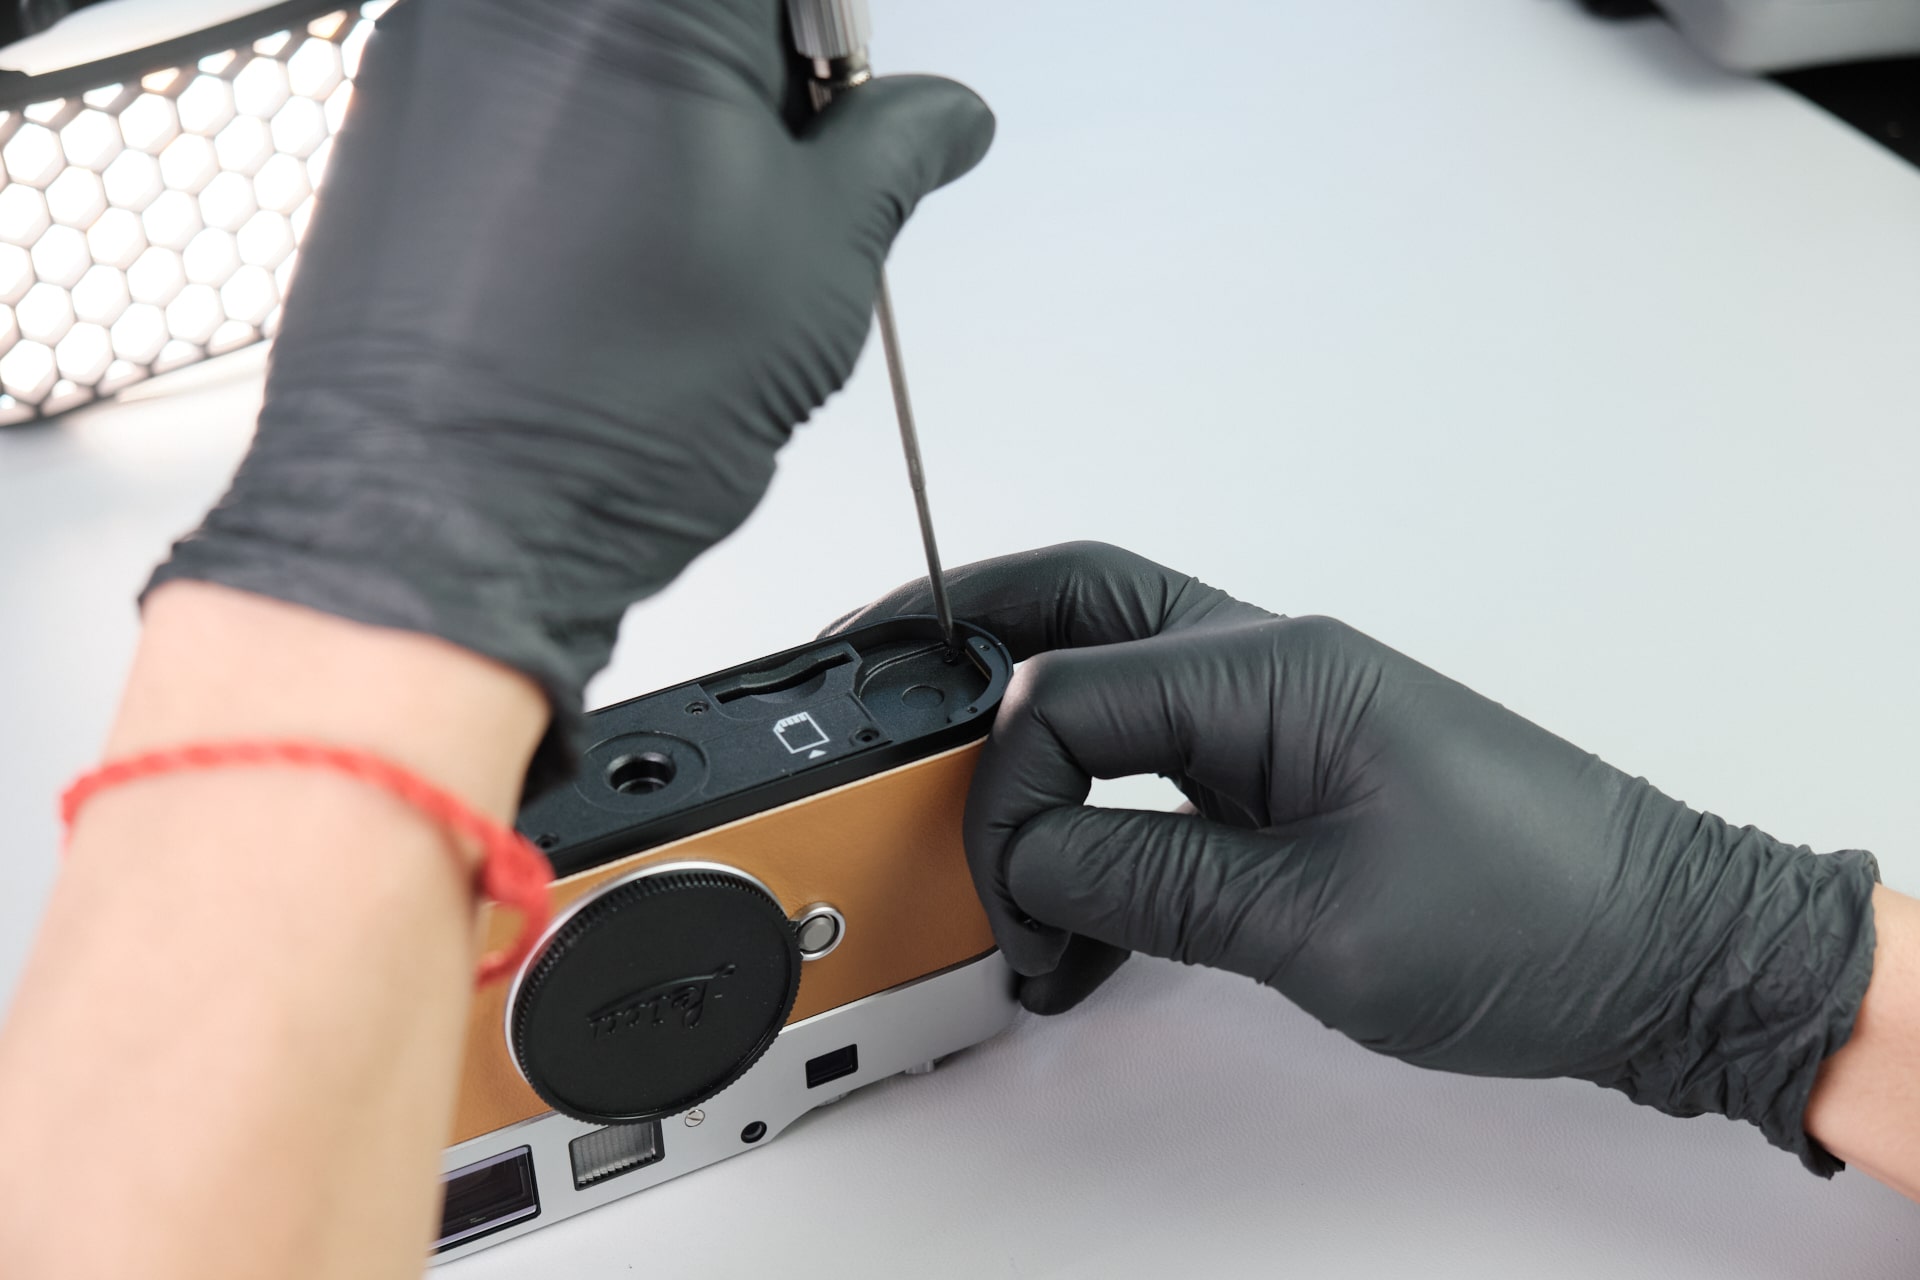
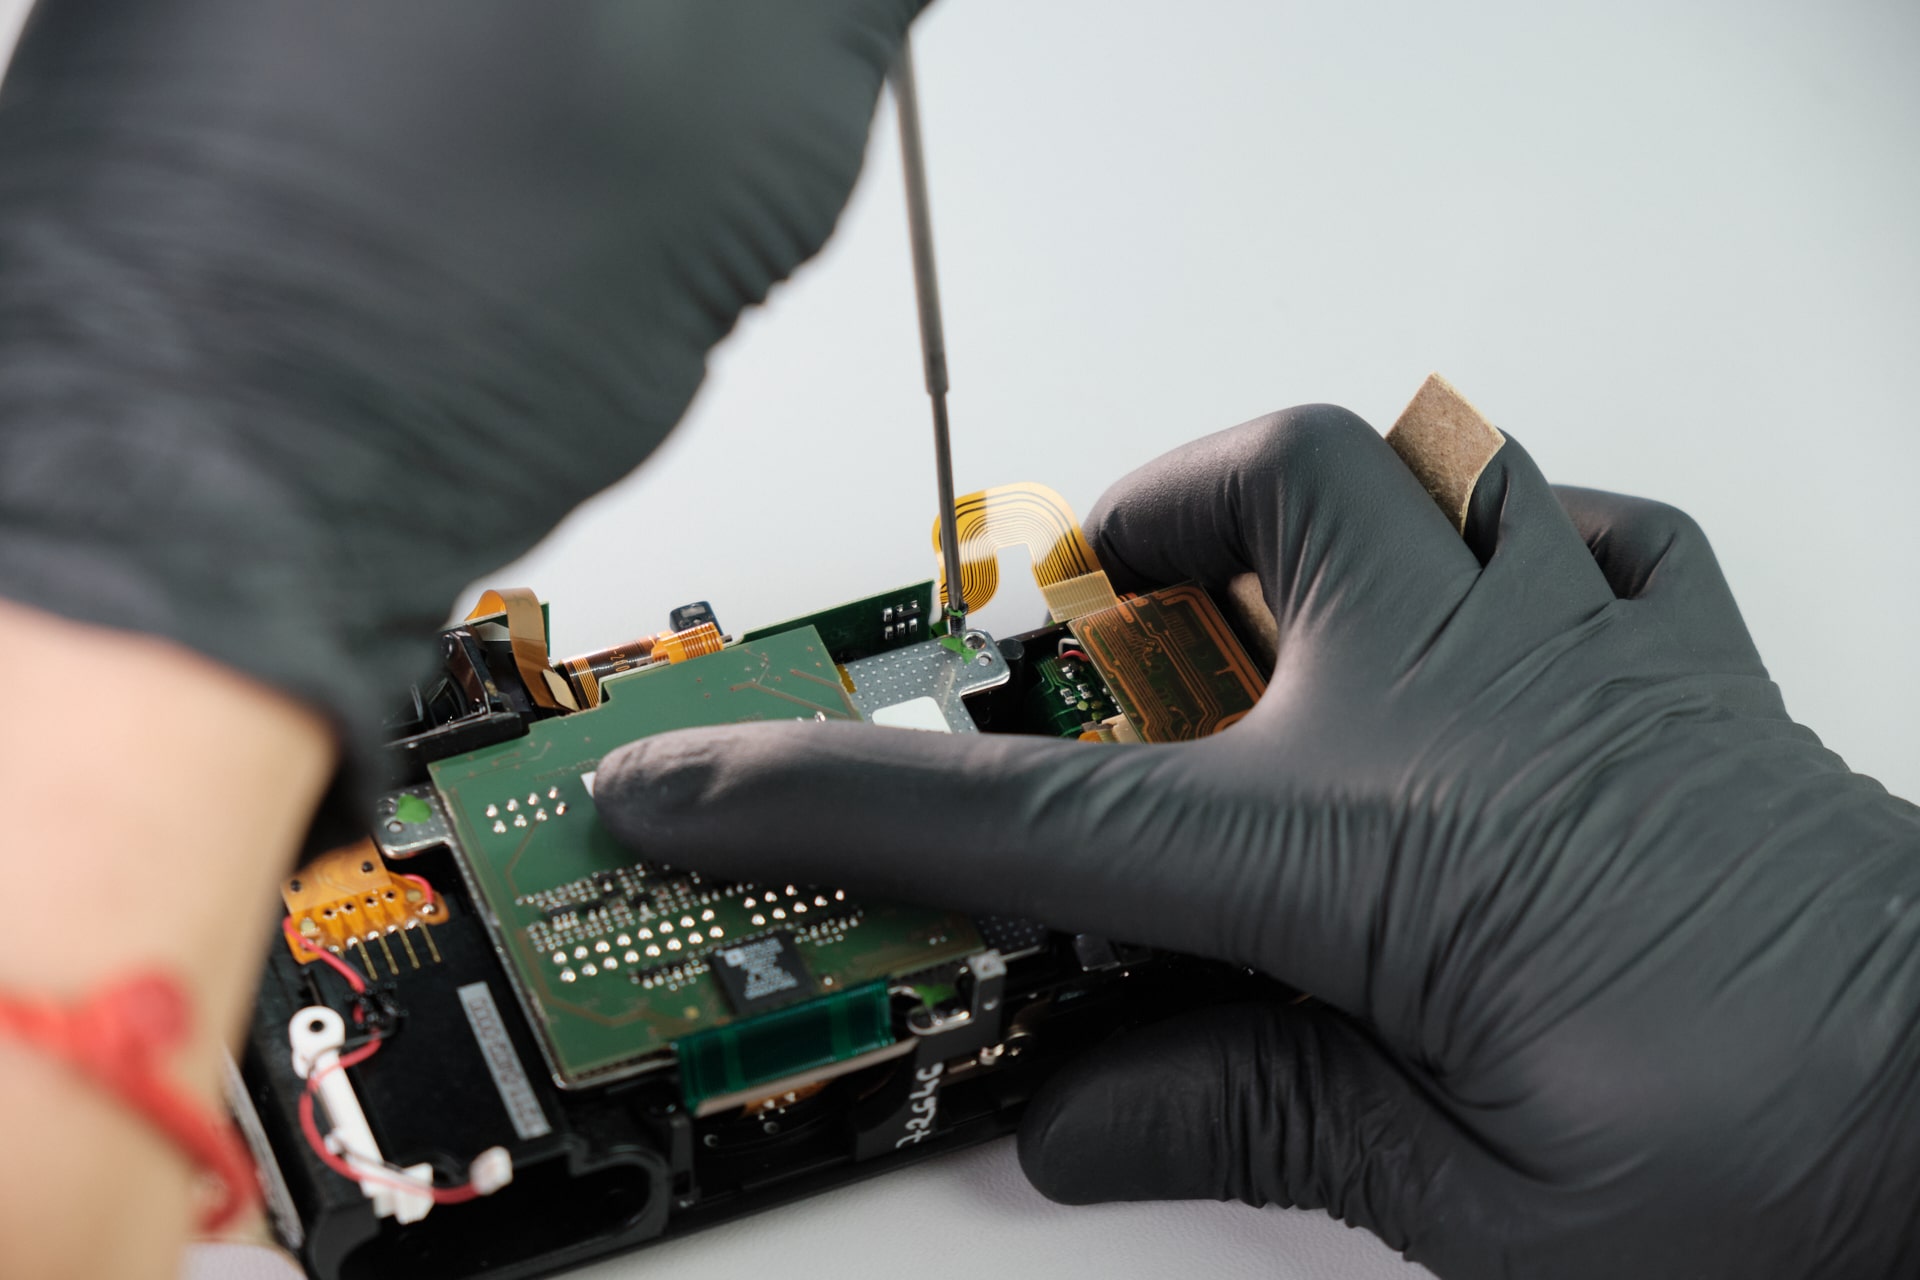
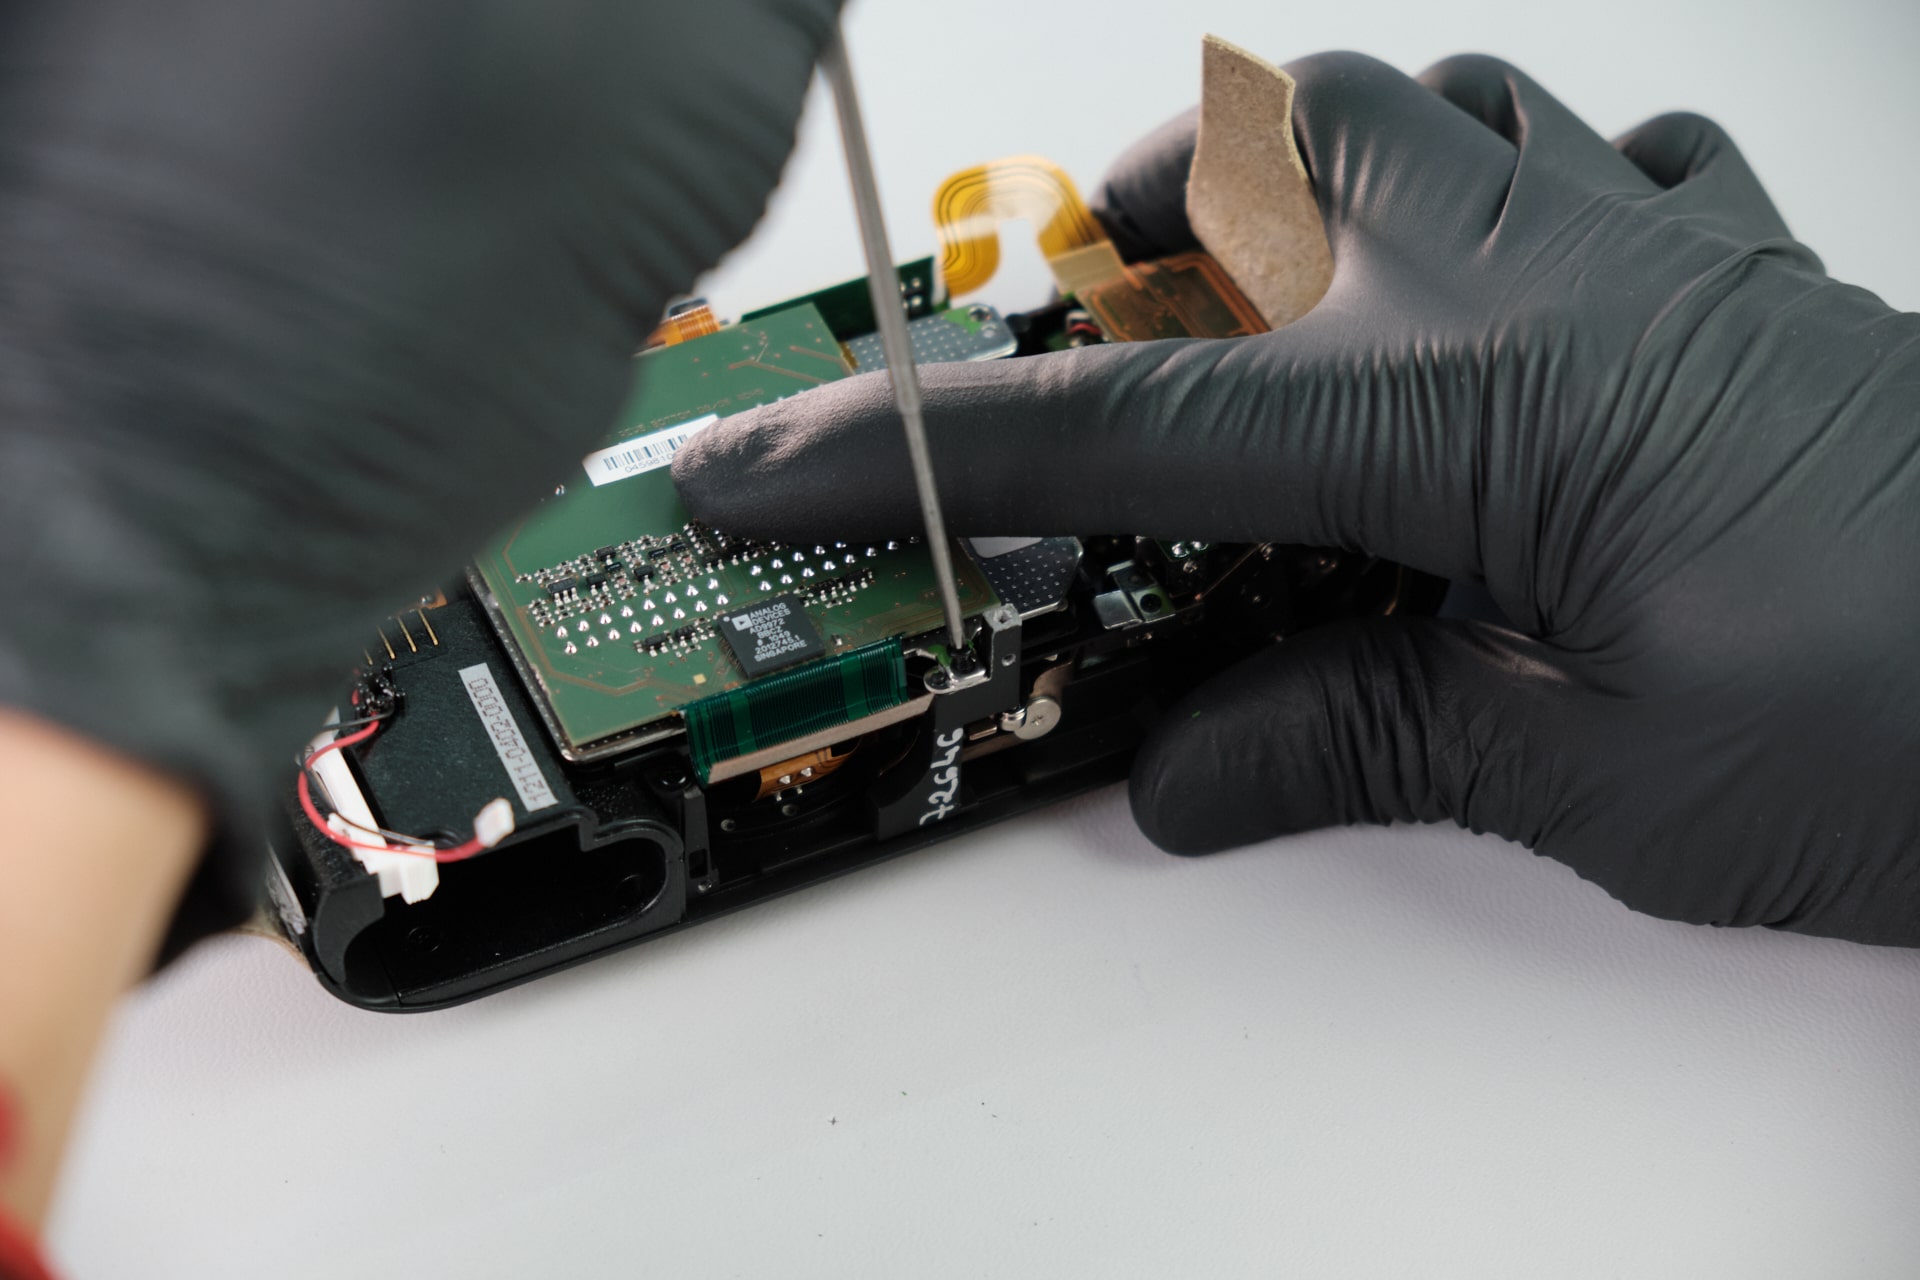
Removing the Second Top Panel Screw Near the Shutter Motor
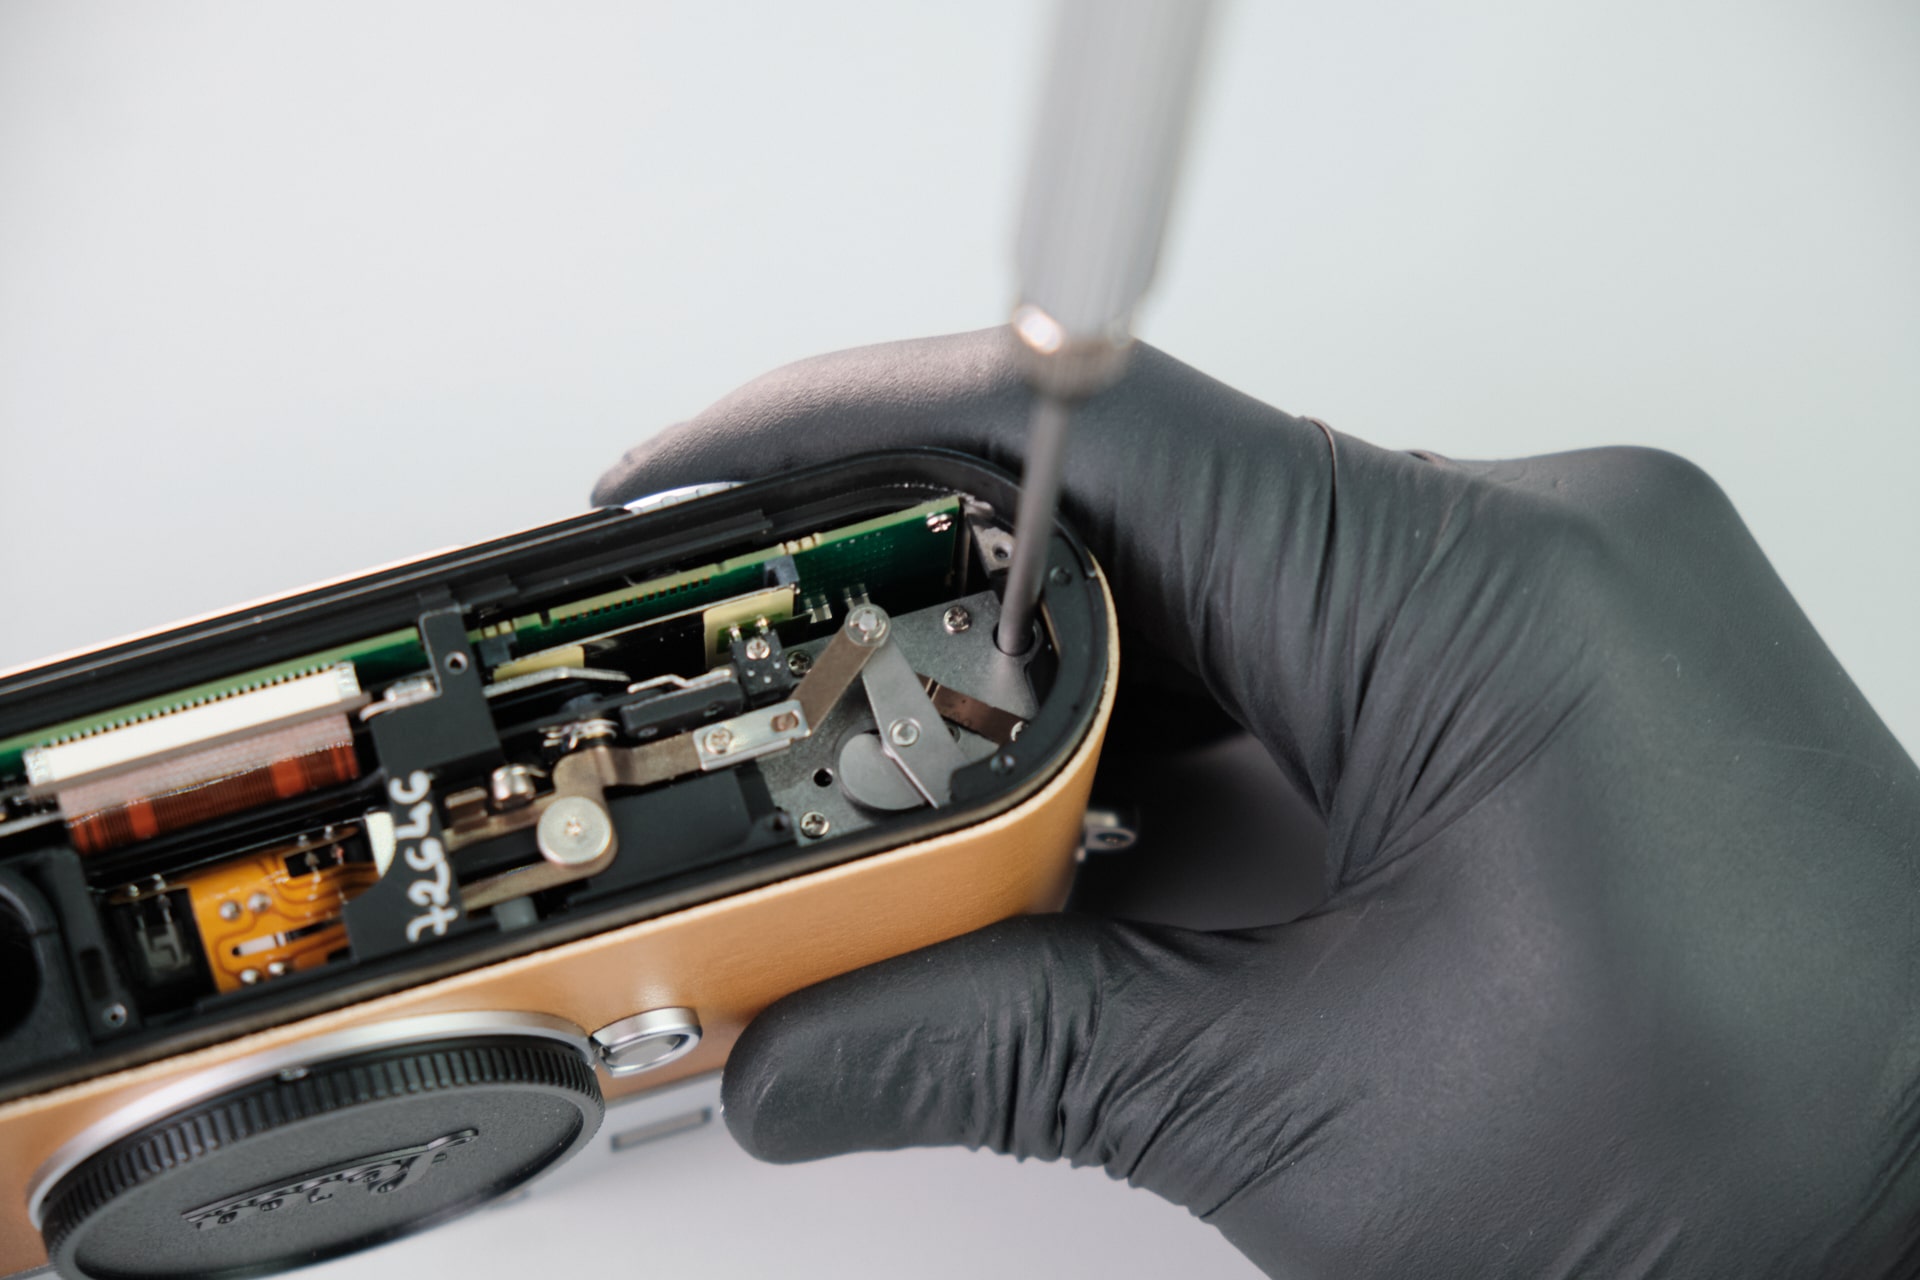
The second screw is located just above the shutter motor assembly gears. We needed to take great care to not to damage or poke sensitive components in this area.
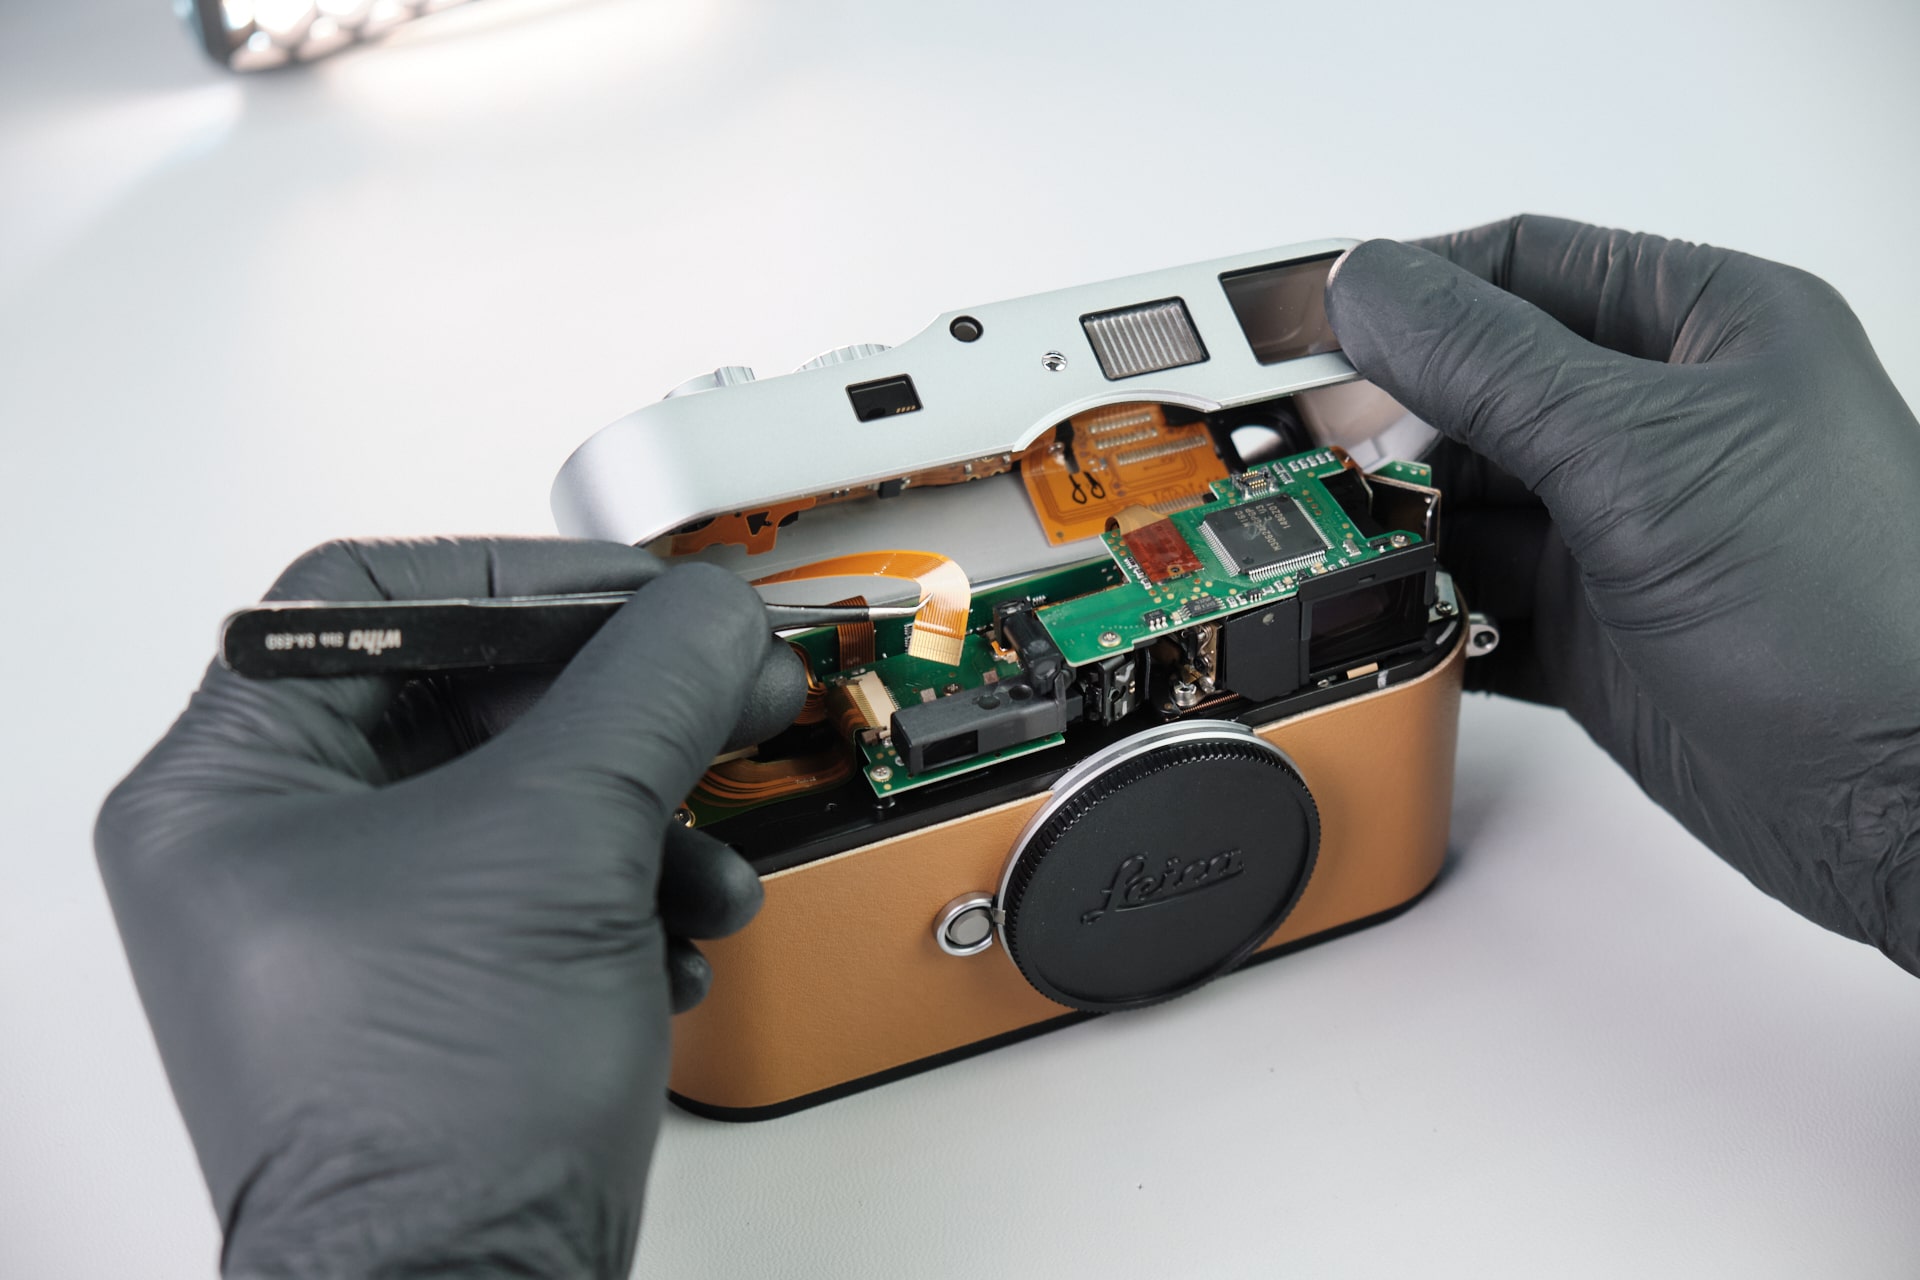
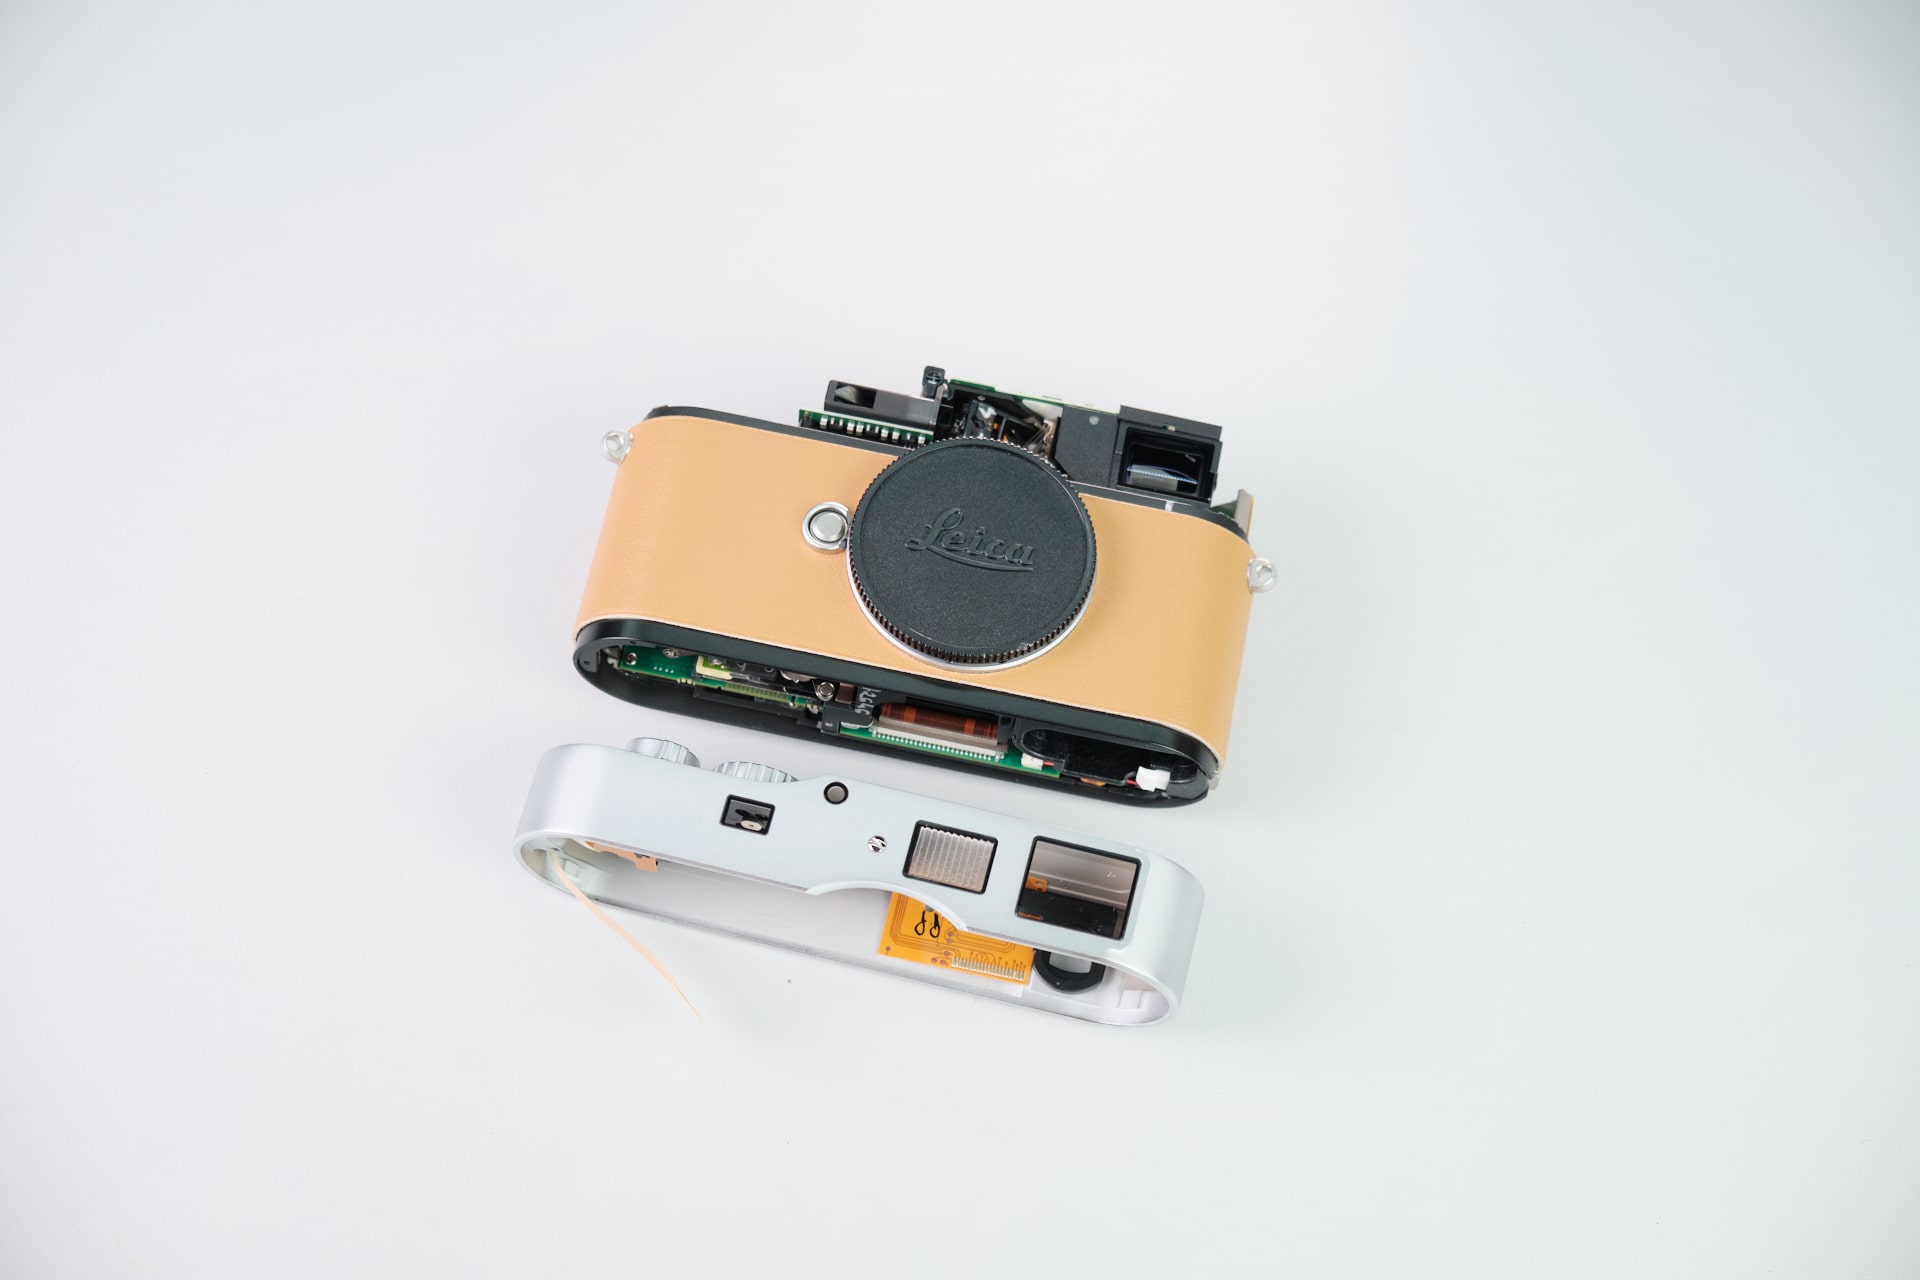
Lifting the Top Cover Plate and Disconnecting the Ribbon Cable
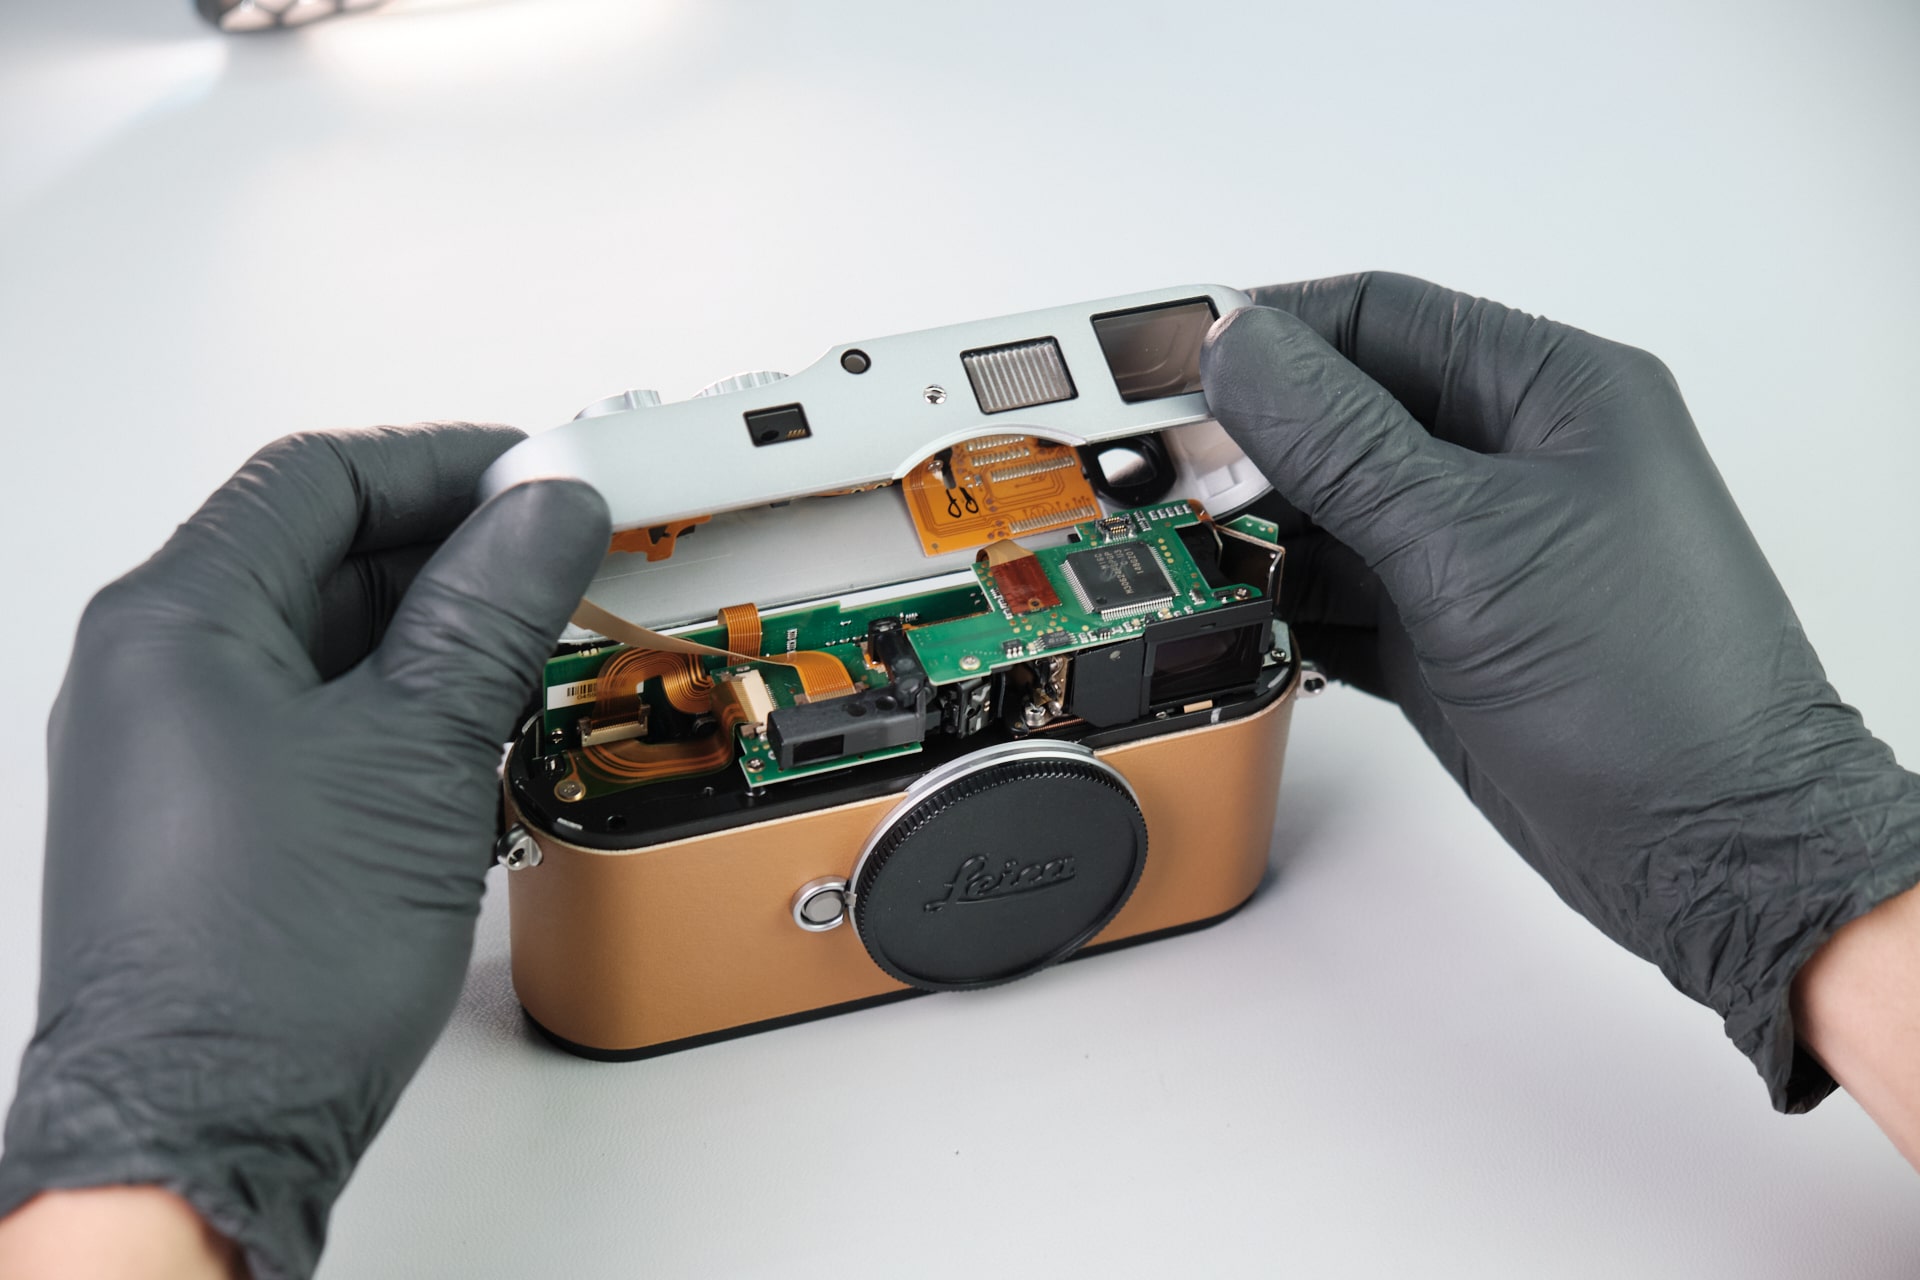
Here, we lifted the top cover plate and disconnected the cable ribbon.
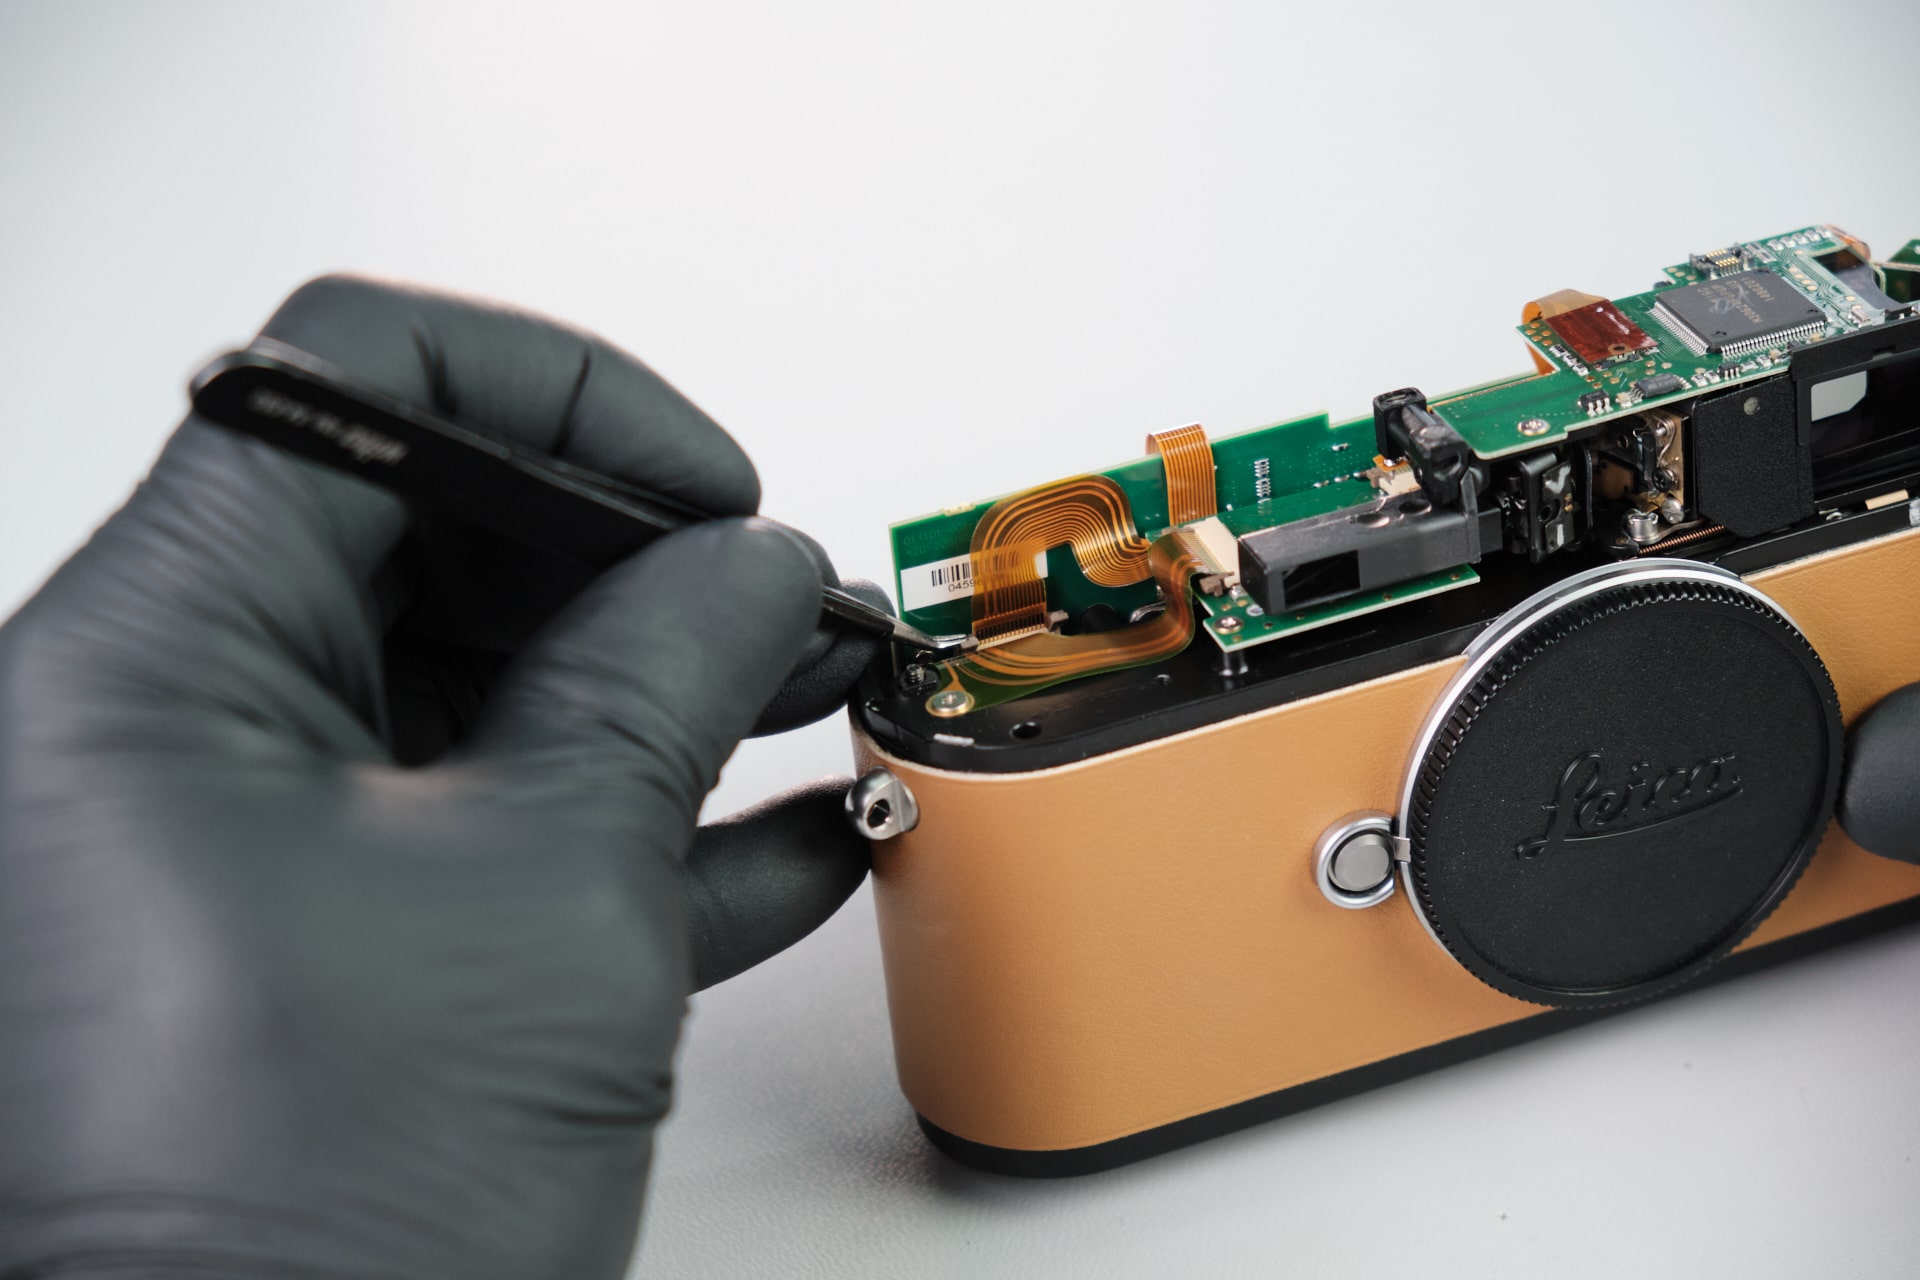
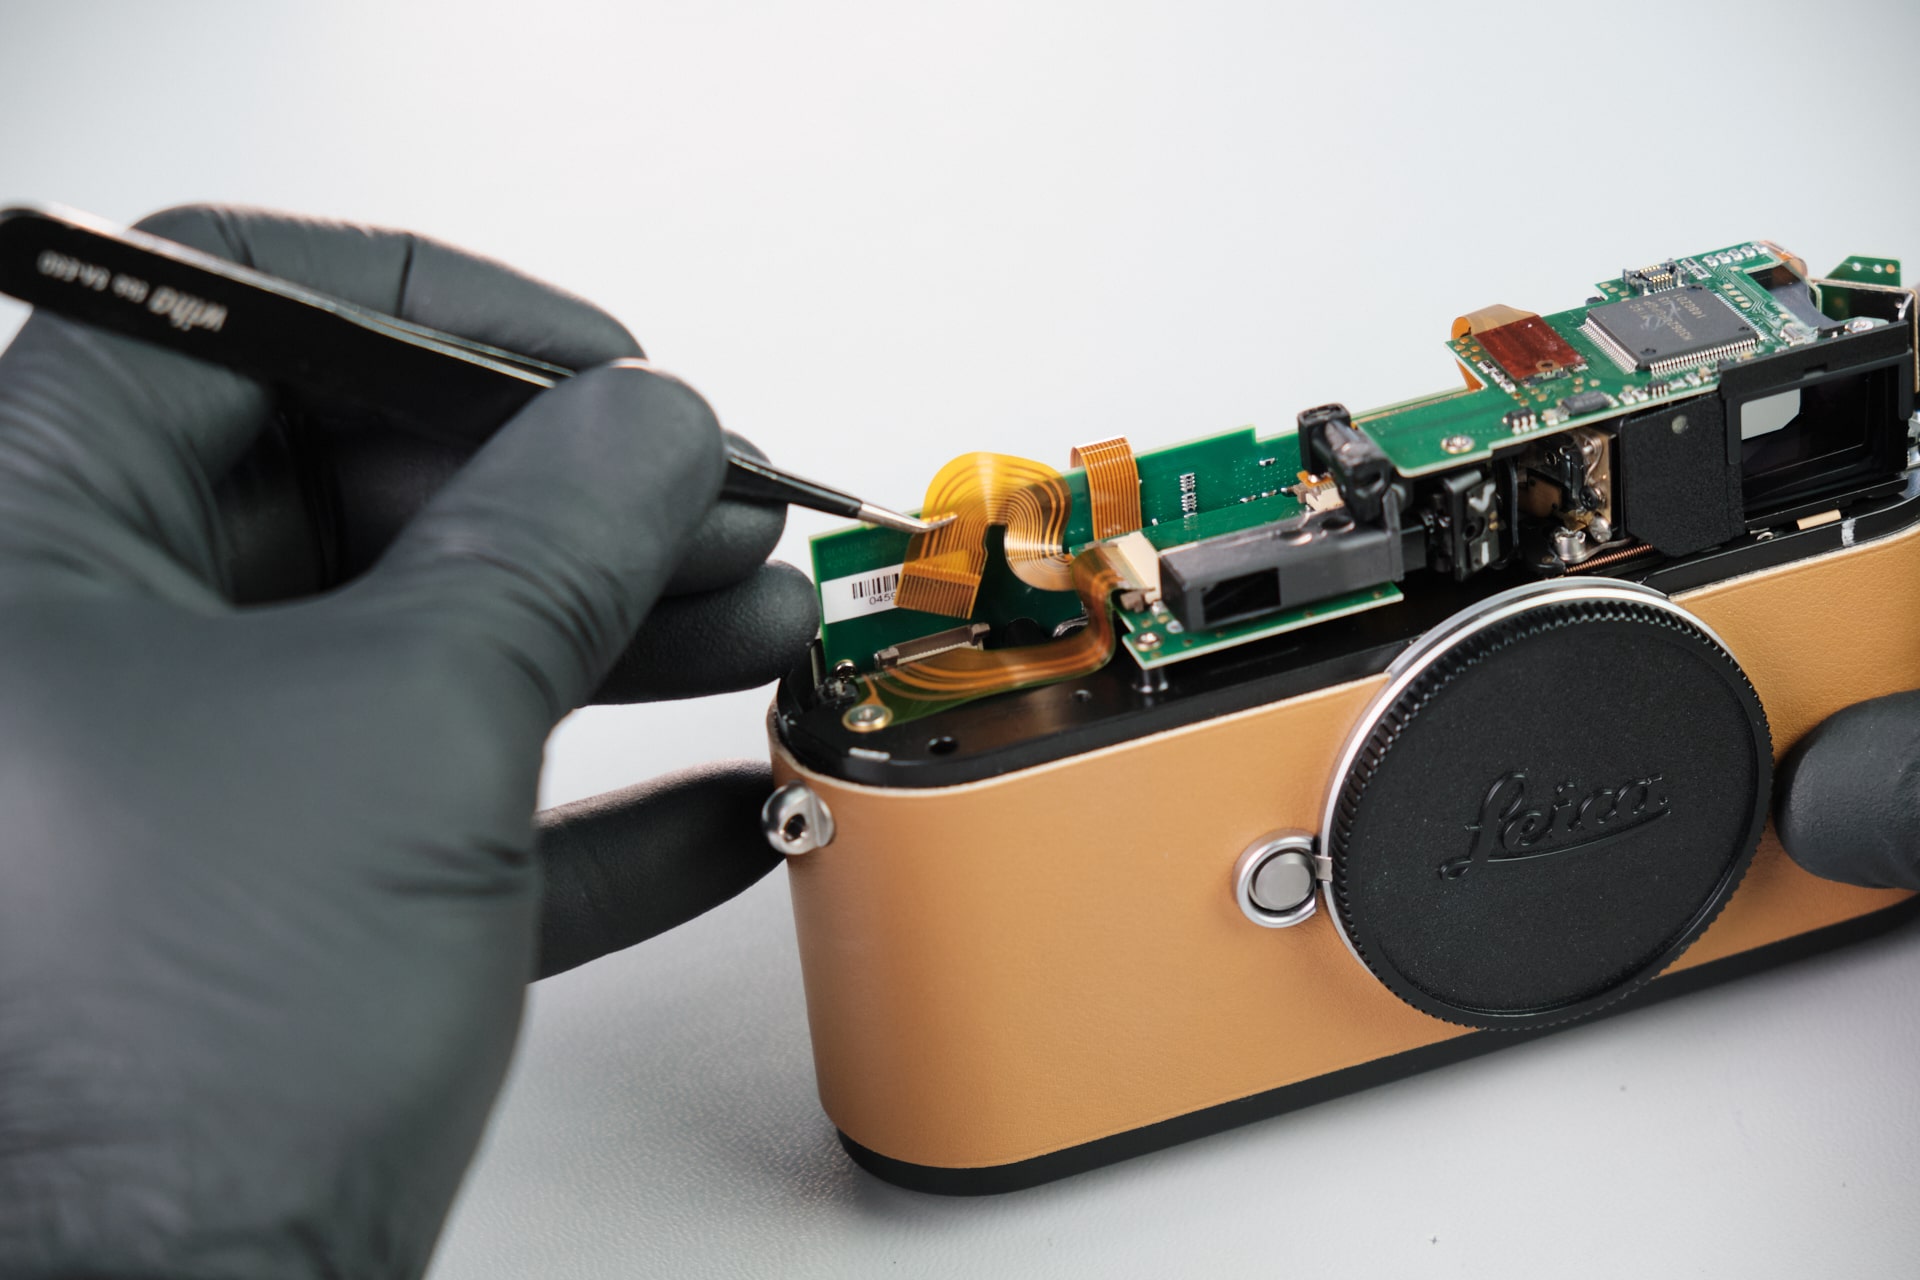
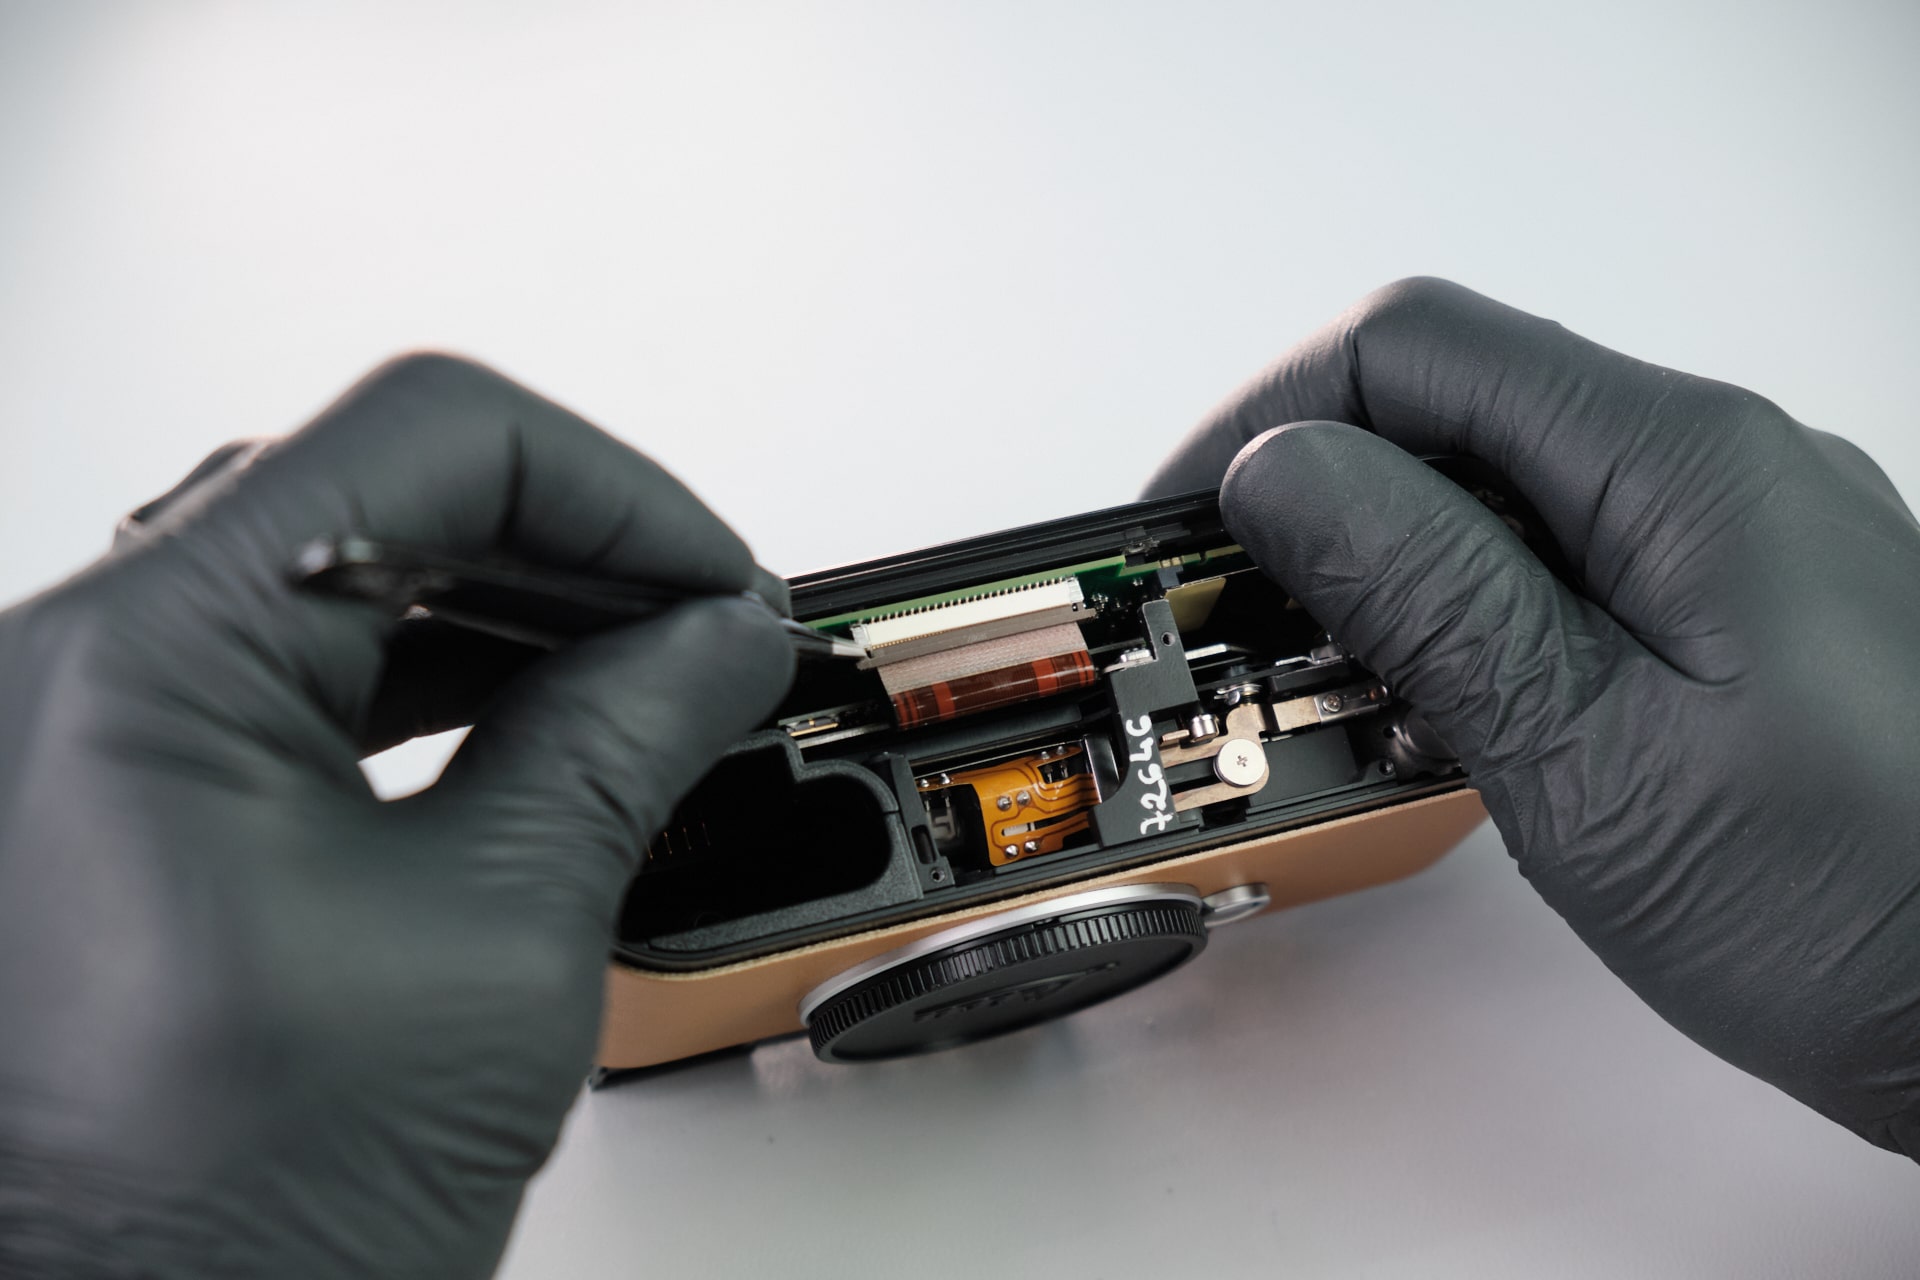
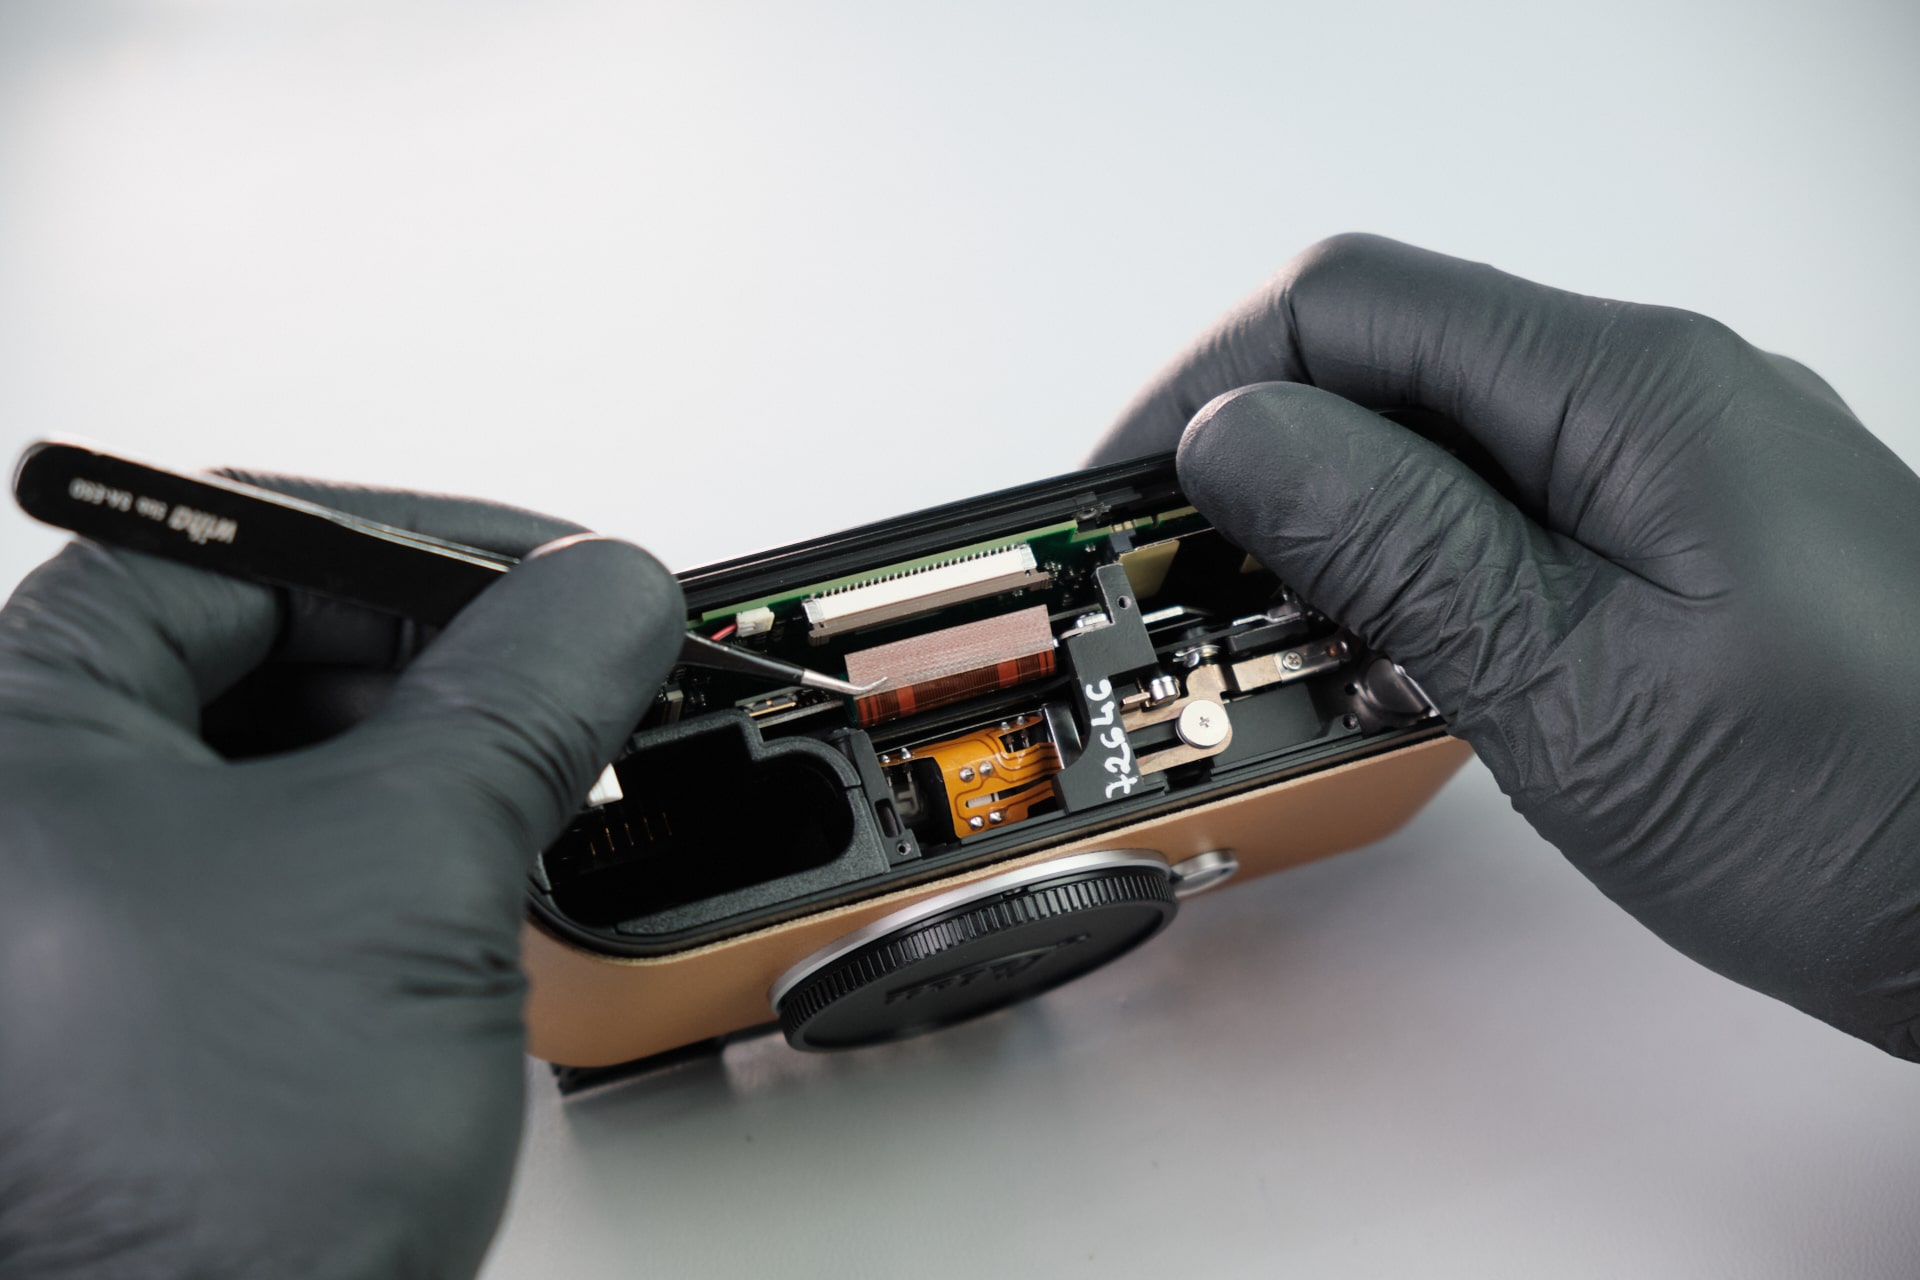
Disconnecting the Rear Panel Ribbon Cable
Next, we disconnected the rear panel ribbon. We needed to be careful not to damage the ribbon cable clamp lock.
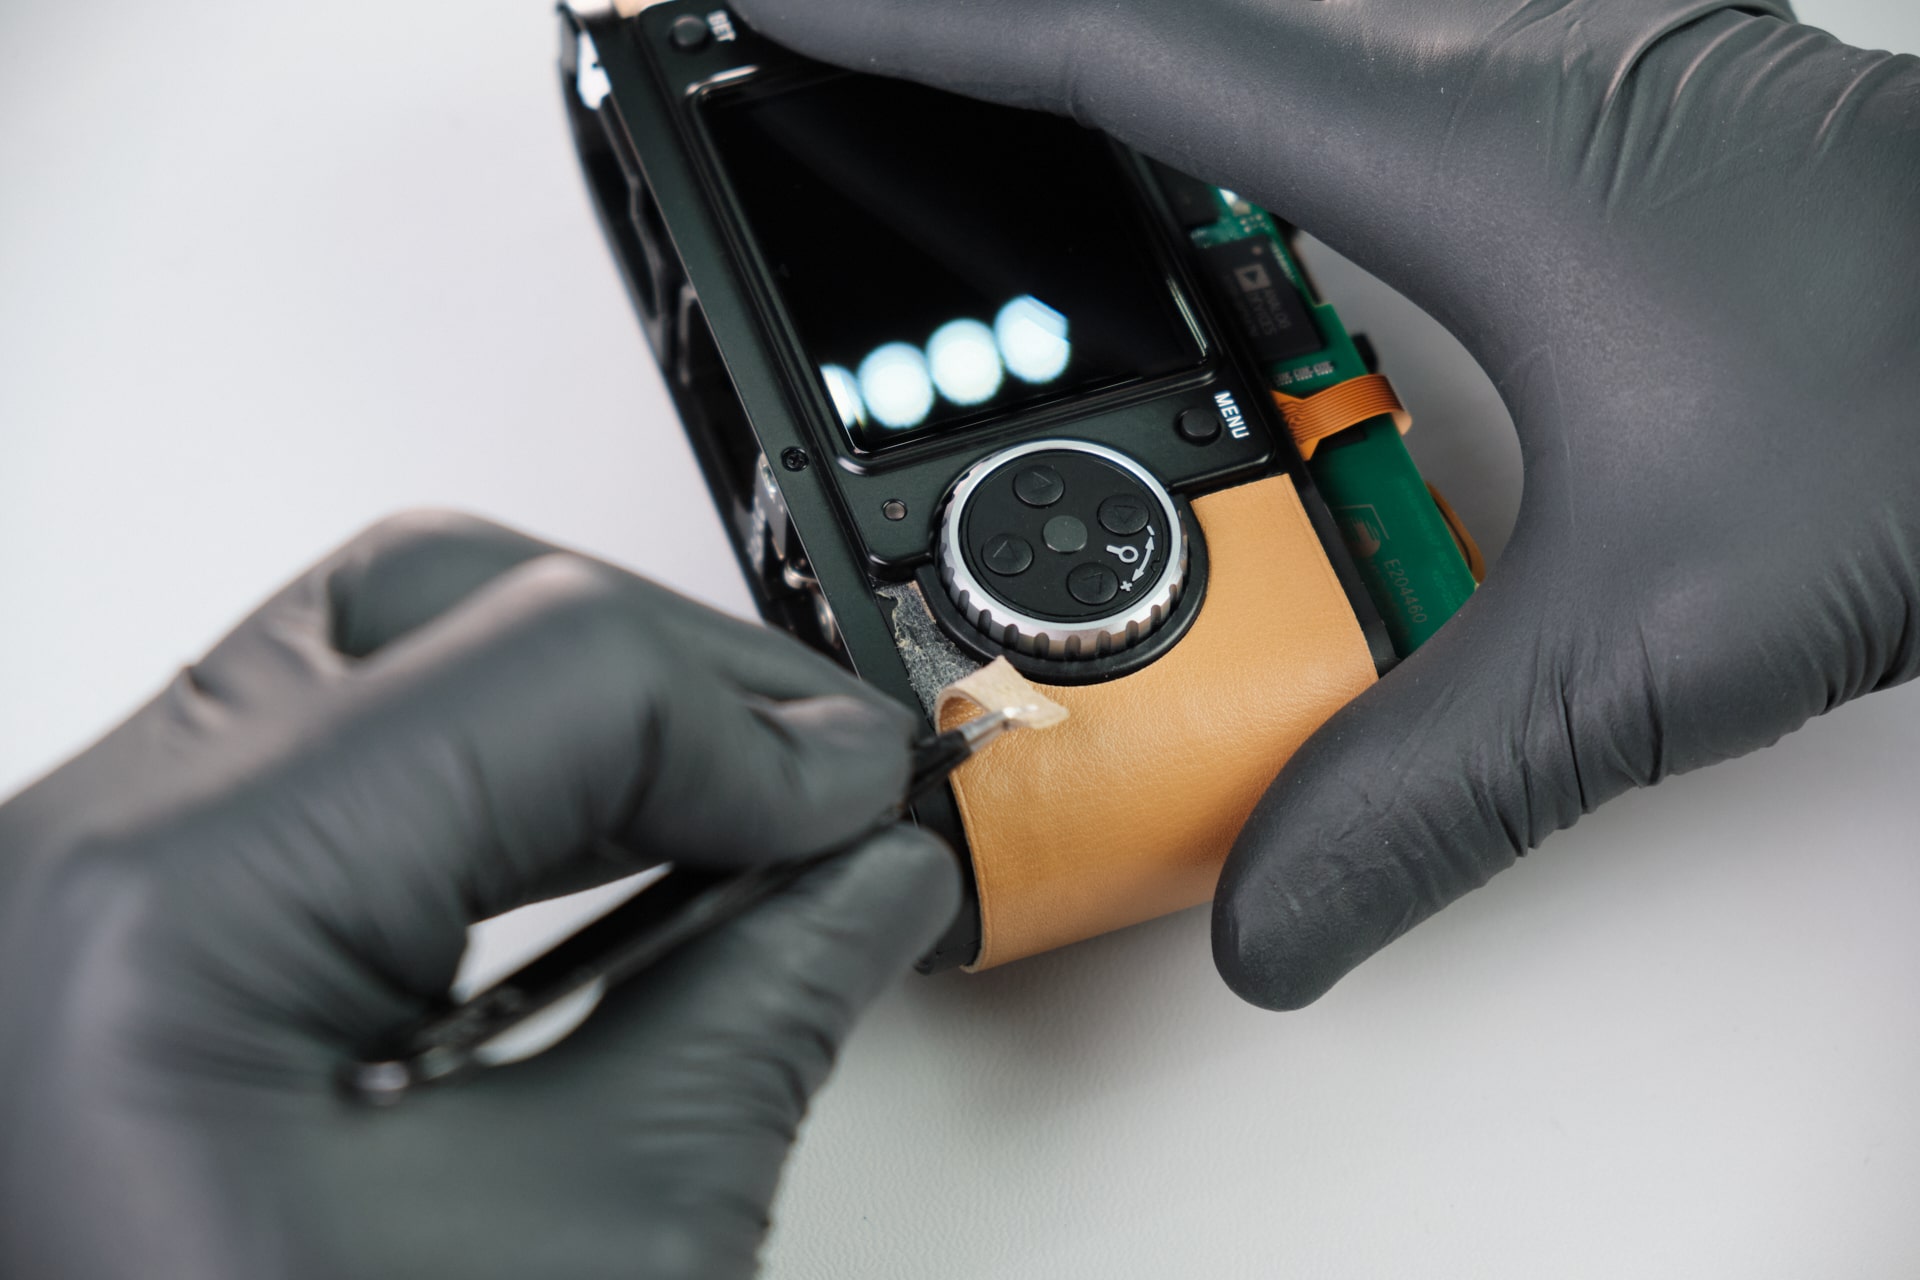
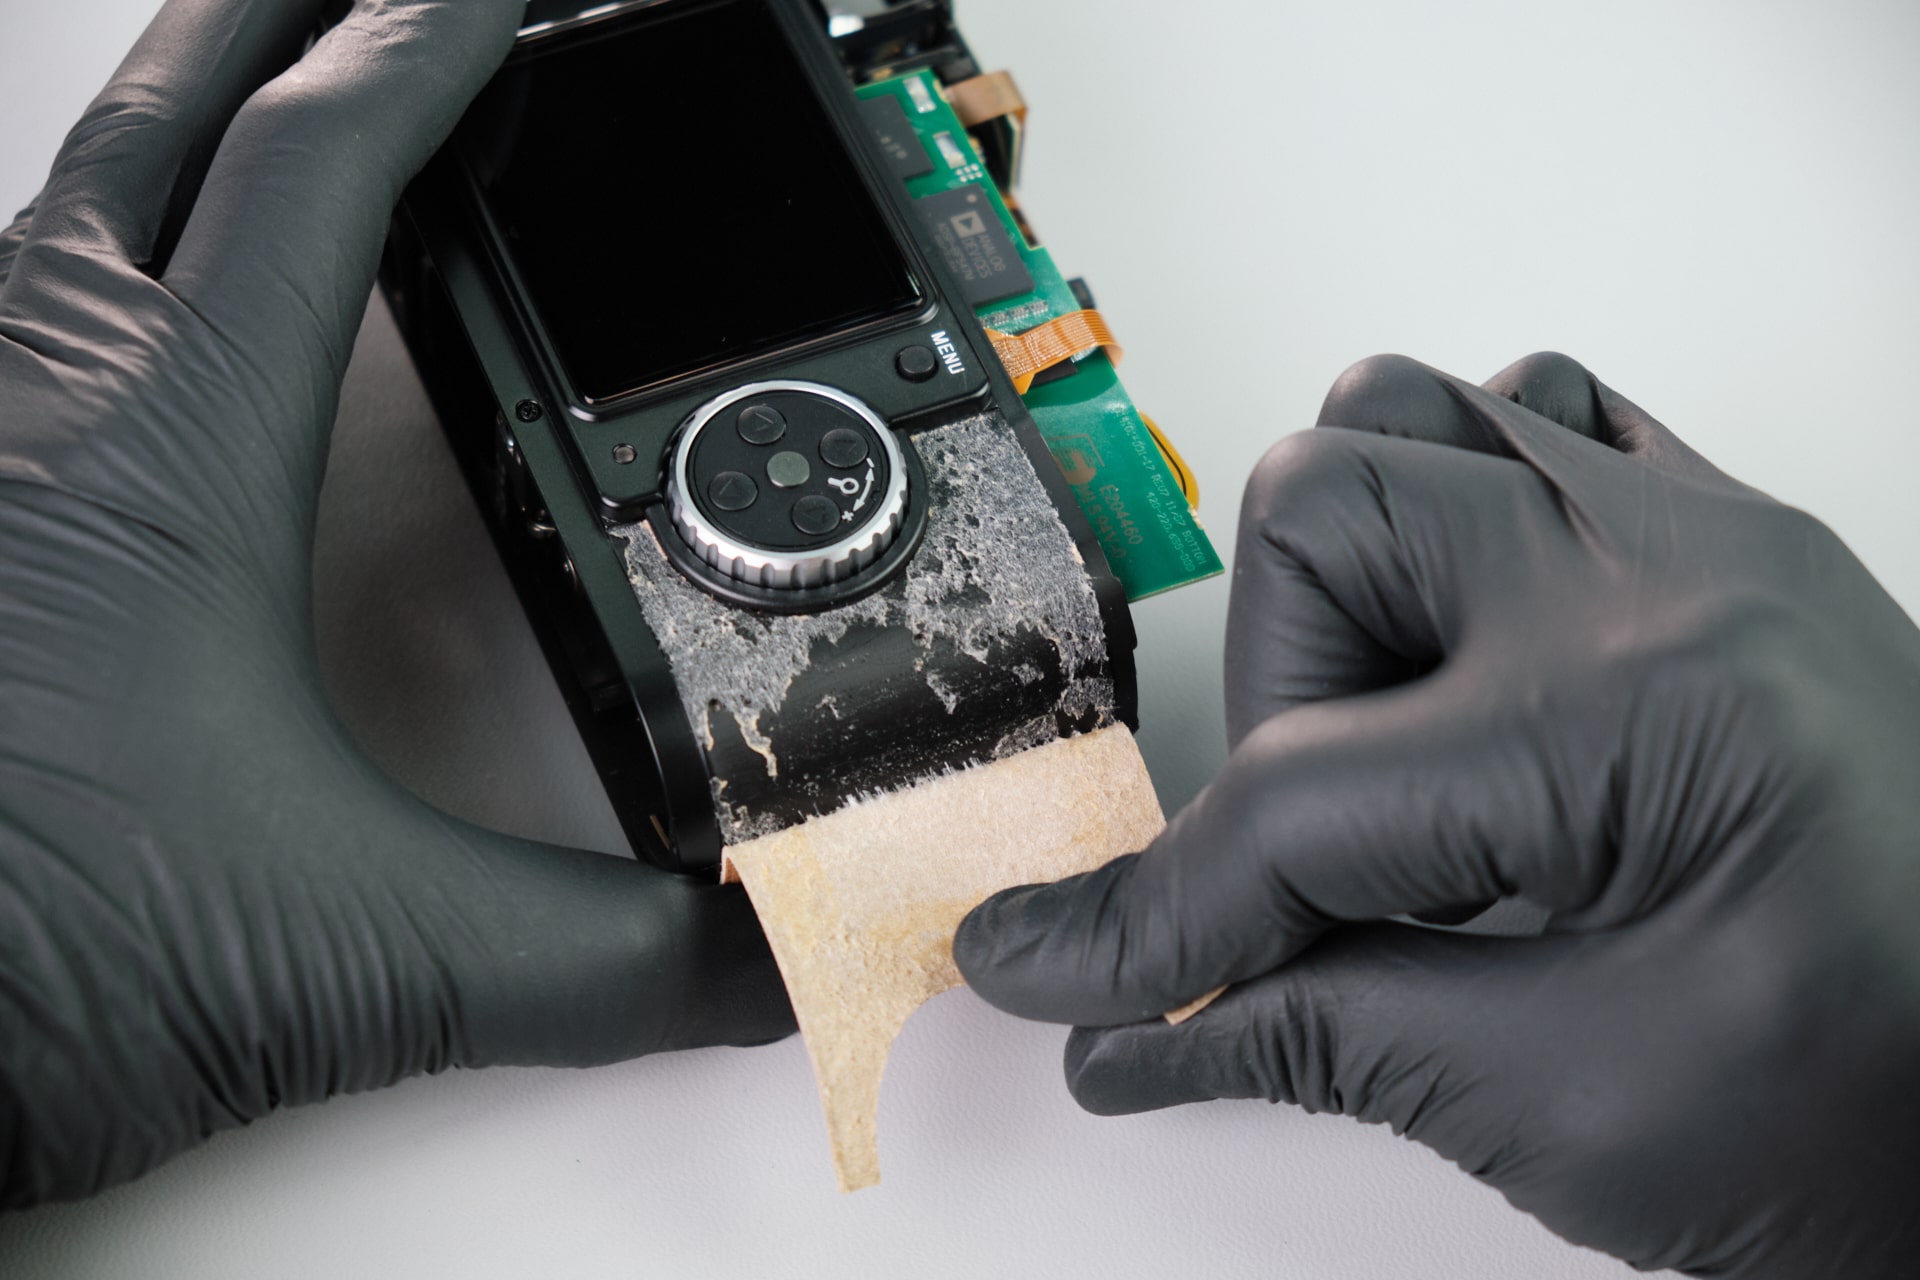
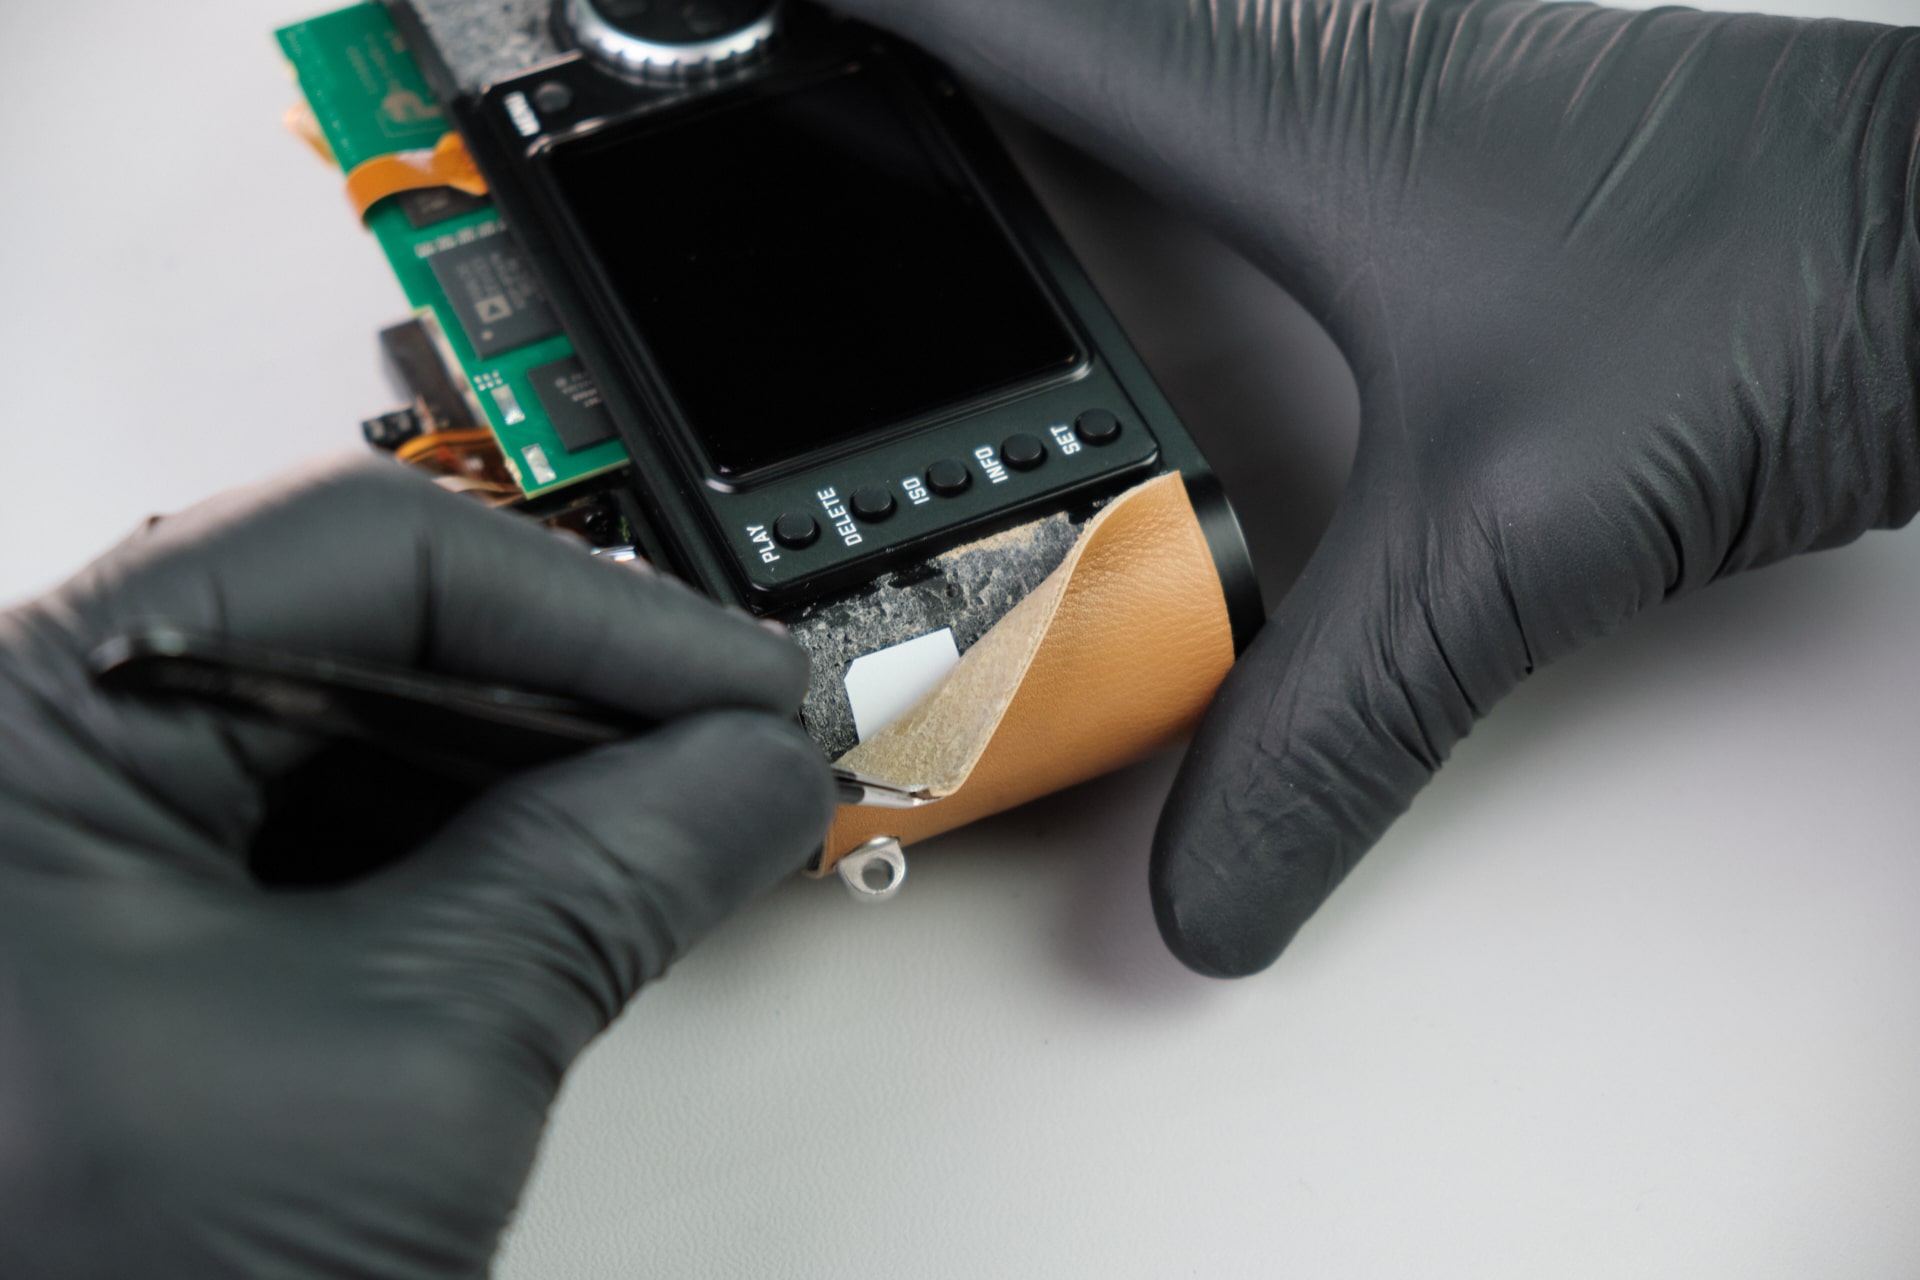
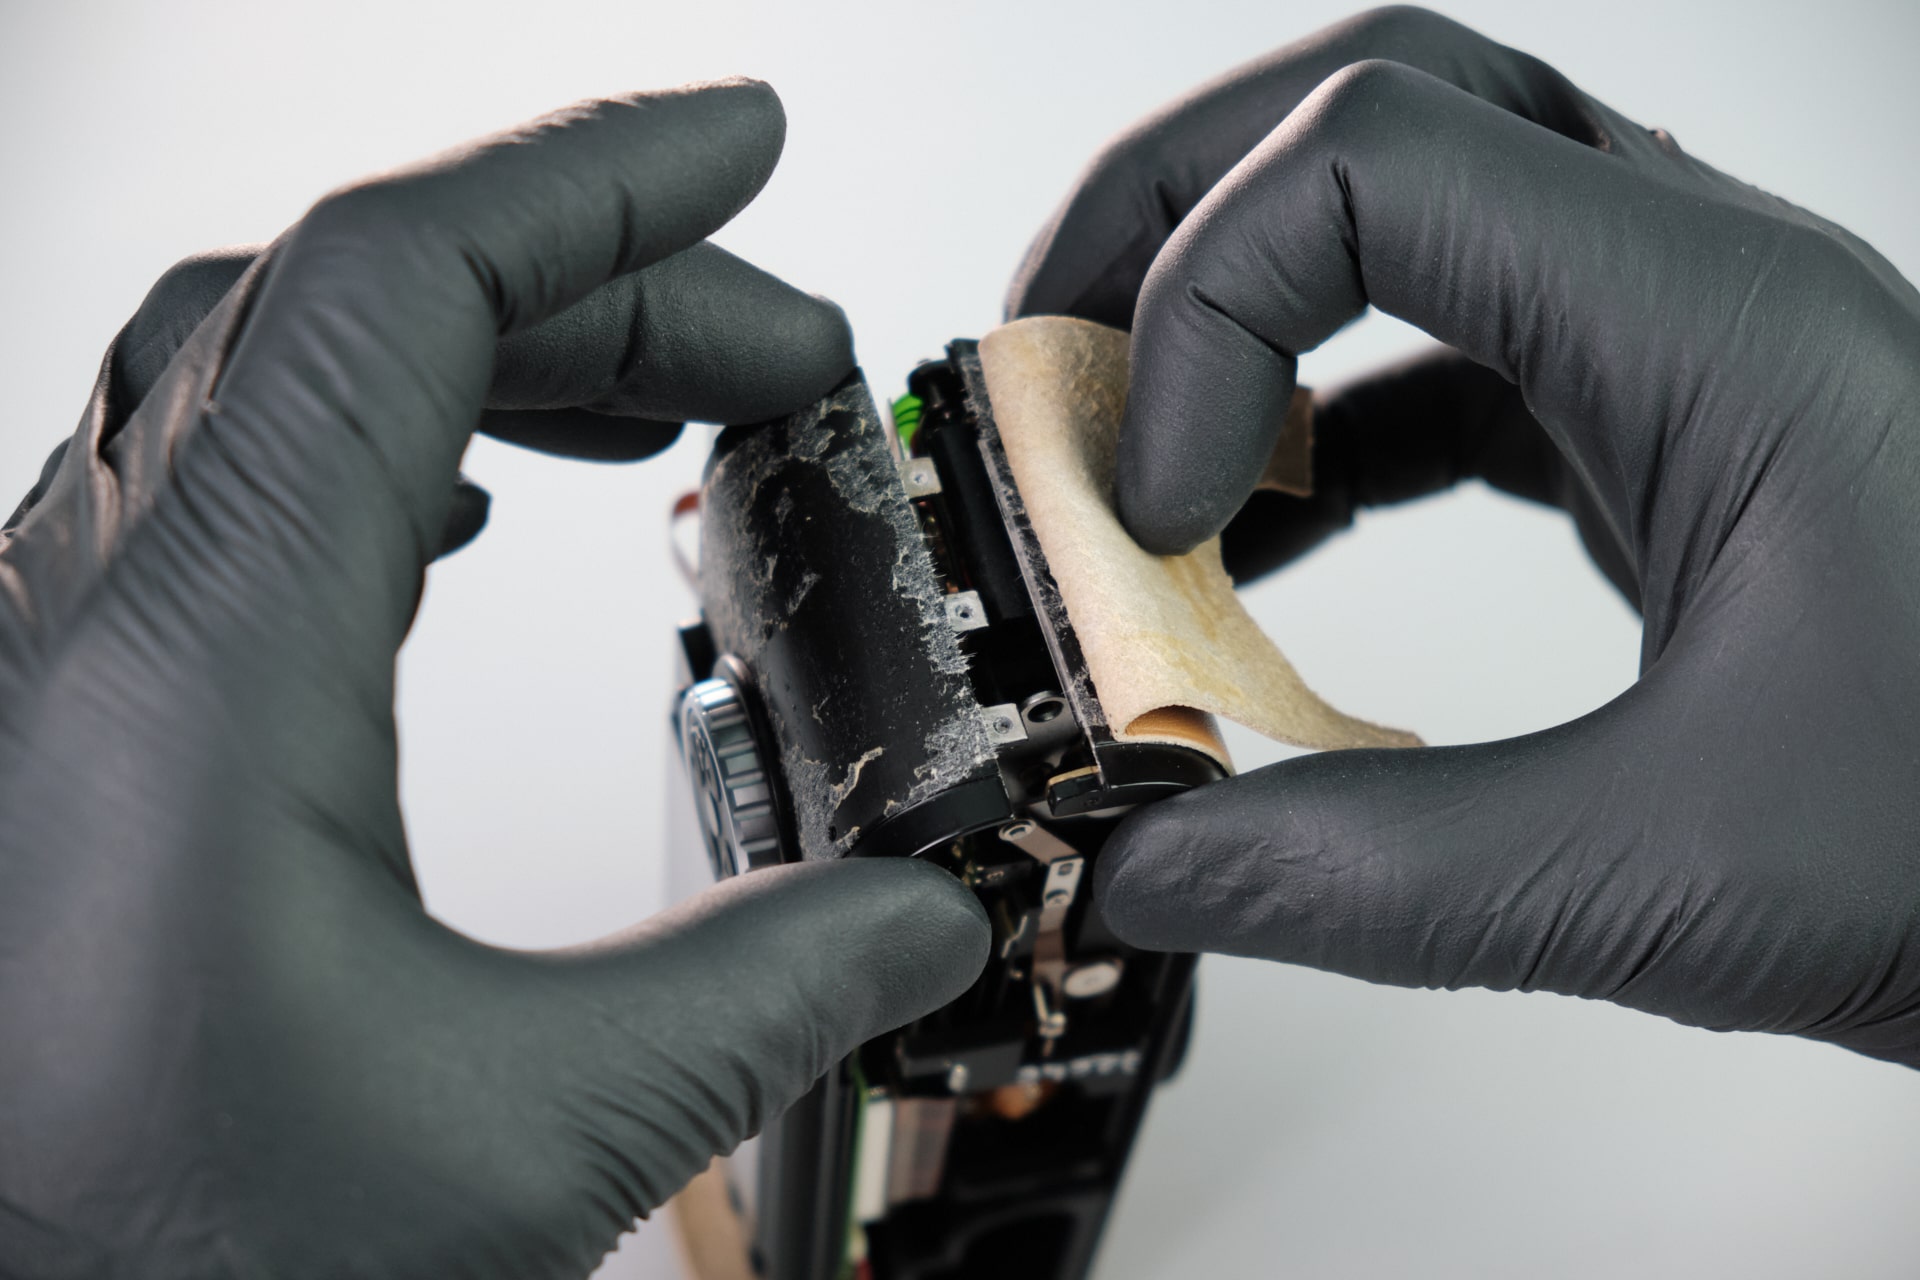
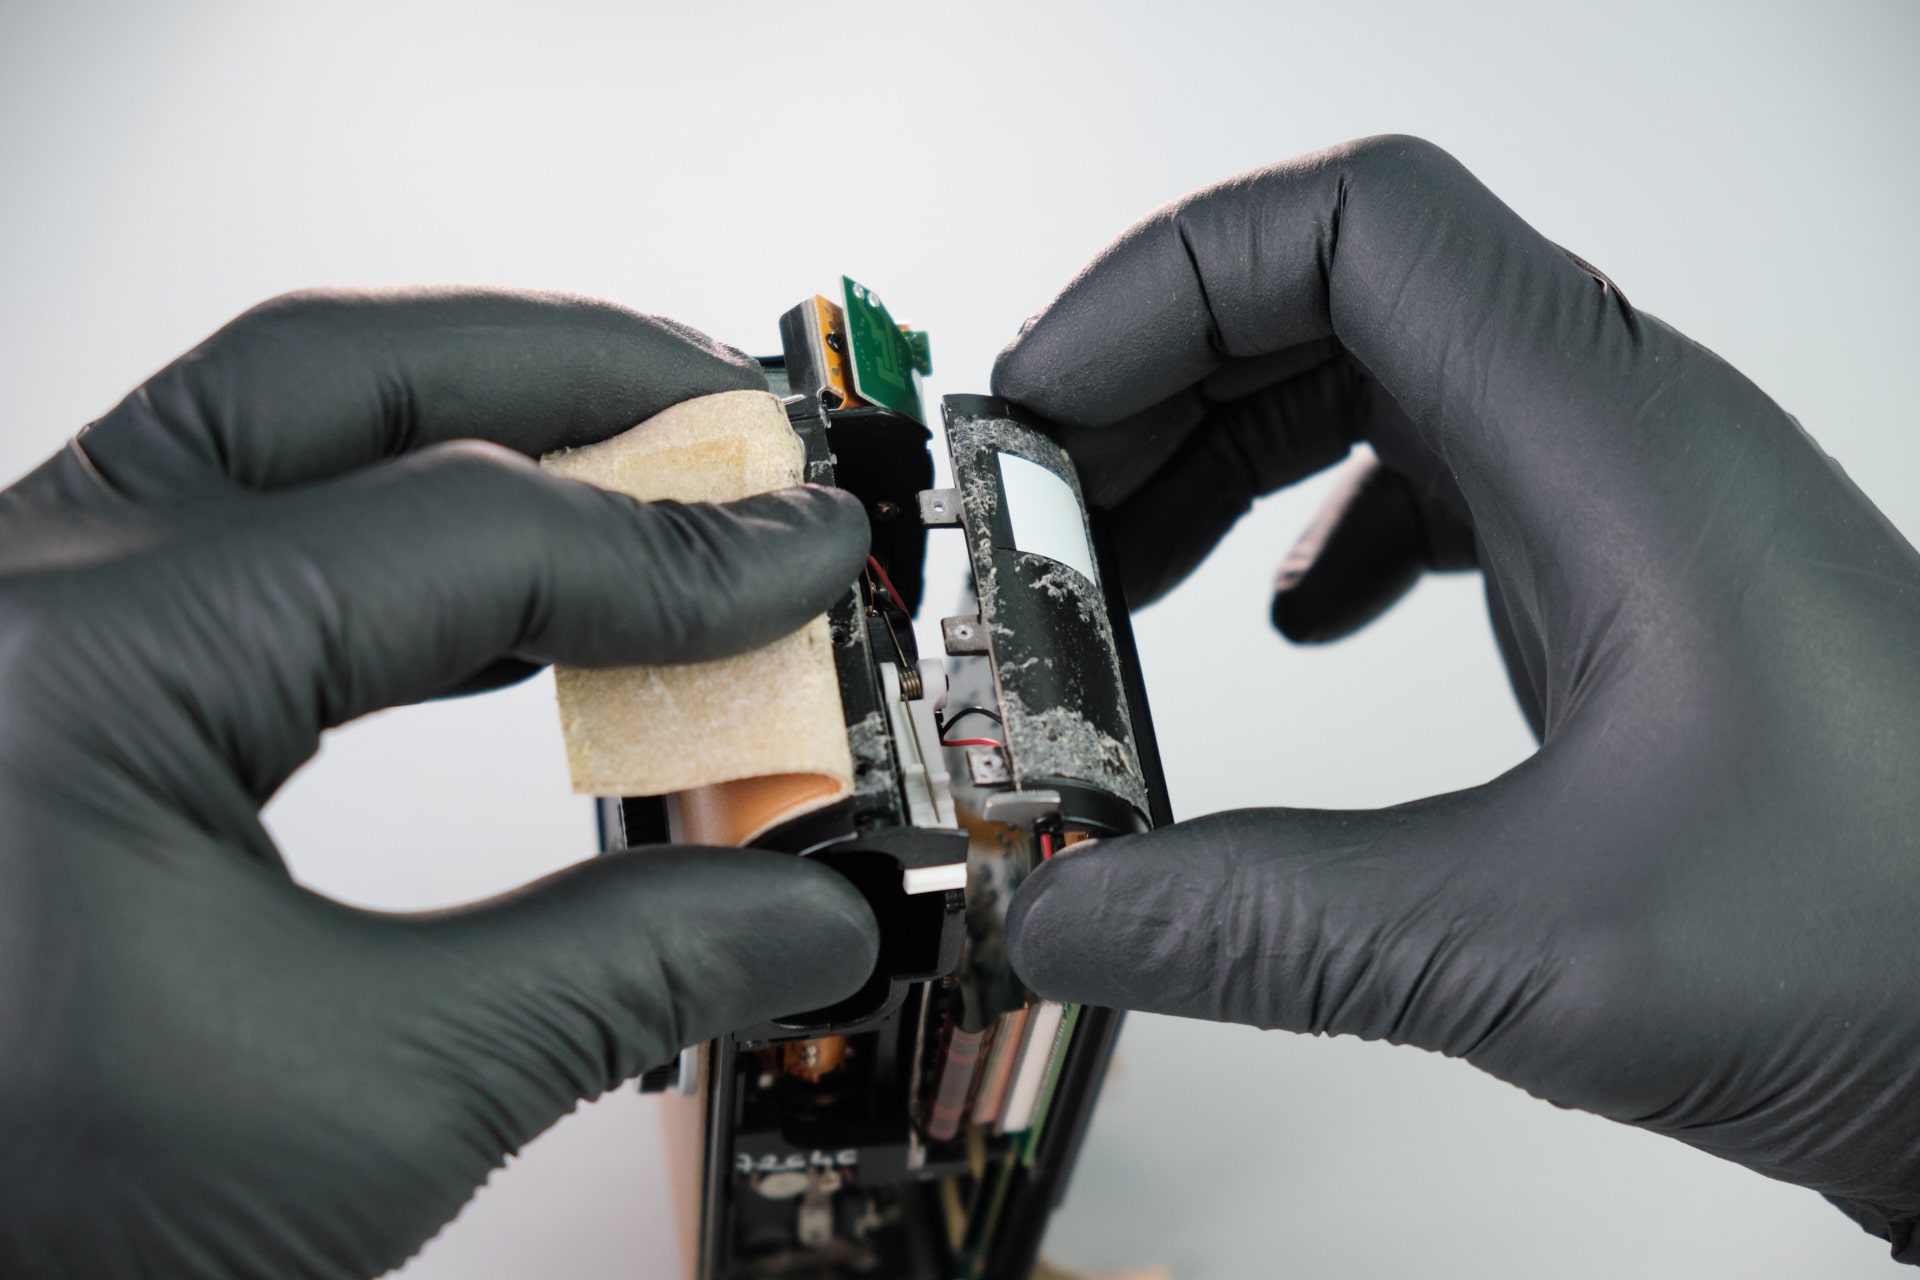
Removing the Hermès Leather to Access Hidden Screws
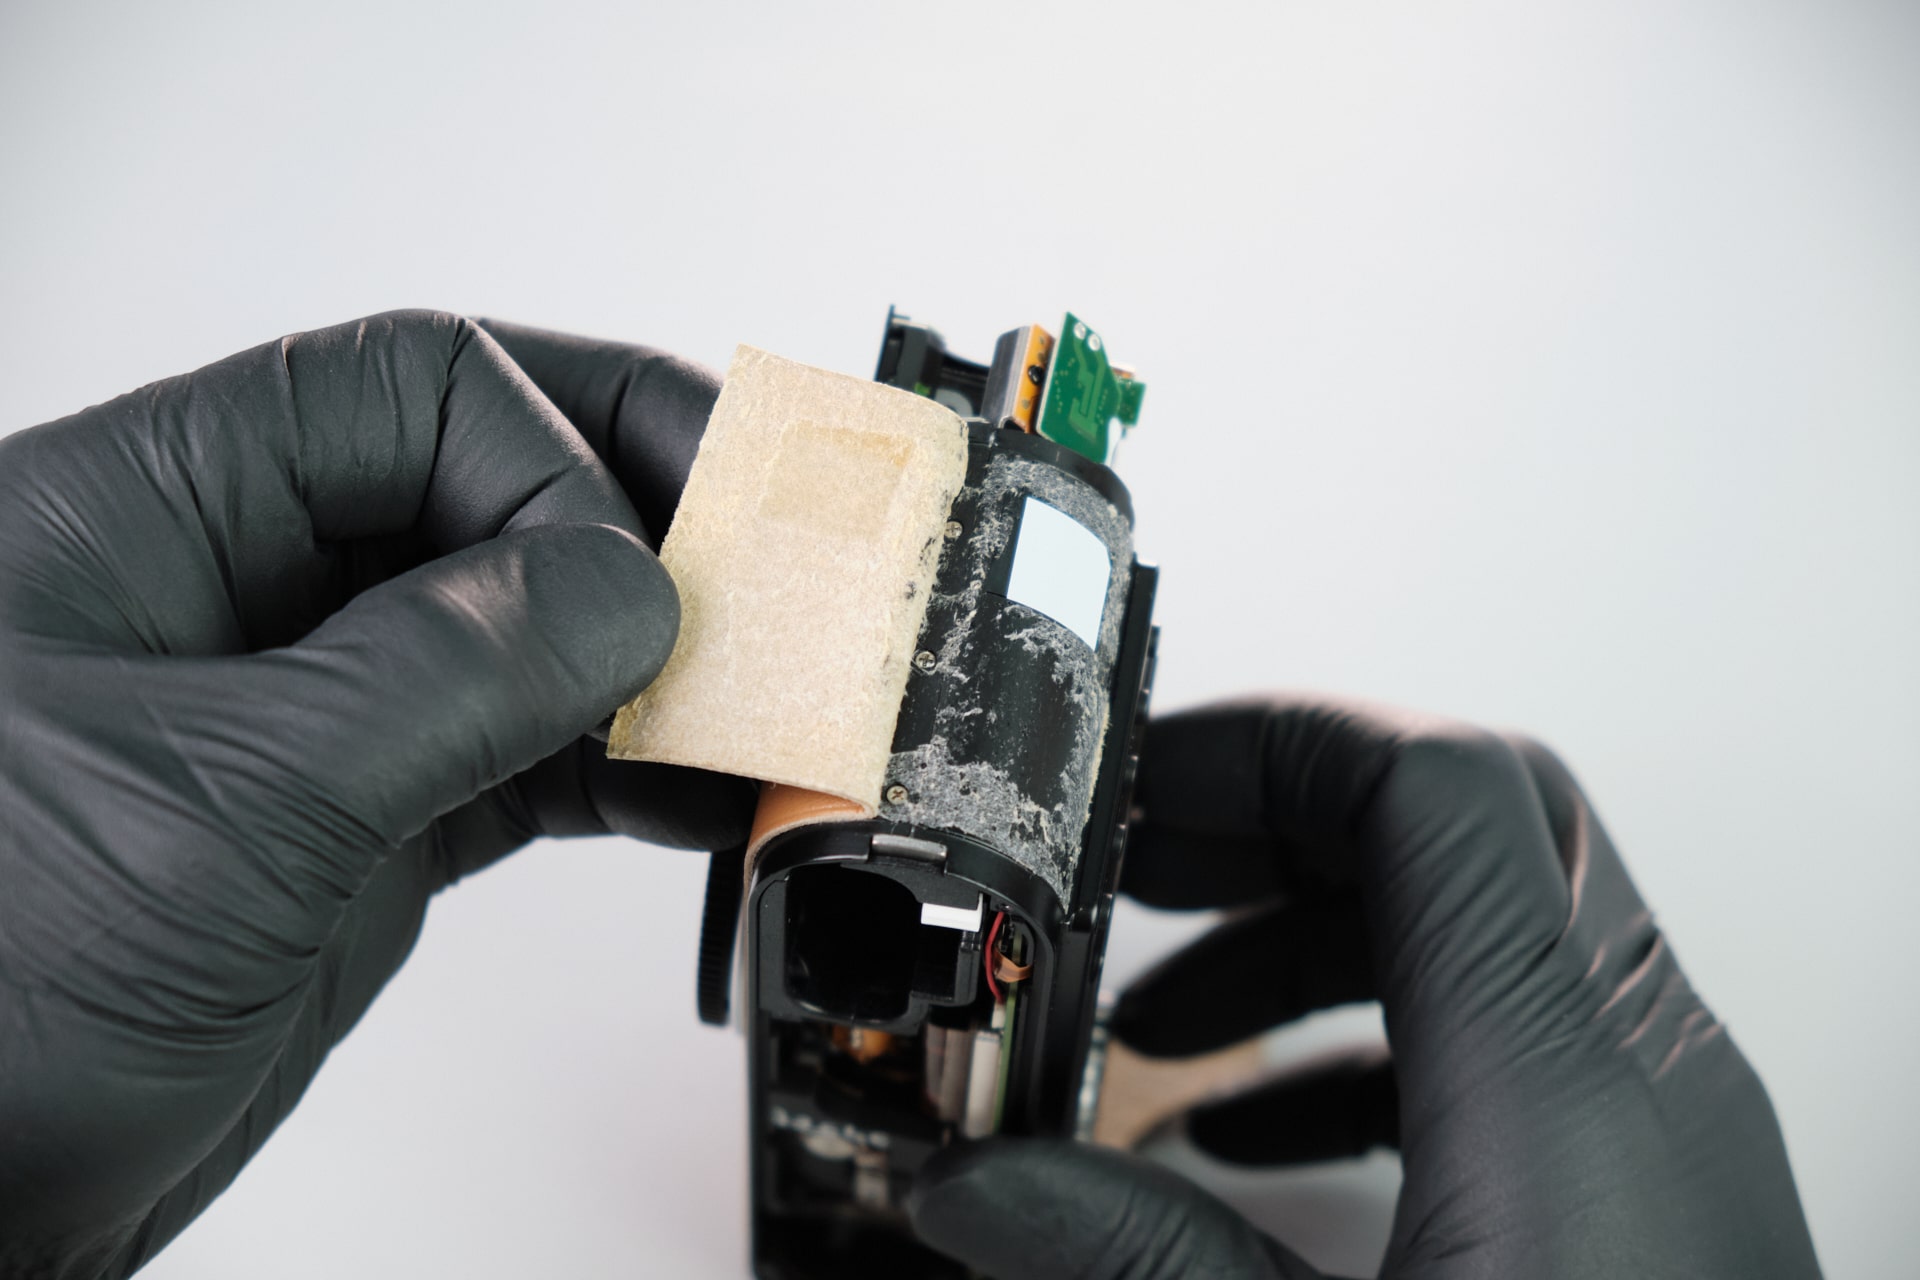
Here, we needed to be delicate in removing the Hermes leather. This needed to be done to access more screws on the camera body underneath the leather.
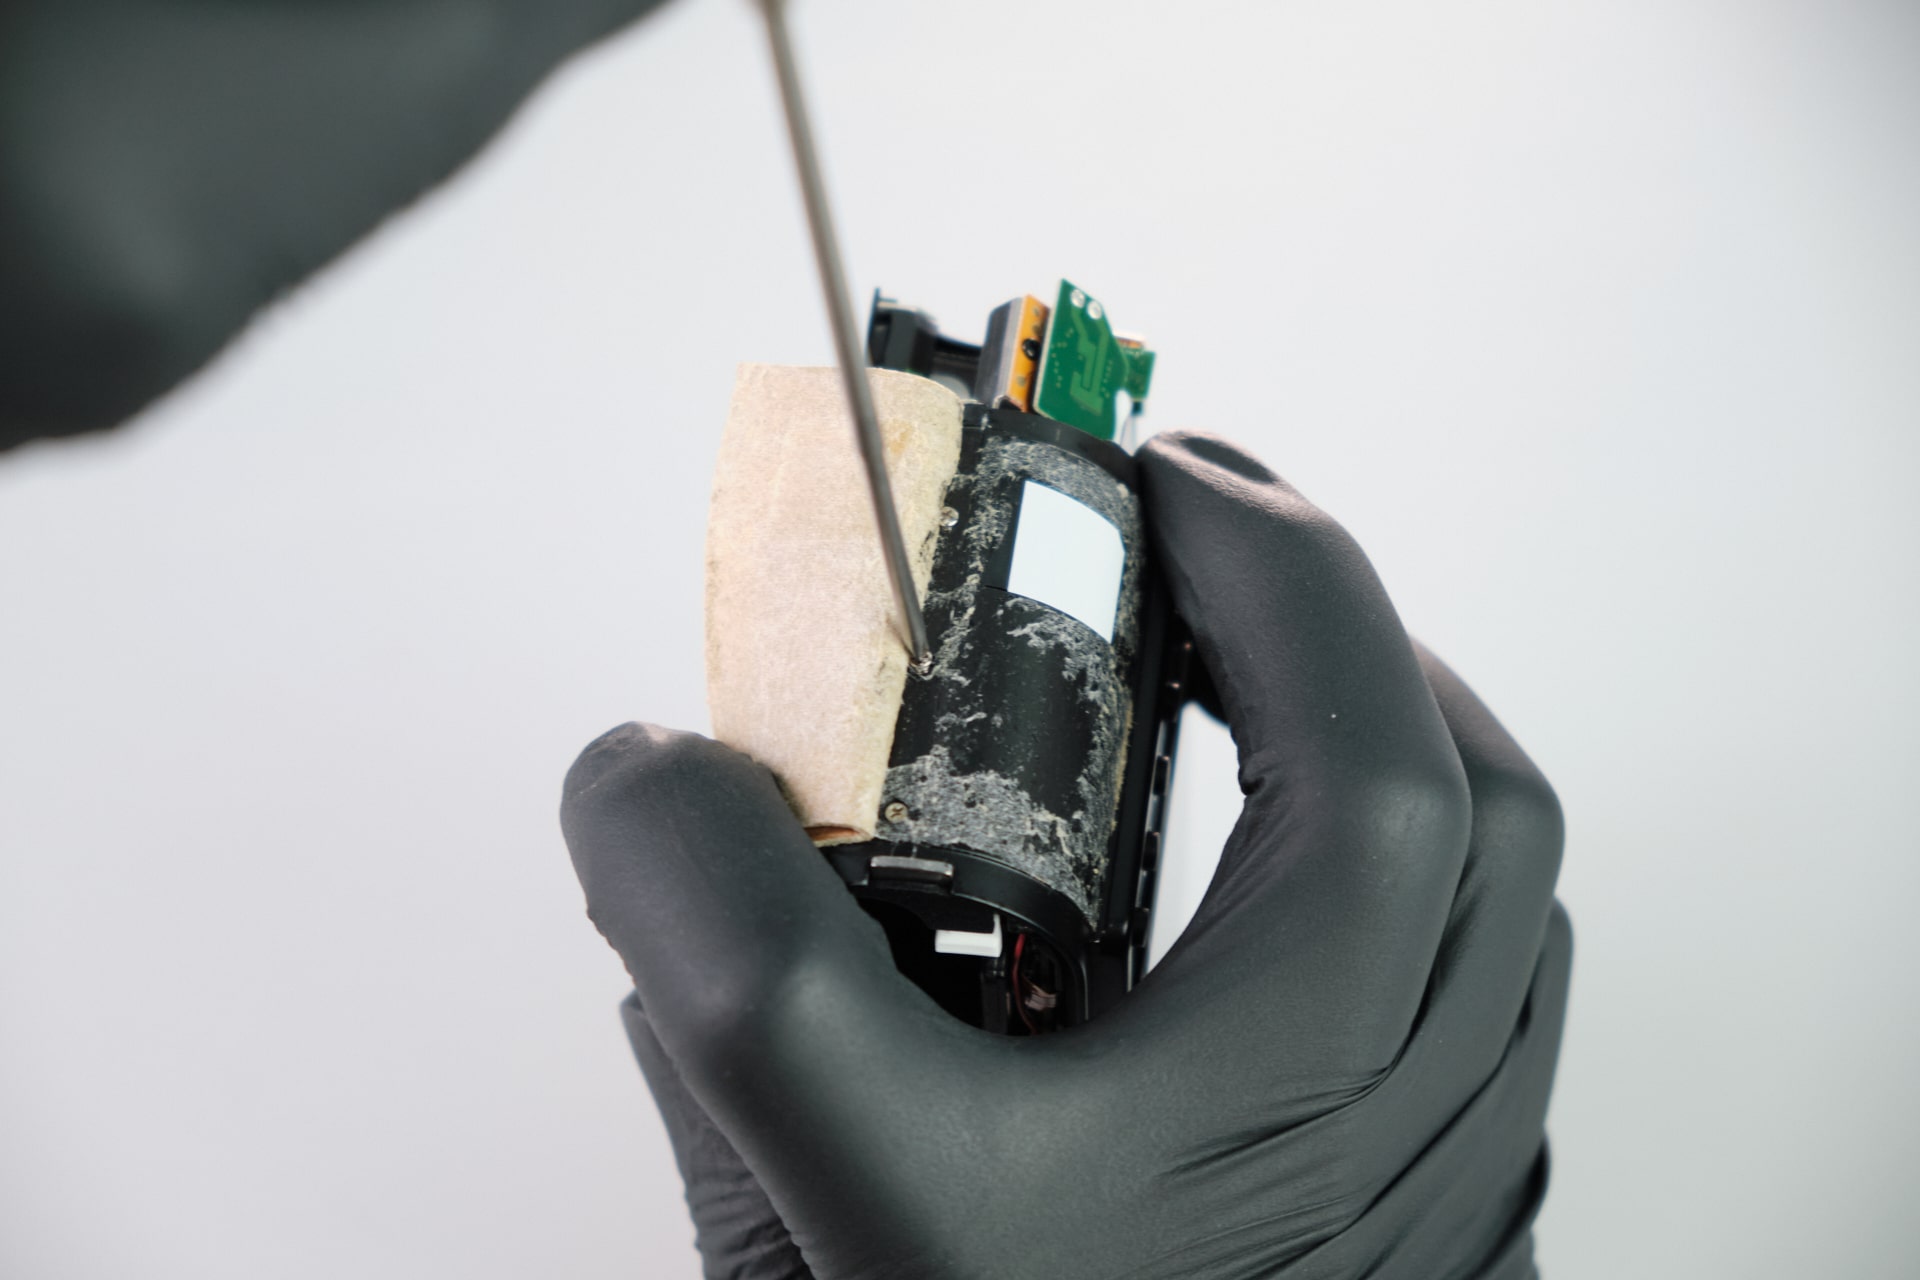
Removing Right Side Screws on the Leica M9-P
Extracted three silver screws on the right side of the camera.
Removing Port Side Screws Under the Leather Skin
On the port side of the M9, we peeled back more of the leather skin and exposed three screws.
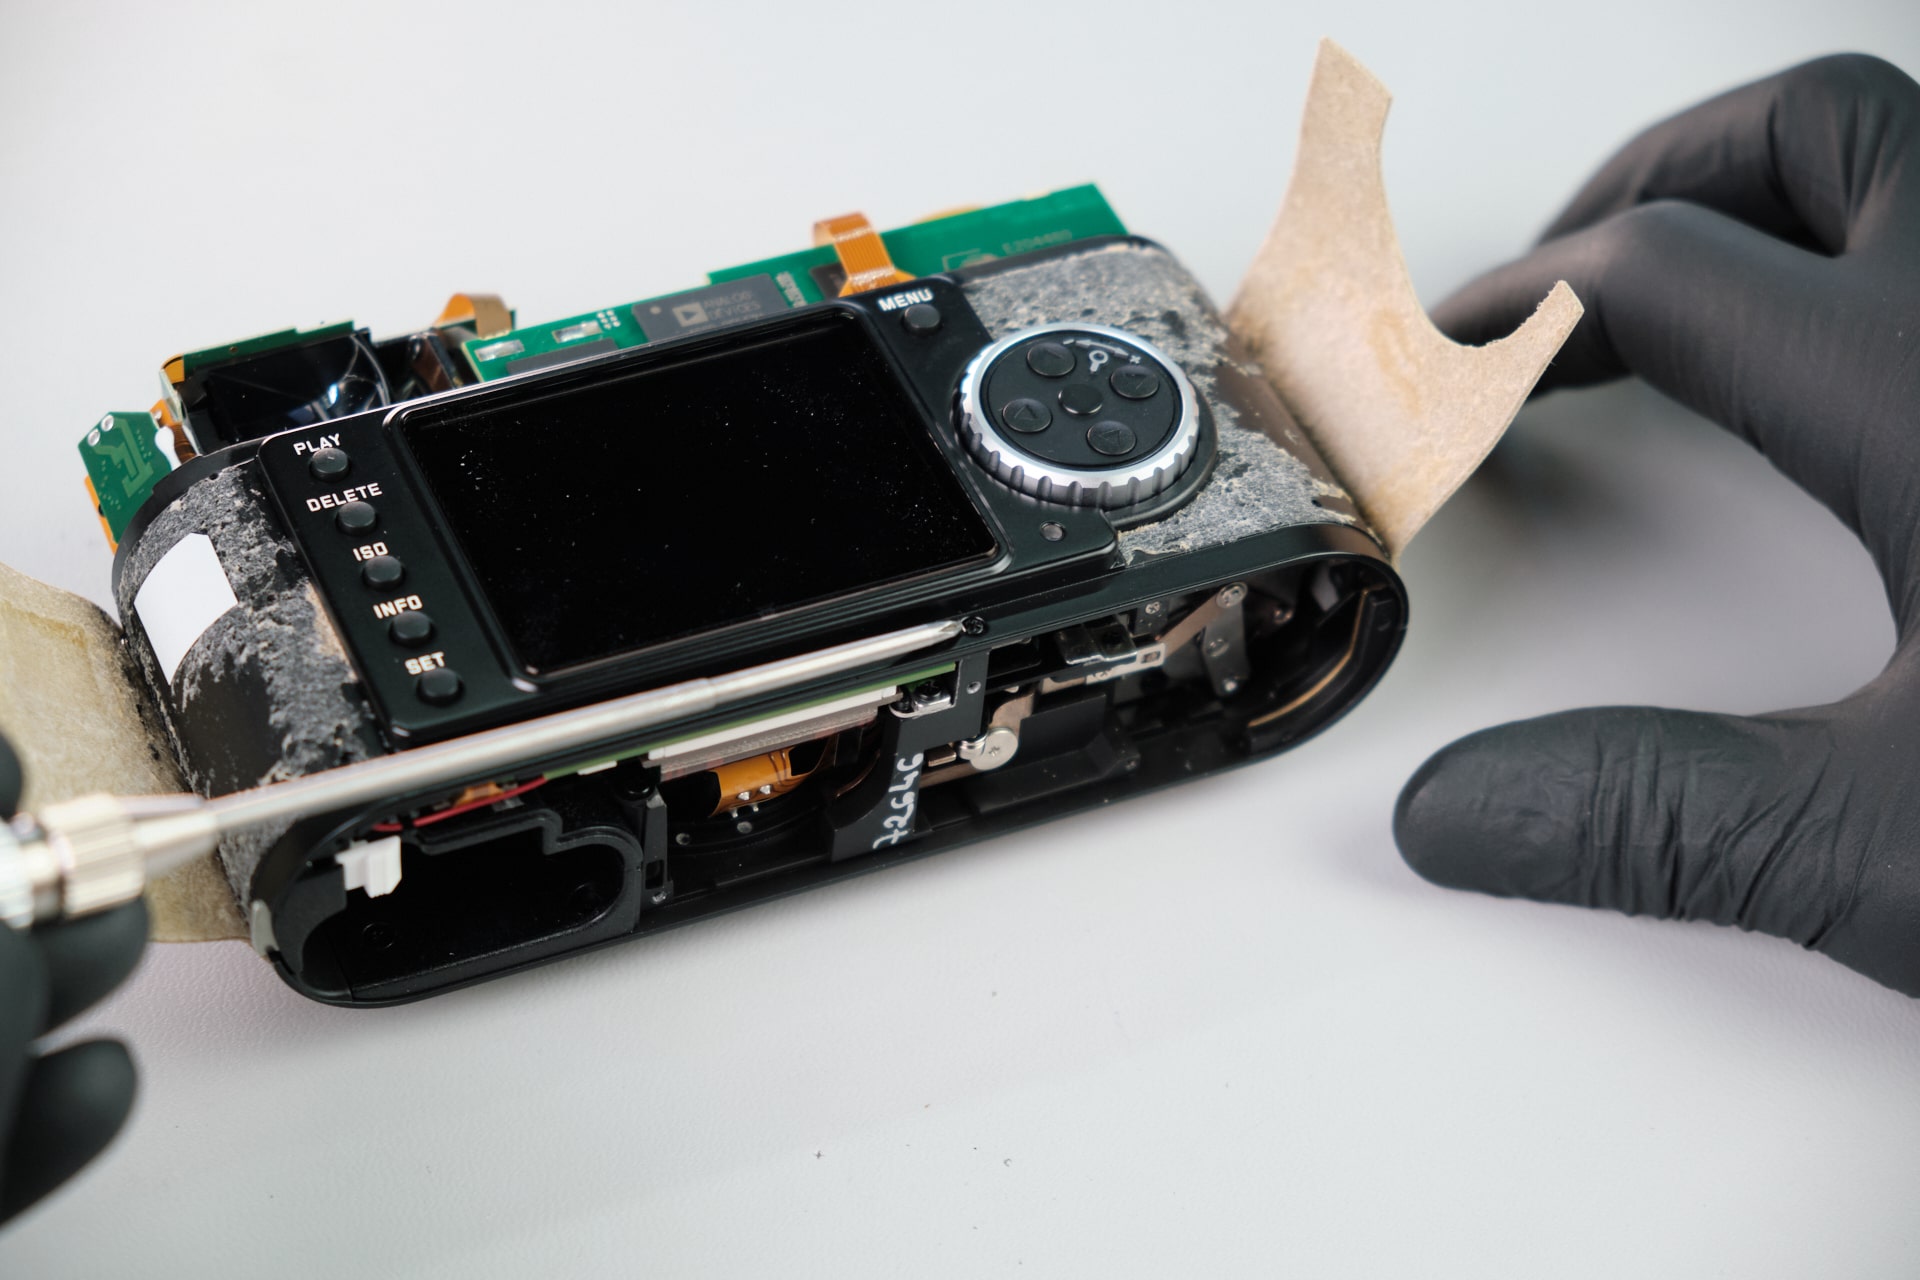
Removing the LCD Screen Screw
Under the LCD screen, we removed one Philips screw.
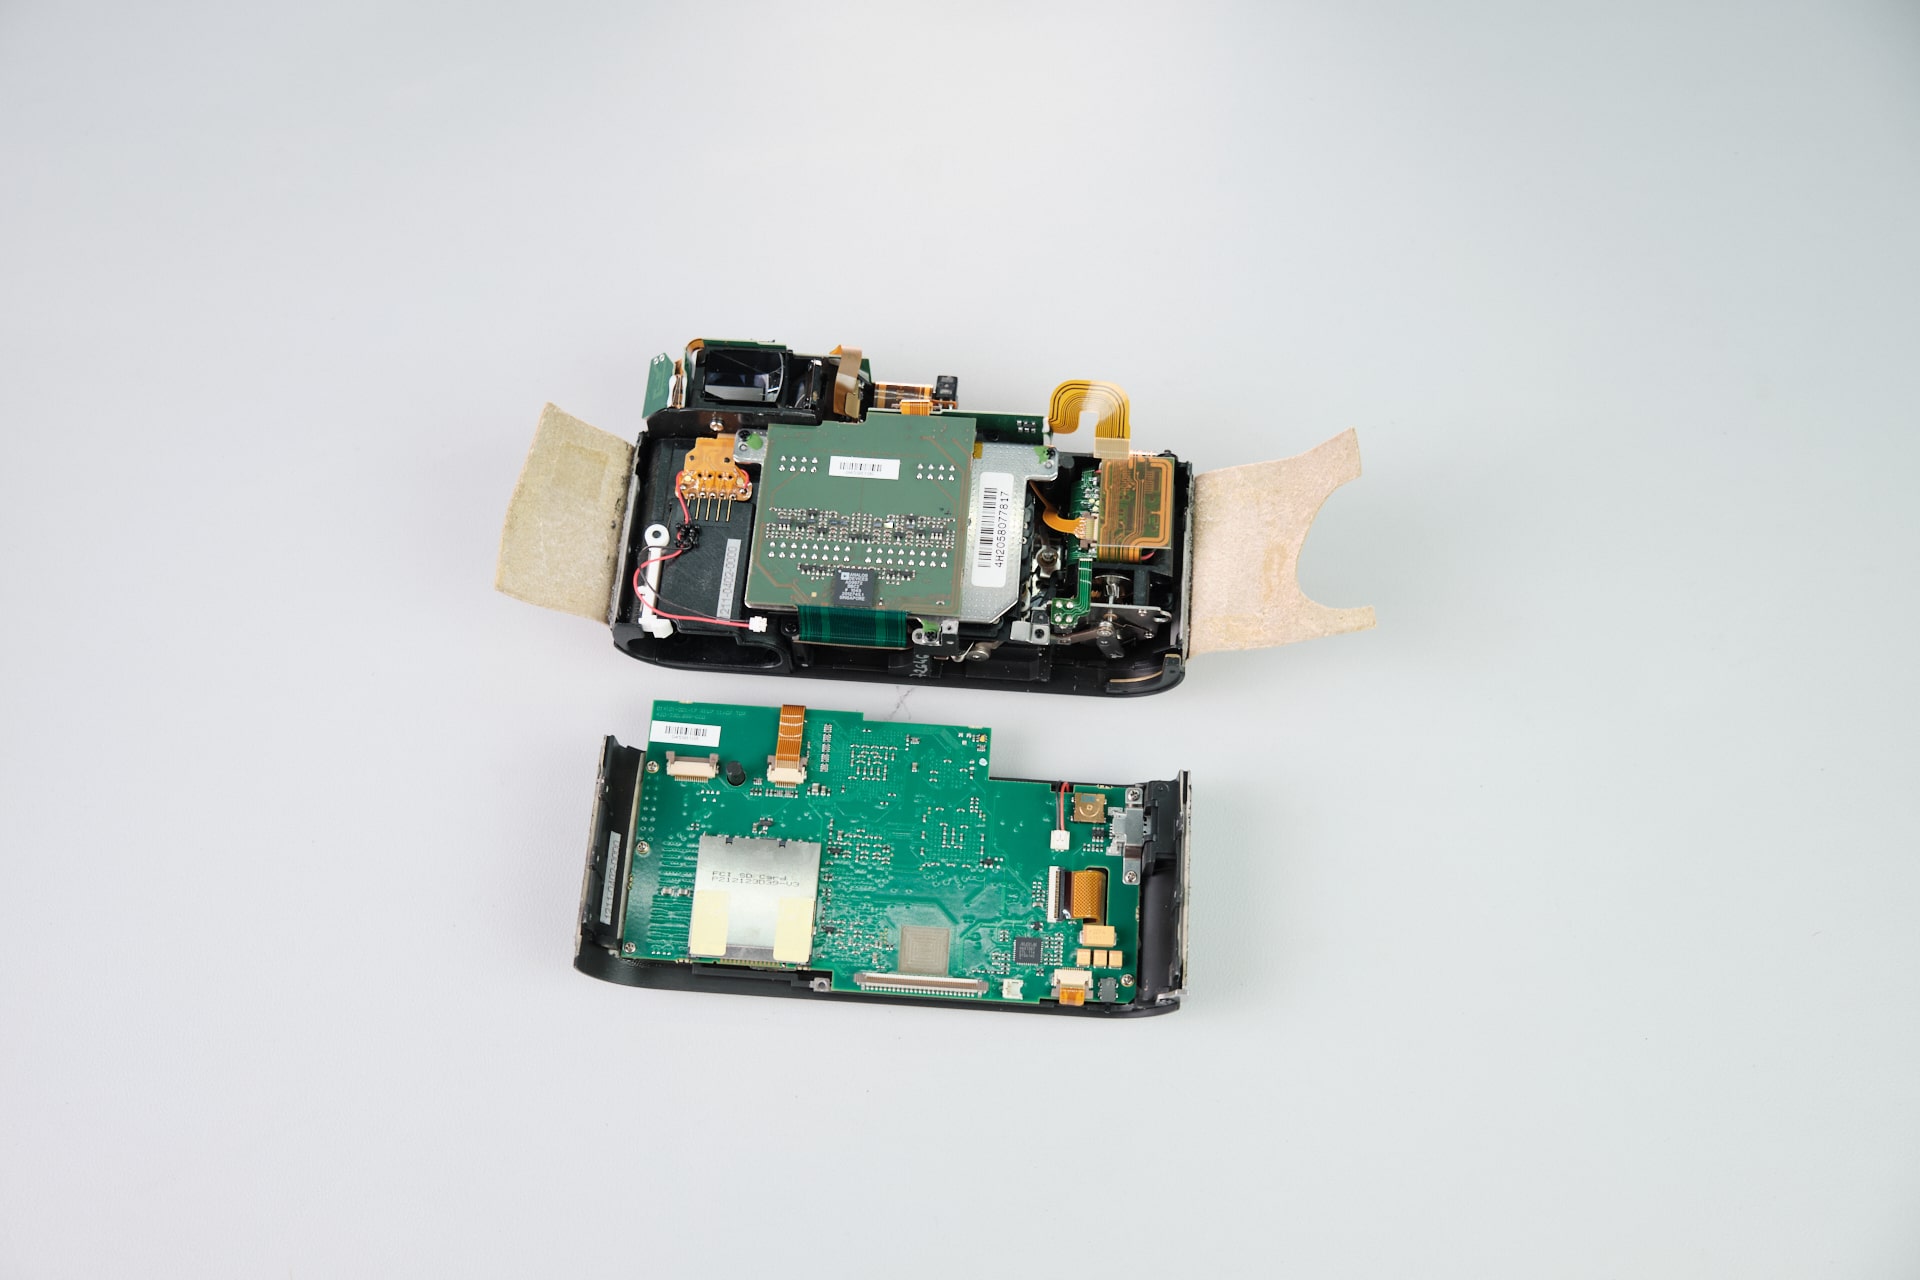
Separating the Rear Panel From the Camera Body
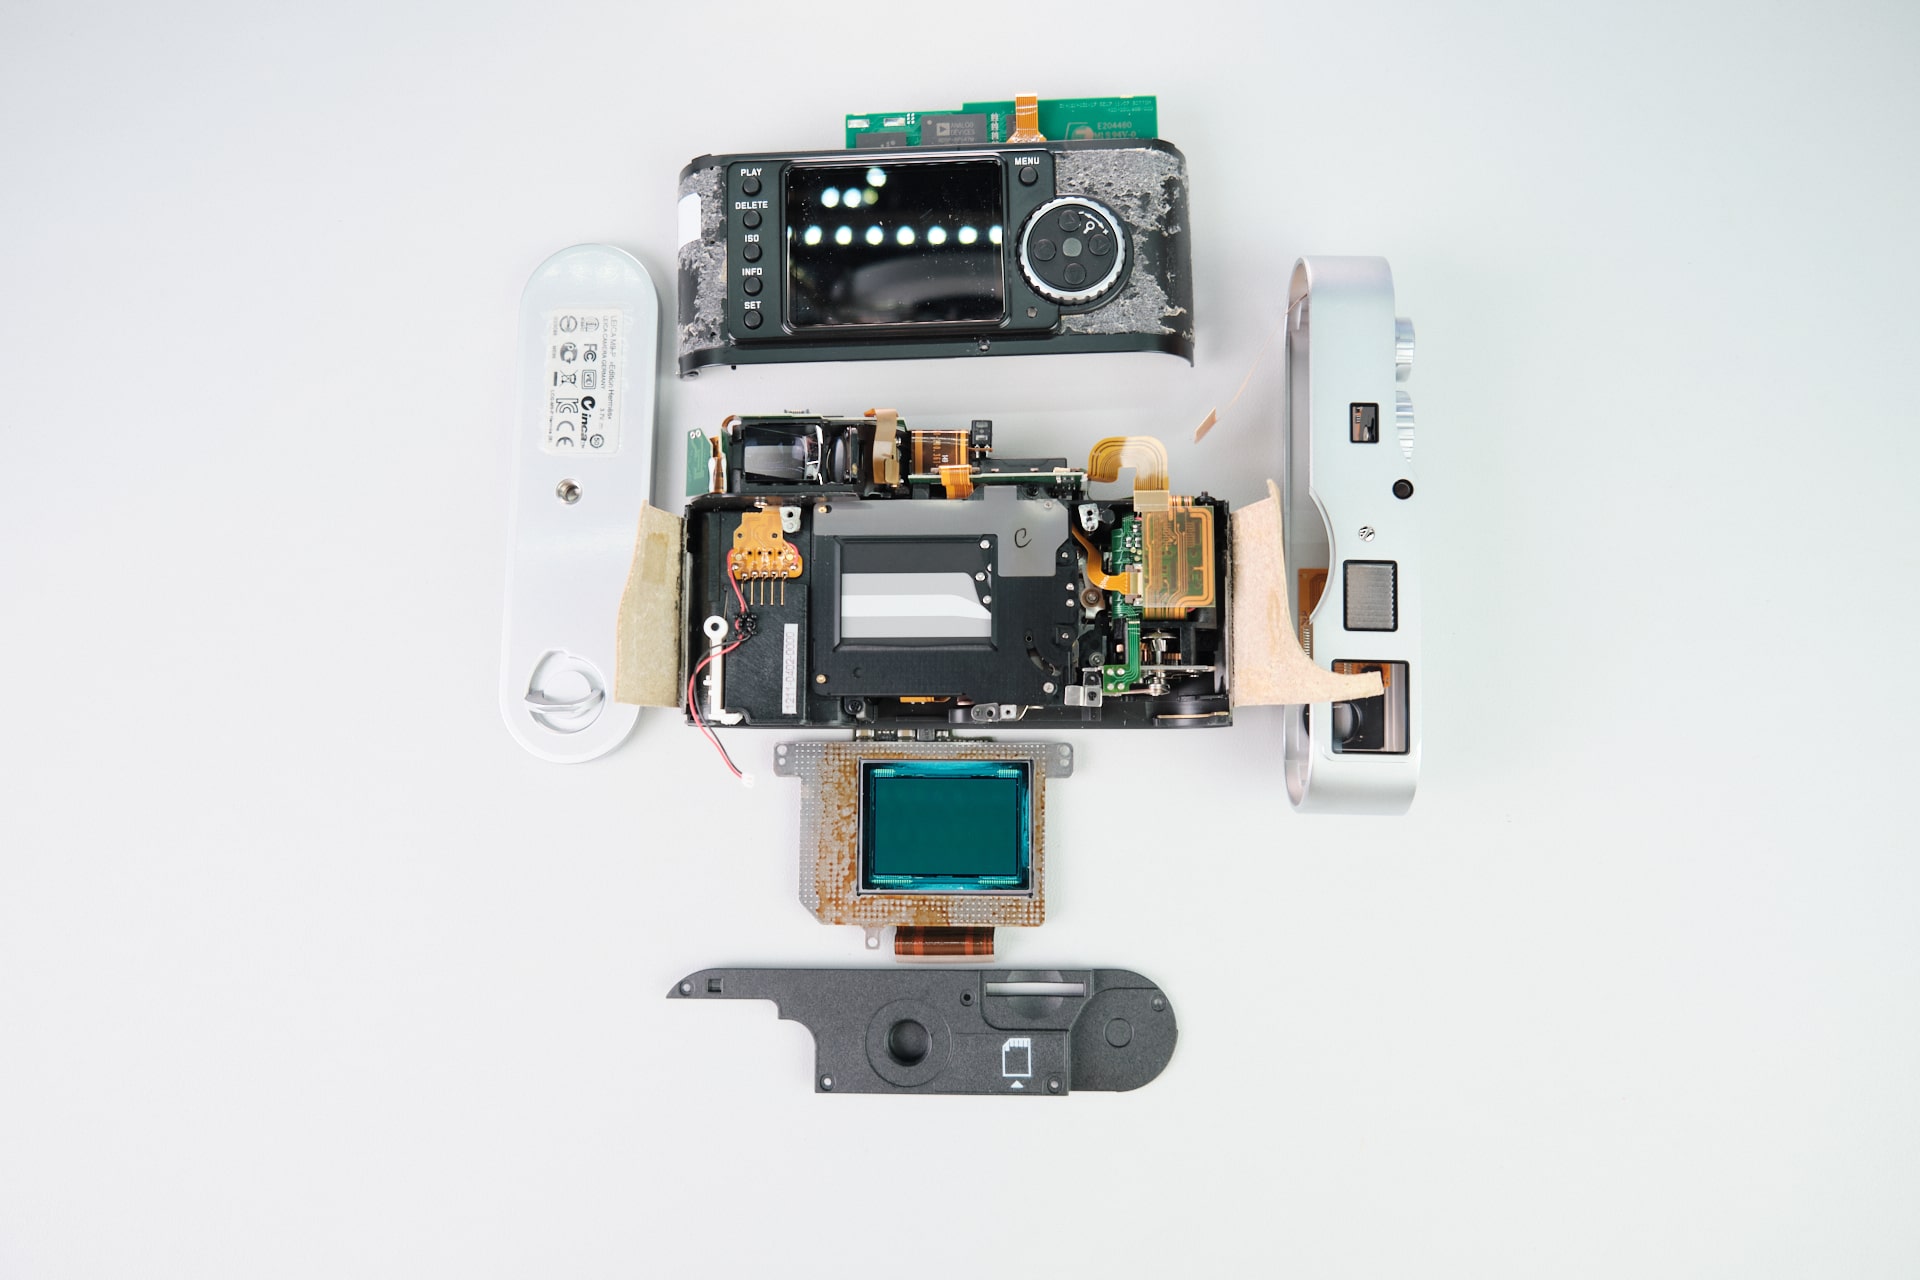
We separated the rear panel from the body to access the inside of the camera.
Disconnecting the Sensor Ribbon and Power Supply Cable
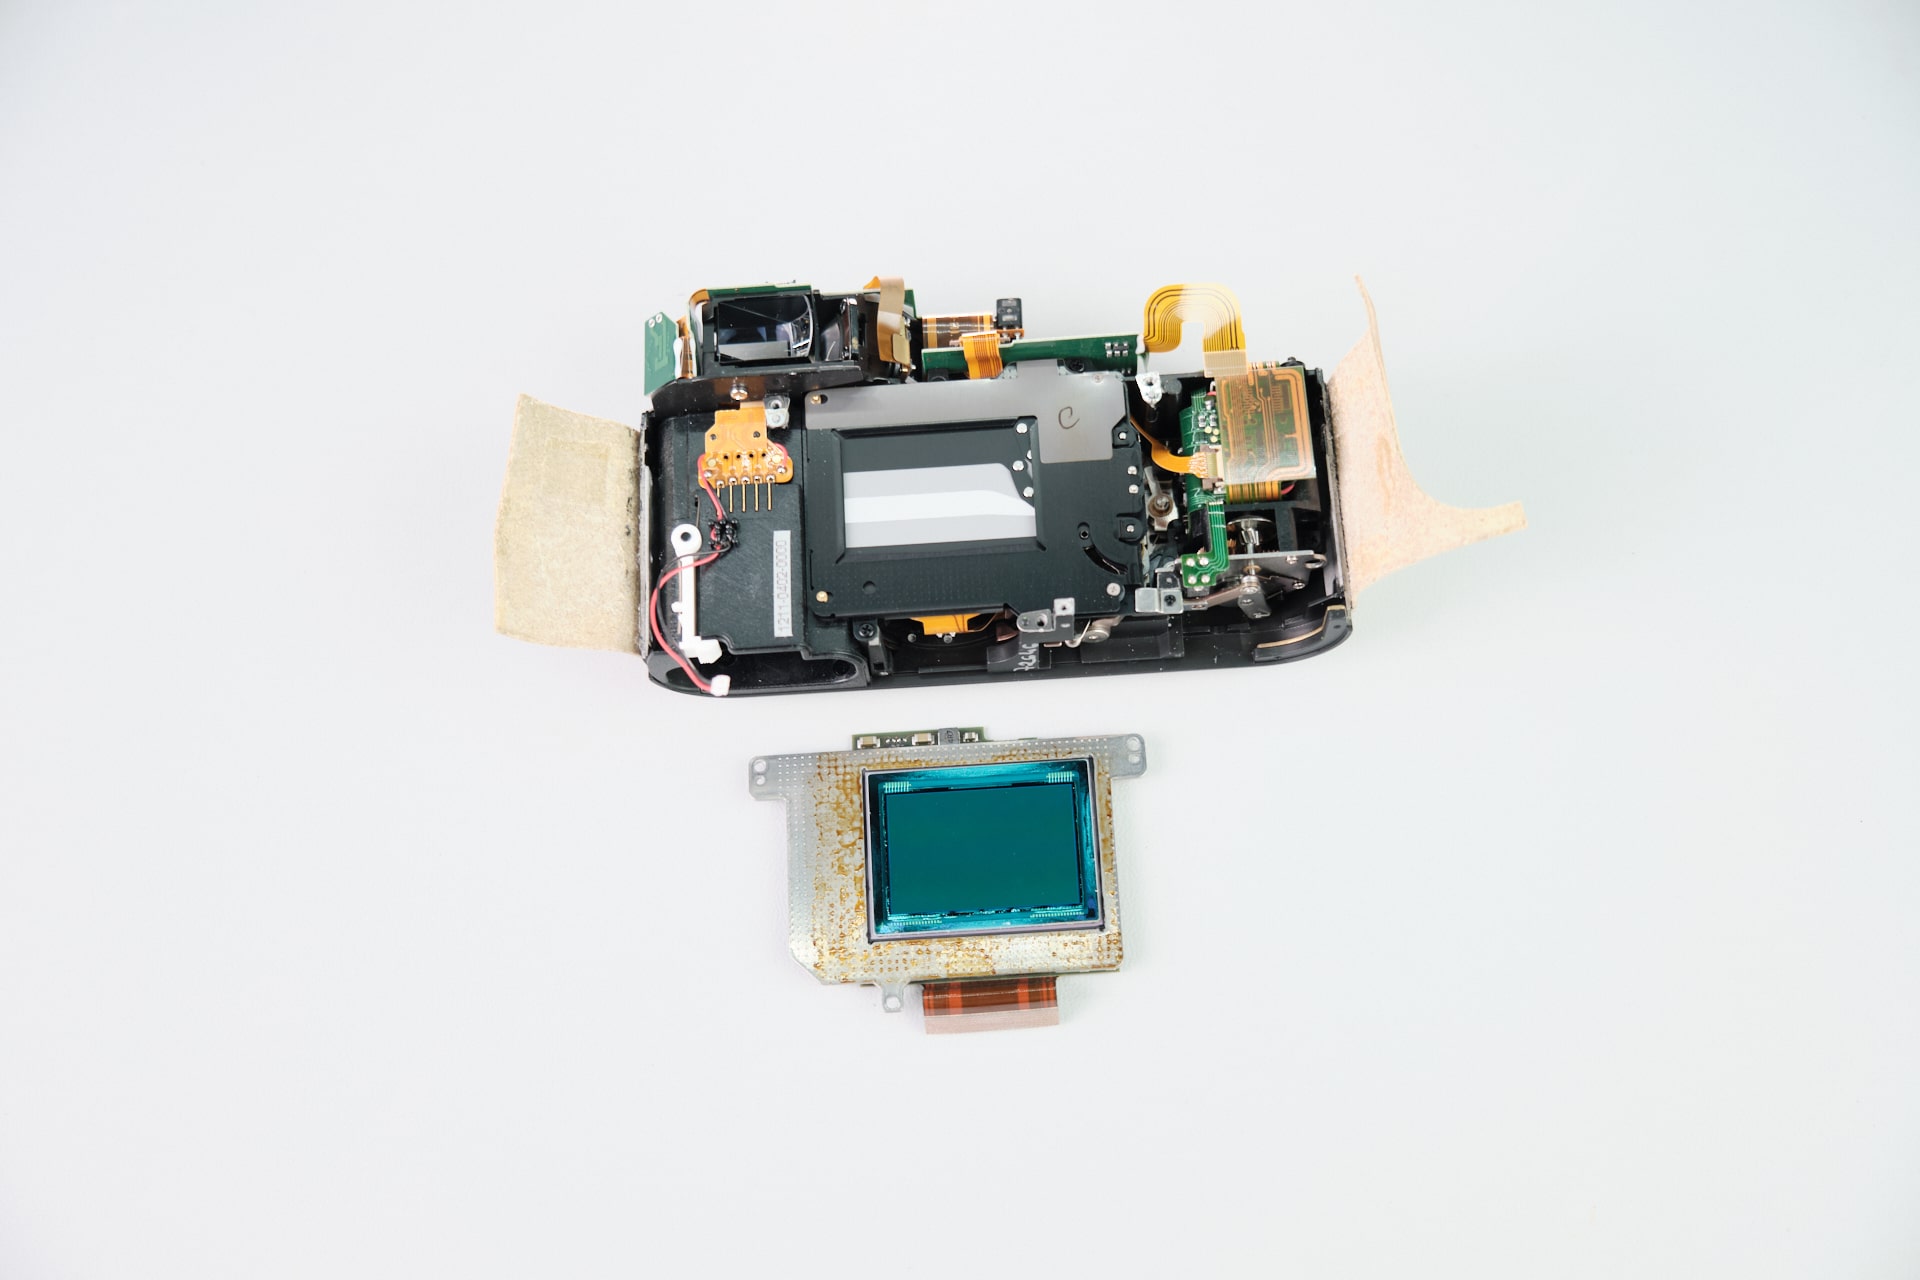
Toward the bottom of the camera, we disconnected the sensor ribbon and power supply cable from the motherboard. The motherboard was bolted onto the rear panel.
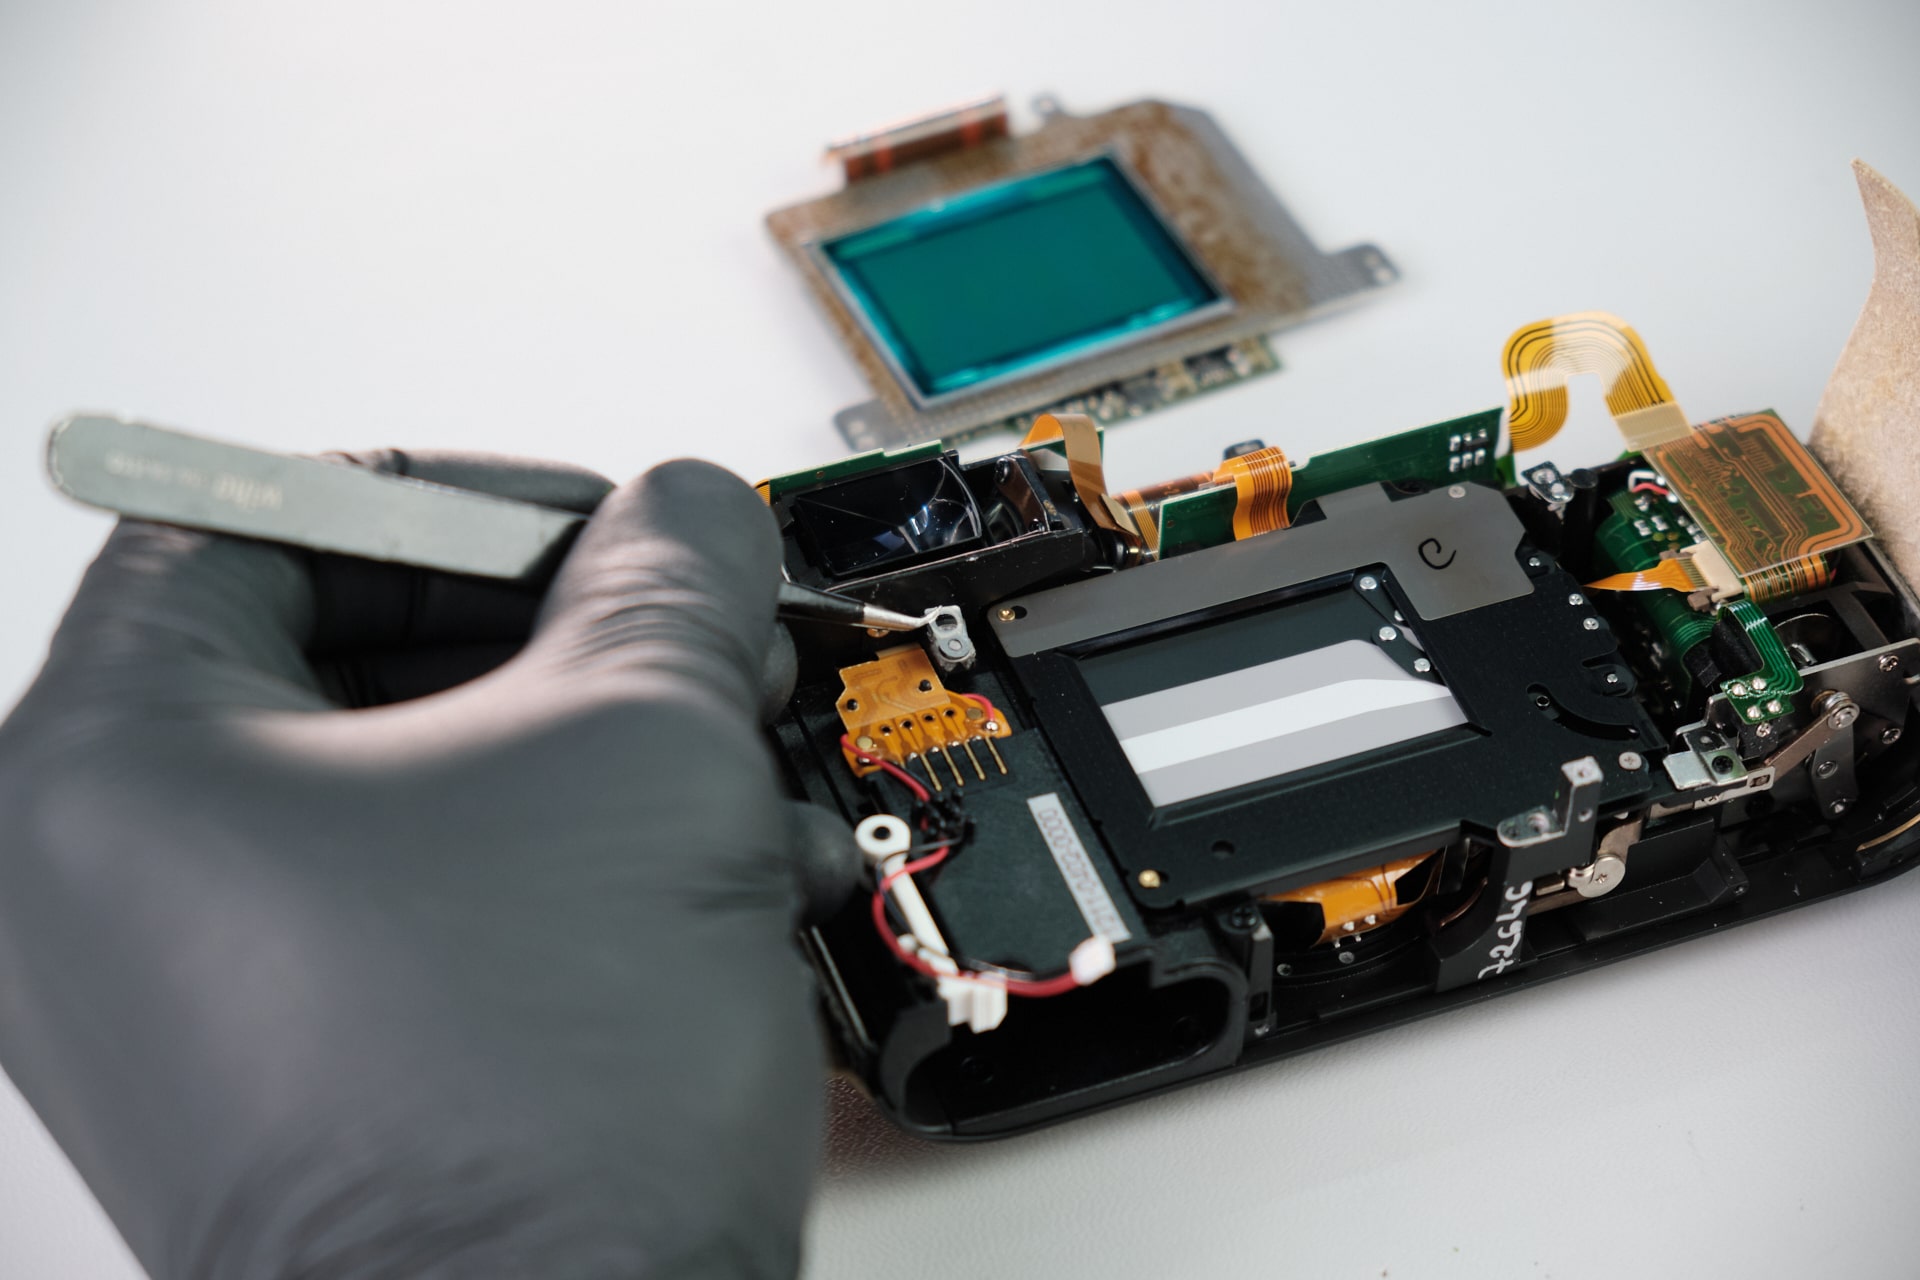
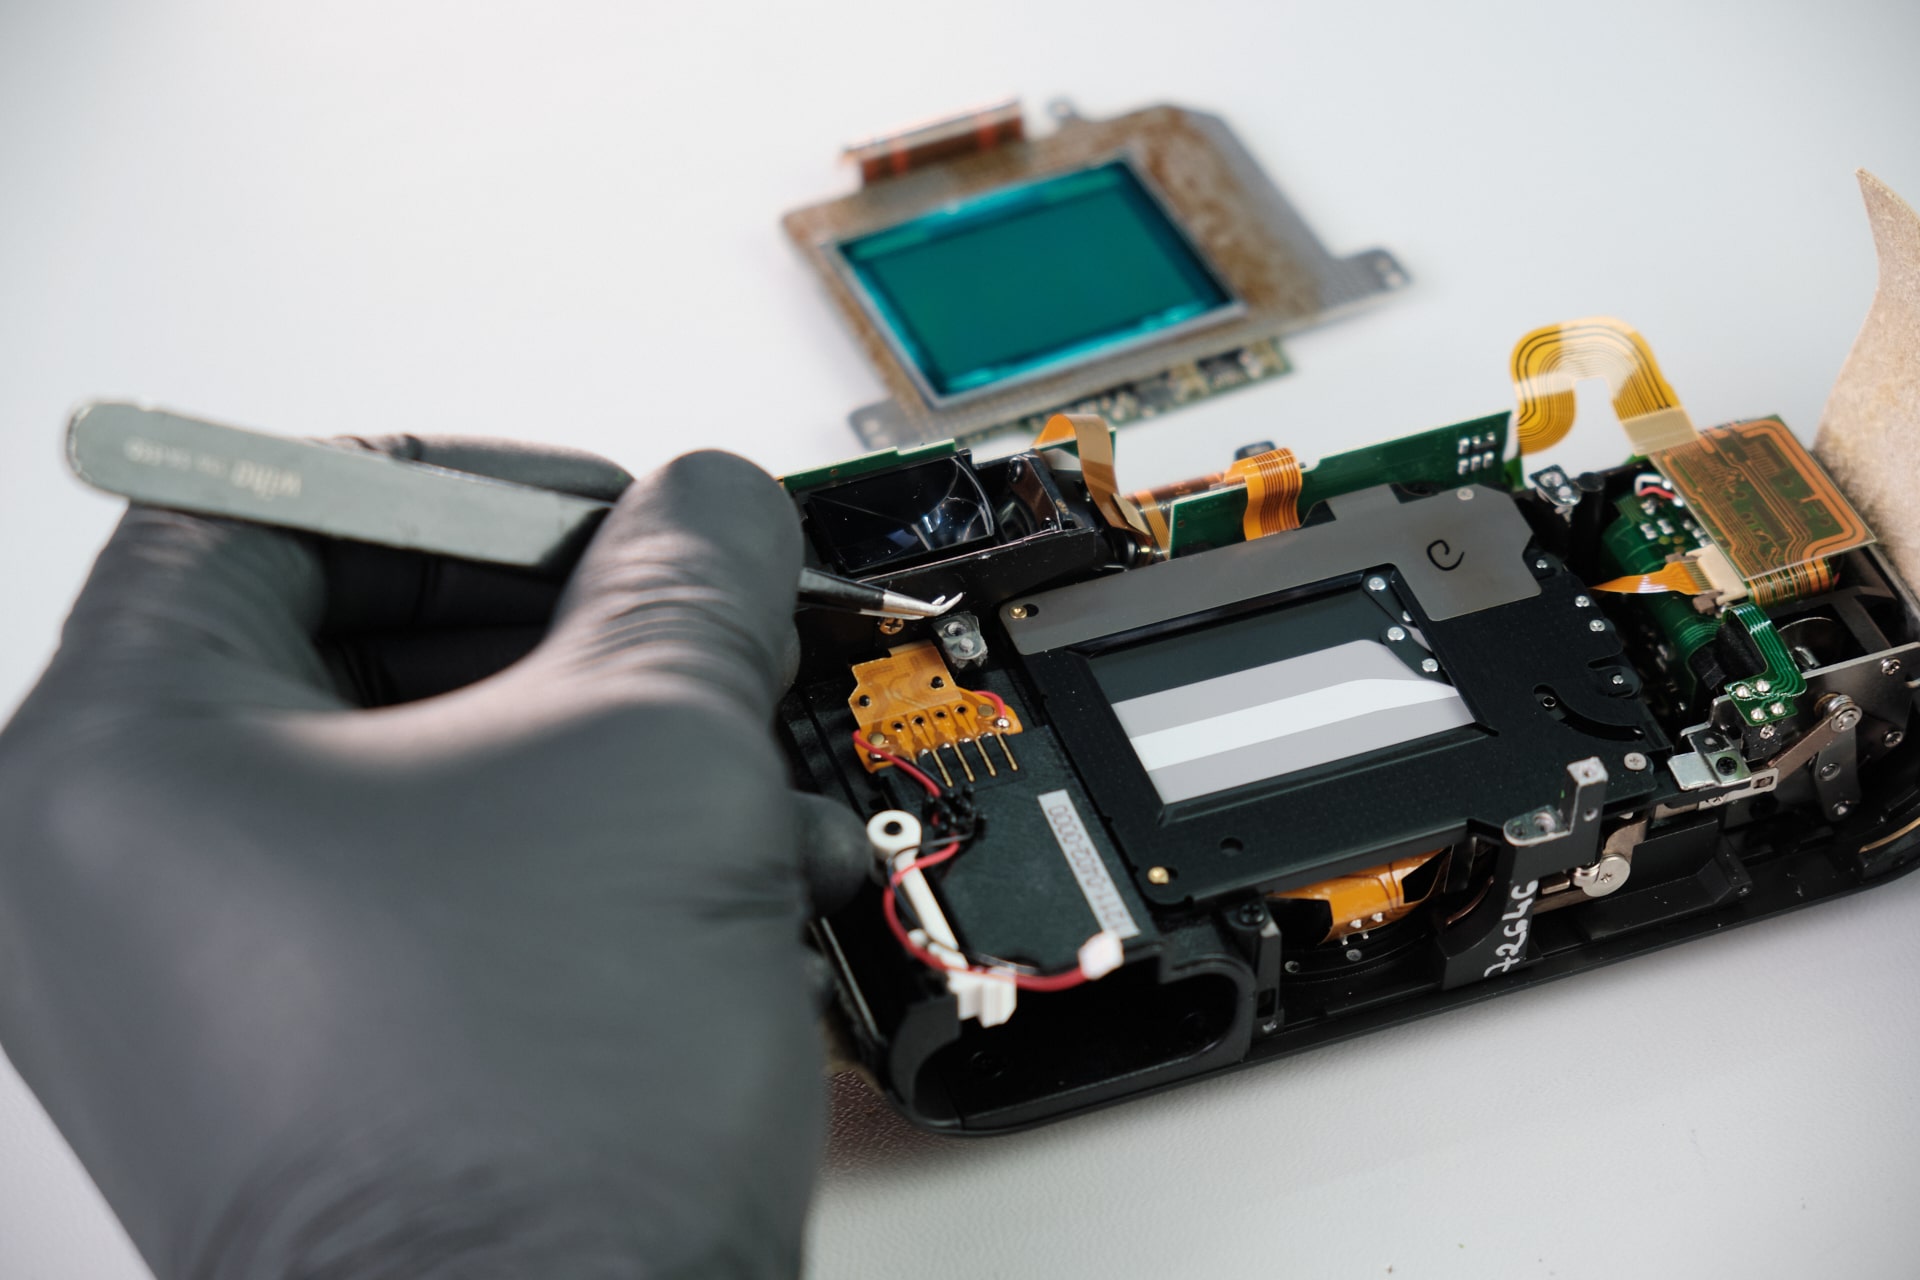
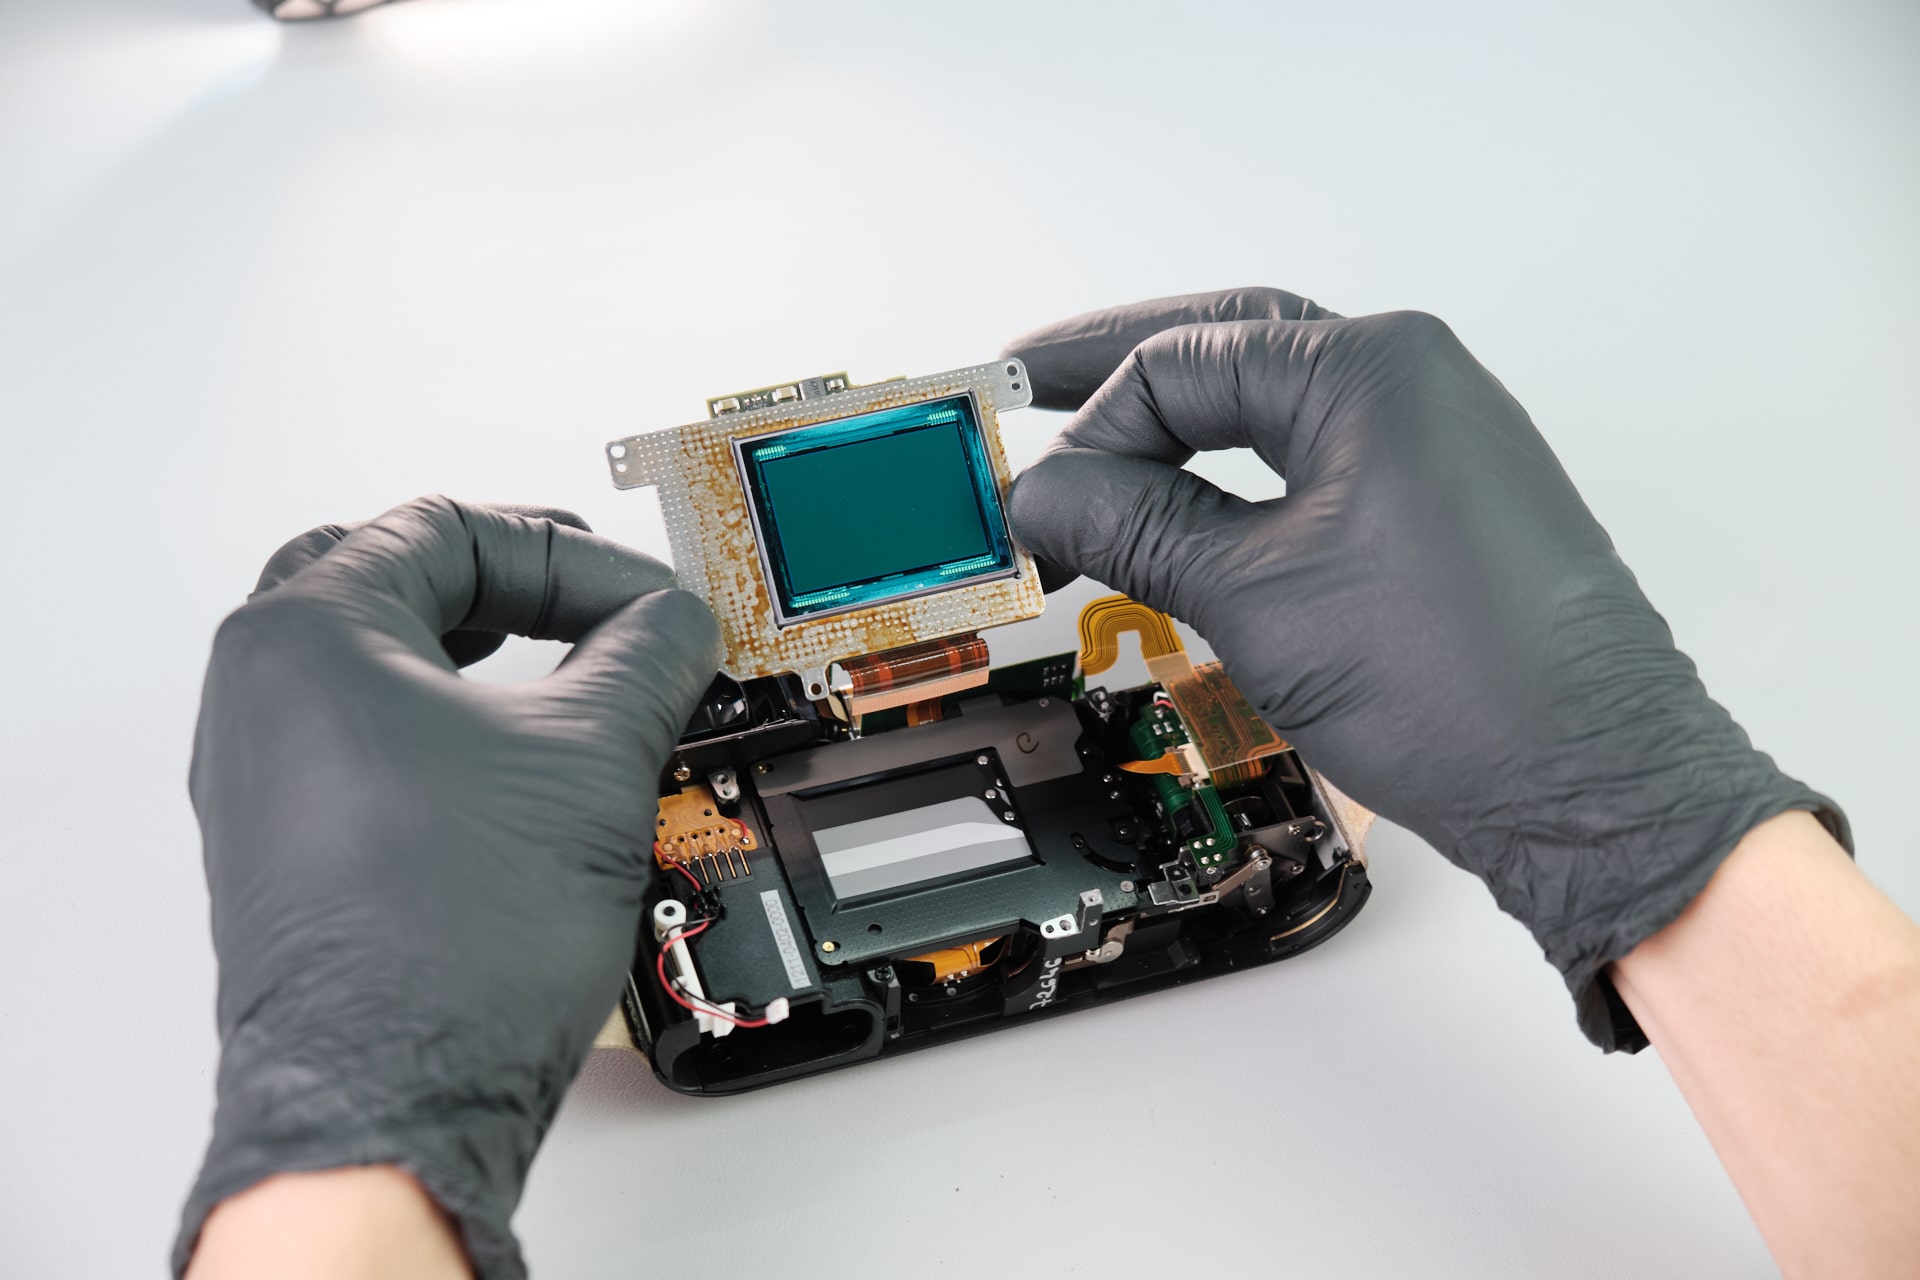
Removing the Leica M9-P CCD Sensor
Leica uses shims for focus calibration. The sensor was held down with three Philips screws.
Repairing the Hermès Leica M9-P Sensor
Once the screws were removed, we could lift the sensor and repair the sensor.
Final Thoughts on the Hermès Leica M9-P Teardown
As fancy as the cameras are, and despite the aesthetic changes to the exterior, this limited edition Leica M9-P is exactly the same as the standard Leica M9 series cameras at its heart. They use the same CCD 11 sensor as the standard Leica M9 series — and like the standard Leica M9 cameras, our customers tell us that Leica will not replace the sensor. We find this especially ridiculous that Leica would produce a 100 units of a $50,000 price tag camera and somehow not reserve enough improved CCD 15/16 sensors to cover this limited run long-term. Maybe Leica viewed these as strictly fashion items and didn’t think they would need to repair many of them.
Oh well.We can still repair these cameras, something Leica has told us is impossible and has shown no interest in working with us to make a joint solution in repairing these cameras.
Frequently Asked Questions
How Do You Start Disassembling The Hermès Leica M9-P?
The Hermès Leica M9-P teardown starts by removing the bottom cover plate. In this disassembly, five Philips screws were extracted from the bottom cover before moving on to the top panel and rear body sections.
Where Are The Hidden Screws On The Hermès Leica M9-P?
Several hidden screws are located underneath the Hermès leather skin. The teardown shows screws on the right side of the camera and on the port side of the Leica M9-P after the leather is carefully peeled back.
How Is The Top Panel Removed From The Leica M9-P?
The top panel is held by two screws: one inside the battery slot and another above the shutter motor assembly gears. After those screws are removed, the top cover plate can be lifted and its ribbon cable disconnected.
How Is The Rear Panel Removed From The Hermès Leica M9-P?
The rear panel is removed after disconnecting the rear panel ribbon cable and removing the body screws hidden beneath the leather skin. Once separated, the inside of the camera becomes accessible.
How Is The Leica M9-P CCD Sensor Removed For Repair?
The Leica M9-P sensor is reached after the rear panel is removed and the sensor ribbon and power supply cable are disconnected from the motherboard. The CCD sensor is held down by three Philips screws and uses shims for focus calibration.