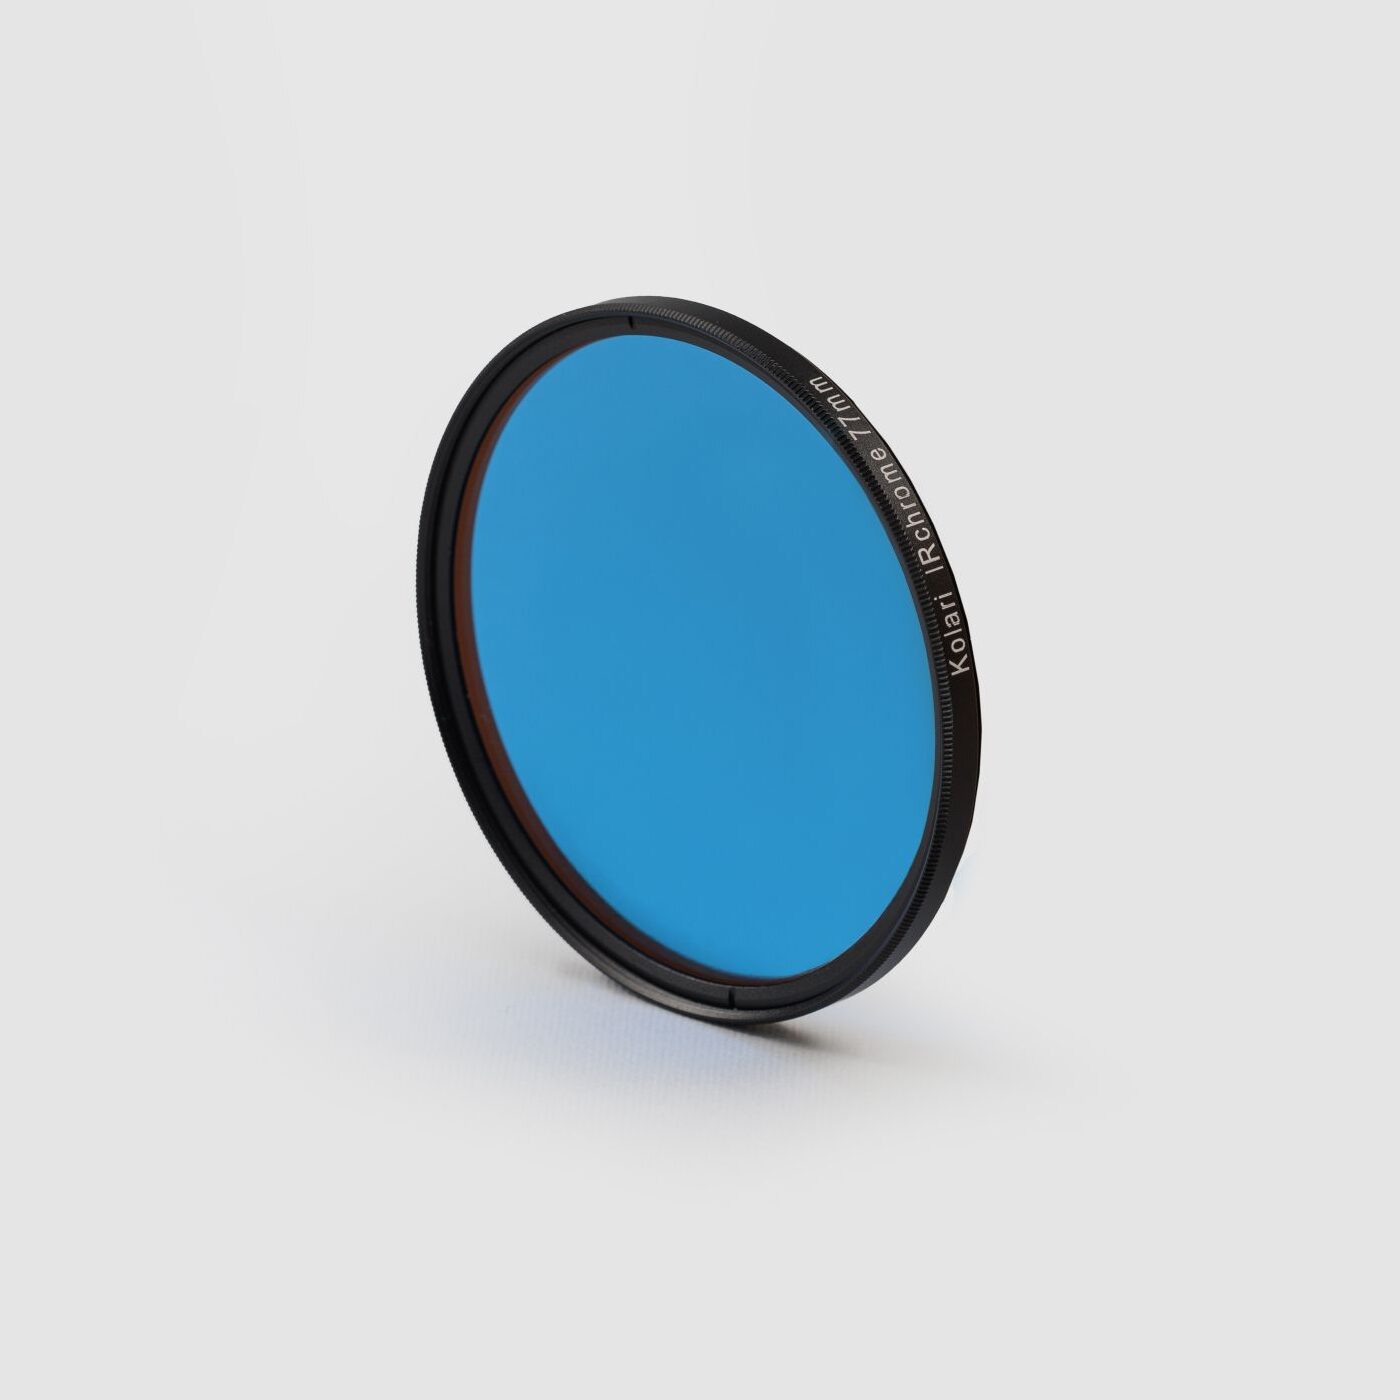
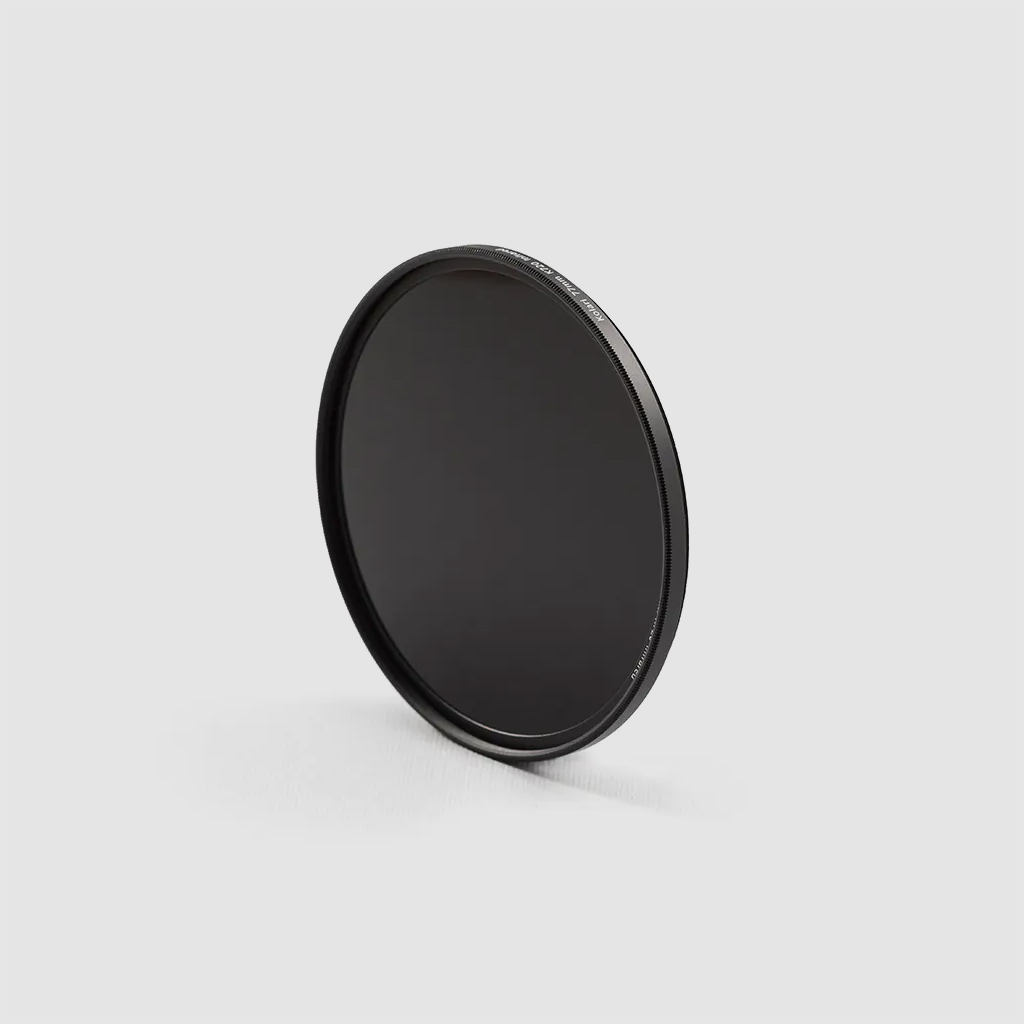
Each new product launch from Kolari creates the same excitement in me, as a promise of innovative functions in top quality finish. Some months ago, I was informed that a new flash was under development, delivering full spectrum light emission. In addition, cup filters were also planned, to offer a full light solution for all aspects of invisible photography, both in the infrared and the ultraviolet domain.
Now that I have spent some time with this equipment, I can write about it and give you my impressions about the first ever full spectrum flash.
What is in the box?
The complete KV-FL1 kit comes with a lot of things, as you can see on the picture below:
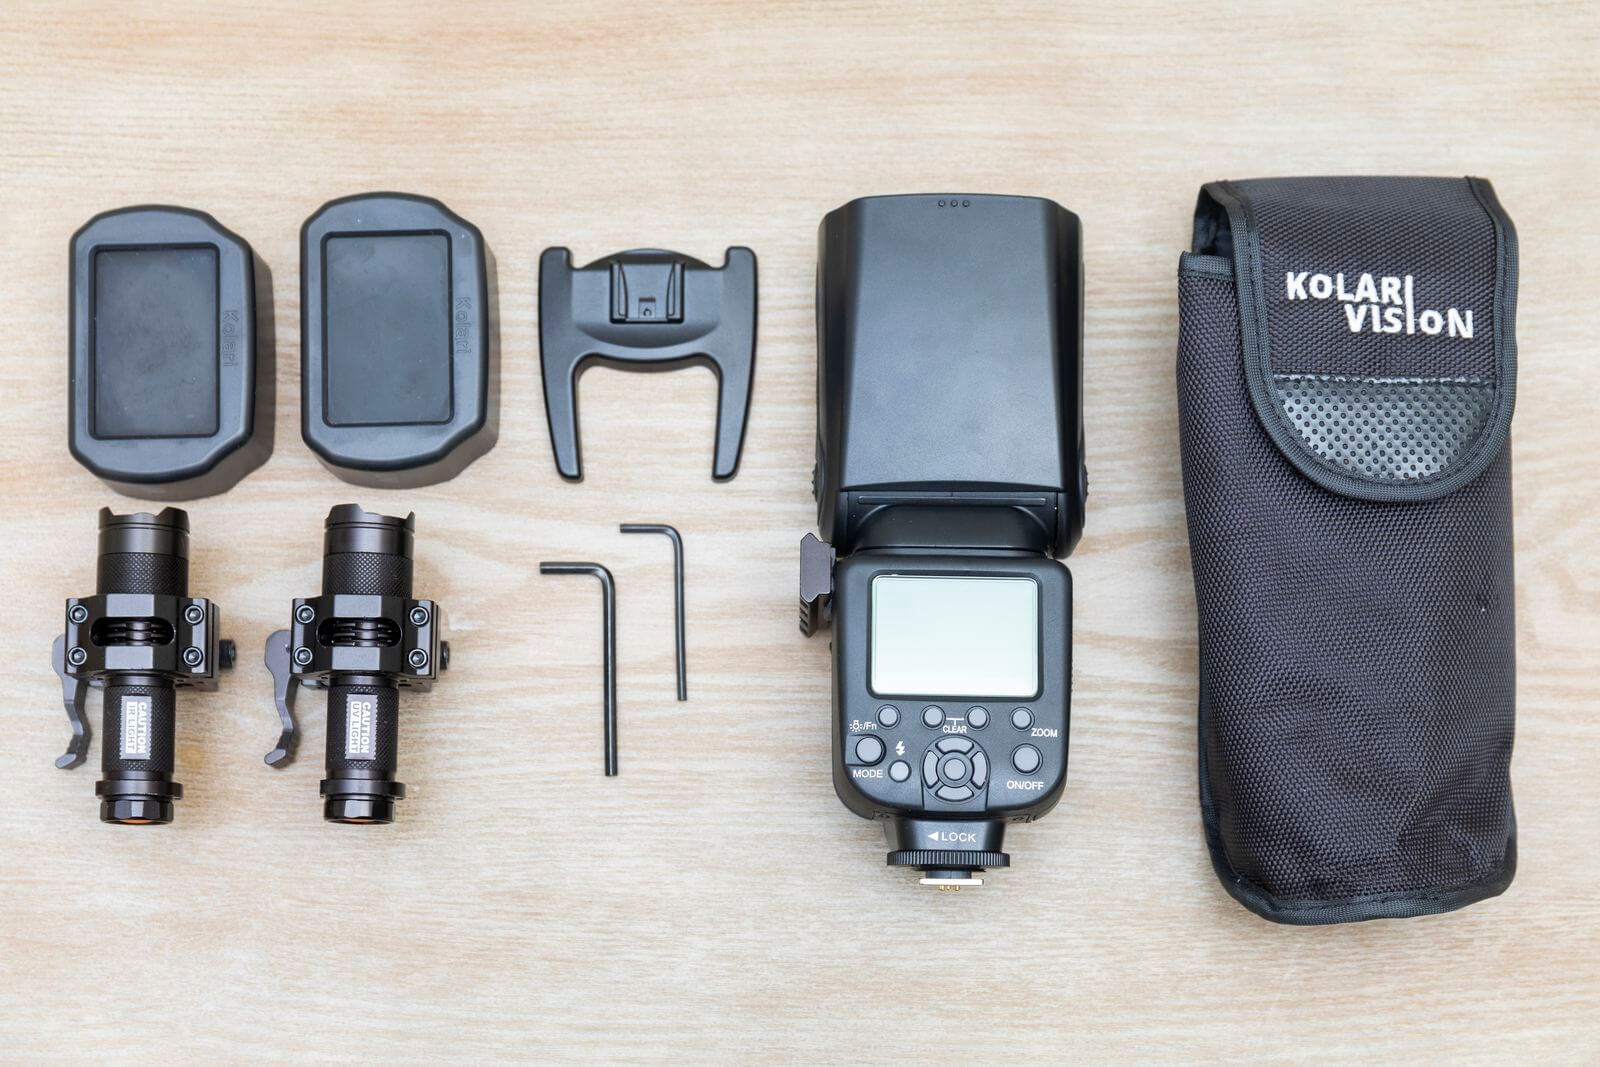
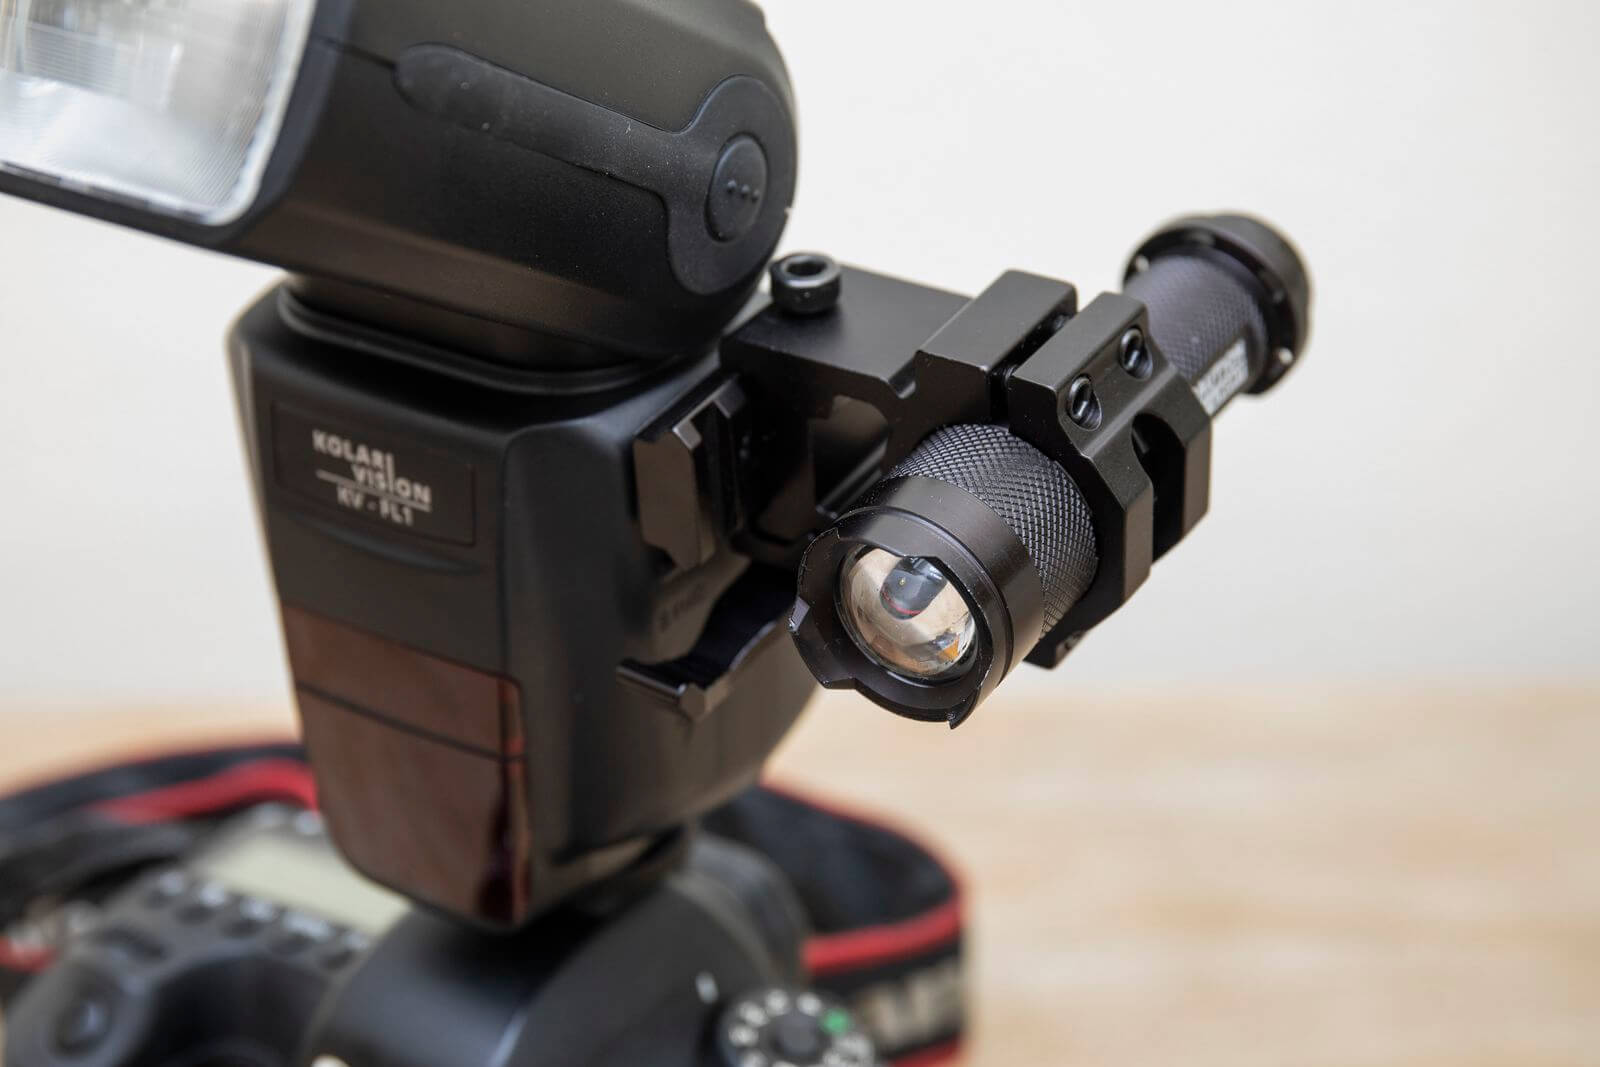
The flash itself is made of strong and quality plastic. At the left of its screen, a fixing rail is screwed to allow the use of focusing torches/flashlights. These flashlights come in a pair: one emitting UV and one emitting infrared at 850nm.Their fixing clip can be more or less tightened thanks to the Allen wrench provided, too.
The flash cup filters are of course part of the kit, one for UV emission at 365nm and the other for infrared emission at 850nm. They are well built, with the same quality as the flash. The glass filter parts are also strongly fixed in the frame of the clips, without any light leak possible in front or behind them.
Challenger comparison
Regarding the broad range of offers of flashes for DSLR and mirrorless cameras, it seems useful to compare the potential of this new offering from Kolari in term of size and power. First of all, here is a reminder of the specifications of the KV-FL1 Flash given by Kolari Vision.
Manual/Automatic Zoom: 18-180mm
Modes: TTL, M, FED, Master, Slave, S1, S2, Multi
Wireless Trigger: Wireless induction flash
Light Sensor Range: 20-30 meters indoors, 10-15 meters outdoors
Flash Time: 1/200 – 1/20000 sec
Flash Control: 1/128 – 1/1 (0.3EV step length)
Connectivity: Hot Shoe, PC Mount, External Charge Mount
Recycle Time: 2.9 seconds
Power: 4x AA Battery
Size comparison
In terms of size, here is a comparison with two famous classic flashes: Godox V860IIc and Yongnuo YN560 IV. As you can see, the KV-FL1 flash is slightly longer than the two others, to allow the fixing of the flash cups. The three flashes have the same thickness.
Maximum power comparison
To compare the maximum power emitted by the KV-FL1, I shot with the same settings in the camera and in the flashes.
Maximum visible light power
Camera settings :
Canon 6D full spectrum
Nikon EL 80mm F/5.6
F/45
1/80s
100iso
Kolari hot mirror filter in front of the lens
Flash settings :
Power 1/1
Zoom 24mm
From left to right: Godox, Kolari and Yongnuo
Even if KV-FL1 is not the most powerful of the three flashes, it is clearly more homogenous than the Yongnuo, and close to the Godox.
Maximum infrared light power
Camera settings :
Canon 6D full spectrum
Nikon EL 80mm F/5.6
F/16
1/80s
100iso
Kolari 850nm infrared filter in front of the lens
Flash settings :
Power 1/1
Zoom 24mm
From left to right: Godox, Kolari and Yongnuo
In infrared, Godox and Kolari maximum power emission is closer than for visible light. Yongnuo maximum power emission is set back.
Maximum ultraviolet light power
Camera settings :
Canon 6D full spectrum
Nikon EL 80mm F/5.6
F/5.6
1/80s
3200iso
Kolari UV bandpass filter in front of the lens
Flash settings :
Power 1/1
Zoom 24mm
From left to right: Godox, Kolari and Yongnuo
Here there is no UV emission from Godox, and Kolari flash appears to be twice more powerful than Yongnuo.
In conclusion of this part, Kolari KV-FL1 is the most versatile and balanced flash of the three references in visible, infrared and ultraviolet photography.
Global performance
Now that you know what you can expect in term of size and power, it is time to see what you can expect in the photographic field. To evaluate the performance of the KV-FL1 flash, I took a flower bouquet as a model. The initial shot shows you the real colors and the shooting parameters under visible light. The bouquet was positioned at 1,5m of the camera with KV-FL1 flash.
For these tests, I still used a full-spectrum Canon 6D and a Nikon EL 80mm F/5.6. I always used the KV-FL1 at full power.
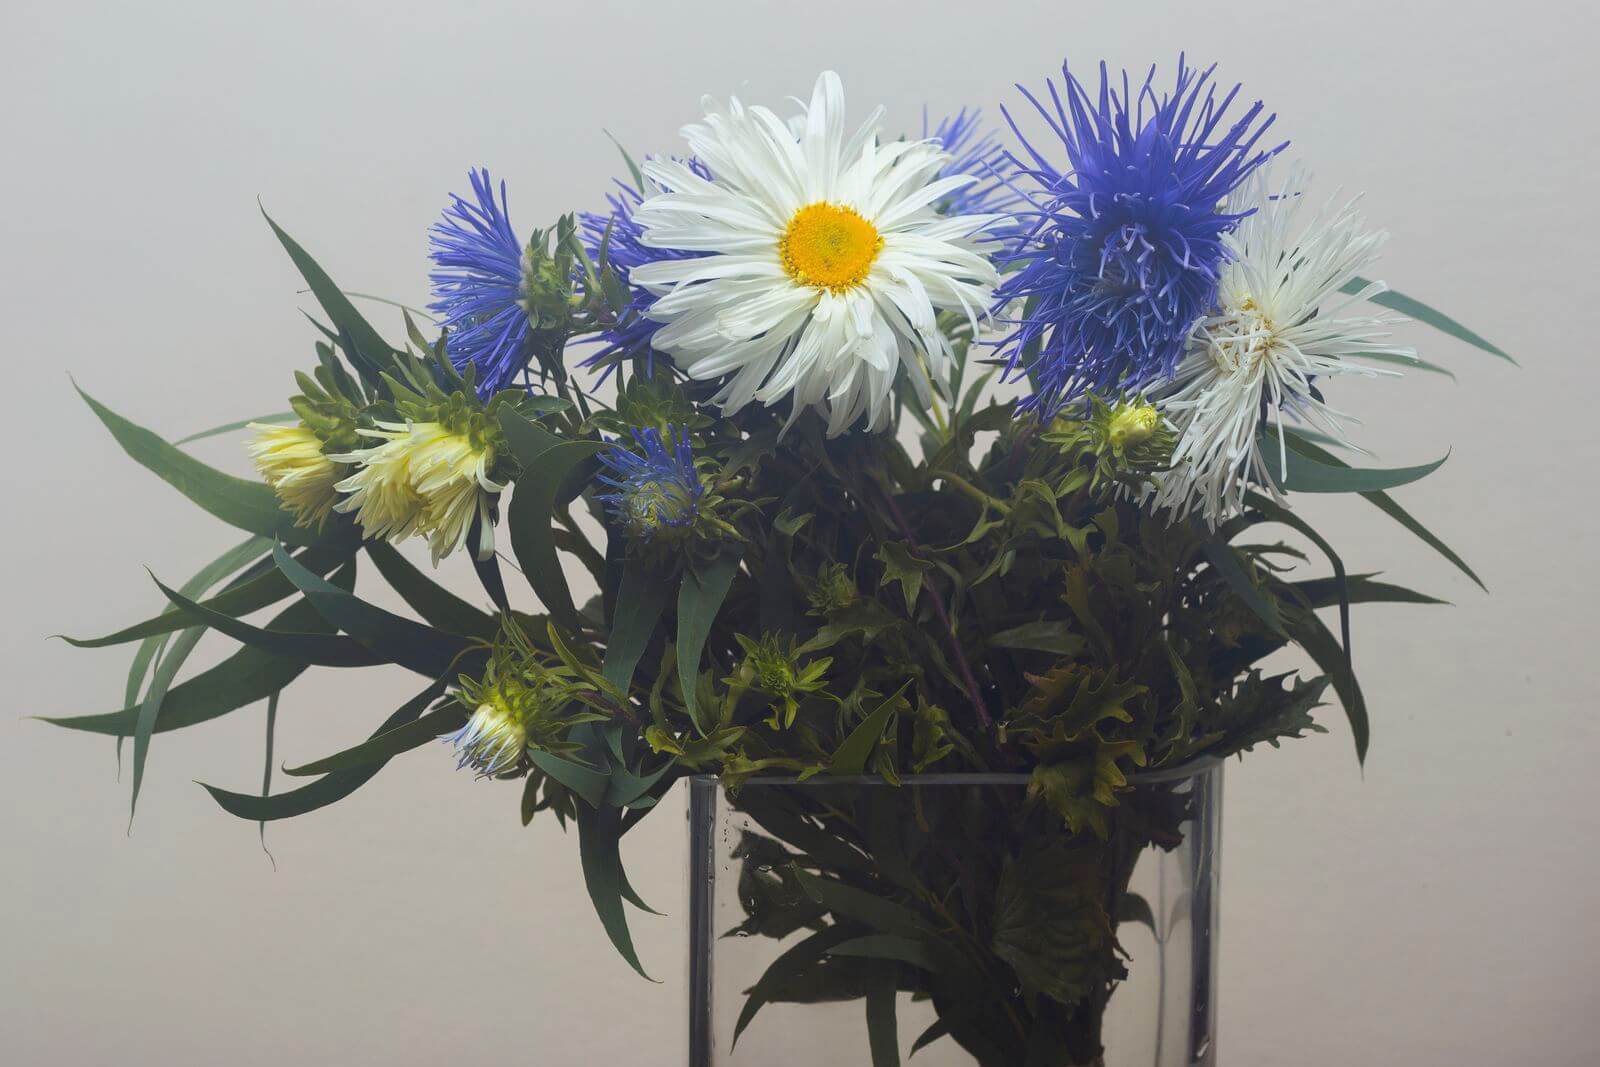
EXIF: 80mm, F/11, 1/40s, 200iso
Flash direction: ceiling
Infrared performance
I started with the infrared part of the kit. I firstly used the torchlight to focus the bouquet with a Kolari Vision 850nm infrared filter in front of the lens. The light beam can be reduced or enlarged easily, to increase its power in a small part of the frame, as shown here.
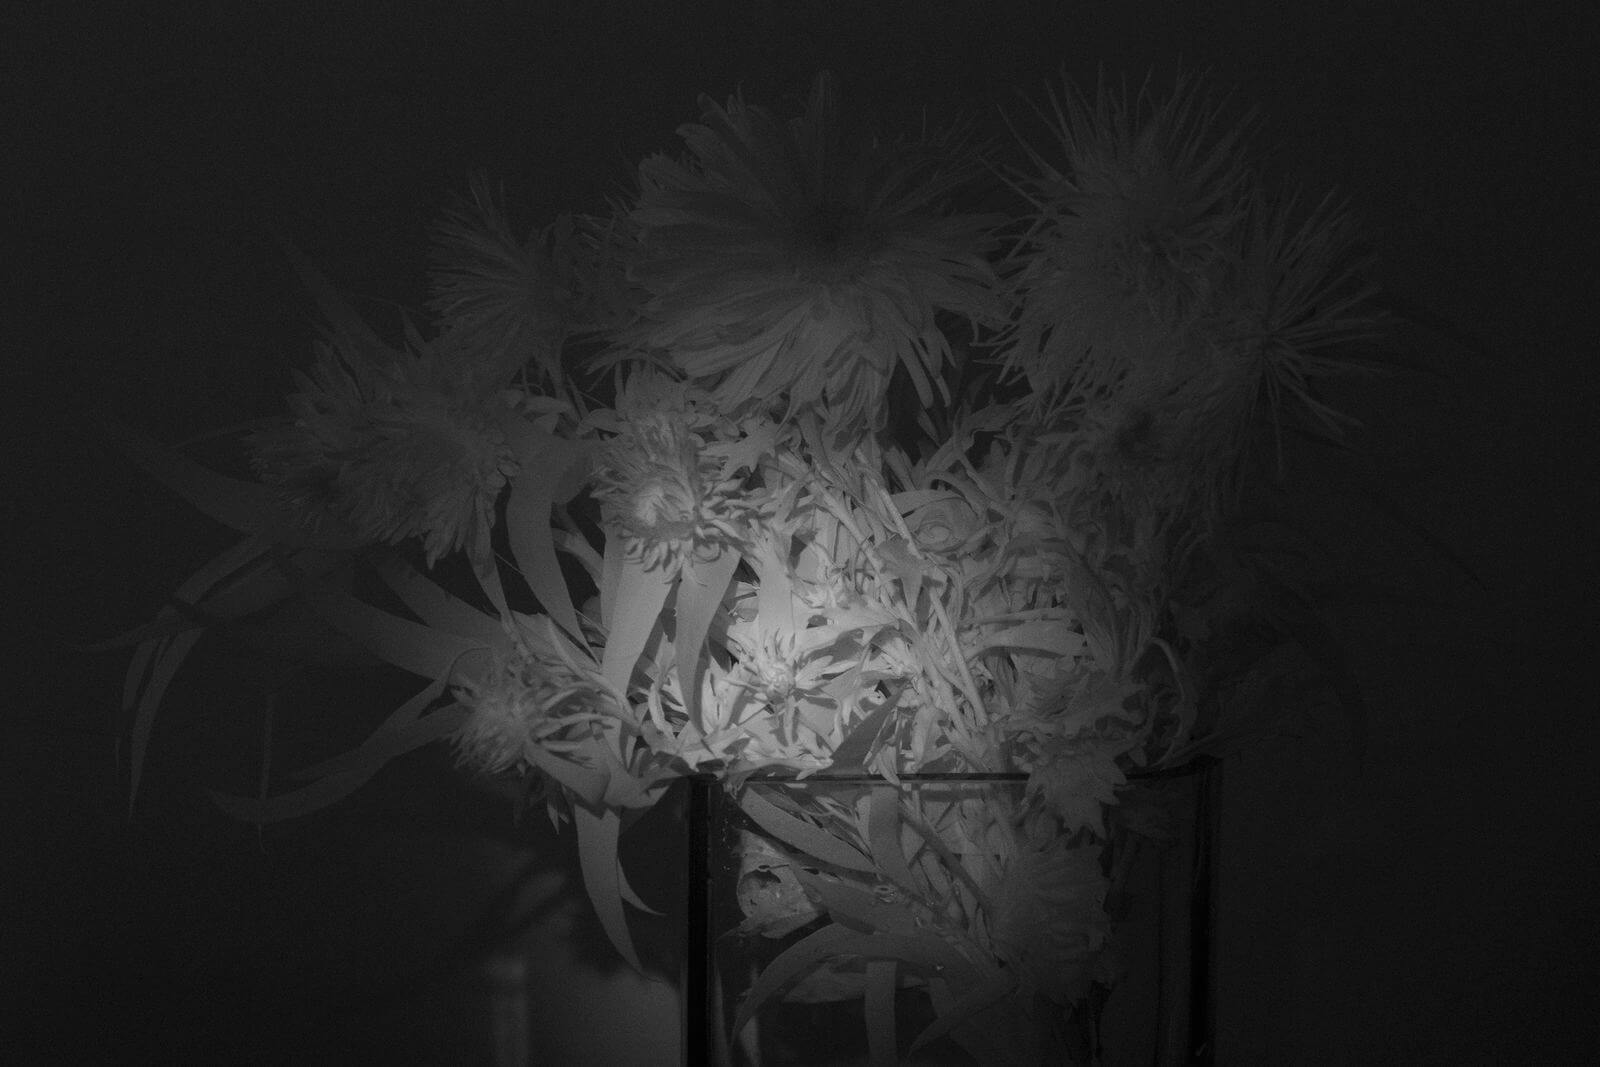
Now that I am sure my picture will be correctly focused, let’s take a first shot without the flash cup.
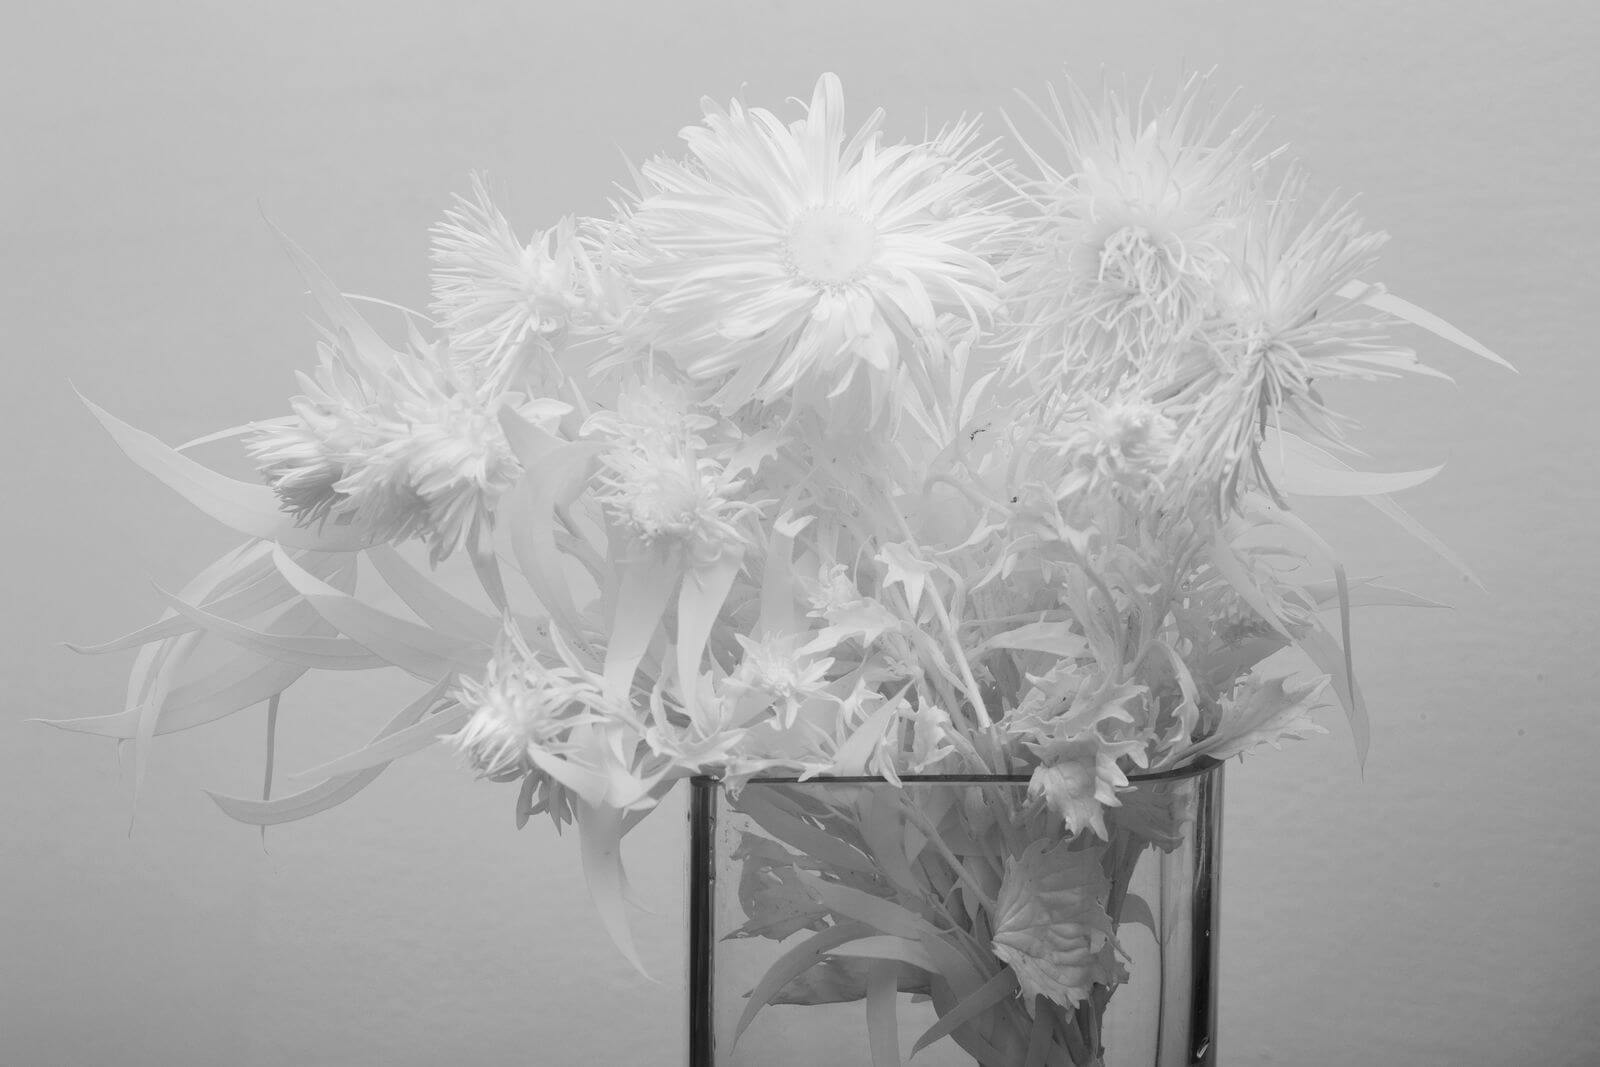
EXIF: 80mm, F/11, 1/40s, 400iso, no flash cup
Flash direction: ceiling
As you can see, to achieve the same exposure in infrared as in visible, I only had to raise the ISO from 200 to 400.
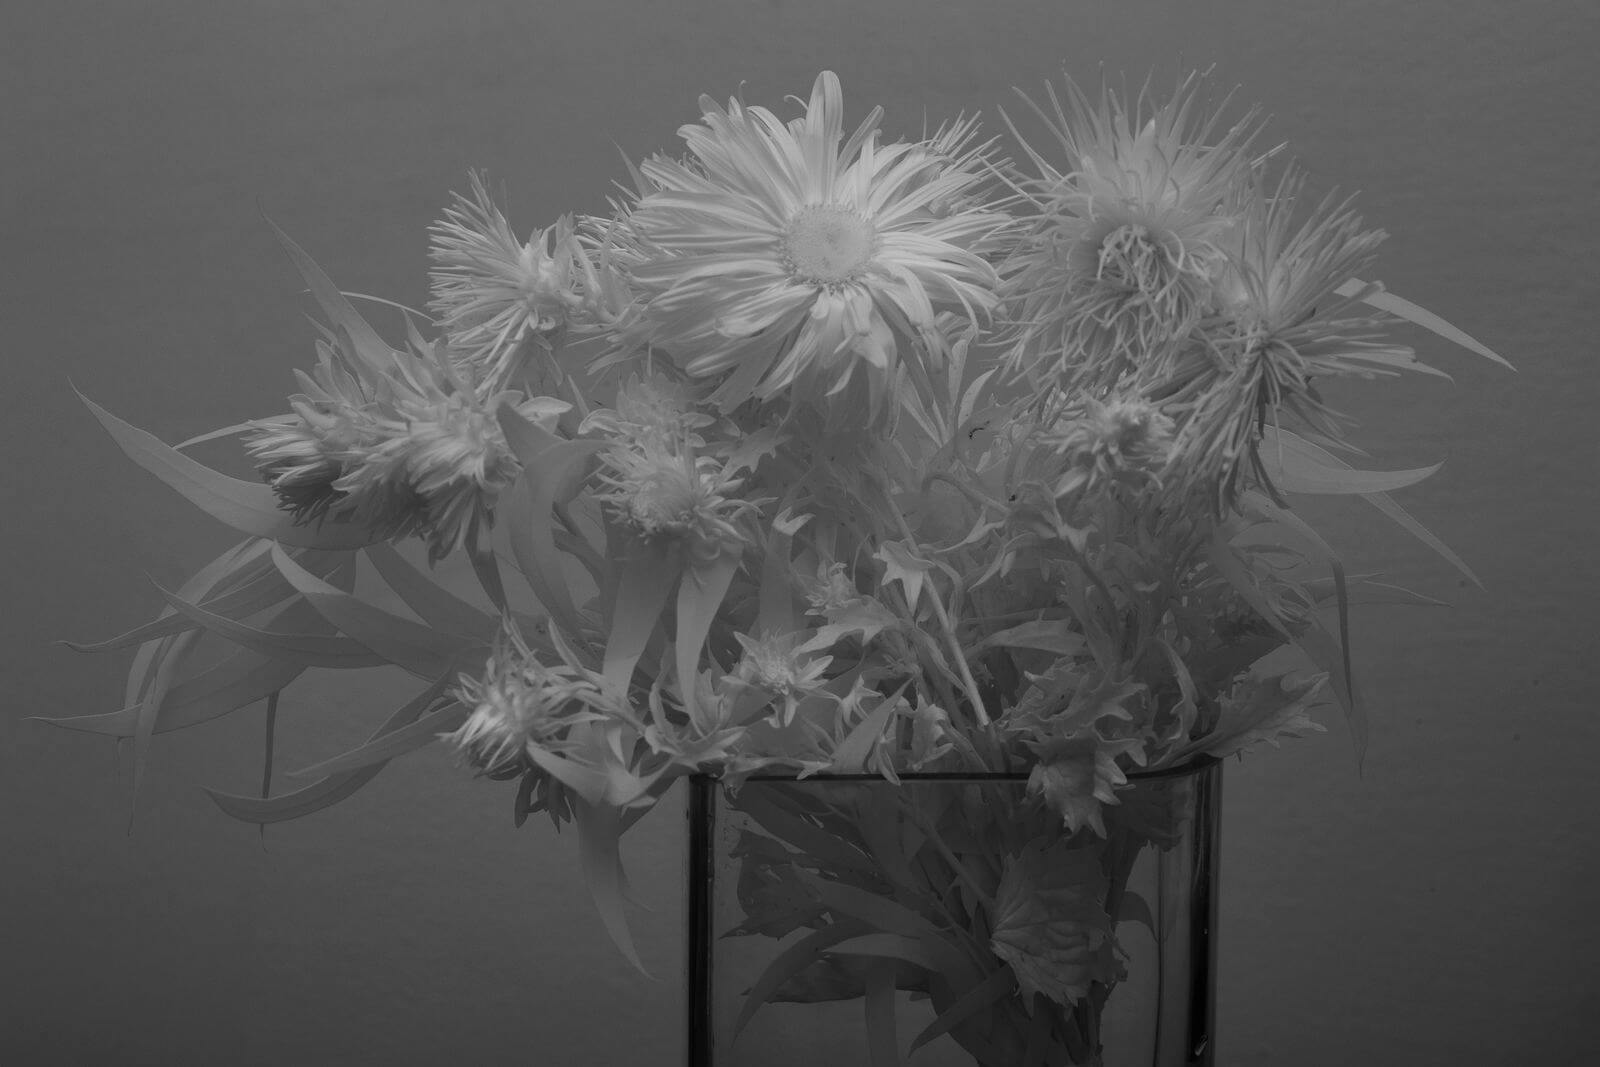
EXIF: 80mm, F/11, 1/40s, 400iso, IR flash cup
Flash direction: ceiling
Now, the big advantage of the infrared flash cup is to avoid visible flash light, and so to allow invisible use of the flash in areas where they could impact people or events, like during music shows. Let’s take the same picture with the same EXIF, but with the infrared flash cup placed on the KV-FL1:
As expected, the infrared power is attenuated by the flash cup, but is still usable regarding the shooting parameters. All three above are examples of street pictures I took using an 850nm flash.
Ultraviolet performance
Let’s continue with the ultraviolet part of the kit. I used the UV torchlight to focus on the bouquet with a Kolari Vision UV bandpass filter in front of the lens.
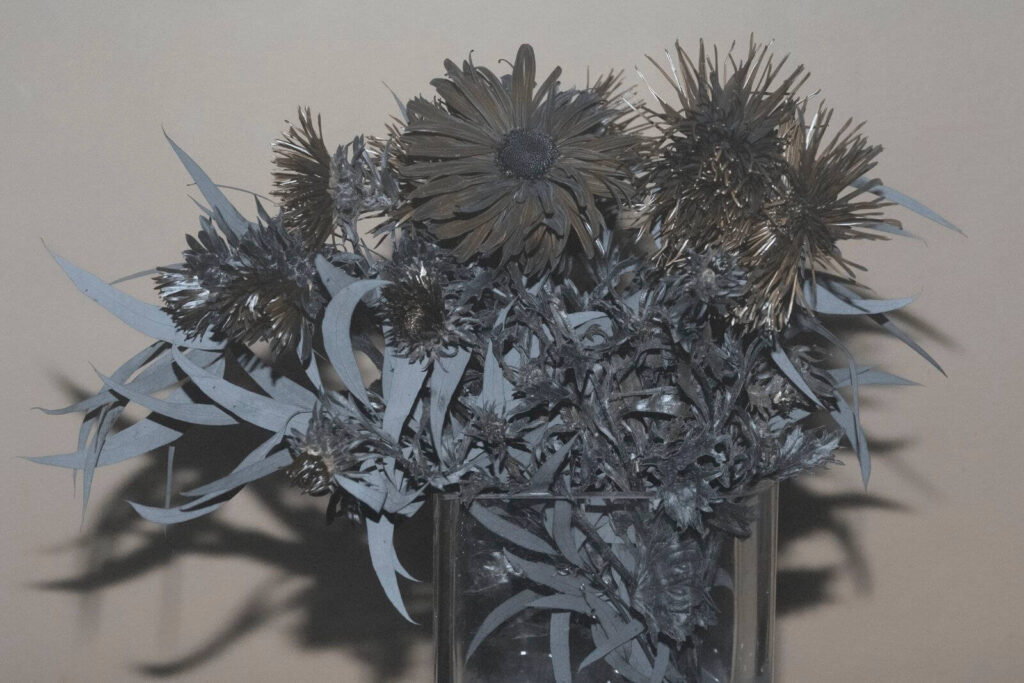
EXIF: 80mm, F/5.6, 1/60s, 6400iso, no flash cup
Flash direction: direct
As you can see, ultraviolet photography requires far more light power, so here I had to significantly increase the ISO and increase the aperture. Moreover, direct lighting is an obligation as most walls and ceilings do not reflect UV light.
UV flash is more useful for close and macro photography, to reveal small details. So I also shot closer to the subject.
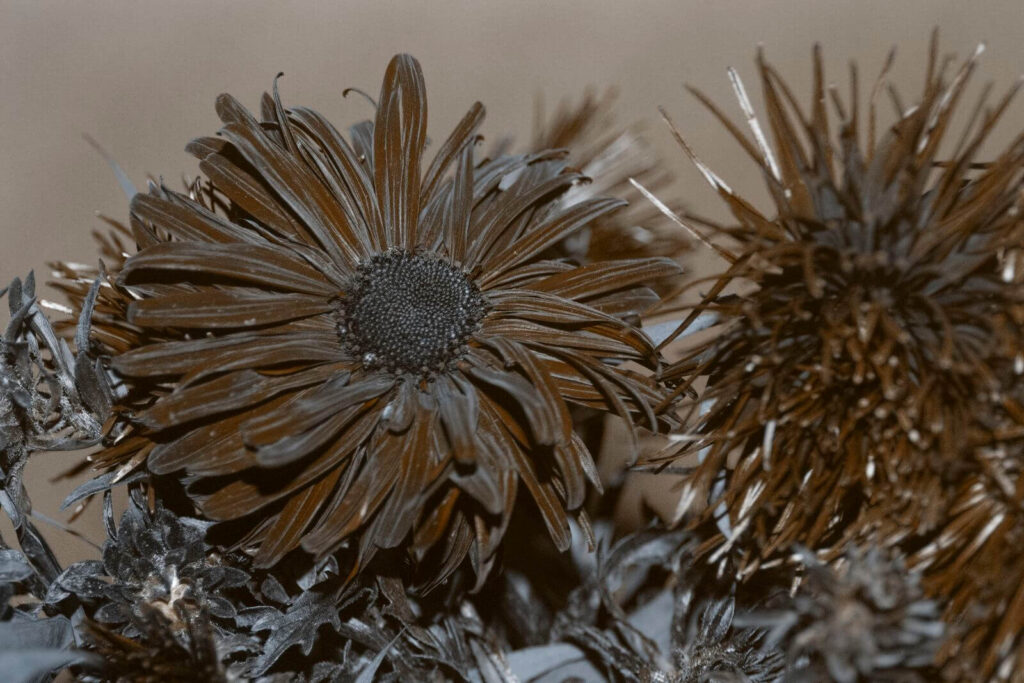
EXIF: 80mm, F/11, 1/60s, 6400iso, no flash cup
Flash direction: direct
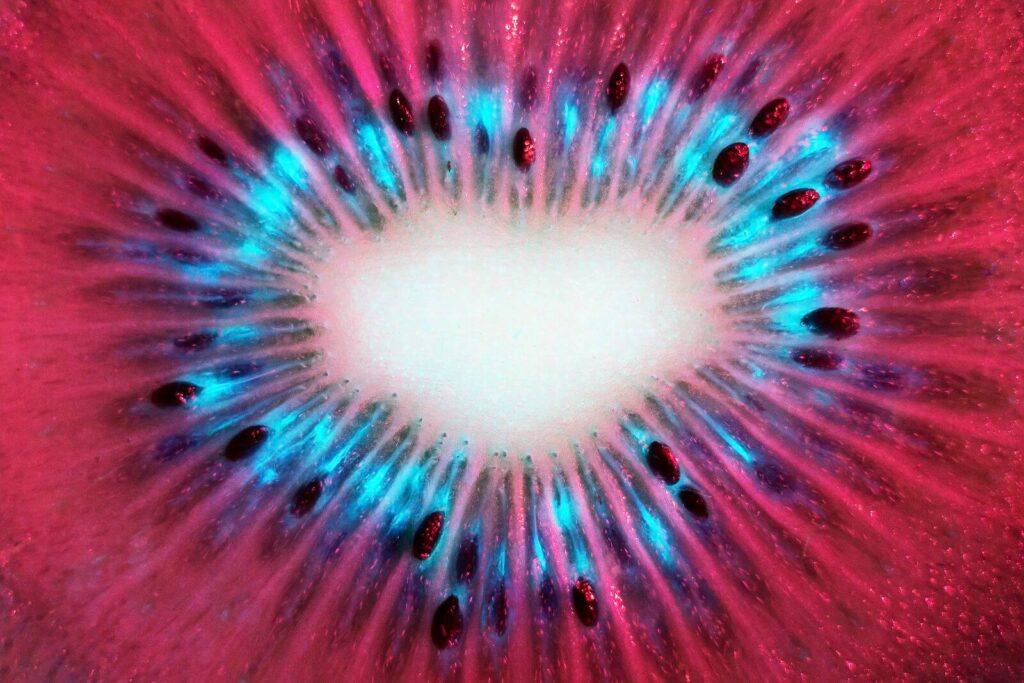
Concerning the UV flash cup, its advantage is to allow fluorescent photography. Take in mind that once the UV flash cup is put in front of the flash, you have to strictly avoid any UV emission in front of someone having his eyes opened. Pure UV light emission is dangerous for human eyes.
In the next example, I put the UV flash cup on and used the Kolari hot mirror filter on the front of my lens instead of the UV bandpass filter. Fluorescence photography consists in the capture of visible light emitted after UV light excitement. So ,you do not need a full spectrum camera to achieve this technique!
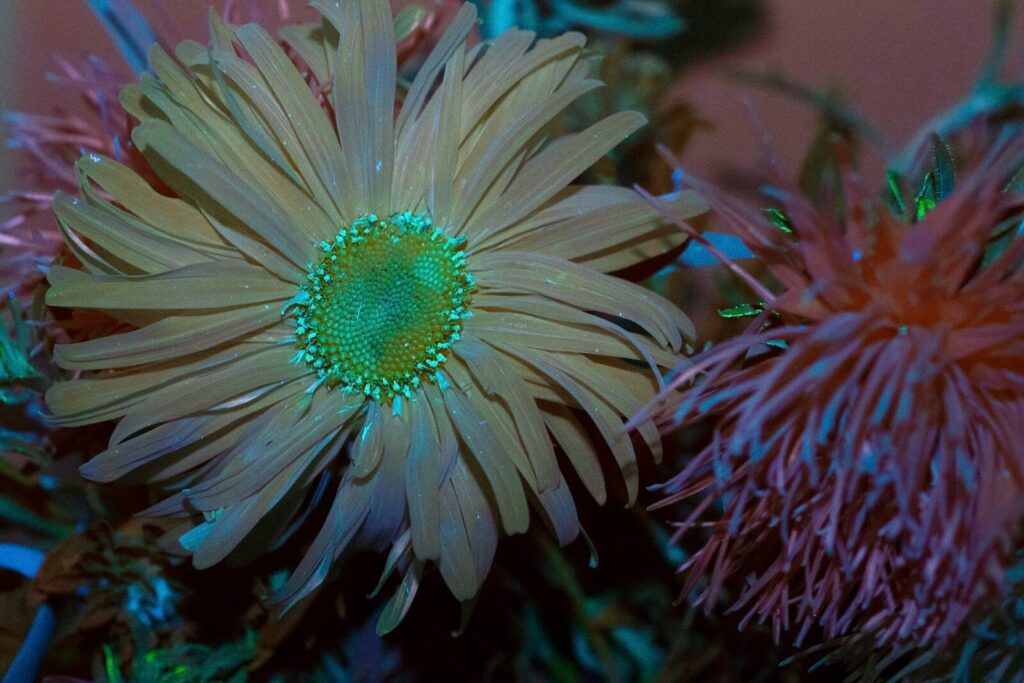
EXIF: 80mm, F/11, 1/60s, 6400iso, UV flash cup
Flash direction: direct
Another quality example is shown below with this slice of kiwi:
Summary
The KV-FL1 kit offers everything you need to perform any type of photography that requires a flash. The light emission in UV, visible and infrared delivers high power and homogeneity. Kolari offers well thought out choices for accessories that will be useful to compose and focus using invisible light.
If you are looking for a complete, portable and affordable solution to increase your creativity, the KV-FL1 is what you need!
