Infralucent Clouds: A New Discovery for Infrared Astro-landscape Photography
Author: Jürgen Lobert
Creating astro-landscapes is a popular niche of night photography where the Milky Way, star points or star trails, aurora, airglow, zodiacal light, and meteors are combined with an interesting foreground landscape. Yet, a lot of people are surprised to see these in infrared. Many visitors on social media comment that they didn’t know one could use infrared cameras at night. Whereas infrared is often used in astrophotography (deep space), it is not widely used in astro-landscape photography.
When done right, this works quite well, and during one of my outings in 2021, I discovered an otherworldly phenomenon that I named “infralucent clouds.” These clouds are only visible or ‘shine’ (Latin: lucere) in infrared light (infra); they are not visible to the naked eye or normal cameras.
The Discovery
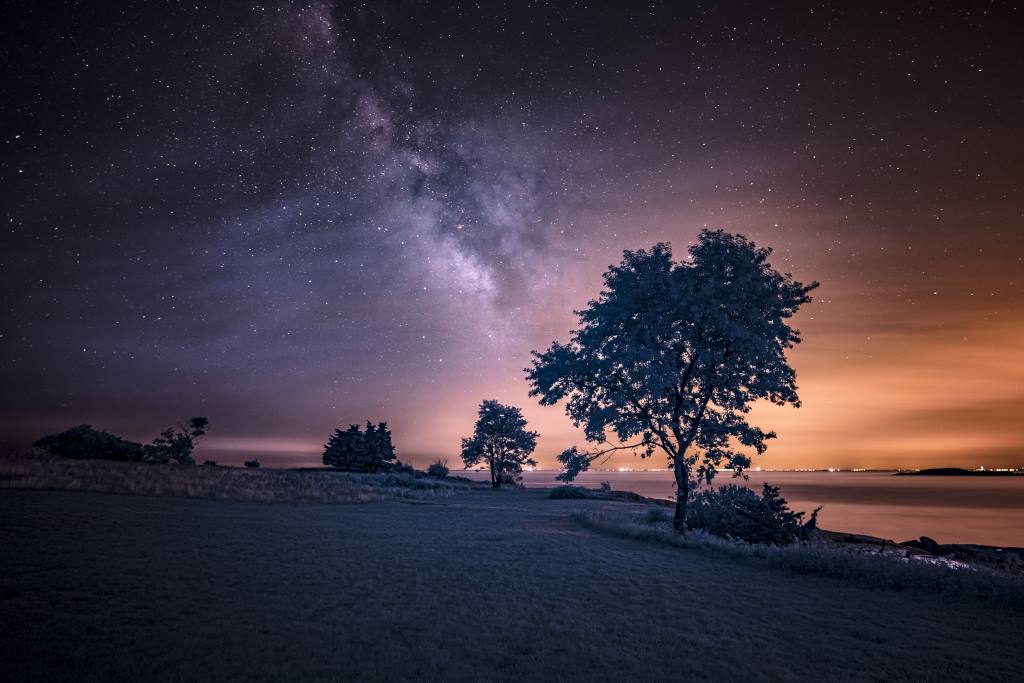
I stumbled upon this by accident. One night, I took my Kolari Vision-converted full spectrum Nikon Z6 camera to see how astro-landscapes might look with various infrared filters. I took a 590nm photo (Figure 1) of a tree with the Milky Way and the ocean in the background and the urban glow from Boston, MA, on the right. What surprised me were those thin, blue clouds on the left, which I did not expect, nor did I see them with my eyes or my normal camera.
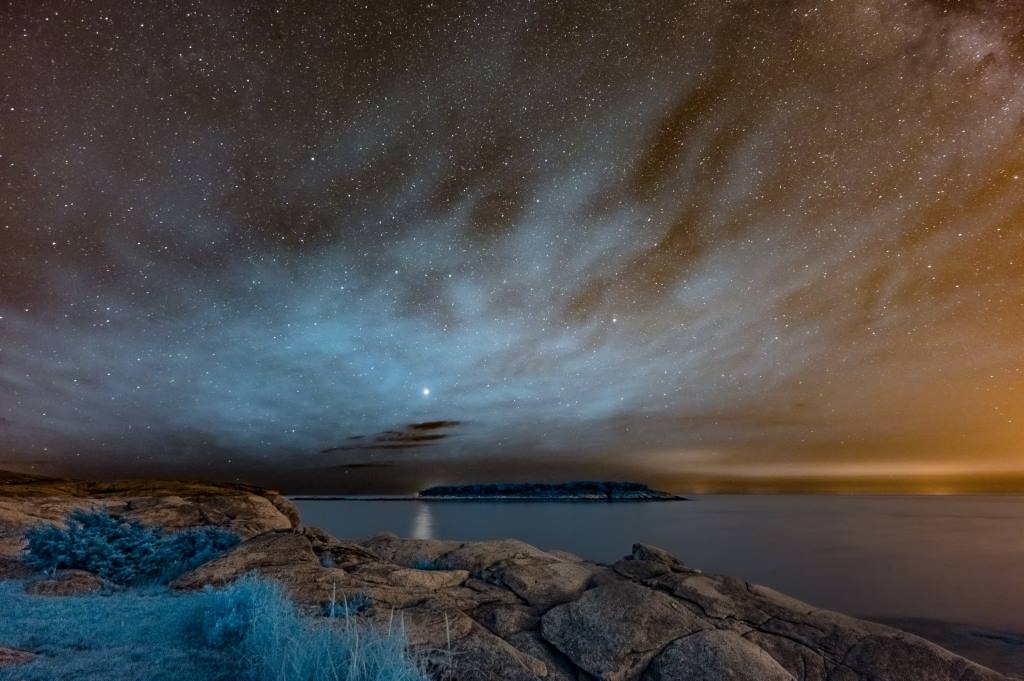
Curious to see more, I panned to the left and got even more pronounced clouds (Figure 2), making me very excited about something I had not seen before but was clearly there. Jupiter was coming over the horizon and reflected in the water, the Milky Way crossed in the upper right, and those thin clouds appeared to come right at me from the east. The foreground foliage turned blue, as all infrared photos create false-color images.
Infrared vs. Normal Camera
I kept exploring this and made sure to take some photos with my regular camera alongside to see what the visible difference may be, and it is quite clear. I took several panoramas of five vertical images stitched together in Lightroom or Photoshop. Figure 3 shows the comparison of the two panoramas.
I researched this quite a bit and have not found anybody else reporting this phenomenon or an explanation for what these clouds are. I assume that these are high-altitude clouds, maybe made up of ice crystals, that are too thin to reflect or scatter visible light but which reflect infrared light emitted from Earth at night.
How did I come up with that name? There are special clouds named noctilucent clouds that only appear at the end of nautical twilight, when the sun is at a precise angle below the horizon, shining up into the higher layers of the atmosphere. They are named for their appearance only at night, and I used this to create the name infralucent clouds, which shine only in infrared.
At first, I thought these might be noctilucent clouds–which don’t show up in the visible spectrum–because the sun was not at the required angle, but that infrared made them visible. However, noctilucent clouds are polar stratospheric clouds (PSC), and they are only visible north of 50° latitude. I have, however, observed infralucent clouds between 43° (Boston) and 12° (Aruba); hence, they are not PSCs.
Where to Find Them
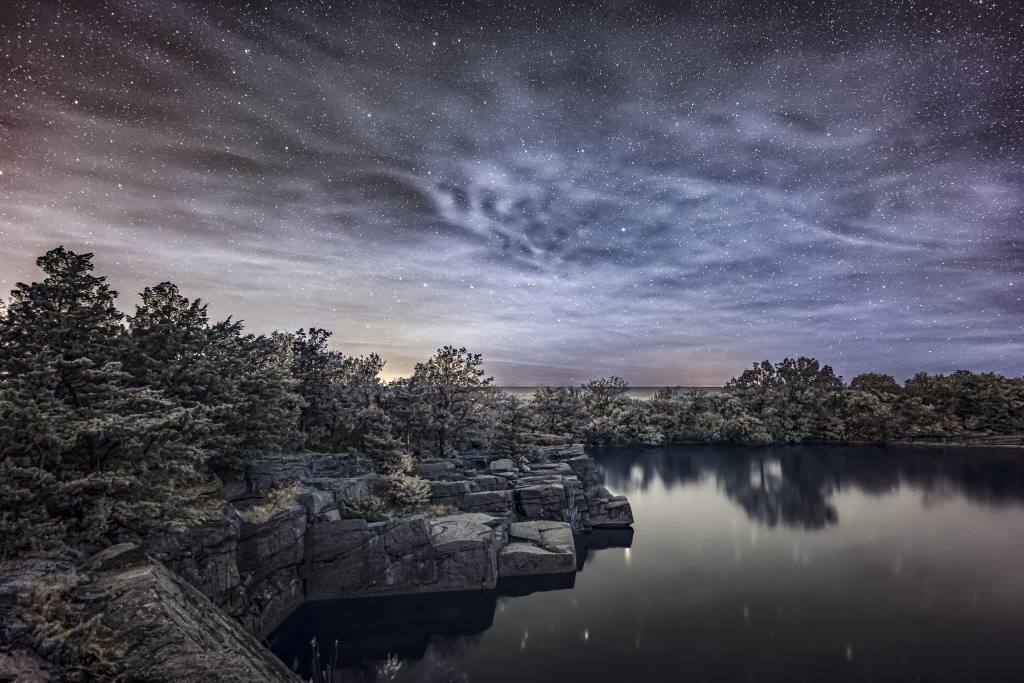
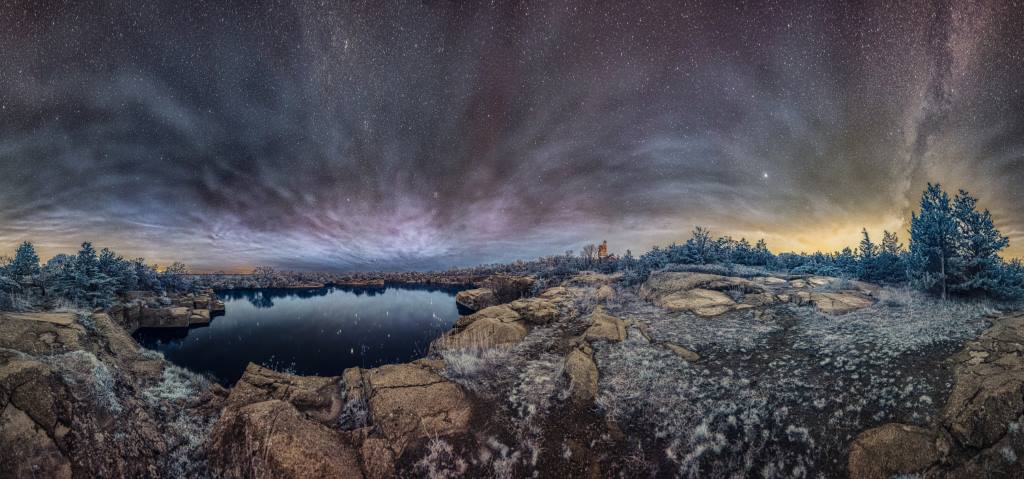
Infralucent clouds are not always there, but there is a good chance to see them on very clear nights during astronomical twilight and later. They may be fairly faint, as in Figure 4, or very strong as in the first photo at the top and the panorama below.
I have photographed these in every direction–north, east, south, and west–and found them to be omnidirectional (PSCs are seen only towards the north). The 360° panorama in Figure 5 shows this and that they move from east to west.
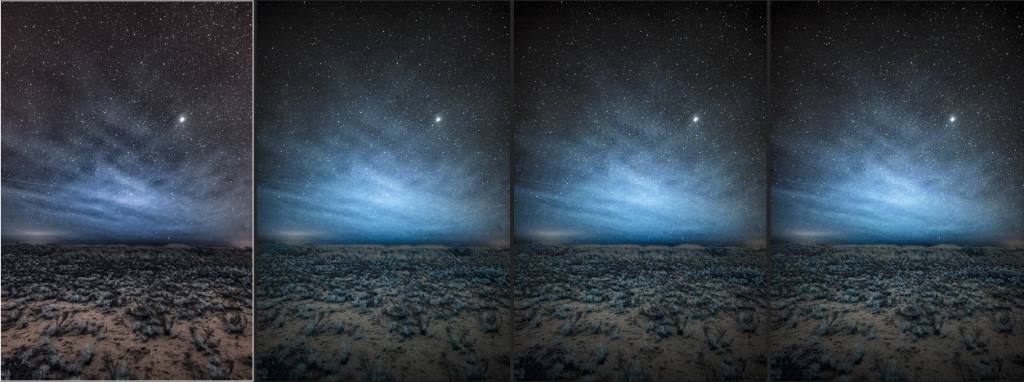
I also found that ground winds do not seem to affect these. The night when I took this panorama was very windy on the ground, yet these clouds did not move much. I can usually stack back-to-back images (to reduce noise) without diminishing the features of the clouds. Below in Figure 6 is an averaged photo compared to three individual shots, each about 15 seconds apart on a very windy ground. The basic structure of the clouds remains the same for about one minute.
However, looking closely at these back images, I can tell that they DO move somewhat east to west, which can also be seen in the panorama, whereas ground winds were from the south moving to the north. I do not know if the clouds stand still with Earth rotating or if they move against the planet’s rotation, perhaps driven by their own high altitude winds.
How to Photograph Infralucent Clouds
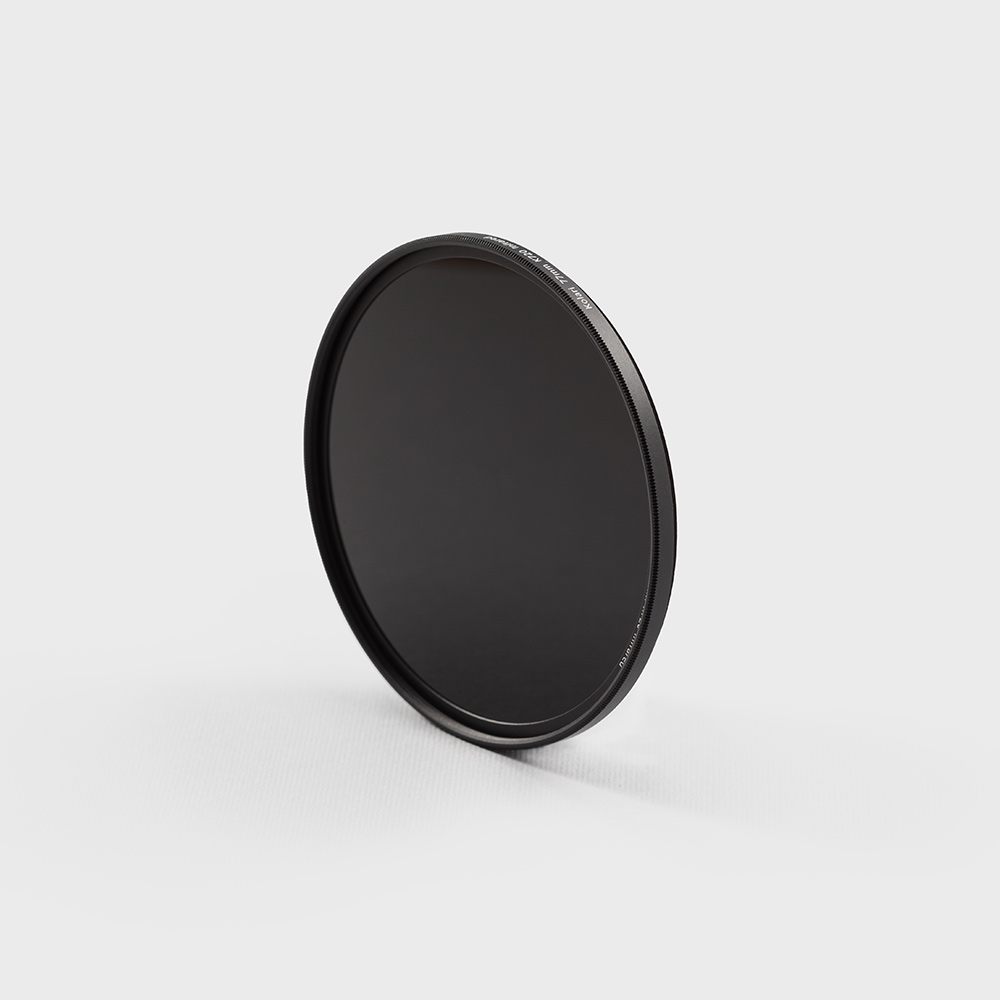
My full spectrum camera records all wavelengths, and I use a variety of Kolari Vision screw-on lens filters to restrict the spectrum.
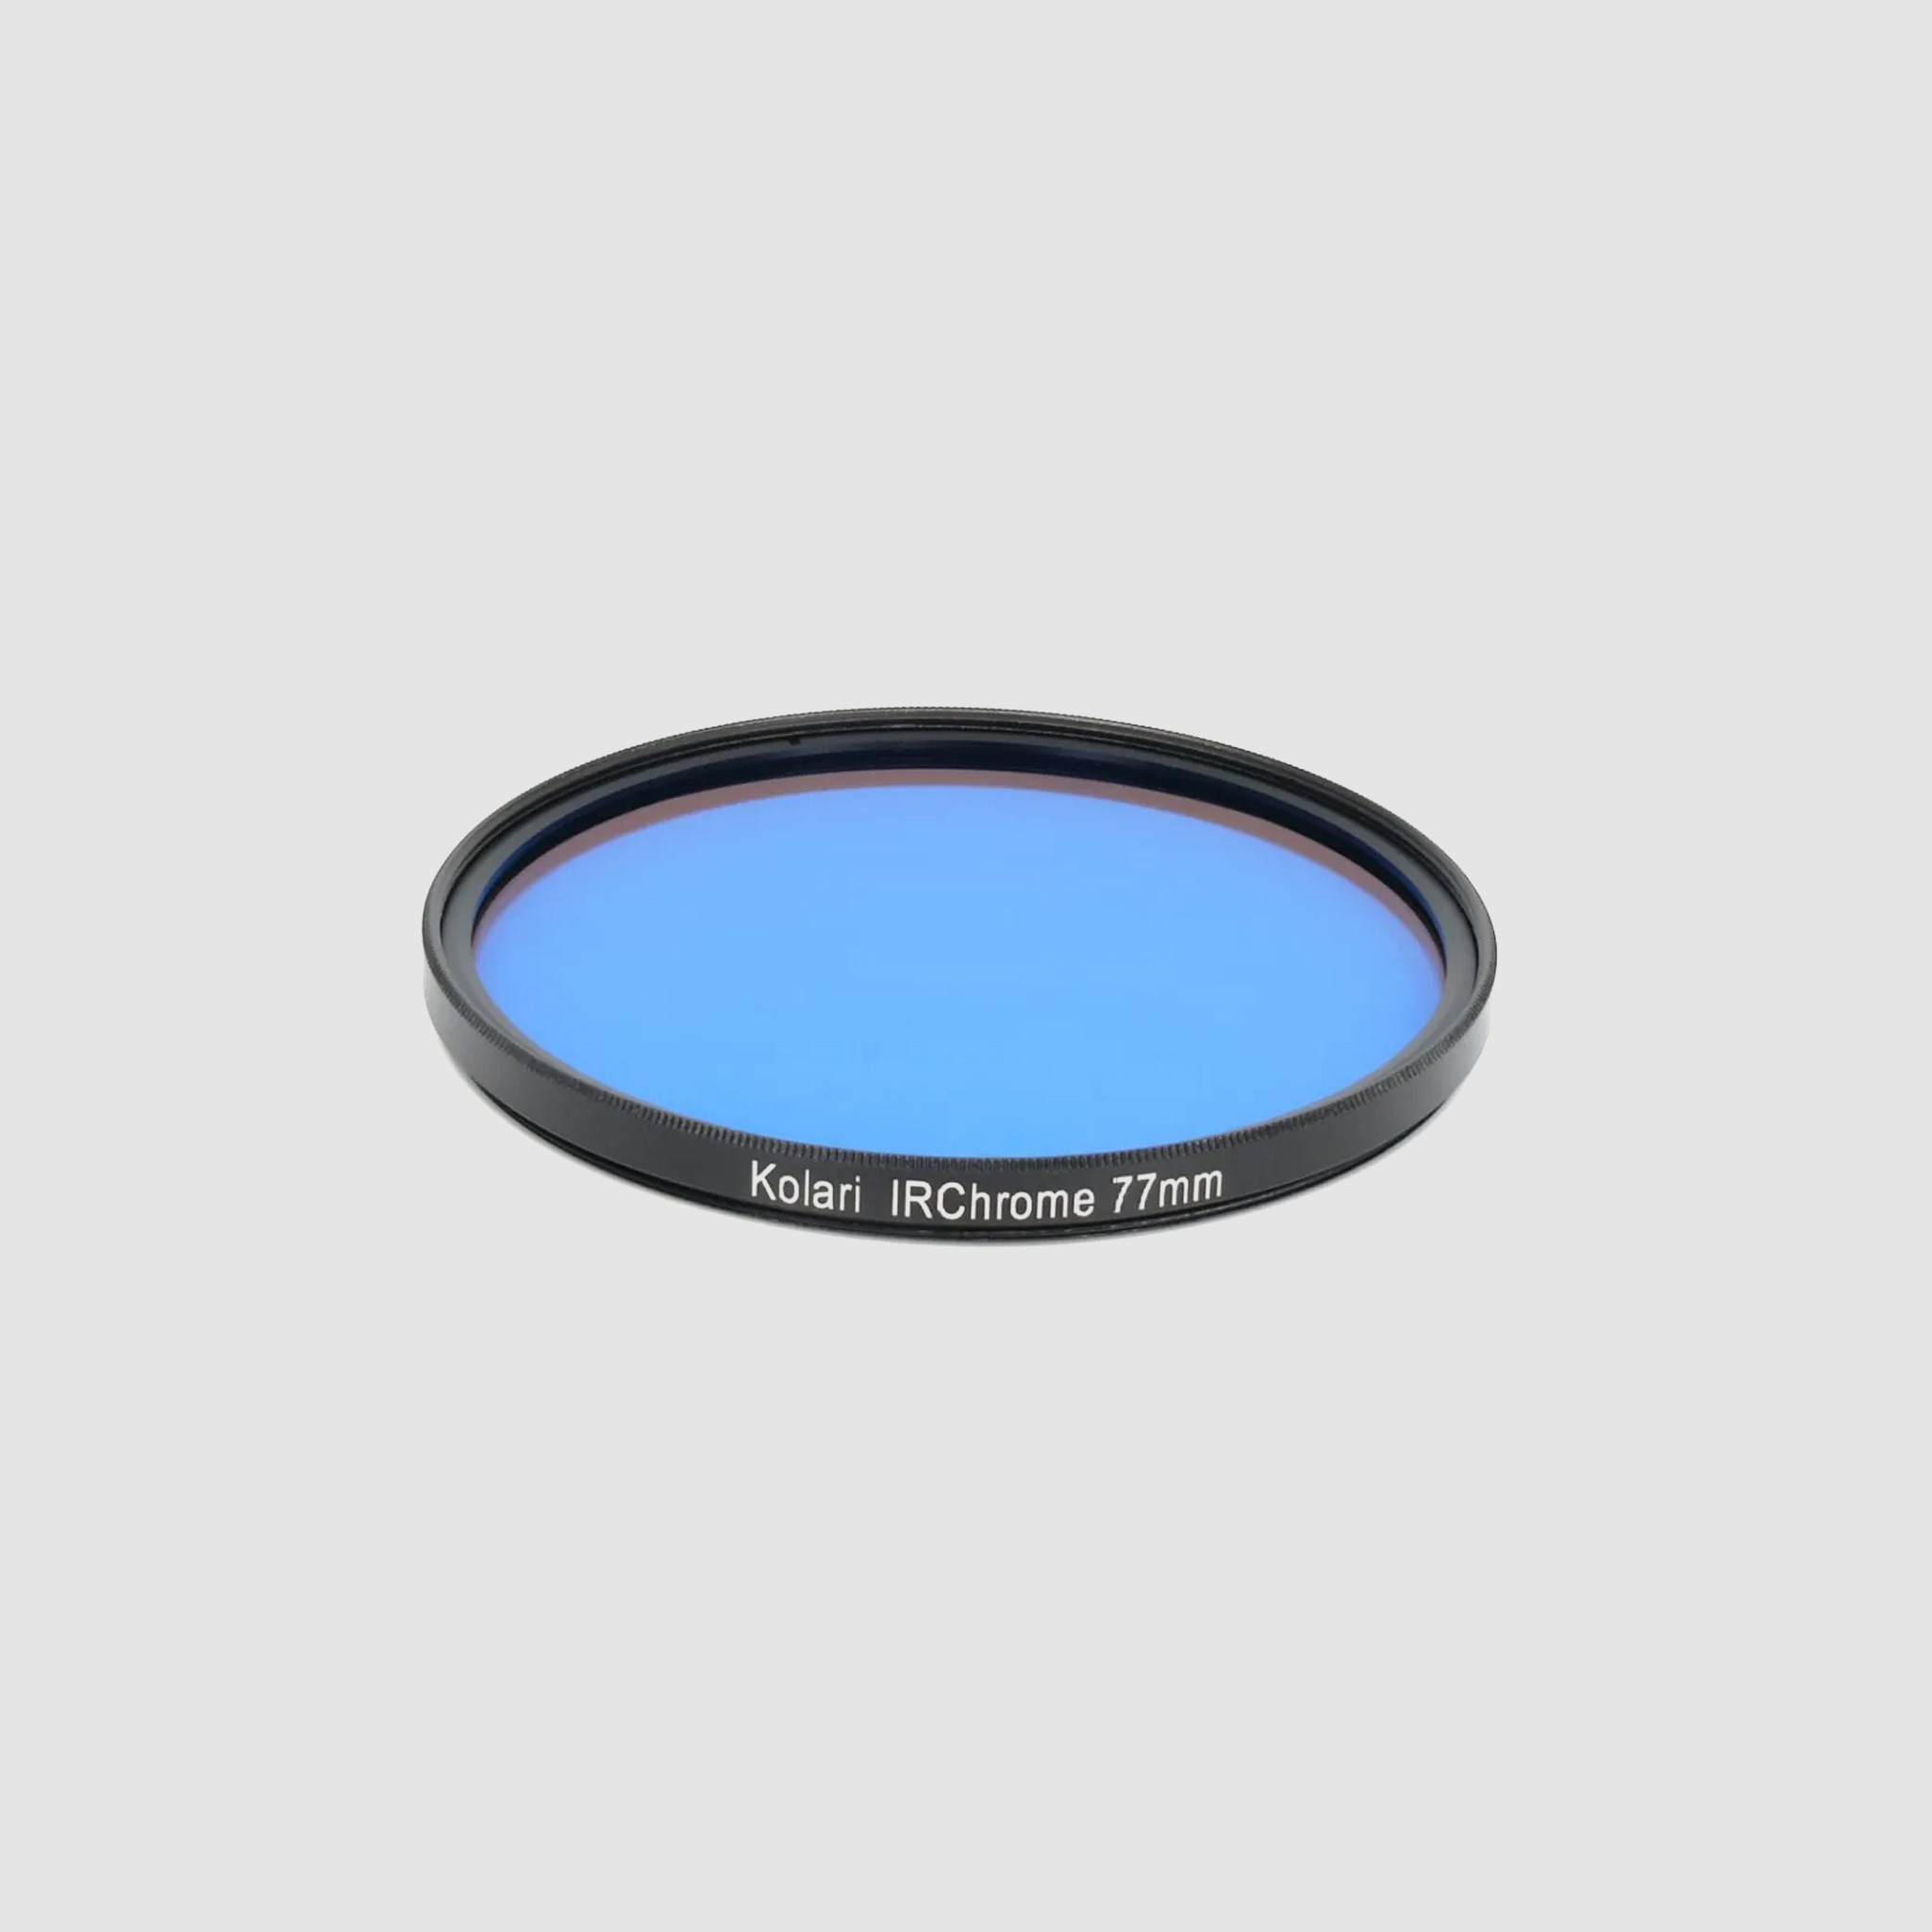
I have photographed these clouds with 590nm, 665nm, 720nm, and 850nm filters on my full spectrum Nikon Z6, and all of them show the clouds. A 470nm and the IR Chrome filter only show them faintly as both let too much visible light through, which masks the clouds and is why we do not see them with our eyes or regular cameras. My favorite filter is the 590nm for its color depth and the options it leaves to achieve the color palette that I prefer.
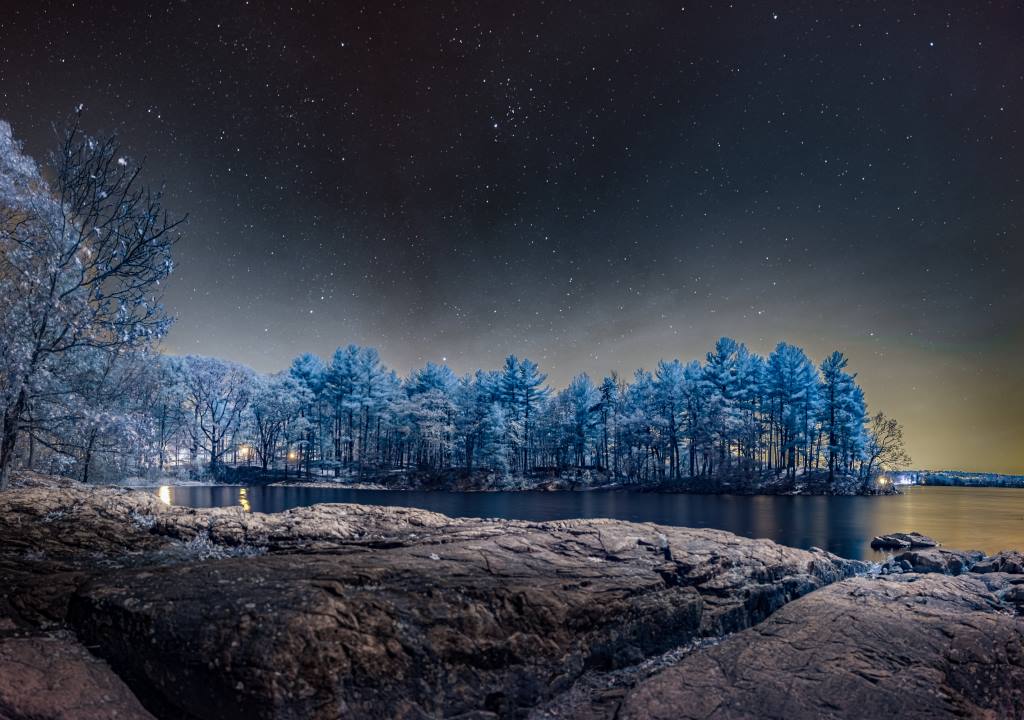
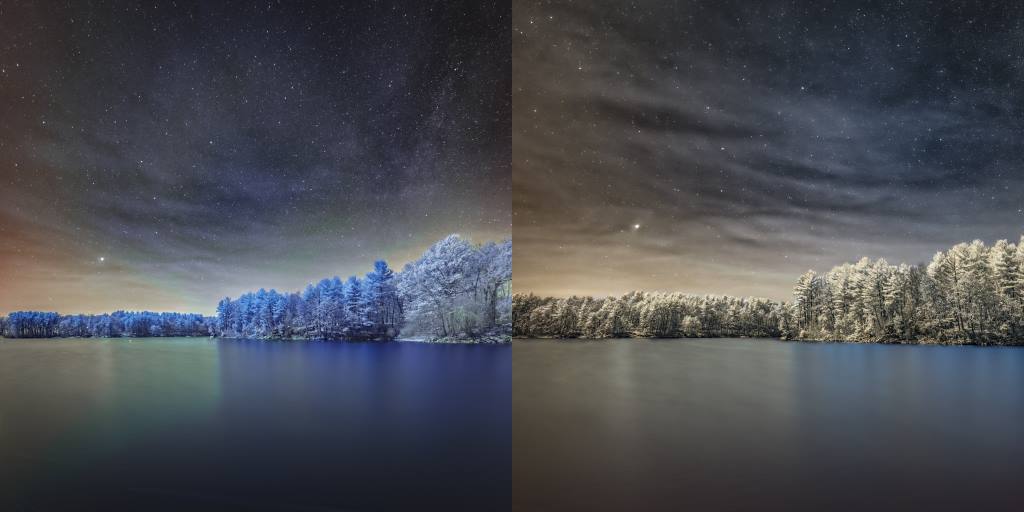
Moonlight washes out the sky and the stars, but you can still get infralucent clouds. You’ll want to avoid the moon, as all bright lights create extreme flares in infrared. Even Jupiter often flares. The below comparison of 590nm and 720nm photos was taken on a near-full moon night with the moon off to the left (hence, the nicely illuminated forest).
A fast lens is recommended to successfully capture infralucent clouds while minimizing high ISO noise. The night has 16-stops less light than the day, which means only 0.0015% of the light is left. Shooting in infrared cuts out about half of the remaining visible light, so another stop is lost. Hence, for proper exposure, one needs to shoot at high ISO sensitivity, which creates a lot of noise in images with a relatively flat light profile and low contrast. A wide aperture helps to minimize that noise.
I shoot mostly at f/1.8 with my Nikon Z 20mm f/1.8 S lens. Depending on ambient light (light pollution, moonlight, or none), the ISO range is 800 to 3200, but sometimes 6400 in very dark locations. Light painting the foreground helps get more definition. The sky is usually bright enough. For exposure time, I use the rule of 200-300 to minimize star elongation. Divide the number 300 by your focal length to get the maximum exposure time: 300/20mm = 15 seconds. To be most conservative, I use the rule of 200, but that half stop makes a big difference in noise.
Post-processing
Infrared photos come out of camera all red with very little contrast. Considerable post-processing is a must. After applying a custom color profile for the filter I use, I start by setting a white balance to the darkest part of the sky–I want “deep space” to be black or dark grey. That, however, makes the foreground rather blue and requires a separate adjustment.
The new masking tools in Lightroom and Camera Raw are convenient here. I start by selecting the sky to apply a fair amount of clarity and dehaze, reduce texture, and increase noise reduction moderately. Then I select the foreground, reduce noise, increase texture, and adjust the white balance to make it less blue to taste. Finally, if there is water, I apply another mask with much-reduced texture and noise to smooth it out nicely and tweak the white balance to taste. Red/blue channel swaps are possible, but I find myself rarely using them, as I like the look that I get out of camera. A swap would give the sky and the clouds more of a red tone than the blueish-white shown in the photos here.
If you haven’t tried infrared photography at night, it is an excellent way of pushing the boundaries, both of your equipment and your night photography skills. Infrared provides an added layer of interest to any astro-landscape photo, as infralucent clouds can nicely fill an otherwise empty sky. And it emphasizes the Milky Way, which looks quite different in IR than in the visible, as there is lots of IR light coming from all those stars. You can see how the infrared Milky Way penetrates the marine layer and is visible to the horizon in the below comparison.

Jürgen Lobert is a Massachusetts-based fine art photographer and educator, born and raised in Germany. Jürgen specializes in night photography, daytime long exposures, urban exploration, and infrared imagery. He organizes excursions and workshops and is an international lecturer, instructor, competition judge, and founder of the Greater Boston Night Photographers Meetup group. Jürgen can be found online at https://Linktr.ee/JMLobert/




2 Responses
This is incredible. I had no idea this existed.
Thanks Andy. It was a wonderful discovery and it is fun to continue.