Fujifilm X100VI Camera Overview
After preordering this camera back in February 2024, we’re happy to say we’ve finally received the long awaited Fujifilm X100VI. If you haven’t heard about this camera already, it comes as one of the most recent drops in Fujifilm’s fixed lens mirrorless rangefinder line. Its predecessor, the Fujifilm X100V, has already established itself with a cult following among photographers because of its sleek & compact design and beautiful image rendering.
Fujifilm X100VI Hybrid EVF and OVF Design
One of the most interesting features of this camera is its hybrid electronic and optical viewfinder (EVF and OVF respectively), whether you want to see the exact scene the lens is capturing versus the scene as an in-real-life viewing.Â
We’ll see how this camera stacks up internally, so let’s get to this teardown and disassembly!
Starting the Fujifilm X100VI Teardown With the Baseplate
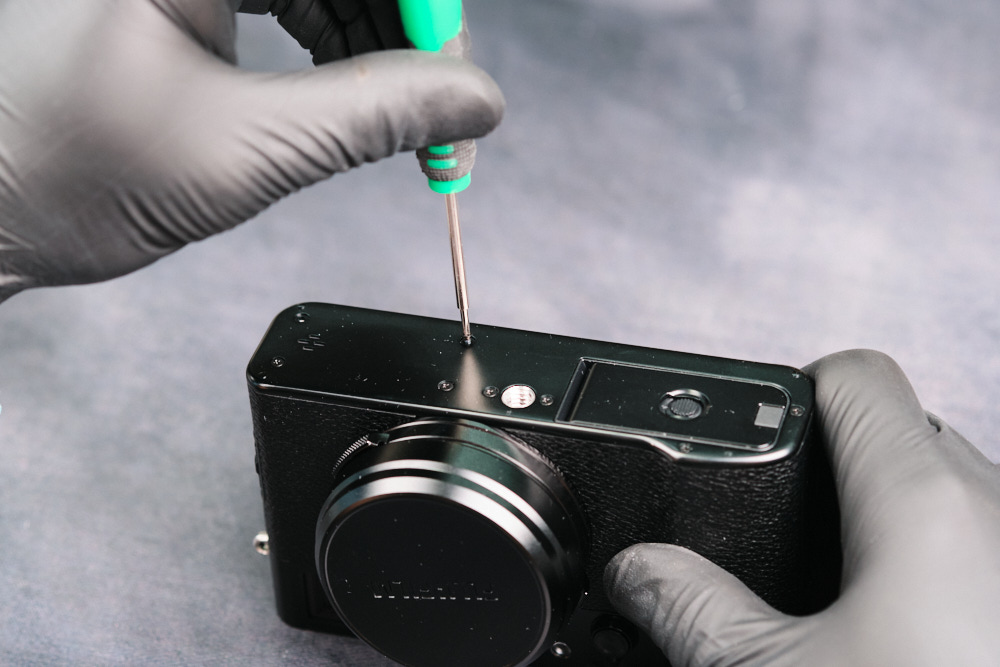
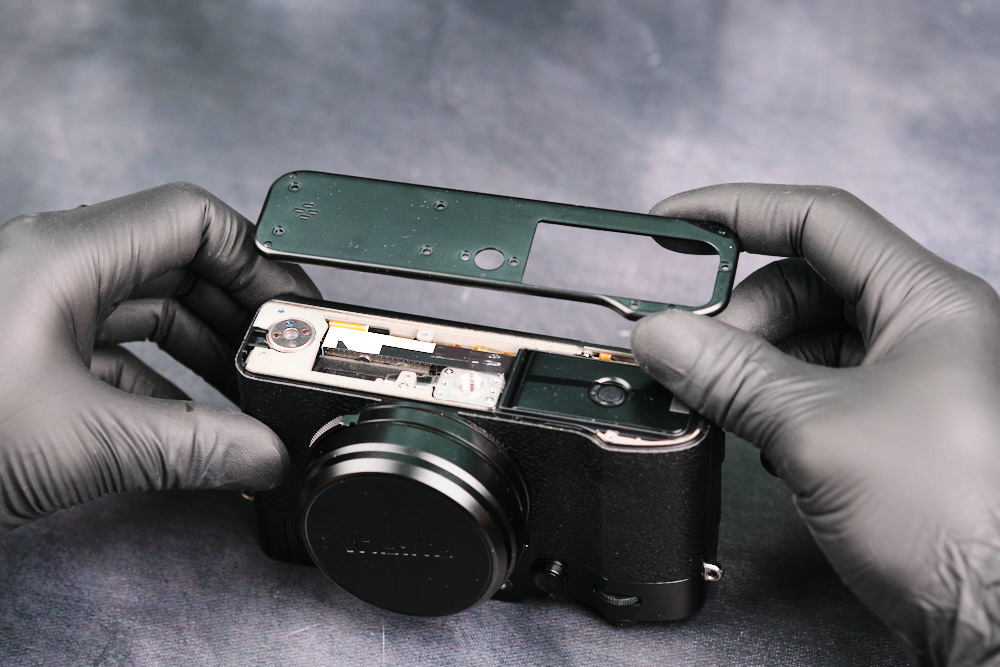
As per usual, we went straight to removing the baseplate. Seven screws removed.
Finding Hidden Screws Under the Faux Leather Cover
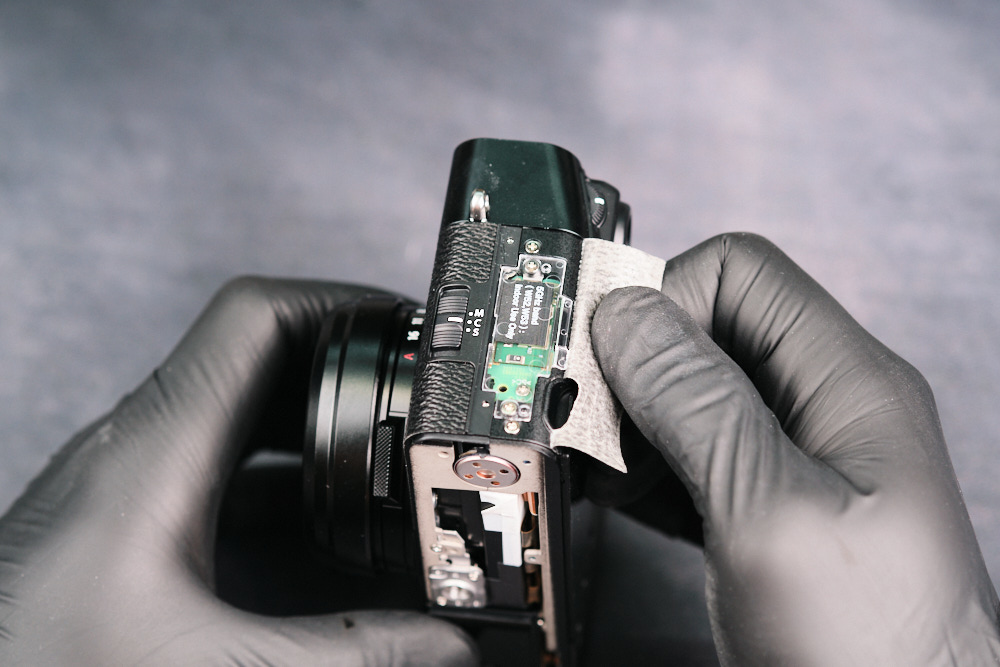
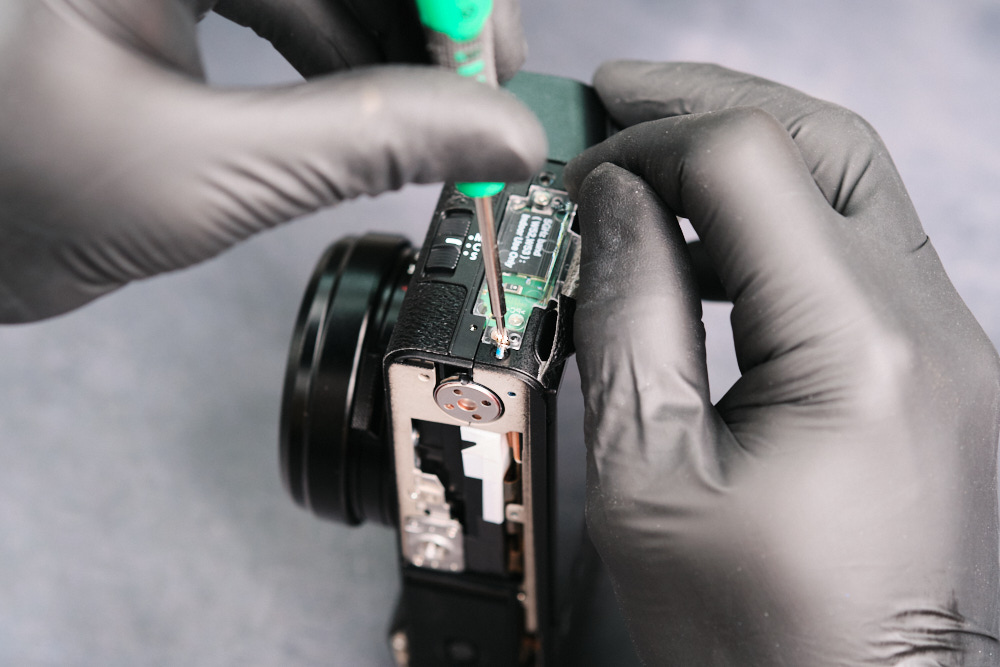
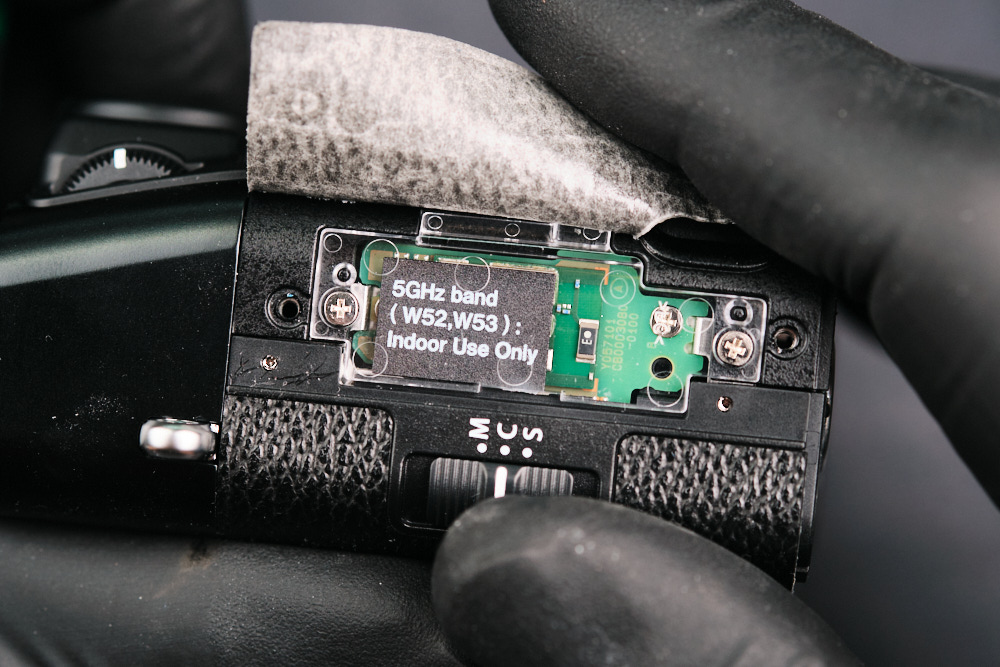
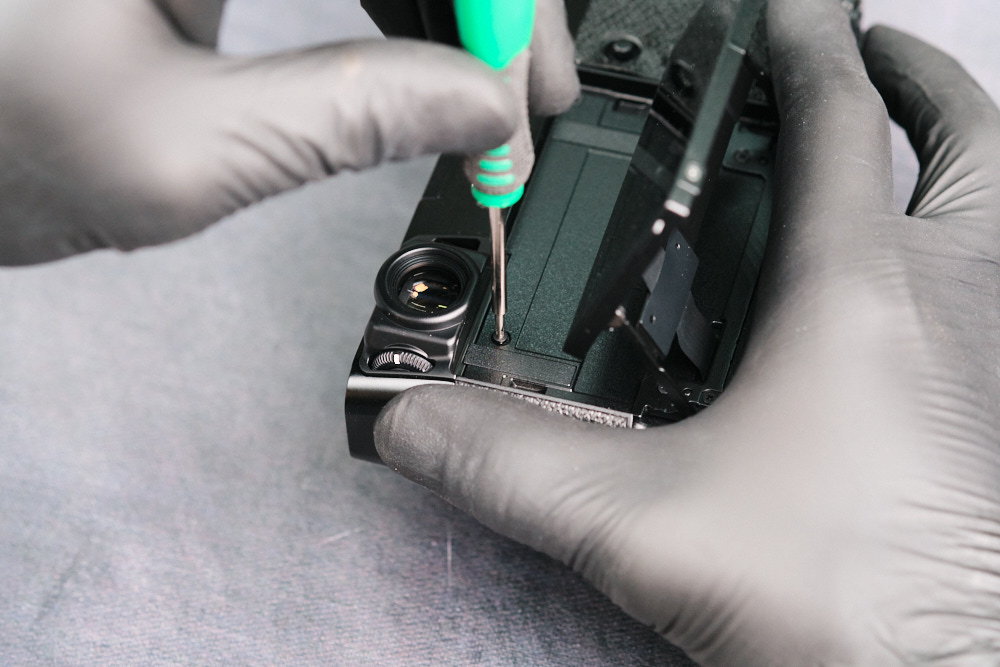
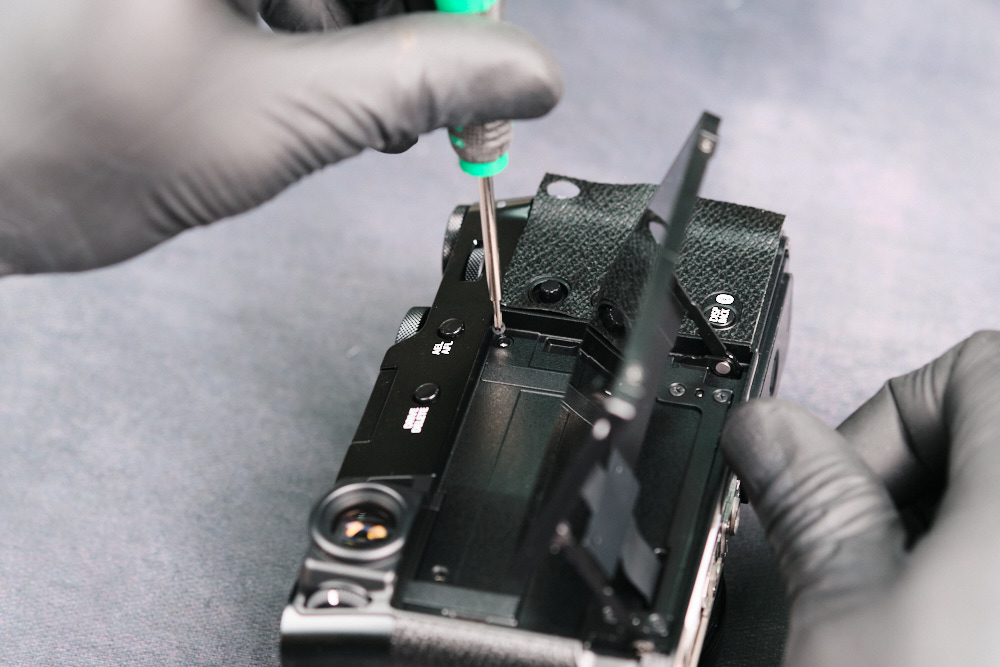
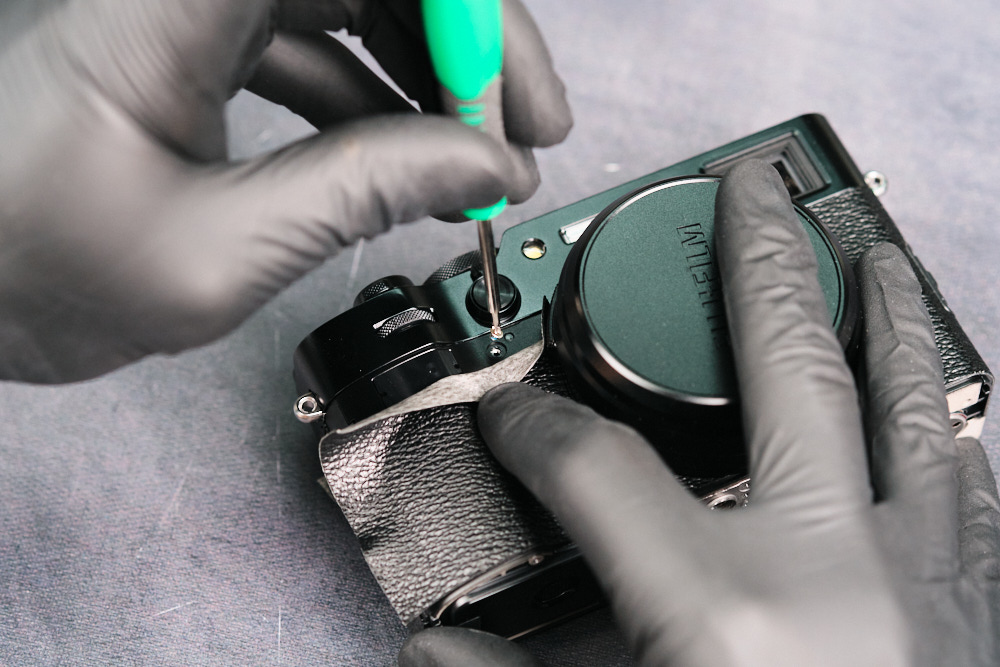
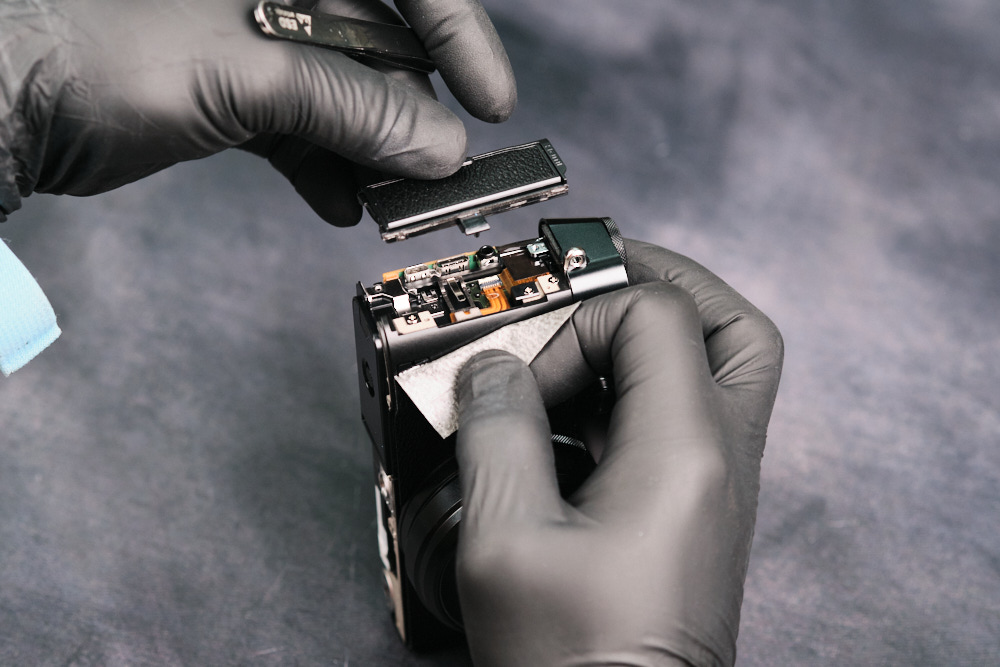
Checked under the faux leather cover on the port side of the camera where we found two screws. Interestingly, we found a receiver behind a clear panel. We haven’t seen this in other brands other than Fujifilm’s cameras—we’ve initially discovered this type of build during our Fujifilm X-H2 Teardown.
Removing Input Jack and Rear Panel Screws
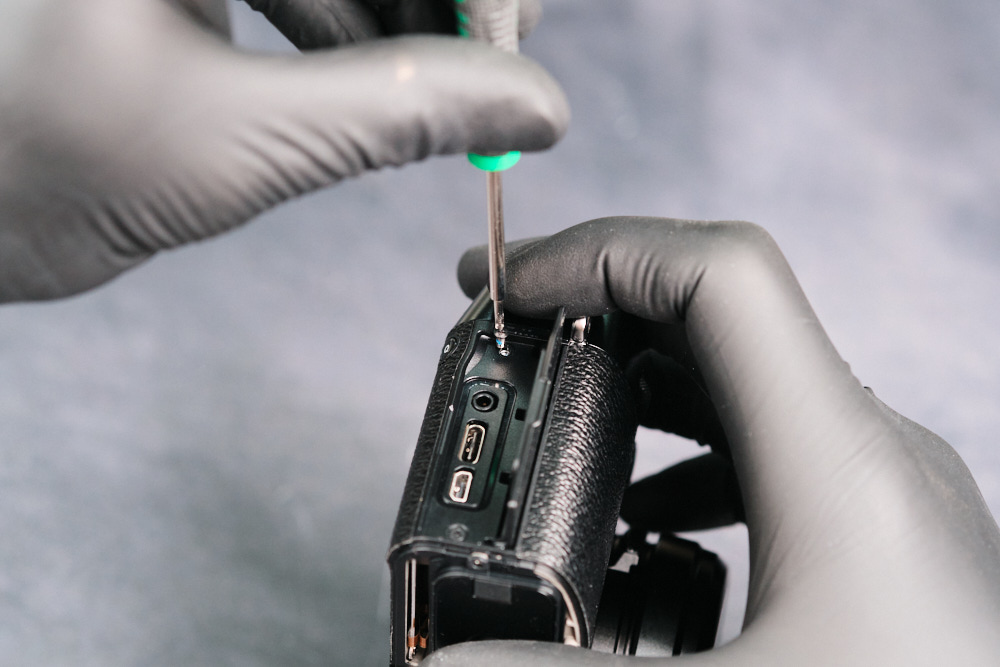
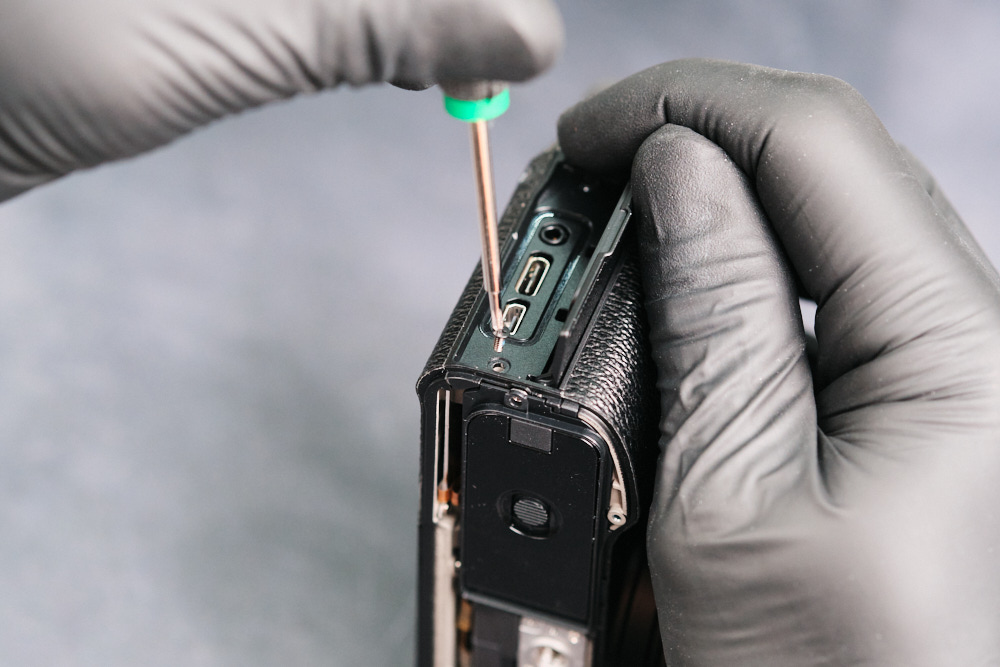
Two screws under the input jack door under the right side of the camera.
While there are hidden screws underneath the faux leather cover, these ones aren’t intended to keep the camera’s body frames together. These screws hold the circuitboard to the rear panel and are actually facing head up.
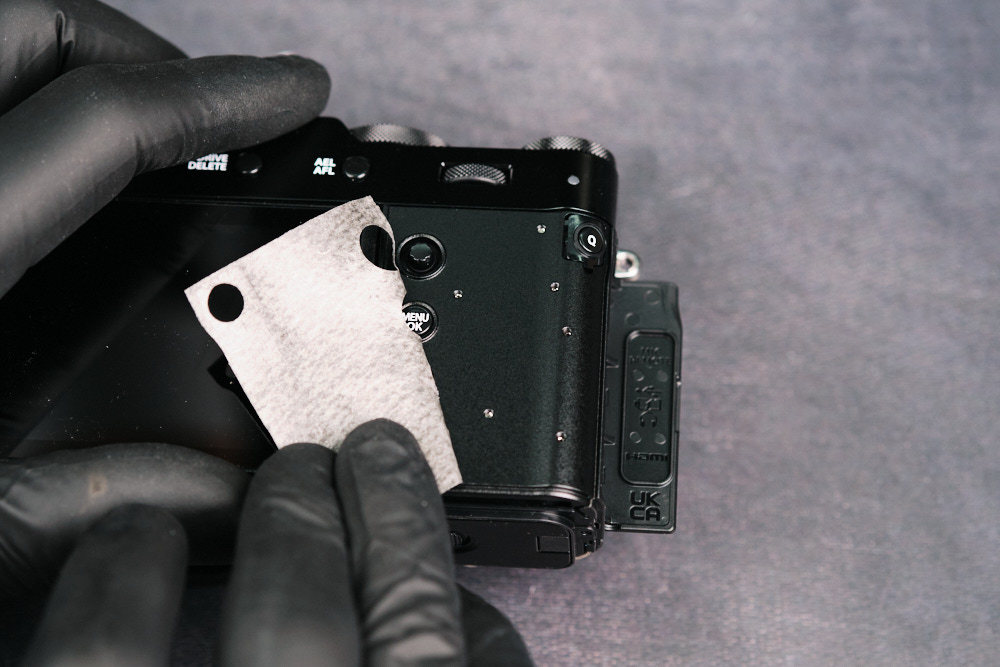
Two screws on rear panel underneath the flip out LCD screen
Checking the Hot Shoe and Autofocus Selector Area
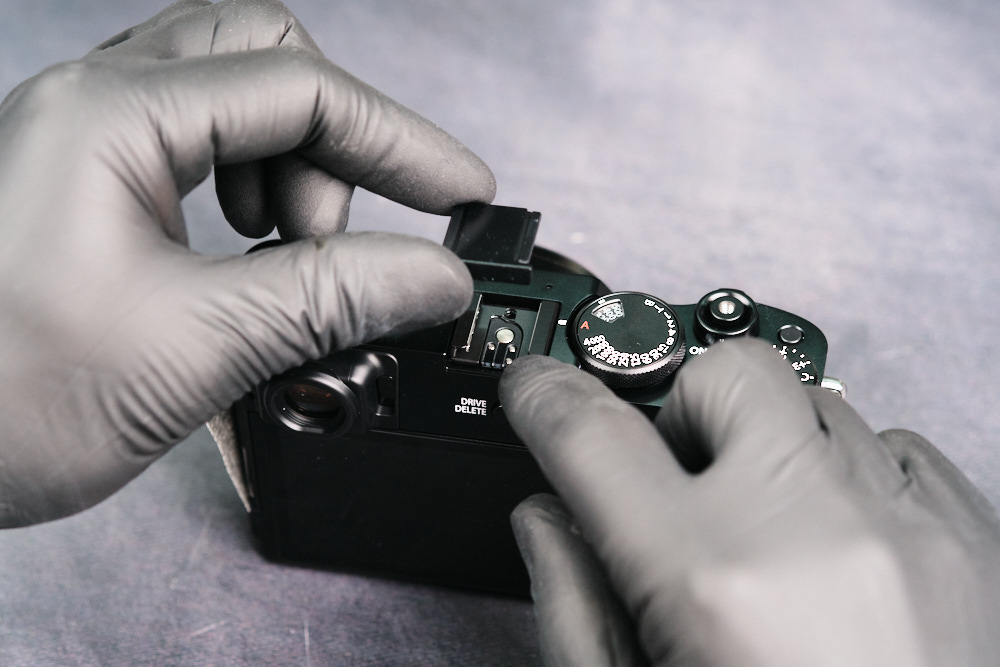
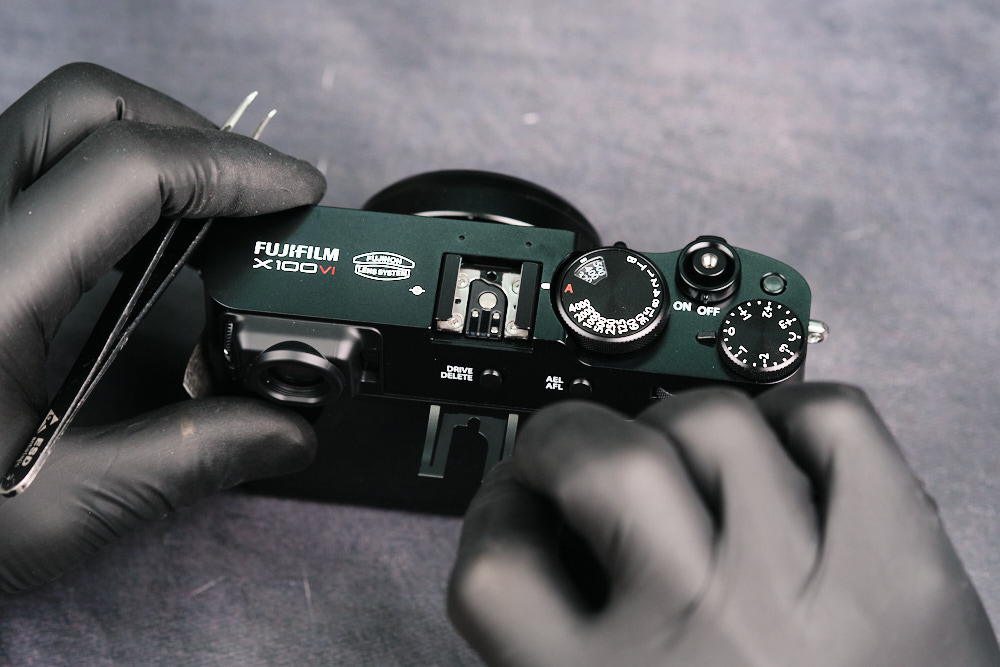
Sometimes there are screws located under the hotshoe cover, but not in the case of the Fujifilm X100VI.Â
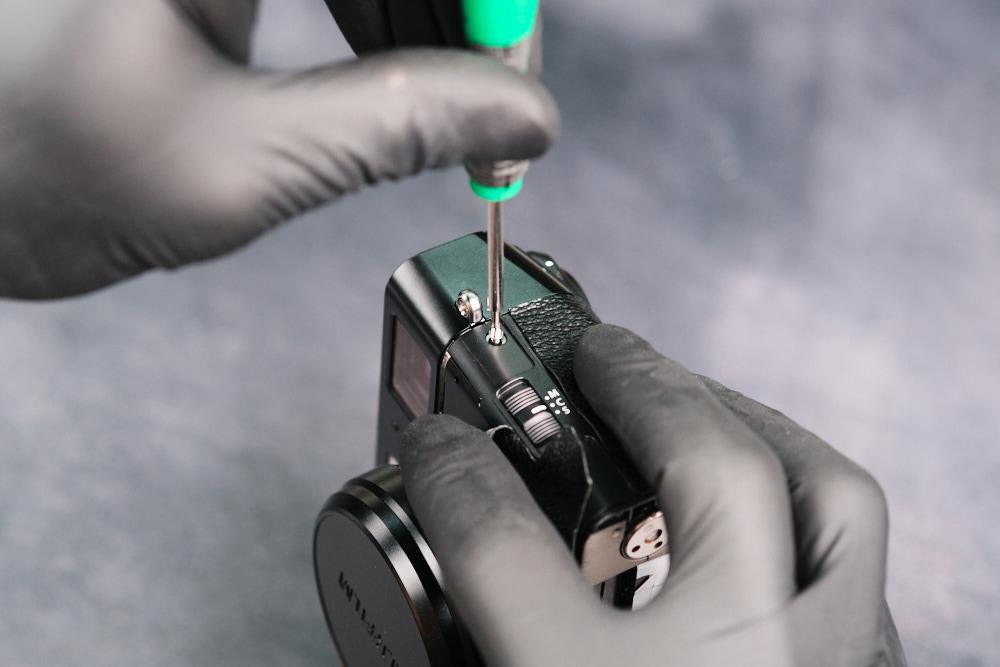
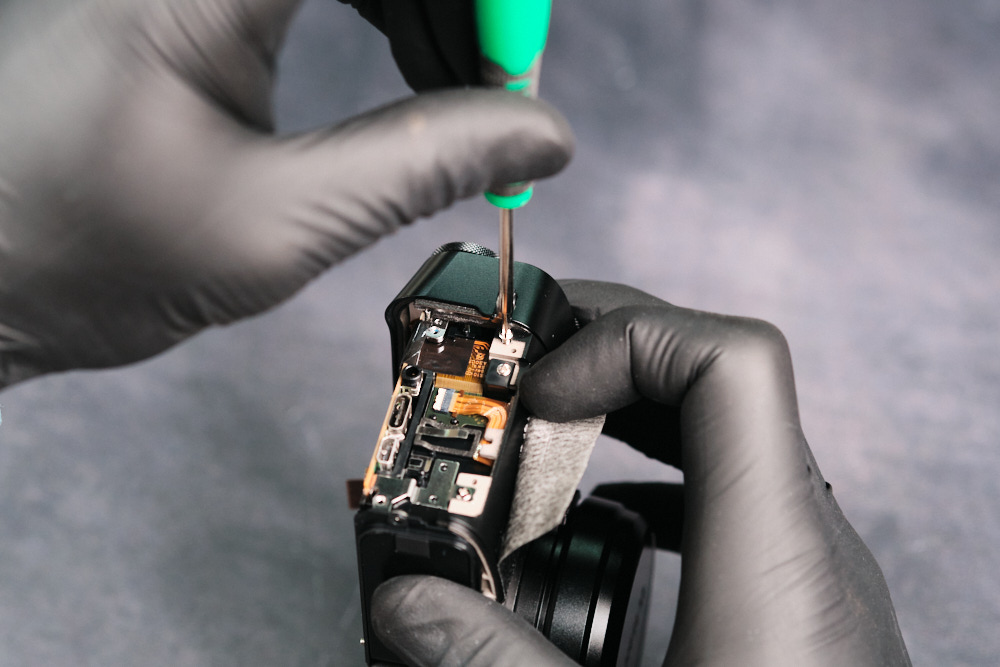
There was one screw under the faux leather cover on the right side below the autofocus mode selector.
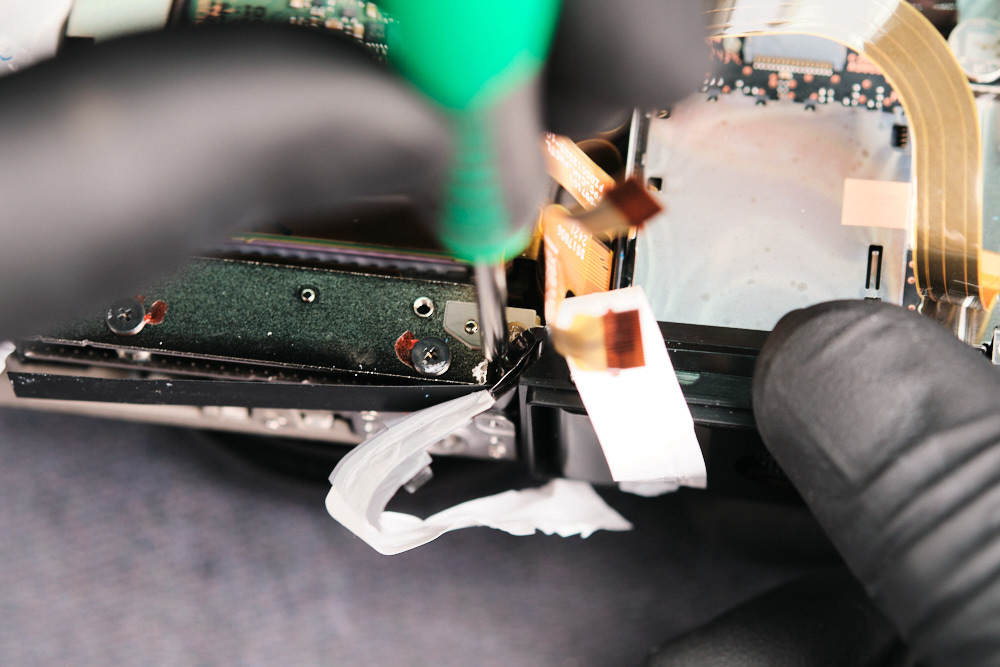
Even after removing each of the aforementioned screws, we still weren’t able to remove the rear panel. We found another stray screw under the leather cover on the port side of the camera.
Removing the Fujifilm X100VI Rear Panel
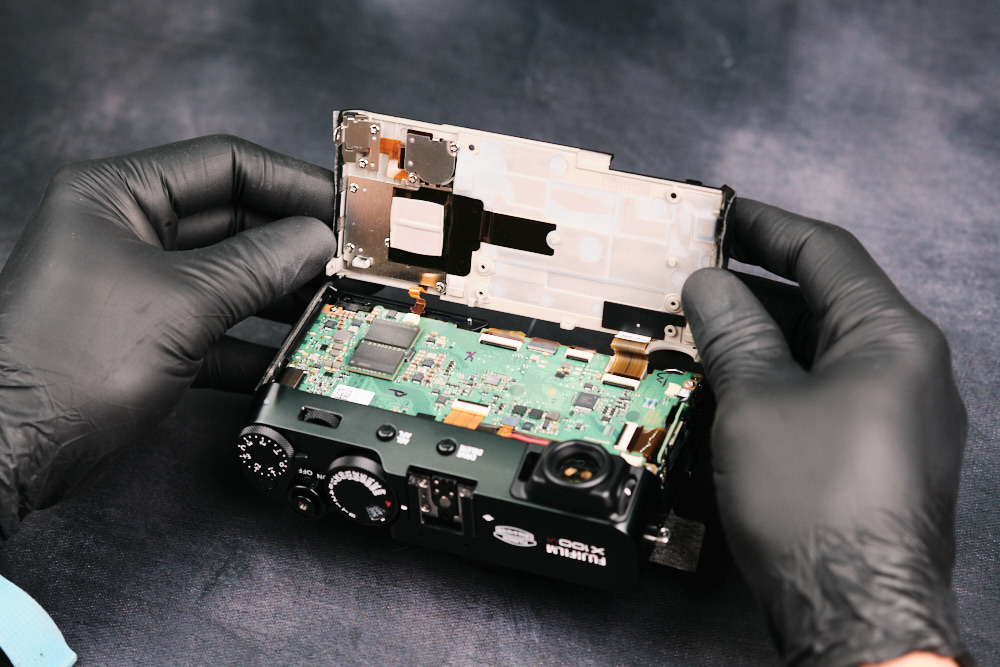
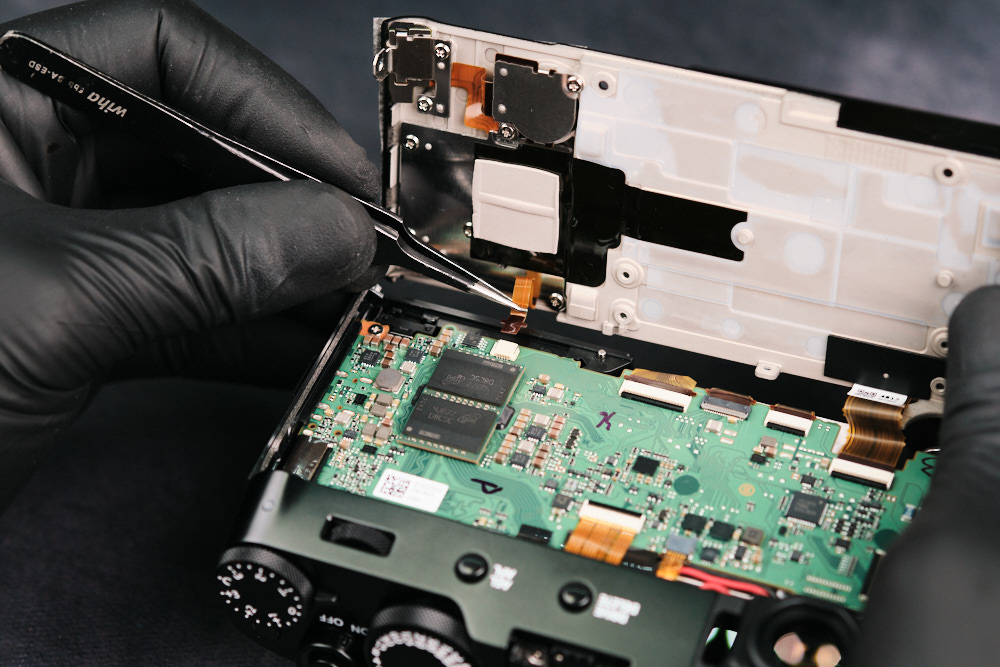
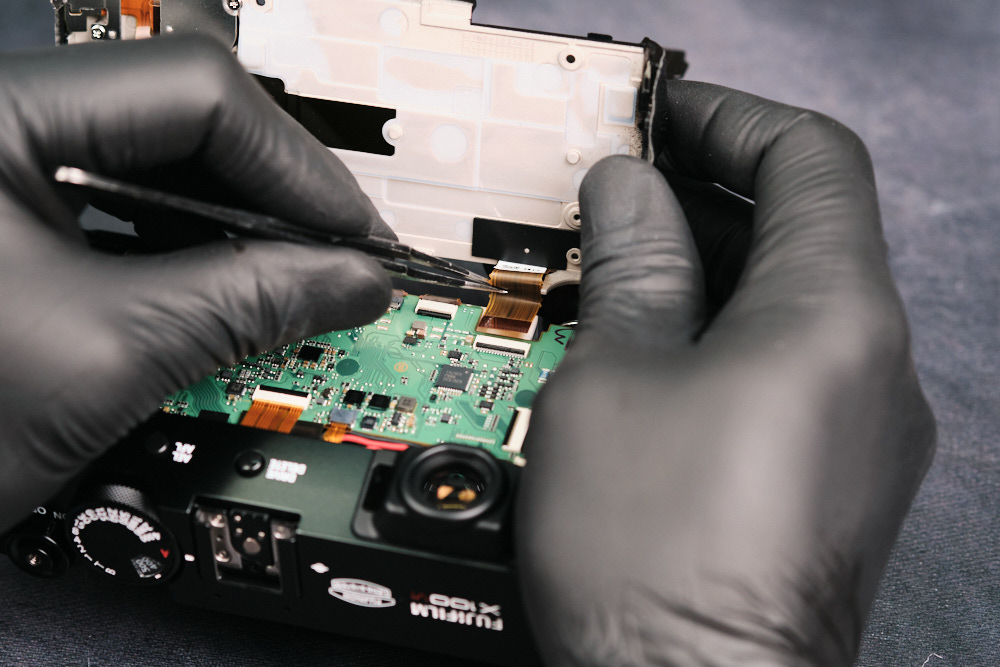
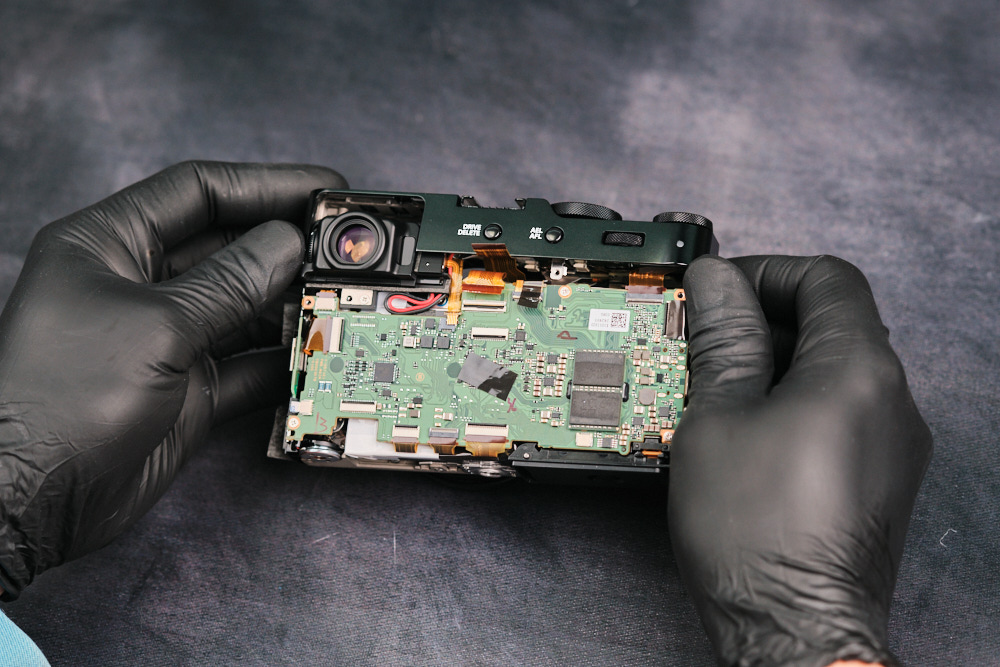
After that last screw was removed, we were able to lift the rear panel. This needed to be done carefully since the rear panel is connected by ribbon cables. Only two ribbon cables needed to be disconnected to detach the rear panel.
Removing the Top Panel and Soldered Wire Connections
After removing the rear panel, we tackled a few tasks in parallel during the teardown, focusing on how to remove the top panel and circuit board. While we’ll demonstrate the circuit board removal later, this section will focus on the top panel.
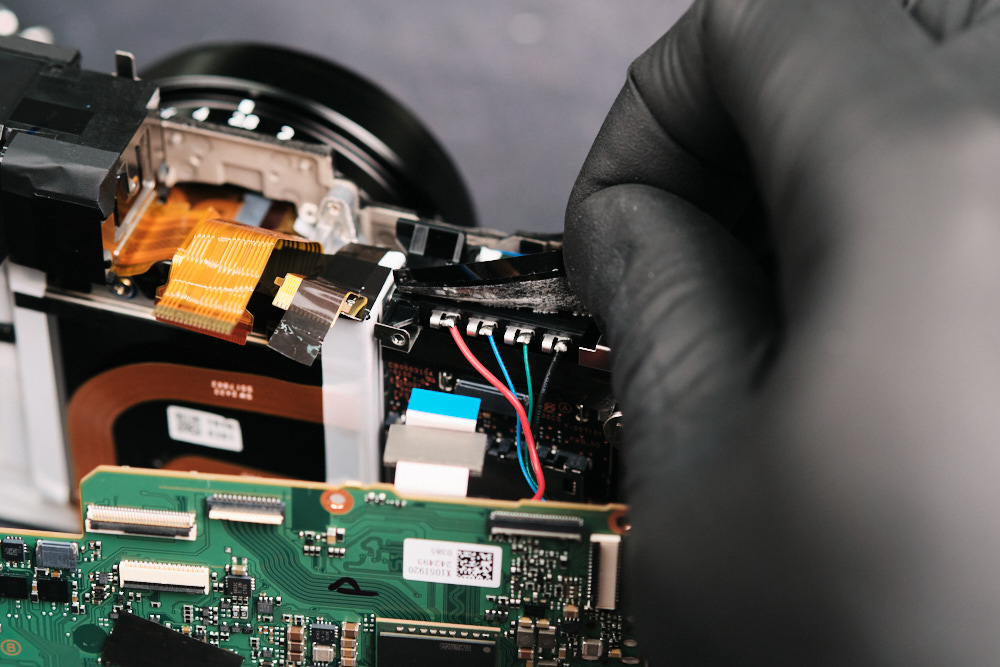
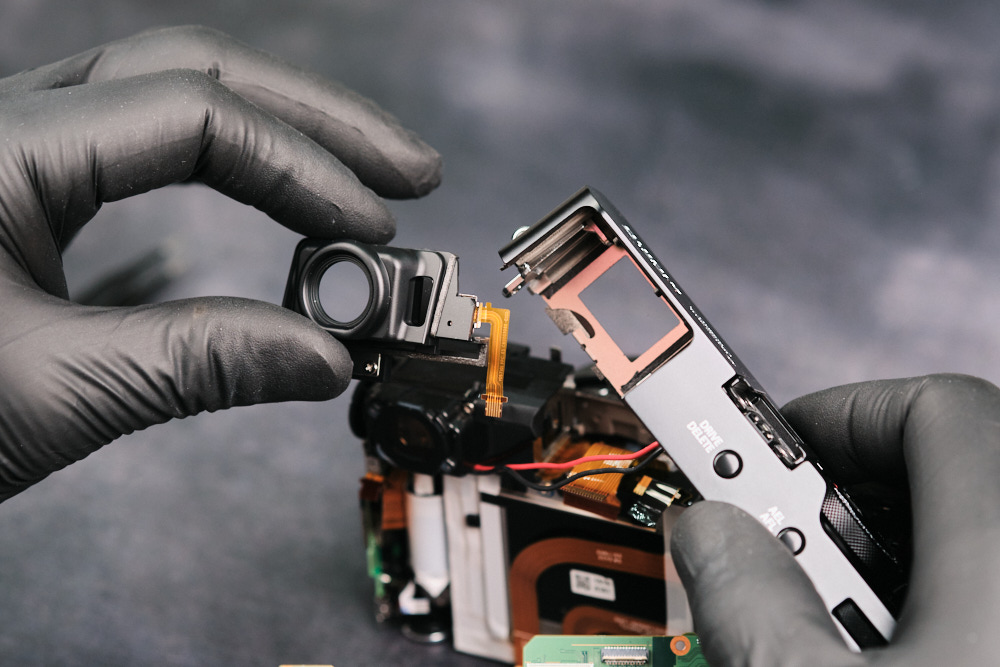
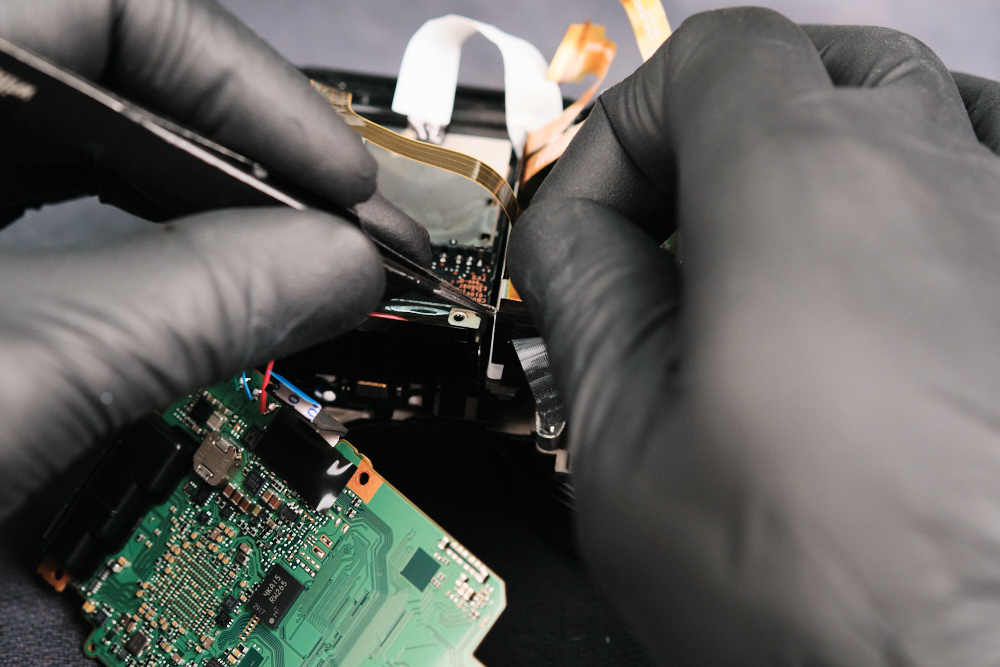
We started by detaching three ribbon cables and unfastening a screw located on the right side of the panel that secured the top panel to the camera. This allowed us to lift the top panel, but it remained connected via soldered wires, which we will address in more detail later in the article.
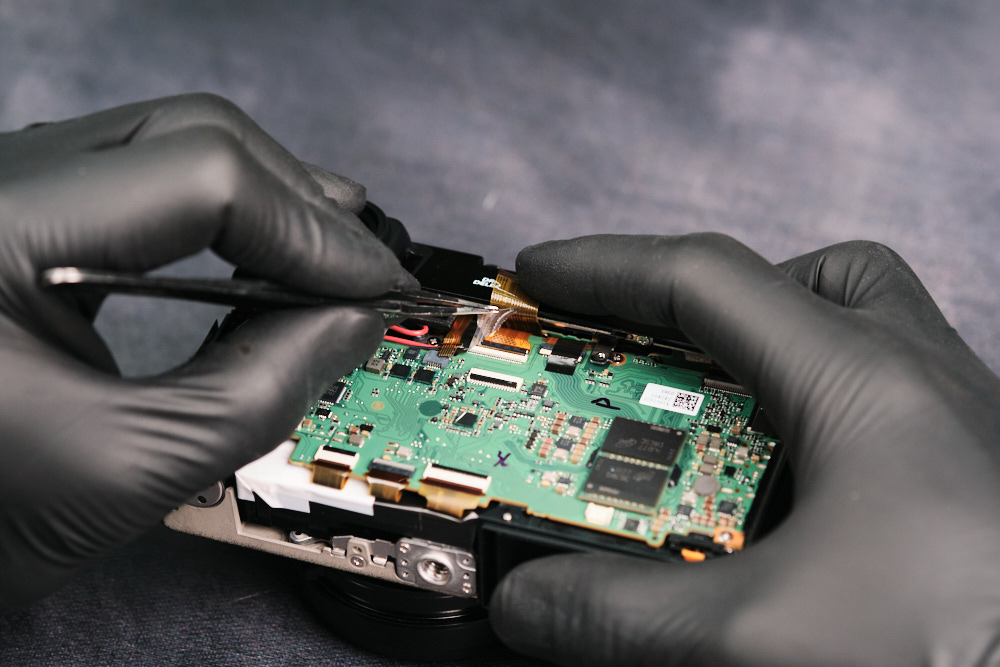
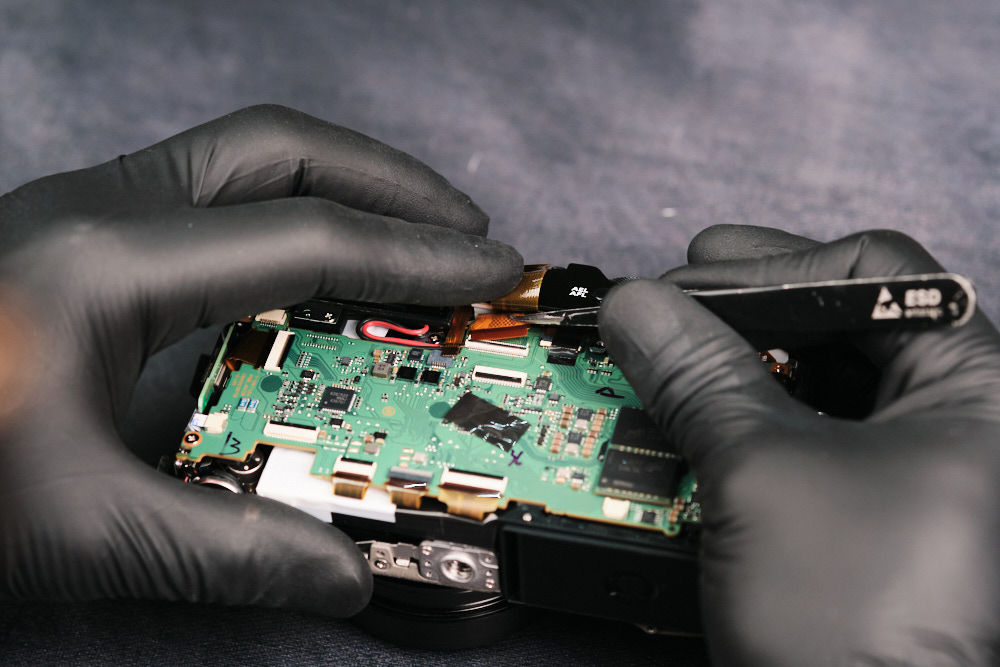
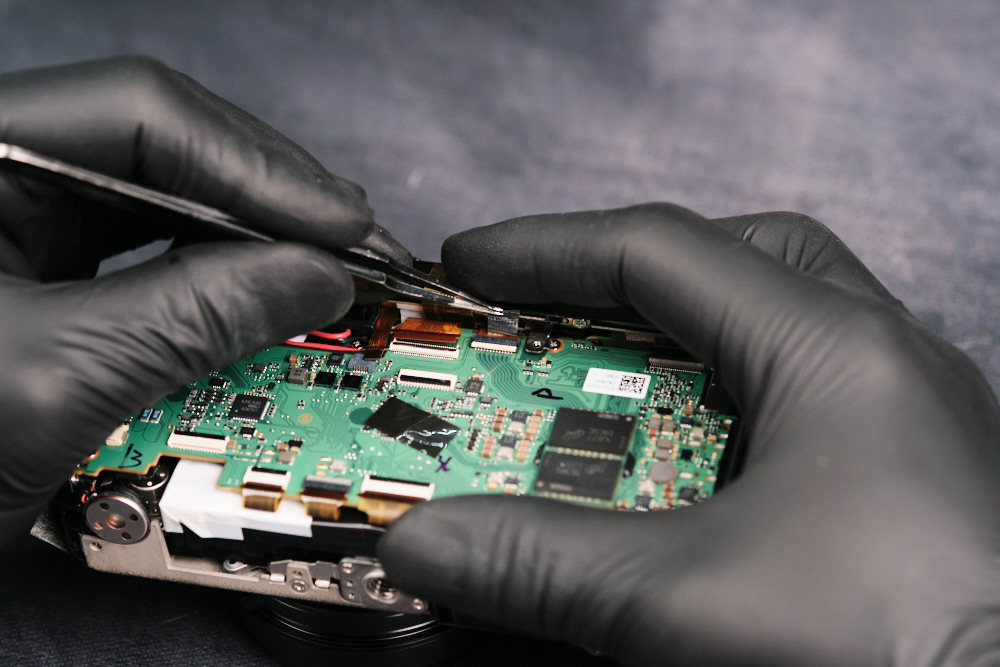
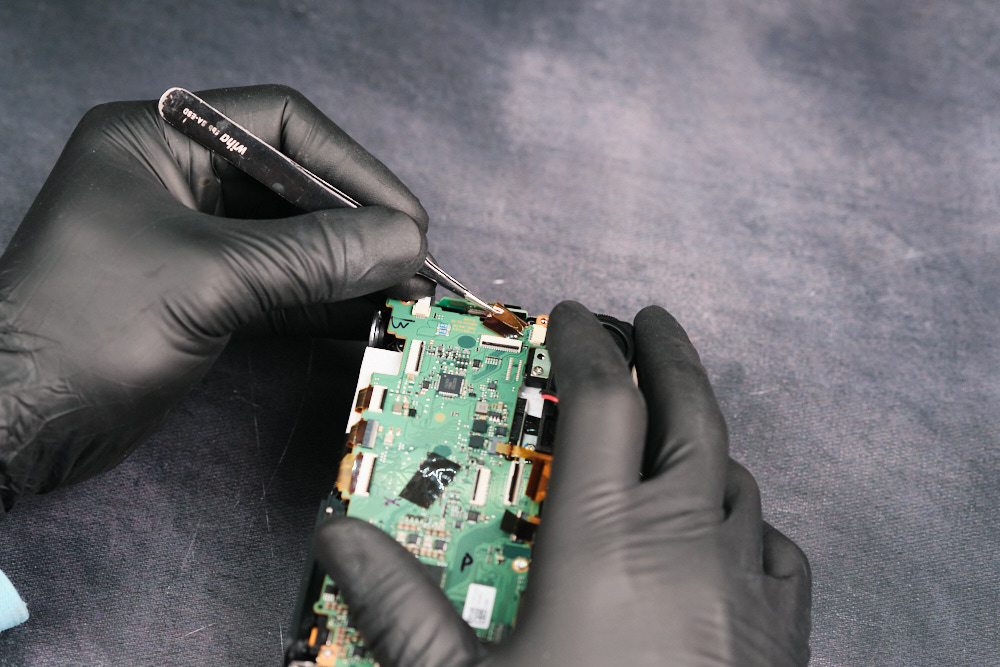
Disconnecting the Fujifilm X100VI Circuit Board Ribbon Cables
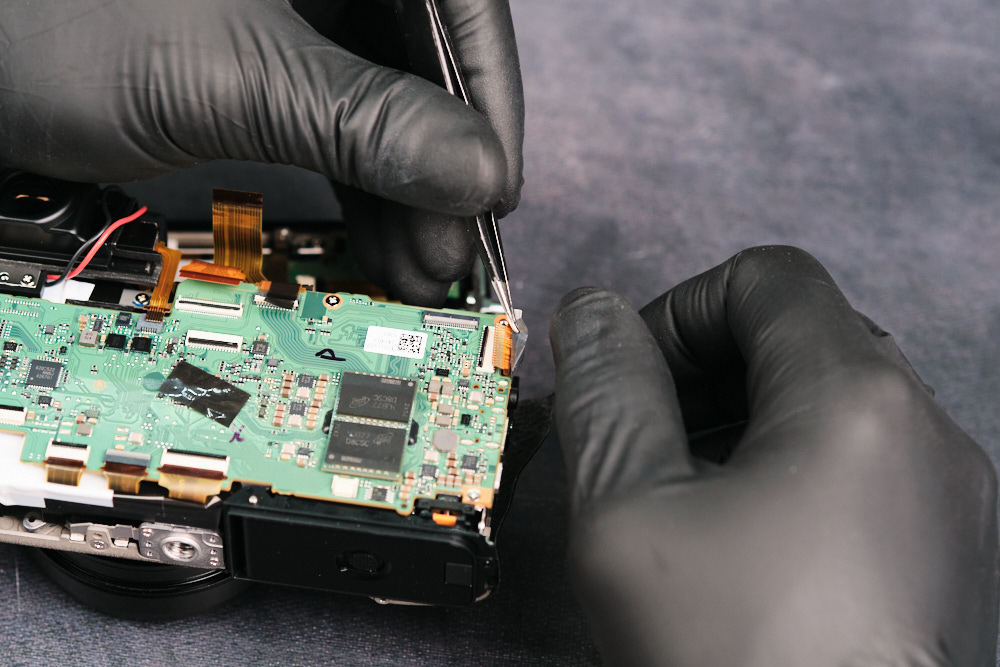
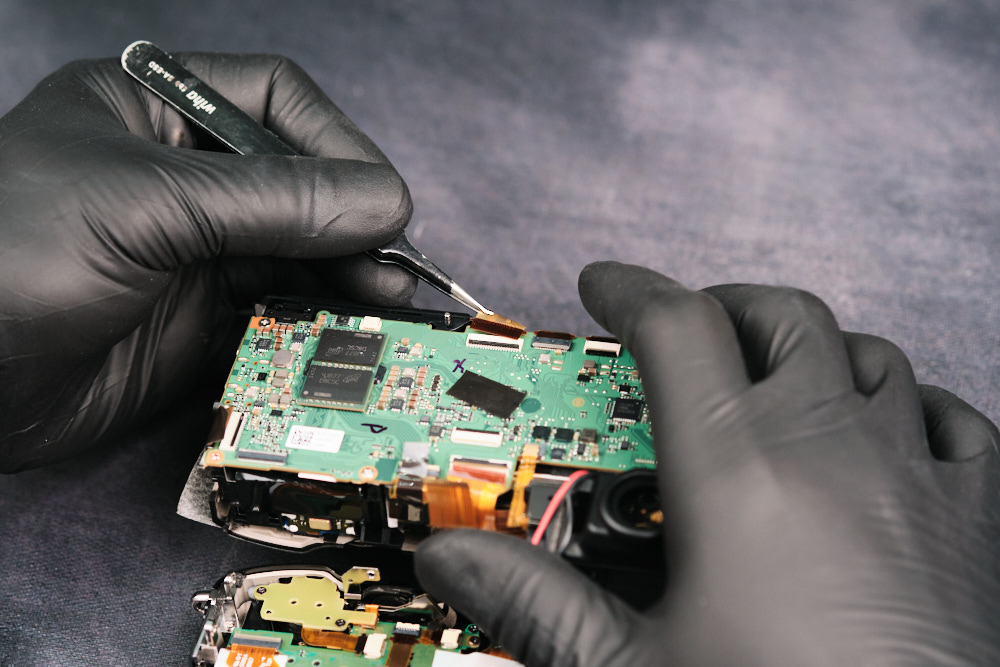
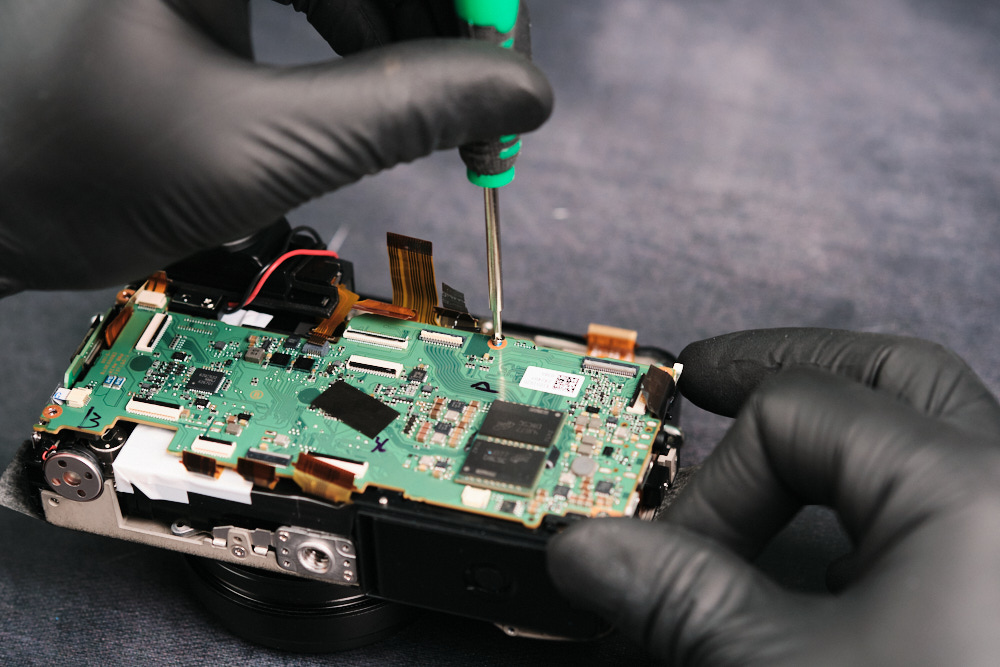
There were seven ribbon cables to remove surrounding the perimeter of the circuitboard.
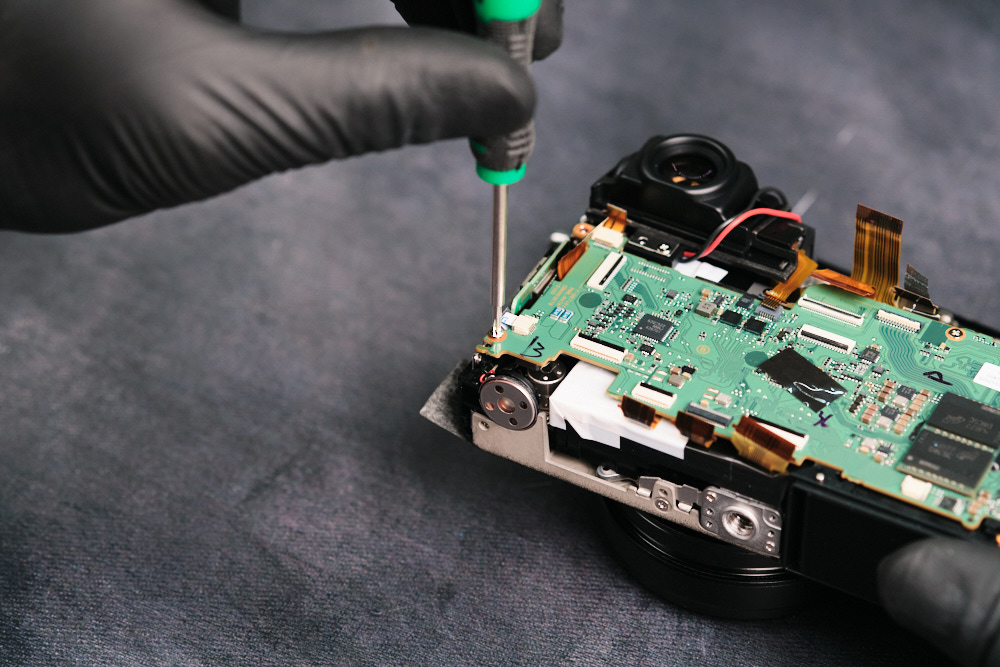
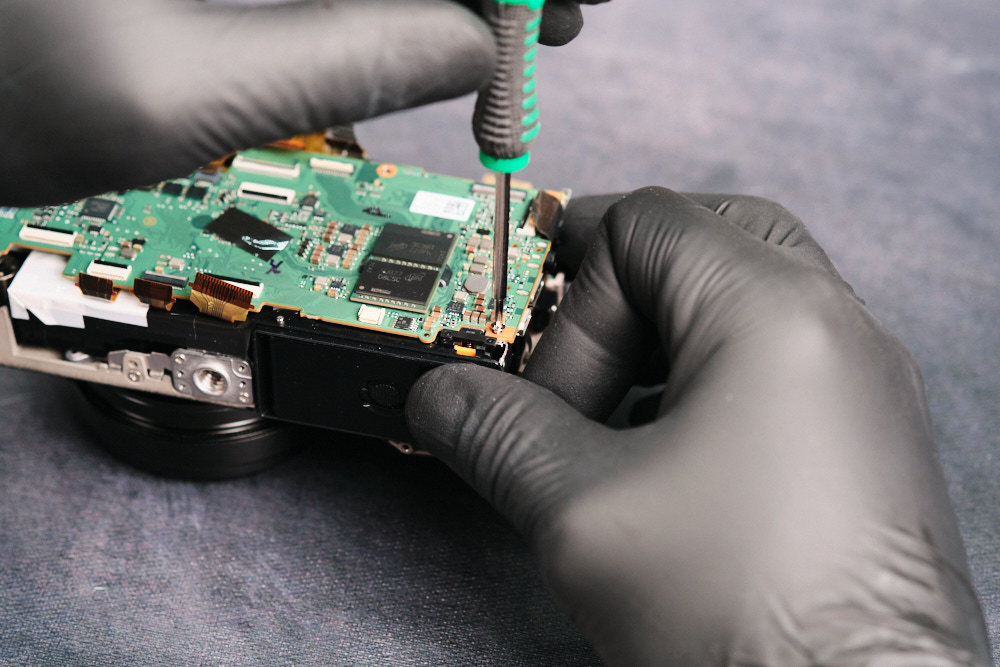
Three screws fasten the circuitboard to the body frame.
Removing the Fujifilm X100VI PCB
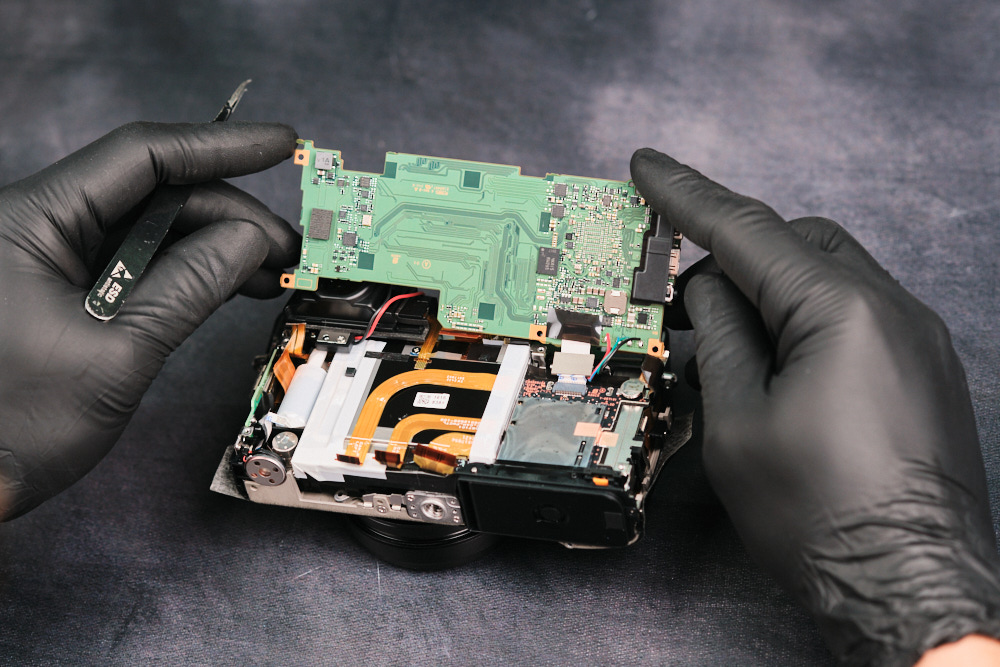
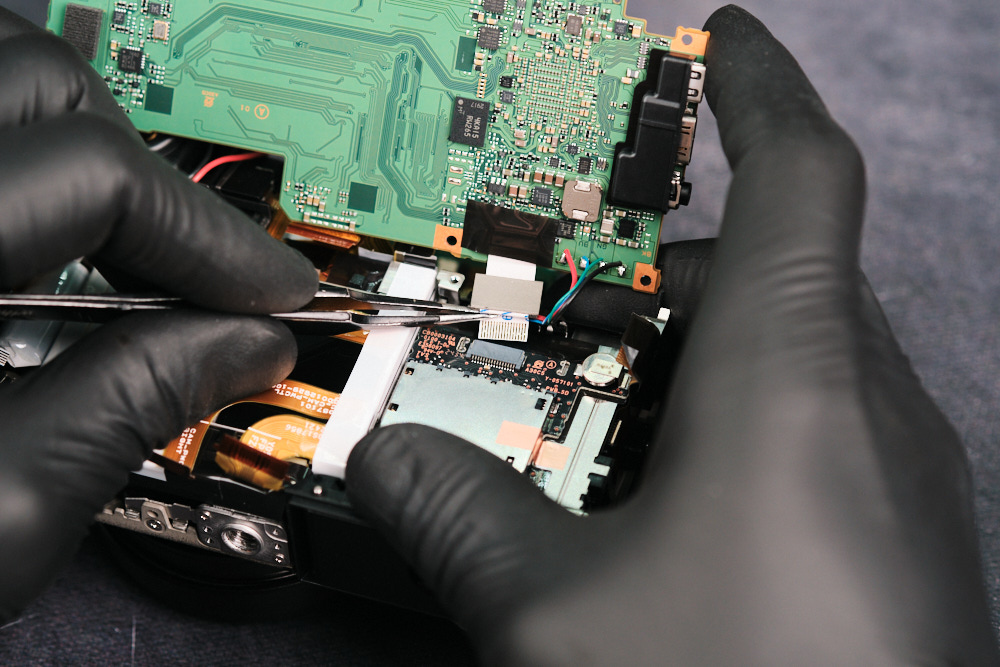
Removing the three screws and aforementioned ribbon cables allowed us to lift the PCB. You’ll see here that one more ribbon cable and four soldered wires connect the PCB to the camera. In this case, we opted not to remove the soldering and placed the PCB to the side. Typically, one would entirely remove the circuitboard for ease of getting to the sensor.
Disconnecting the EVF and Moving the Top Panel Aside
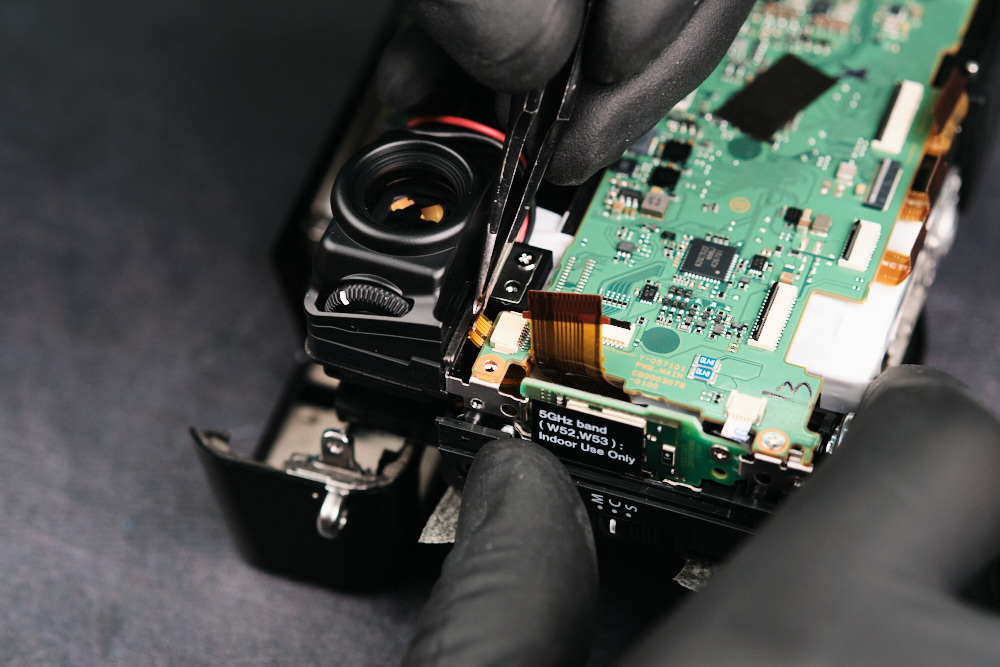
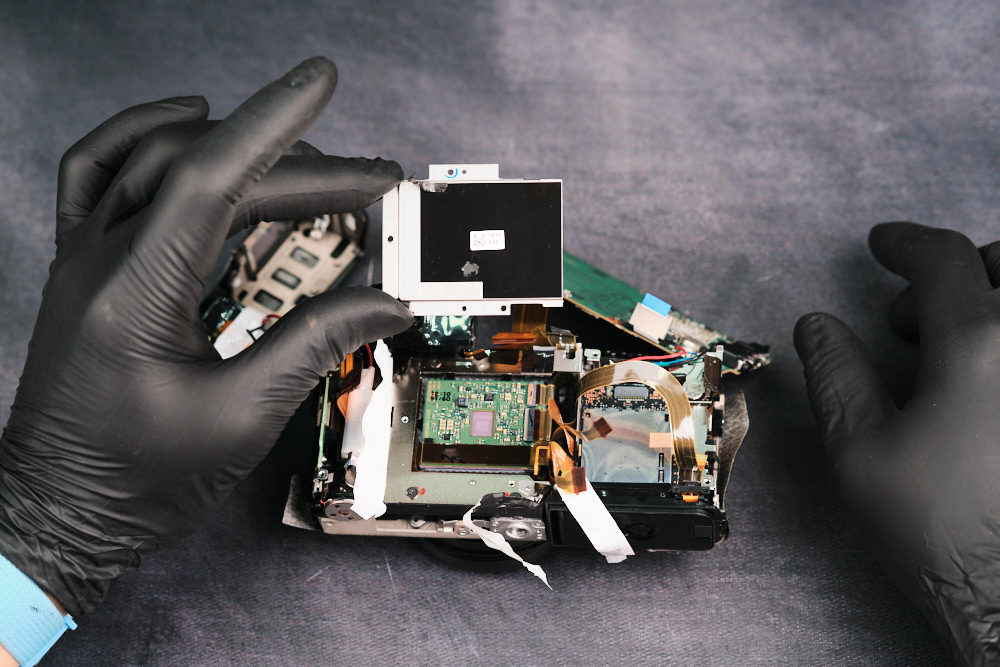
Next, we disconnected part of the EVF, which is connected via a single ribbon cable. As mentioned in a previous section, the top panel of the camera was connected to the camera via soldered wire. We moved this to the side instead of removing it entirely.
Removing Tape and Sensor Cover Screws
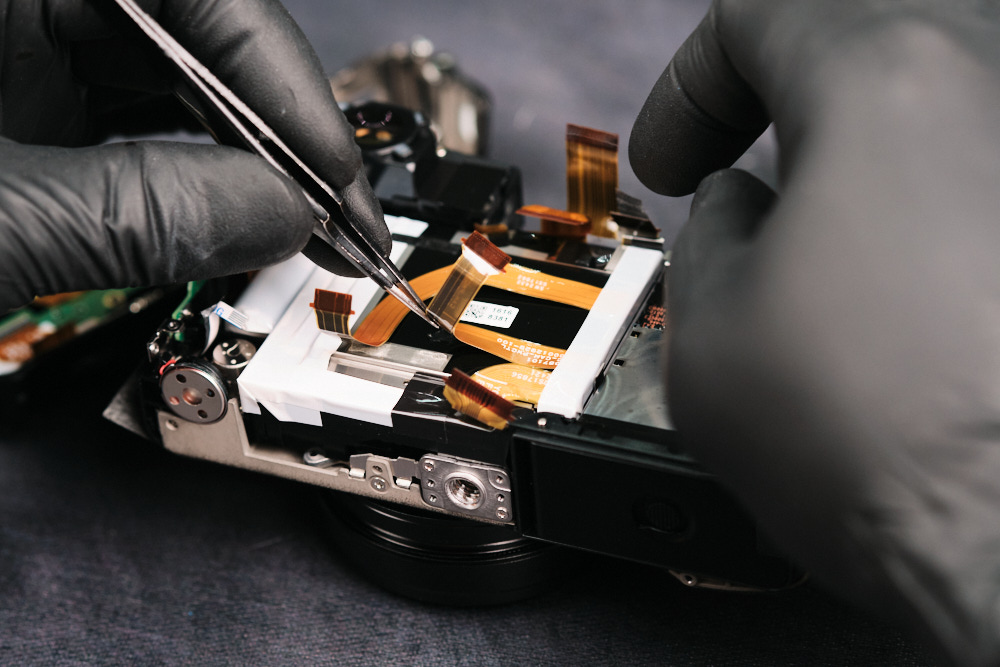
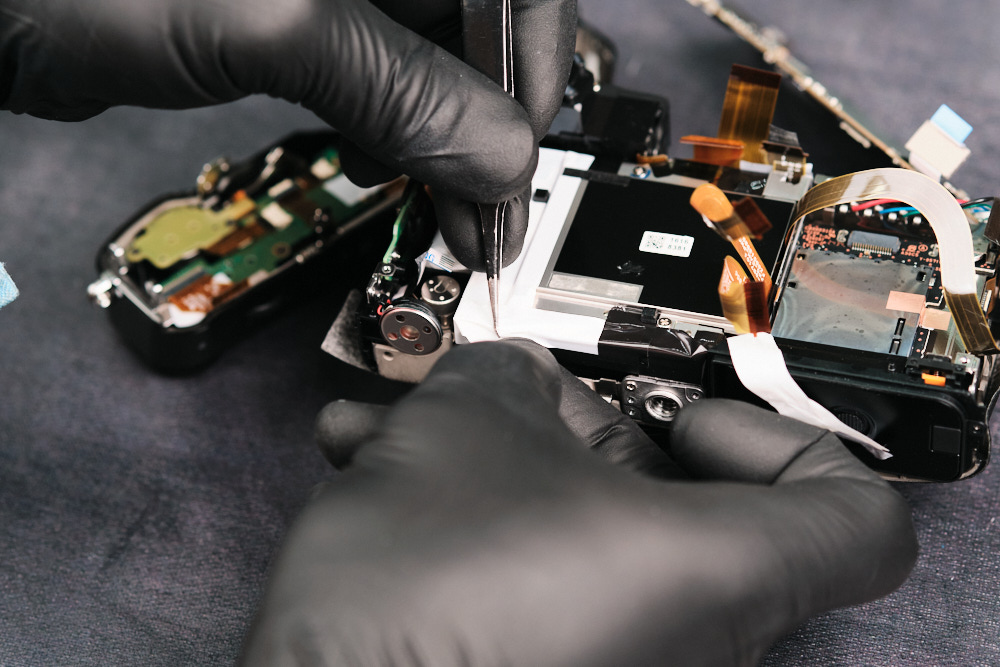
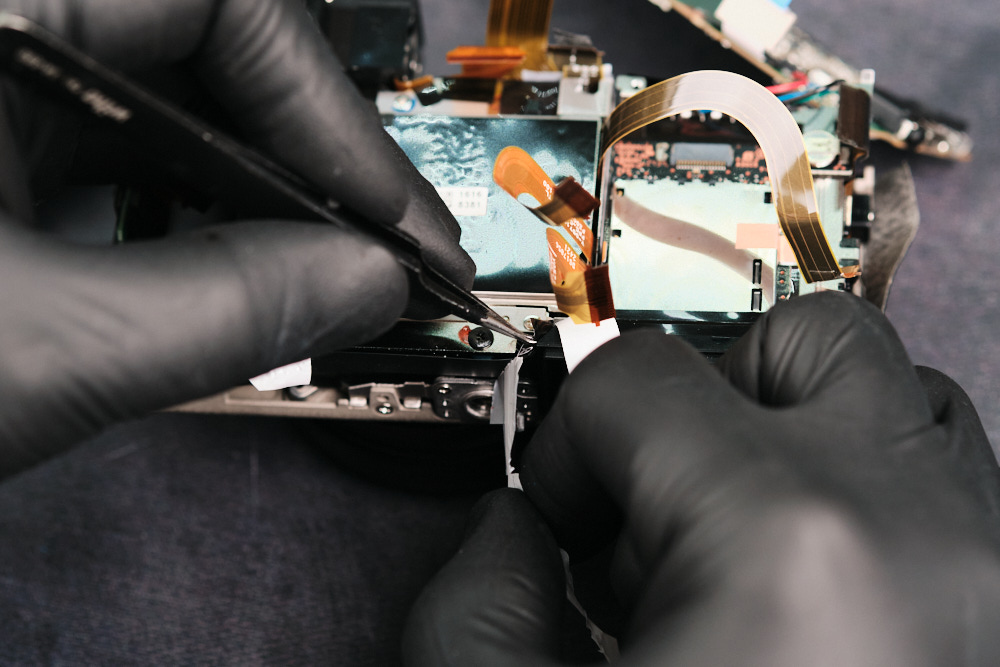
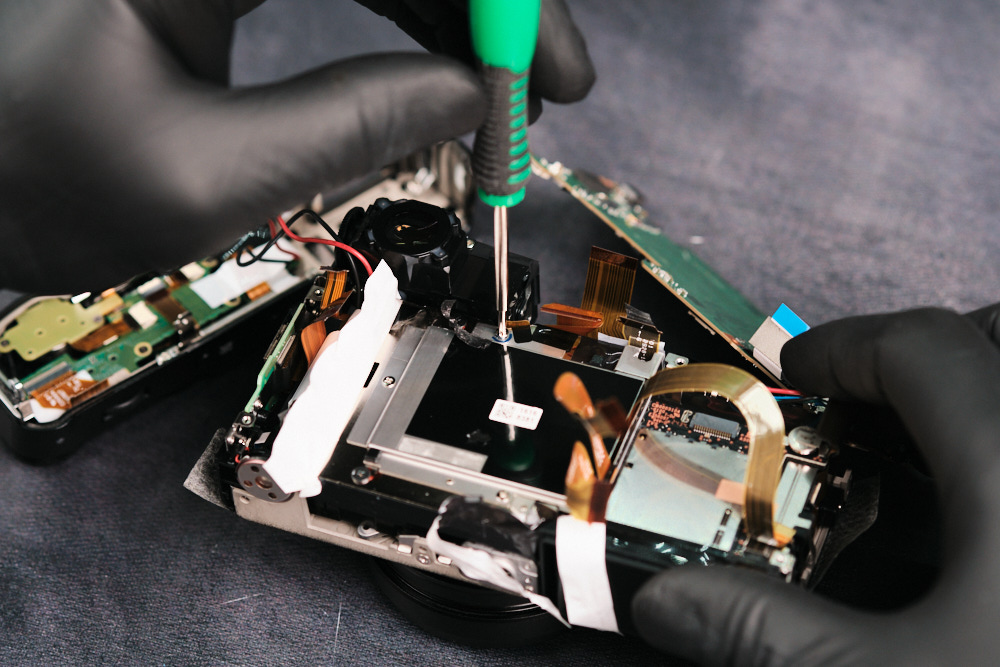
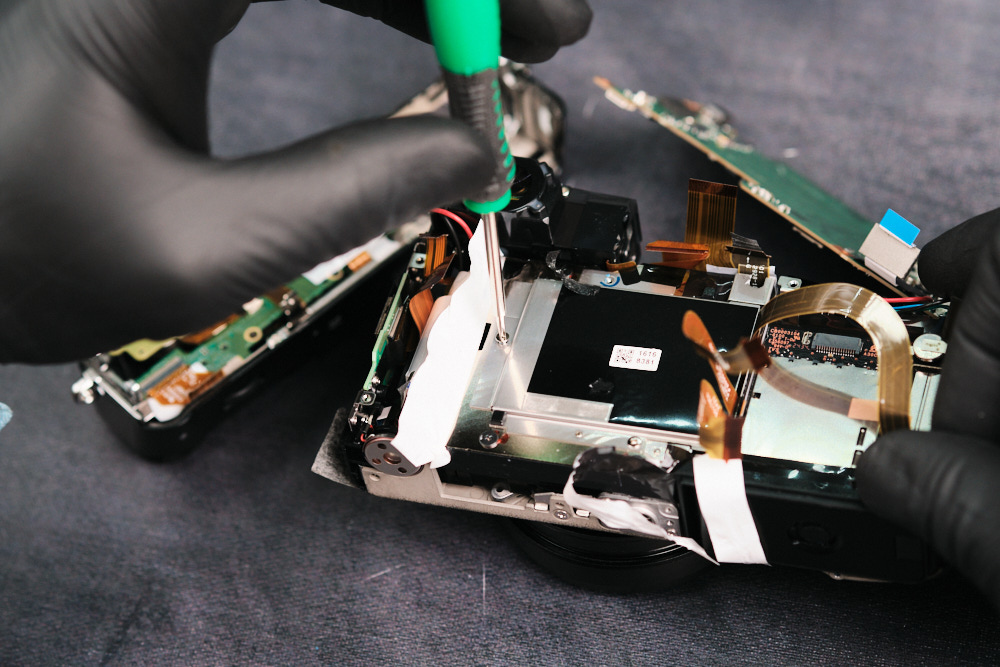
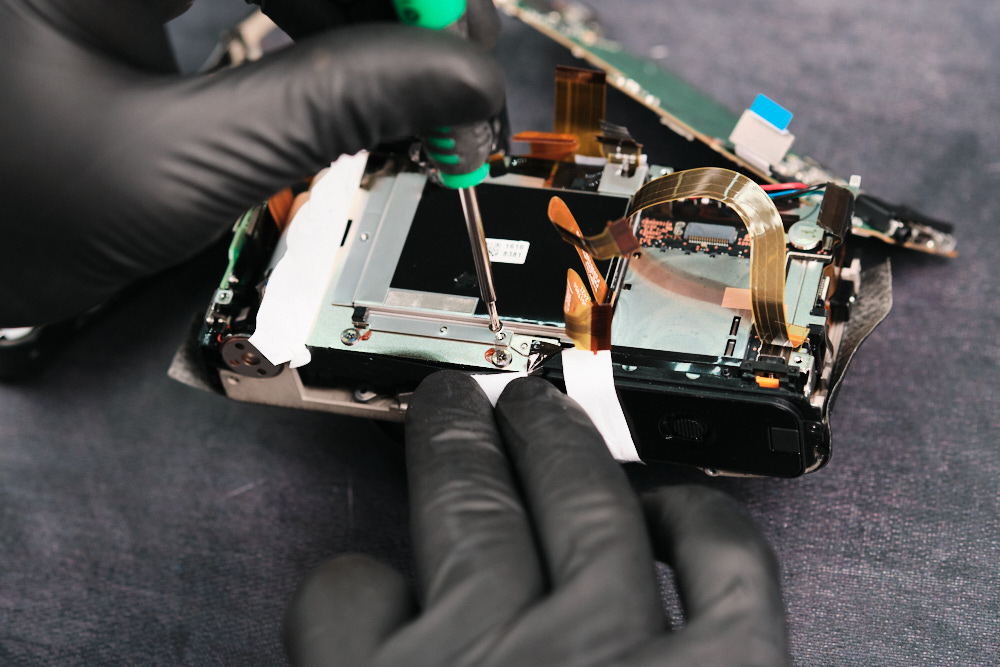
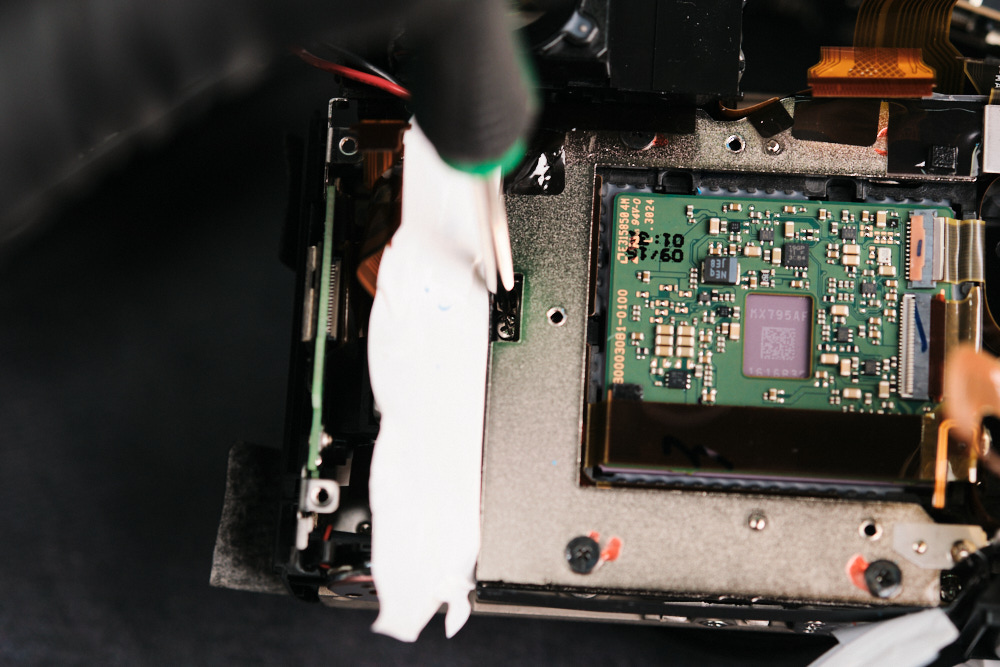
Double sided tape holds down the ribbon cables, and white tape needed to be removed as well to get closer to the sensor. Three screws fastened the sensor cover to the frame.
Discovering the PCB Behind the Sensor
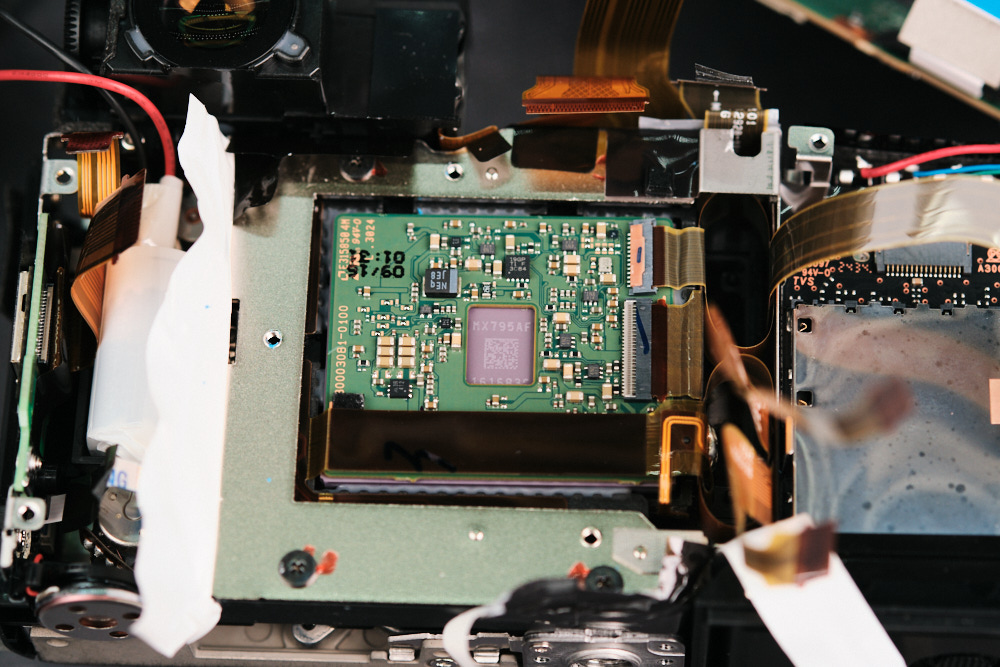
This turned out to be a huge surprise. We thought we would be able to access the sensor after removing those screws, but we found that this part, the sensor cover, was just another layer of removal that needed to be done. What’s more—there is a PCB right behind the sensor! We have never seen this in a camera before.
Here is a closeup of the PCB.
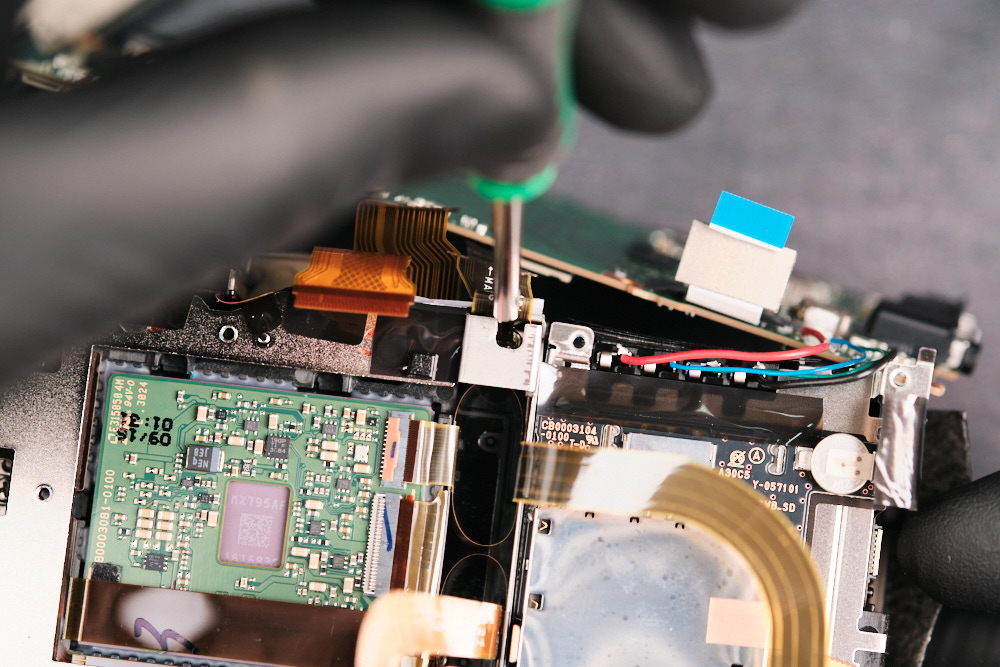
Three screws hold this PCB frame to the camera.
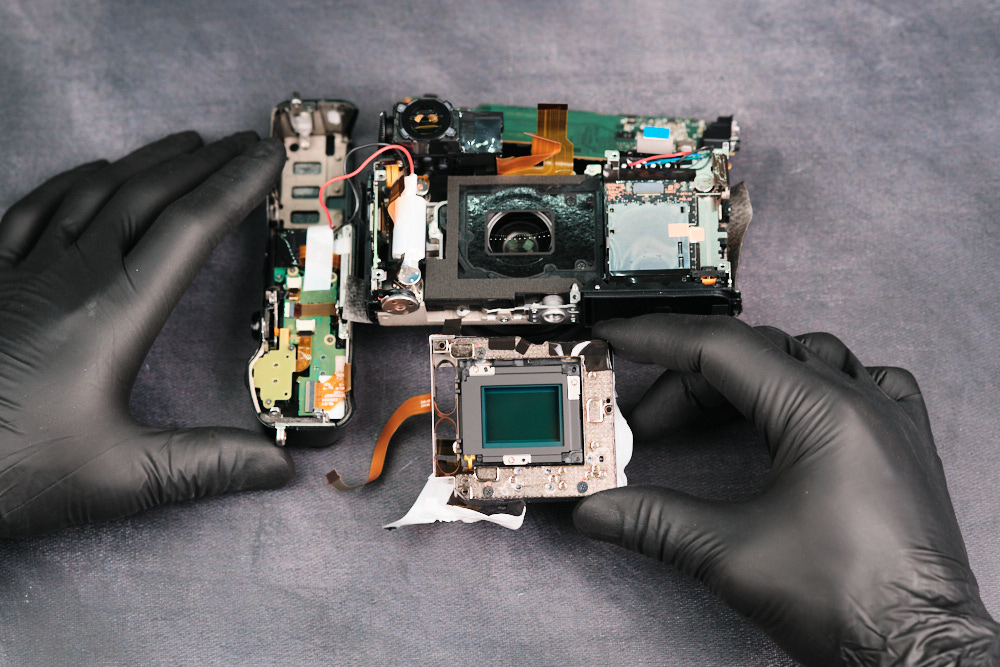
Removing the Fujifilm X100VI Camera Sensor
One more ribbon cable had to be detached before we could remove the sensor.
Lo and behold, the PCB part was simply a part of the sensor itself.Â
Final Thoughts on the Fujifilm X100VI Teardown
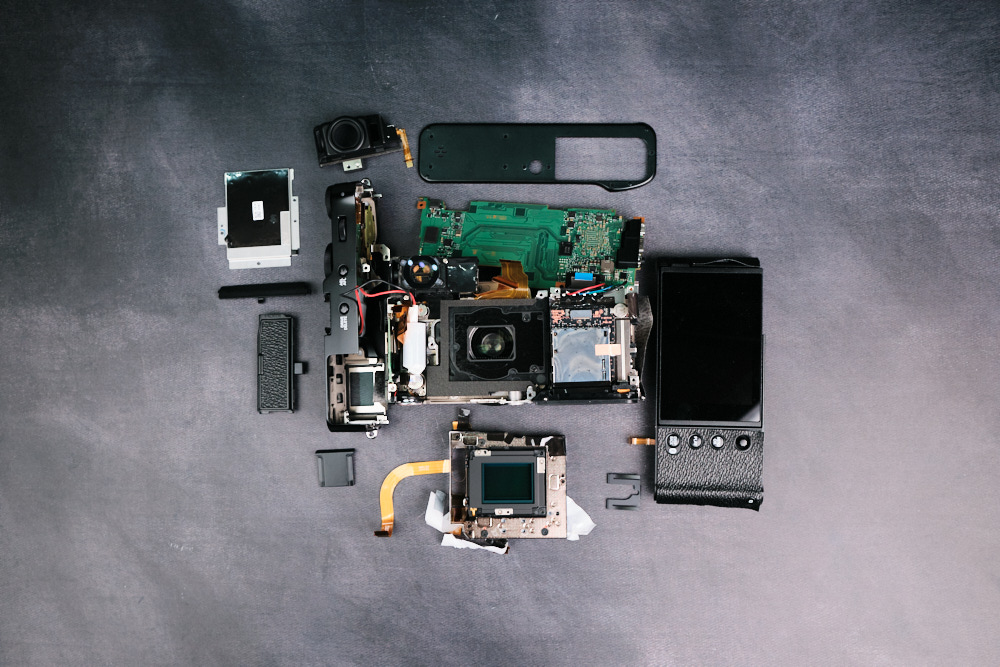
Generally speaking, Fujifilm mirrorless cameras are among the most difficult cameras to disassemble because of their complex internal designs that vastly differ between each family model. In the case of the Fujifilm X100VI, it was a quick and easy teardown. Modern fixed lens mirrorless cameras tend to be more simple in design compared to old generation fixed lens cameras.
If you’re interested in getting your Fujifilm X100VI converted to full-spectrum, you can check out our IR conversion service or purchase an already converted camera.
Thanks for reading. If you’re interested in more camera teardowns, we feature a new one every month. Be sure to sign up for our newsletter so you don’t miss them.
Frequently Asked Questions
How Do You Start Disassembling The Fujifilm X100VI?
The Fujifilm X100VI teardown starts by removing the baseplate. In this teardown, seven screws were removed from the bottom of the camera before moving on to hidden exterior screws and body panels.
Where Are The Hidden Screws On The Fujifilm X100VI?
The Fujifilm X100VI has hidden screws beneath the faux leather cover, including screws on the port side, one on the right side below the autofocus mode selector, and another stray screw under the leather cover on the port side.
How Is The Fujifilm X100VI Rear Panel Removed?
The rear panel can be lifted after the baseplate screws, input jack screws, LCD-side screws, faux leather screws, and final hidden port-side screw are removed. It must be lifted carefully because two ribbon cables connect the rear panel to the camera.
How Is The Fujifilm X100VI Circuit Board Removed?
The Fujifilm X100VI circuit board is removed after disconnecting seven ribbon cables around the PCB perimeter and taking out three screws. One additional ribbon cable and four soldered wires remain connected, so the teardown places the PCB to the side instead of fully desoldering it.
How Is The Fujifilm X100VI Camera Sensor Removed?
The sensor is reached after moving the PCB and top panel aside, disconnecting part of the EVF, removing tape, and taking off the sensor cover. The teardown found an unusual PCB behind the sensor, and one more ribbon cable had to be detached before the sensor could be removed.