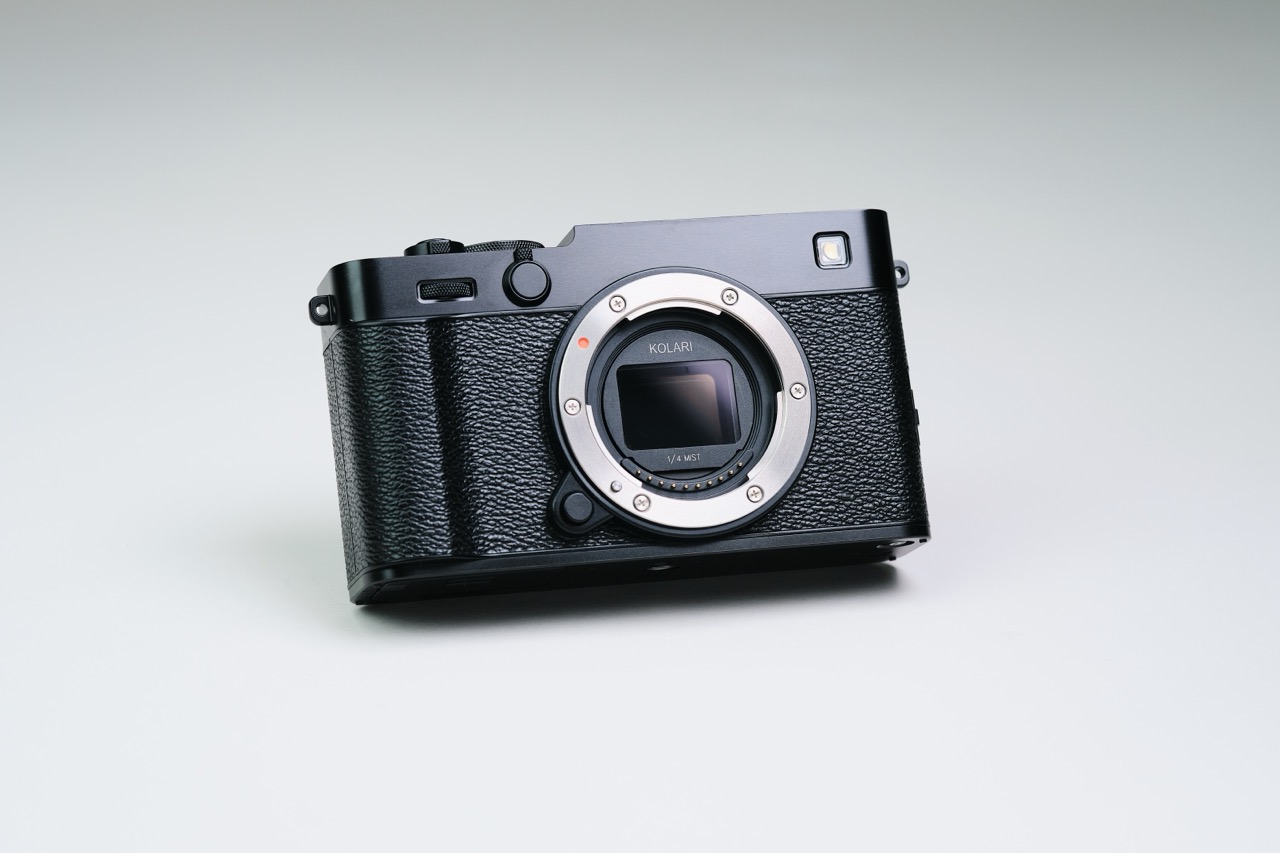
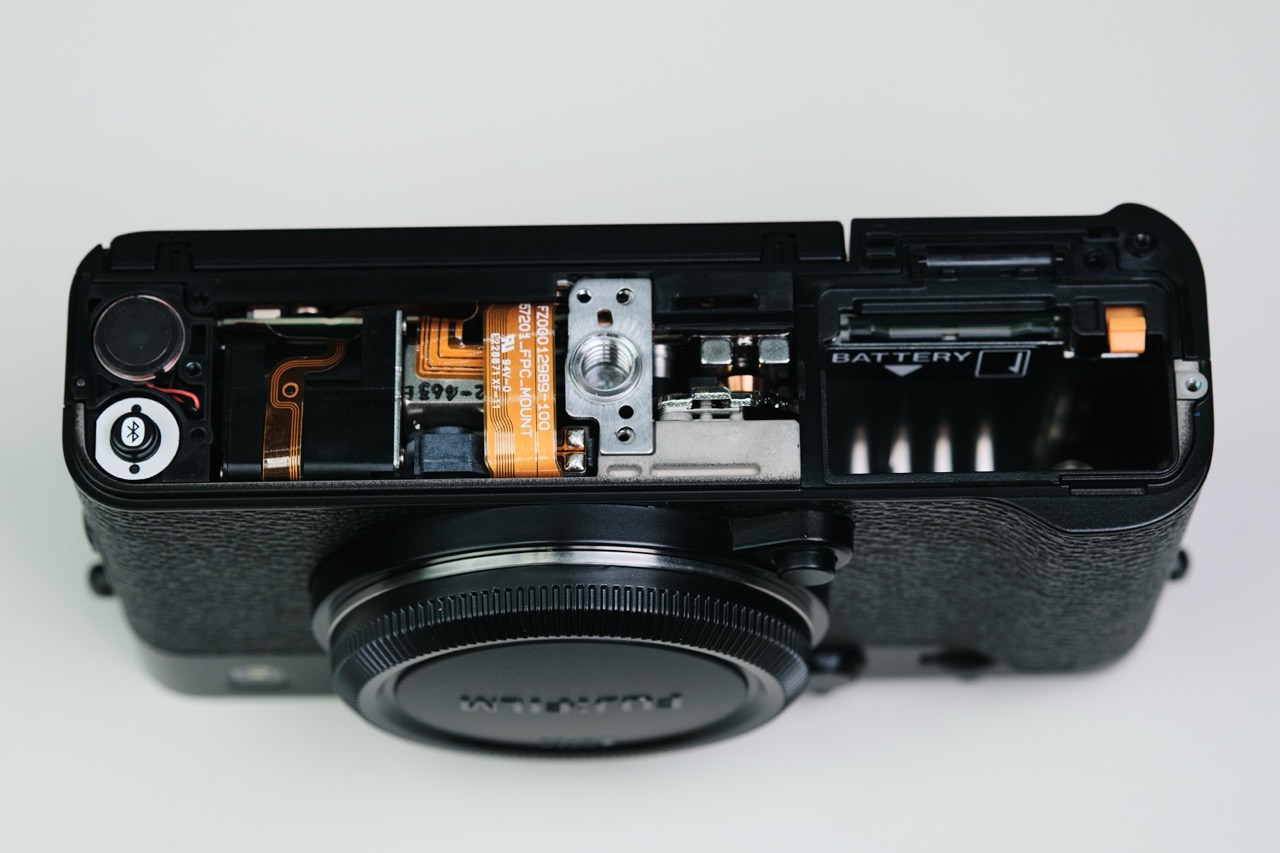
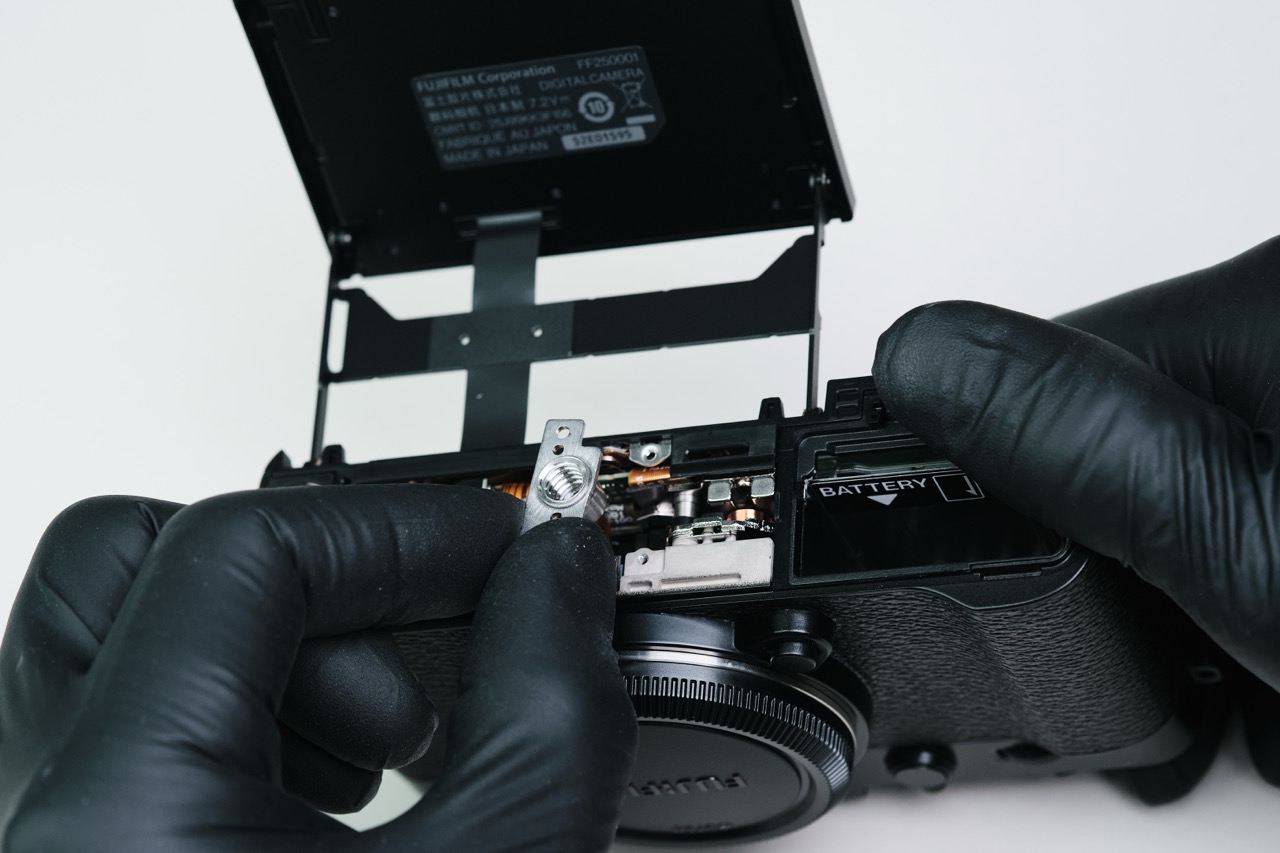
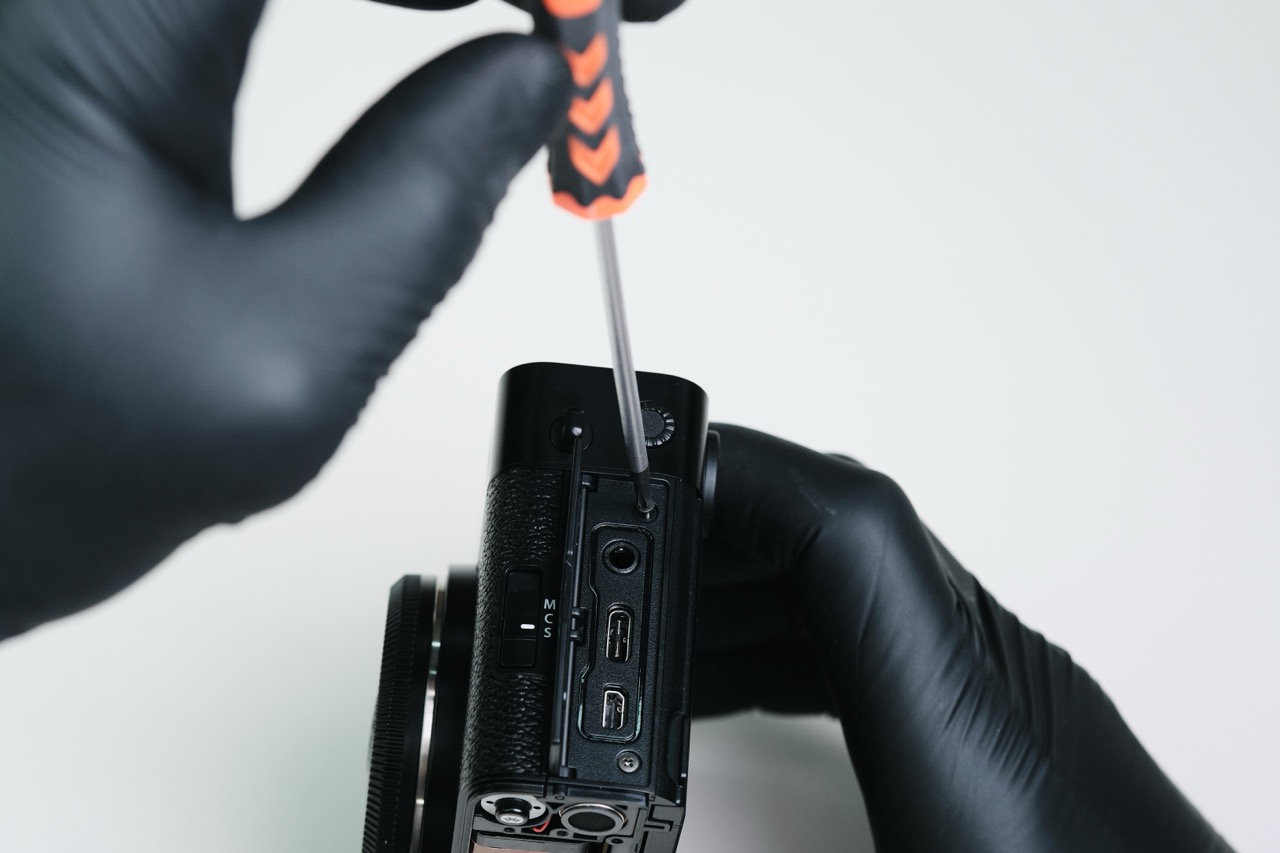
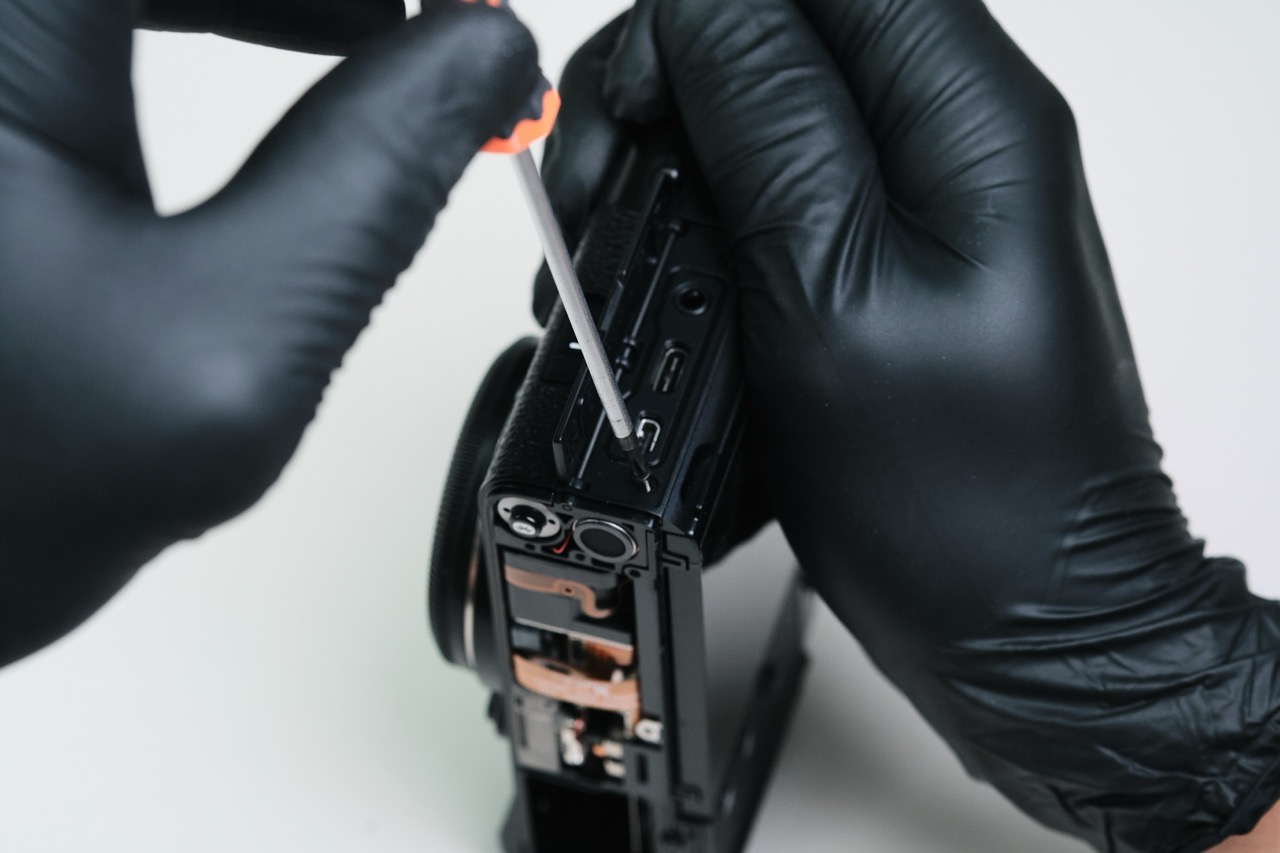
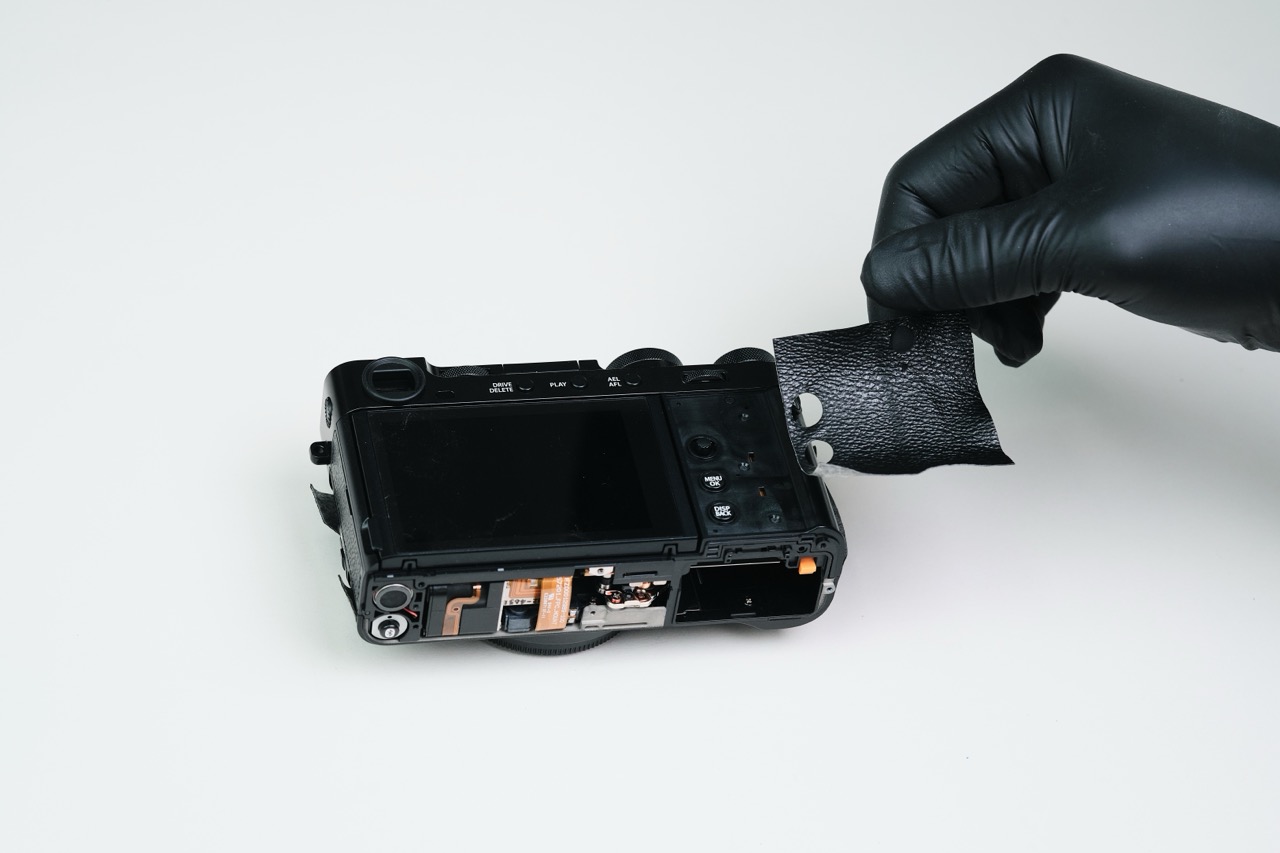
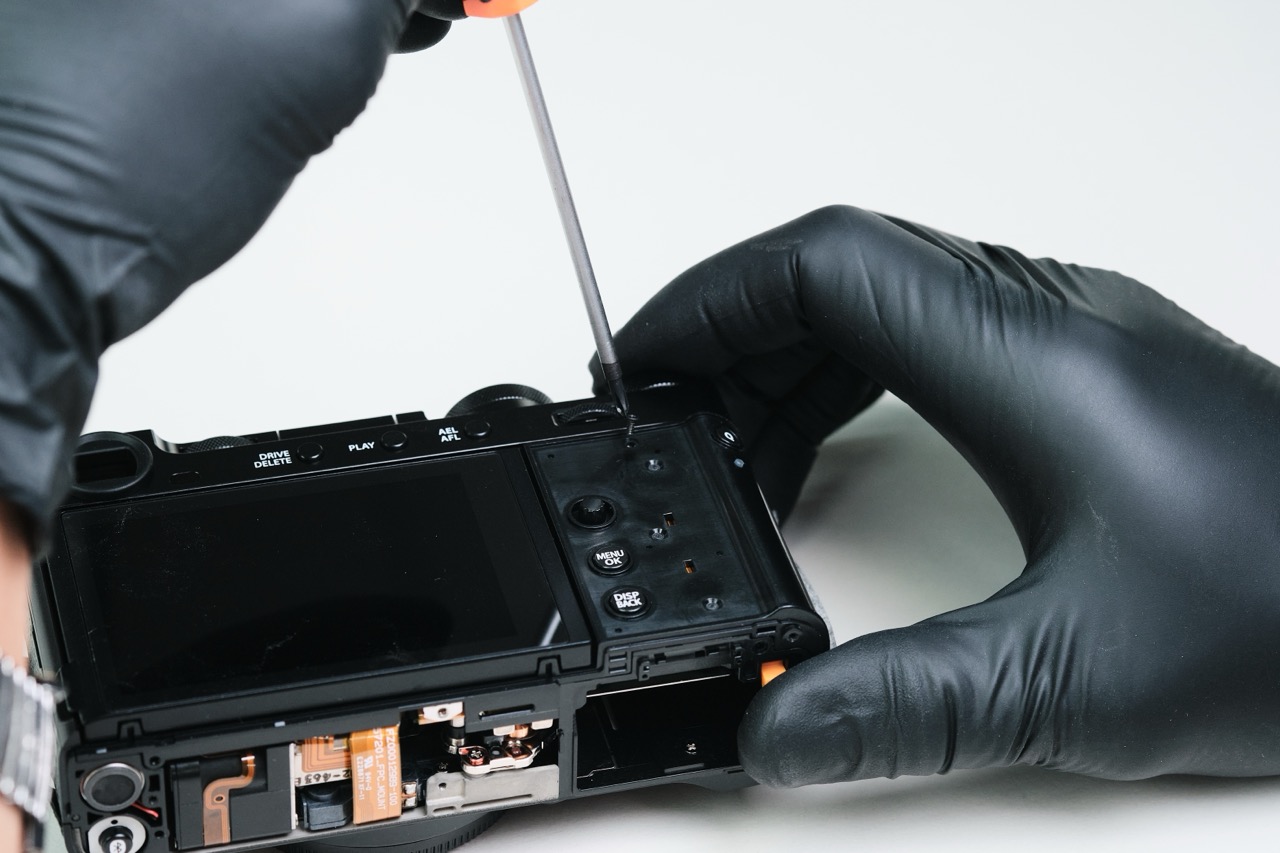
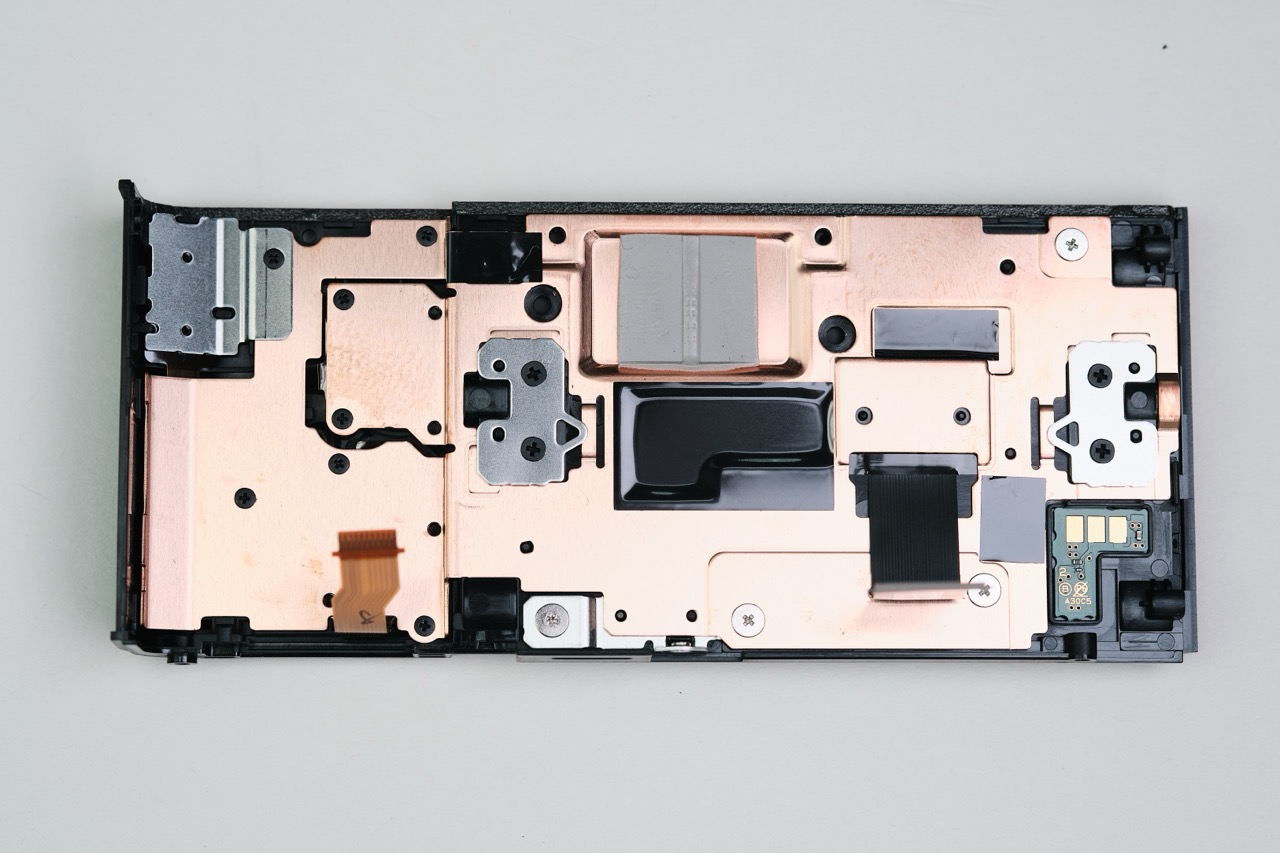
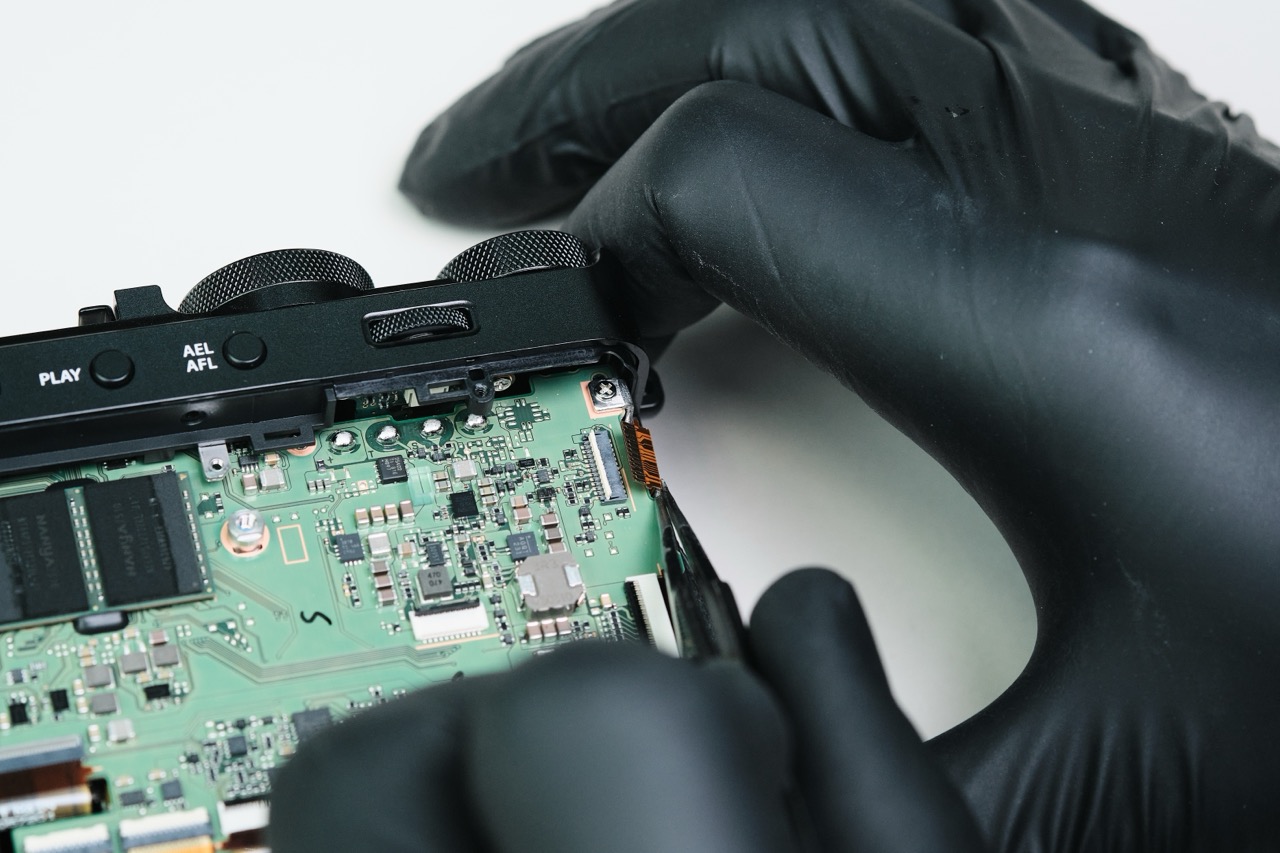
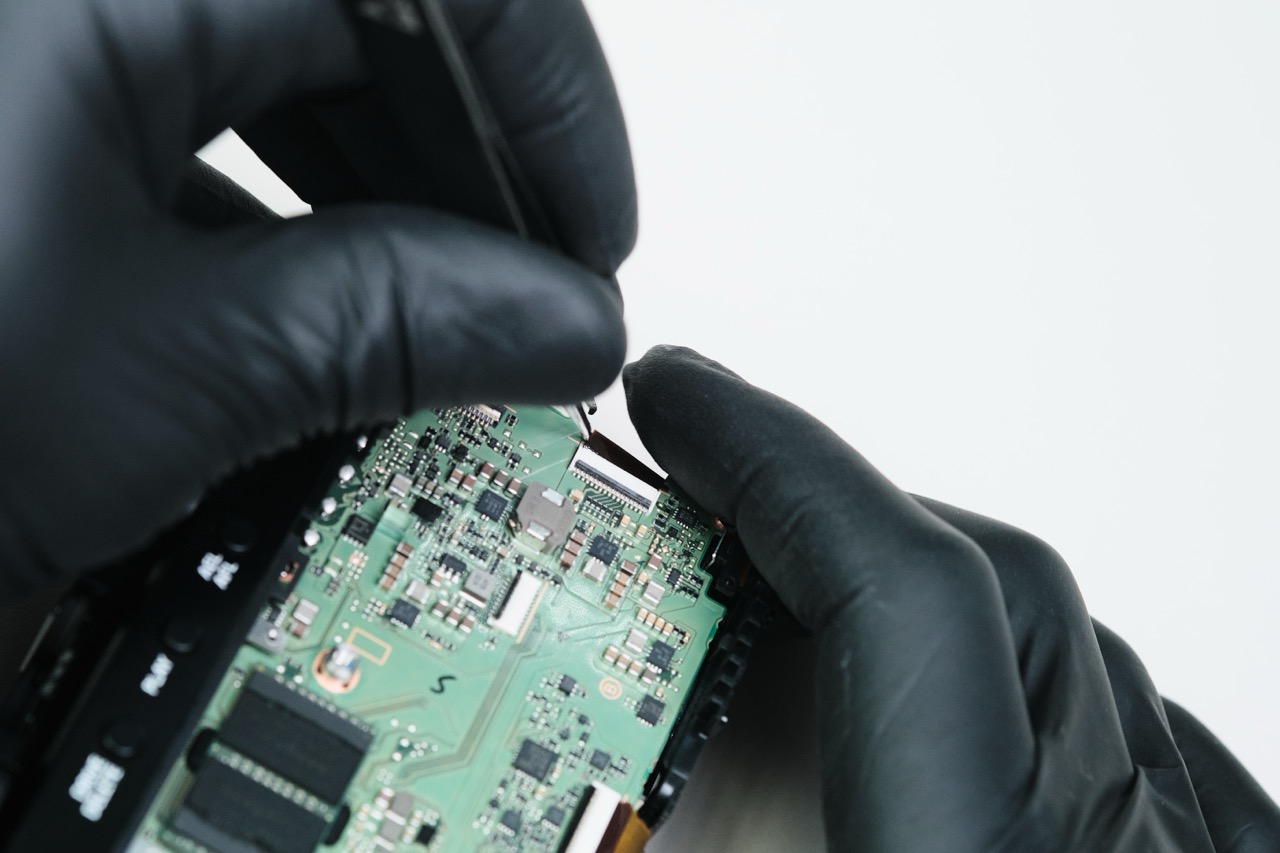
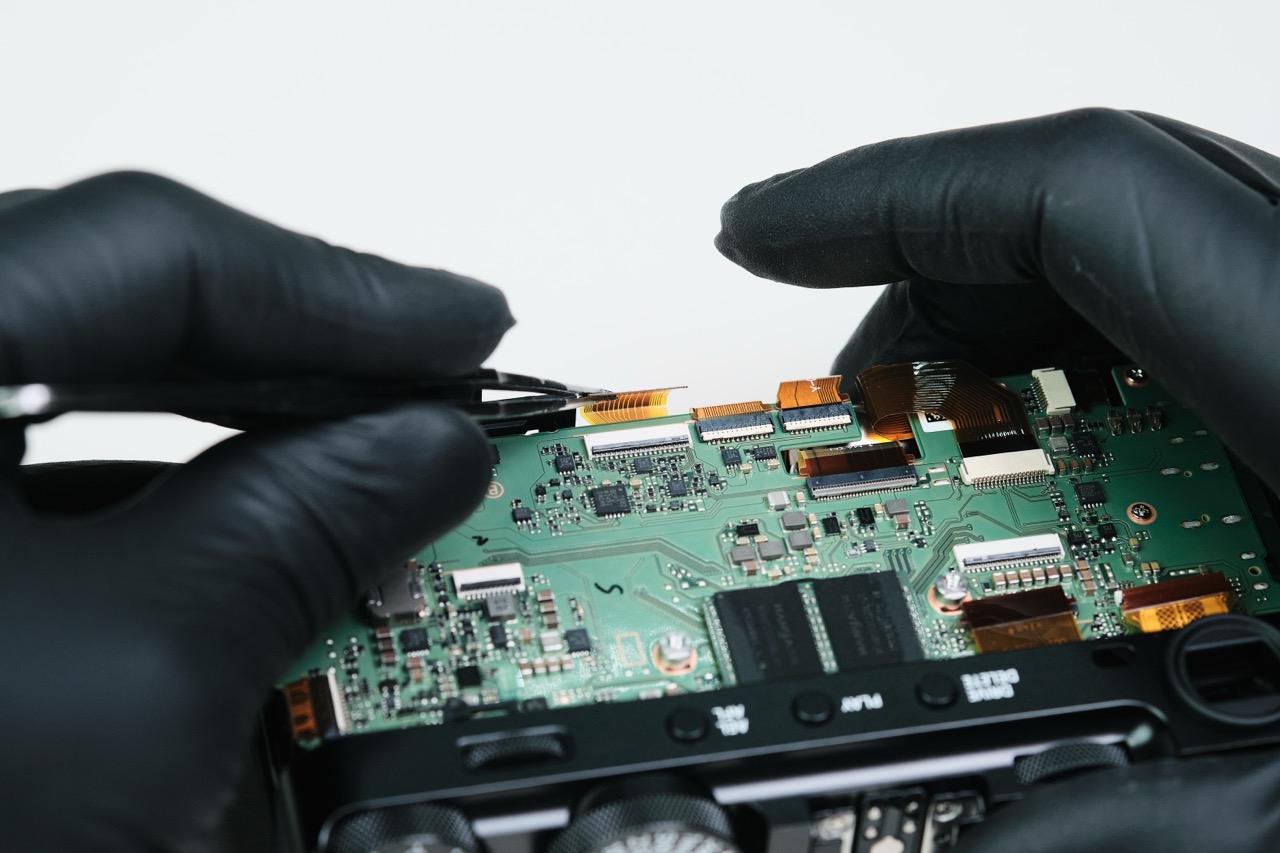
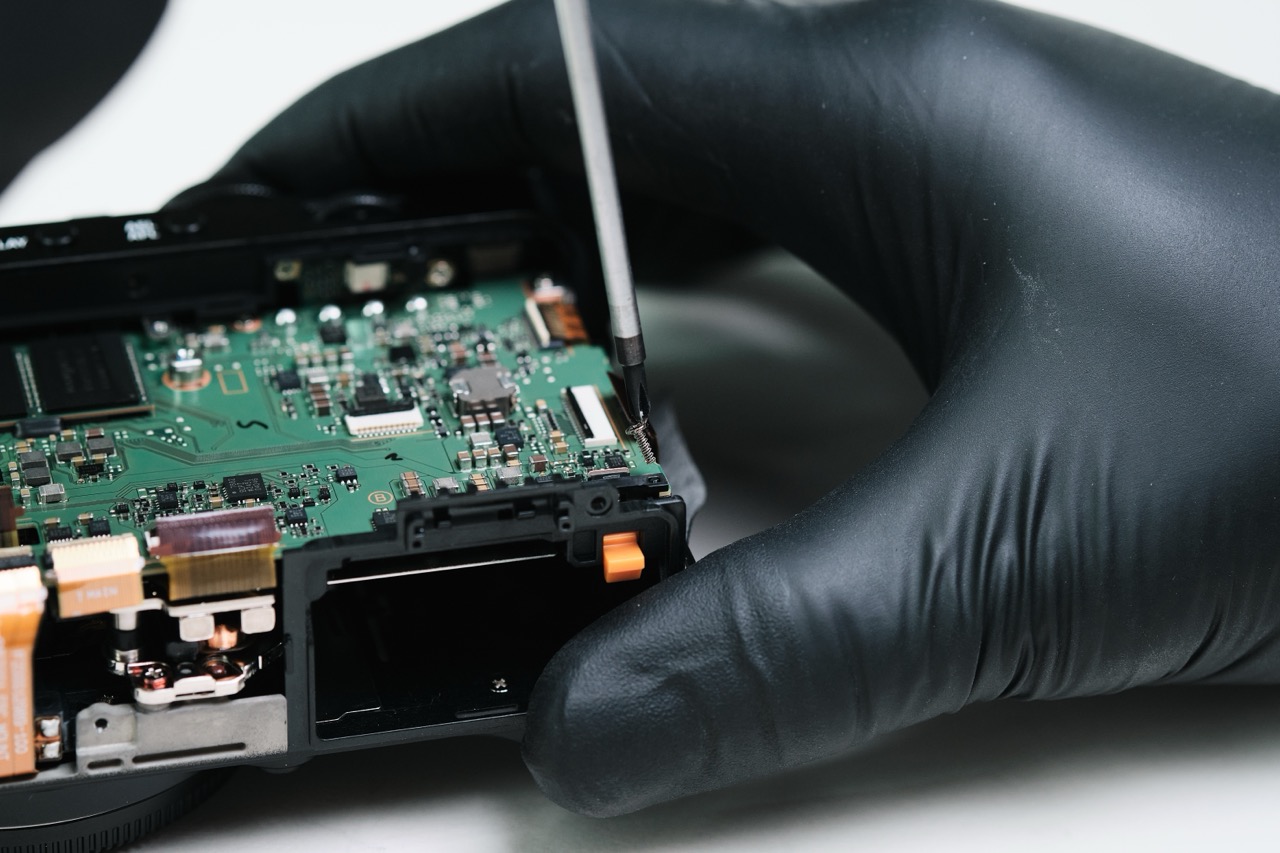
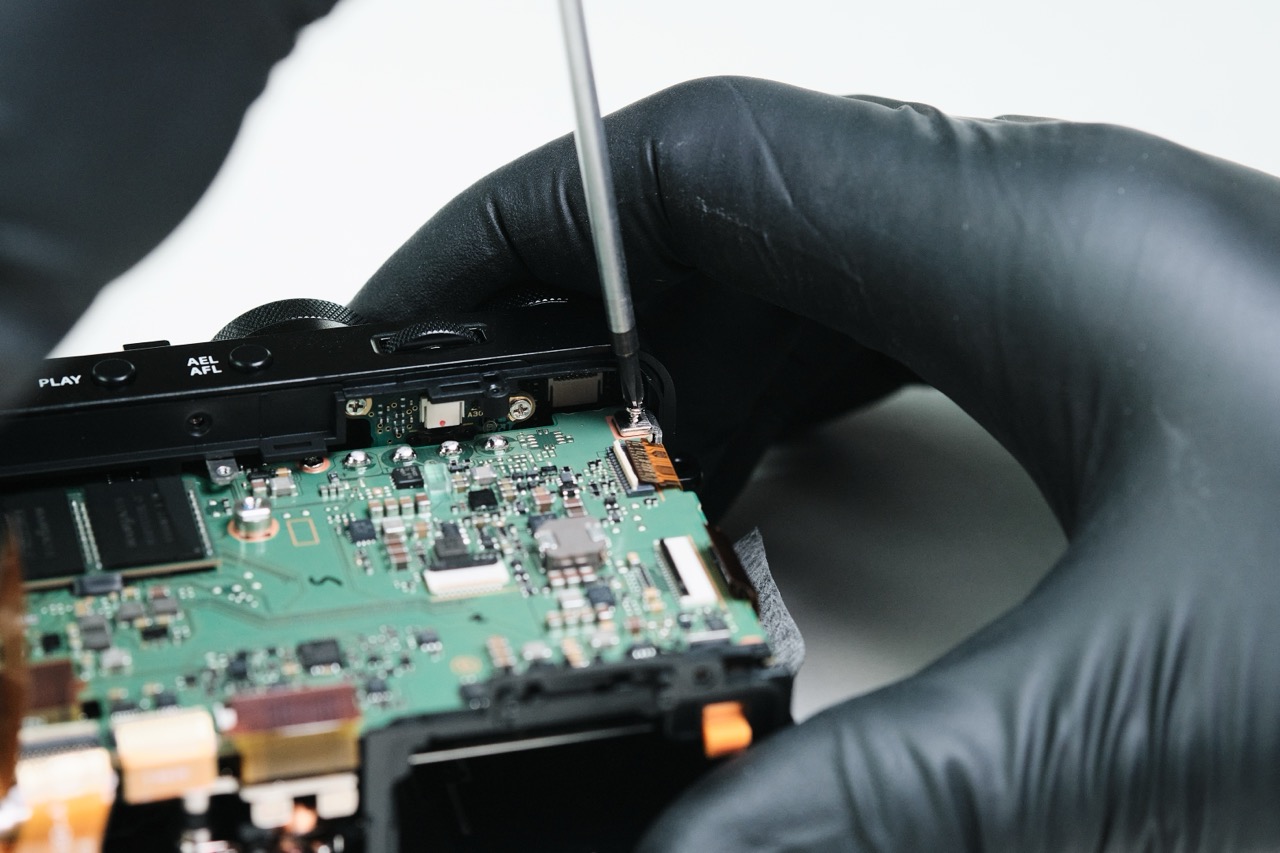
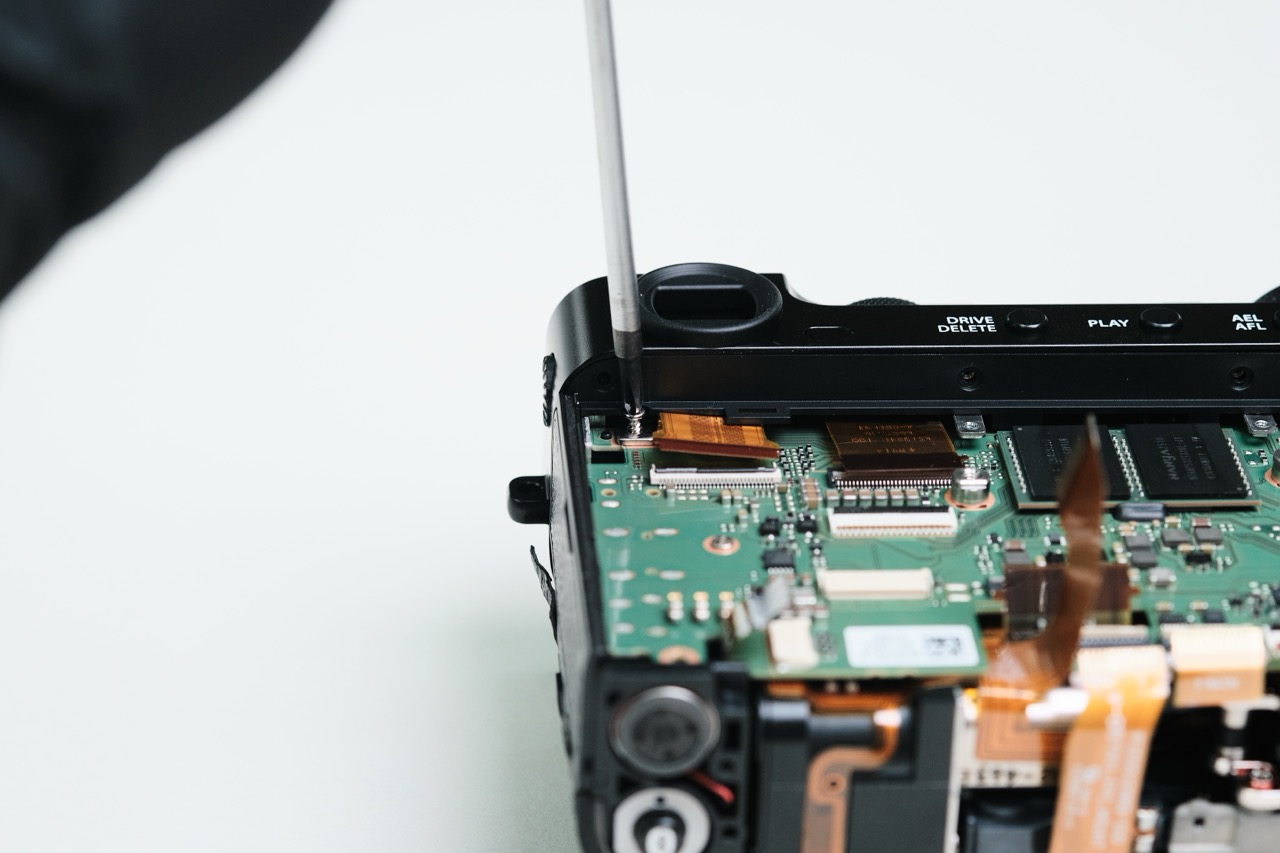
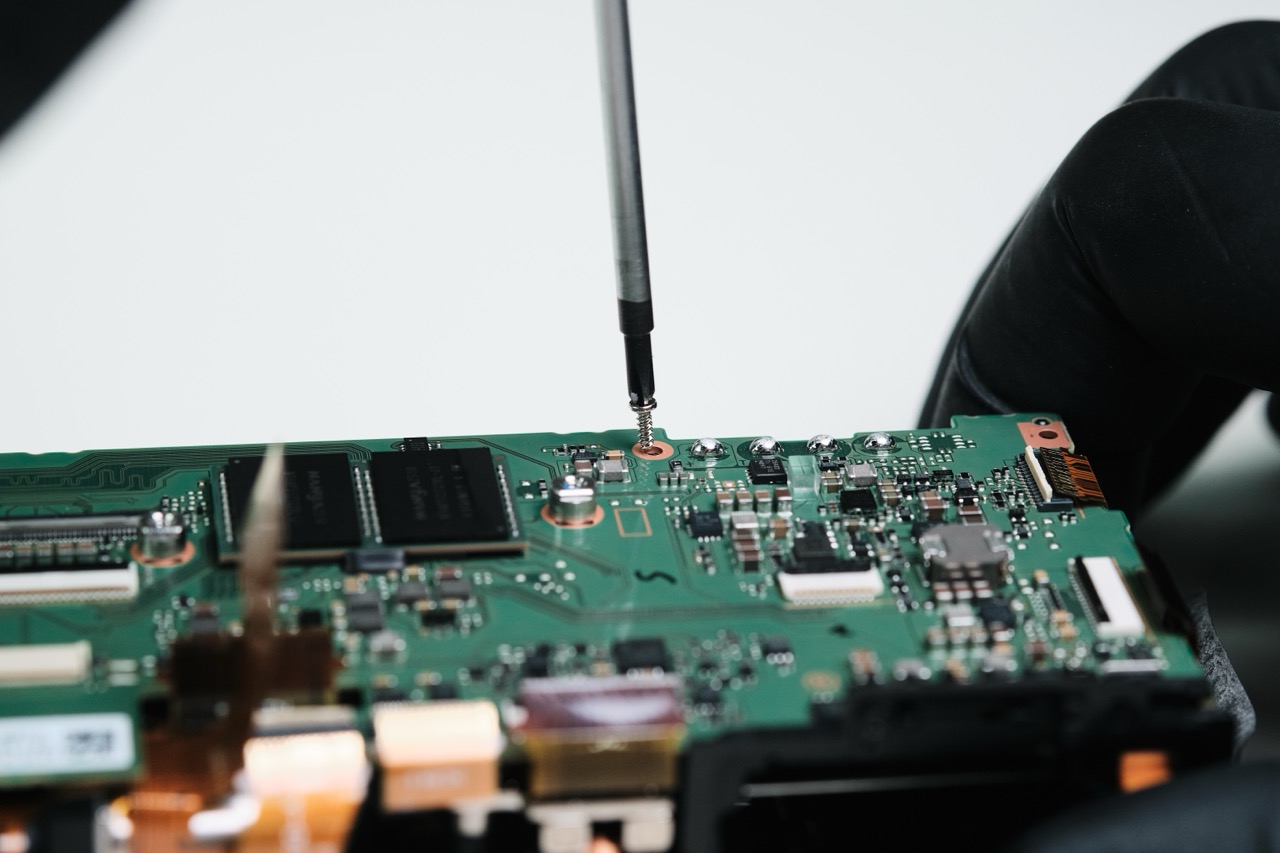
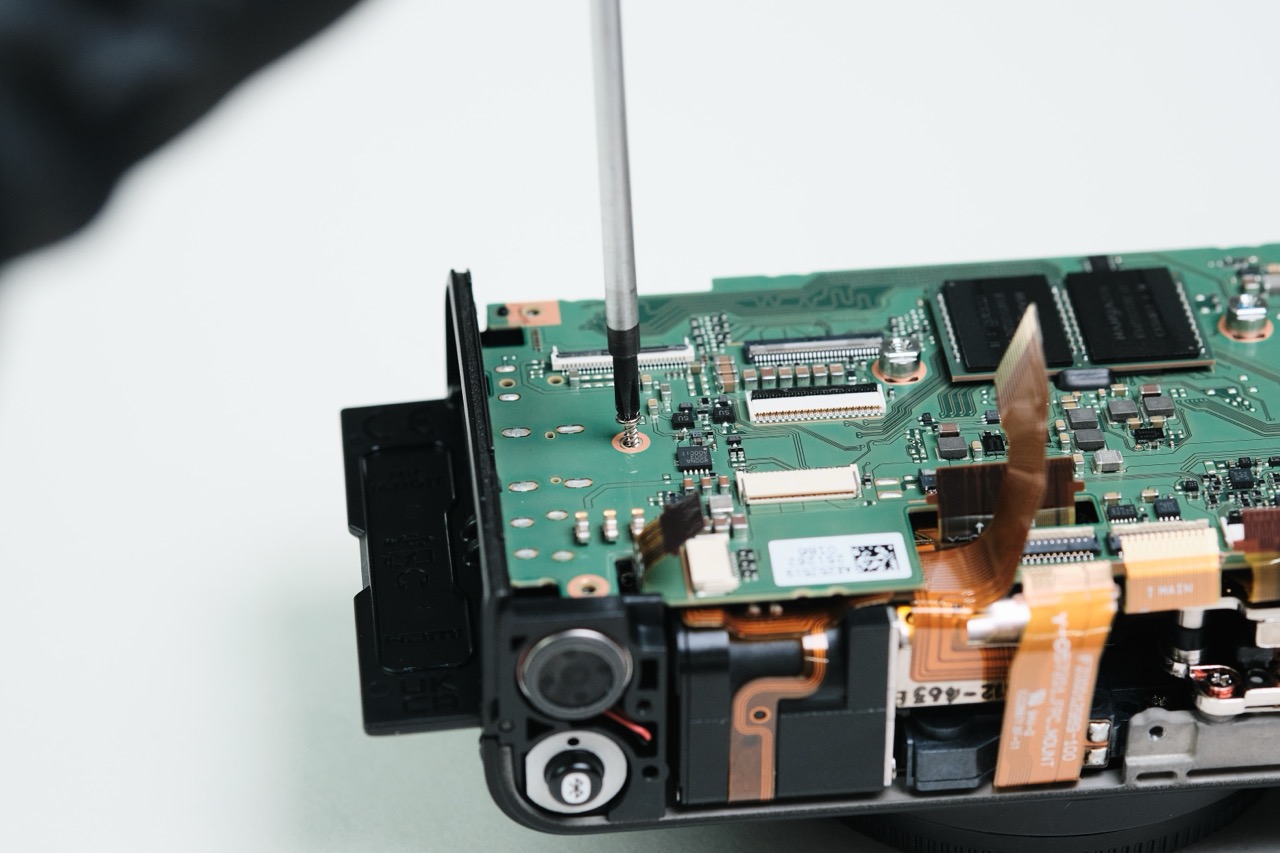
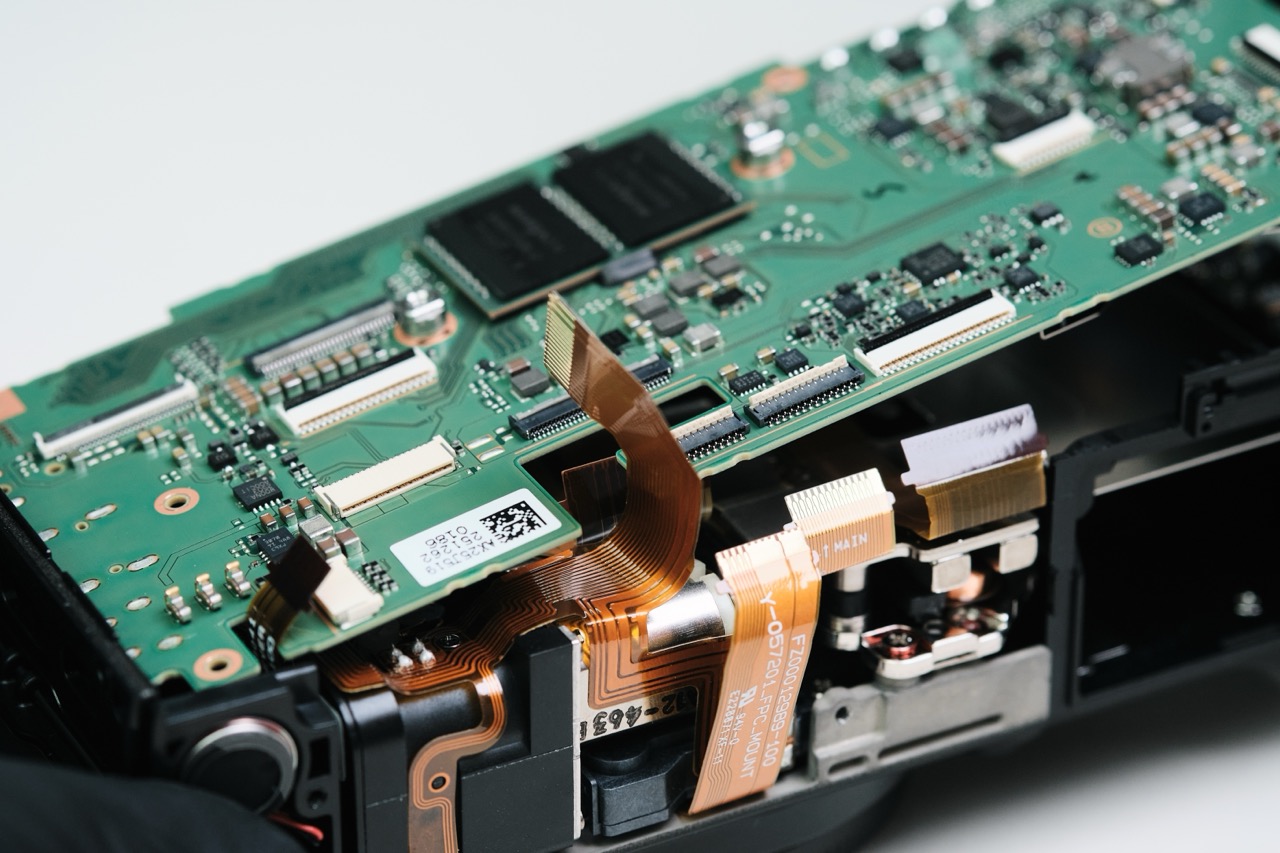
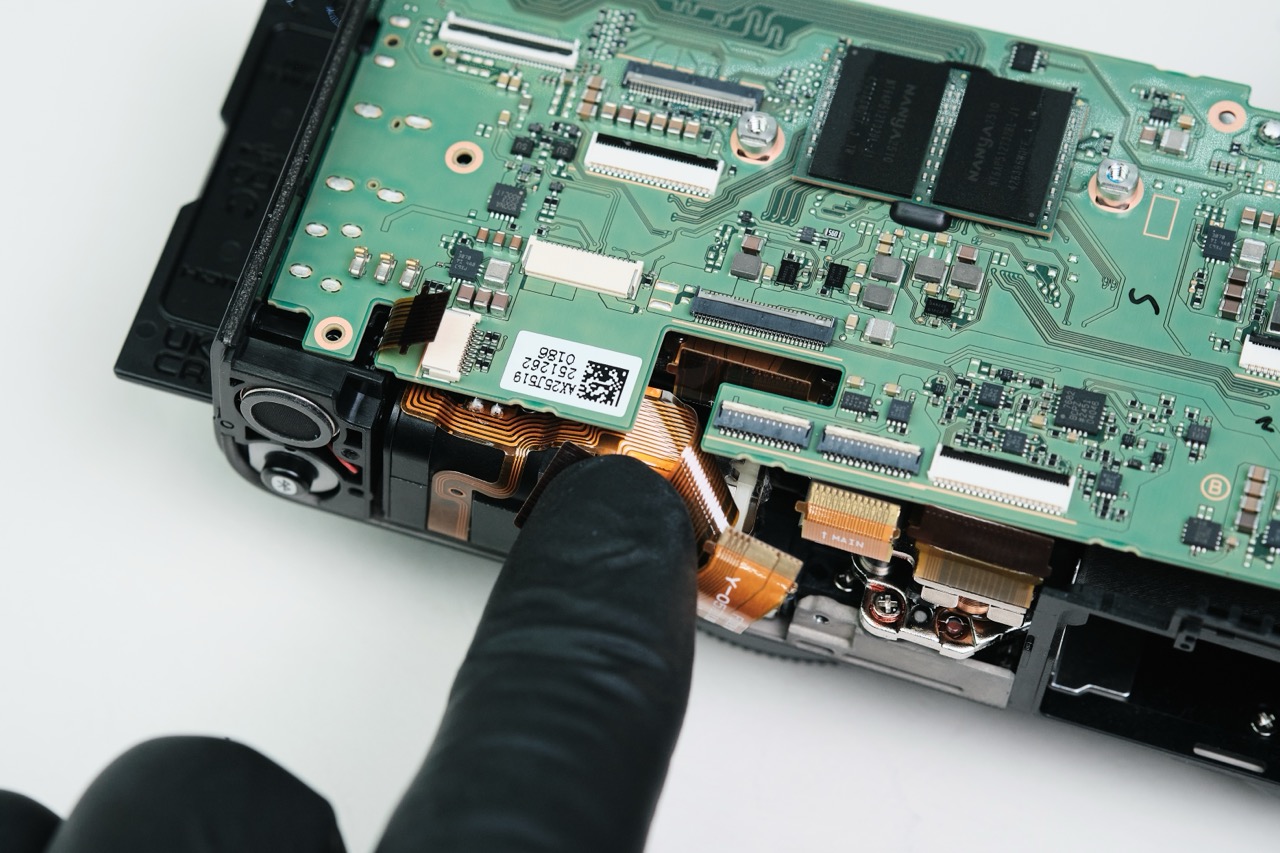
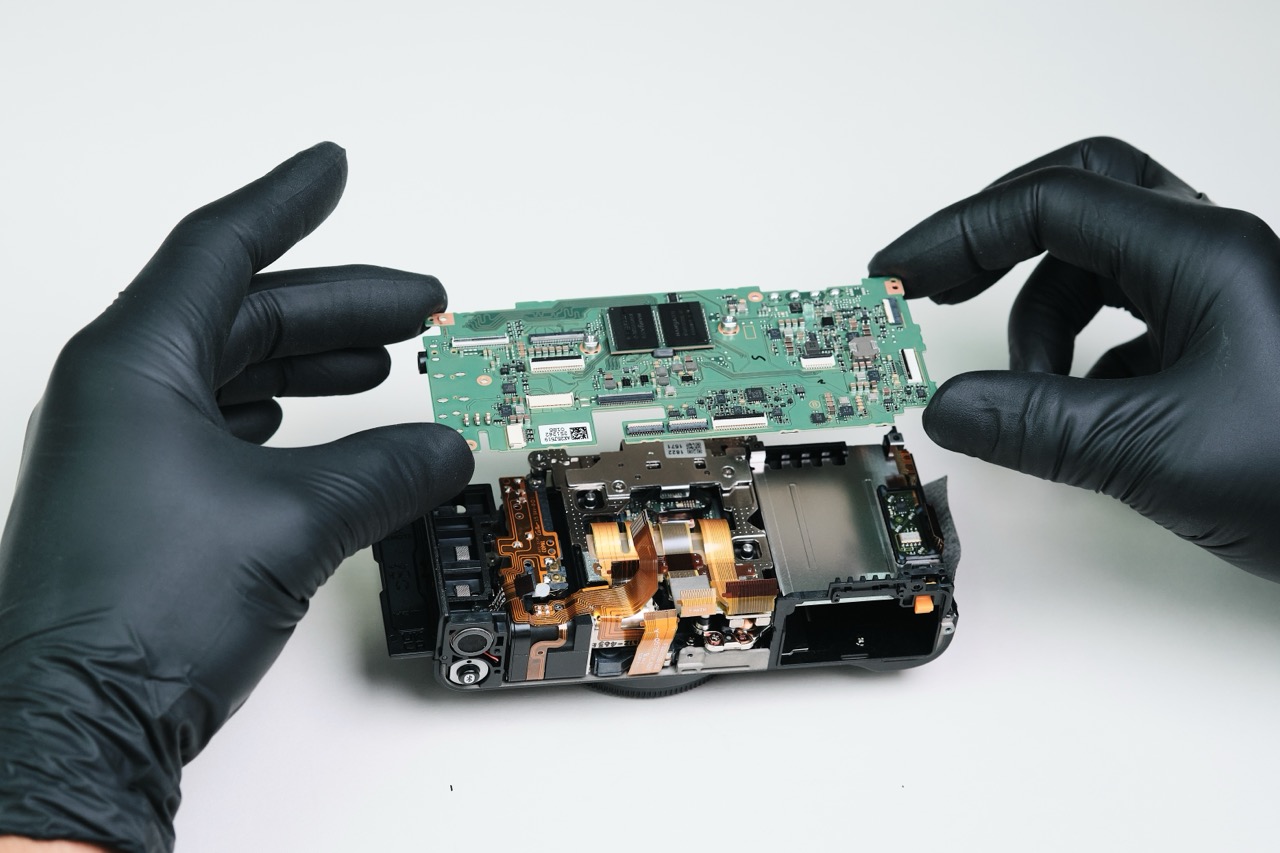
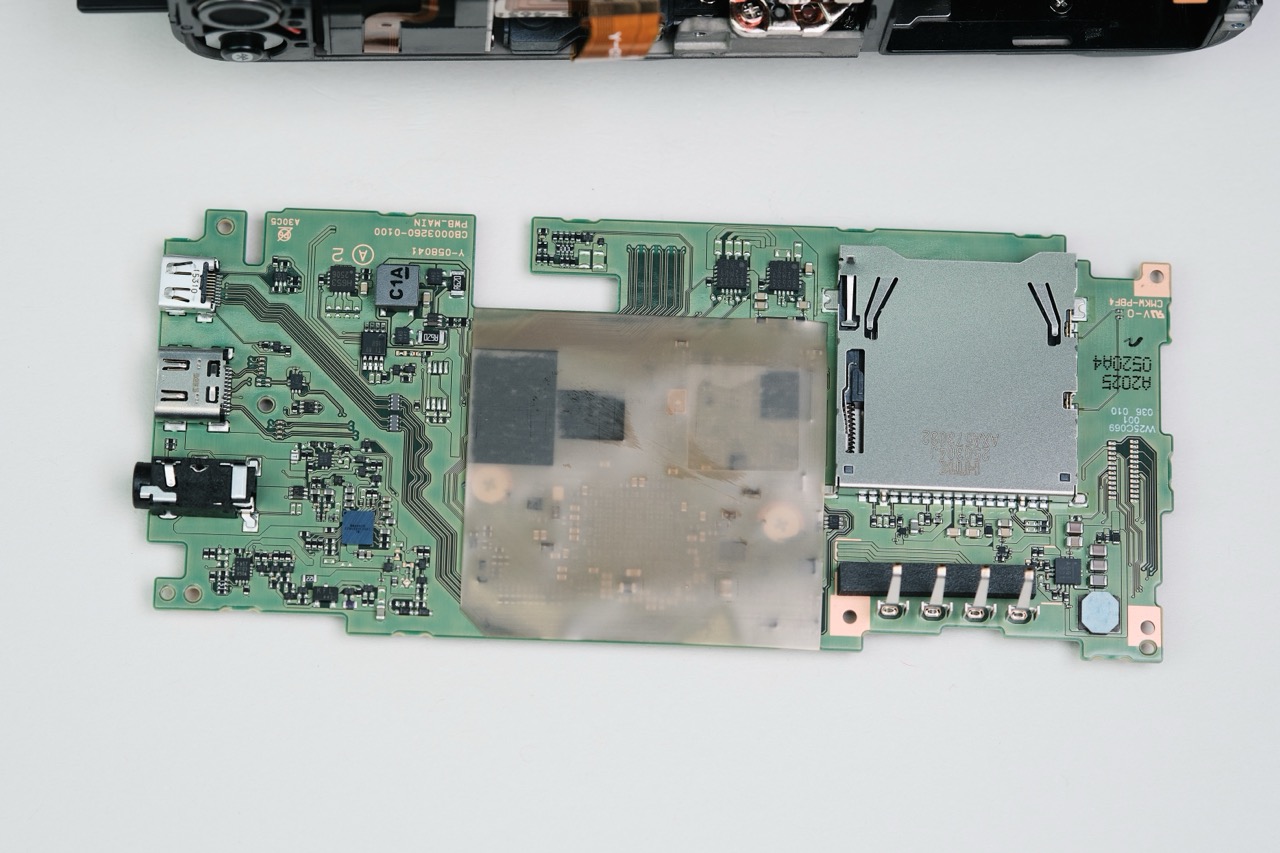
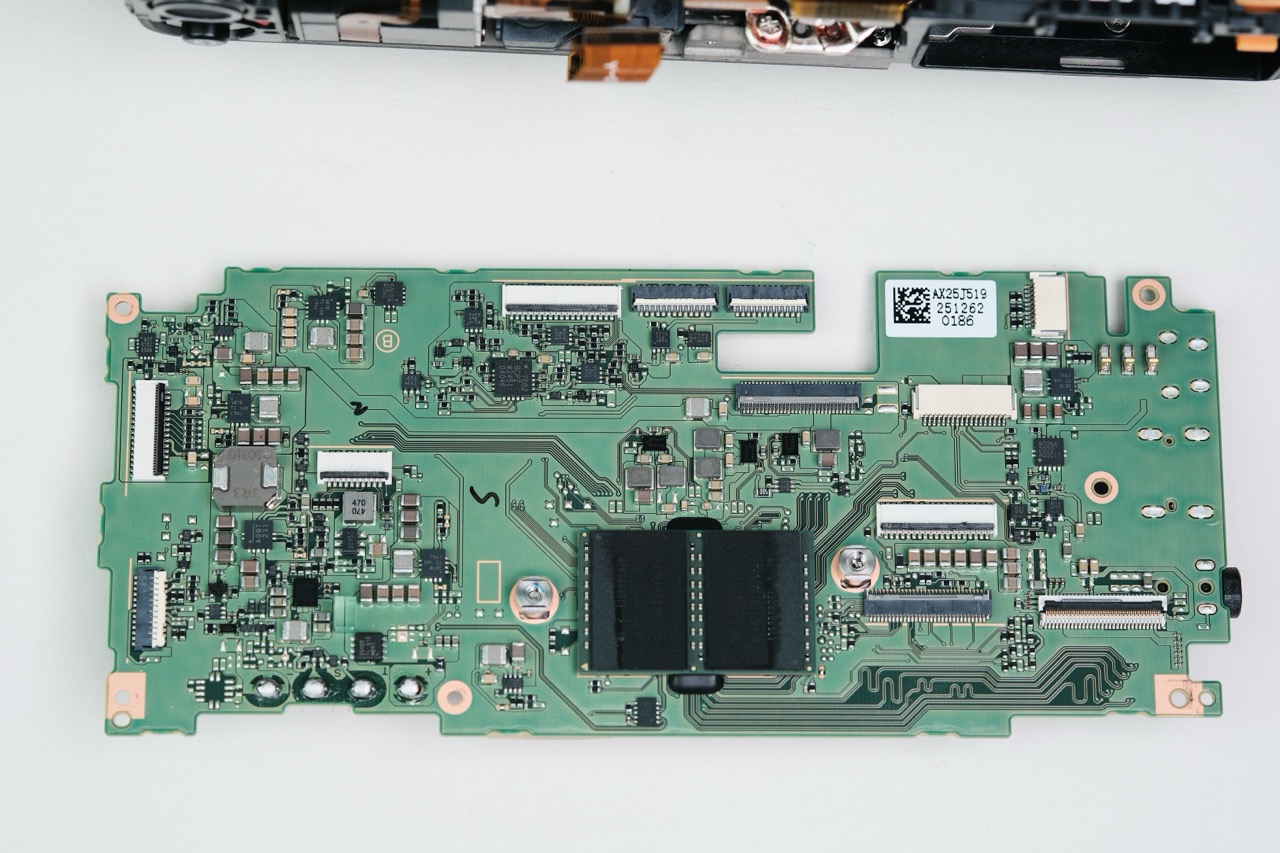
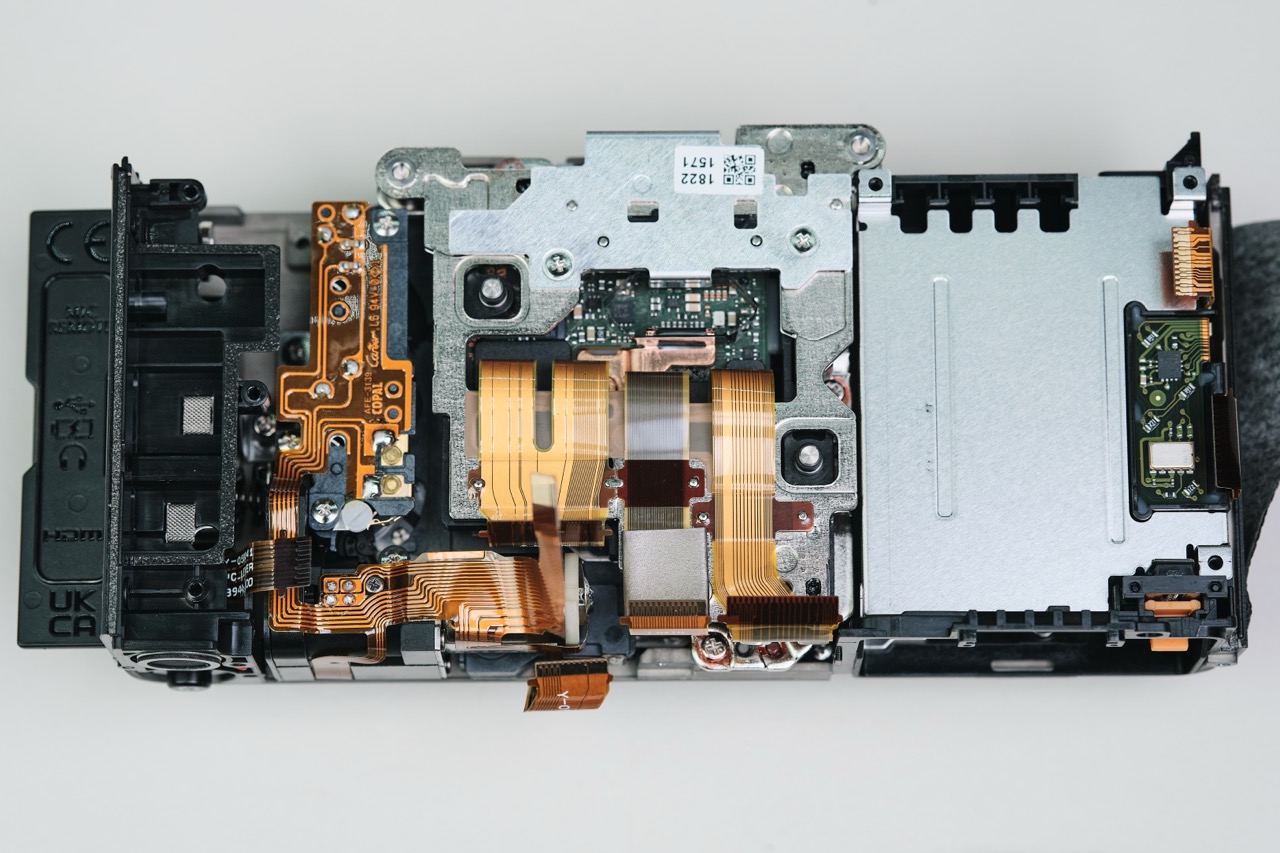
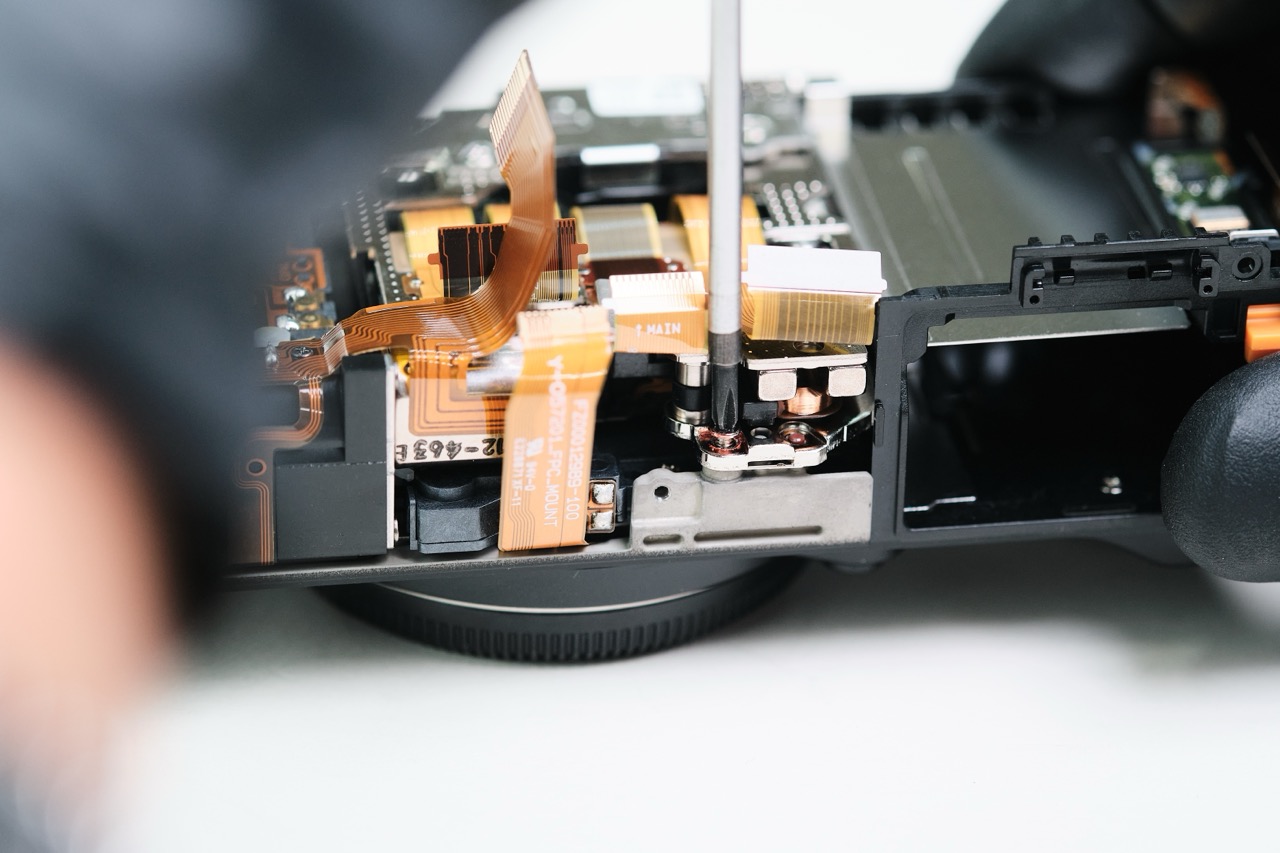
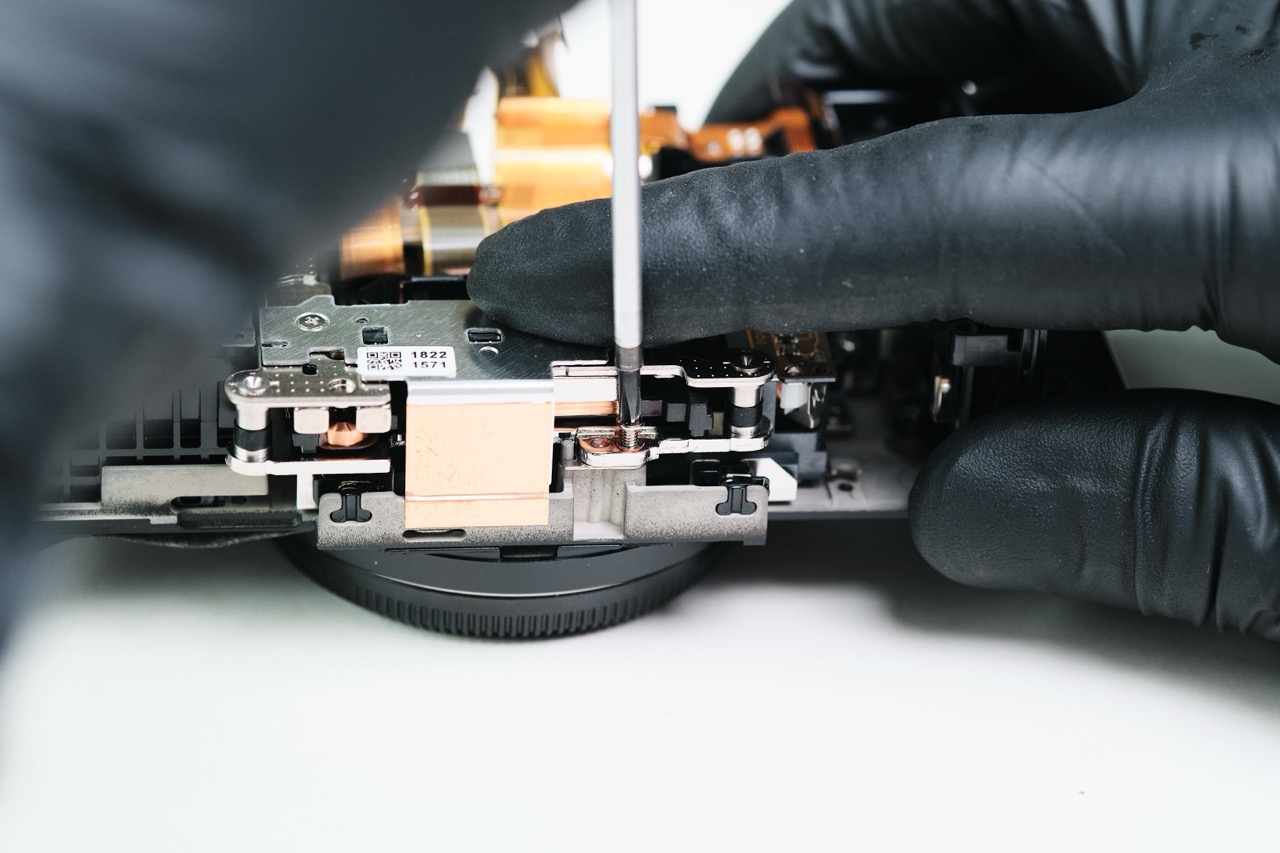
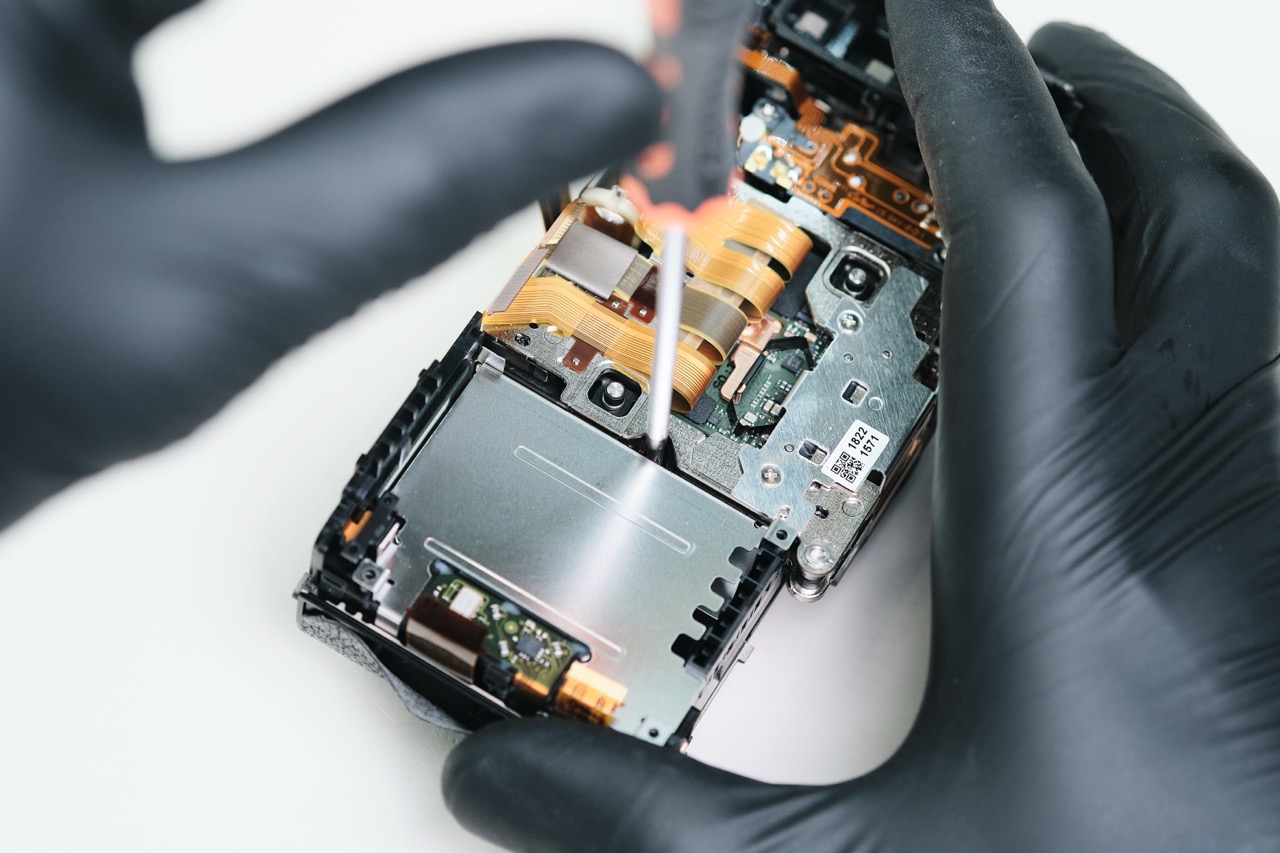
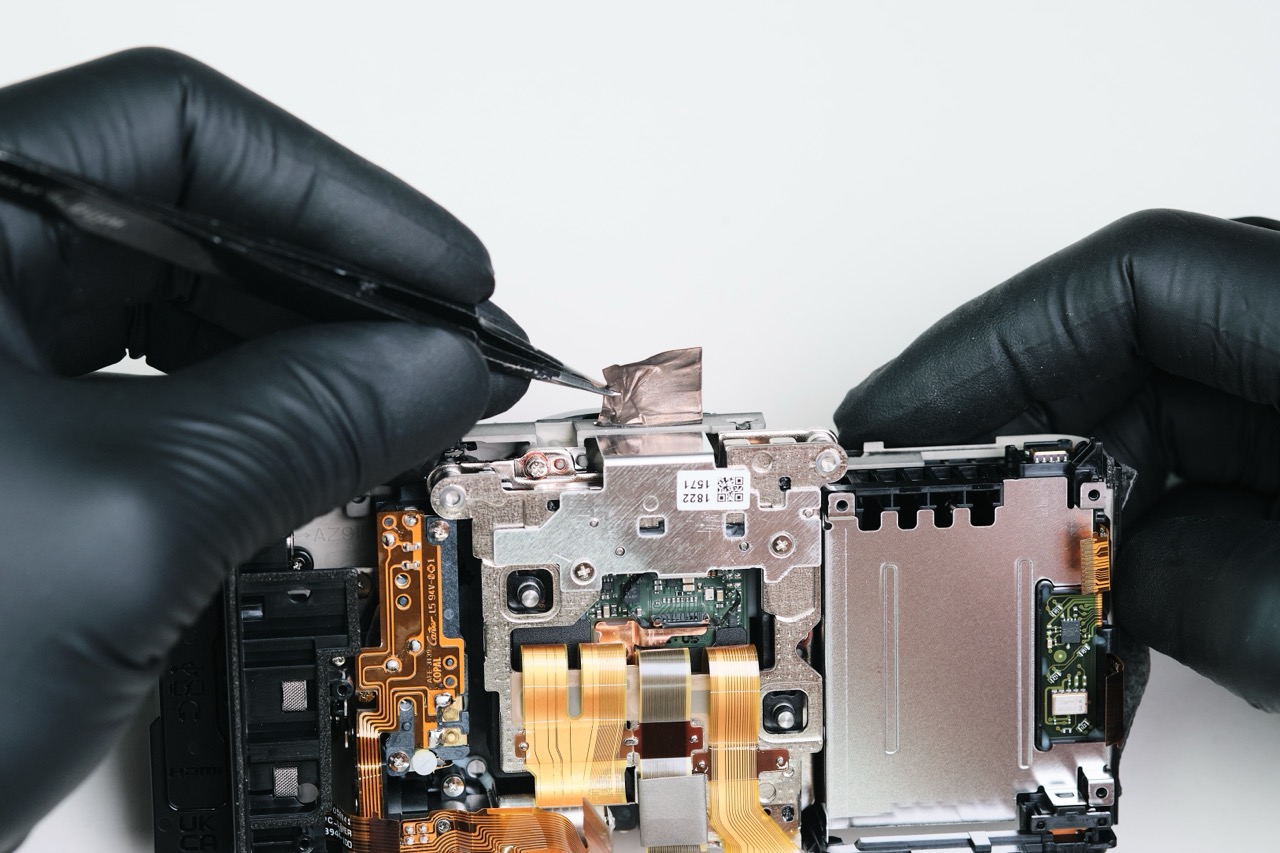
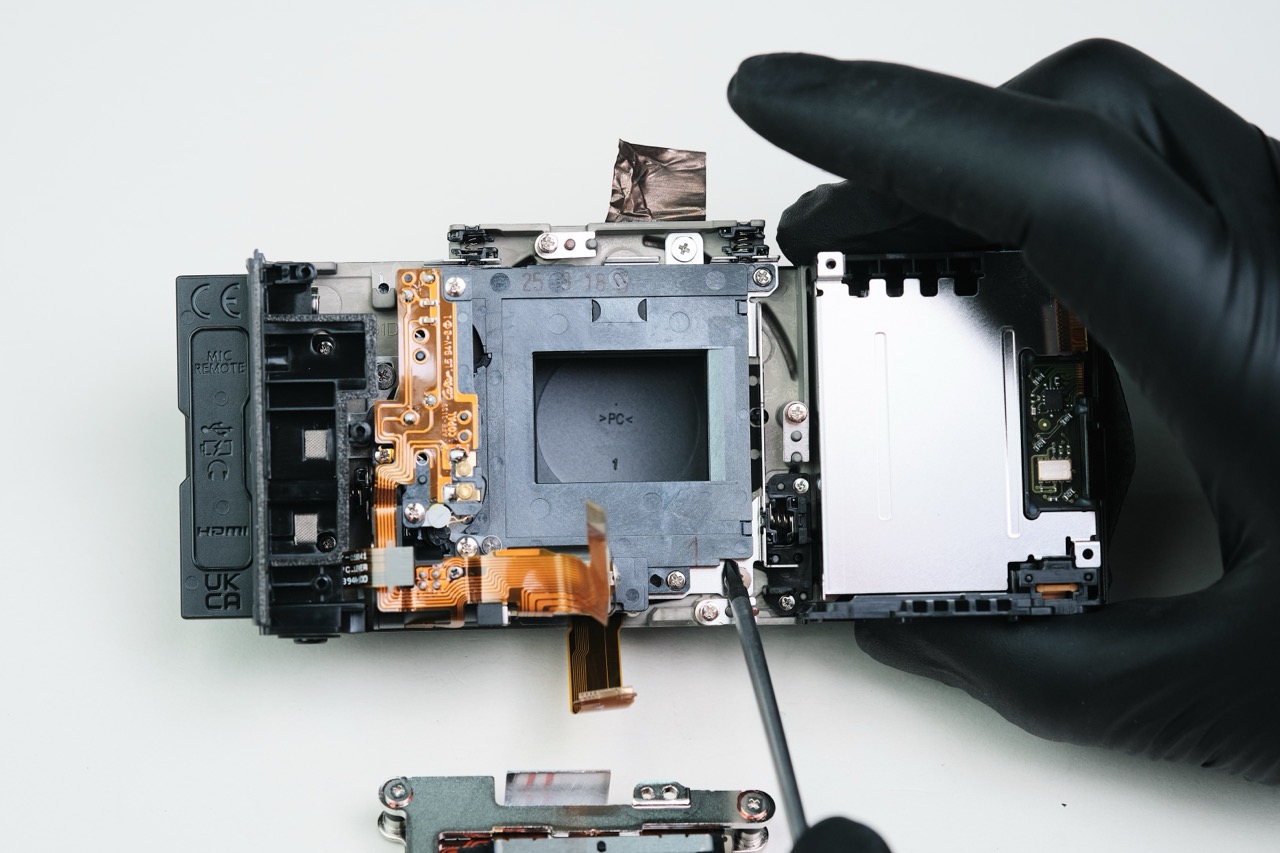
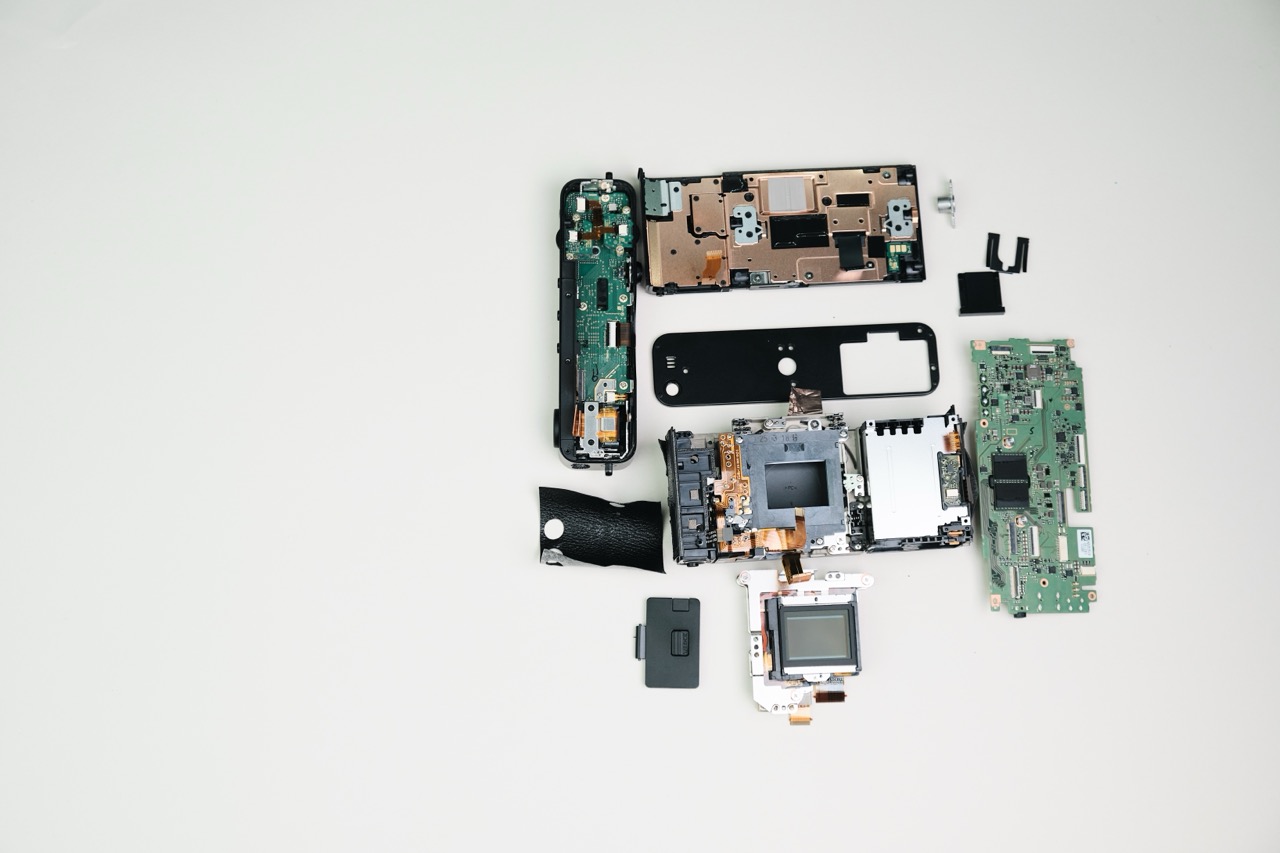
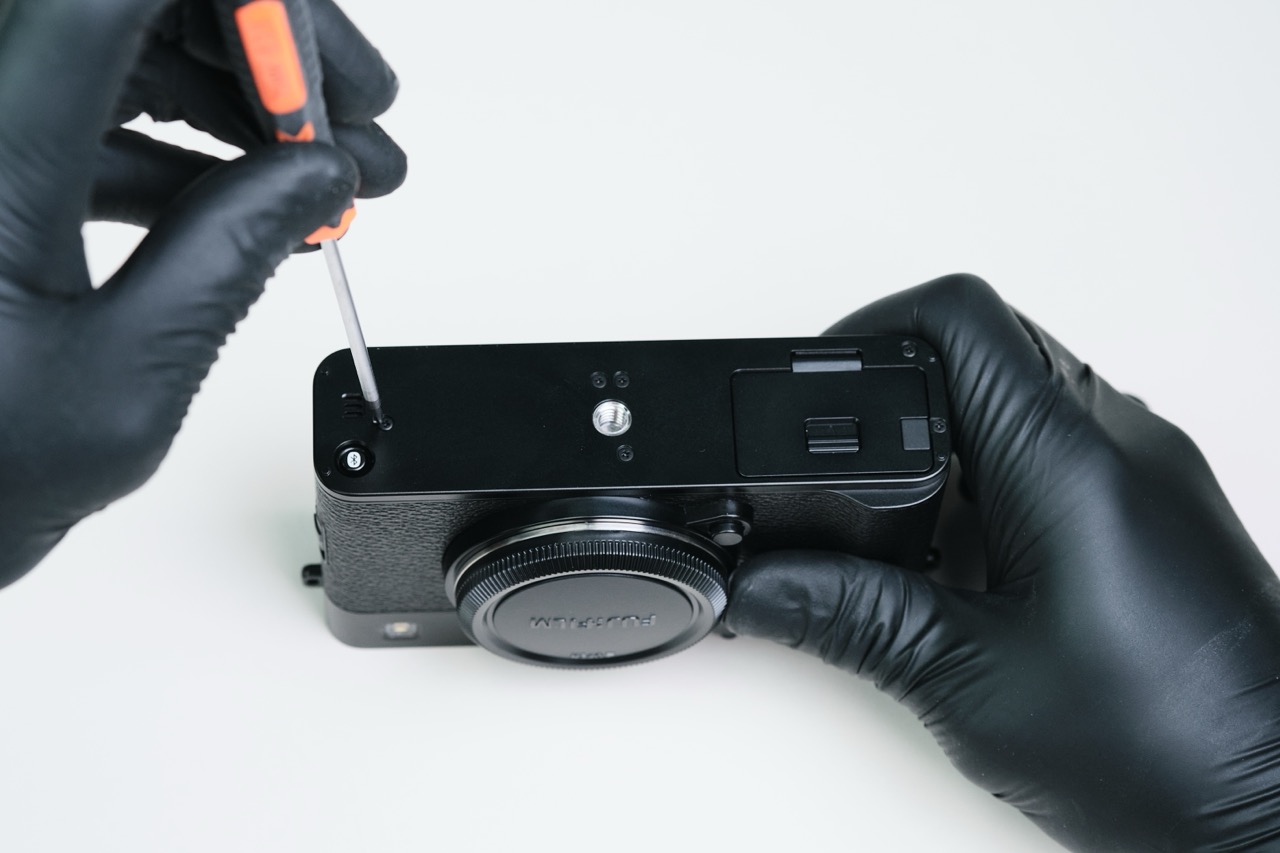
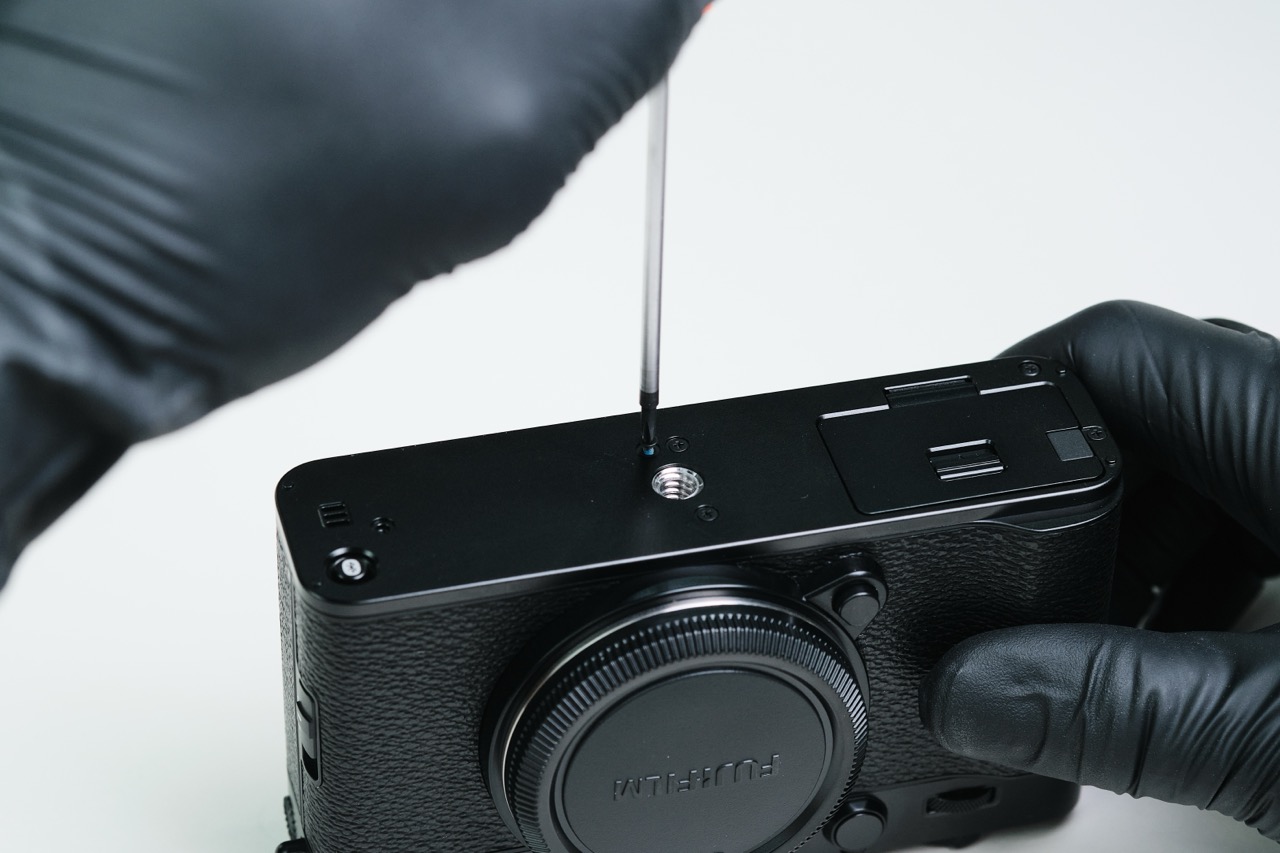
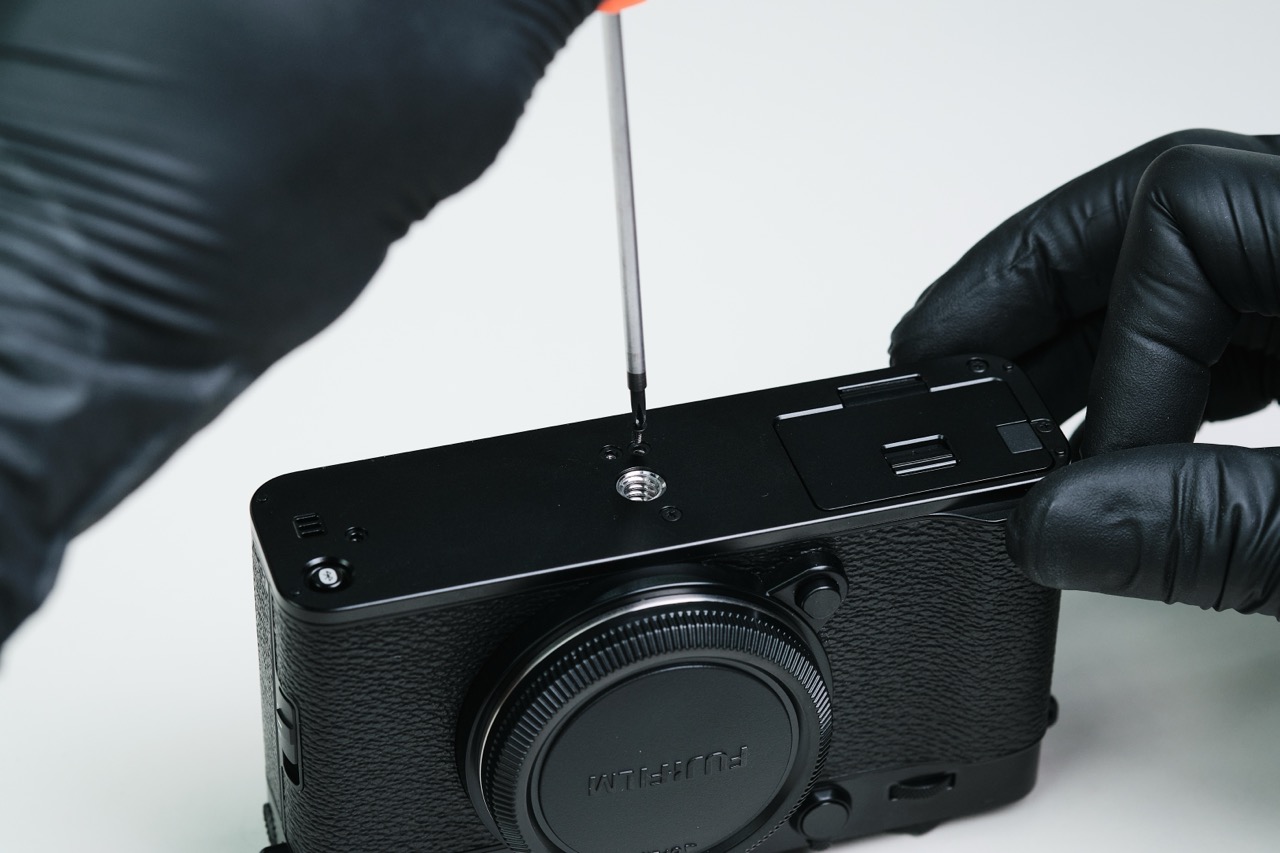
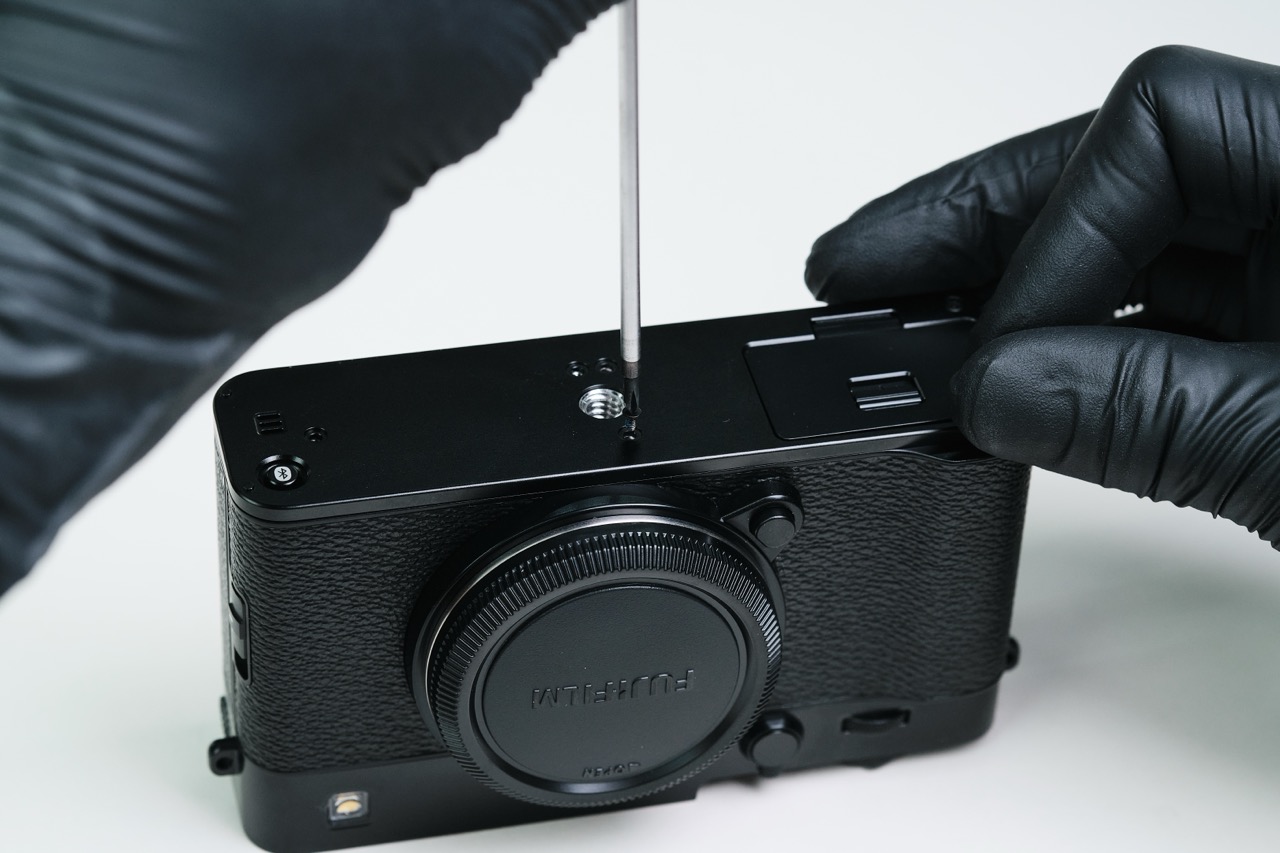
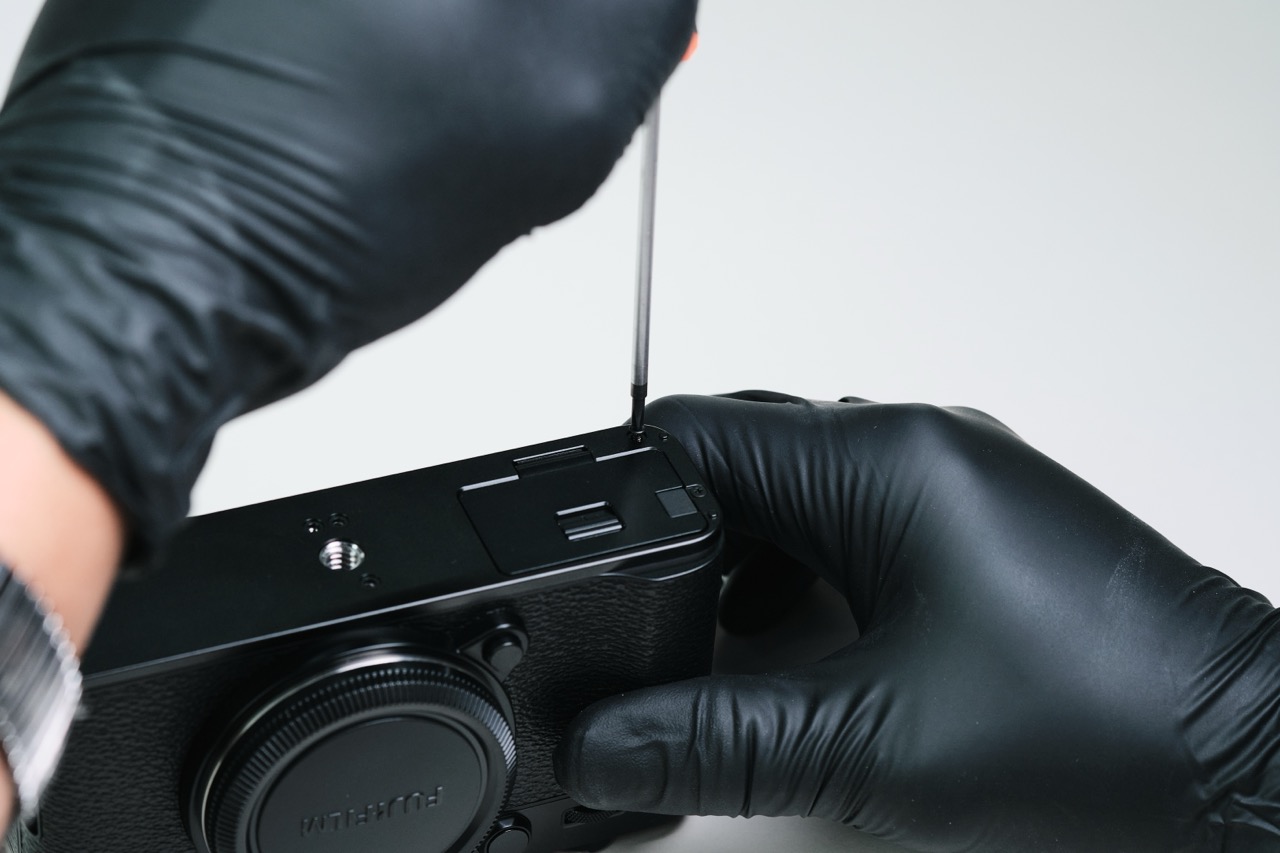
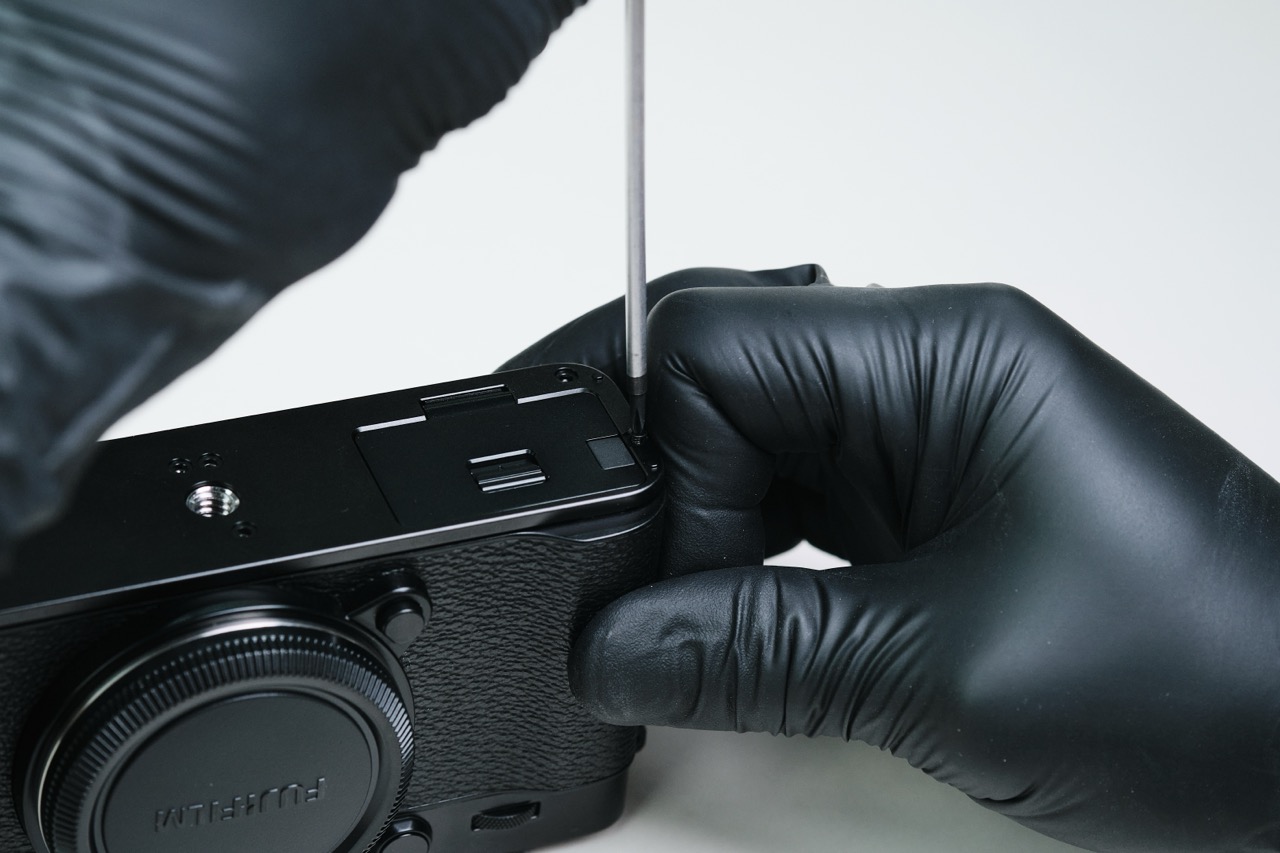
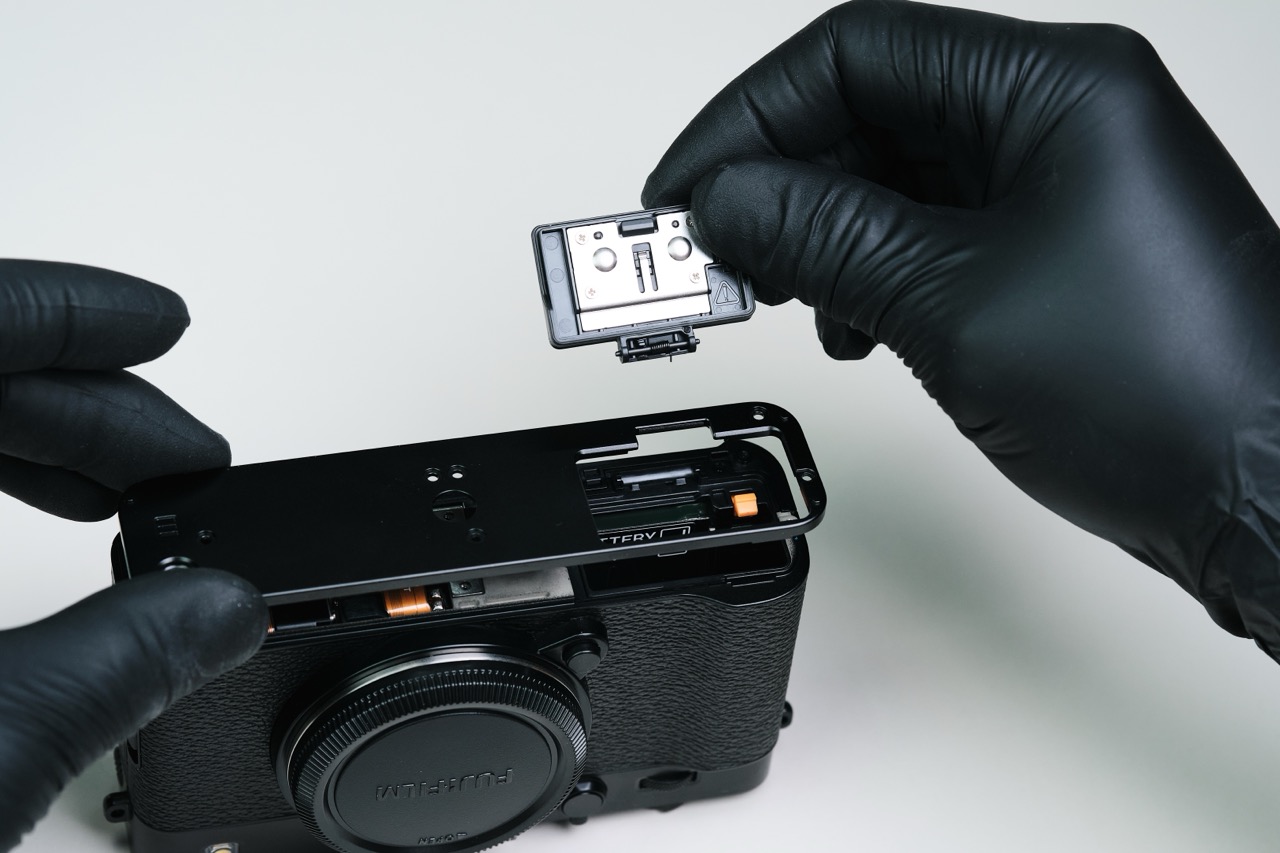
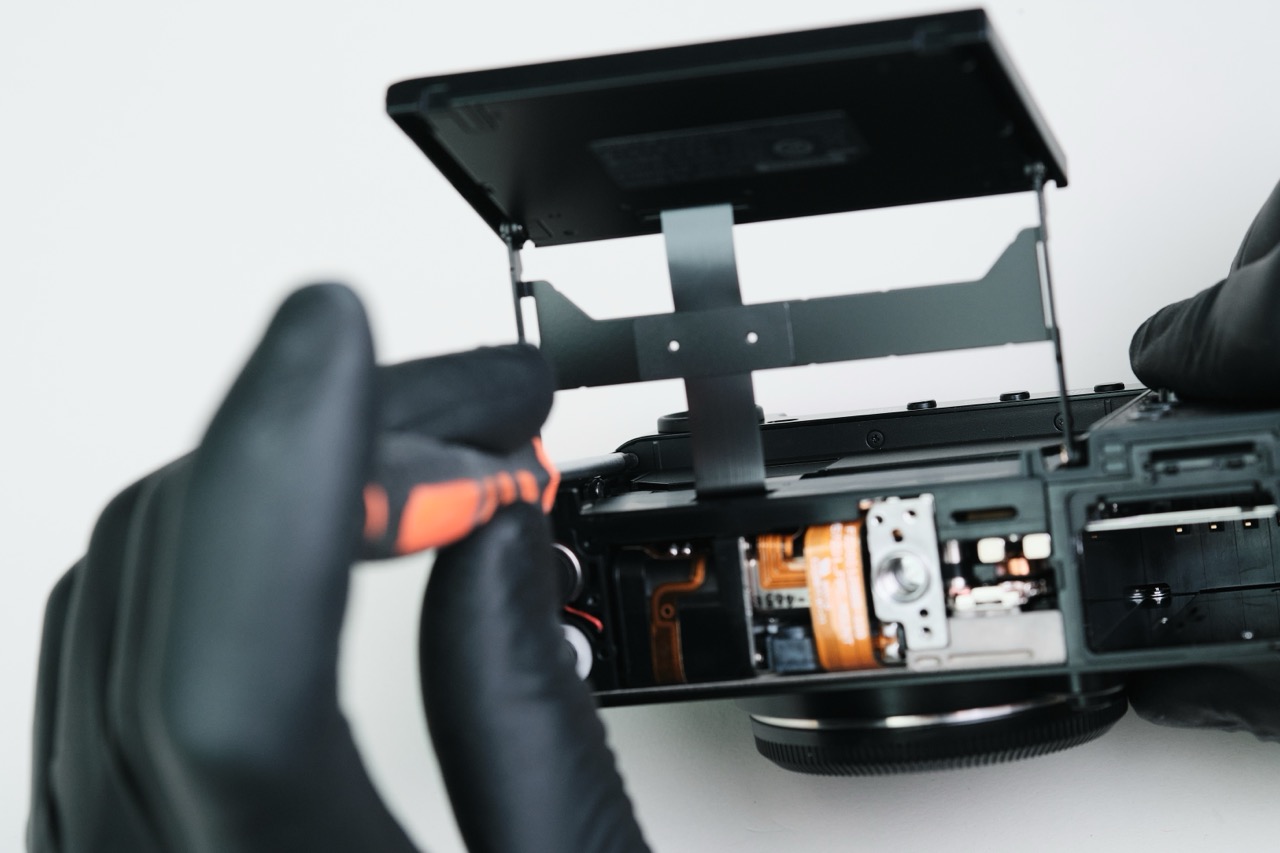
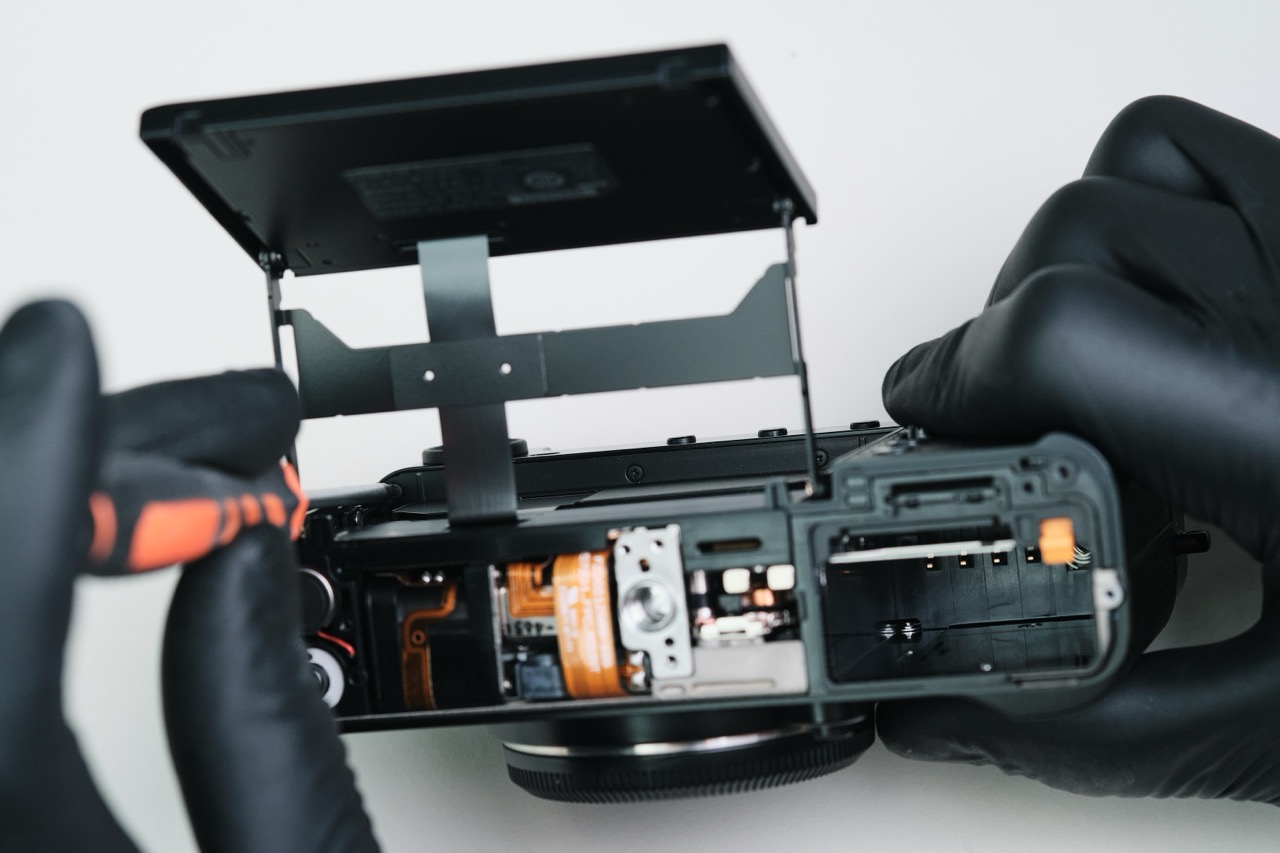
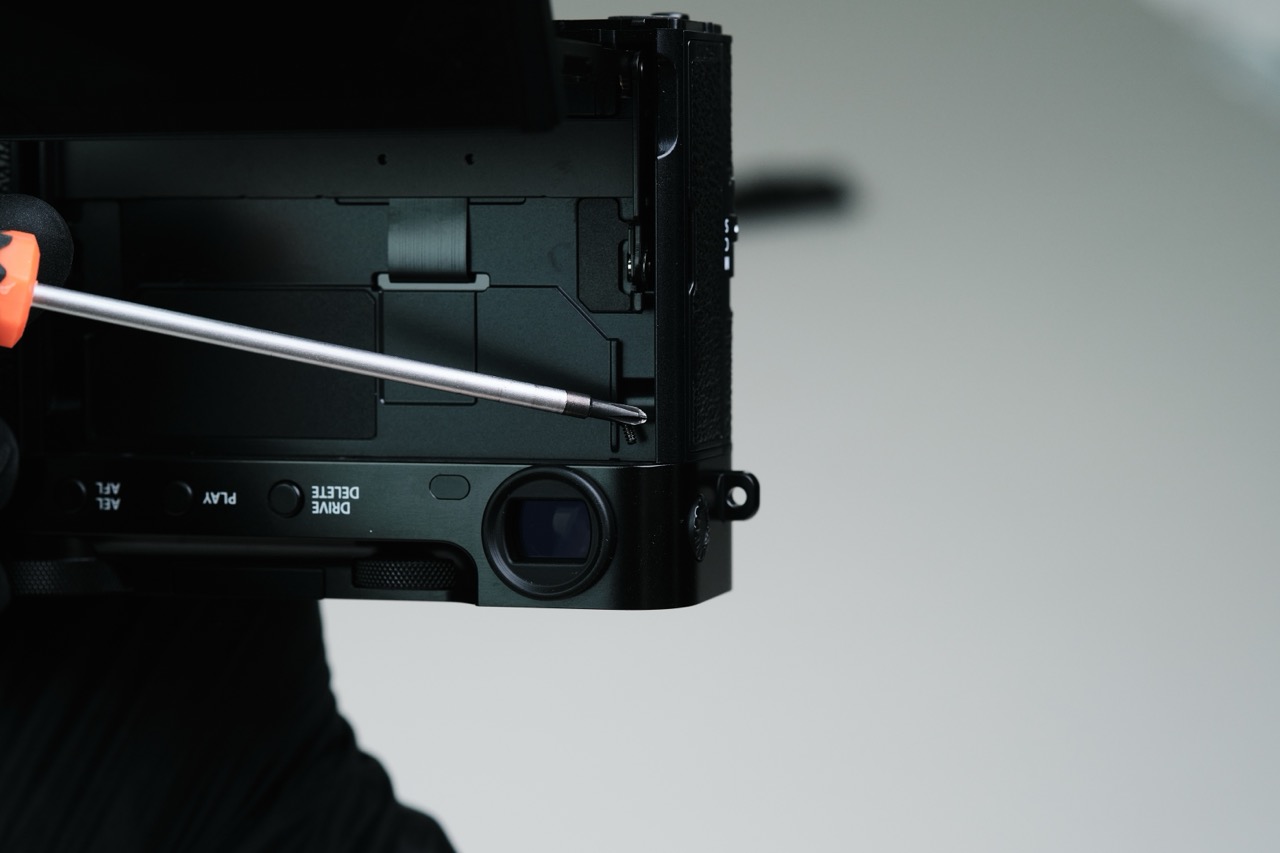
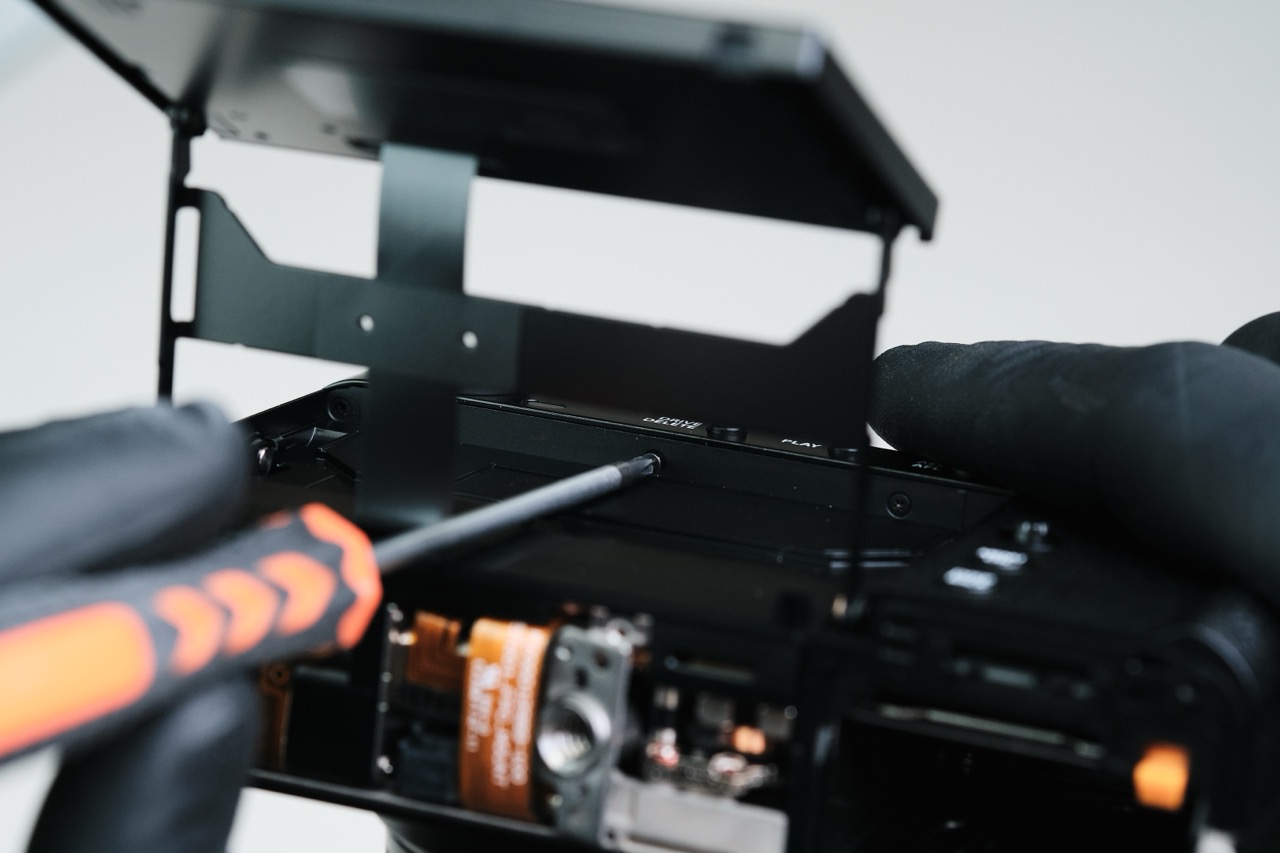
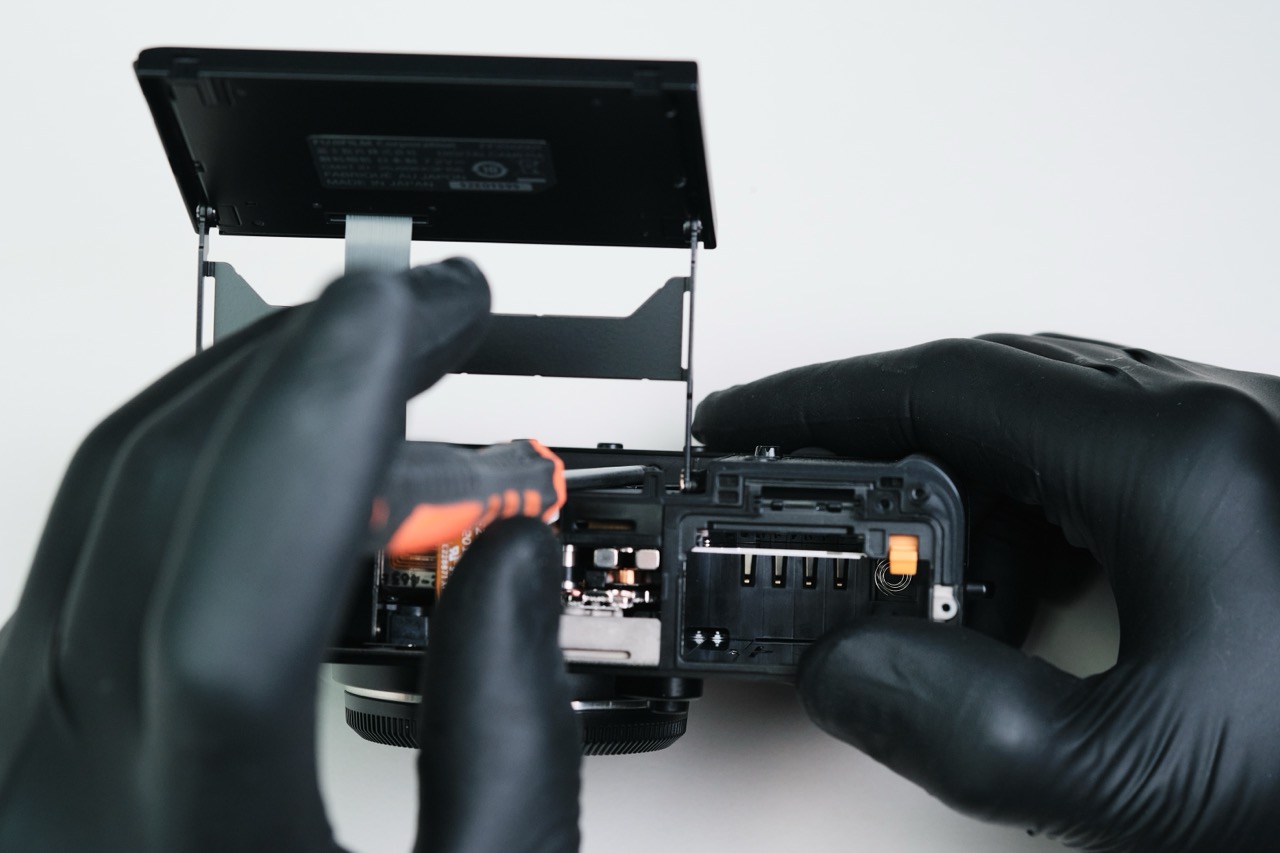
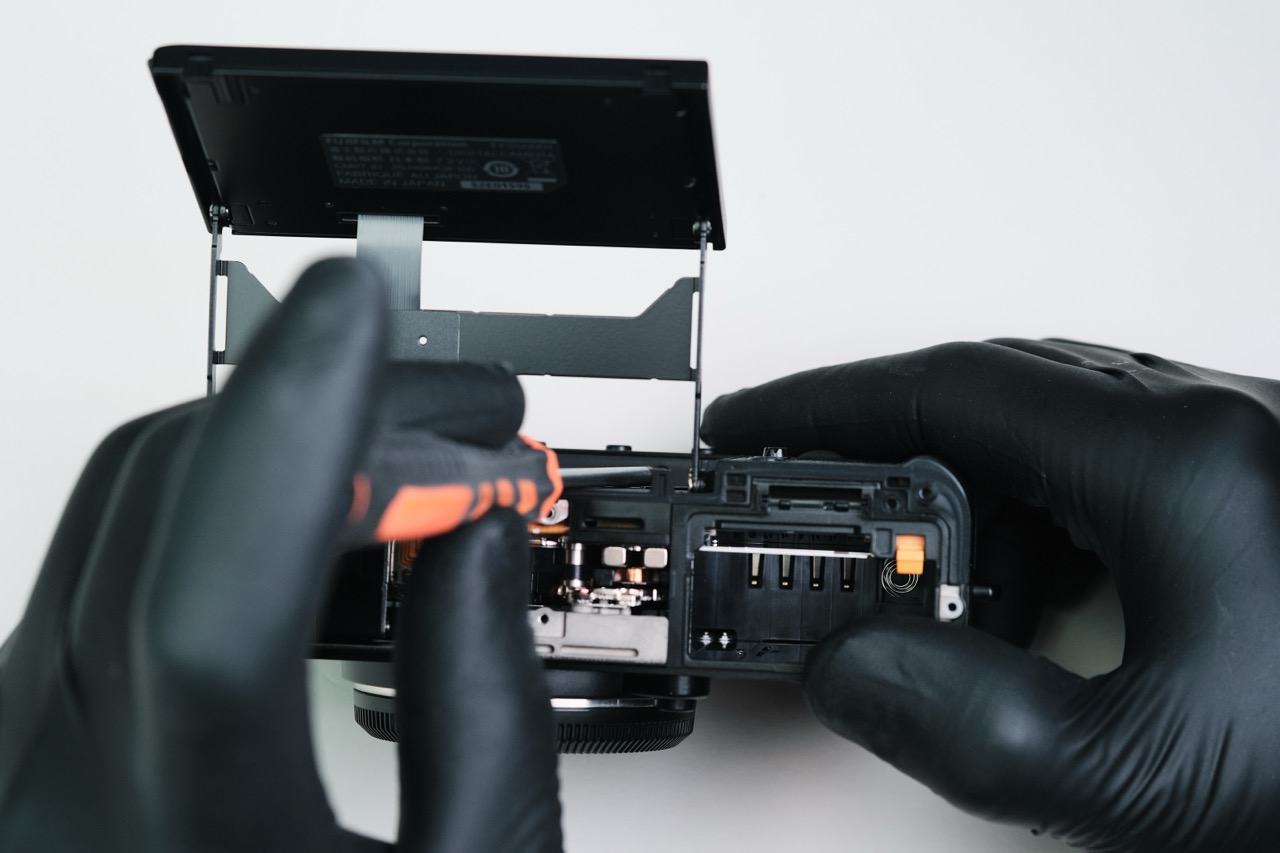
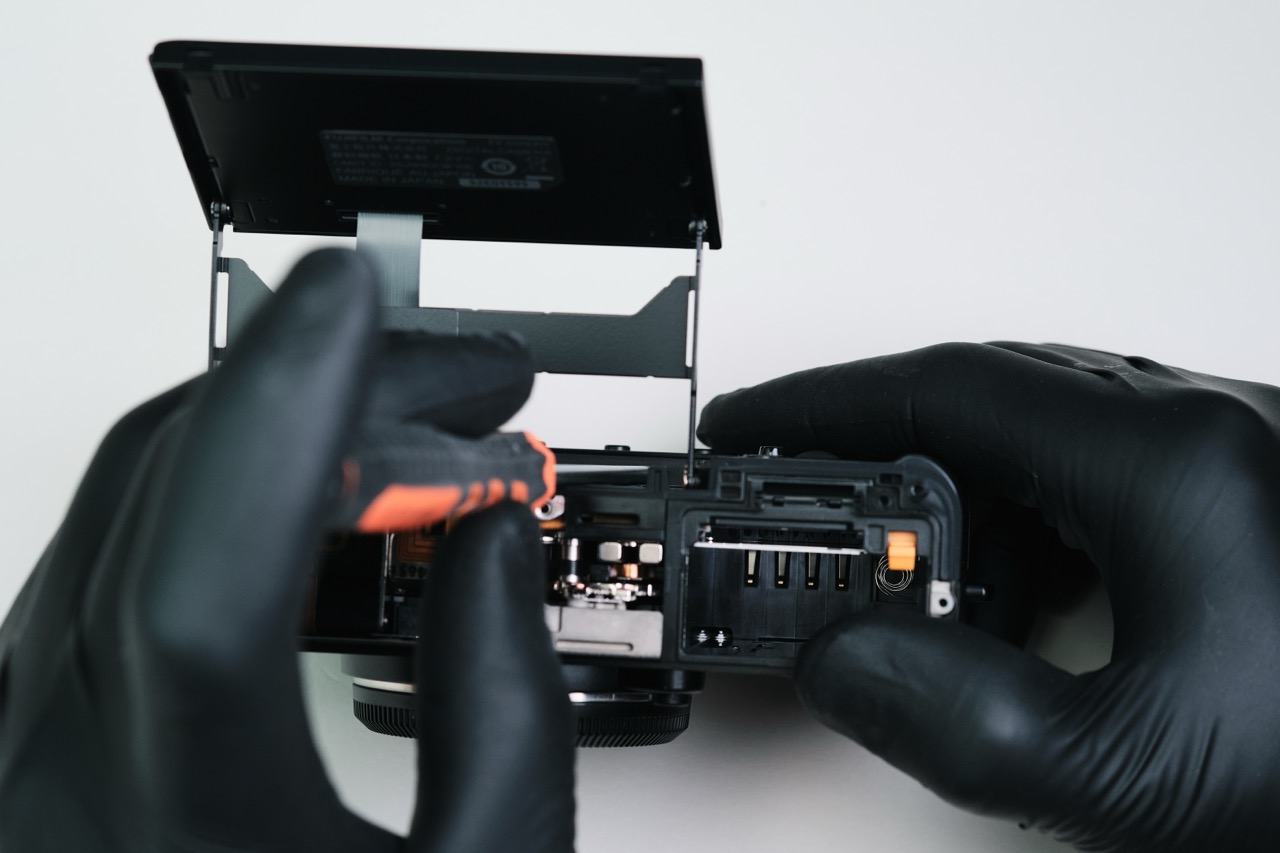
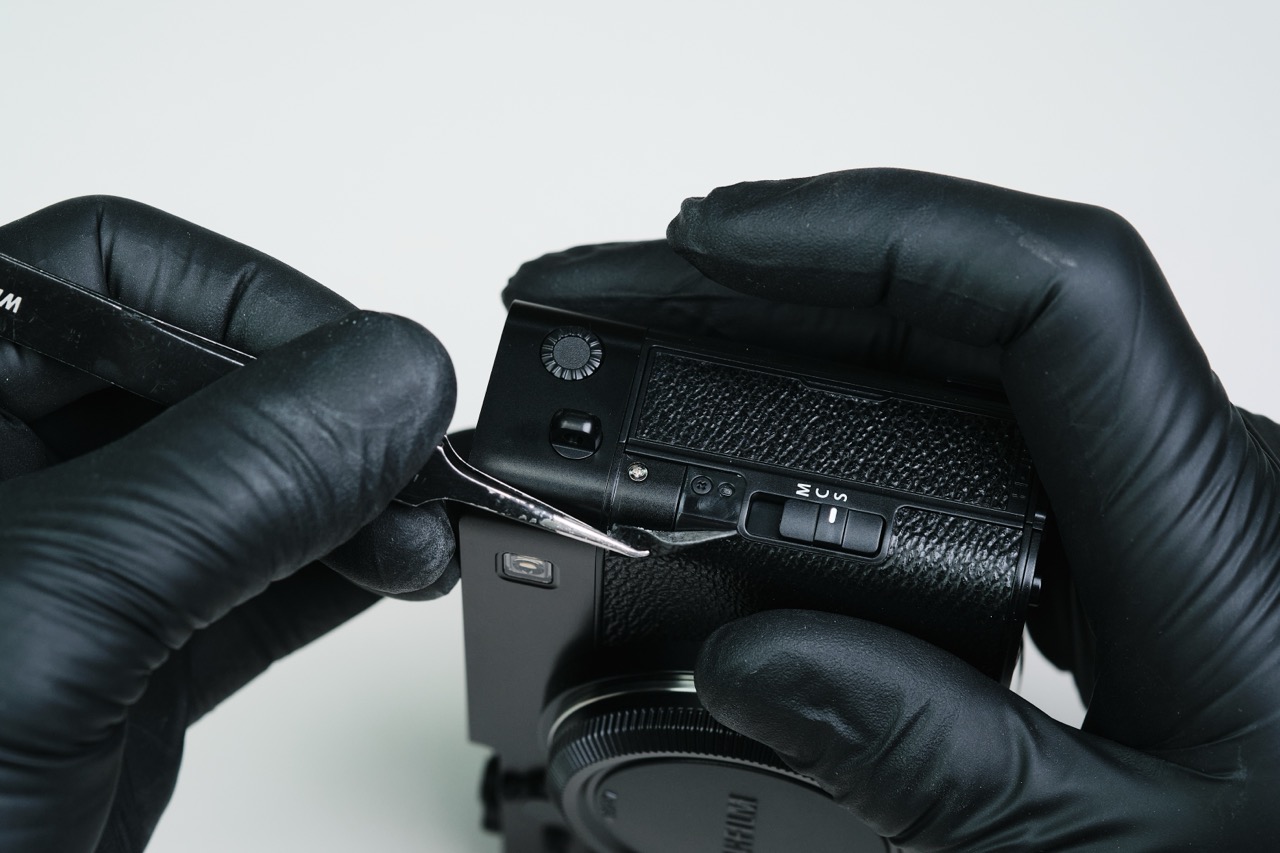
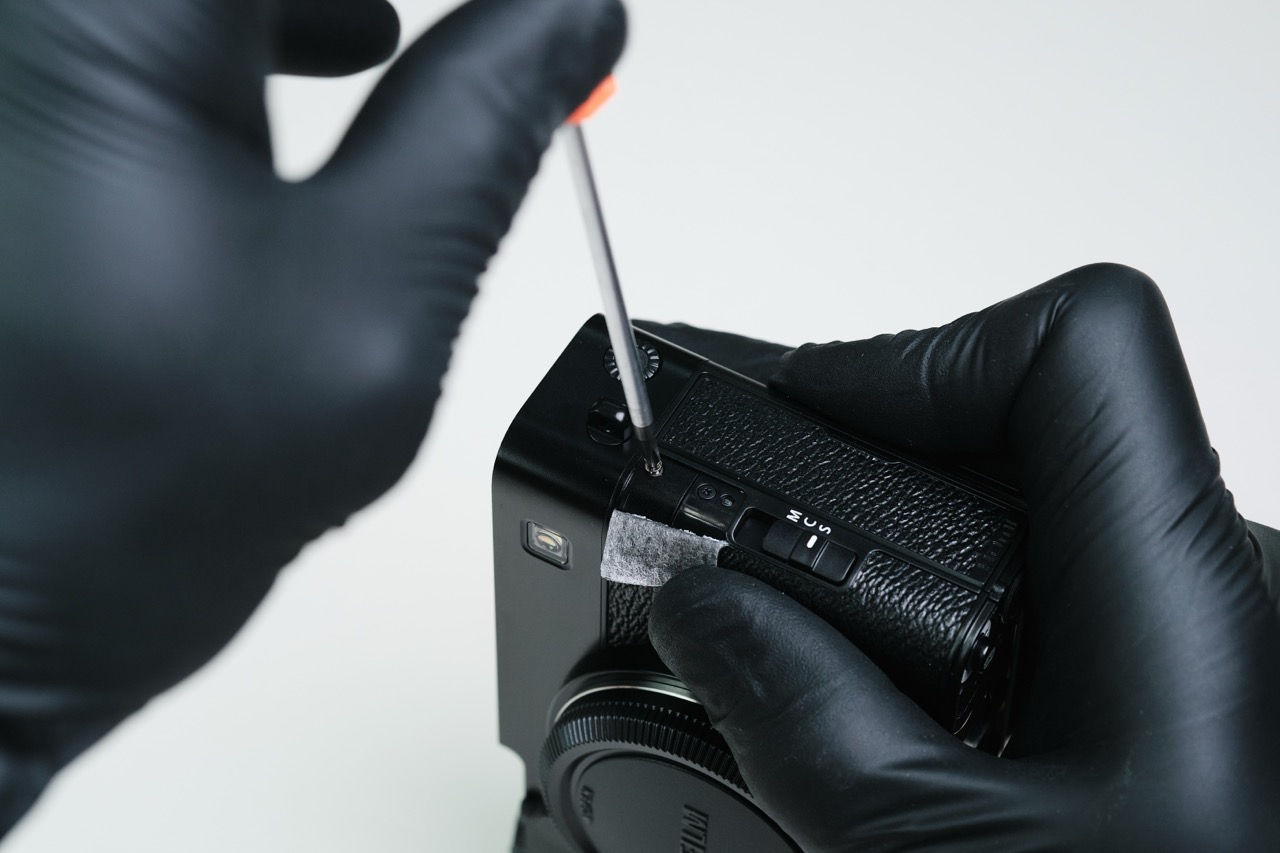
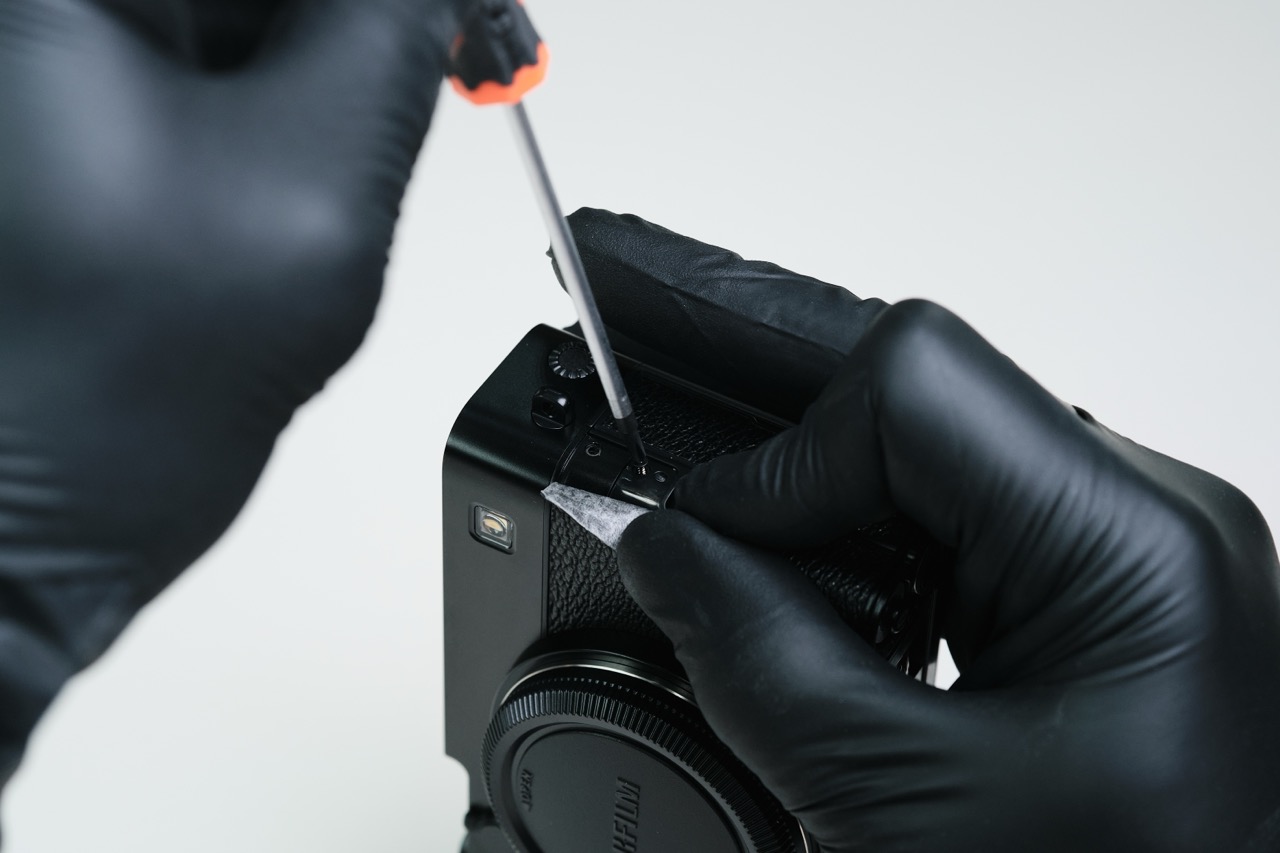
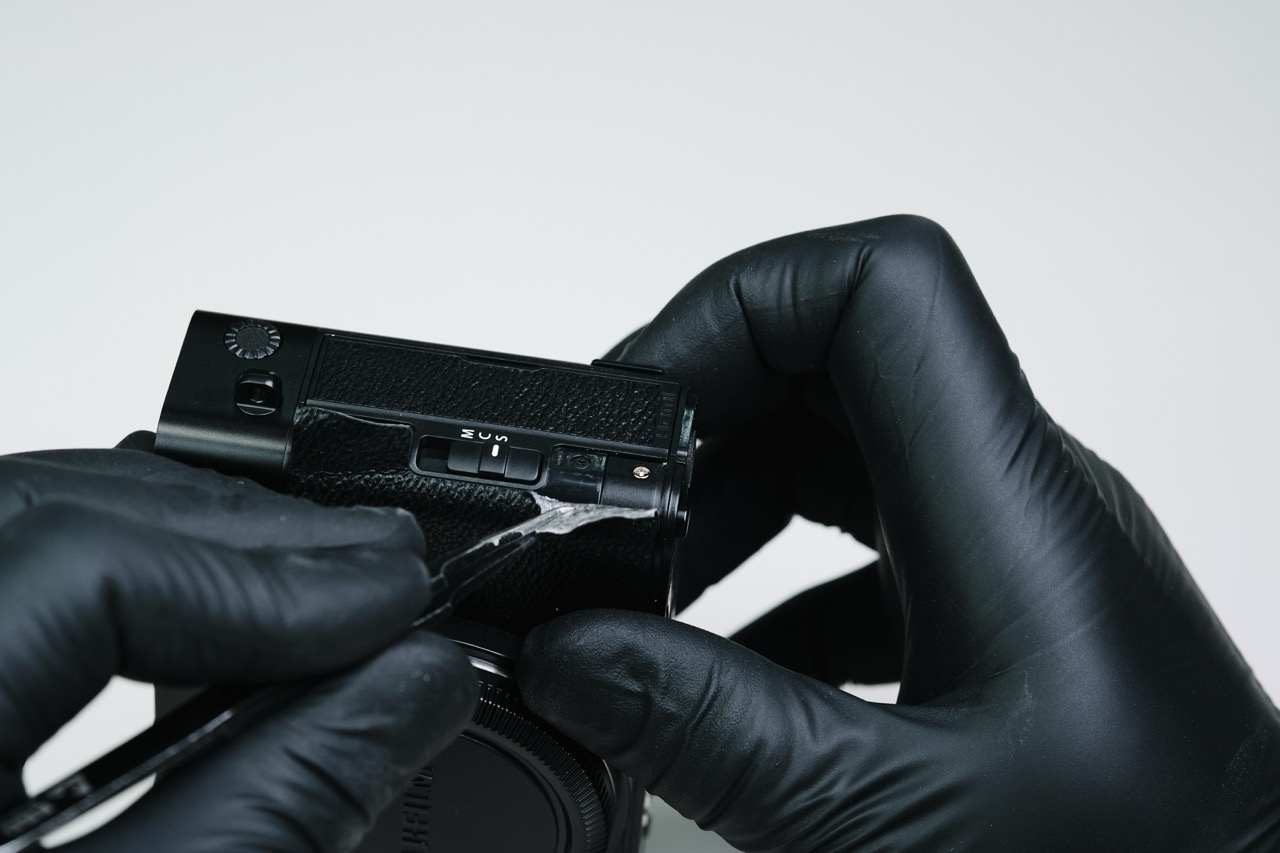
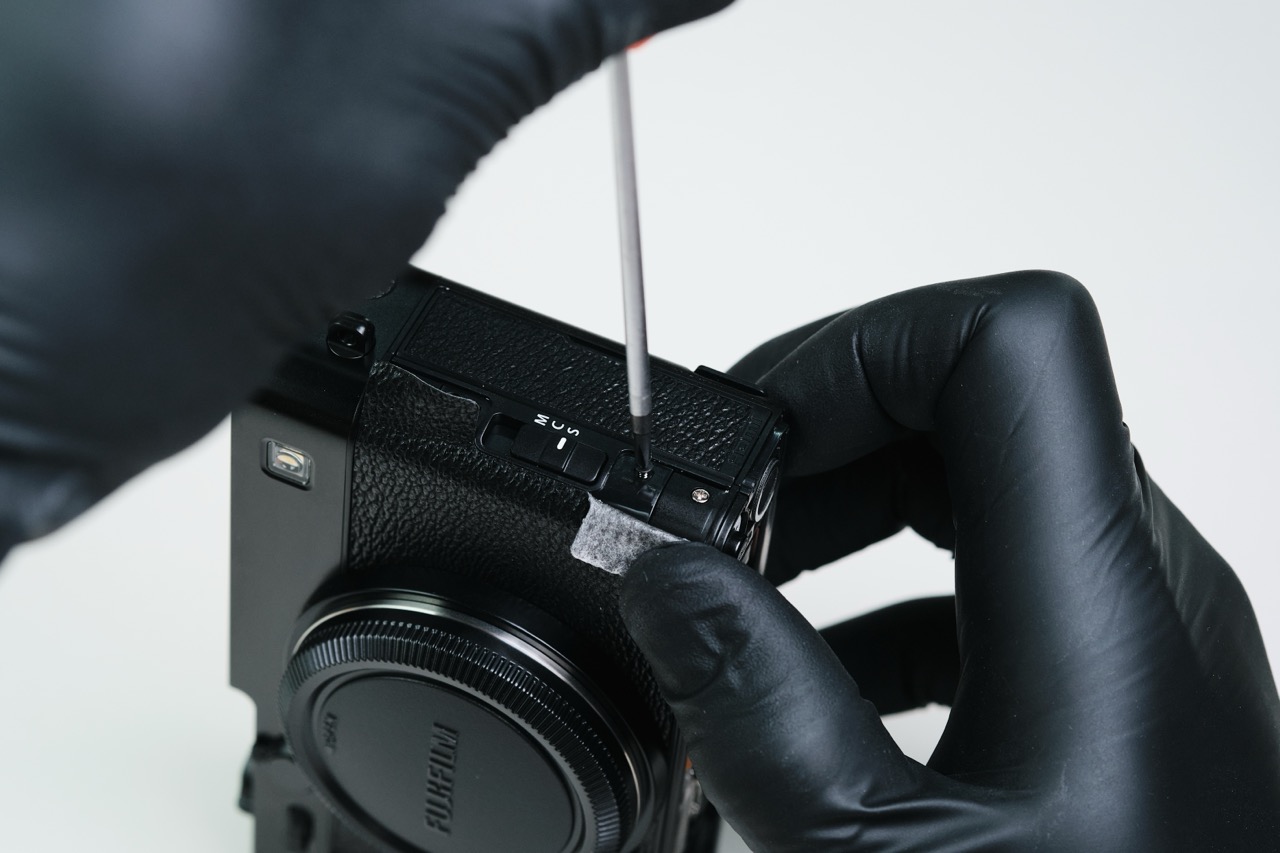
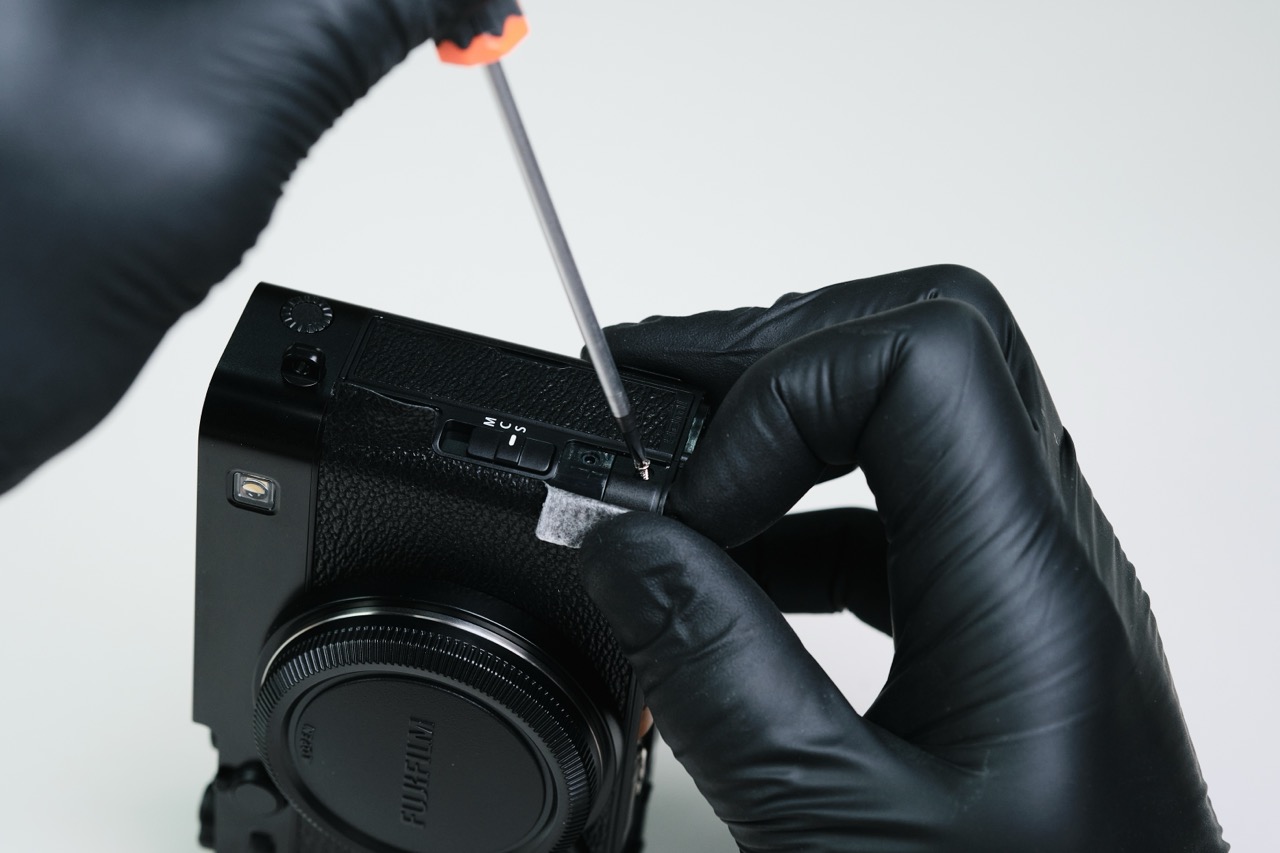
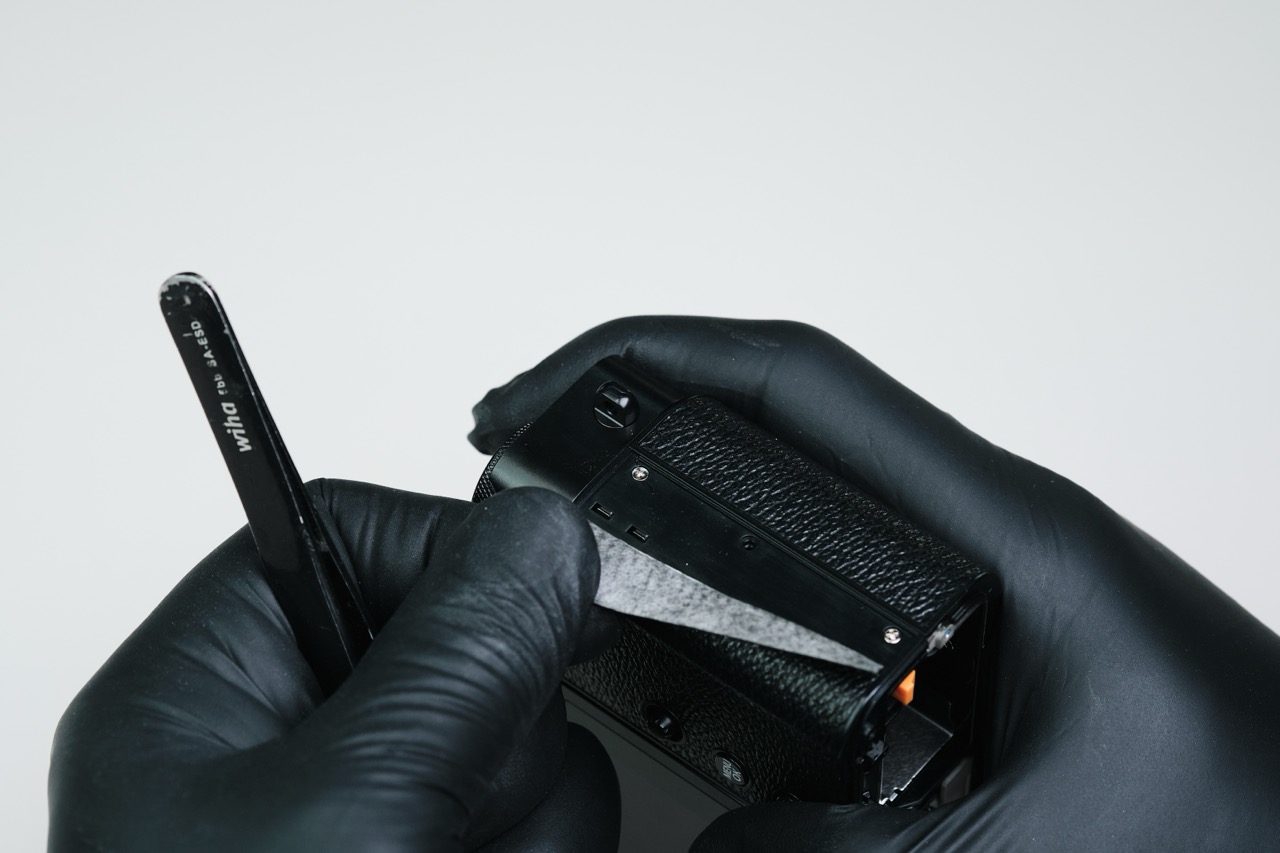
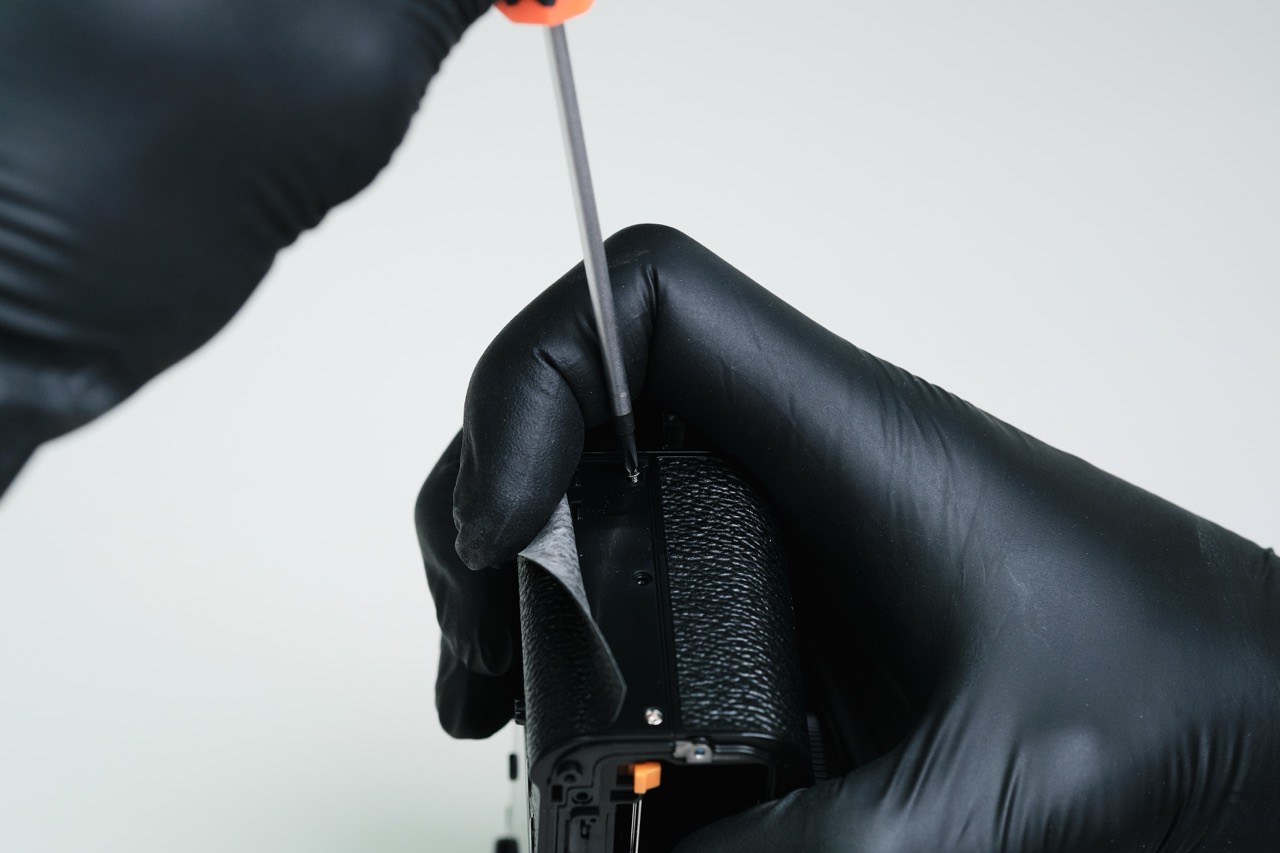
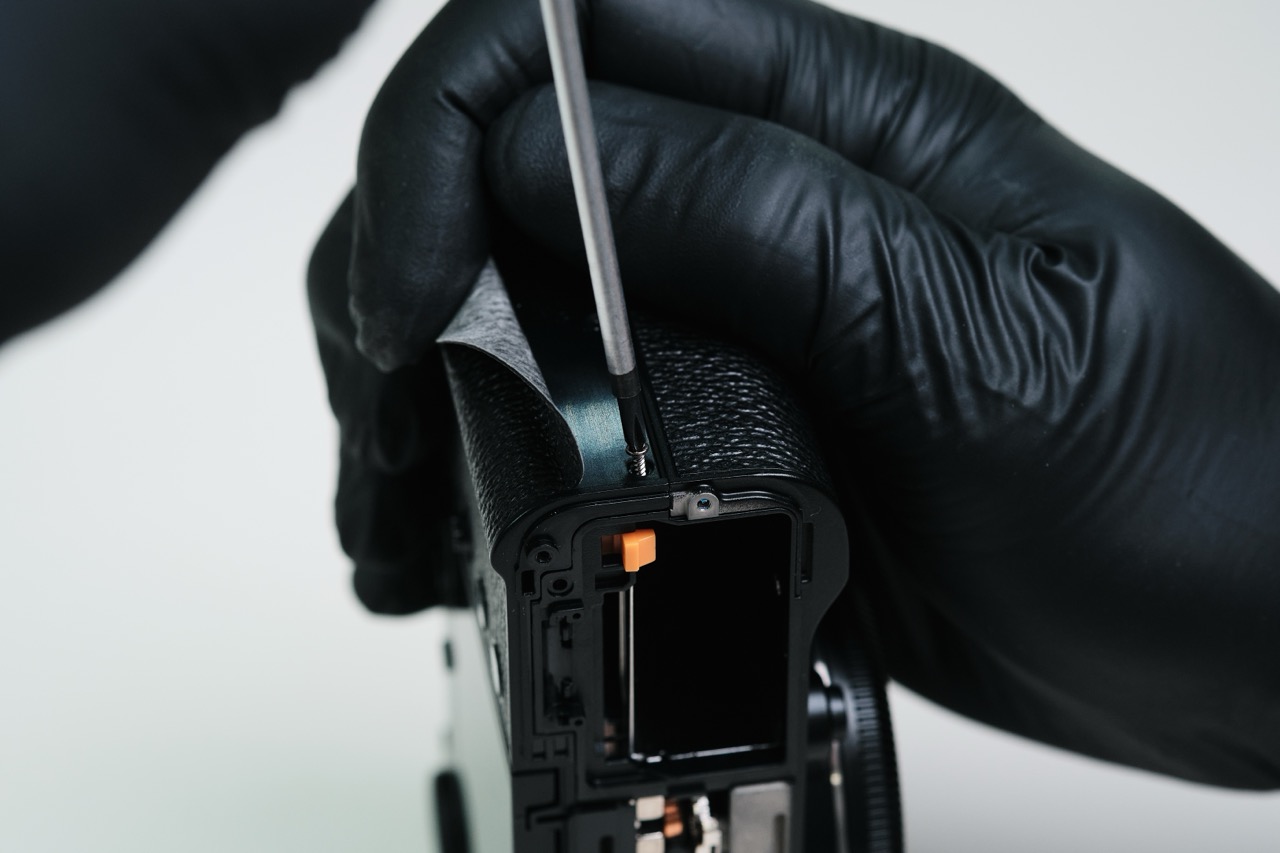
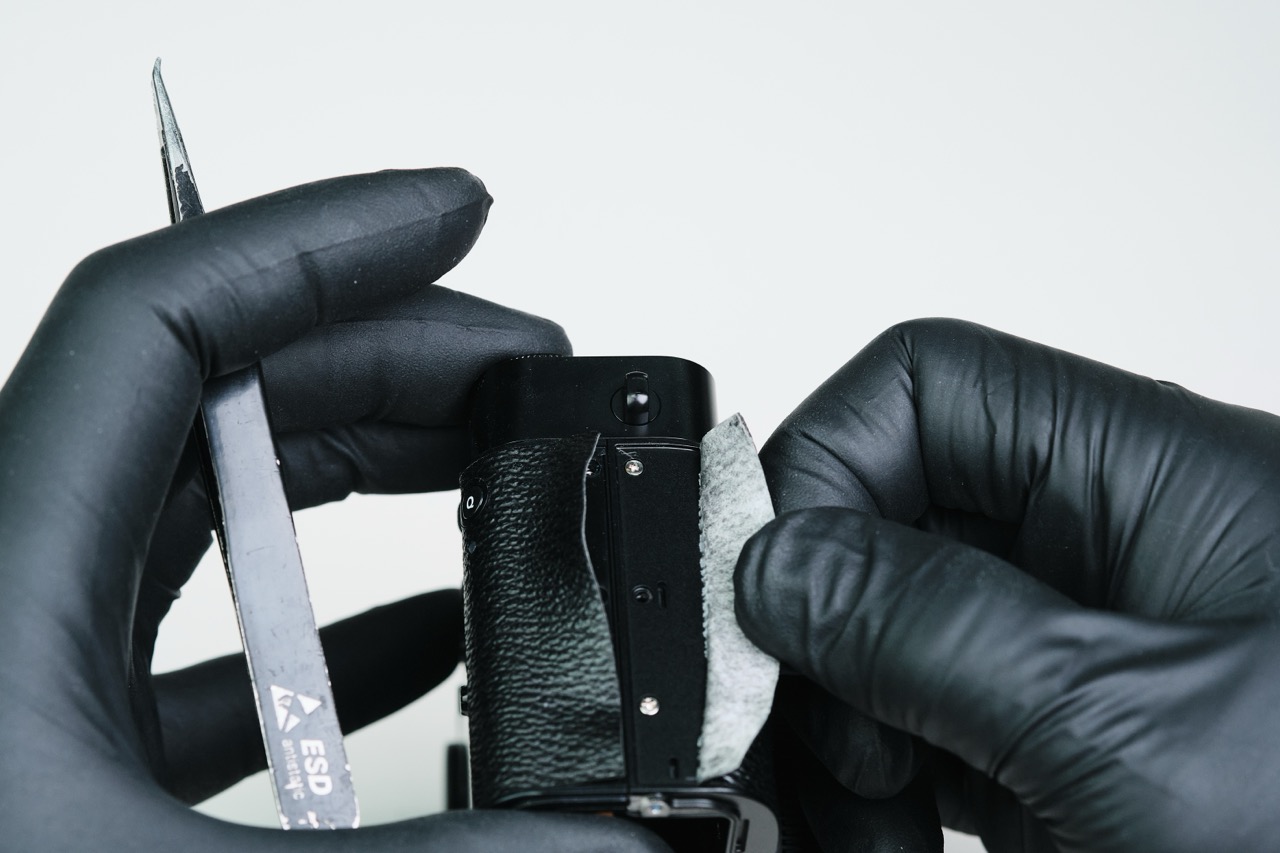
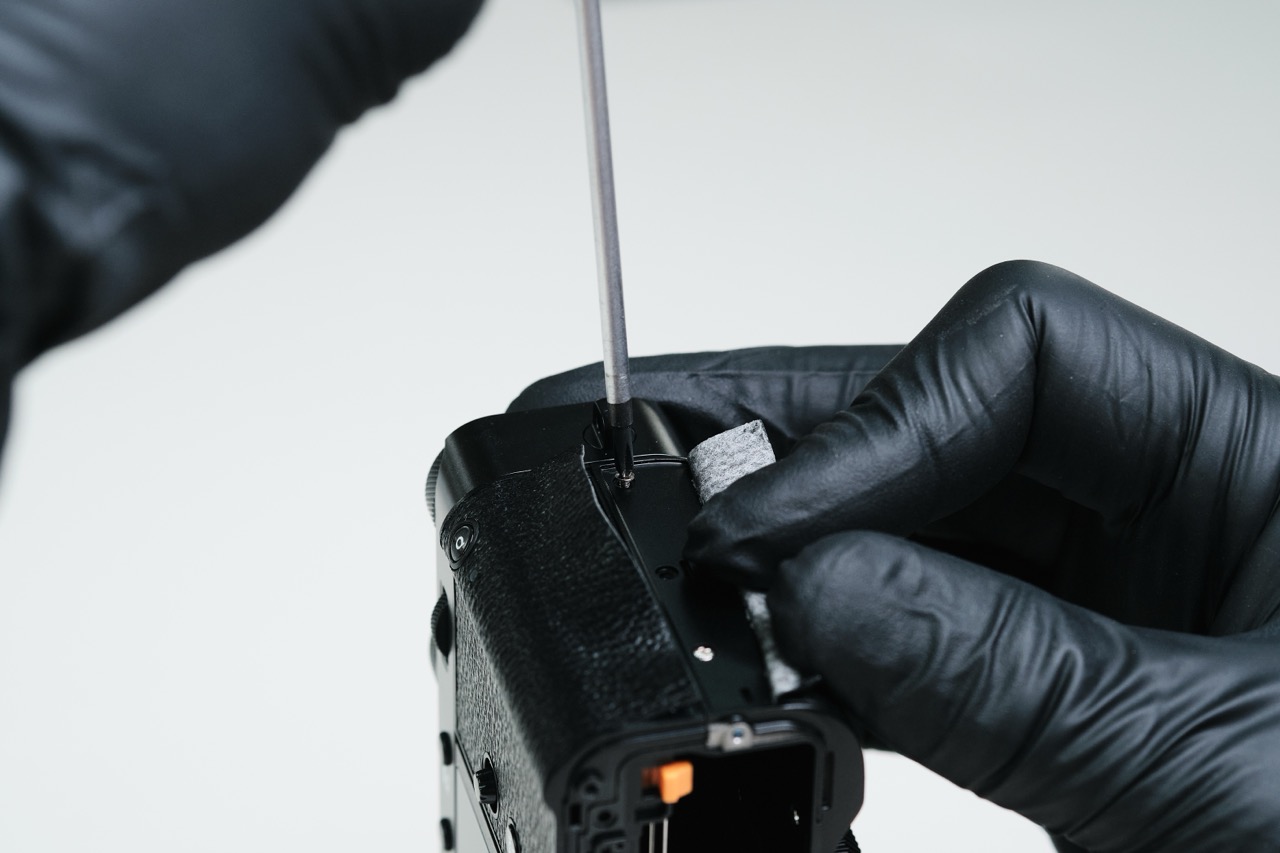
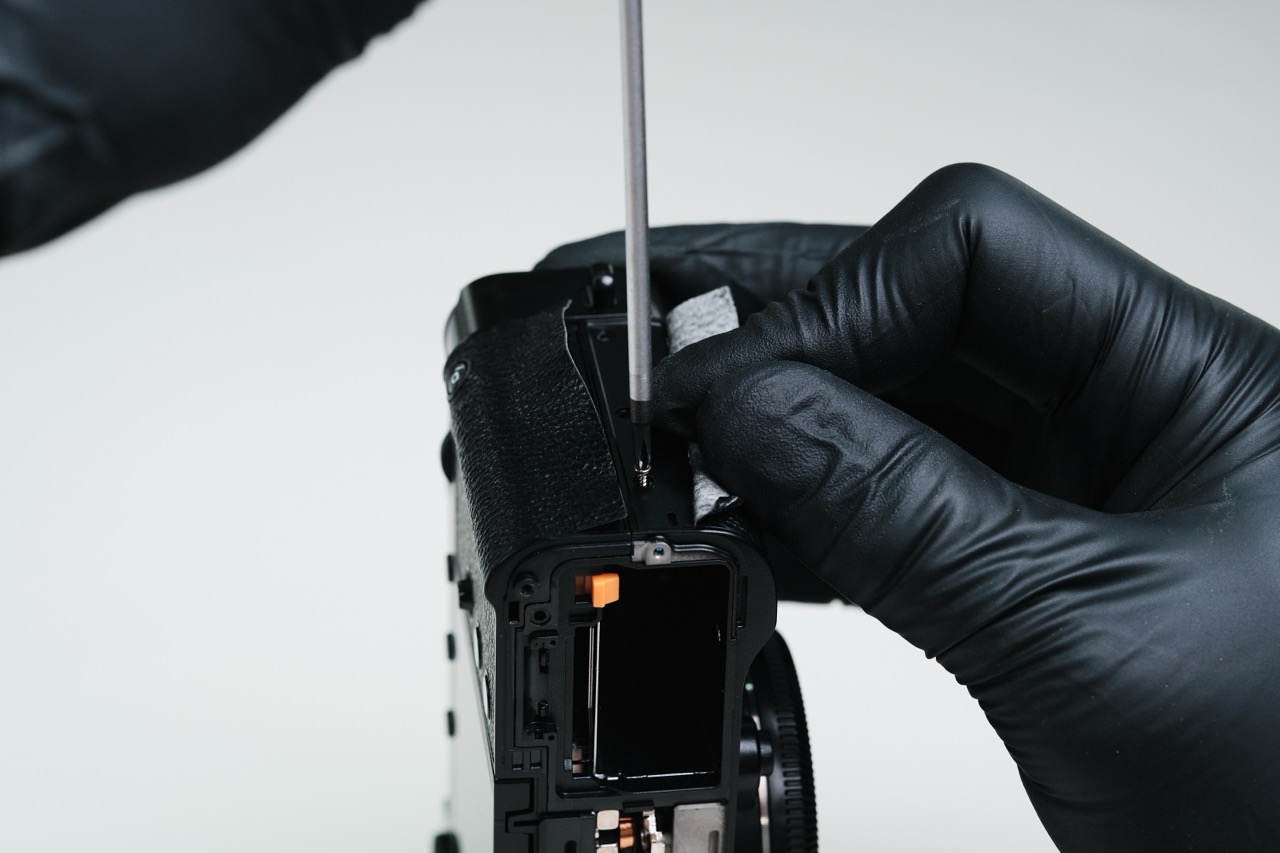
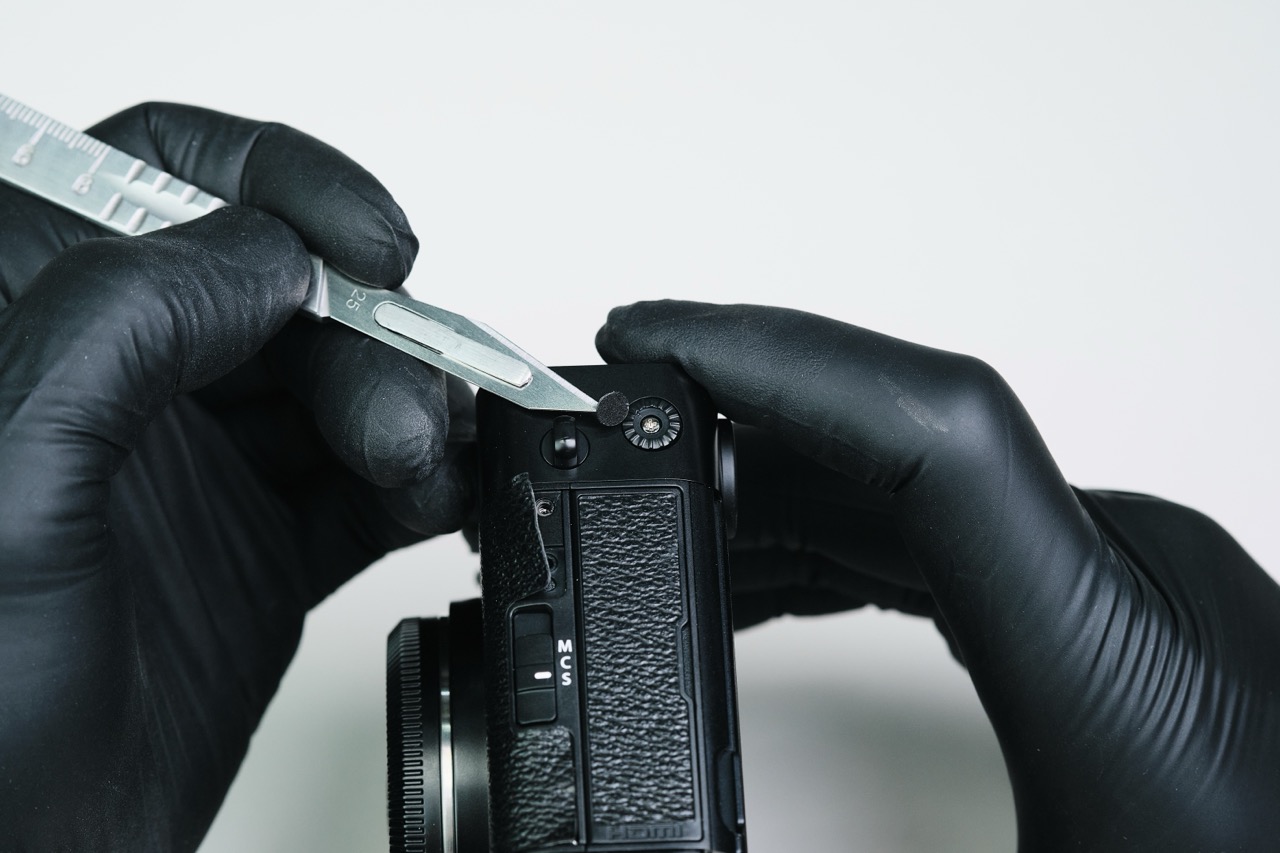
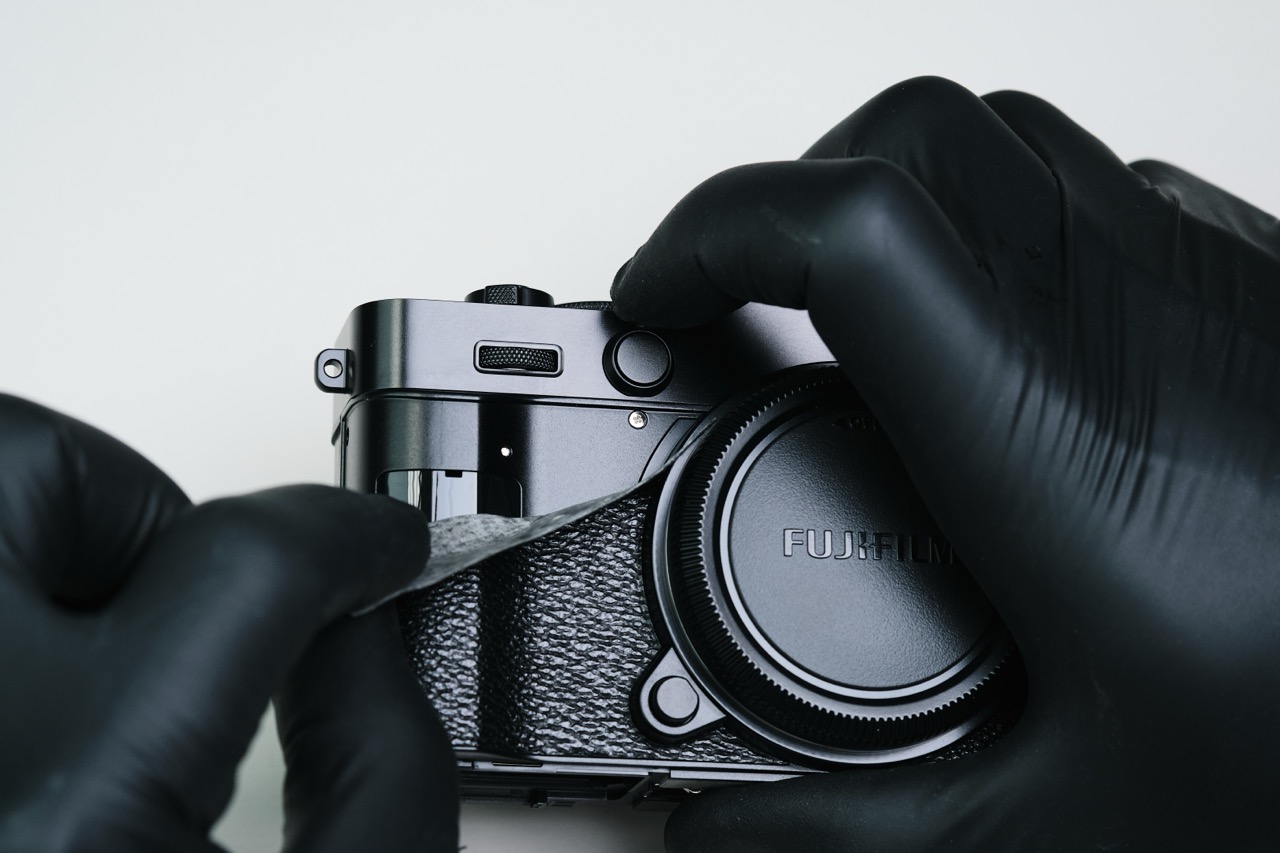
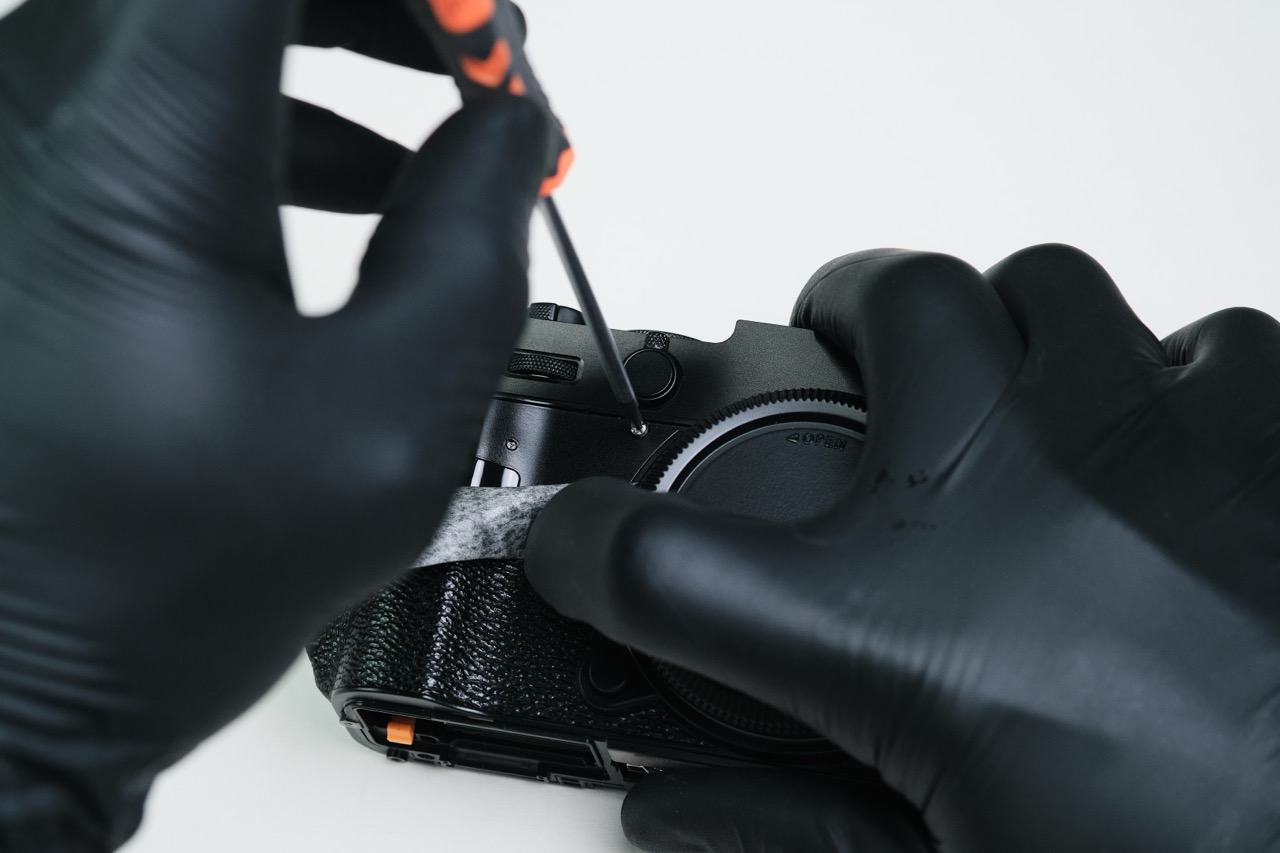
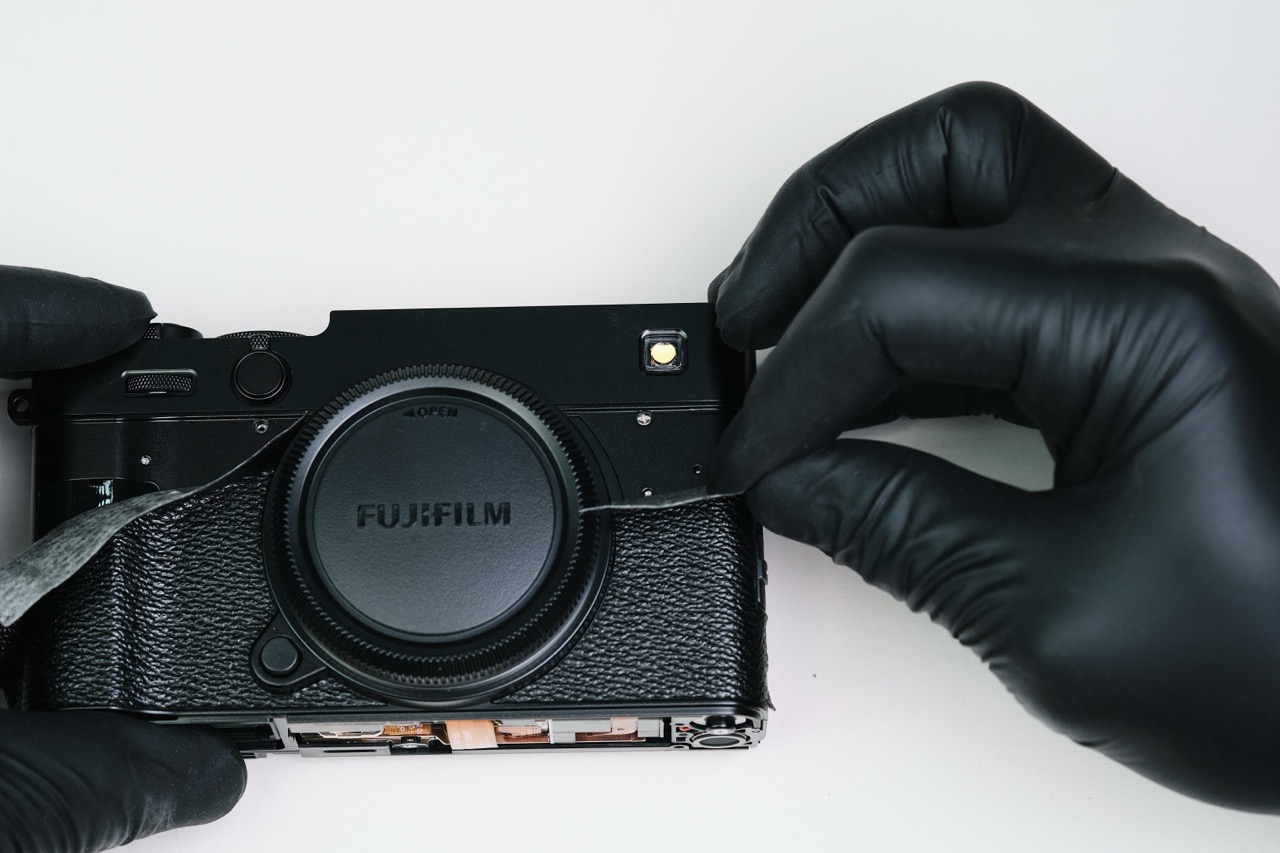
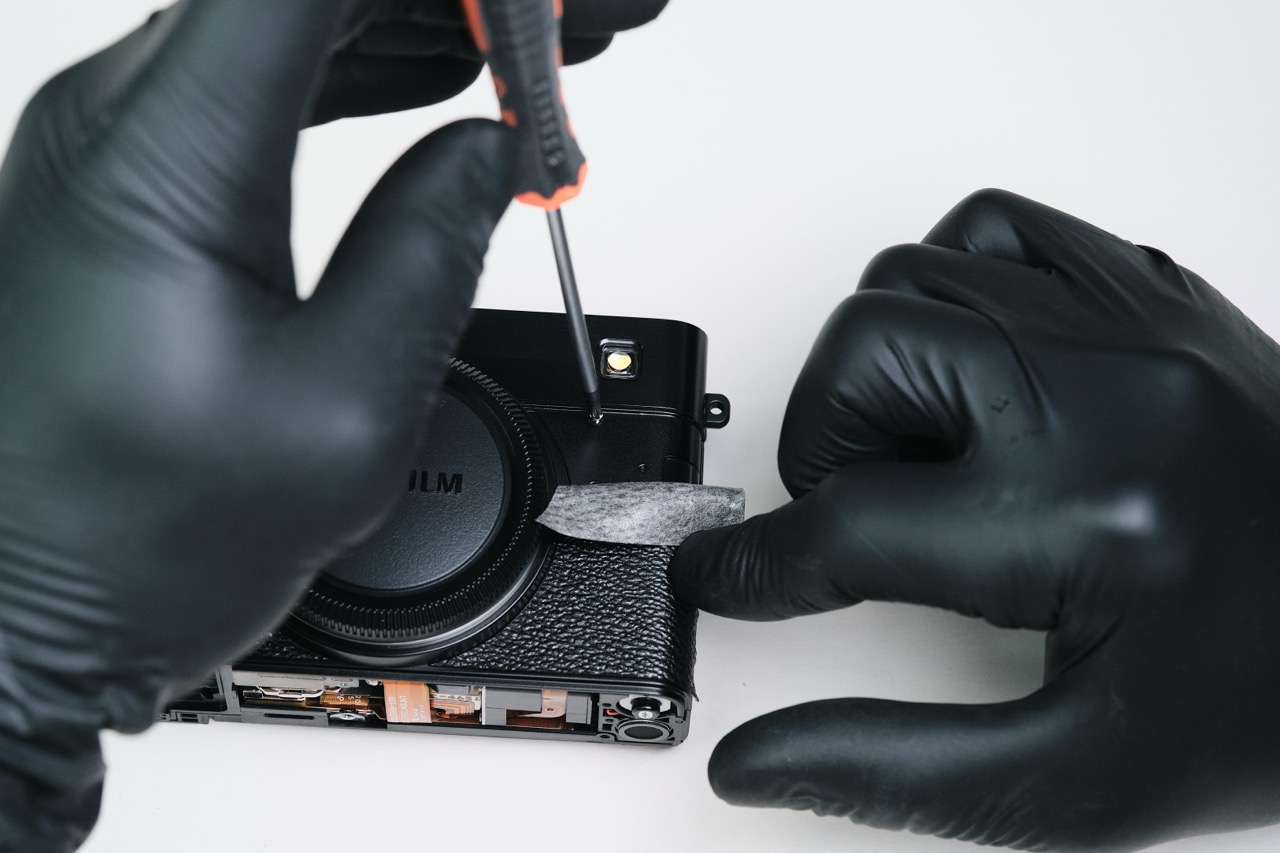
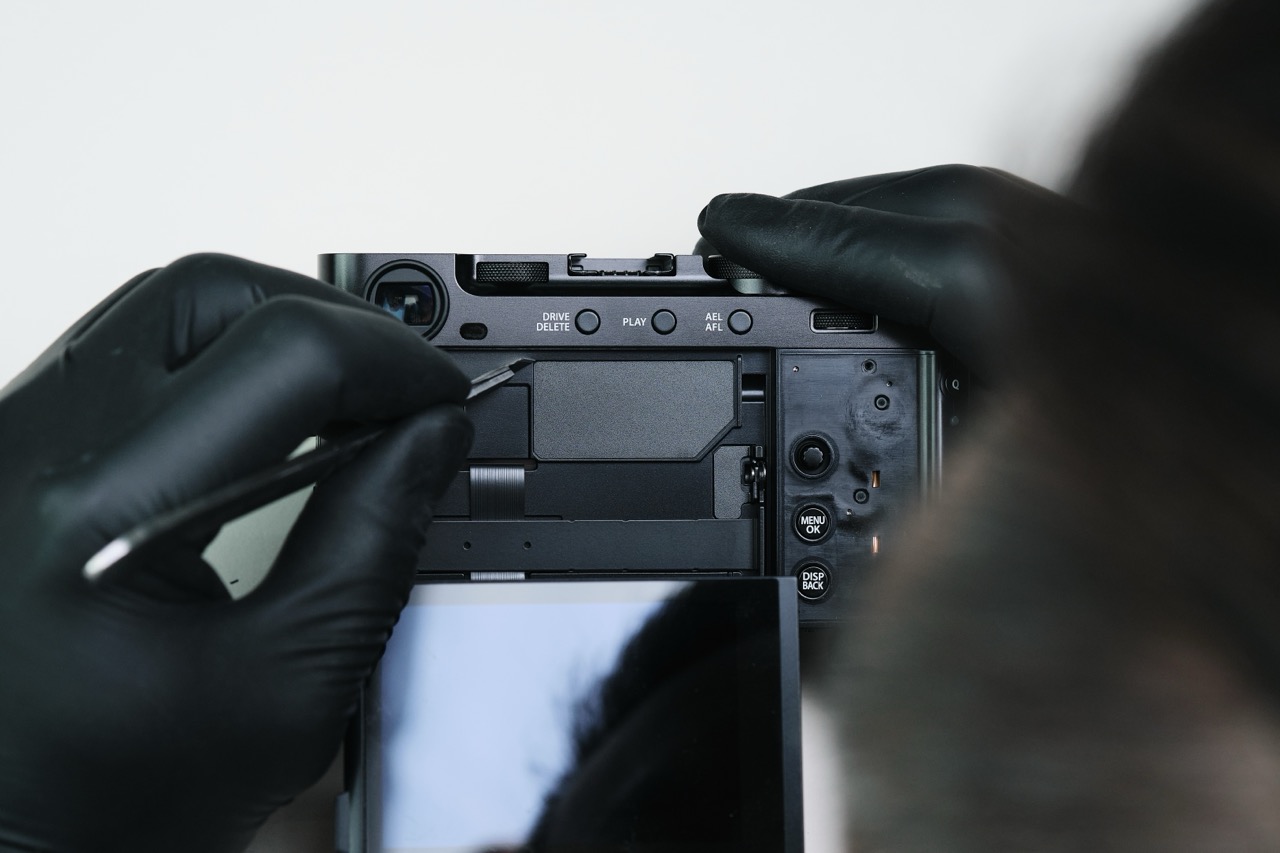
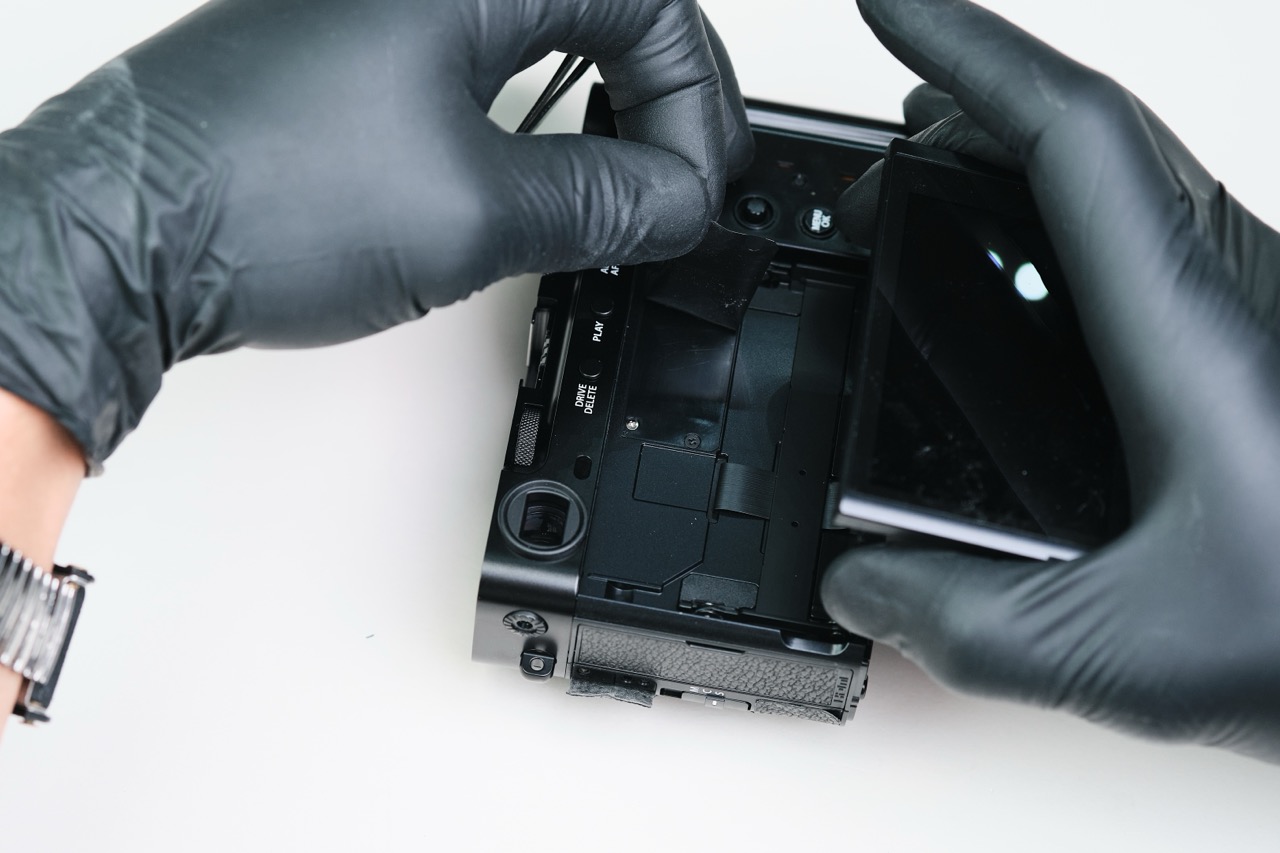
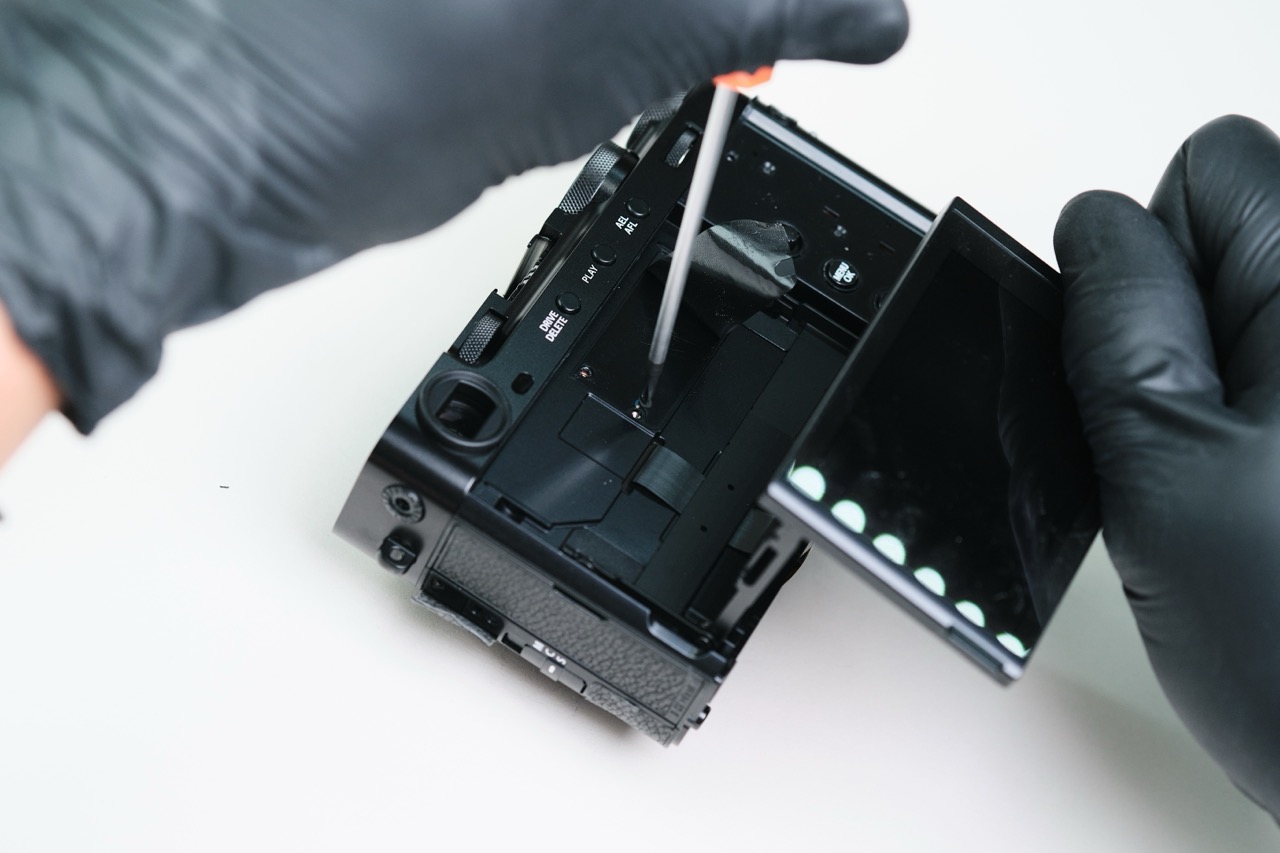
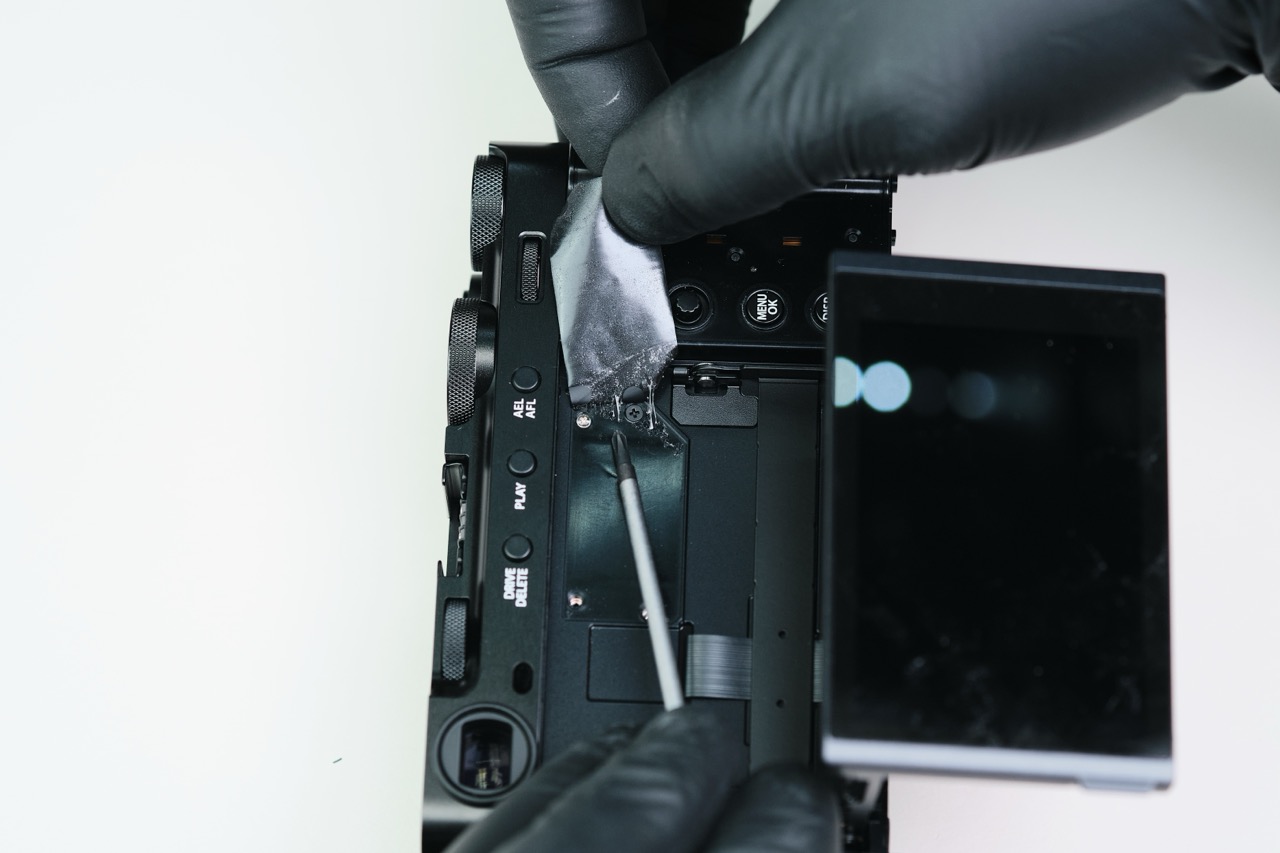
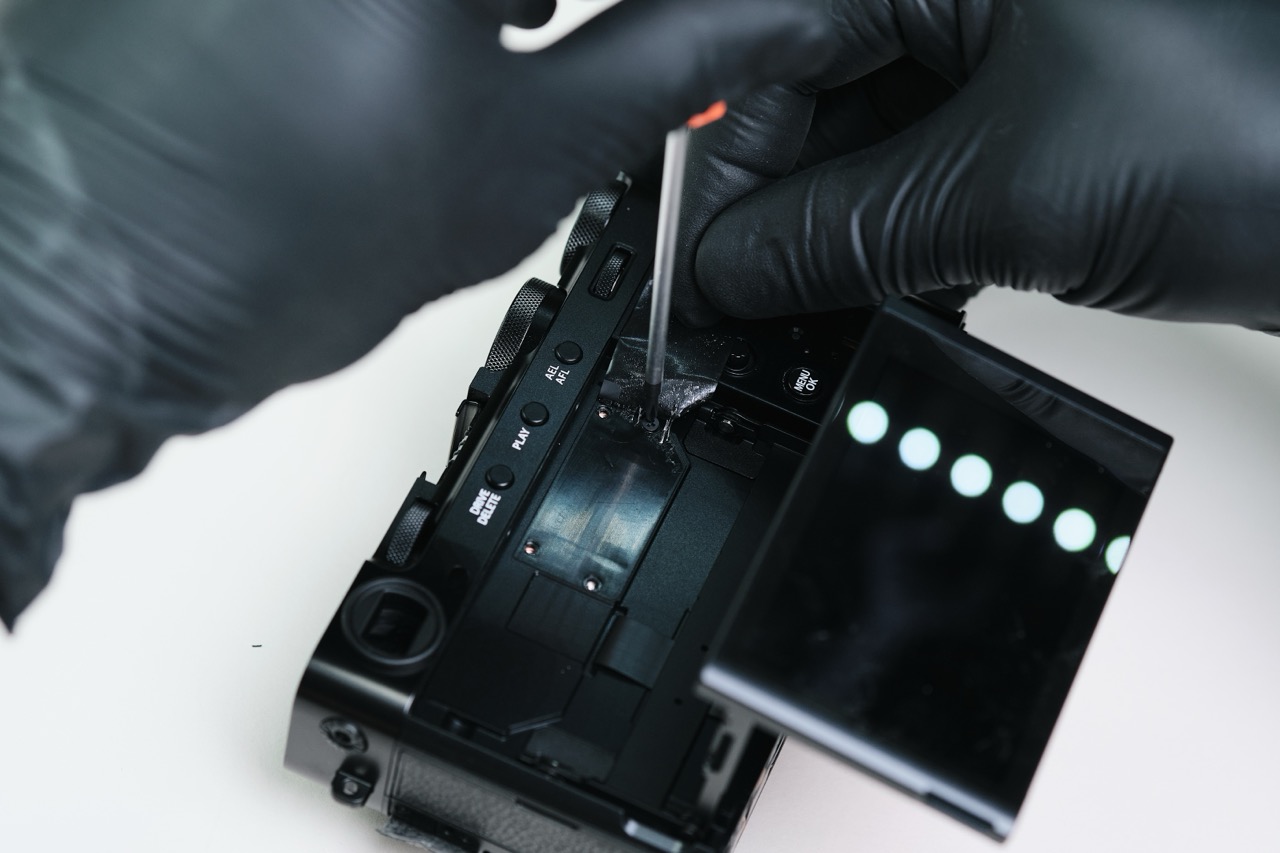
FREE SHIPPING FOR ALL DOMESTIC ORDERS OVER $100 - NO SALES TAX OUTSIDE OF NJ!
0

Fujifilm X-E5 Teardown and Disassembly

Table of content

Fujifilm X-E5 Teardown and Disassembly

Written by Phillip Andrew Iglesias

Lifestyle Photos 20224315 Full Size Large

The Fujifilm X-E5 was launched on June 12, 2025 as part of their mirrorless X-E camera series. This follows its predecessor, the X-E4, which was discontinued in 2023. The camera is heavy with features, namely a high 40.2 megapixel sensor

Fortunately, the Fujifilm X-E5 features a deep mount style, which allows for full lens compatibility with our Magnetic Clip-in Filters for Fujifilm X-mount cameras. Fujifilm’s lineup of cameras vary between deep and shallow style inner mounts, both older and newer models, and there isn’t an official source that states which model features which style mount. Thankfully, our crowdsourced data sheet contains updated information so photographers can see which lenses and camera body combinations are compatible with our clip-in filters.

All that said, let’s get into this teardown!

As with nearly all teardowns, we start with removing the baseplate of the camera. The baseplate is the largest and most accessible part of the camera that allows for removing screws, as most screws are located underneath things such as the leather grip, hot shoe covers, and other items. In total, there are six Philips screws that were removed. The battery cover also conveniently snaps off of the plate.

Lifestyle Photos 20224328 Full Size Large

Here is the X-E5 without the baseplate.

Three screws are located on the underside of the top panel. This is somewhat of an atypical screw placement from what we’ve seen, but this is likely due to the fact that the camera is so compact. This was likely a decision to save space.

Lifestyle Photos 20224339 Full Size Large

Two of the screws we removed earlier also held down the tripod mount piece. Without the screws, the tripod mount piece easily falls out of place.

Lifestyle Photos 20224343 Full Size Large
Lifestyle Photos 20224344 Full Size Large

The port side of the camera had two visible screws underneath the panel covers.

There were several hidden screws beneath the camera’s leather cover. Typically, many of the camera’s screws are placed underneath the leather grip to maintain the camera’s clean aesthetic.

The handle side of the camera had four screws underneath the leather.

Lifestyle Photos 20224366 Full Size Large 1
Lifestyle Photos 20224367 Full Size Large

Further removing the leather grip revealed only one more screw on the backside of the camera.

Lifestyle Photos 20224369 Full Size Large

Removing the hot shoe cover showed that there aren’t any screws to be removed here.

The diopter knob usually has a cover with a screw beneath it. This is also true in the case of the Fujifilm X-E5.

The front panel has two screws in total beneath the leather covering.

At this point, we still weren’t able to access the circuitboard despite removing what seemed to be all of the exterior screws. After further inspection, a large piece of tape was hiding screws behind the LCD panel. This discovery allowed us to remove all of the screws and finally access the circuitboard.

We had to be careful when opening the back of the camera, as there were two ribbon cables that connected the LCD backplate to the main body.

Lifestyle Photos 20224416 Full Size Large
Lifestyle Photos 20224421 Full Size Large

Here is the Fujifilm X-E5 circuitboard and backplate. The backplate is lined with a copper interior to assist with heat dissipation.

Lifestyle Photos 20224423 Full Size Large
Lifestyle Photos 20224425 Full Size Large
Lifestyle Photos 20224445 Full Size Large
Lifestyle Photos 20224452 Full Size Large

Removing these two ribbon cables allowed us to take the top plate off.

Lifestyle Photos 20224426 Full Size Large
Lifestyle Photos 20224427 Full Size Large
Lifestyle Photos 20224429 Full Size Large
Lifestyle Photos 20224437 Full Size Large

Backtracking a little bit, several ribbon cables surrounded the perimeter of the circuitboard which connects other peripherals to the board. Two on the right, and six lining the bottom. Counting the two ribbon cables from the top plate, there were ten ribbon cables altogether.

Lifestyle Photos 20224438 Full Size Large
Lifestyle Photos 20224440 Full Size Large
Lifestyle Photos 20224442 Full Size Large
Lifestyle Photos 20224444 Full Size Large
Lifestyle Photos 20224463 Full Size Large
Lifestyle Photos 20224464 Full Size Large

The PCB is held down with four screws on each corner of the board, along with two more screws closer in the center.

Lifestyle Photos 20224468 Full Size Large
Lifestyle Photos 20224467 Full Size Large
Lifestyle Photos 20224469 Full Size Large
Lifestyle Photos 20224471 Full Size Large

It’s important to note that one of the ribbon cables is slotted through the circuitboard. We needed to make sure that it was carefully removed before the circuitboard is lifted so it isn’t accidentally torn.

Lifestyle Photos 20224475 Full Size Large
Lifestyle Photos 20224480 Full Size Large

Here is the front and back of the circuitboard.

Lifestyle Photos 20224485 Full Size Large

This is the interior of the camera beneath the circuitboard. All we need to do now is extract the sensor.

Lifestyle Photos 20224495 Full Size Large
Lifestyle Photos 20224496 Full Size Large
Lifestyle Photos 20224503 Full Size Large
Lifestyle Photos 20224507 Full Size Large

There are usually more steps when it comes to removing the camera sensor, but it appeared that it was only held down by three screws. The ribbon cables that are attached to the sensor were already removed earlier.

Lifestyle Photos 20224518 Full Size Large
Lifestyle Photos 20224535 Full Size Large
Lifestyle Photos 20224538 Full Size Large

The camera sensor is finally removed.

Lifestyle Photos 20224520 Full Size Large
Lifestyle Photos 20224524 Full Size Large
Lifestyle Photos 20224526 Full Size Large
Lifestyle Photos 20224531 Full Size Large
Lifestyle Photos 20224533 Full Size Large

Here are more detail shots surrounding the main camera body frame.

Lifestyle Photos 20224543 Full Size Large

Thanks for reading. If you’re interested in more camera teardowns, we feature a new one every month. Be sure to sign up for our newsletter so you don’t miss them!

Leave a Reply

Your email address will not be published. Required fields are marked *

Fujifilm X-E5 Teardown and Disassembly

Fujifilm X-E5 Teardown and Disassembly

Fujifilm X-E5 Teardown and Disassembly Written by Phillip Andrew Iglesias The Fujifilm X-E5 was launched on June 12, 2025 as…
Using UV/IR Cut Hot Mirror Filters to Create Realistic Moonlight Shots from Daylight

Using UV/IR Cut Hot Mirror Filters to Create Realistic Moonlight Shots from Daylight

During nighttime, human’s eyes change from photopic vision (cone cells) to scotopic vision (rod cells). This switch allows the eye…
Sigma BF Disassembly and Teardown

Sigma BF Disassembly and Teardown

Sigma BF Disassembly & Teardown Written by Phillip Andrew Iglesias The Sigma BF is probably one of the most aesthetic-looking…
Table of content
Related Article

Product Spotlight

Comments

Leave a Reply

Your email address will not be published. Required fields are marked *

Related products

Kolari’s EU store
is now open! 

Filters and accessories now shipping from Slovenia with VAT included and quick DHL shipping.
kolaris-eu-store_is-now-open
Skip to content