The Fujifilm X-H2 was announced in September 2022 as a much-needed update to the original Fujifilm X-H1, released in 2018. Currently, the X-H2 is among Fujifilm’s most powerful video-centric cameras with the X-H2s. Before we get into the teardown, let’s talk about technical specifications.
Fujifilm X-H2 Specs and X-Mount Design
The Fujifilm X-H2 houses a whopping 40.2MP APS-C sensor, which is impressive for the form factor. Fujifilm’s website says the camera is “the world’s first APS-C camera to enable 8K/30P Apple ProRes internal recording.” It can internally record 8K/30P video in 4:2:2 10-bit color, either with an SD or Cfexpress Type B memory card.
Other features include a Fujifilm X-mount, 5.76 million dot electronic viewfinder, 3-inch vary-angle touch screen color LCD monitor, and CFexpress Type B card/SD memory card slots.
Let’s dive in.
Starting the Fujifilm X-H2 Teardown
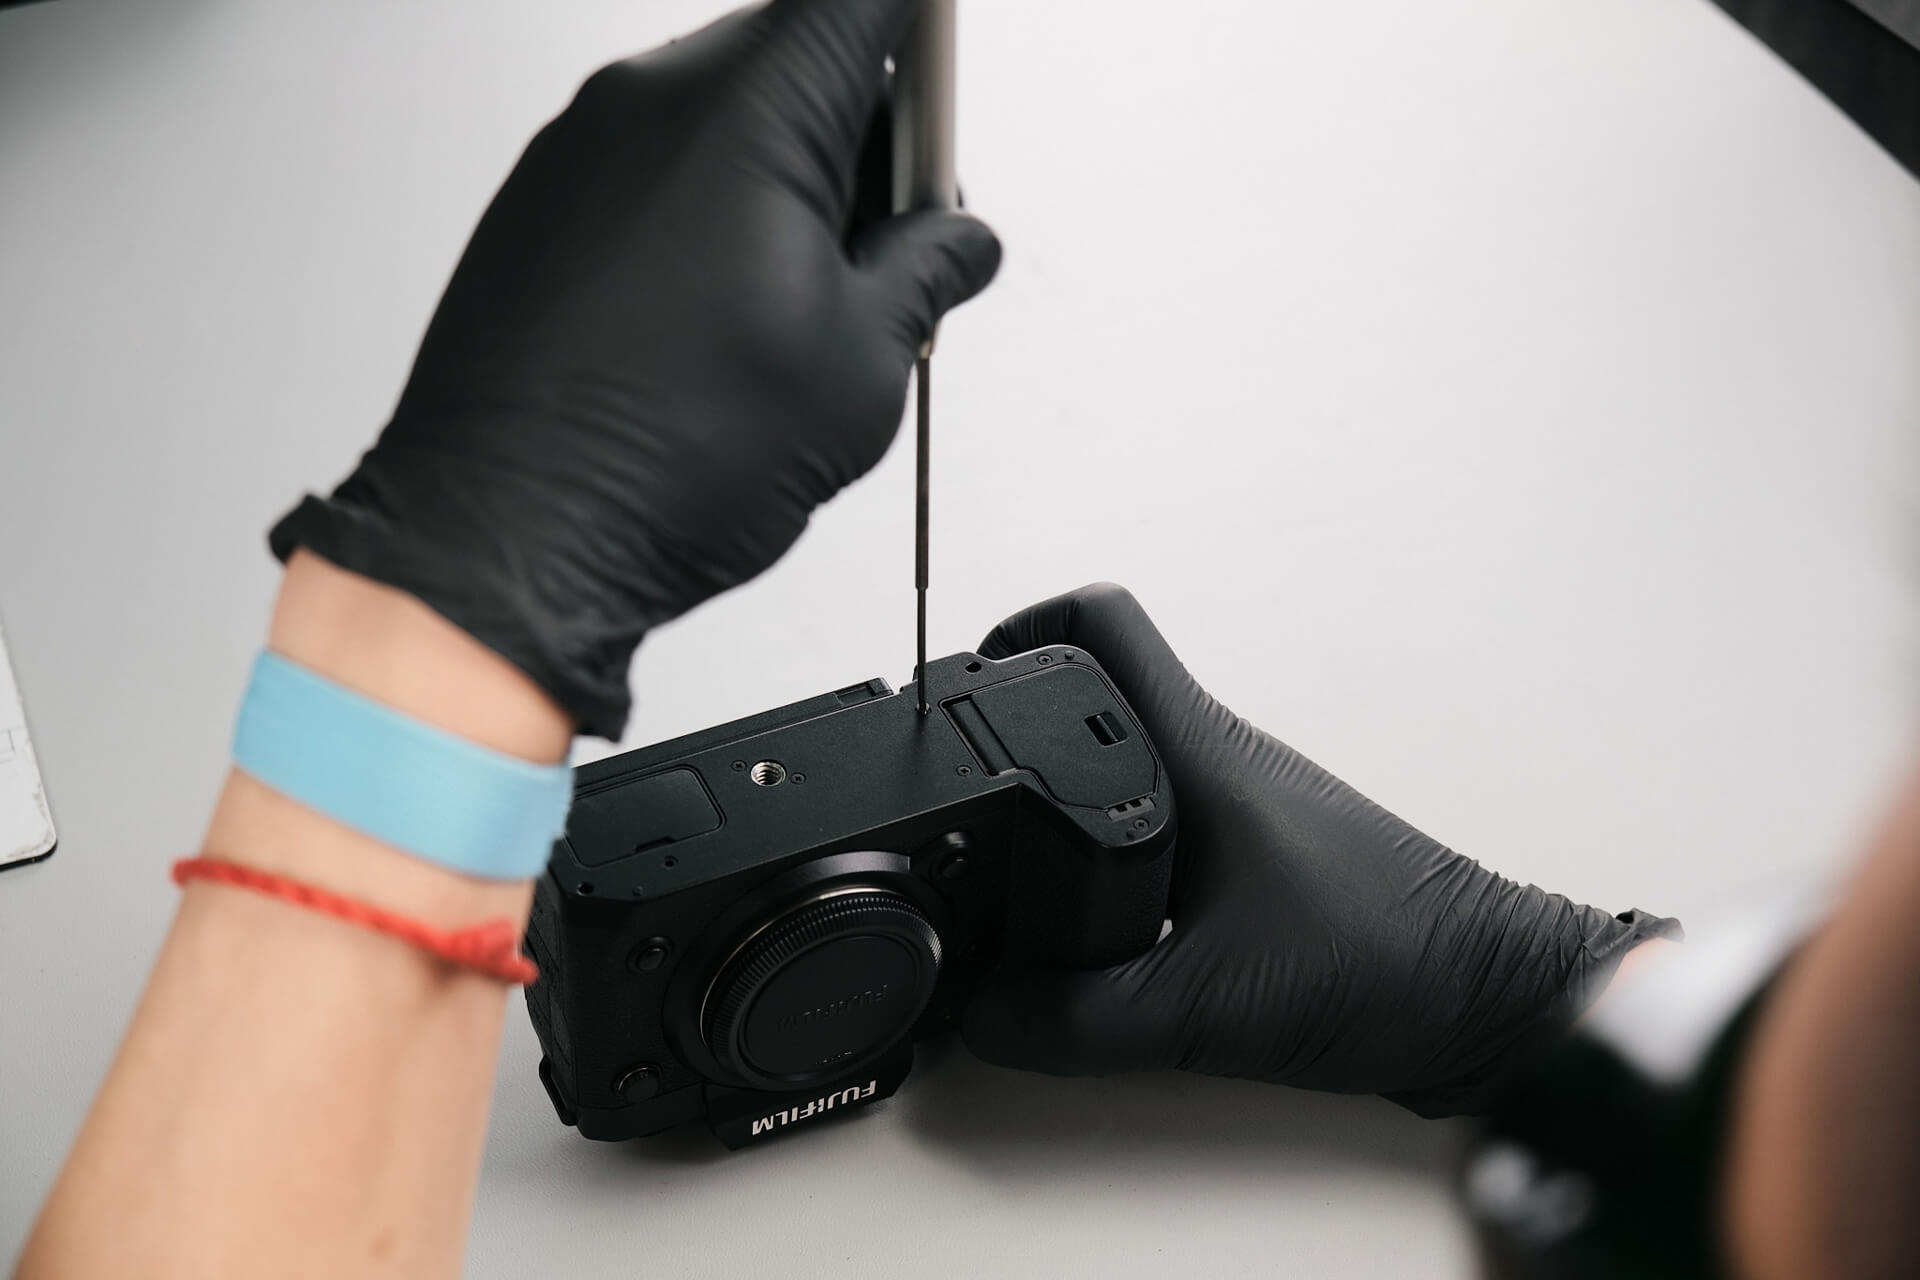
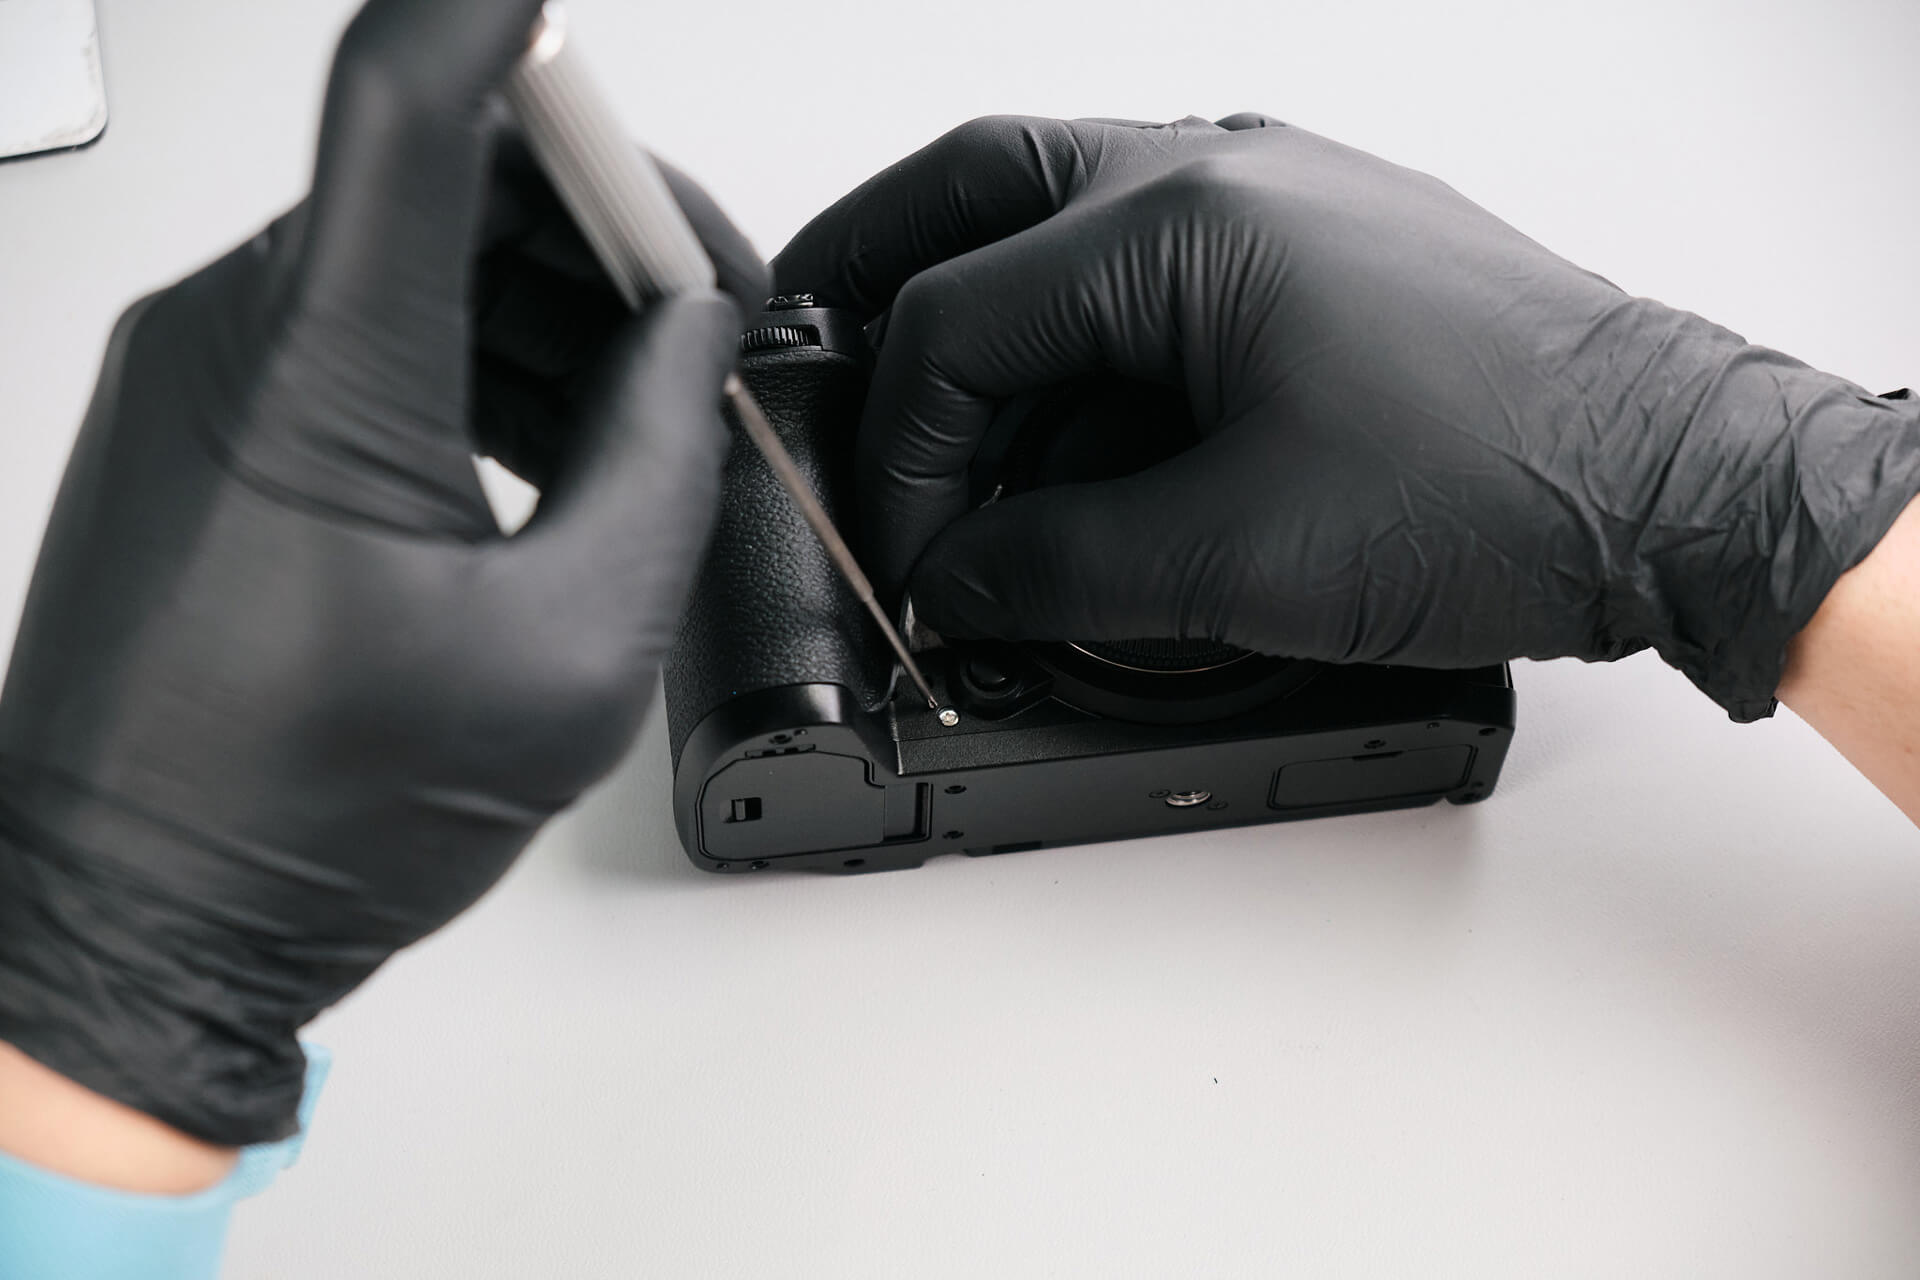
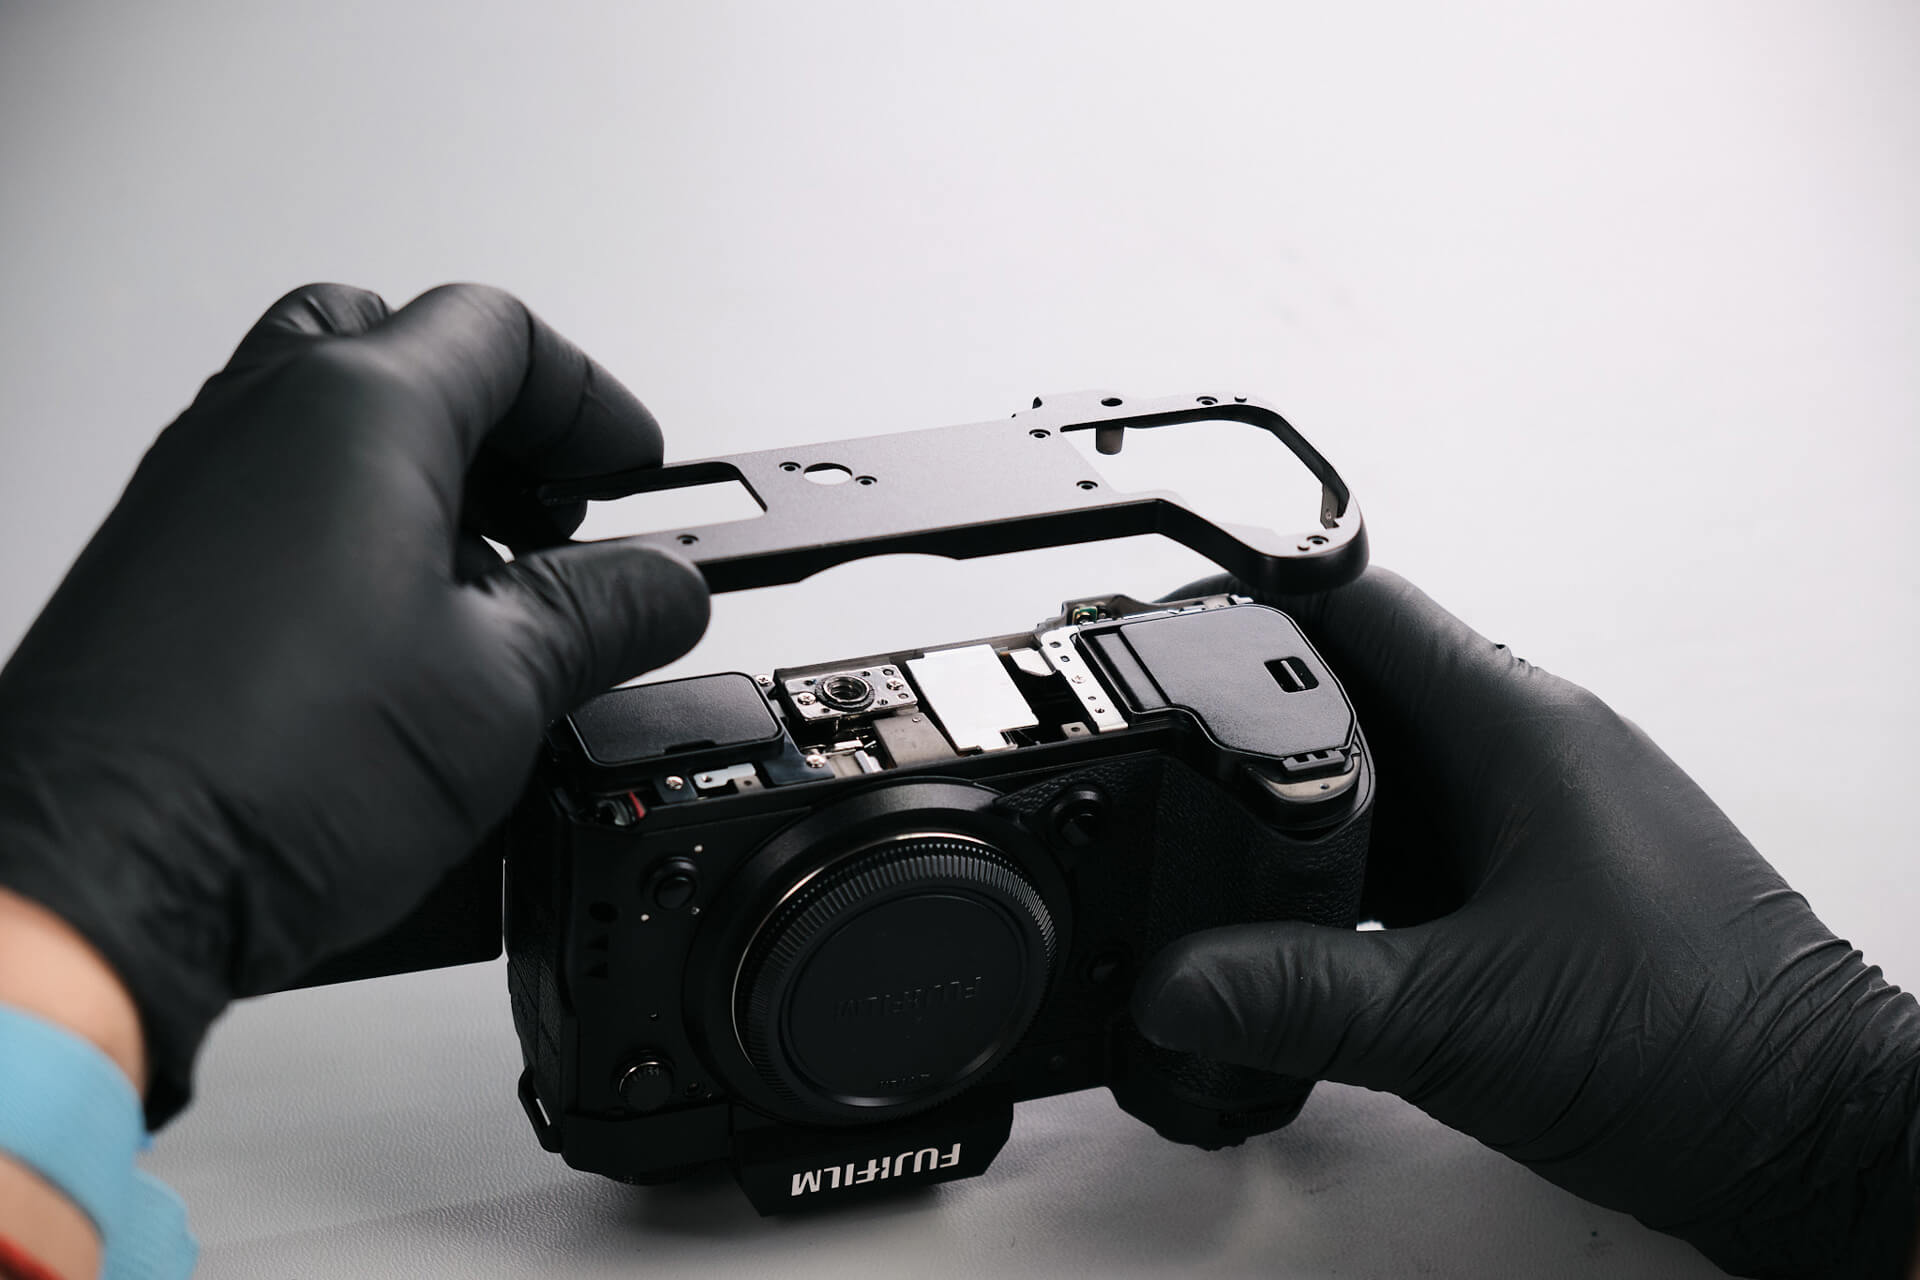
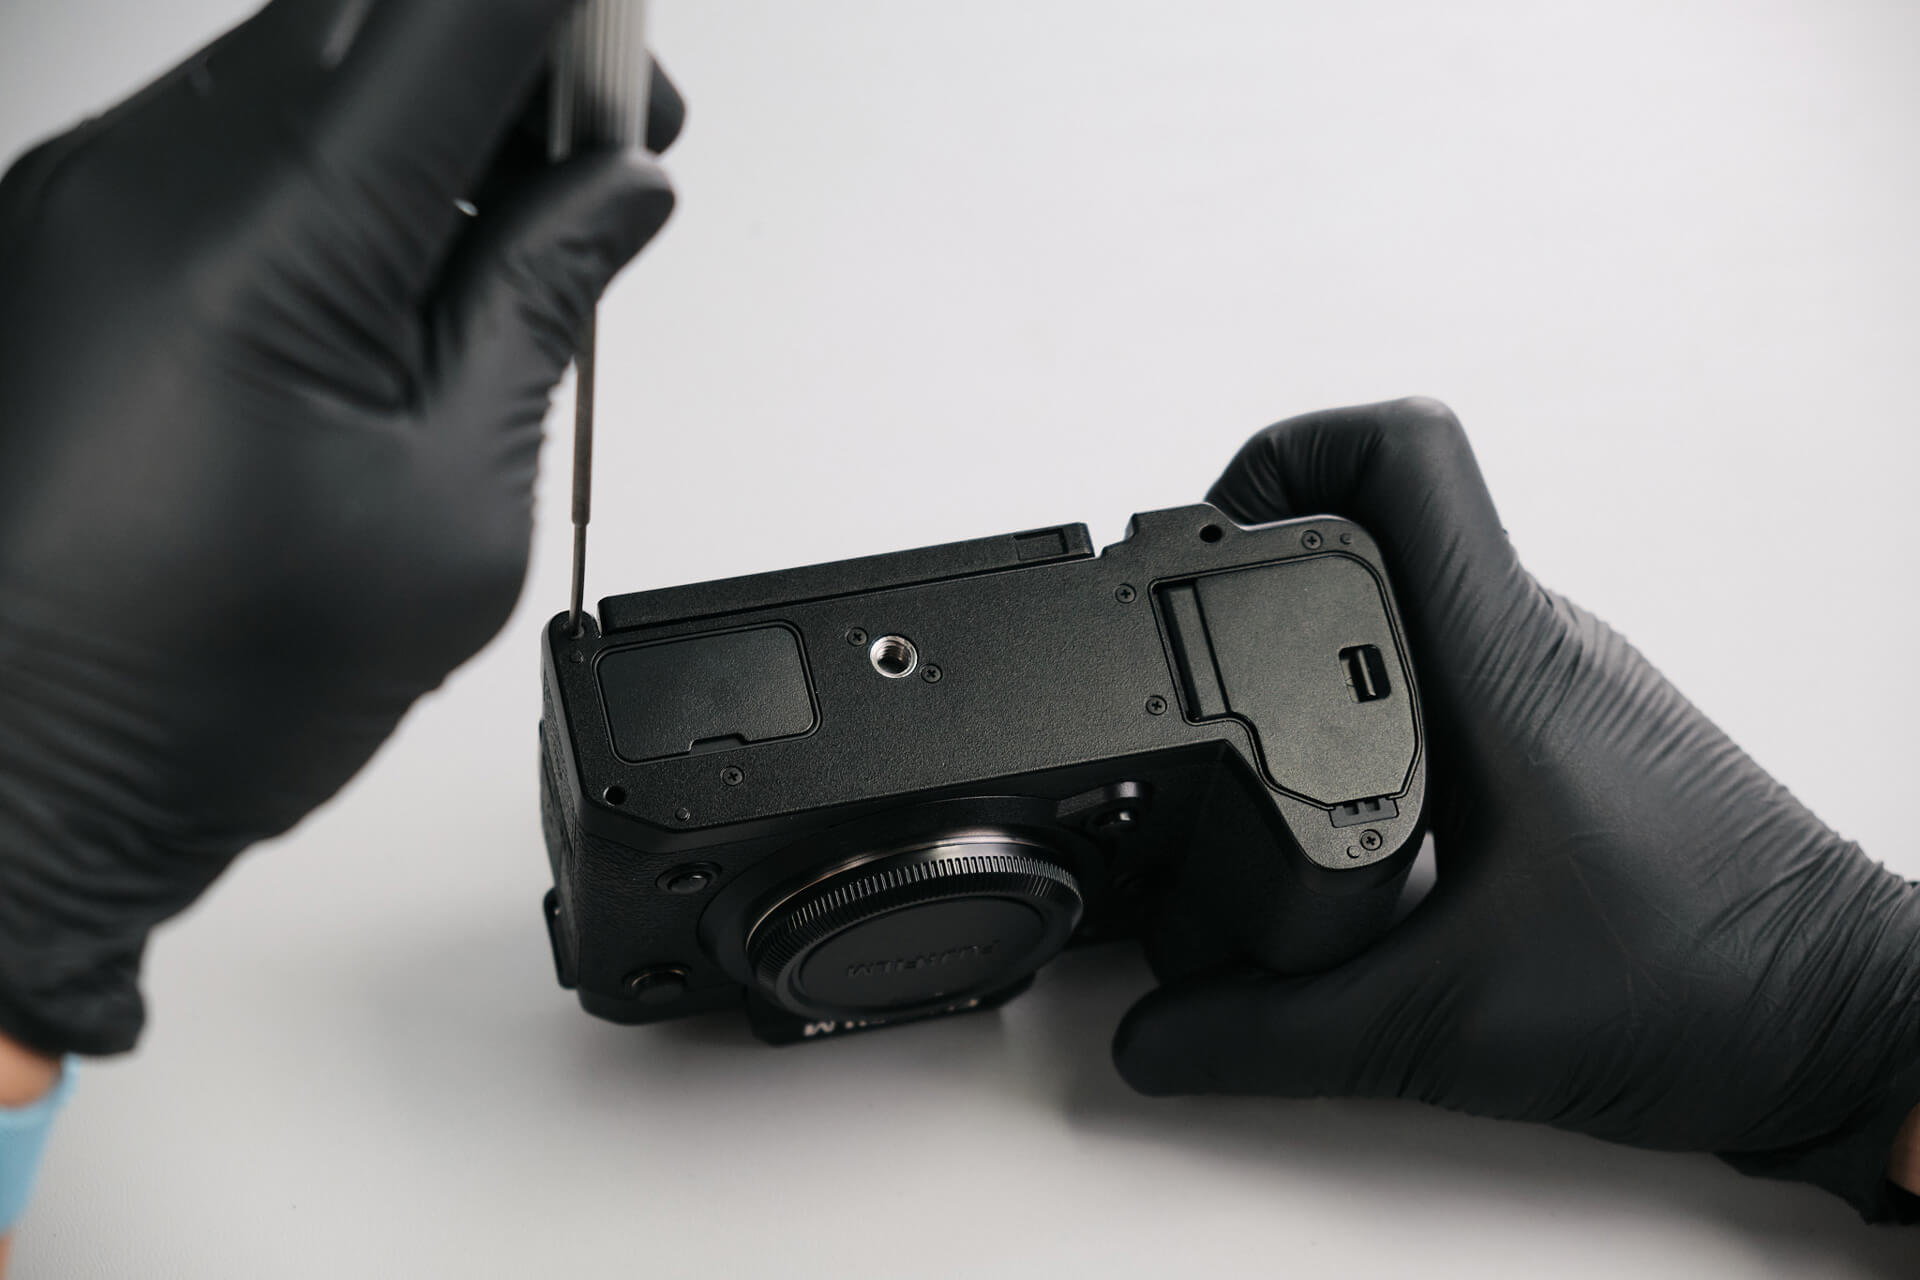
First, we targeted the camera’s baseplate and removed eight screws. The baseplate is usually the first access point to get inside the camera.
Removing Exterior Screws and Hidden Grip Screws
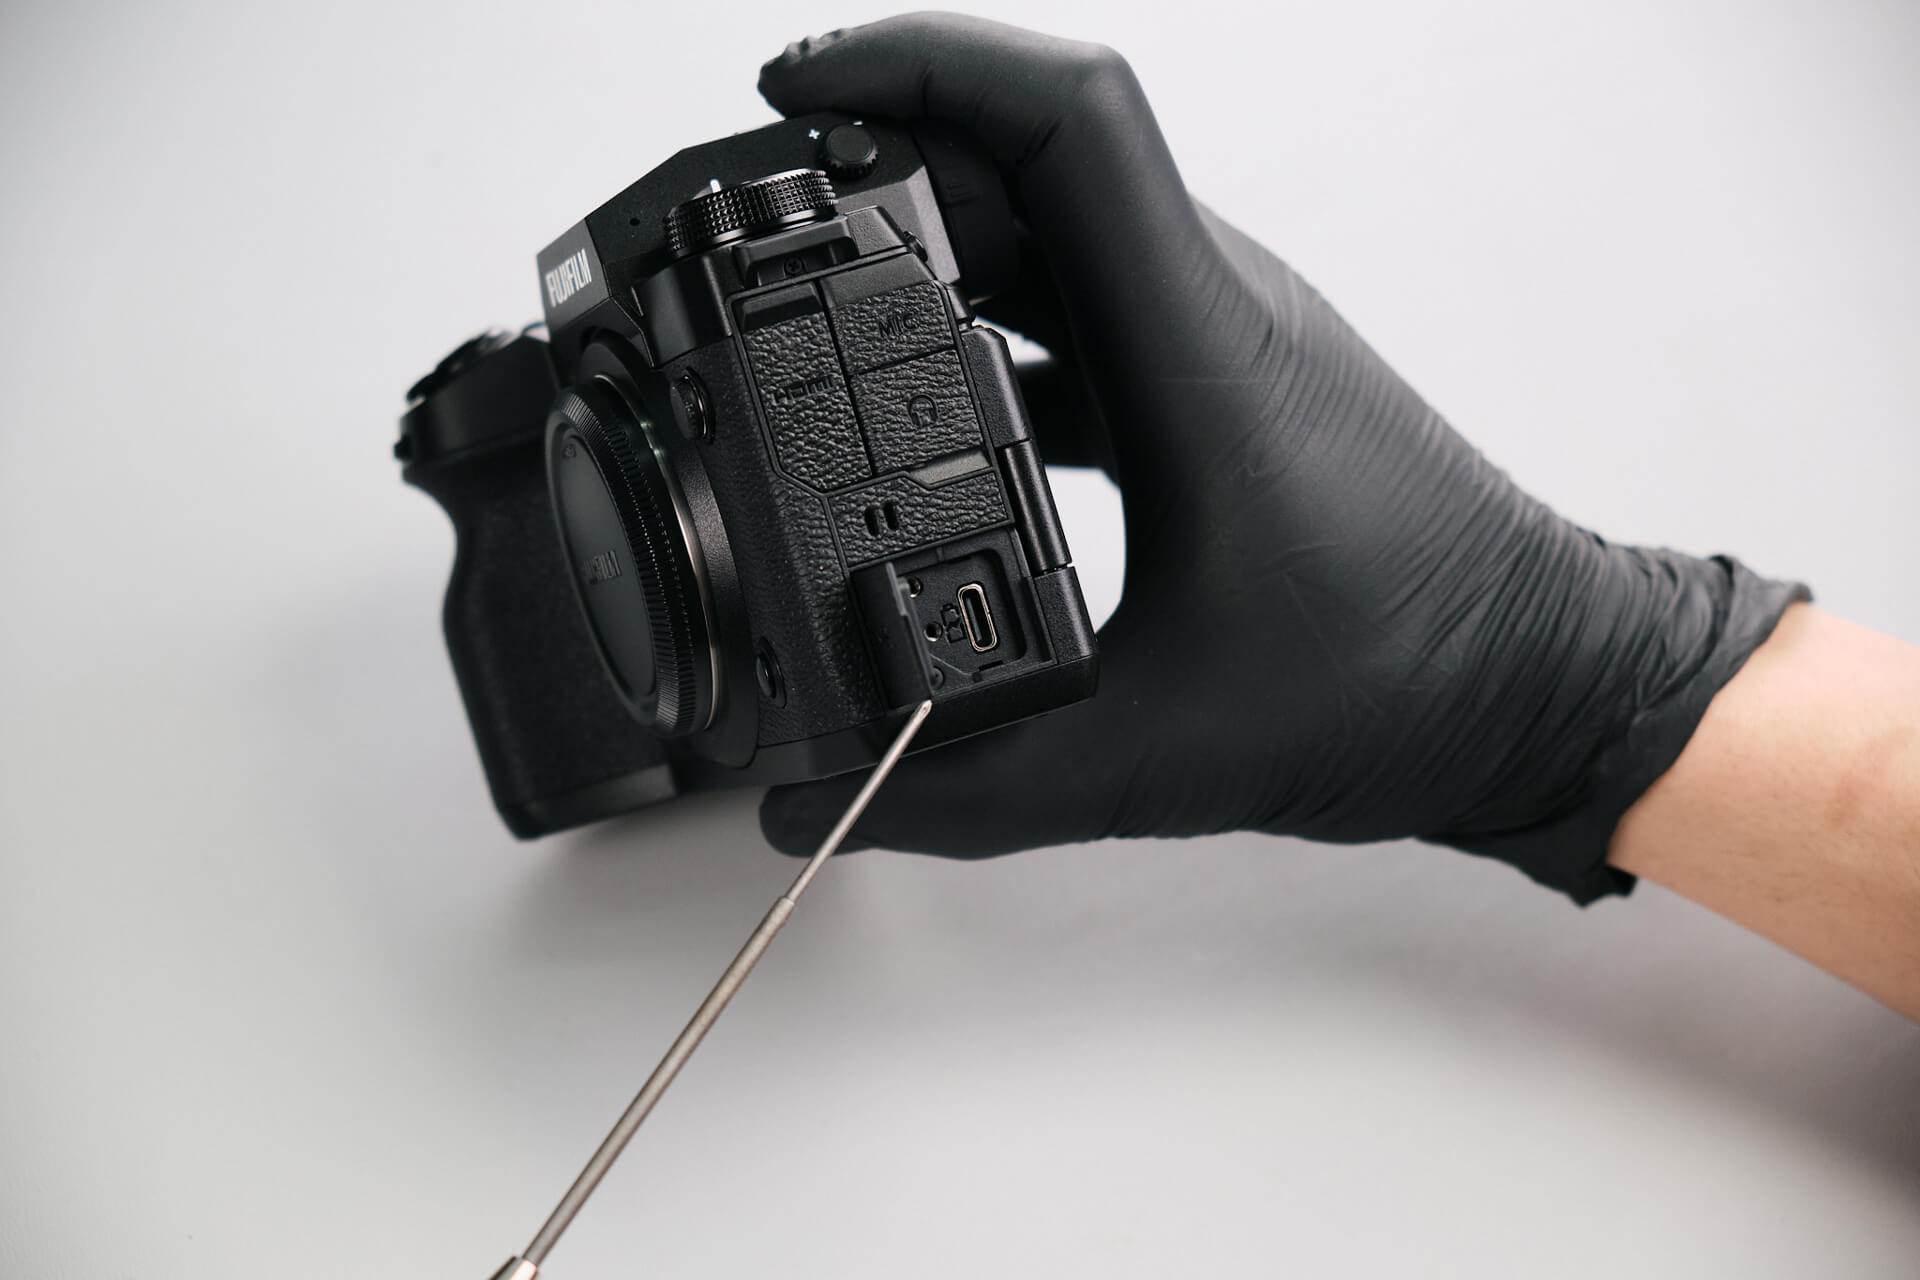
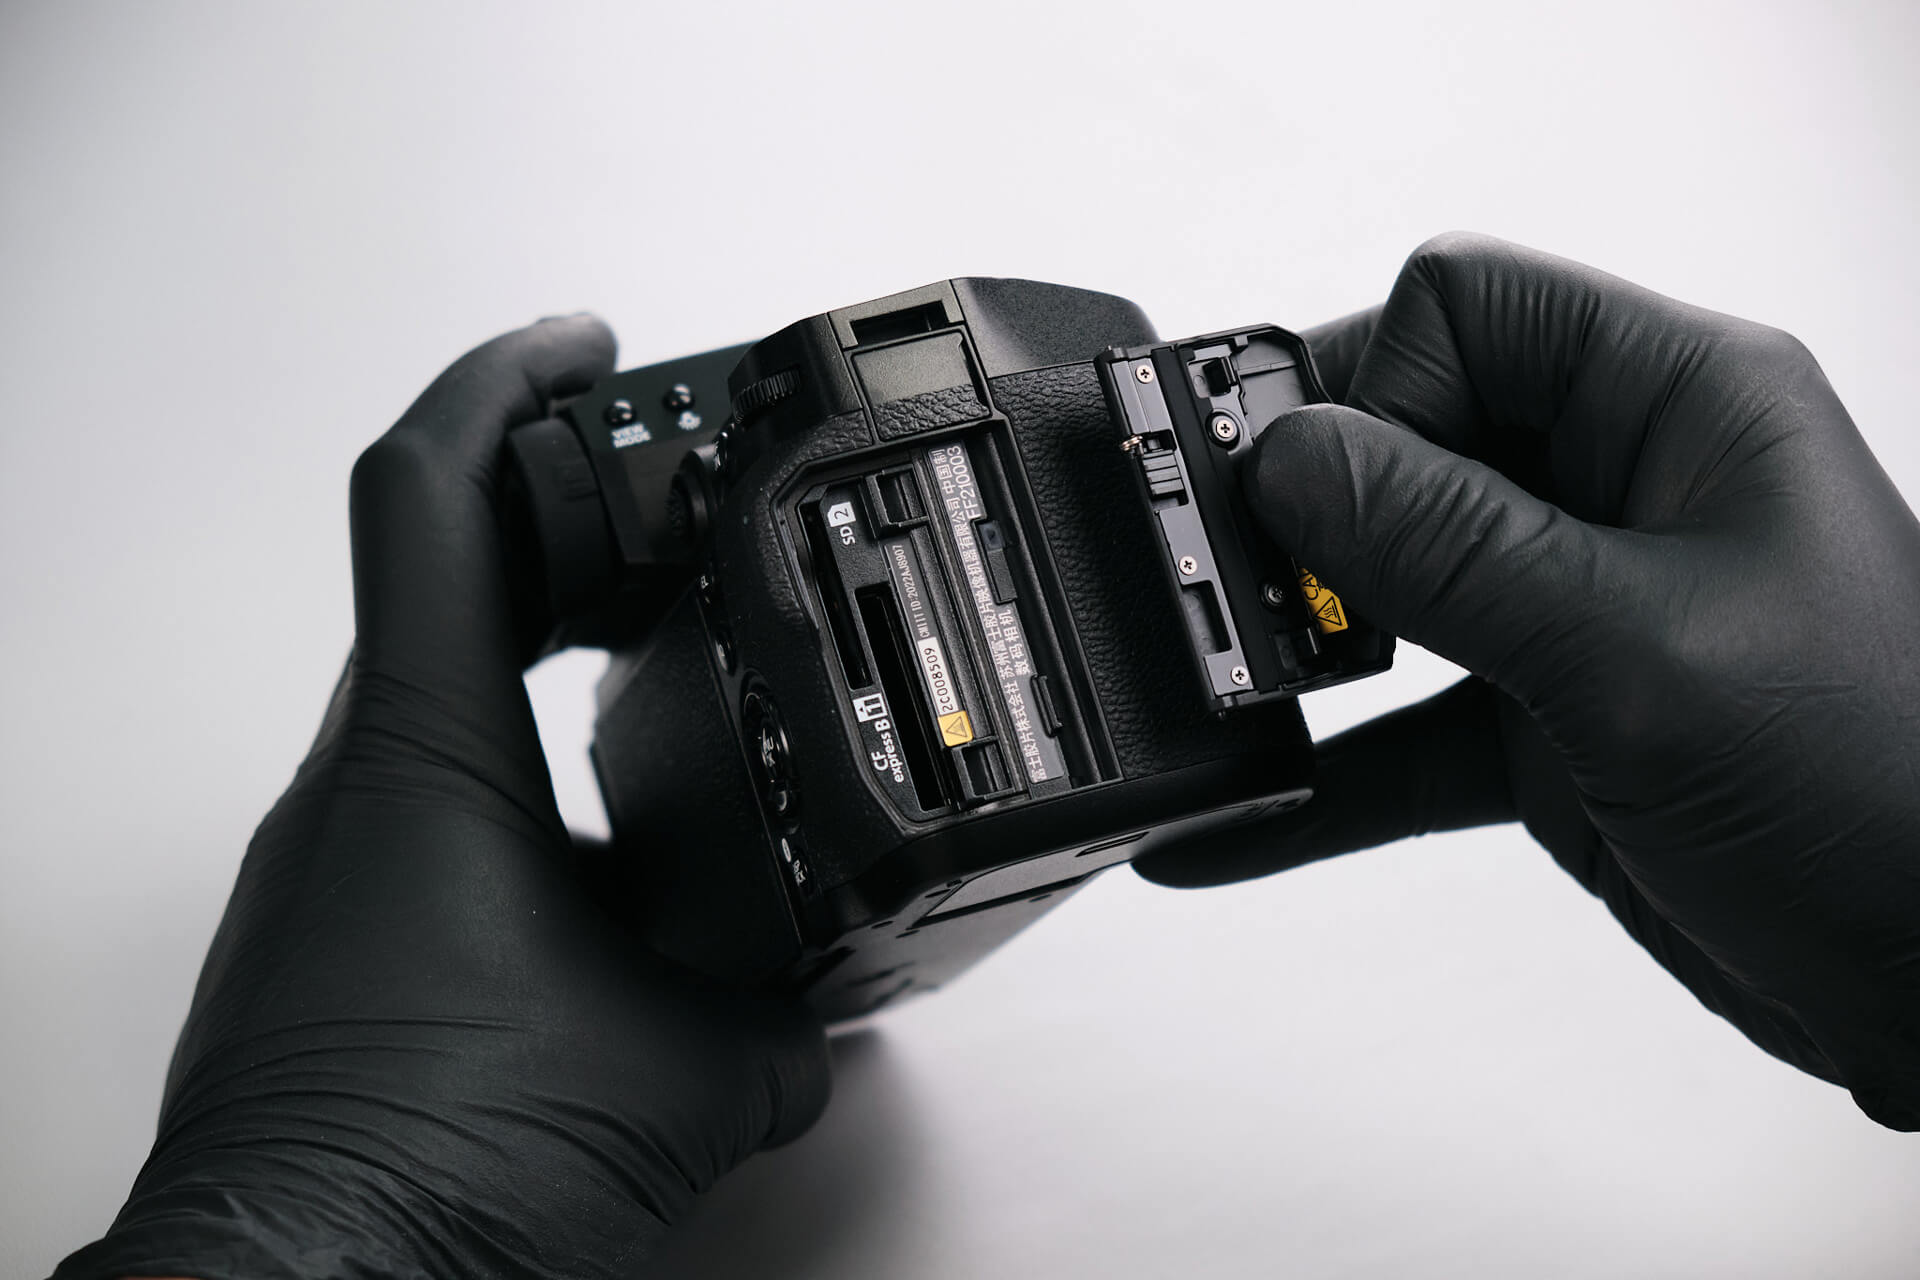
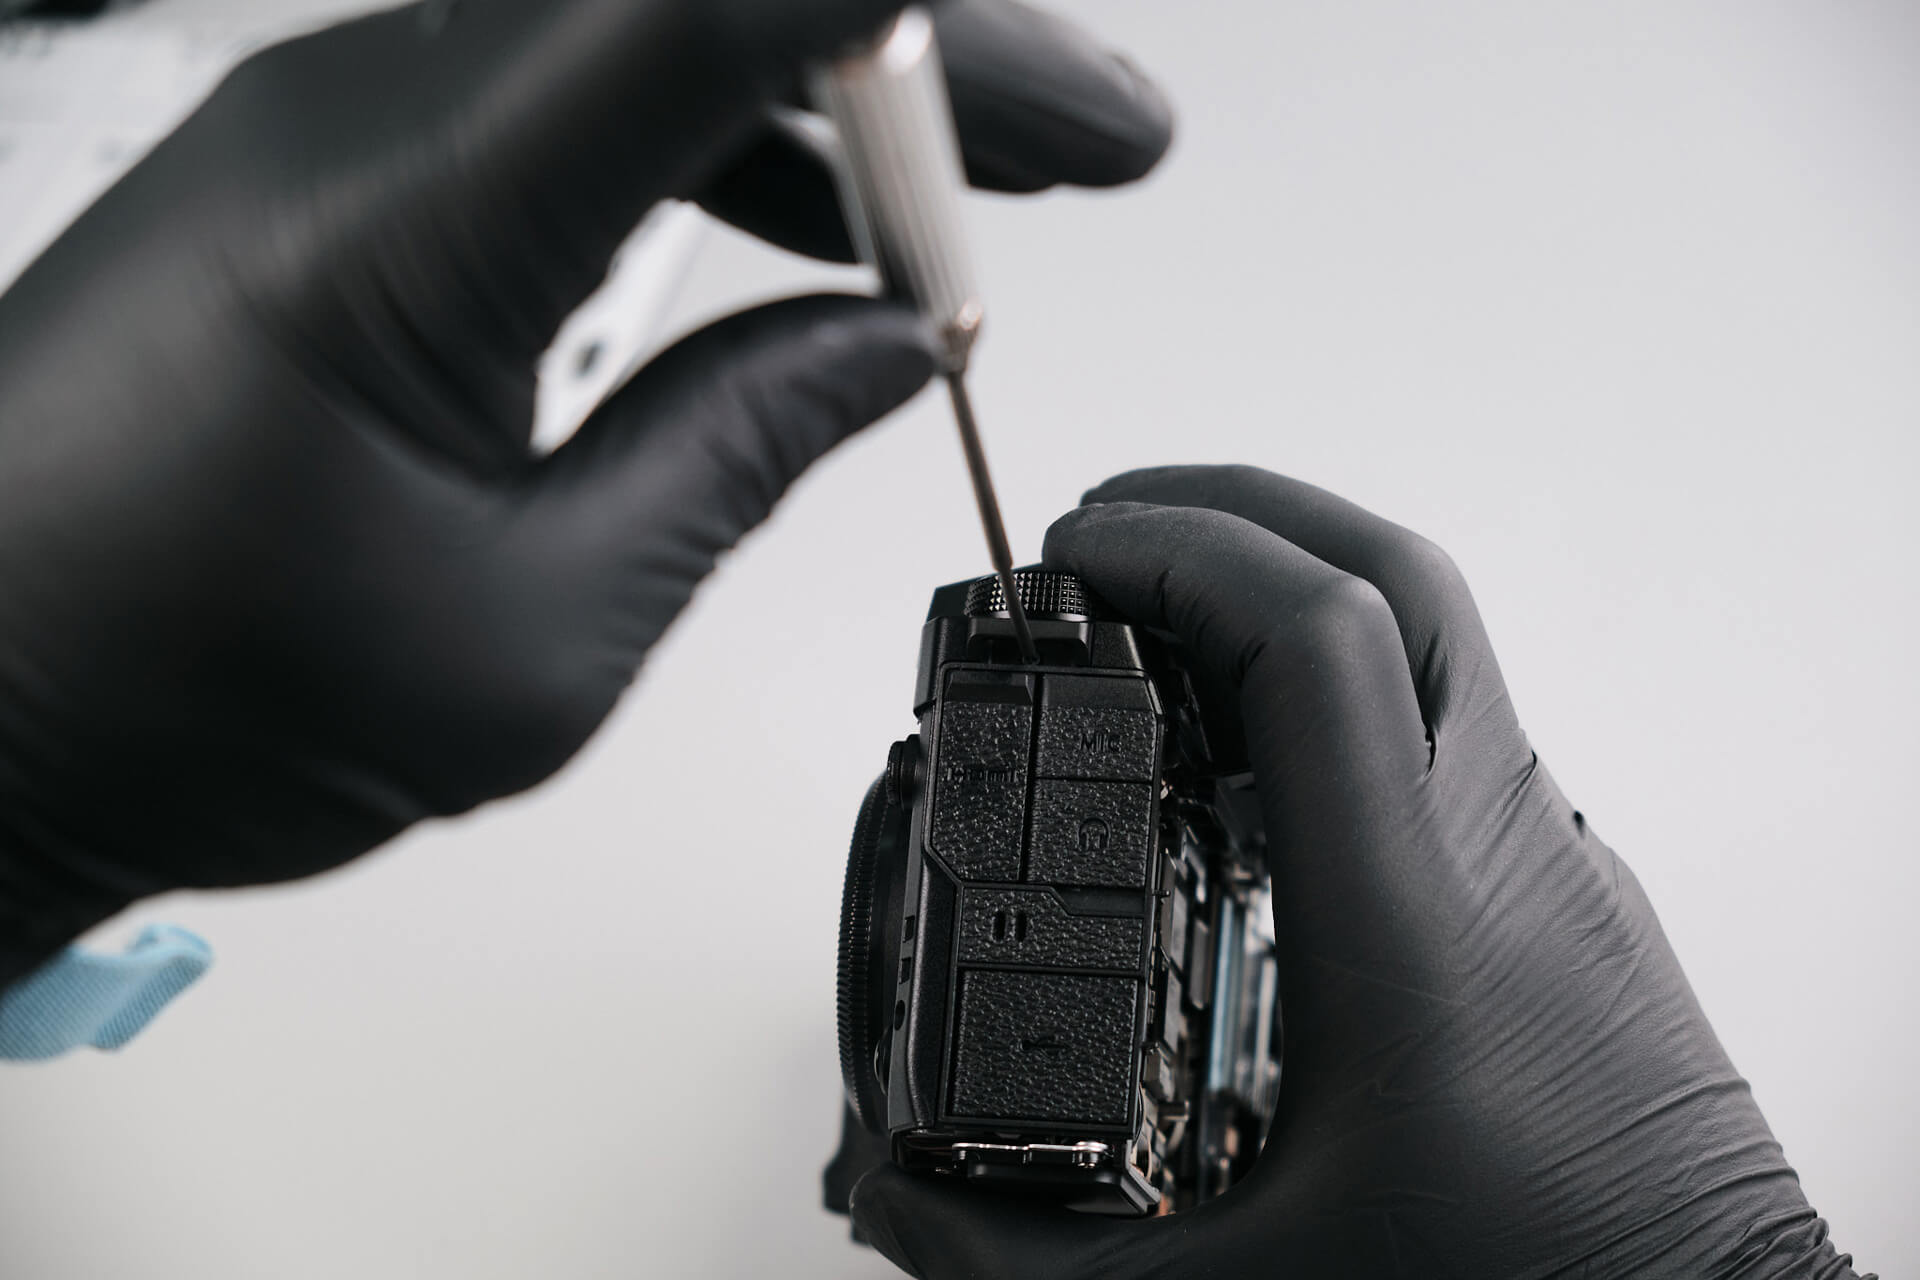
On the port side of the camera, we only found one screw by the battery port. The other ports didn’t have any screws underneath them.
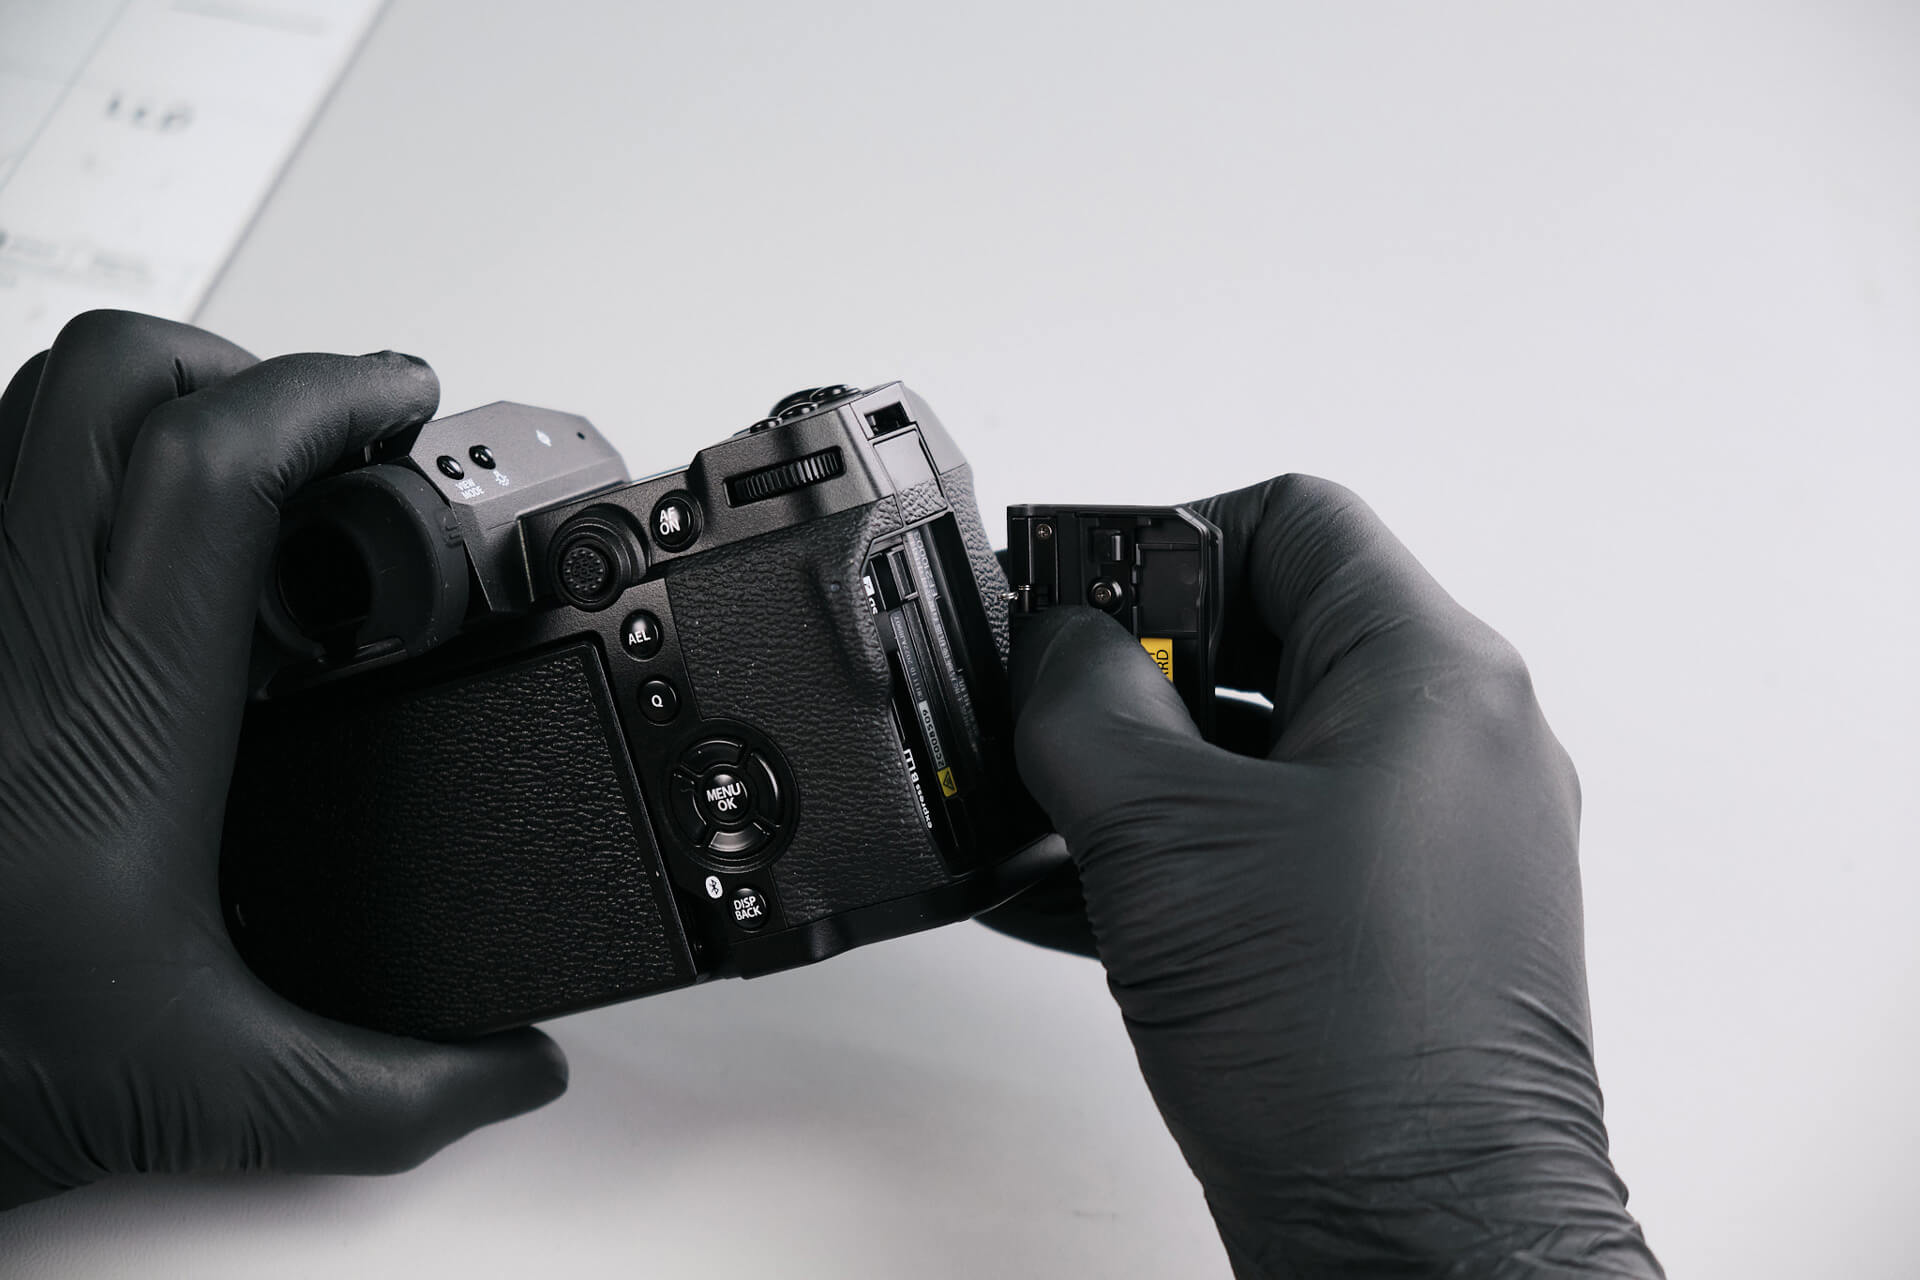
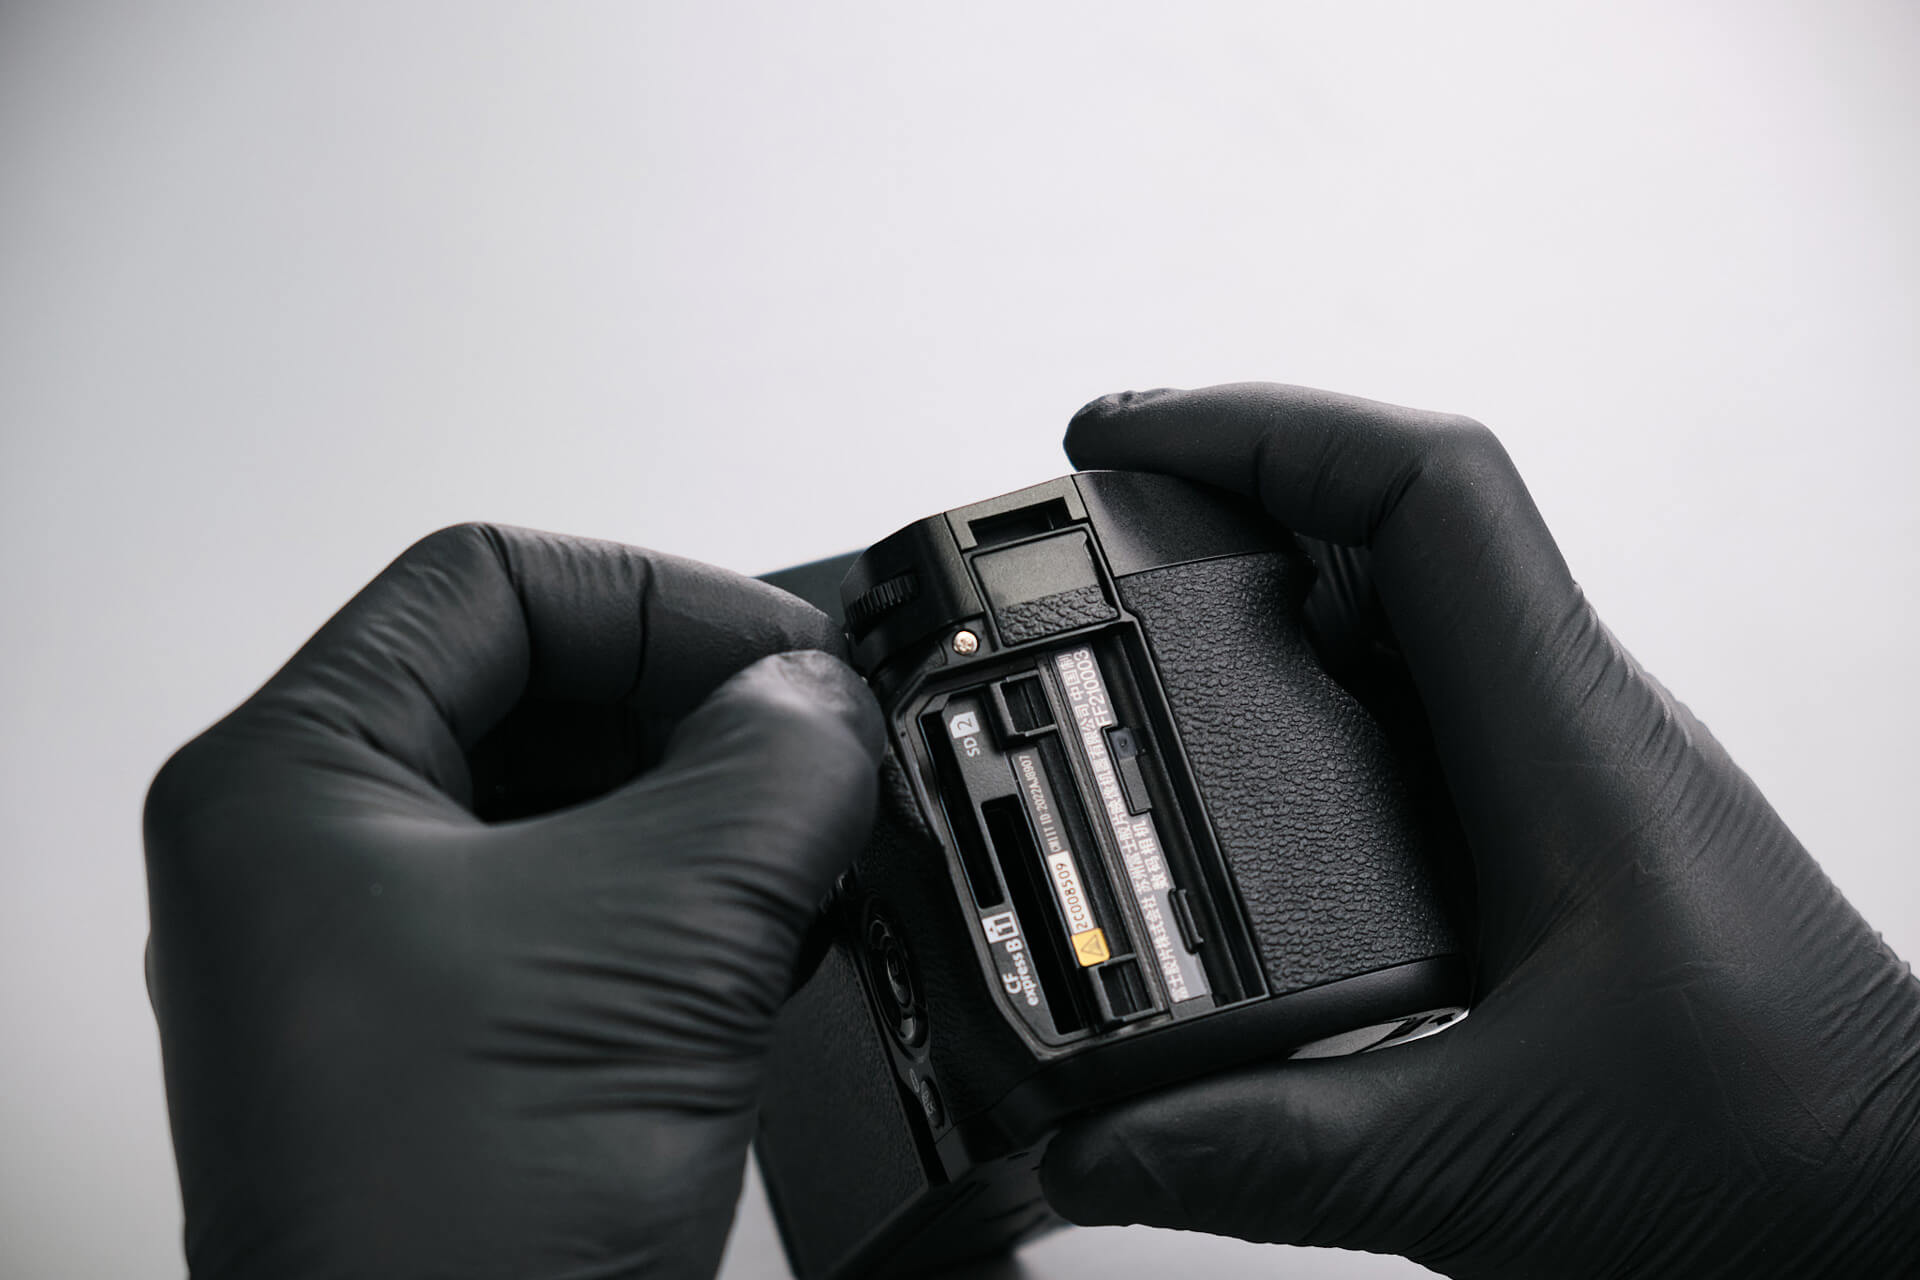
We removed the memory card door to access other screws. Typically, there are screws to remove there, but the X-H2 didn’t have any.
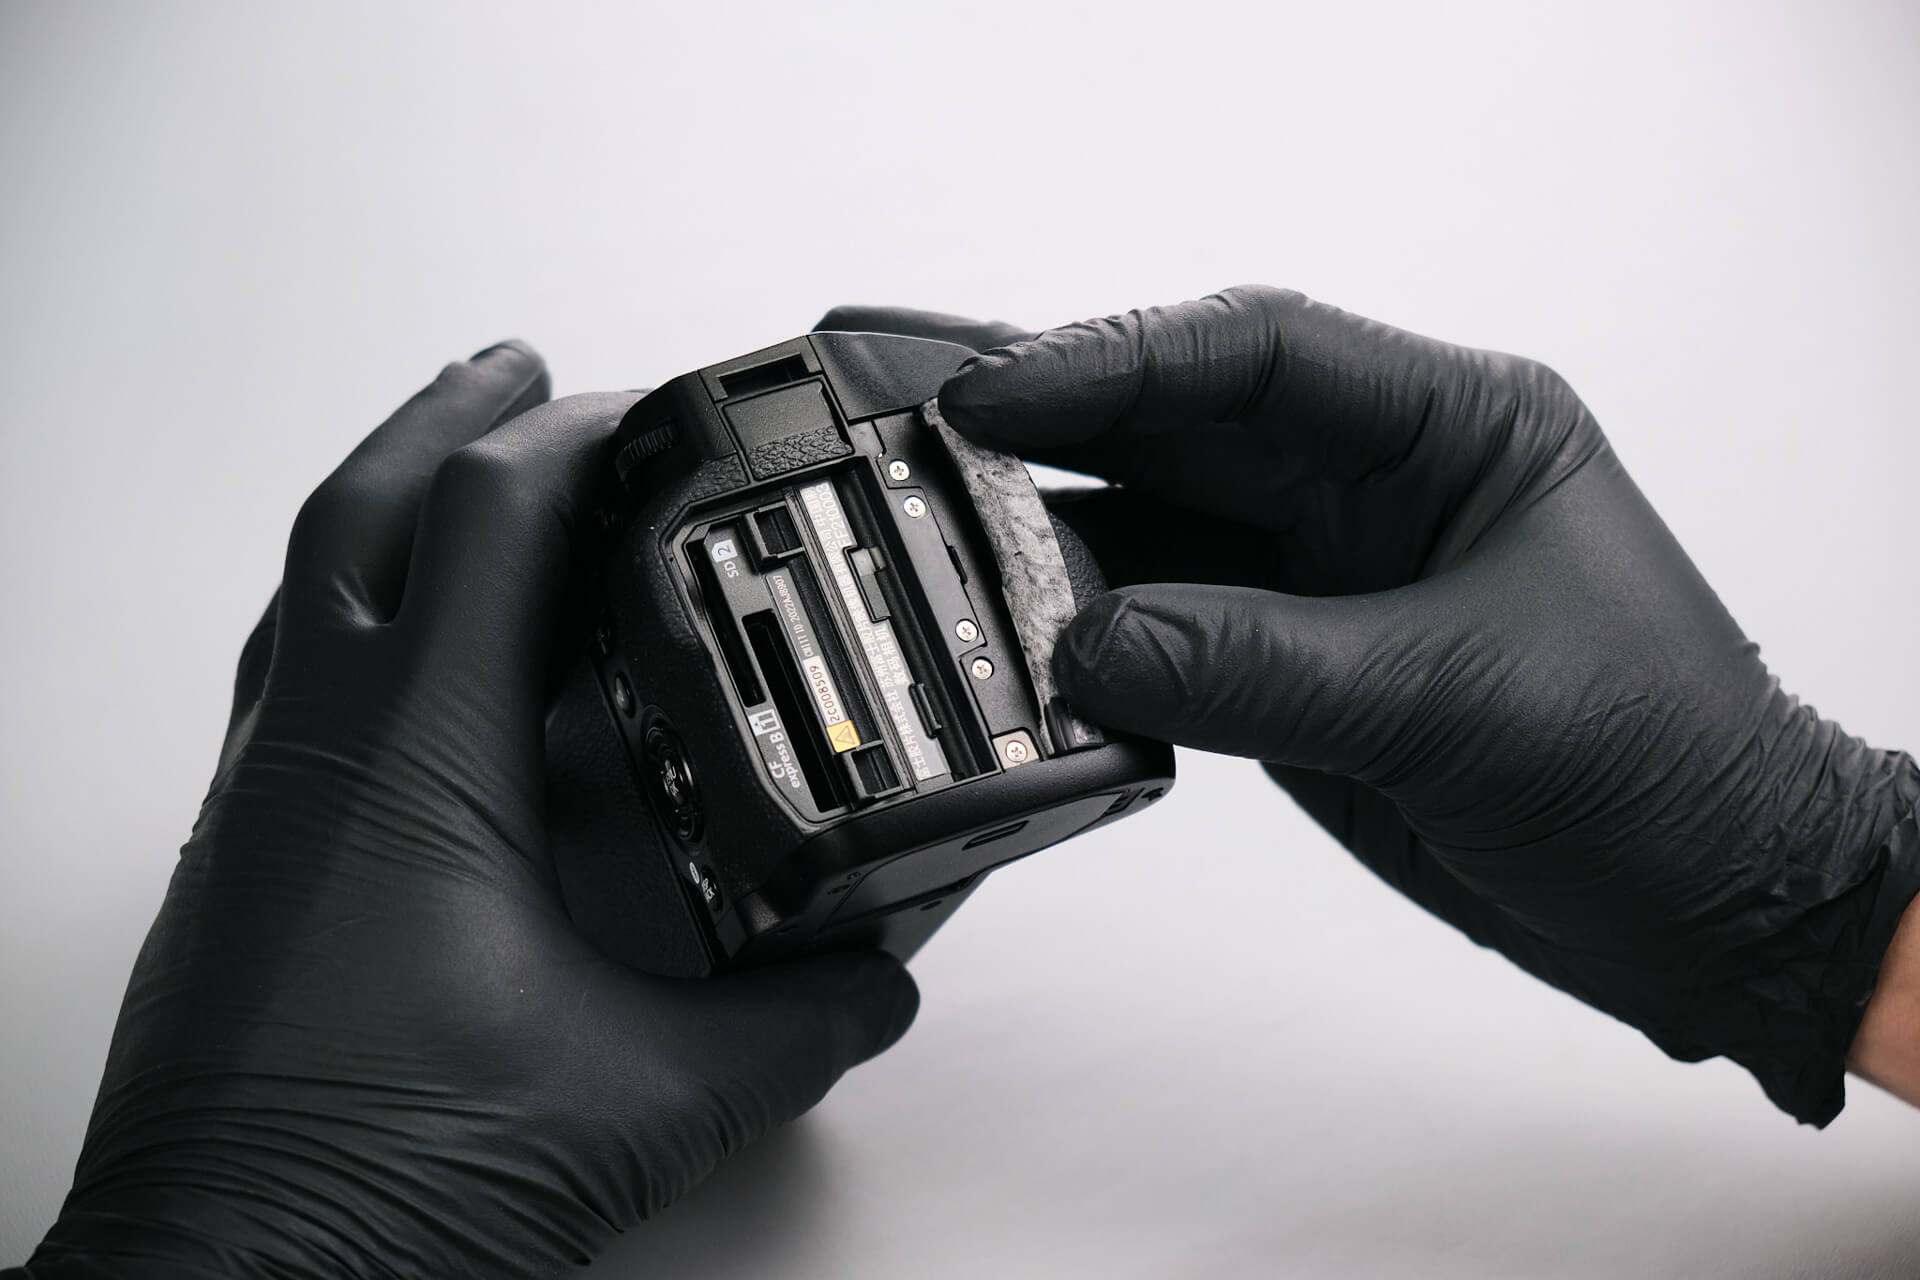
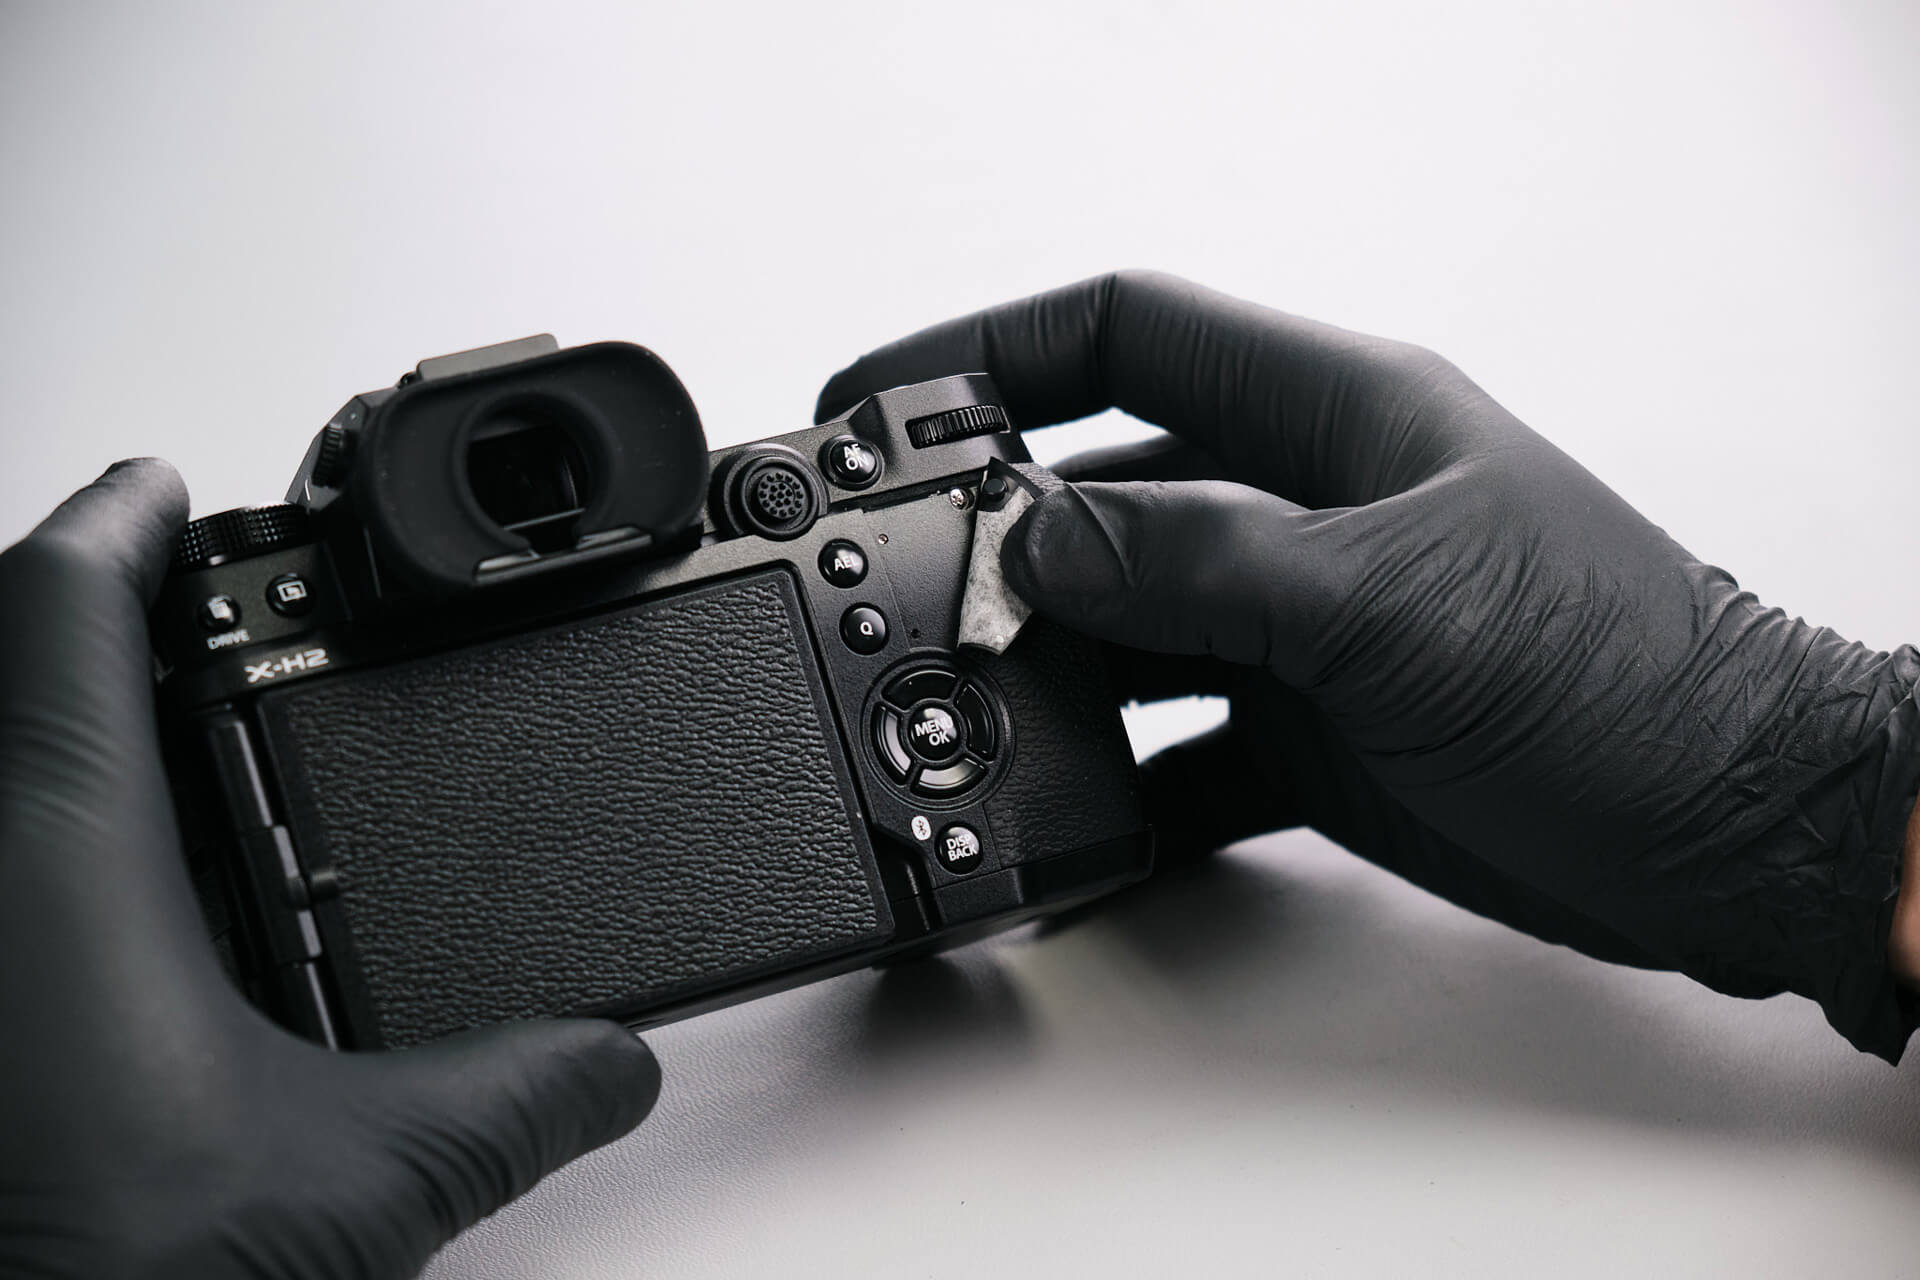
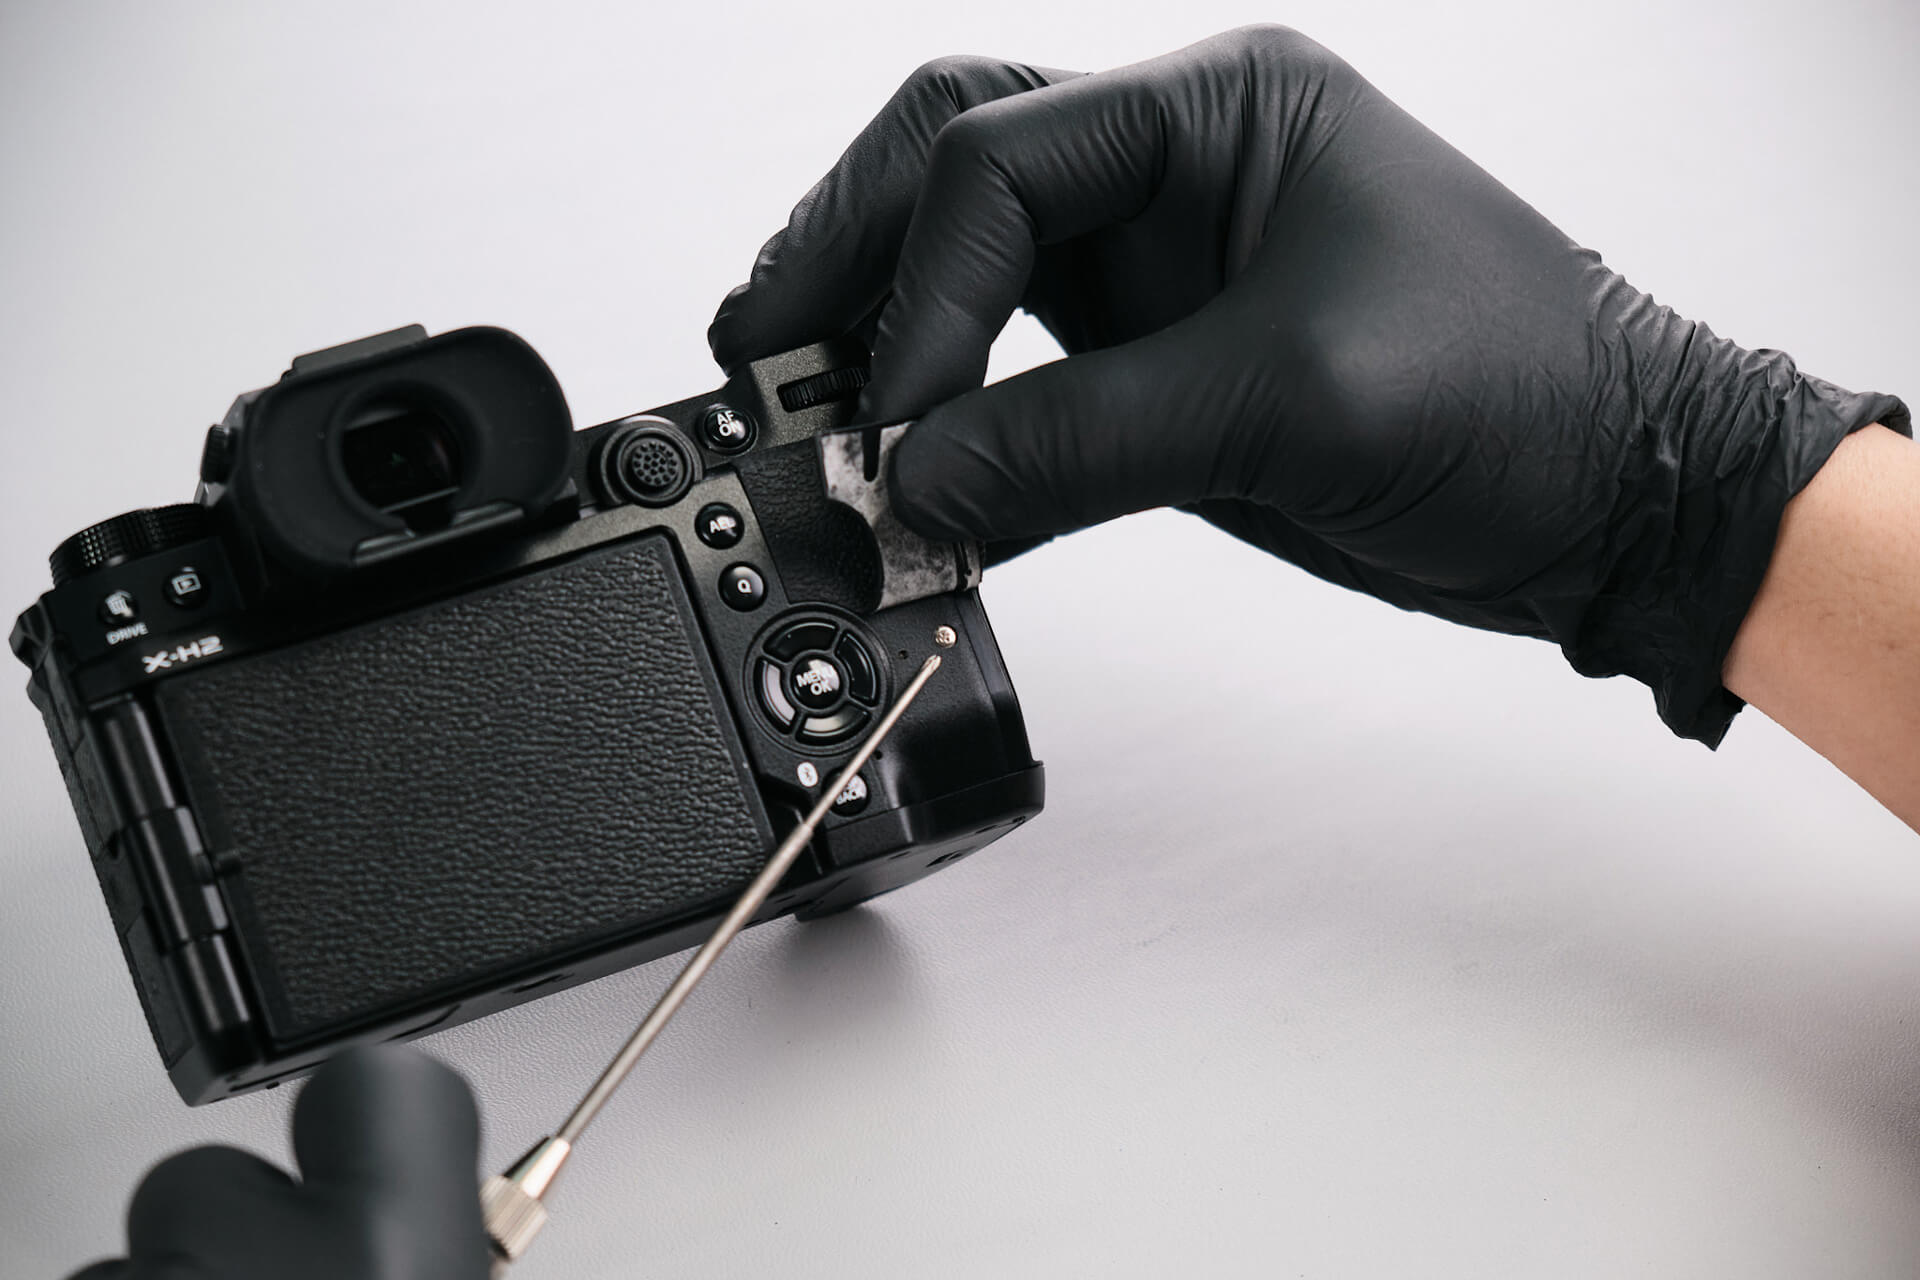
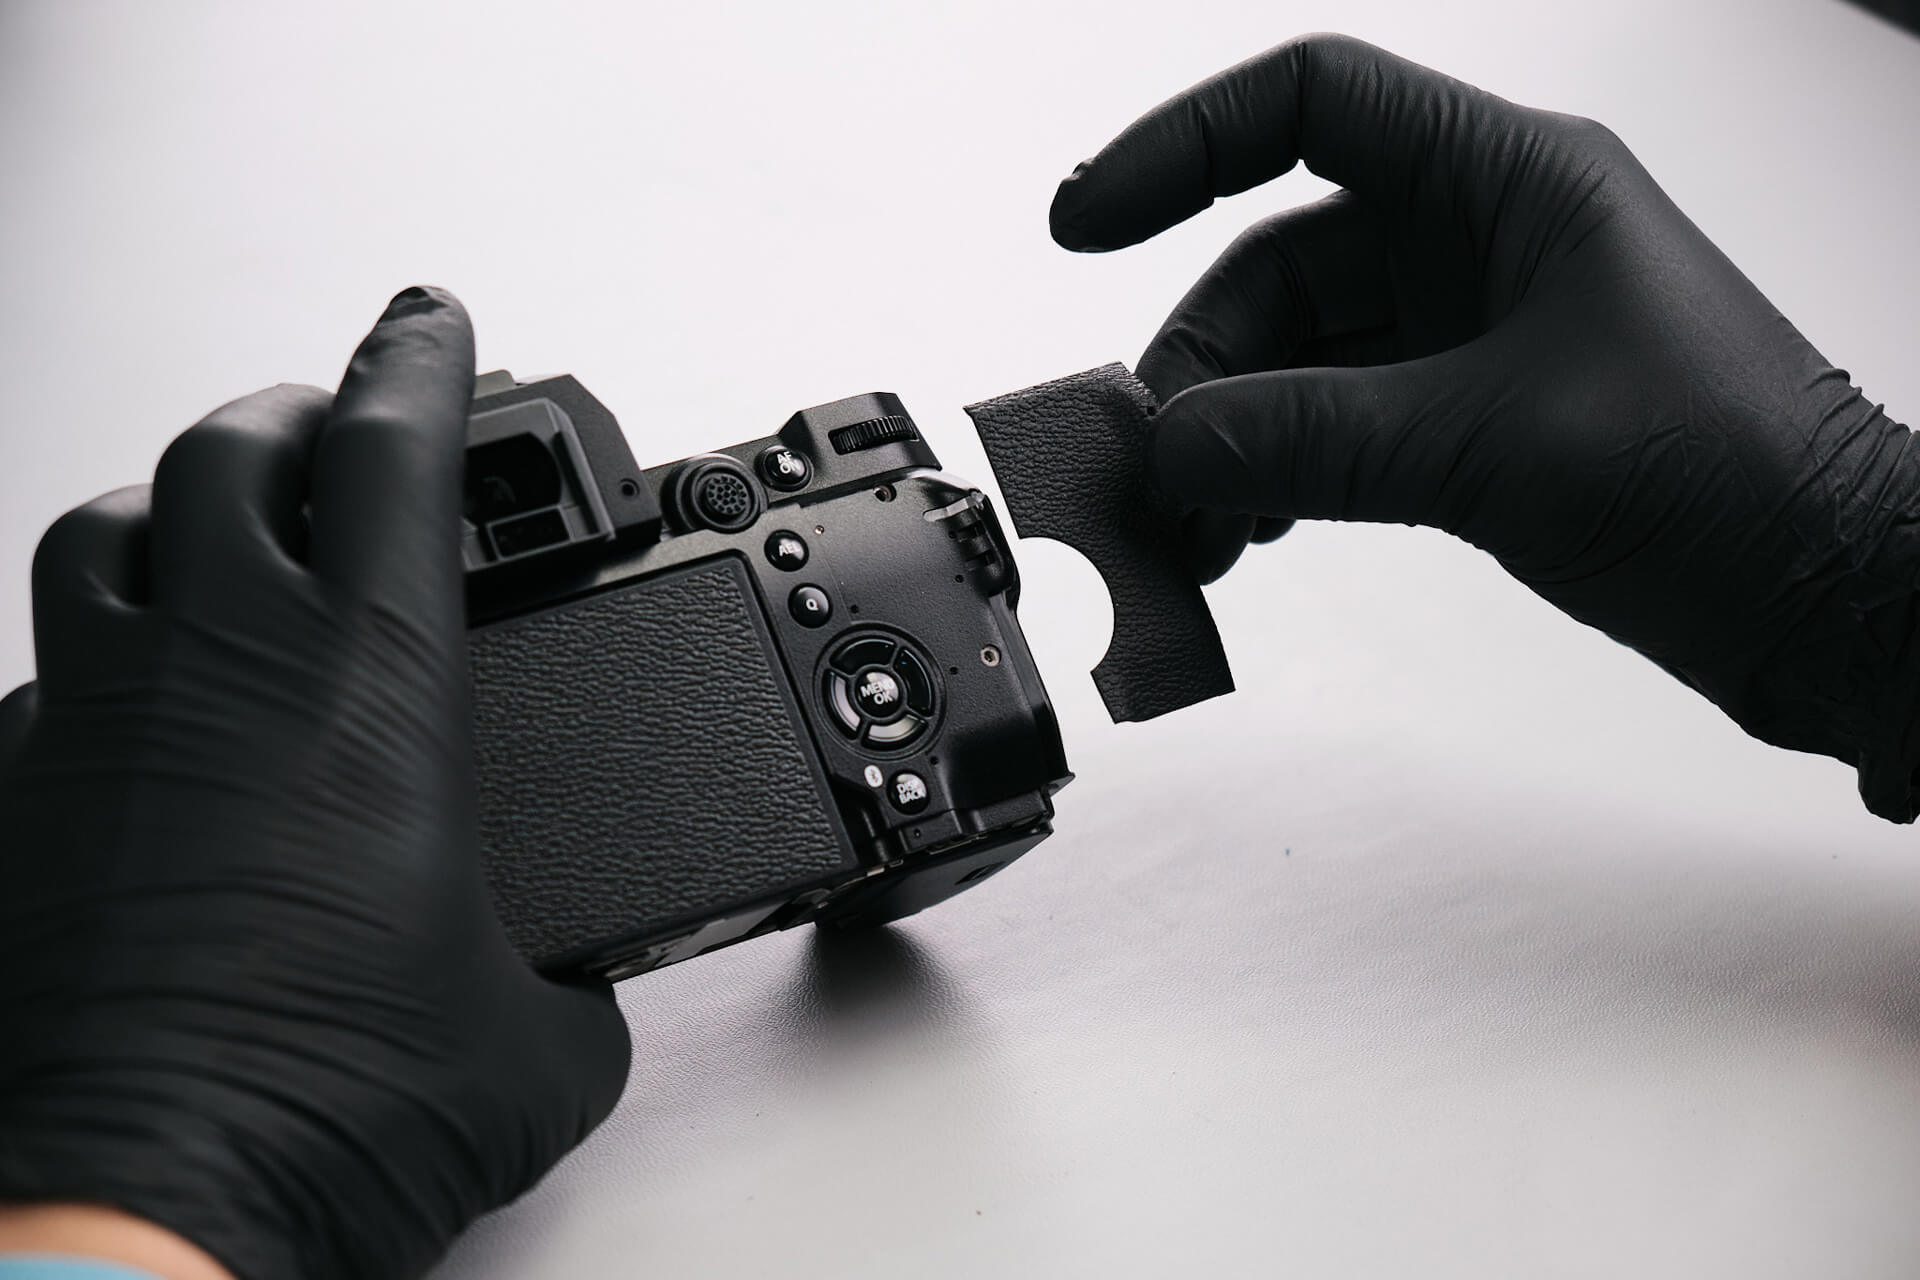
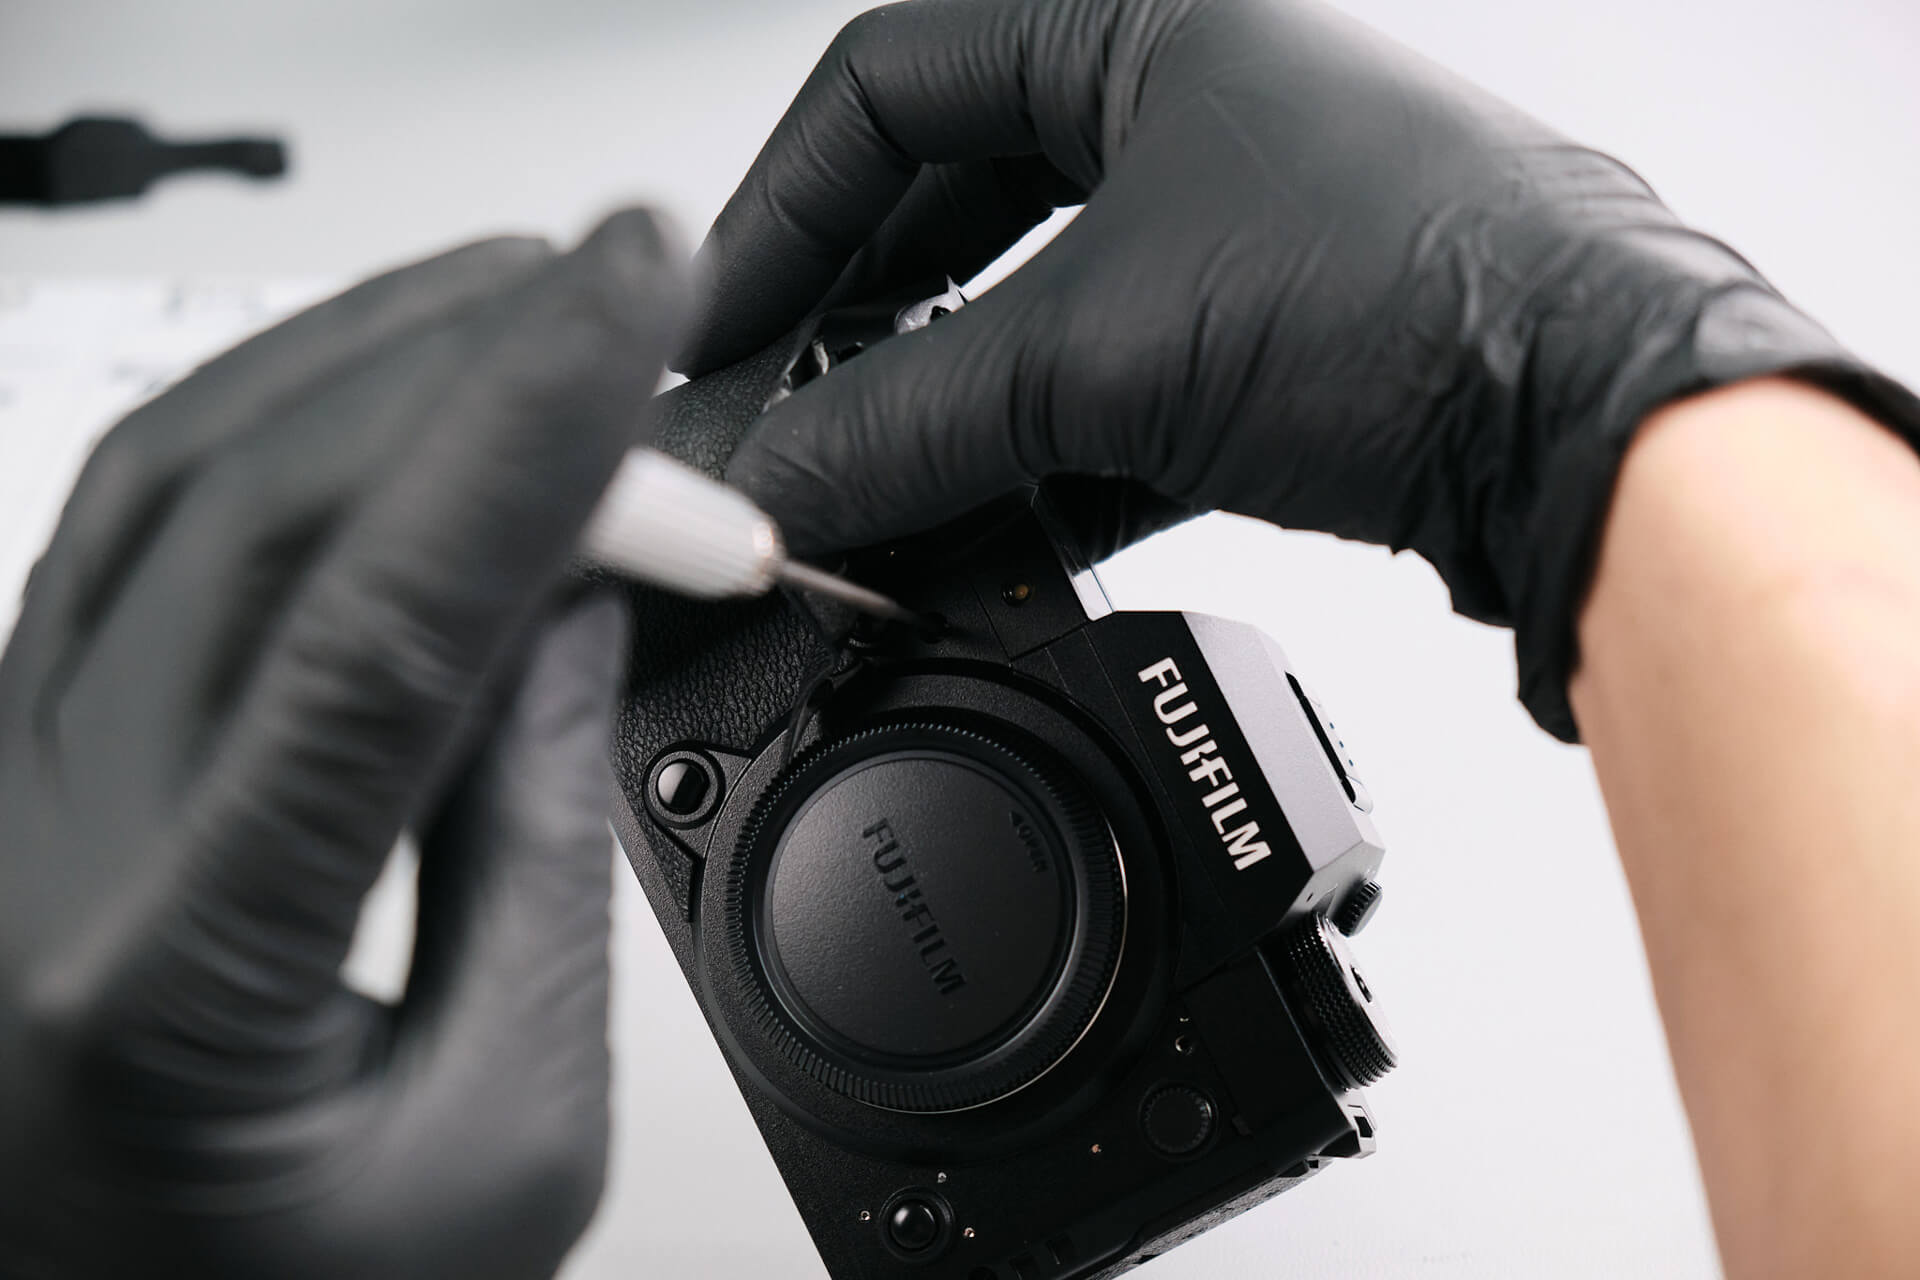
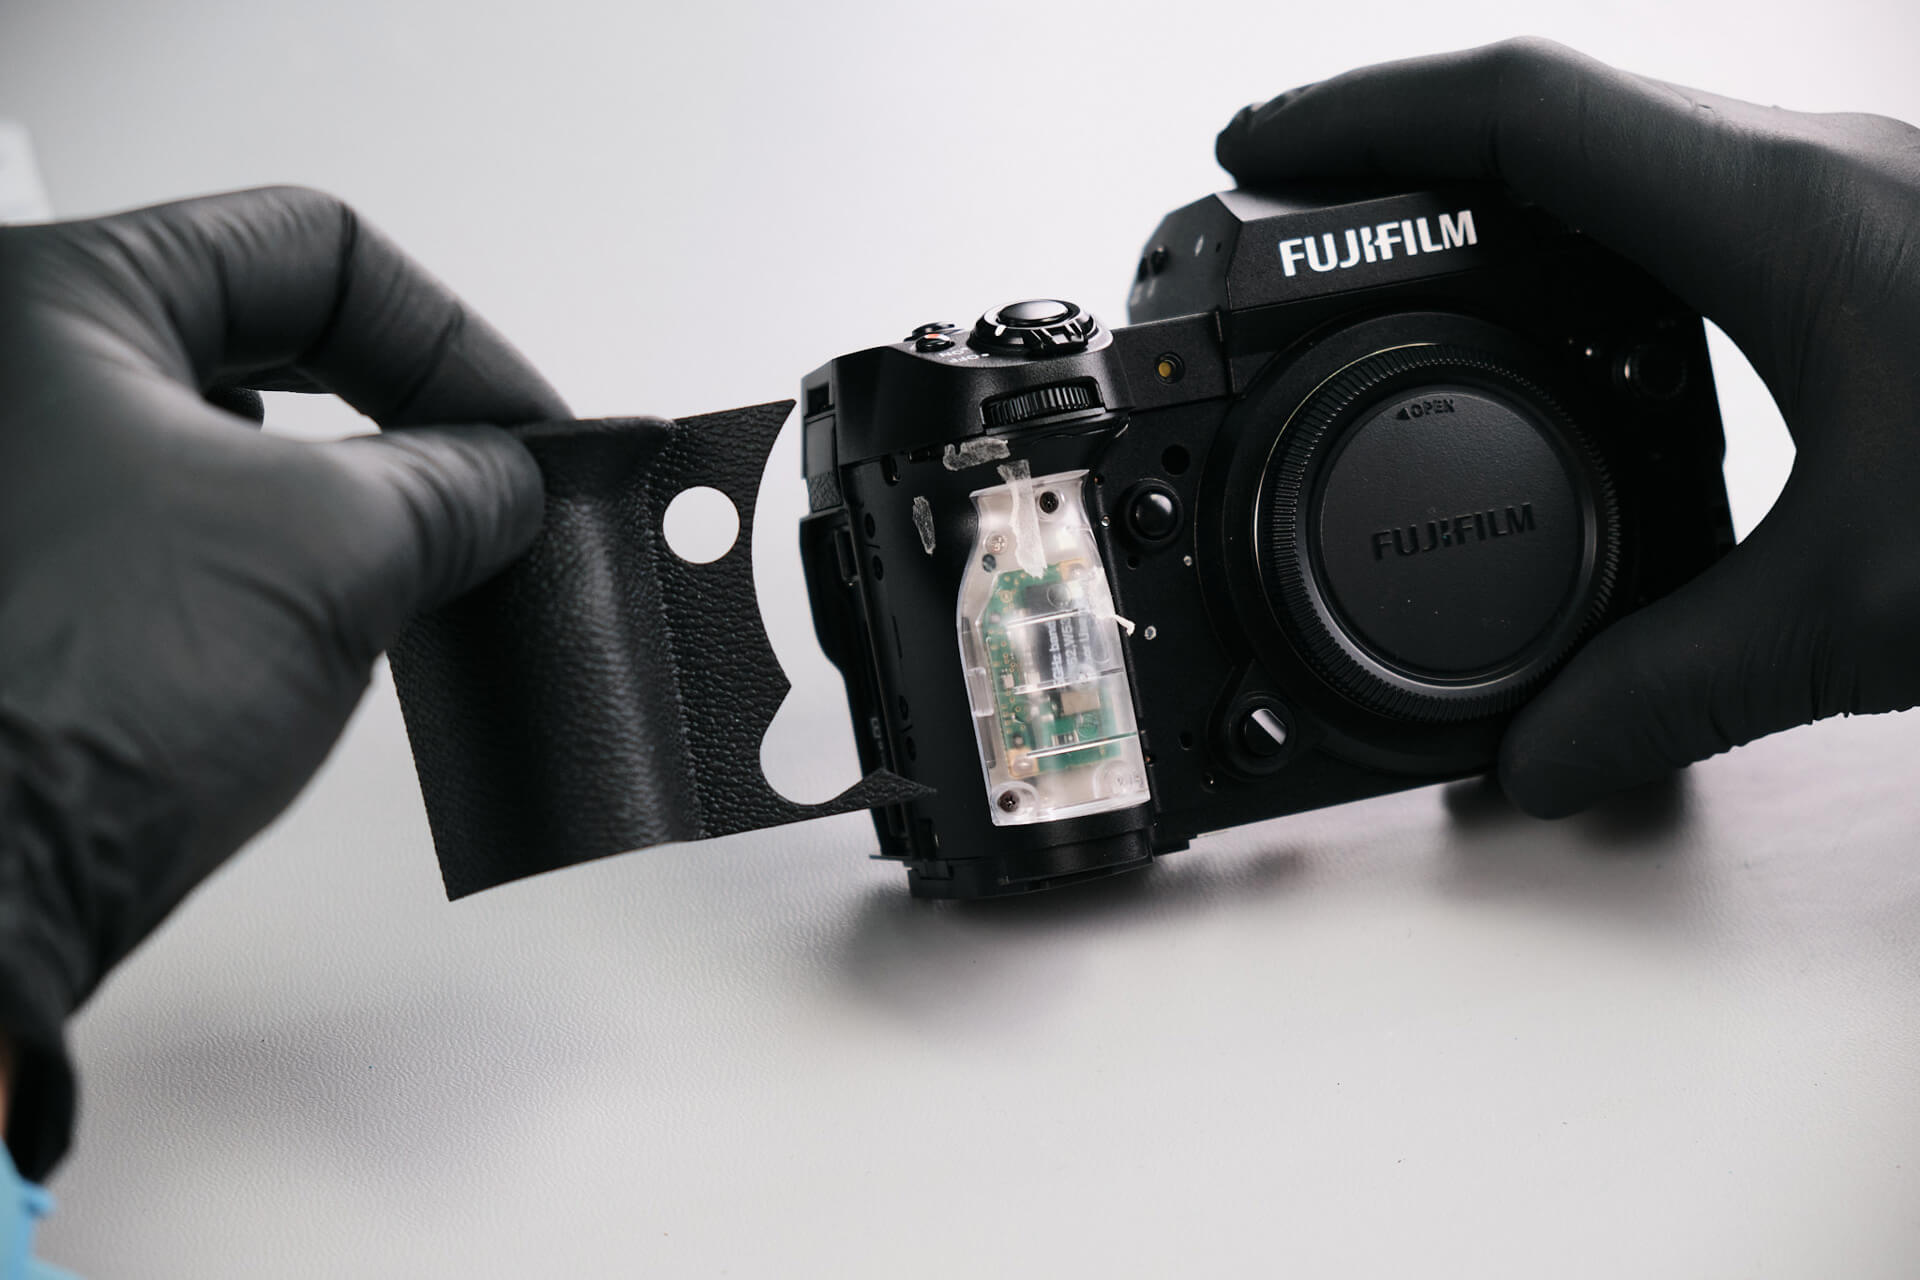
We peeled back more of the rubber grip on the rear panel to remove three silver screws.
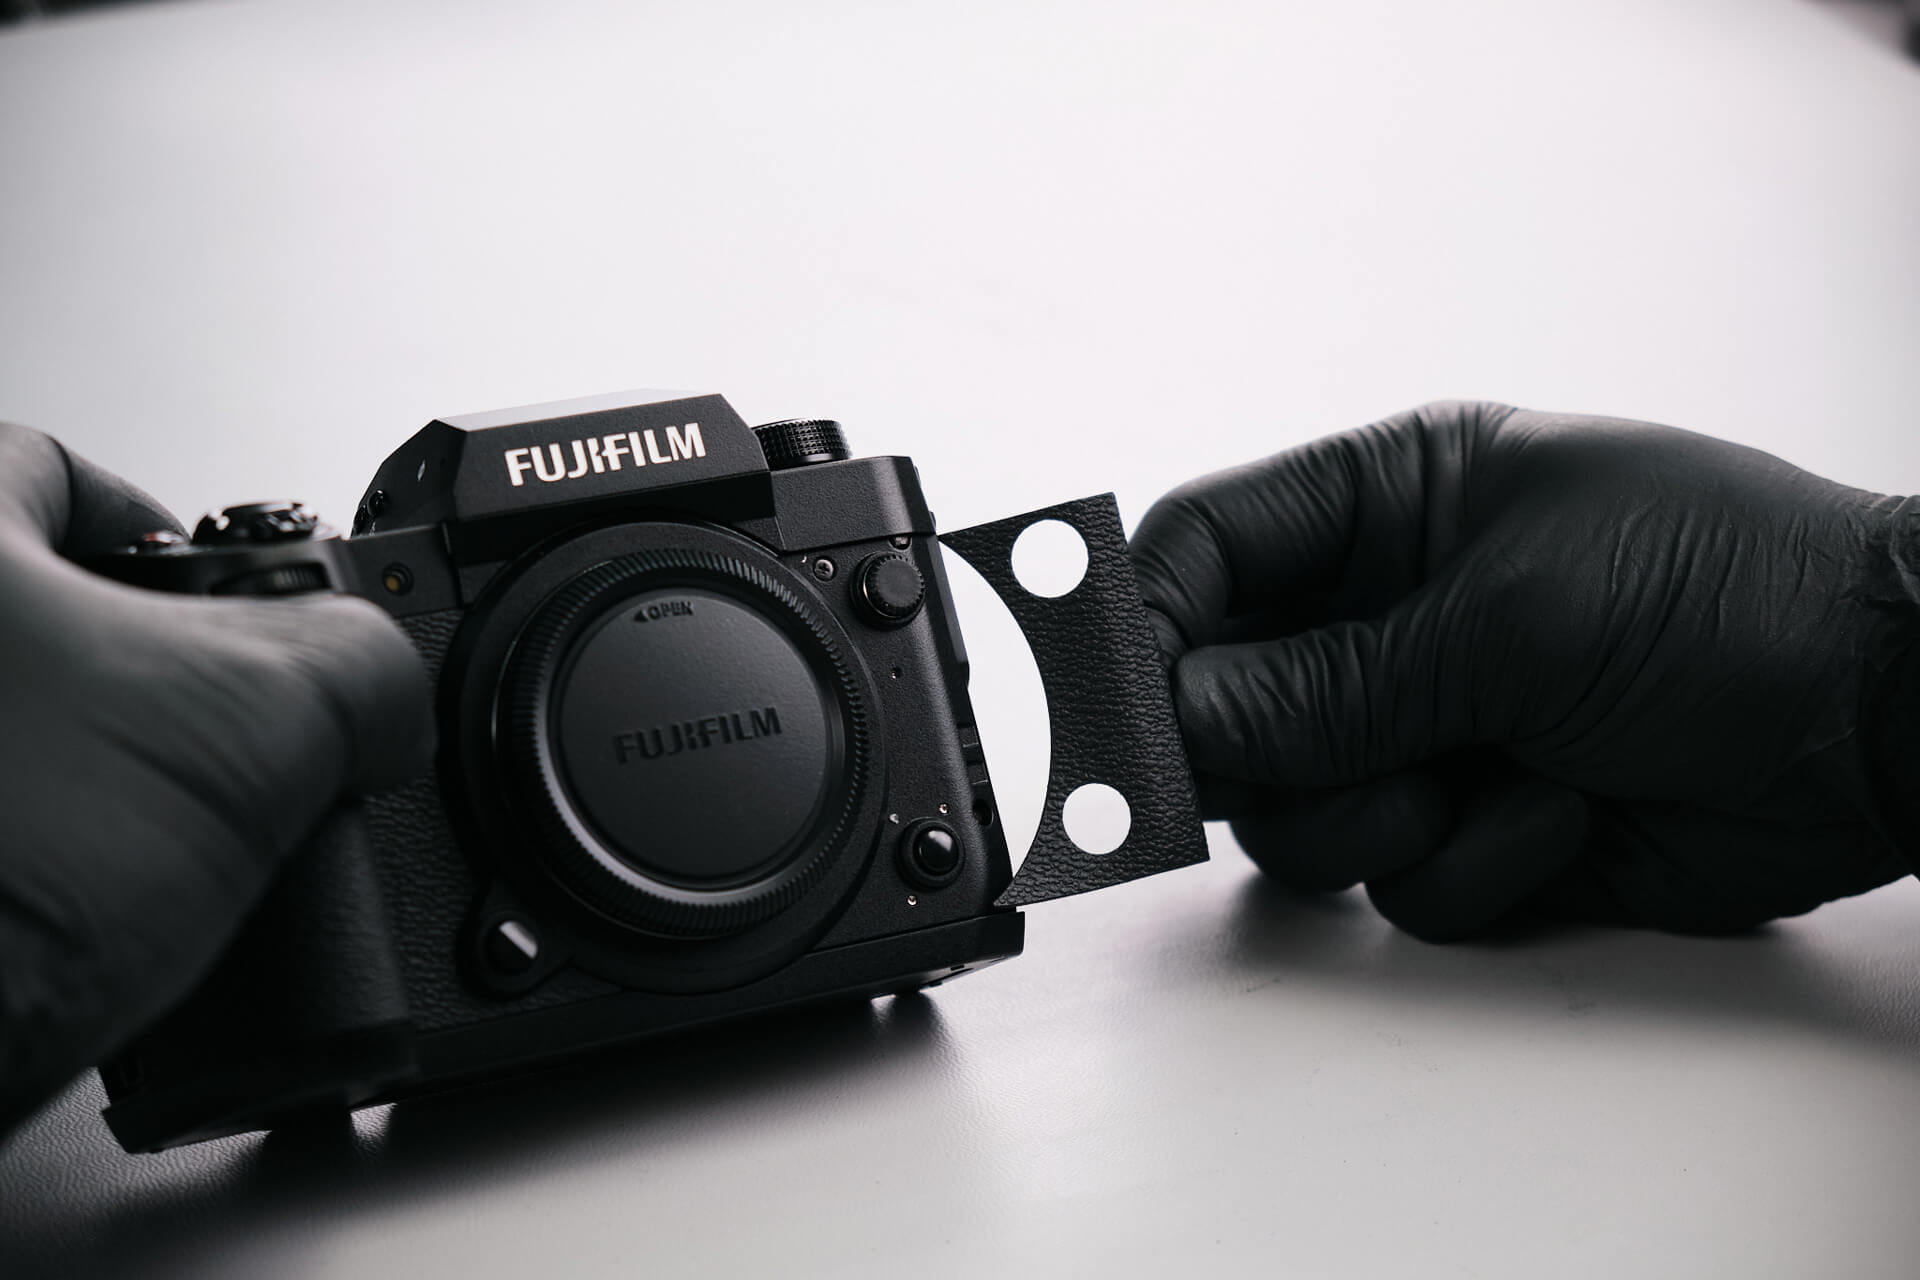
The front of the camera only had two silver screws underneath the rubber grip.
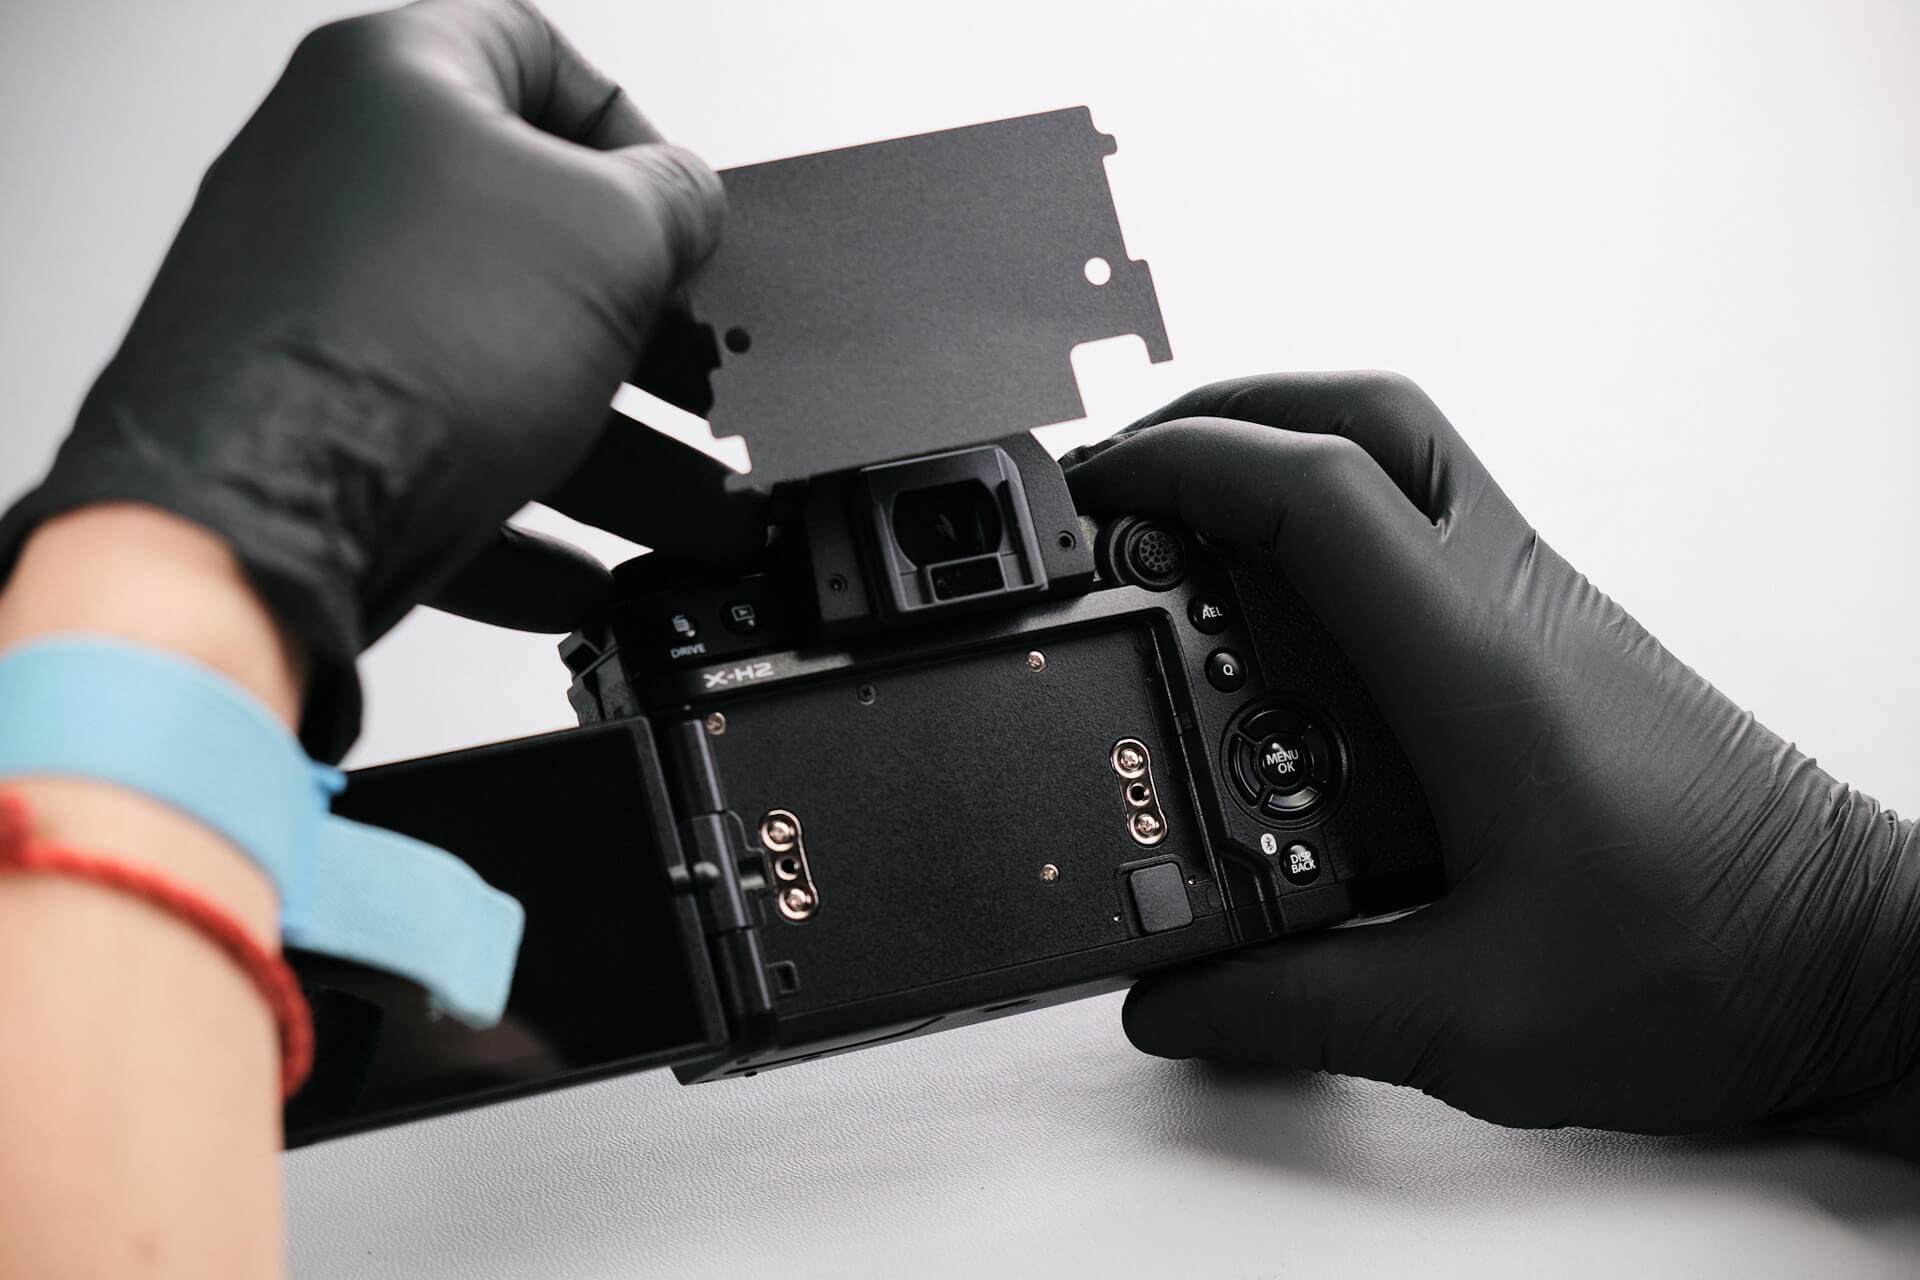
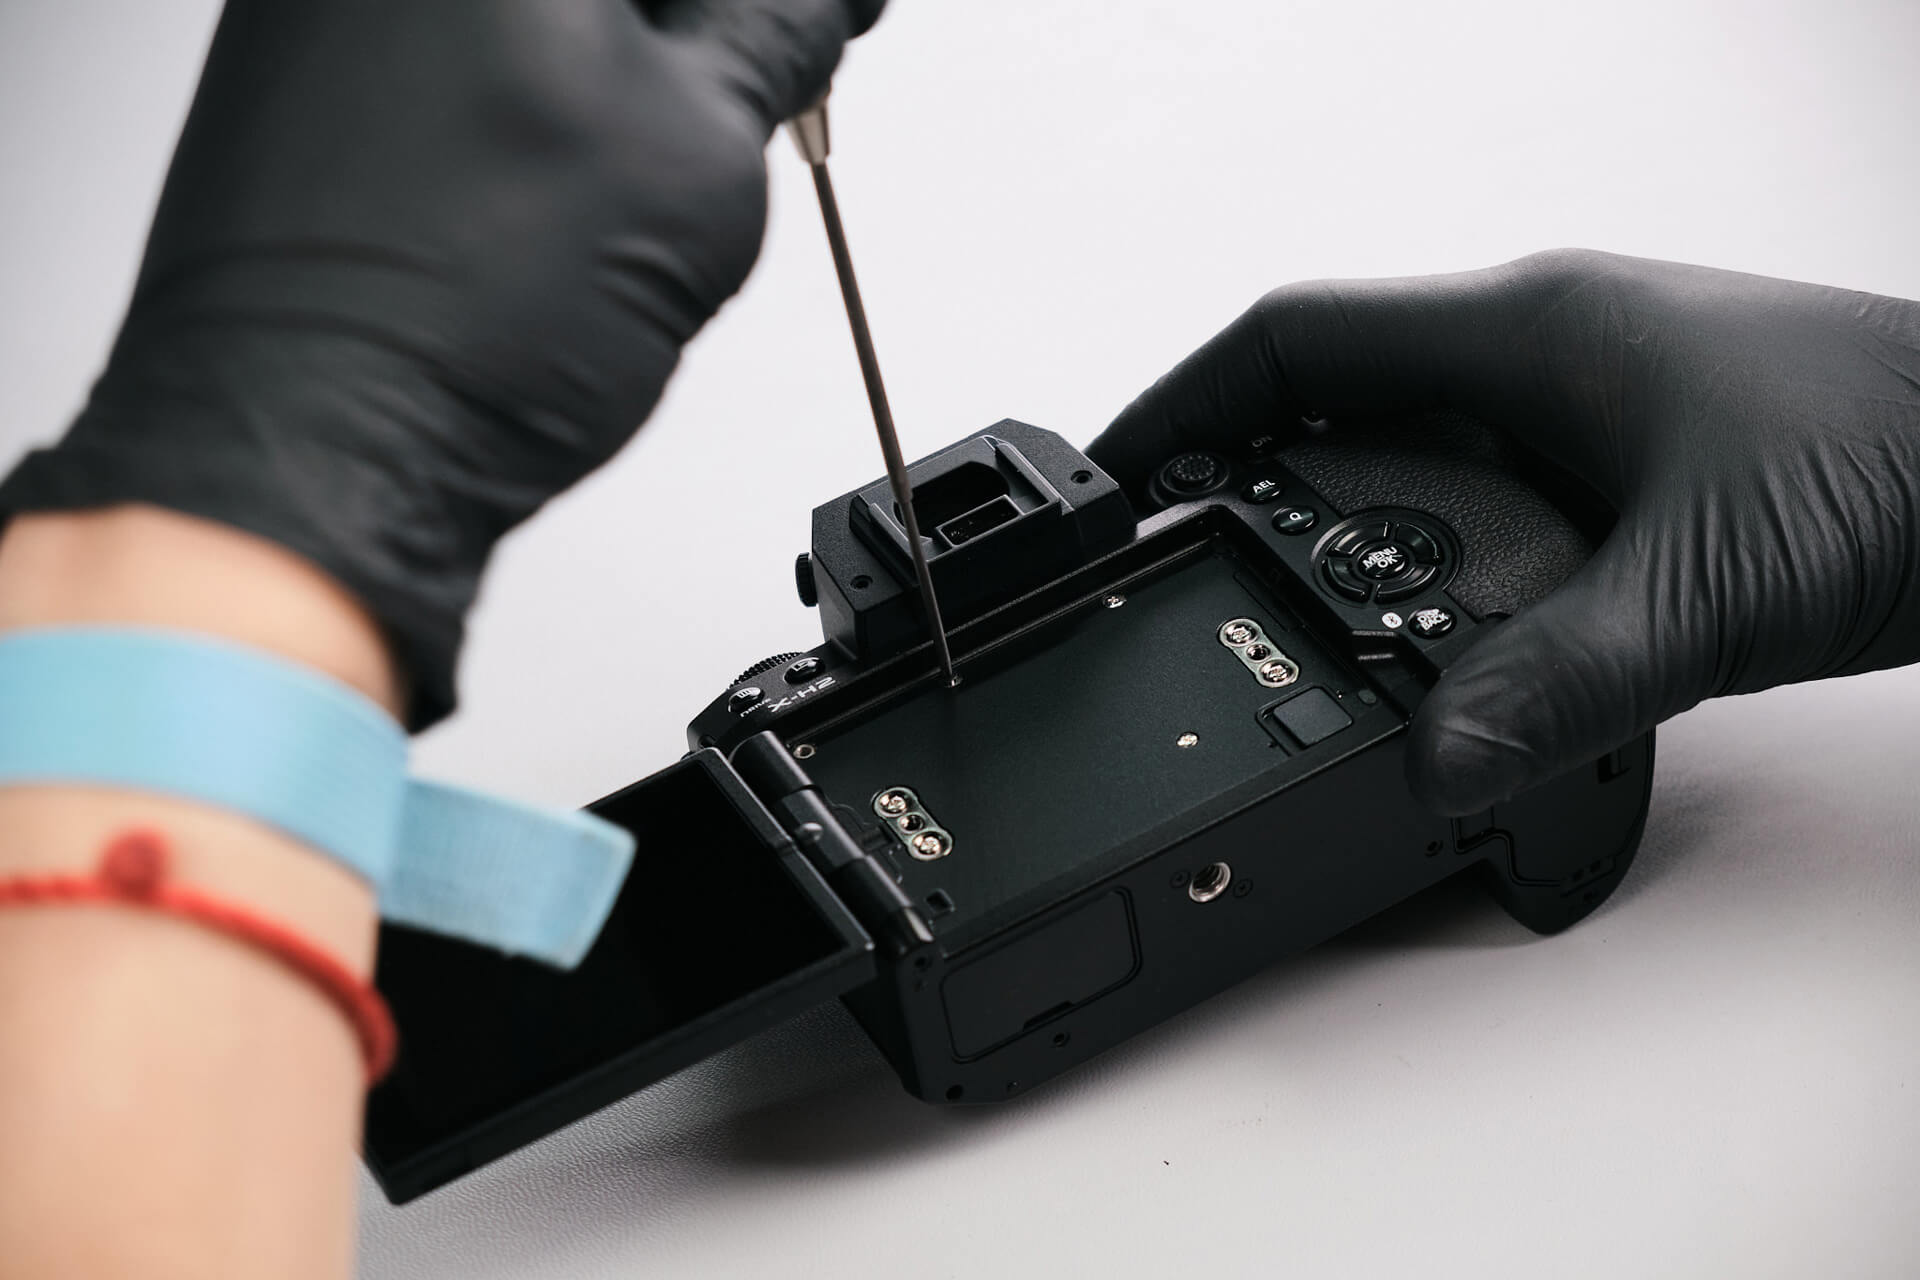
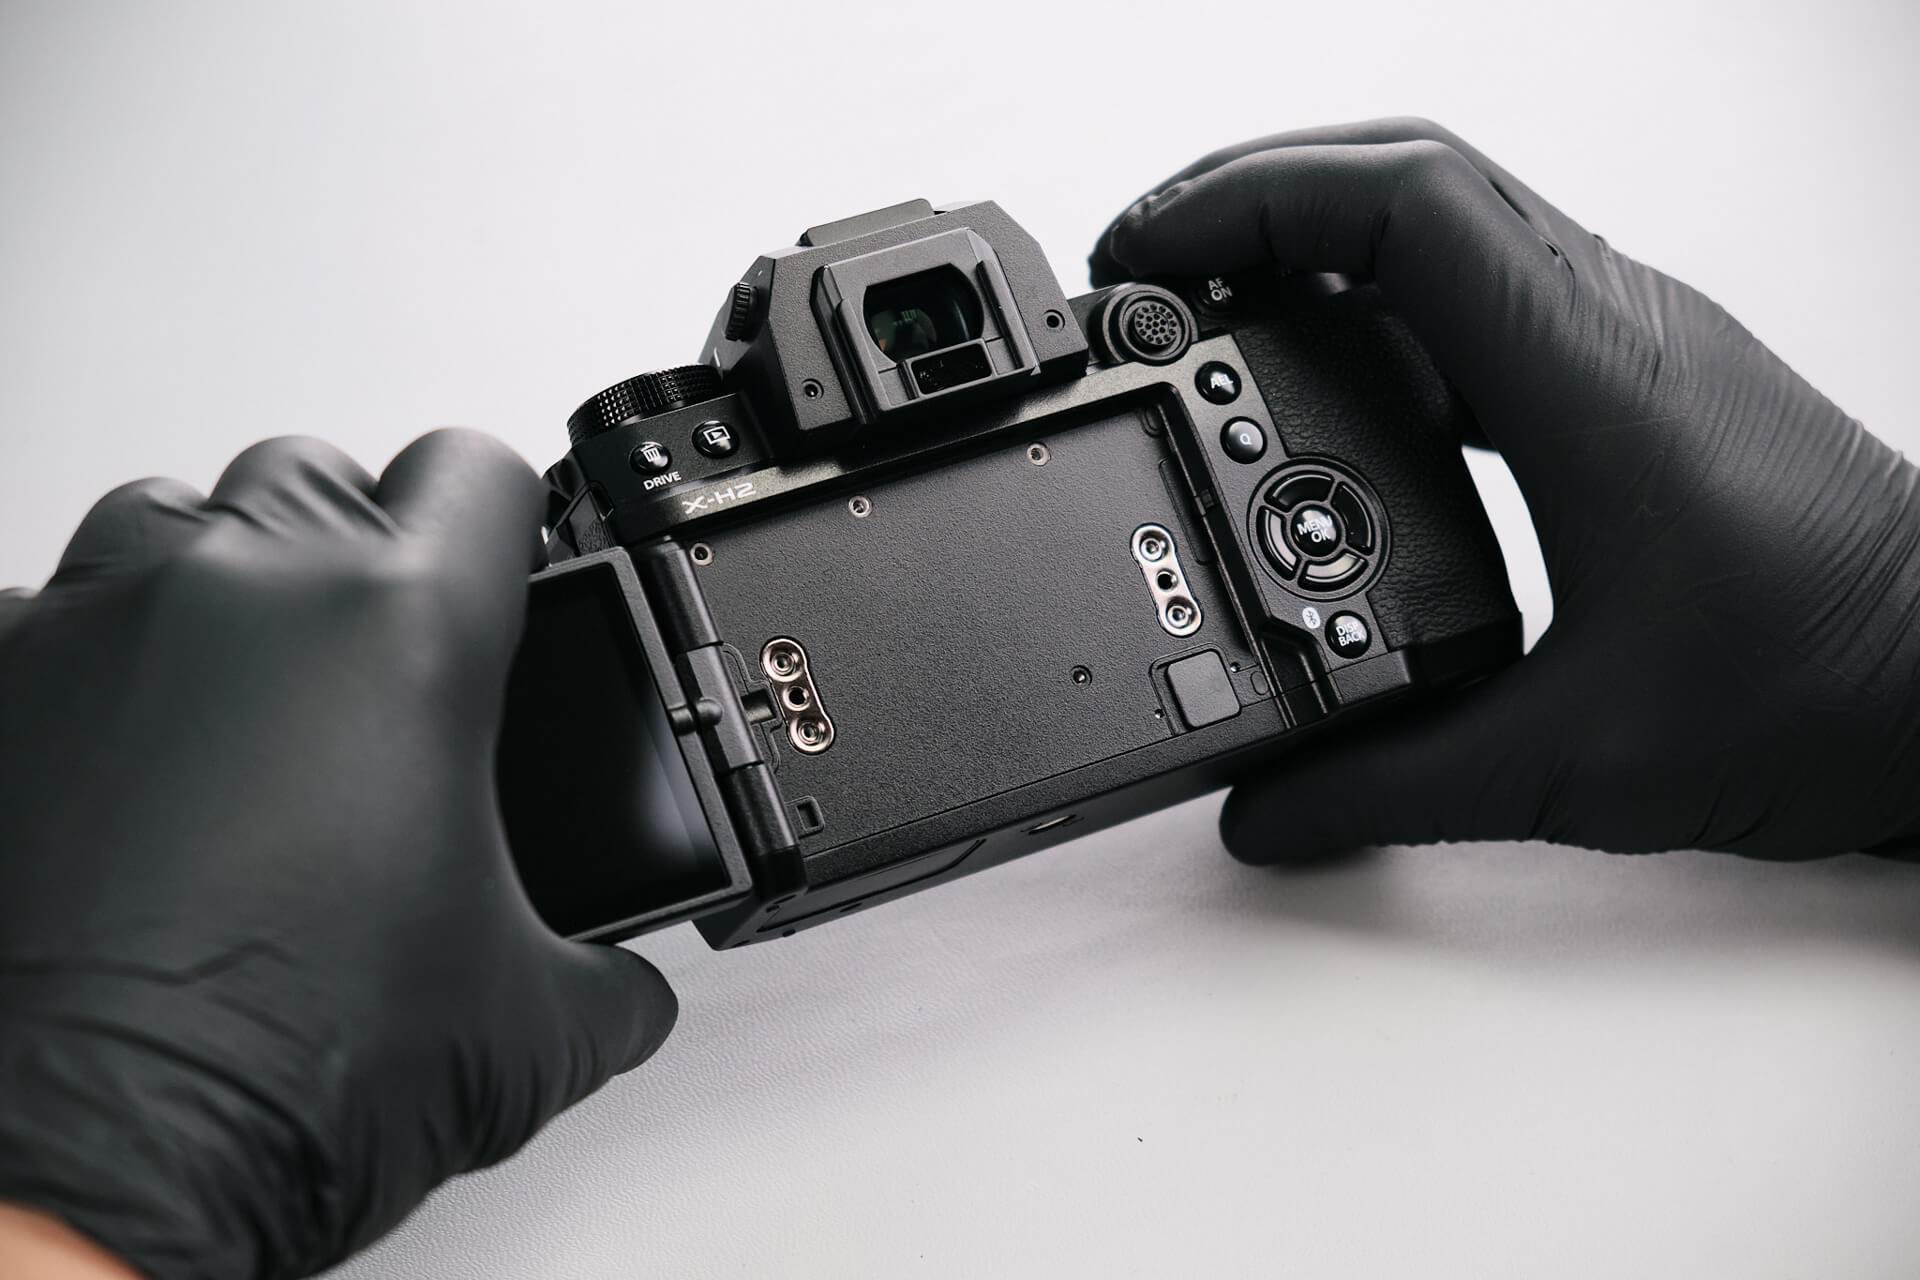
Interestingly, the back of the camera was covered with a thin plastic cover that almost seemed to be part of the camera. There were more screws under there. We also removed screws underneath the rubber padding of the viewfinder.
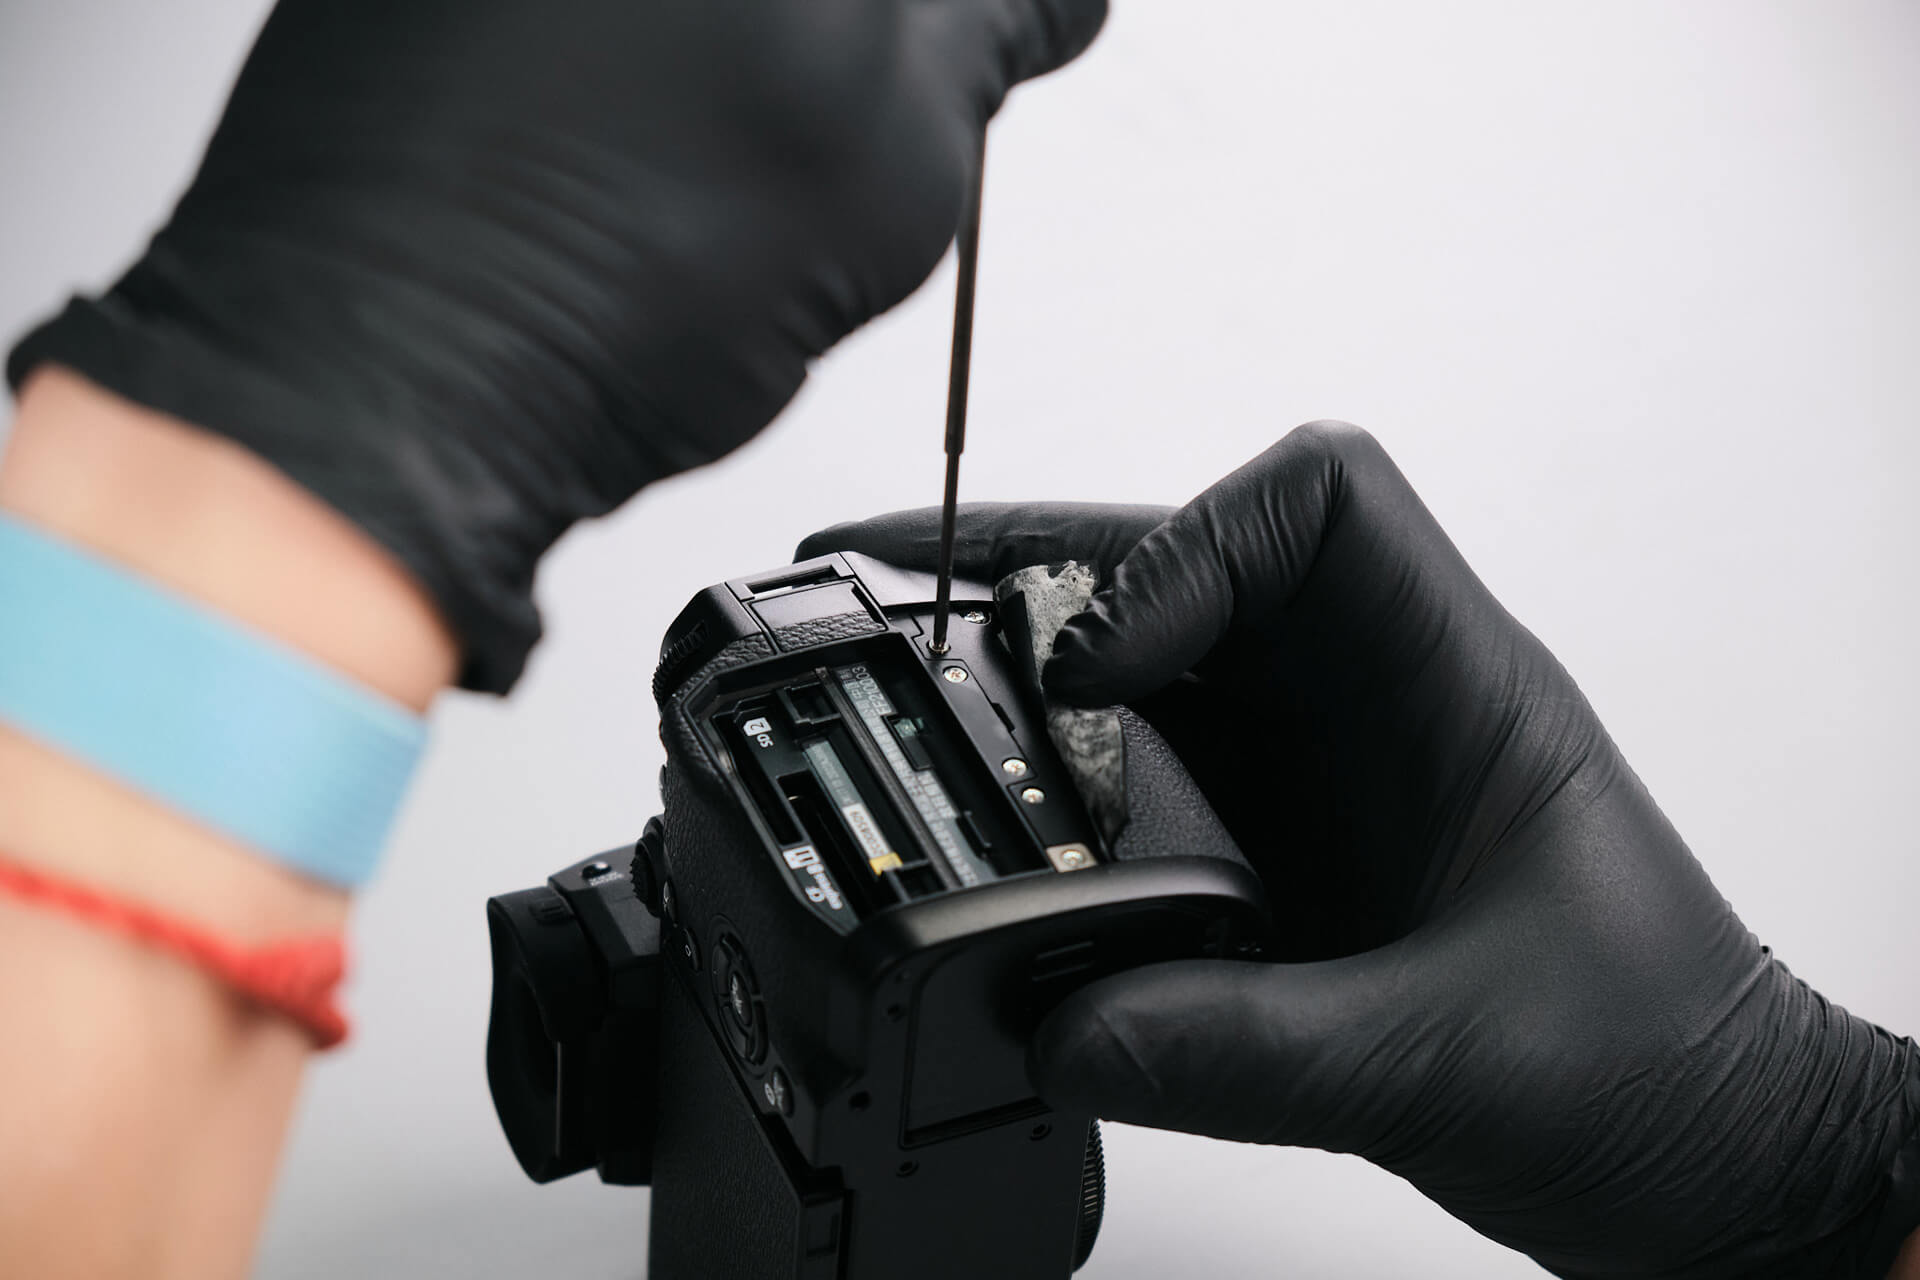
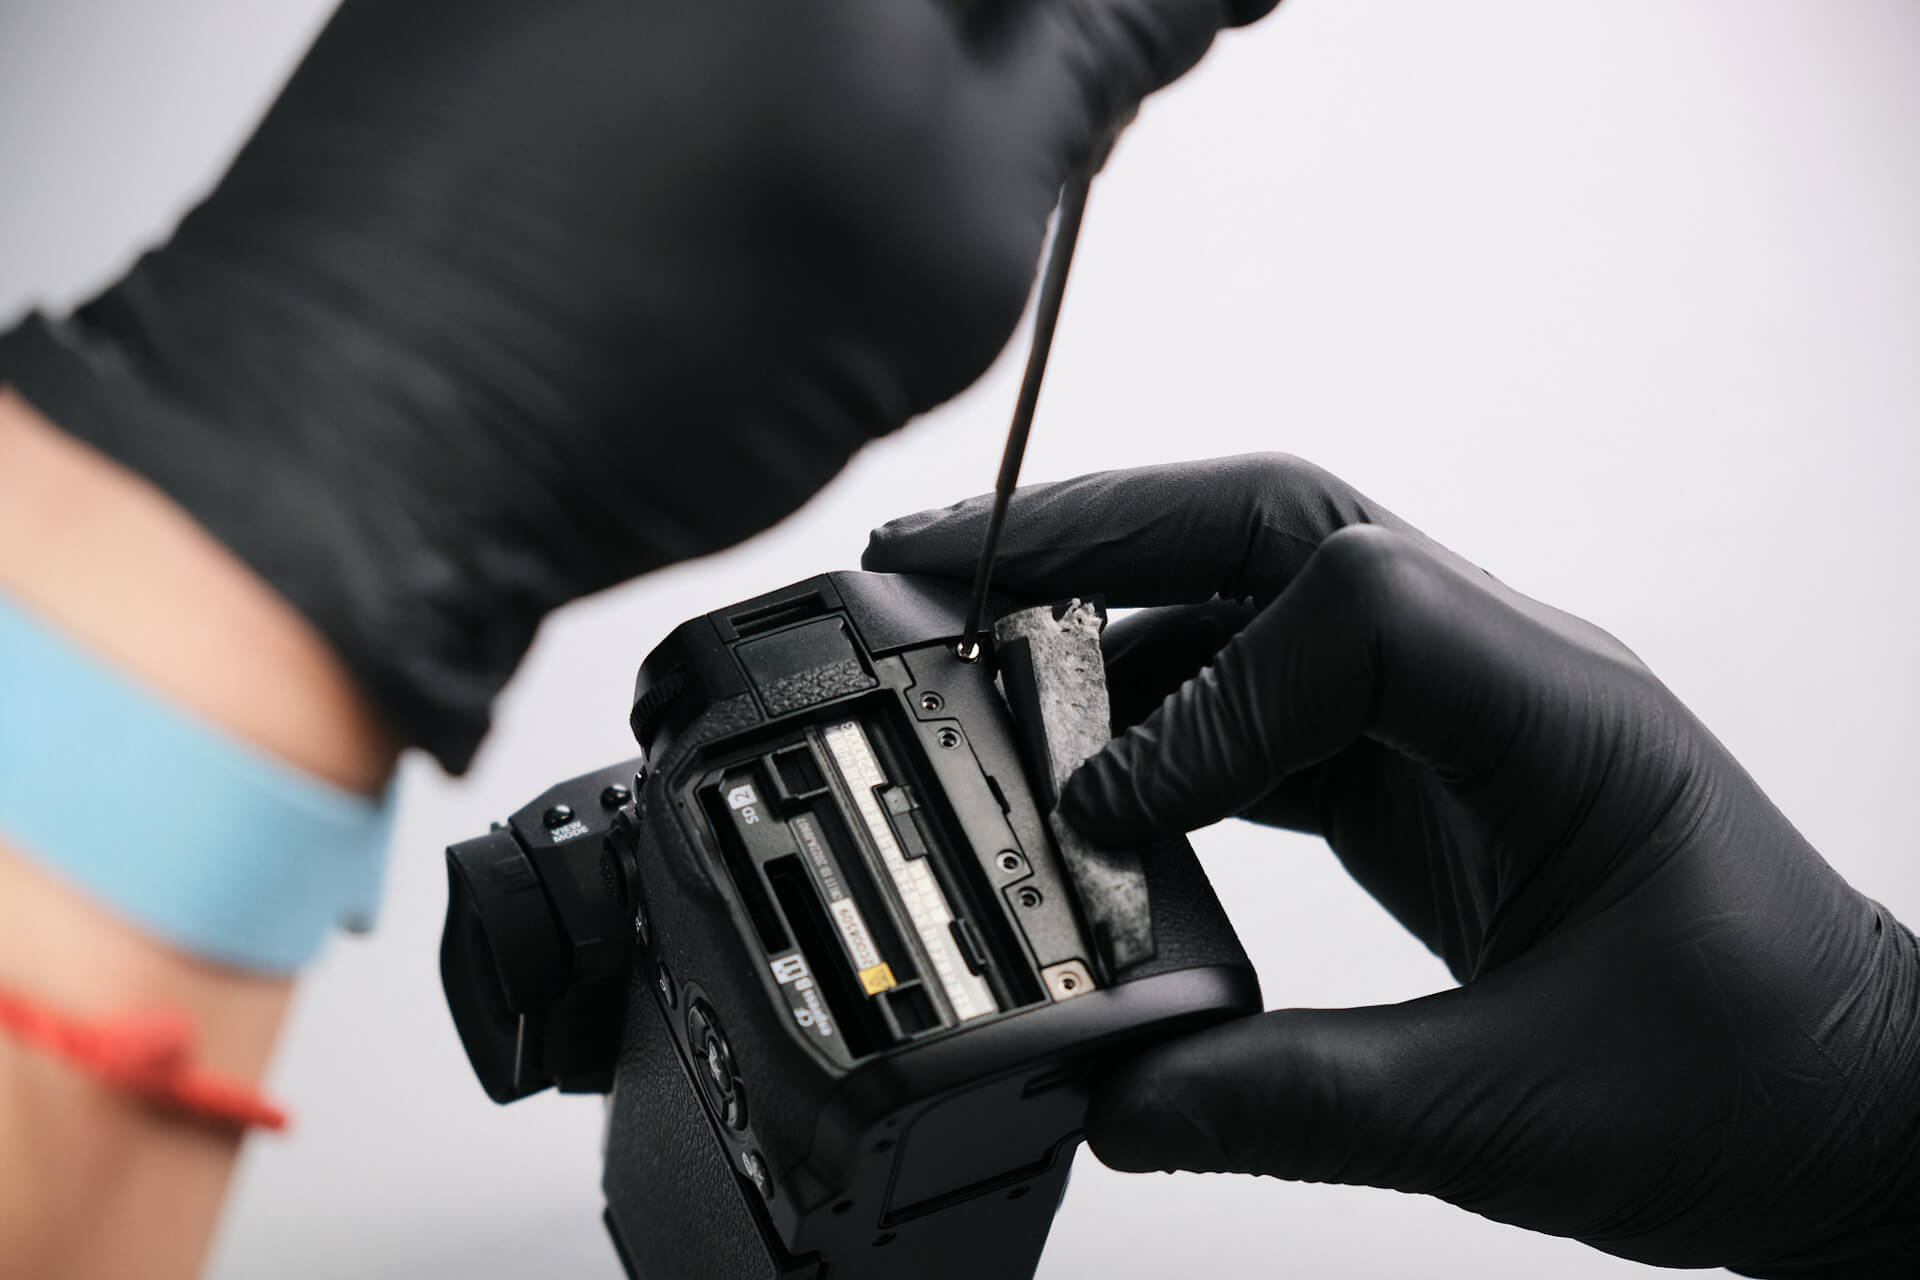
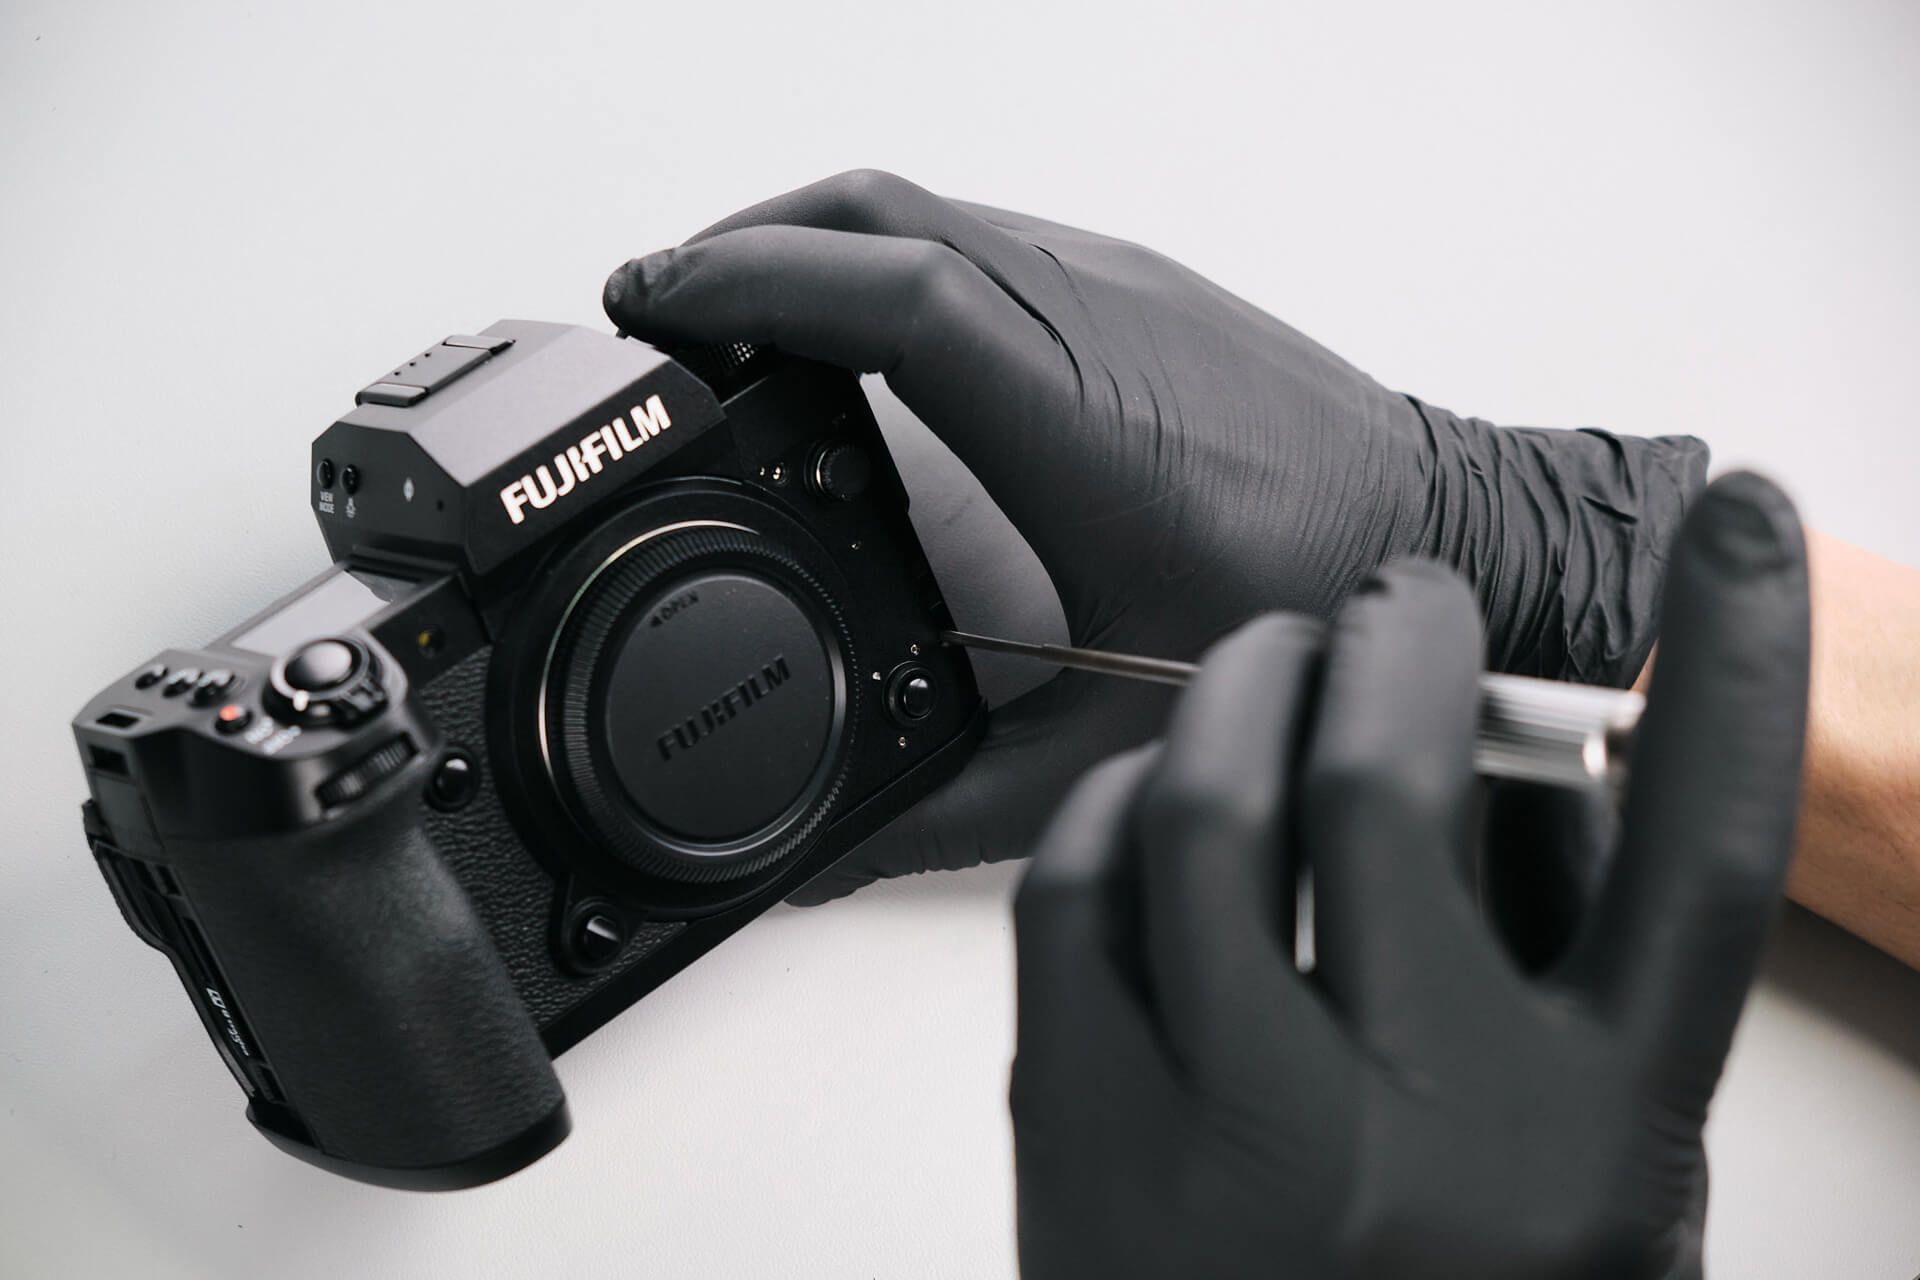
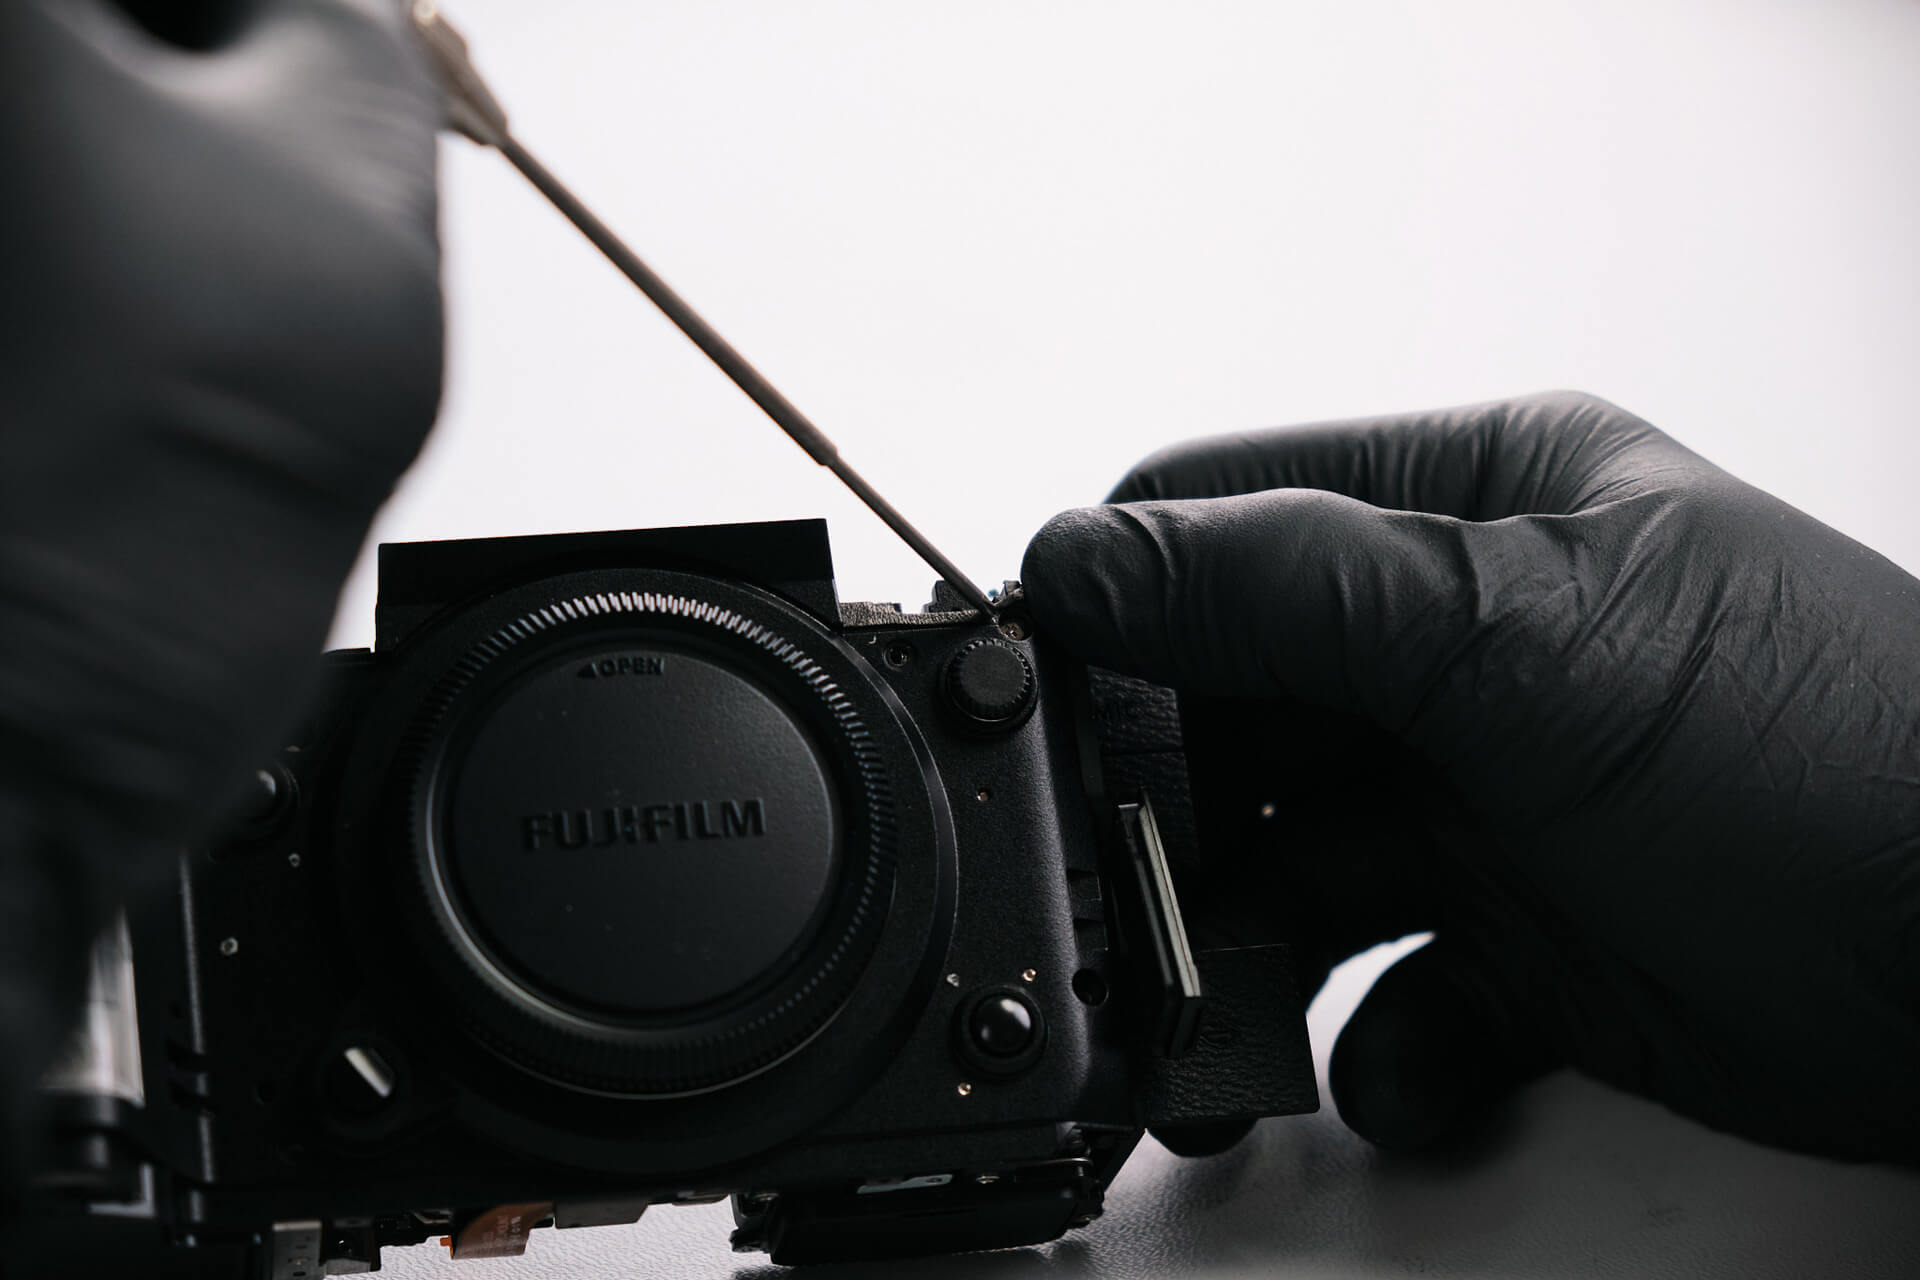
Next, we normally would be able to take off the rear panel and bottom cover entirely. However, it wasn’t coming off. Turns out there was a hidden screw under the rubber grip near the lens release button. Removing it let us remove the baseplate.
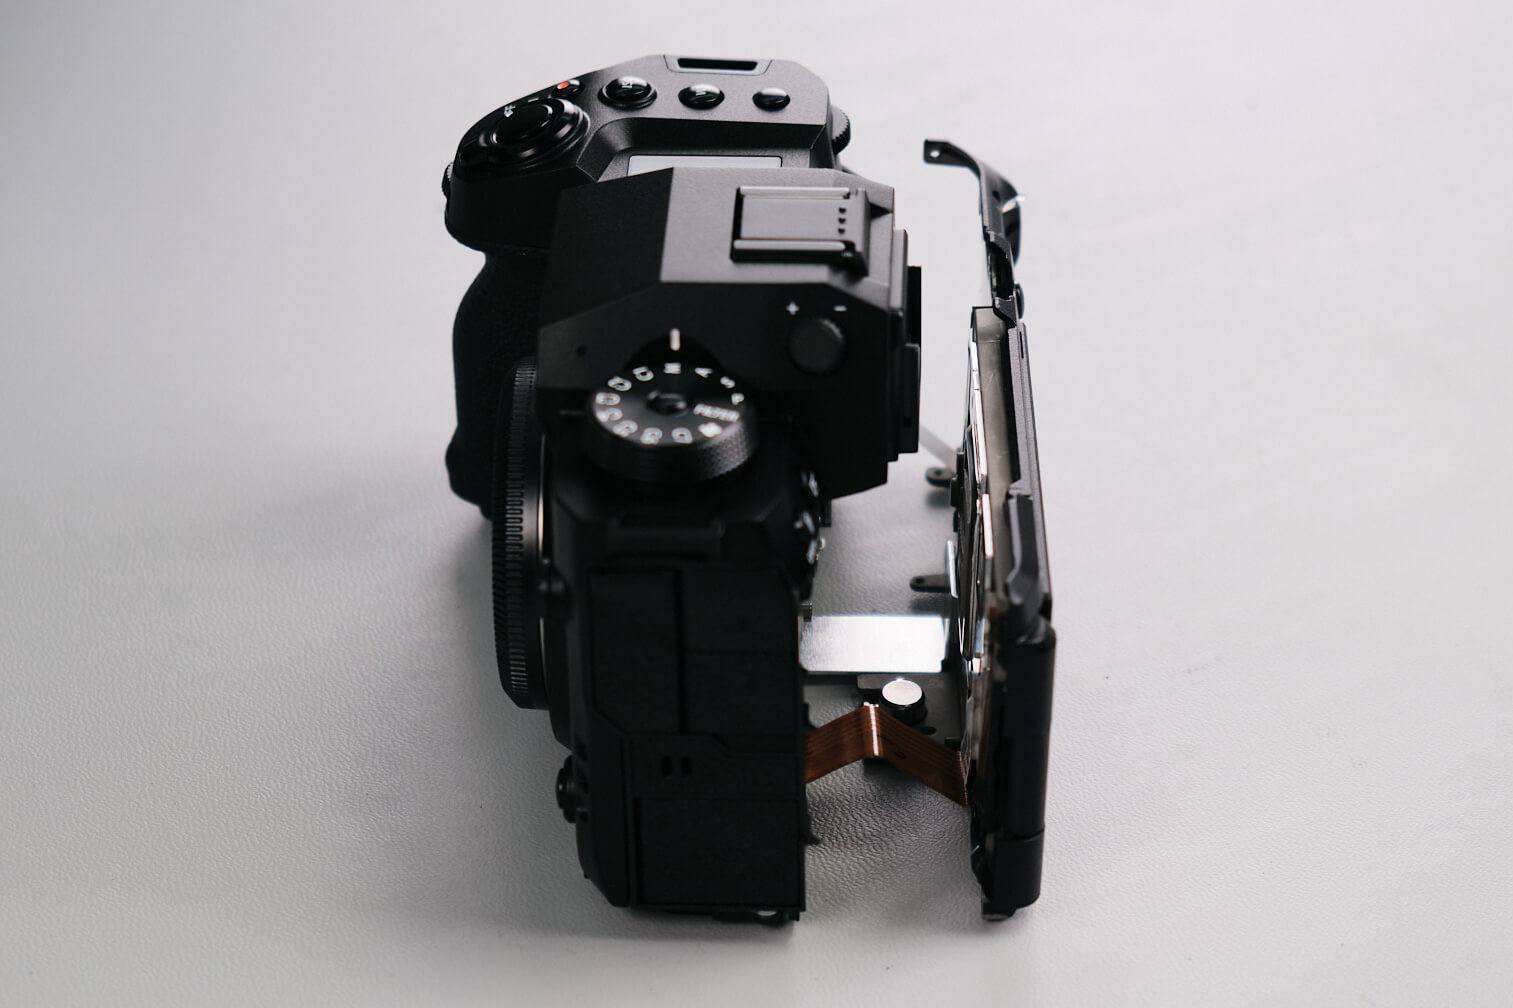
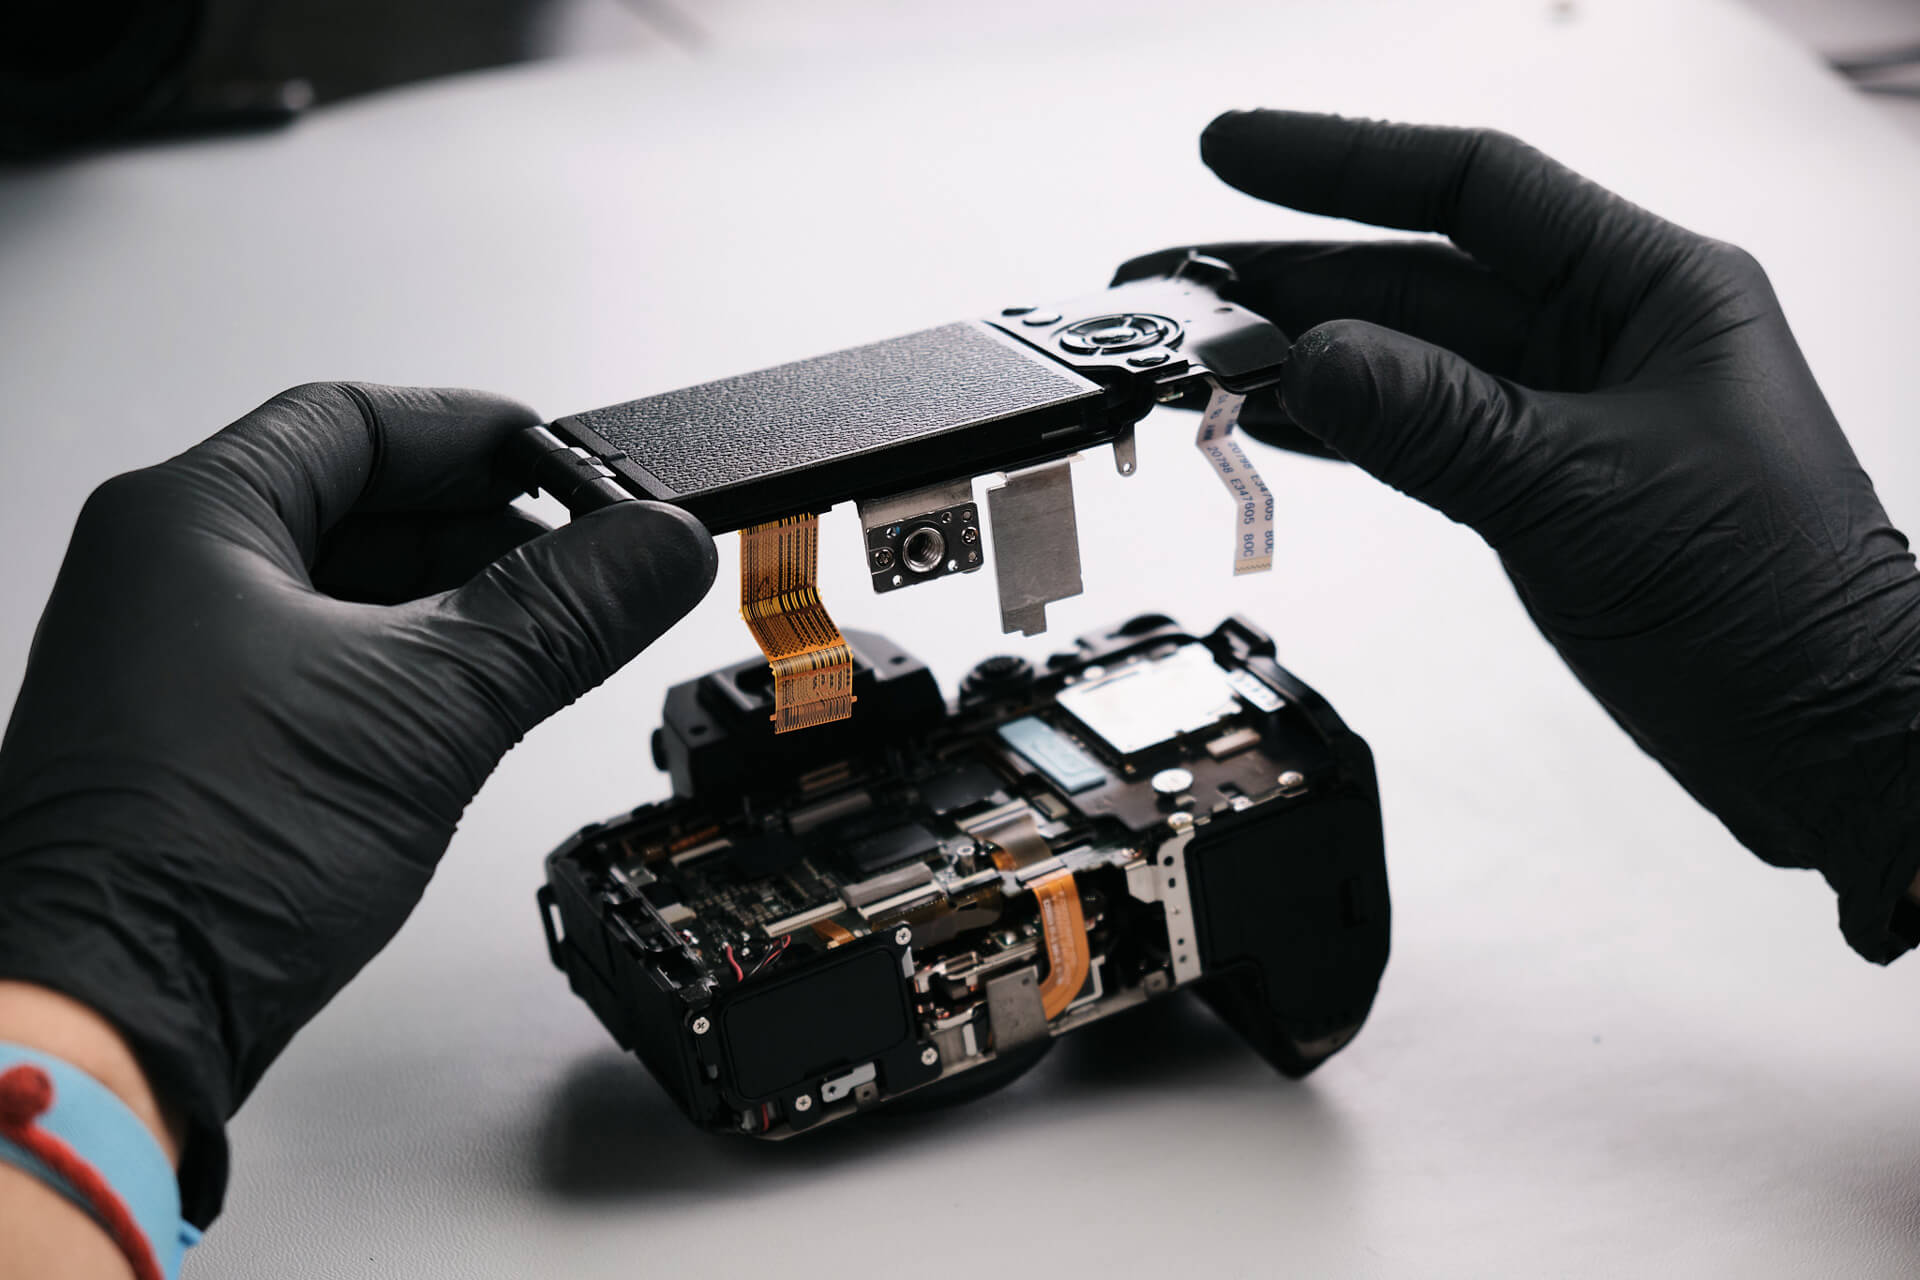
Removing the Rear Panel and Ribbon Cable
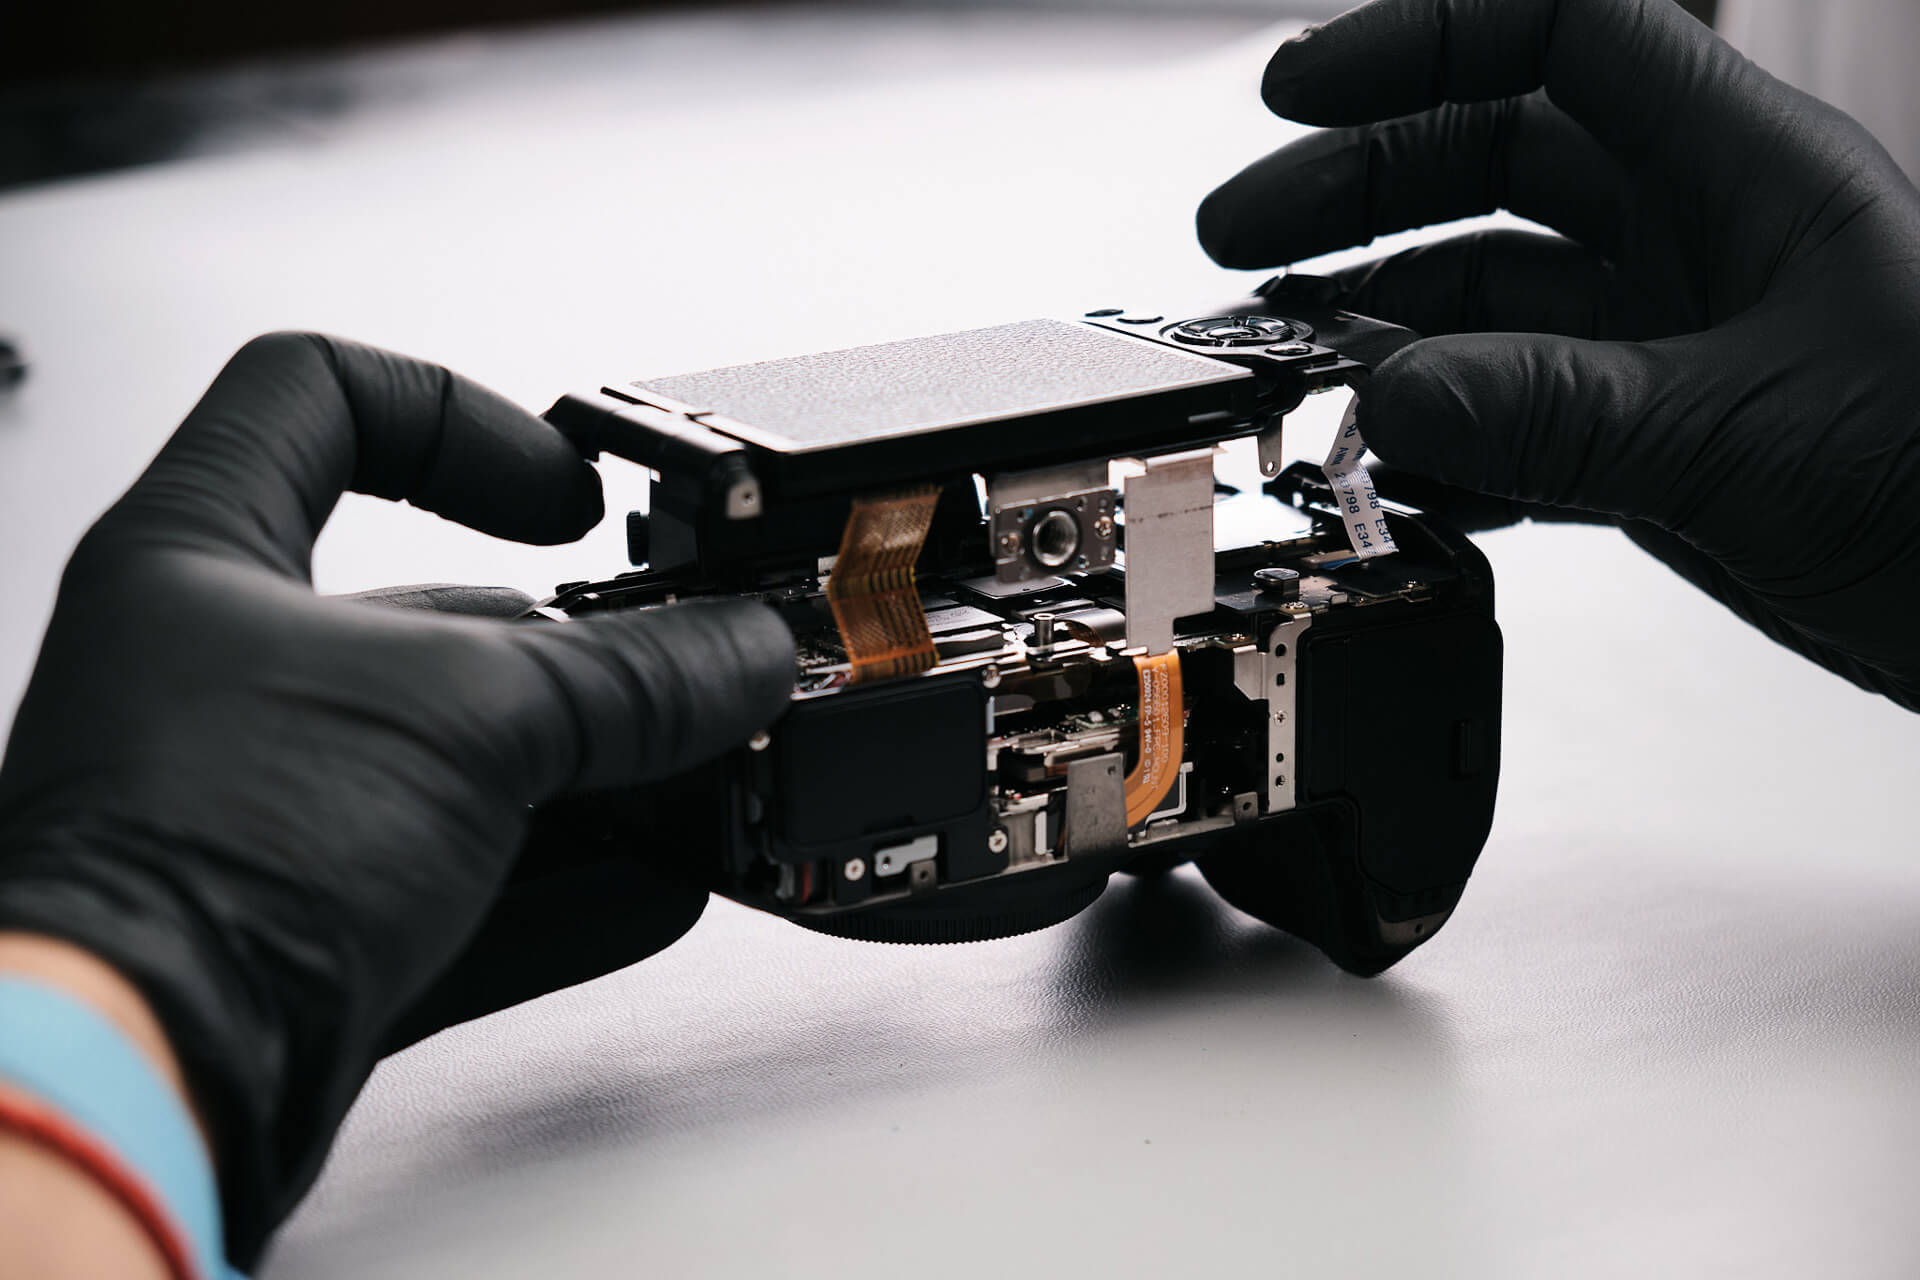
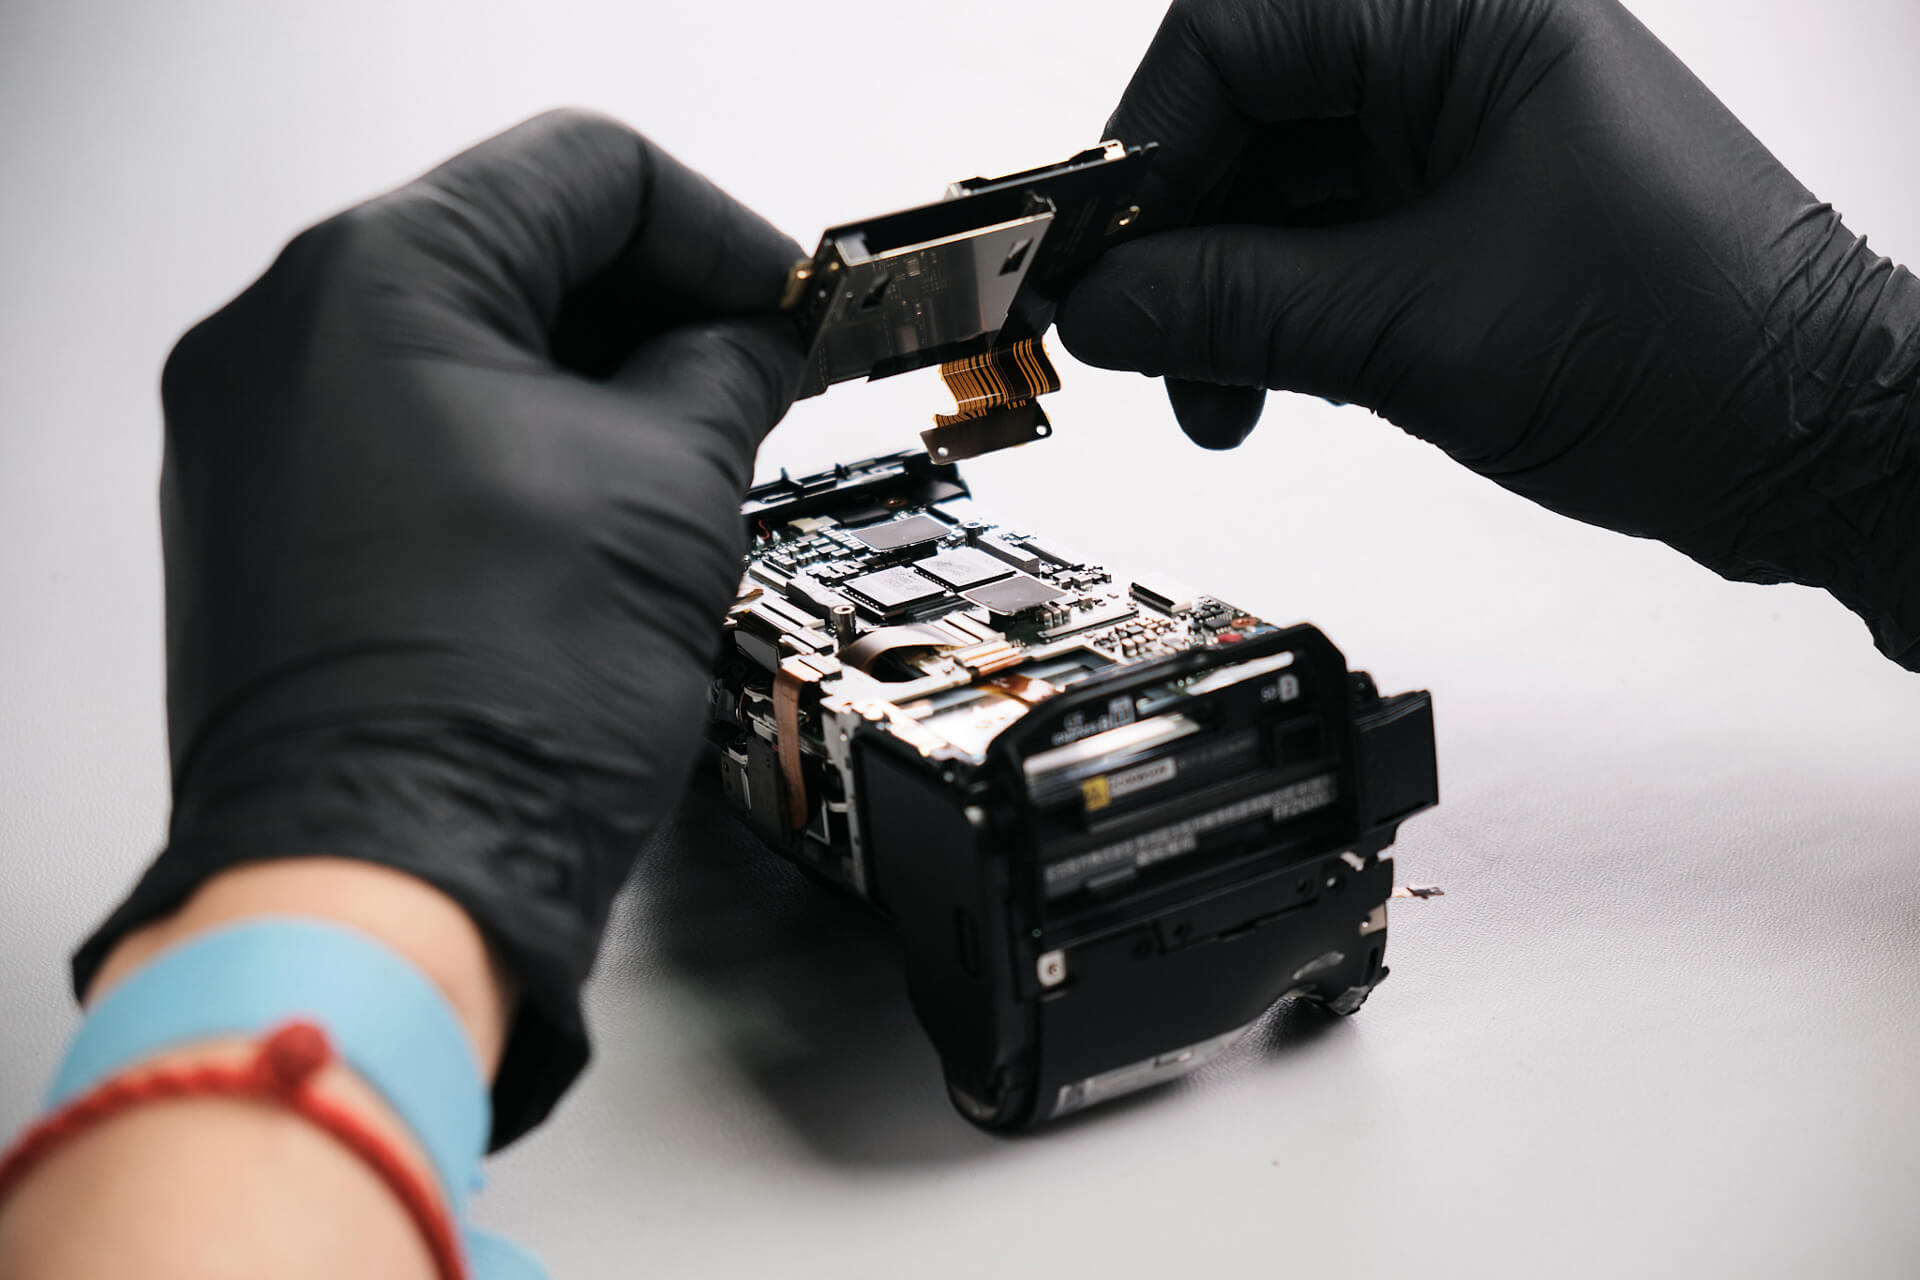
The rear panel was still attached. Taking off the rubber grip allowed us to detach the rear panel.
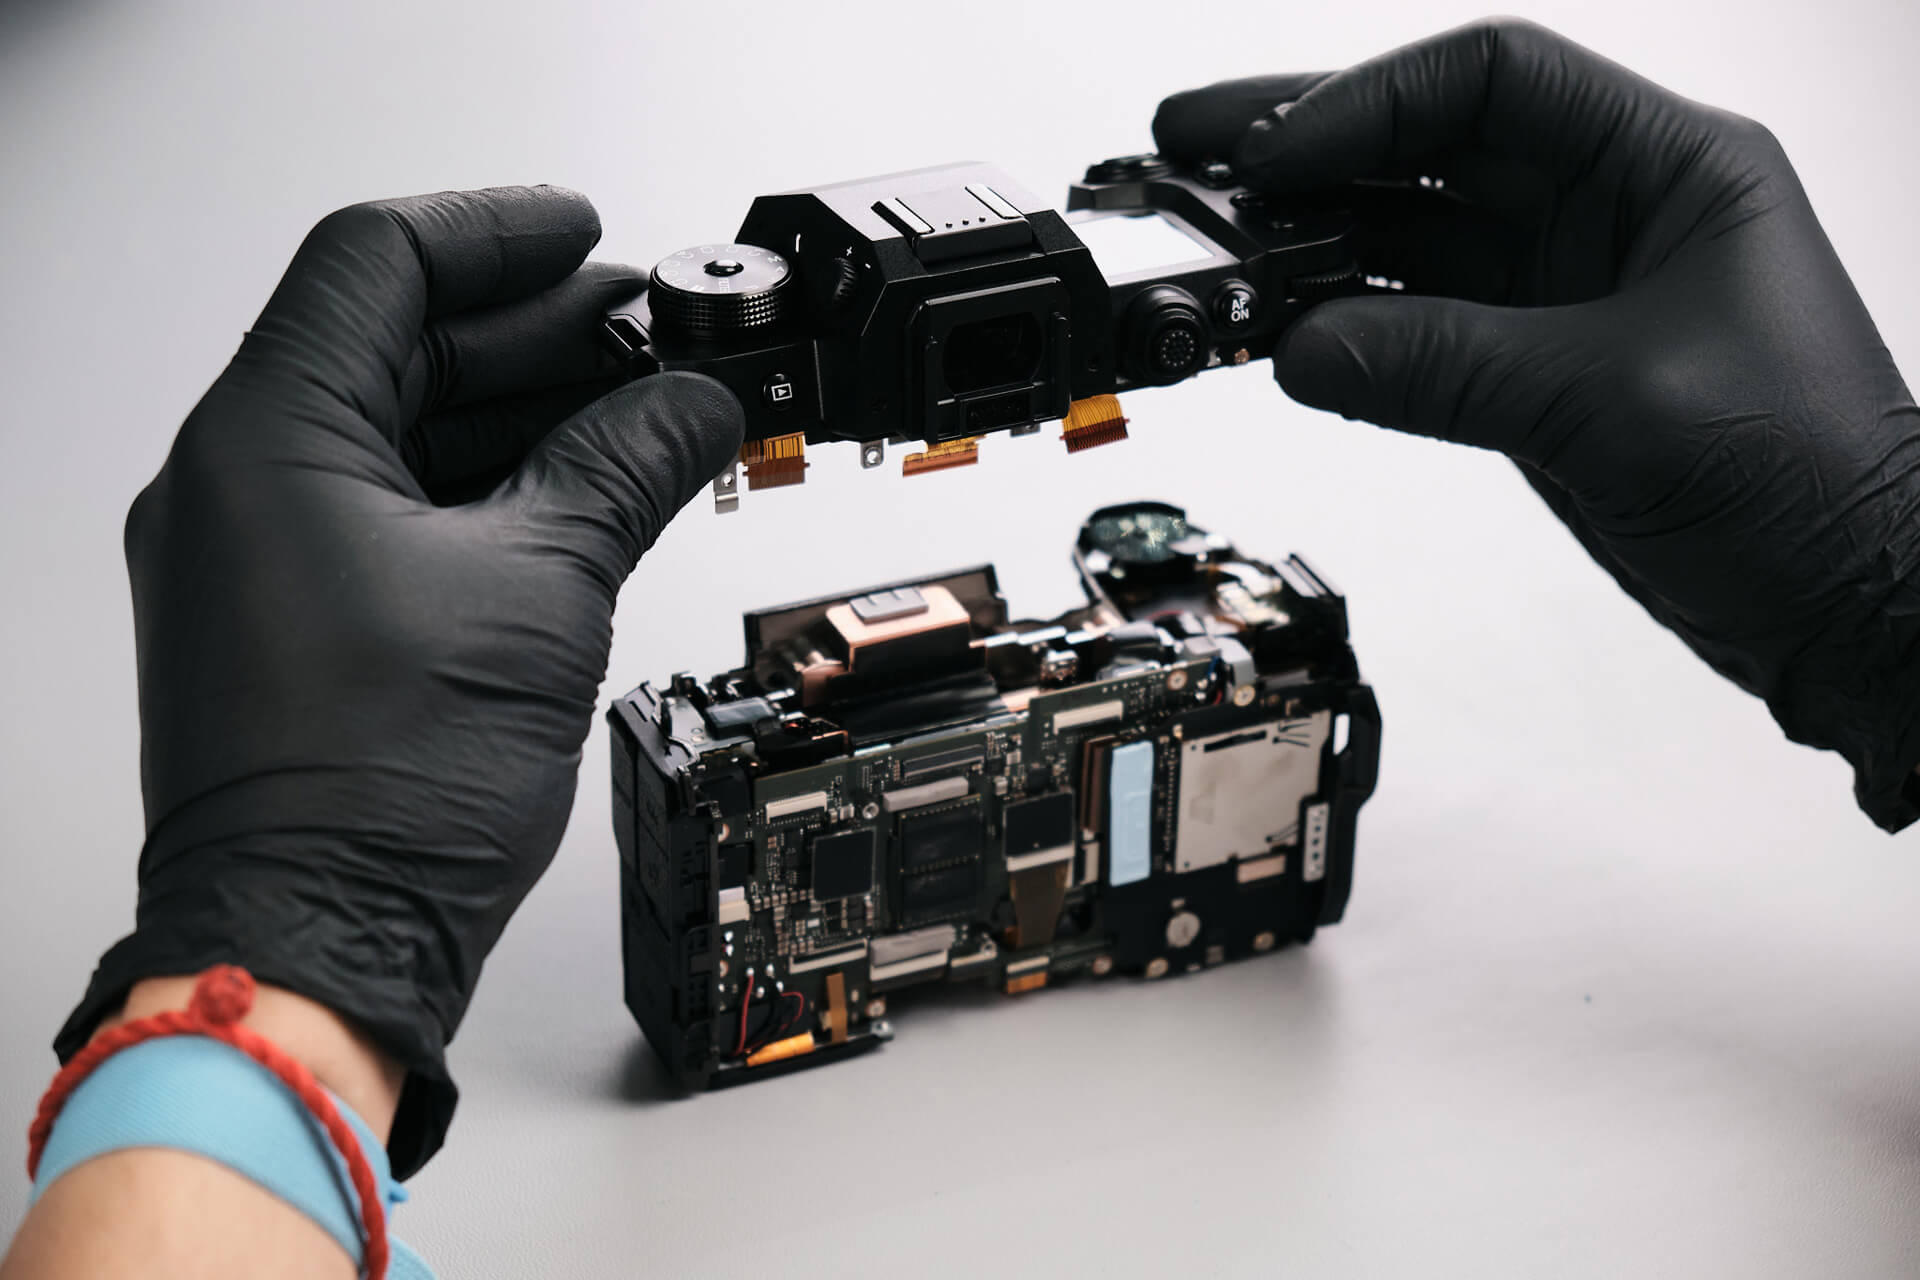
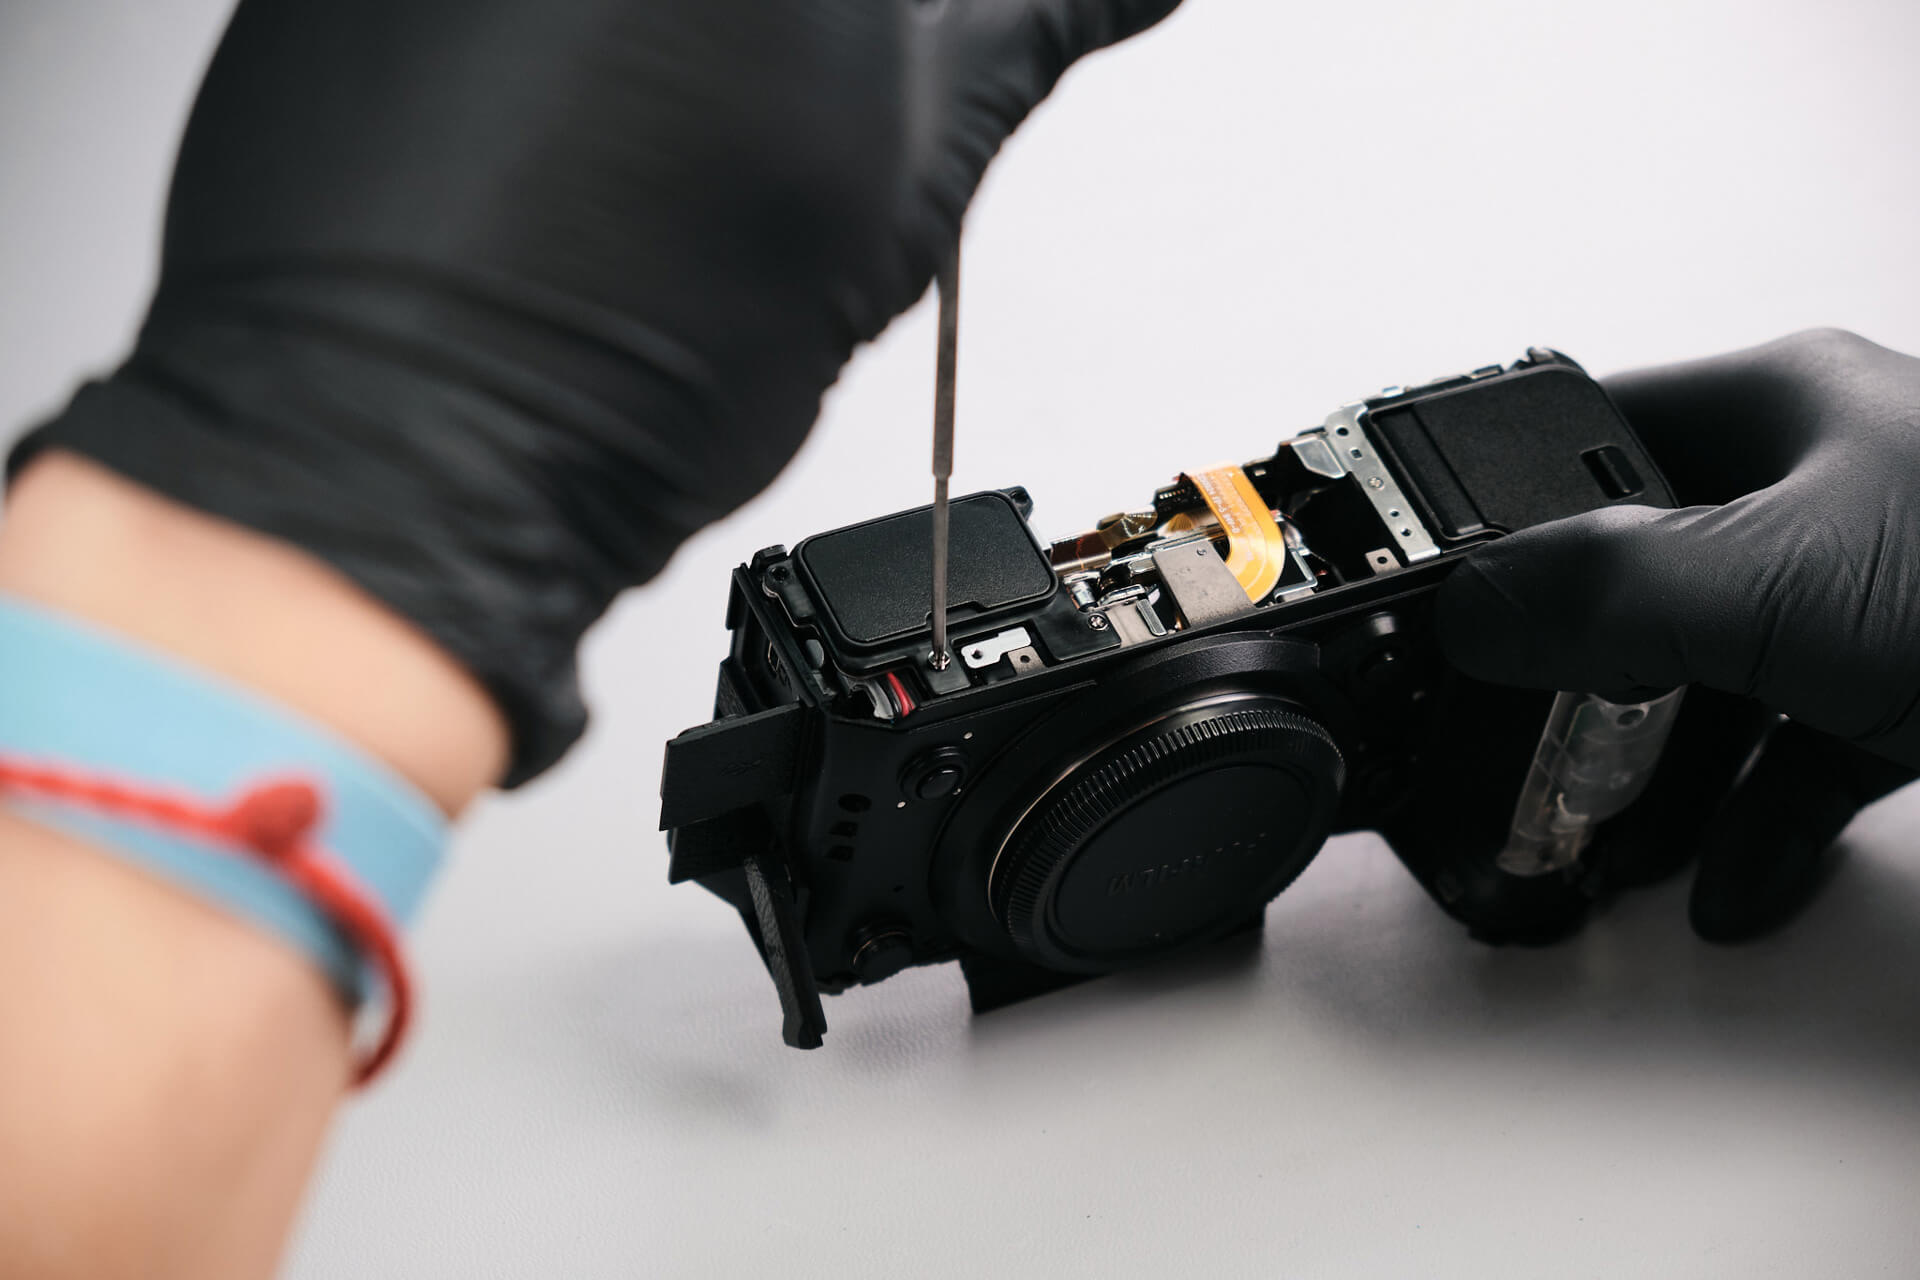
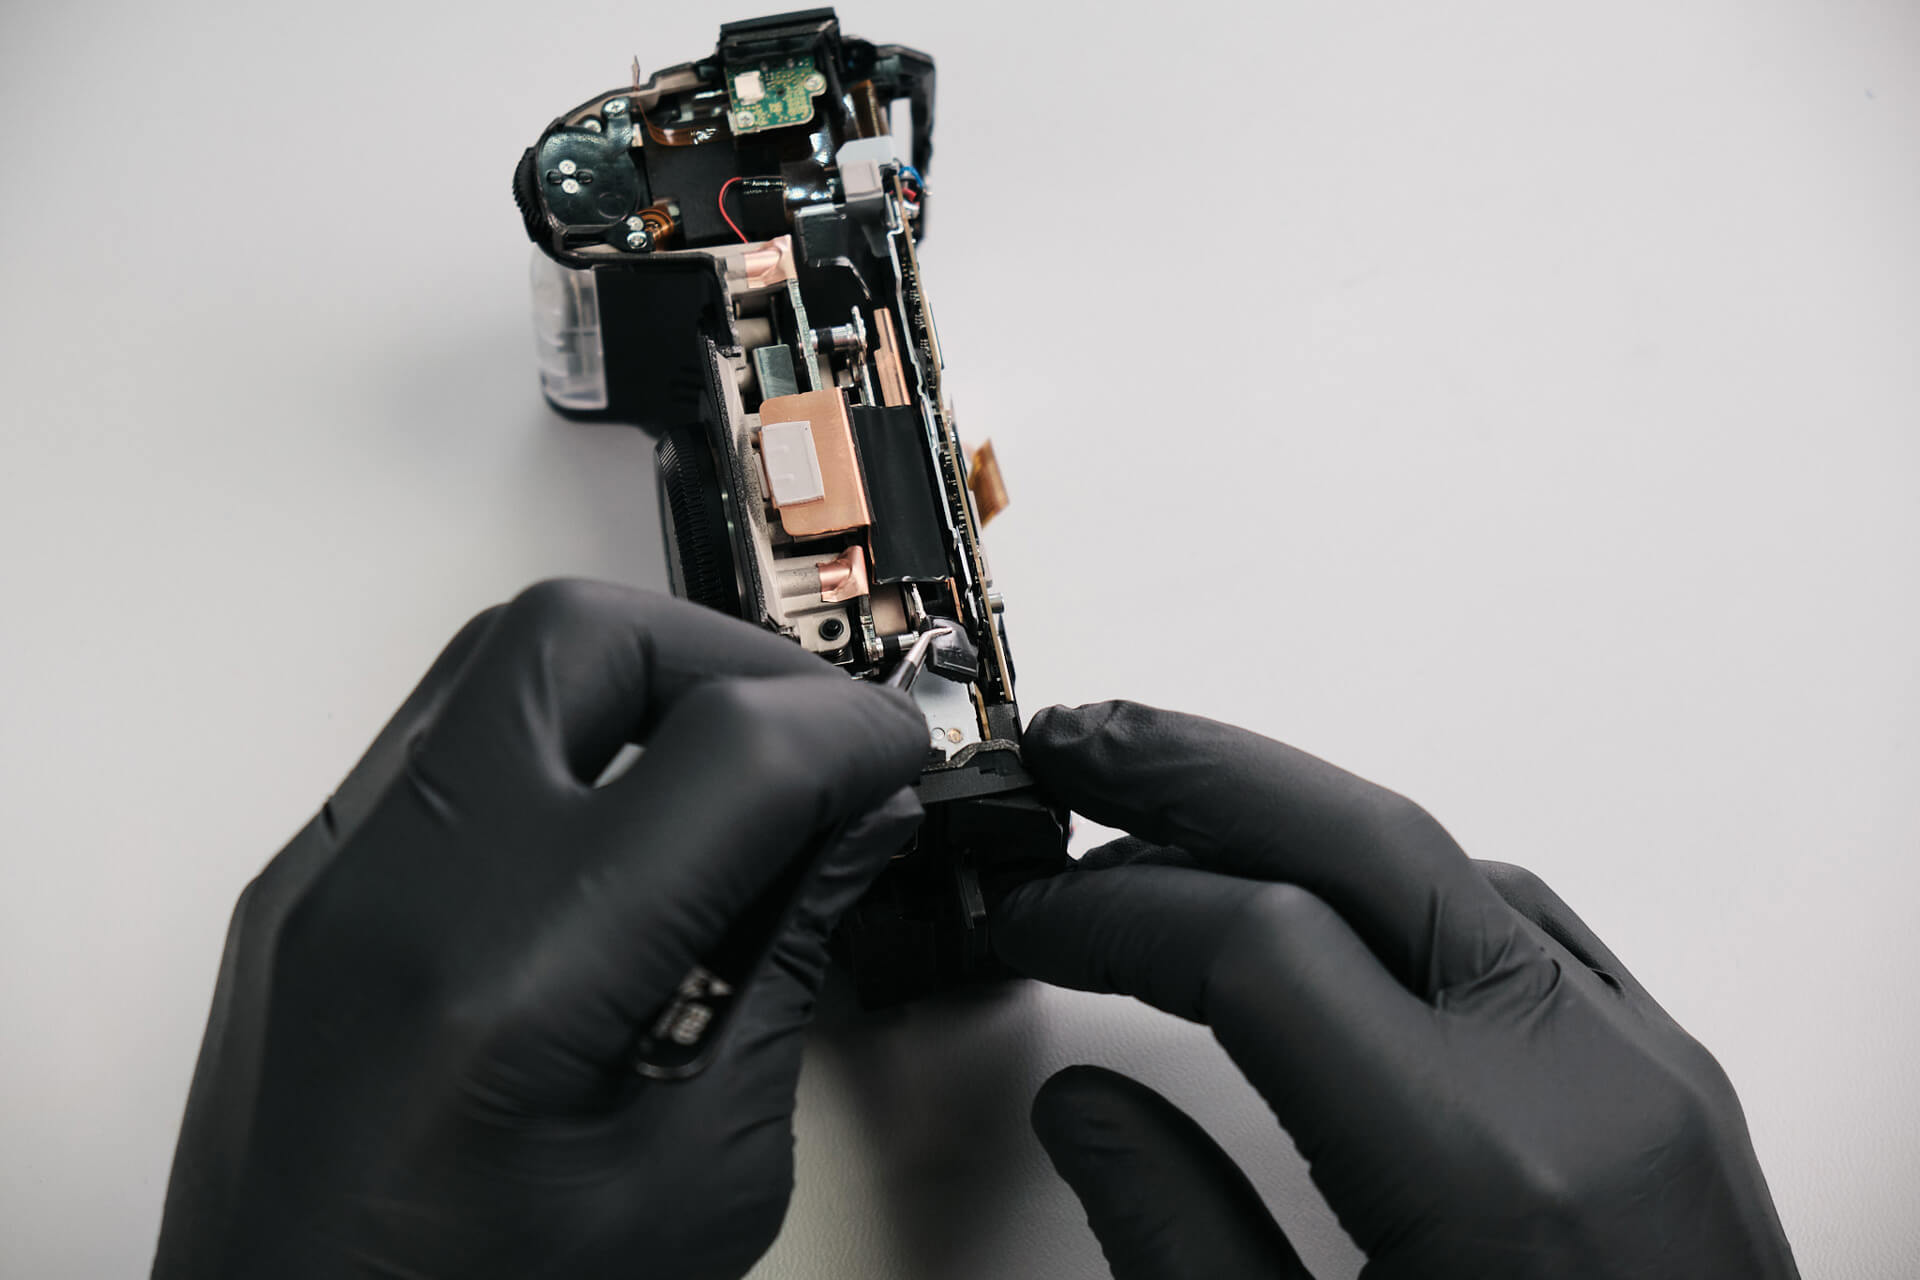
The top panel didn’t come off despite removing the noticeable screws, so we peeled back more of the rubber grip, revealing one silver screw.
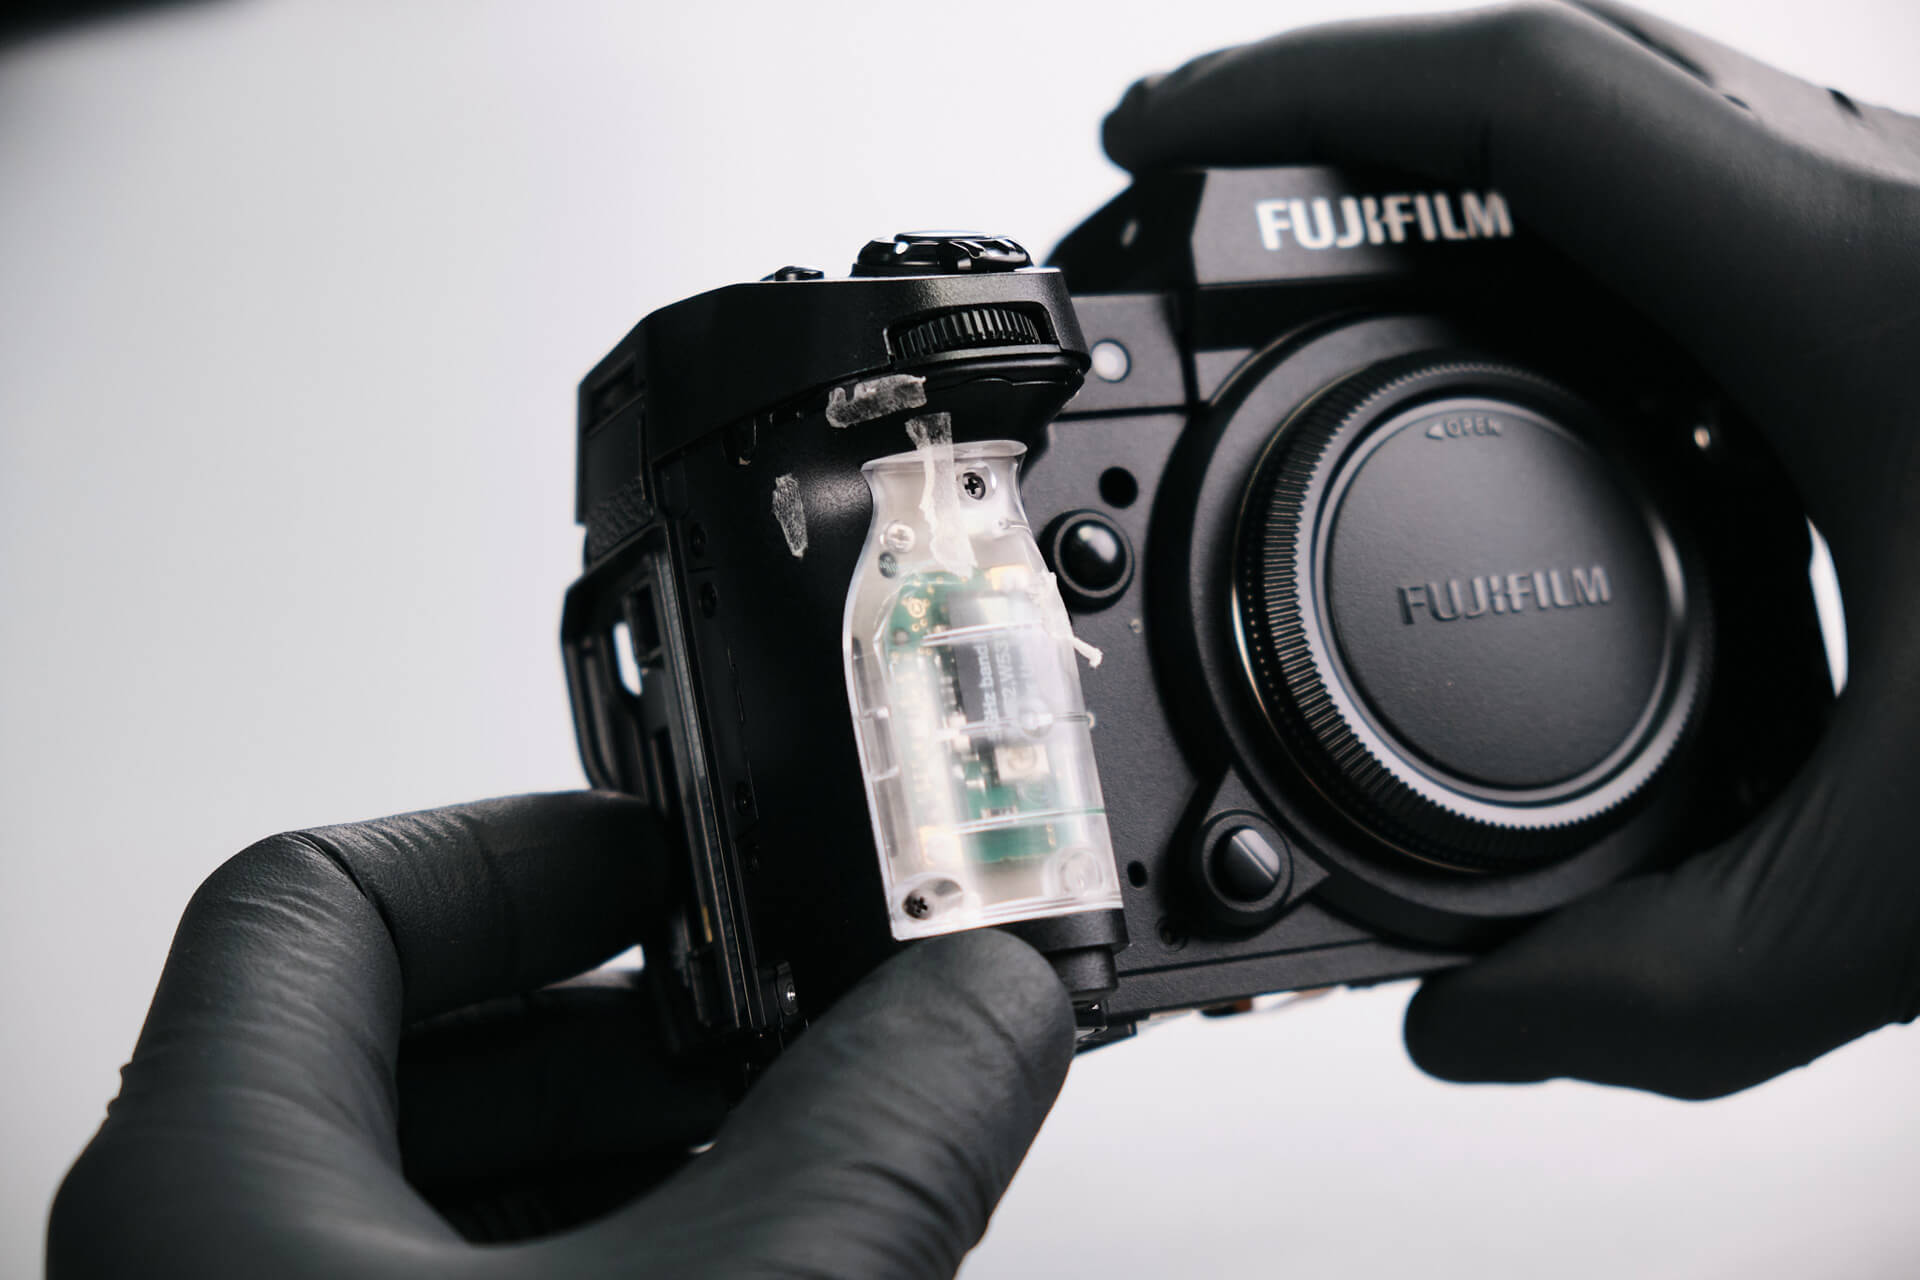
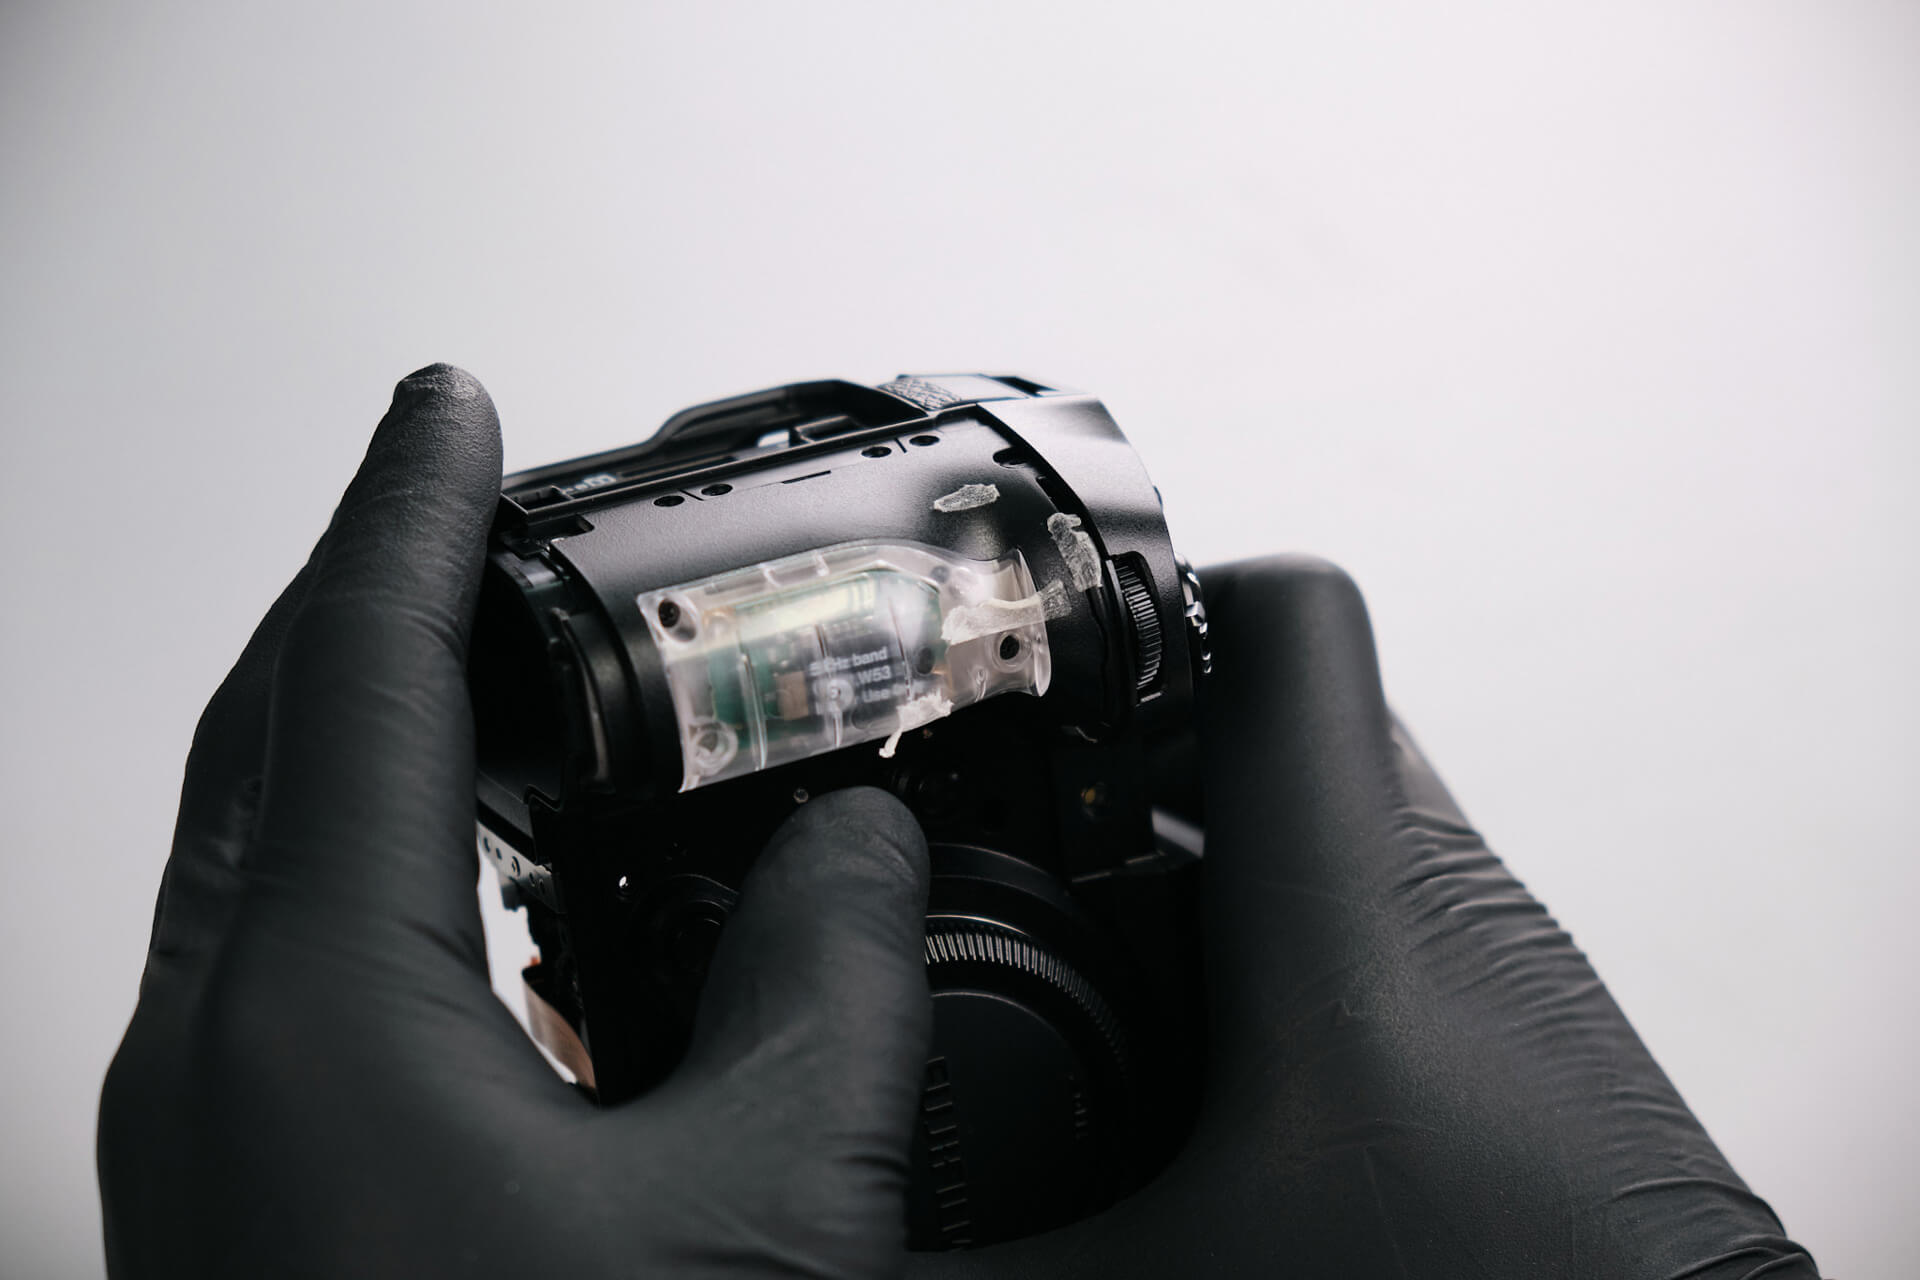
Interestingly, we discovered that the handle grip plastic is made from a different material than the rest of the body. Our guess is that it increases Bluetooth/Wifi connectivity to the receiver within the camera.
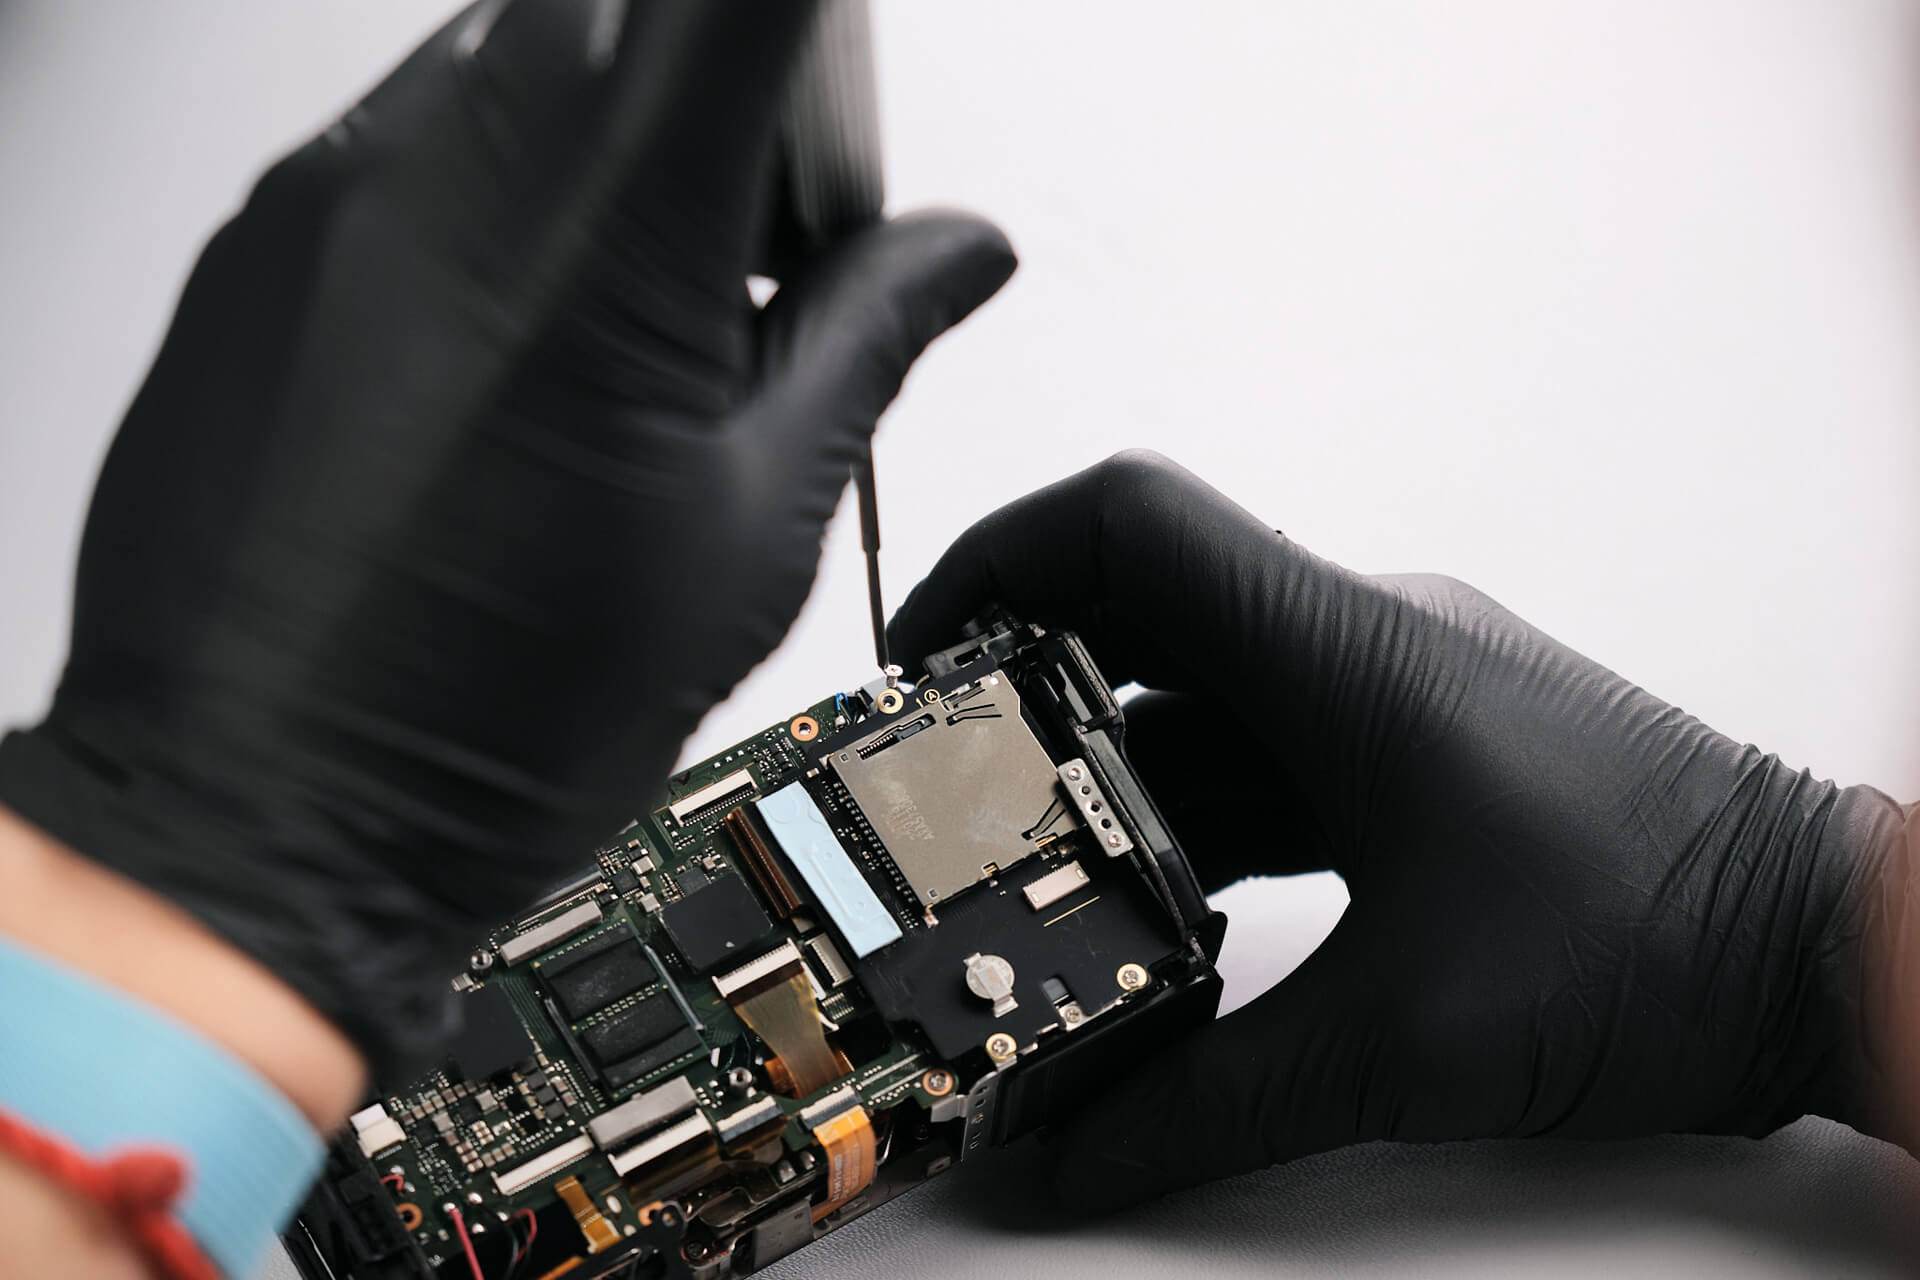
Here, we removed two silver screws from the circuit board.
Other parts connected to the circuit board prevented us from removing the file transmitter trim and side panels. We decided to turn the body around and found another hidden screw in the front of the camera, along with three silver screws that connected the trims.
After removing the file transmitter trim, we removed a silver screw underneath it.
Removing the Memory Card Slot and Circuit Board Connections
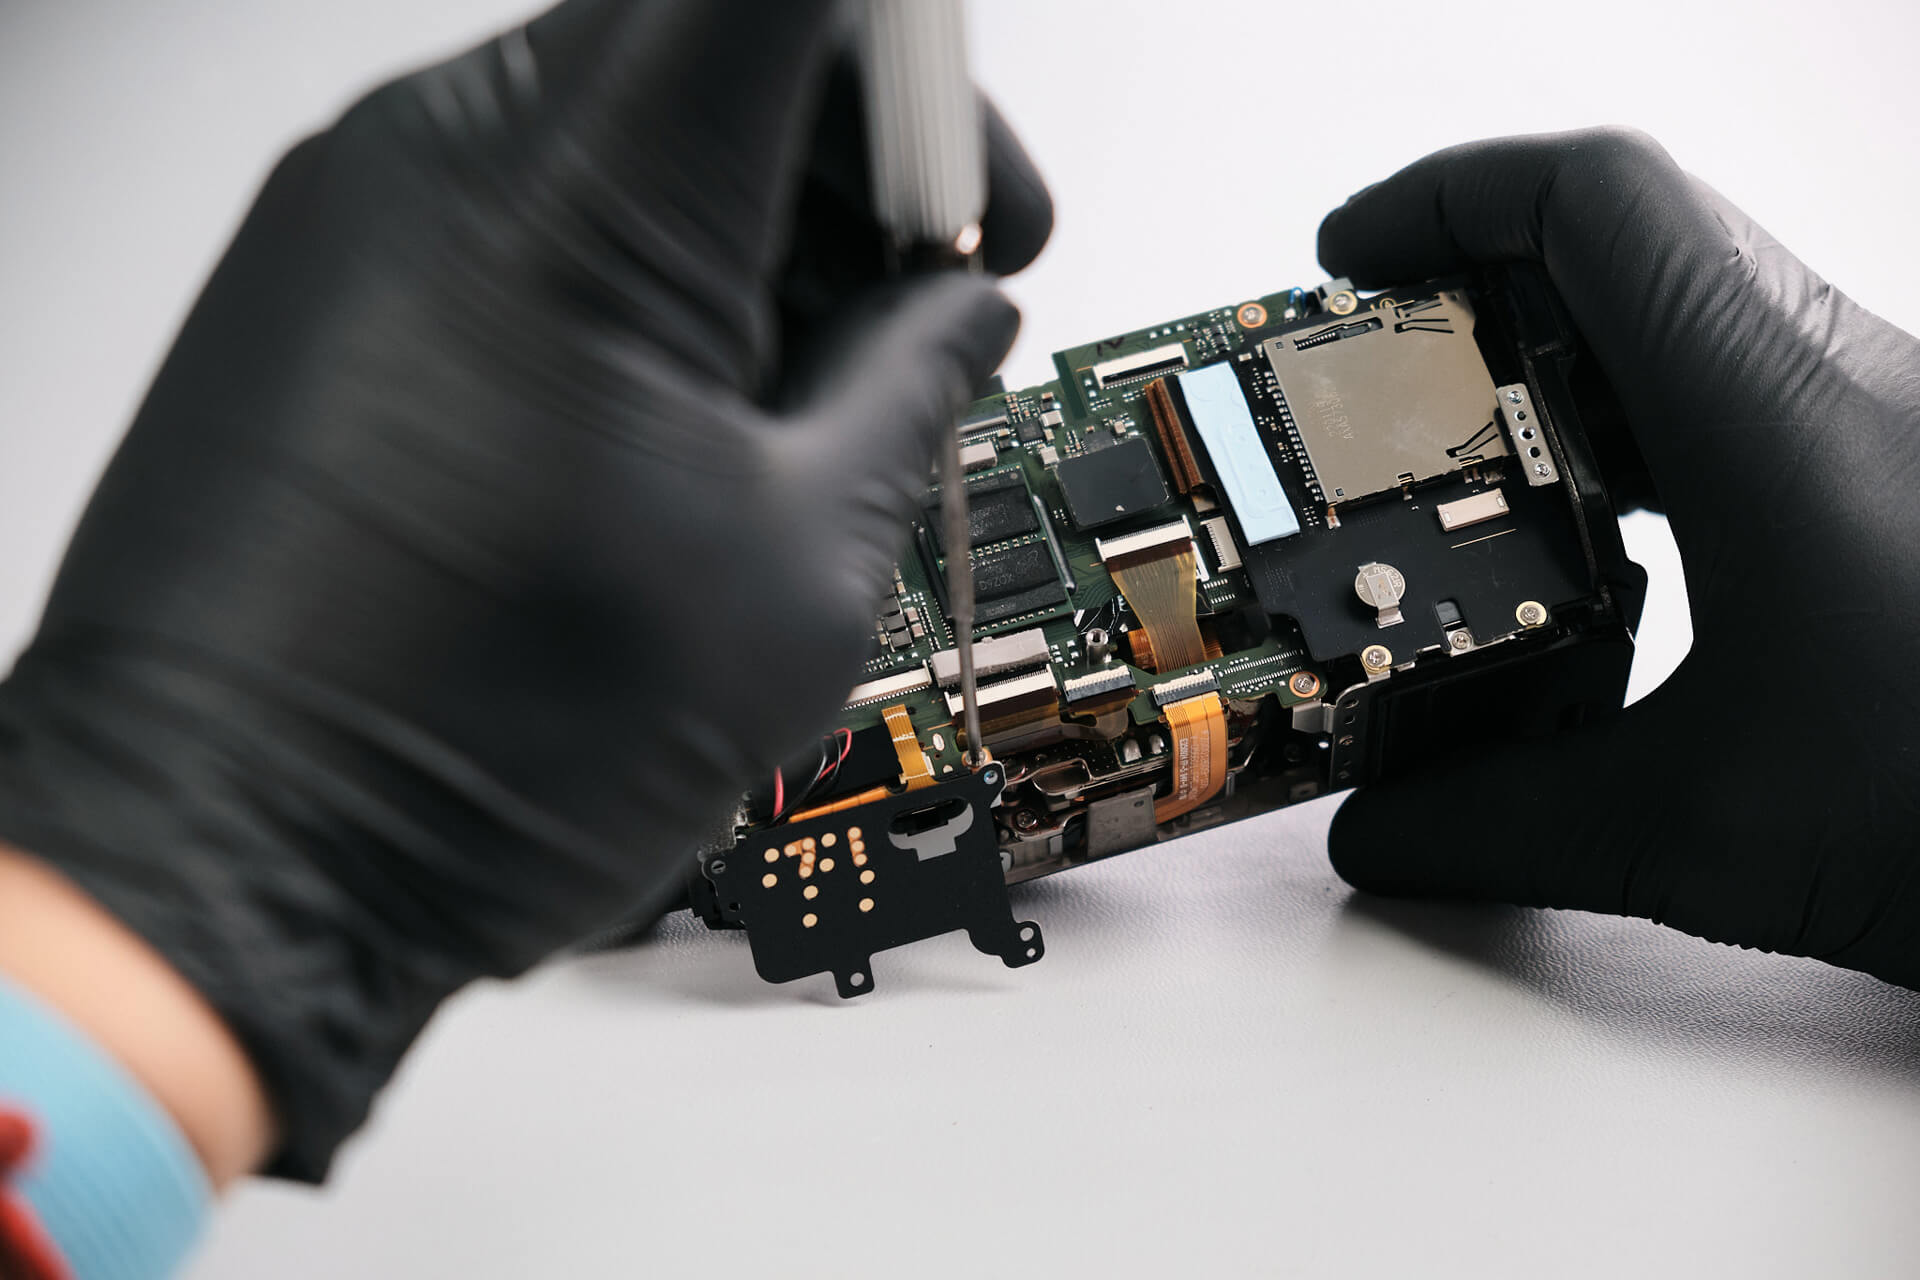
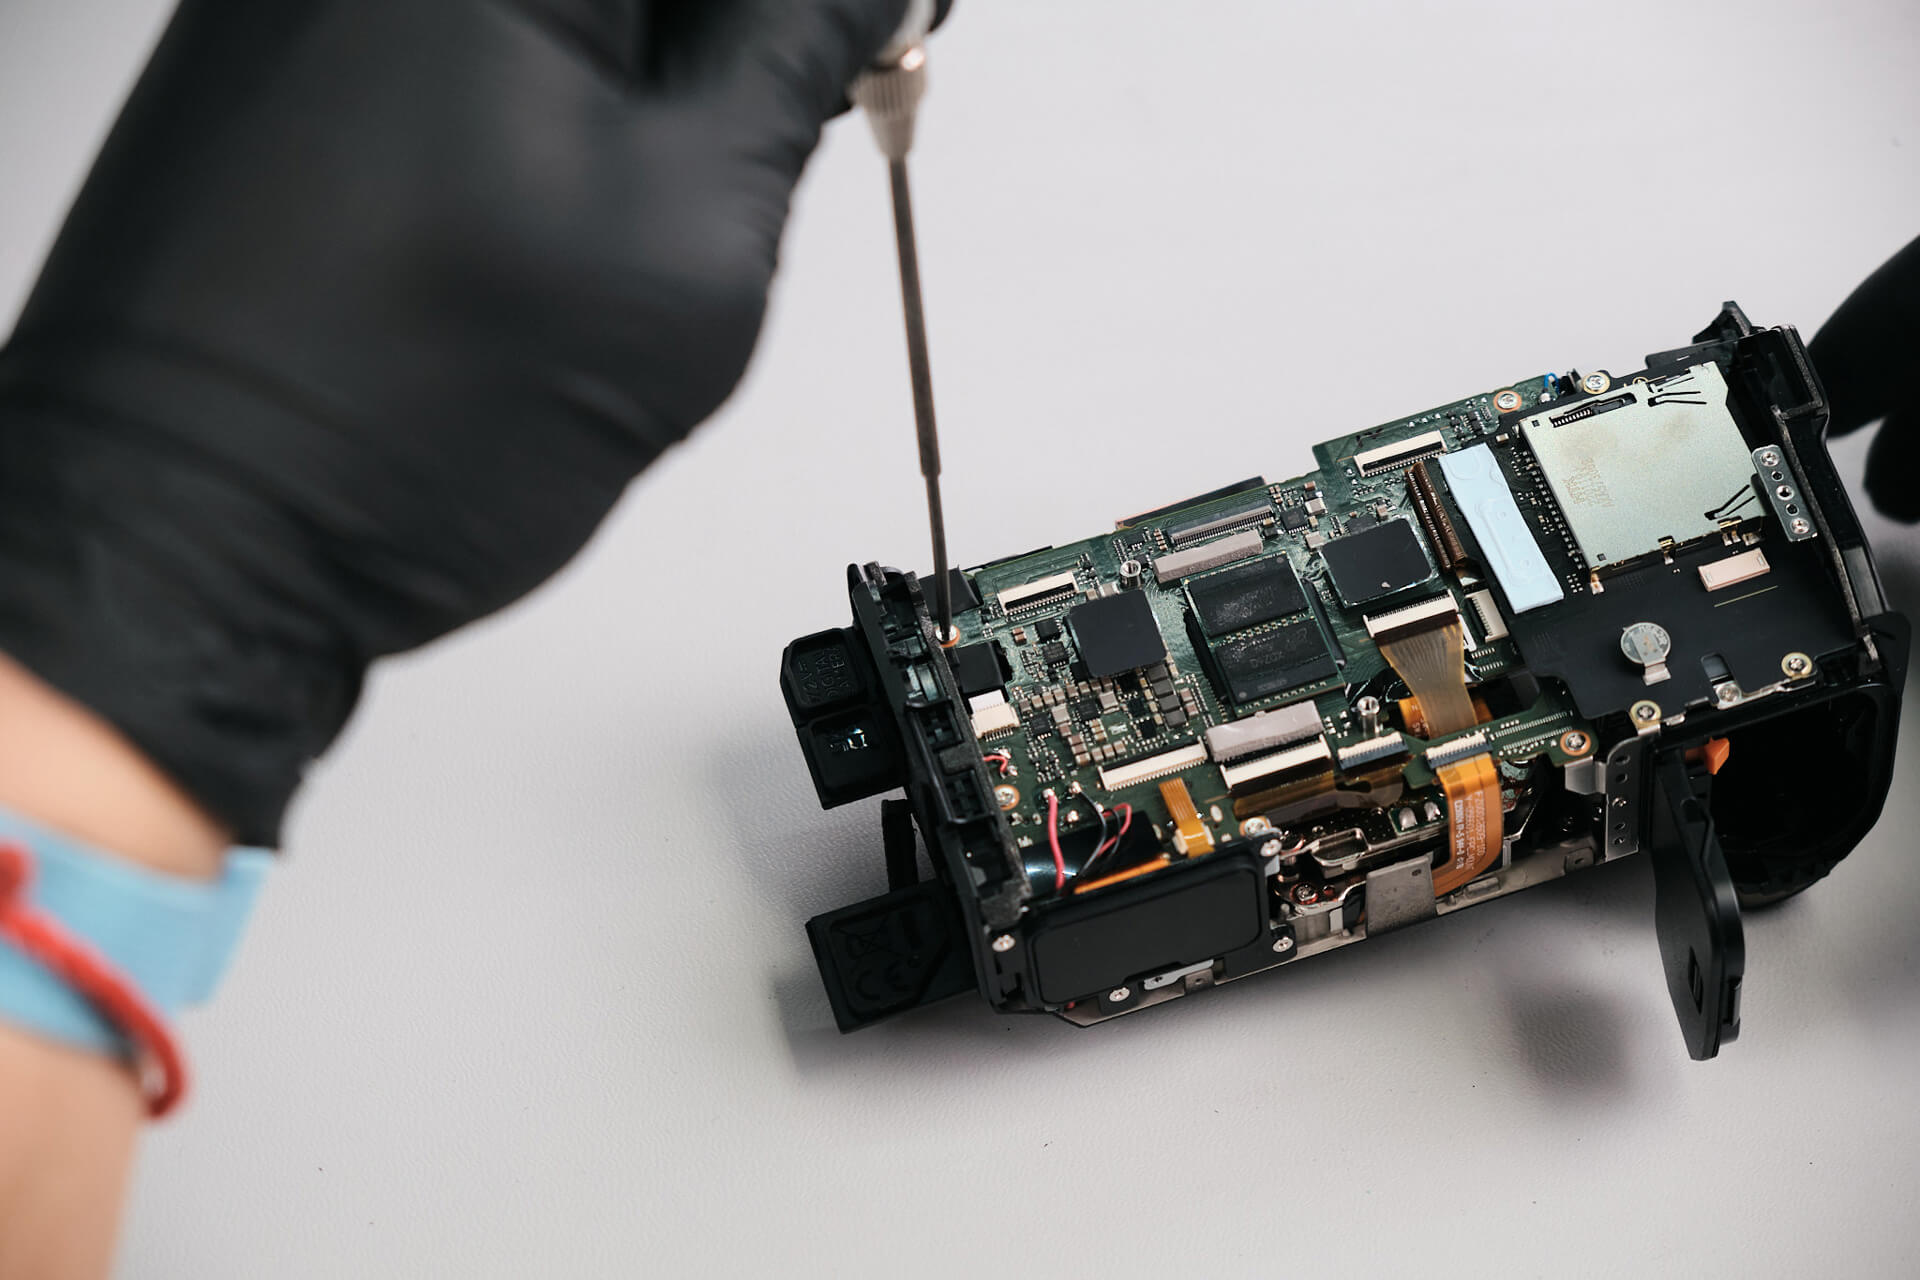
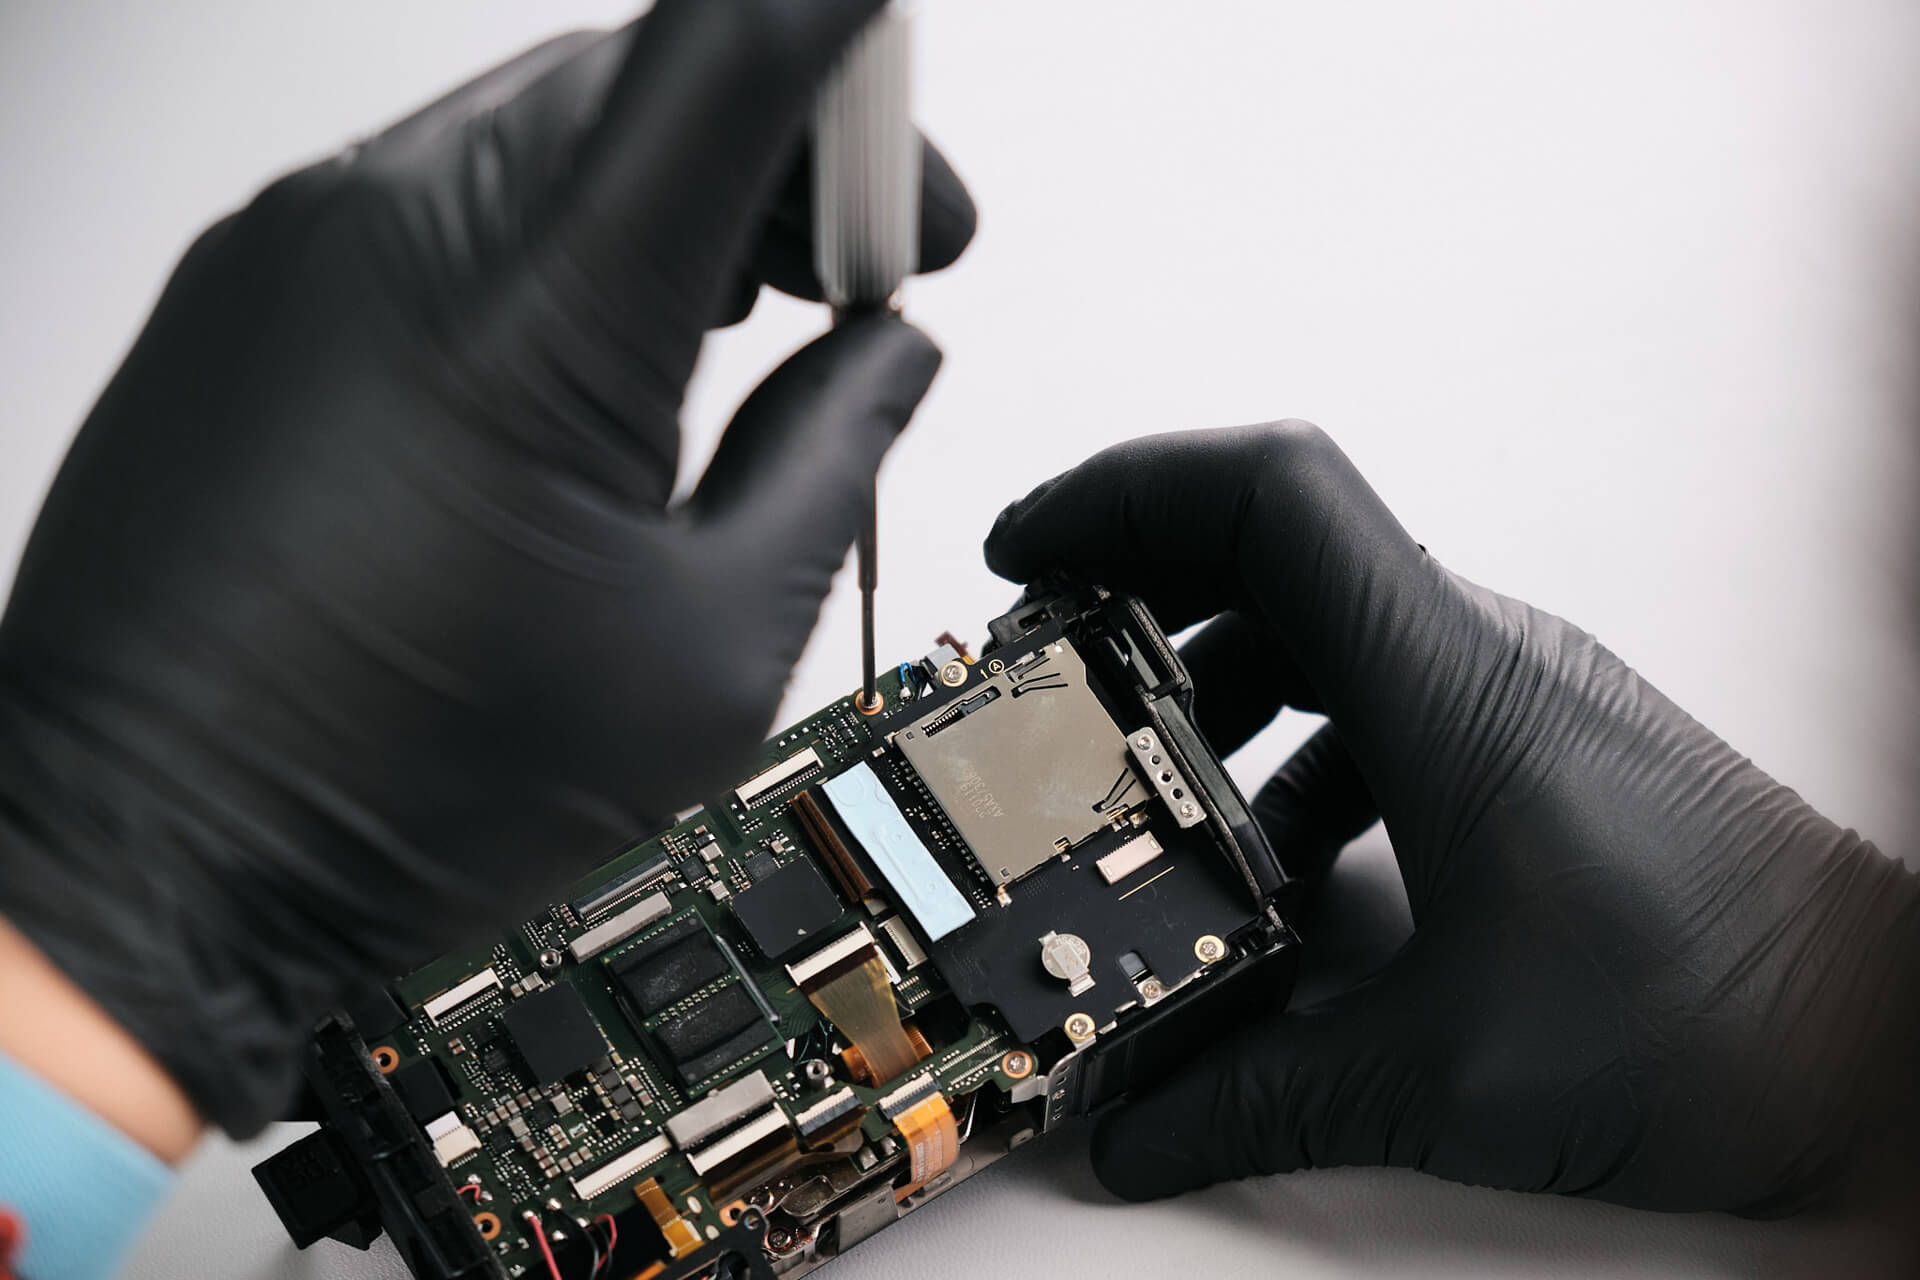
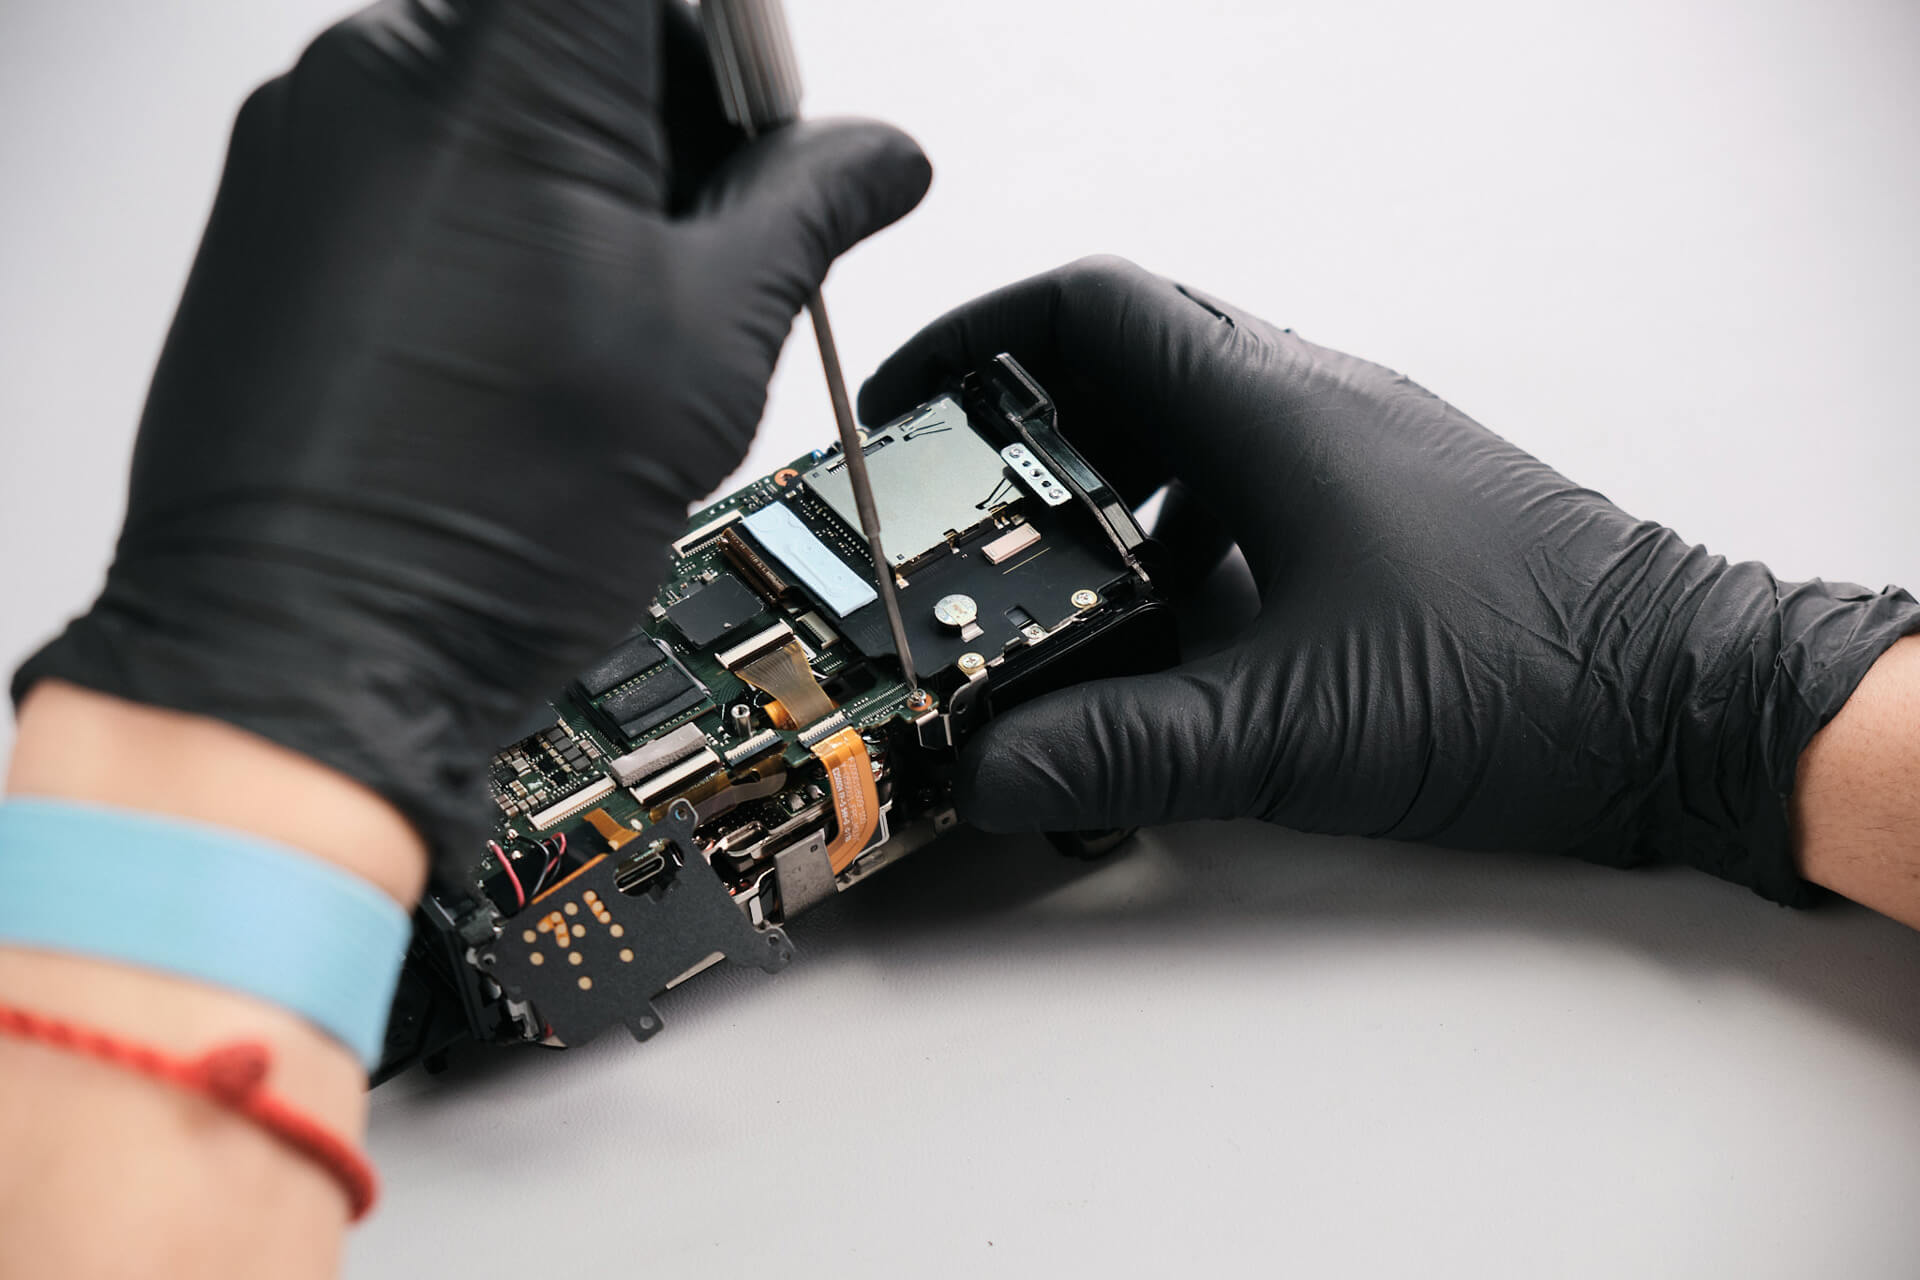
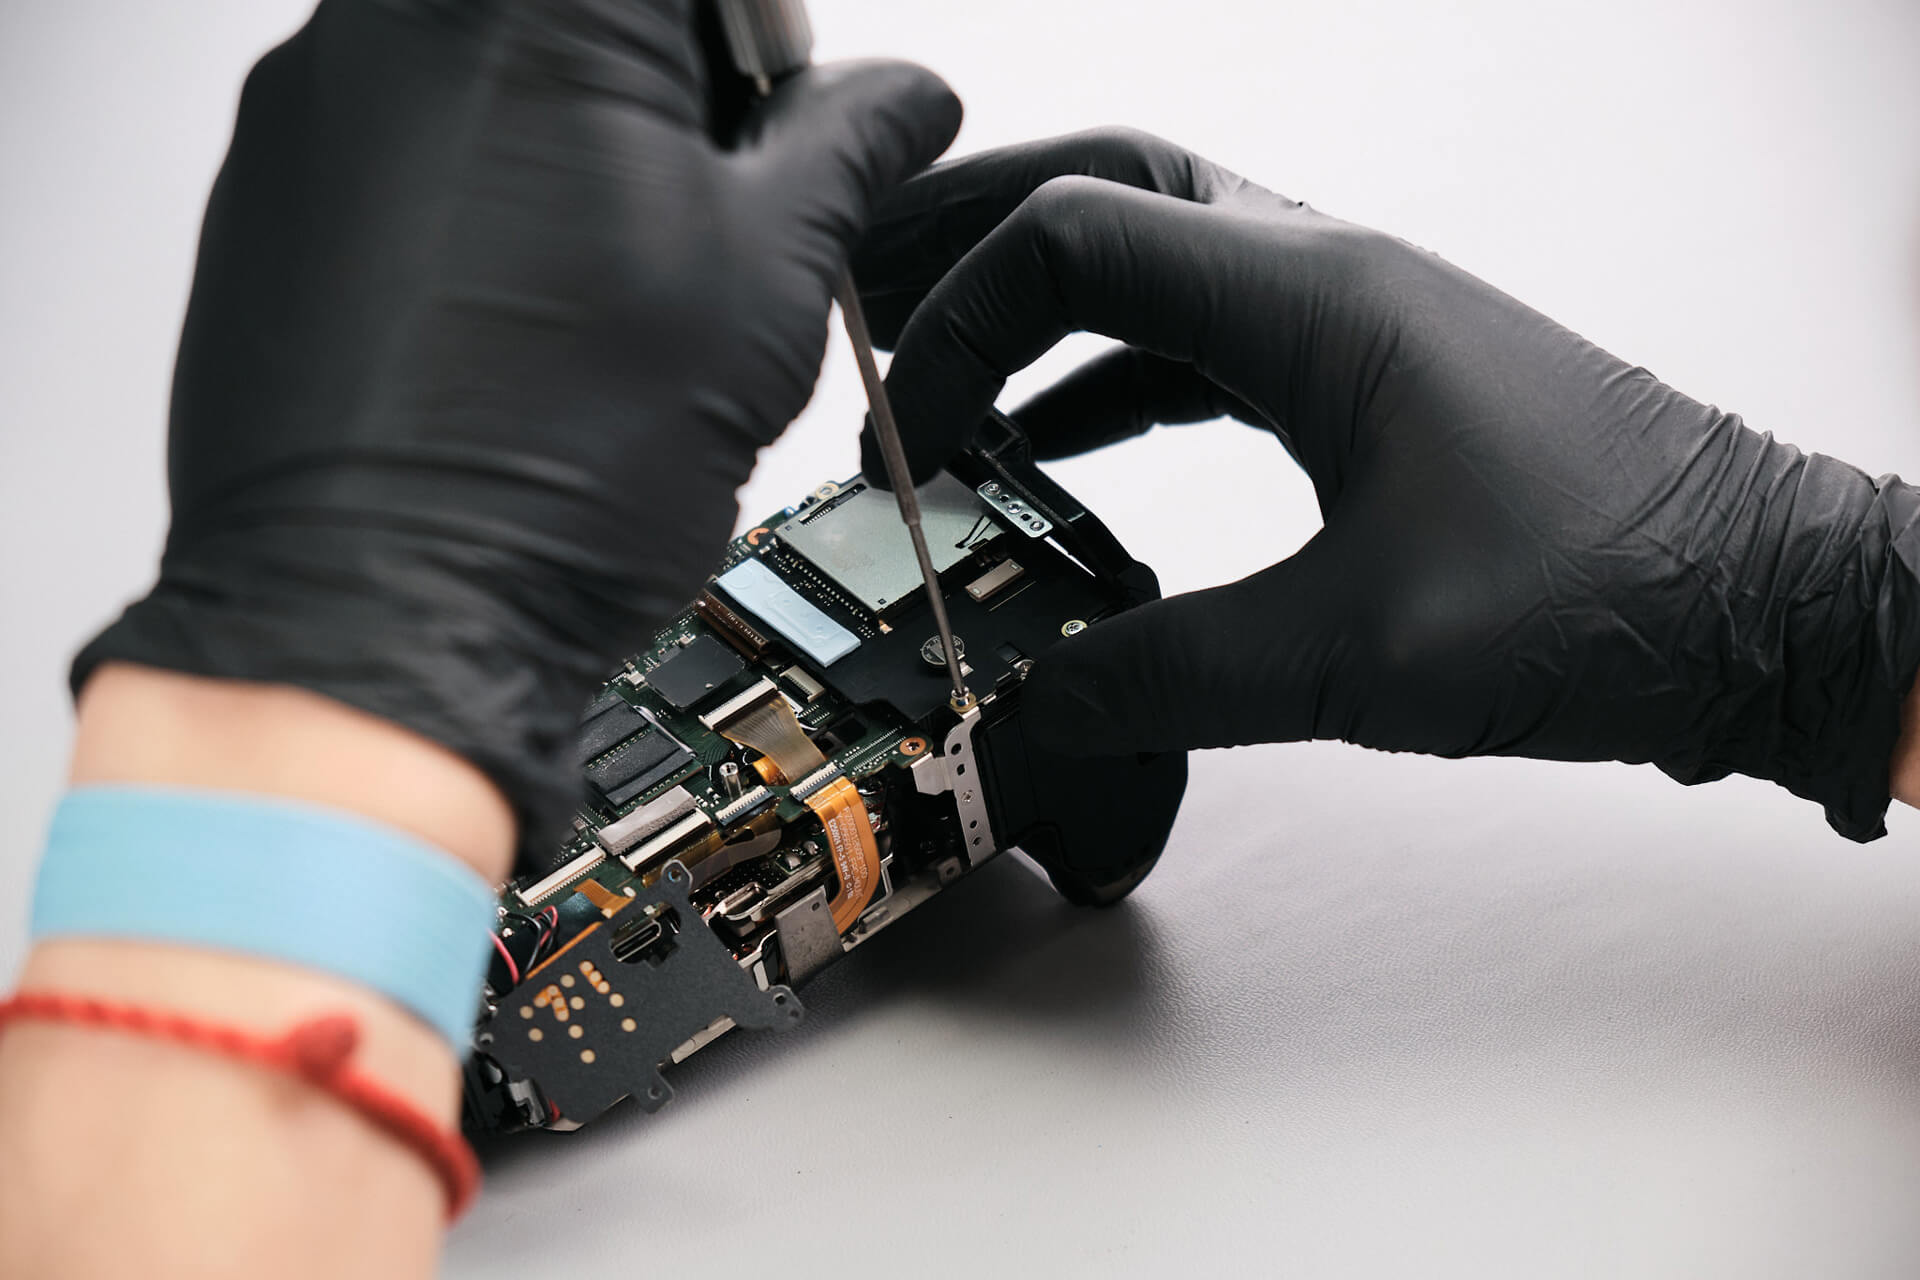
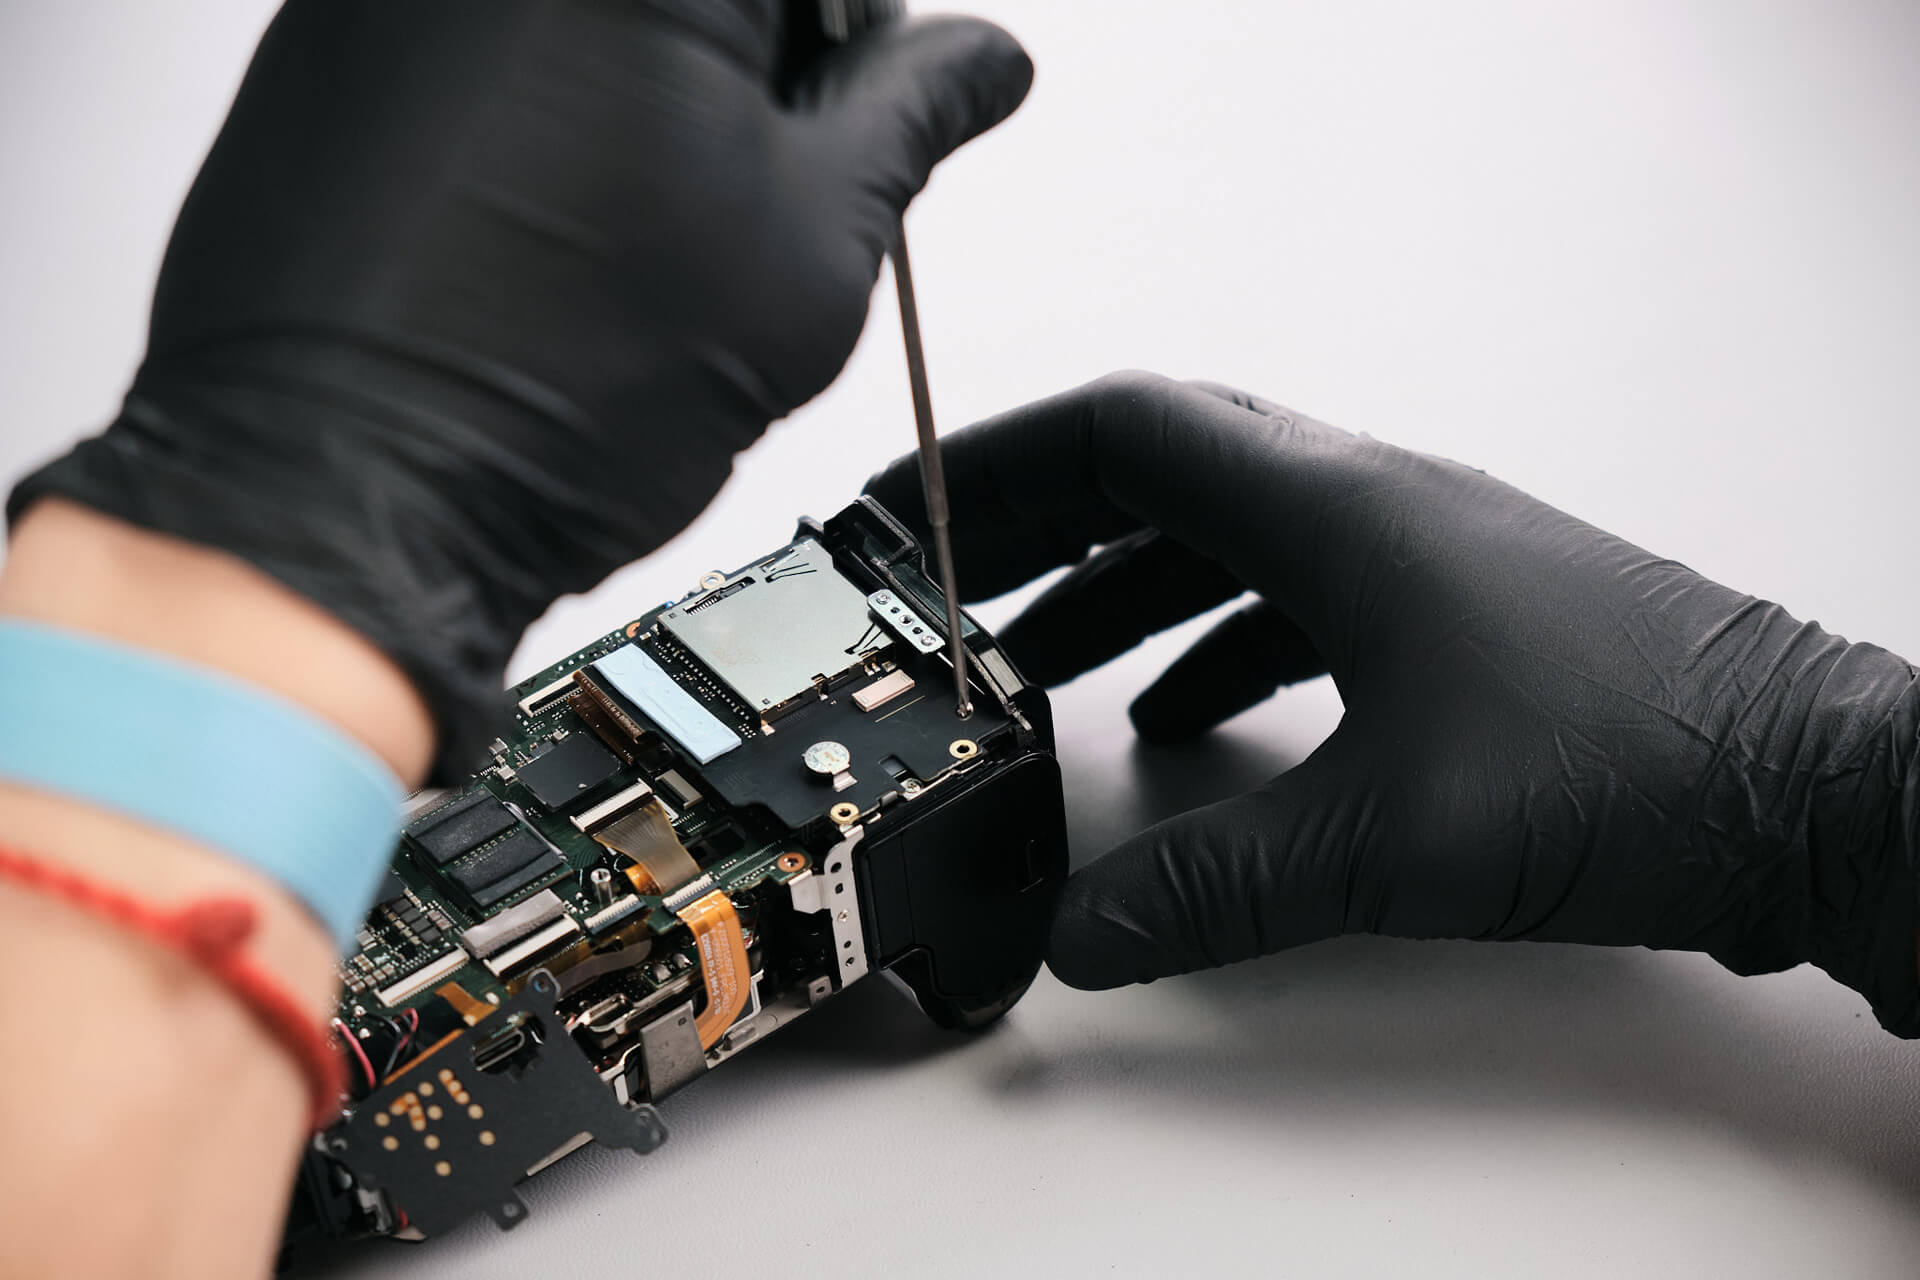
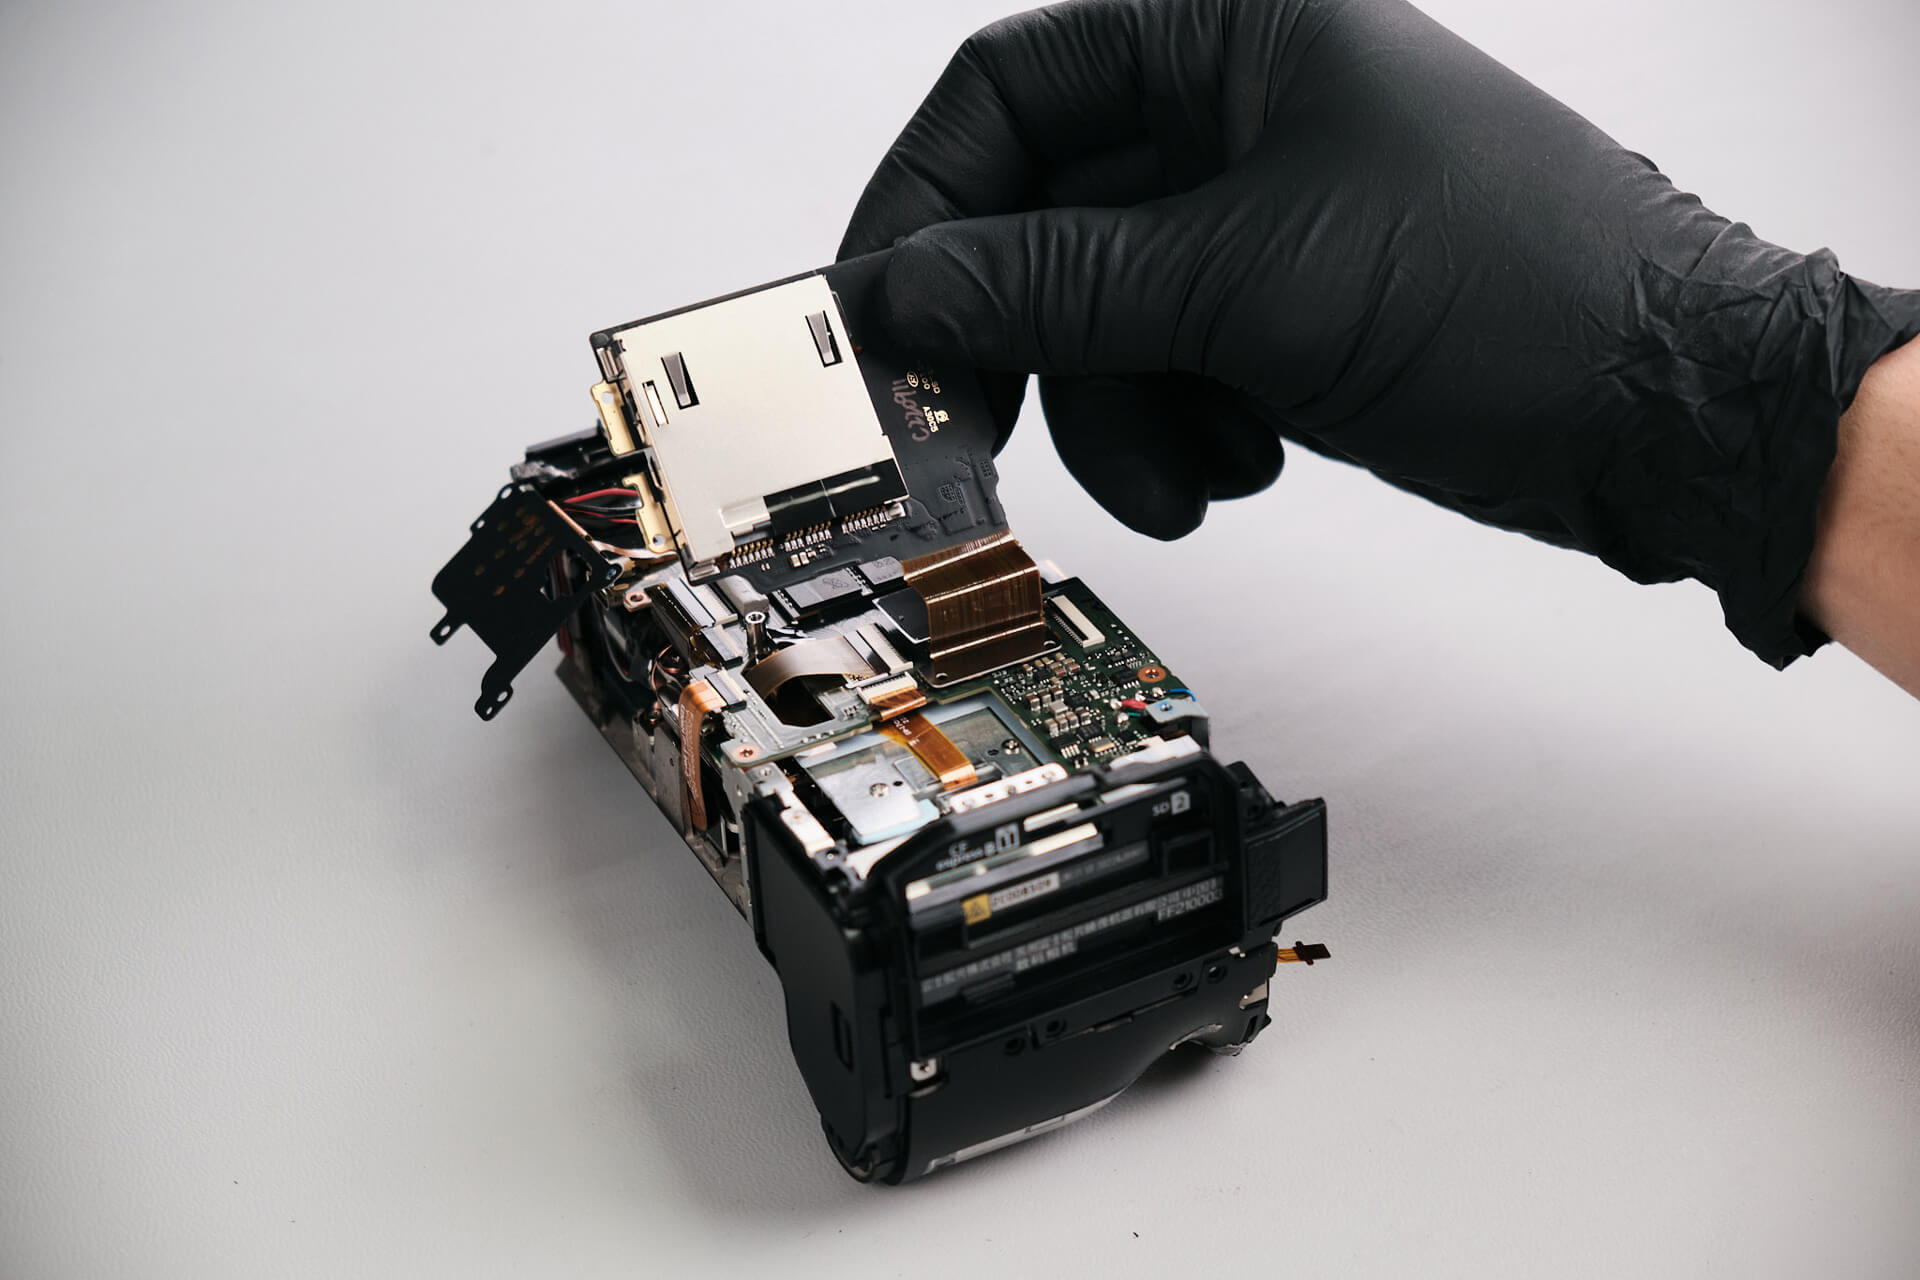
Five silver screws needed to be removed here. This allowed us to detach the memory card slot. In our opinion, this is a great design choice: if the memory card slot does get damaged, this would be the only piece that needs to be replaced. In most cameras, the memory card slot is embedded into the circuit board.
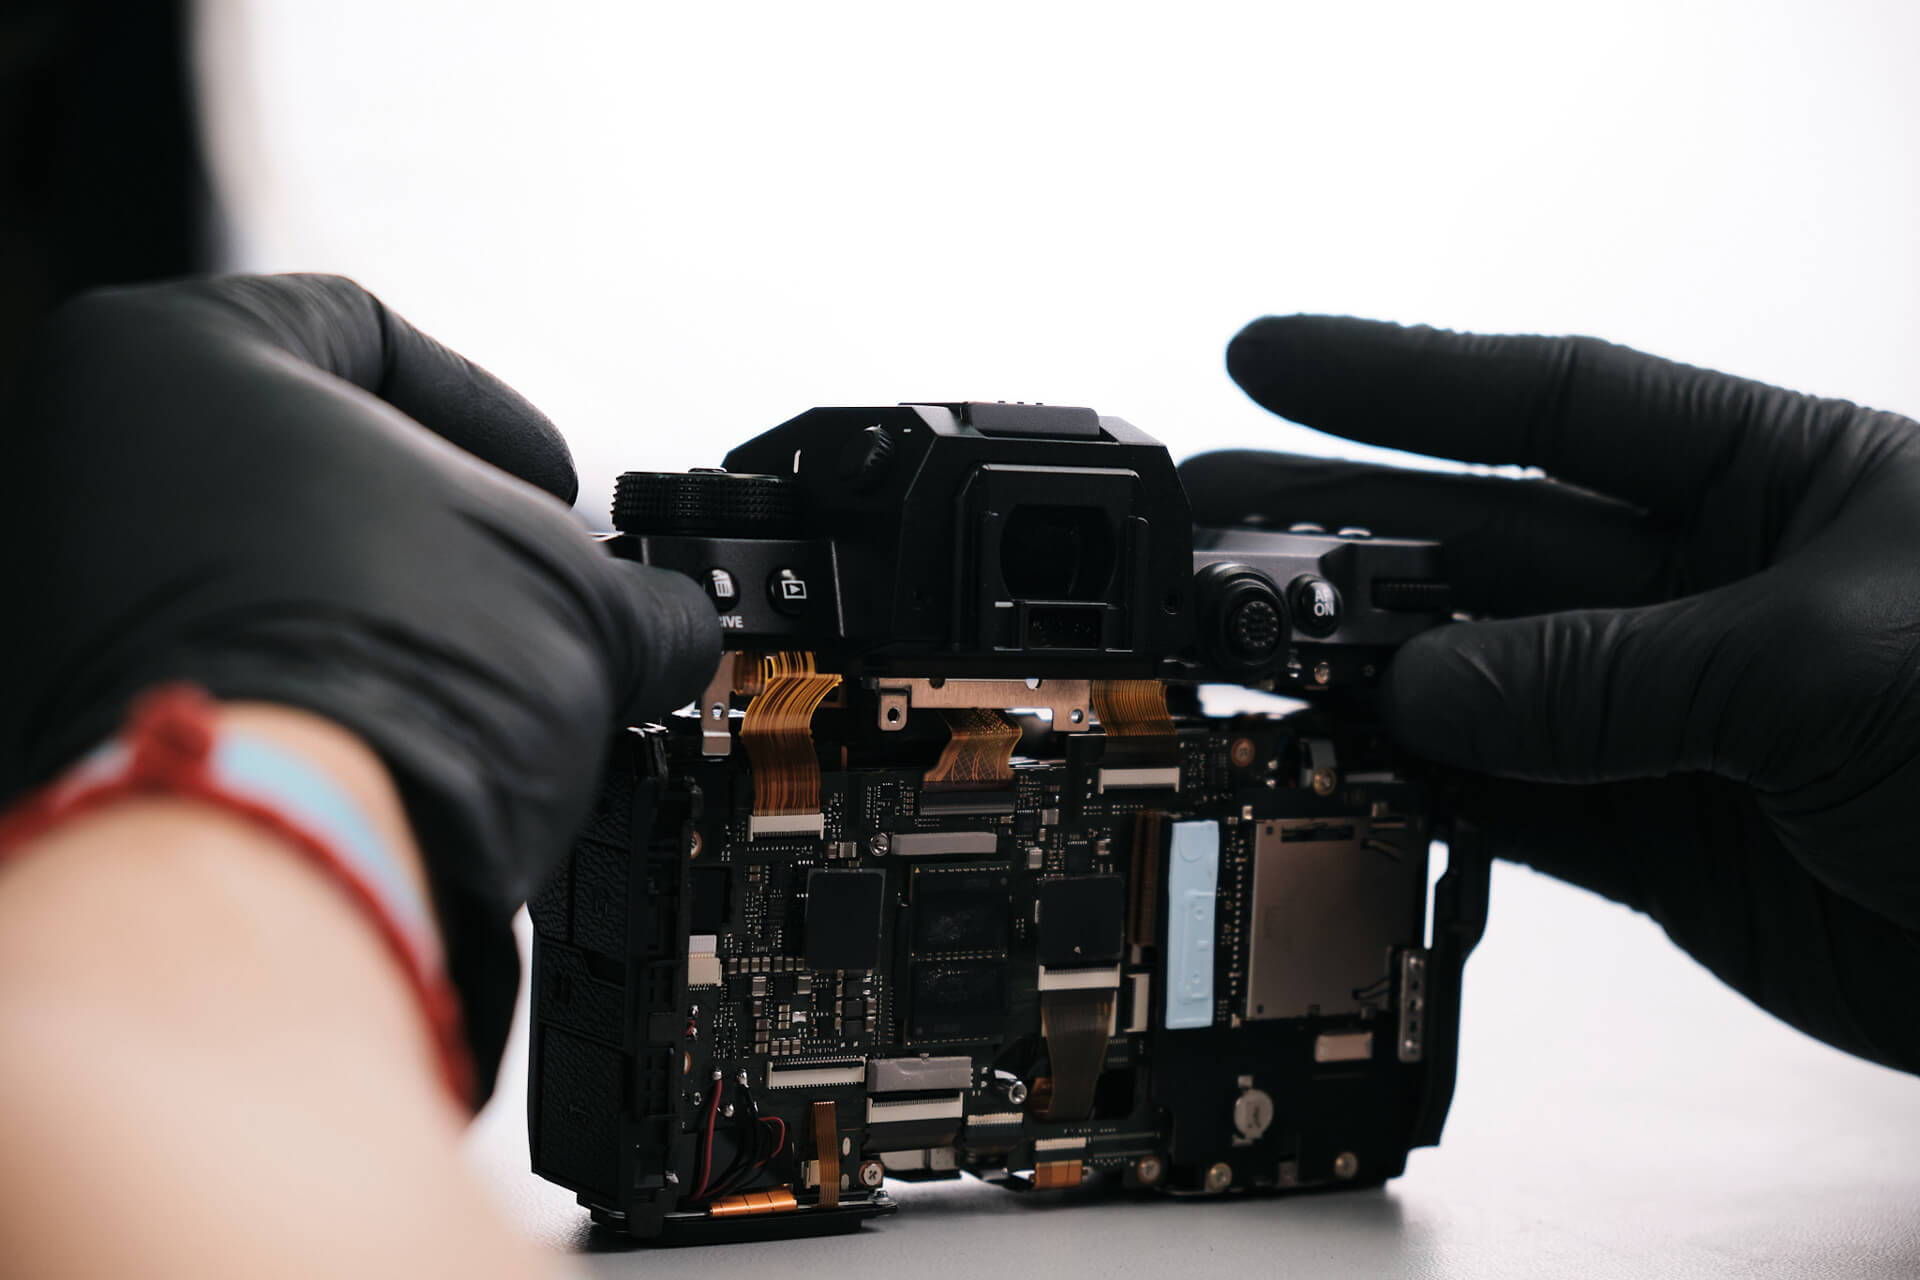
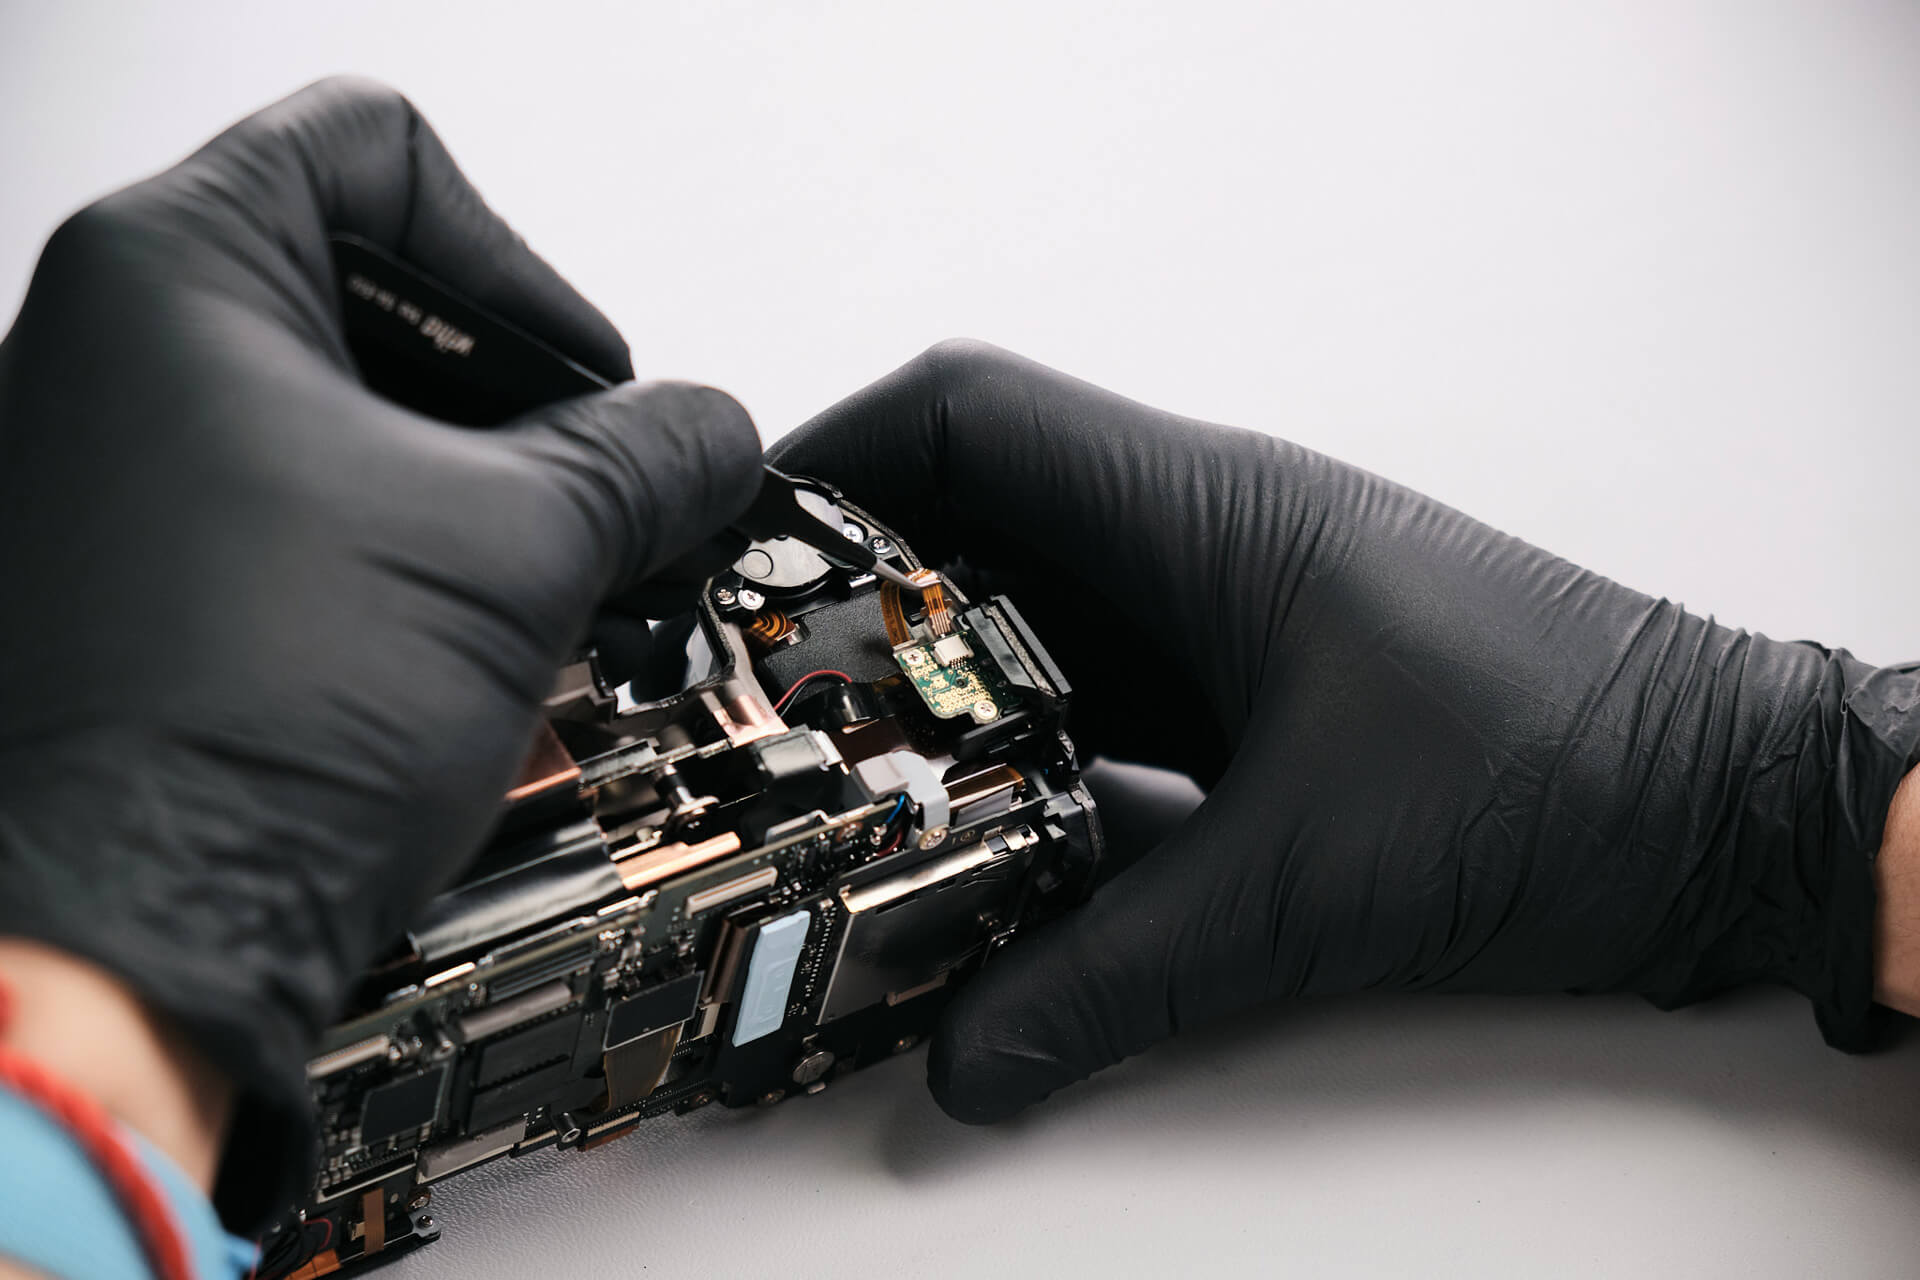
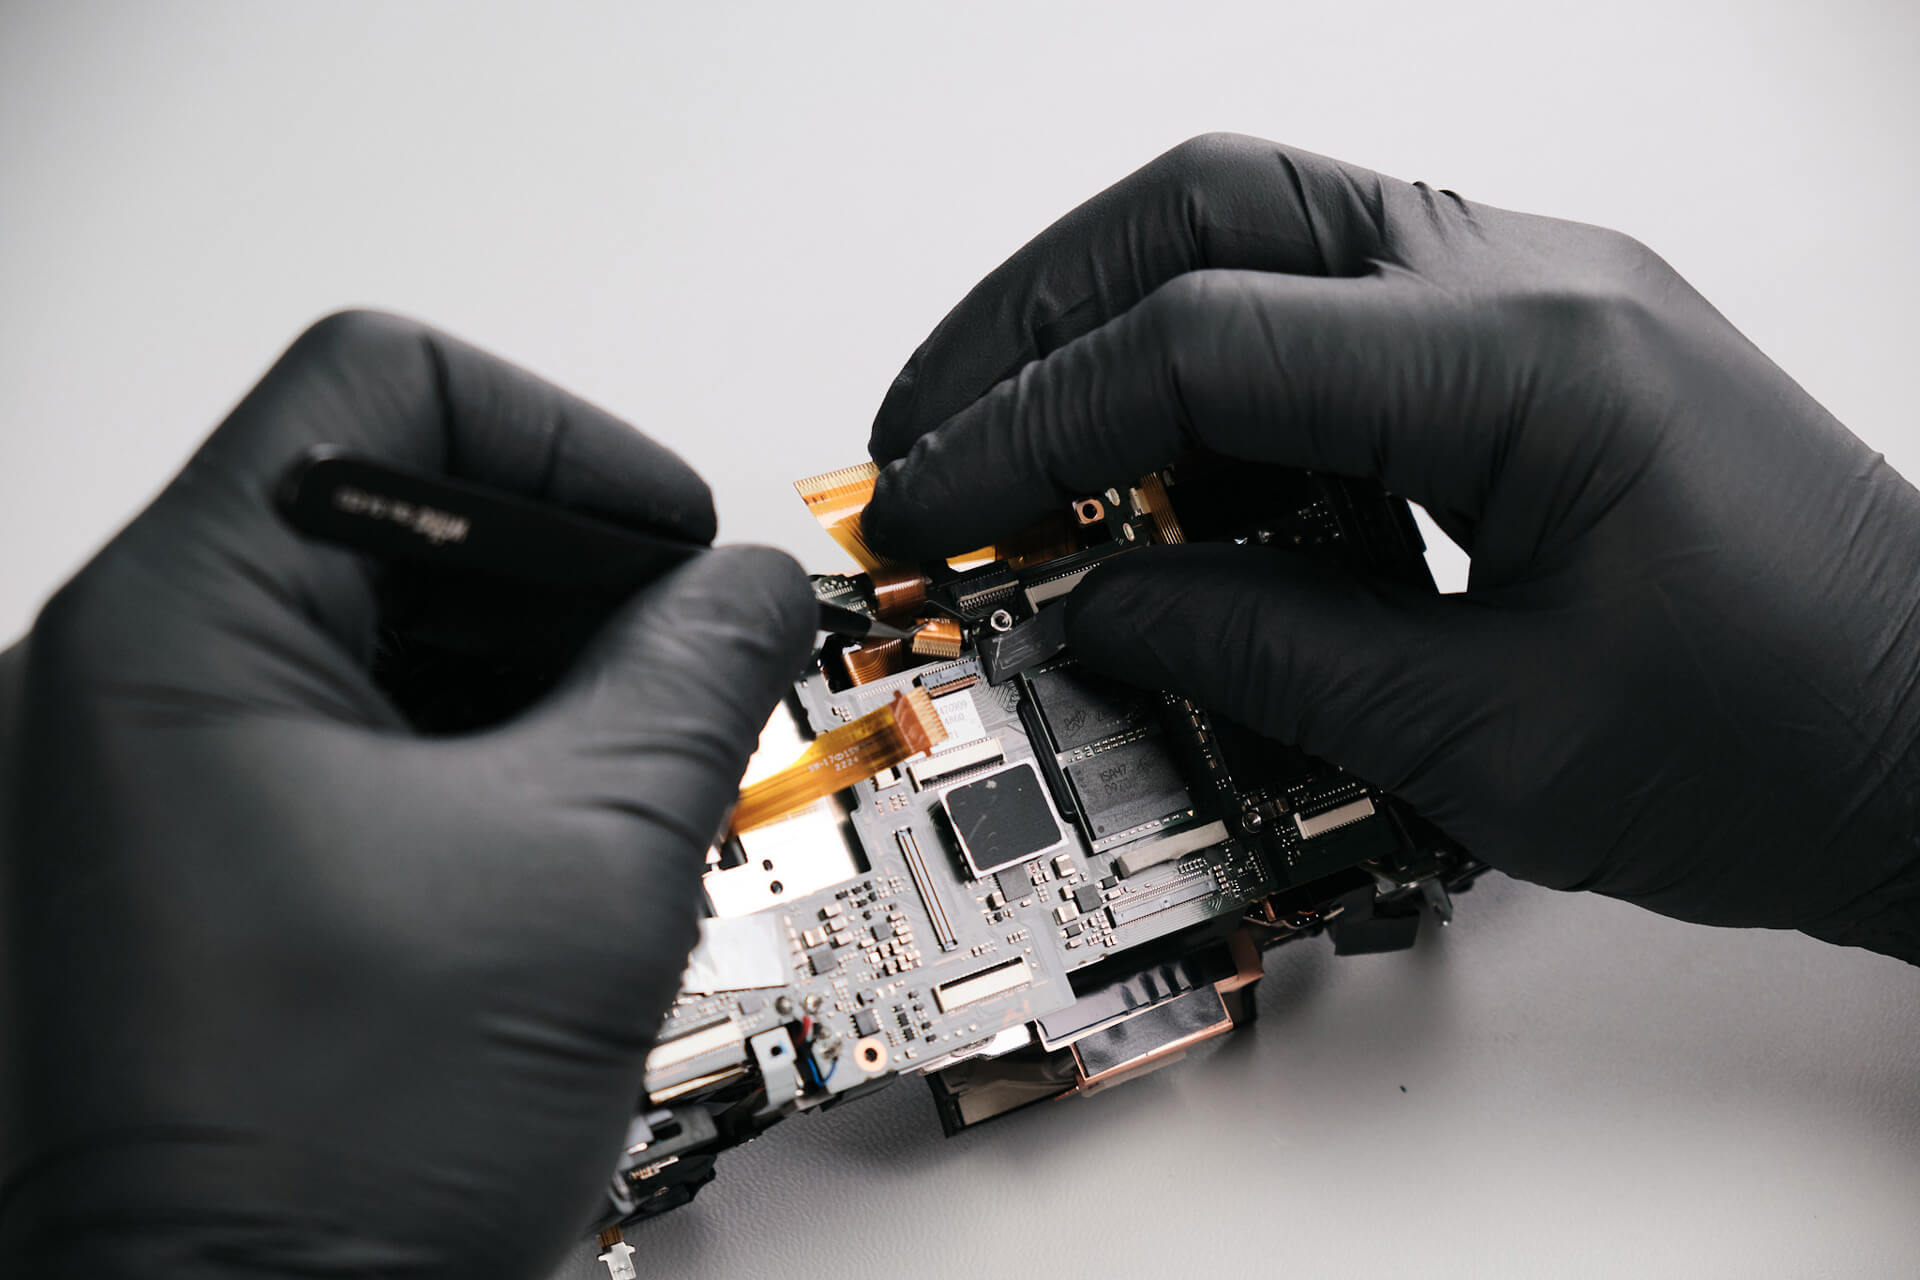
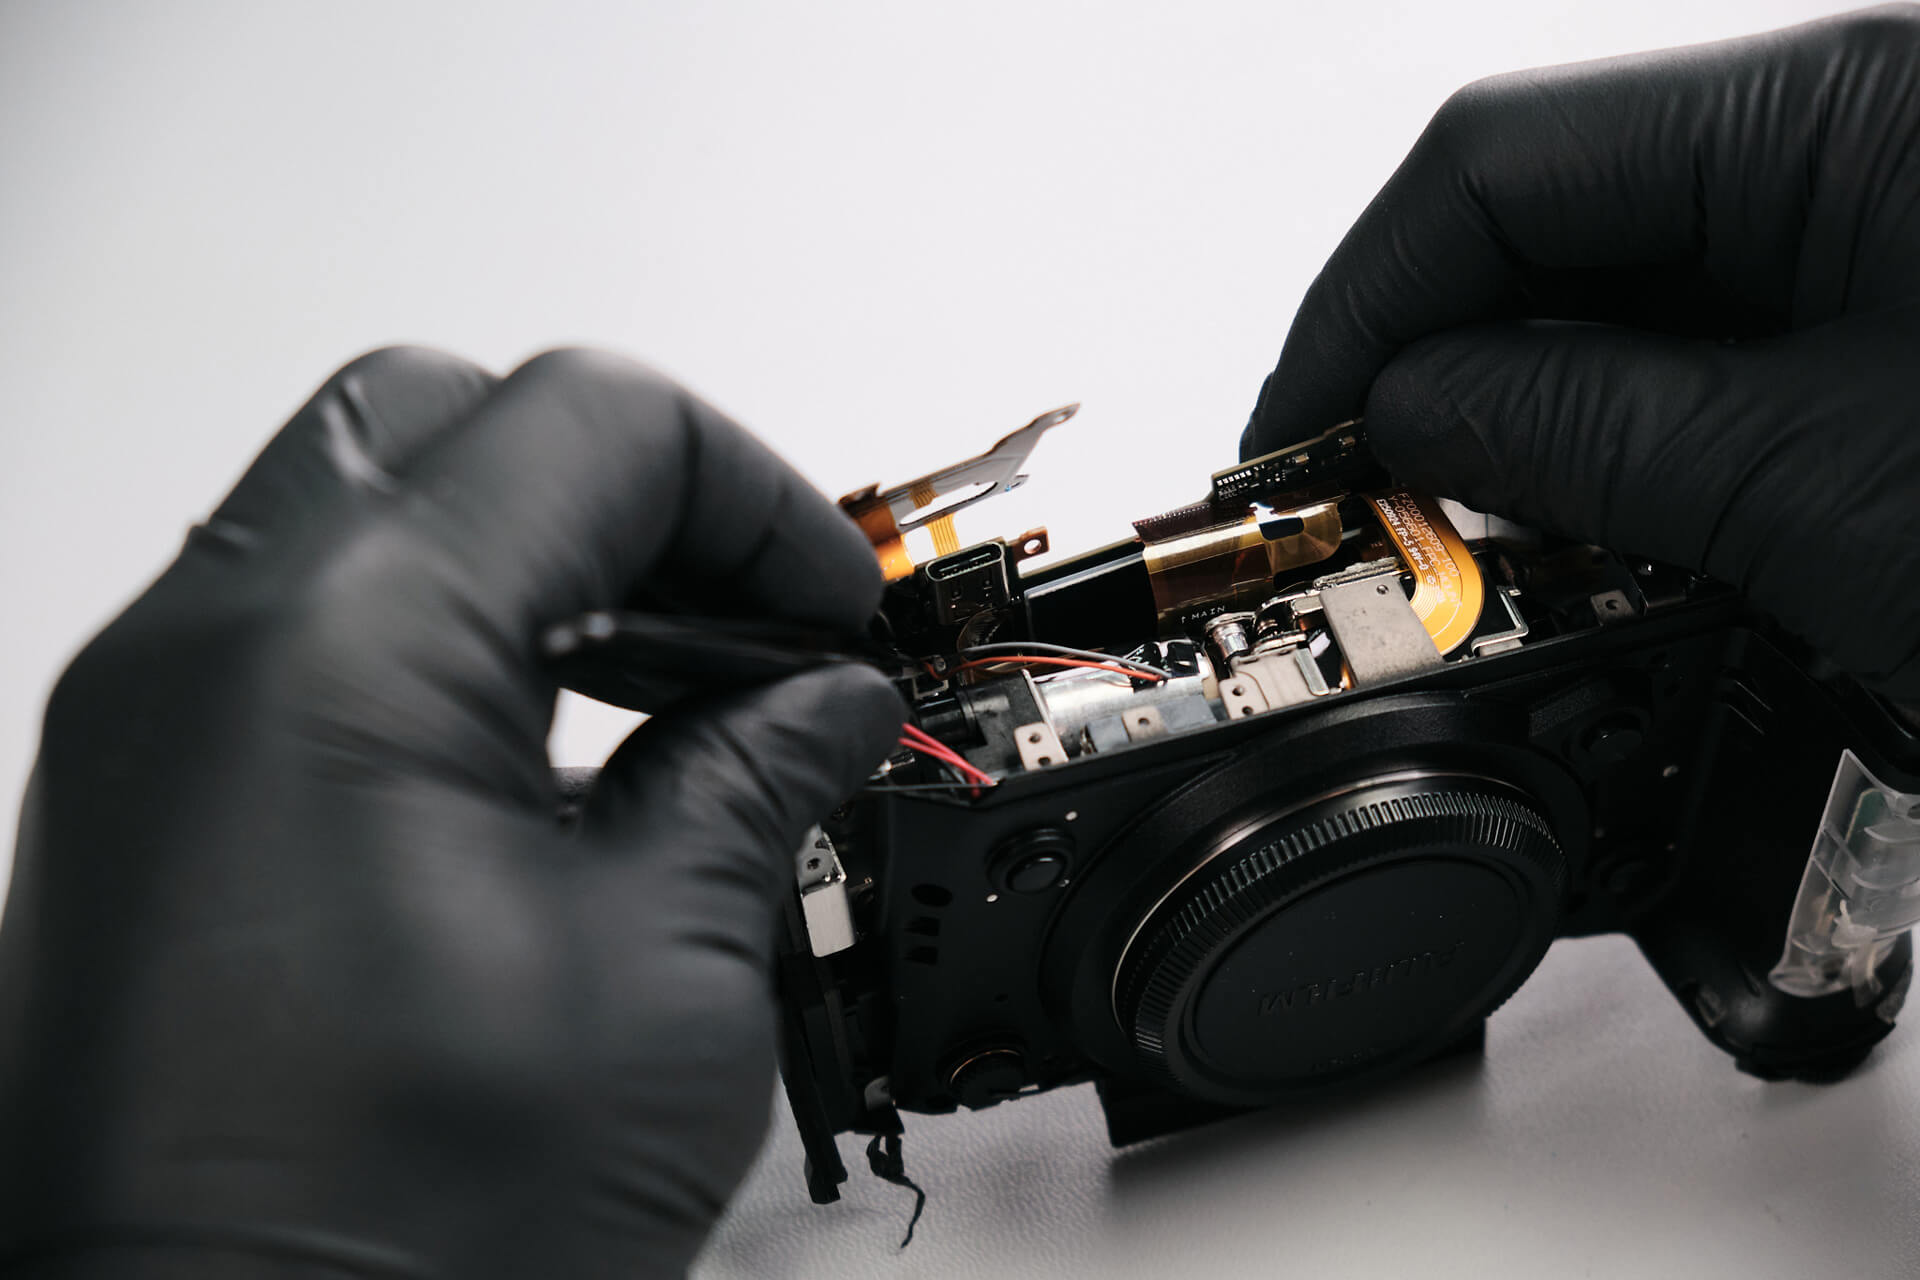
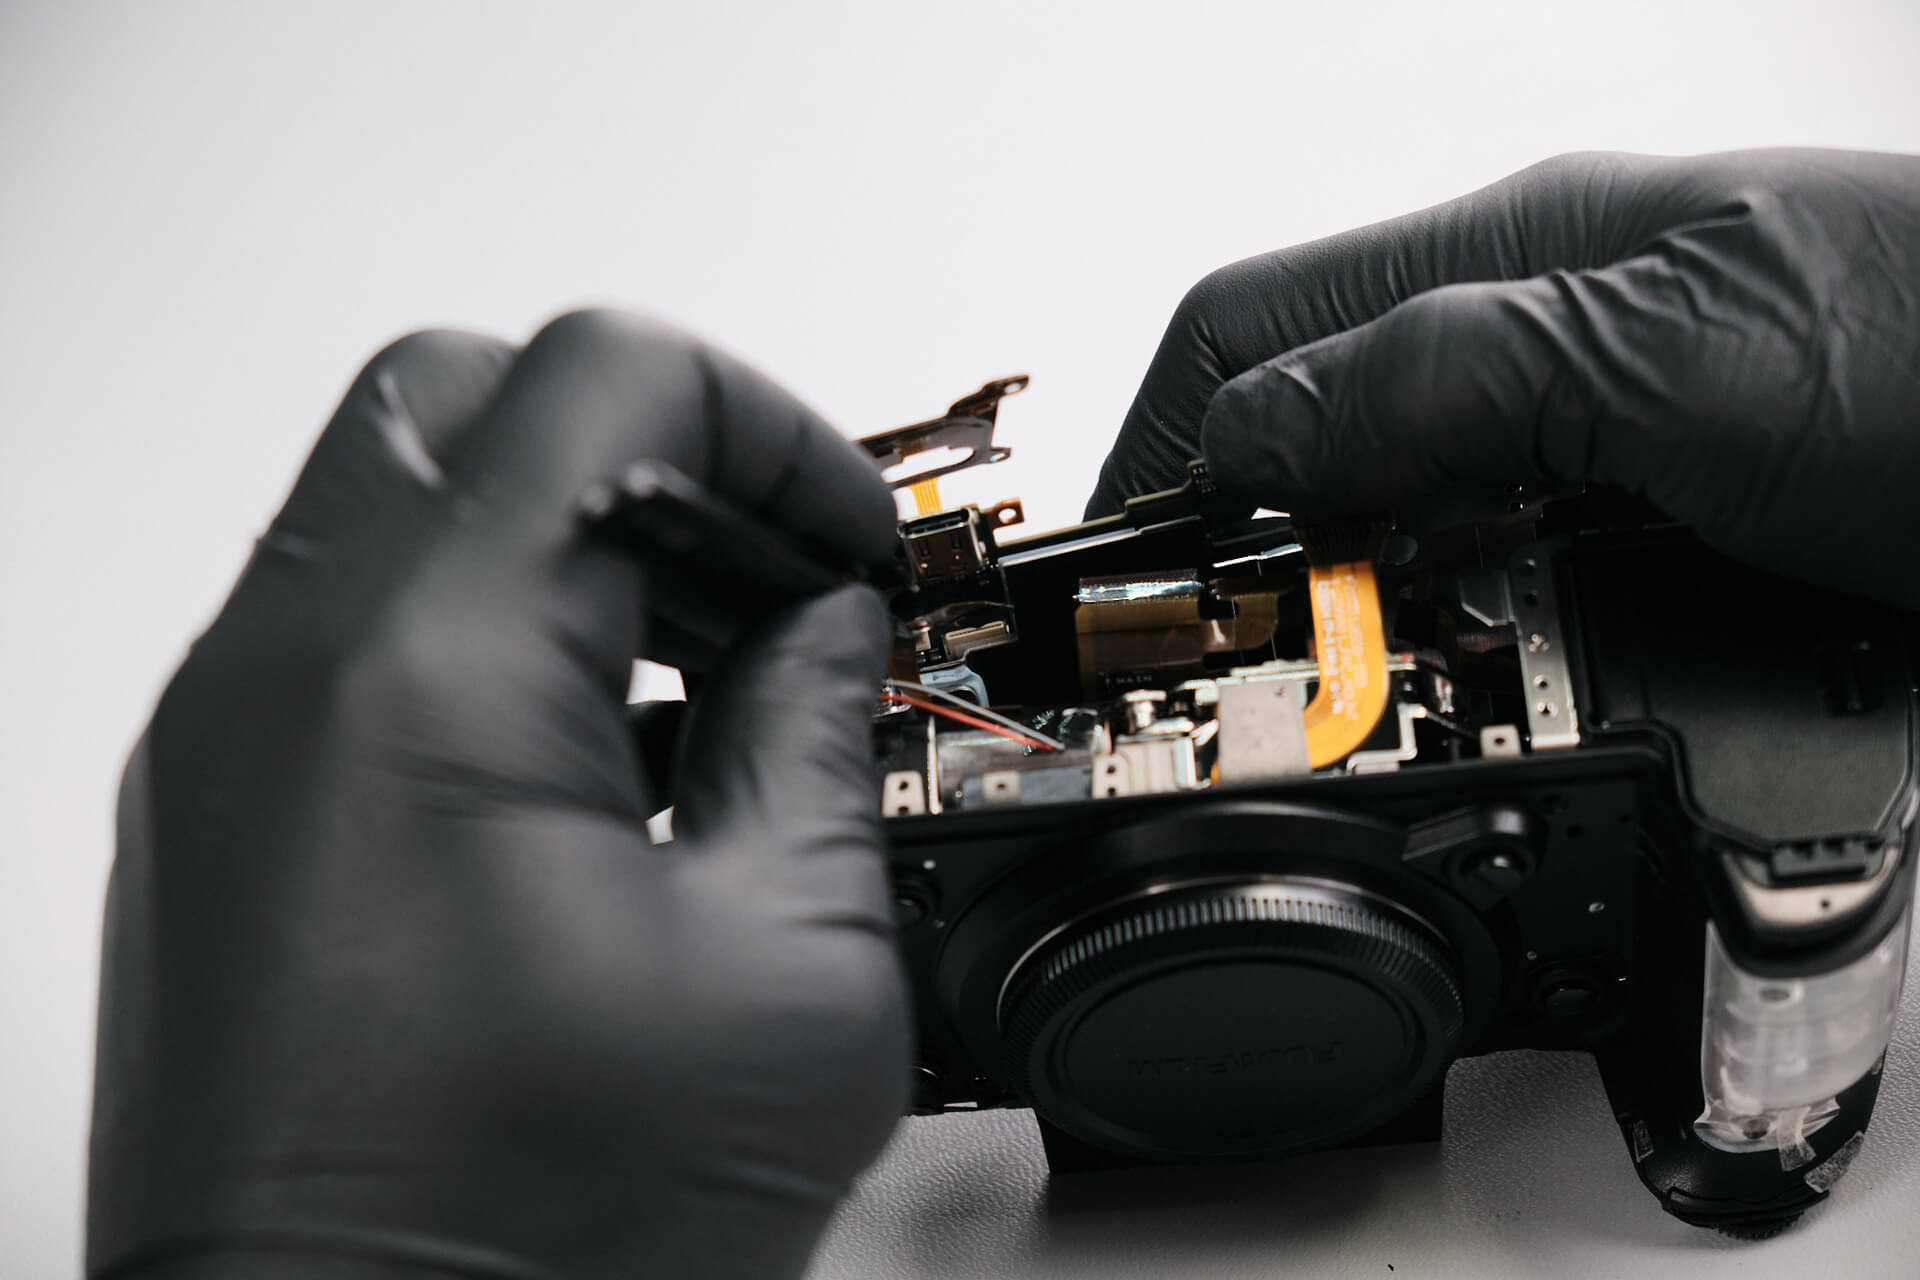
Under the memory card slot, we removed two ribbon cables.
Removing the Fujifilm X-H2 Circuit Board
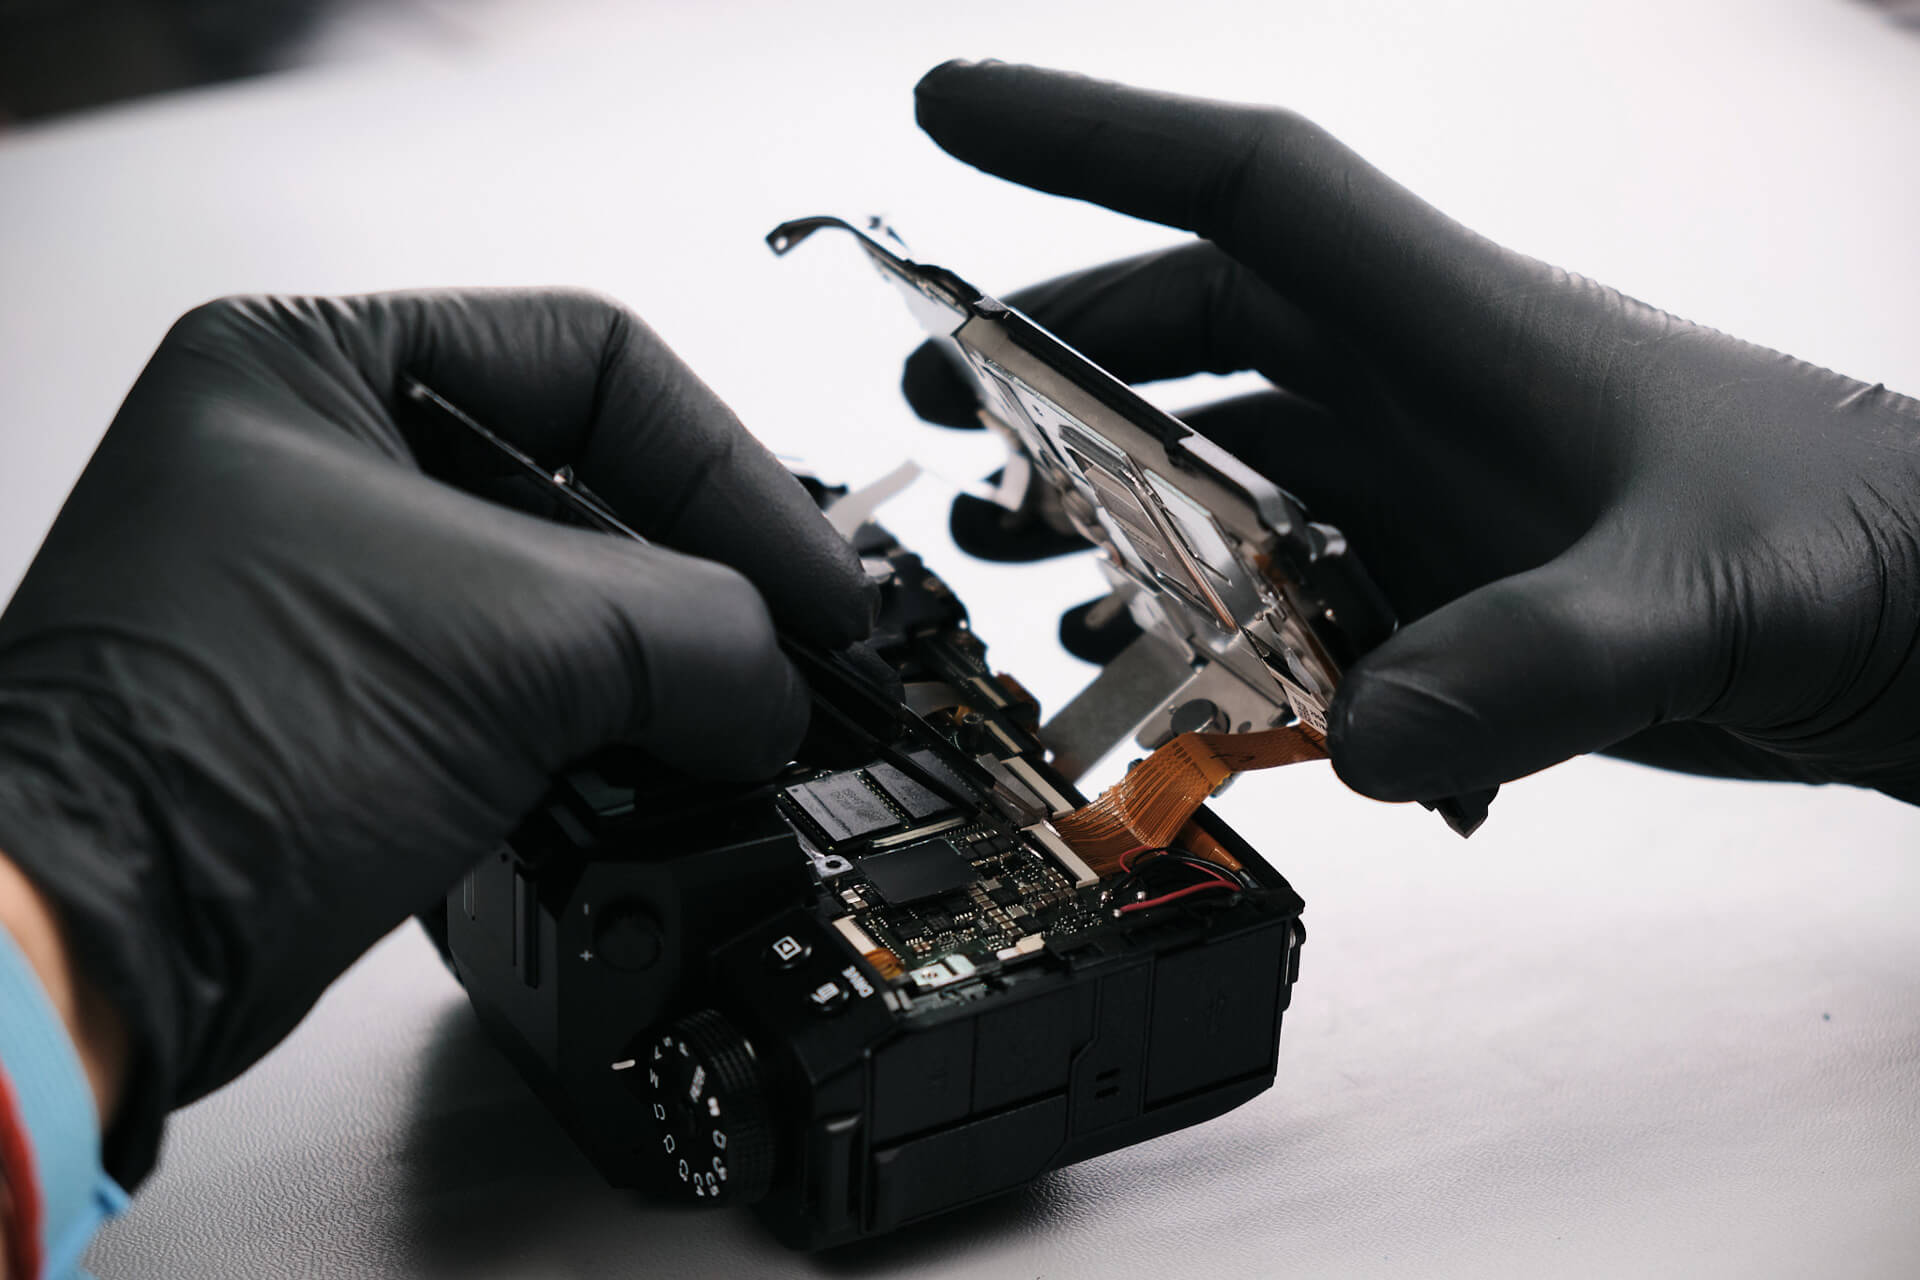
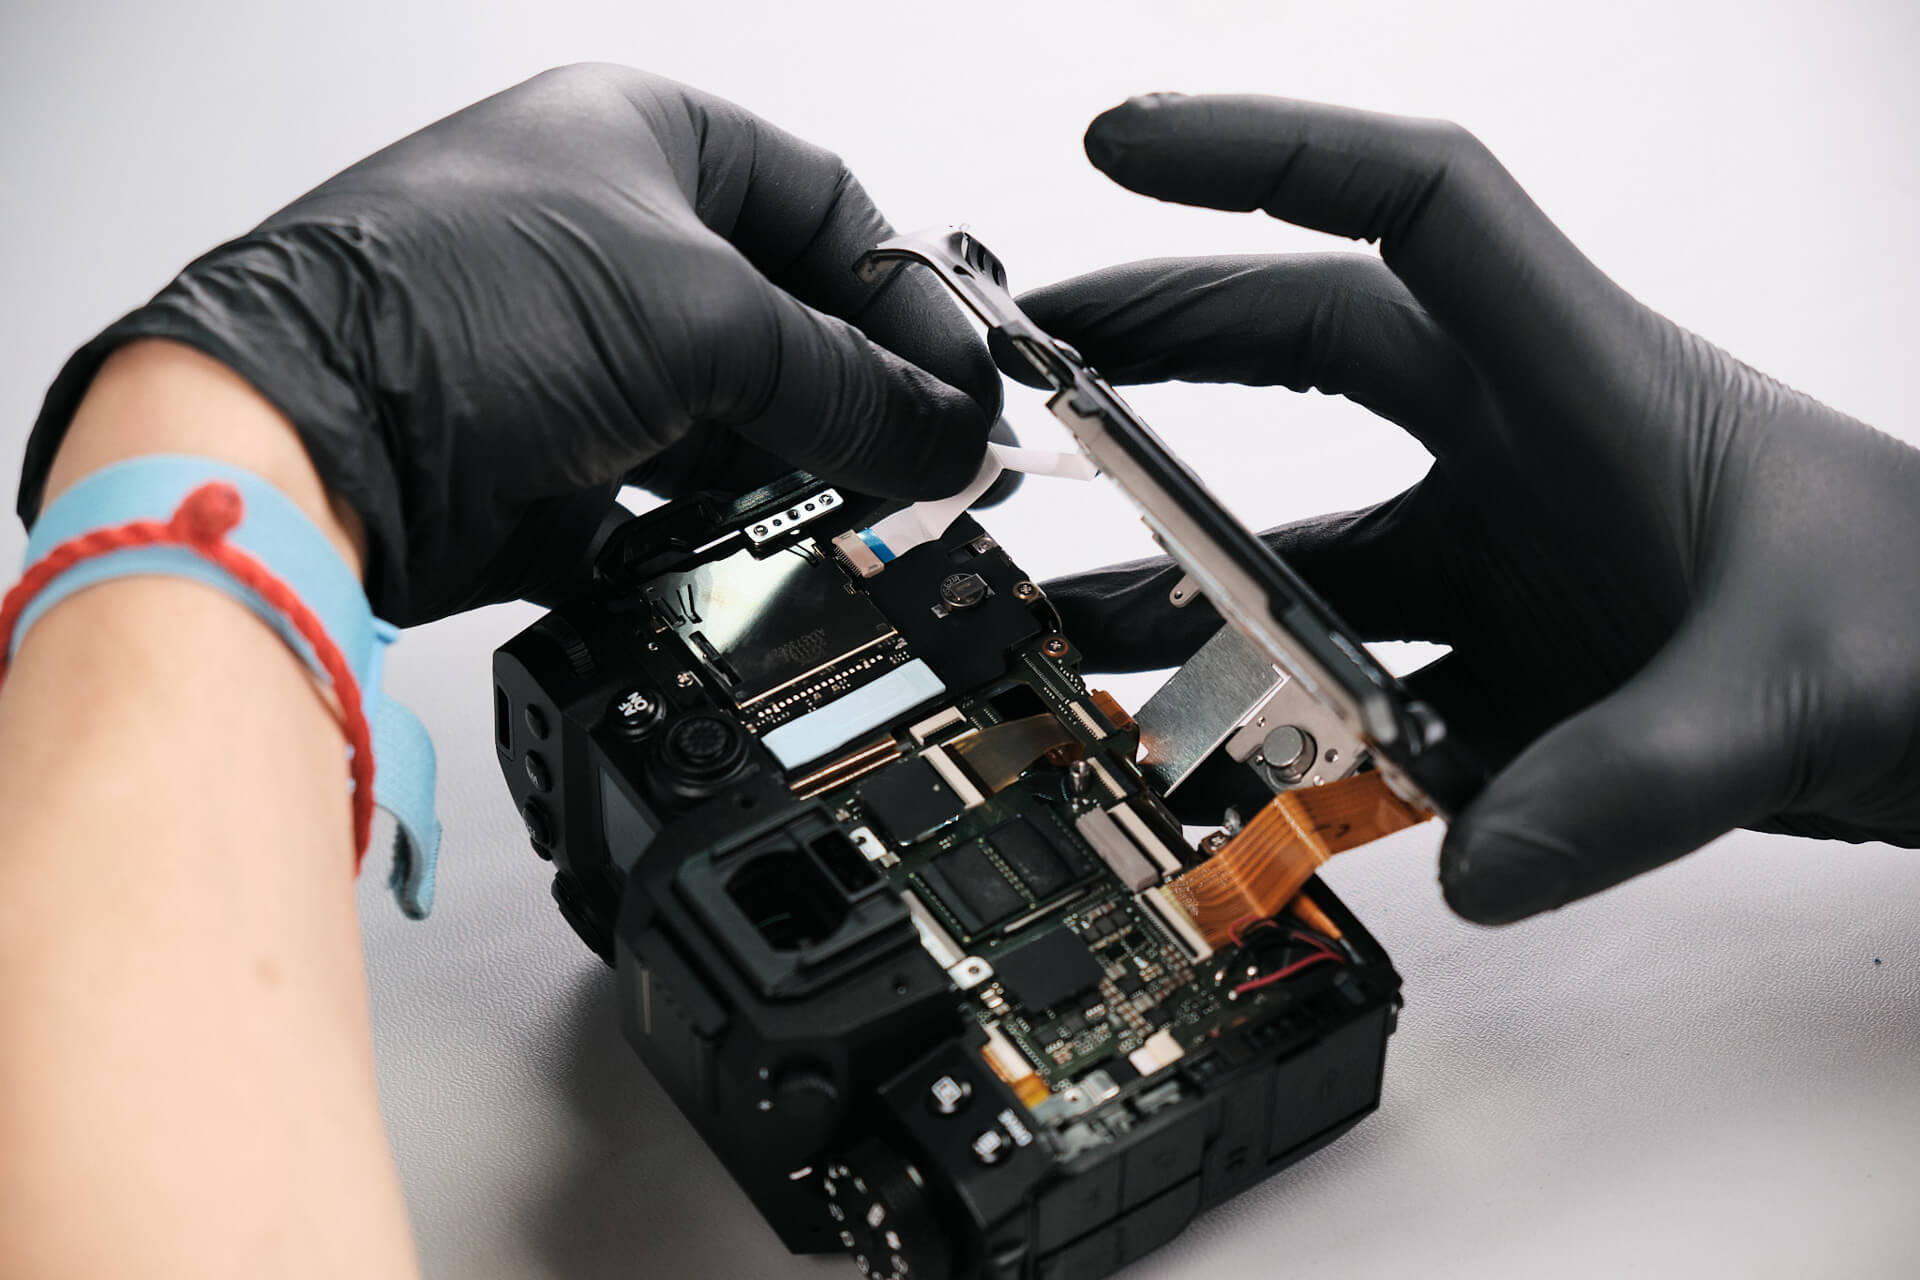
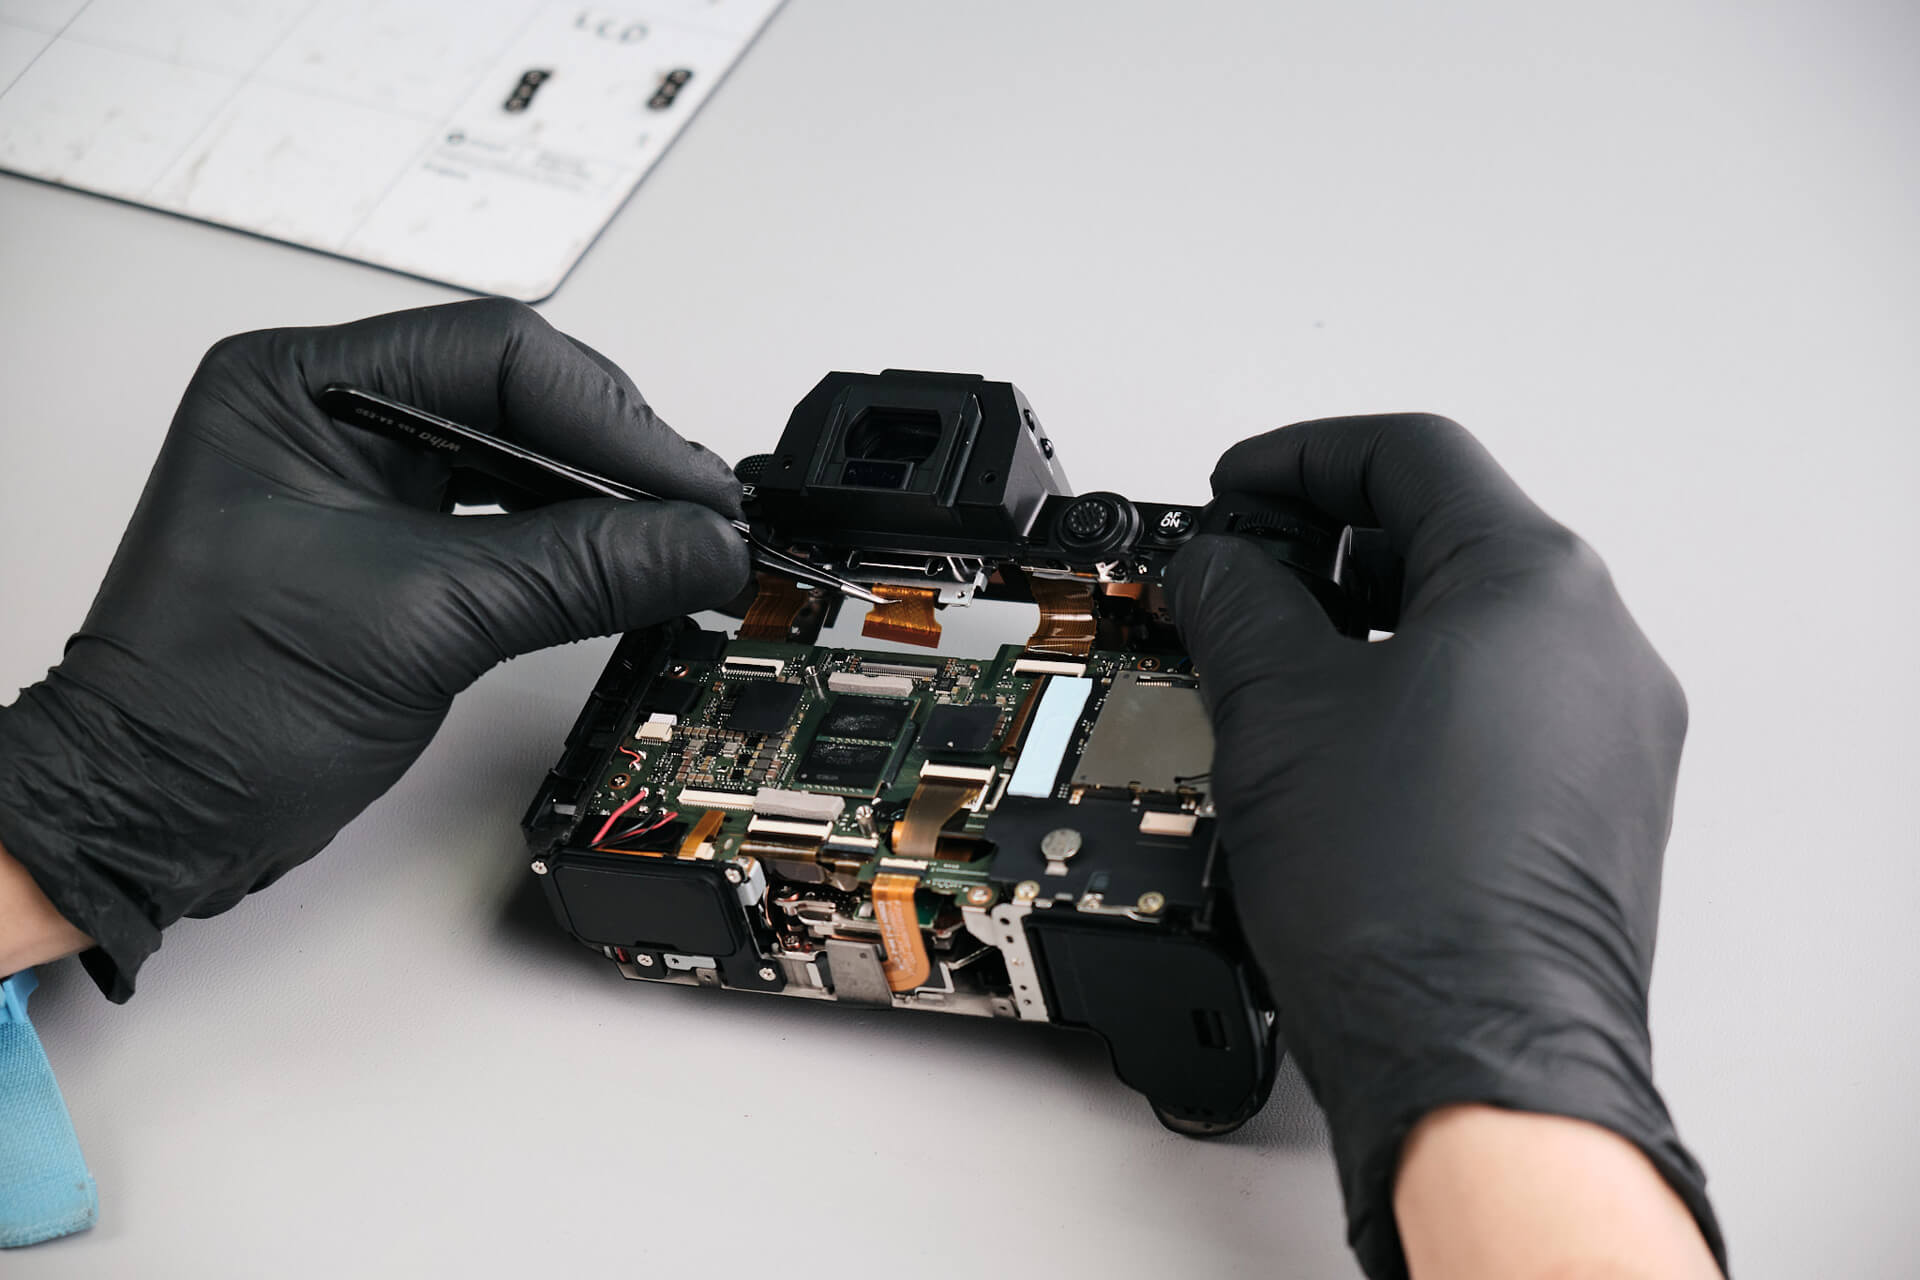
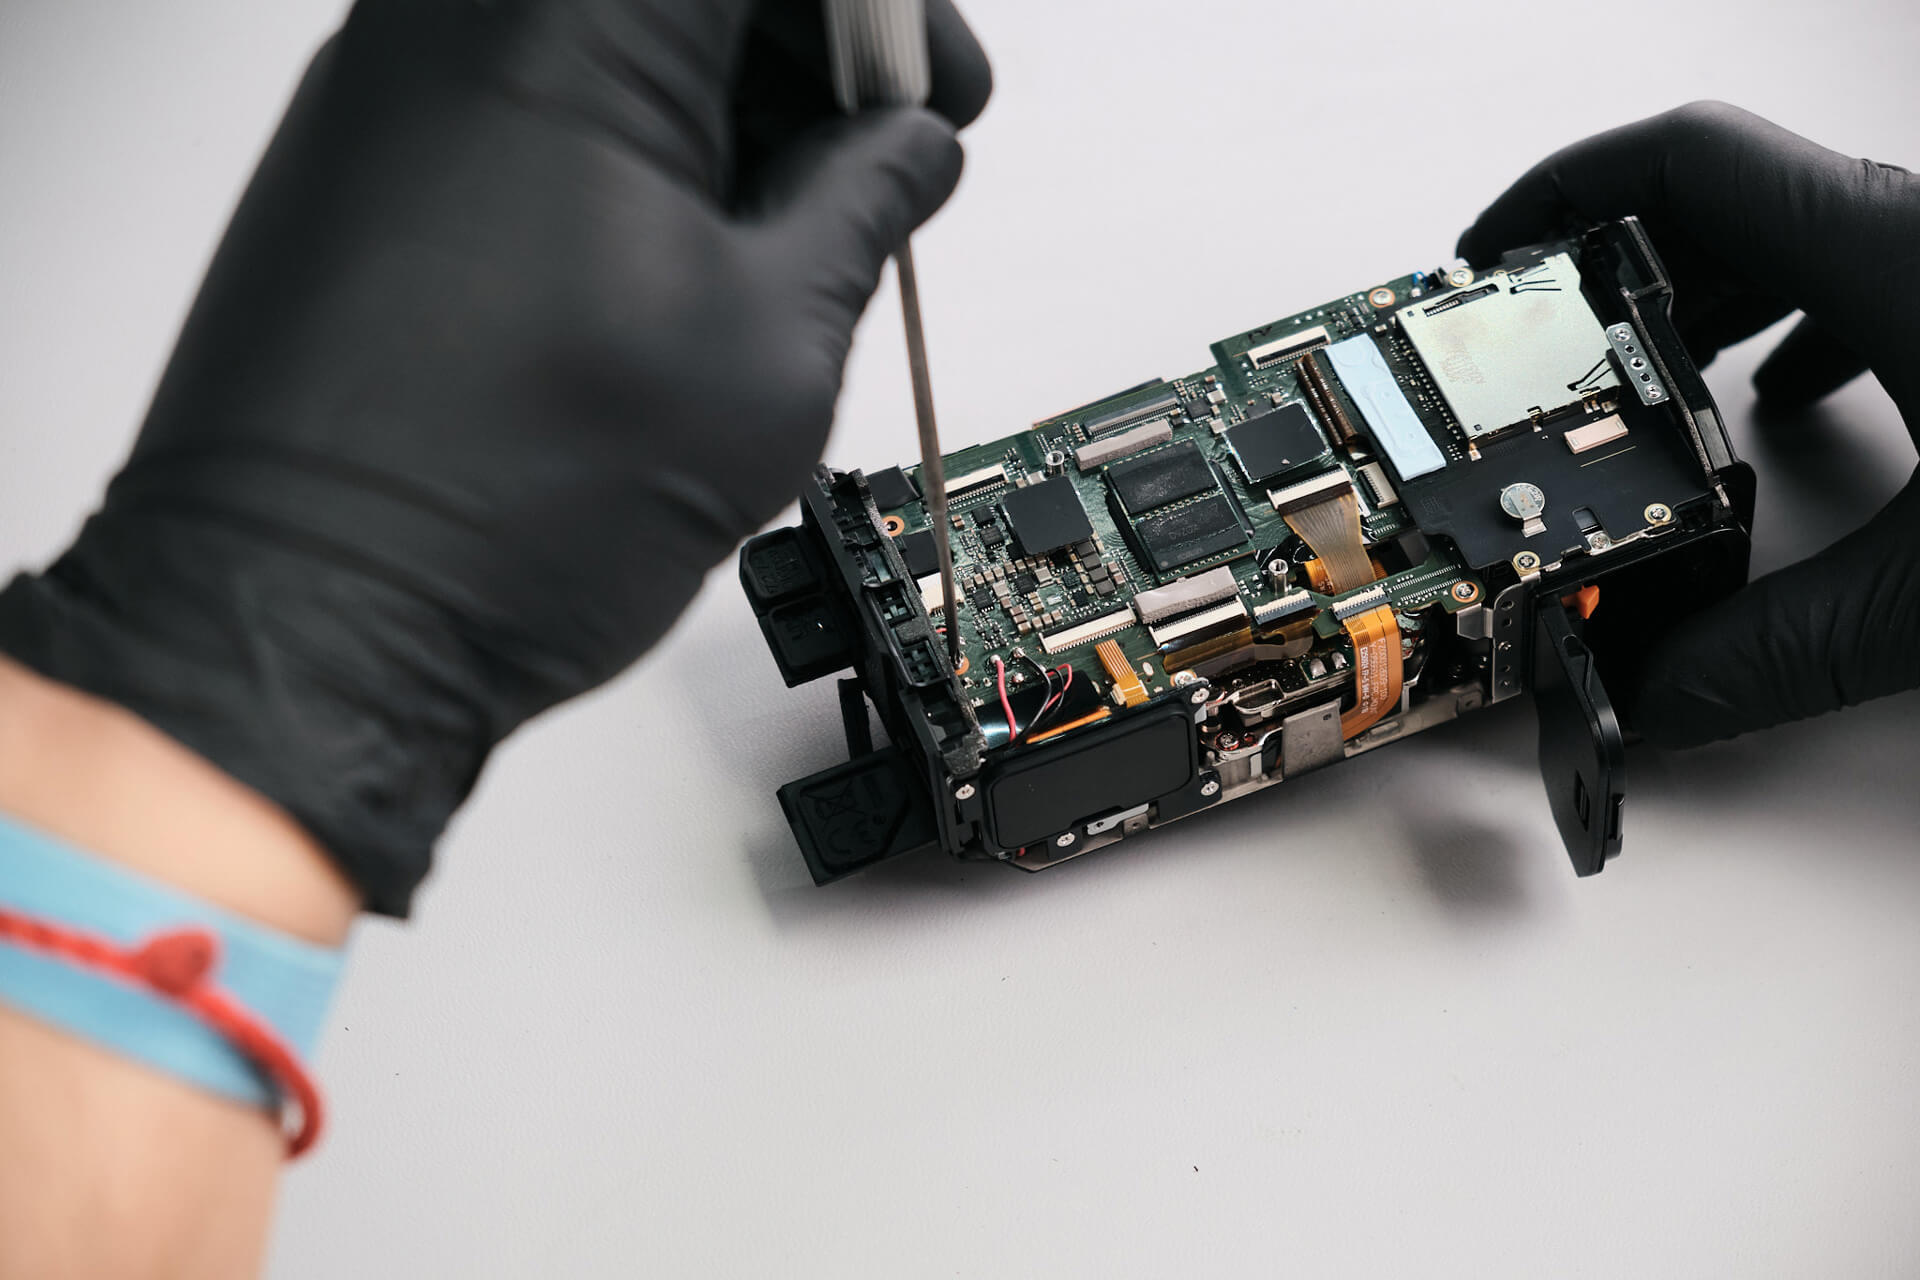
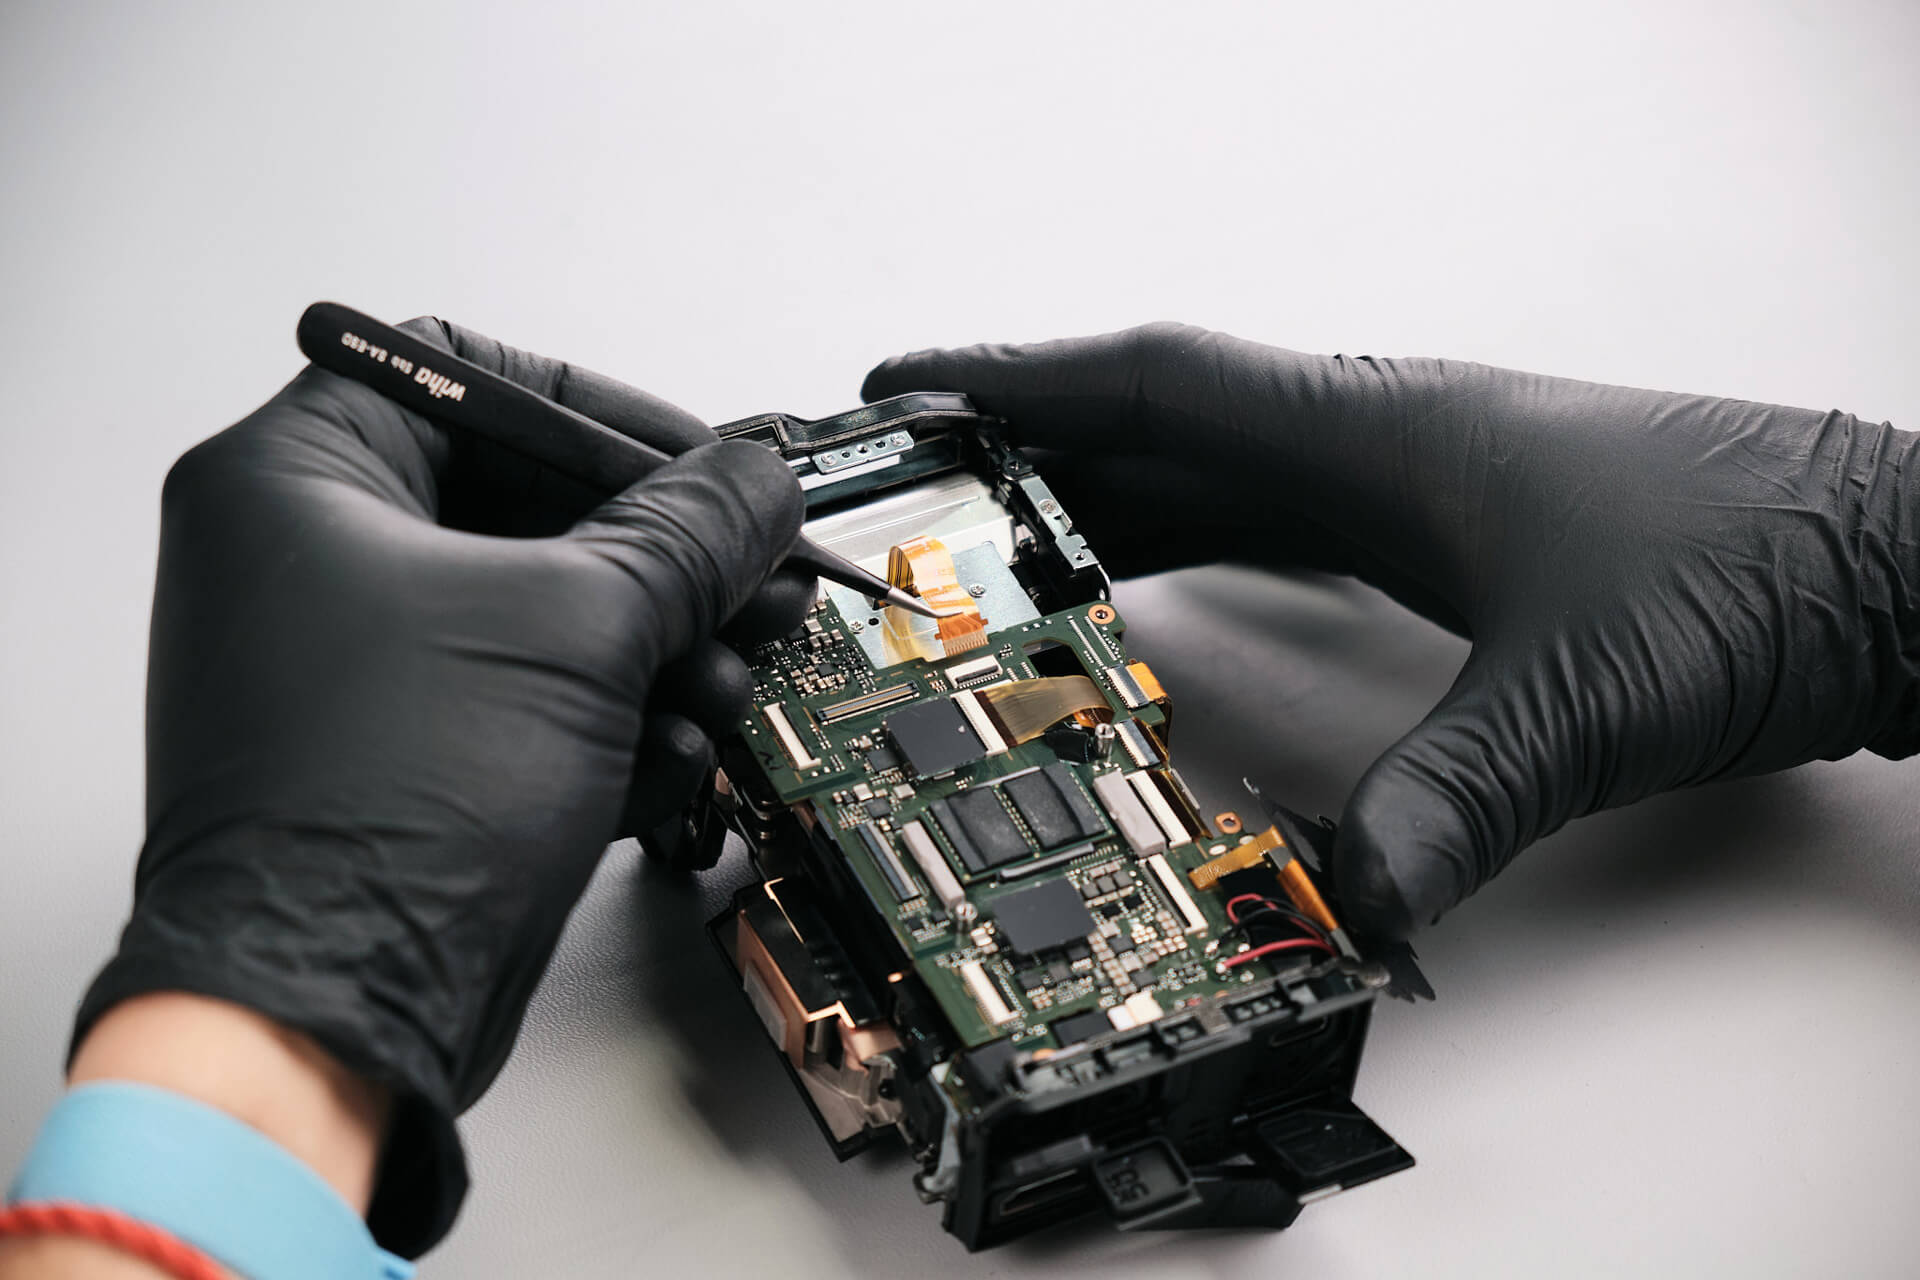
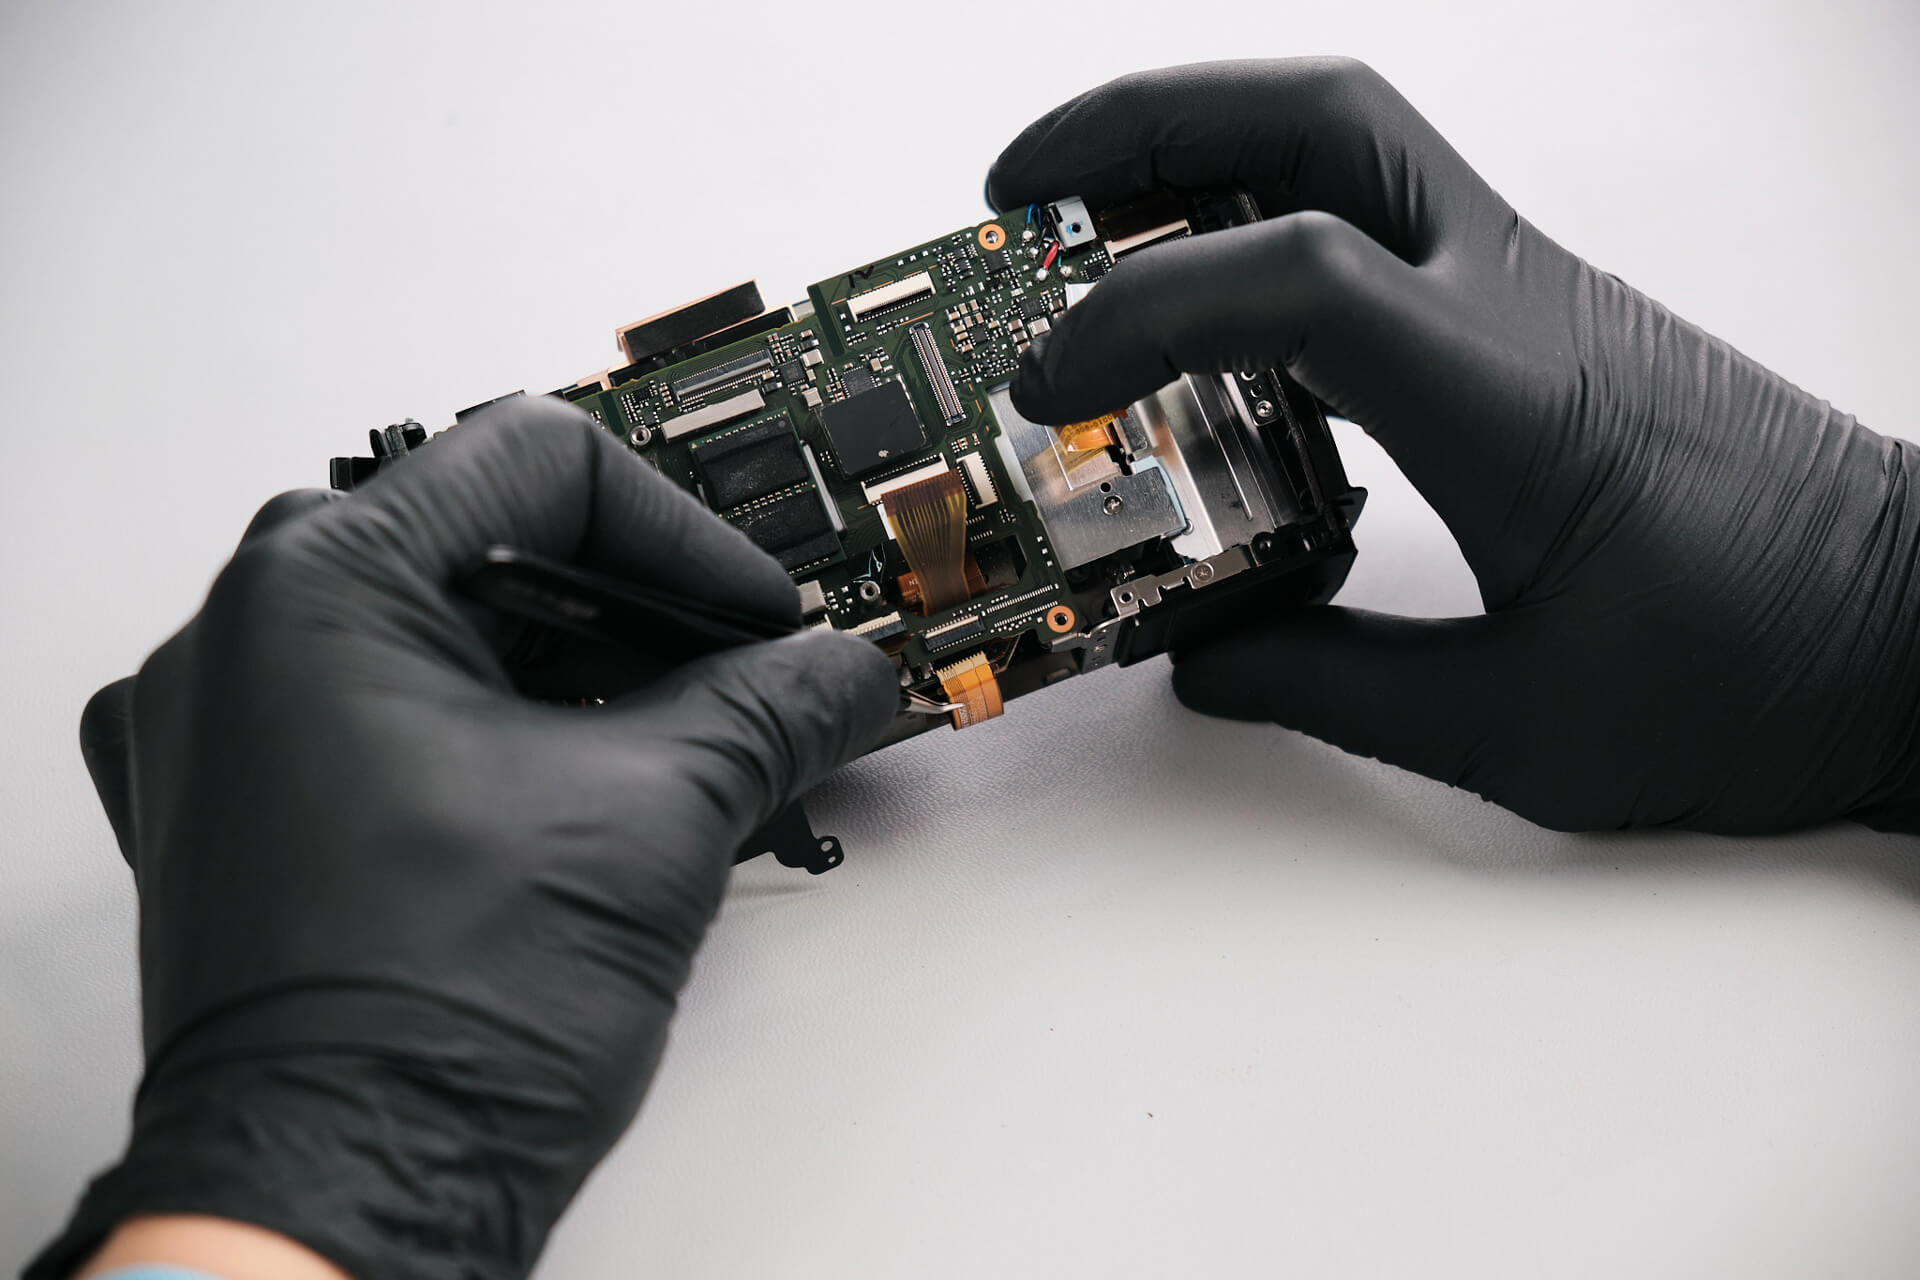
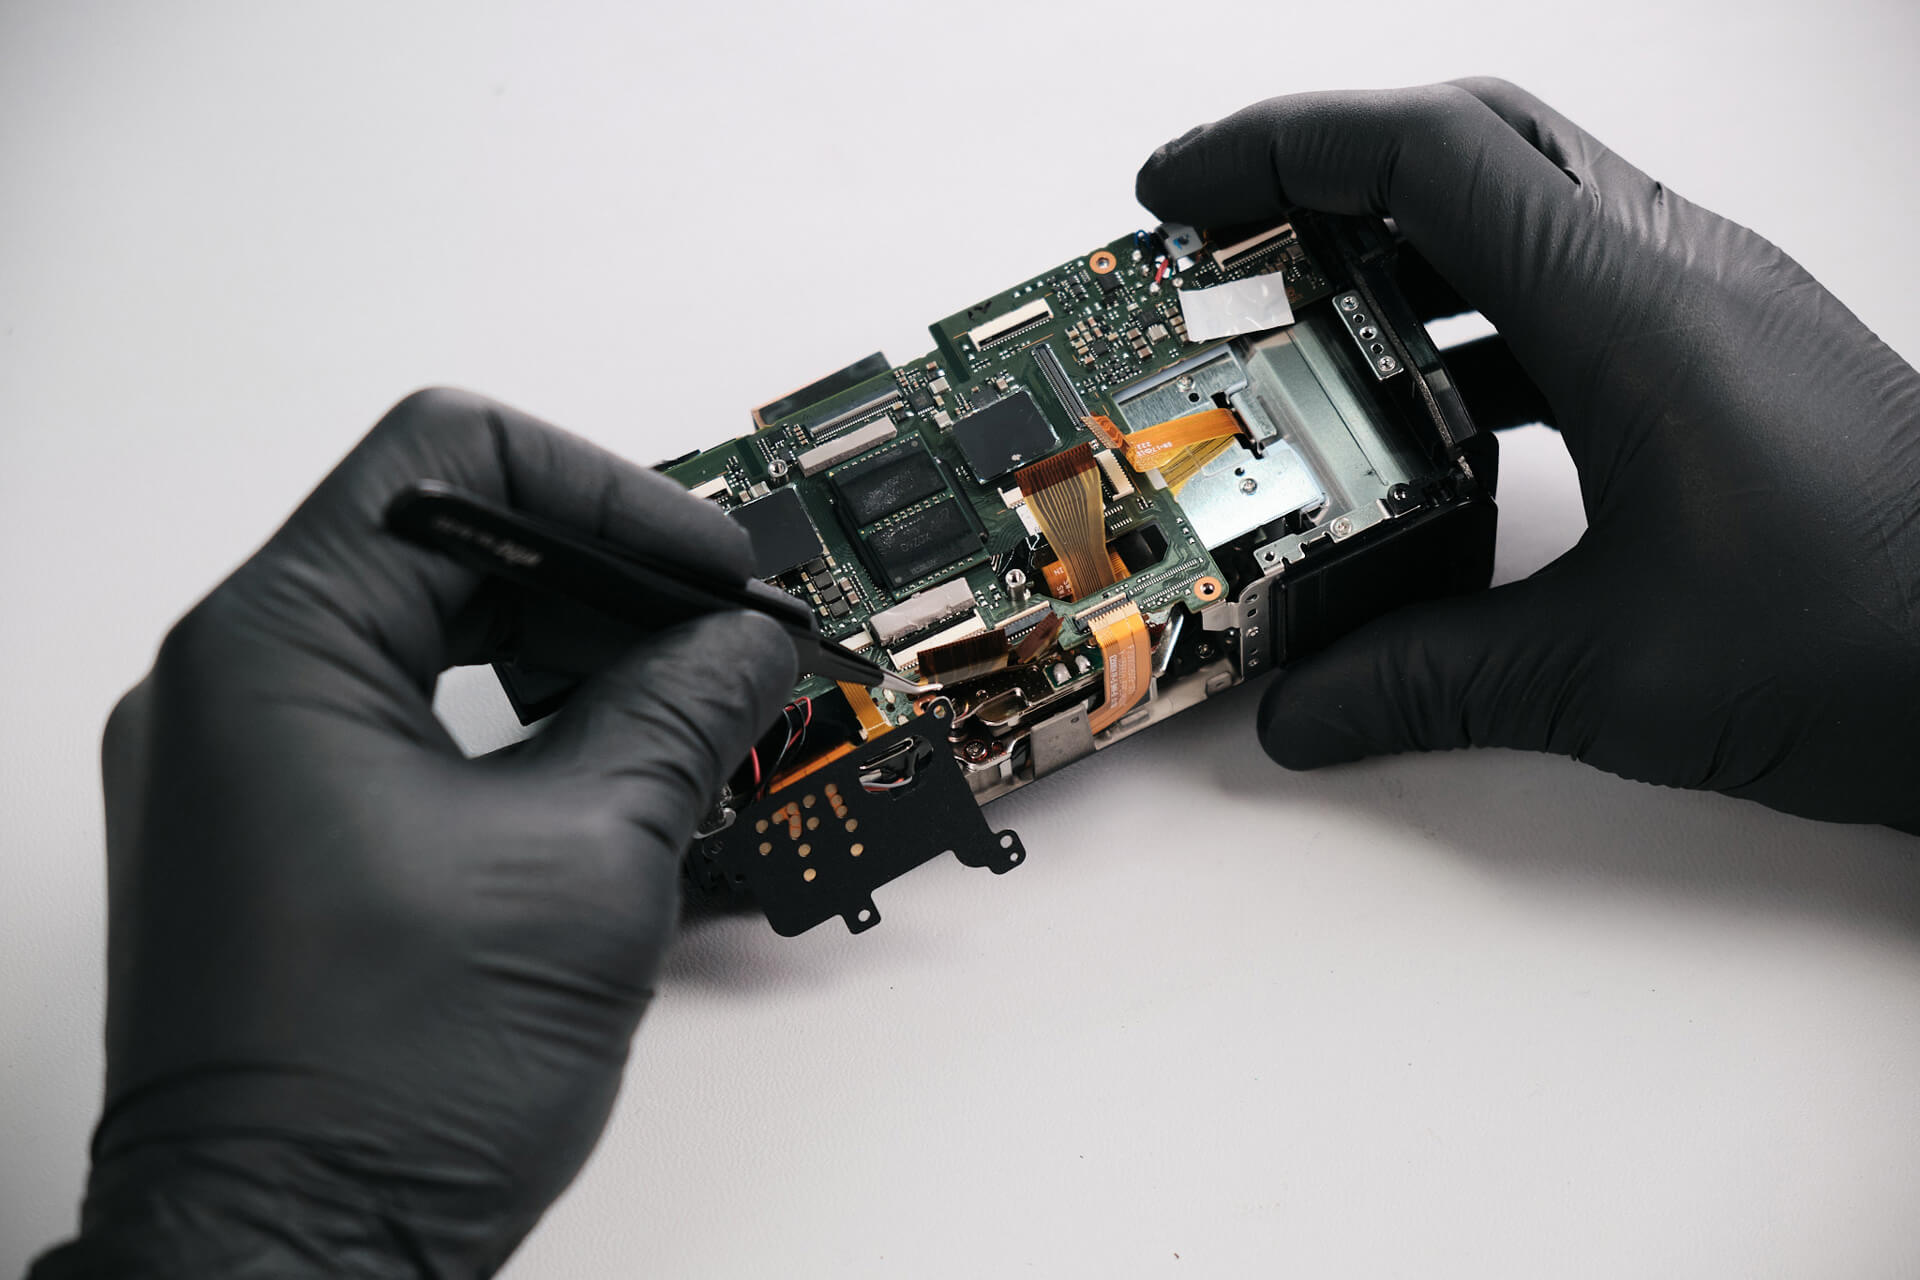
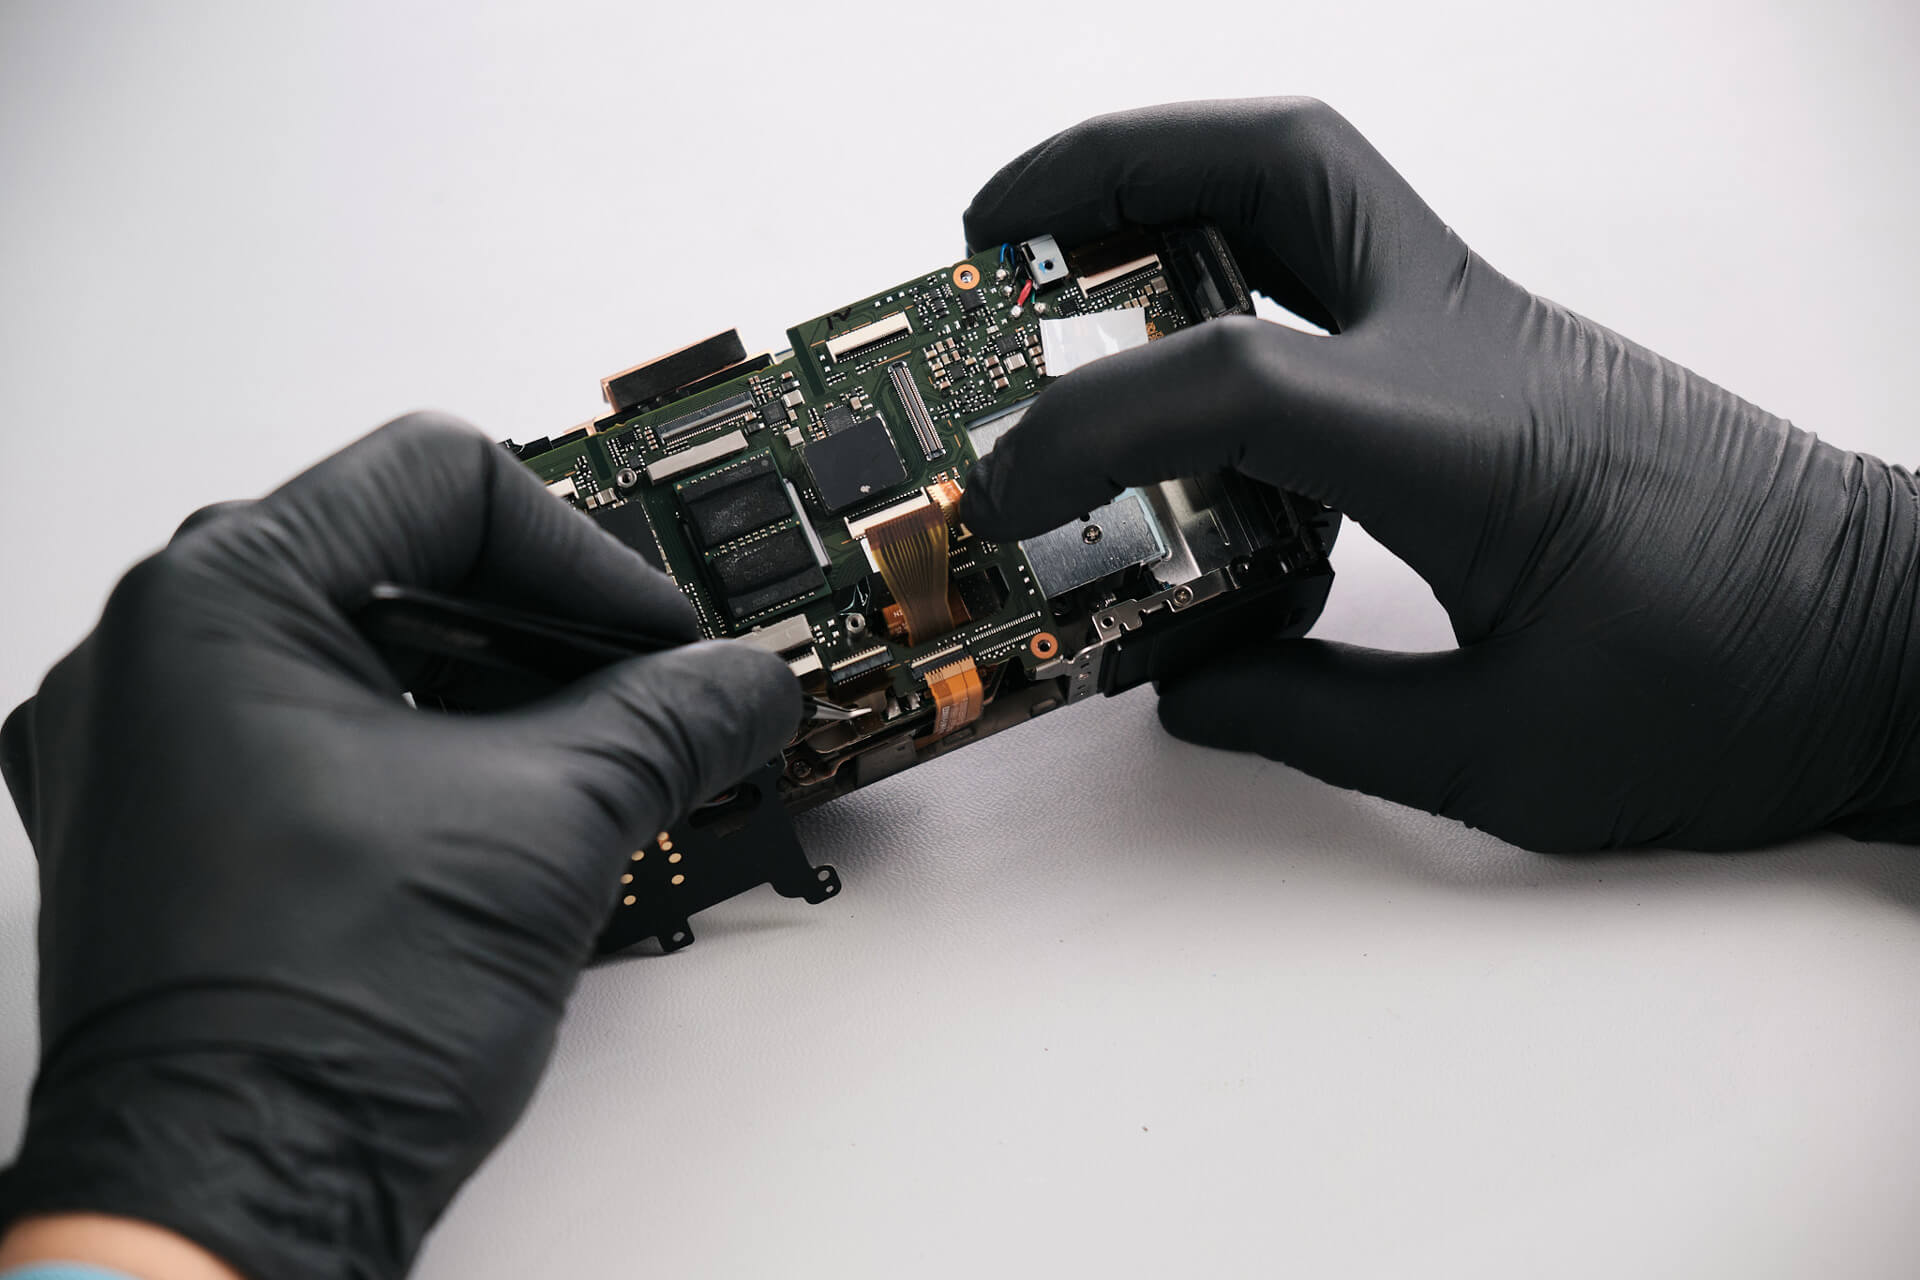
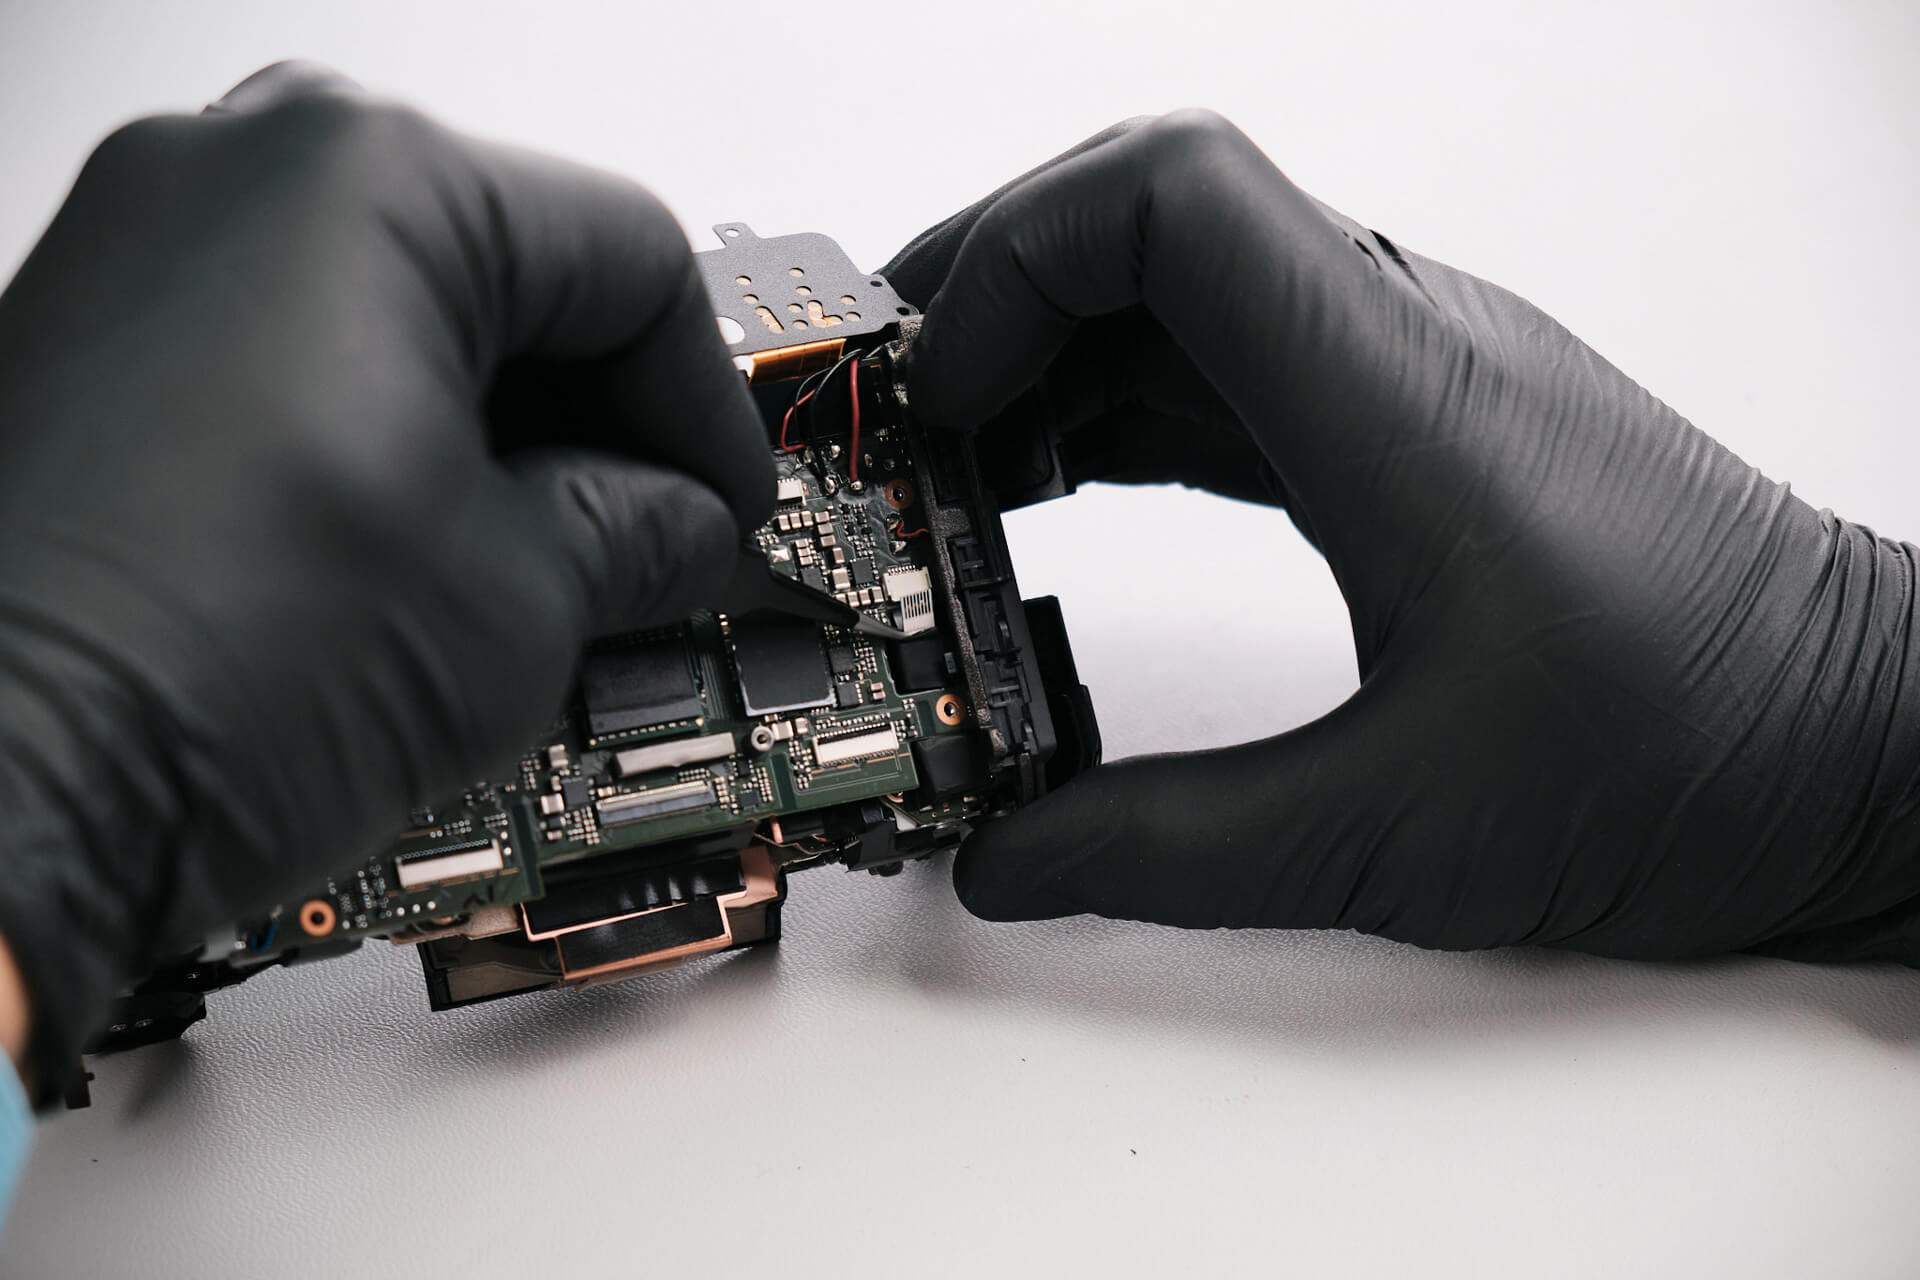
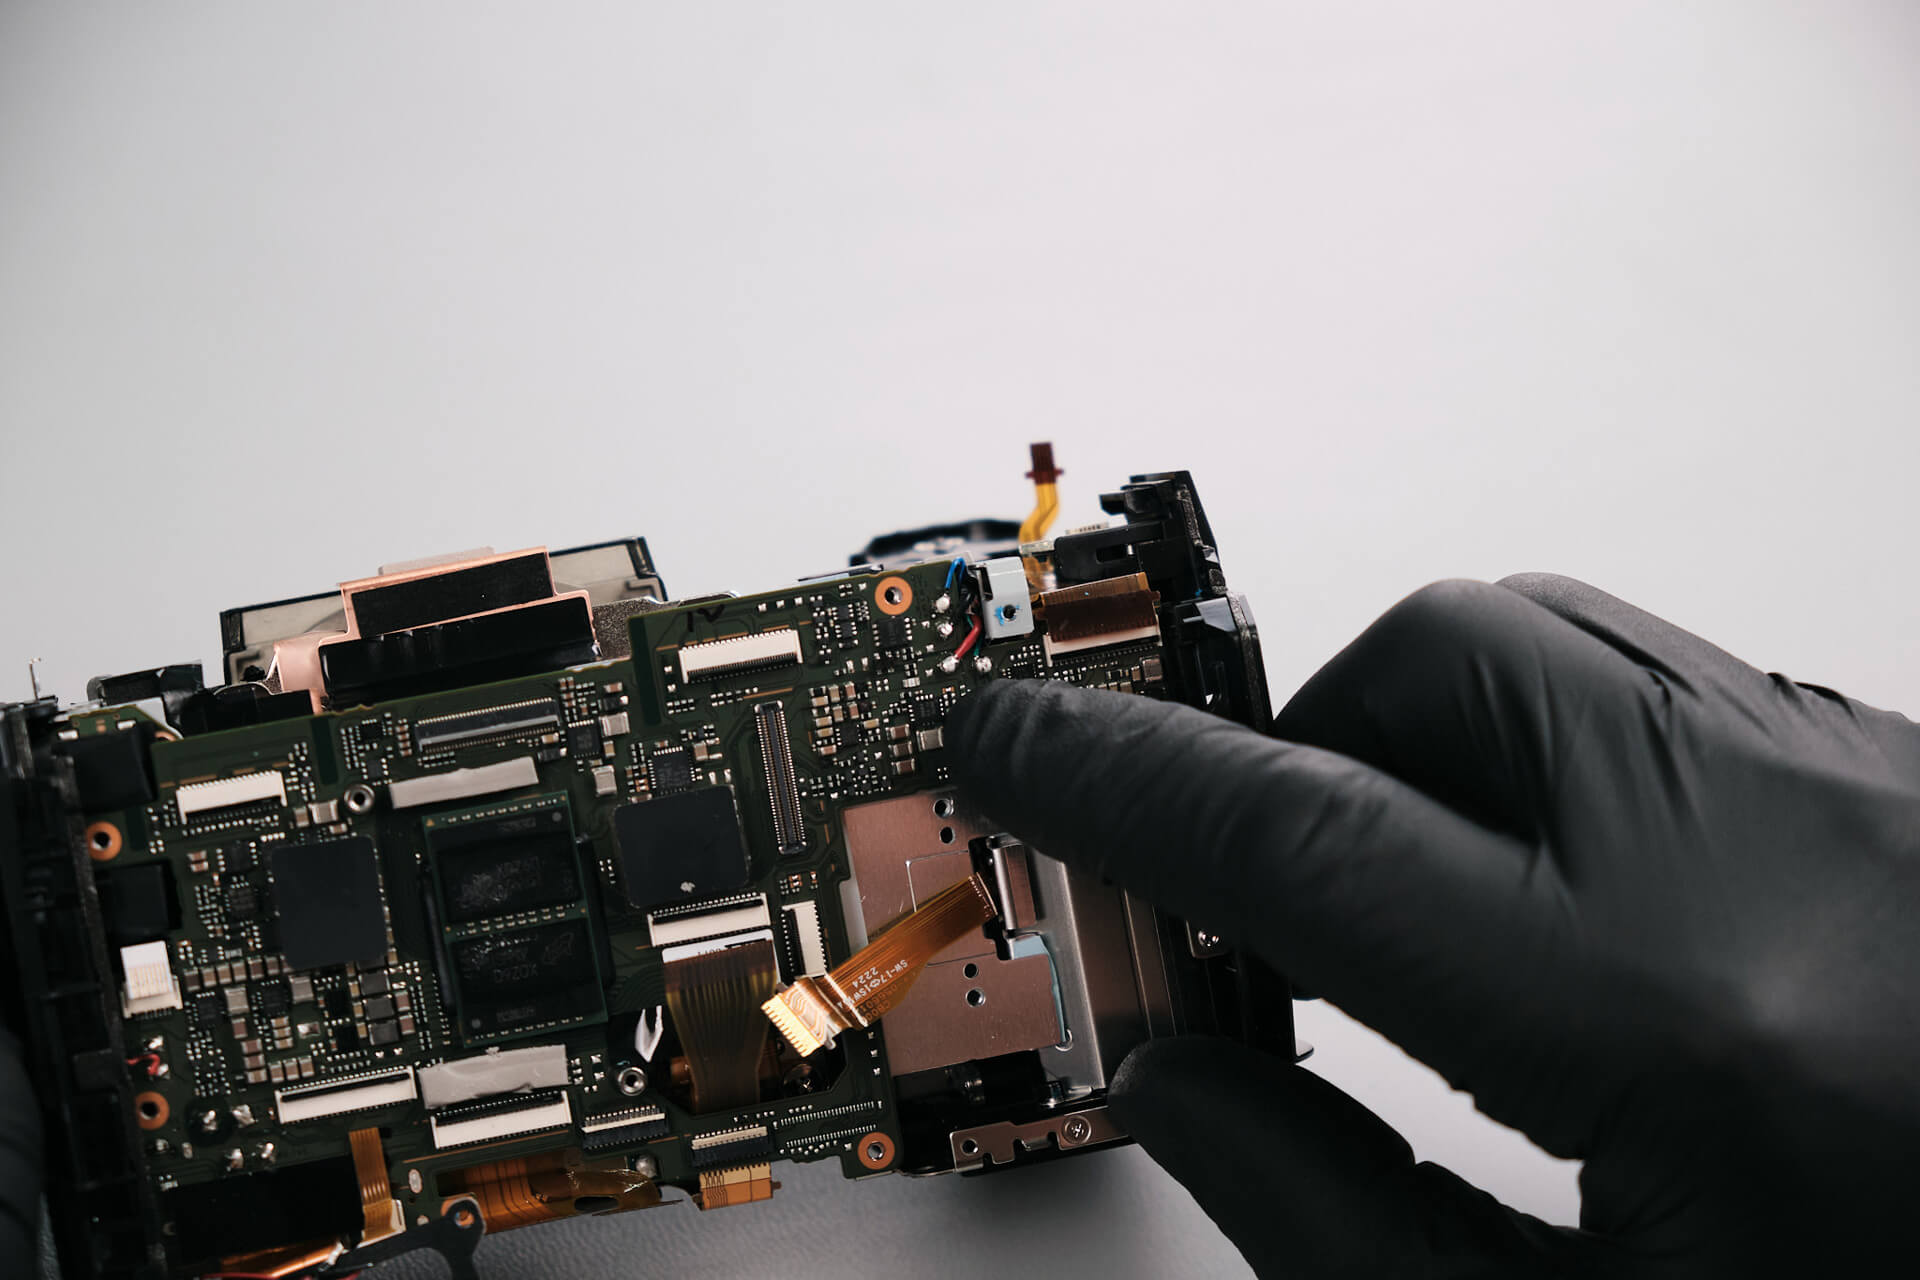
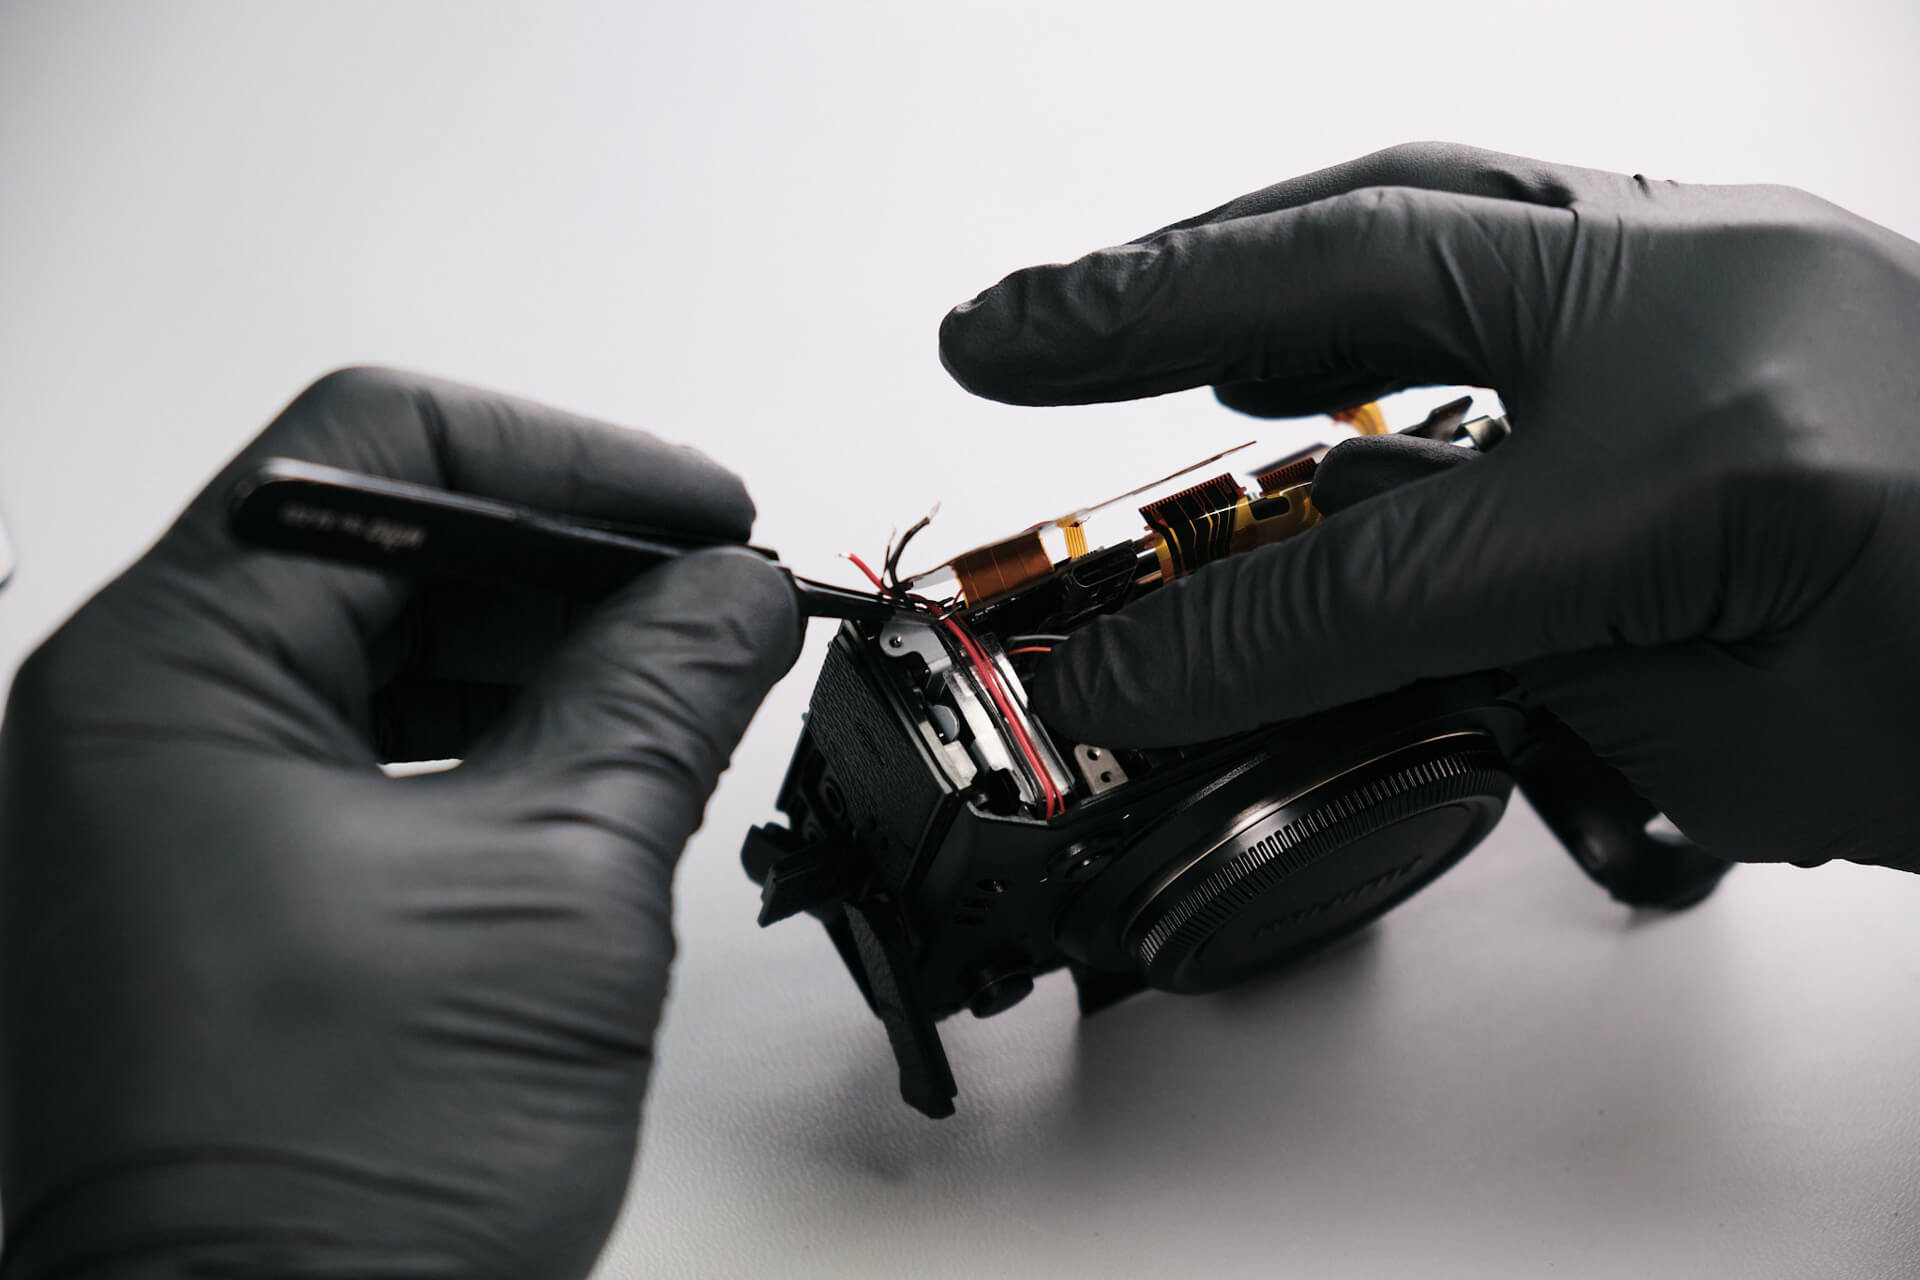
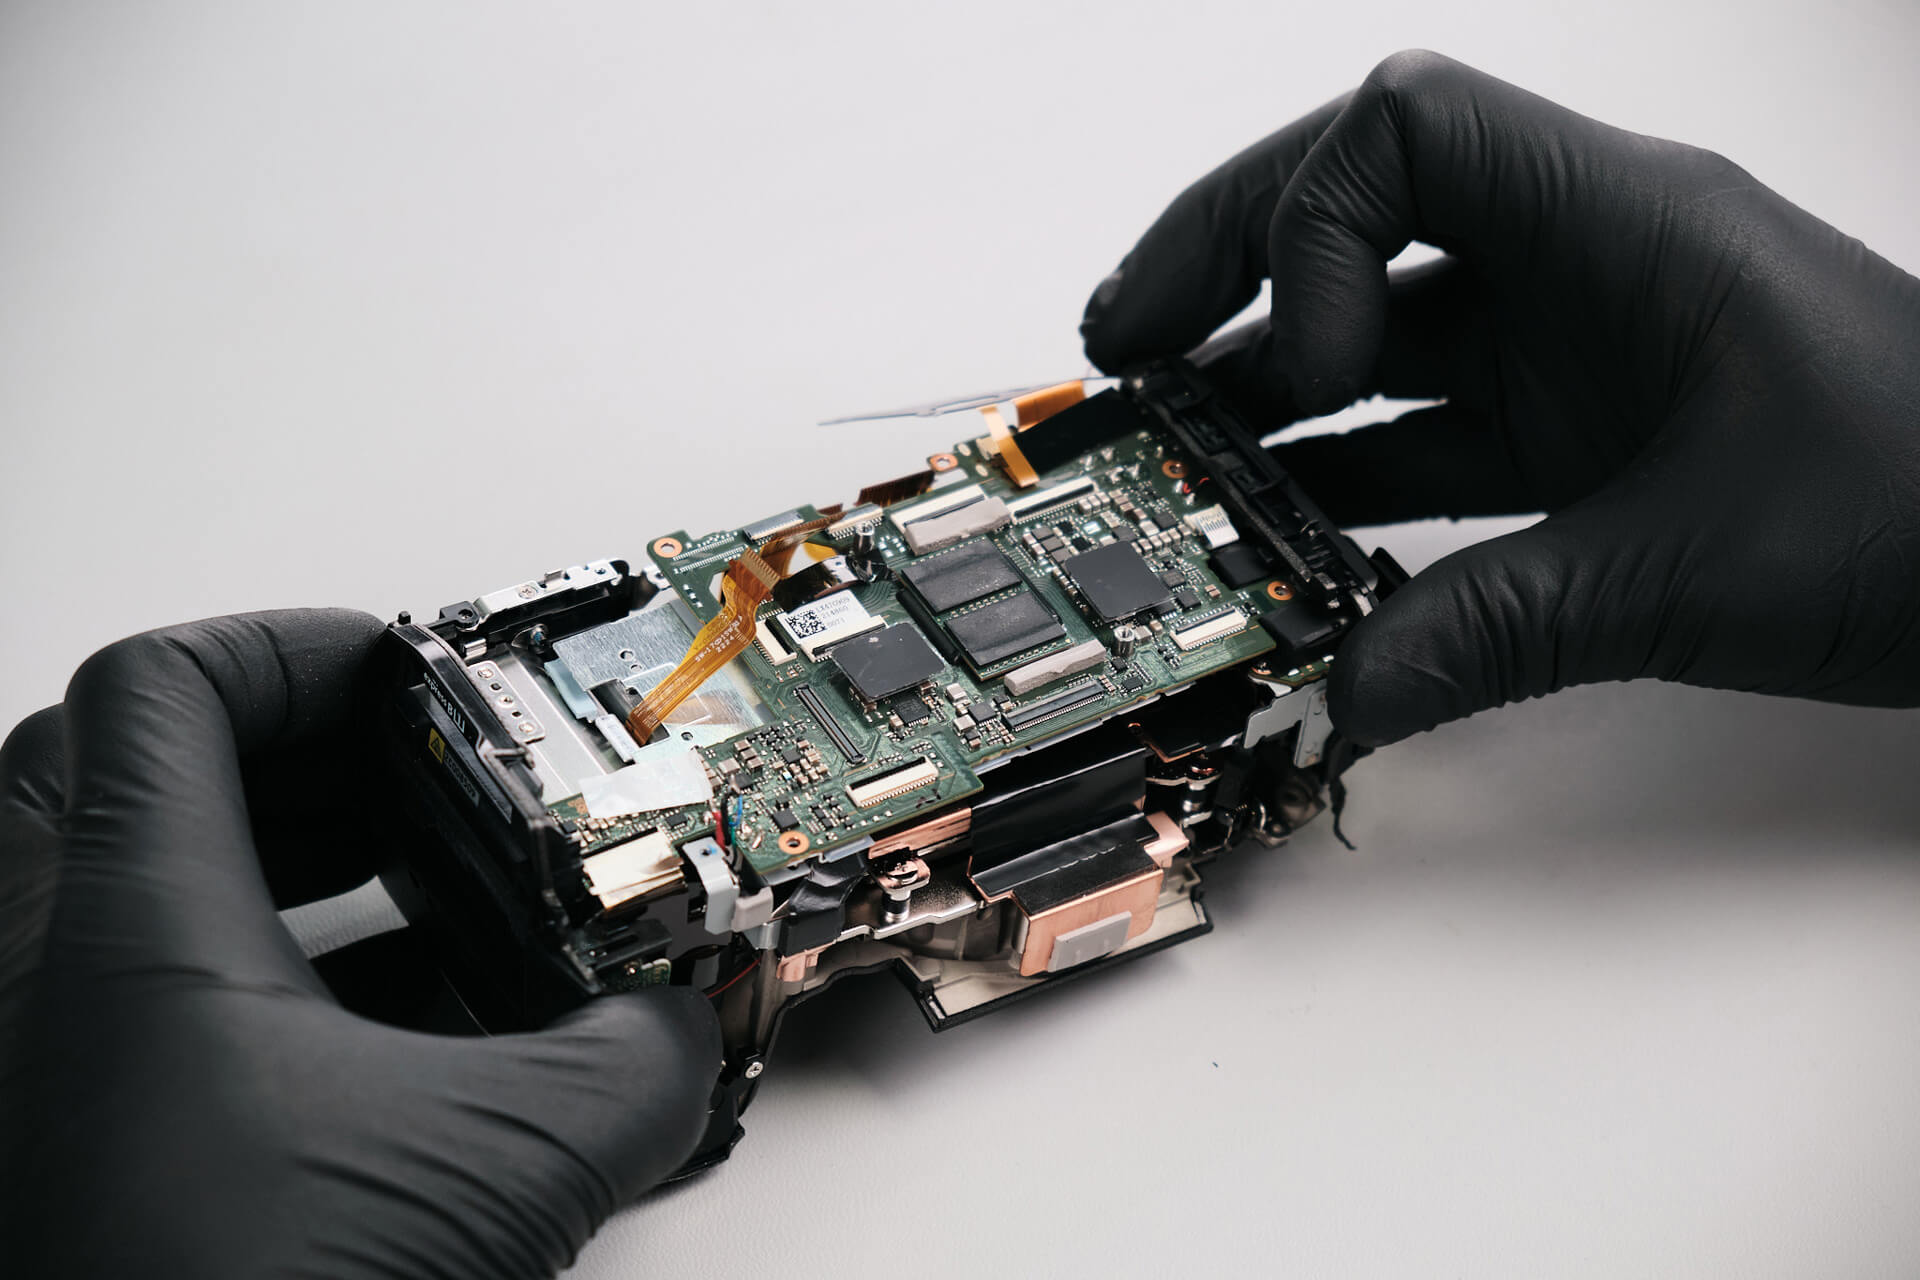
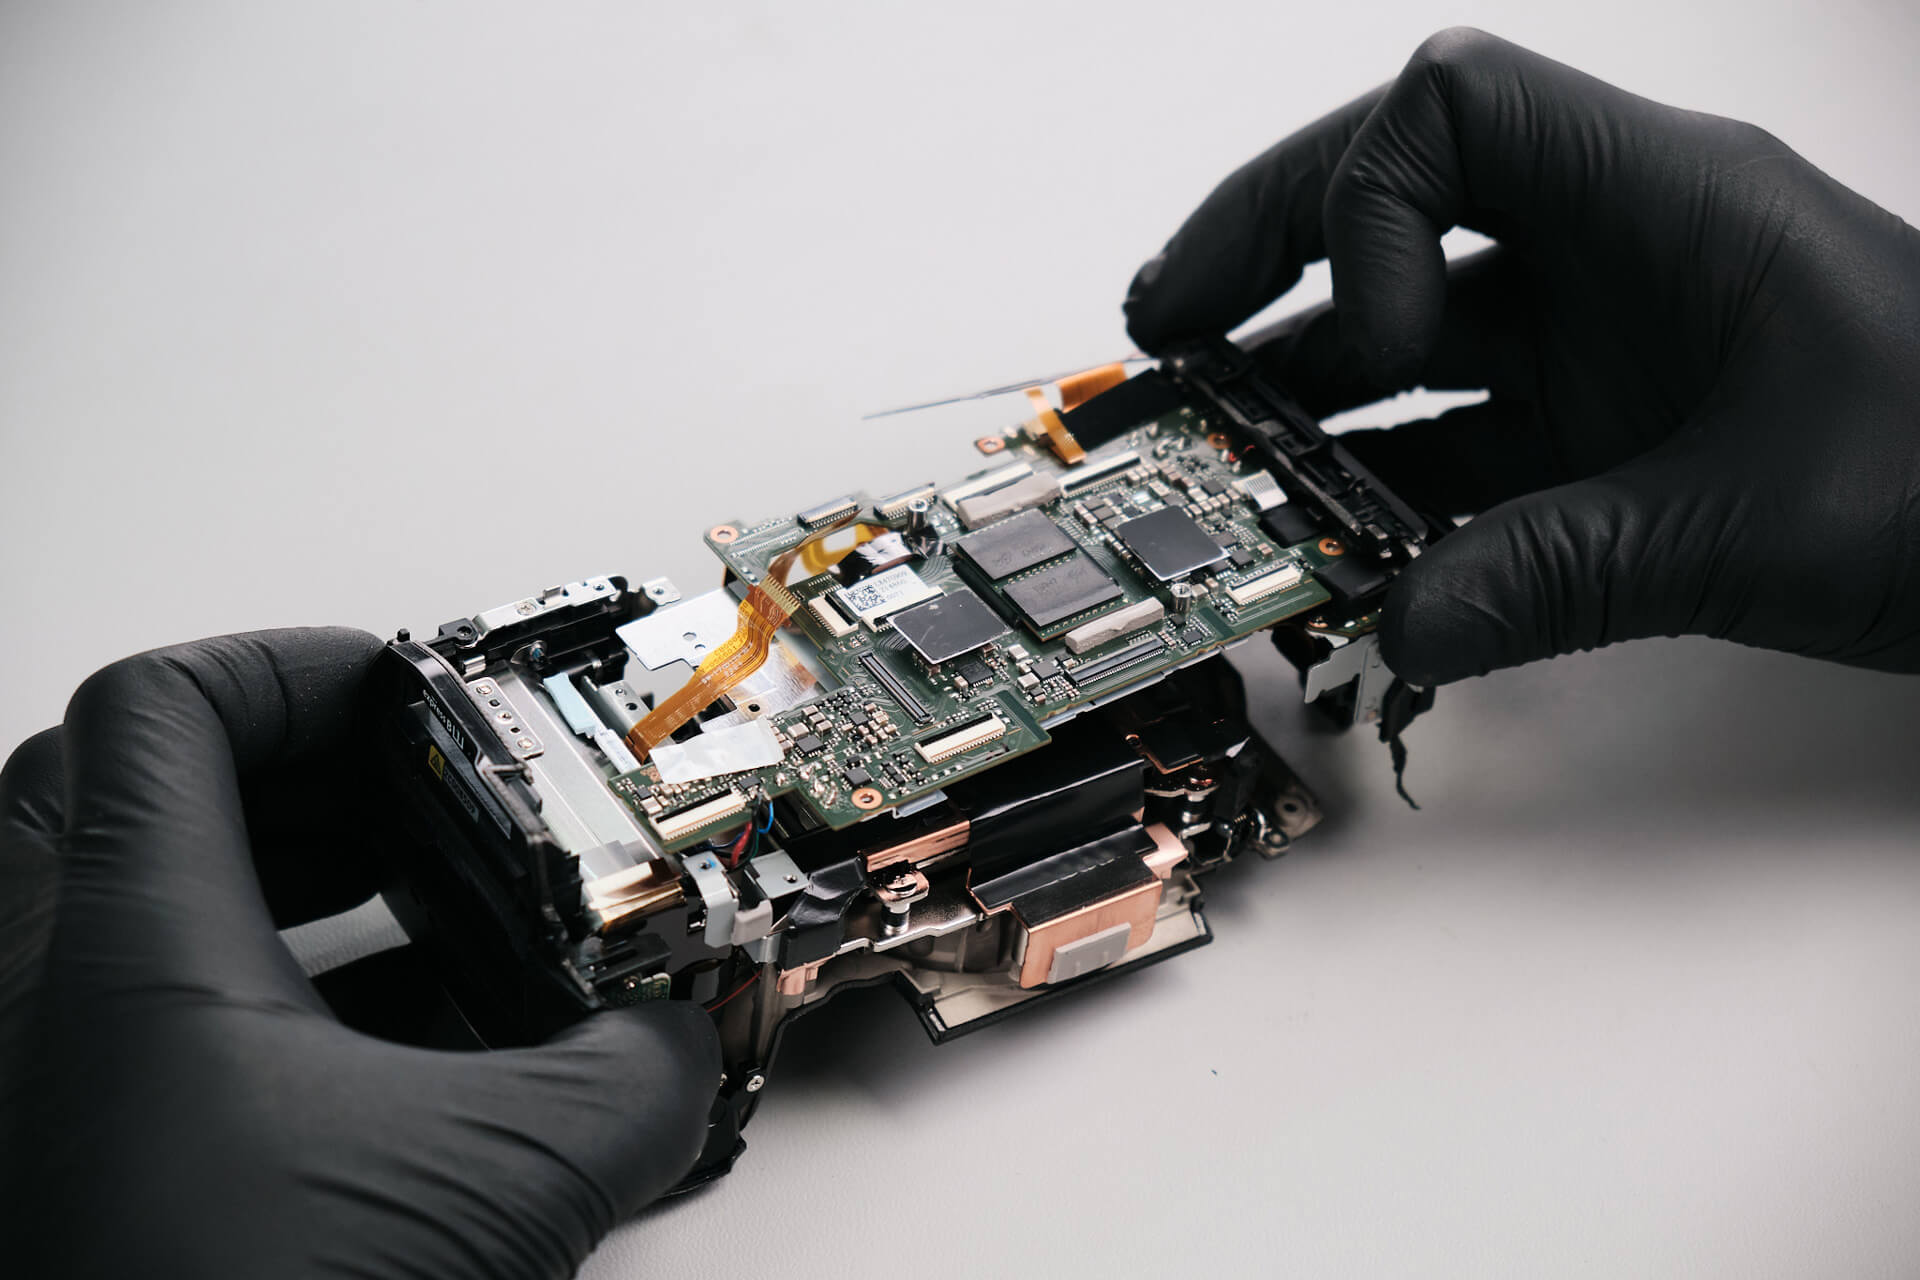
Here we removed five ribbon cables from the circuit board.
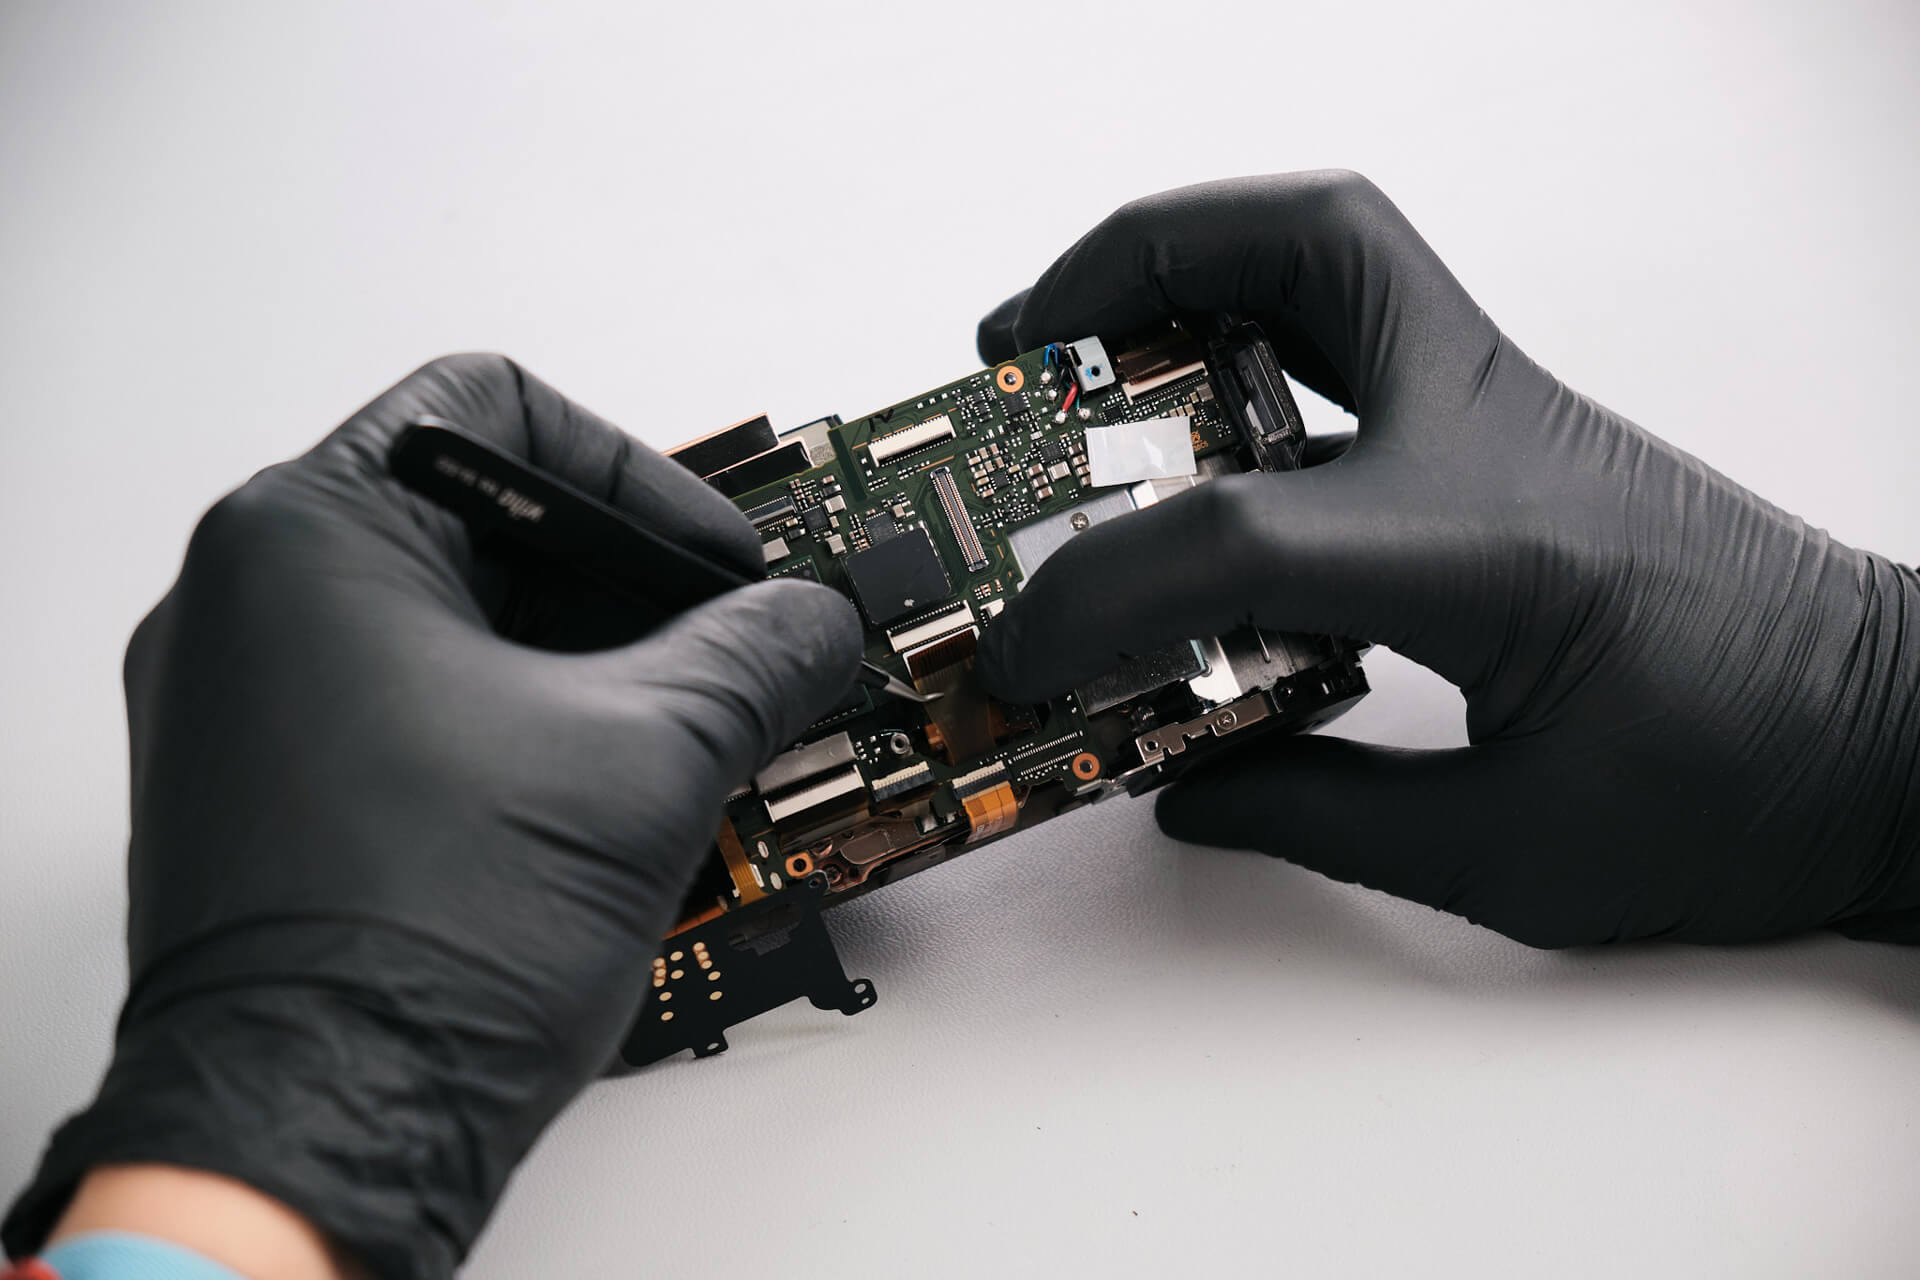
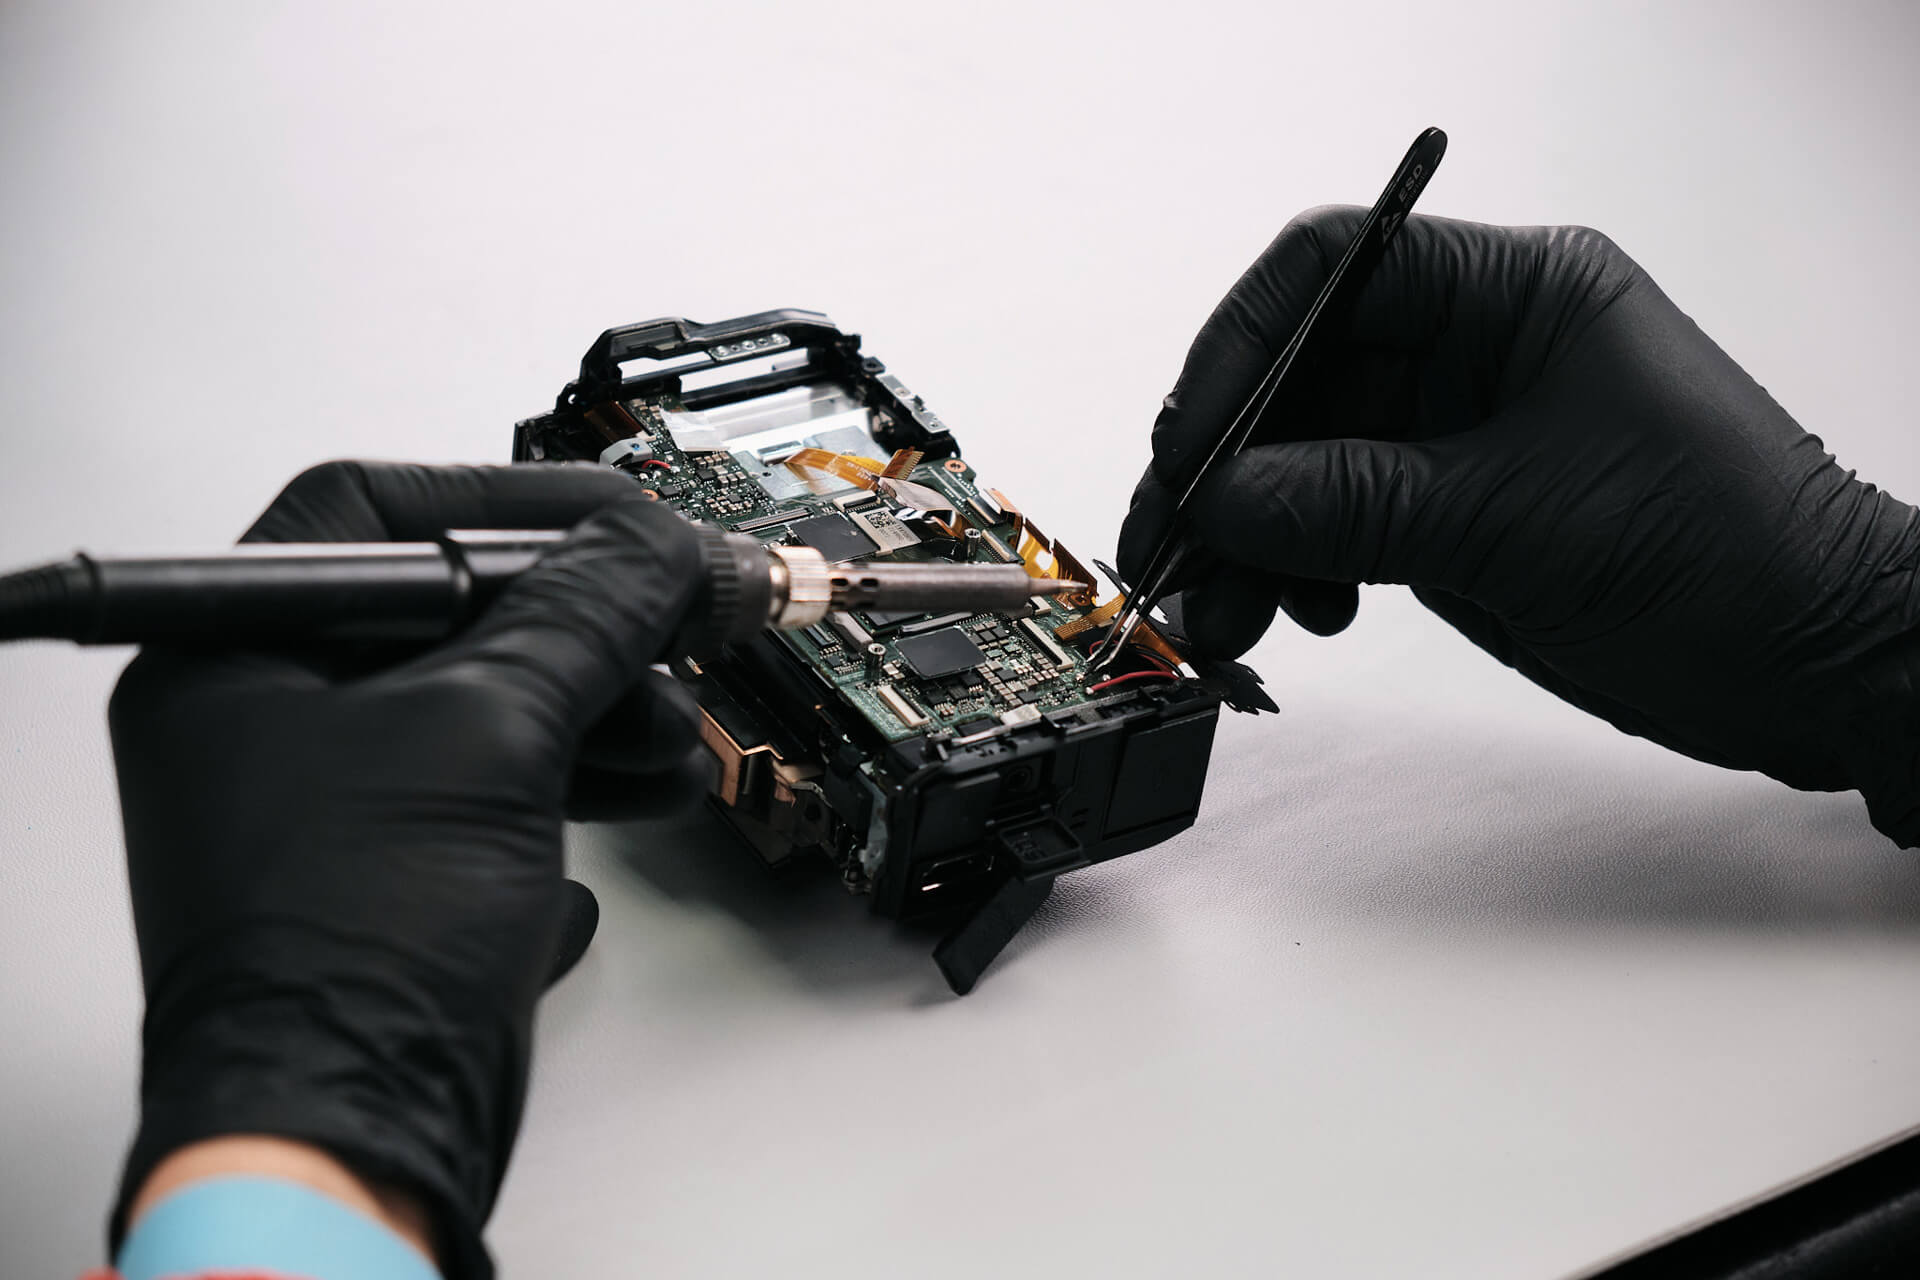
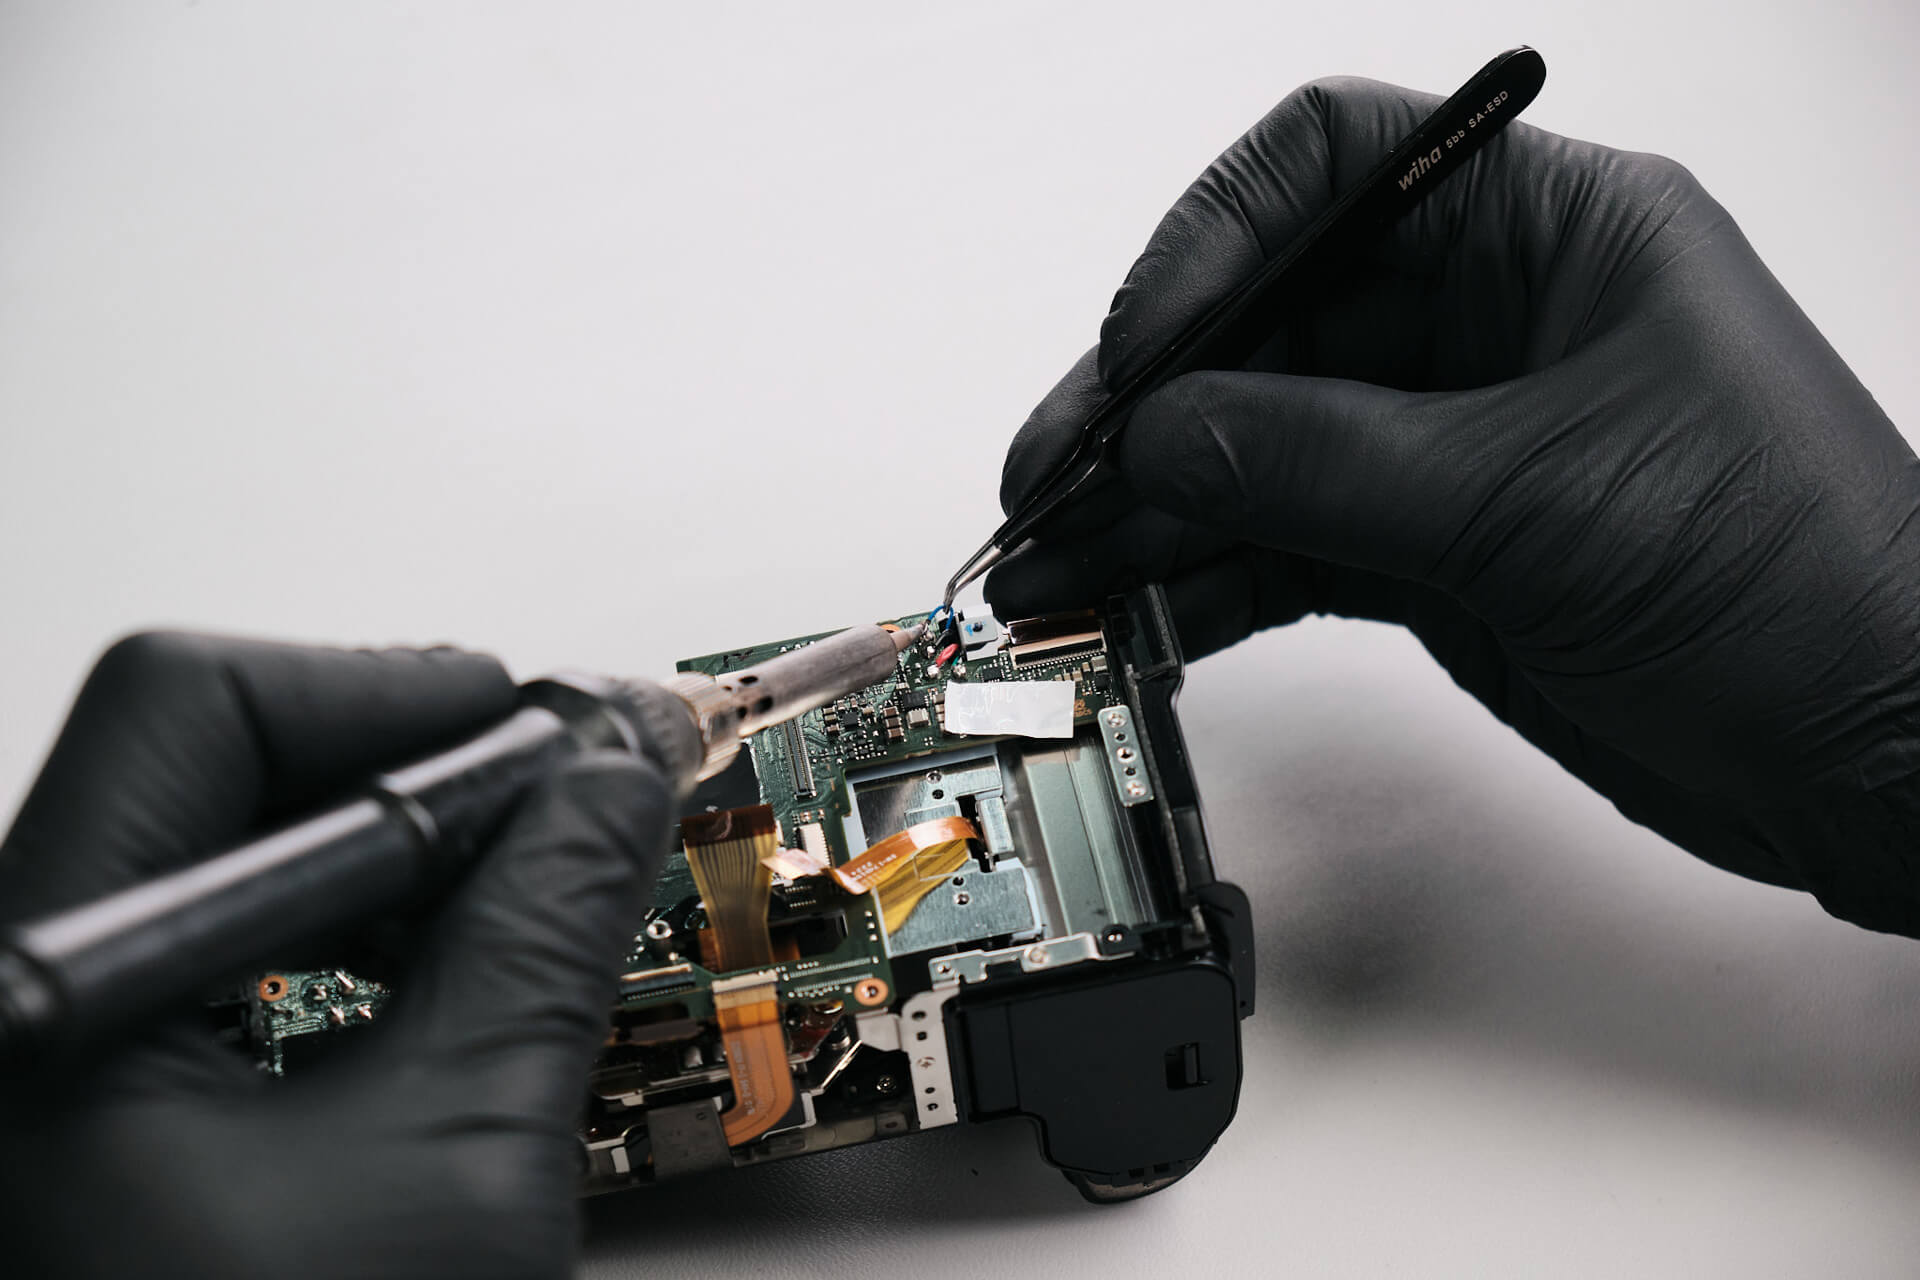
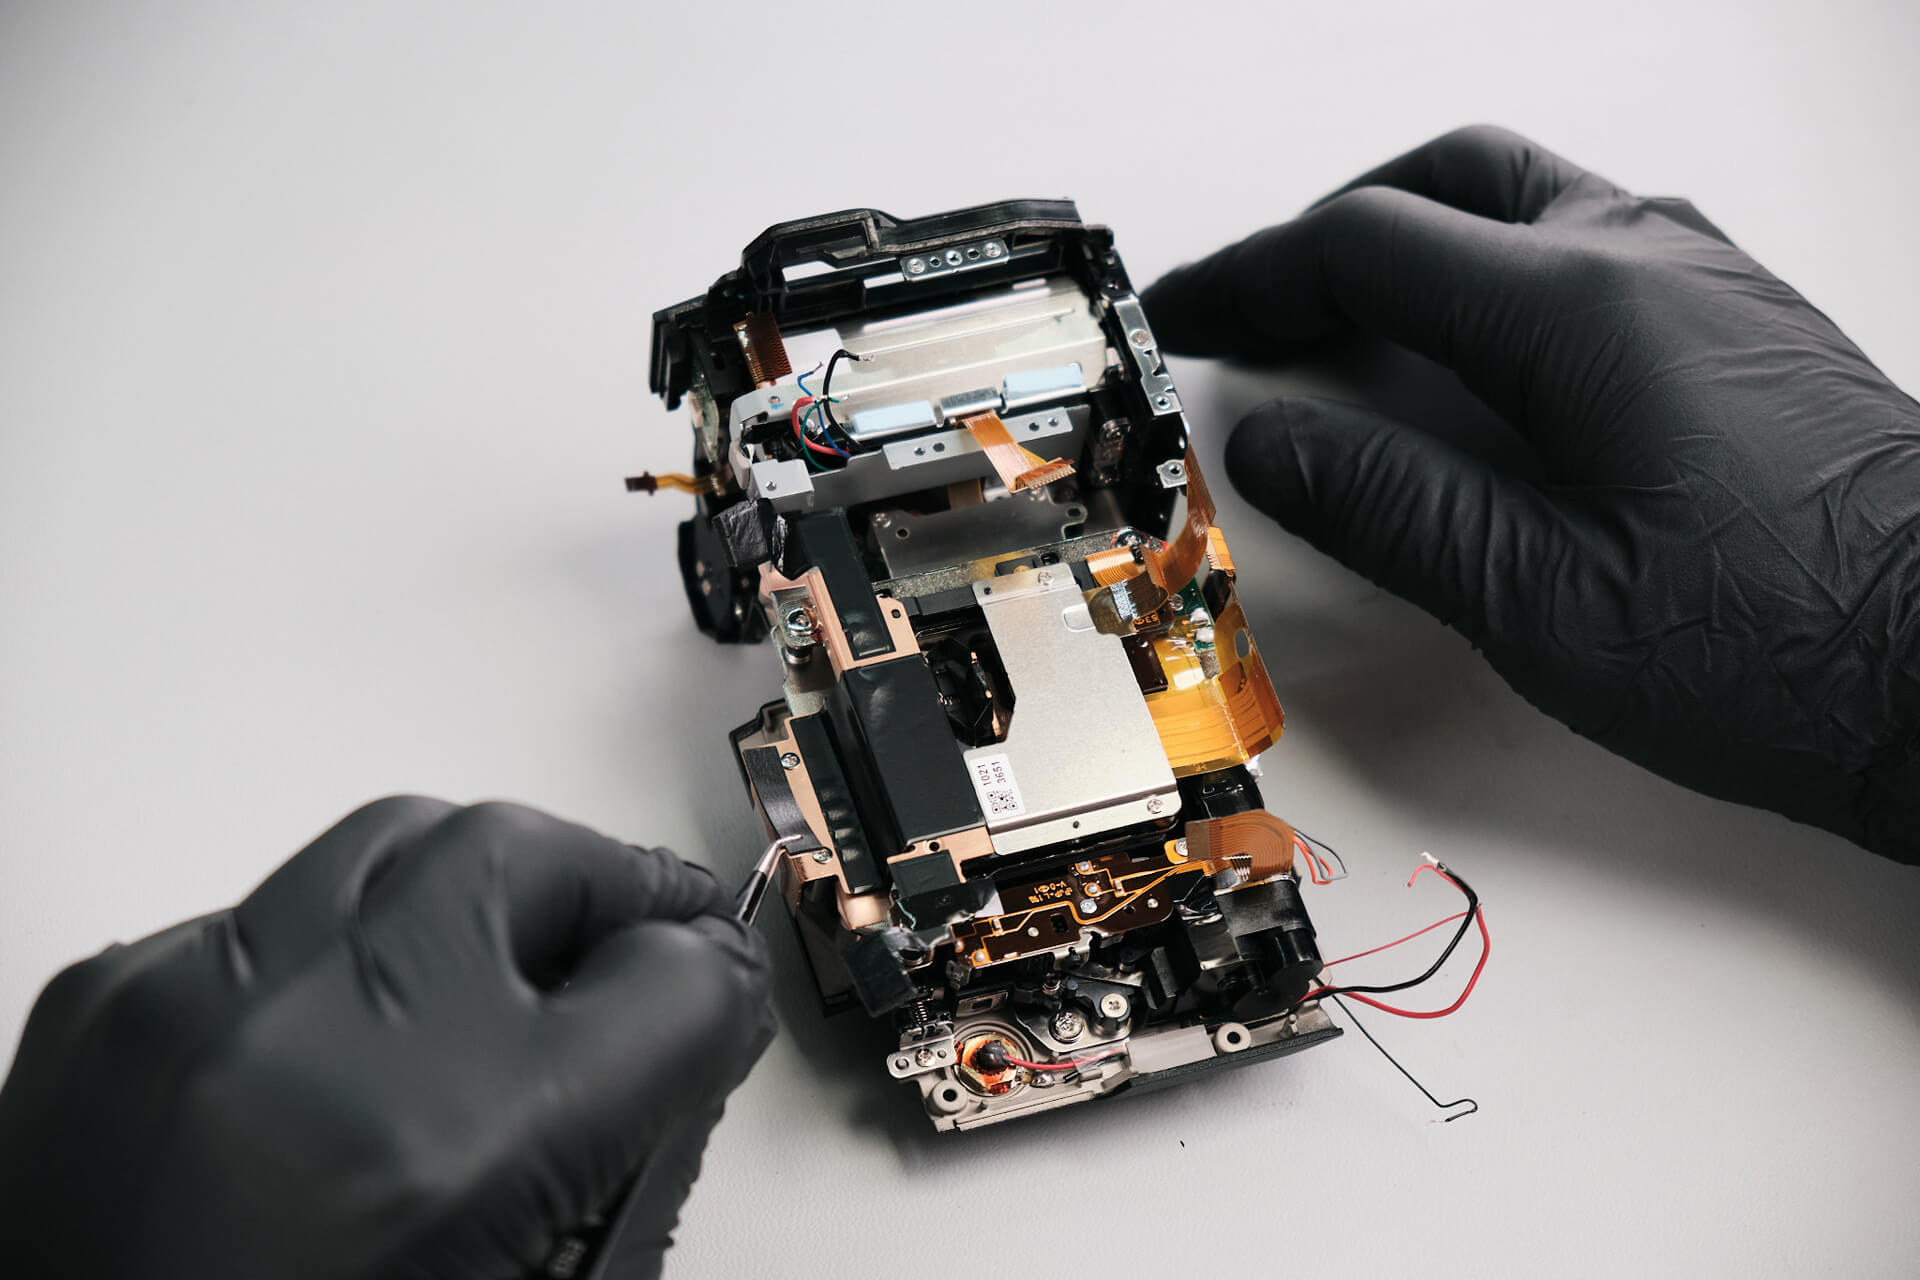
Interestingly, the Fujifilm X-H2 has several soldered wires connected to the circuit board. We removed wires from the bottom using a soldering iron.
We removed two silver screws here. It seems like the metal panel was part of the circuit board.
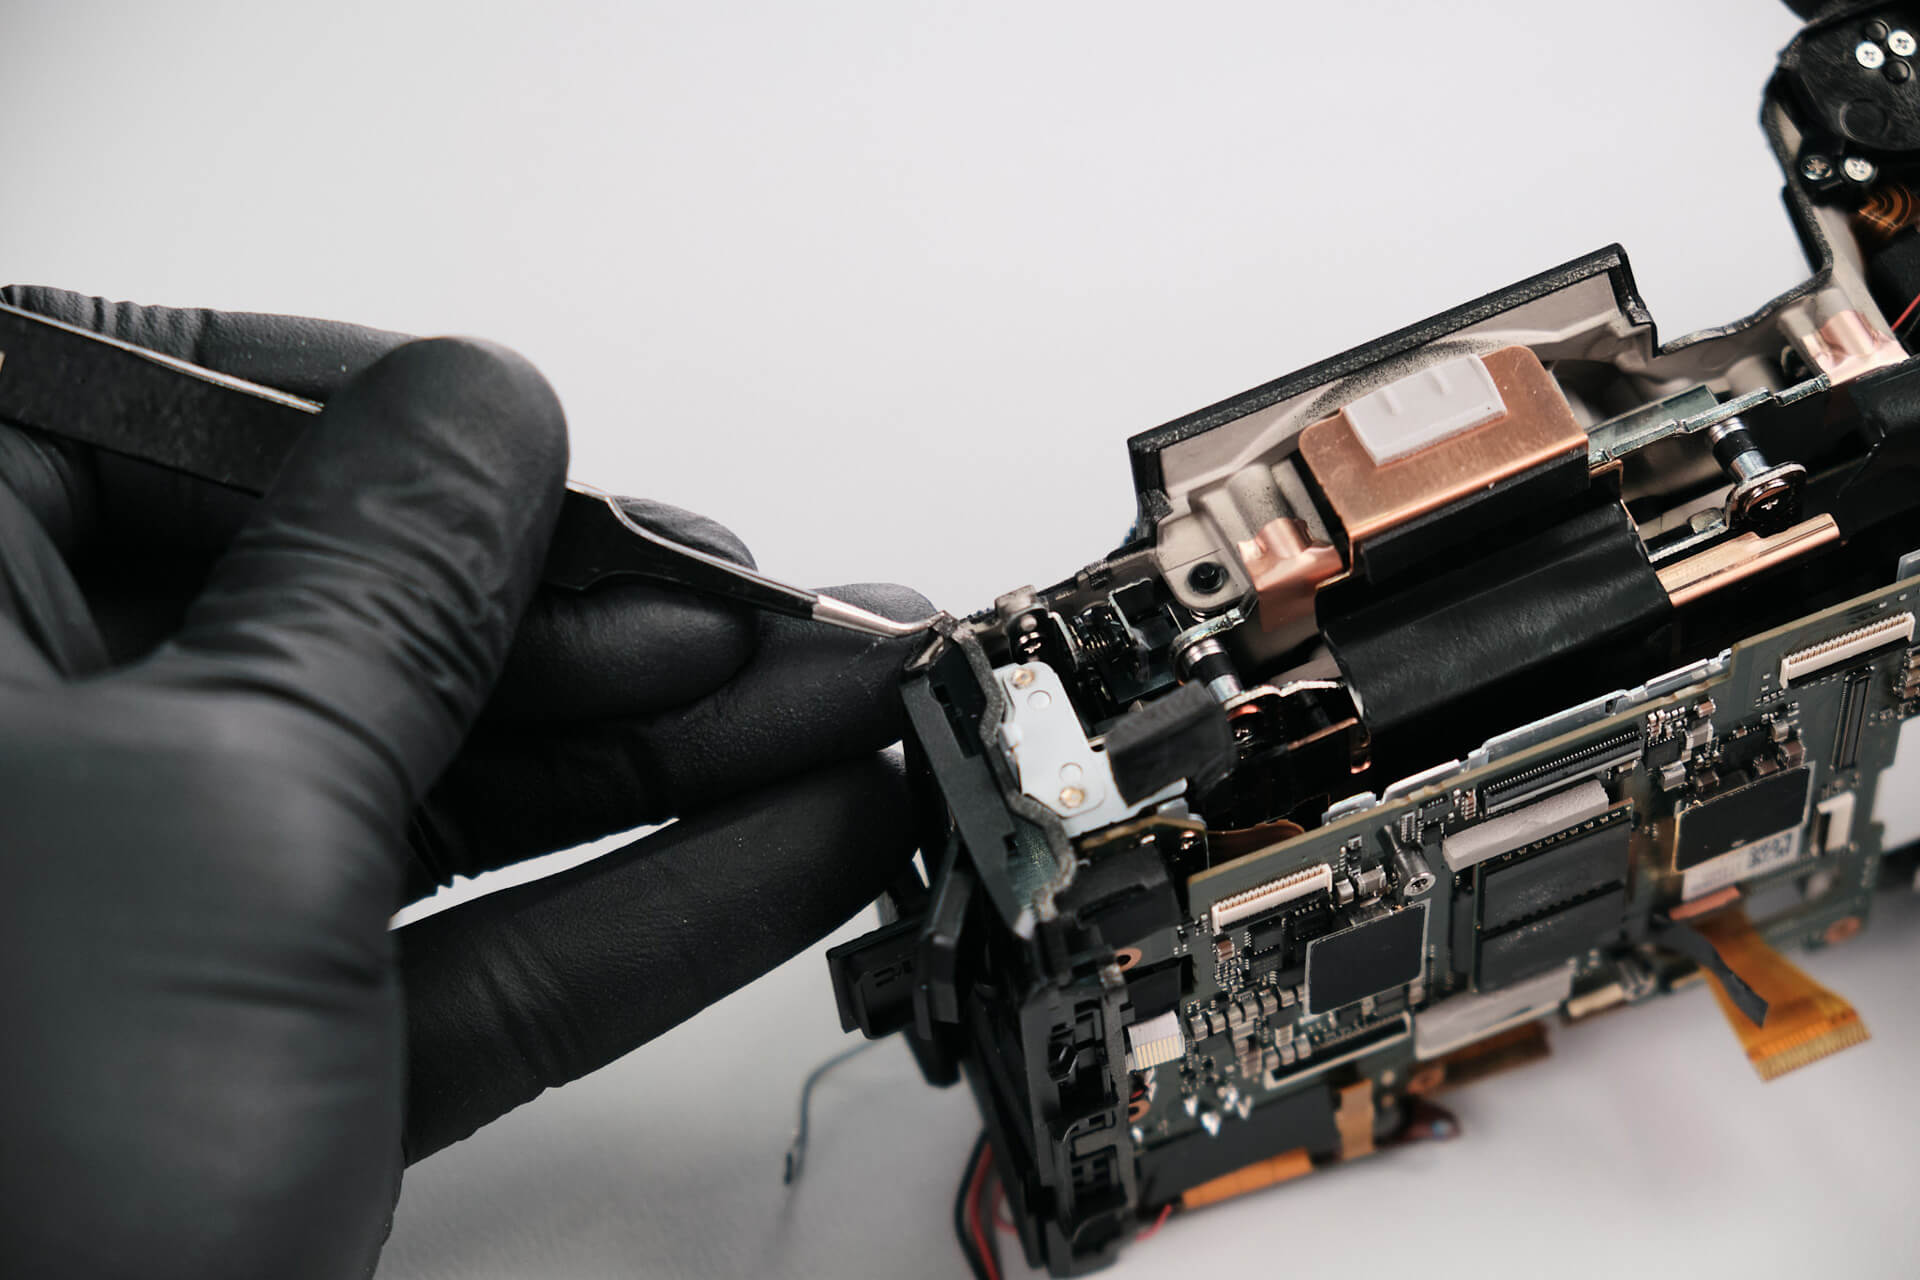
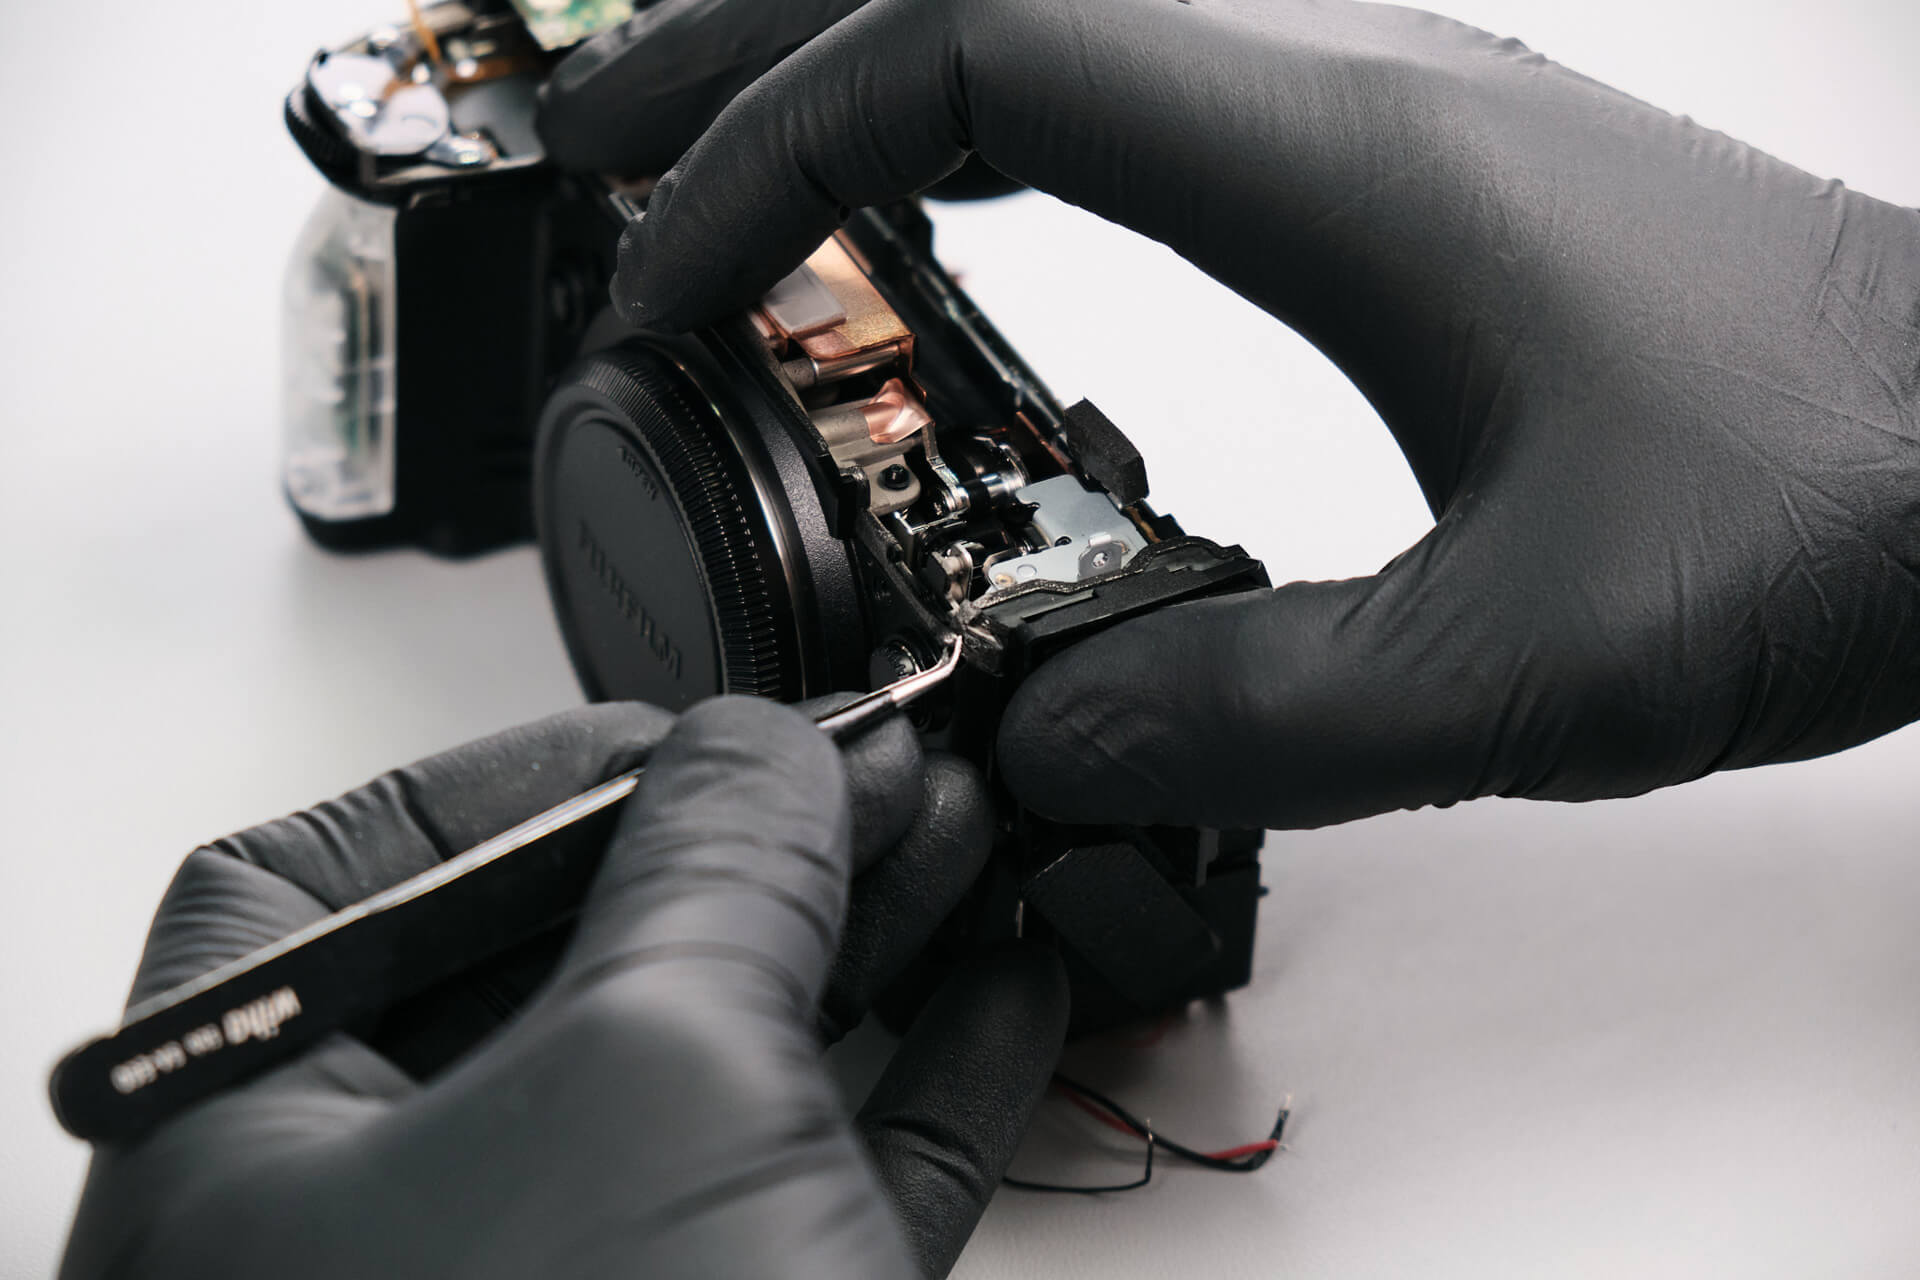
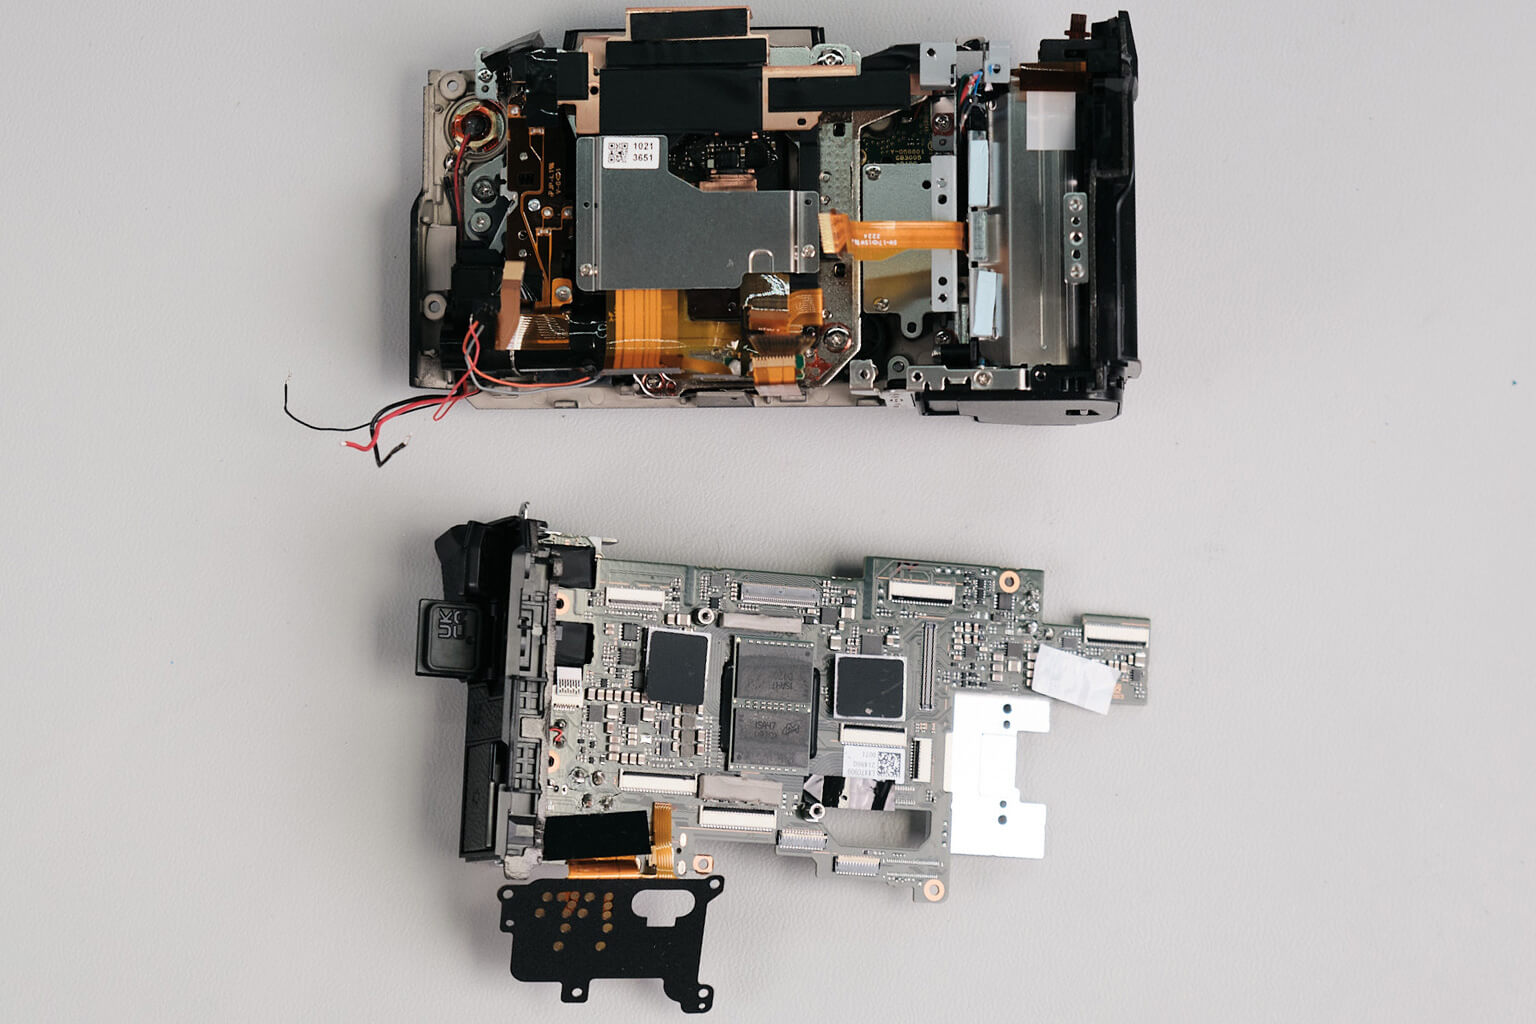
At this point, we had trouble figuring out why the circuit board wouldn’t come off. However, we quickly figured it out since the circuit board would move with the side panel and weather sealing. Unfortunately, the weather sealing needed to be cut to detach the circuit board from the camera.
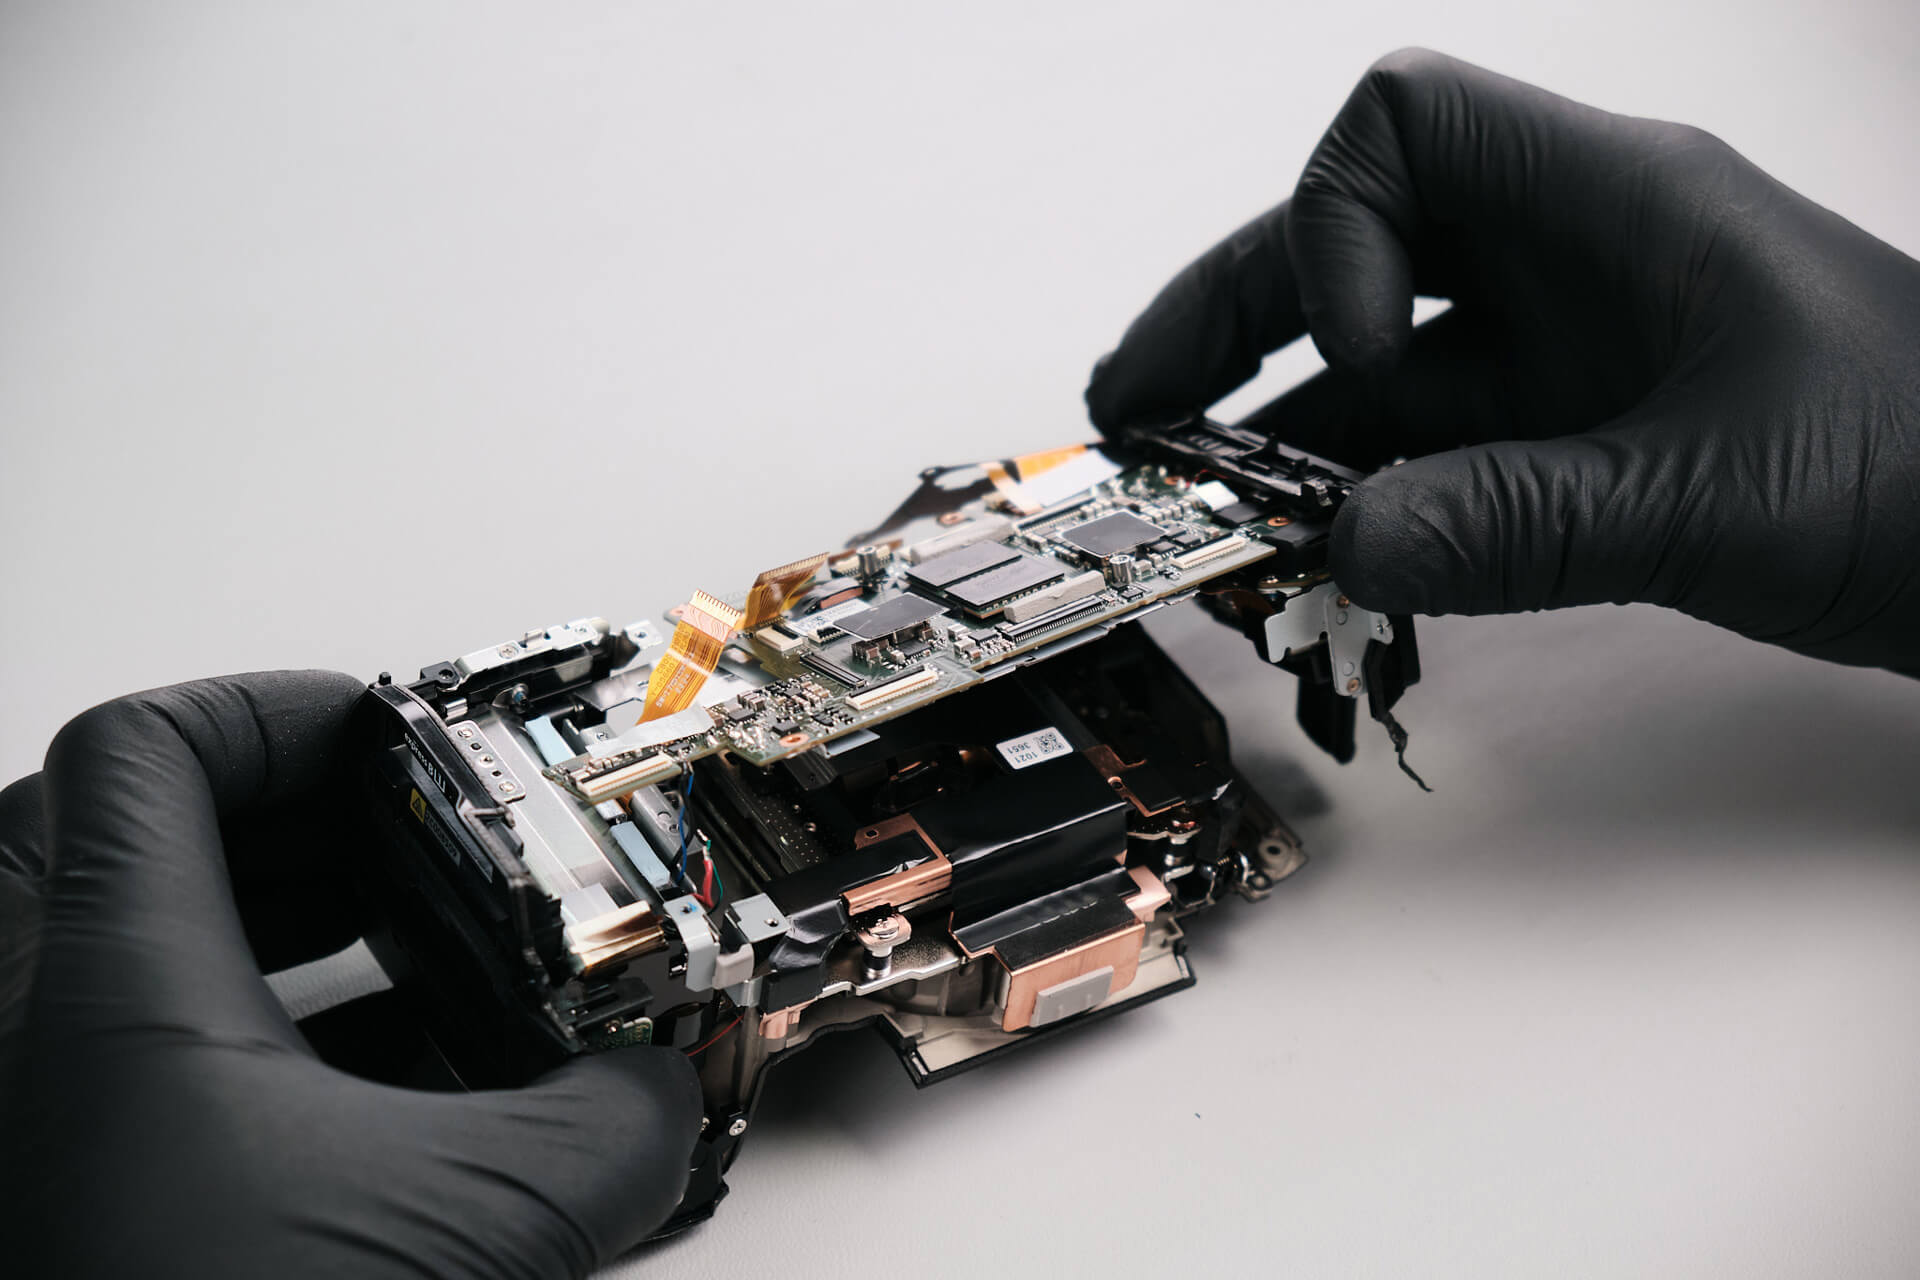
Although the circuit board moved after the weather sealing incision, something else prevented its complete removal.
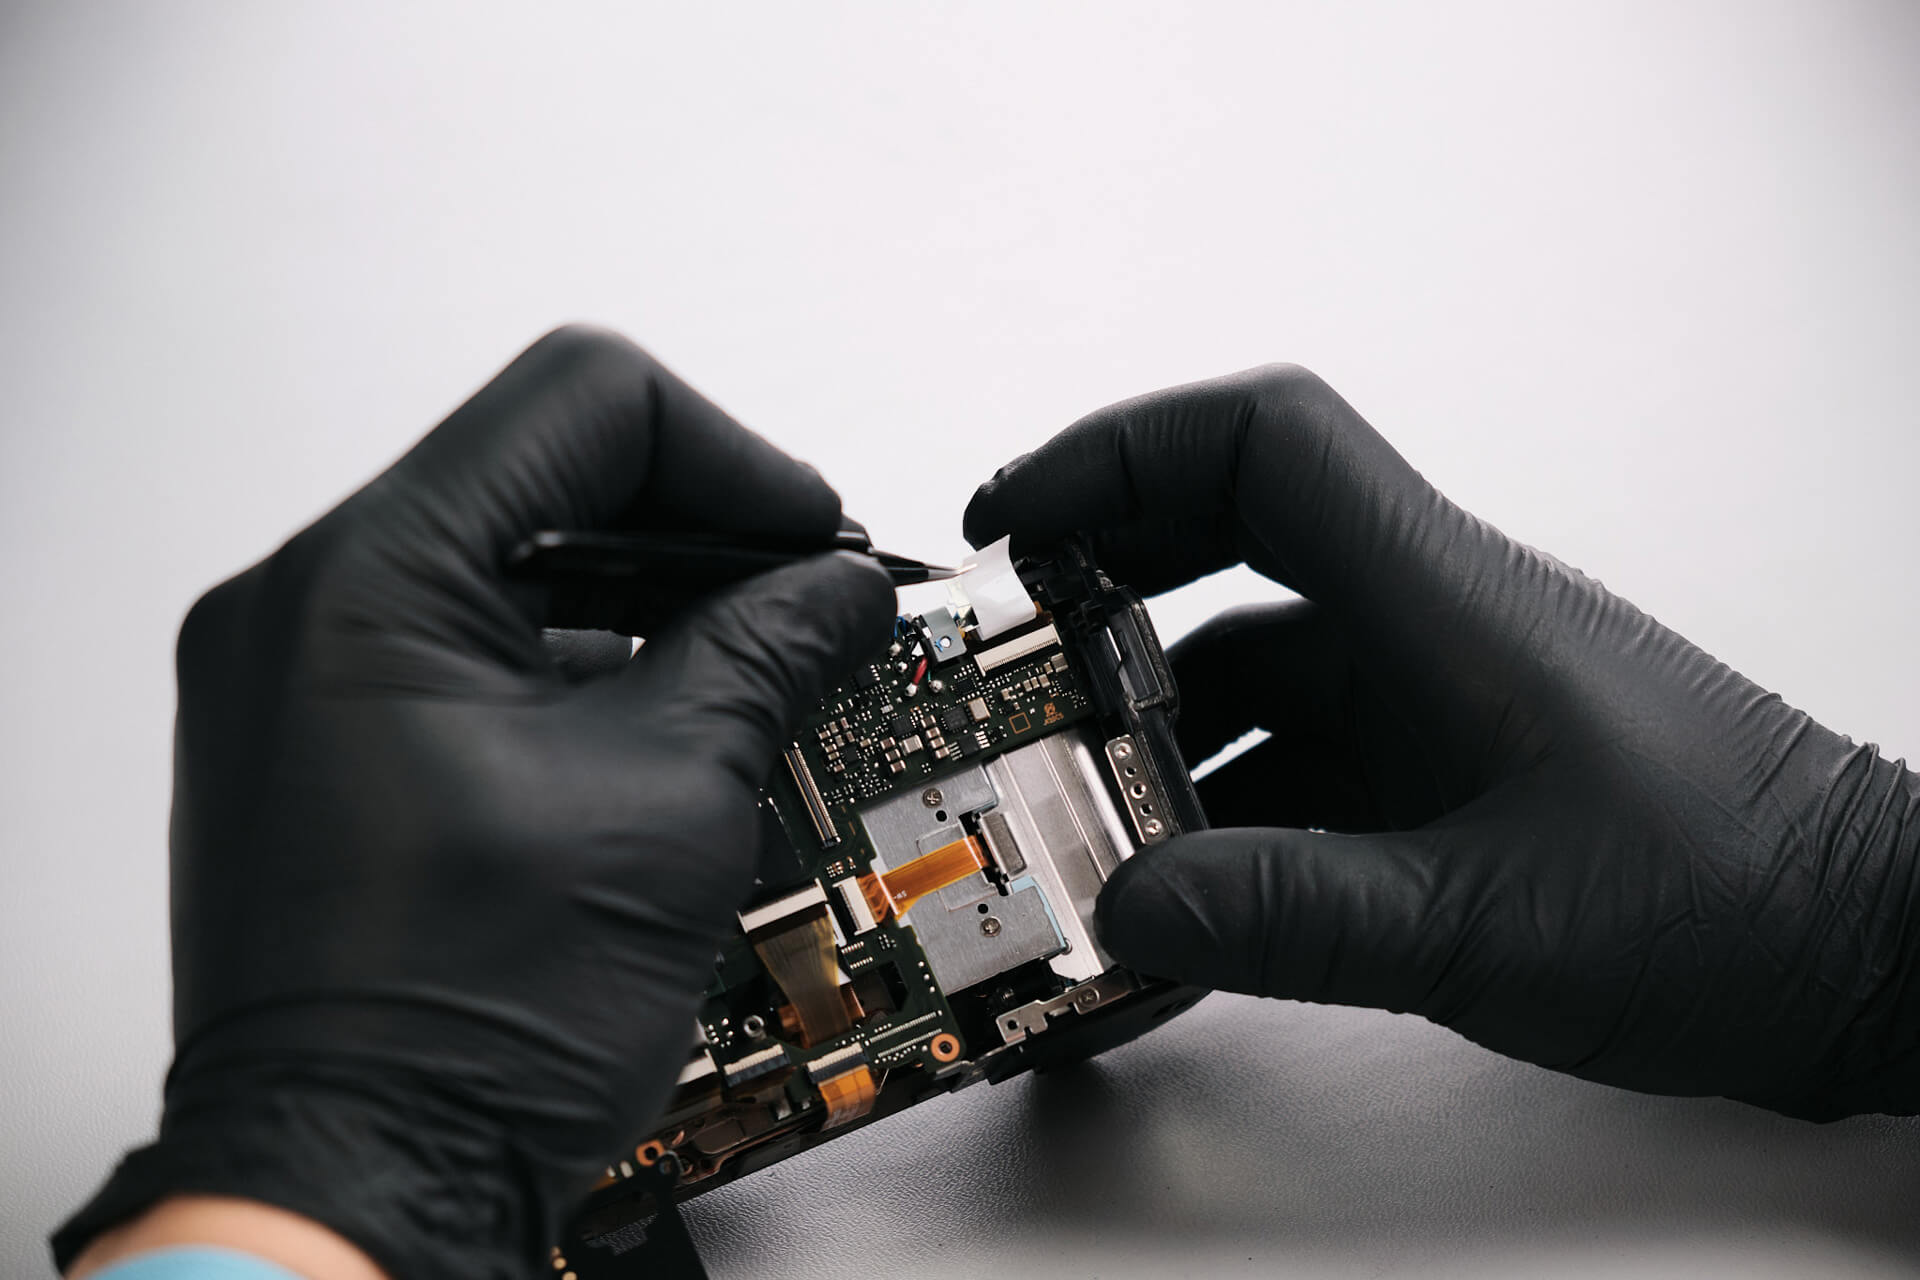
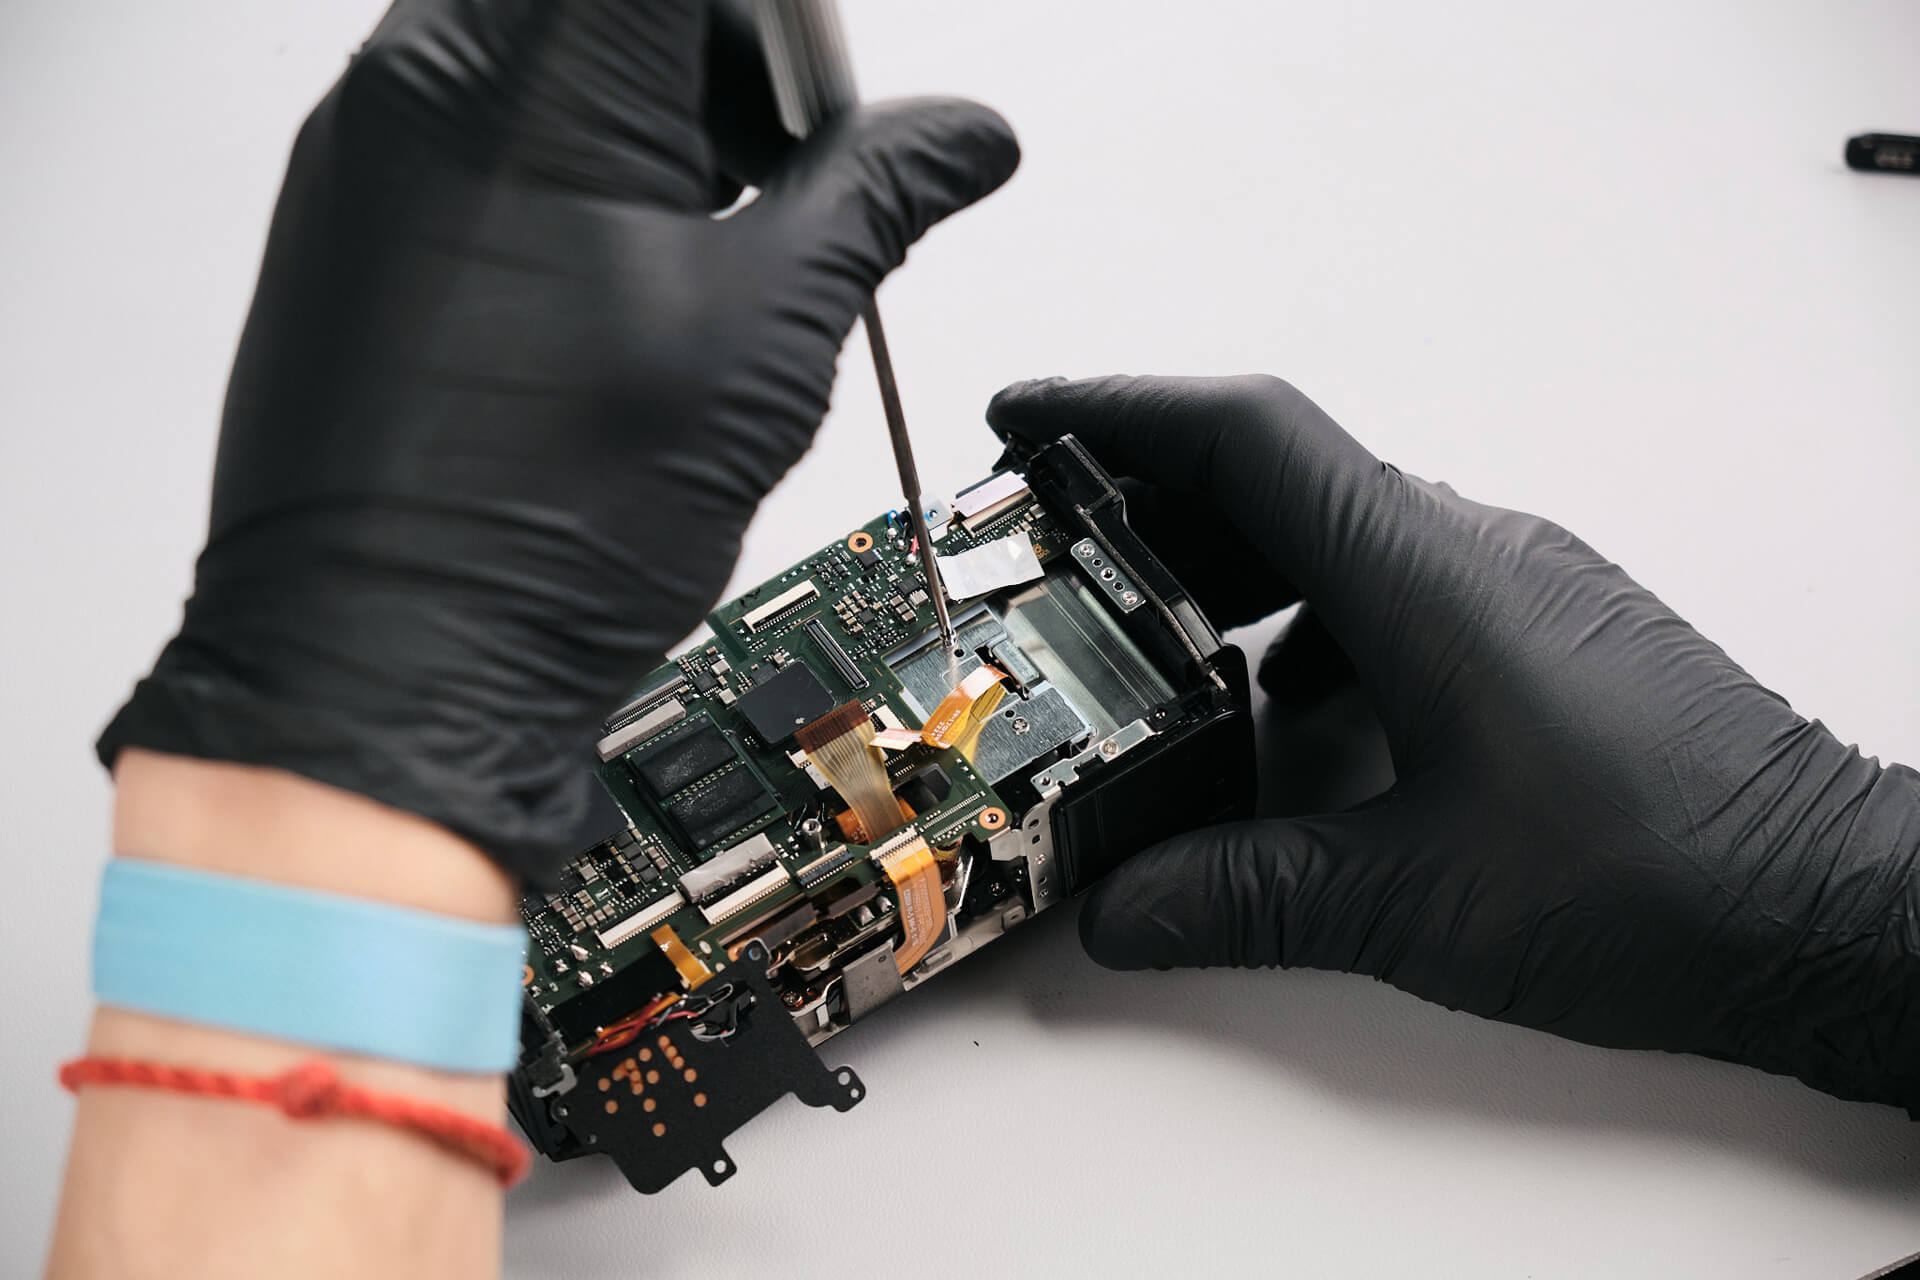
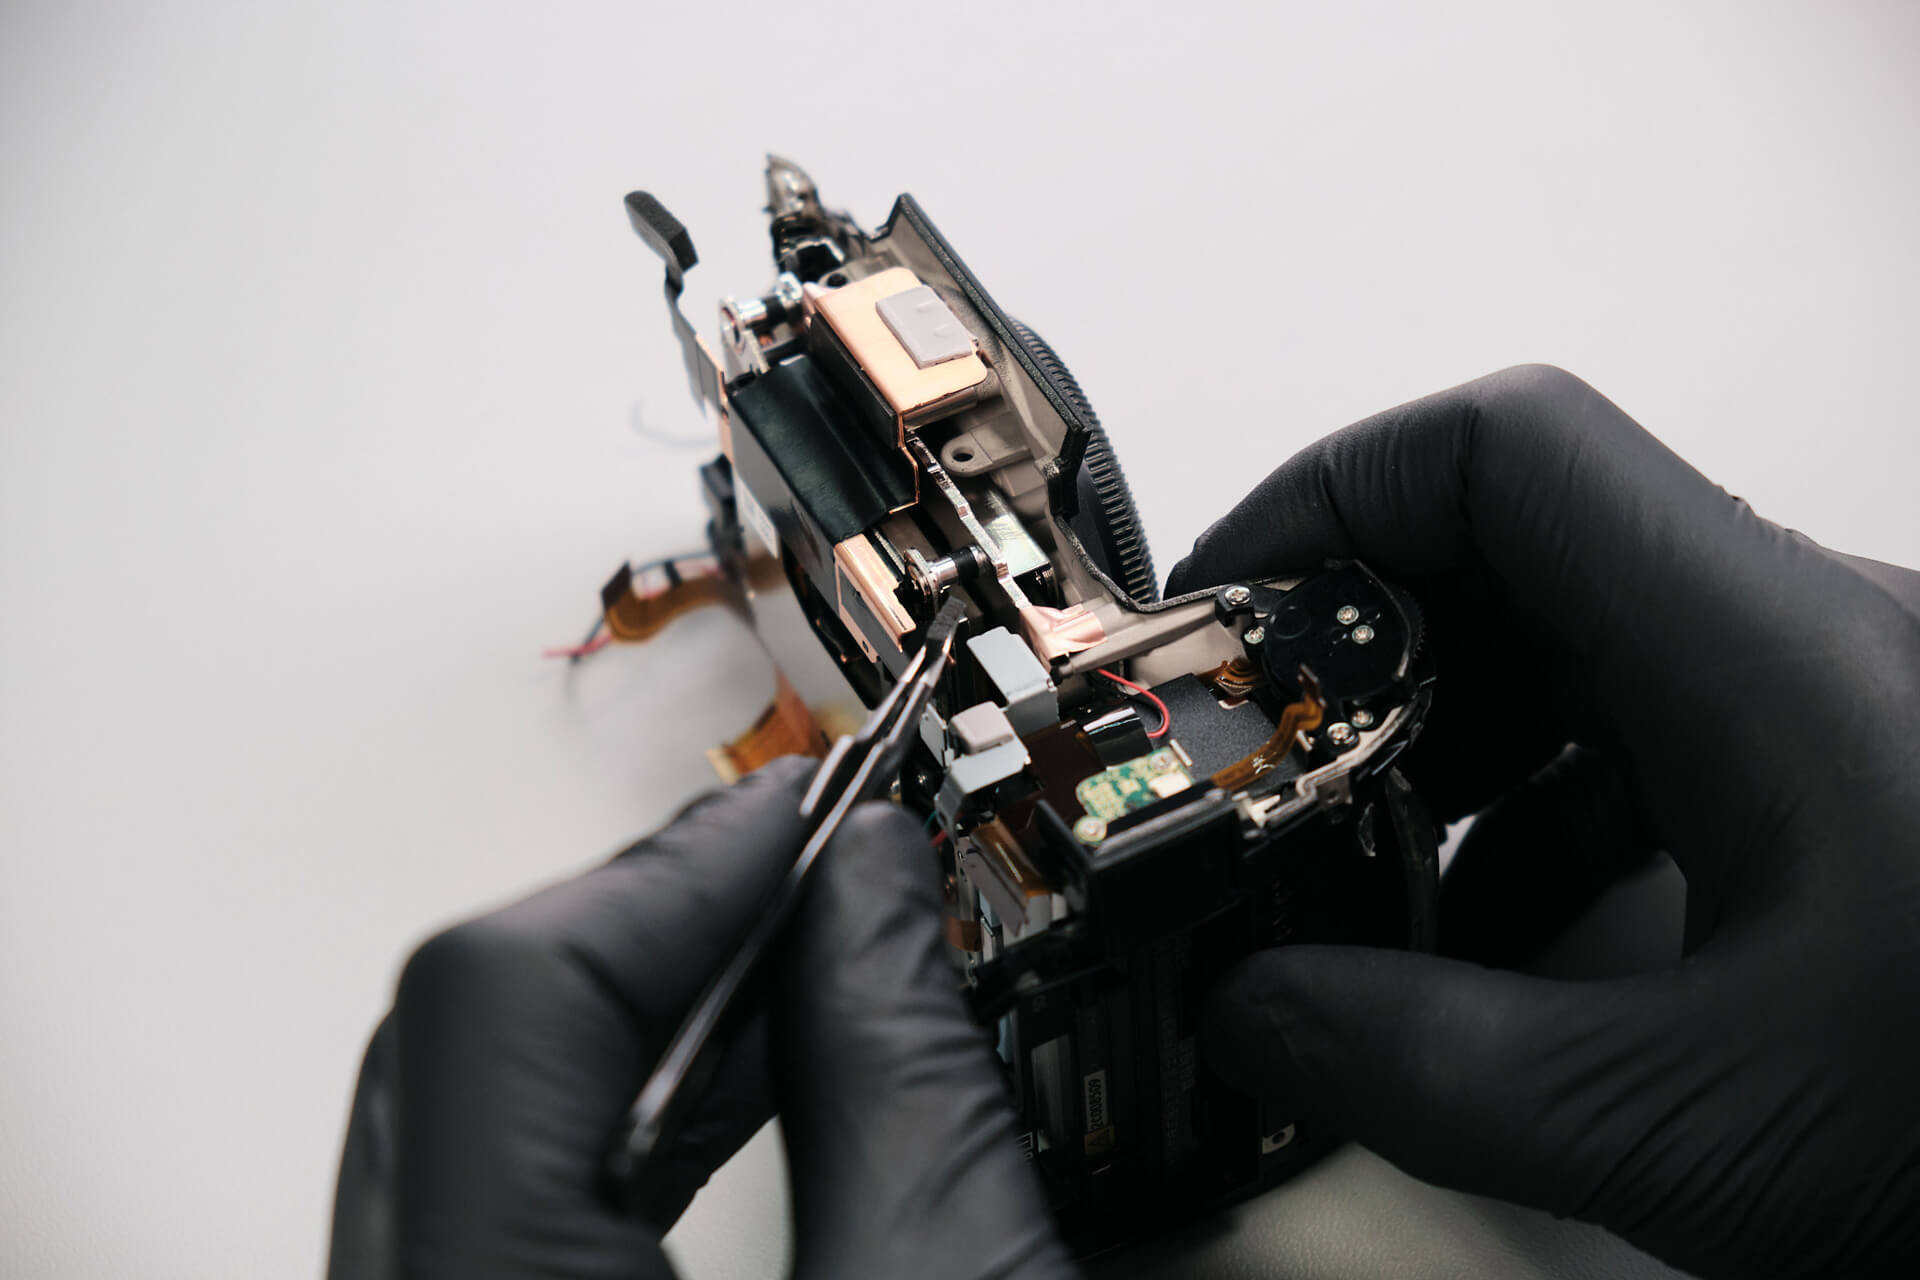
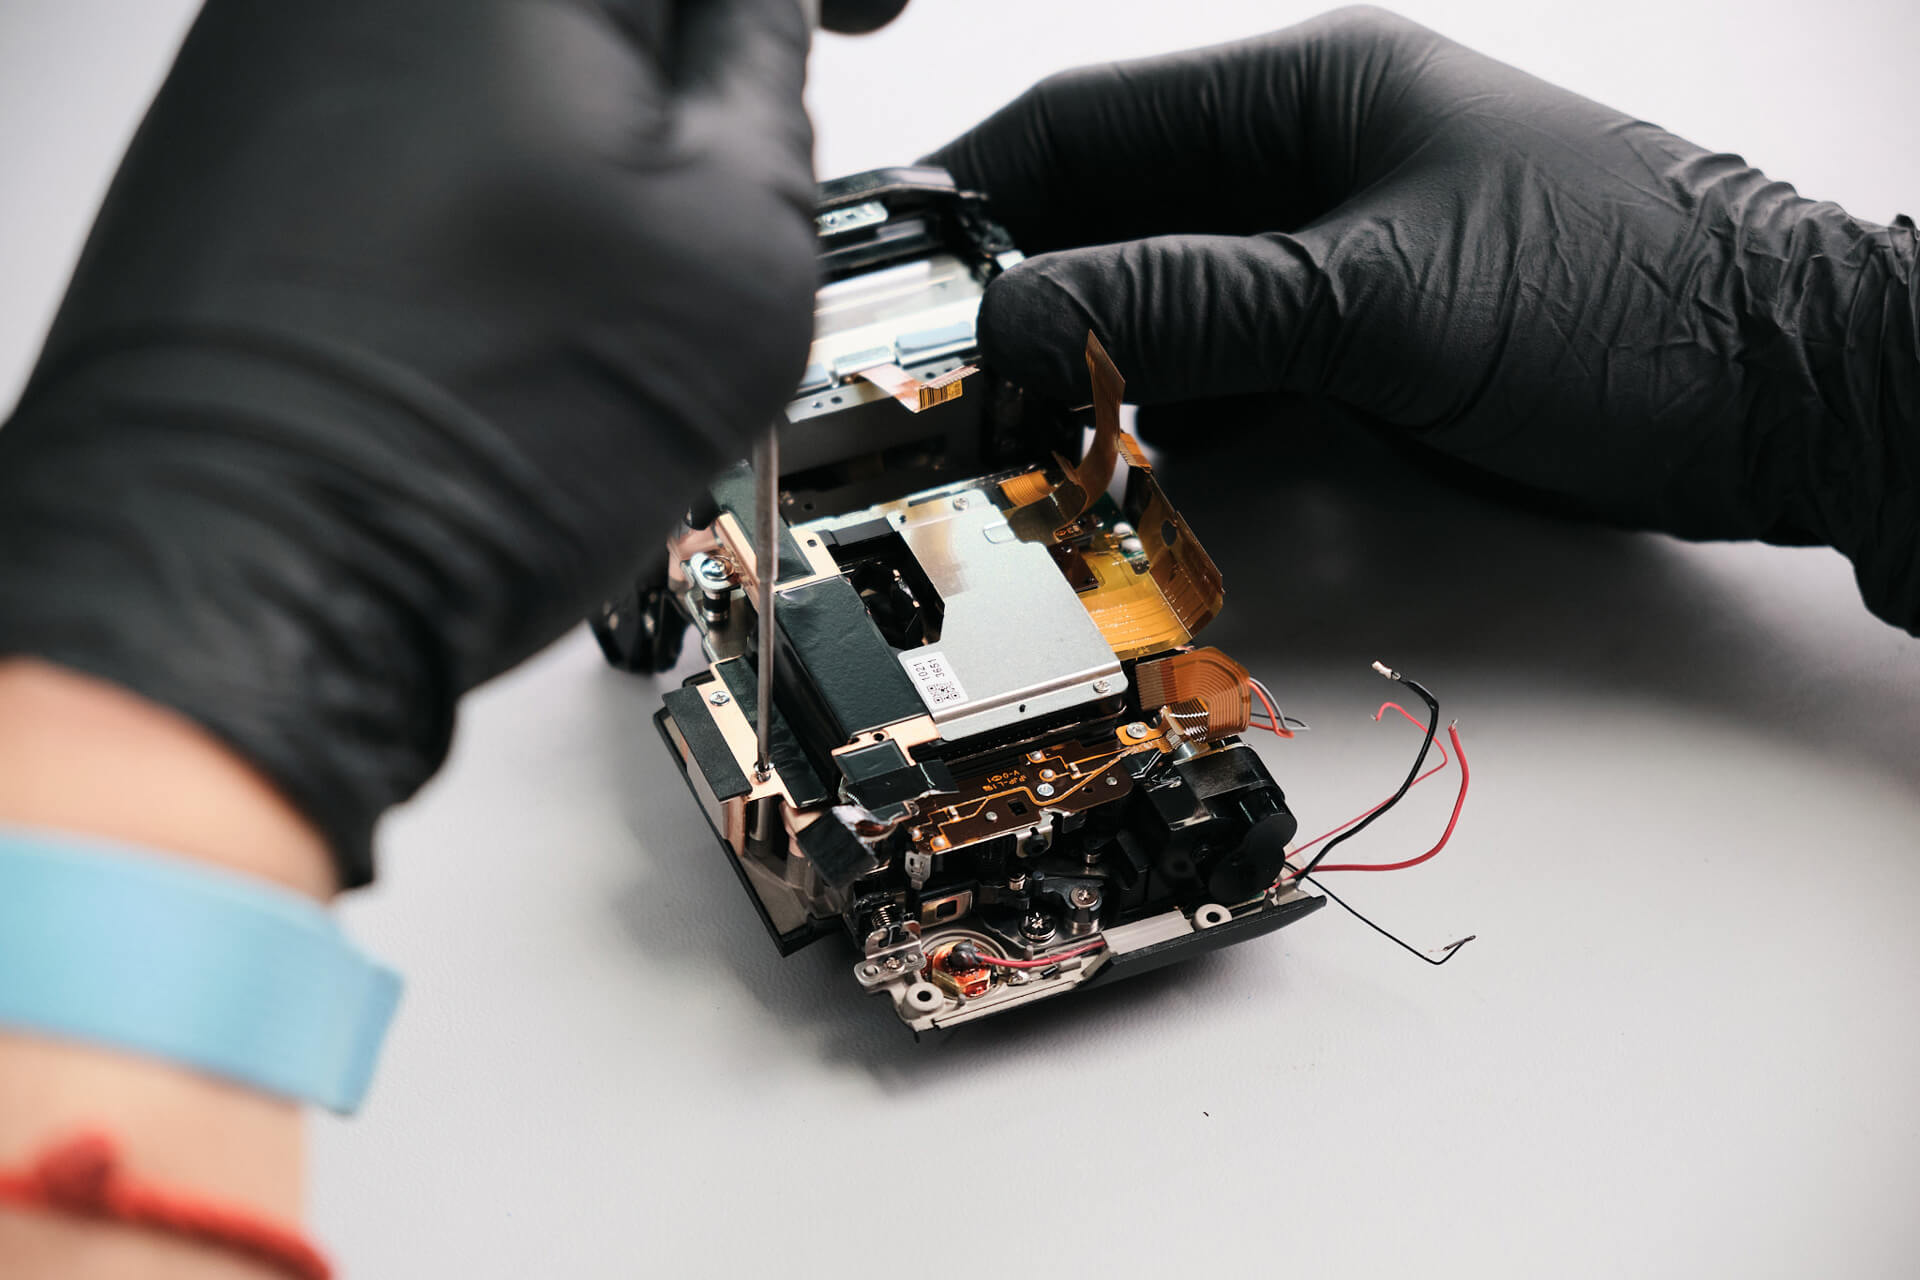
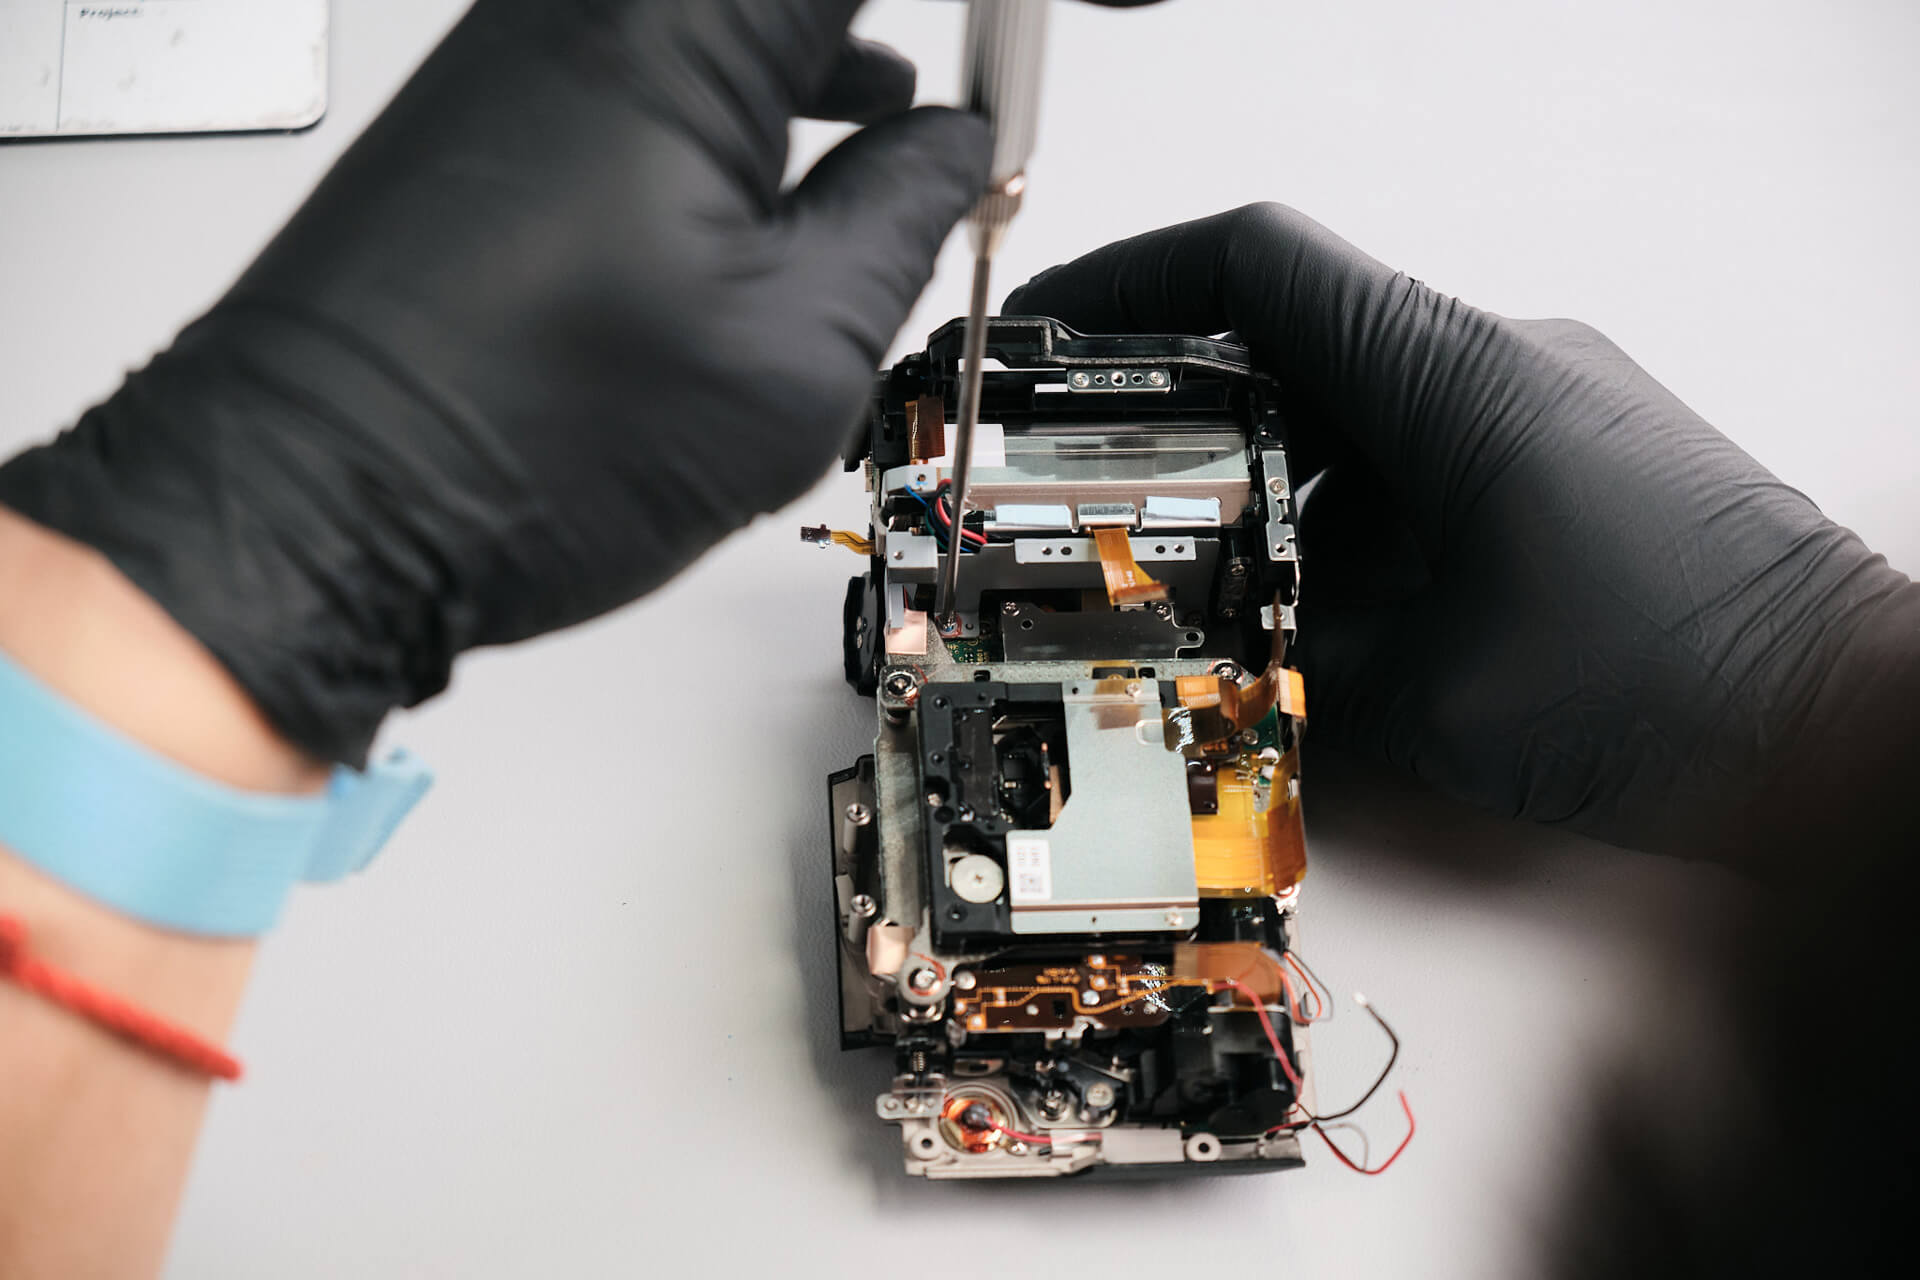
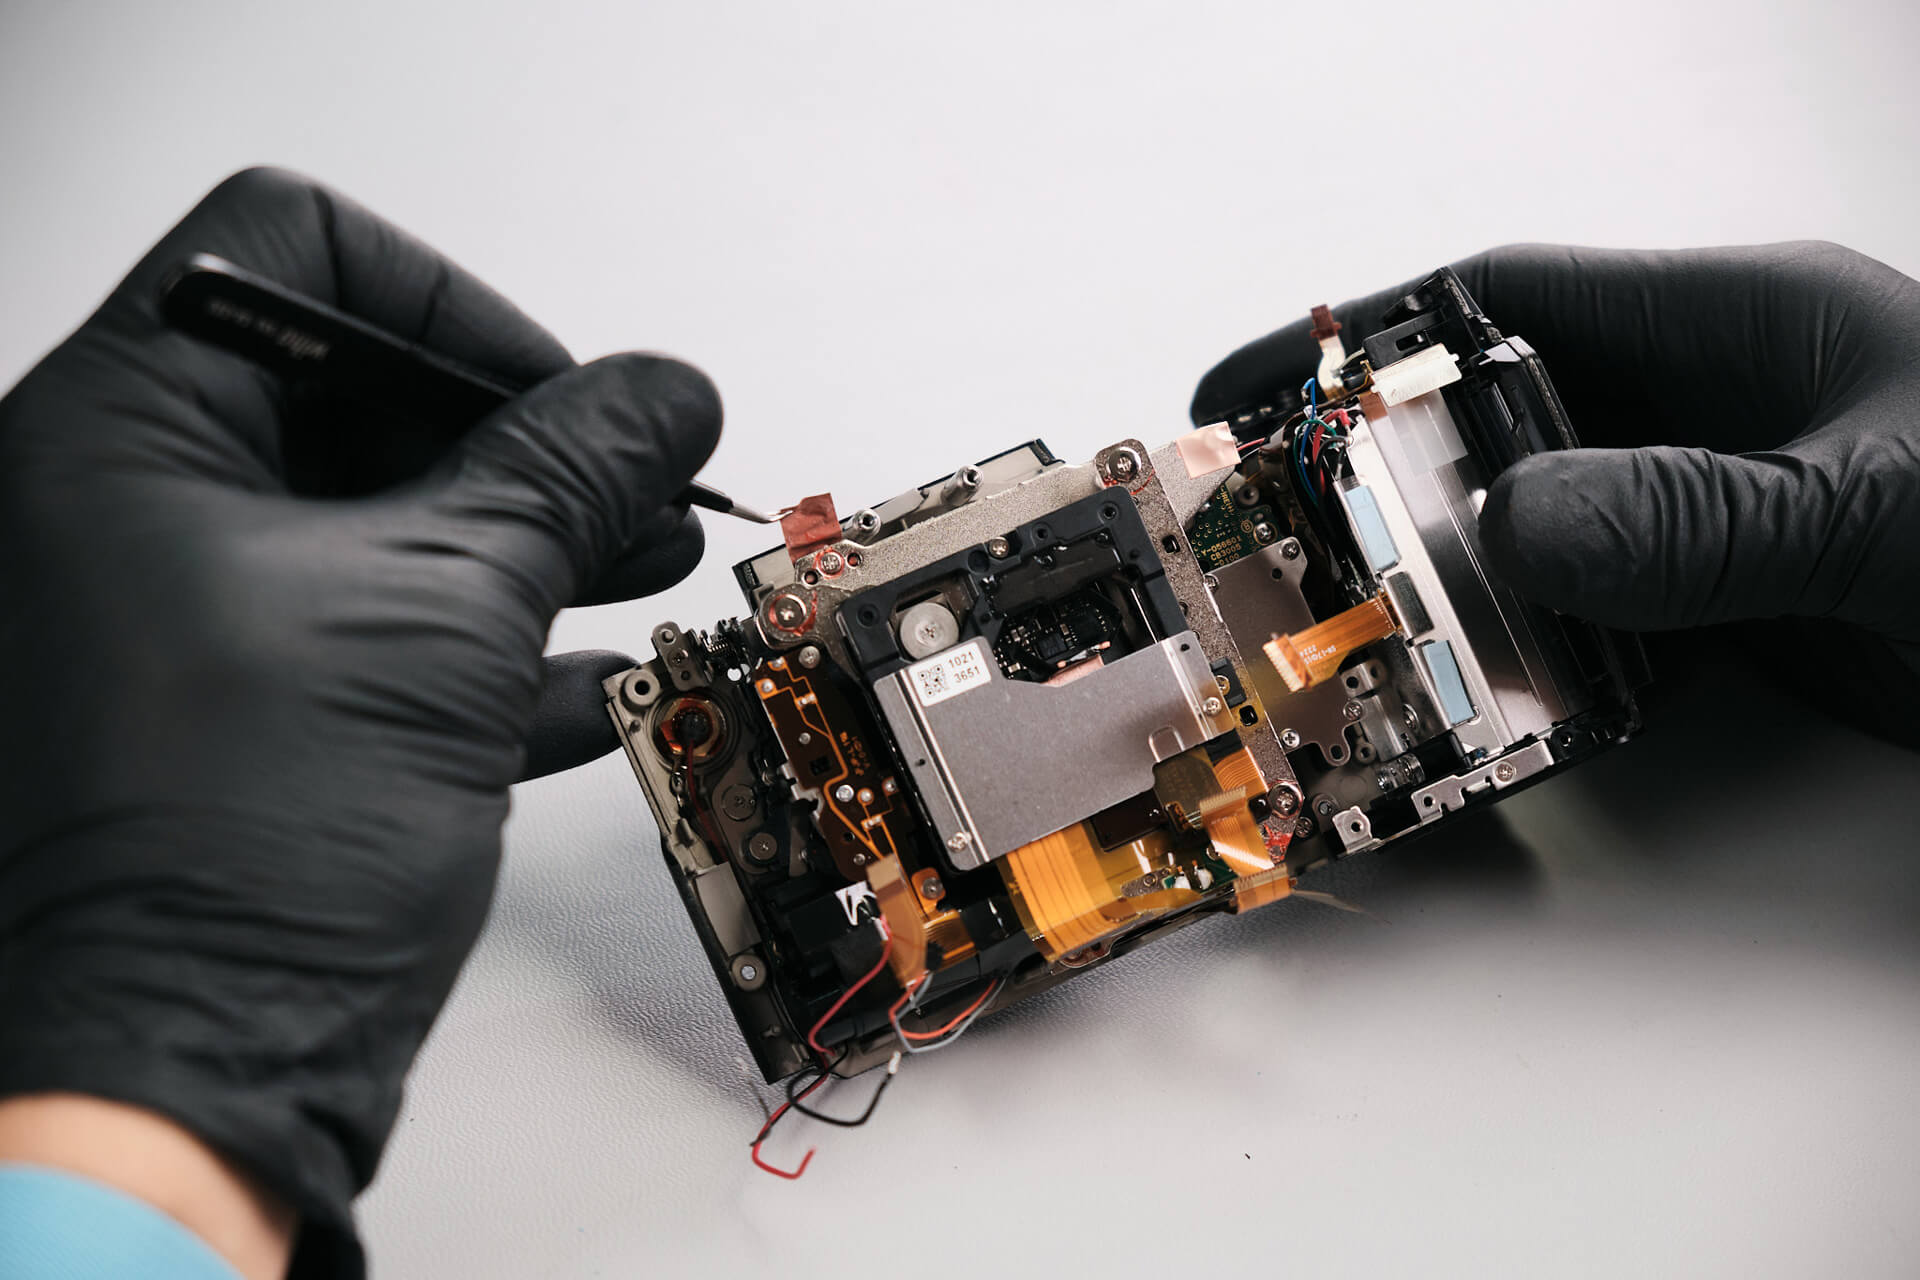
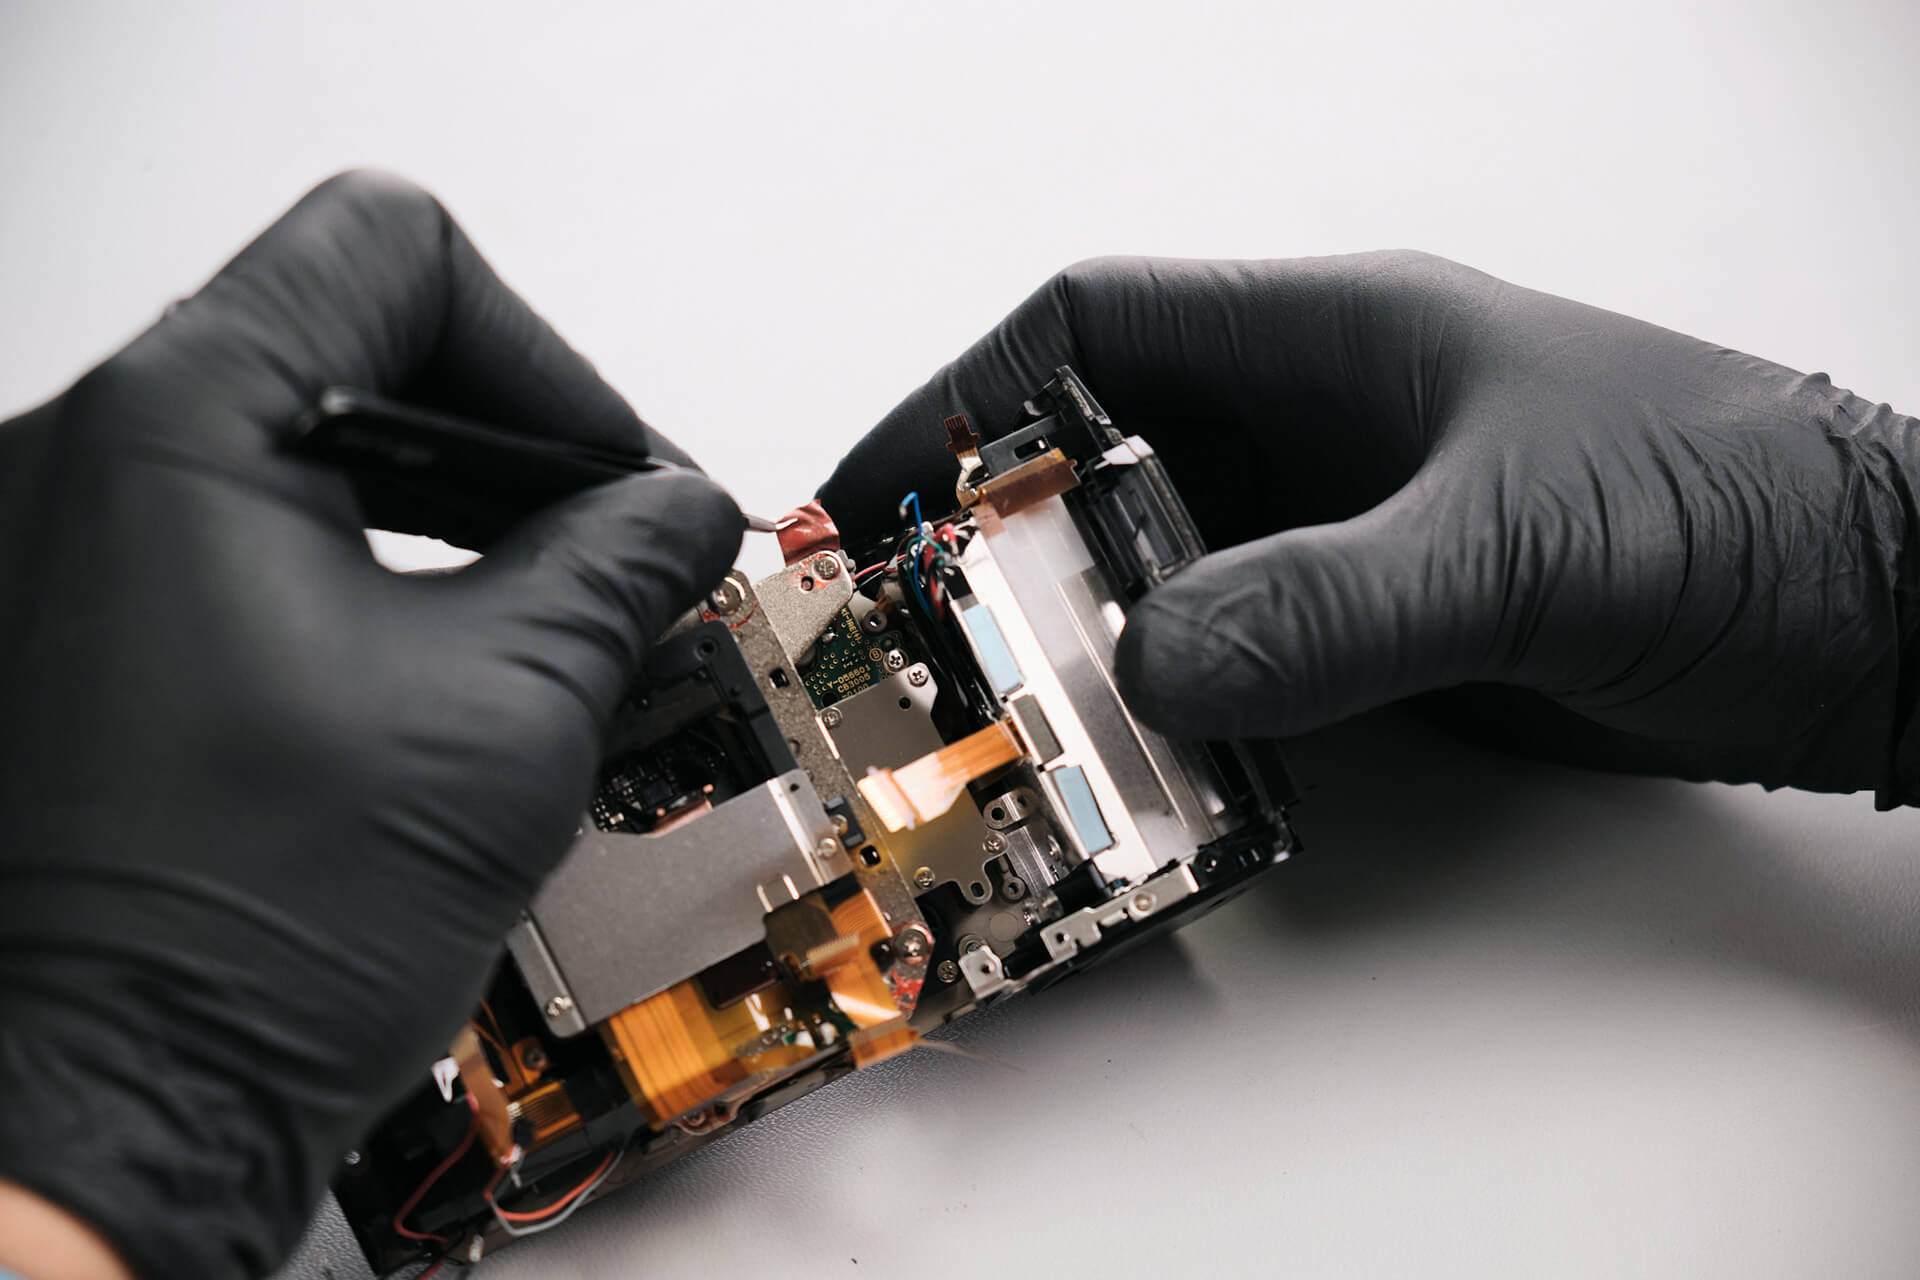
There was another hidden screw under the heat transfer tape. Removing this last screw allowed us to completely remove the bracket.
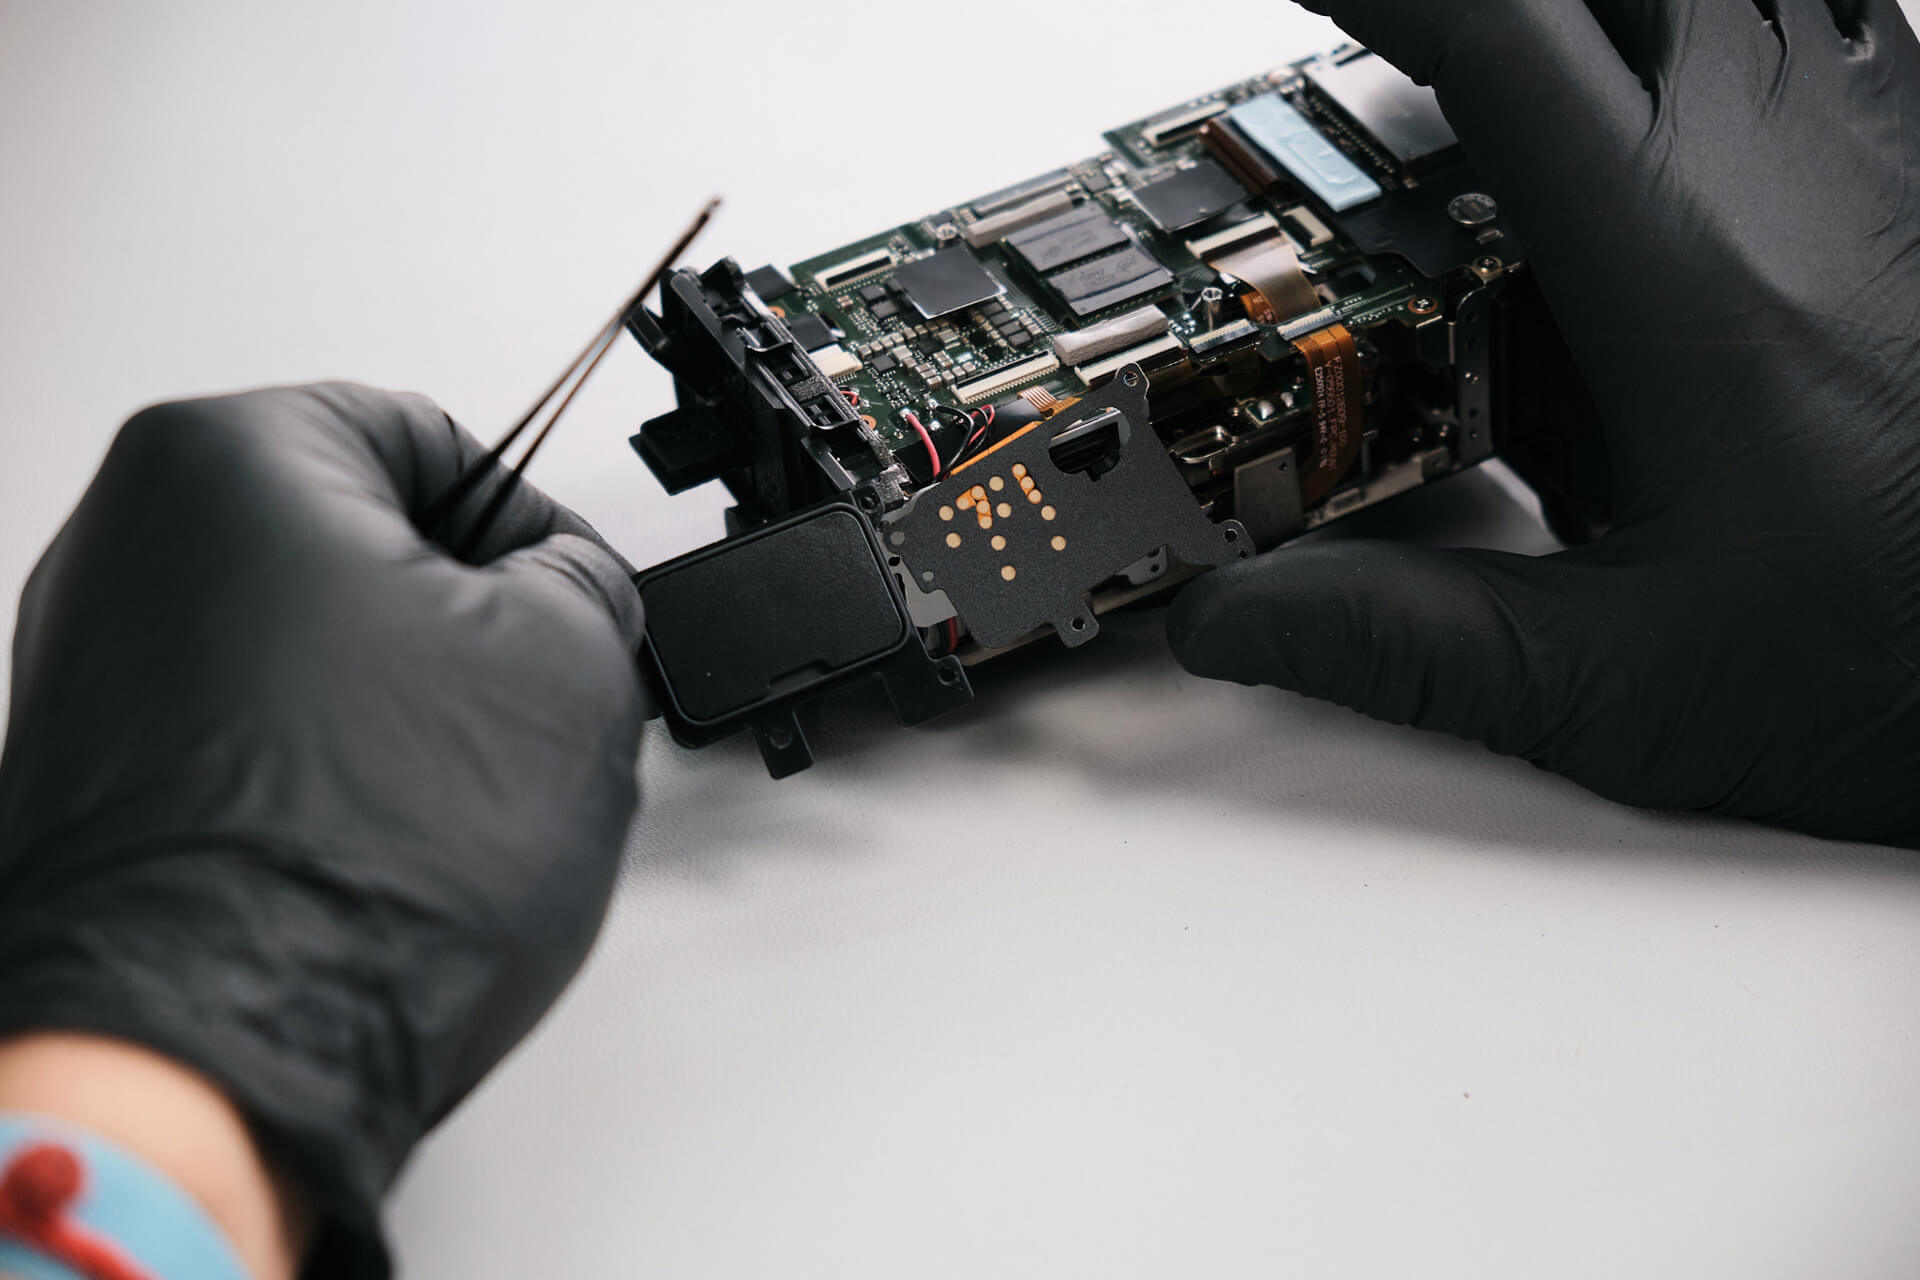
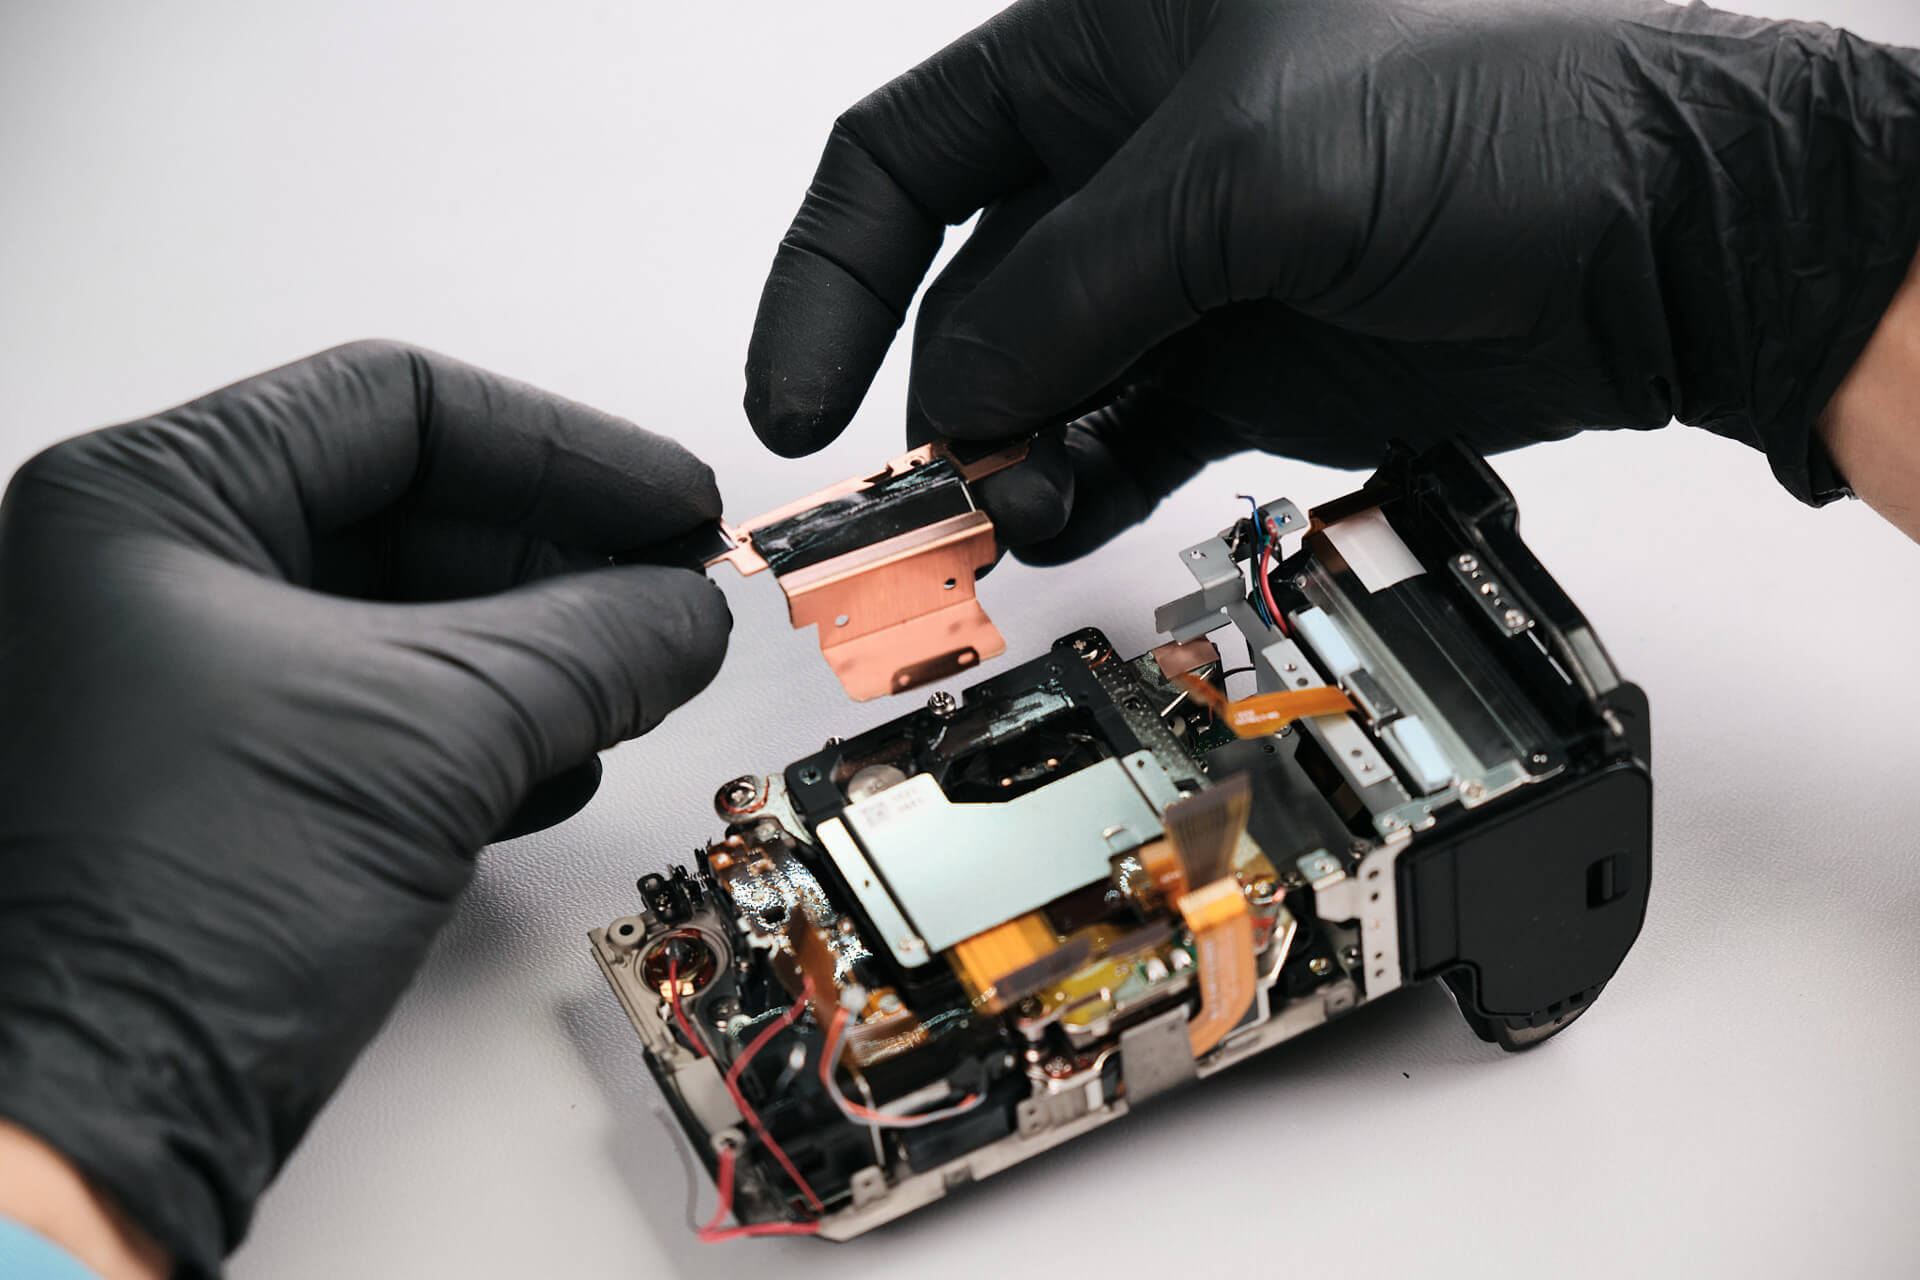
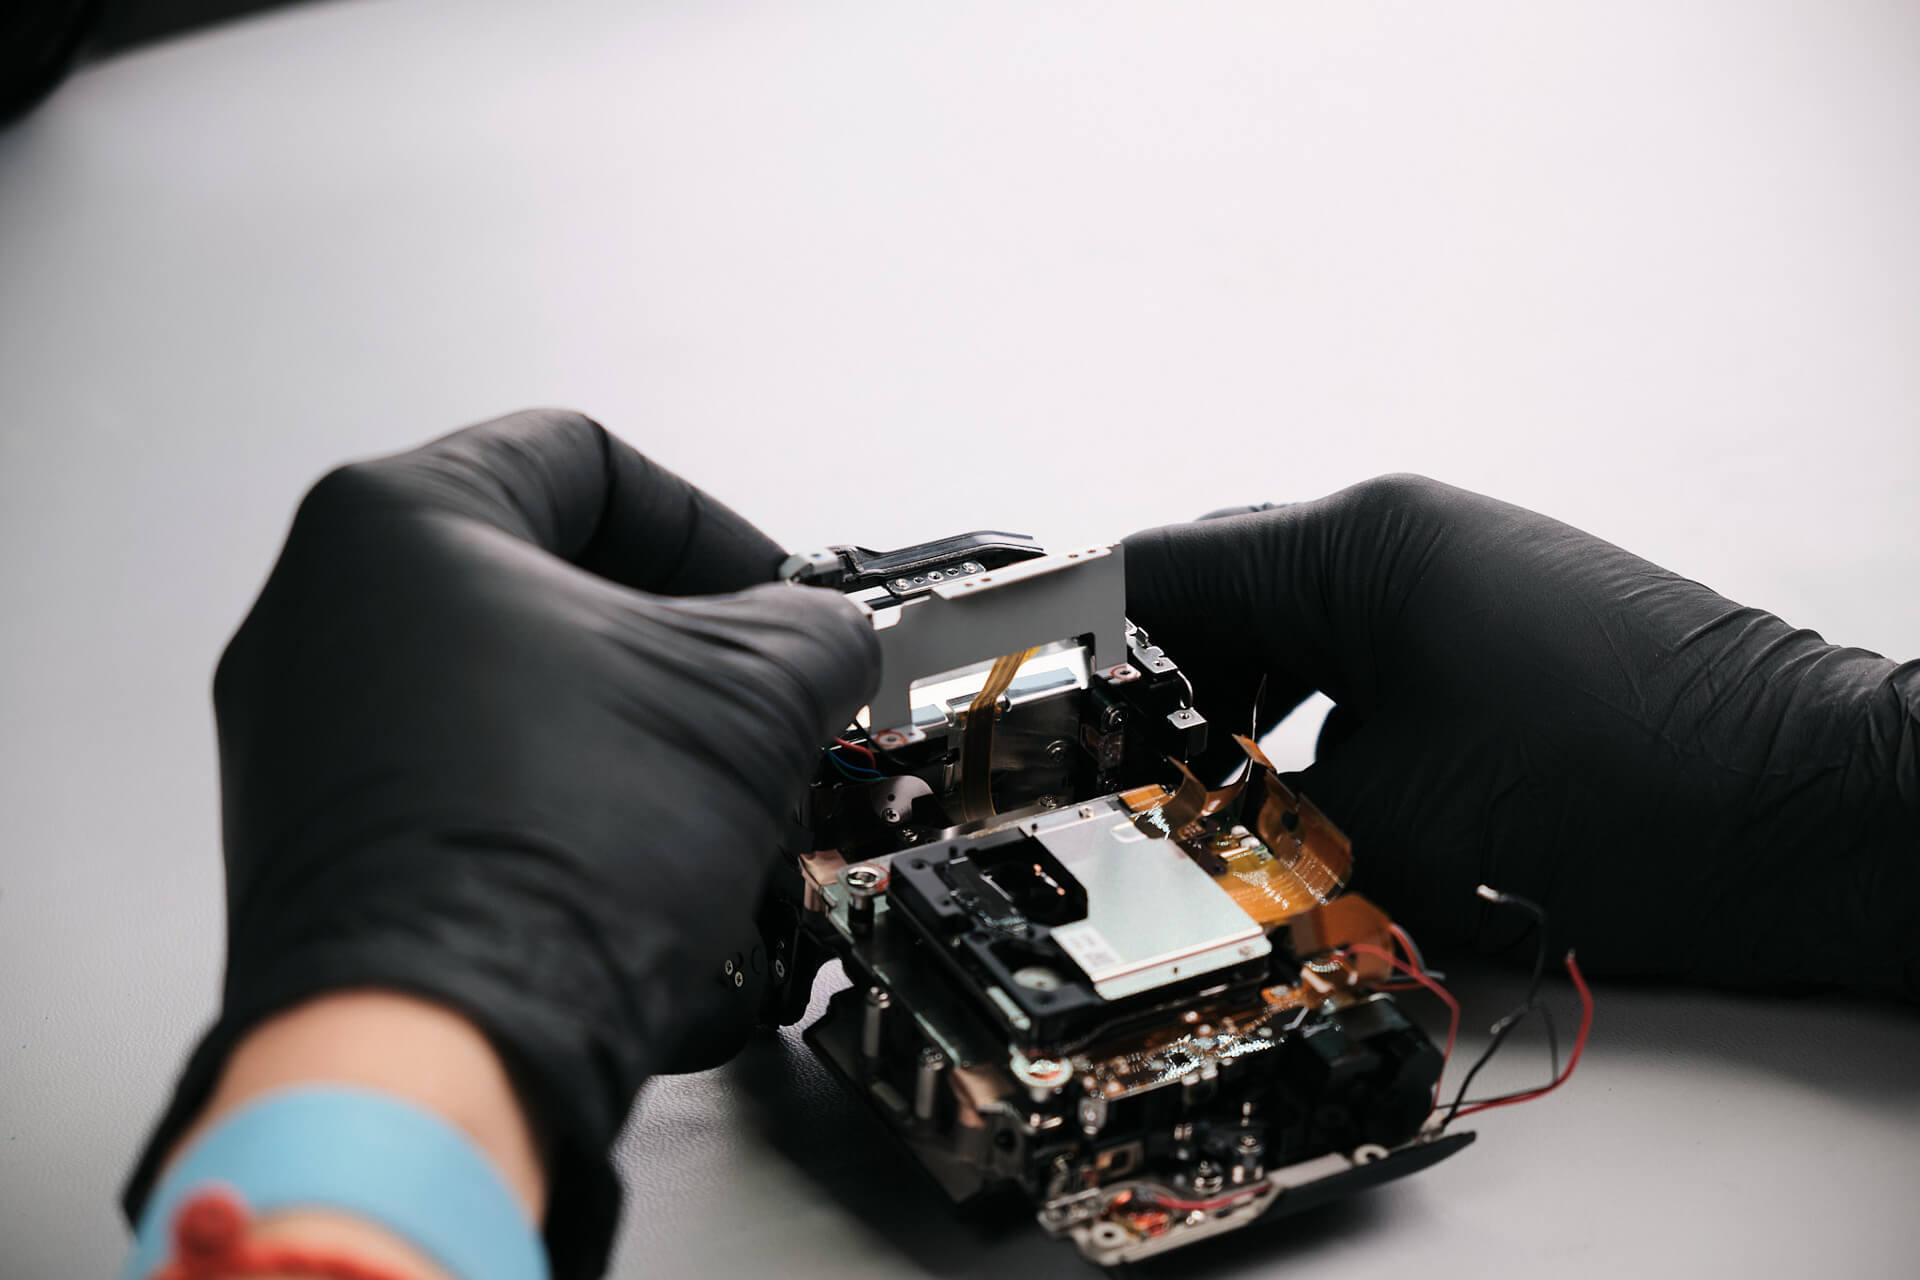
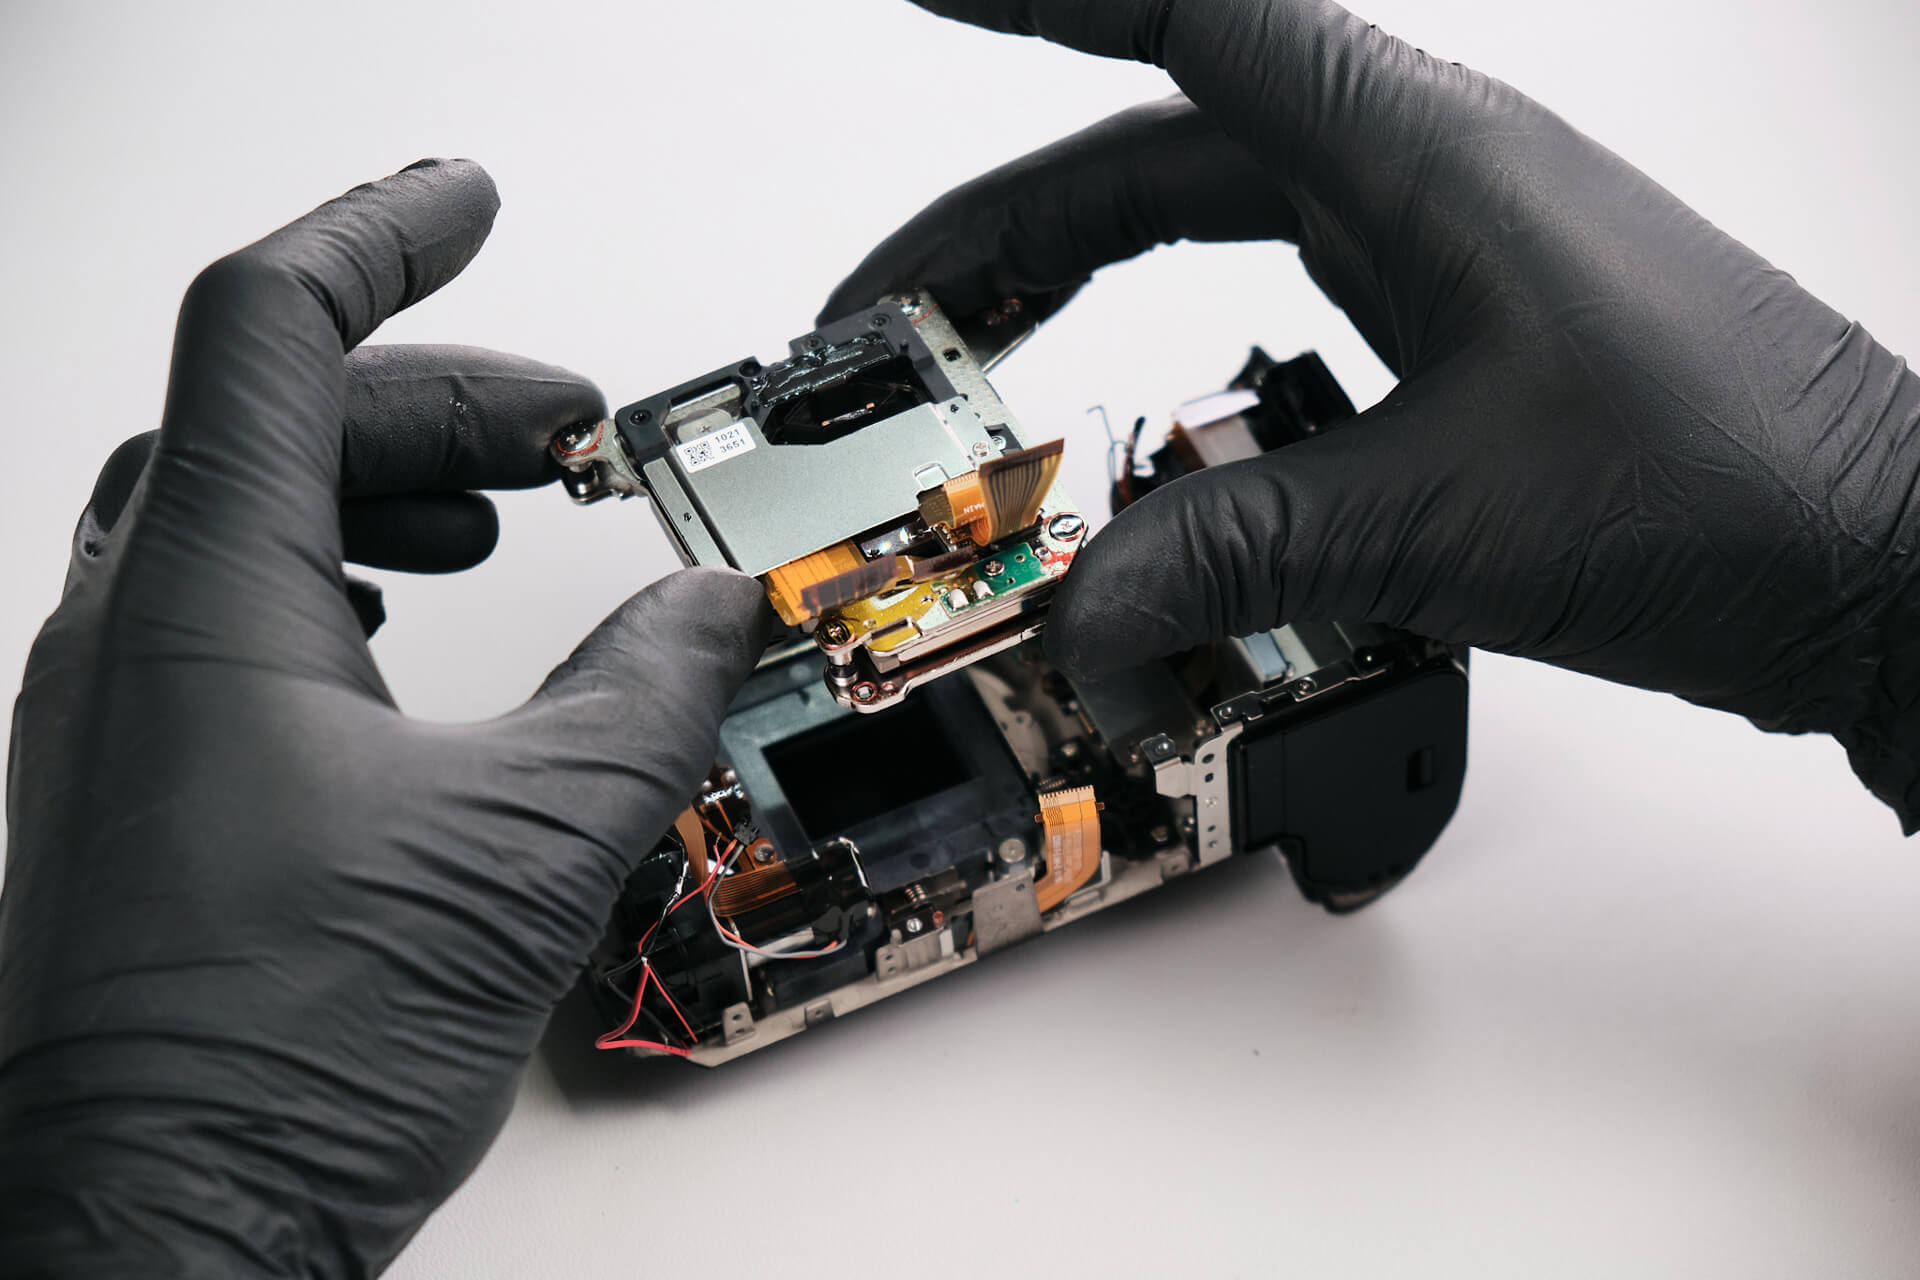
Even after removing the bracket, a secondary bracket covered the sensor. This was removed and set aside.
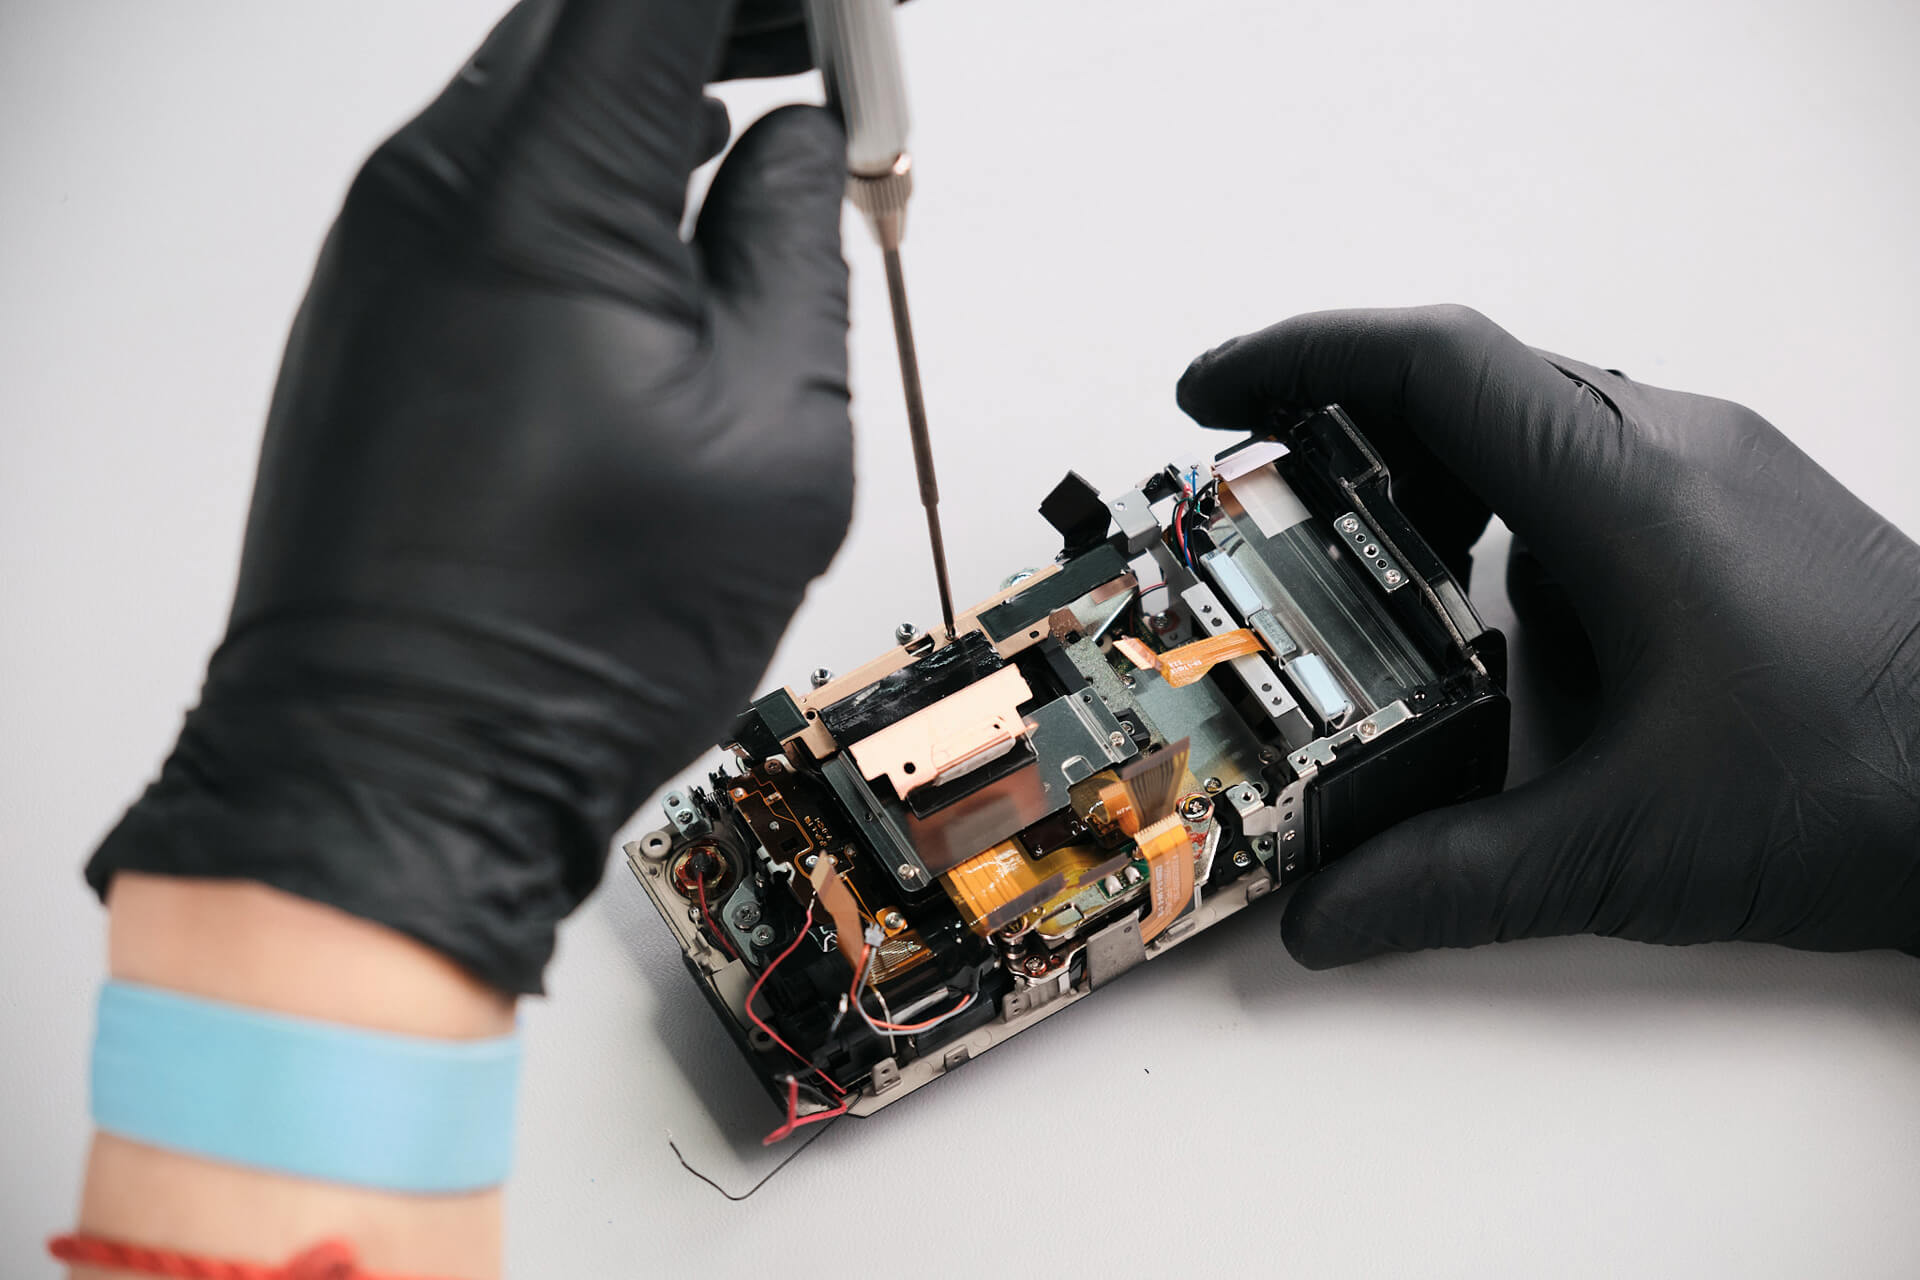
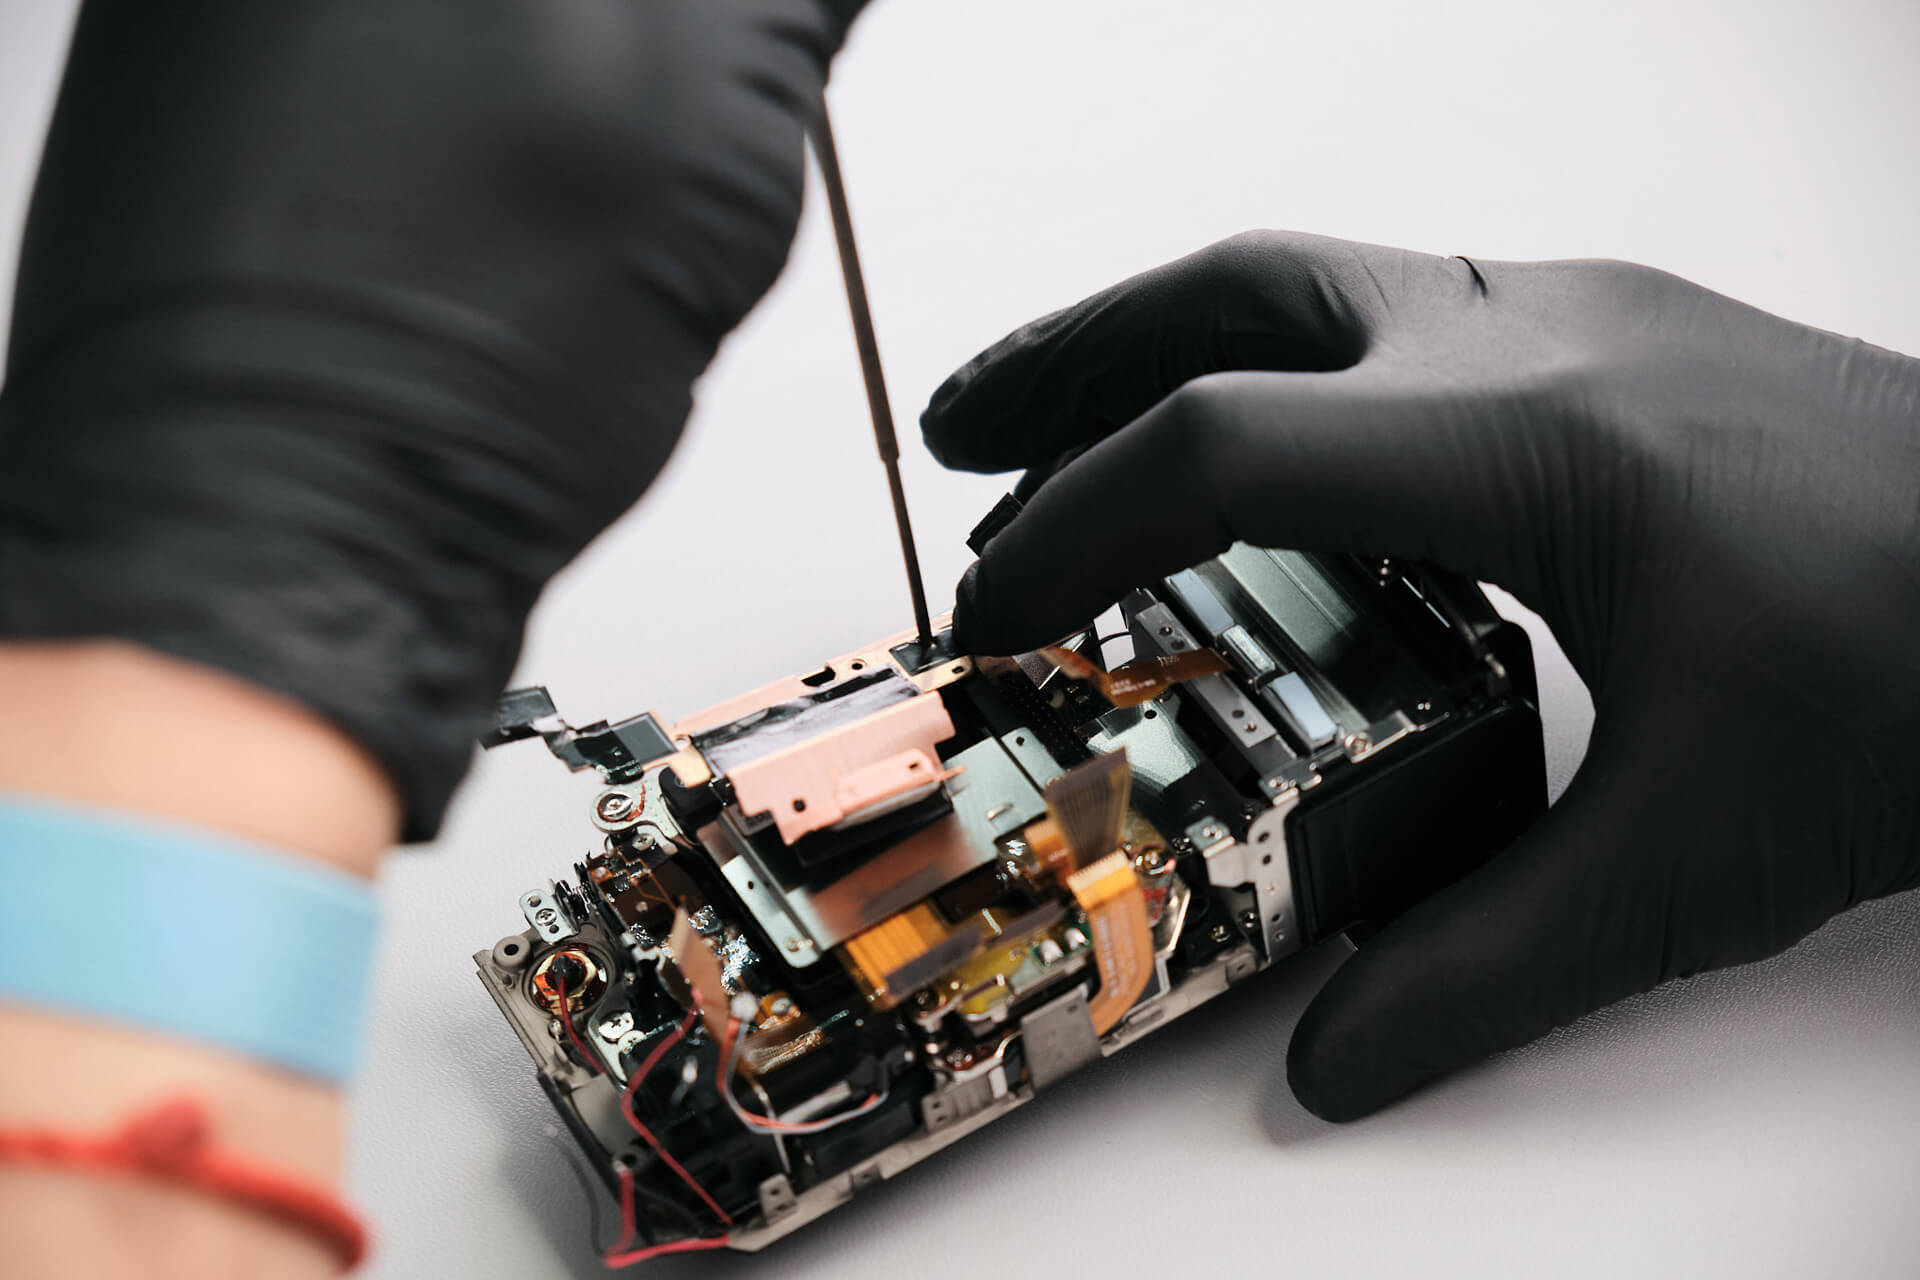
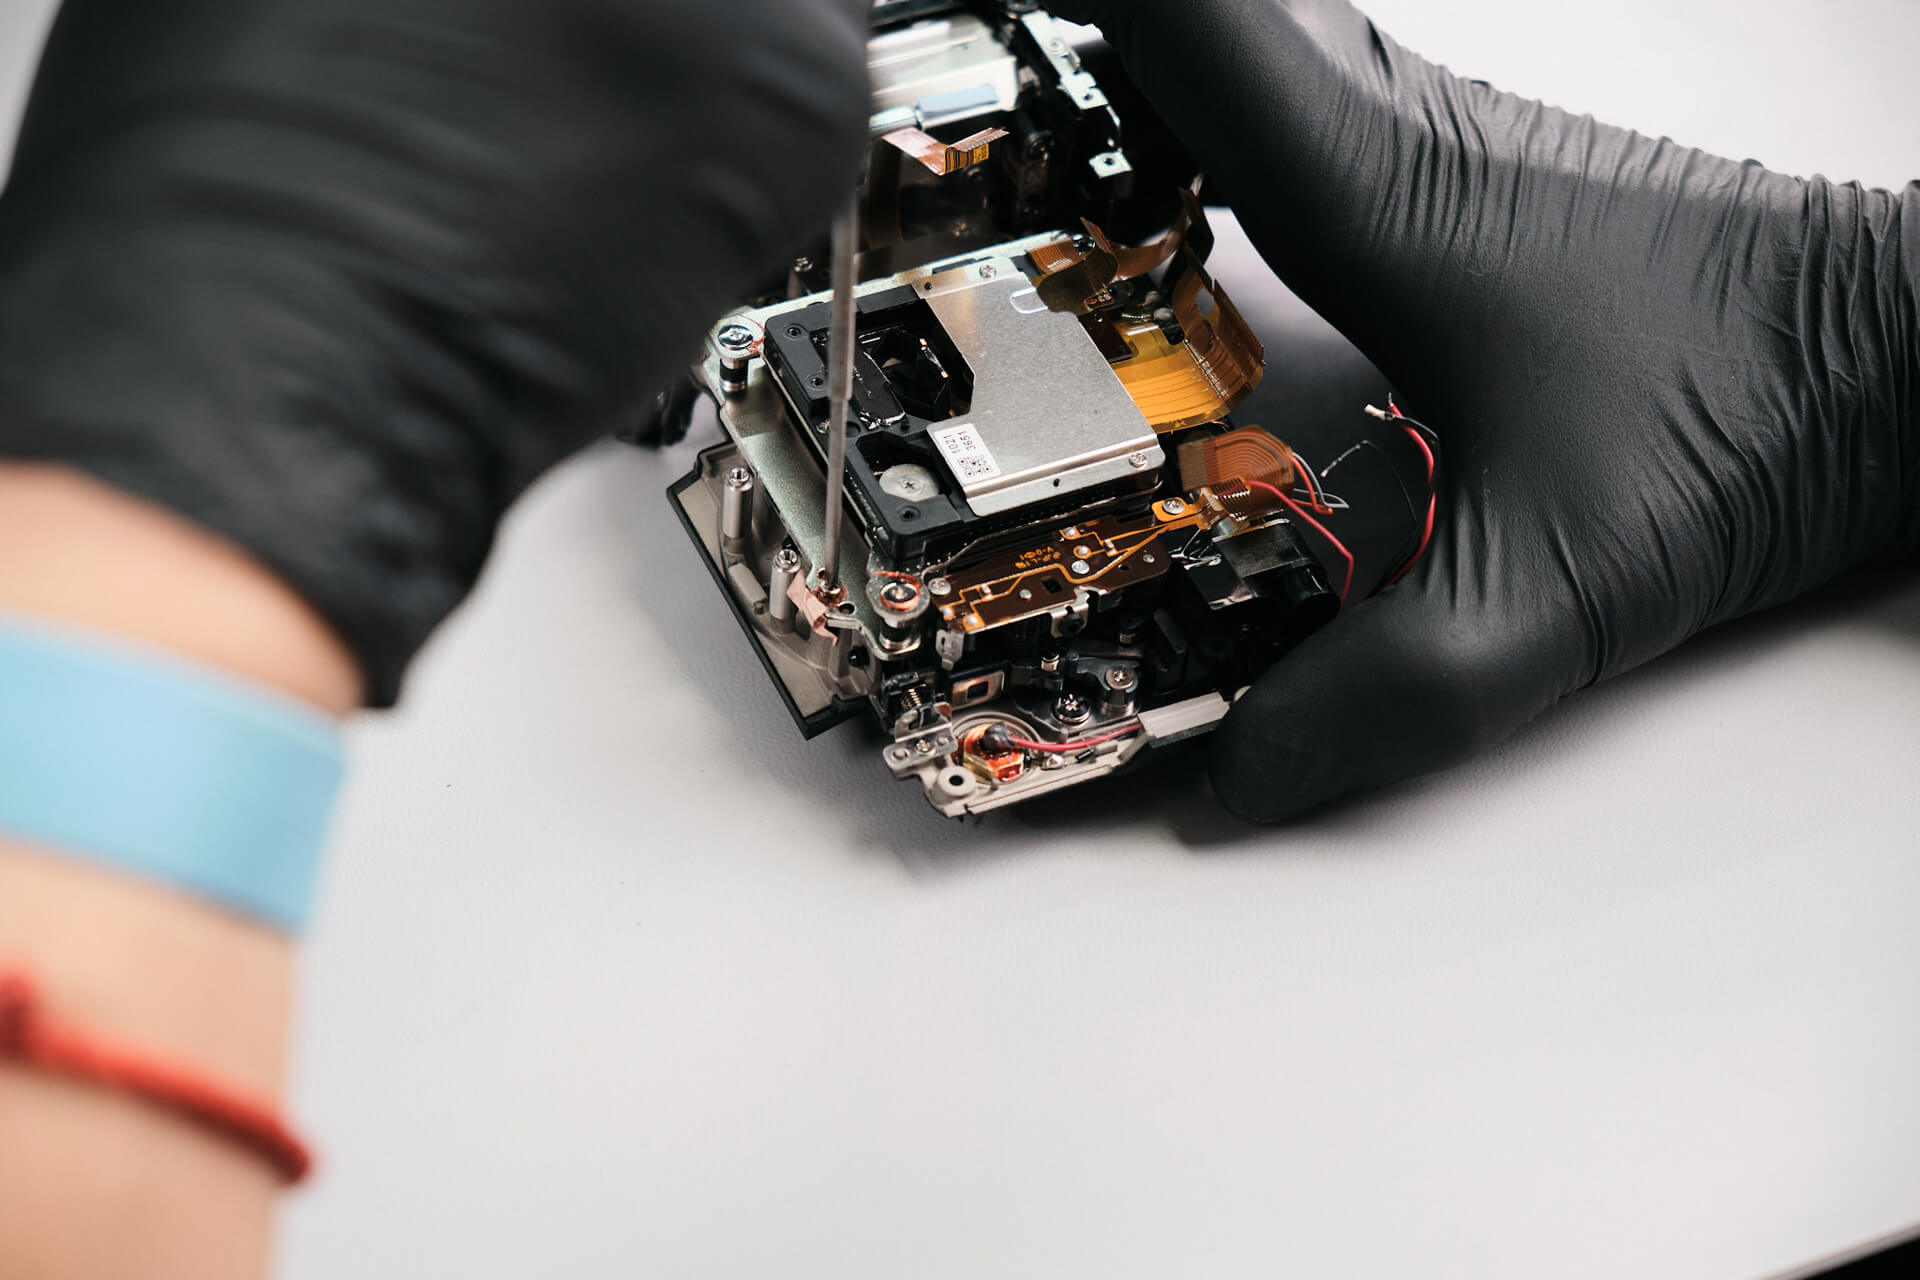
Copper heat transfer tape was peeled back to expose the sensor screws.
Fujifilm X-H2 Sensor Removal and Teardown Difficulty
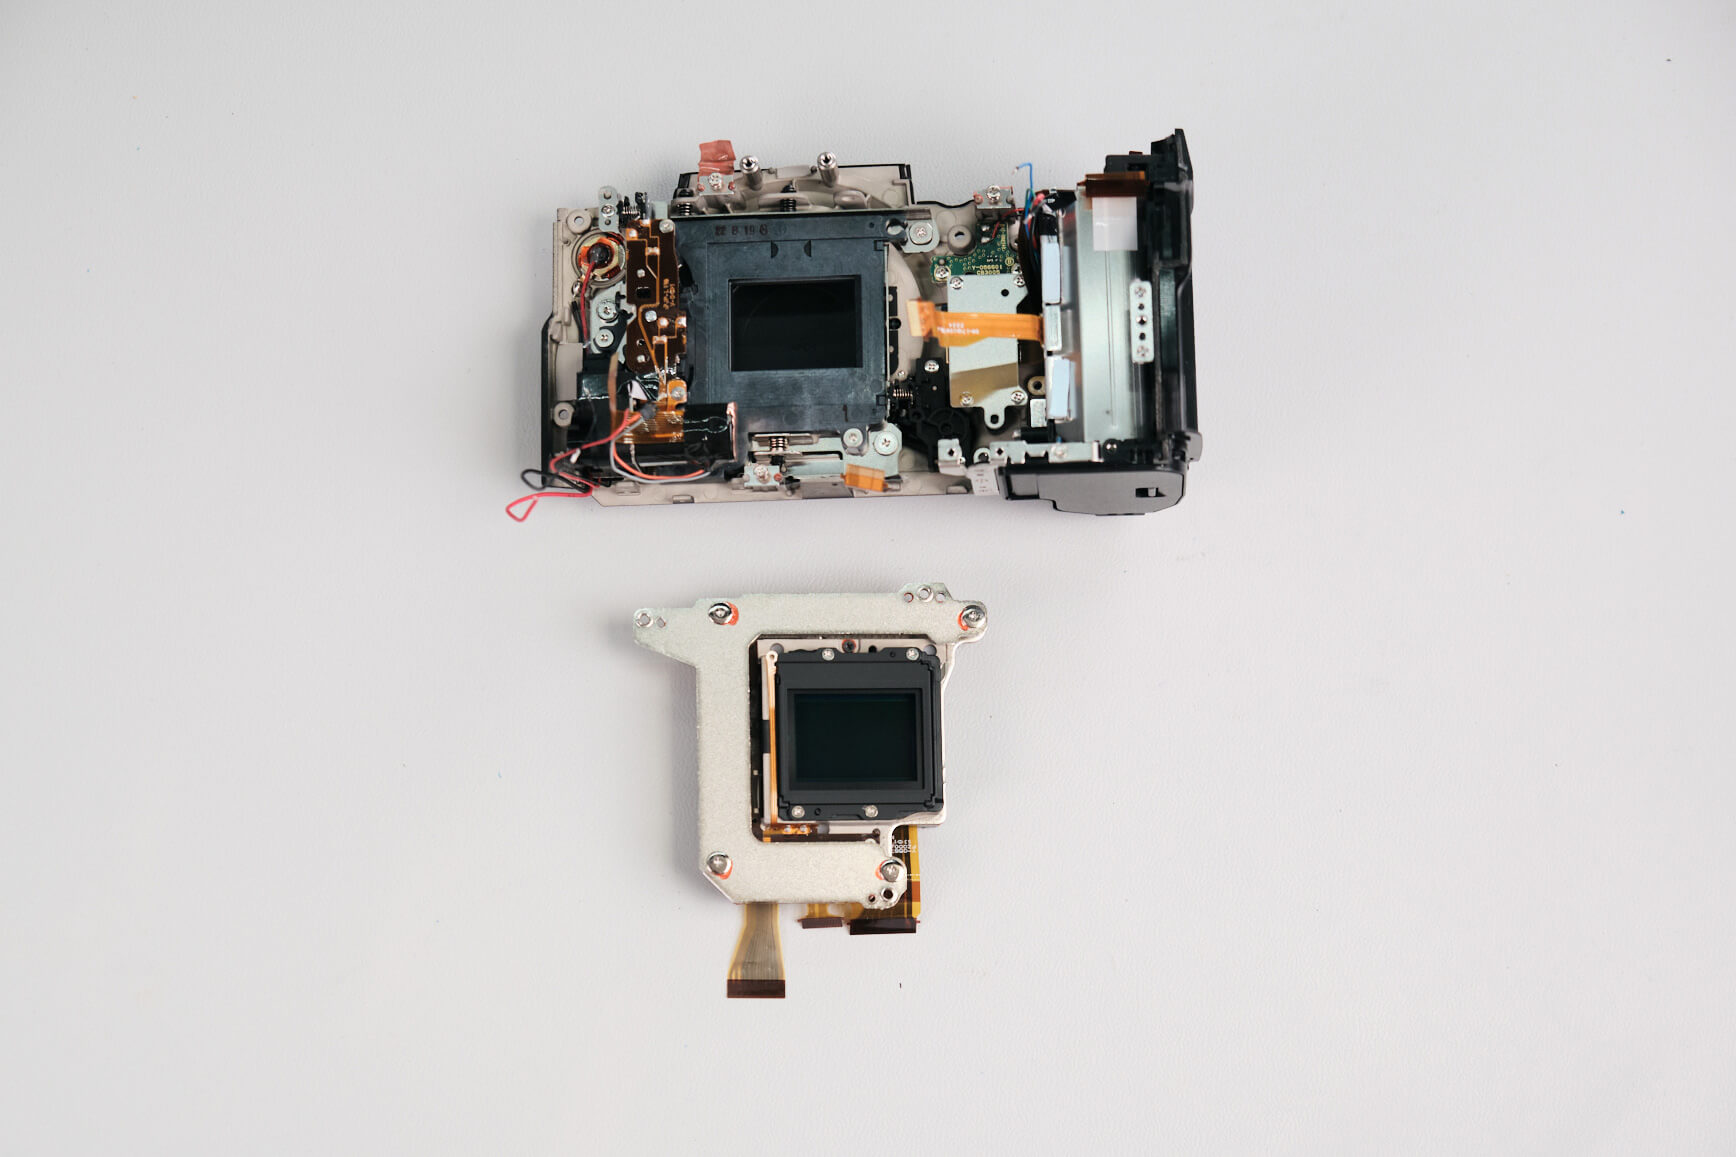
The Fujifilm X-H2 uses shims for focus adjustment. At last, the sensor is out and ready to convert!
On a scale of 1-10, with 10 being the hardest, we would rate this an 8.5. There were many hidden screws and cables throughout many different layers of the camera. Soldering was involved, and the weather sealing for the top panel needed to be cut, which made for a more time-consuming disassembly than expected. Overall, patience was required to open up this Fujifilm X-H2 model.
Frequently Asked Questions
How Do You Start Disassembling The Fujifilm X-H2?
The Fujifilm X-H2 teardown starts by removing eight screws from the camera’s baseplate. The baseplate is the first access point before moving on to the port side, memory card door, rubber grip, rear panel, and hidden body screws.
Where Are The Hidden Screws On The Fujifilm X-H2?
he Fujifilm X-H2 has several hidden screws under the rubber grip, including five screws under the grip, one hidden screw further up the grip side, three silver screws under the rear rubber grip, and another hidden screw near the lens release button.
How Is The Fujifilm X-H2 Rear Panel Removed?
The rear panel is removed after the hidden grip screws and baseplate screws are taken out. Once the rear panel is detached, a ribbon cable connecting it to the circuit board needs to be unlatched carefully.
How Is The Fujifilm X-H2 Circuit Board Removed?
The Fujifilm X-H2 circuit board is removed after disconnecting multiple ribbon cables, removing the memory card slot, desoldering several wires, peeling heat transfer tape, disconnecting a hidden ribbon cable, and cutting part of the weather sealing that holds the board in place.
How Difficult Is The Fujifilm X-H2 Teardown?
The Fujifilm X-H2 teardown is rated 8.5/10 in difficulty. The main challenges are the many hidden screws, layered cables, soldered wires, heat transfer tape, and weather sealing that needs to be cut during disassembly.