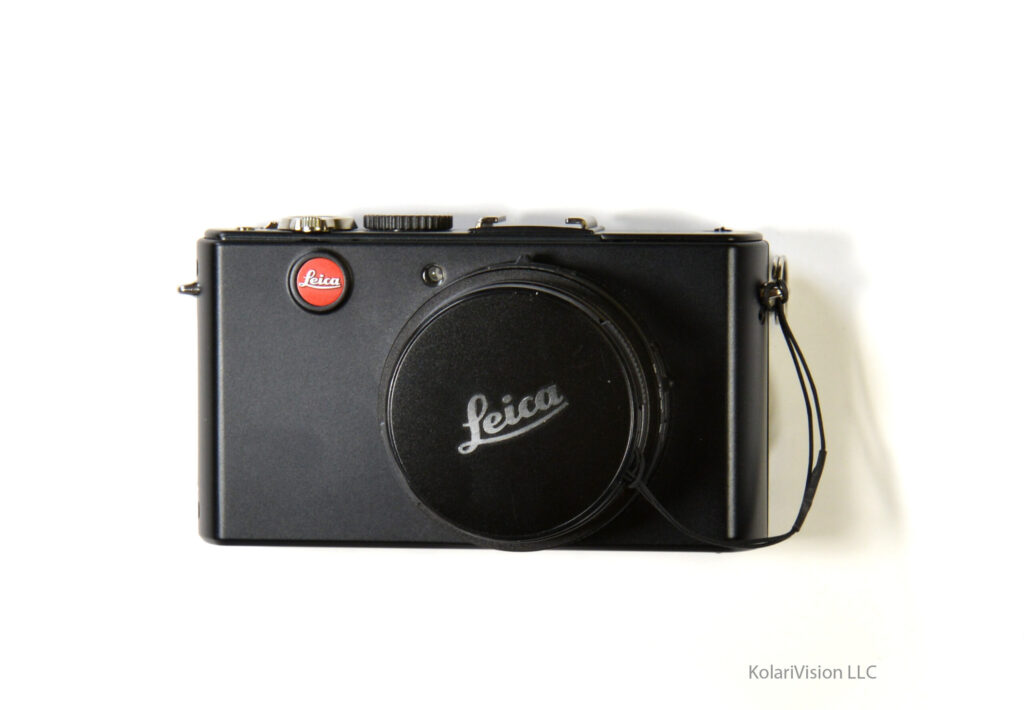
Welcome to the DIY tutorial of the Leica D-LUX 4. Before we get started please be sure you are grounded to avoid any electronic static damage.
1
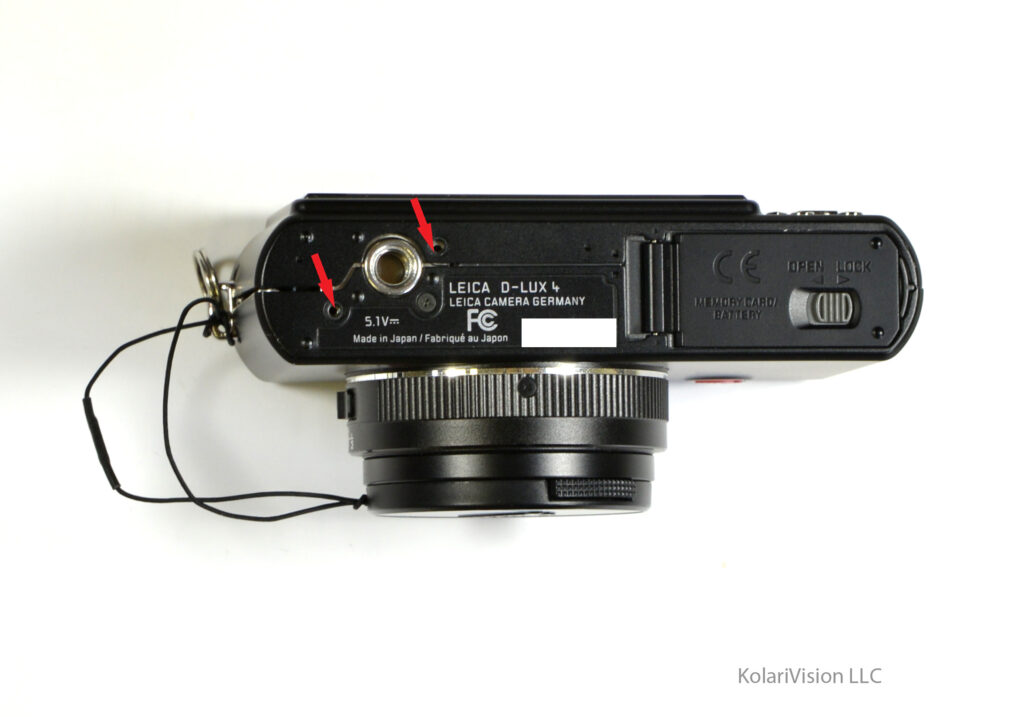
Step 1
Flip the camera where the bottom is facing you and remove the two screws as indicated.
2
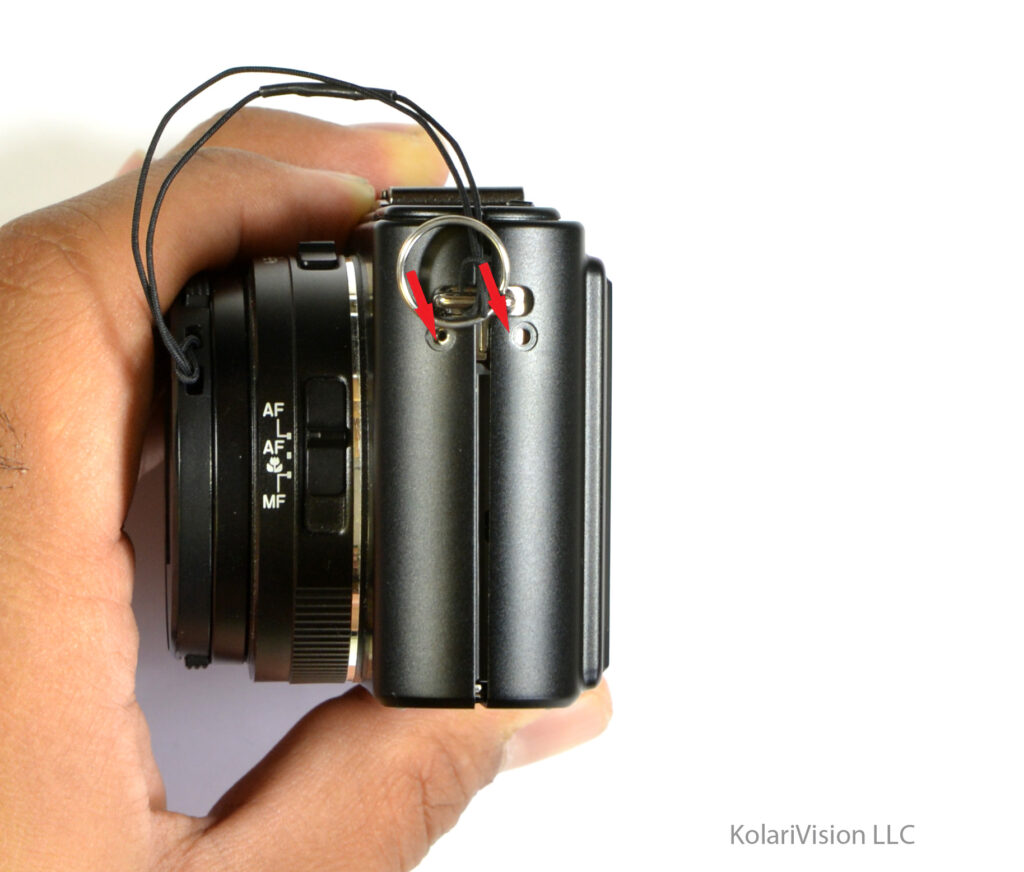
Step 2
Turn the camera to its side and remove the top 2 screws as indicated. Be careful it will also release the silver bracket behind it.
3
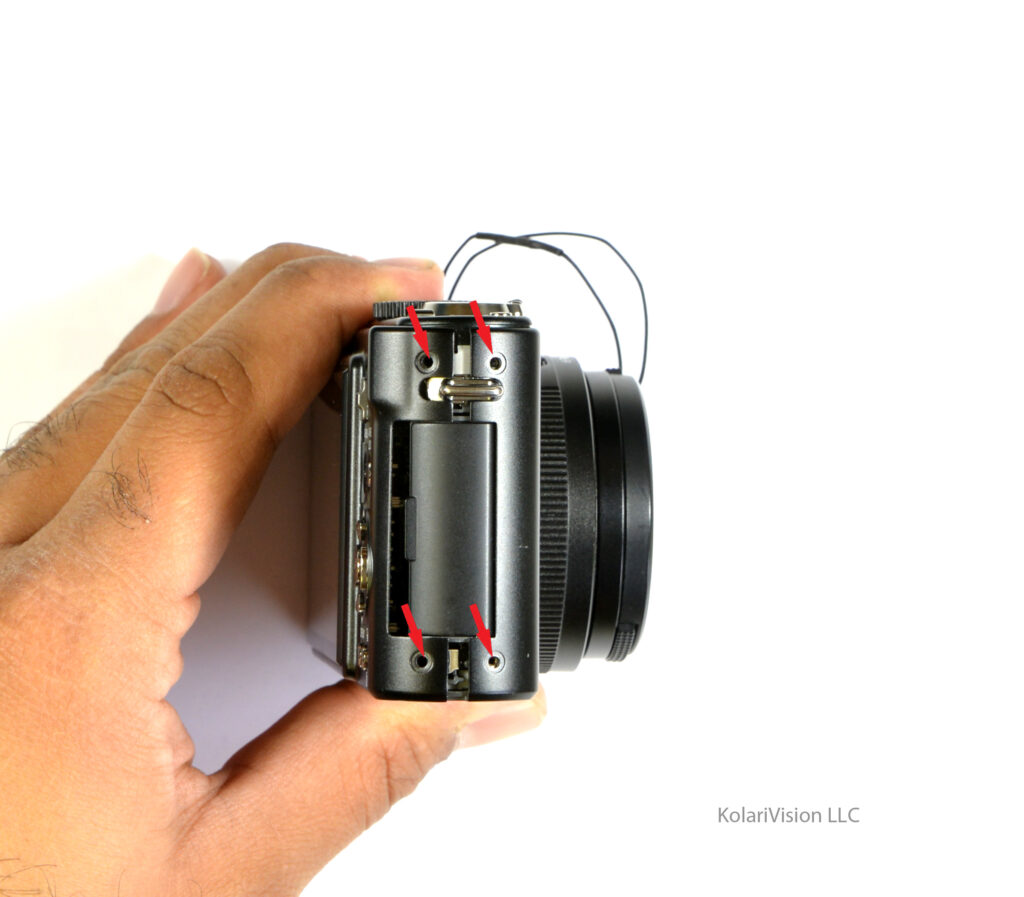
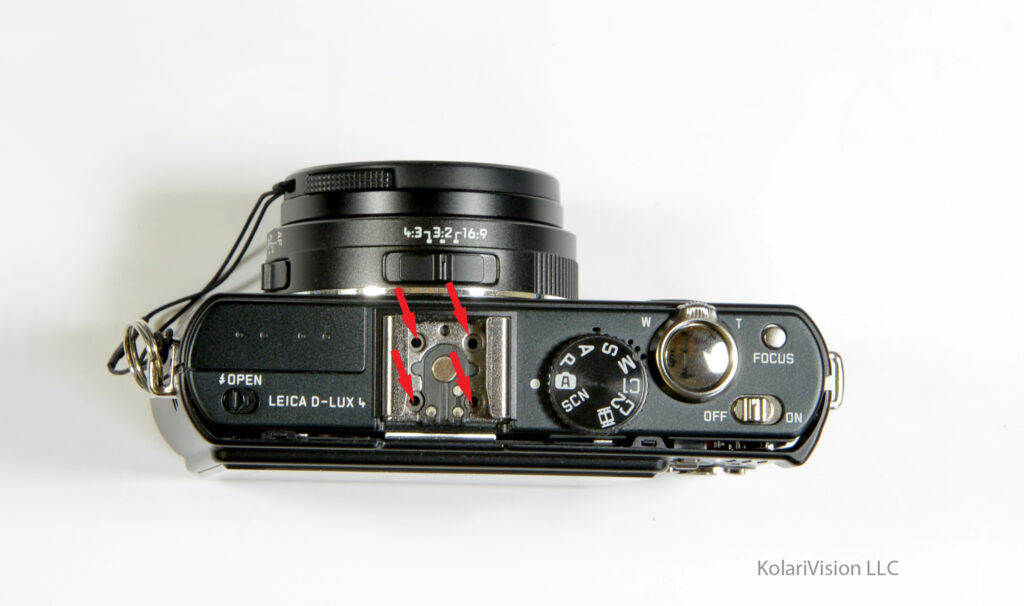
Step 3
Turn the camera to the AV Out side and remove the 4 screws.
4
Step 4
This may be a little tricky. There is a clip you have to remove before accessing these 4 screws. This should release your LCD back panel.
5
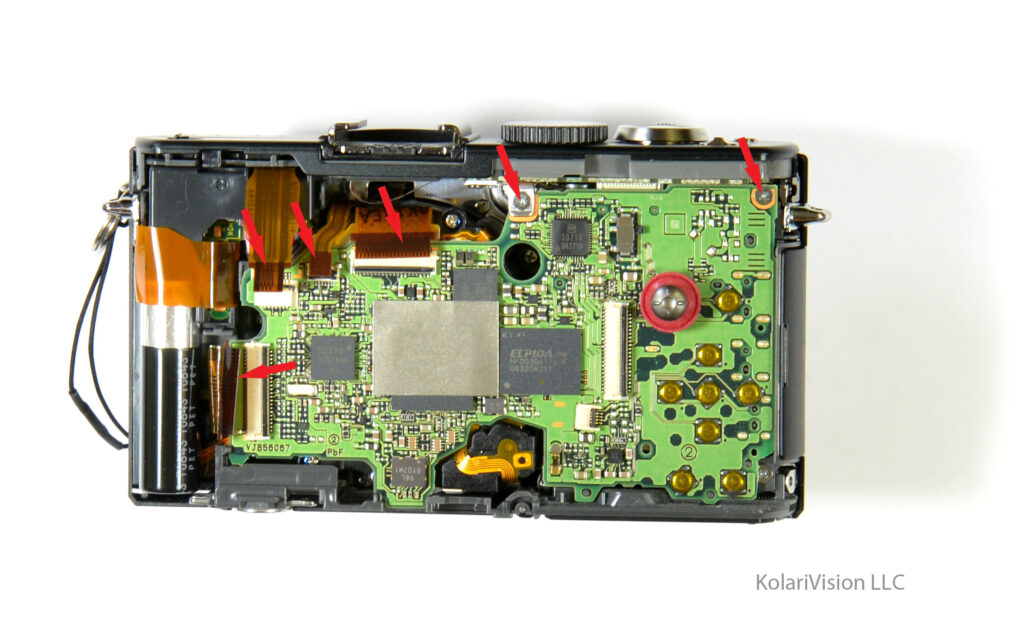
Step 5
Once you lift the LCD back panel up, you will notice 2 cables which are linked to the MB. Release these cables to completely remove the back panel.
6
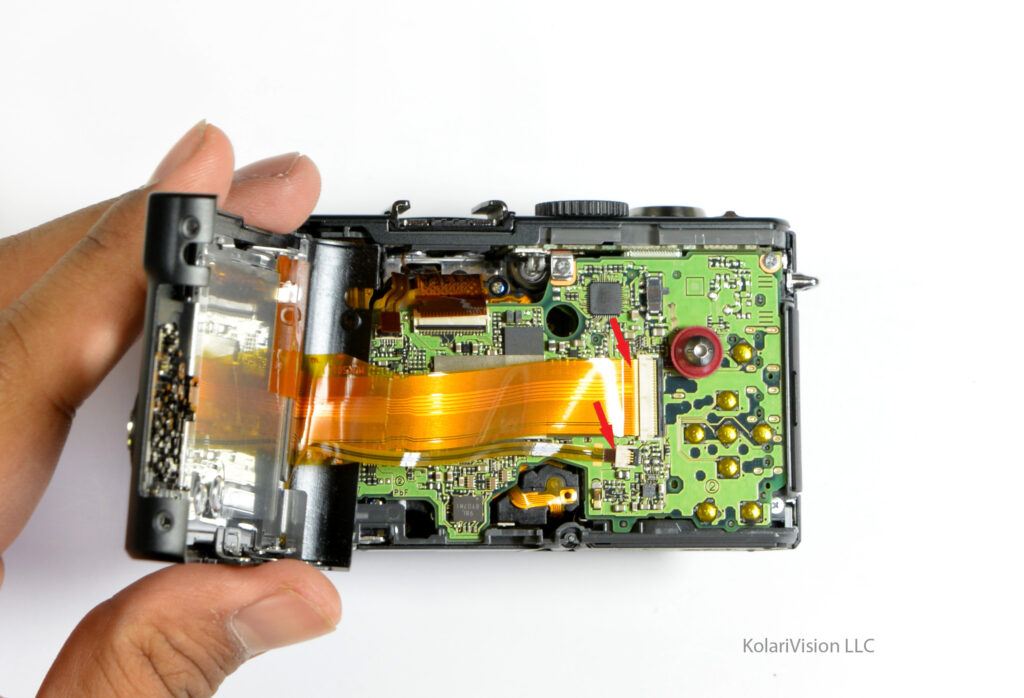
Step 6
Here you can release the 4 cables as indicated and the 2 screws. Now you can wiggle out the MB to access the sensor.
7
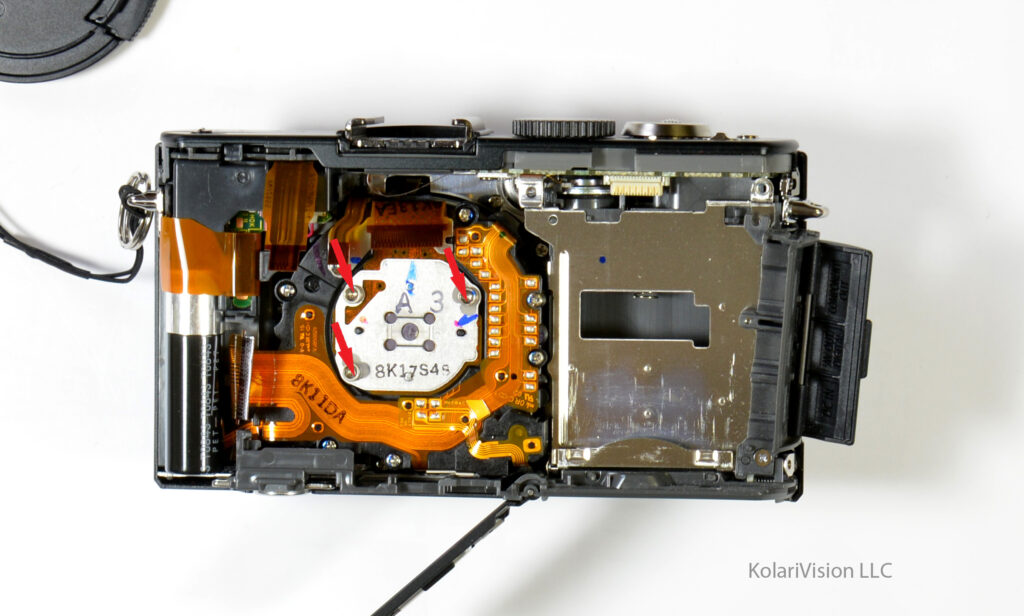
Step 7
Now, you will need that Hex screwdriver for the sensor screws. No measuring necessary here. Just be sure when you screw down the sensor again, the screws are all the down to its max.
8
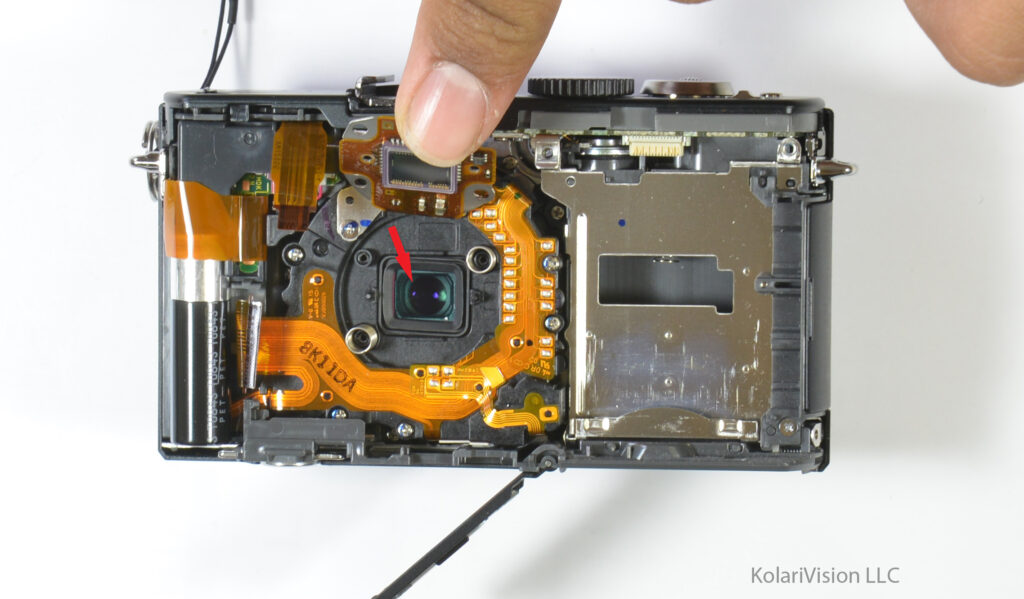
Step 8
The arrow indicates the filter which you will remove and replace. Be sure the filter you put in is dust free and also double check the sensor of any dust. Our DIY filter is a drop in fit, just put the rubber gasket back and your camera is ready!
9
Step 9
Now just work backwords to assemble, and you are done with your conversion!