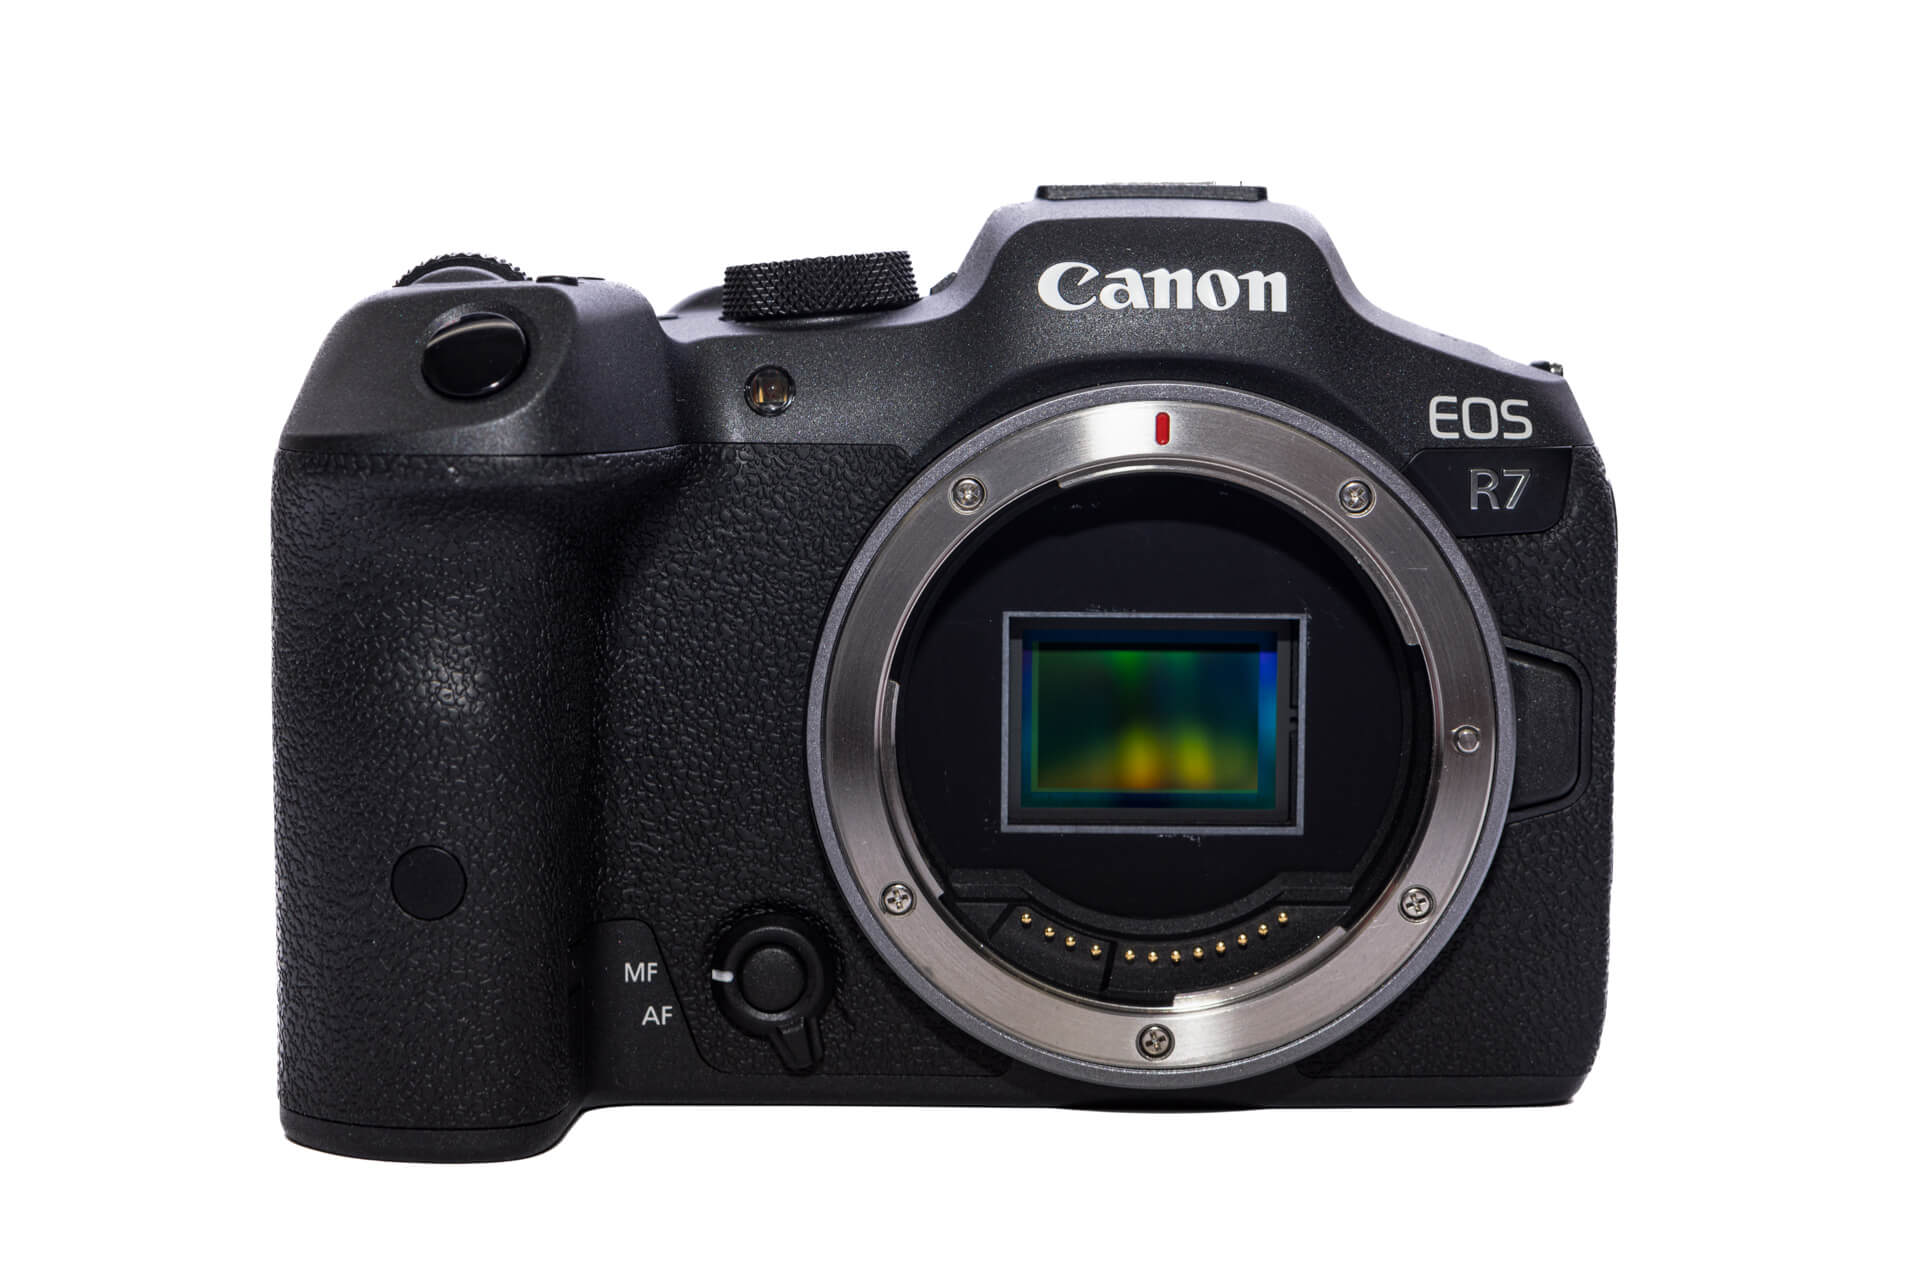
Canon EOS R7 Camera Overview
Canon pushes for the APS-C market by with the new Canon EOS R7 and EOS R10. It’s no surprise that camera giant Canon is continuing with the massively popular mirrorless camera trend. This time around, they’ve decided to shake things up by introducing mirrorless to the smaller, more budget-friendly crop sensor market with these two new camera models.
Since the launch of Canon’s R series of full-frame mirrorless cameras, they have continued to revise and improve their products, with each iteration directed towards their respective demographics.
Canon EOS R7 Specs and RF-Mount APS-C Design
The Canon EOS R7 is a unique mirrorless setup able to compete with the full-frame cameras in Canon’s lineup alongside the competitors.
The Canon EOS R7 starts things off with a 32.5 (effective) megapixel APS-C sensor capable of capturing up to 126 JPEG images or 42 RAW images at up to 30fps. The R7 can also shoot in UHD 4k up to 60fps and 1080p up to 120fps. Both 4k and 1080p are available in H 2.64 8-bit and H 2.65 10-bit formats for more flexibility.
Canon also equipped the R7 with their proven Phase Detection autofocus for both photos and video recording. While shooting video, Canon has also provided the option to use a Gamma Log3 picture profile for more dynamic range and data within your images for color grading.
Like most of the Canon R lineup, the R7 also includes the 5-axis system IBIS (in-body image stabilization). This allows for more confident handheld shooting, reducing shaky video recording.
Canon EOS R7 Exterior Controls and Camera Layout
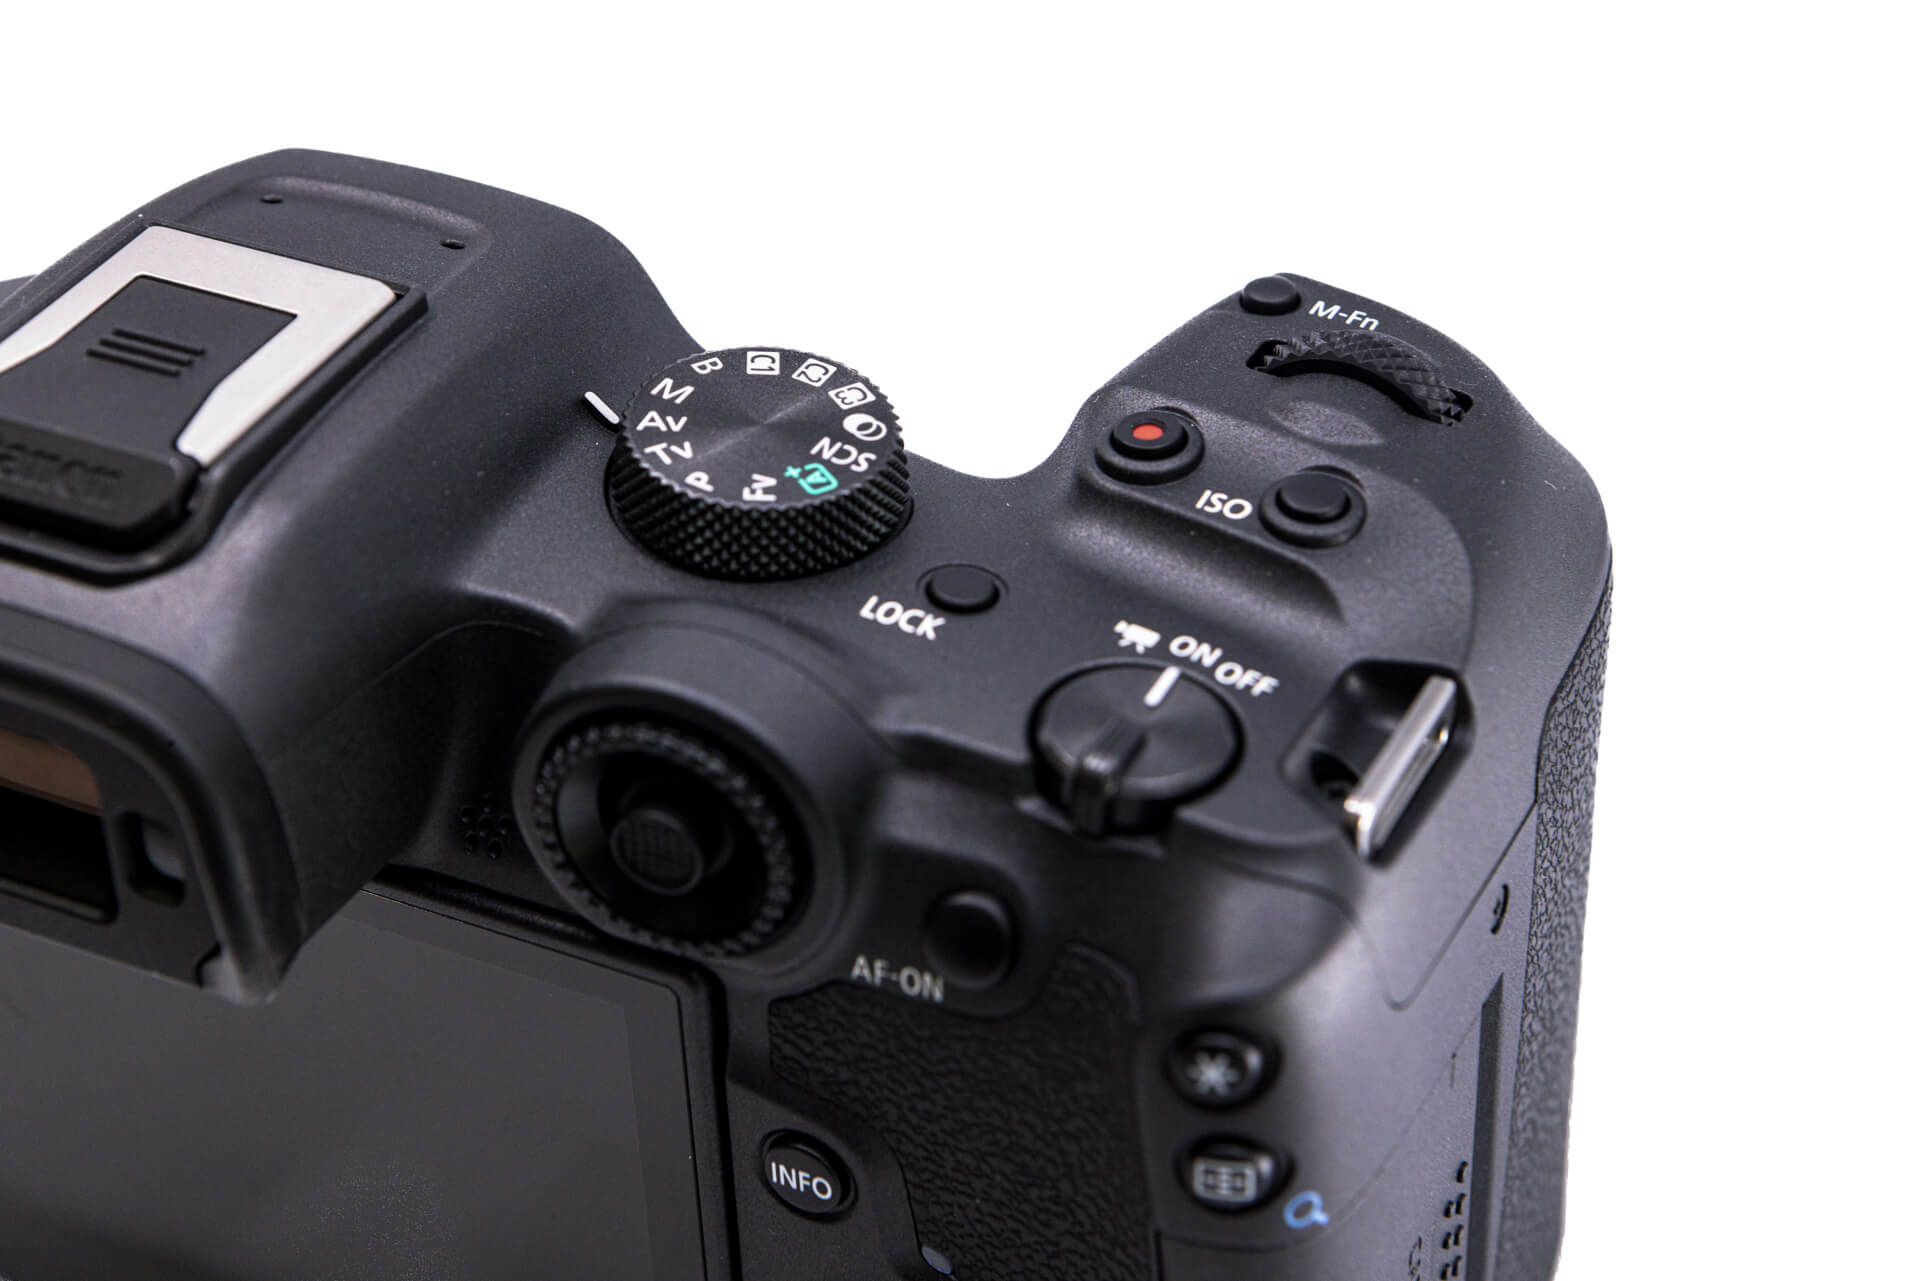
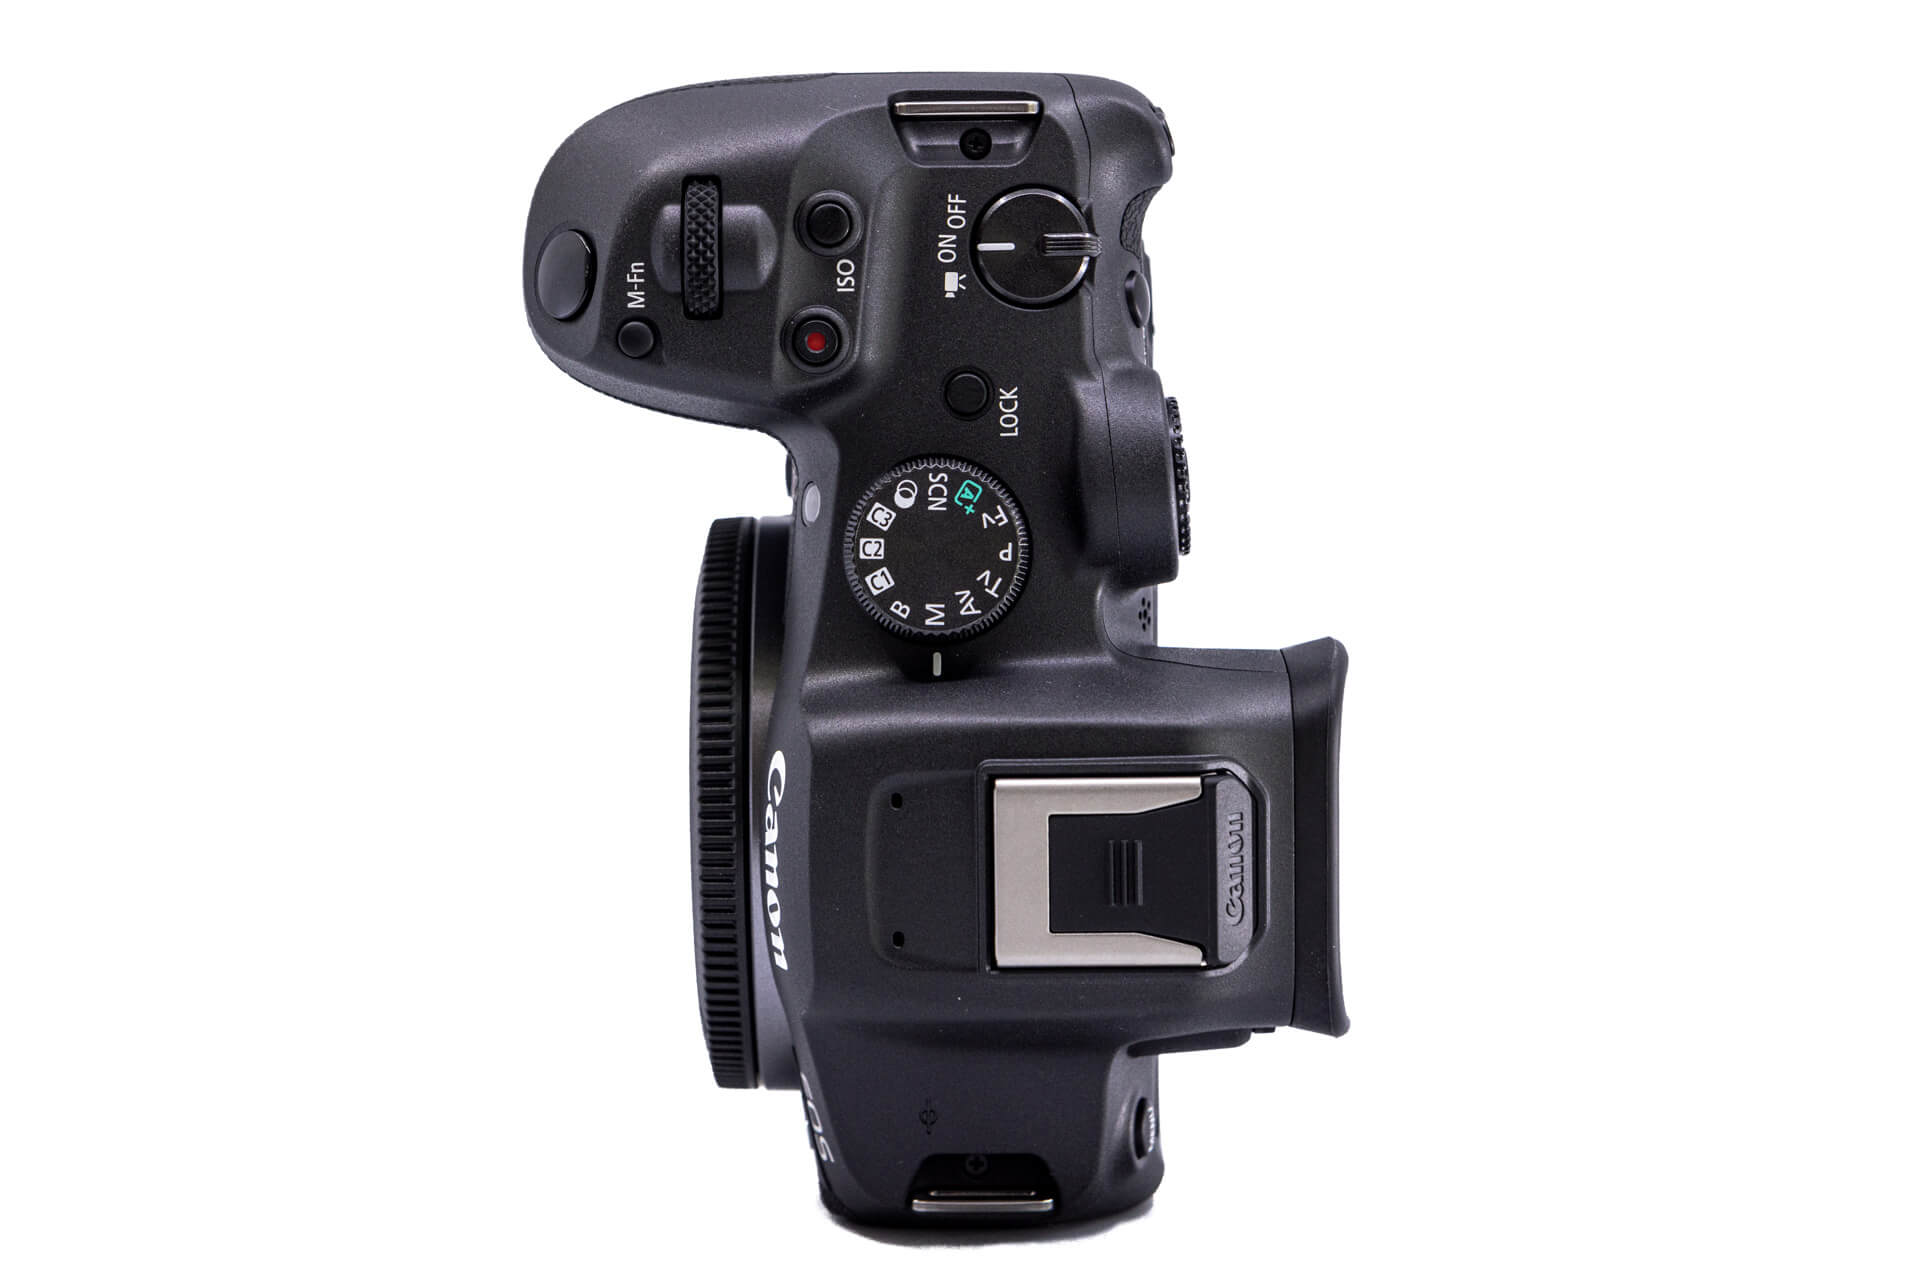
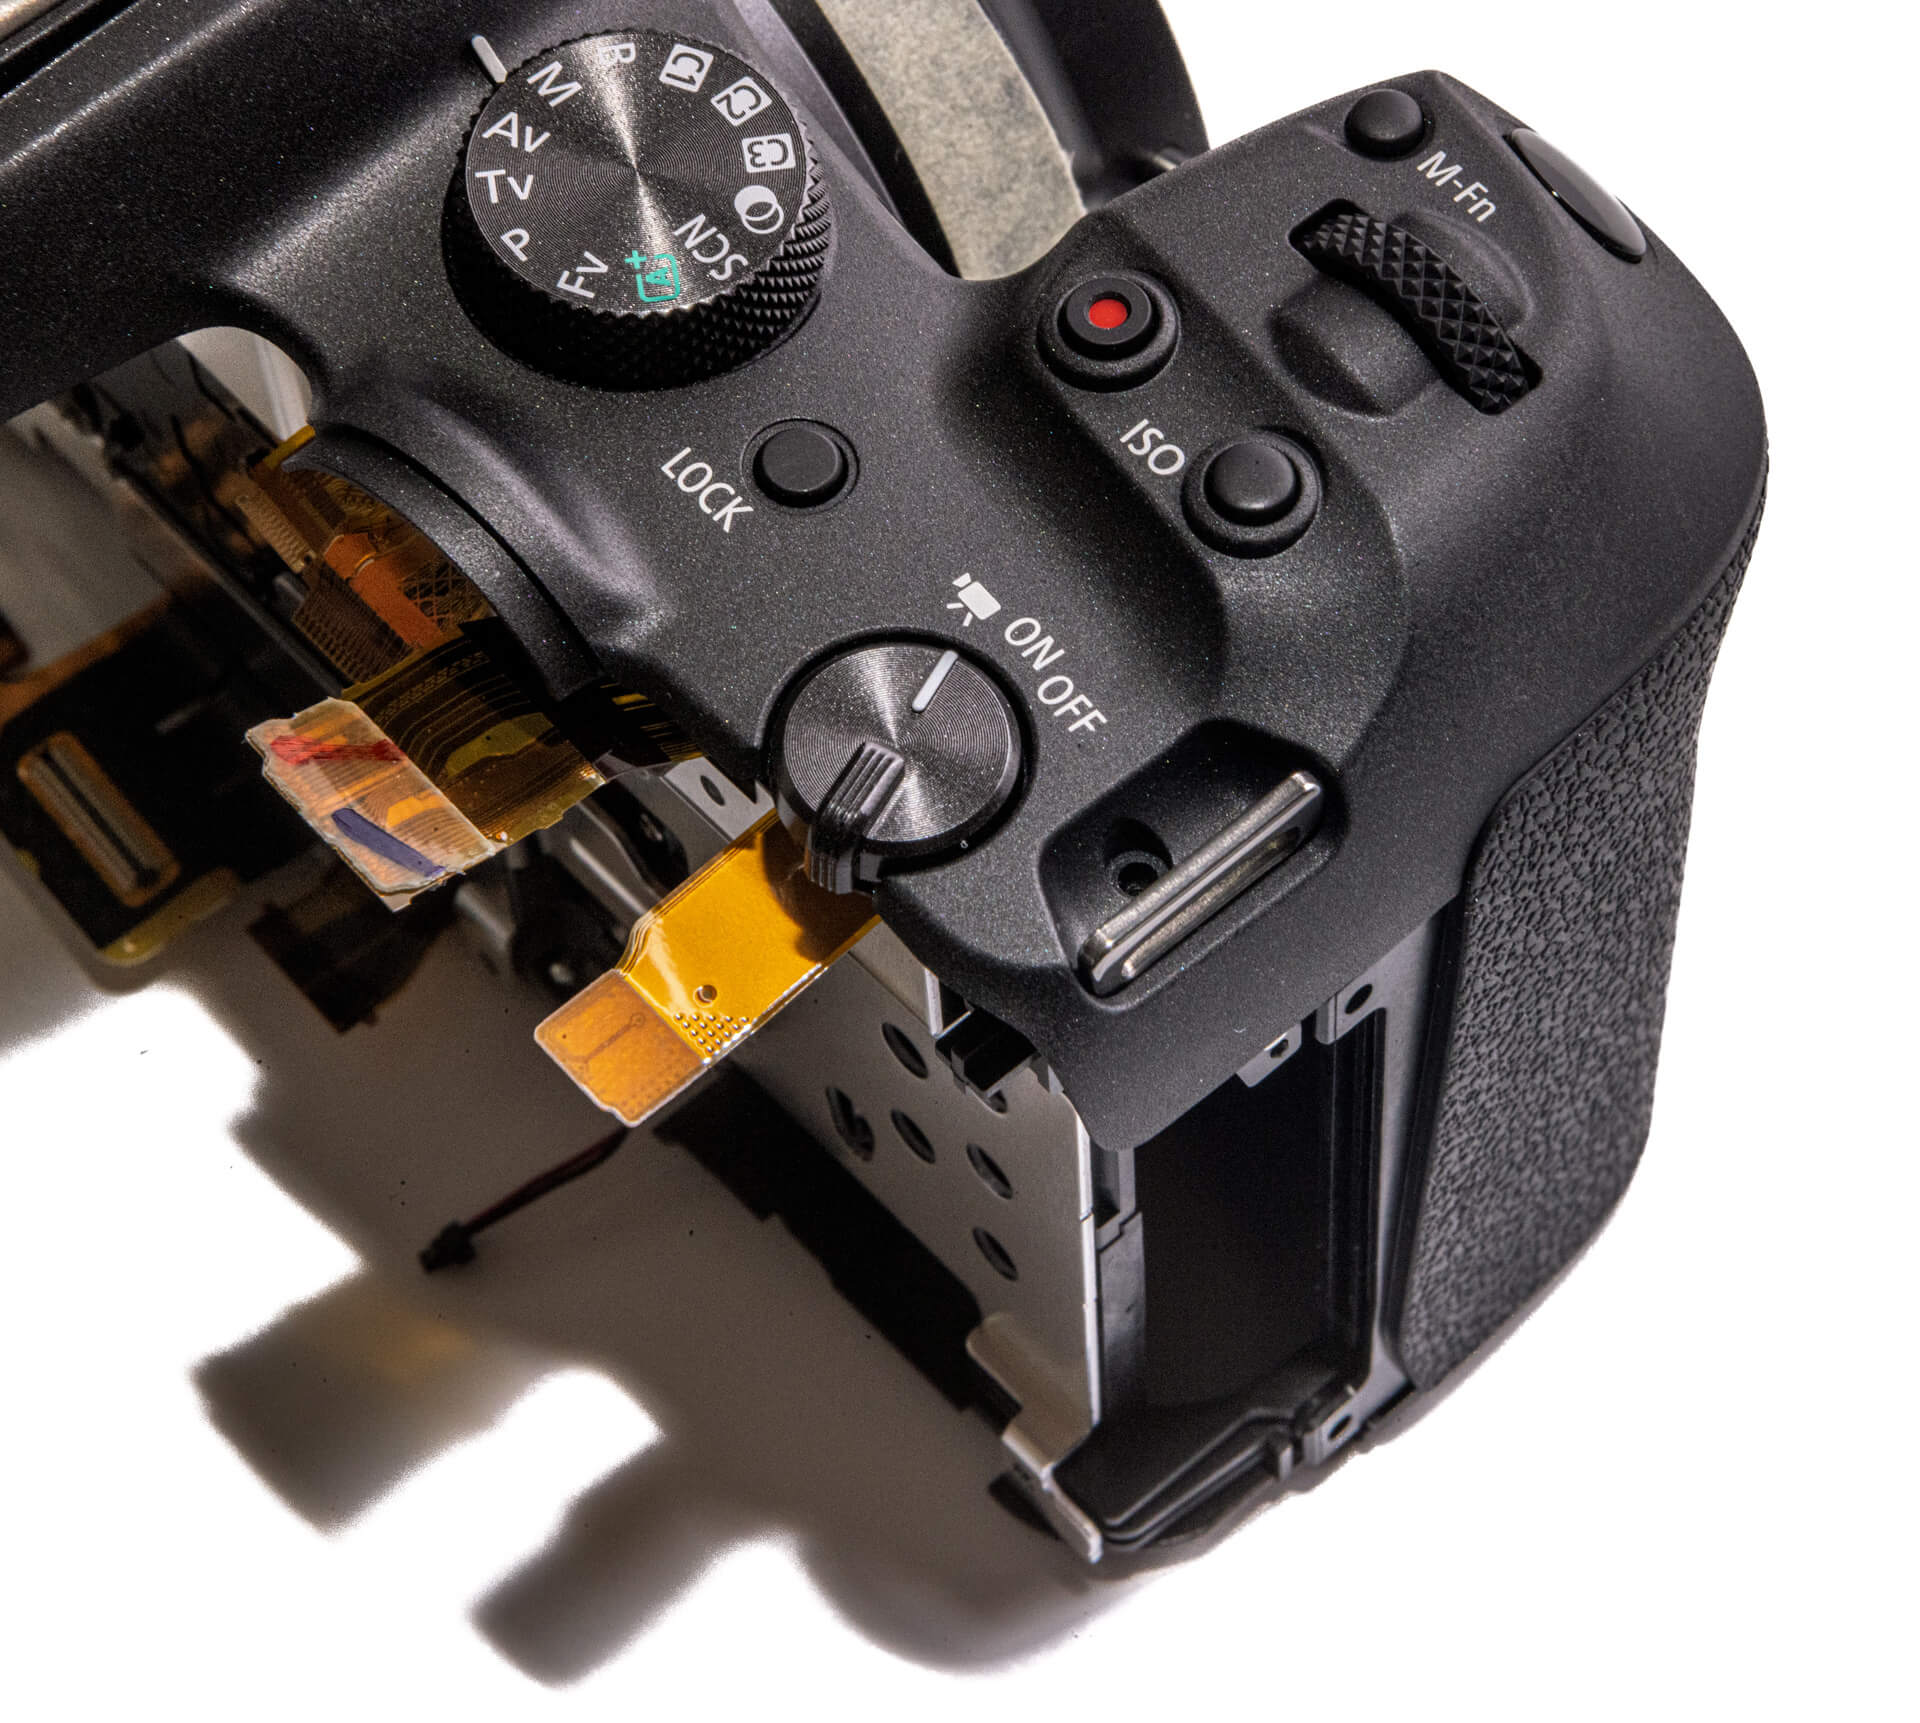
At the top of the R7, Canon has simplified the button layout. Over on the left, you have the mode dial and the record button. There is a dedicated ISO button and another function dial towards the front of the camera near the shutter button. Canon has moved the power switch to the camera’s right side to allow for ease of single-hand shooting.
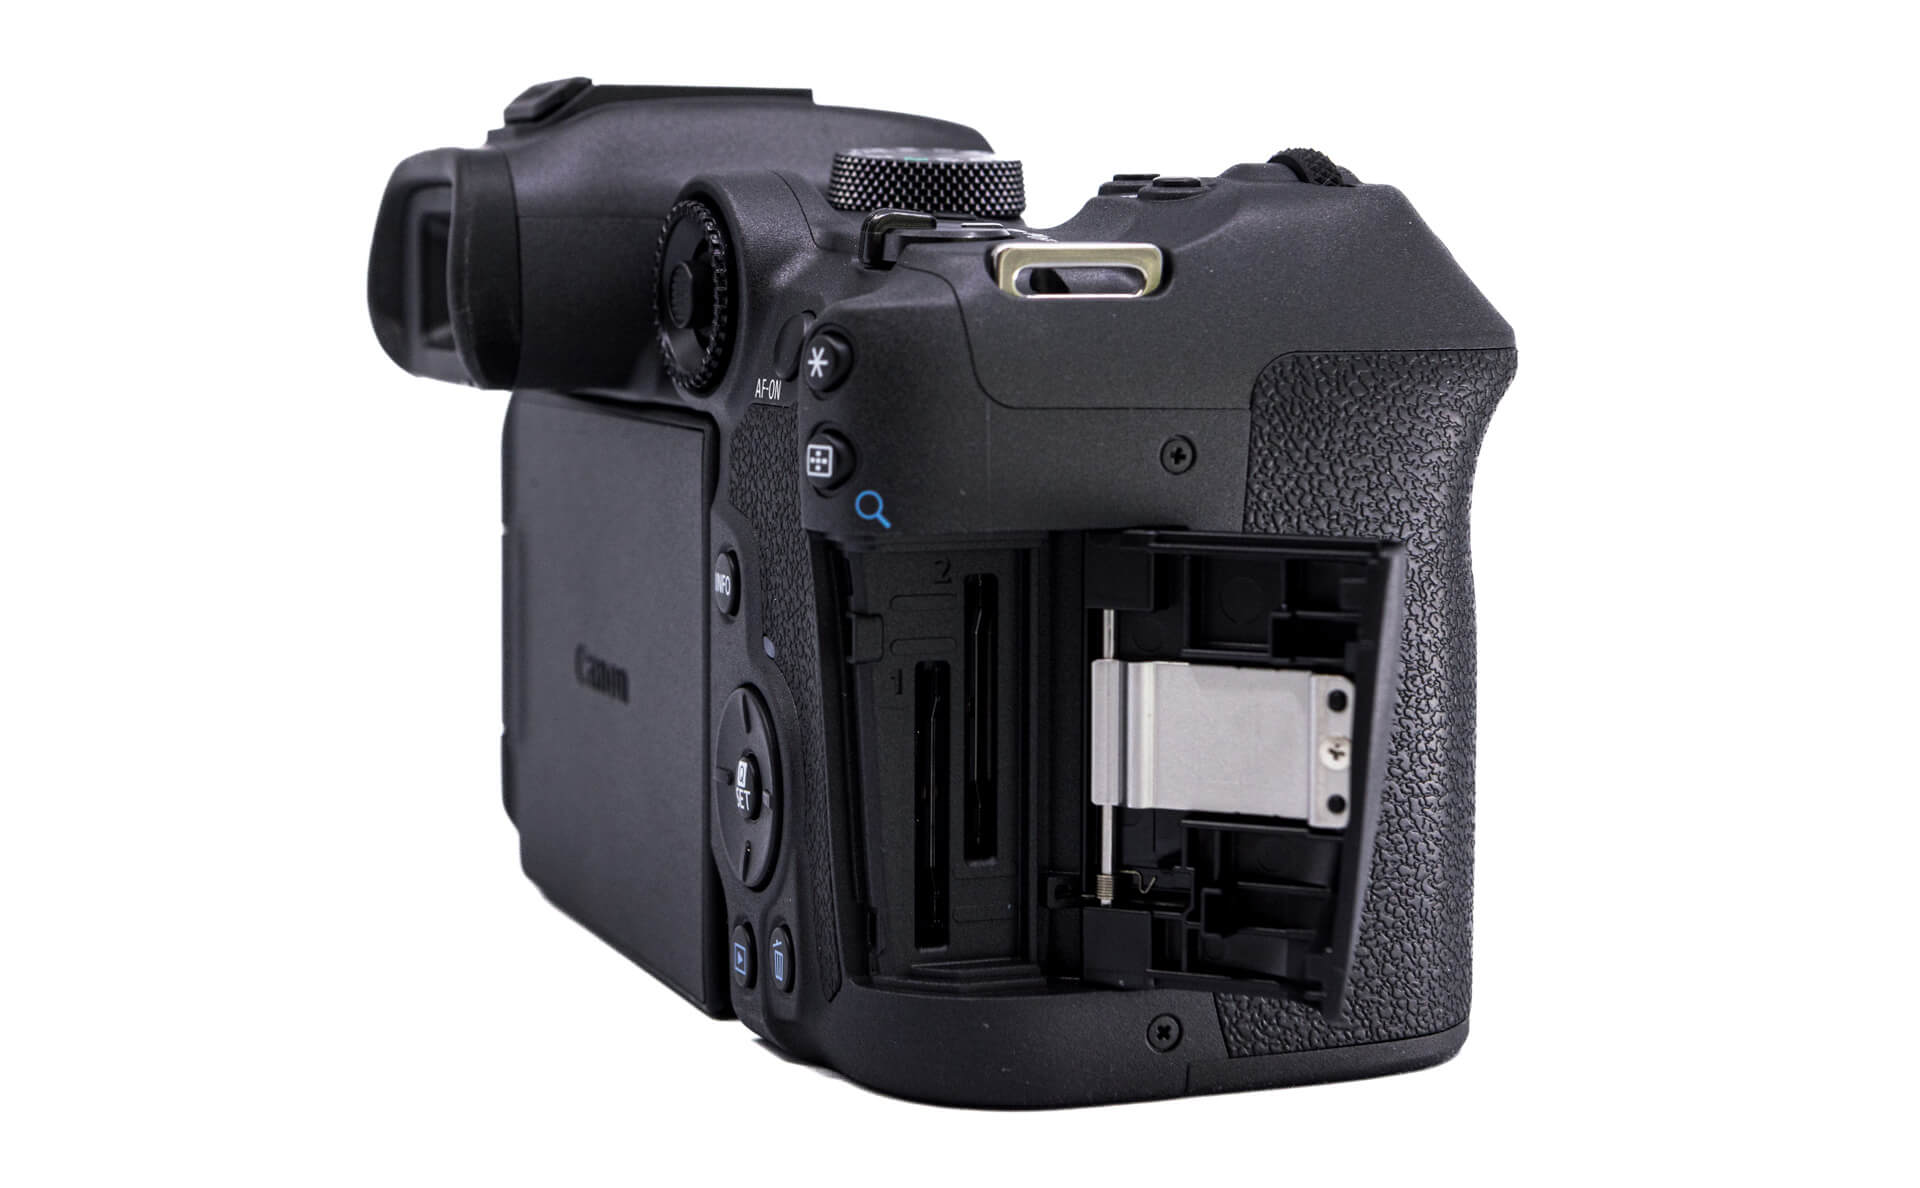
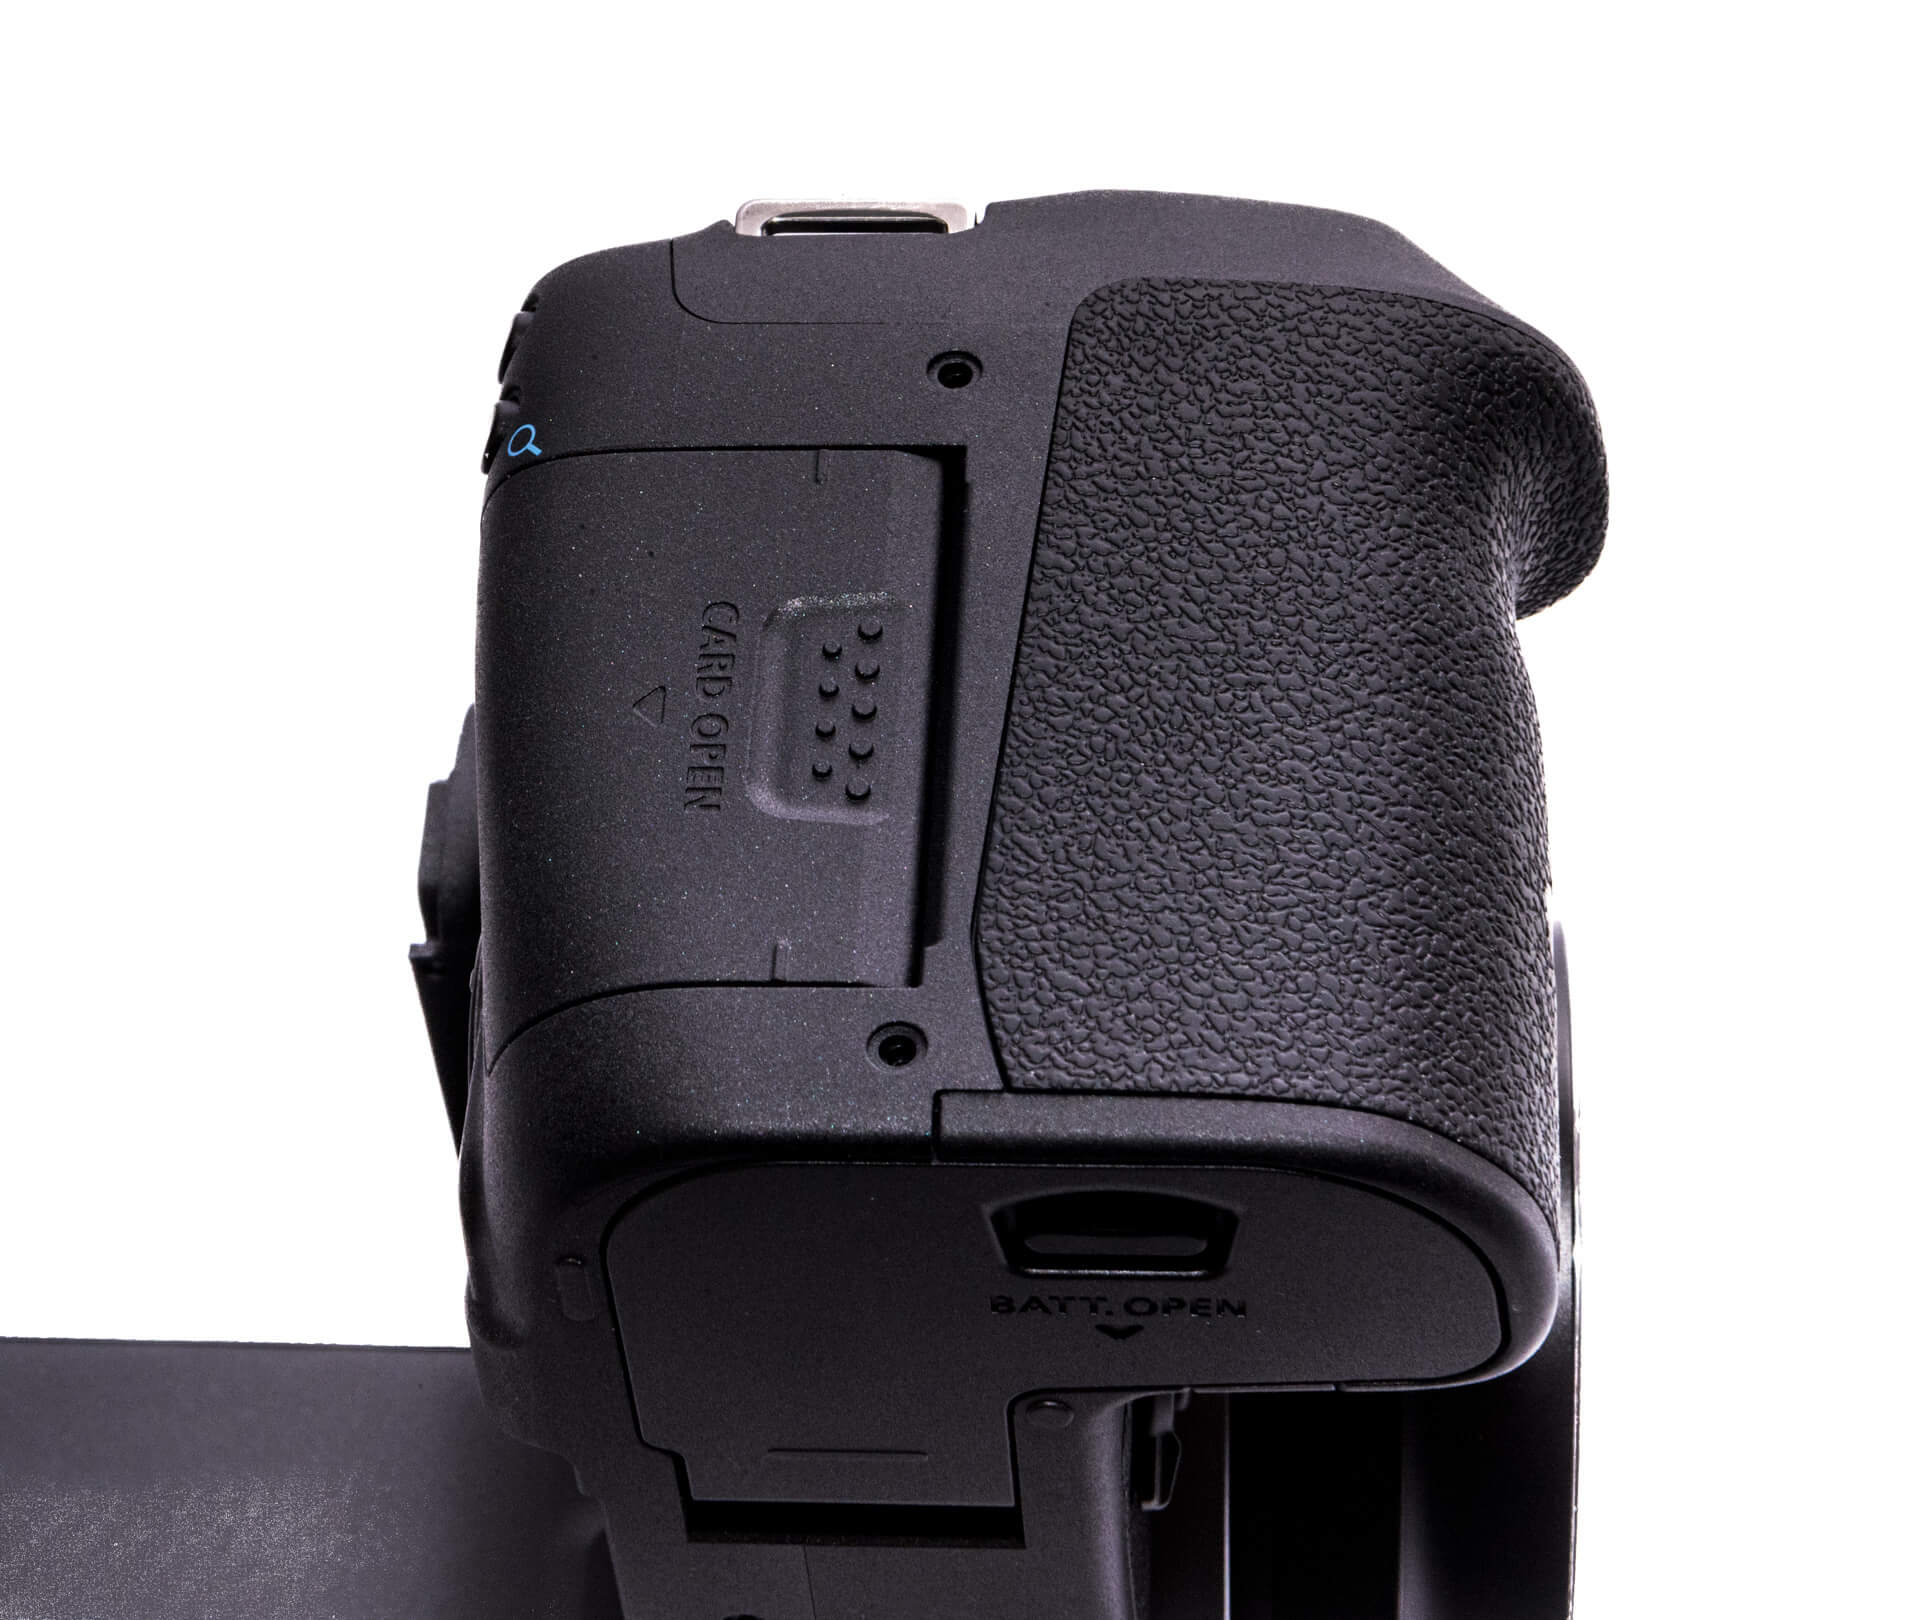
The memory card door is located on the camera’s right side behind the grip. The Canon R7 allows for dual memory card use with the capability of processing UHS-II SD card speeds to support fluent 4k video recording.
Starting the Canon EOS R7 Teardown
Let’s move on to the teardown to better understand what the R7 is made of.
Removing Exterior Screws and Hidden Body Screws
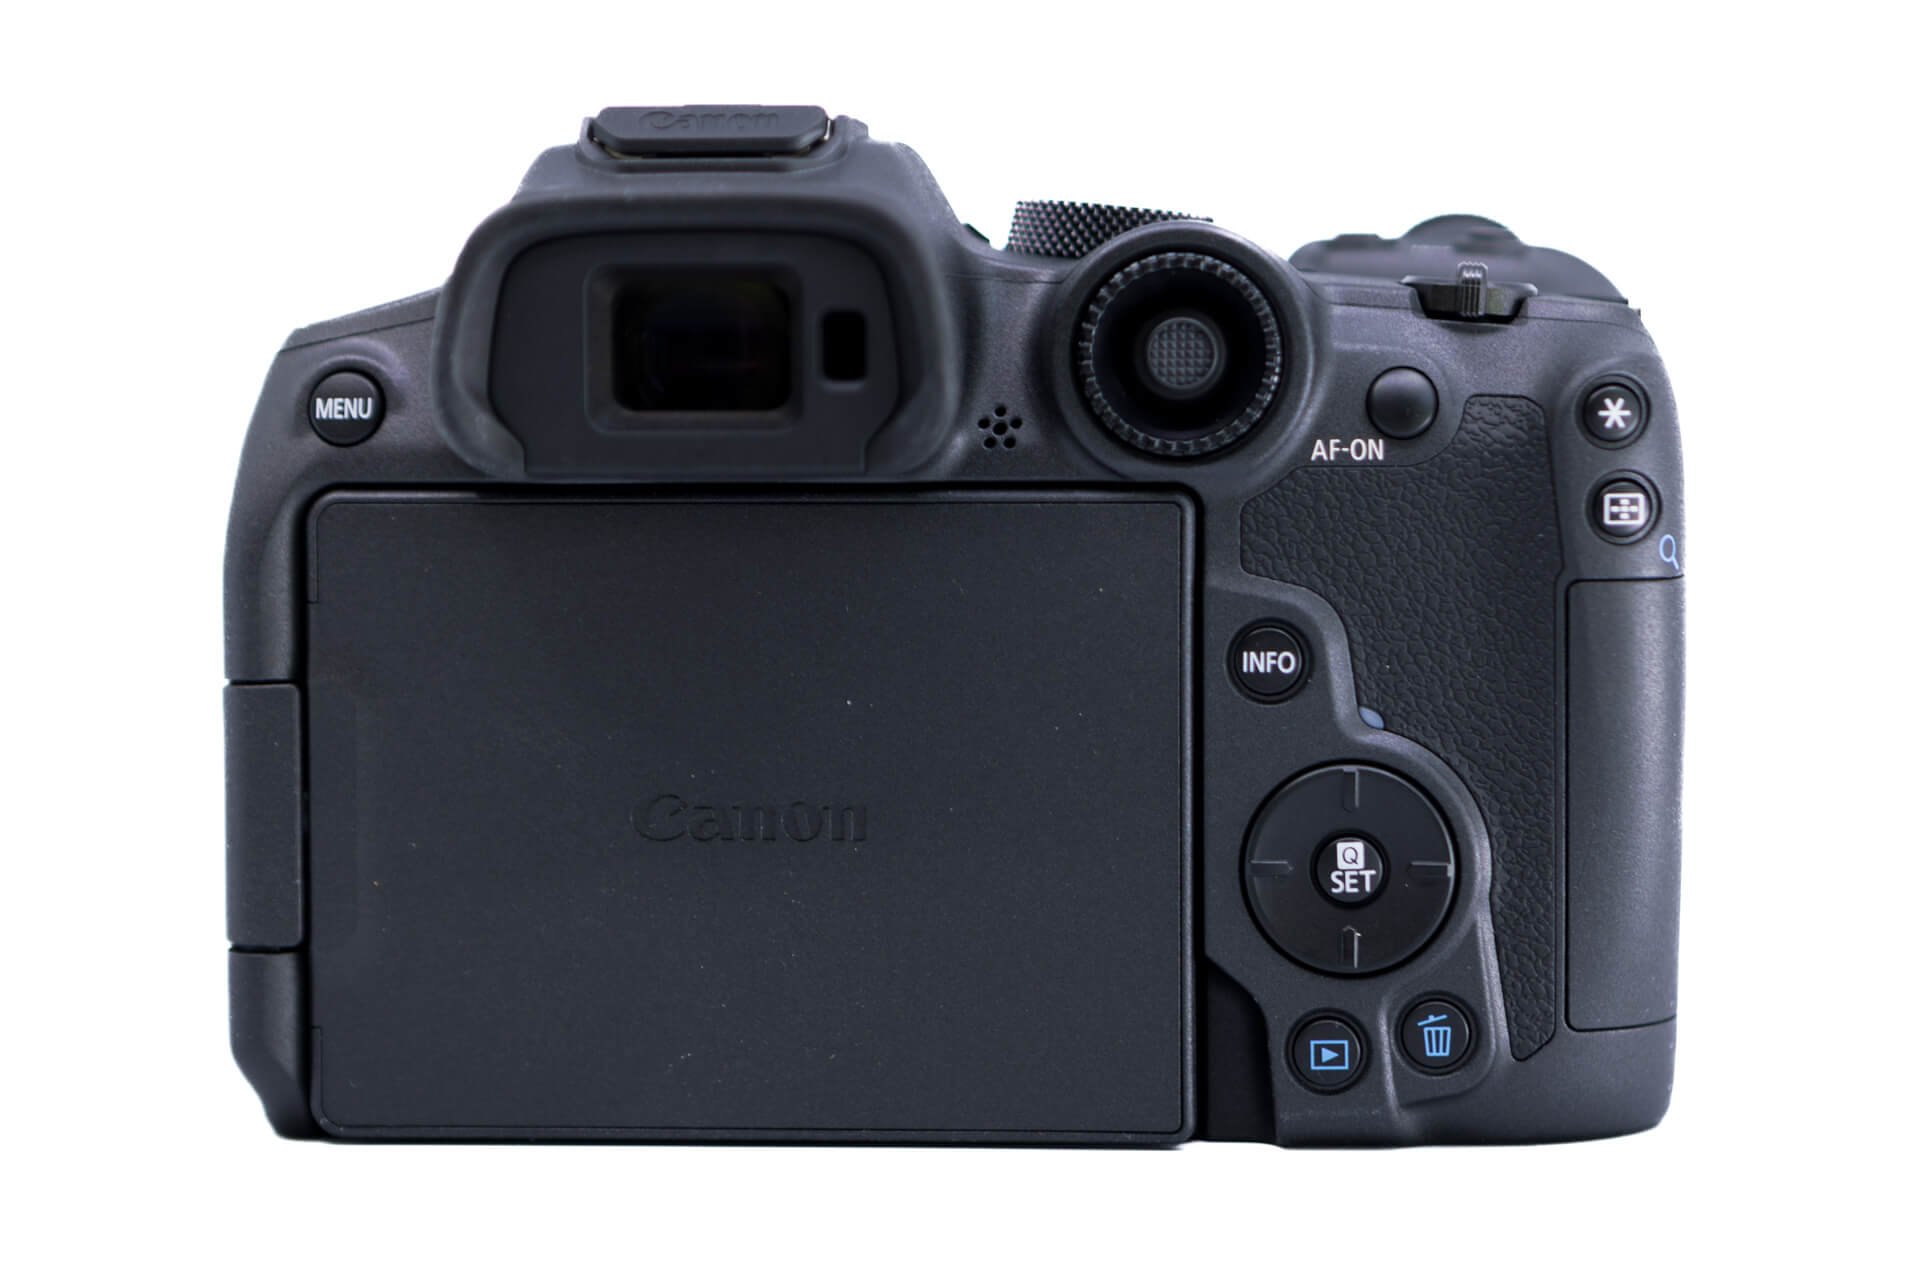
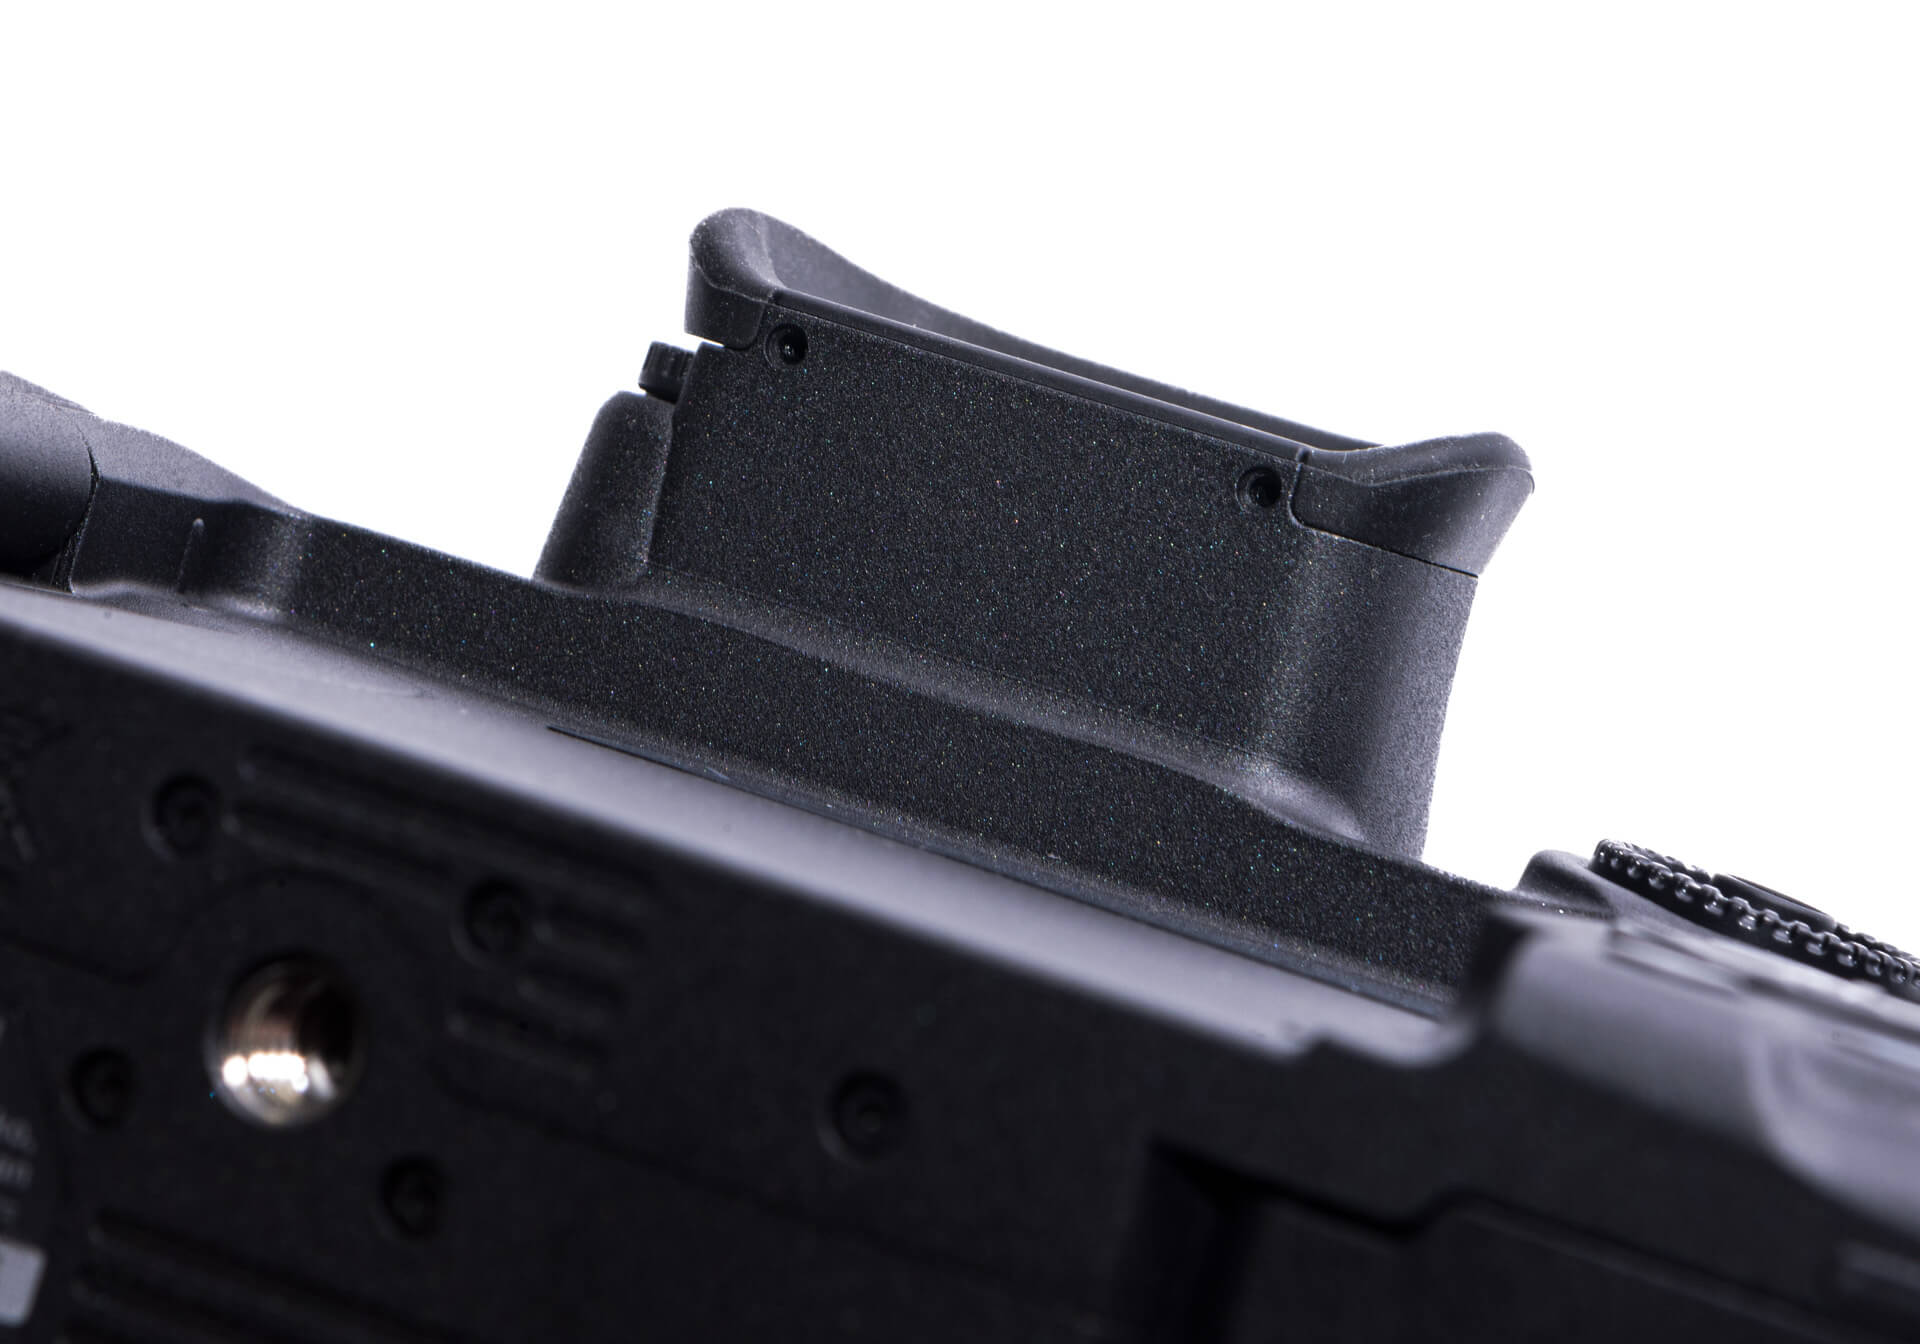
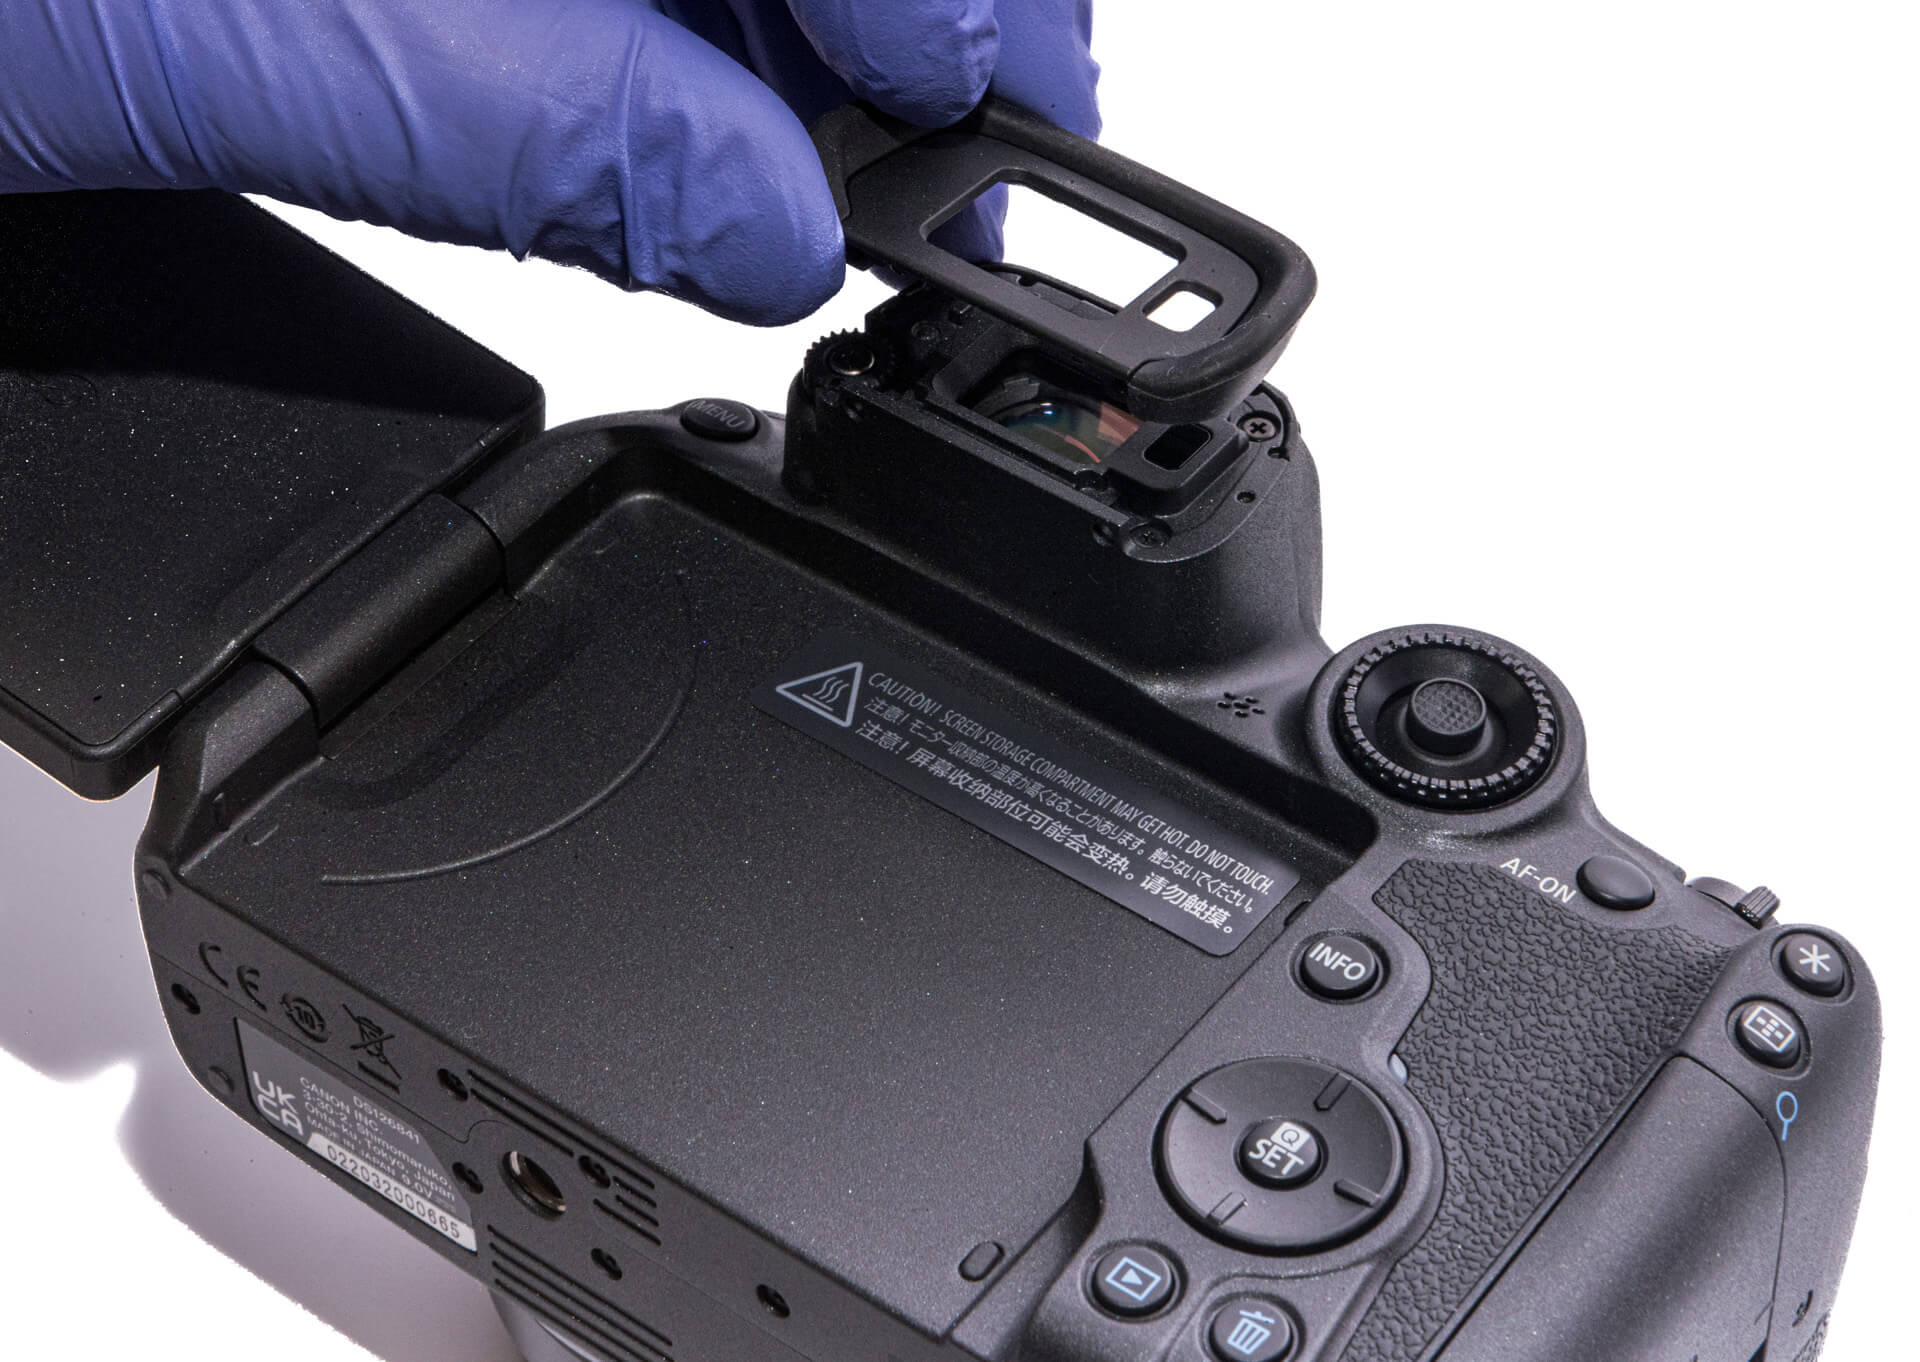
First, we remove the screws beneath the EVF.
Removing the rubber casing on the EVF reveals four new screws.
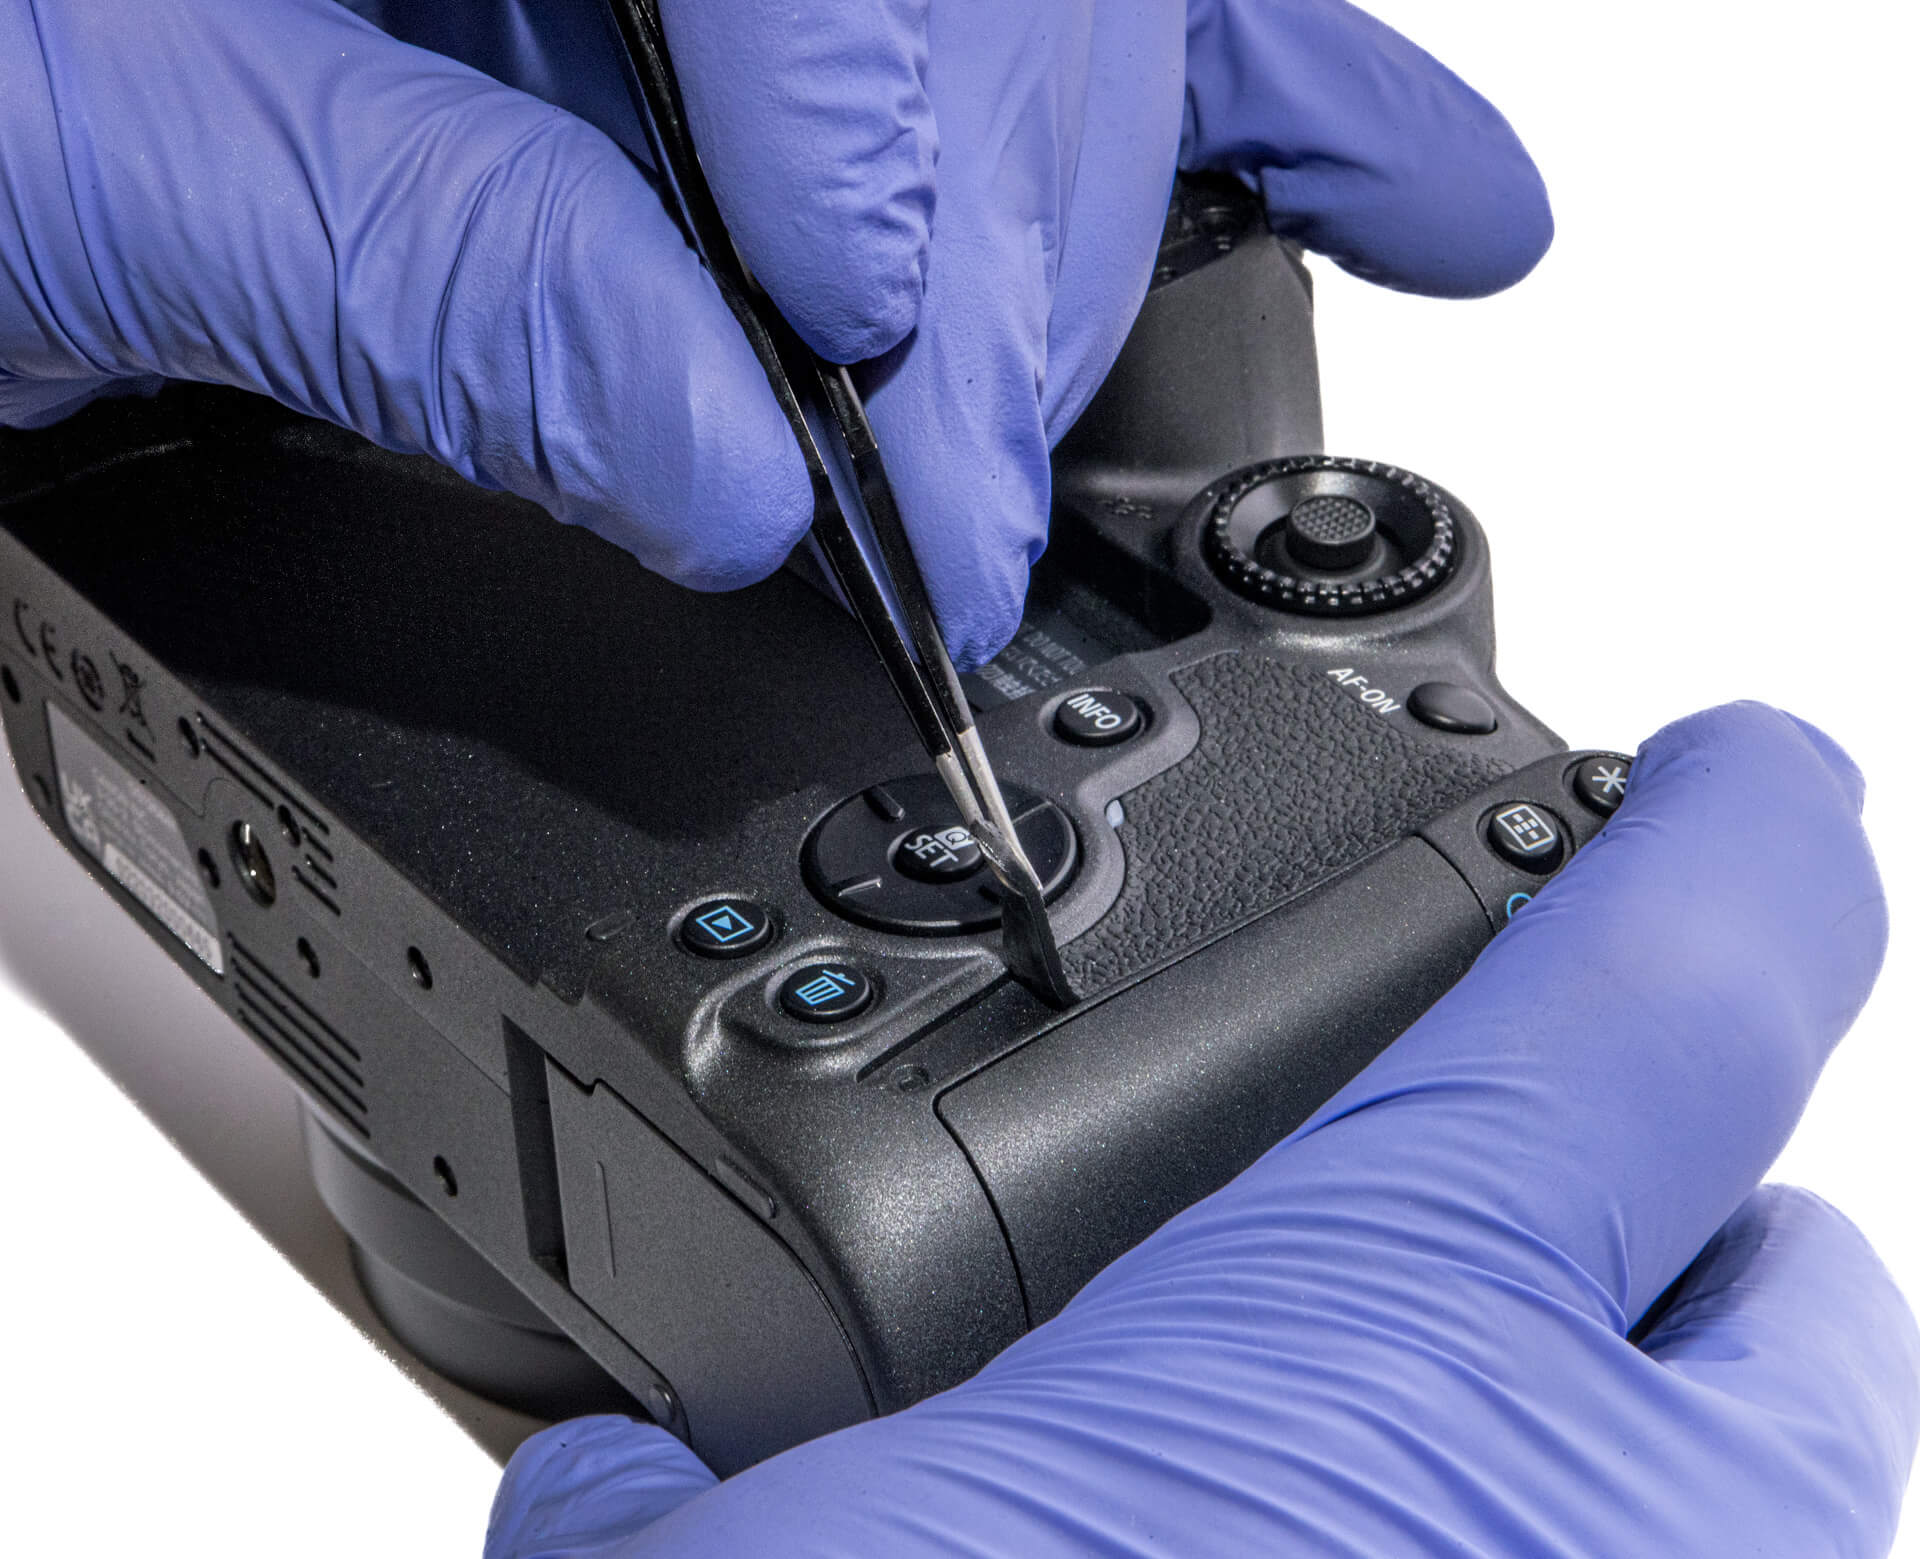
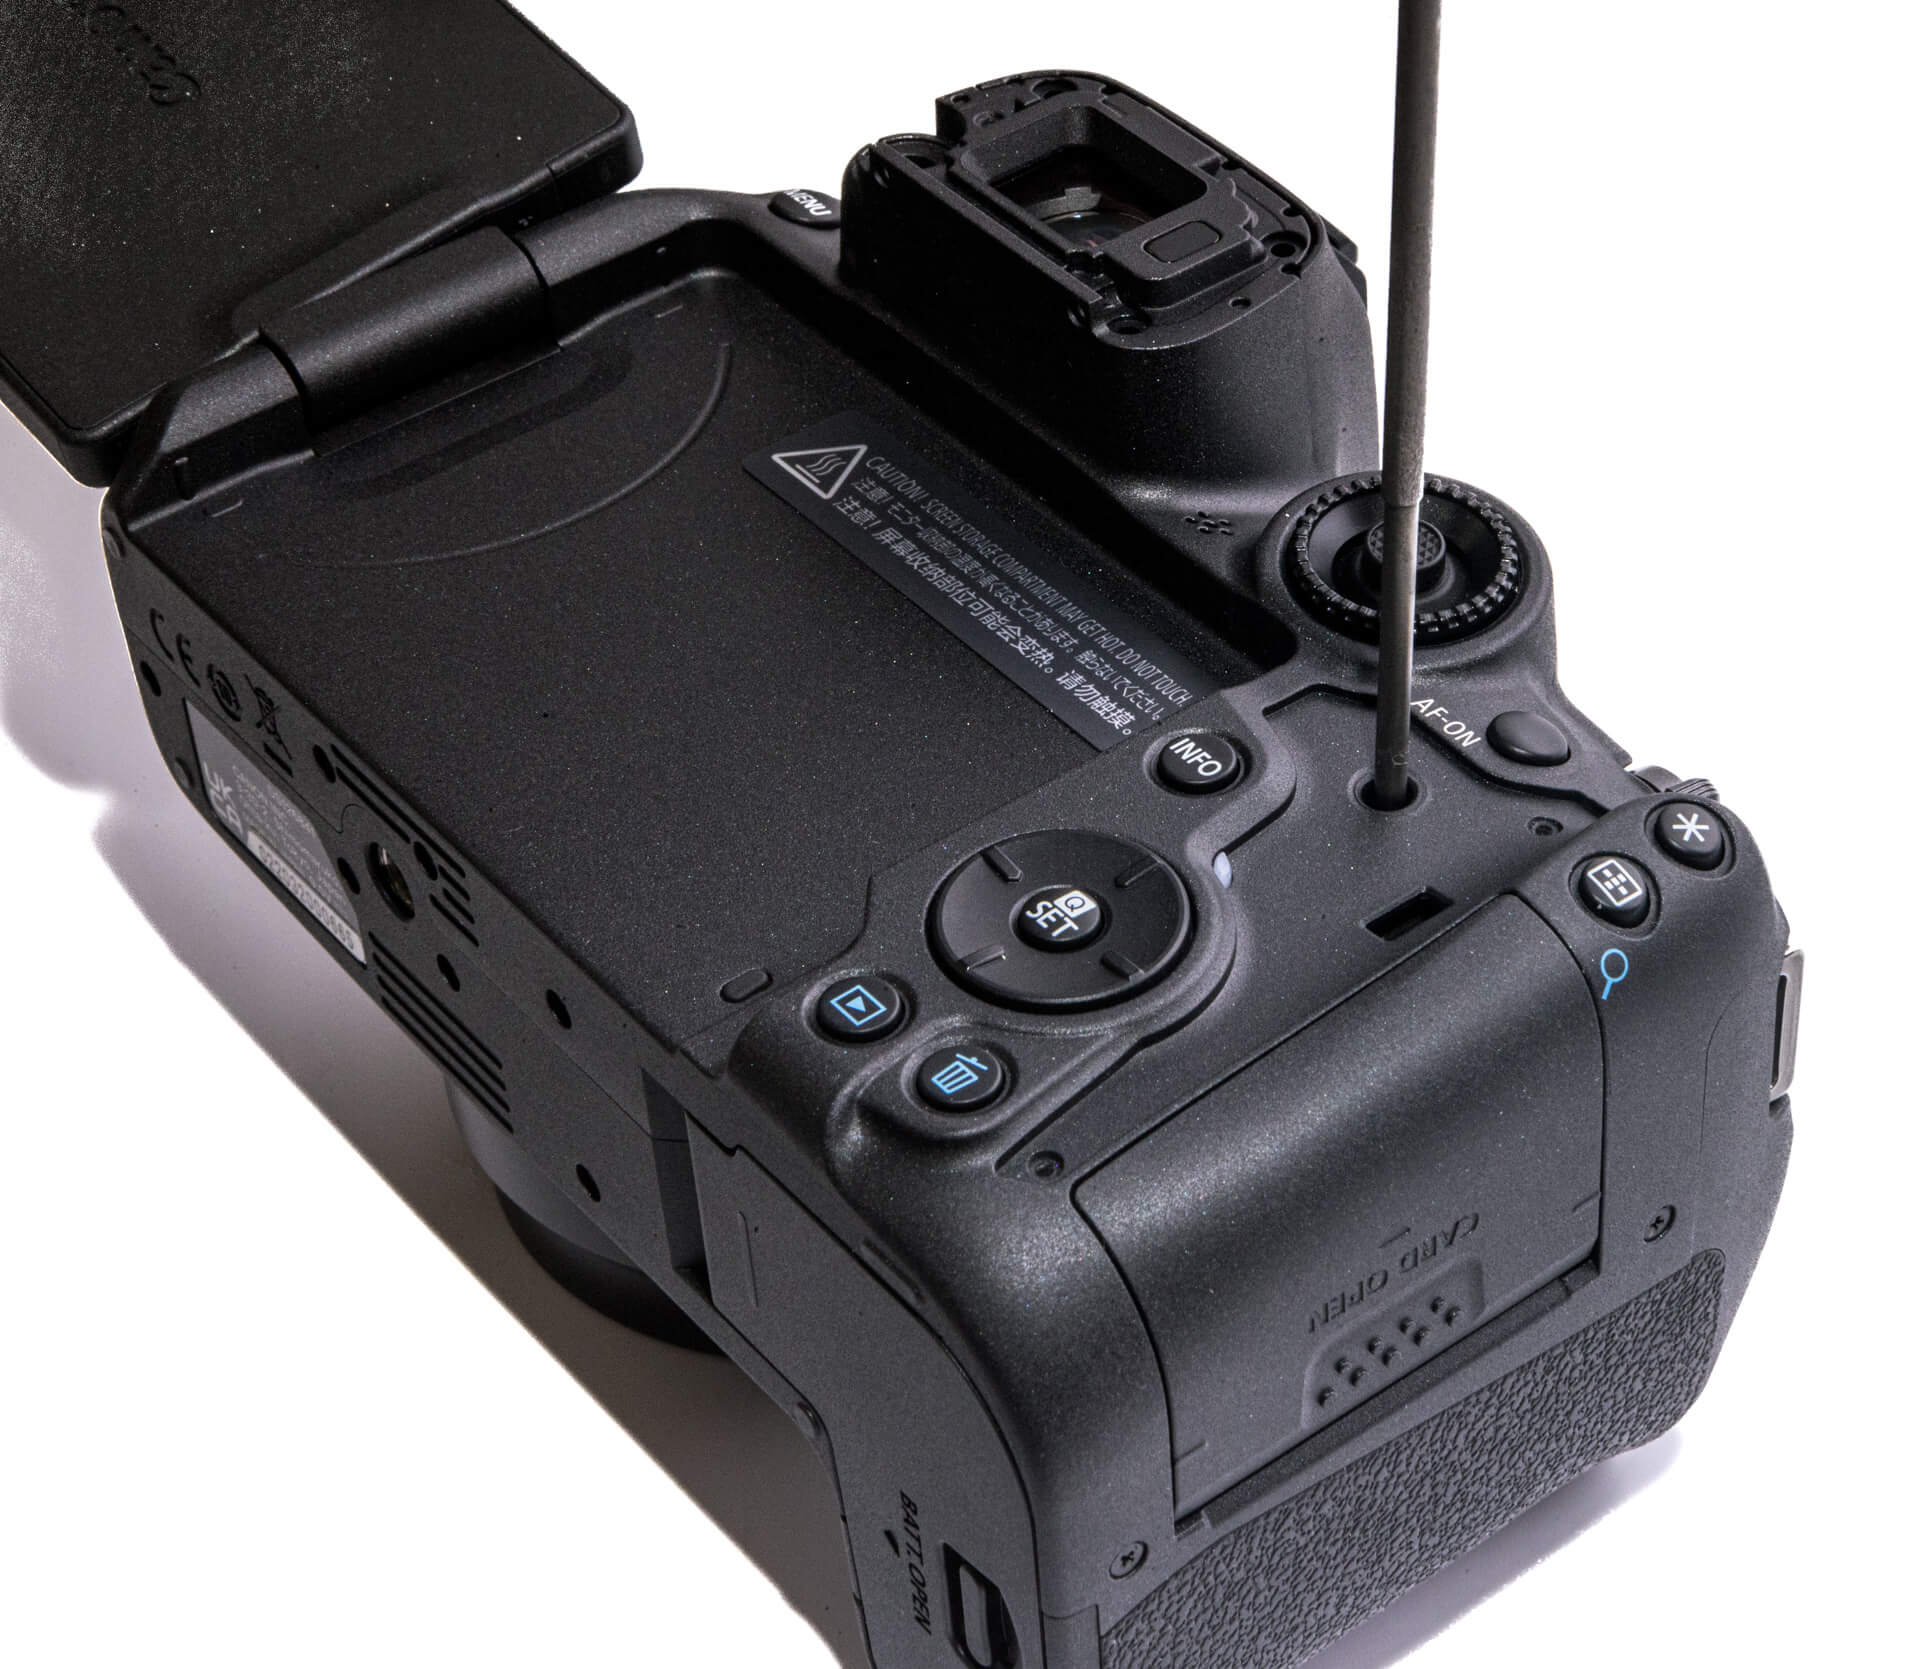
After removing those, we move down to the right side of the camera, removing the rubber grip to reveal another screw between the AF-ON and INFO buttons.
After removing that screw on the back, we move over to the right side of the camera, taking out the two screws on either side of the memory card door.
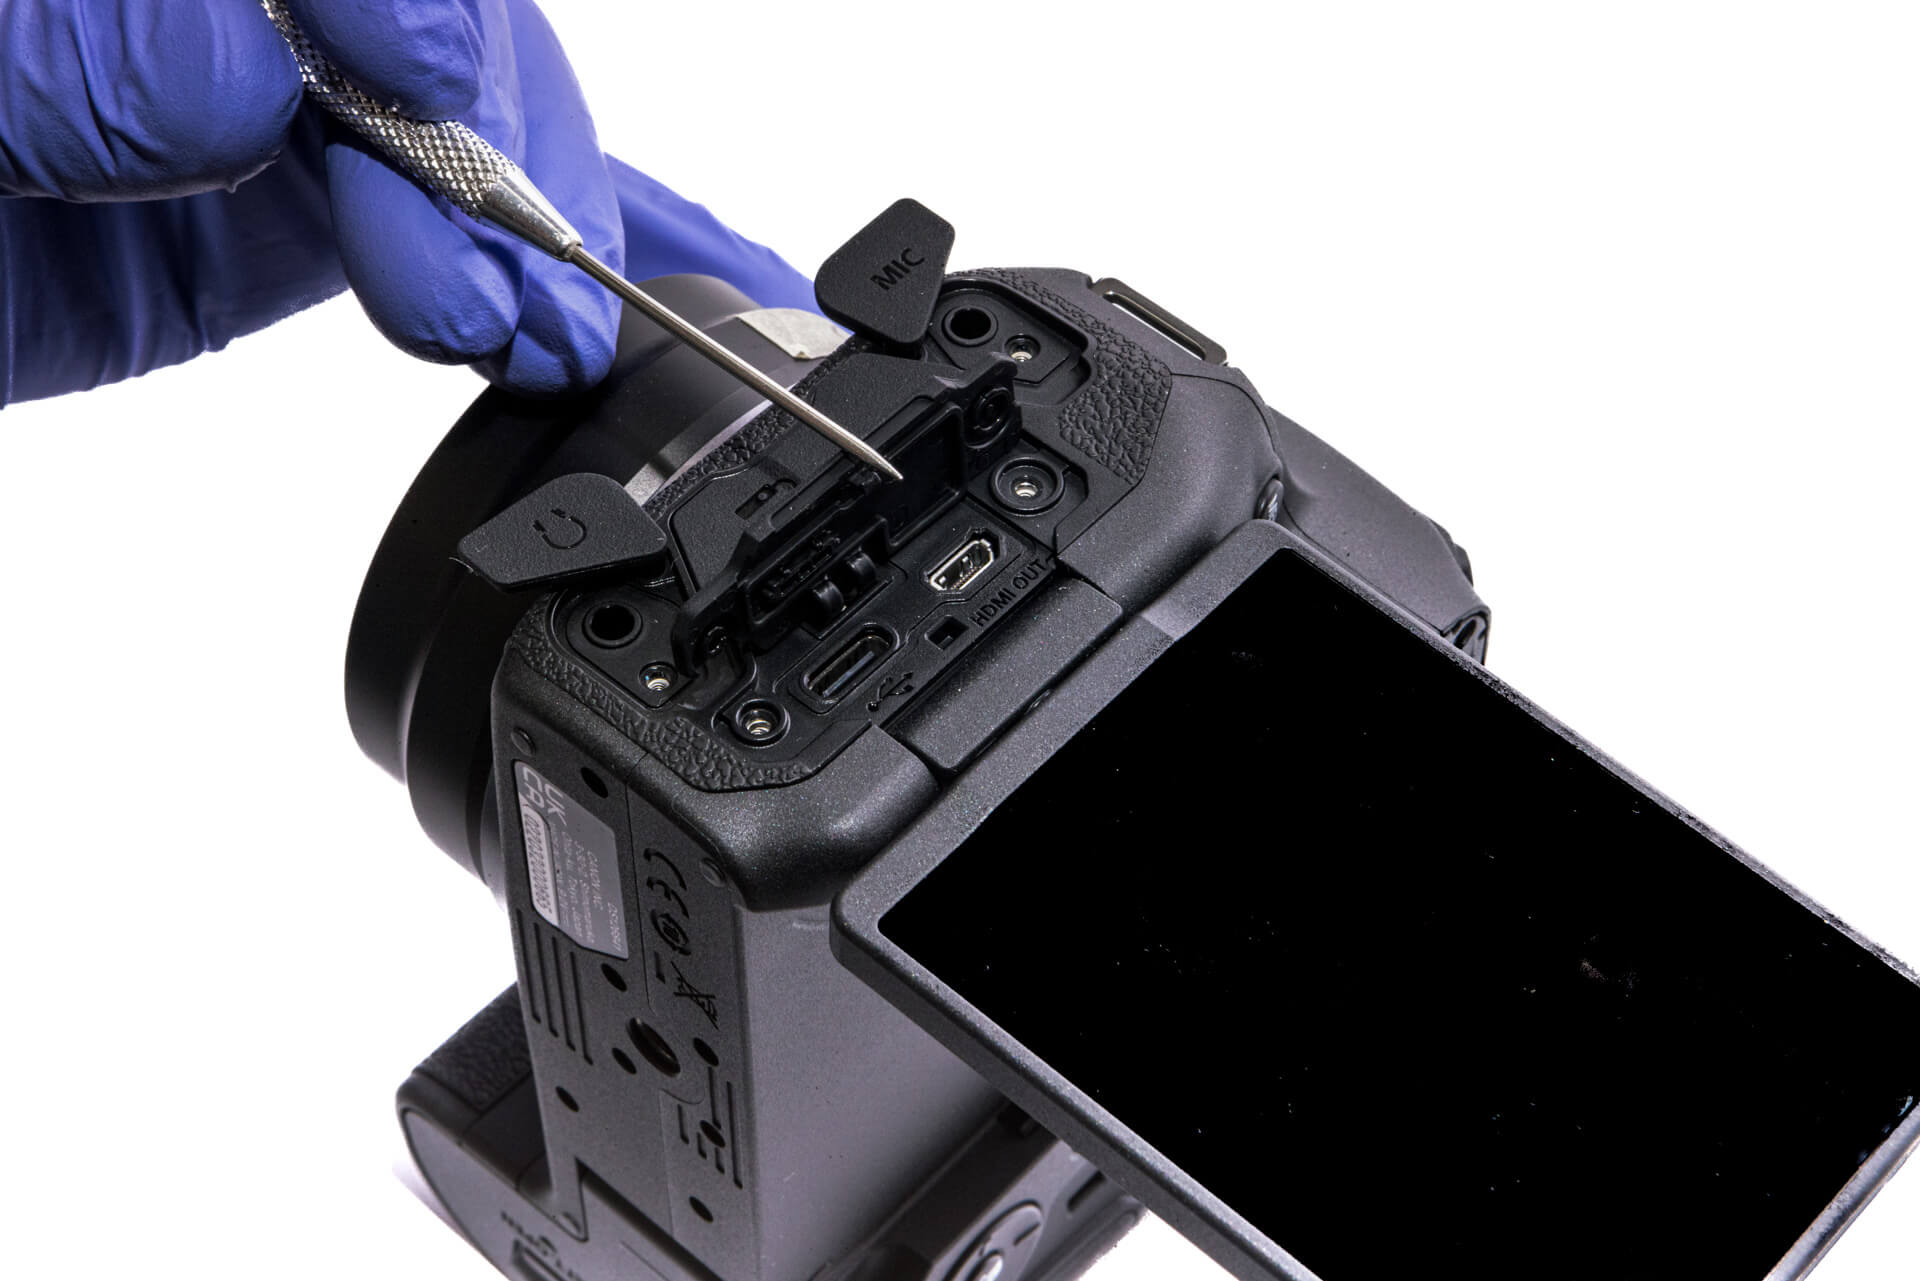
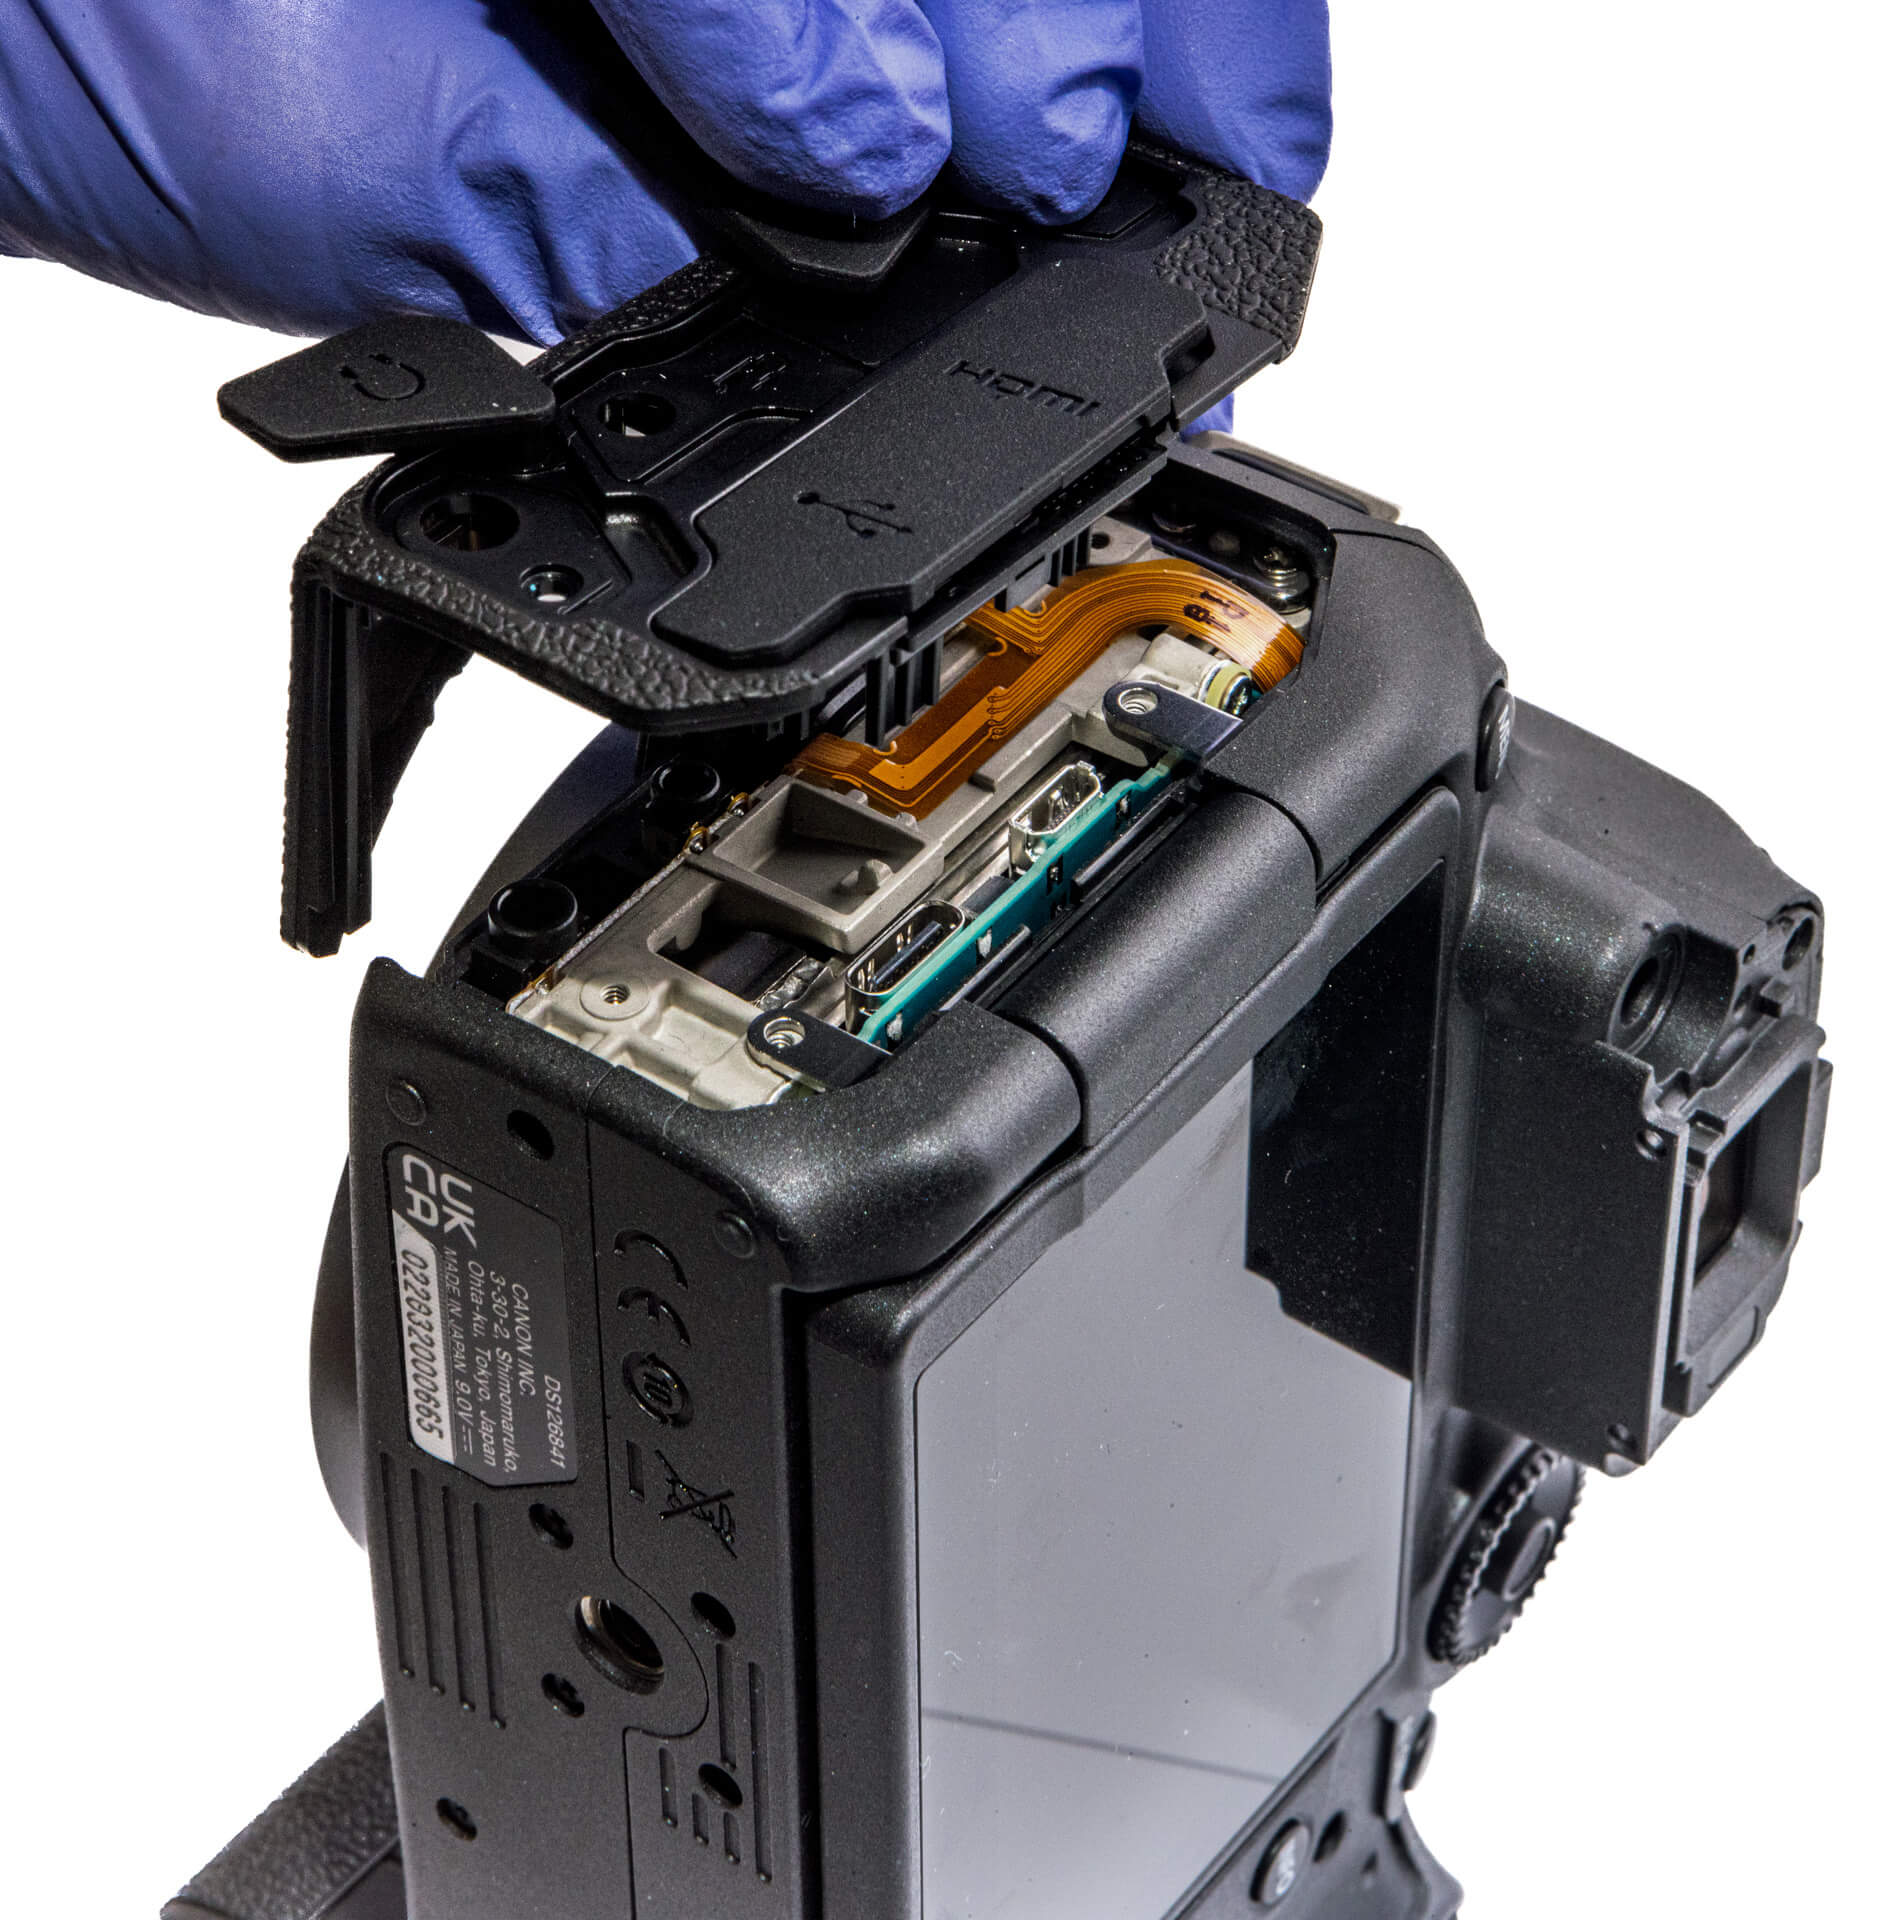
Flipping the camera over to access the port side, unscrew the four screws underneath the port covers.
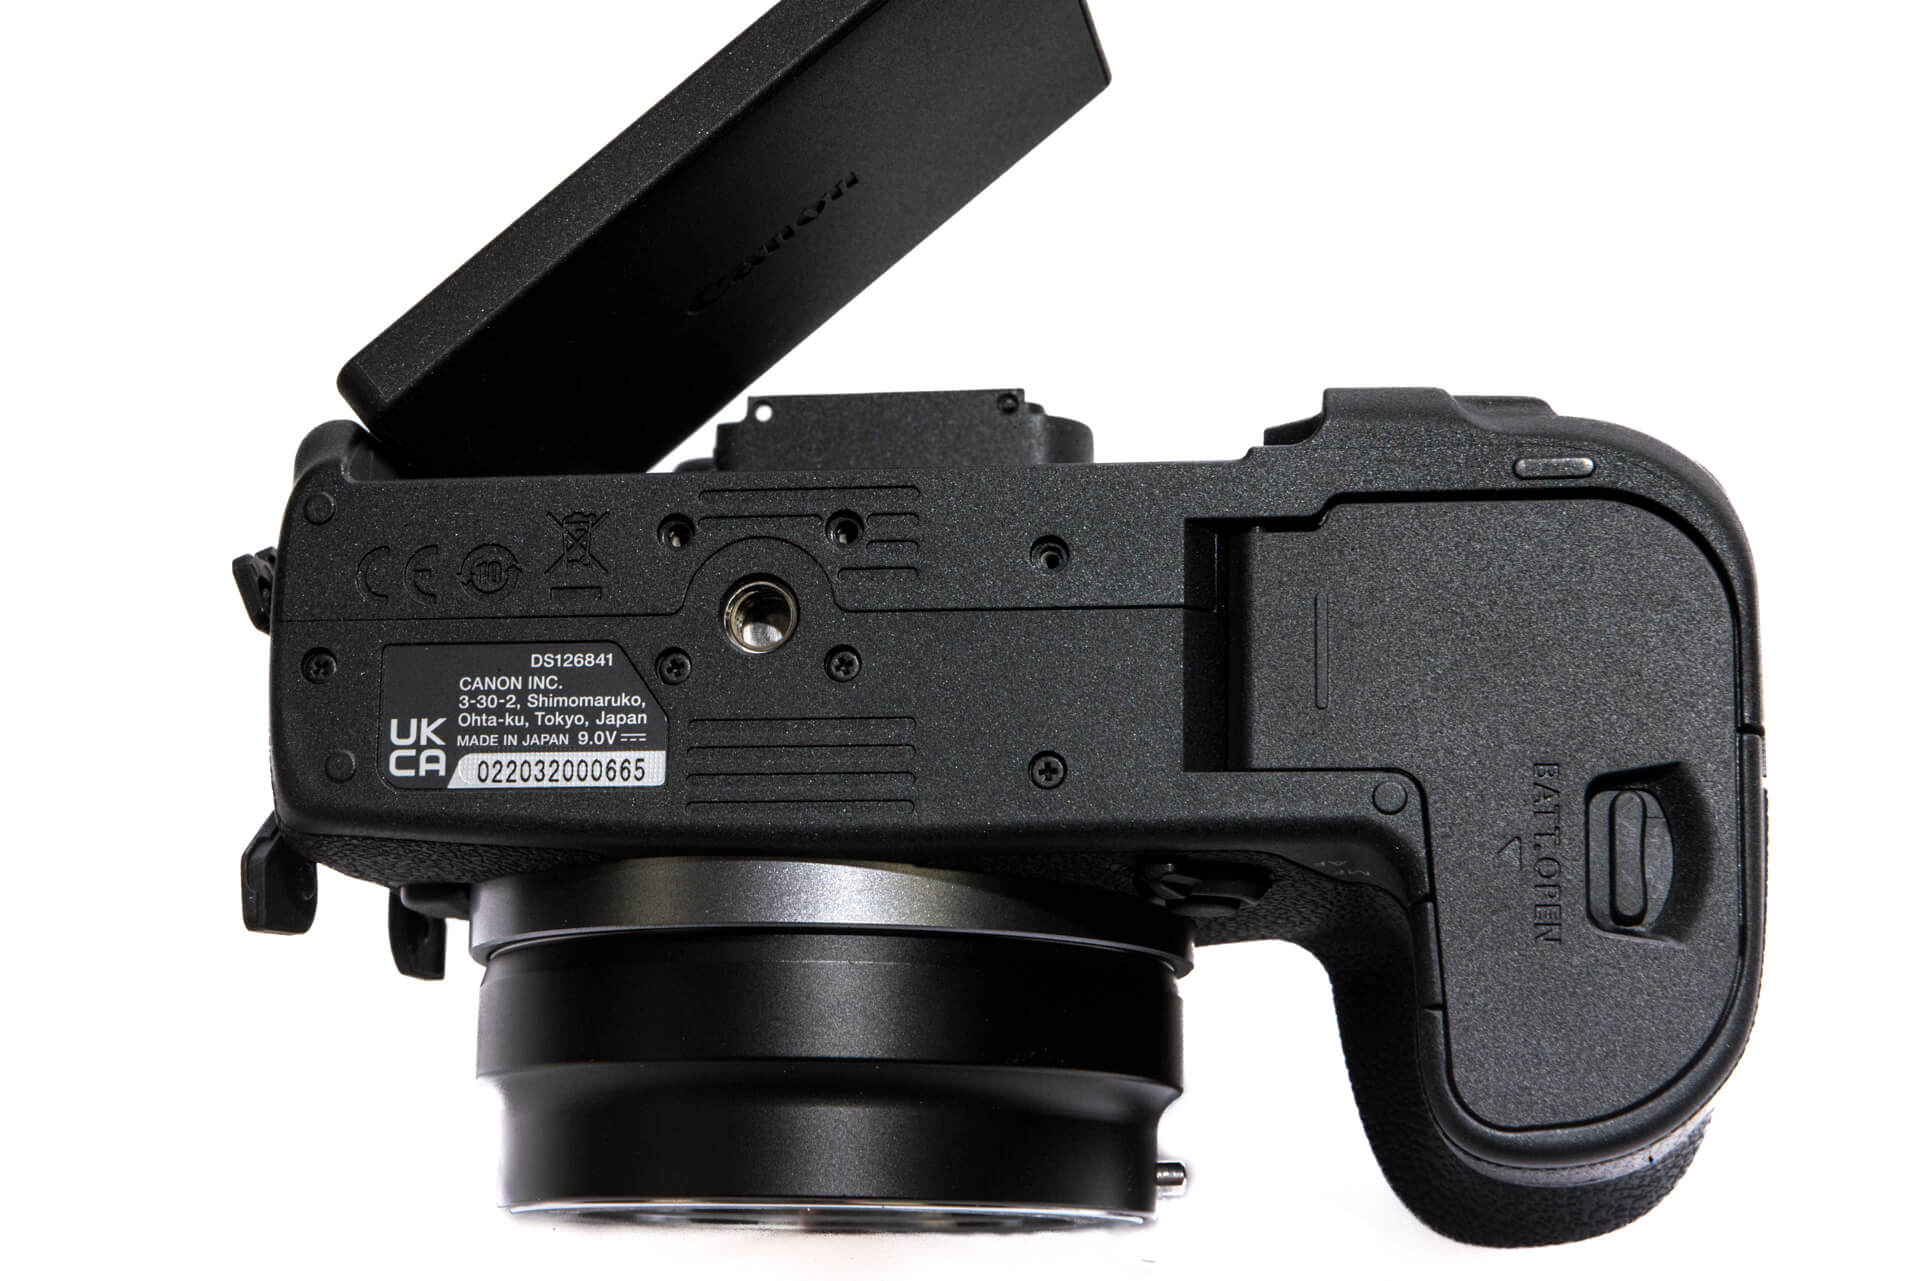
Underneath the camera are a series of screws that need to be taken out as well.
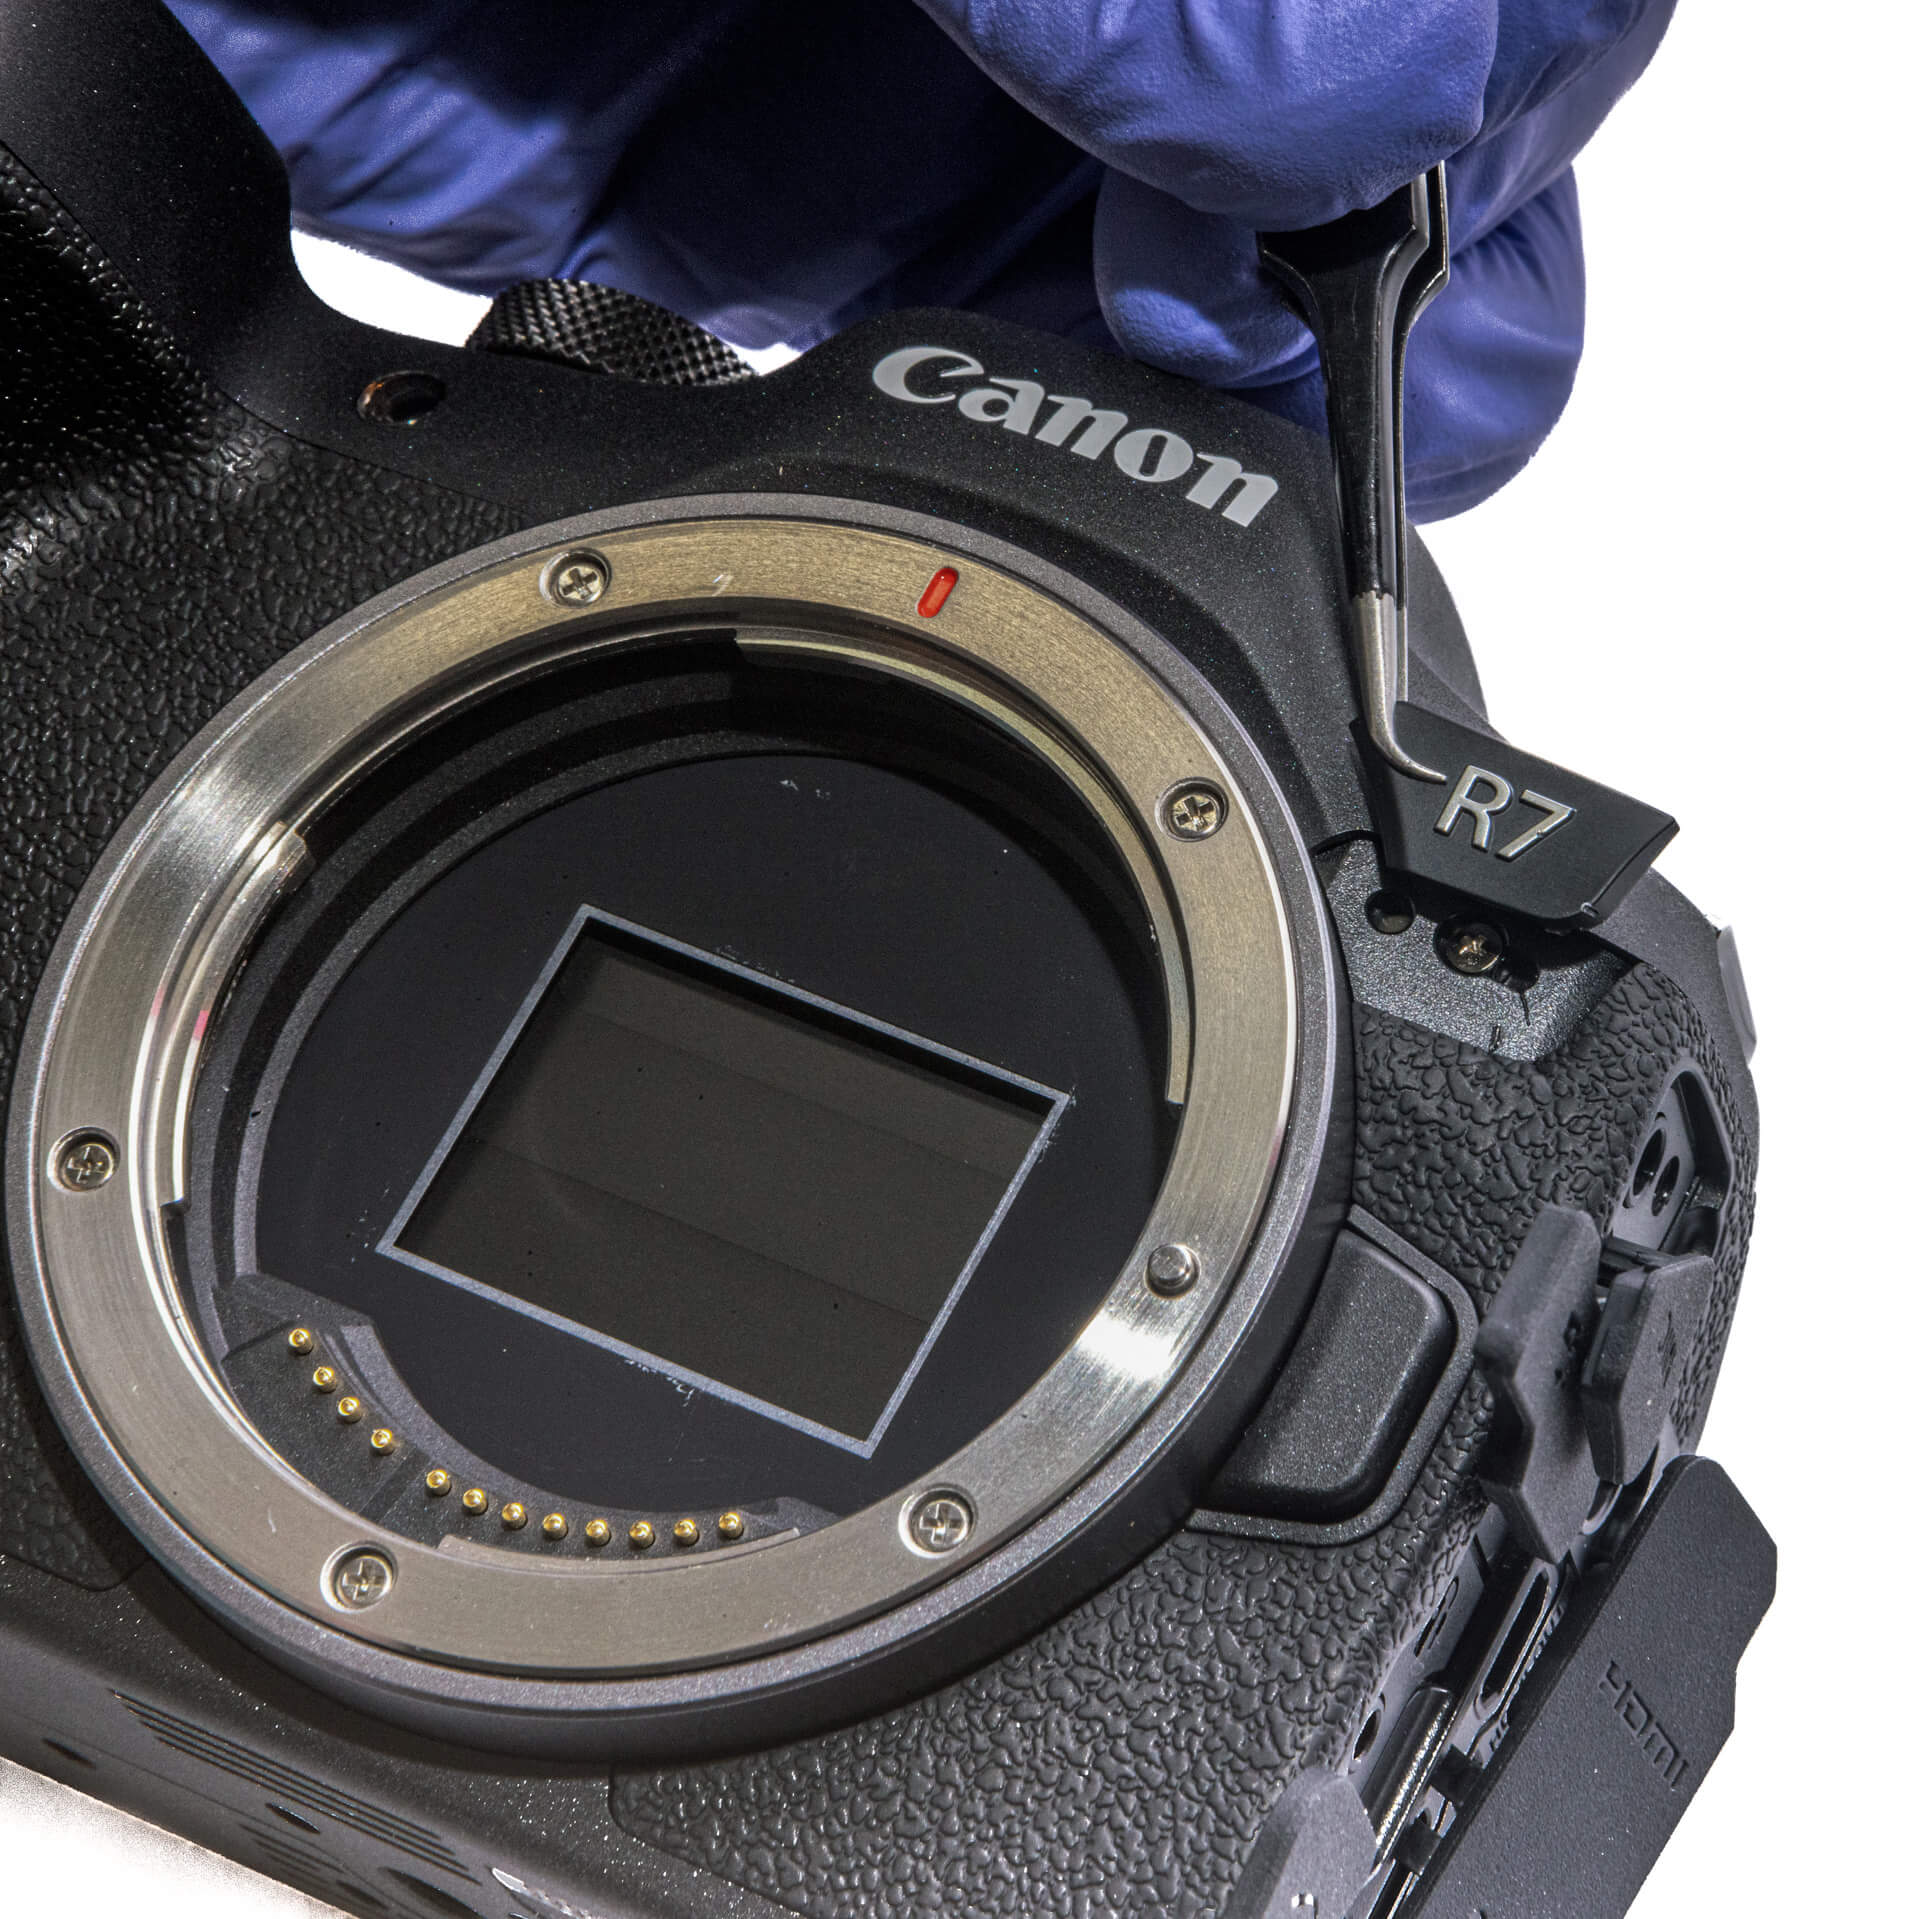
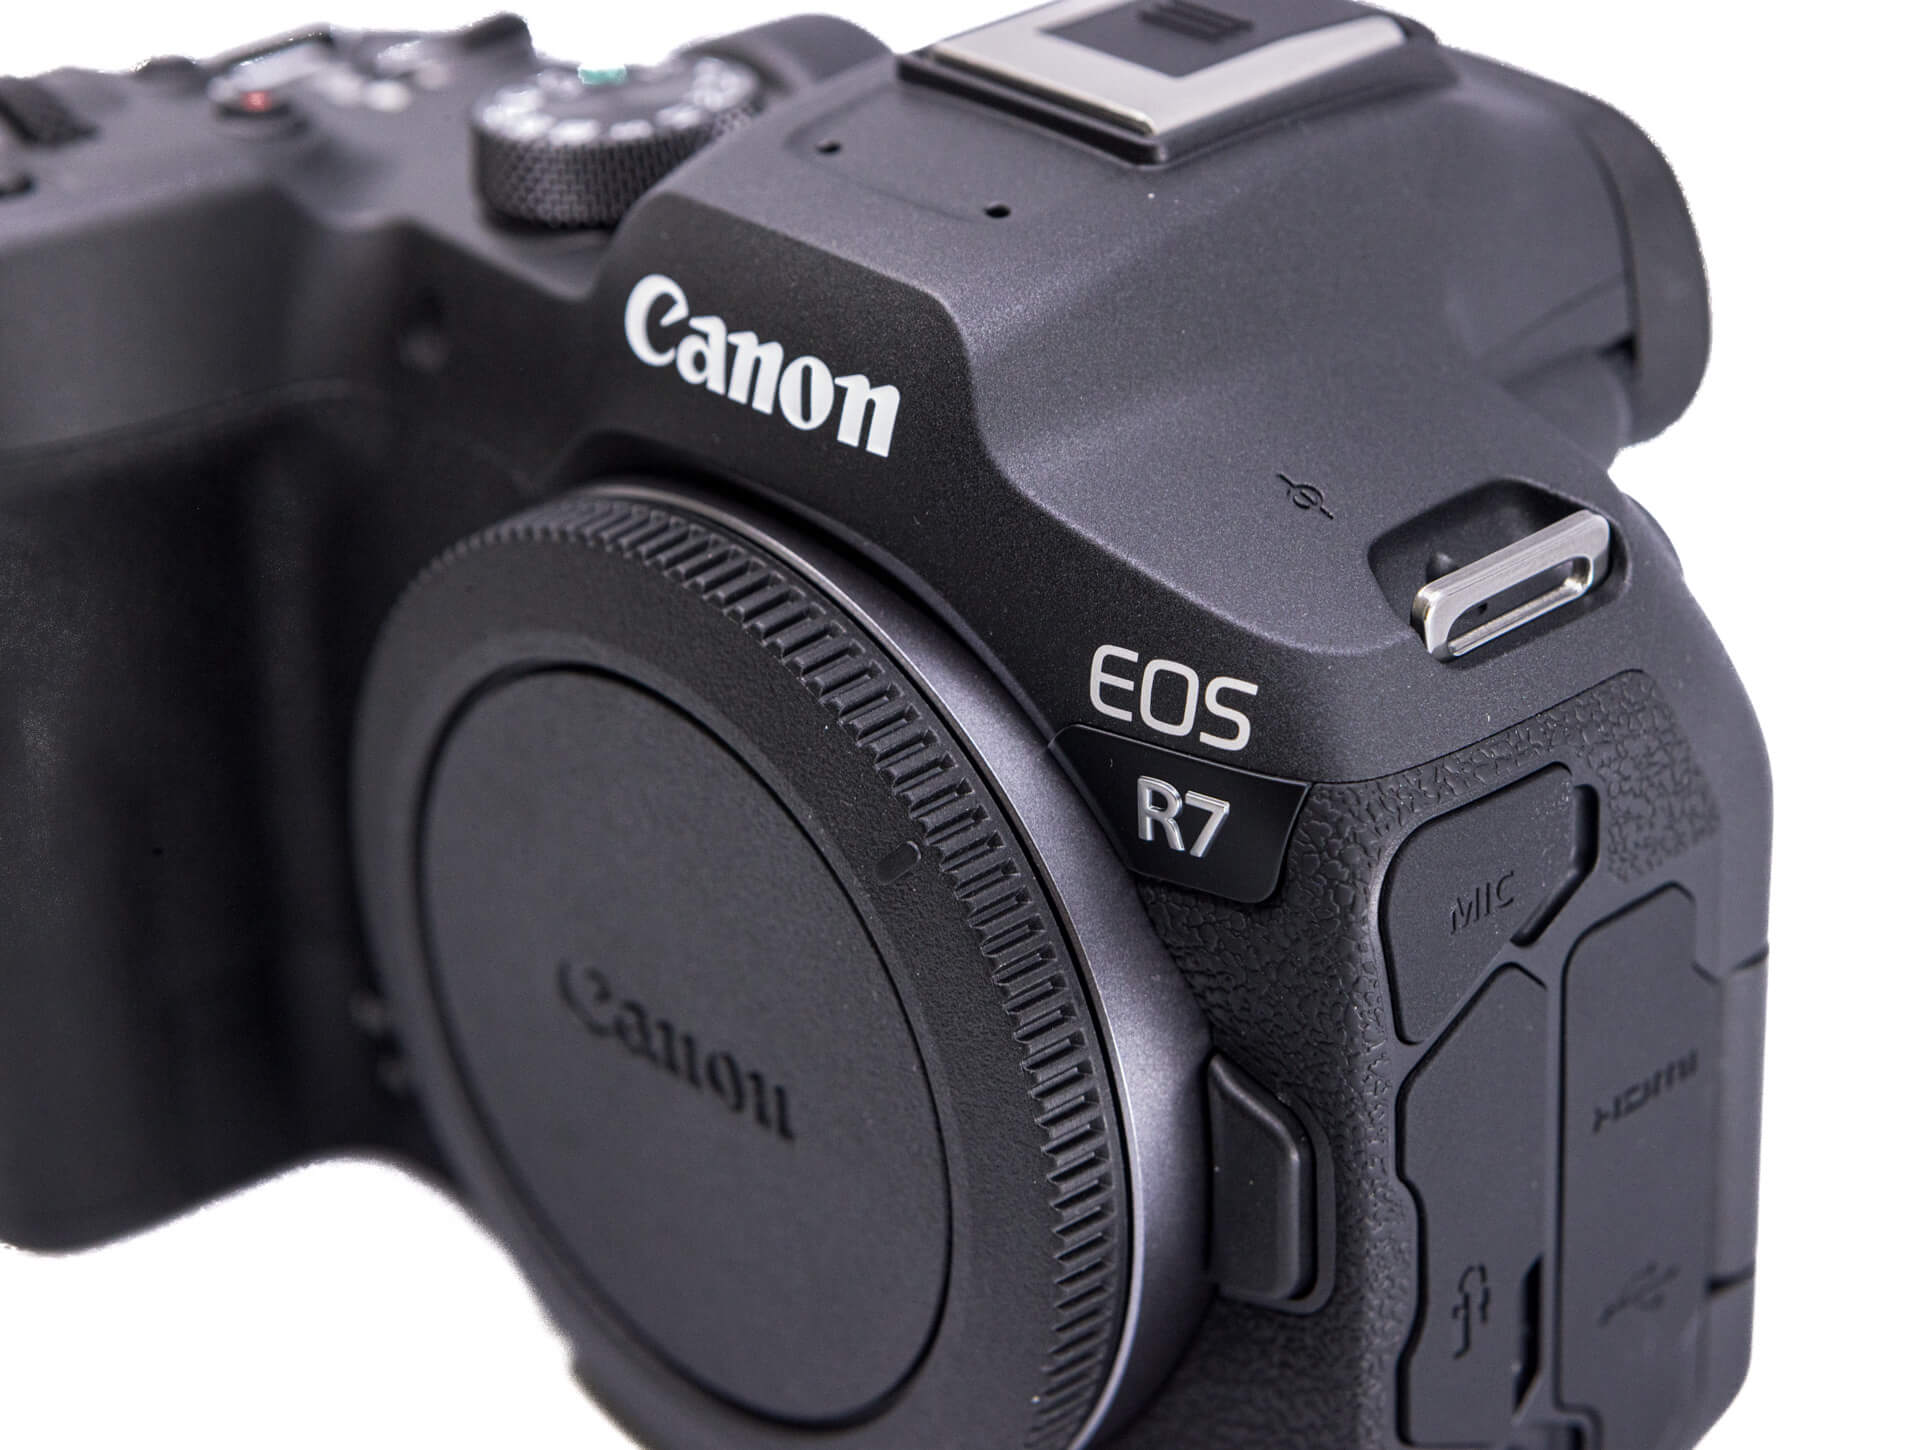
Only one more screw to remove before we can open up the camera’s plastic housing. This one is on the front of the camera, just beneath the R7 logo.
And with that, we are ready to open up the camera to work on the internals.
Opening the Camera Body and Disconnecting the Main Ribbon Cable
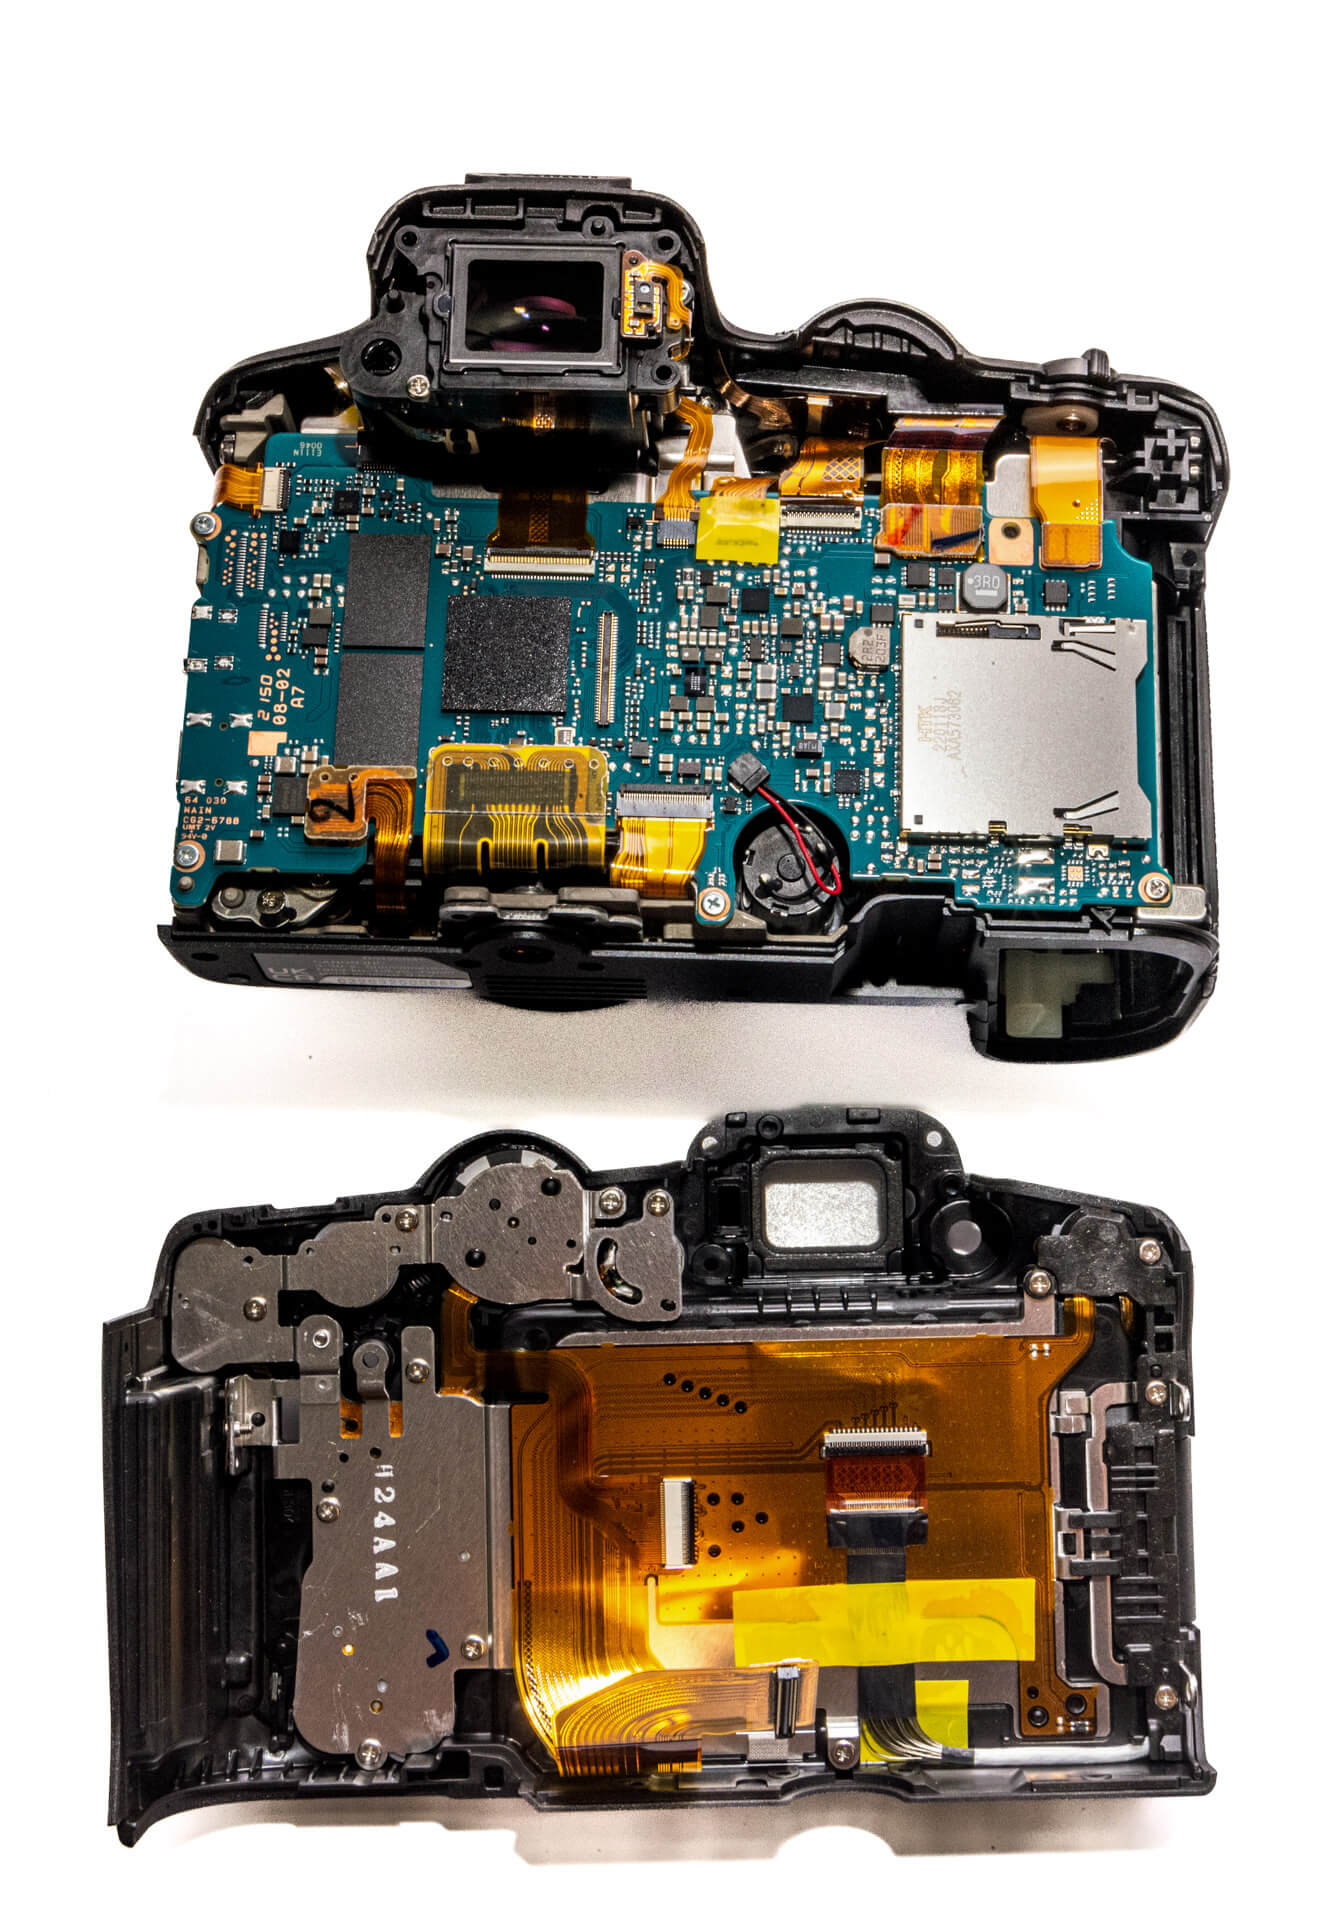
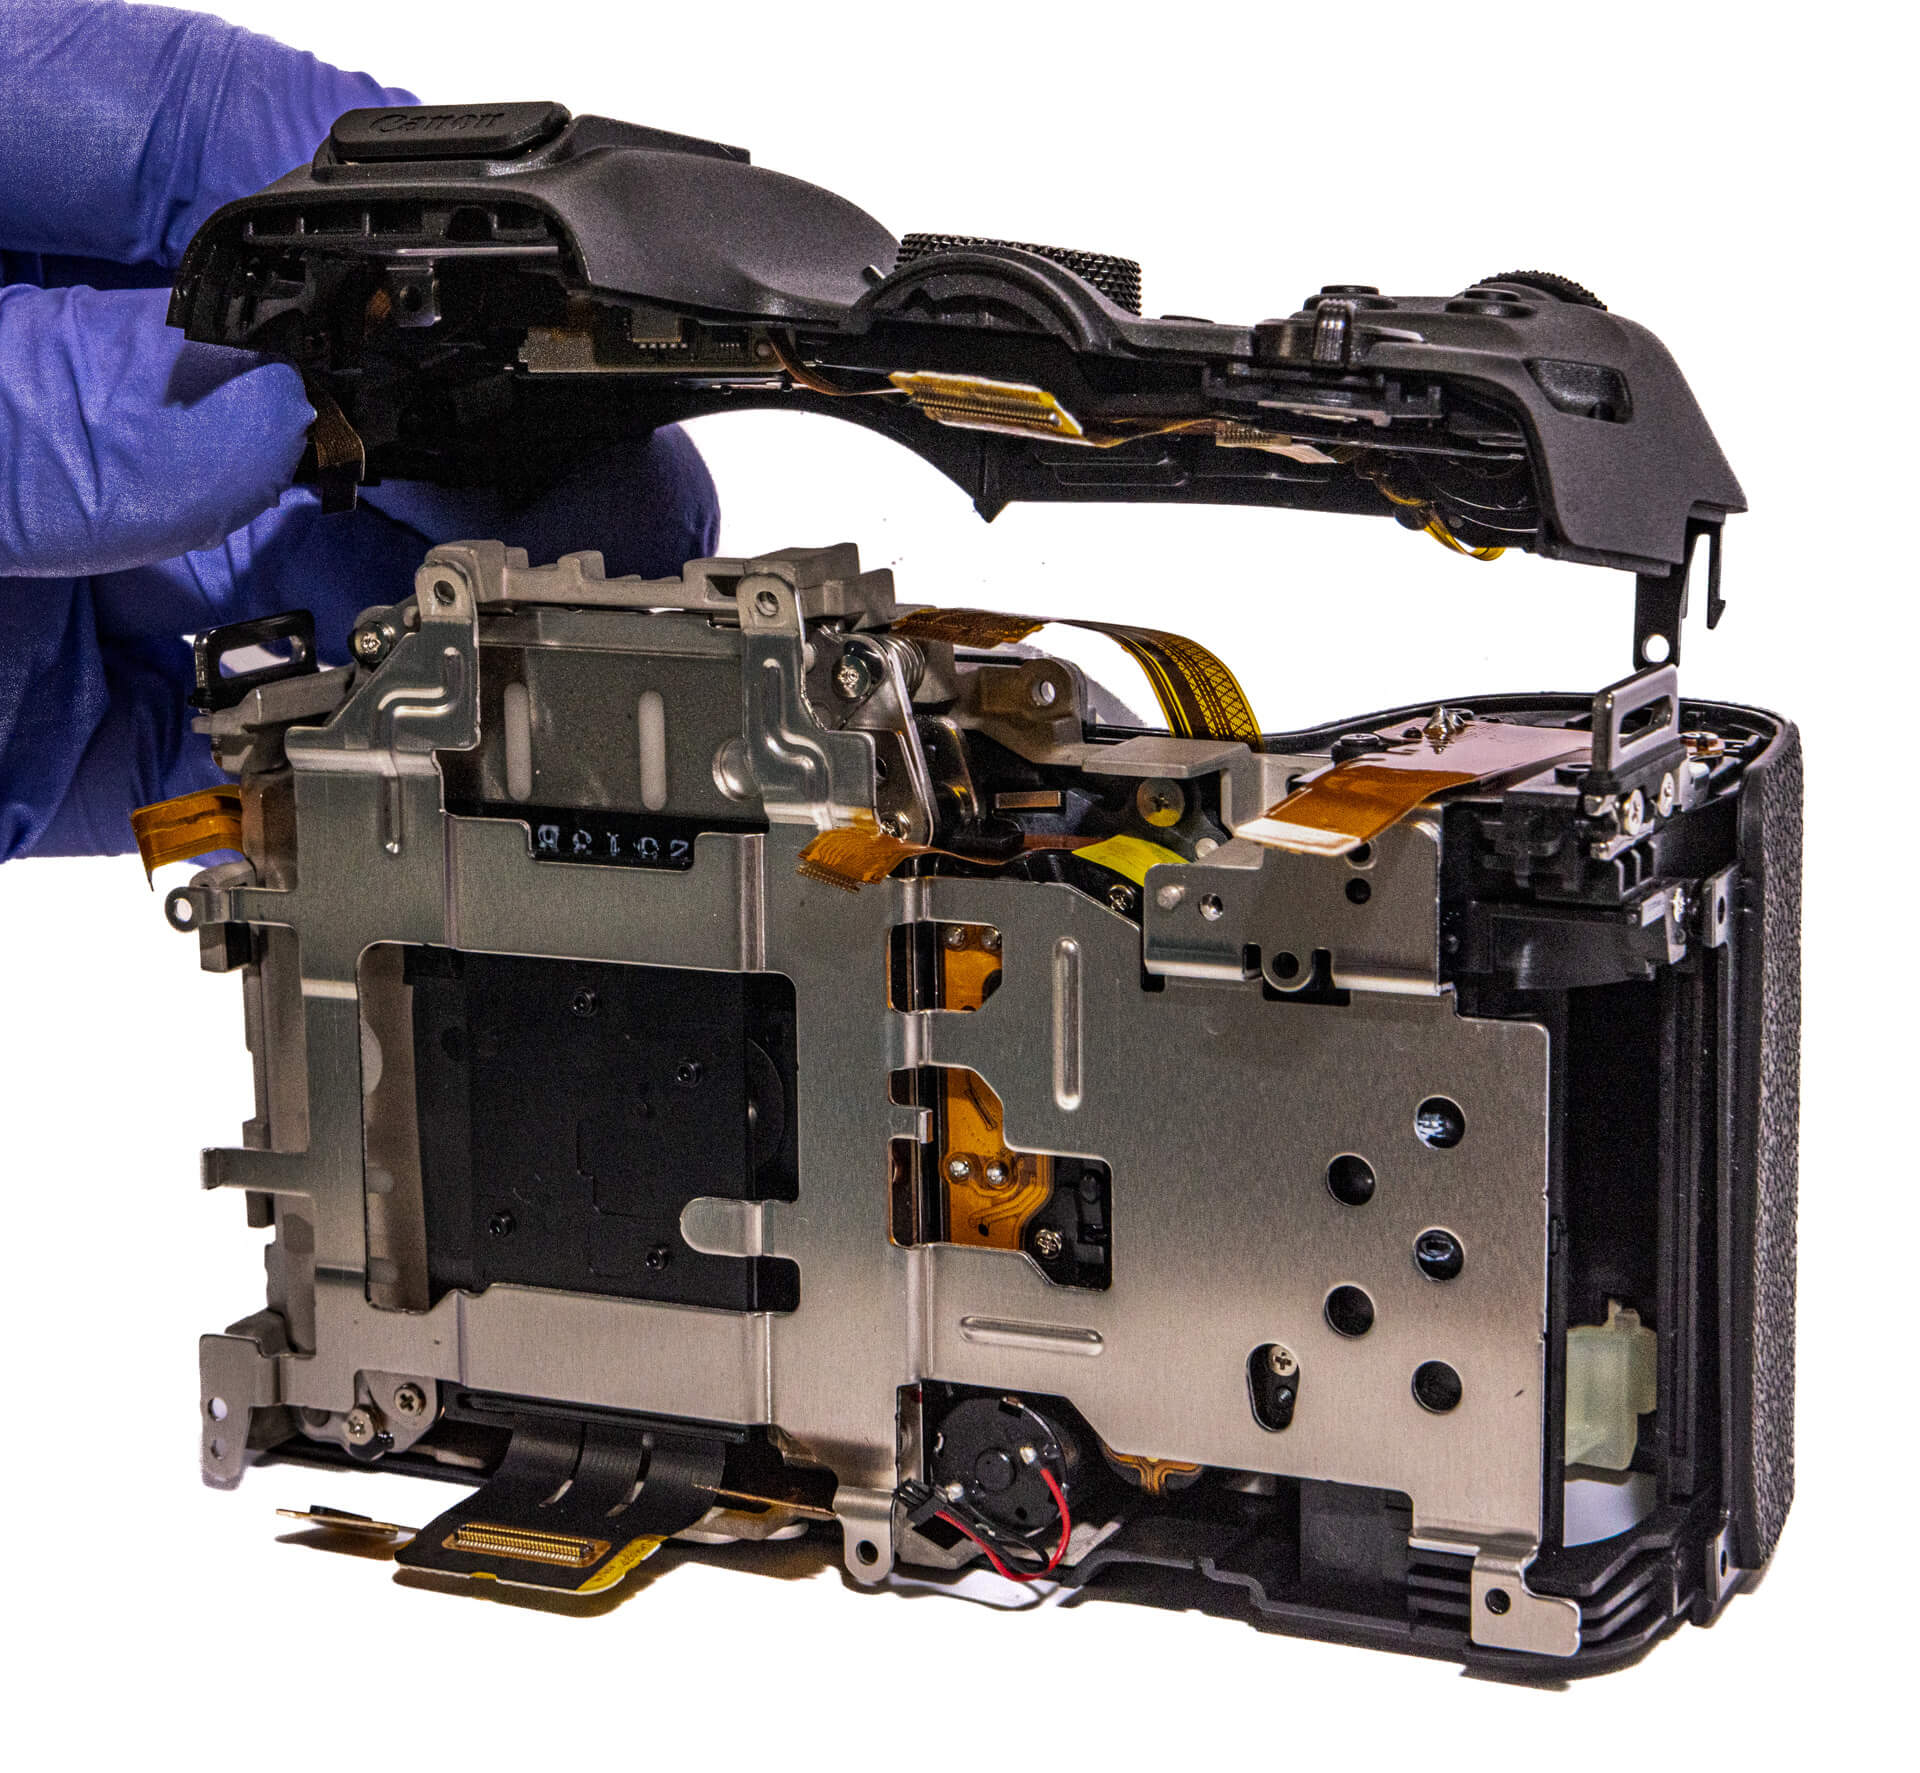
When opening up the camera, we first have to remove the port side panel.
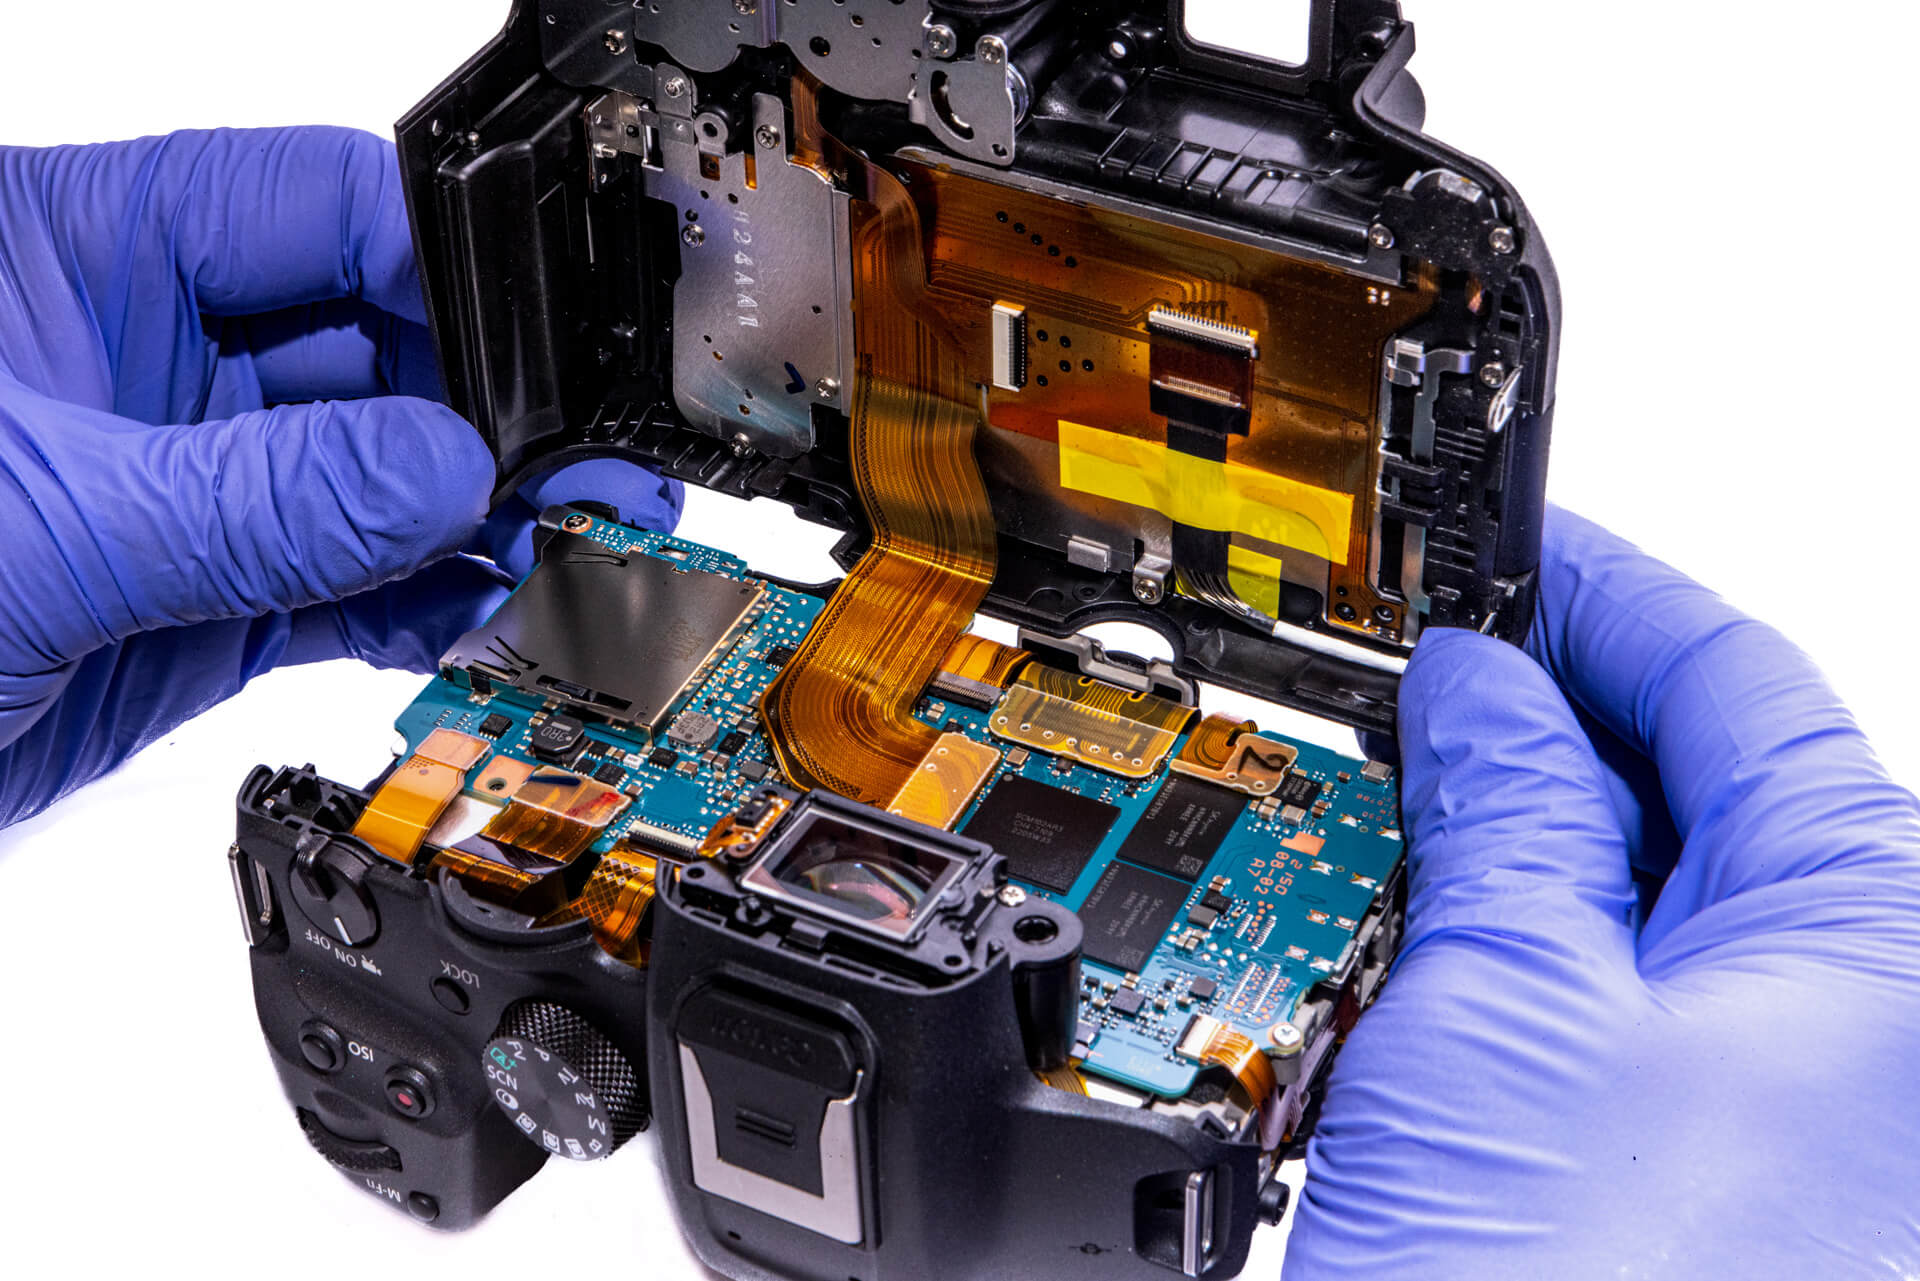
As we open the camera, we are greeted with a massive ribbon cable keeping both halves of the camera together.
Our next step is to detach that massive ribbon with caution and precision. Then we can start to get the motherboard out.
Removing the EVF and Motherboard
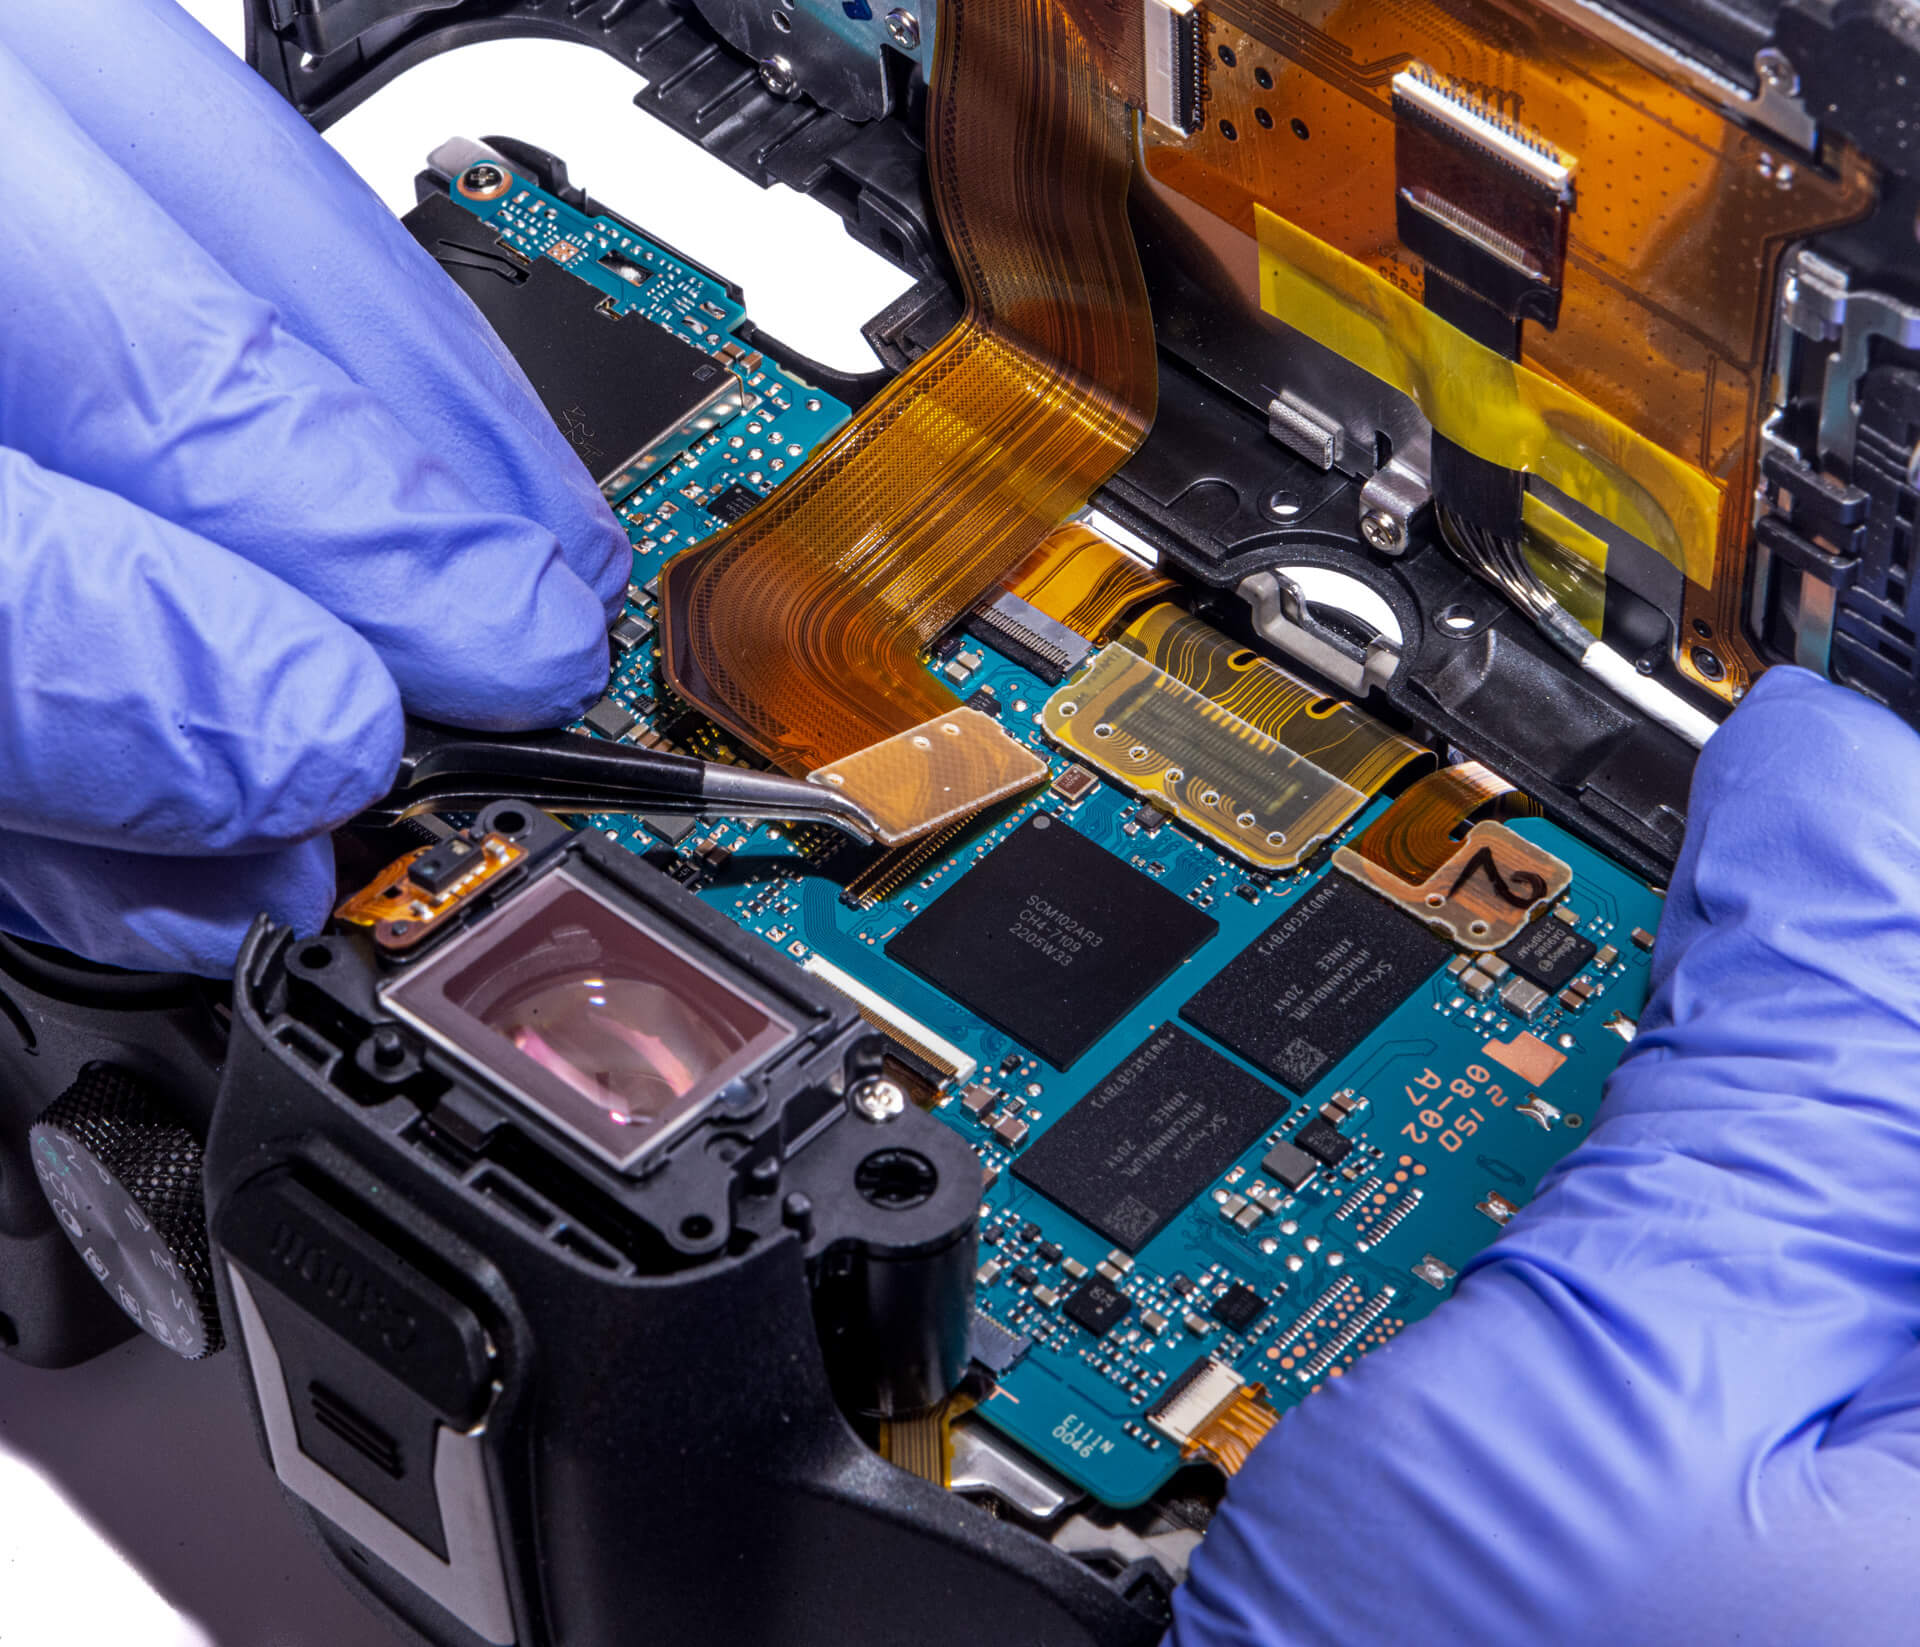
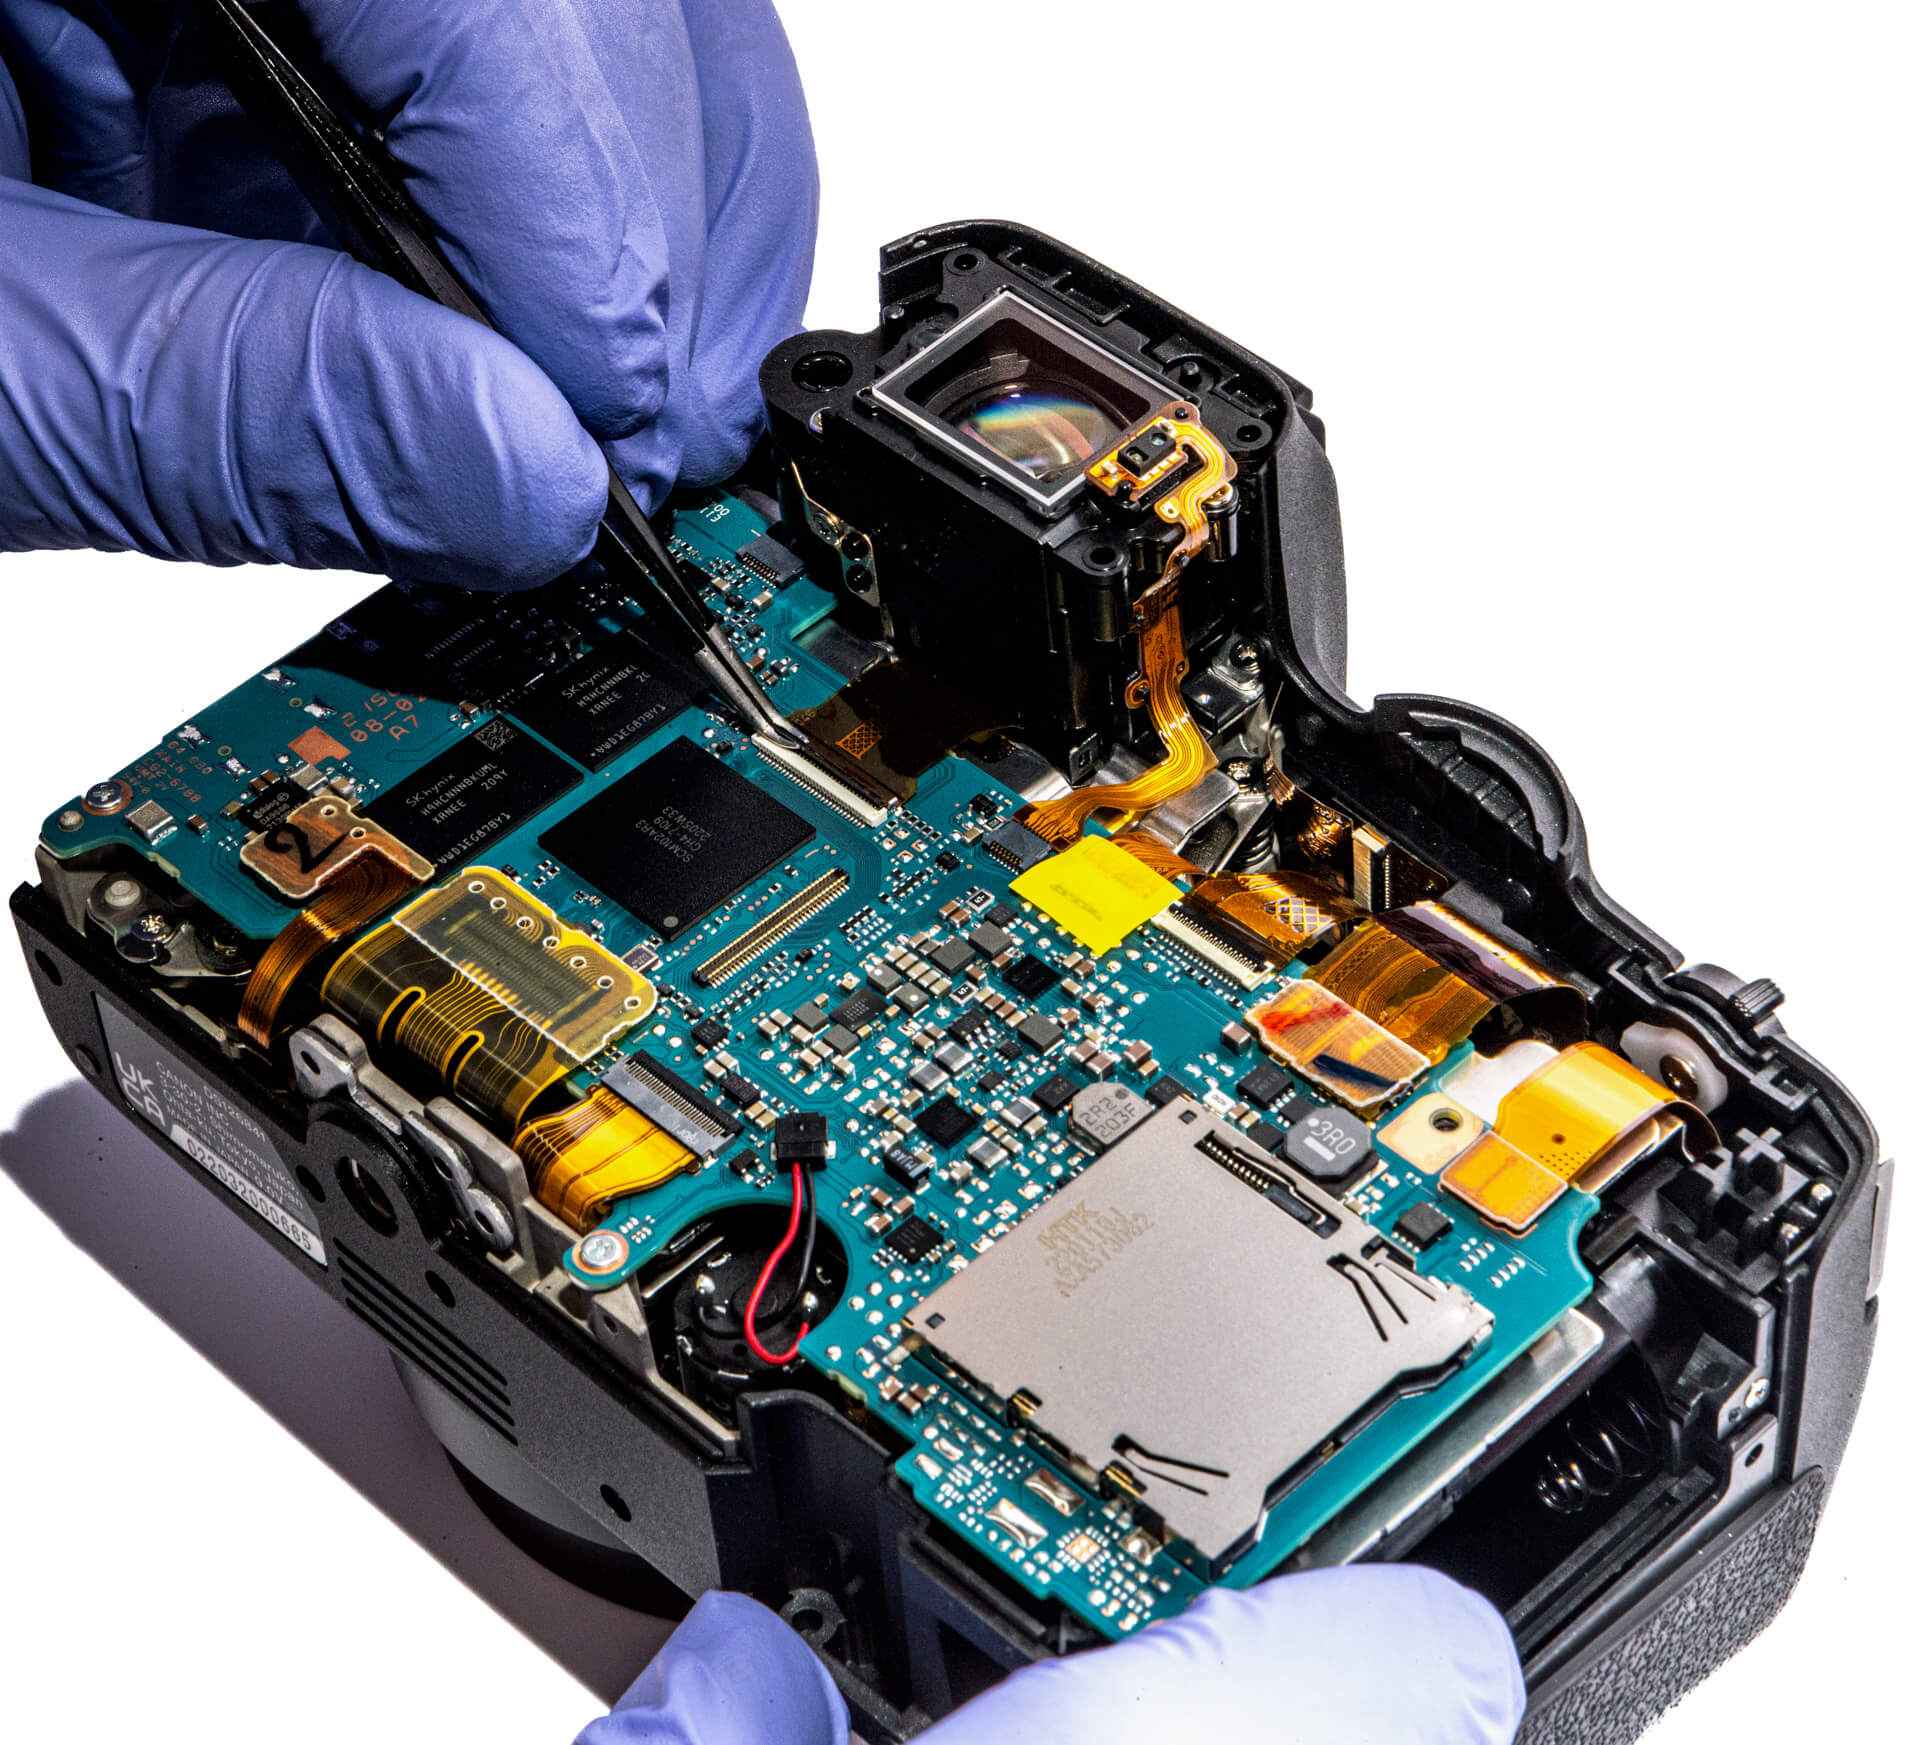
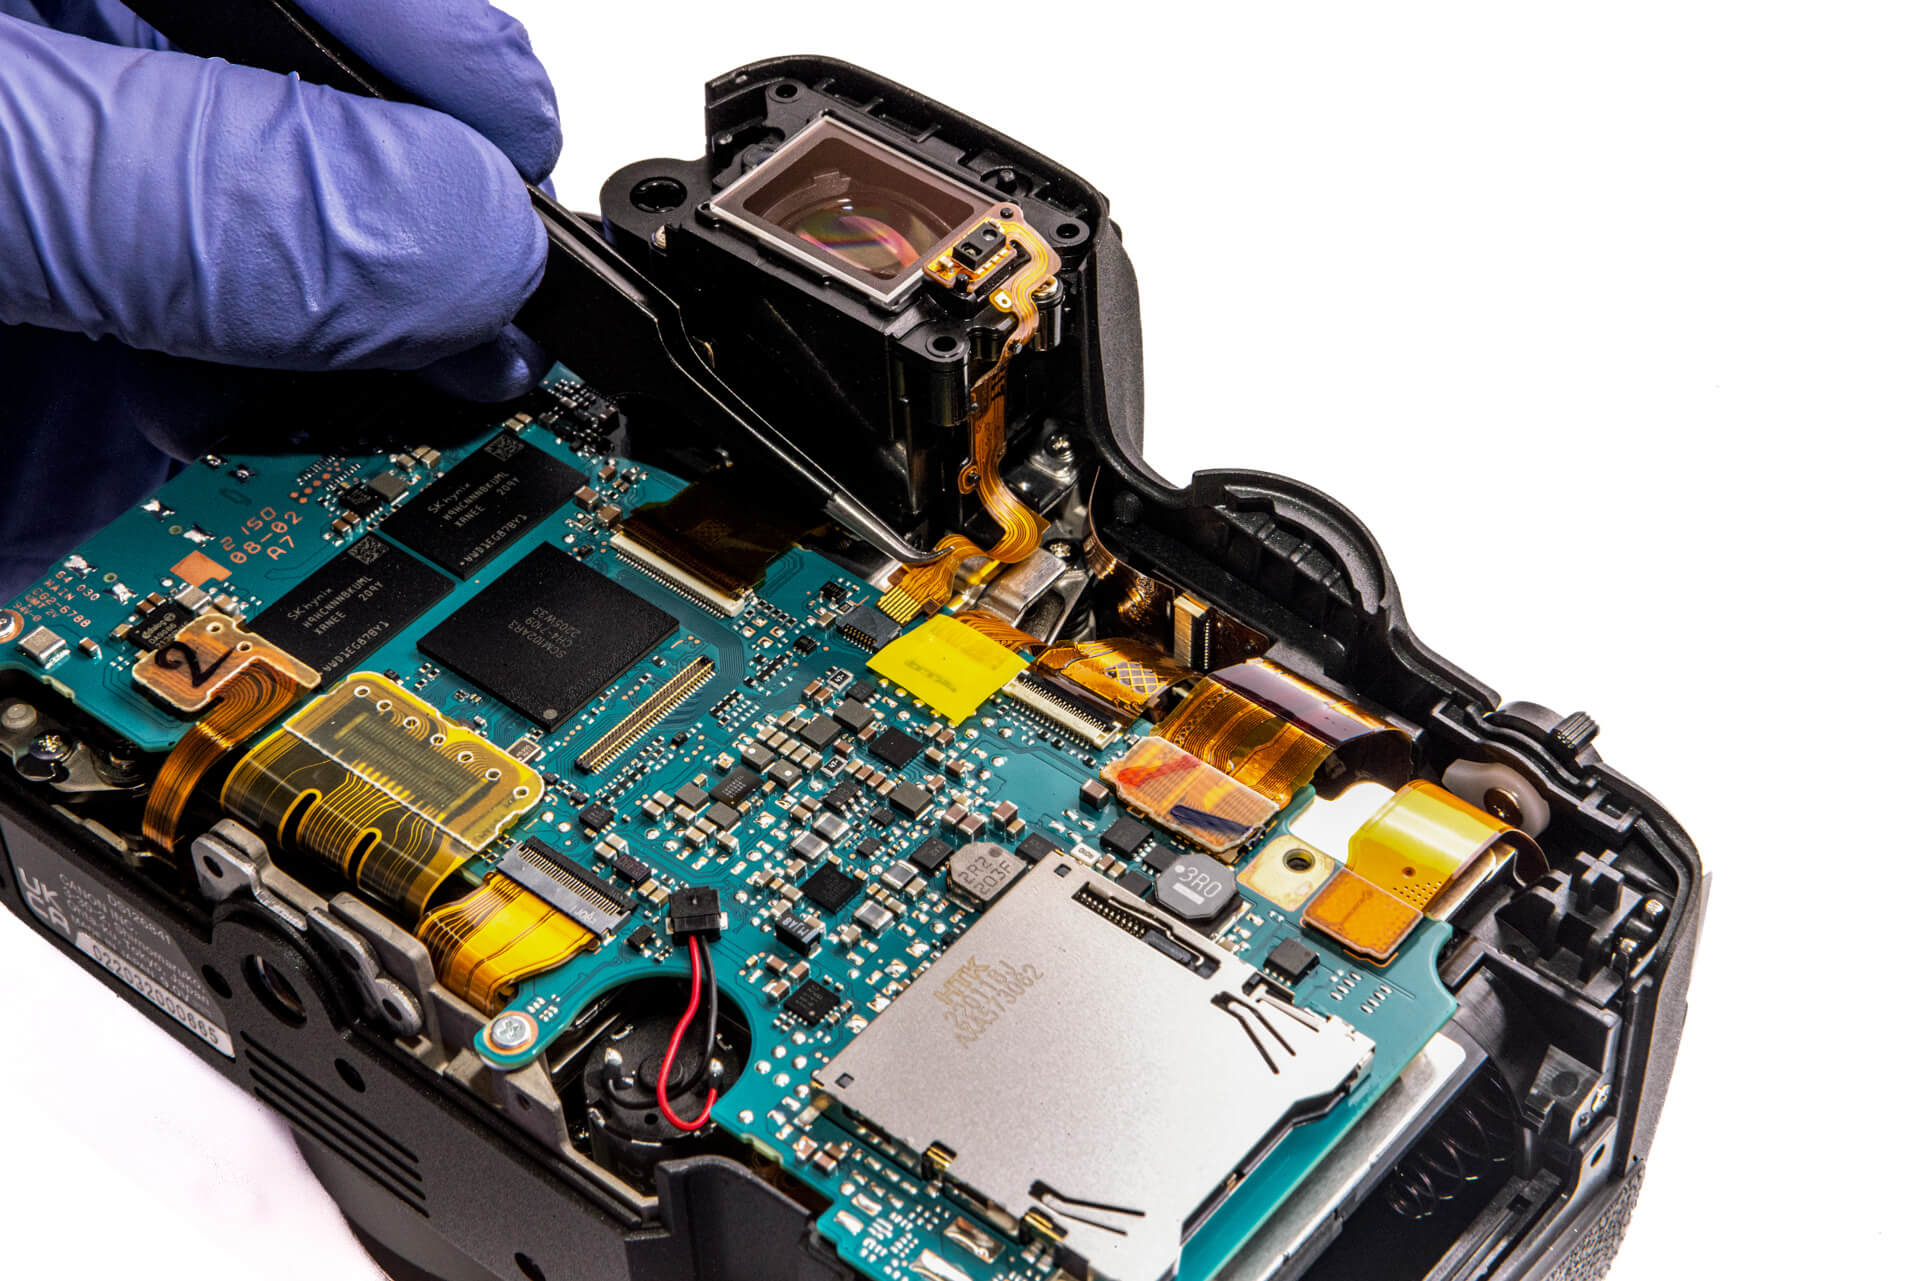
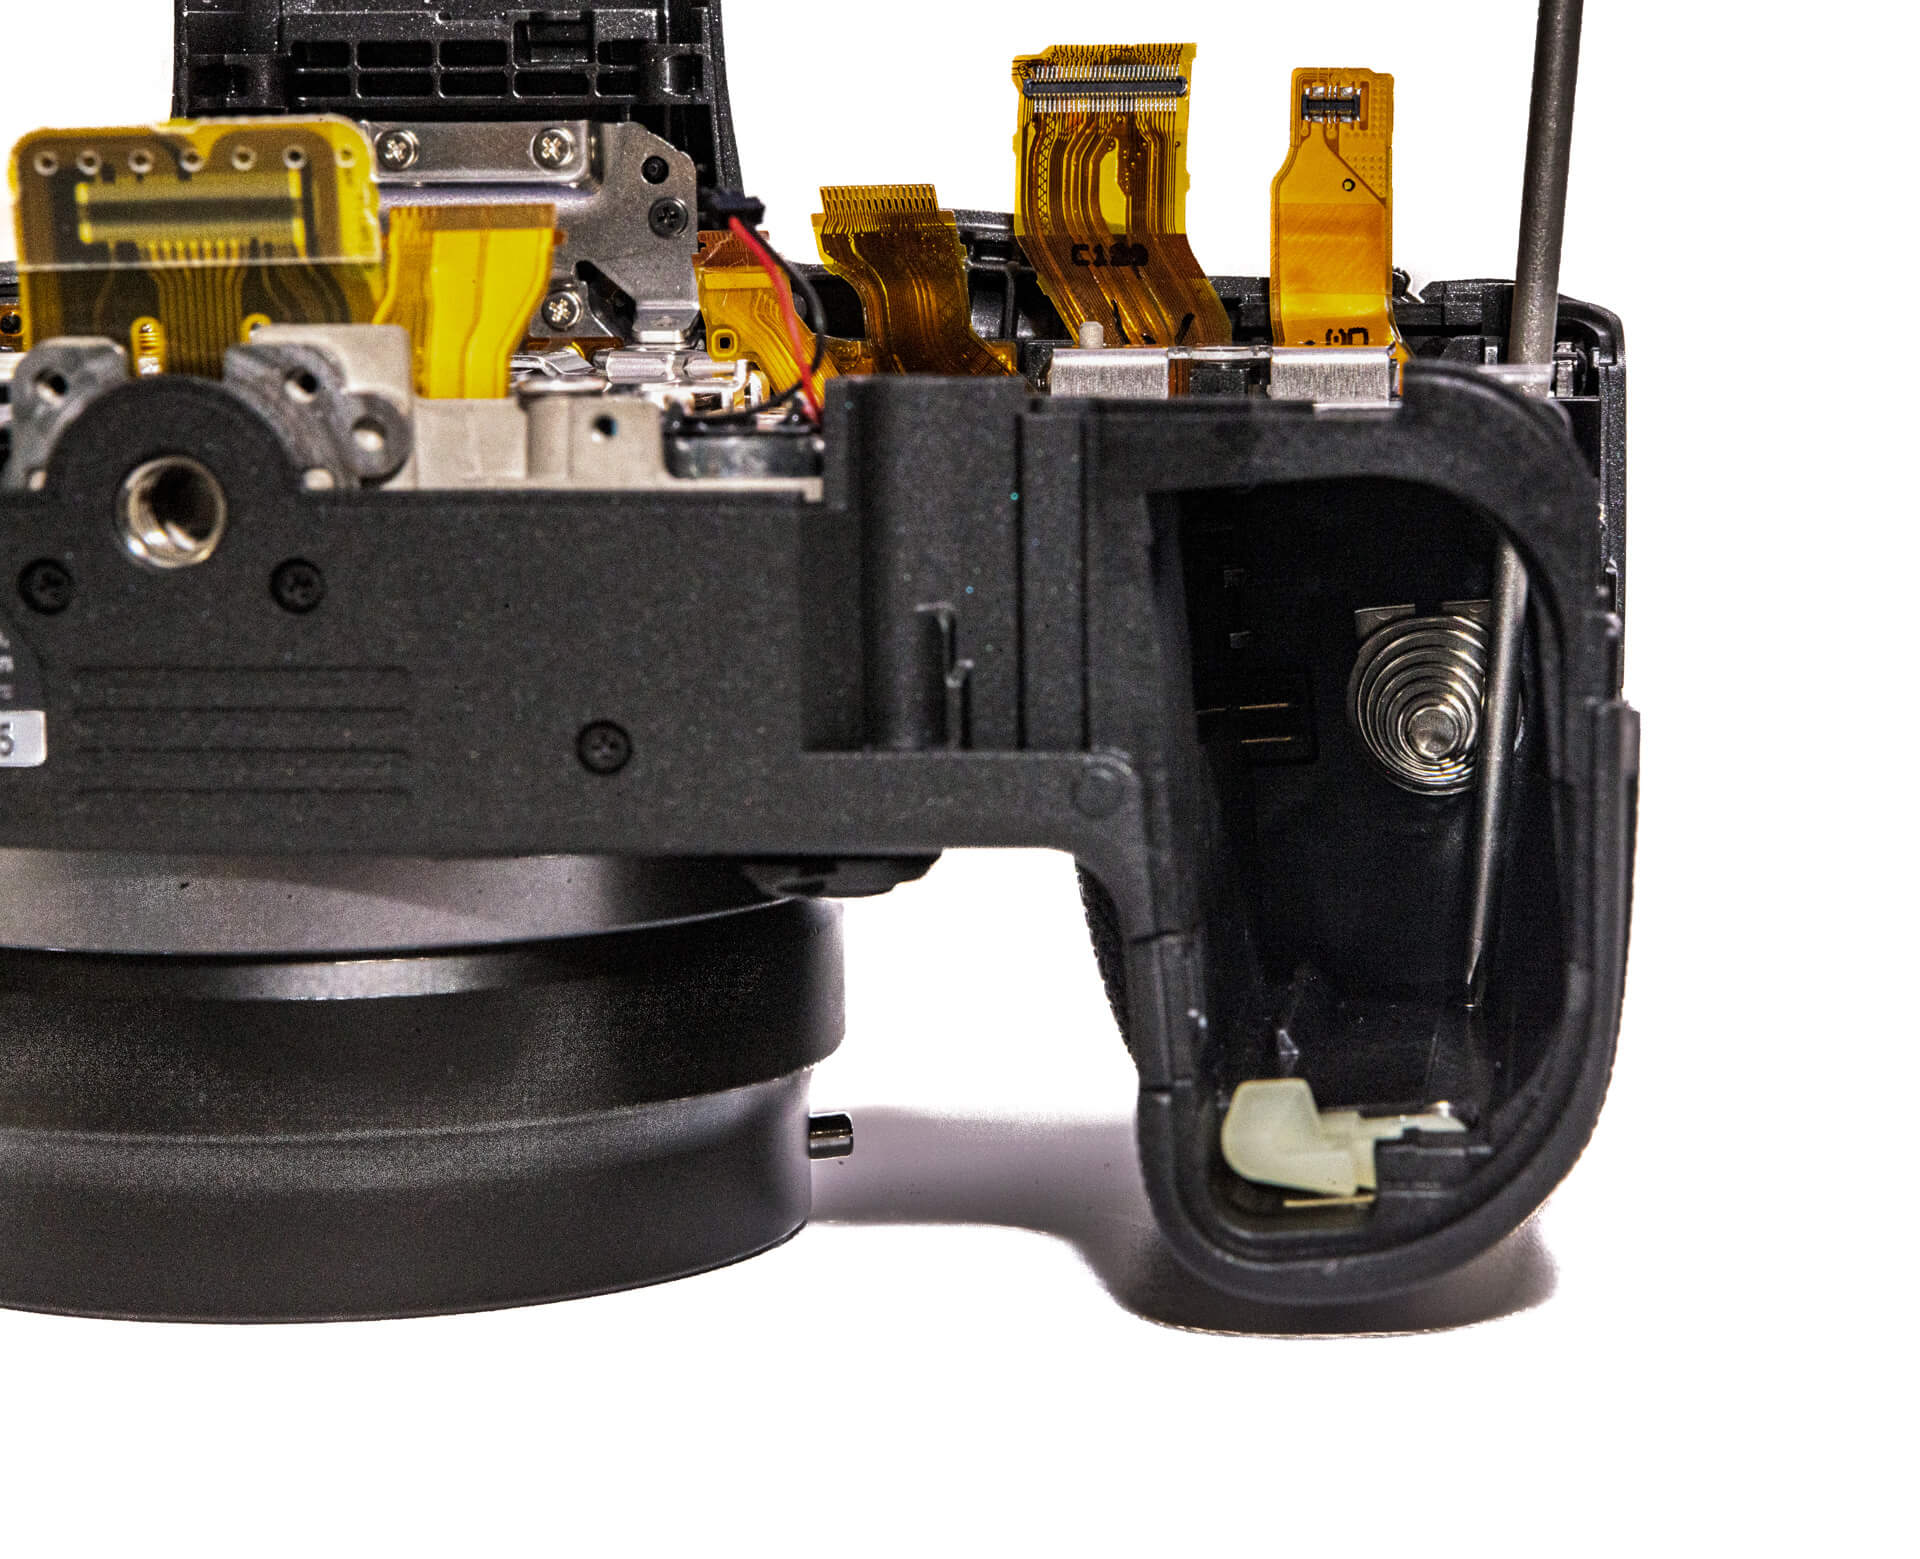
Before removing the motherboard, we need to remove the EVF. The EVF is held in by a couple of ribbon cables both below and on the right.
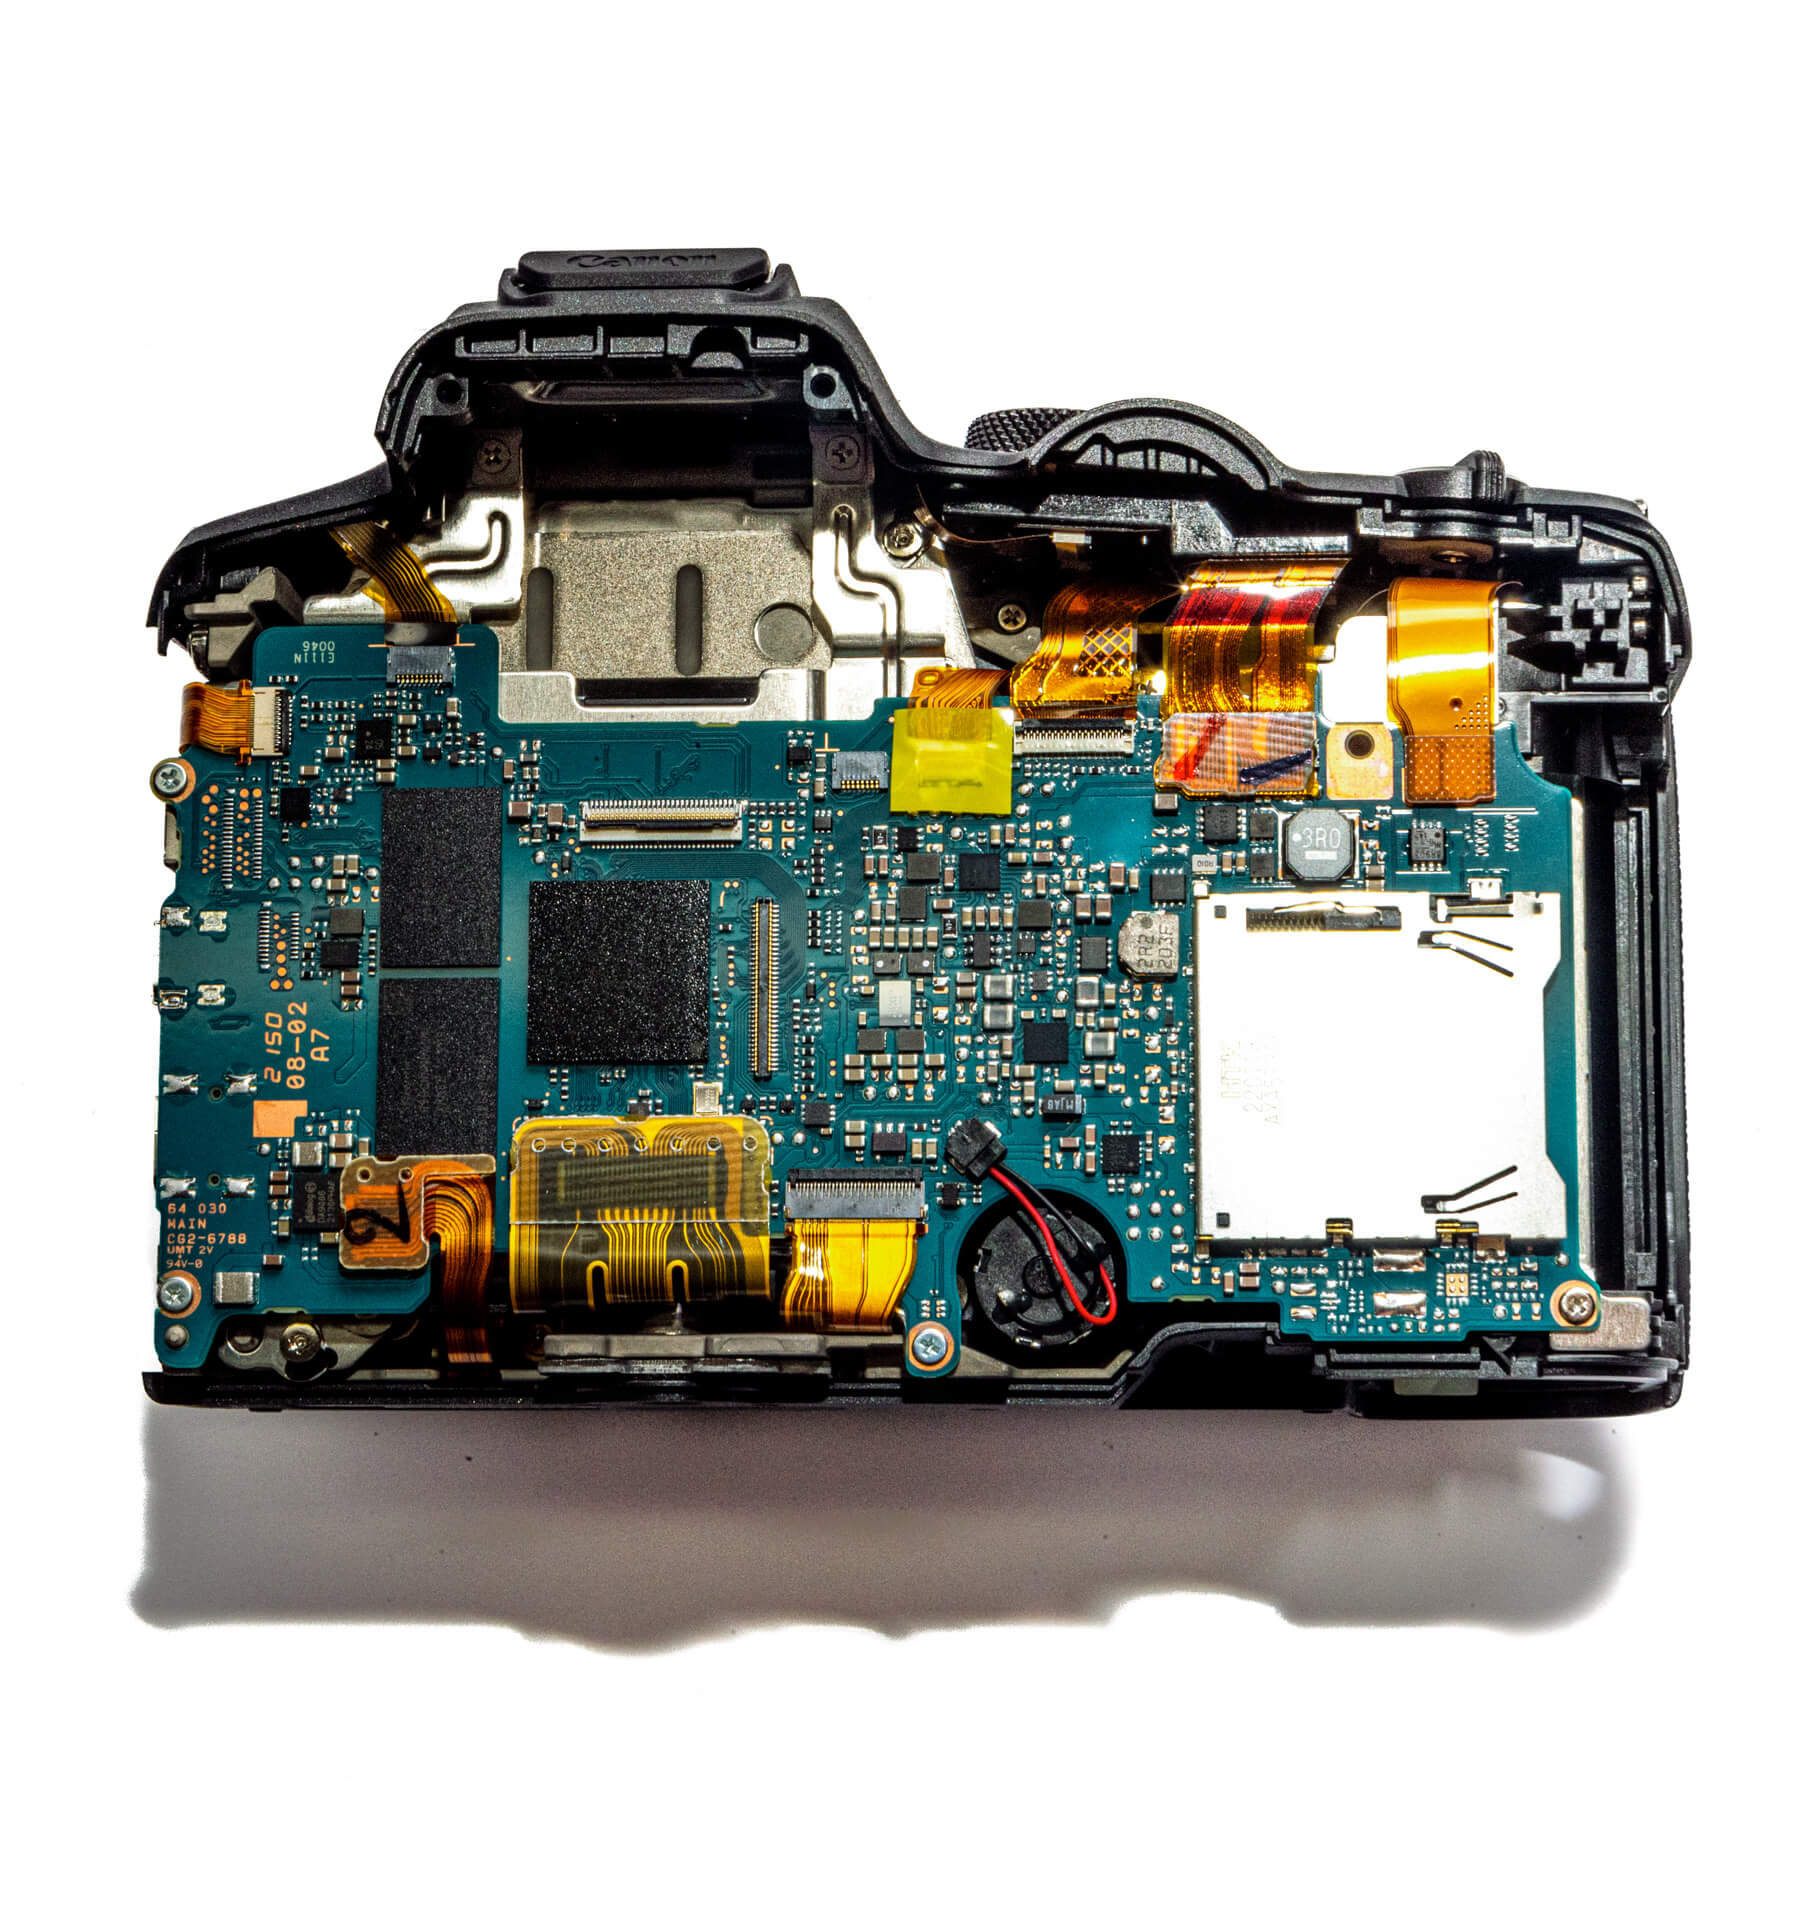
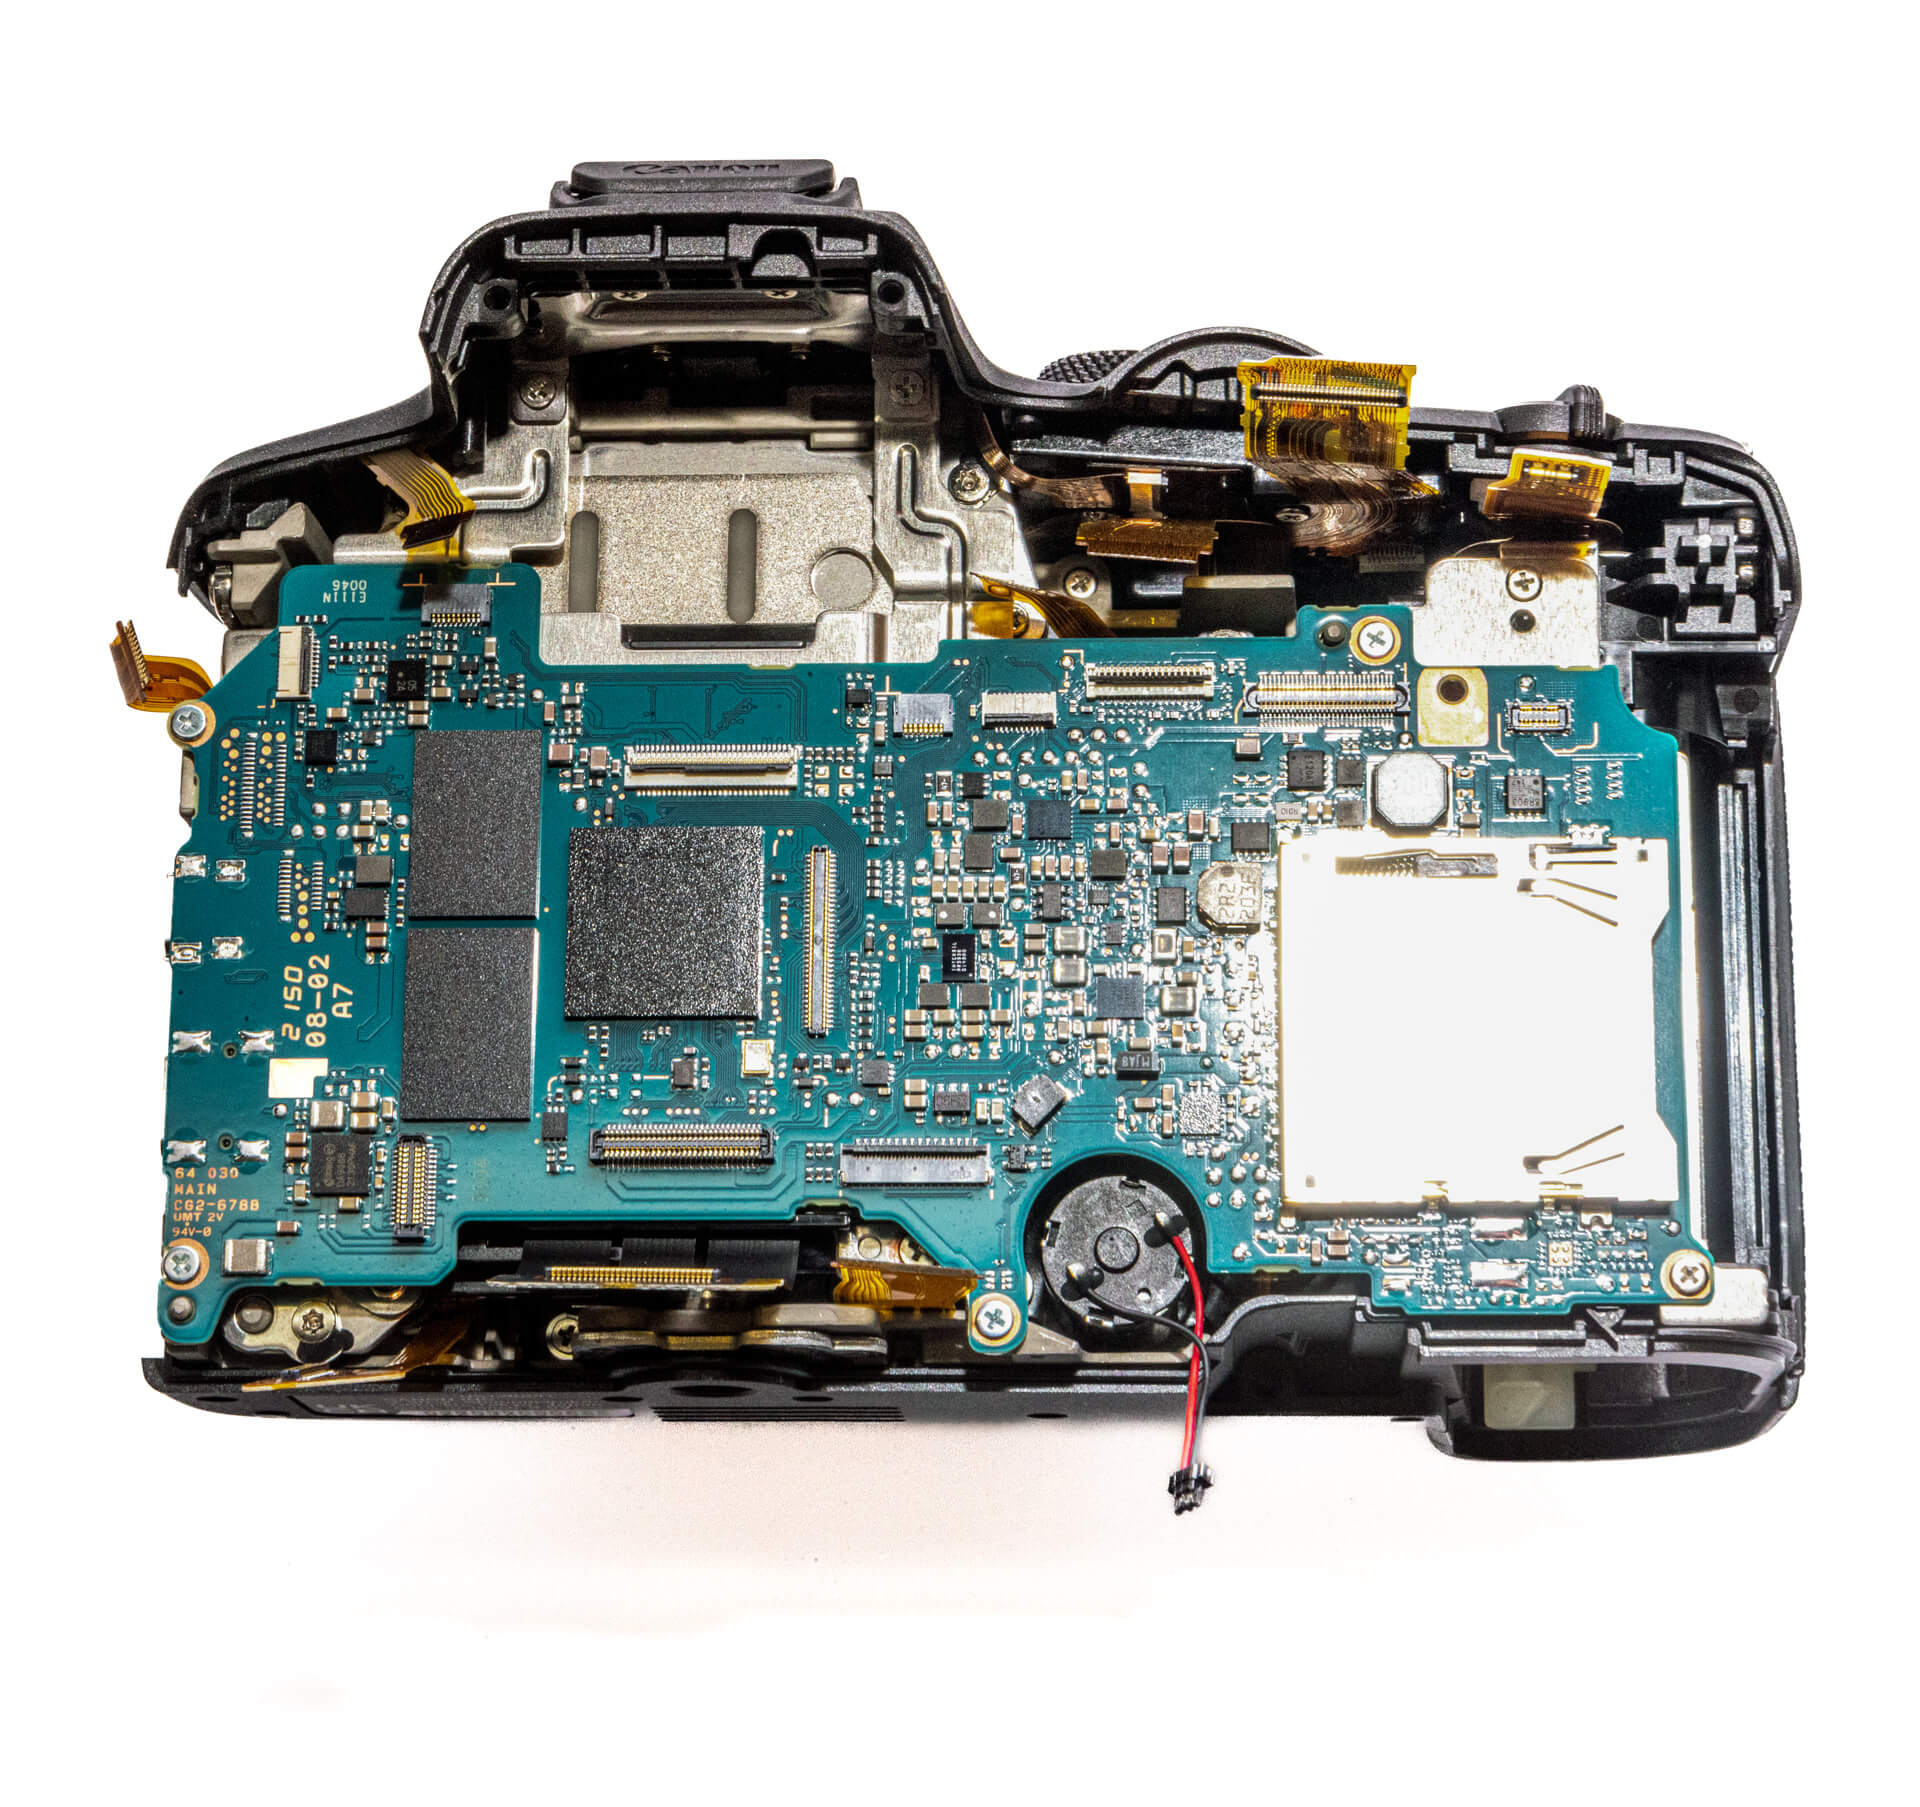
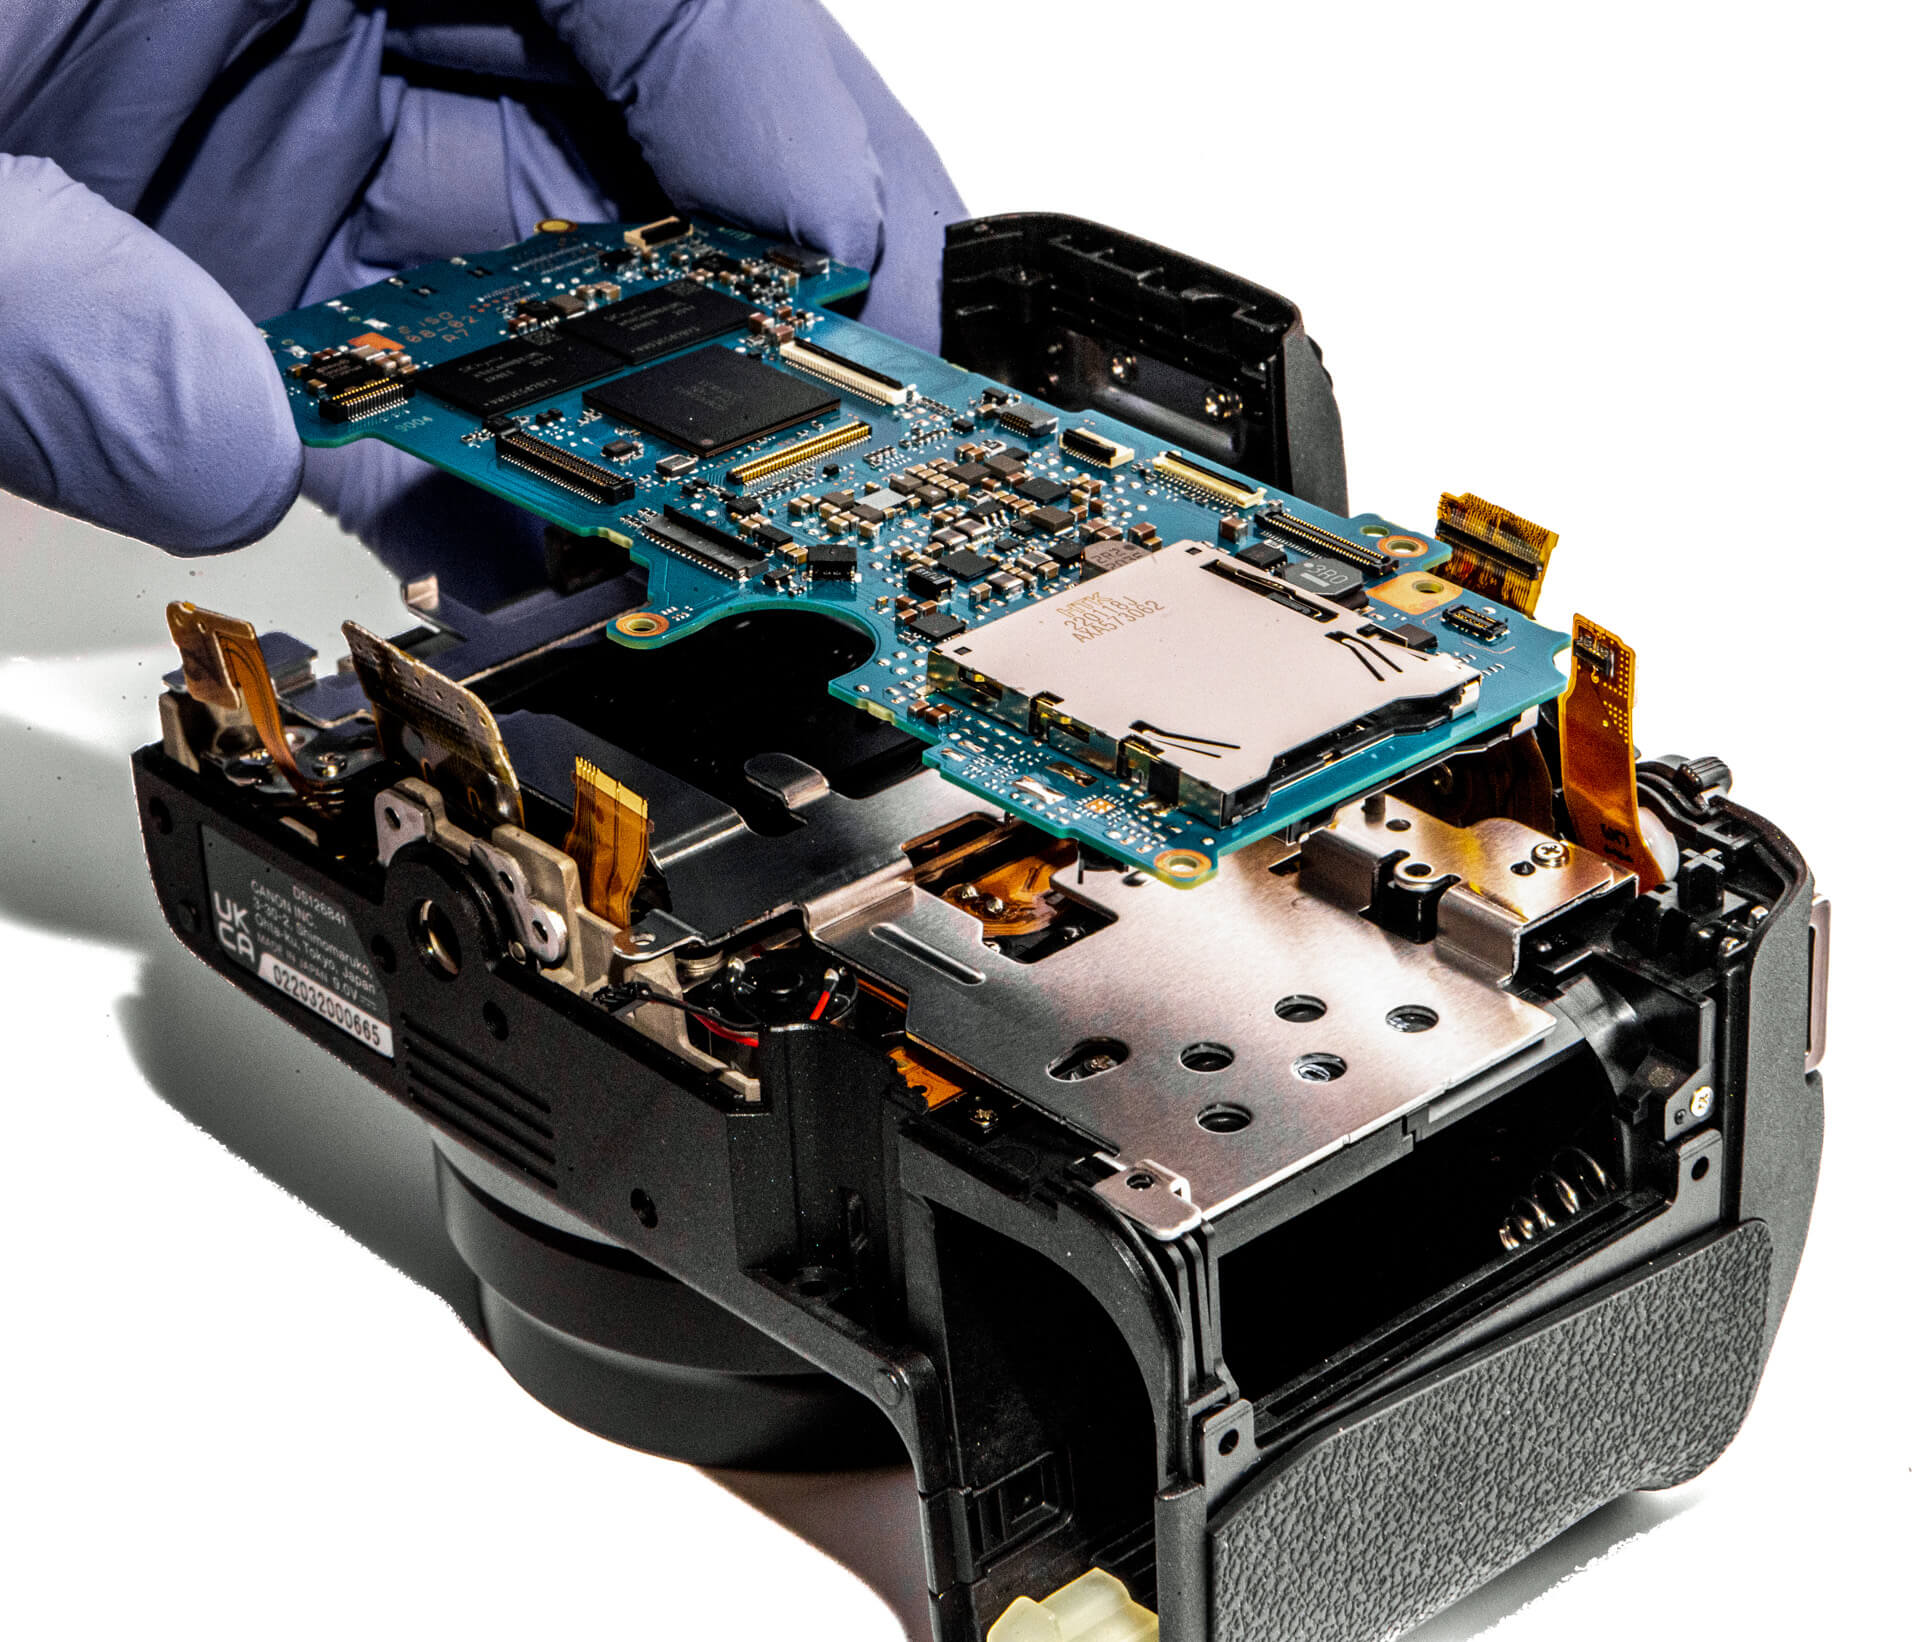
There is a series of ribbons keeping the motherboard in place, along with screws around the perimeter of the board.
Accessing the Heatsink and Sensor Assembly
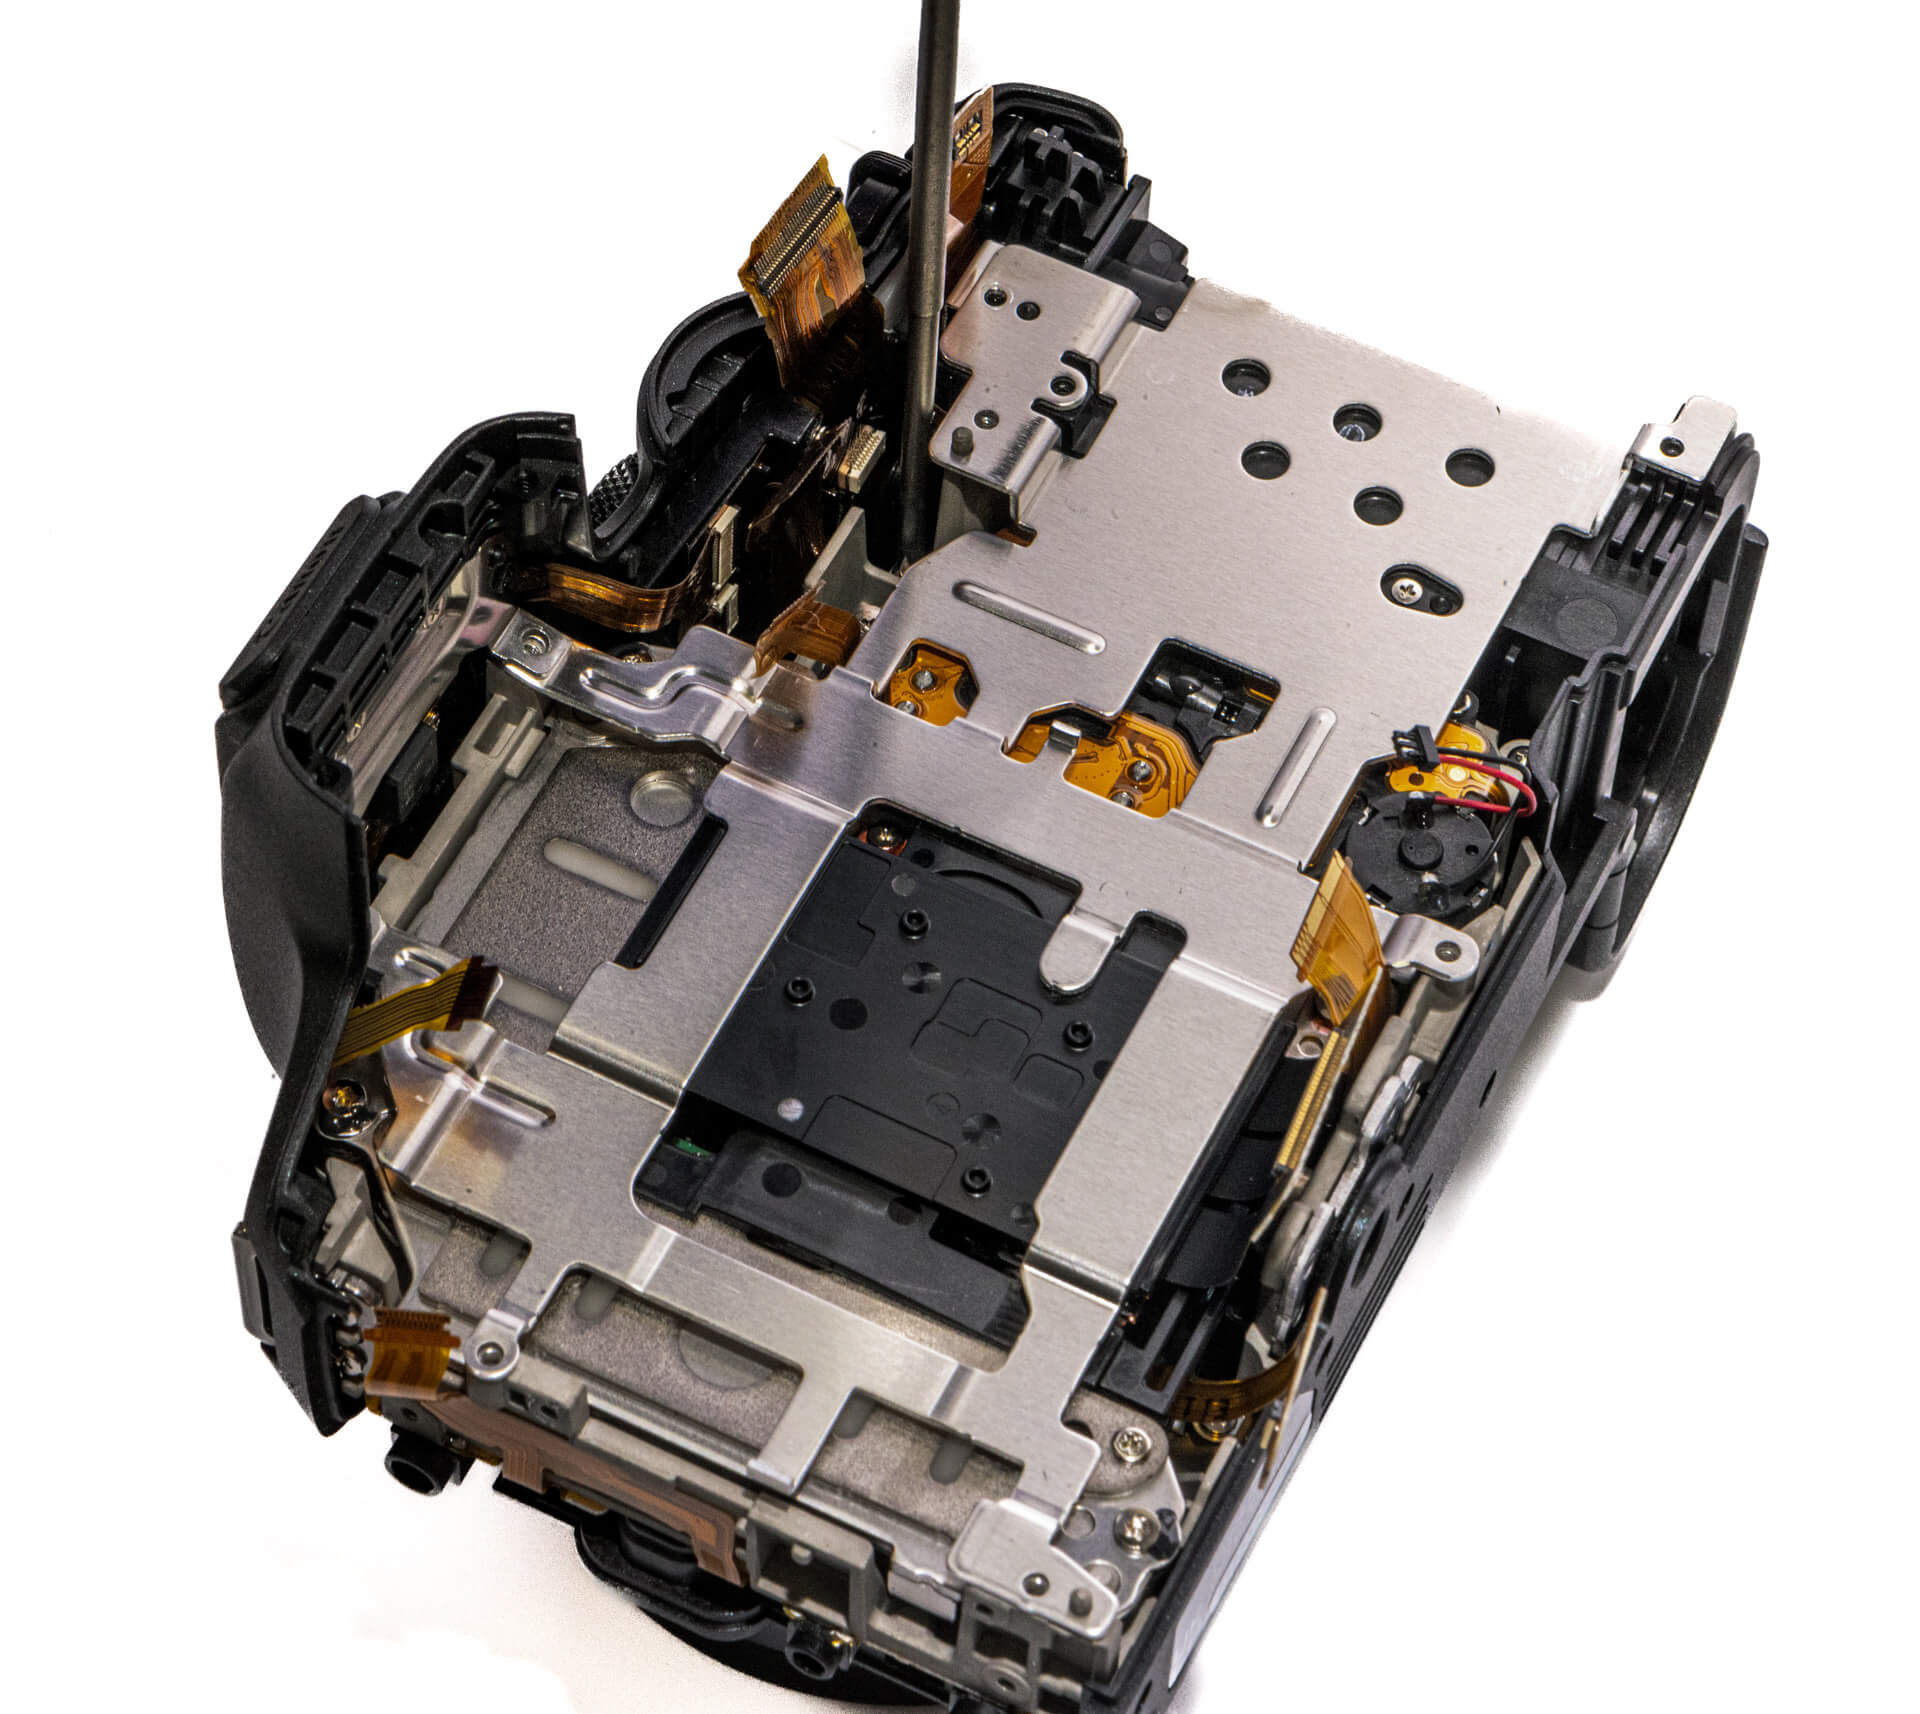
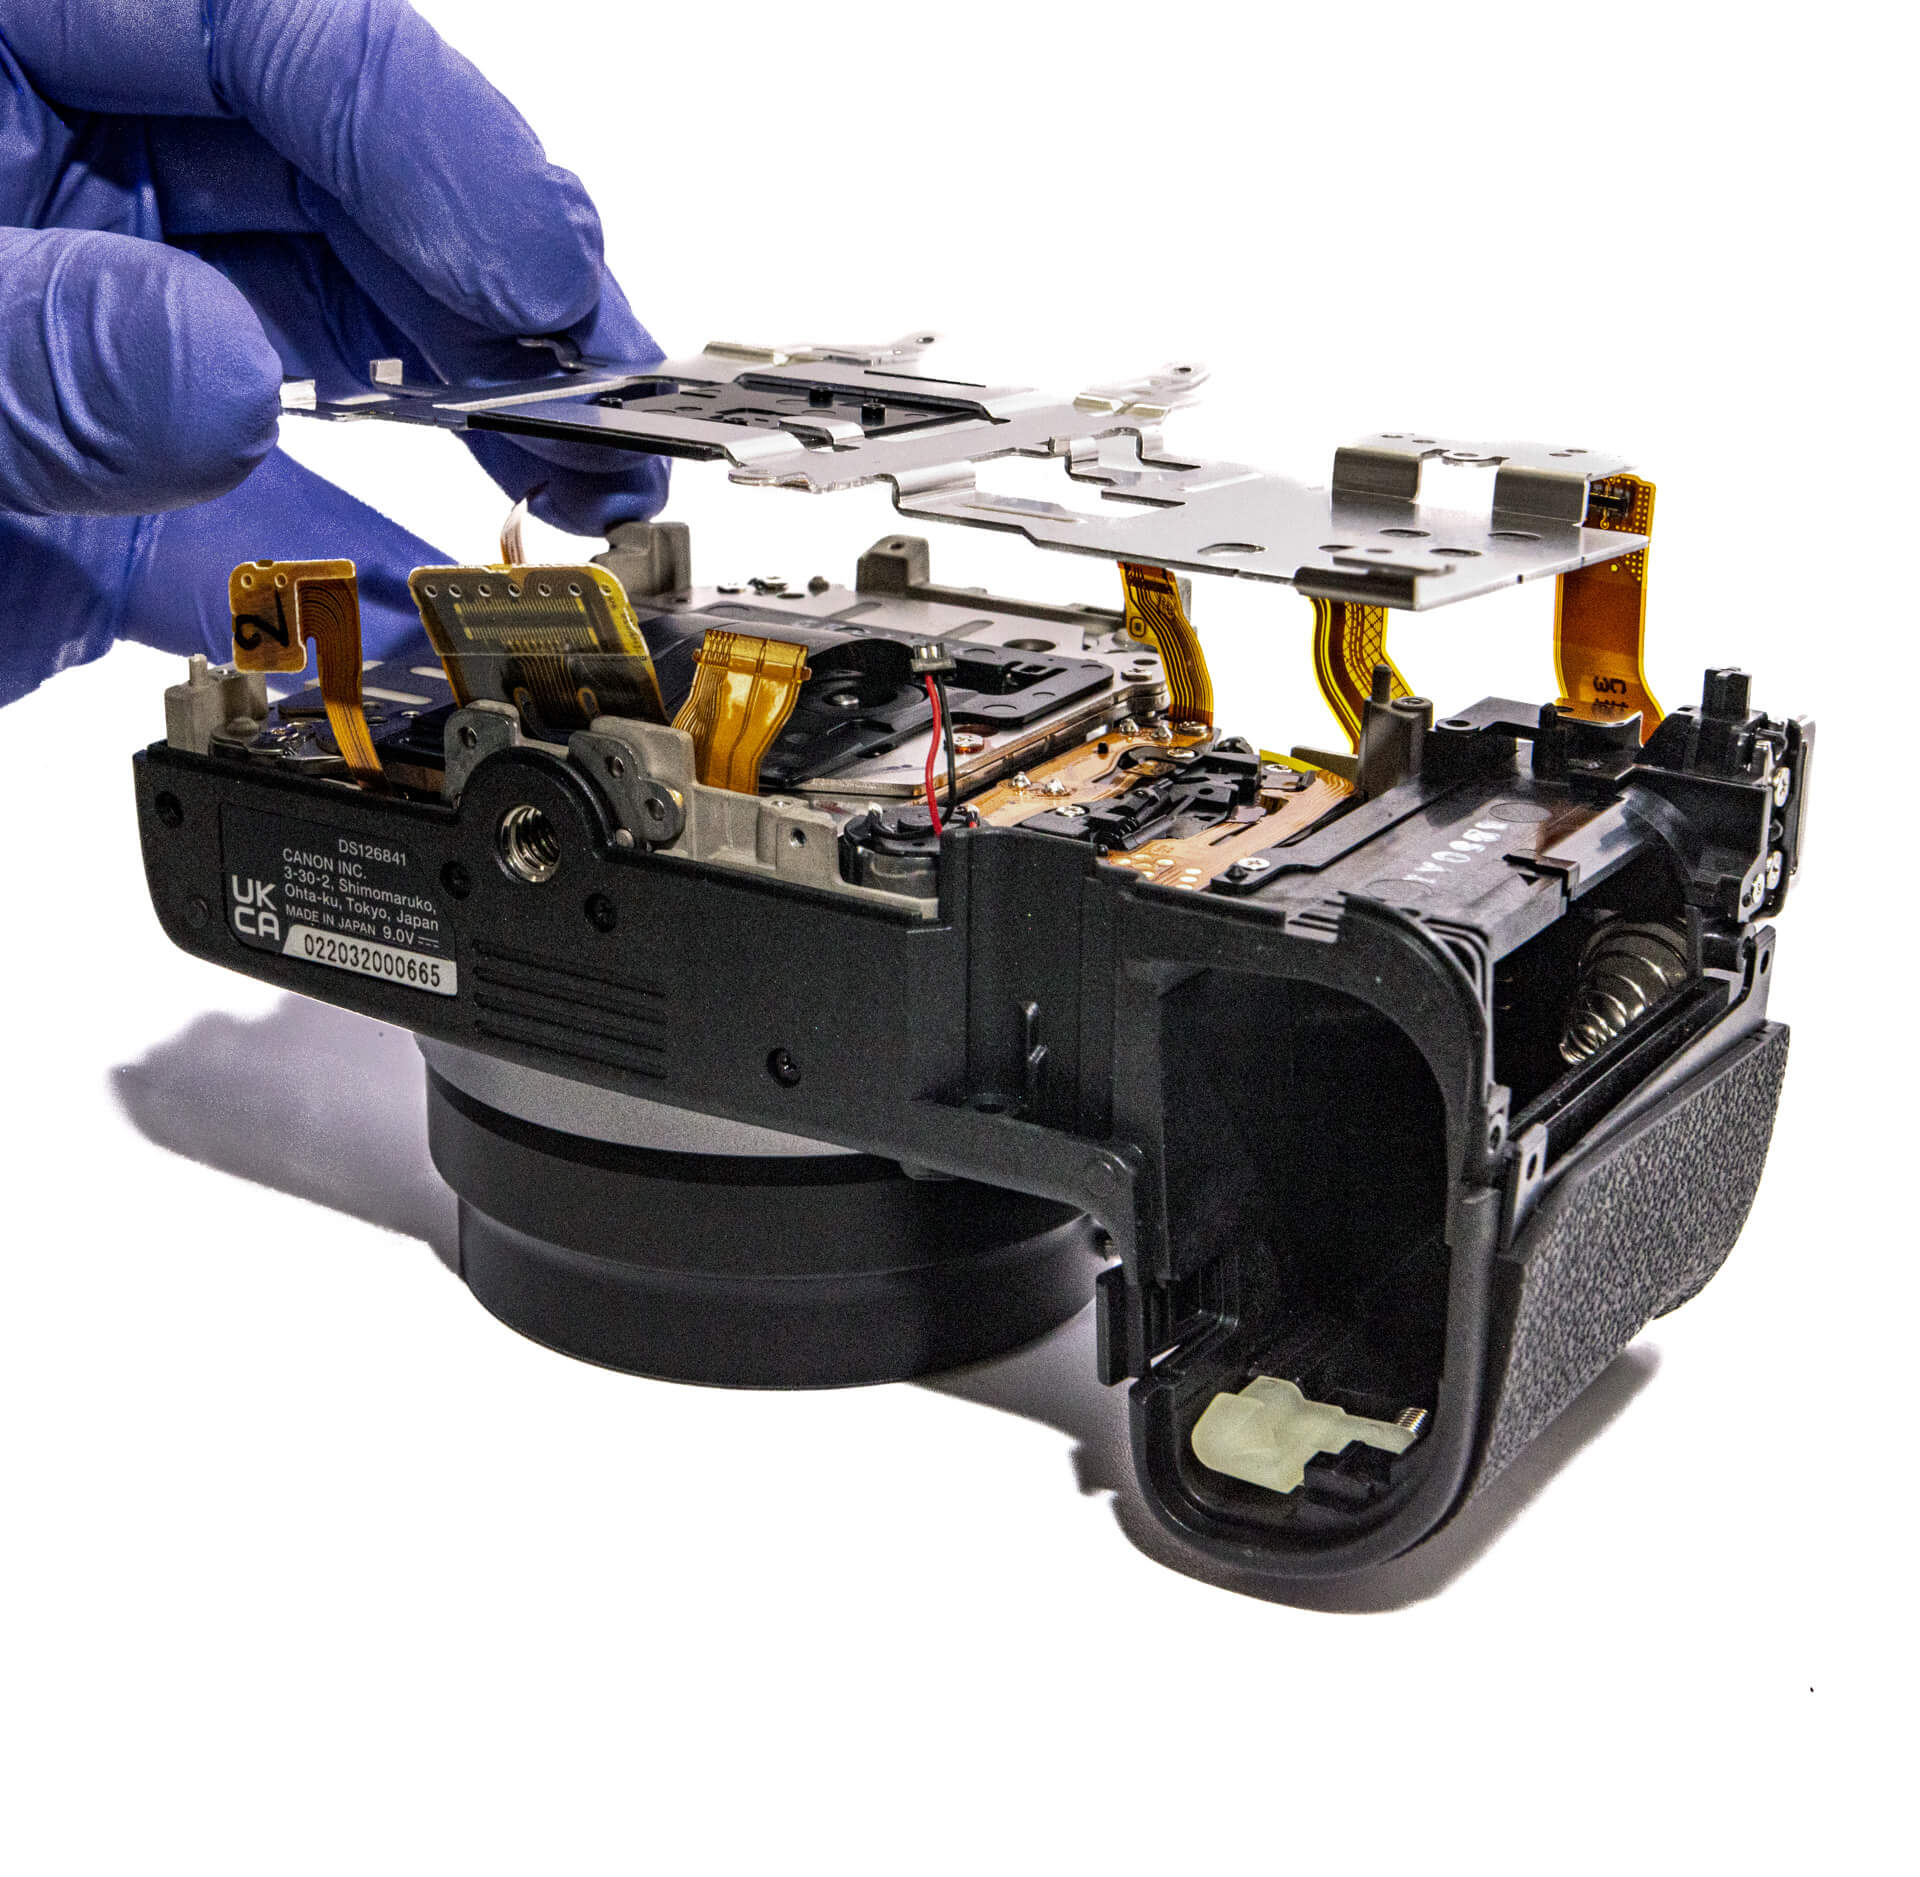
Once we disconnect all the ribbons on the motherboard, we can remove it, revealing the heatsink panel.
Before we can remove the heatsink, we have to remove a couple of screws on the top in the camera strap points to take off the top section of the camera.
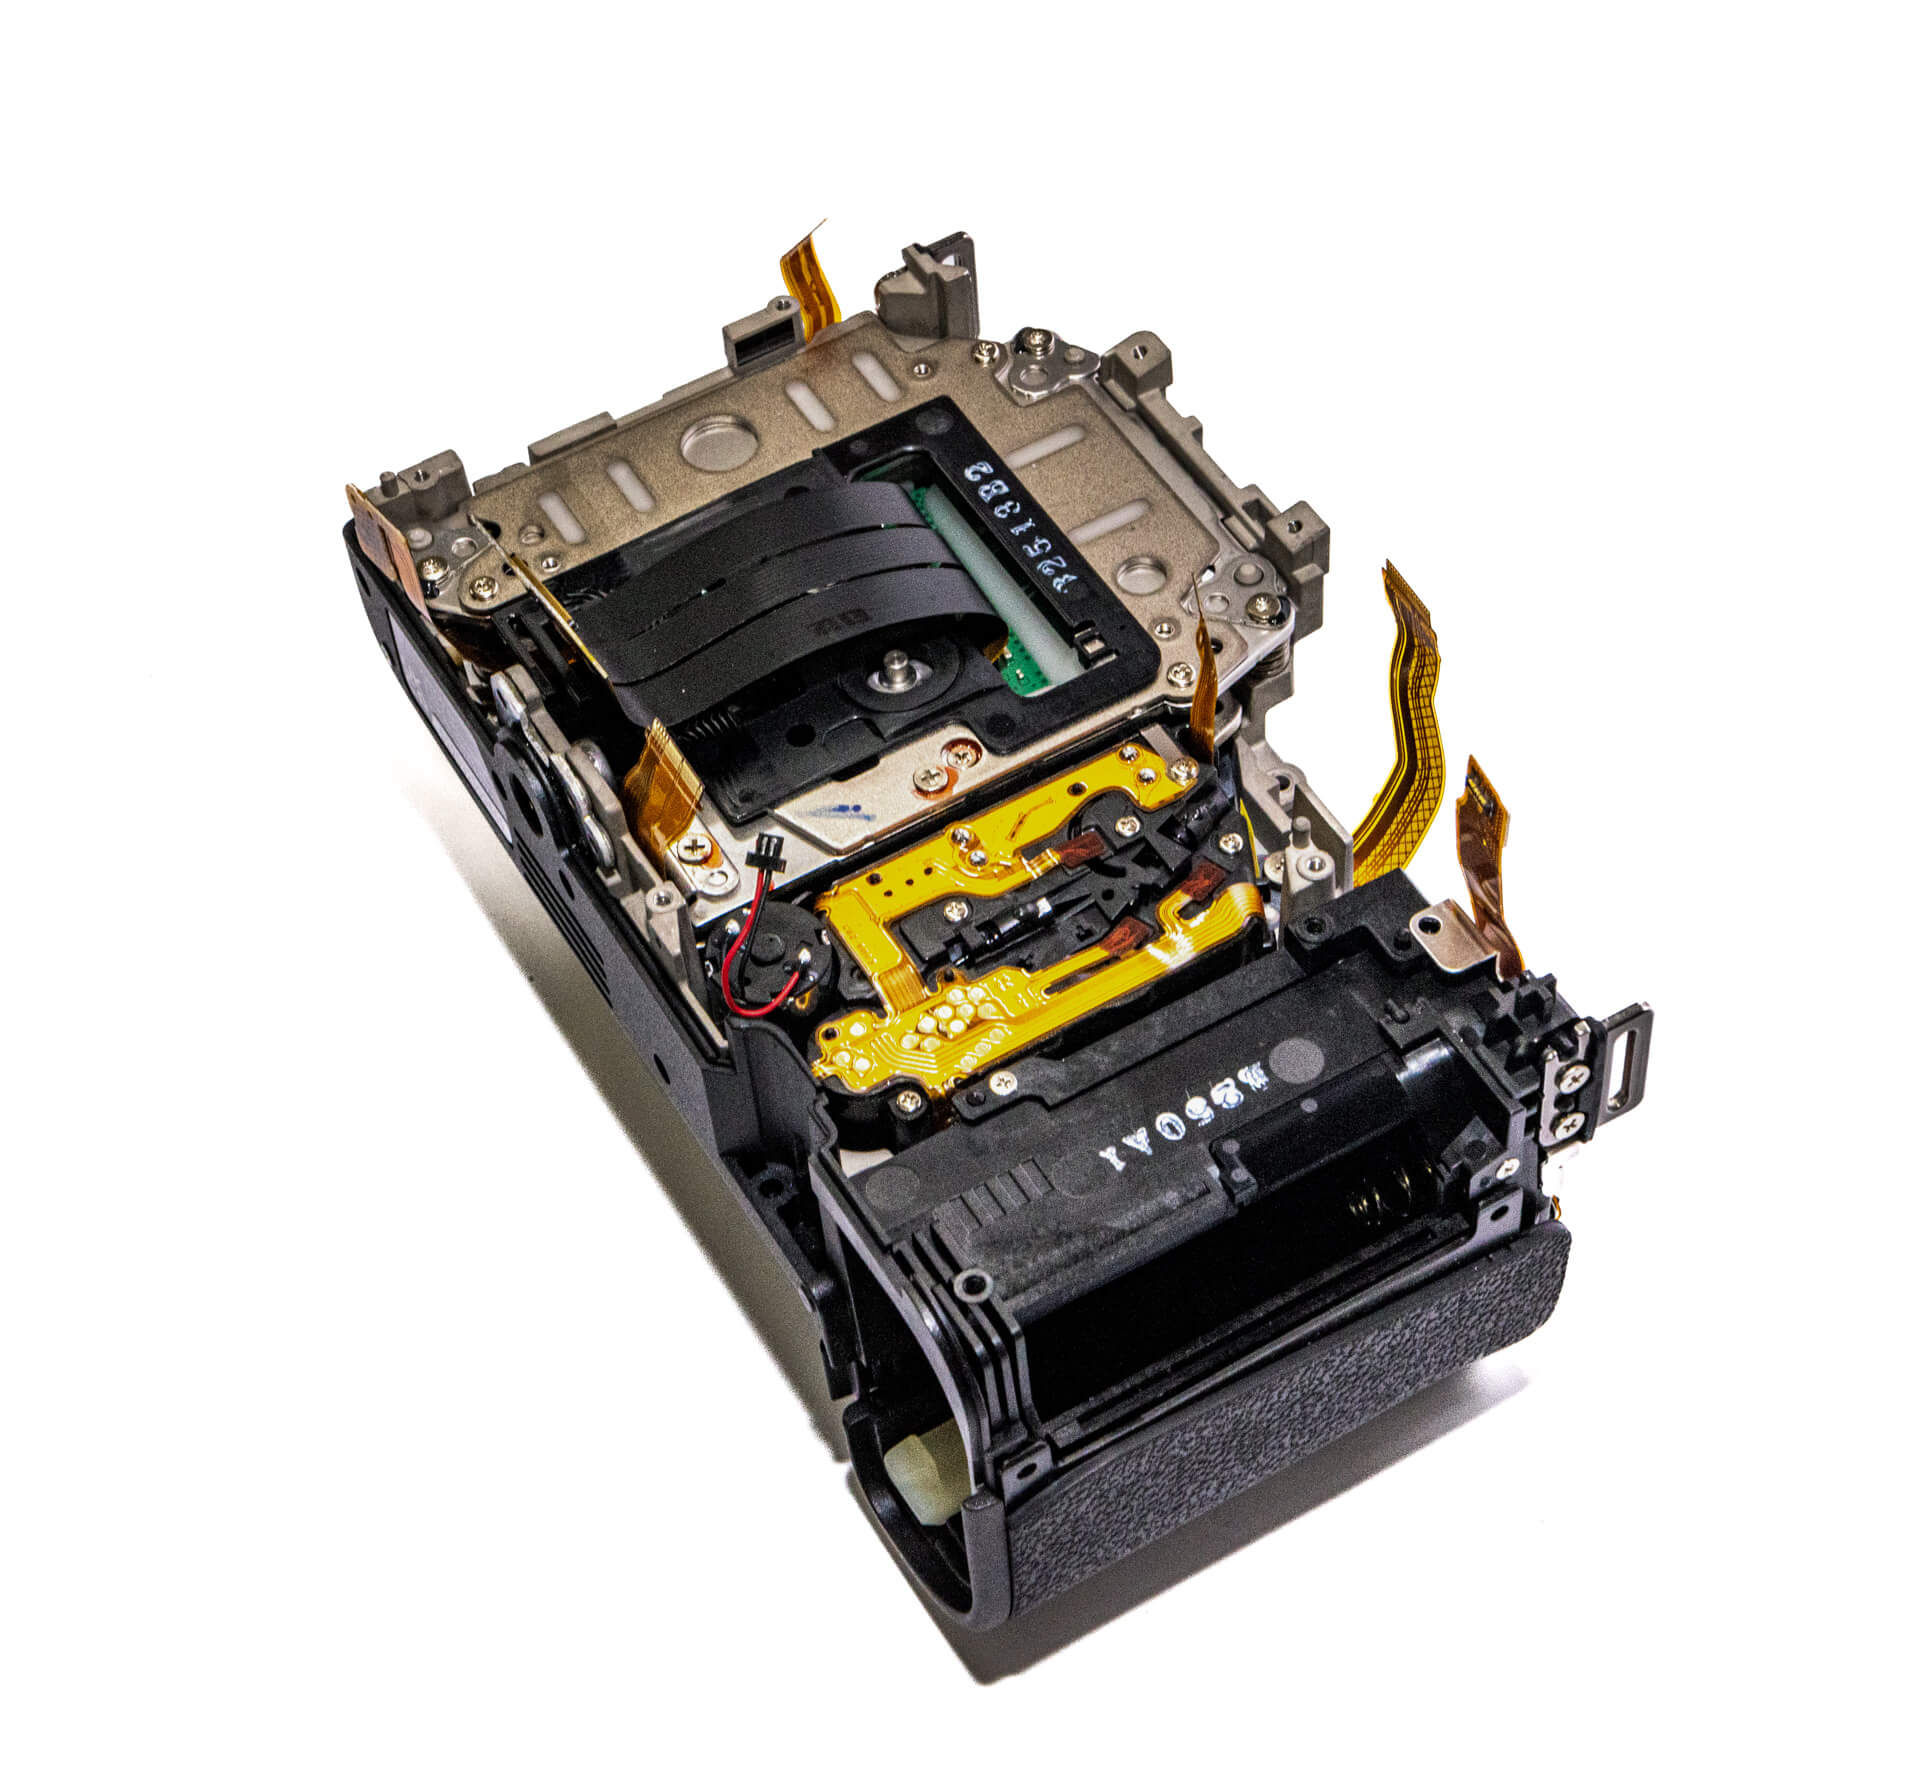
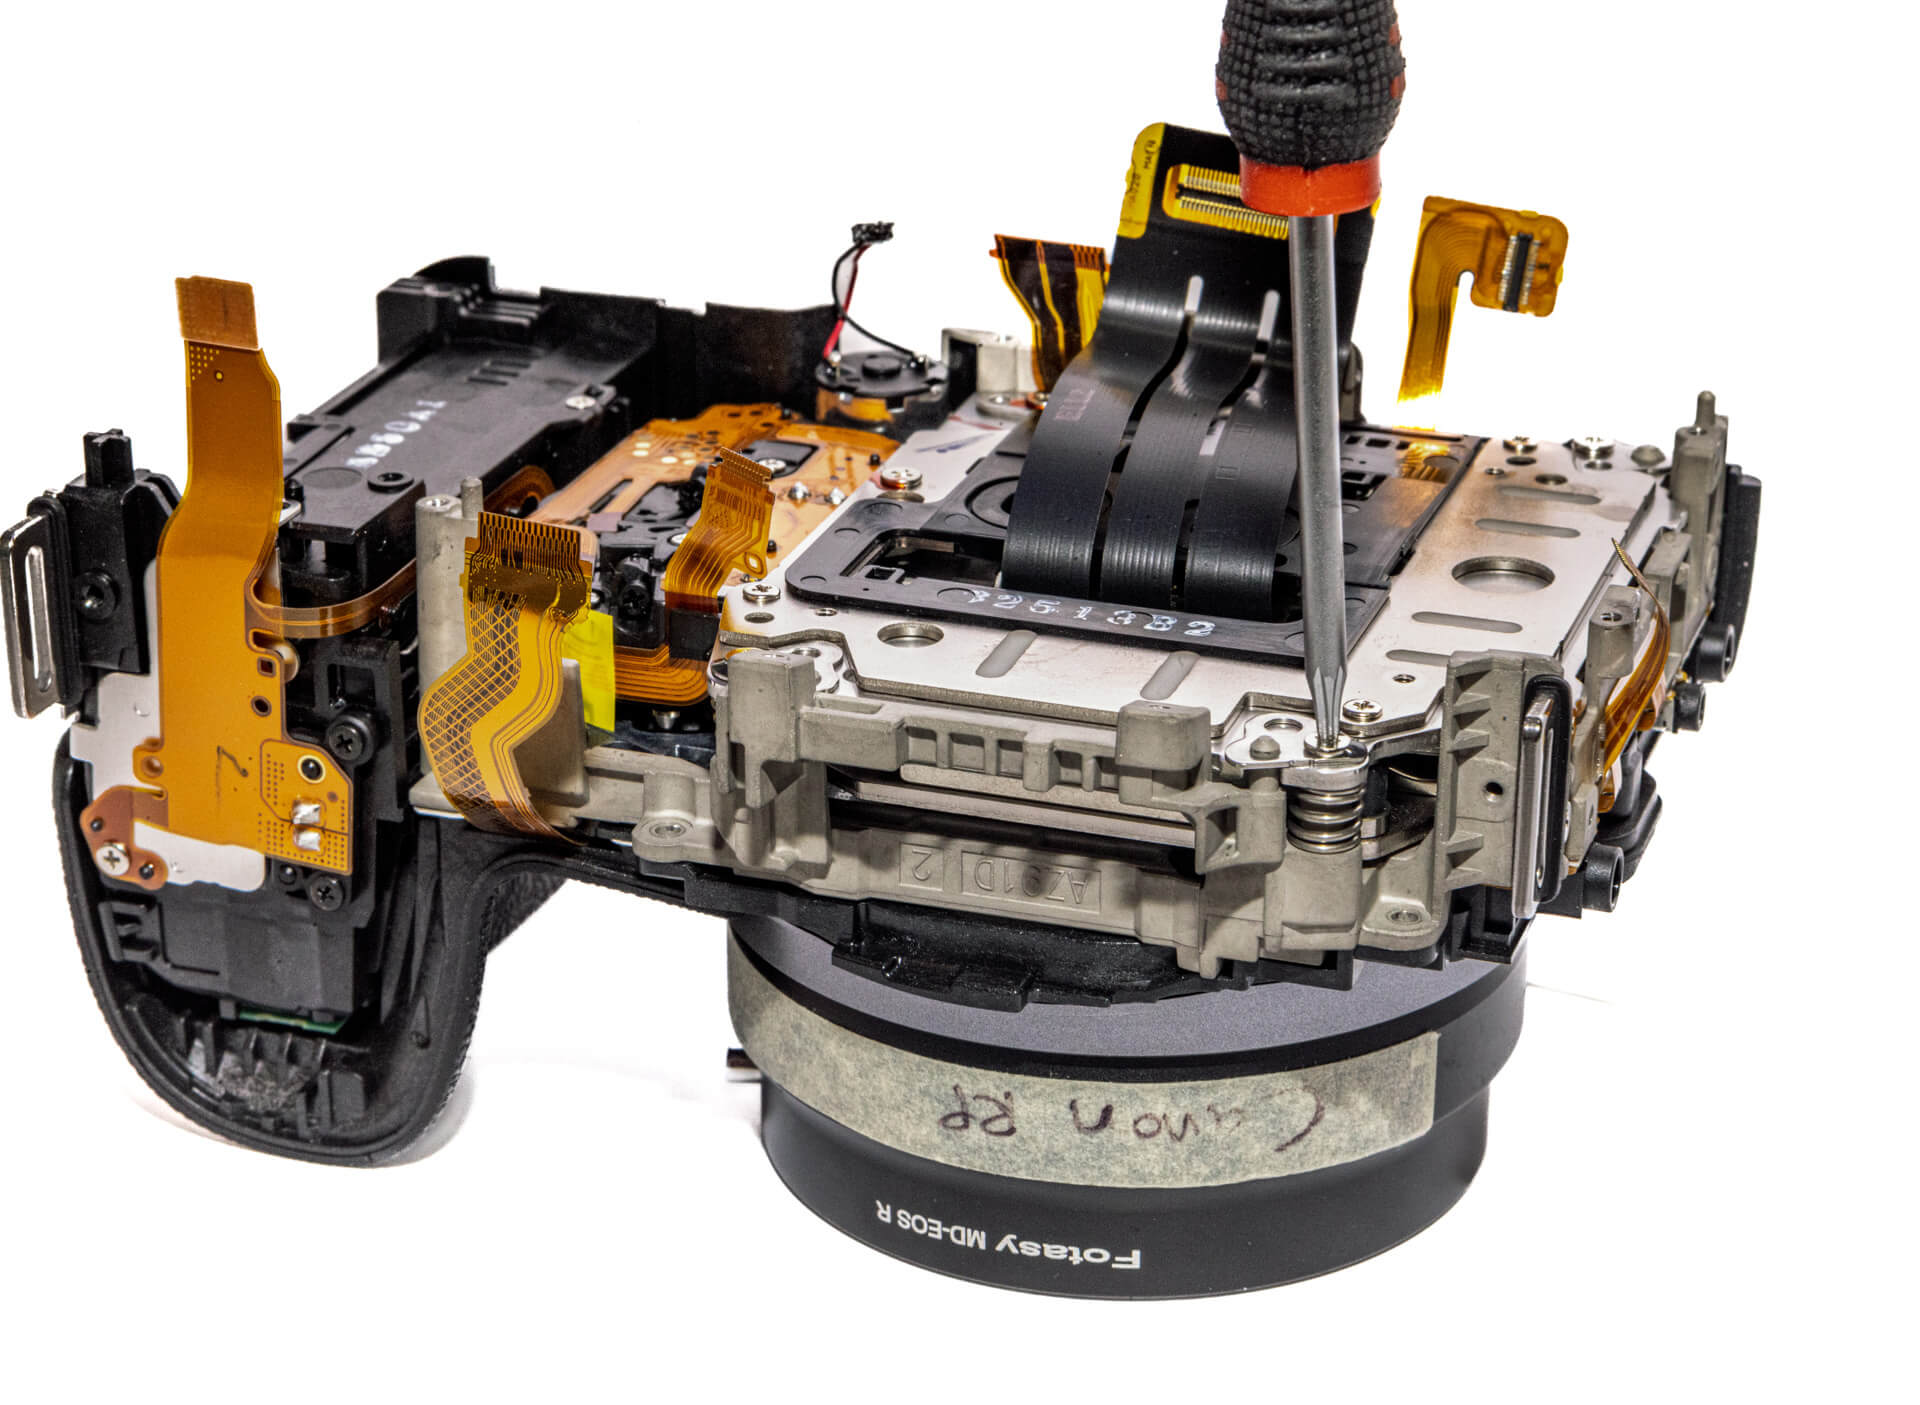
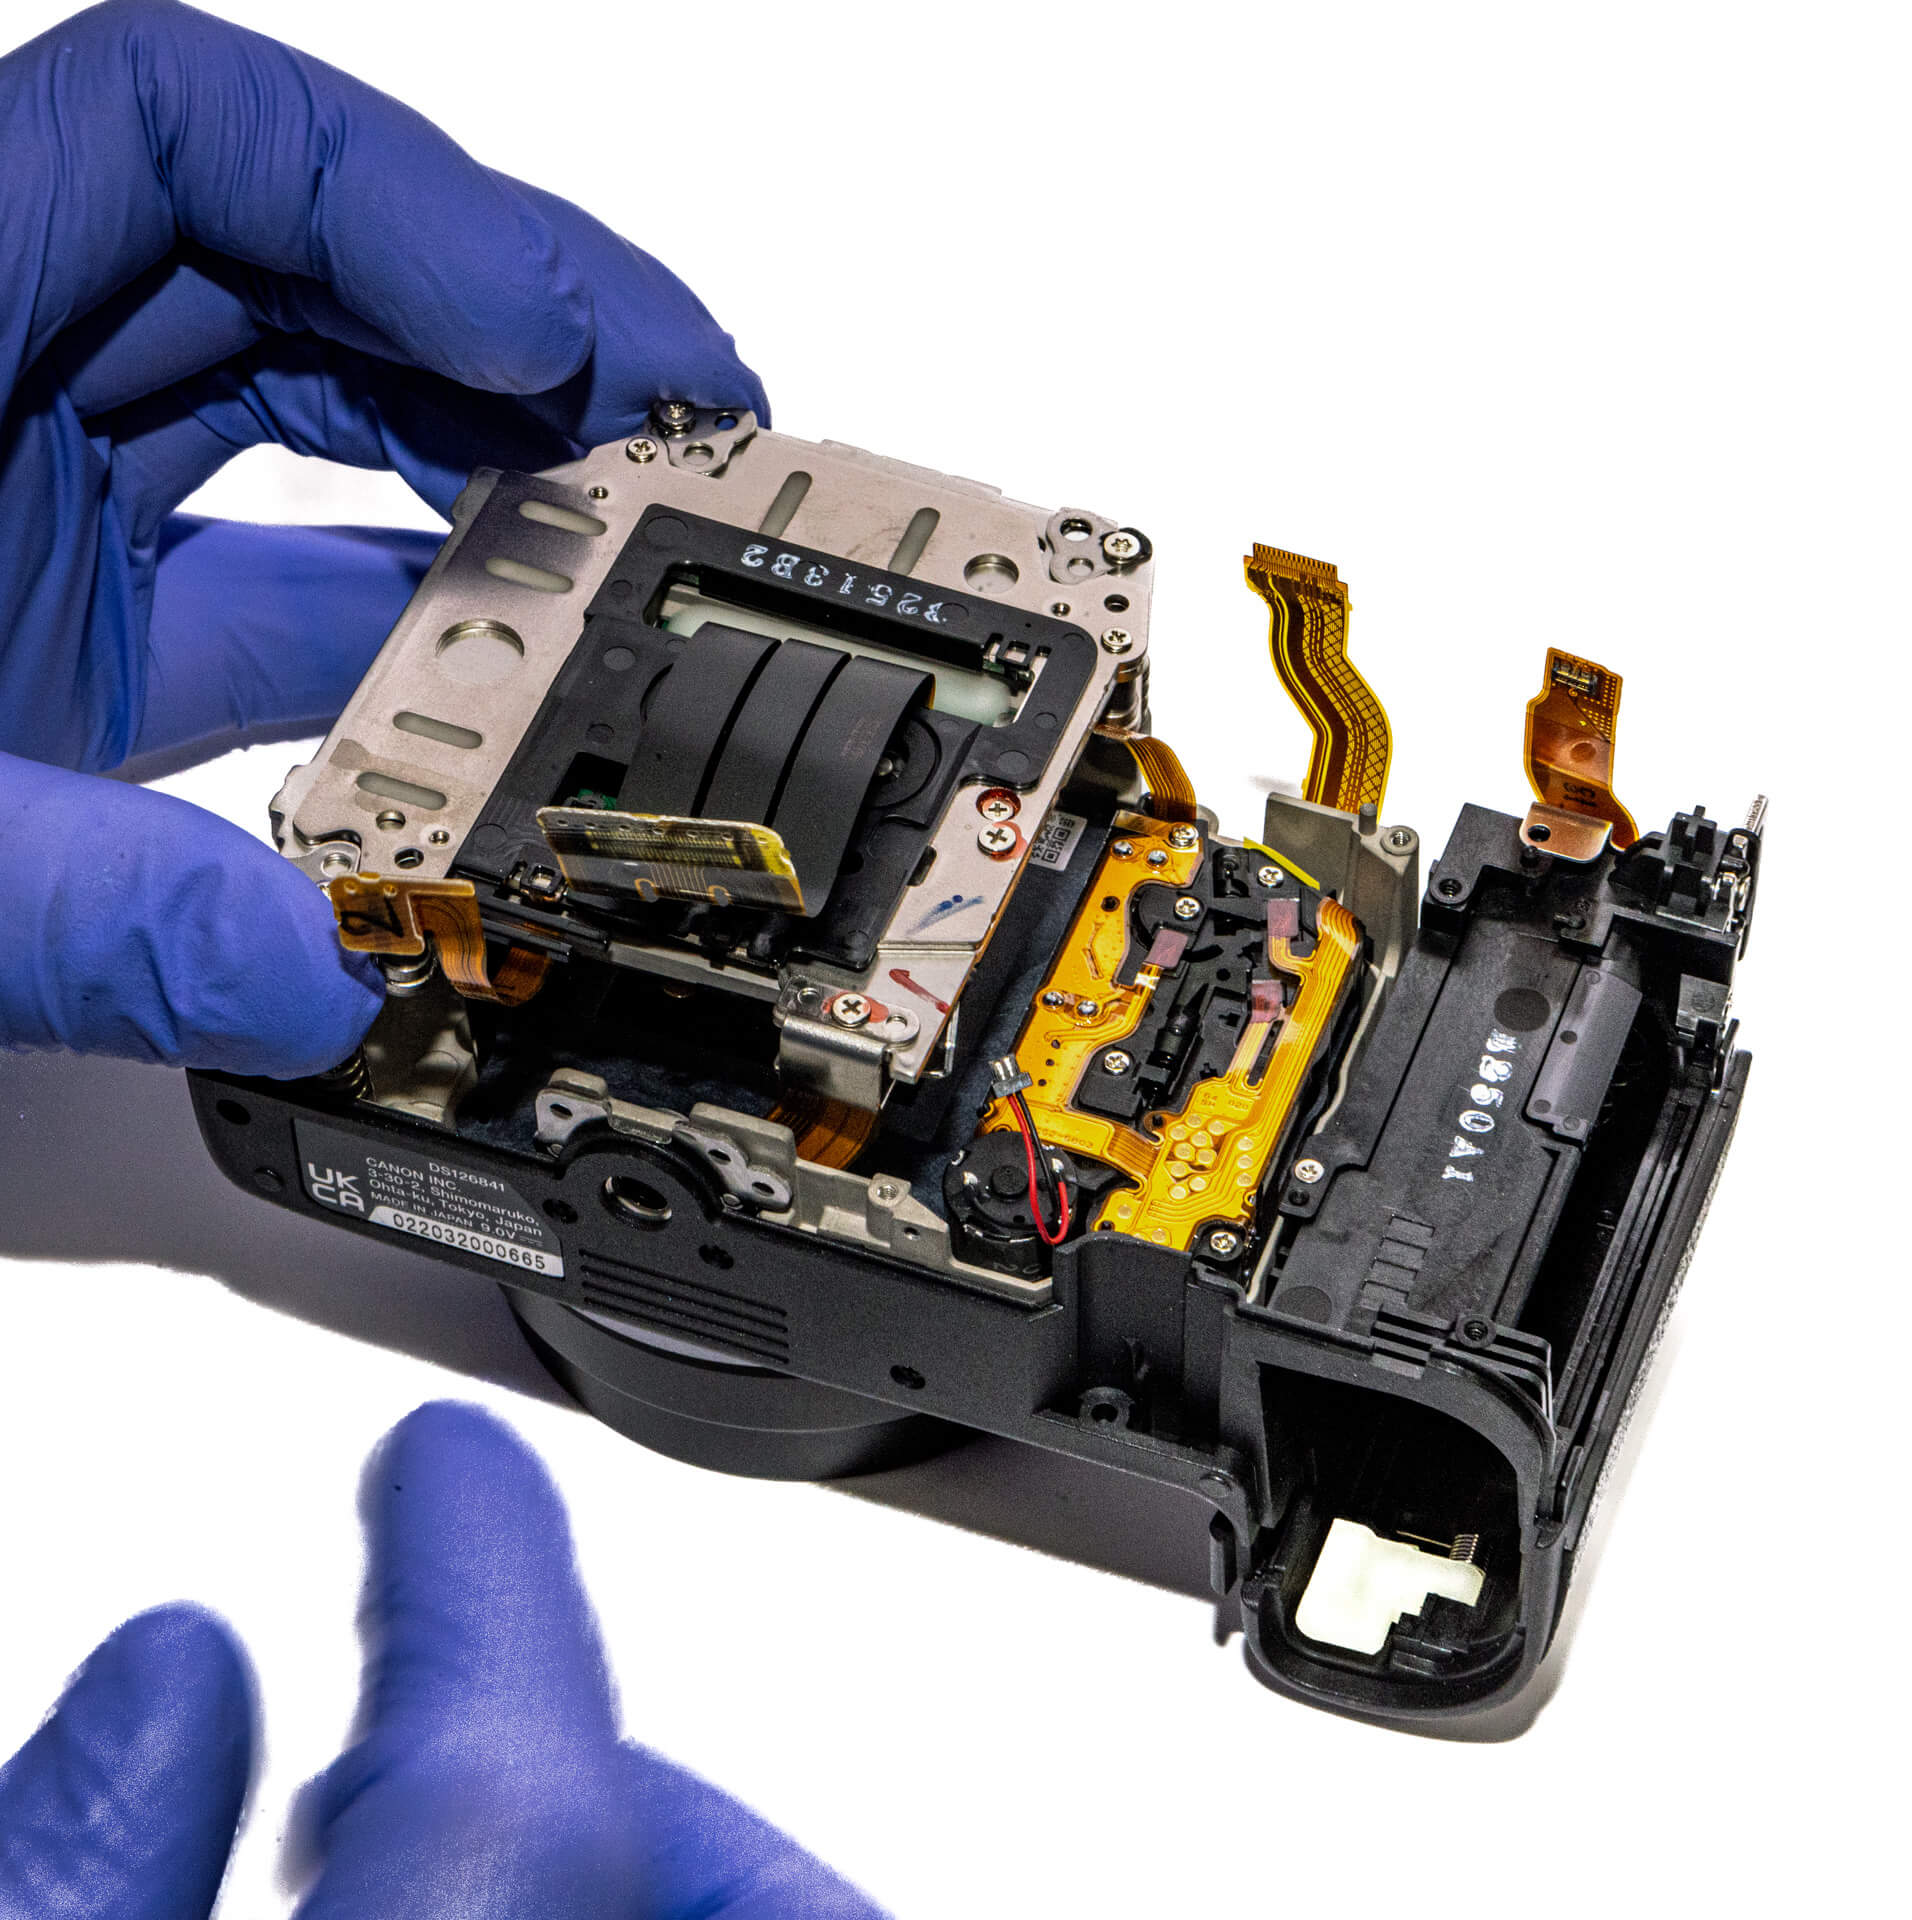
Moving forward, after removing a few screws, we can finally see the sensor beneath the heatsink panel.
We take extra care not to damage the front or the ribbons attached.
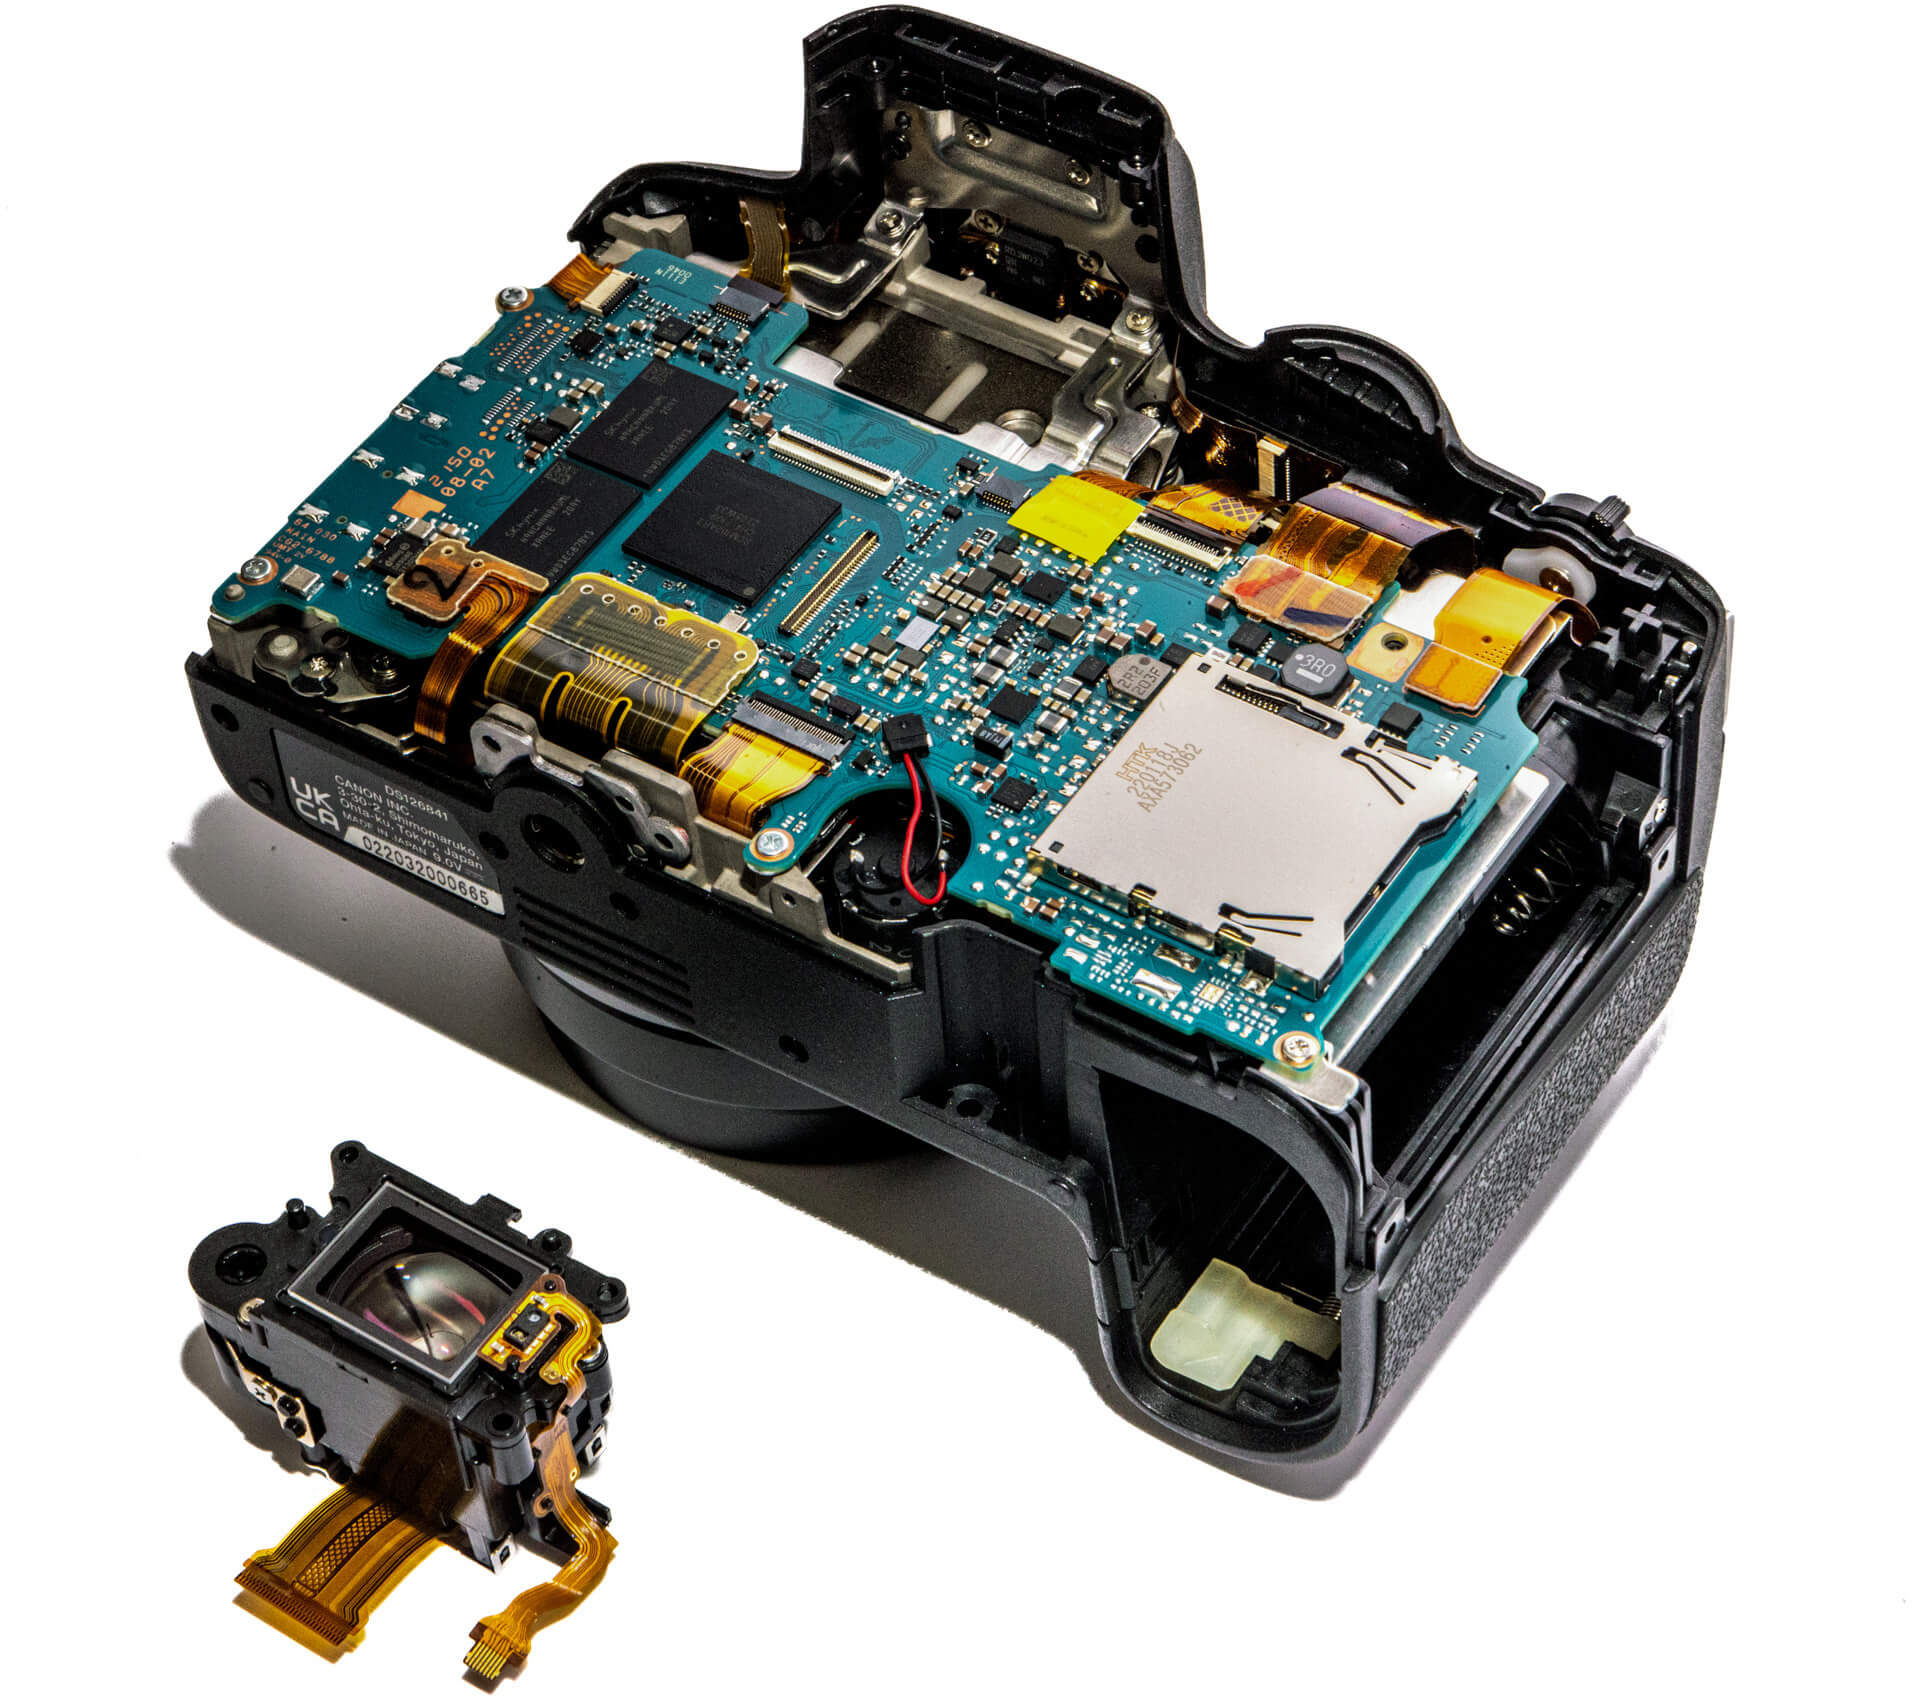
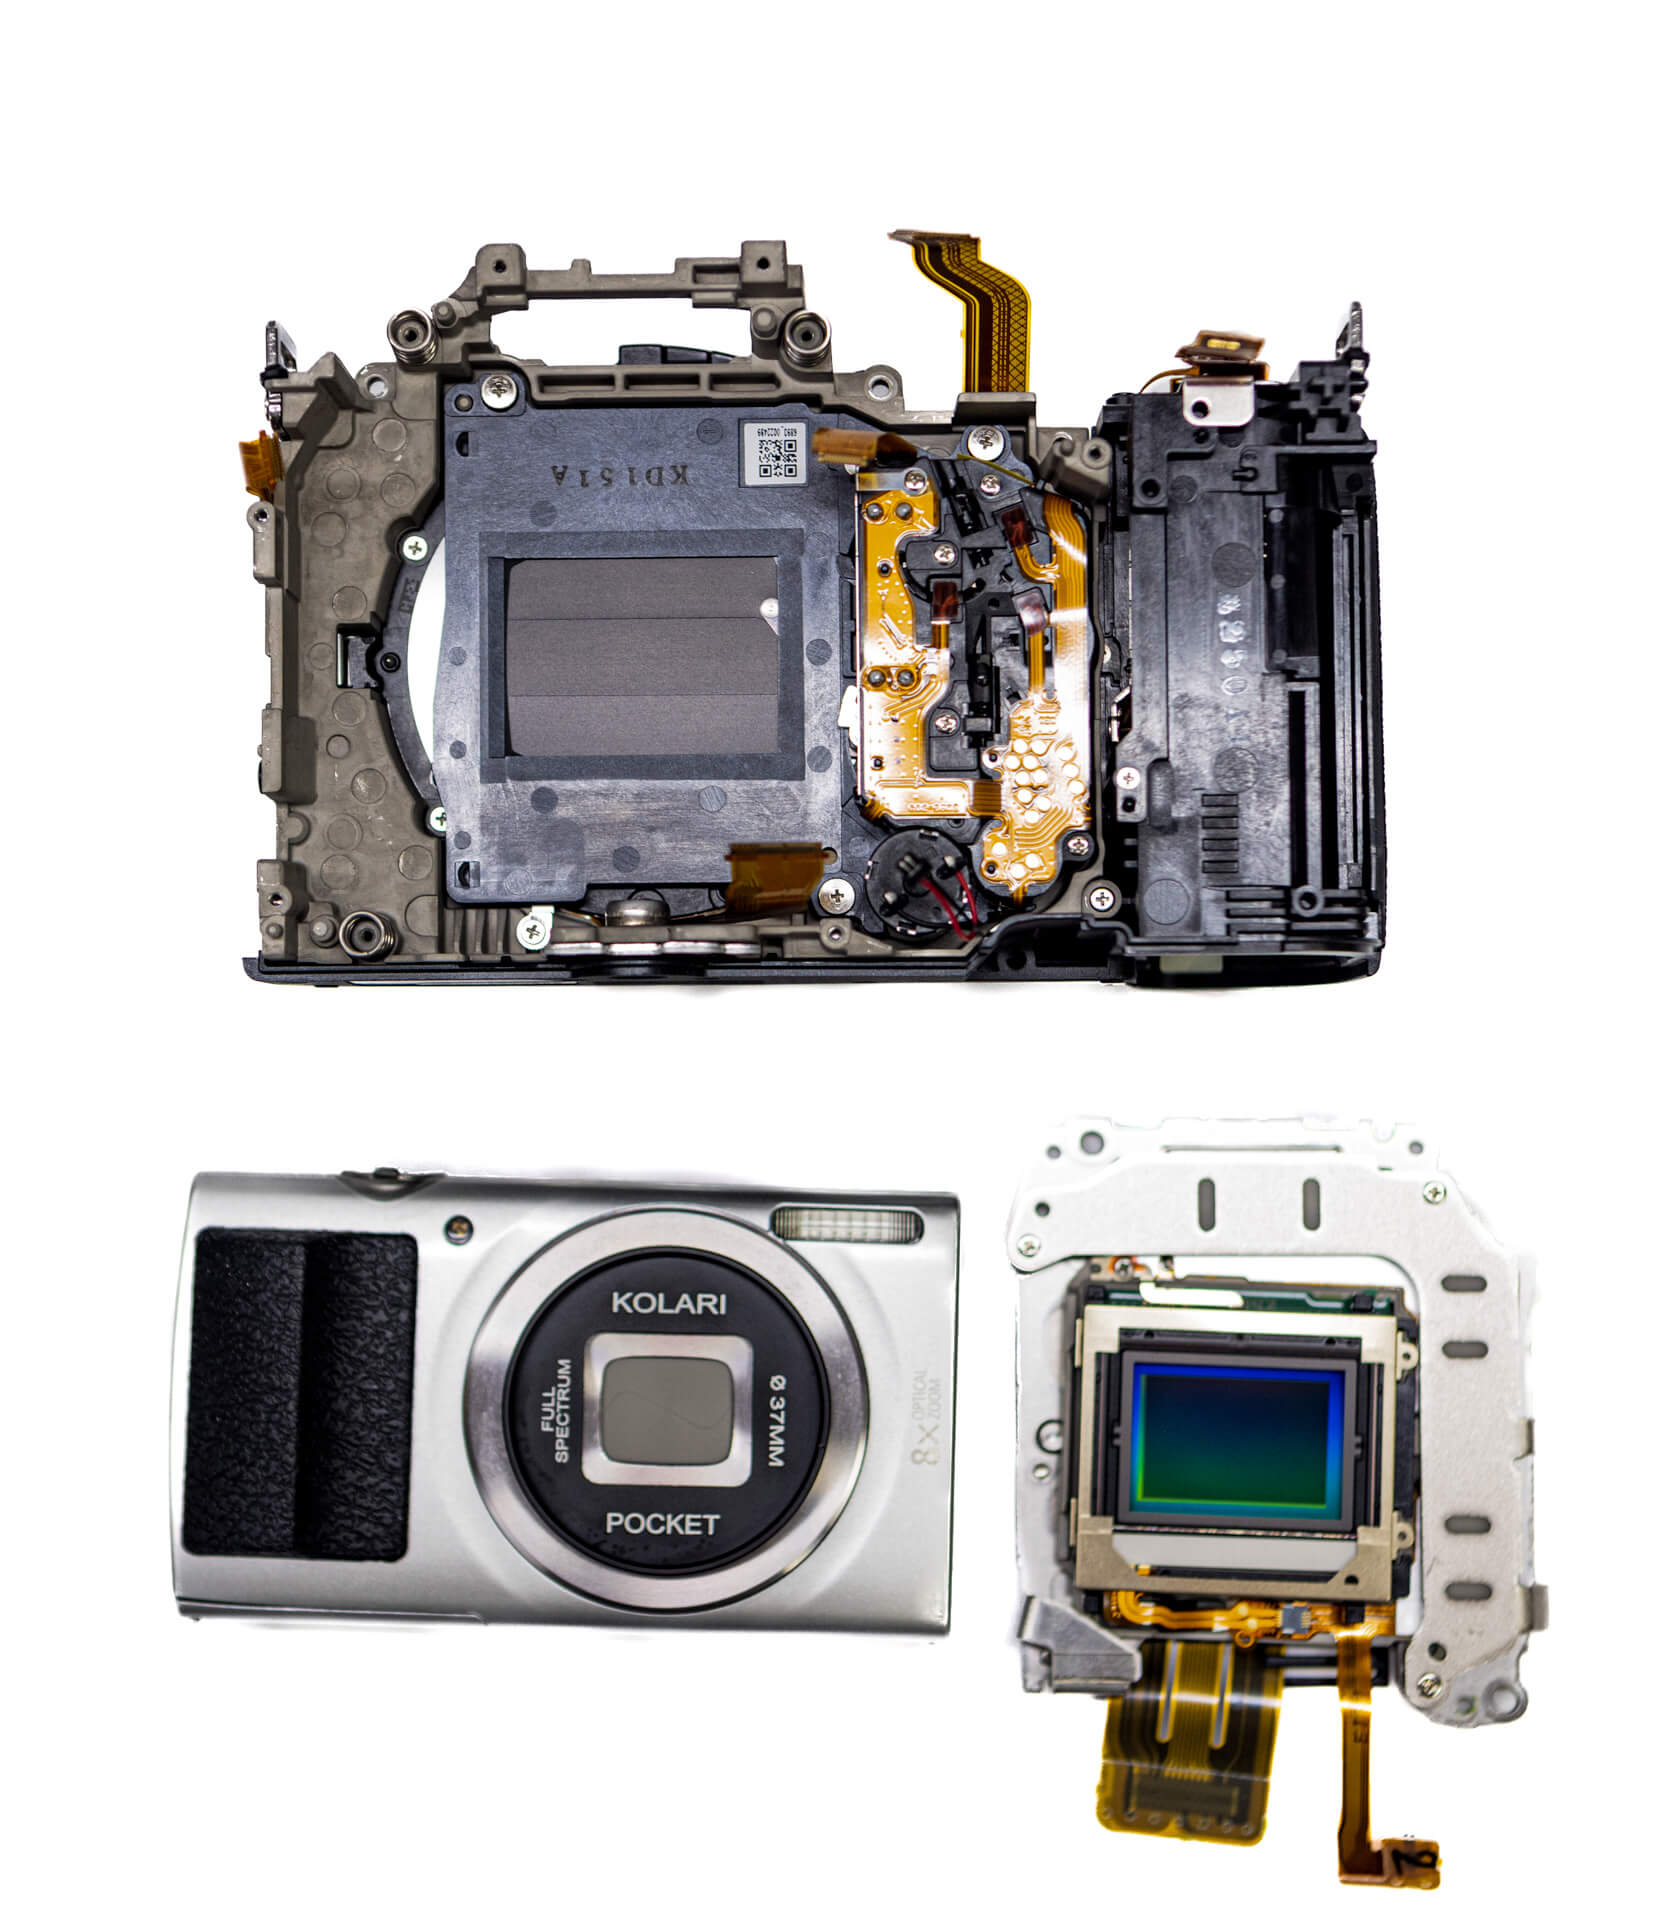
Here you can see the R7’s cropped APS-C sensor compared to the Kolari Pocket Point and Shoot Camera.
Canon EOS R7 Internal Components and Final Layout
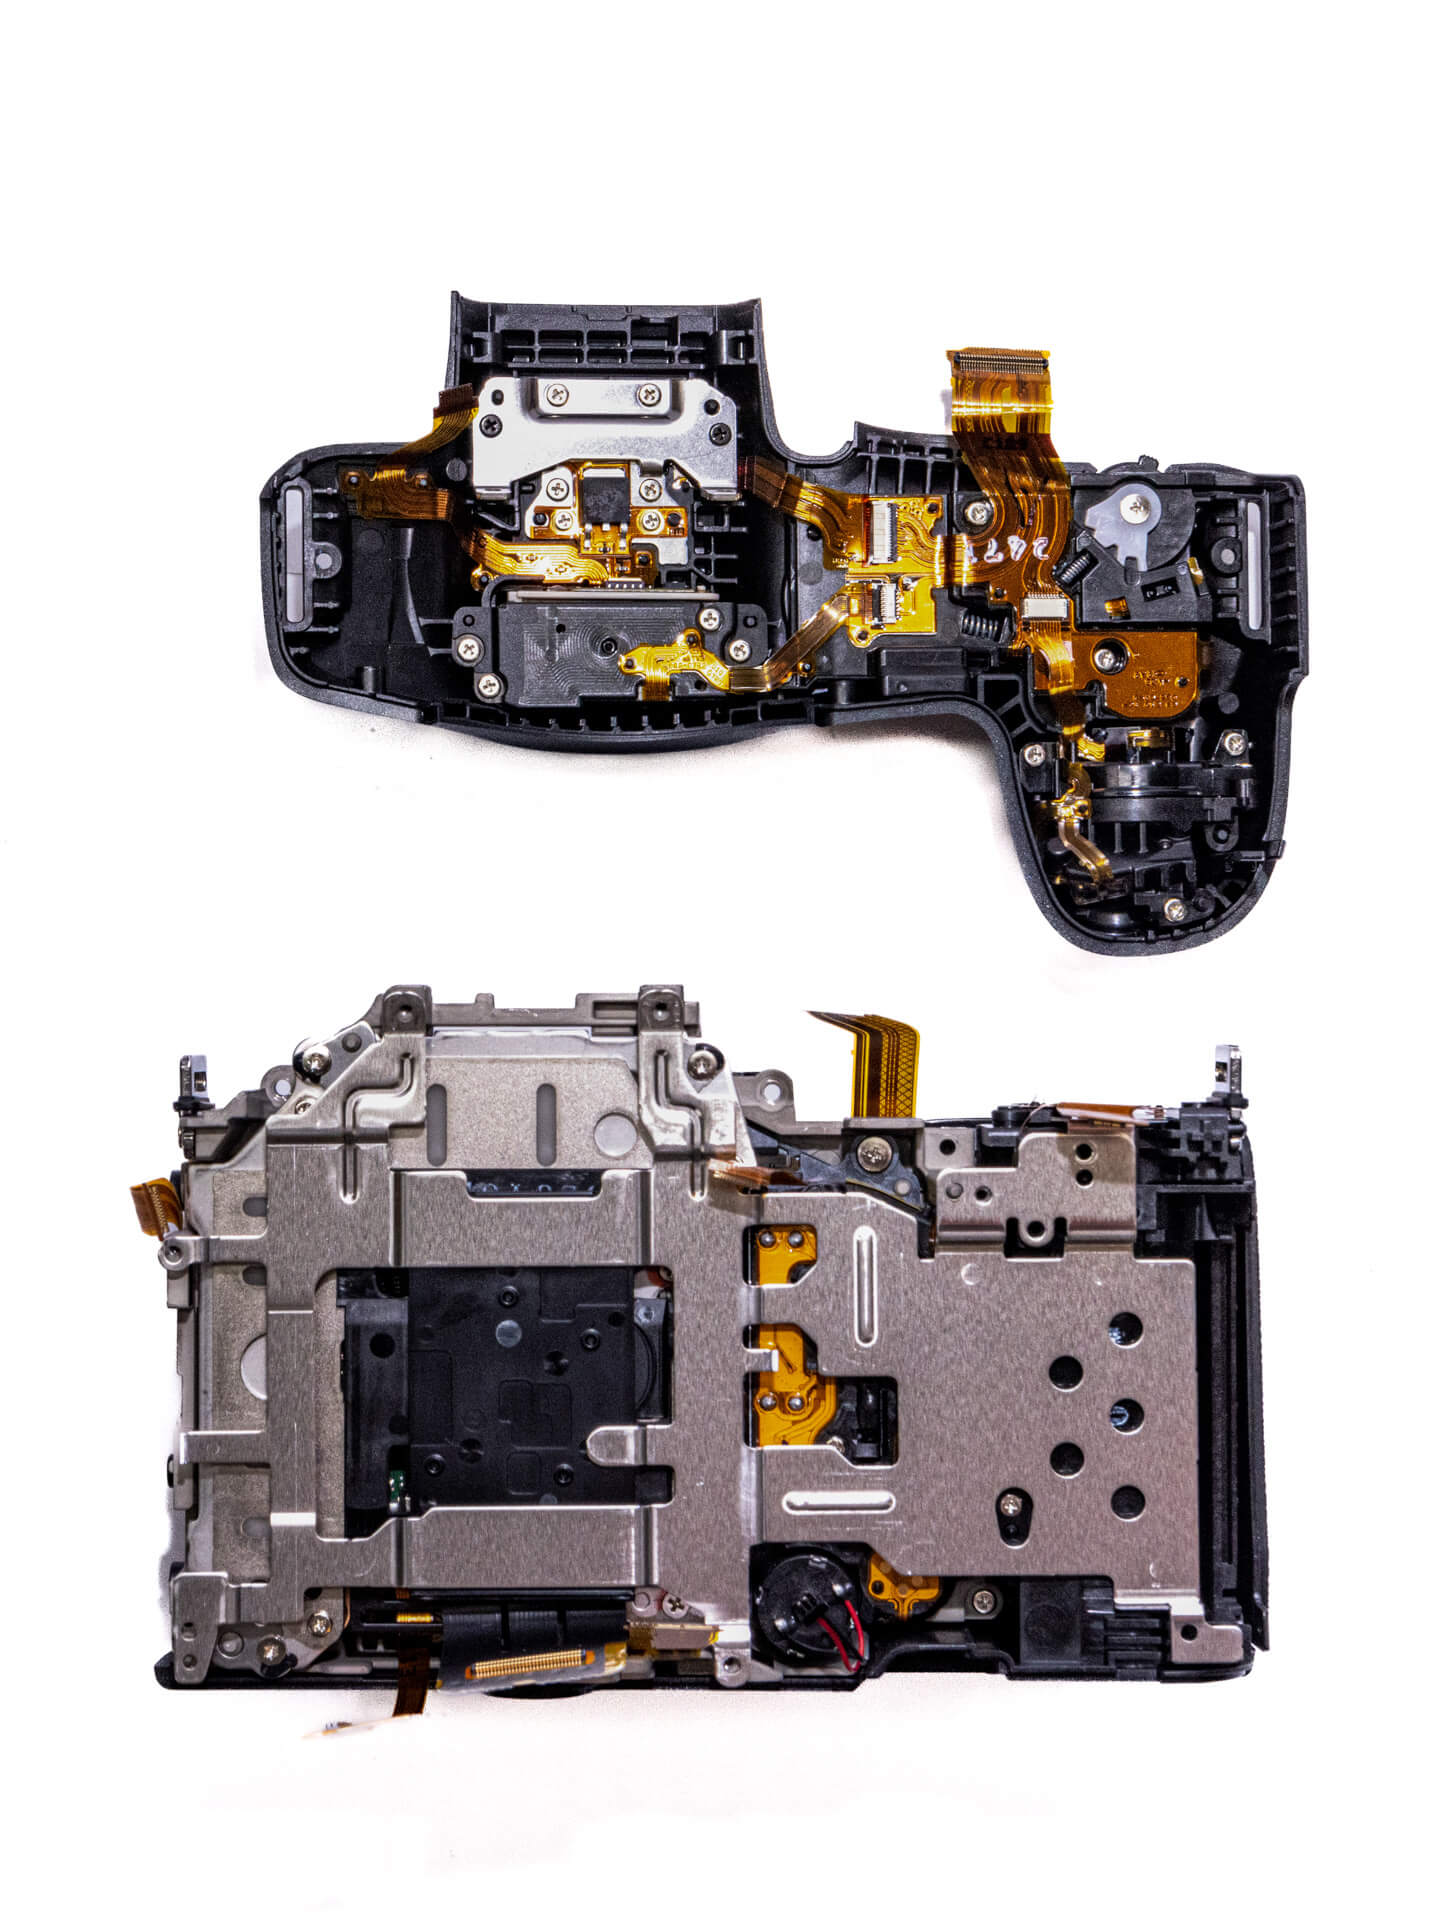
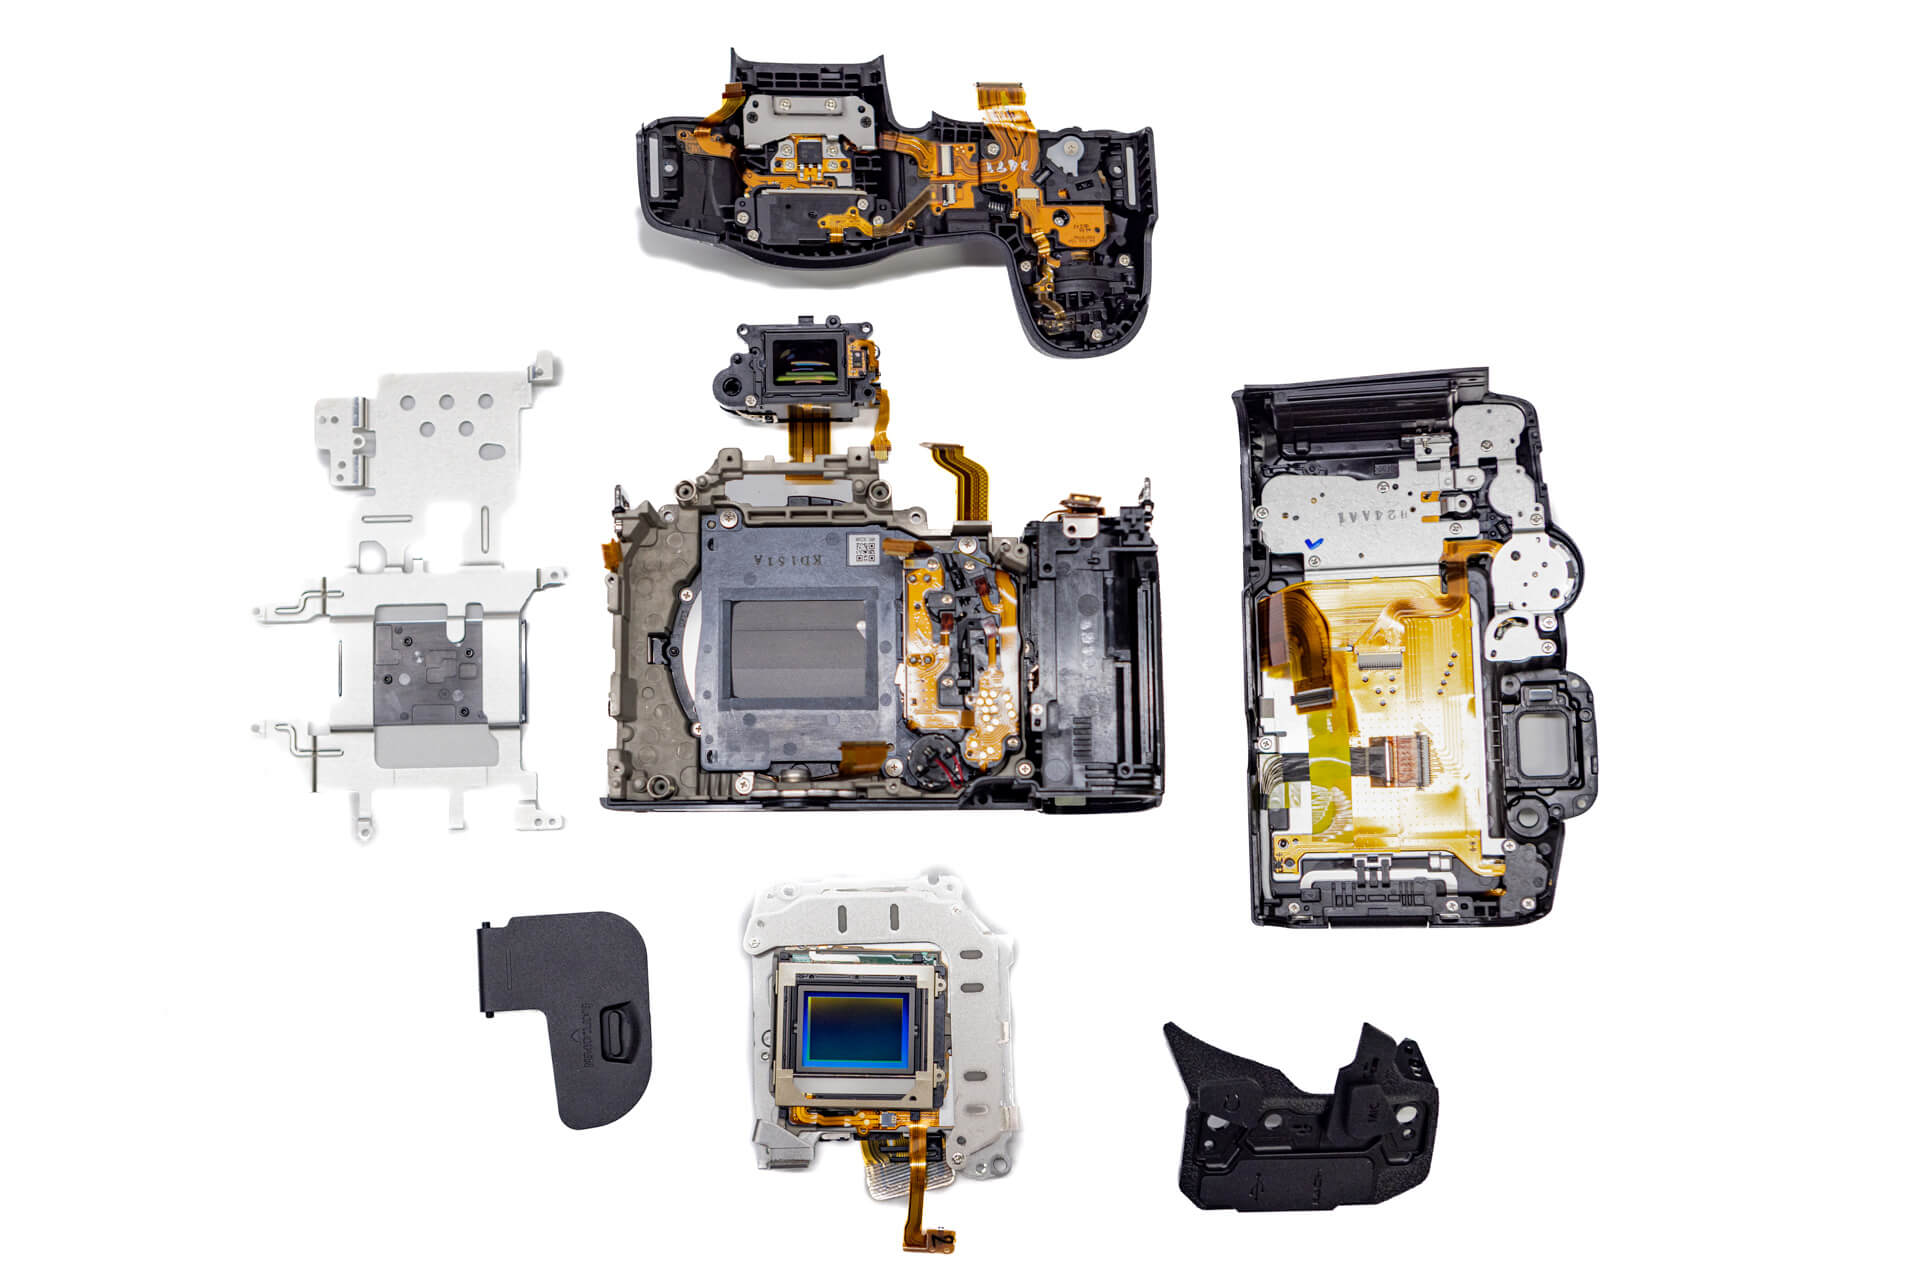
Finally, here is a shot of all the components of the R7 laid out to get an idea of how much goes into the new Canon EOS R7 camera.
Frequently Asked Questions
How Do You Start Disassembling The Canon EOS R7?
The Canon EOS R7 teardown starts around the EVF area by removing the screws beneath the EVF, then removing the EVF rubber casing to access four additional screws. The teardown then continues around the rear grip, memory card door, port side, bottom screws, and the front screw beneath the R7 logo.
Where Are The Hidden Screws On The Canon EOS R7?
The Canon EOS R7 has a hidden screw underneath the rubber grip between the AF-ON and INFO buttons. Another important exterior screw is located on the front of the camera beneath the R7 logo, which needs to be removed before the camera housing can open.
How Is The Canon EOS R7 Camera Body Opened?
After the exterior screws are removed, the port side panel is taken off first. When the body opens, a large ribbon cable keeps both halves of the camera connected, so that ribbon needs to be detached carefully before the internal teardown can continue.
How Is The Canon EOS R7 Motherboard Removed?
The Canon EOS R7 motherboard is removed after the large body ribbon cable is detached and the EVF is removed. The EVF is held by ribbon cables below and on the right side, while the motherboard itself is held by several ribbons and screws around the perimeter of the board.
How Is The Canon EOS R7 Camera Sensor Removed?
The Canon EOS R7 sensor is reached after the motherboard and heatsink panel are removed. A series of screws around the metal frame surrounding the sensor must be removed, and extra care is needed to avoid damaging the sensor front or attached ribbon cables.


One Response
Thanks for that.
How does it perform as a converted camera?