Canon EOS R50 Camera Overview
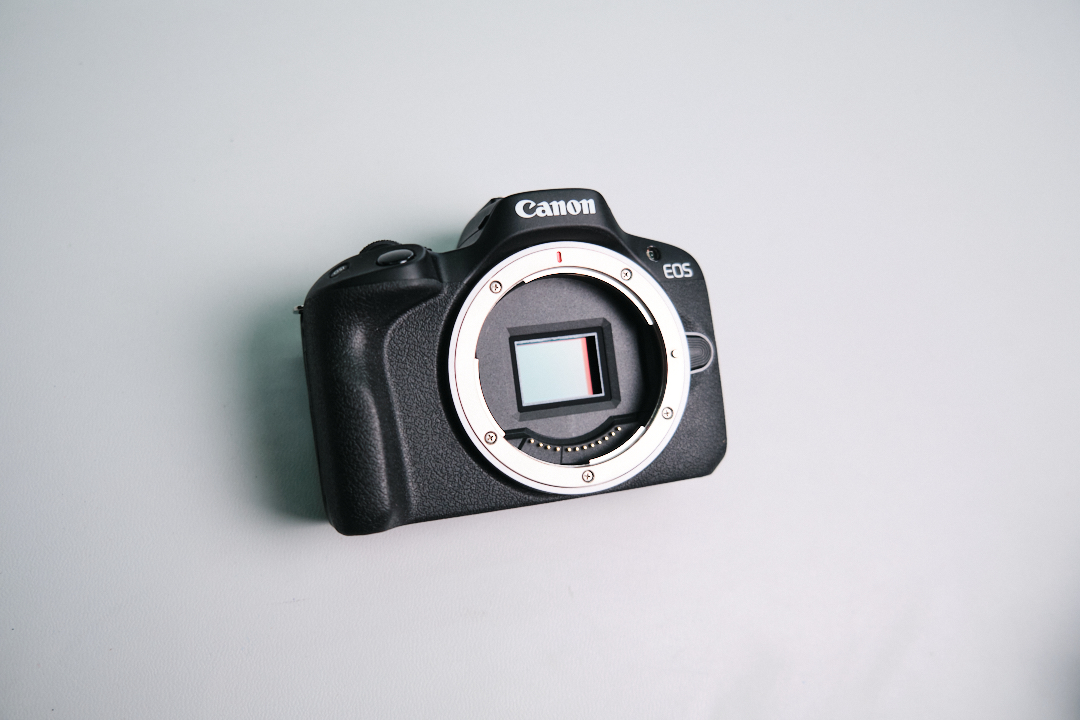
The Canon EOS R50 is an entry-level yet high-quality mirrorless camera that’s perfect for vloggers, travelers, and content creators with its compact frame.
Canon EOS R50 Specs and RF-Mount Design
The Canon EOS R50 was released in February 2023 alongside the Canon EOS R8. While the R50 comes as a more budget option than the R8, it is certainly no slouch in itself or even in comparison with the other cameras in the R series lineup.
Going into technical specifications, it uses a 24.2MP APS-C CMOS sensor, 4K video up to 30p without crop, 1.62M dot fully articulating touchscreen, Dual Pixel autofocus, video recording that can go past 30 minutes, and RF-mount.
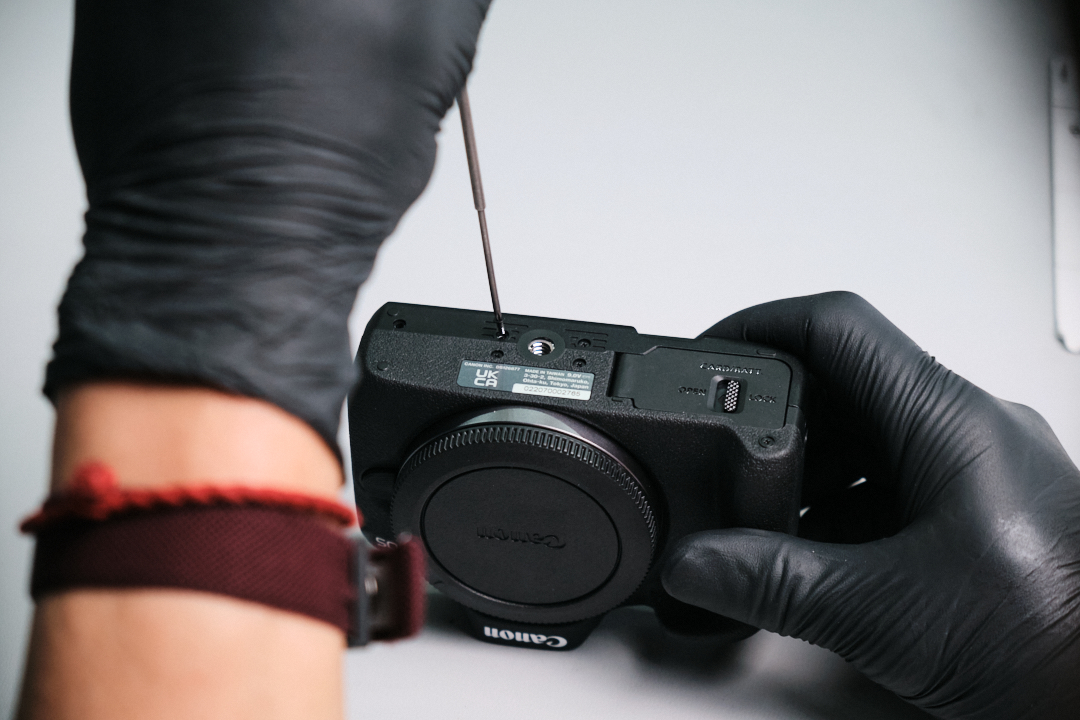
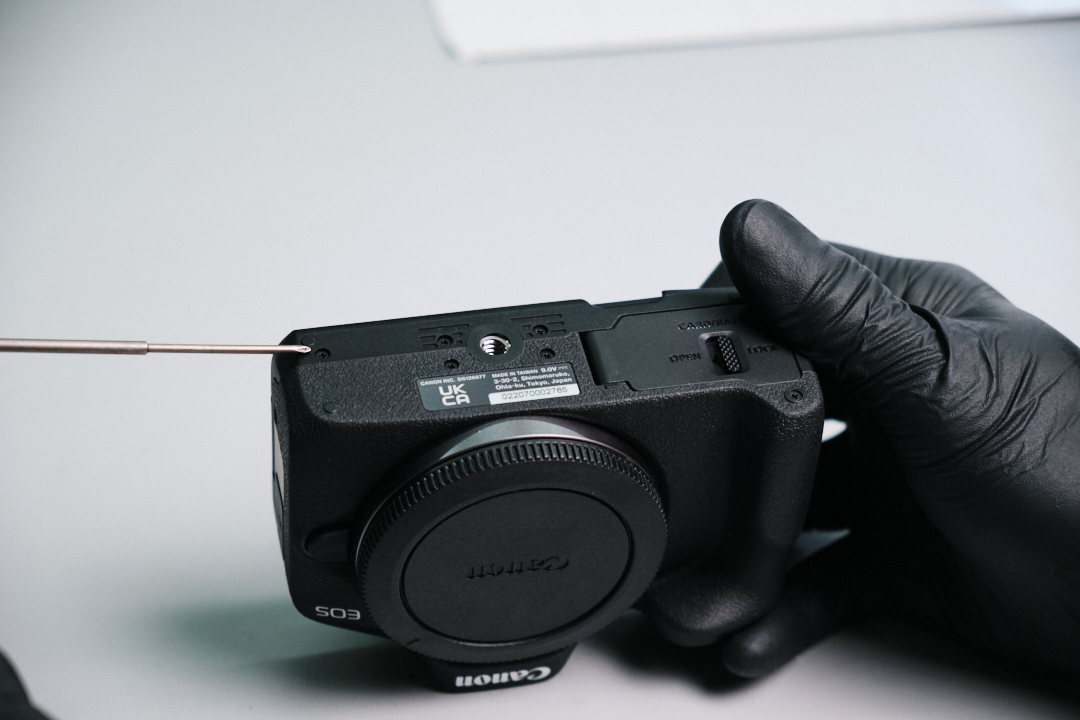
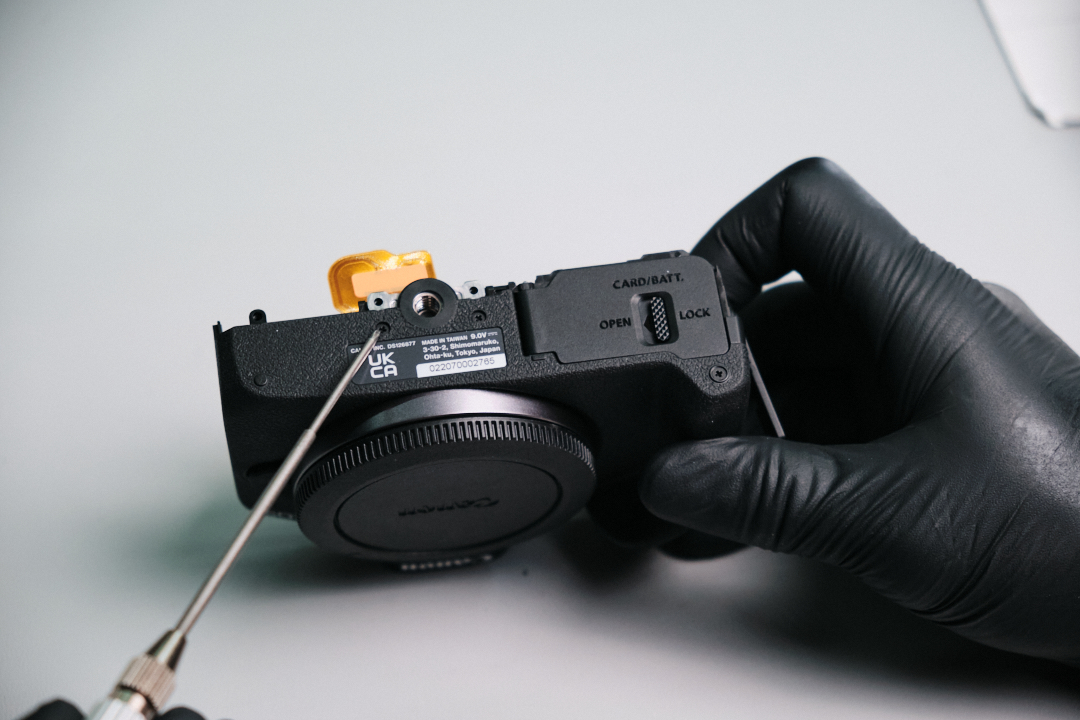
Starting the Canon R50 Teardown With the Baseplate
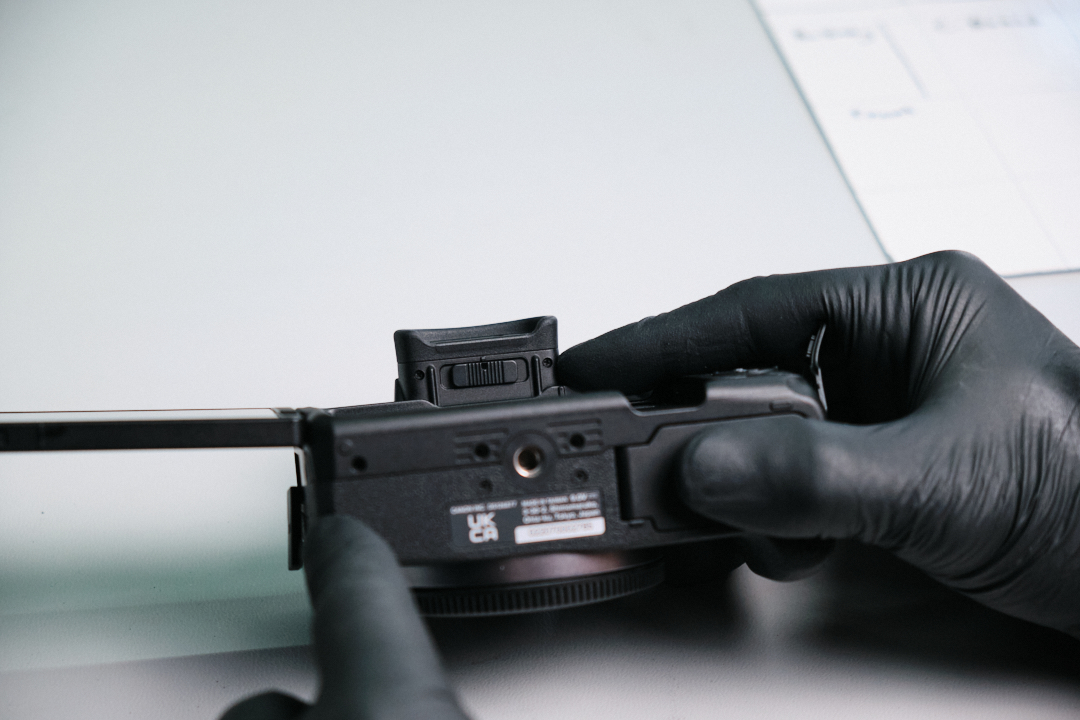
Similar to our other teardowns, we targeted the camera’s baseplate by removing two screws.
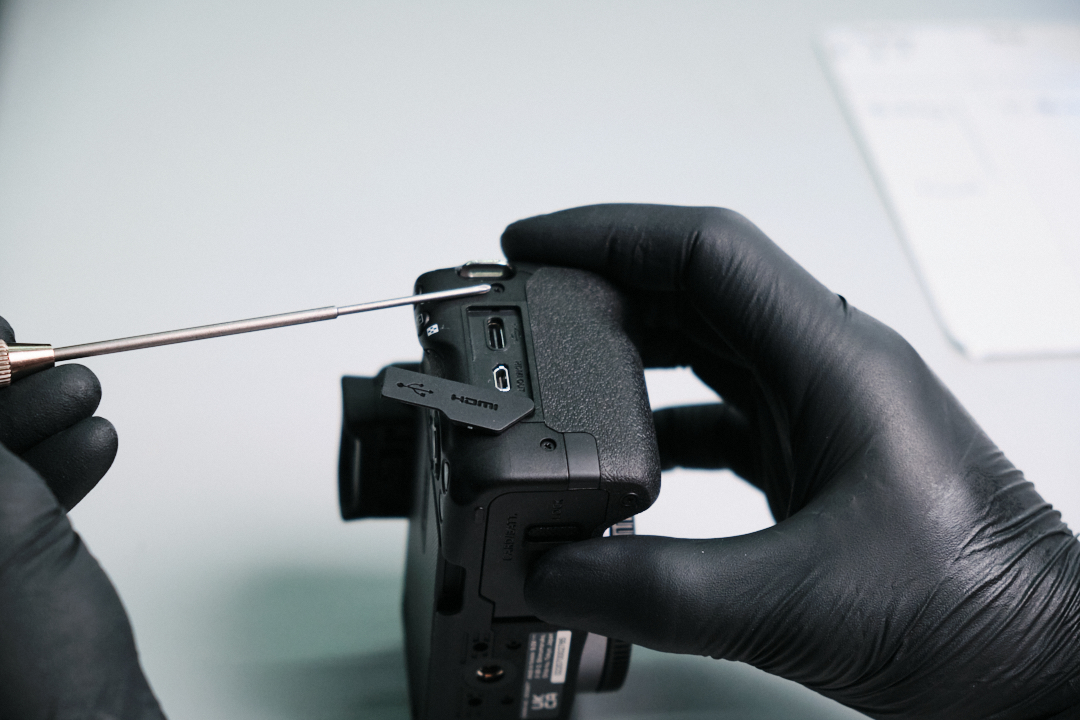
Removing Port Side, Left Side, and Diopter Screws on the Canon R50
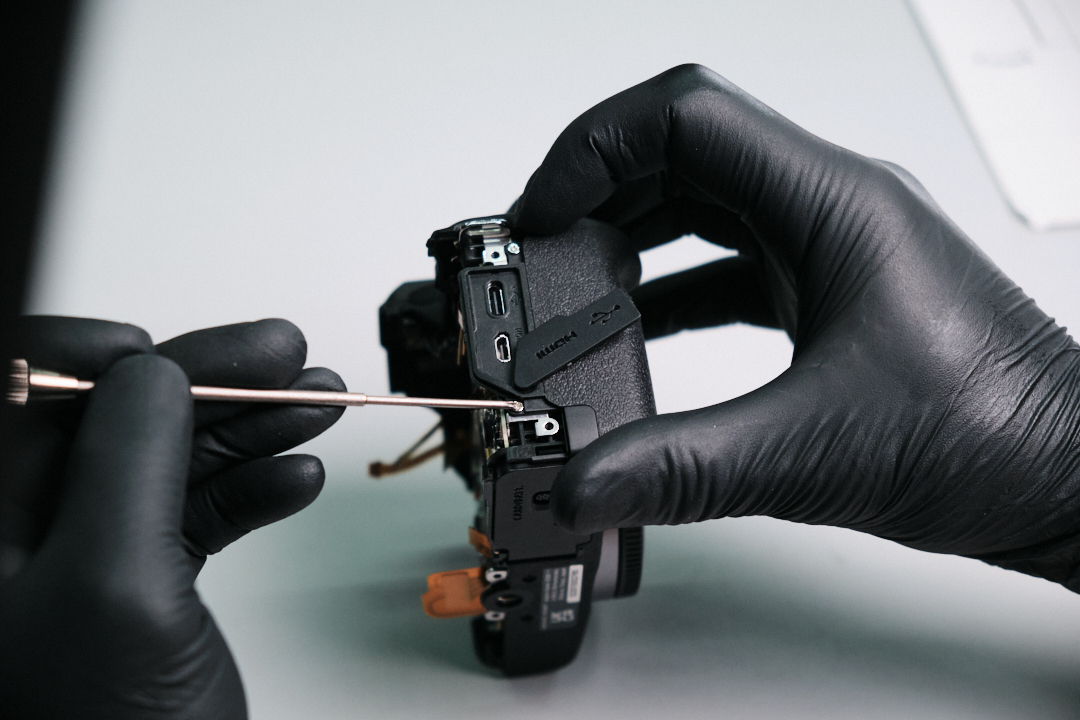
There were two screws located above the USB-C and below the HDMI port.
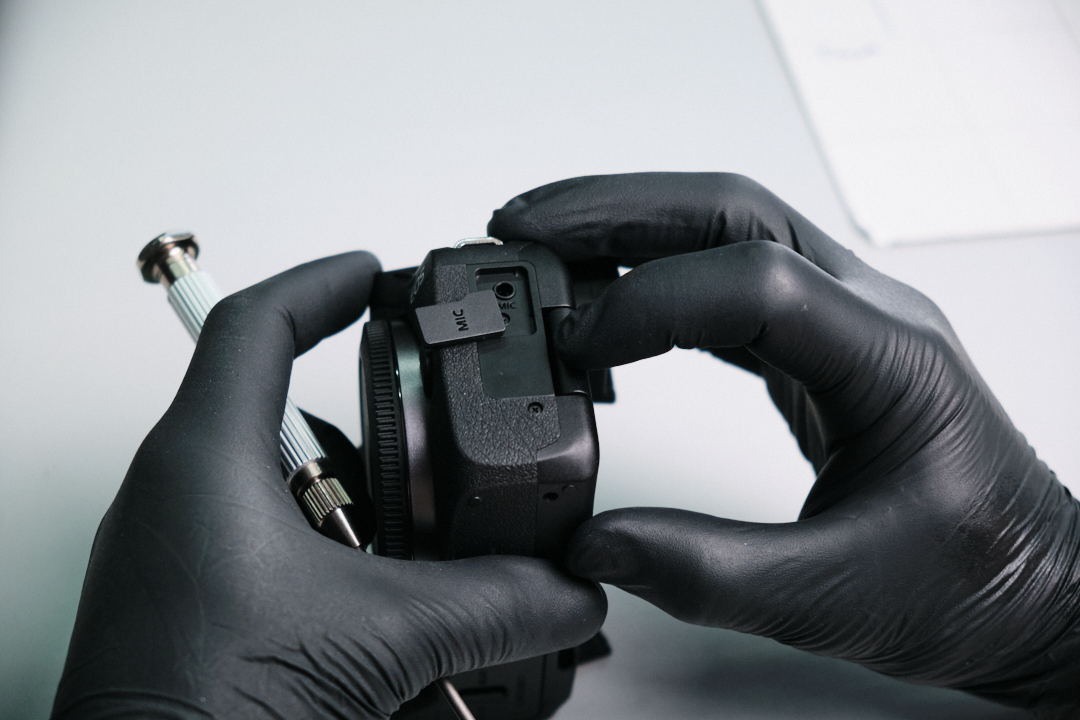
On the left side of the camera, there was one screw below the mic port and one on the textured plastic trim.Â
Removing the Eye Cap Trim and Hidden Screws
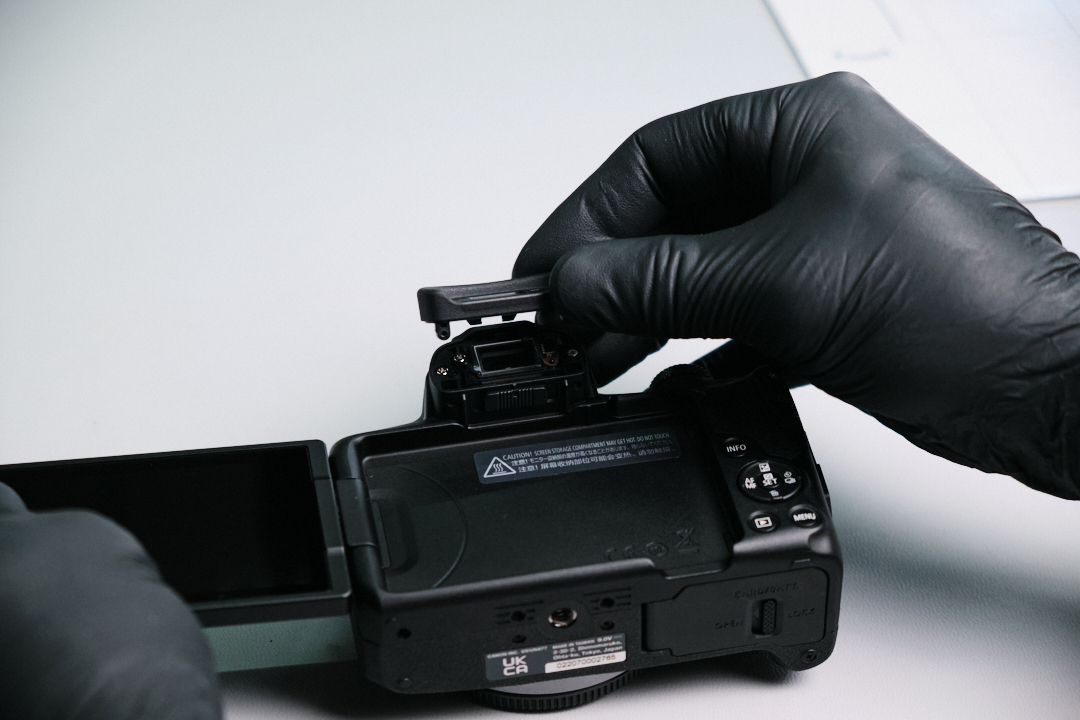
We found two screws on either side of the diopter. Interestingly, the Canon R50 implements a sliding diopter instead of a gear knob.
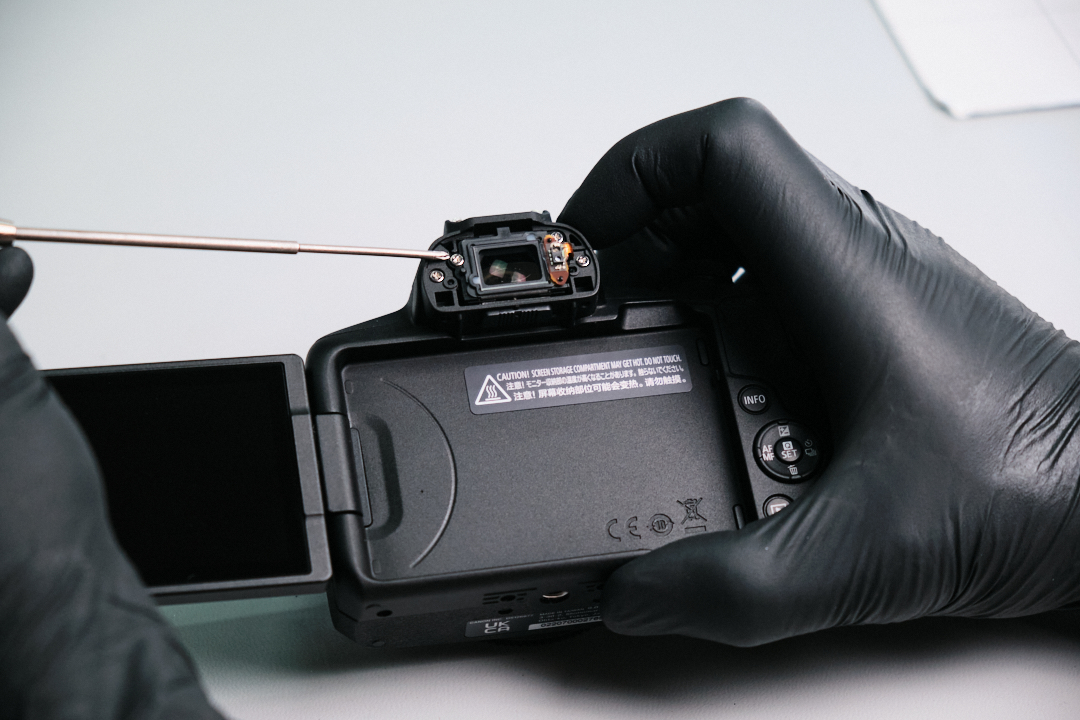
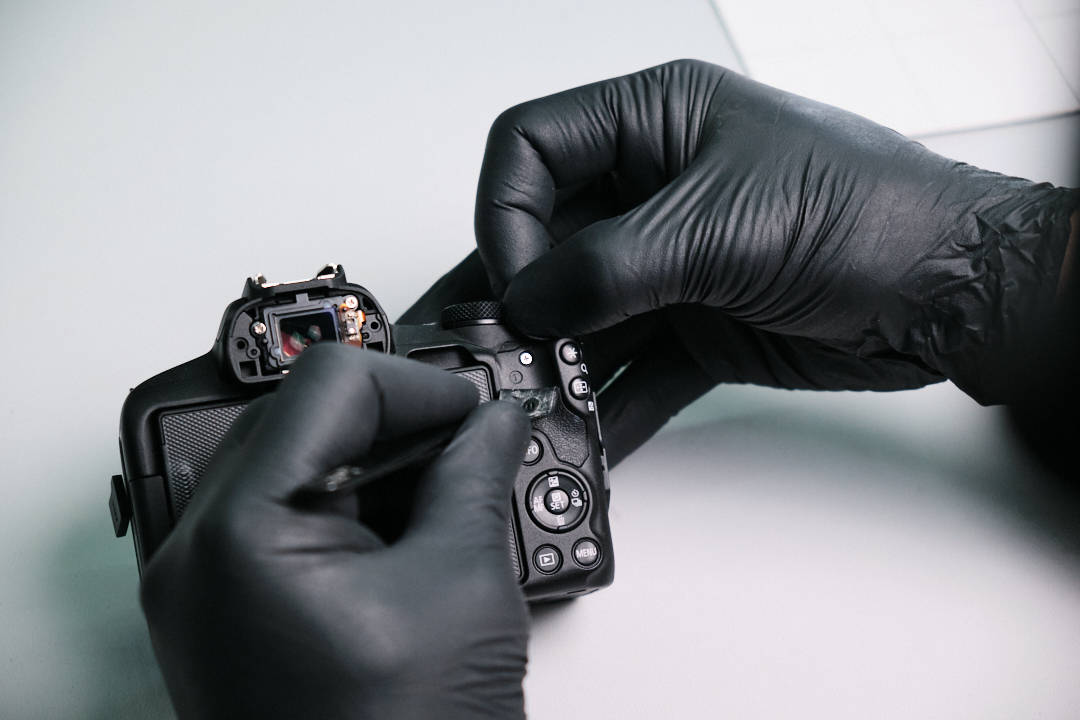
Once those screws were gone, the eye cap trim could be lifted from the camera body.Â
Under the eye cap, two silver screws were unfastened.Â
Underneath the rubber thumb grip, we found one silver screw.
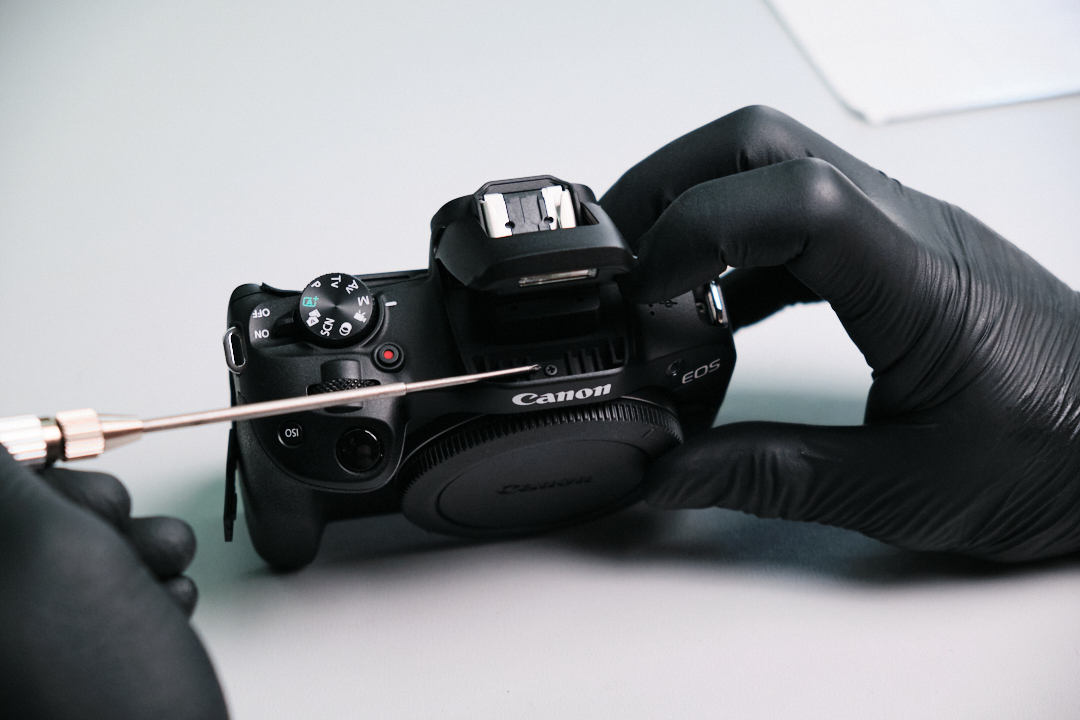
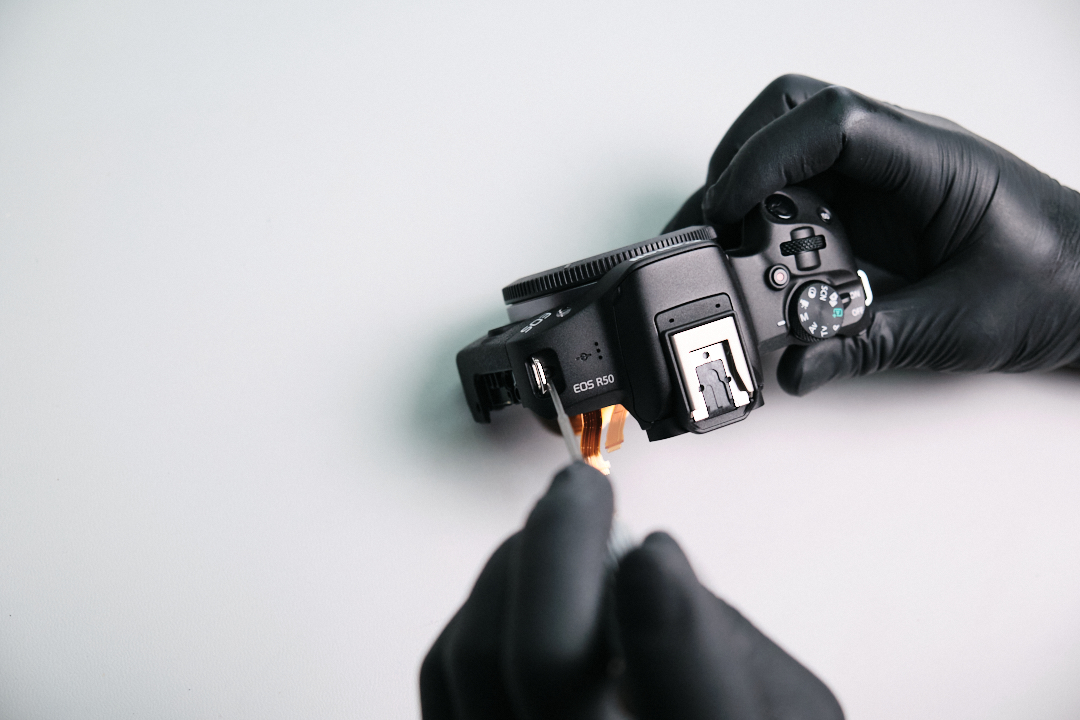
Under the flash unit assembly, we found one screw. We removed it so it wouldn’t interfere with removing the top panel.
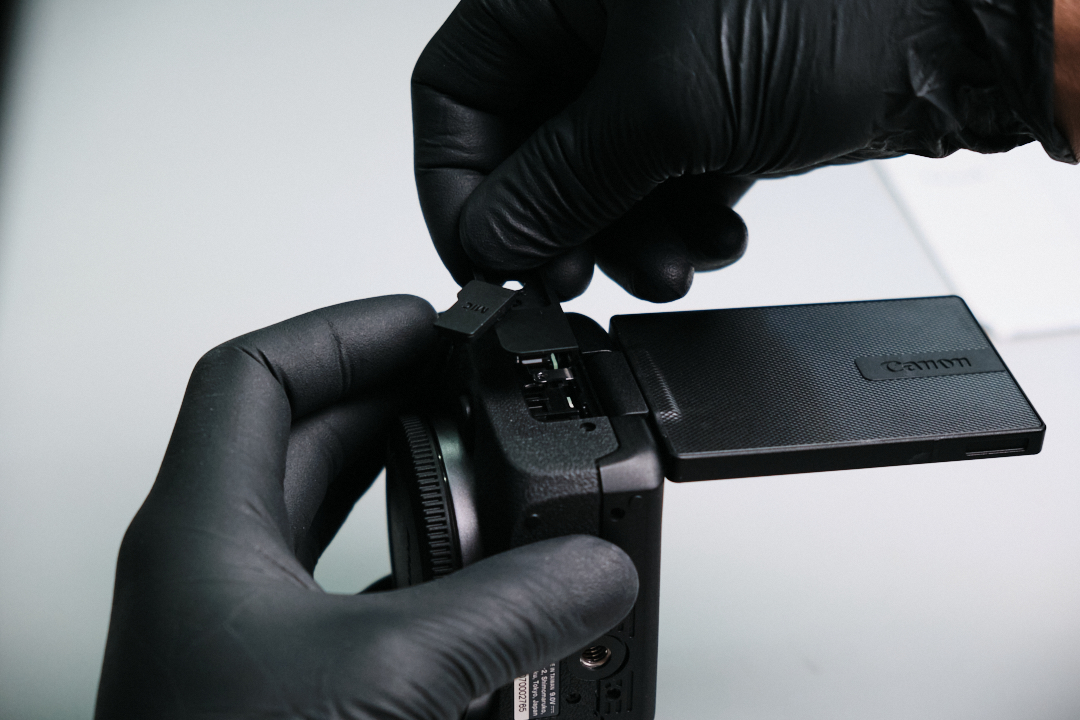
Here, we turned to the mic port side and removed the dust cap trim.
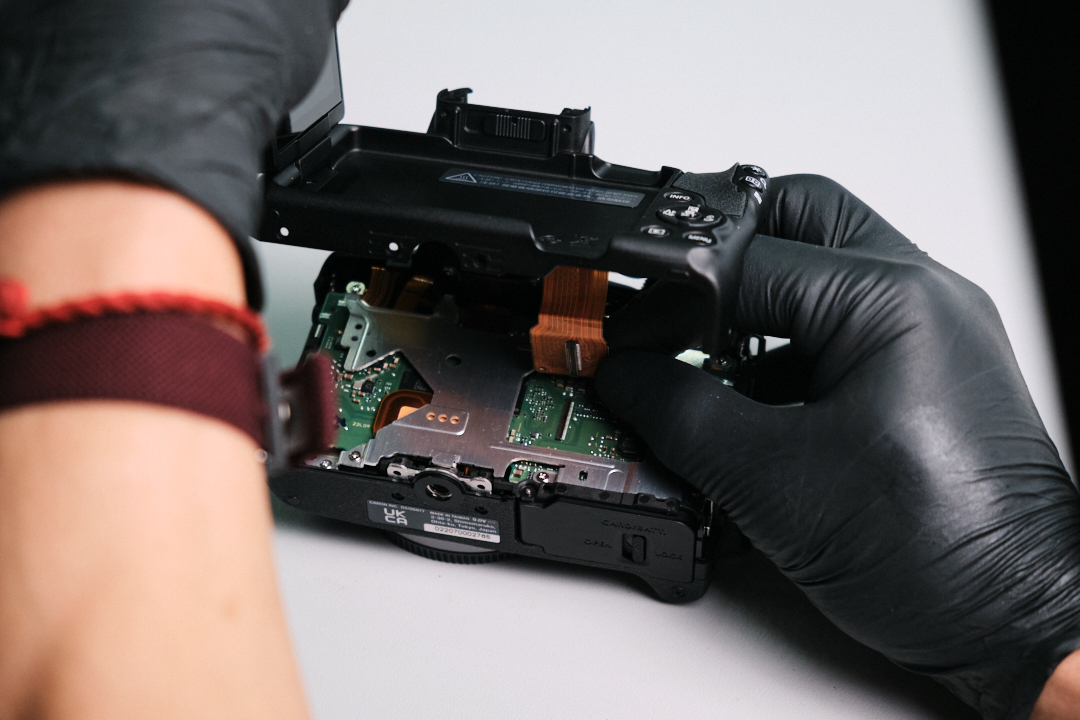
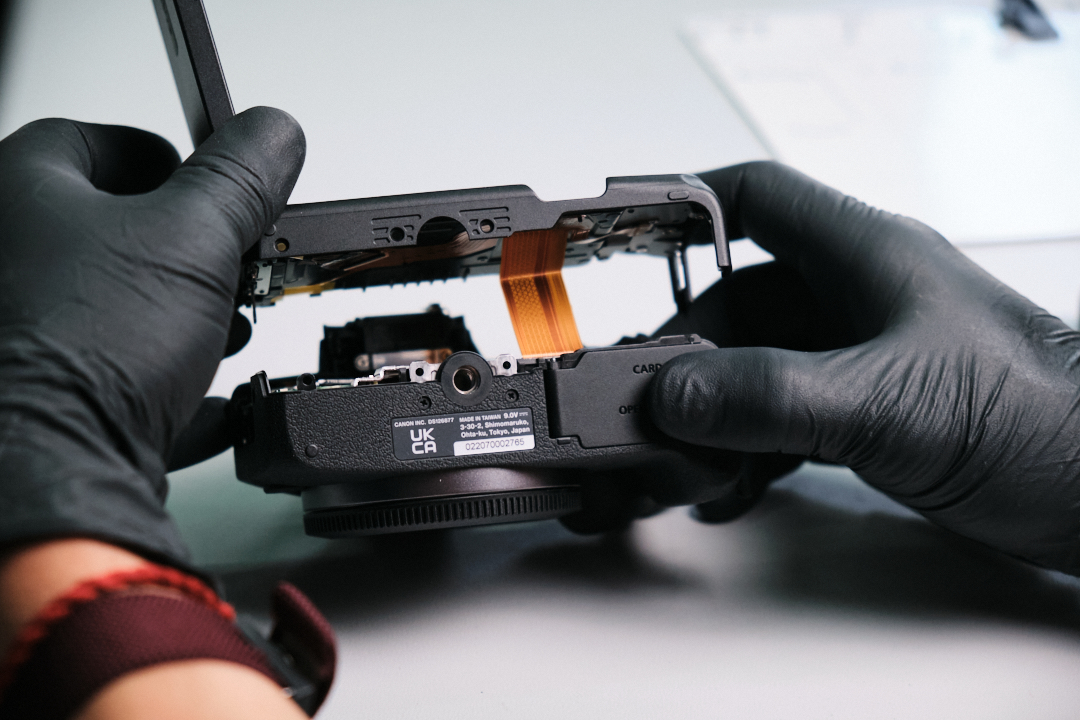
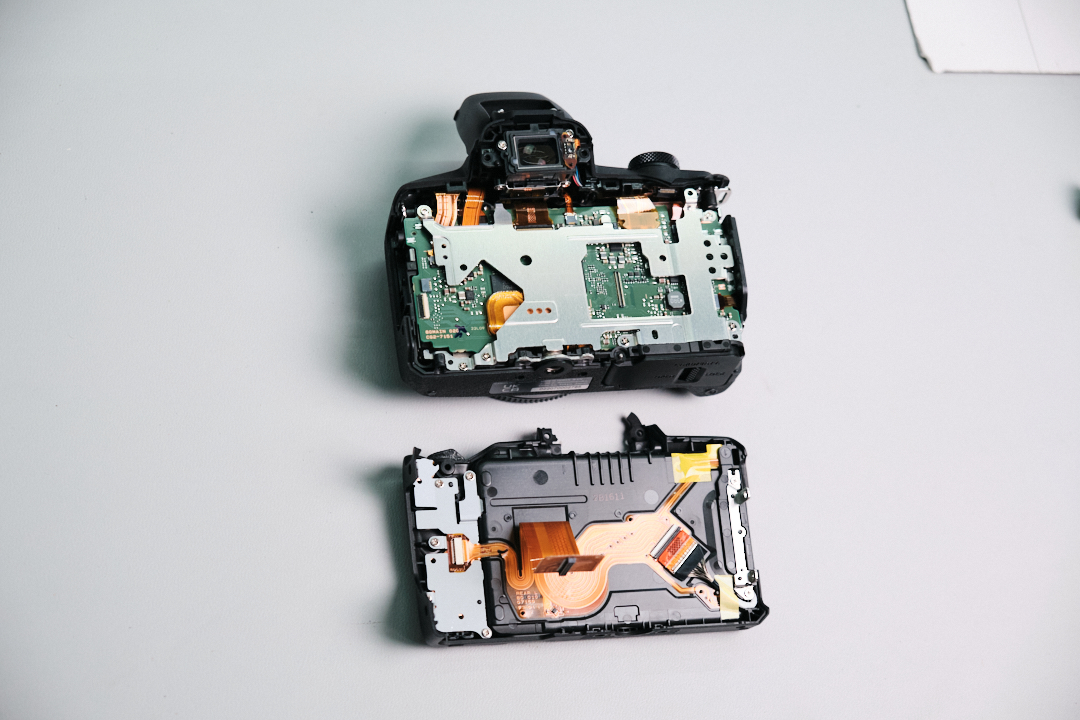
We carefully lifted the rear panel from the body. Here, a thick ribbon cable connects the LCD screen and buttons to the circuit board.
Disconnecting the Rear Panel Ribbon Cable
We detached the rear panel ribbon cable from the circuit board.Â
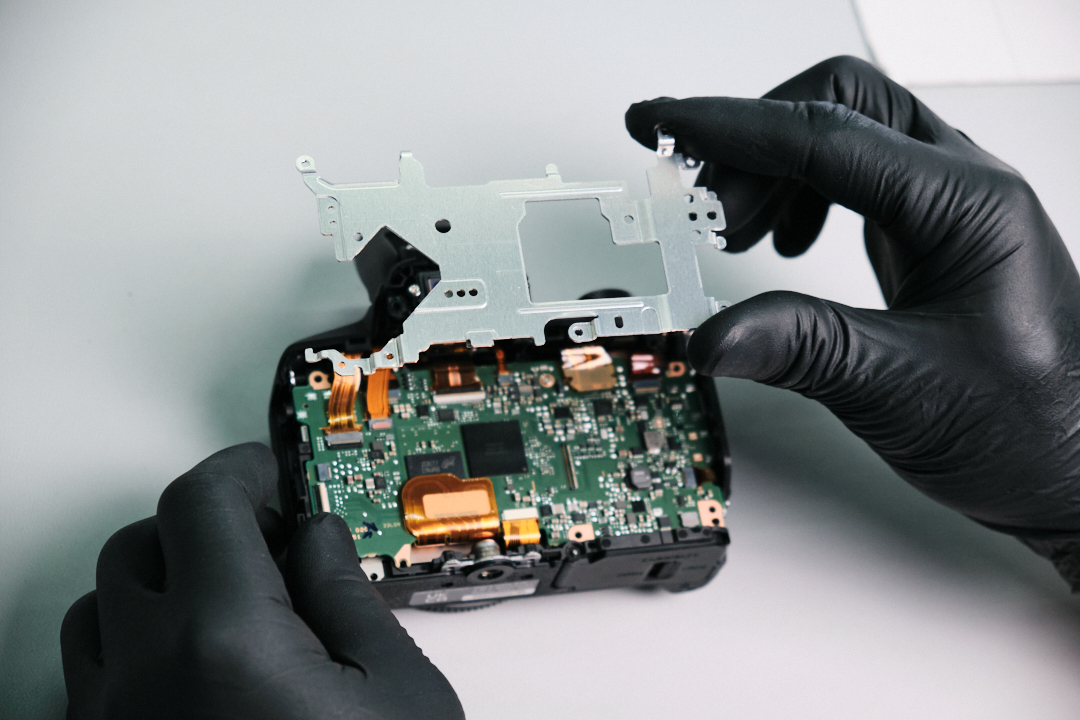
Removing the Circuit Board Frame
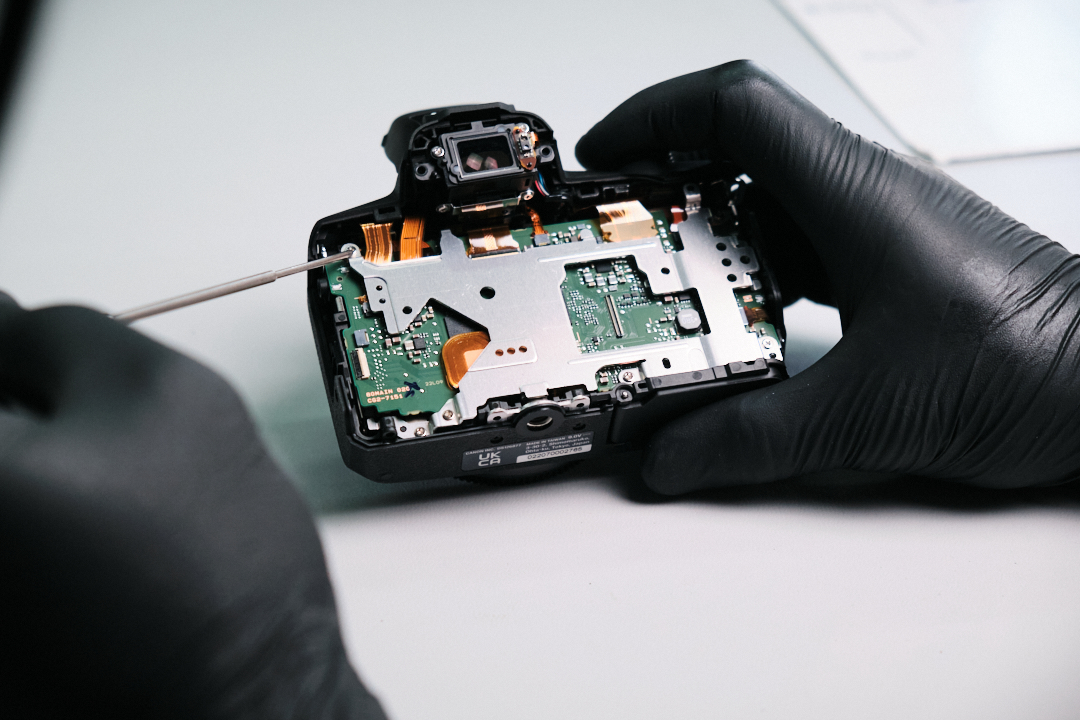
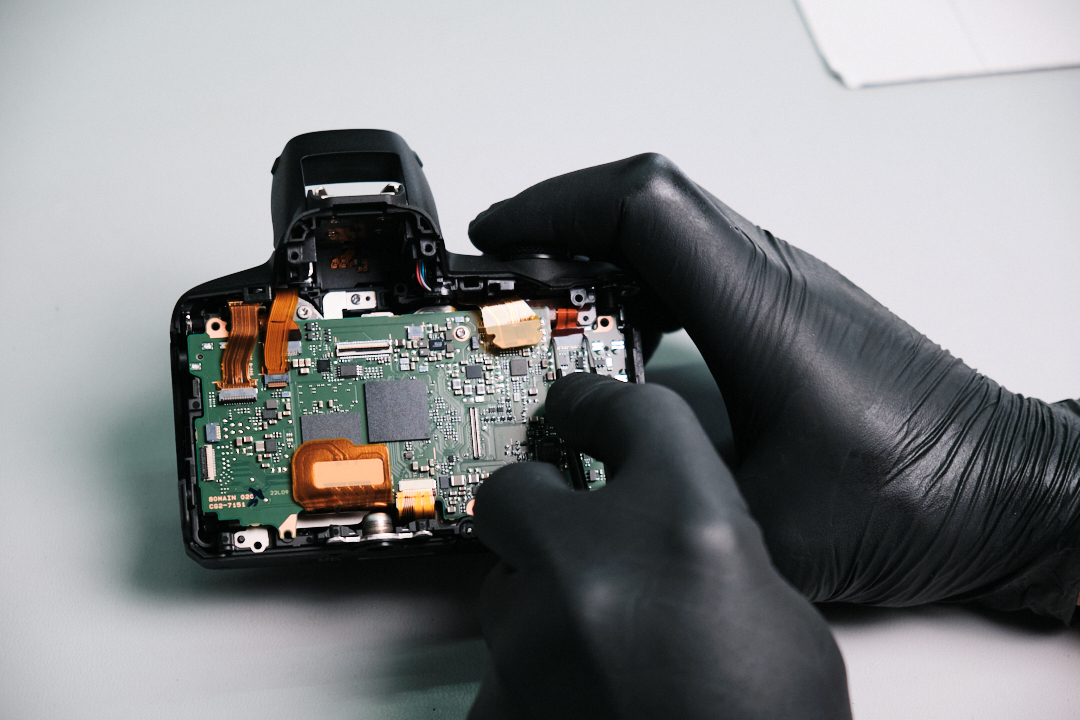
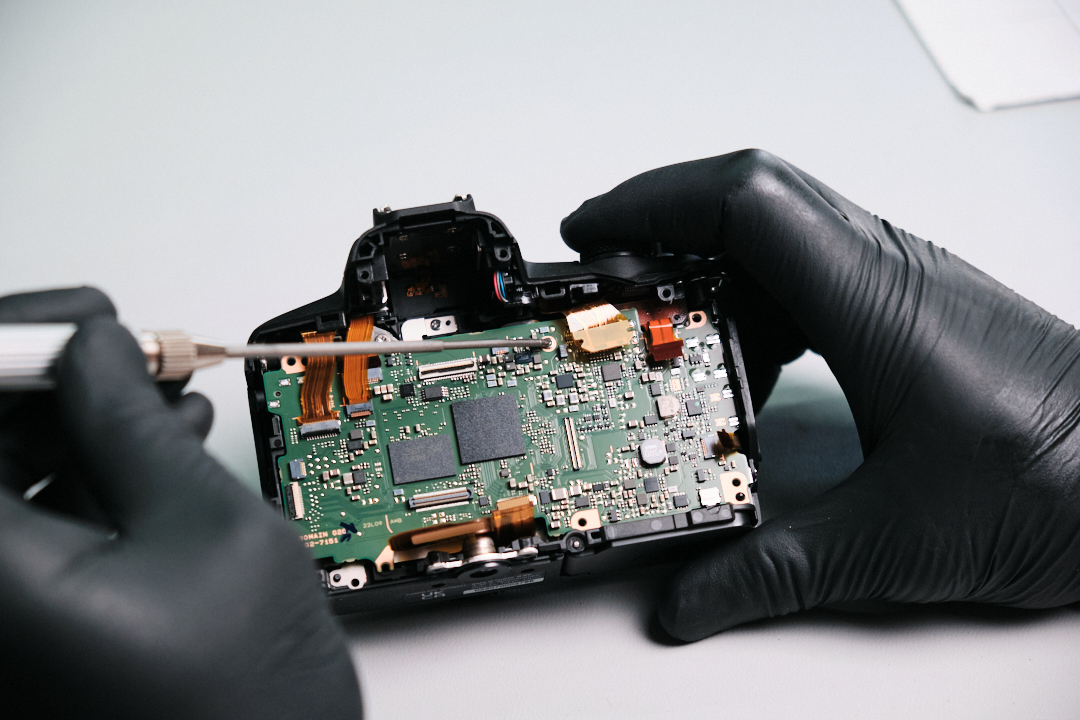
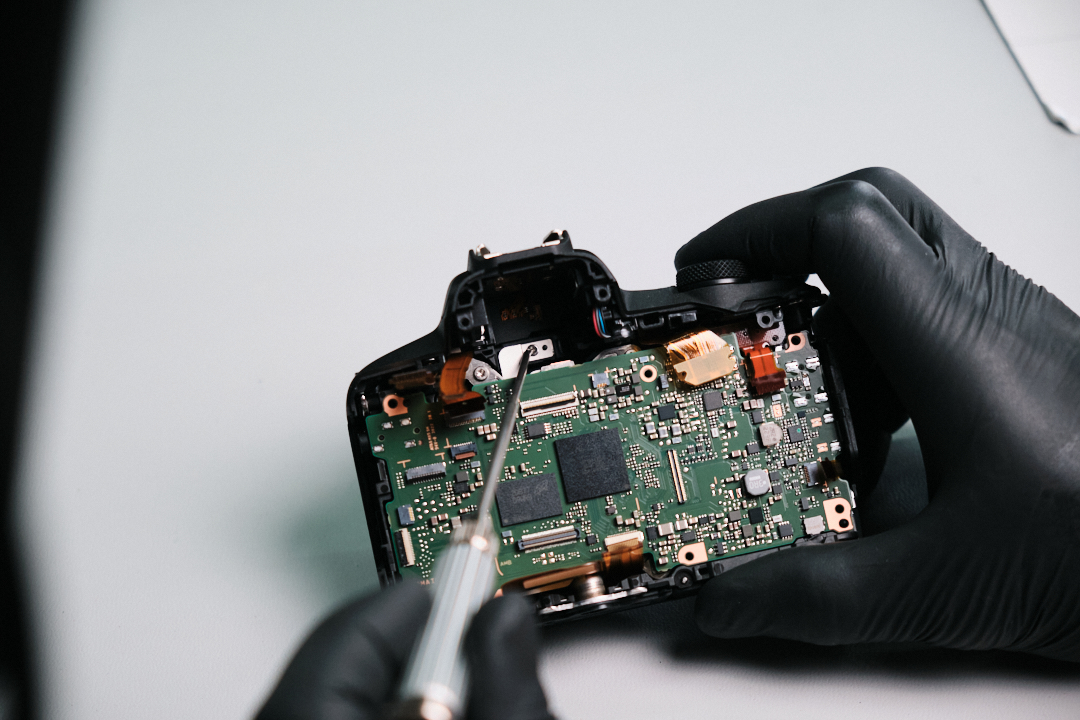
We removed five silver screws on this circuit board frame. We’re wondering why Canon went with this. Is this a heat sink? It feels like it’s made from the same aluminum material used on the Canon EOS R5.
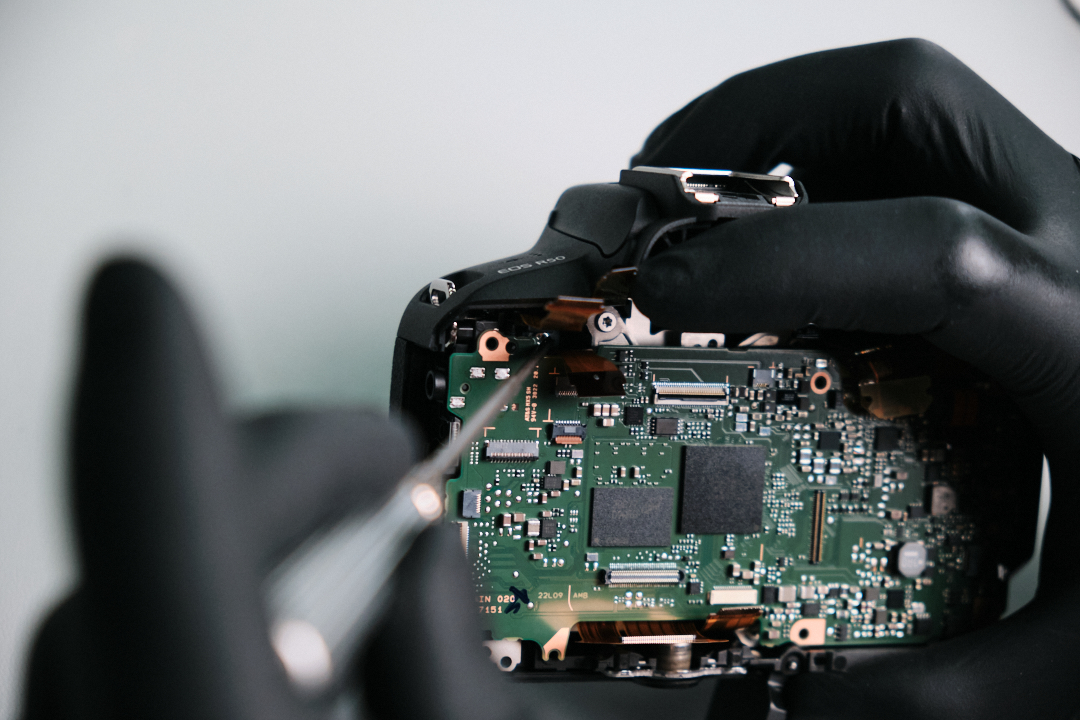
Disconnecting EVF and Circuit Board Ribbon Cables
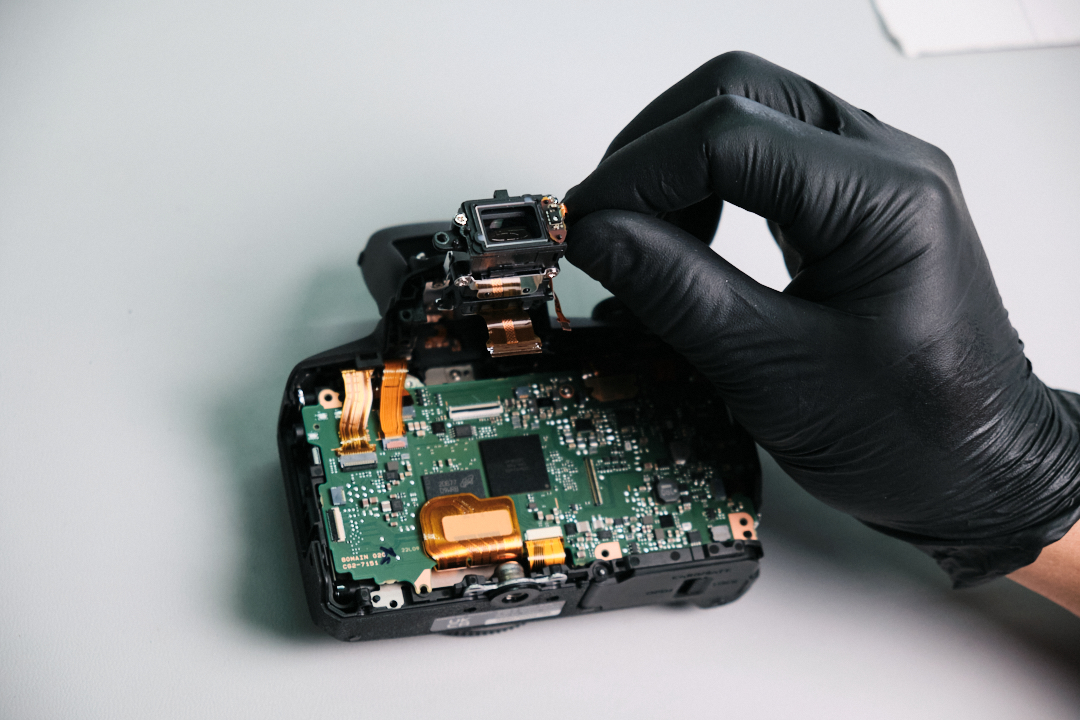
Two ribbon cables for the EVF assembly were removed. They are very thin, so we had to be careful not to rip through the cable with our tweezers!Â
We slowly unplugged ribbon cables from the circuit board.Â
We turned the camera on the port side and found two silver screws.
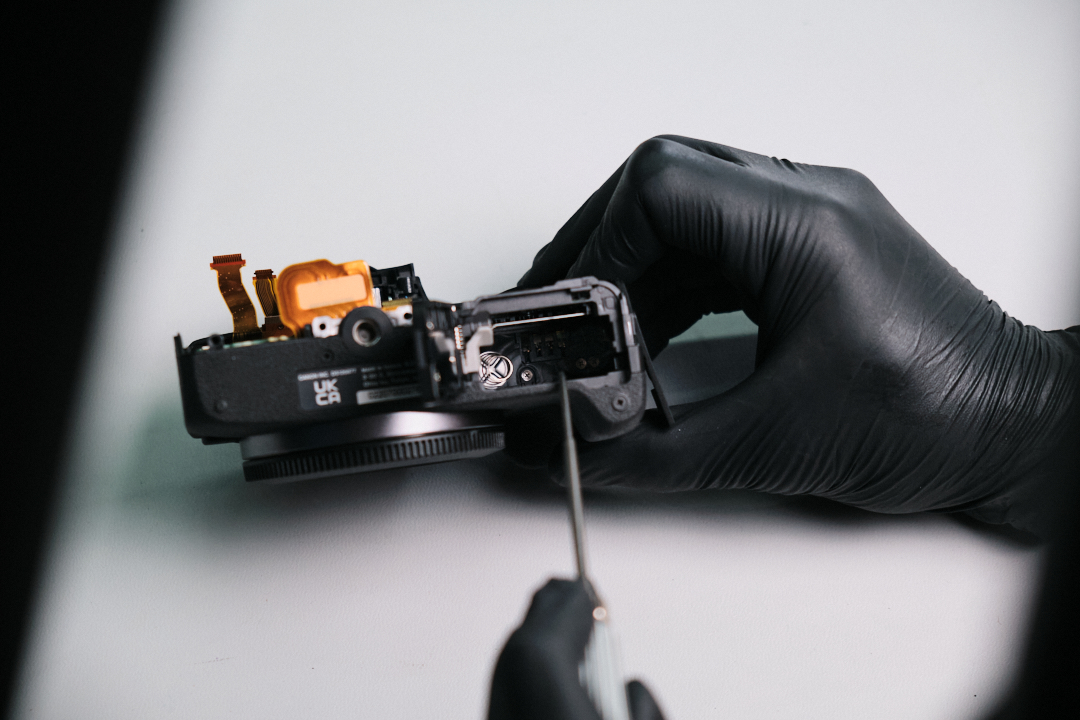
There was one silver screw we needed to remove in the battery compartment. This holds the plastic textured handgrip.Â
Before we continued, we found one silver screw on the circuit board.Â
One screw was removed next to the strap mount on the top panel.Â
Going back to the base of the camera, we unfastened two screws. We thought it wasn’t necessary at first, but it looks like the front cover trim needed to be removed for the top panel to come off. This would allow us to remove the motherboard and sensor safely.Â
Moving back to the inside of the camera, one silver screw under the EVF was removed.Â
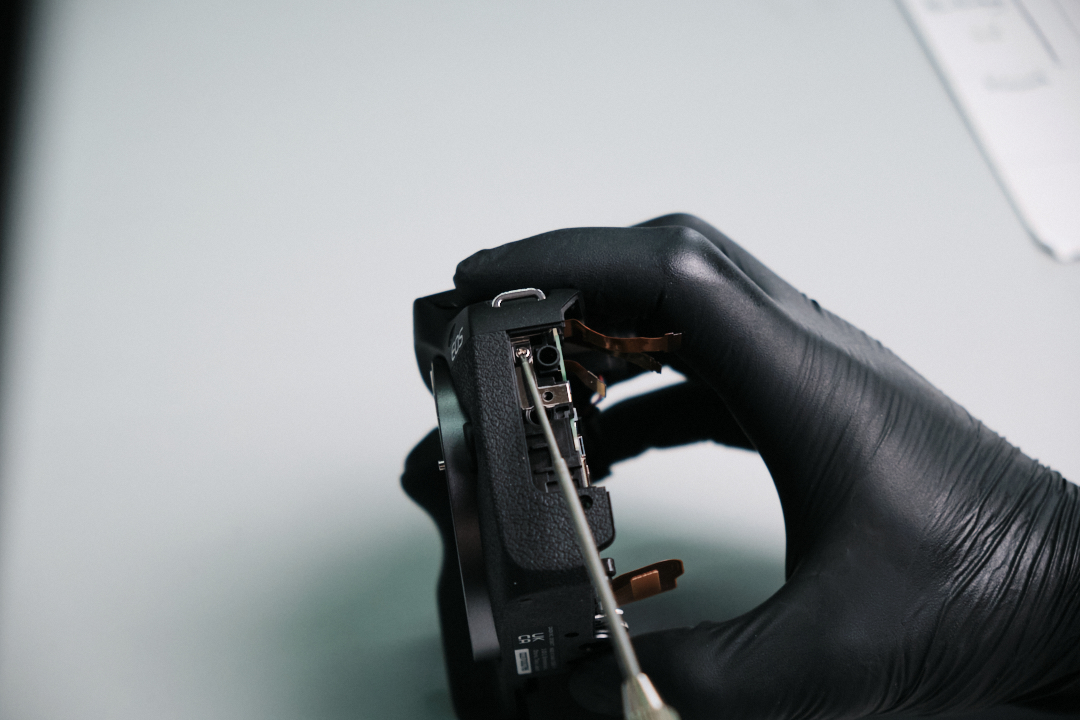
 One more silver screw to the left of the Mic port was removed.Â
Just below the focus adjustment screw, one more screw was removed. This looked like the last one we needed to remove before we could take off the front cover trim.
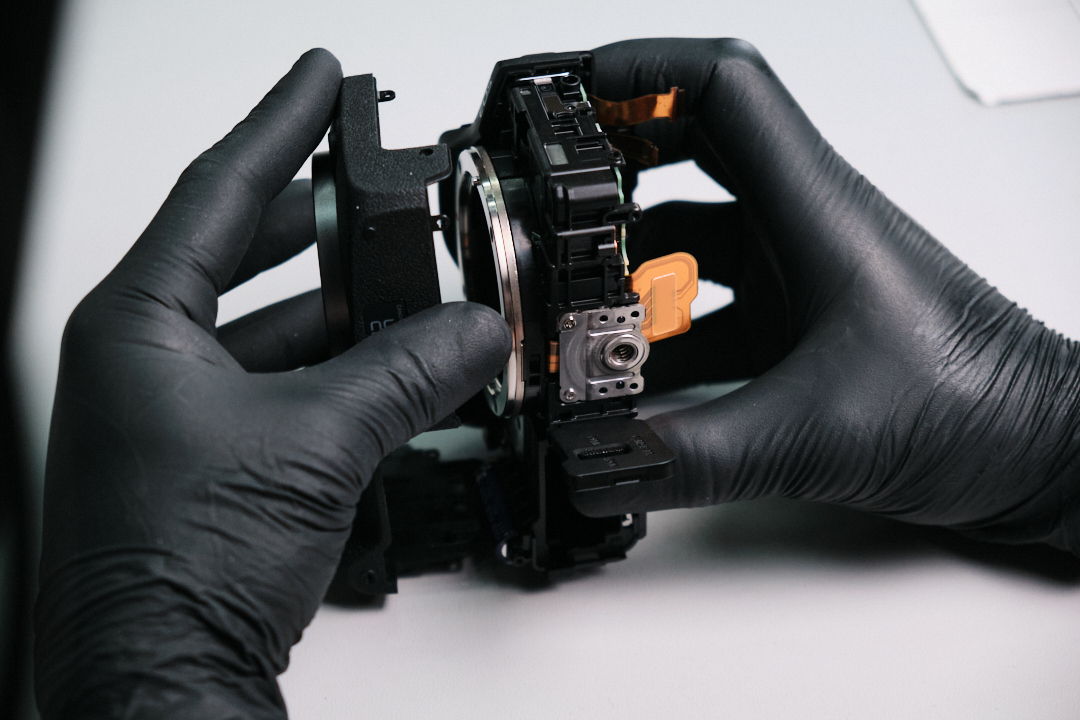
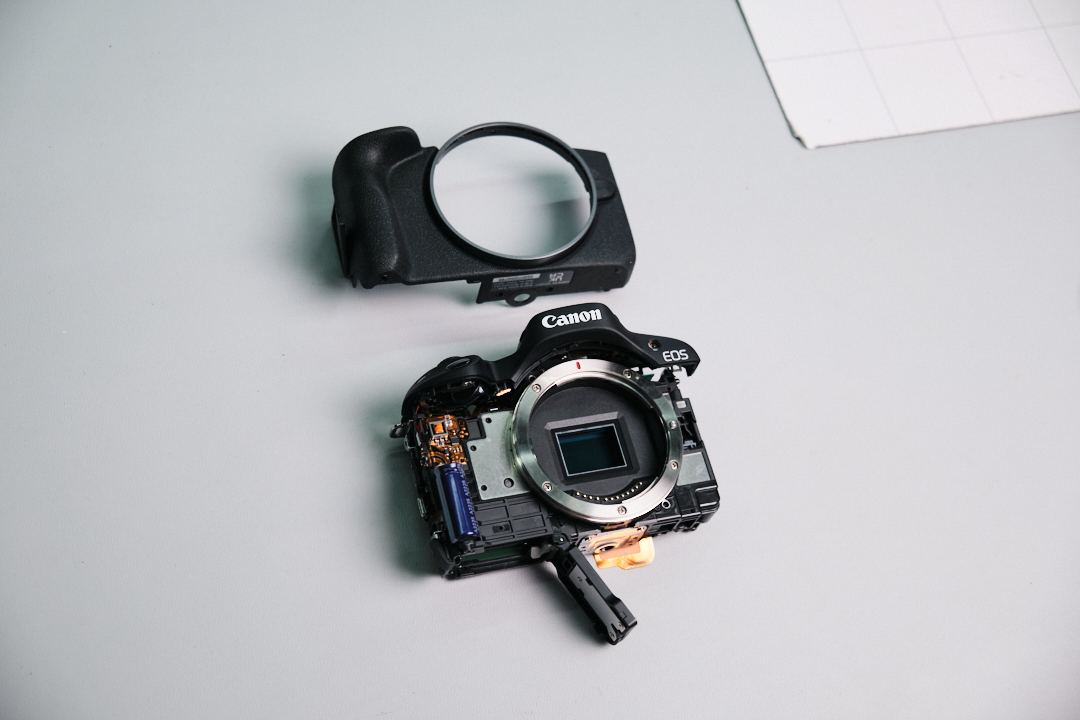
Once the final screw was removed, we were able to pull the front cover trim away from the body. We needed to be gentle not to damage any plastic clips, or else the seams wouldn’t be even when we put it back together.Â
Removing the Canon R50 Top Panel
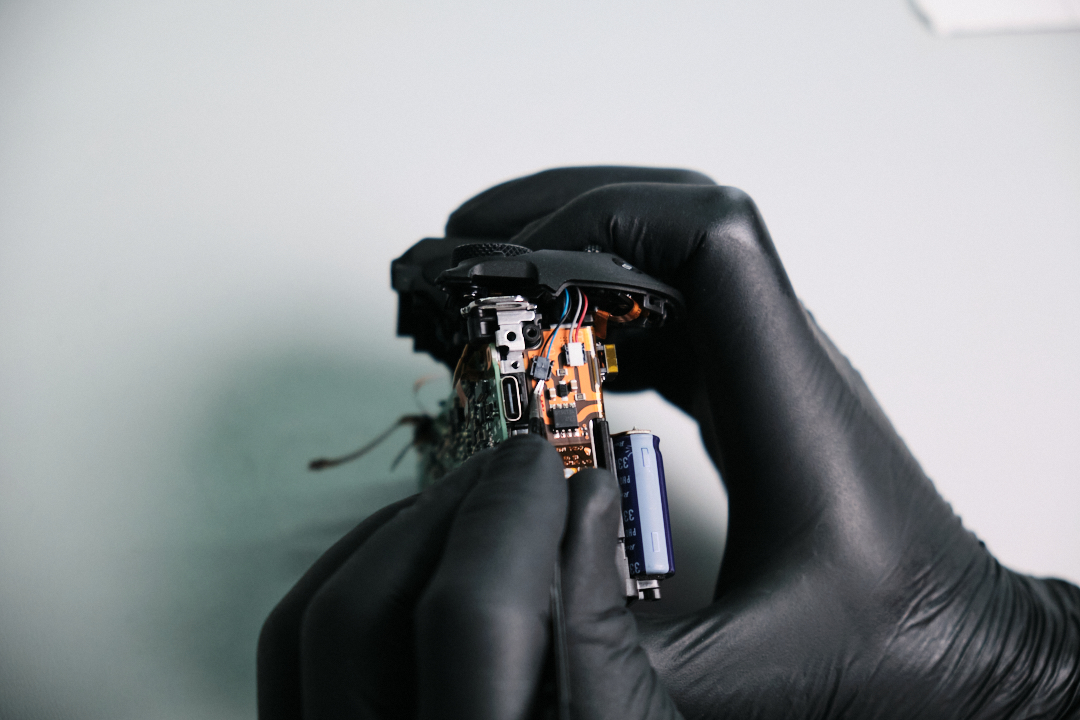
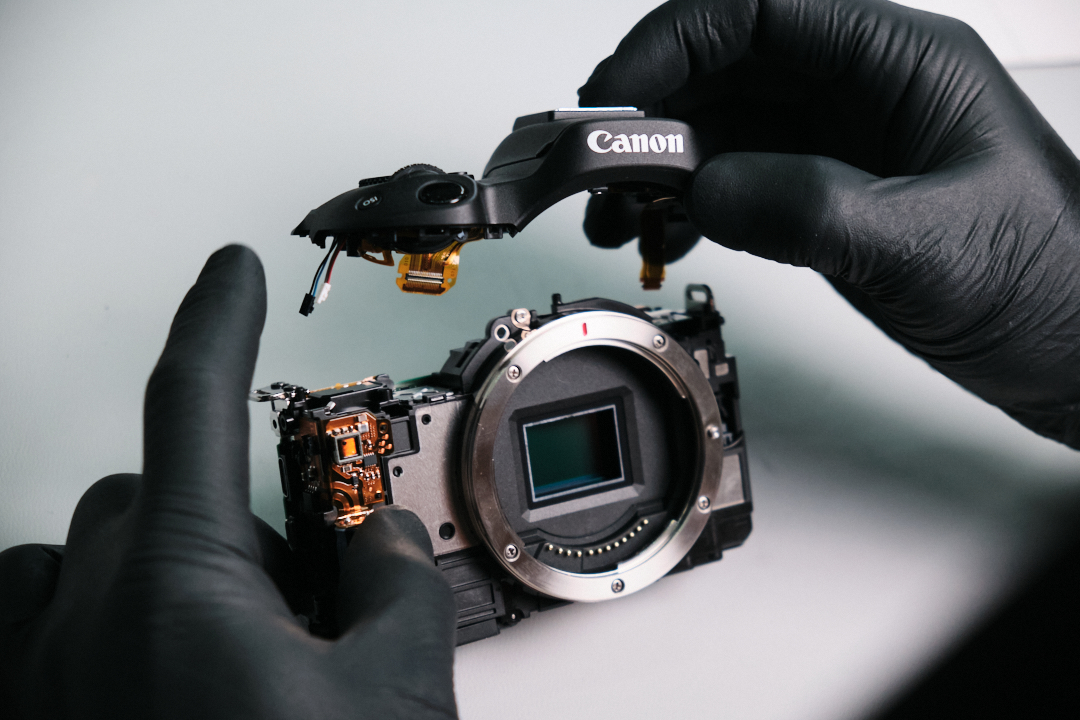
Before removing the top panel, two connections were detached from the camera.Â
Finally, the top panel came off!
Removing the Canon R50 Motherboard
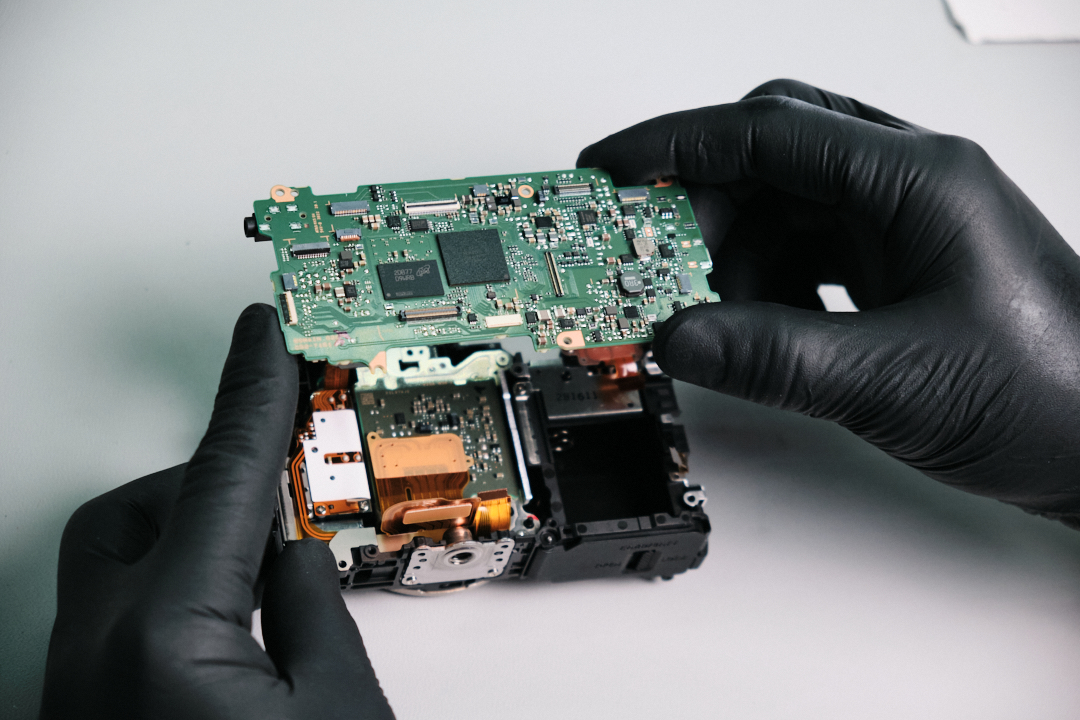
Since all the panels were removed, we could take out the motherboard.
Removing the Canon R50 Camera Sensor
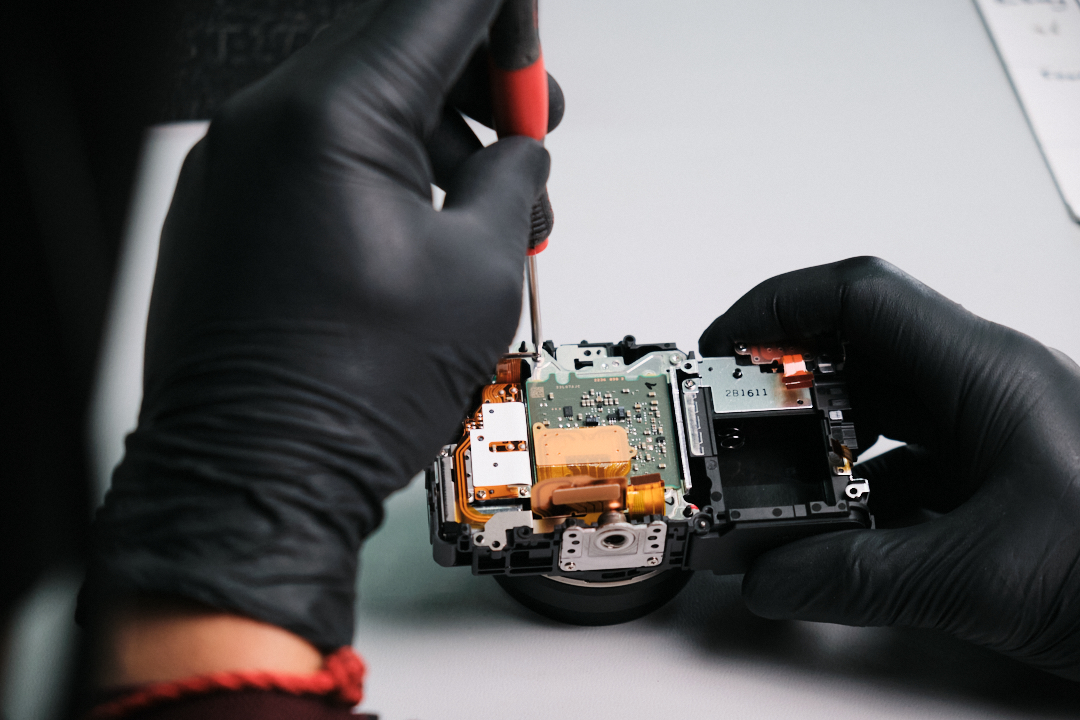
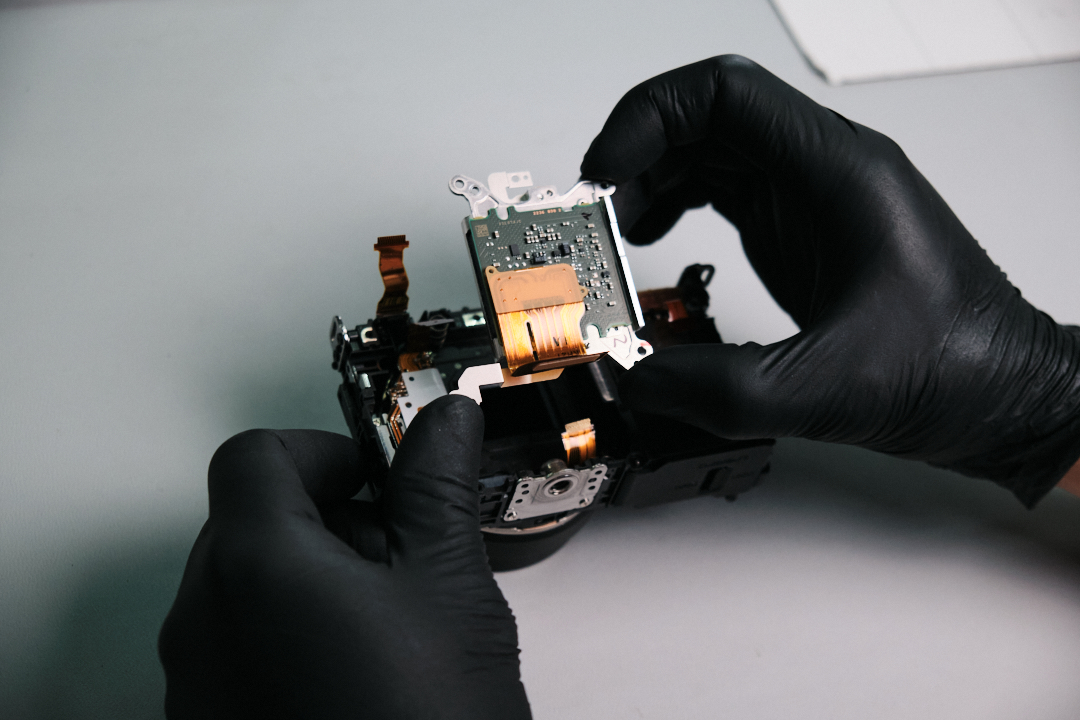
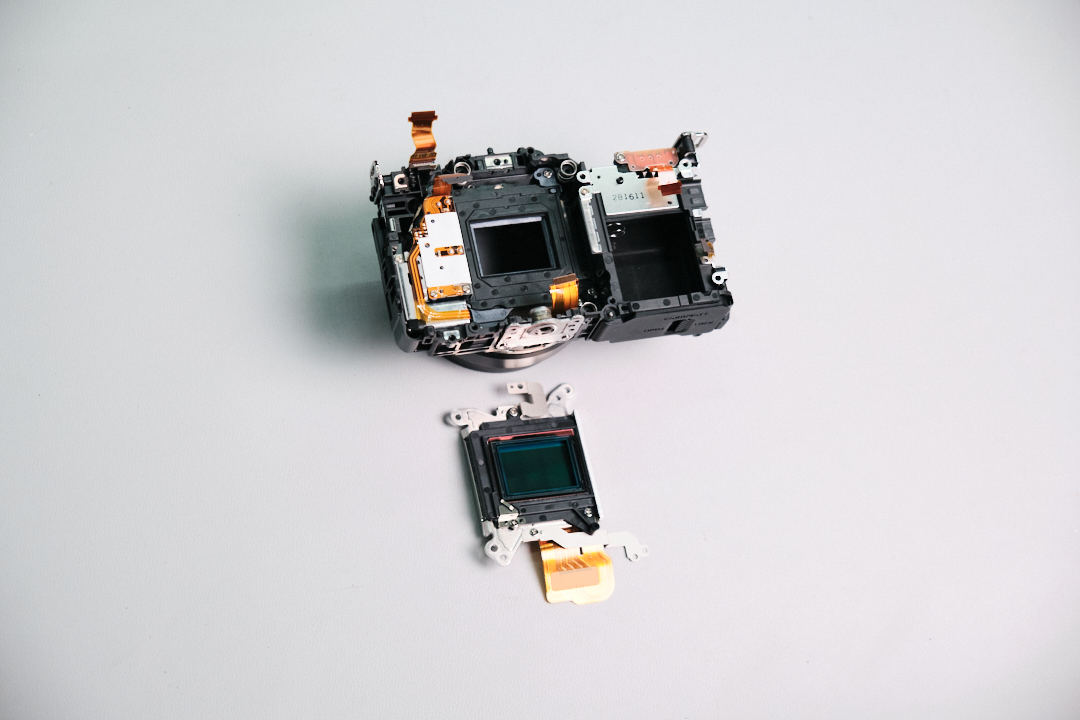
Three T6 torx screws were unfastened so we could remove the sensor.
Canon R50 Teardown Difficulty and Final Thoughts
The Canon EOS R50 was an easy camera to disassemble, especially compared to some of the high-end cameras in Canon’s lineup, like the R5 and R6. Our camera technician Jared said it was somewhat similar to the Canon T3i.
Thanks for reading. If you’re interested in more camera teardowns, we feature a new one every month. Be sure to sign up for our newsletter to you don’t miss them!
Frequently Asked Questions
How Do You Start Disassembling The Canon R50?
The Canon R50 teardown starts by removing two screws from the camera’s baseplate. After that, the disassembly continues around the USB-C, HDMI, mic port, diopter, eye cap, thumb grip, and flash assembly areas.
Where Are The Hidden Screws On The Canon R50?
The Canon R50 has hidden screws under the rubber thumb grip and under the flash unit assembly. Additional screws around the diopter, eye cap, battery compartment, strap mount, mic port area, and front cover trim also need to be removed before the body panels can fully separate.
How Is The Canon R50 Rear Panel Removed?
The Canon R50 rear panel is lifted carefully from the camera body after the exterior screws and trim pieces are removed. A thick ribbon cable connects the LCD screen and buttons to the circuit board, so it must be disconnected before the rear panel can be fully removed.
How Is The Canon R50 Motherboard Removed?
The Canon R50 motherboard can be removed after the rear panel, circuit board frame, EVF ribbon cables, additional body screws, front cover trim, top panel connections, and top panel are removed. Once those panels and connections are clear, the motherboard can be taken out safely.
How Is The Canon R50 Camera Sensor Removed?
The Canon R50 sensor is reached near the end of the teardown. After the motherboard and surrounding panels are removed, three T6 Torx screws are unfastened so the APS-C sensor can be removed from the camera body.