The Z7II is the latest version of Nikon’s premier mirrorless camera. Nikon had been lagging a bit behind Sony and Canon in the full-frame mirrorless game for a while. After all, they didn’t release their first mirrorless camera until 2018, and some have said that things aren’t looking great for them. However, lately, they’ve been catching up and filling out their mirrorless lineup. In fact, as of this writing, they’ve released five new cameras in the last two years—including the Z7II—all of which have been mirrorless.
Nikon Z7 II Specs, Z-Mount, and Filter Compatibility
It looks like they’re learning a lot from their competitors since they’ve built a fairly impressive one with the Z7II. This camera offers 46 mega-pixels, 4k 60fps (with a crop), and is now running off two Expeed 6 processors.
Let’s take a look at what’s changed.
Nikon Z7 II Exterior Design and Card Slot Updates
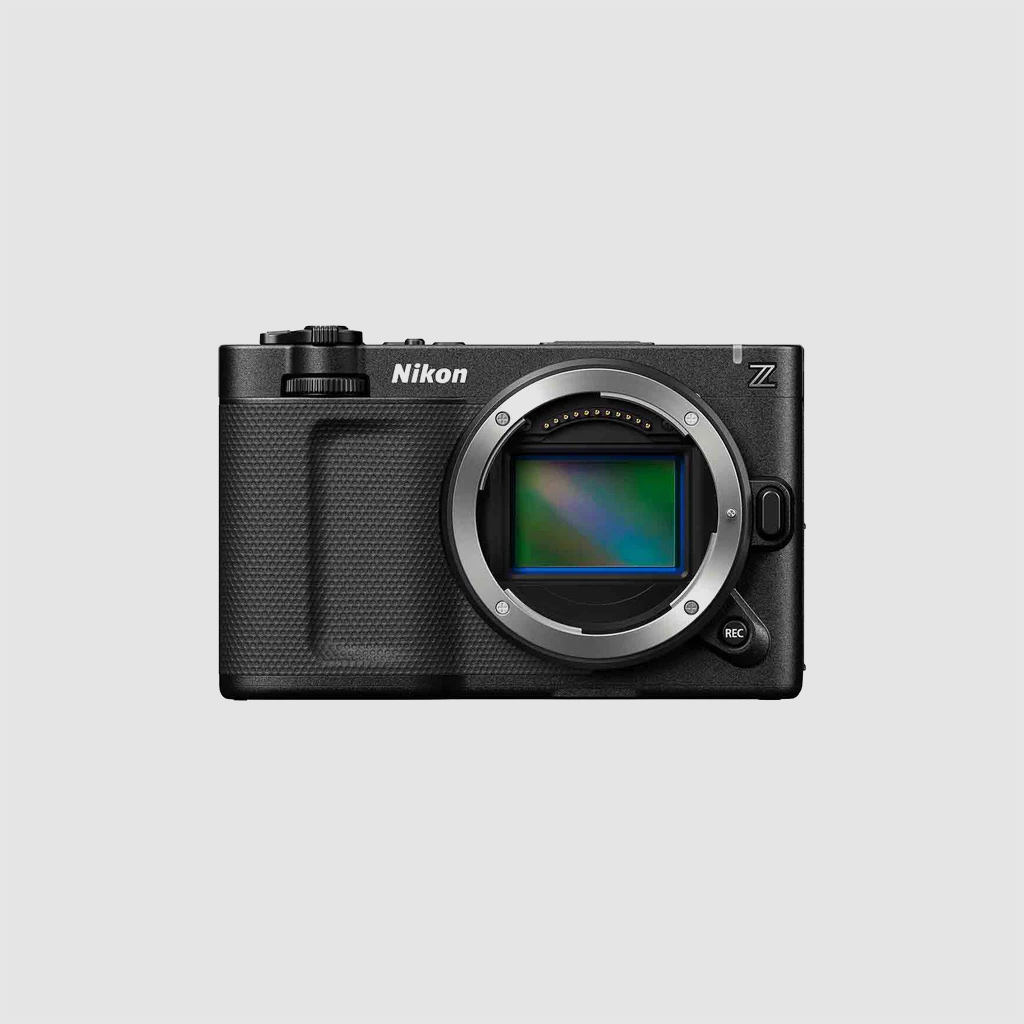
From the front view, the answer is not much. The designers looked at the Z7 and said, “Yeah, that works.” And it does indeed work pretty well. The handling on this camera is quite good and will be familiar for anyone coming from another Nikon camera.
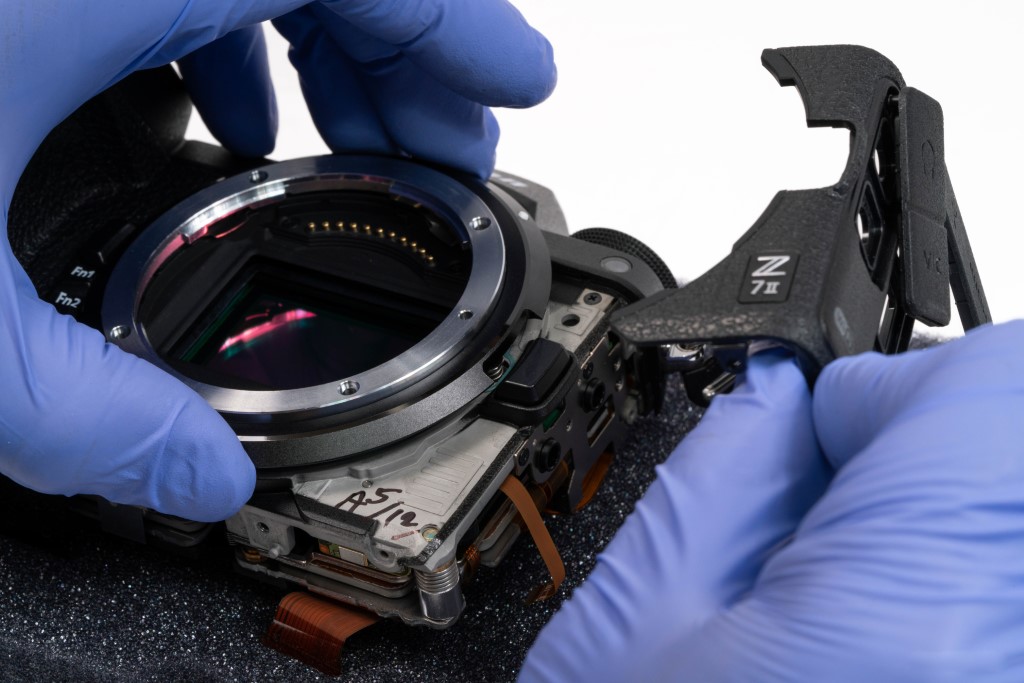
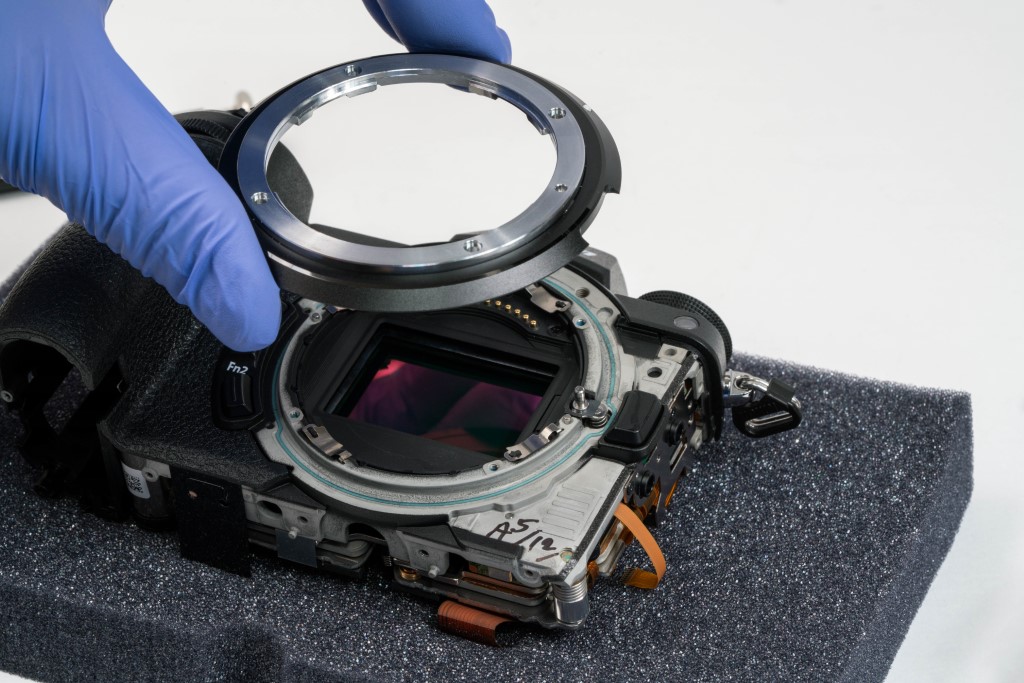
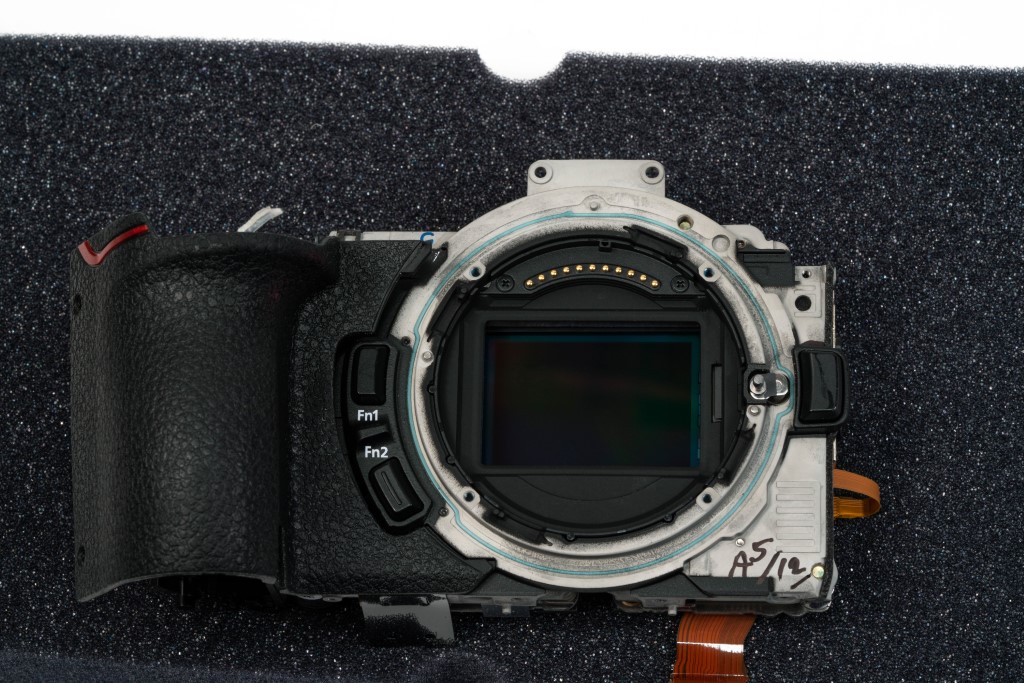
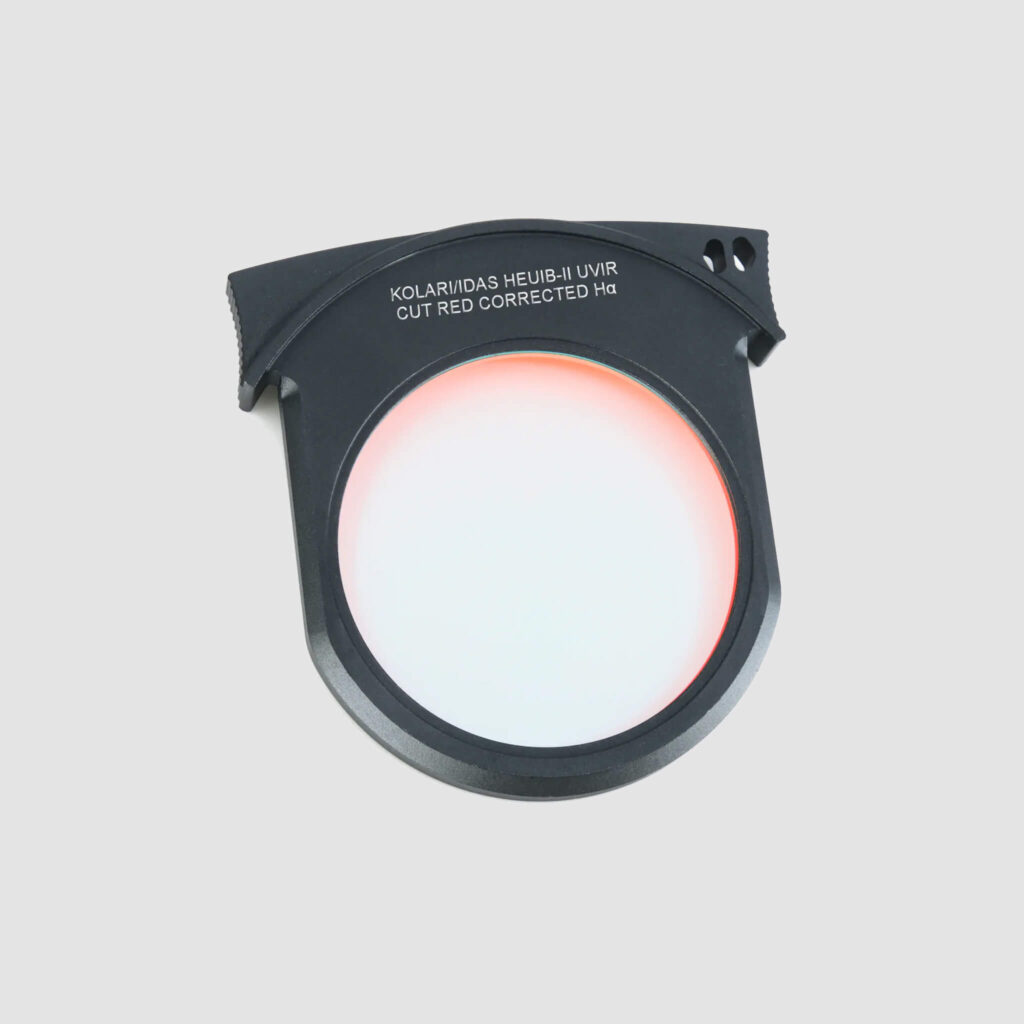
There’s one important update that would be easy to miss: the sensor frame was switched from plastic to metal. However, the Z7II will still need a Mag Mount Plate to be compatible with our magnetic clip-in filters for Z-mount.
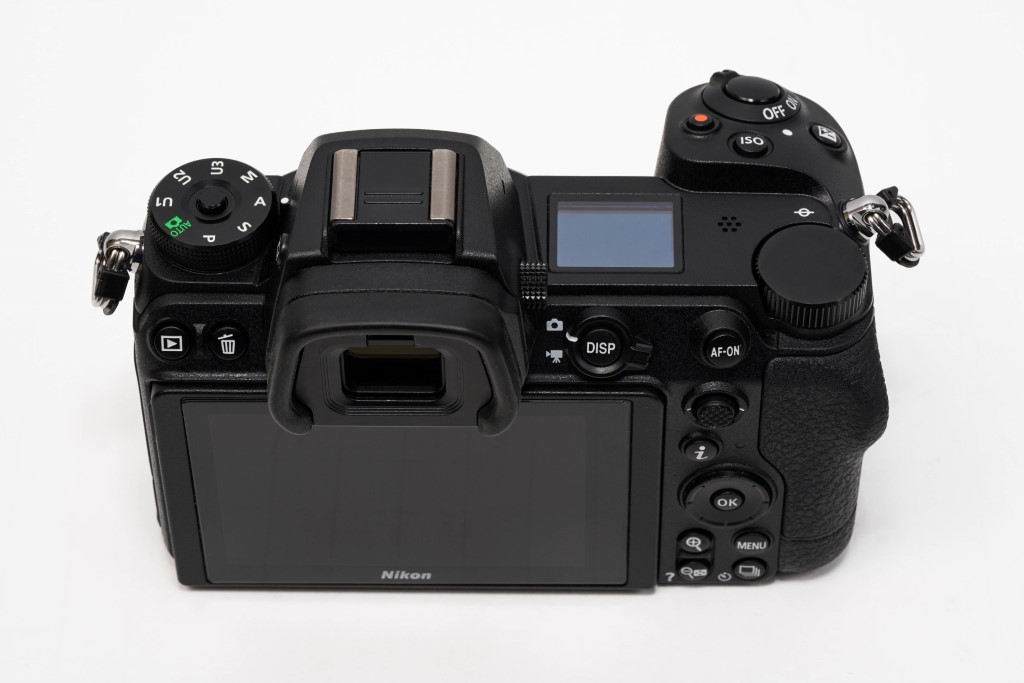
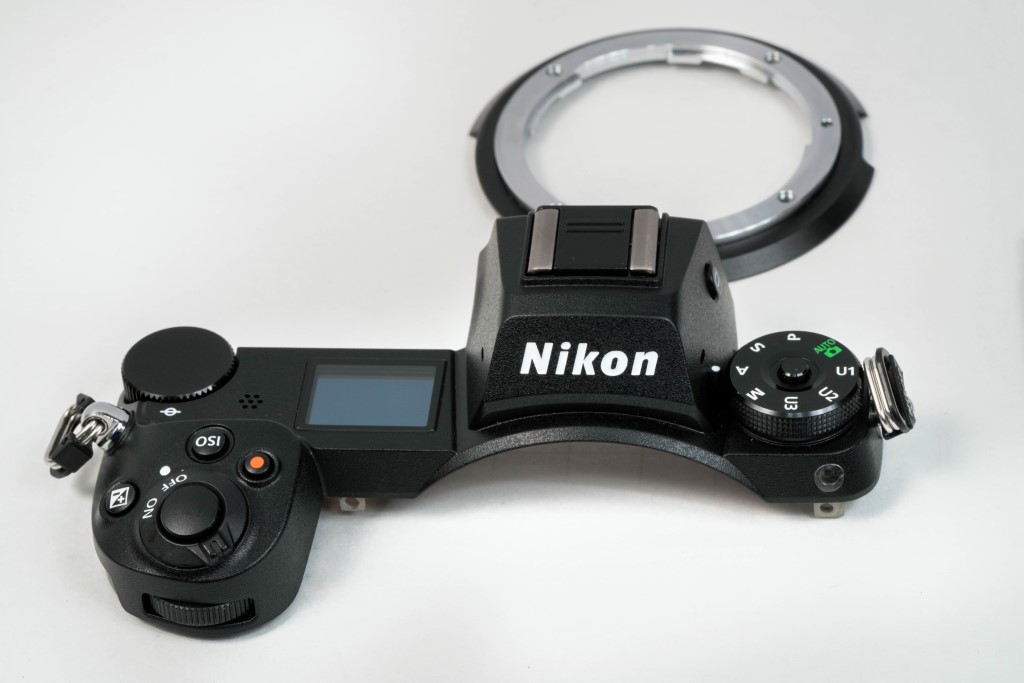
It’s the same story with the top. We’ve got our standard lockable mode dial; the same LCD control panel displaying the settings; and the ISO, exposure compensation, and record buttons are in their usual spots.
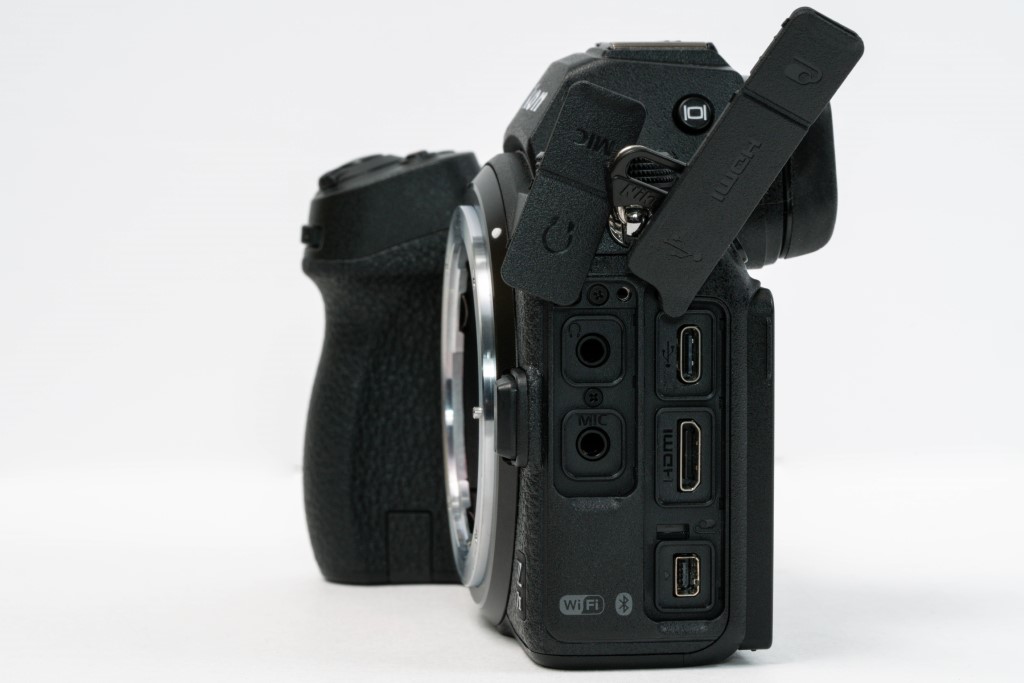
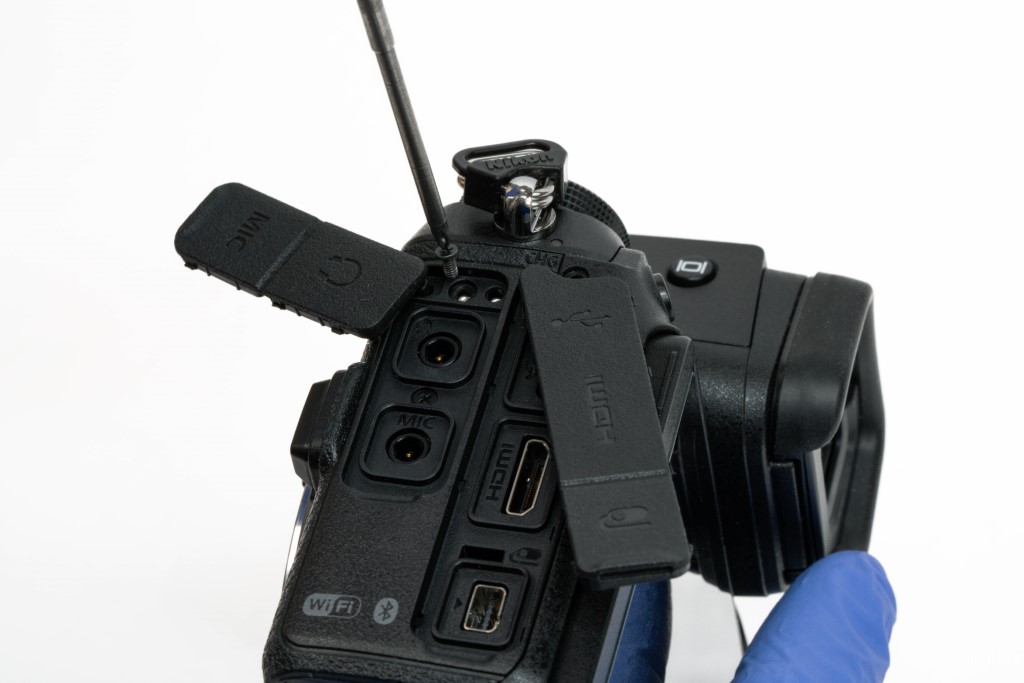
Also unchanged is the port side, which holds the standard array of ports—featuring headphone, microphone, USB-C, and mini-HDMI ports and an accessory port for wired remotes.
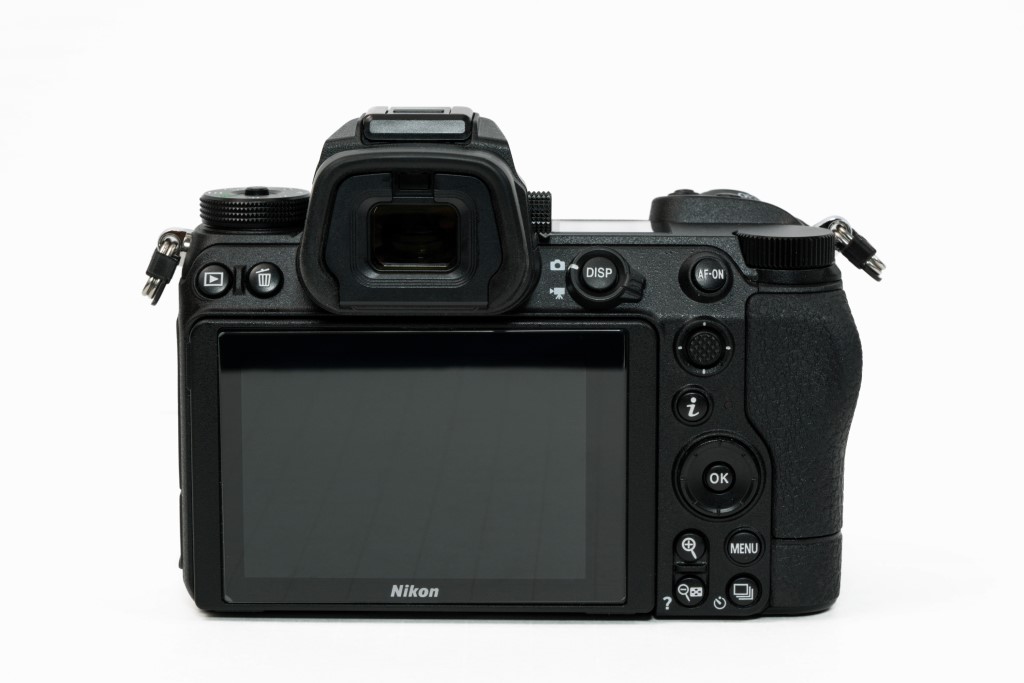
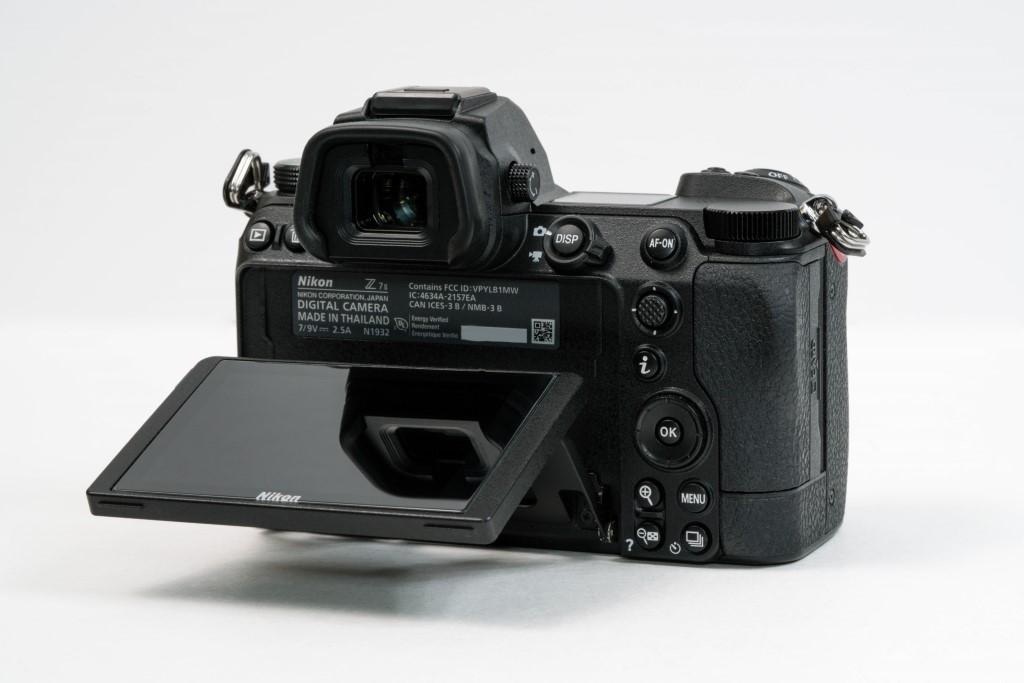
Even the back is the same. The EVF and LCD were kept from the previous model—offering 3.6 and 2.1 million dots resolution, respectively.
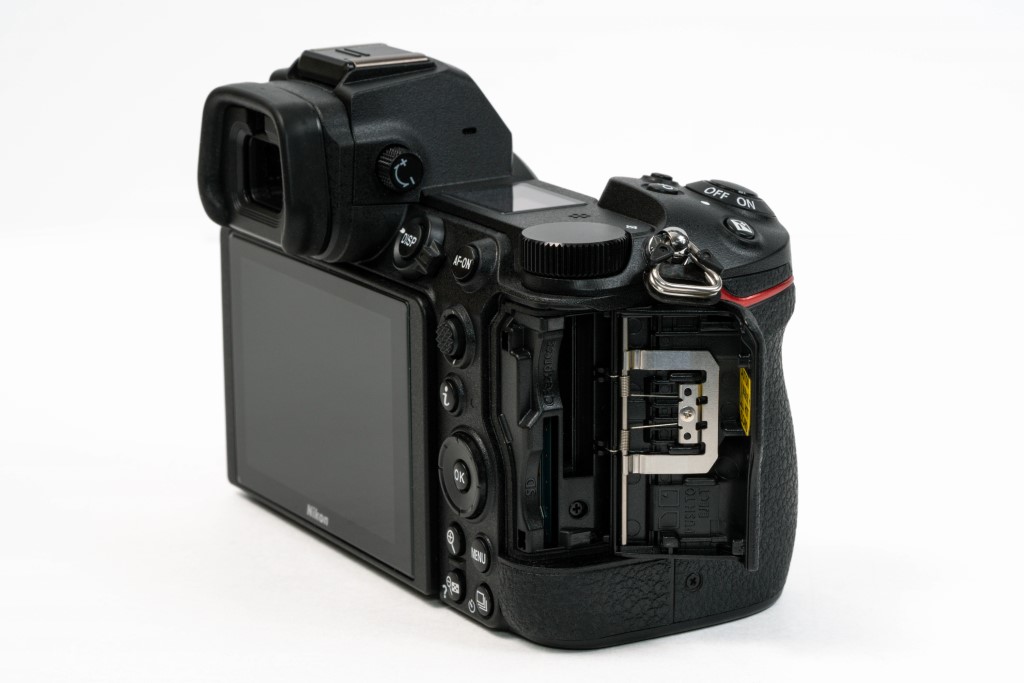
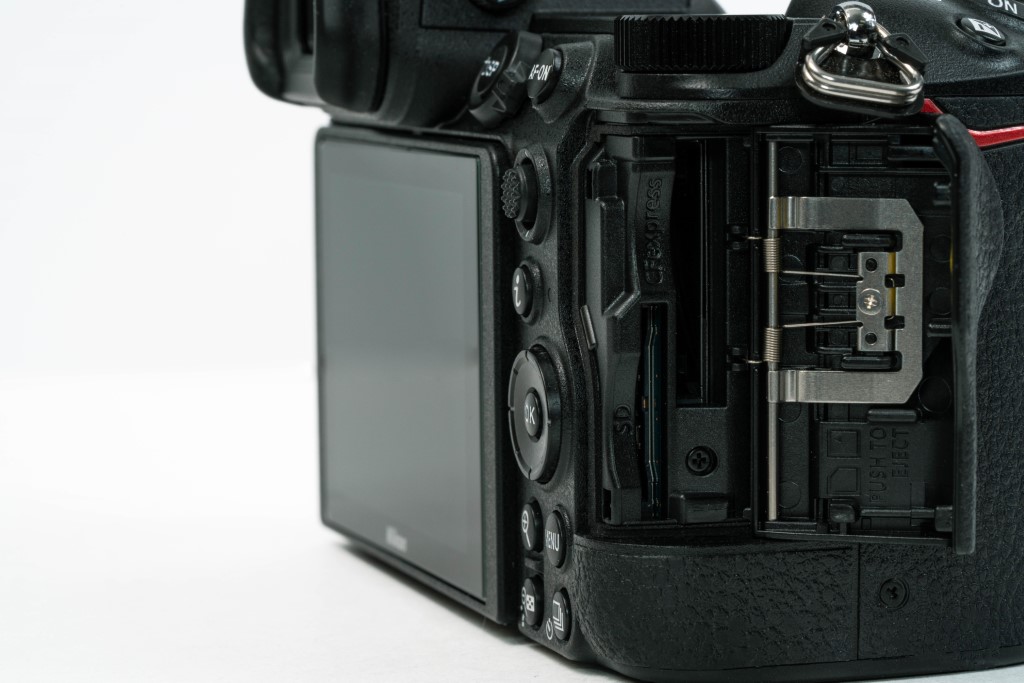
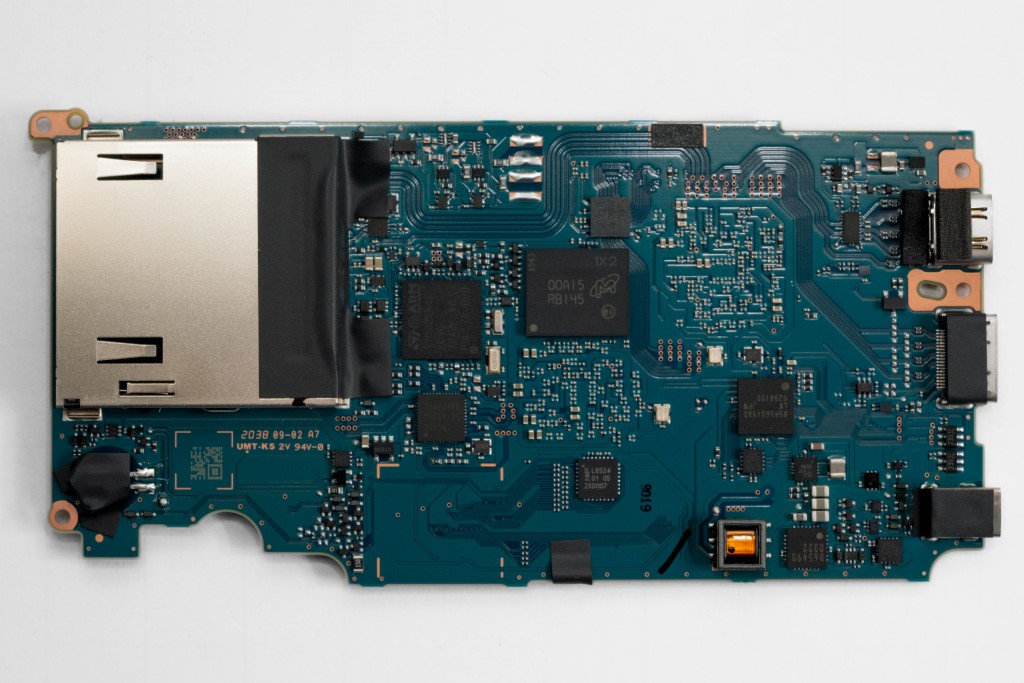
There is one new feature to note. It looks like Nikon has finally given us a second card slot! Not only that, but it’s an SD card slot. The decision to give the original Z7 only one card slot was surprising, particularly for a camera targeted toward professionals. Whether pro or hobbyist, we think most people would want two card slots for a $3,400 camera (release price). Having the redundancy of a second card slot is vital to most photographers. It means they don’t have to worry about one card being corrupted, and it allows them the option to automatically have a backup of all their files.
Going with an SD card slot was also a good choice. While CF-express cards certainly have the advantage of being faster, many photographers still use SD cards, and SD card readers are far more common, both built-in and external. They’re also a lot more affordable and easy to find in stores. If there was one thing Nikon needed to upgrade—and apparently there was—it was that.
Starting the Nikon Z7 II Teardown
Now let’s open it up and see if anything changed inside.
Removing Exterior Screws and Hidden Body Screws
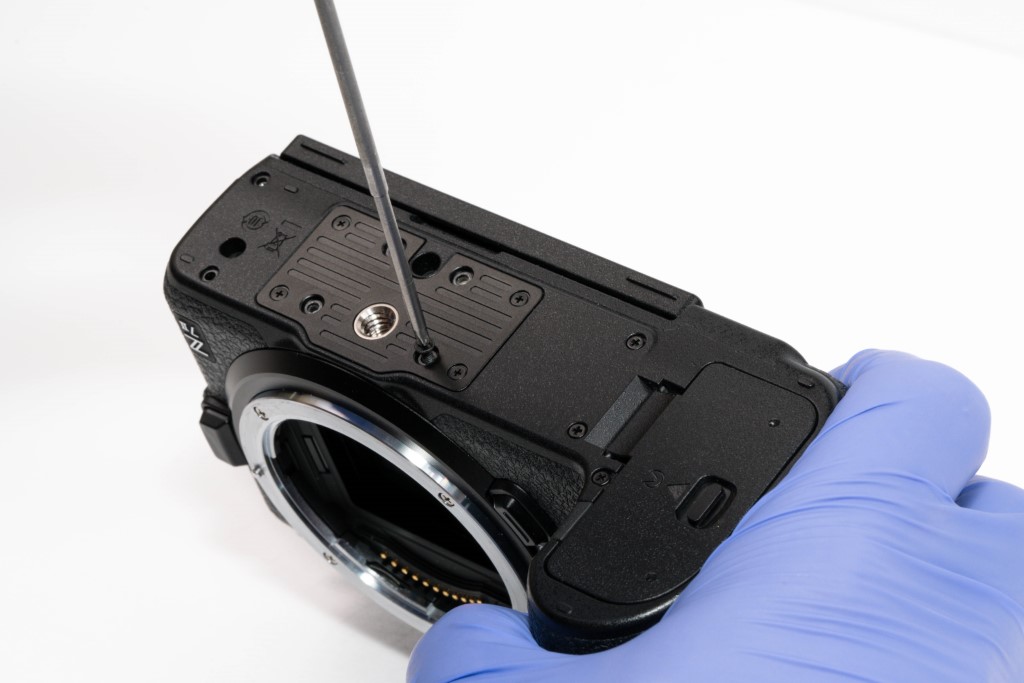
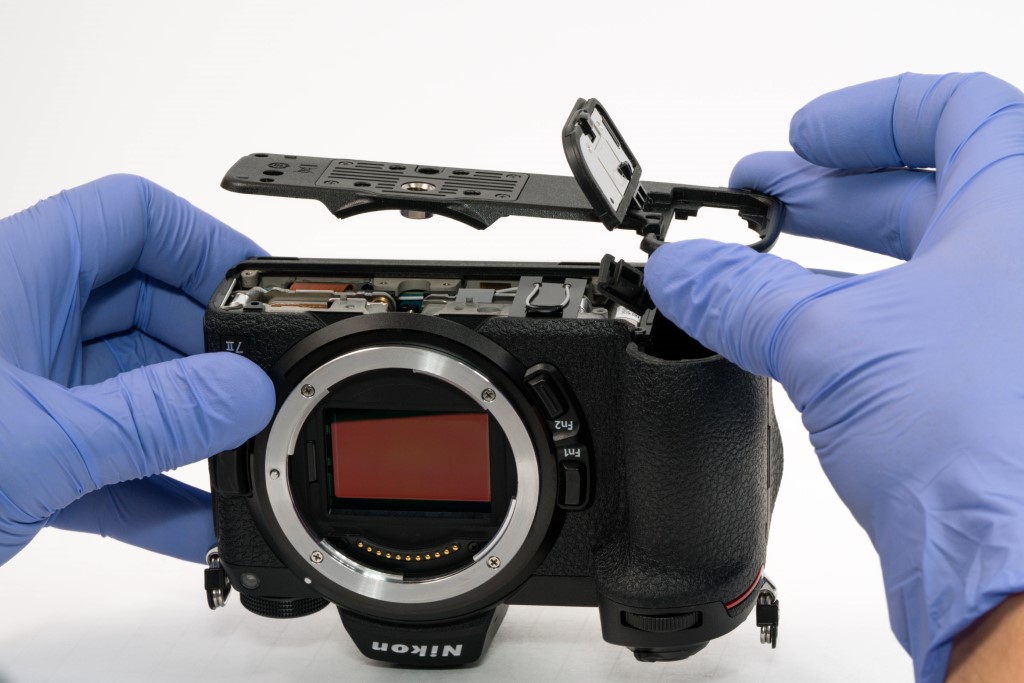
First, we remove some screws and take off the bottom plate.
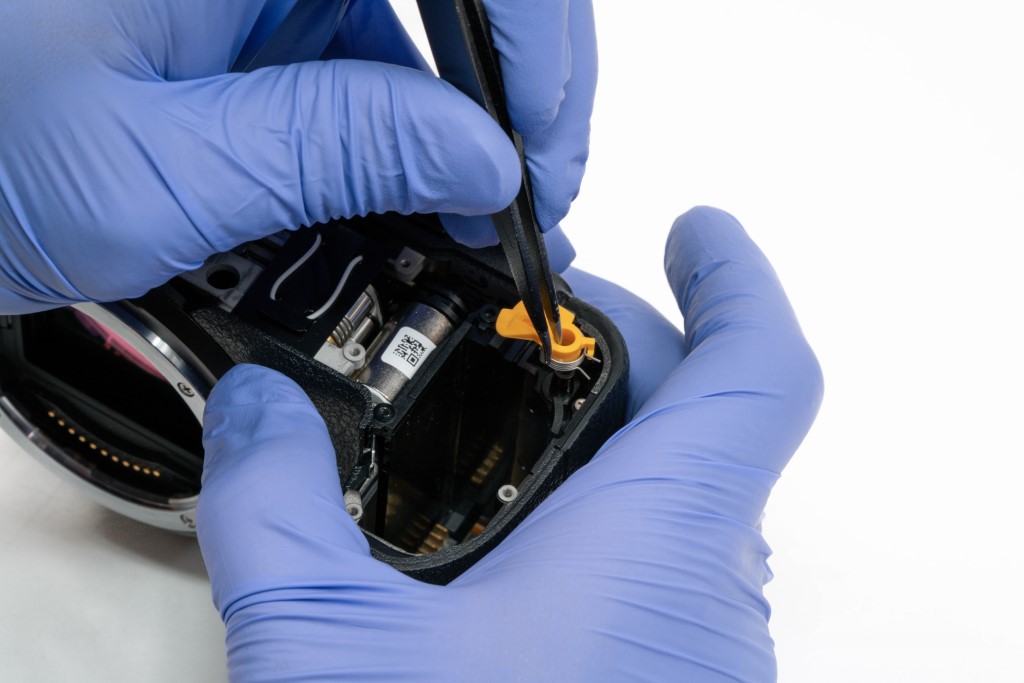
We also have to disarm any traps we find along the way, like this battery latch. Those springs will shoot out at you if you’re not careful.
Then remove some screws around the ports and the card slots.
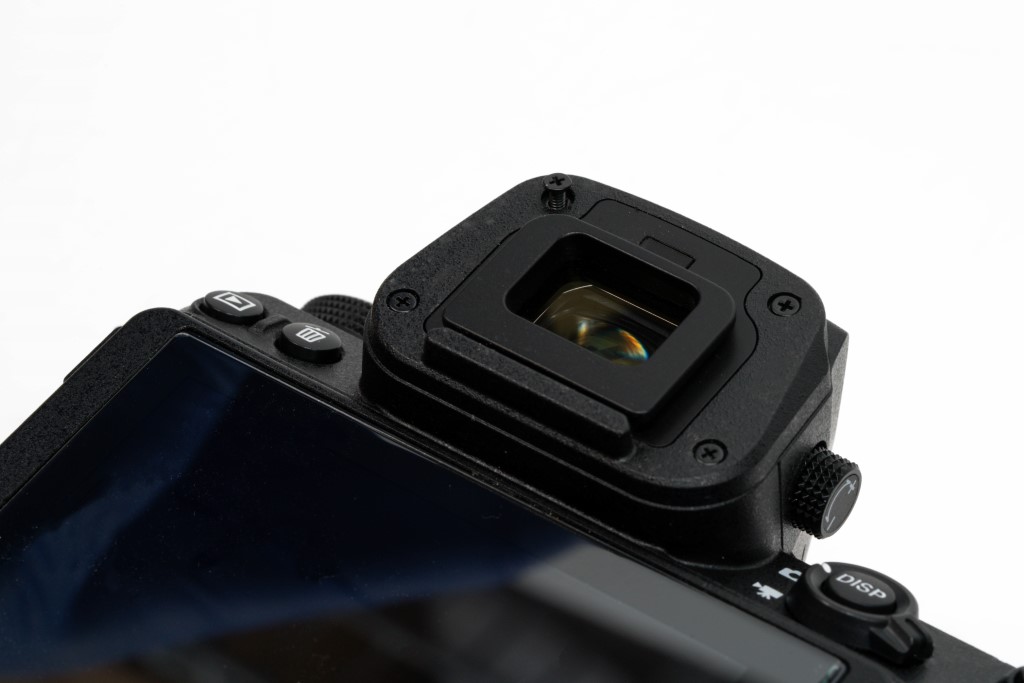
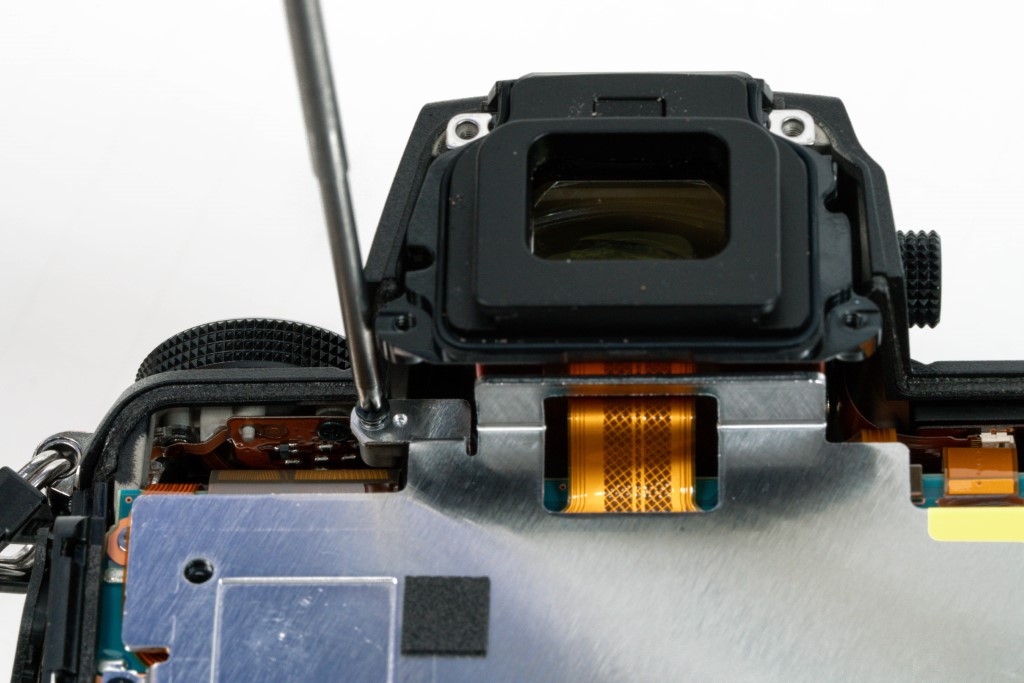
And the screws around the EVF.
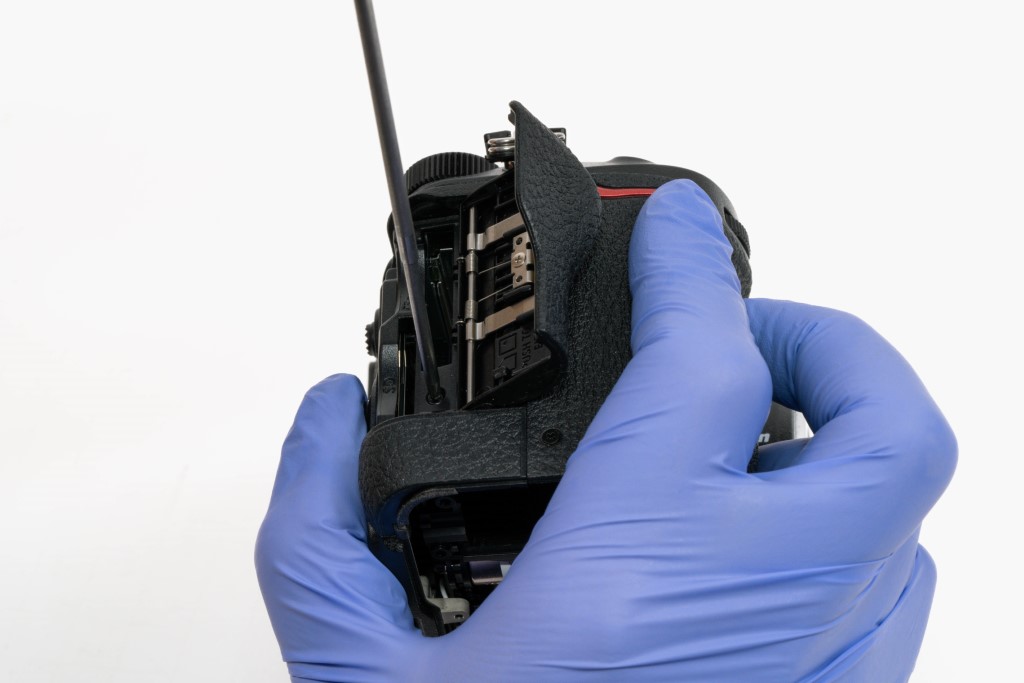
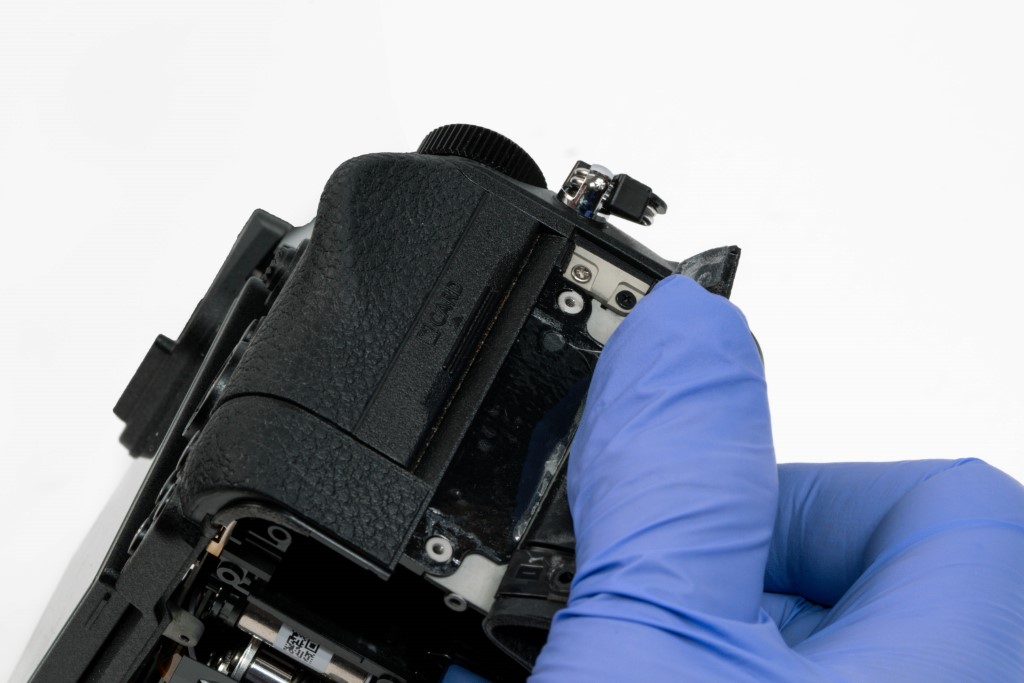
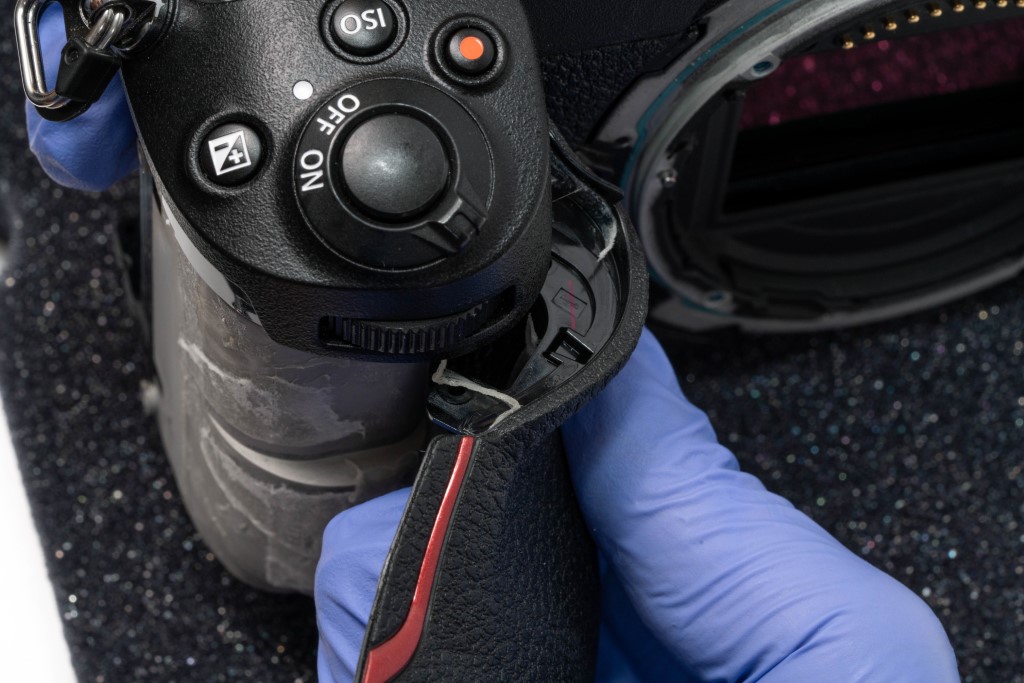
Finally, some concealed screws beneath the leather of the handgrip and on the bottom.
Removing the Back Panel and Exposing the Interior
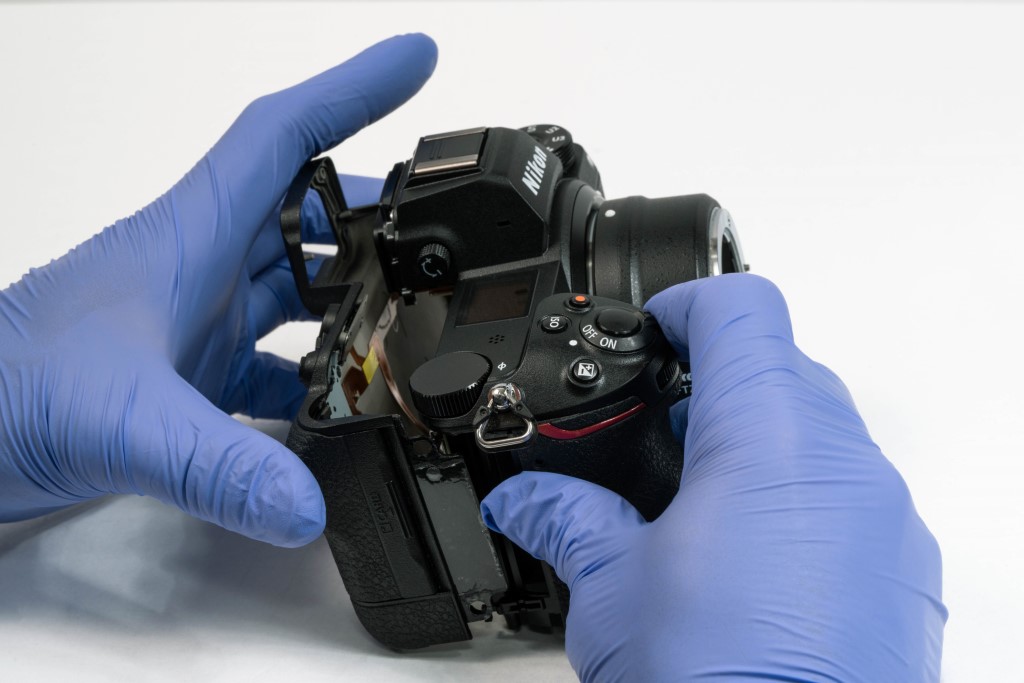
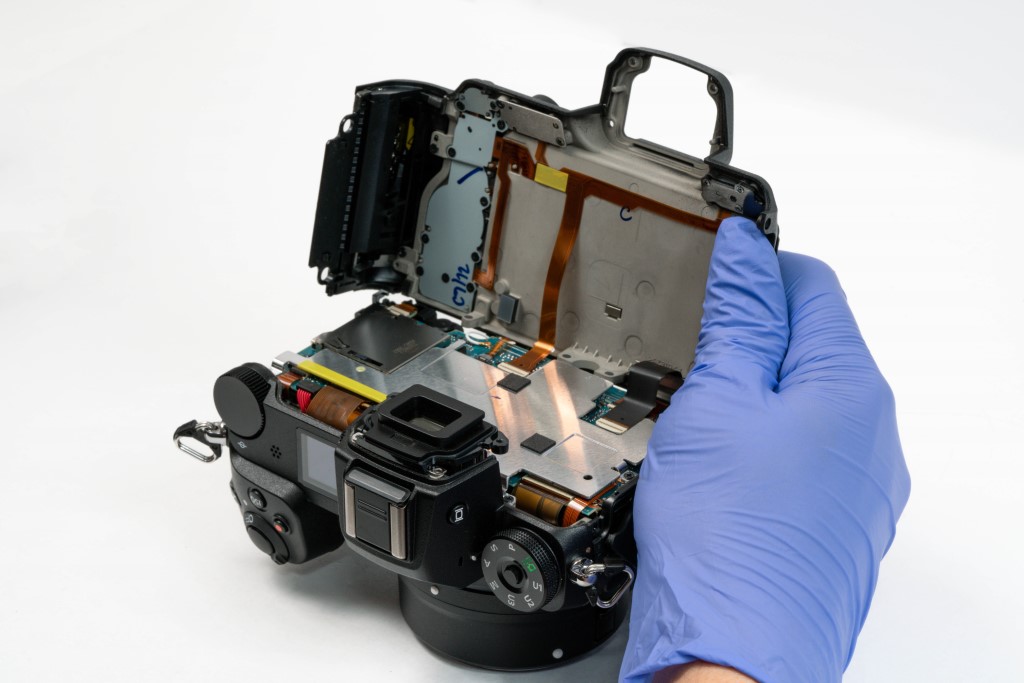
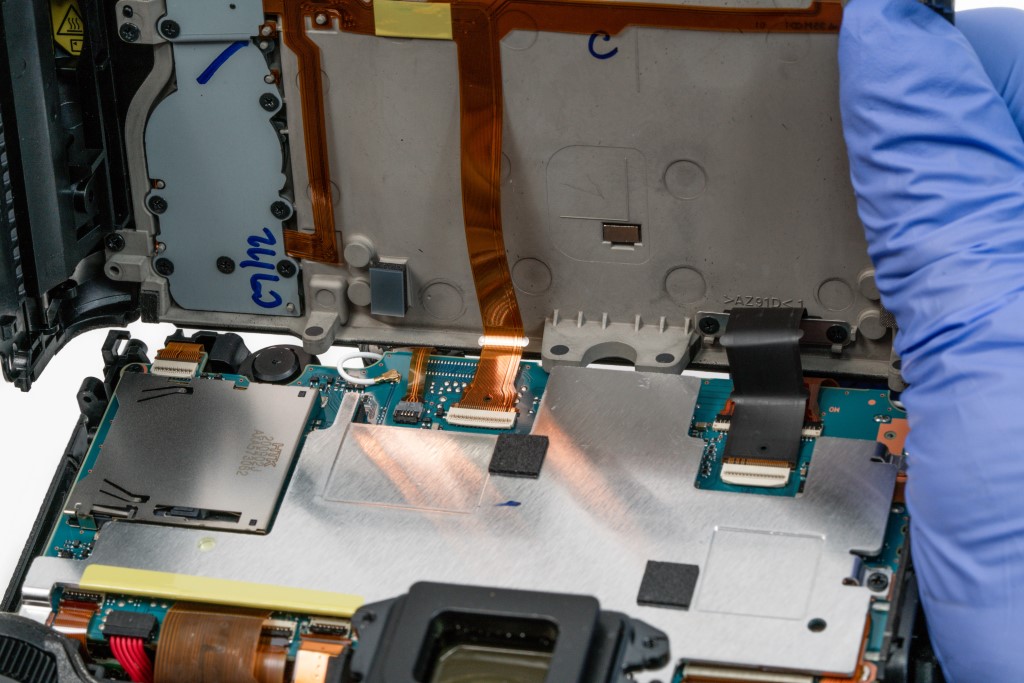
And just like that, the back panel comes off.
Accessing the Metal Plate, Weather Sealing, and Dual Processor Board
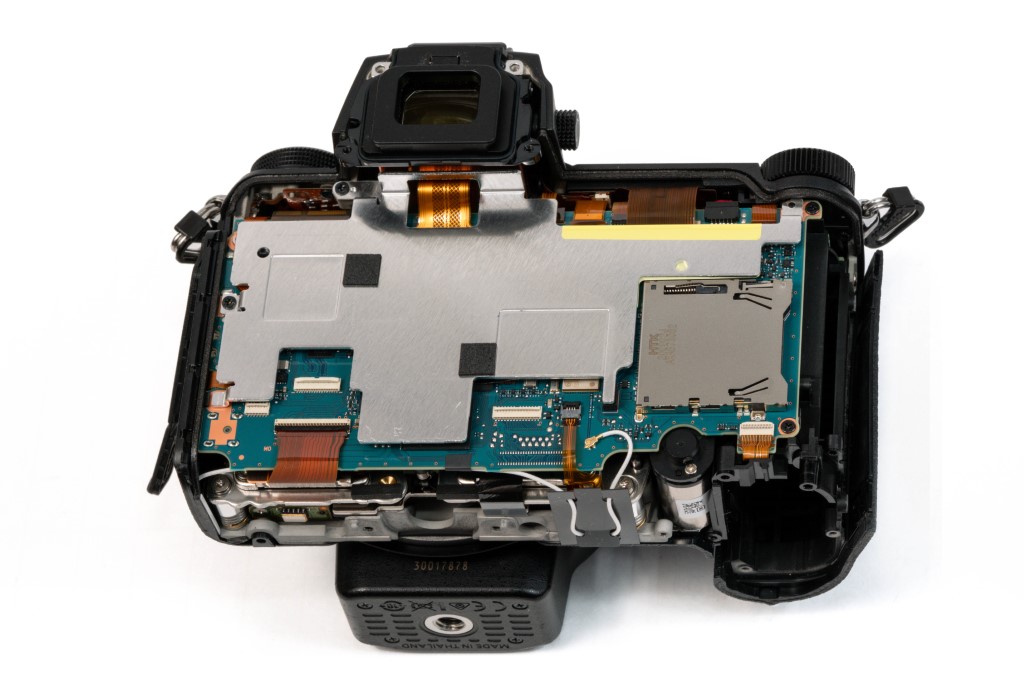
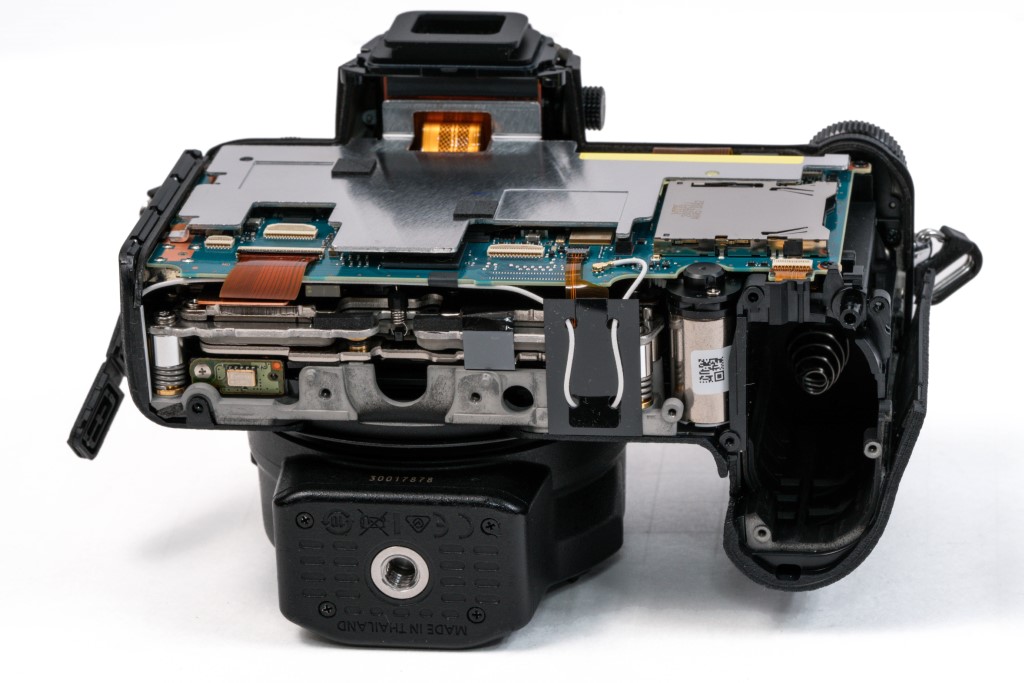
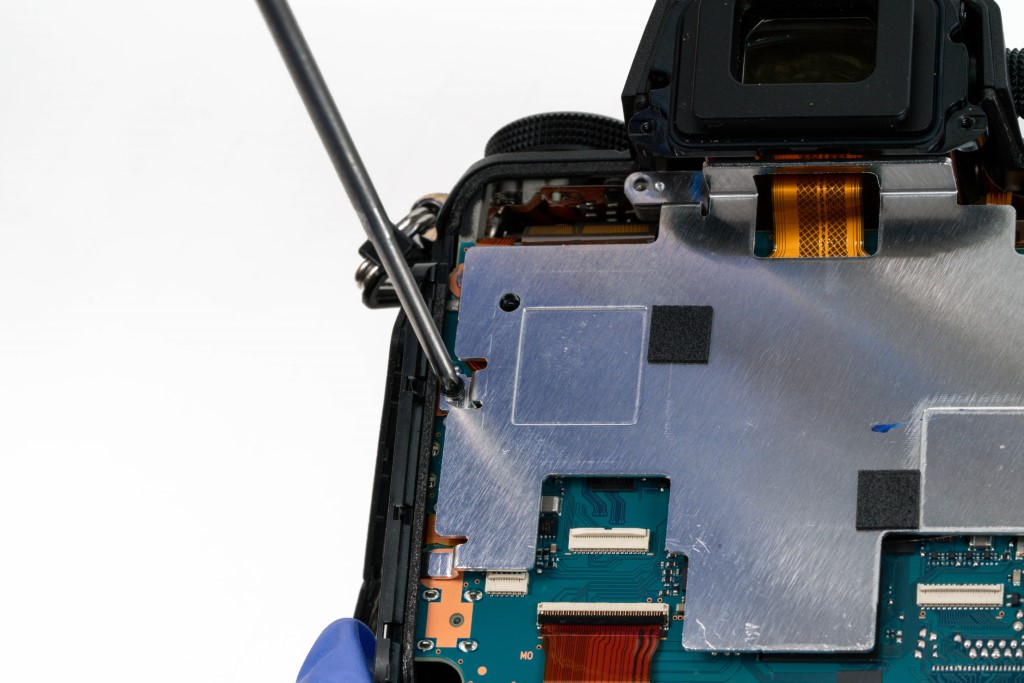
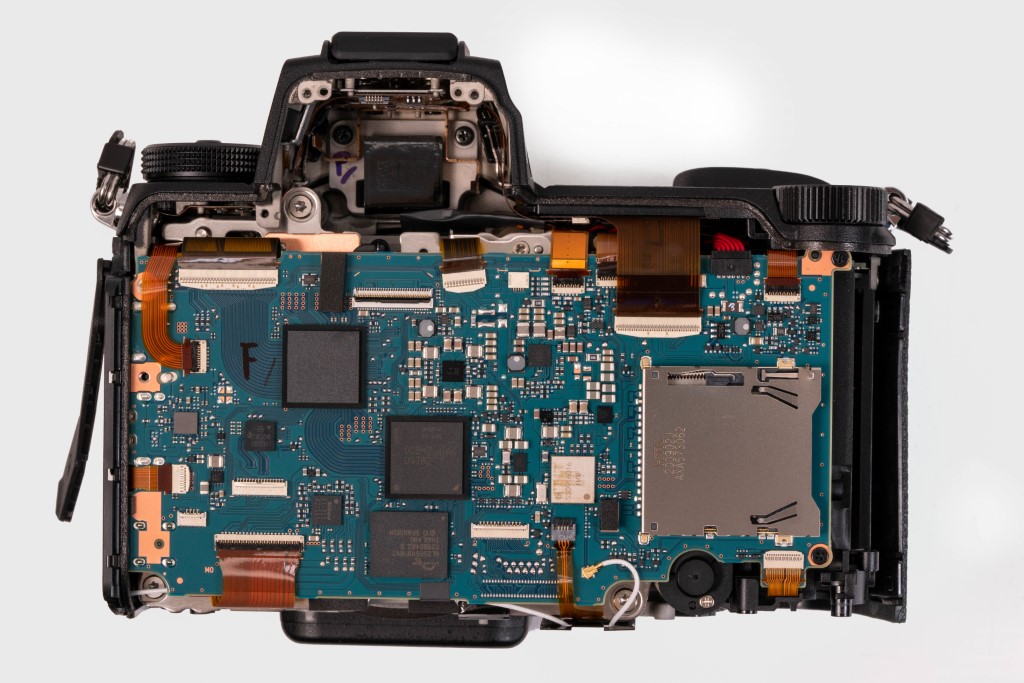
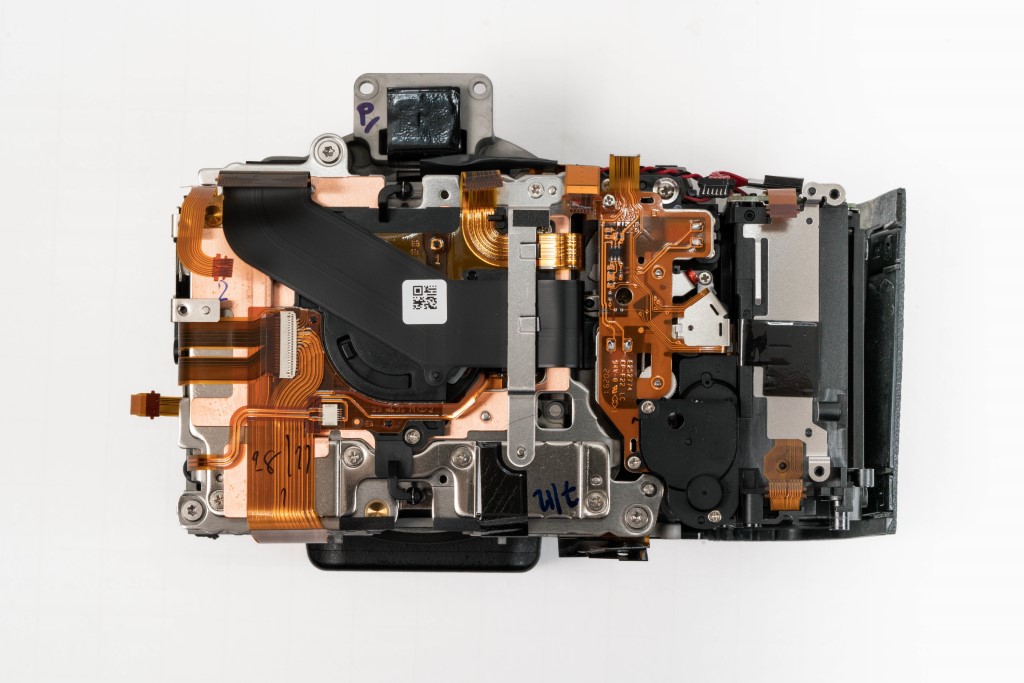
Already, the interior looks a lot different from what we saw inside the Z7. The two things that stand out the most are the new SD card reader and the metal plate covering the board. That would account for the minor 30g weight difference between the two cameras, with the Z7 weighing in at 675g and the Z7II at 705g.
The plate was likely added to act as a heatsink while adding additional protection to the board.
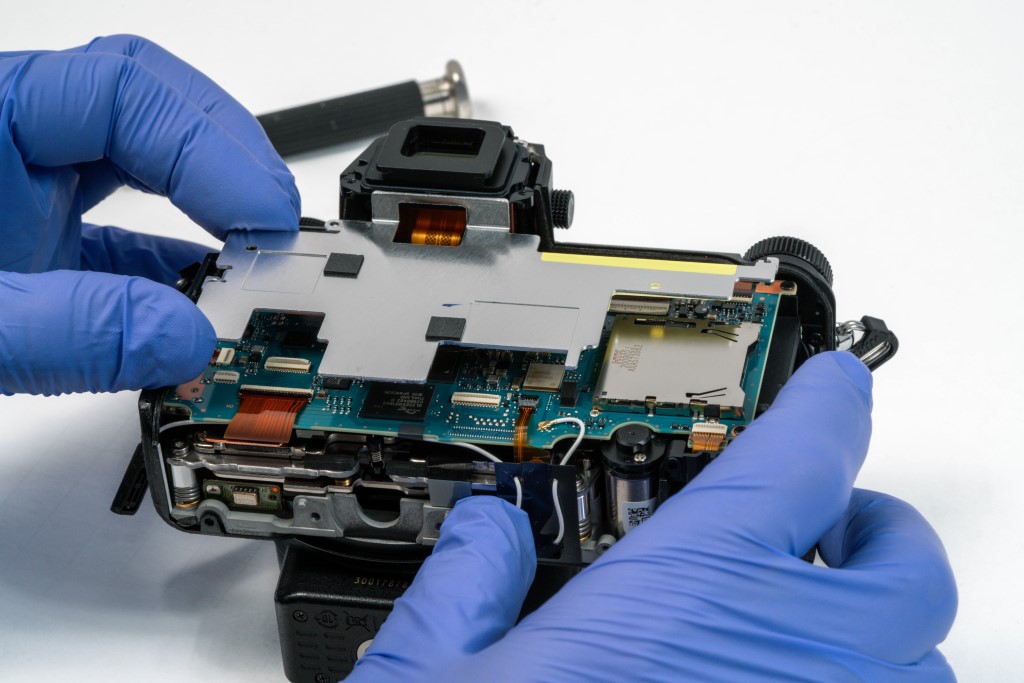
Let’s take that off and see what’s going on underneath.
This also gives us a chance to look at the weather sealing lining the edges.
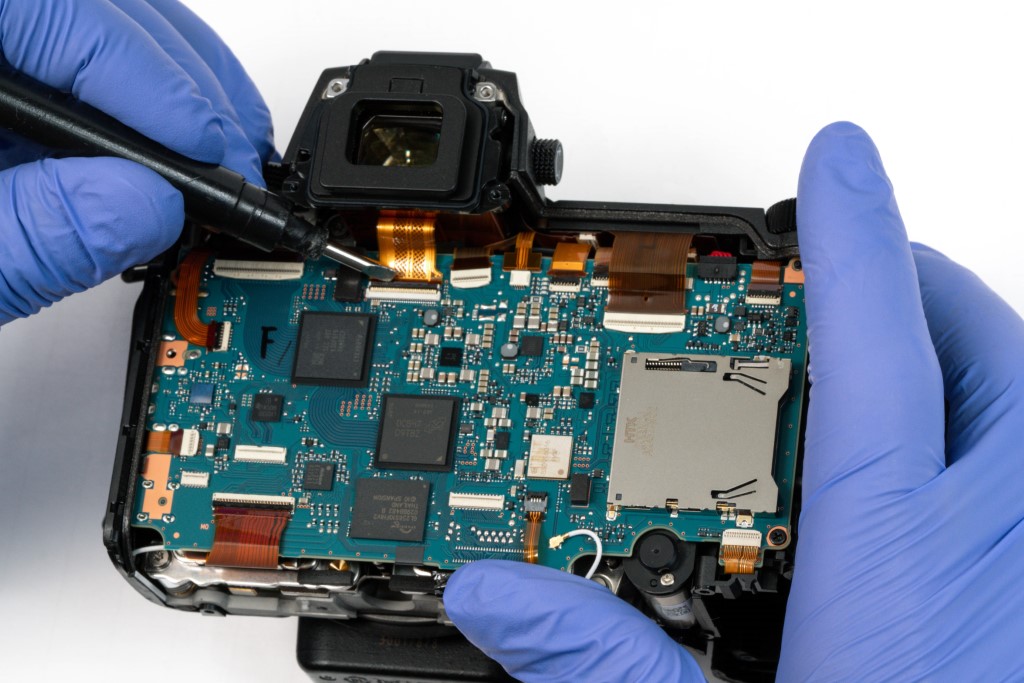
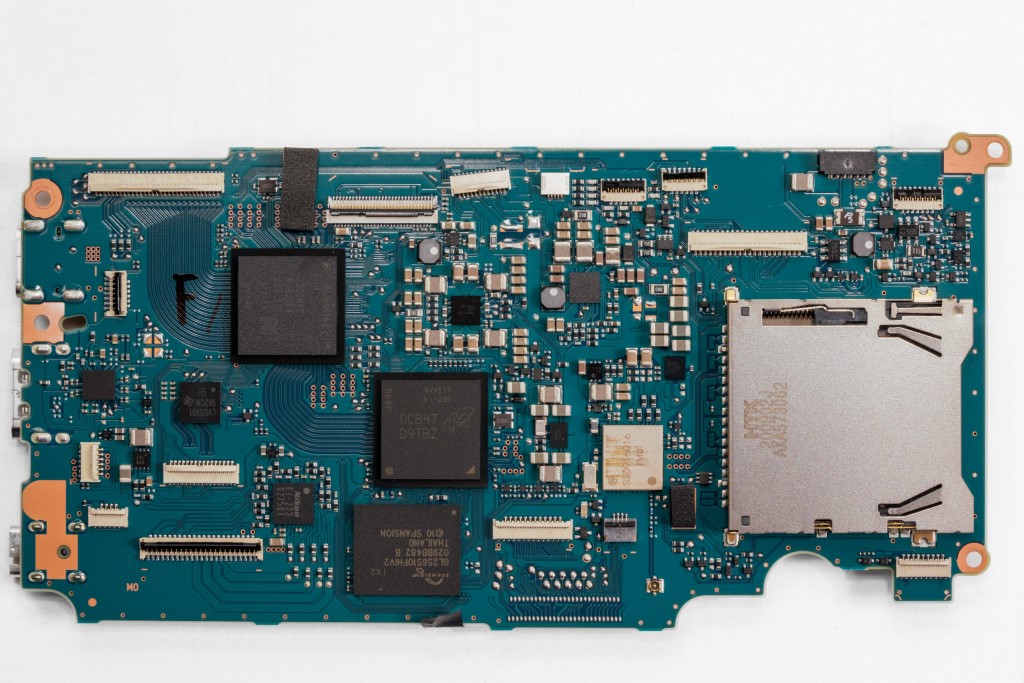
Now one of the most exciting upgrades: the new dual processor.
The overall layout of the board hasn’t changed much, which is impressive considering the sizable additions of the card-reader and second processor. Yet, they managed to maintain the same system.
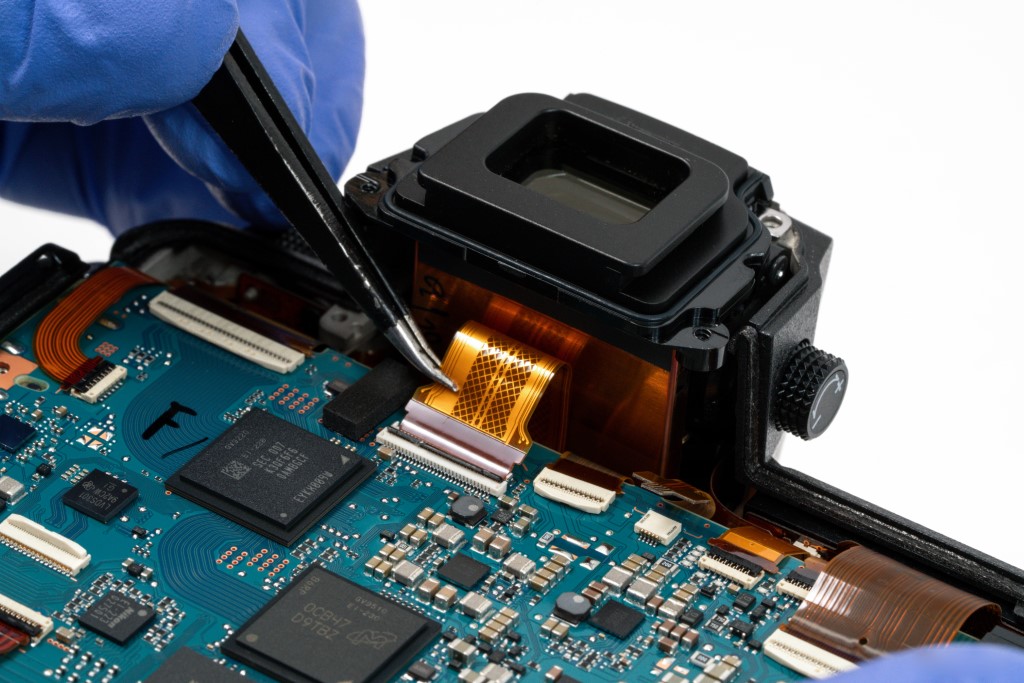
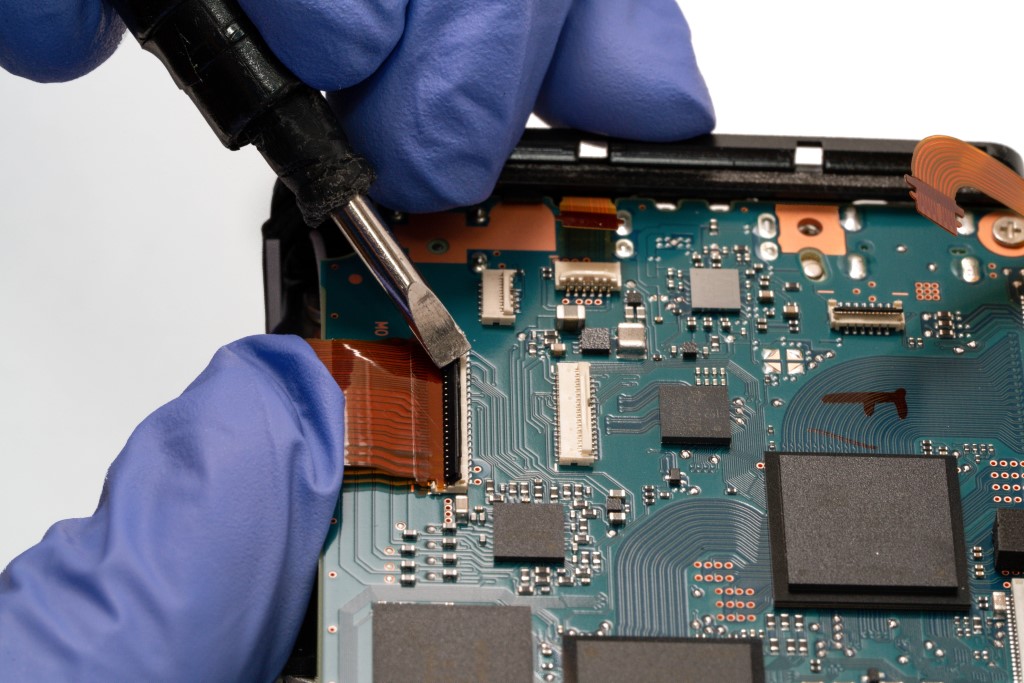
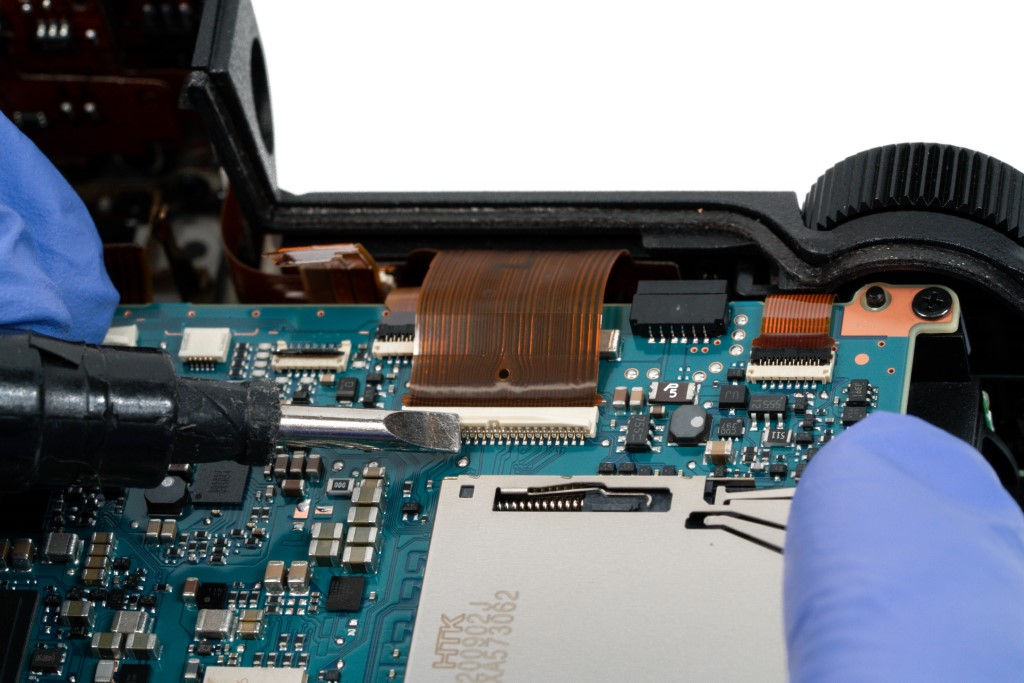
There are a few subtler changes to the ribbons. Some are a bit broader and heartier, which makes them easier to handle and reduces the risk of them tearing while being disconnected.
Removing the Viewfinder and Motherboard
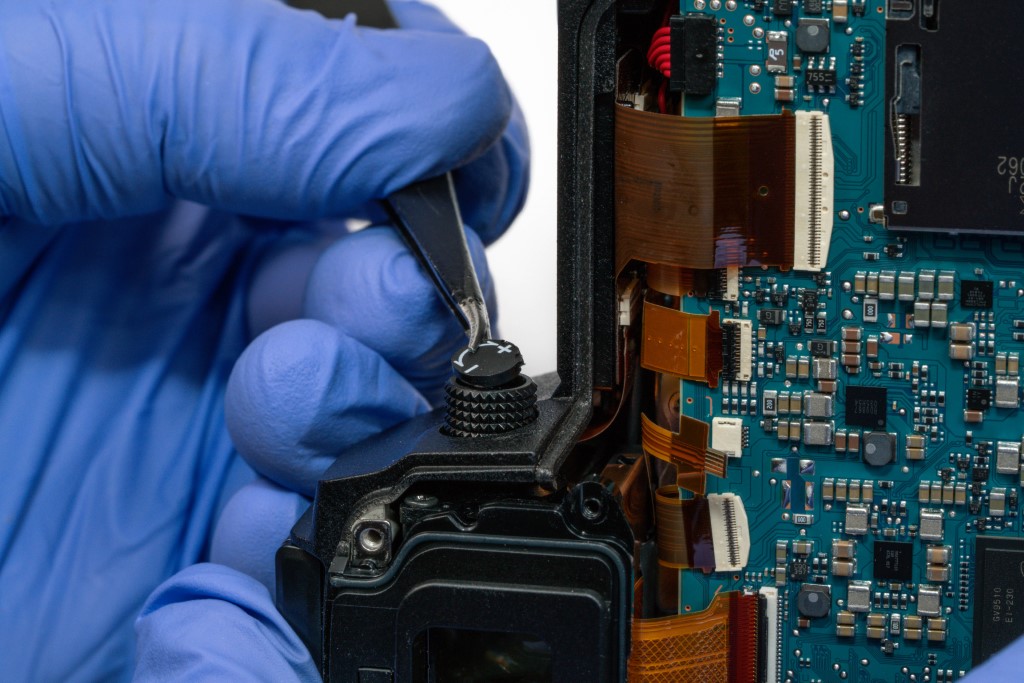
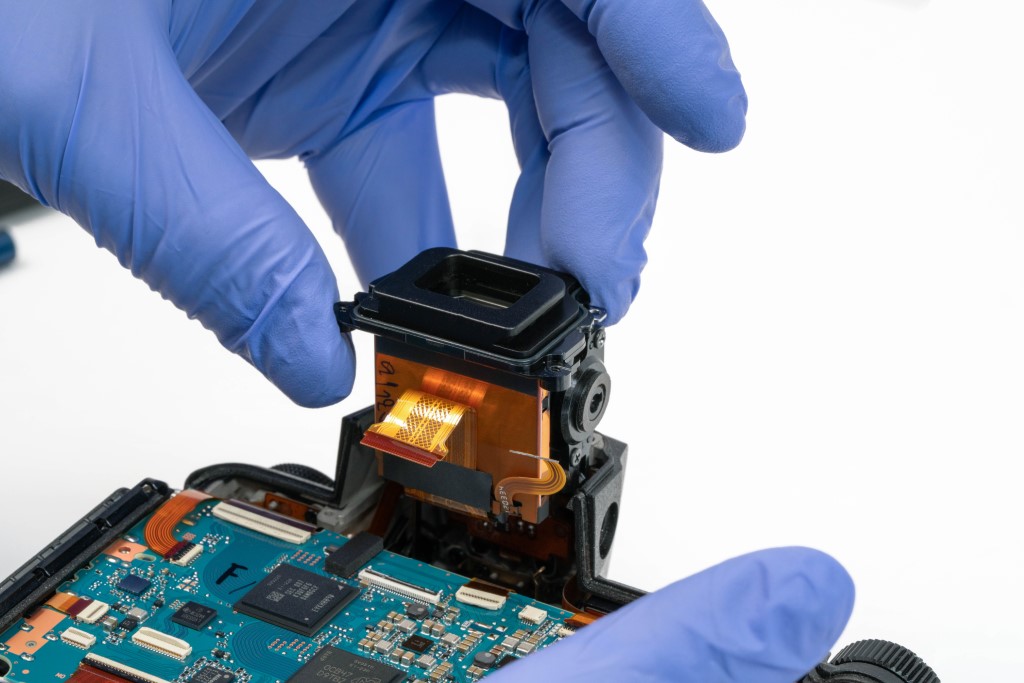
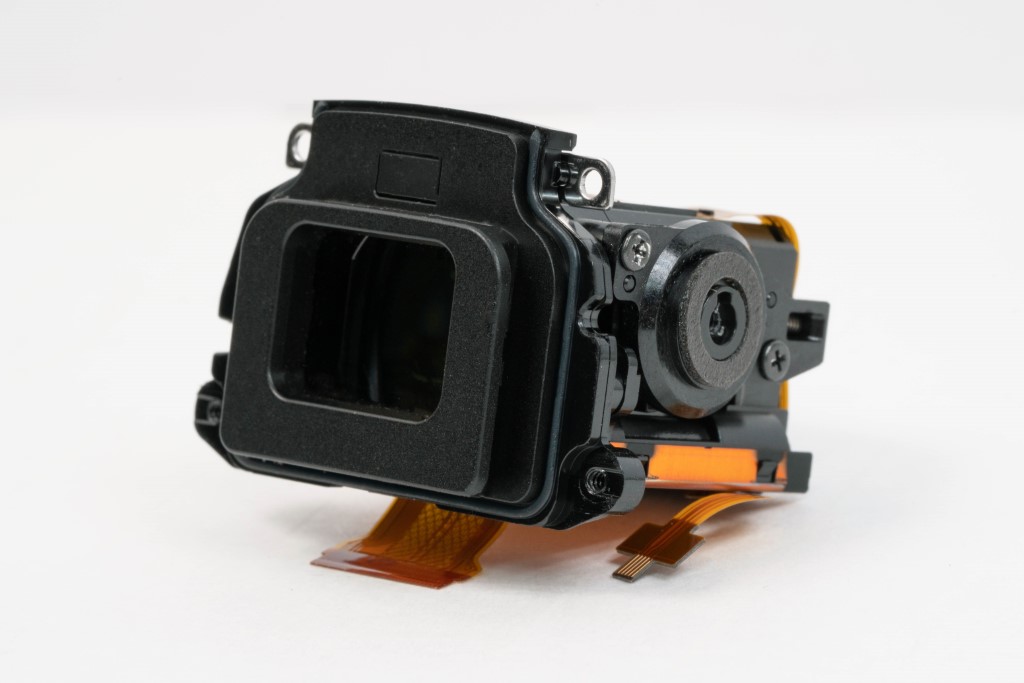
Next, we’re going to take out the viewfinder. This model features the standard Nikon diopter mechanism, which allows you to lock and unlock it by popping it in and out of the prism. The diopter also features a cap that’s tricky to remove. It serves a dual purpose: indicating turn direction and covering up the screw to make disassembly more complicated.
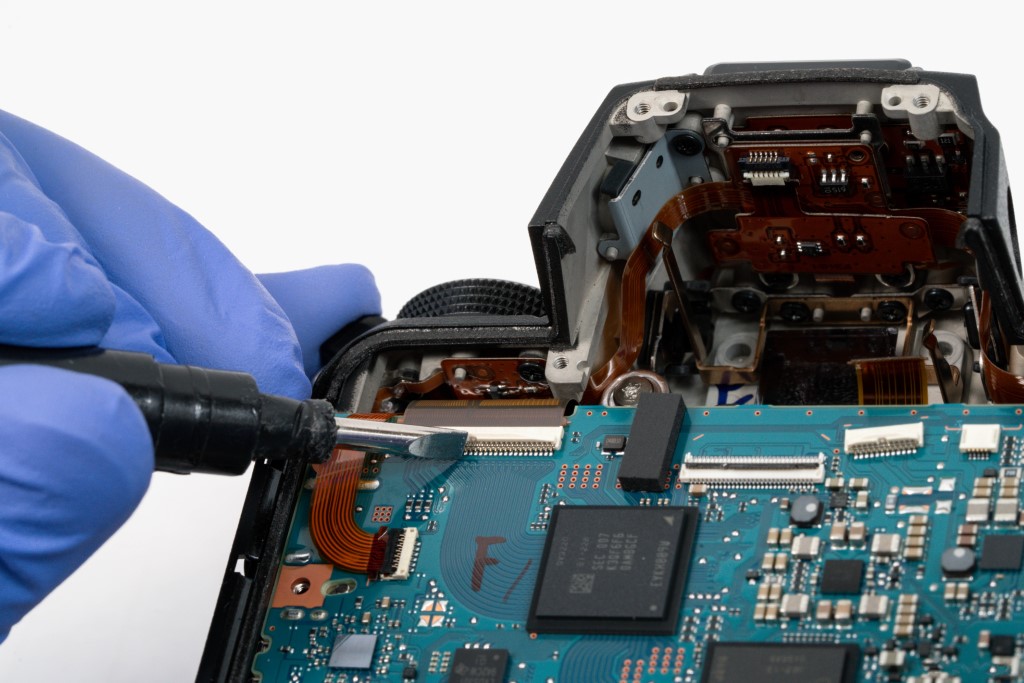
Beneath the viewfinder, we see a couple of screws that we’ll have to remove to take off the top, along with the many ribbons.
Another interesting thing to note about these ribbons is that some are BIG. We believe the only camera with larger ribbons may be the Z9. Apparently, Nikon likes to use thick flex cables.
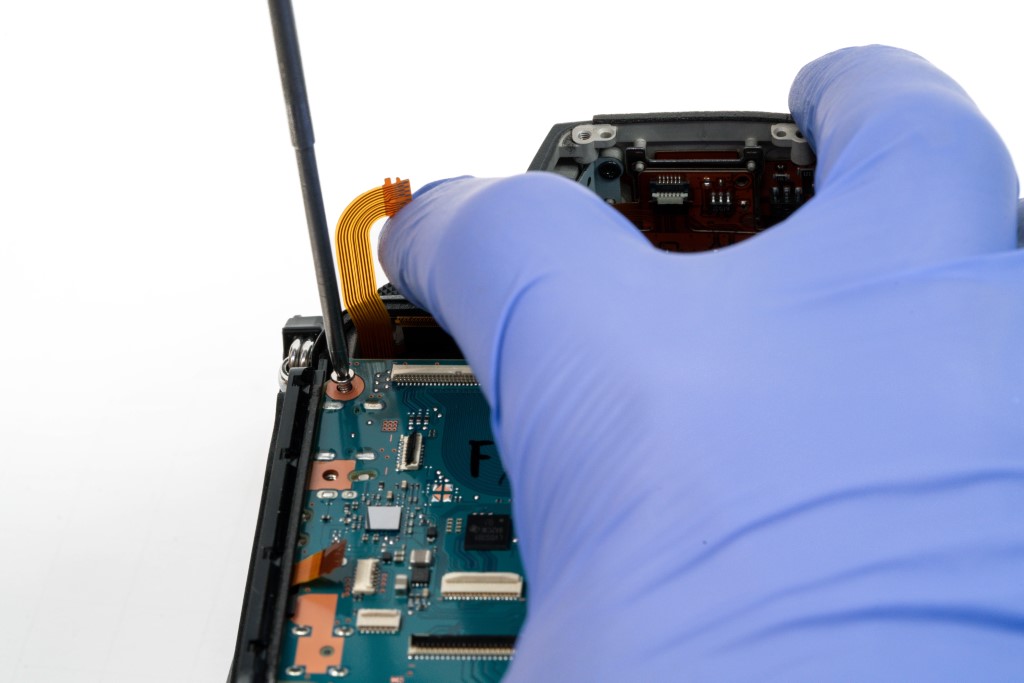
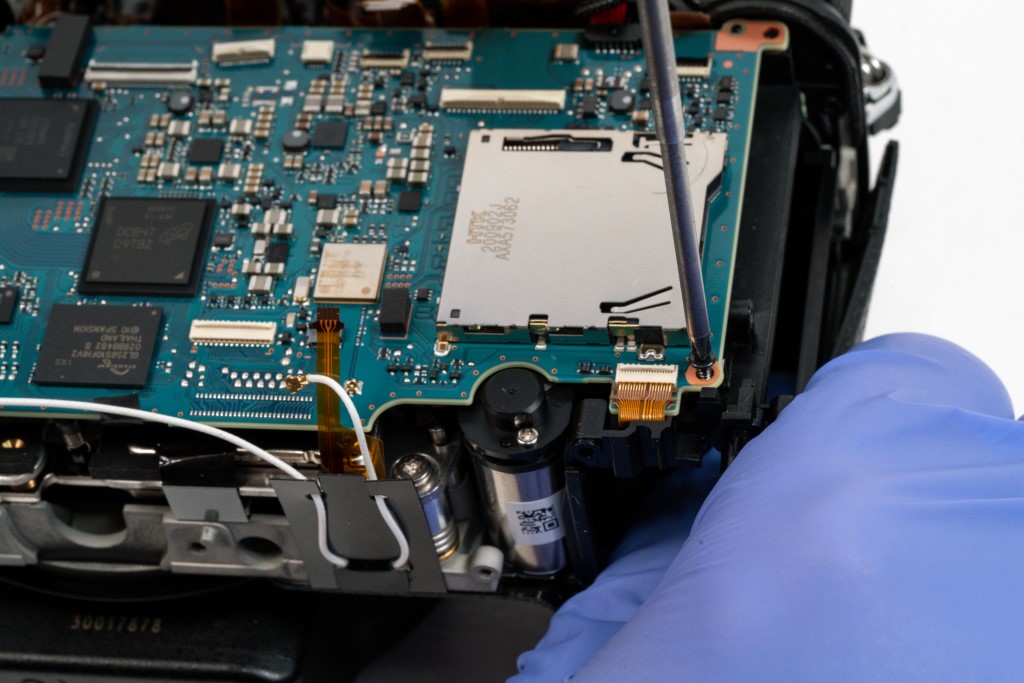
Once we’ve removed all the ribbons, next comes the board screws.
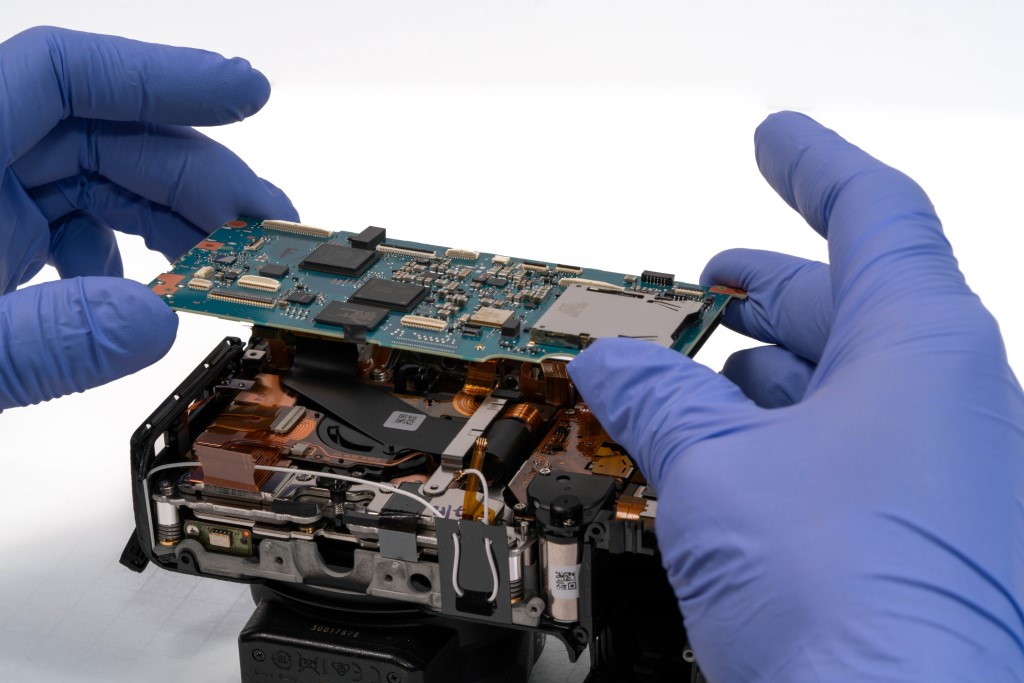
And out comes the motherboard.
While we’re here, we’d also like to point out the white cable running across the bottom. This is the antenna cable for wireless connections.
Removing the Front Section, Lens Mount, and Top Panel
Itlooks like the frame is blocking access to the sensor screws, so we will have to remove some more of the body before moving forward.
We are starting with the port/front side section, which features the iconic Z7II logo.
We decided to set it on some foam to protect the back while removing the front components.
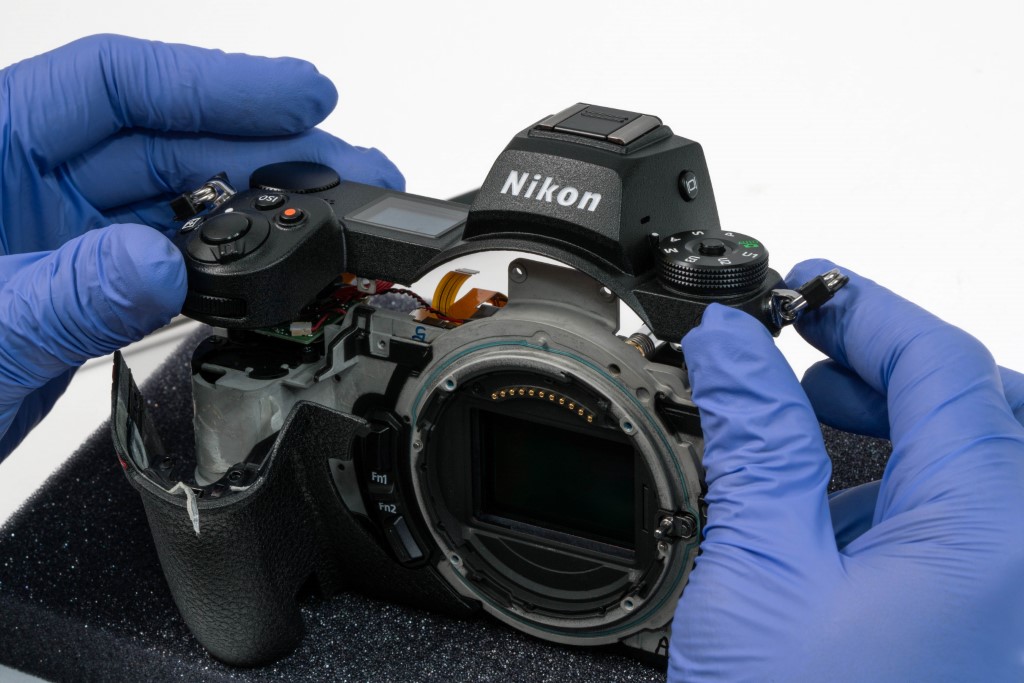
We’ll also have to remove the lens mount.
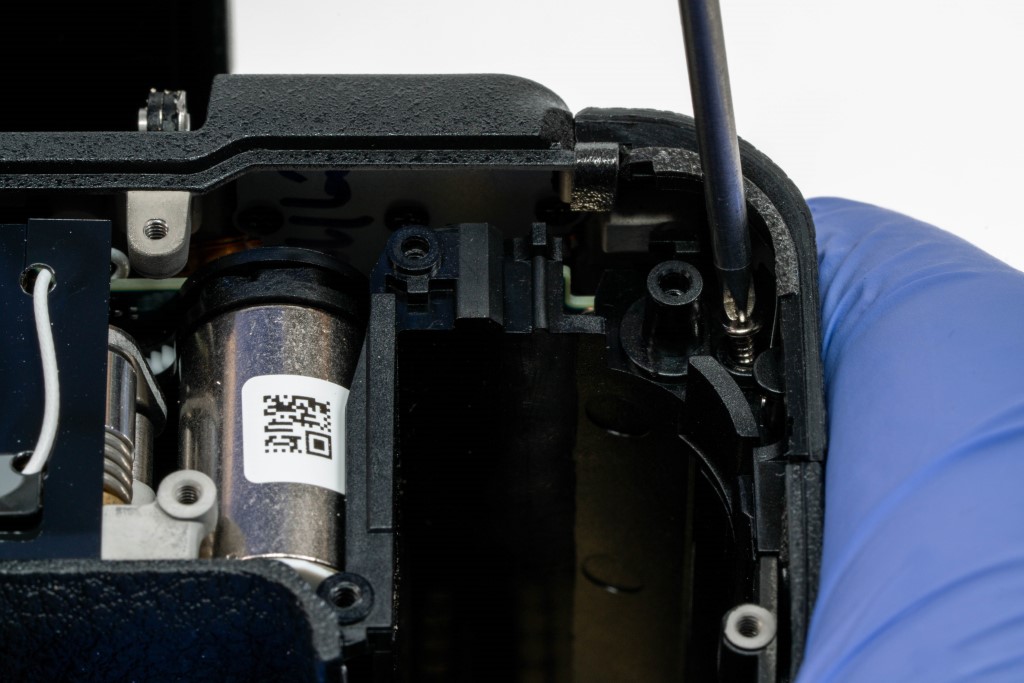
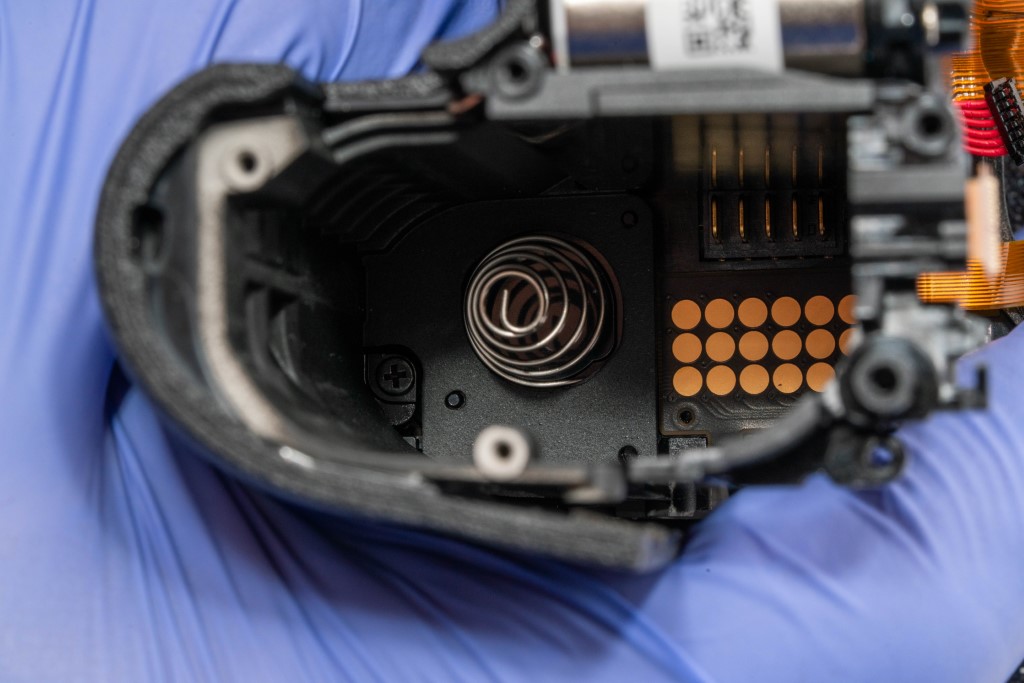
Along with the handgrip, which is sneakily secured by a screw tucked away in the top of the battery compartment.
With all that removed, we can reach the screws that hold down the top, allowing us to take that off as well.
Removing the Nikon Z7 II Camera Sensor
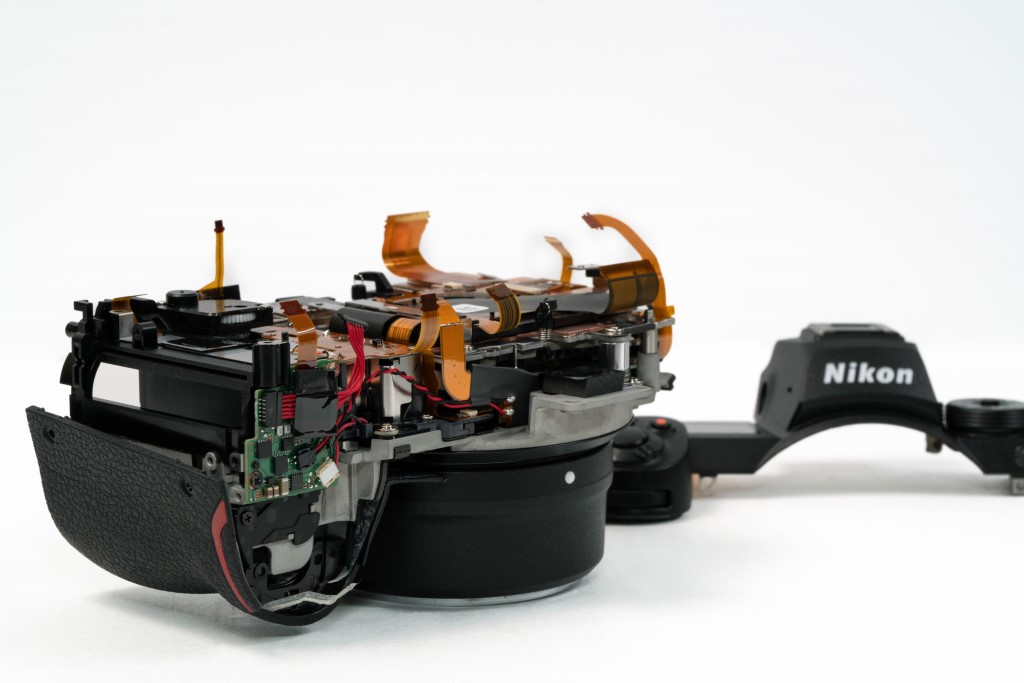
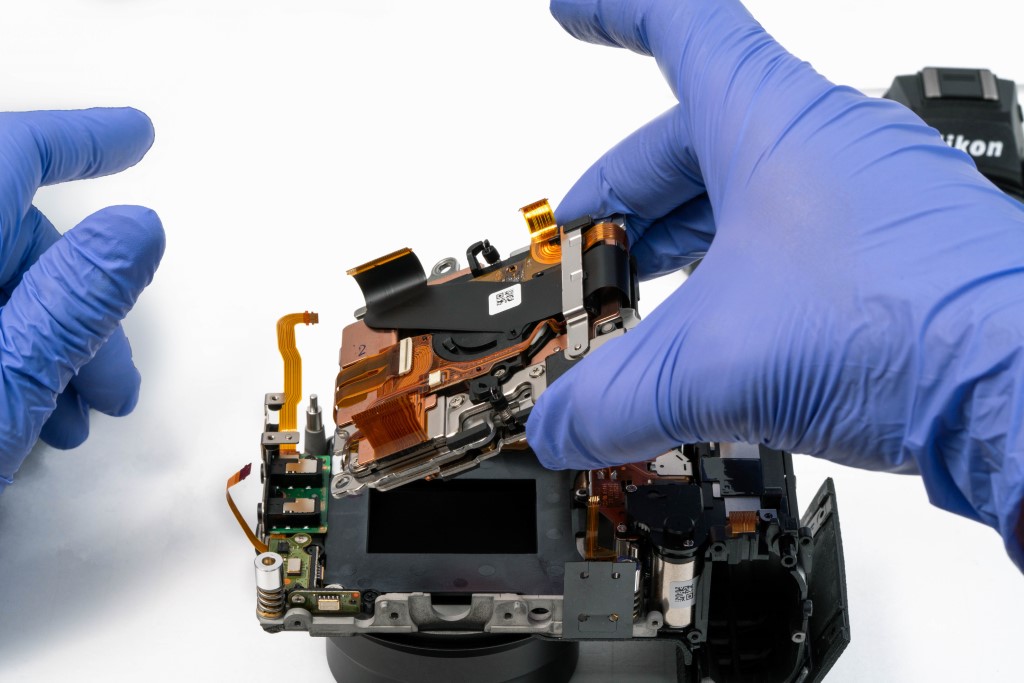
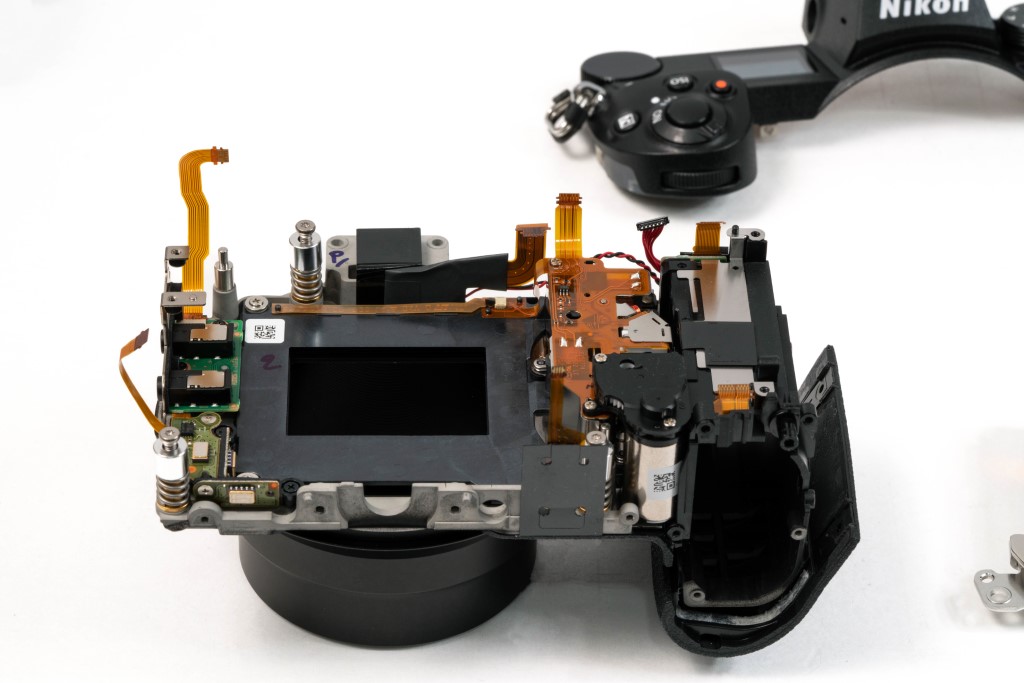
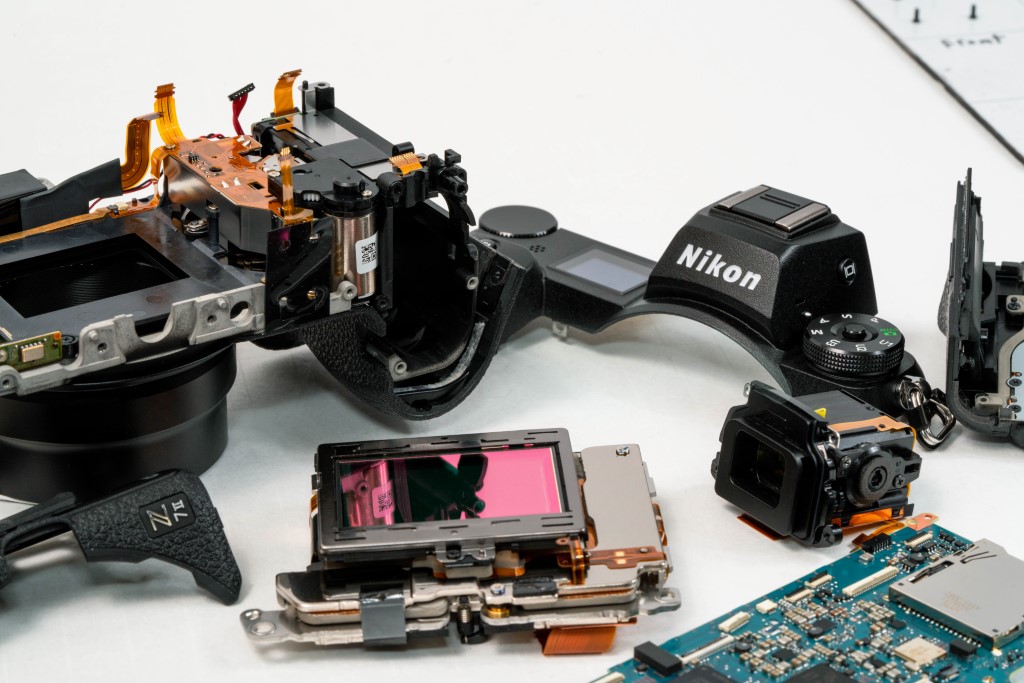
Now we’re left with just the core of the camera.
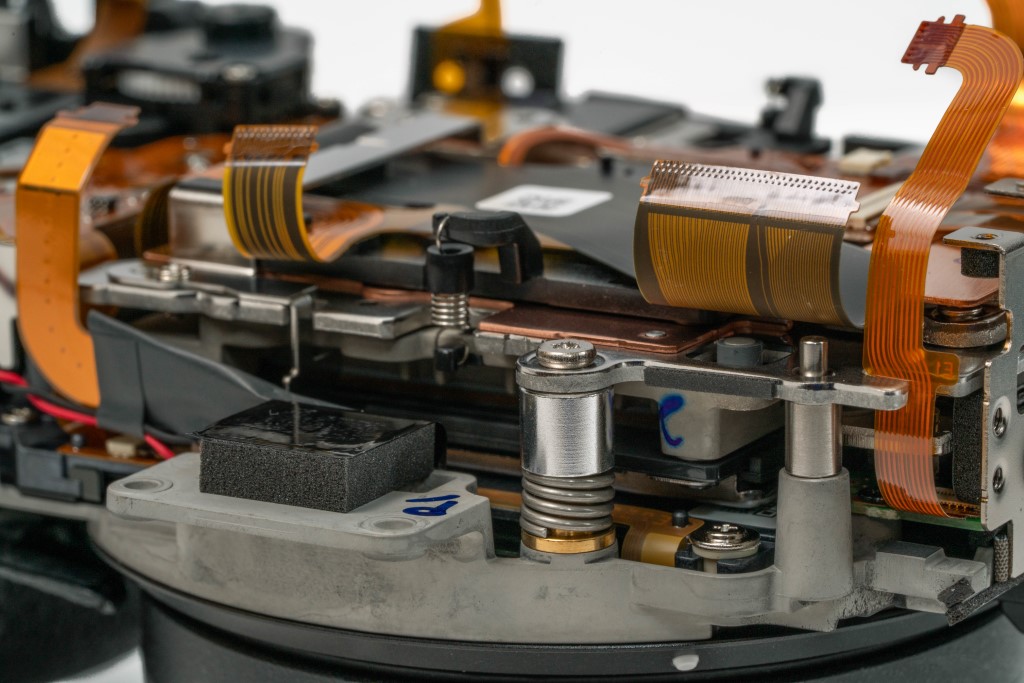
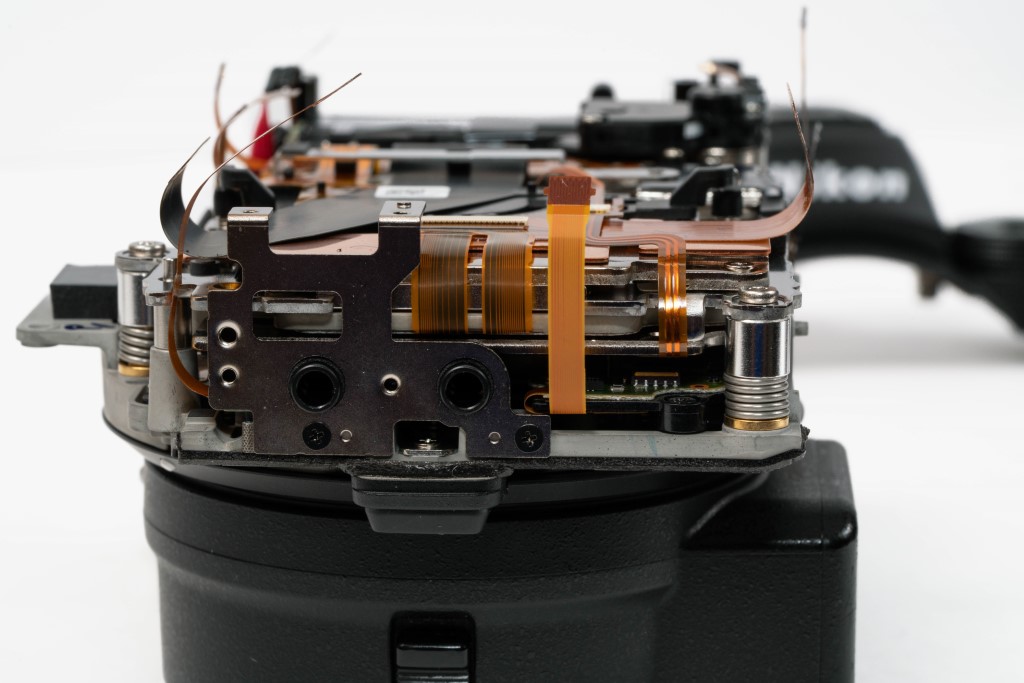
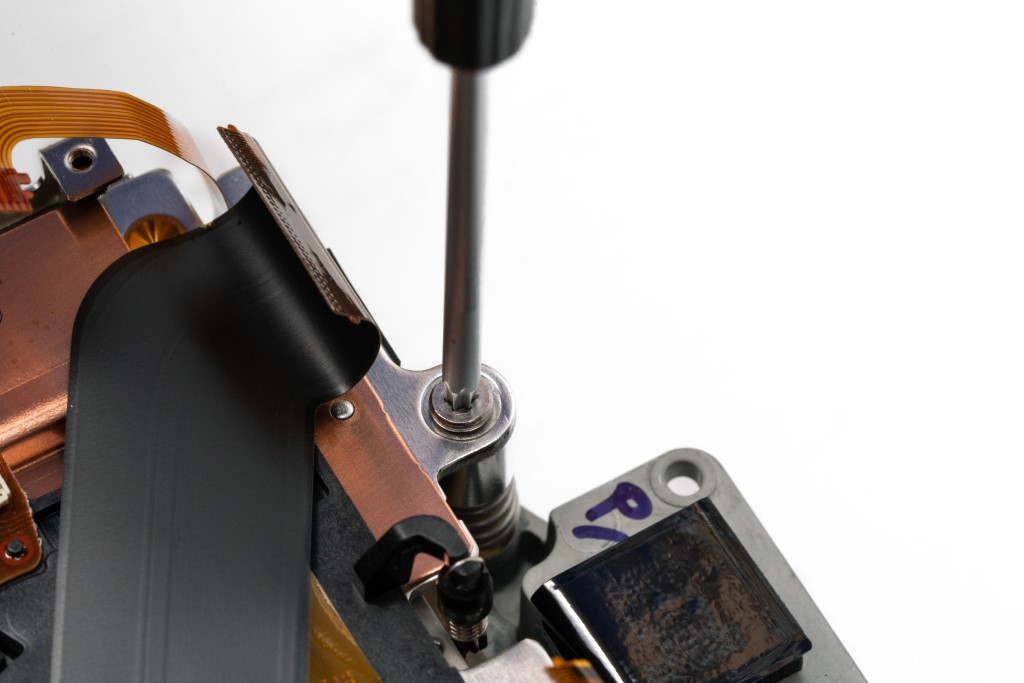
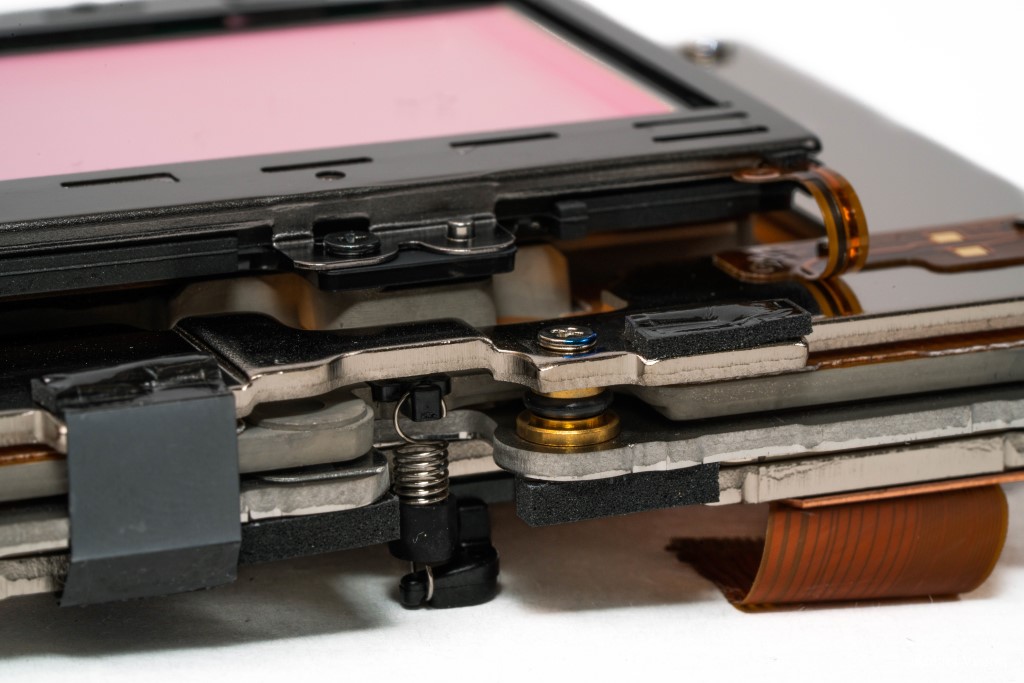
This camera uses springs to calibrate the position of the sensor. The height of the screws is measured in thousandths of an inch and needs to be adjusted with exact precision to keep the focus correct and even across the entire image.
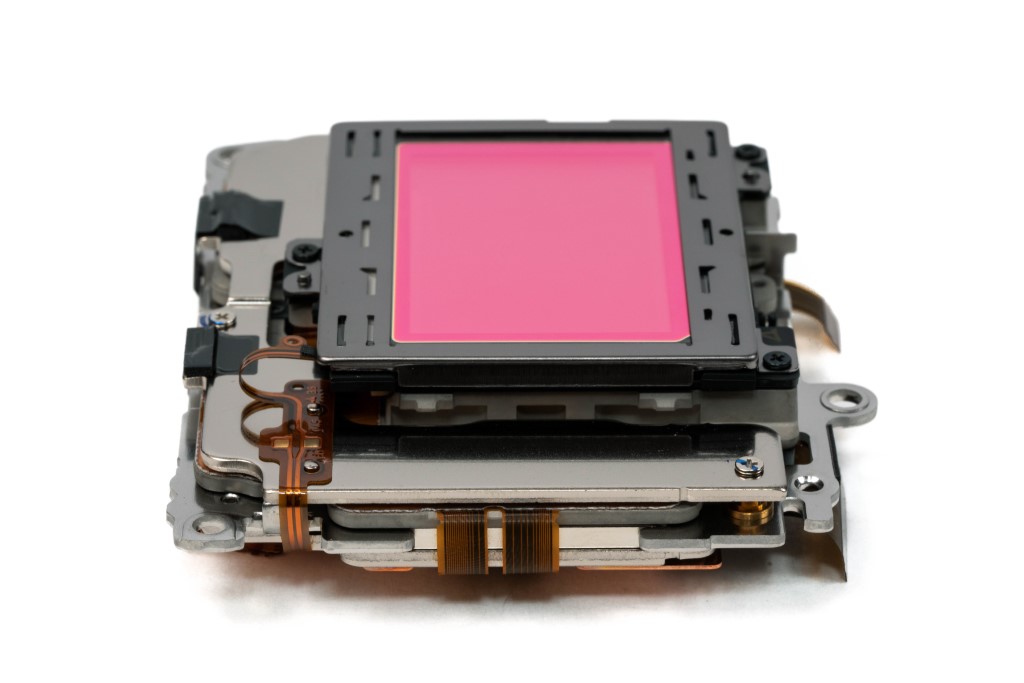
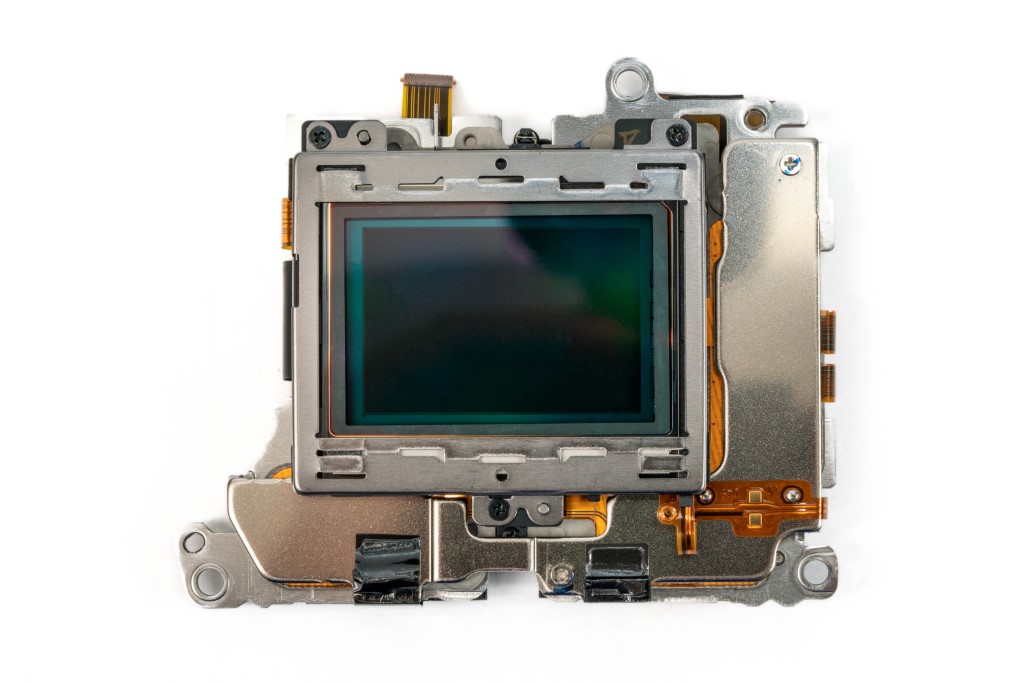
And with that, the sensor is out and ready to be converted to infrared.
Nikon Z7 II Sensor Assembly and Final Thoughts
This is a pretty chunky sensor with some solid-looking IBIS, but it’s nothing compared to the size of the Z9 sensor, as you’ll see for yourself in the Z9 teardown that’s coming soon.
Thanks for coming to our teardown. Be sure to tip your technicians and remember to visit the gift shop on your way out.
Now that we’ve seen how this camera is made, we will be looking at how well it performs as an infrared camera. We’ll also be doing a teardown of the Nikon flagship, the Z9, and comparing it with the Sony A1.
Frequently Asked Questions
How Do You Start Disassembling The Nikon Z7 II?
The Nikon Z7 II teardown starts by removing screws from the bottom plate. After that, the disassembly continues around the battery latch, ports, card slots, EVF area, and concealed screws beneath the handgrip leather and bottom section.
Are Kolari Magnetic Clip-in Filters Compatible With The Nikon Z7 II?
The Nikon Z7 II needs a Mag Mount Plate to work with Kolari magnetic clip-in filters for Nikon Z-mount. The article notes that the sensor frame was changed from plastic to metal, but the camera still requires the Mag Mount Plate for clip-in filter compatibility.
Where Are The Hidden Screws On The Nikon Z7 II?
The Nikon Z7 II has concealed screws beneath the leather of the handgrip and on the bottom of the camera. These hidden screws need to be removed before the back panel can come off.
How Is The Nikon Z7 II Motherboard Removed?
The motherboard is removed after the back panel is taken off, the metal plate/heatsink area is removed, the viewfinder is handled, ribbon cables are disconnected, and the board screws are removed. The article notes that some ribbon cables are larger and stronger than on earlier models.
How Is The Nikon Z7 II Camera Sensor Removed?
The Nikon Z7 II sensor is reached after the motherboard, front section, lens mount, handgrip, and top panel are removed. The camera uses springs for sensor position calibration, and after the sensor is removed, it is ready for infrared conversion.