Introduction

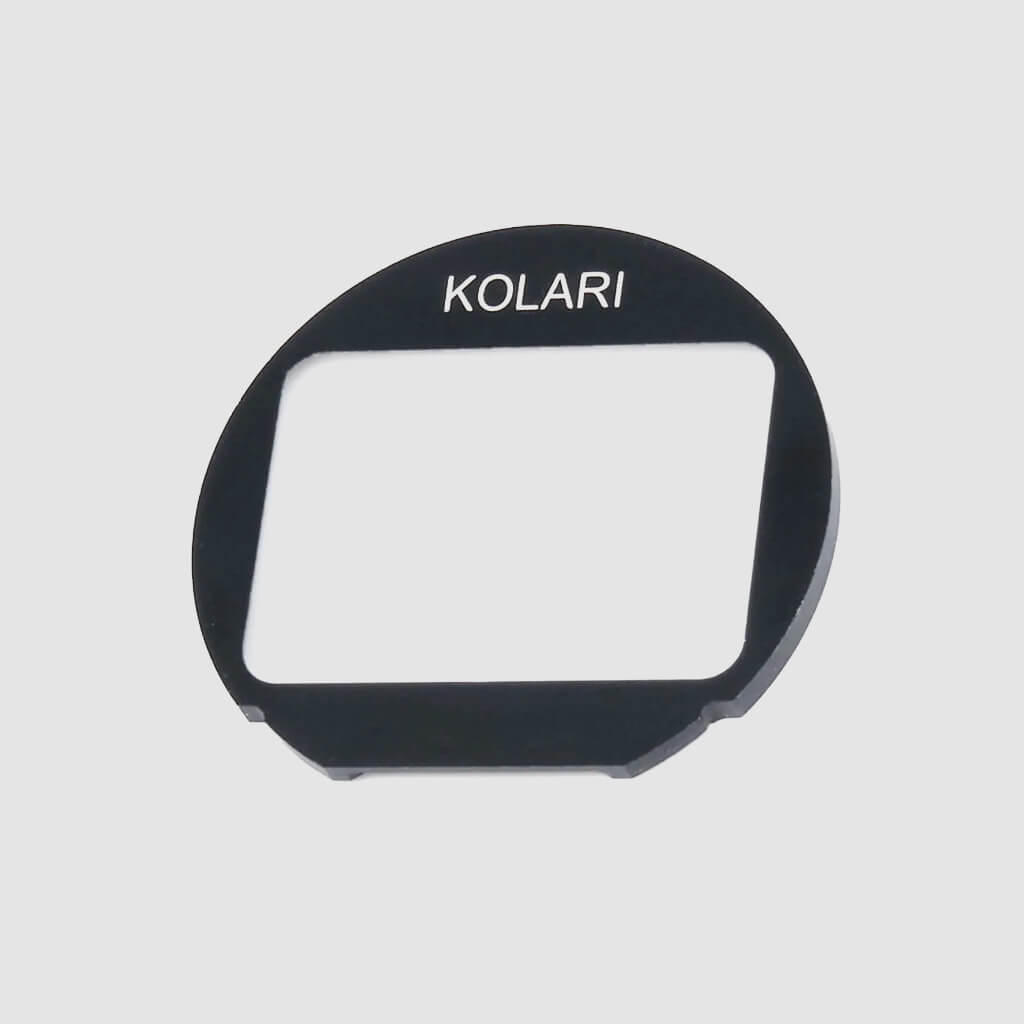
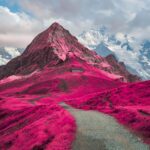
Candy Chrome is the new exciting infrared filter developed by Kolari Vision. Whereas it can be used like any regular infrared filter, like the 720nm or the 595nm filters, Candy Chrome filter can achieve unique colors and shades compare to its competitors. In this tutorial, you will see how to get the most out of the Candy Chrome filter thanks to proper camera profiles and LUTs.
Essential Prerequisites
Before talking about processing, it is essential to list prerequisites any infrared photographer need to deal with:
- Use a full-spectrum camera (obviously).
- Shoot RAW.
- Start each infrared journey by shooting a gray chart (with the Candy Chrome filter put on) and apply it as custom white balance in your camera. This is essential to launch the correct white balance on processing software.
- Create the DNG profile of your full-spectrum camera to extend the white balance range of your processing software. This step is essential if you are working with Adobe Camera RAW (used in Lightroom and Photoshop). To know more about DNG profile, check this article: https://kolarivision.com/post-infrared-photo-editing/custom-dng-tutorial-setting-white-balance-infrared-photography/
Processing Candy Chrome Images
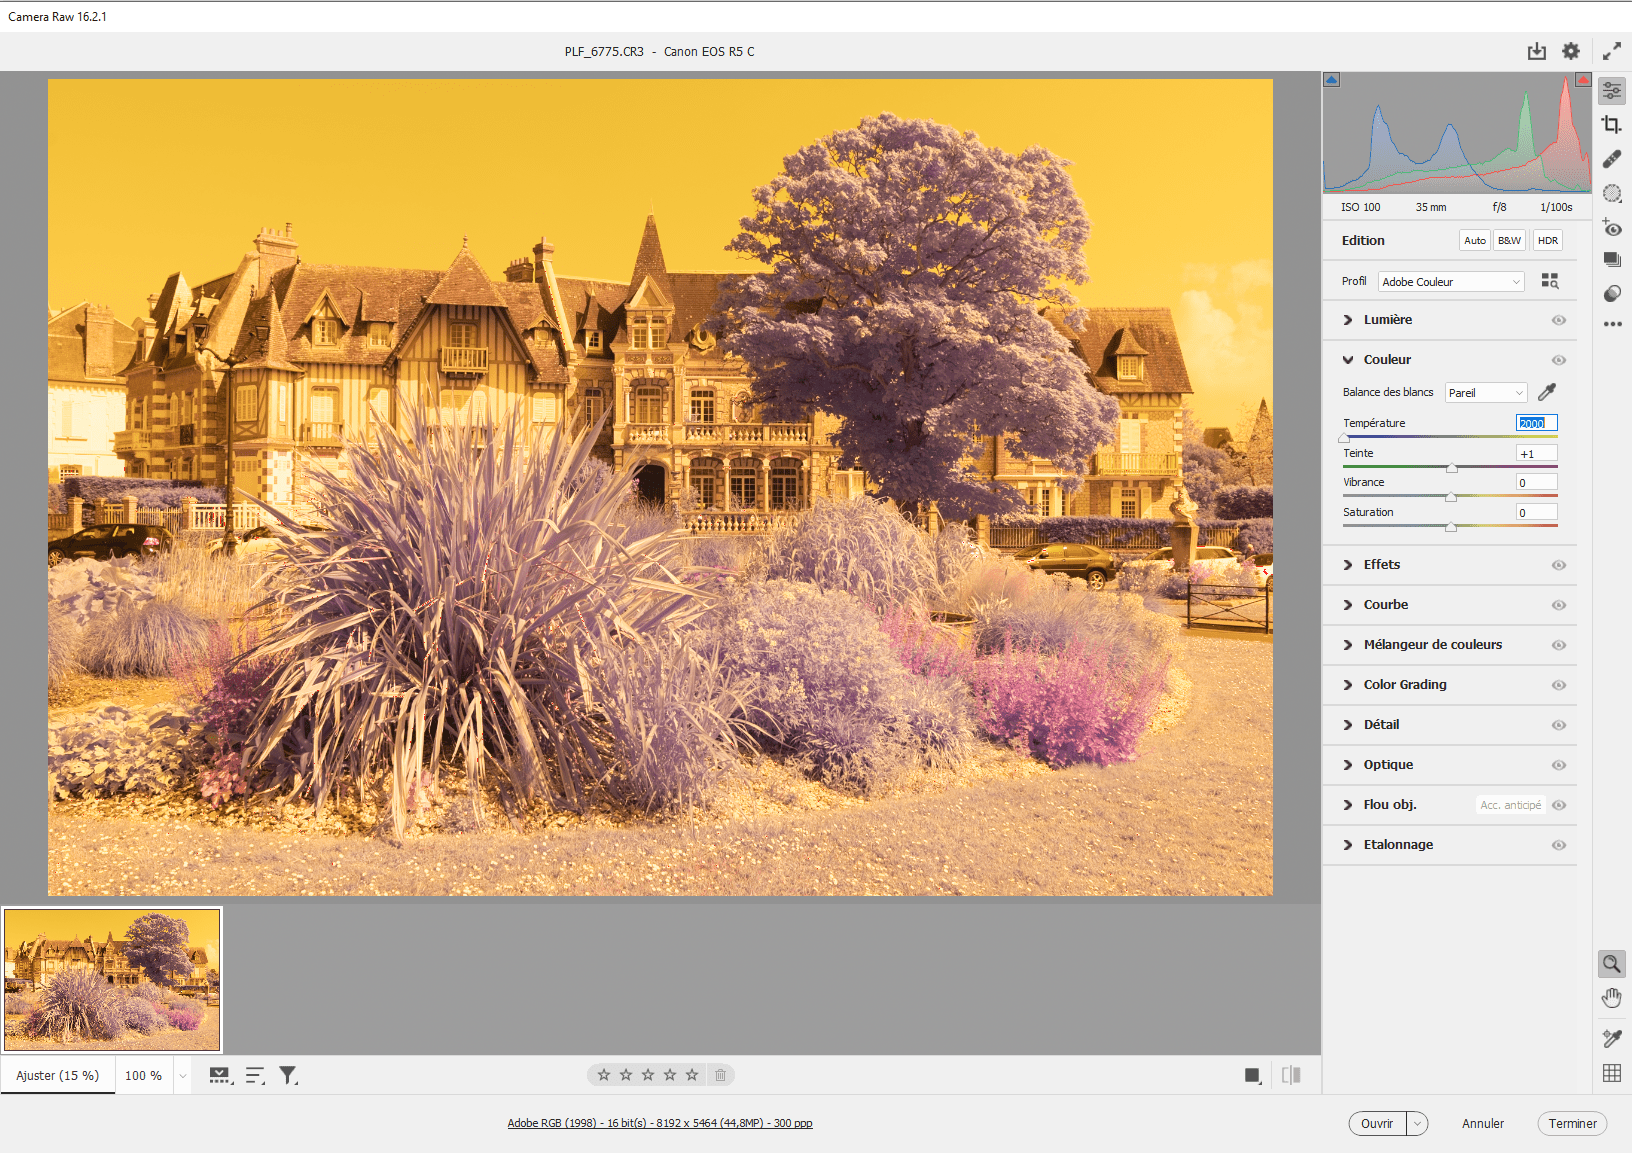
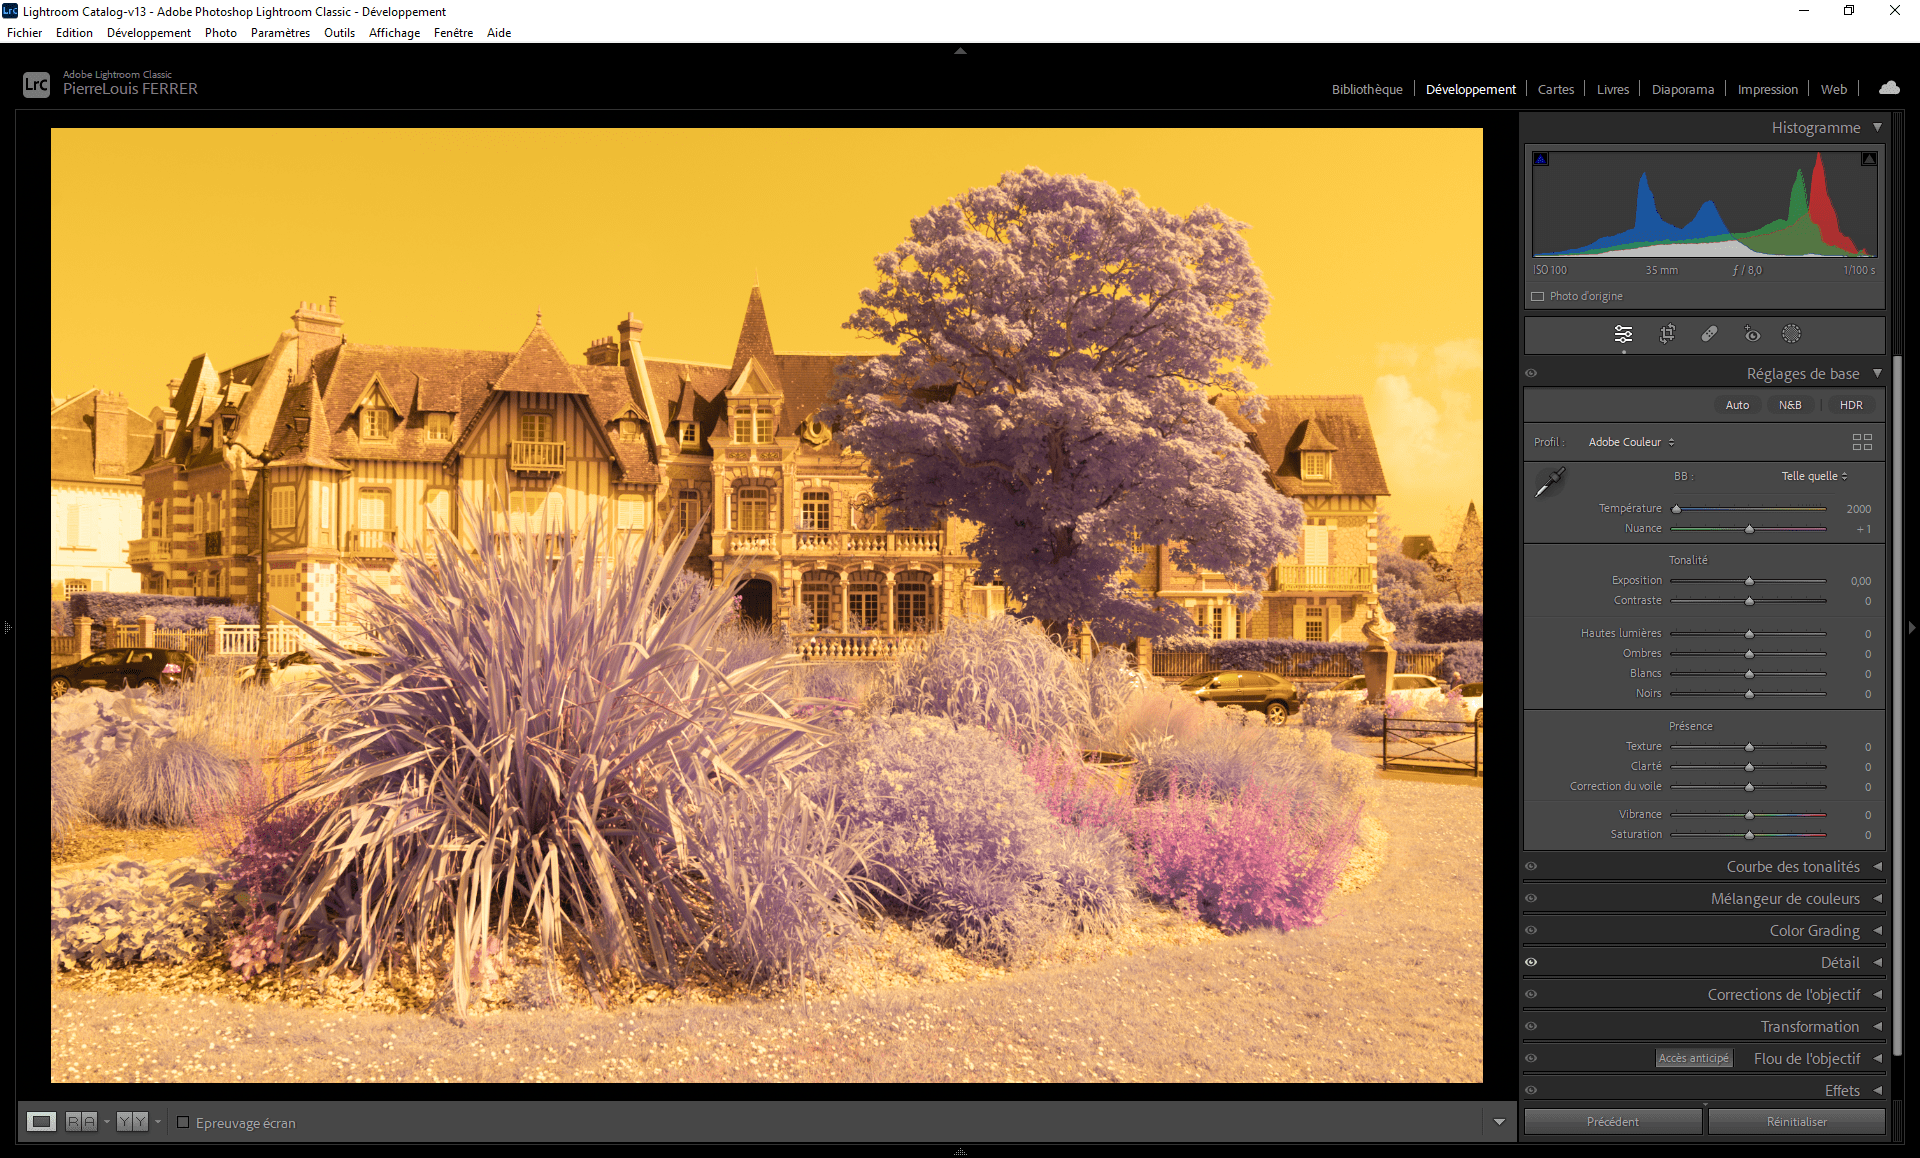


You have shot your first Candy Chrome images? Time for digital processing! Normally if you have correctly used a gray chart and applied custom white balance in your camera, you will see these kinds of colours when opening your RAW files:
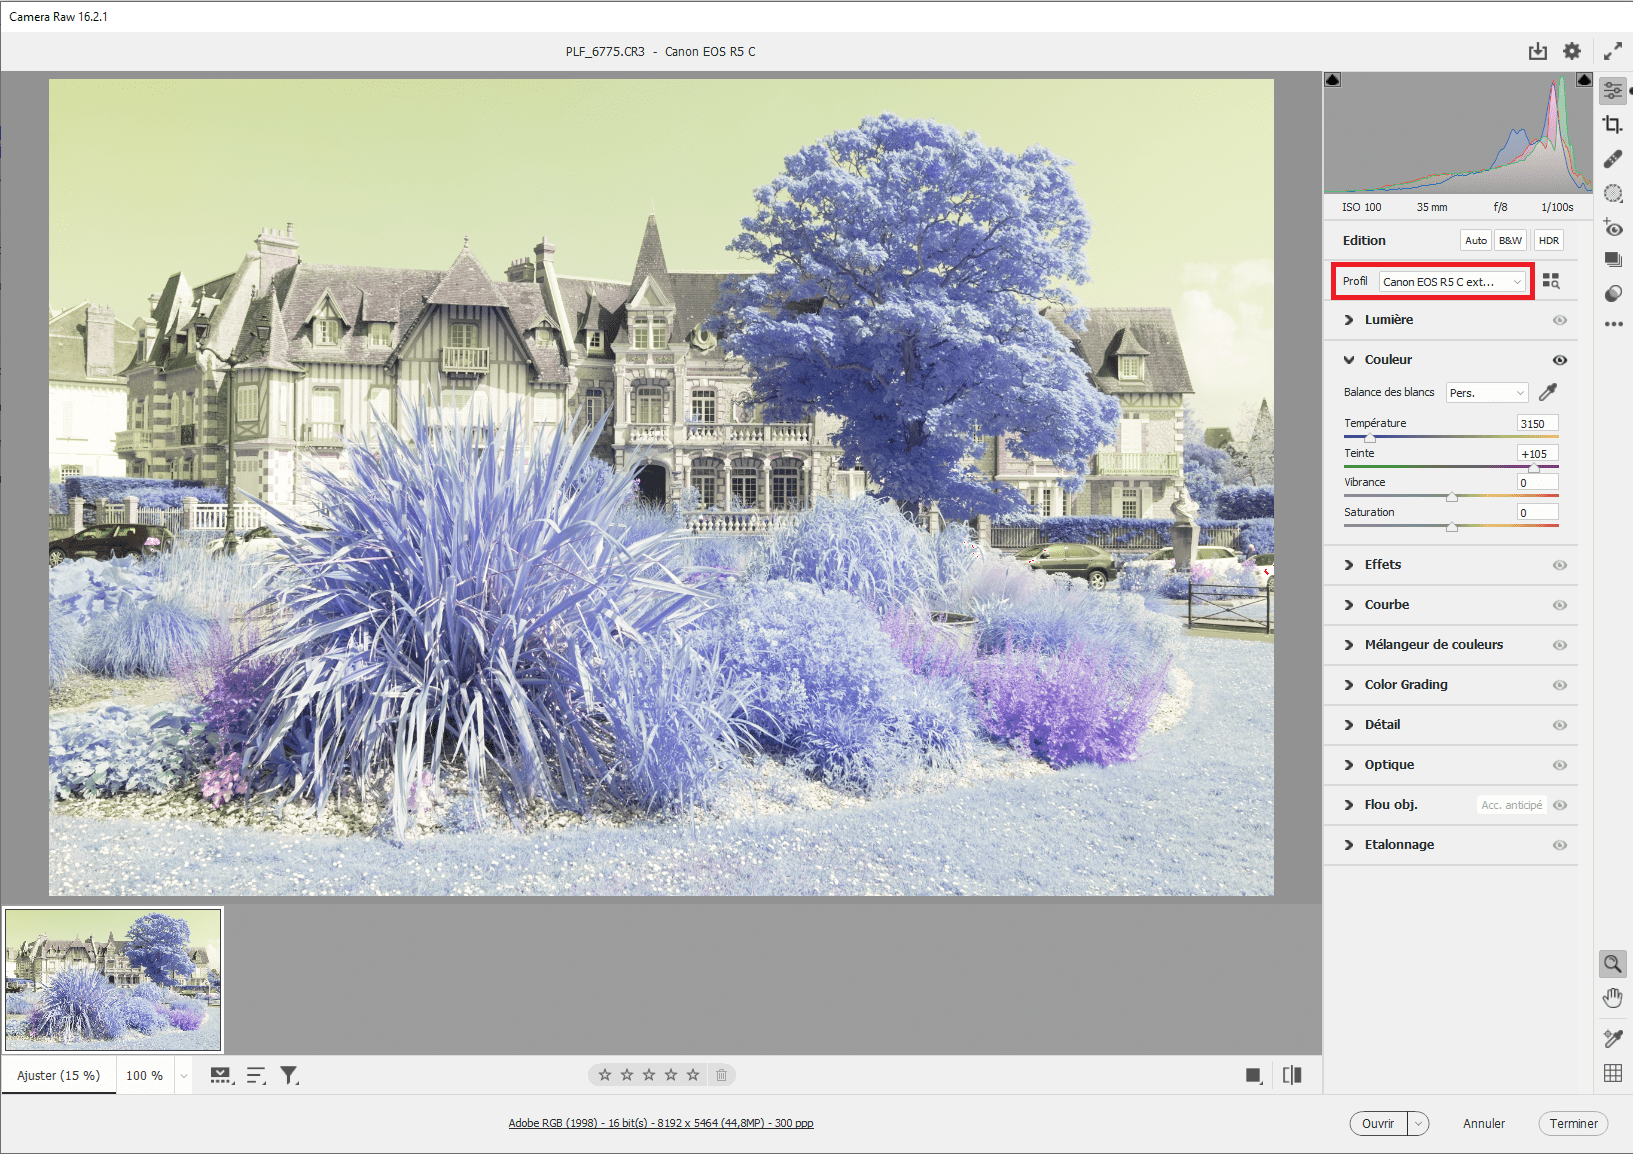
If you are working with Adobe Camera RAW, you will need first to set the DNG profile of your camera to obtain such result:
You can then process your images using Channel Swap, as for regular infrared filters, or follow the tutorial of David Hochleitner to emulate Aerochrome easily: https://kolarivision.com/post-infrared-photo-editing/processing-550nm-ir-filter/ .
However, Candy Chrome filter has been designed to offer its full potential with dedicated LUTs. These LUTs are easily usable in Photoshop and require specific installation in Lightroom Classic.
Installing LUTs in Camera RAW for Lightroom Classic
Unlike presets, LUTs must be installed from the Camera RAW module. This module is accessible via Adobe Bridge or Adobe Photoshop software.
First step is to unzip the LUT files in an accessible folder on your computer. Then go to Adobe Bridge or Adobe Photoshop and open a RAW file in Camera RAW. It is essential to use a RAW file here, not a TIFF nor a JPEG:
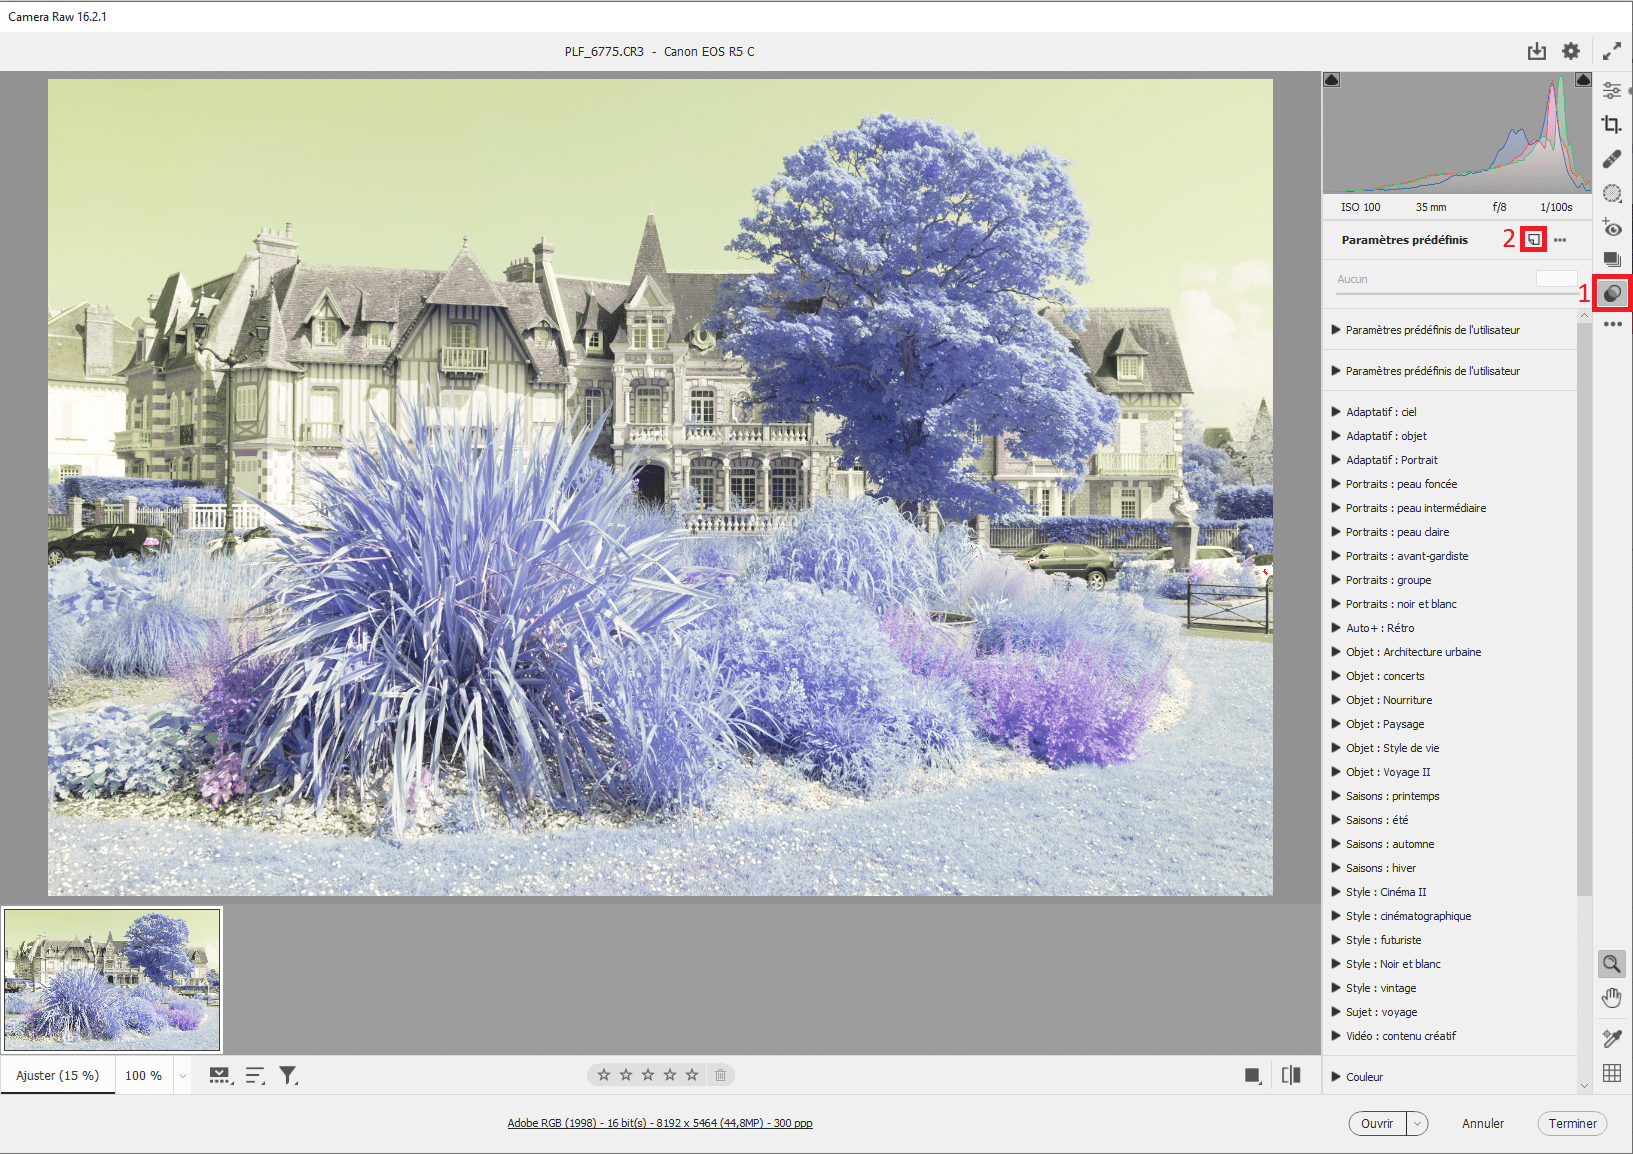
Then go to the “Presets” menu using the corresponding button of your right (1). In this new window, do an Alt + left click on the “Create preset” icon (2):
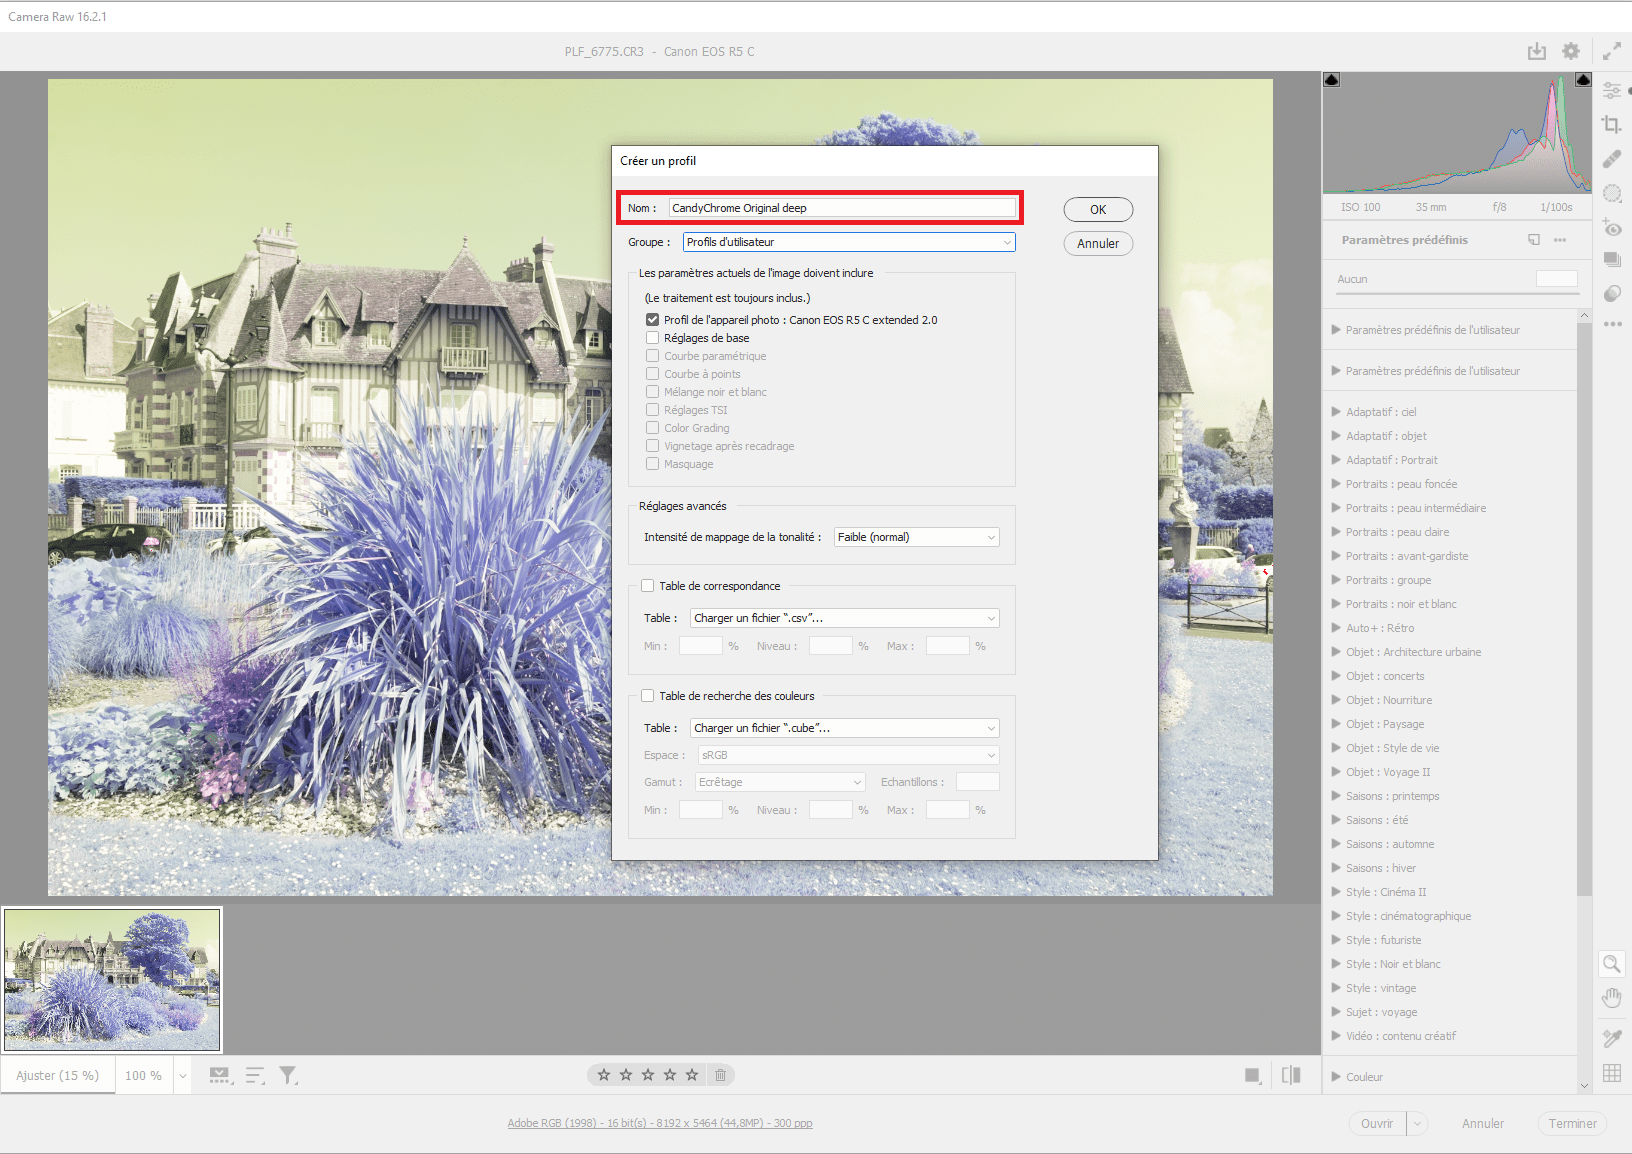
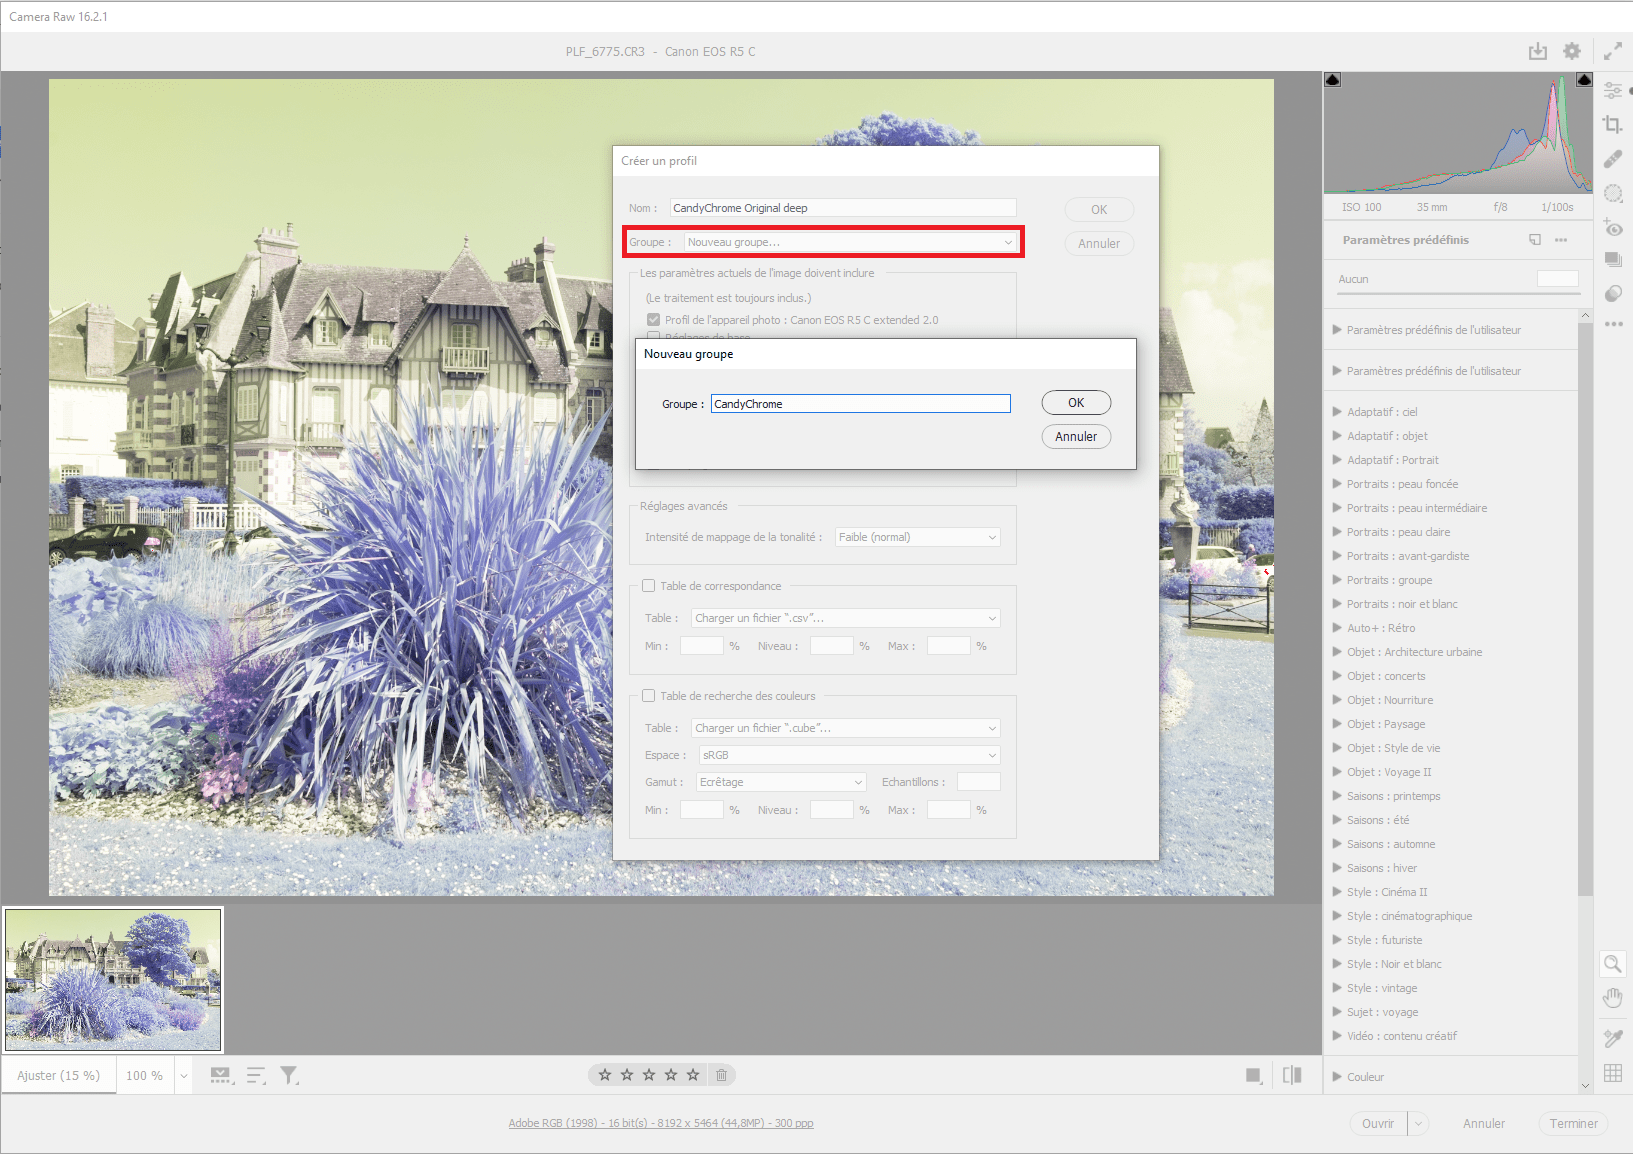
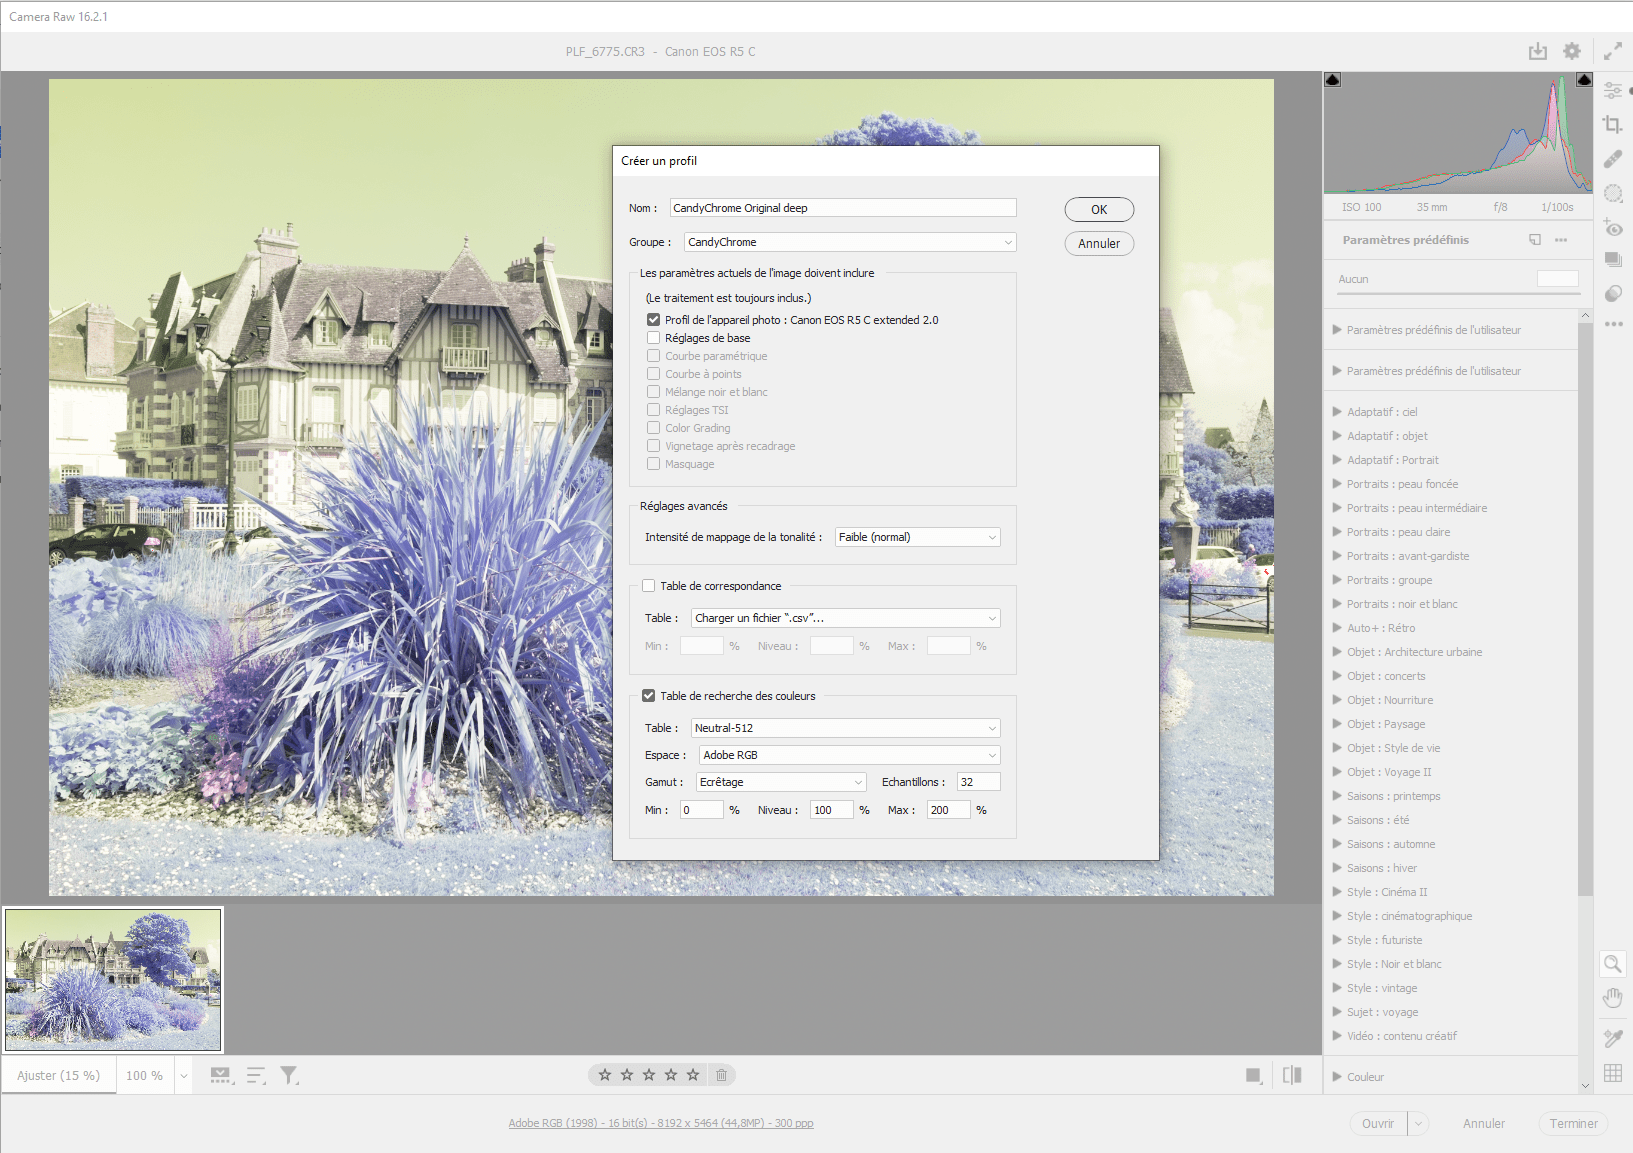
At this step, you are in the installation window of LUTs. First, name the LUT you are going to install: for this tutorial, I will use the “CandyChrome Original deep” LUT. Then I advise you to create a dedicated folder to install all your Candy Chrome LUTs in. You can name it “CandyChrome”:
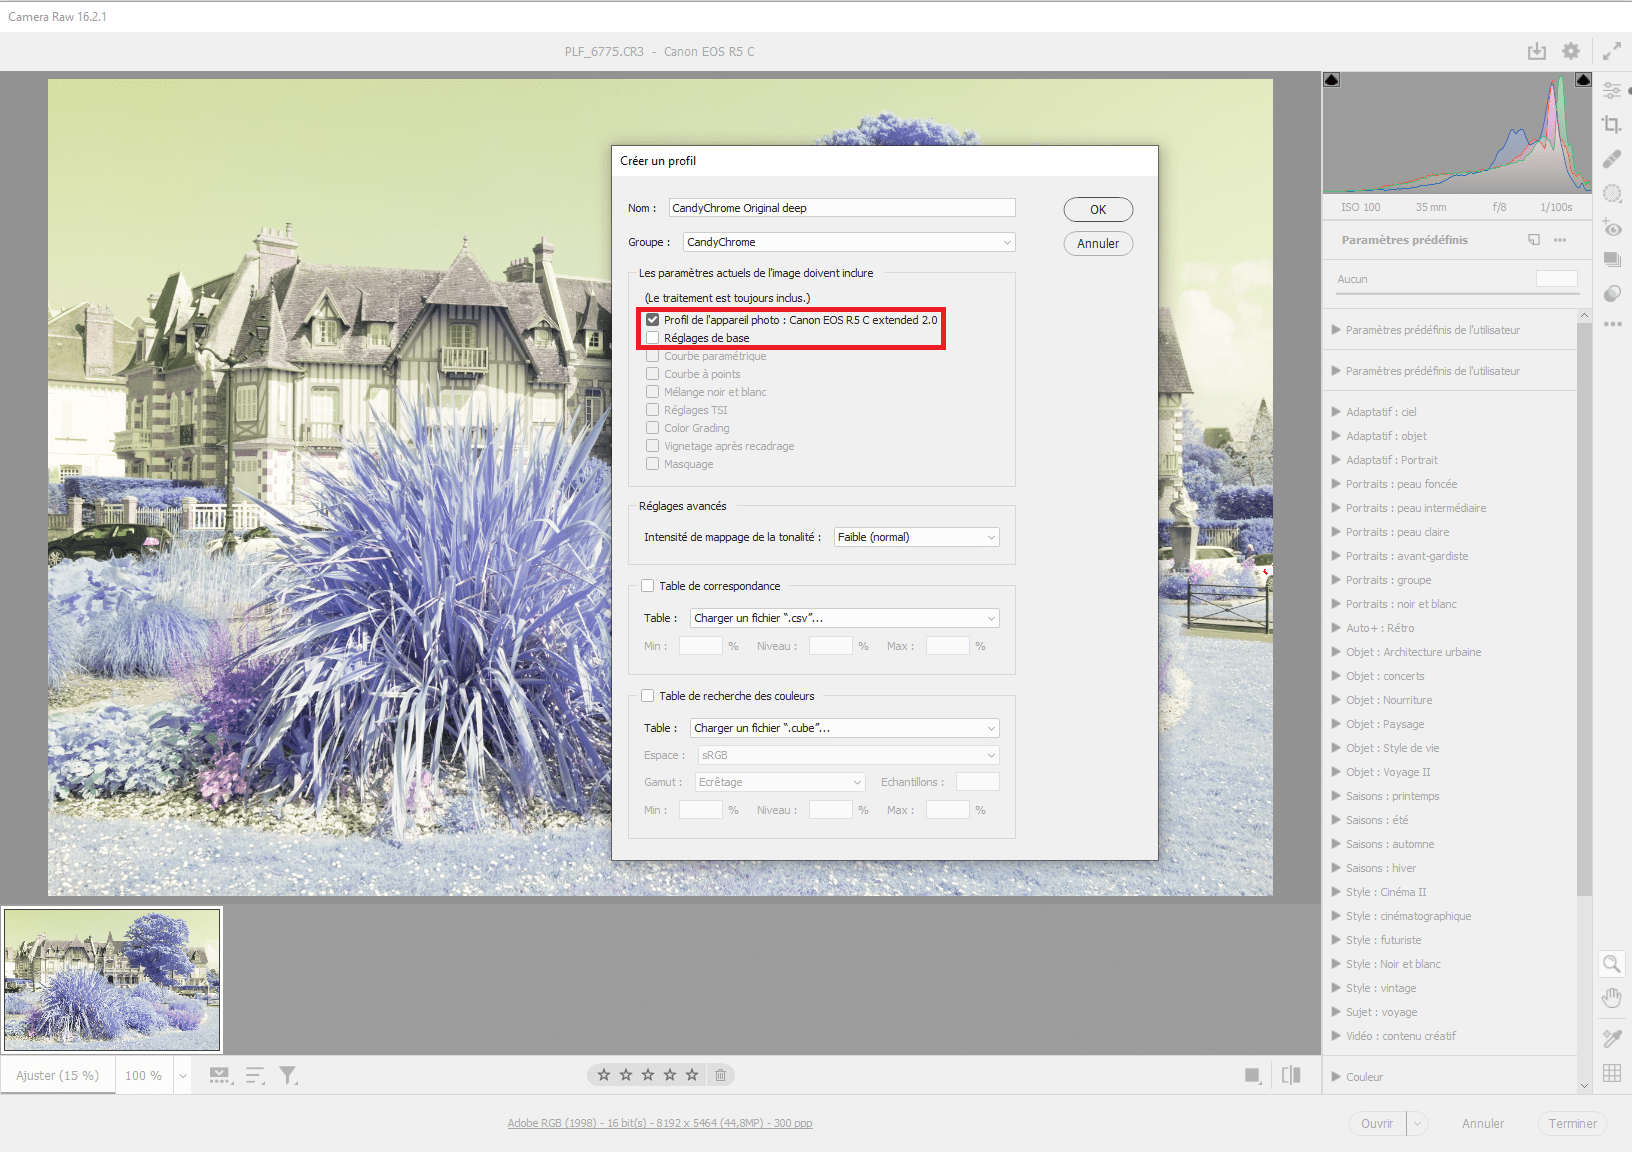
Now the most important thing: be sure the Camera Profile is selected and corresponds to the DNG profile you have applied before entering creation of the preset. This will assure you to extend the white balance range AND apply the LUT at the same time. Do not select any other adjustment here:
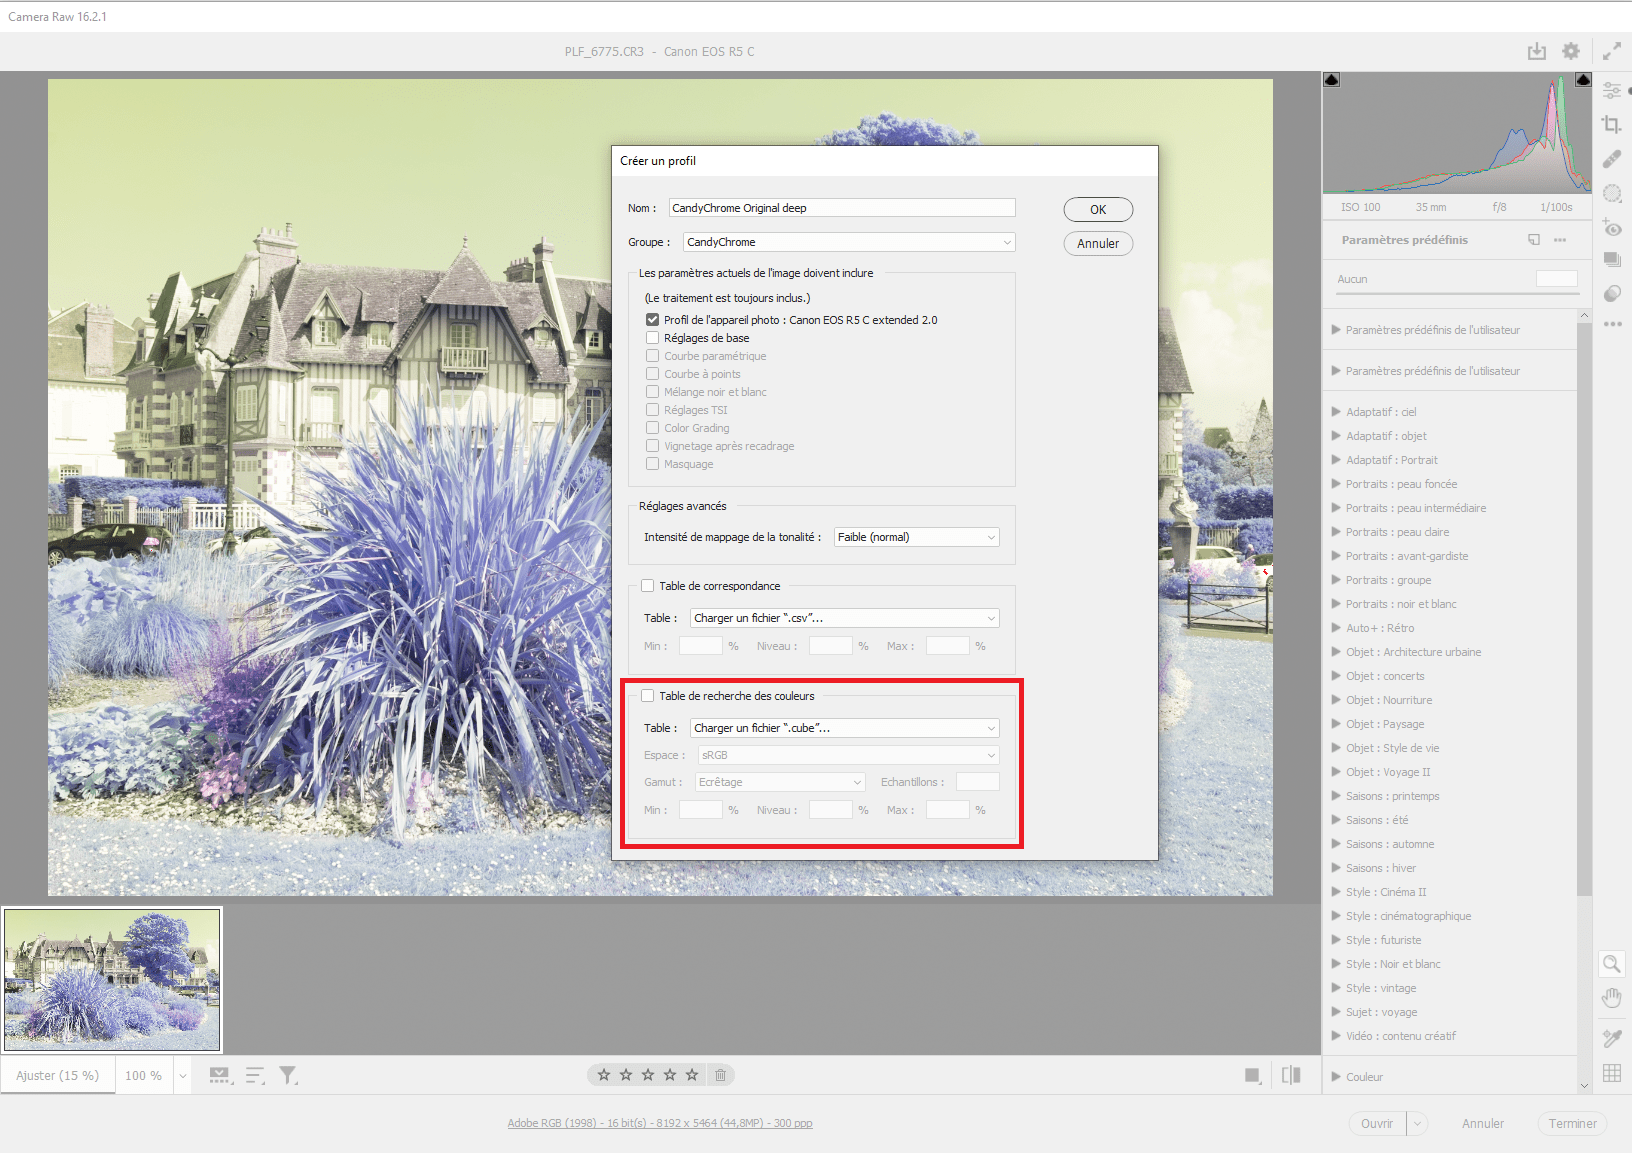
Finally, load the LUT file using the last module of the window, “Color Lookup Tables”. Click on “Load a .cube file” to open a new window where you will have to select the LUT file to install:
Select it, click “Open”, and finally make sure the colour space is set on Adobe RGB, then click OK.
Congratulation, you have installed your first LUT in Camera RAW. You will have to follow the same steps for each LUT you want to install as it is not possible to select several .cube files at the same time.
Once this is done, you can close Camera RAW and open Lightroom.
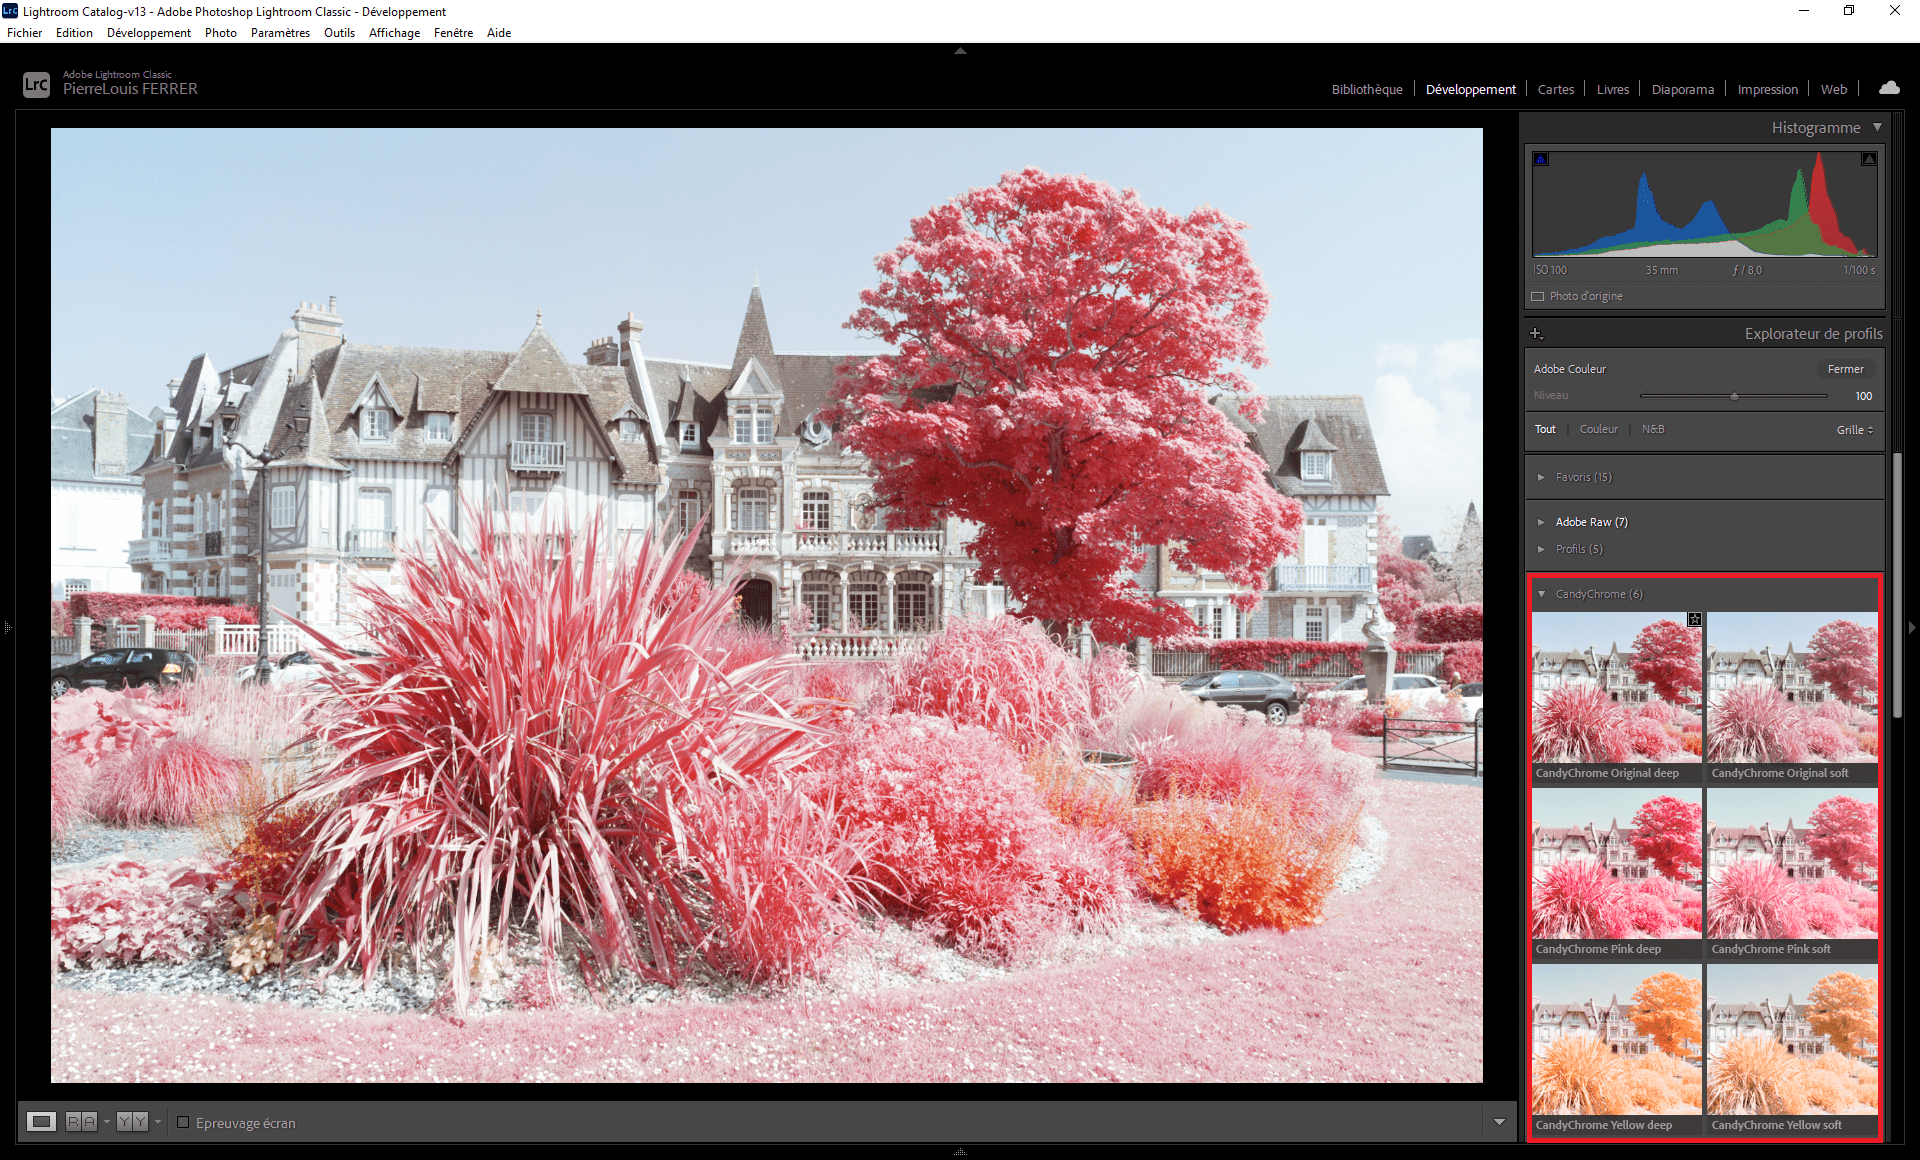
Click “Browse” on the Profile menu: you can now find a new menu named “CandyChrome” with the LUTs you have just installed in it:
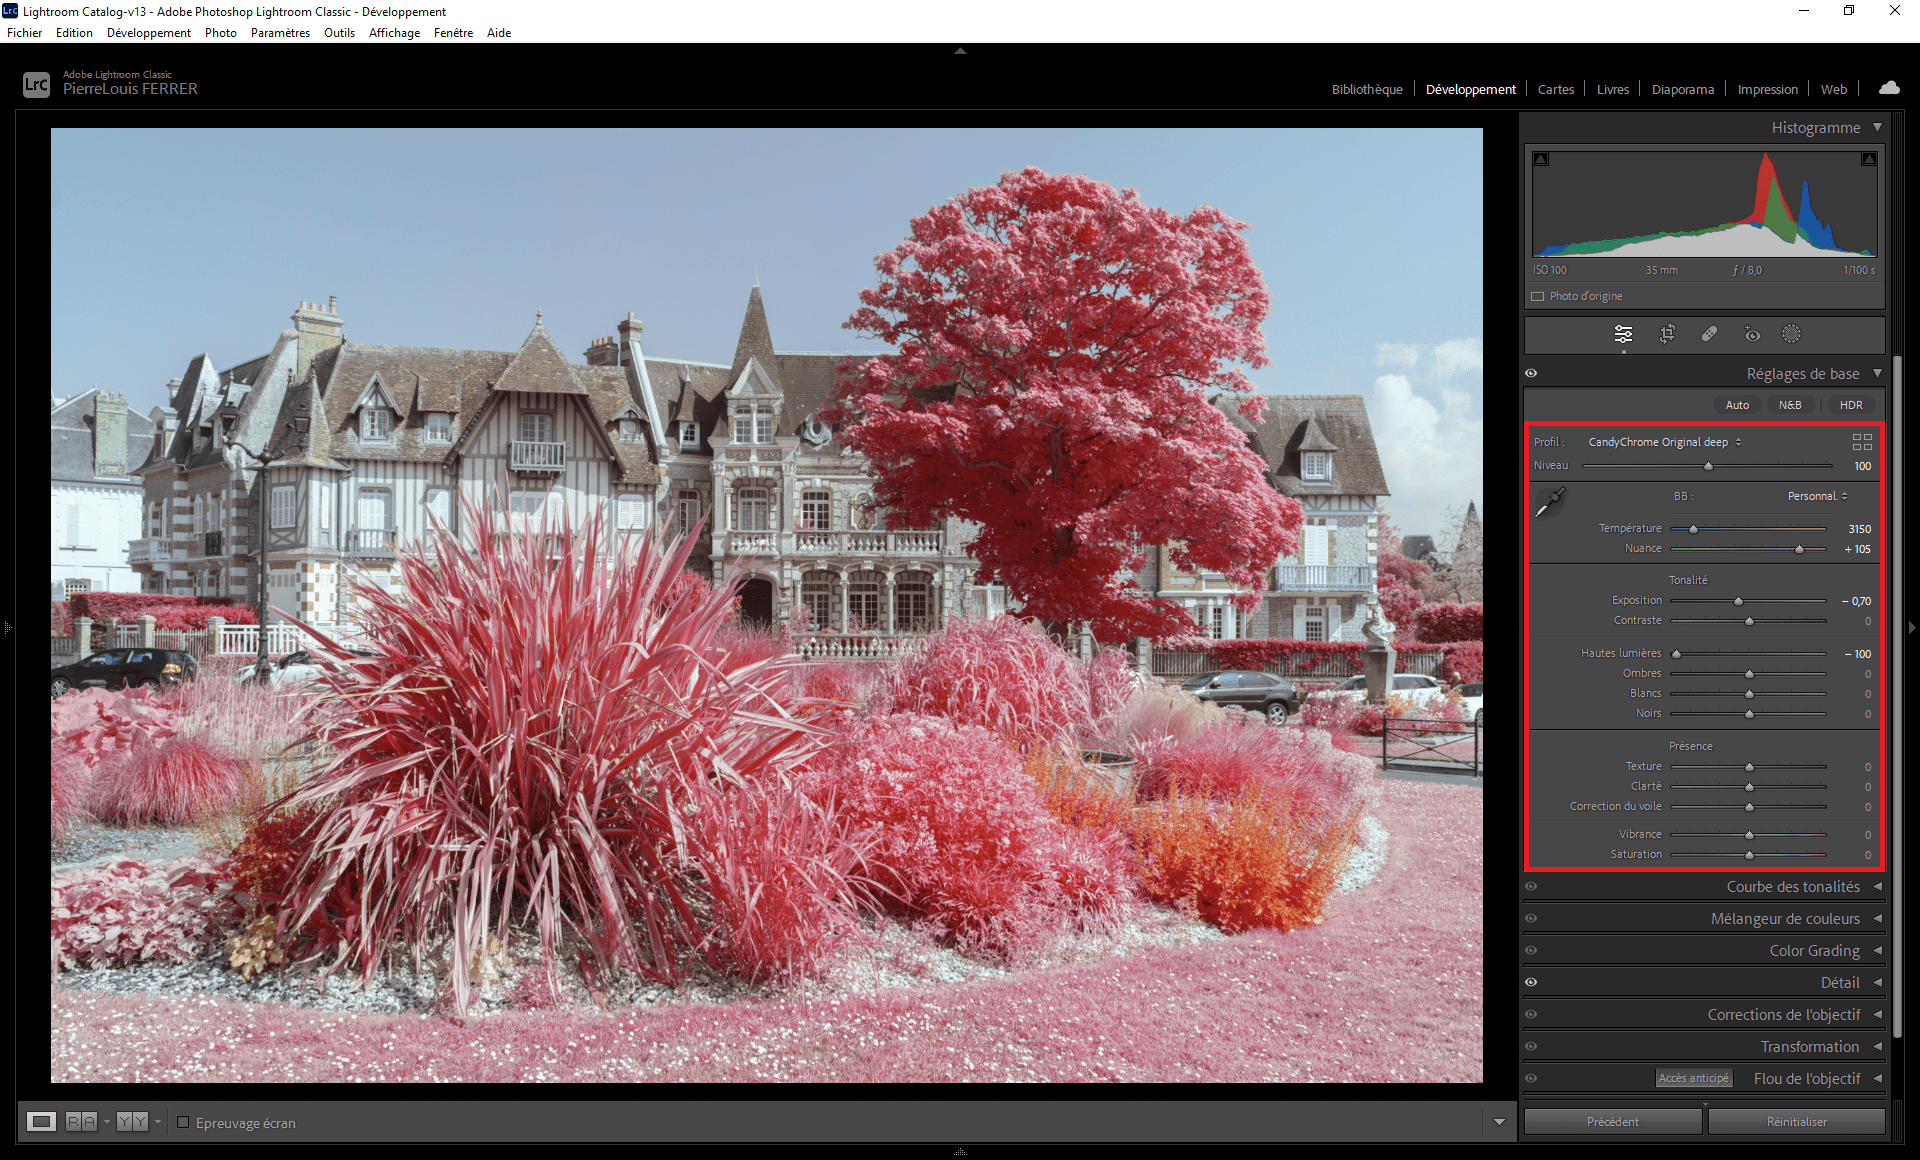
Apply the LUT you want, then adjust the setting as for any other image: white balance, exposure, contrast…
One filter, three possibilities

Three different LUTs have been designed to work with the Candy Chrome filter, with two levels of intensity each time: soft and deep.
CandyChrome Original


This LUT offers subtle and various shades of red, fuchsia and pink colours to the foliage. These tints depend on the type of leaf and the chlorophyll concentration, making this LUT a great tool for vegetal analysis. Colours have also more variations depending on the season and the daylight, compared with regular infrared filters.

CandyChrome Pink
This LUT offers more vivid colours in the field of pink, for saturation lovers.

CandyChrome Yellow
This LUT offers vivid colours in the field of yellow.
Candy Chrome Editing Workflow FAQs
What Do You Need To Use The Candy Chrome Filter Properly?
Kolari recommends using a full-spectrum camera, shooting RAW, setting a custom white balance with a gray chart, and creating a DNG profile to extend the white balance range in Adobe Camera RAW, Lightroom, and Photoshop.
Why Is A DNG Profile Important For Candy Chrome Processing?
A DNG profile helps extend the white balance range of Adobe processing software. The article says this step is especially important when working with Adobe Camera RAW, which is used in Lightroom and Photoshop.
Can Candy Chrome Be Processed Like A Regular Infrared Filter?
Yes. Candy Chrome images can be processed with channel swapping like regular infrared filters, or with an Aerochrome-style workflow. However, Kolari notes that Candy Chrome was designed to reach its full potential with dedicated LUTs.
How Do You Install Candy Chrome LUTs In Lightroom Classic?
Candy Chrome LUTs are installed through the Camera RAW module, not directly like normal Lightroom presets. The workflow involves opening a RAW file in Camera RAW, applying the camera DNG profile, creating a profile/preset, loading the .cube LUT file, then accessing it later through Lightroom’s Profile Browser.
What Candy Chrome LUT Looks Are Available?
v


2 Responses
can you use LUTS with Affinity 3
Yes, our LUTs are fully compatible with Affinity 3.