A camera with an infrared conversion is hands down the best way to shoot infrared. See how it compares to infrared film and using a lens filter.
Digital Infrared vs. Infrared Film
Because infrared is not visible to the human eye, shooting infrared poses some issues. It can be difficult to properly focus the camera when using infrared film since infrared focuses differently than visible light. The amount of infrared light in a scene is separate from the visible brightness. Because of that, we must take multiple exposures when using film. IR film is sensitive to both visible and infrared light, so an opaque filter must also be used on the lens. This forces the photographer to place the camera on a tripod, compose their shot, and then attach the filter. Not only is the film hard to develop afterward, but 35mm infrared film is no longer manufactured.
External infrared filter vs. Infrared conversion
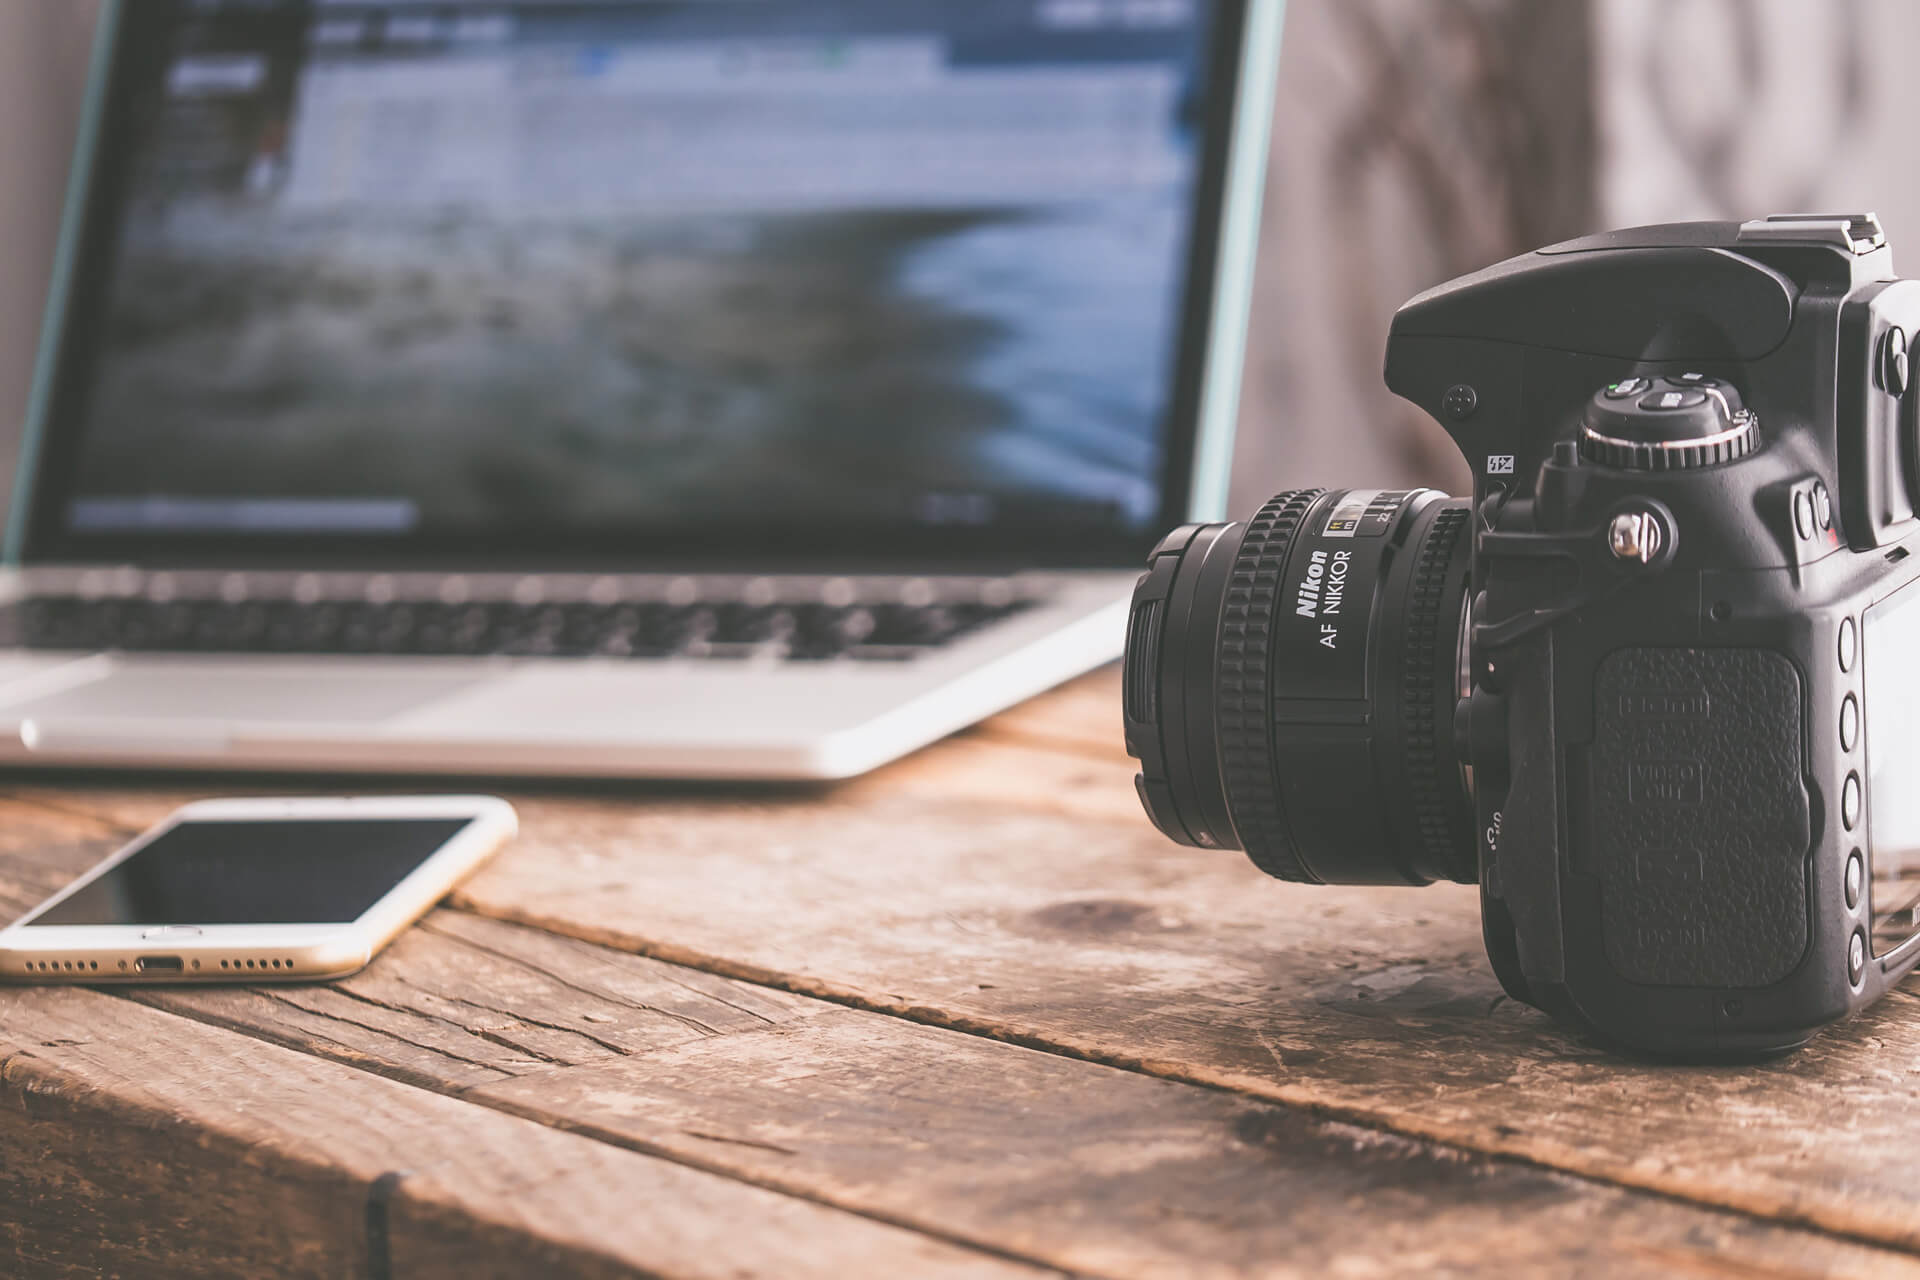
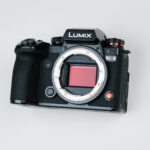
With digital cameras, infrared photography is still possible without any modification. Digital camera sensors are sensitive to infrared light but contain an internal filter that blocks this light. This is good for regular photography because it allows for accurate colors. However, if you are trying to take infrared pictures, this poses a problem.
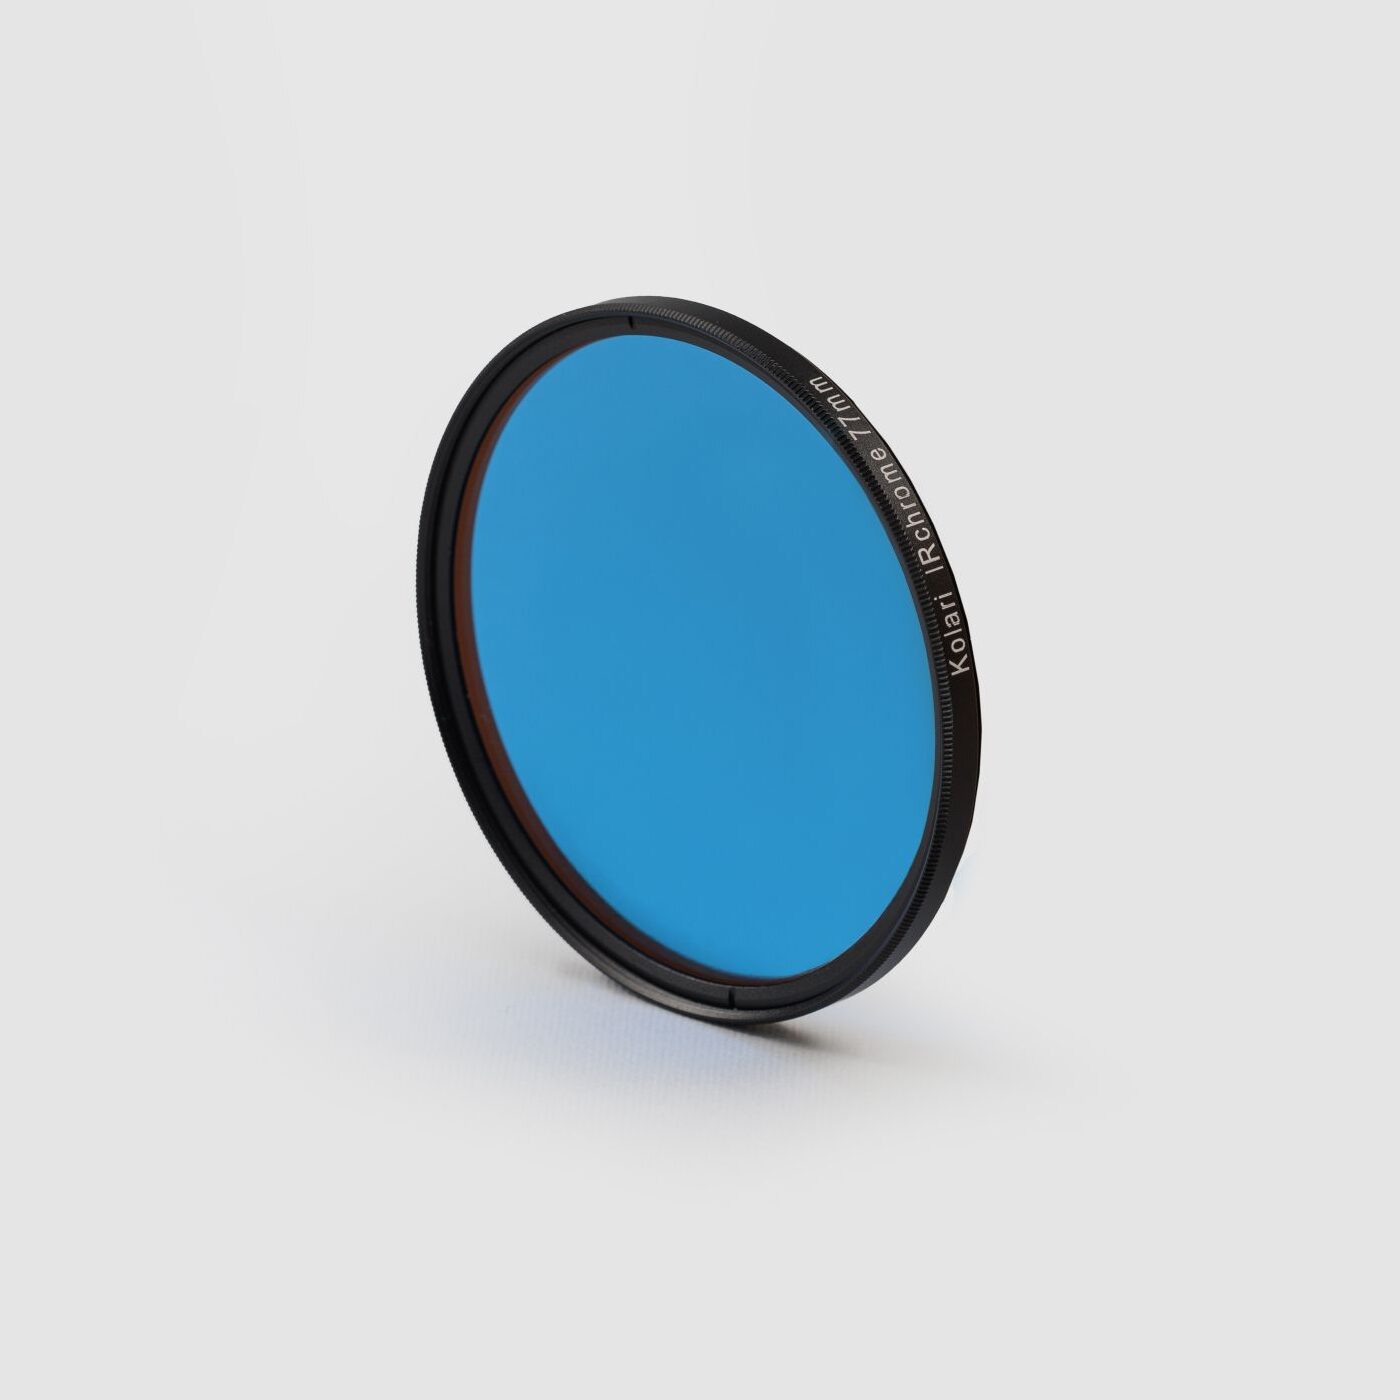
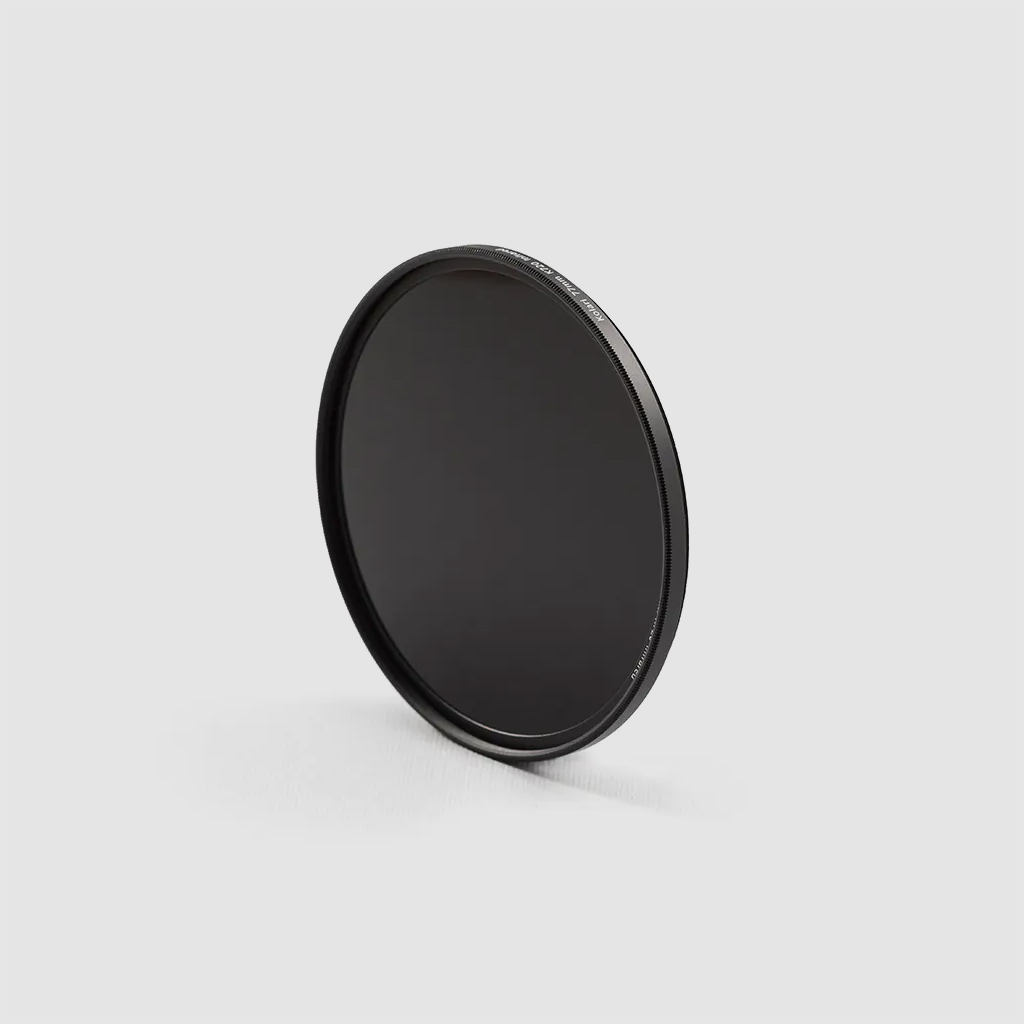
Infrared photography is possible on an unconverted camera with an external infrared filter like our 720nm filter, but when doing this, keep in mind there will be two filters in the light path. One filter blocks infrared light at the sensor, and the external infrared filter blocks visible light. These two filters cancel each other out, requiring very long exposure times to get a properly exposed image. This makes it impossible to take clear infrared pictures of moving objects. The external opaque filter also makes composition on a DSLR difficult.
An unconverted digital camera can only shoot IR in 720nm or 850nm.
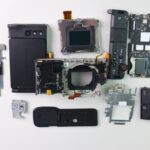
With an infrared conversion, the camera’s internal hot mirror is removed and replaced with a filter that only lets infrared light through. This allows for handheld infrared shots with normal exposure times and low ISO. There is no more need for filters in front of the lens, allowing for easy composition and lens switching.
A converted digital camera is the only way to take good digital infrared portraits, as the subject no longer has to stay perfectly still for a long exposure. Putting the filter inside the camera instead of on the lens allows you to use autofocus. An IR conversion also allows more filter options—like the 590nm, 665nm, and blue IR—which do not work on stock cameras. Additionally, an IR conversion lets you use fisheye and wide-angle lenses that aren’t compatible with lens filters.
What is the full spectrum conversion?
The camera’s internal hot mirror is removed and replaced with a clear glass filter in full spectrum conversion. This makes the camera sensitive to UV, visible, and IR light. This is an excellent option for someone who doesn’t want a camera devoted to only IR. Using various external filters, the camera can take pictures in regular, infrared, or UV light.
Want to learn more about IR photography? Check out our beginner series here.



2 Responses
These pictures are amazing.
I already removed the IR Cut filter from the sensor of my Canon 5D III.
I purchased a 590nm Kolarivision filter.
The photos I took are all red ( I did the white balance adjustment). None of the images I take are like the ones on your website. I downloaded some of the raw footages from Kolarivision.com but unfortunately none of my raw images are like them.
what should I do? Can anyone help?
It would be great if you could send me an email.