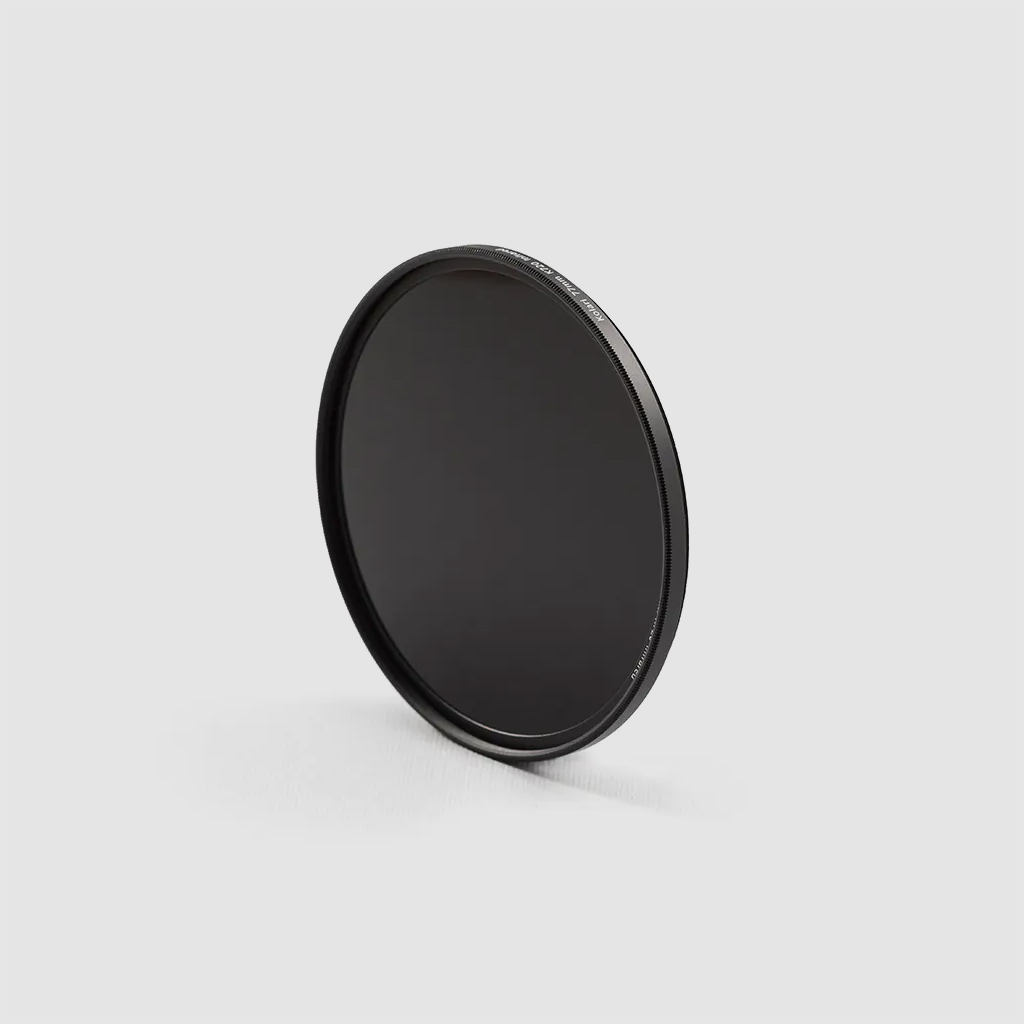
We previously covered ND filters in this post, but what makes a VND different from other NDs? How does a VND work, and why might you choose to use one over a fixed ND?
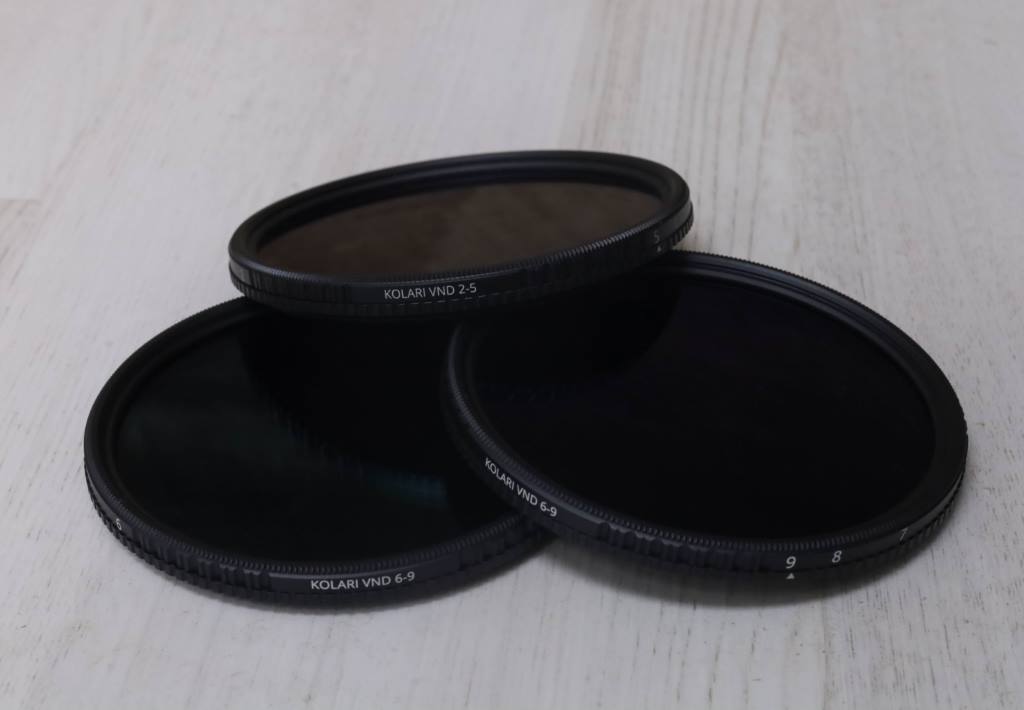
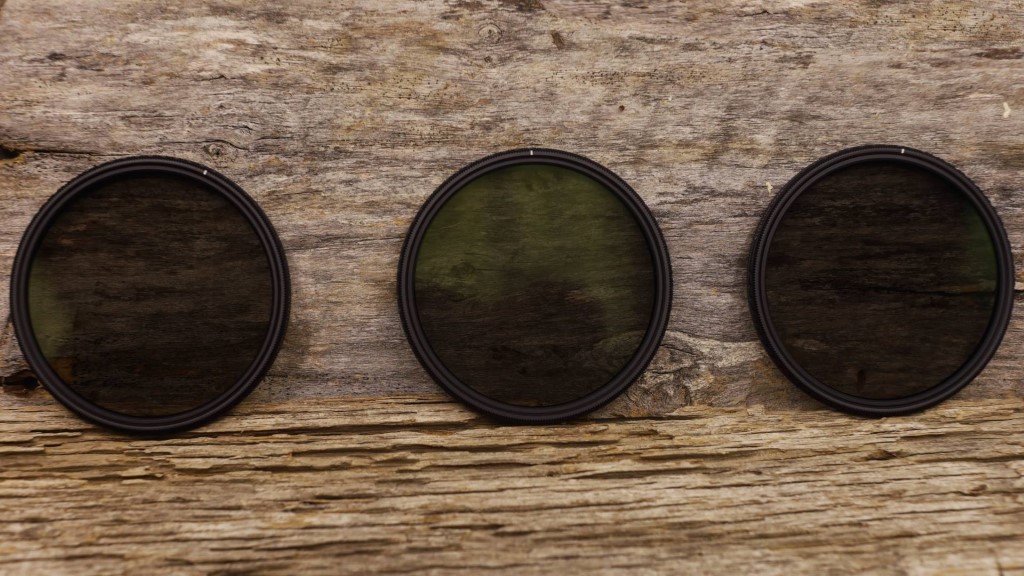
VNDs, or variable neutral density filters, are similar to fixed NDs in that they reduce the amount of light allowed to pass through to your sensor without affecting color’s hues or tones. Where they differ is in exactly how much light they block. While fixed NDs reduce light by a dedicated number of stops, a variable ND allows you to move between a range of stops with a single filter. VNDs typically come in 2-5 stop and 6-9 stop variations.
Sure, fixed NDs can be stacked to increase density, but this requires multiple filters and can cause numerous issues. With each filter stacked, there are more layers of glass separating the light from your camera’s sensor. Since light has to travel through multiple filters, the likelihood of light refraction is higher, which can cause softness or color fringing in your images.
A VND consists of two circular polarizing layers fitted together. The inner polarizer, which mounts to your lens, is fixed and blocks a set amount of light, whereas the outer layer is attached to a ring that can be rotated to reduce an increasing amount of light.
Don’t be fooled, however. Just because VNDs are made of circular polarizers doesn’t mean that they polarize the light the way your CPL does! It may sound confusing, but they are not the same thing, and you won’t be able to substitute one for the other. To learn more about CPL filters, click here.
Some common issues that arise with VND filters are color casts and the “X” or “cross” effect. Color casting can occur with filters that use lower-quality glass. Some VNDs will cast blue or magenta tones across your image. To save yourself a headache in post-processing, it’s better to invest in a higher quality VND to get truer colors straight out of the camera.
The X-effect can appear as an X mark on your image when you push the filter past its maximum limit. This X is a result of cross-polarization from the alignment of the two glass elements when past their maximum limit. This tends to happen more frequently when using wide-angle lenses. You can combat this effect by staying within the parameters of a VND. To avoid this issue altogether, try selecting a VND fitted with hard stops, like the Kolari Pro VND. Hard stops help to avoid the filter being overly manipulated by preventing rotation past the maximum point.
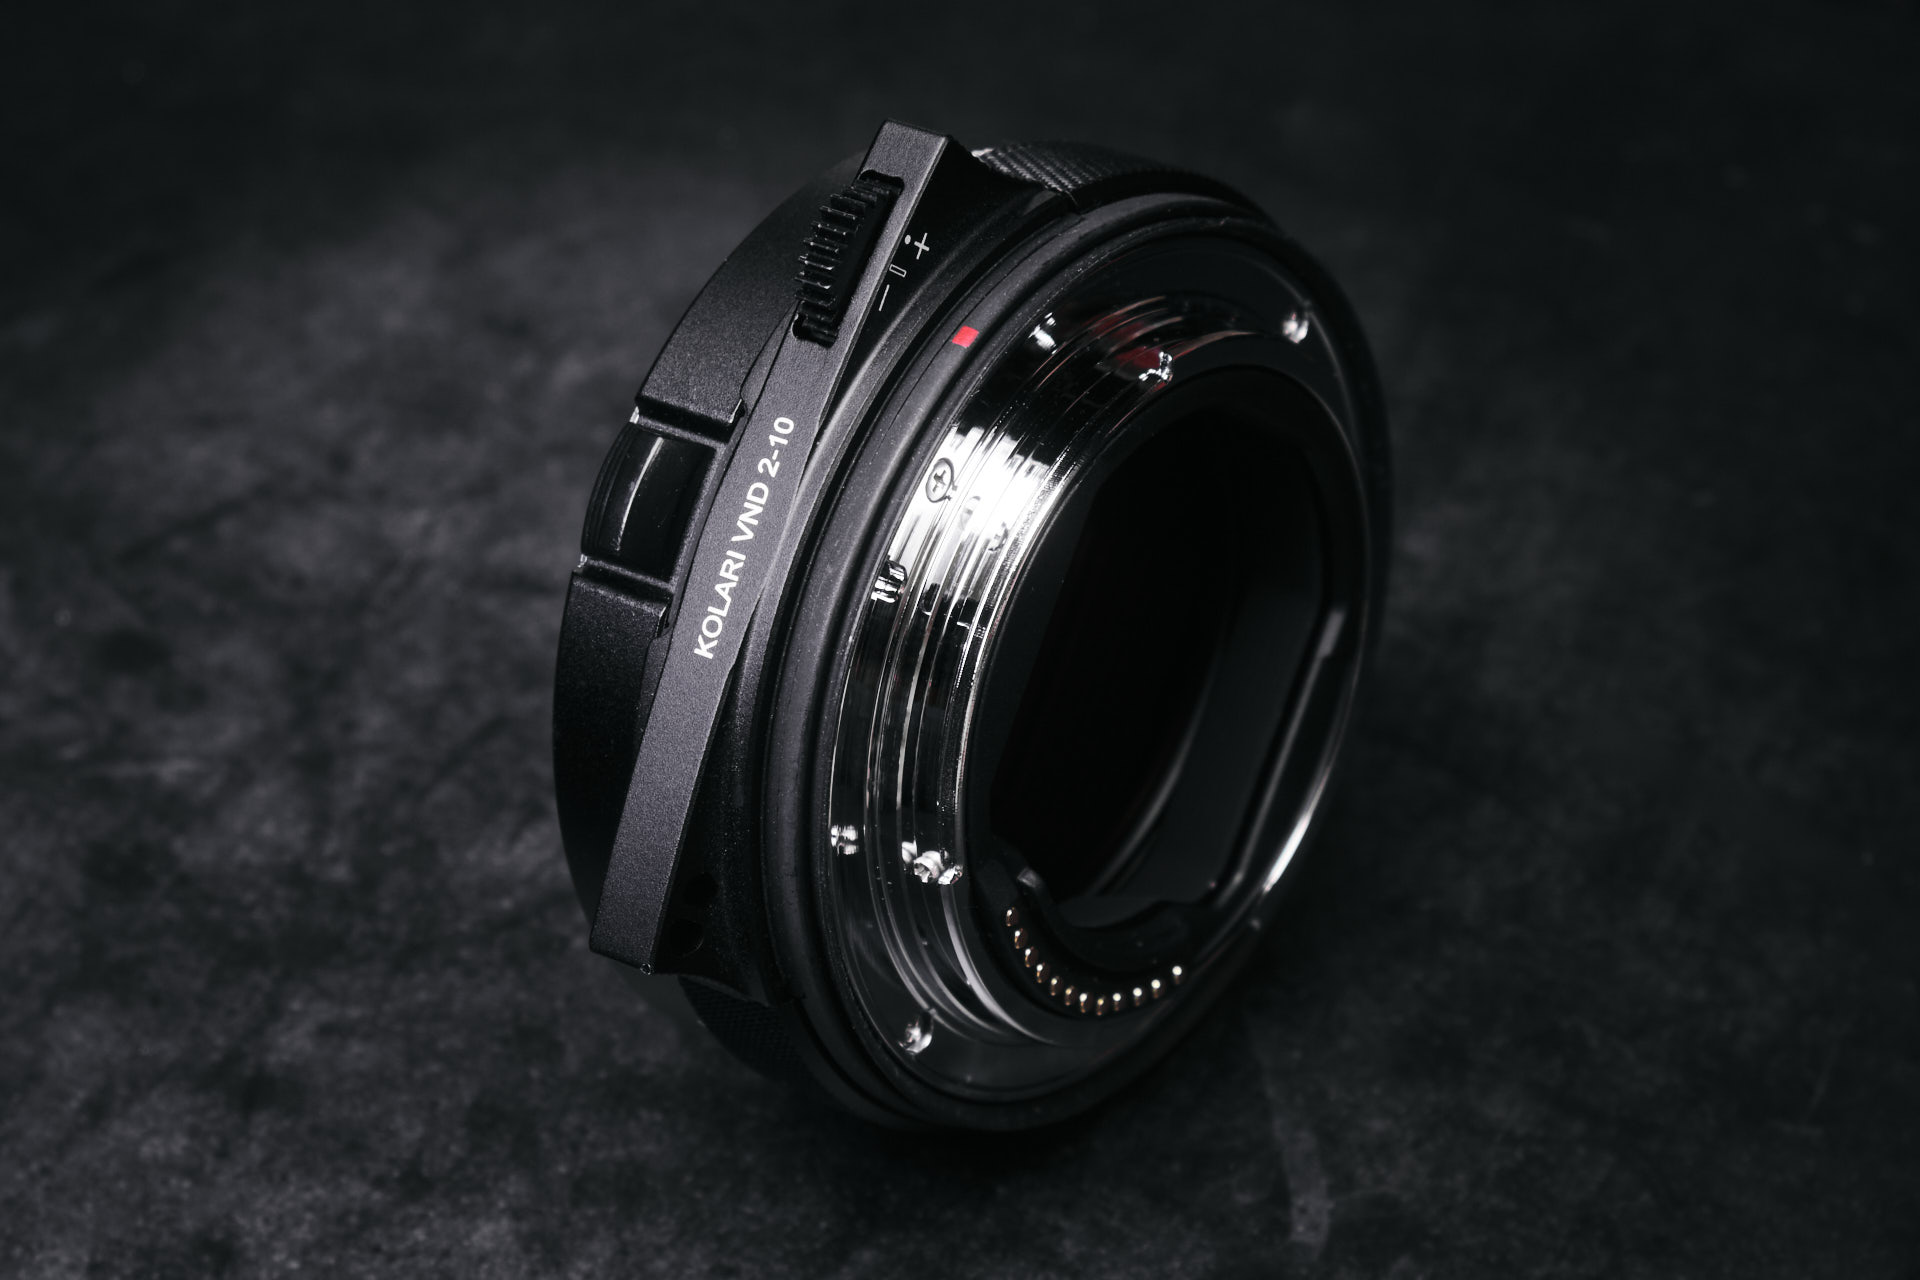
If you shoot with wider angle lenses and still want to be able to use a VND without encountering the X-effect, our Kolari R Drop-in VND for EF-EOS R Lens Adapter is the perfect solution. Using this filter behind the lens allows for a much wider range because the lens’ angles are more shallow by the time the light reaches the filter.
Variable NDs are the perfect tool for photographers and cinematographers. They allow you to dial in on the perfect exposure without having to take the time to change filters. This is especially convenient for those who work in environments with changing light conditions, such as outdoor or travel photographers.
When shooting video, a VND is an absolute must. Videographers are typically limited in their setting options. To achieve the cinematic look, you always want to set your shutter speed to double your frame rate. If your frame rate is 24FPS, your shutter speed should be 1/48 or 1/50. Being locked into your shutter speed, you have little flexibility in your other settings. Depending on your lighting conditions, you may not be able to get a properly exposed scene with your preferred aperture.
With a VND, you can set the proper shutter speed, set your aperture to your desired depth of field, and then adjust your VND to balance the exposure. This will ensure that your footage has natural motion blur that mimics real life, elevating your work from amateur to professional. This filter is also useful for physically moving the camera through different lighting conditions because you can adjust the exposure as necessary as you go.
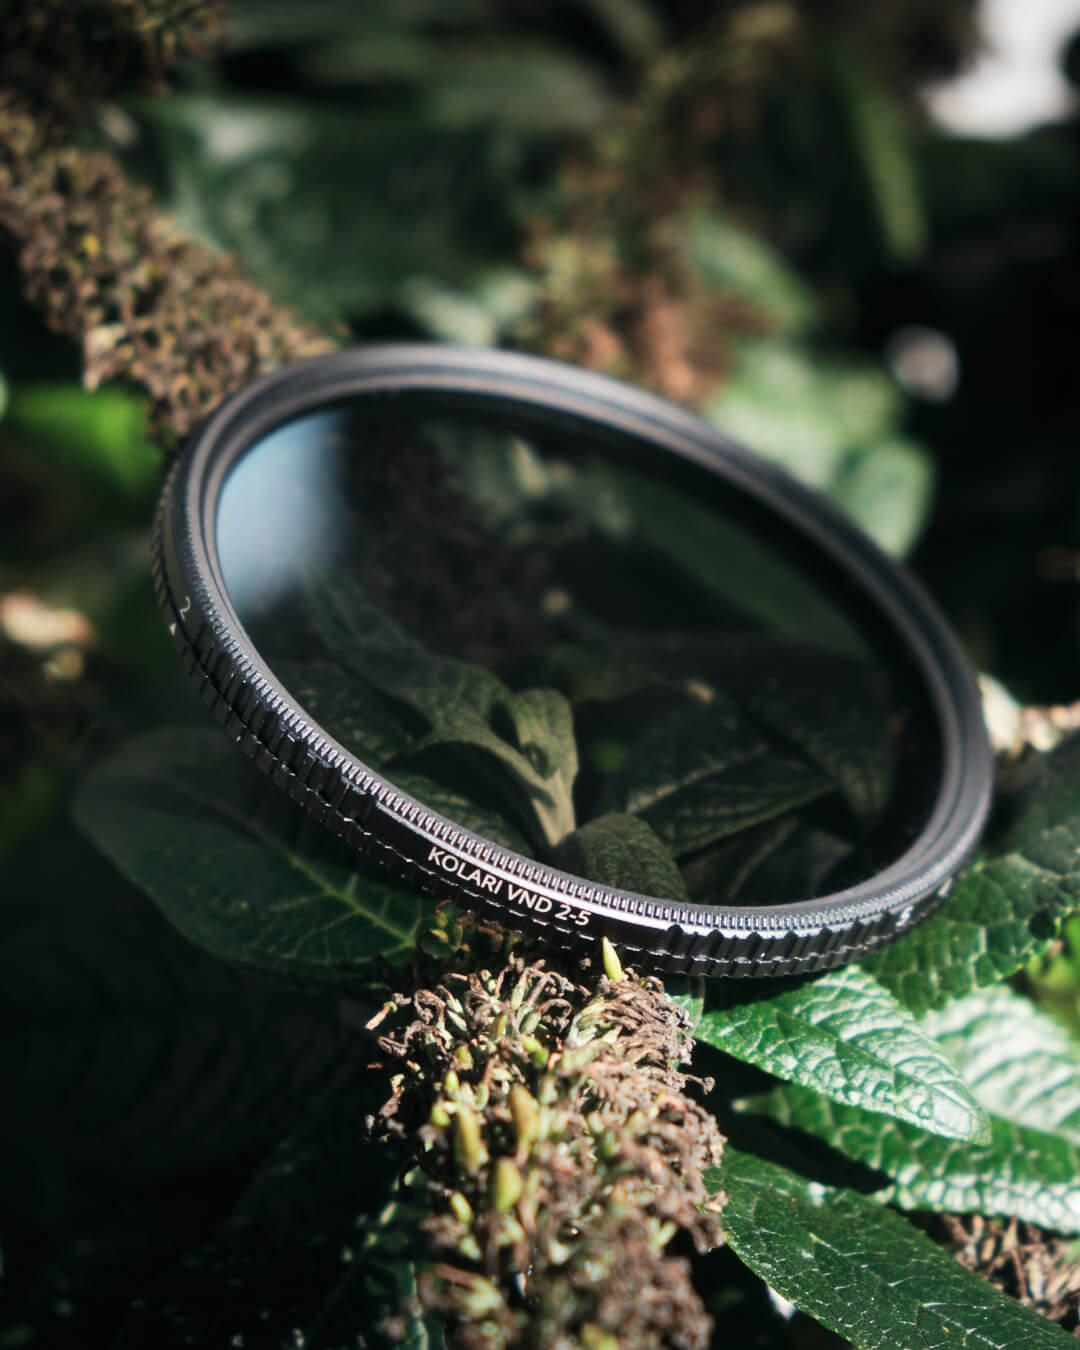
Additionally, the Kolari Pro VND incorporates tactile stops, physically-felt indicators for when the VND “locks” into the next stop. These indicators let you know which stop is being used both through its tactile stops and the stop number displayed on the ring. This is especially important for cinema and coordinating exposure between cameras.
The flexibility offered by VNDs makes them a great alternative to the stack of various fixed NDs taking up space in your camera bag. Their ease of use also makes them an ideal option for beginners who want to experiment with different settings. Whether you’re filming cinematic footage, shooting in variable lighting conditions, or someone who prefers to travel light, we recommend checking out our Kolari Pro VND and our Kolari R Drop-in VND for EF-EOS R Lens Adapter.
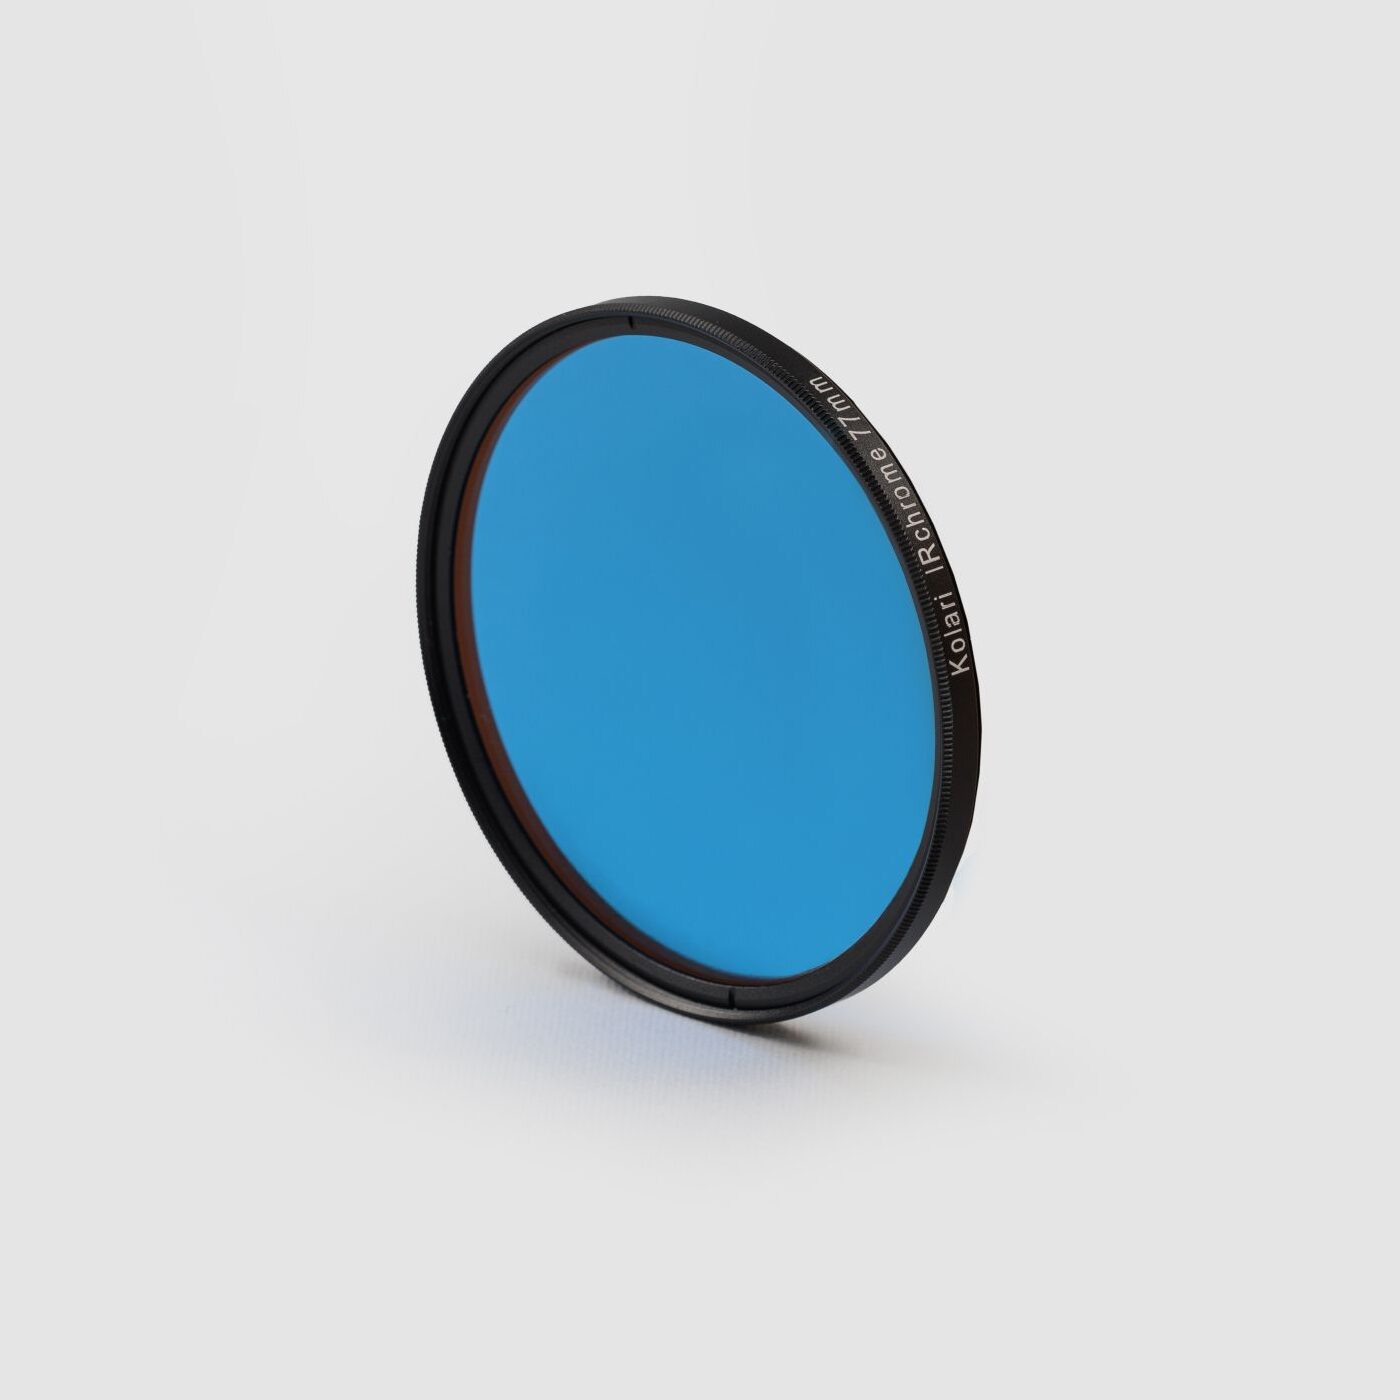
*Trying to shoot IR? Our Kolari Pro VND works with up to a 720nm filter.
To stay up to date on new releases and updates, be sure to subscribe to our newsletter.
Visit our shop to learn more about our VND filters and other products to see if there’s something there for you.
