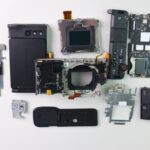
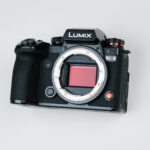
There are a few basic steps involved in an infrared conversion.
- Remove the original sensor filter
- Install a new piece of glass, which has to be at least thick enough to ensure the camera can focus.
- Recalibrate the camera so that it focuses.
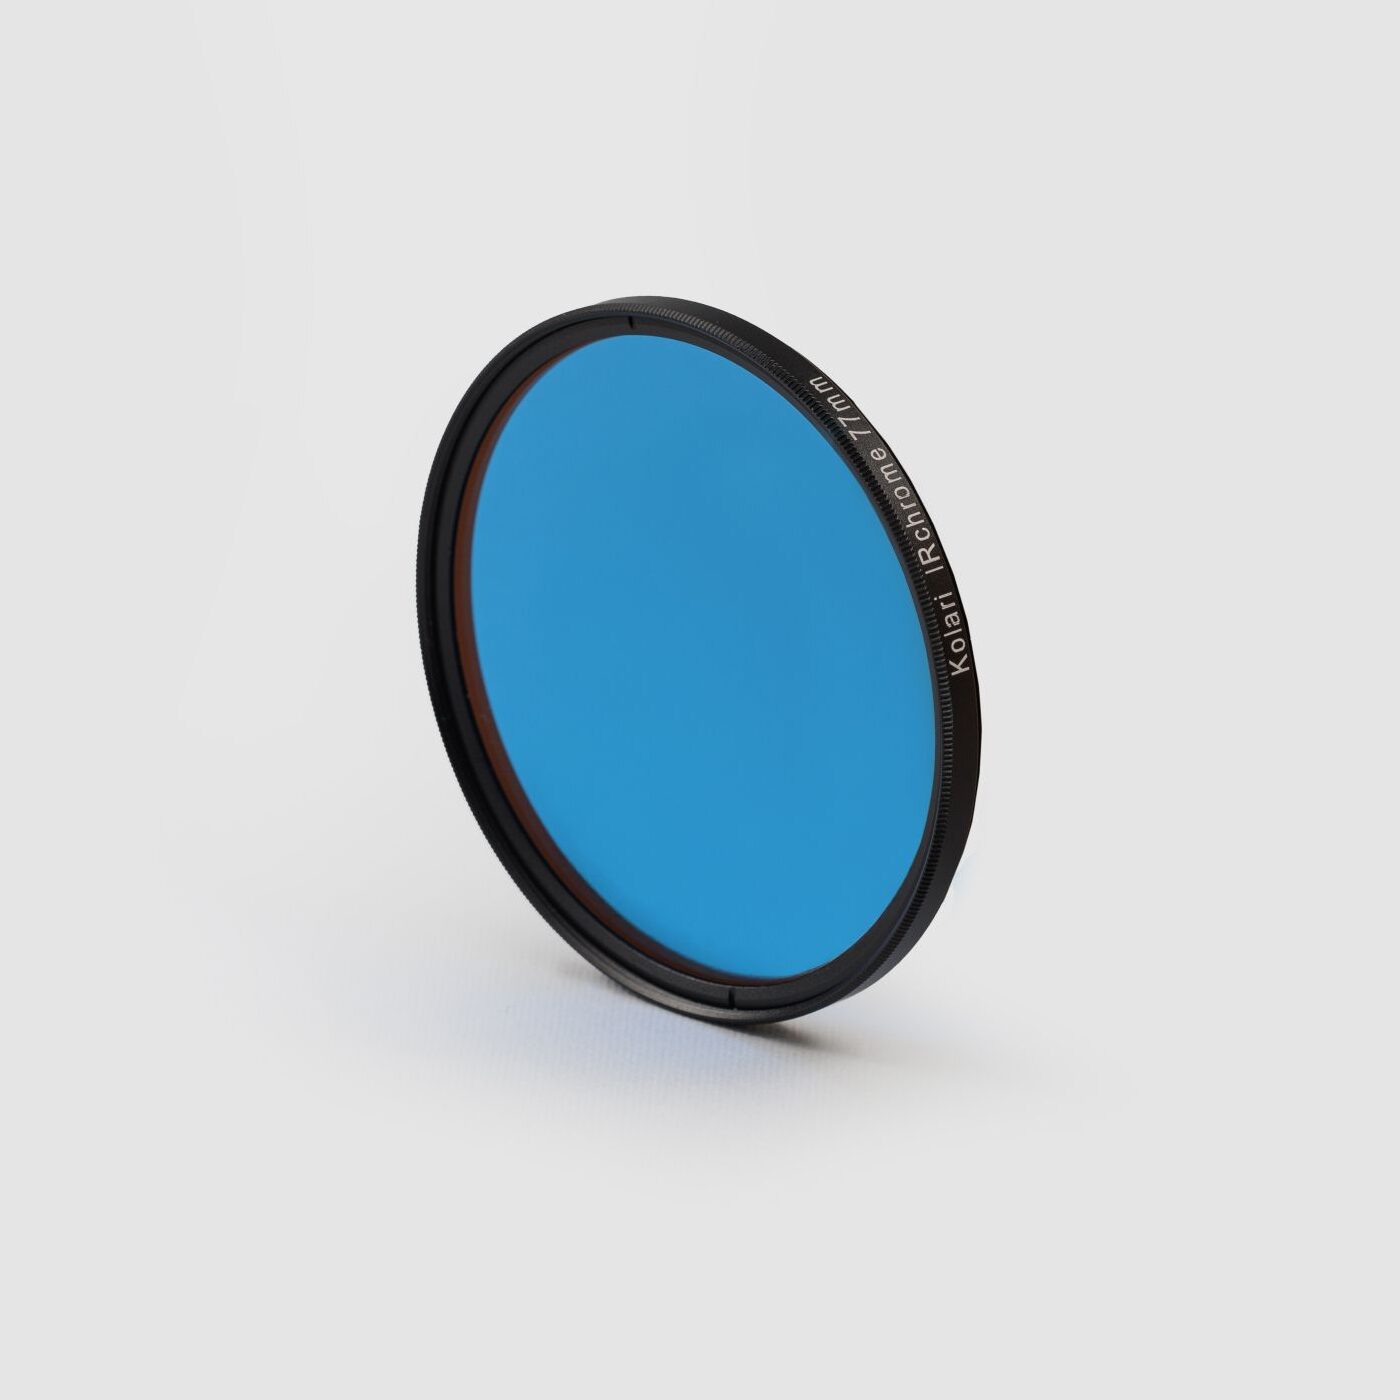
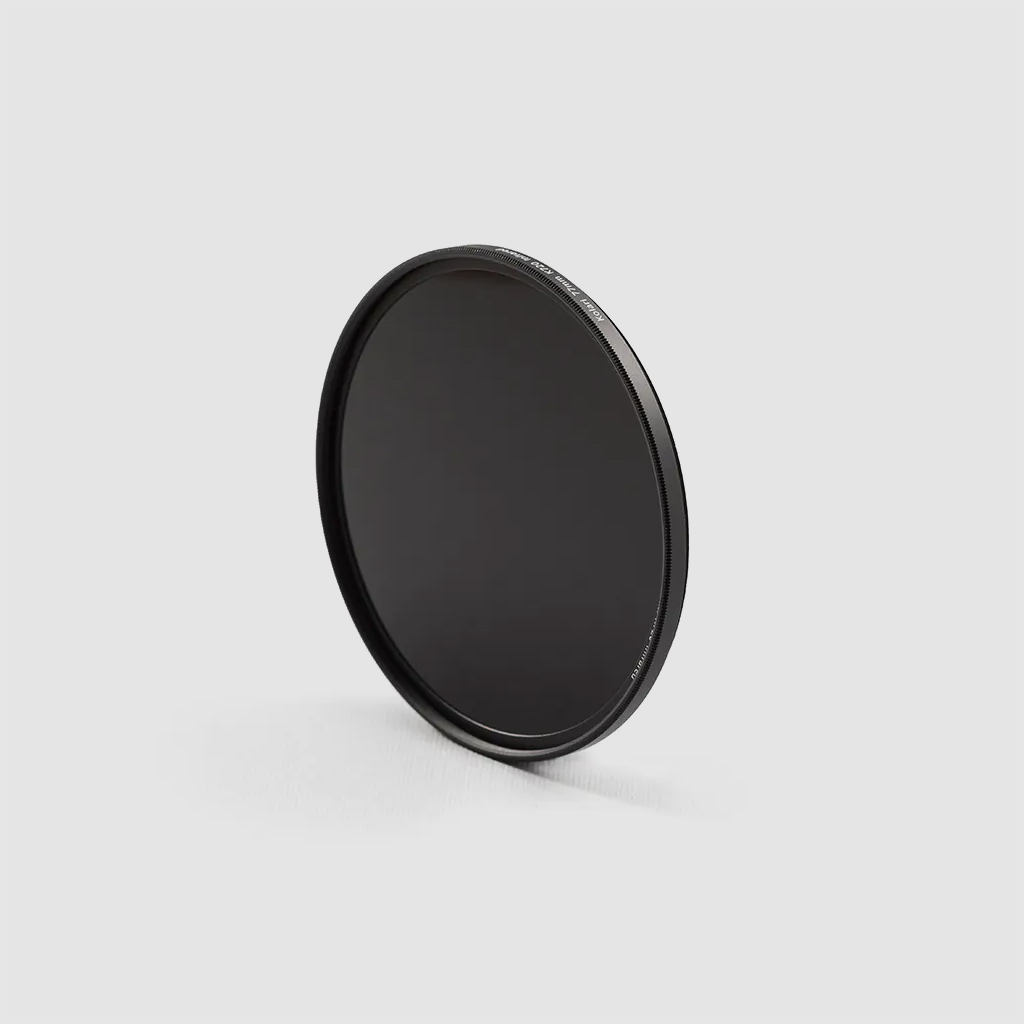
When installing a new filter, other conversion shops will either cut a piece of glass to fit over the sensor, or use a premade thick piece of glass, and glue it directly over the sensor. Then they will shim the sensor back as much as it takes to compensate for the thick piece of glass that they use. Cutting the filters from a big stock, or using a few generic sizes, is a cost cutting measure that allows you to stock only a few types of filters.
We approached this problem completely differently, and for each camera we started with the question of what would be the ideal filter for this model. We calculated and then experimentally validated what the optimal filter size and thickness would be for each filter and camera combination. We now stock hundreds of unique filters. By using filters with the proper optical distance that their lenses were designed for, we find that:
- We get optimal corner to corner sharpness
- More lenses autofocus well, meaning less need for custom lens calibrations
- For DIY installers, the filters simply fit, and need minimal focus adjustment
This took over 5 years of research and development to perfect, putting us literally years ahead of the competition. When you get a conversion from us, rest assured you are getting the best possible optically engineered glass inside.


