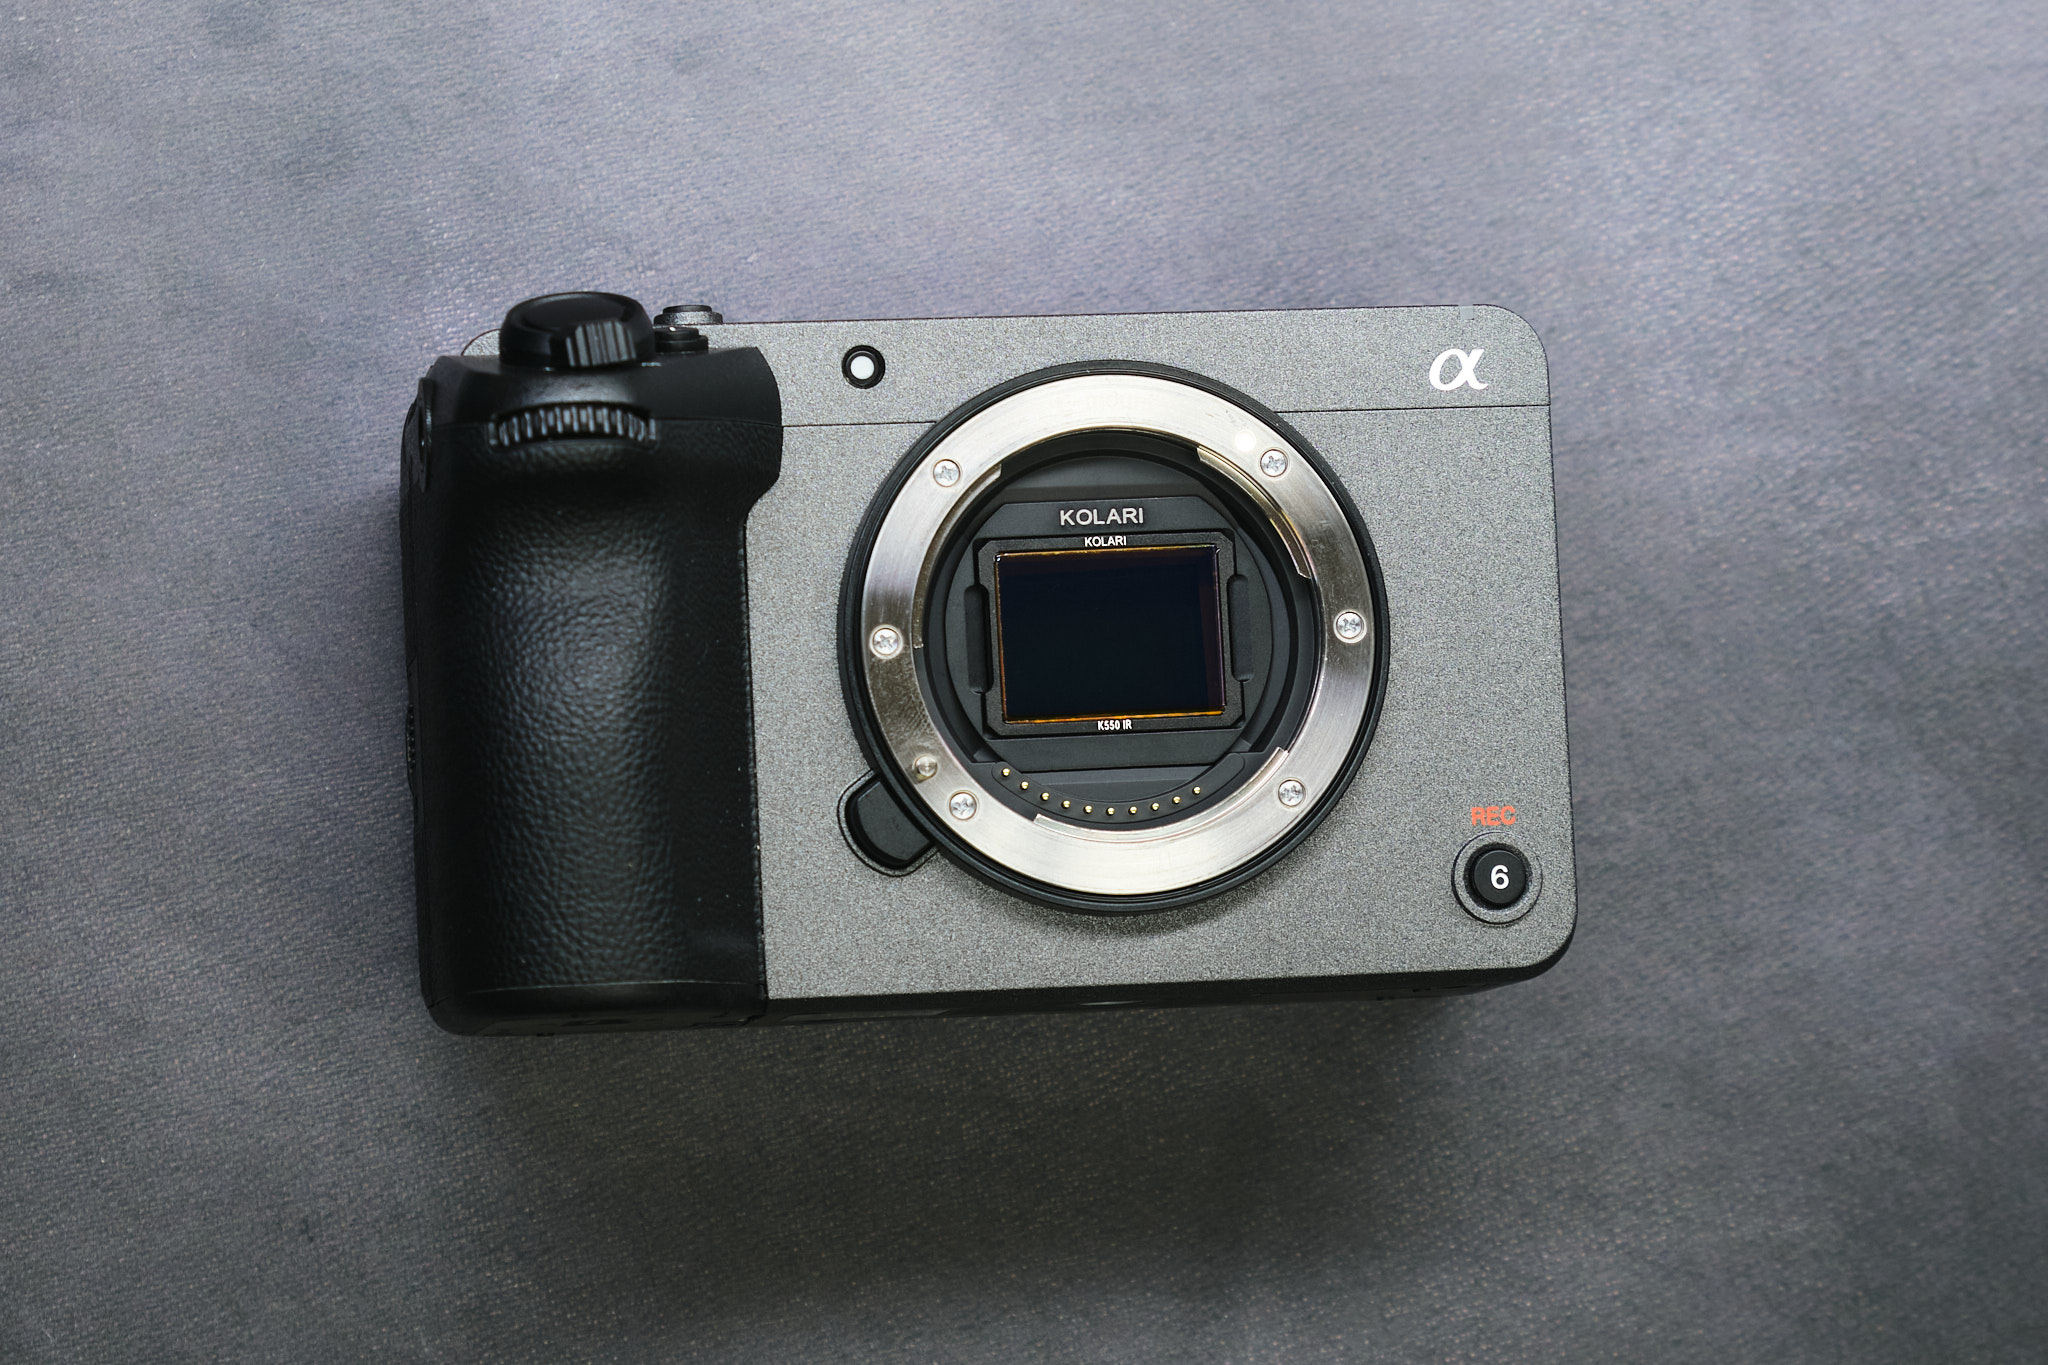
The Sony FX30 Mirrorless Camera is one of the more affordable offerings of their Cinema Line. It manages to hang around the likes of the FX3, FX6, and VENICE cinema cameras. The key difference with the FX30 compared to Sony’s other offerings is that the camera operates with a smaller 20.1 APS-C sensor. We’ve previously disassembled the Sony FX3, so we’re excited to have the opportunity to teardown this camera and see how it compares!
Sony FX30 Infrared Conversion and Clip-in Filter Compatibility
Starting the Sony FX30 Teardown With the Baseplate
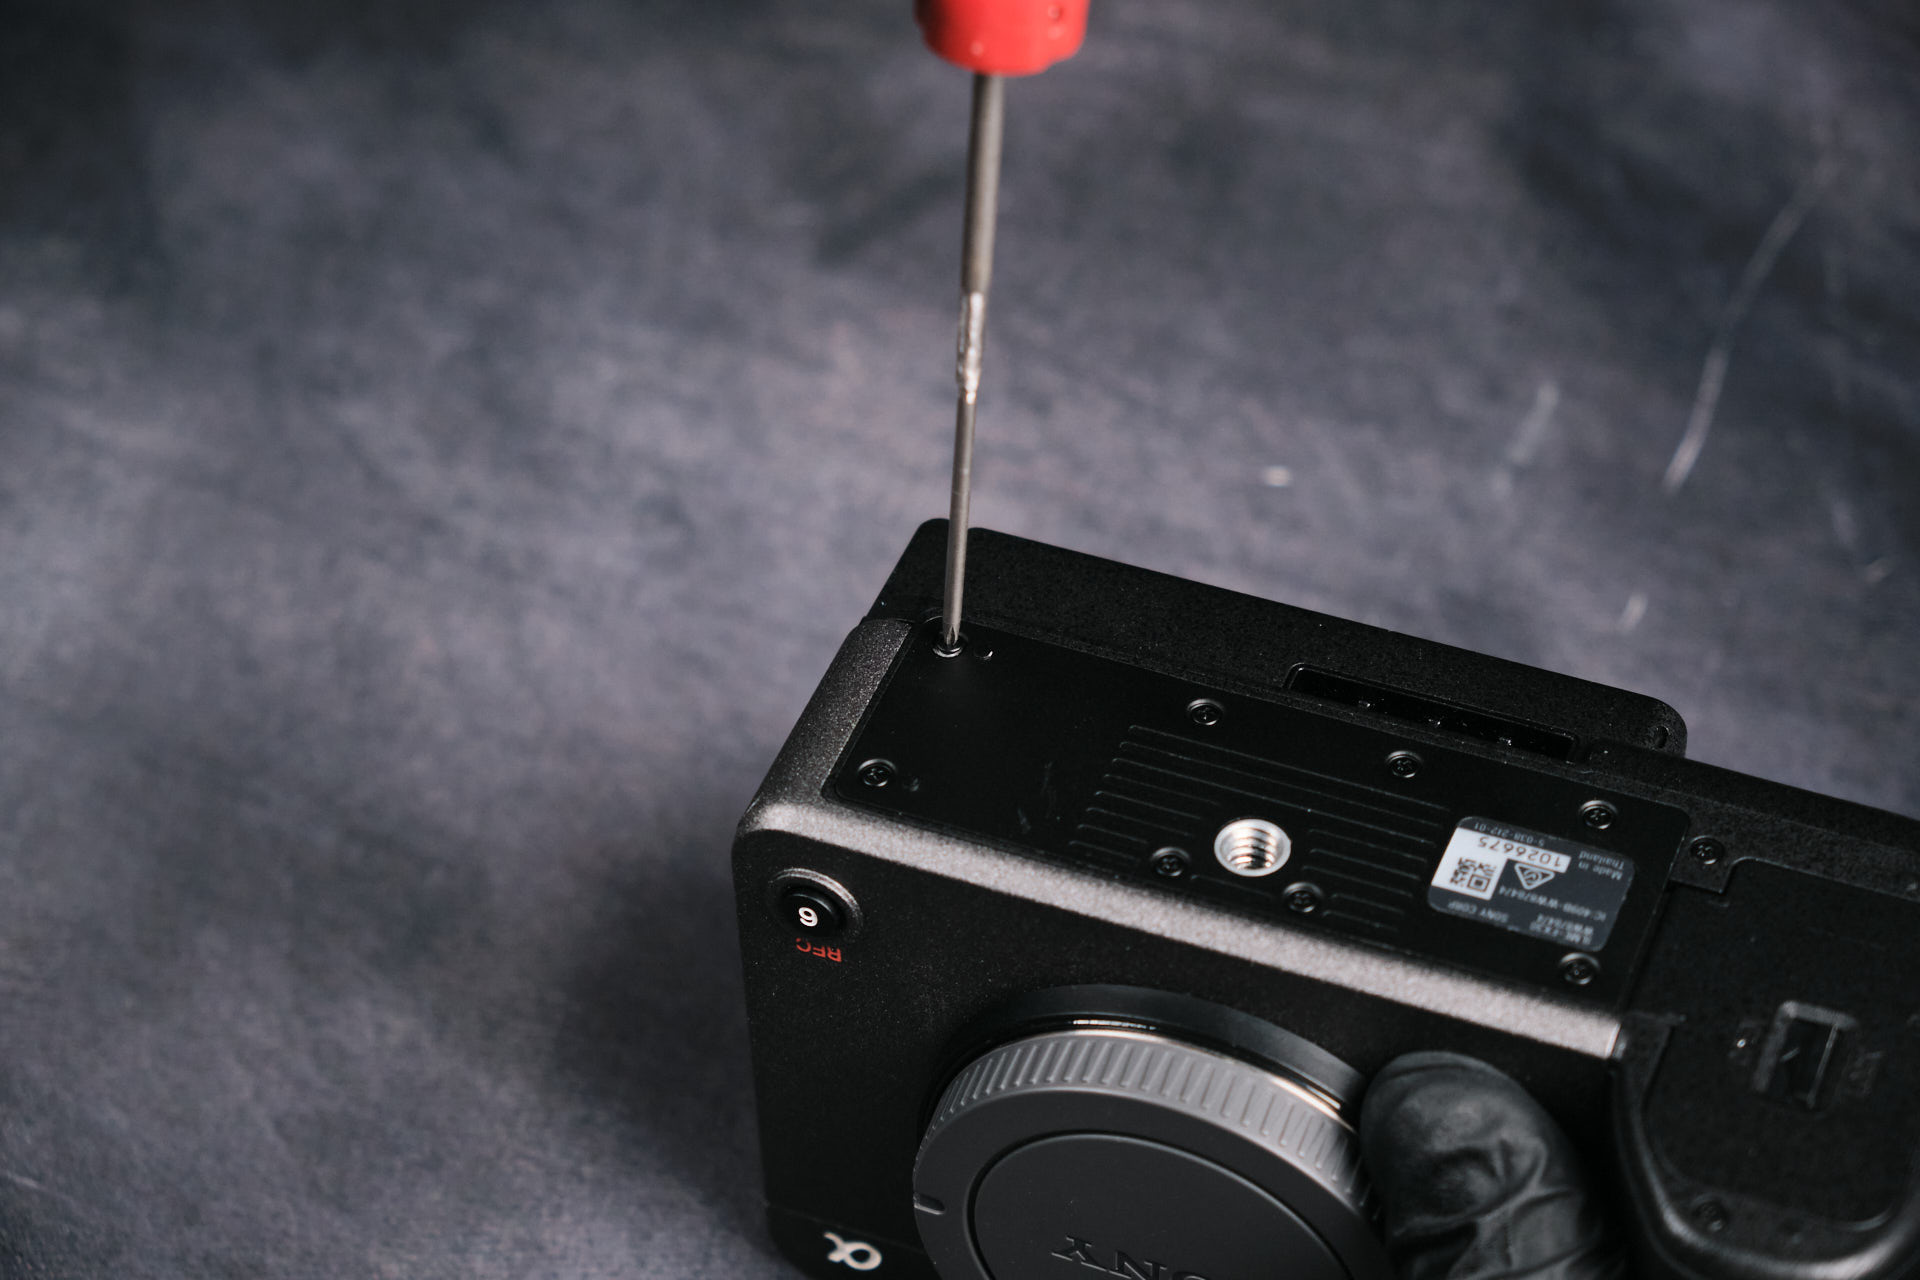
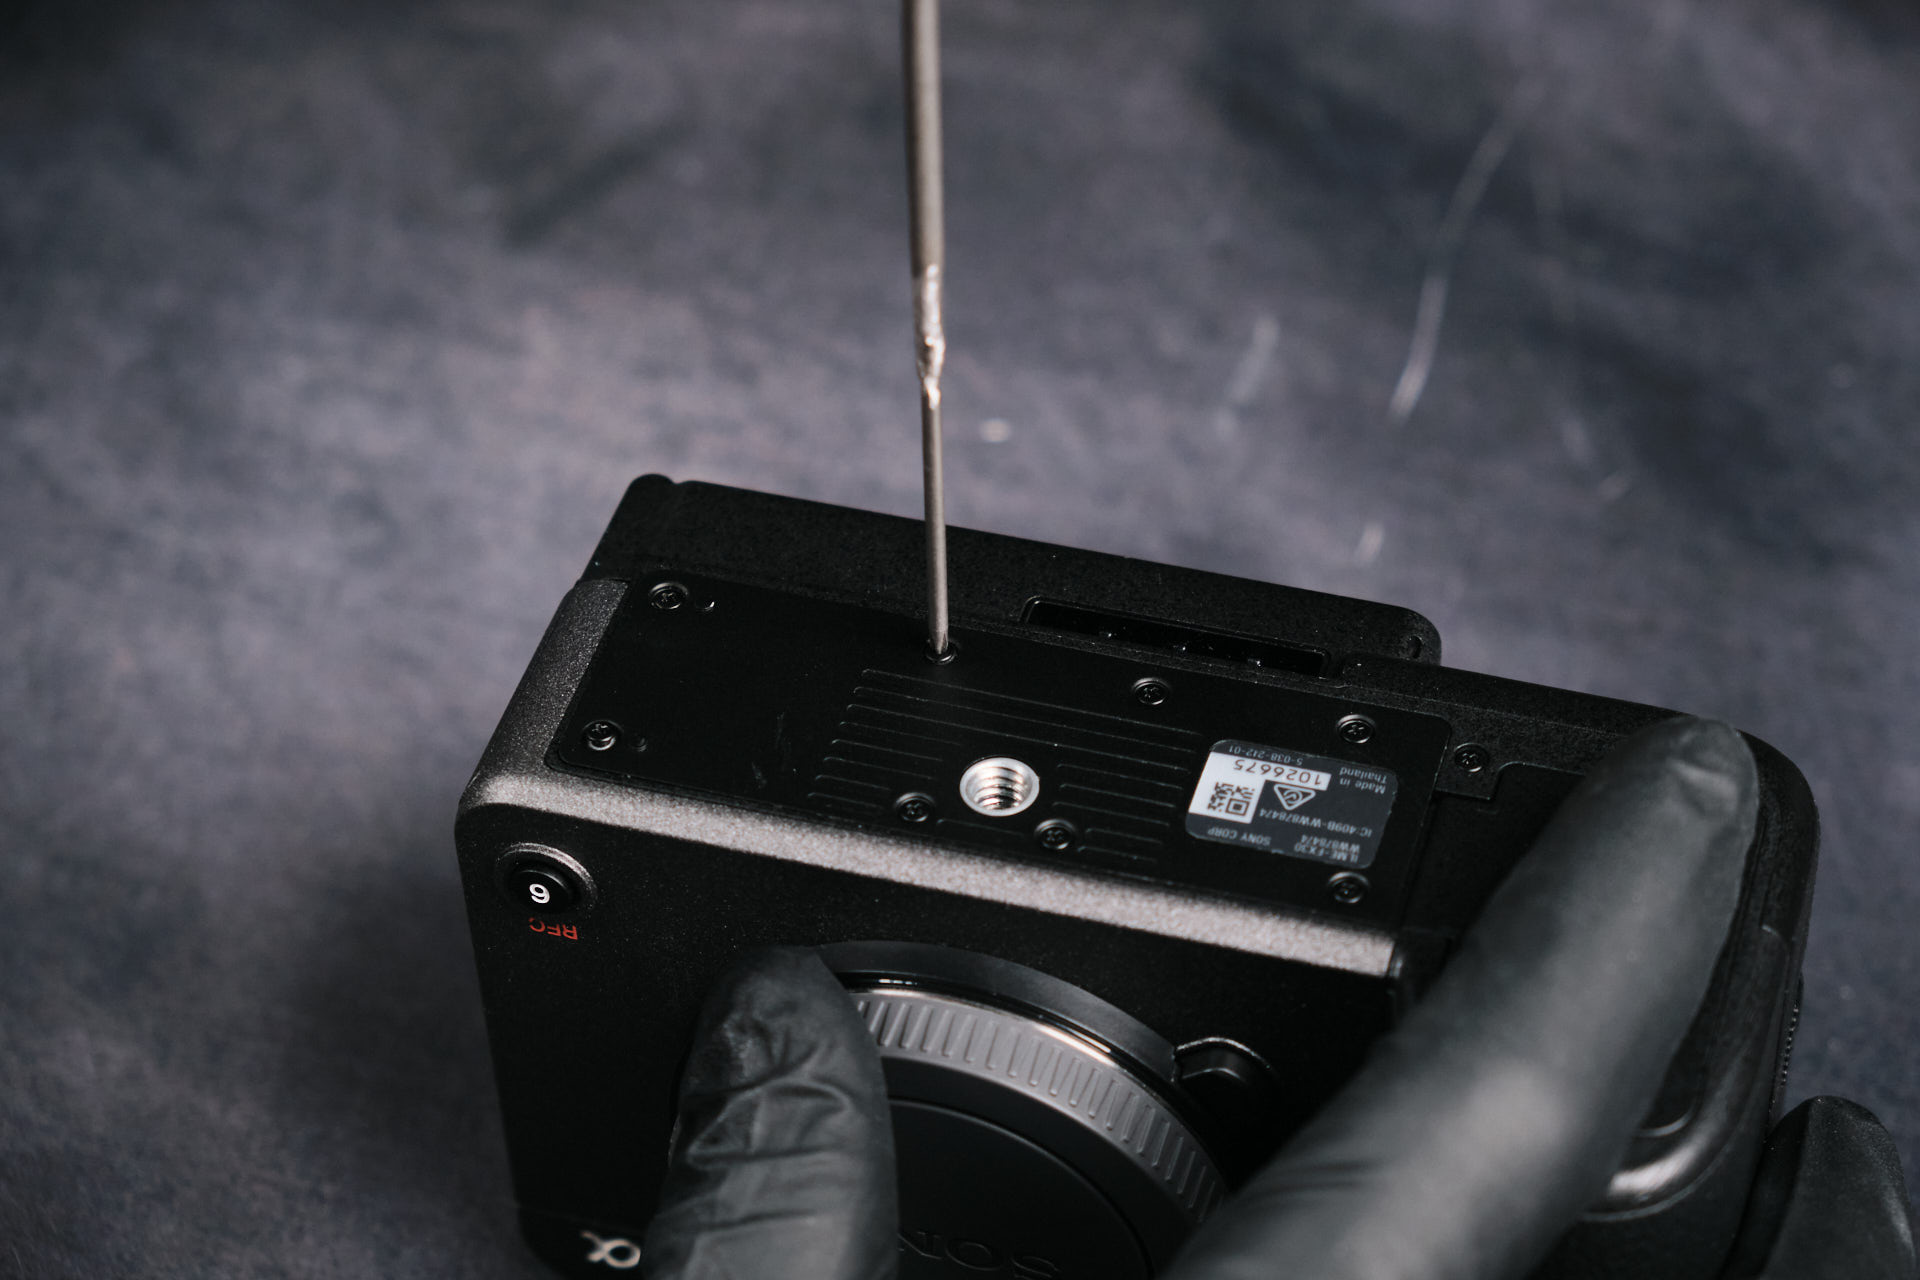
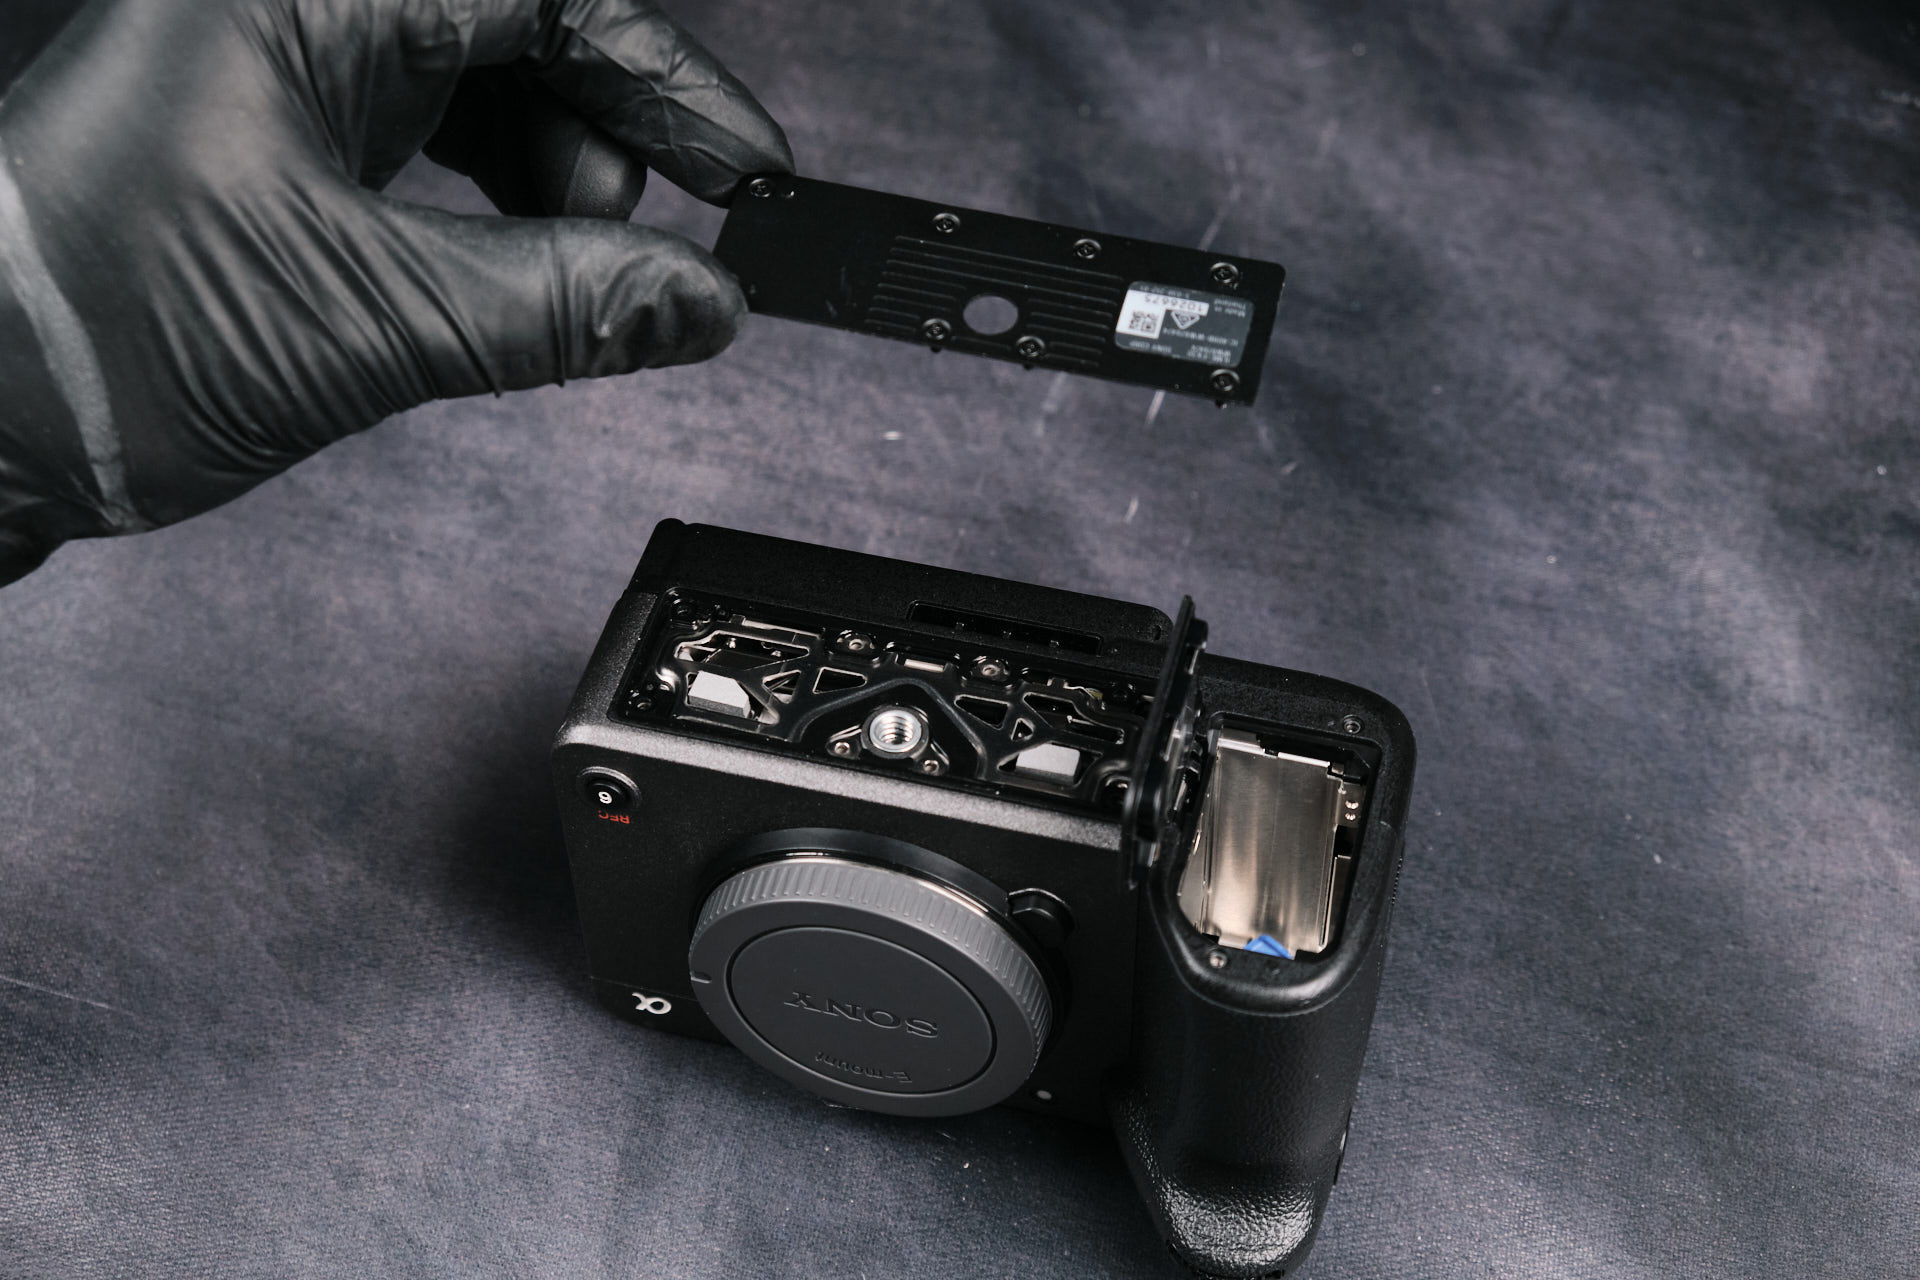
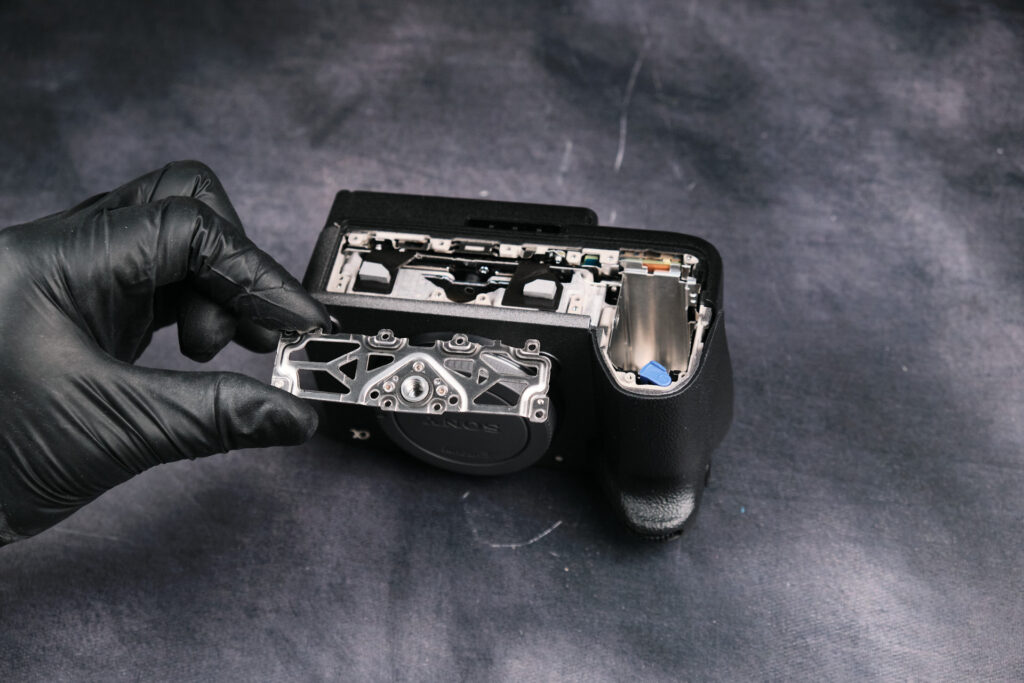
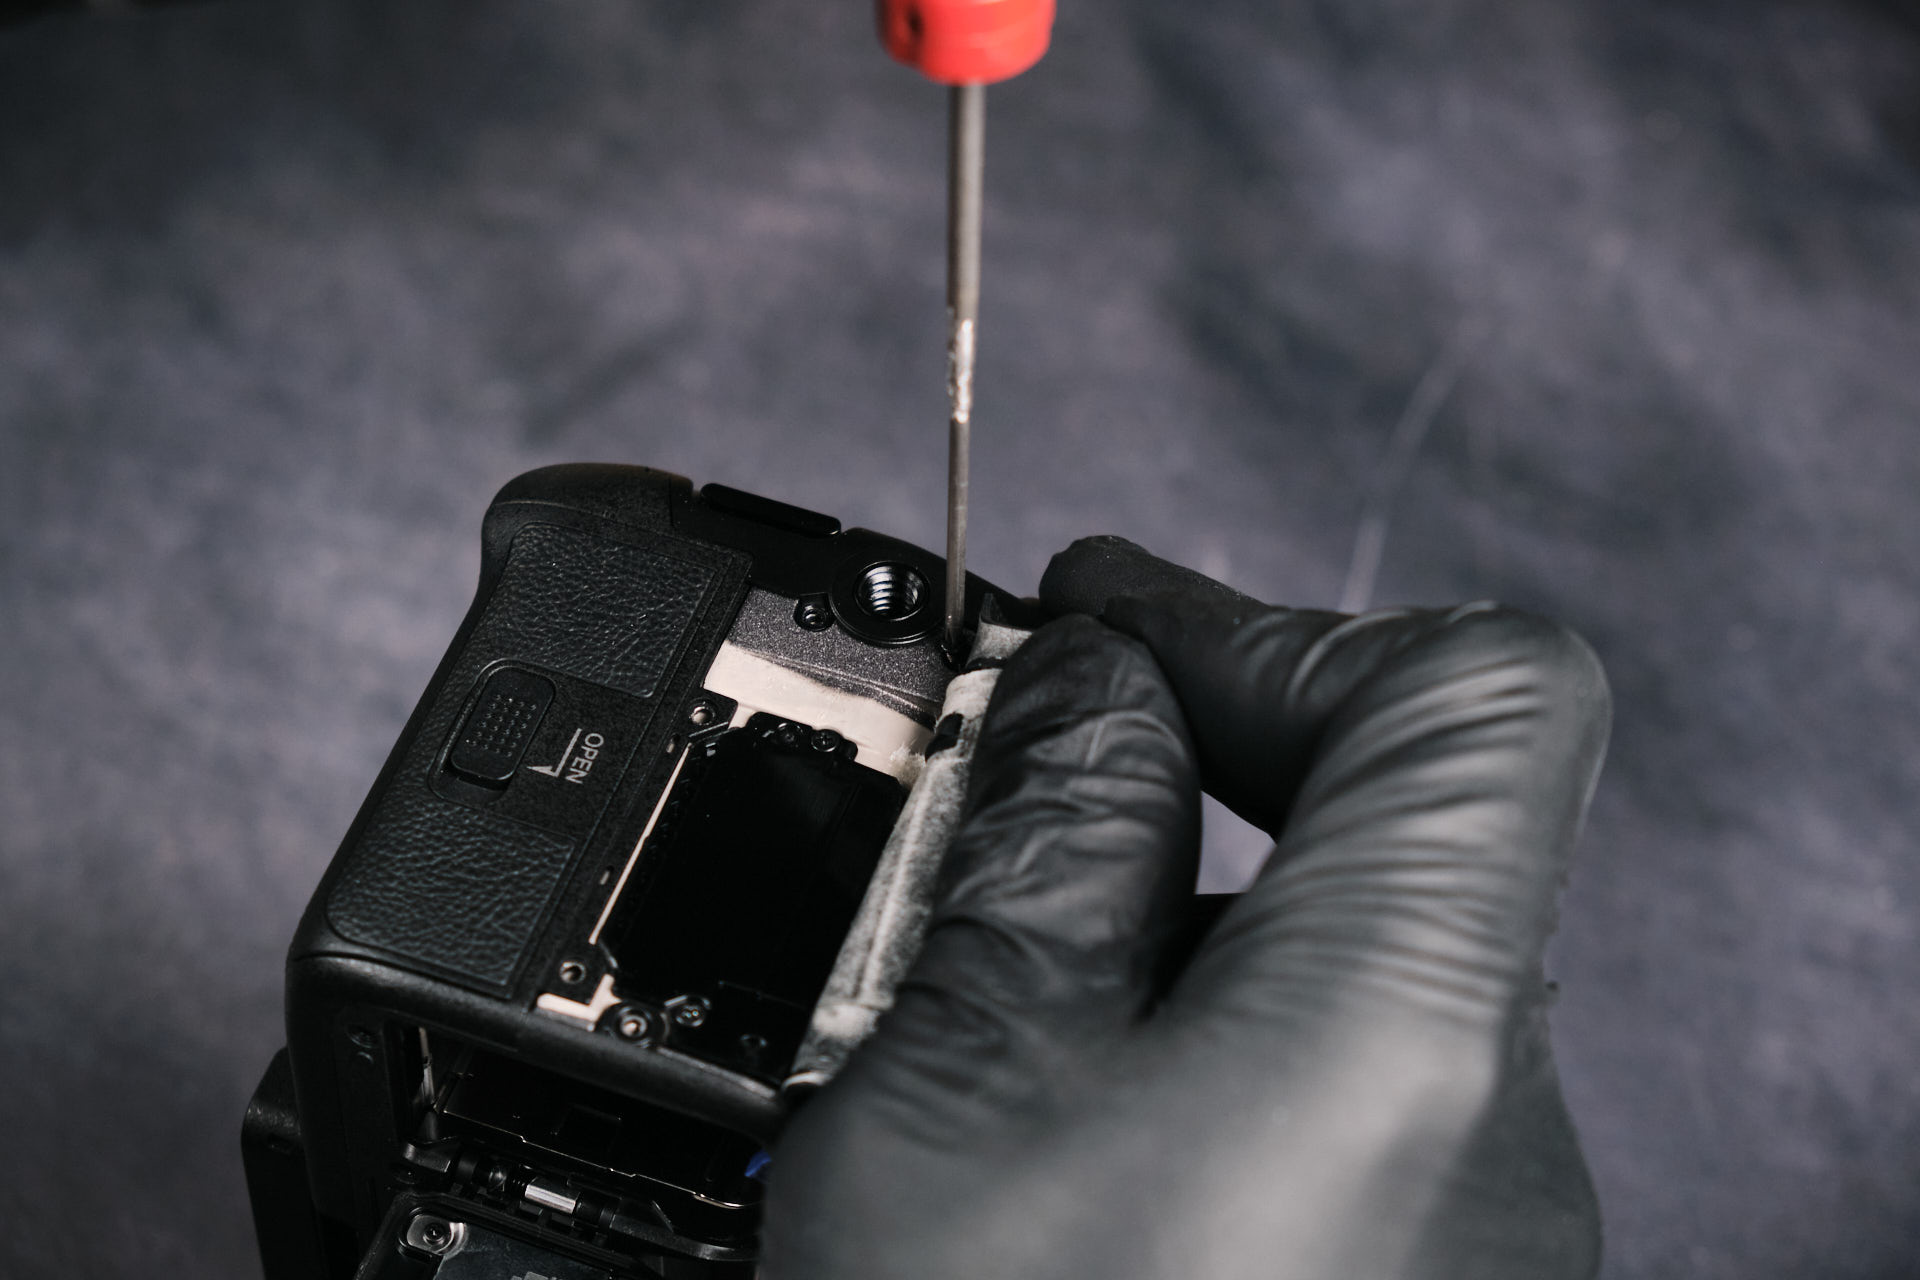
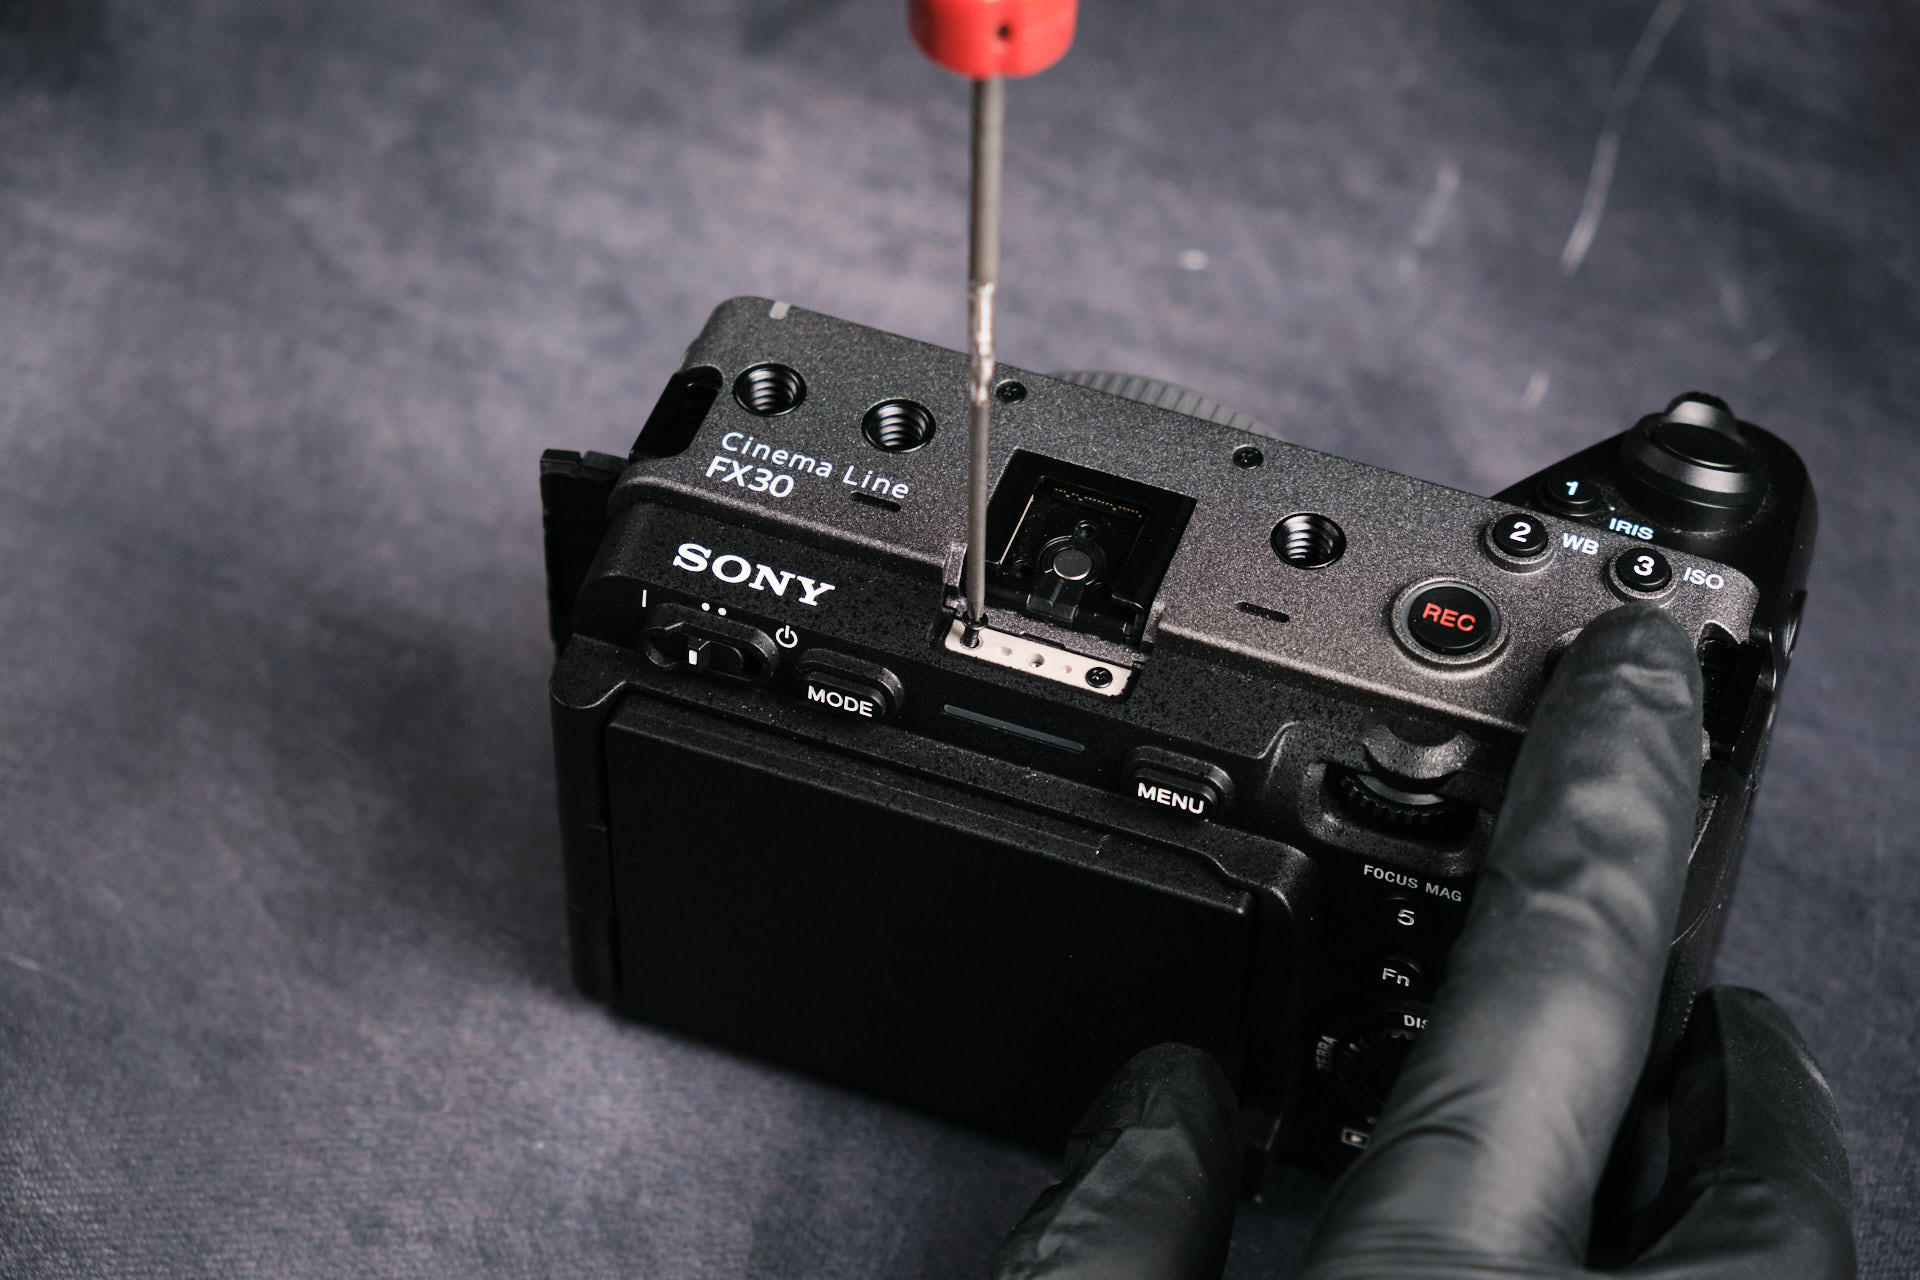
As always, the baseplate should be tackled first when it comes to camera disassembly. The FX30 baseplate seemed to have two separate parts. The first part of the baseplate, the central metal cover, was held down by eight screws.
Removing the Main Baseplate Frame
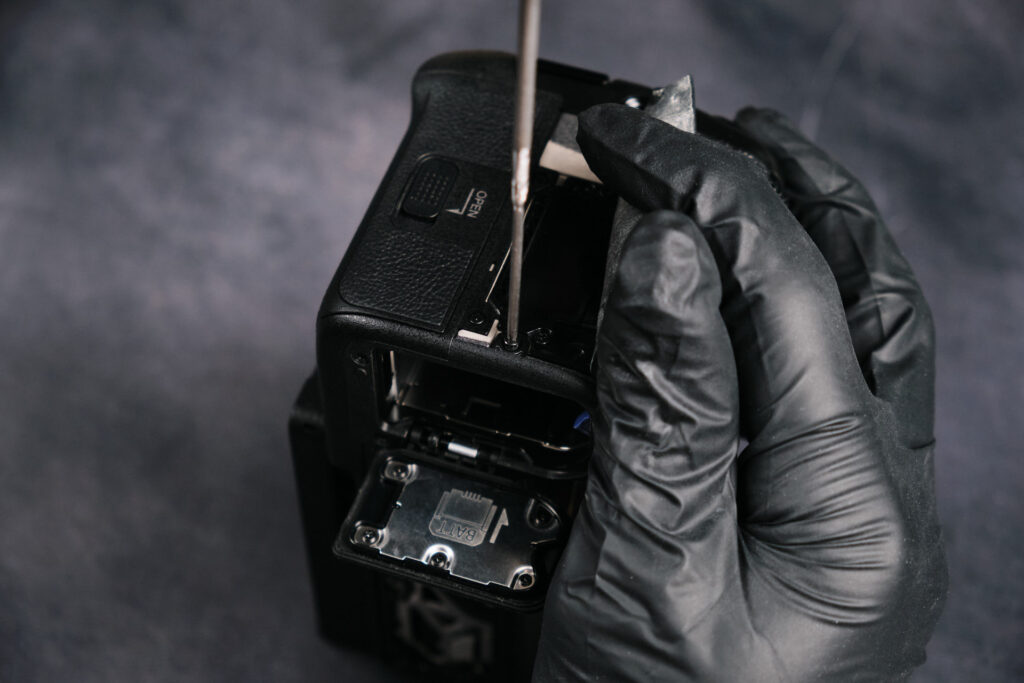
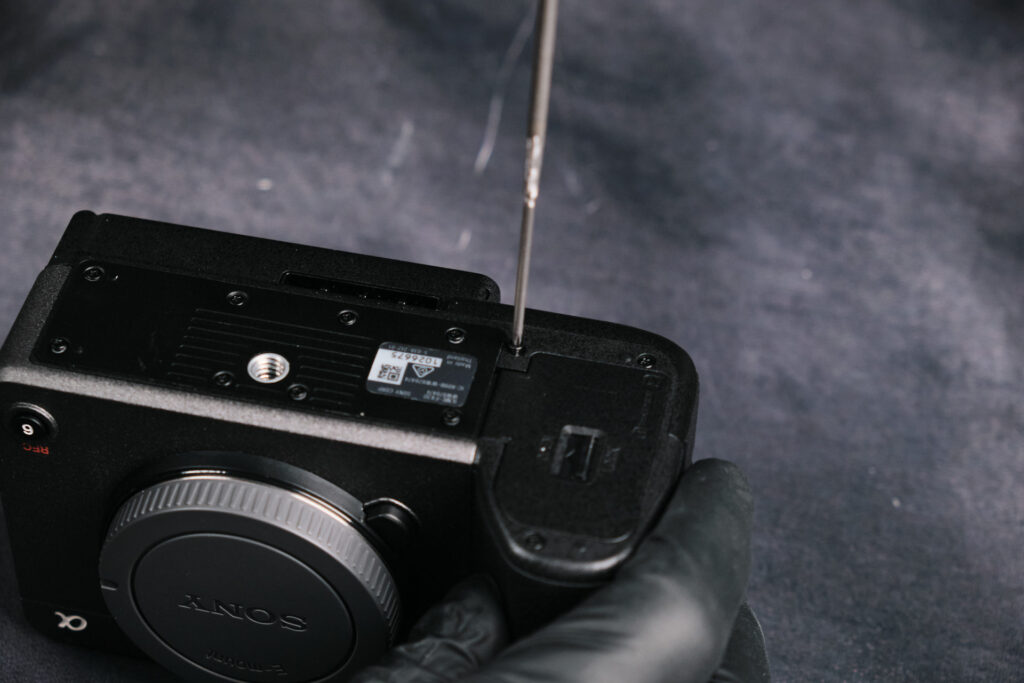
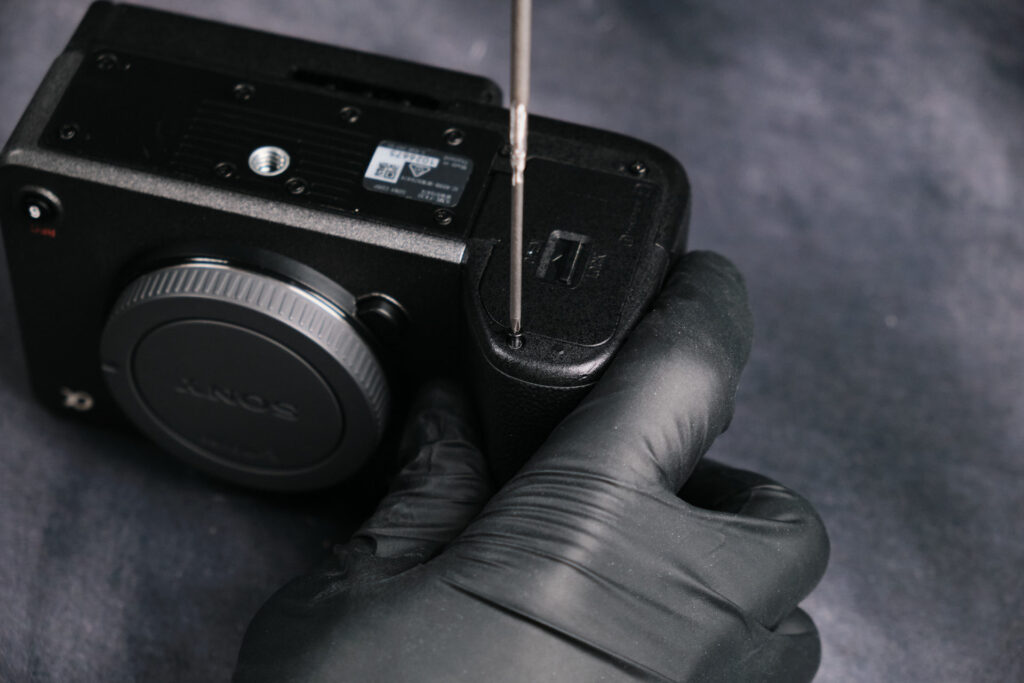
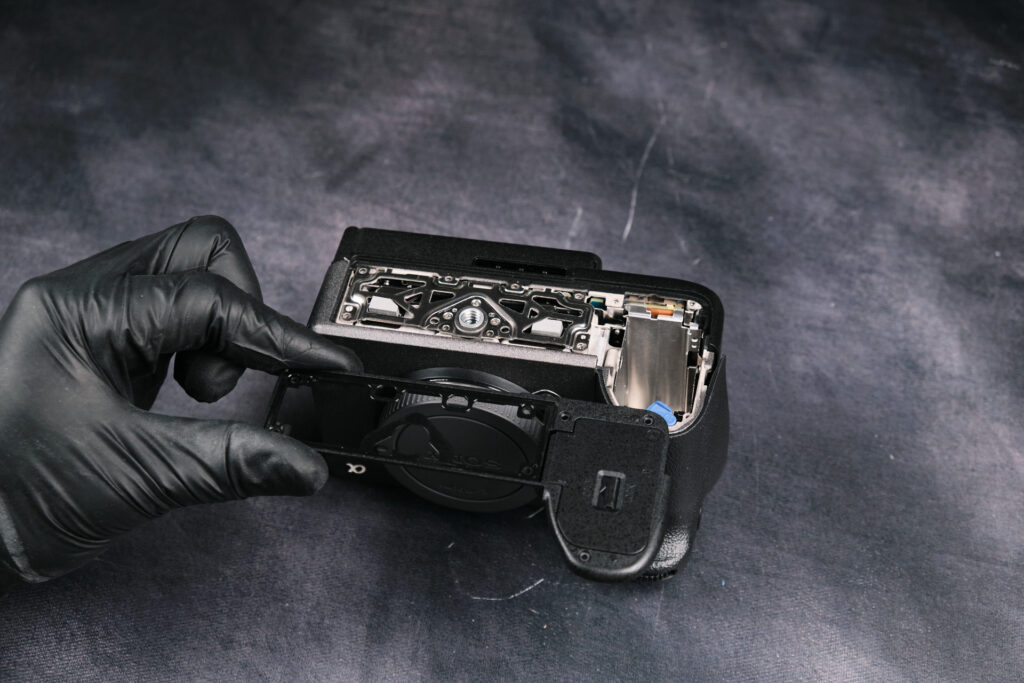
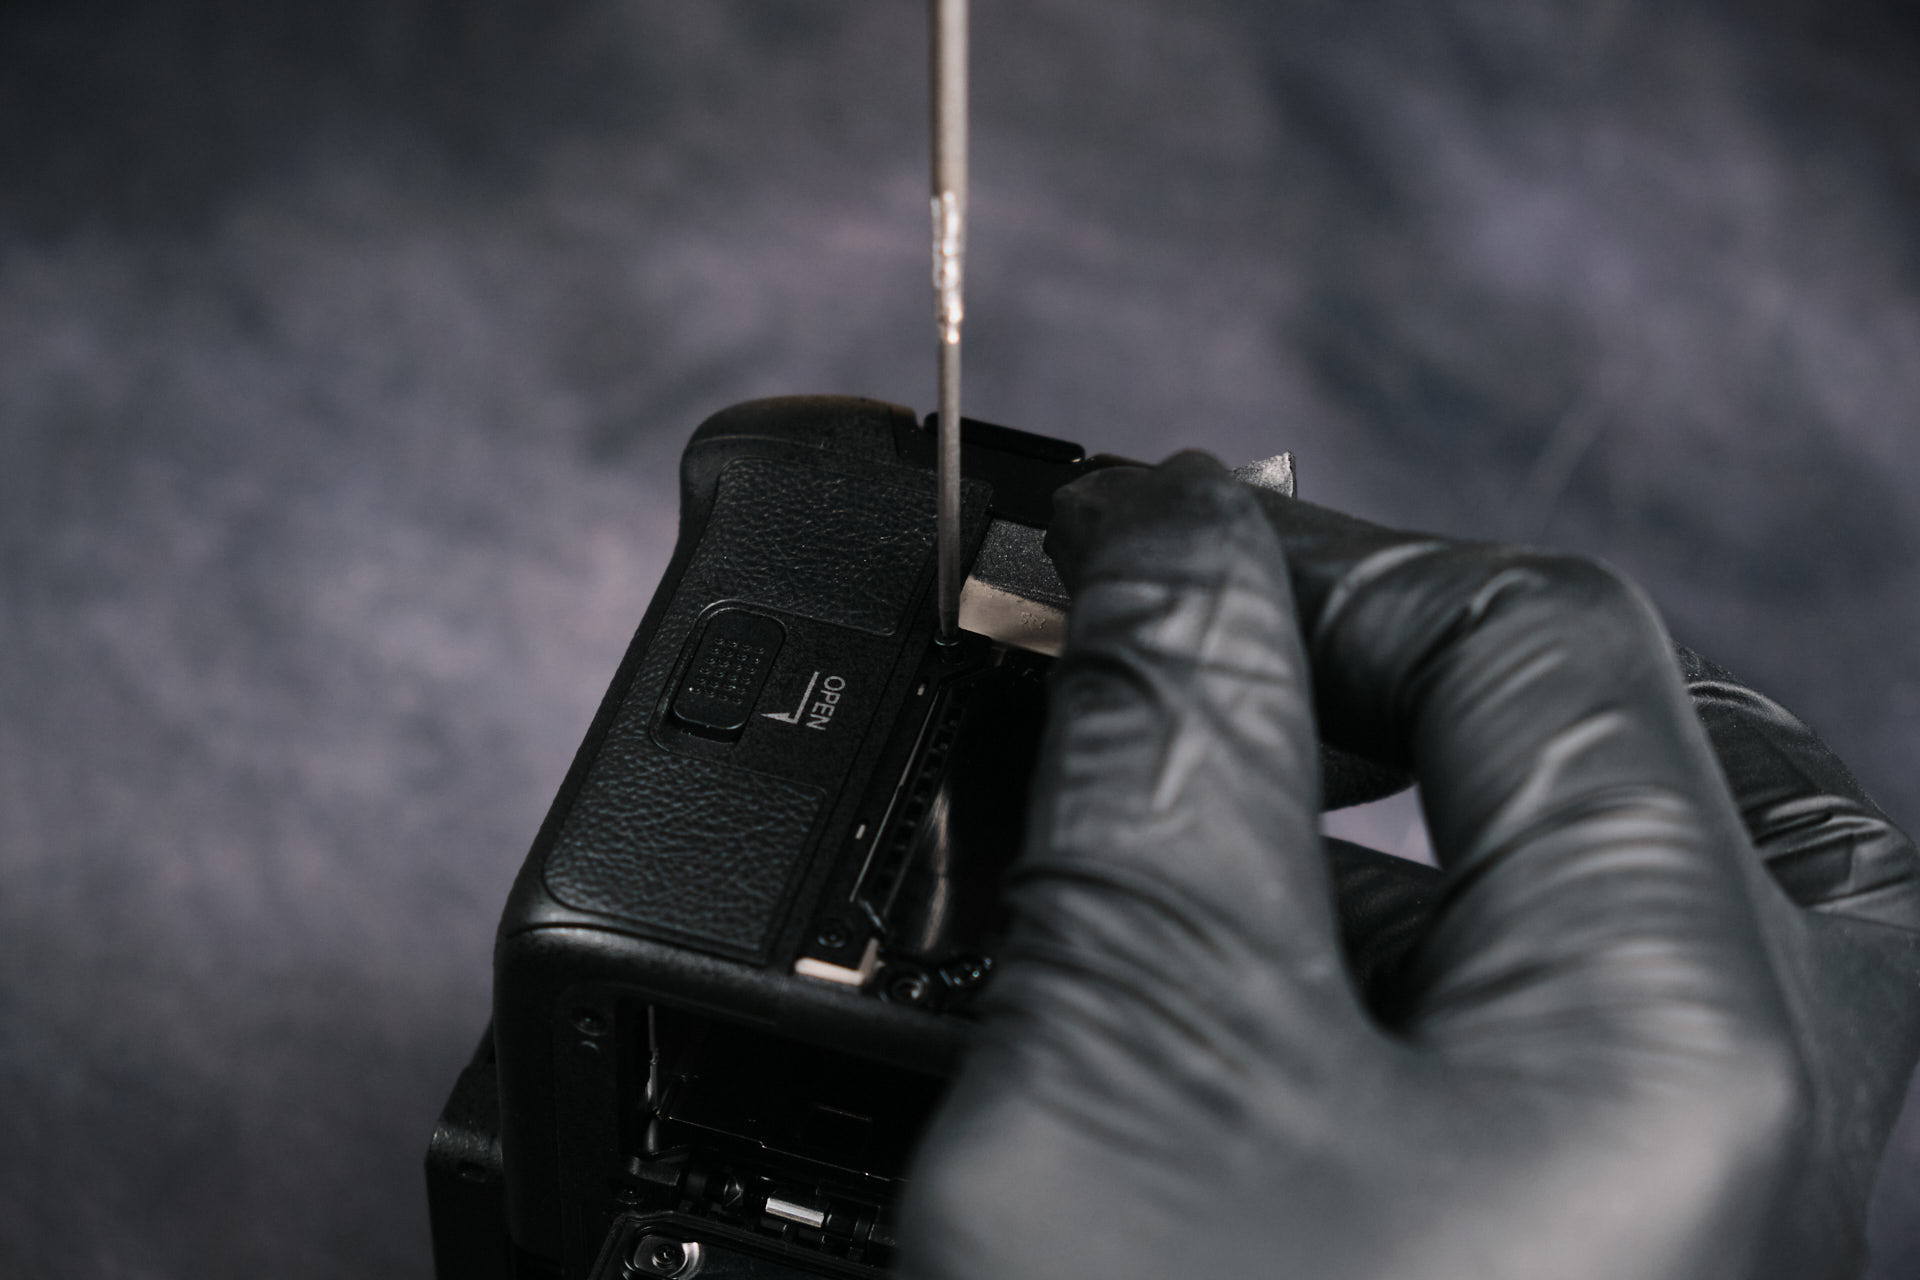
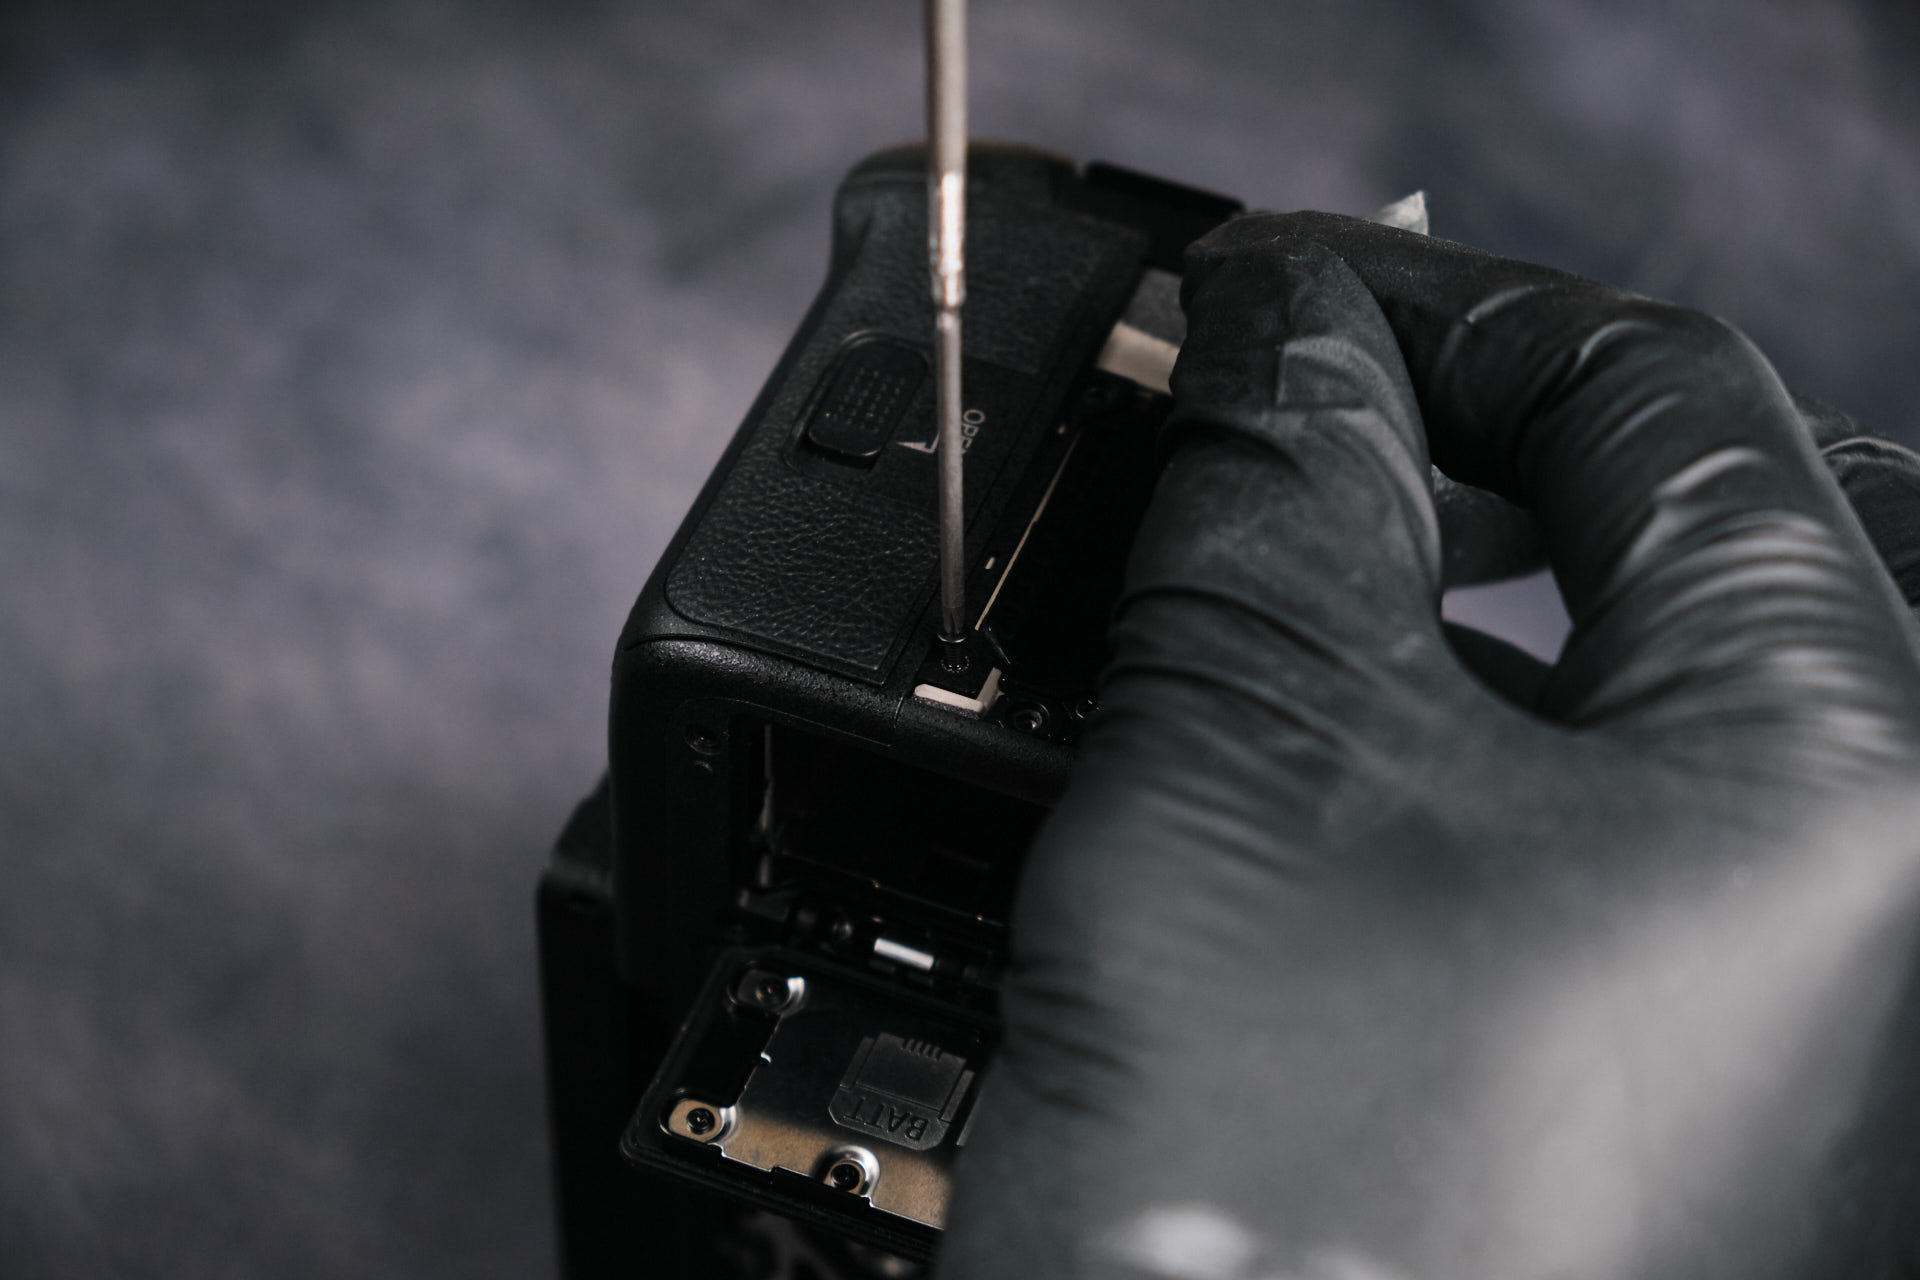
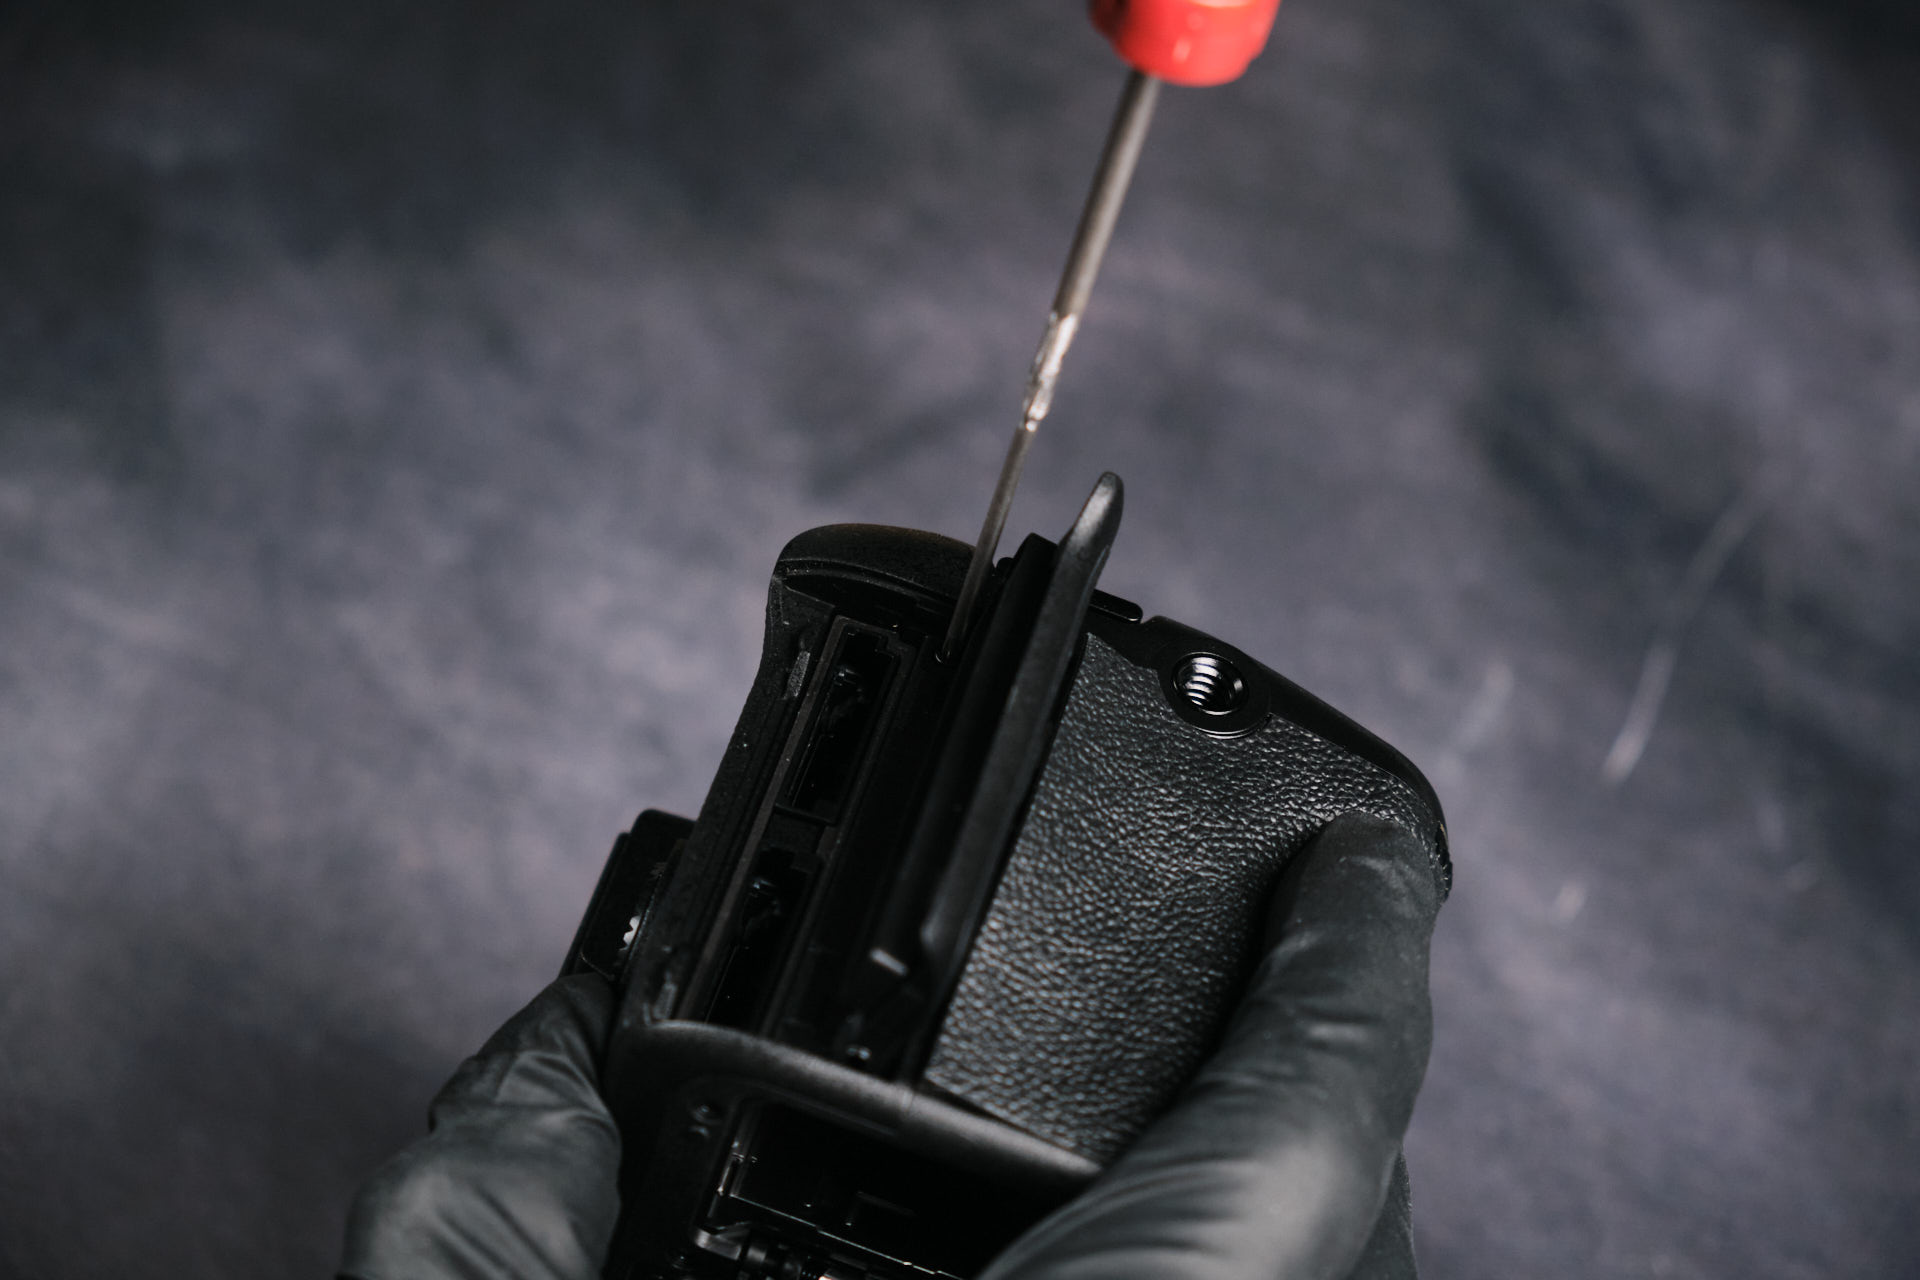
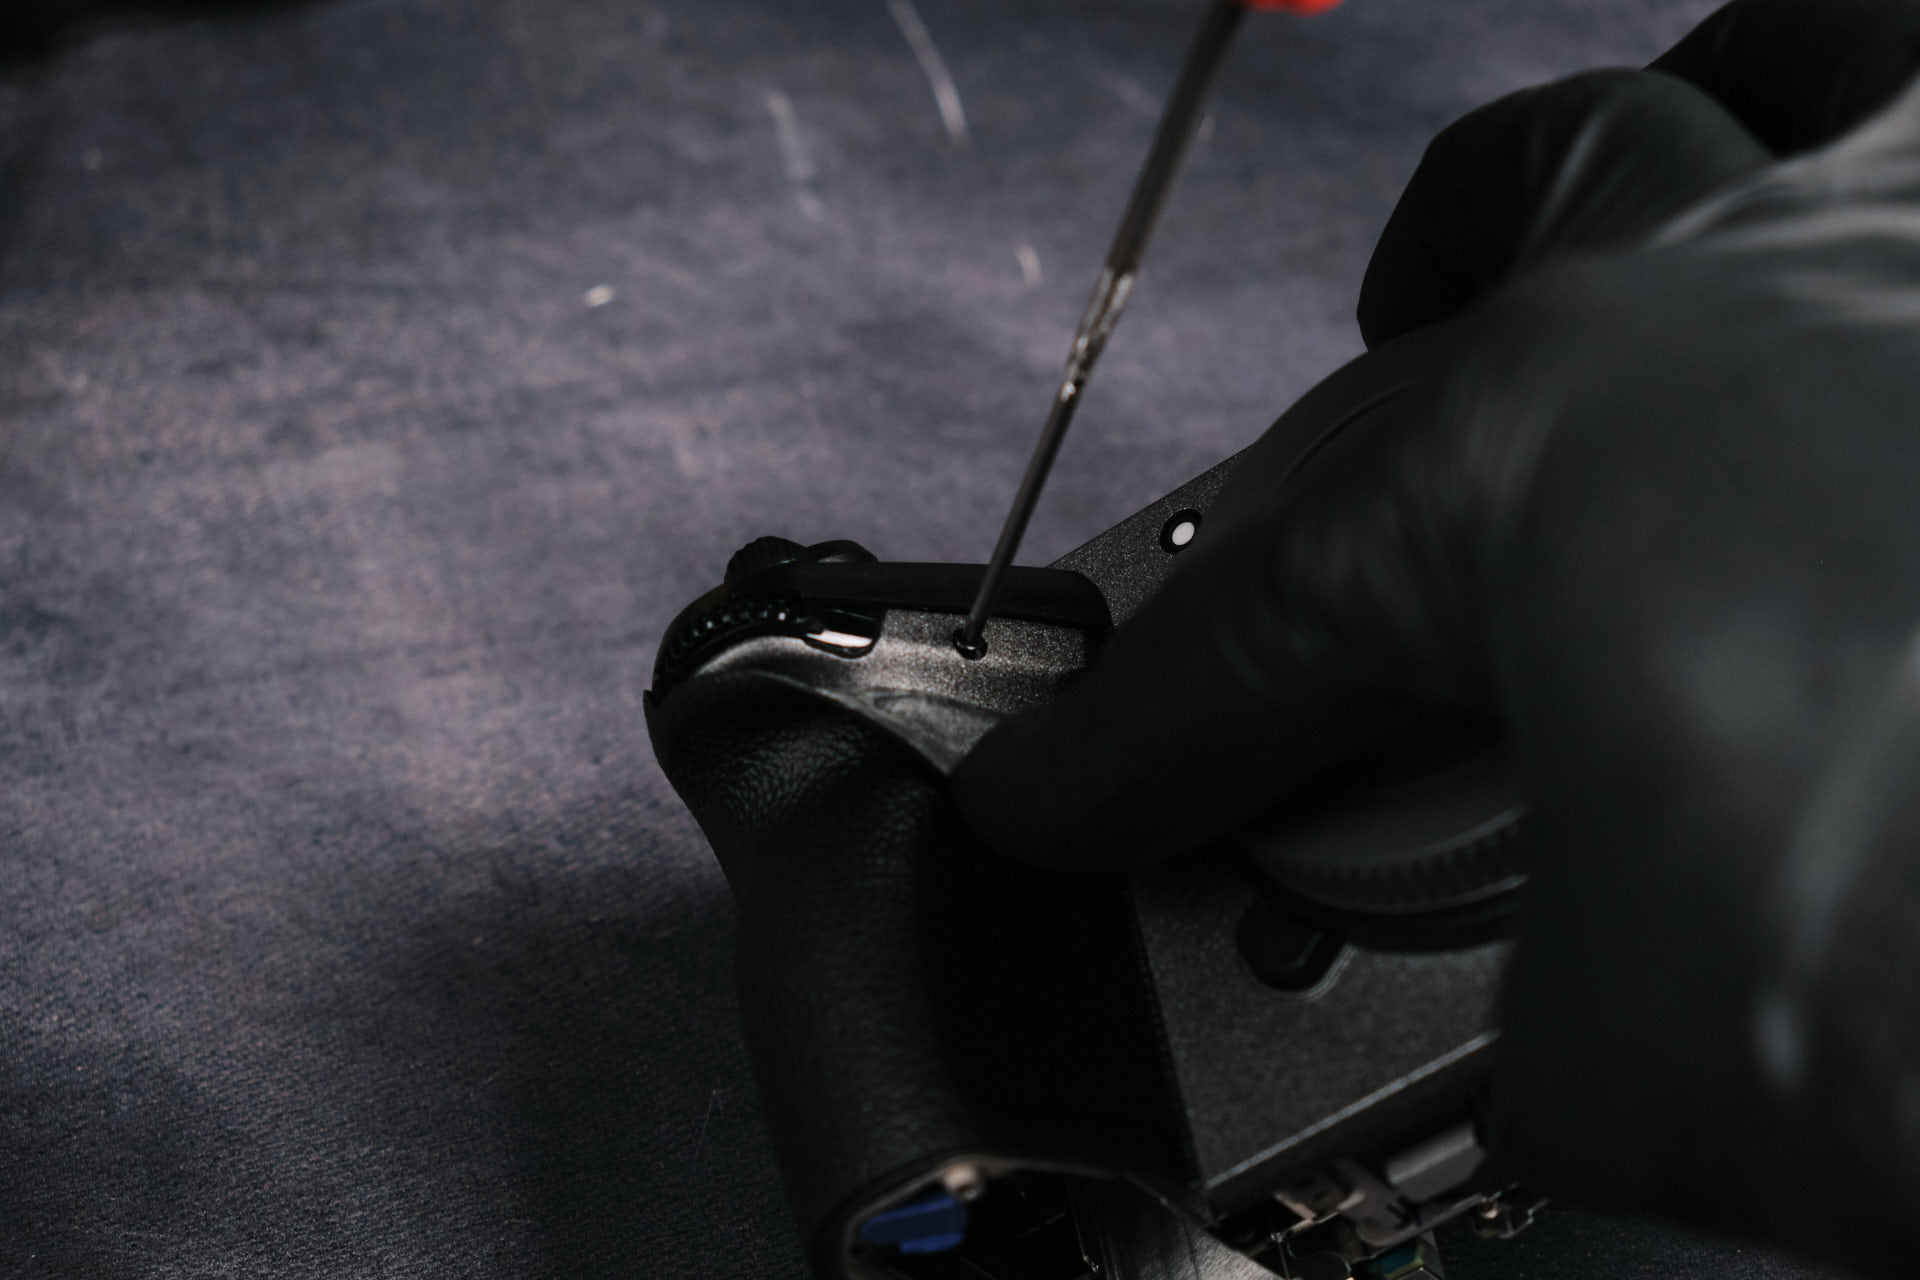
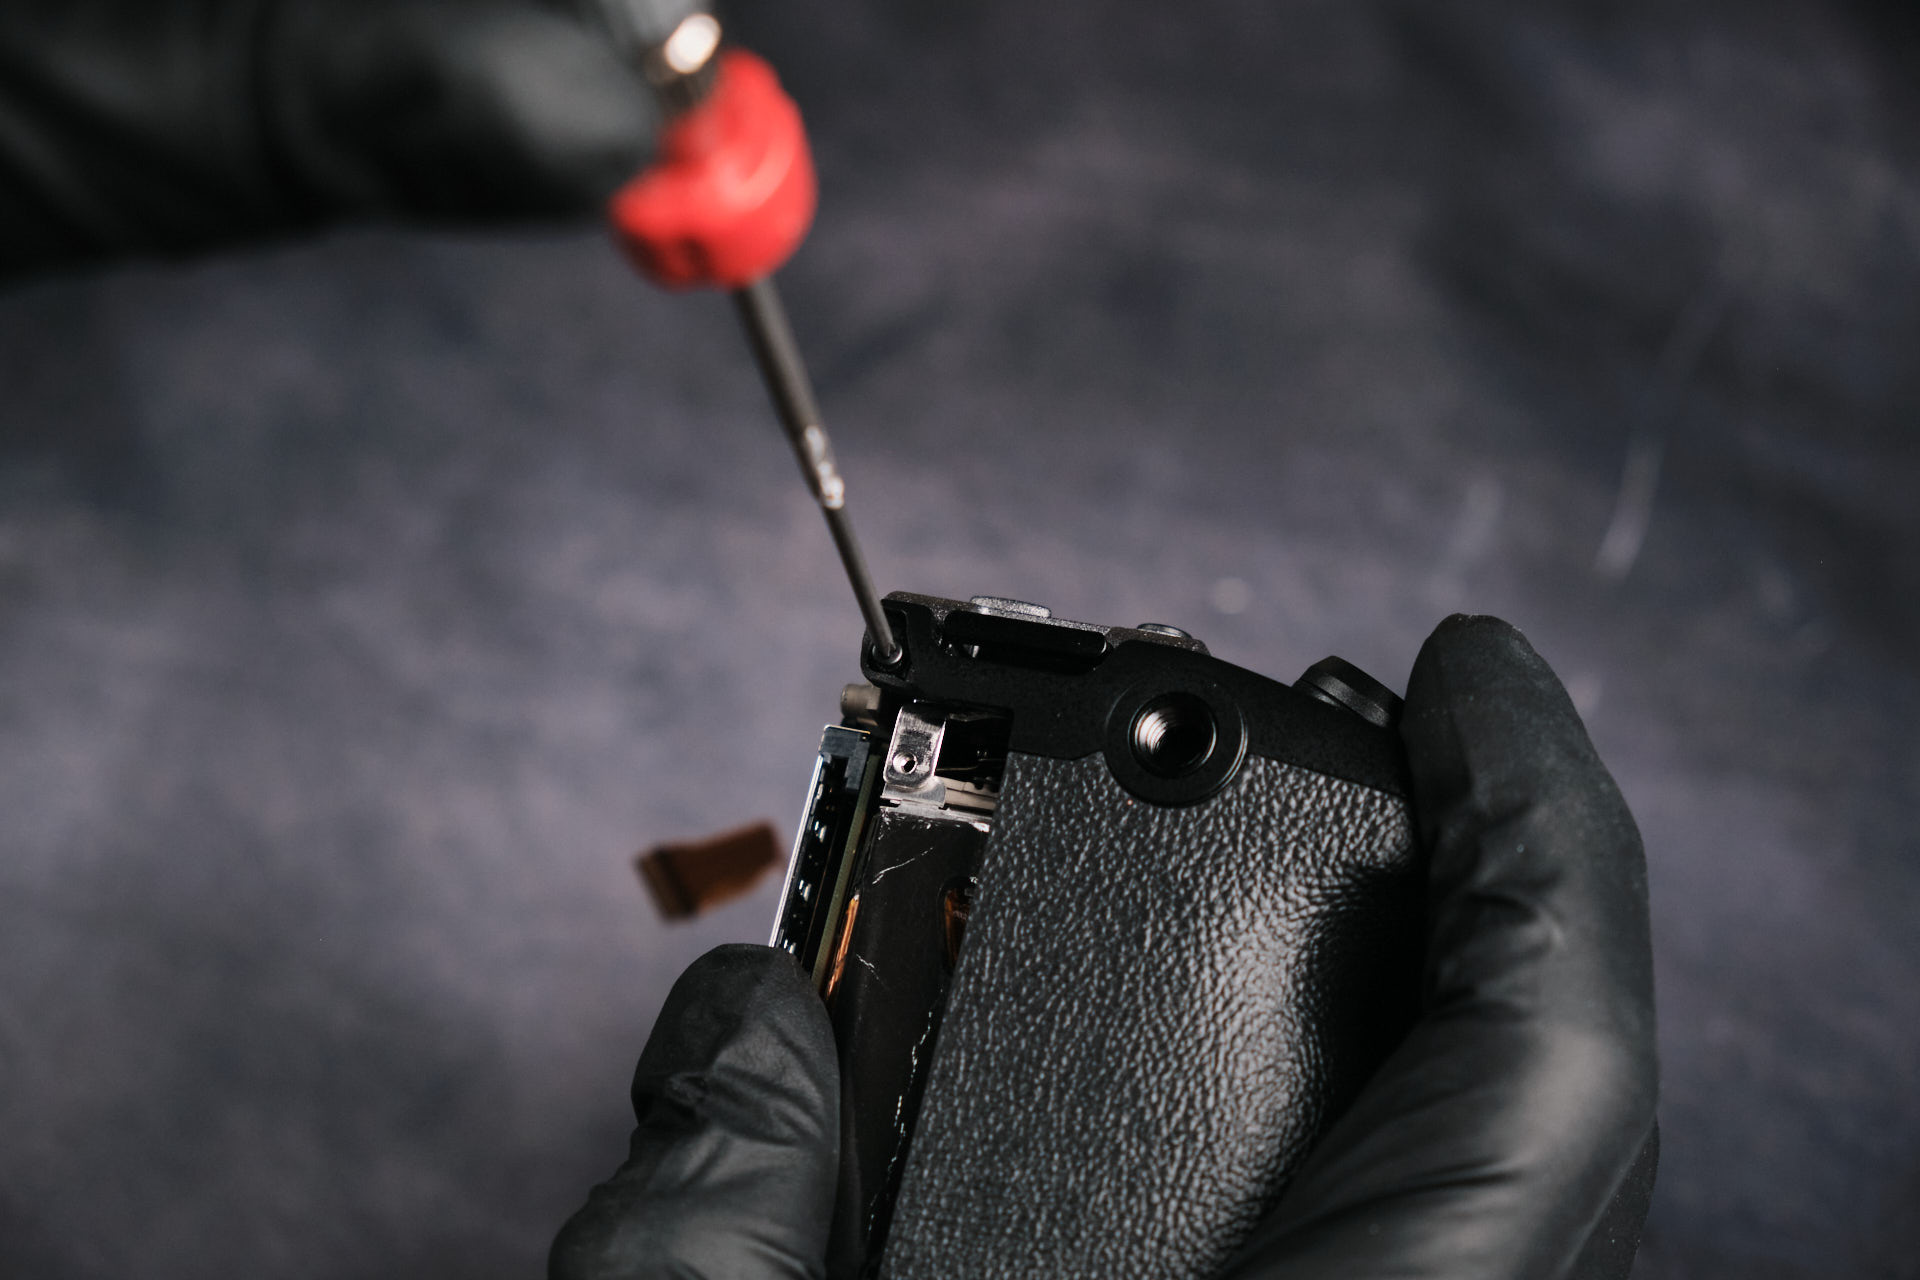
For the main frame of the baseplate, we removed one screw that was hidden beneath the leather skin on the SD card side of the camera, plus two more screws under the camera. Once that part comes off, an inner metal frame just comes off easily.
Removing the Backside of the Sony FX30 Camera Body
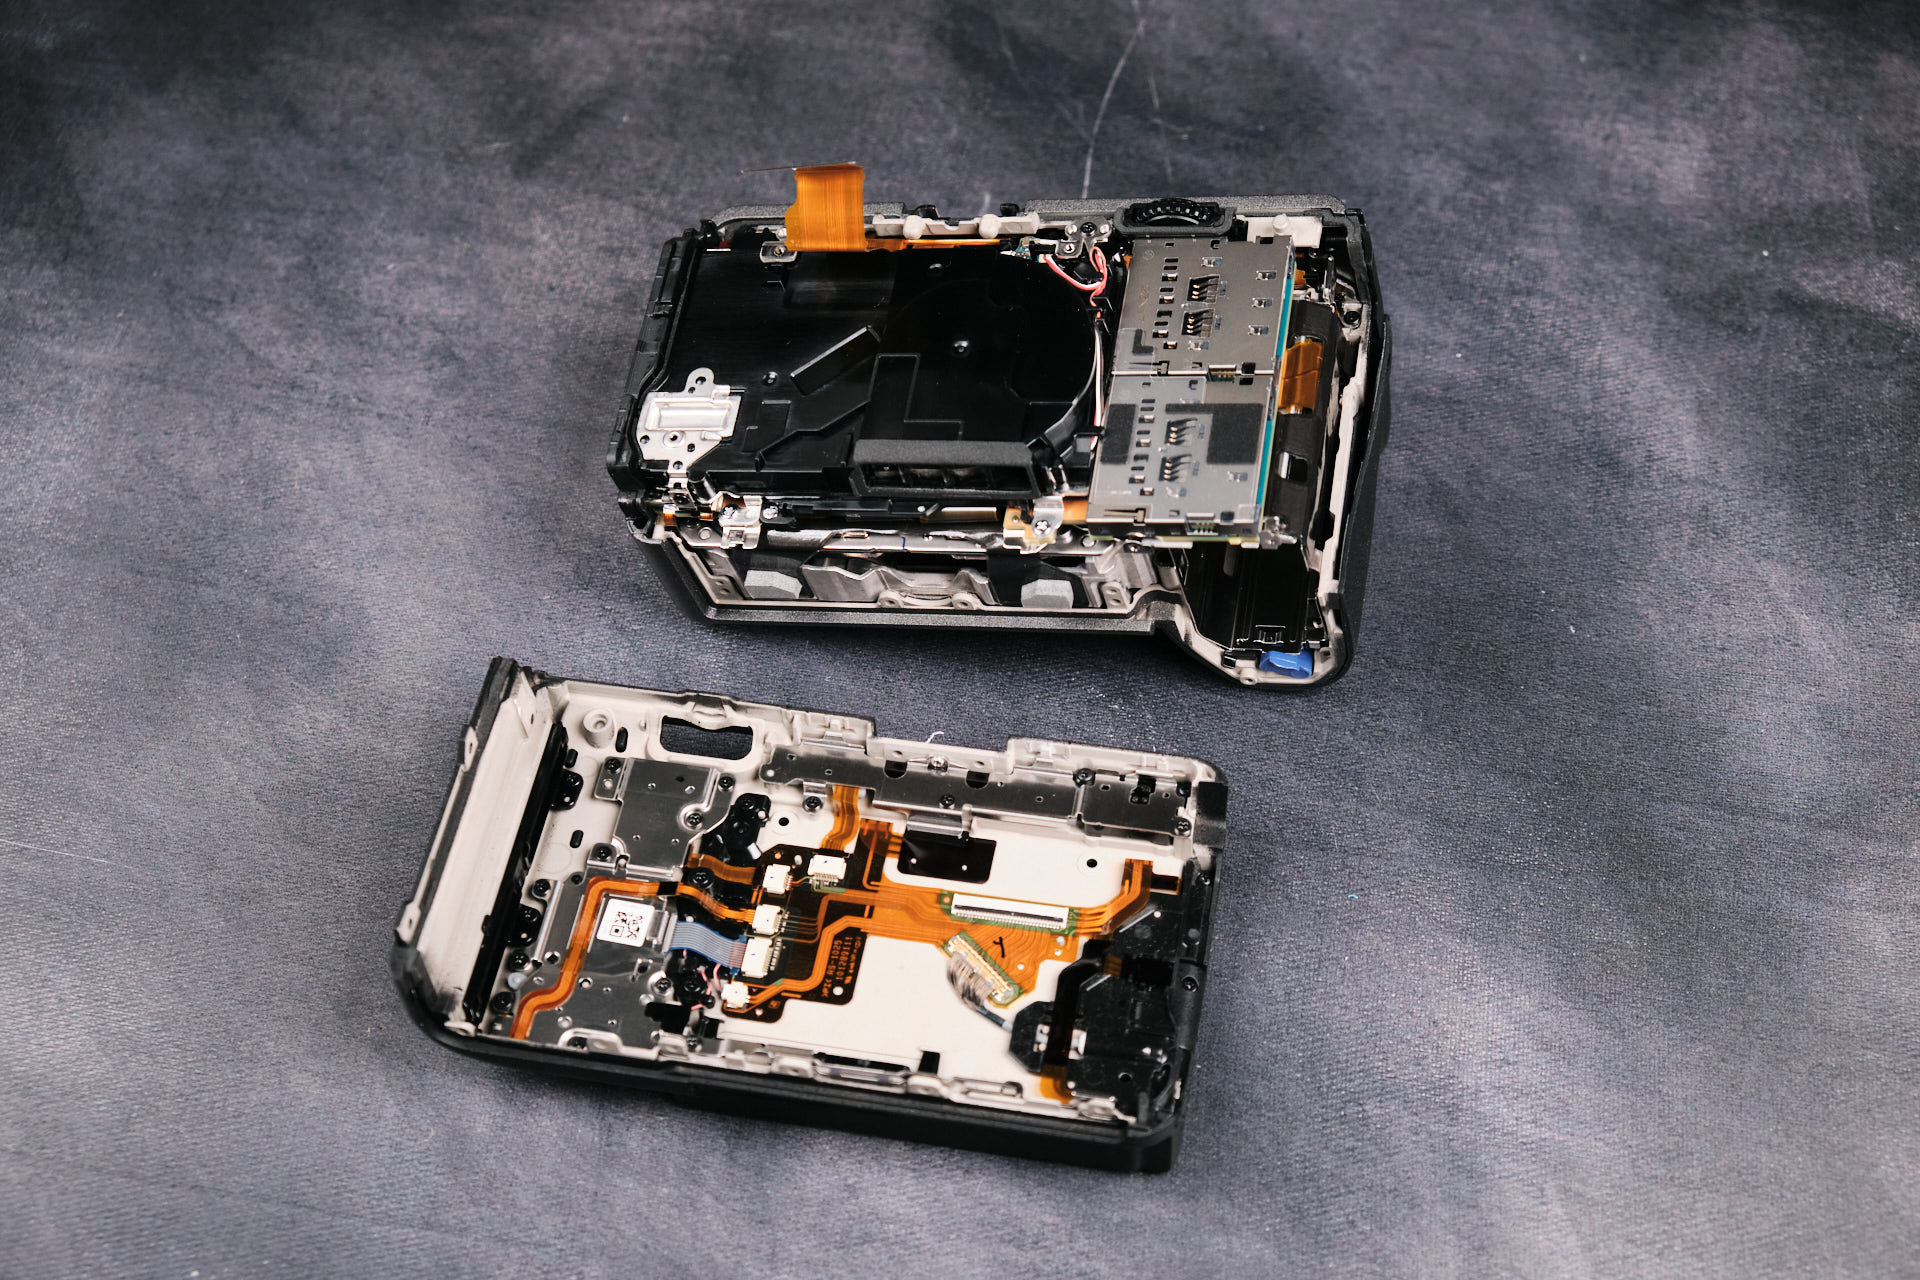
Miscellaneous screws surrounding the entire body’s frame were necessary to remove to lift off the backside of the camera.
Disconnecting the Rear Ribbon Cable
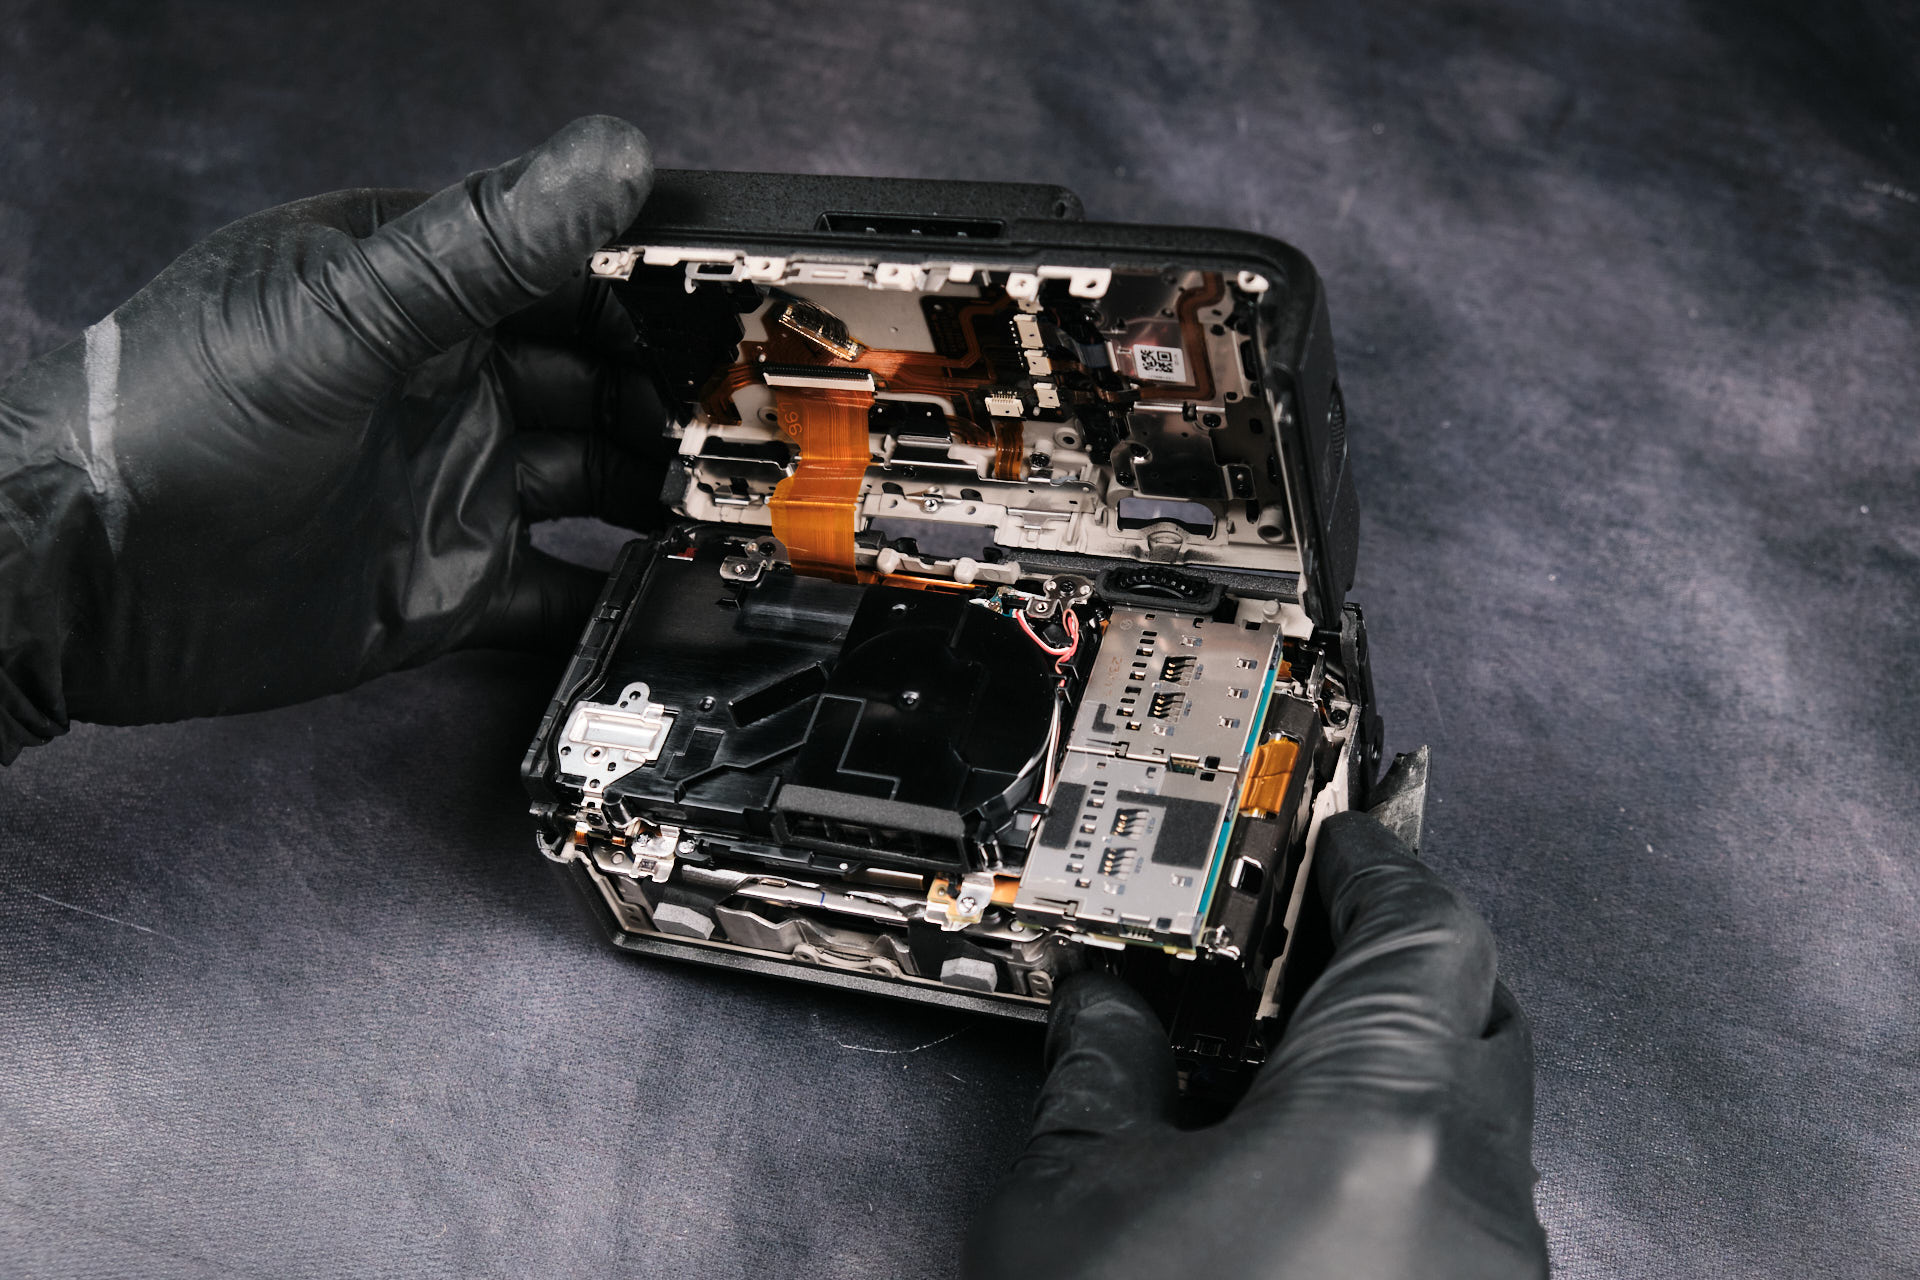
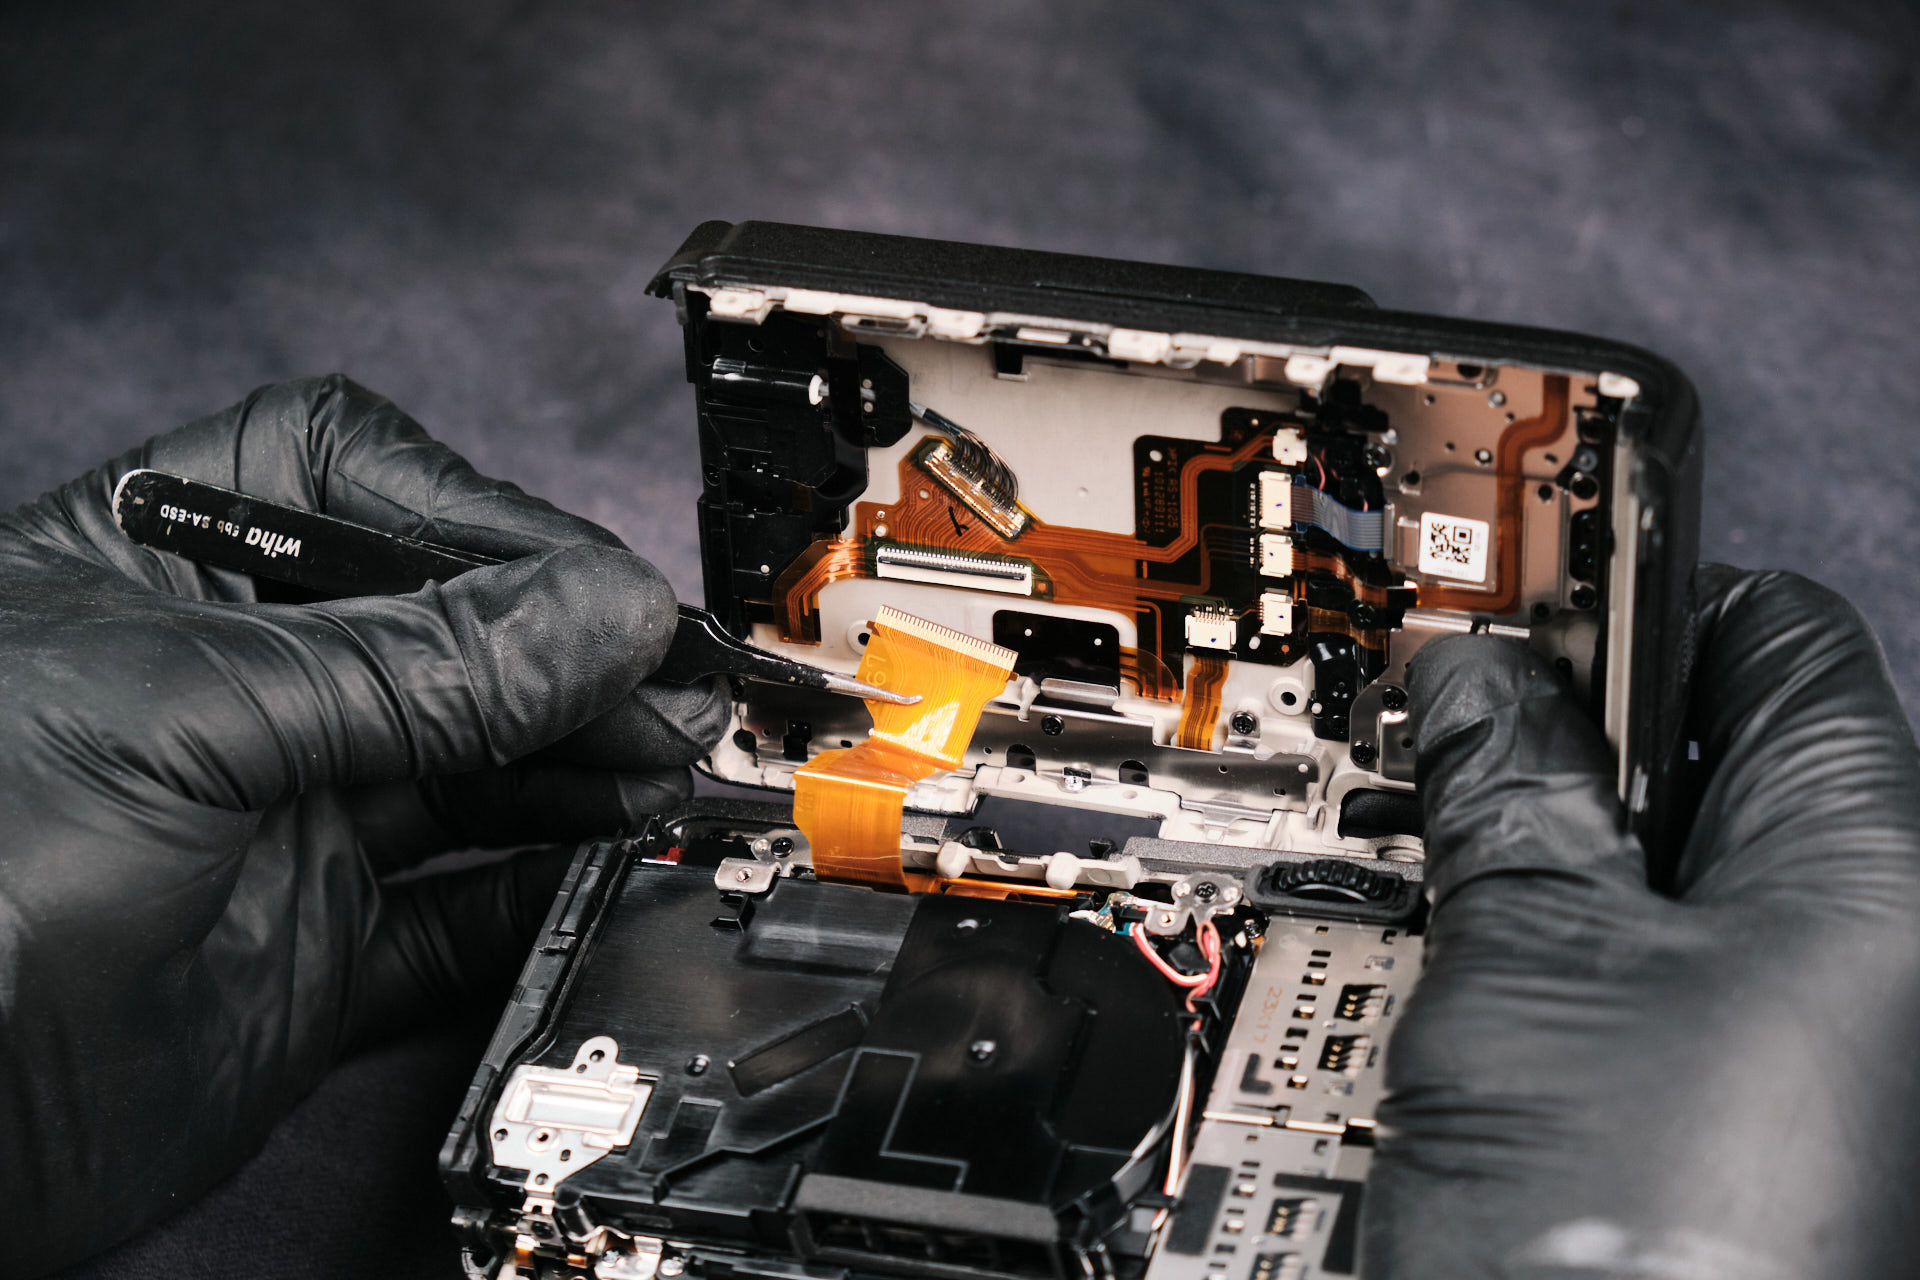
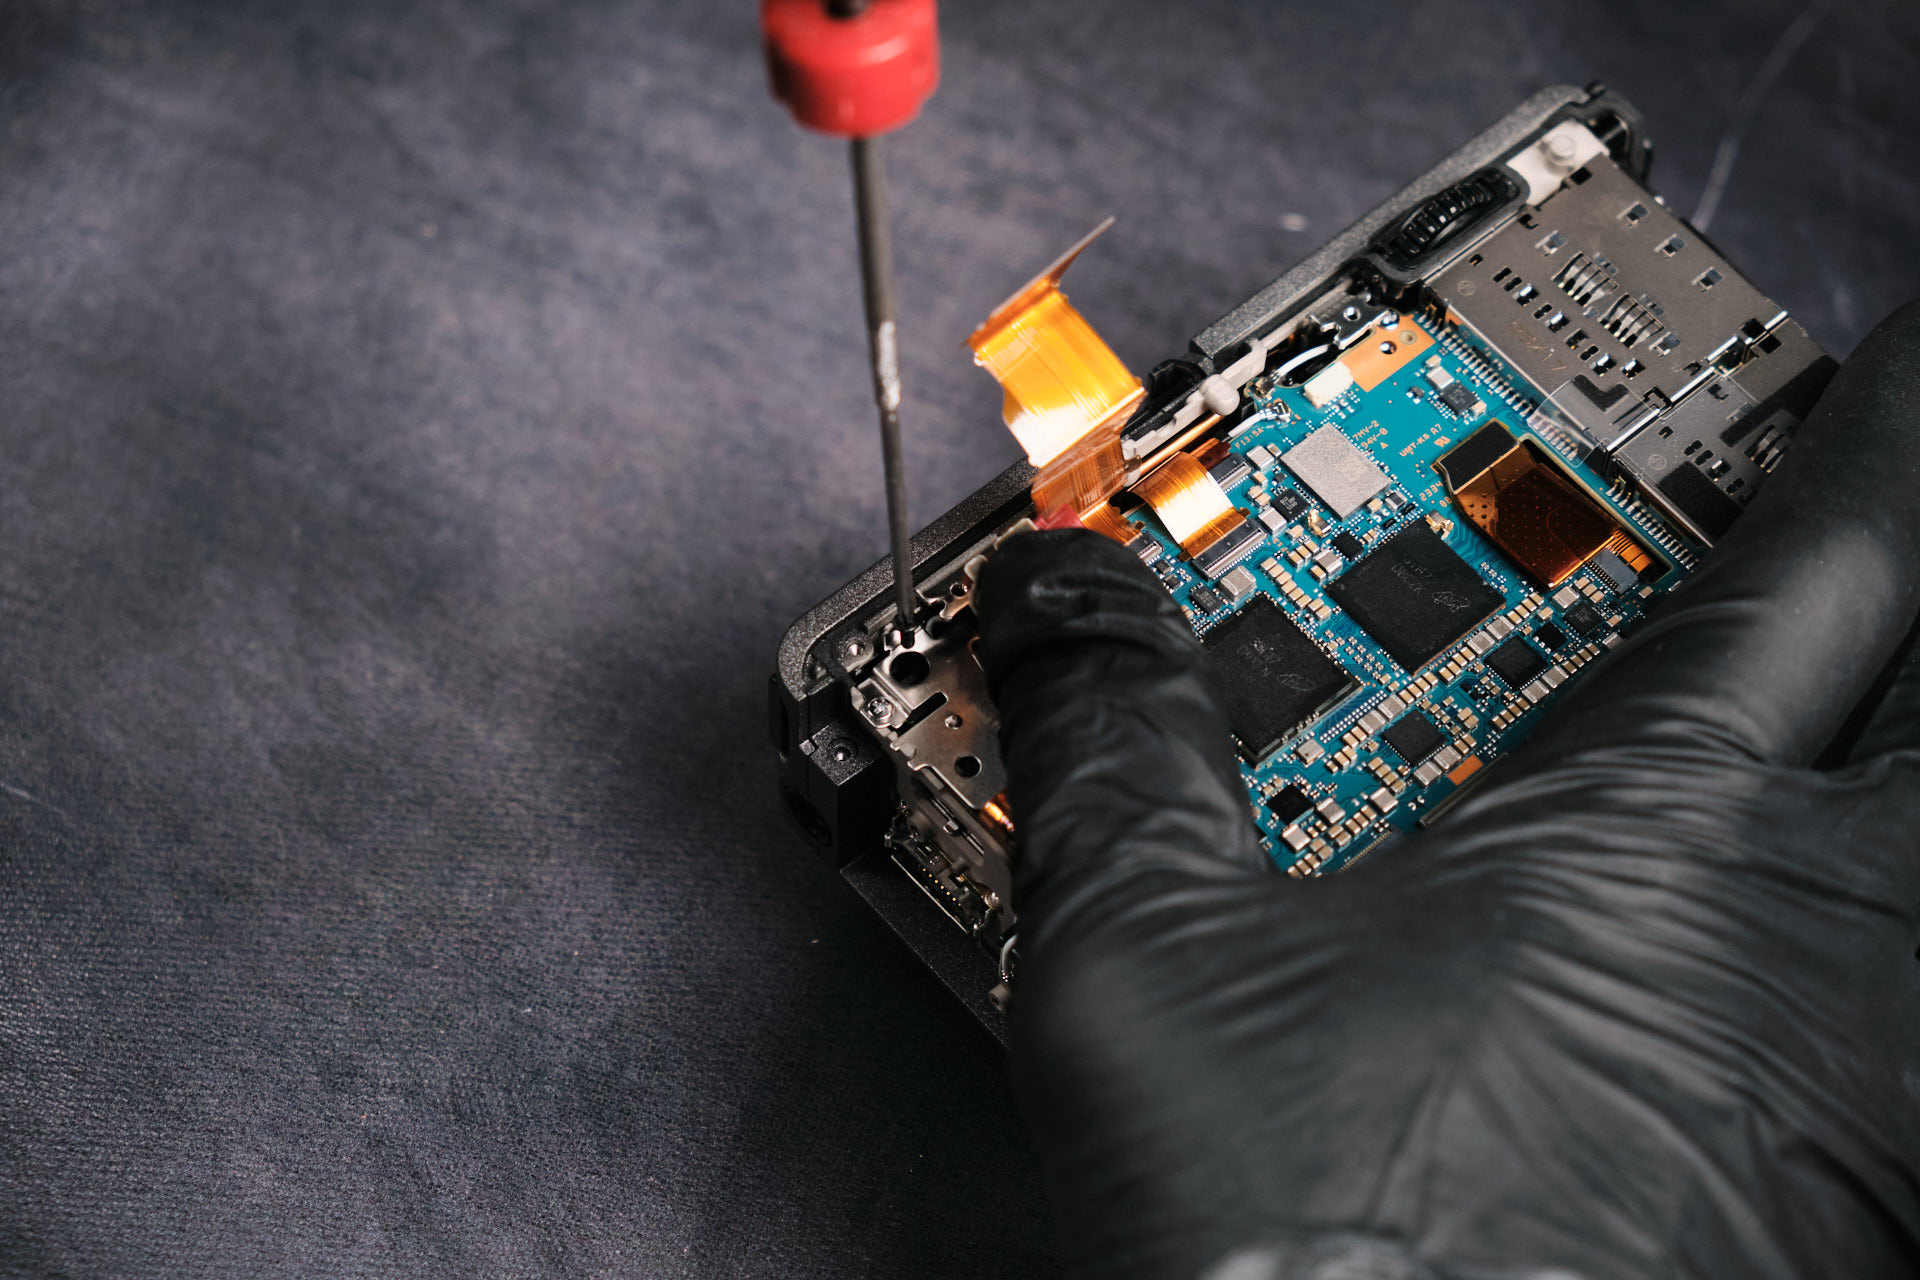
Flipping the backside of the camera, there is one ribbon cable that keeps the connections in tact.
Removing Hidden Screws Around the Camera Frame
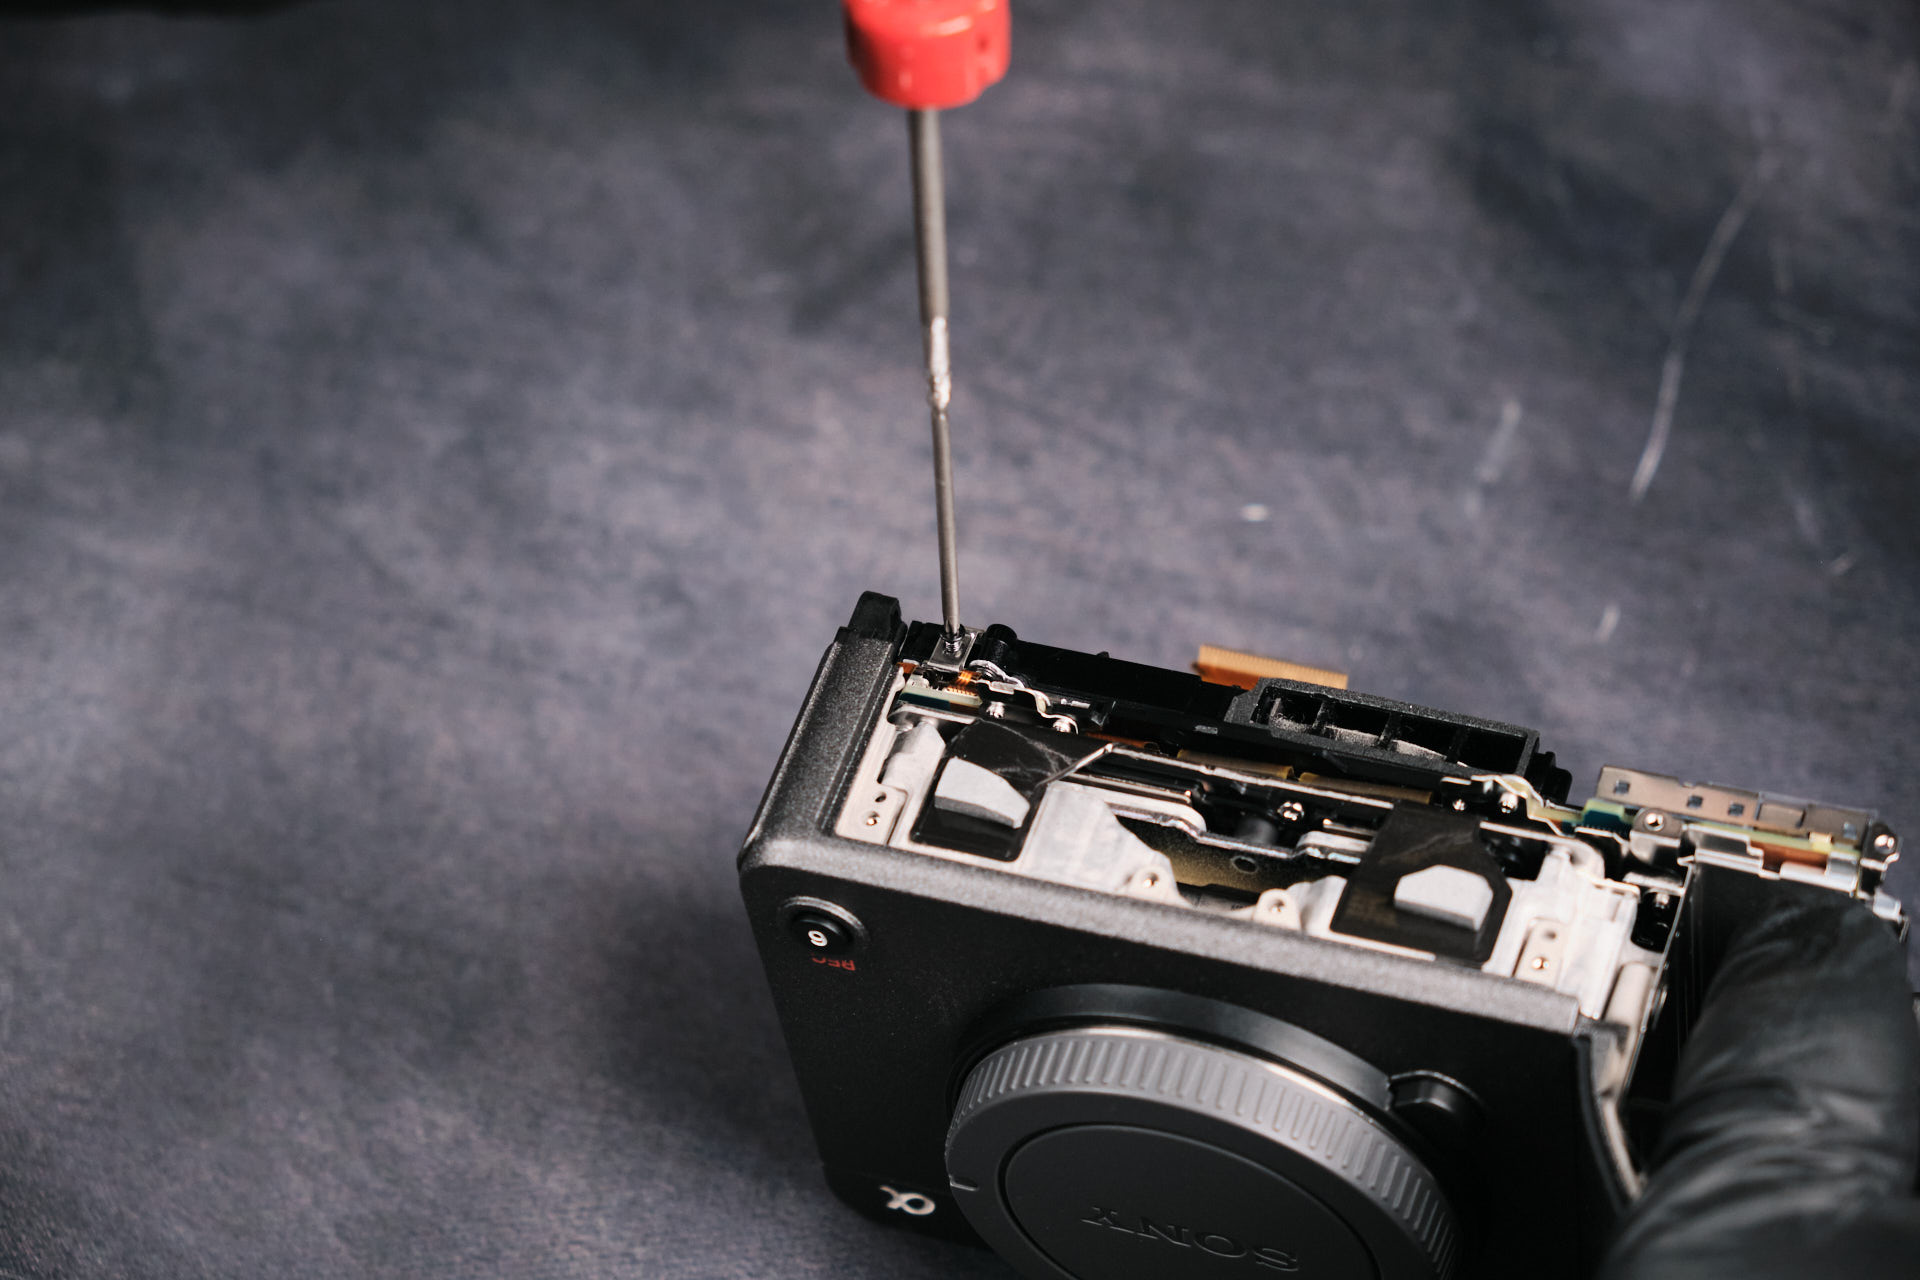
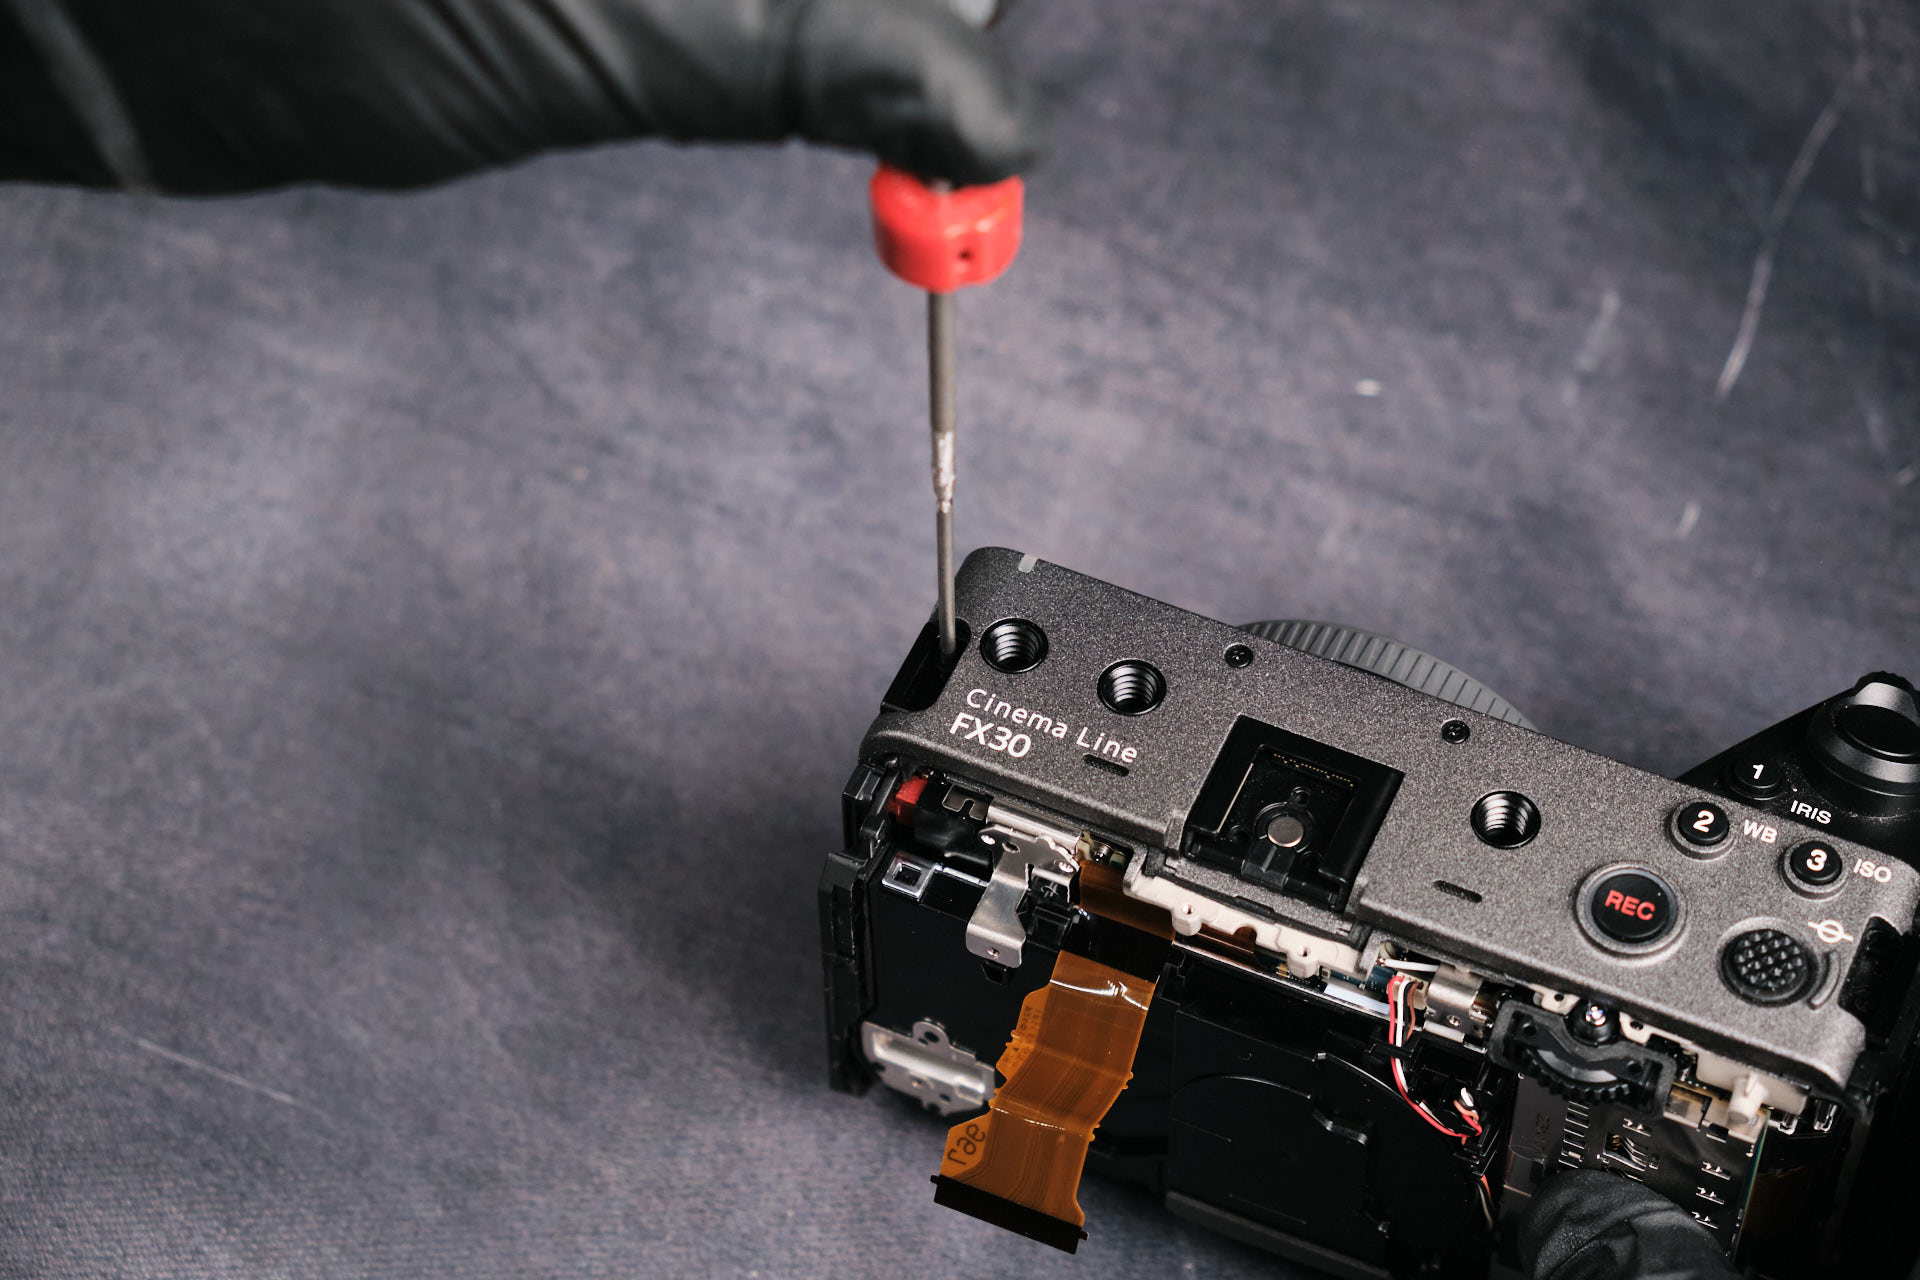
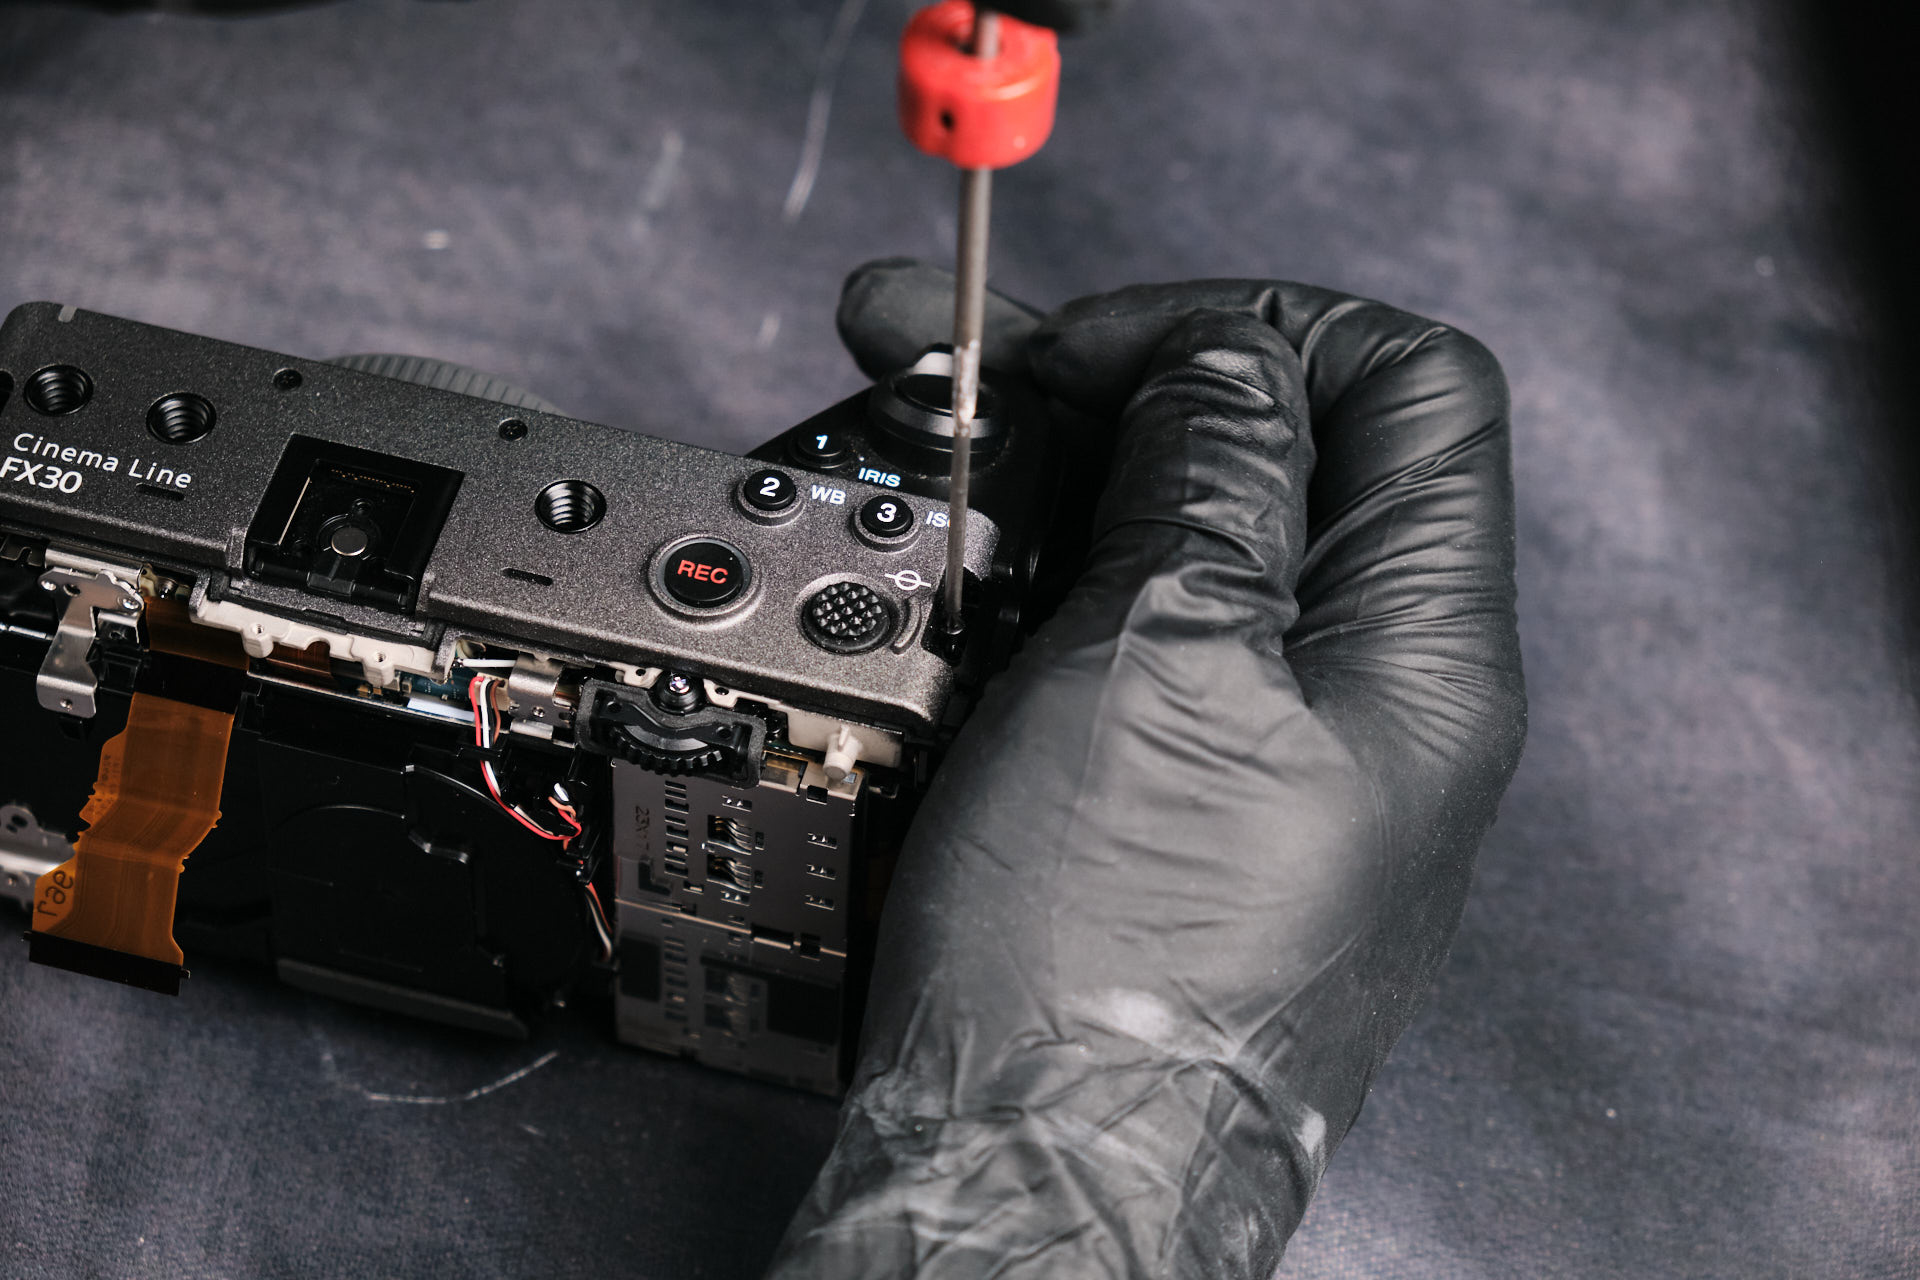
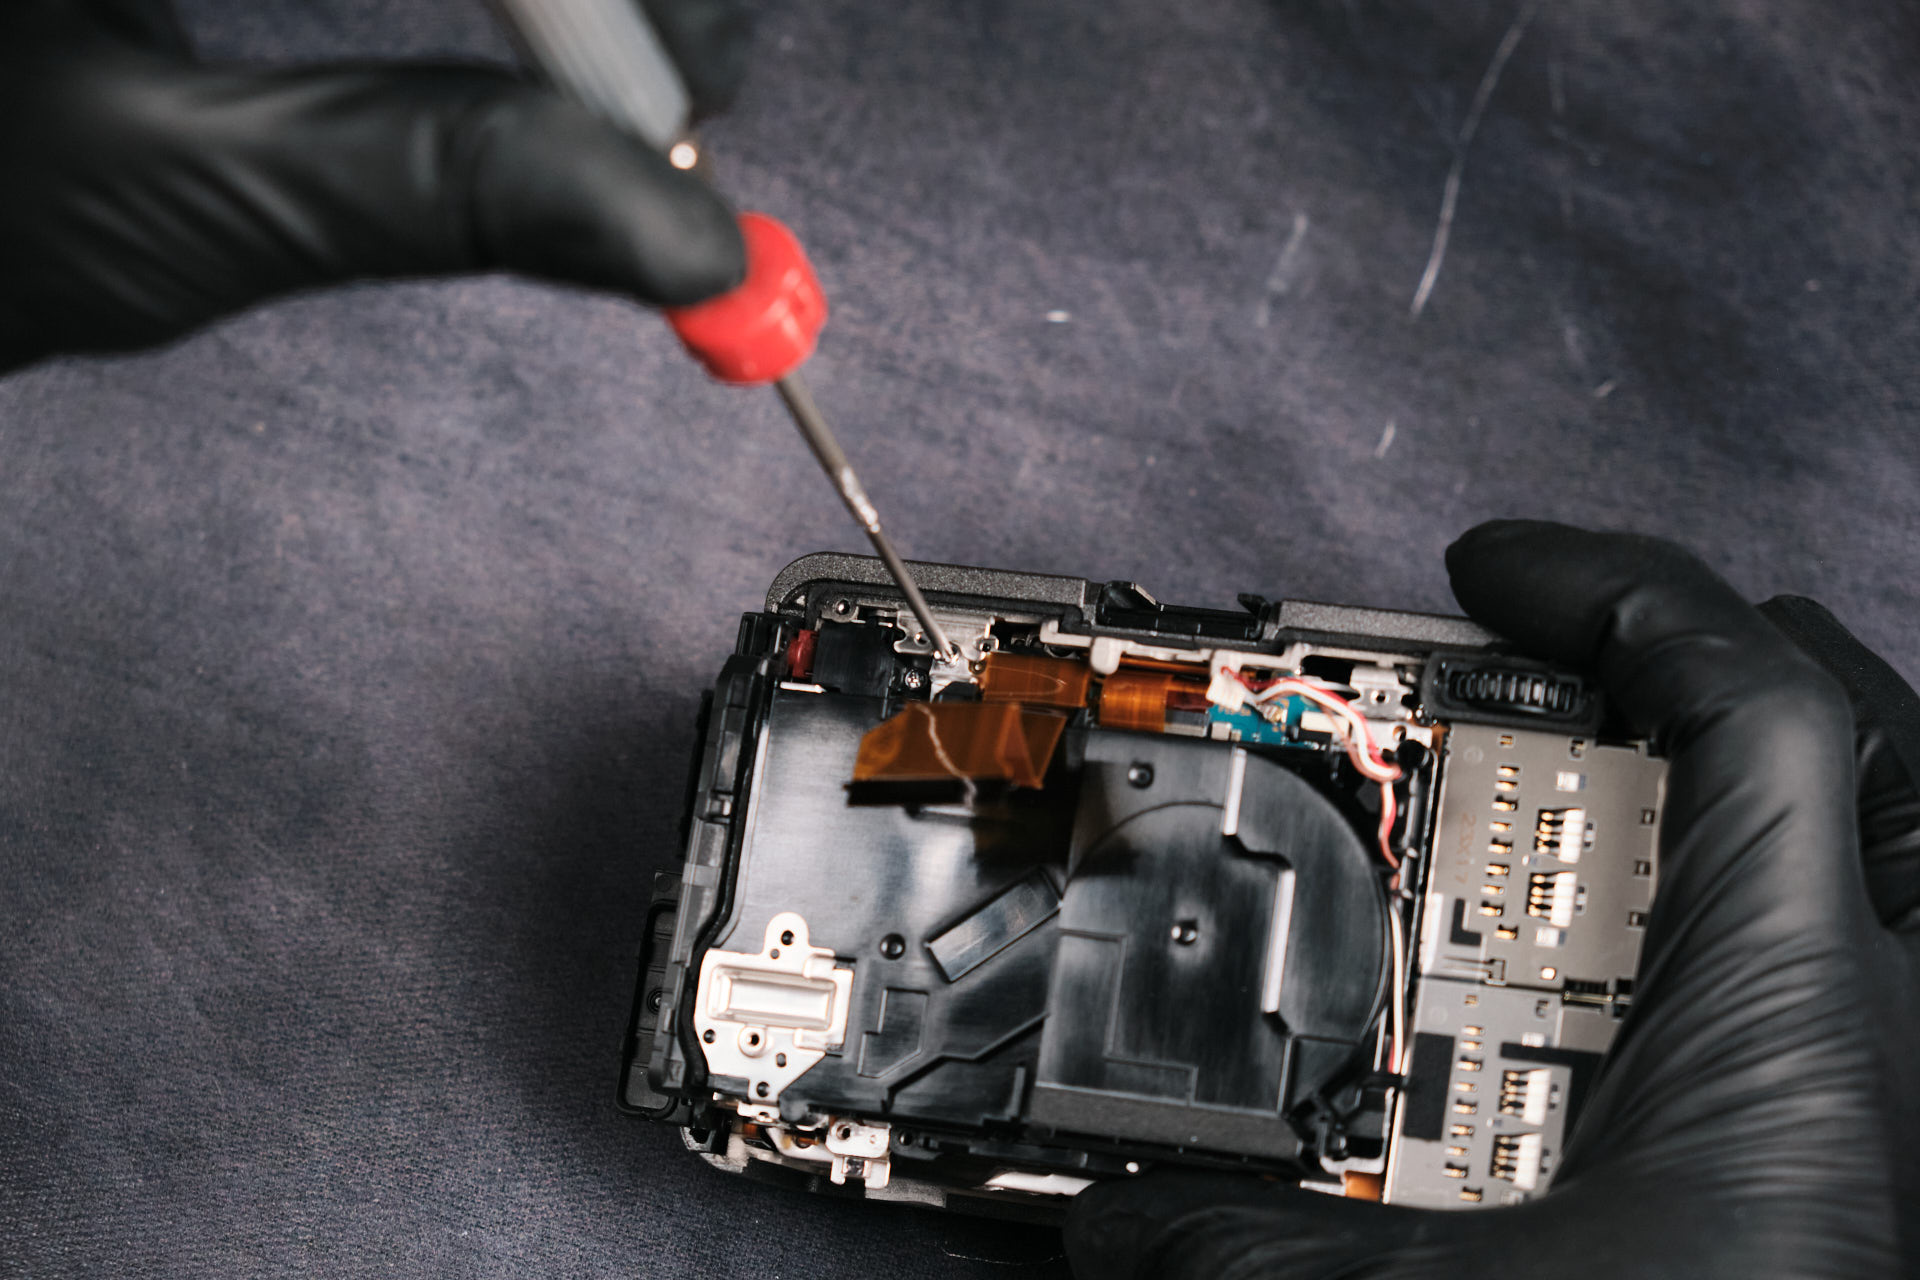
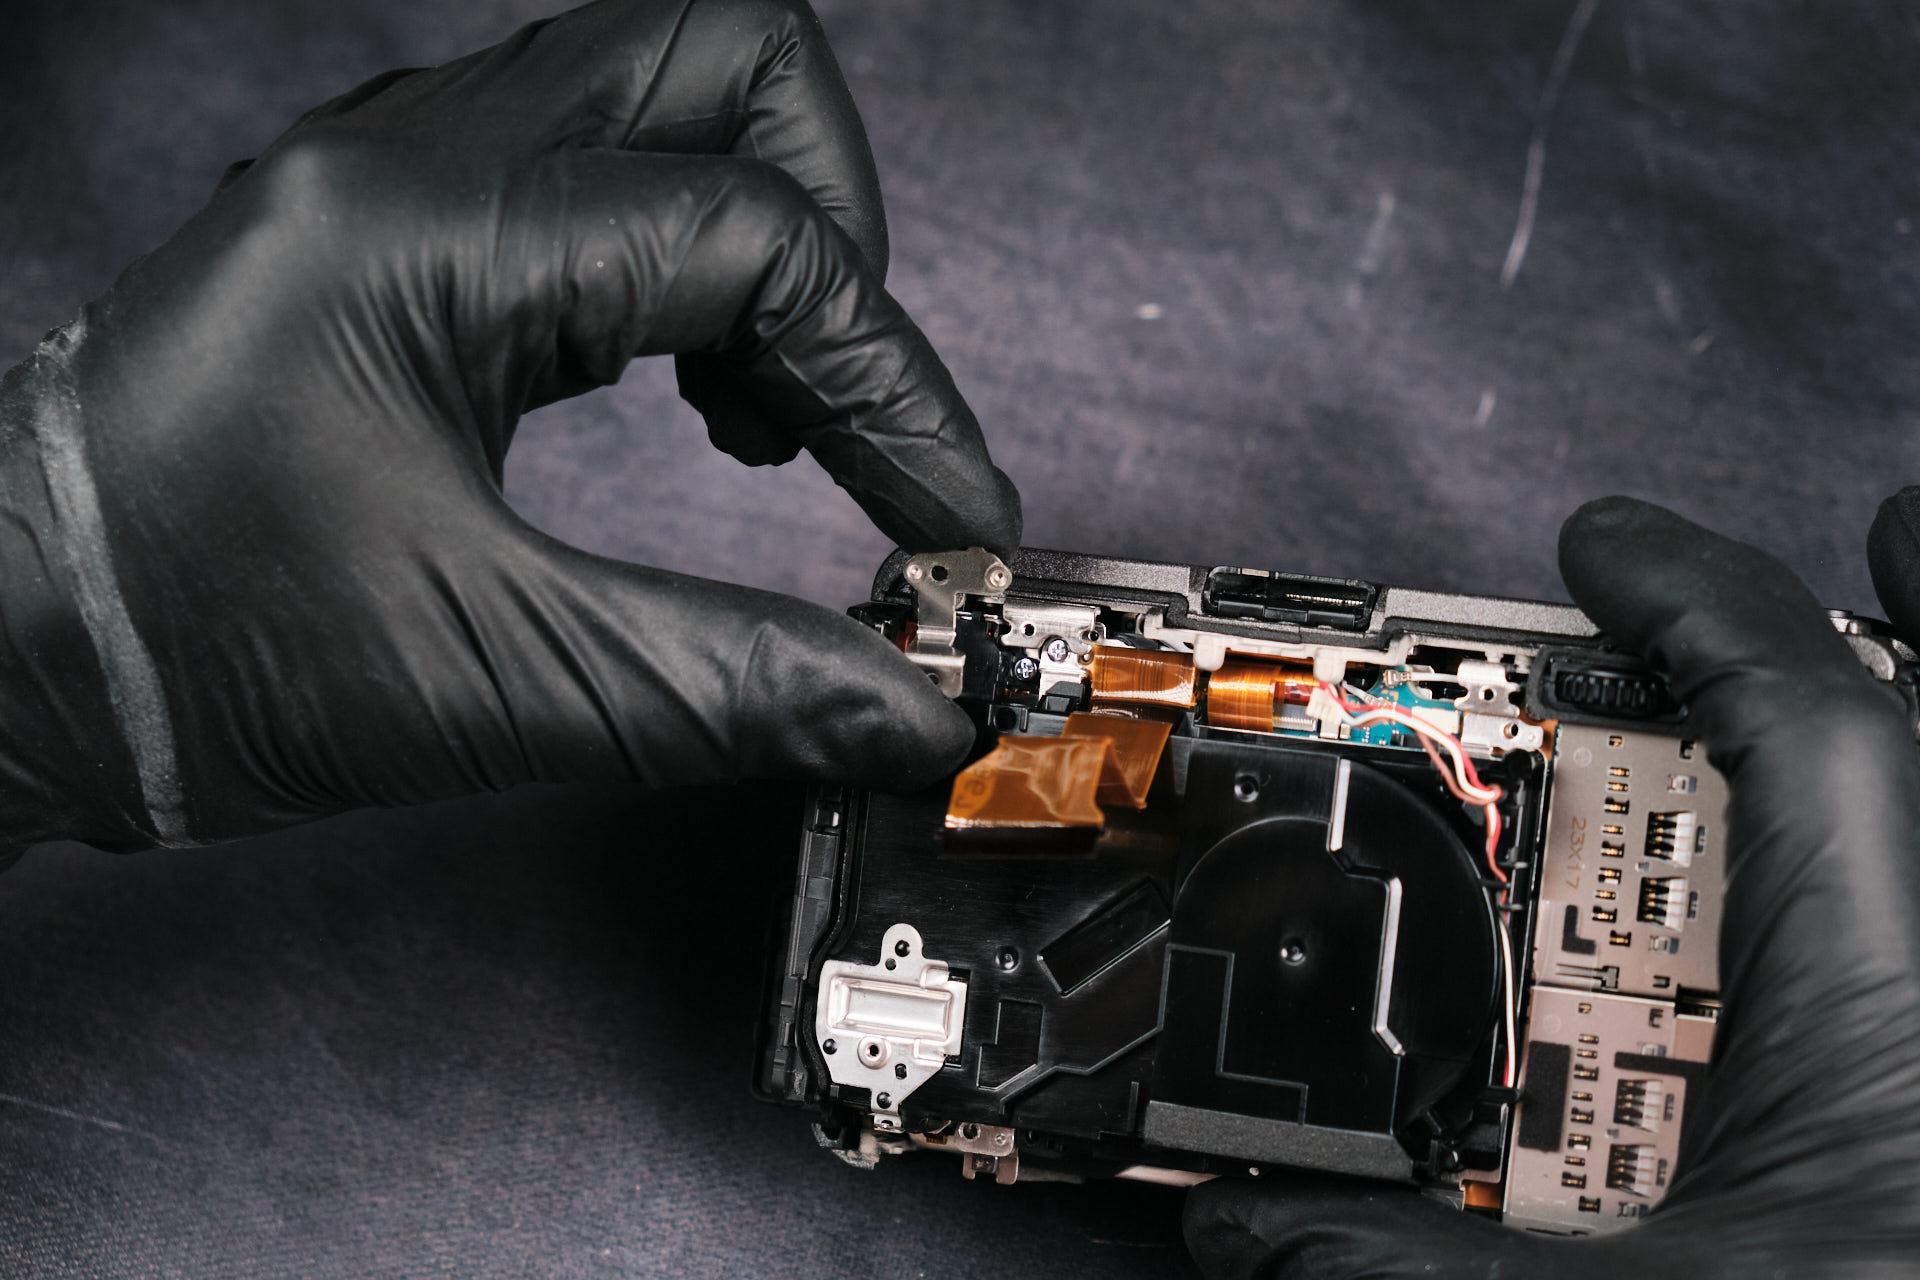
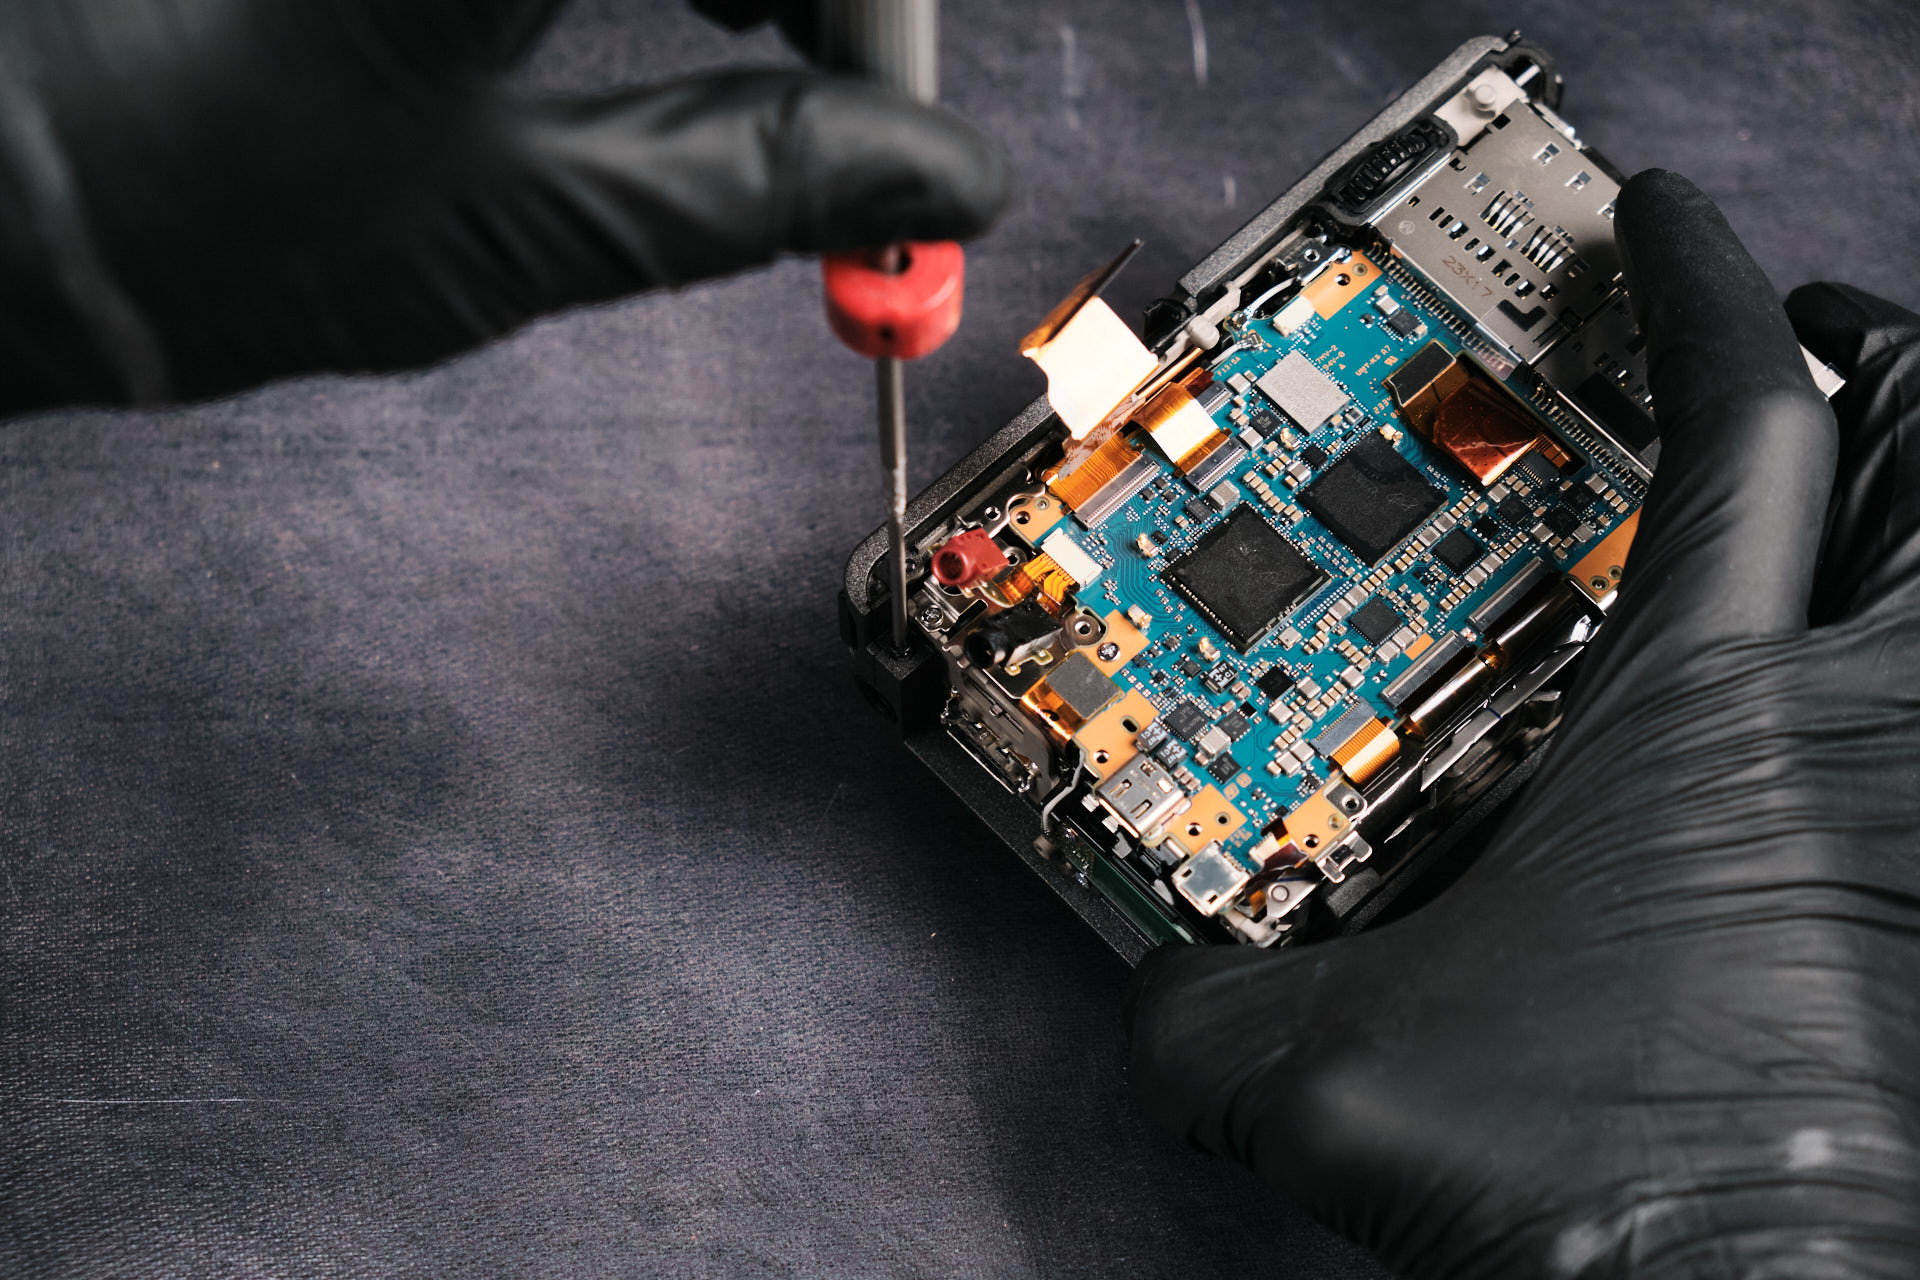
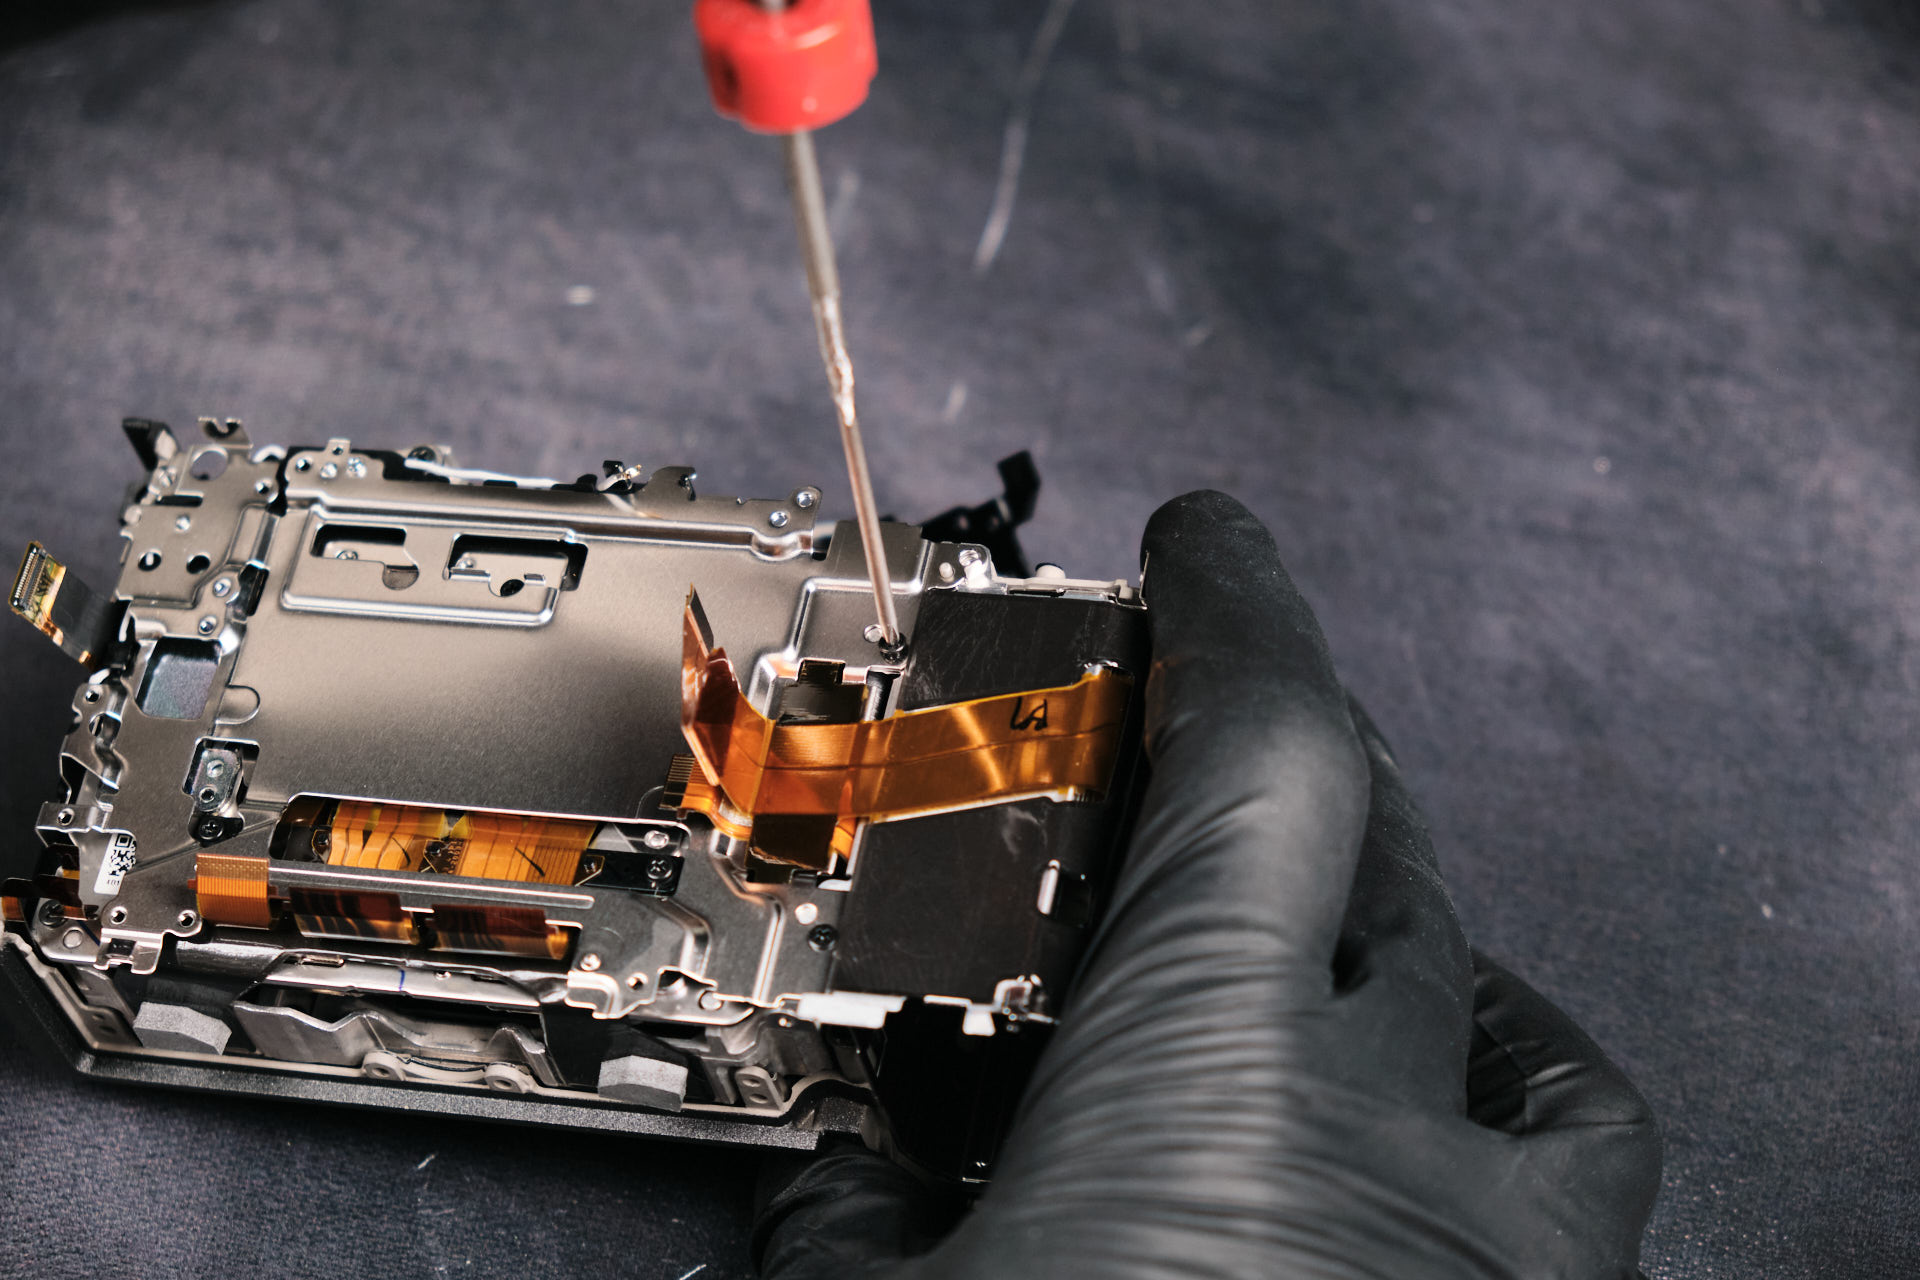
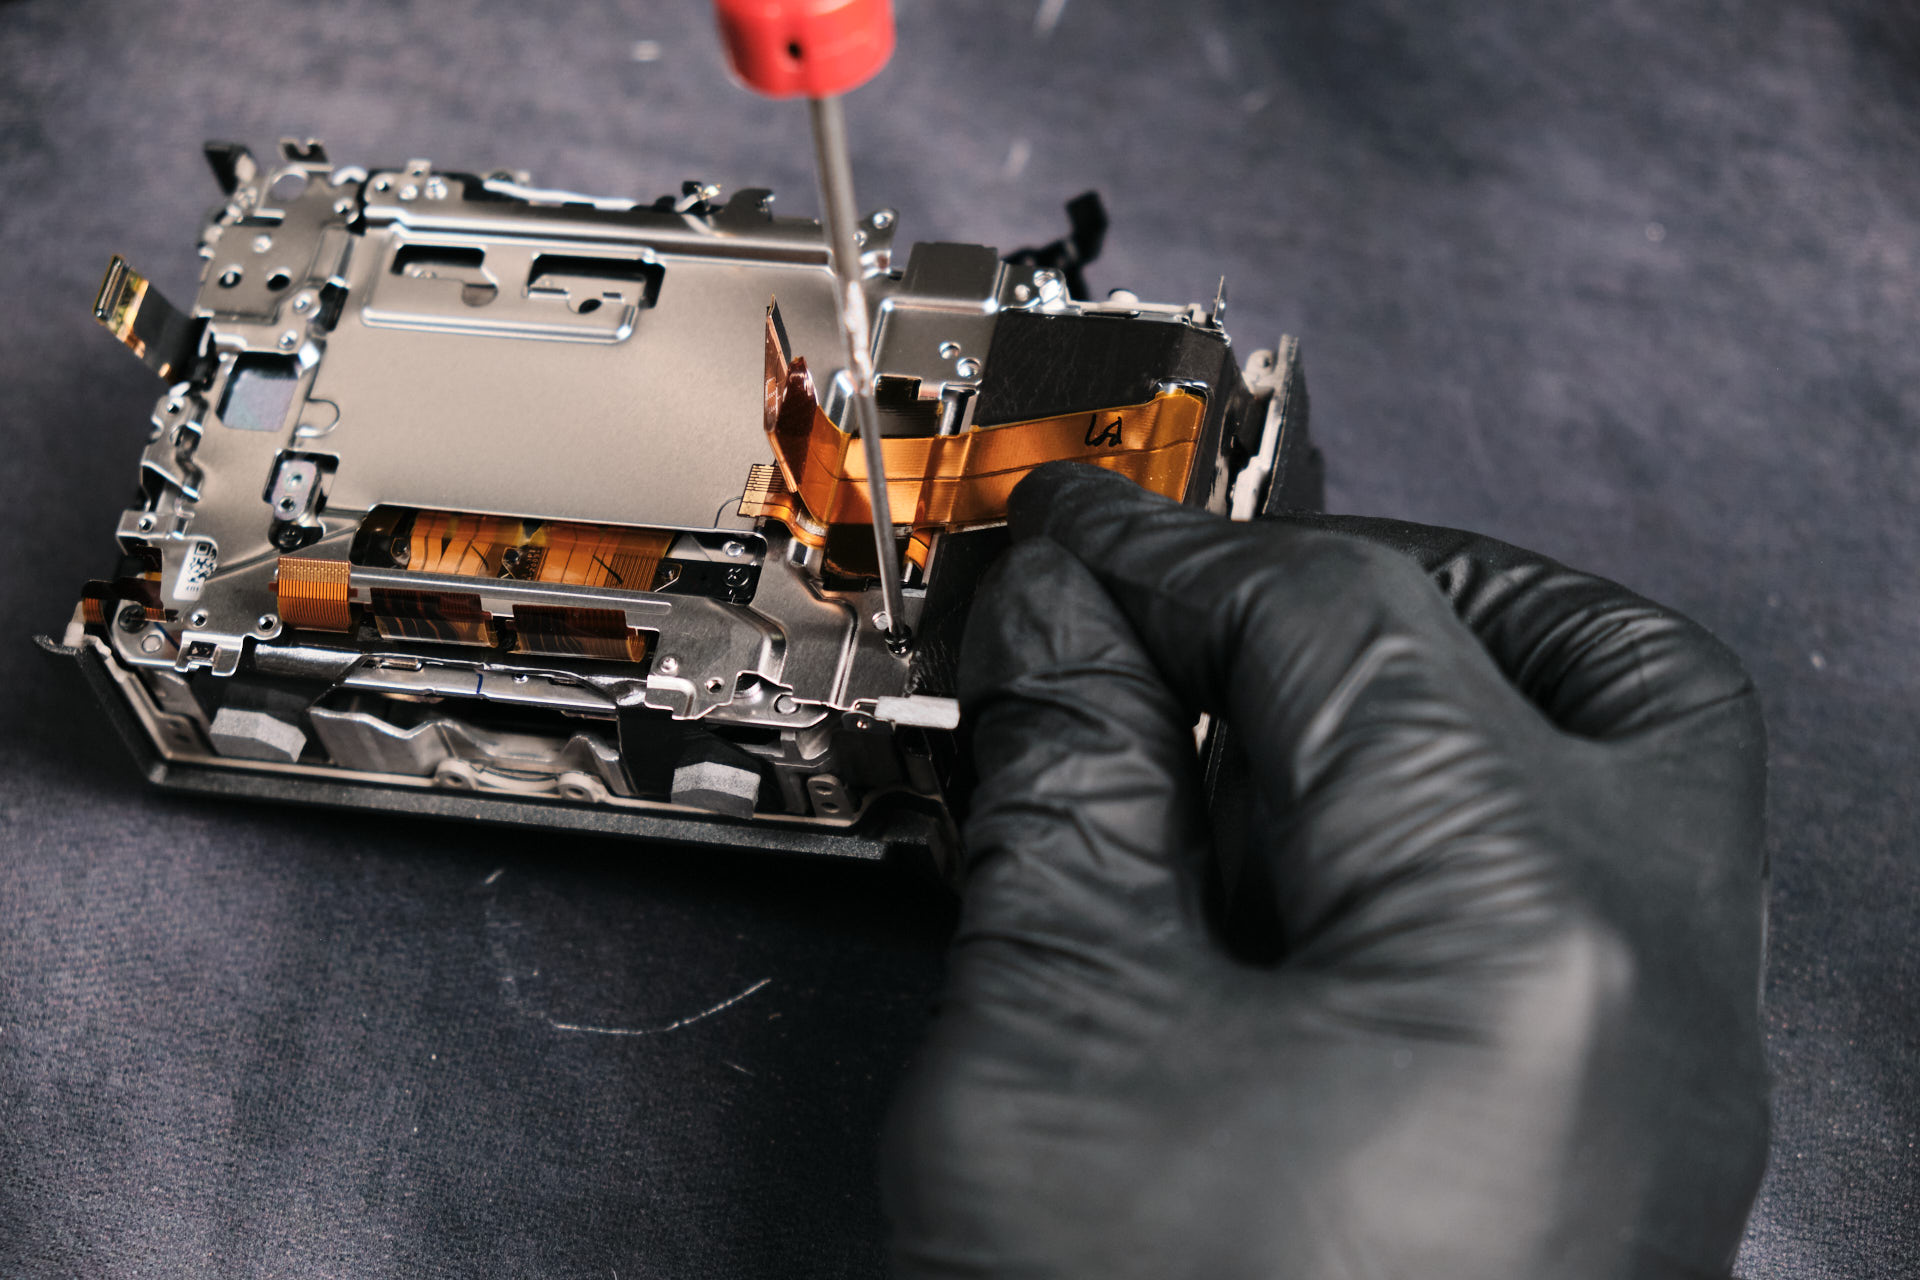
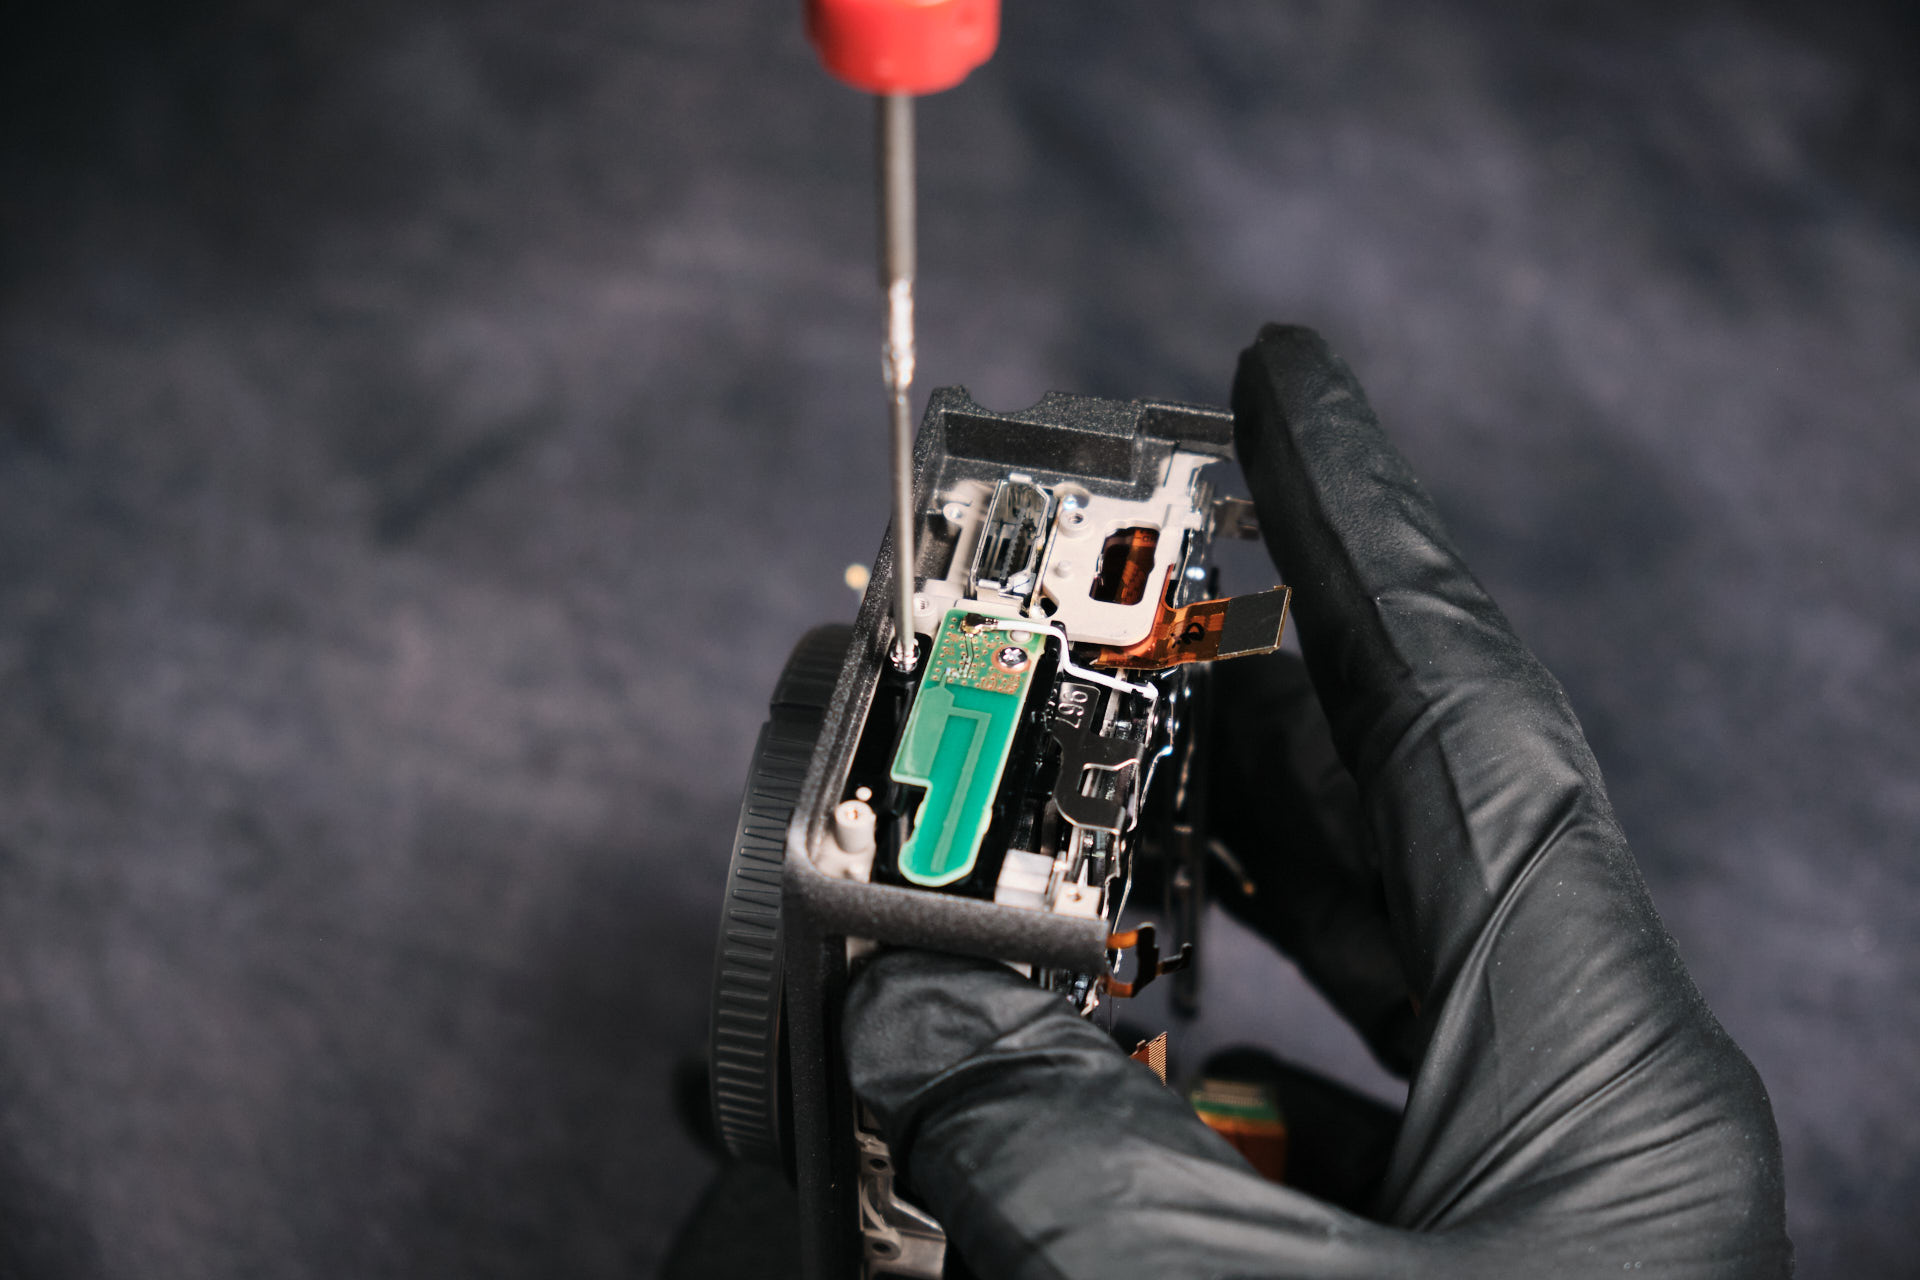
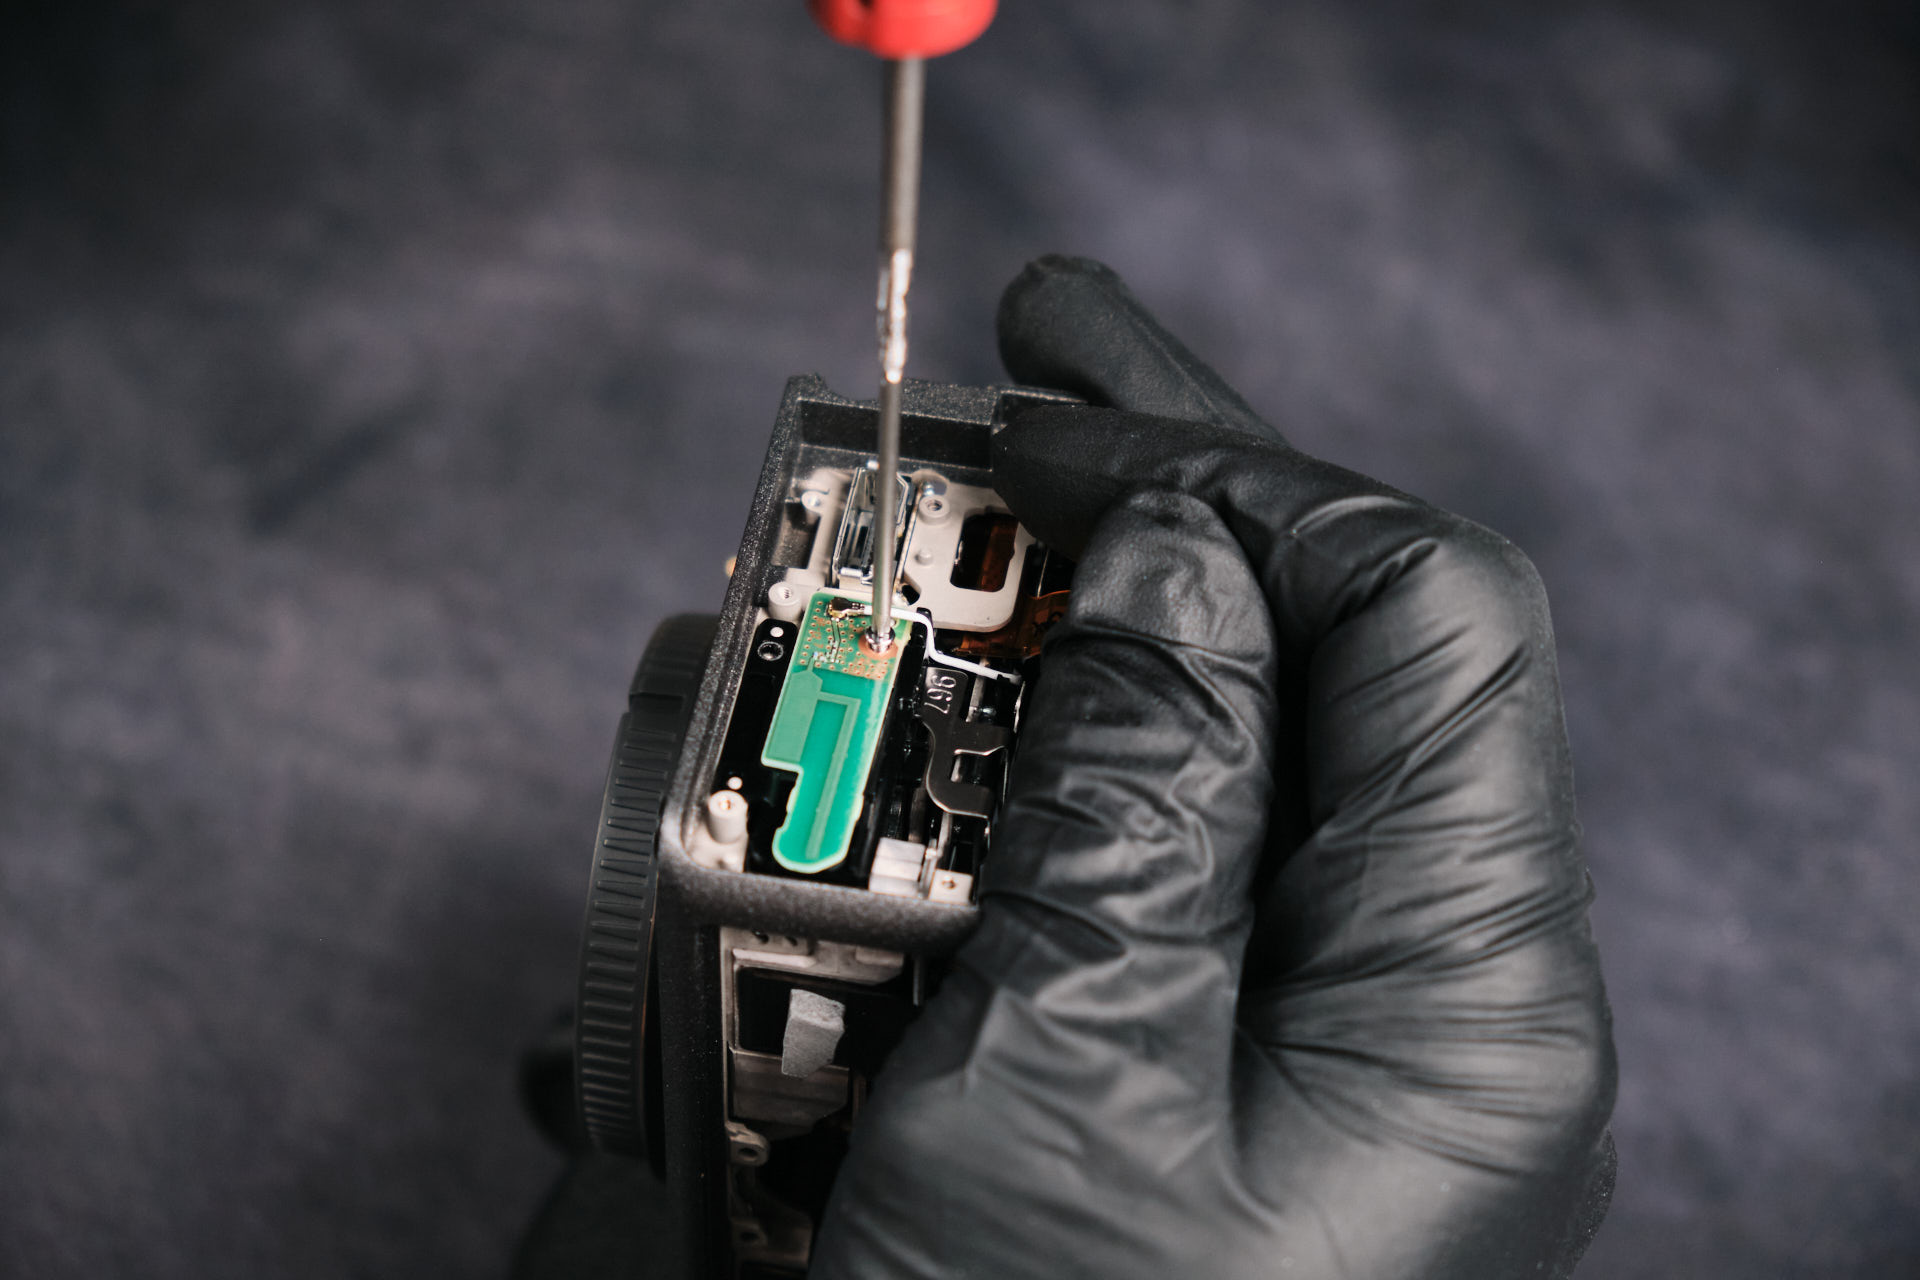
After removing the back, we started to remove other extraneous screws surrounding the entire frame of the boy. With the FX30, there are many hidden screws within the nooks and crannies of the frame.
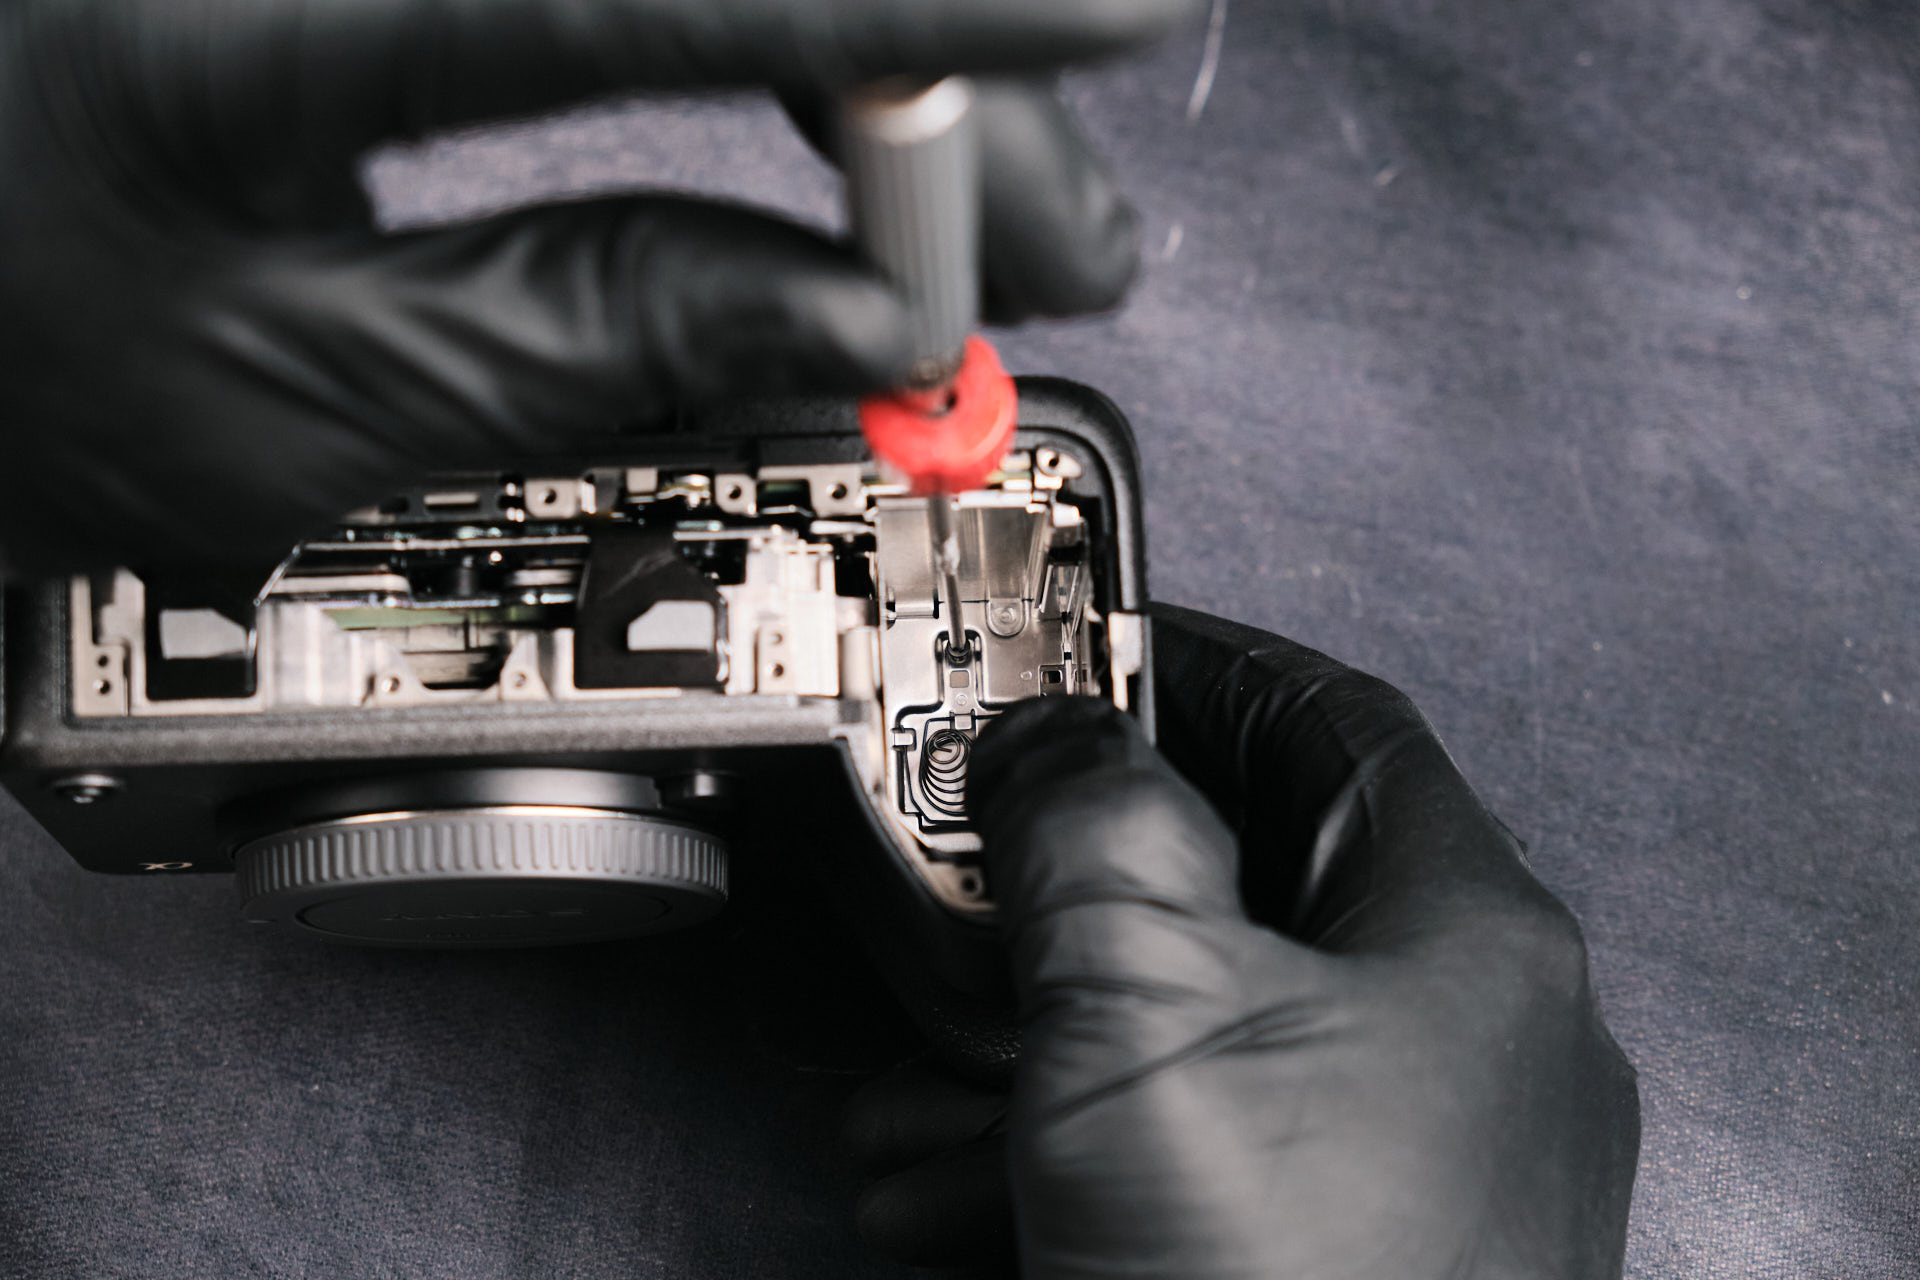
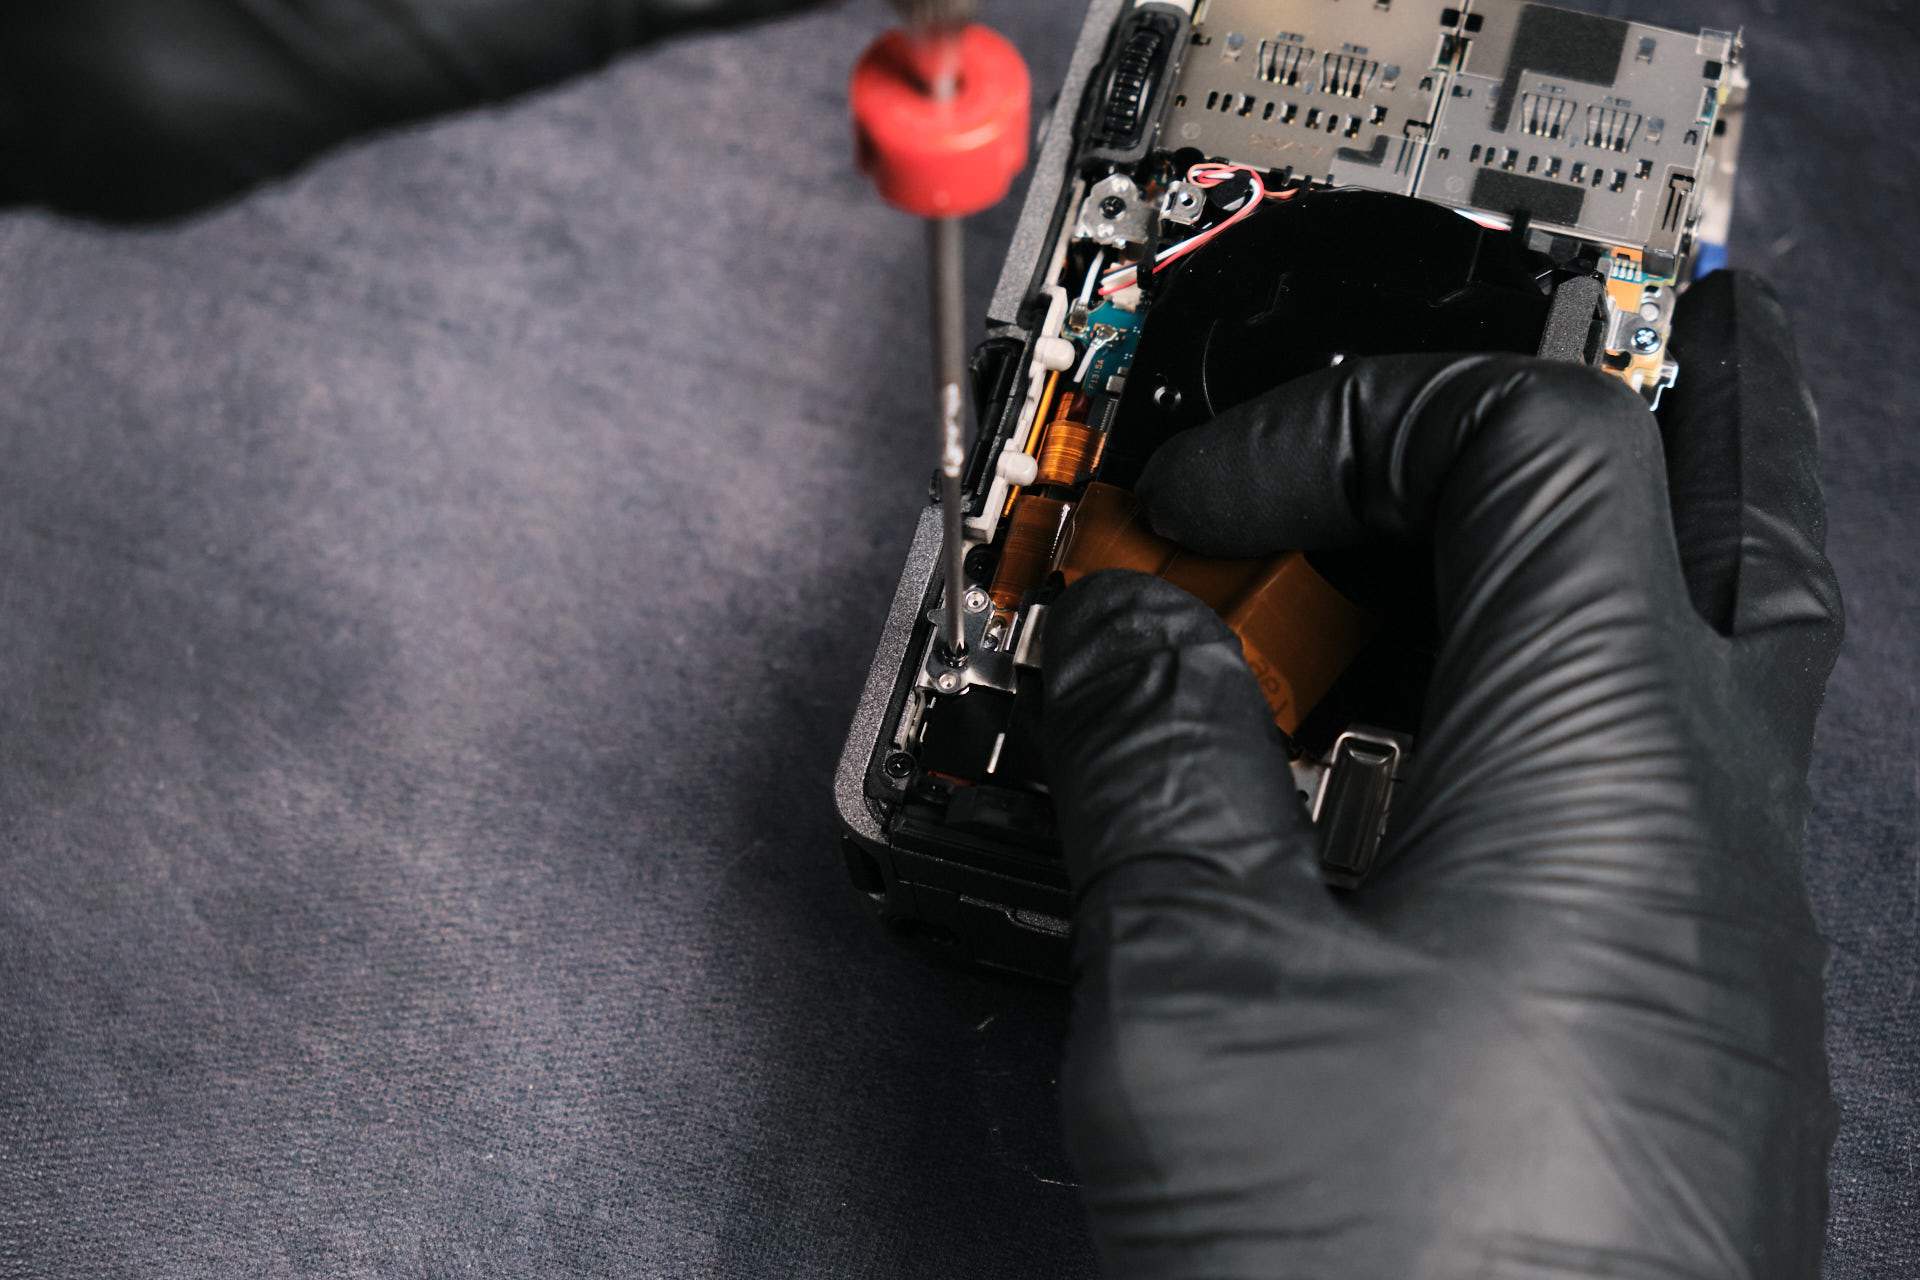
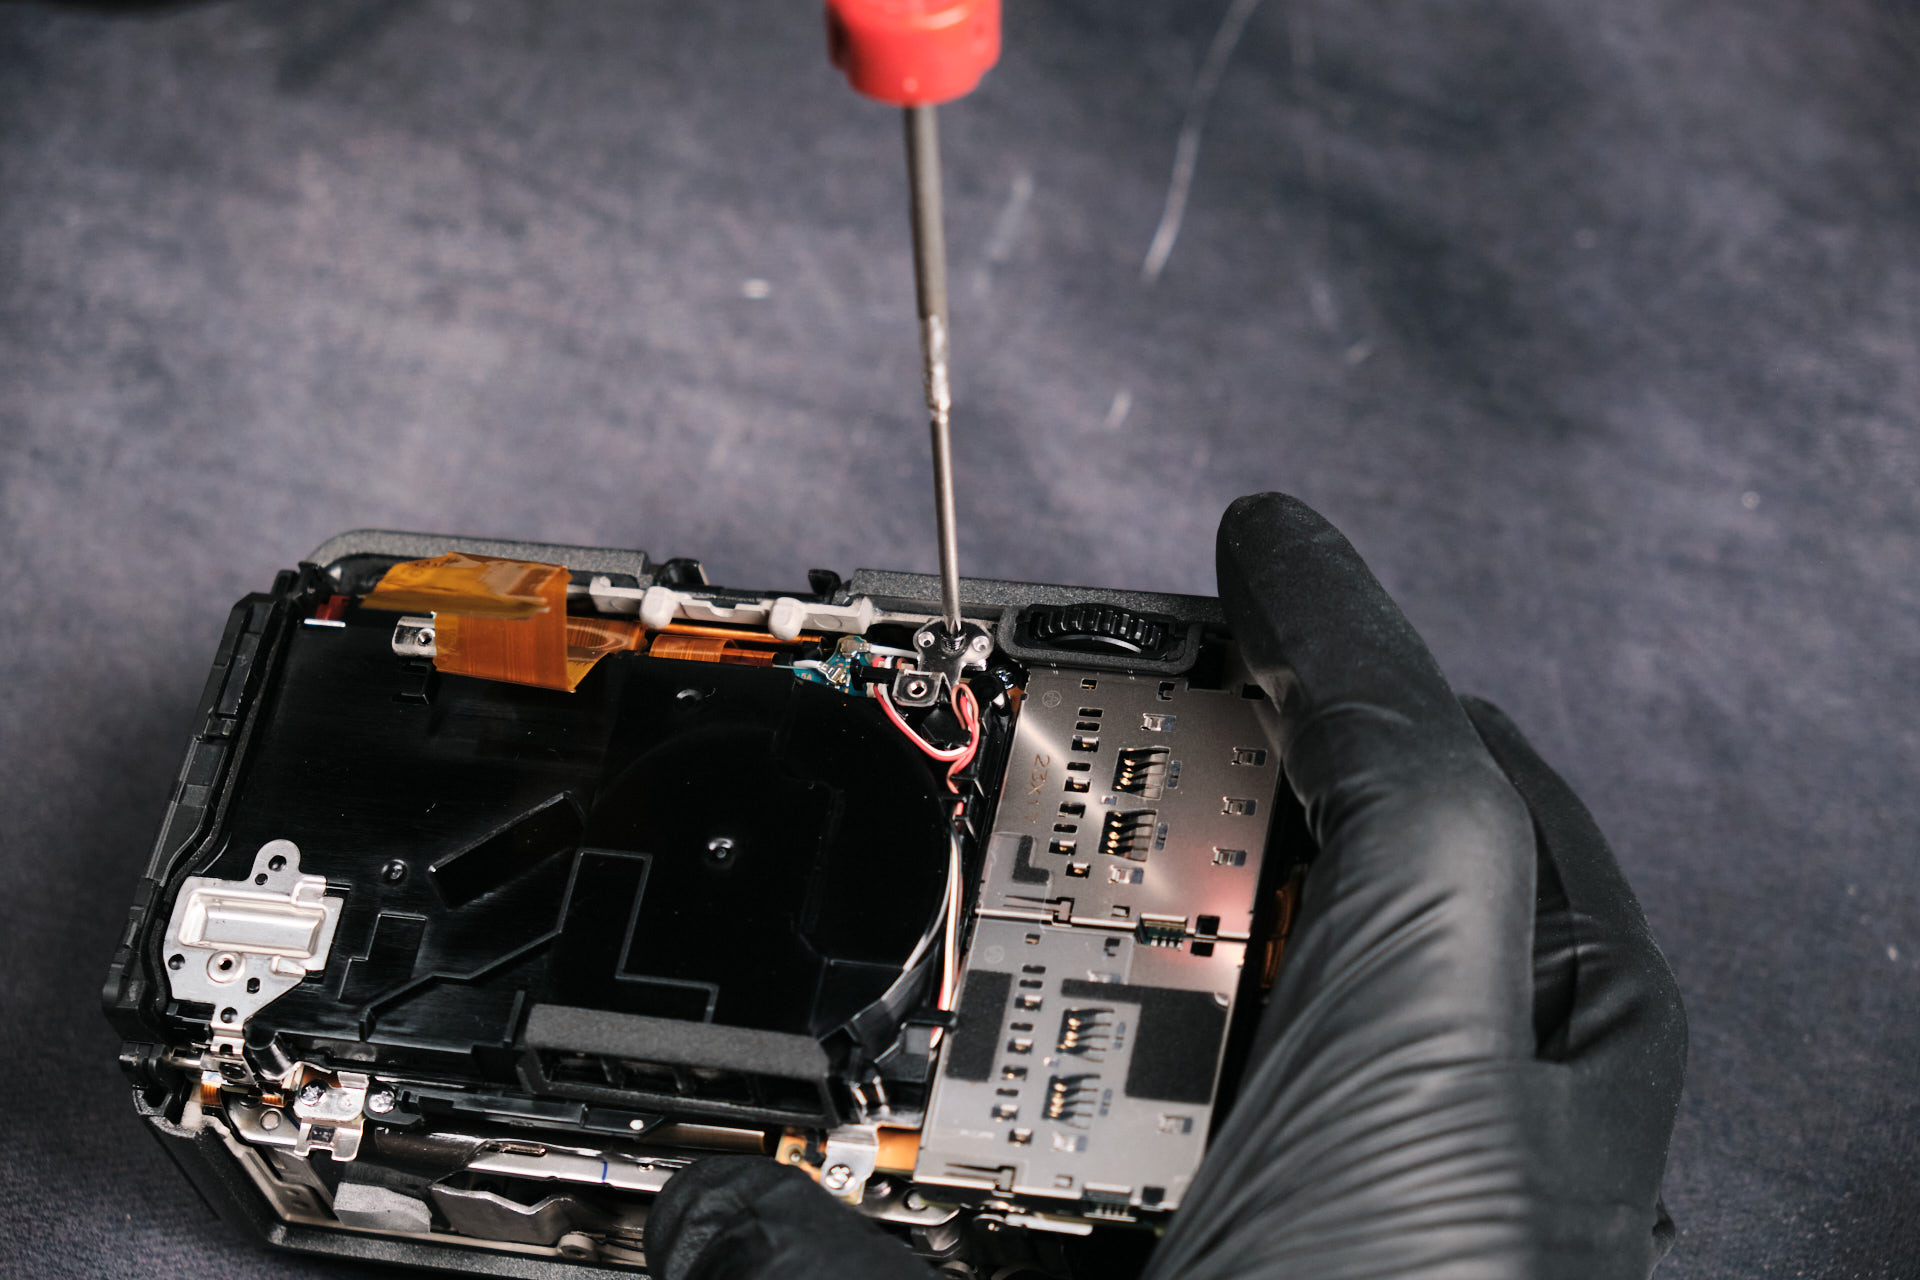
One screw holds down this metal bracket. It’s possibly used as a spacer.
Removing the Port Side Cover and Internal Fan
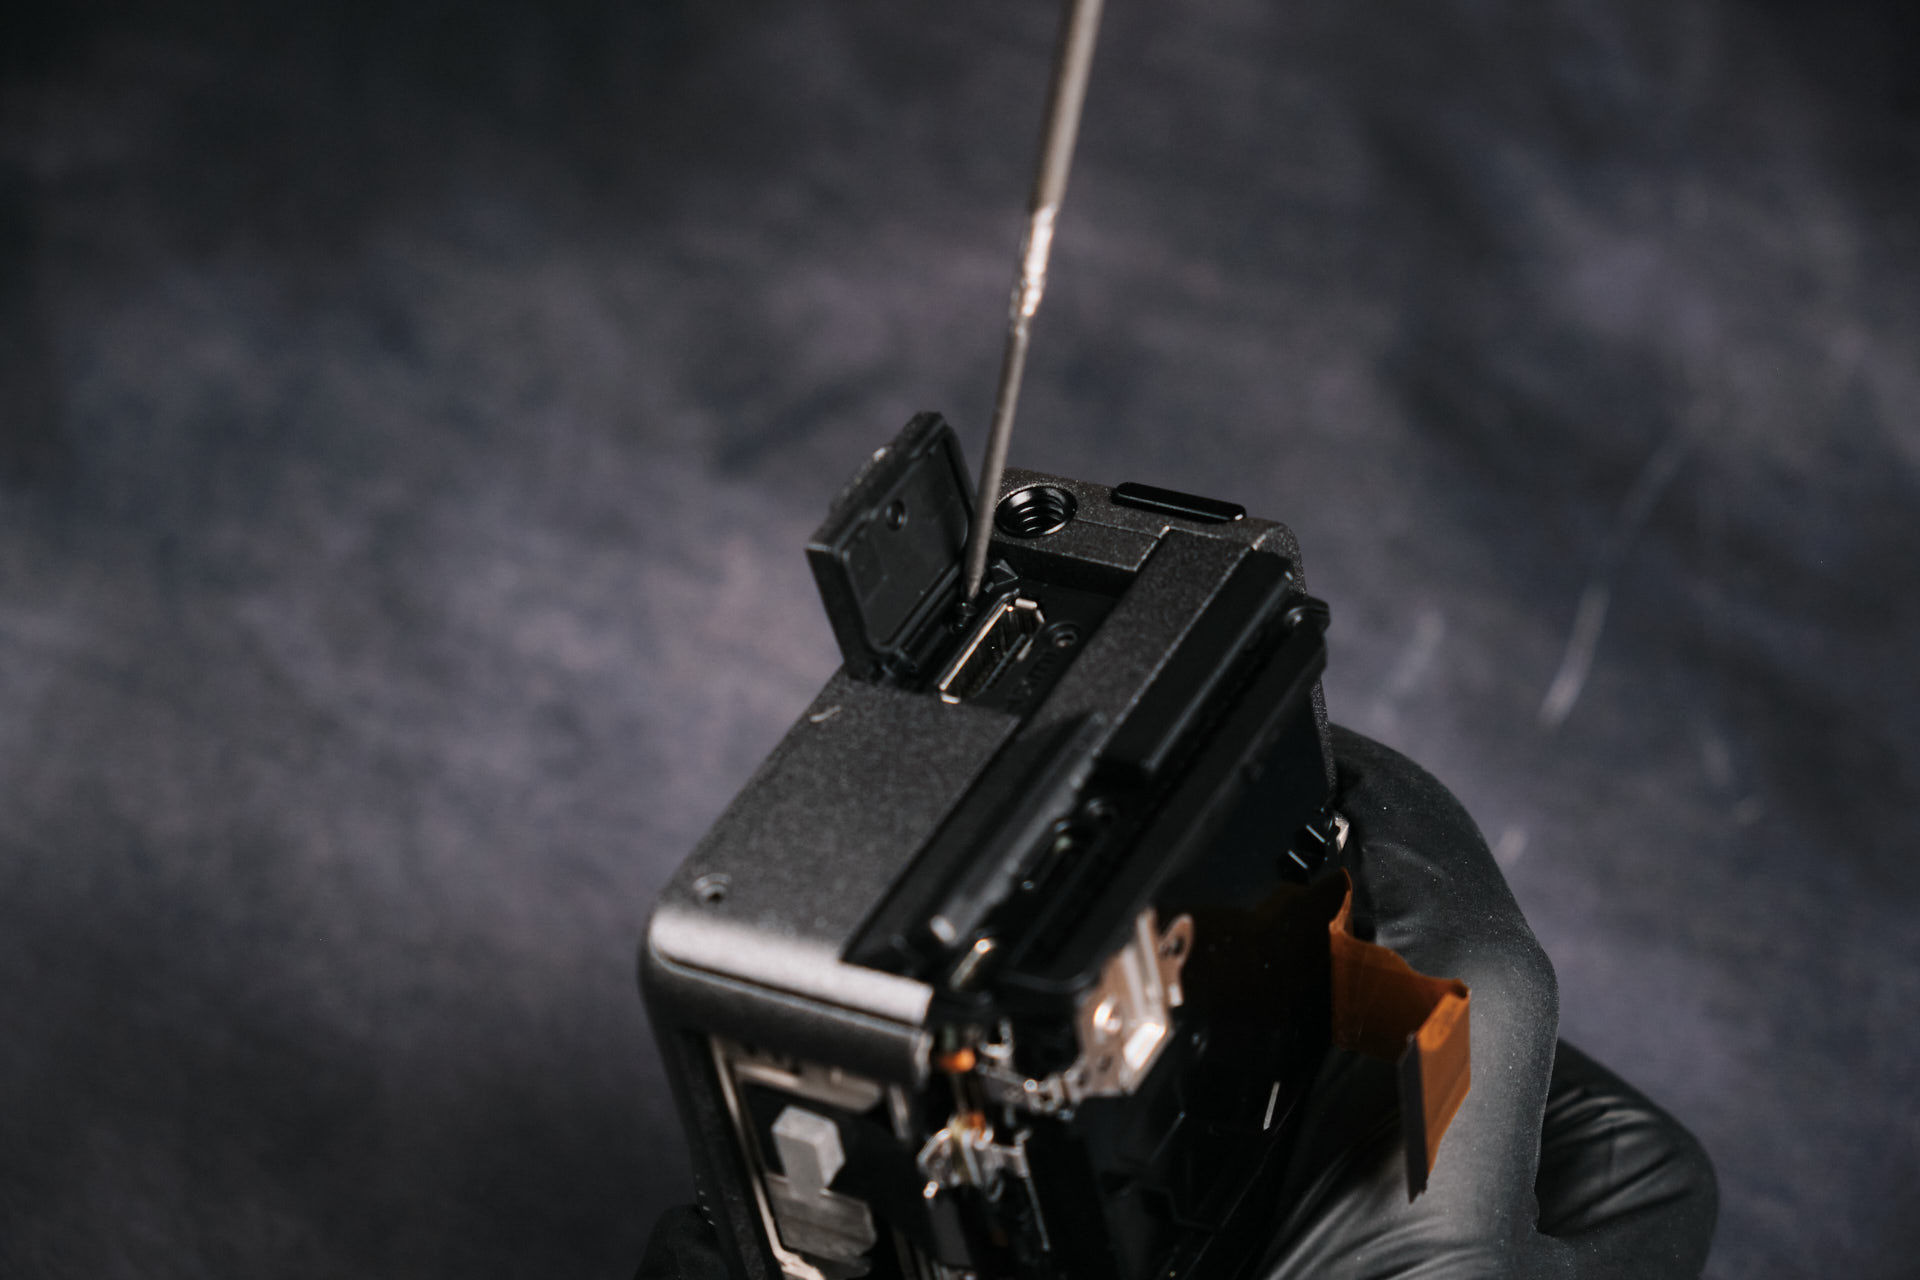
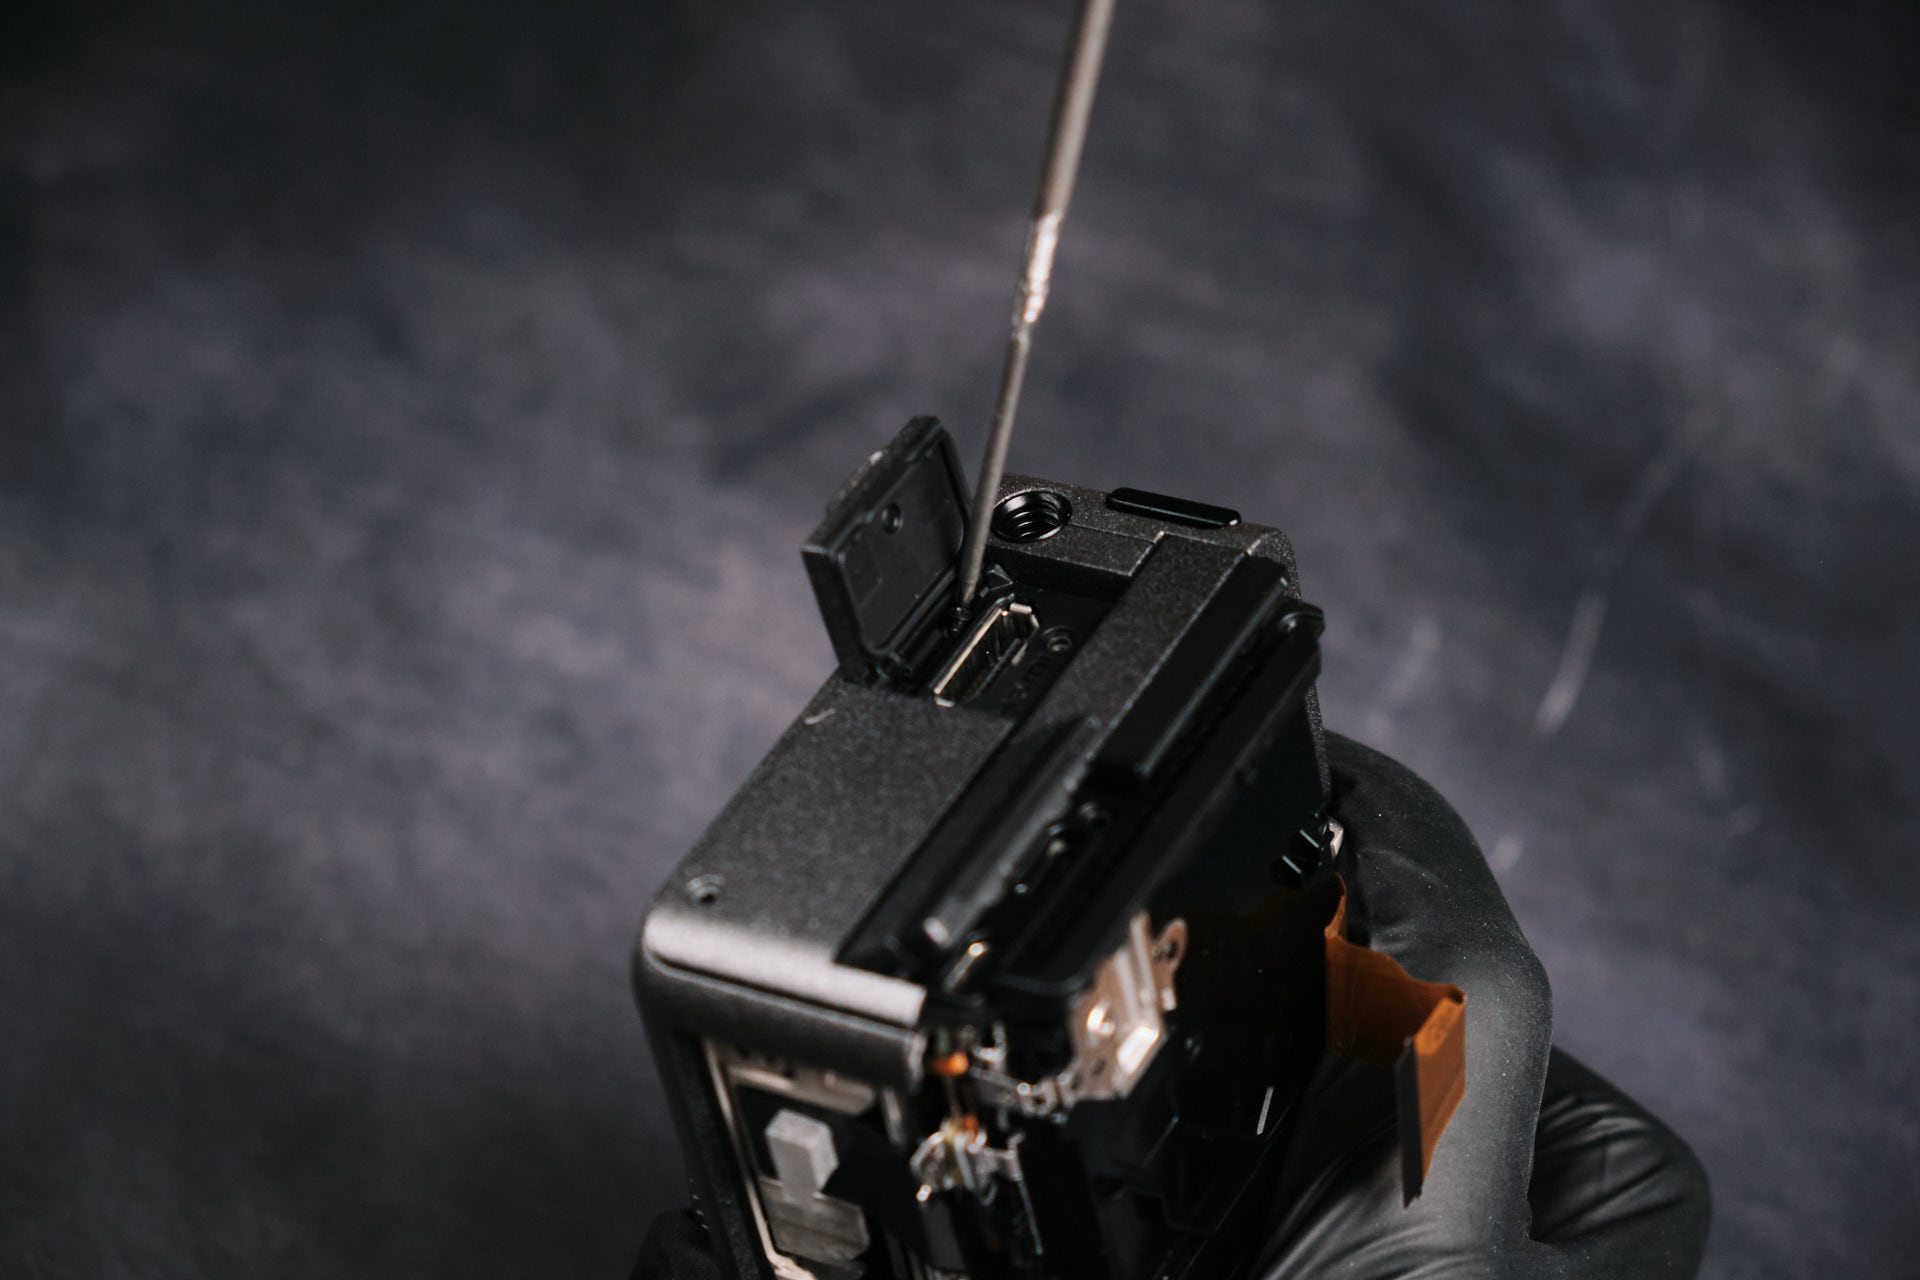
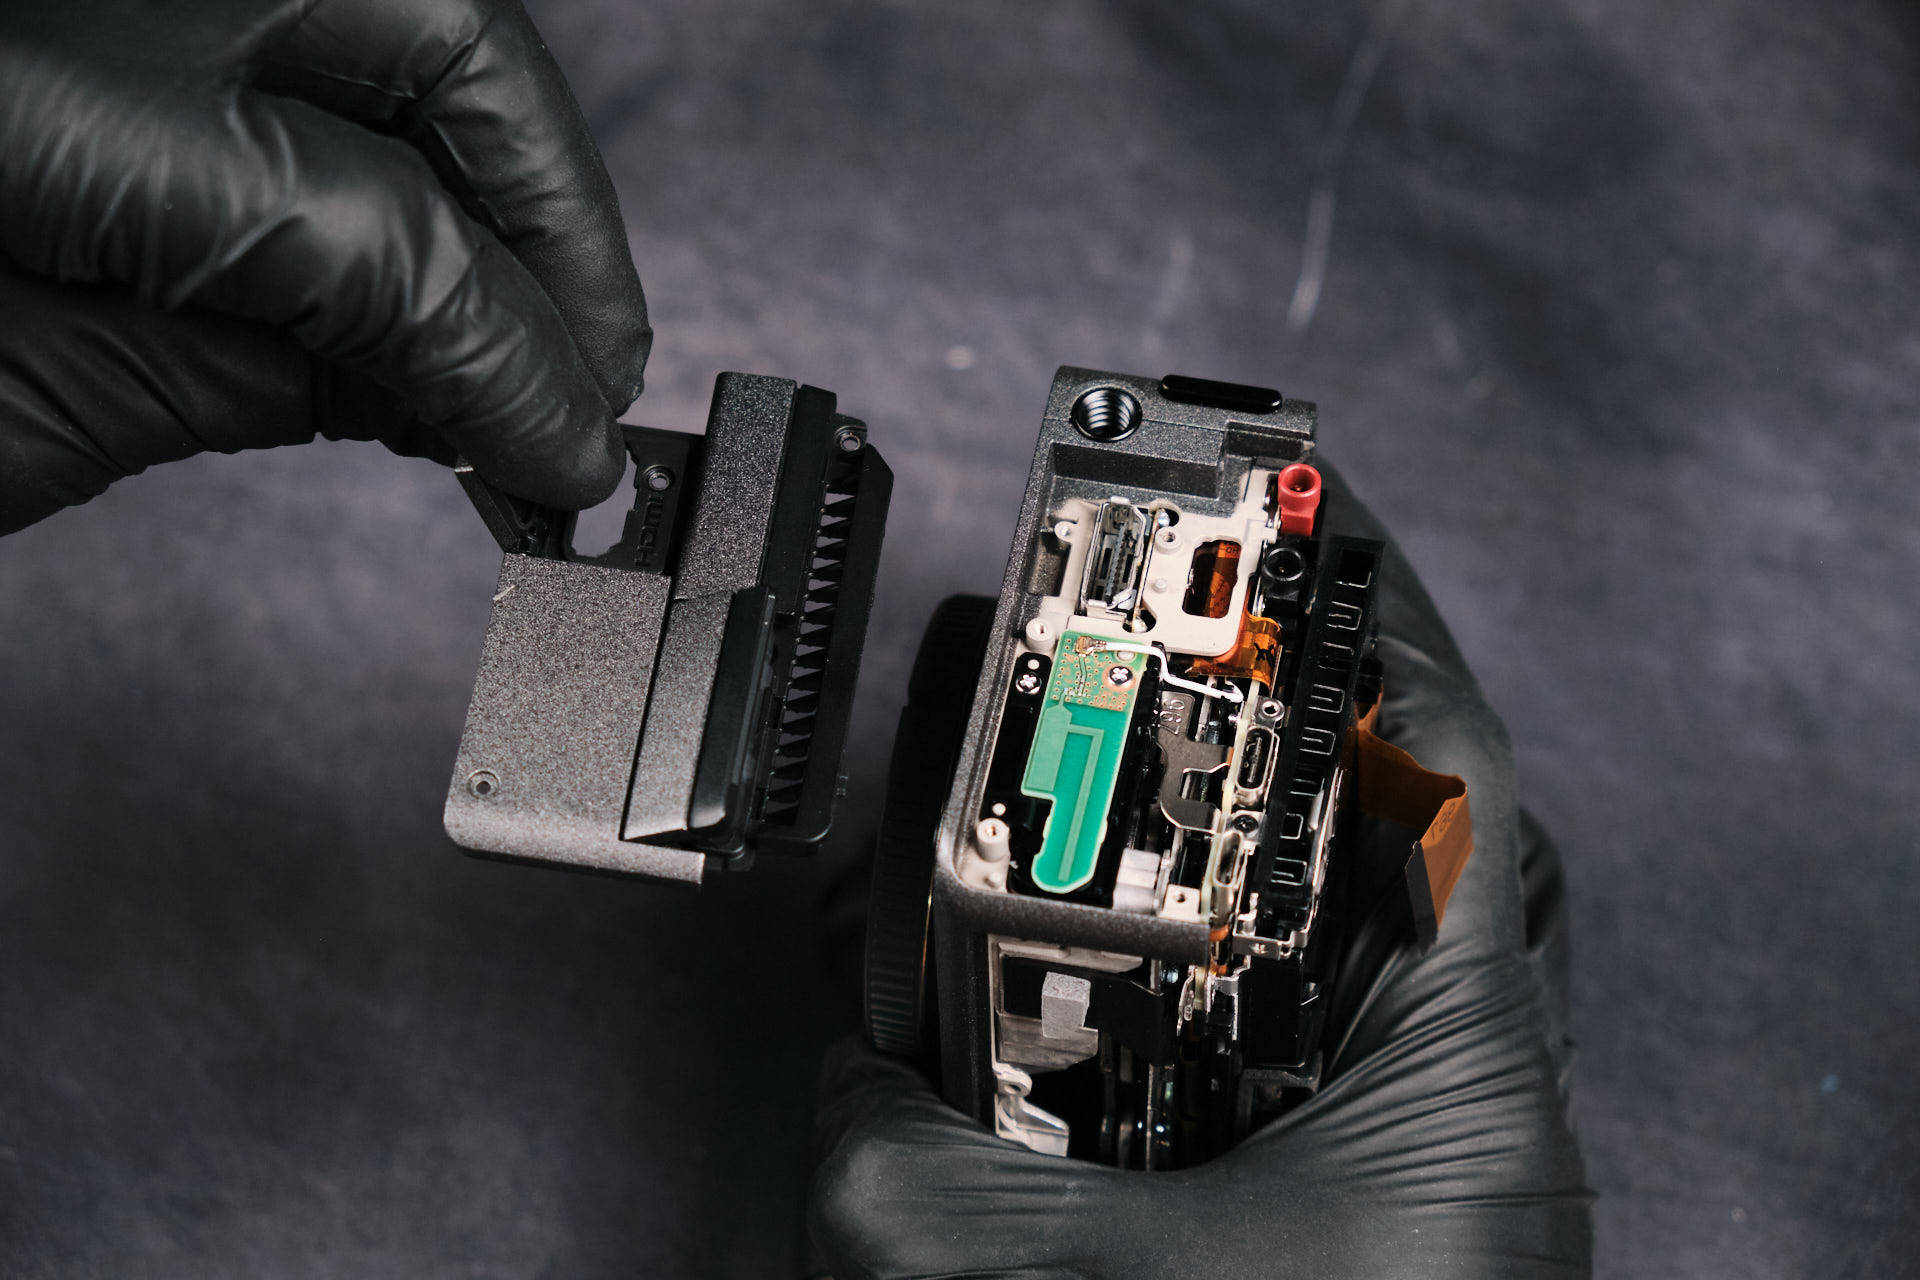
We’ve previously removed the surrounding screws, but there was one more left that allowed us to remove the port side cover.
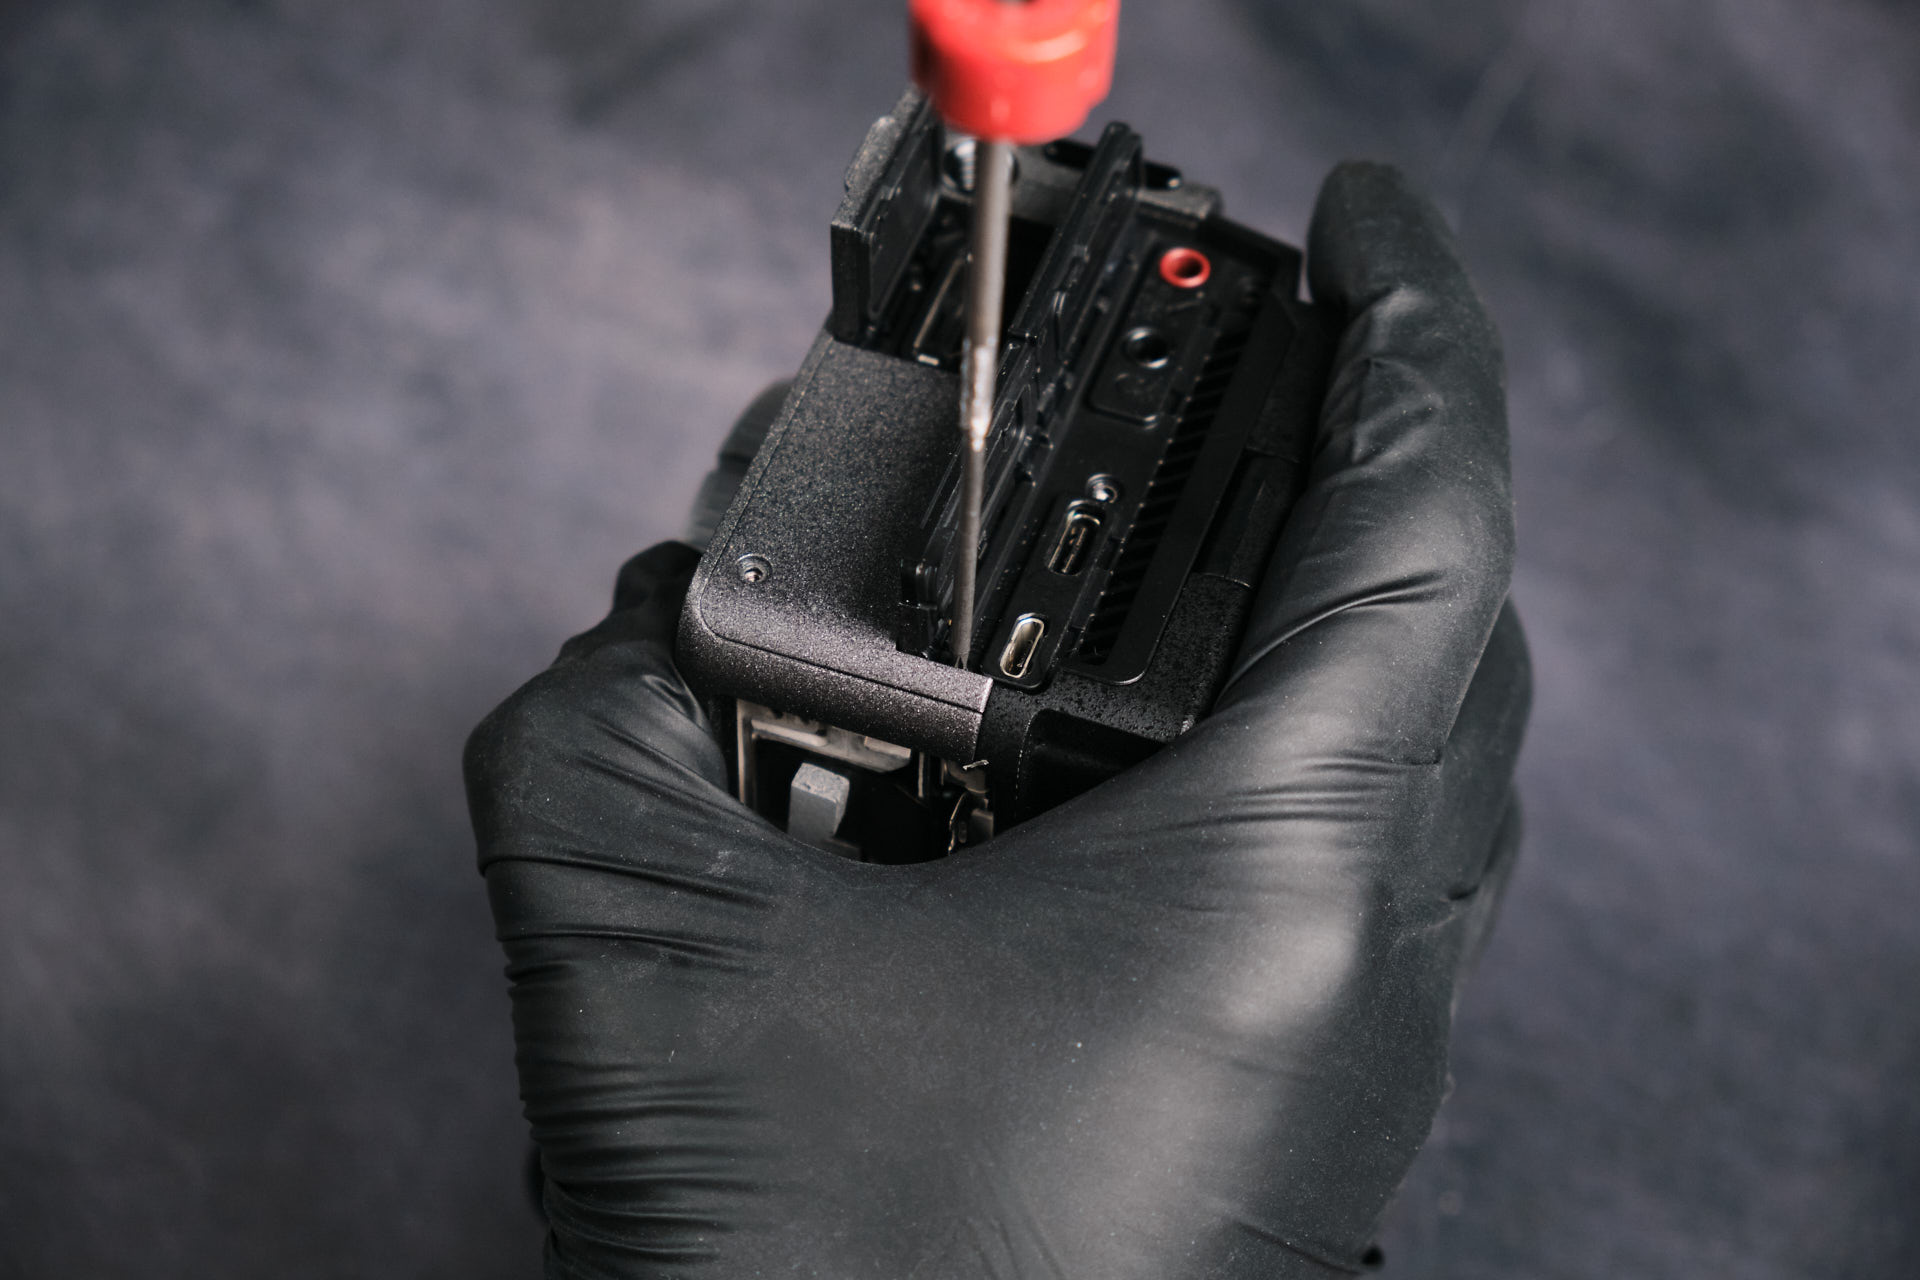
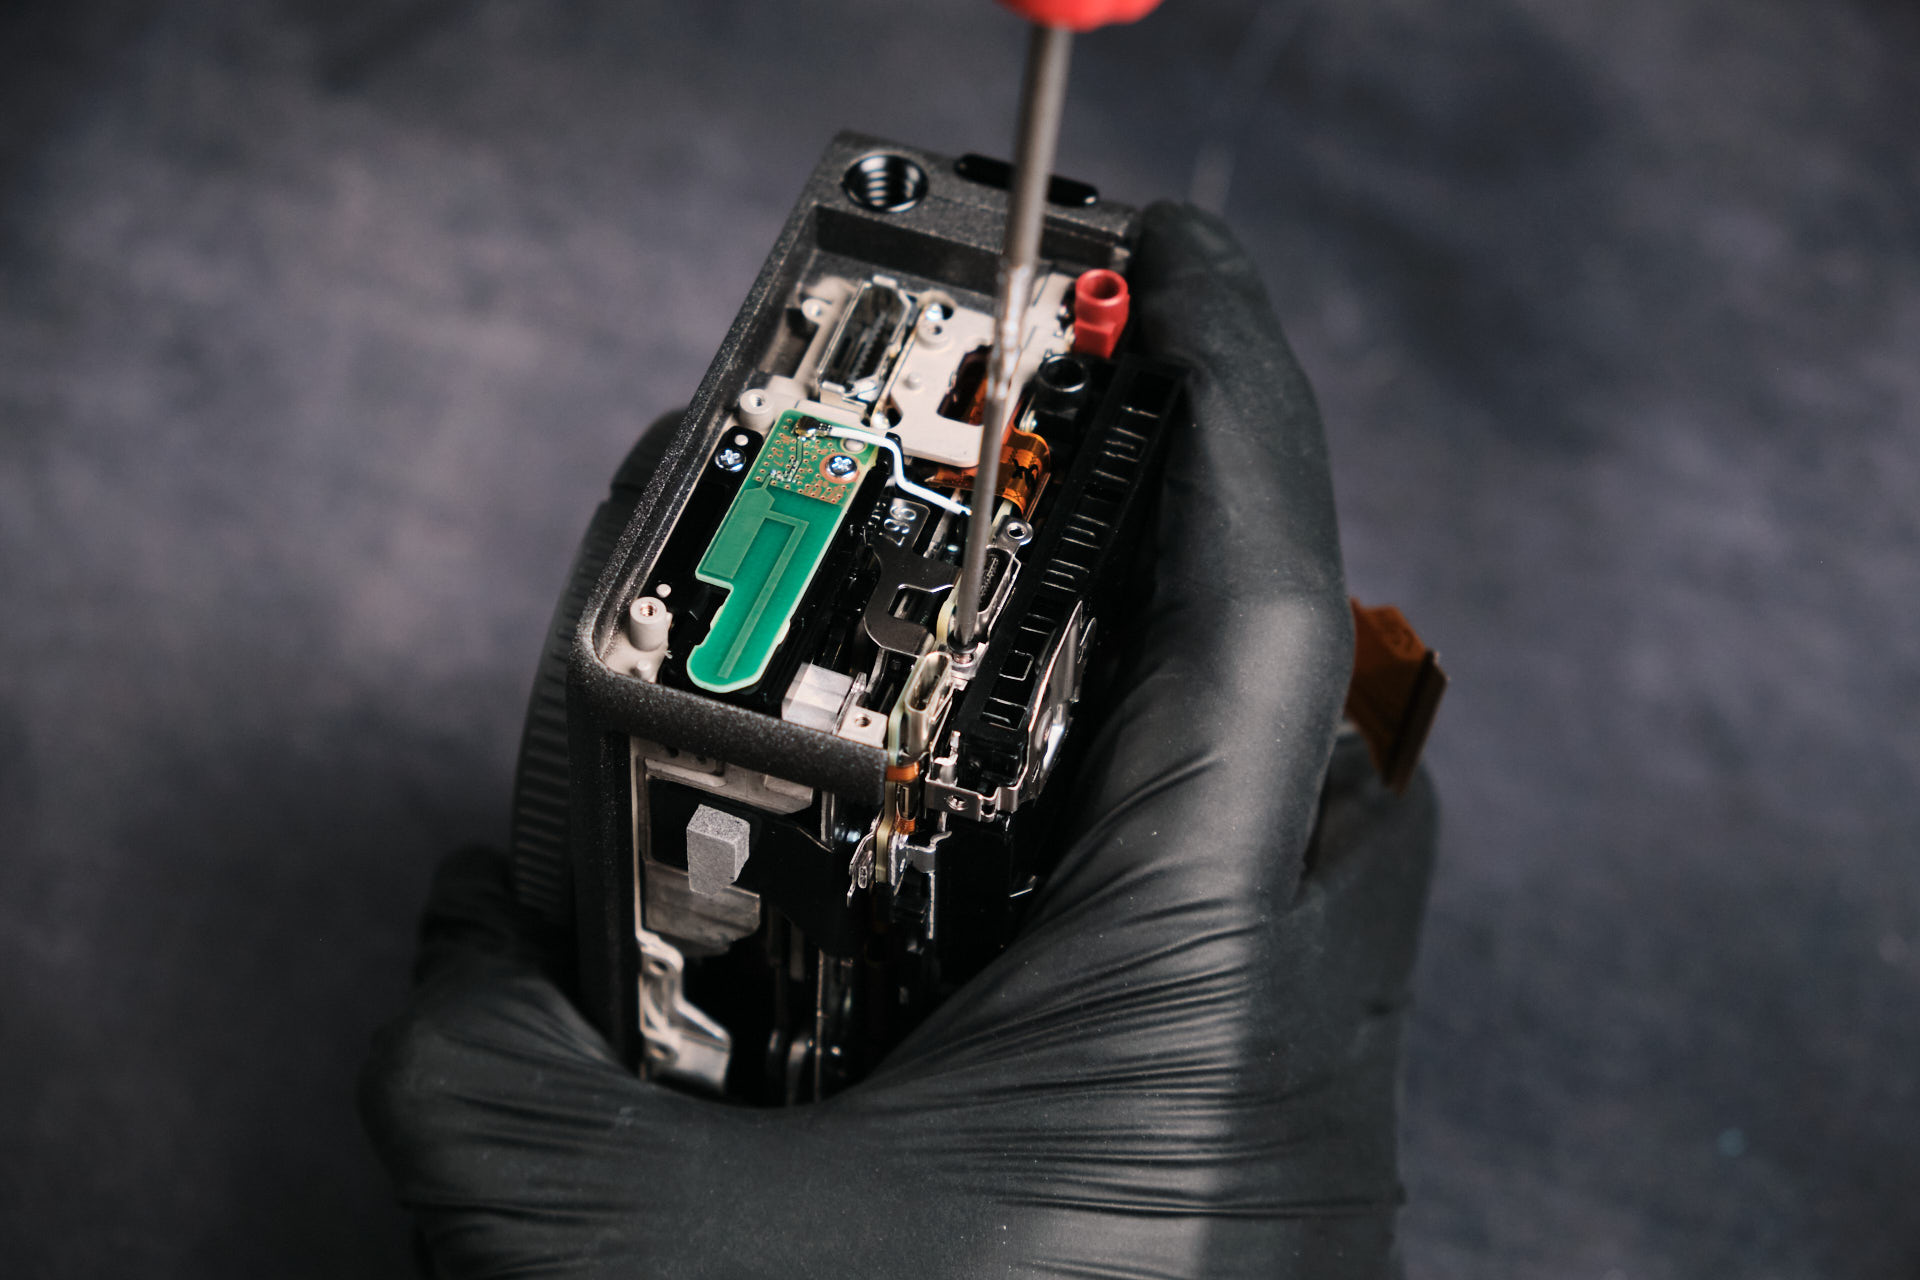
Removing the port side cover exposed screws by the HDMI port. Removing those screws allowed us to remove the fan here.
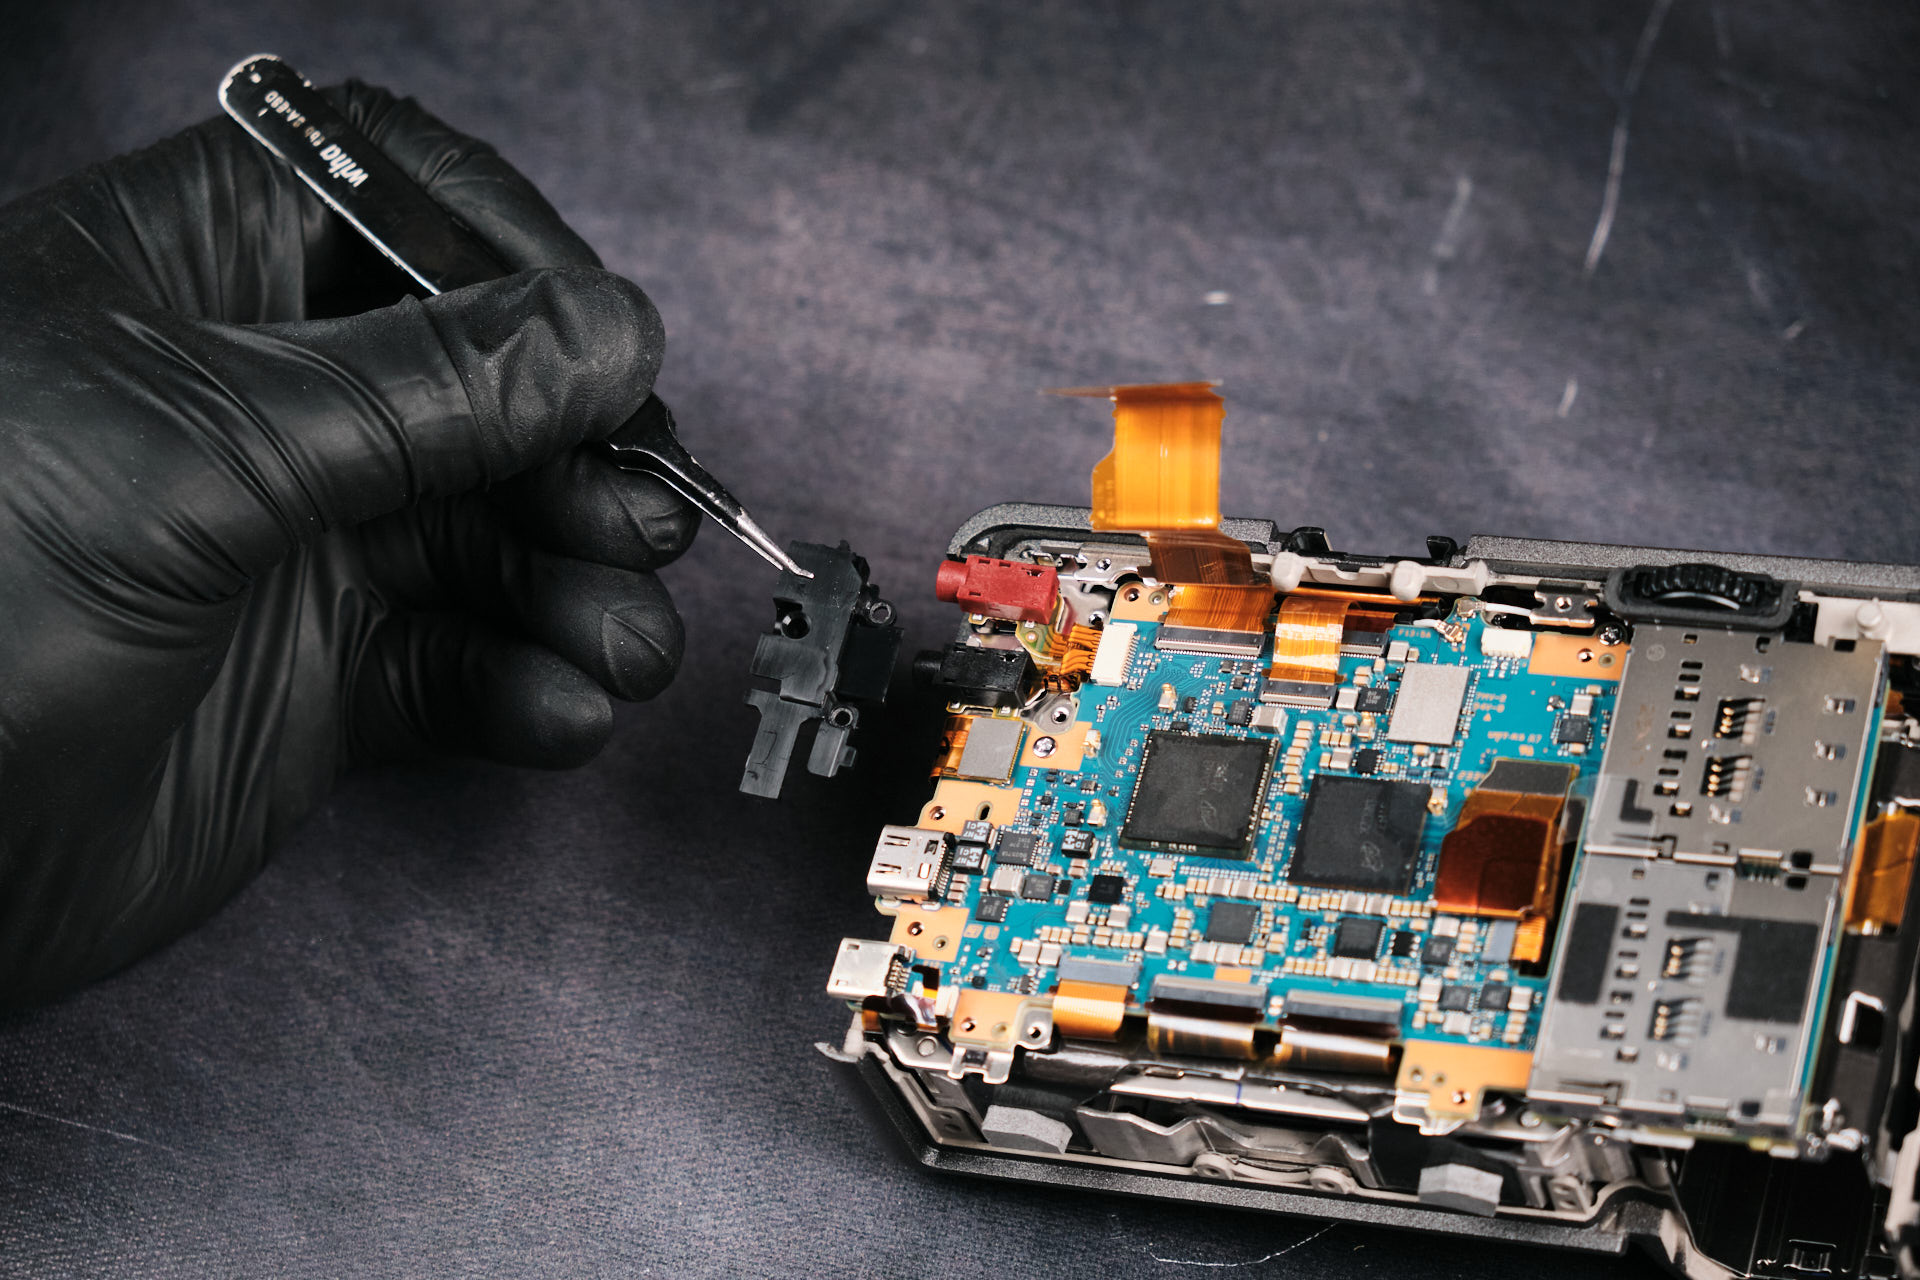
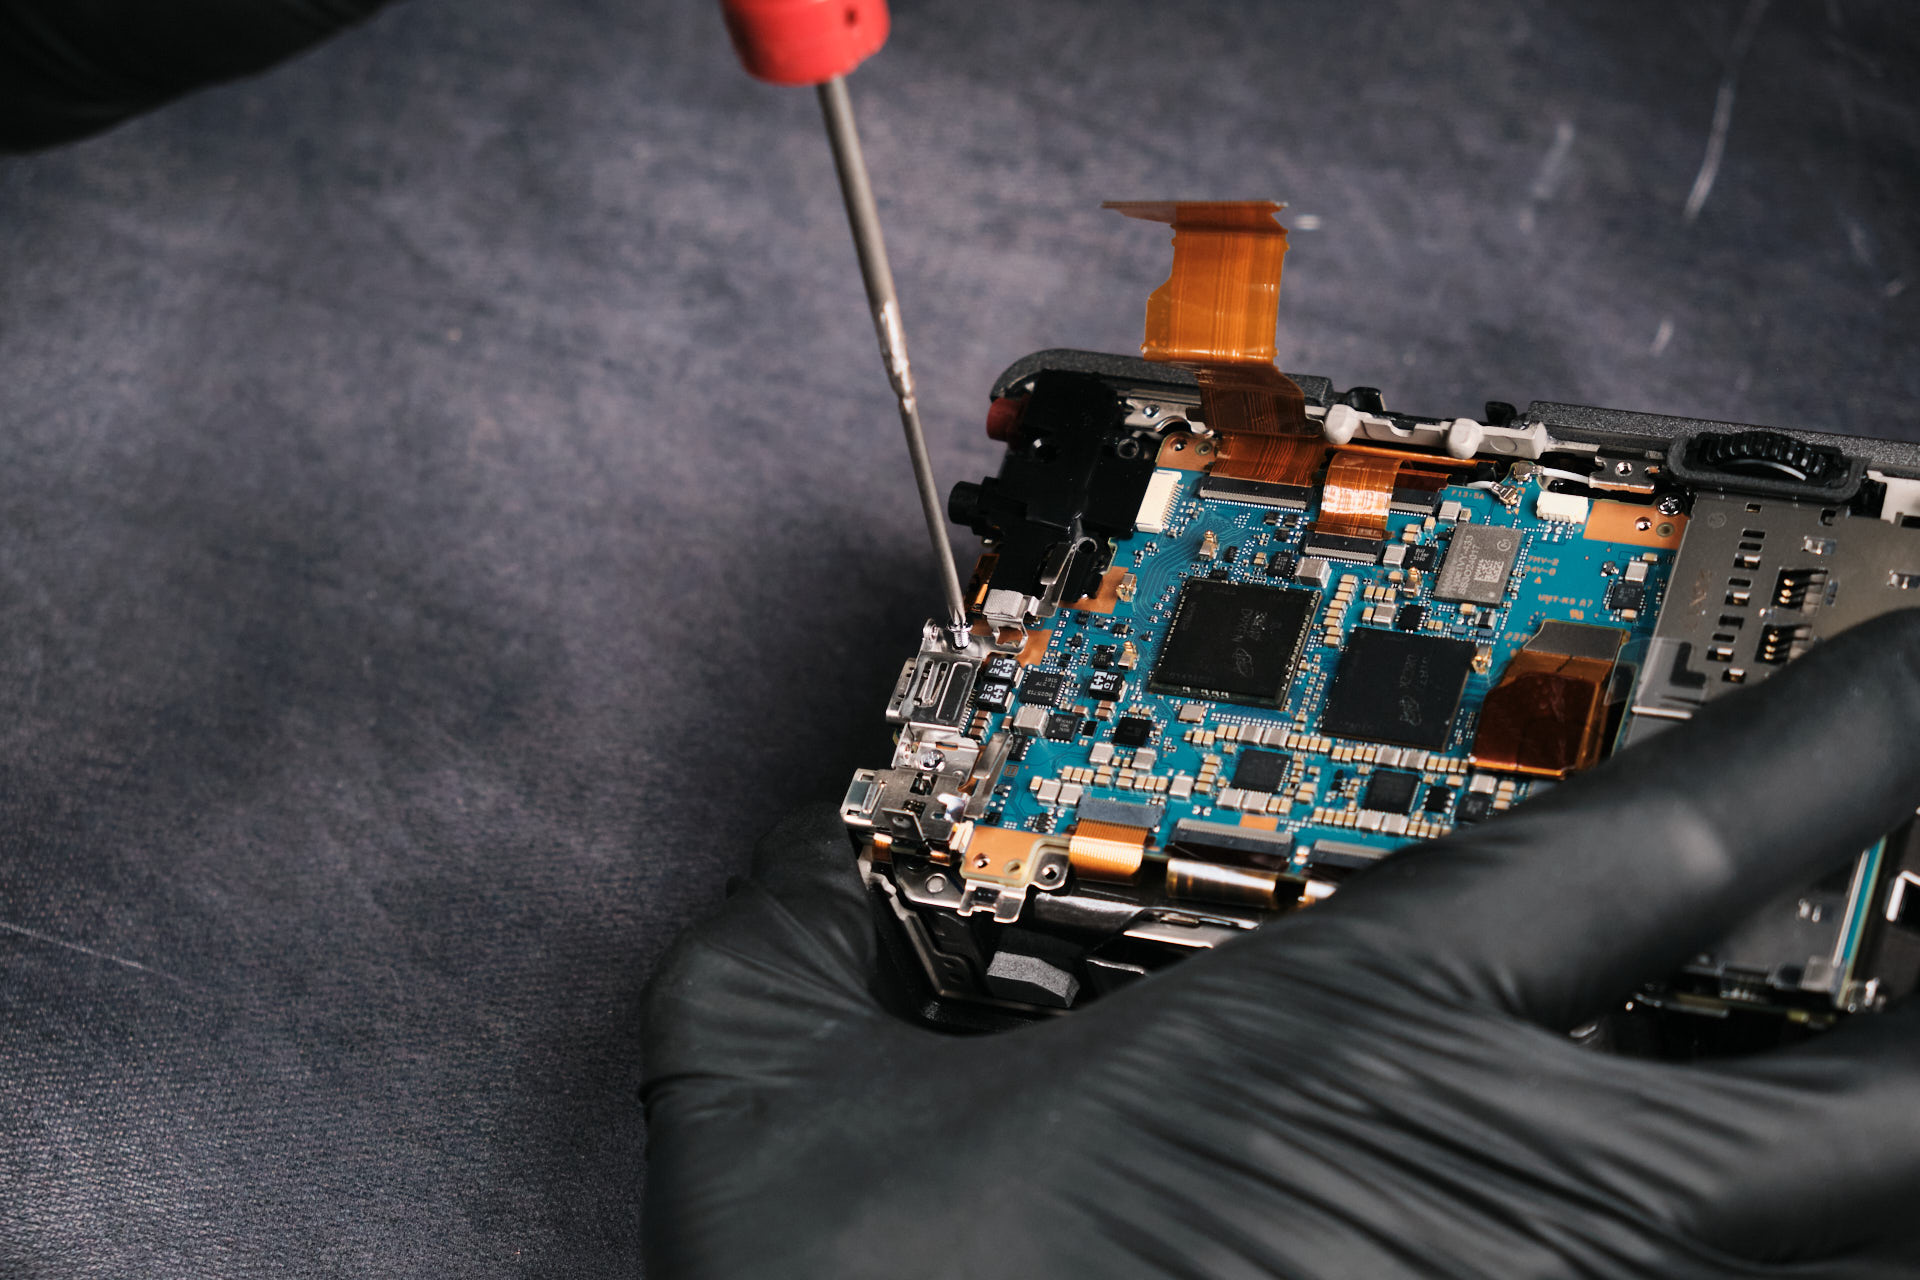
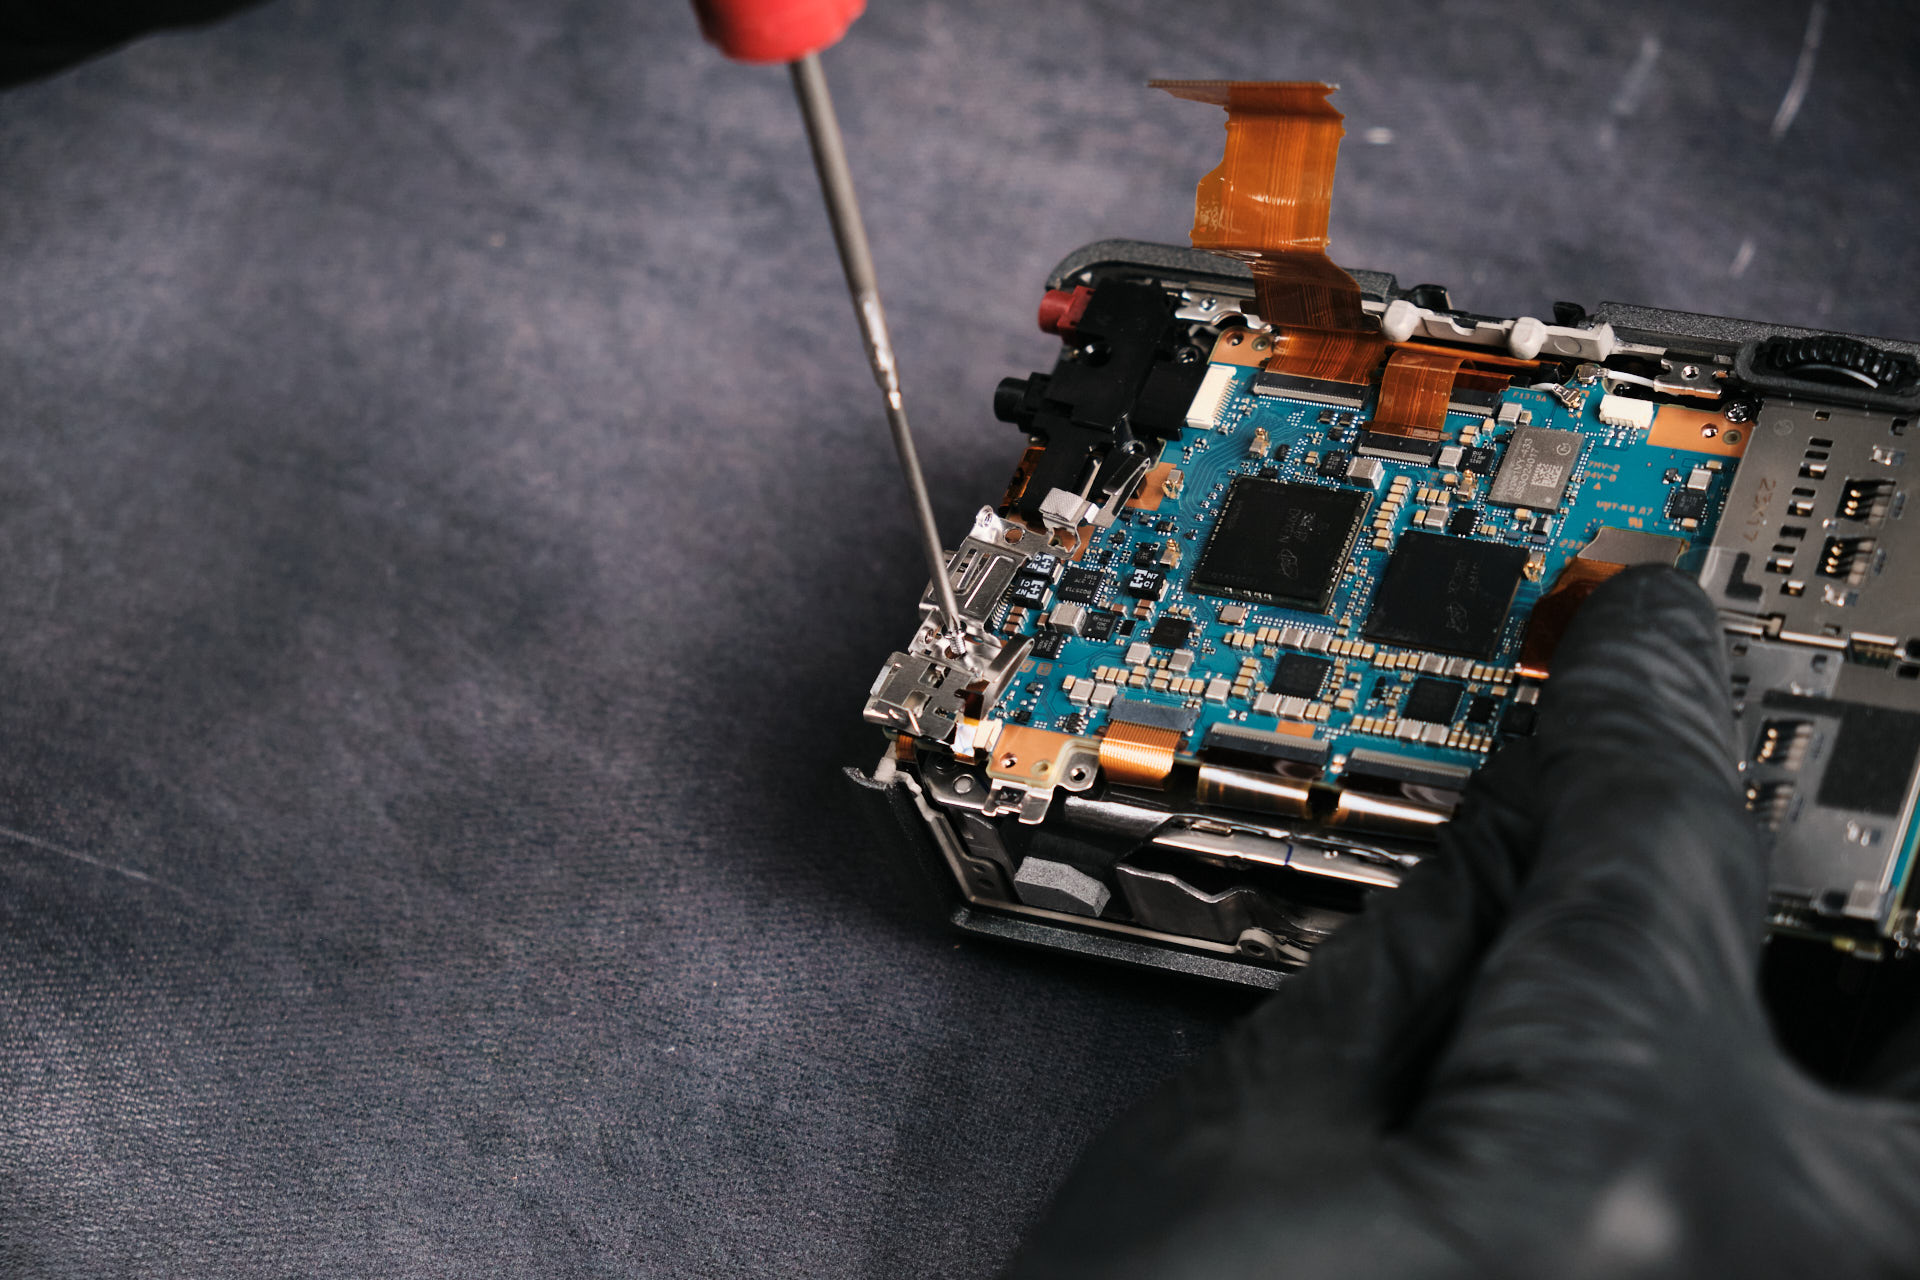
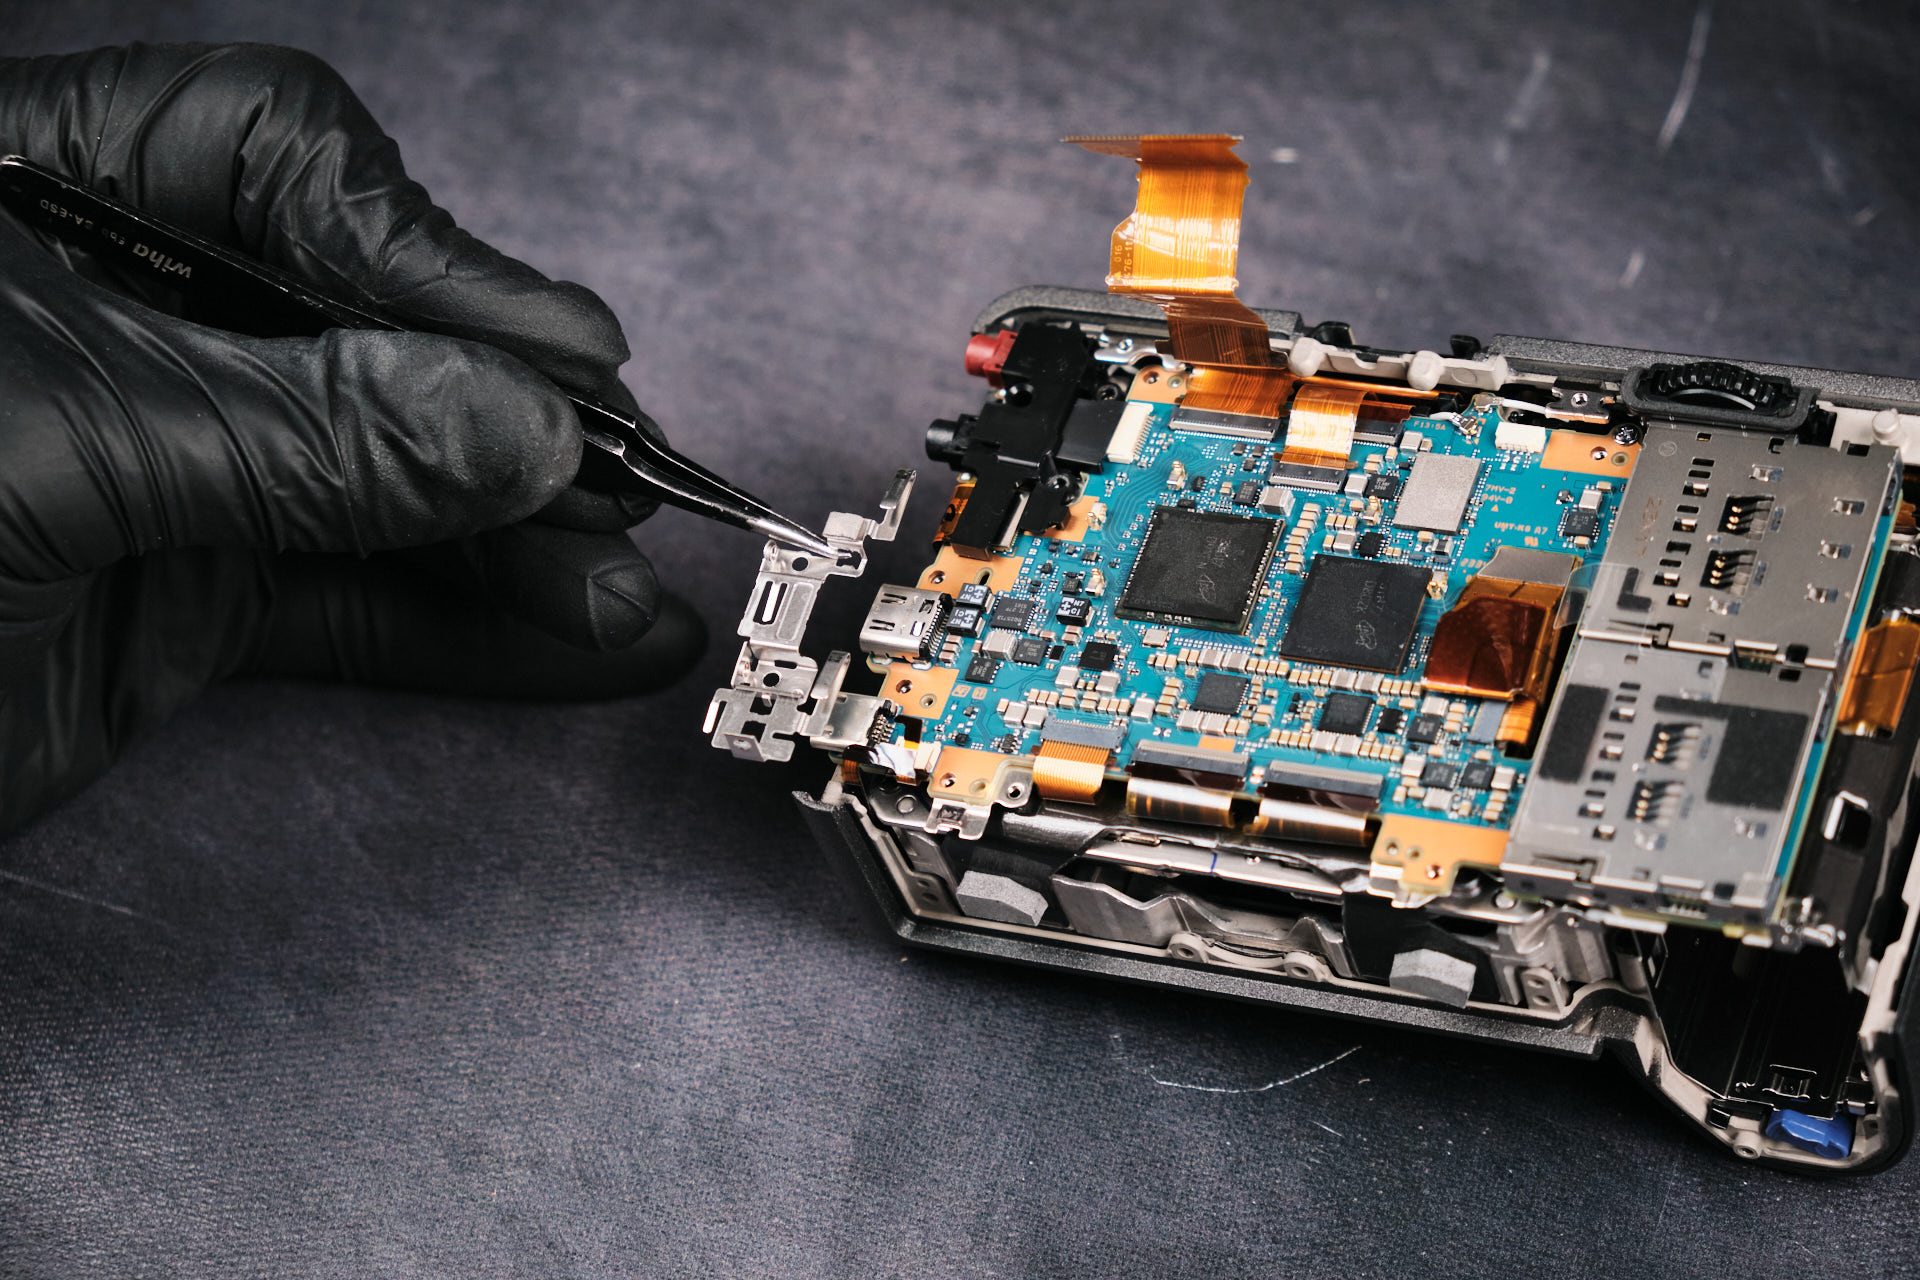
Removing I/O Covers and Internal Brackets
Two screws hold down this plastic cover. This piece covers the I/O inserts.
Two screws hold down this metal bracket.
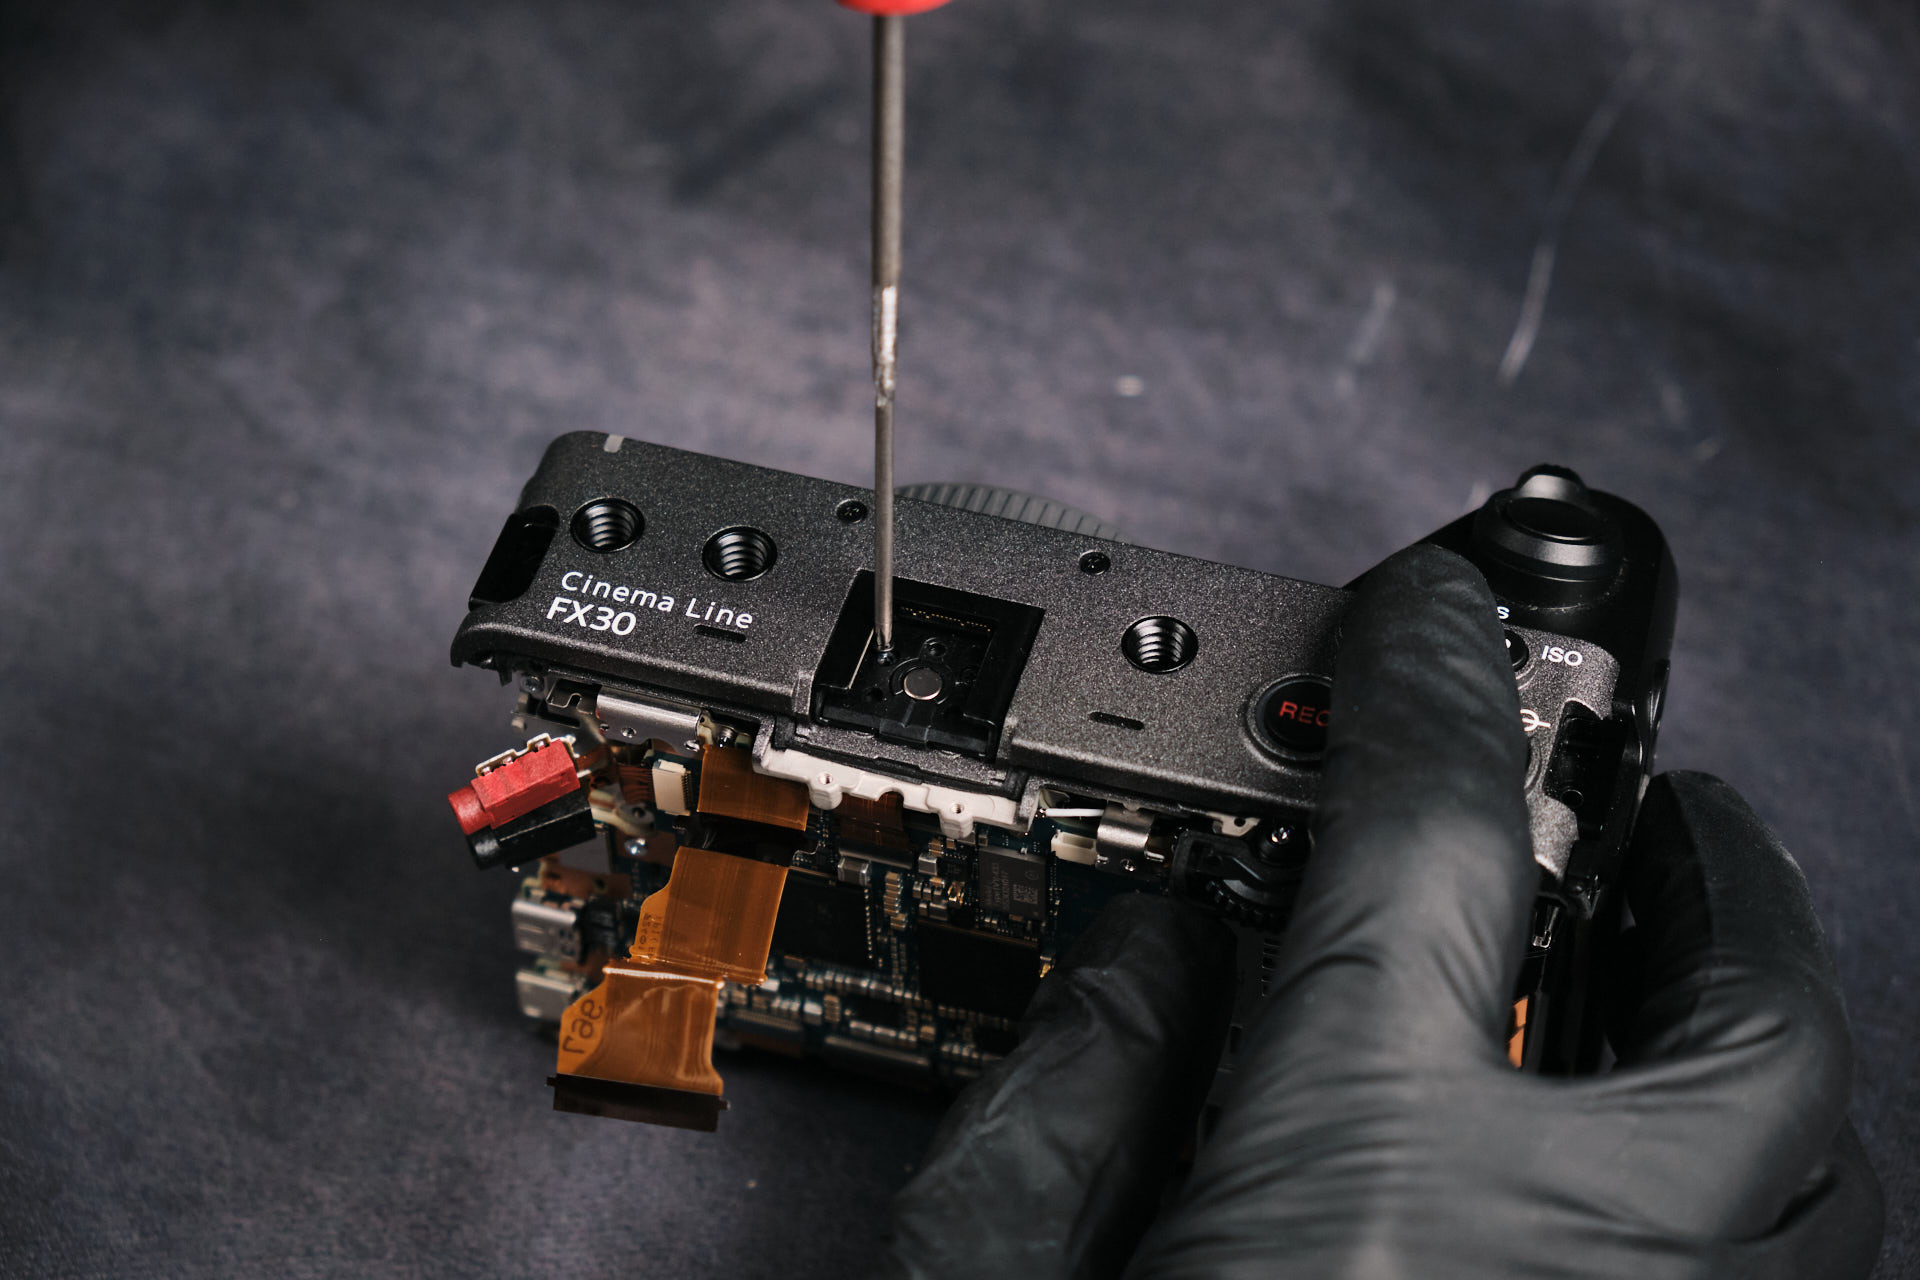
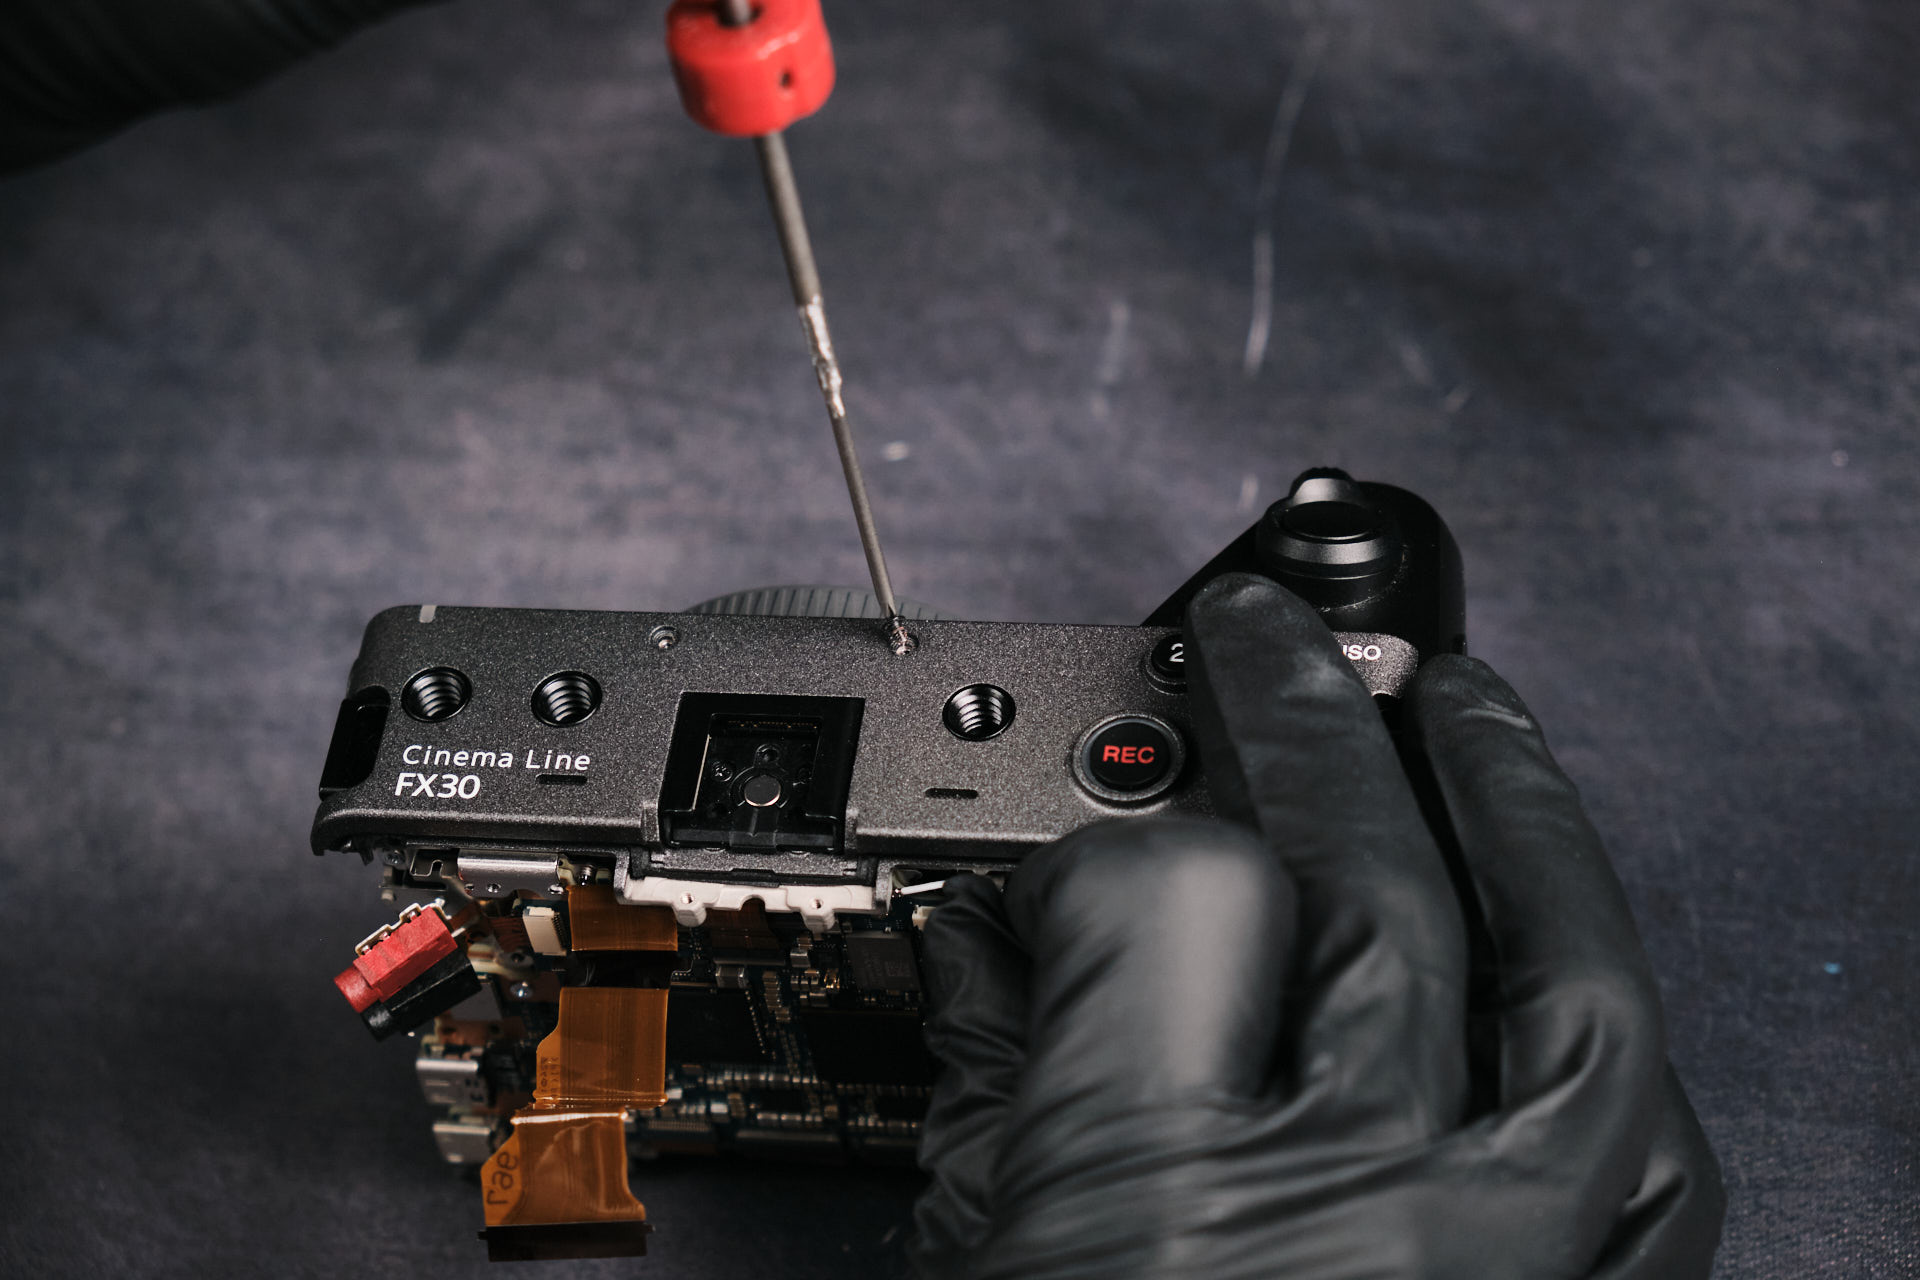
Removing the Top Plate of the Sony FX30
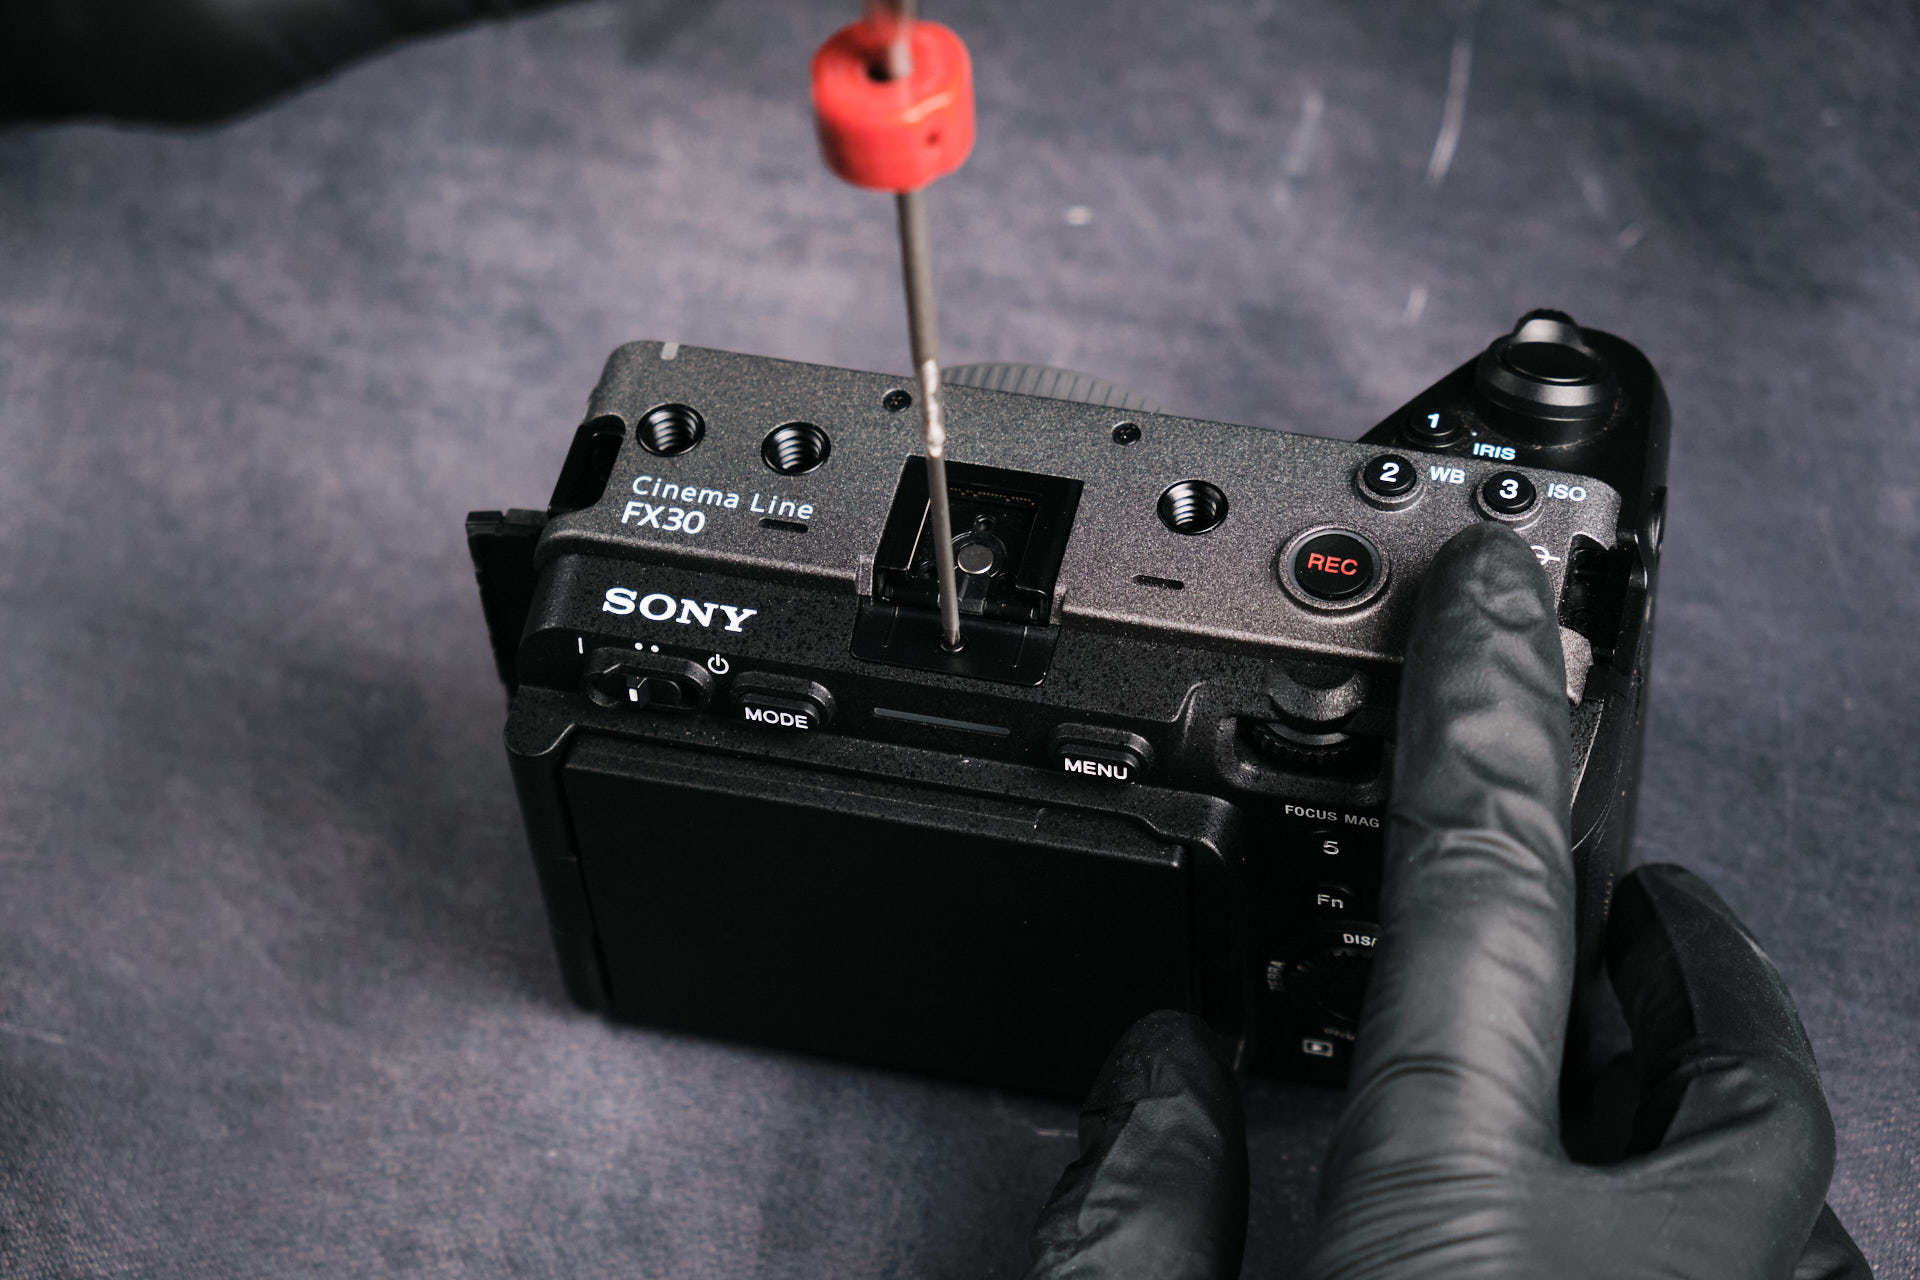
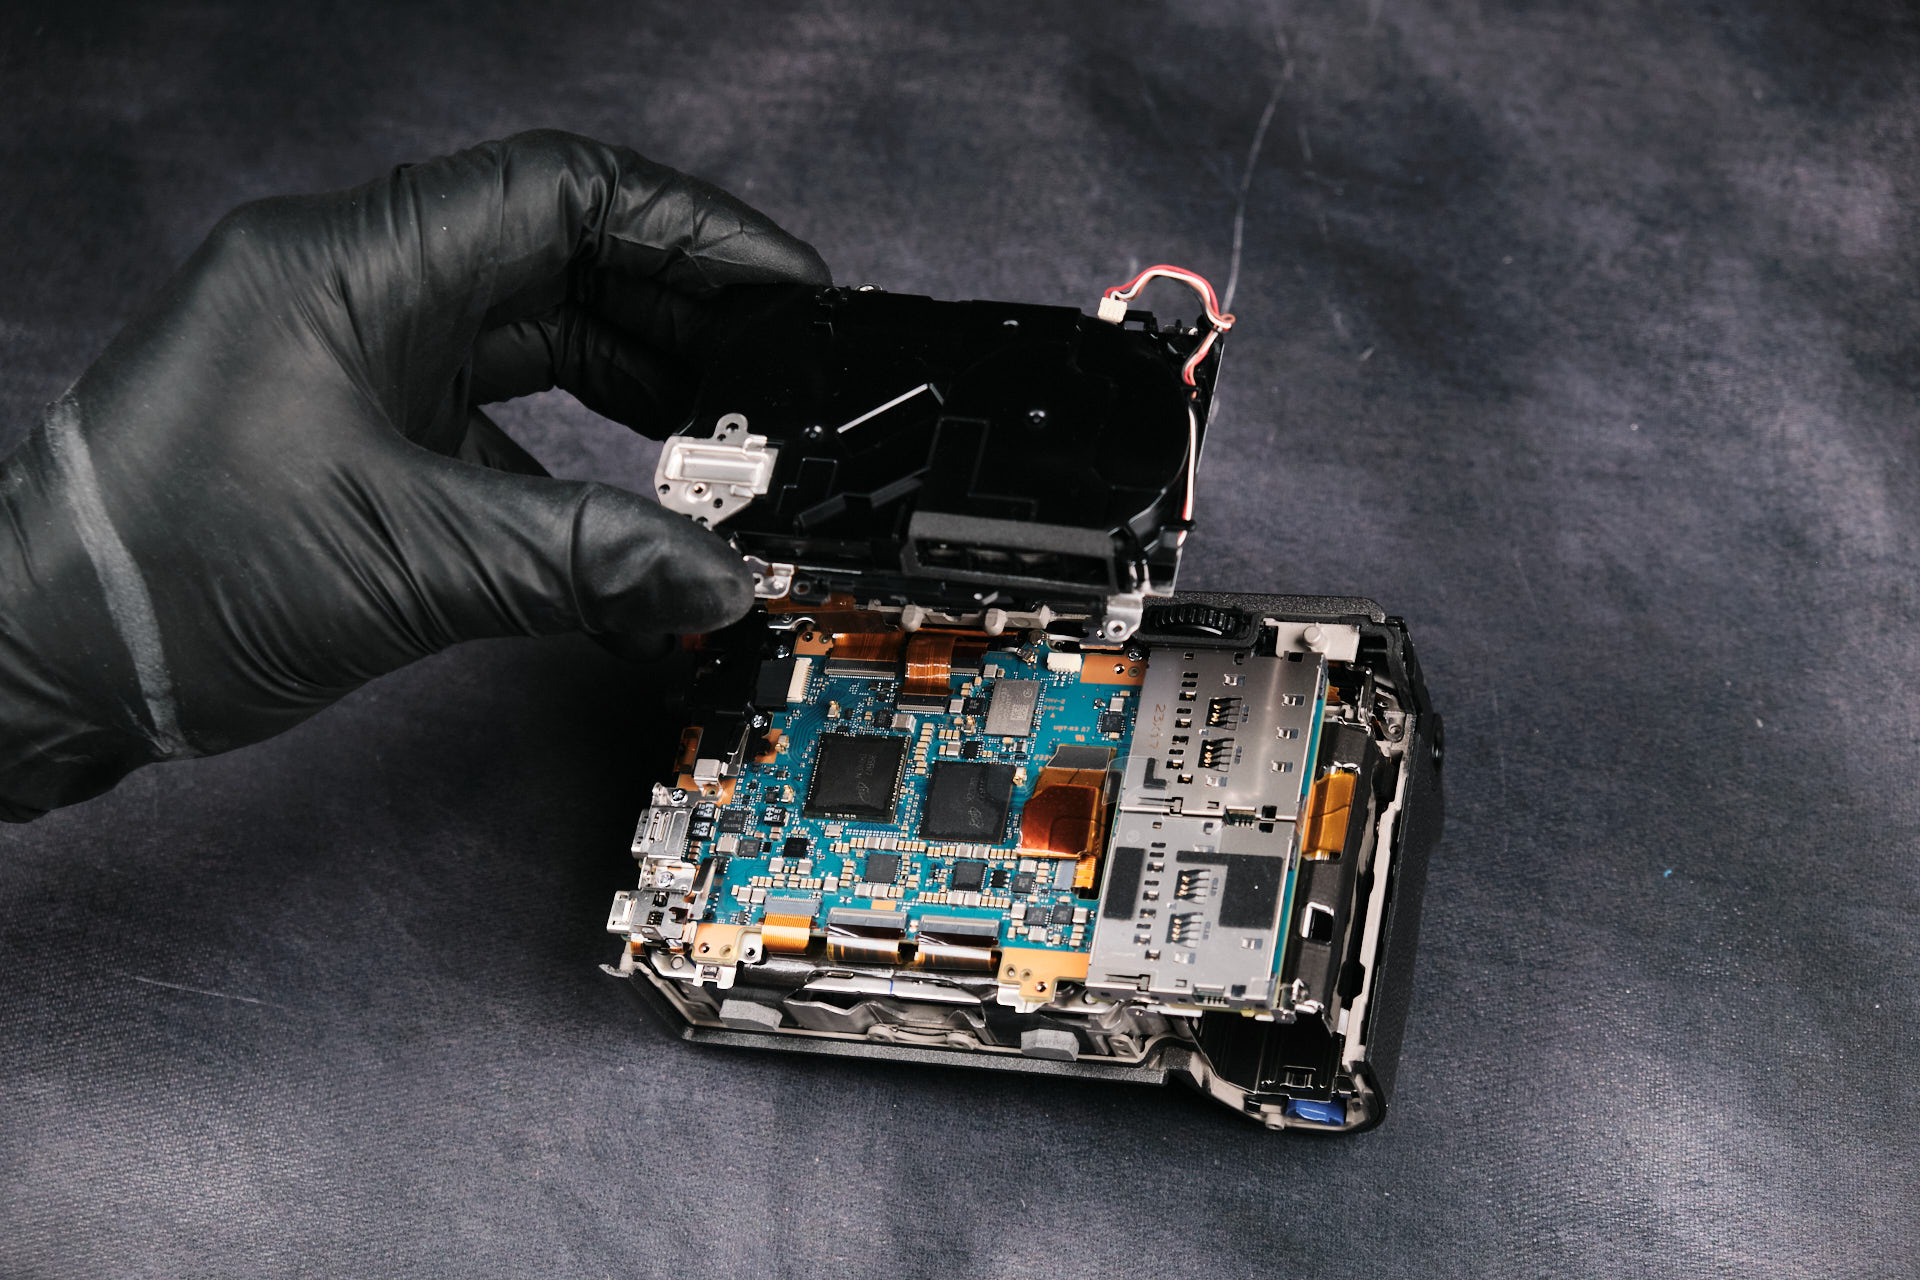
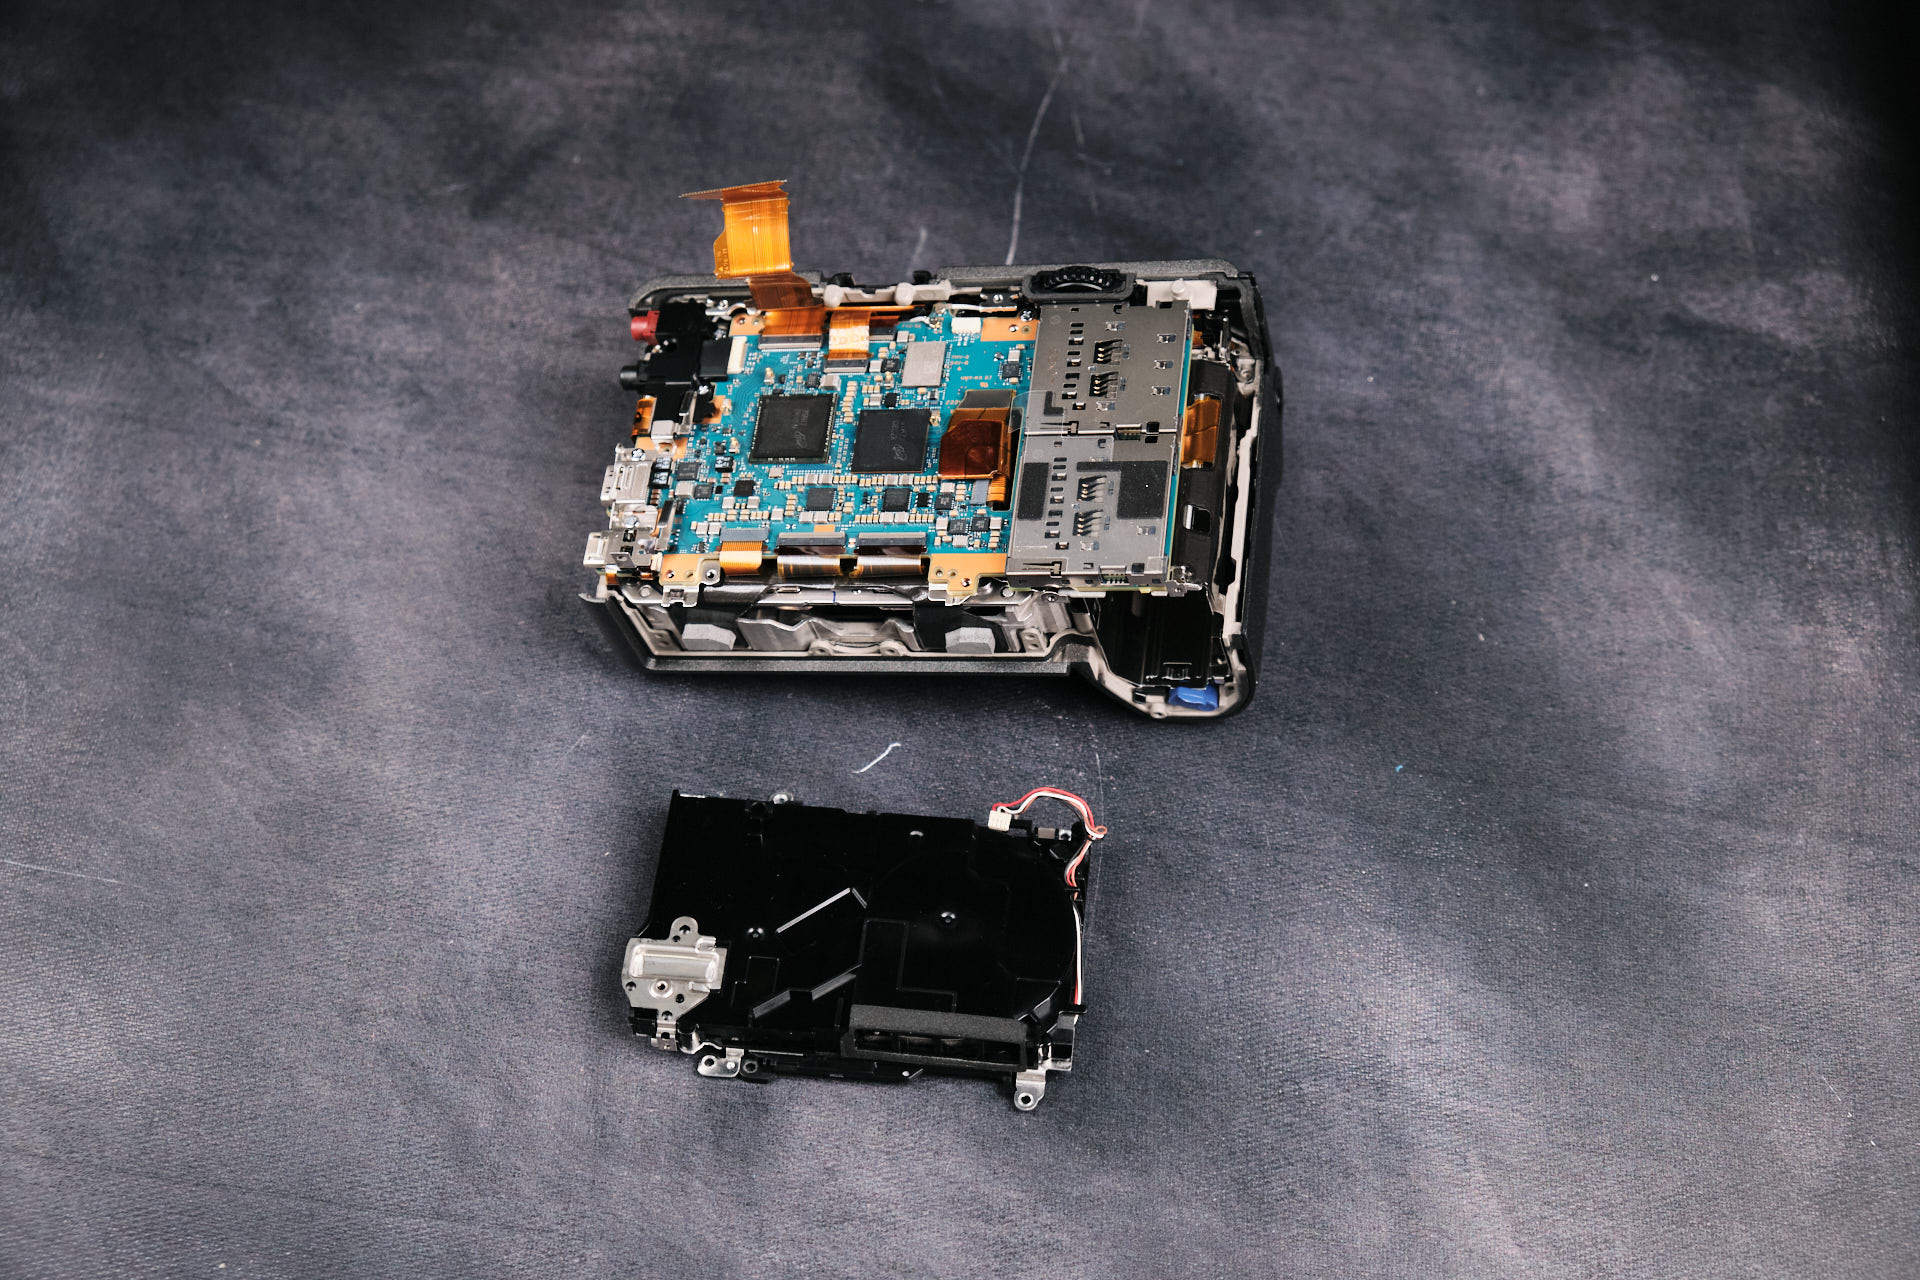
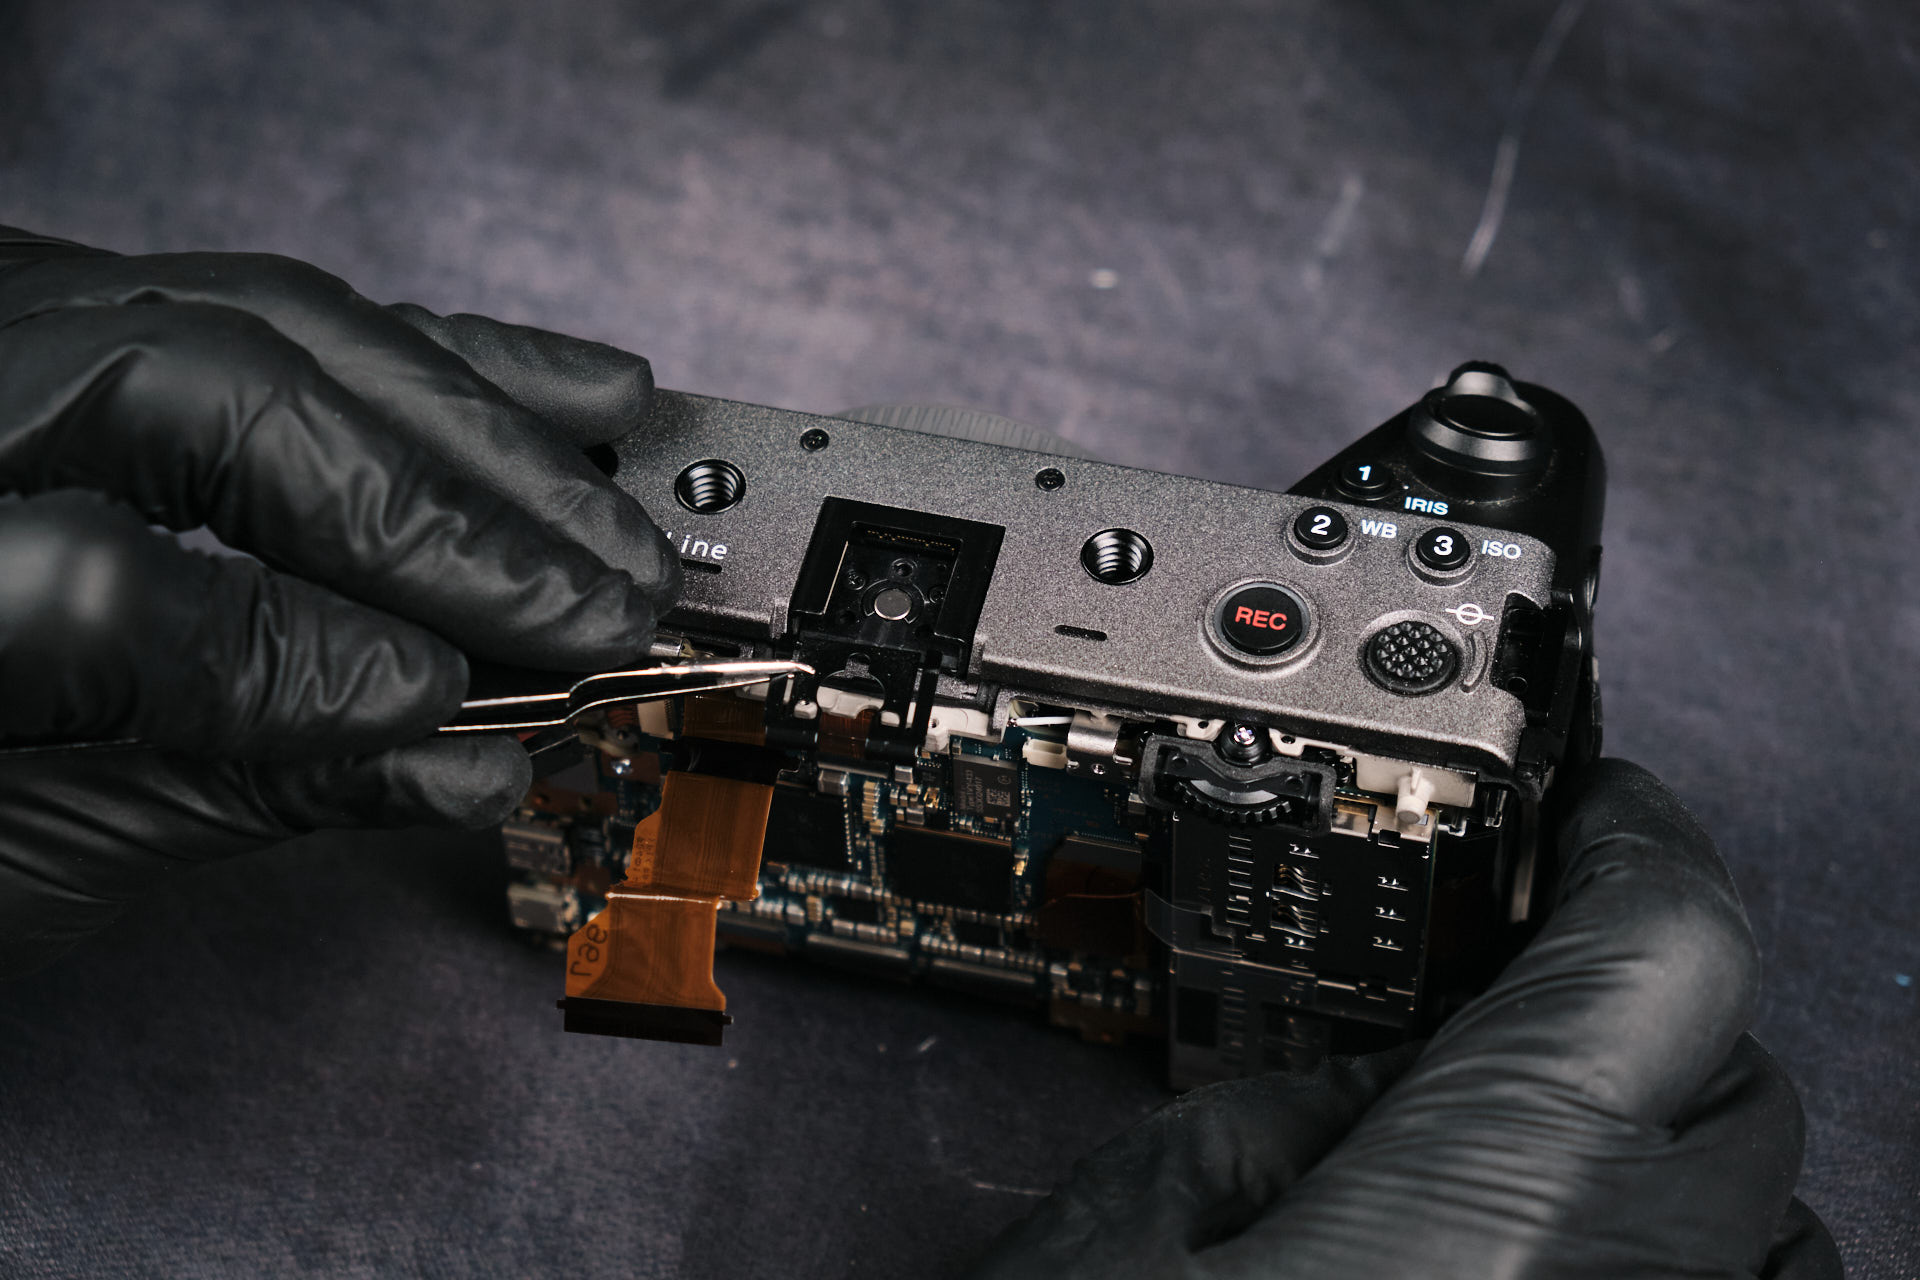
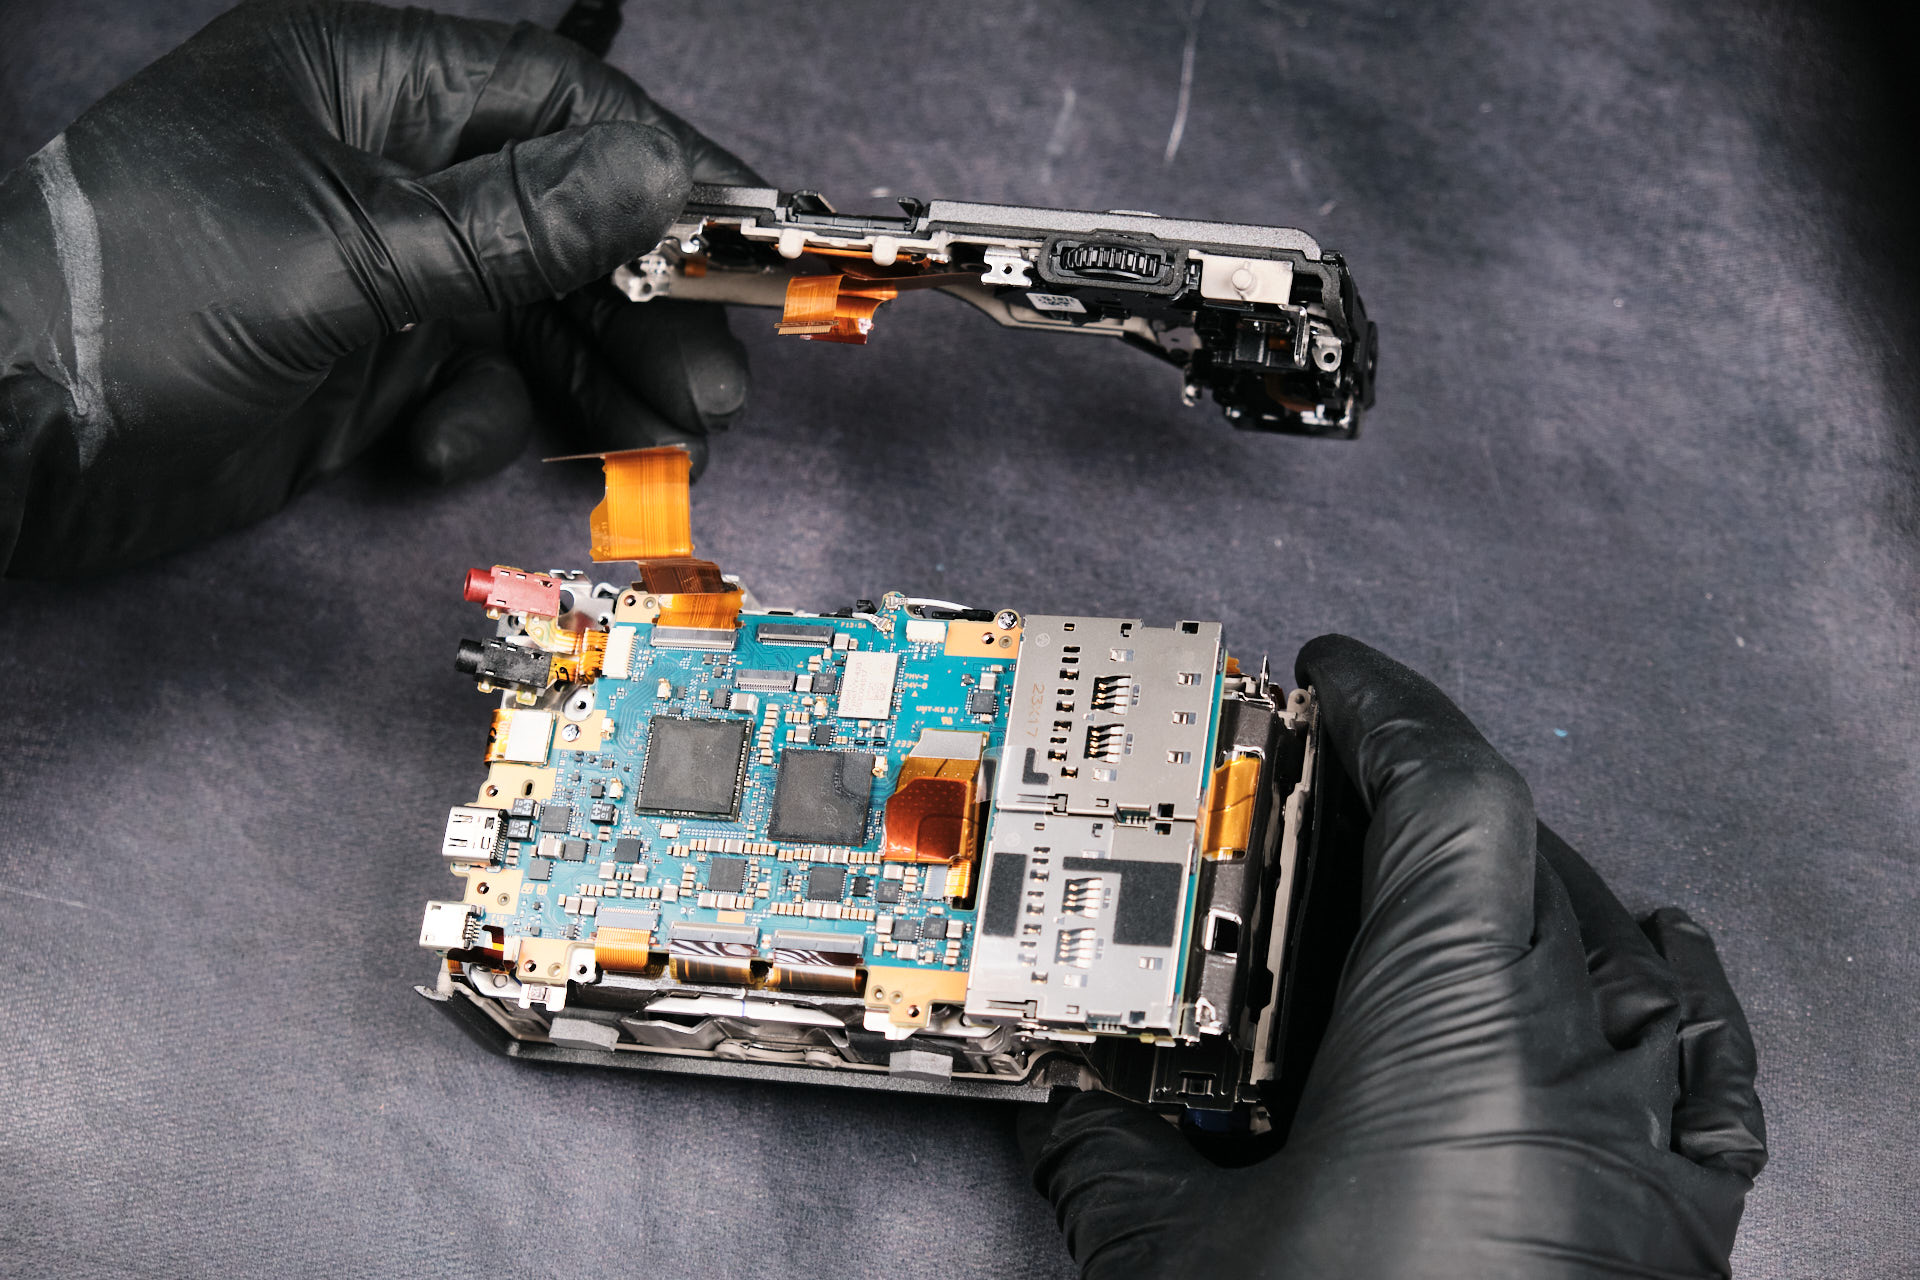
The next part to remove is the top of the camera. Several screws hold it in place, and two ribbon cables connect it to the circuitboard.
Removing the Sony FX30 Circuit Board
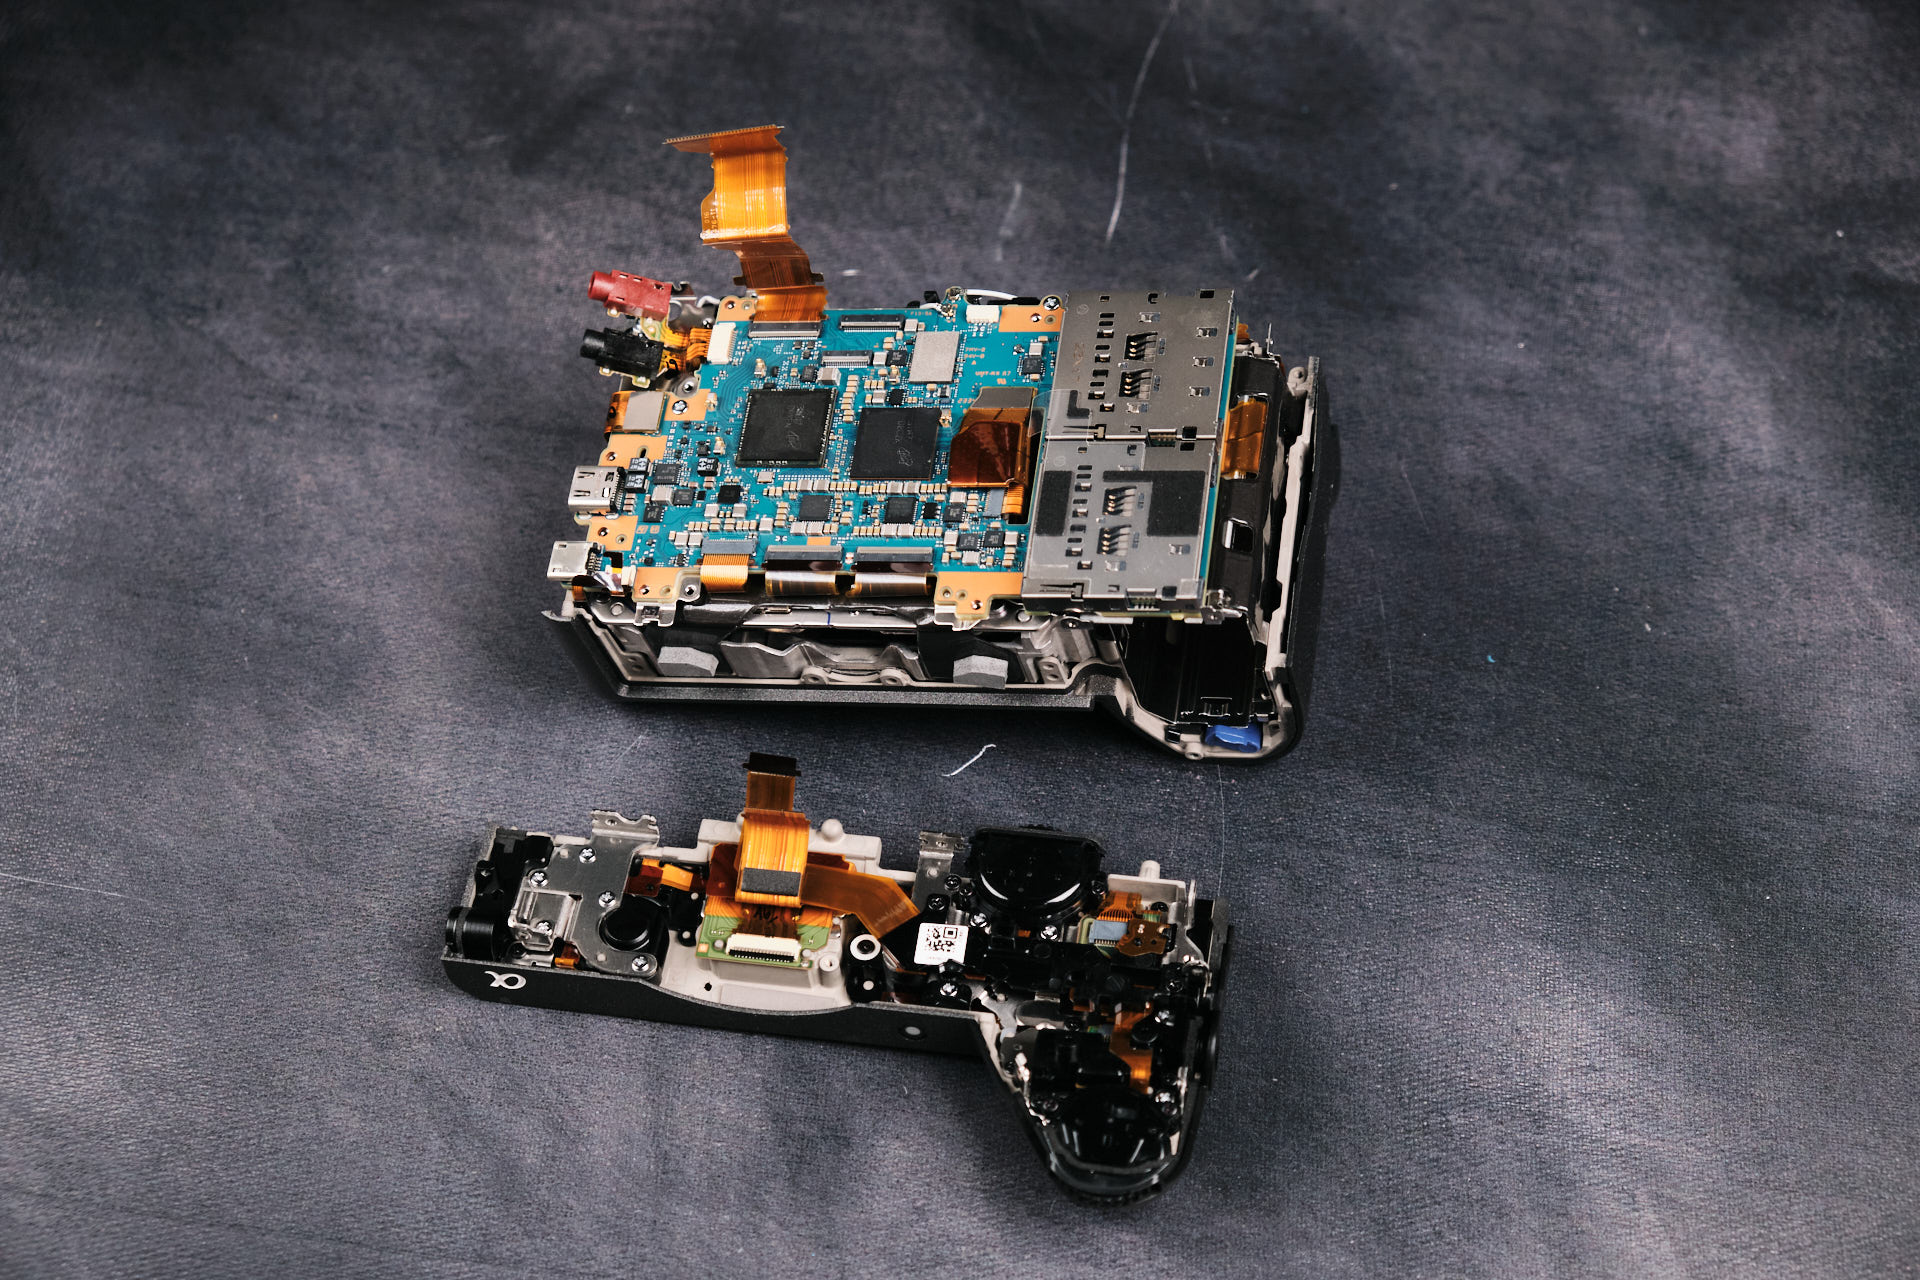
The removed top part of the camera. The next part to remove is the circuitboard itself.
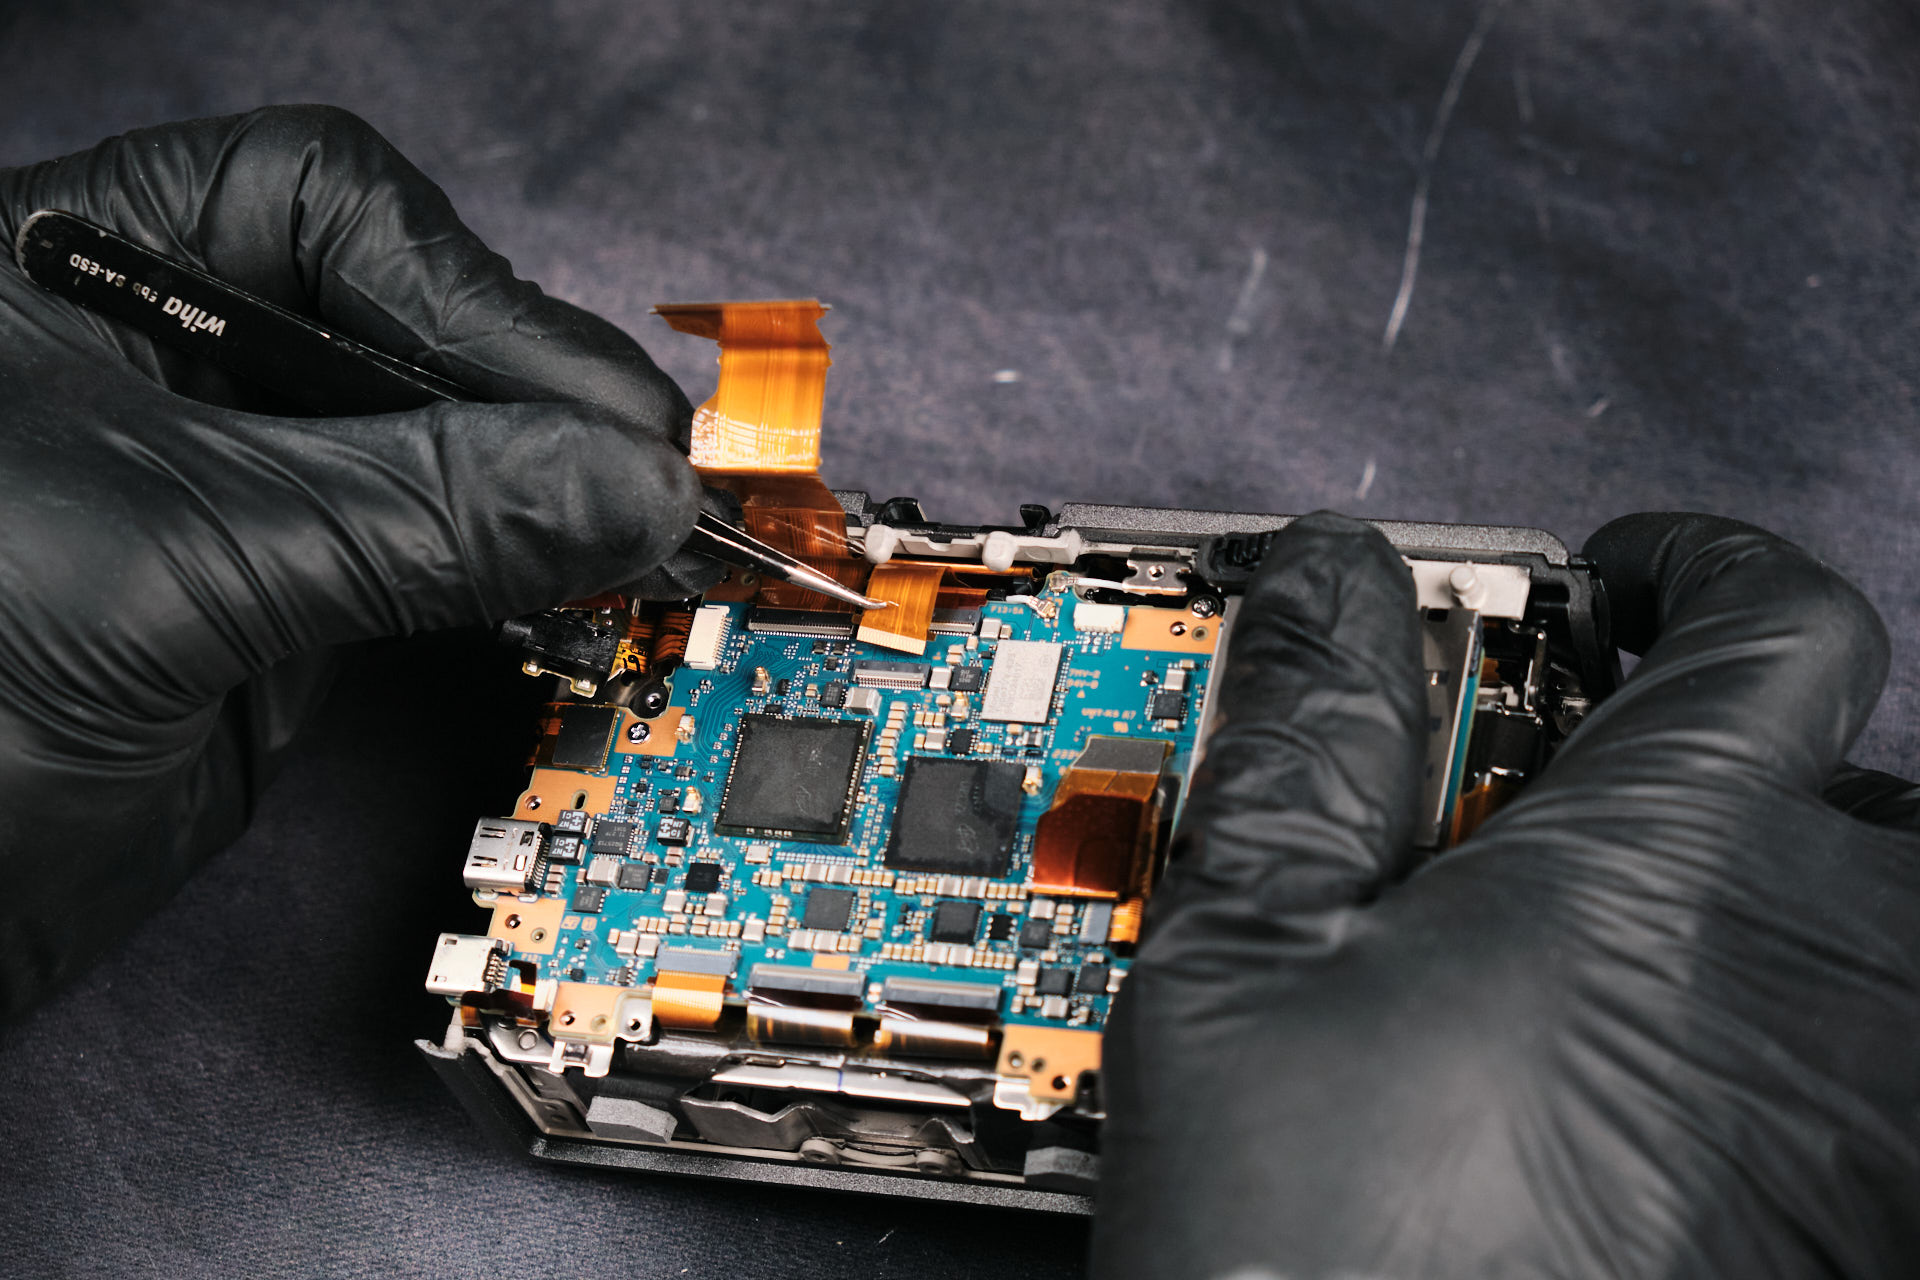
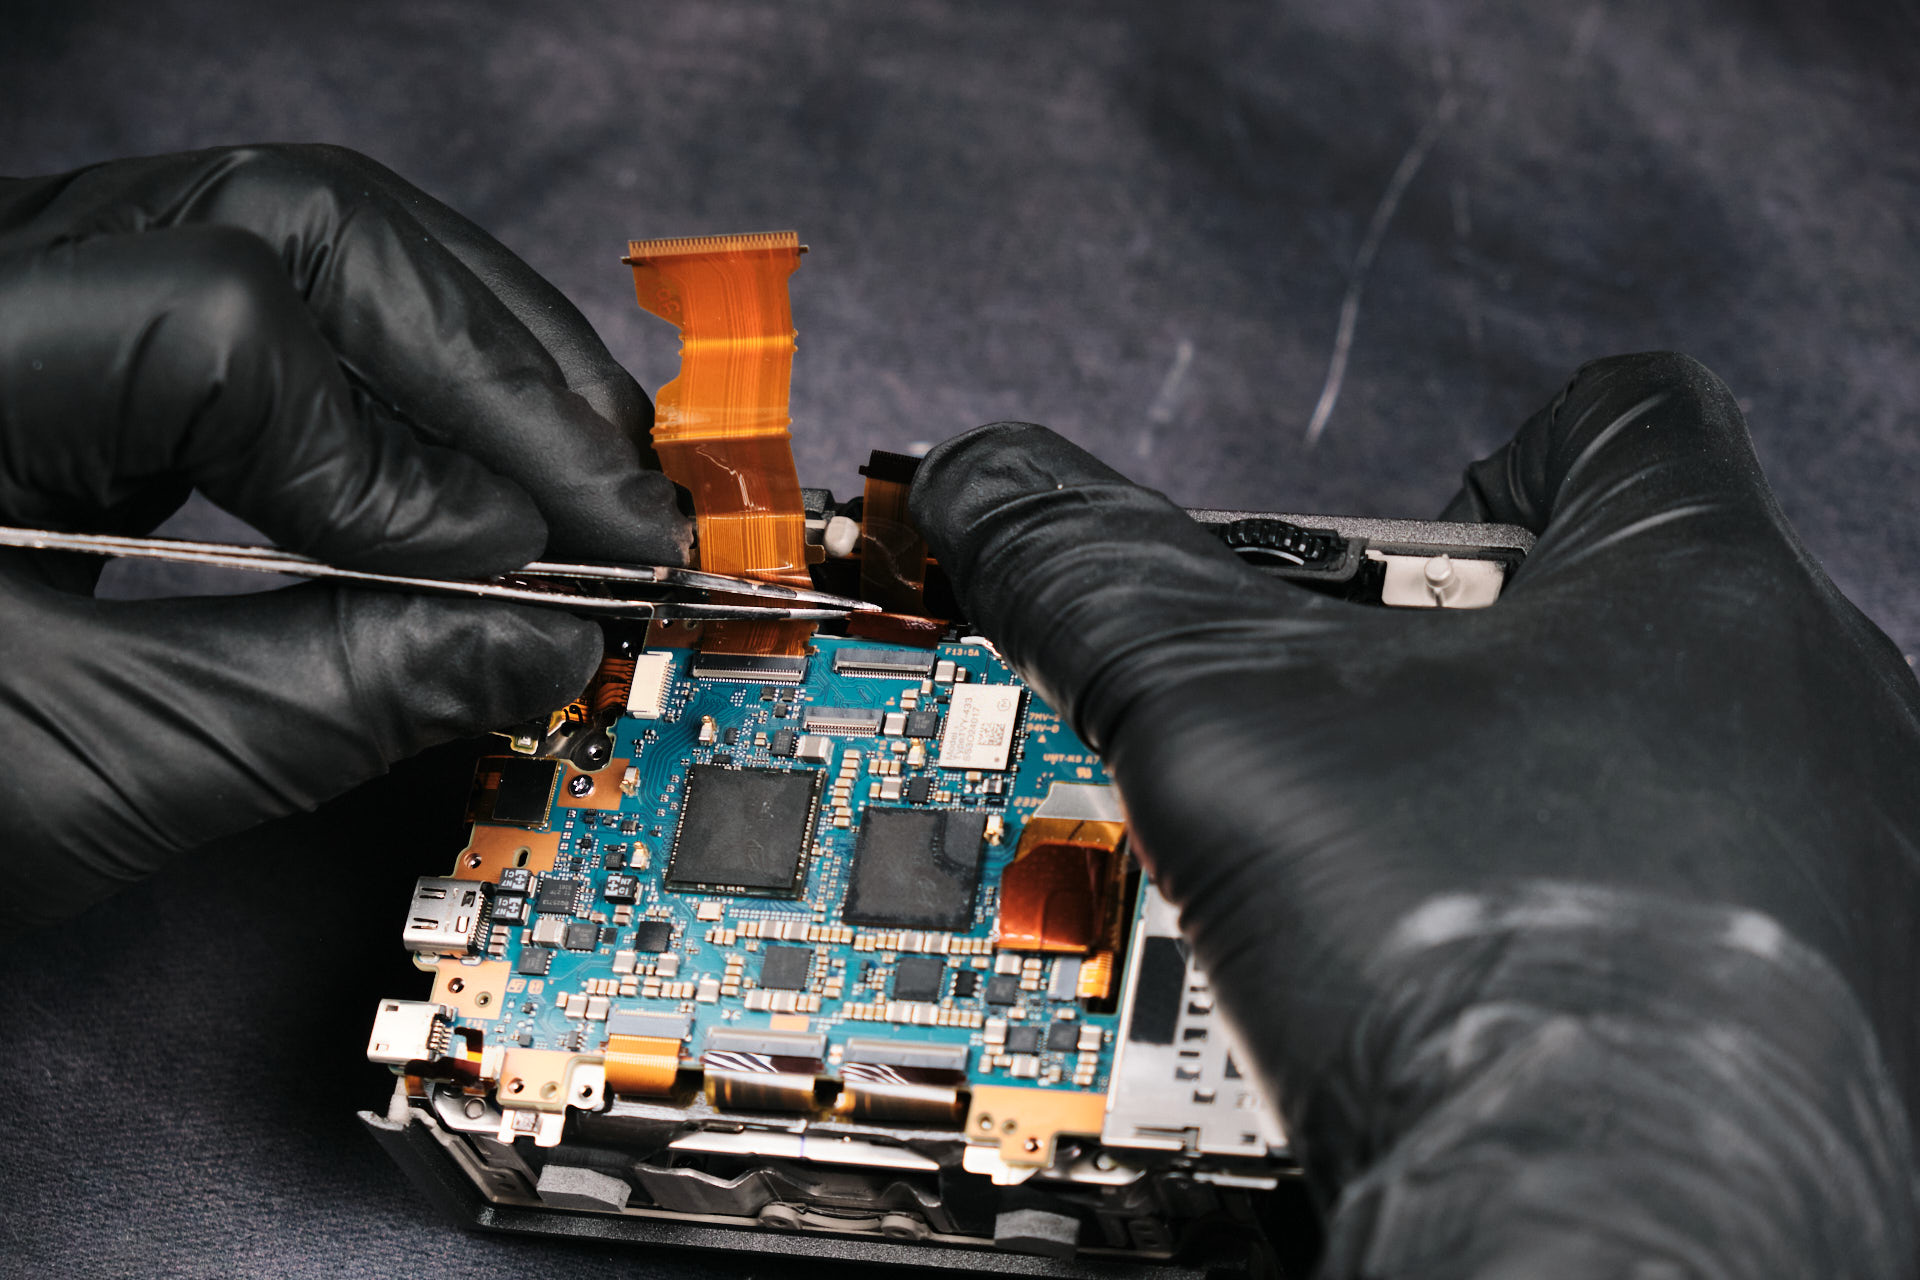
Disconnecting Sony FX30 Screws, Wires, and Ribbon Cables
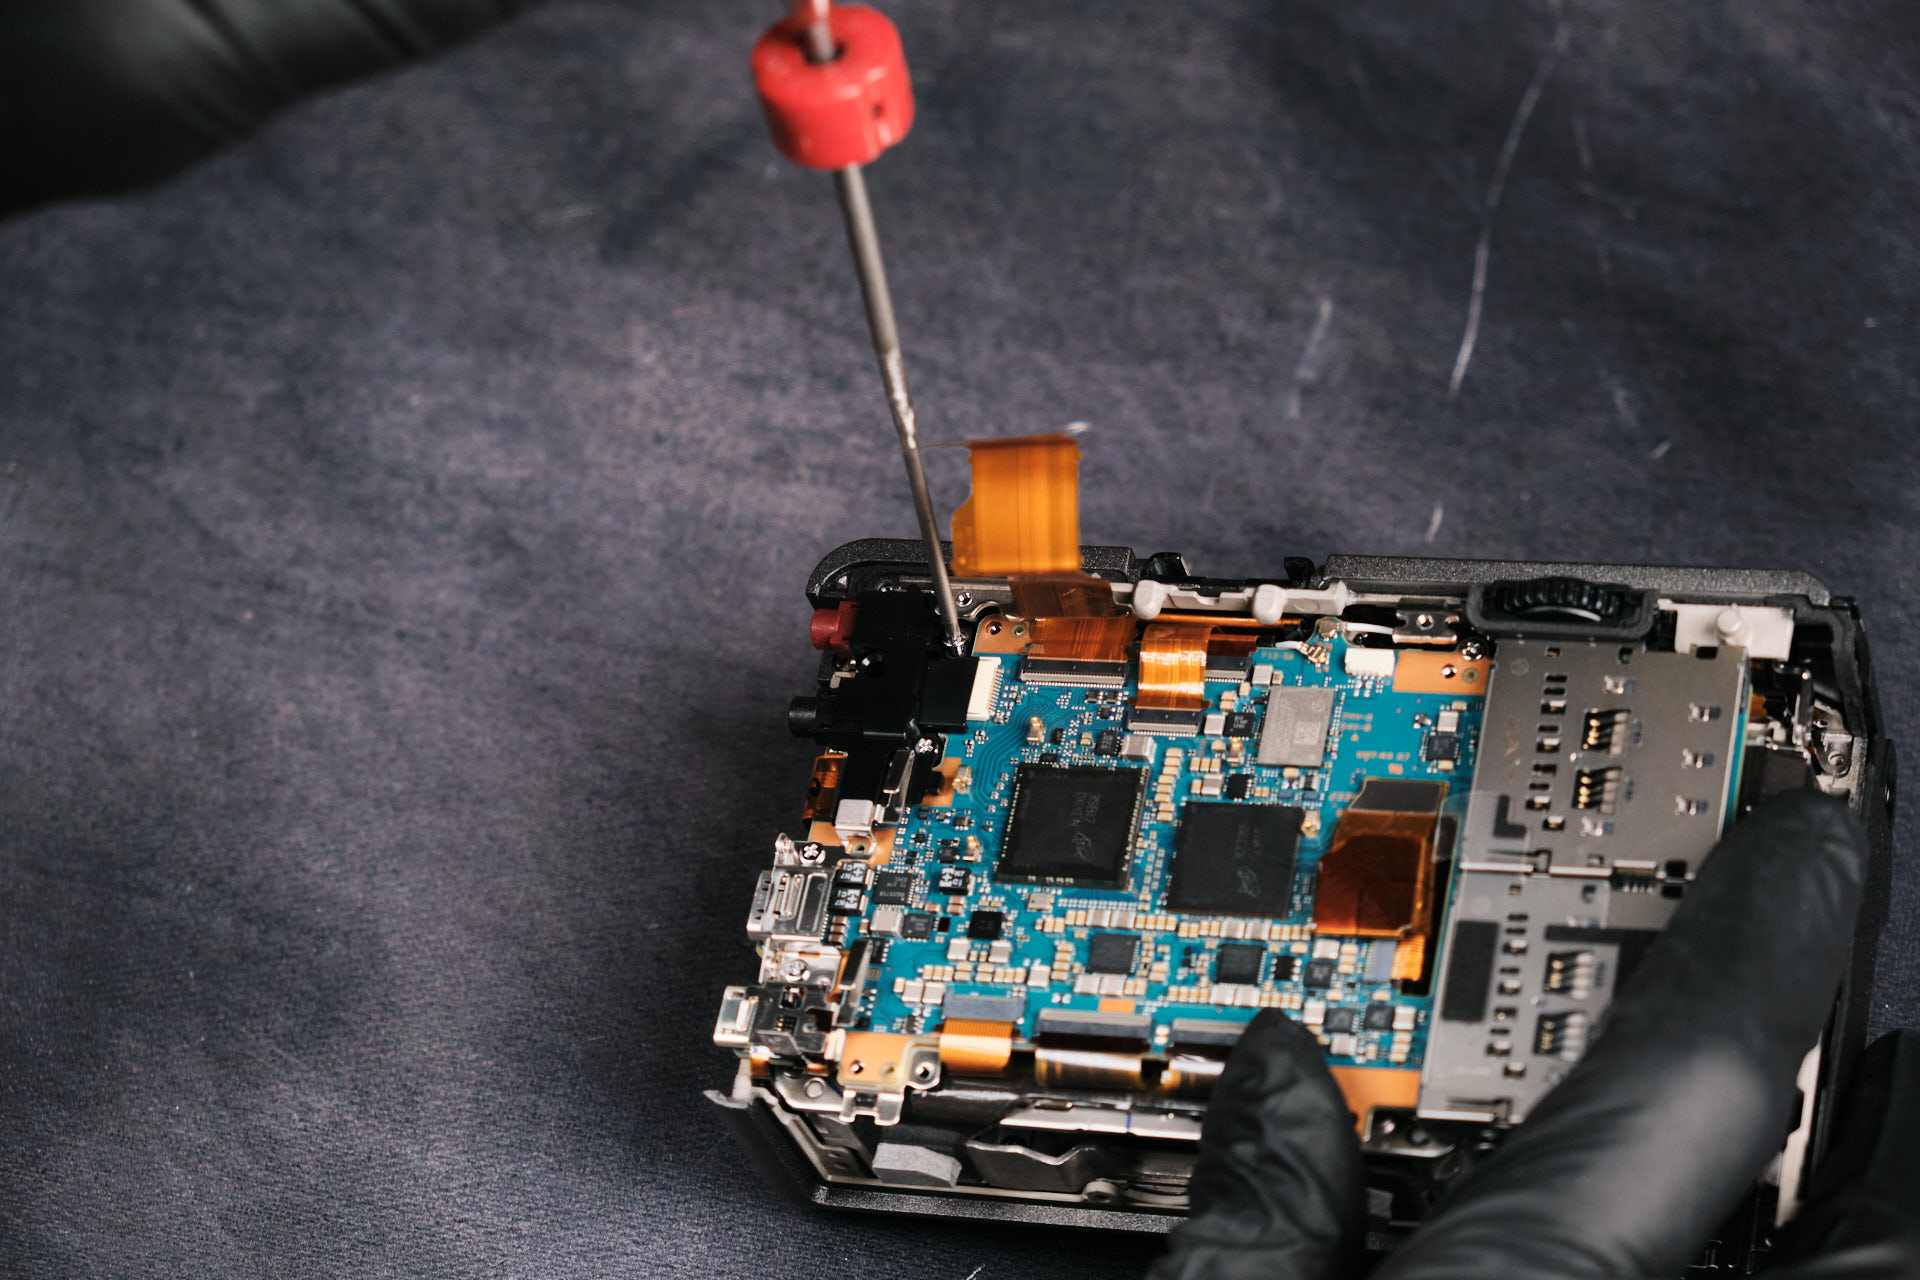
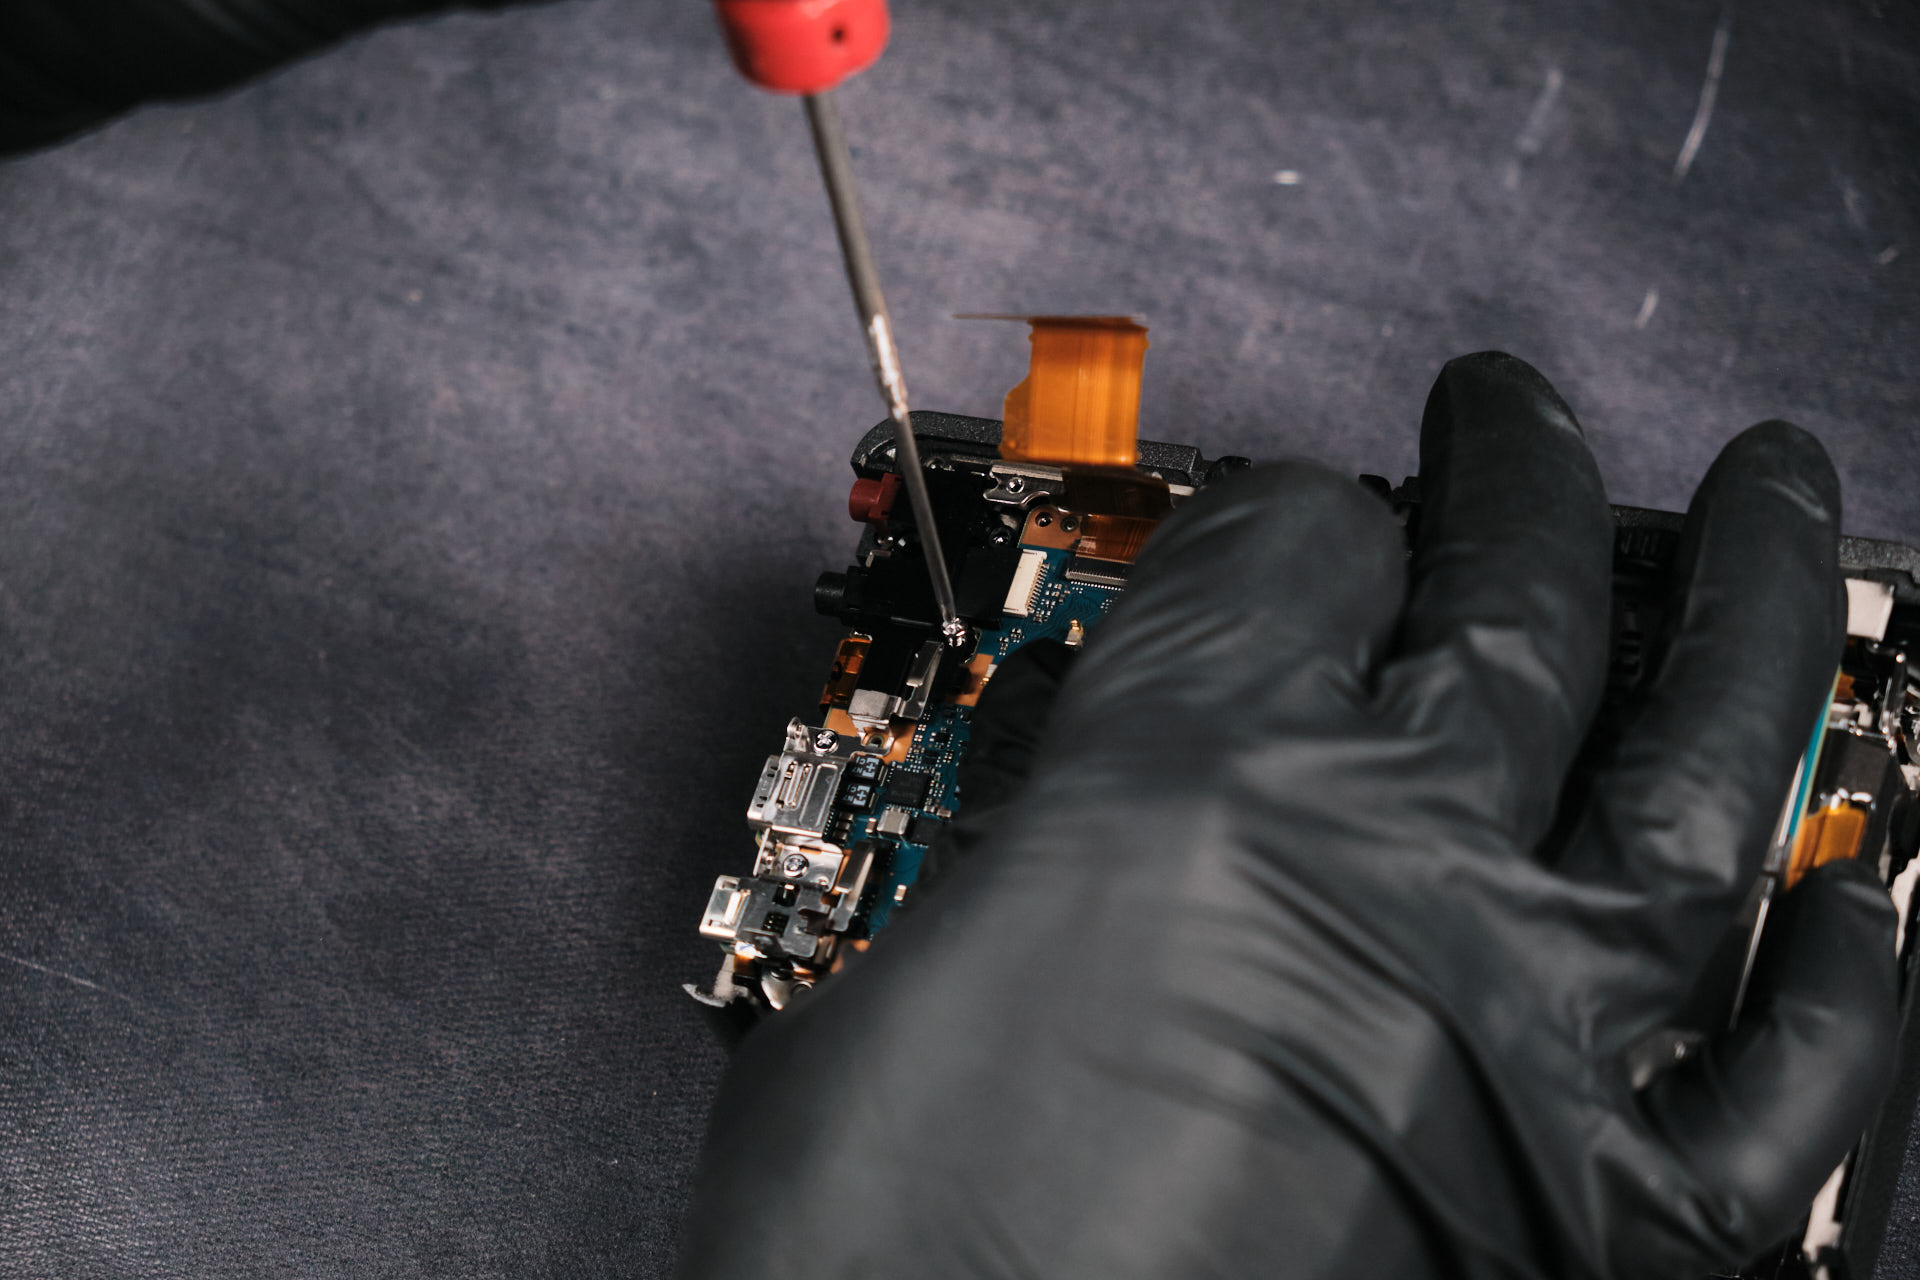
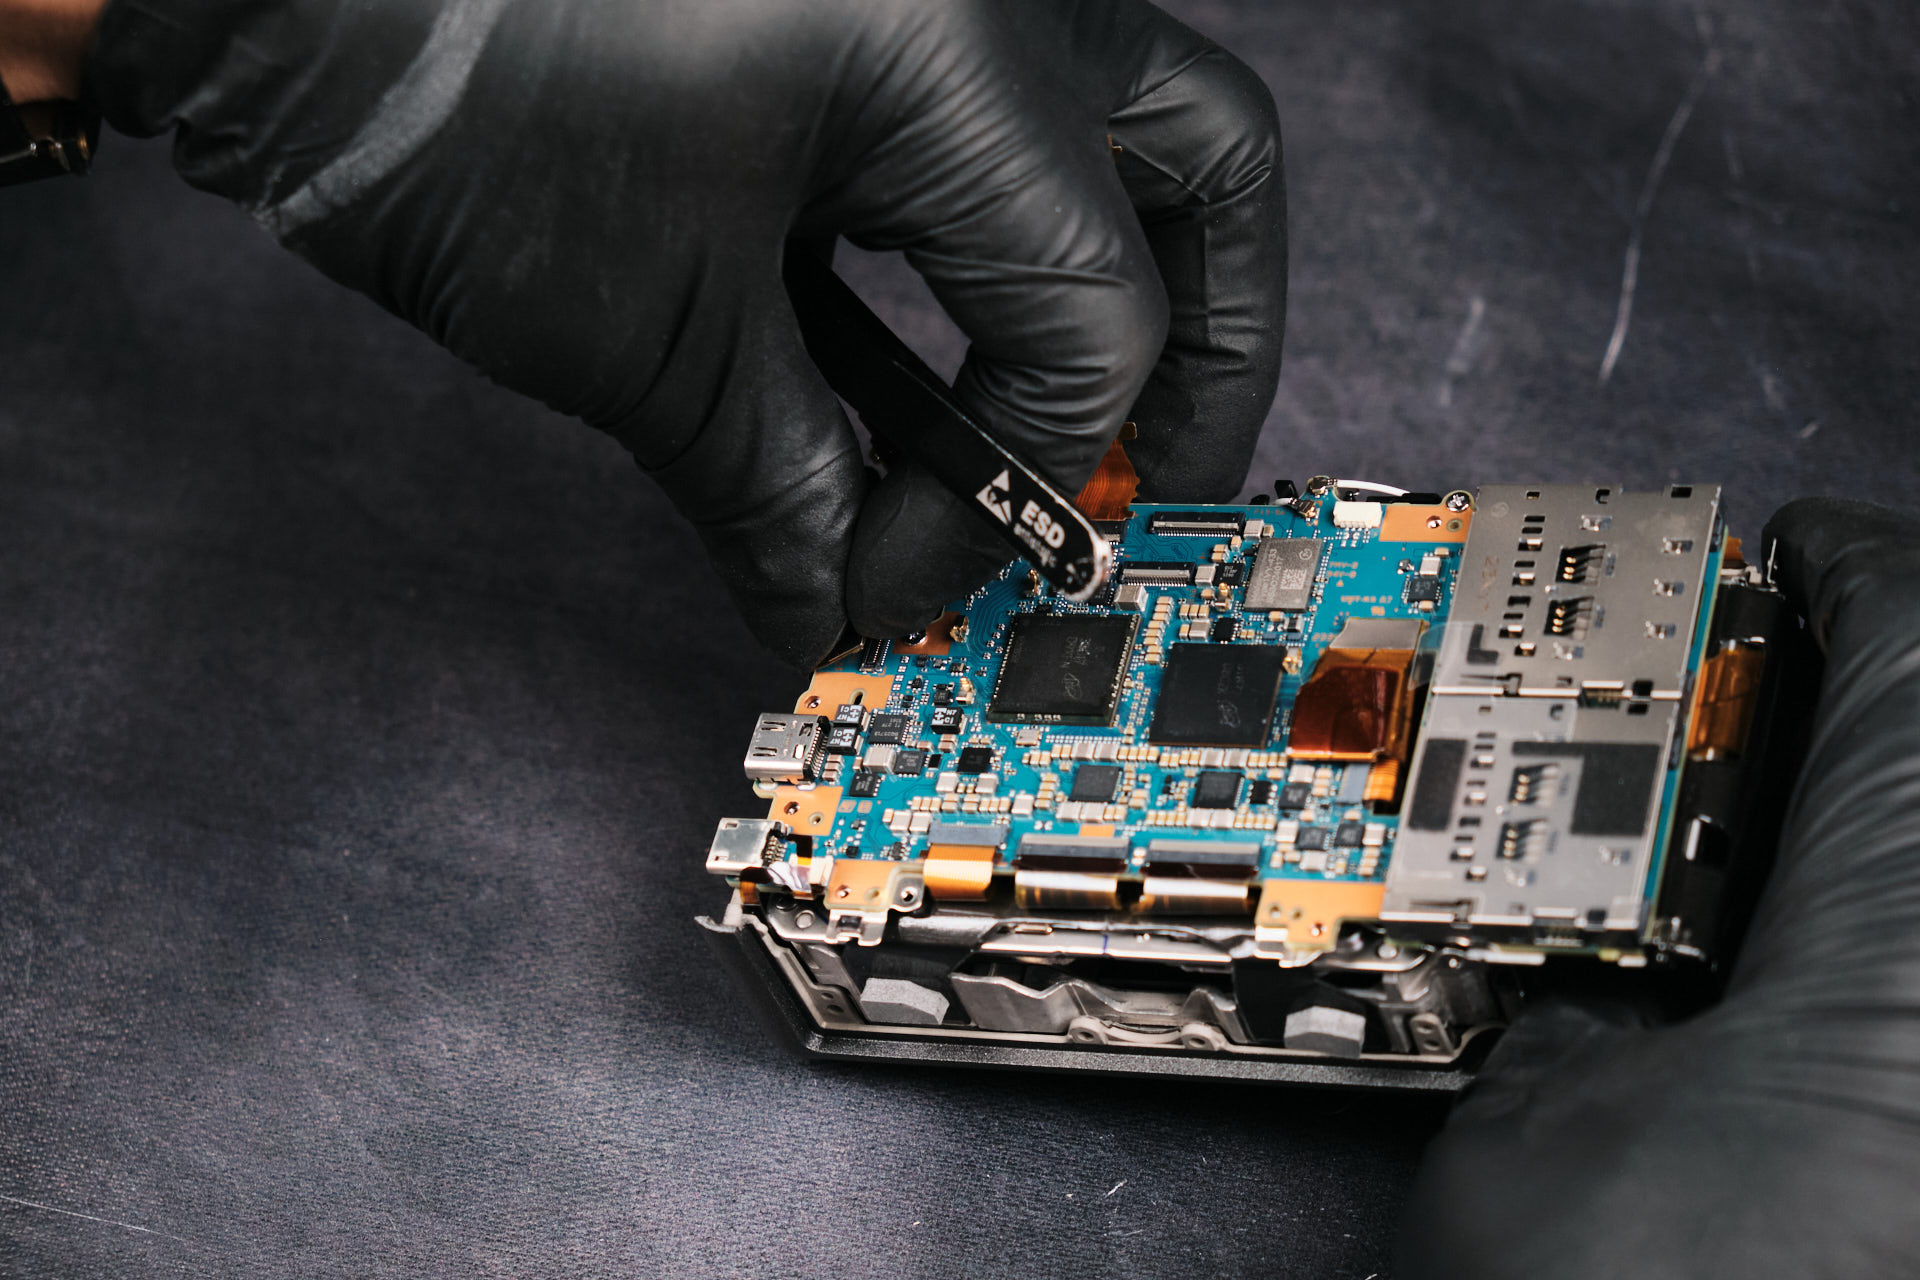
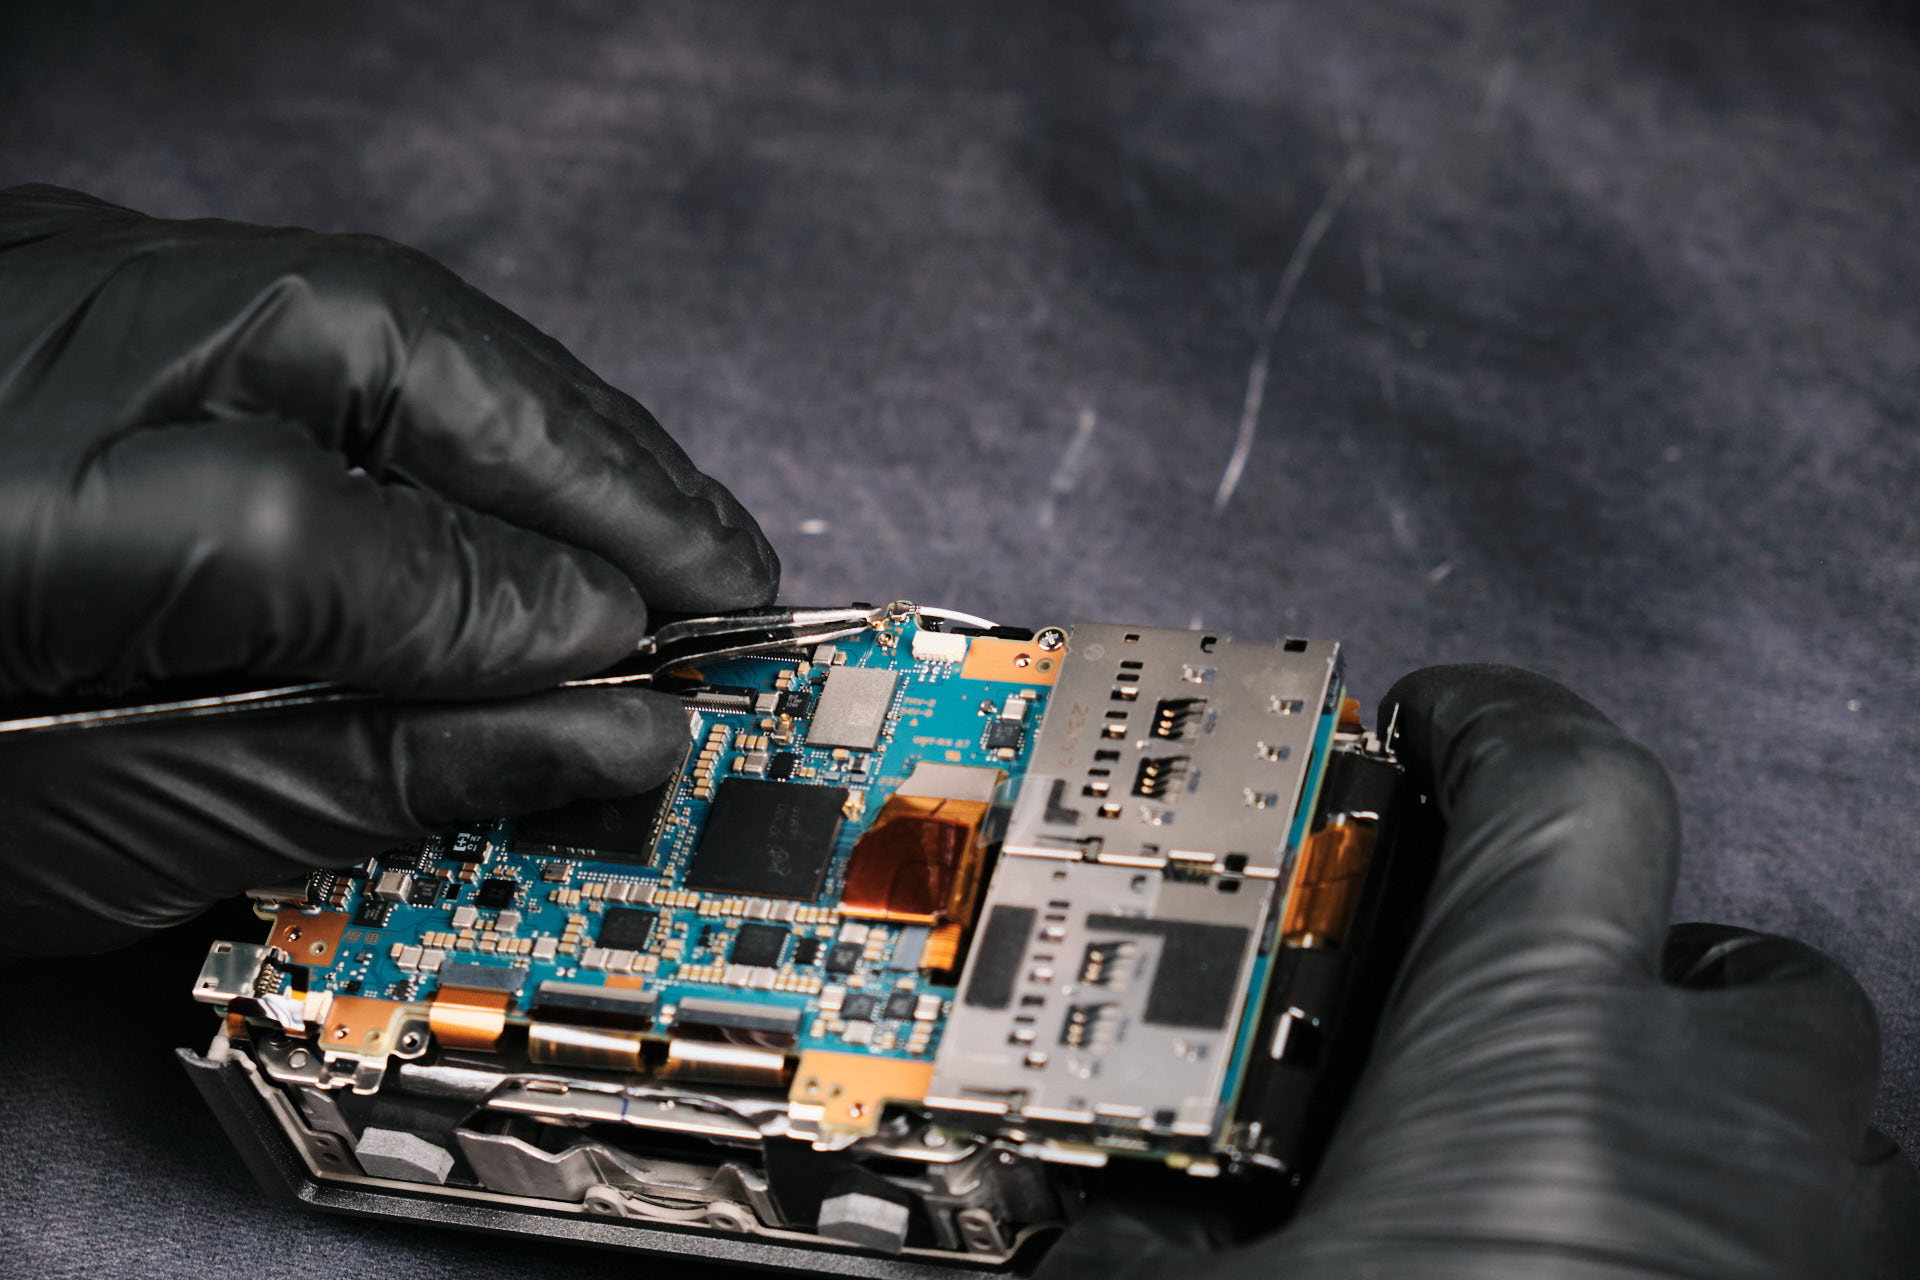
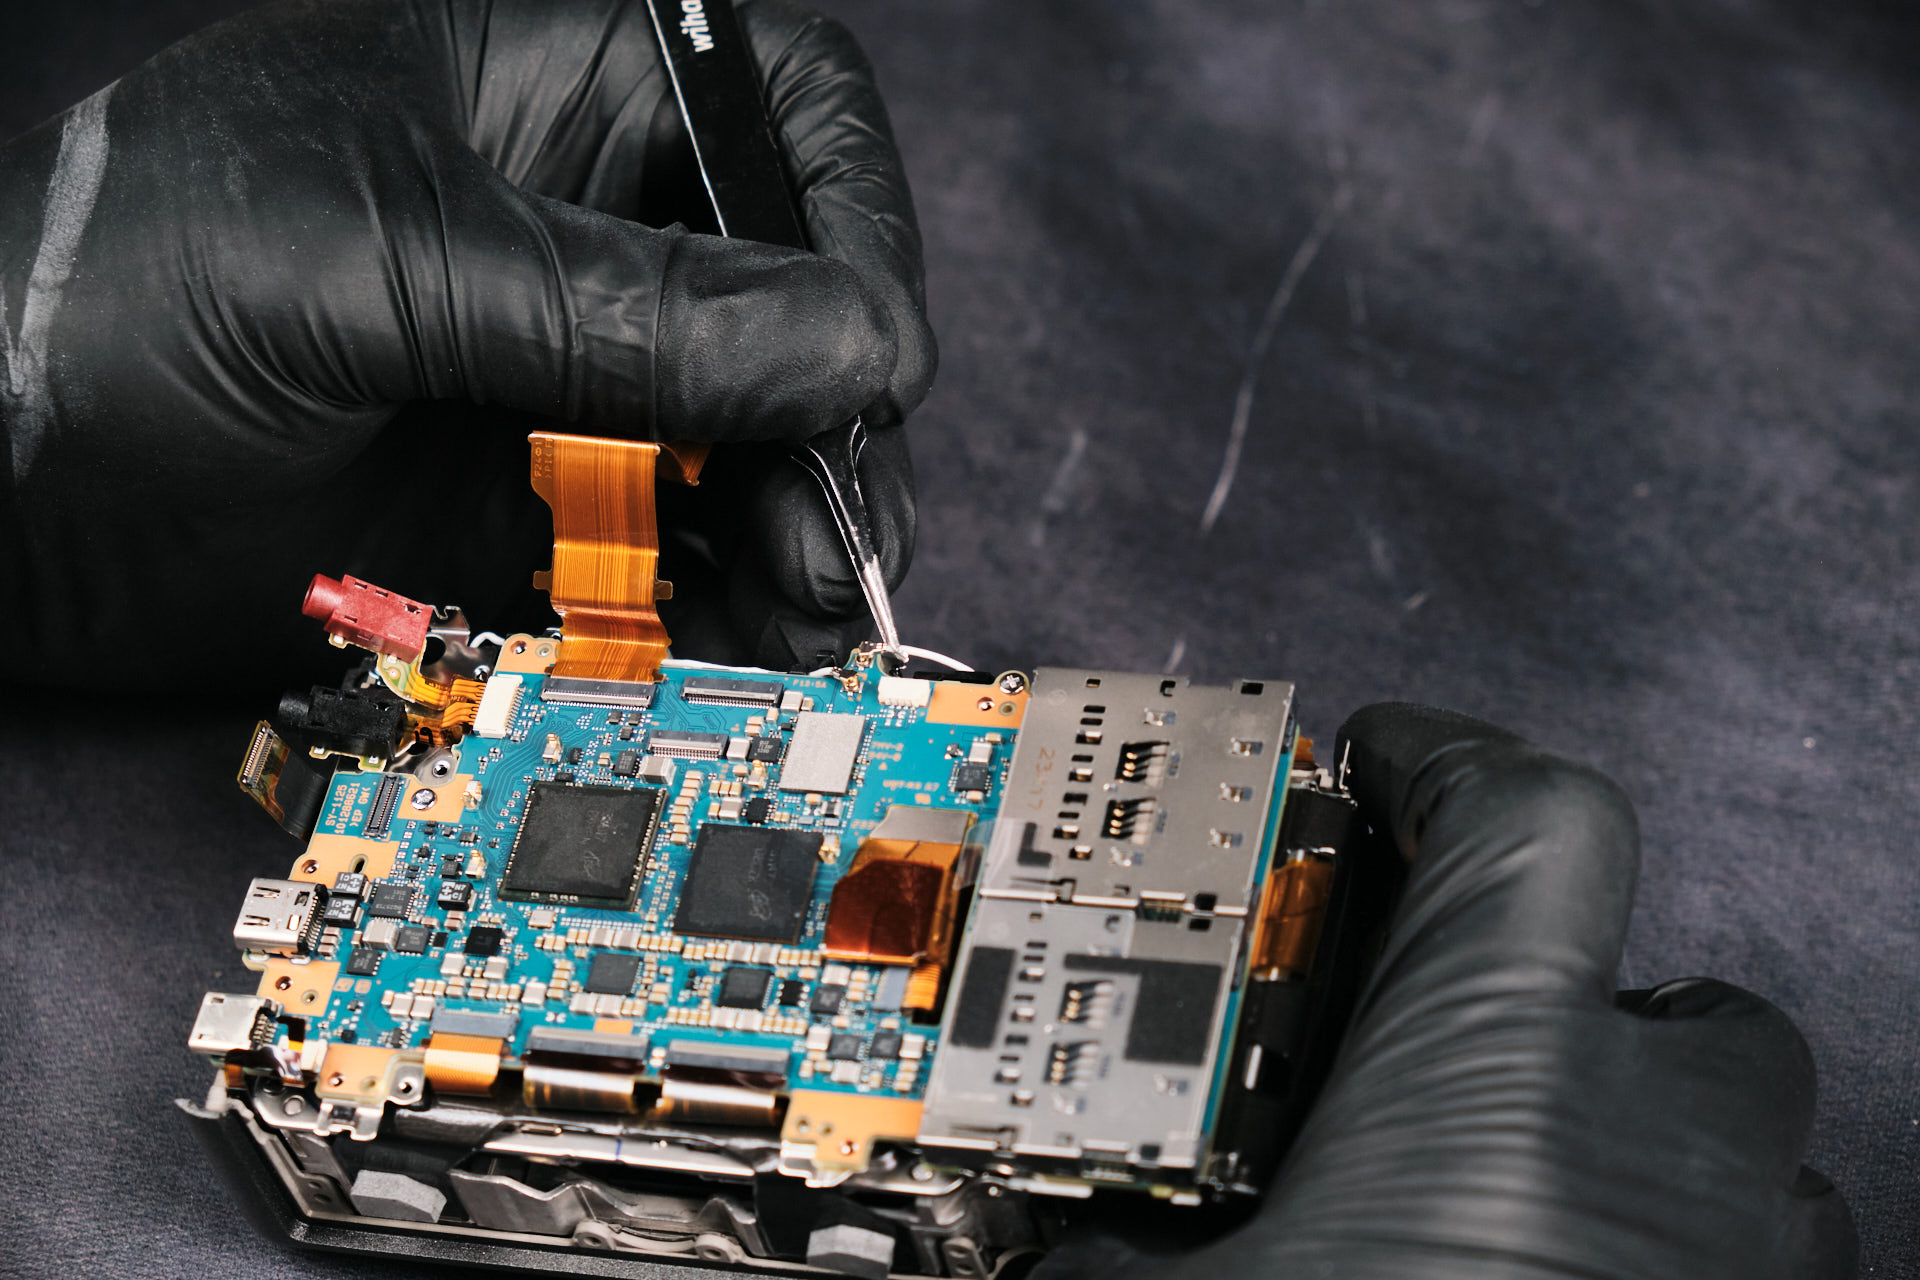
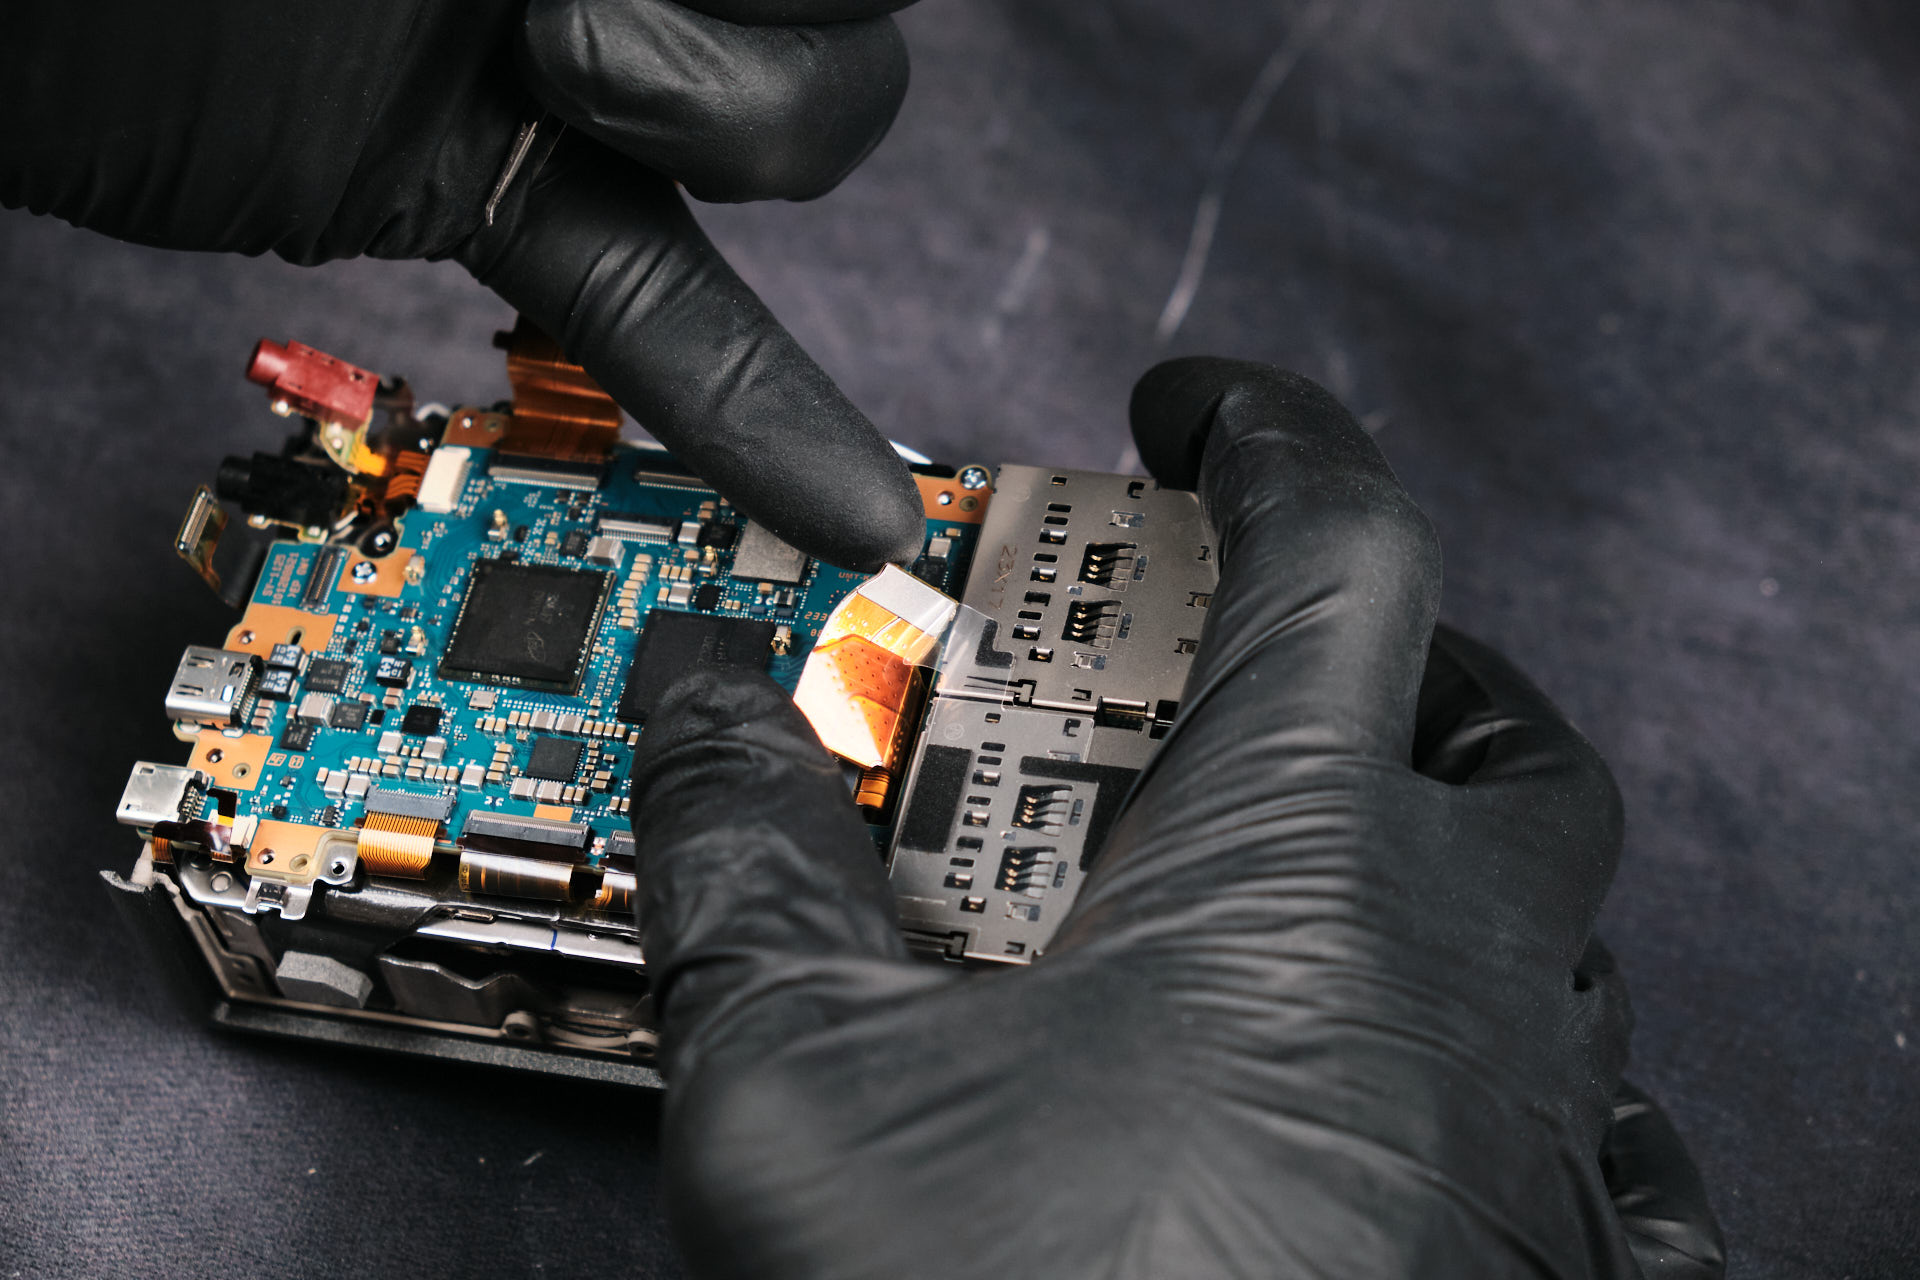
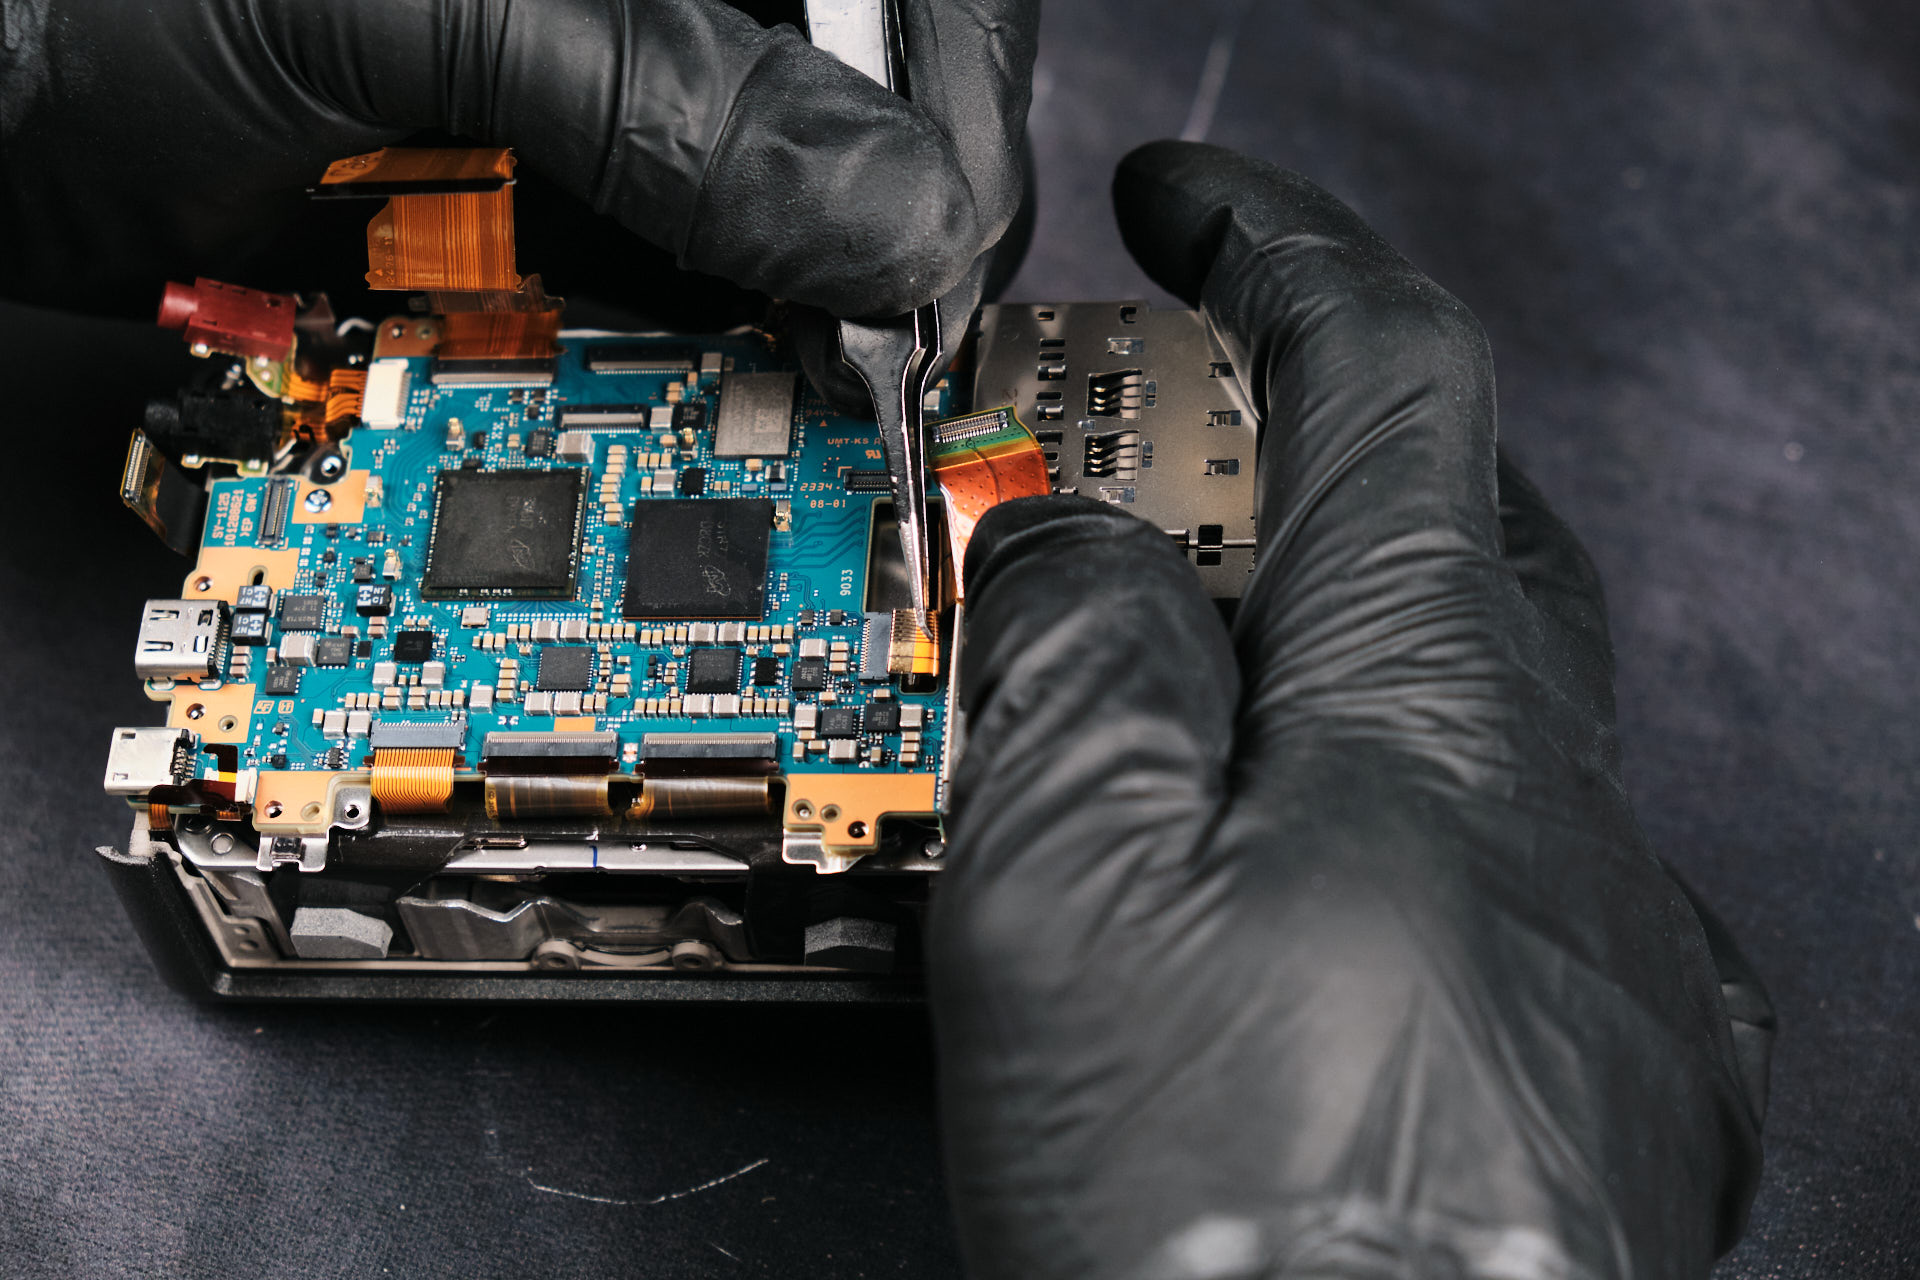
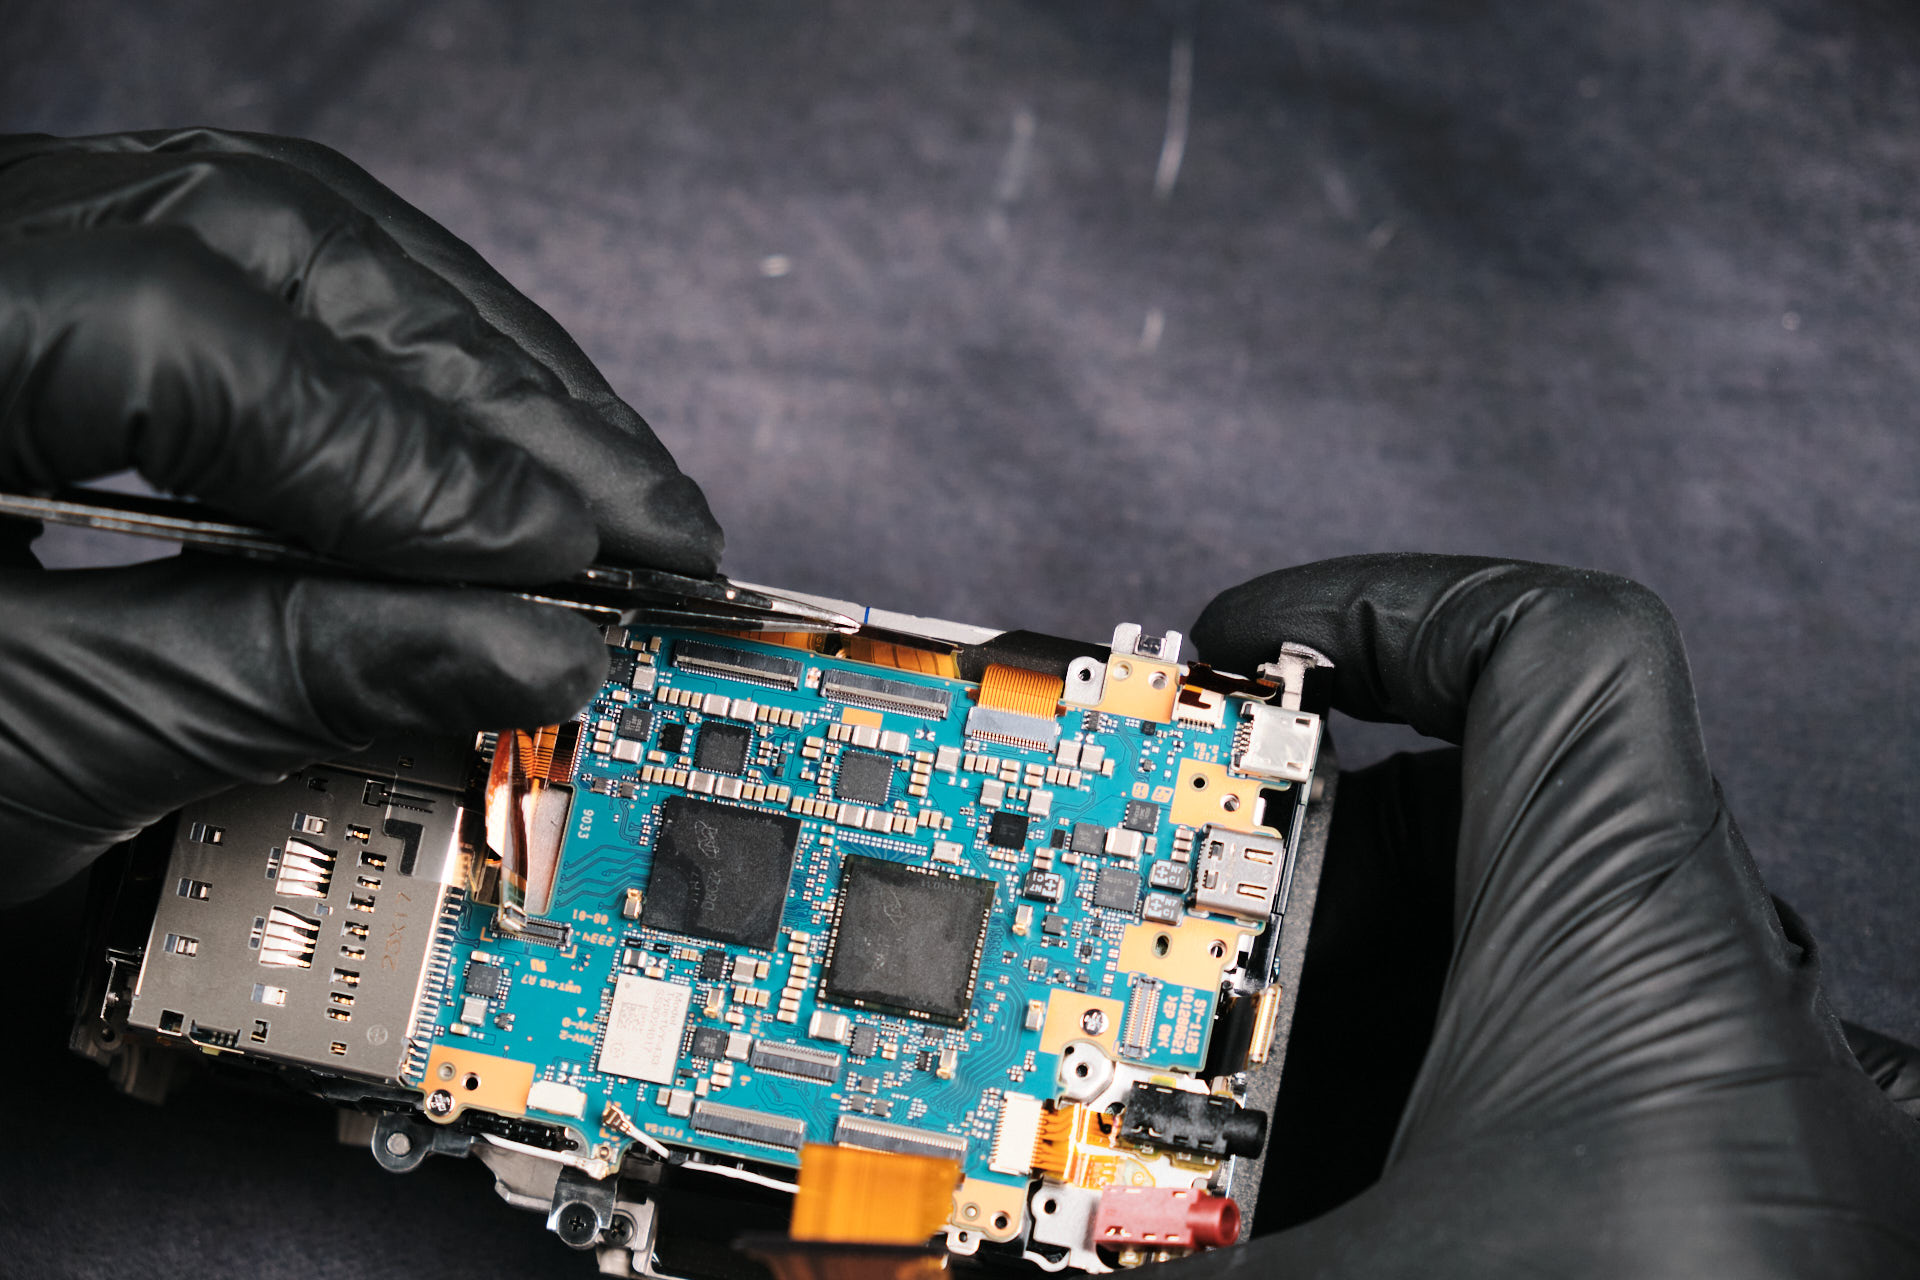
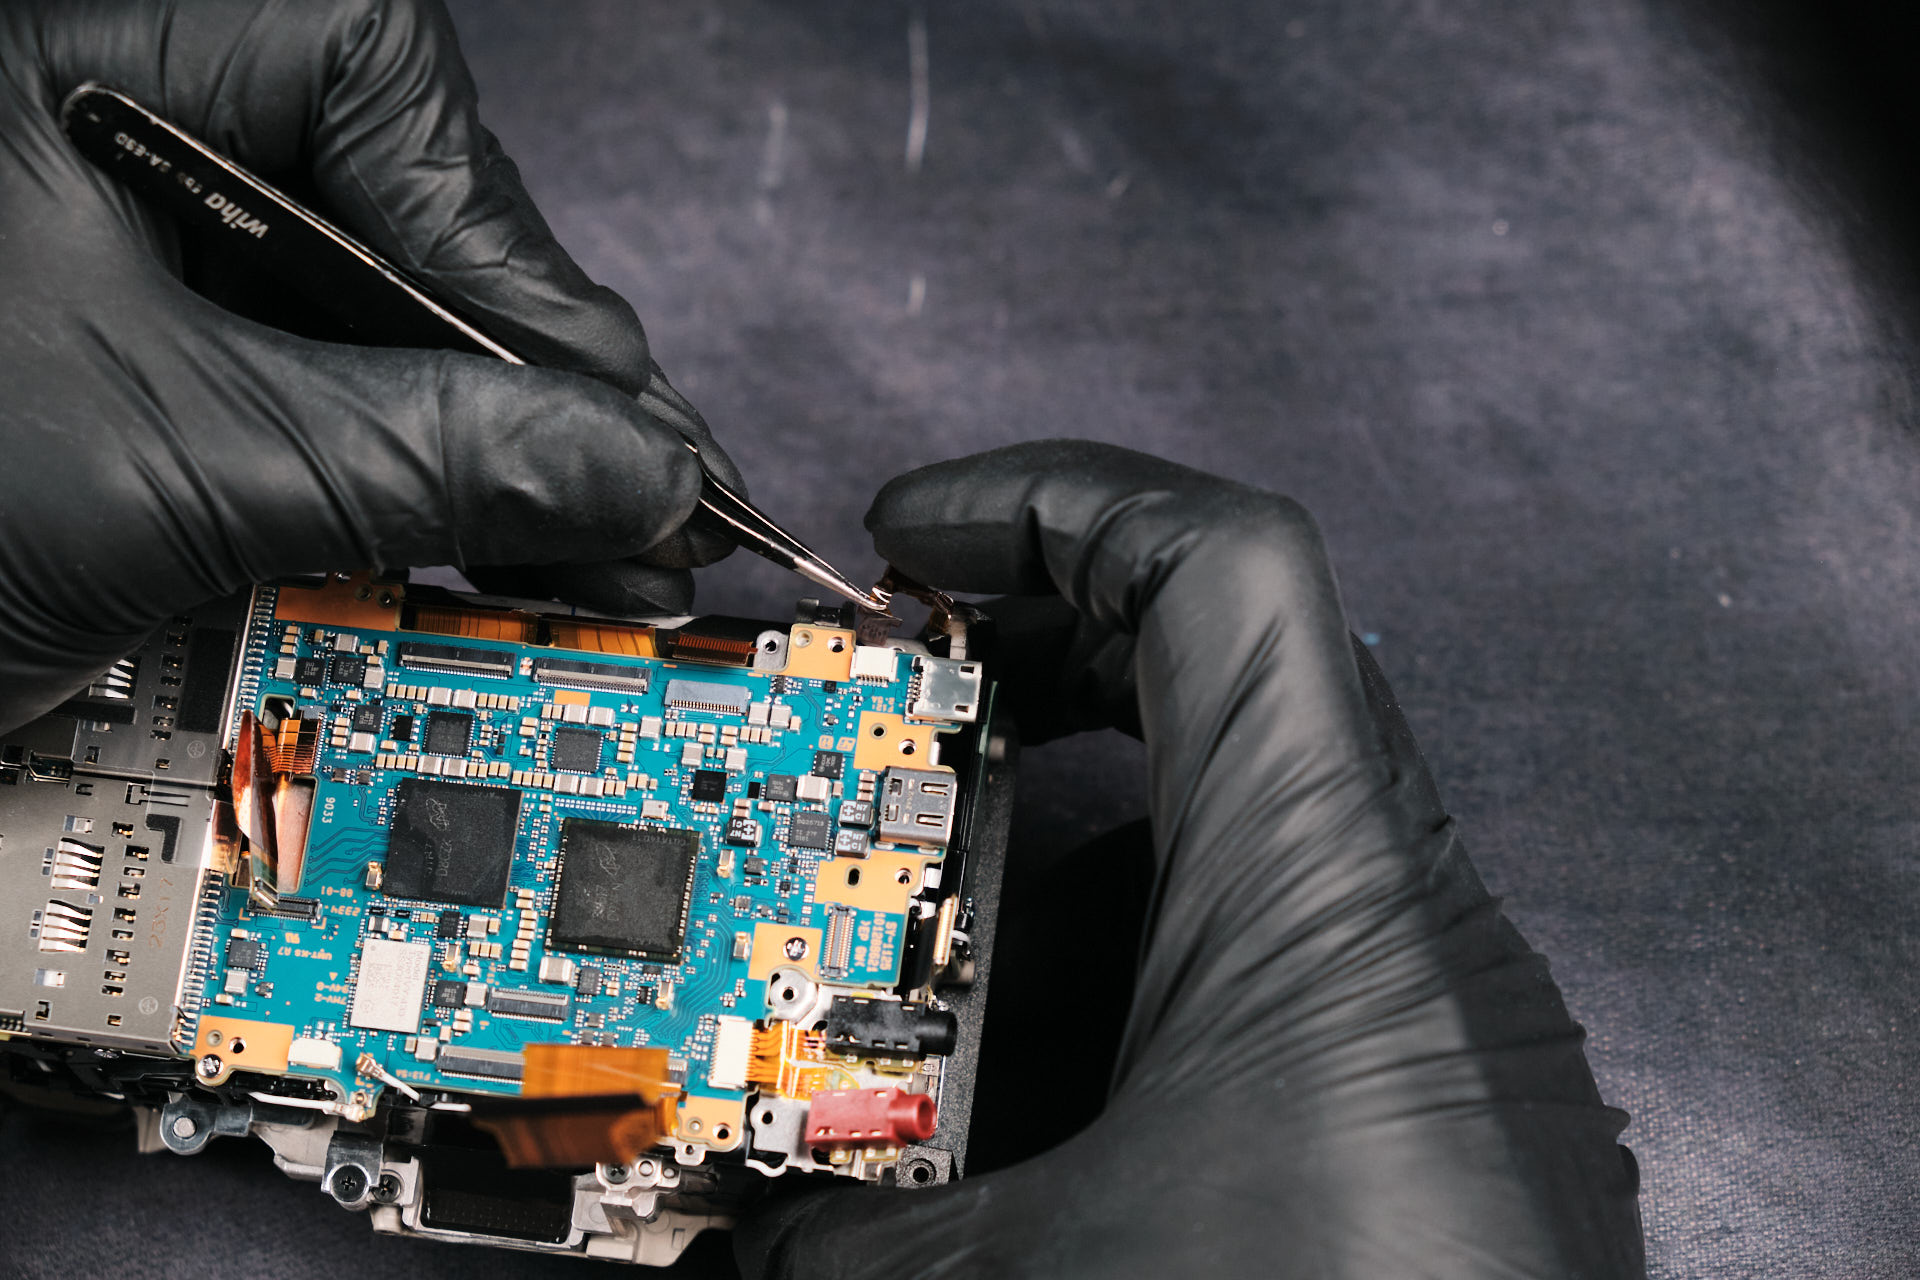
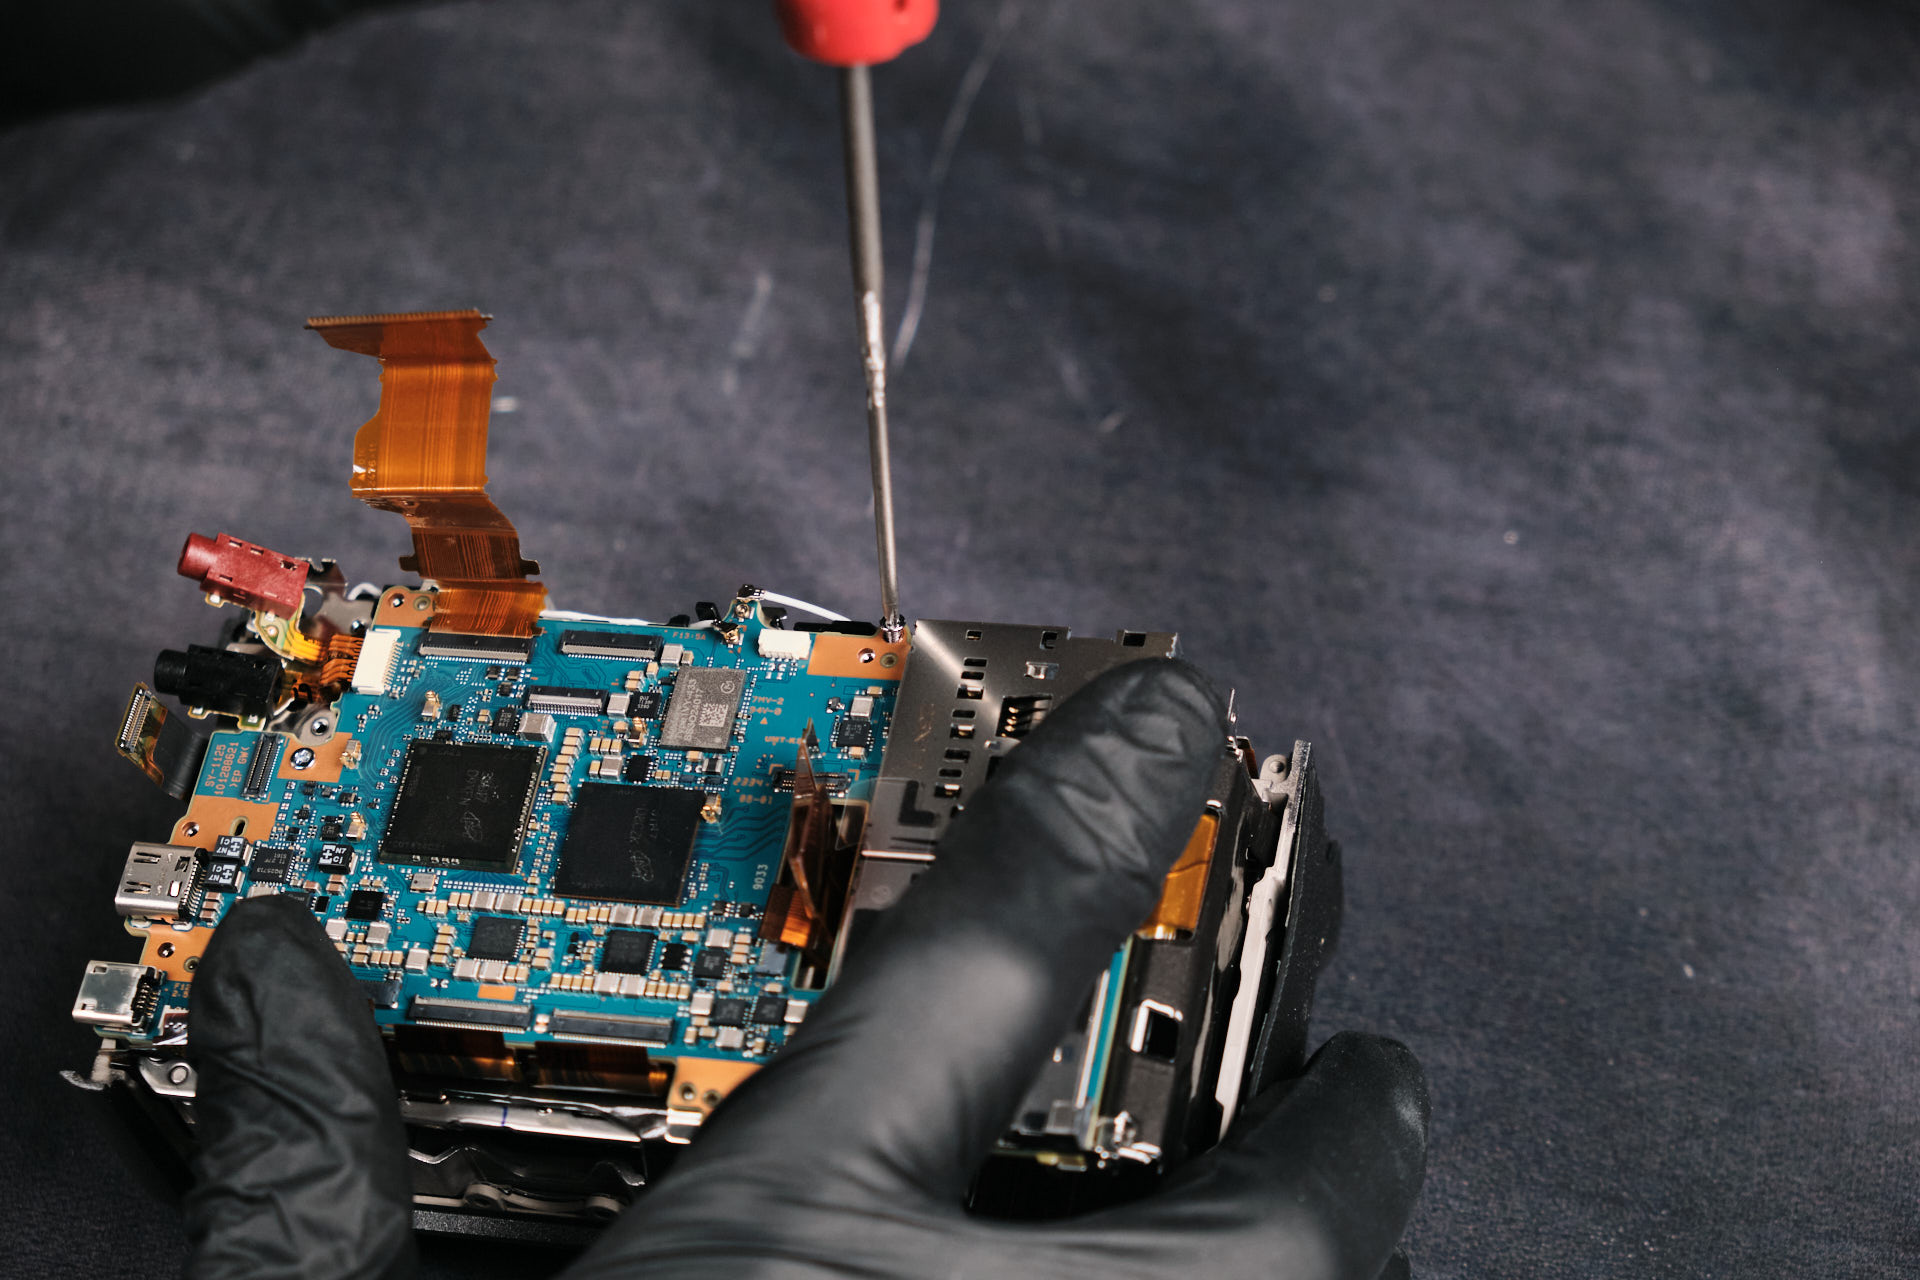
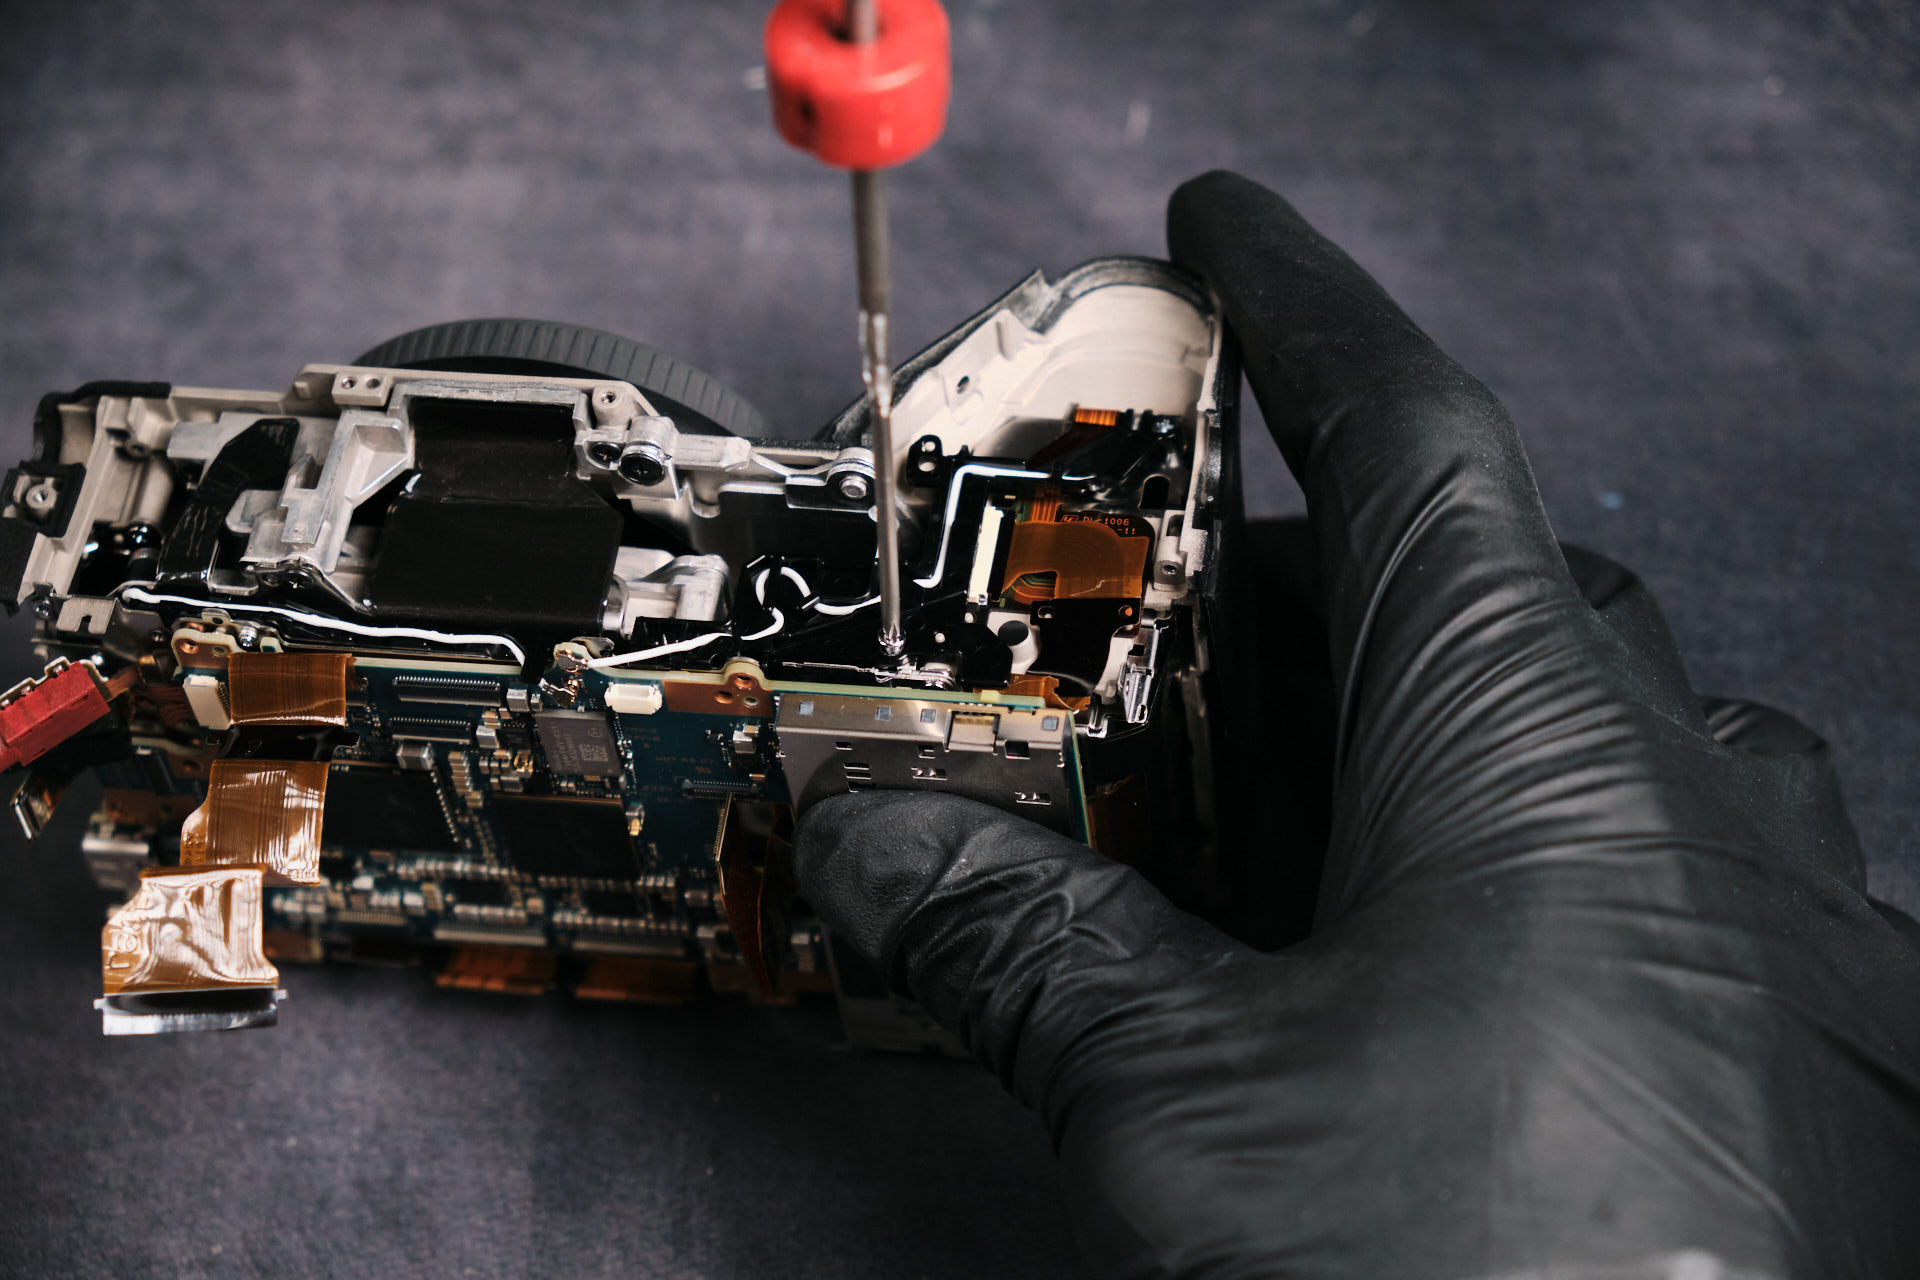
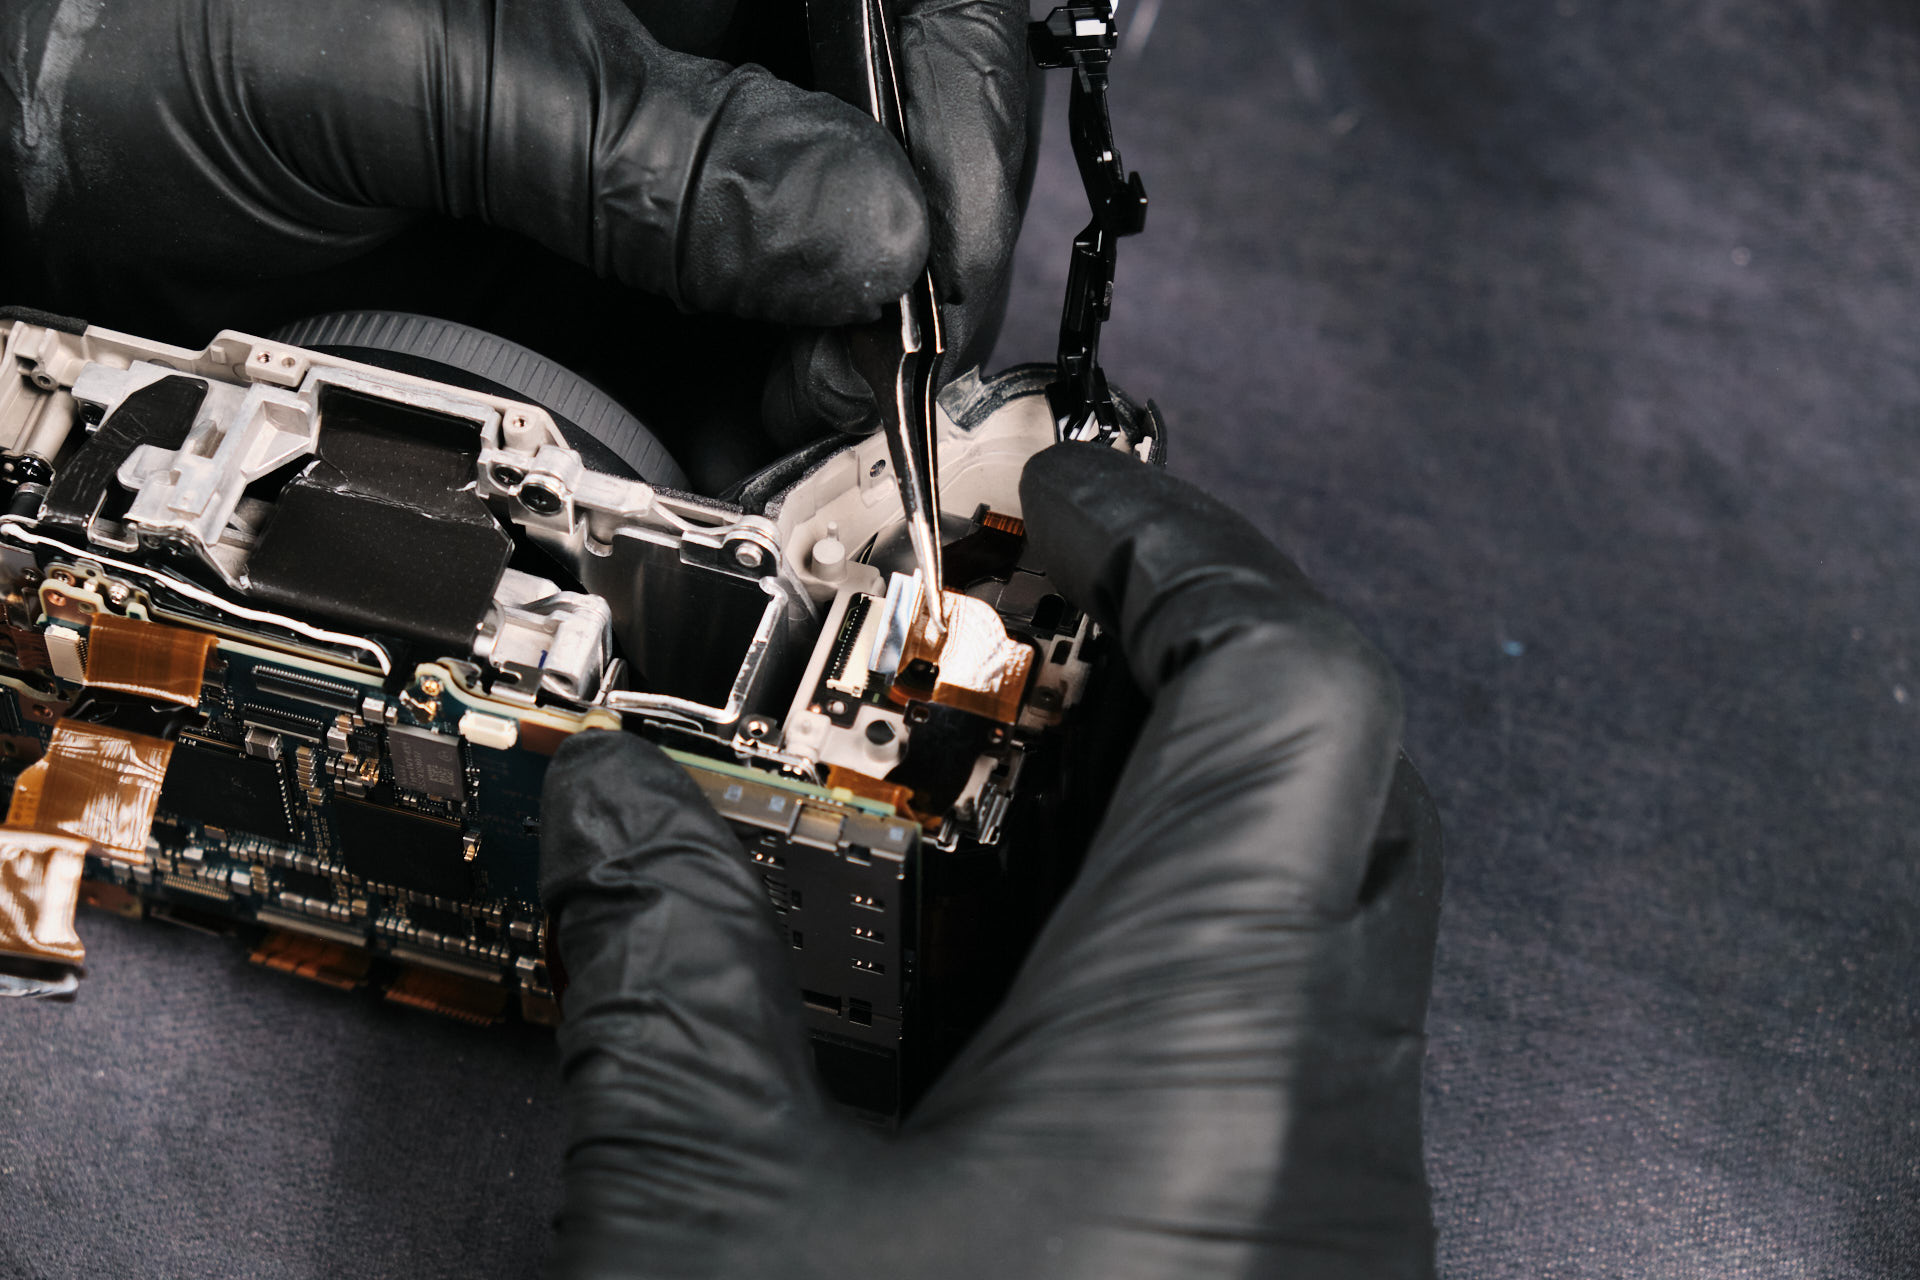
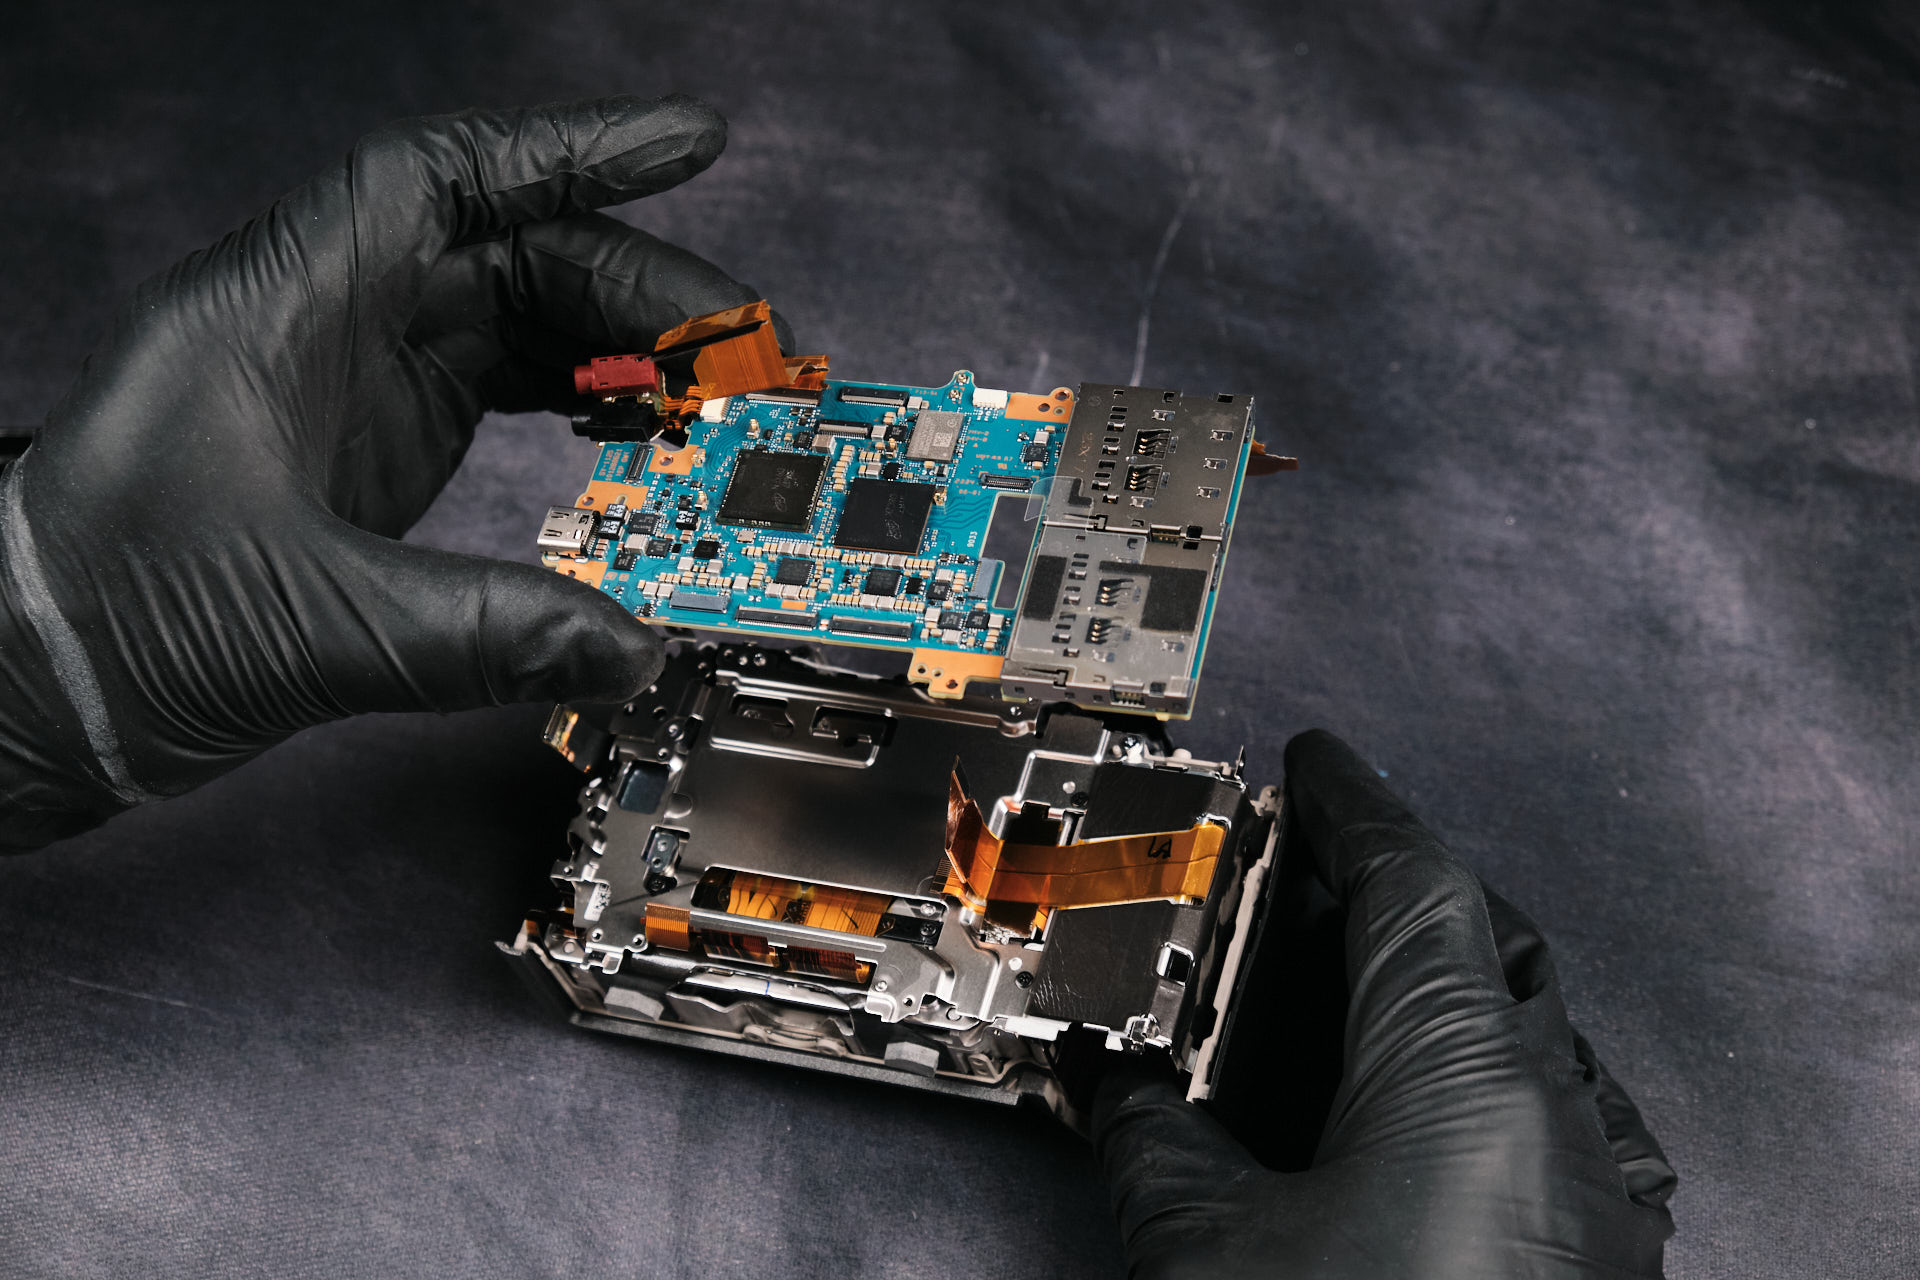
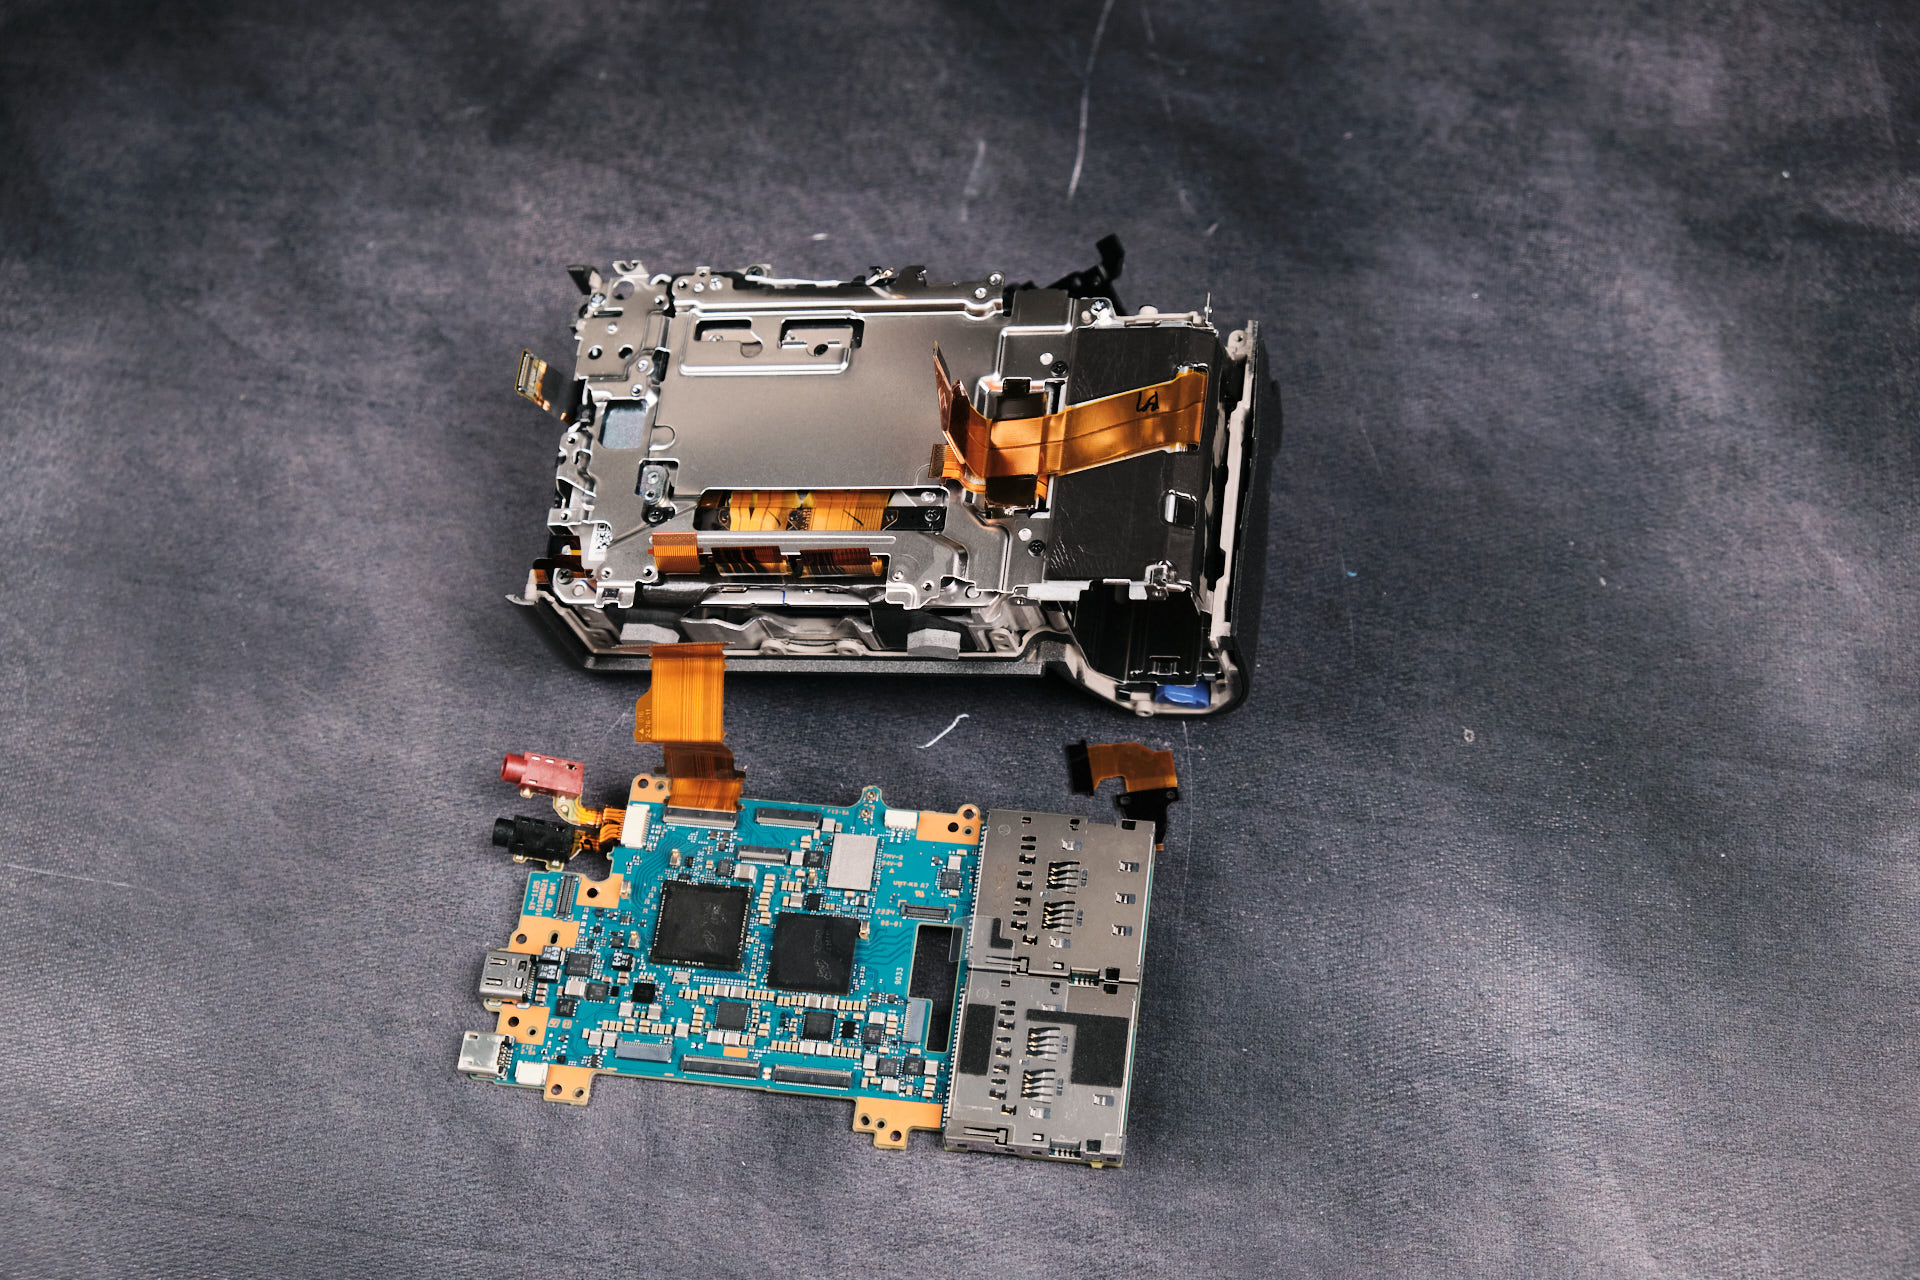
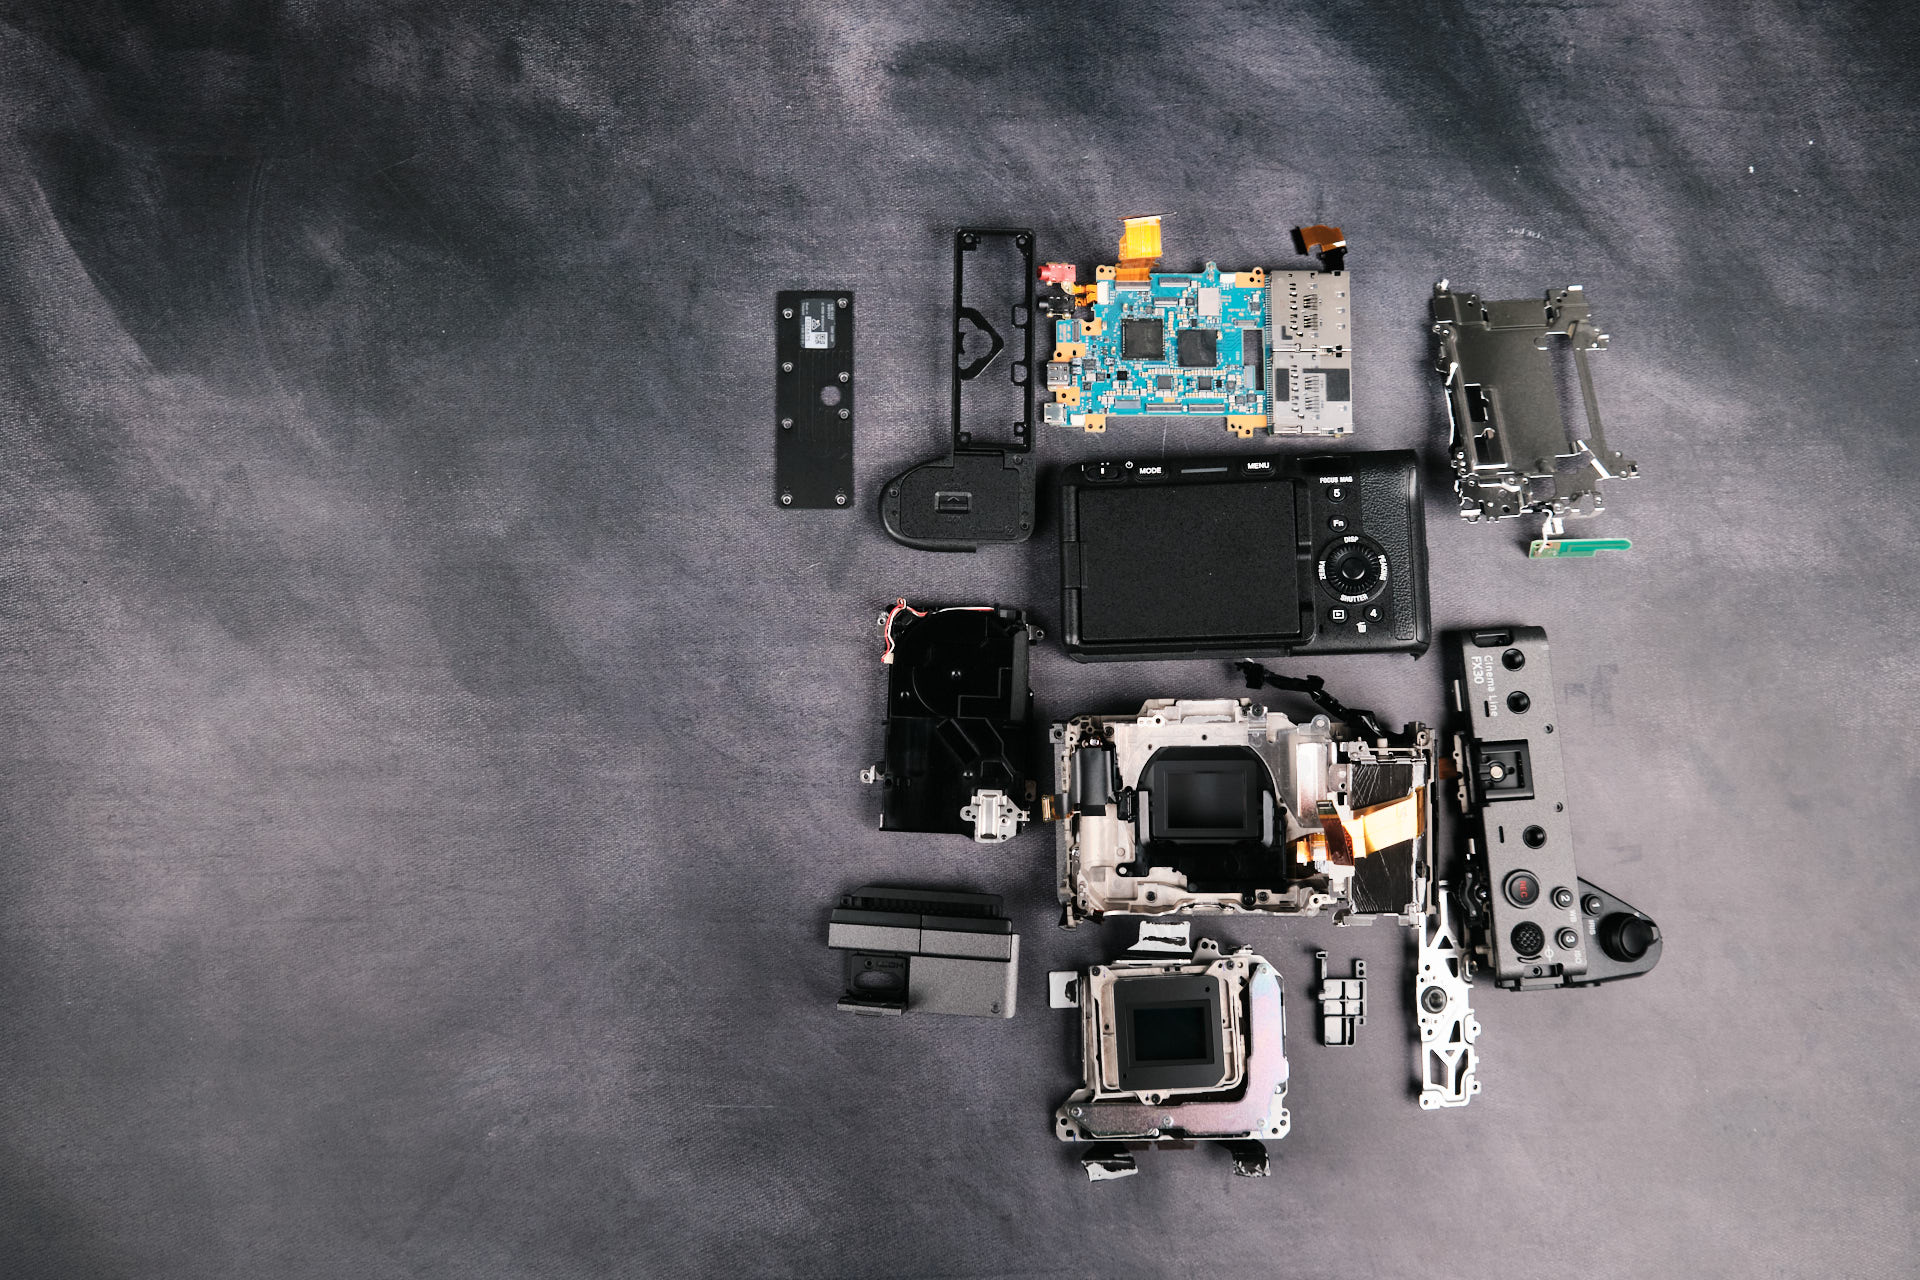
Removing the circuitboard can get messy quick because of the multiple connection points—this includes screws, wires, and ribbon cables. In the case of this camera, there were four screws, three wires, and seven ribbon cables altogether.
Here is the circuitboard removed from the camera frame.
Removing the Shielding Bracket
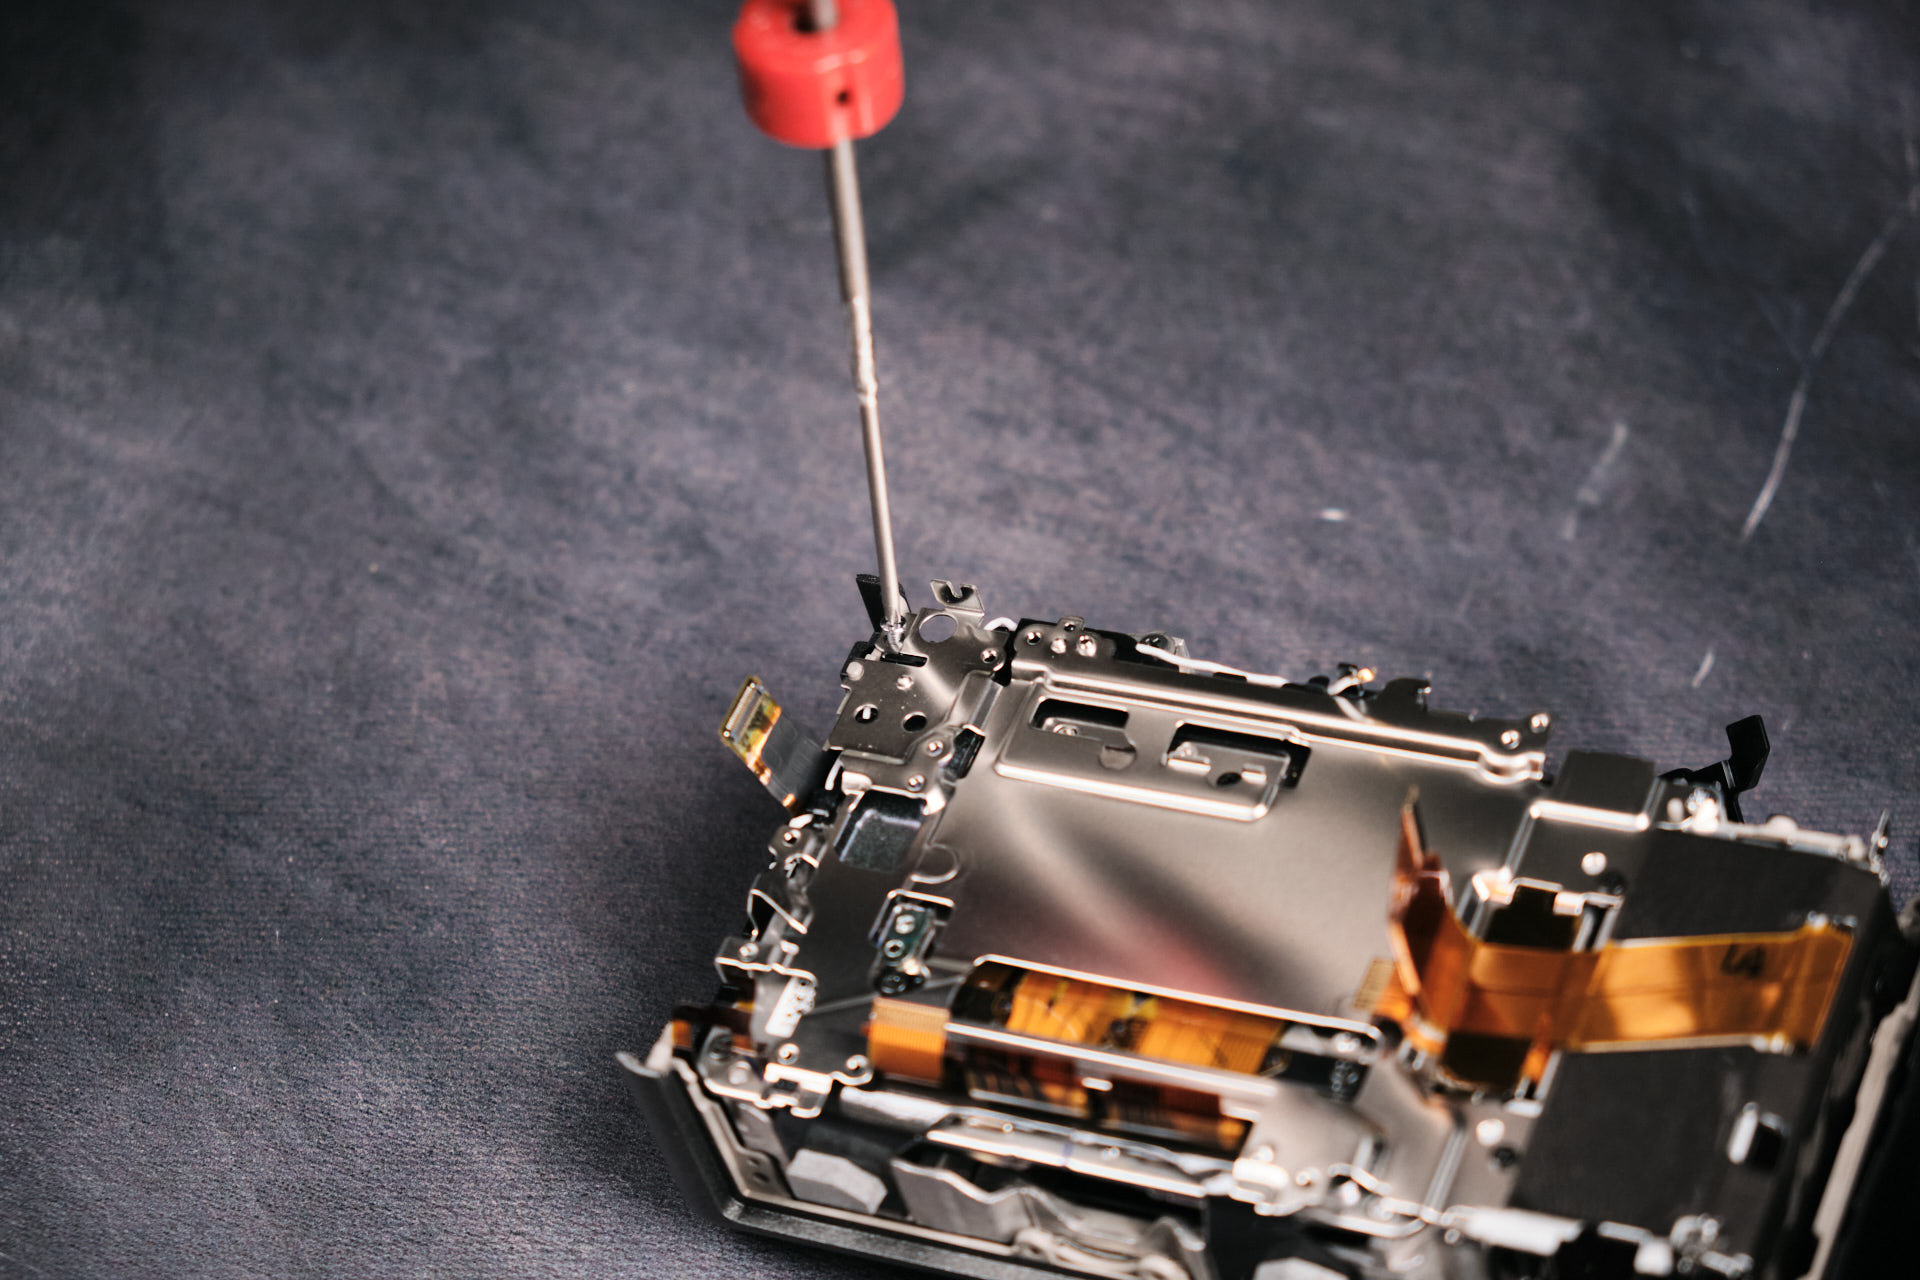
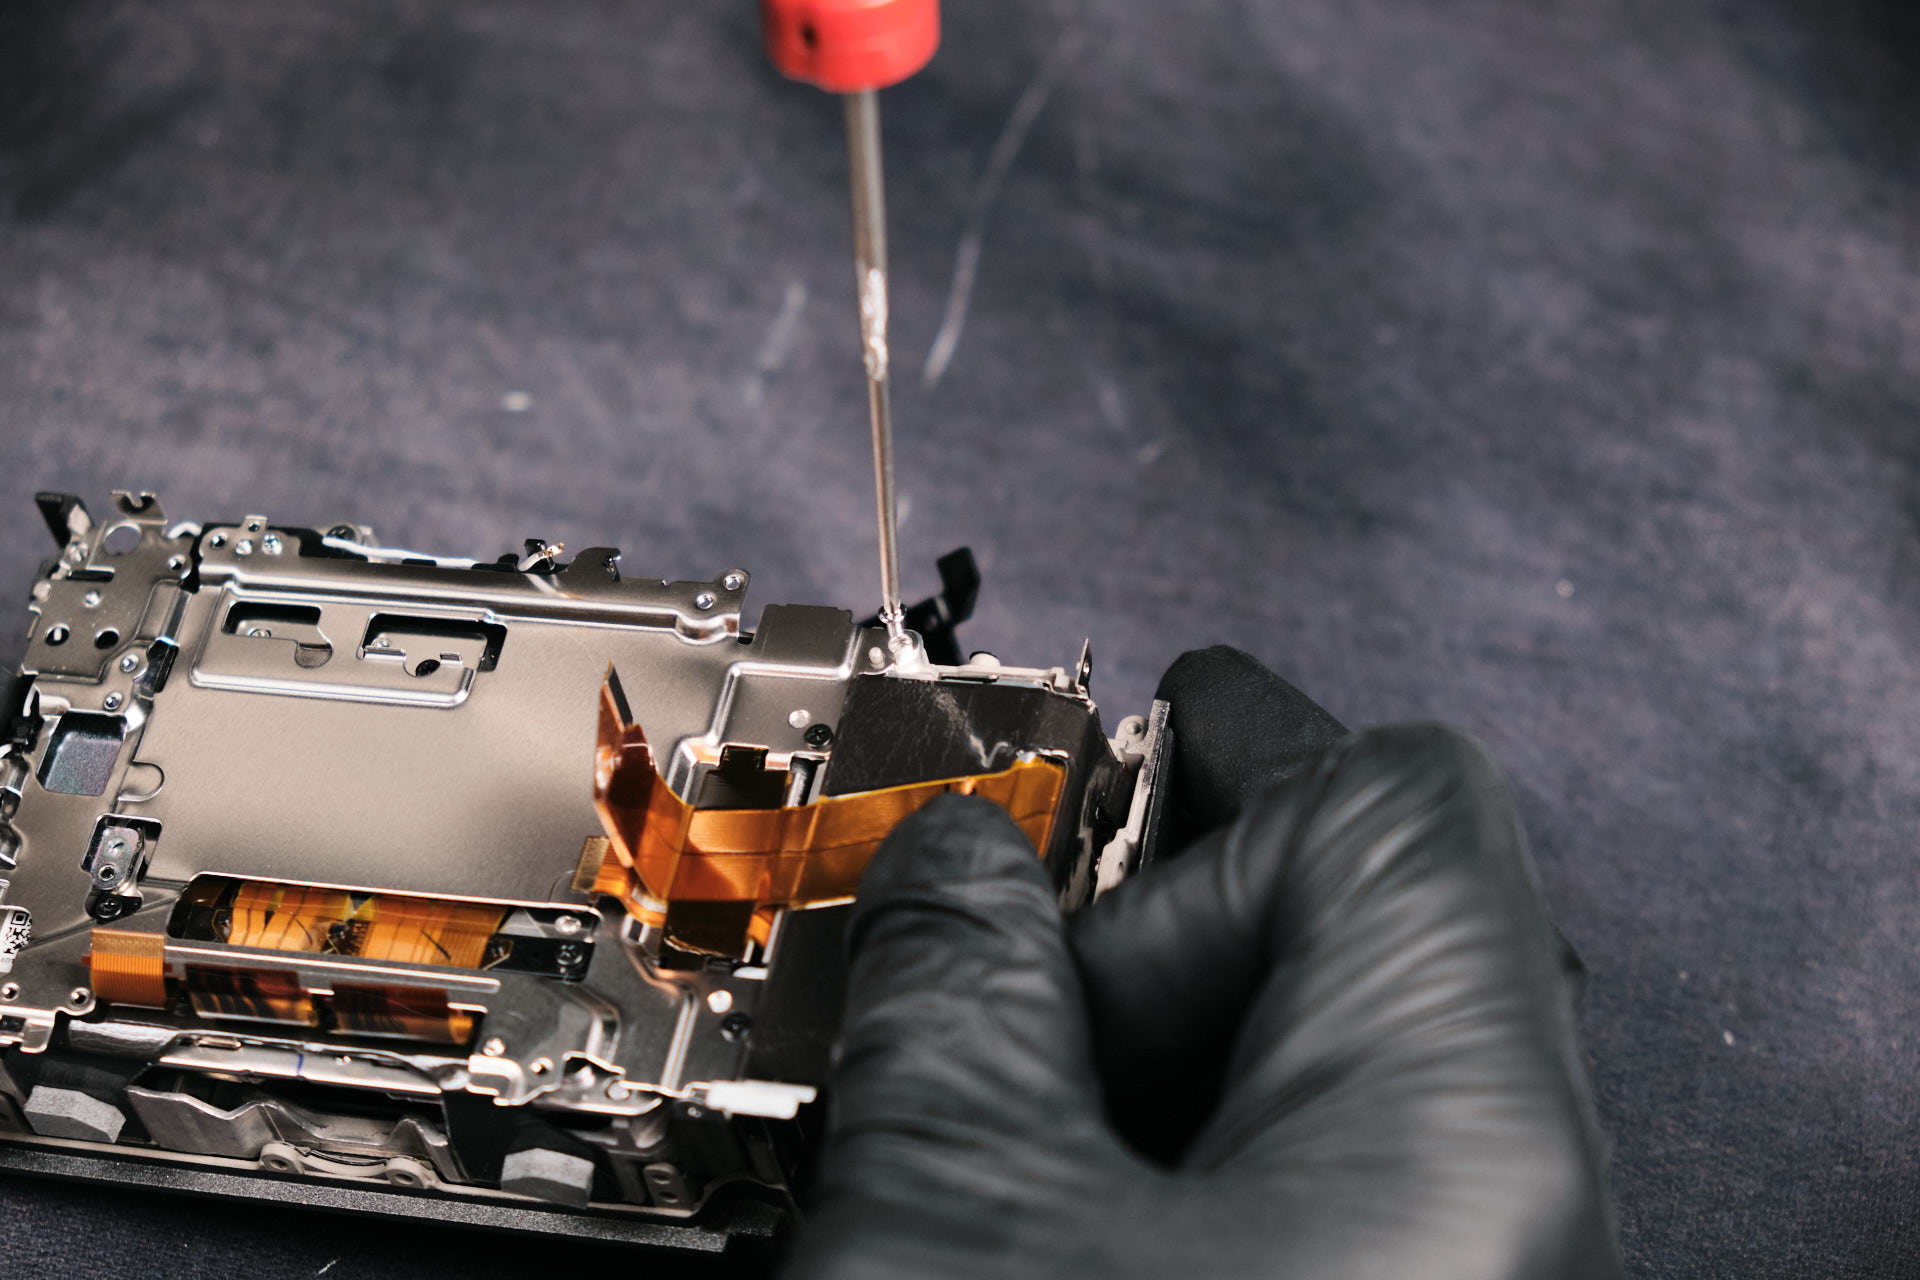
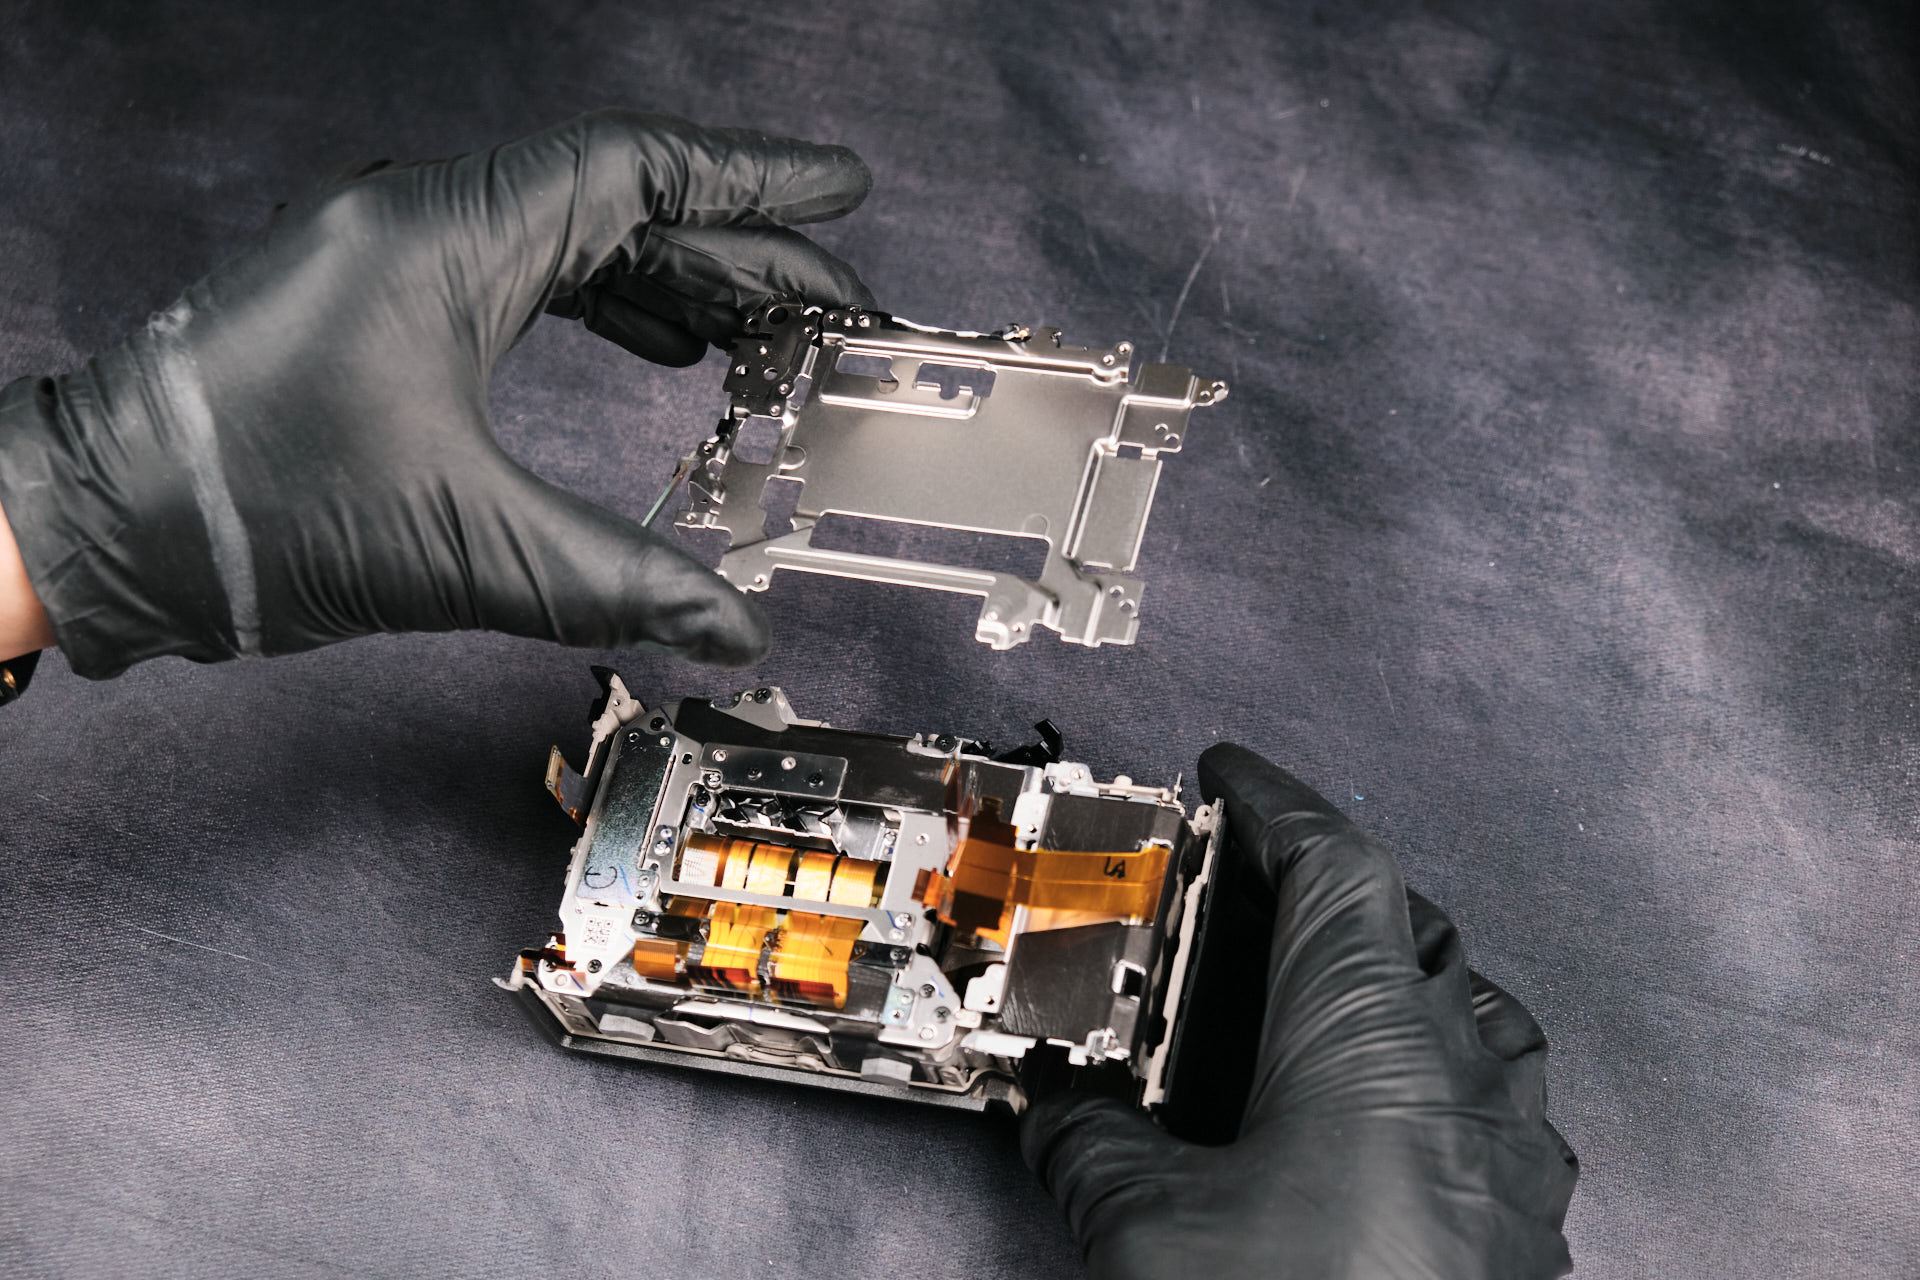
Removing the circuitboard lands us at the shielding bracket of the camera. There are four screws holding it down. However, we weren’t able to remove the bracket due to another part that was connected to it, which you will see in the following section.
Removing the Mini Circuit Board and Plastic Bracket
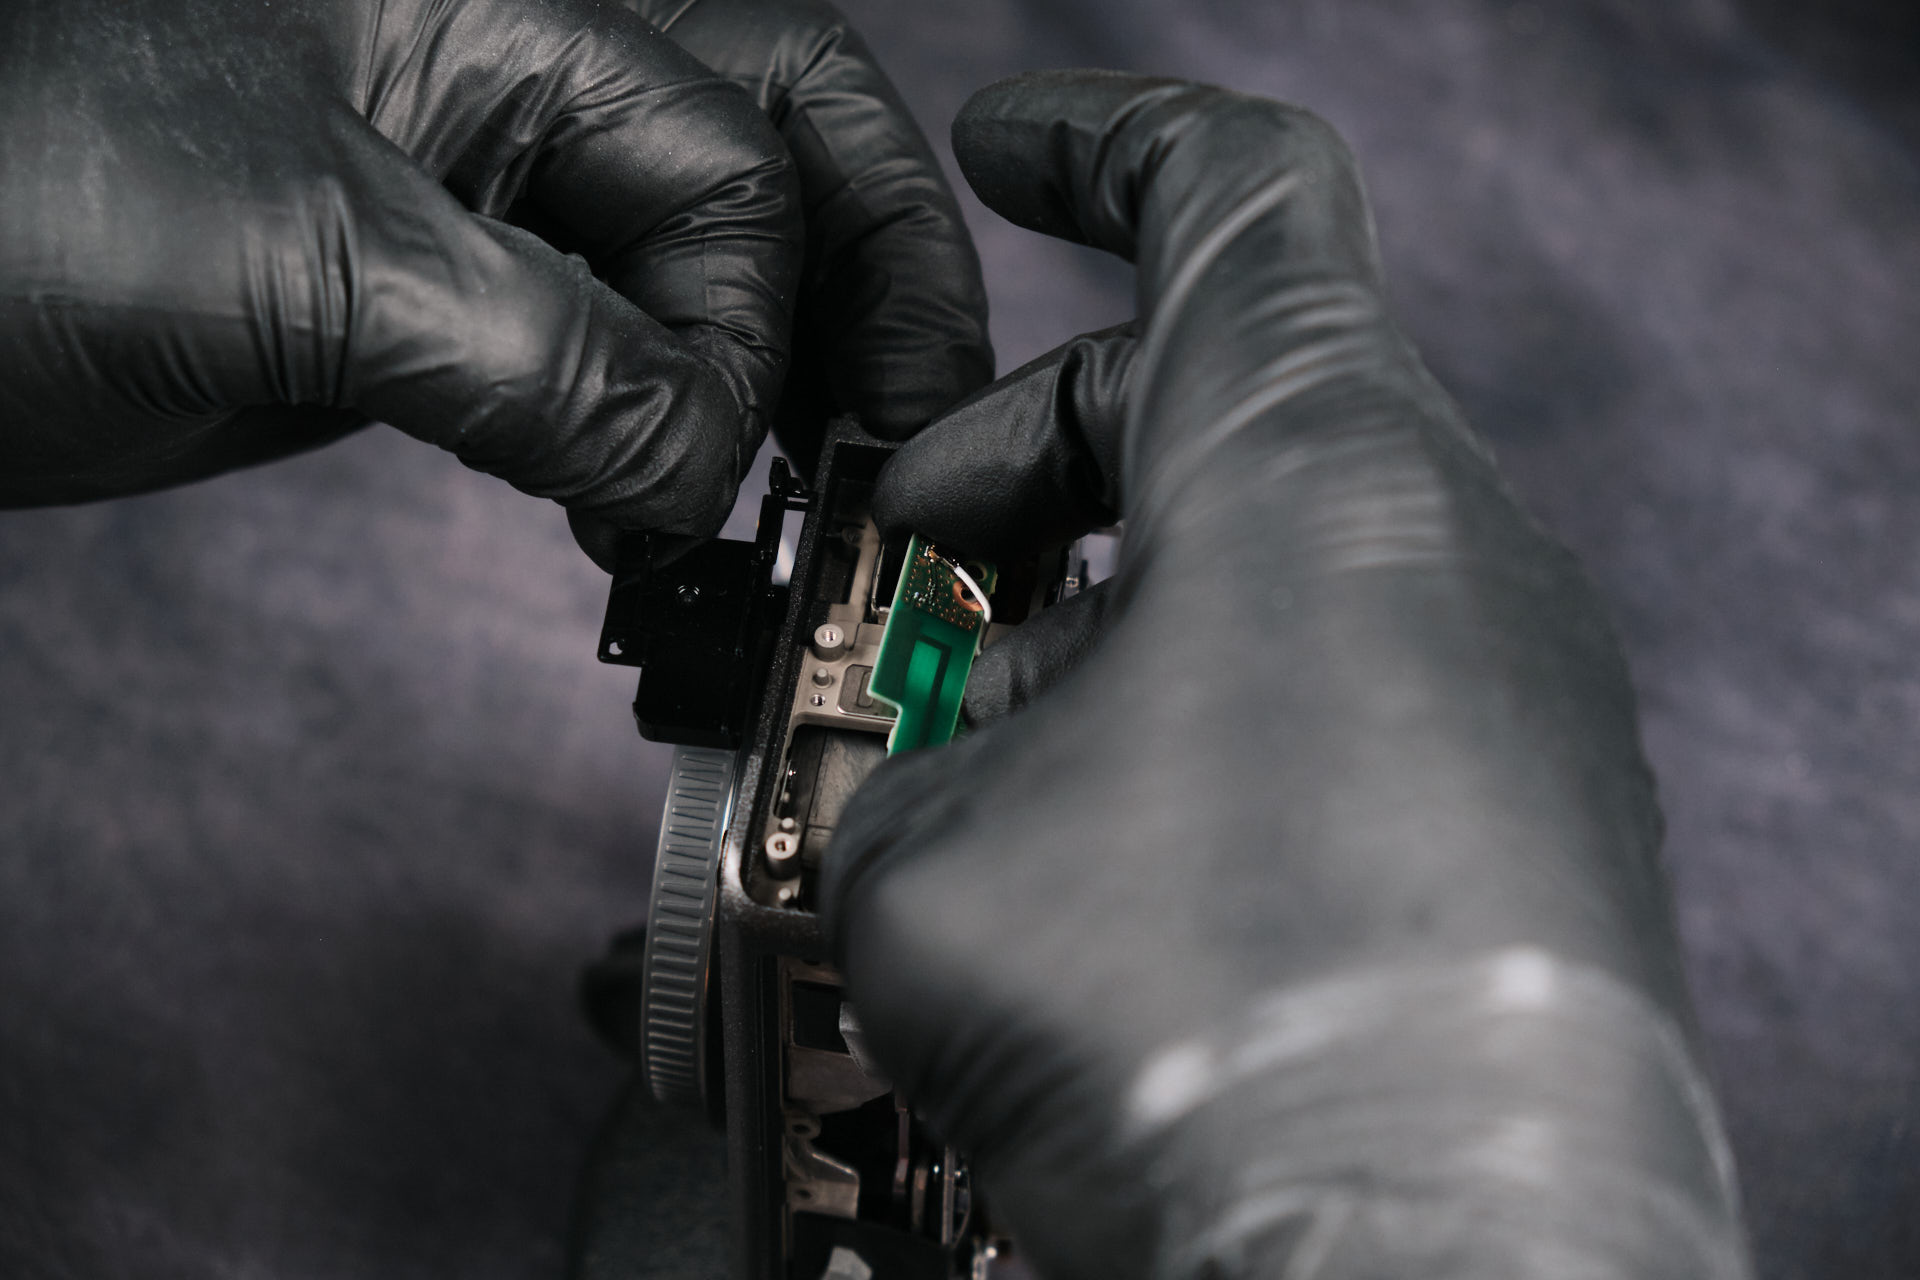
Interestingly, this mini circuitboard of sorts and plastic black bracket prevented the full removal of the shielding bracket. The circuitboard shown here is connected to the shielding bracket via wire.
The shielding bracket removed. To the left of the bracket, you can see the circuitboard hanging.
Removing the Sony FX30 Camera Sensor
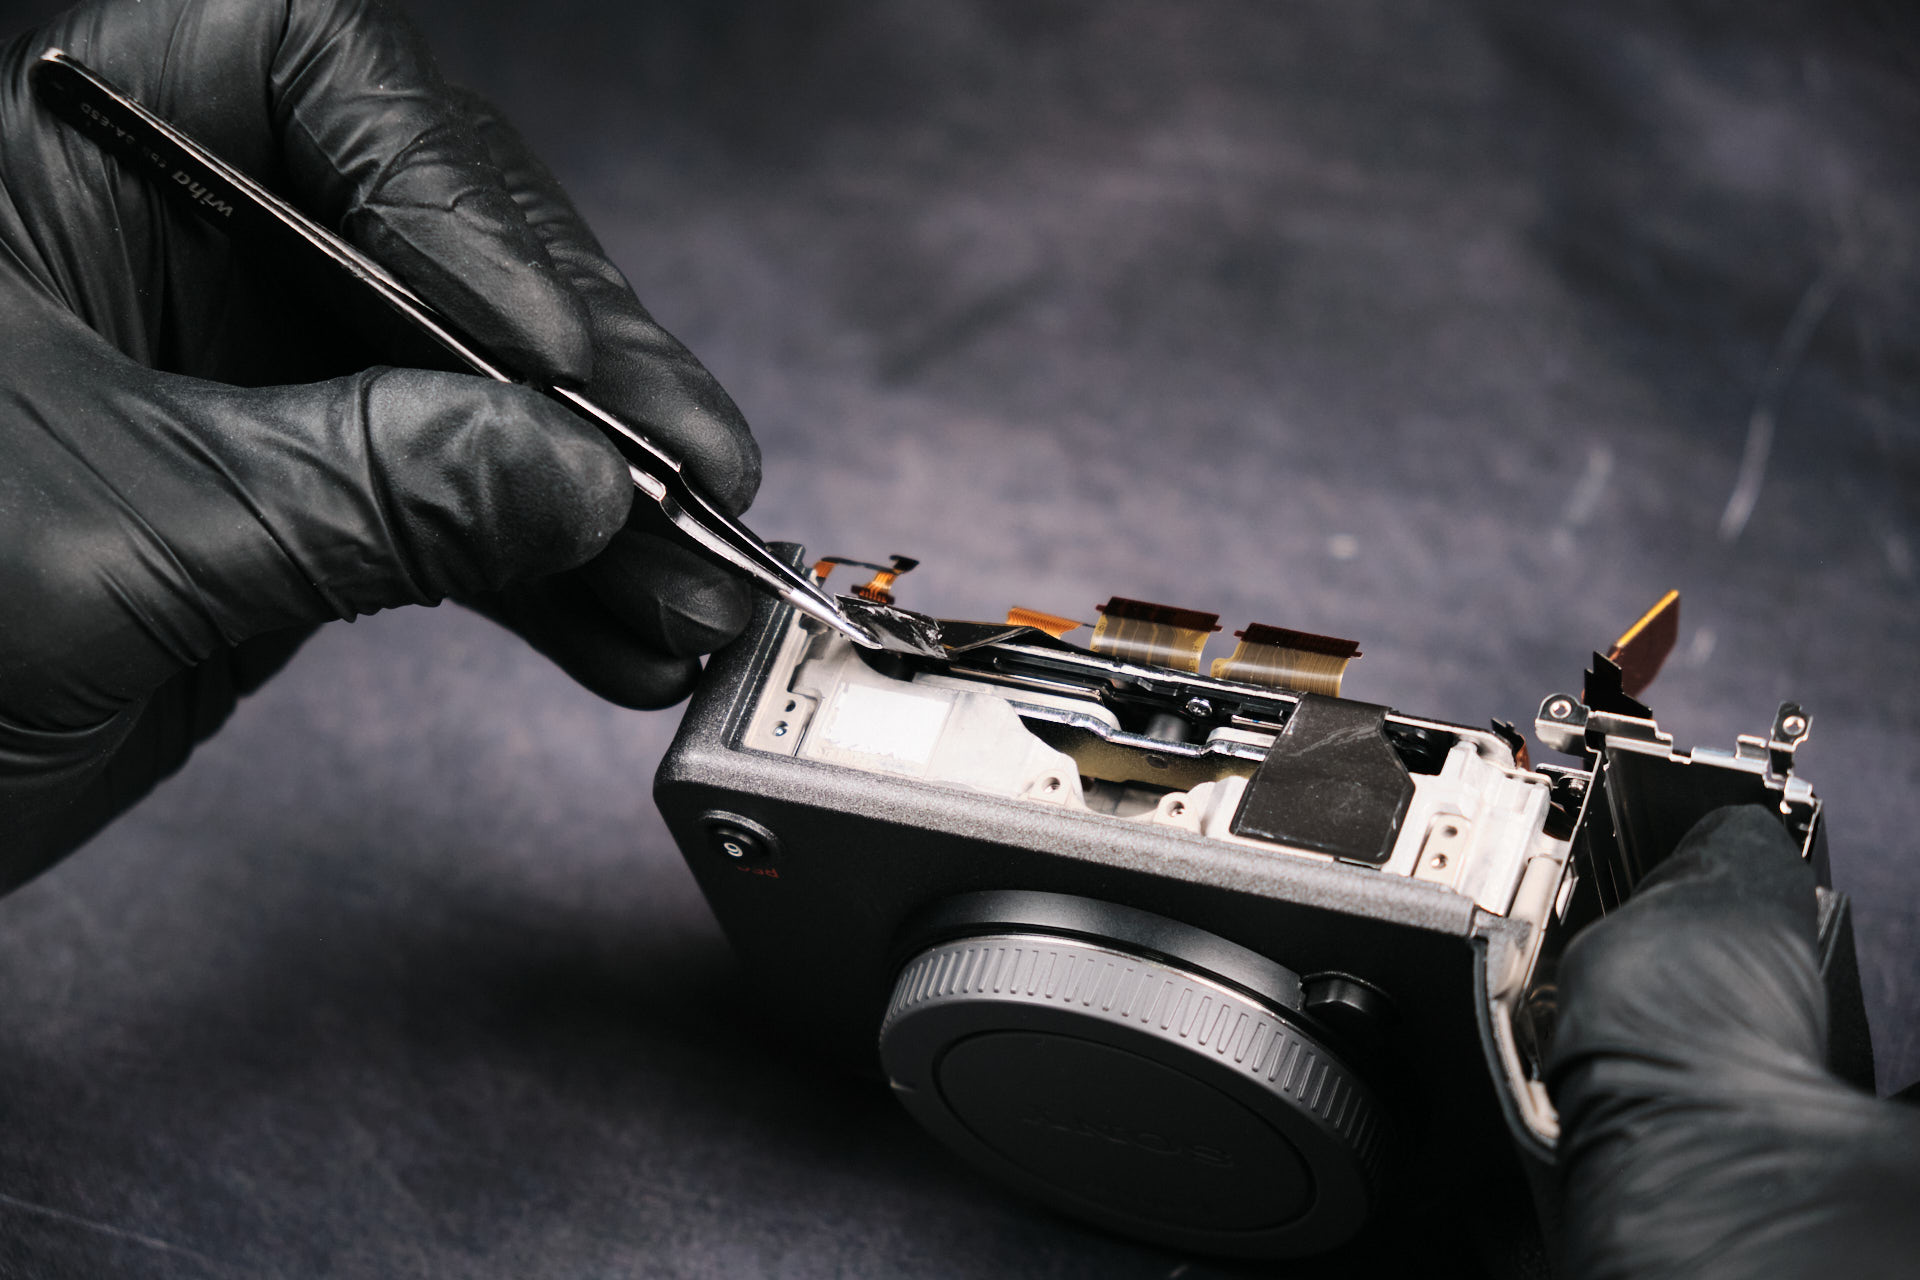
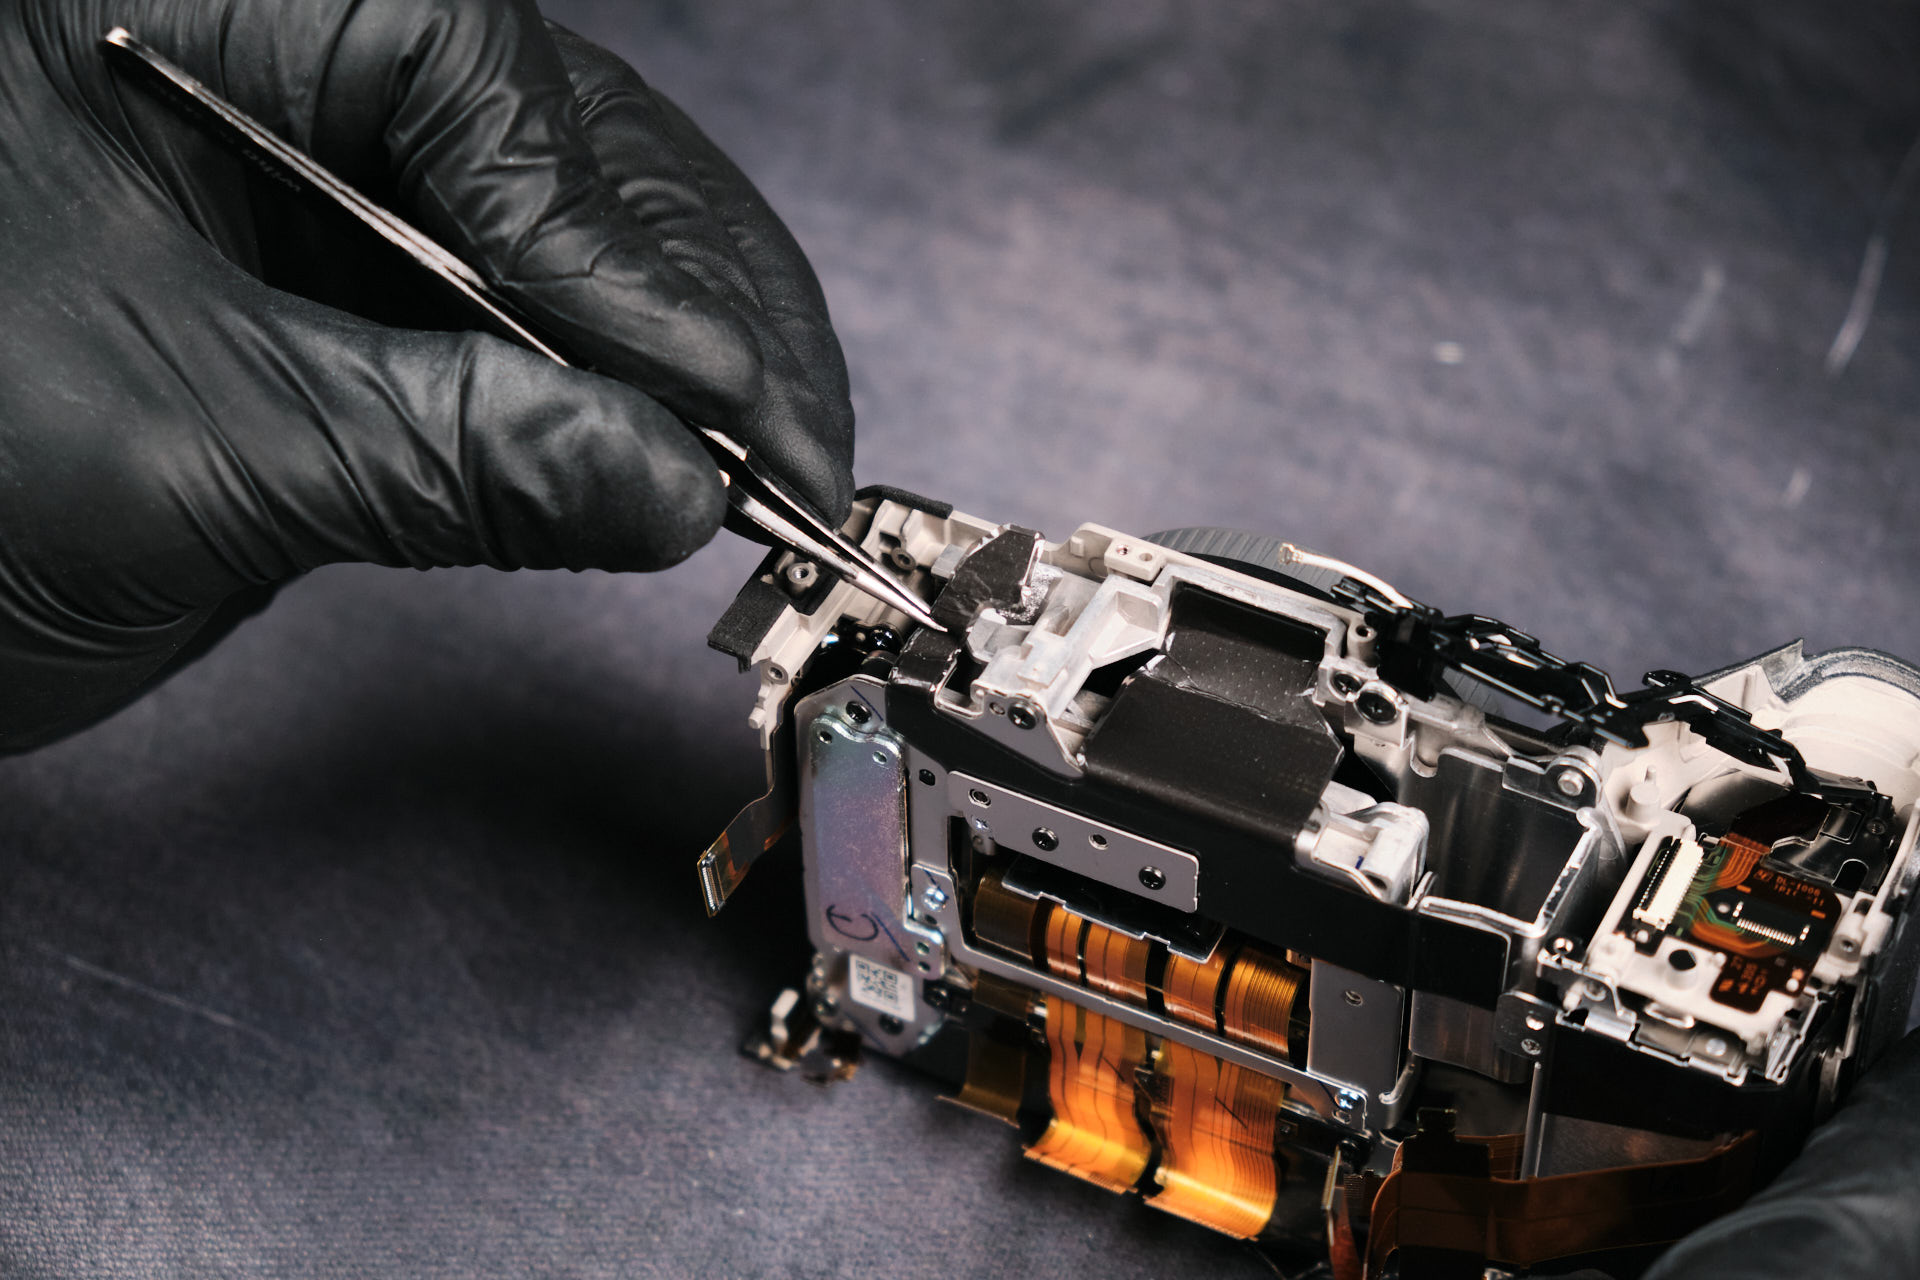
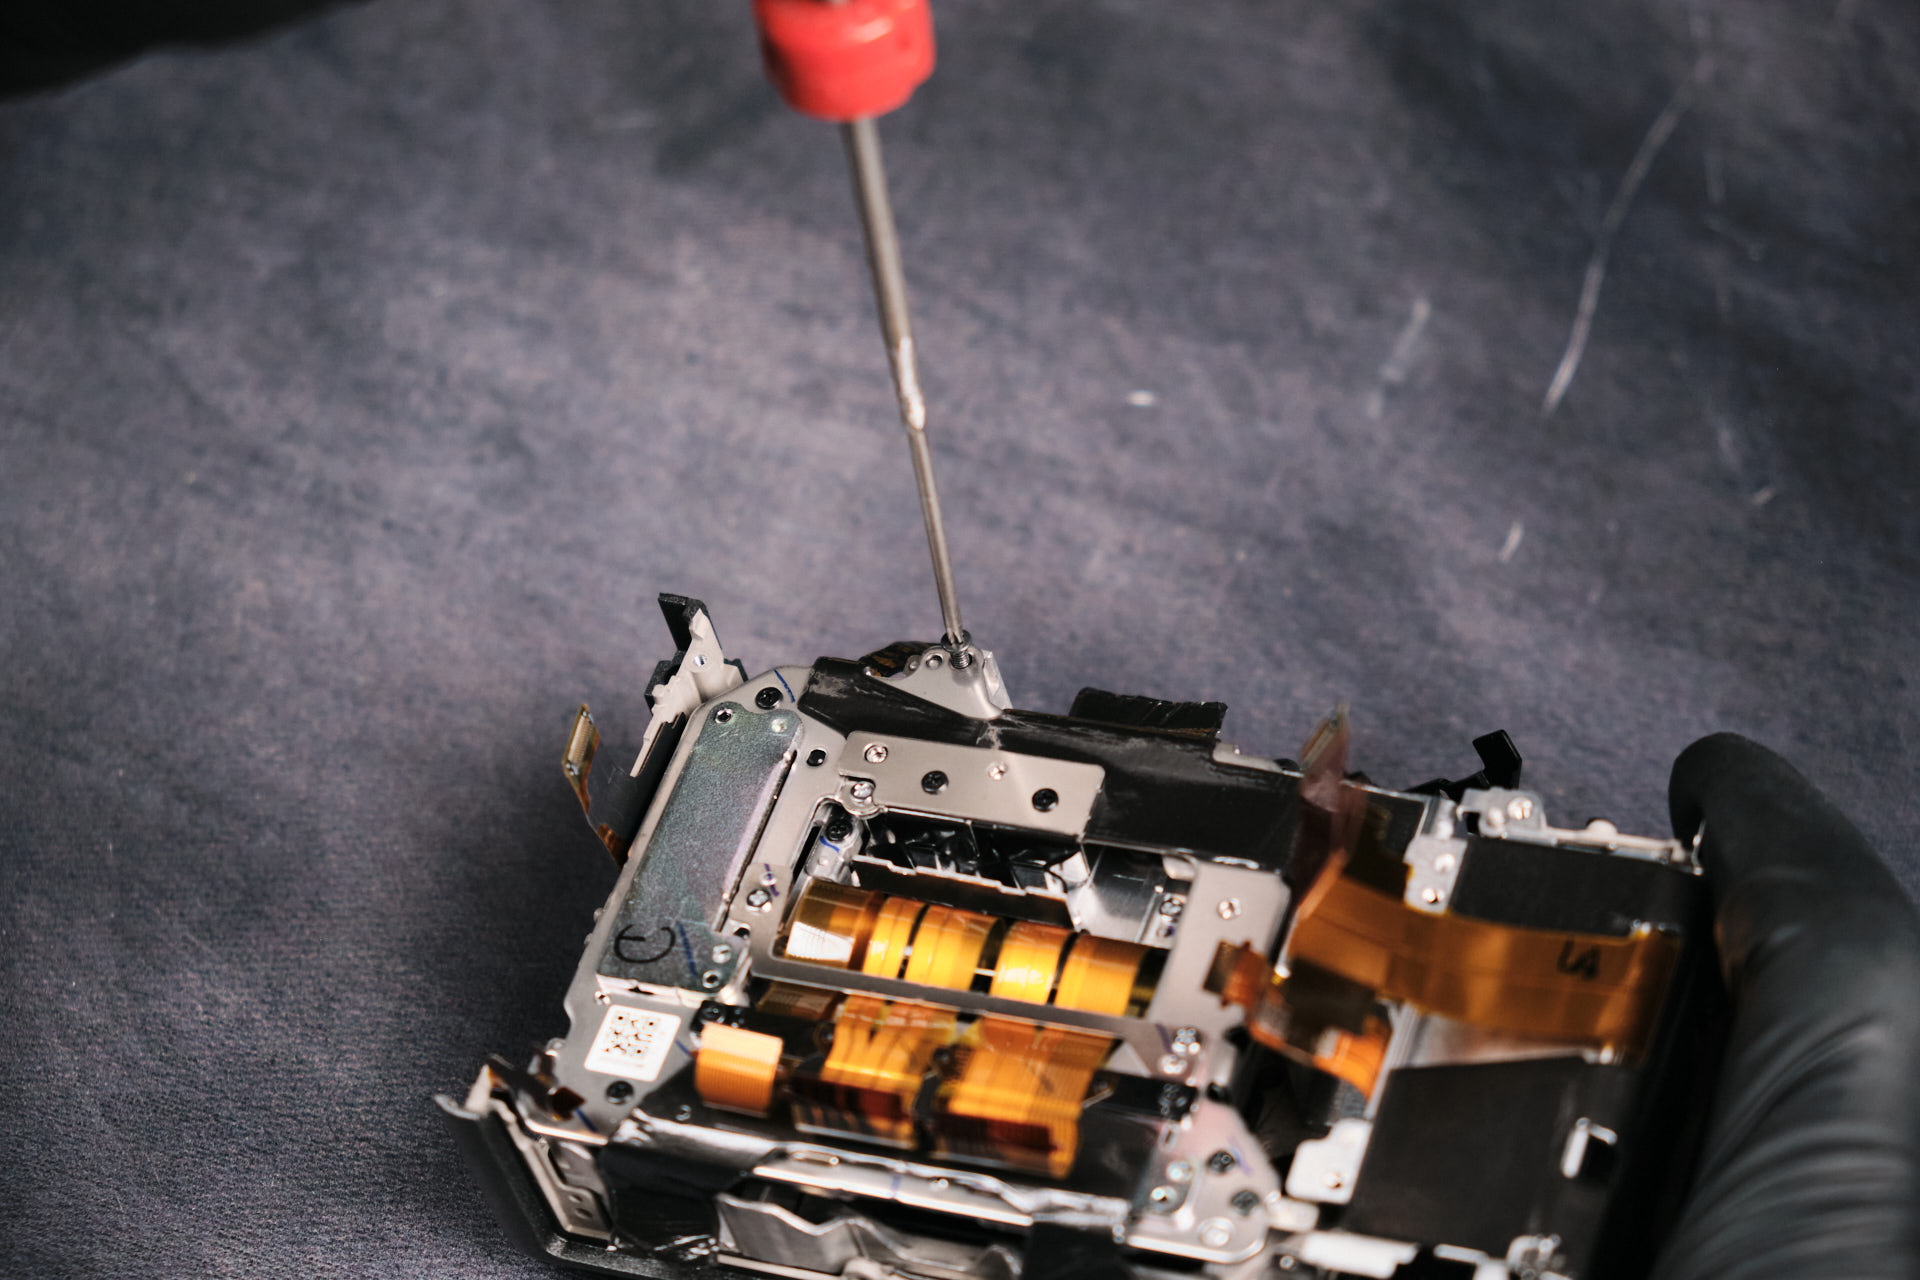
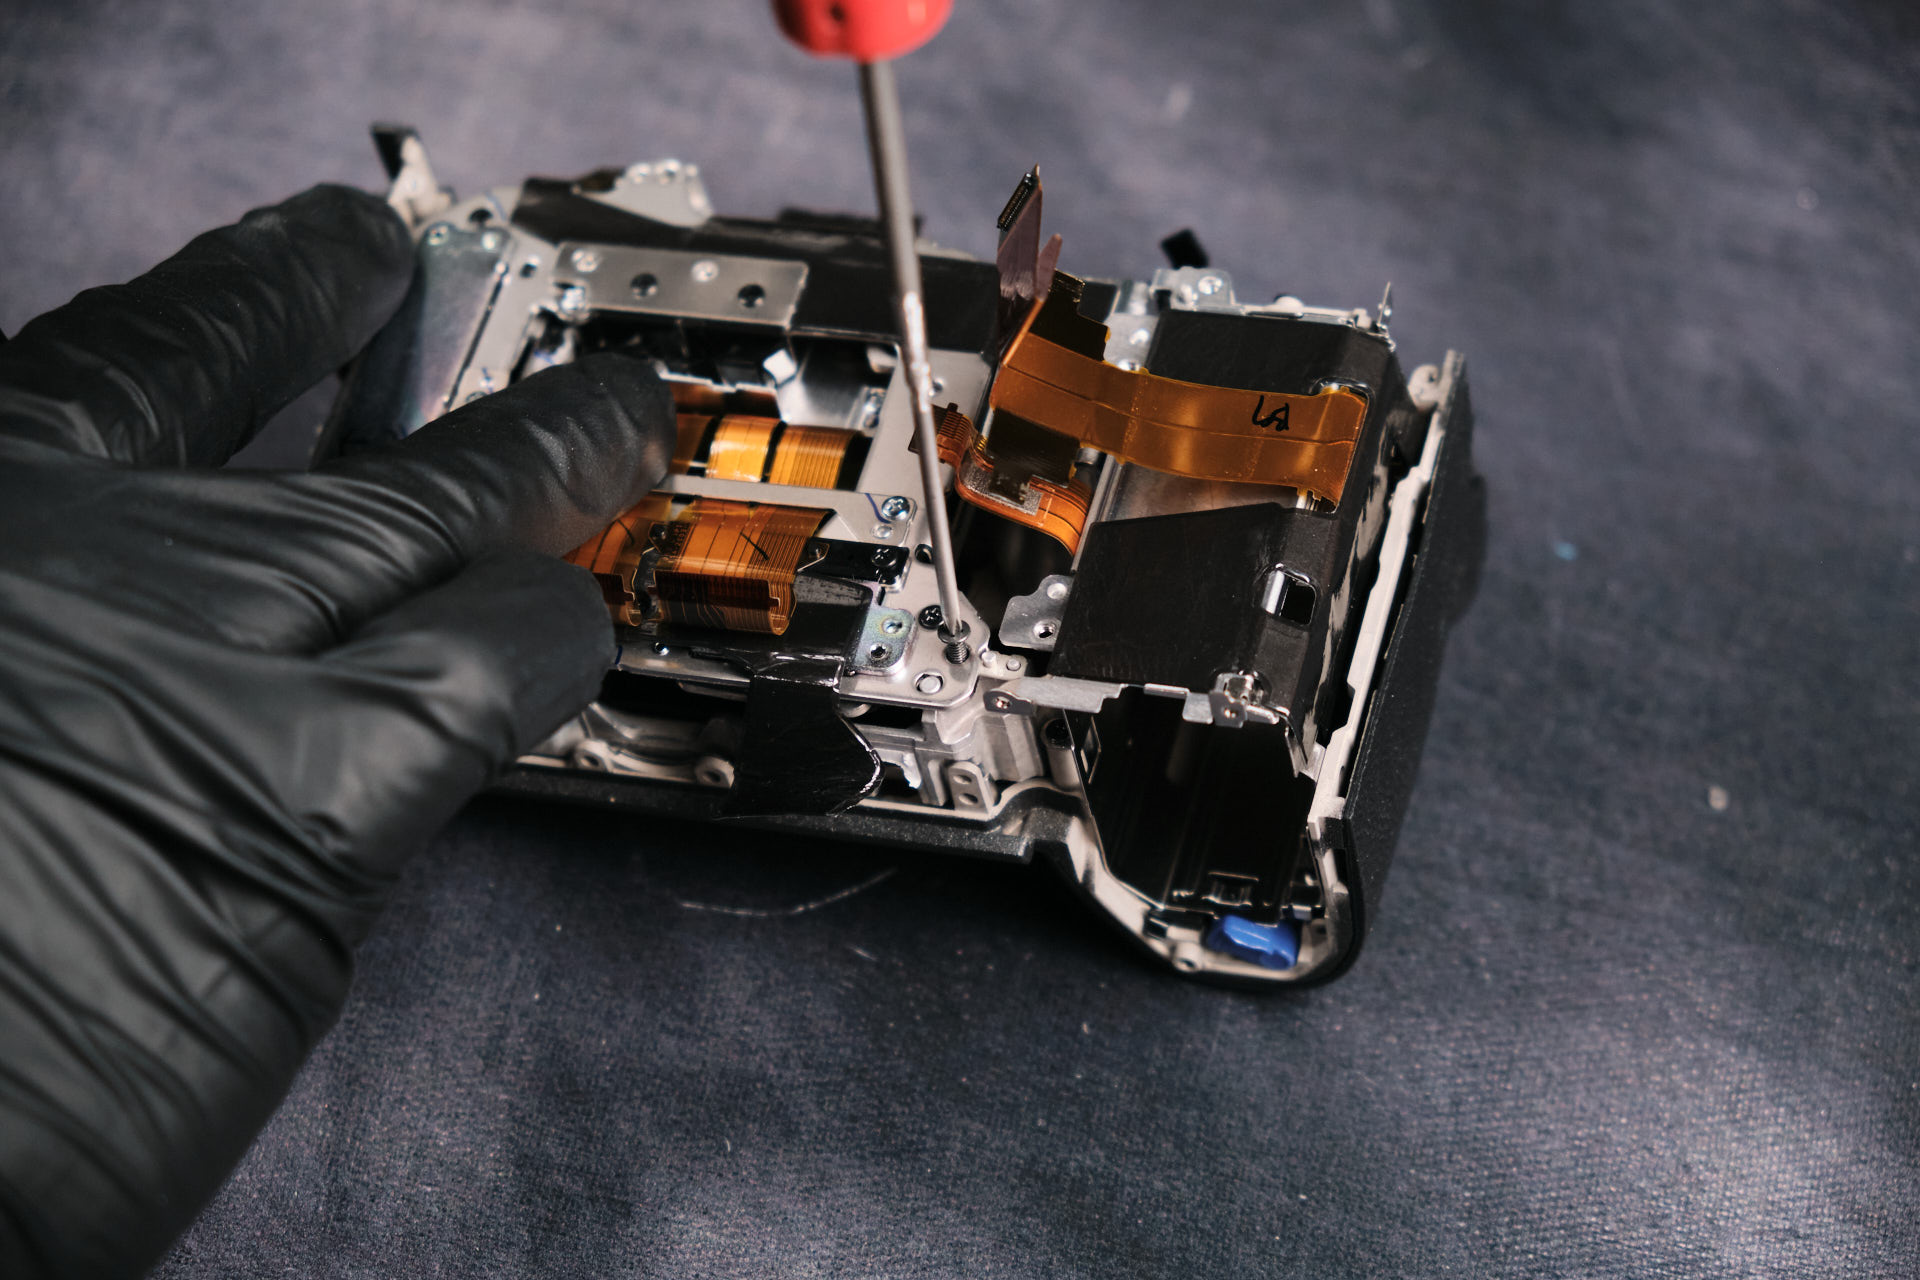
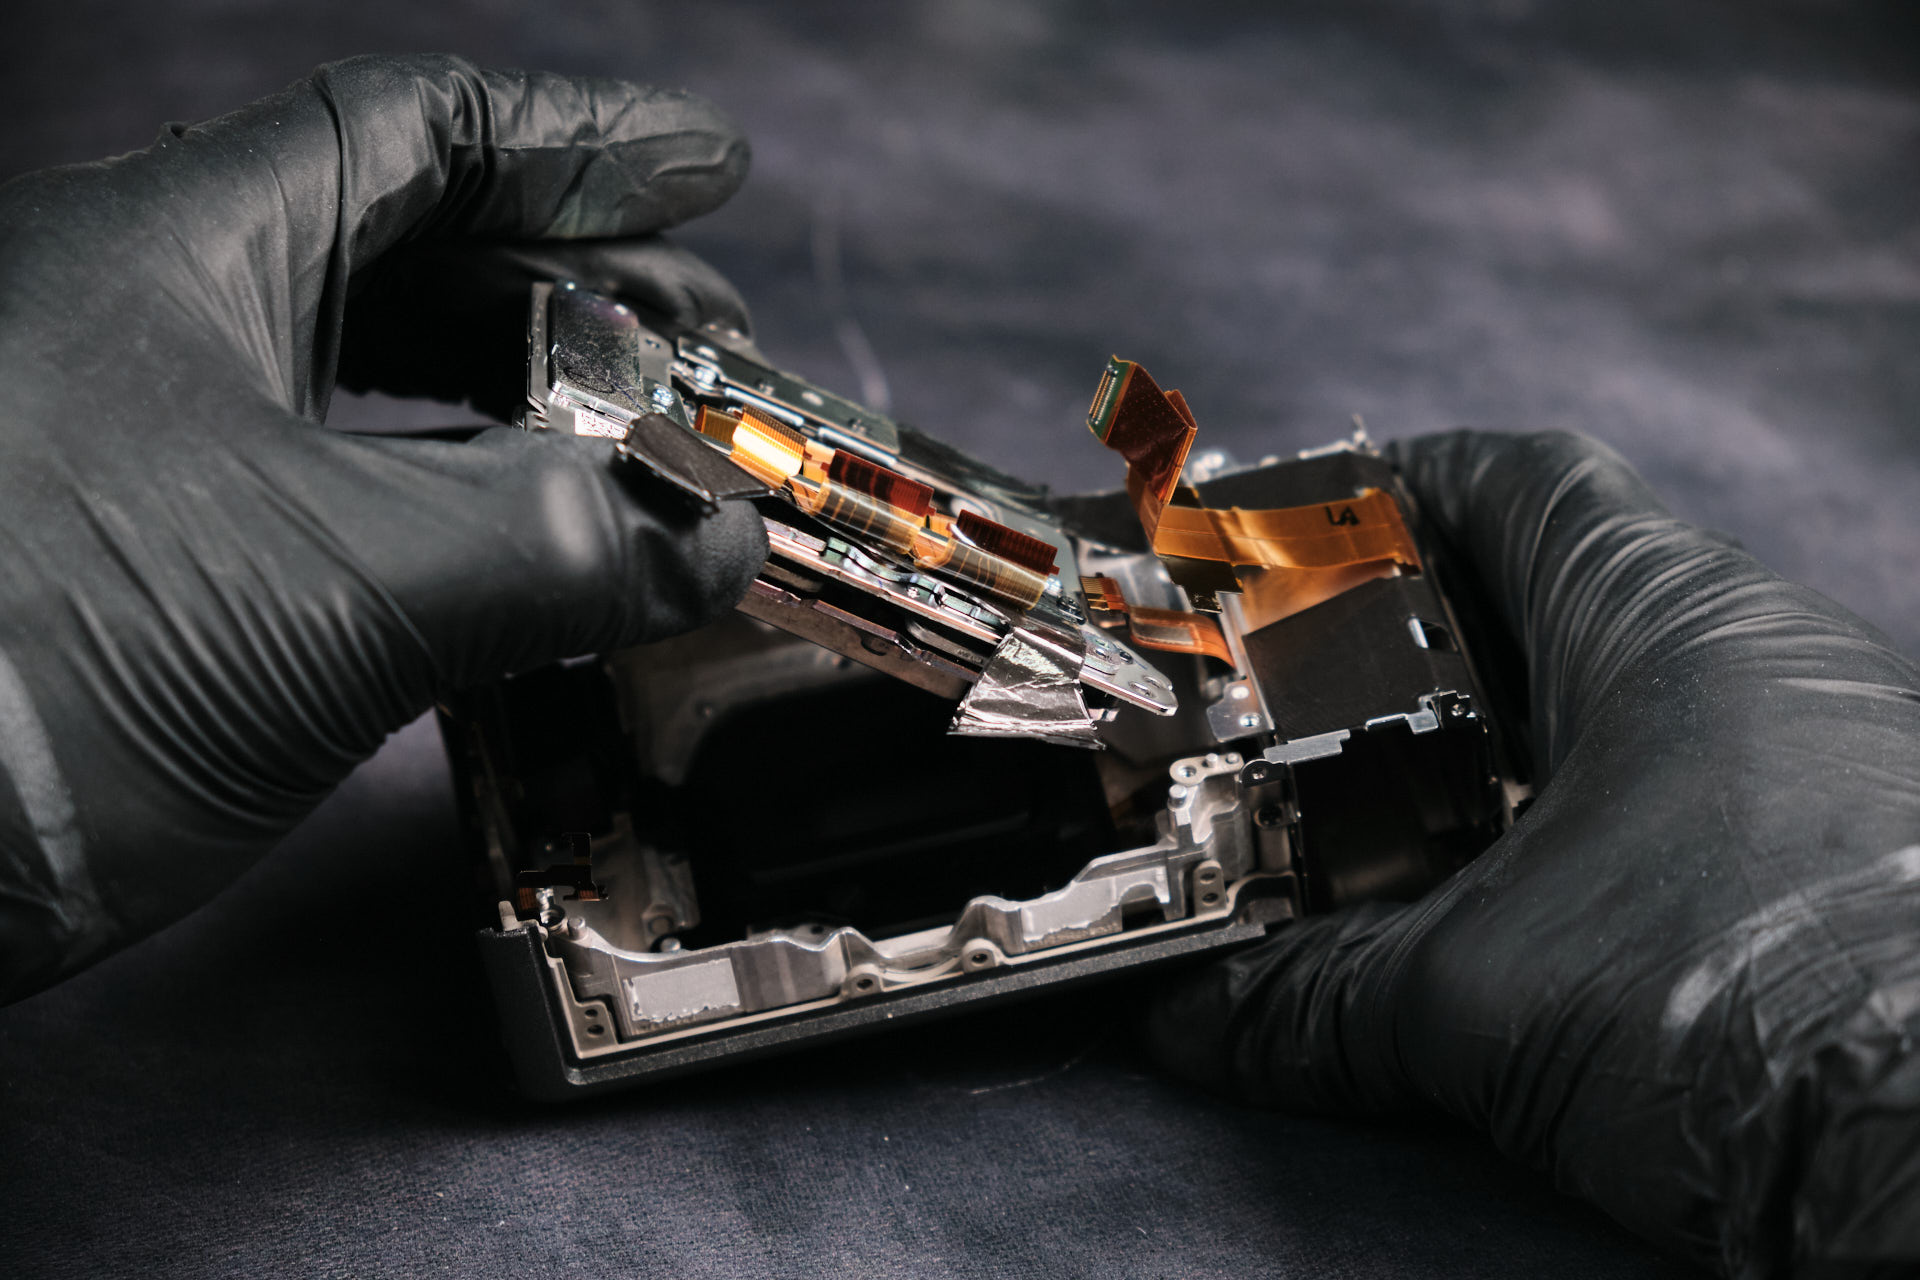
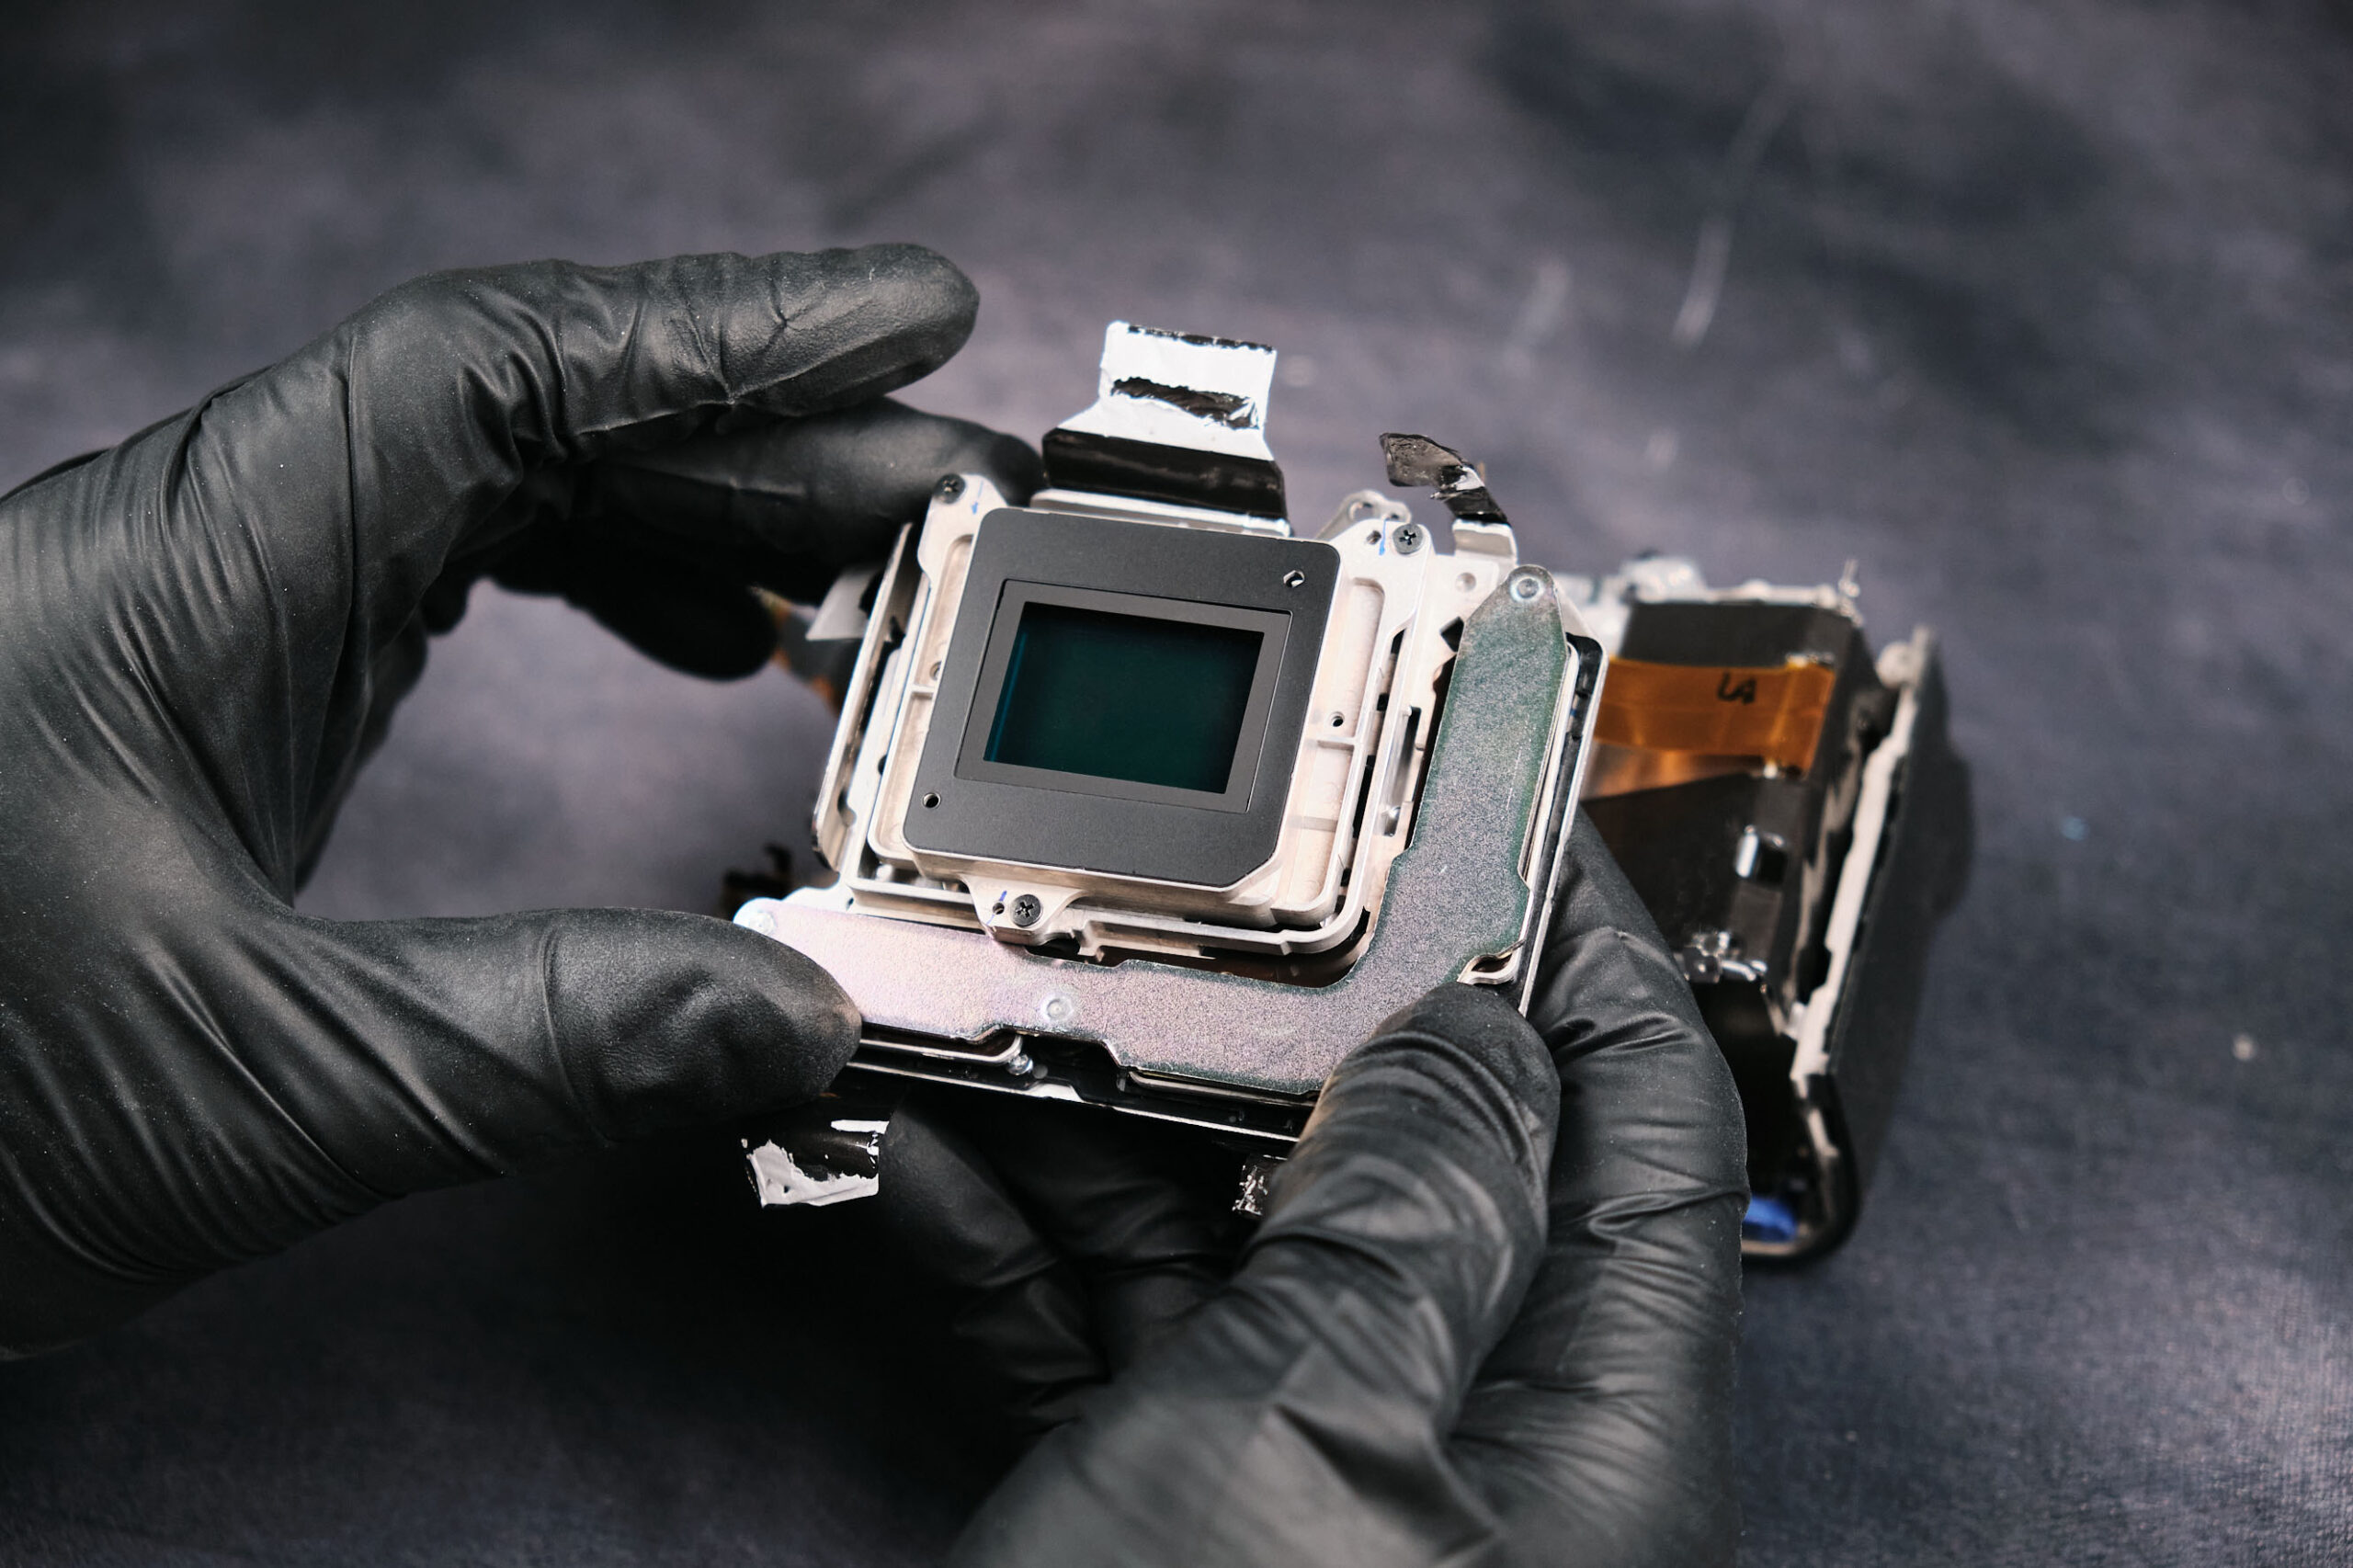
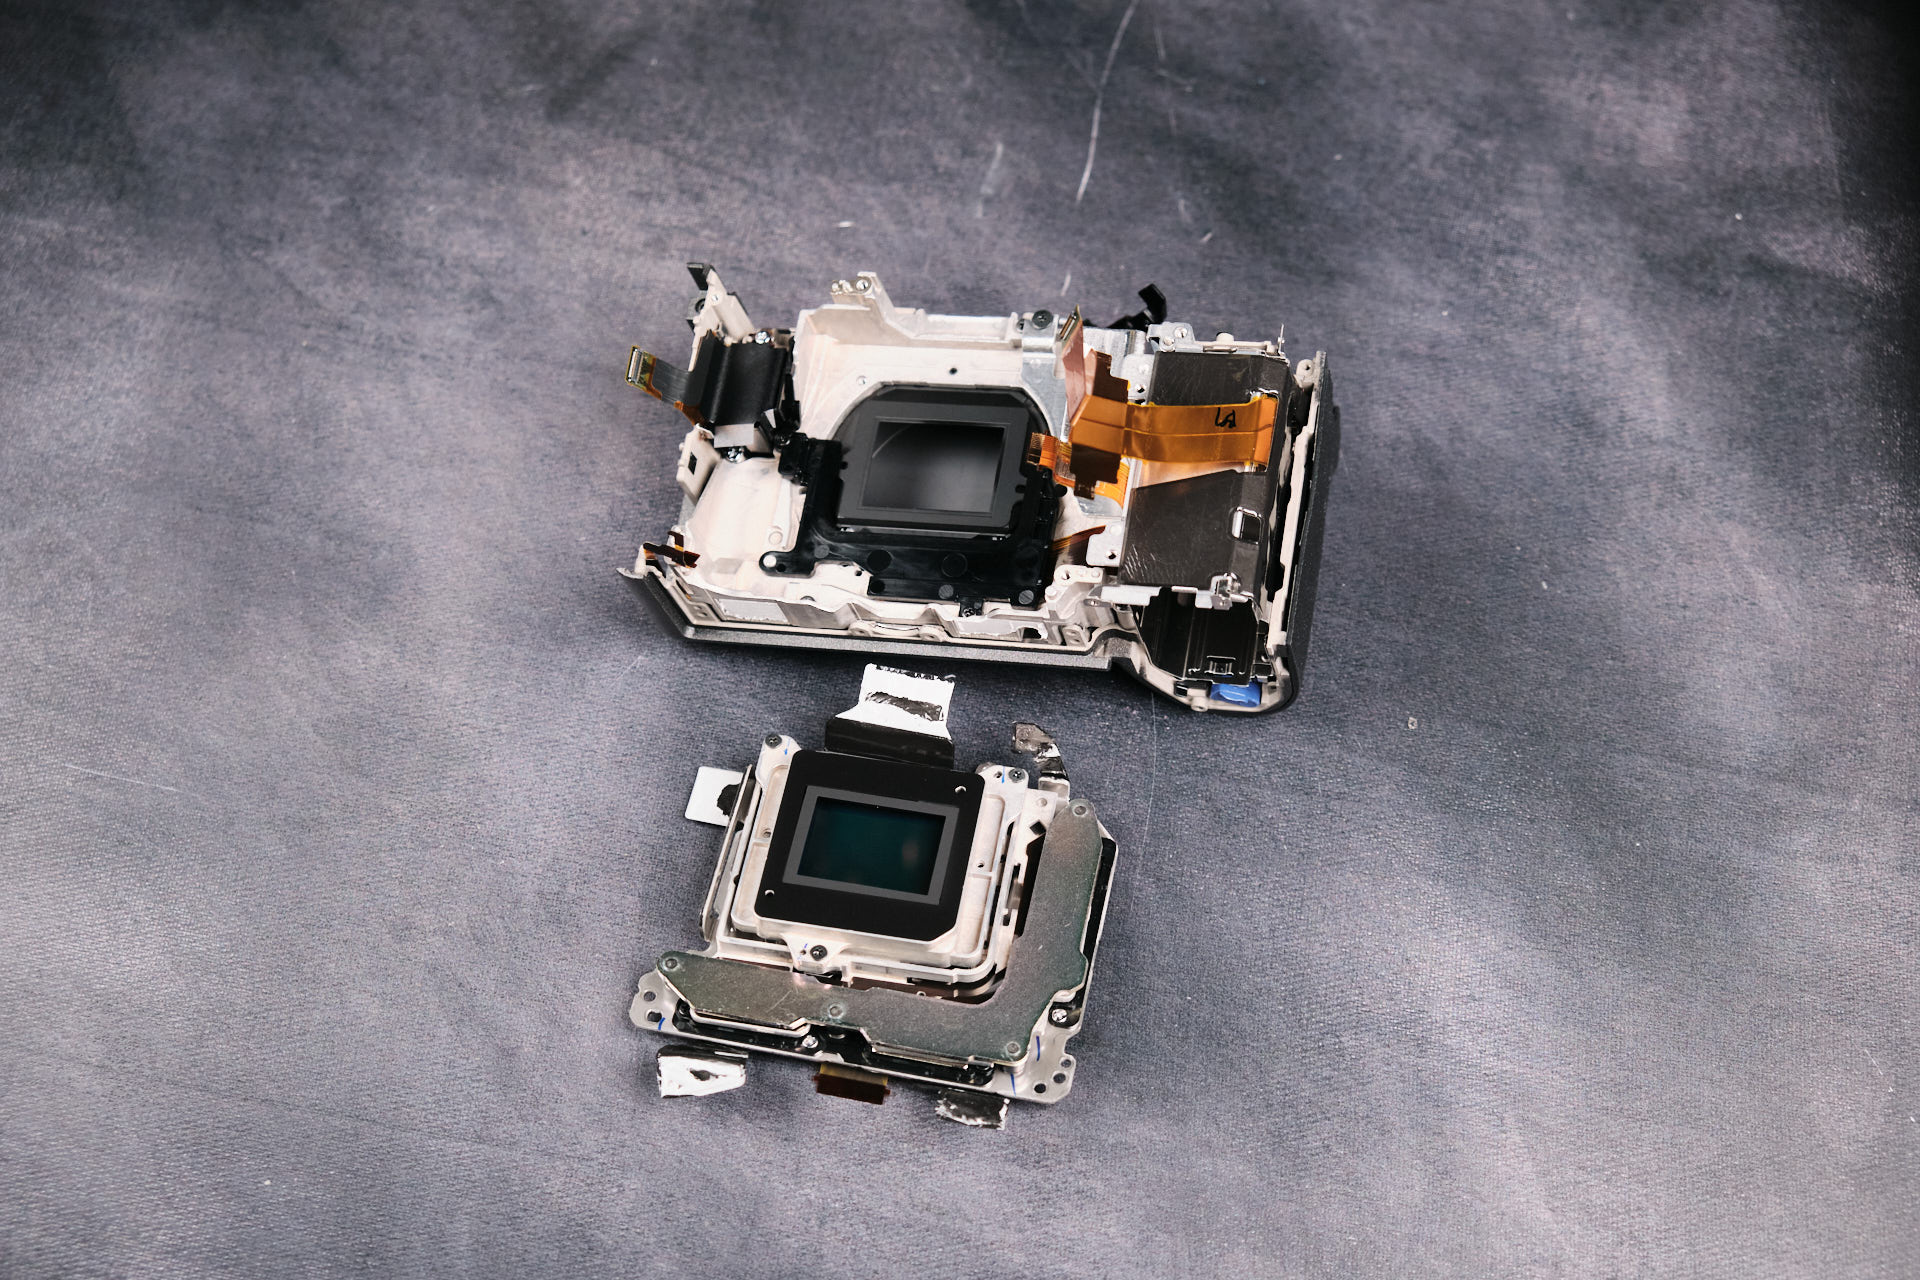
Finally, we can begin removing the camera sensor. The sensor is held down by three screws and several electrical tape connections to the frame of the body
The camera sensor removed from the camera body frame.
Final Thoughts on the Sony FX30 Teardown
Generally, Sony mirrorless cameras aren’t difficult to take a part, due to their straightforward setup. This applies more even to their compact-body style cameras, such as the Sony A7CR (even despite being a full frame camera), which we have previously tore down.
Thanks for reading. If you’re interested in more camera teardowns, we feature a new one every month. Be sure to sign up for our newsletter so you don’t miss them!
Frequently Asked Questions
How Do You Start Disassembling The Sony FX30?
The Sony FX30 teardown starts with the baseplate. The central metal cover is removed first, and it is held down by eight screws before the rest of the baseplate frame can be accessed.
Where Are The Hidden Screws On The Sony FX30?
The Sony FX30 has hidden screws around the body frame, including one beneath the leather skin on the SD card side of the camera. Additional hidden screws are found in the camera frame as the back and side covers are removed.
How Is The Sony FX30 Backside Removed?
The backside of the Sony FX30 can be lifted after removing screws around the body frame. Once the rear section is flipped open, one ribbon cable keeps it connected to the camera, so it needs to be disconnected carefully.
How Is The Sony FX30 Circuit Board Removed?
The Sony FX30 circuit board is removed after taking off the top section of the camera. The board has several connection points, including four screws, three wires, and seven ribbon cables.
How Is The Sony FX30 Camera Sensor Removed?
The Sony FX30 sensor is reached near the end of the teardown. After the circuit board and shielding bracket are removed, the sensor can be taken out by removing three screws and separating several electrical tape connections from the camera body frame.
Table of contents
Related Article
Product Spotlight
Comments
One Response
Nice!! I need really good photos from bote sides of the mainboard of the fx30 and I can’t find it online. Can you Help me?




One Response
Nice!! I need really good photos from bote sides of the mainboard of the fx30 and I can’t find it online. Can you Help me?