The Sony A7R V mirrorless camera is one of the brand’s latest releases in its high-end series of full-frame cameras. It was announced in January of this year and is equipped with a 61-megapixel sensor, which is currently one of the highest resolutions on the market for a full-frame camera. It also has a 15-stop dynamic range and an ISO range of 100-32,000. Additionally, it has a 5-axis image stabilization system and can shoot up to 10 frames per second.
Fortunately, we had one of these come into the office, so we were able to disassemble the camera for this teardown. Let’s dive in!
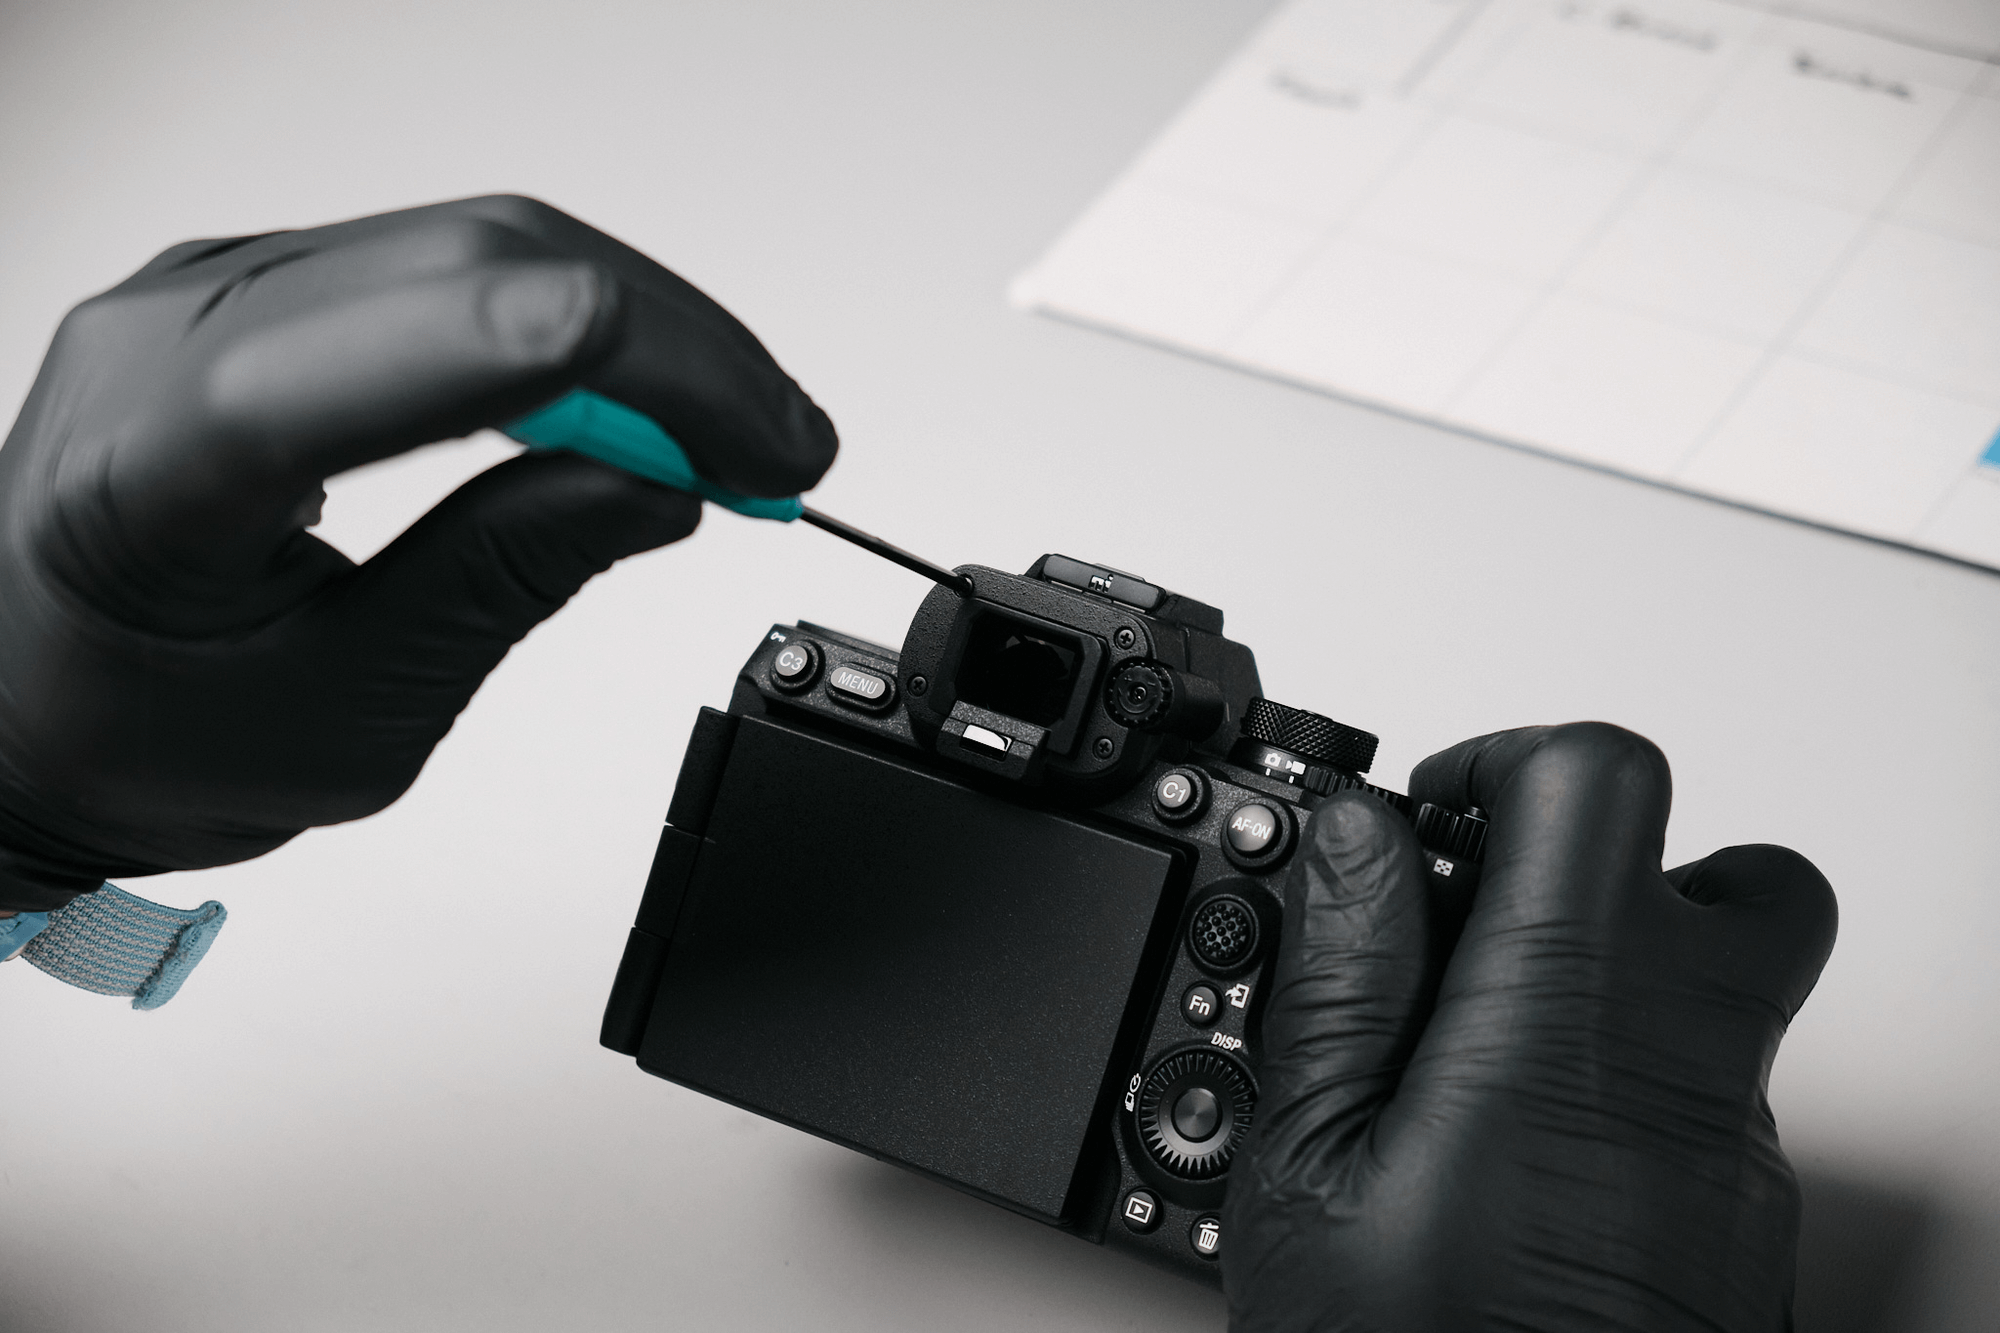
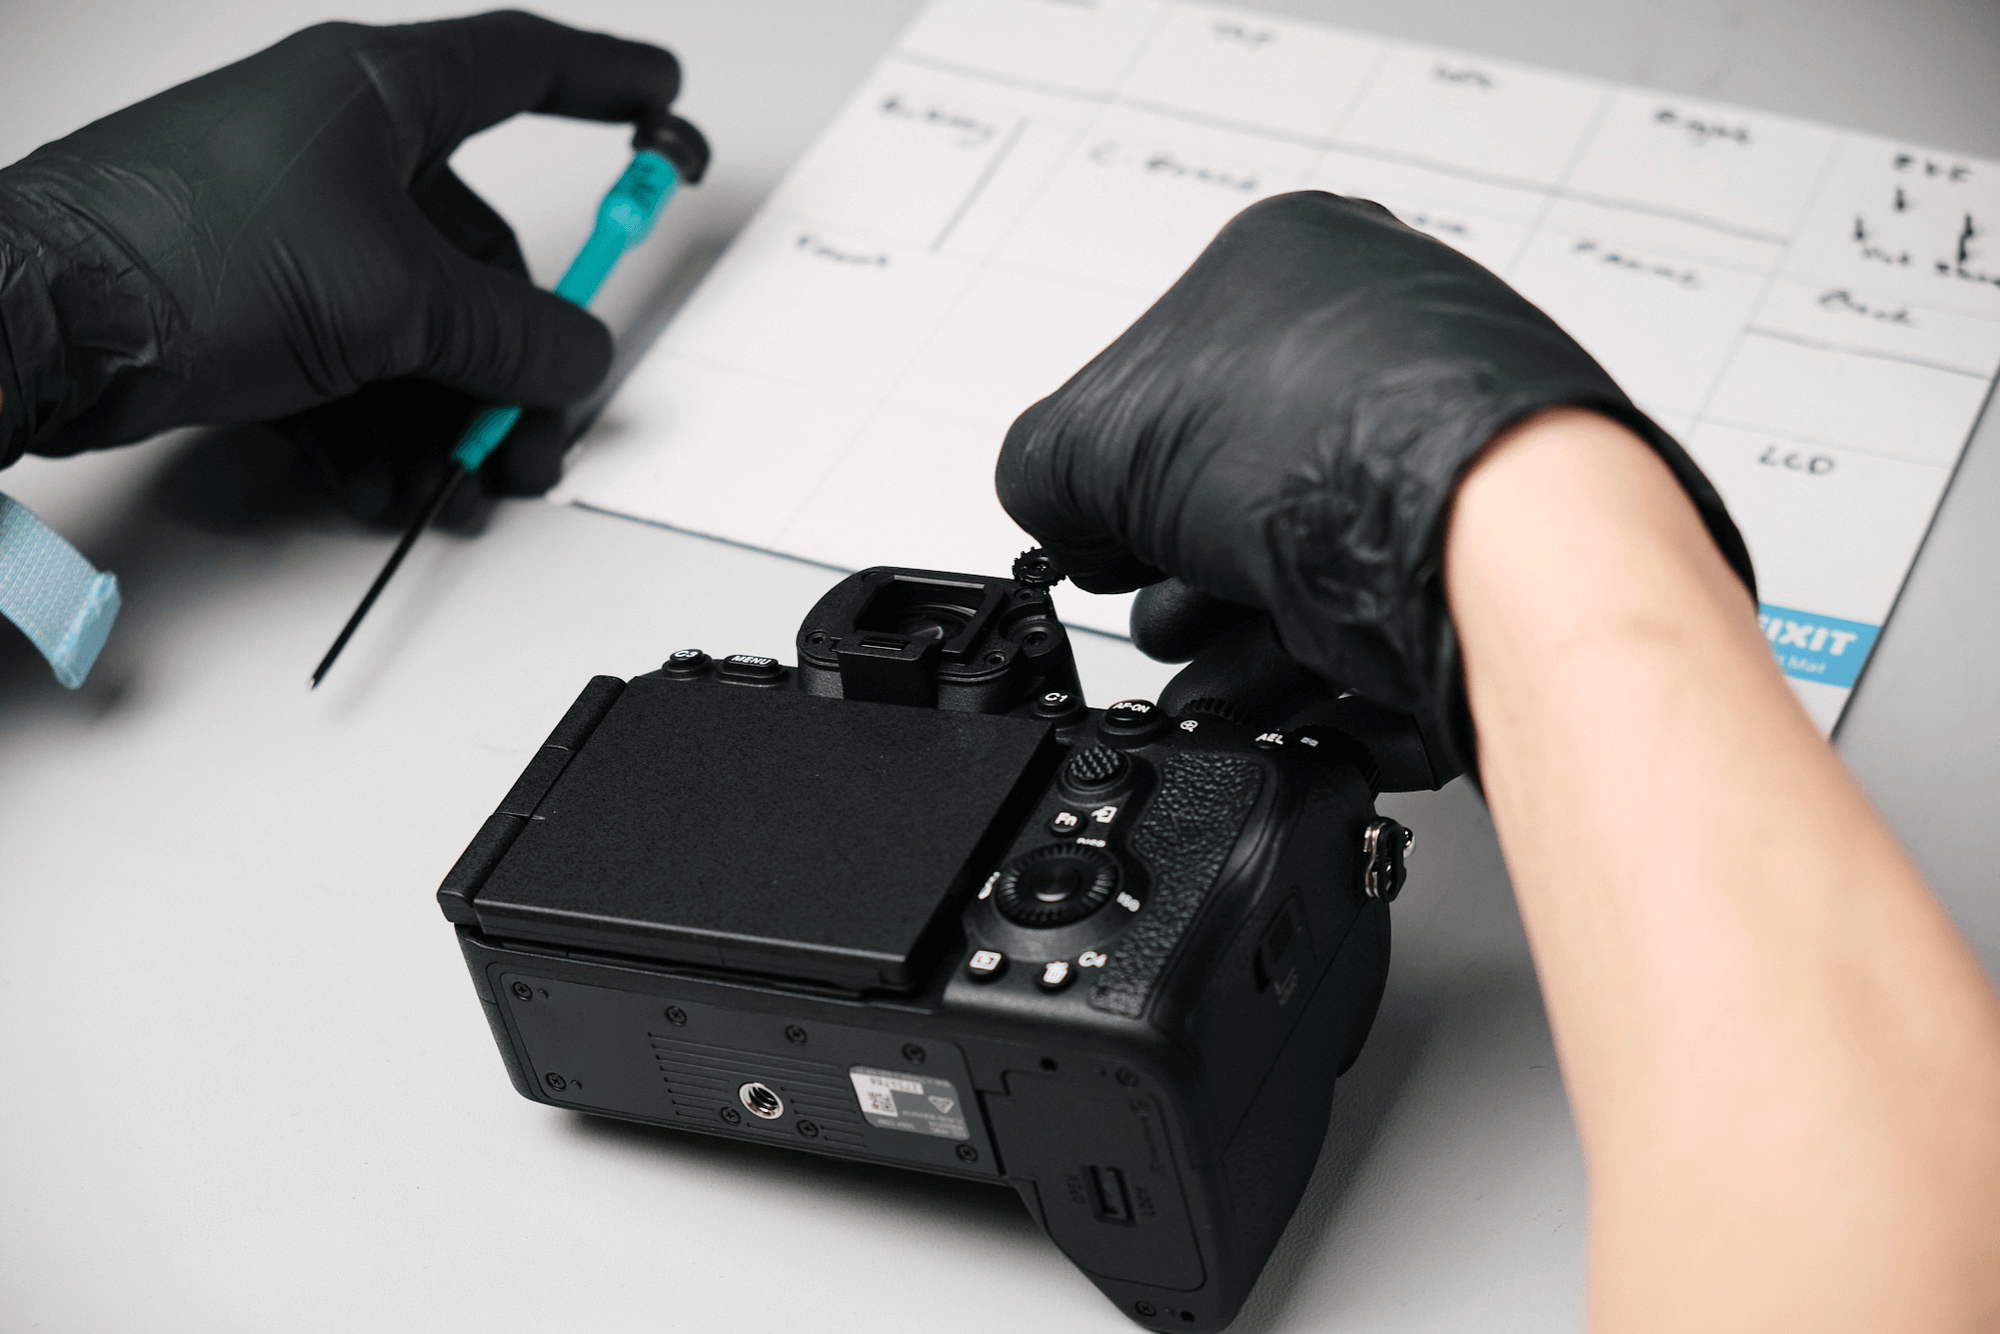
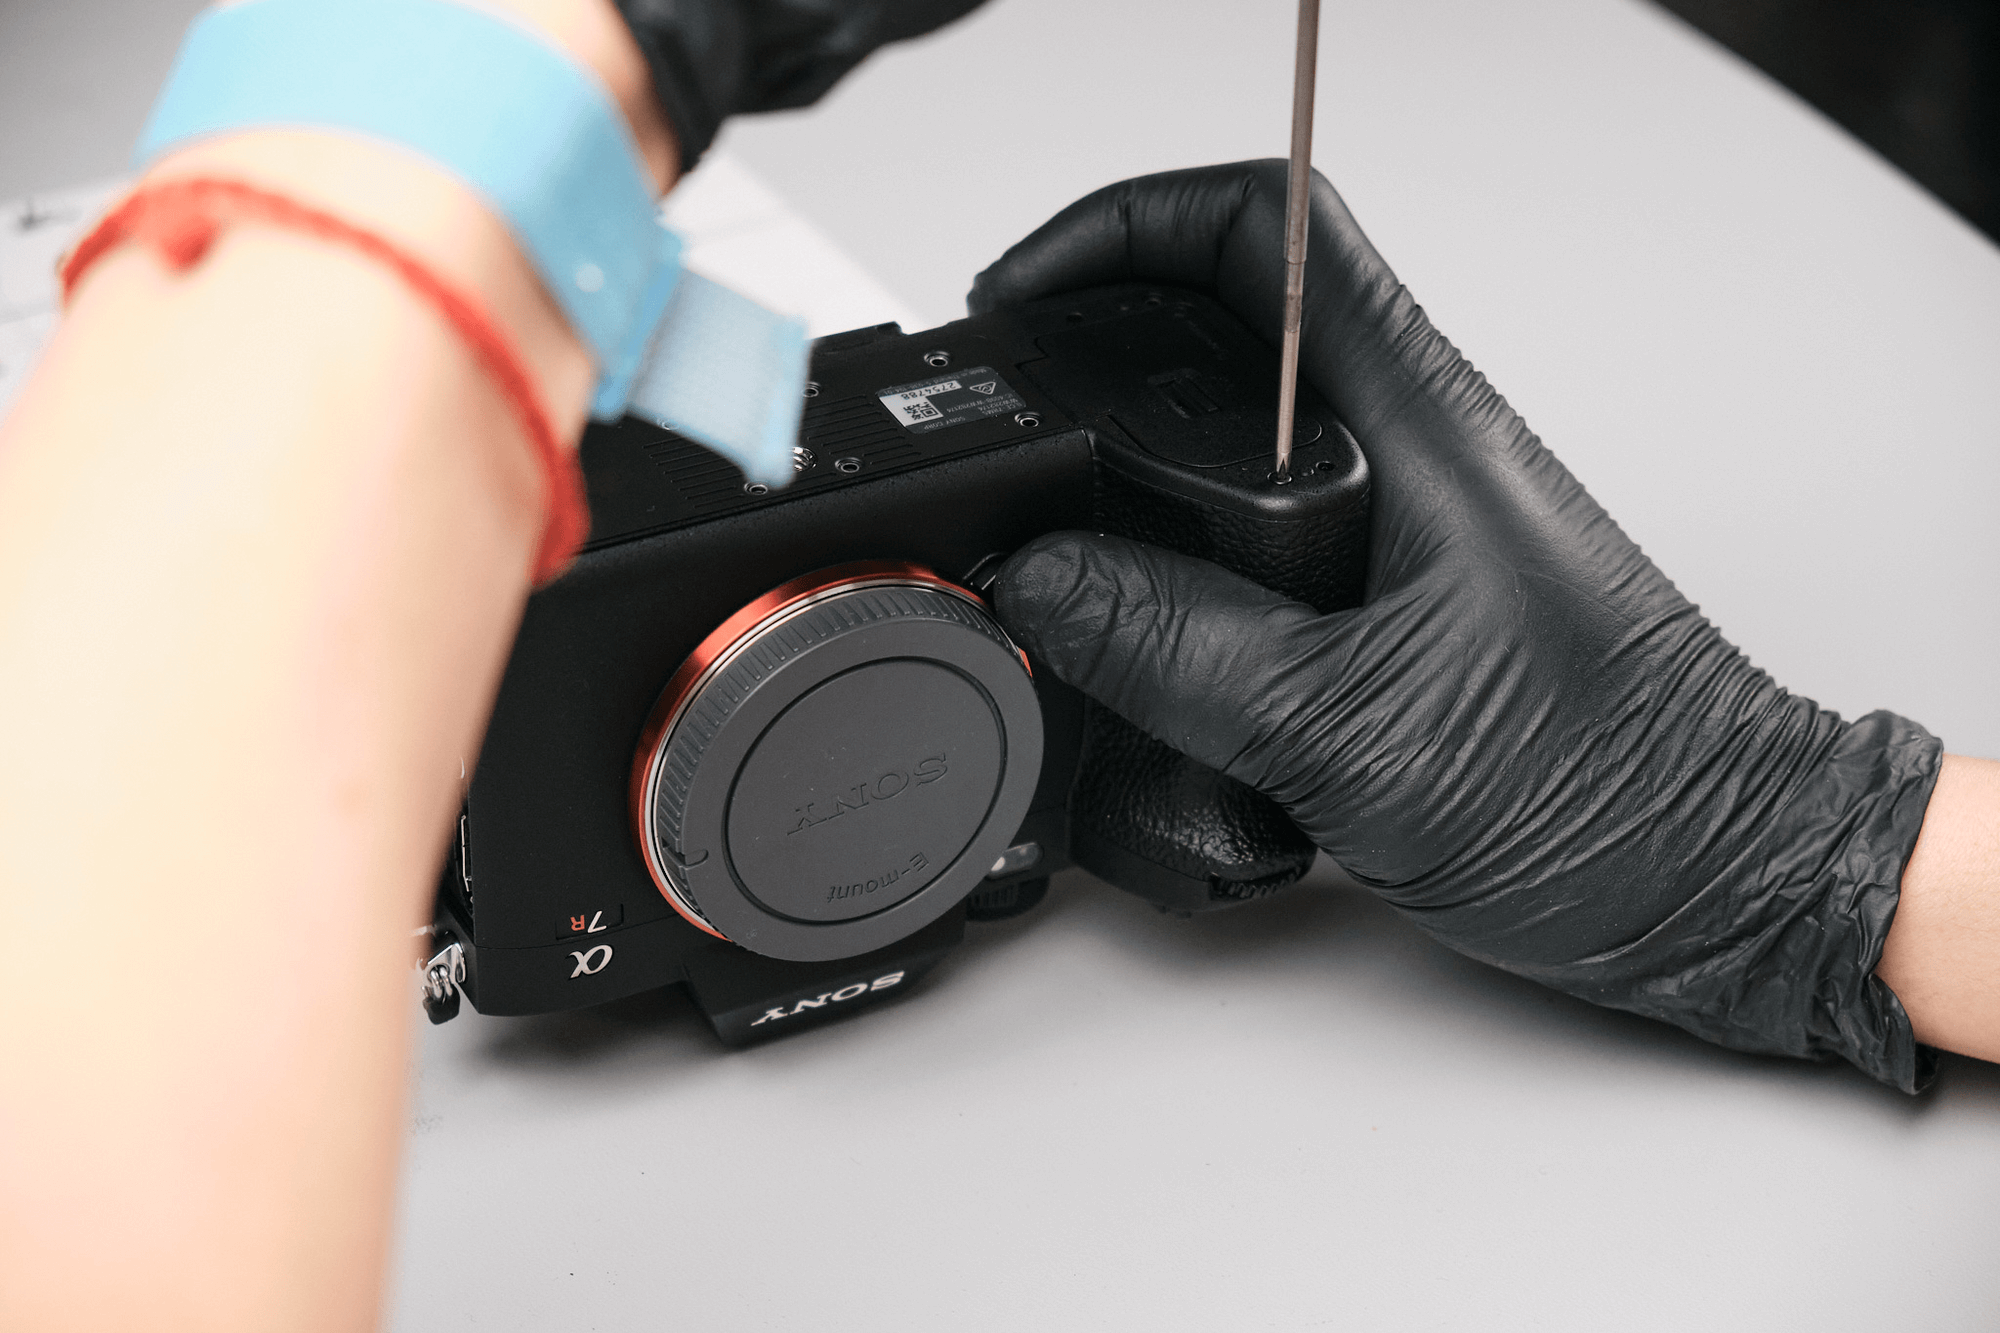
First, we needed to remove all the outer screws to access the inside of the camera. We started with the screws around the eyecup. This is a hidden spot for screws, but it’s typically one of the easiest places to remove them. There were four around the EVF and one connected to the diopter.
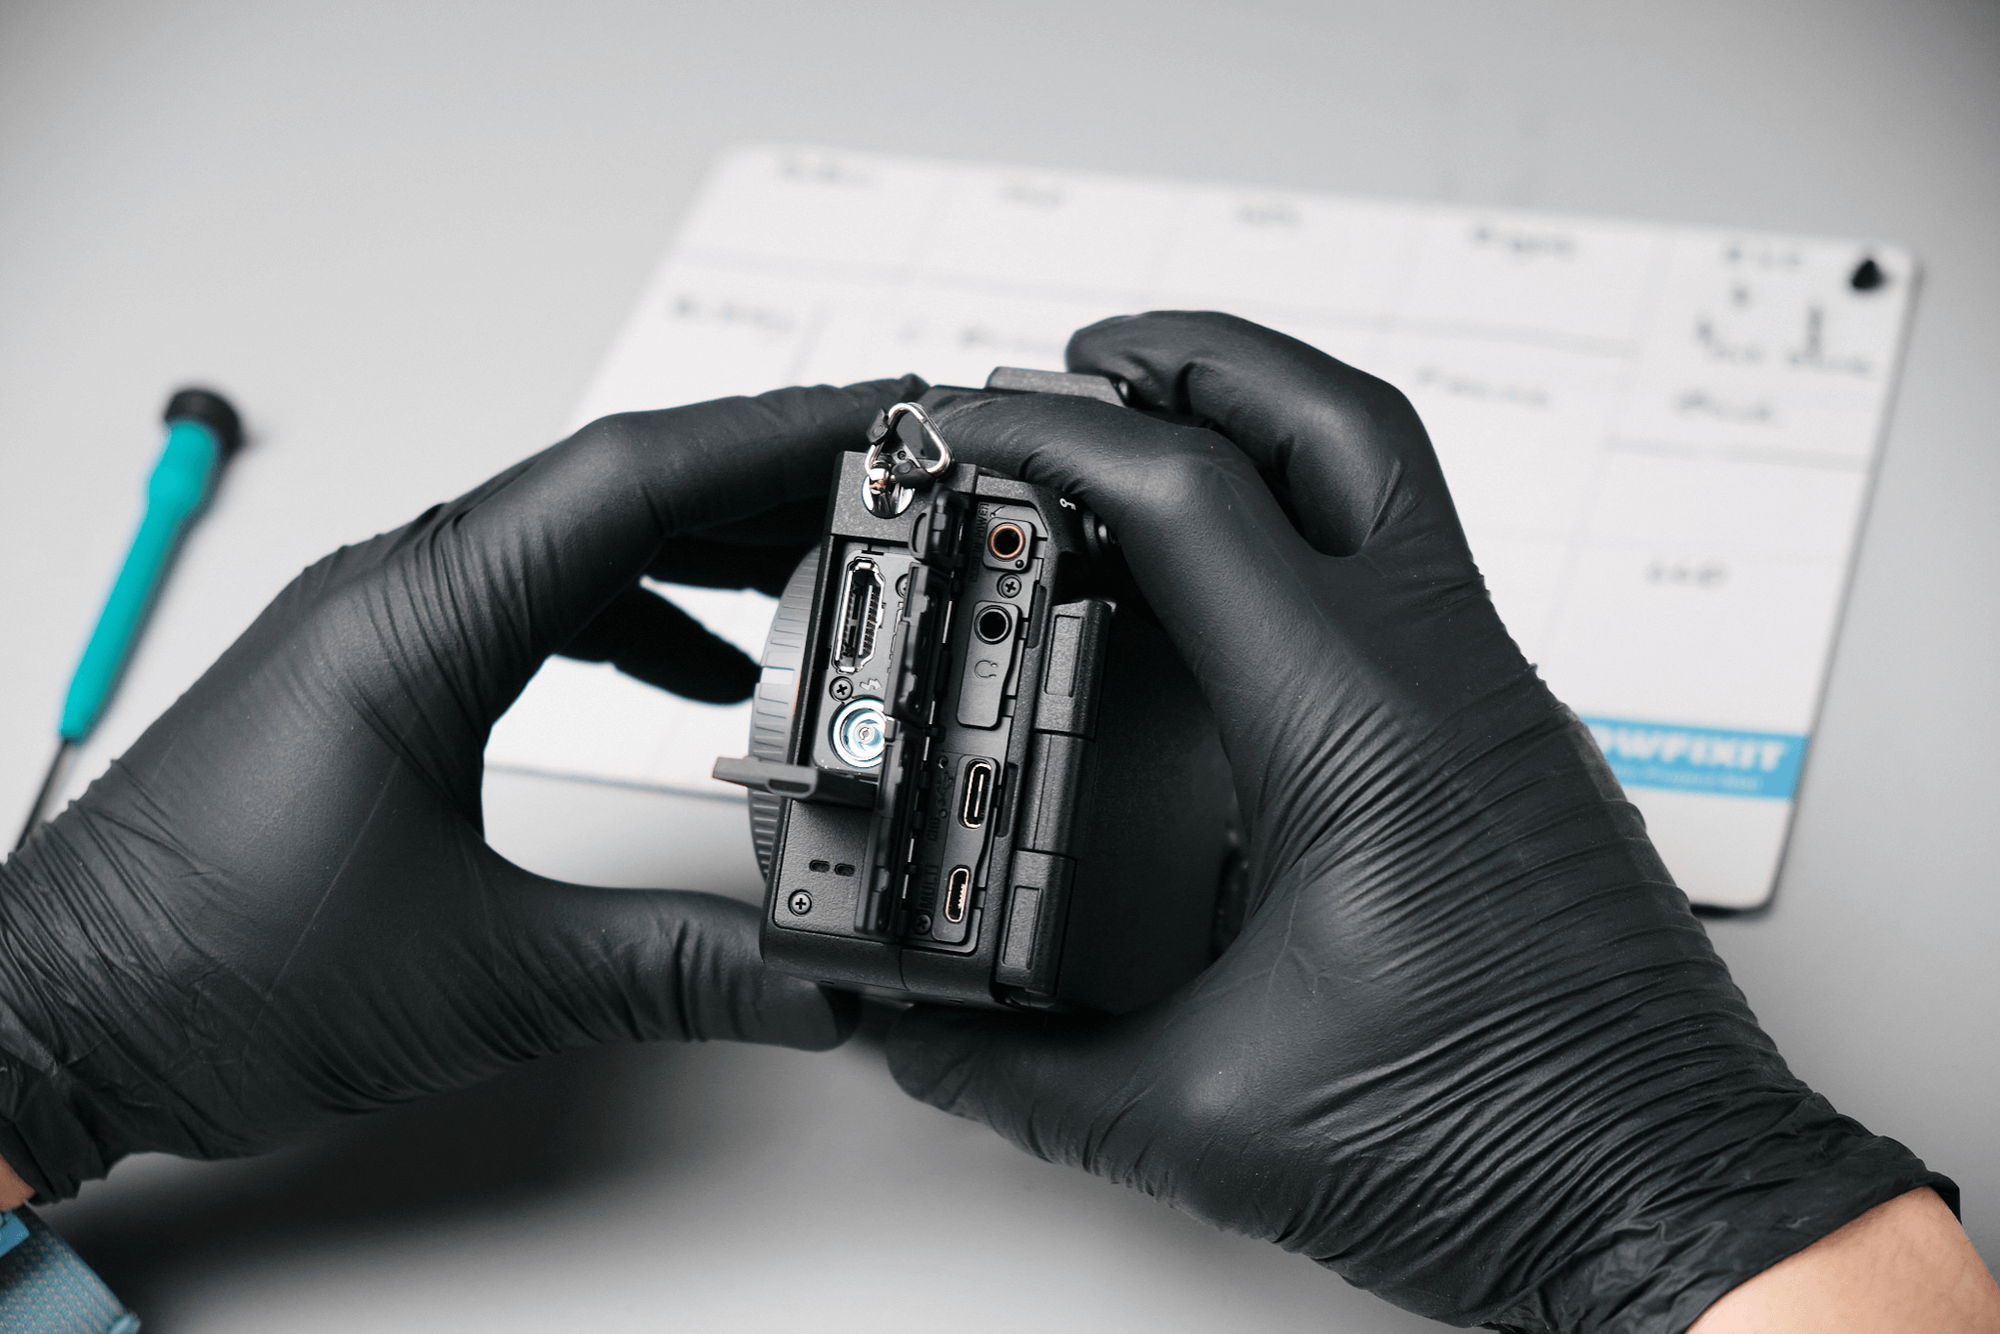
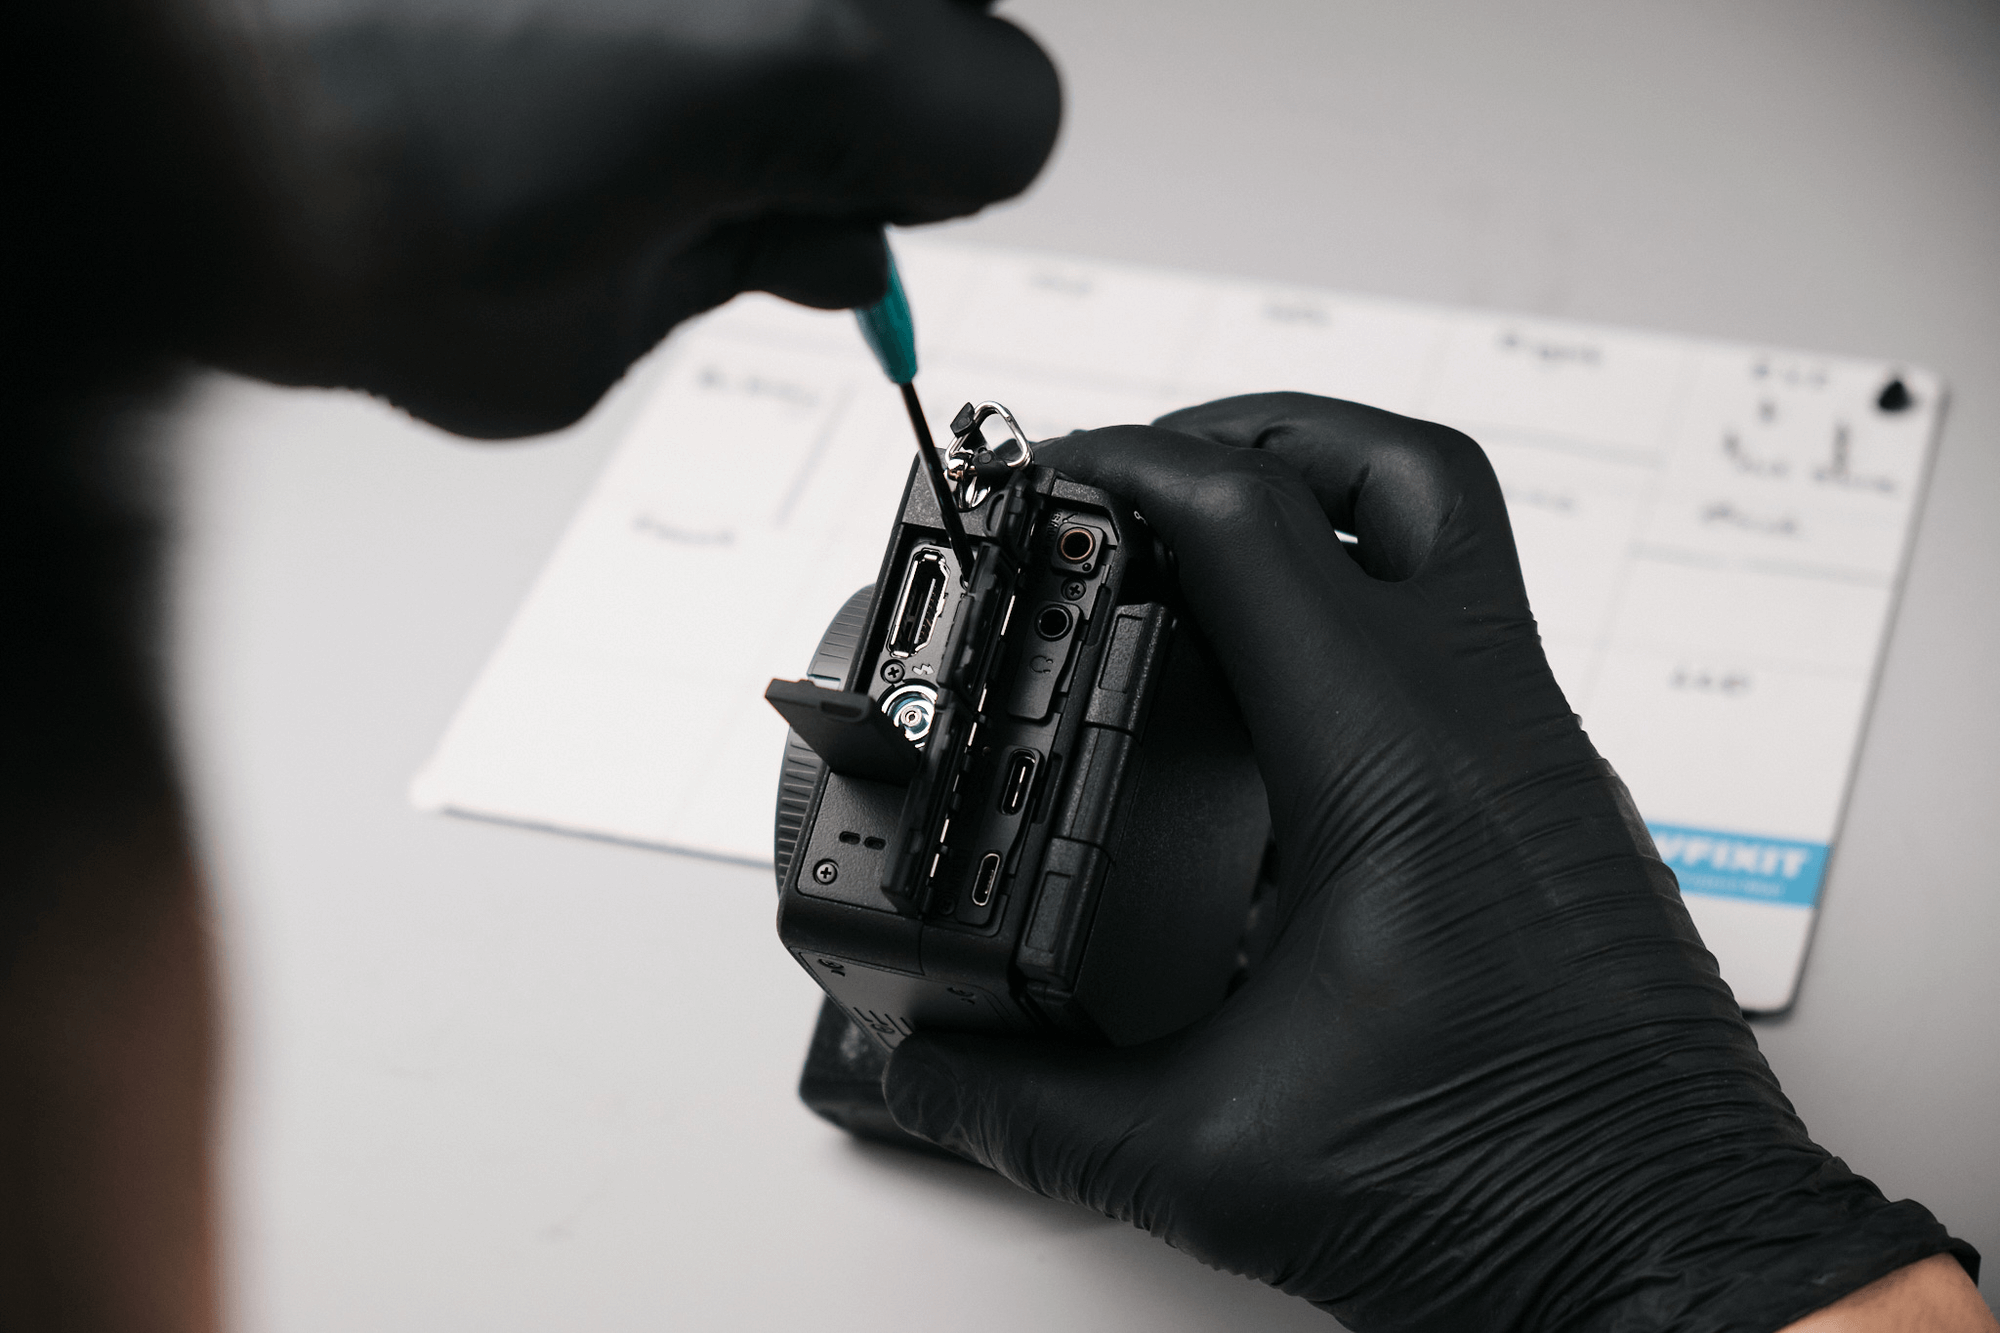
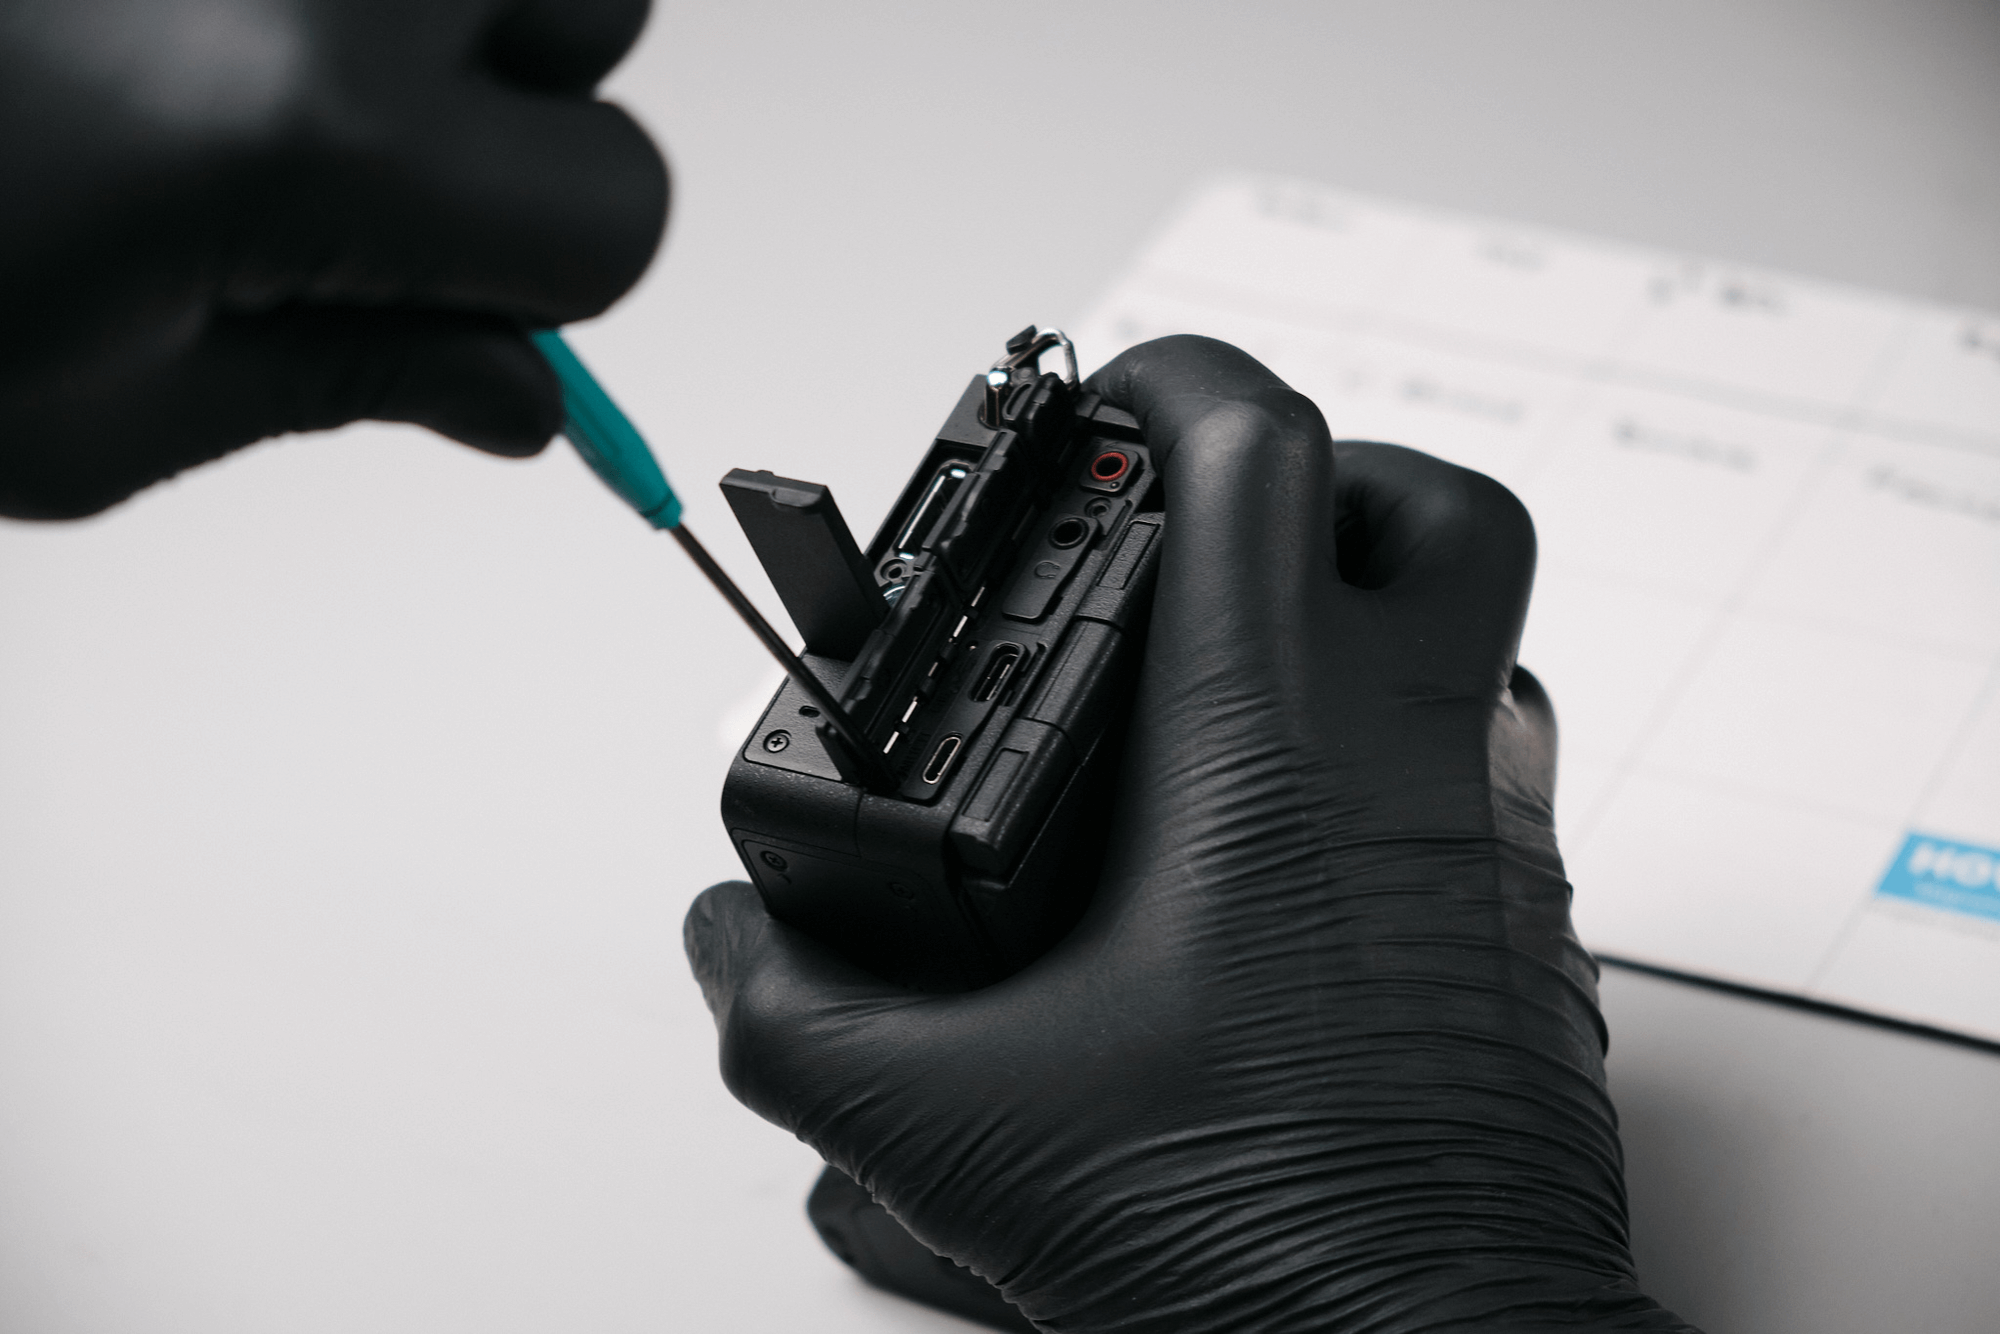
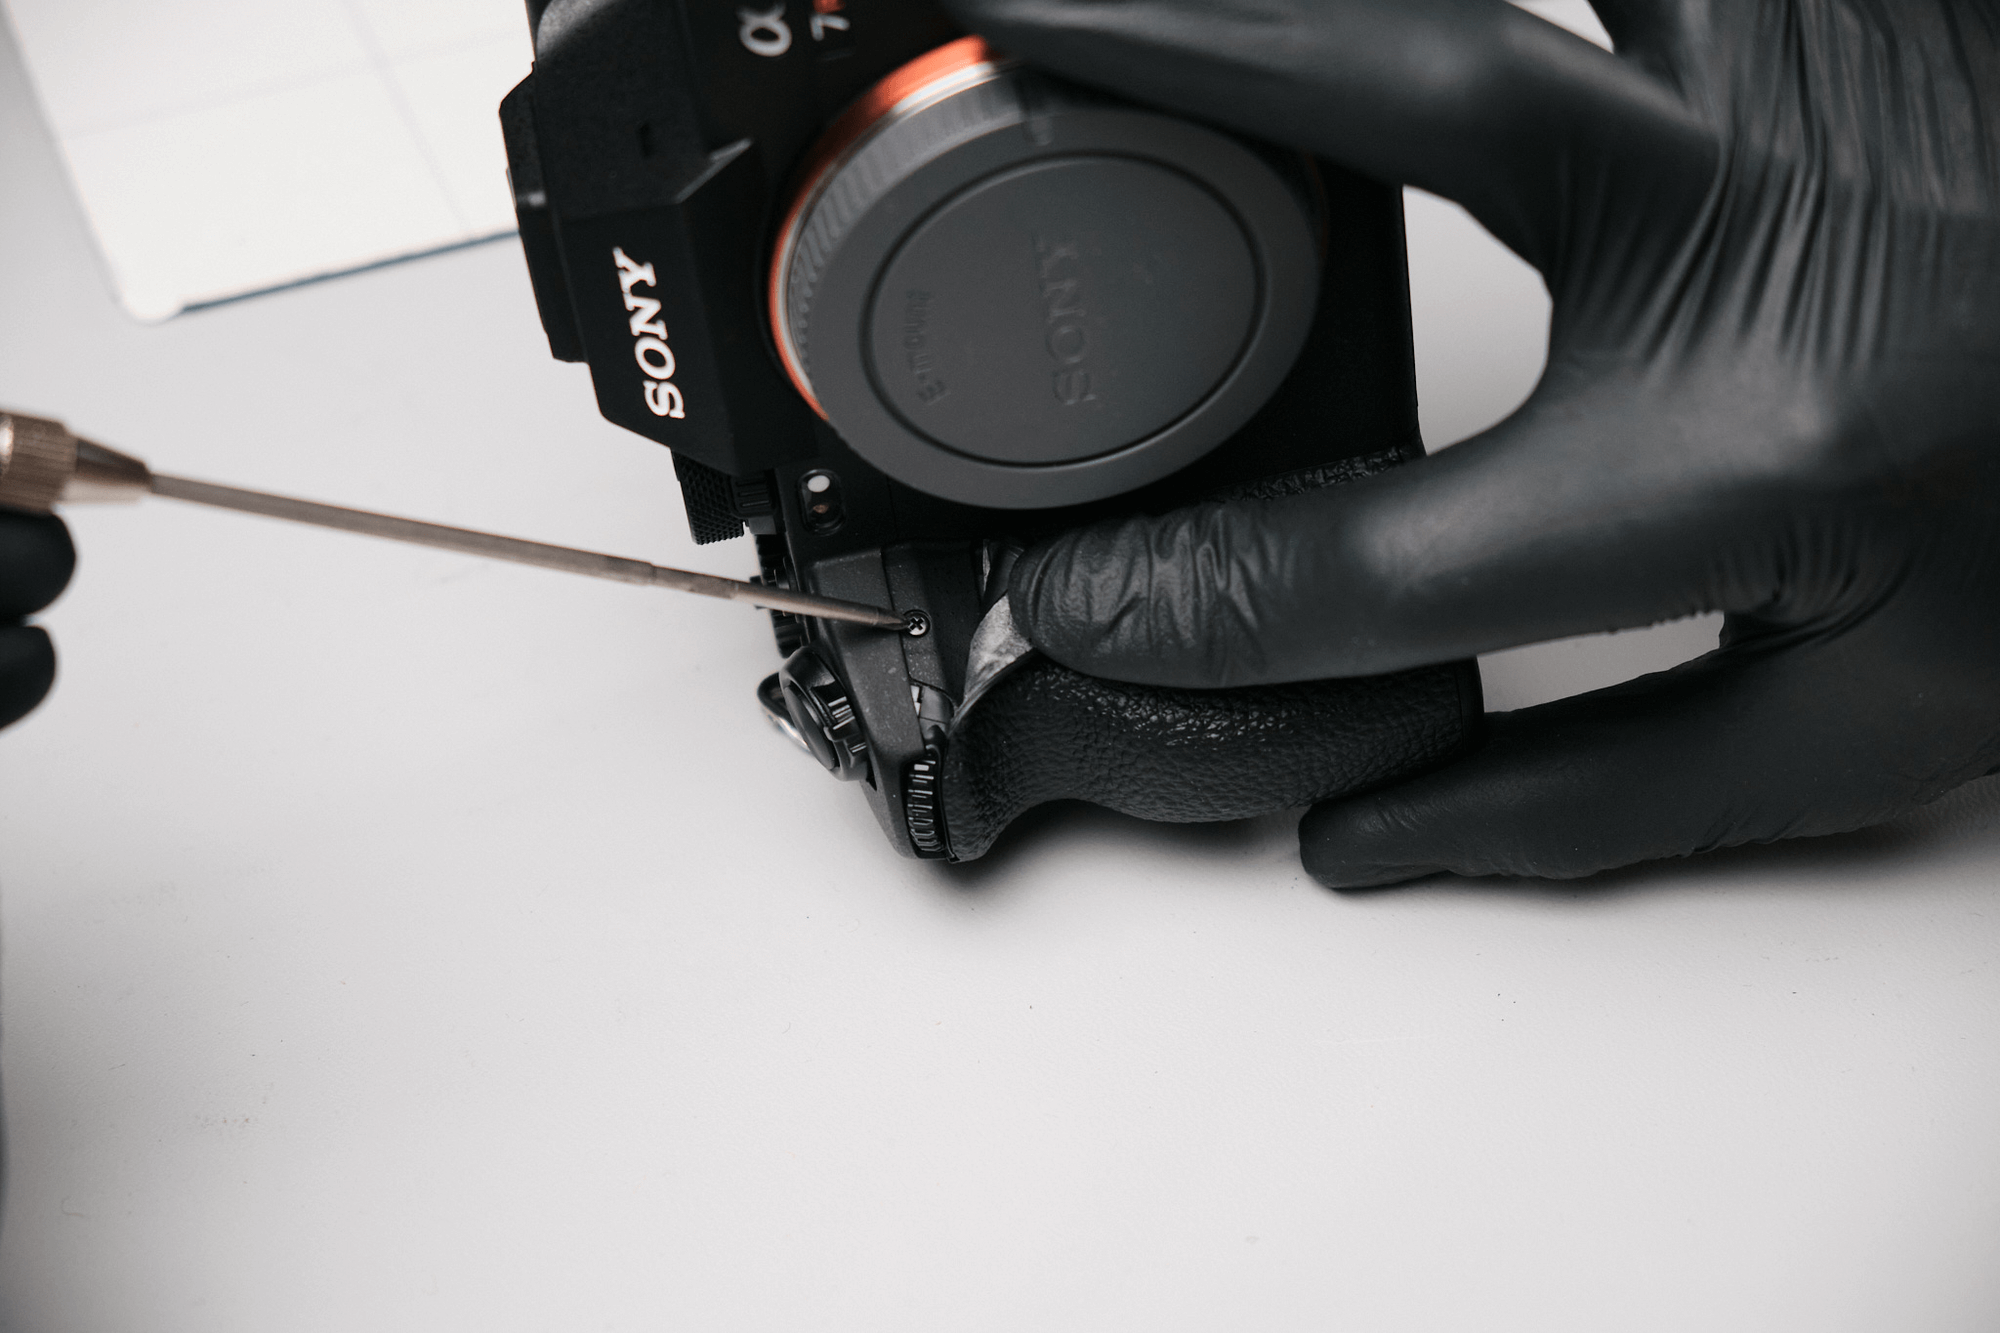
On the port side of the camera, there were four screws under the dust caps and one near the speaker port.
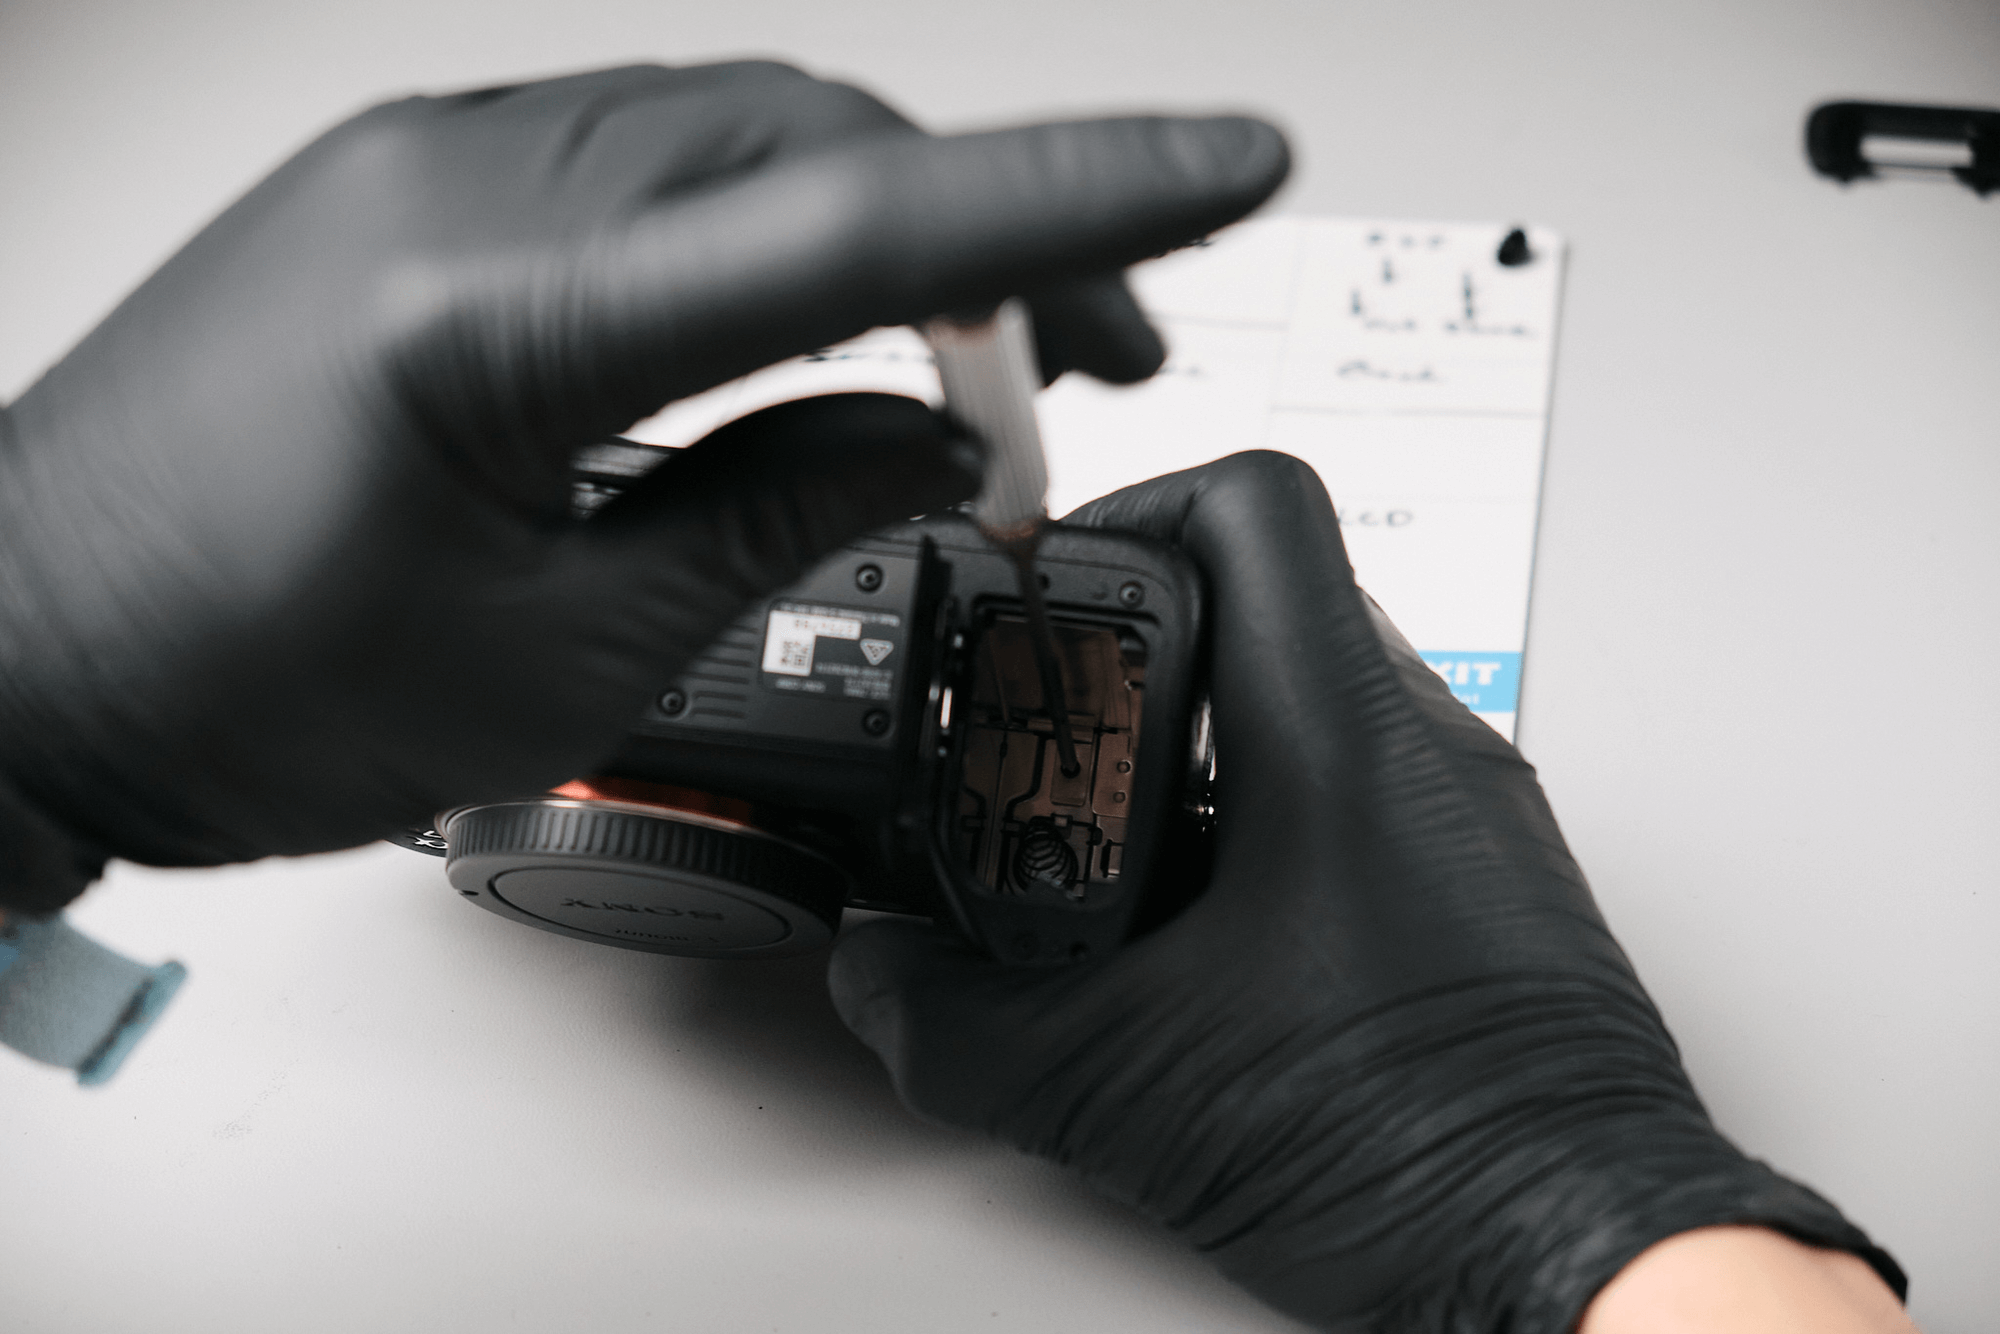
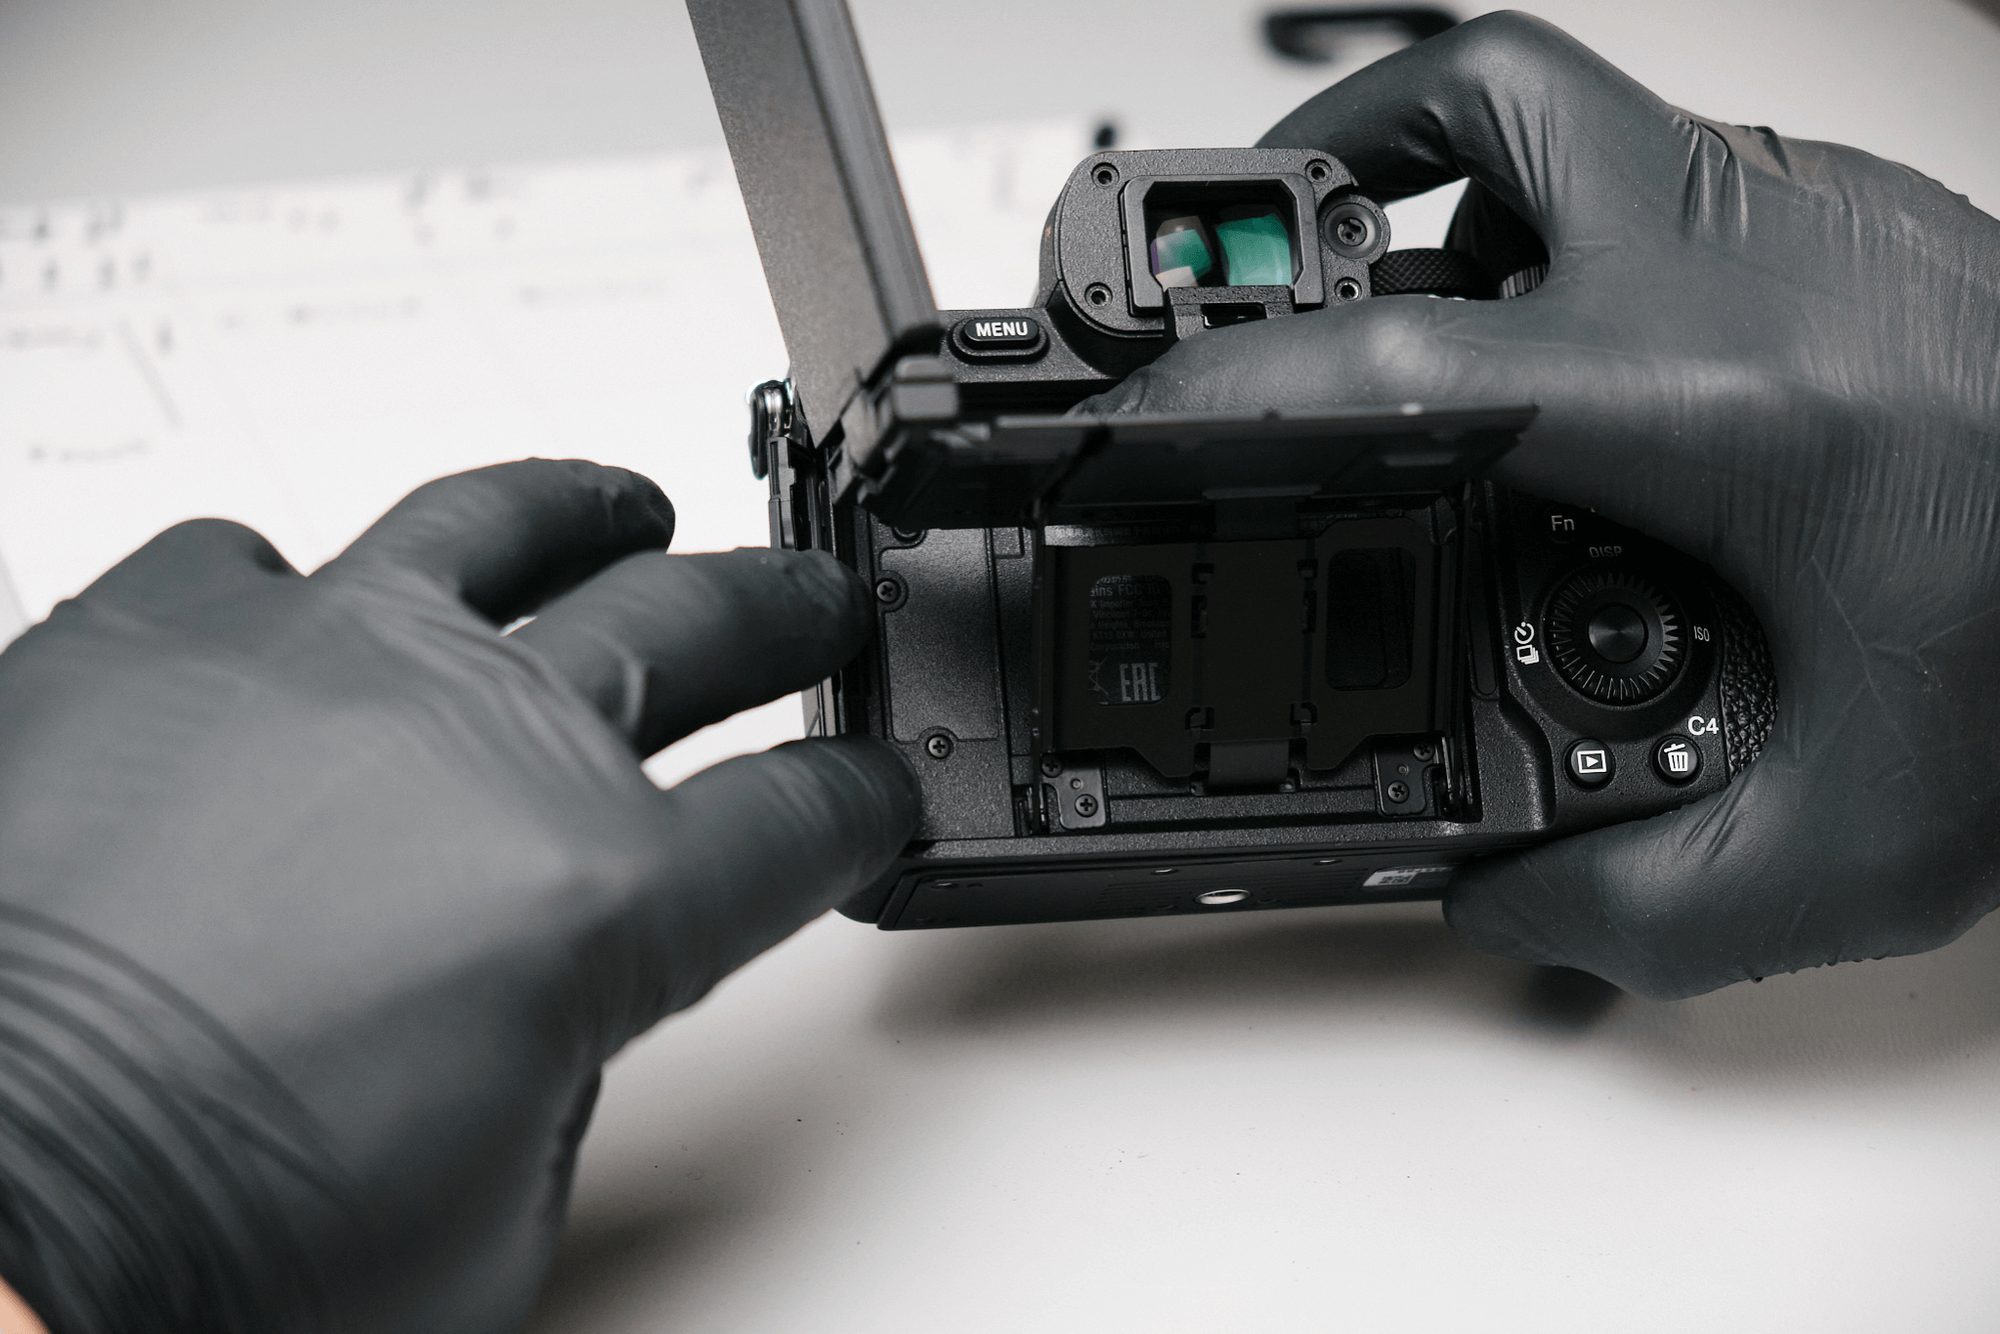
There was a hidden screw in the battery compartment. This one holds the top panel to the camera body.
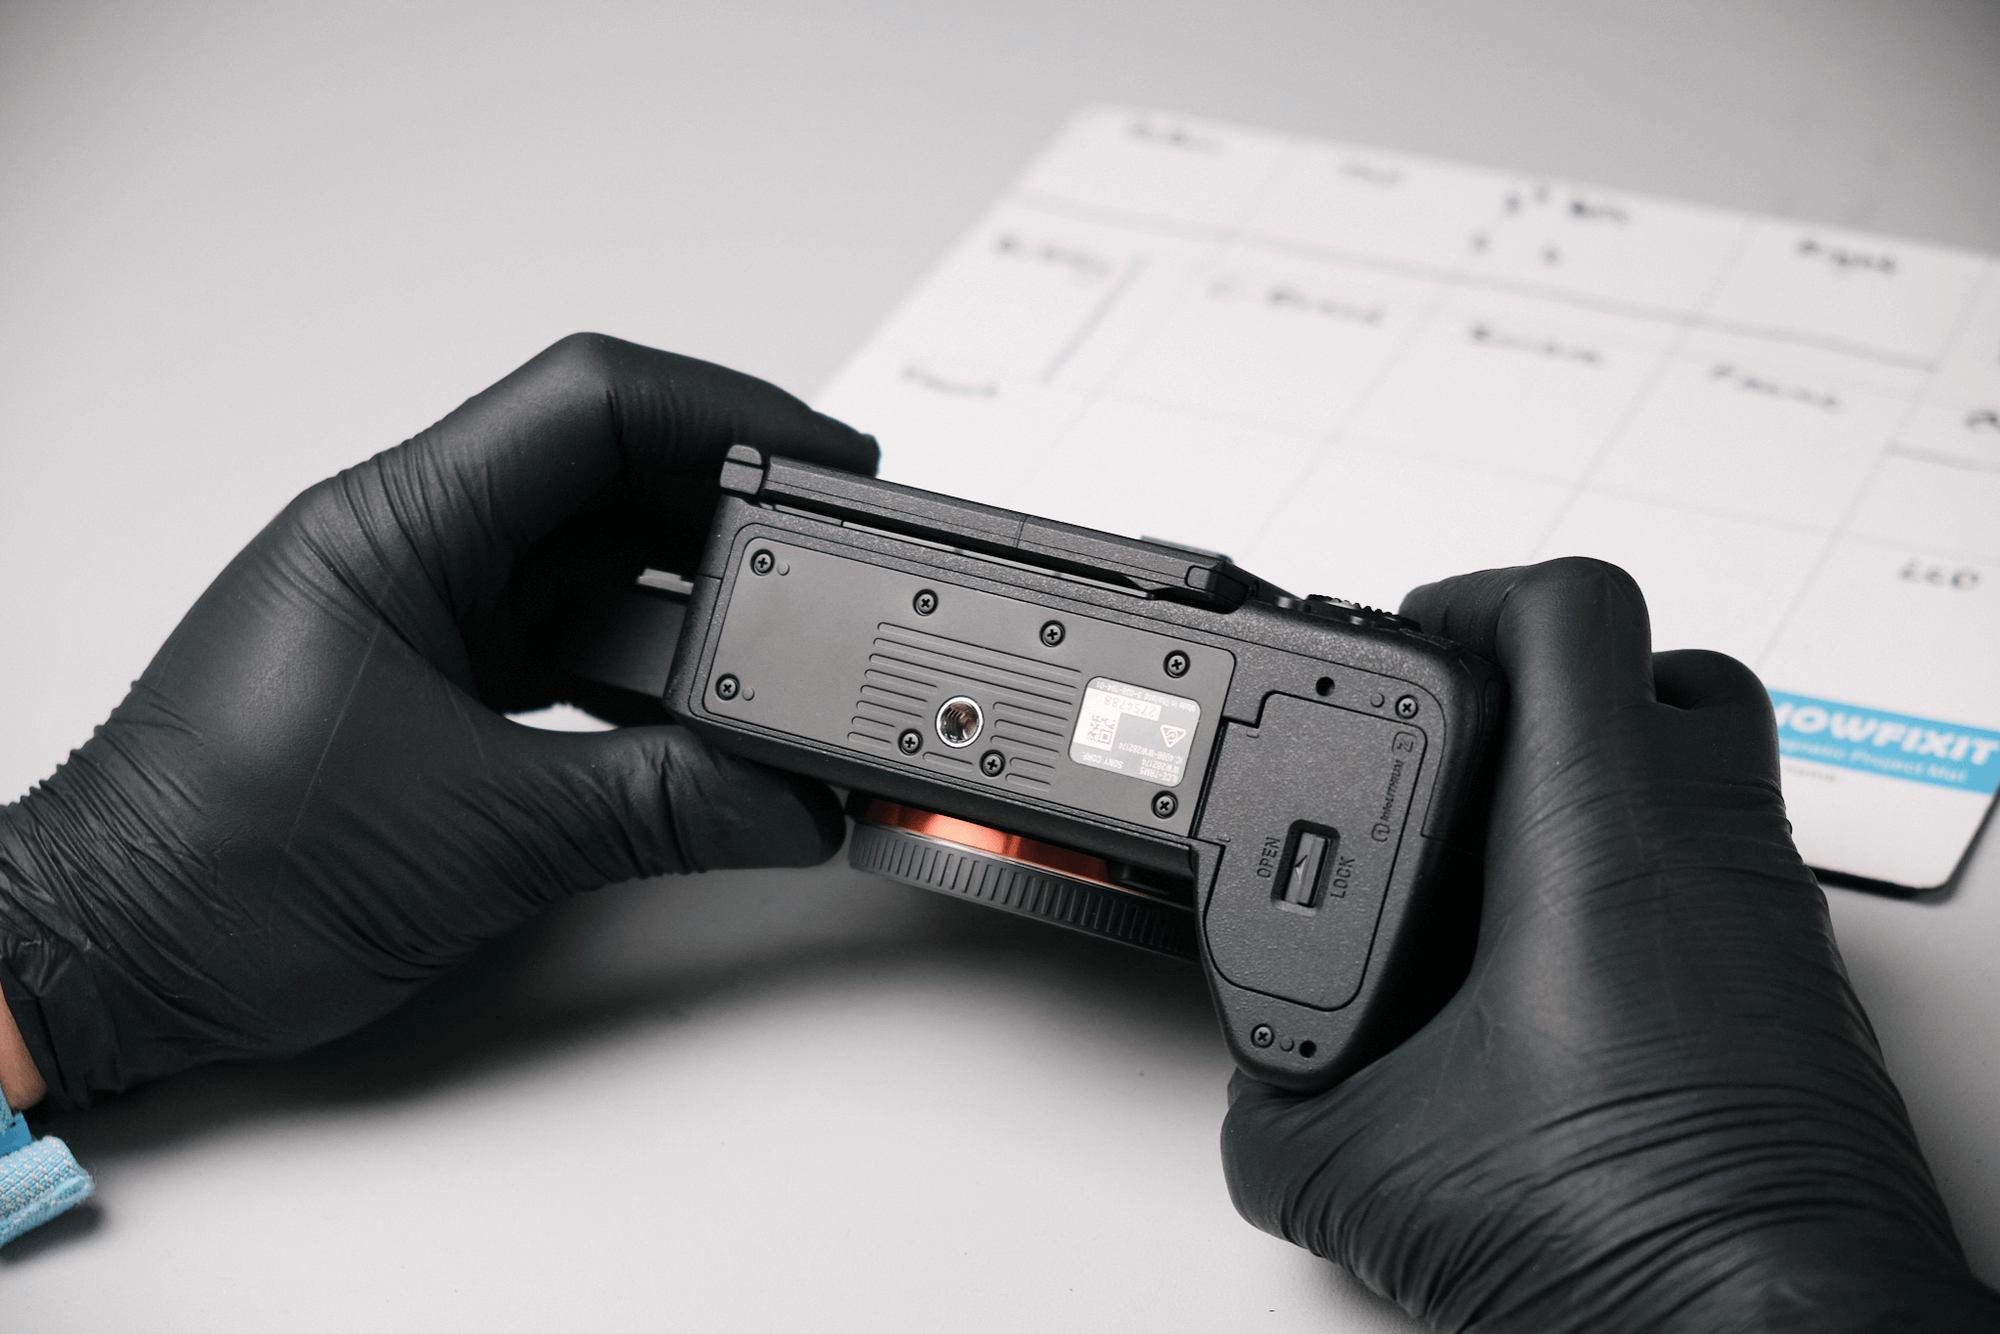
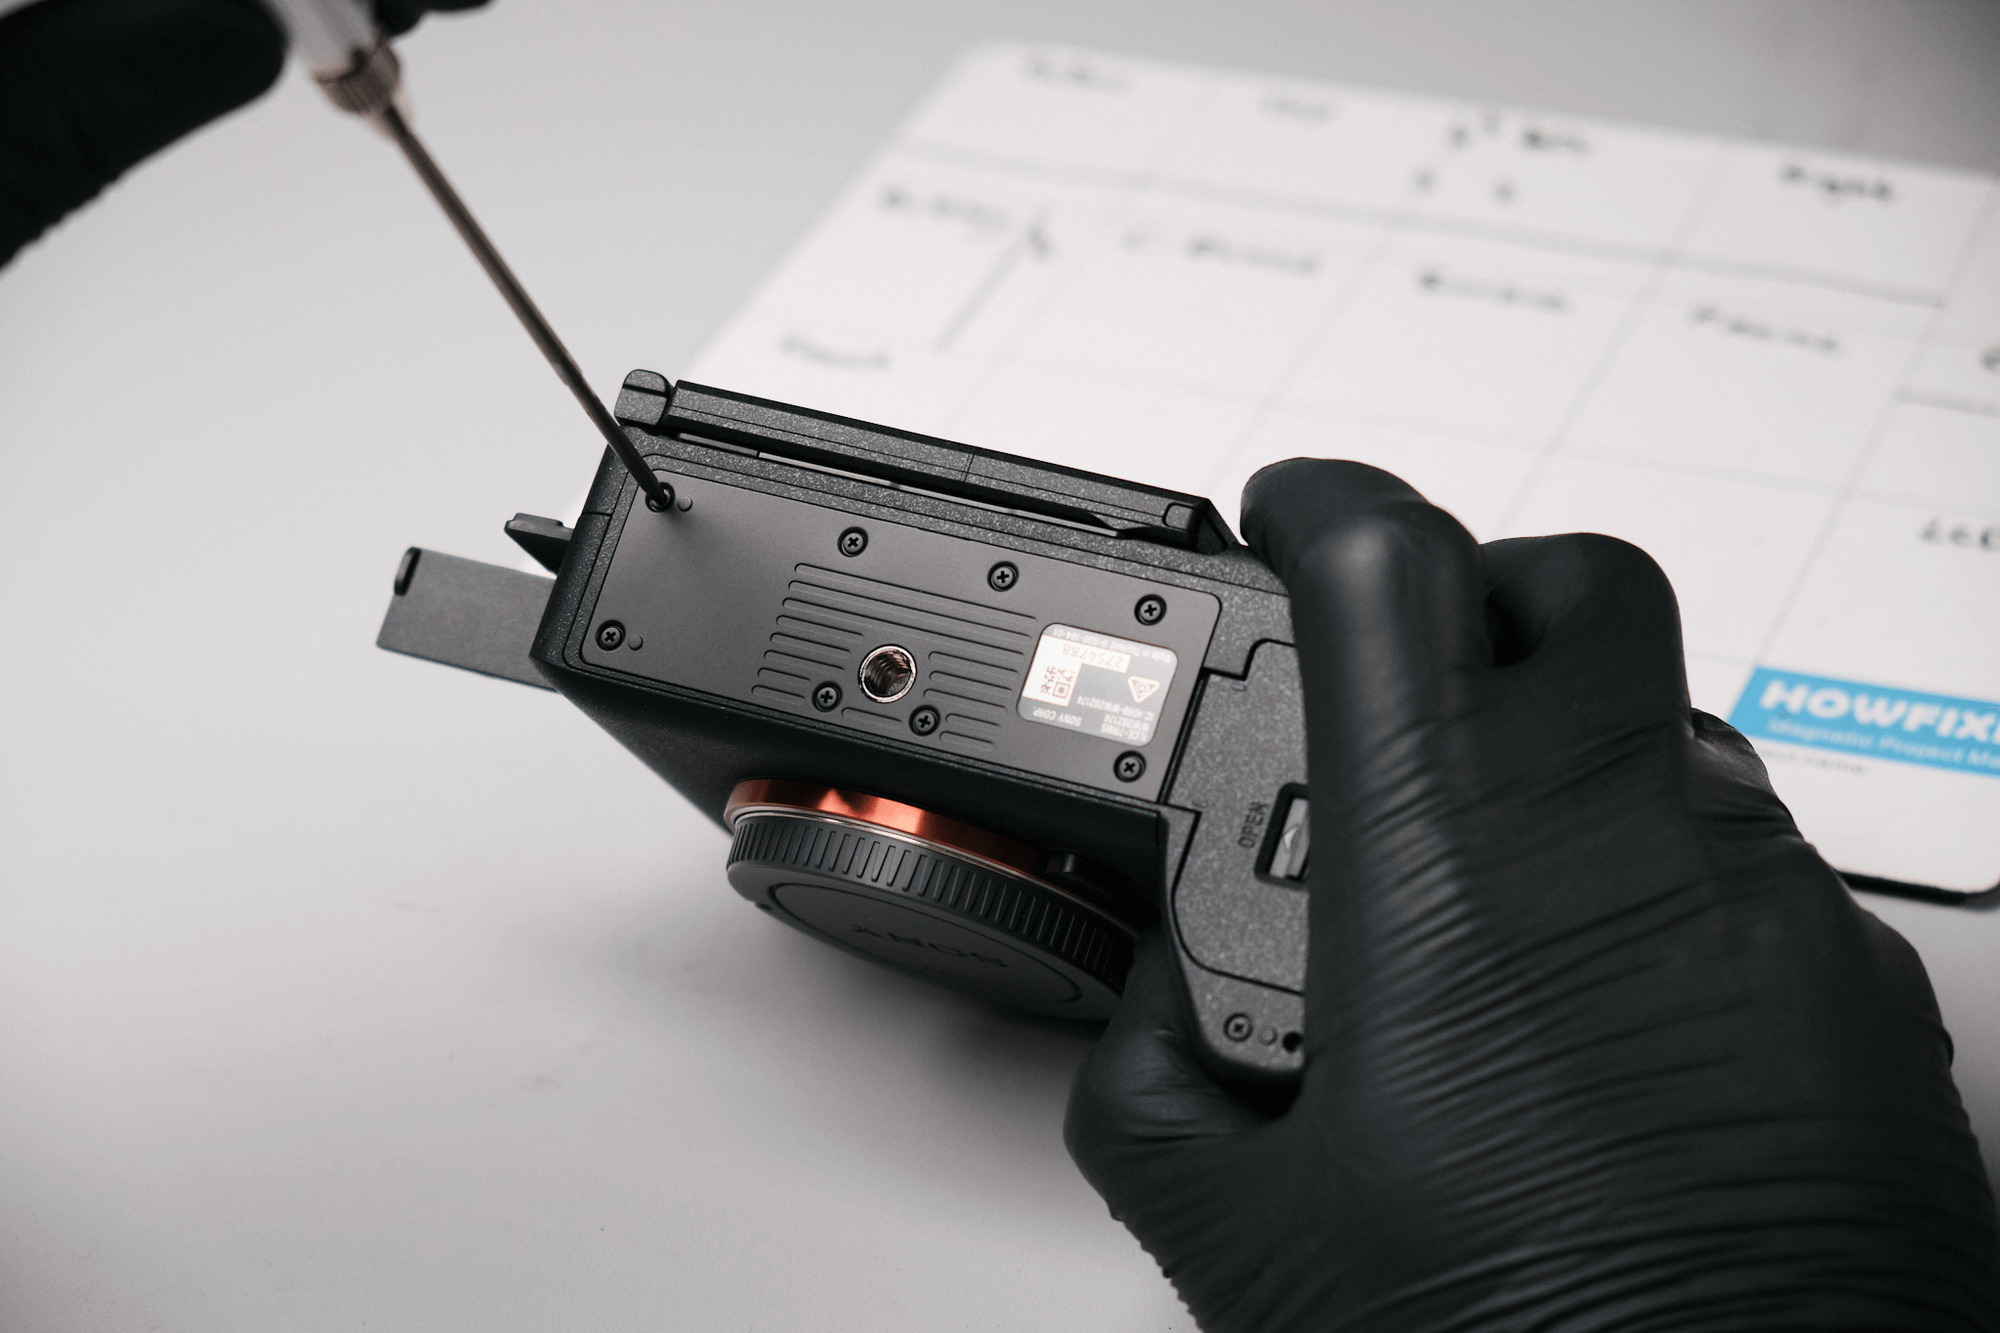
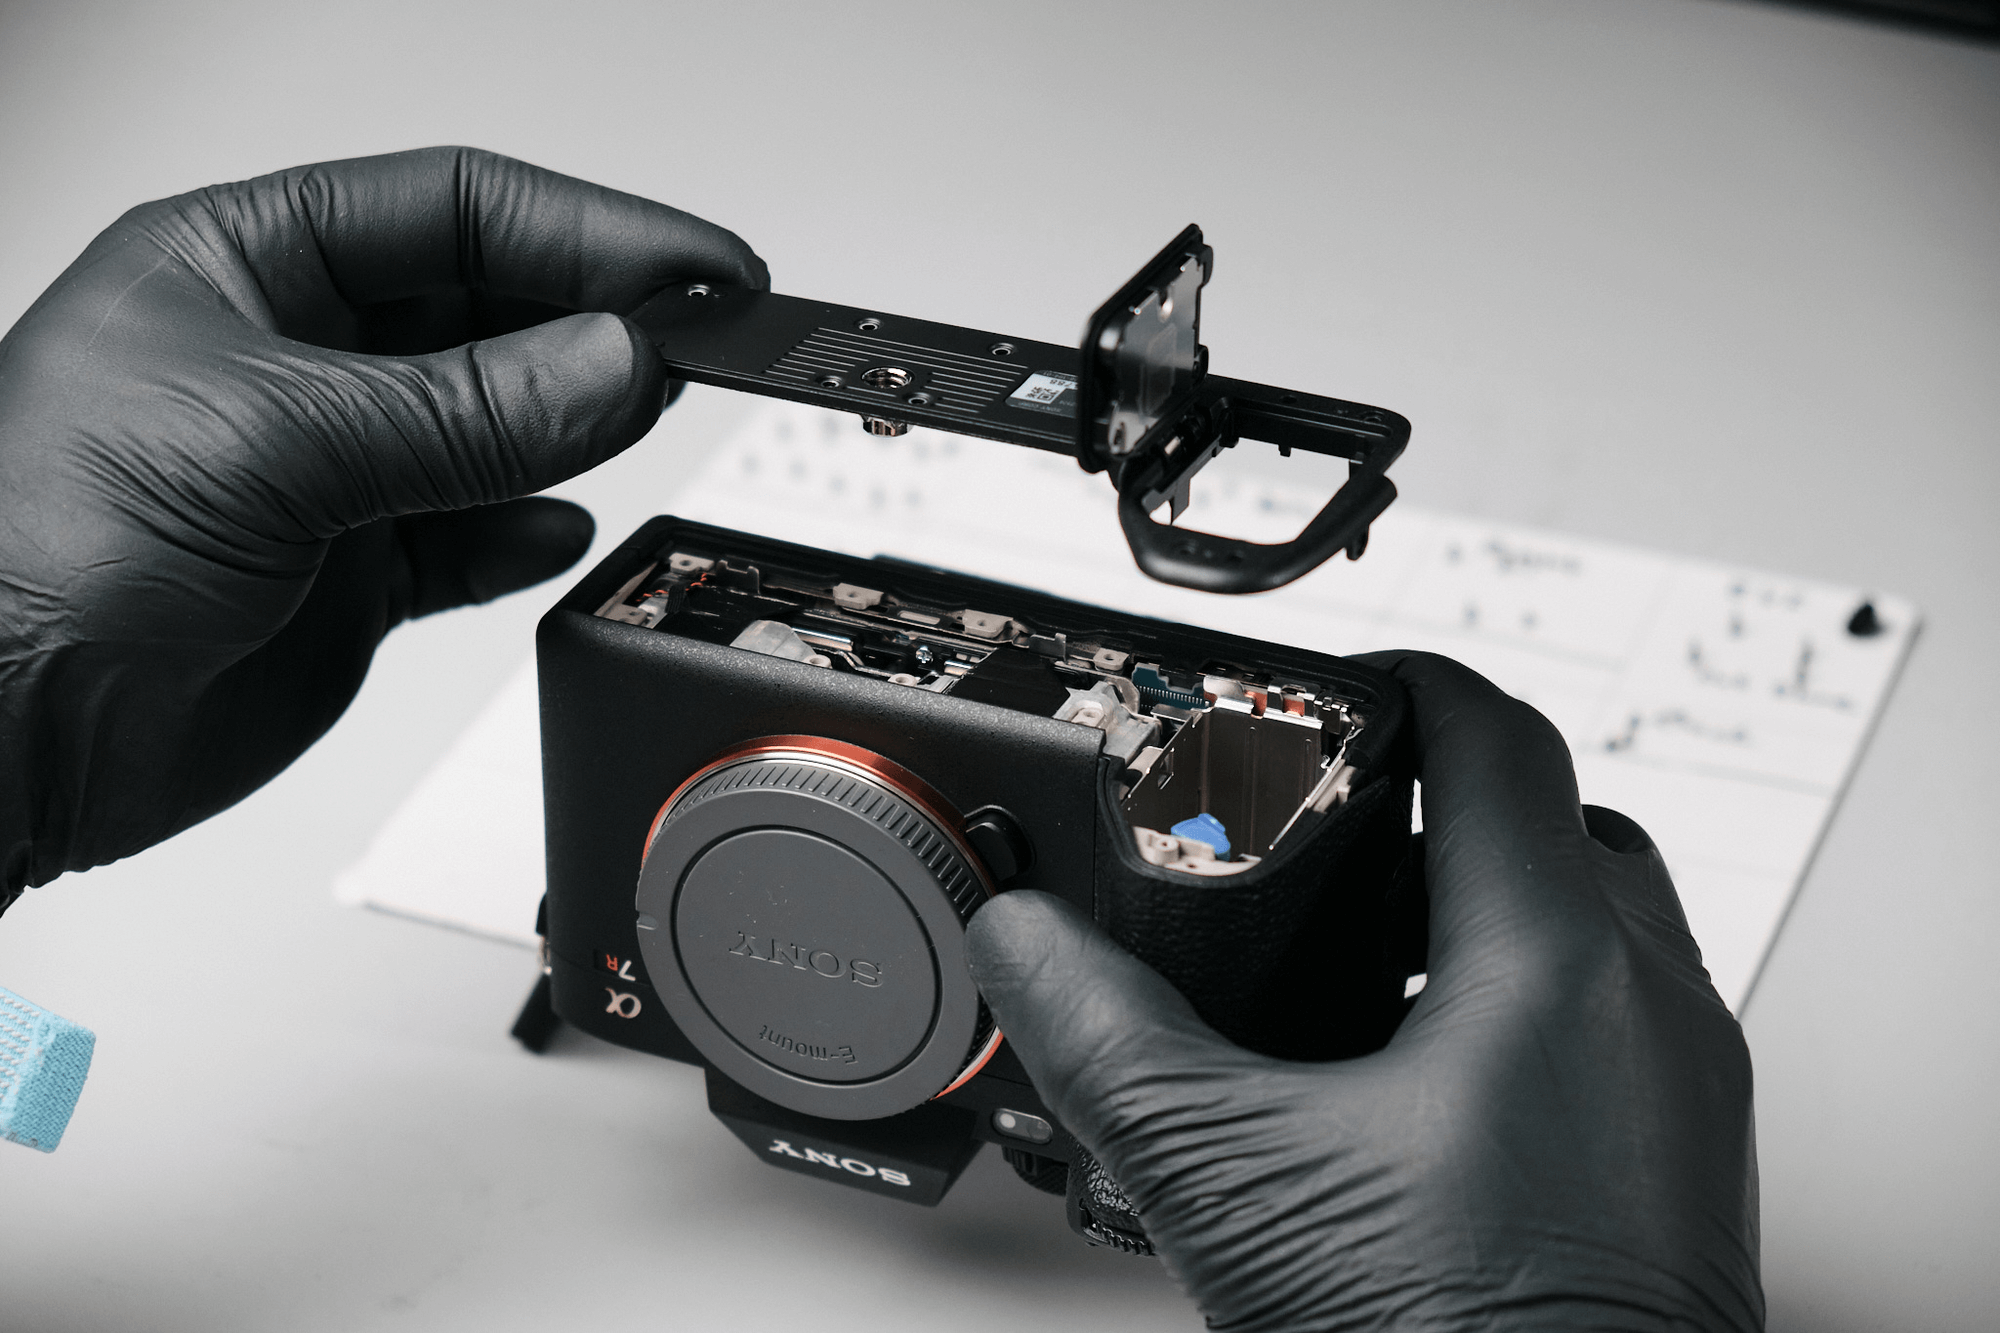
The bottom of the camera was fastened with ten screws. Once these were removed, the baseplate could be removed entirely.
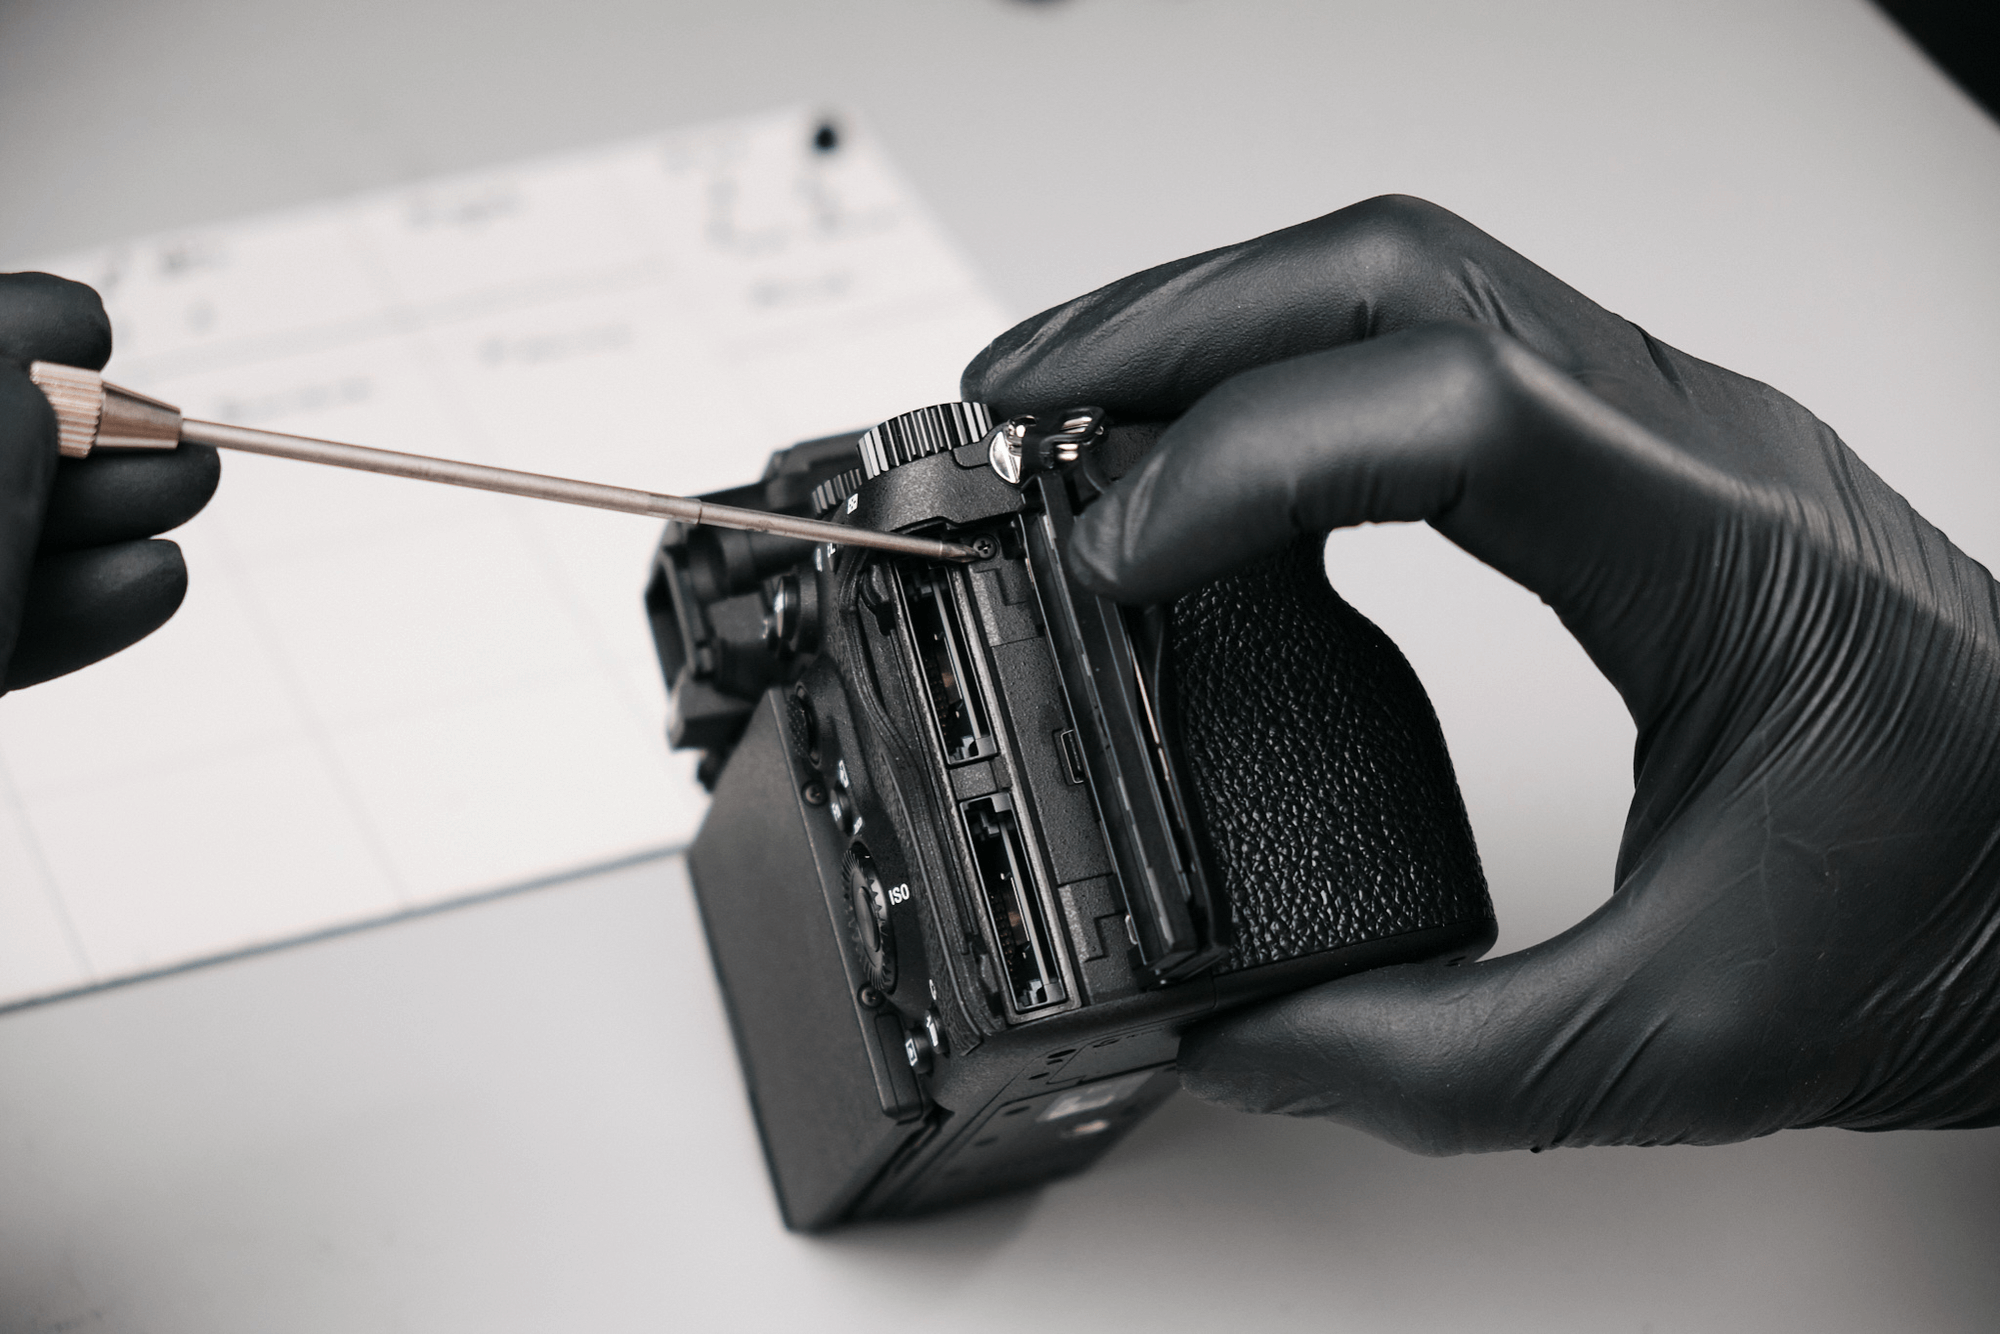
Then, we opened the right side of the camera where the SD card slot was located and removed another screw.
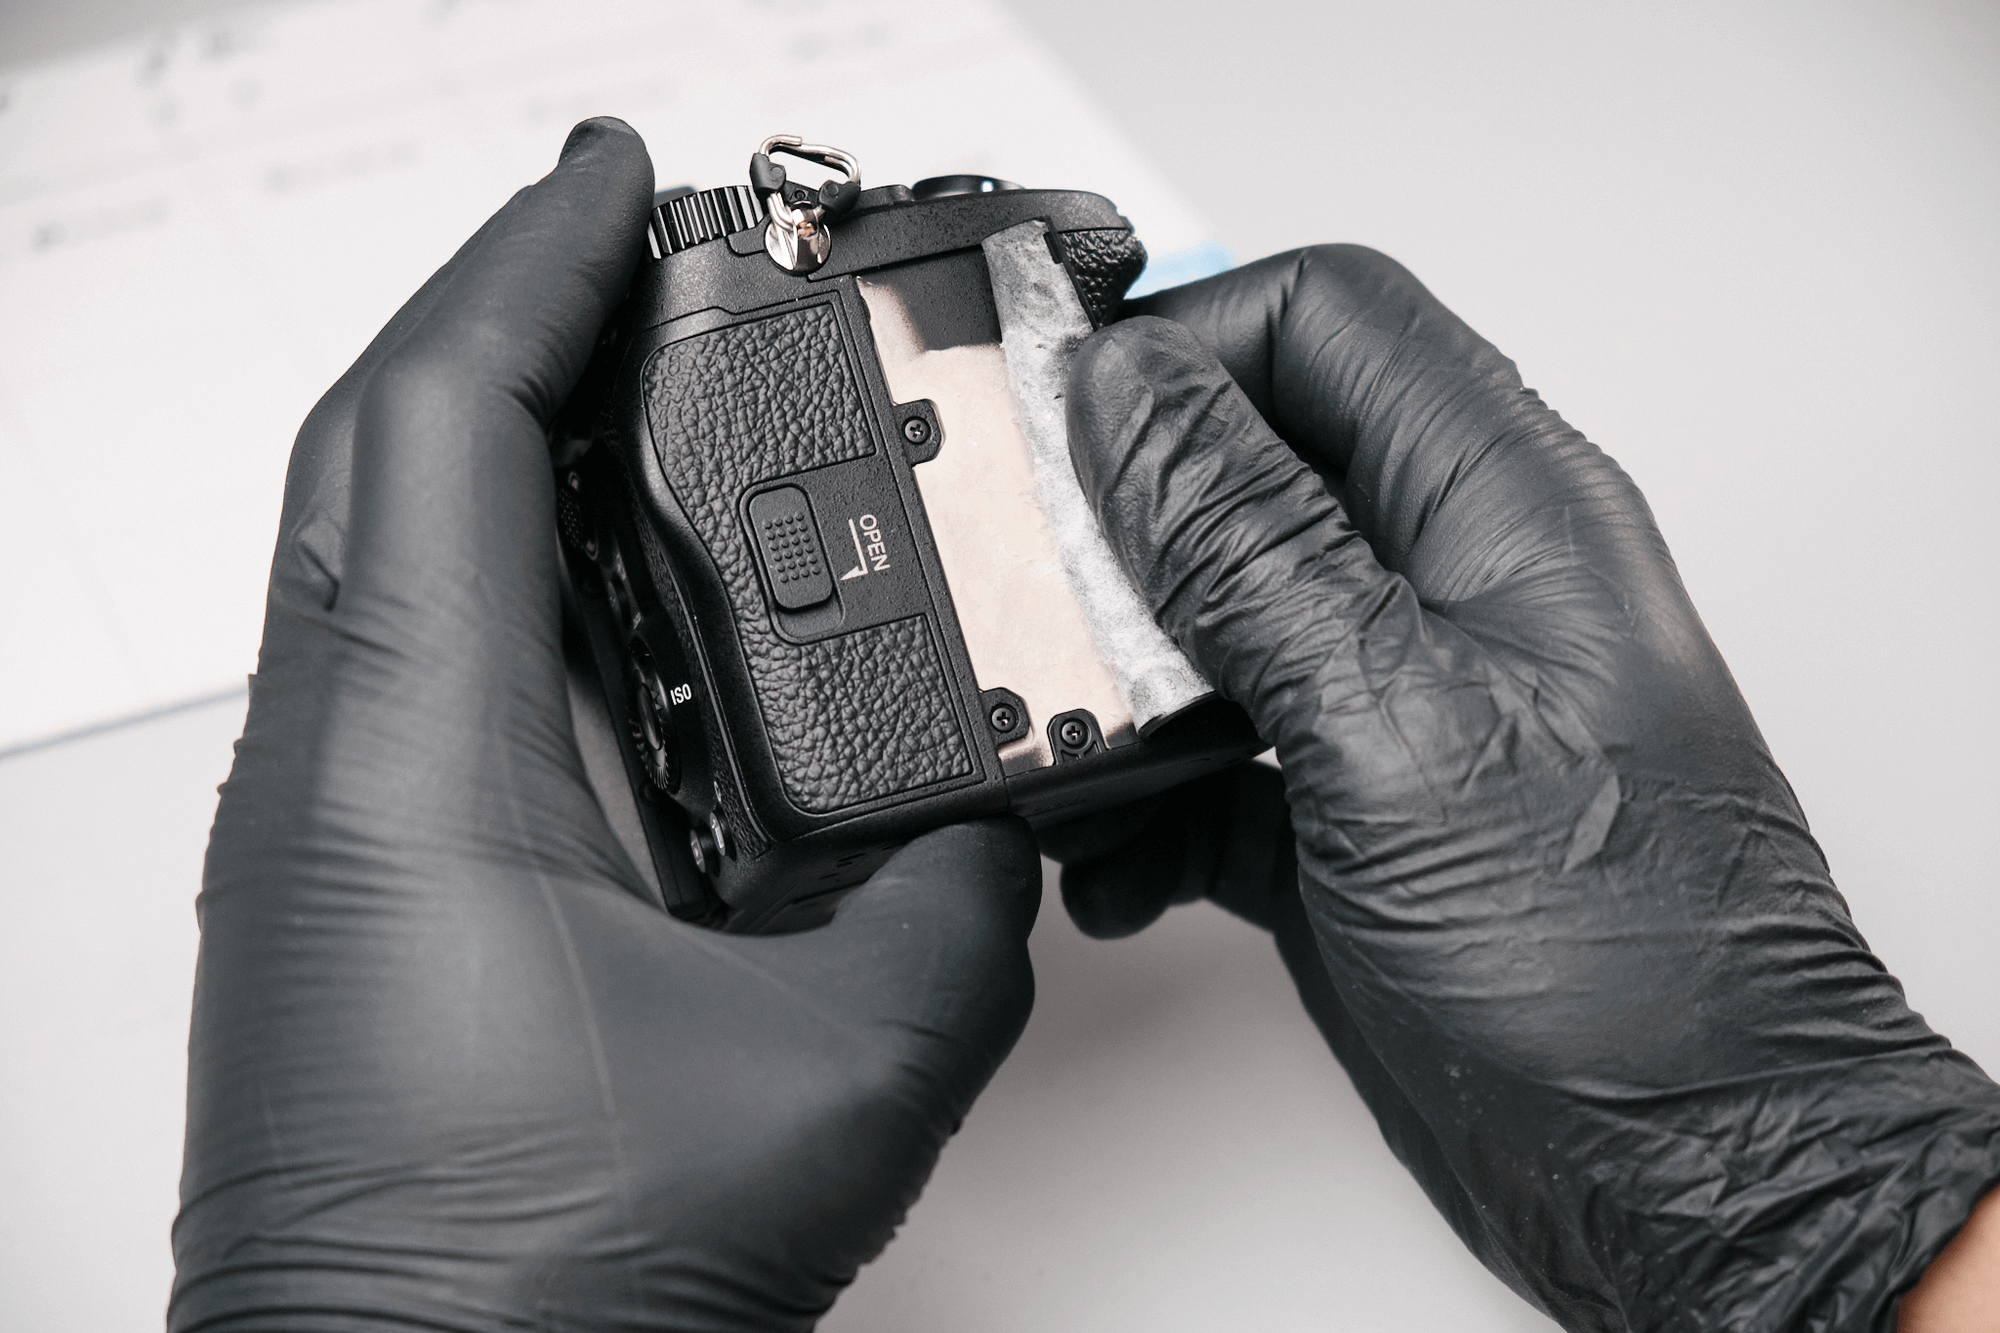
After the main screws were removed, we had to dig a little deeper to find more of the outer body screws. The rubber grip had to be peeled to reveal them. In this photo, three screws were exposed.
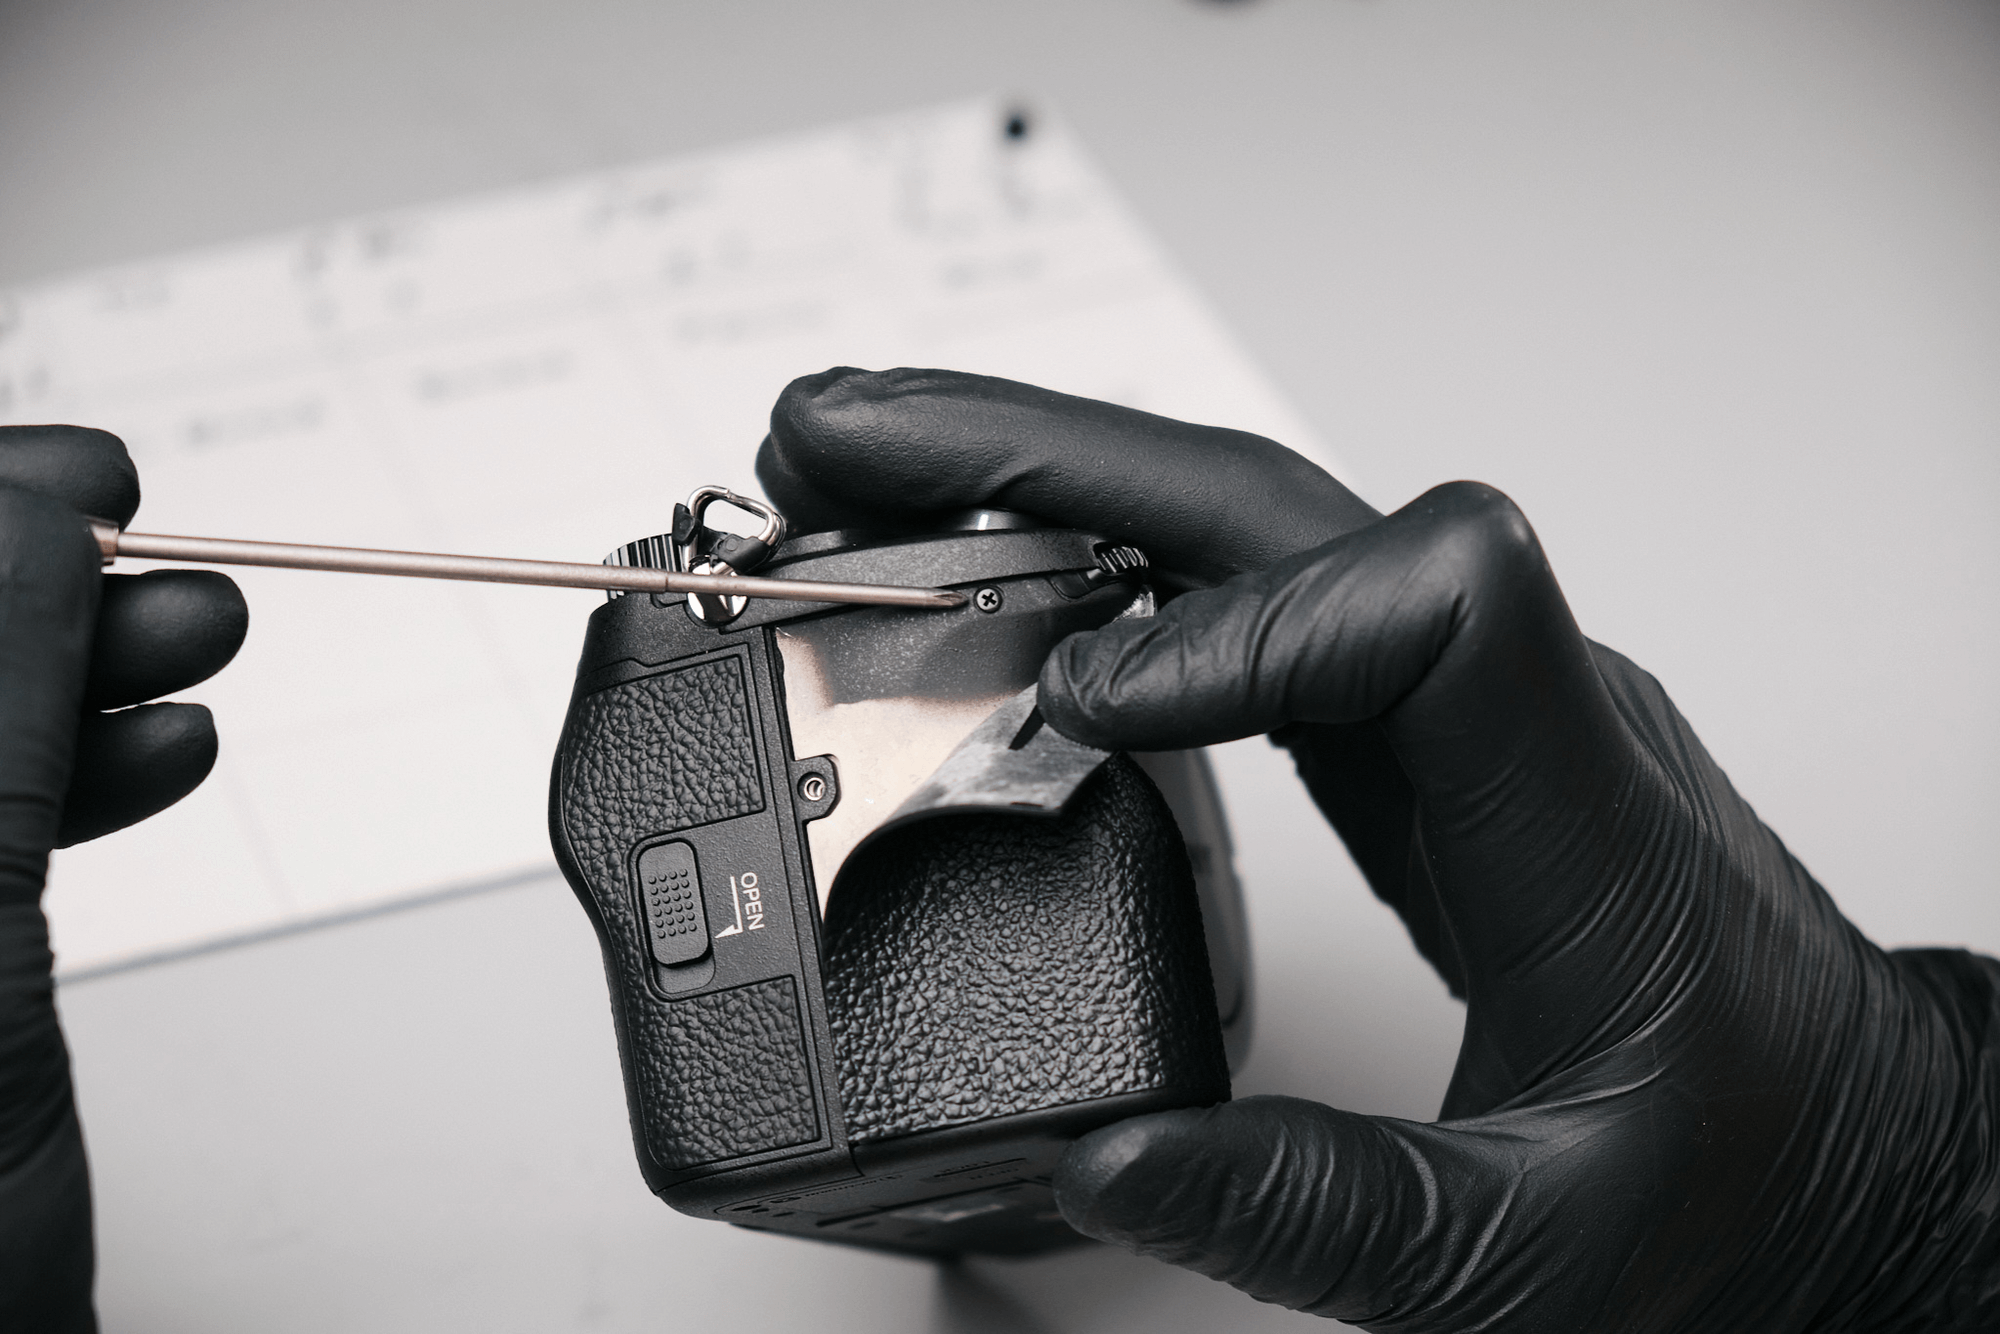
Two screws were located below the shutter button and under the rubber grip.
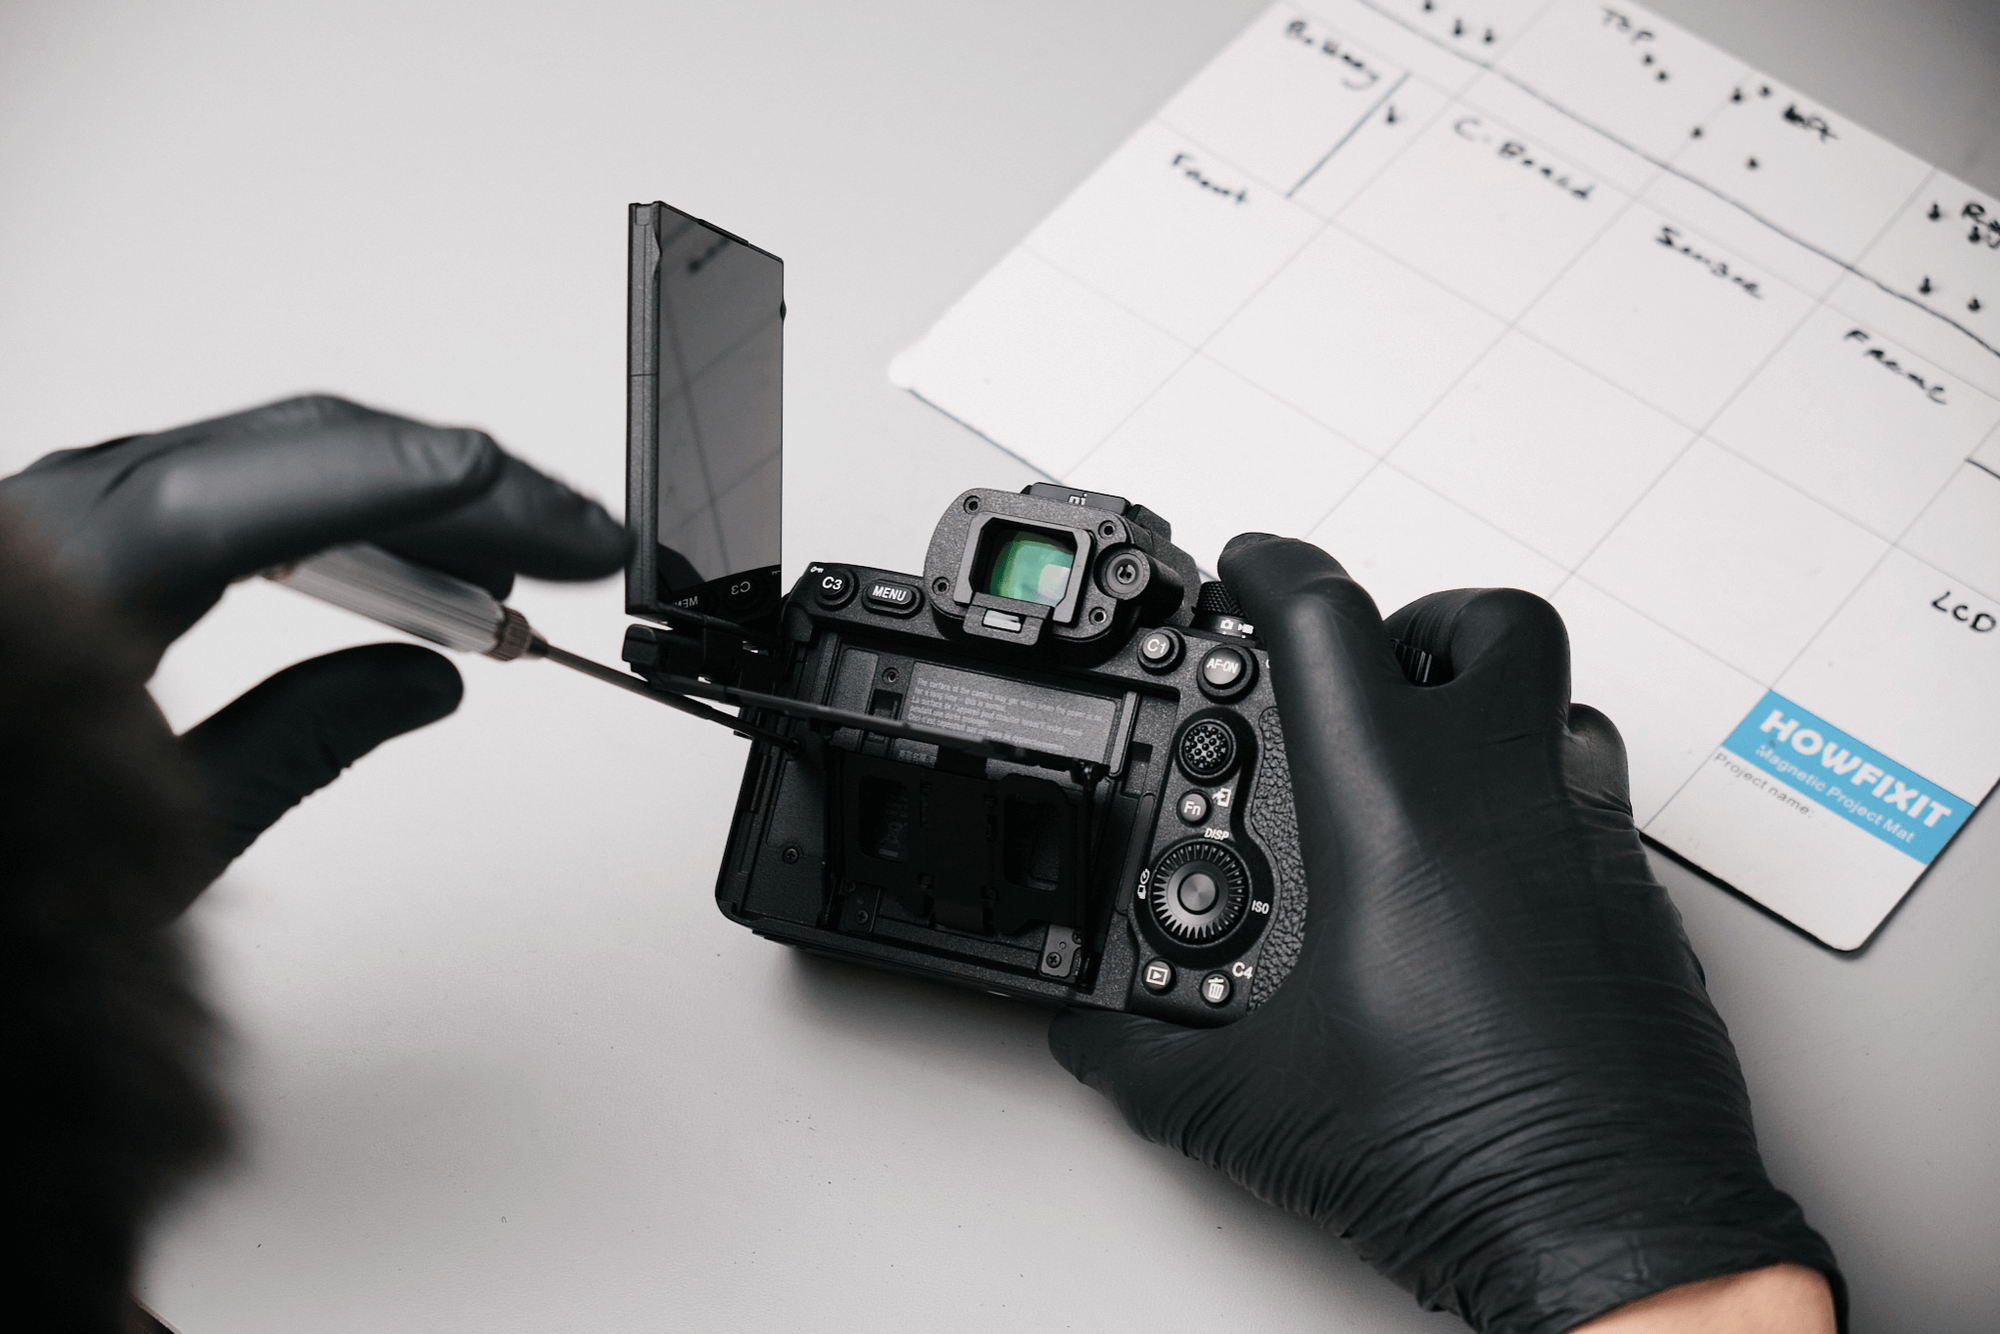
We found three screws under the LCD screen.
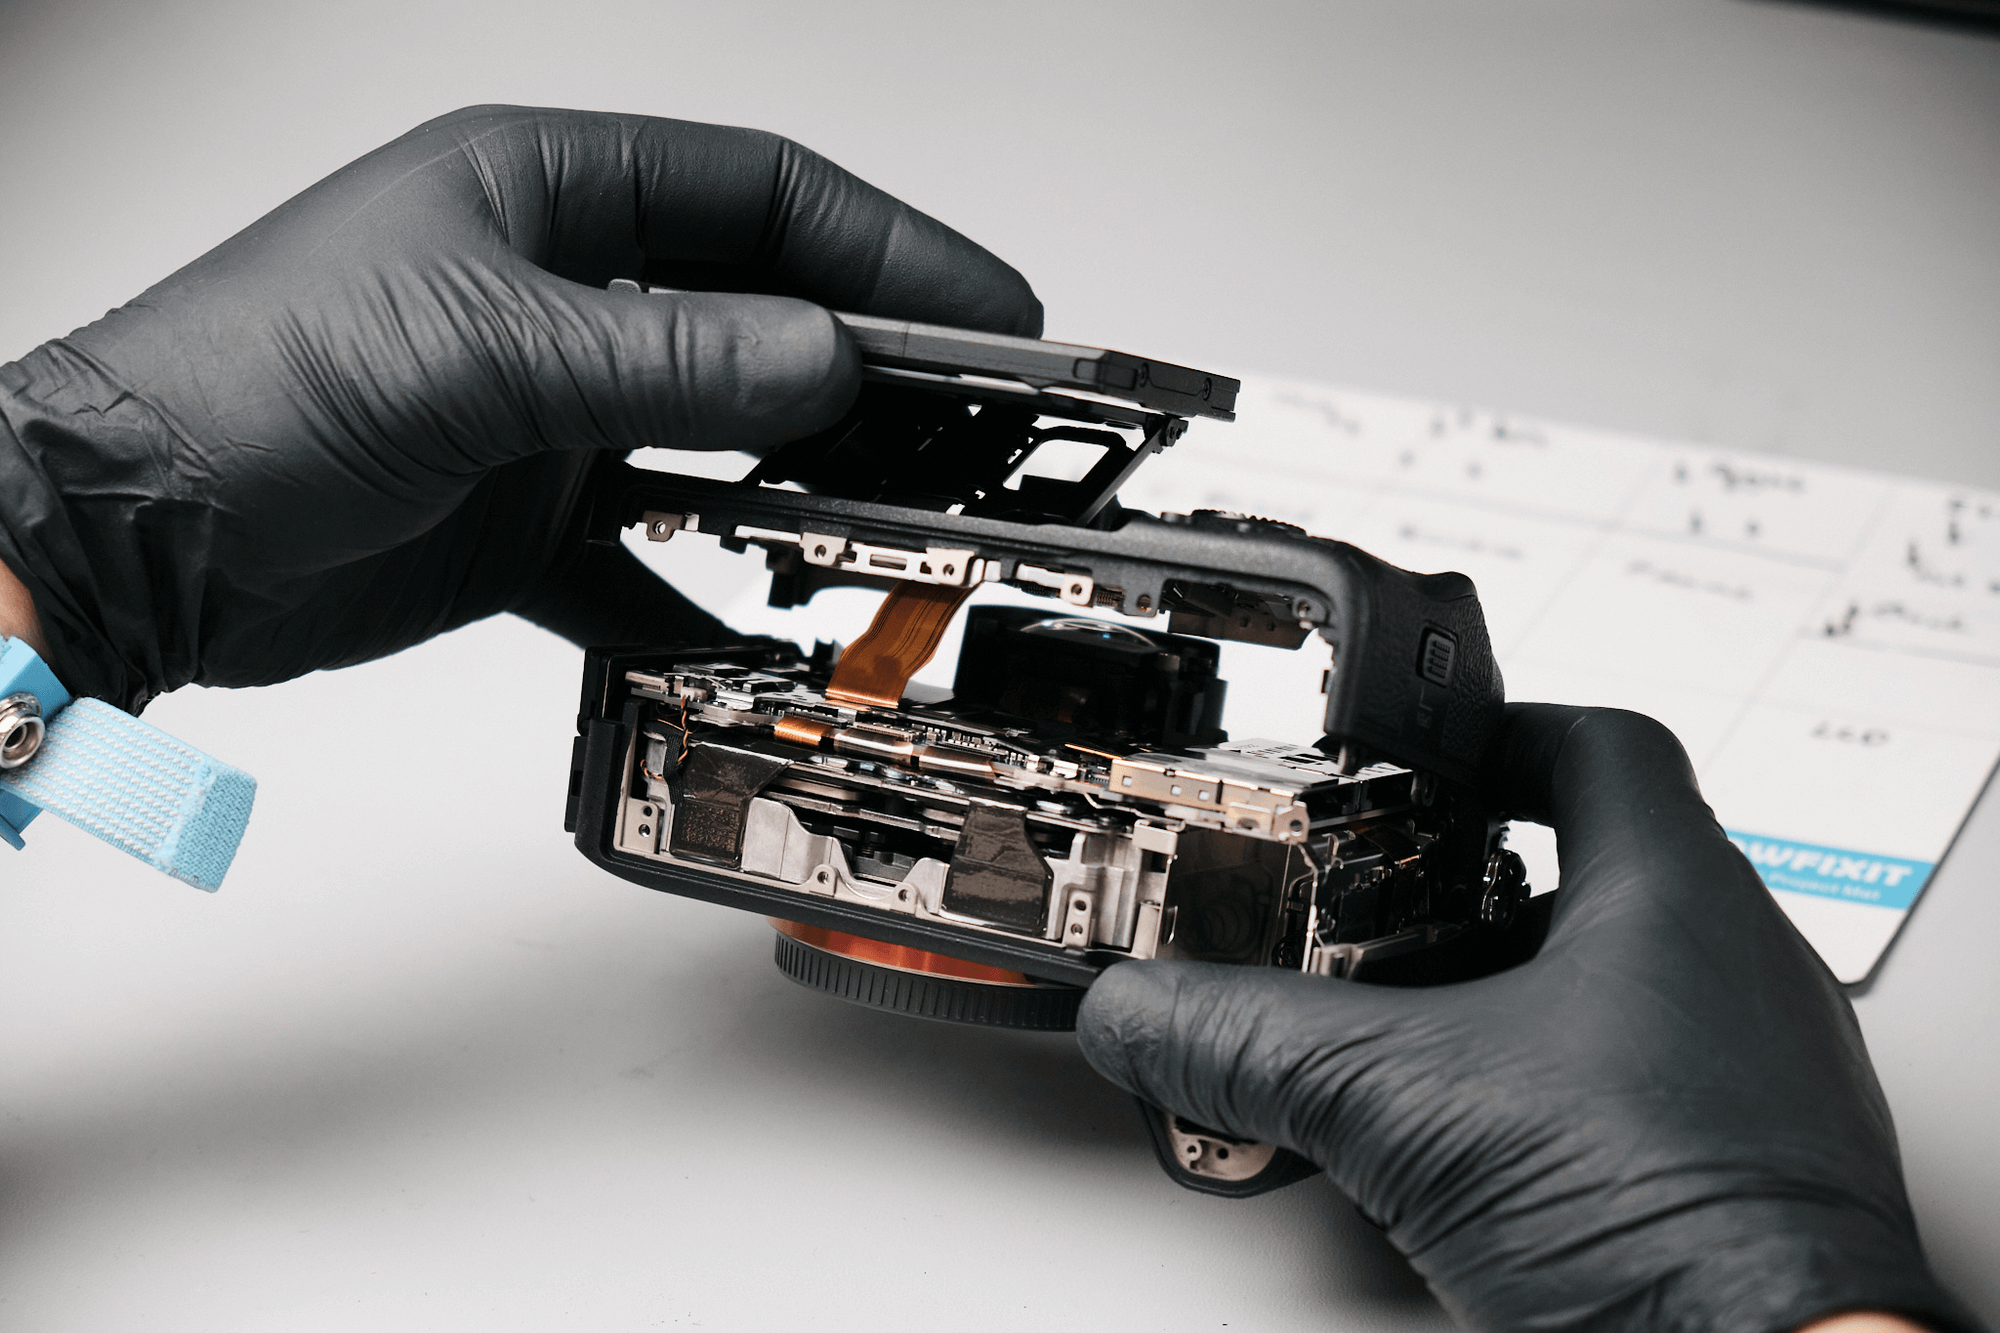
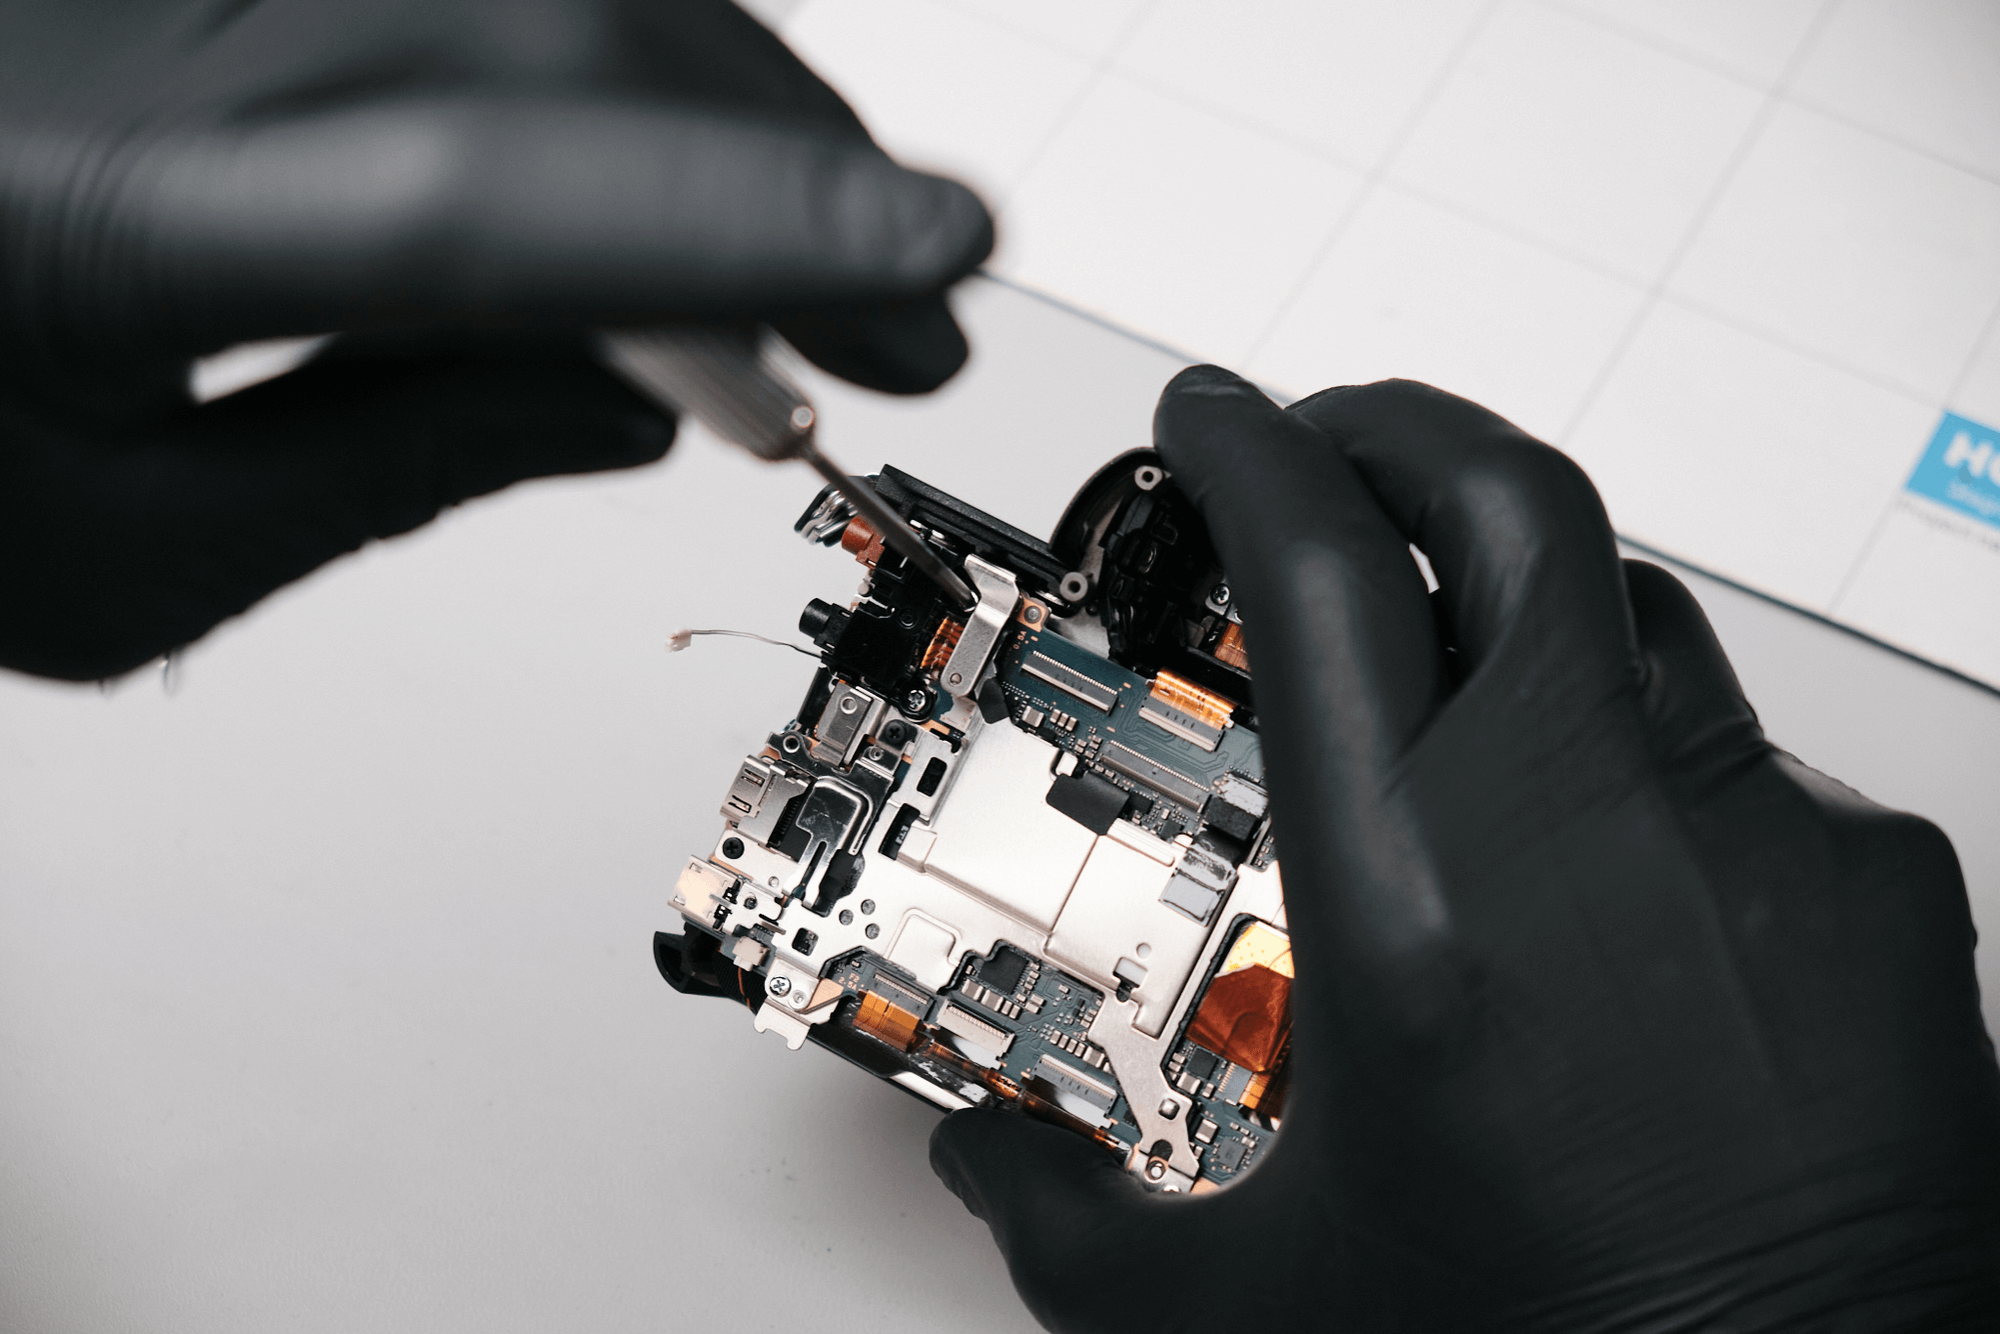
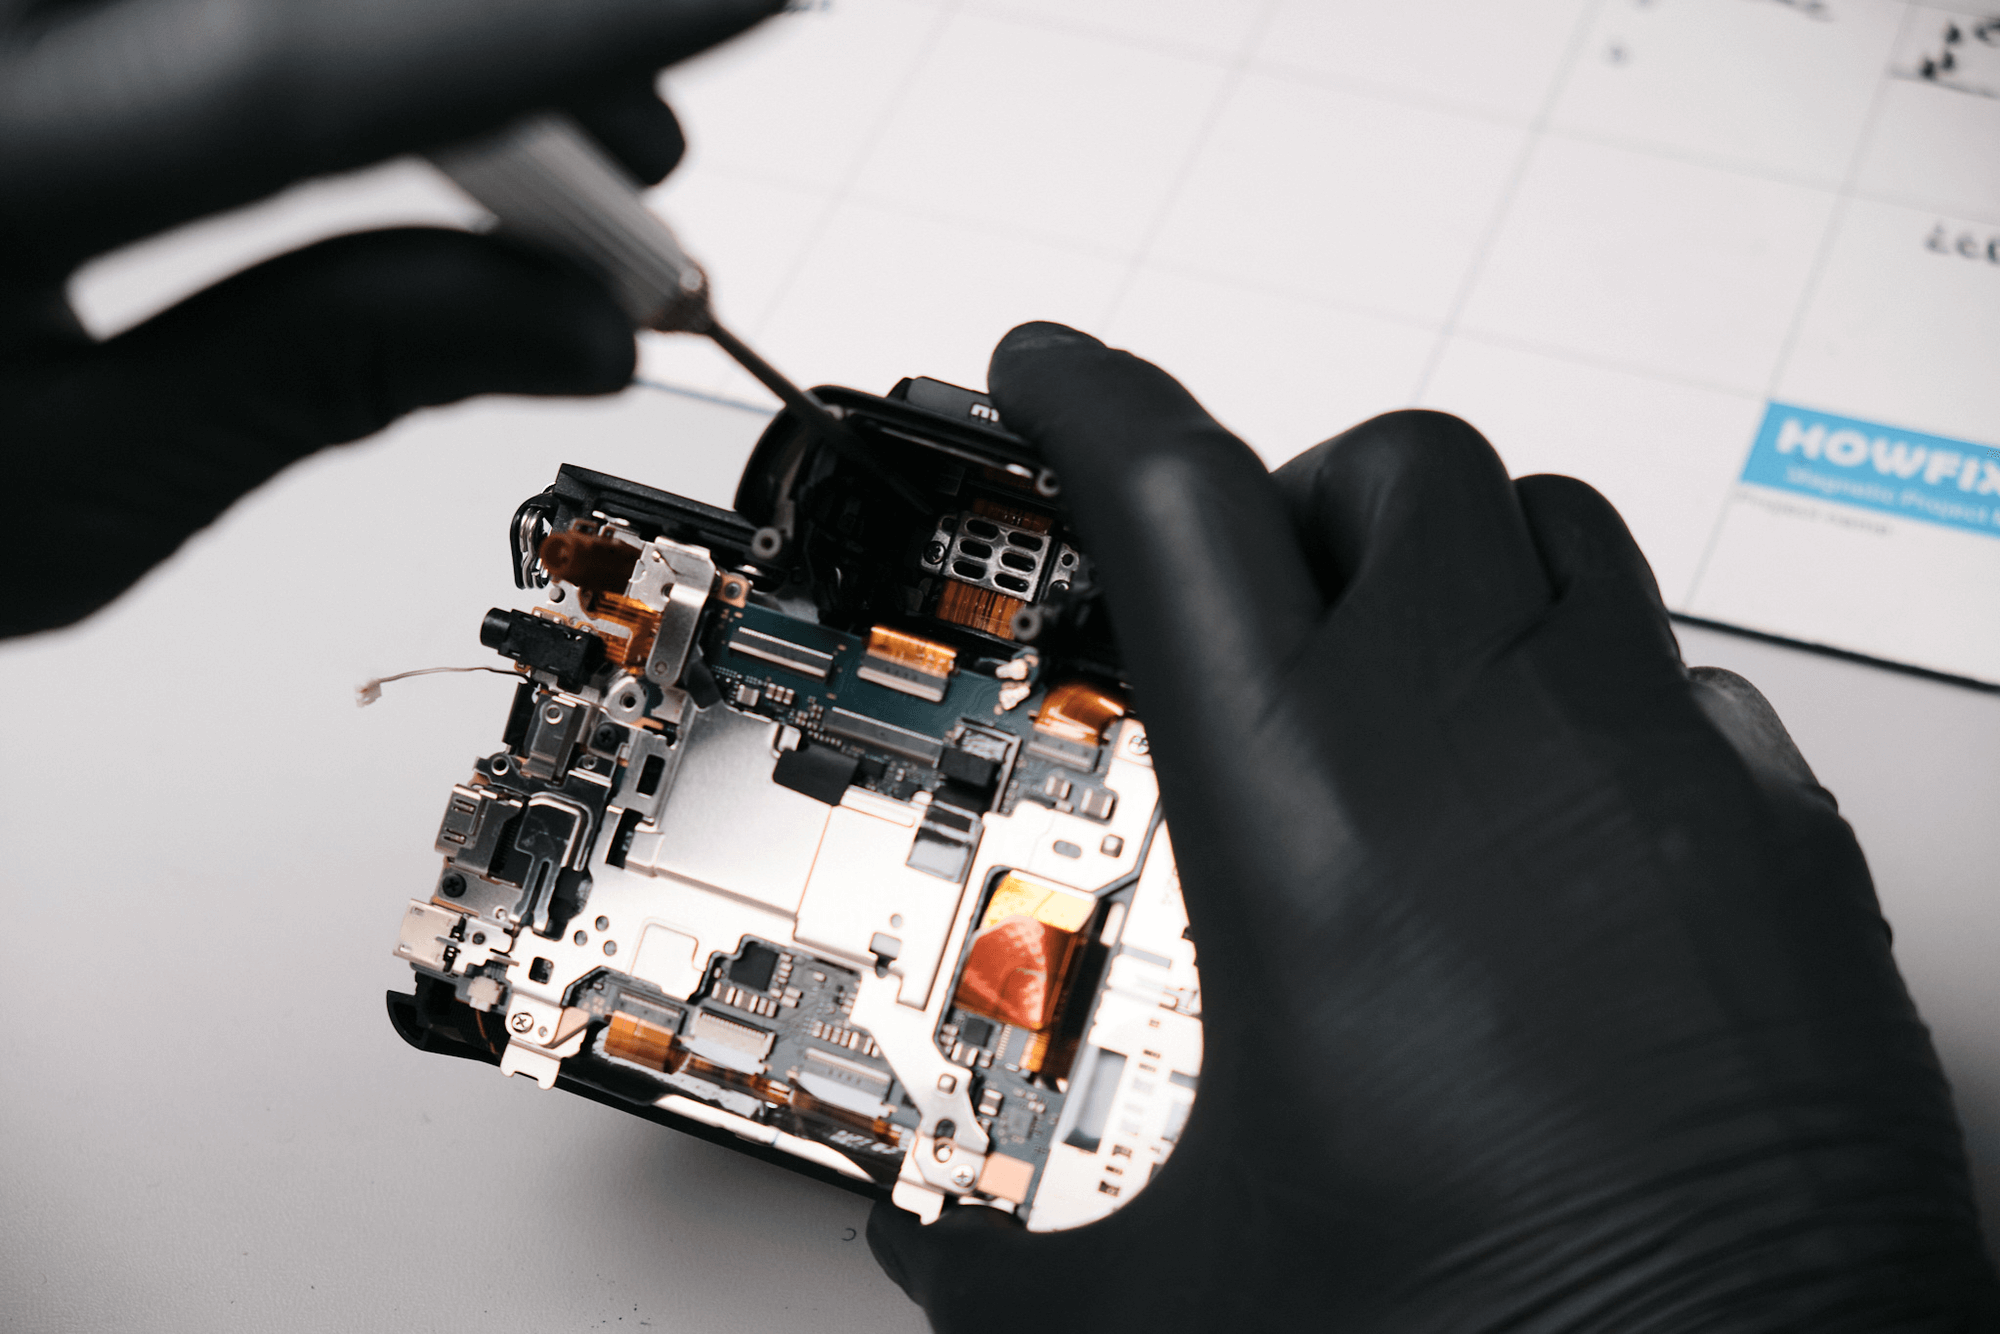
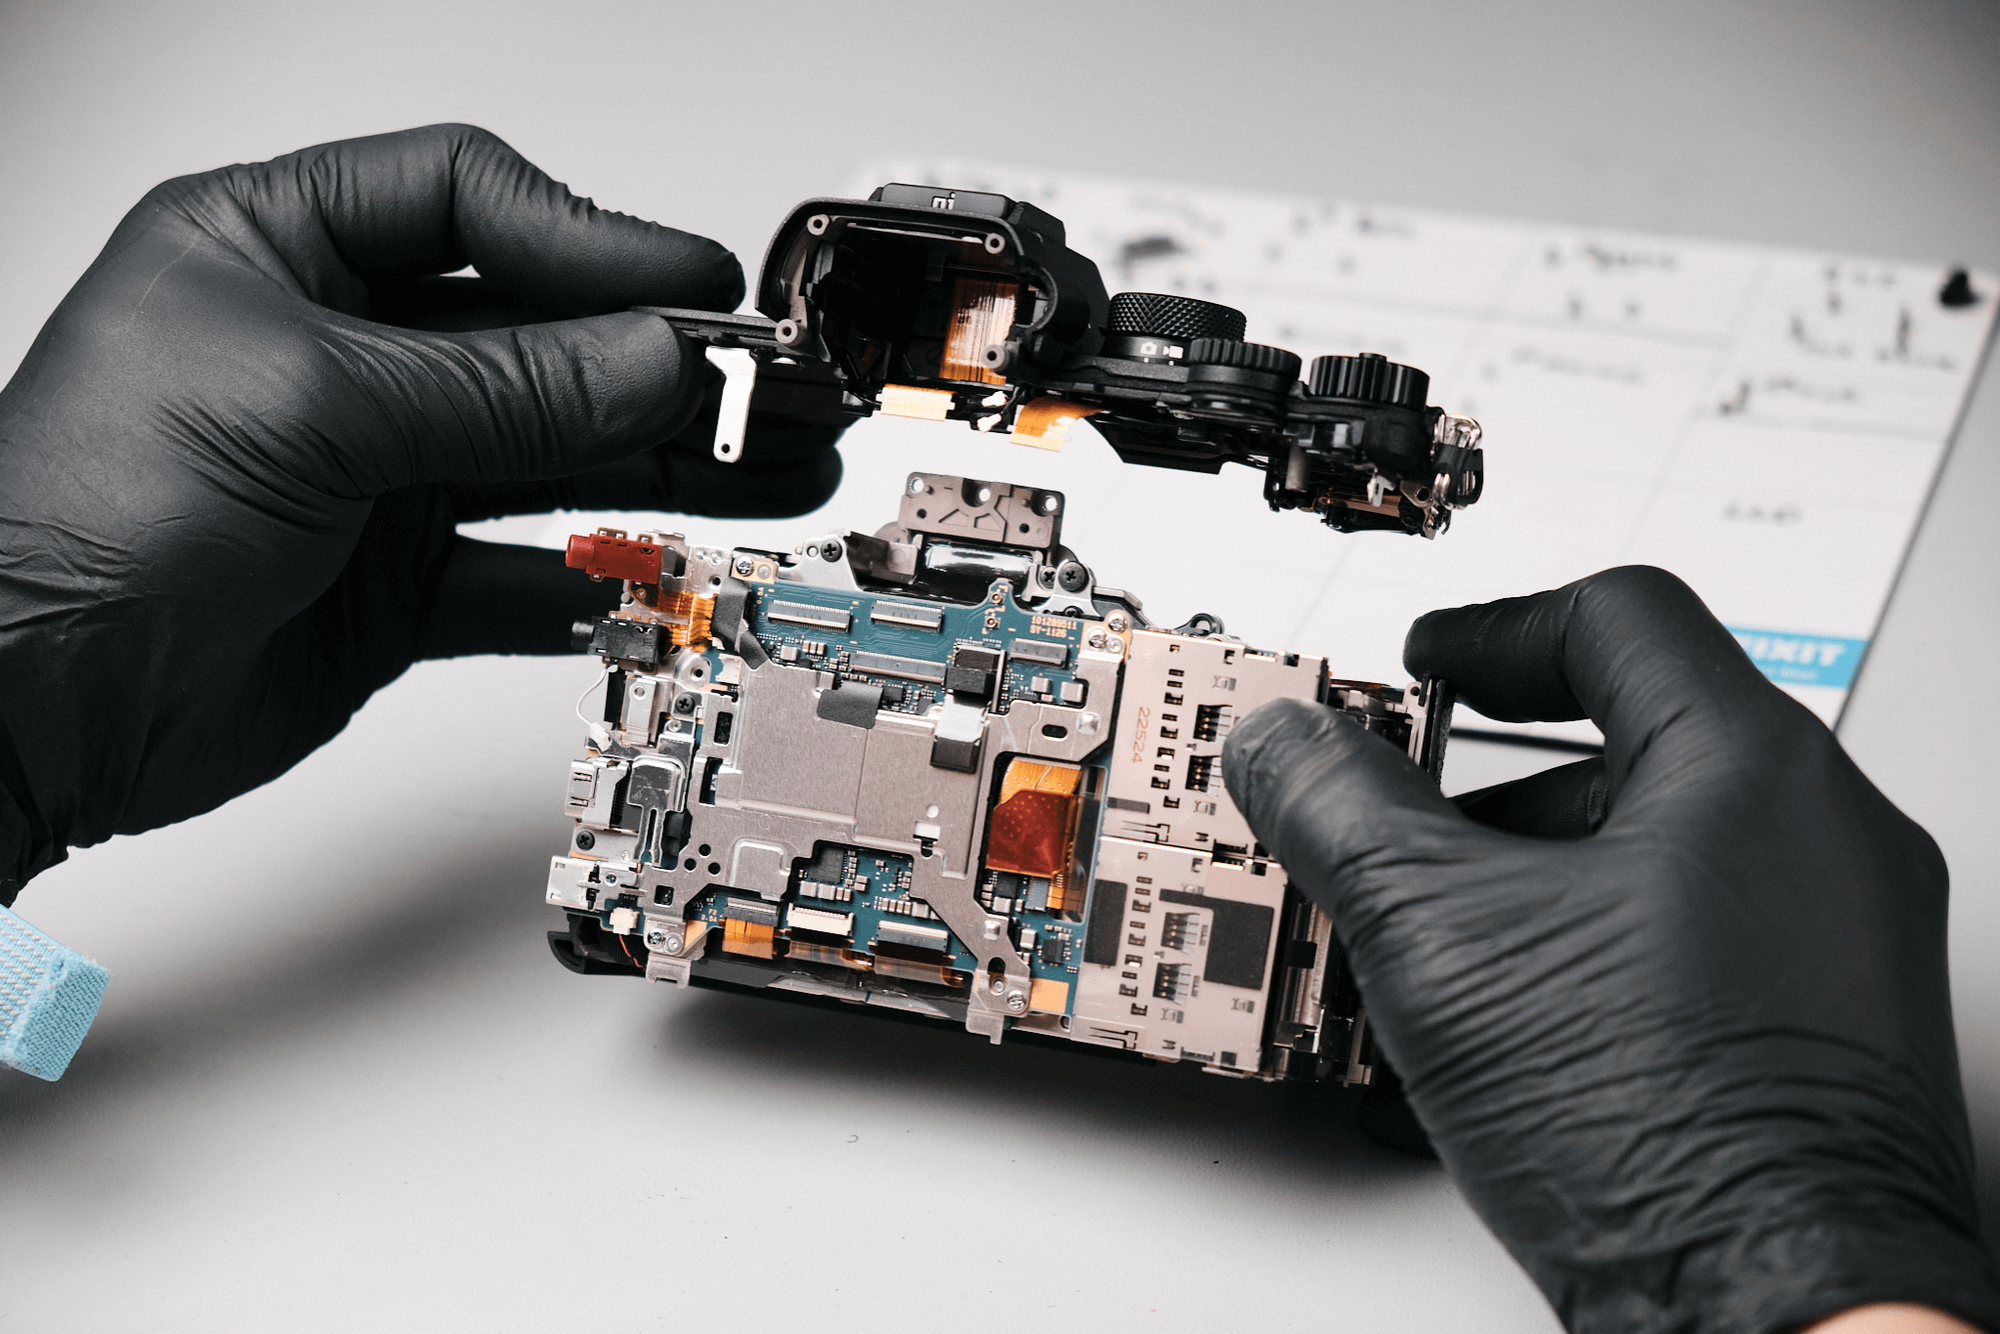
At this point, all of the outer body screws were found and removed, allowing us to open up the camera’s rear panel. In doing so, we had to be careful to unlatch a single ribbon cable before fully removing the rear panel. This delicate ribbon cable connects the buttons on the rear panel.
Since all the screws were removed on the port side, we could easily pop off this left cover panel.
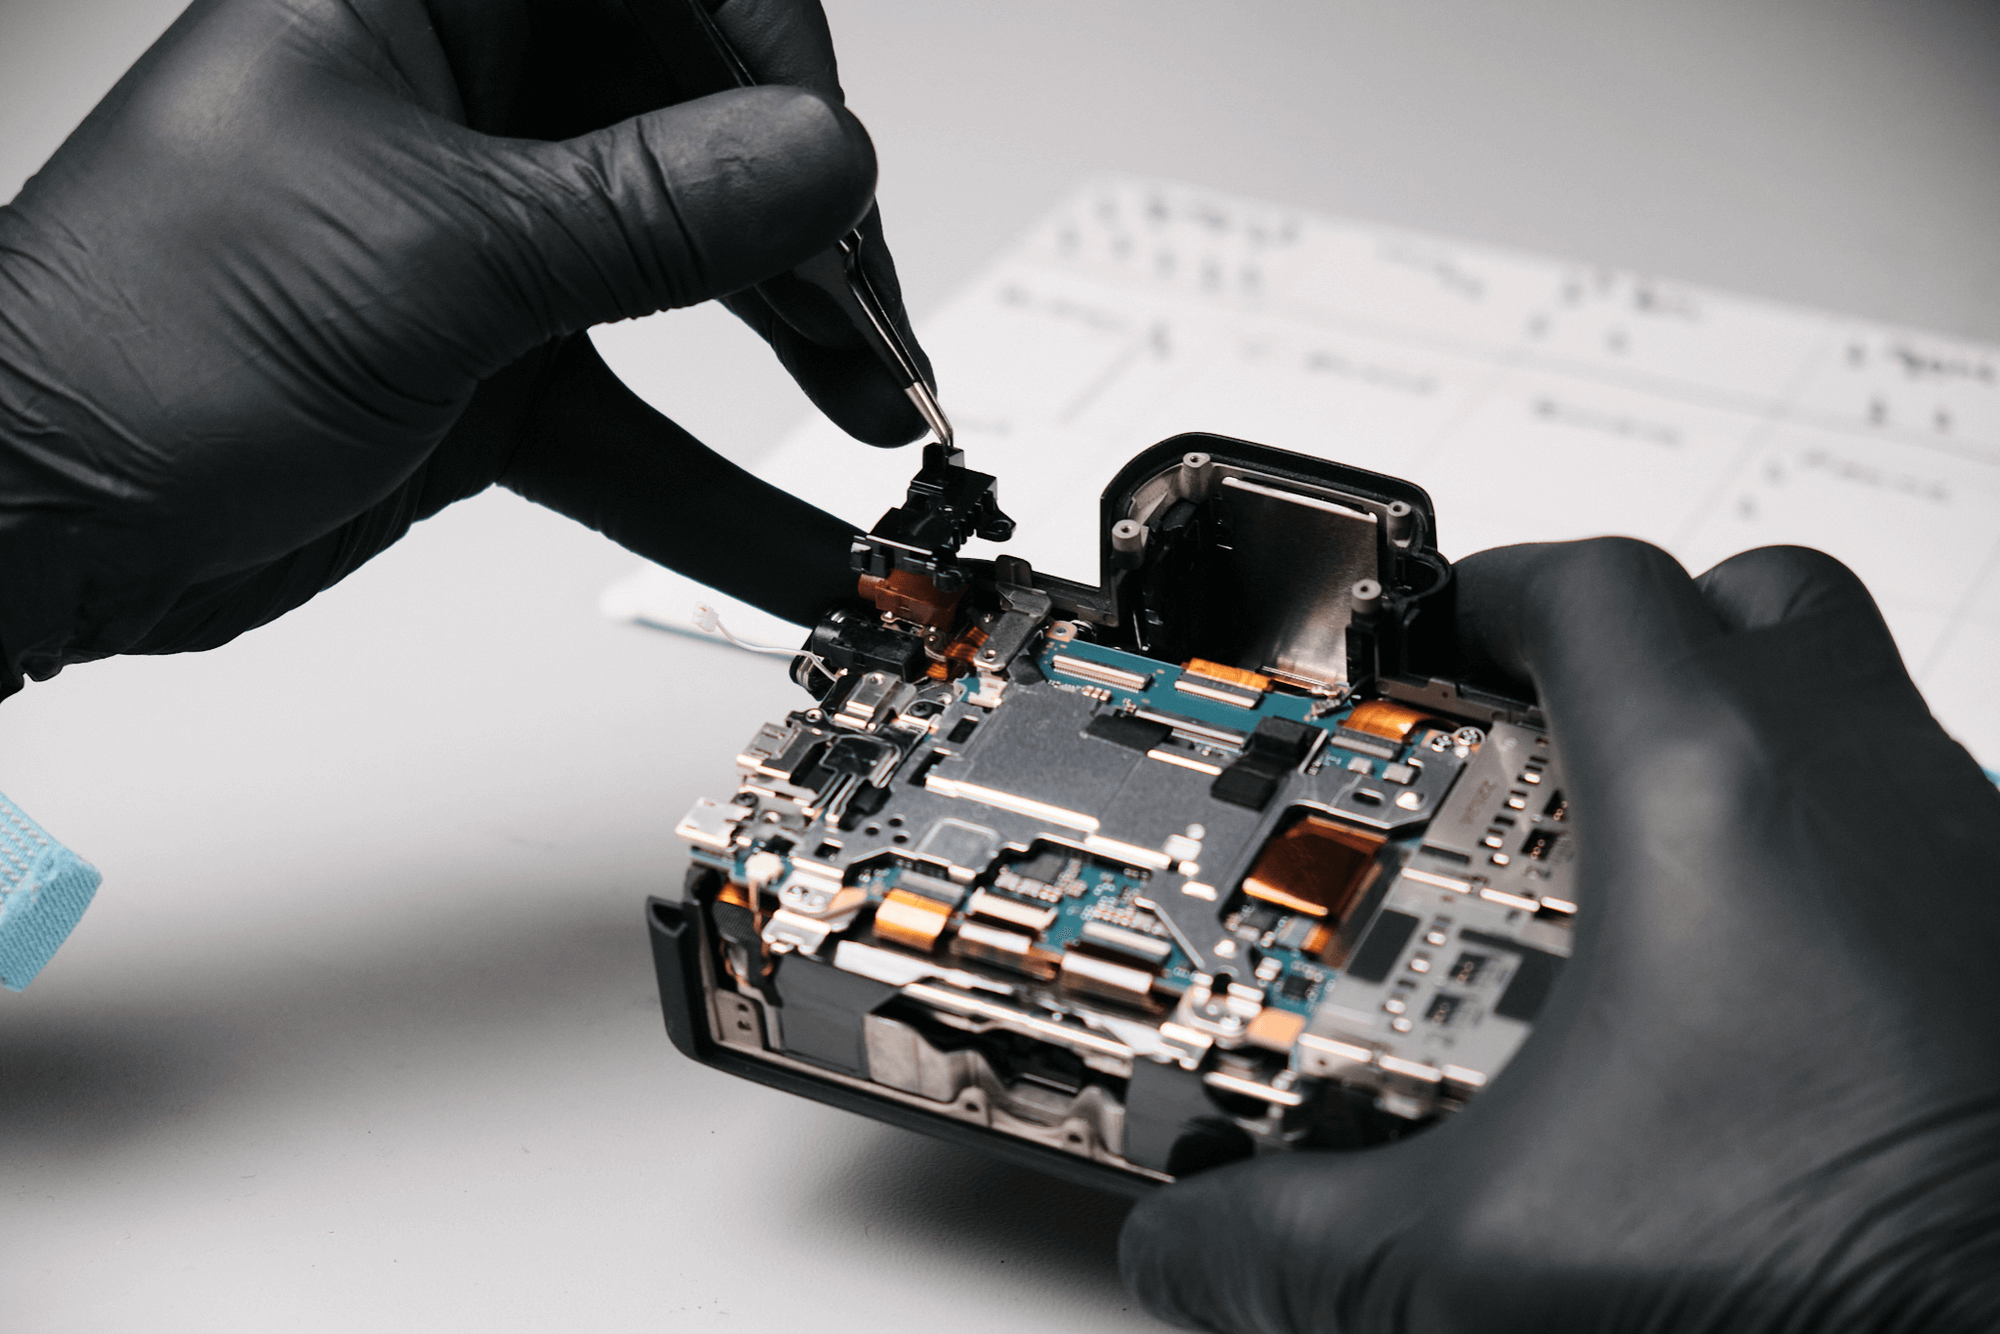
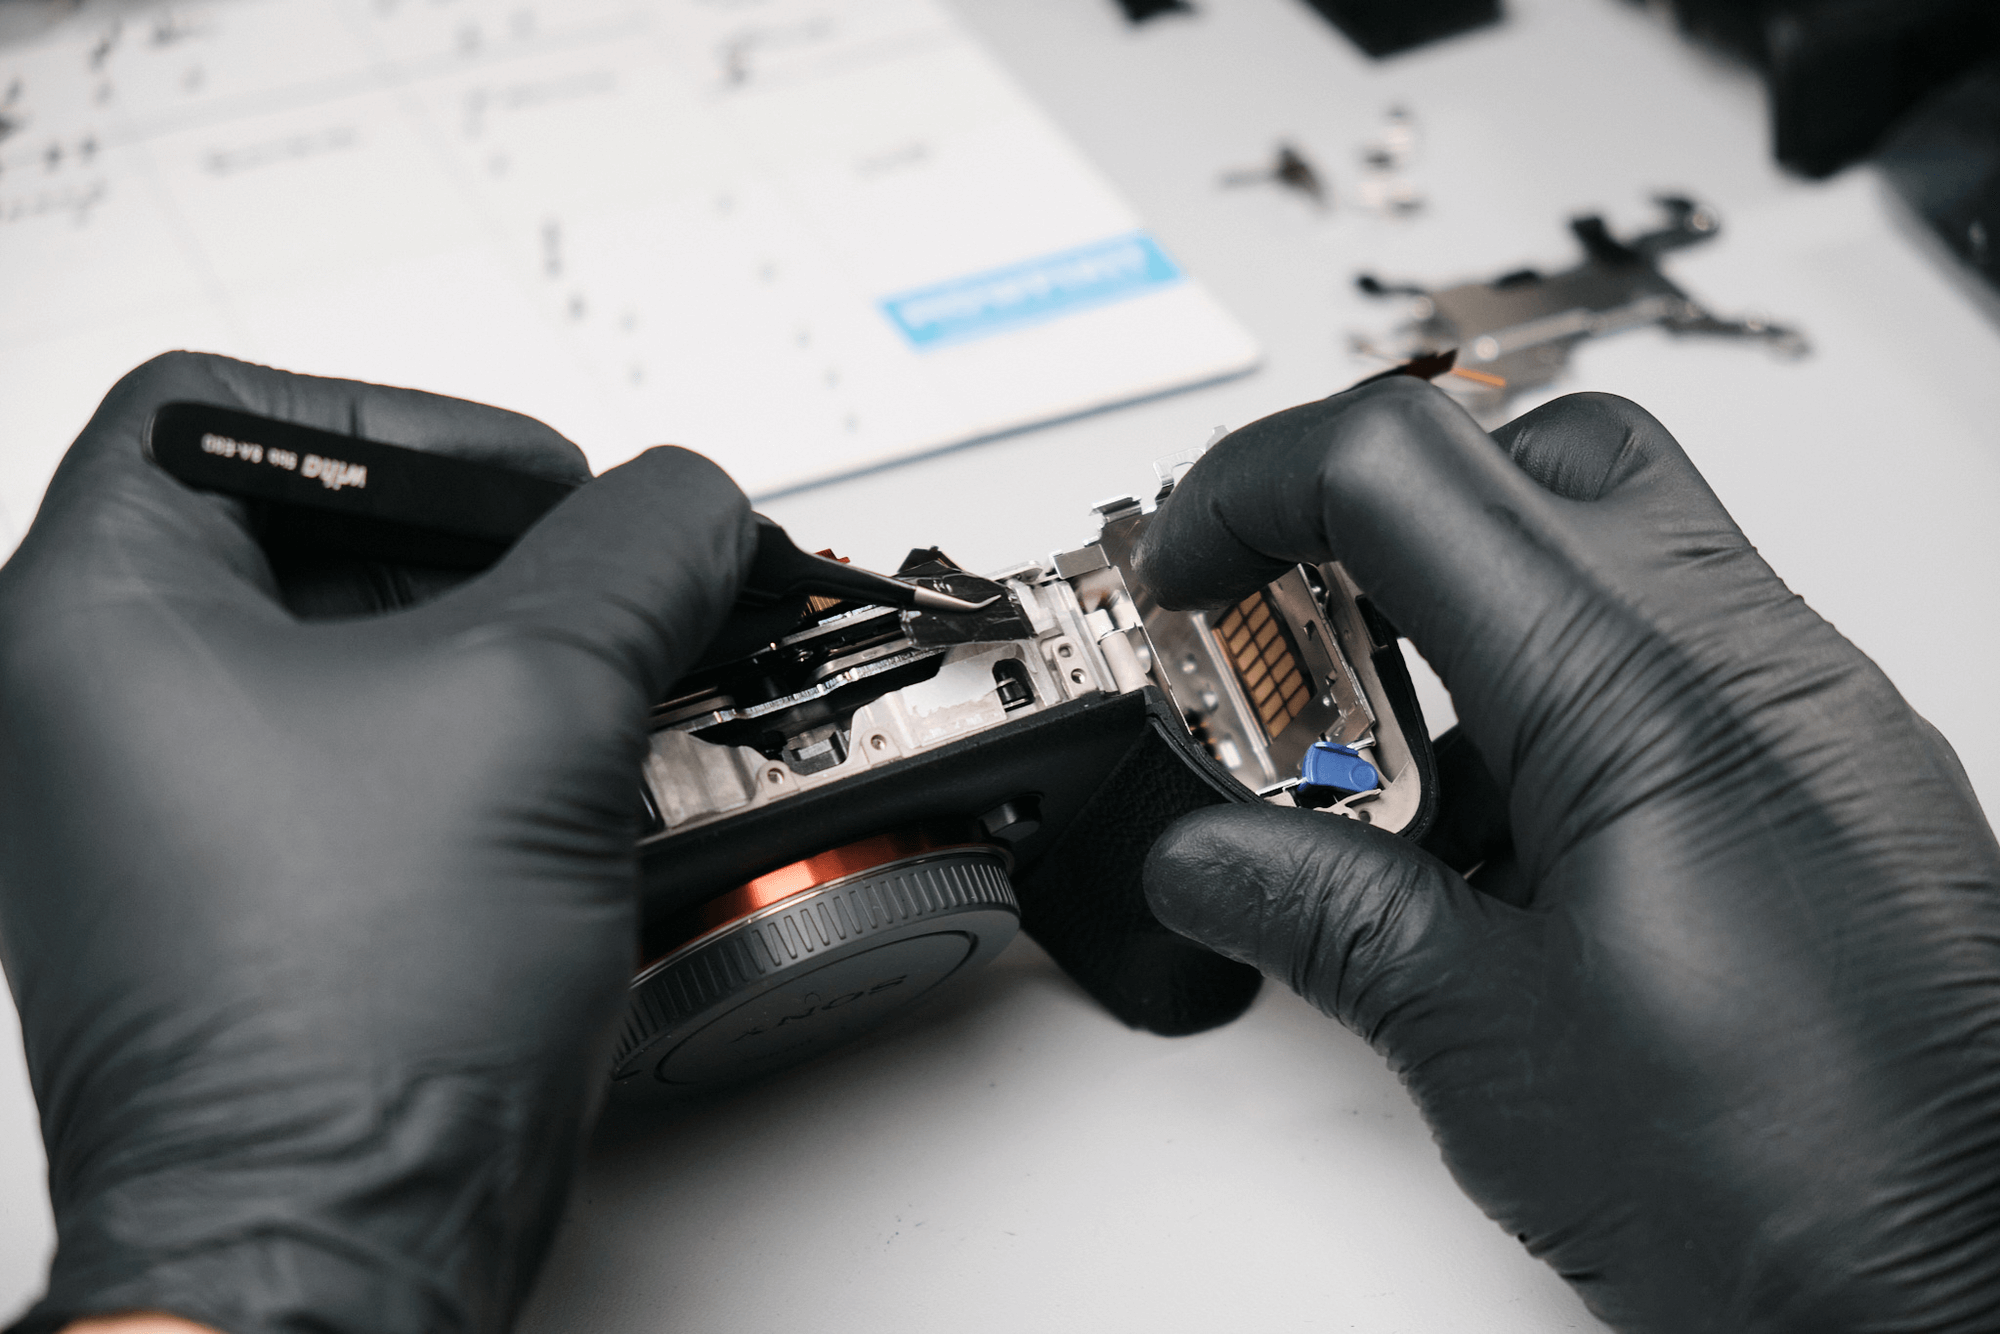
The ribbon cable needed to be detached before we could remove the EVF.
We had to remove the jack port holder.
We found four screws under the jack port and removed them with an extended Philips screwdriver since they were deep within the camera. These screws fasten the top panel to the main body.
There were two screws deep in the EVF slot.
There was a hidden screw fastened to the top panel underneath where the rear dial is. After this screw was removed, we were mostly clear to remove the top panel.
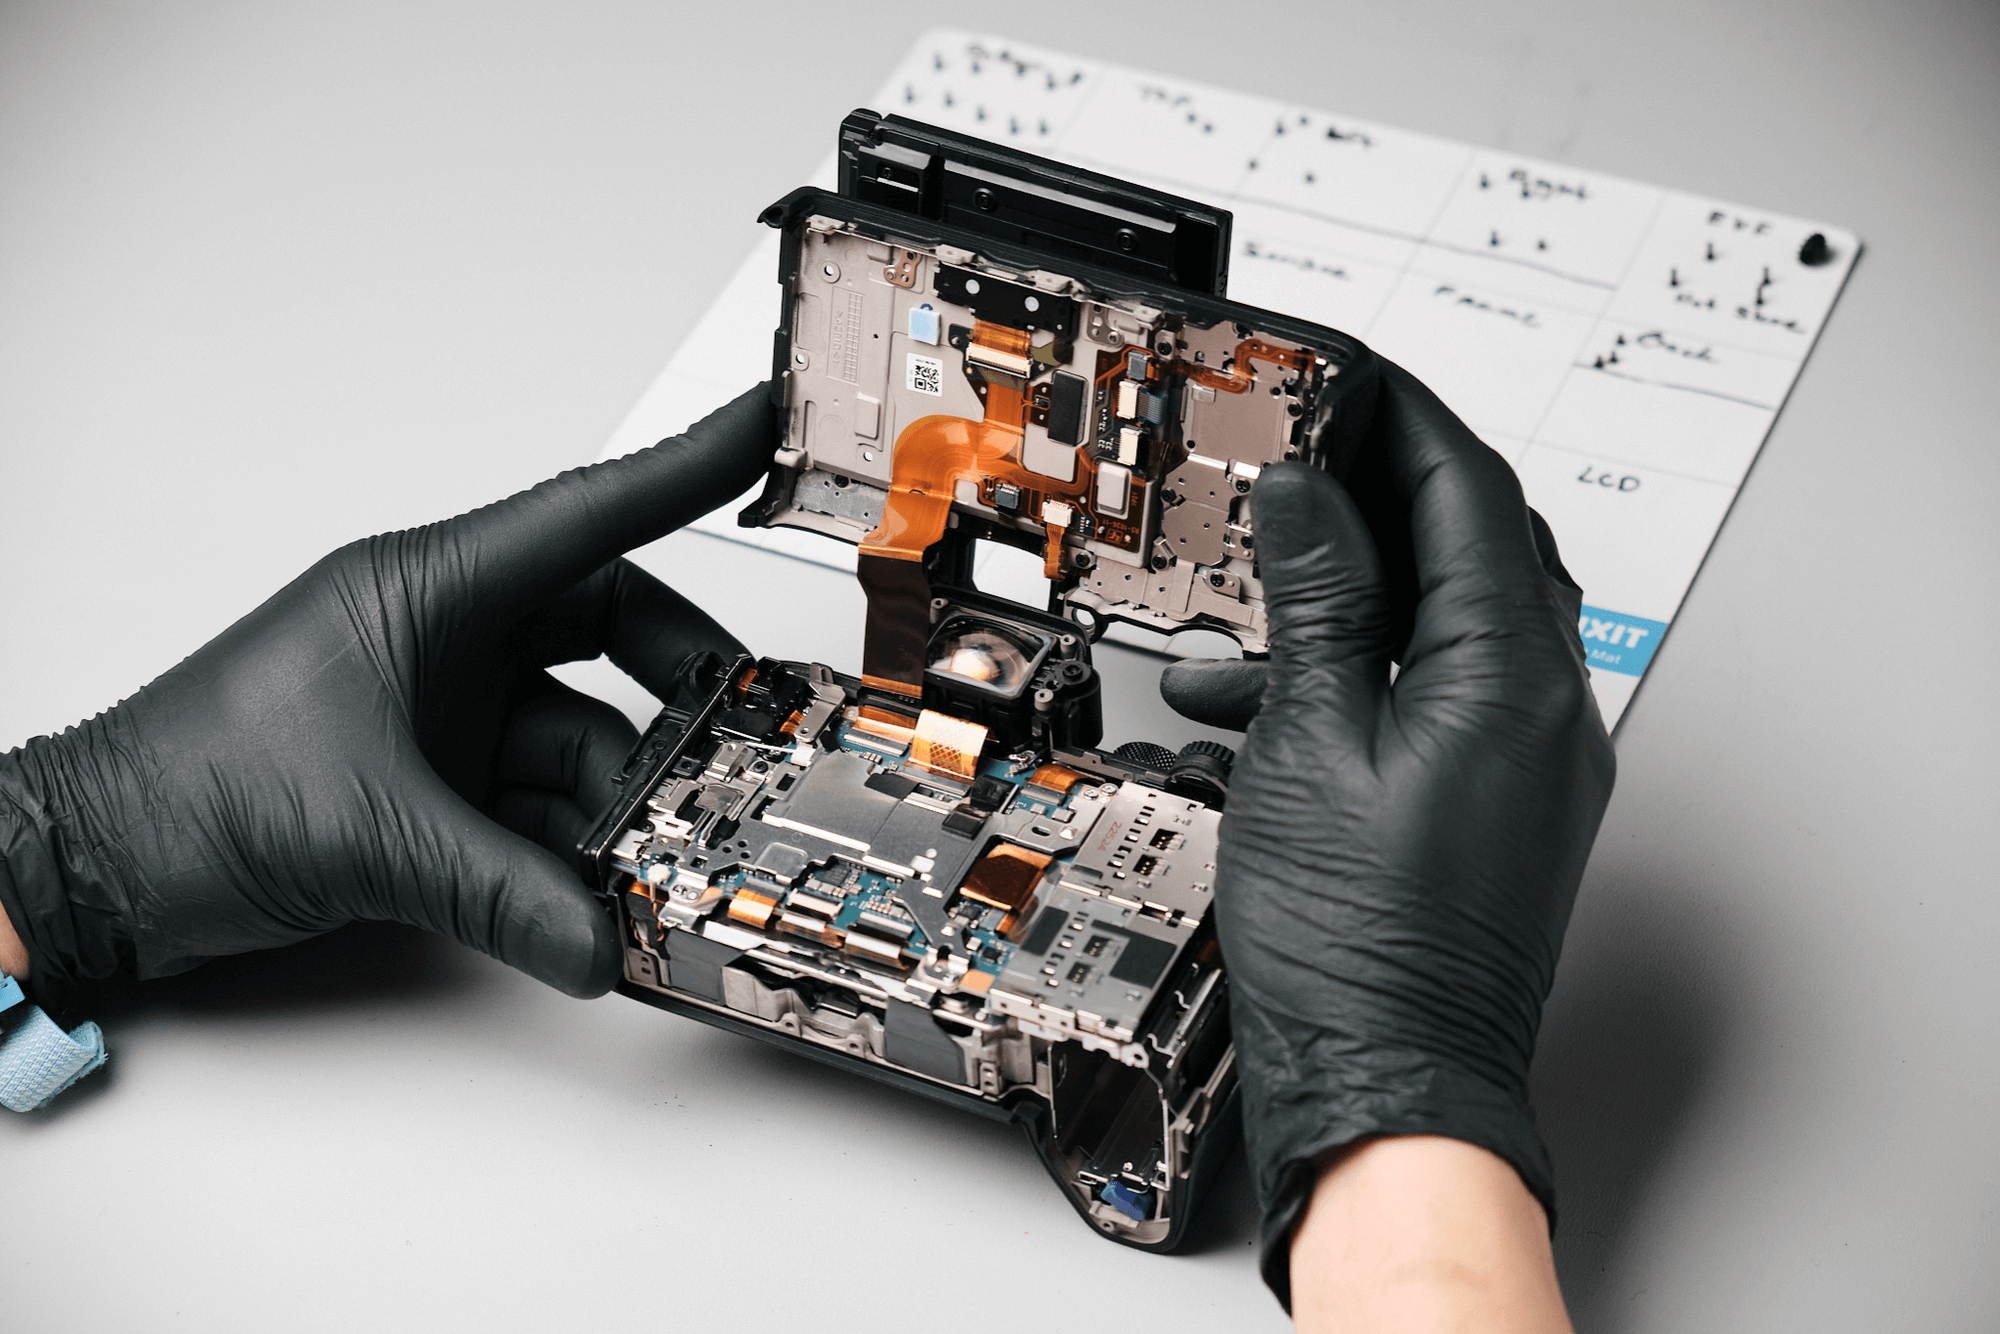
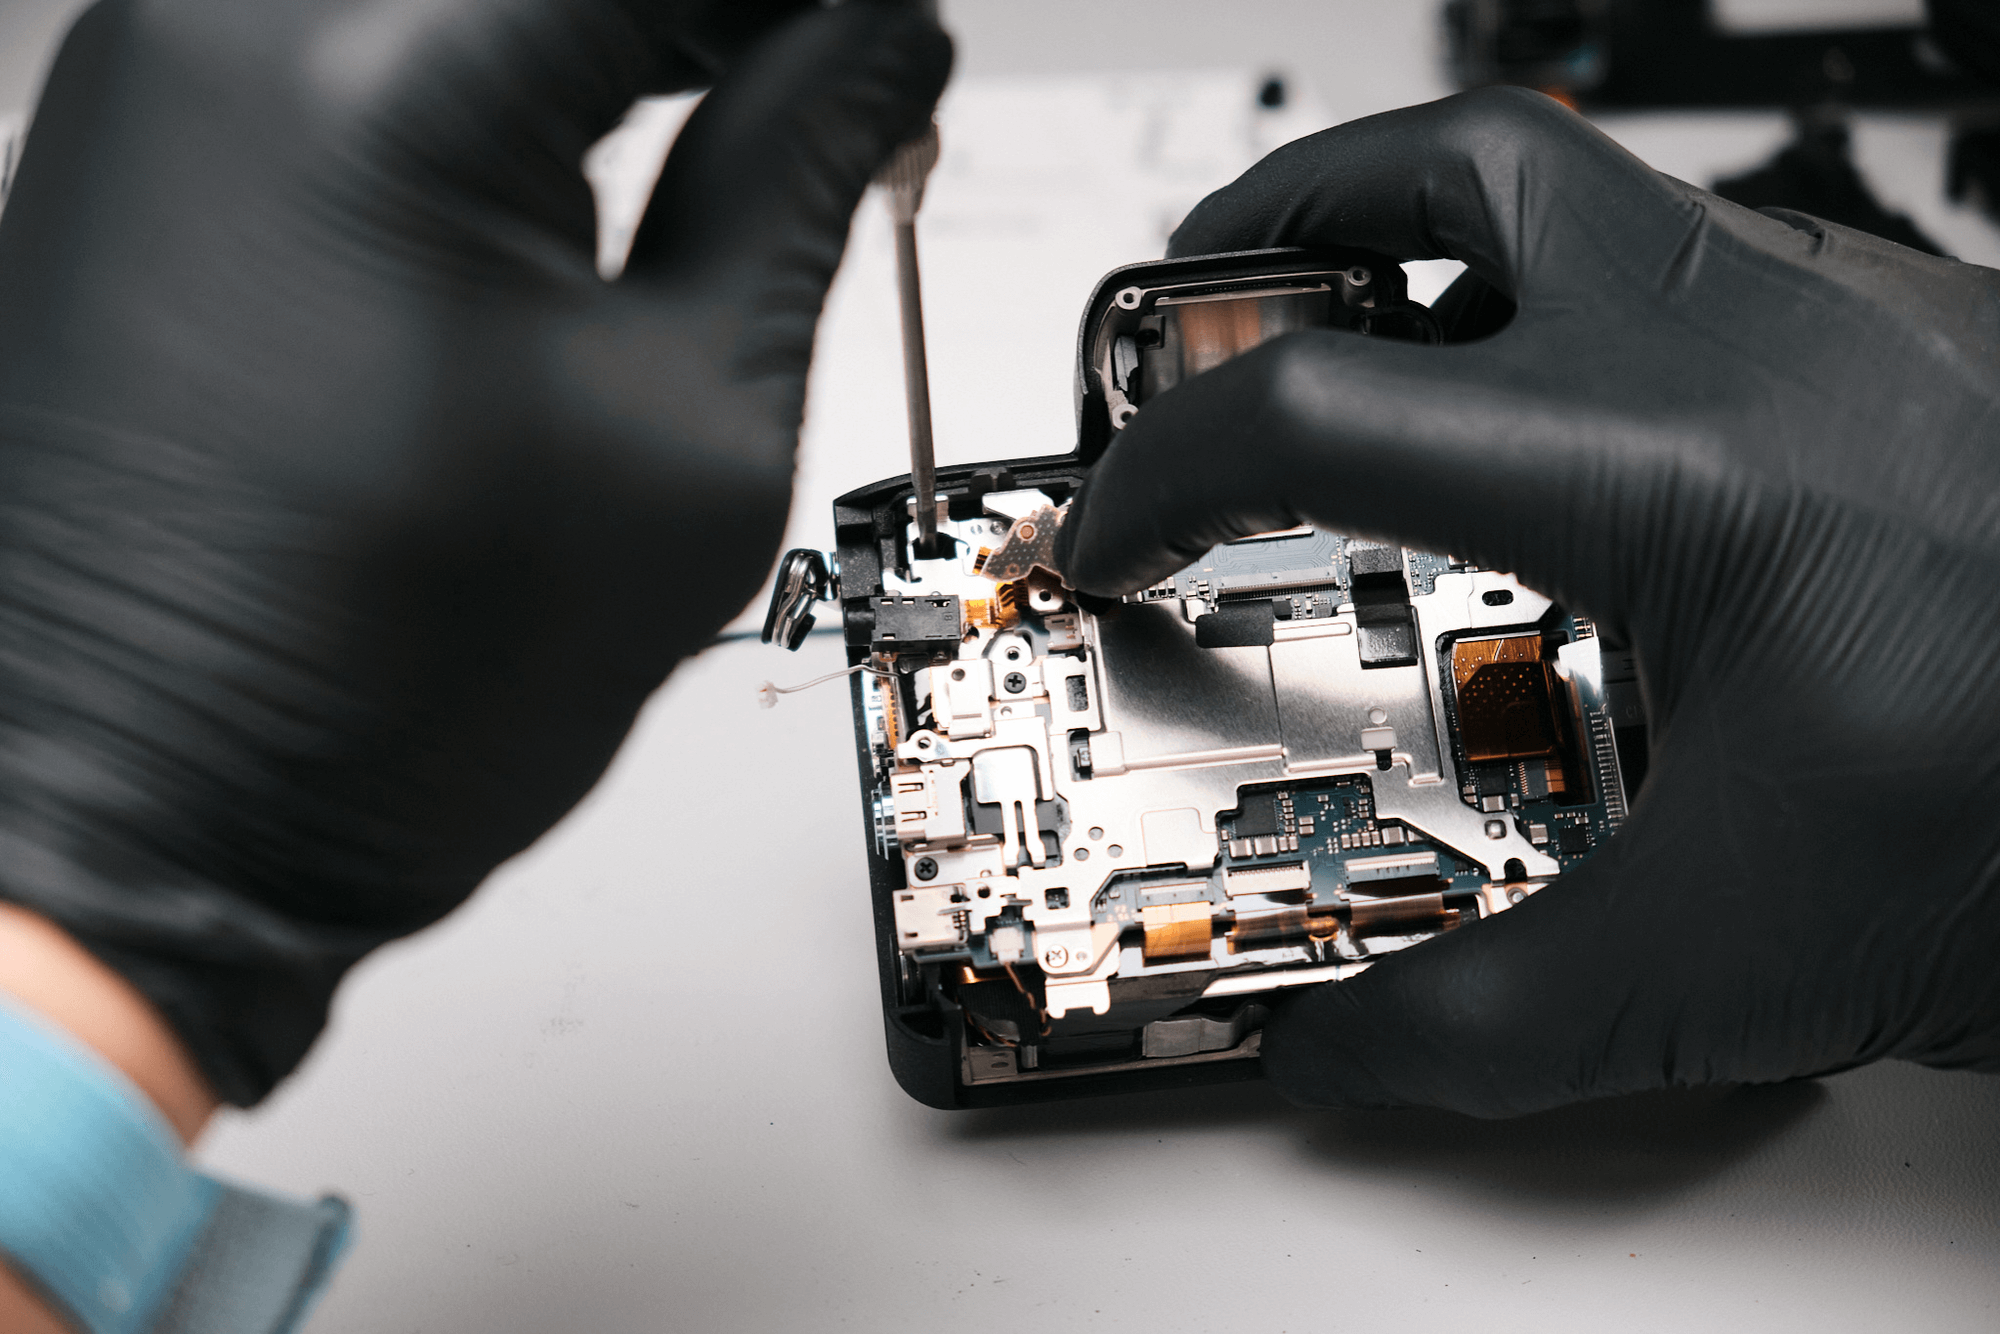
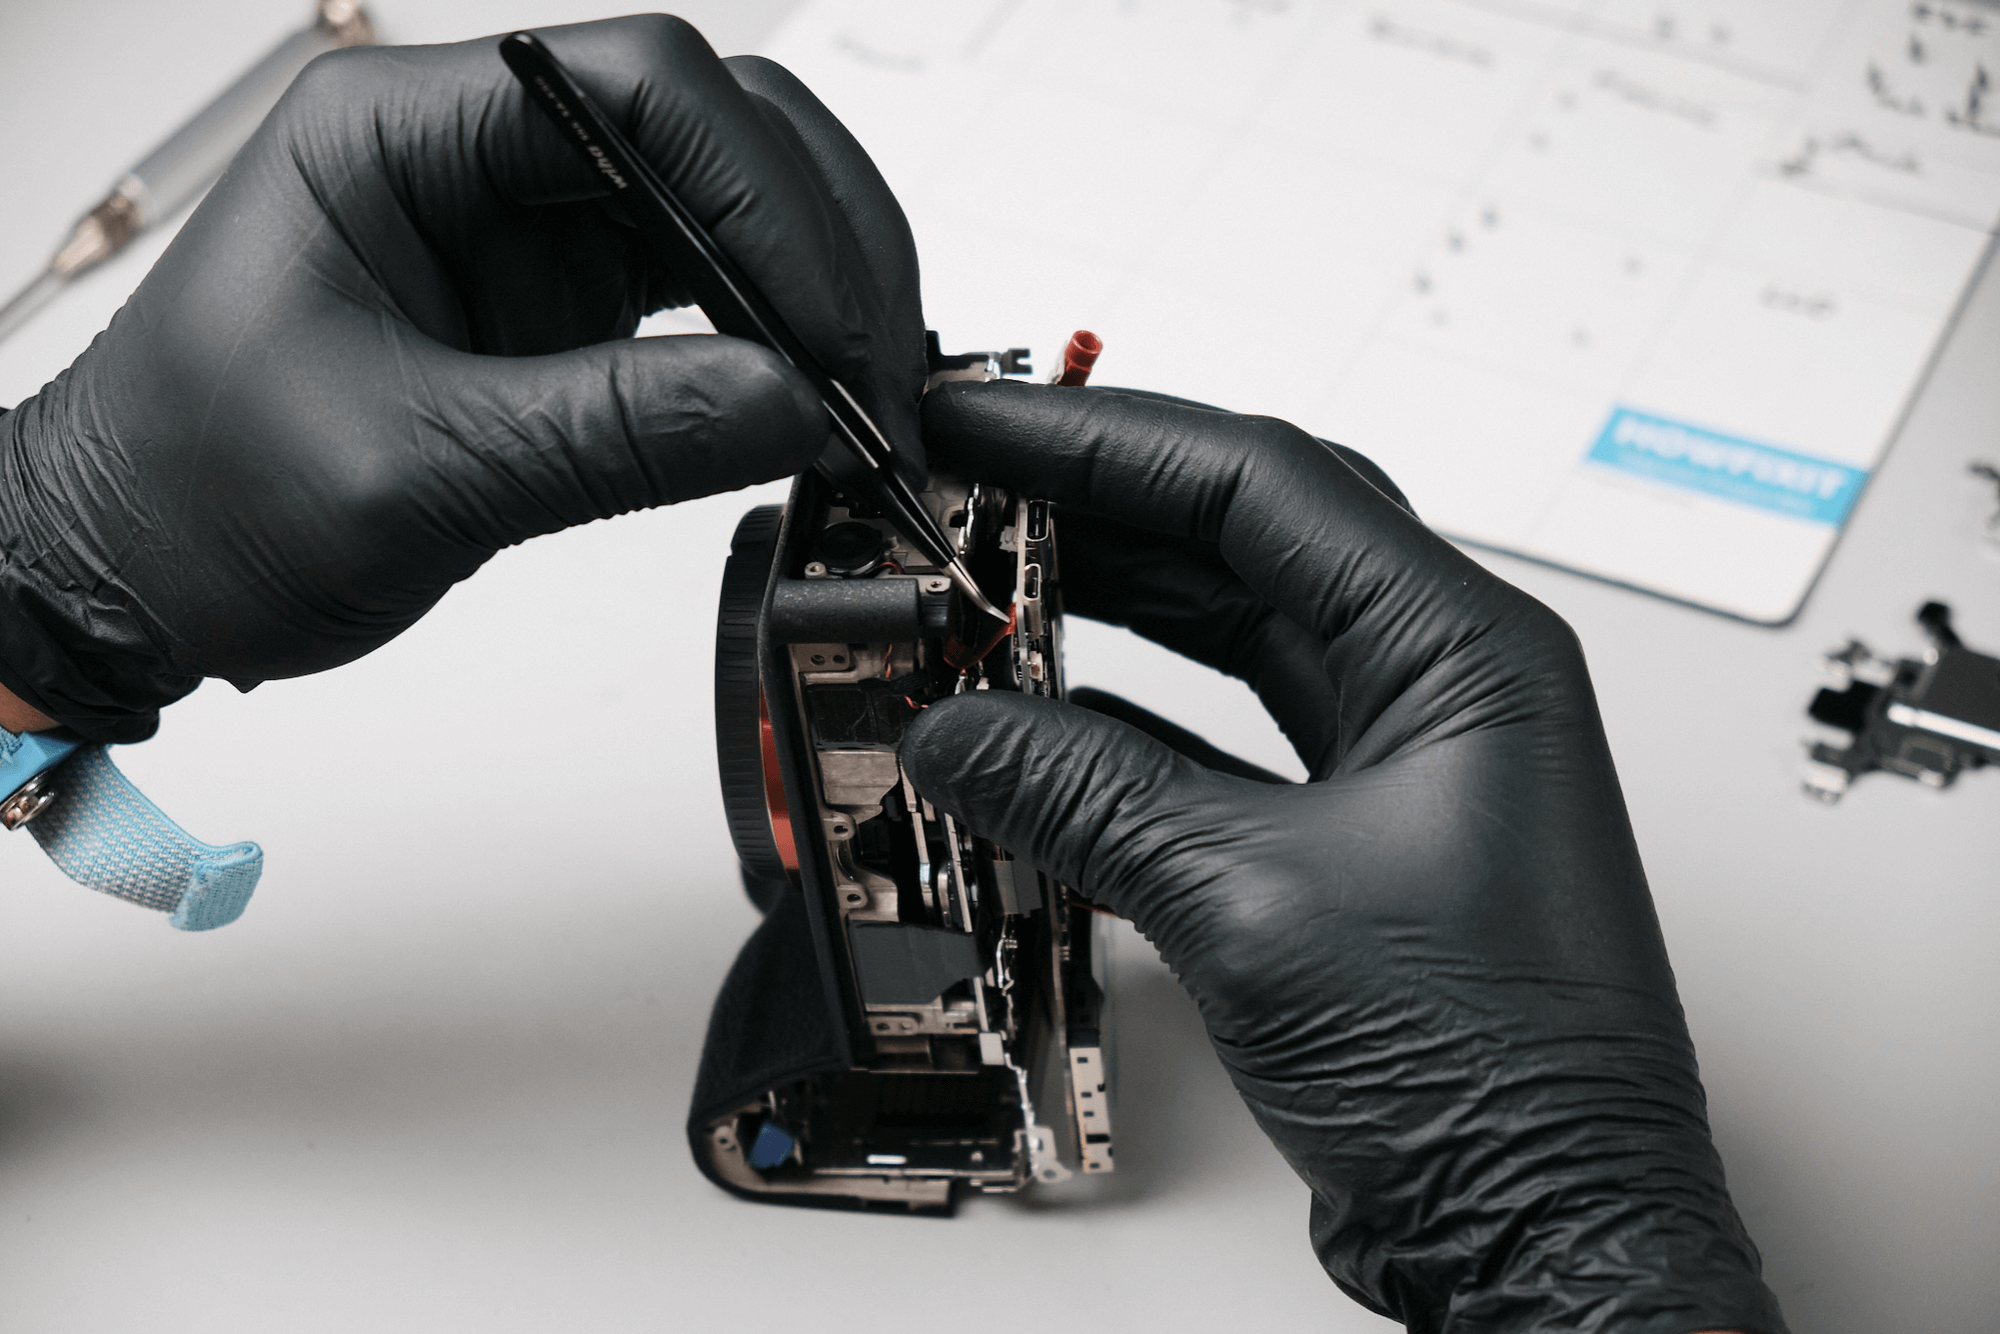
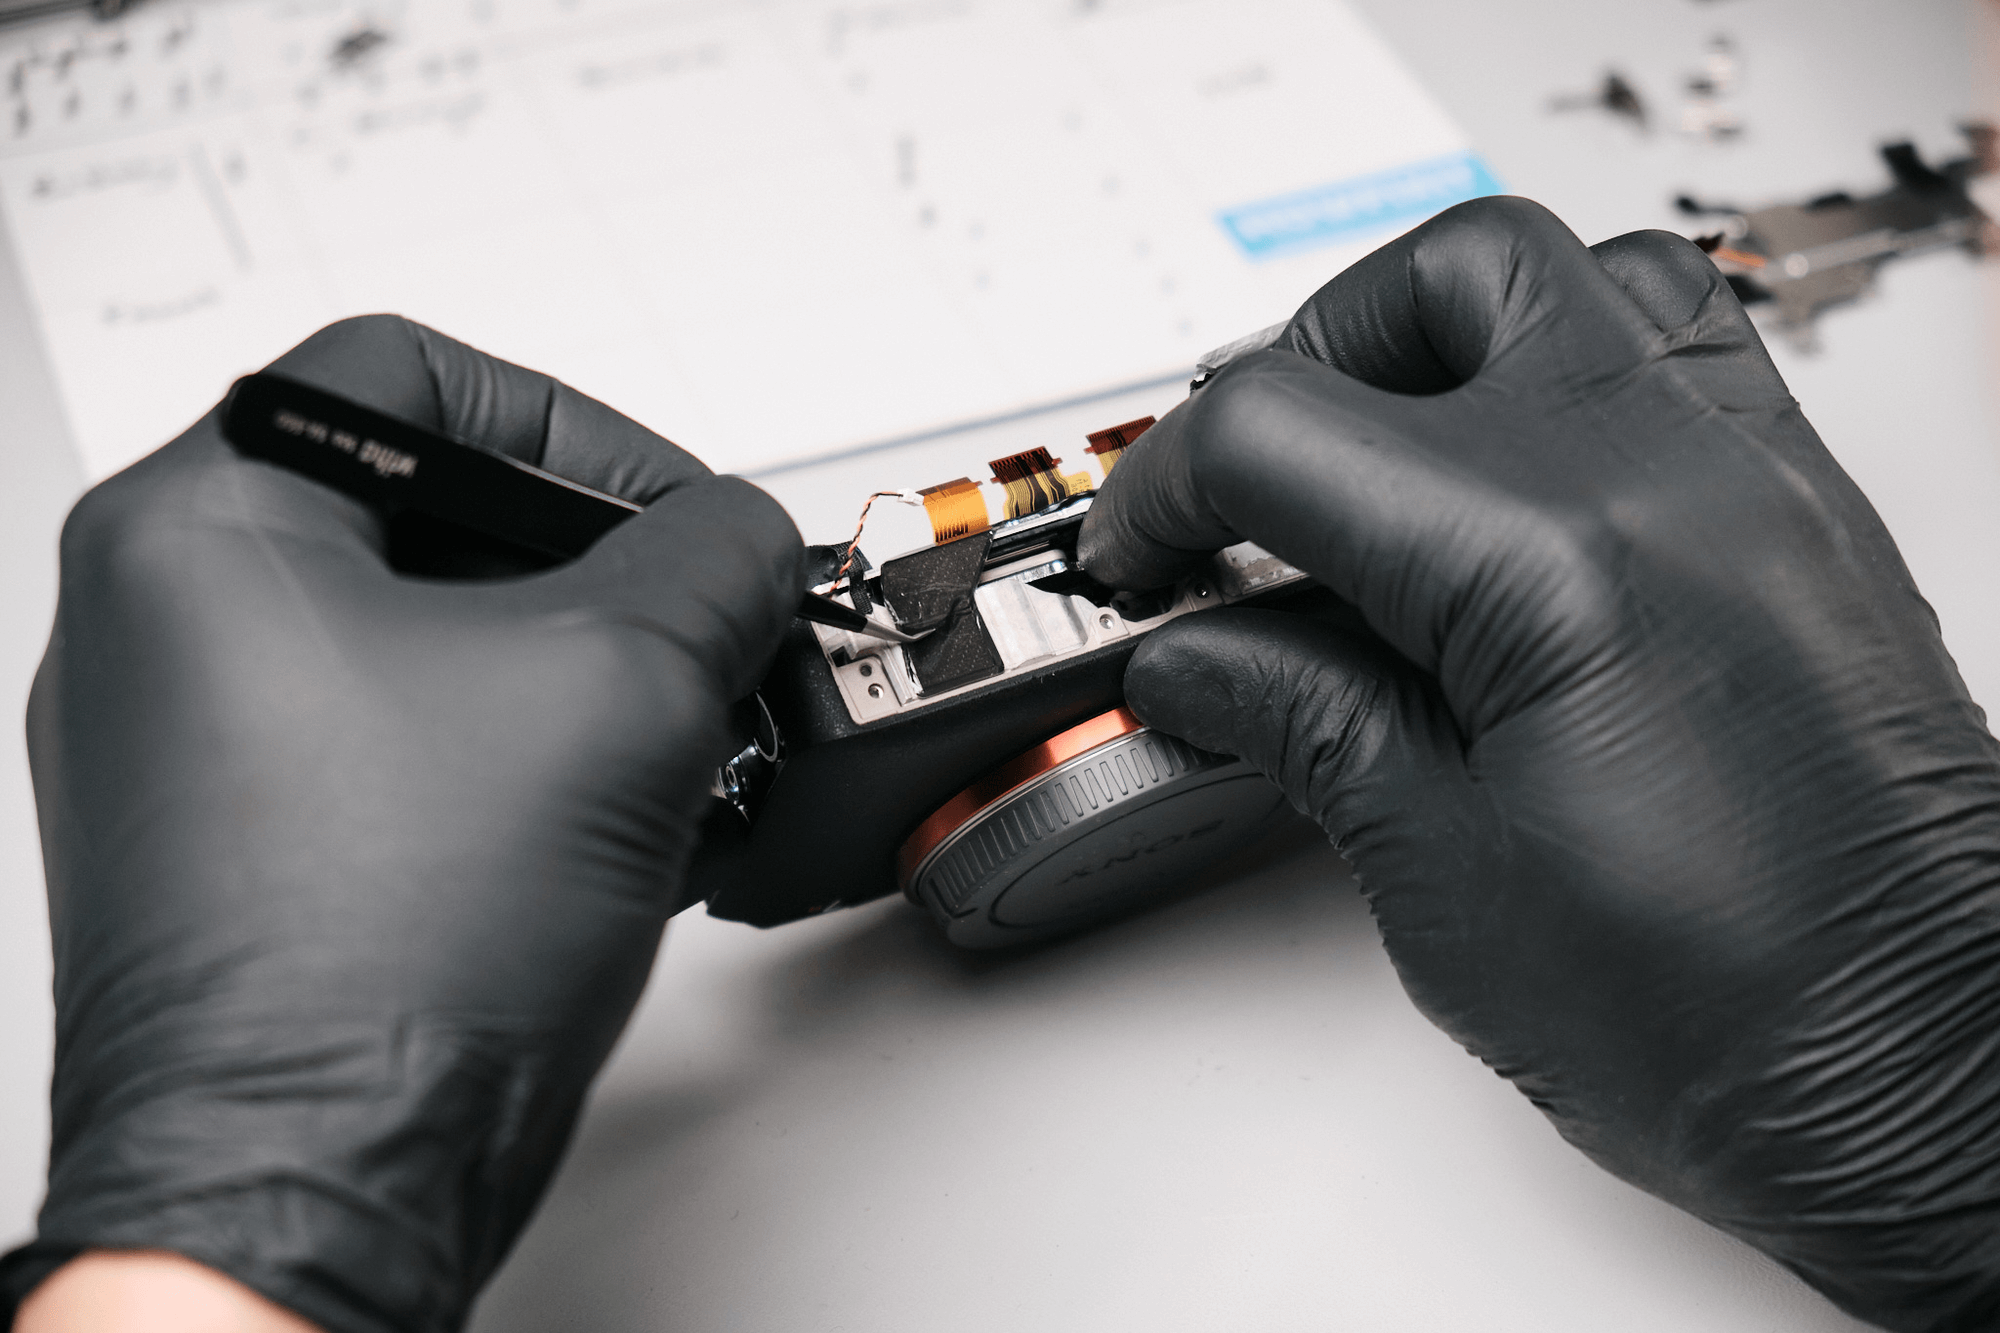
Before taking off the top panel, we needed to remove the last ribbon cable and two coaxial cables. After detaching those cables, we could take off the top panel.
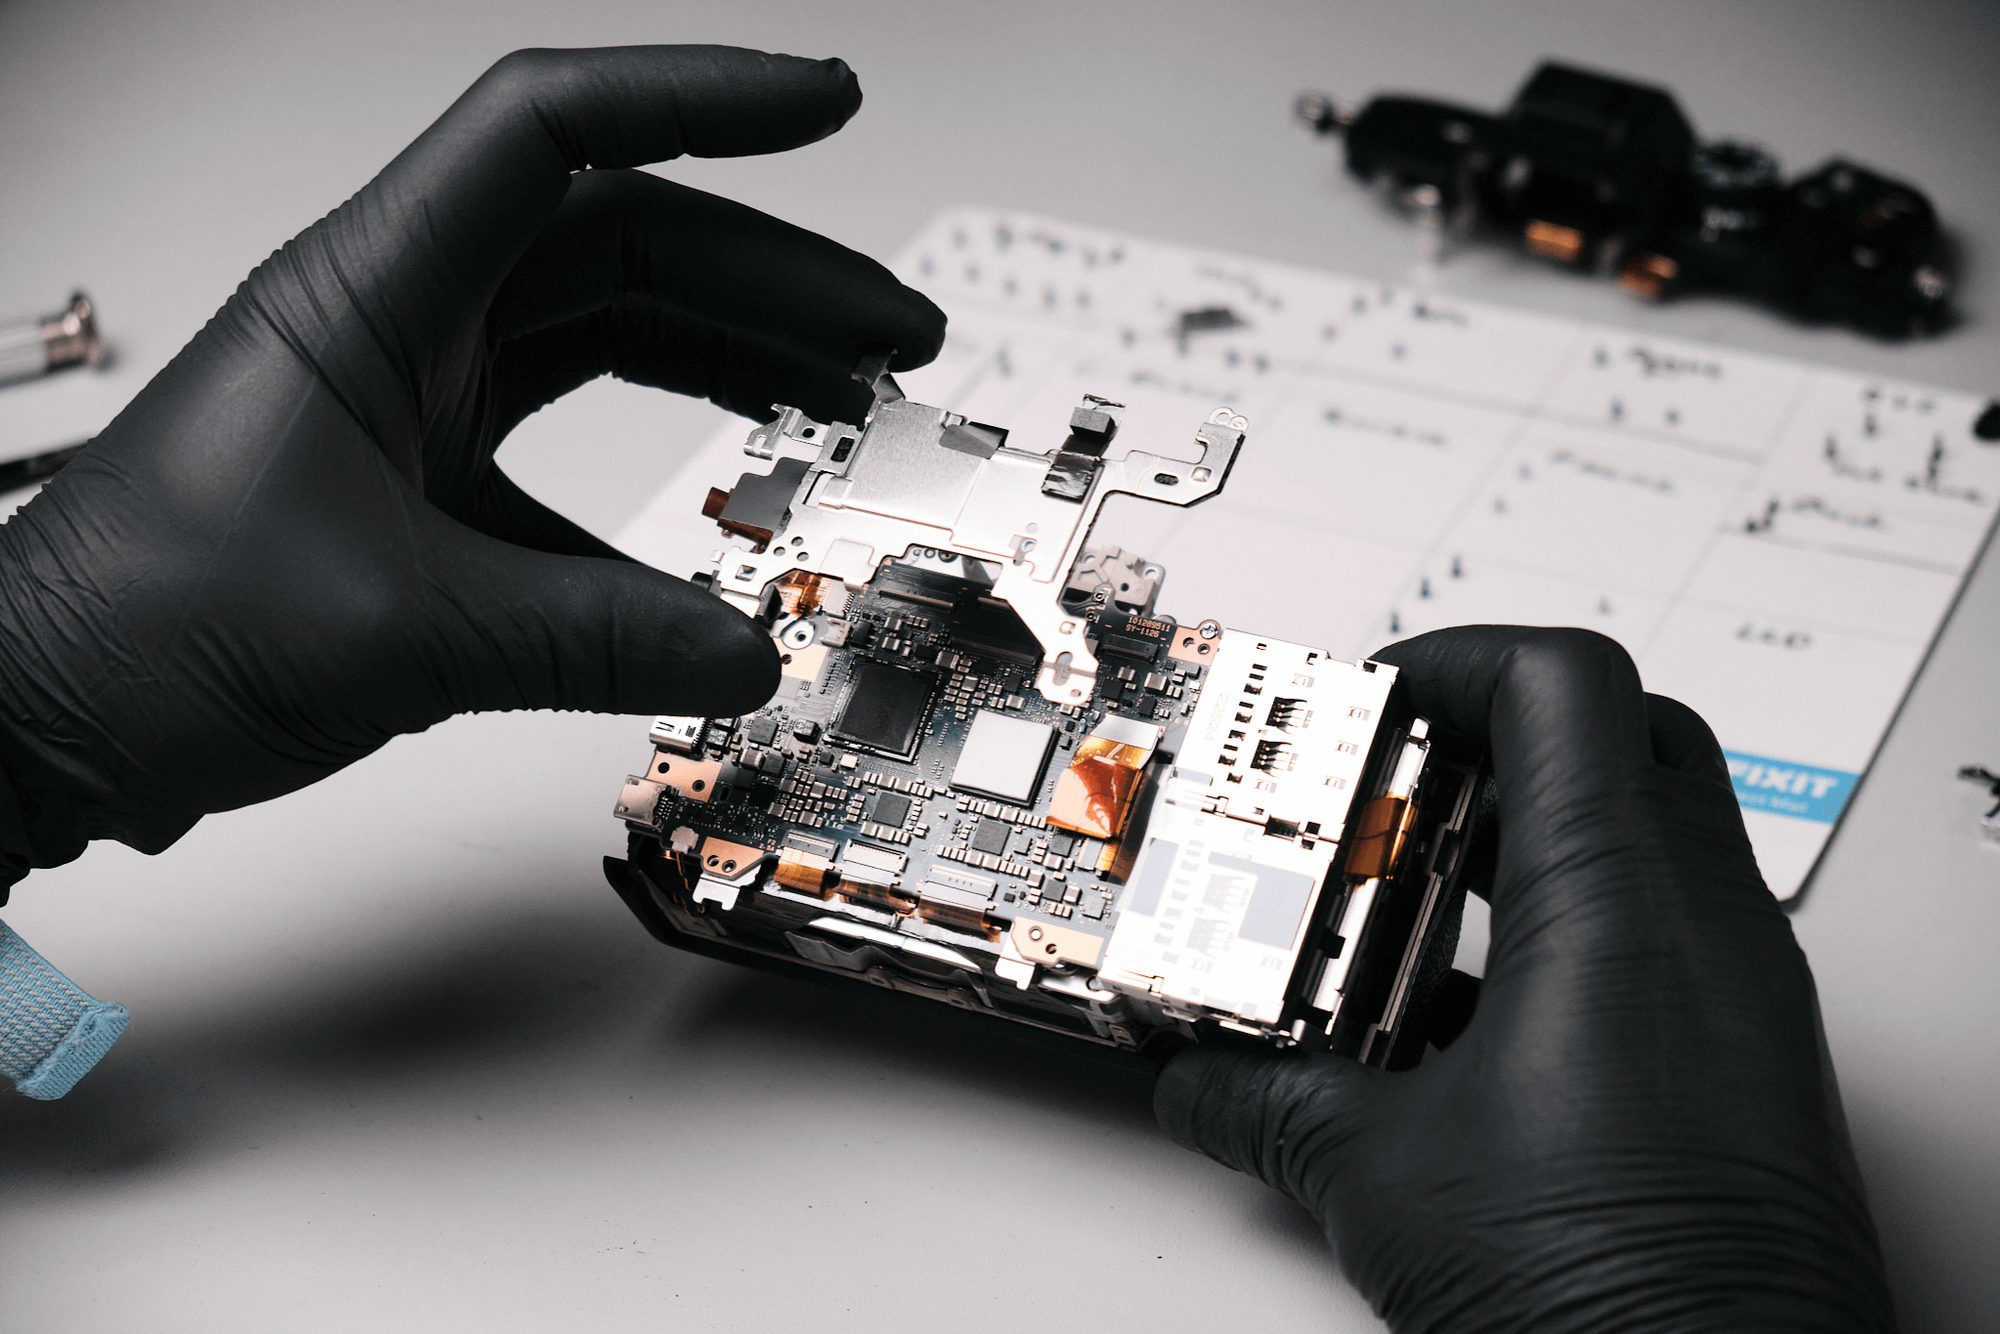
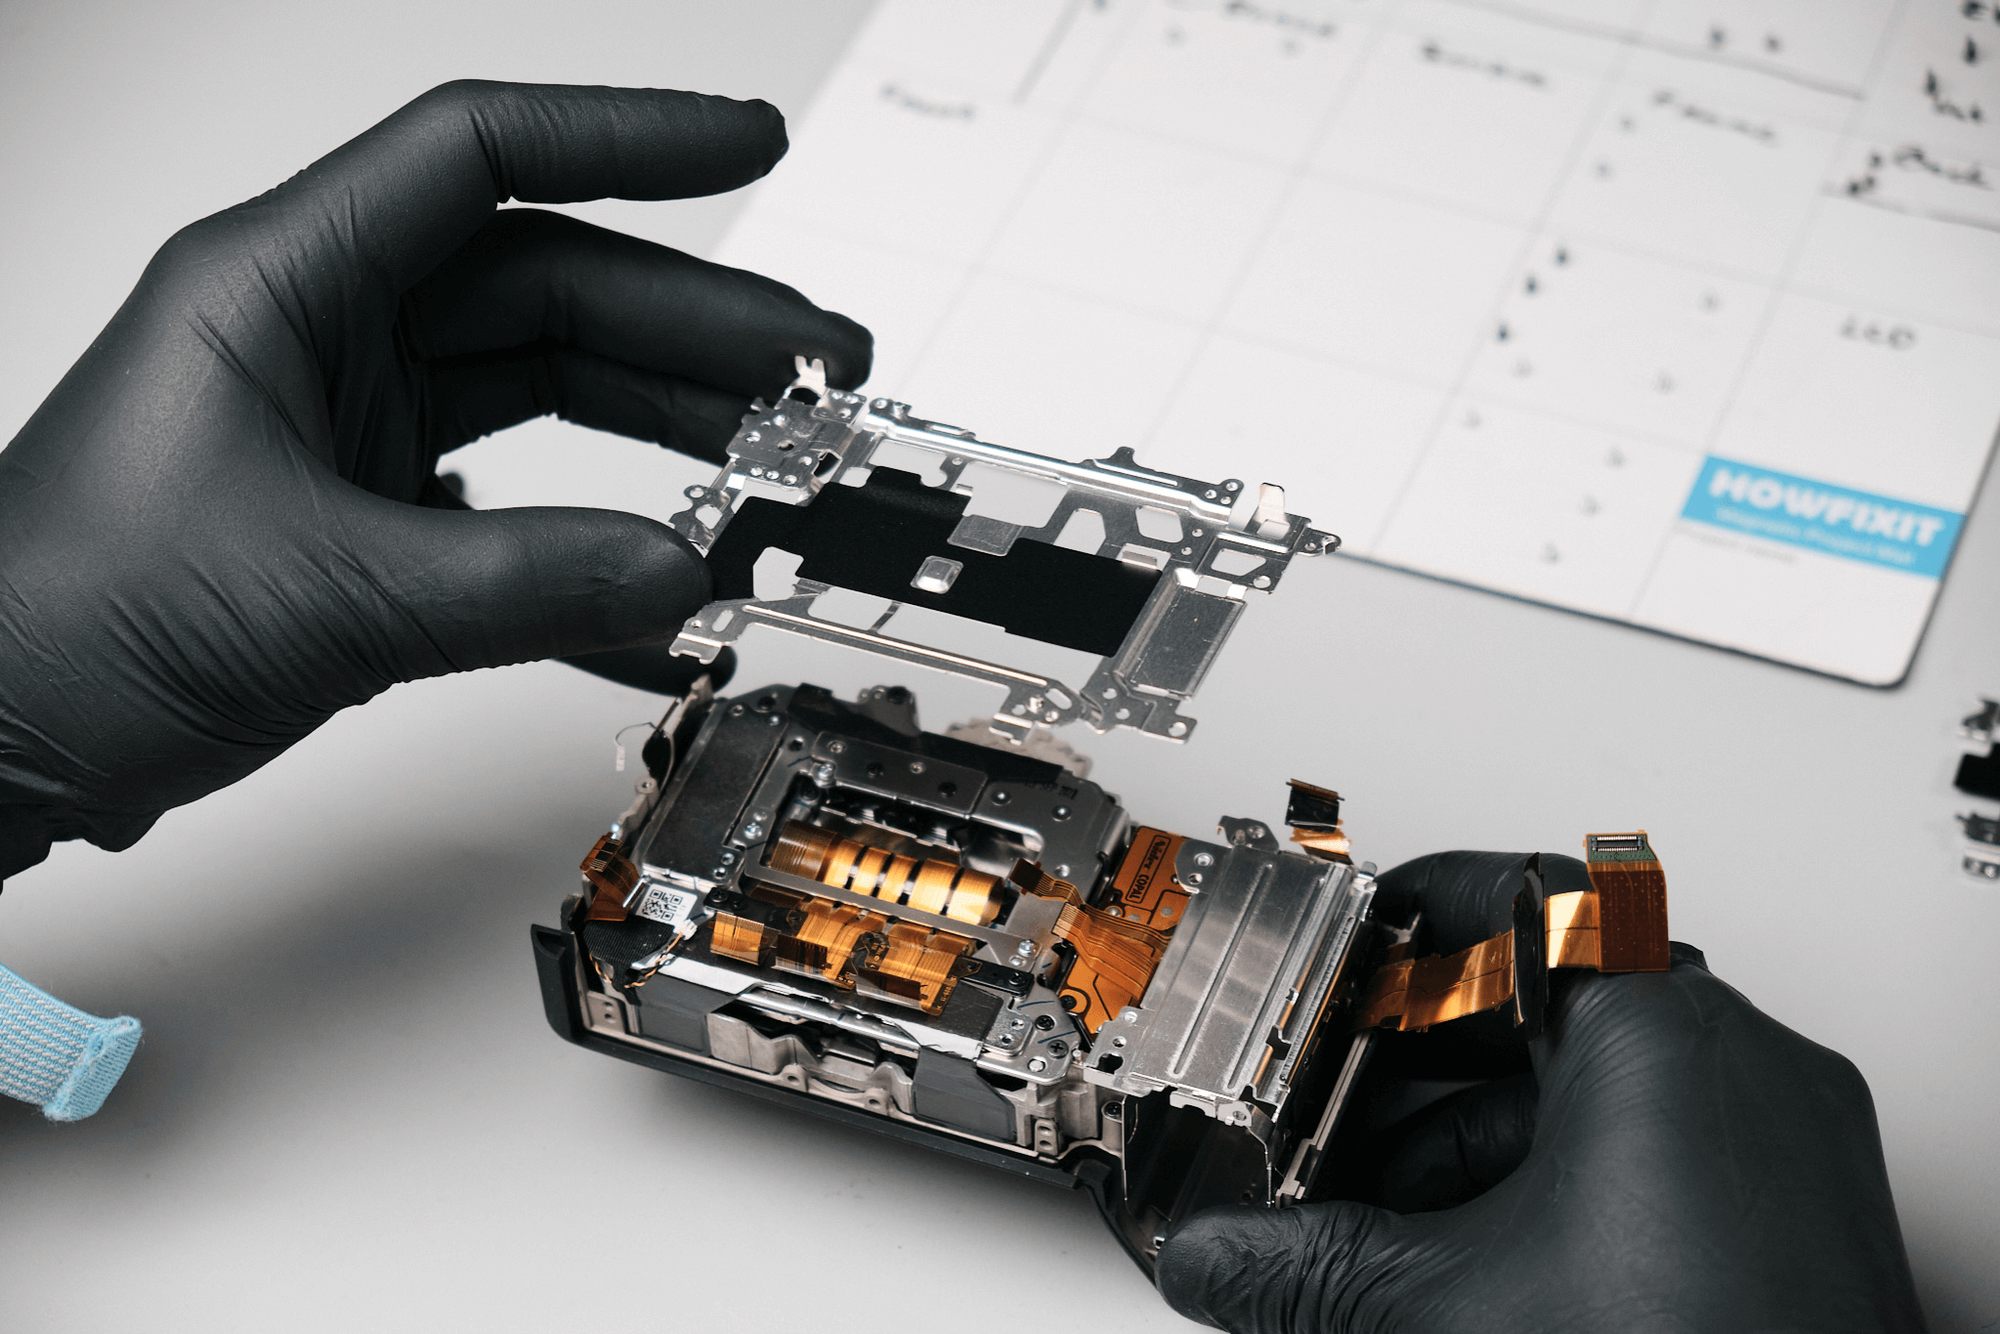
This part of the camera looks like an RF Shield, which could prevent heat emissions from the rear panel.
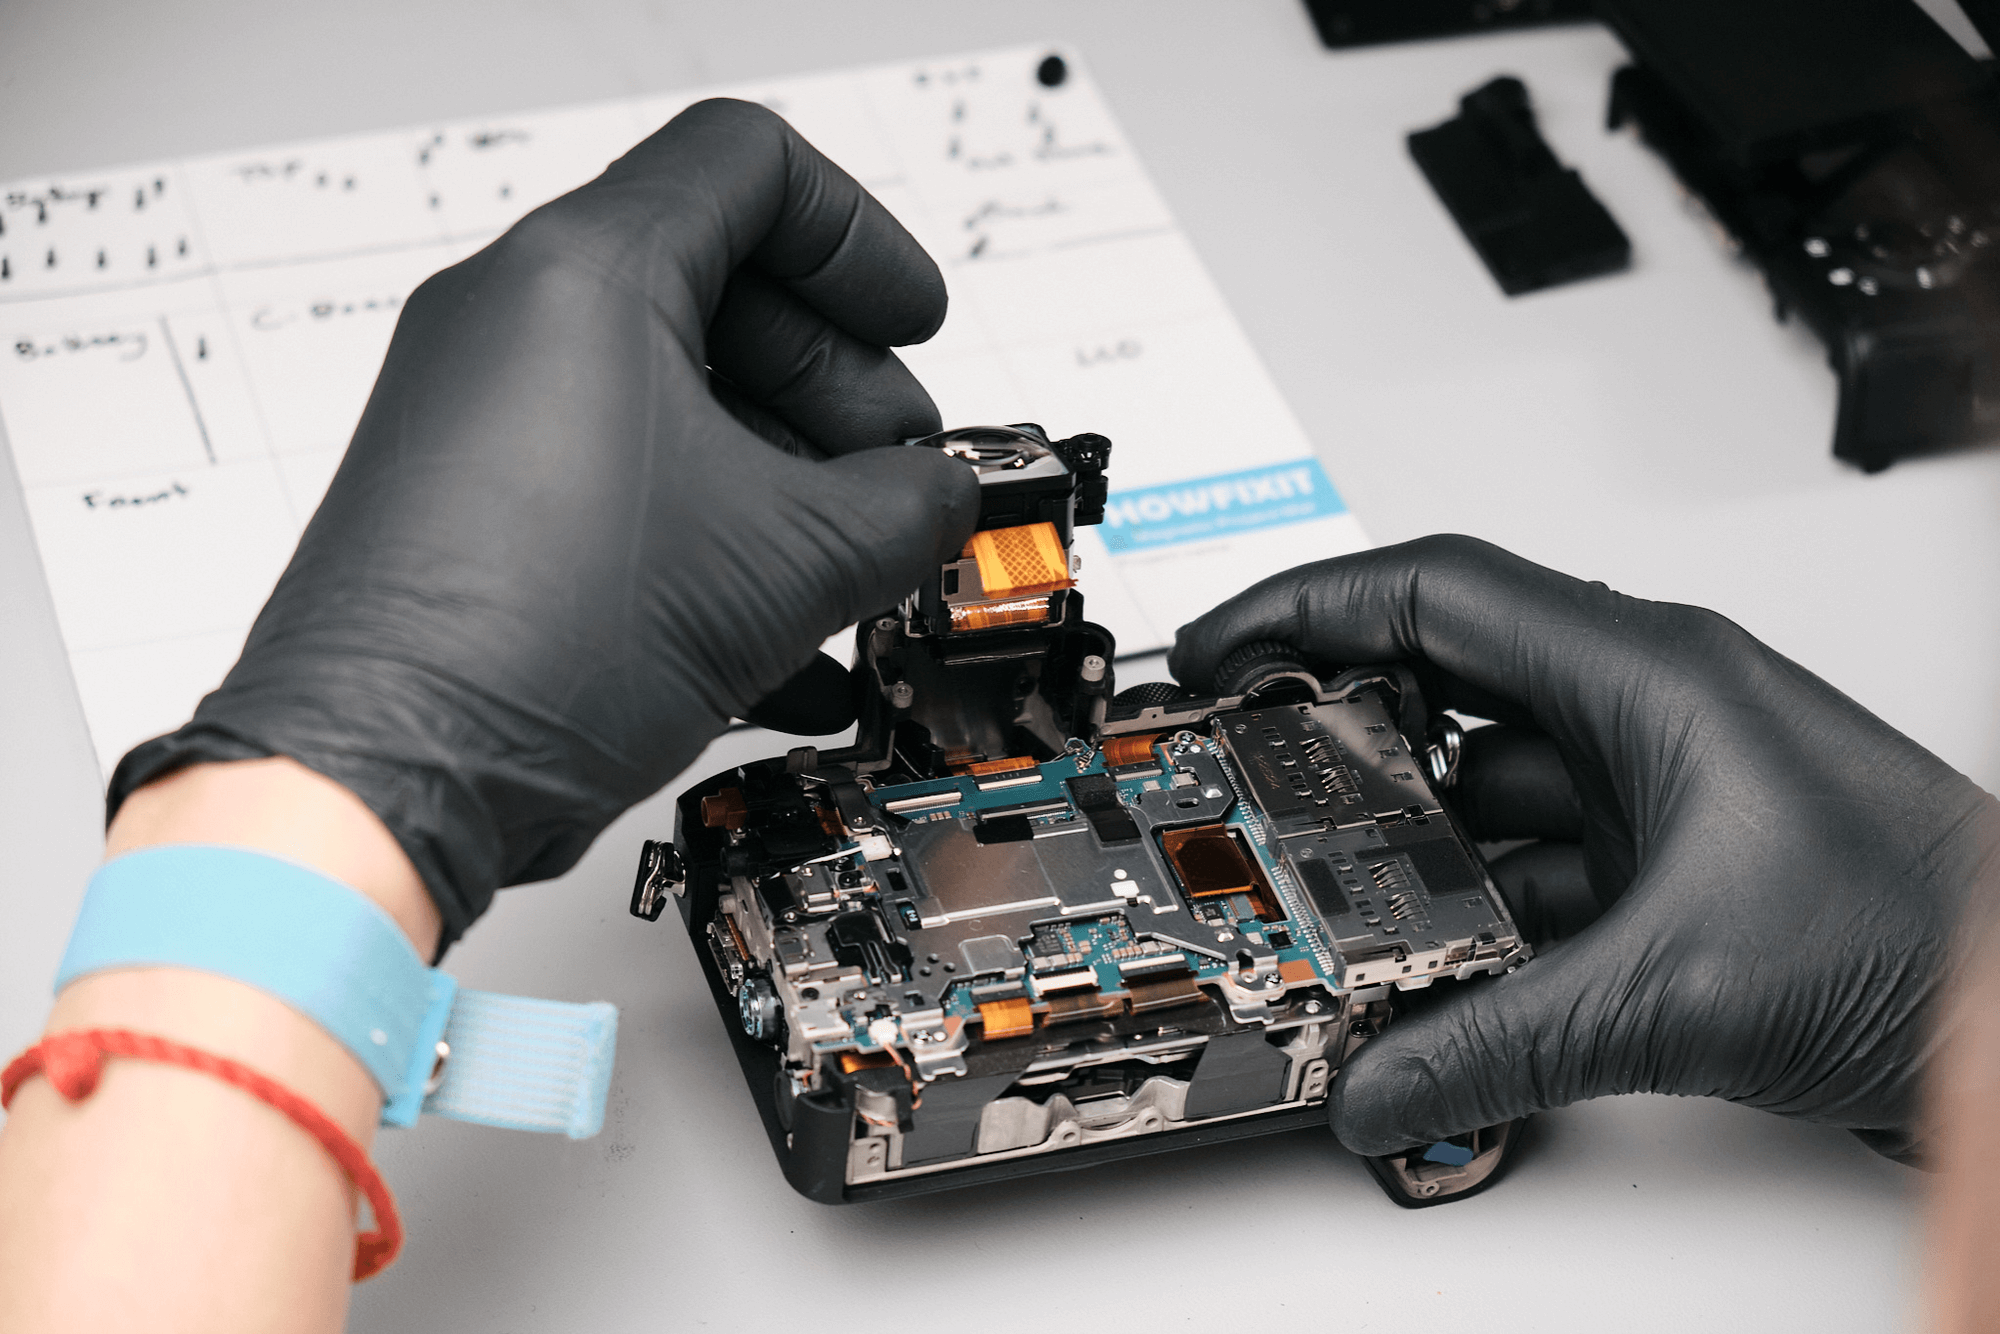
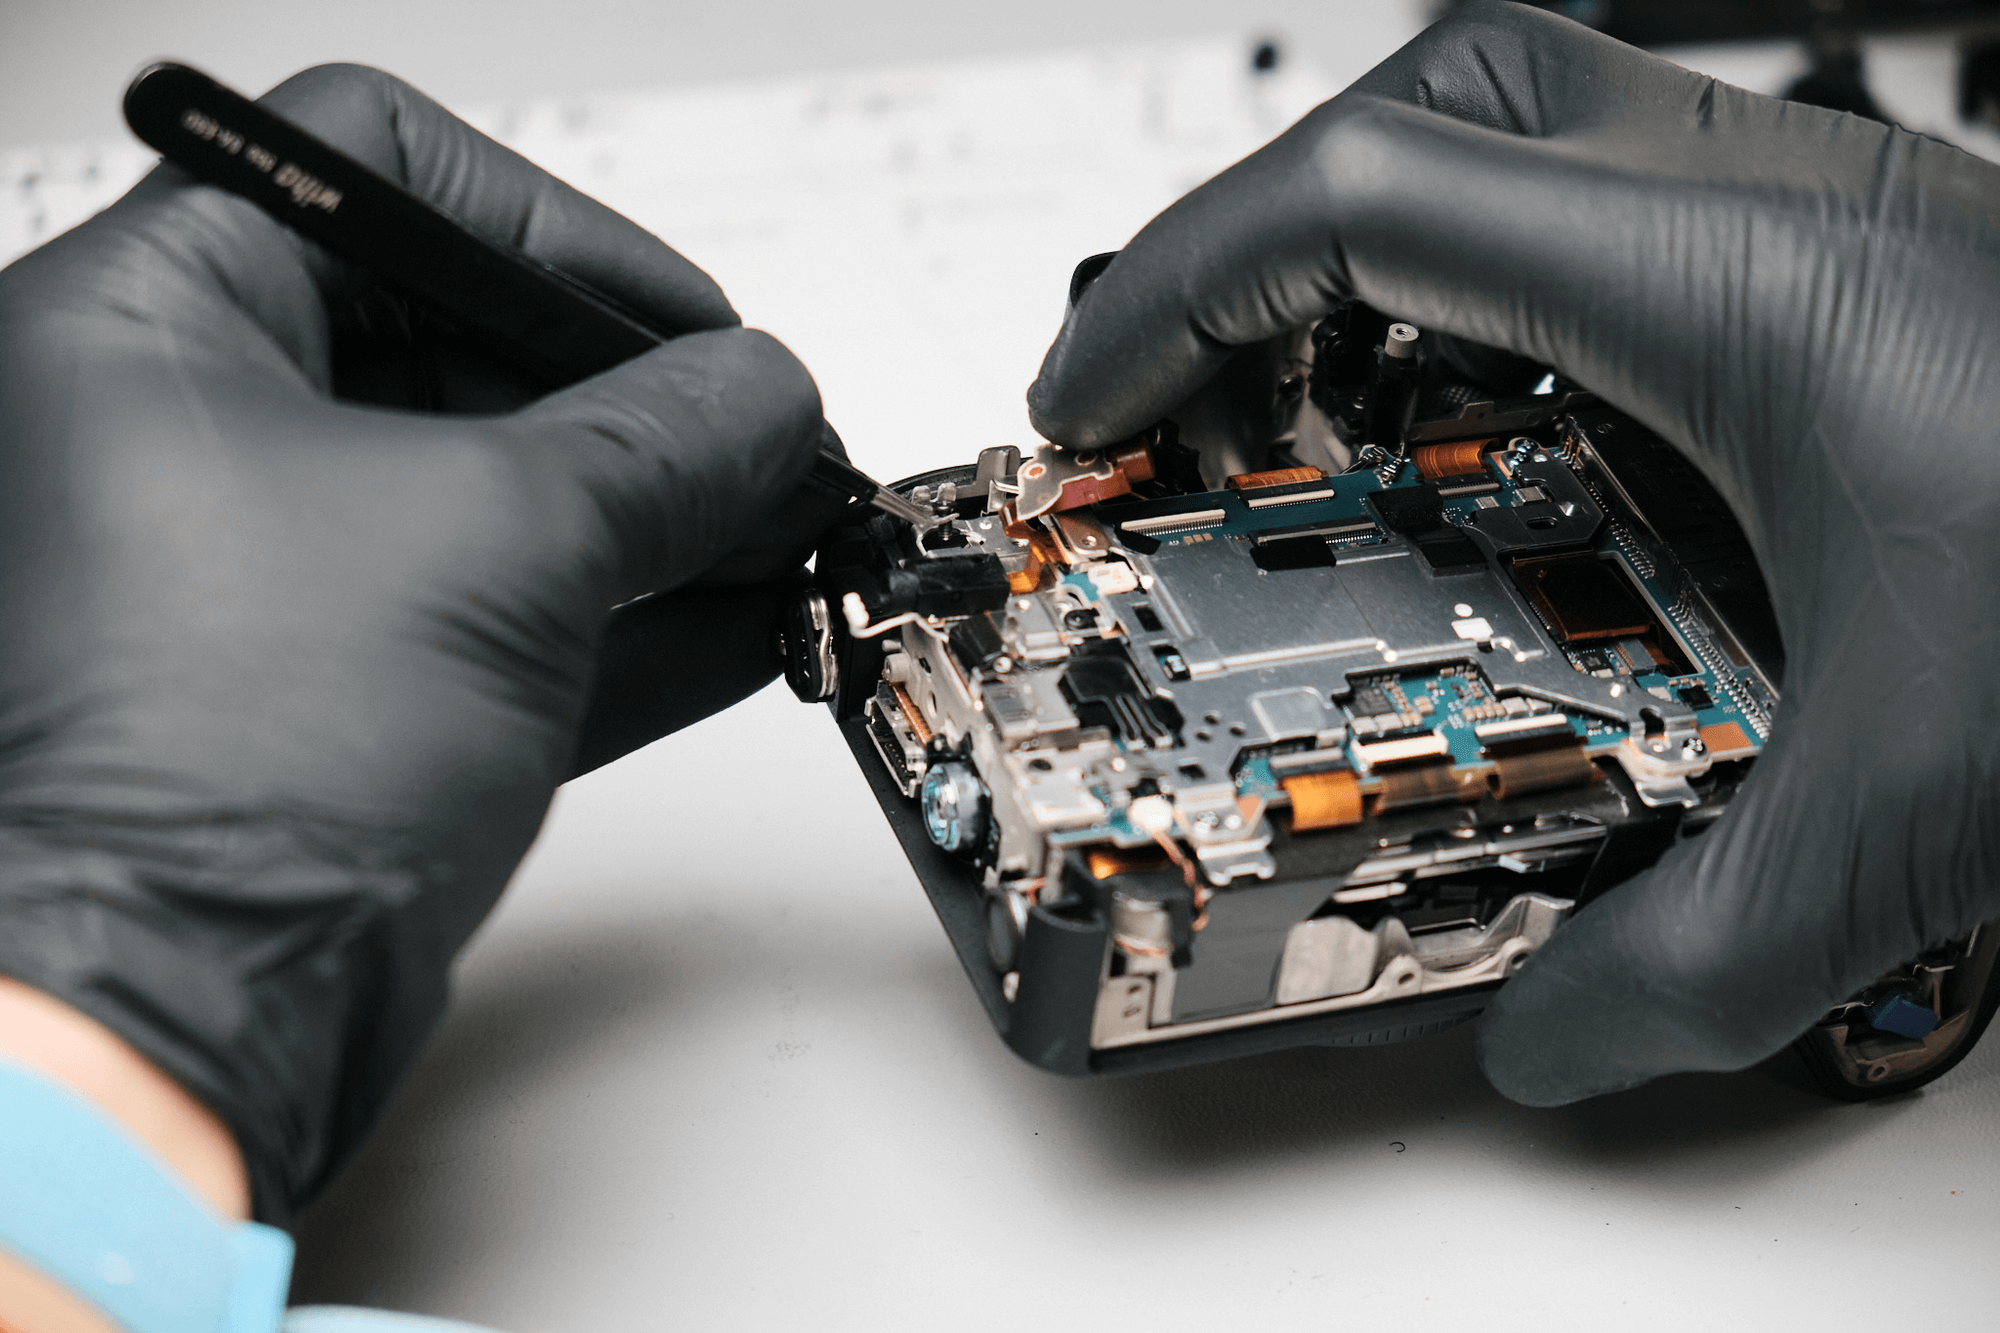
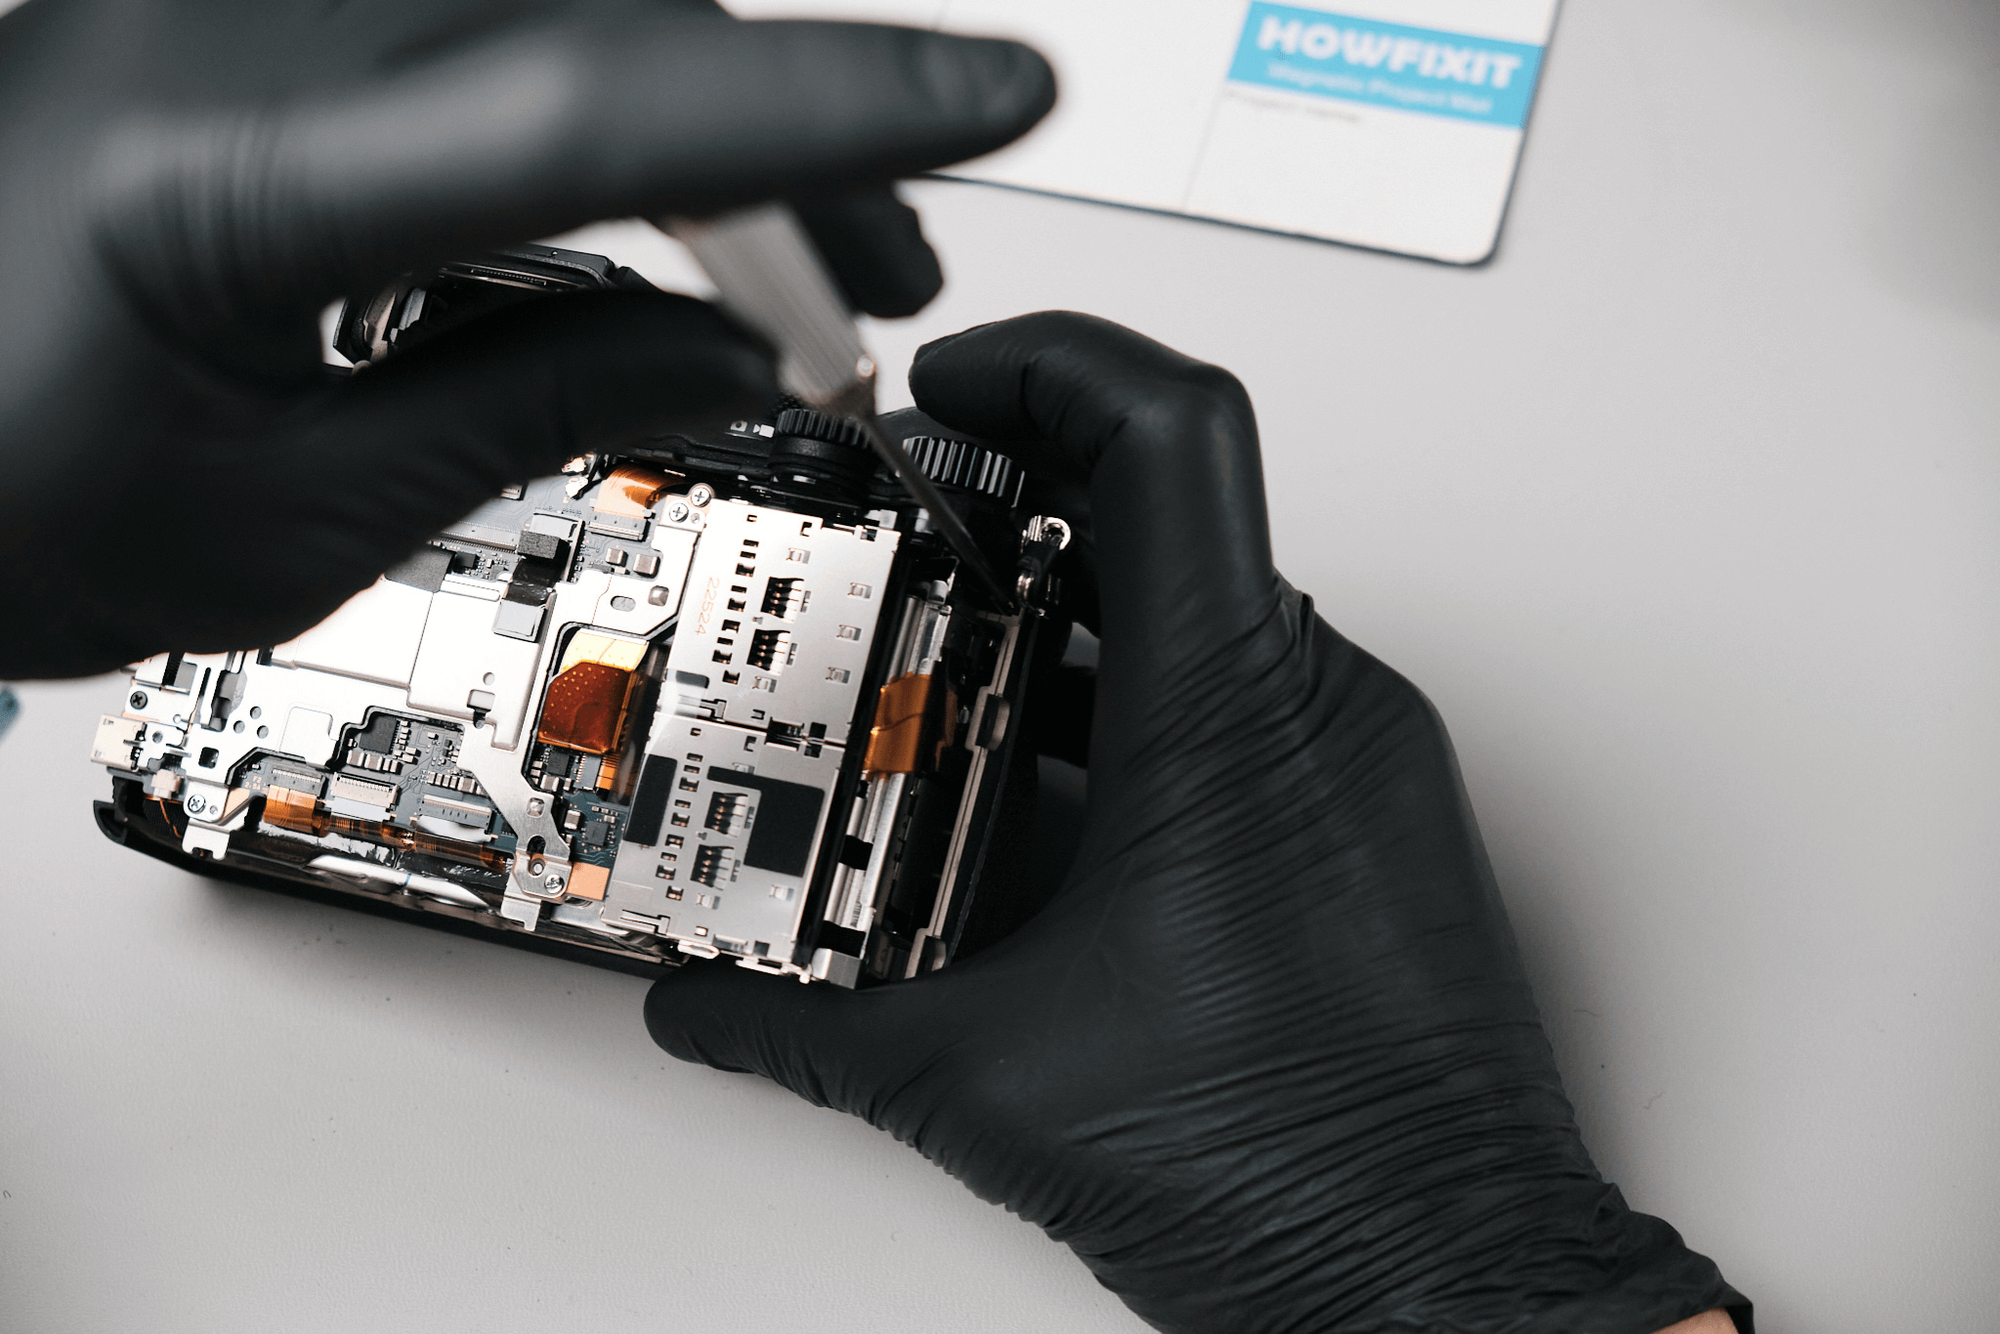
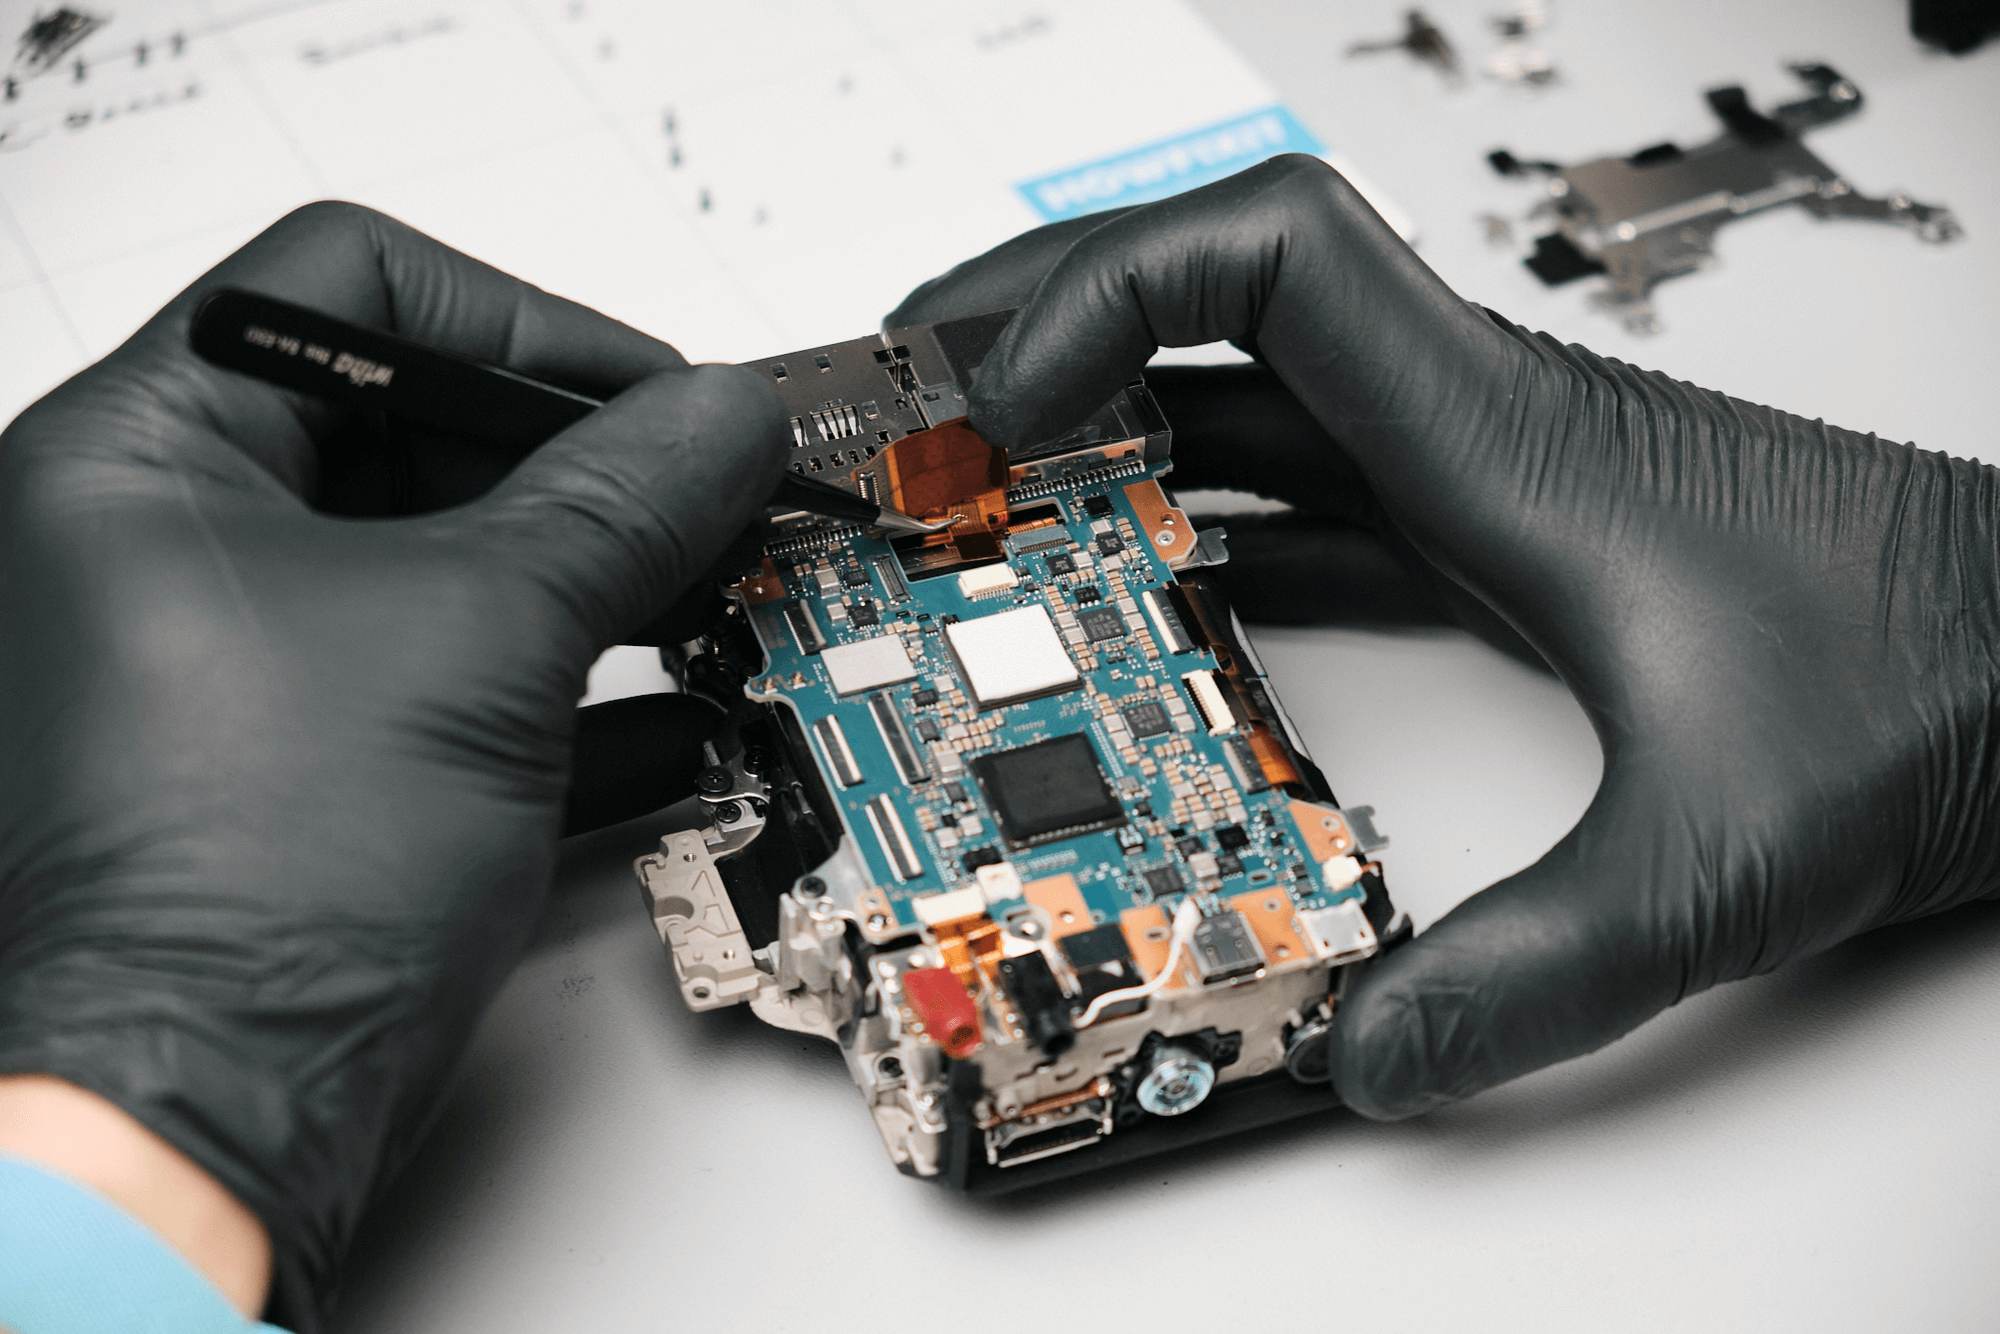
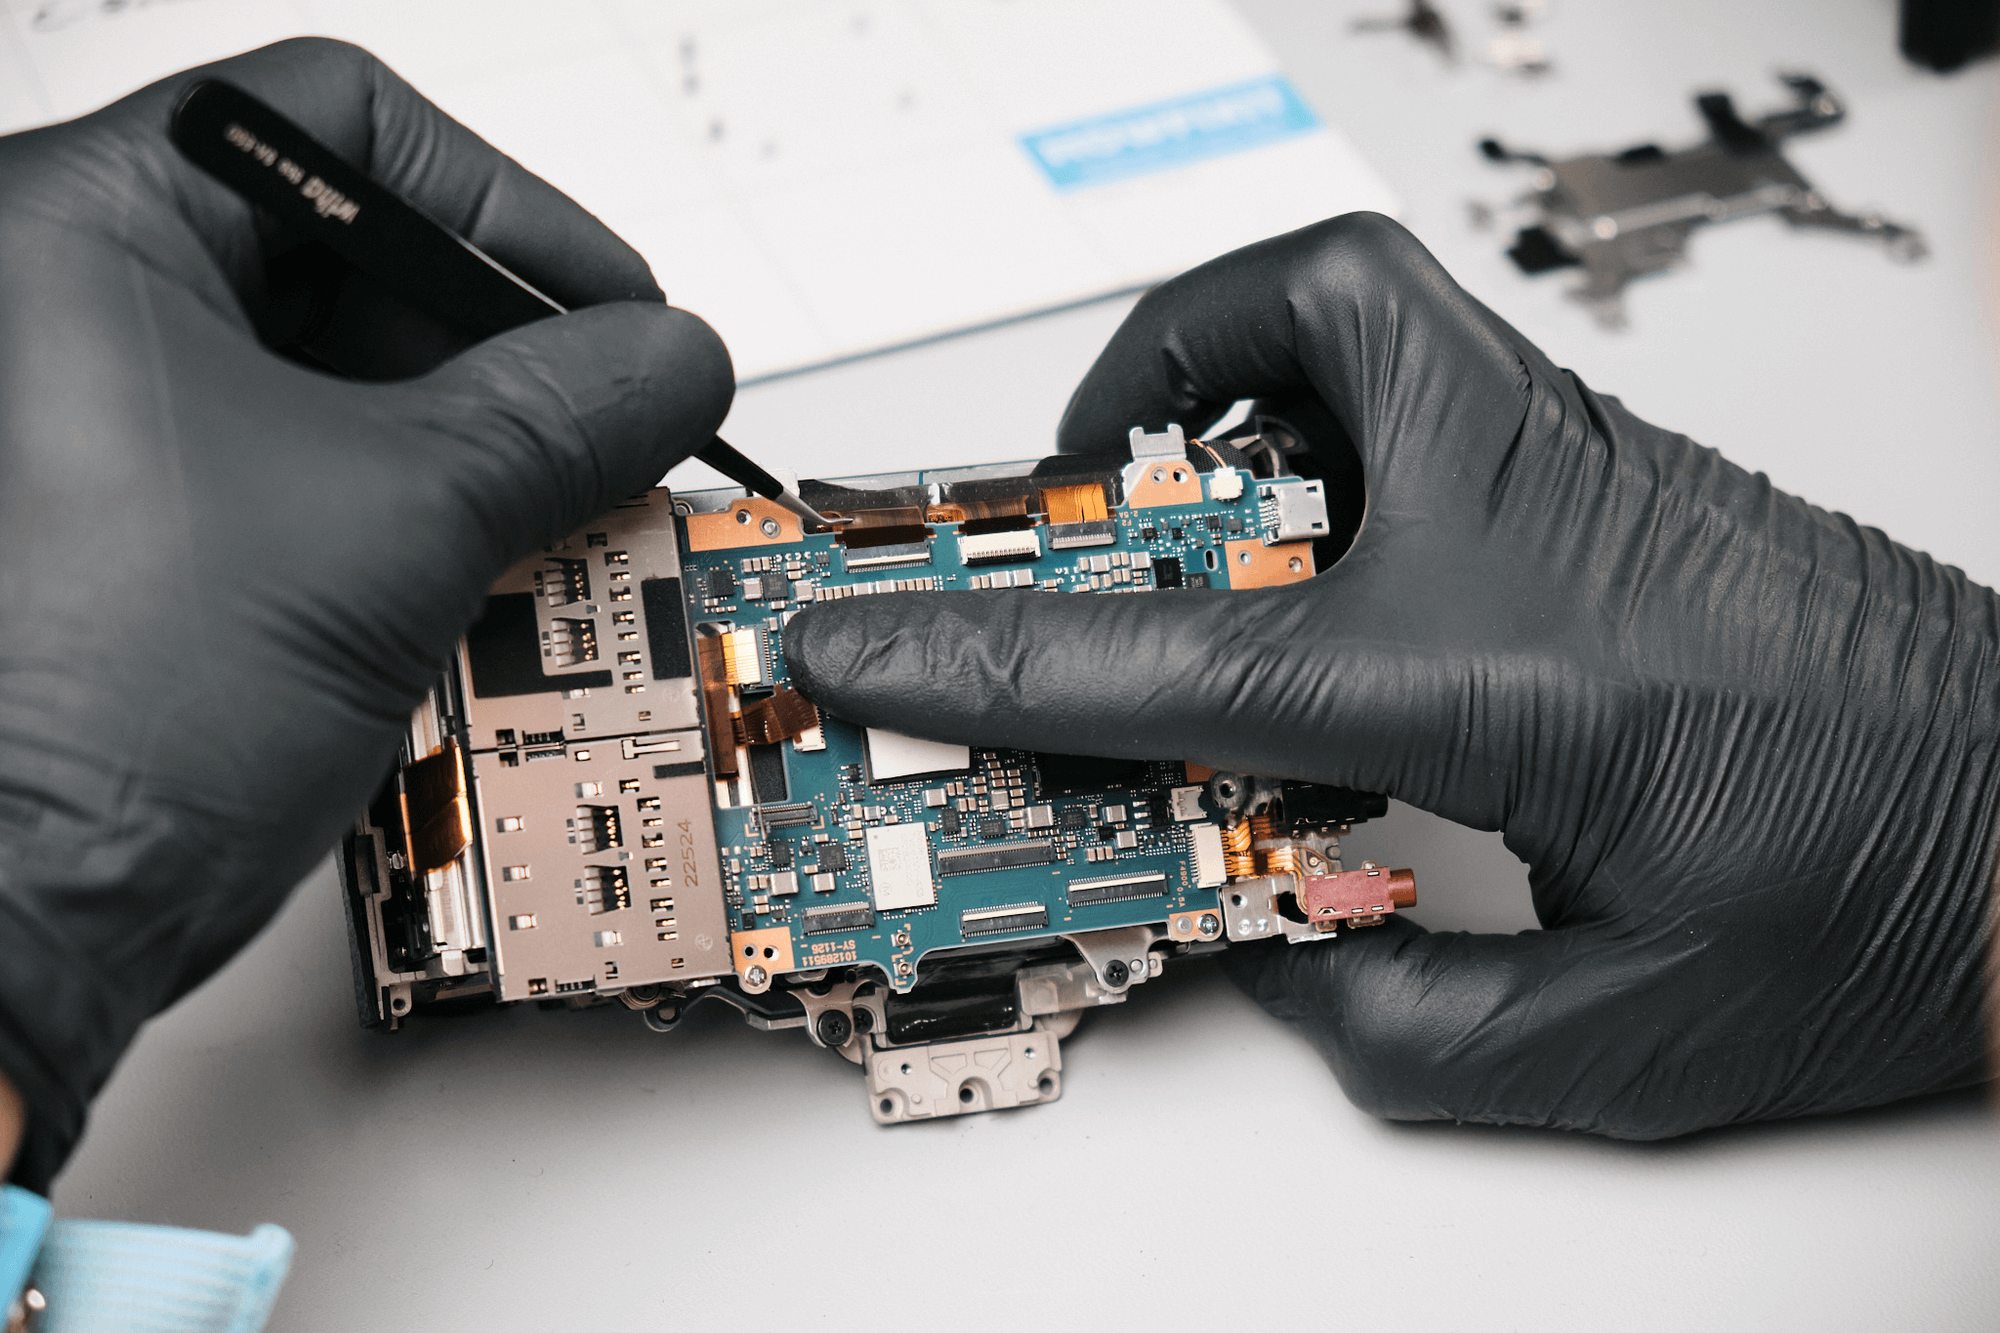
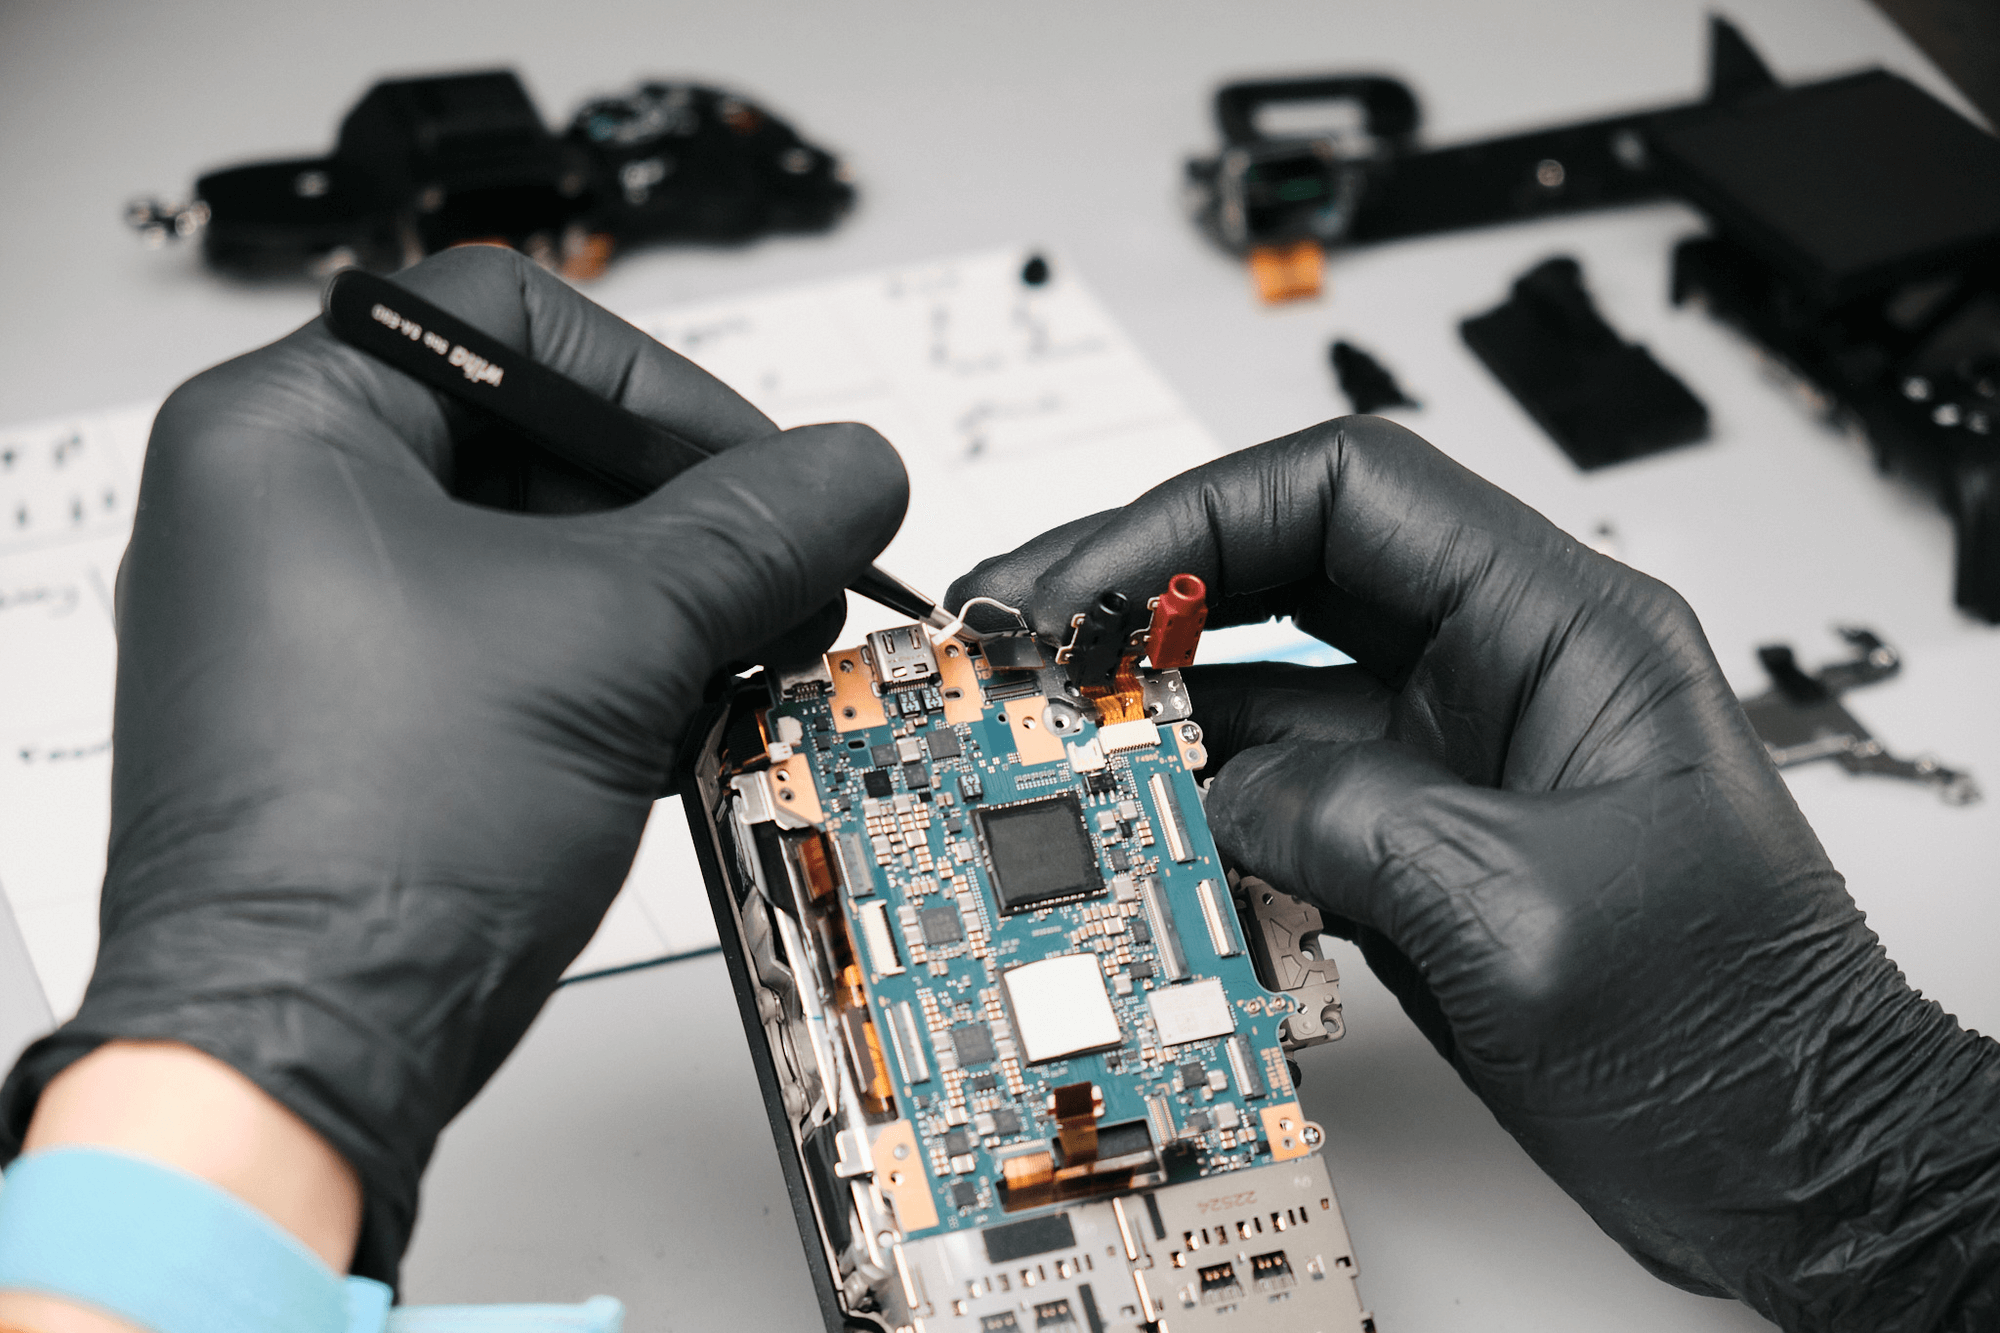
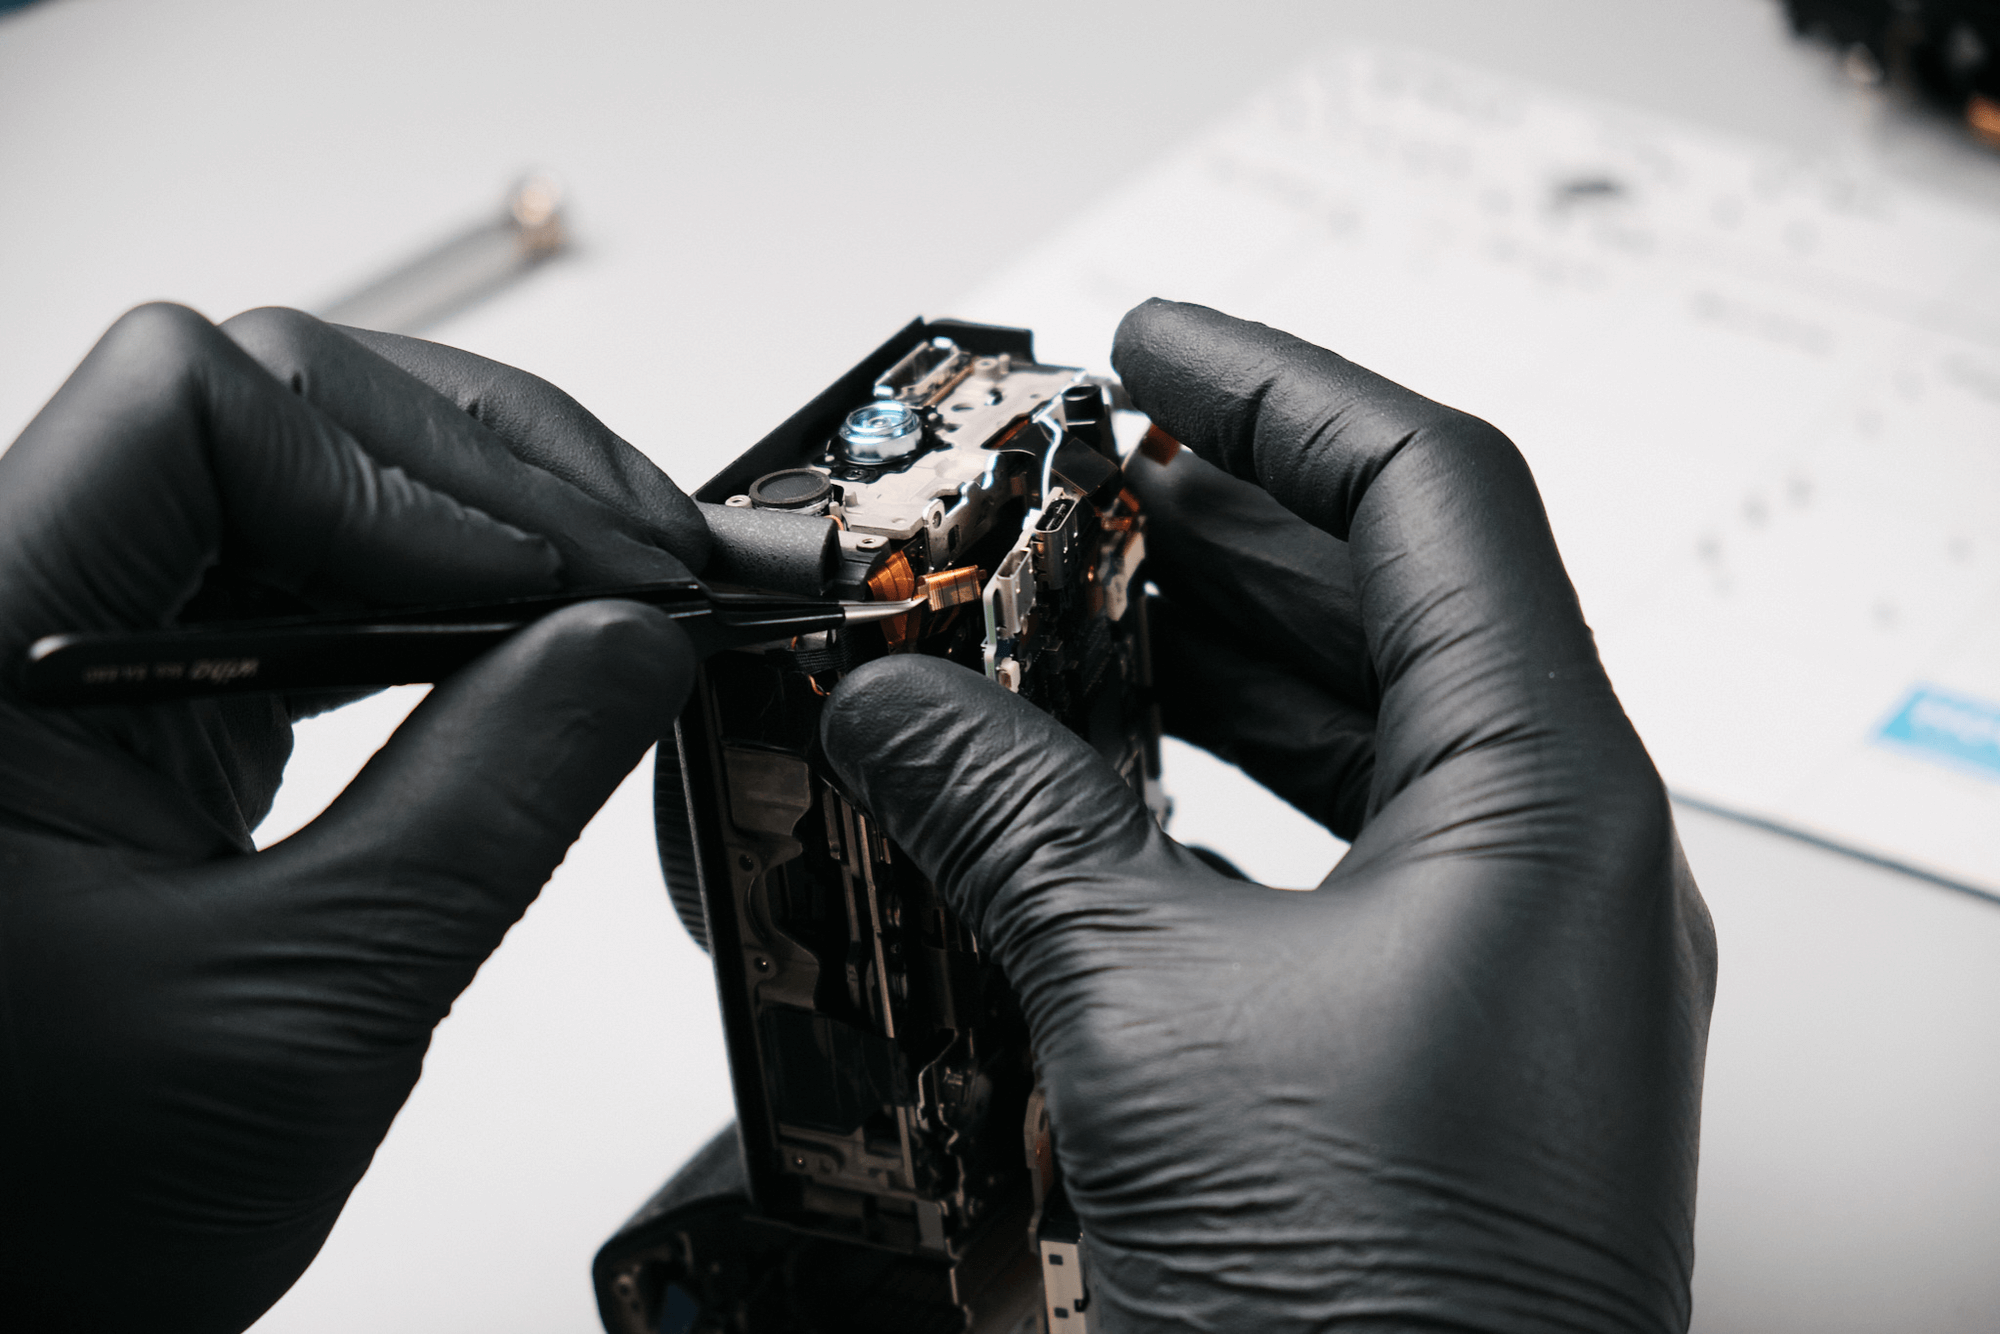
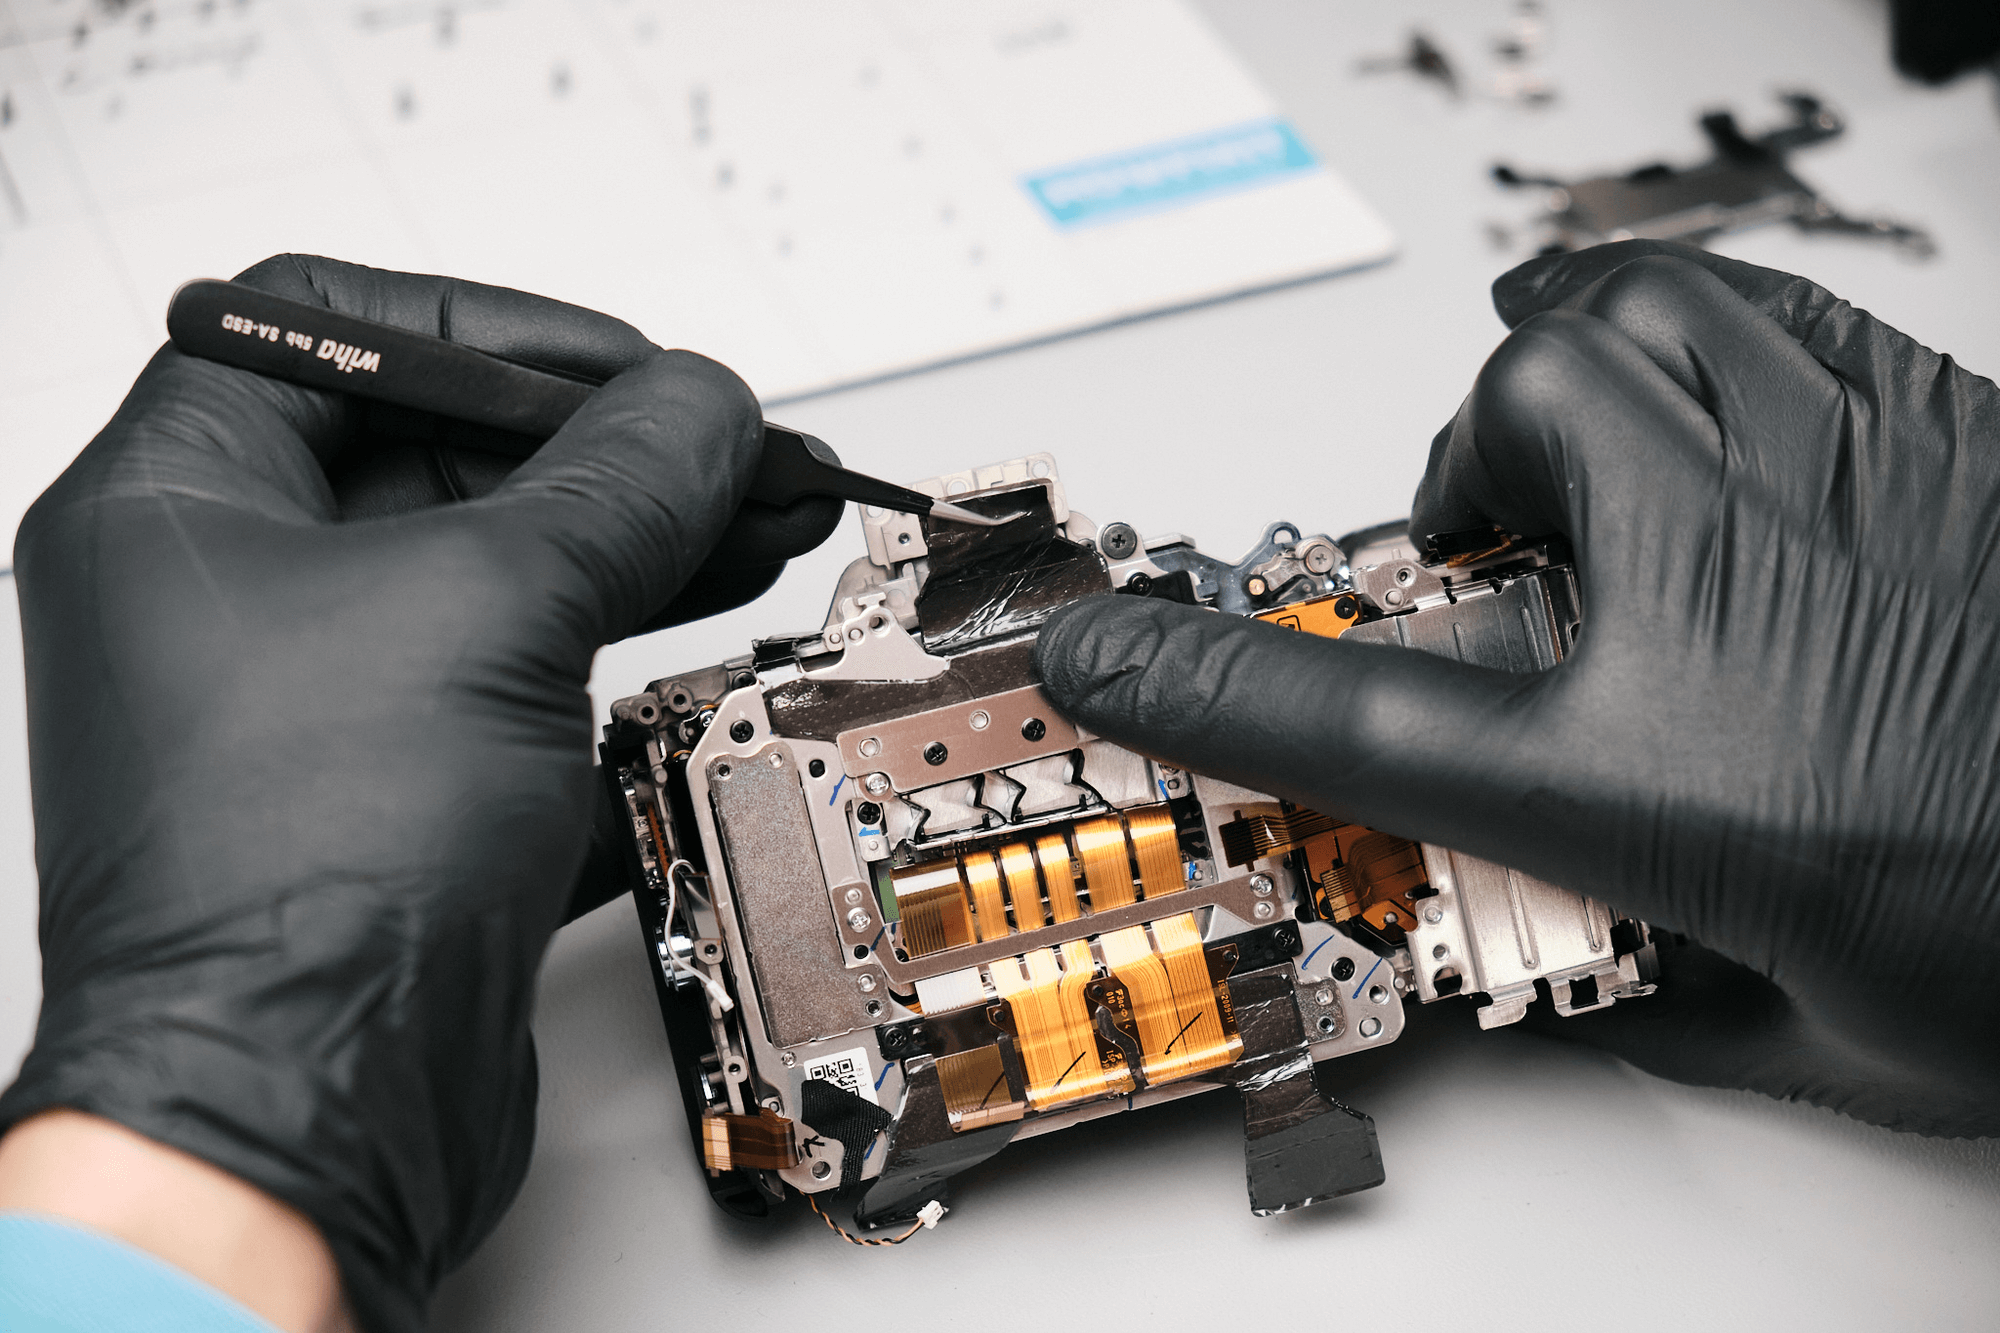
After removing the other accessories of the camera, we finally reached the circuit board. Here, we needed to remove the ribbon cables from the board to gain access to the camera sensor.
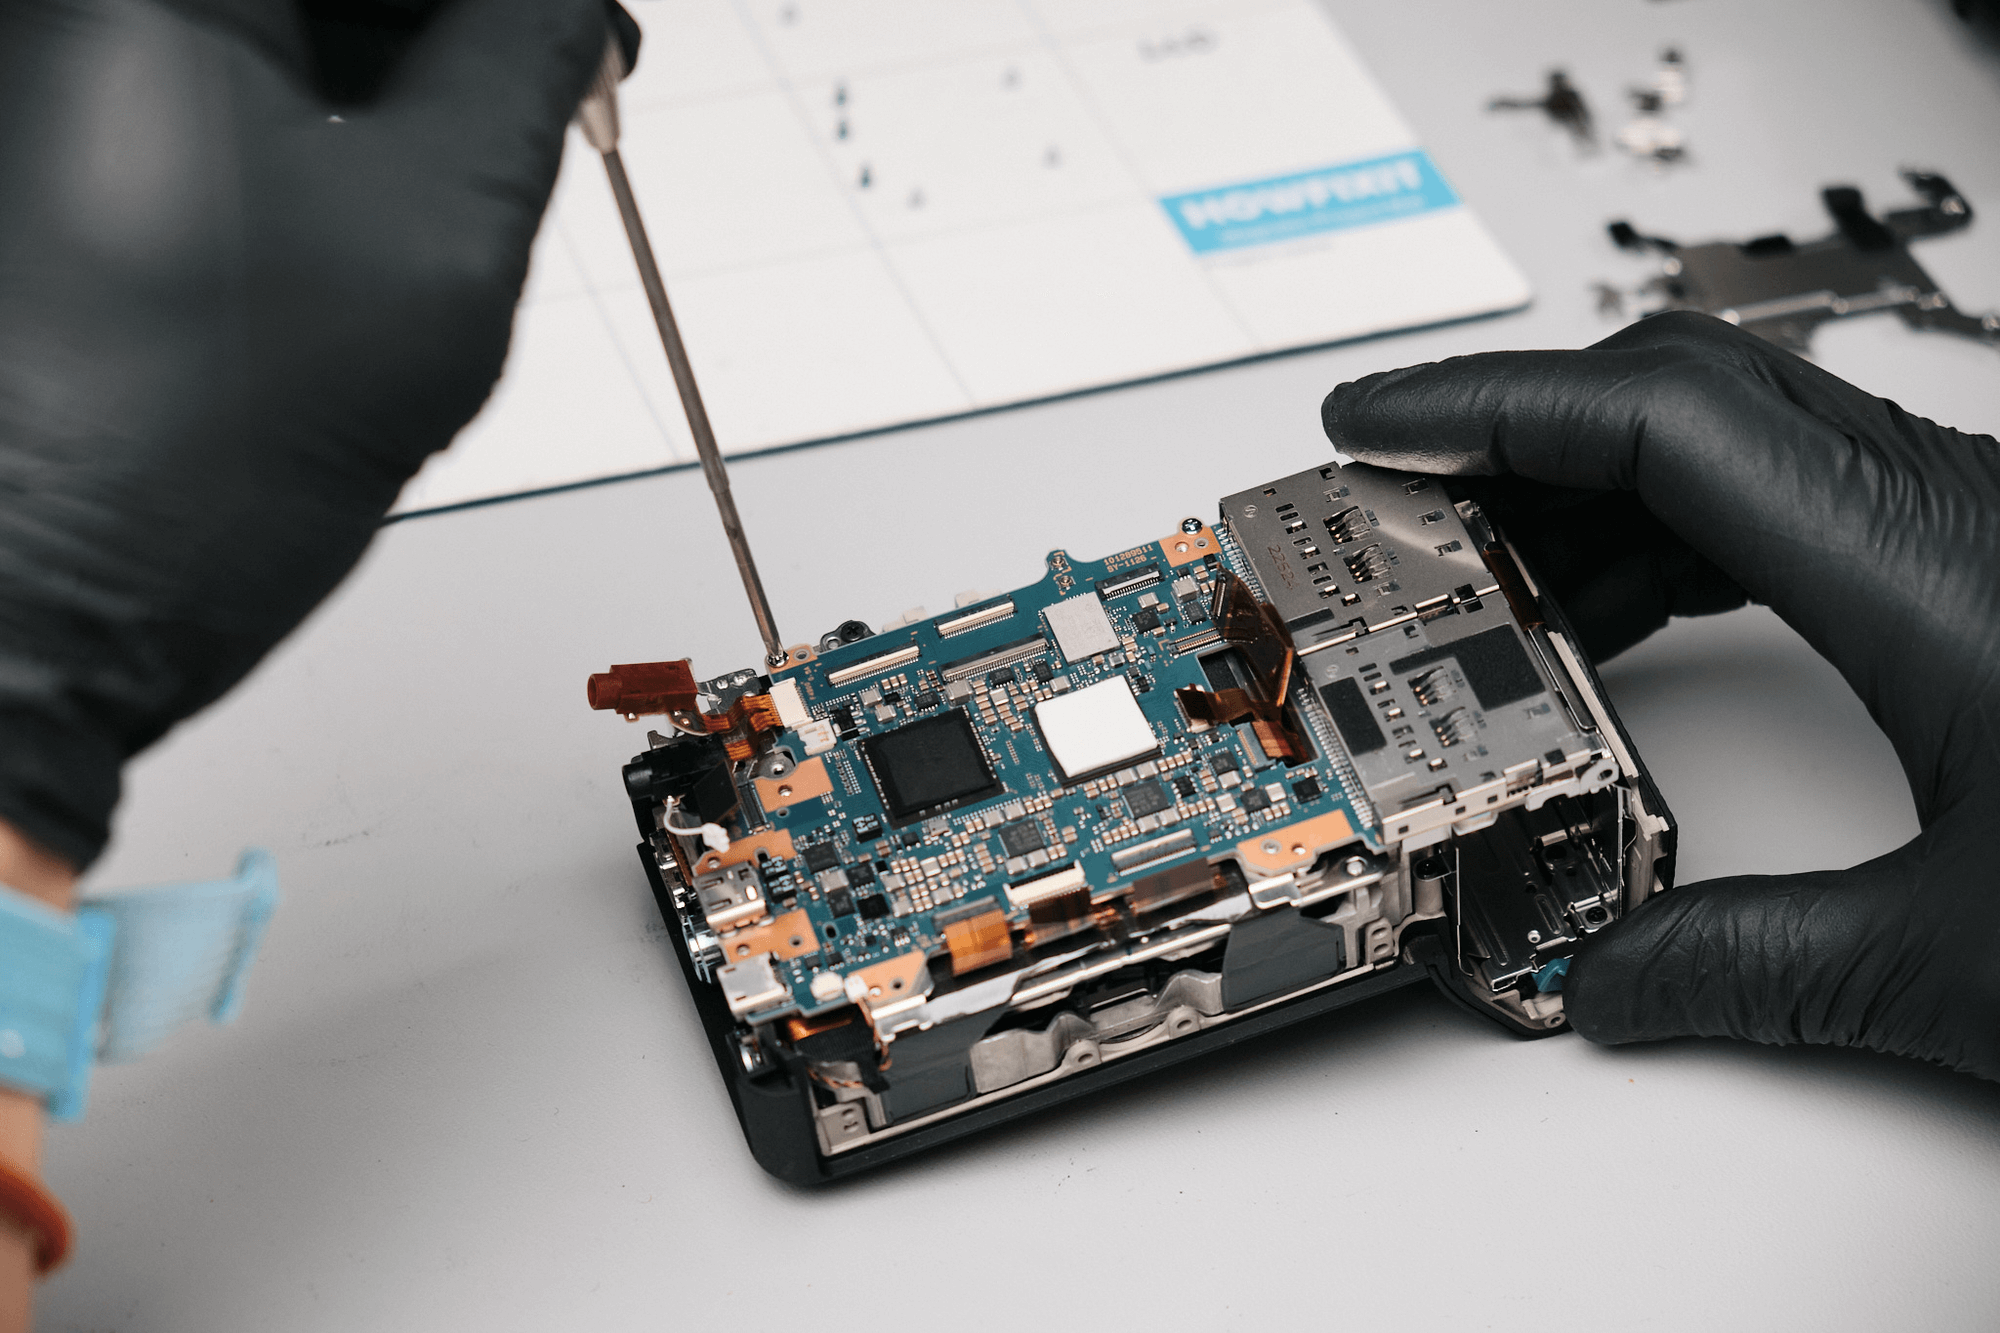
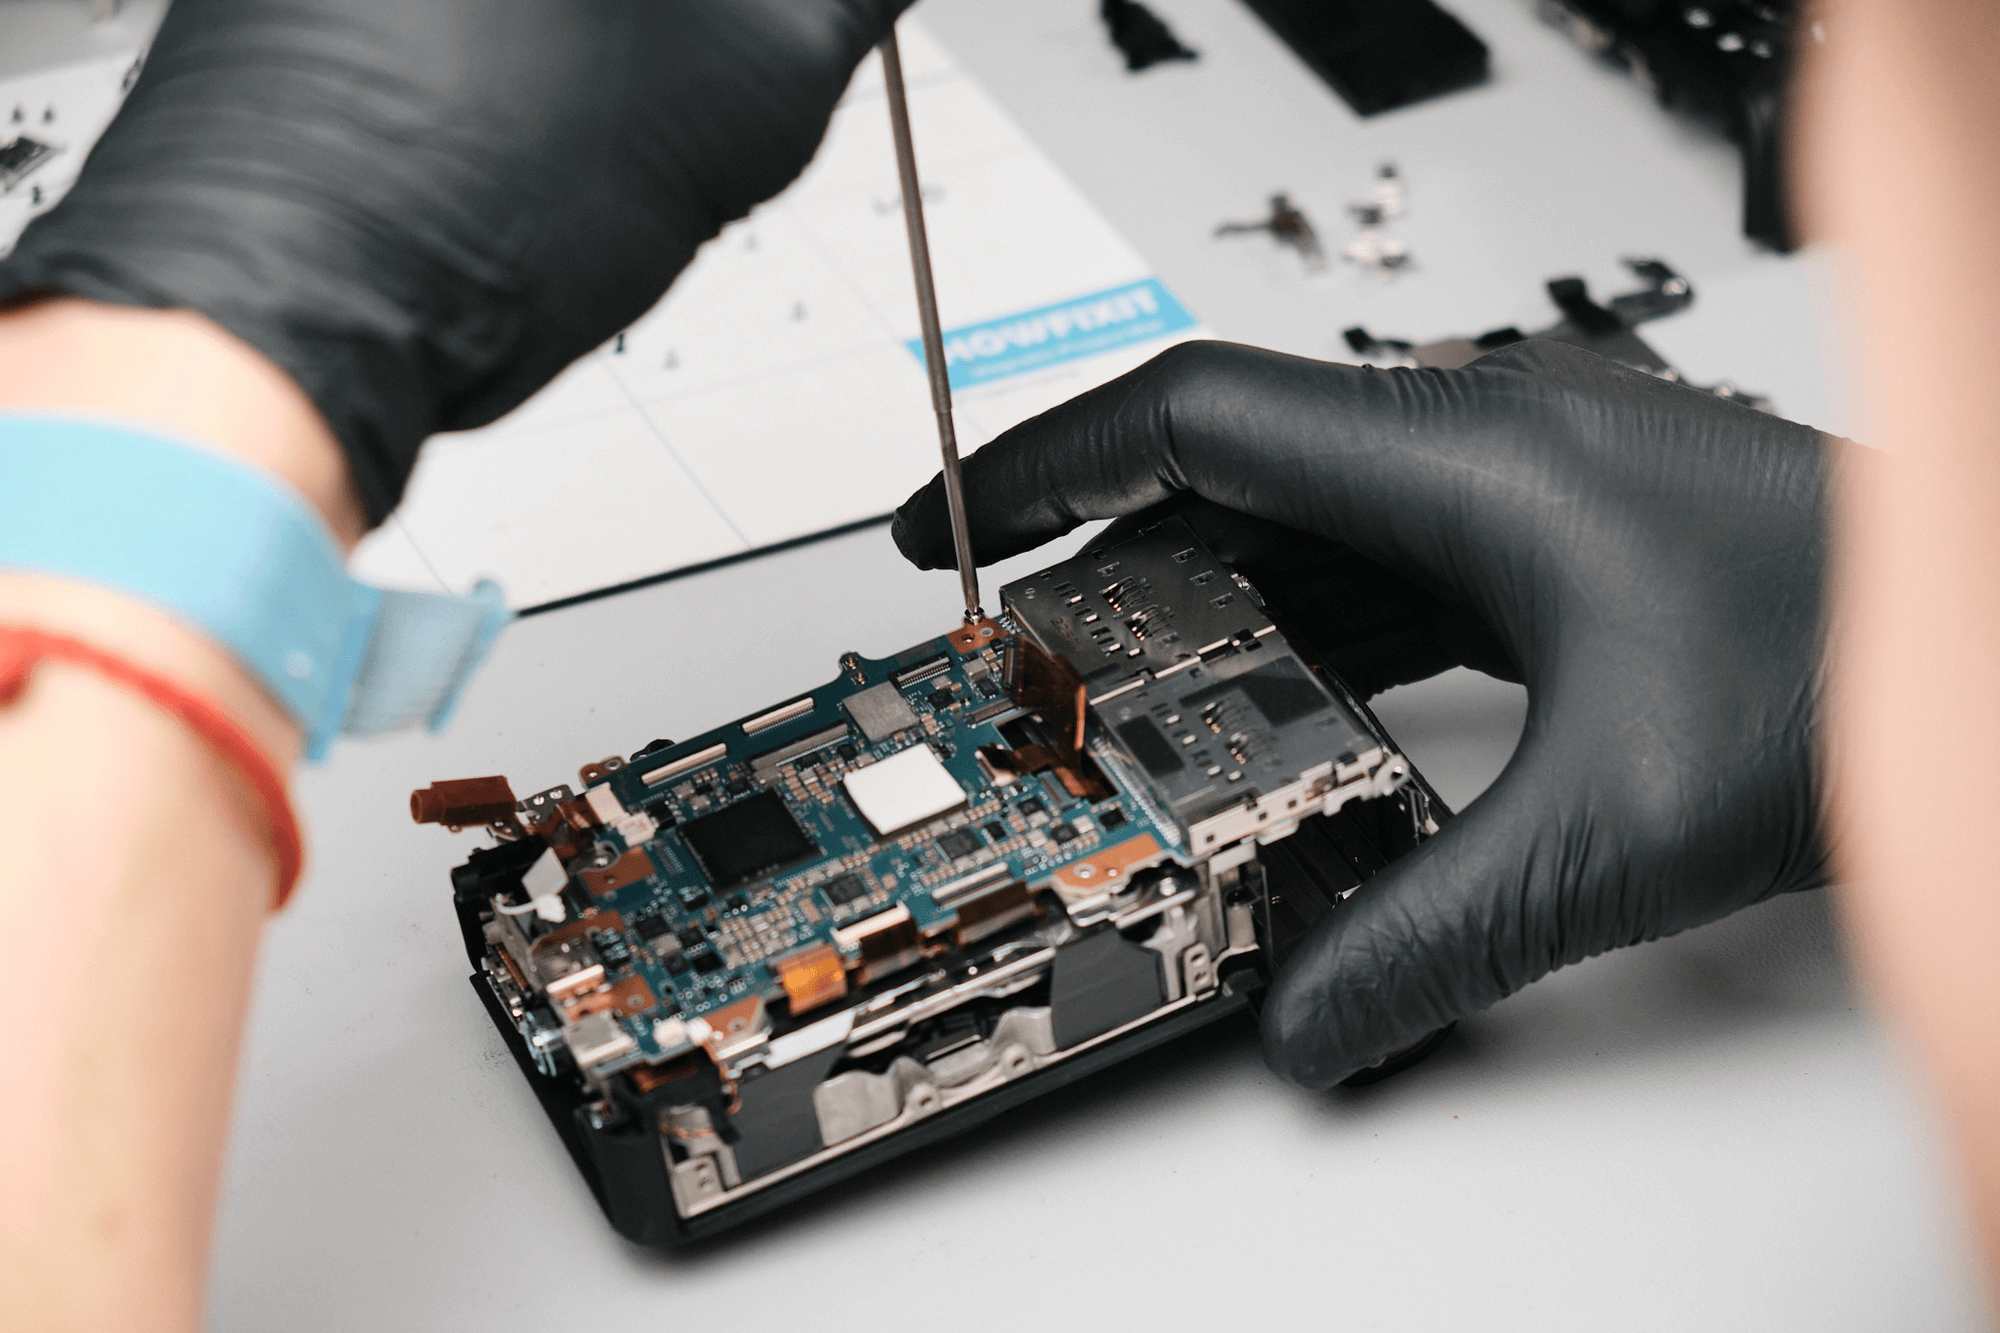
We removed two screws holding down the circuit board.
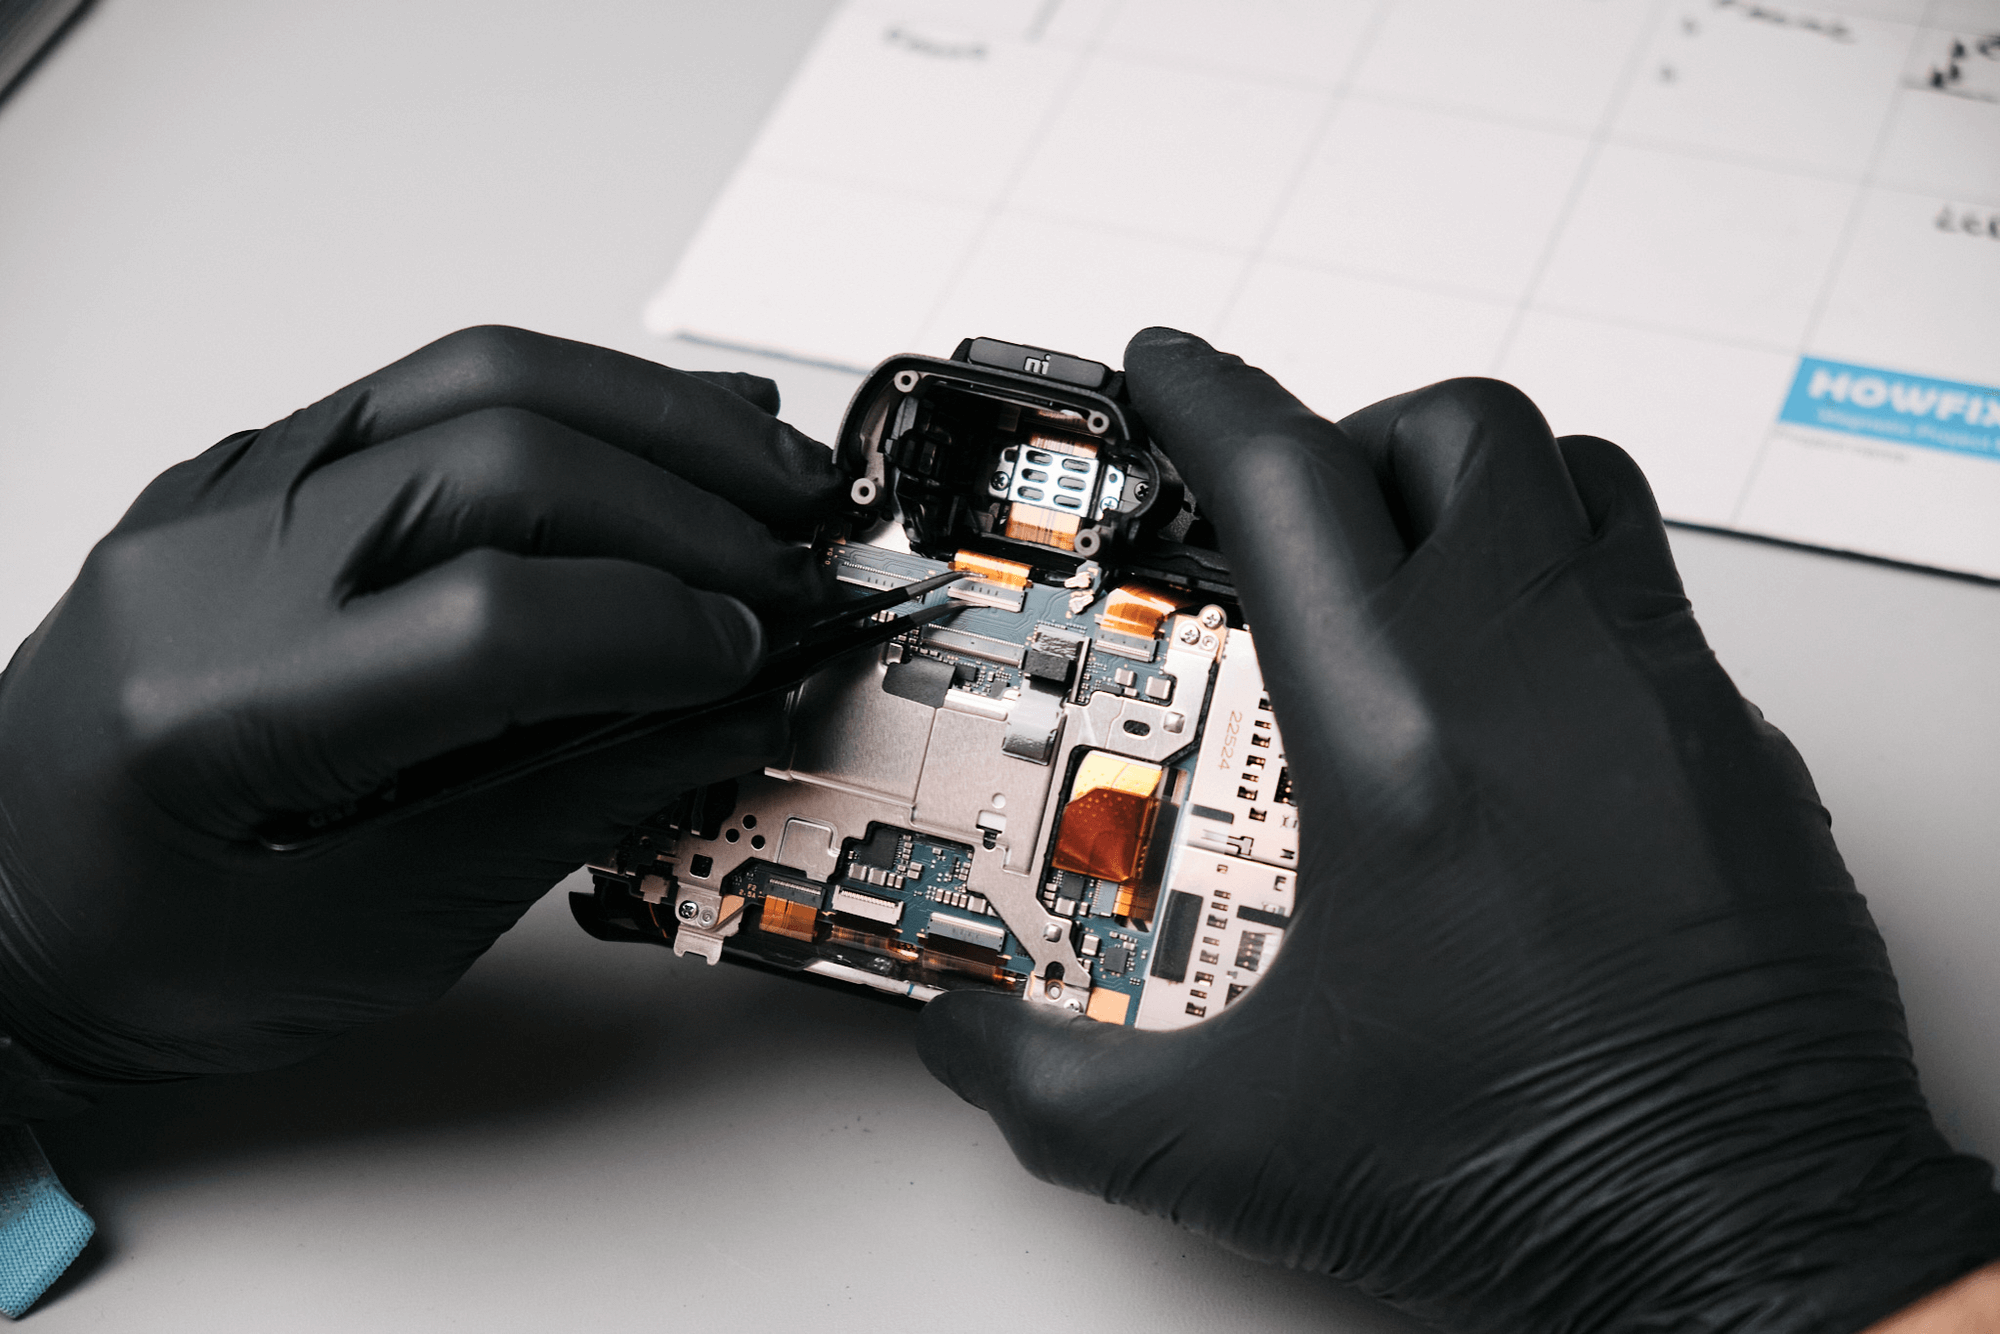
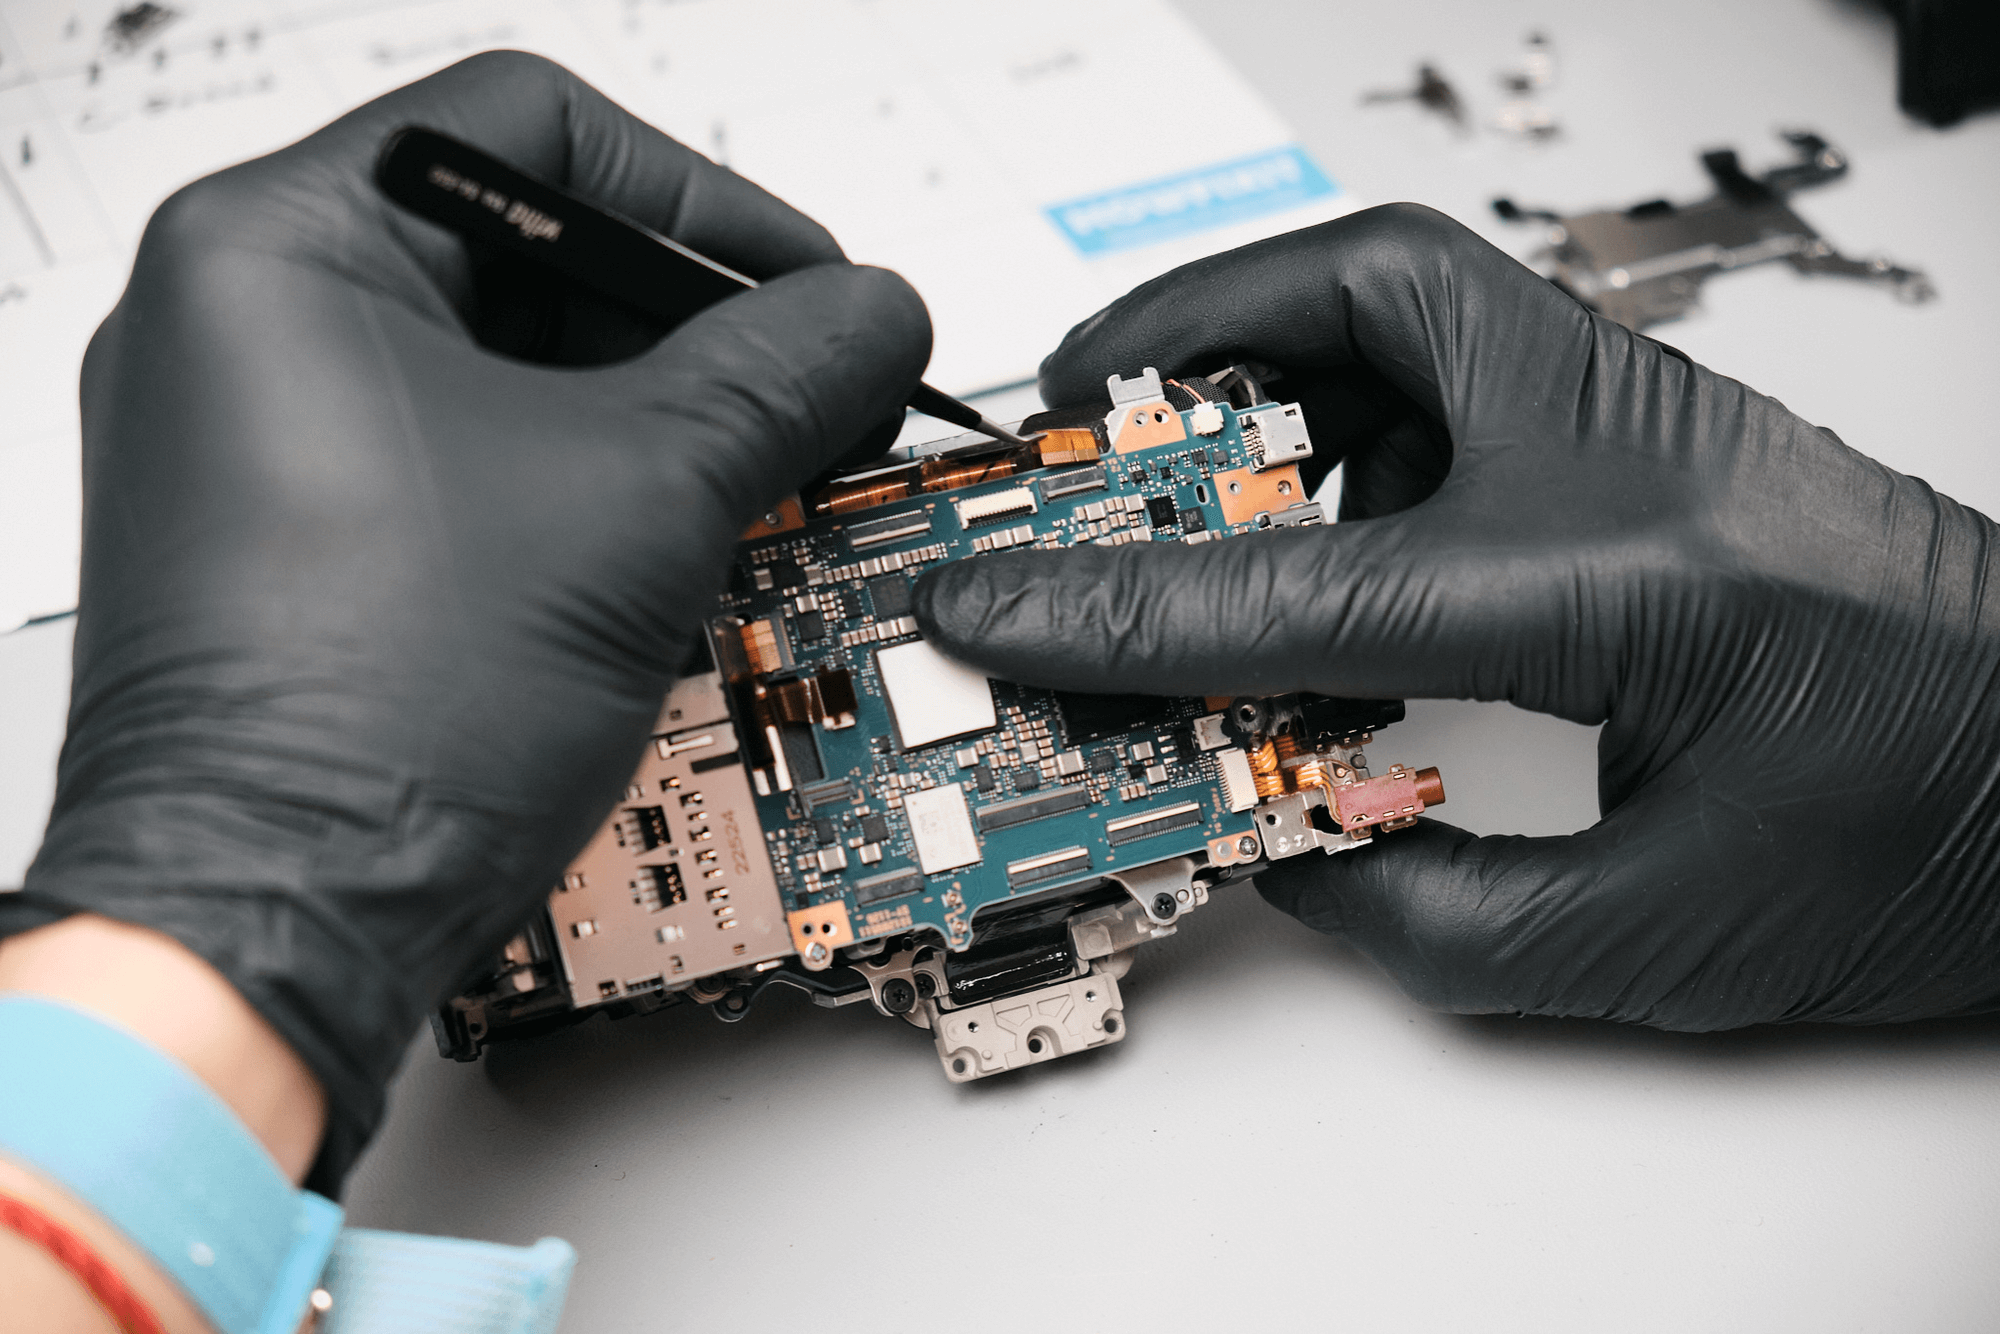
Another ribbon cable on the side of the camera needed to be removed.
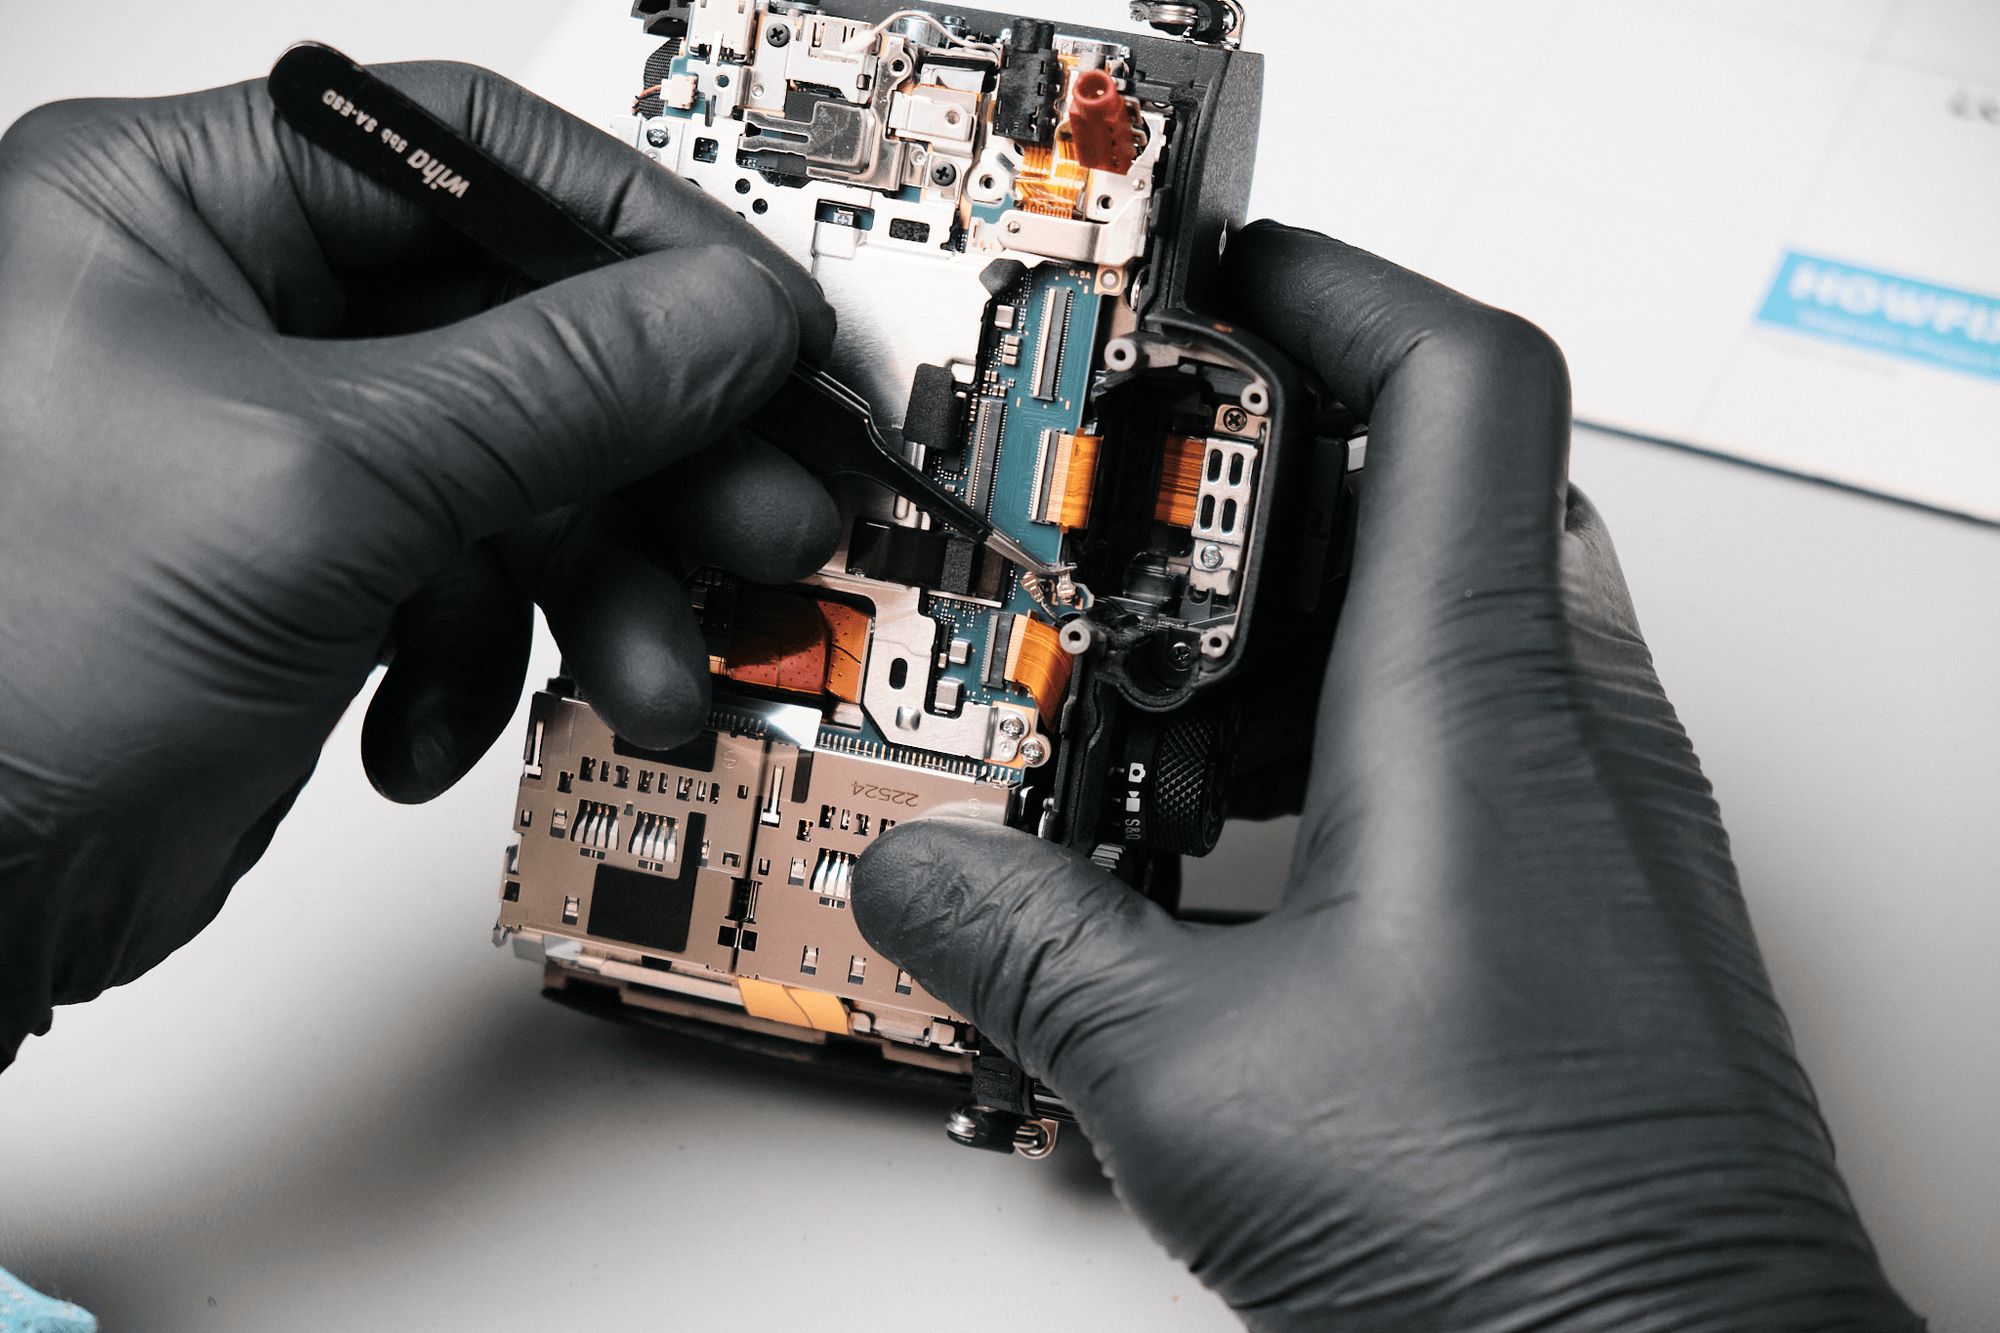
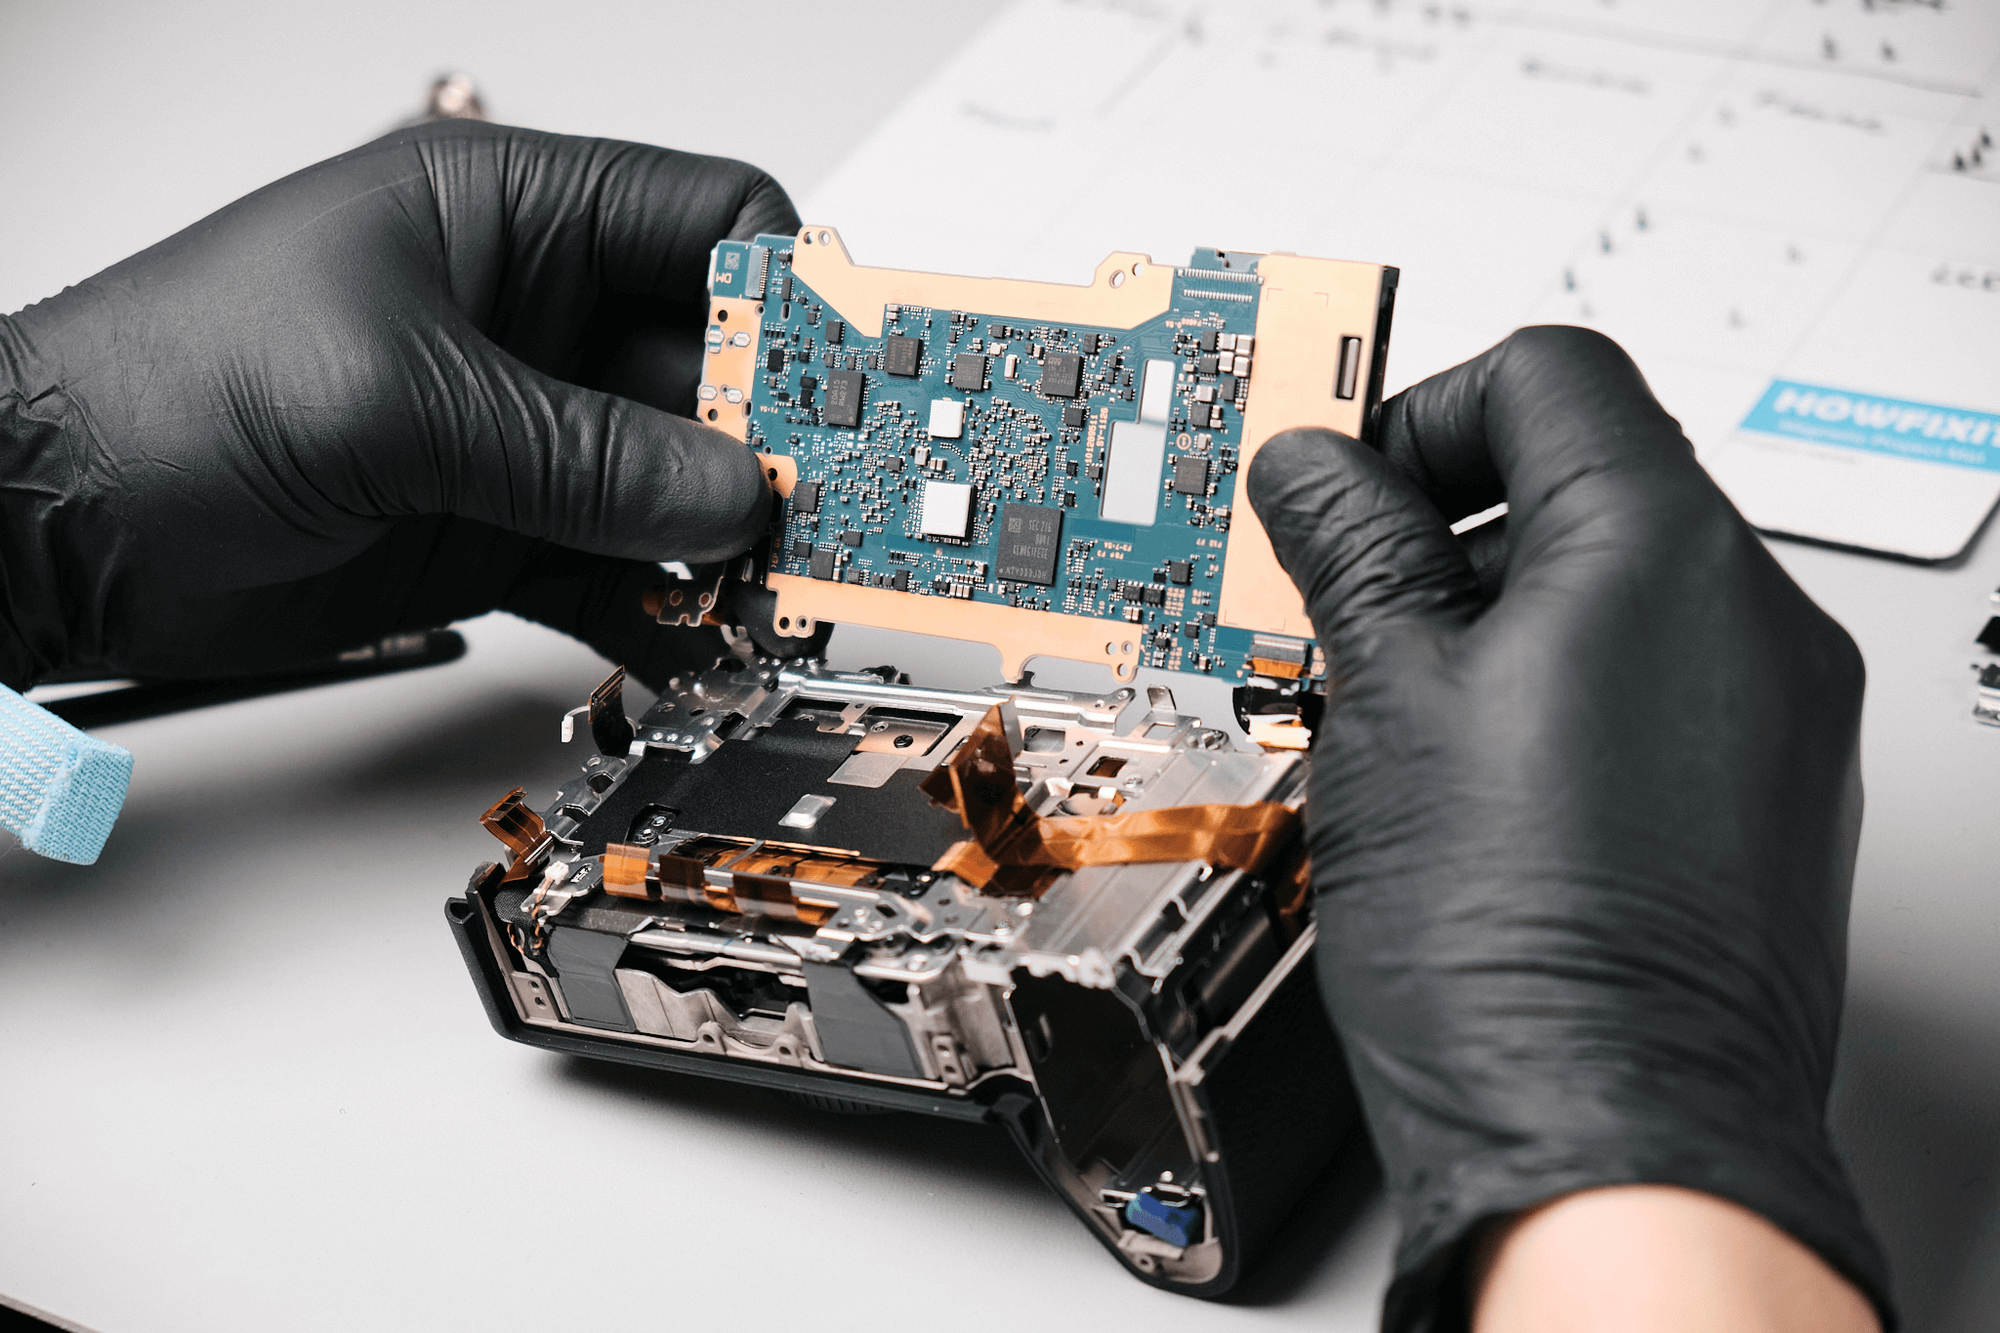
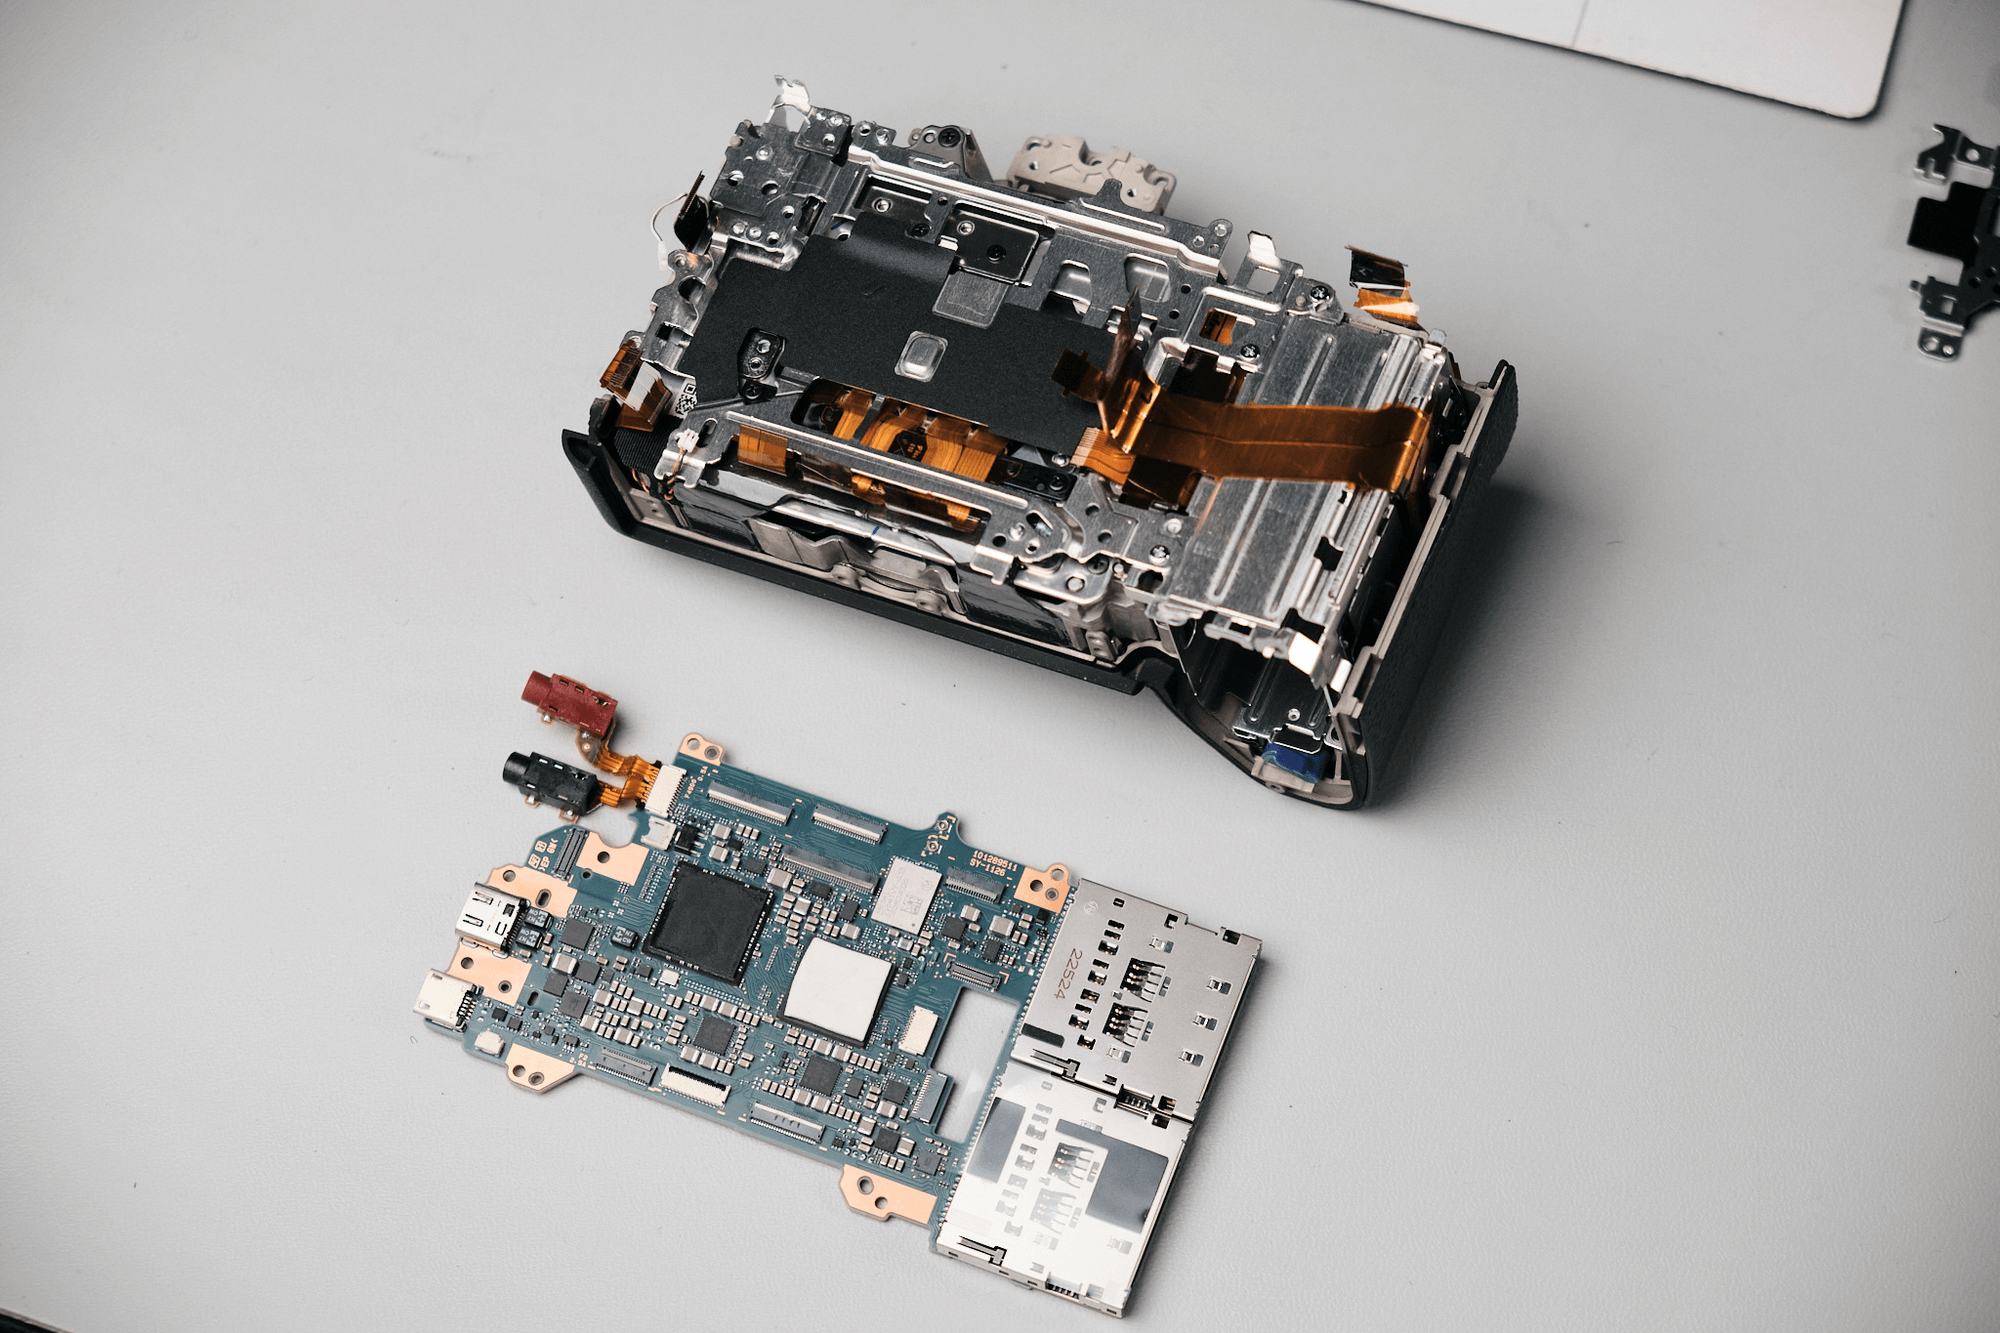
After removing the previous ribbon cable, we could flip the circuit board. However, there was still one more ribbon connecting it to the camera. This cable needed to be removed before the circuit board could be completely detached.
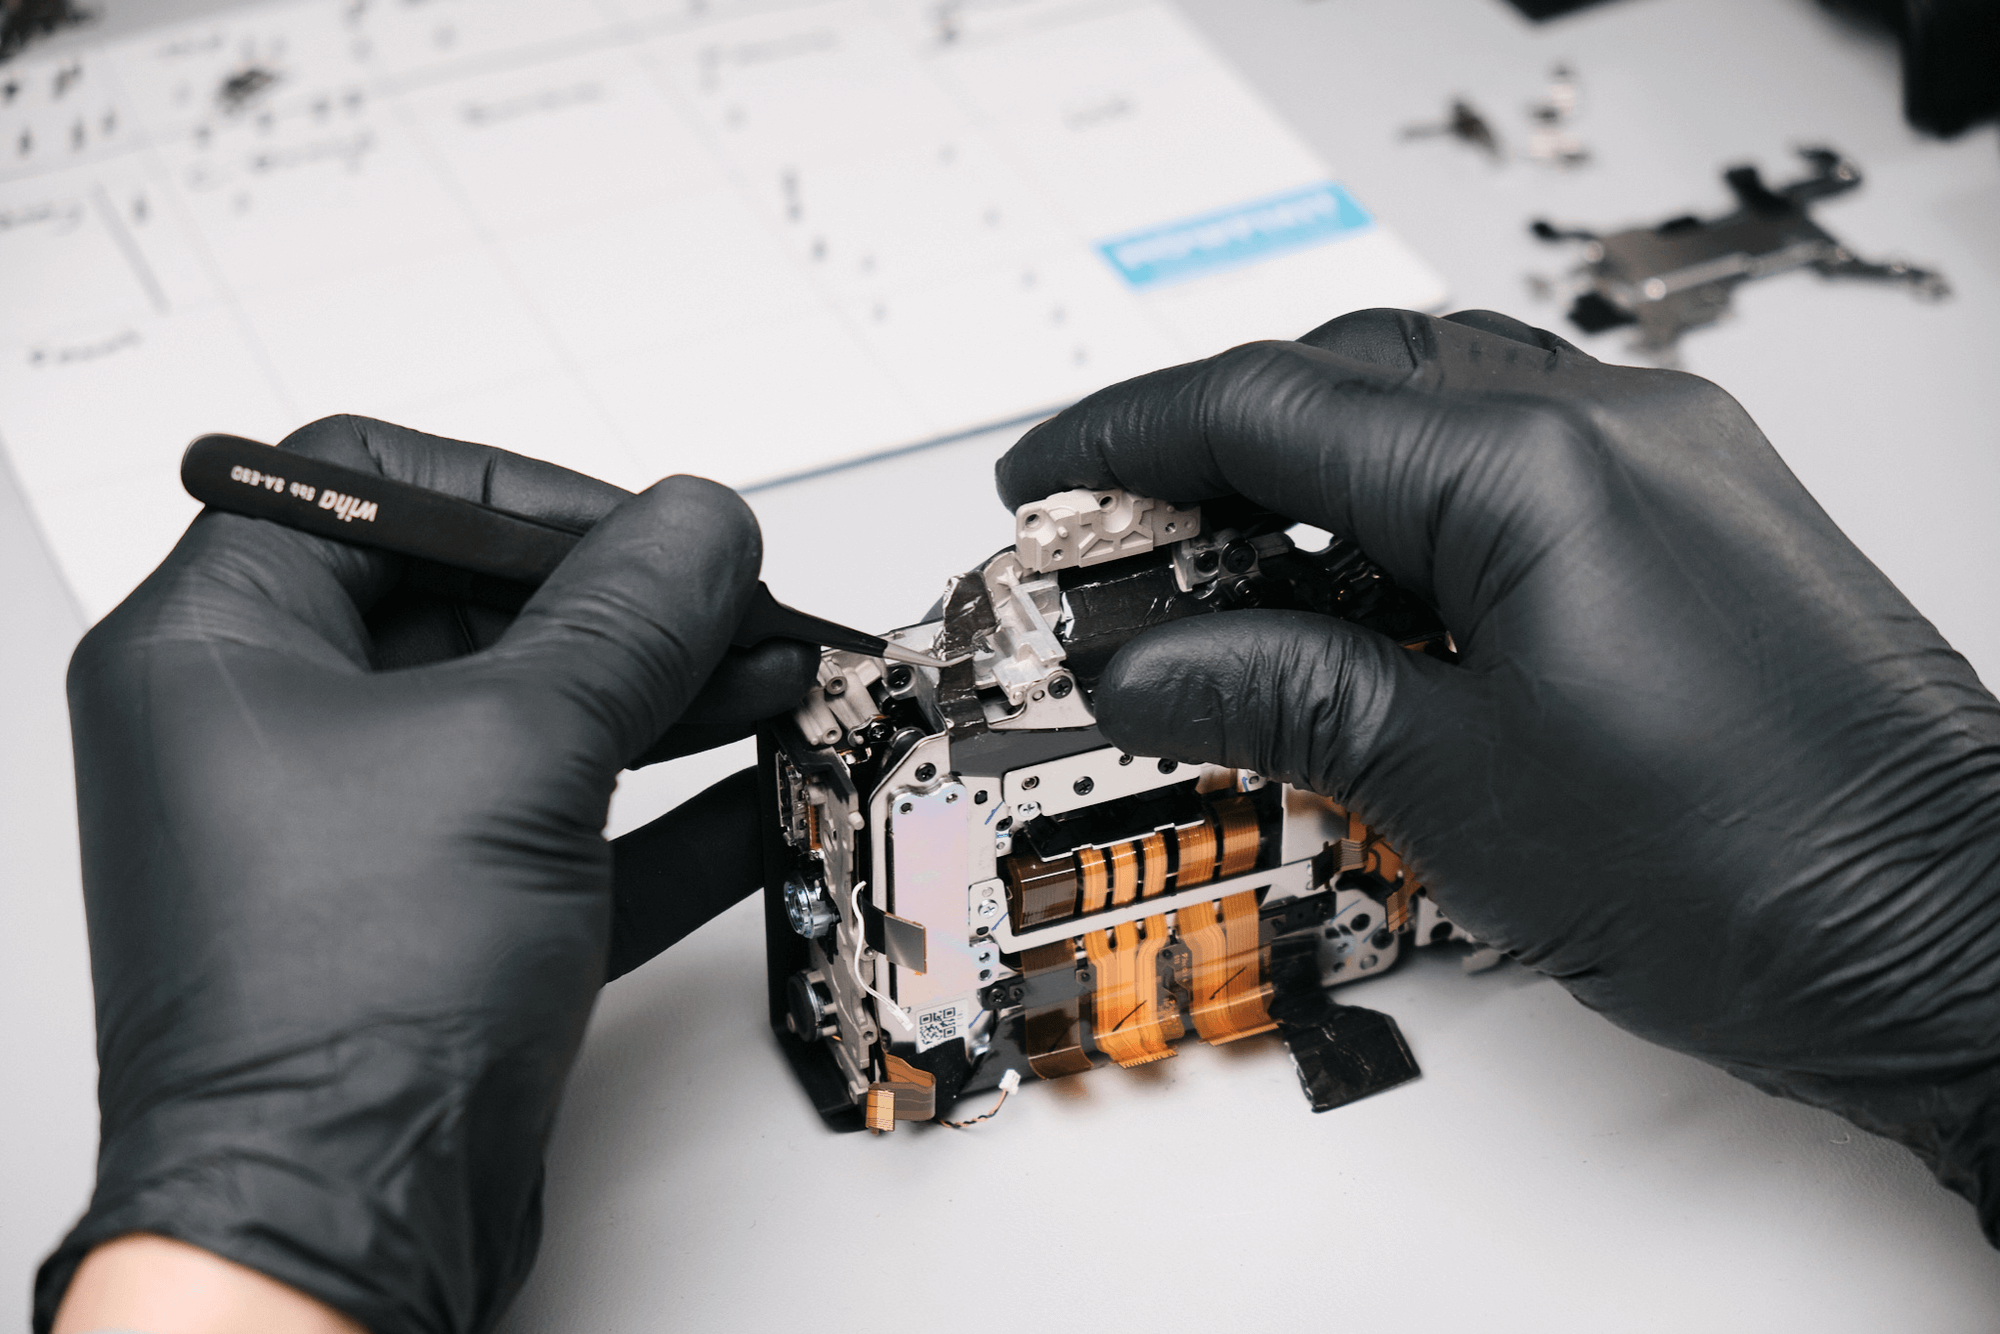
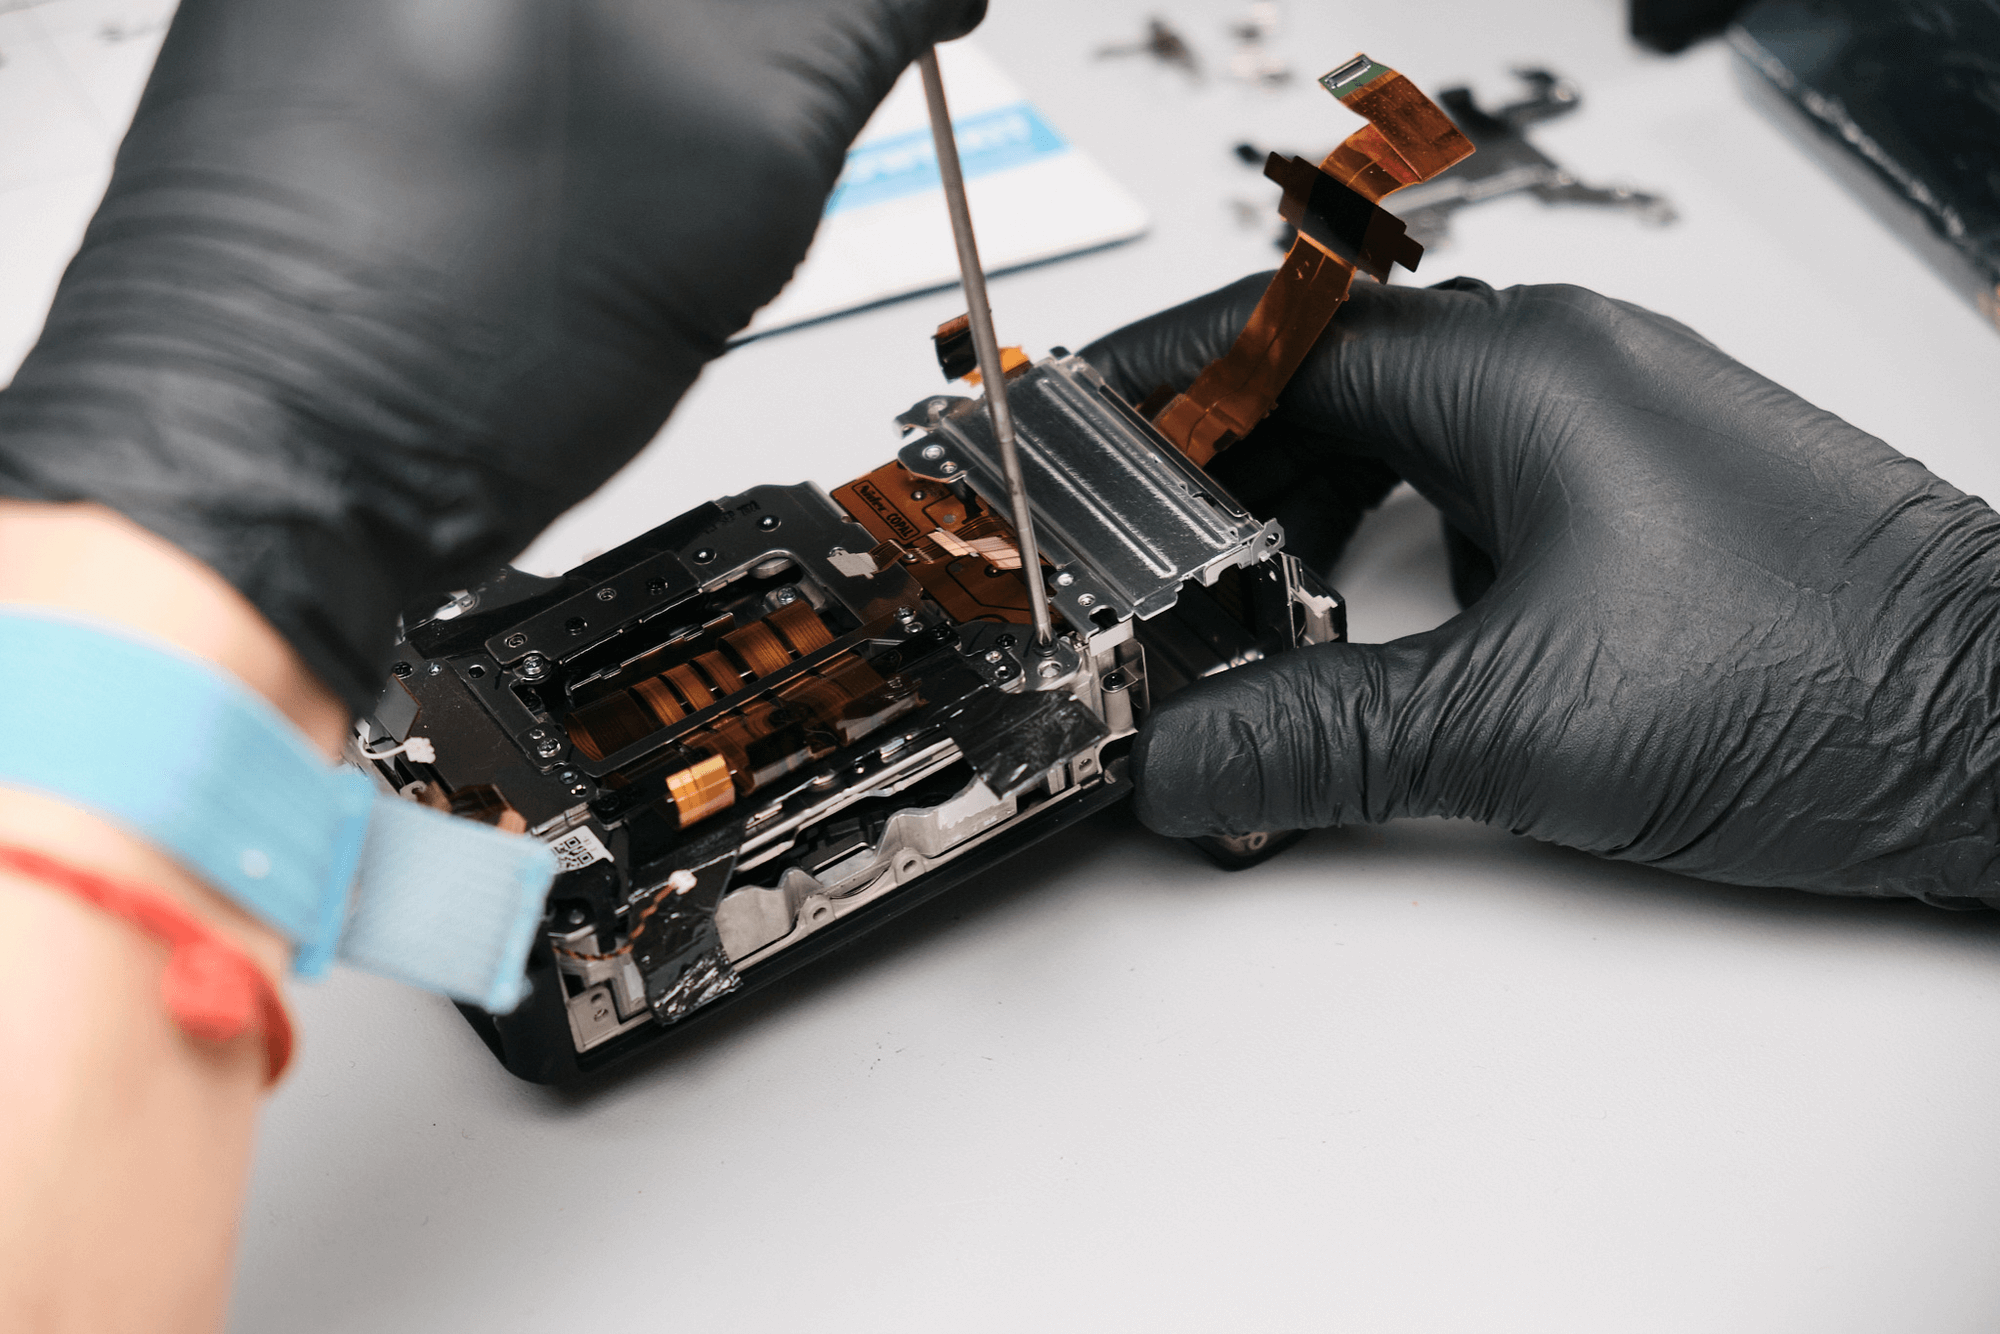
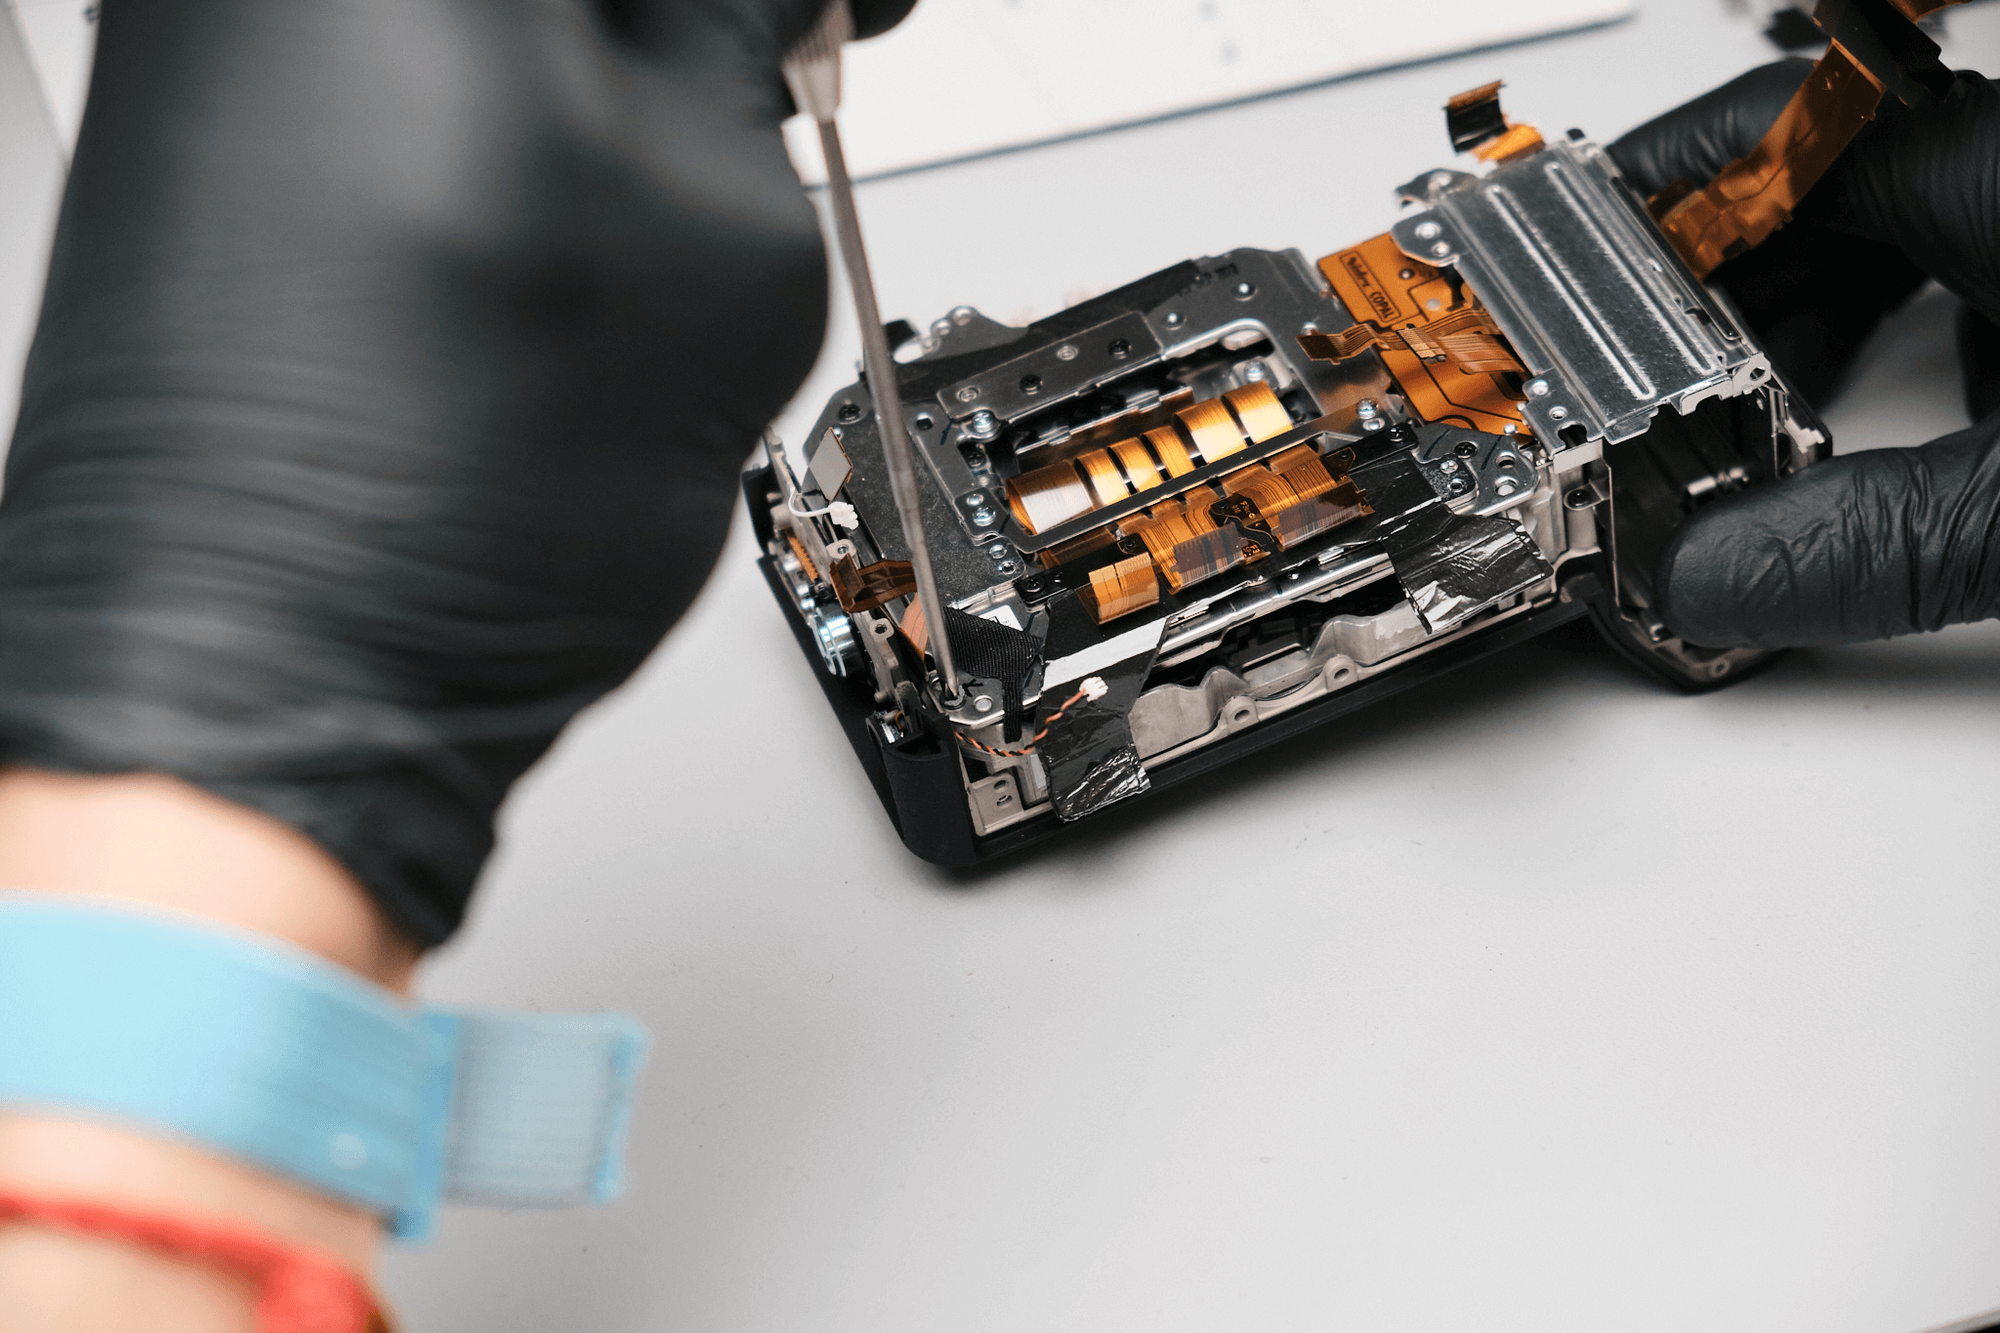
The circuit board bracket was removed.
Multiple heat transfer tapes were located around the camera. We found four in total.
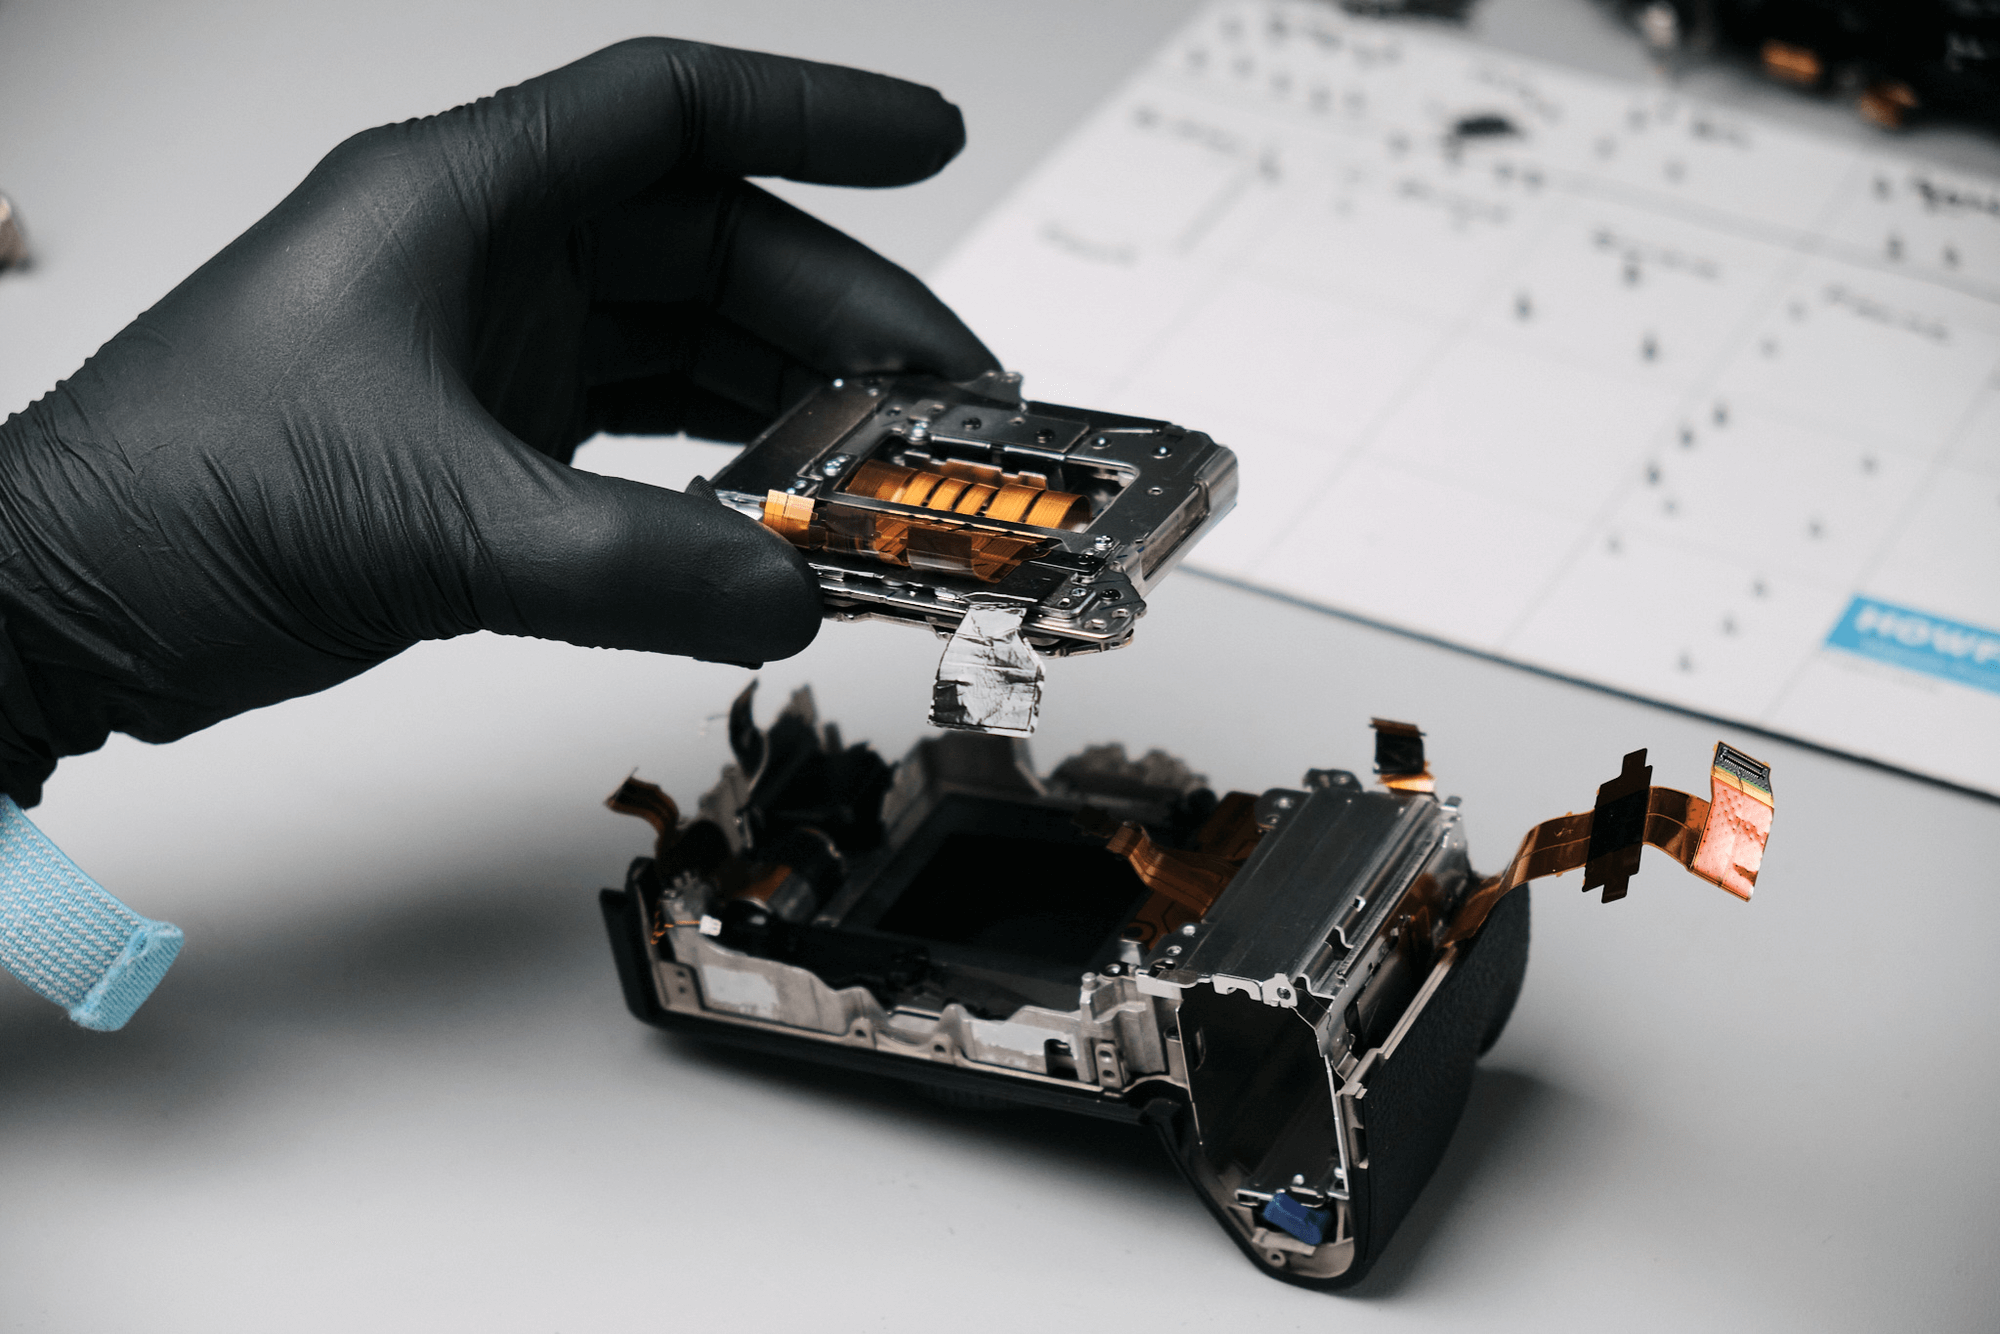
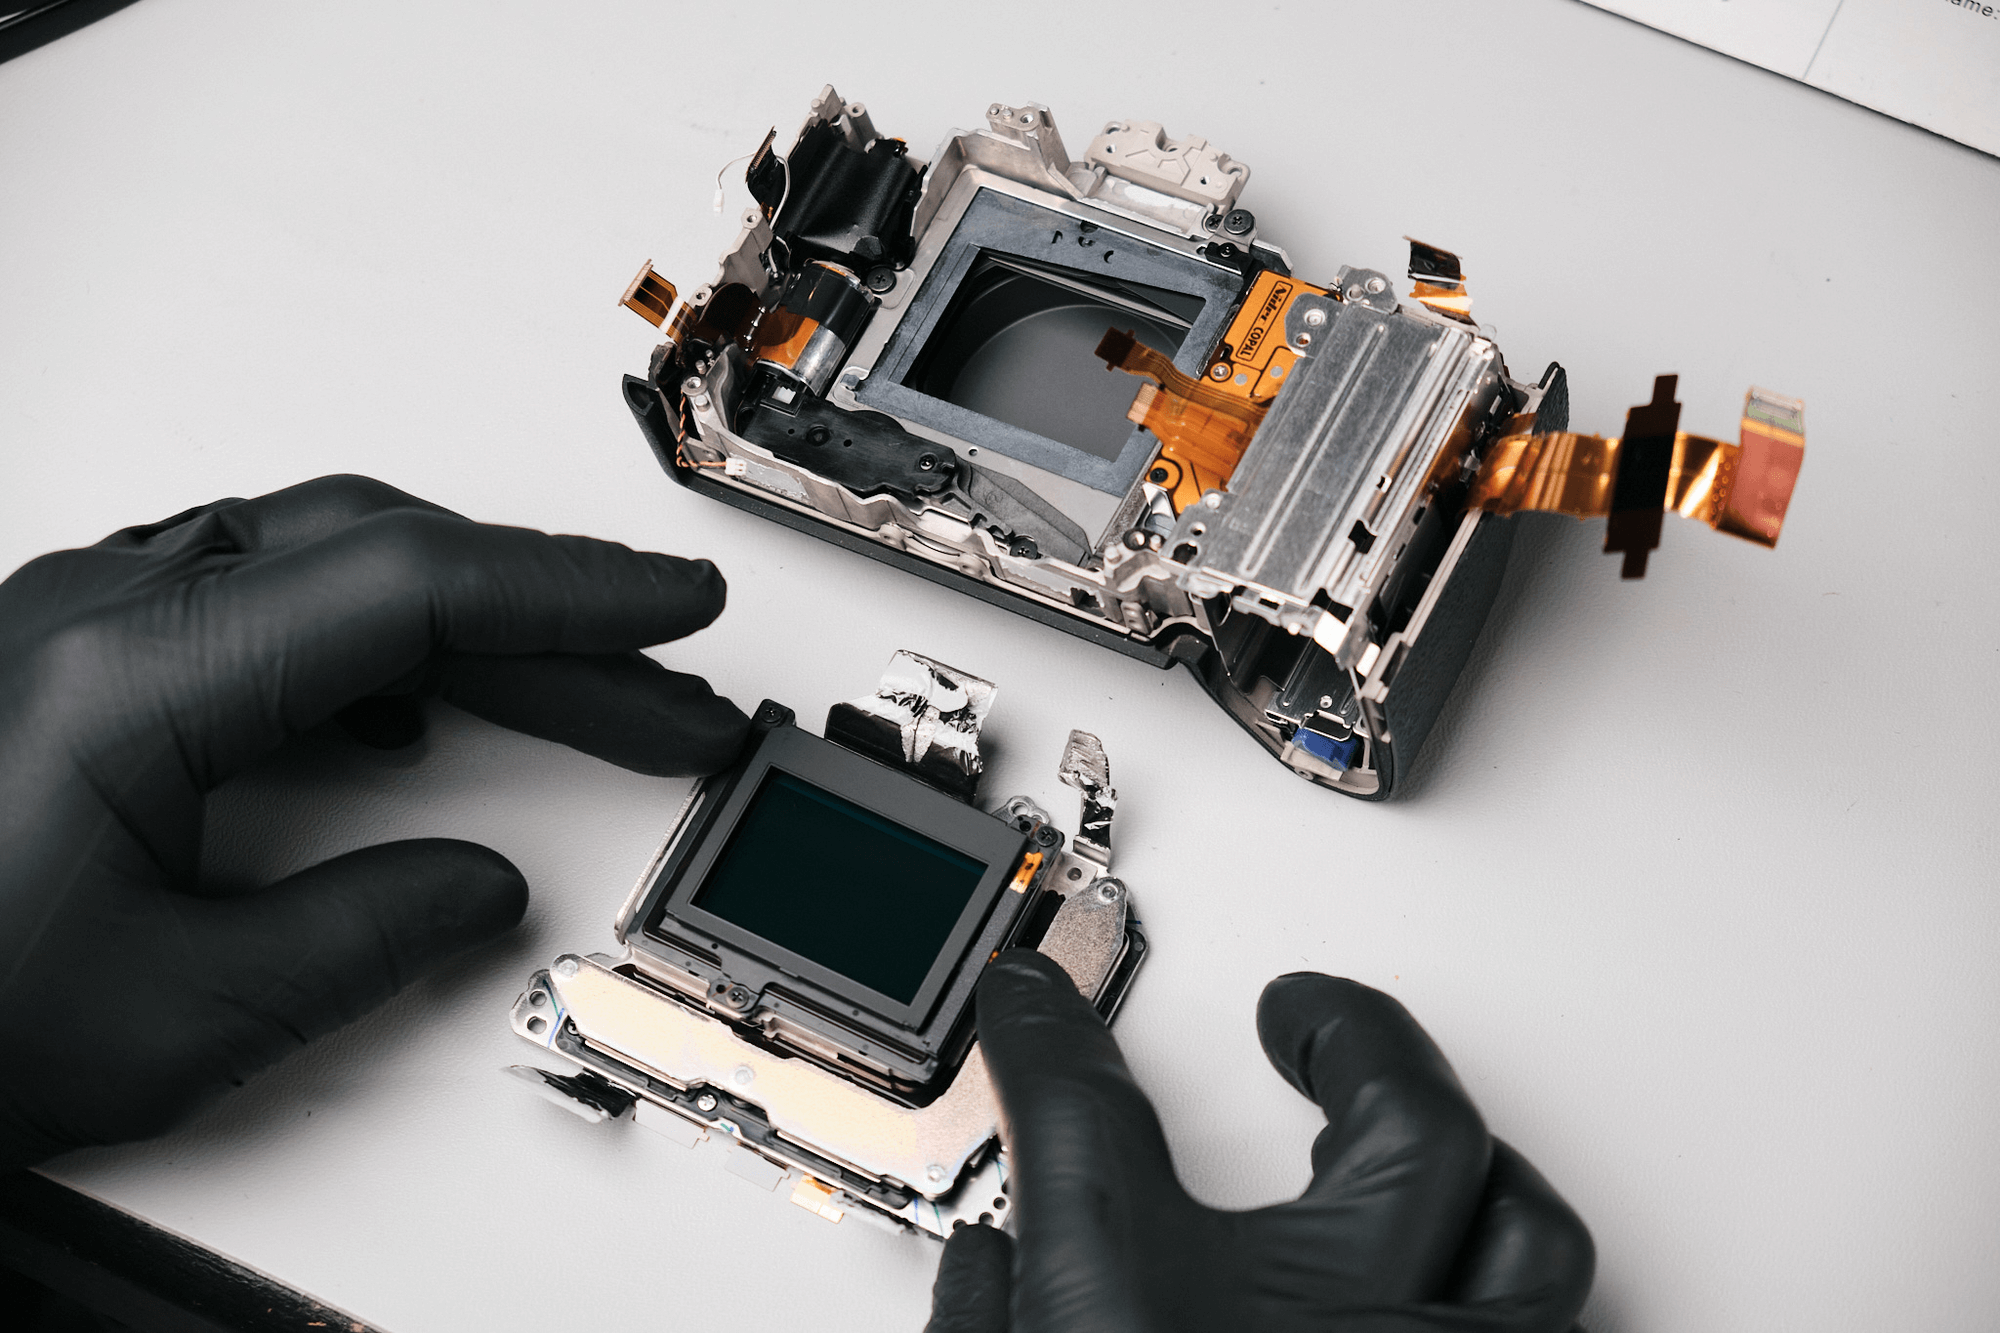
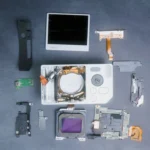
At this point, we were able to remove the sensor. The sensor came out once we removed the sensor screws.
Overall, the Sony A7R V was a relatively tricky camera to take apart. It was similar to the Sony A7 II, A7 III, and A7 IV in terms of difficulty since it contained many layers and screws within the camera’s build. In comparison, the Sony A1 was much easier to take apart.
Thanks for reading. We feature a new camera teardown every month. Be sure to sign up for our newsletter so you don’t miss them!