FREE SHIPPING FOR ALL DOMESTIC ORDERS OVER $100 - NO SALES TAX OUTSIDE OF NJ!
0

Sony A7CR Teardown

Table of content

The Sony A7CR houses a whopping 61-megapixel sensor in a compact, full-frame body with most of the features of its big sibling, the Sony A7RV.

Sony A7CR Features and E-Mount Filter Compatibility

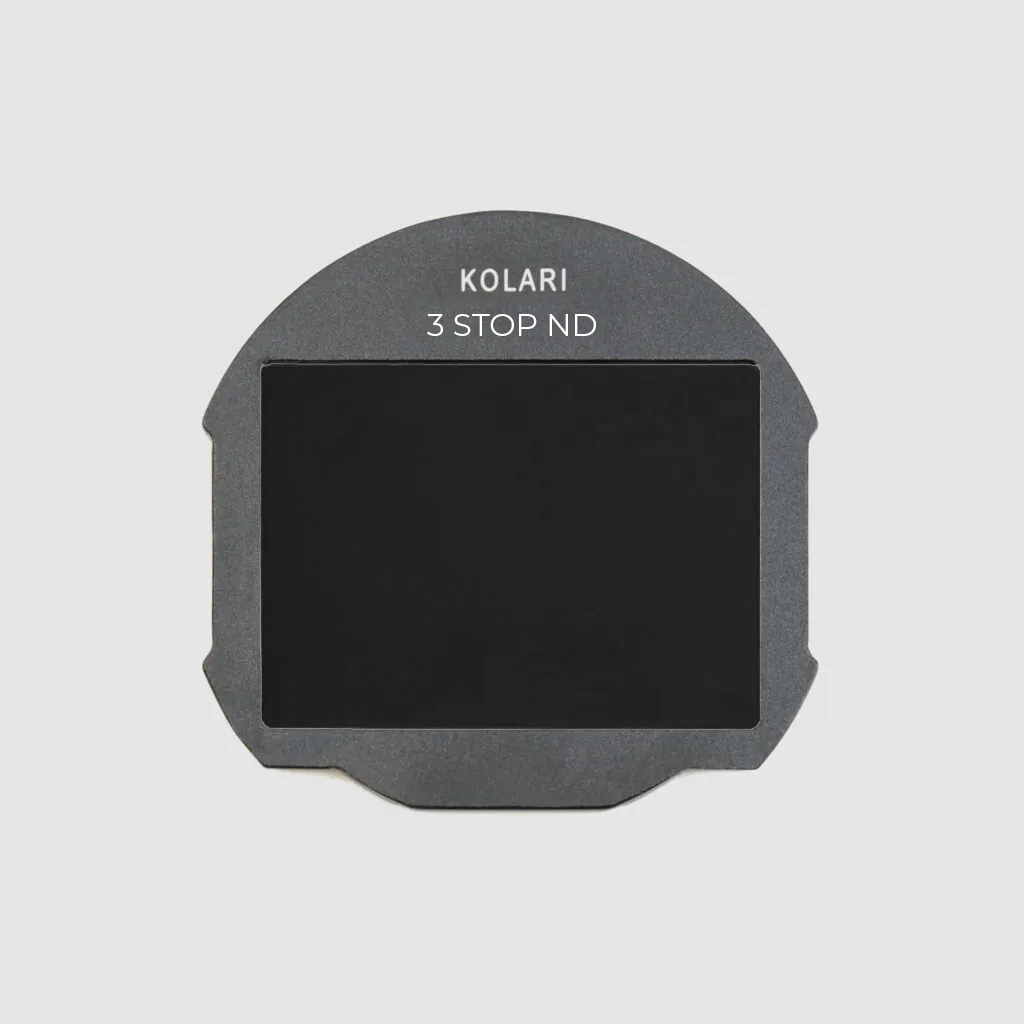
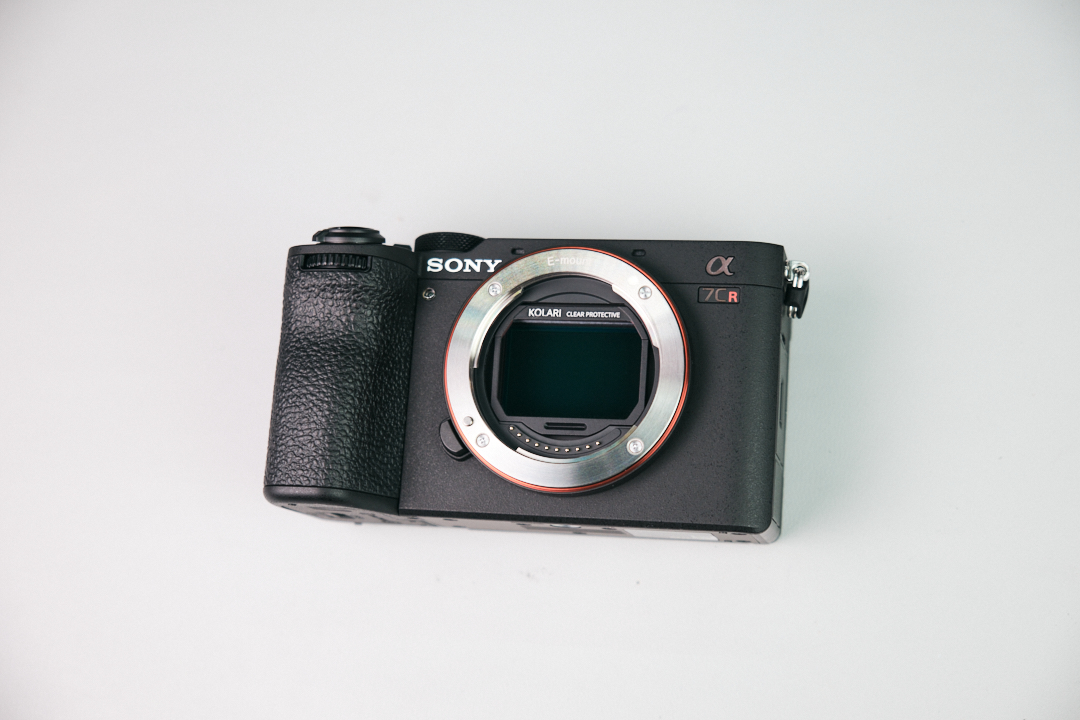
The Sony A7CR was announced on August 29, 2023, and released later in the September alongside several products including the Sony A7C II mirrorless camera, and FE 16-35mm F2.8 GM II Lens. Sony has many full-frame cameras that are compatible with our Kolari Magnetic Clip-in Filters for Sony E-mount, including this new camera release.

Sony A7CR Key Specs and Compact Body Design

According to Sony’s press release, the featured highlights of the A7CR include a compact size for mobility, improved autofocus, advanced video performance, operability and connectivity, and an environmentally friendly design. Among other features, the A7CR has a dedicated ‘AI’ processing unit, 4k video up to 60p or oversampled 4k from APS-C crop, and a single UHS-II SD card slot.

Starting the Sony A7CR Teardown With the Baseplate

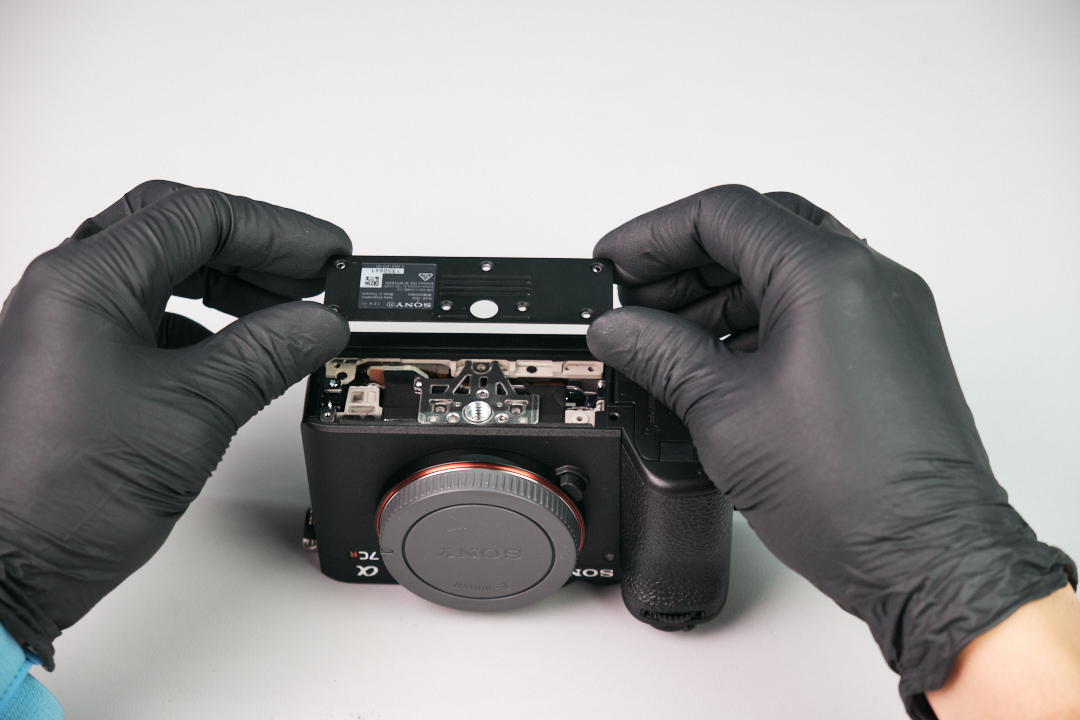
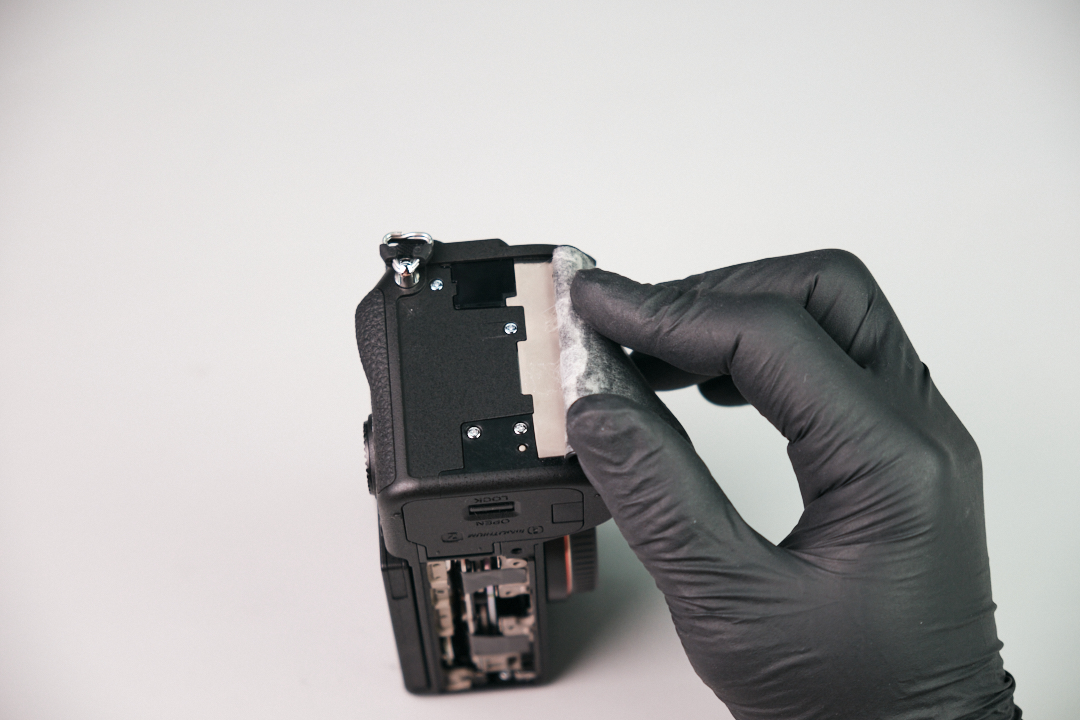
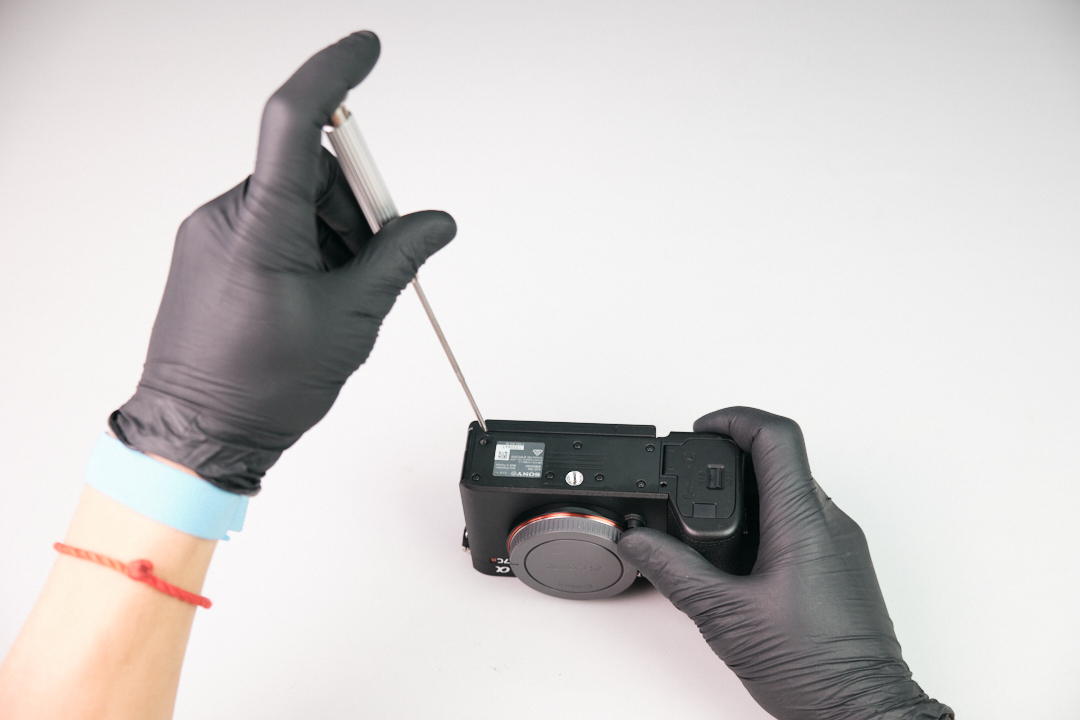
First, we tackled the baseplate of the camera. We removed seven screws, which allowed us to remove the tripod plate cover.

Removing Battery Door and Tripod Mount Screws

Here we opened up the battery door and unfastened one silver screw.

We removed one black screw next to the tripod mound bracket, as well as a scilver screw holding down the bottom of the dust cover.

Removing Port Side Screws on the Sony A7CR

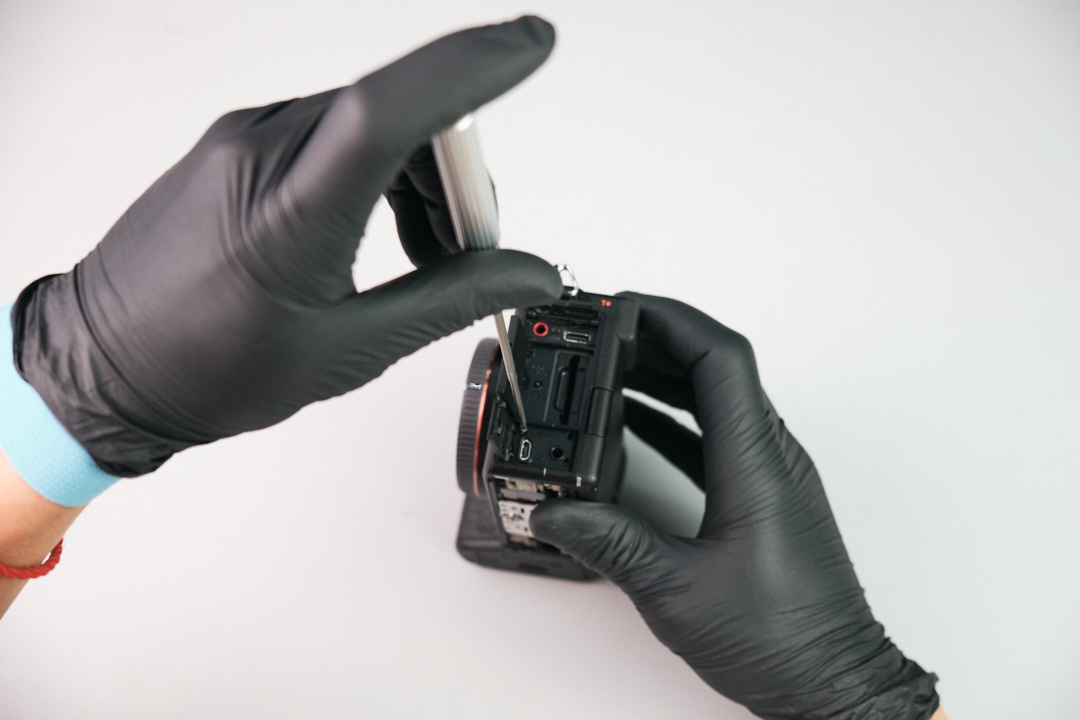
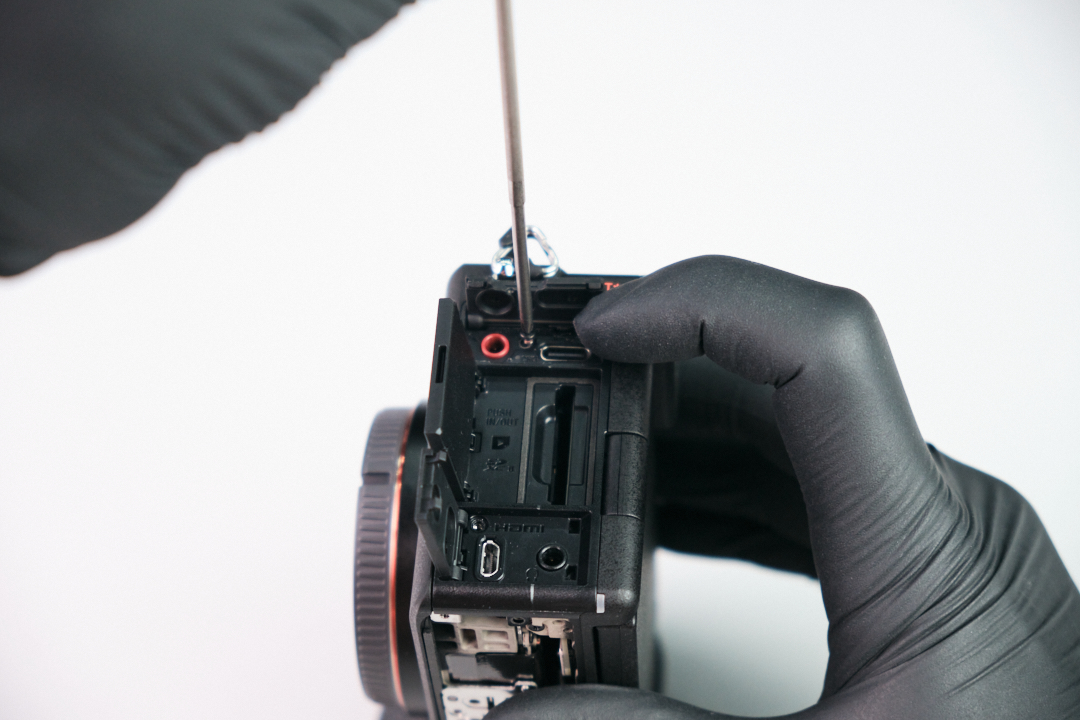
Four screws were removed on the port side of the Sony camera.

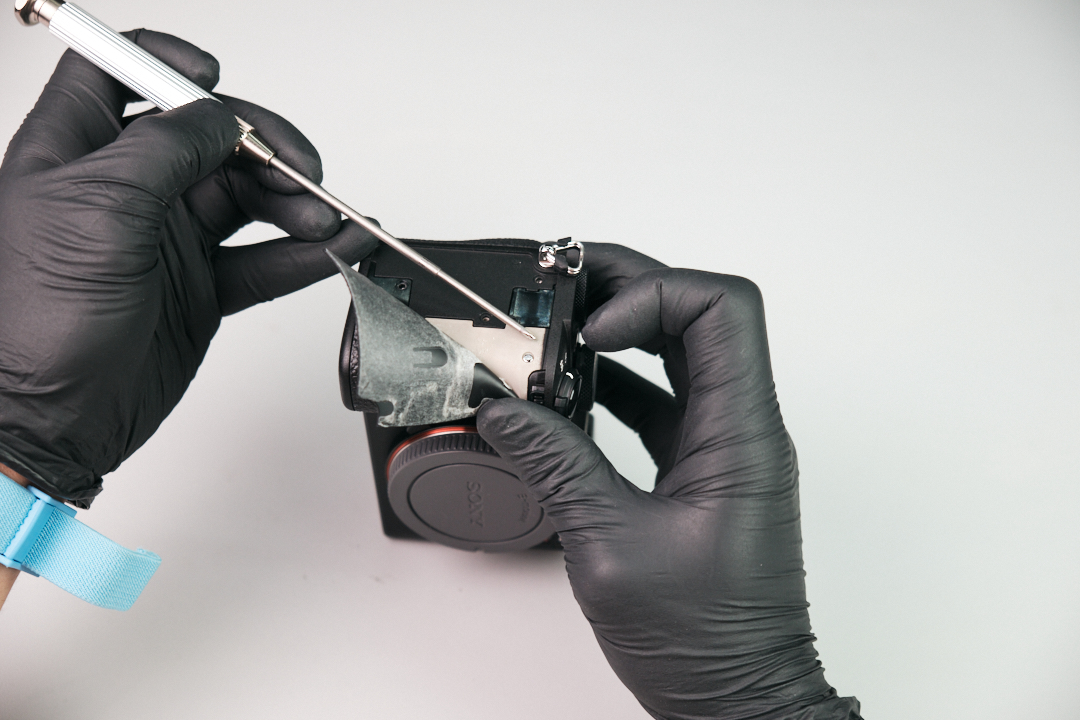
Removing LCD Side Screws and Diopter Screw

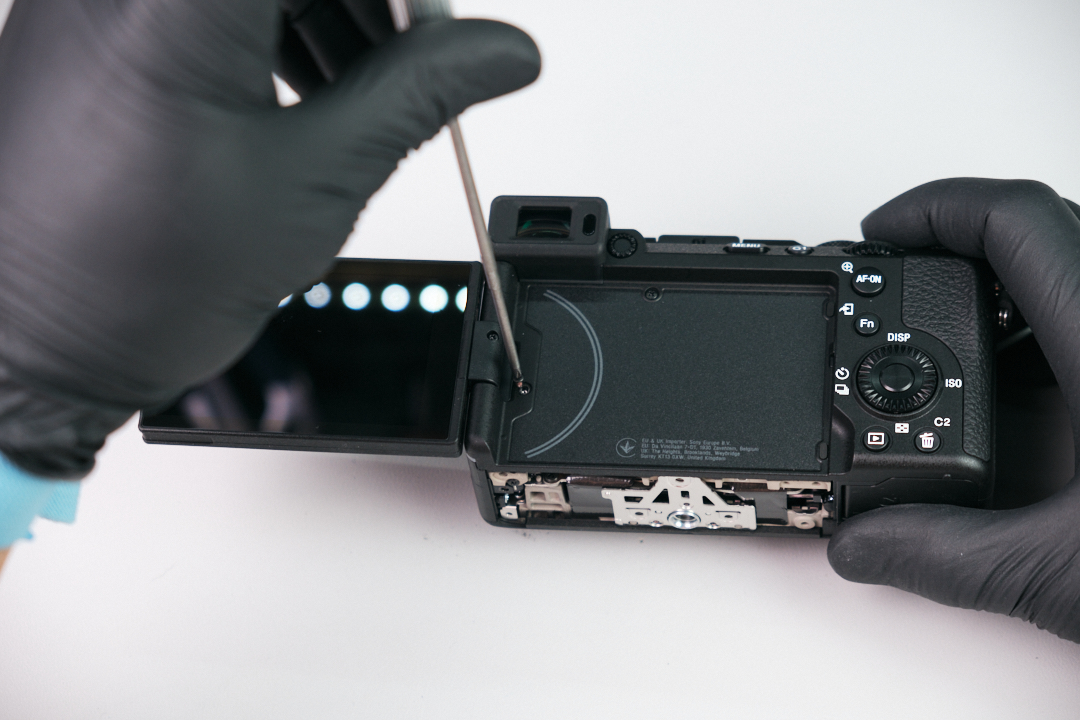
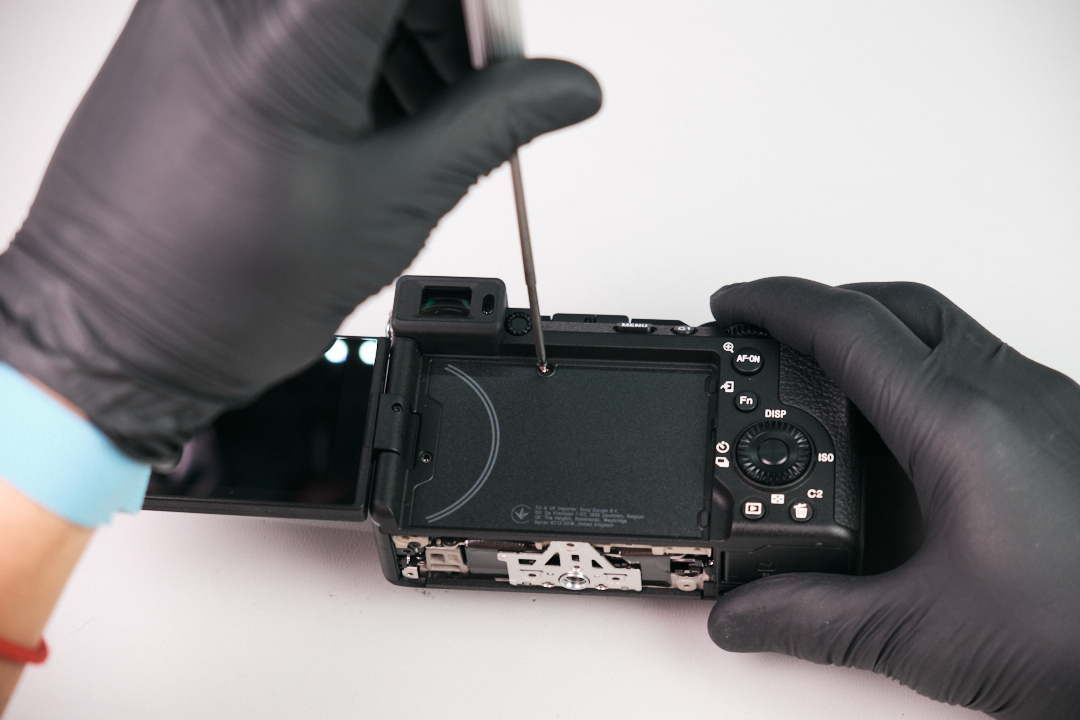
Underneath the LCD screen, we removed two screws.

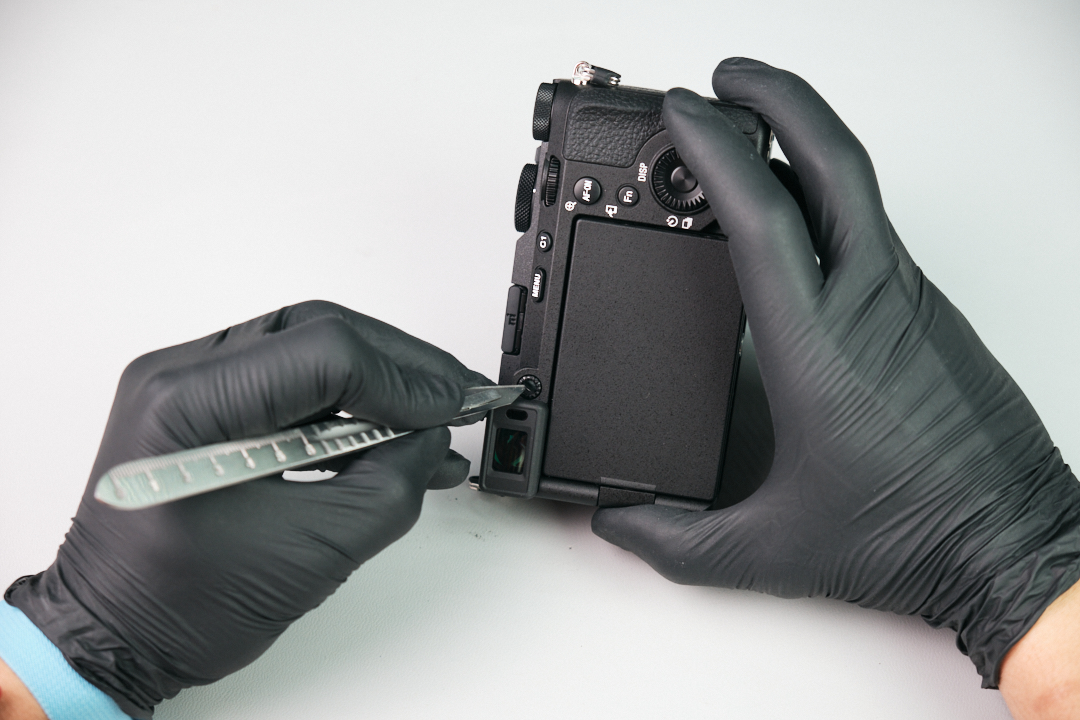
Using a scalpel, we carefully removed the vinyl covering to expose the diopter screw. We carefully unfastened that screw and set it aside.

Removing the Tripod Mount Bracket

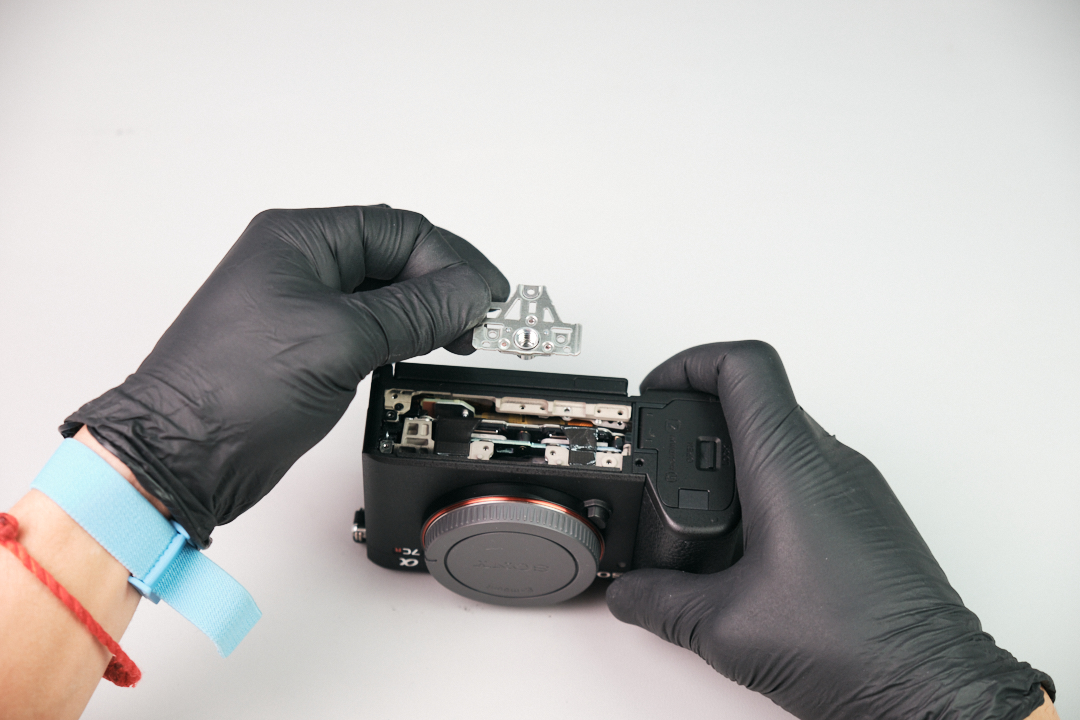
The tripod mount bracket was removed.

Finding Hidden Screws Under the Top Panel and Grip Cover

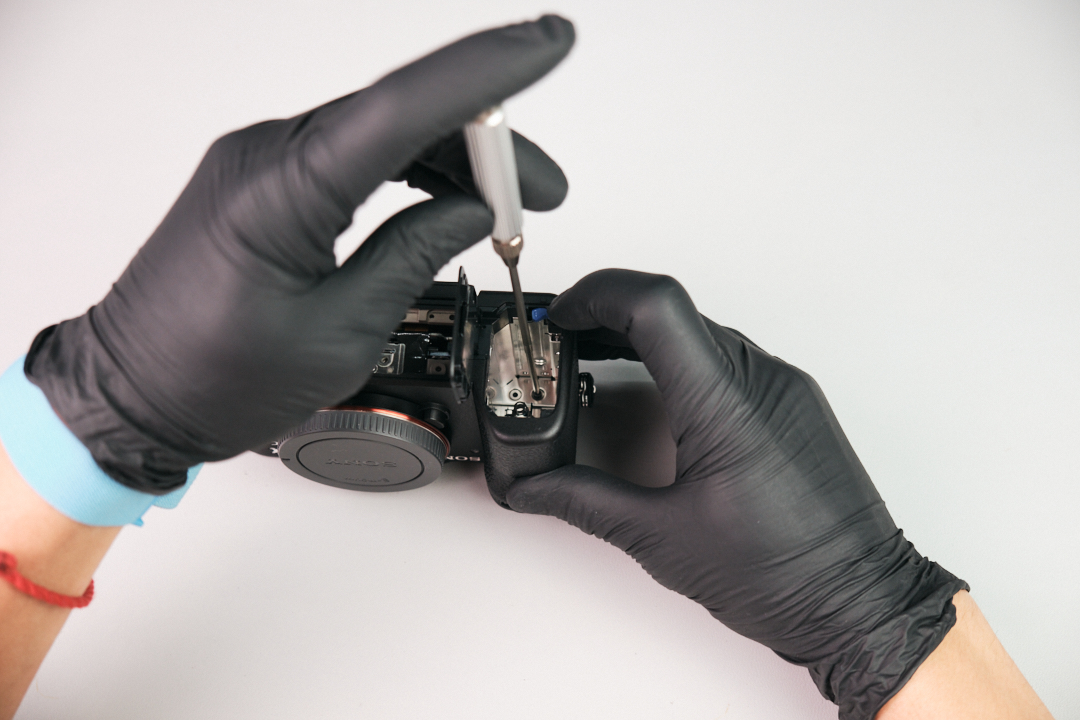
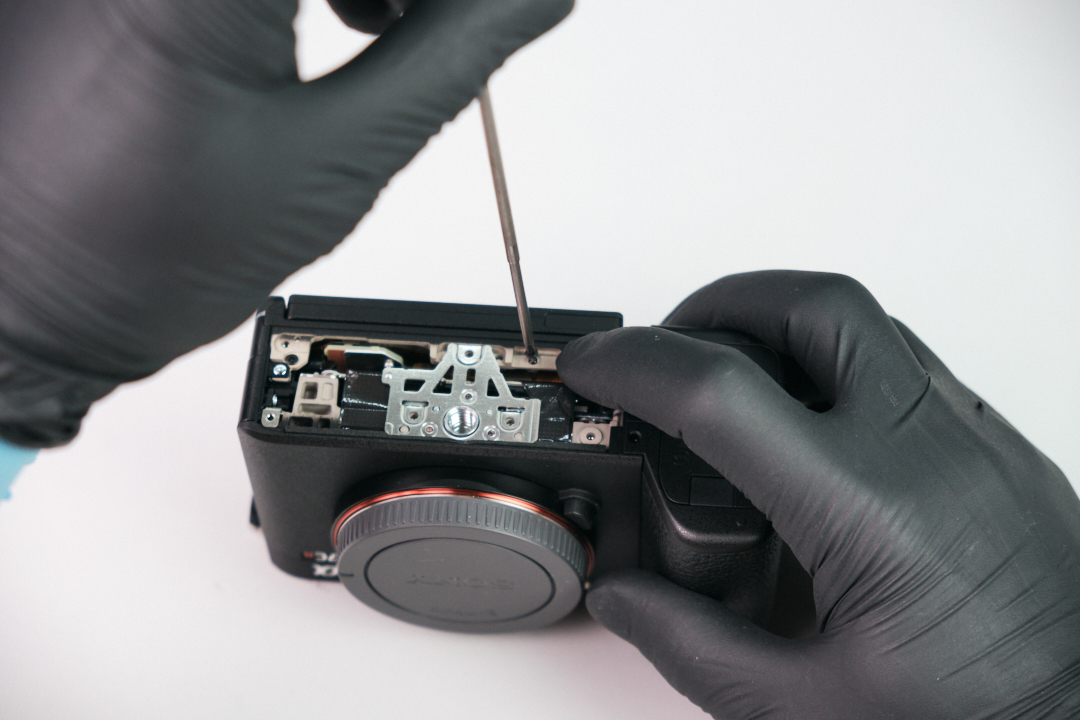
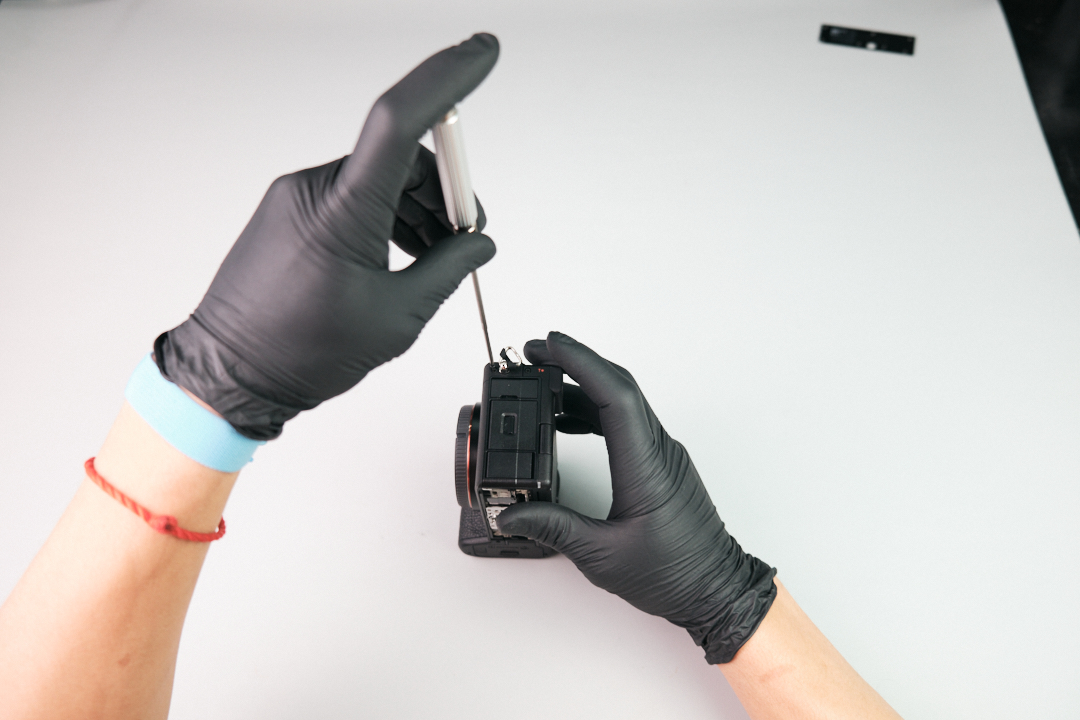
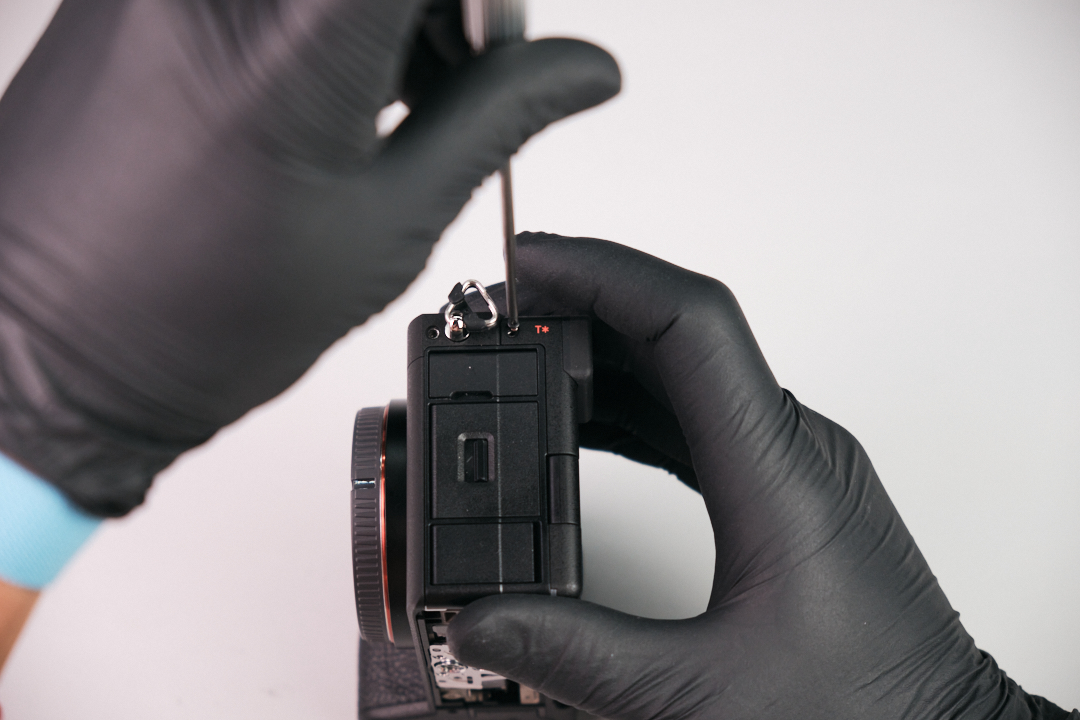
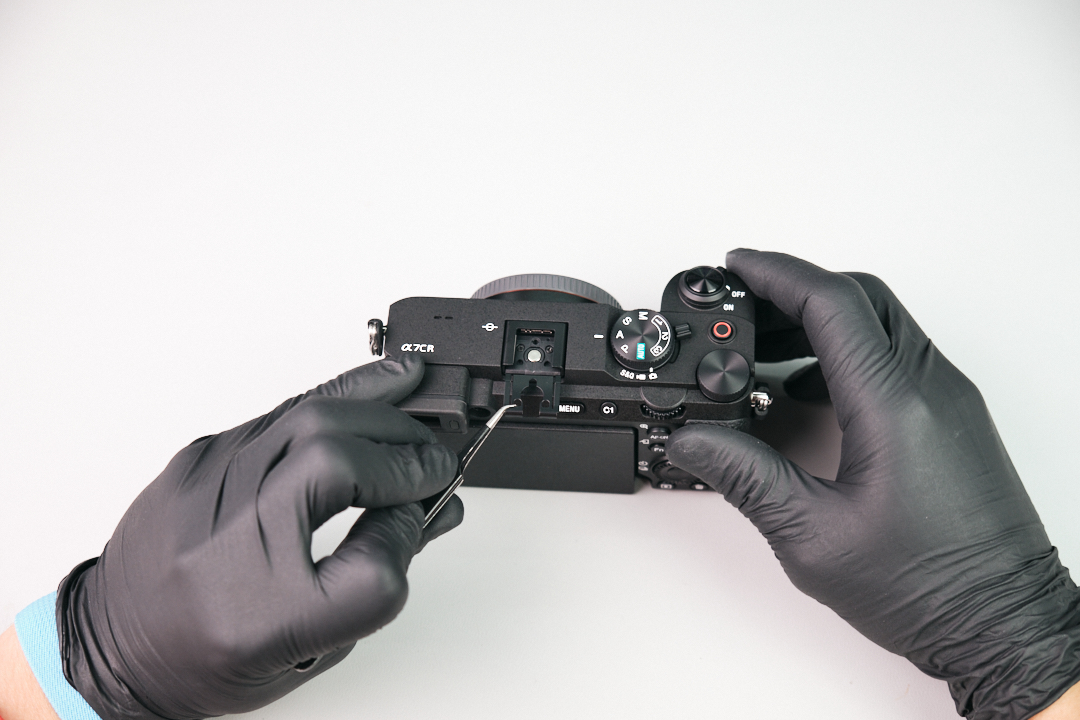
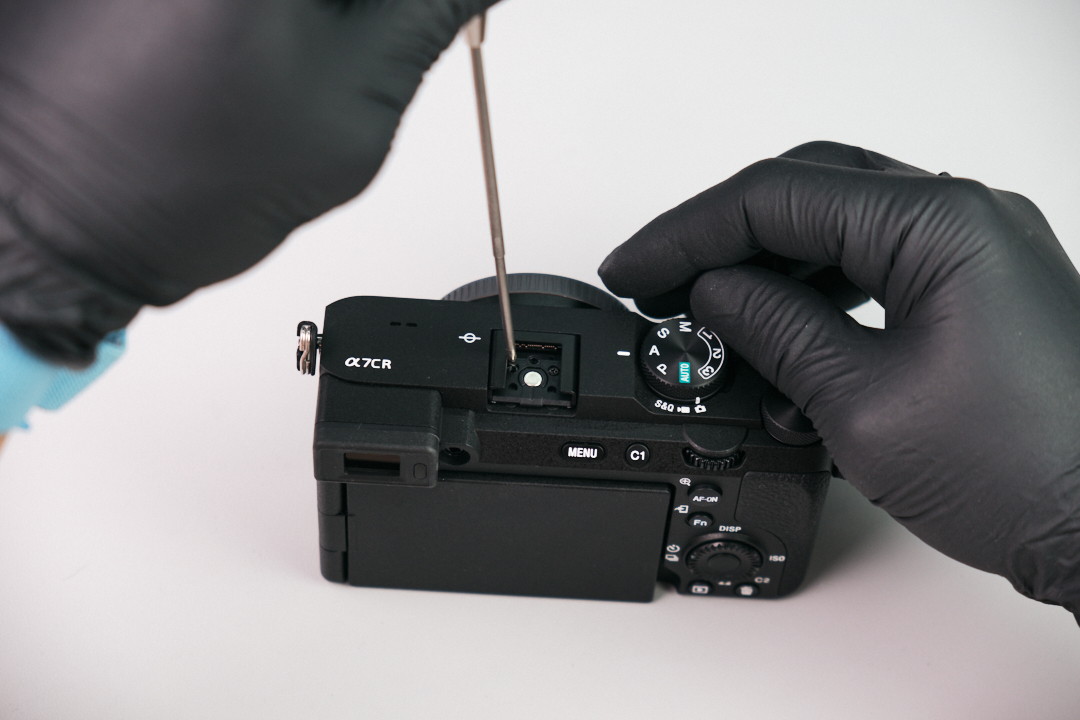
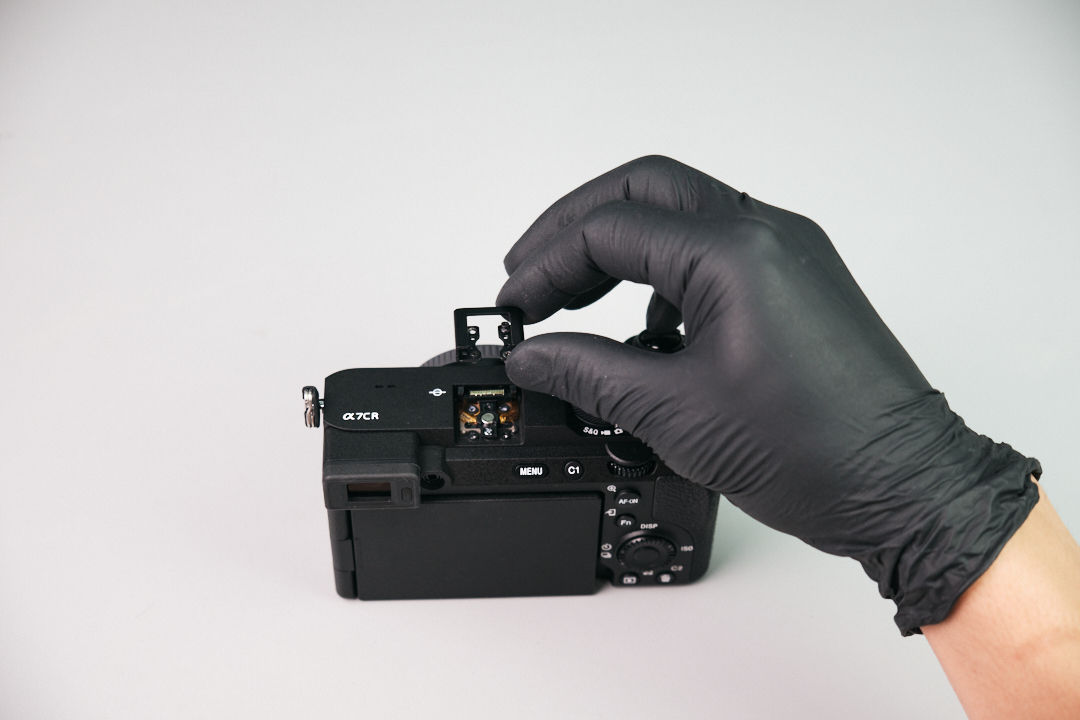
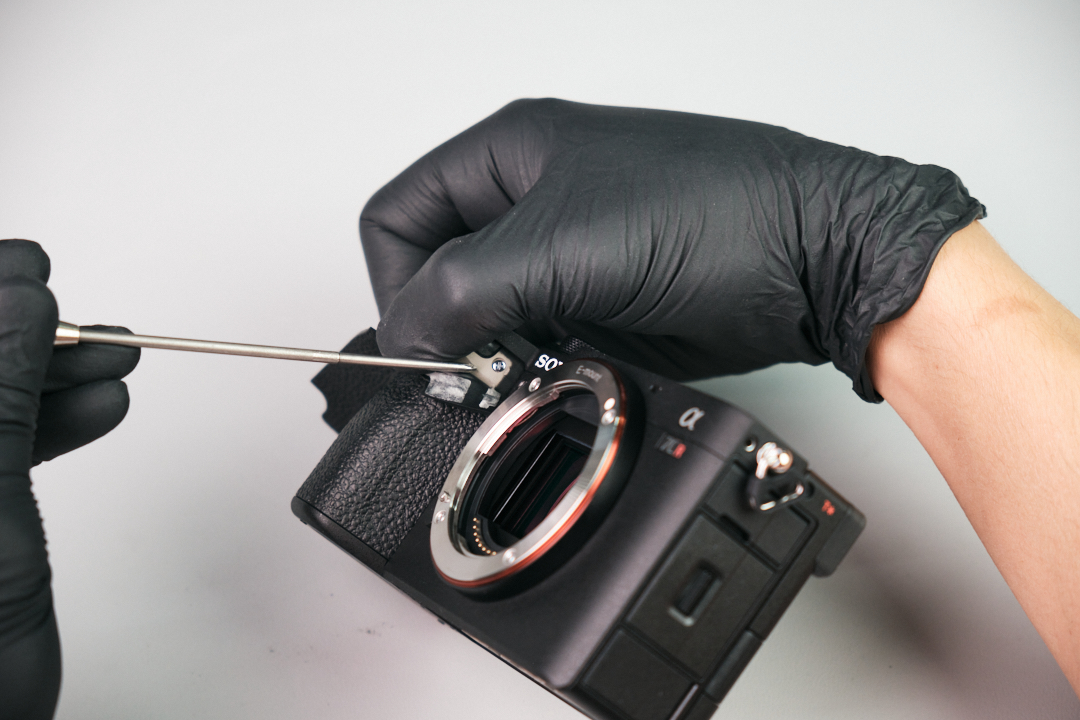
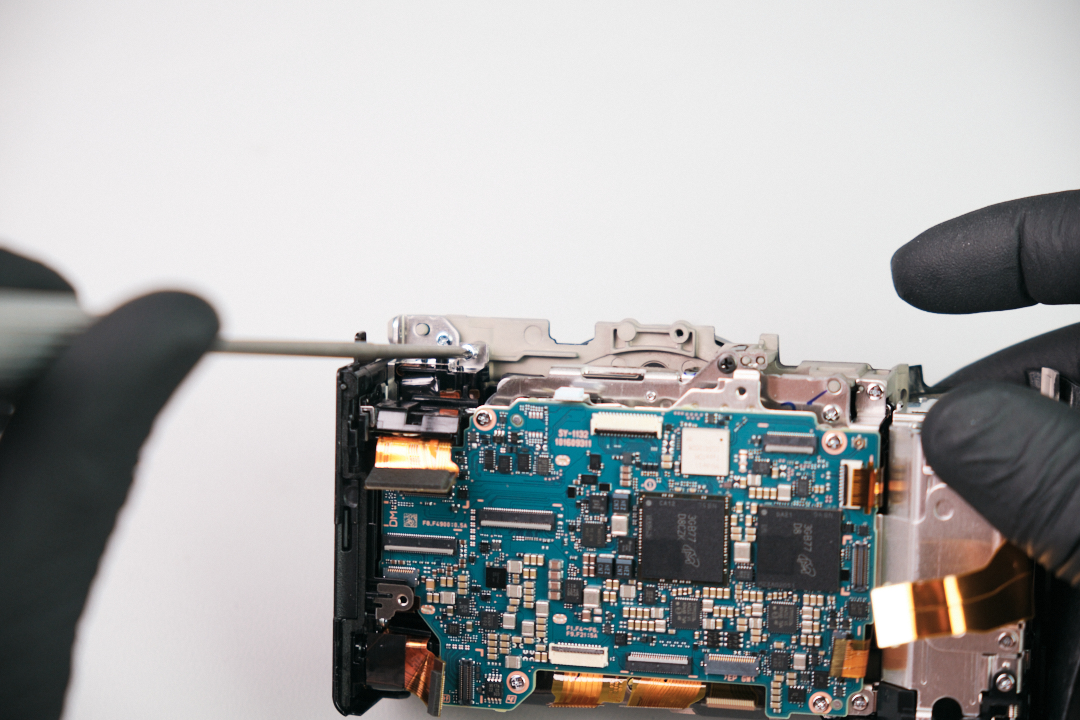
On the top panel, we dismantled the flash bracket assembly to gain access to a hidden silver screw. This screw holds down the top panel to the body of the camera.

We carefully peeled back the right hand grip cover and removed five silver screws. 

There was another silver screw below the Sony logo. 

Removing the Sony A7CR Rear Panel and Ribbon Cable 

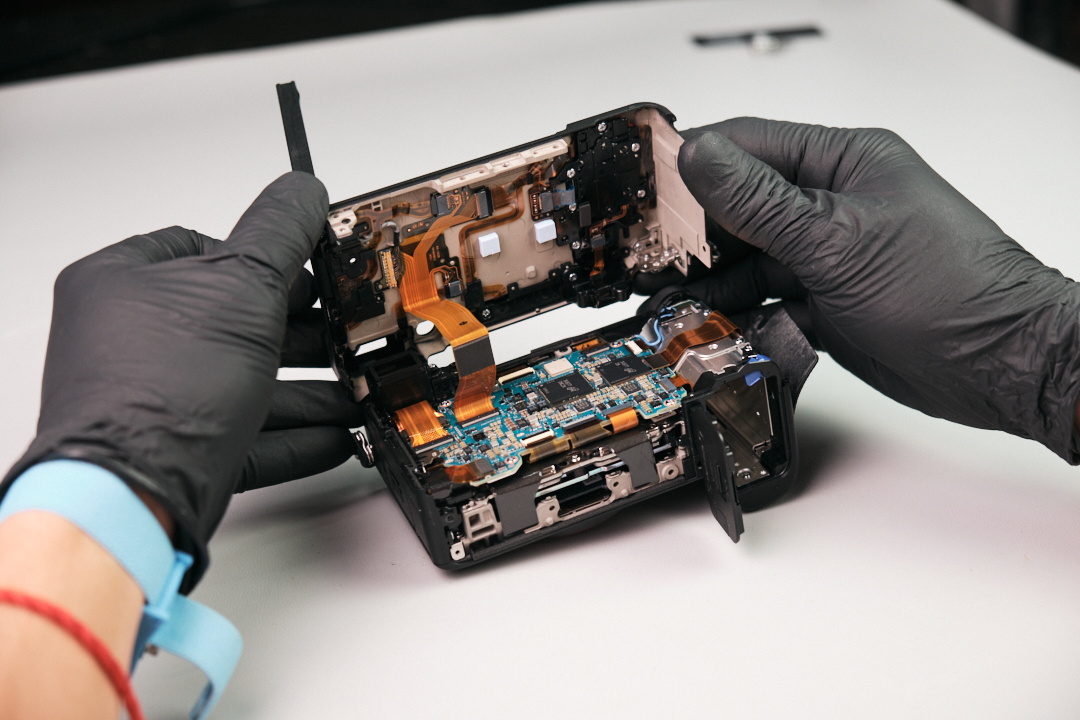
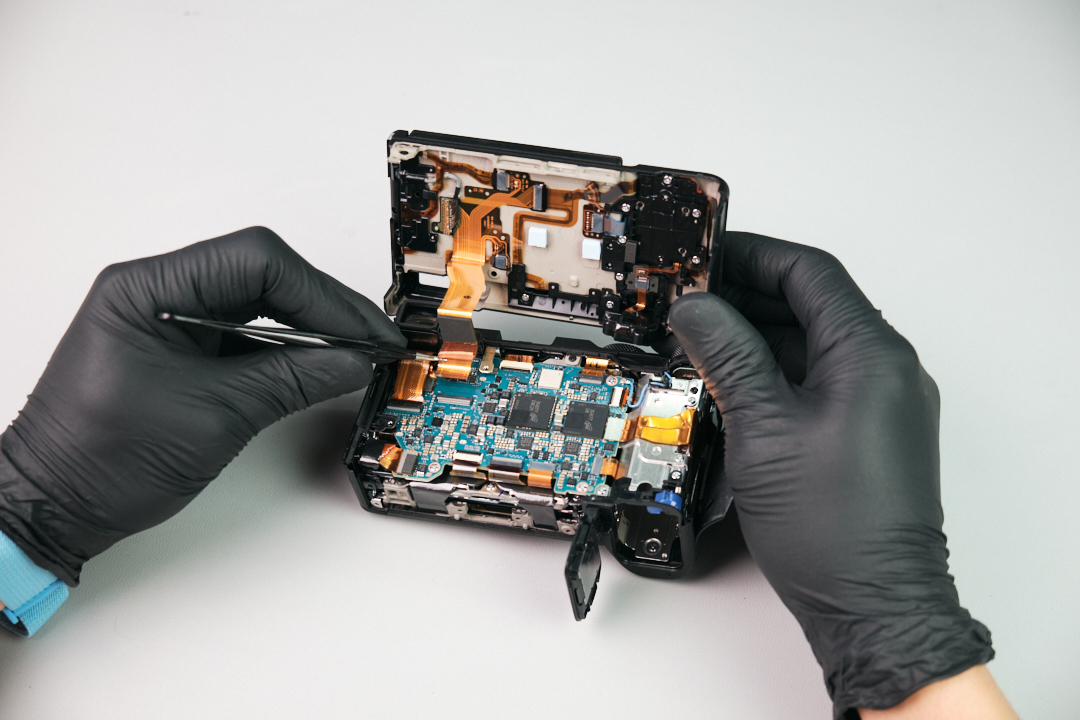
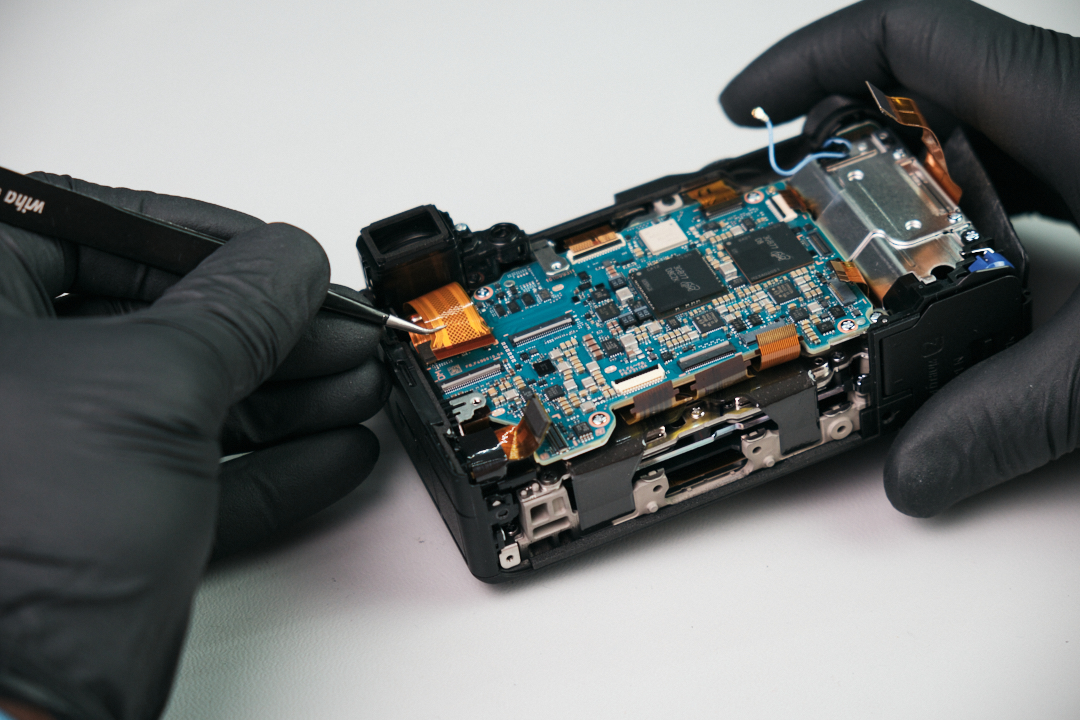
We needed to gently pull the rear panel away from the body of the camera here to access the ribbon cable connection. Using tweezers, we carefully unlatched the ribbon cable to sever the connection.

Disconnecting Sony A7CR Circuit Board Ribbon Cables

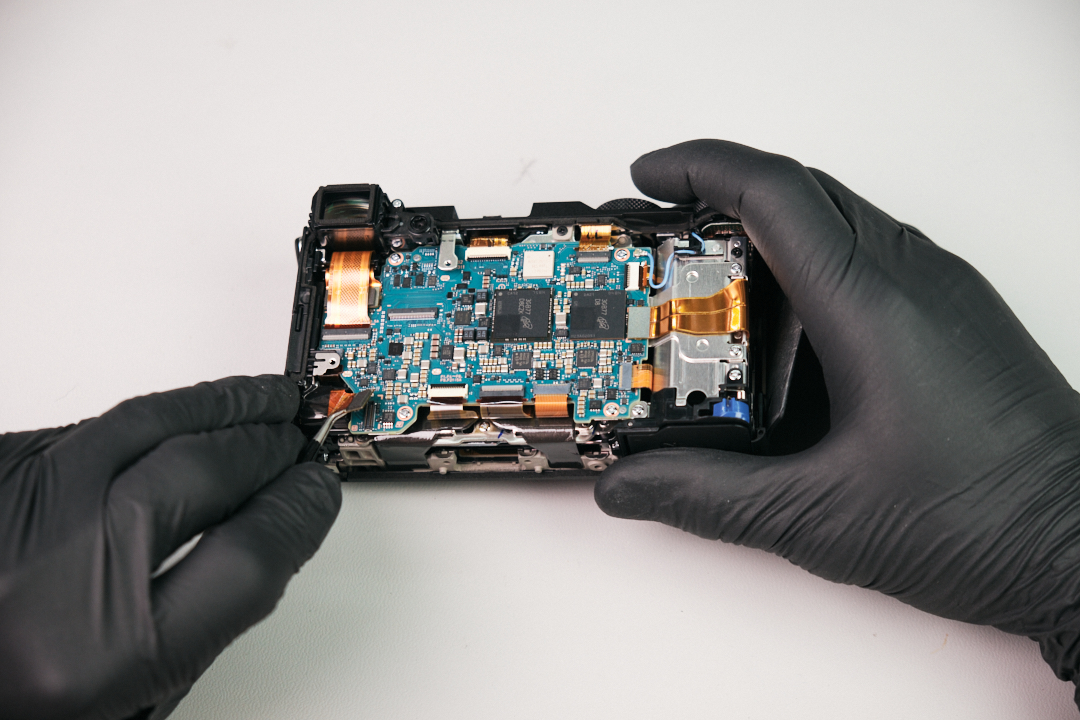
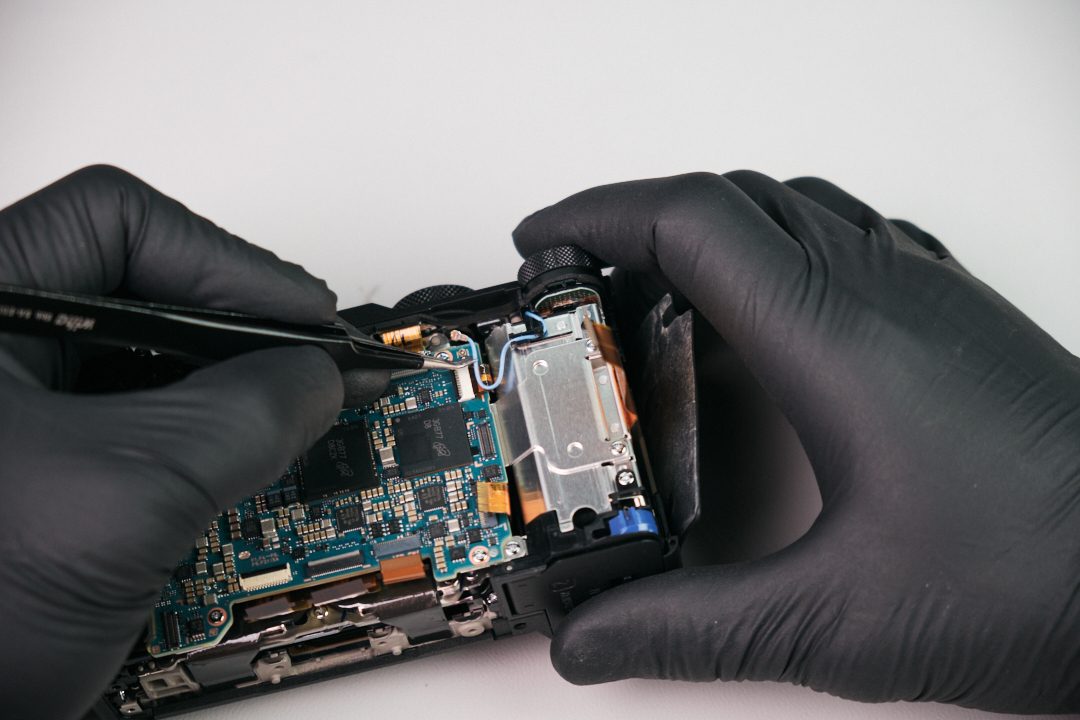
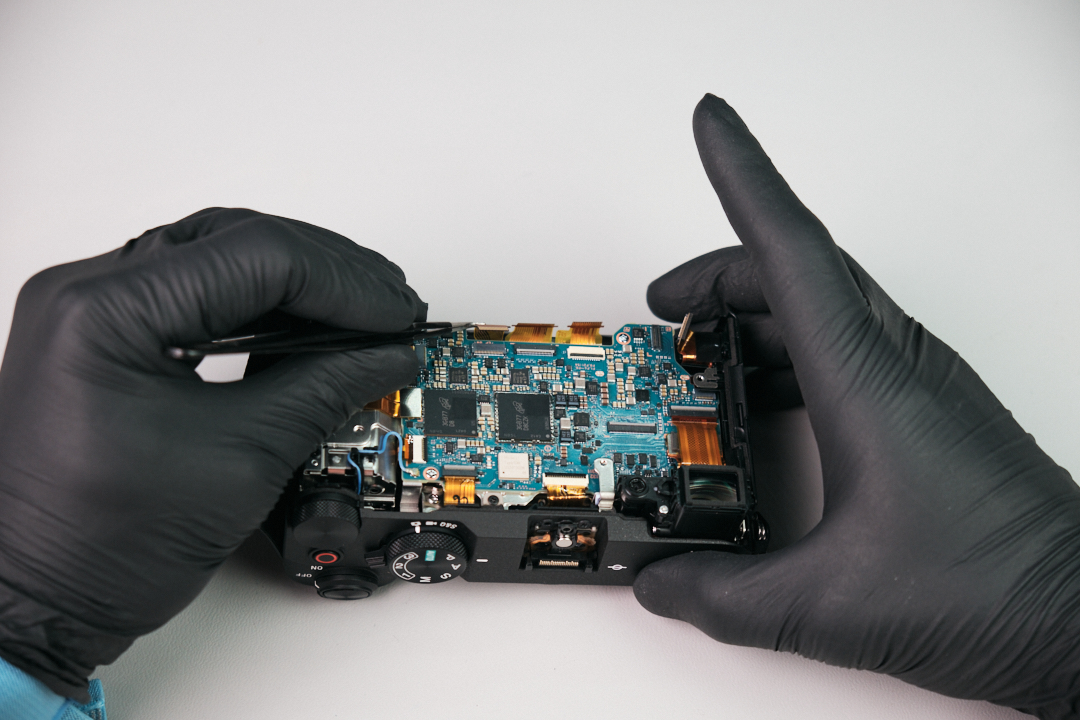
Next, we disconnected all the ribbon cables that were attached to the circuitboard. We needed to take our time with this, as the latches are thin and brittle.

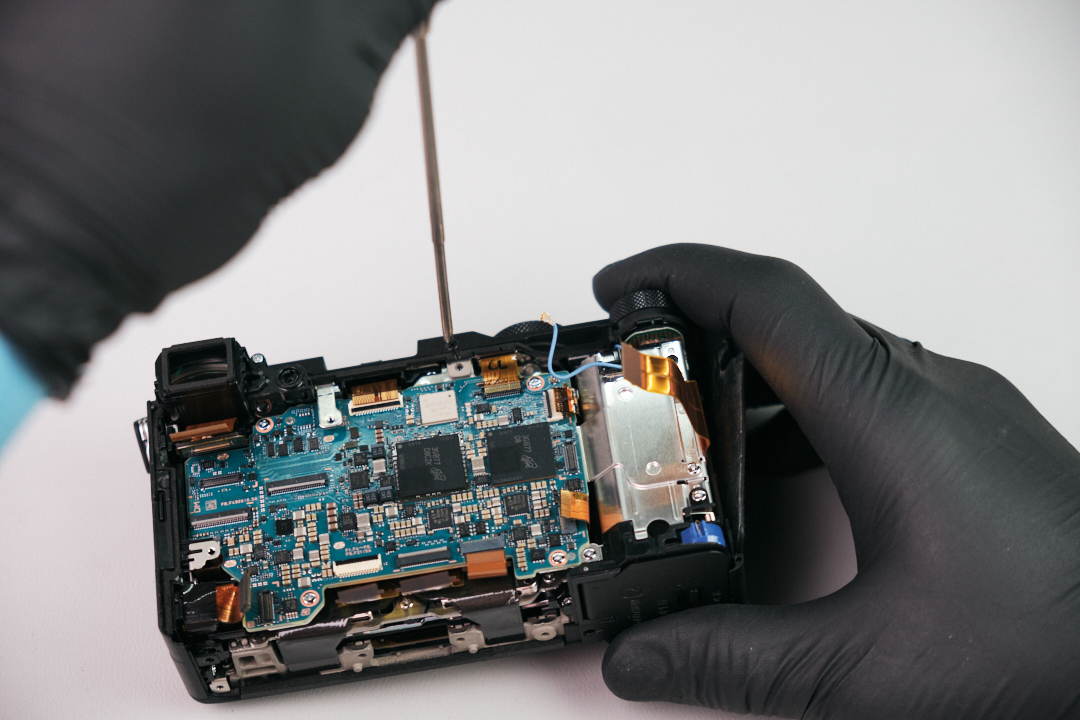
We extracted a black screw from after removing the ribbon cables. It seems like this part held the top panel and circuitboard in place.

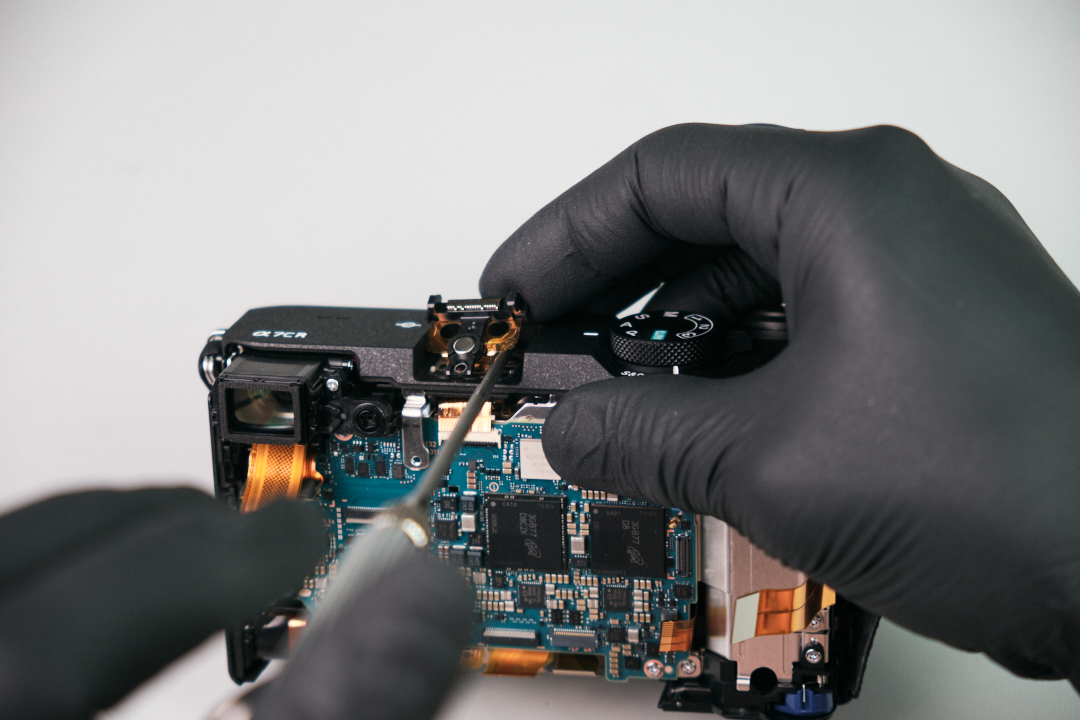
A hidden silver screw on the top panel was removed.

Removing the Top Panel and EVF Assembly

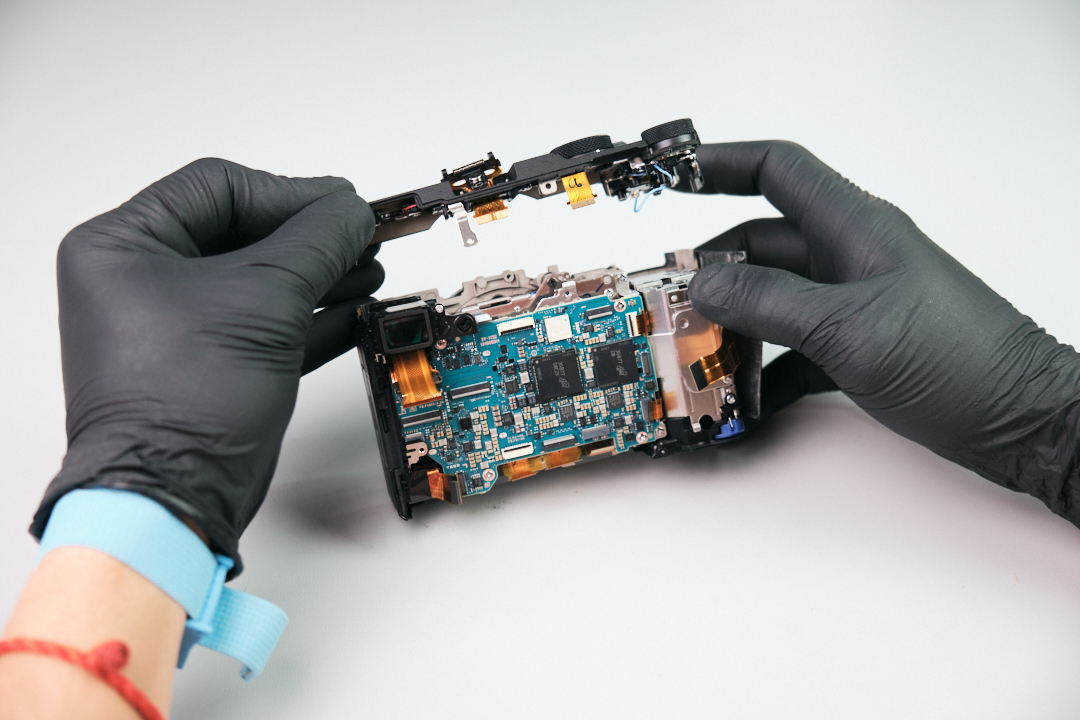
Here, we pulled the top panel away from the camera body.

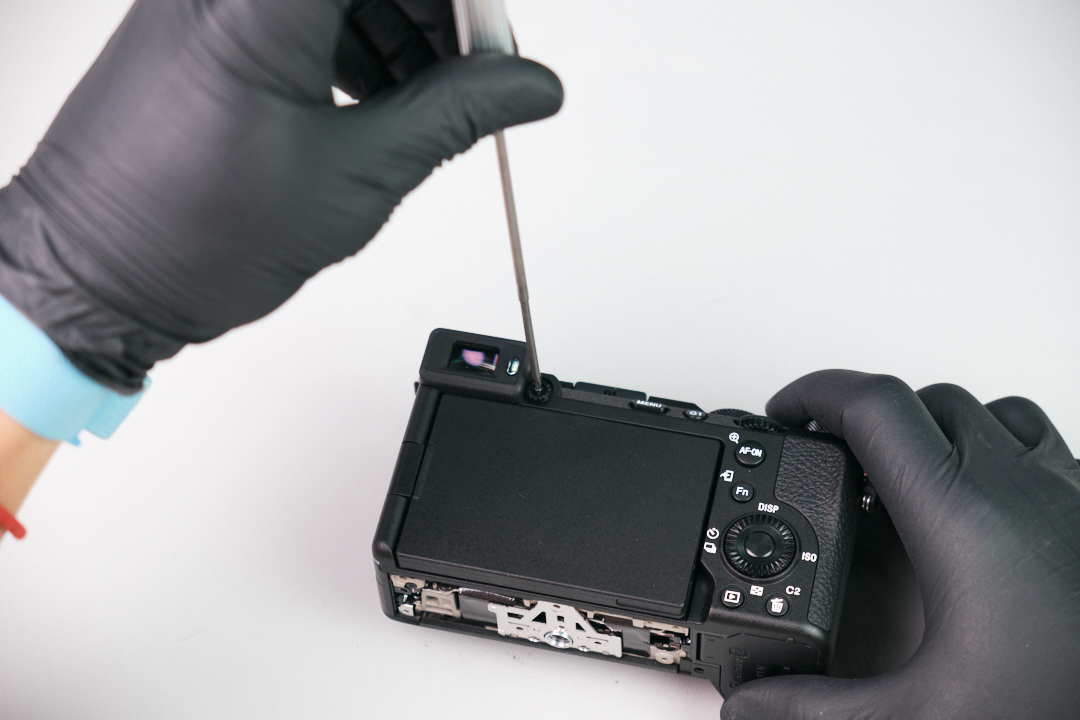
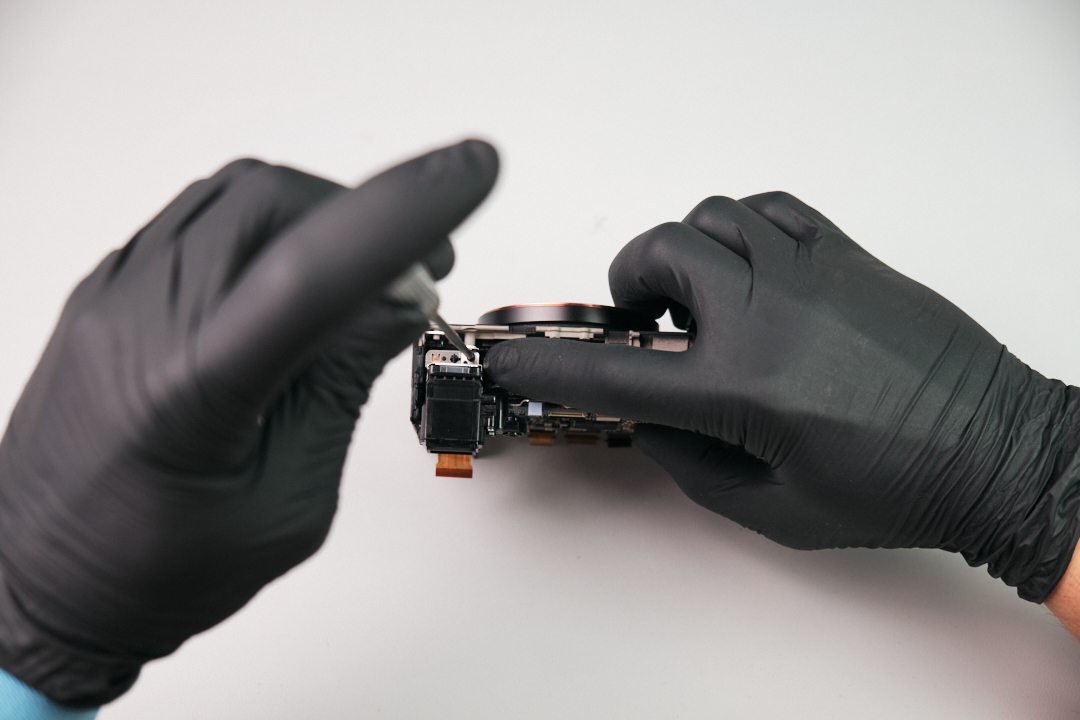
The camera’s EVF is held down with a single screw.

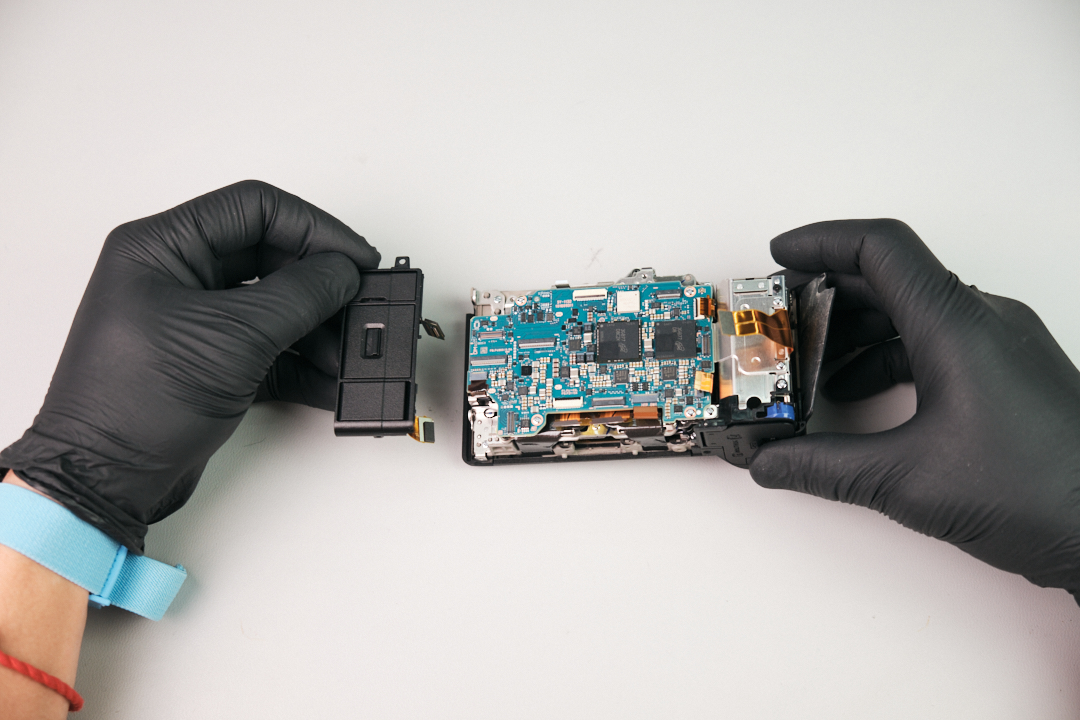
Removing the Port Cover Assembly

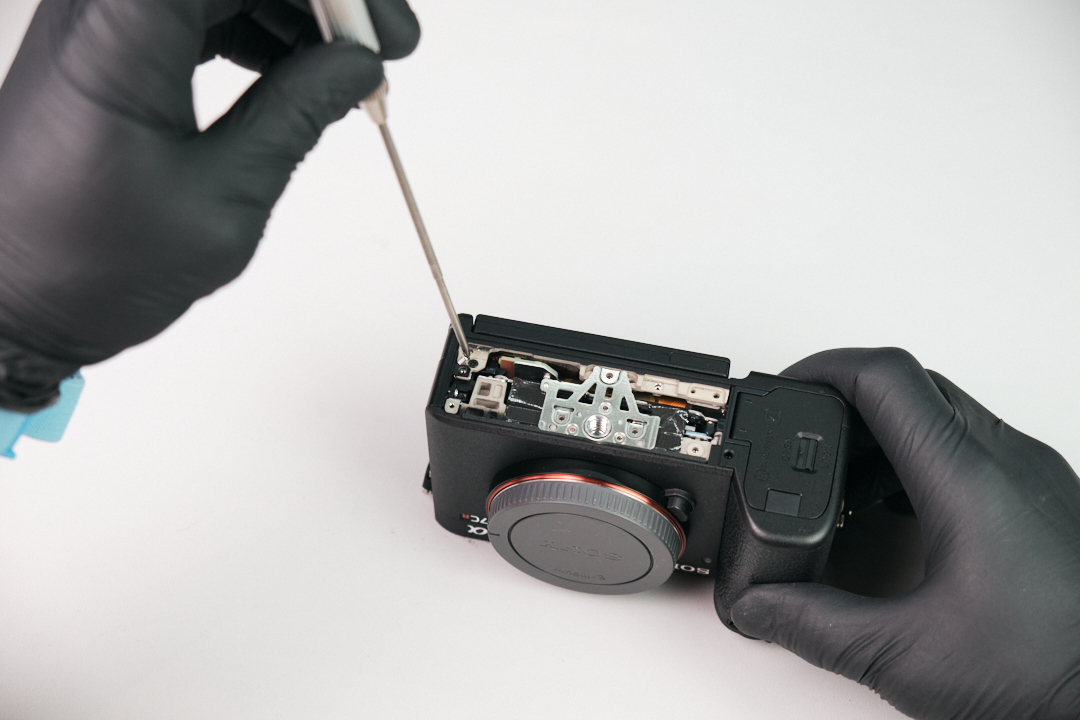
Next, the dust cover assembly needed to come off. Once we unfastened a silver screw located within the top left of the camera, we were able to pull the port cover assembly away from the camera.

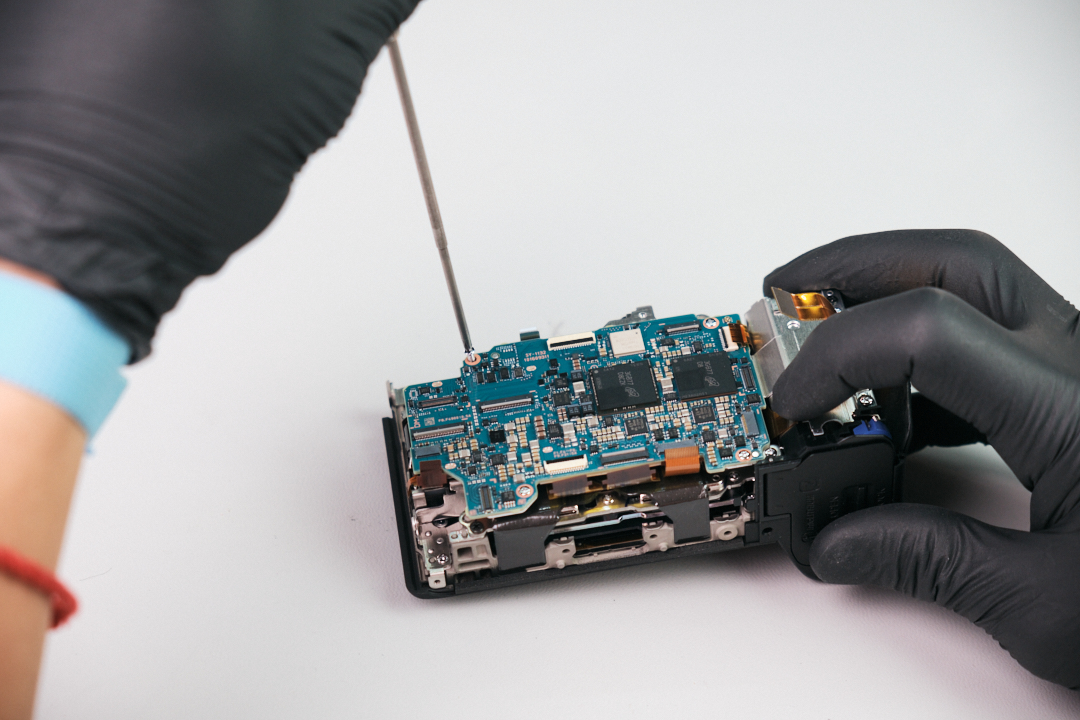
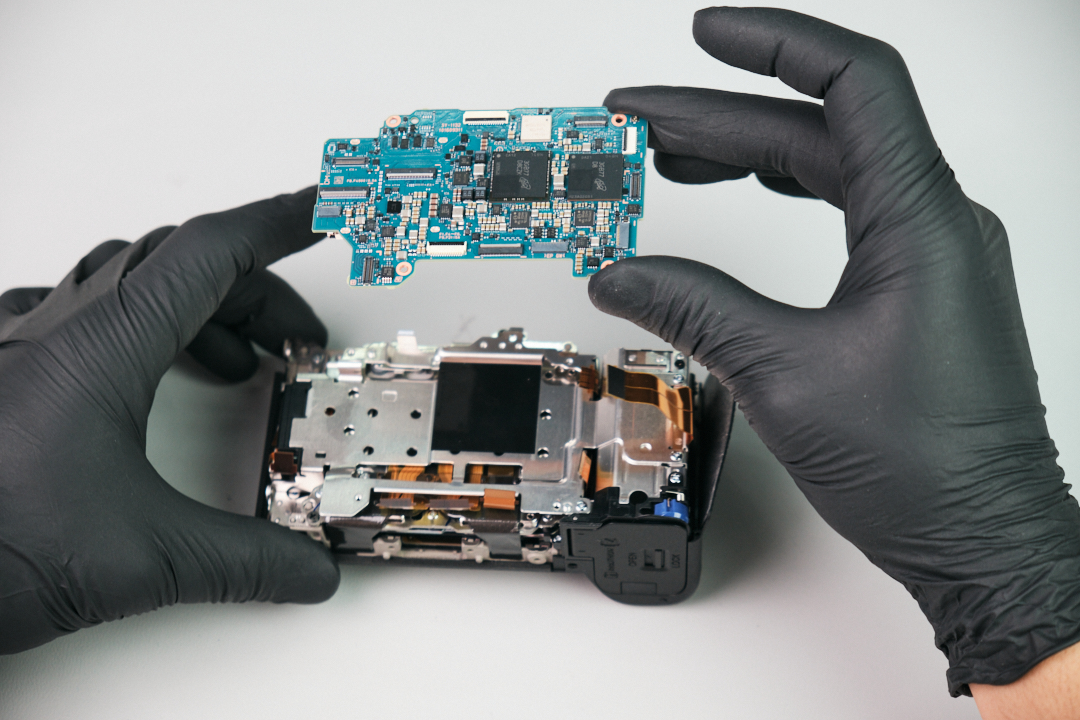
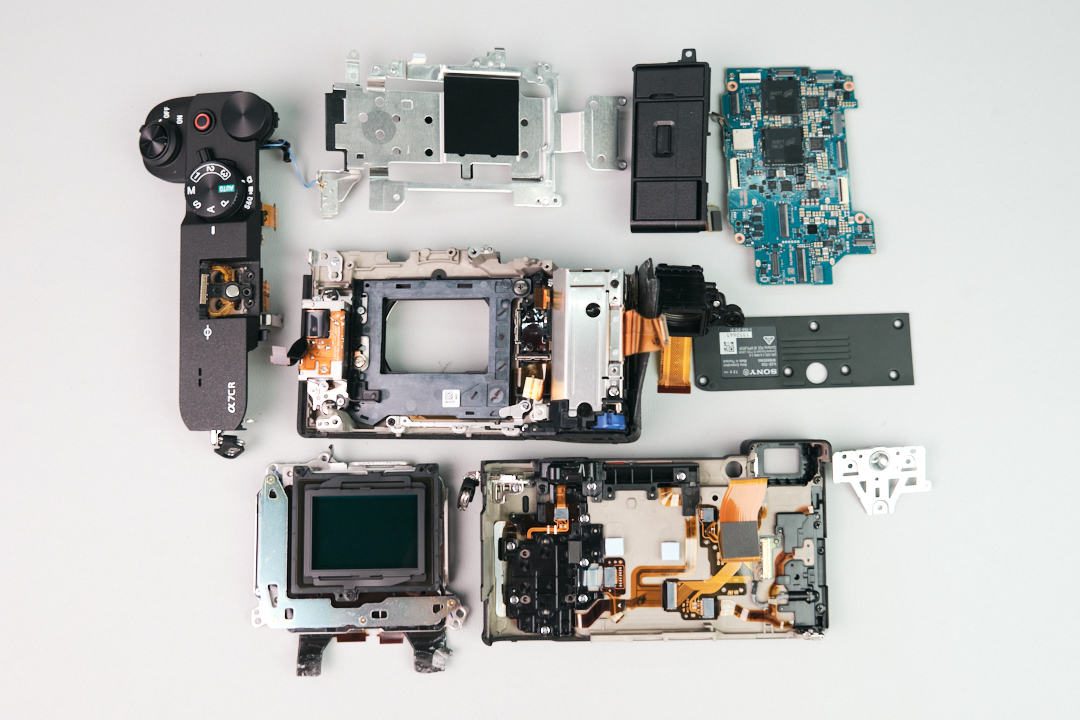
Removing the Sony A7CR Circuit Board

With all of the other items removed, we could finally remove the circuitboard itself. Four screws held down the circuitboard.

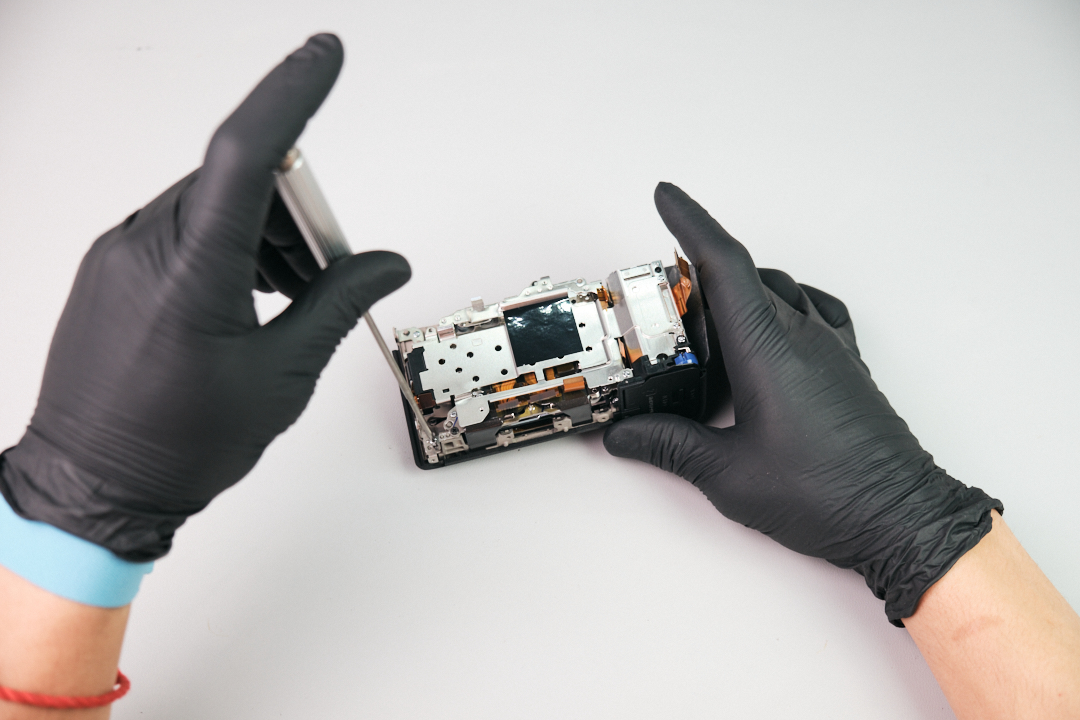
Removing the Circuit Board Mounting Plate

The circuitboard mounting plate was held down with five silver screws.

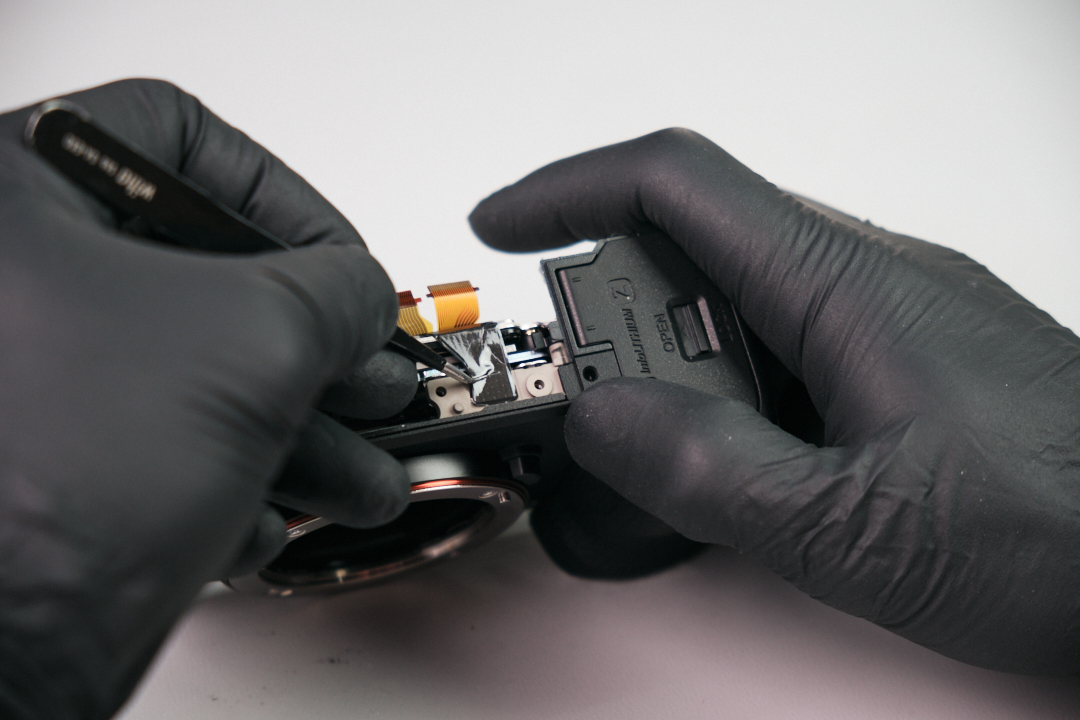
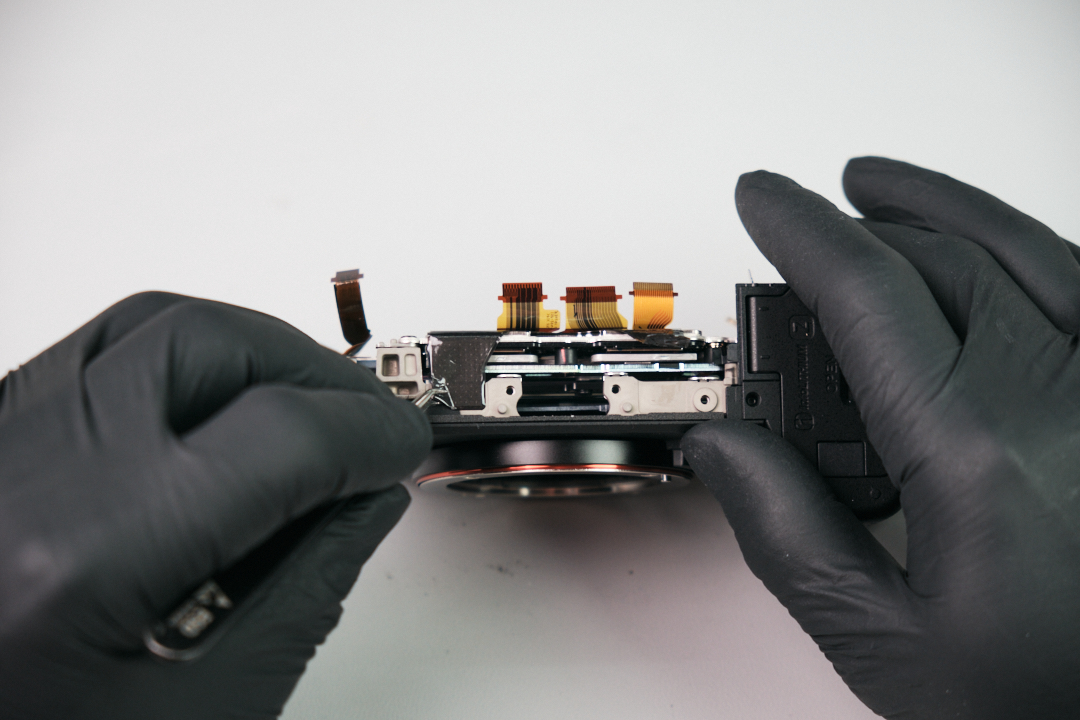
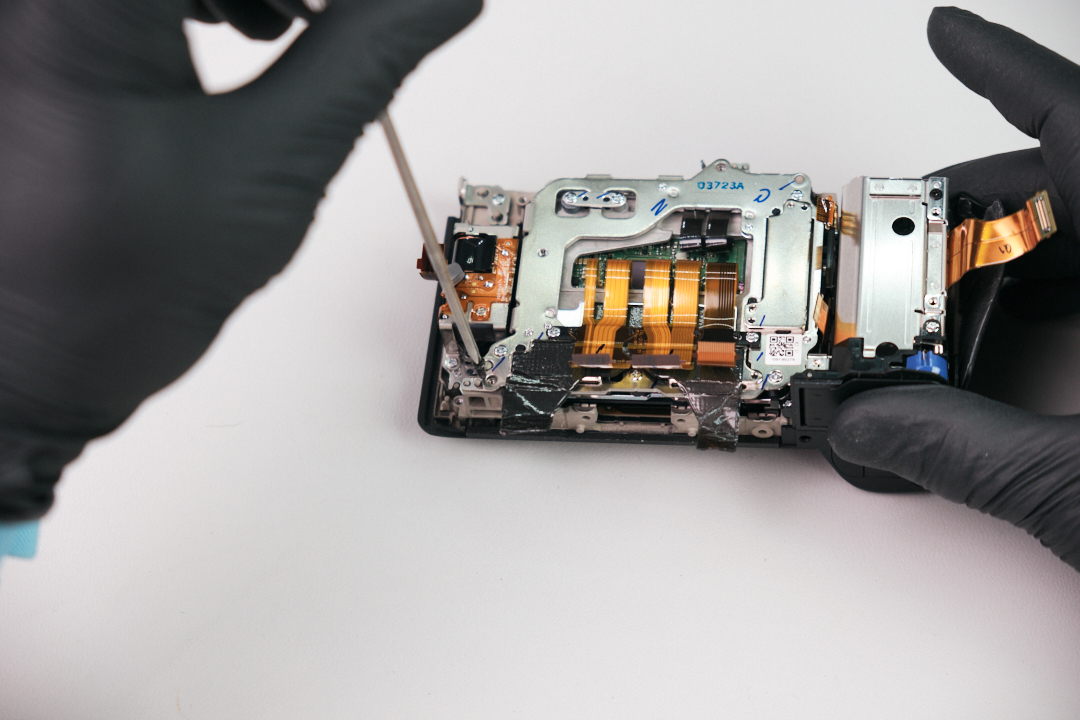
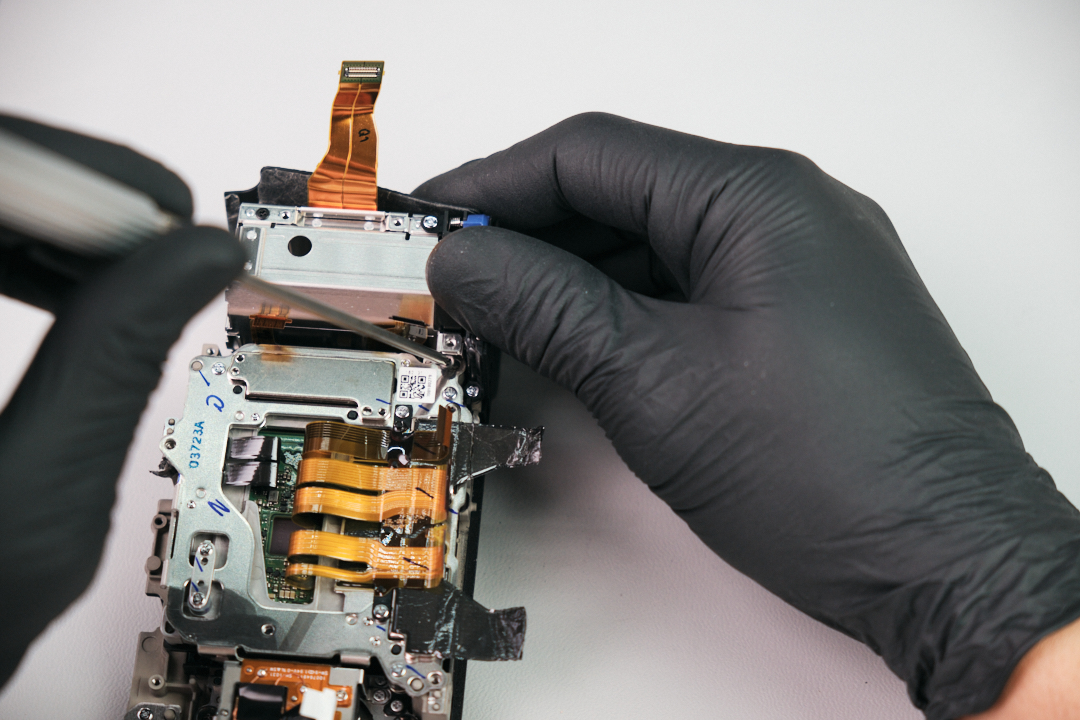
Removing Heat Transfer Tape Before Sensor Access

Carefully peeled back the heat transfer tape from the frame.

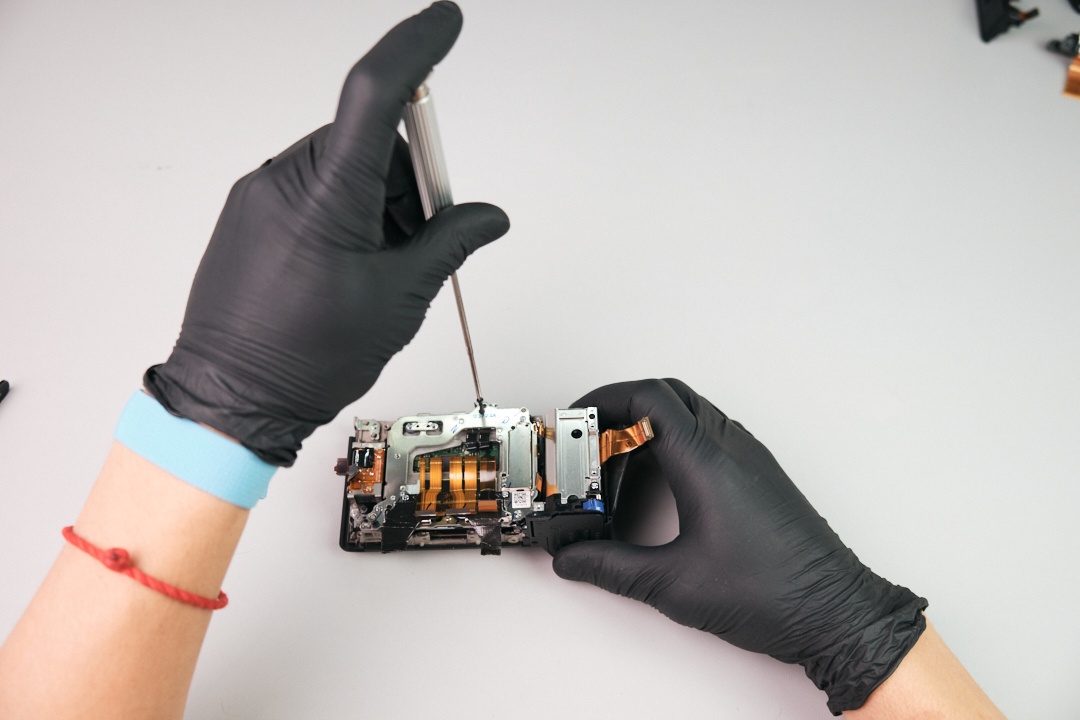
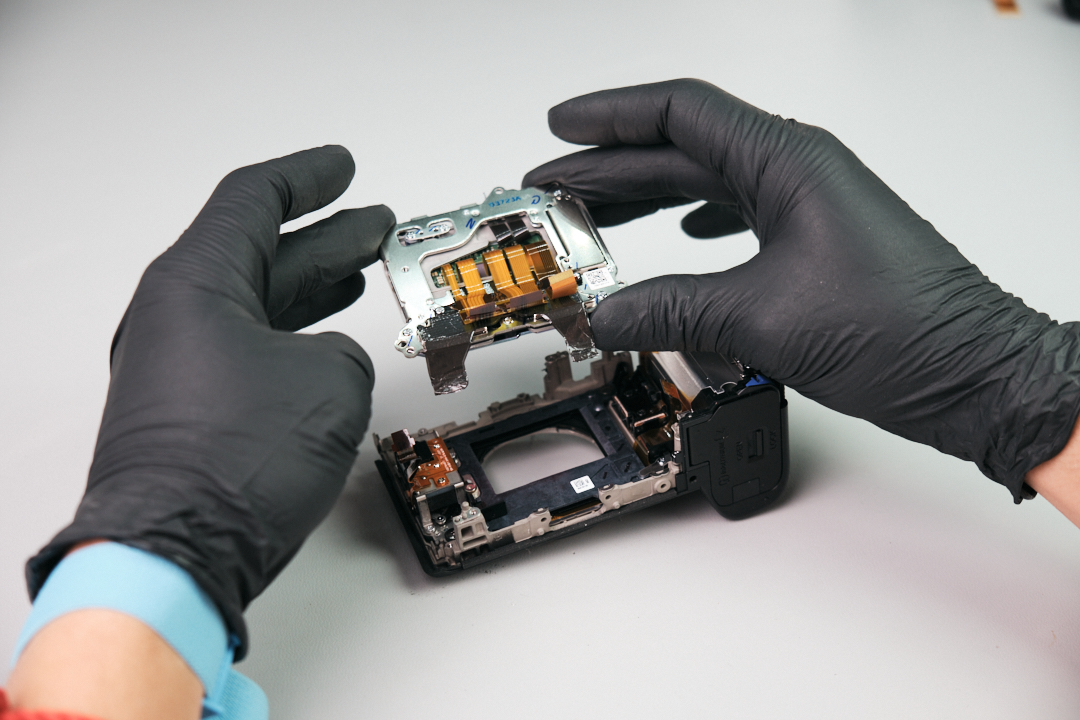
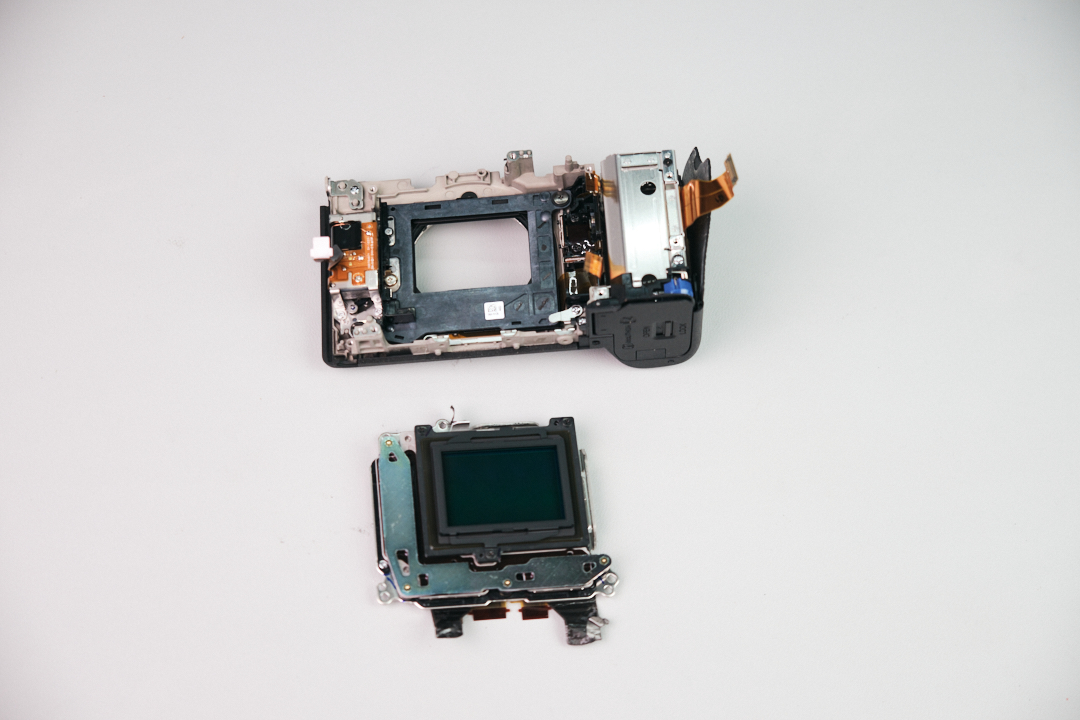
Removing the Sony A7CR Camera Sensor

The camera’s sensor was held down with three screws. We removed them carefully as to not disturb the shims on the sensor post.

Sony A7CR Teardown Difficulty and Final Thoughts

According to our lead camera technician, the Sony A7CR can be rated as a 3/10 in terms of difficulty, with one being the least difficult and ten being the most. It’s a lot easier than the A6000 and A7 series cameras, so it comes as a DIY-friendly camera to disassemble.

Thank you for reading. If you’re interested in more camera teardowns, we feature a new one every month. Be sure to sign up for our newsletter so you don’t miss them!

Frequently Asked Questions

The Sony A7CR teardown starts by removing seven screws from the baseplate, which allows the tripod plate cover to come off. After that, the disassembly continues through the battery door, tripod mount area, port side, LCD side, and hidden exterior screws.
The Sony A7CR has hidden screws under the vinyl covering near the diopter, inside the top panel area under the flash bracket assembly, beneath the right hand grip cover, and below the Sony logo.

Yes. The Sony A7CR is a Sony E-mount full-frame camera and is compatible with Kolari Magnetic Clip-in Filters for Sony E-mount cameras.
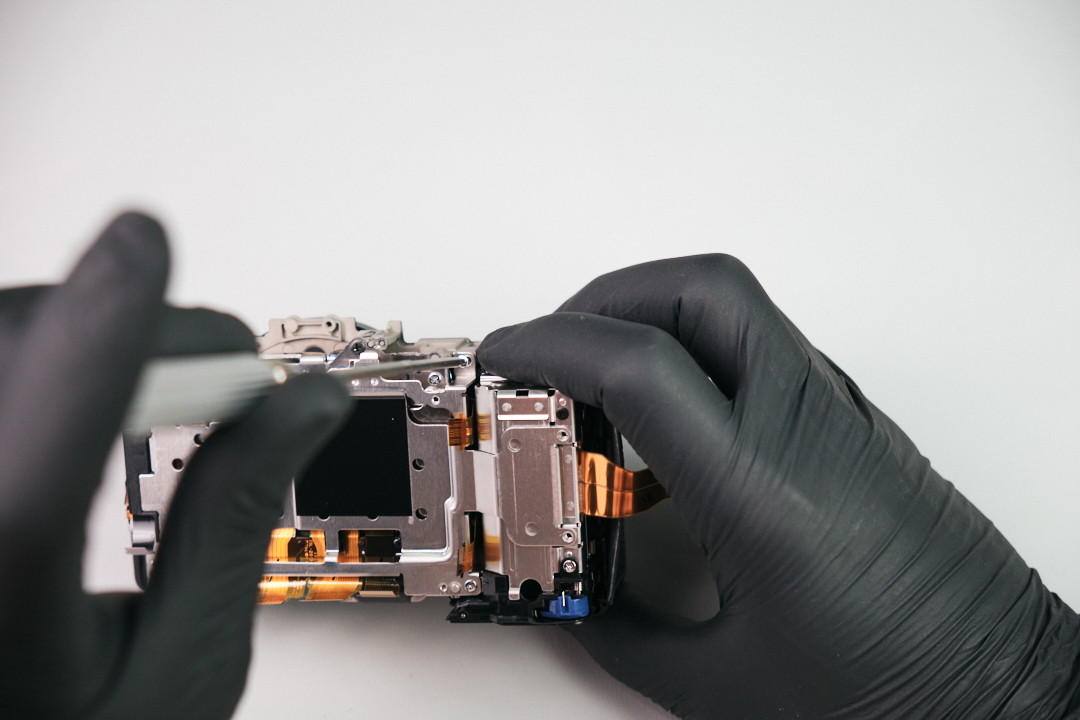
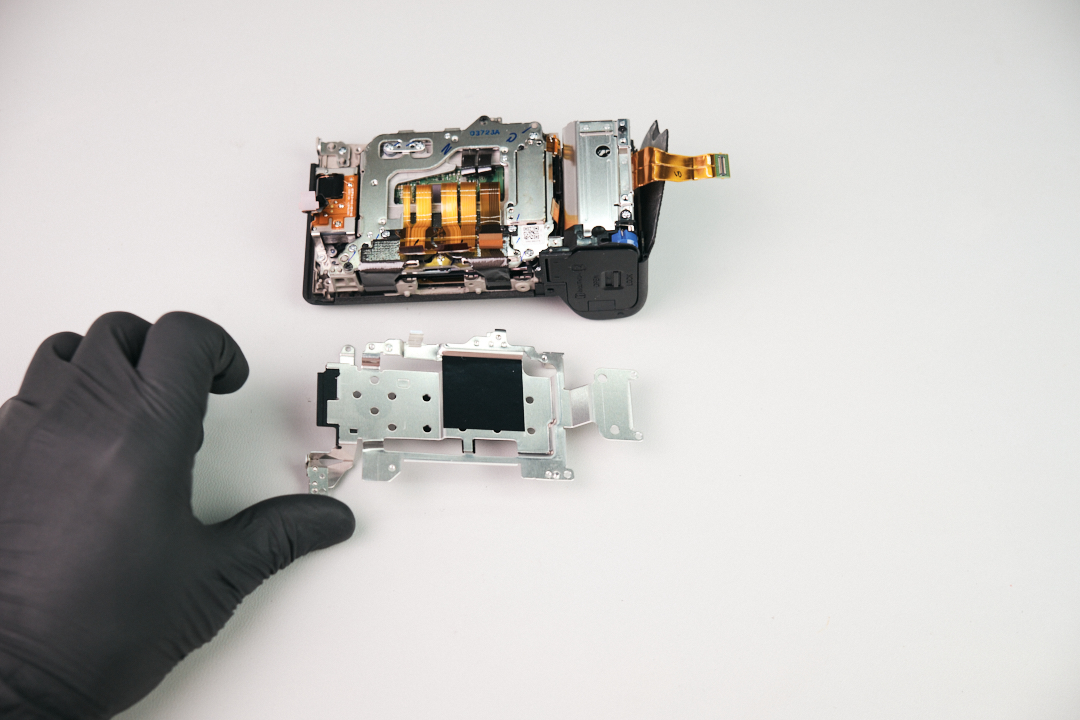
The Sony A7CR circuit board is removed after disconnecting the ribbon cables attached to the board, removing several screws, taking off the top panel, removing the EVF screw, and pulling away the port cover assembly. Four screws hold down the circuit board itself.

The Sony A7CR sensor is reached near the end of the teardown. After the circuit board, circuit board mounting plate, and heat transfer tape are removed, the 61MP sensor can be detached by removing three screws while carefully avoiding the sensor post shims.

Table of contents
Related Article

Product Spotlight

Comments

Leave a Reply

Your email address will not be published. Required fields are marked *

Related products

Kolari’s EU store
is now open! 

Filters and accessories now shipping from Slovenia with VAT included and quick DHL shipping.
kolaris-eu-store_is-now-open
Skip to content