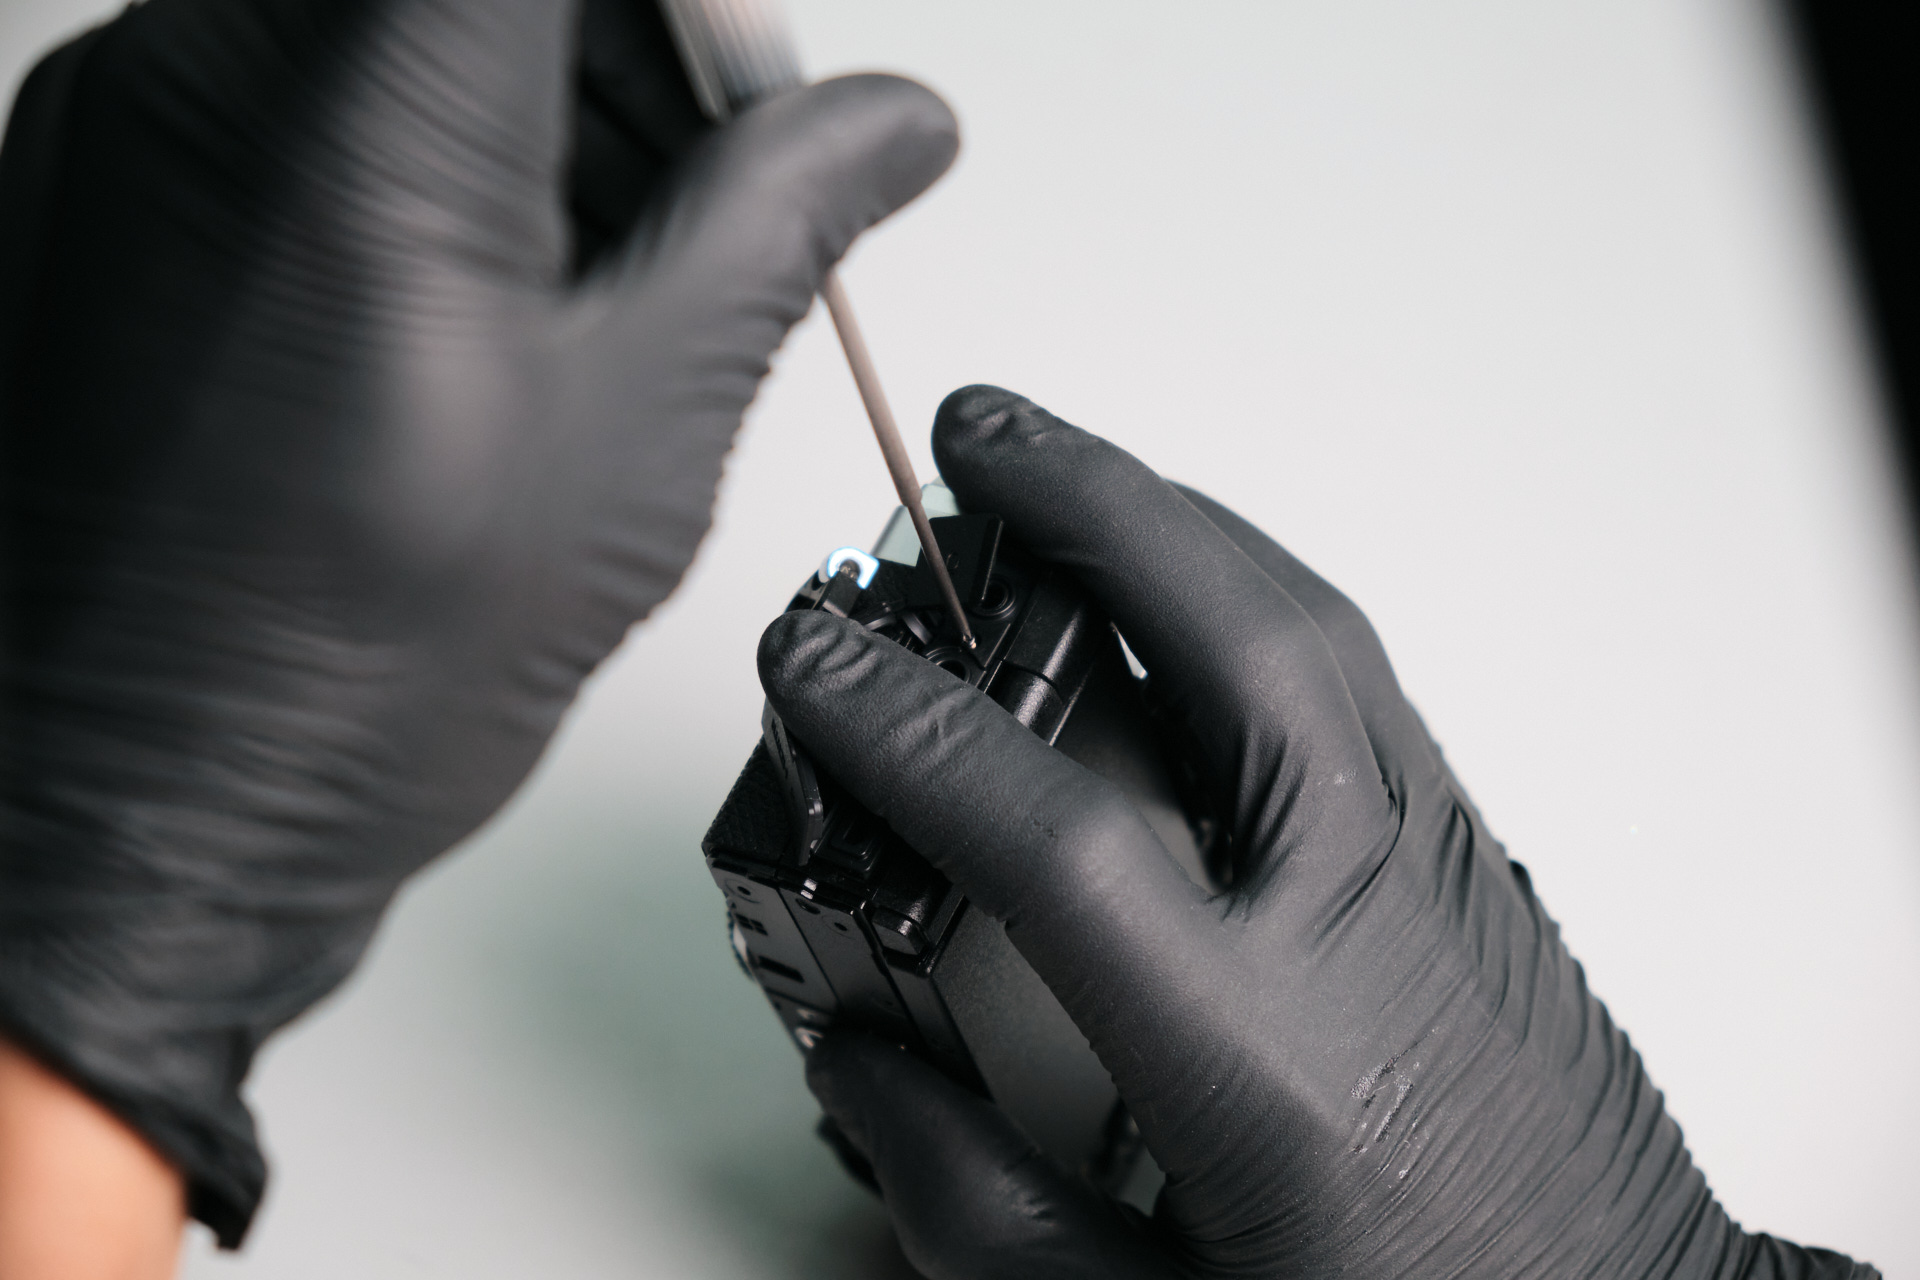
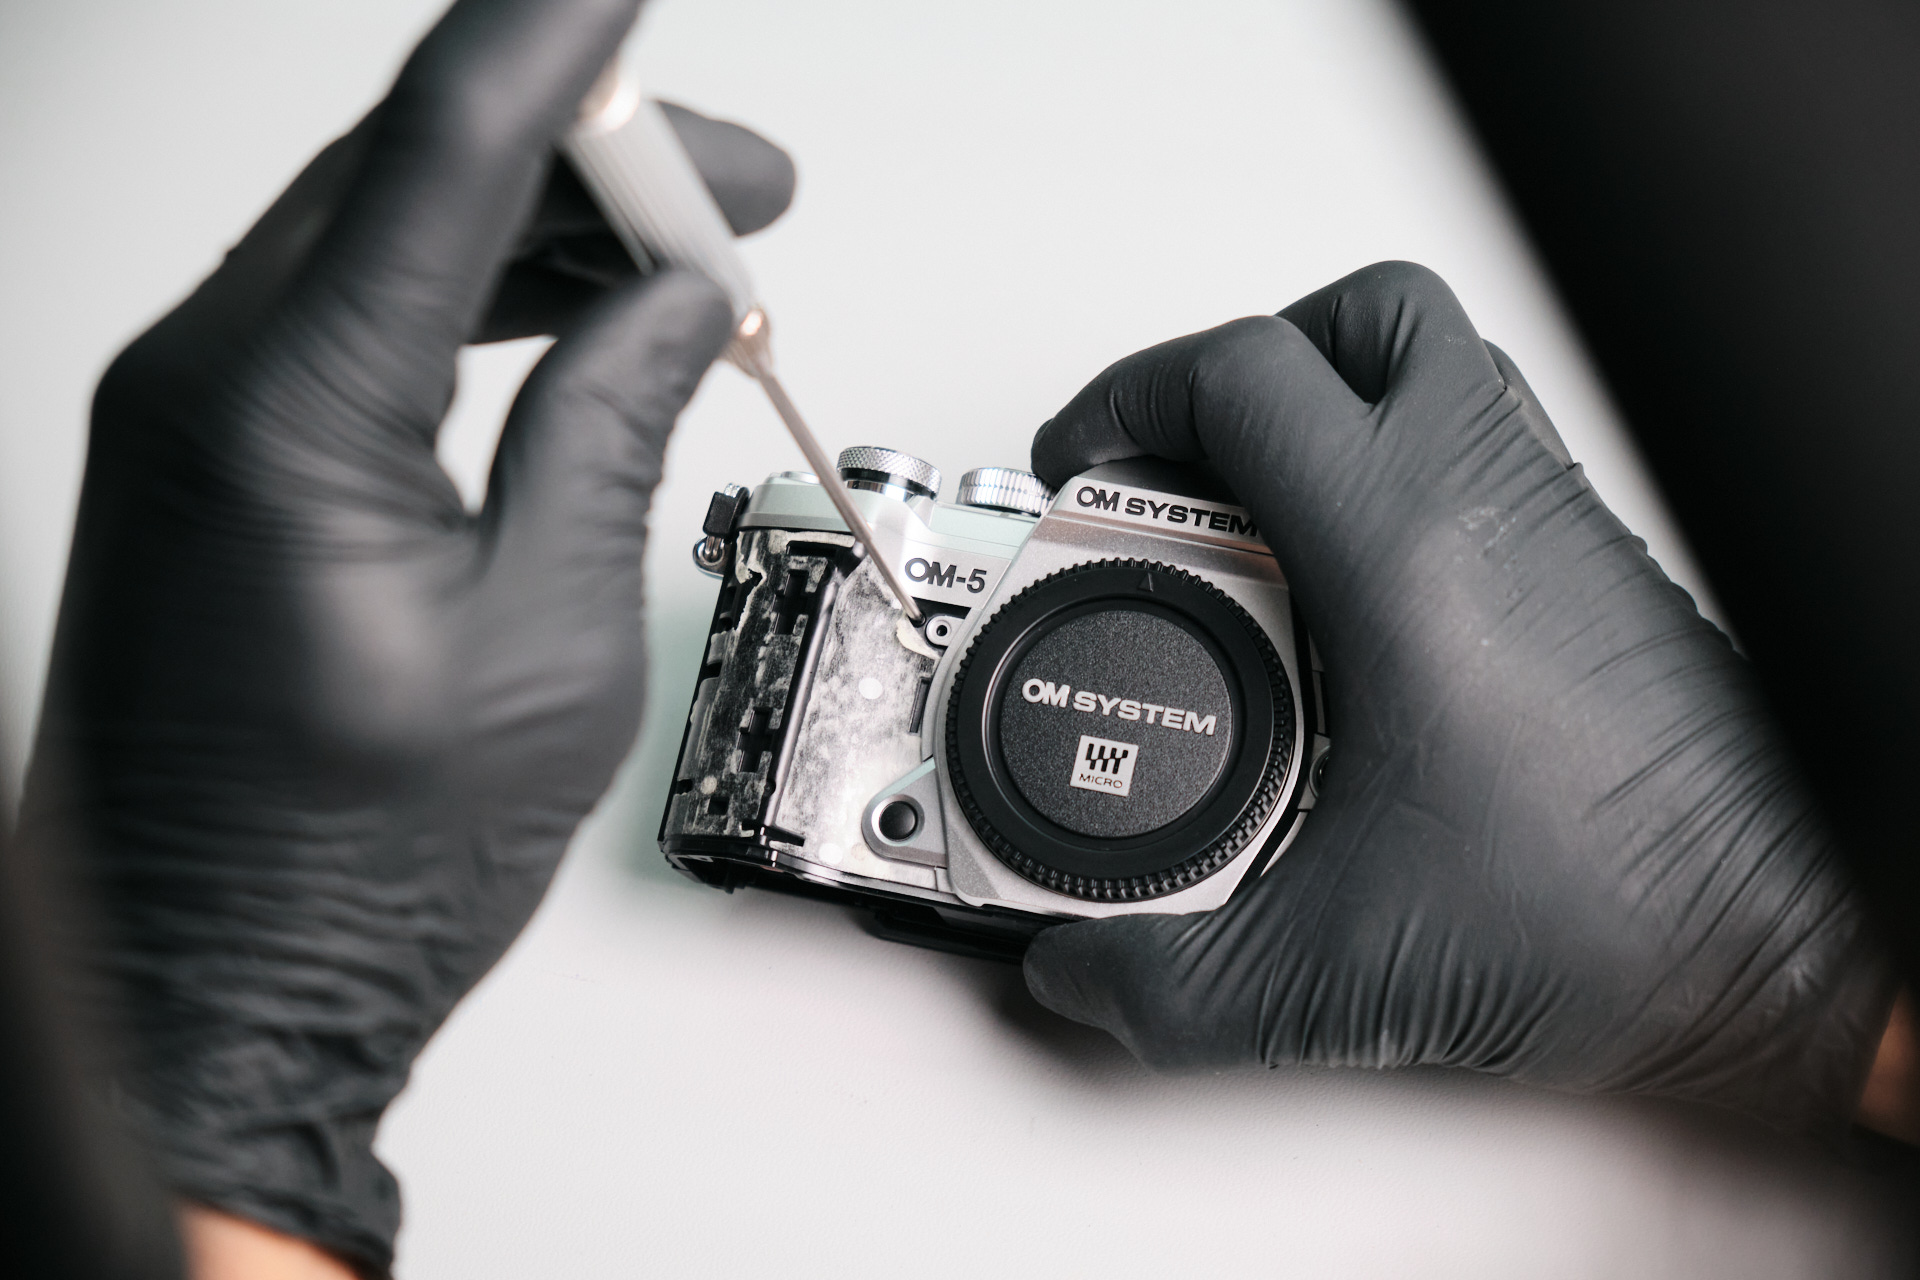
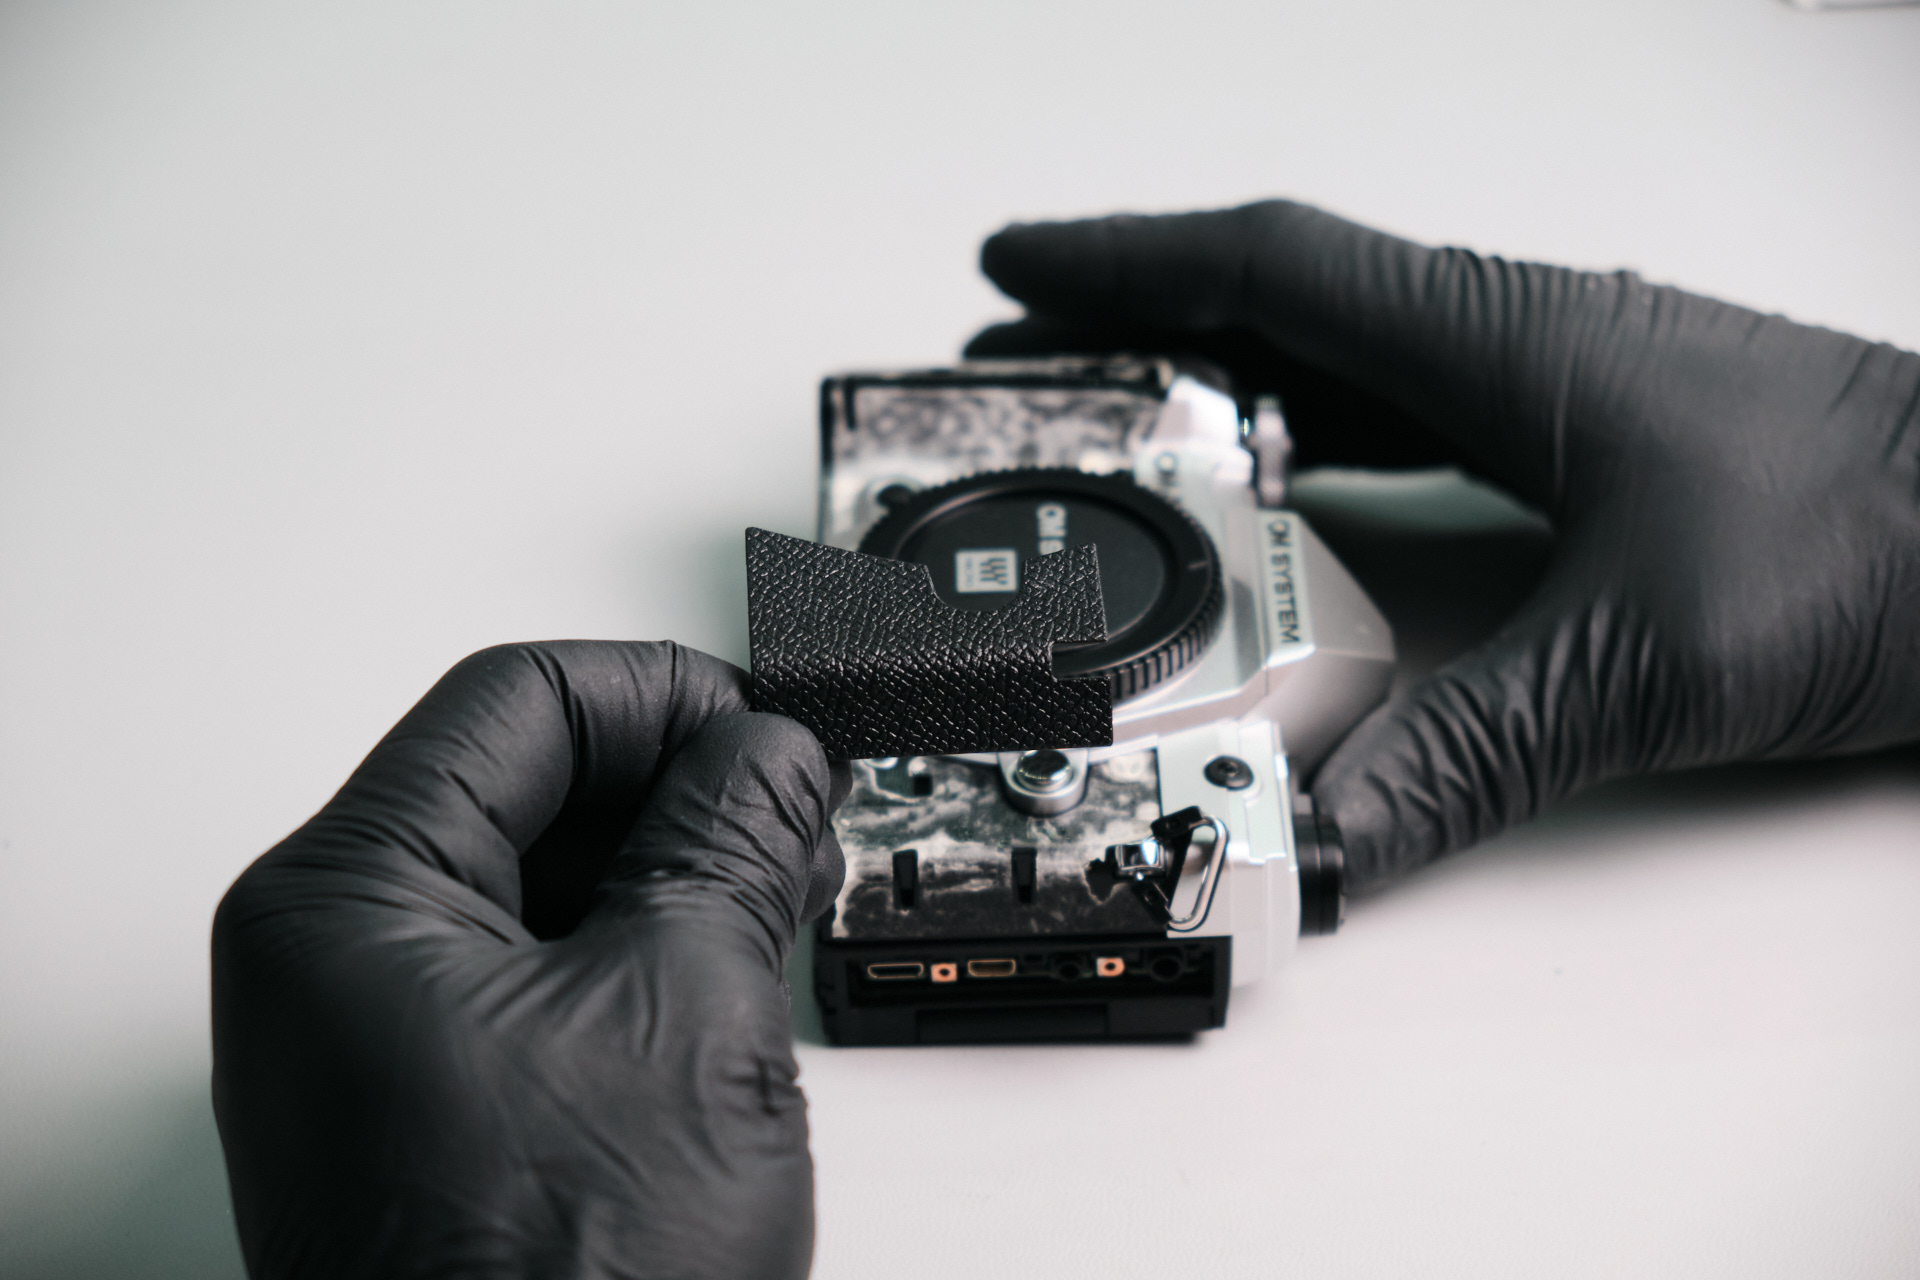
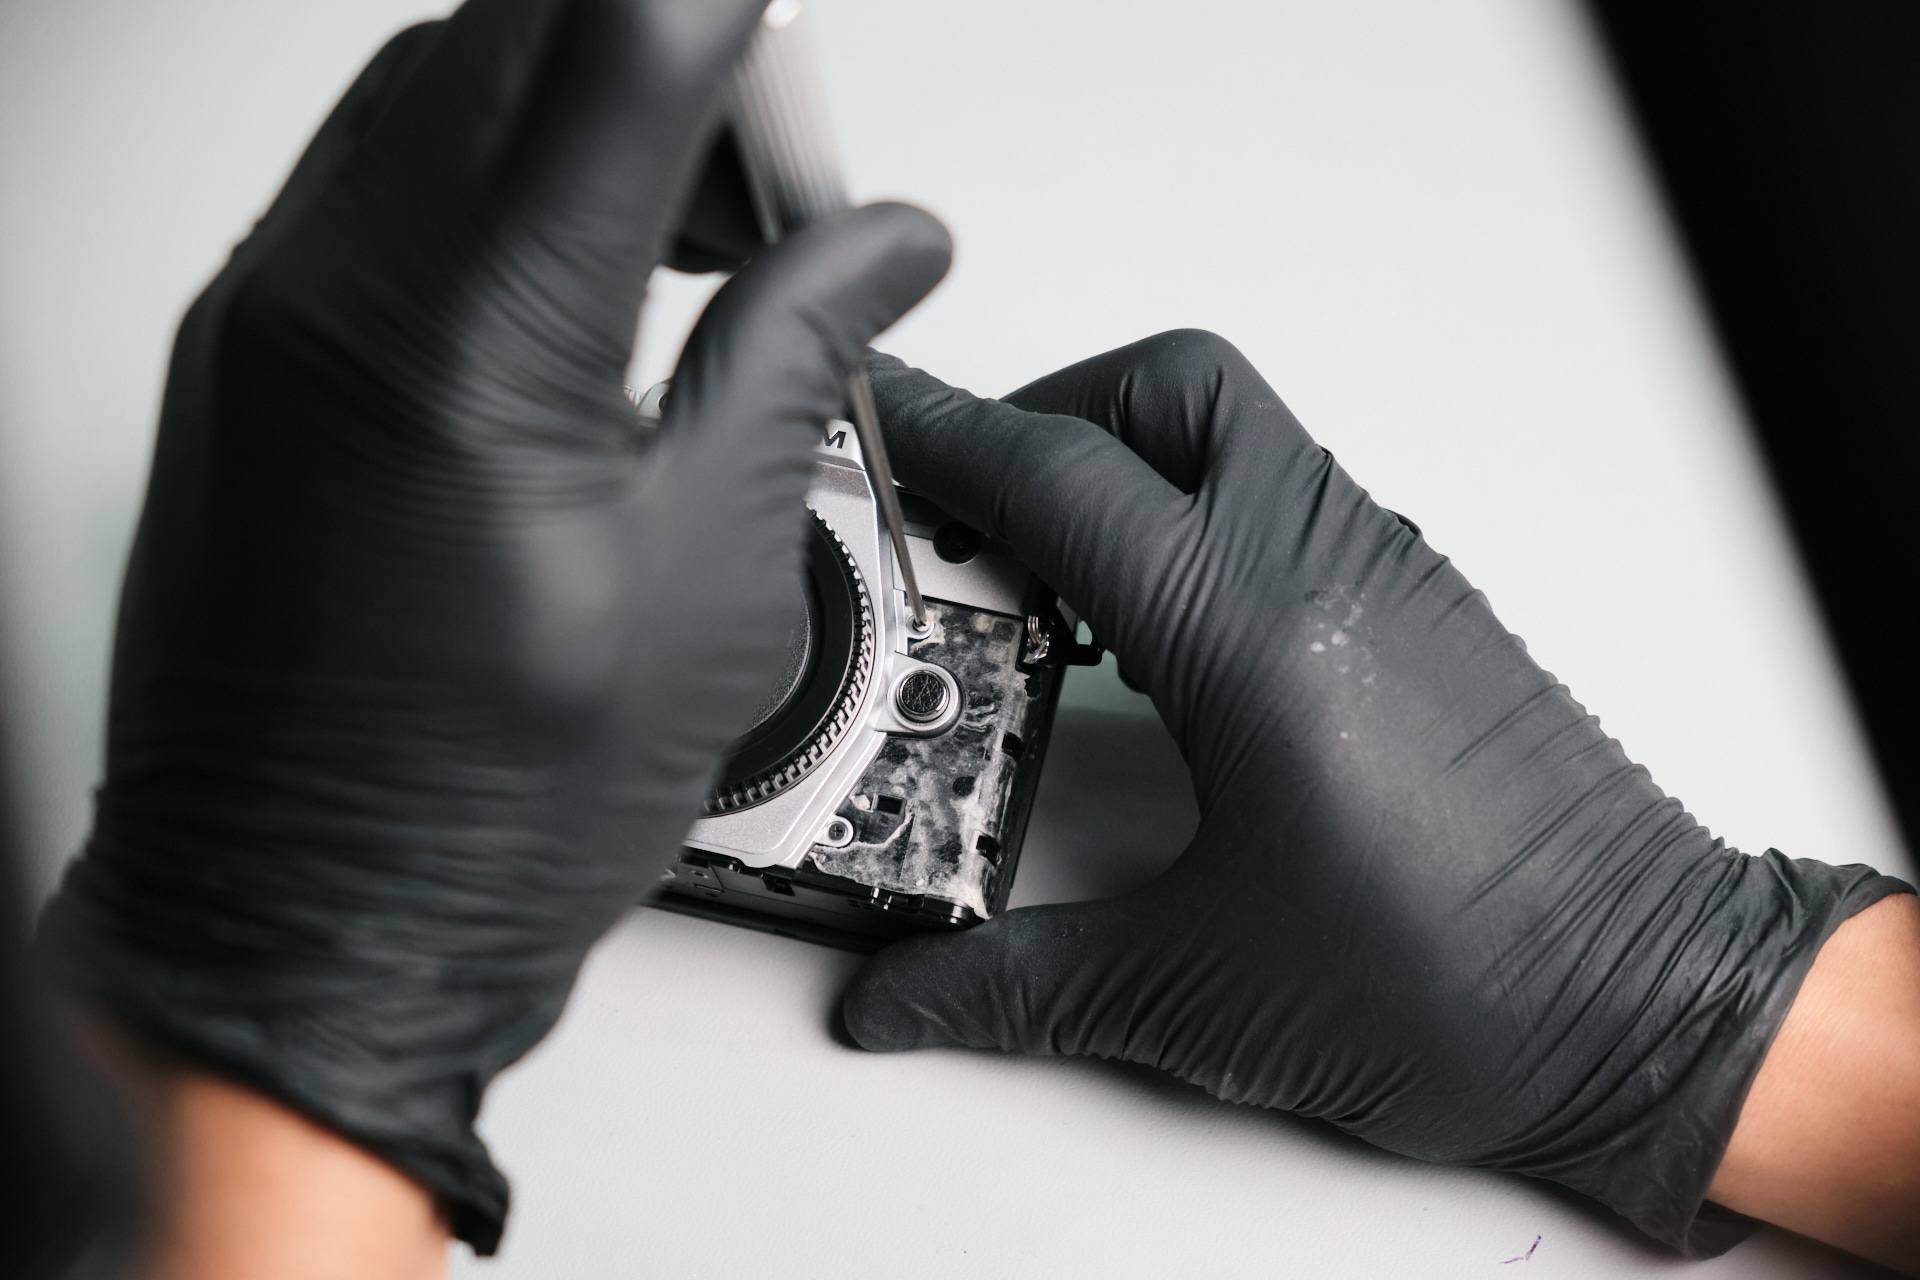
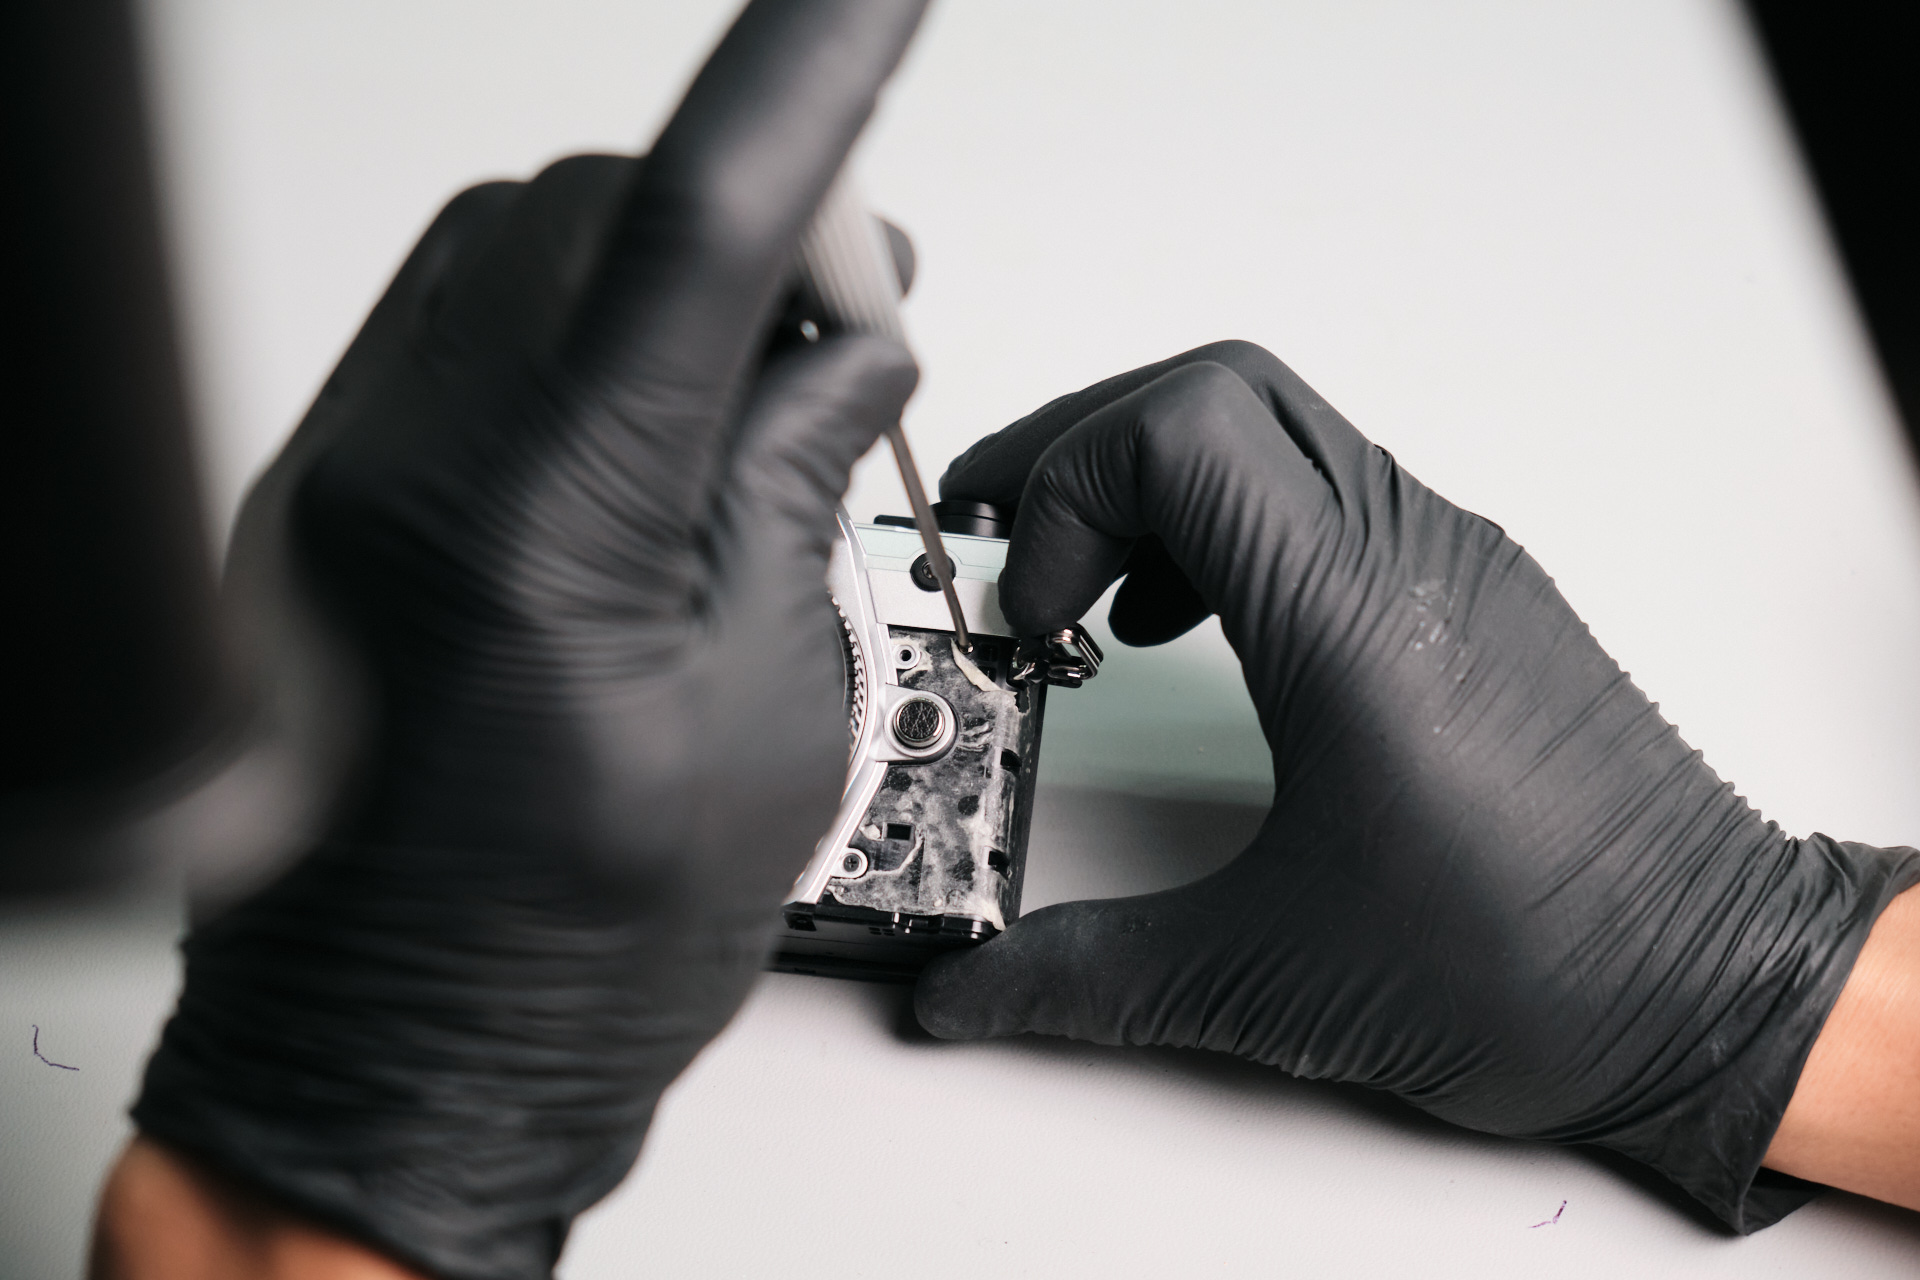
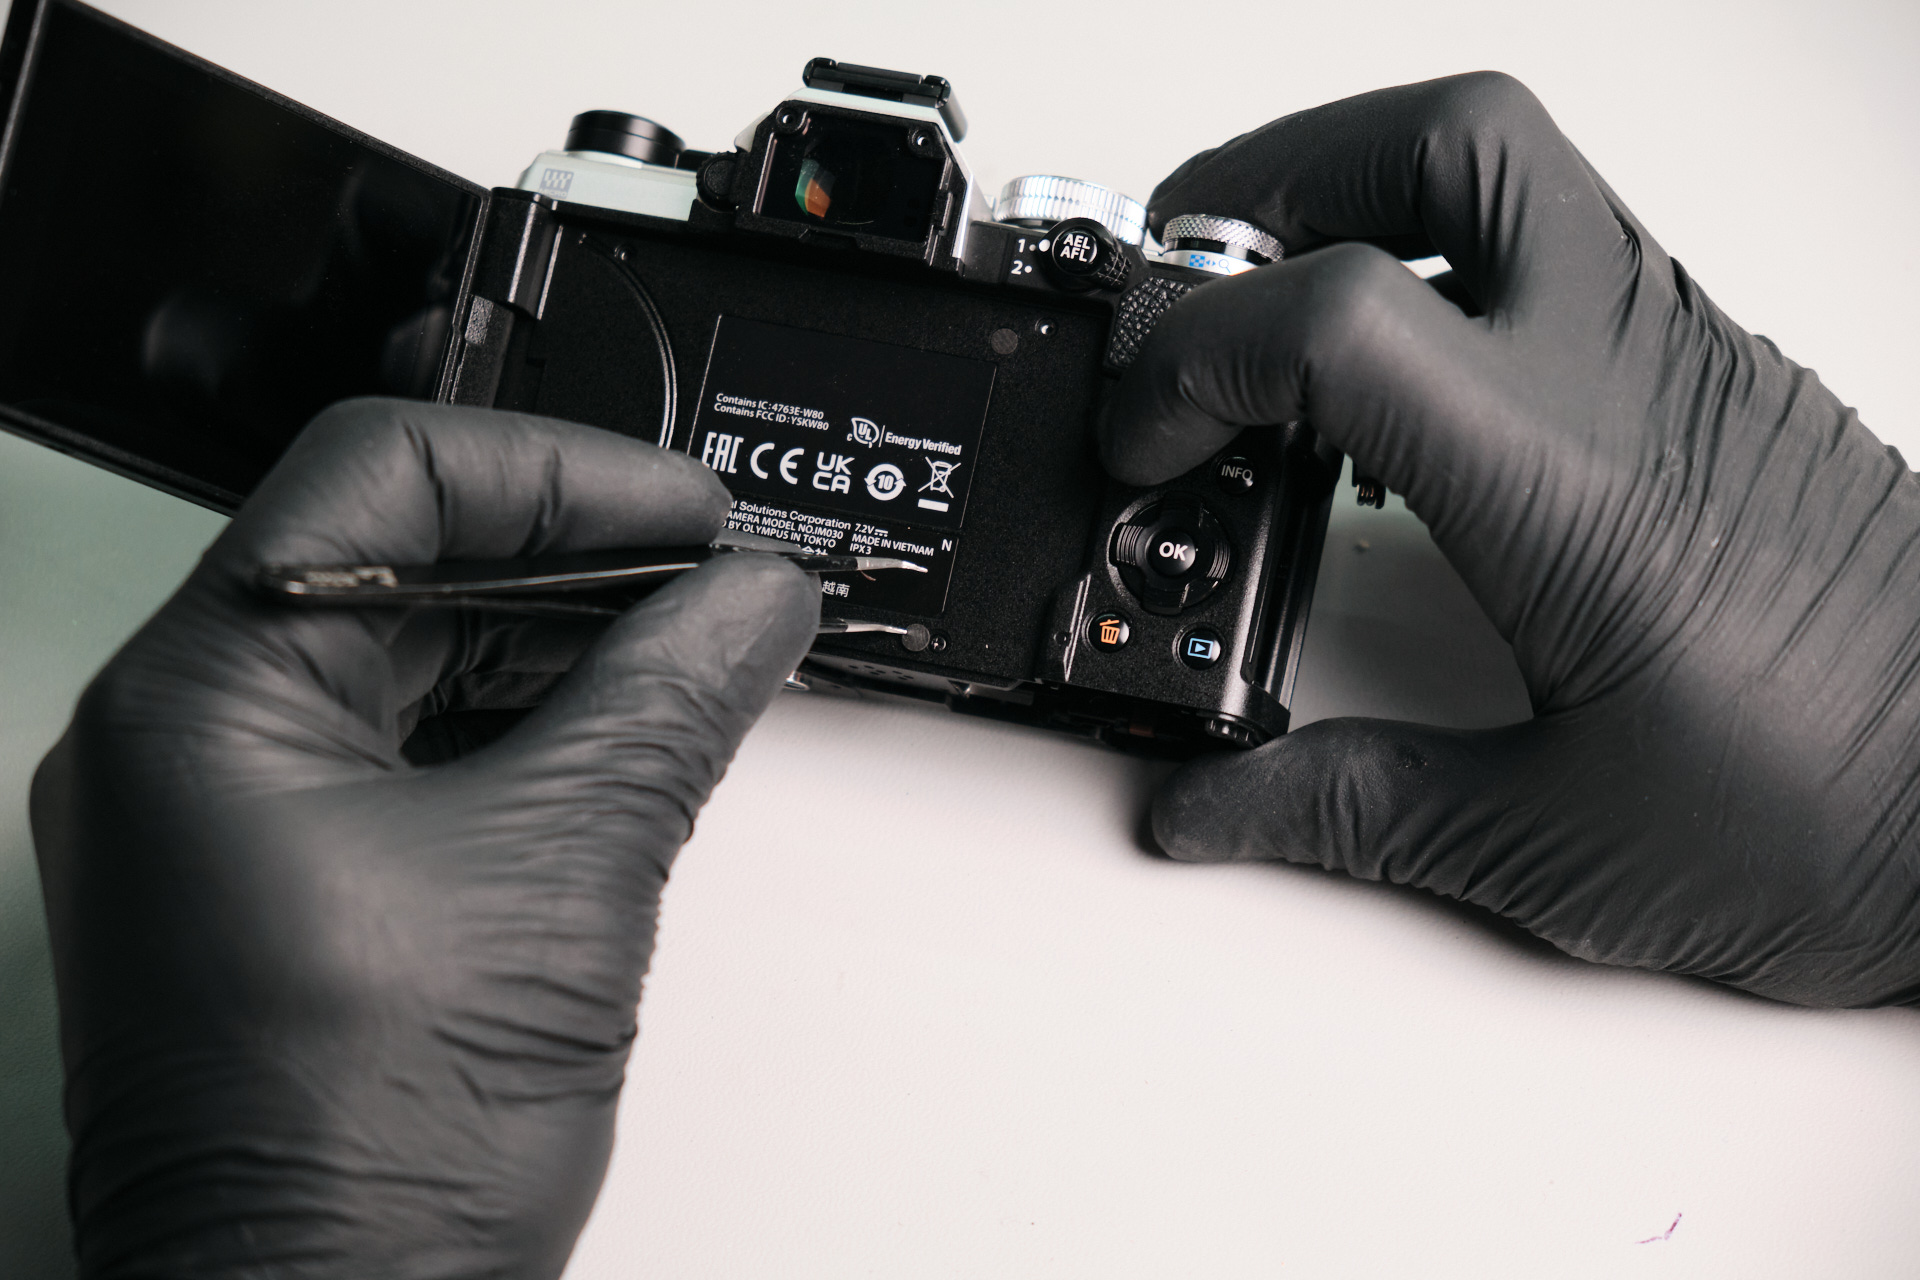
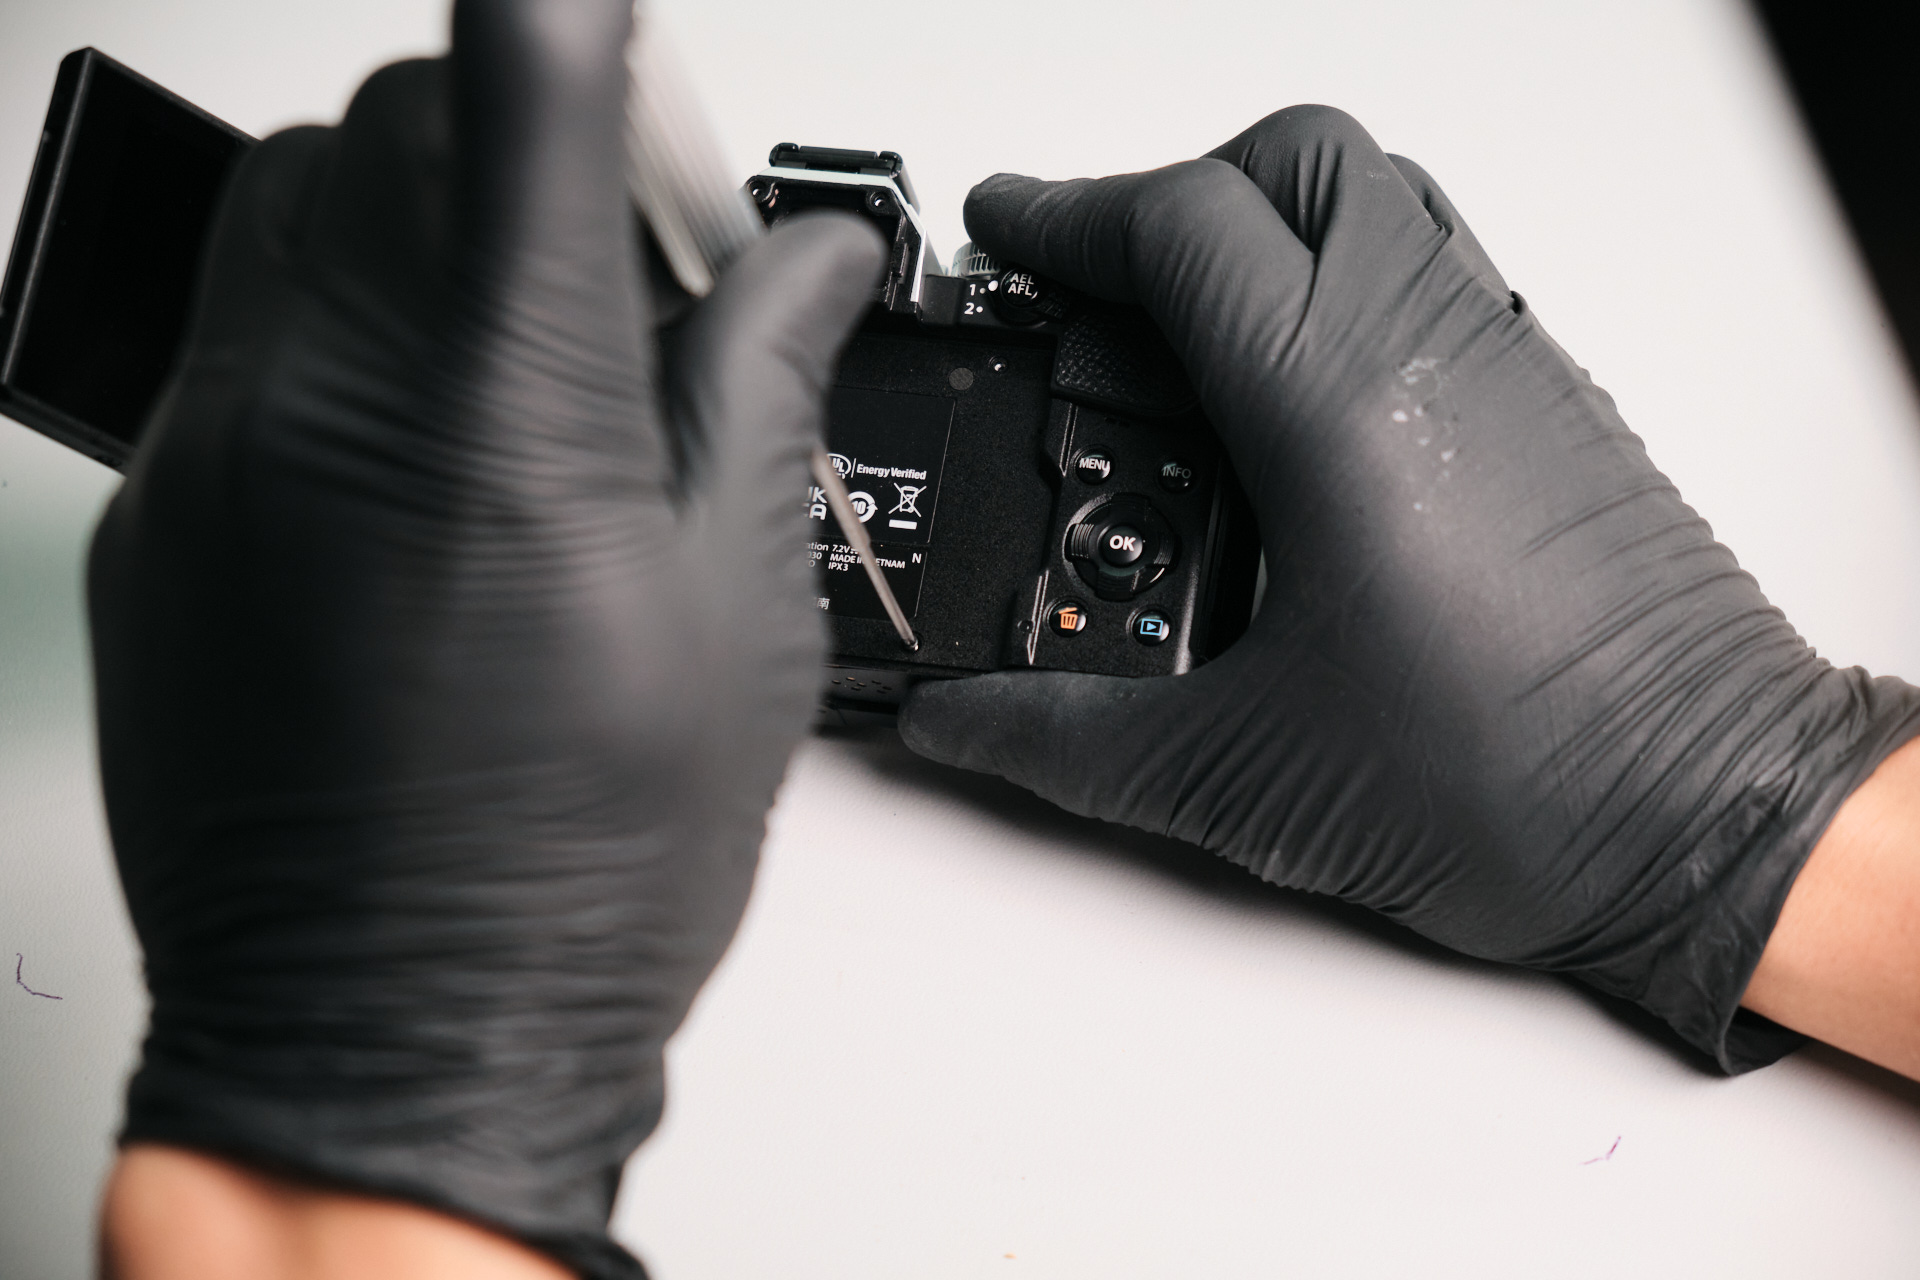
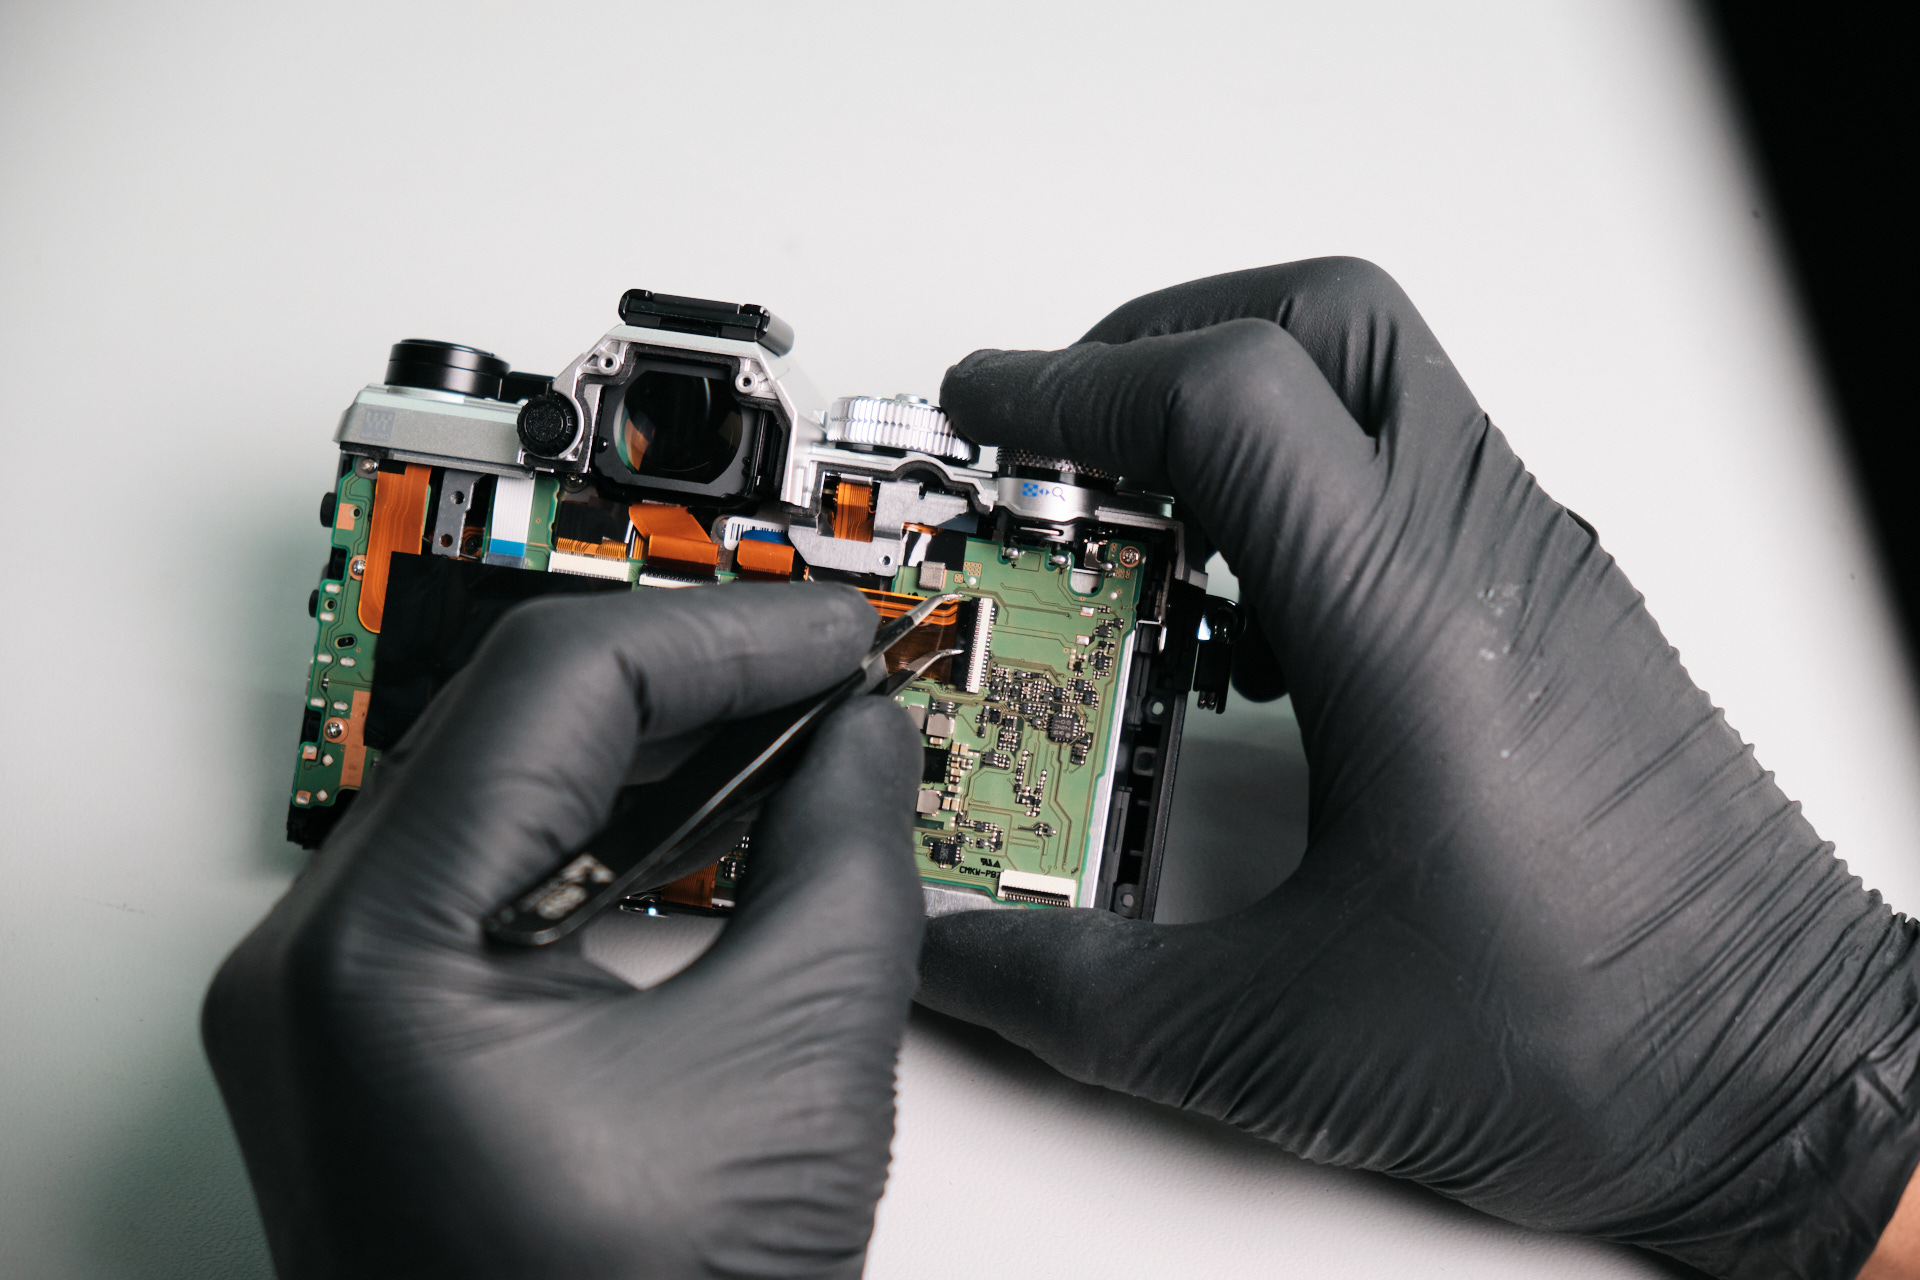
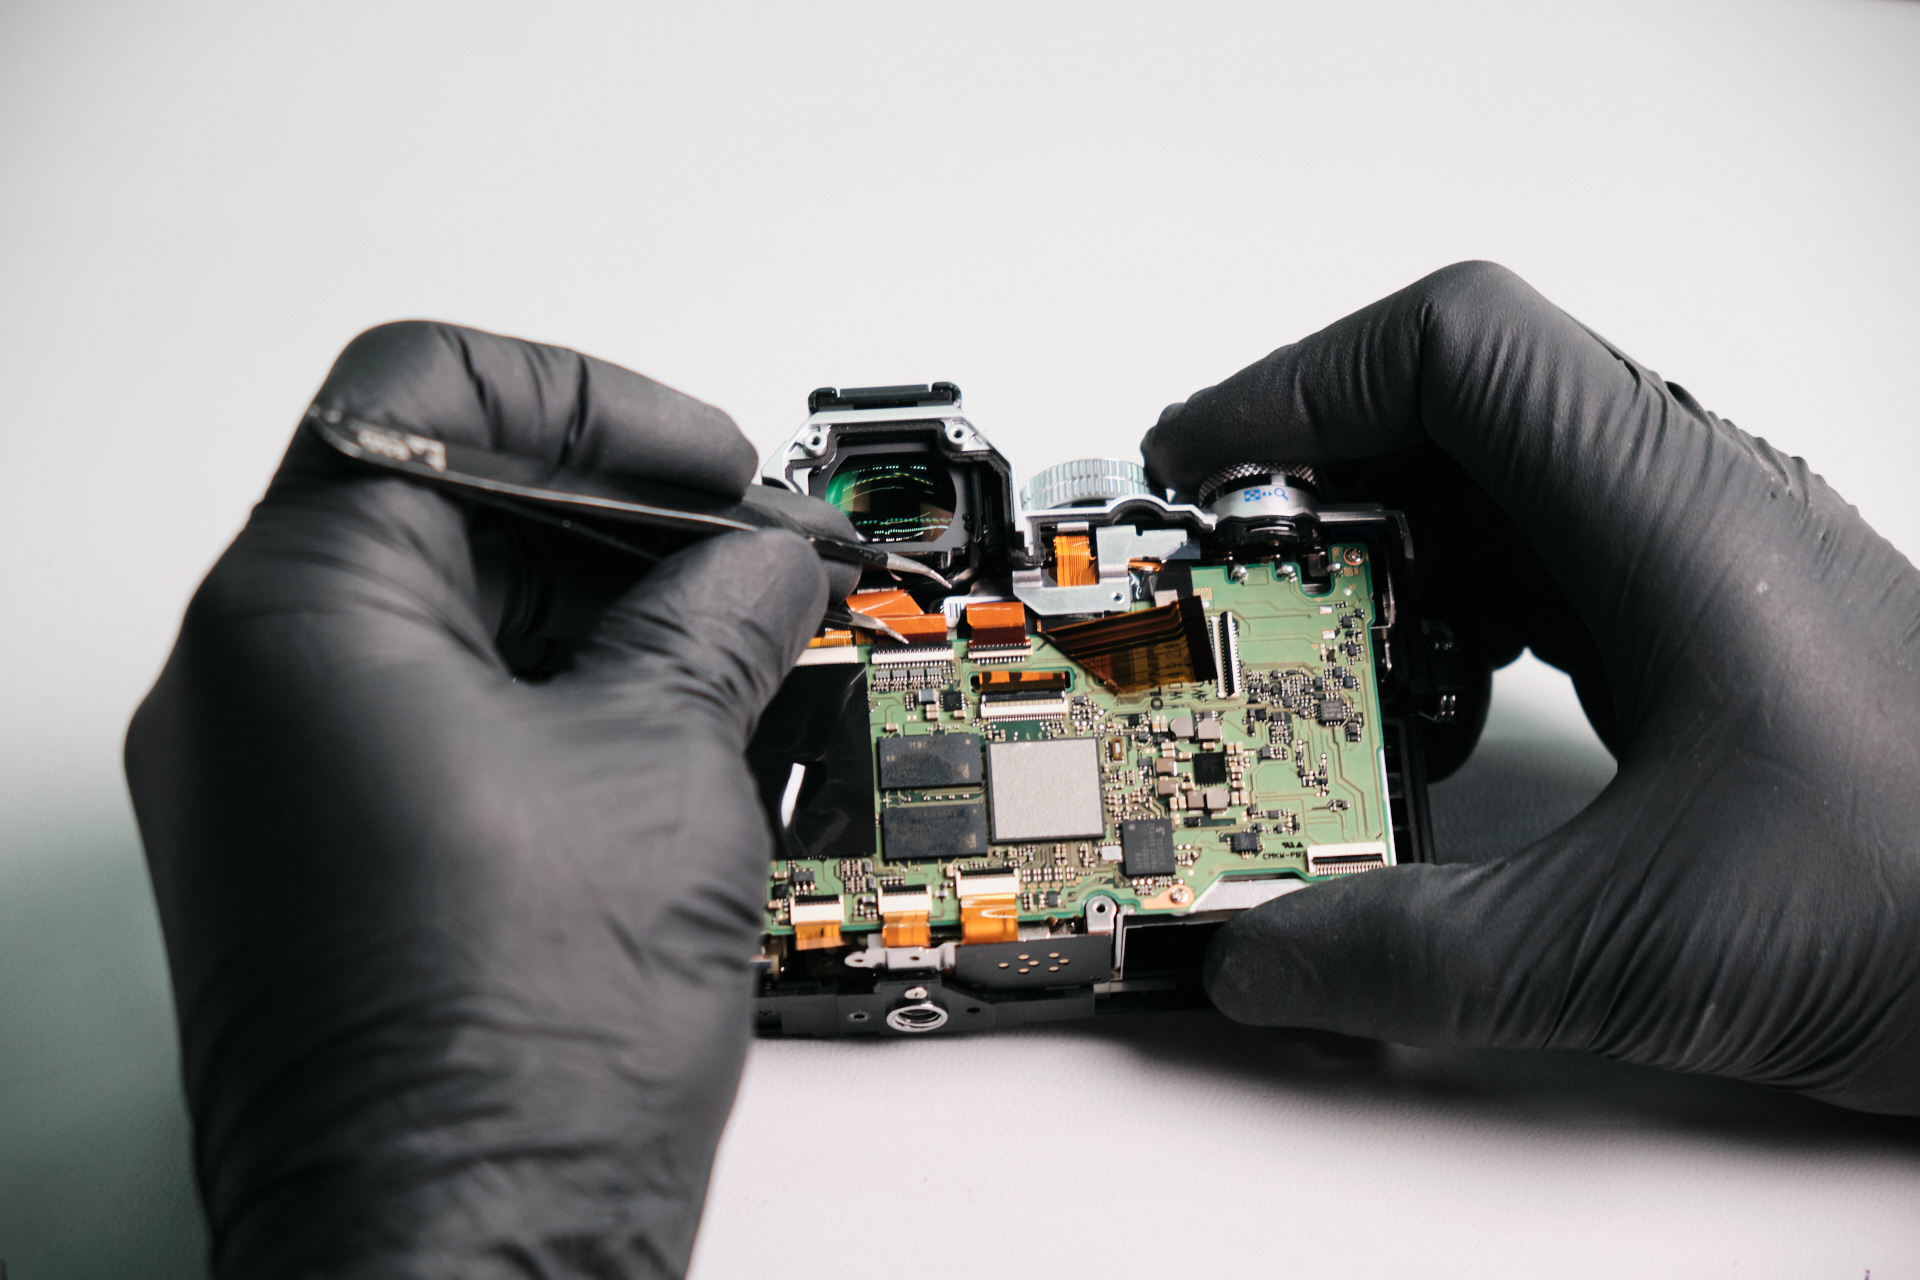
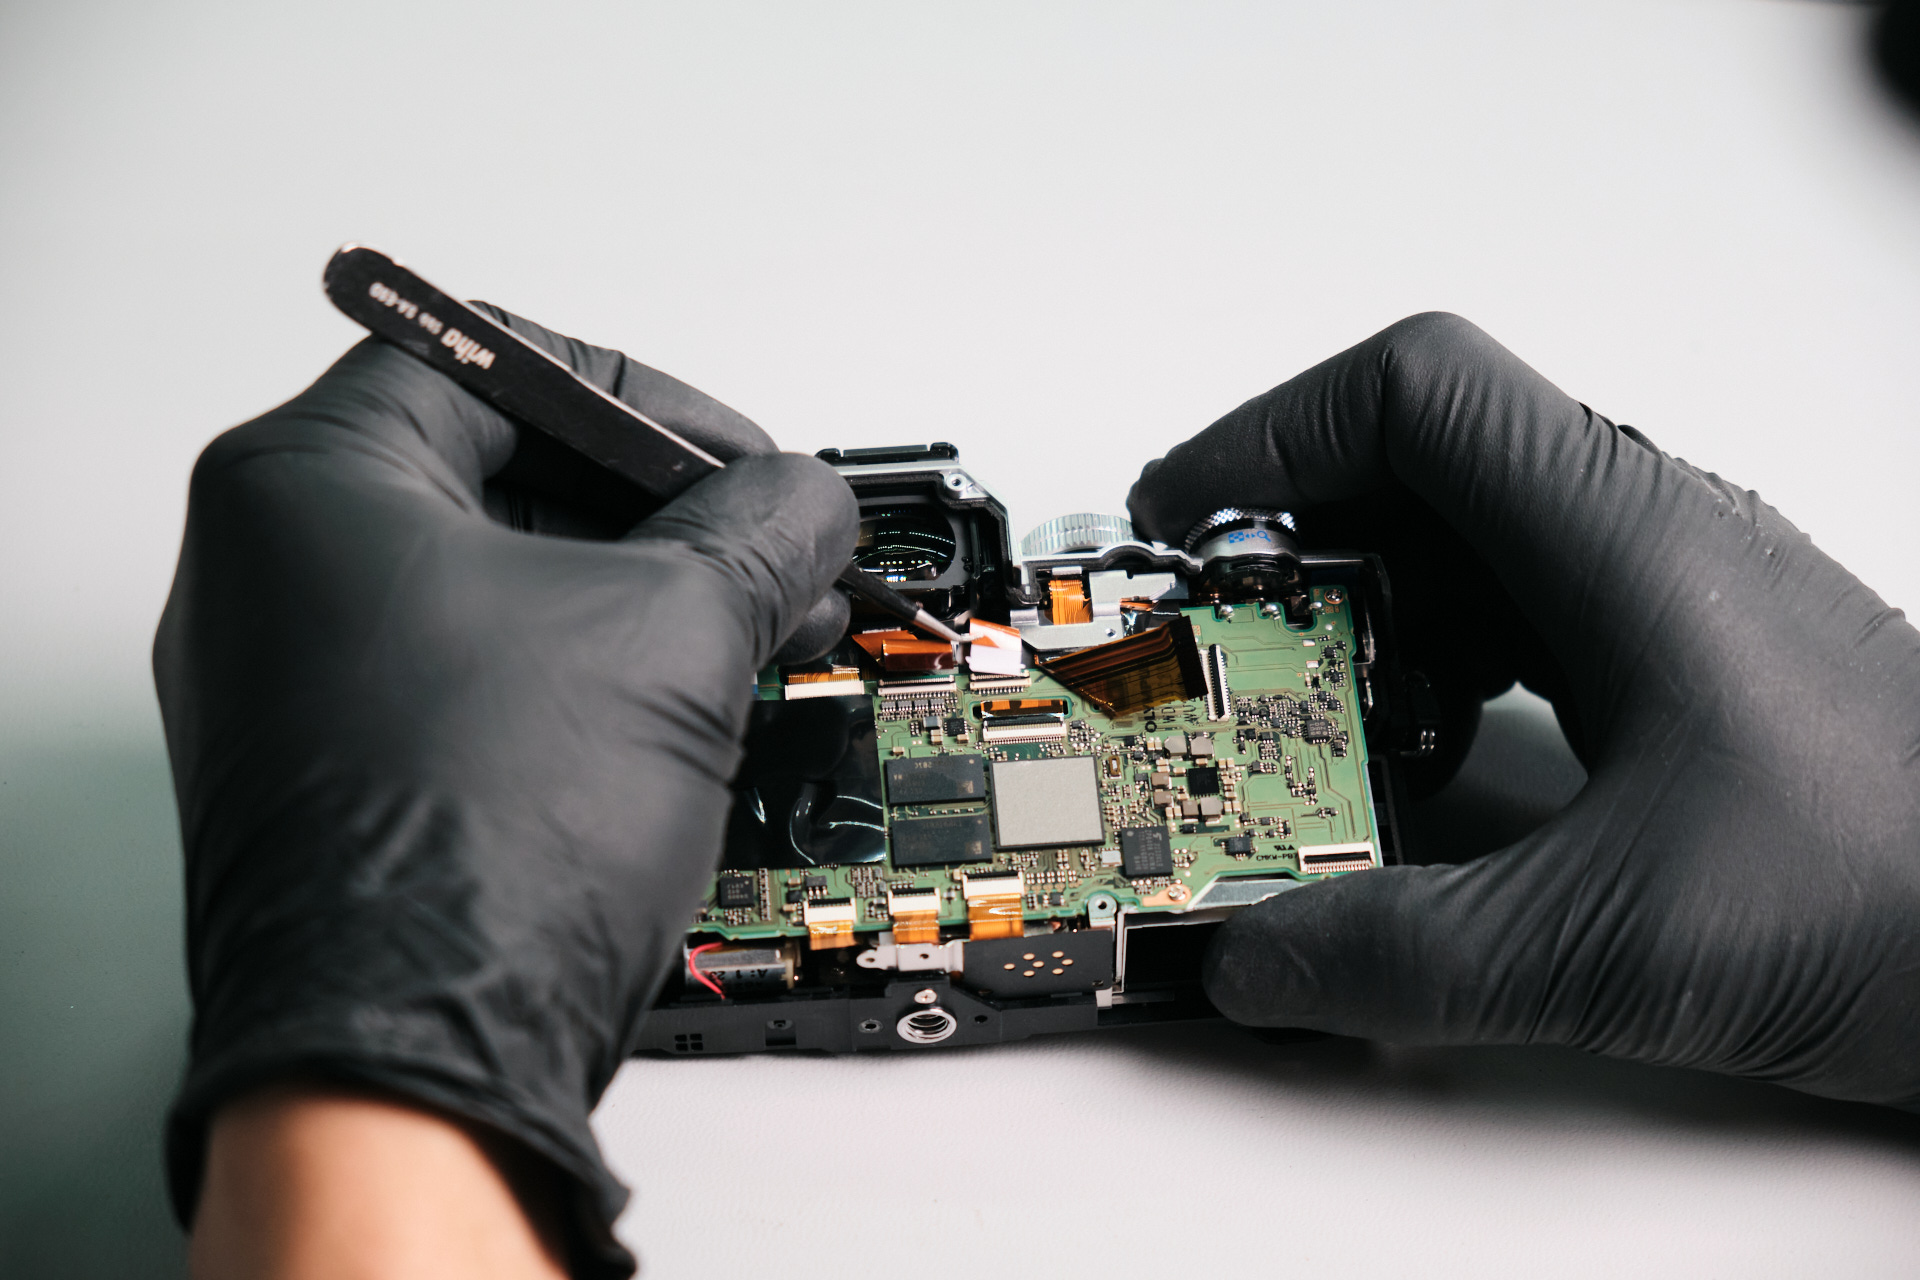
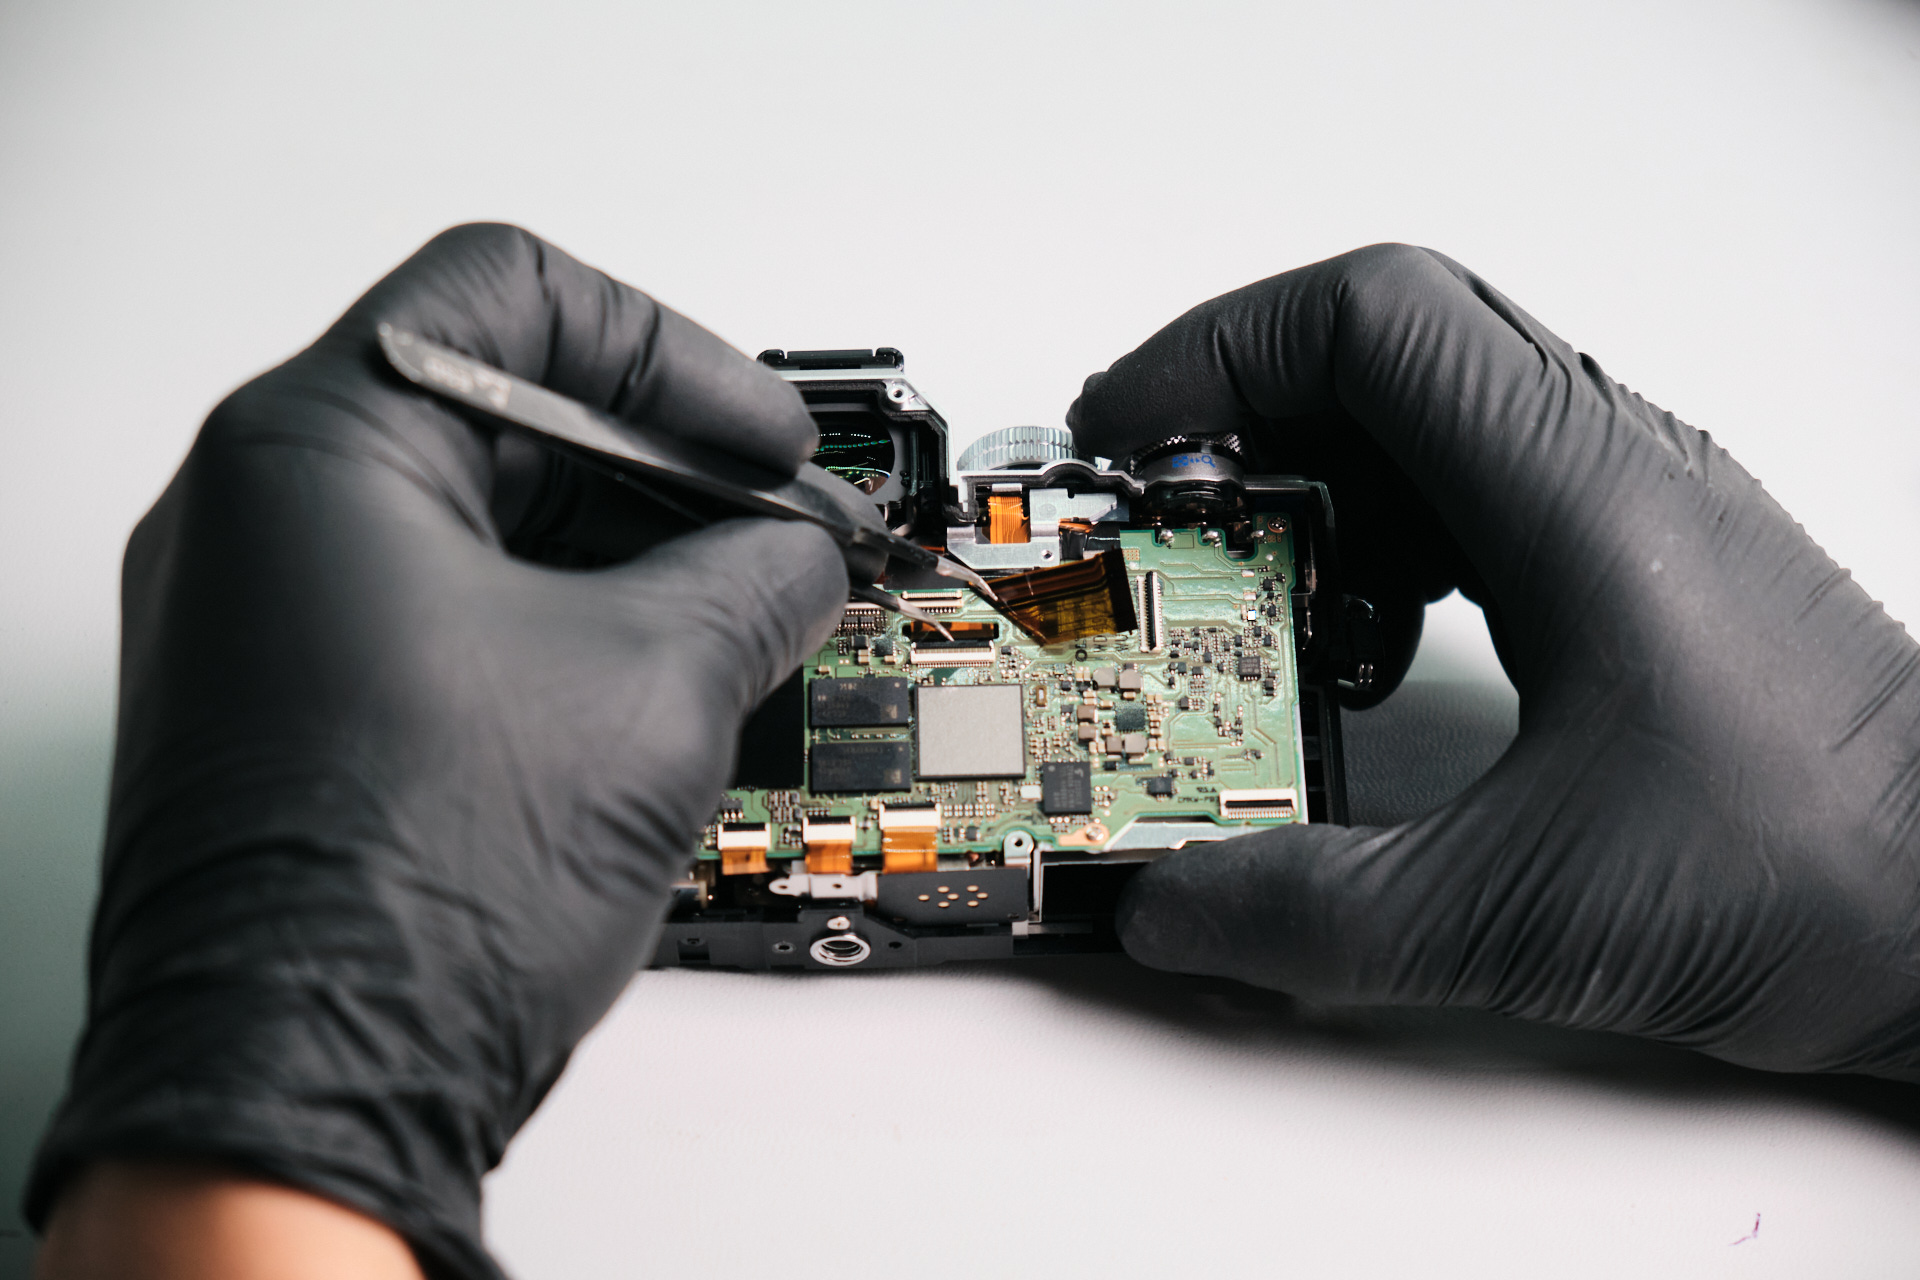
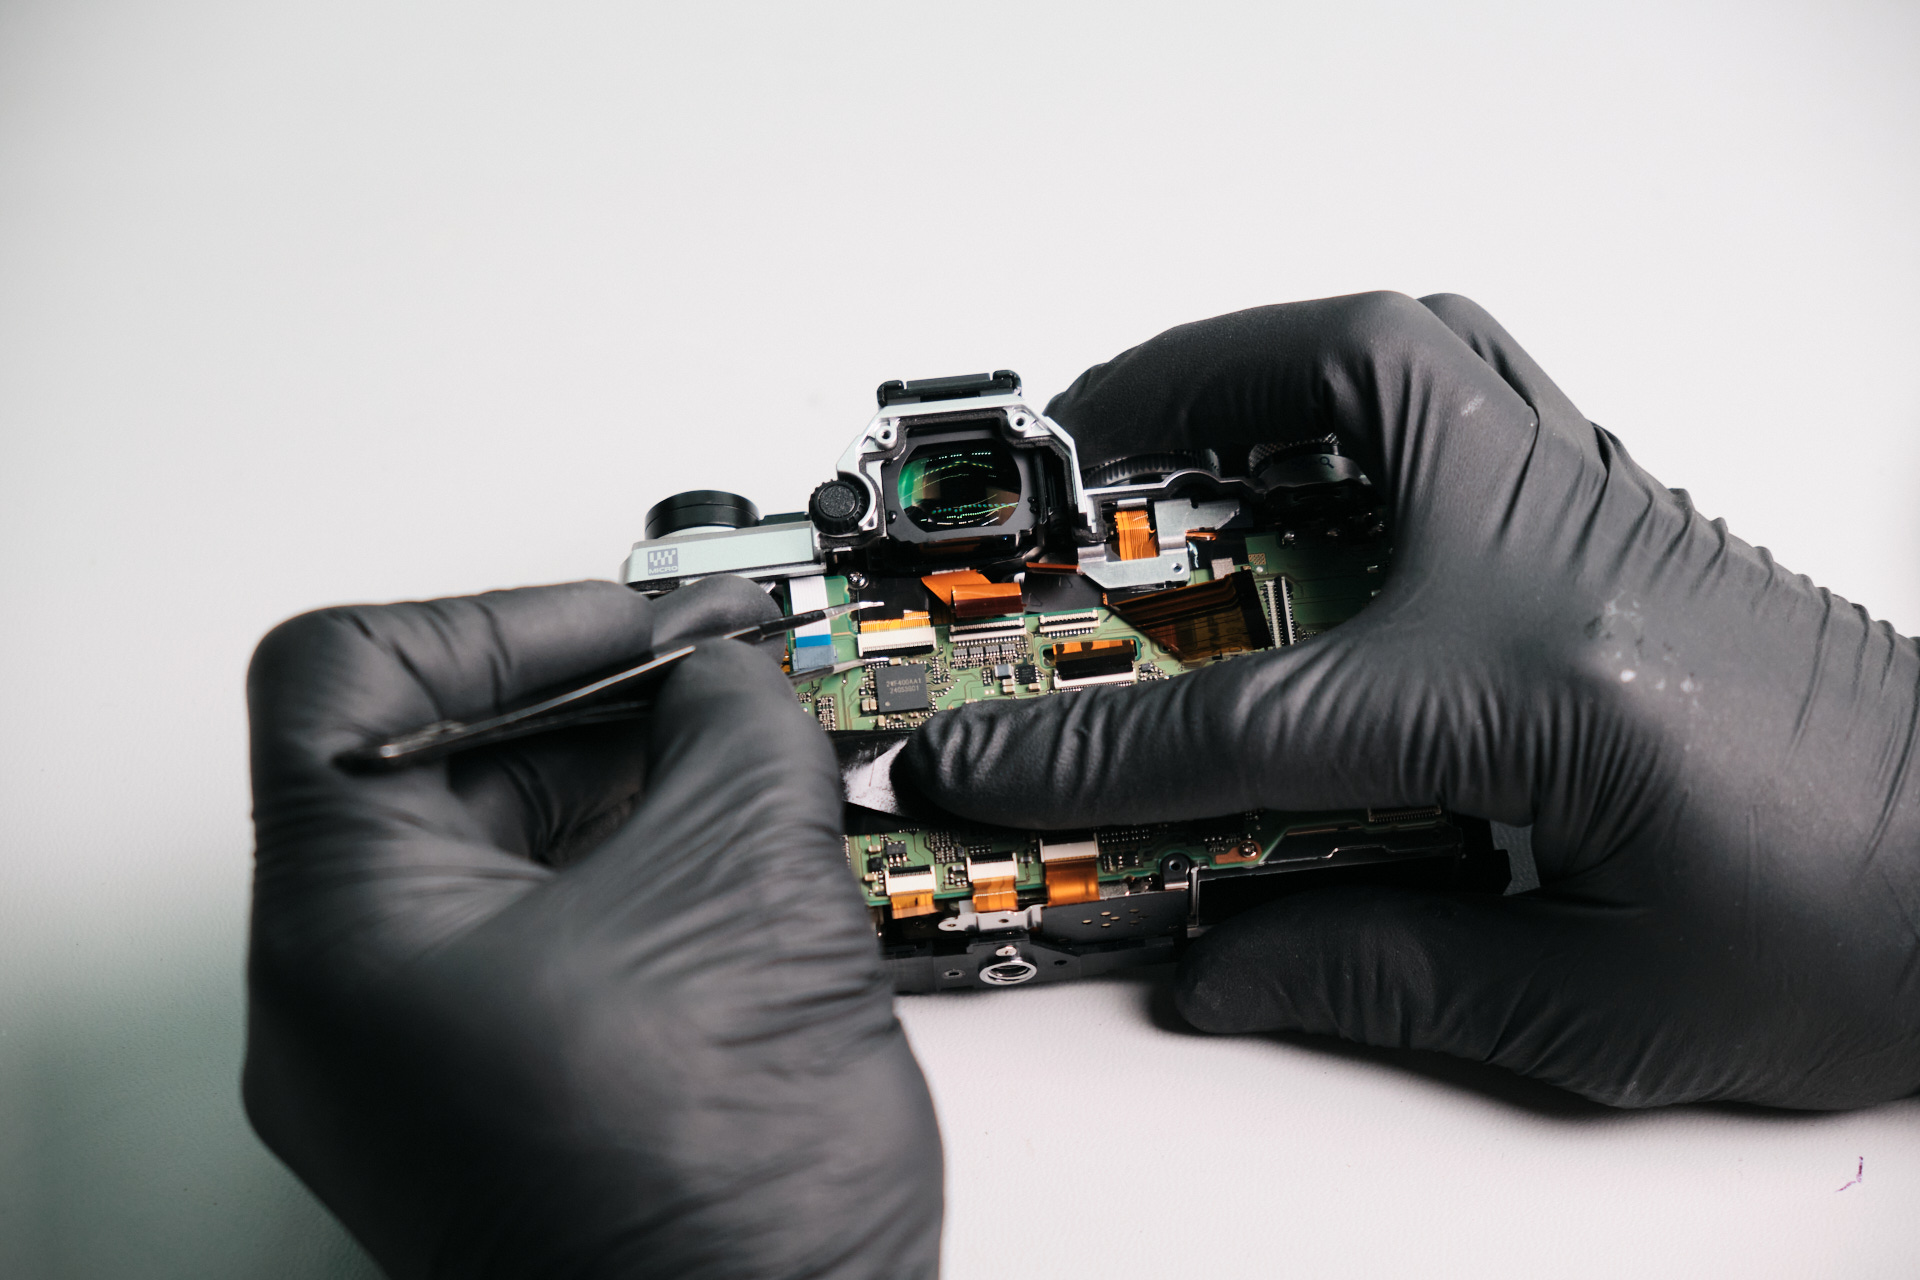
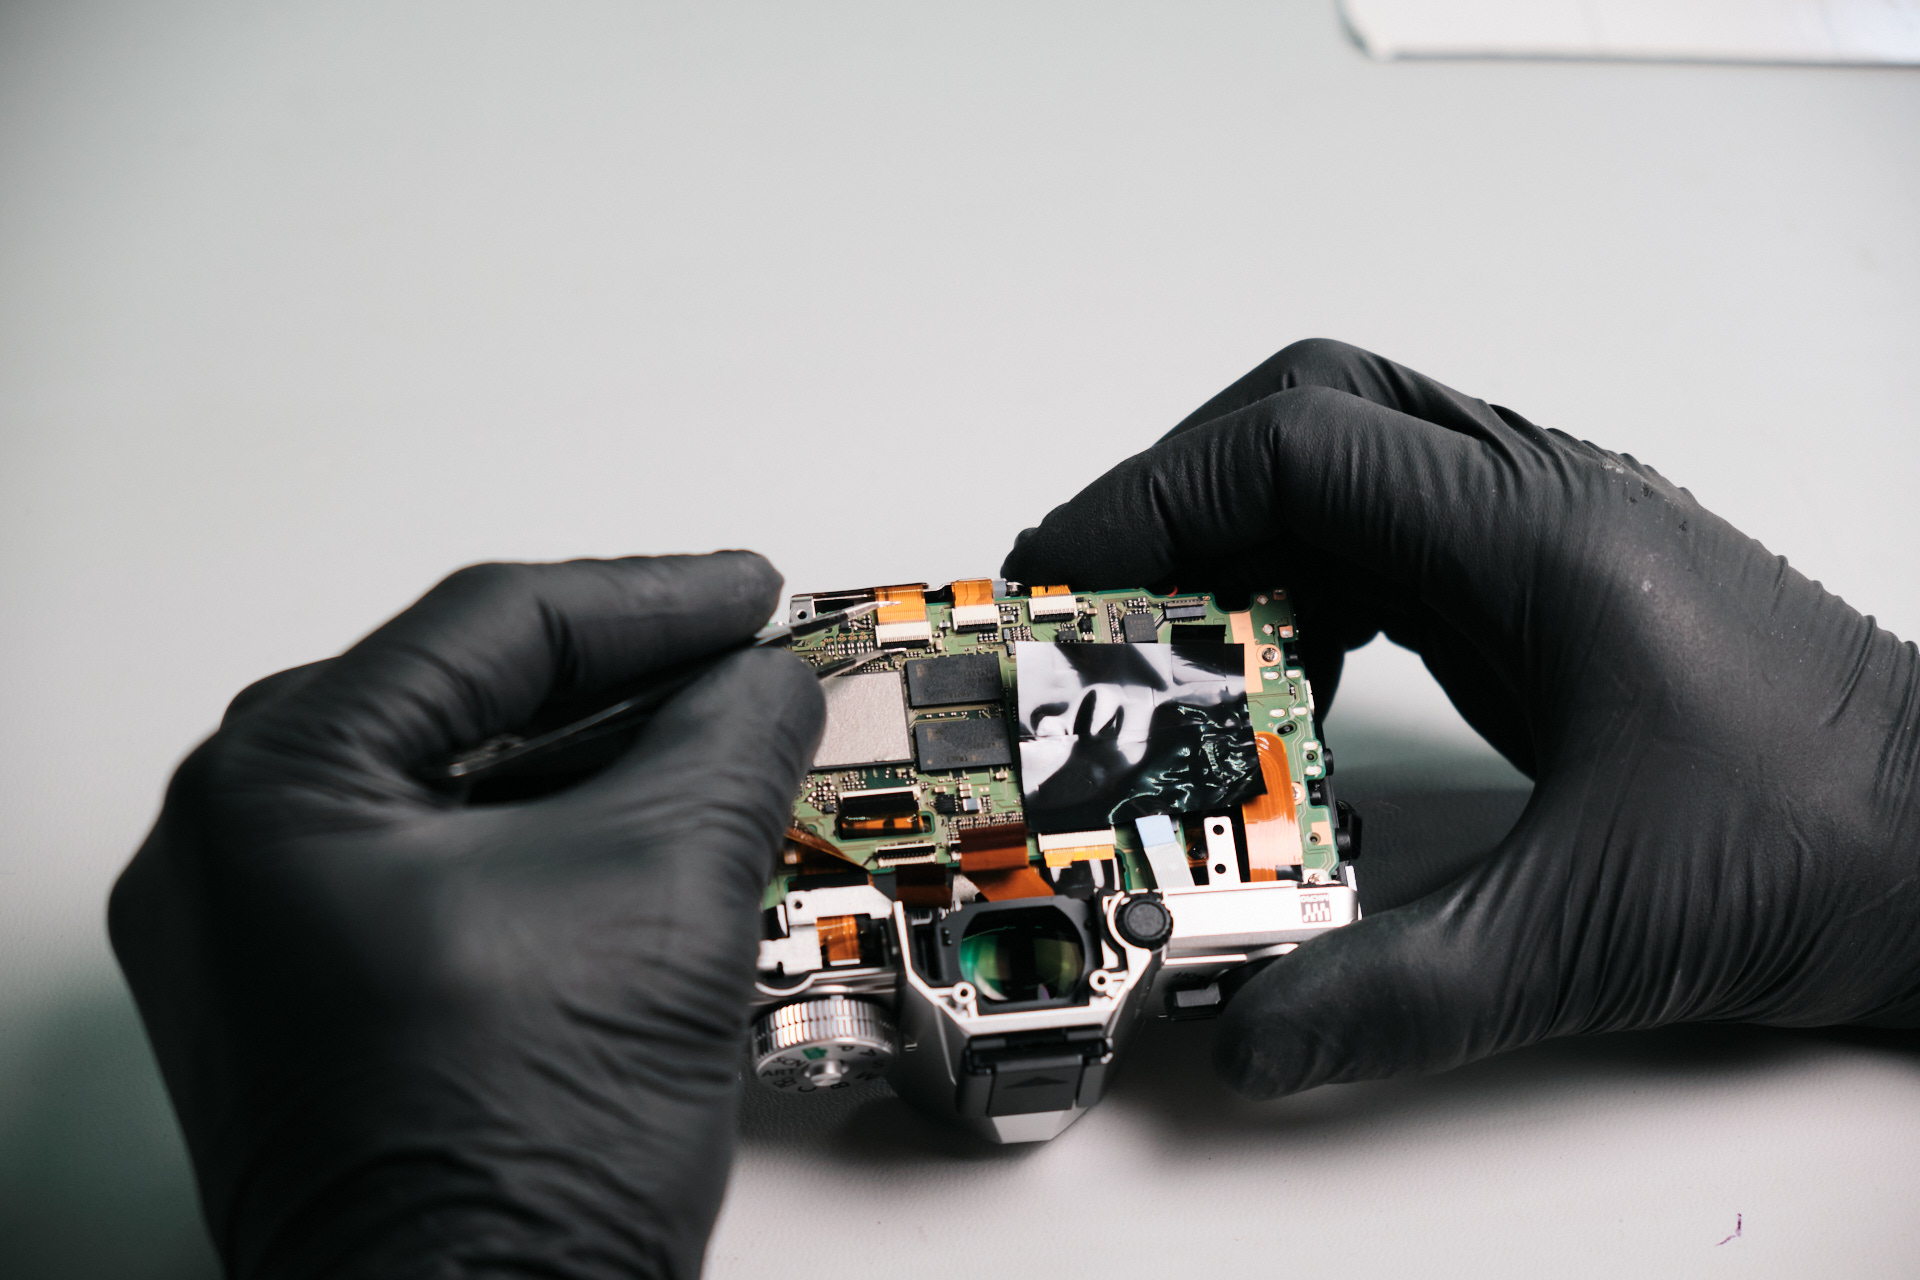
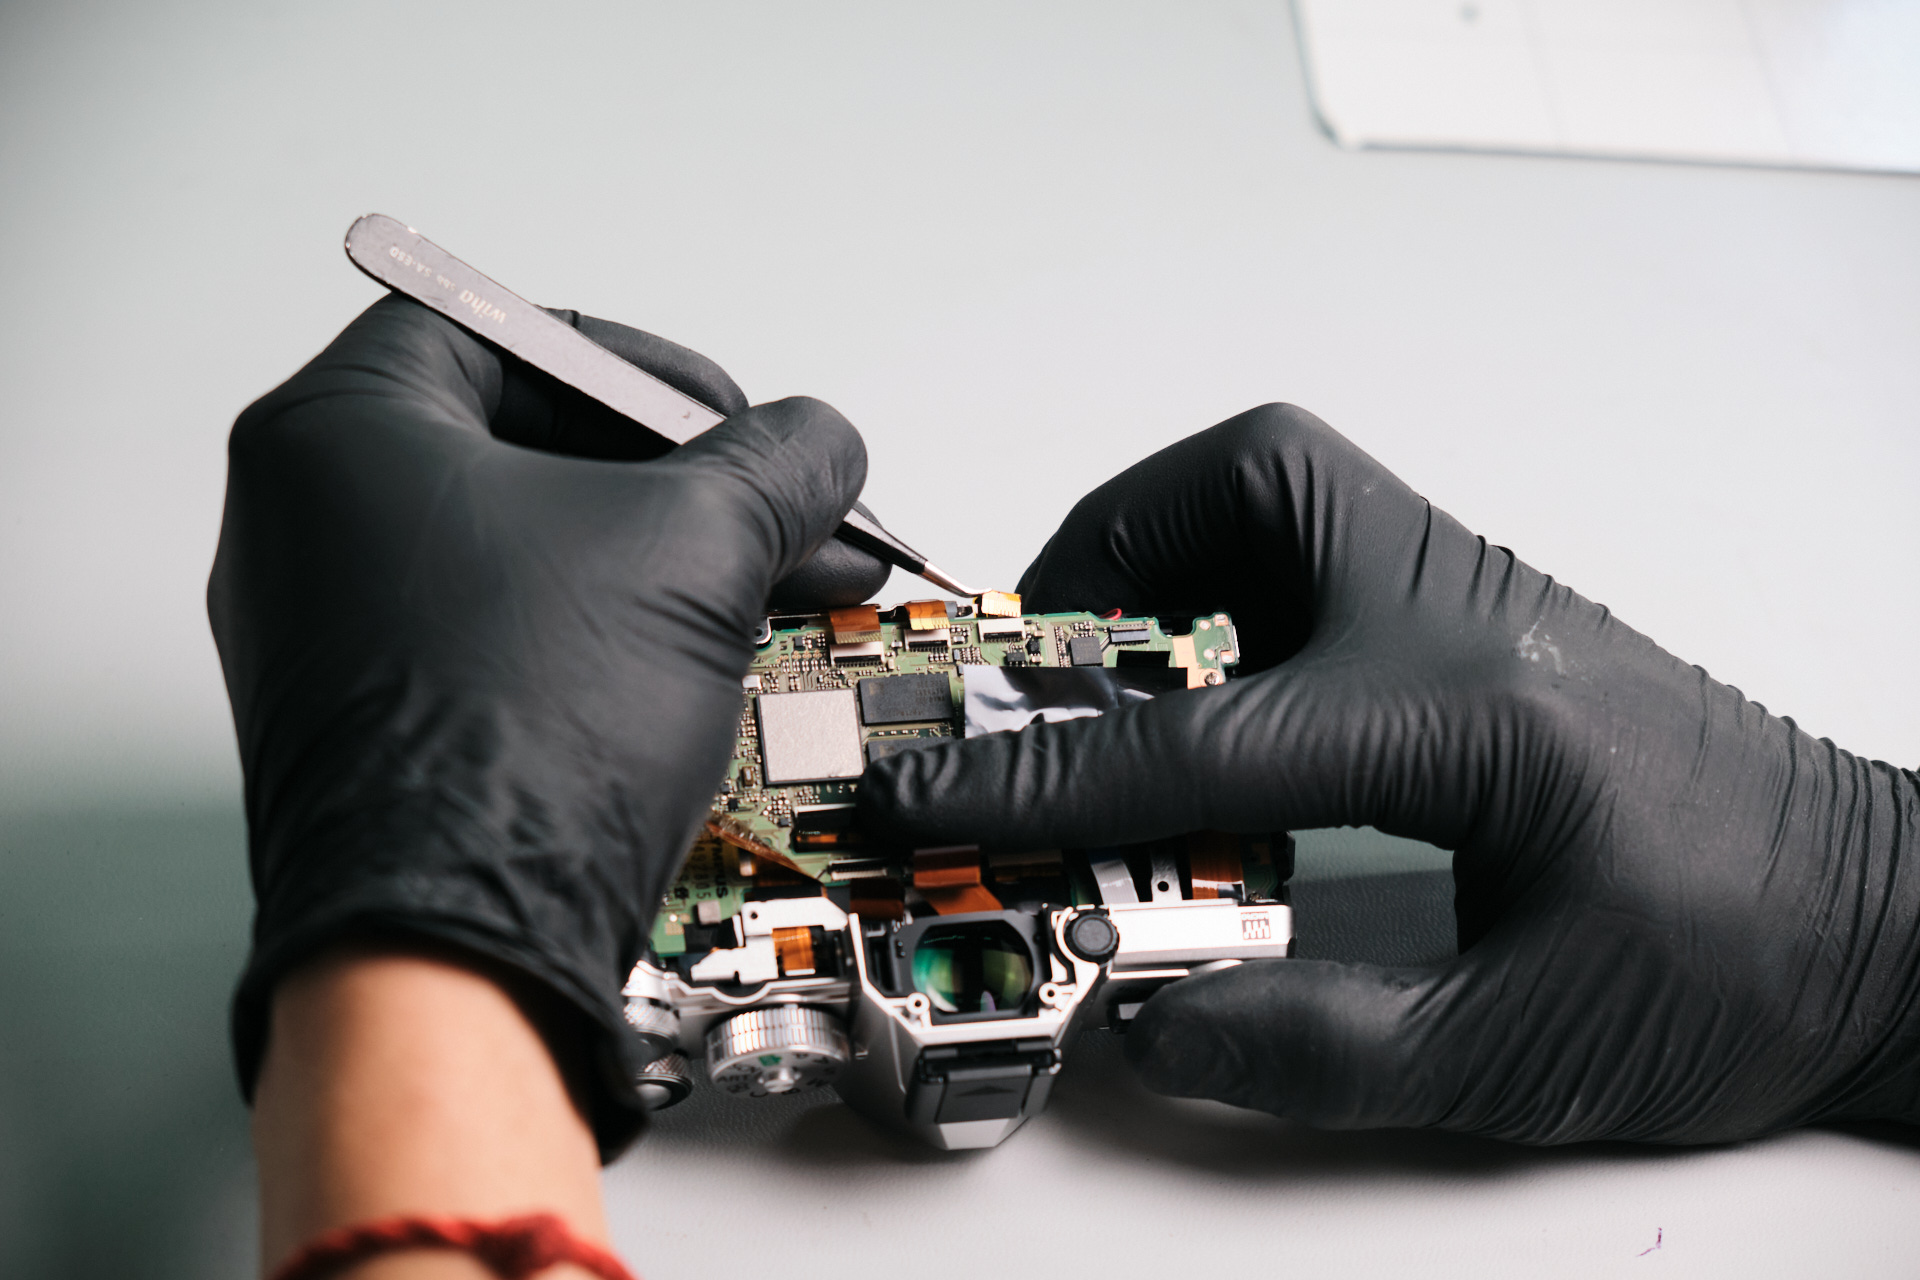
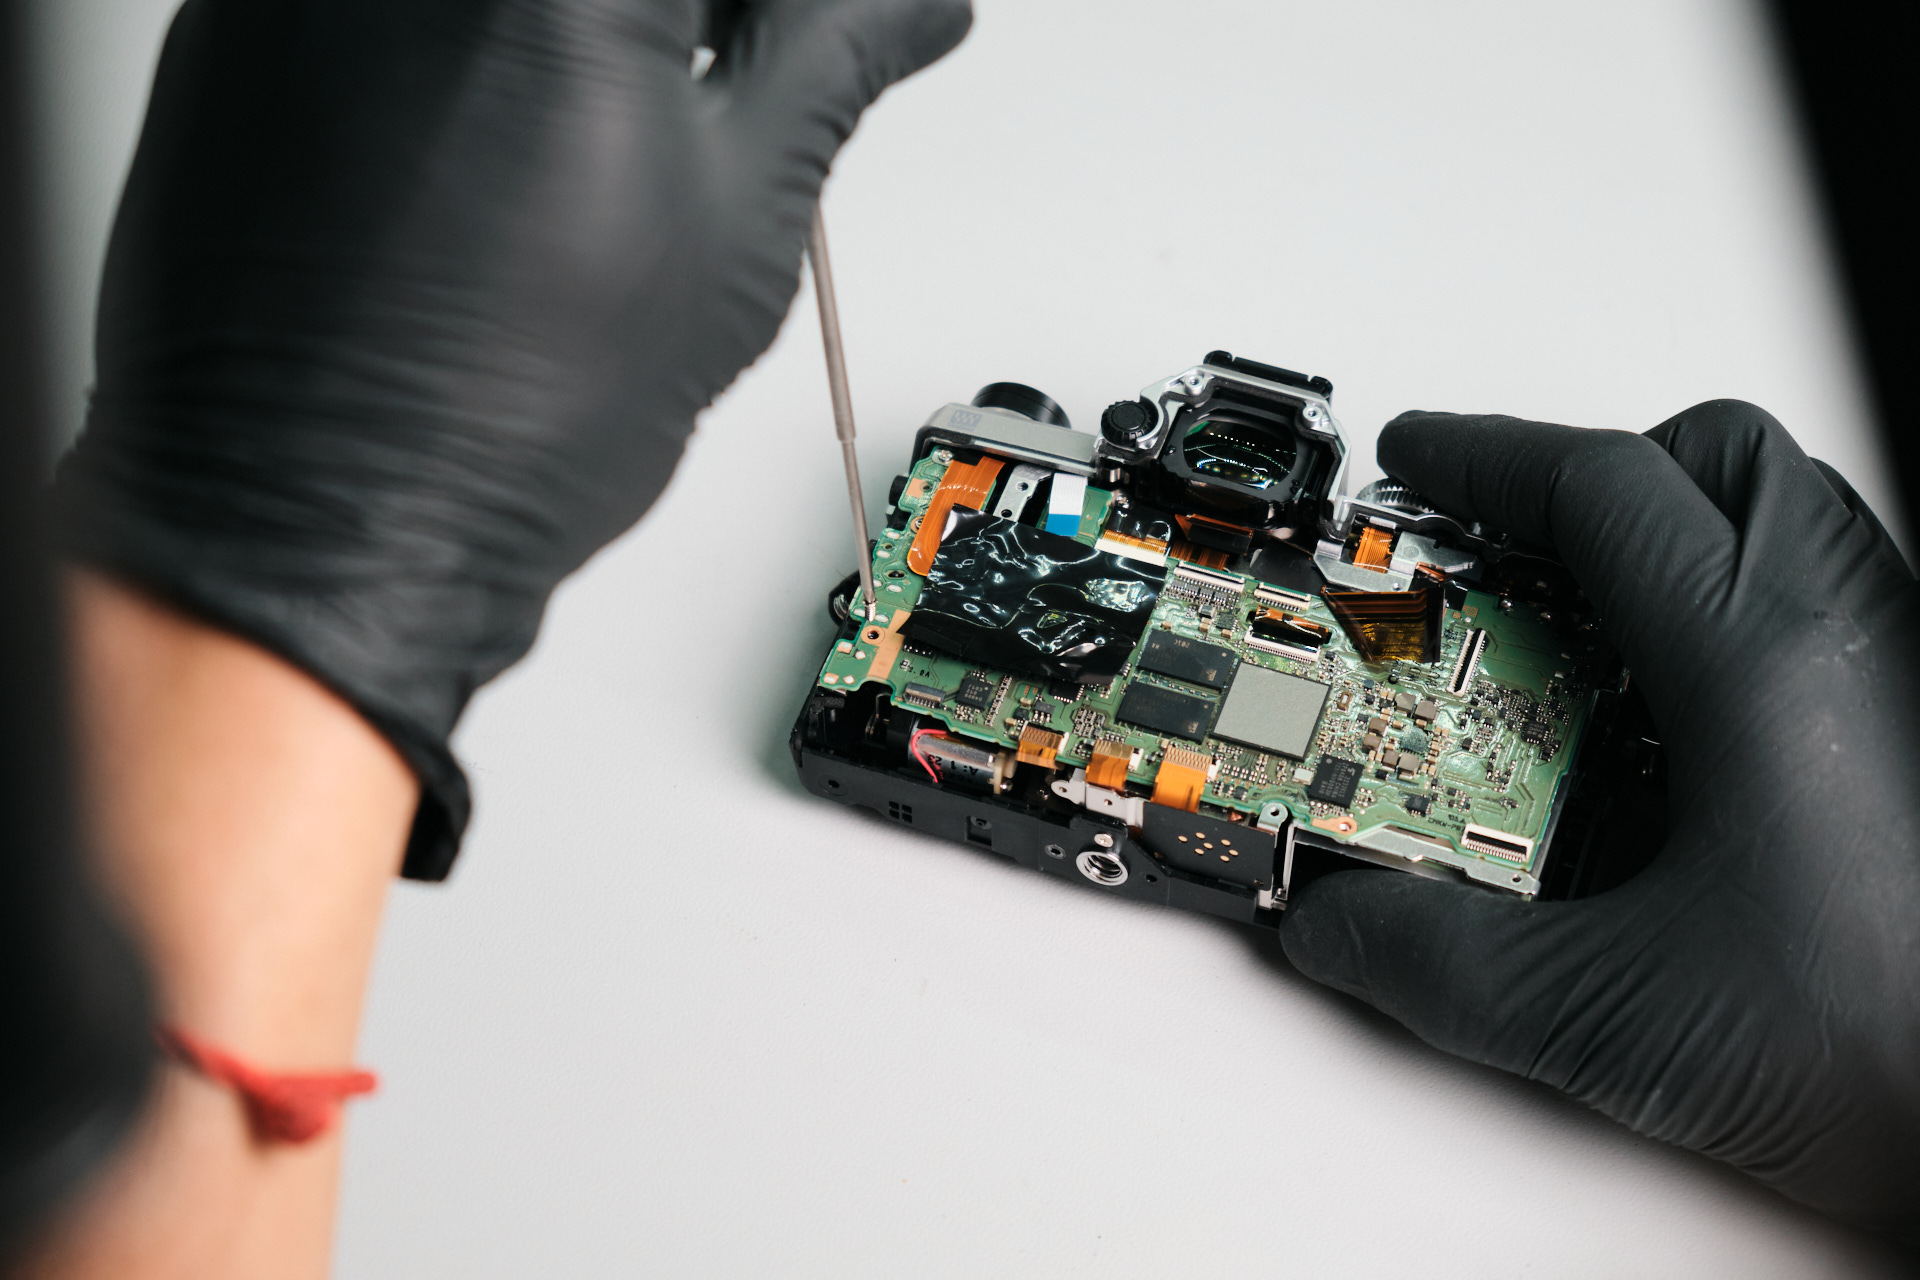
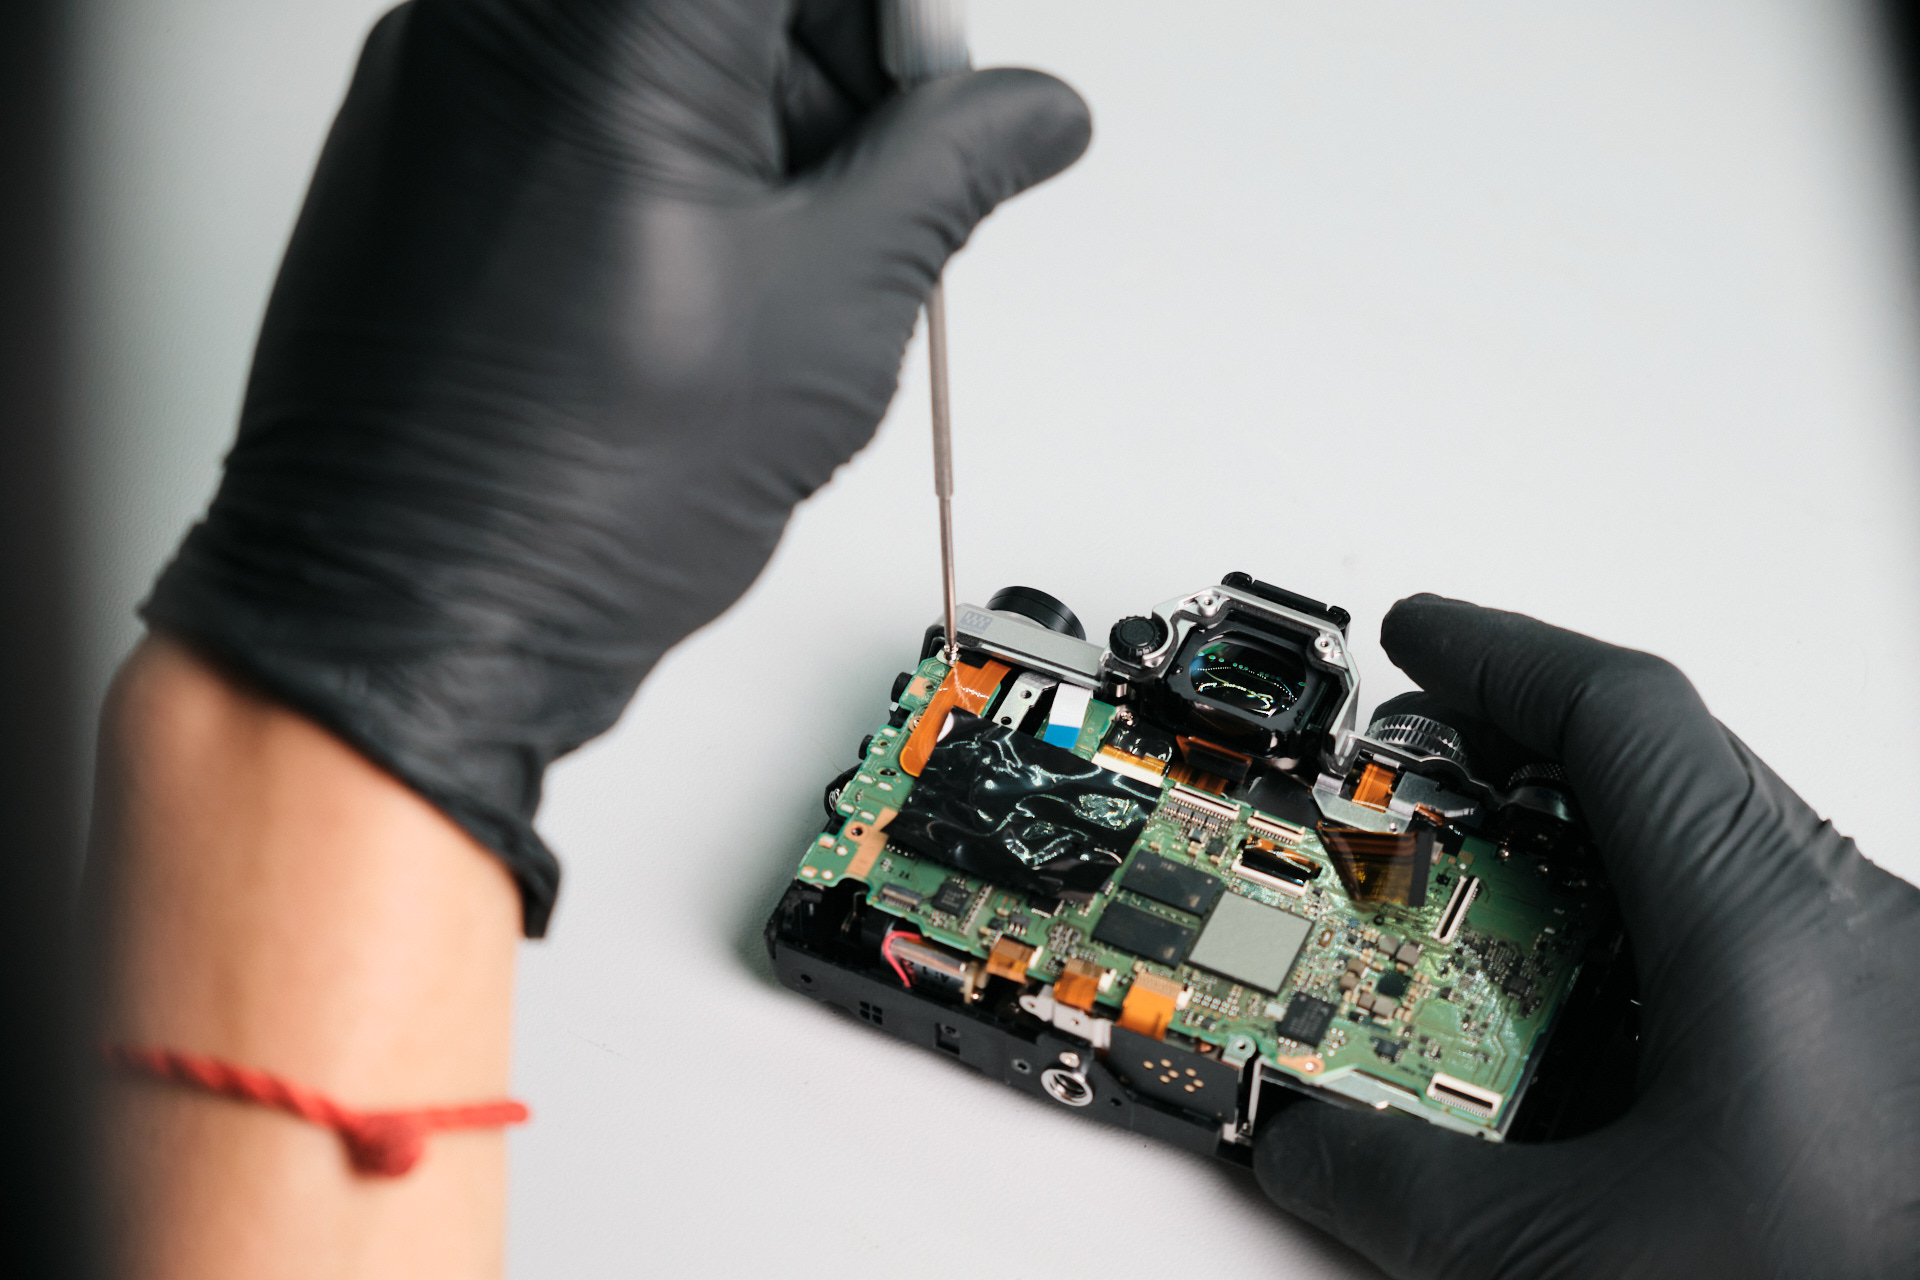
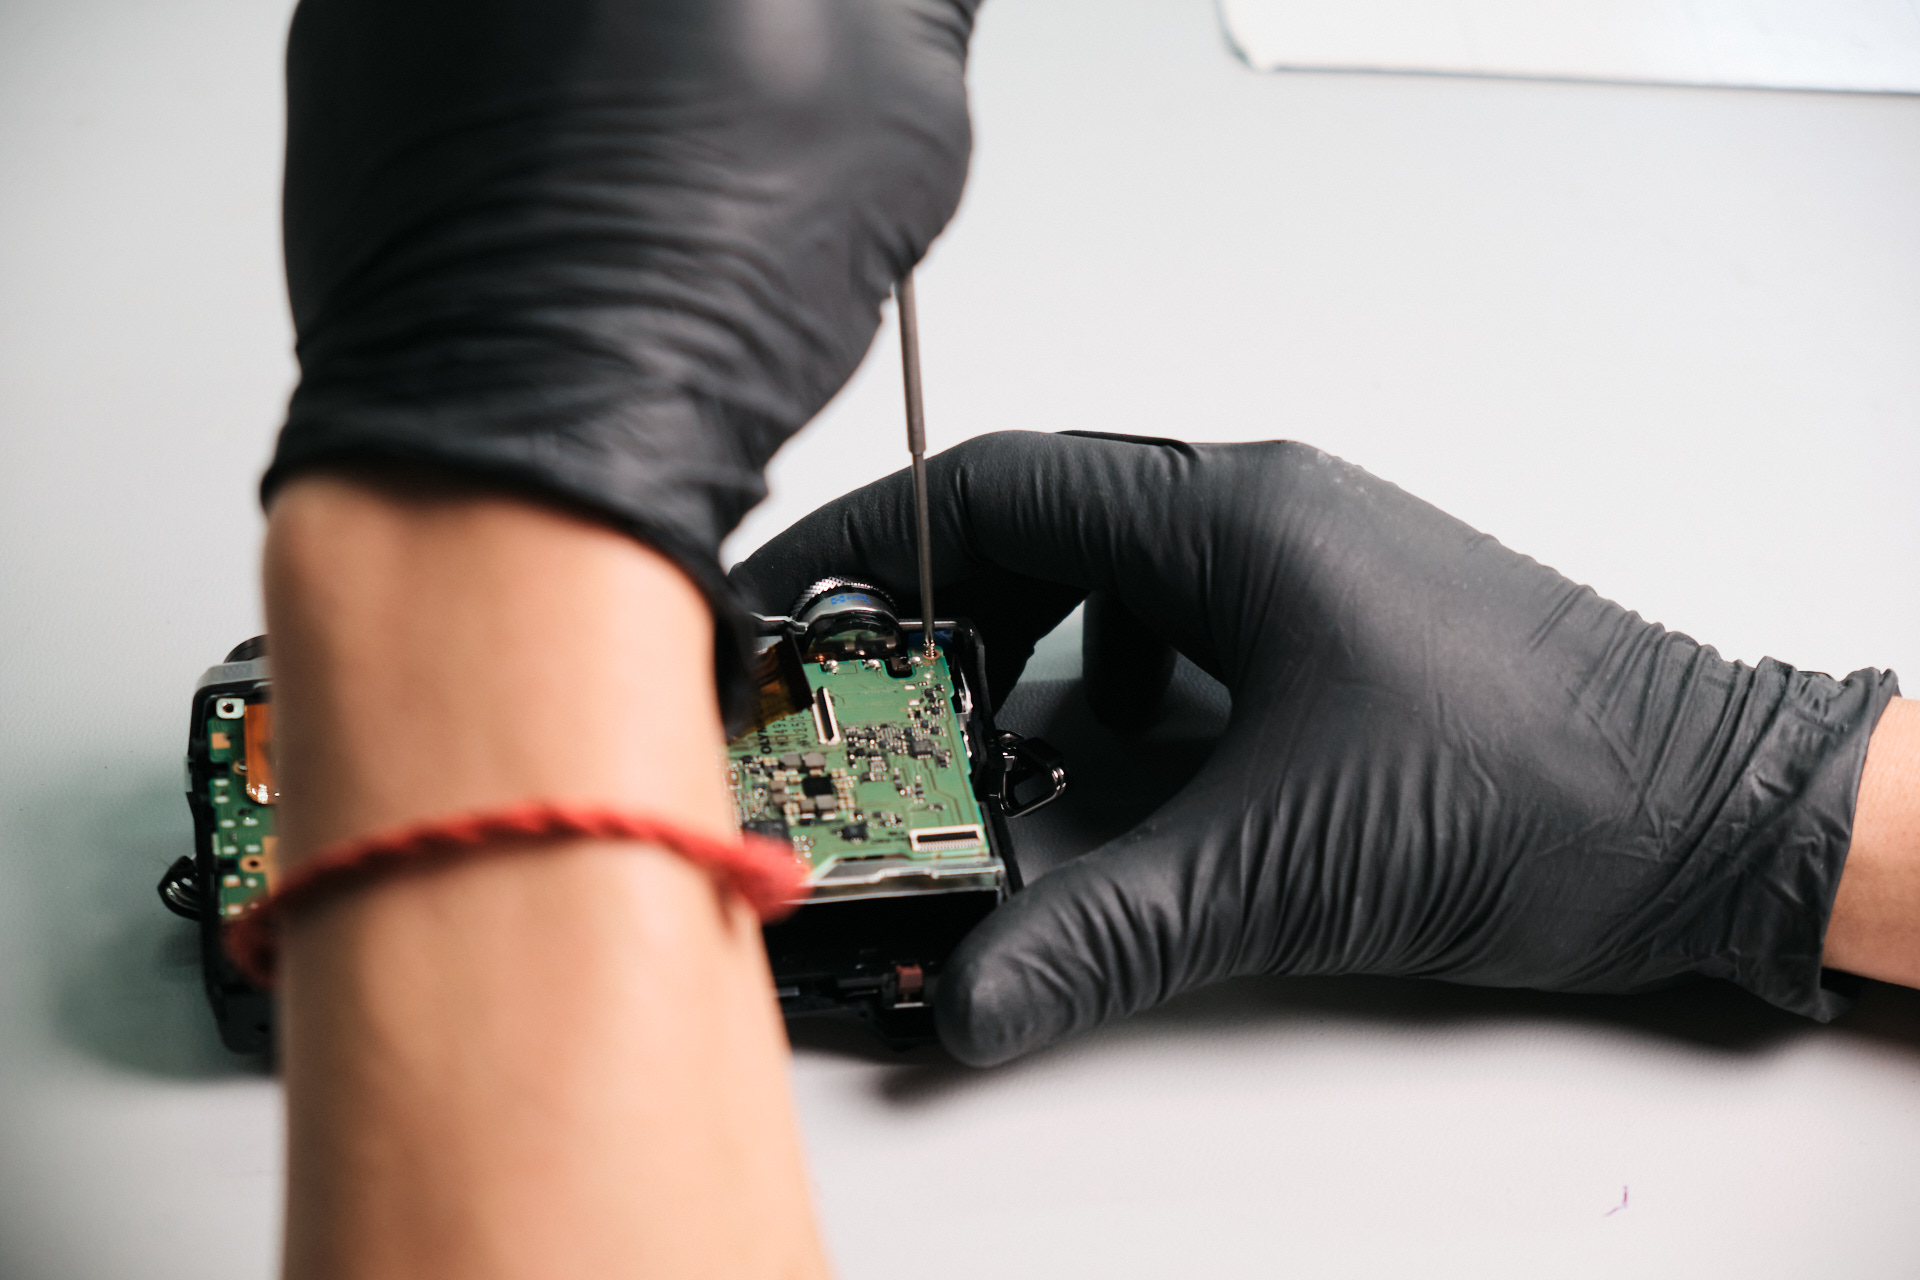
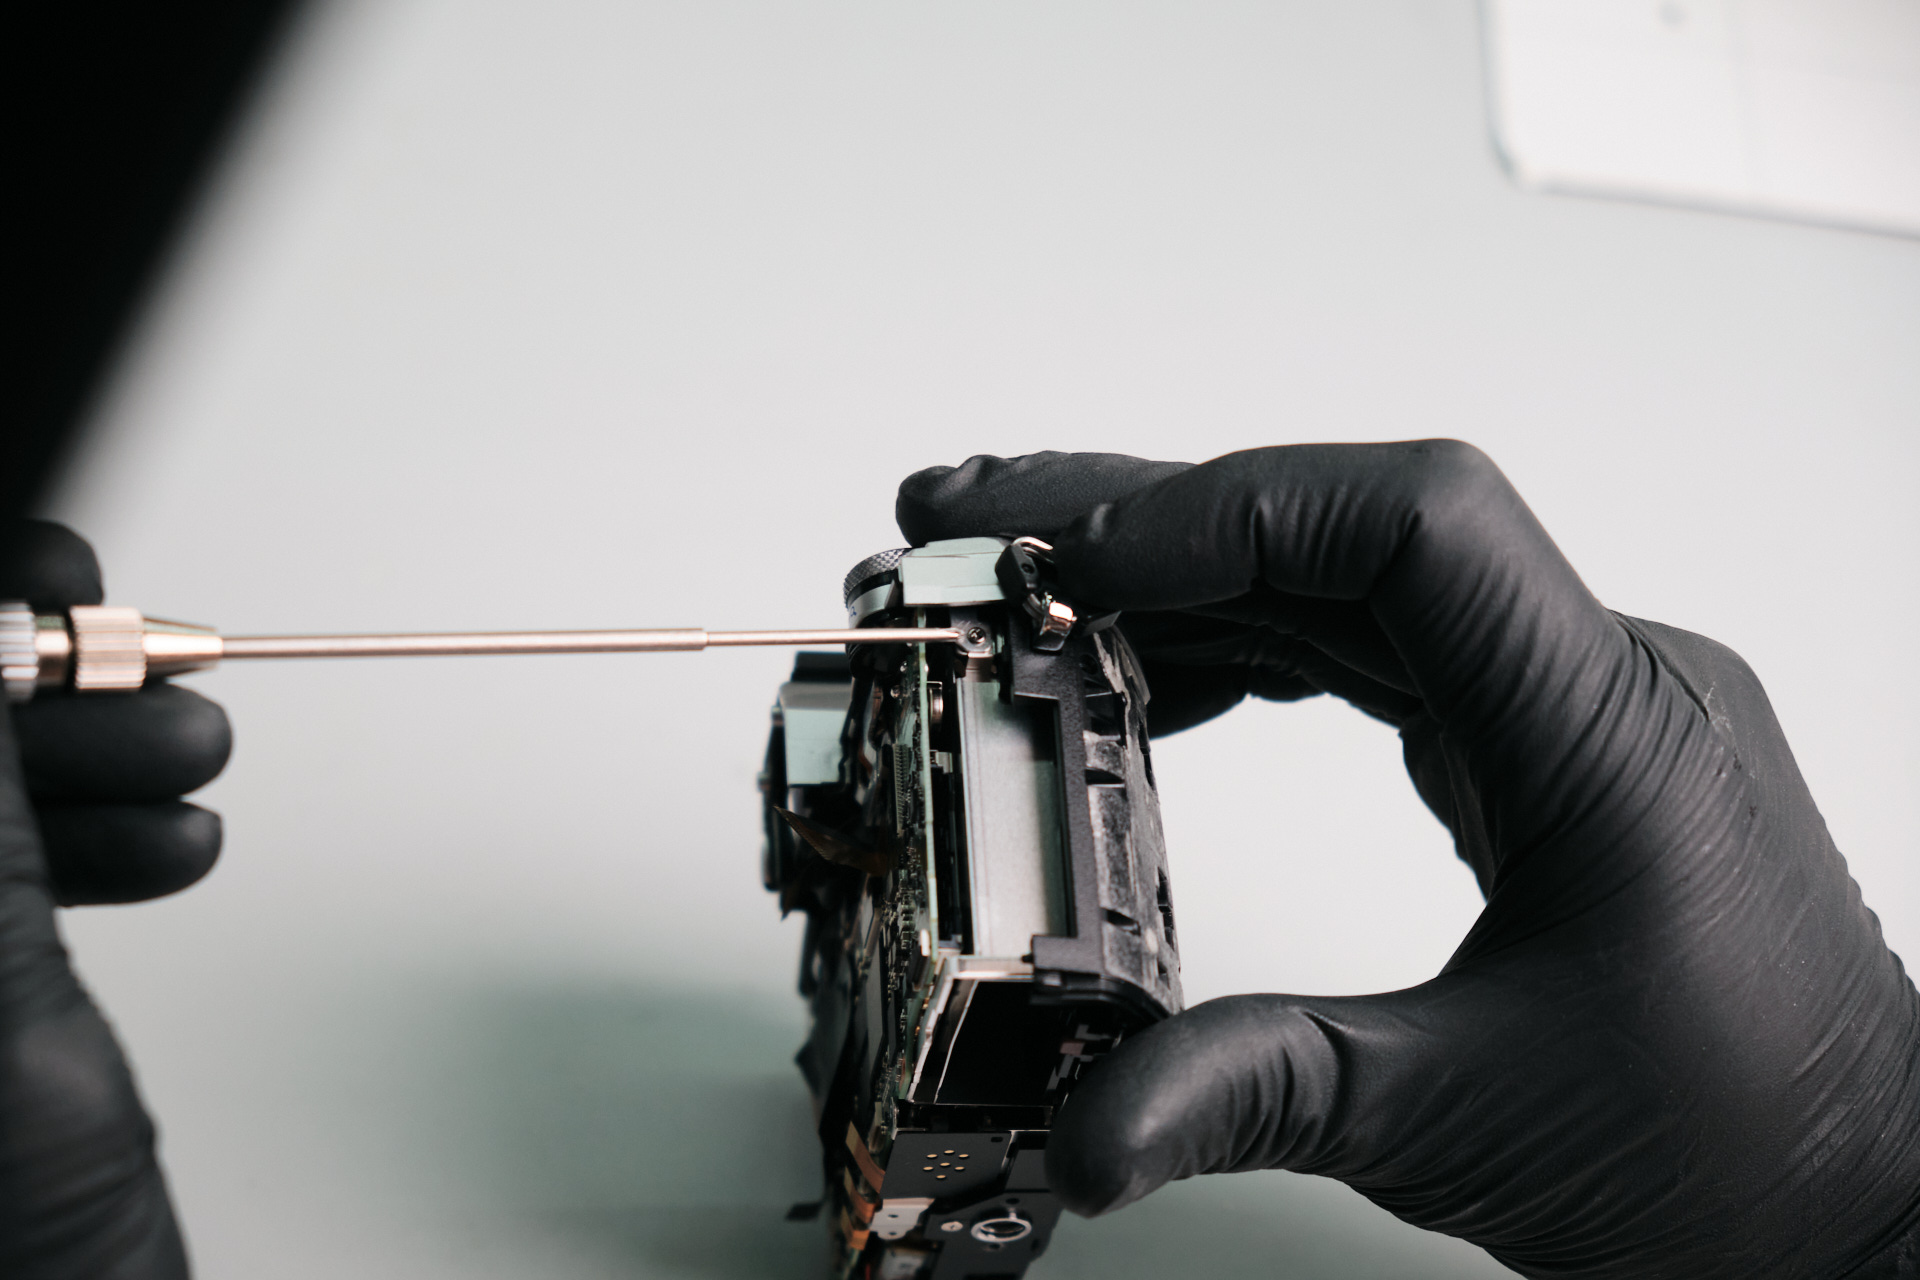
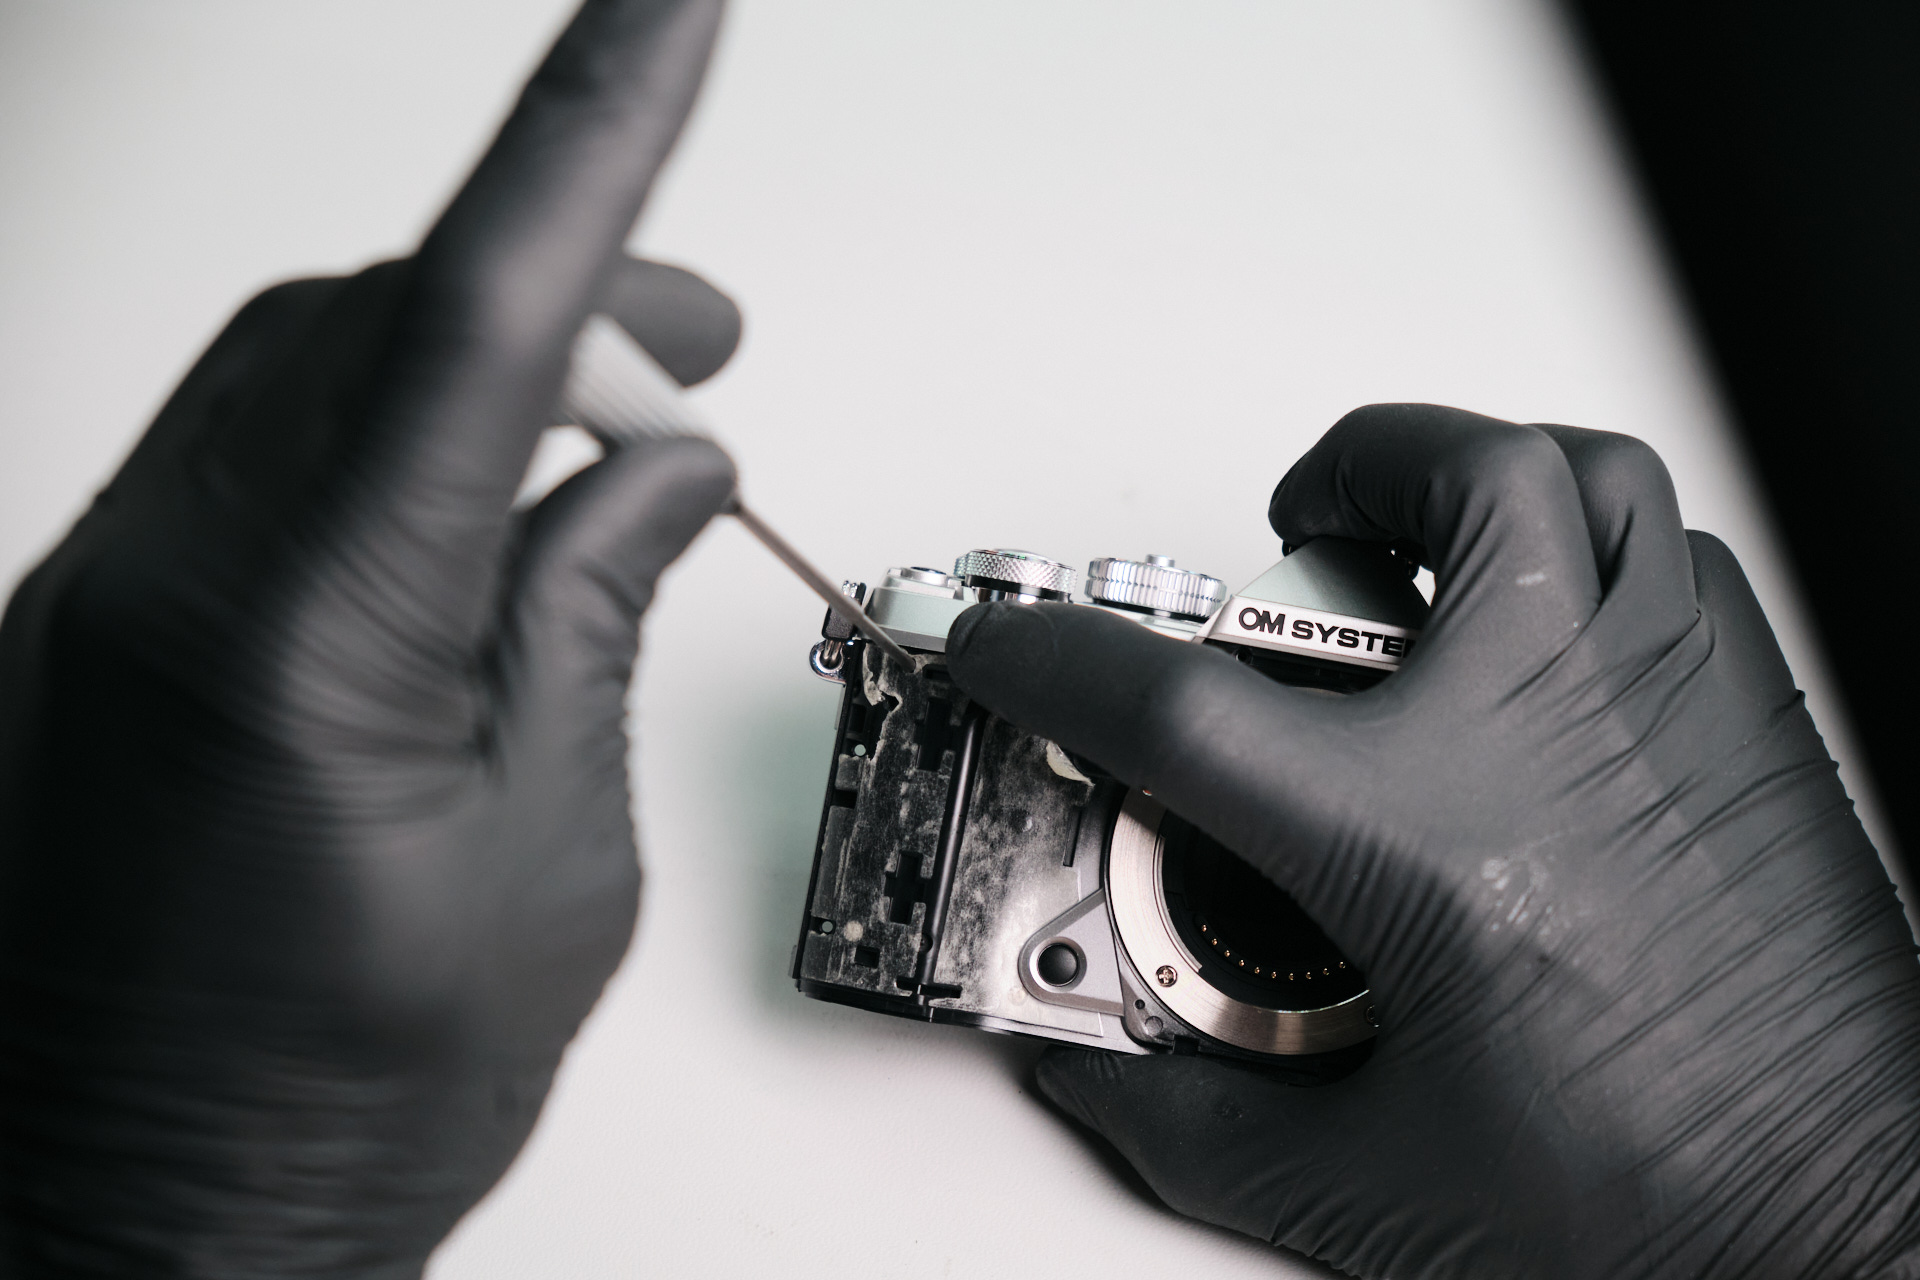
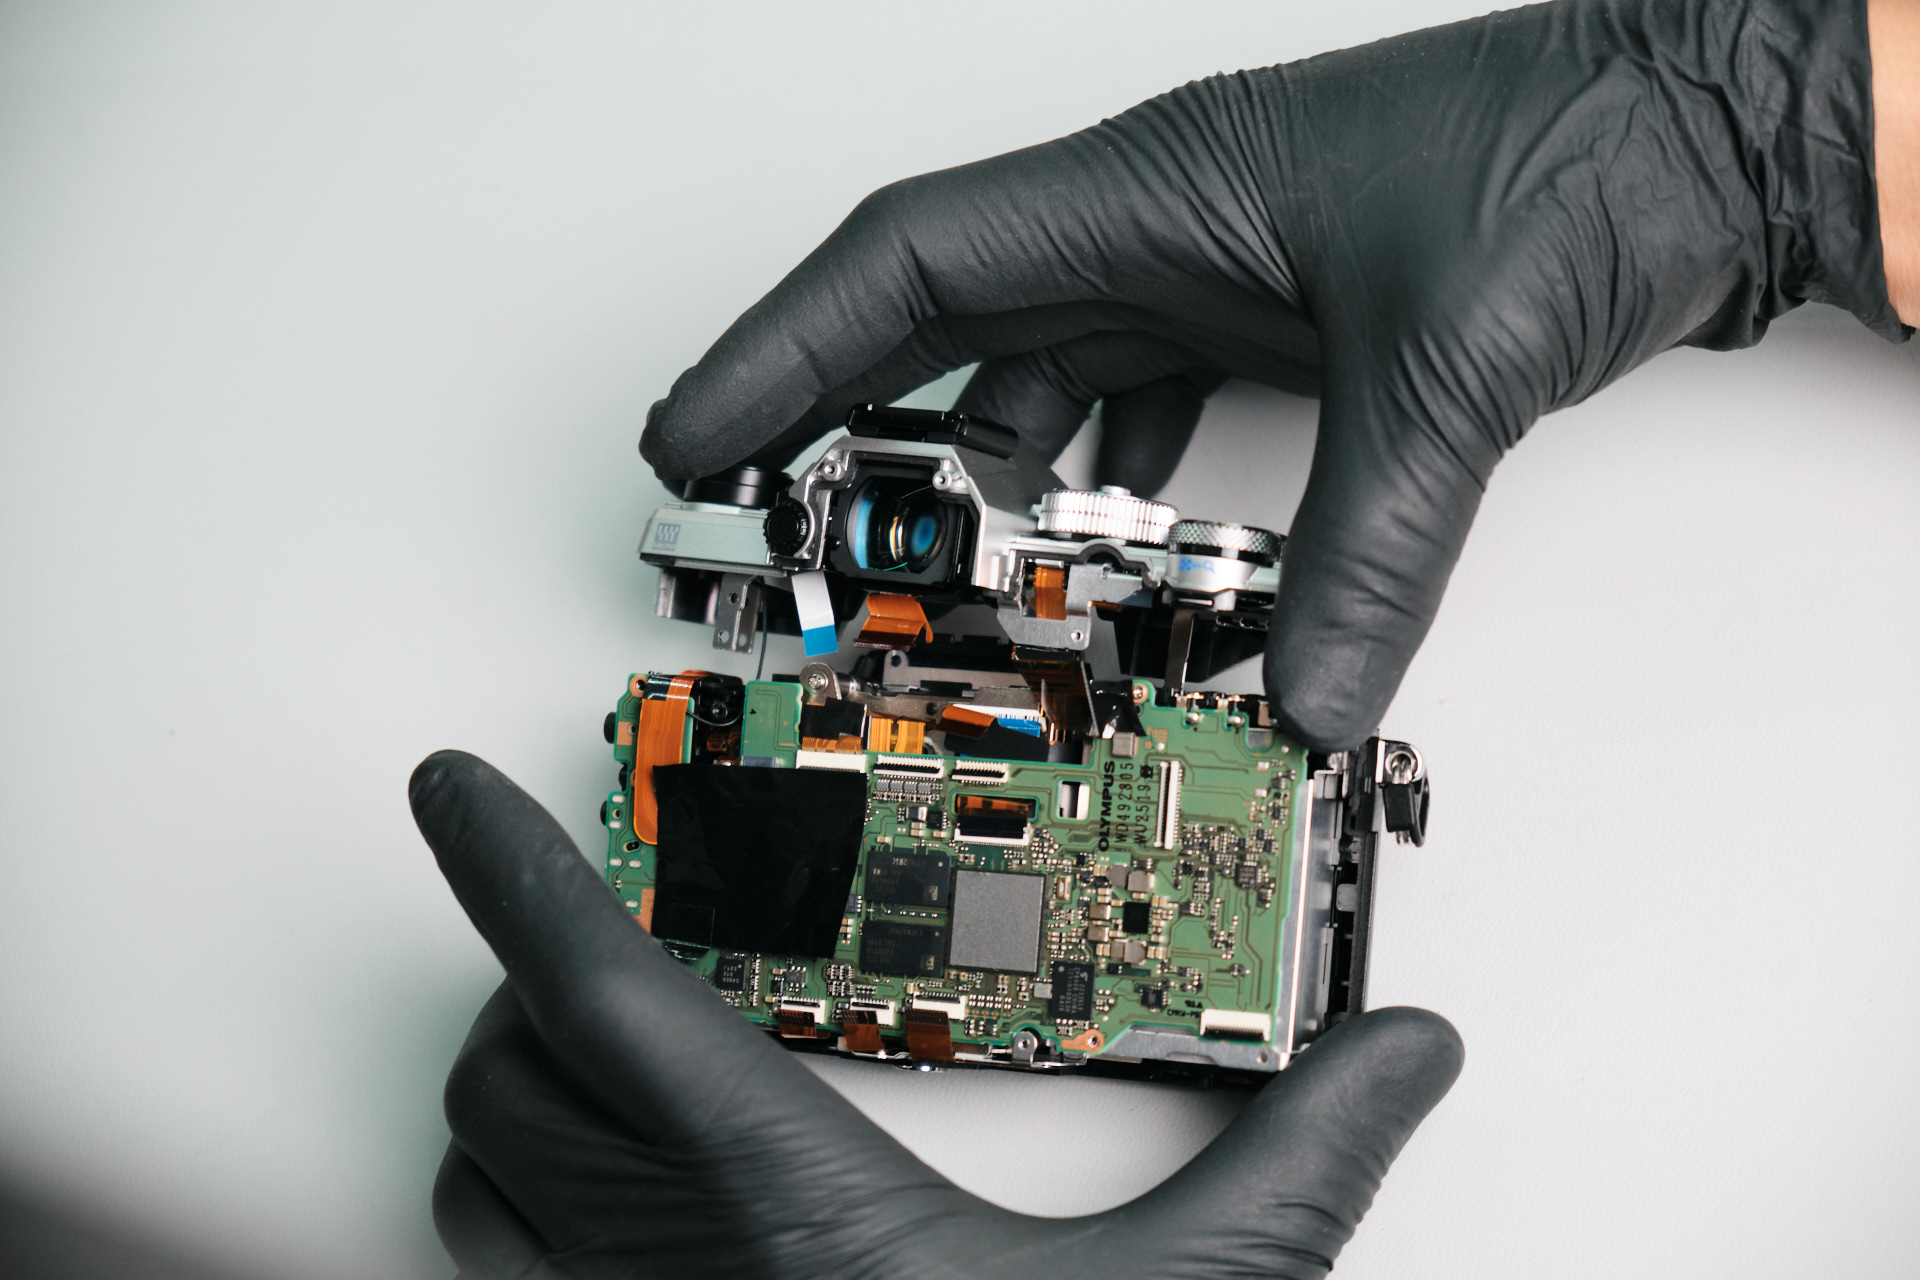
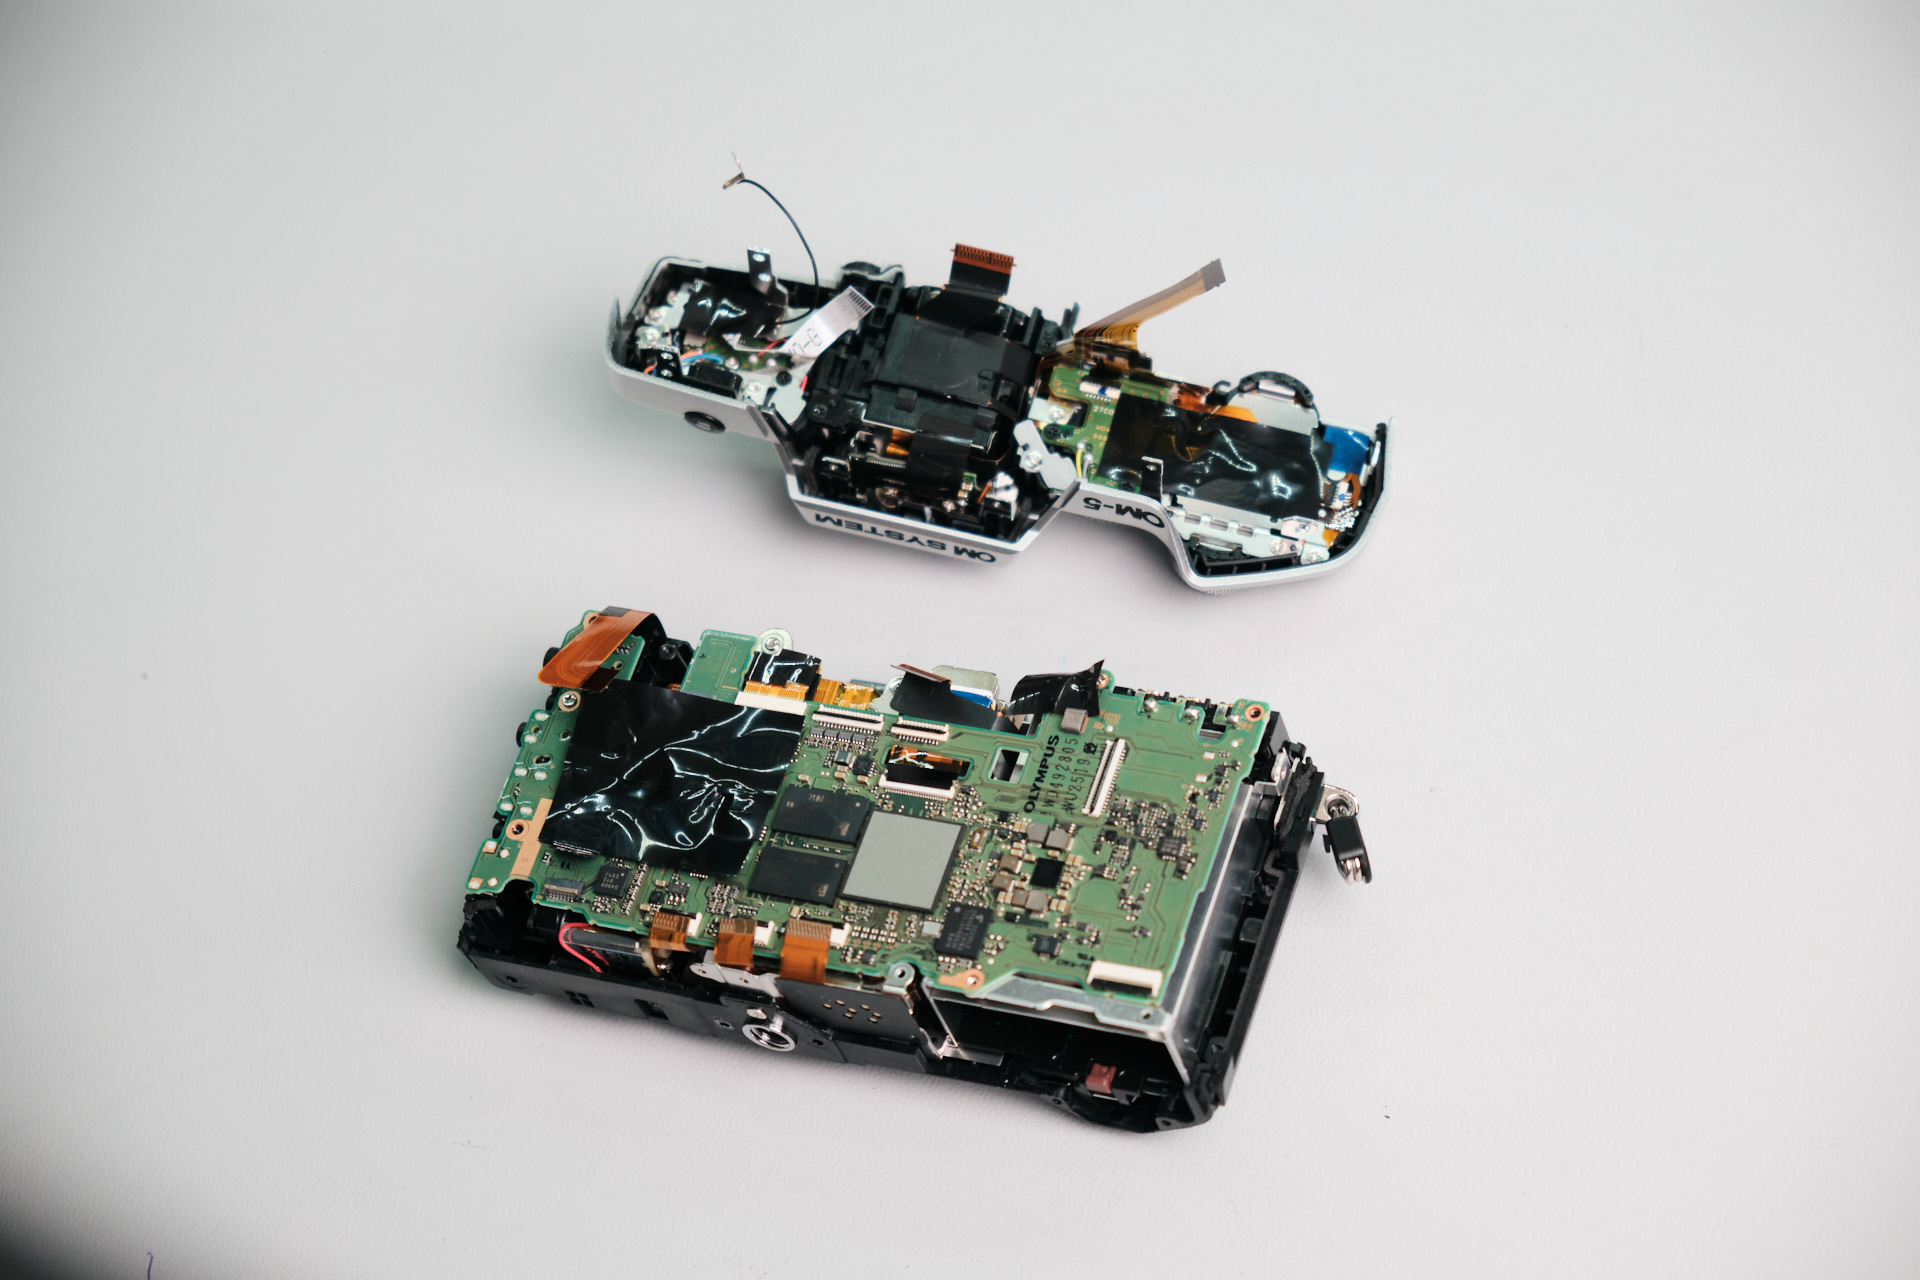
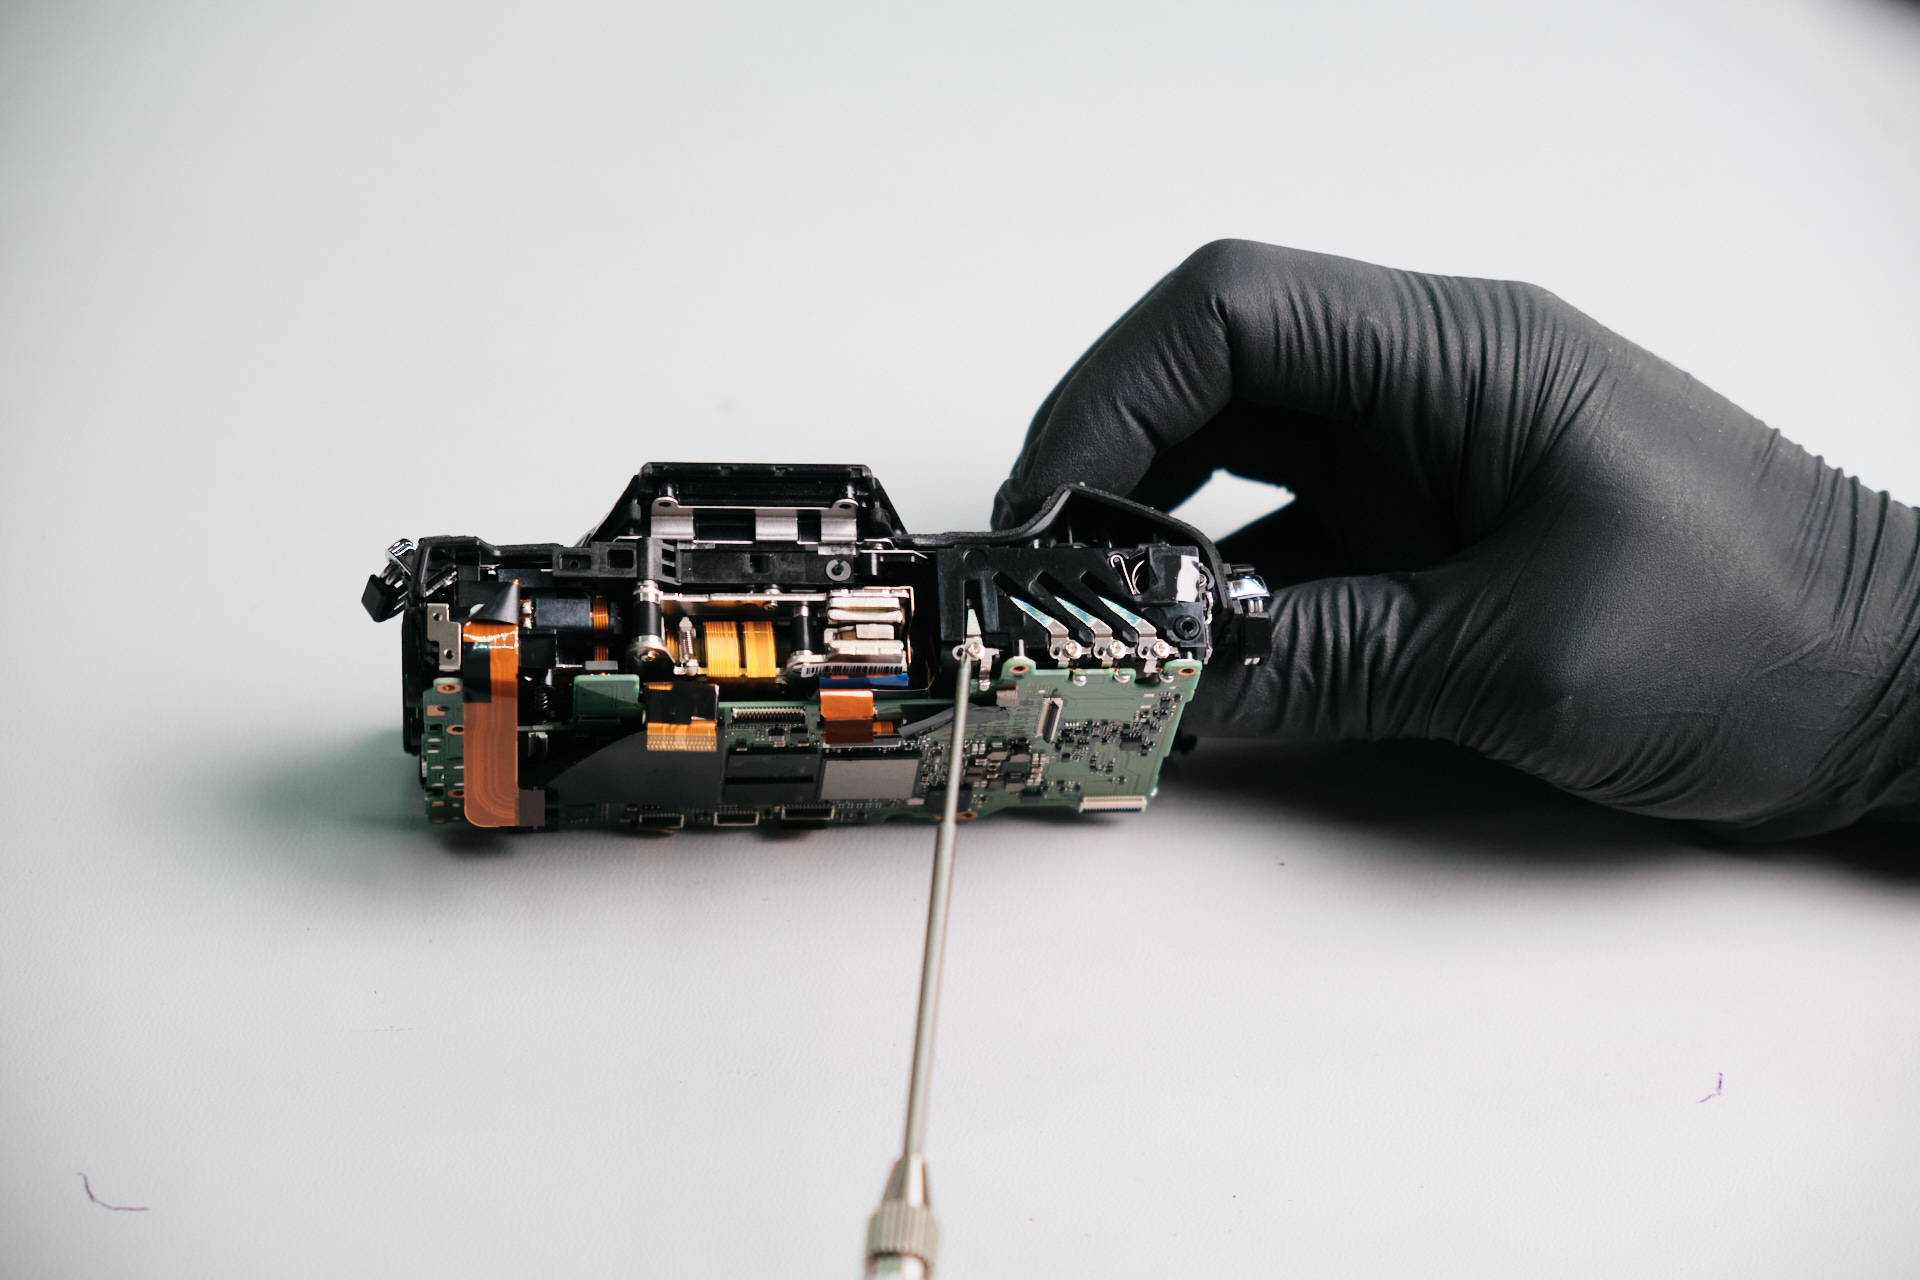
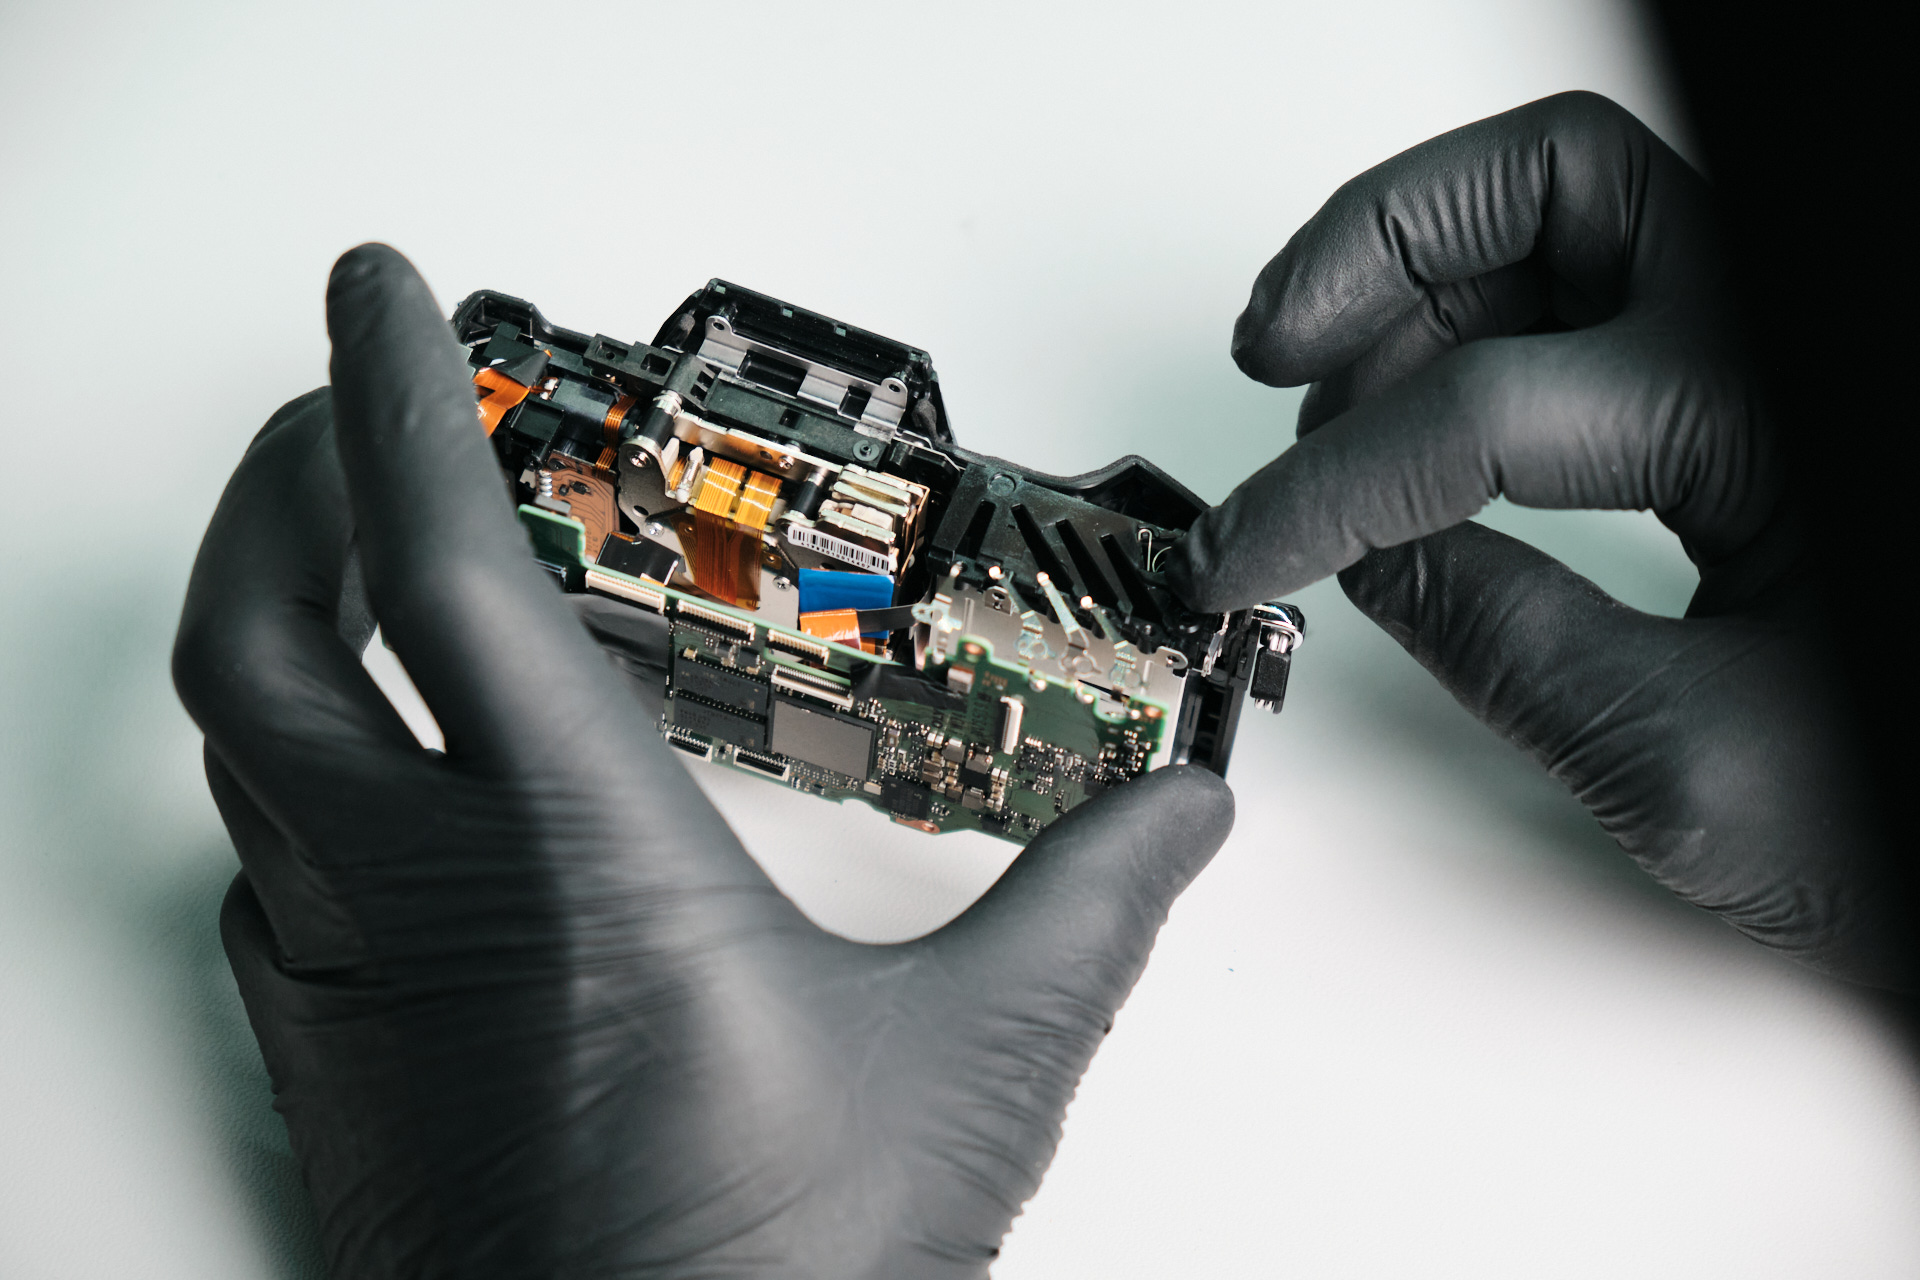
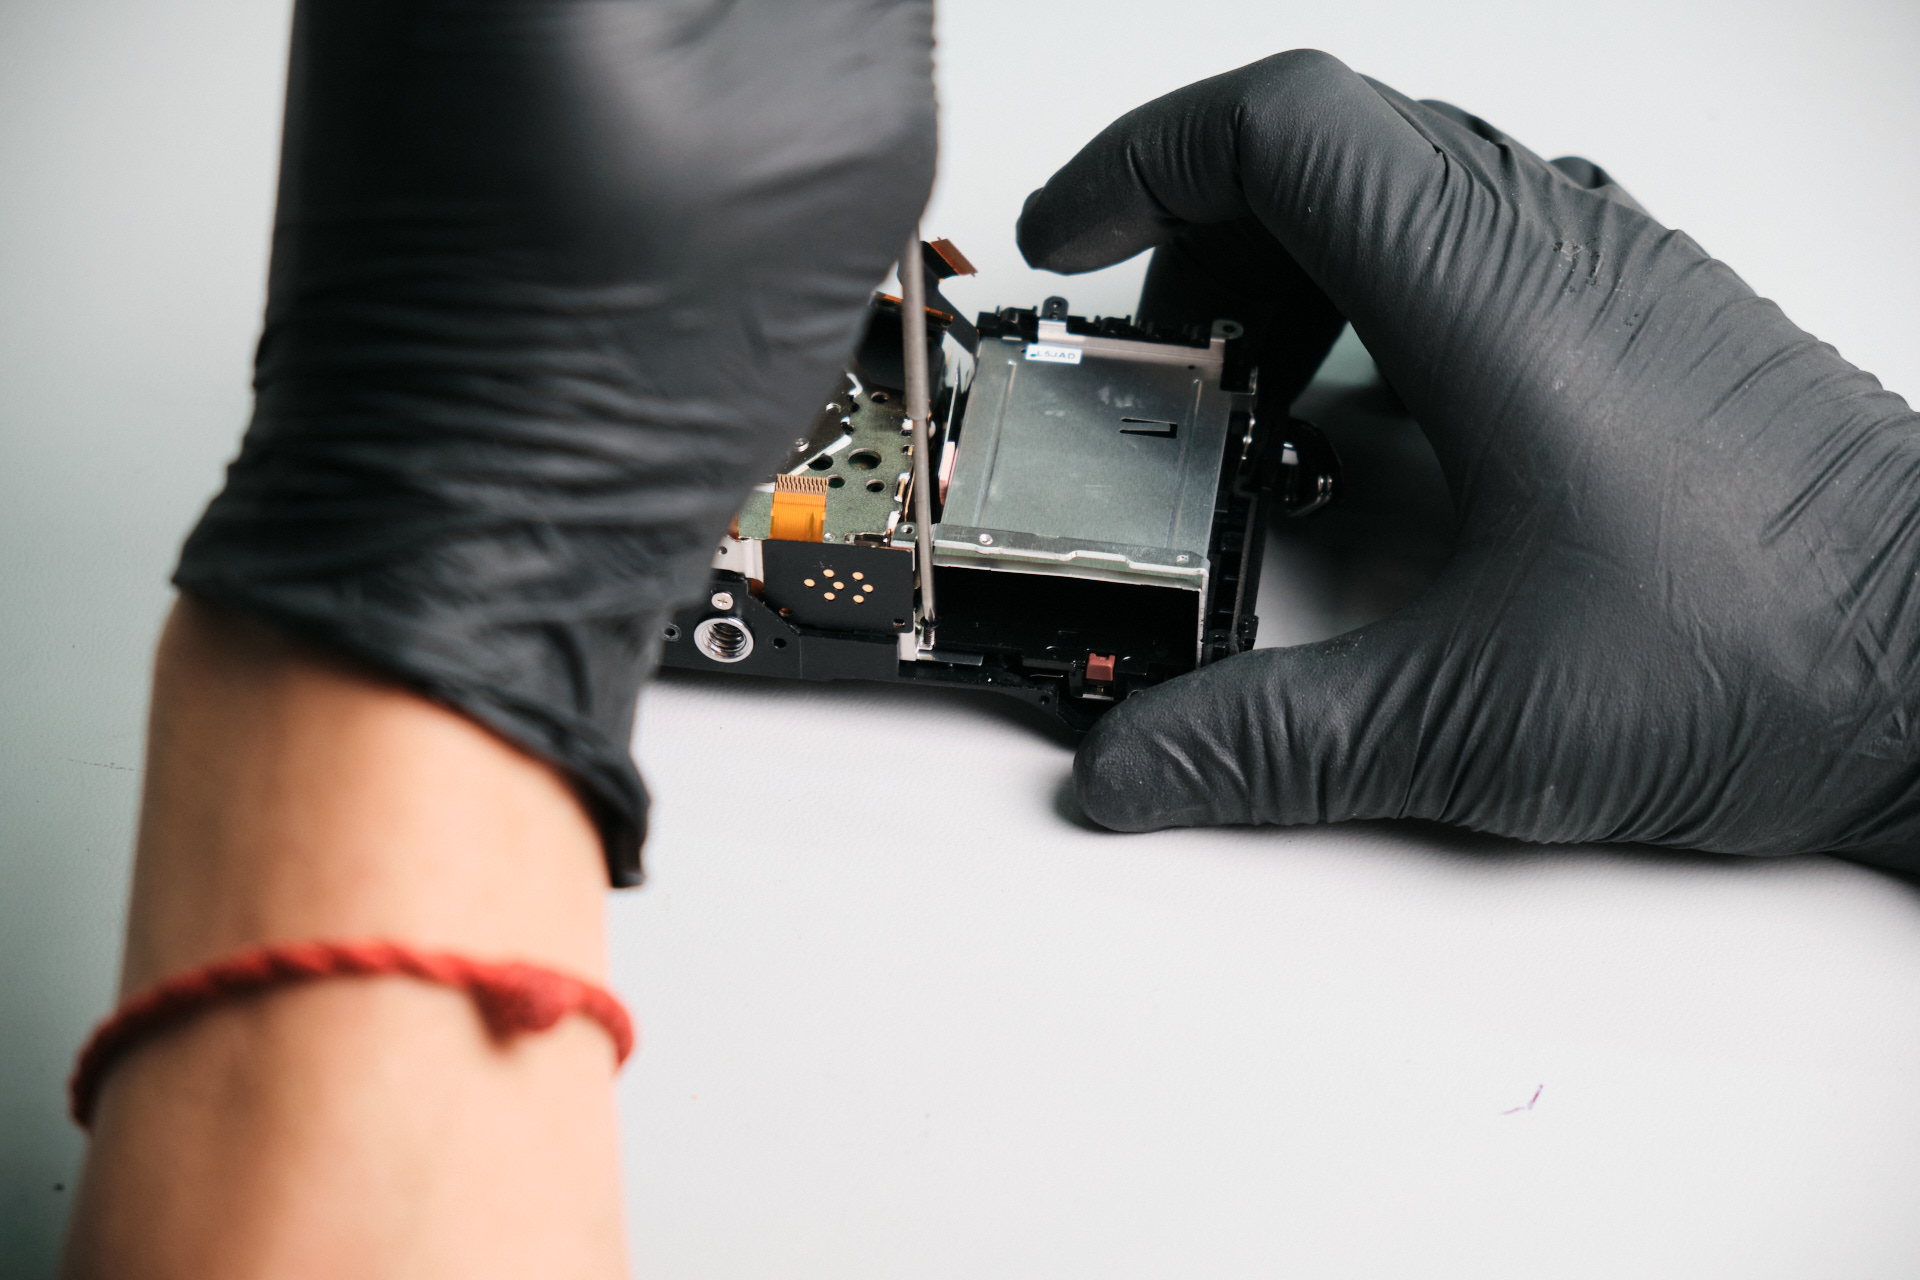
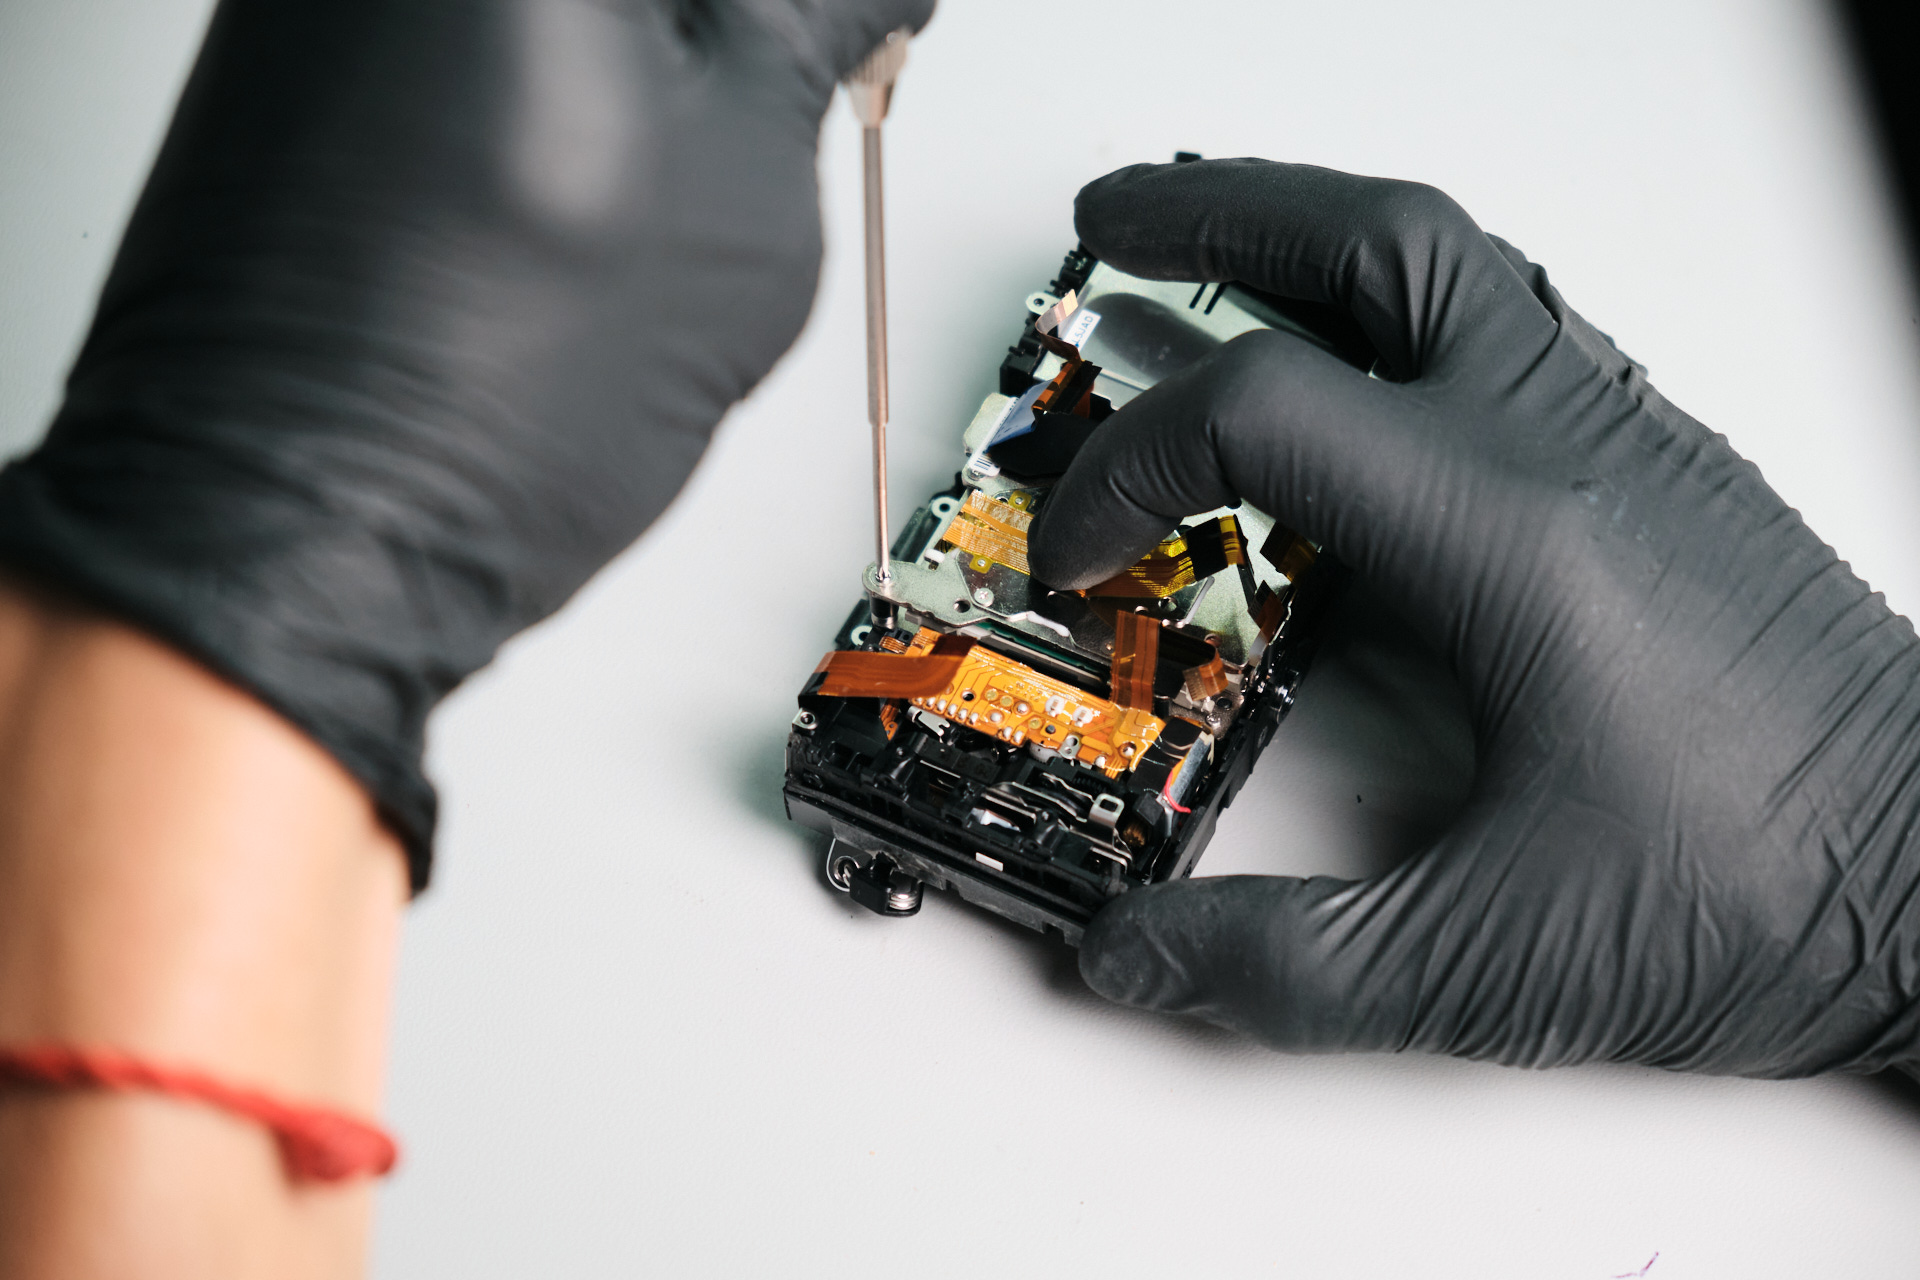
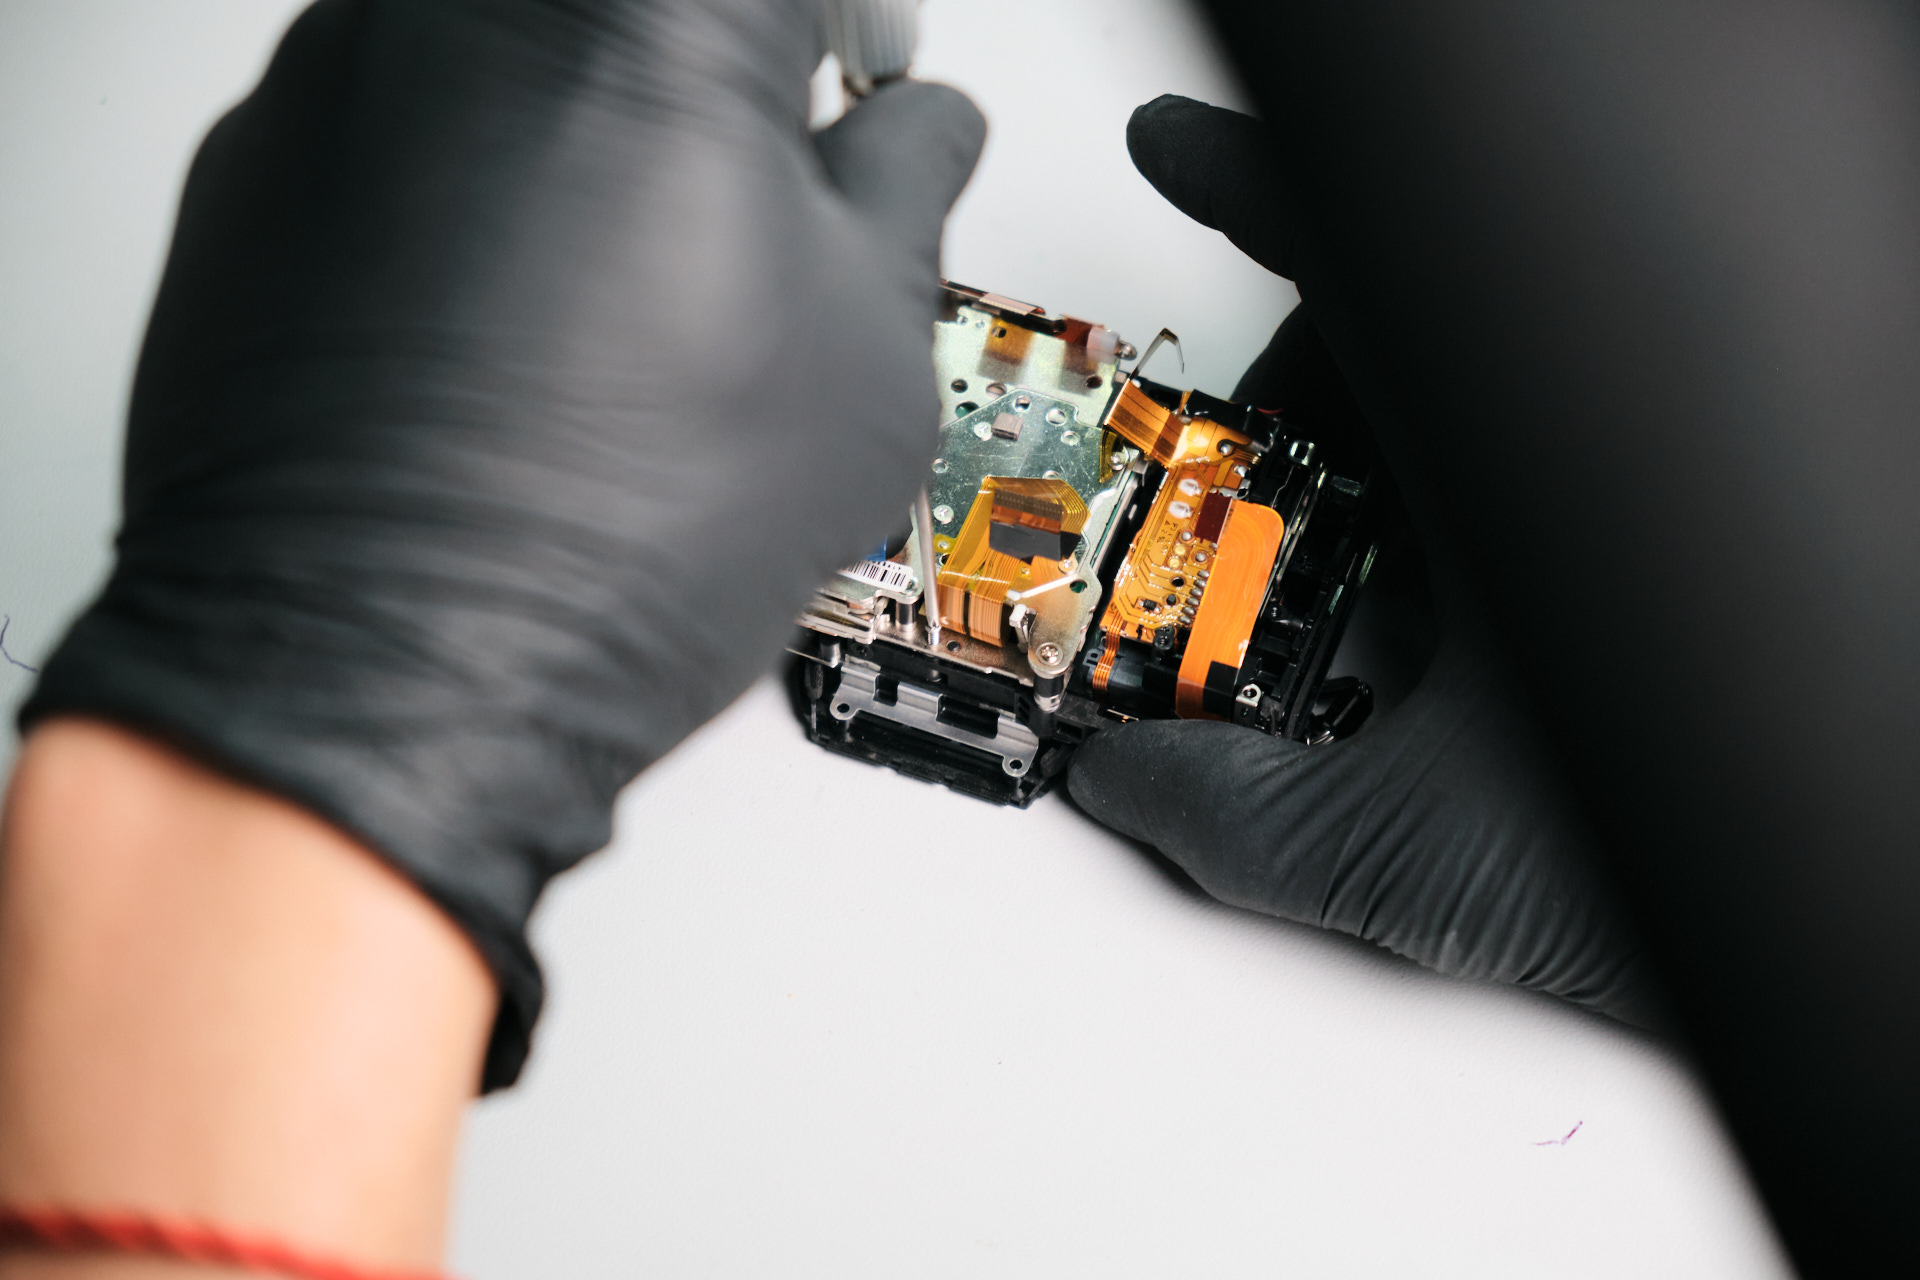
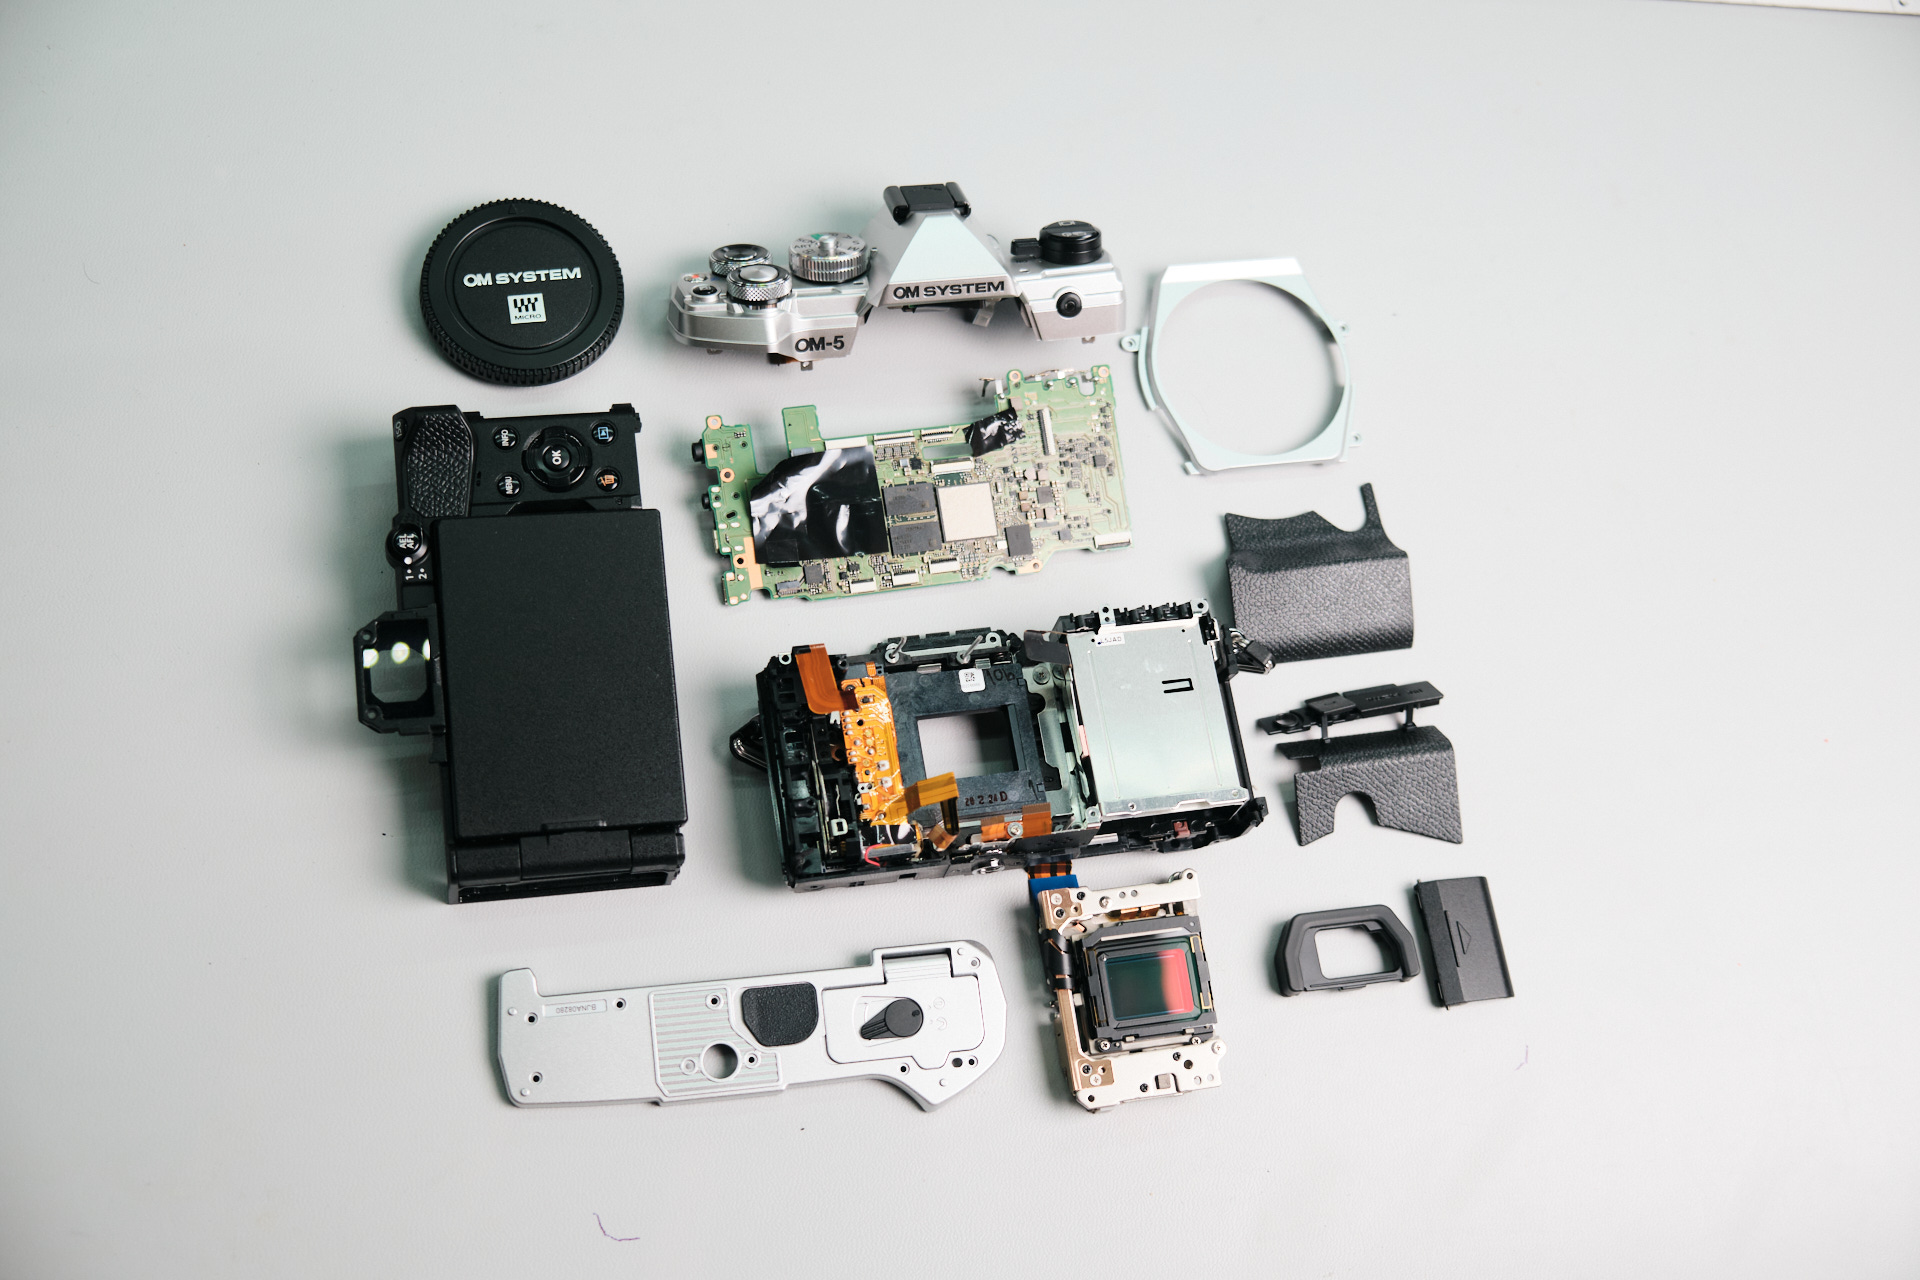
The Olympus OM-5 seems to be an underrated dark horse of a camera primarily used for stills and capable of capturing high-quality footage.
Olympus OM-5 Specs and Micro Four Thirds Sensor
The camera was released on November 18, 2022, with many compelling features, including a 20MP micro four-thirds sensor, DCI and UHD 4K video with no time limitation, 10fps burst shooting with AF-C and 30fps with electronic shutter, and a 121-point autofocus system. It also has weather sealing and image stabilization.
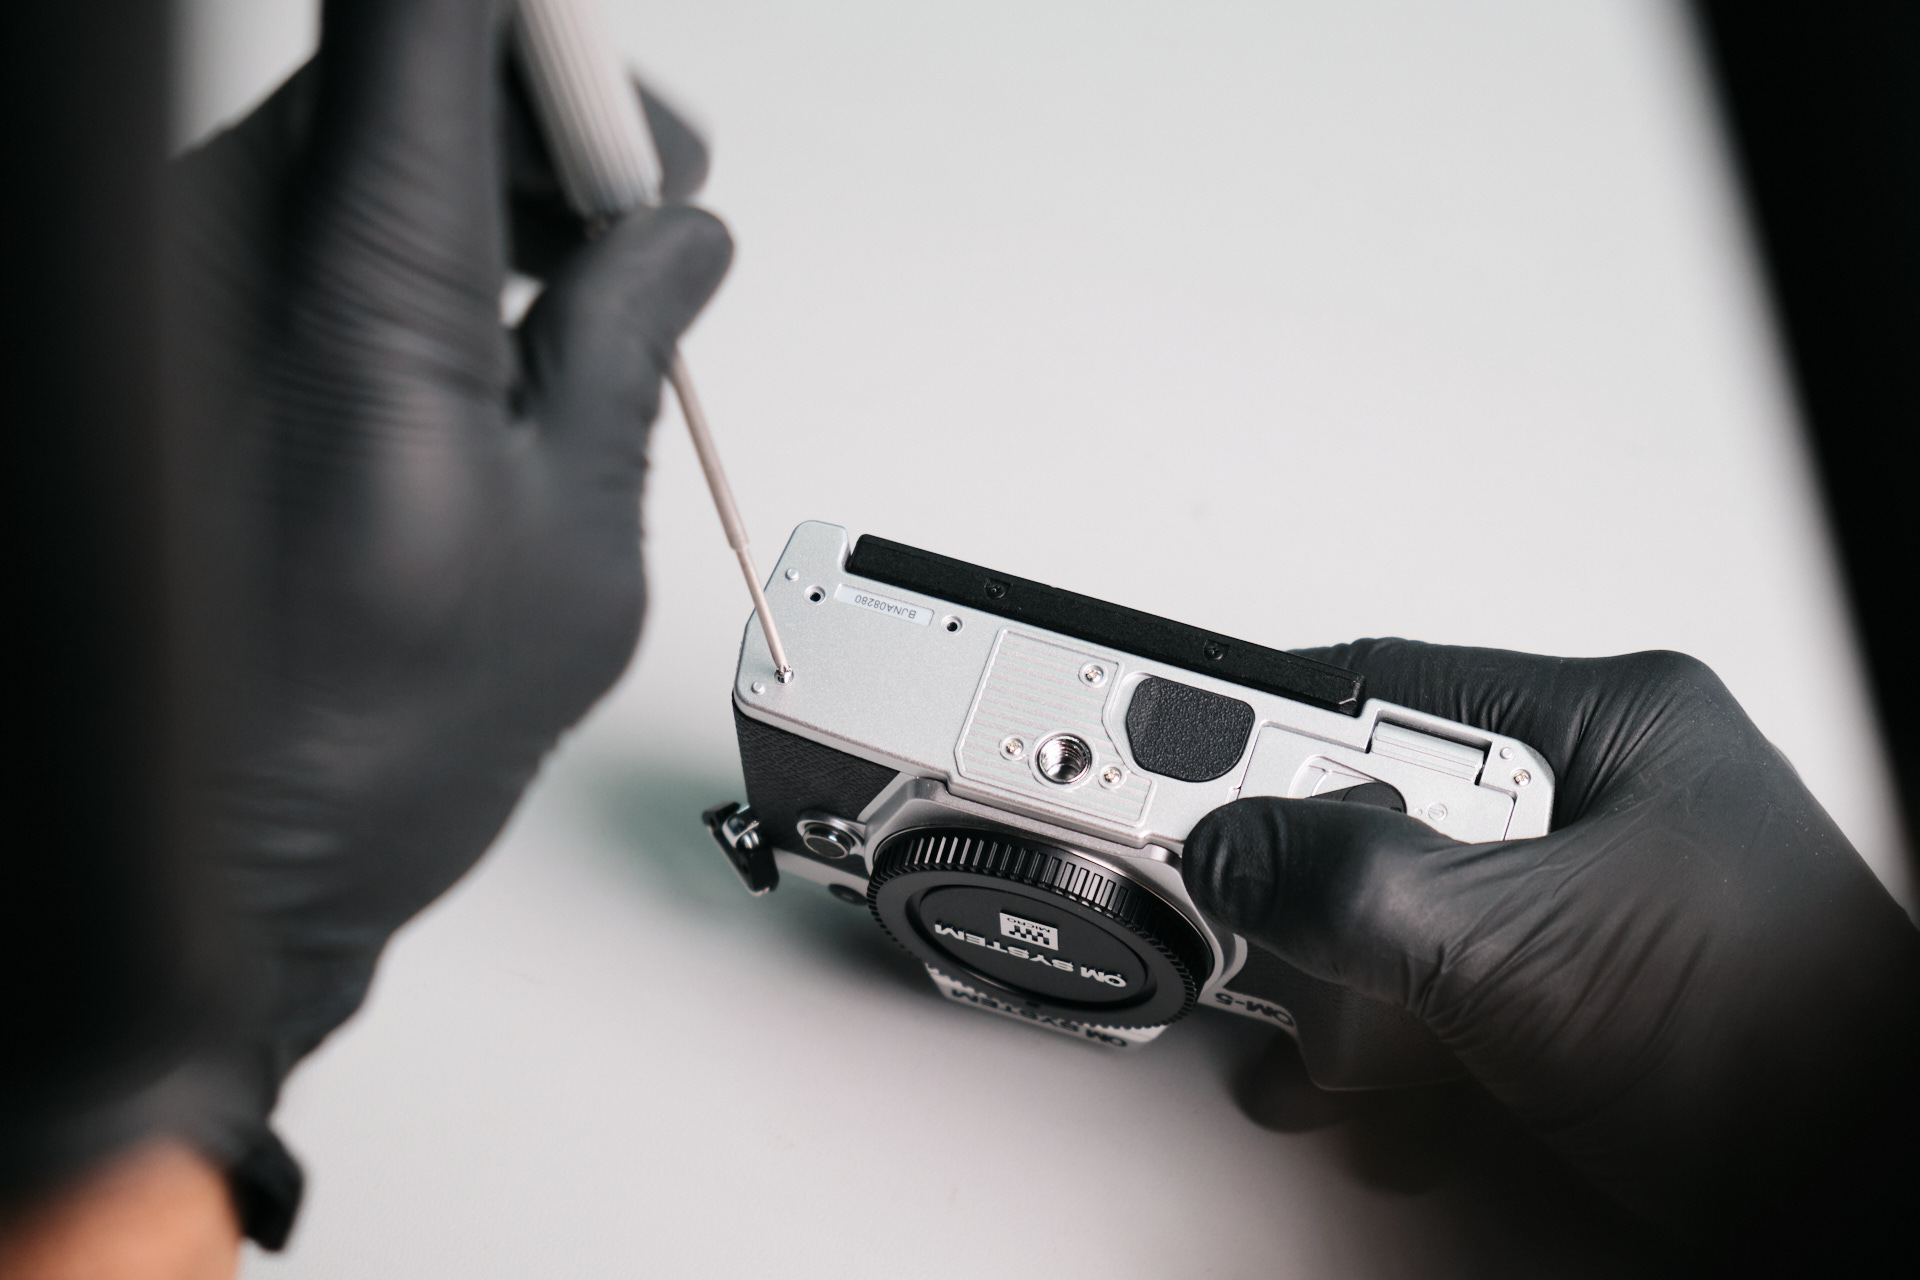
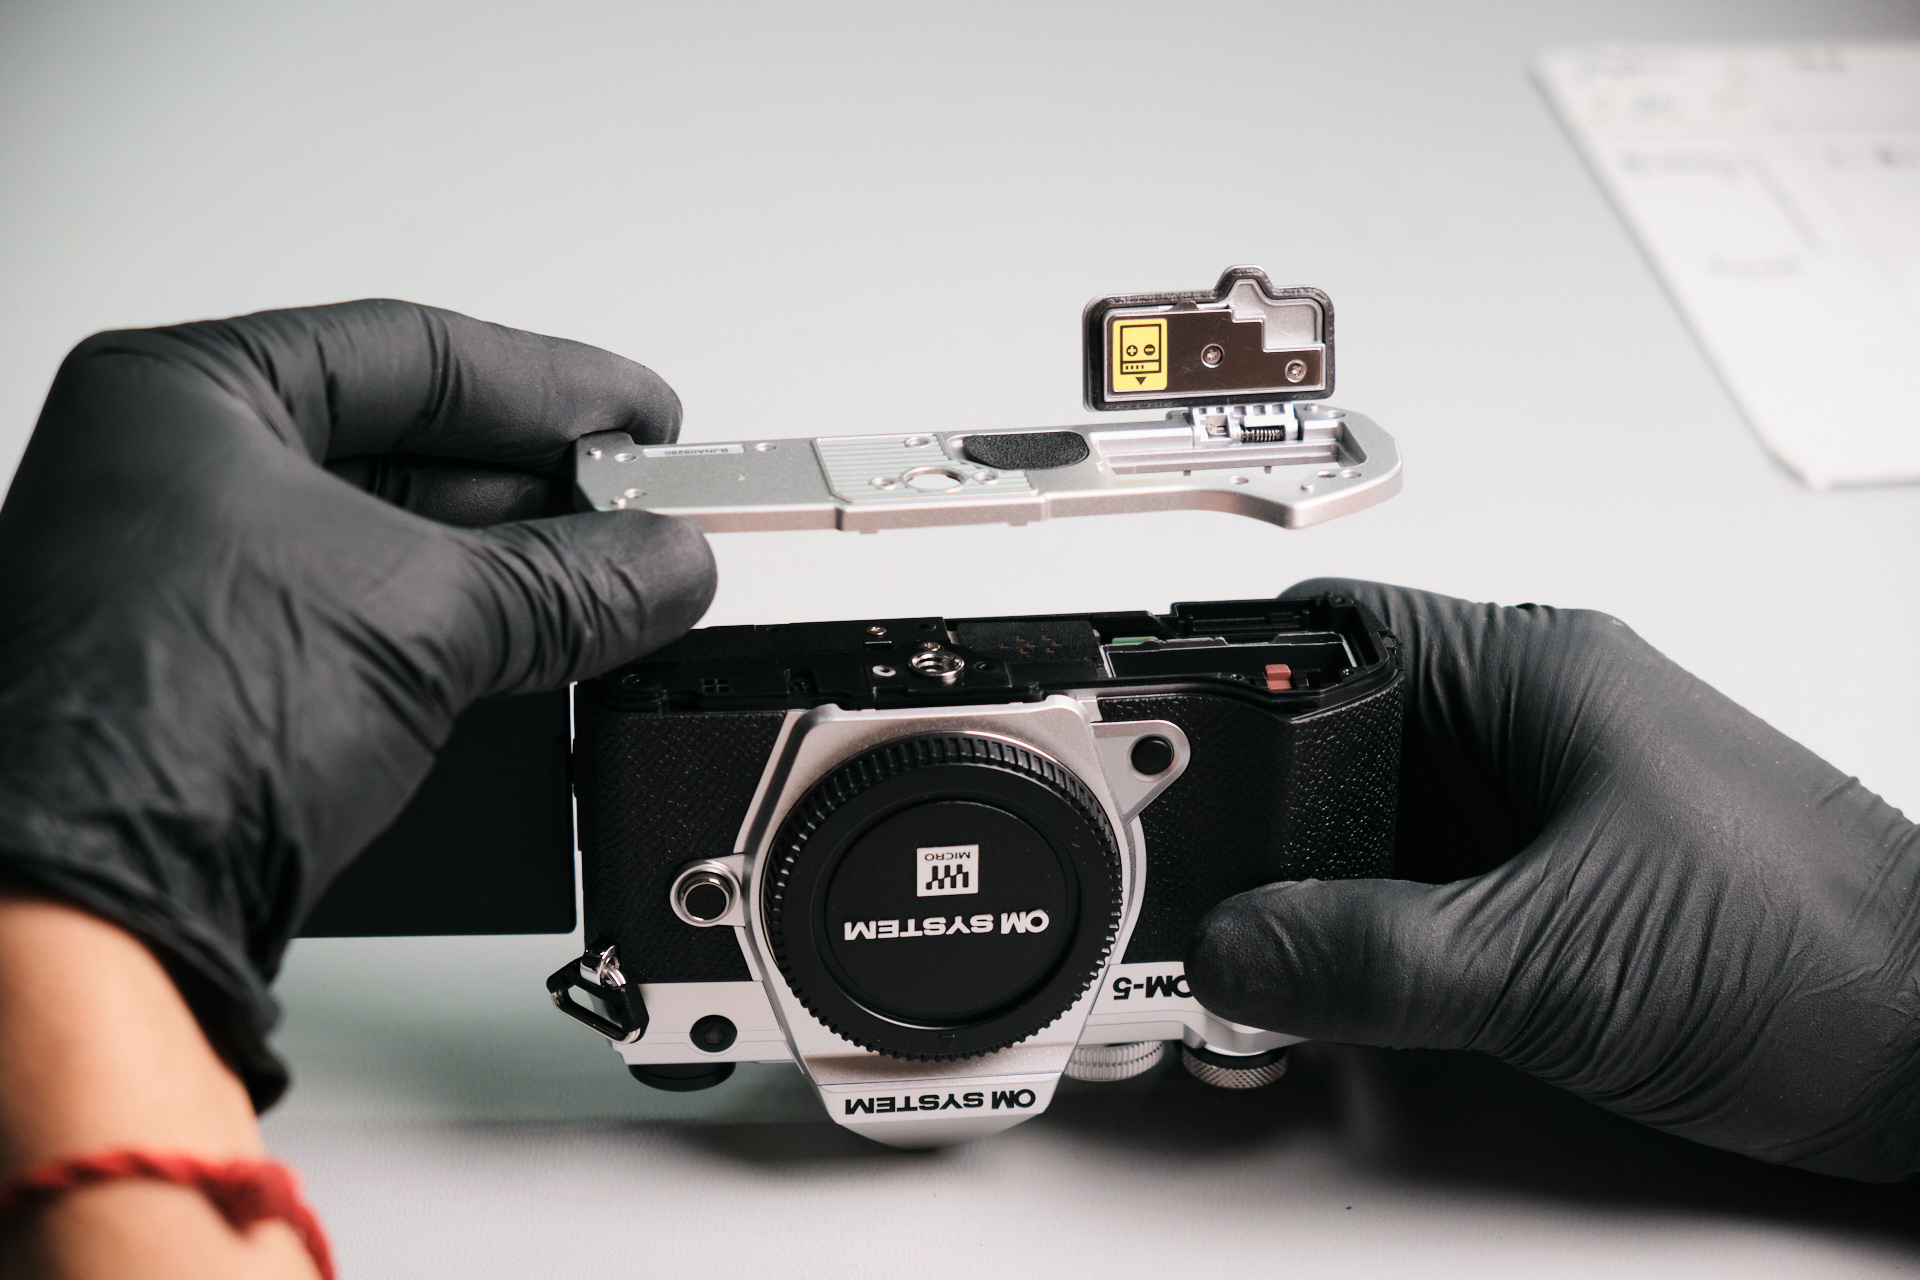
Starting the Olympus OM-5 Teardown With the Base Cover Plate
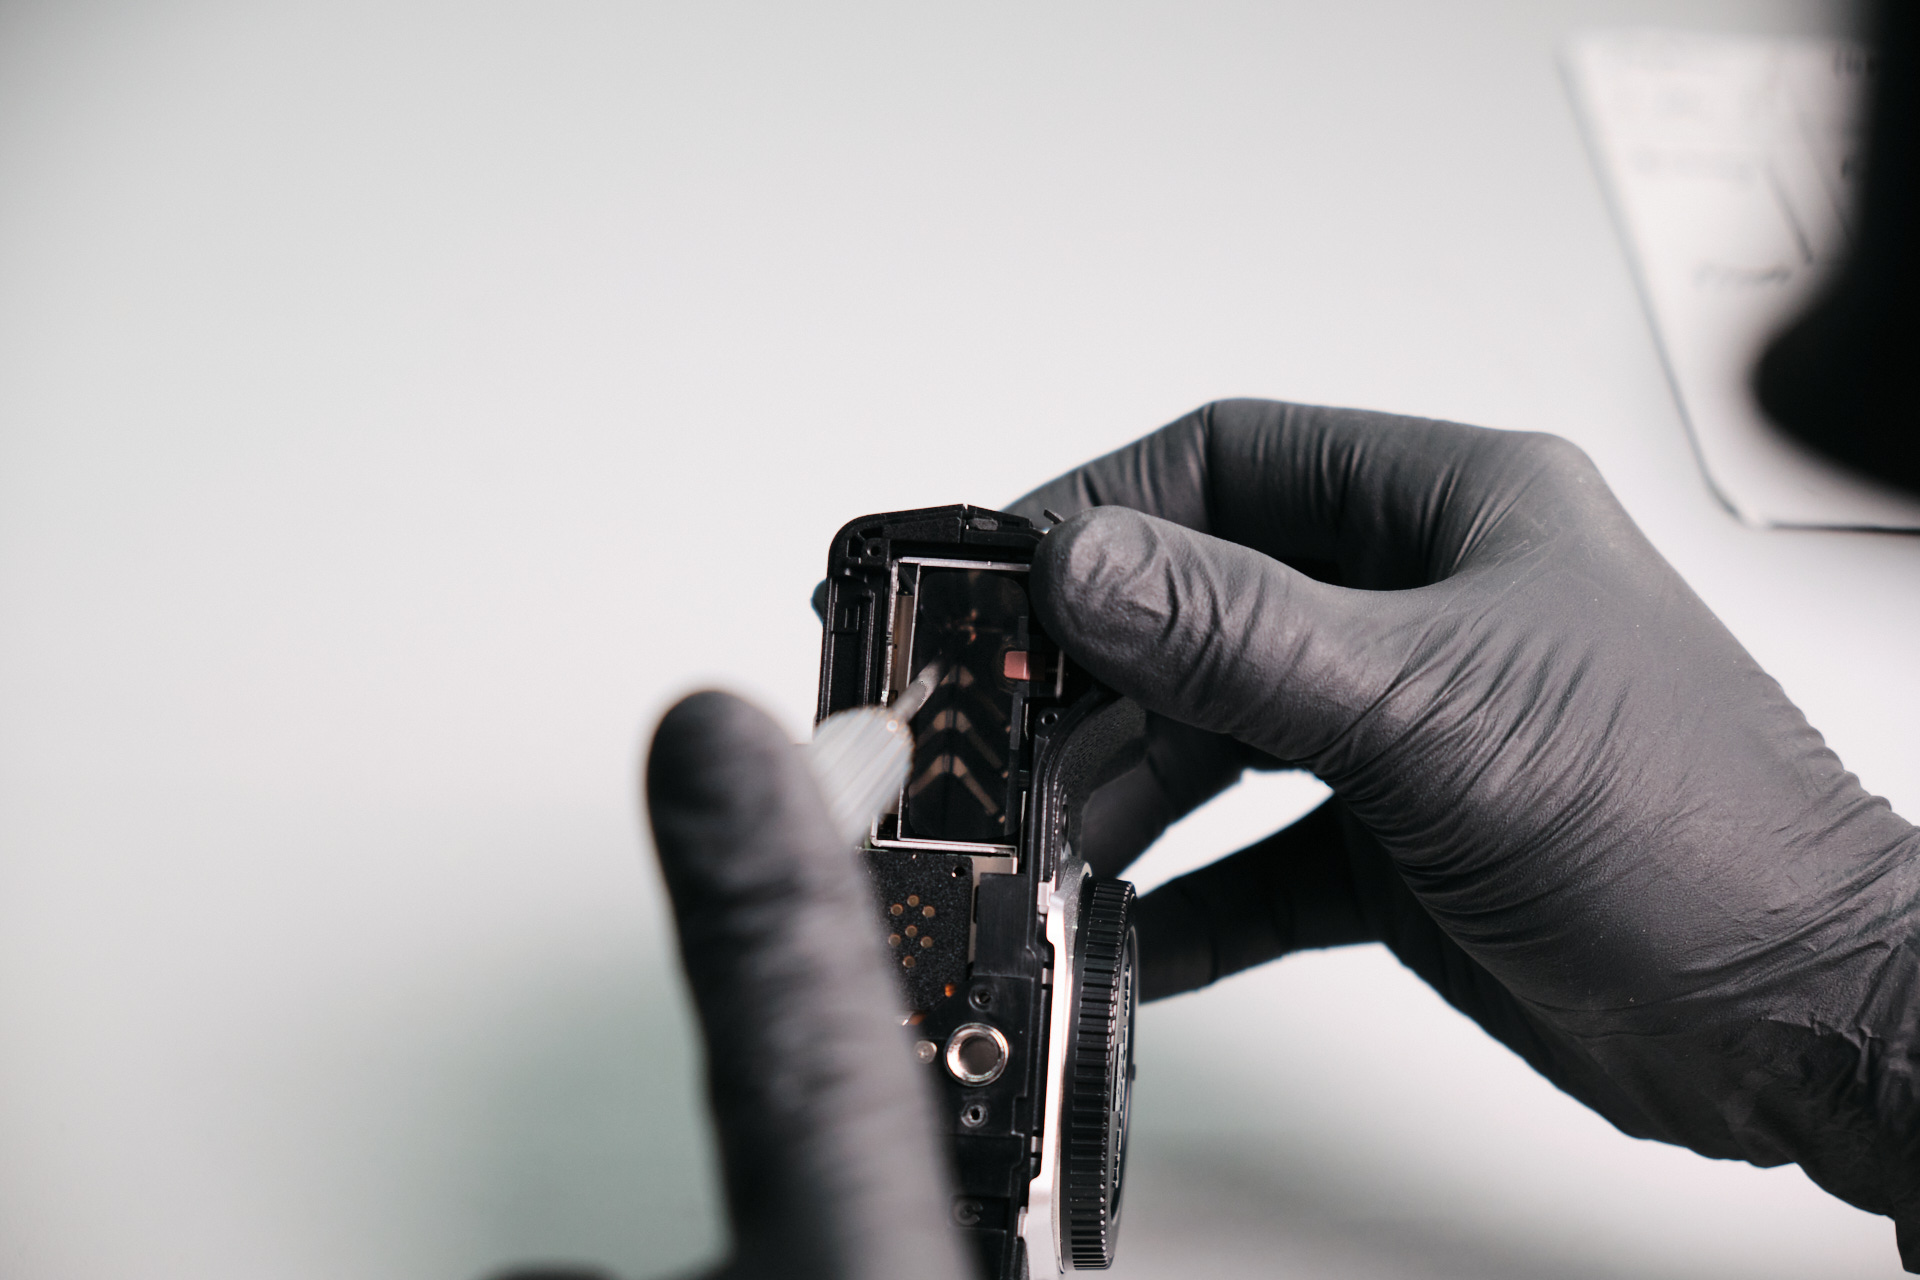
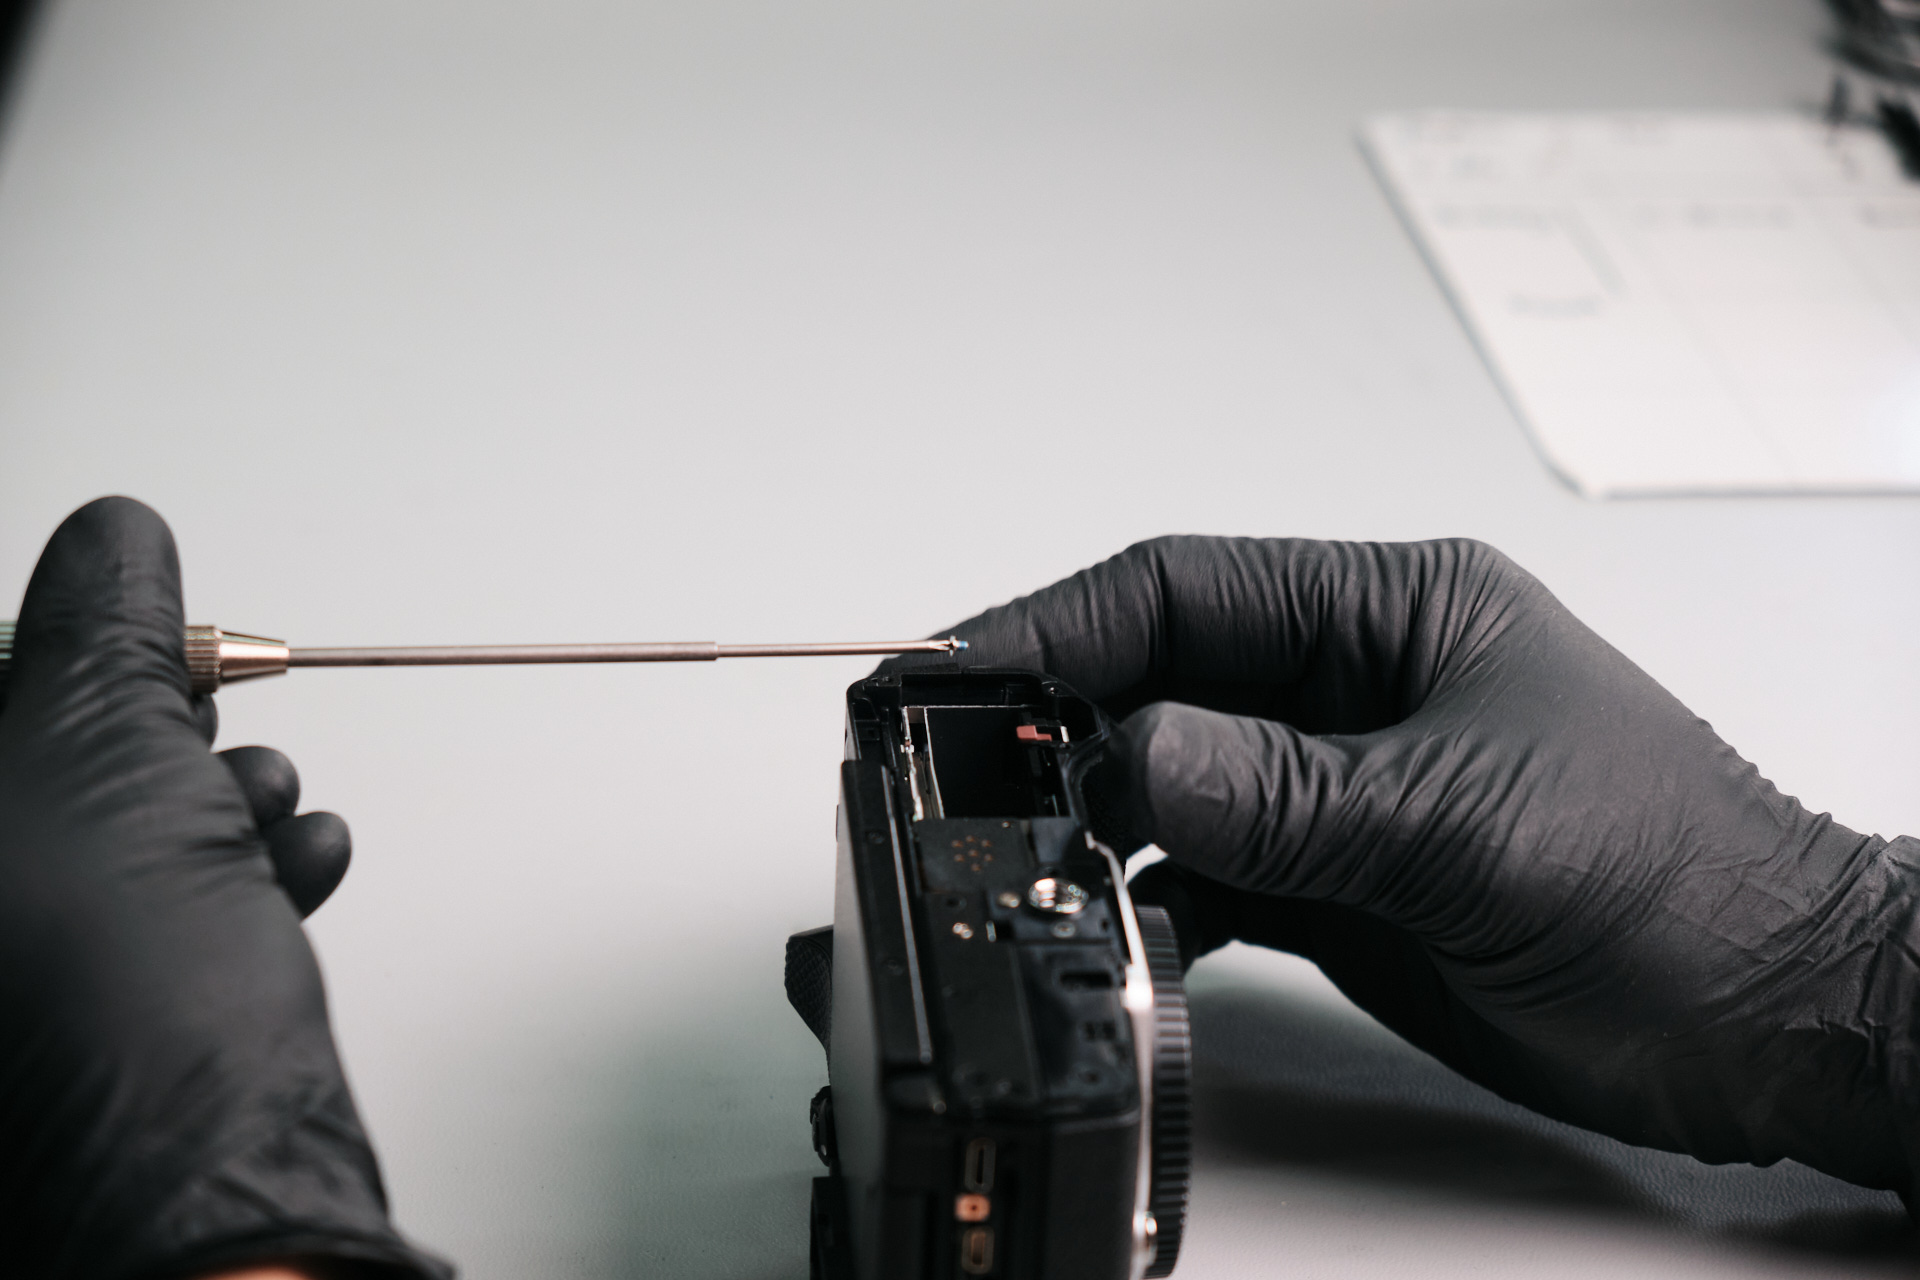
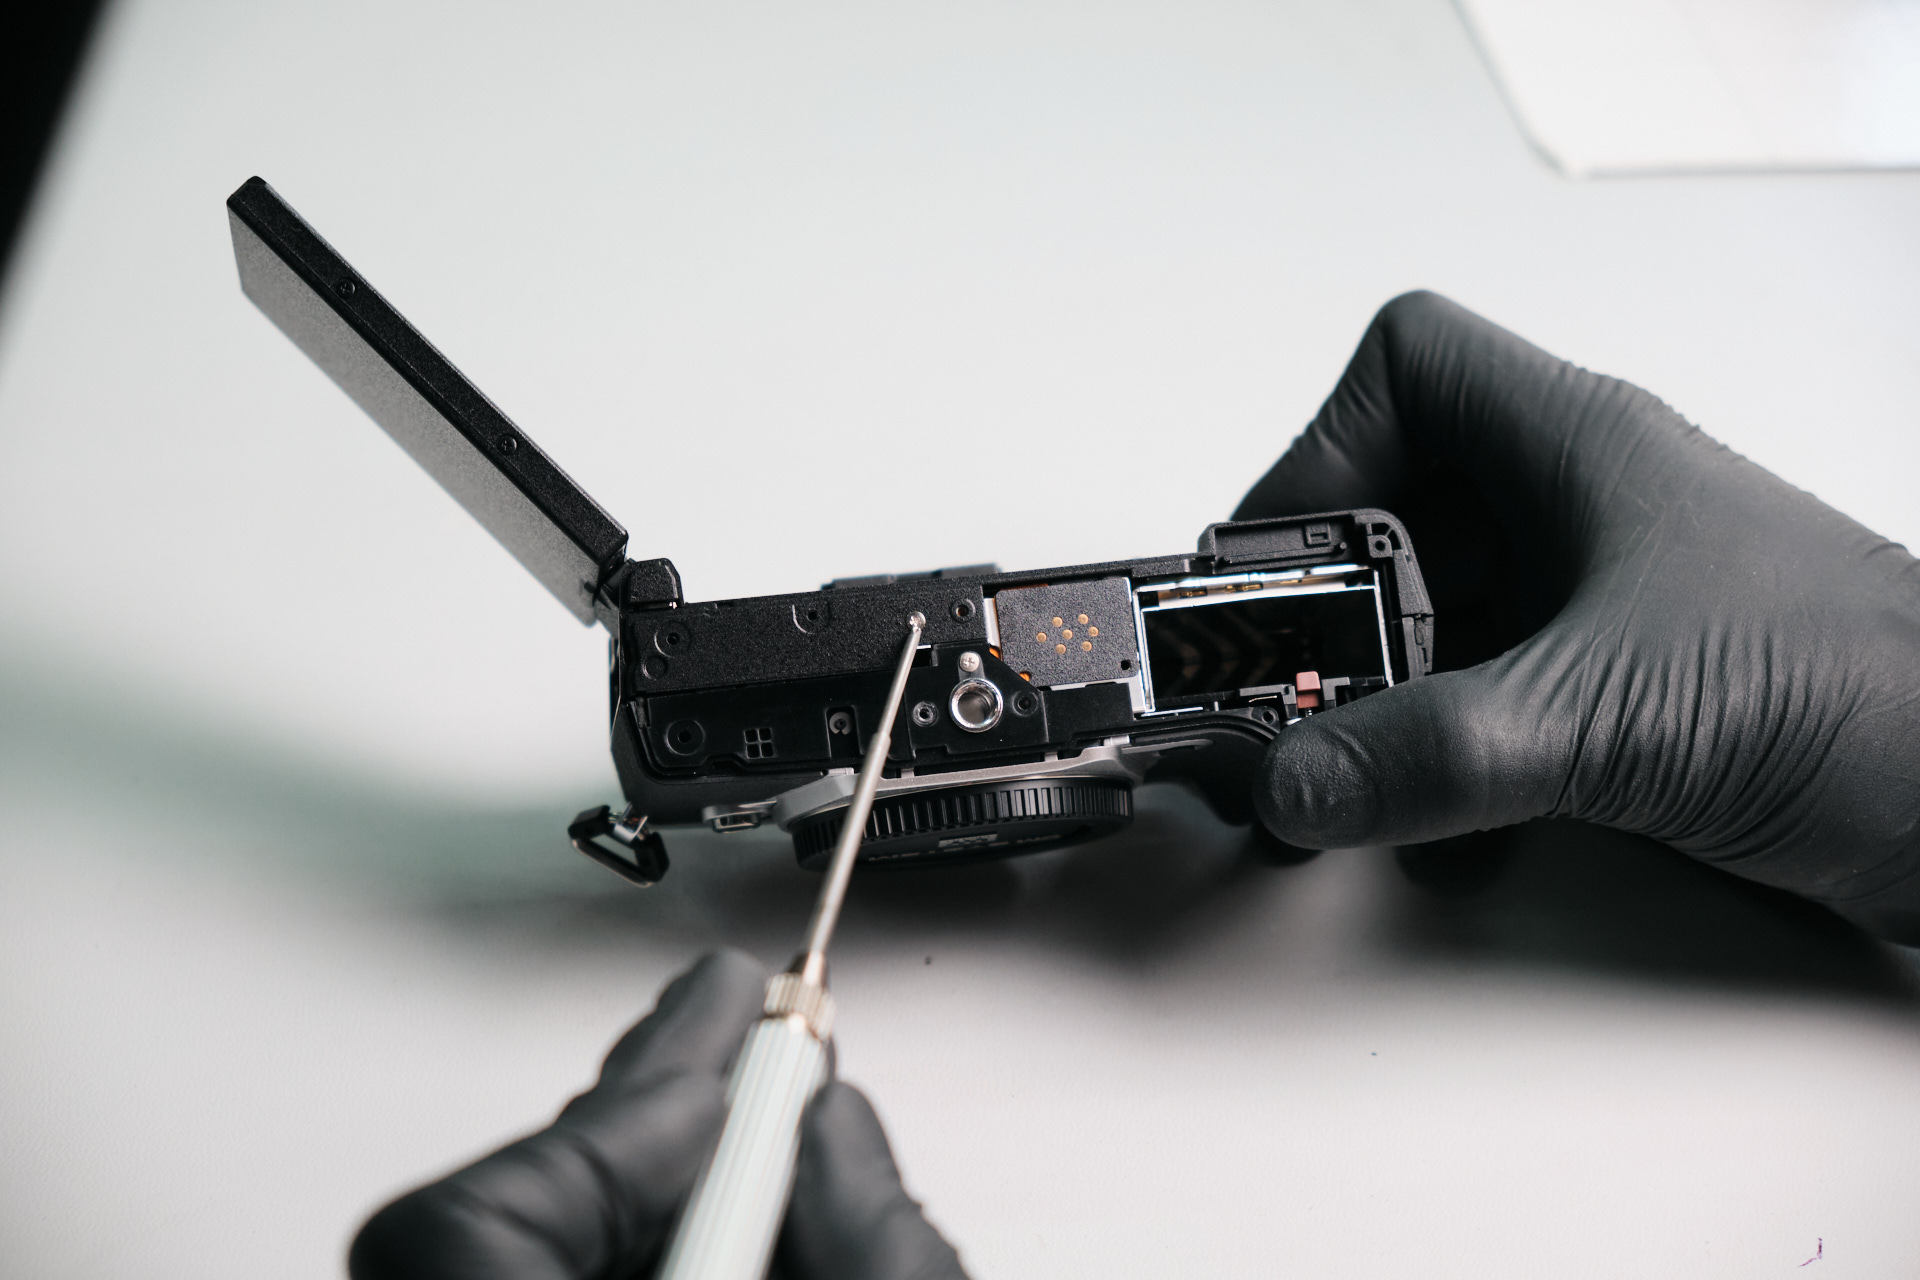
At the base of the camera, we removed nine silver Philips screws along with the base cover plate.
Removing LCD Side and Port Side Screws
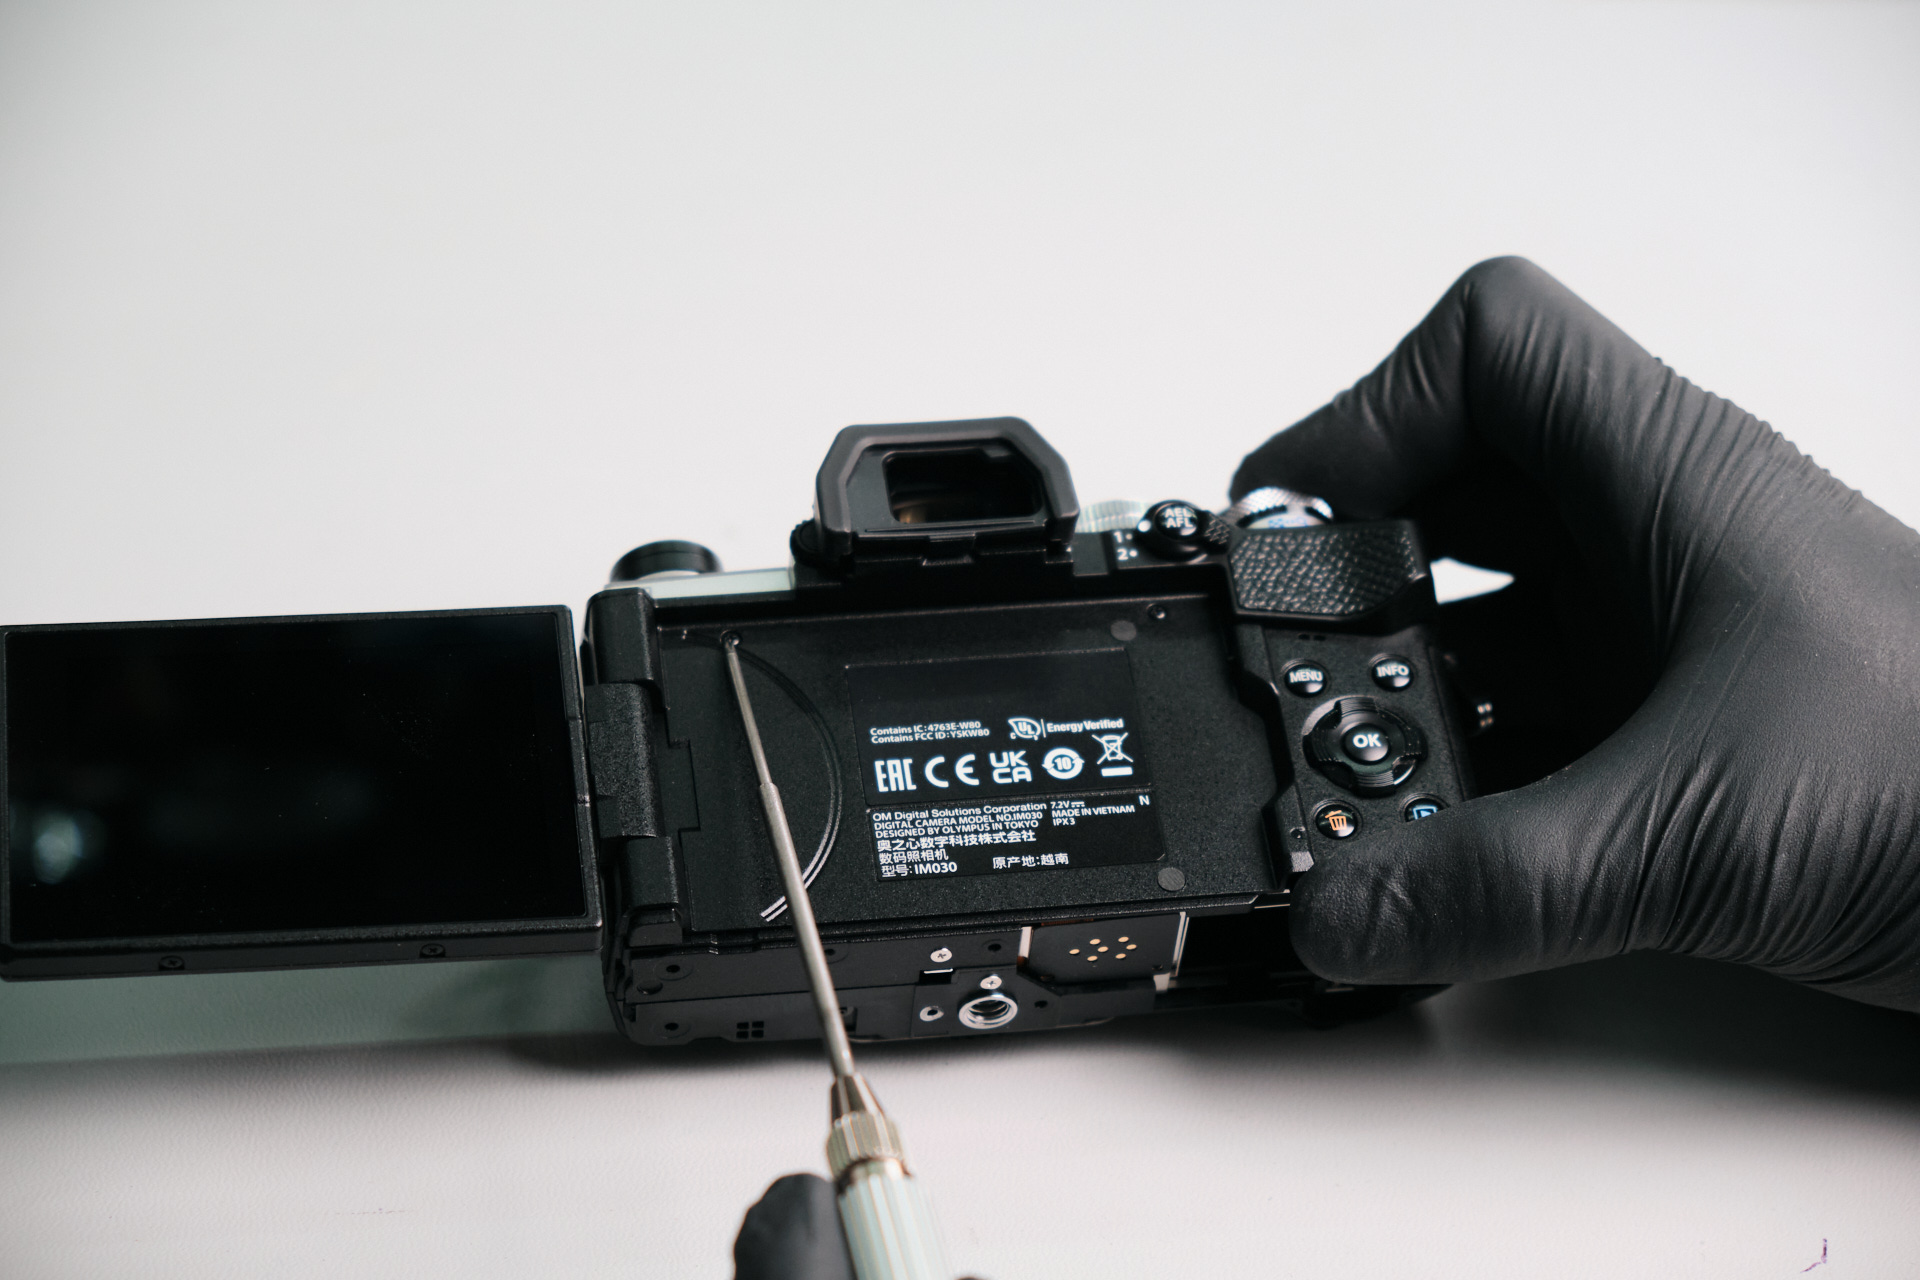
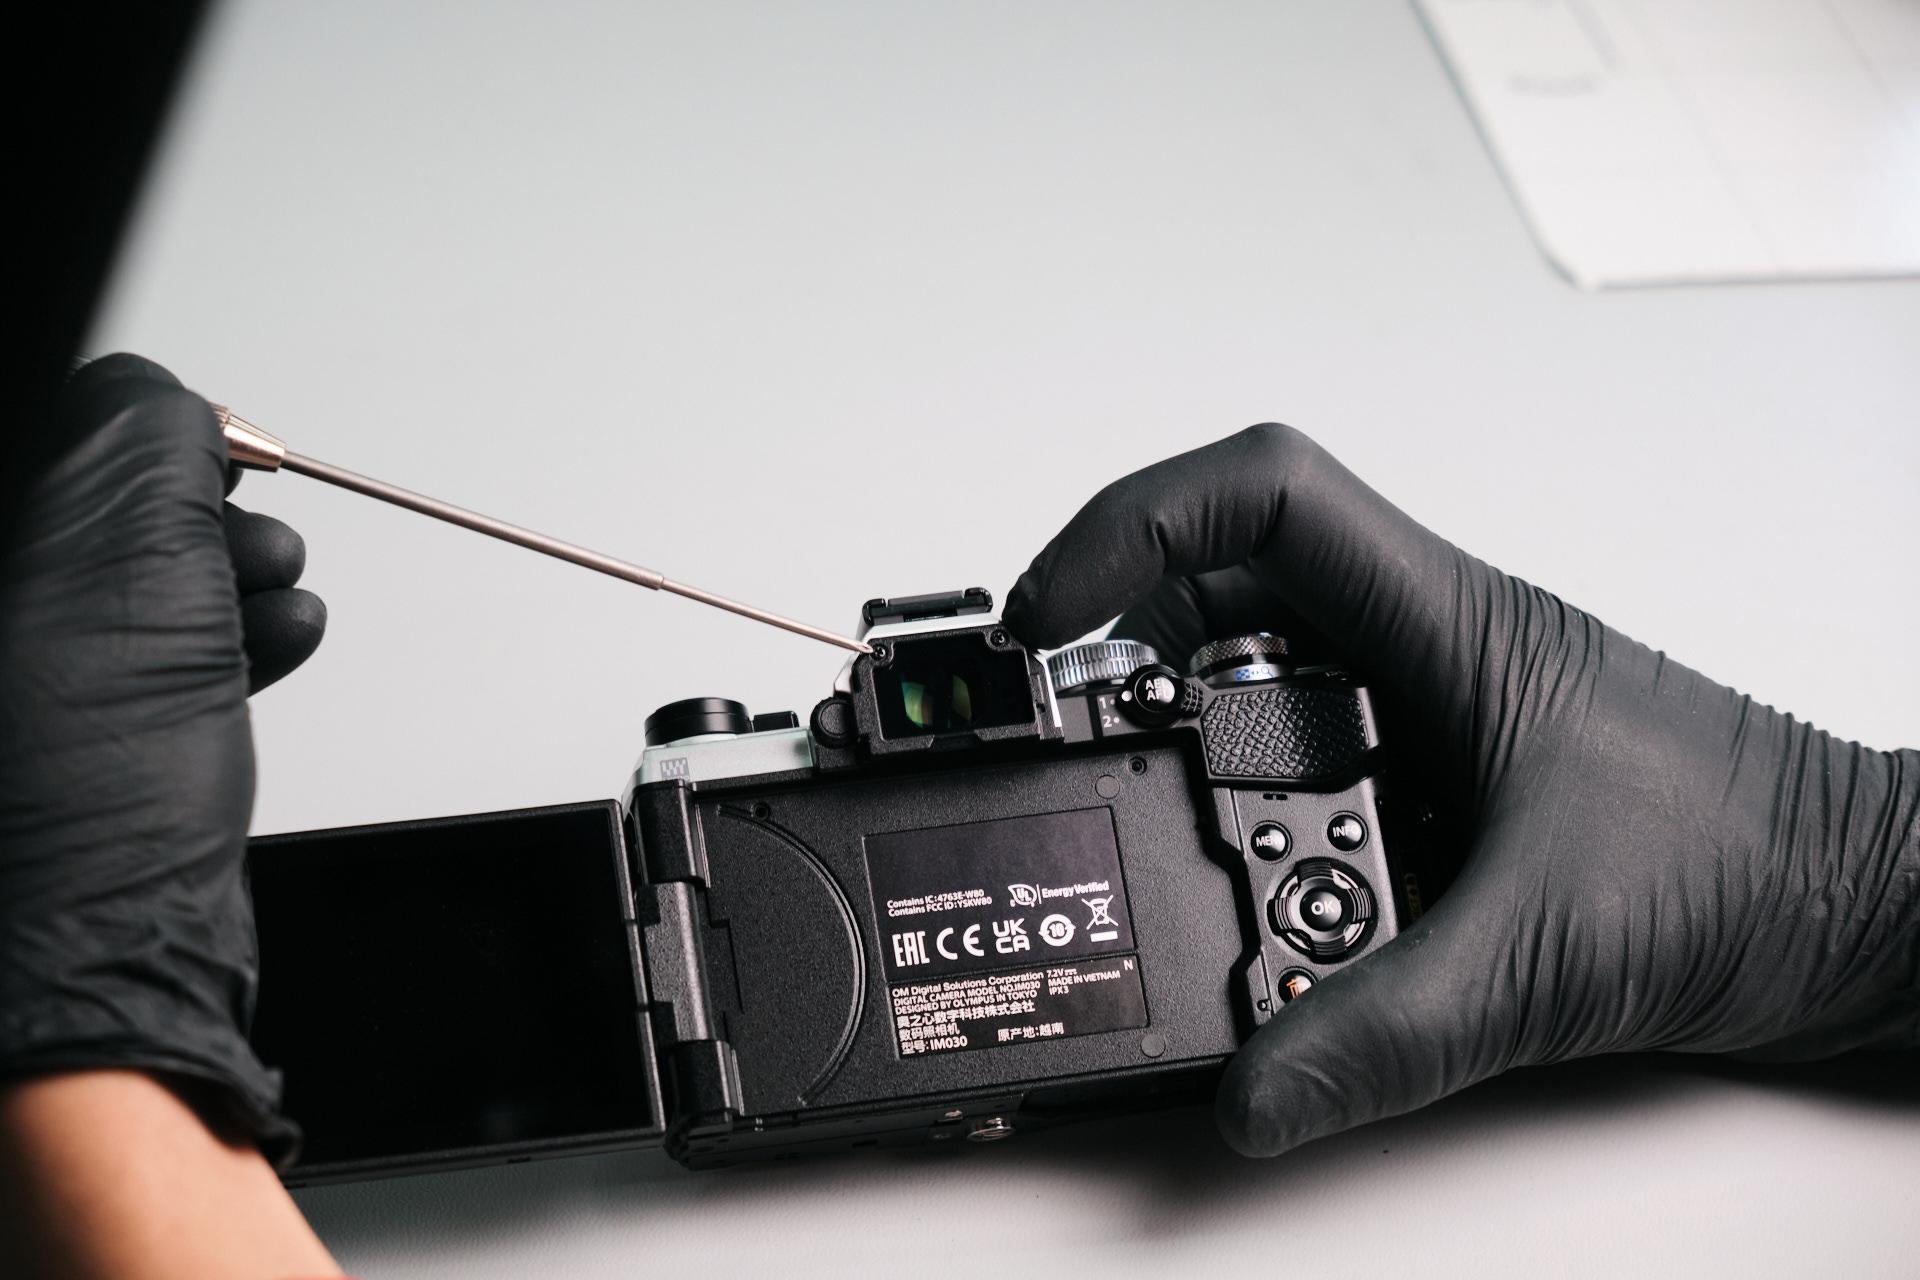
There were two screws under the LCD screen.
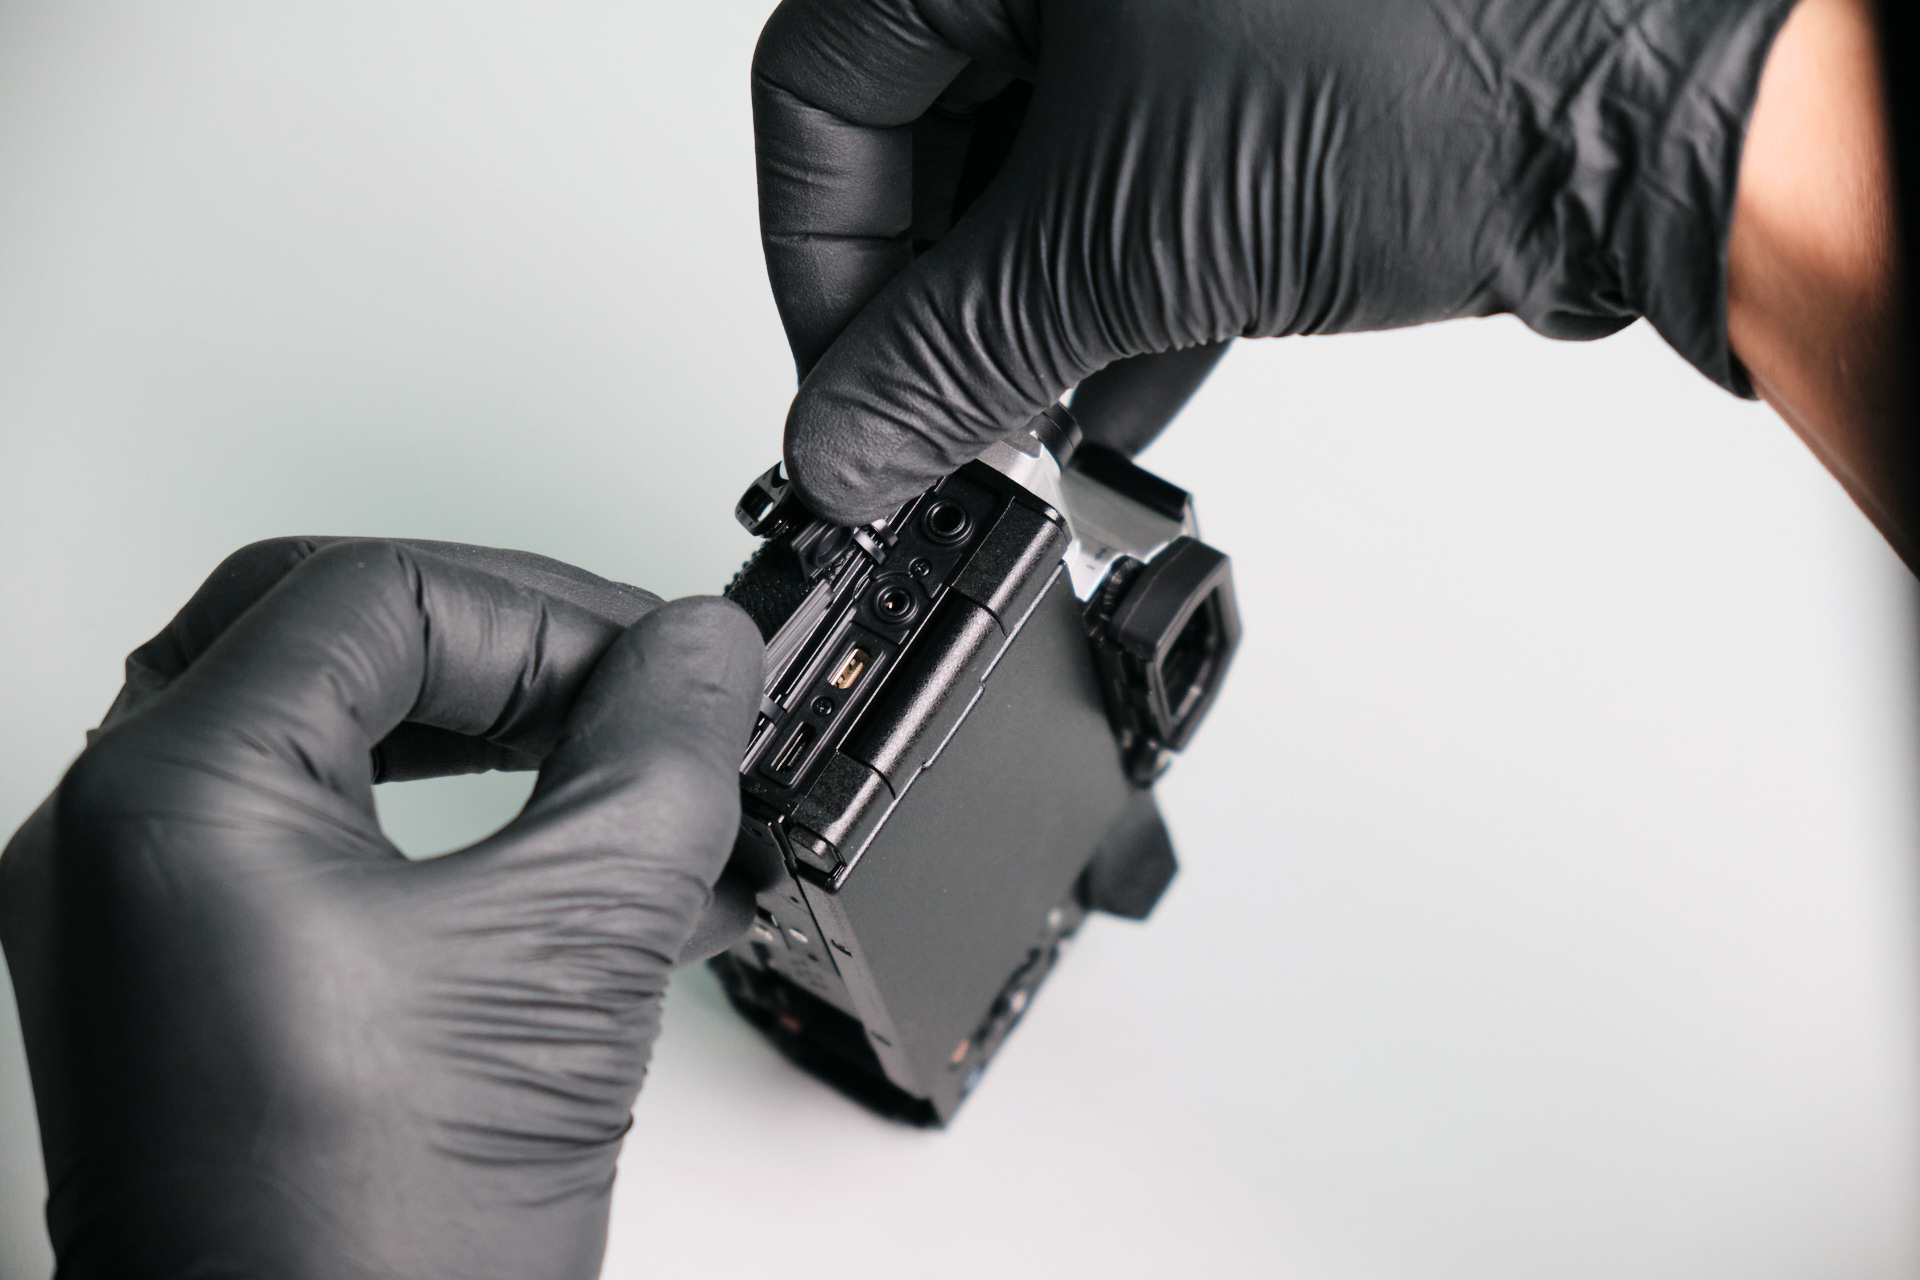
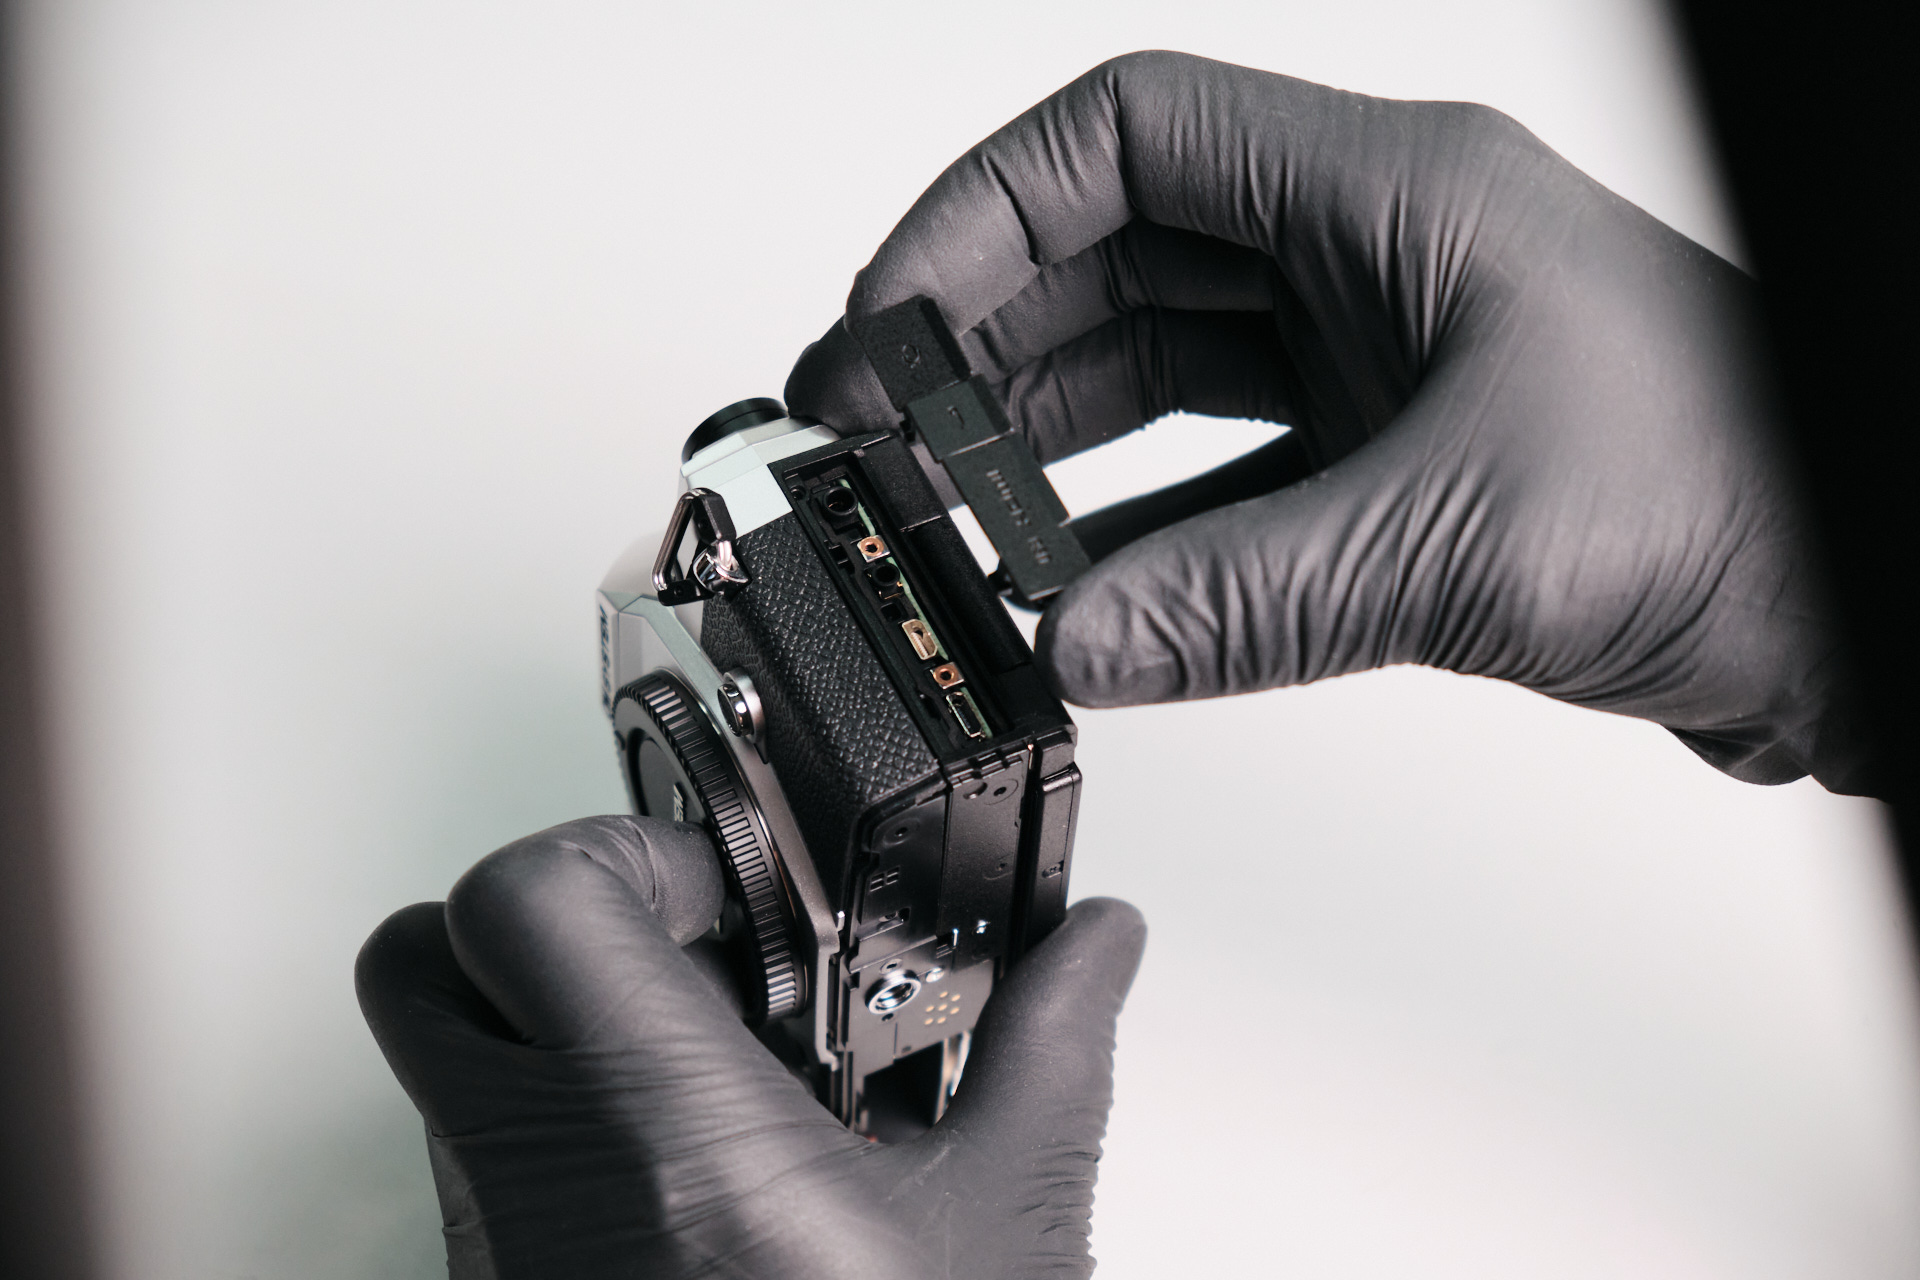
We popped open the dust caps on the port side and removed three screws. Now, the dust cap trim assembly can come off. There weren’t any screws under the memory card door.
Removing the Eye Cap and Memory Card Side Screws
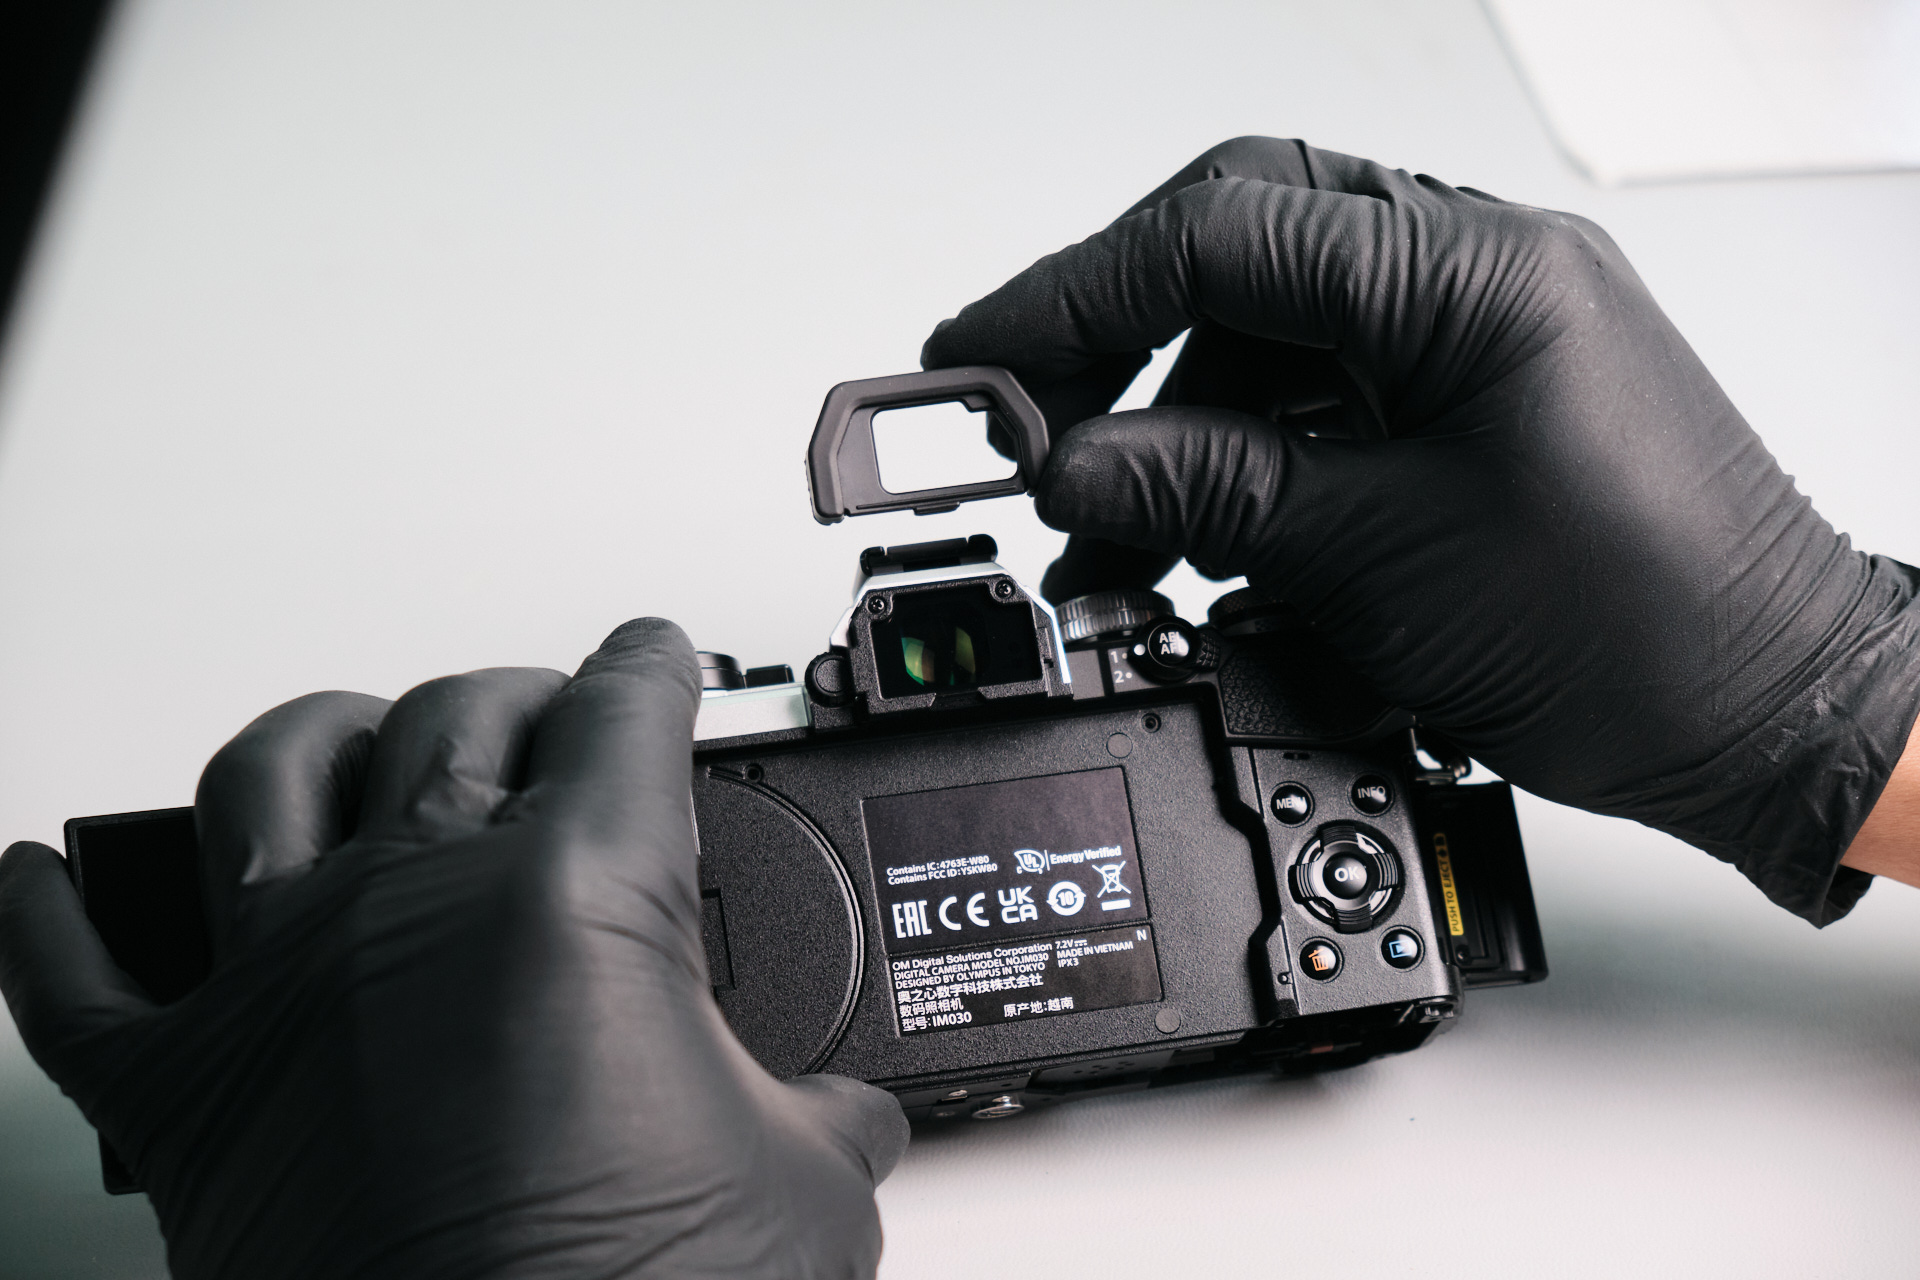
Sliding up the eye cap revealed two screws. We didn’t find any screws under the rubber thumb grip.
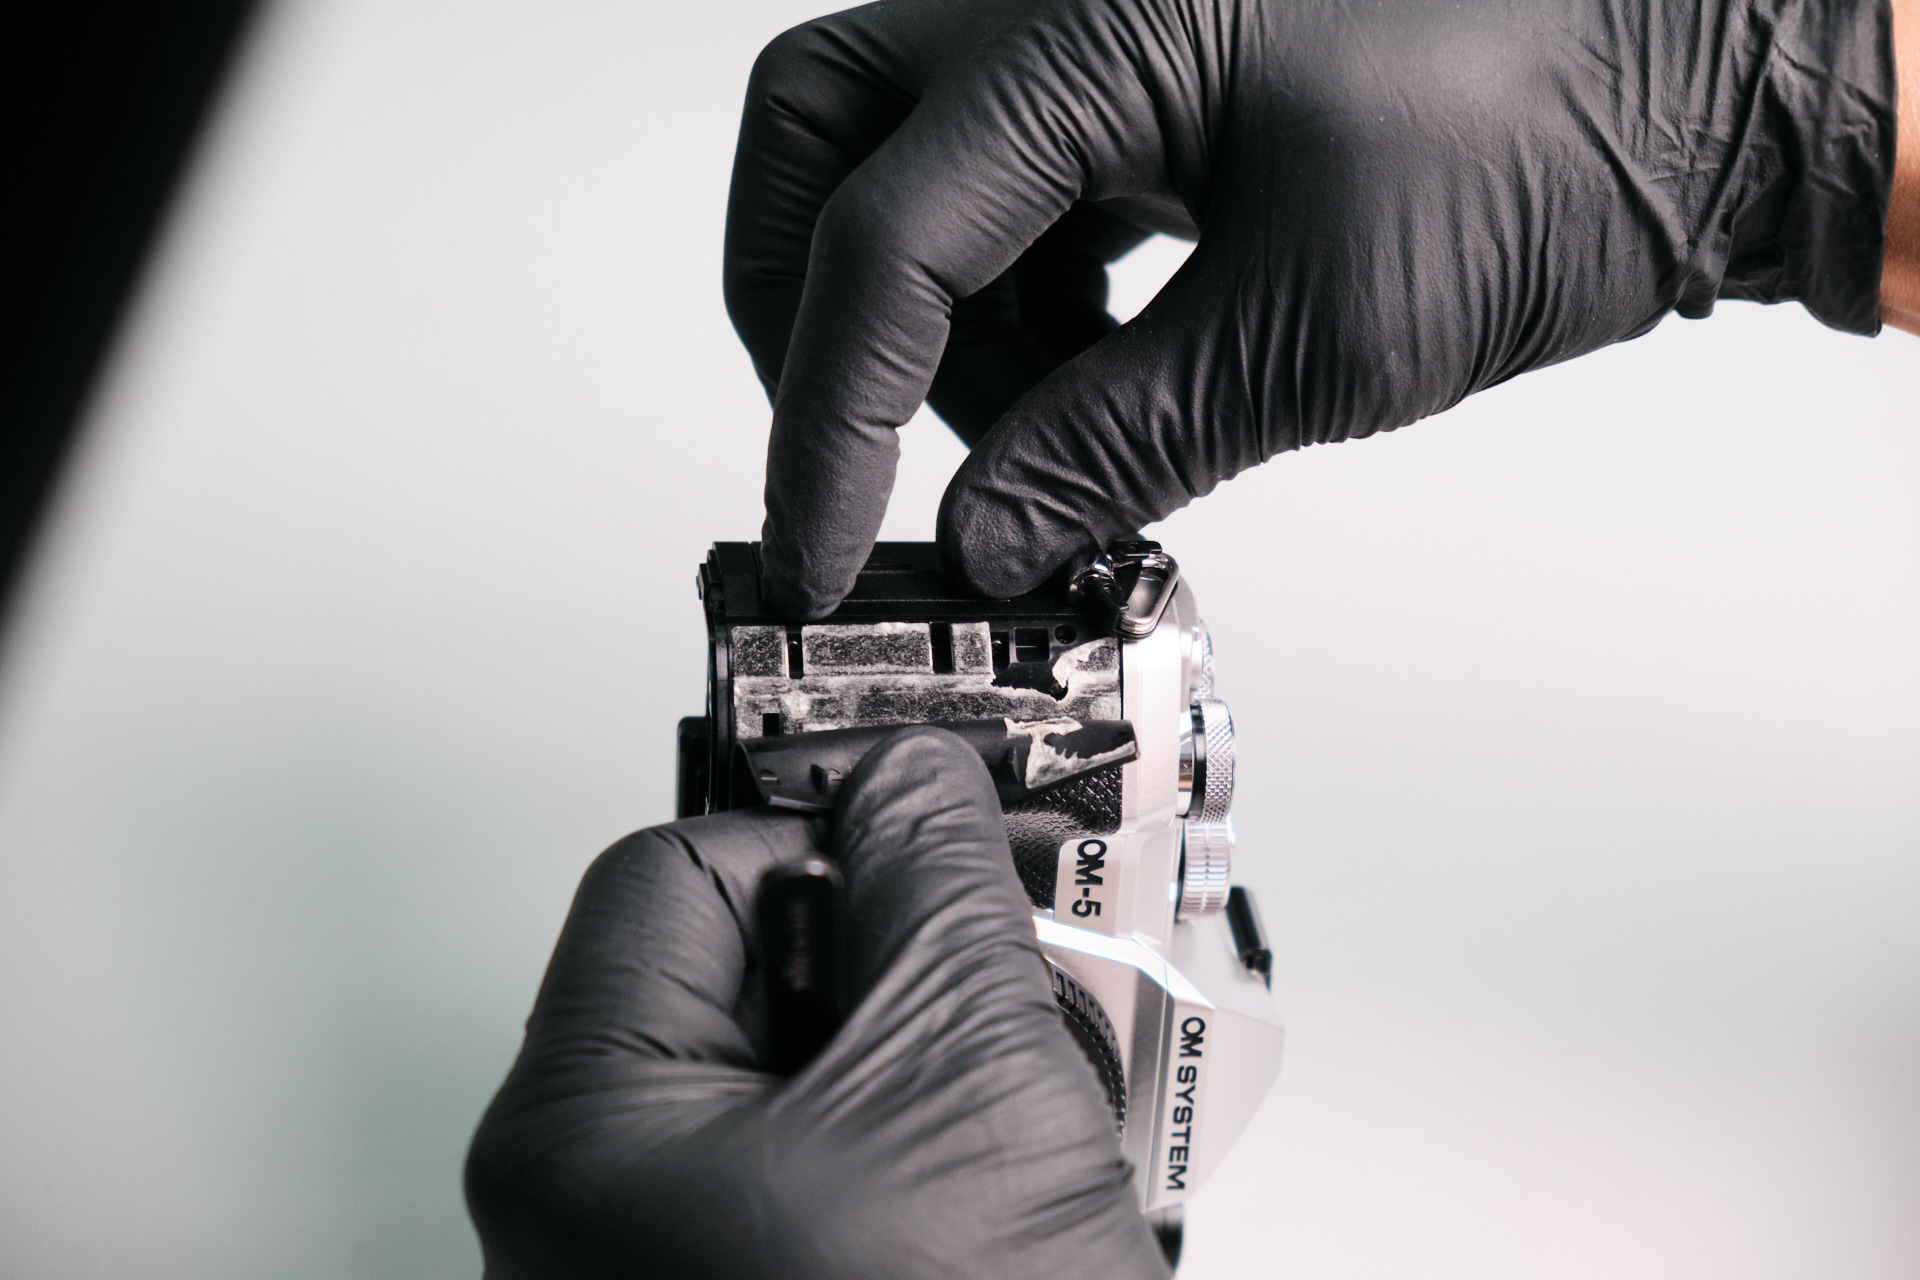
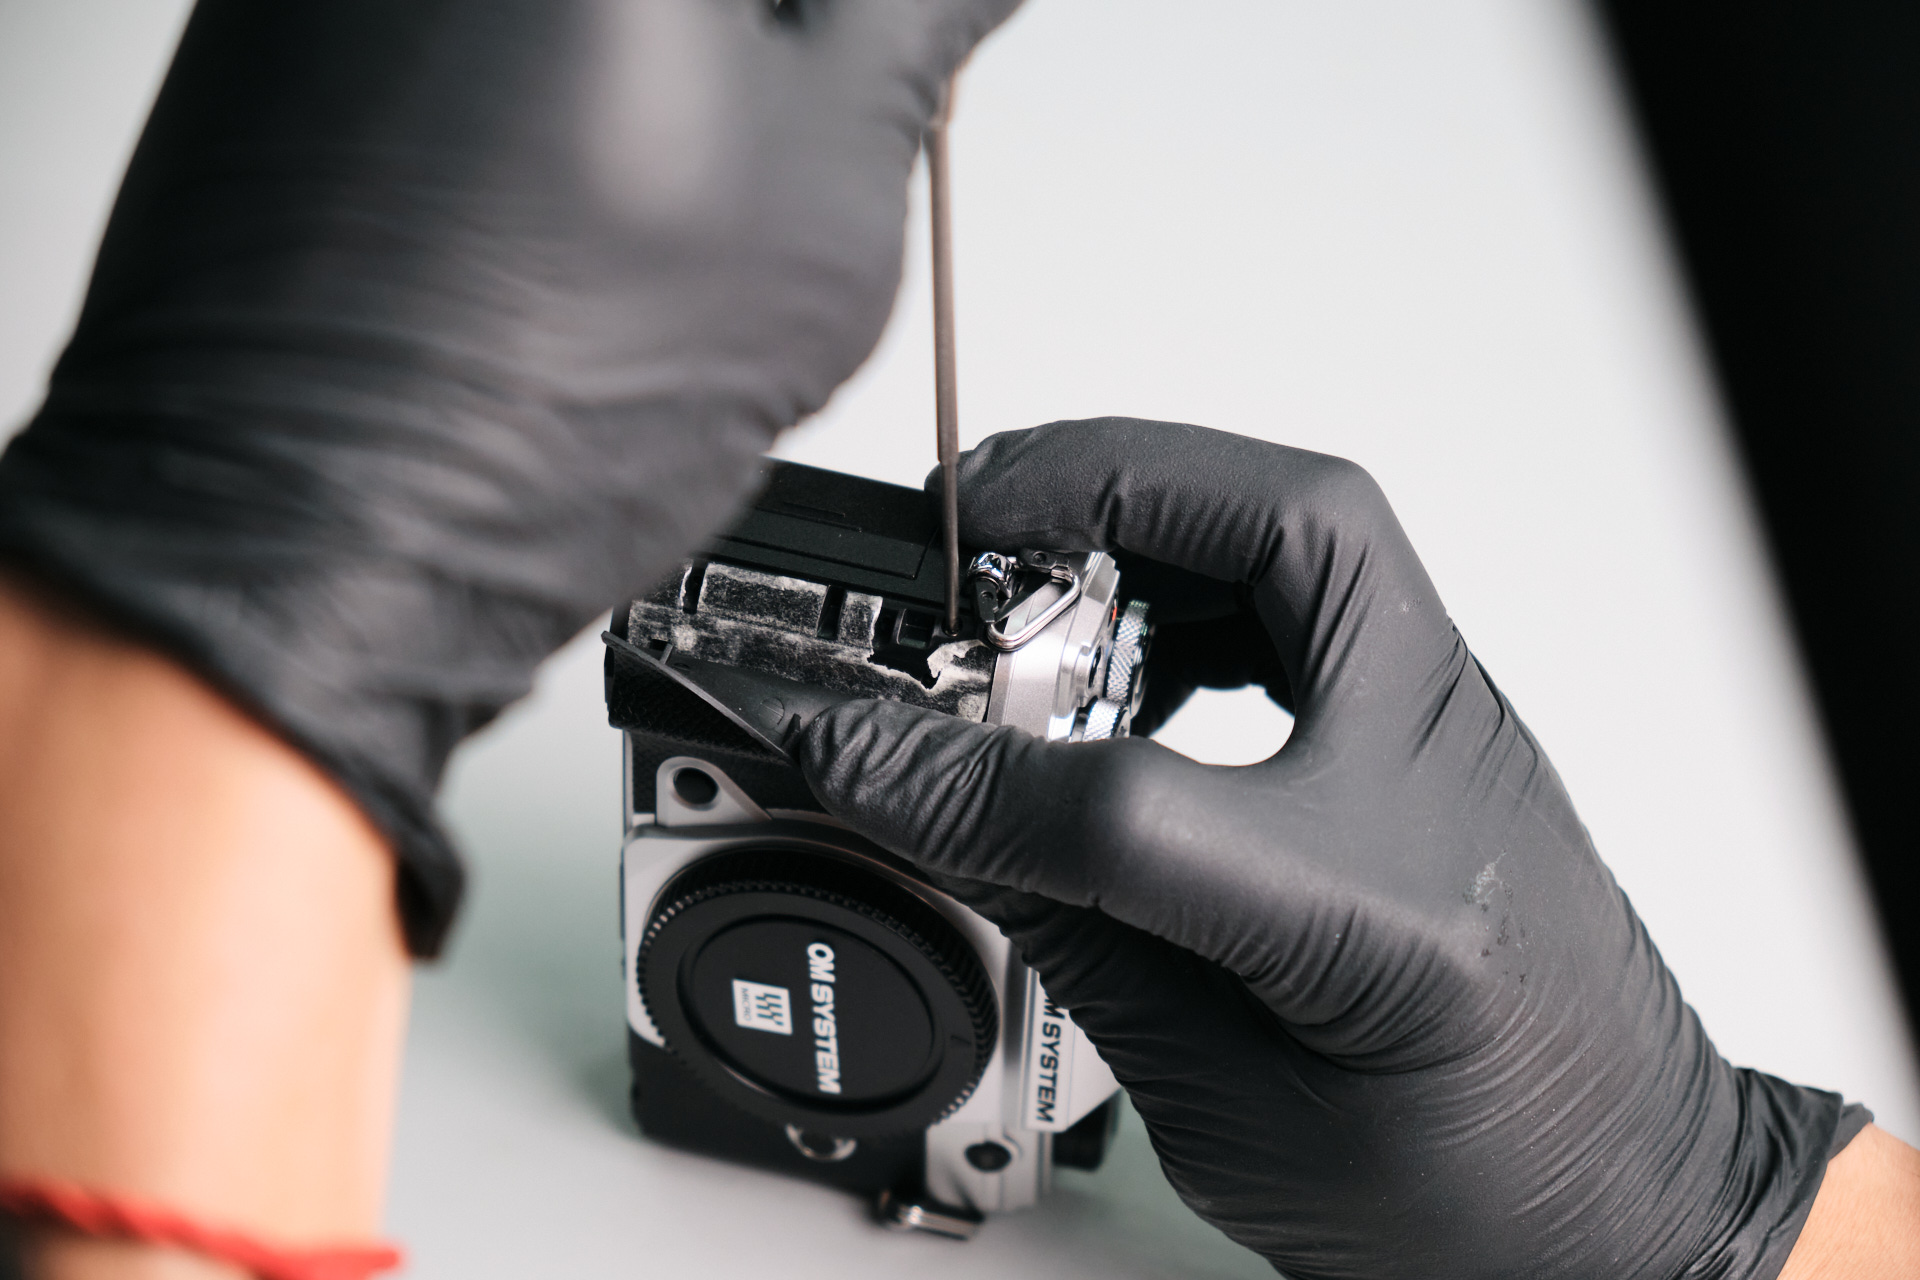
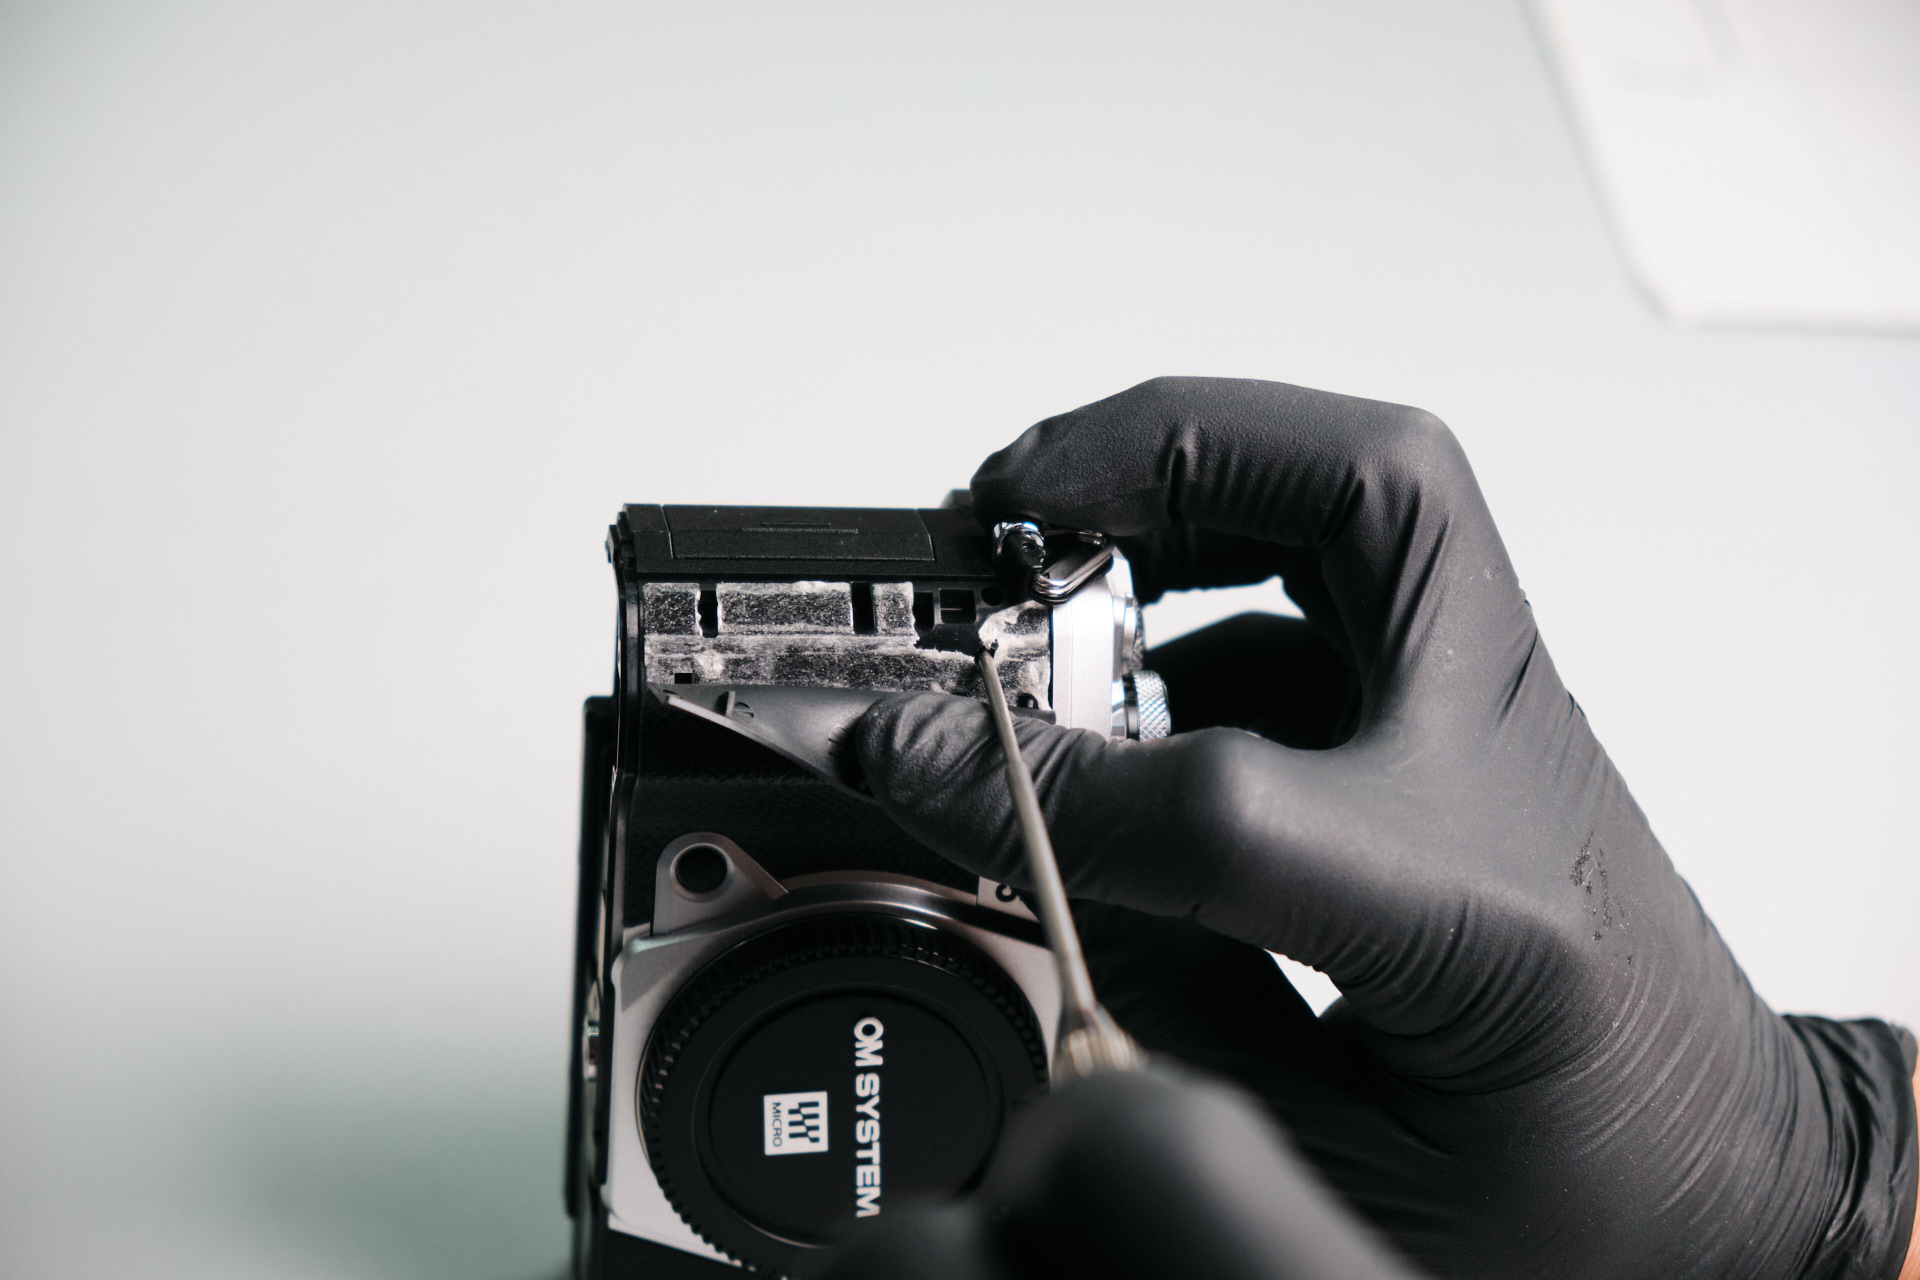
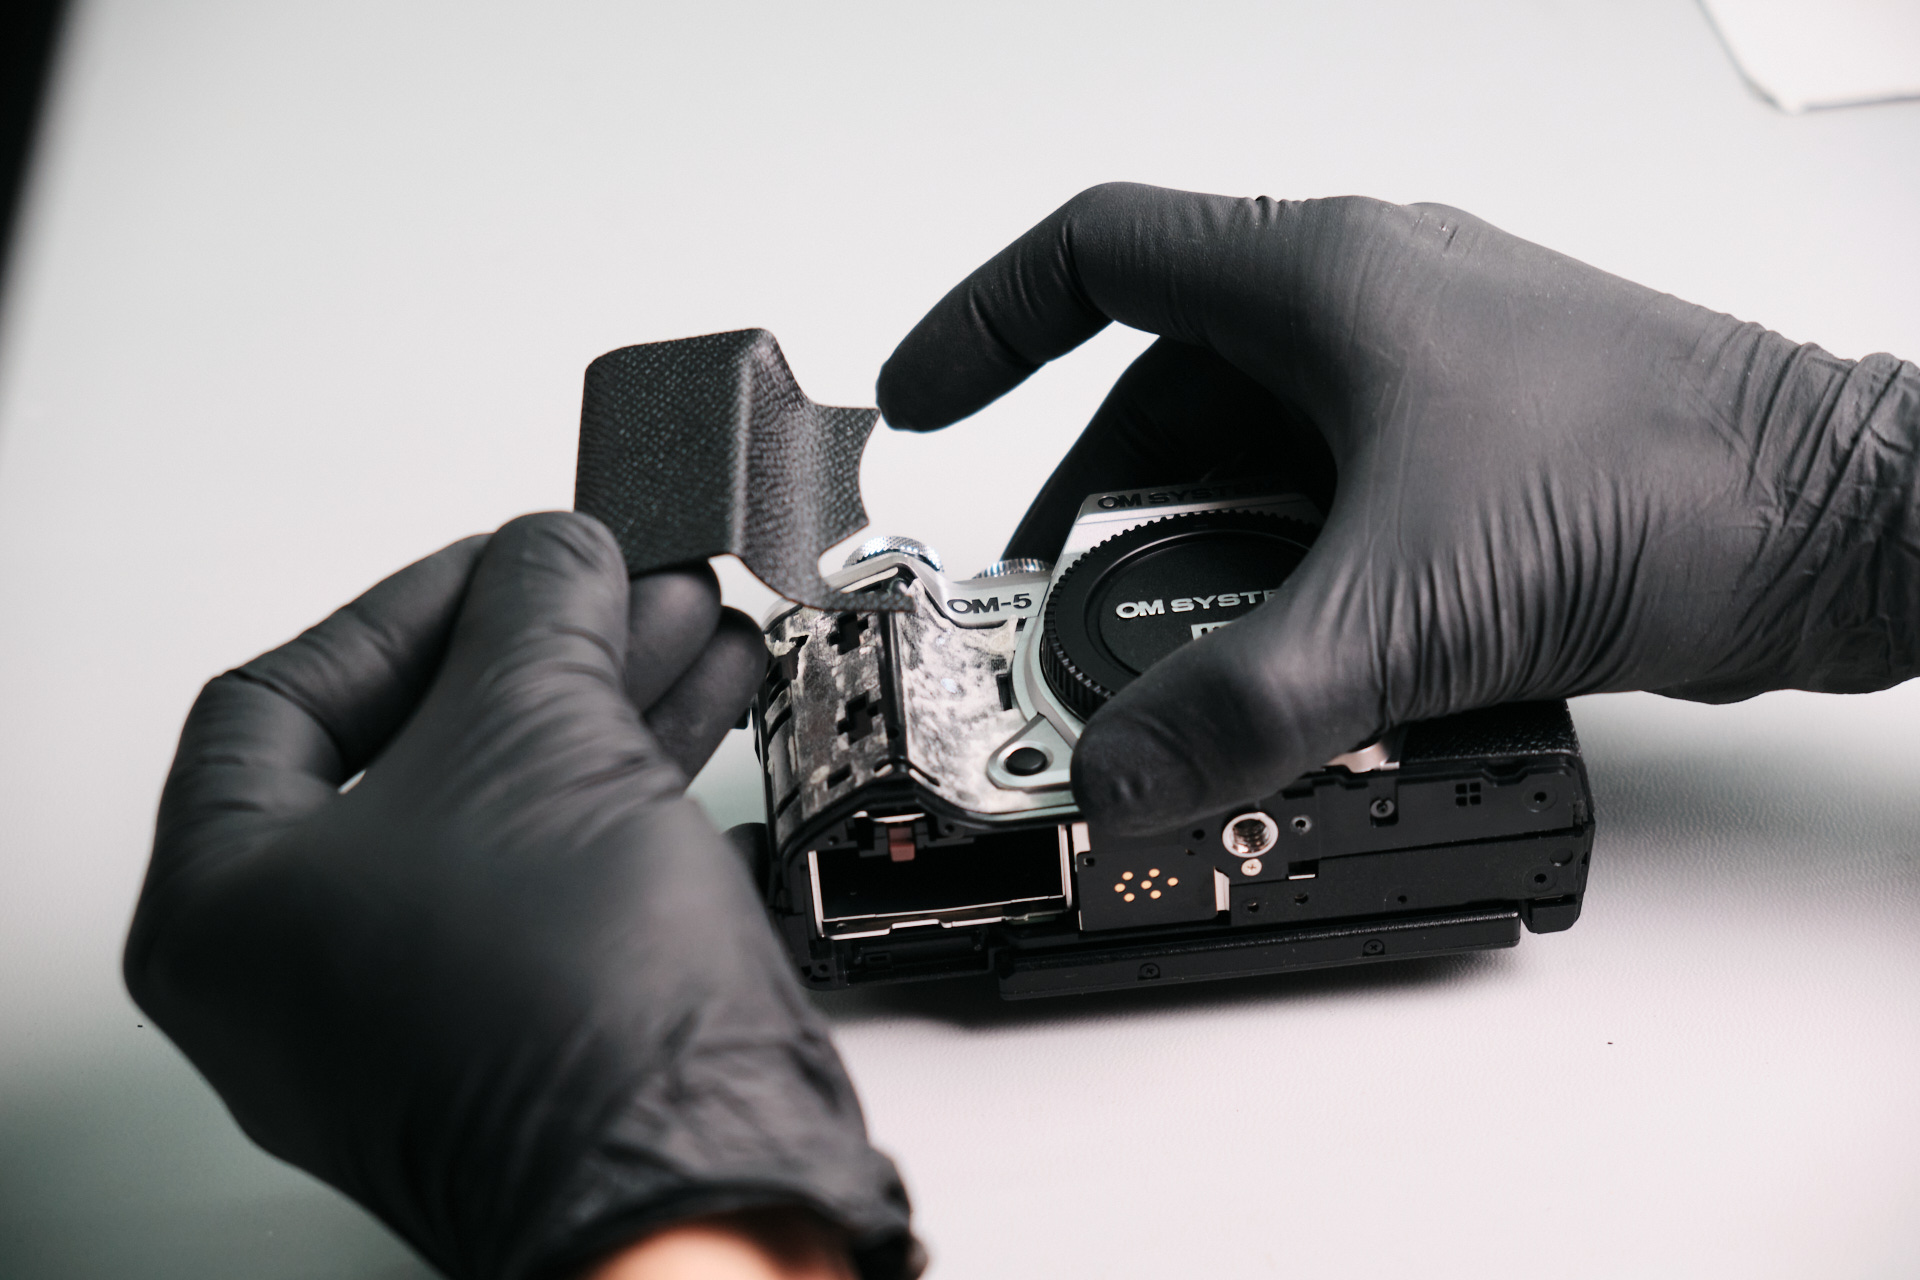
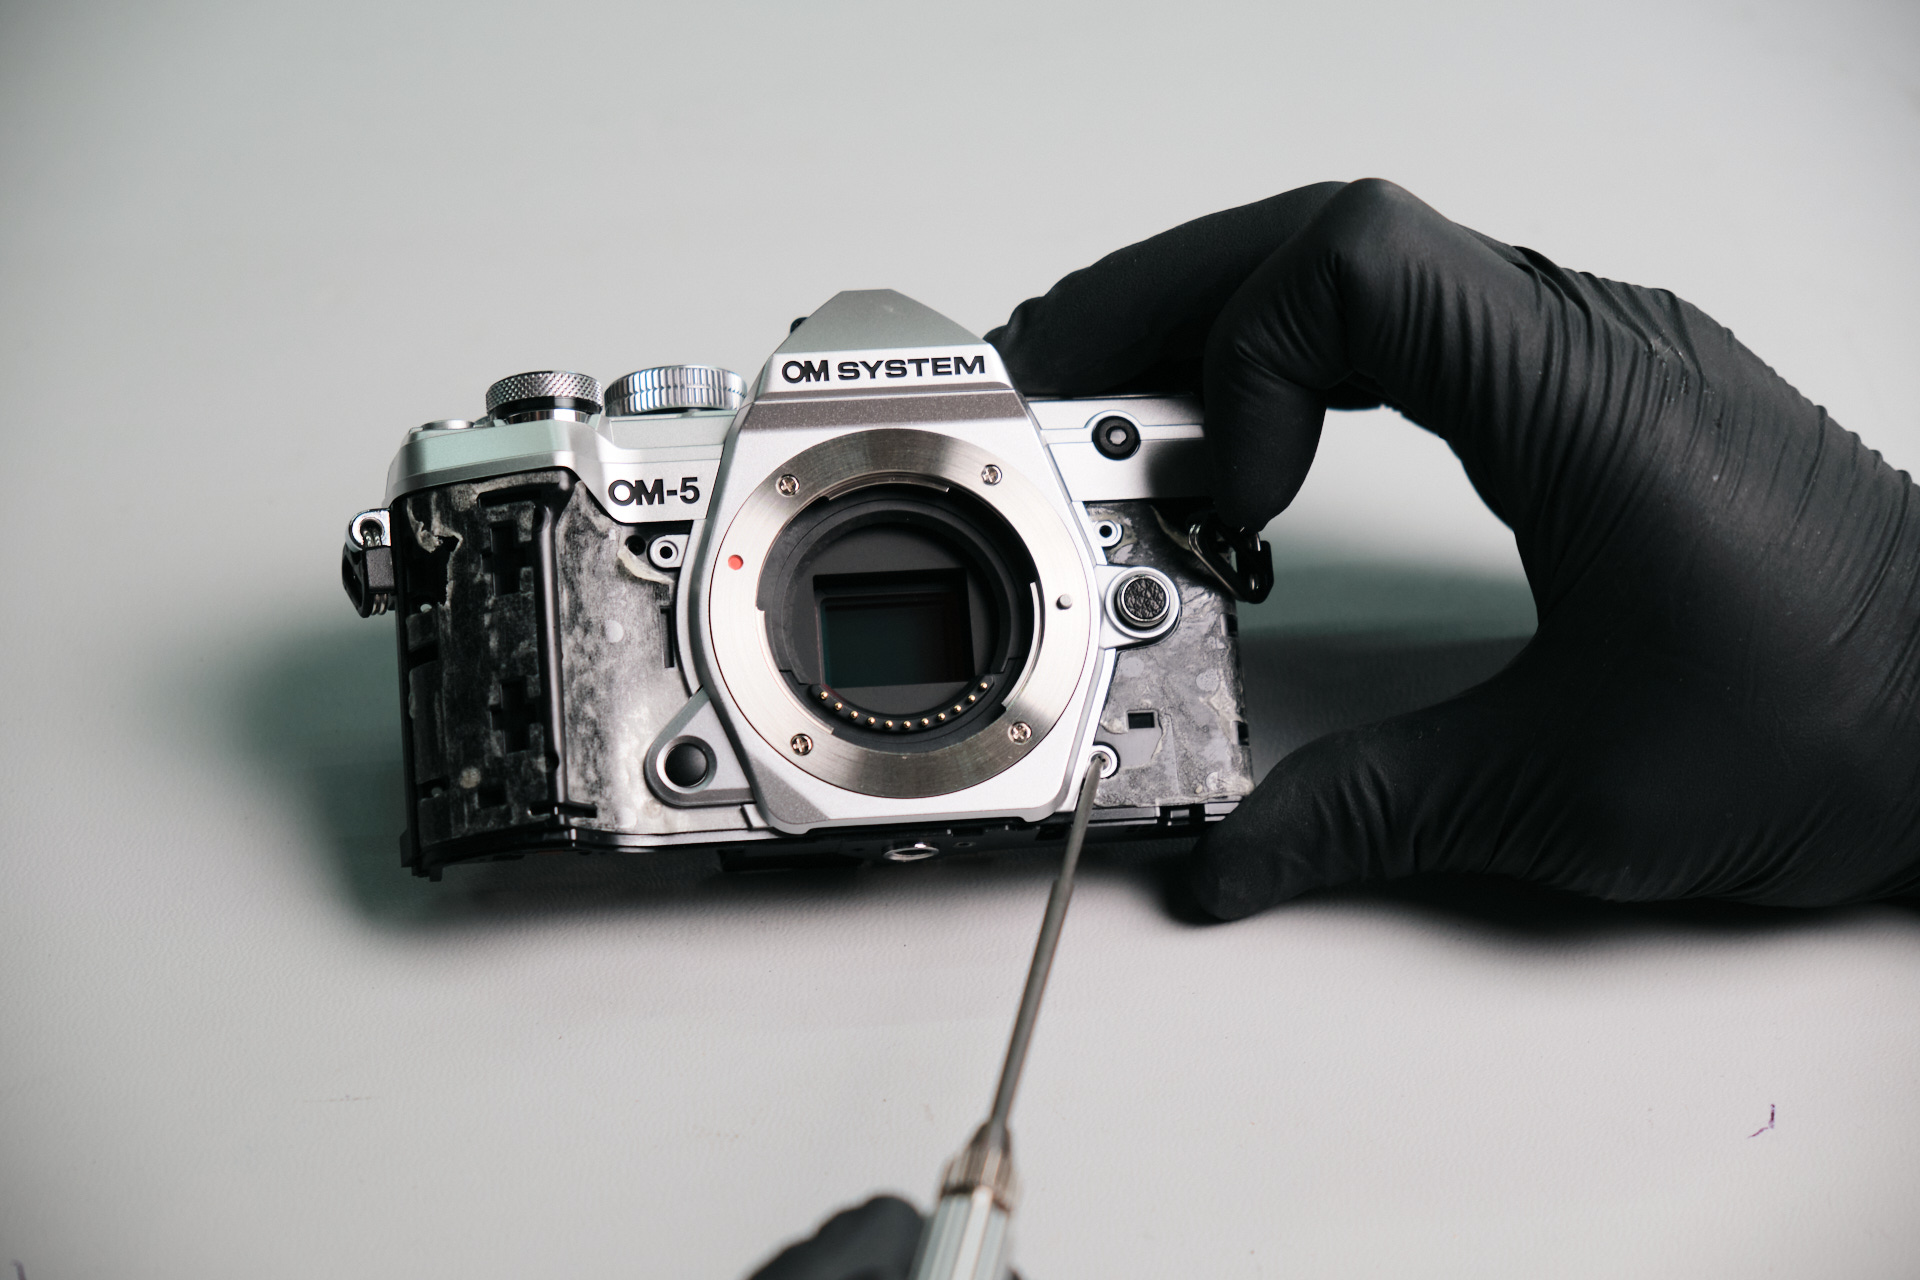
Back to the memory card slot side of the camera, we peeled back the rubber palm grip and extracted four screws.
Removing the Memory Card Door and Battery Slot Screw
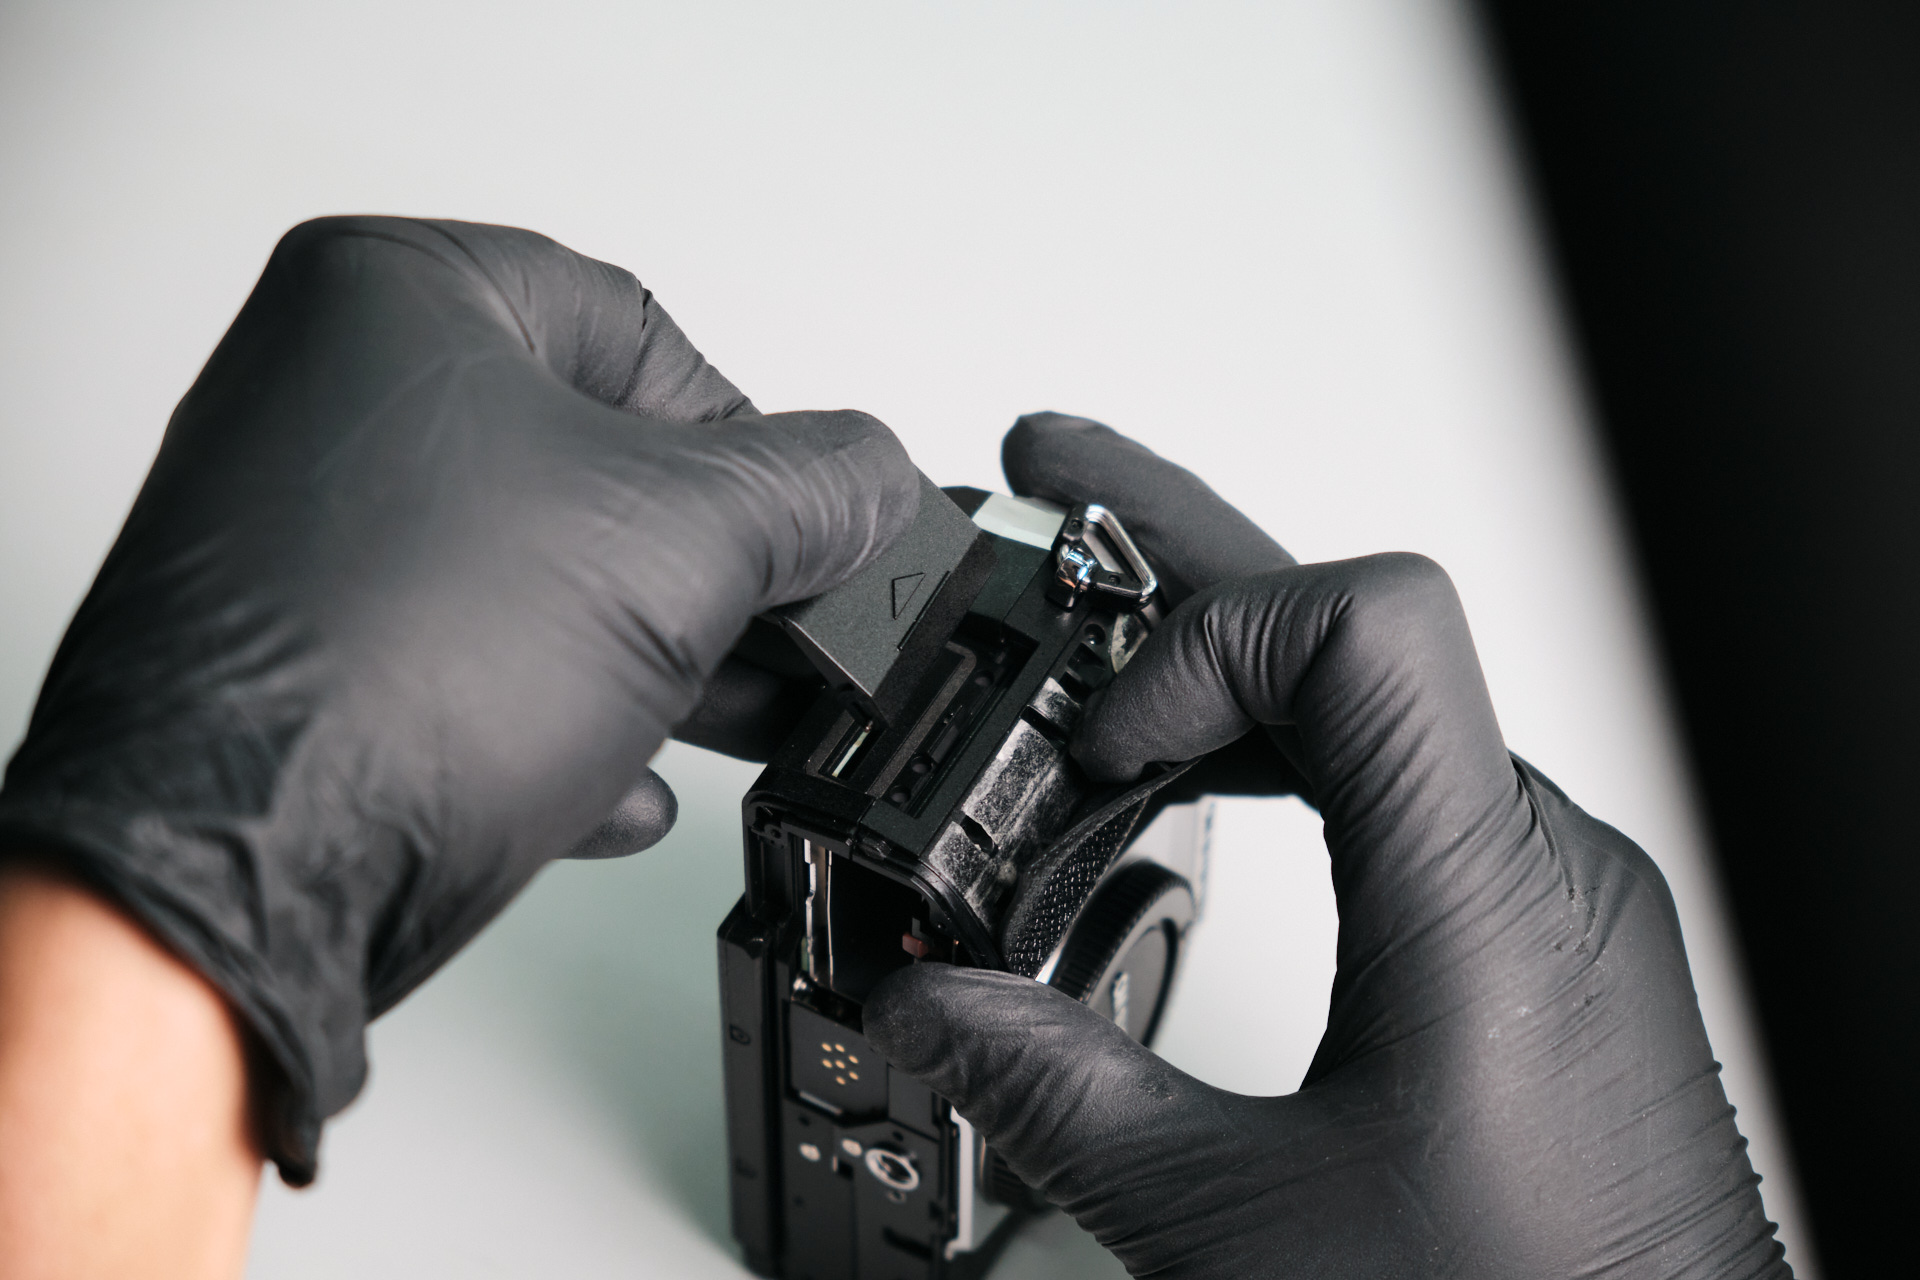
The memory card door is removable—this helped a lot!
Deep in the battery slot was one silver screw.
Finding Hidden Screws Under the Base Cover Plate and Right-Hand Rubber Grip
We nearly missed one silver screw toward the base of the camera. This screw was under the base cover plate.
The rear panel refused to come off even after some wiggling. We turned to the front of the camera and completely removed the right-hand rubber palm grip to see if there were any remaining screws.
Two screws were removed right below the OM-5 decal.
Removing Left-Hand Rubber Grip Hidden Screws
Next, we removed the left-hand rubber palm grip and found two silver screws just above the lens release button.
Finding the Hidden Rear Panel Screw Under Soft Felt
The rear panel was somewhat of a problem to remove because there were many screws, but we finally found a hidden screw under some soft felt on the rear panel.
Removing the Olympus OM-5 Rear Panel
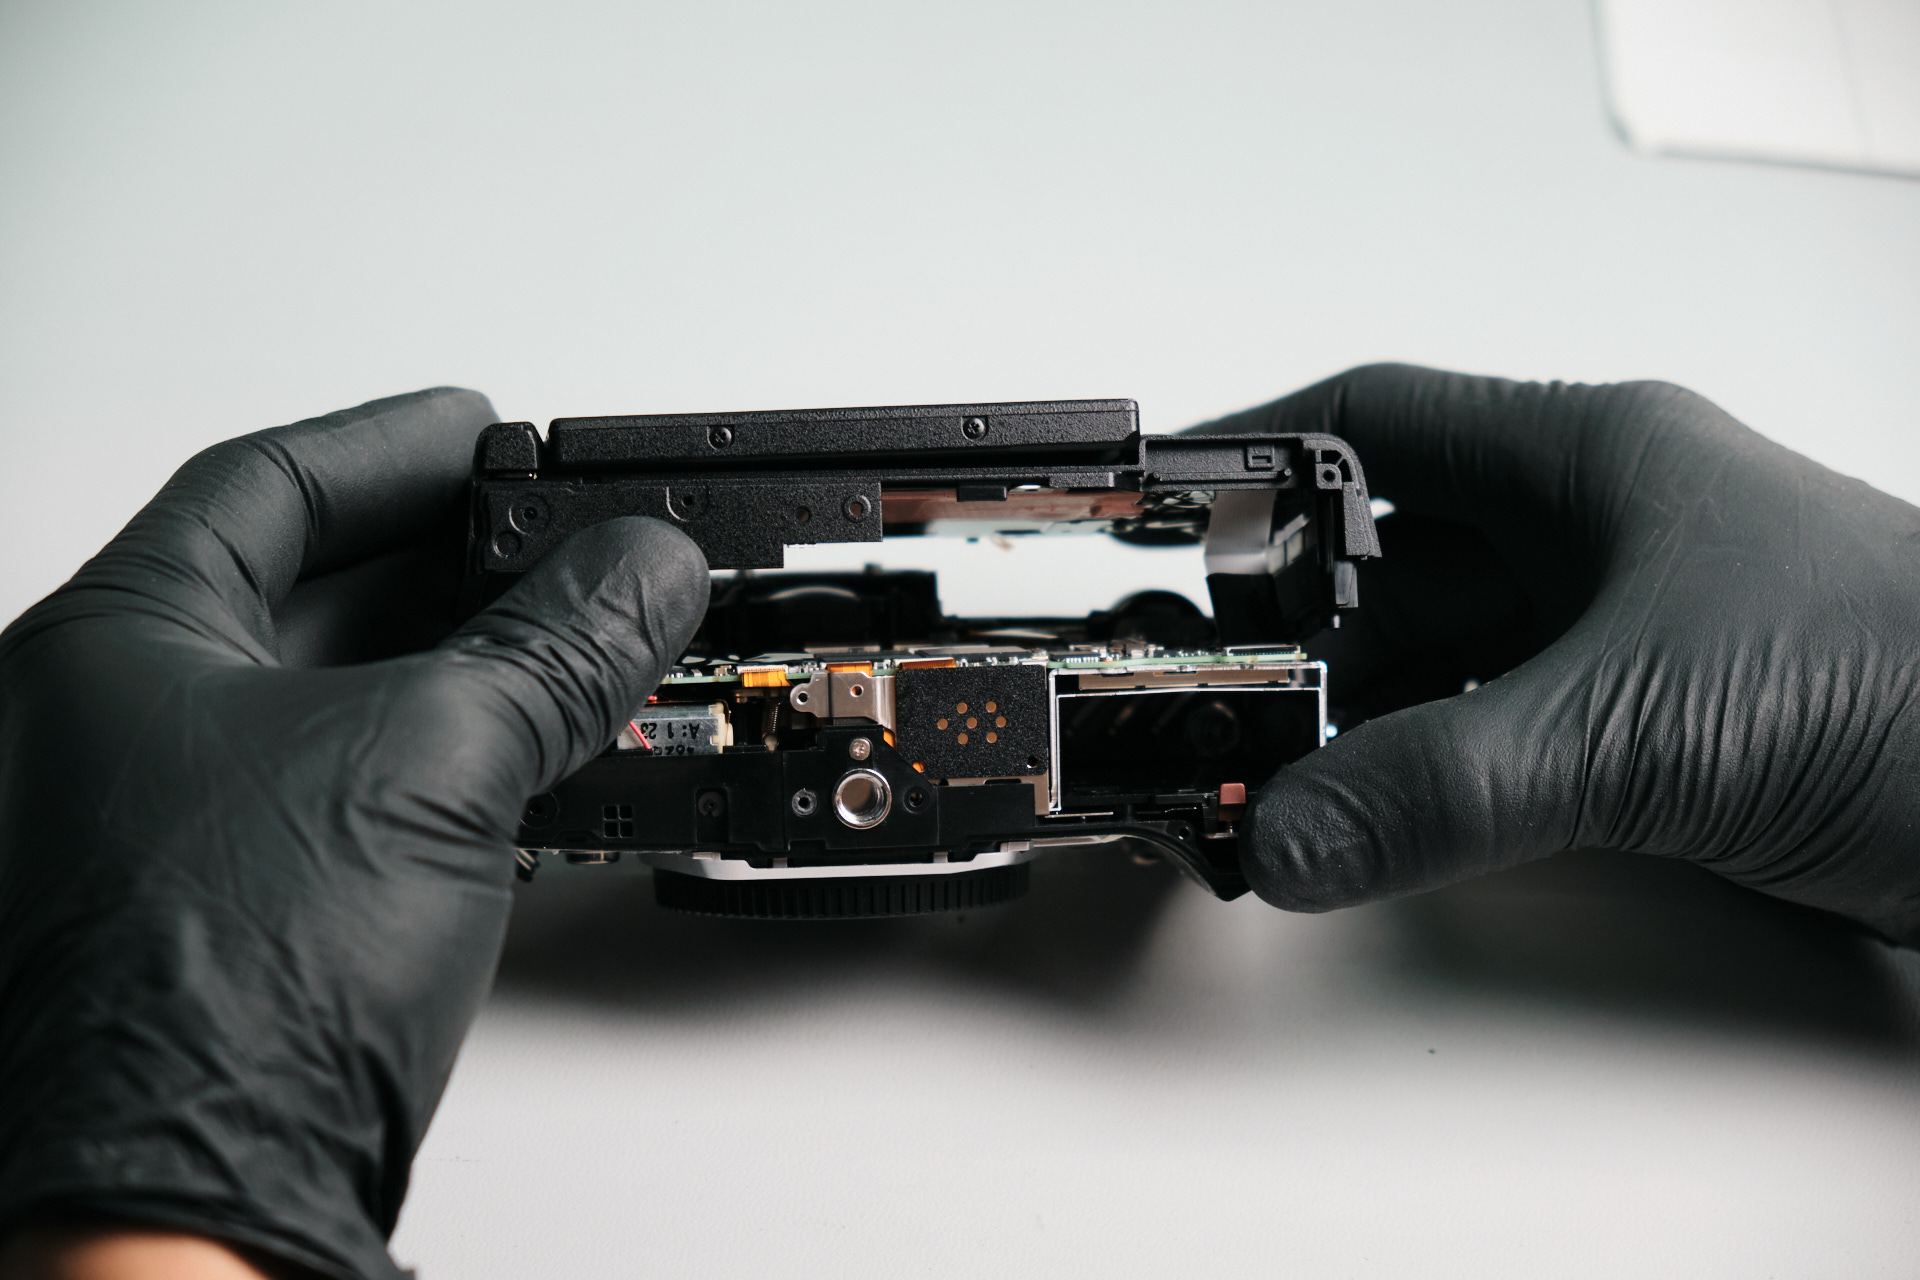
Finally, we were able to wiggle the rear panel out of place.
Disconnecting Rear Panel Ribbon Cables
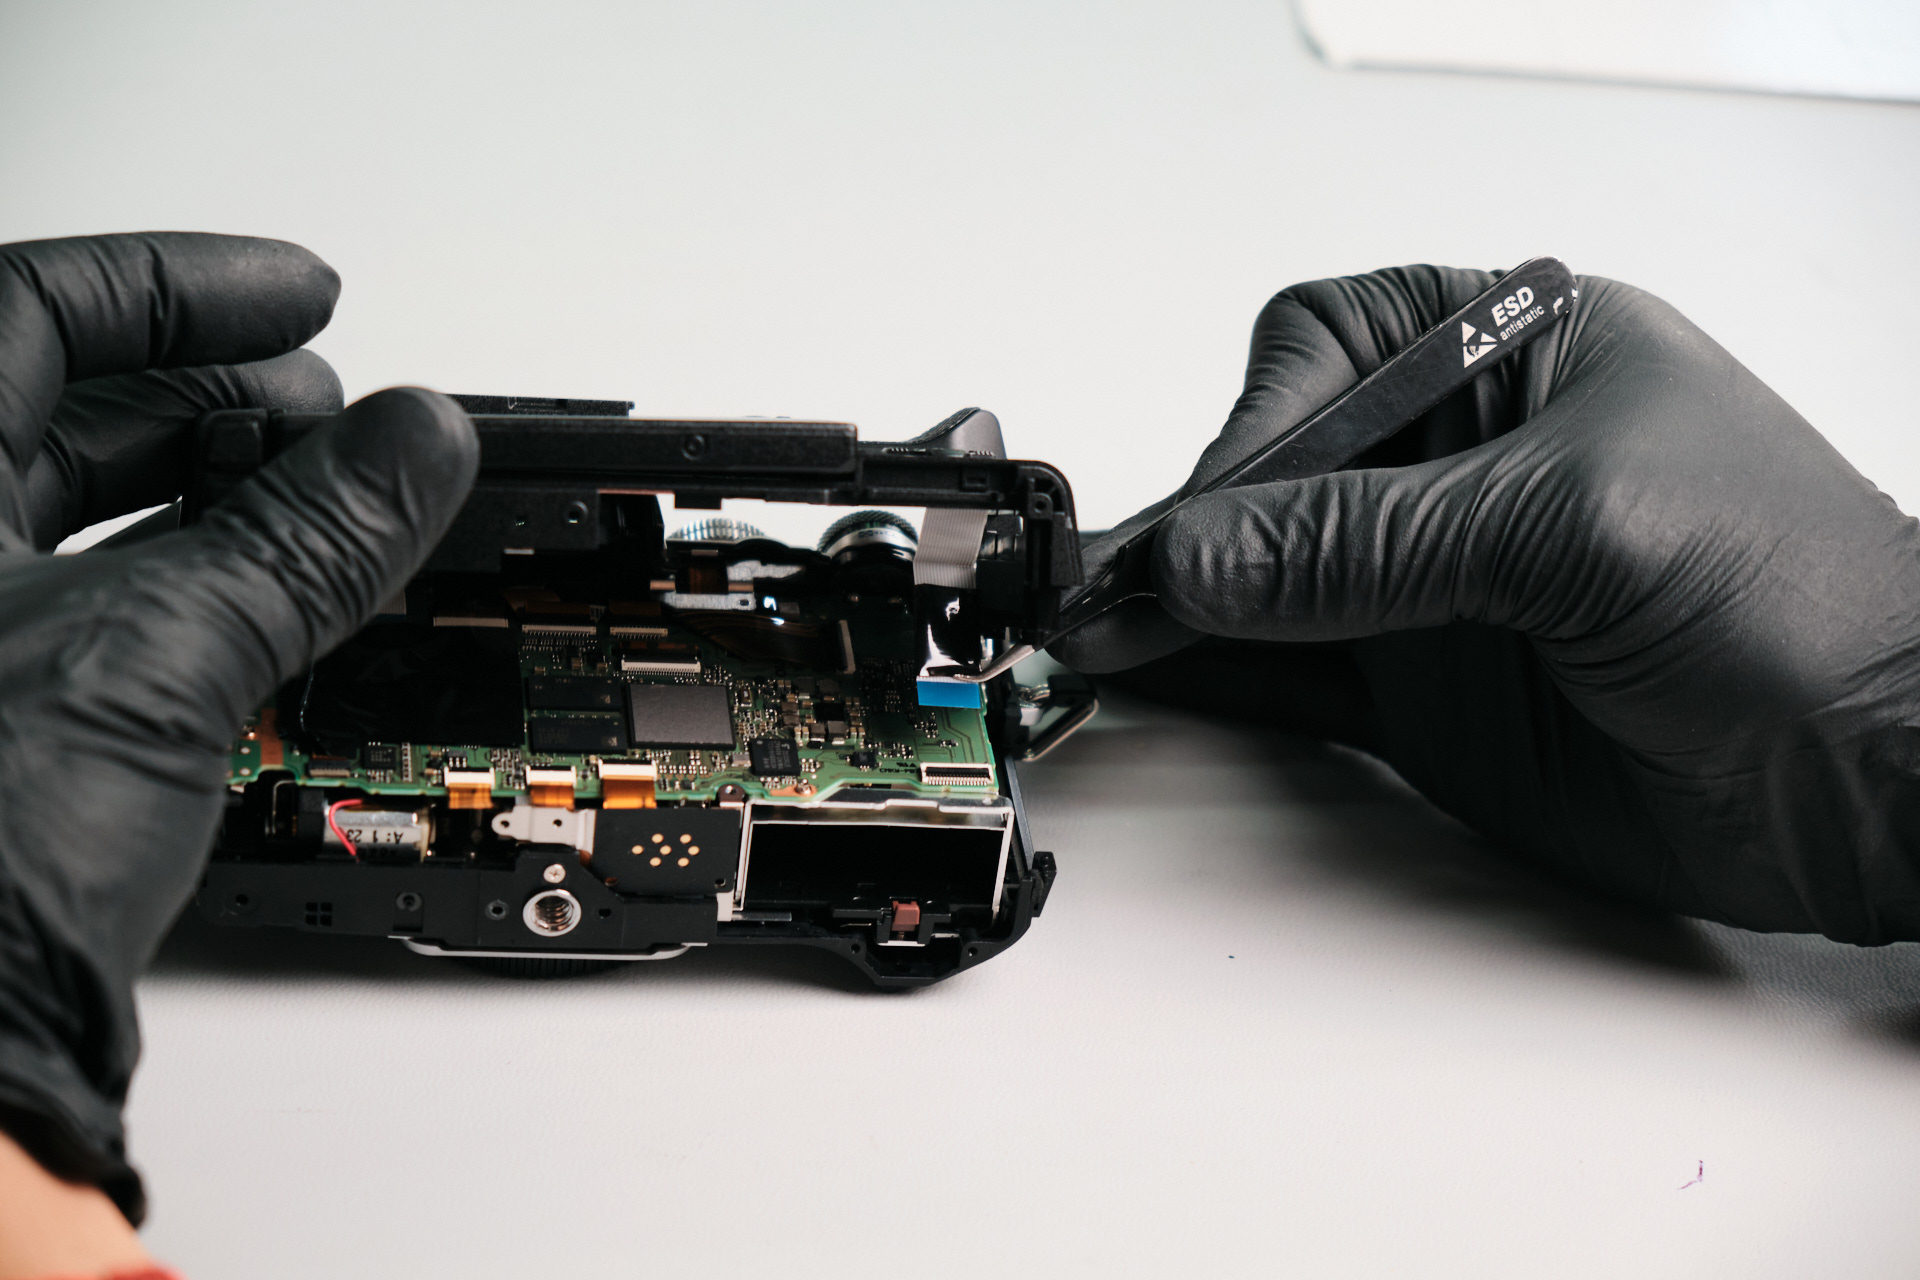
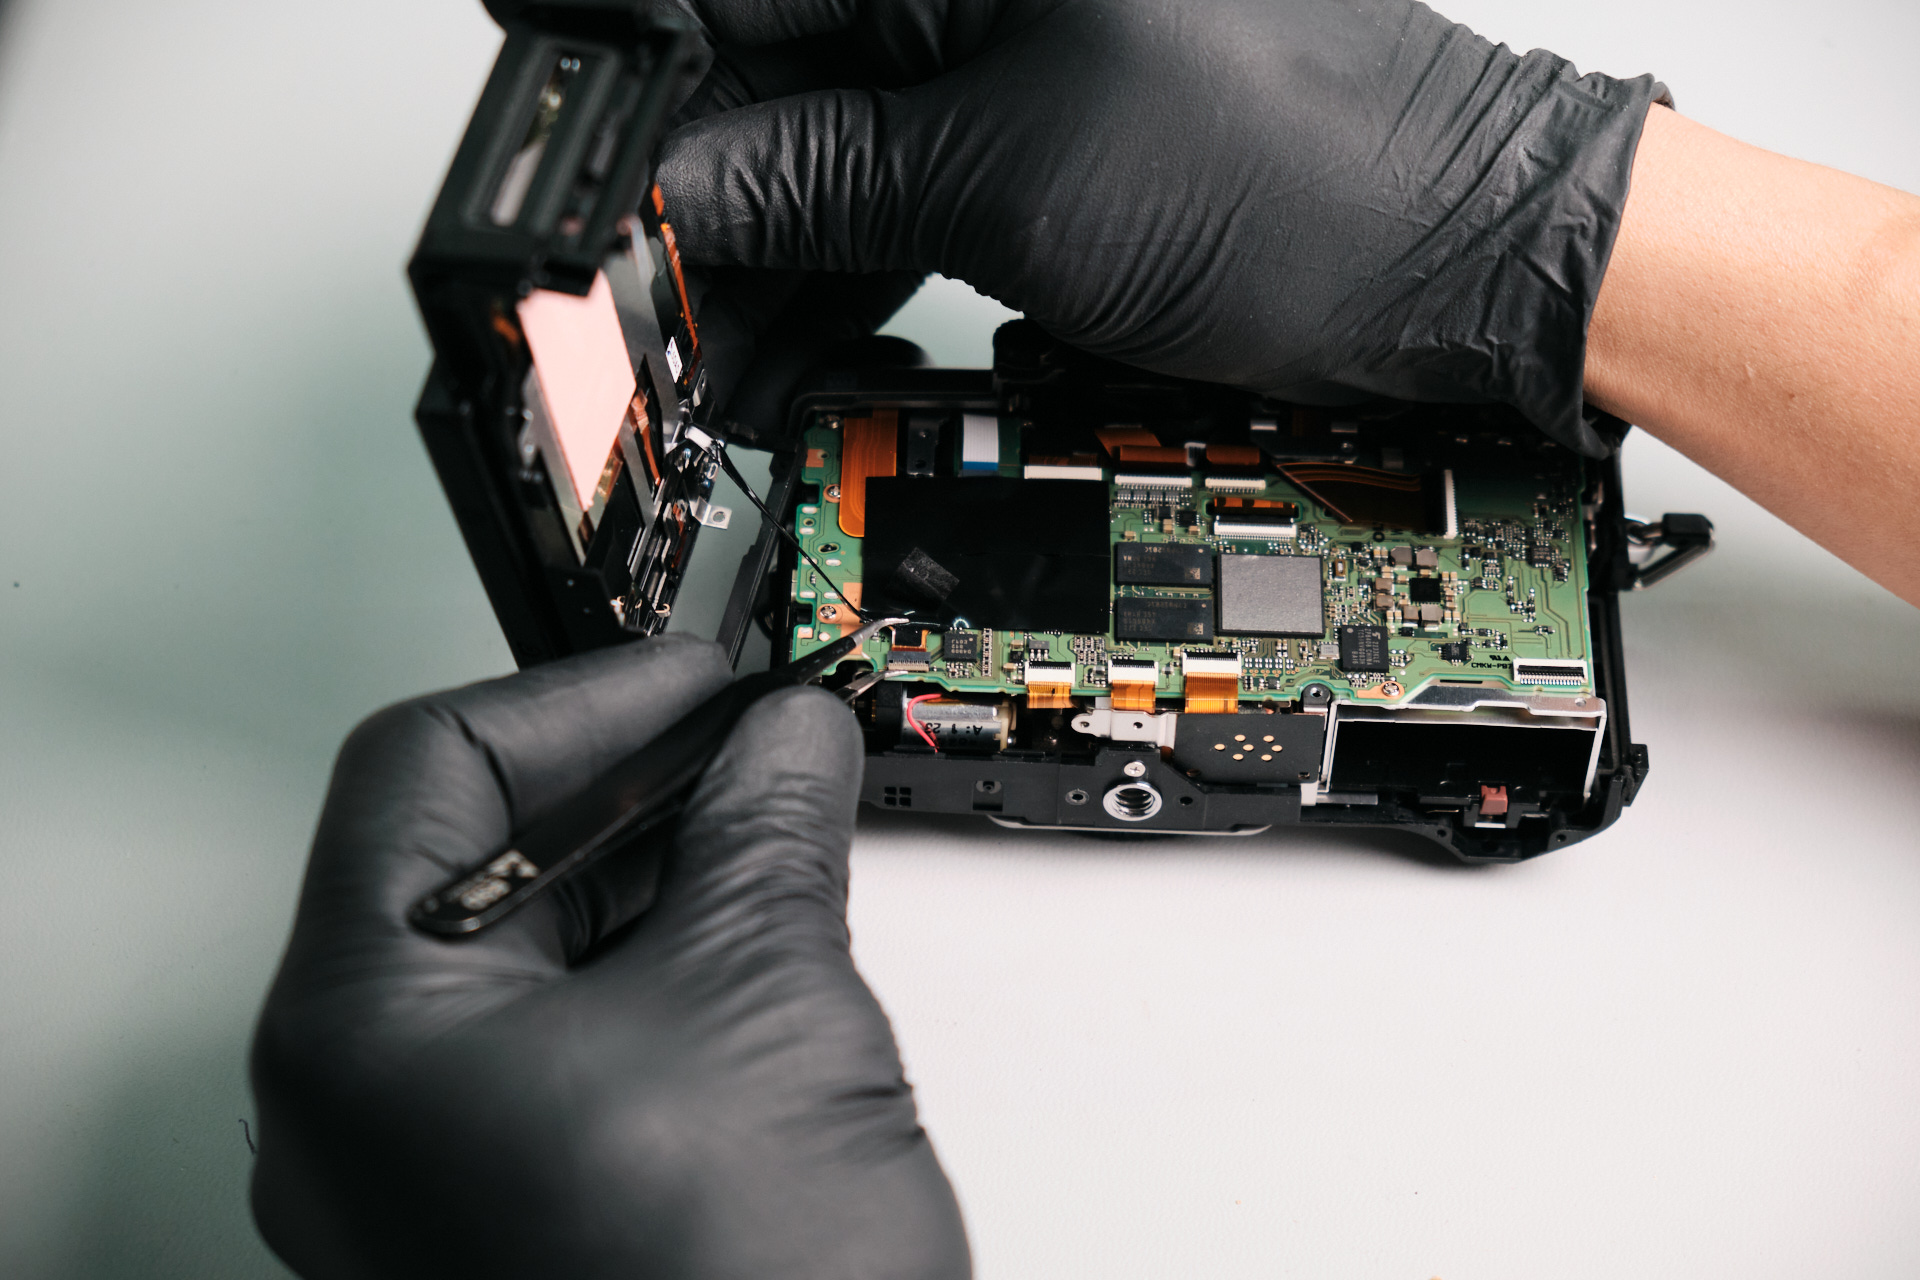
Two ribbon cables were disconnected to allow the rear panel to separate from the body.
Removing Front Faceplate Trim Screws
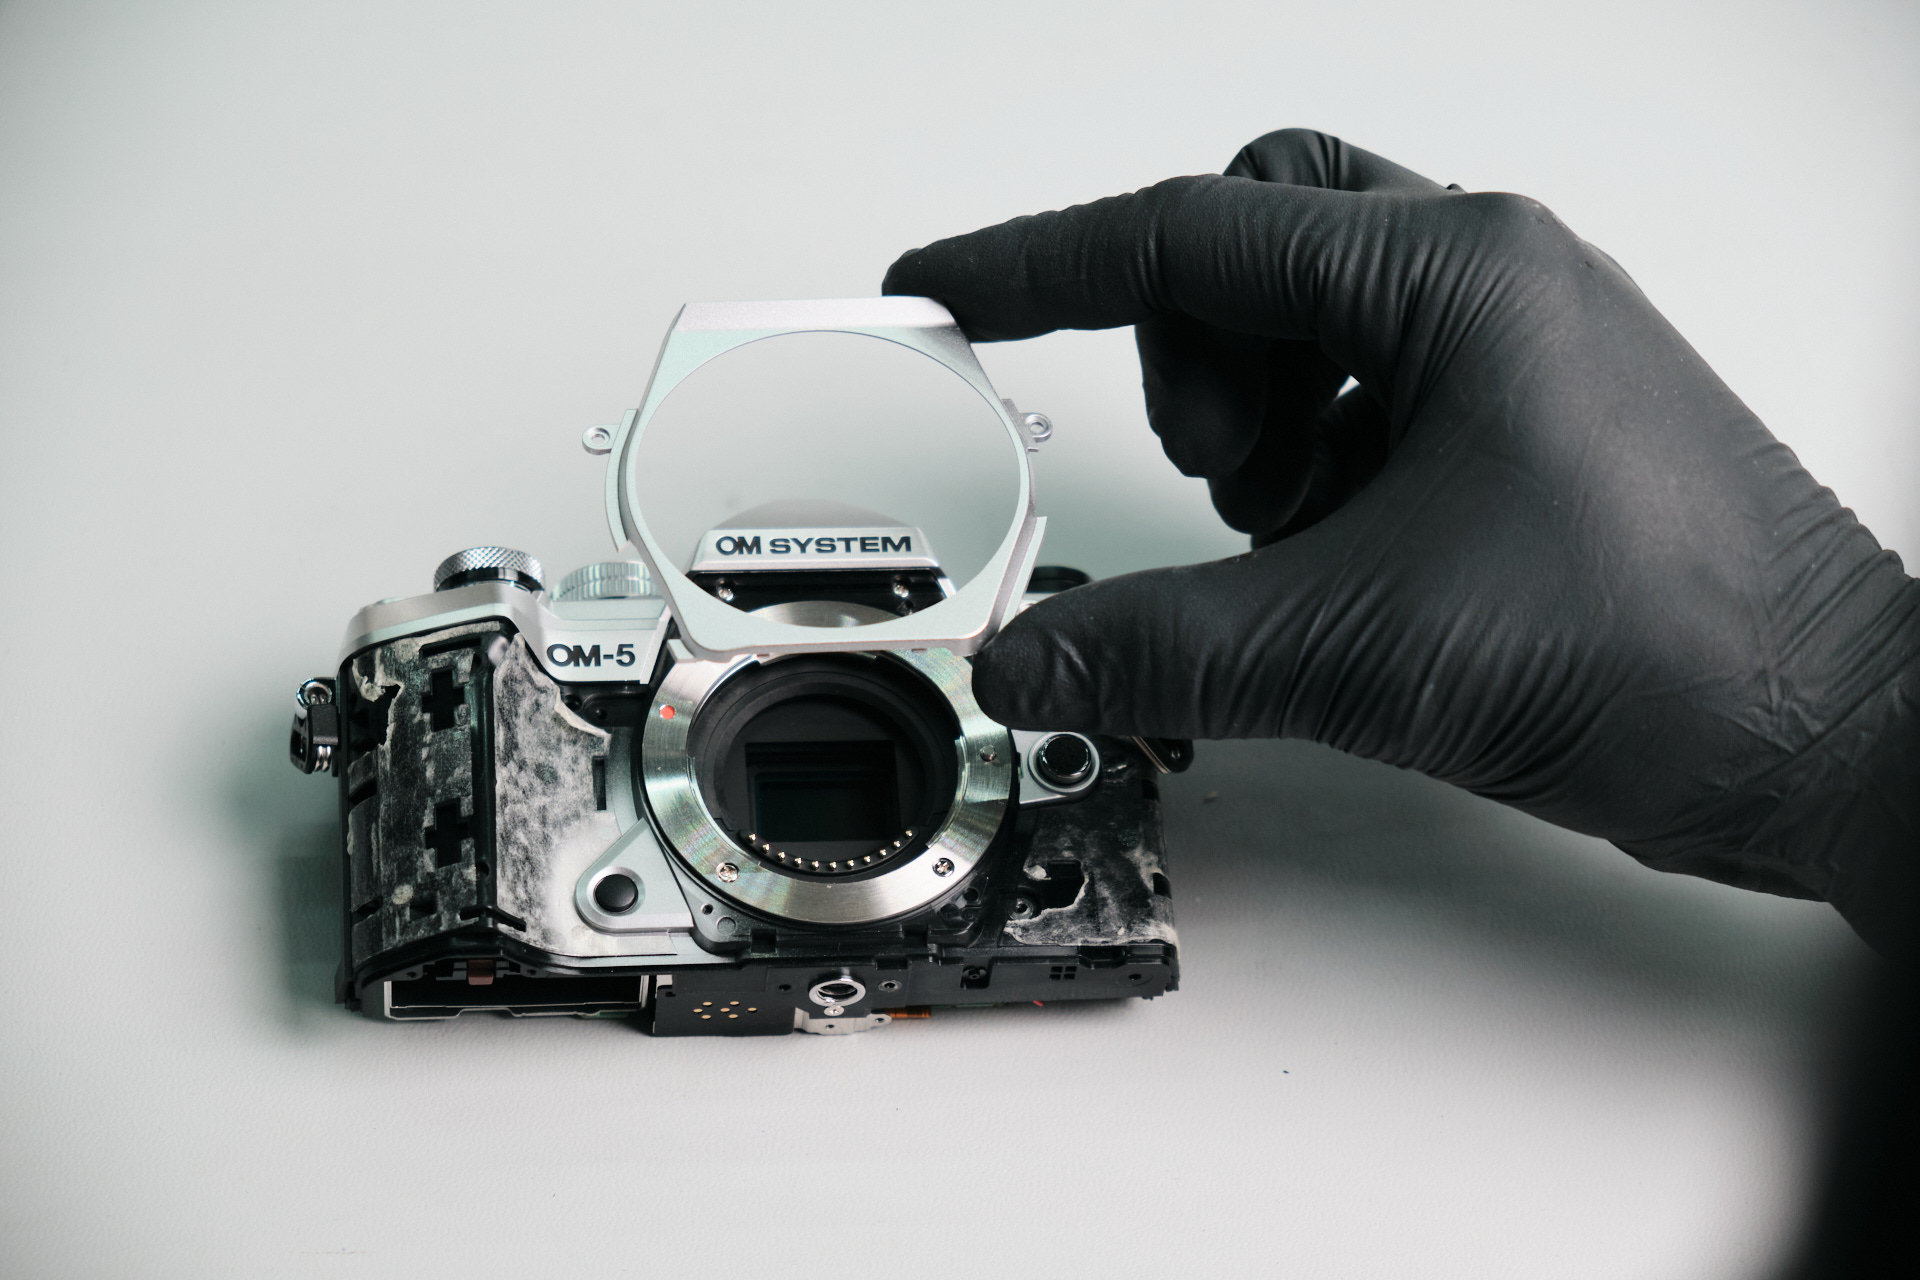
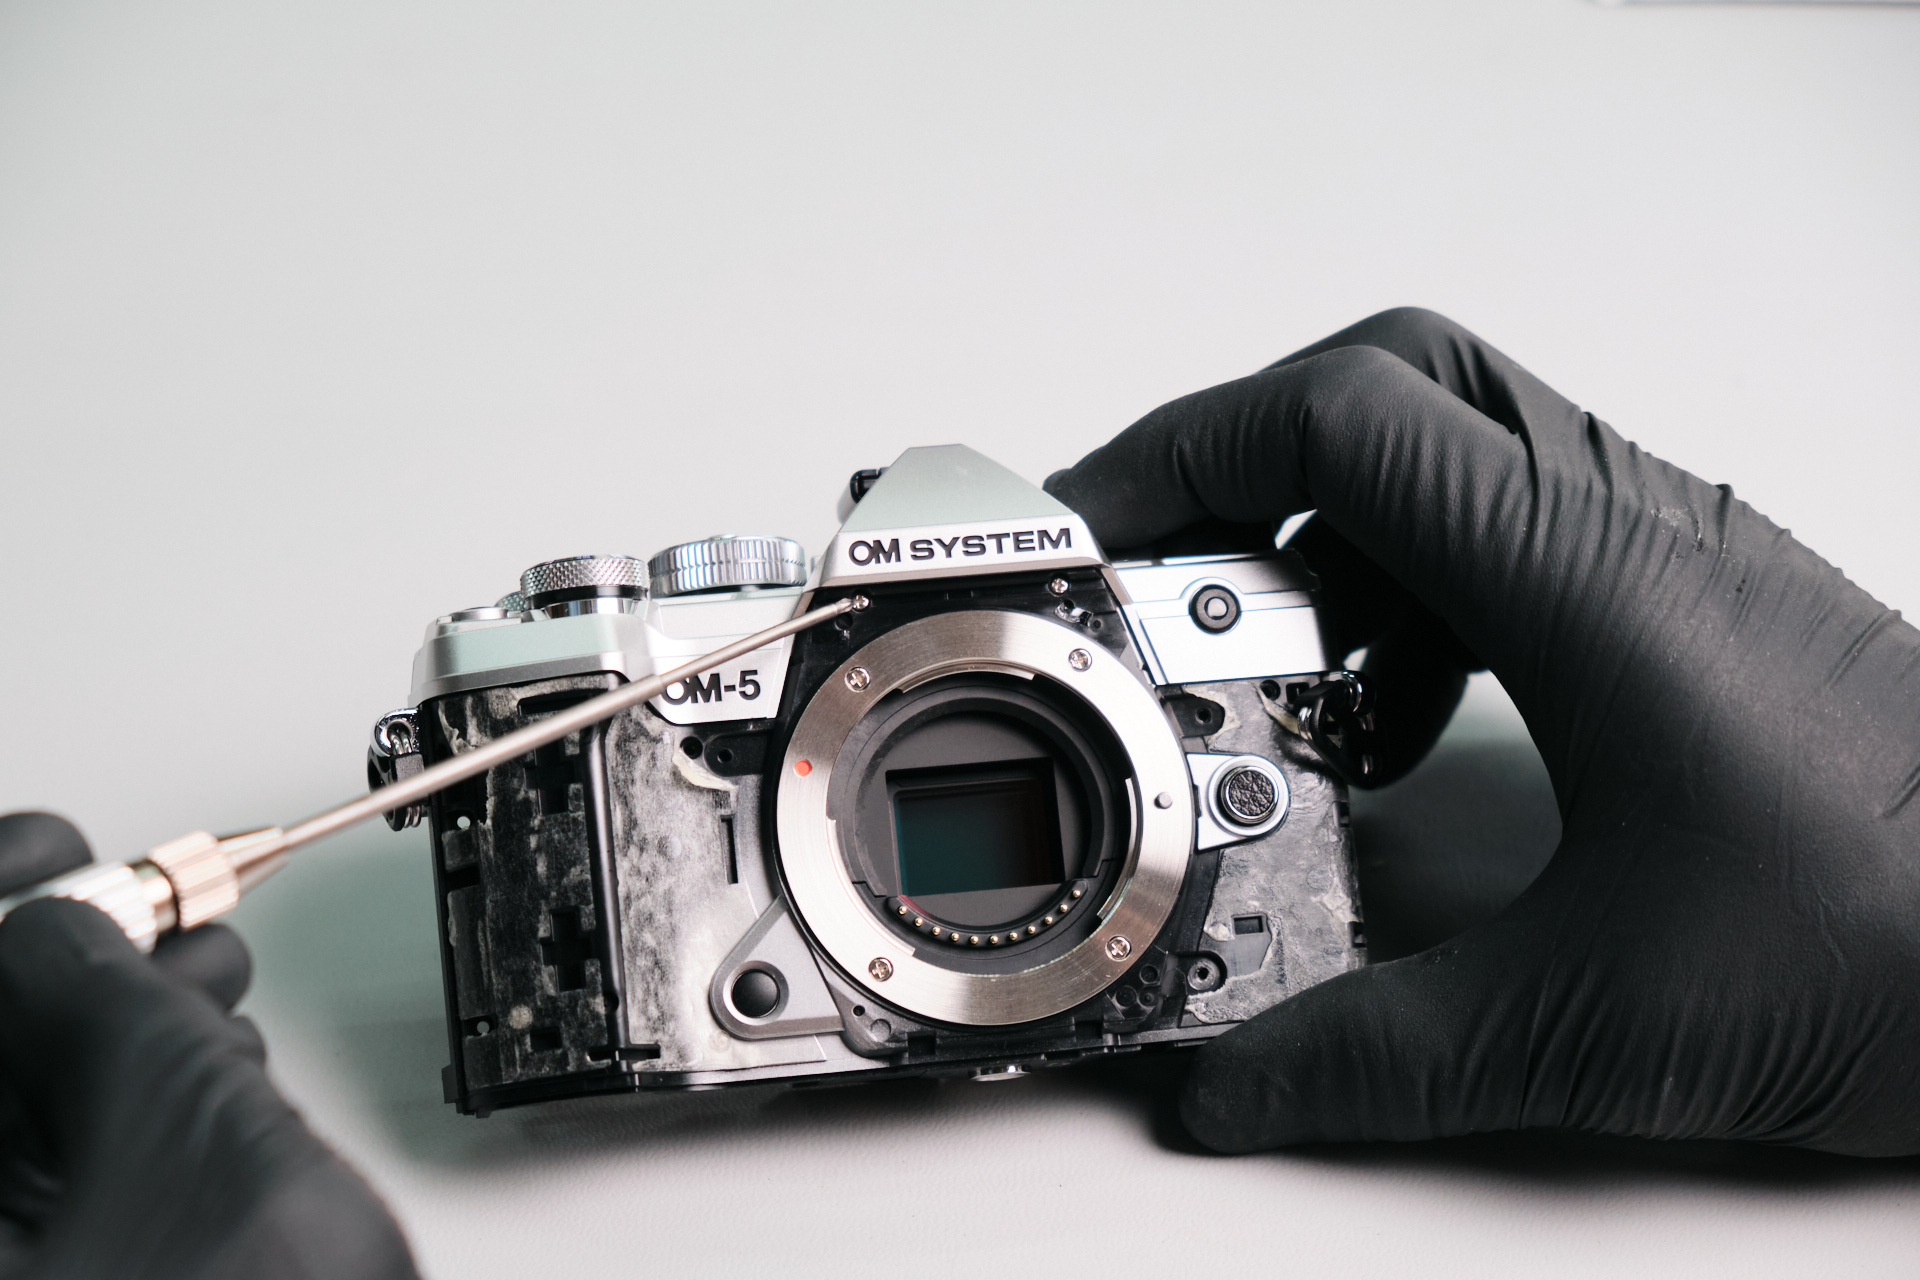
Going back to the front of the camera, we removed one silver screw. This screw was holding the faceplate trim in place.
Under the OM System logo, two screws were removed.
Disconnecting Olympus OM-5 Ribbon Cables
Now, we can start to disconnect the ribbon cables. The top panel needed to come off first, and then seven ribbon cables were disconnected accordingly.
Removing the Olympus OM-5 Circuit Board Screws
We could not find any visible screws for the top panel, so we unfastened the circuit board screws. But before we did that, we disconnected three remaining ribbon cables.
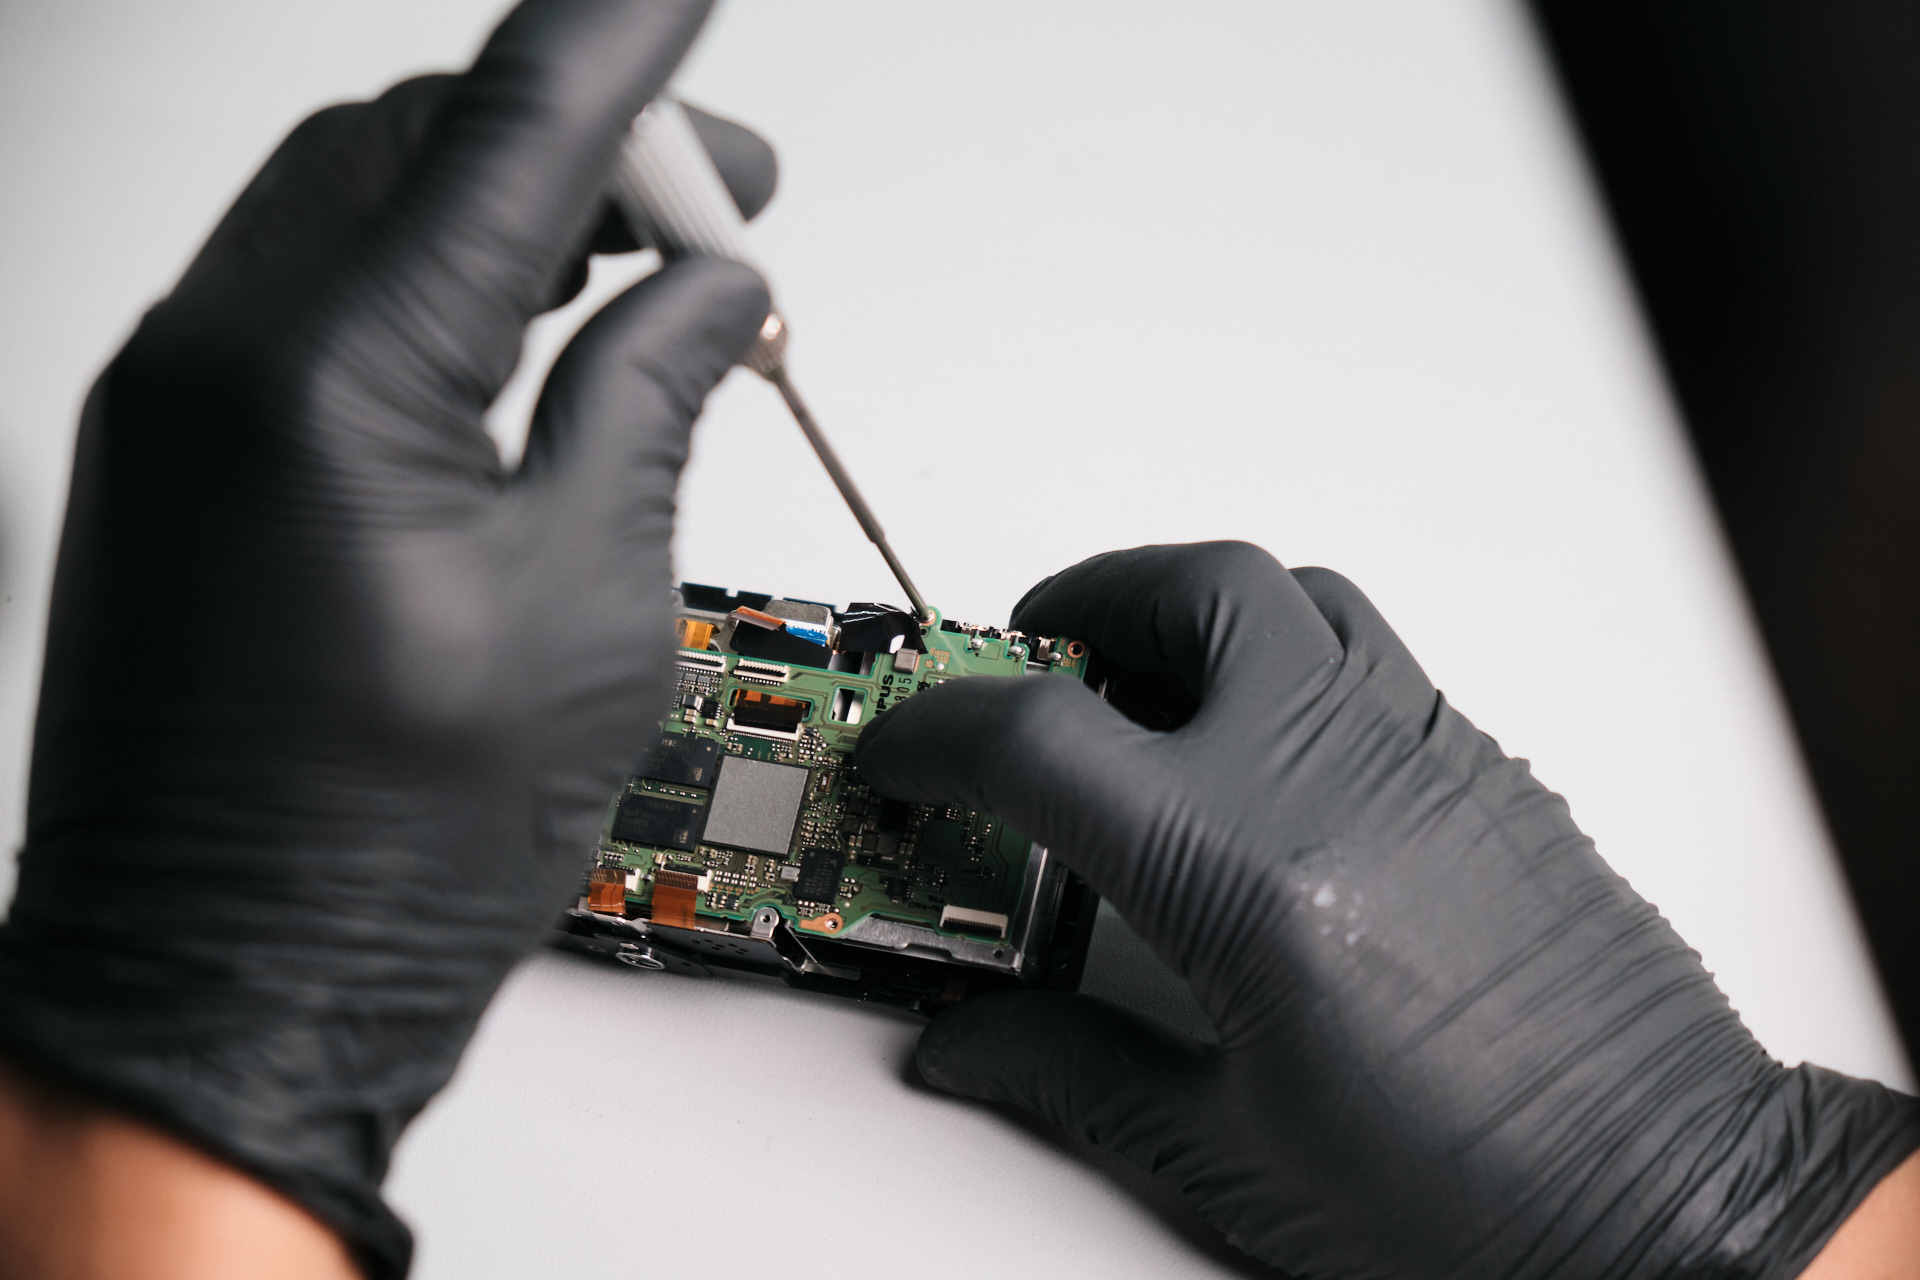
Four silver screws were removed from the circuit board.
Removing the Olympus OM-5 Top Panel
Here, we tried to wiggle off the top panel to no avail. There was one silver screw next to the right strap mount and another under the exposure adjustment button that seemed to hold it down.
Finally, the top panel was disconnected from the body.
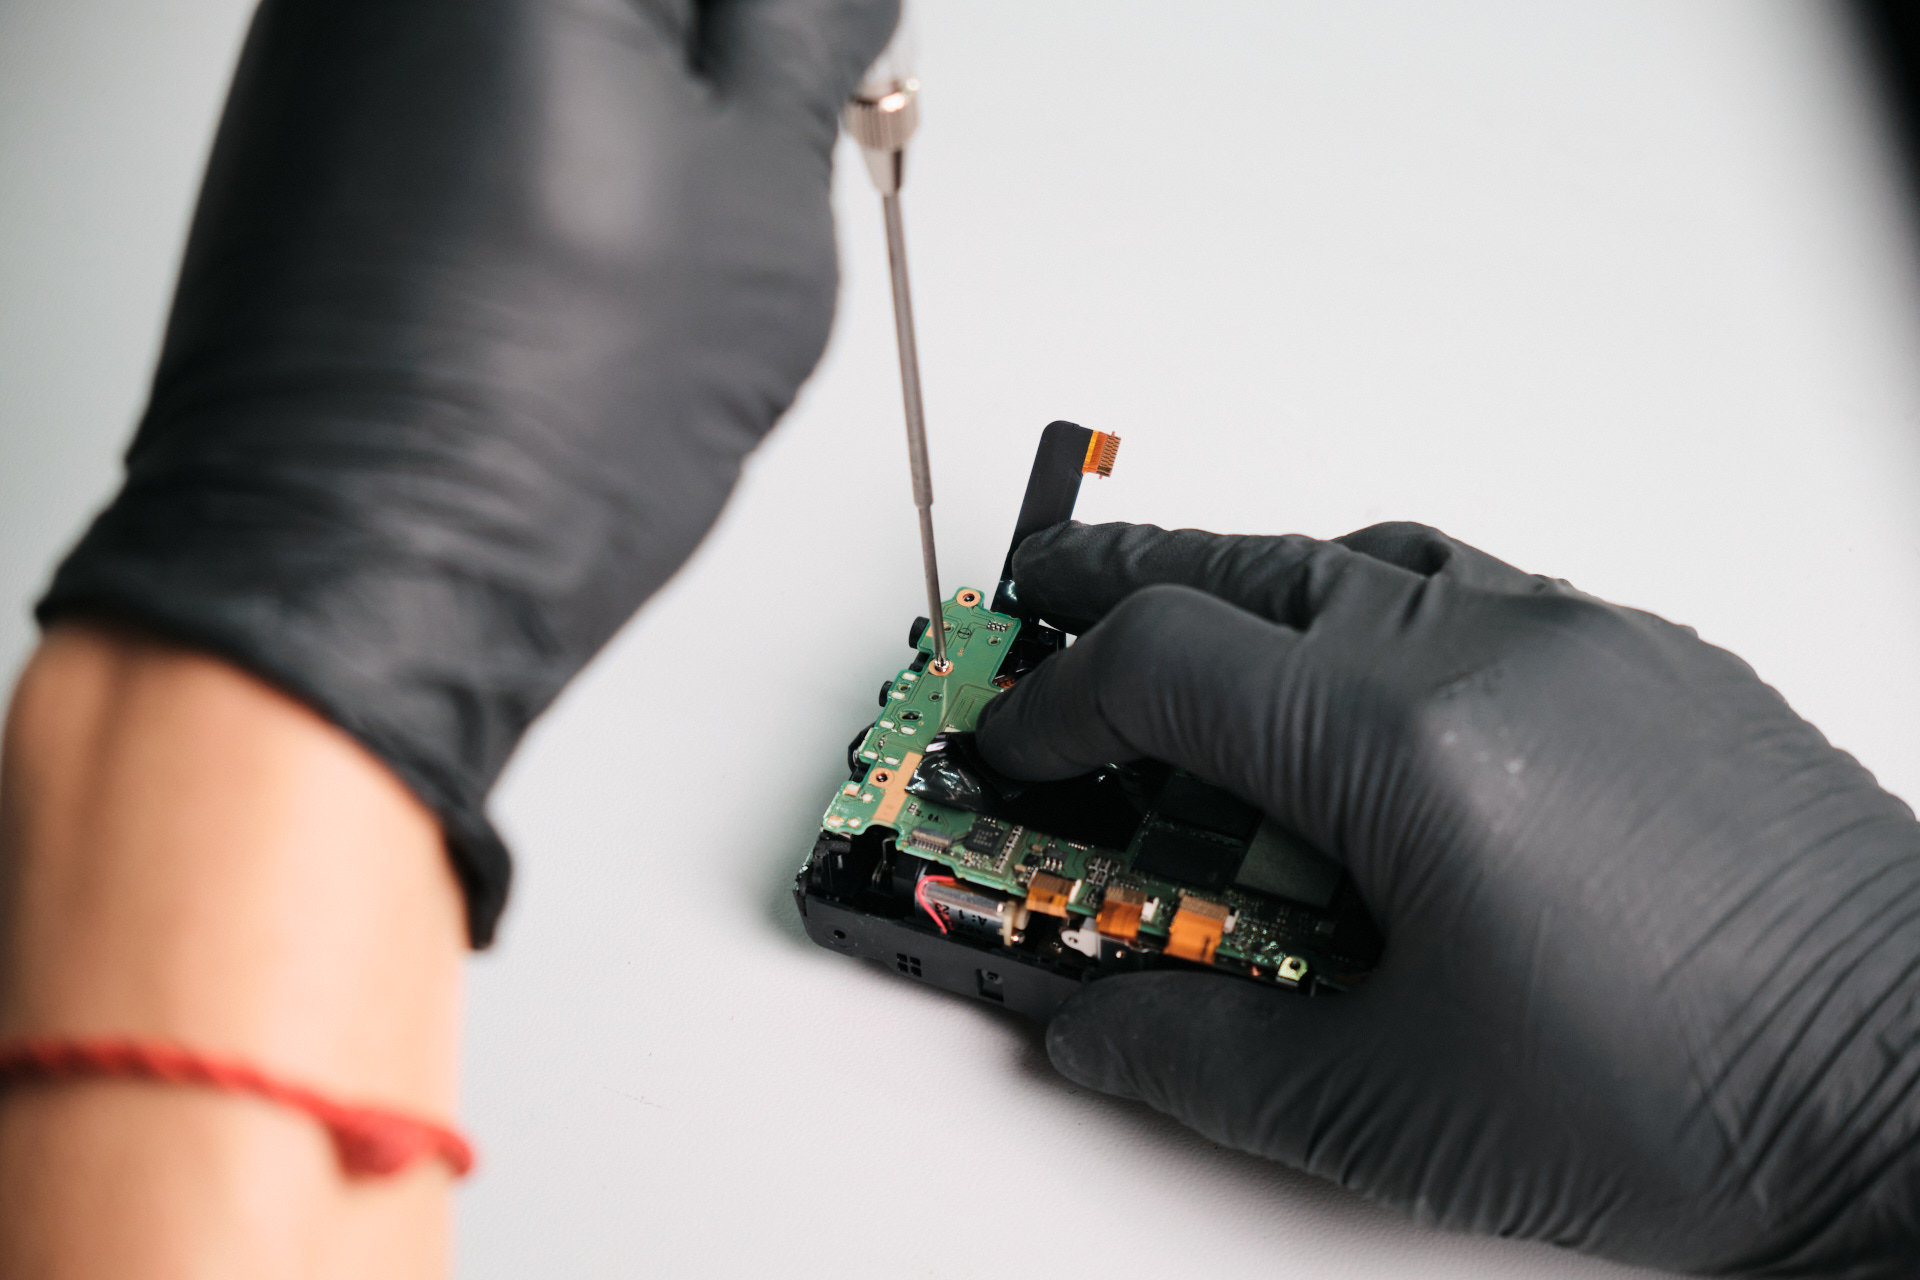
Two more silver screws were holding the circuit board that needed removal.
Removing Battery Pin Screws Before Circuit Board Removal
Before removing the circuit board, we needed to remove four silver screws. These held down the battery pins soldered into the circuit board. We needed to be careful because the pins can bend easily.
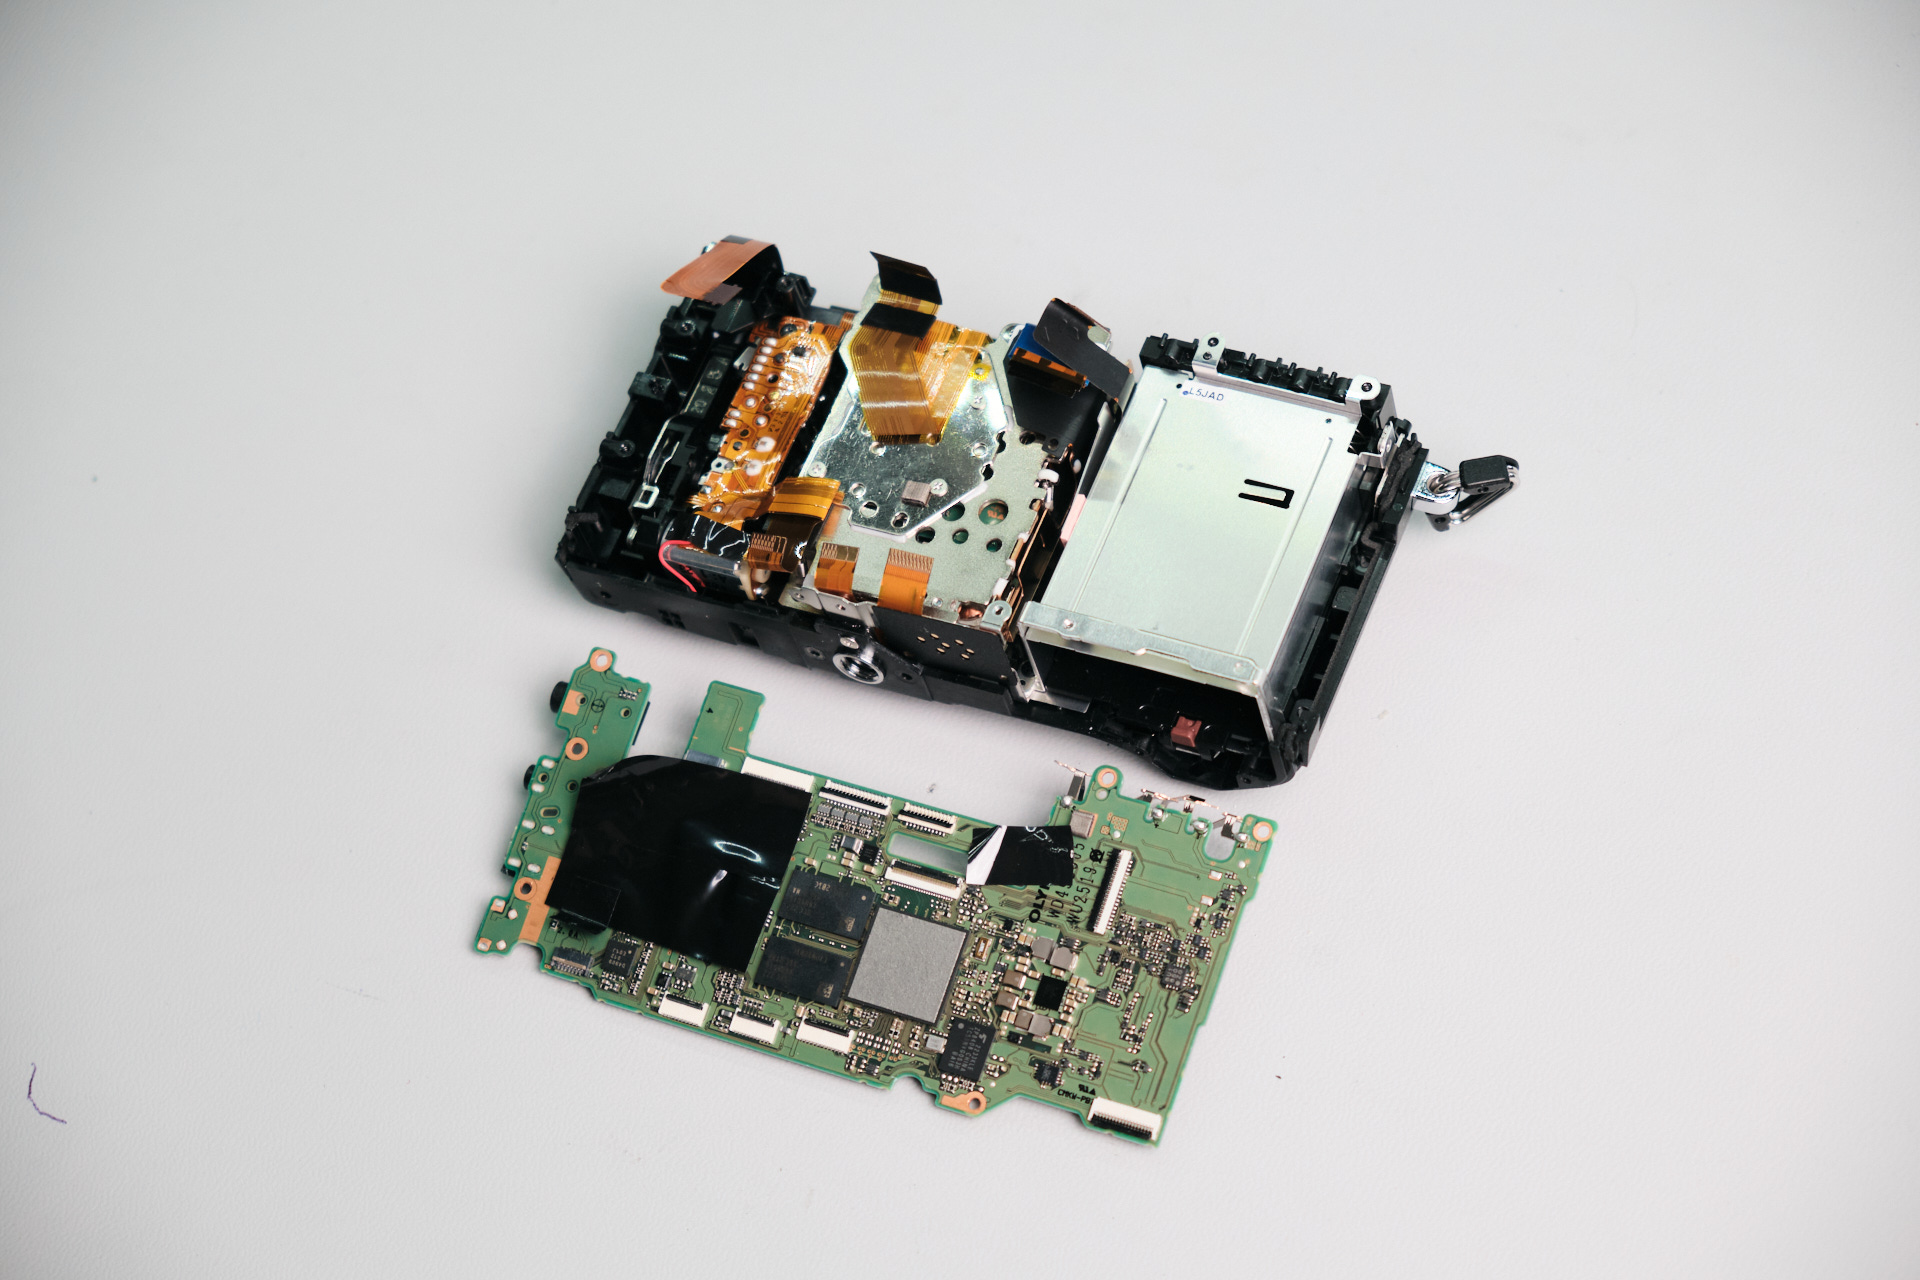
Removing the Olympus OM-5 Circuit Board
After removing all the aforementioned parts, the circuit board was removed.
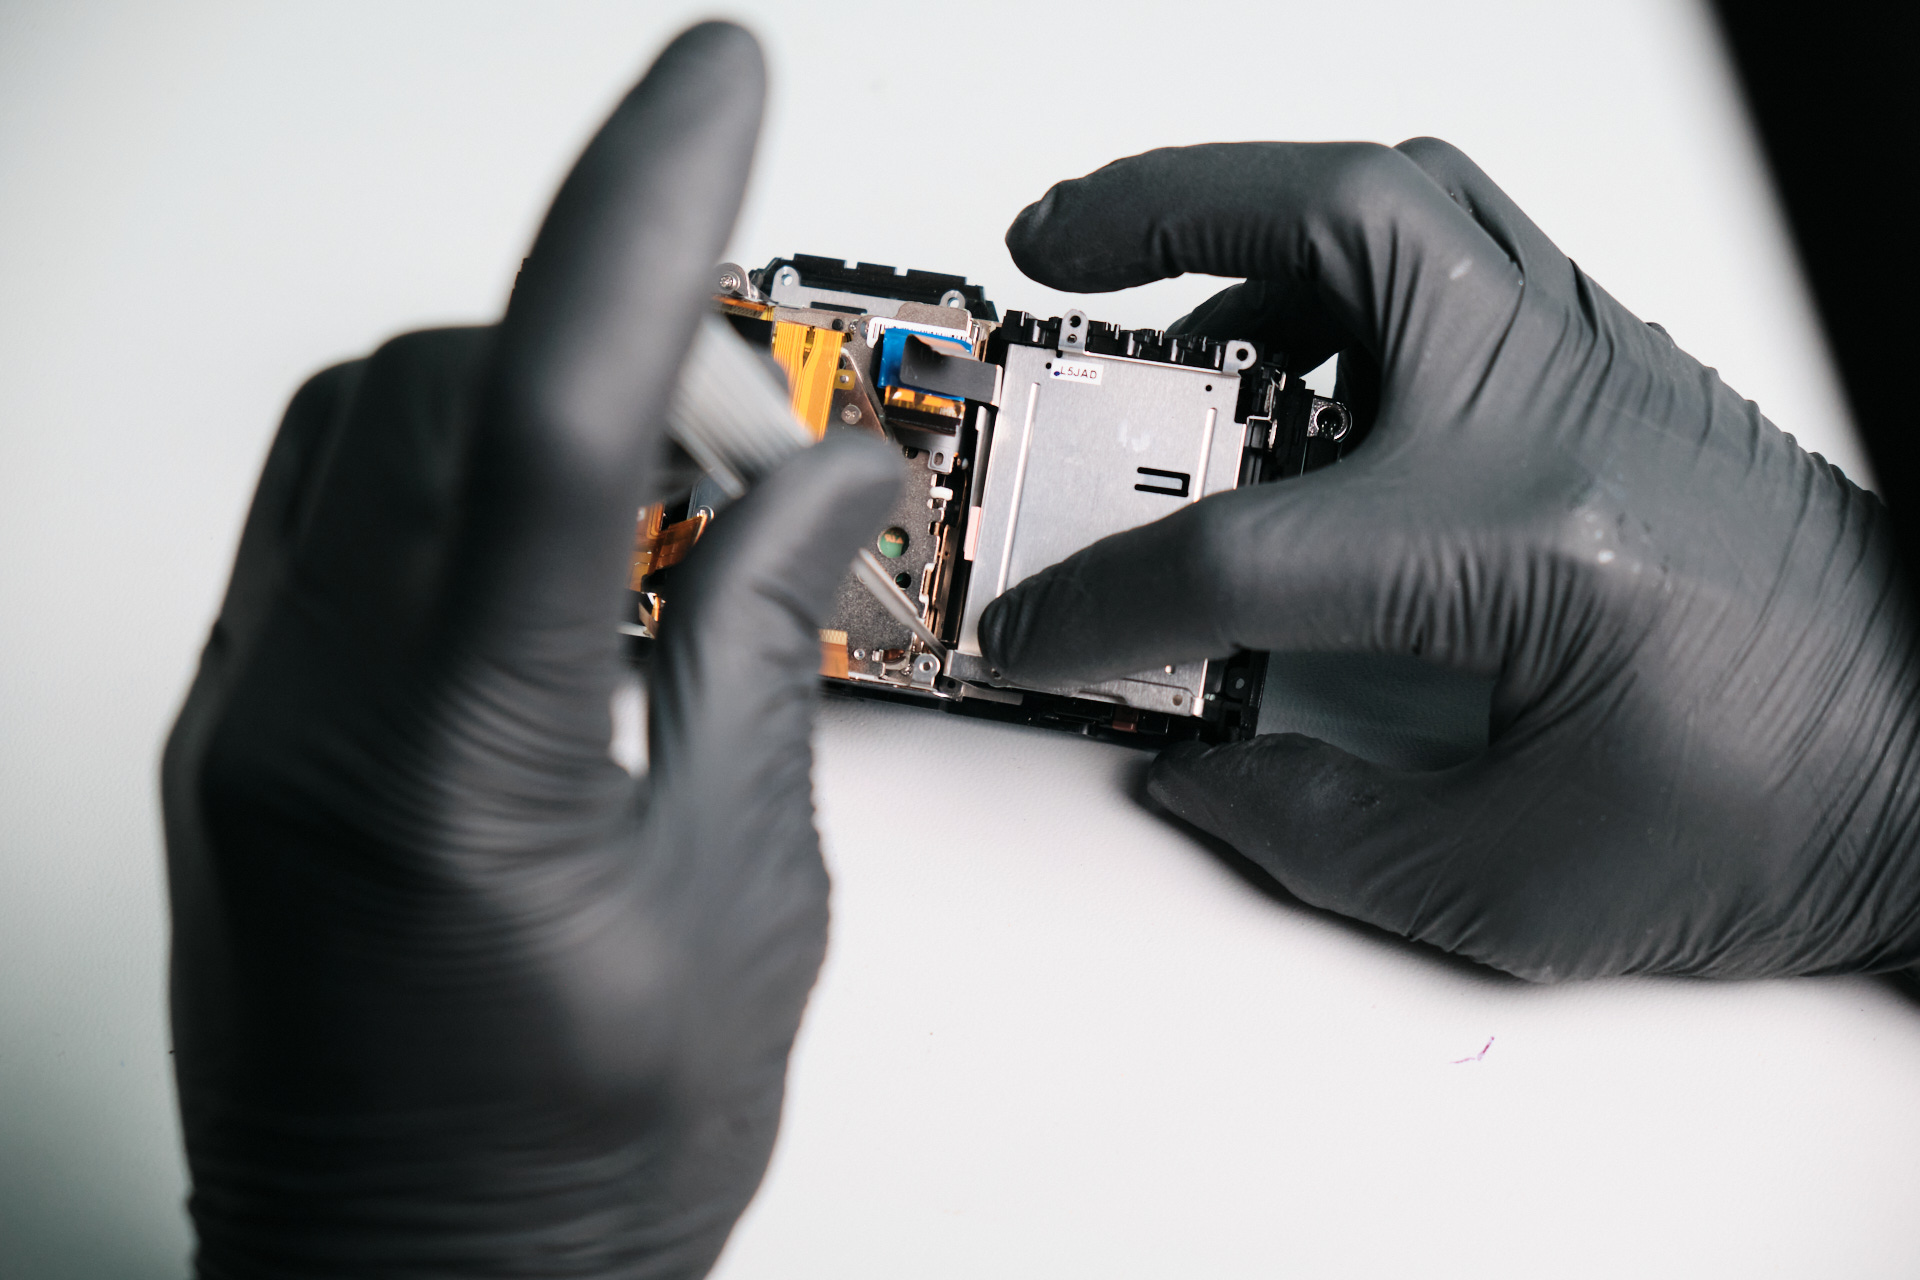
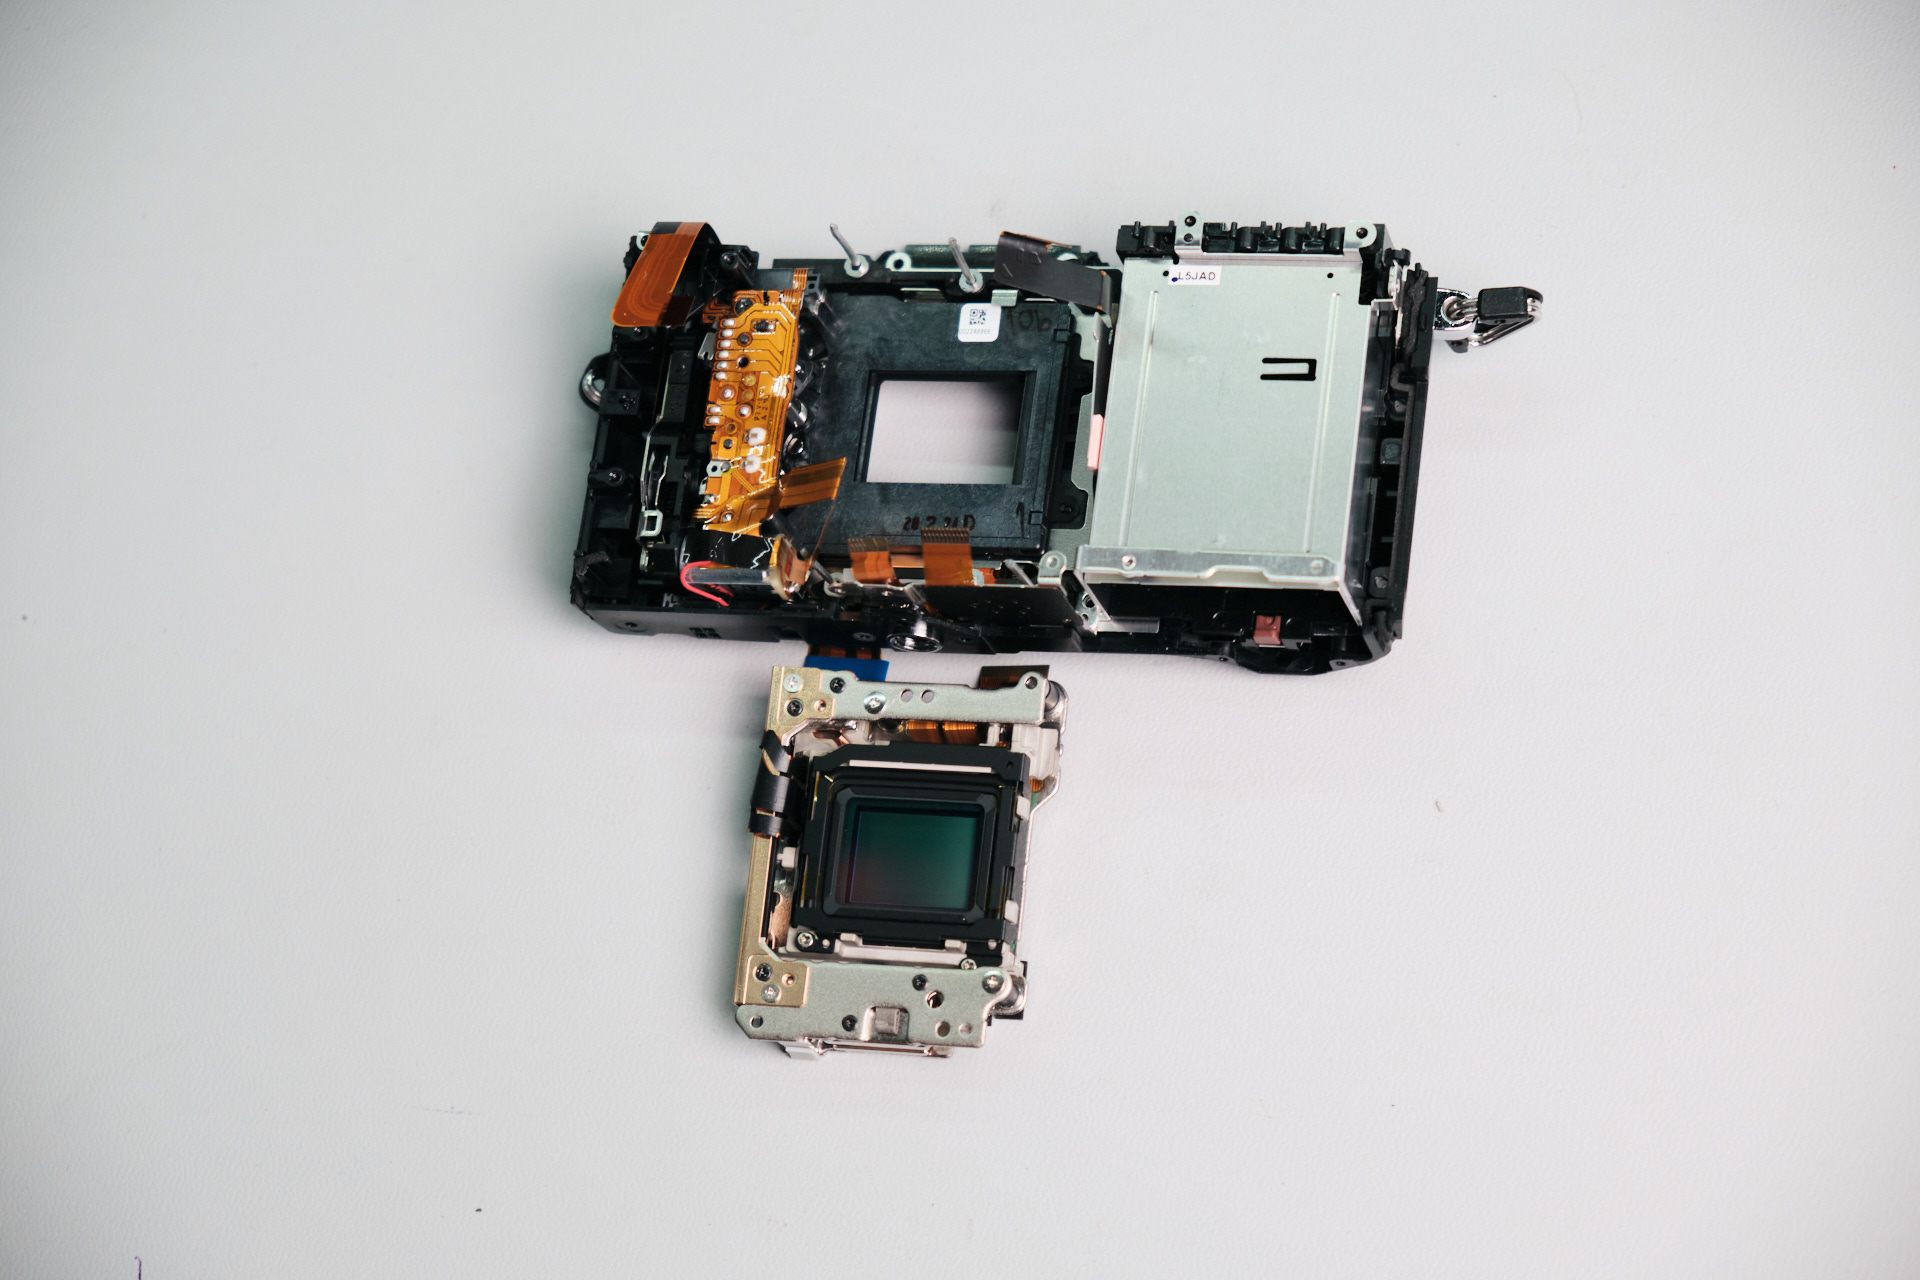
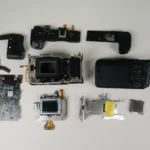
Removing the Olympus OM-5 Sensor Assembly
We needed to carefully remove the sensor assembly so that none of the focus adjustment shims would move from its posts. There is a magnetic speaker in the body of the camera, which would attract the shims and cause problems.
Olympus OM-5 Teardown Difficulty and Final Thoughts
Overall, the Olympus OM-5 is a 7/10 in teardown difficulty—the faux leather covered many hidden screws.
Thanks for reading. If you’re interested in more camera teardowns, we feature a new one every month. Be sure to sign up for our newsletter so you don’t miss them!
Frequently Asked Questions
How Do You Start Disassembling The Olympus OM-5?
The Olympus OM-5 teardown starts by removing nine silver Philips screws from the base of the camera, along with the base cover plate. After that, the disassembly continues around the LCD side, port side, eye cap, memory card side, and battery slot.
Where Are The Hidden Screws On The Olympus OM-5?
The Olympus OM-5 has several hidden screws under rubber and faux leather areas. The teardown found hidden screws under the right-hand rubber palm grip, under the left-hand rubber palm grip, under the base cover plate, below the OM-5 decal, and under soft felt on the rear panel.
How Is The Olympus OM-5 Rear Panel Removed?
The rear panel is removed after the exterior screws and hidden grip screws are taken out. The teardown also found one hidden screw under soft felt on the rear panel, and after that was removed, the rear panel could be wiggled out of place. Two ribbon cables then needed to be disconnected.
How Is The Olympus OM-5 Circuit Board Removed?
The Olympus OM-5 circuit board is removed after disconnecting multiple ribbon cables, removing the top panel, taking out circuit board screws, and removing four silver screws that hold down the battery pins soldered into the circuit board. Those battery pins need careful handling because they can bend easily.
How Difficult Is The Olympus OM-5 Teardown?
The Olympus OM-5 teardown is rated 7/10 in difficulty. The main reason is that the faux leather and rubber grip areas cover many hidden screws, which makes the camera harder to open than it first appears.