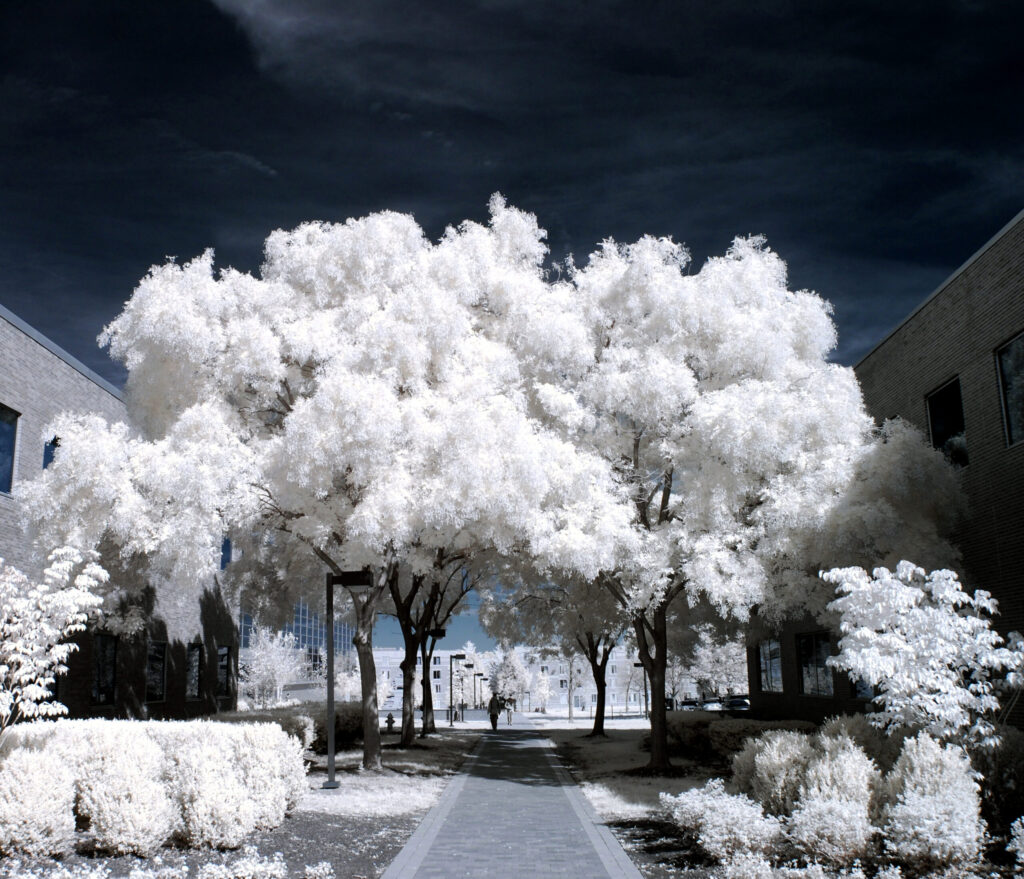
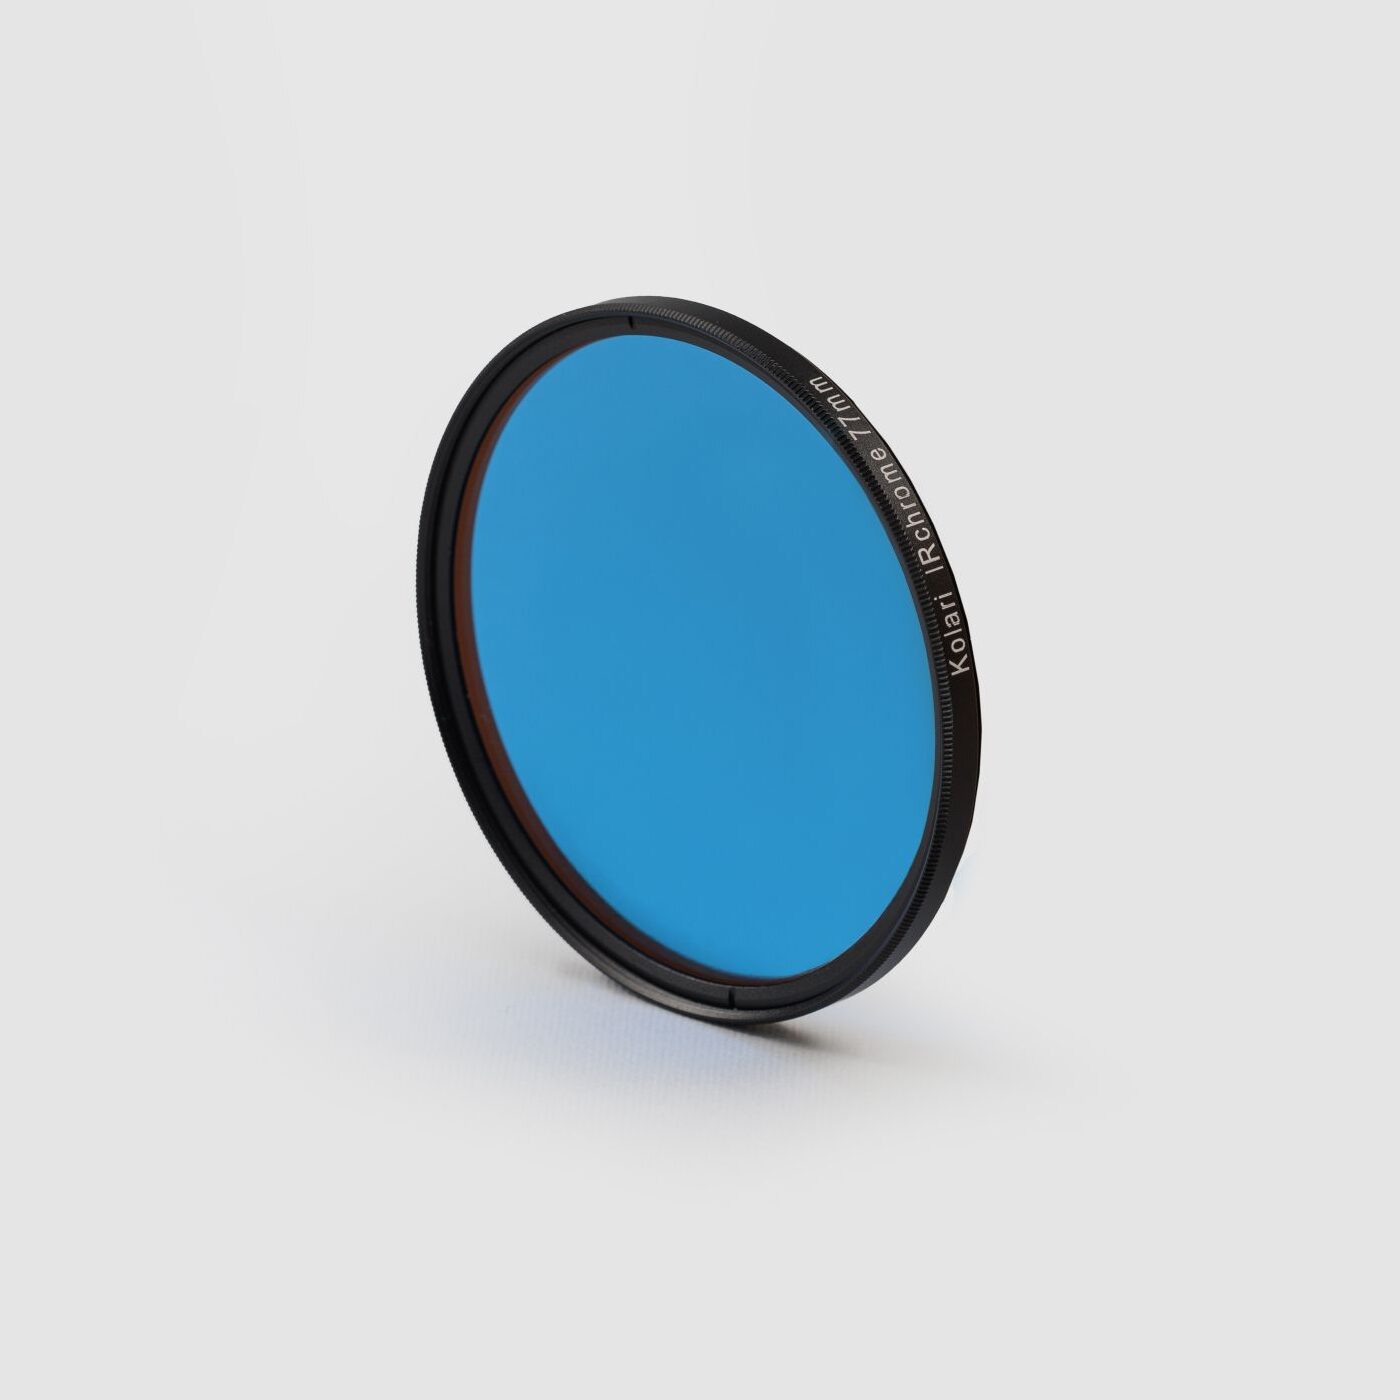
I was first introduced to Infrared Photography by Tony Sweet at a workshop I attended on Cape Cod in October, 2018. At the time, I thought that this type of photography was interesting but not really for me. Fast forward almost two years later and I am now a confirmed convert! Last Spring, I had a Nikon Z50 camera converted to 720nm by Kolari (as recommended by Tony). I’ve been having a blast learning how to capture compelling infrared images and experimenting with my new found invisible light. I’ve fallen in love with the high contrast black and white imagery that I can make with this converted camera.
During my relatively new experience with this type of photography, I found that many of my images where I push contrast in postprocessing, when converting to black and white, that there were vertical artifacts in areas of high contrast in almost all my images. At first I thought this might be a problem with my camera. But, after researching this problem, I found that this is an inherent issue with many mirrorless cameras. This phenomenon is due to the phase detect sensor design that is used on mirrorless cameras for autofocusing, also known as PDAF. Camera models suffer this problem when processing and pushing the contrast in images. Of course, high contrast black and white imagery is what drew me to infrared photography in the first place.
I’m an experienced Photoshop user and I experimented using different methods to fix this issue in my images. I tried using different types of selective blurring and noise reduction methods and plugins After many unsuccessful attempts, one day I stumbled upon a method that works about 95% of the time. I found that Topaz Labs Denoise AI is the tool that addresses this problem in my images.
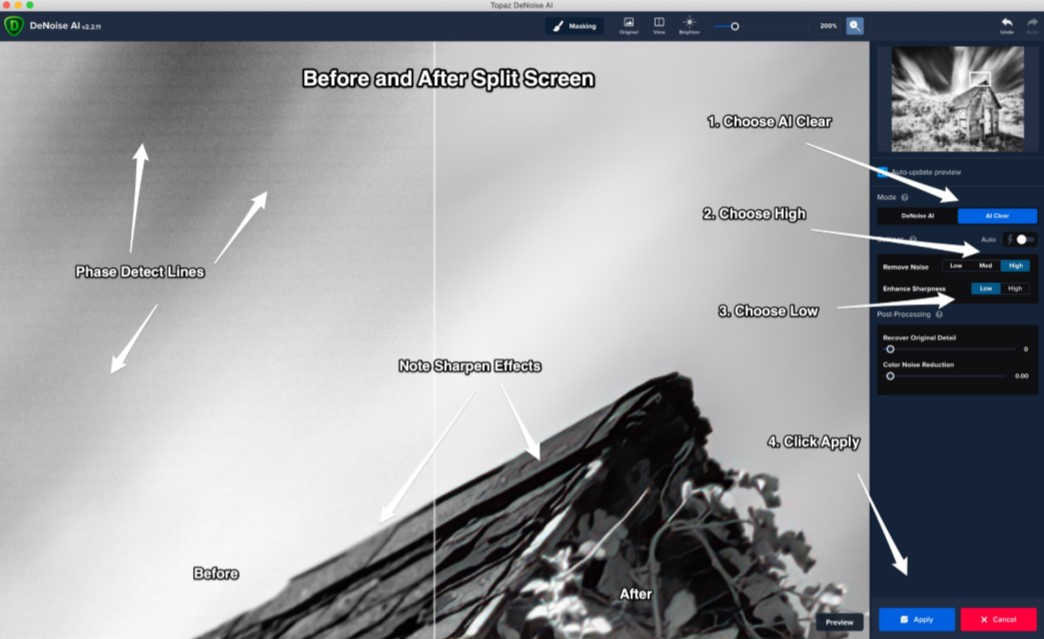
The trick is to use the AI Clear filter found inside Denoise AI. This tool can be used as a stand alone application or a plugin in Lightroom or Photoshop. I typically use the Denoise AI plugin as the last step in my Photoshop workflow. This plugin not only removes the phase detect sensor lines but it also sharpens the image too.
Below are three examples and a screenshot that shows step-by-step how to use the Topaz Labs Denoise AI plugin in Photoshop to address this problem in high contrast infrared mages. These steps will also work if used with the standalone application. I hope this information helps other infrared photographers when processing high contrast images.
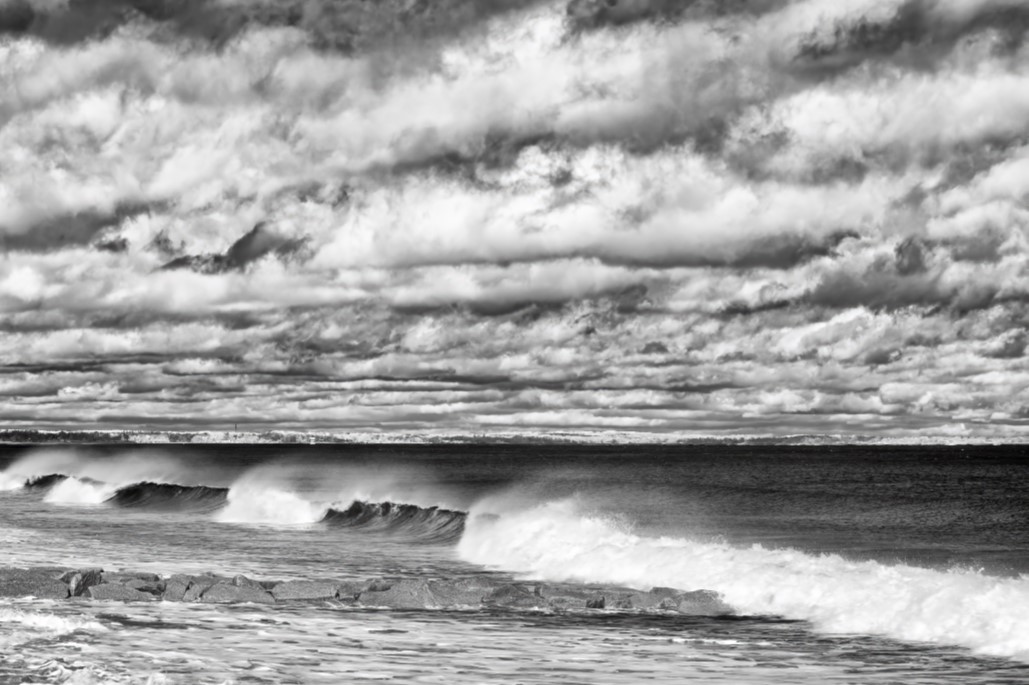
Example 1: Seascape image processed to enhance the drama in the clouds.
(Nikon Z50 with Nikkor 28-300mm lens @90mm – 1/60s, f/16 ISO100)
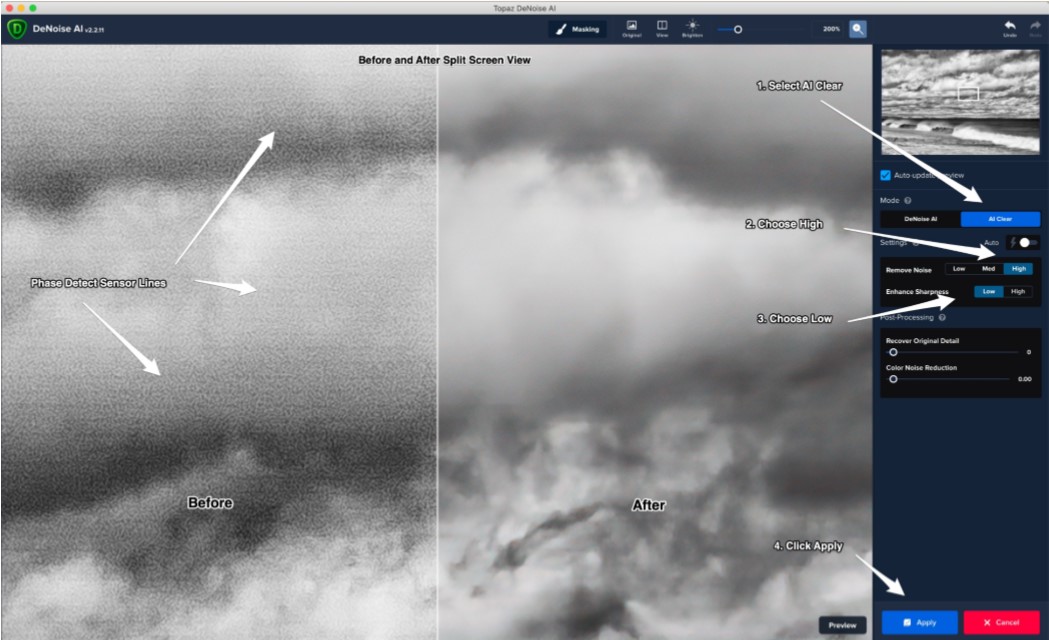
Screenshot of the Topaz Labs Denoise AI interface used as a Photoshop plugin showing the split screen view and settings used to minimize the phase detect sensor lines:
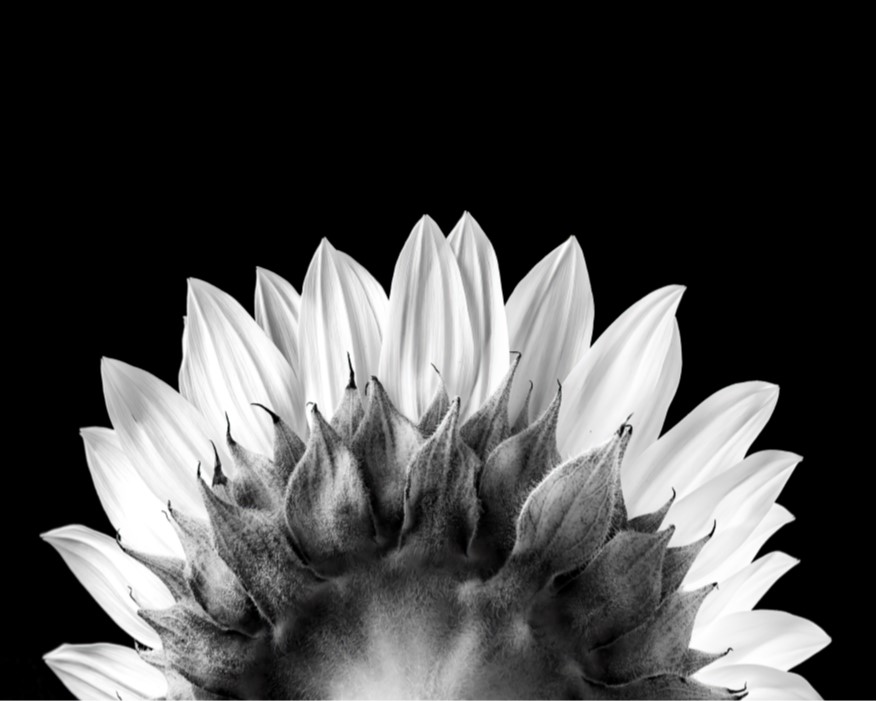
Example 2: High Contrast image of a Sunflower shot in the studio with strobe lights
(Nikon Z50 with Tamron 180mm lens – 1/200, f/16, ISO100)
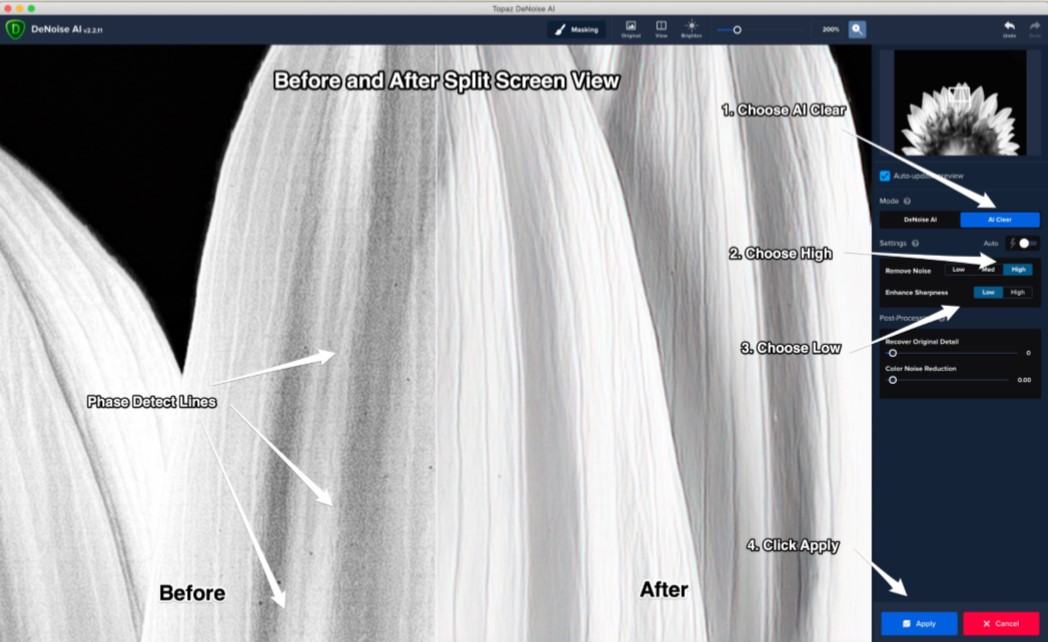
Topaz Labs Denoise AI used as a plugin in Photoshop:
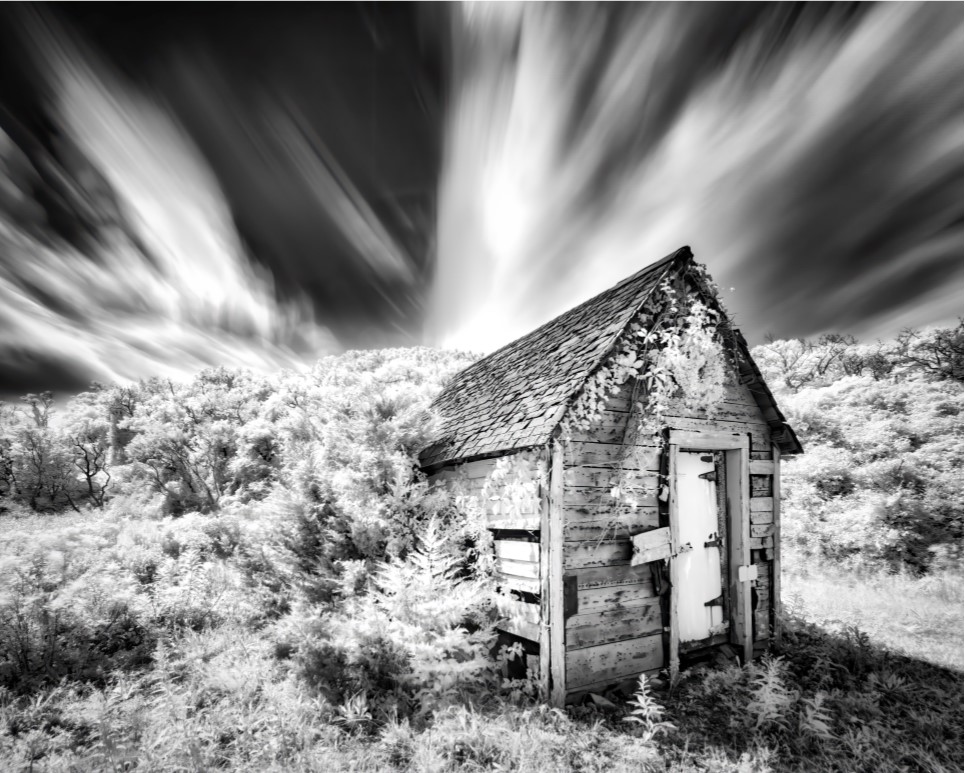
Example 3: Long Exposure Beach Shack
(Nikon Z50 with Nikkor 10-20mm DX lens – 4 stacked images 20 secs each, f/8 ISO100)
Topaz Labs Denoise AI screenshot used as a plug-in in Photoshop:
About the Author:
Bob Wheaton is a commercial, fine art, and Infrared photographer with over 25 years of digital imaging and editing experience. He is a juried artist member at the Cape Cod Art Center. Bob is also a member of the Plymouth Center for the Arts, North River Arts Society, and the Professional Photographers of America. Visit his website to see his full body of work as well as his available editing software classes!


3 Responses
Hi Pat,
Thanks for the info. Have you tried to do this in the newest version of Lightroom?
Thanks.
Eddie
Hello Eddie,
We haven’t tested this in the latest version of Lightroom yet, but they do have a new Denoise AI feature built in than should produce similar results. We’ll be testing this soon and posting an tutorial if it works.
Hi. Any updates on removing the banding with current (2026) versions of Topaz AI? Neither Topaz Photo of Topaz Studio have AI Clear.