At Kolari, we got our hands on the Fujifilm X-S20. This camera is one of the more recent releases from Fujifilm, and it seems to be marketed towards content creators, especially since it features a vlog mode. Fujifilm has plenty of APS-C cameras that are compatible with our Fujifilm magnetic clip-in filters, and the X-S20 is one of them.
Some key features of the X-S20 include a 26.1MP APS-C X Trans BSI CMOS 4 Sensor, 6.2K at 30FPS and 4K at 60FPS, 5-Axis In-body Image Stabilization, 3.0″ 1.84m-Dot Vari-Angle Touchscreen, and 2.36m-Dot 0.62x OLED EVF.
So, let’s get into this teardown!
First, we removed four Philips screws at the base of the camera.
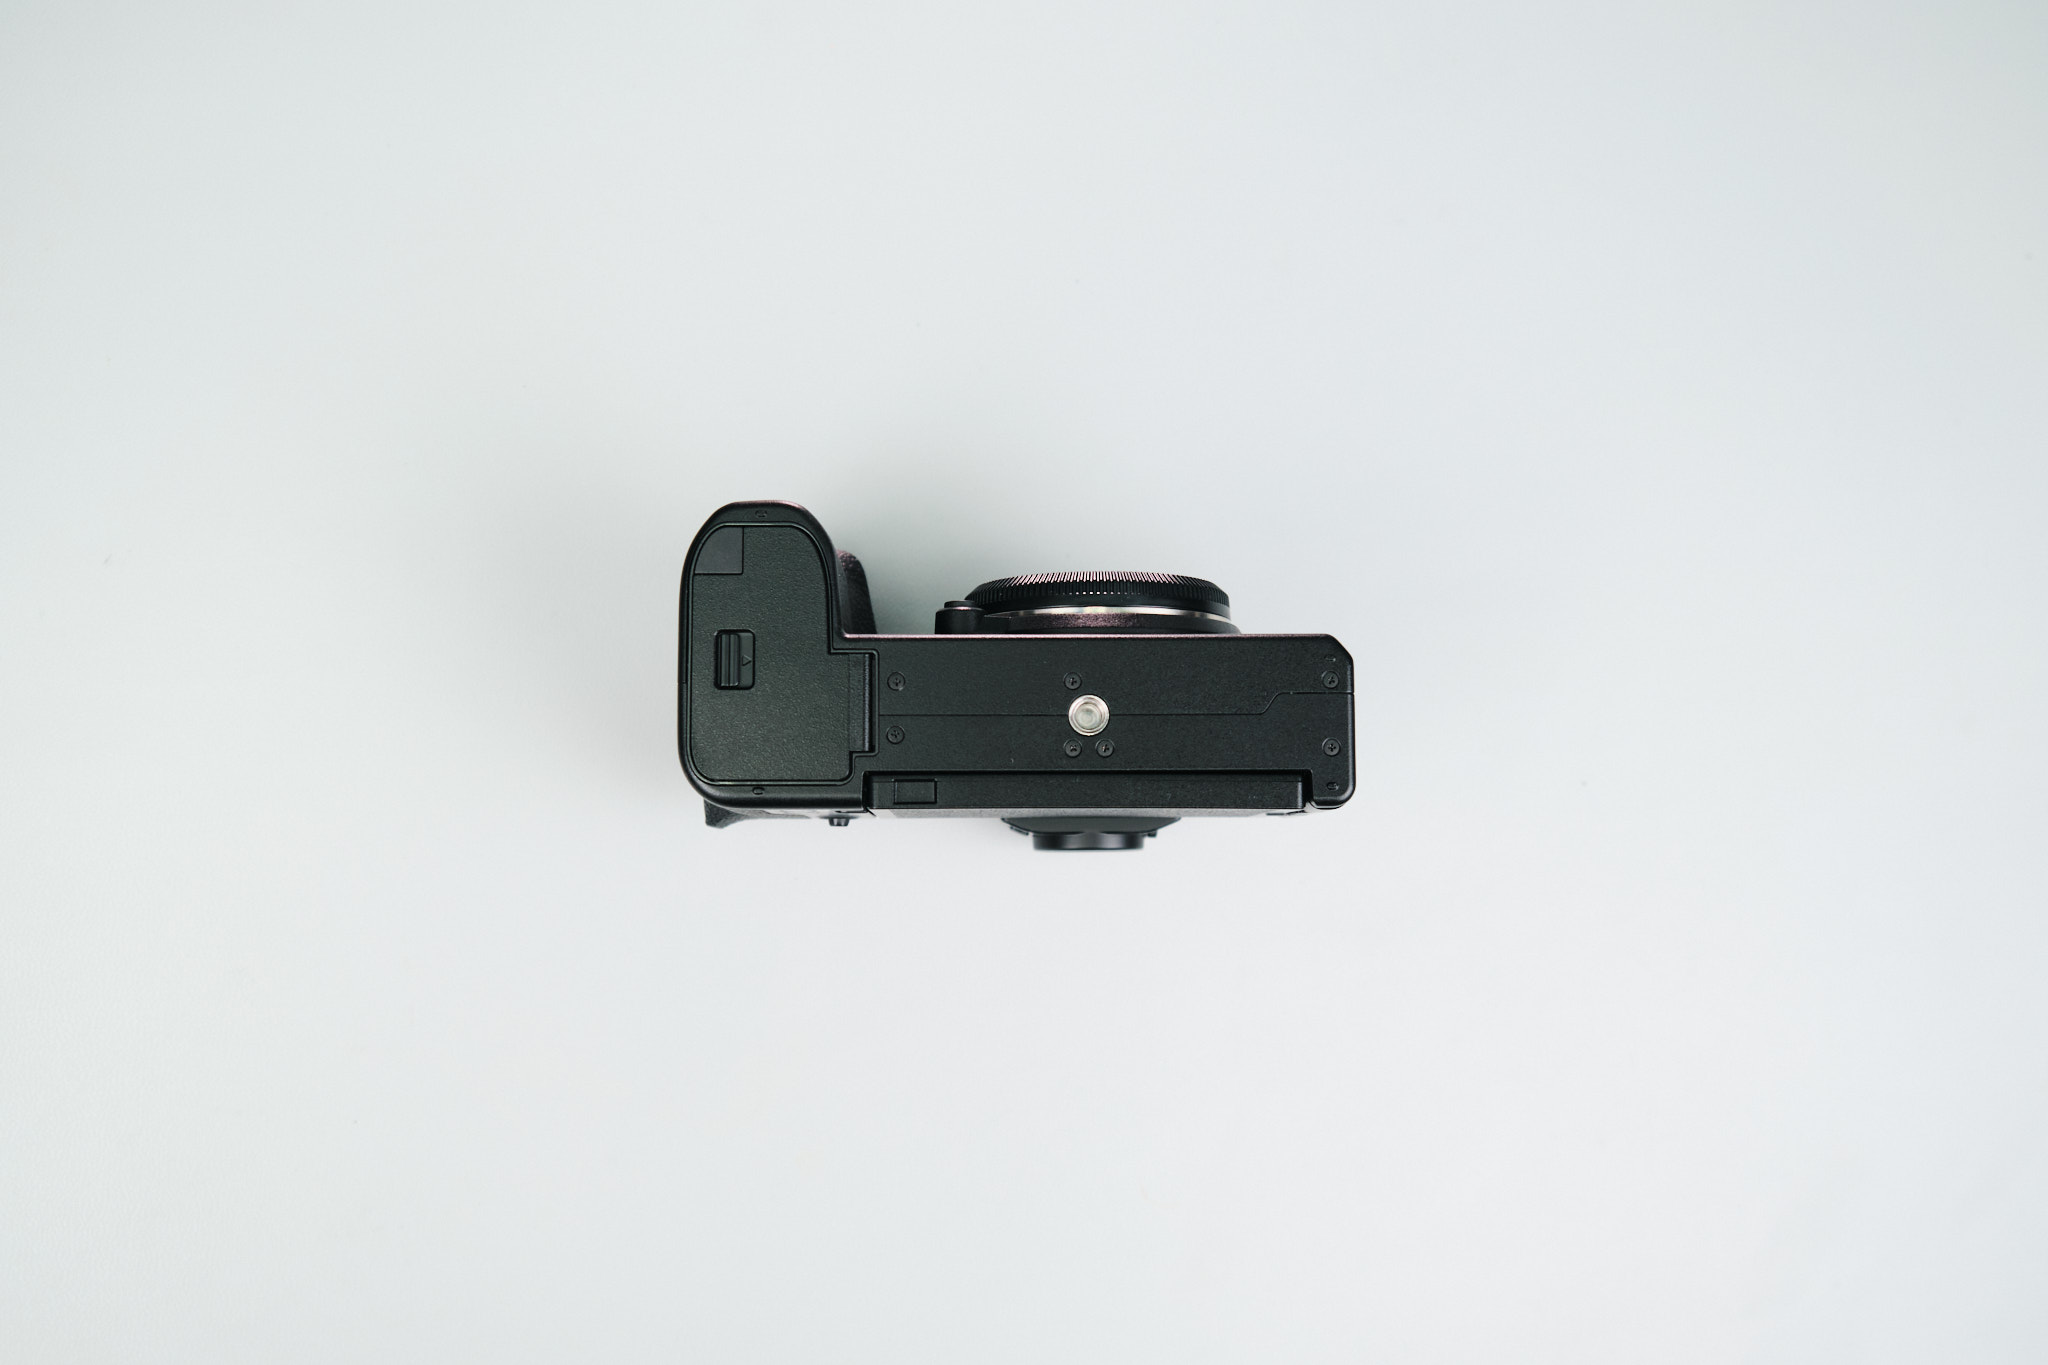
On the port side, two screws were removed. We didn’t find any screws under the dust caps.
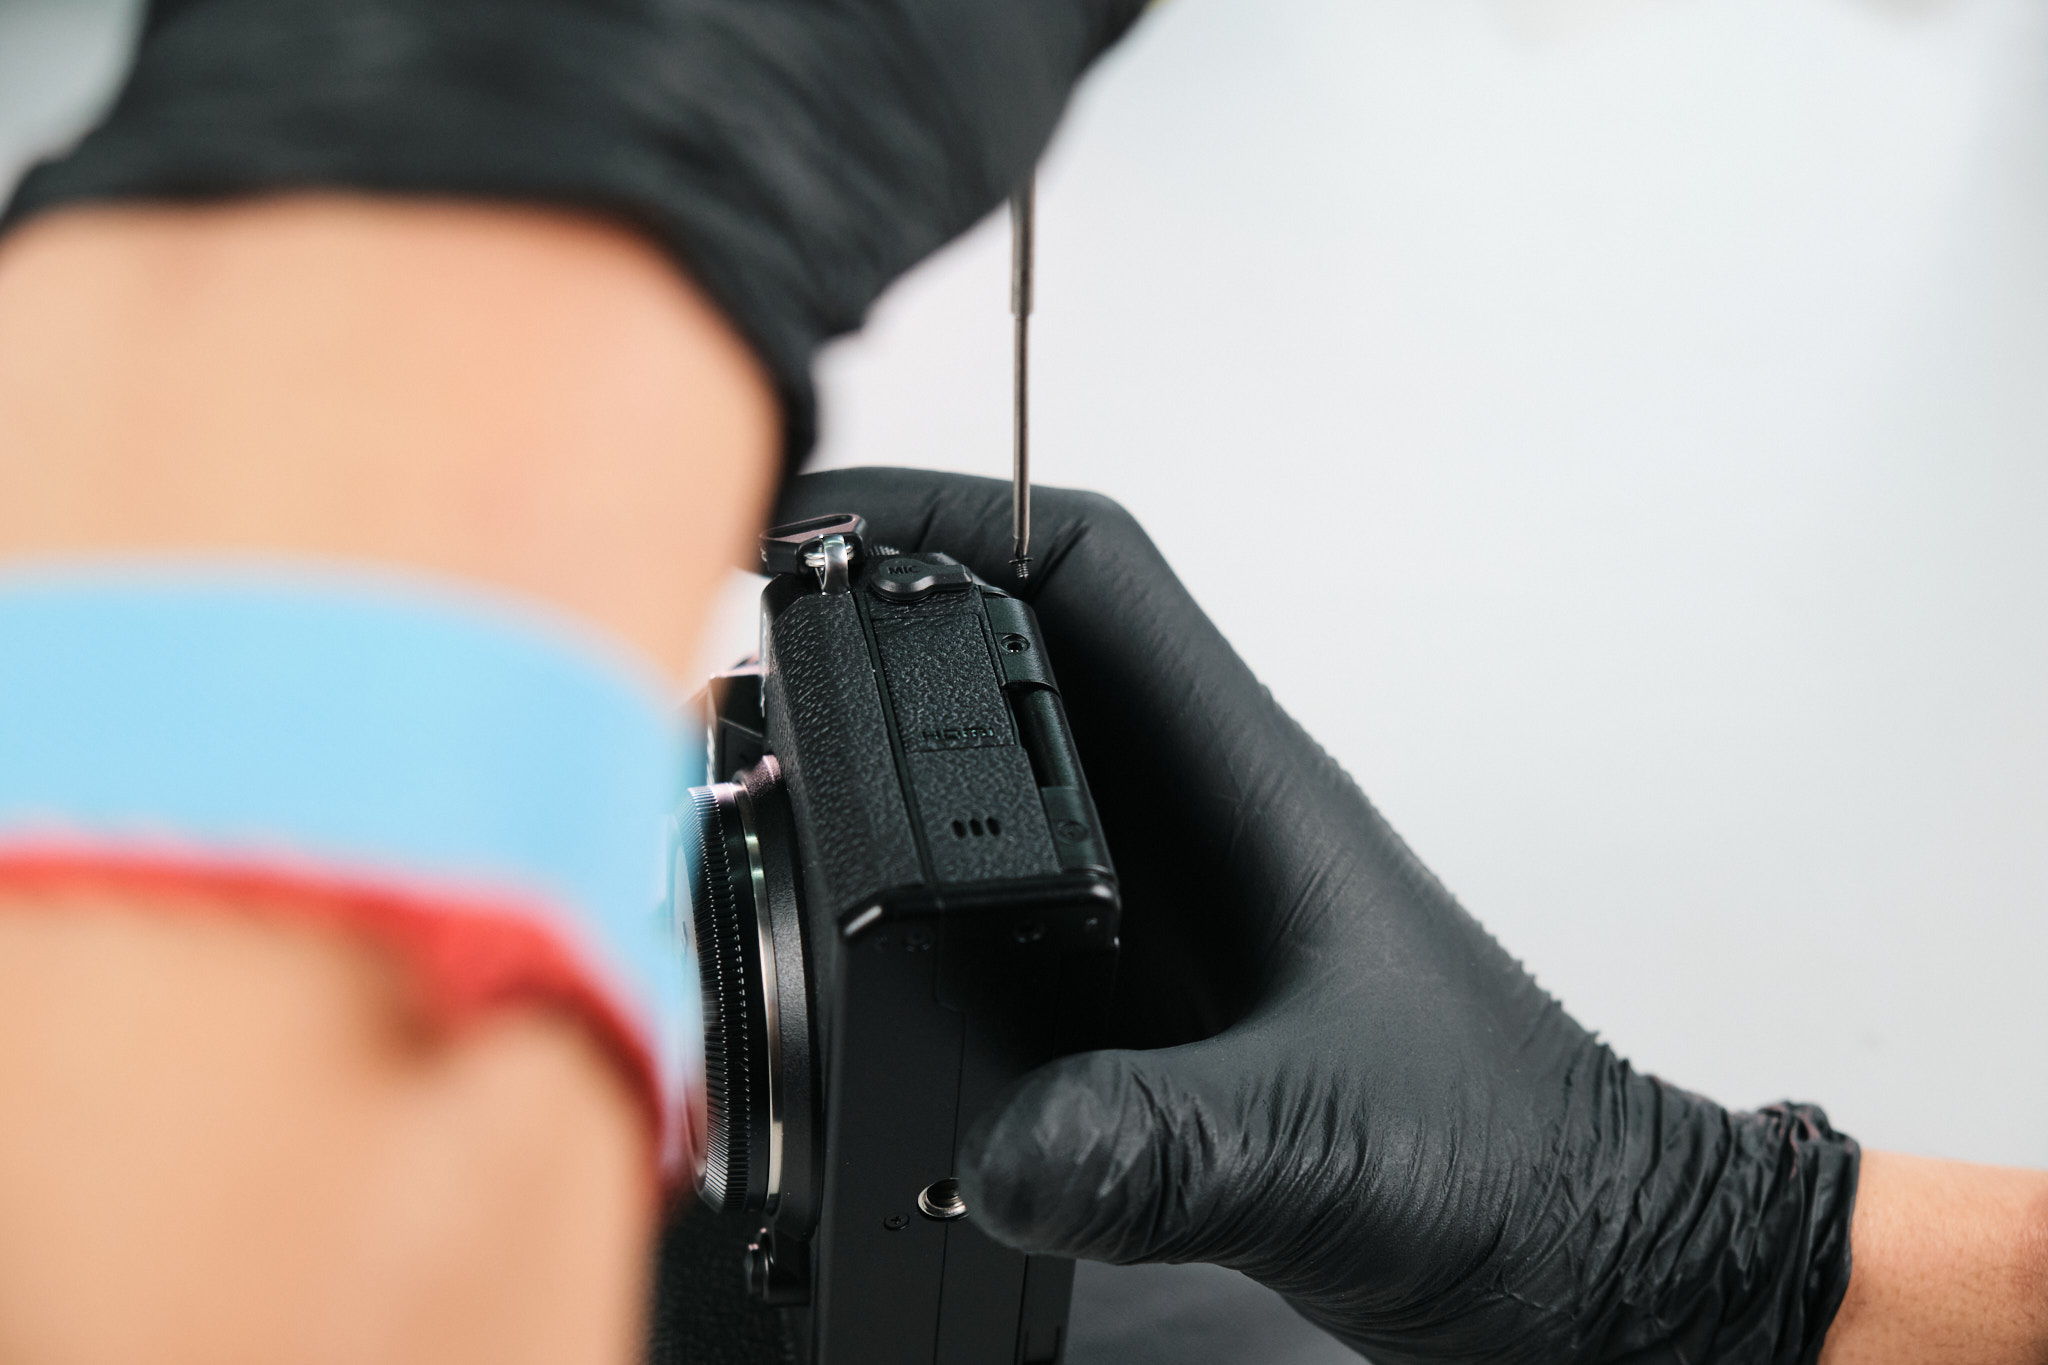
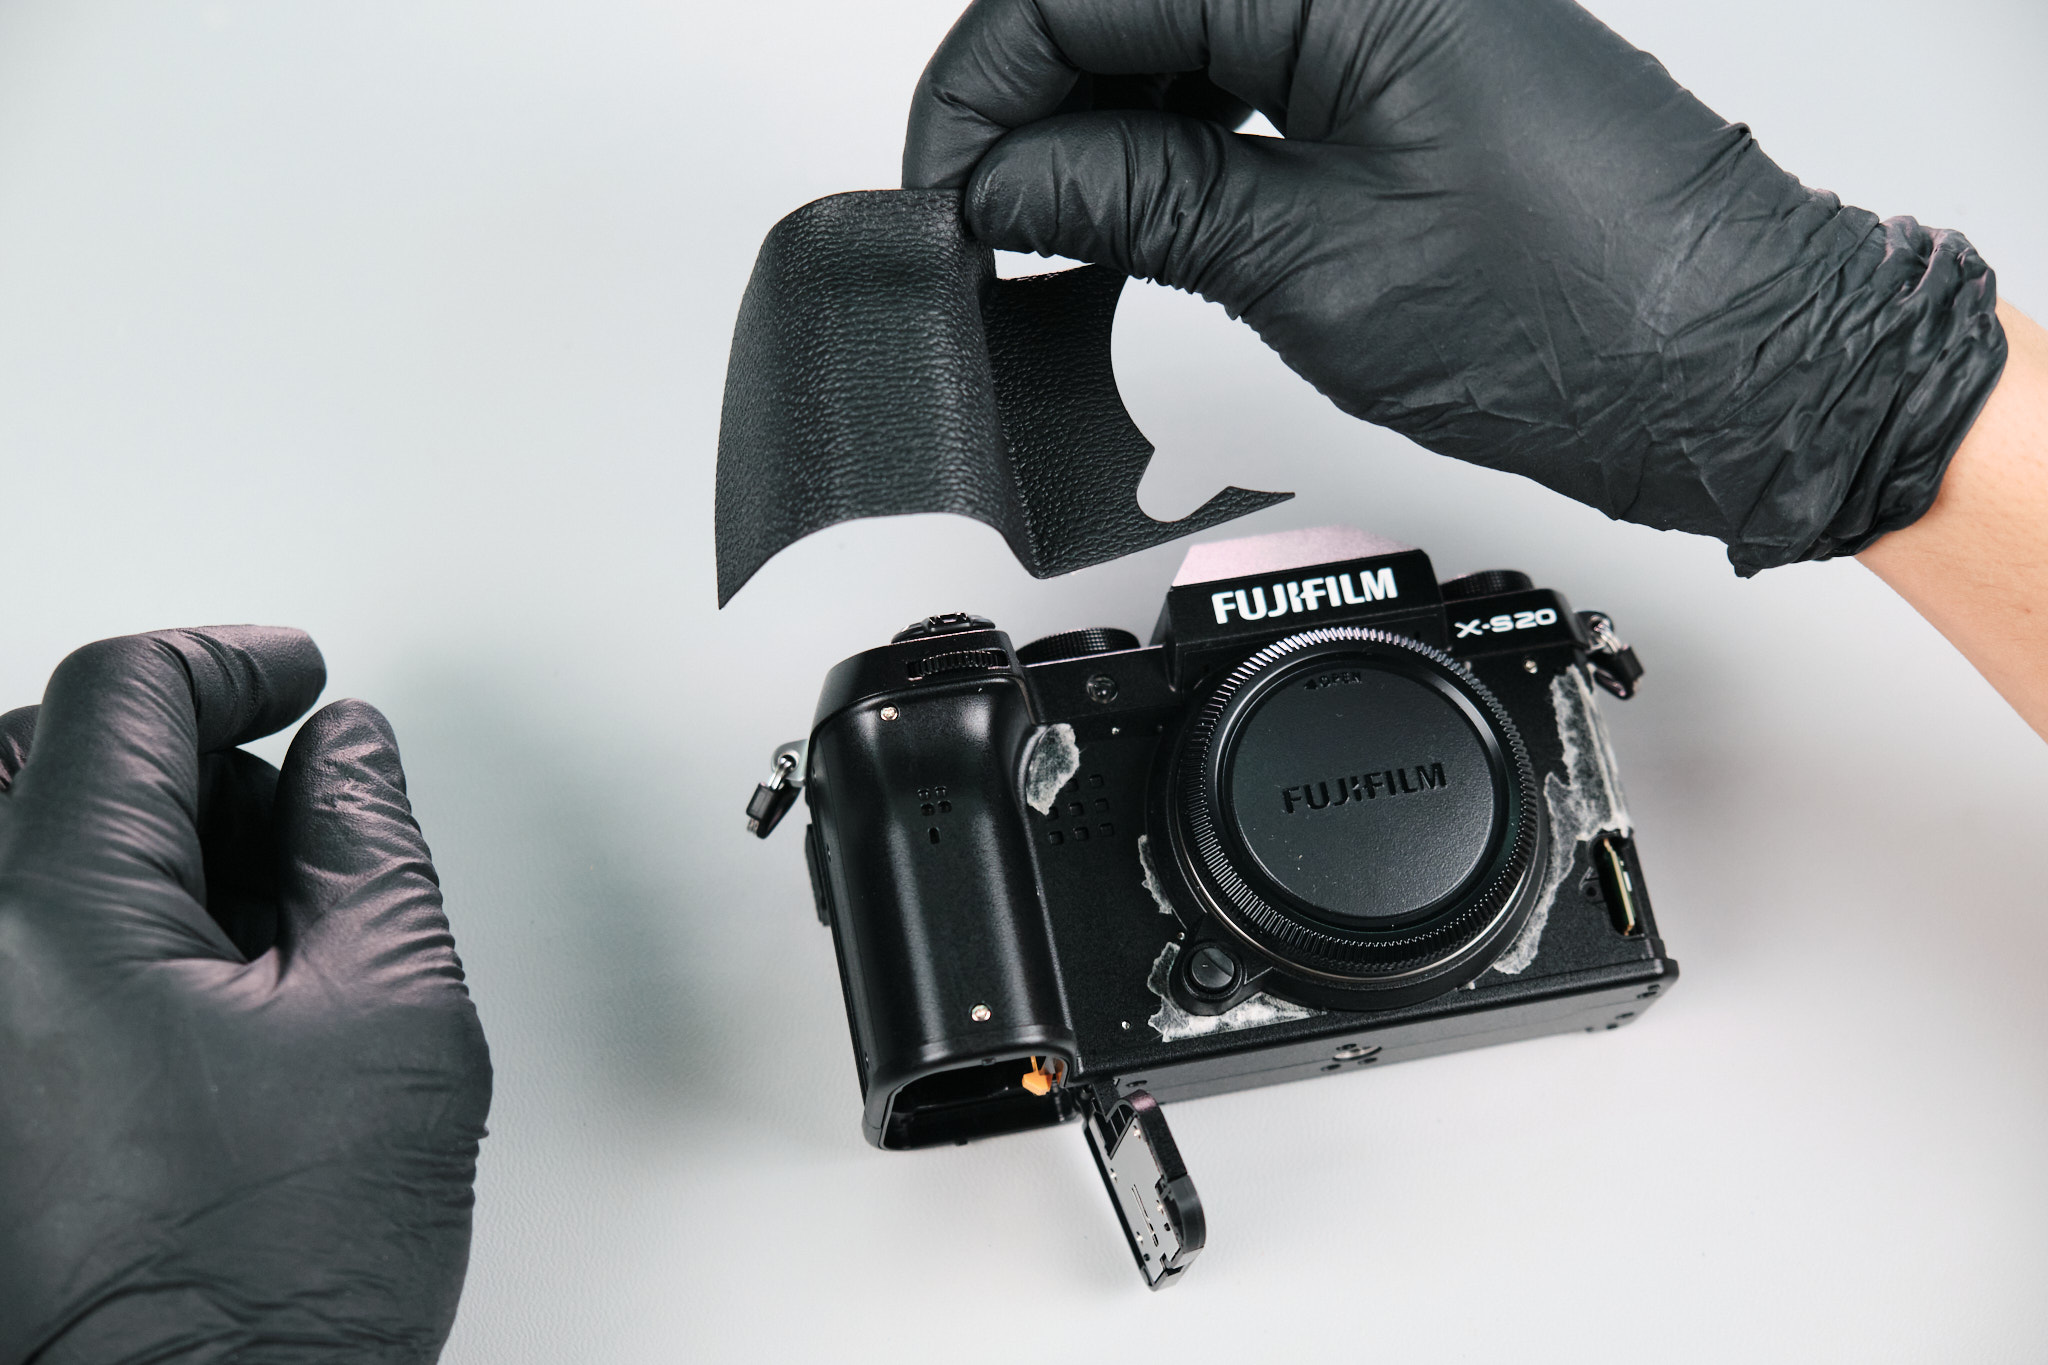
Next, we peeled back the righthand palm grip and removed six silver screws.
Under the LCD screen, the vinyl cover trim was peeled off to expose six silver Philips screws.
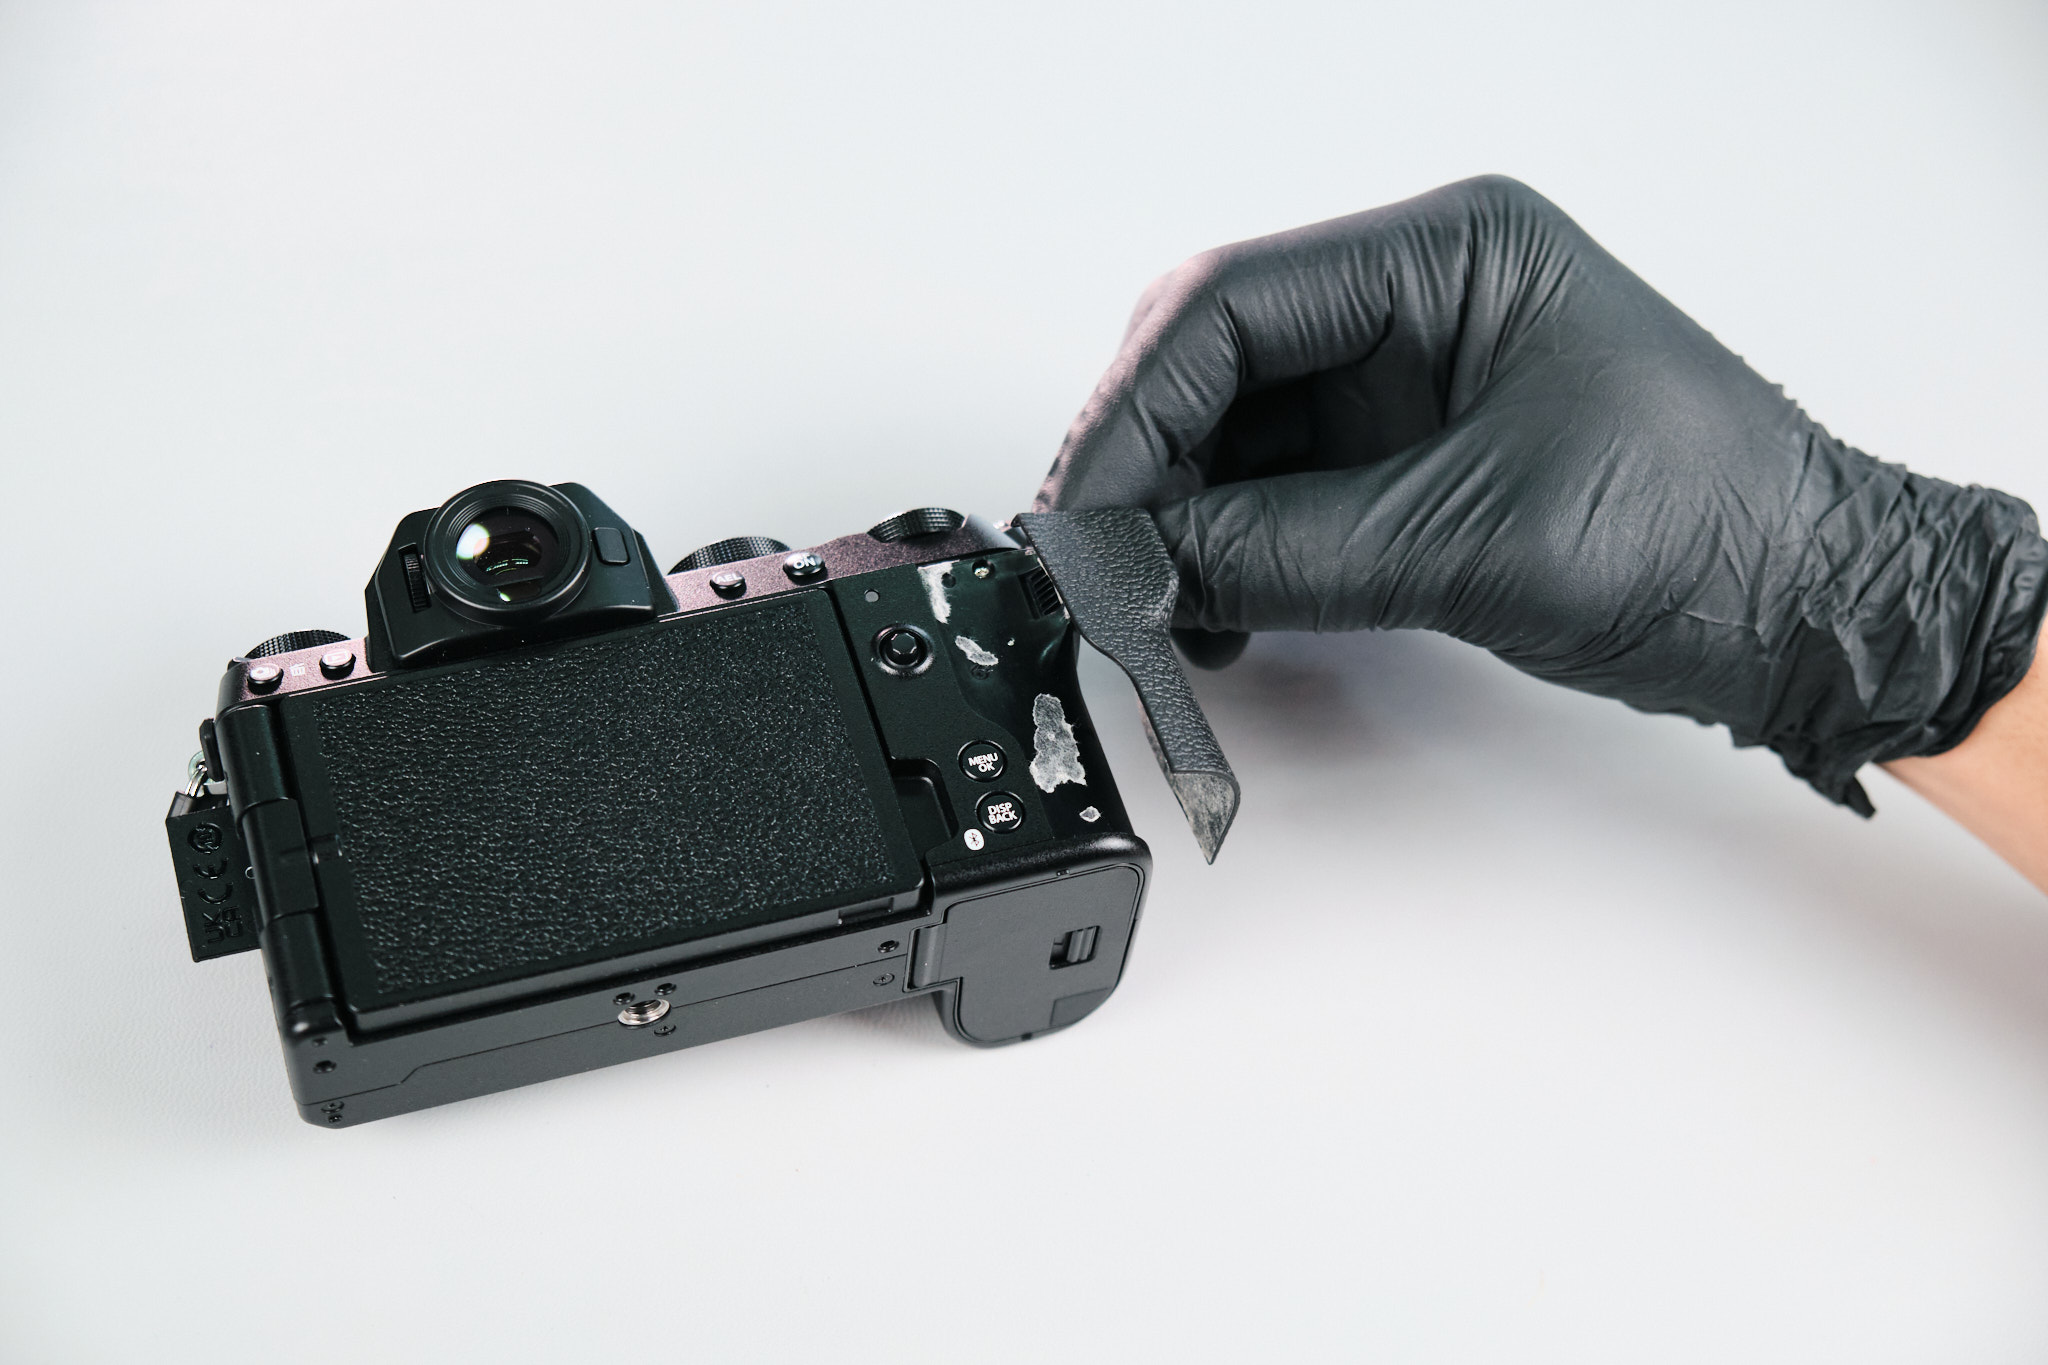
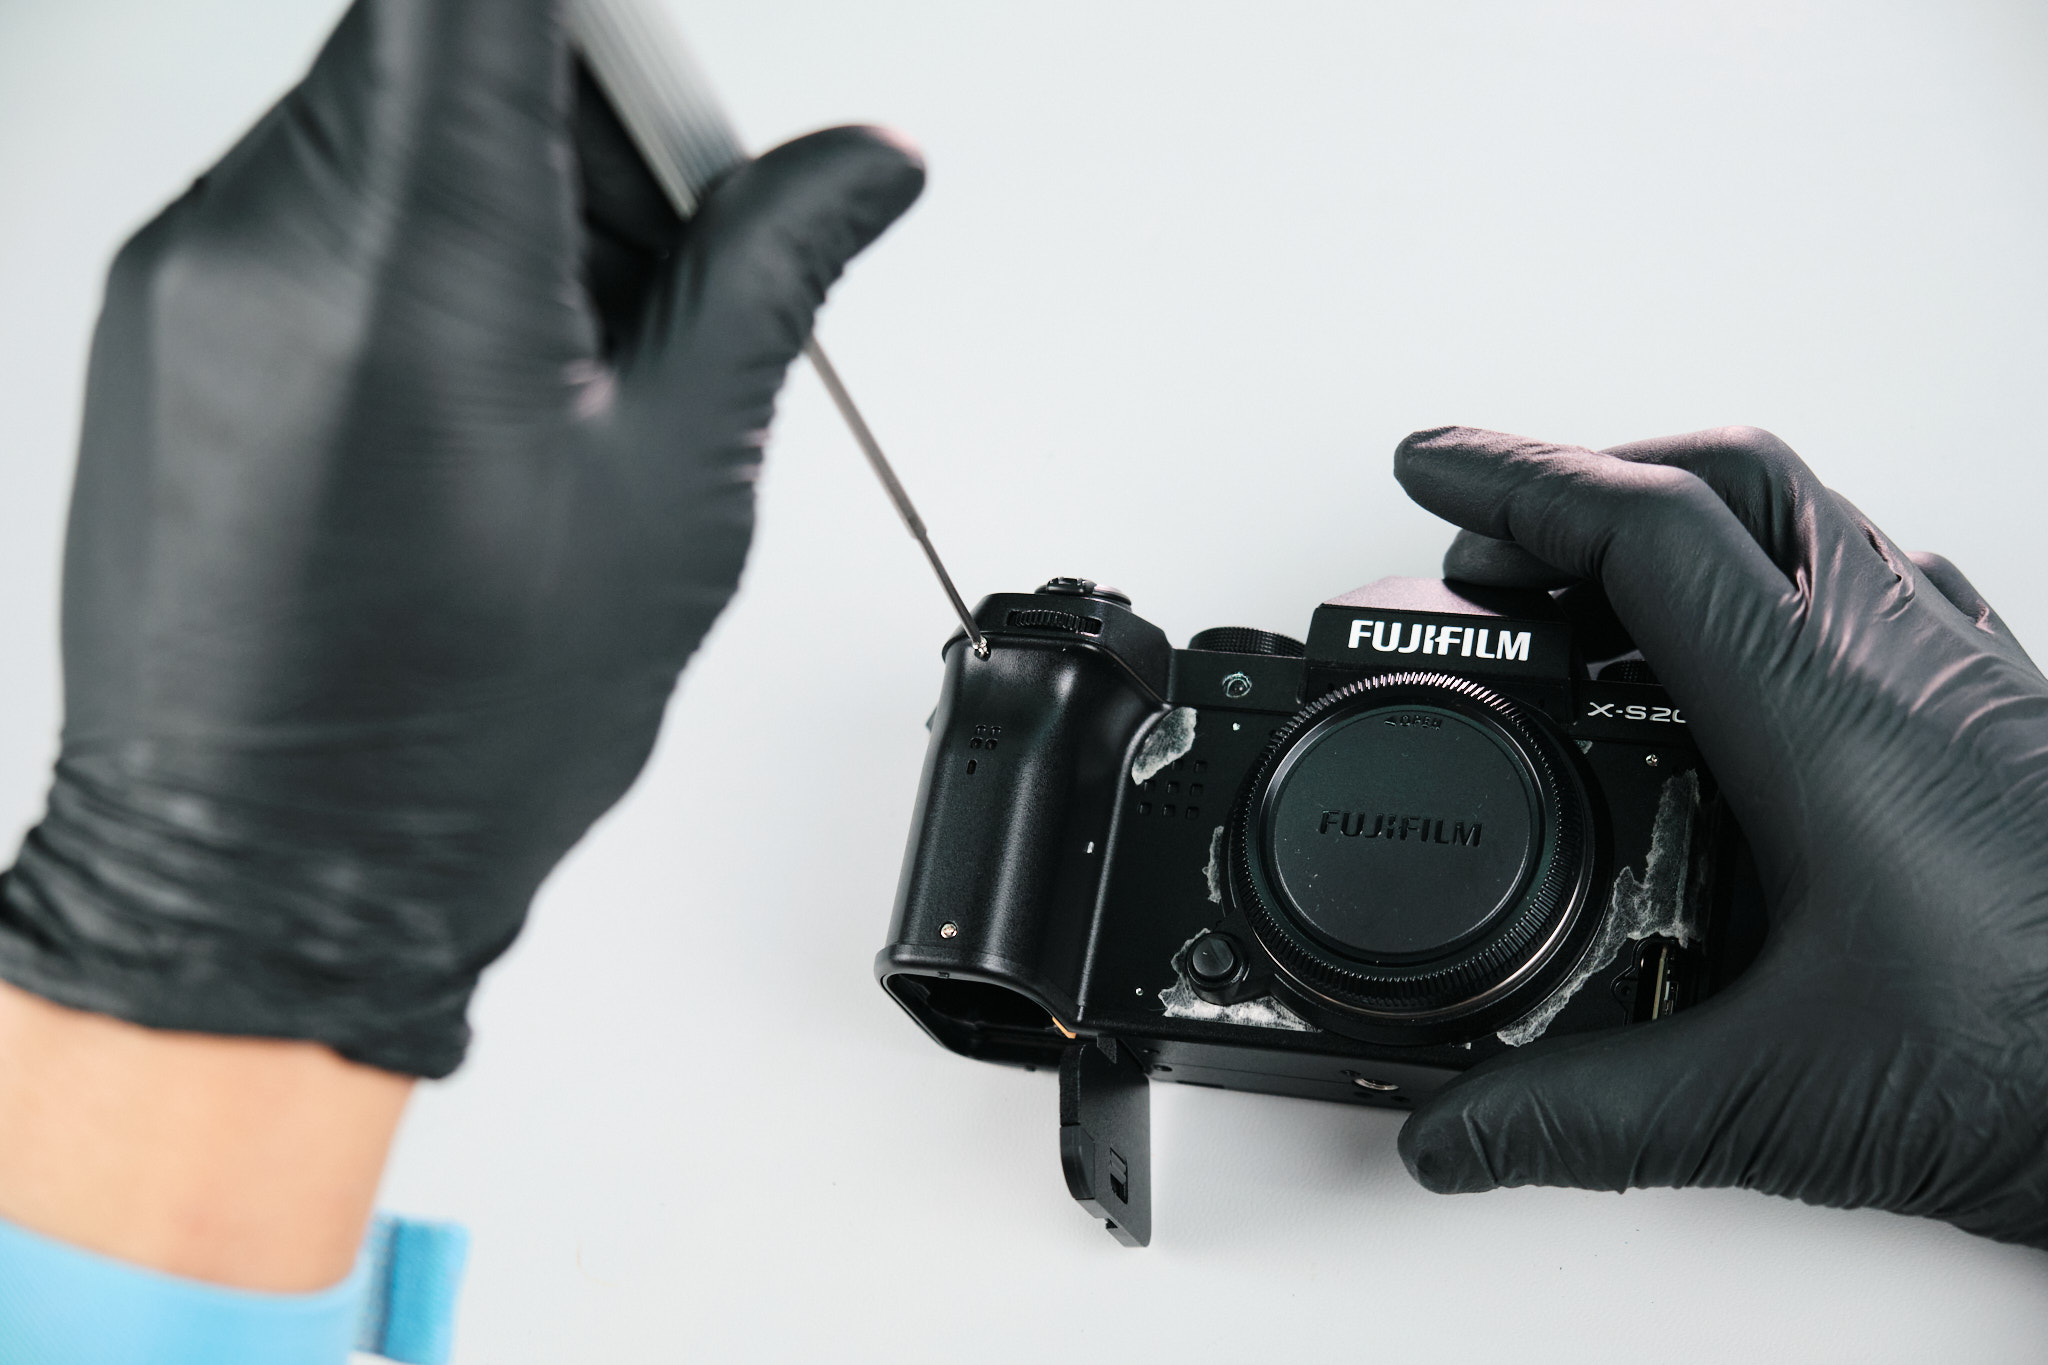
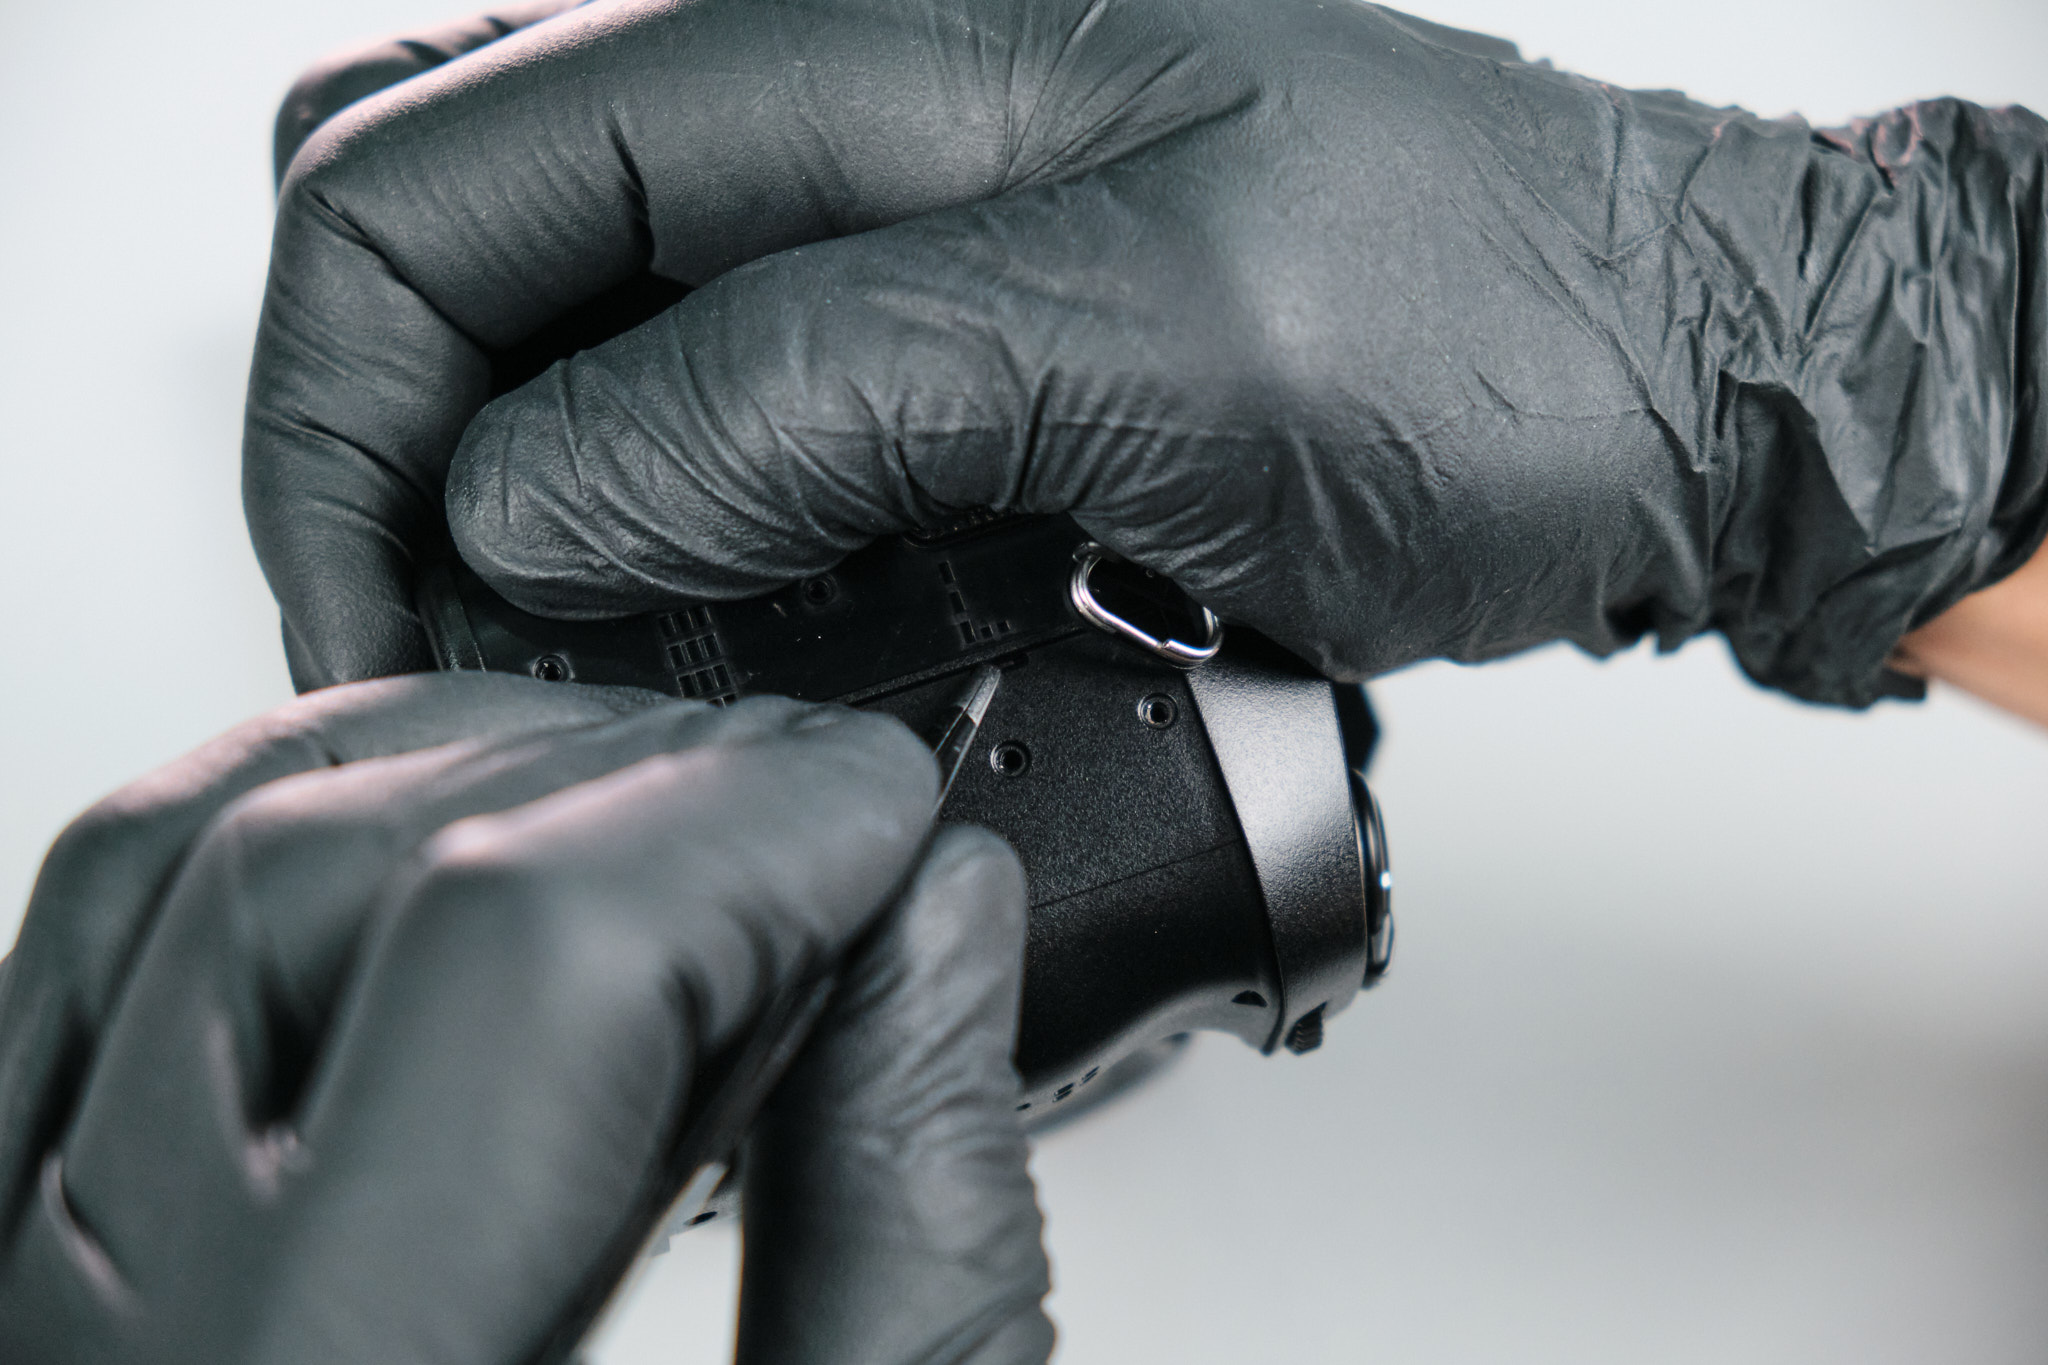
The thumb grip was peeled off to extract one silver screw.
There were also two more screws hiding under the LCD that needed to be removed.
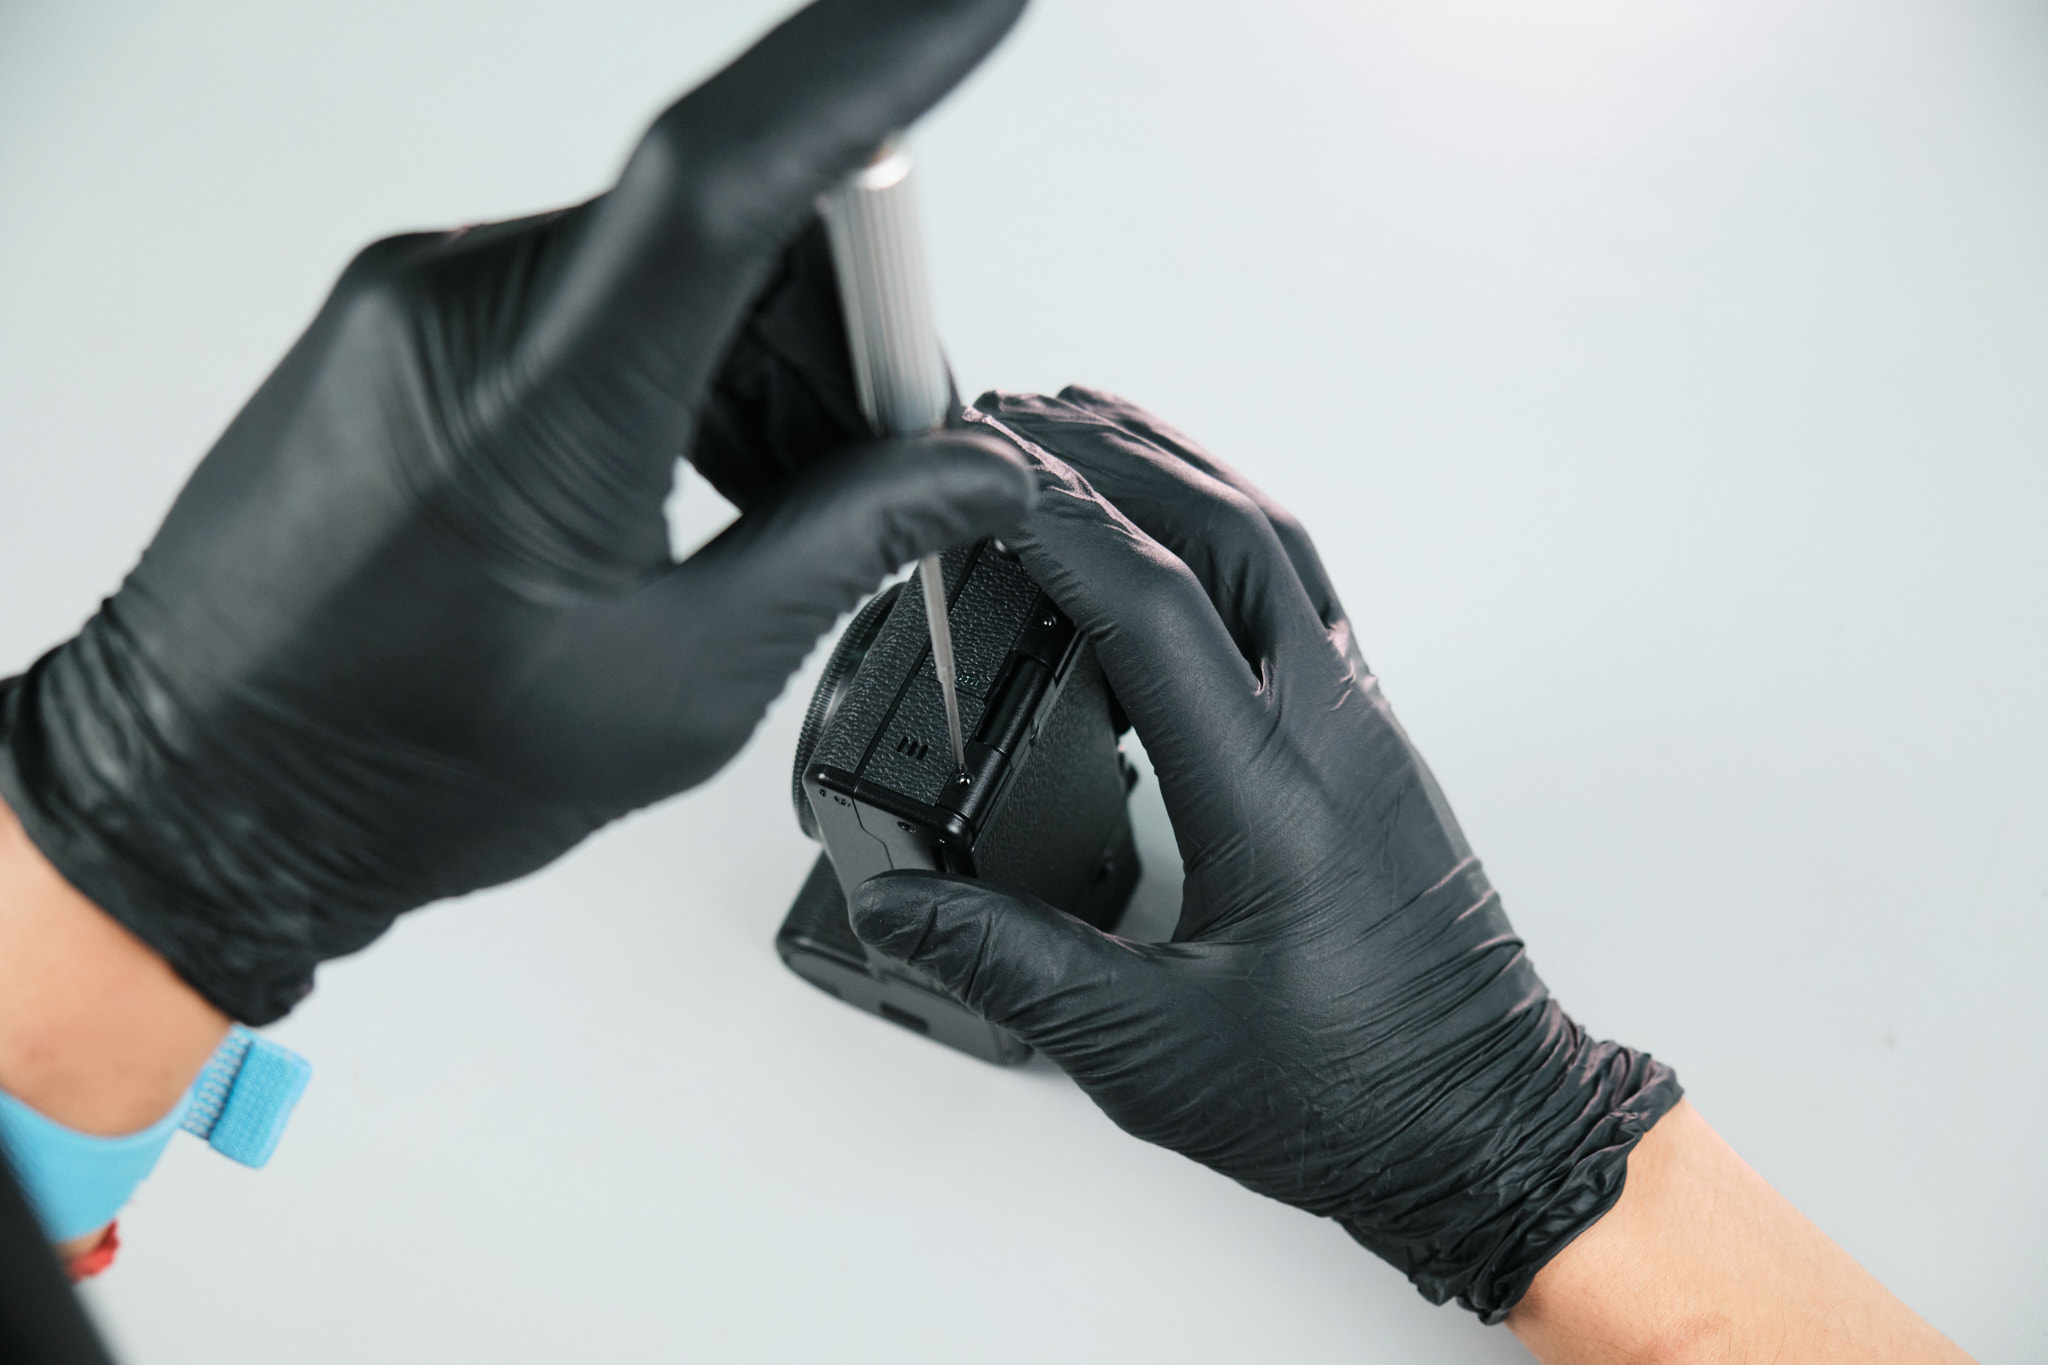
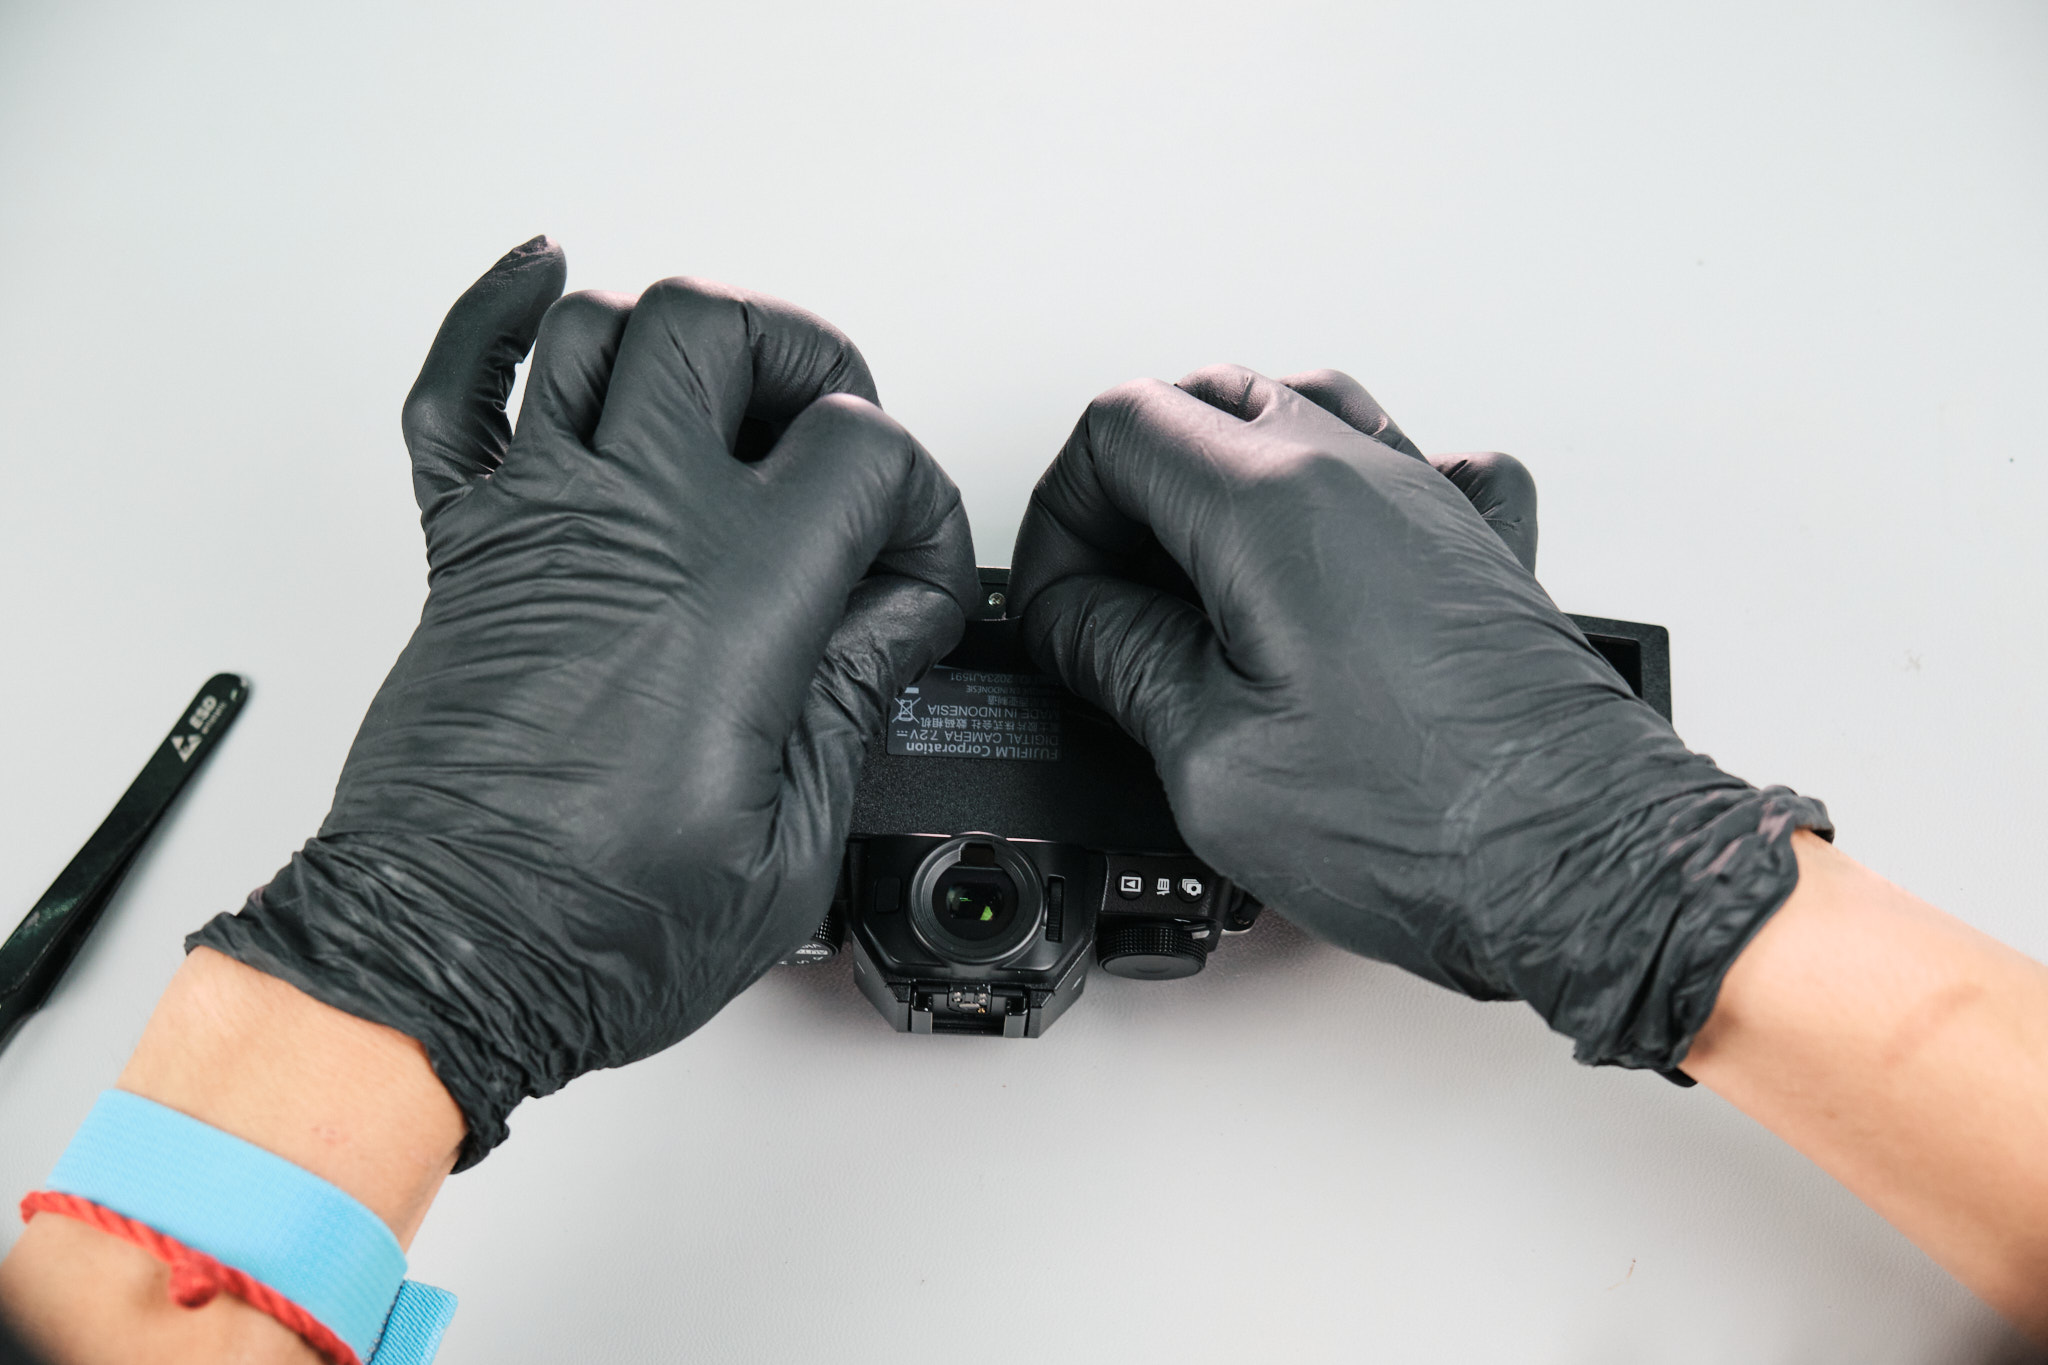
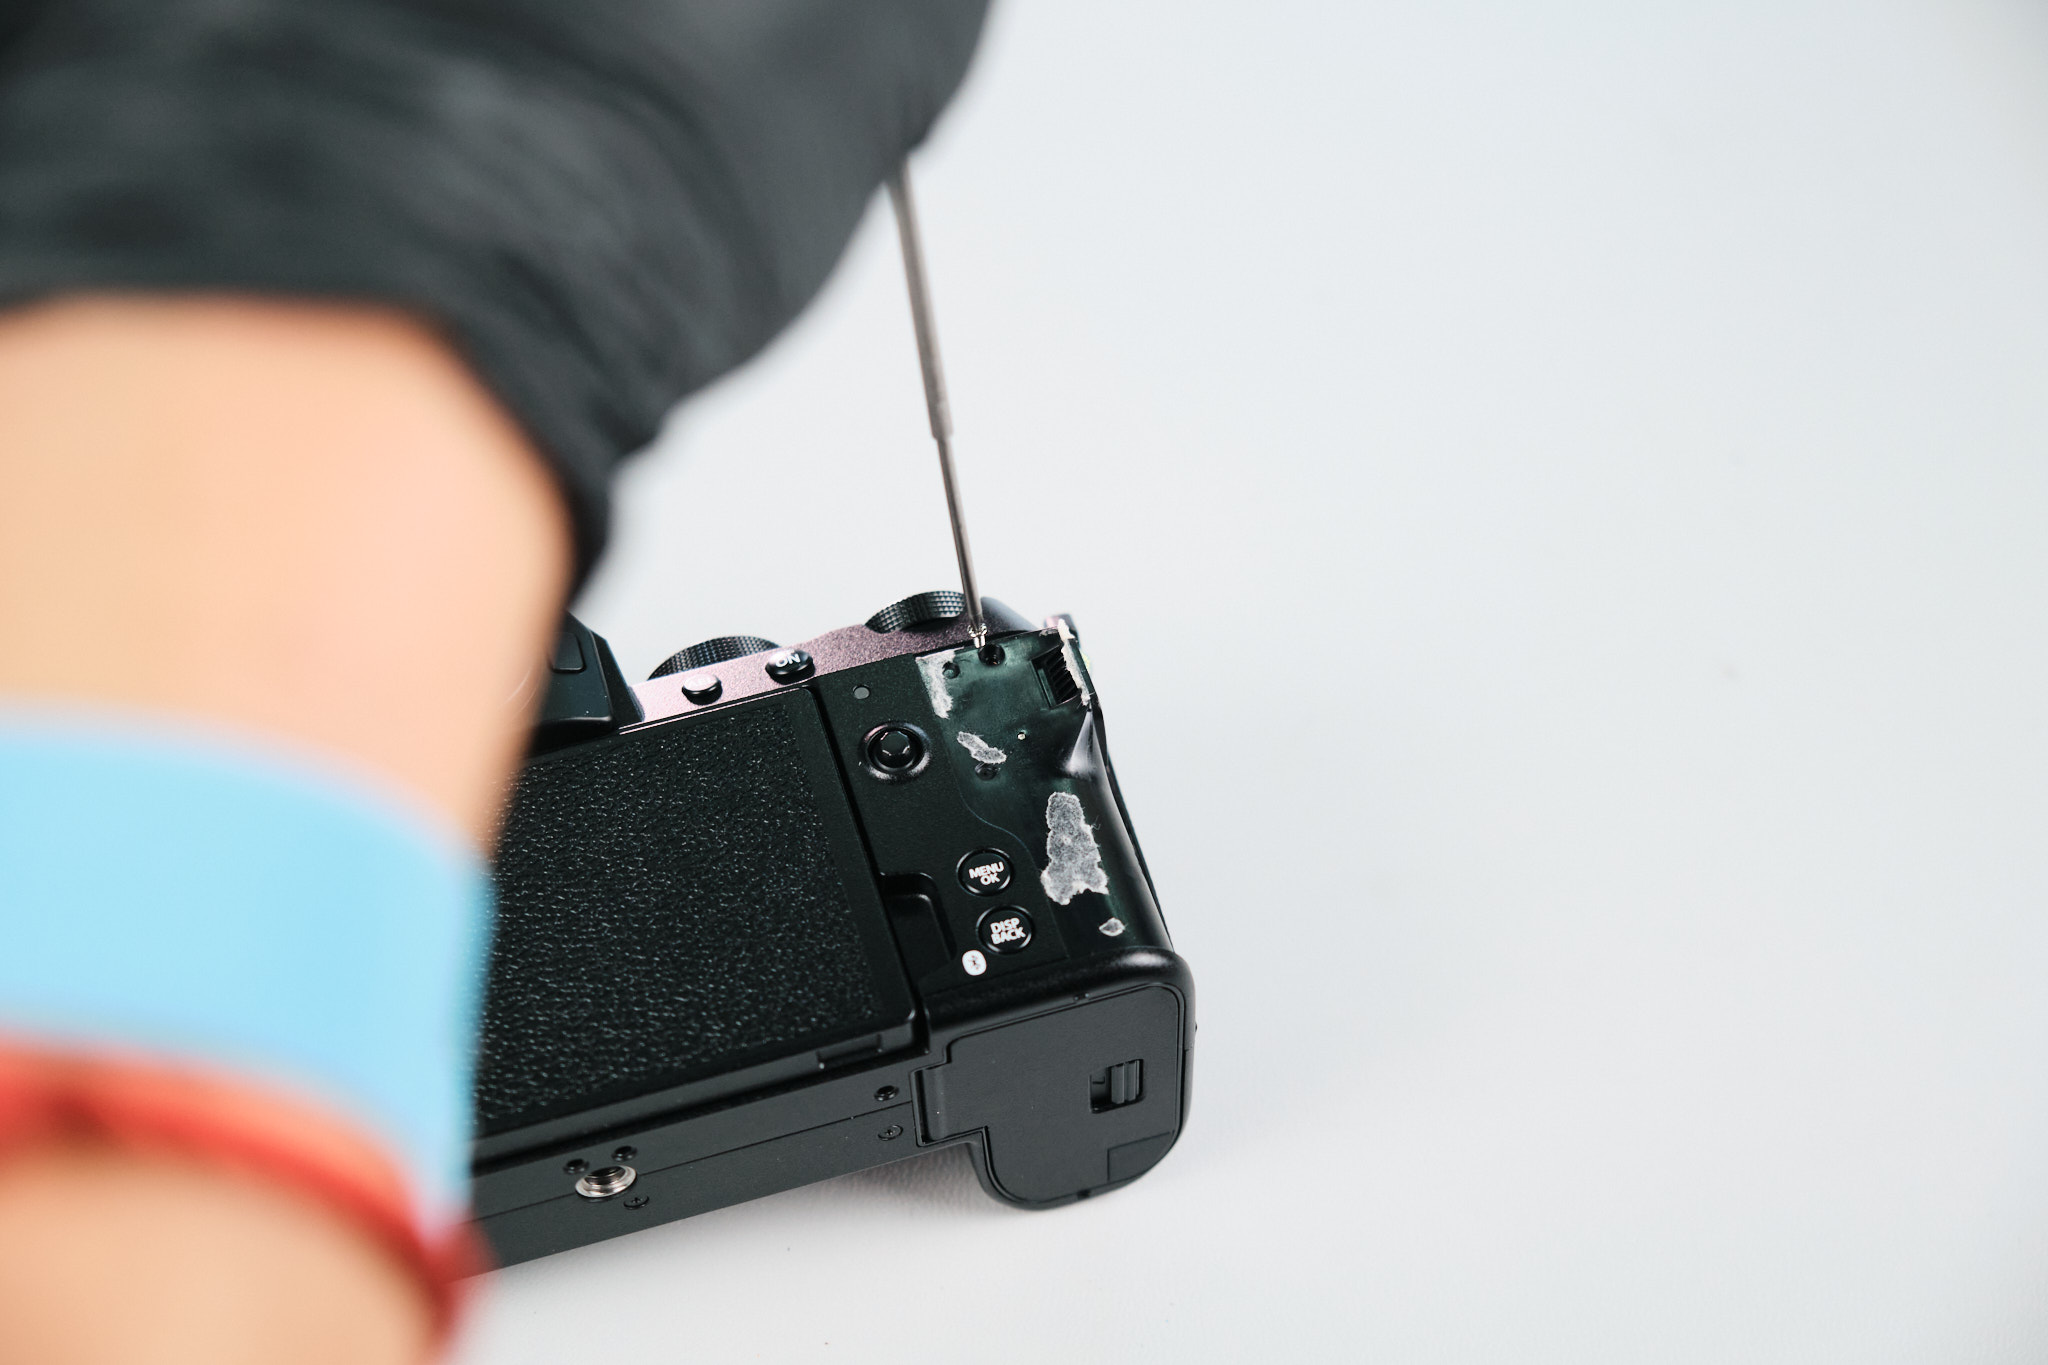
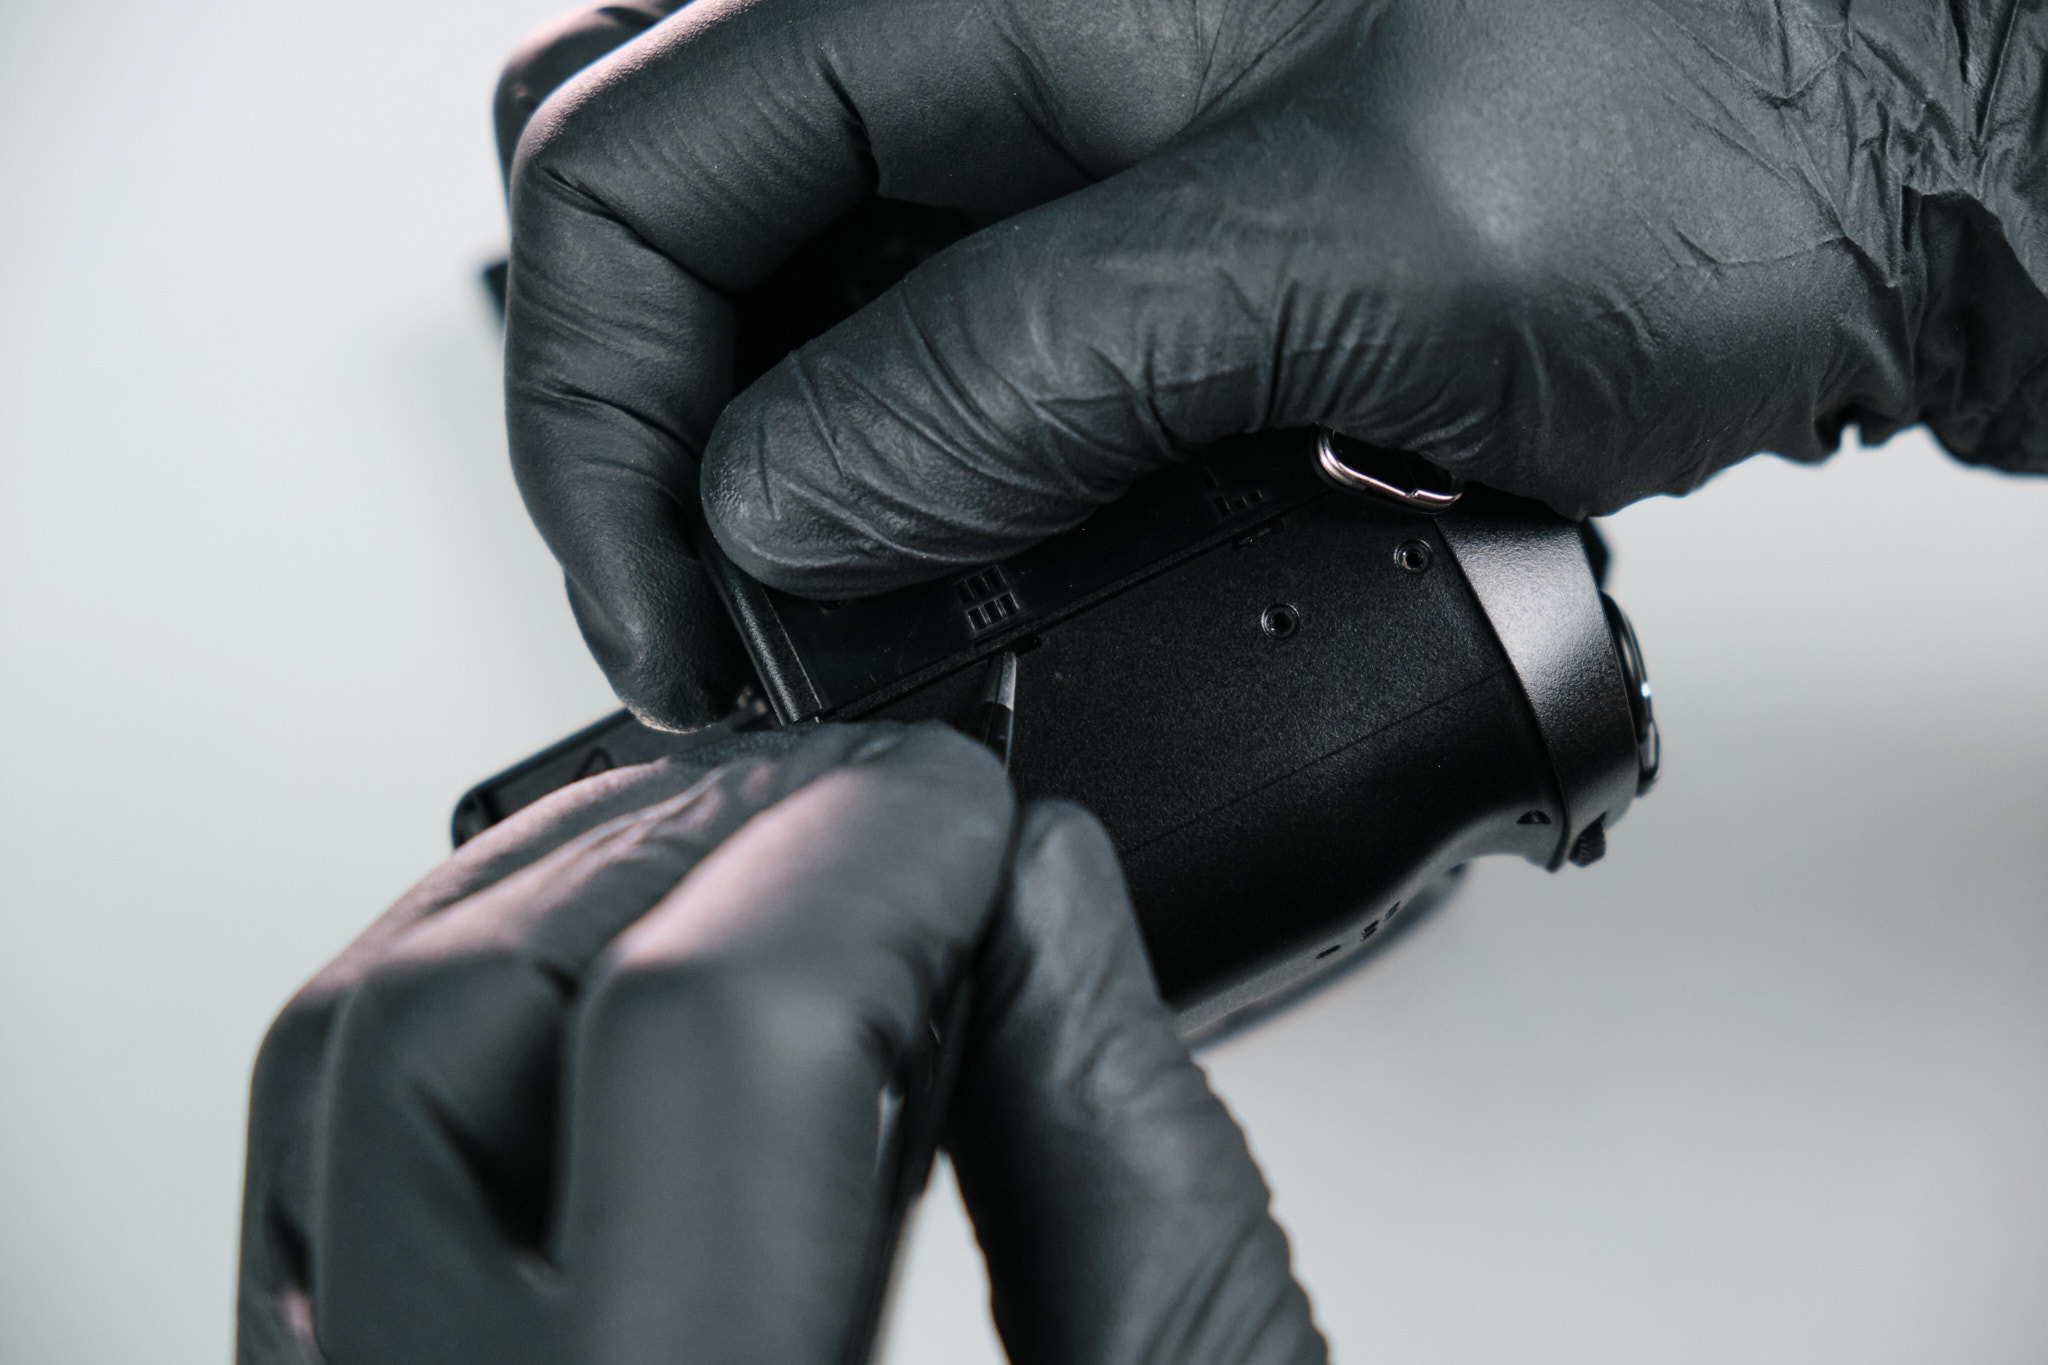
After attempting to wiggle the rear panel off the body, we returned to the camera’s base to extract three screws.
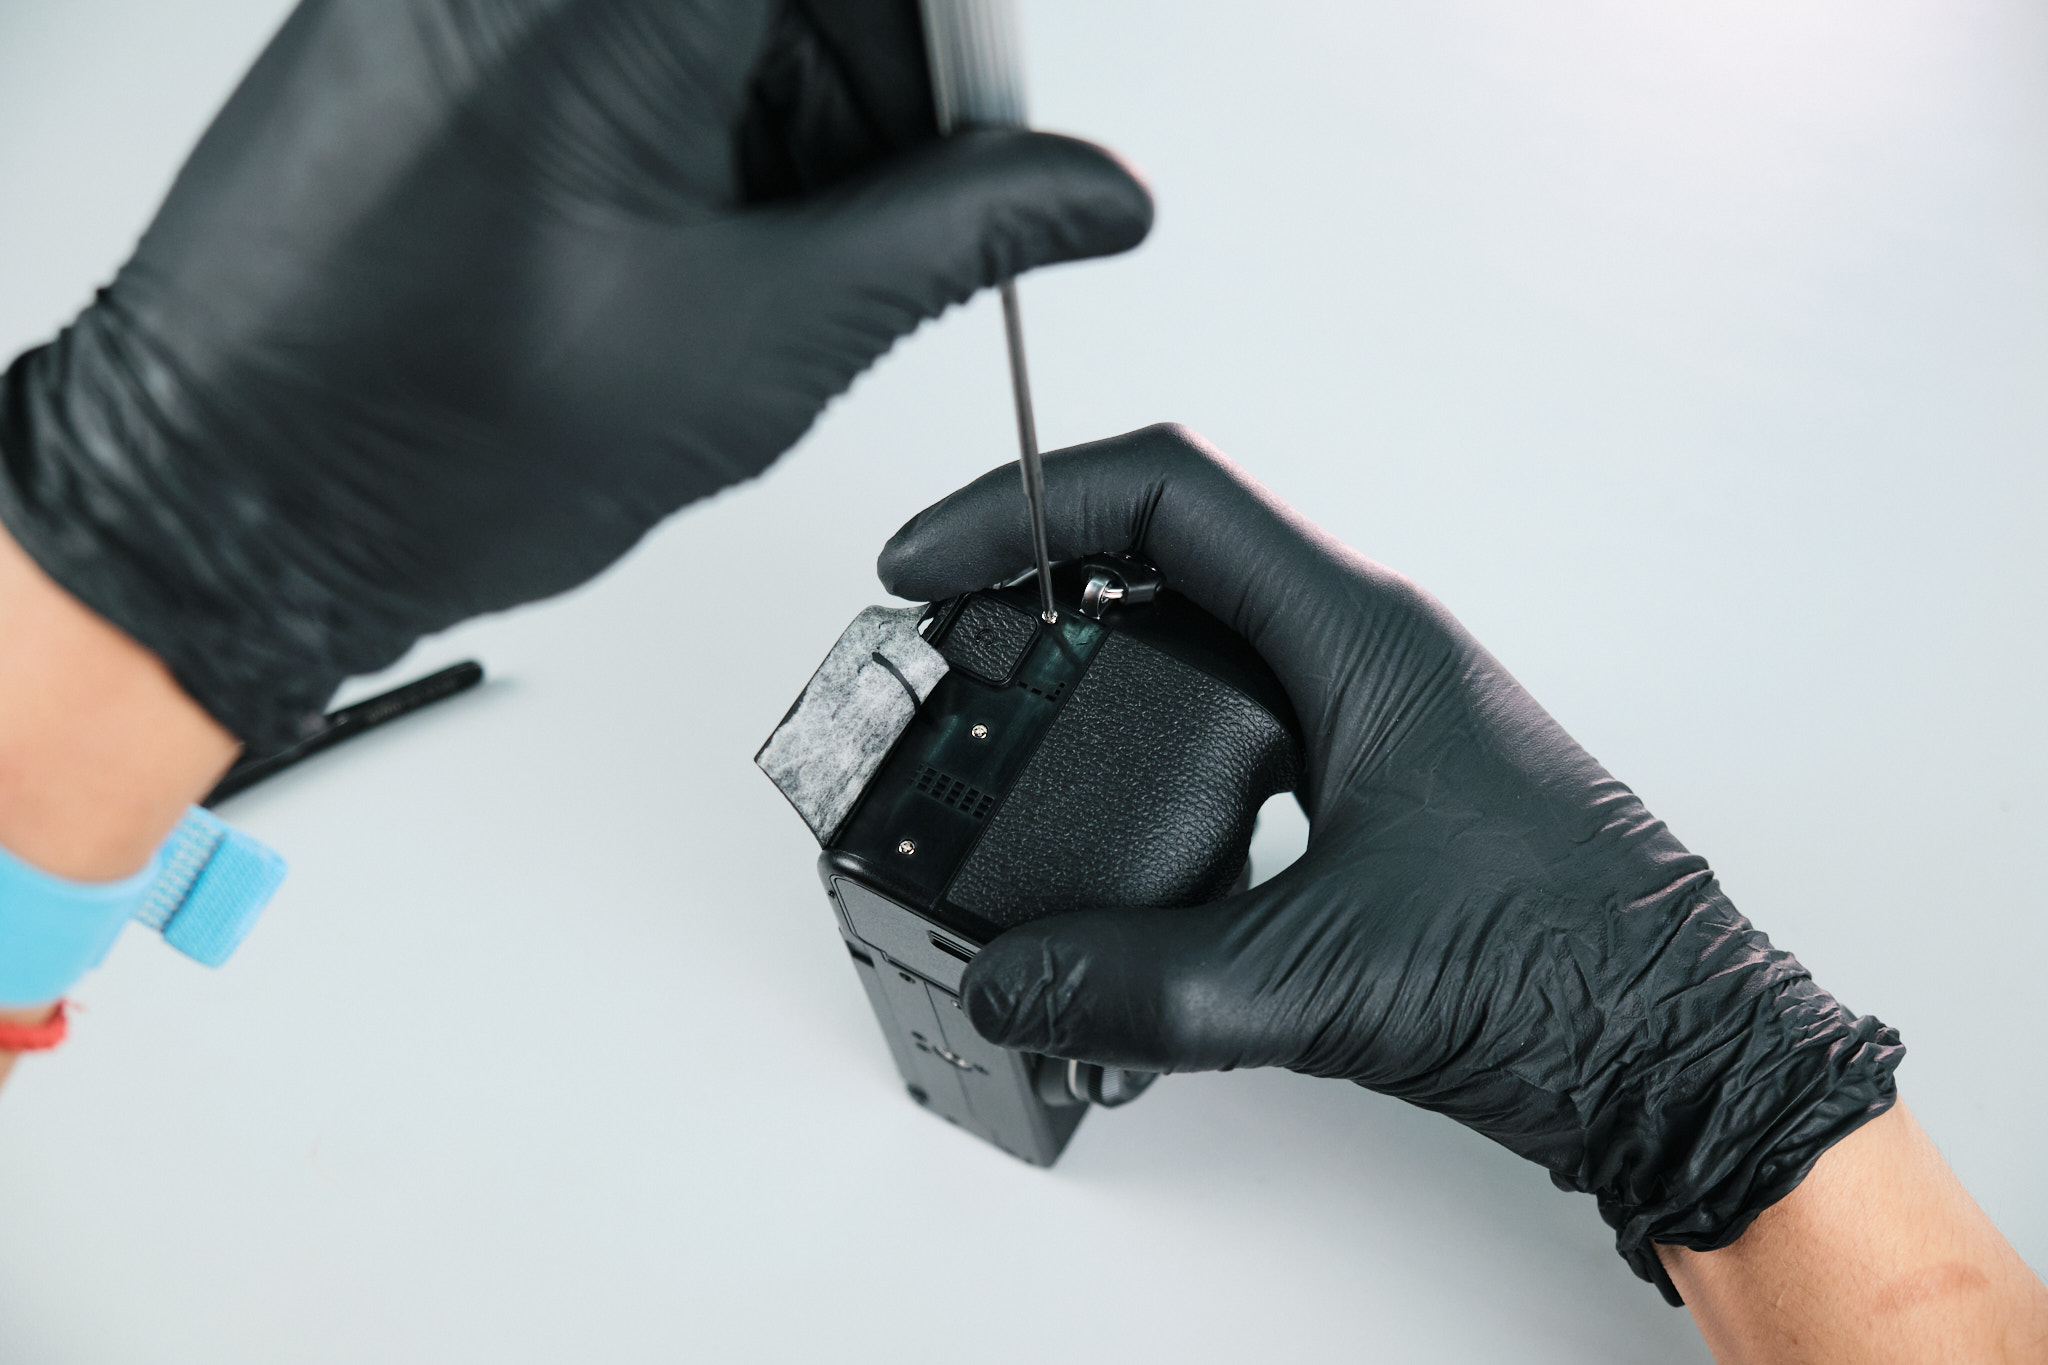
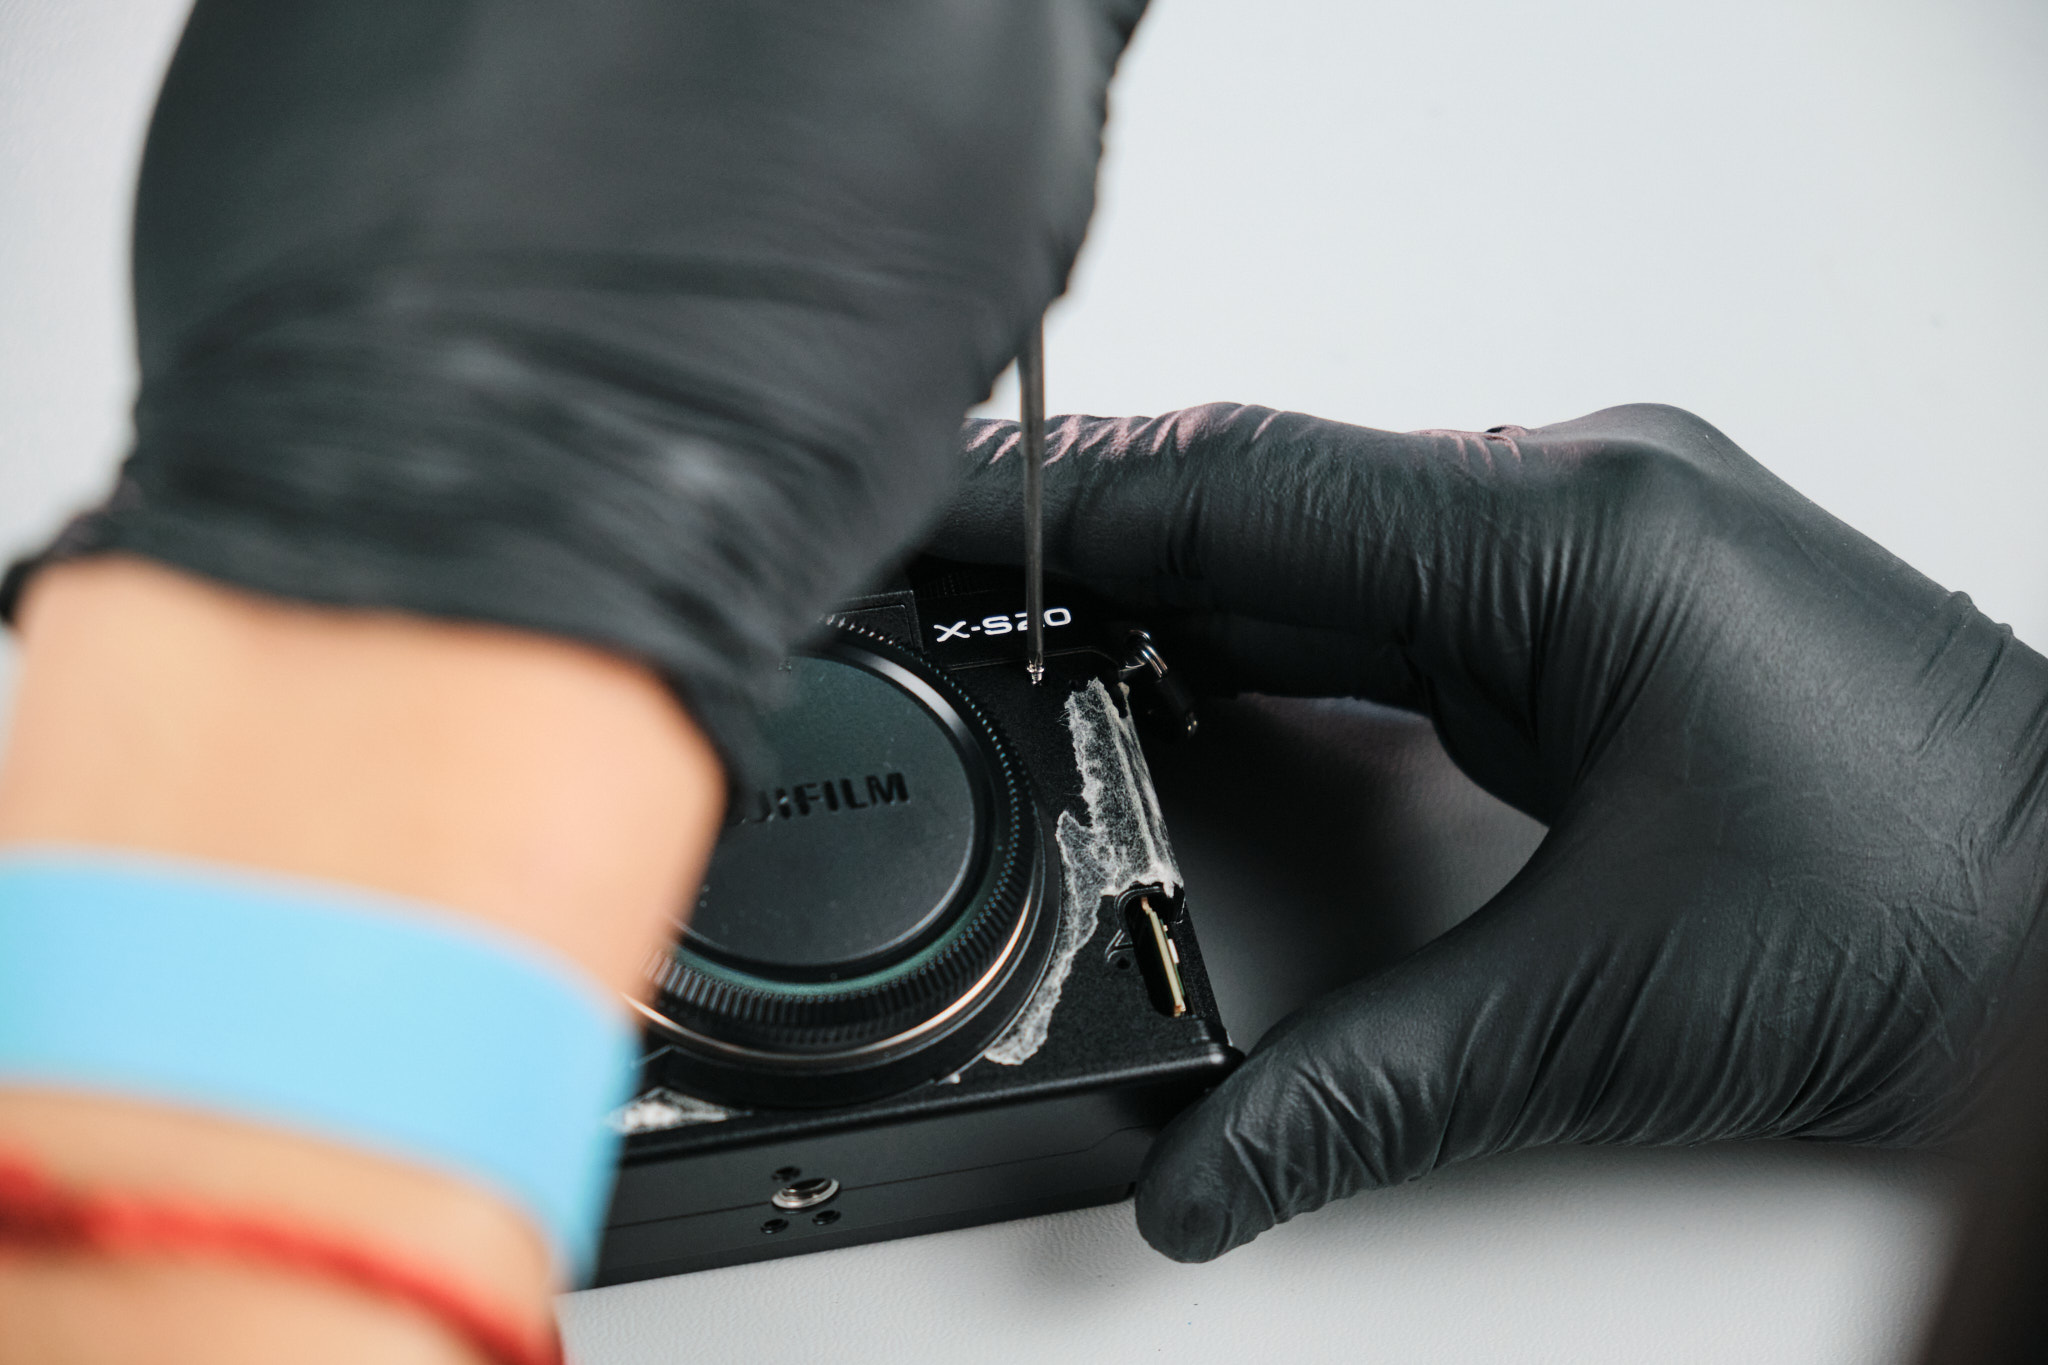
At this point, we completely removed the righthand palm grip and removed two silver screws. We also removed one silver screw under the X-S20 decal.
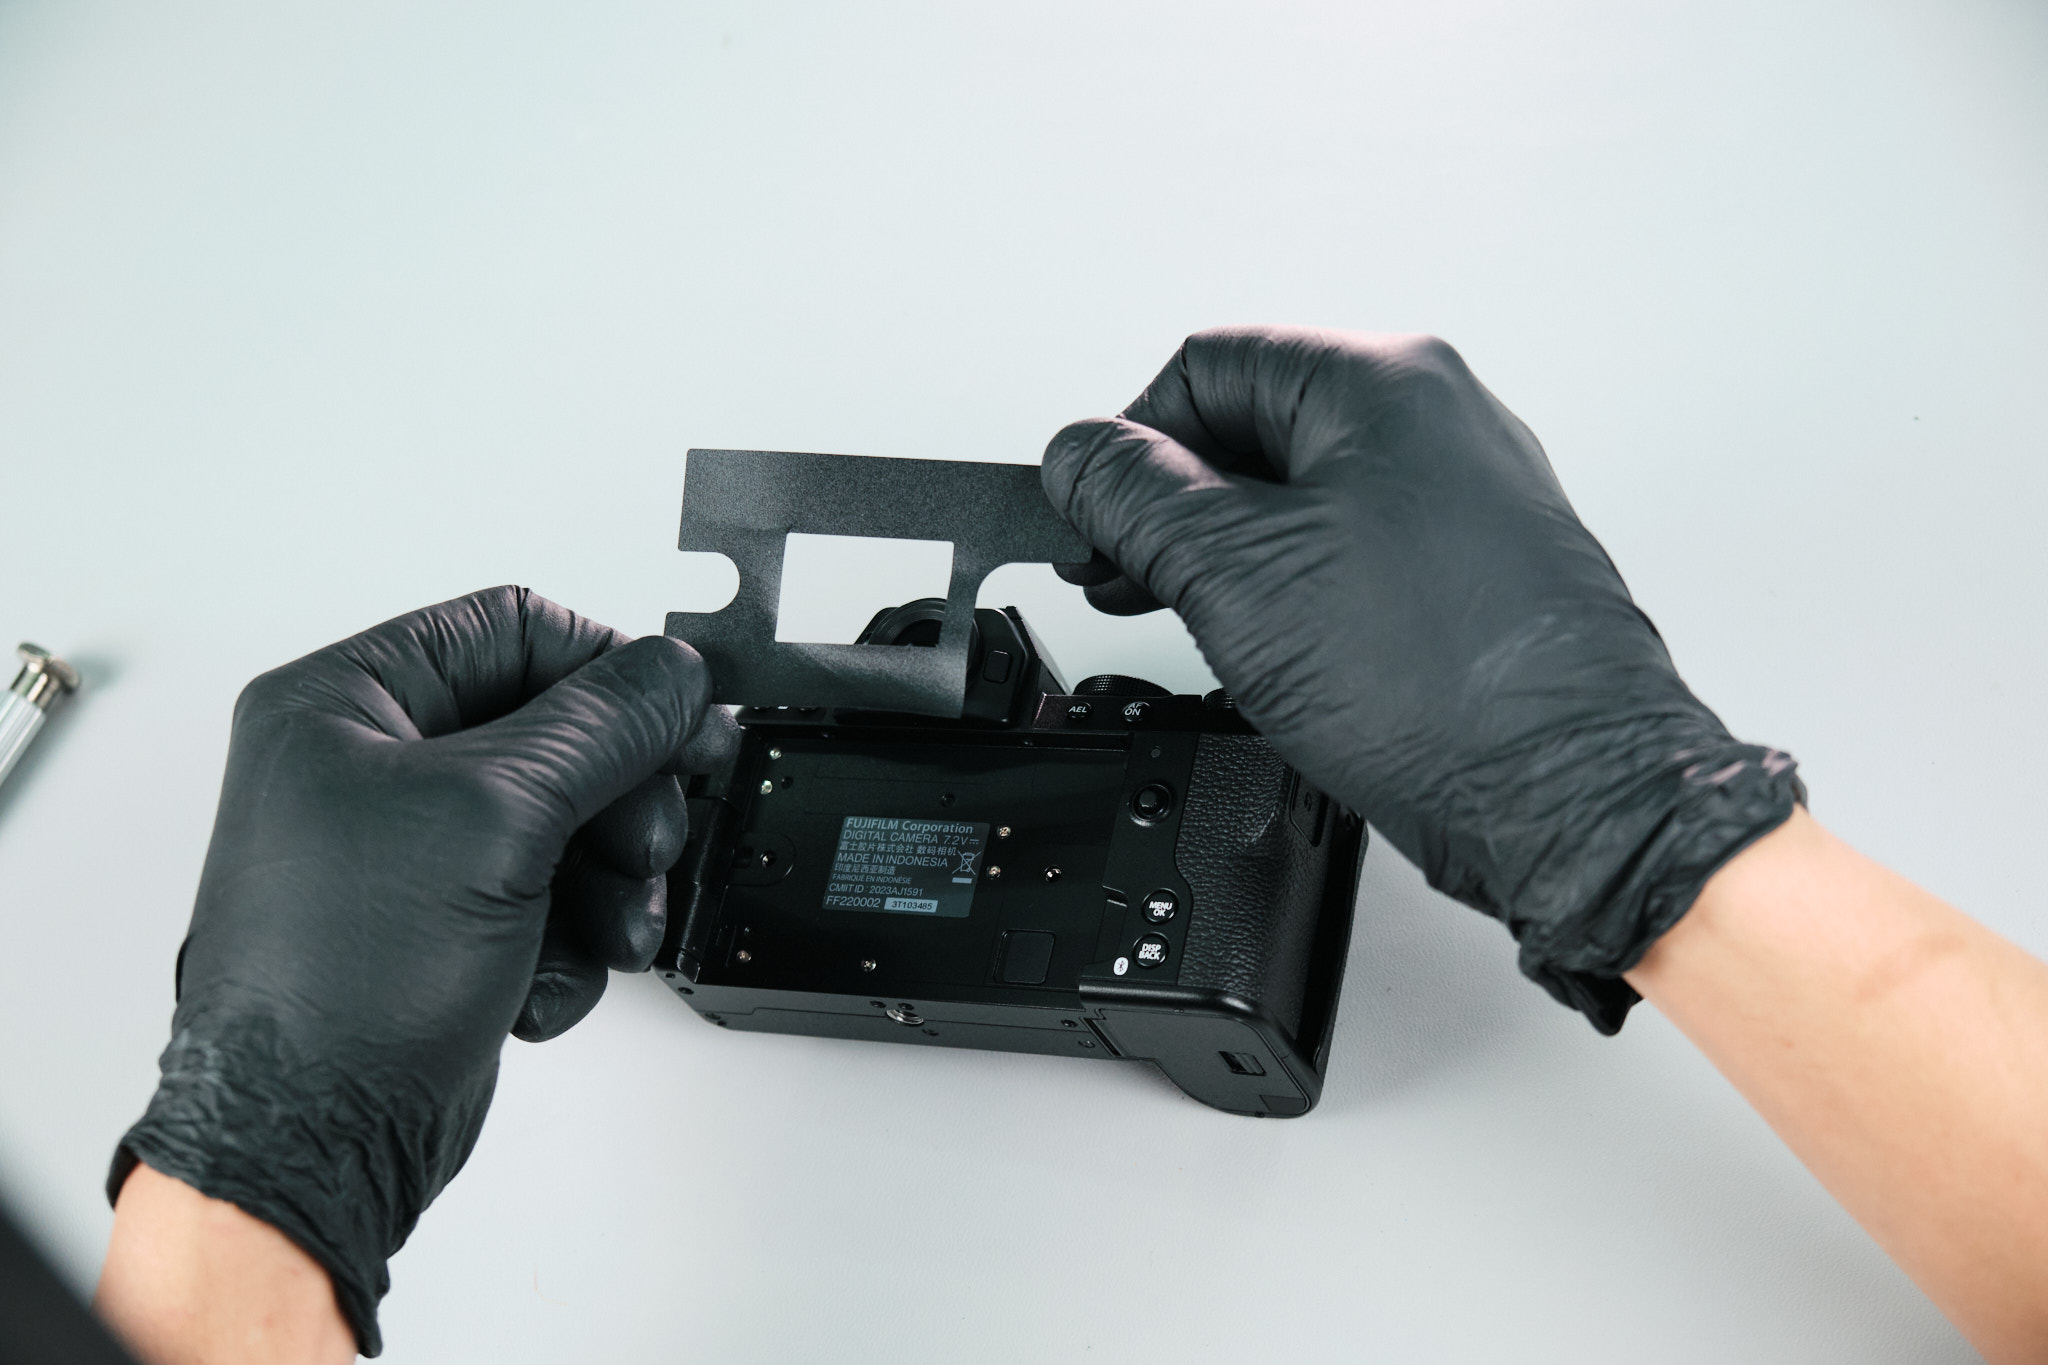
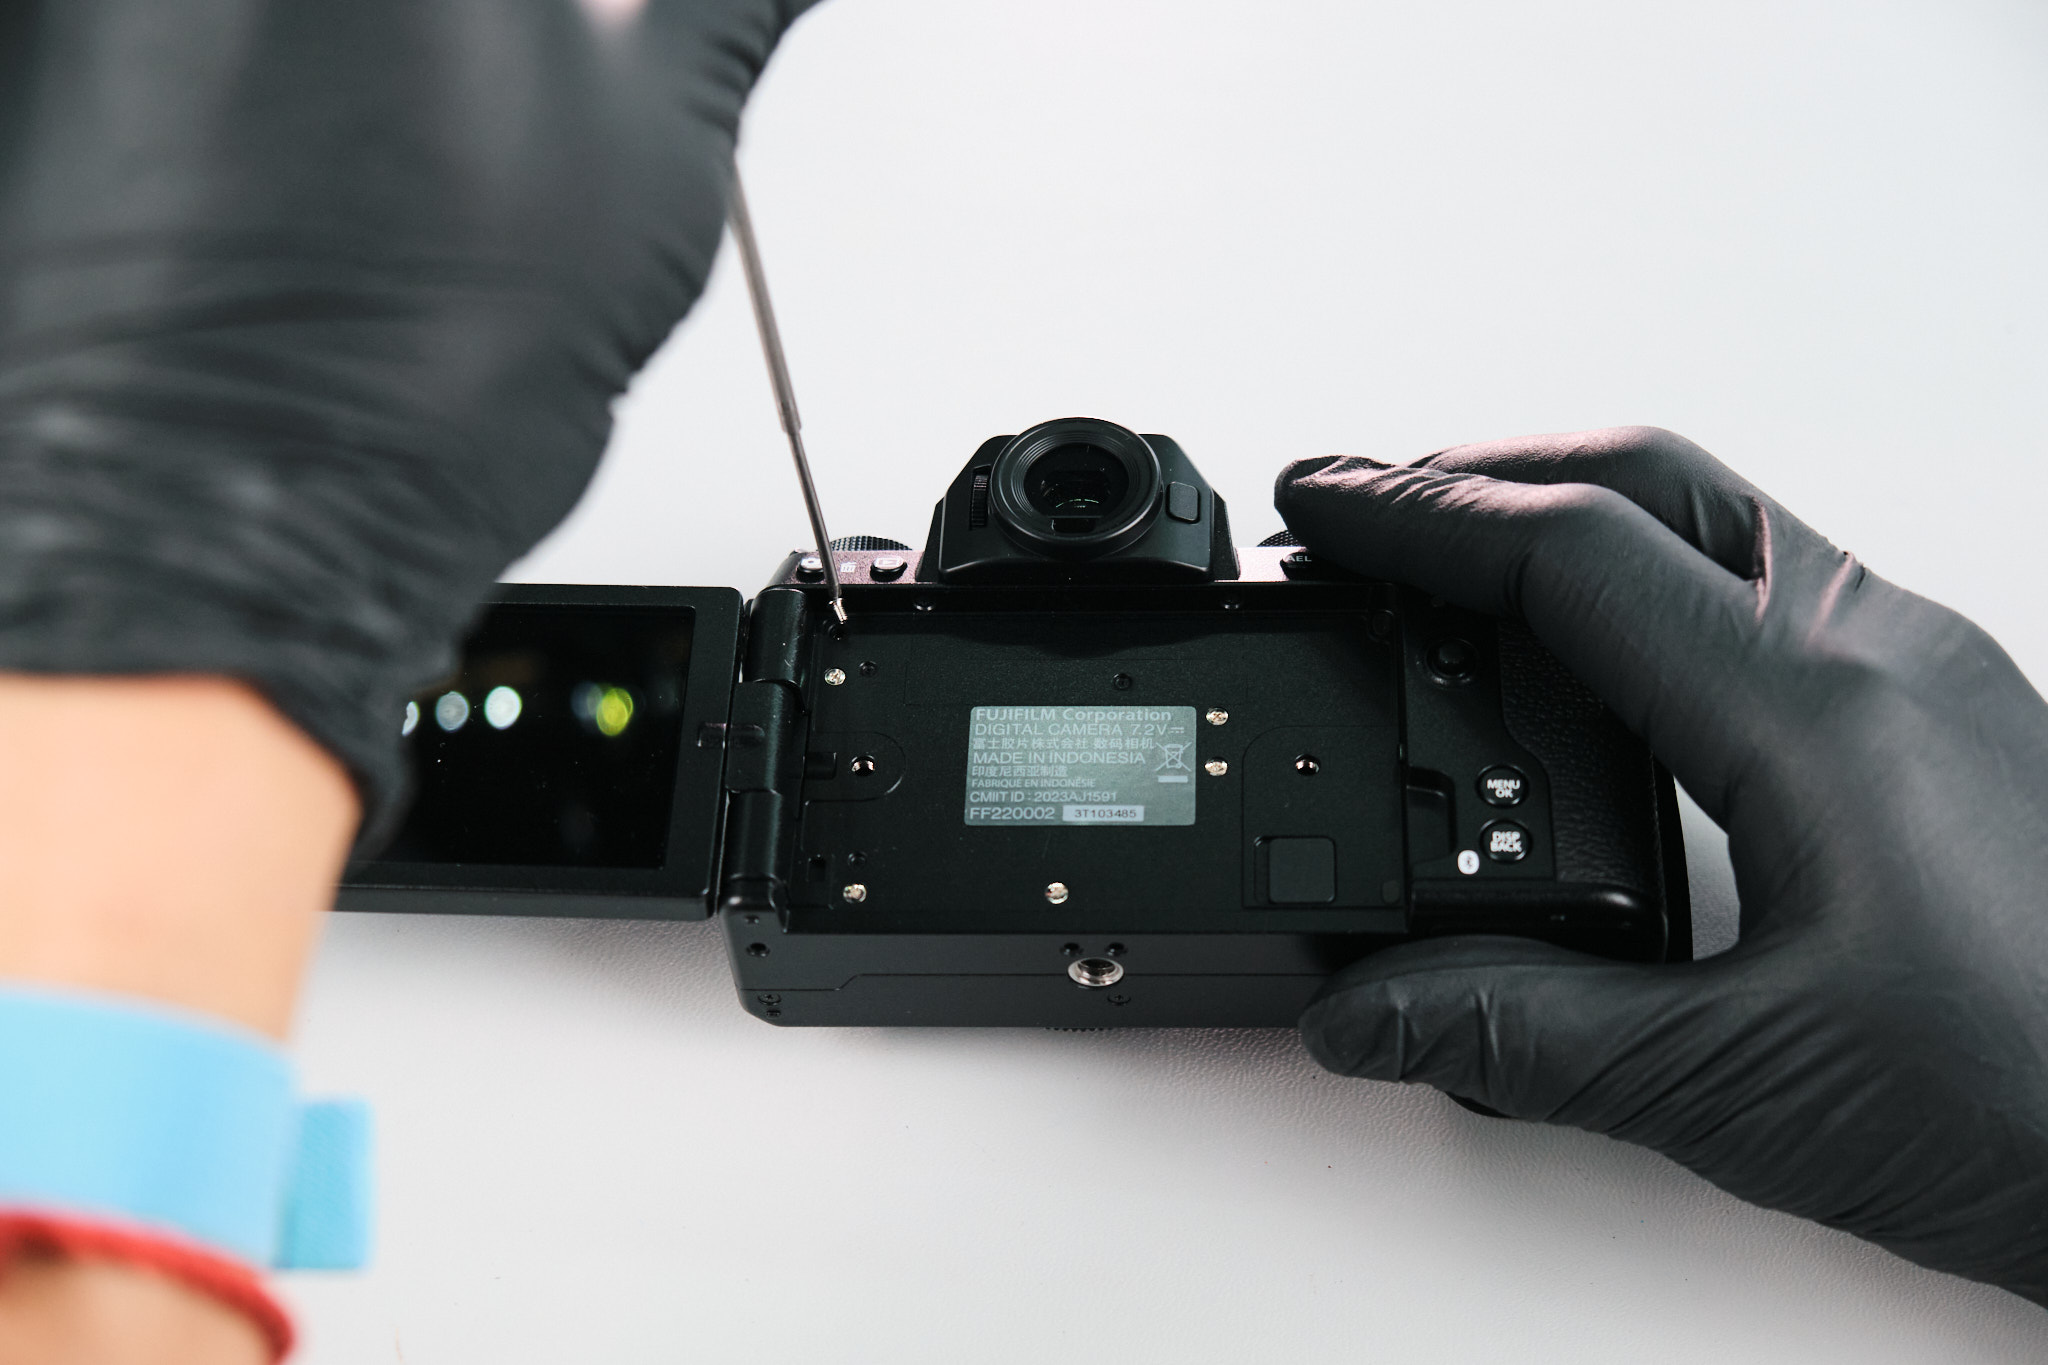
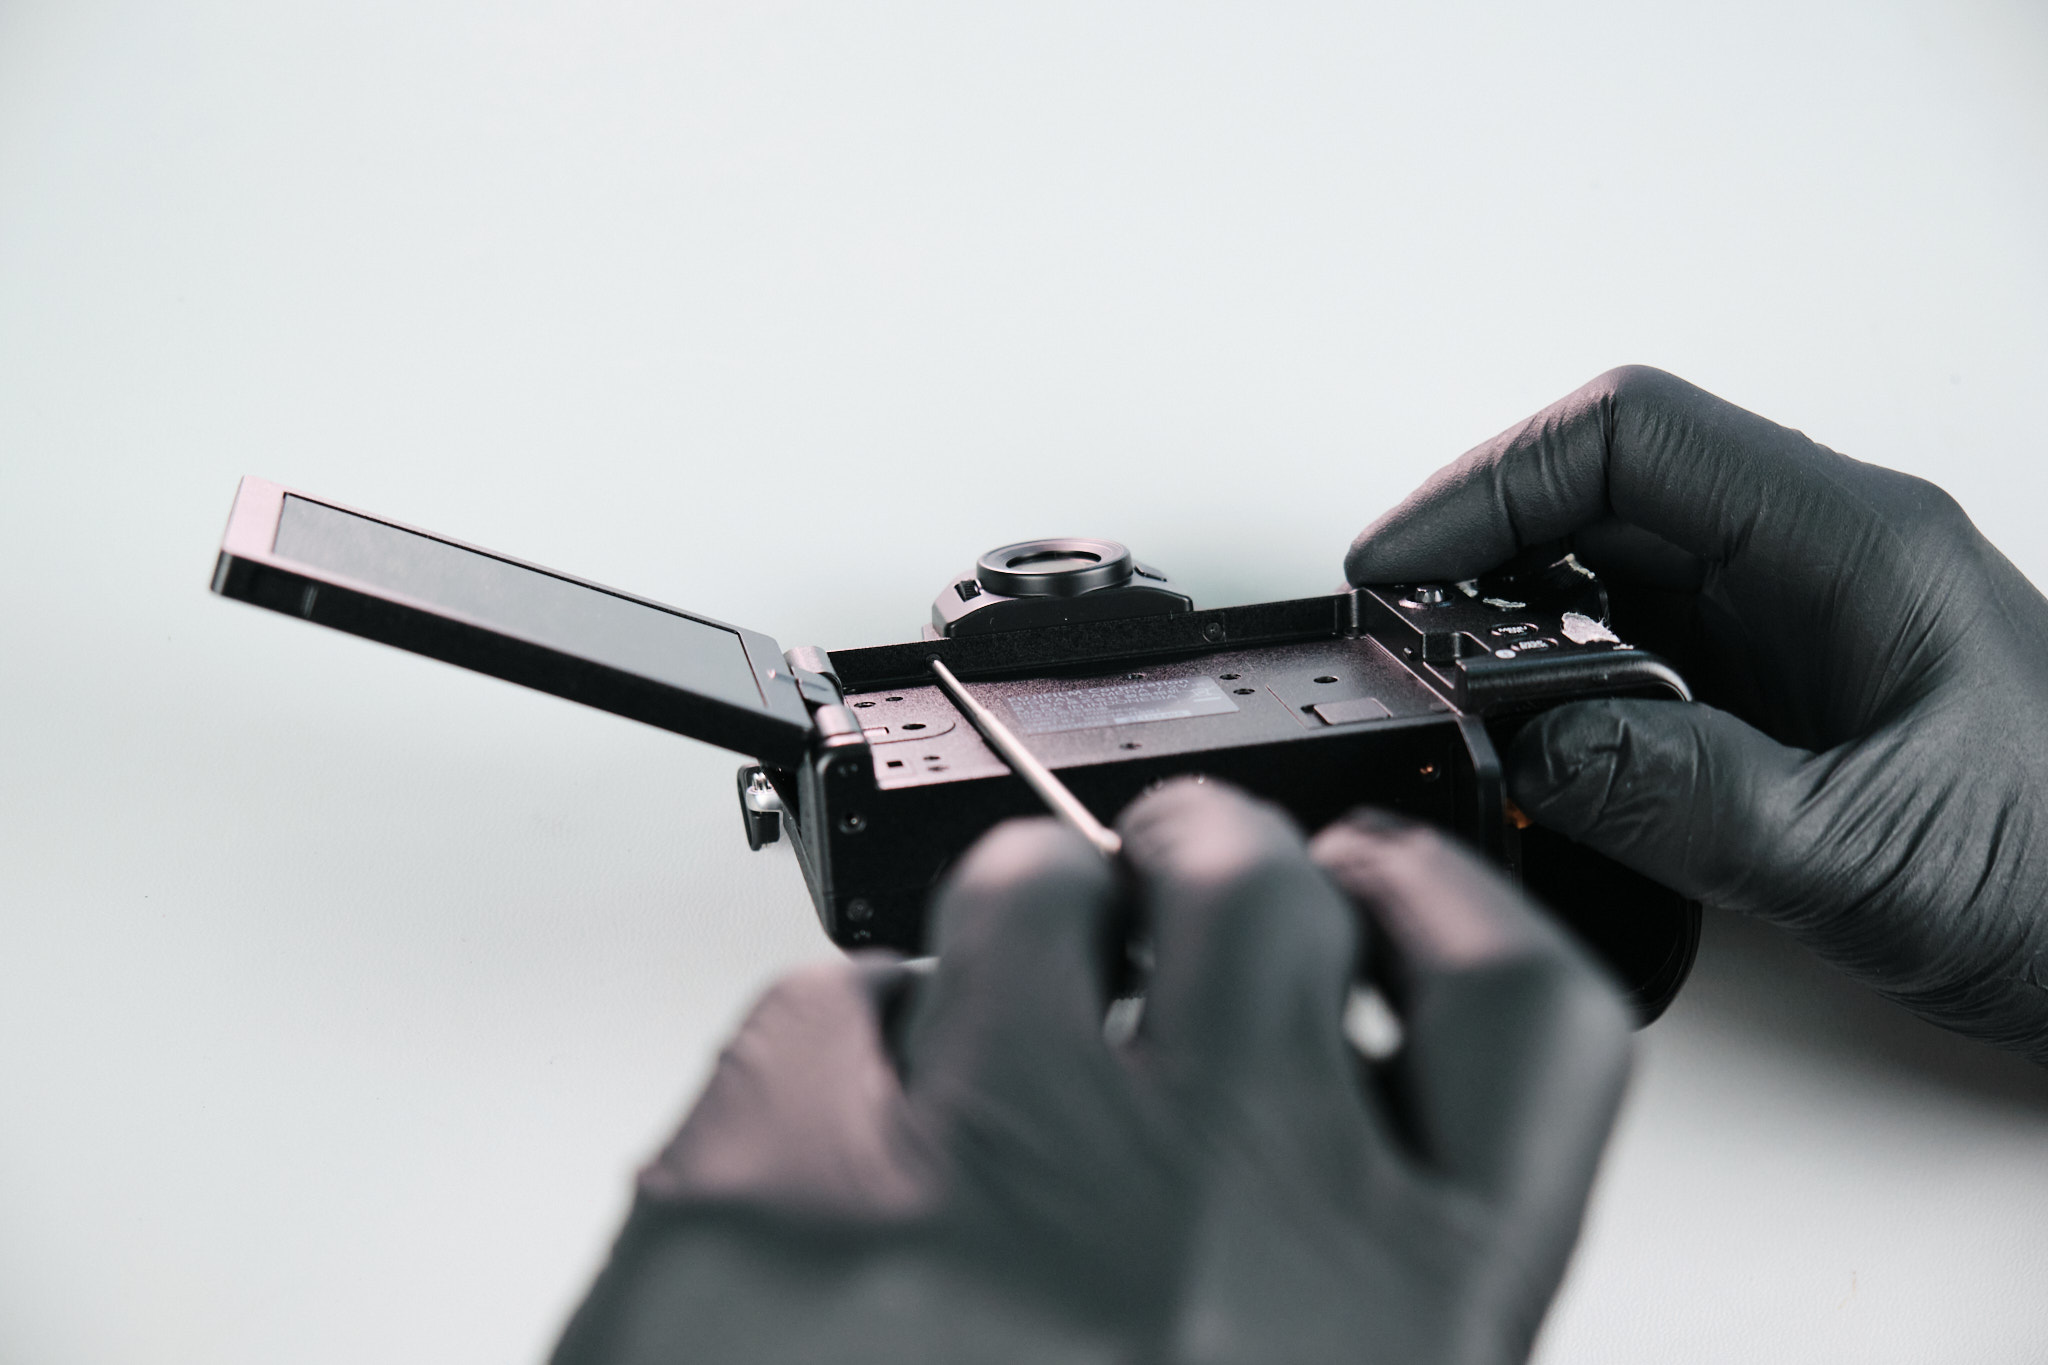
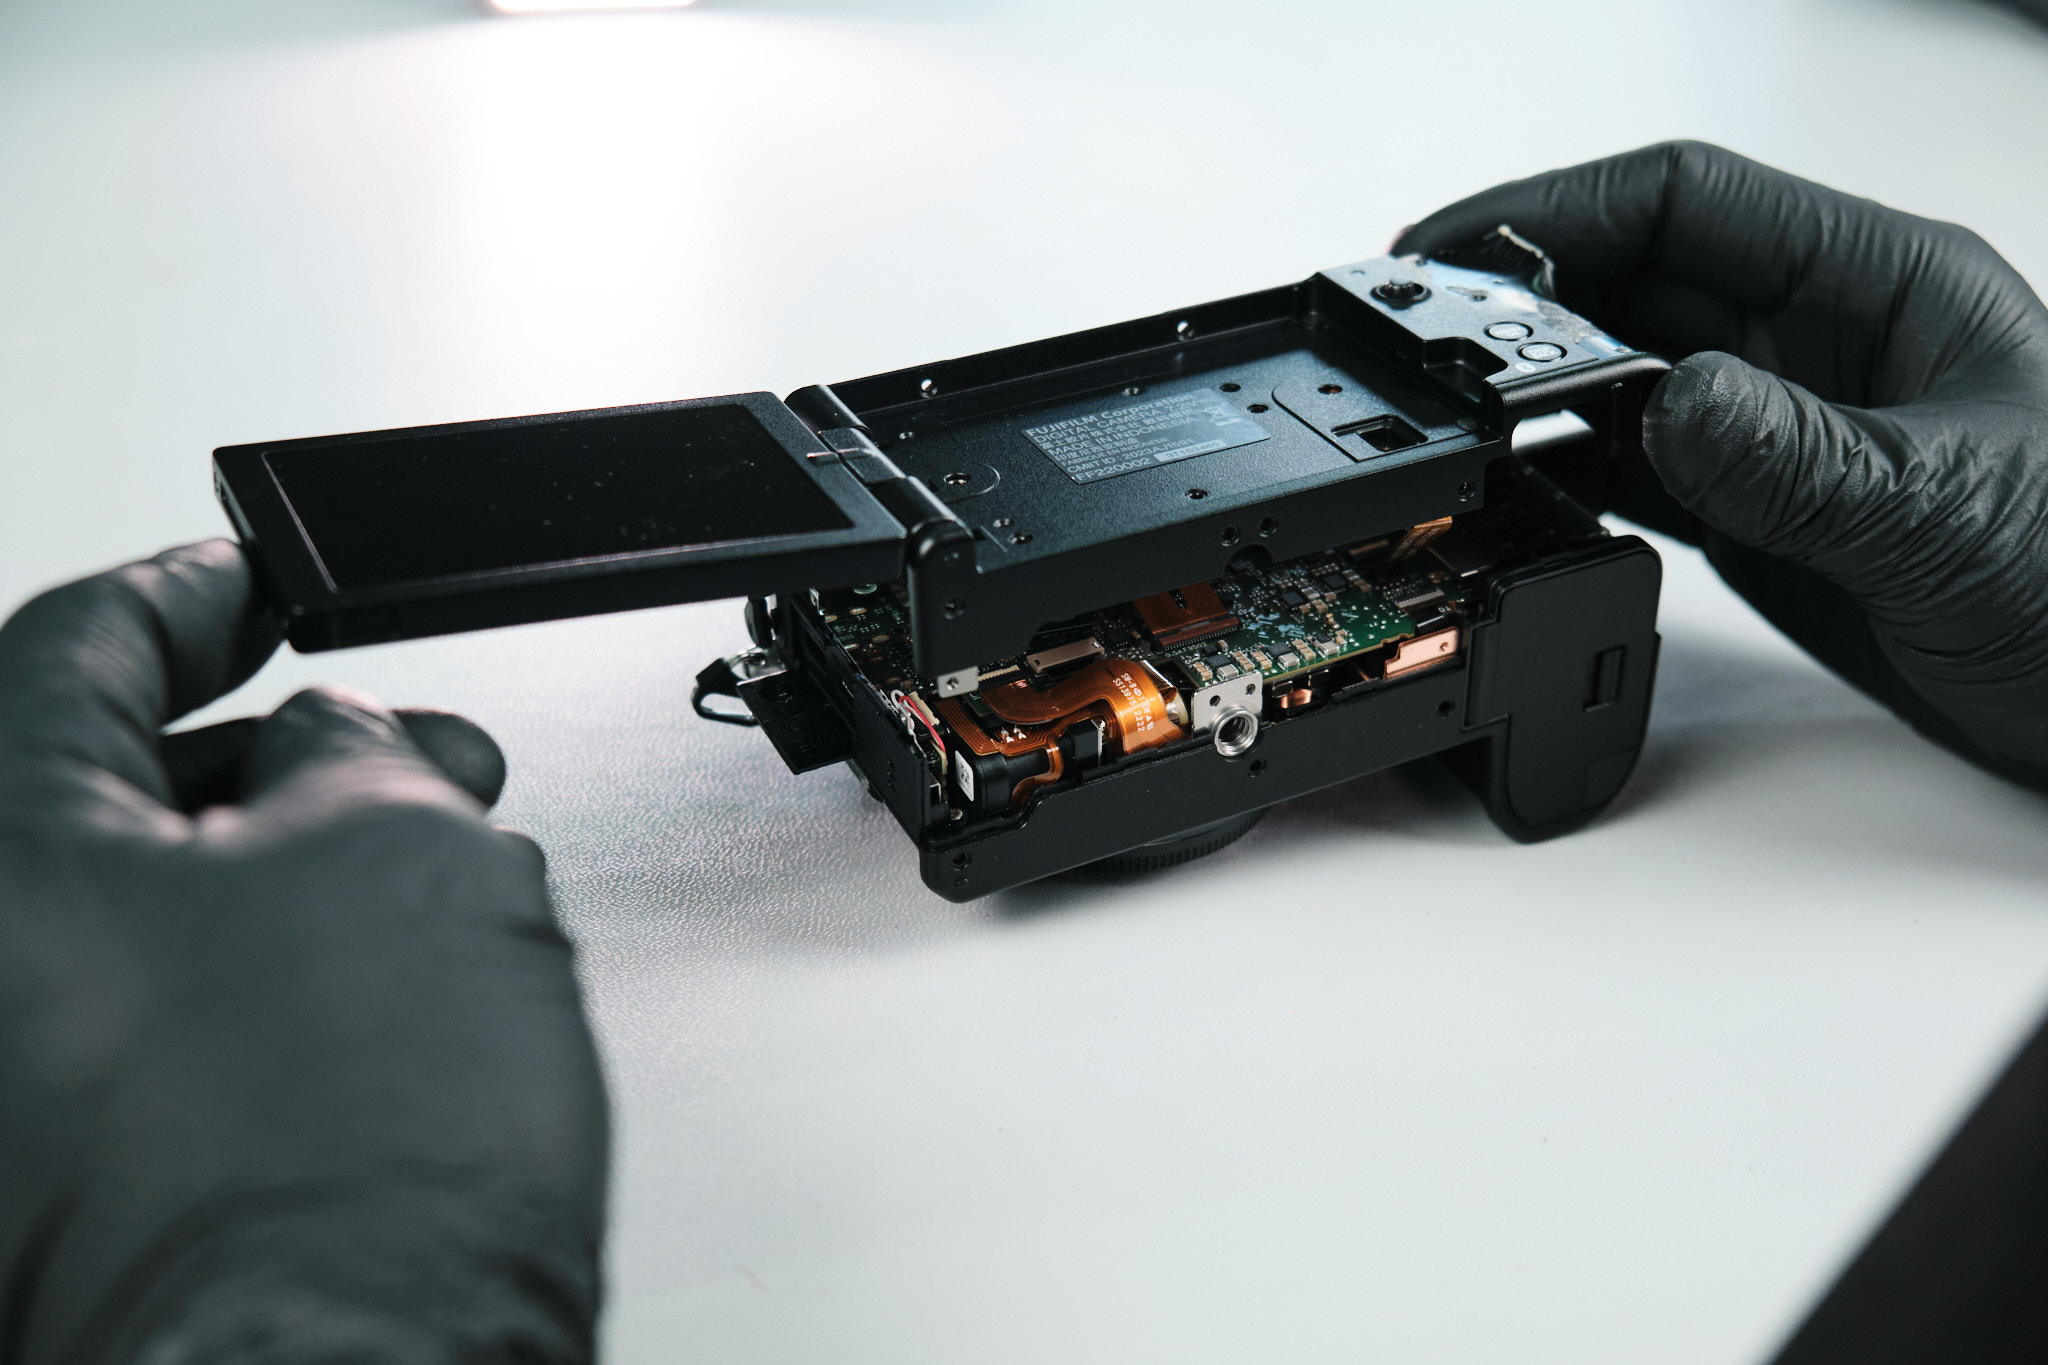
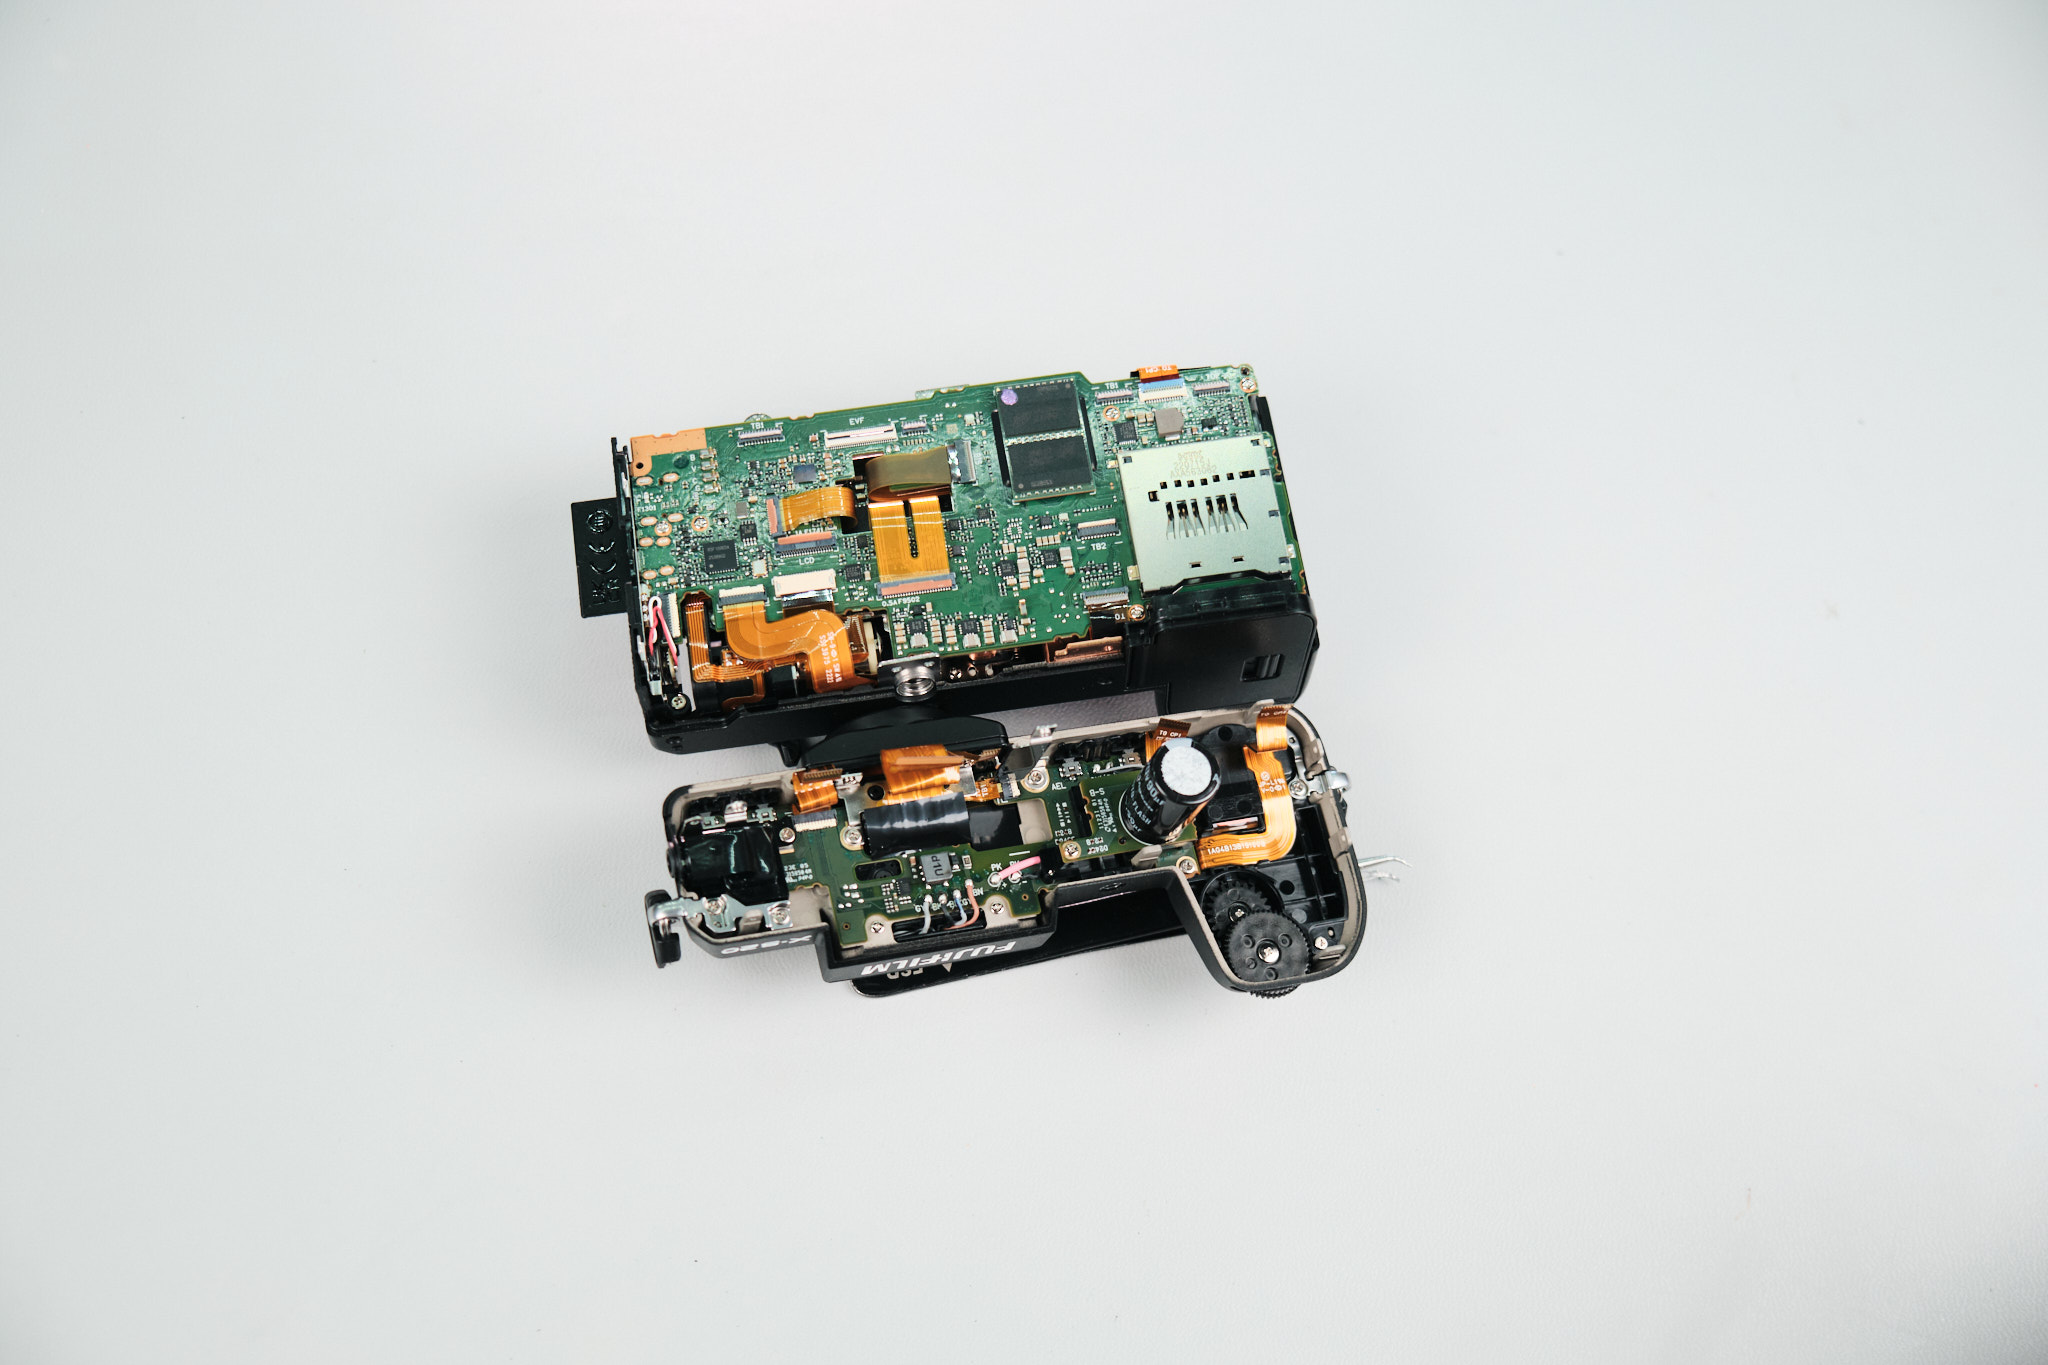
The rear panel wouldn’t come off despite removing all the screws. Until we realized the panel was held together by clips. So, we inserted tweezers in two slots to release the first two L clips. After a bit more wiggling, the remaining L clips were dismounted, and the rear panel came off.
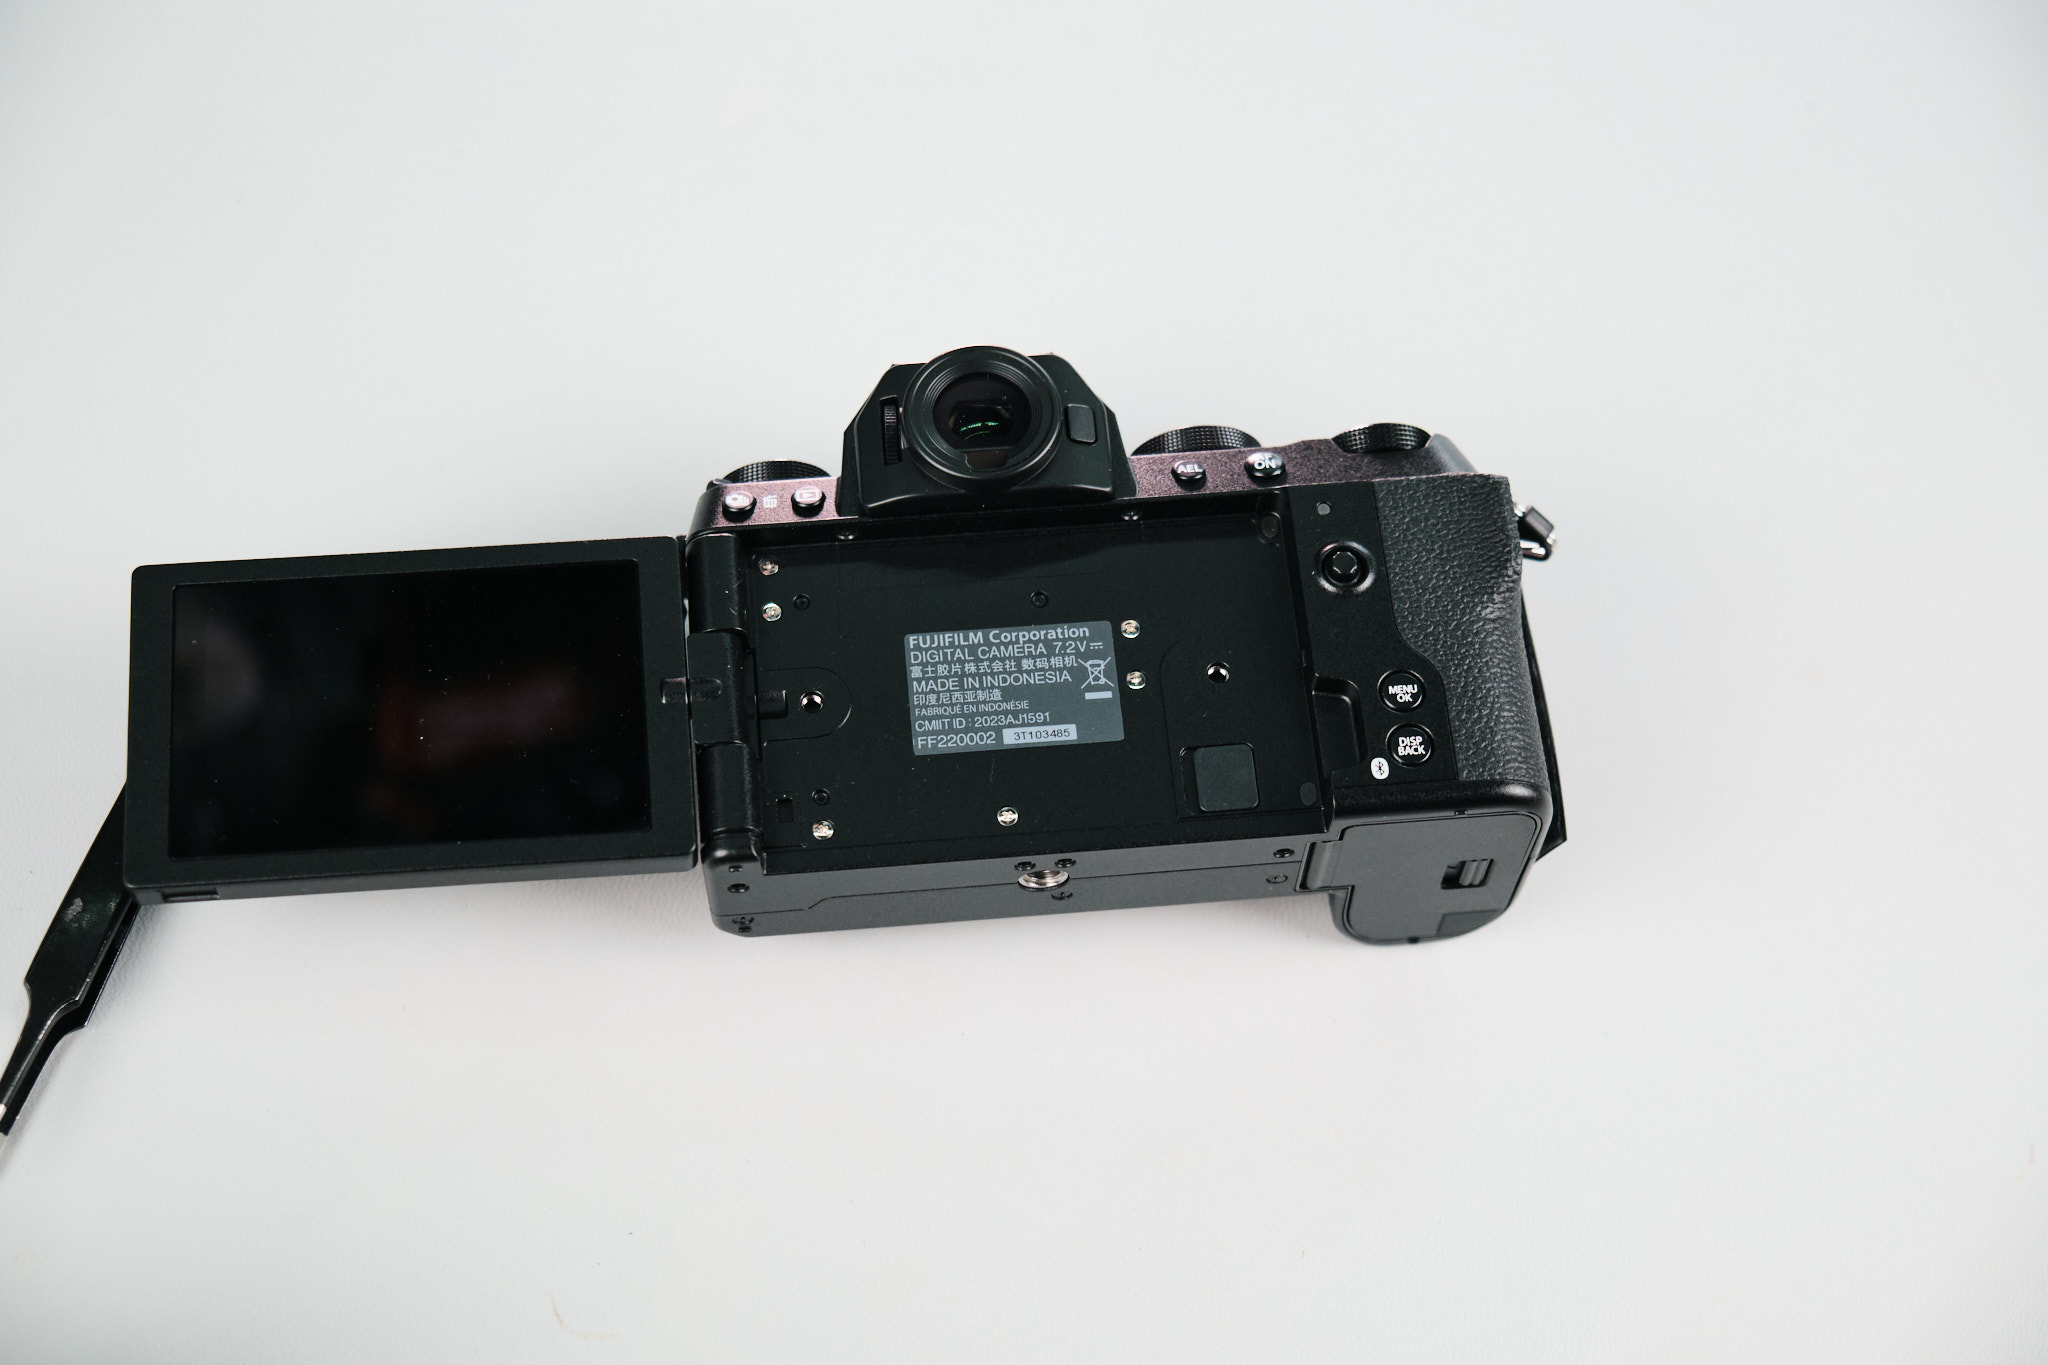
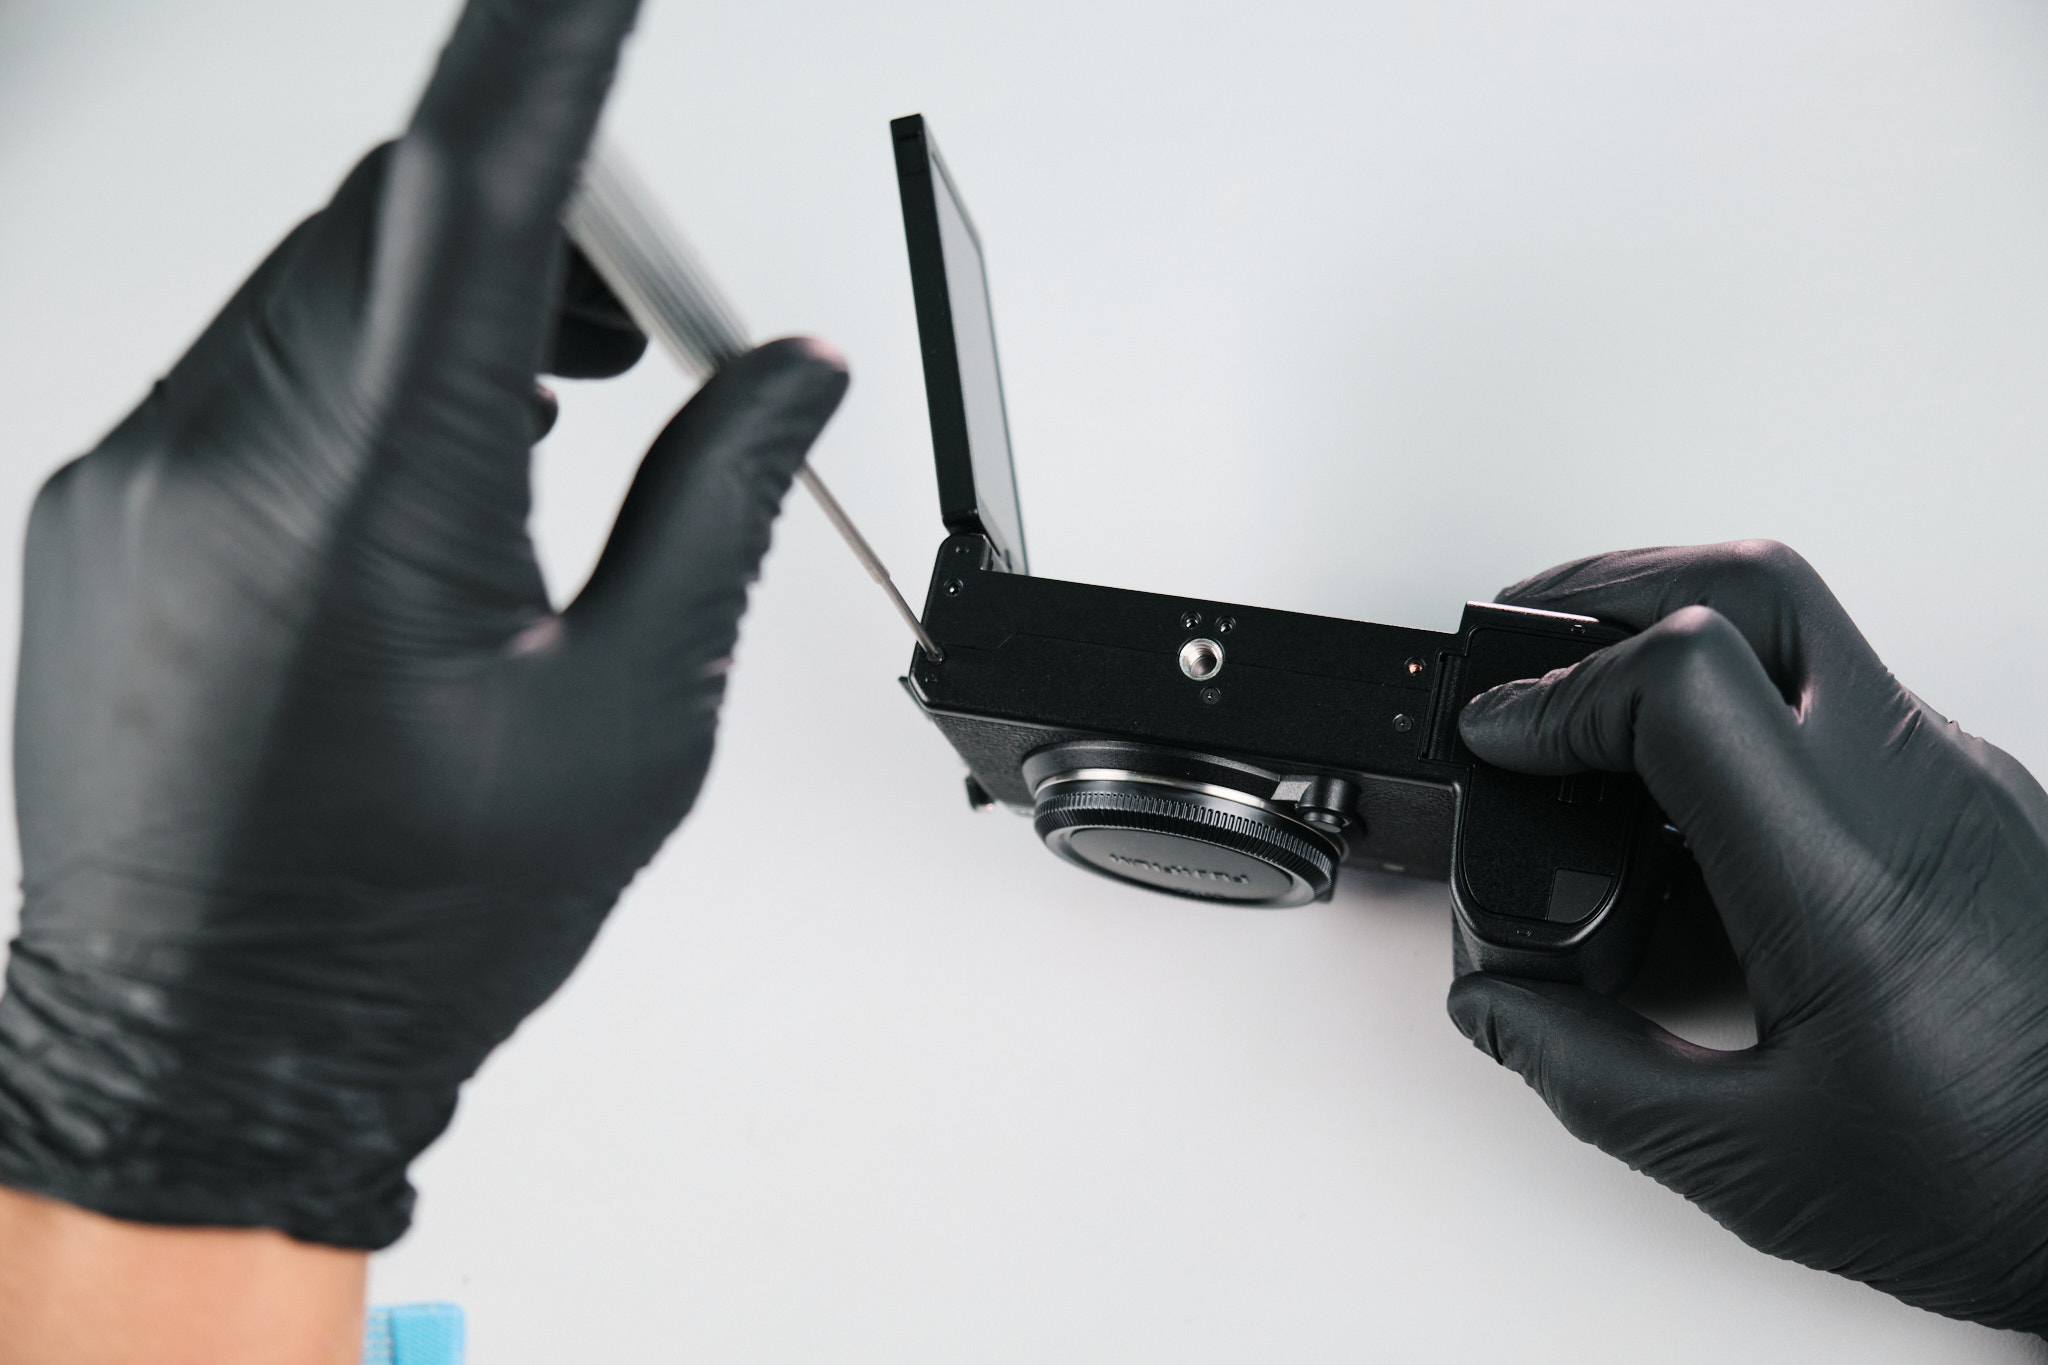
Two ribbons were disconnected from the circuit board to remove the rear panel completely.
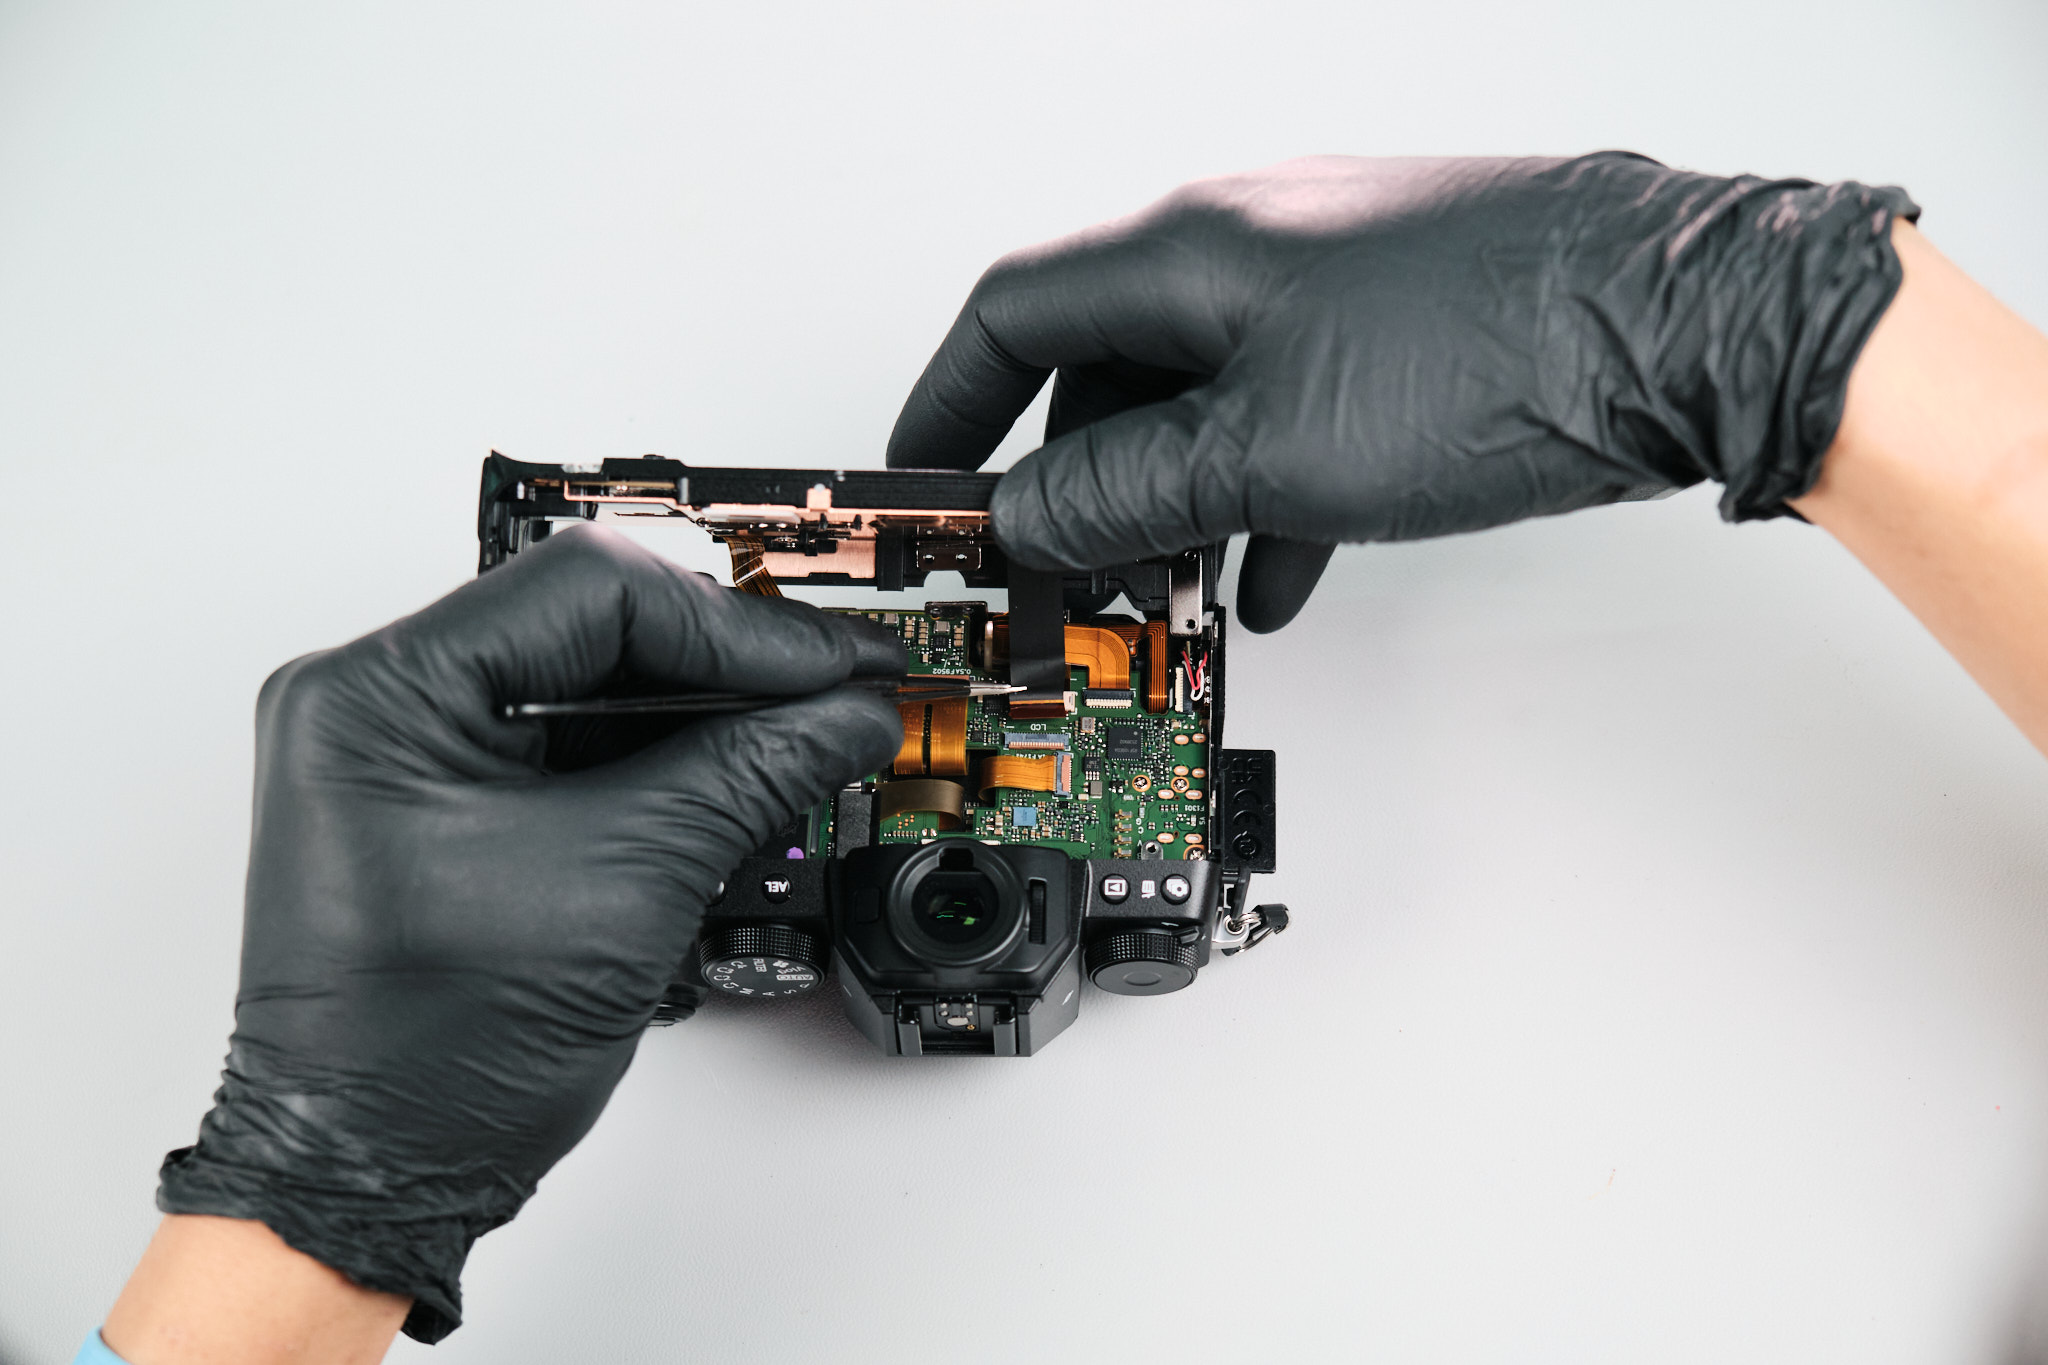
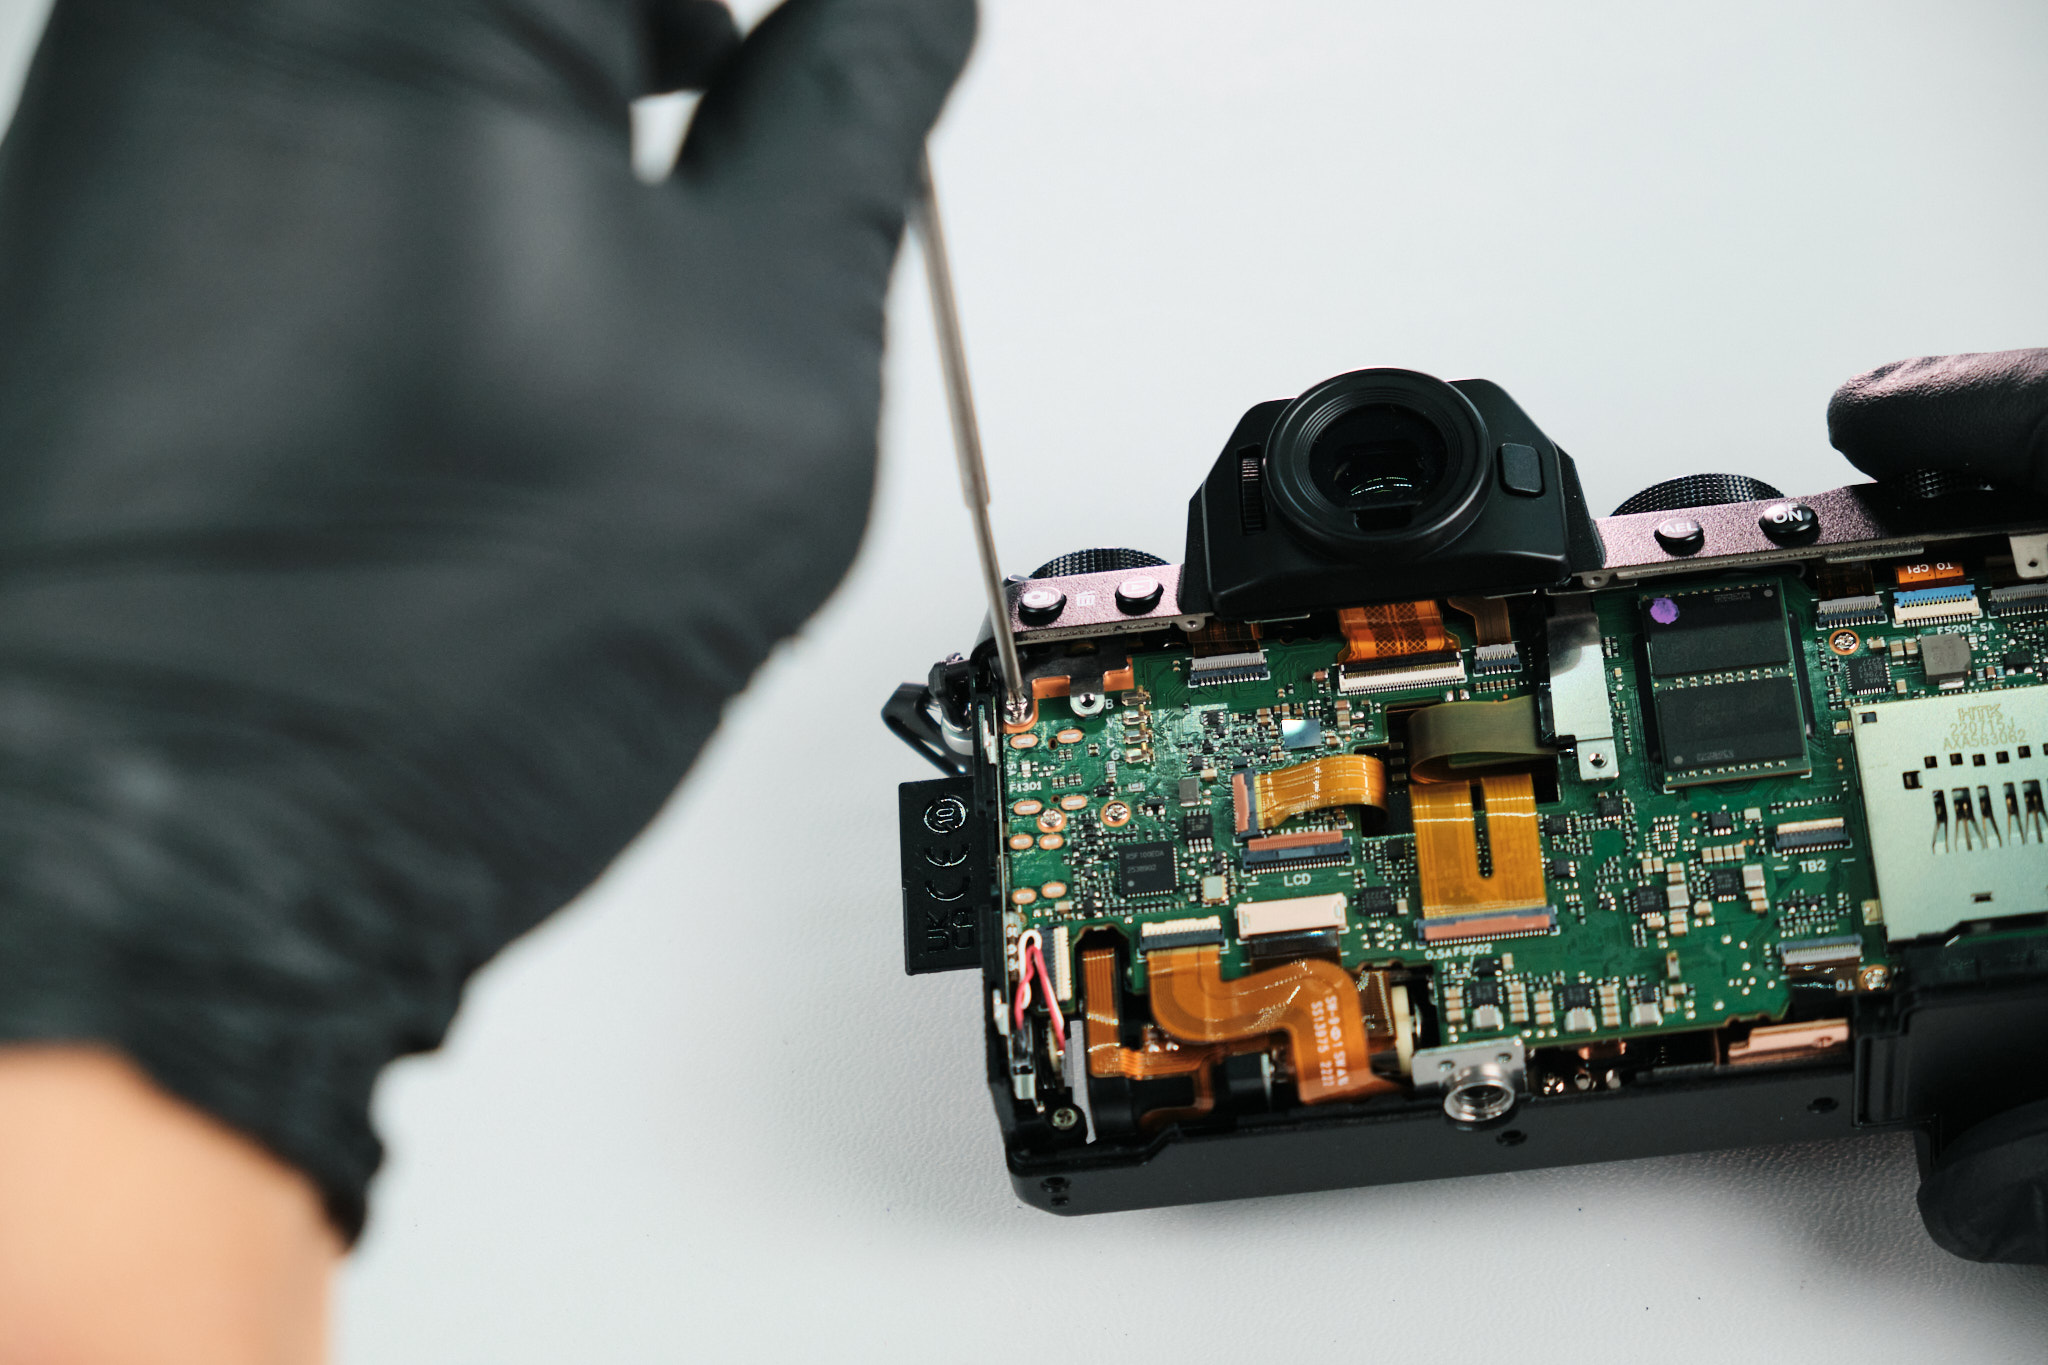
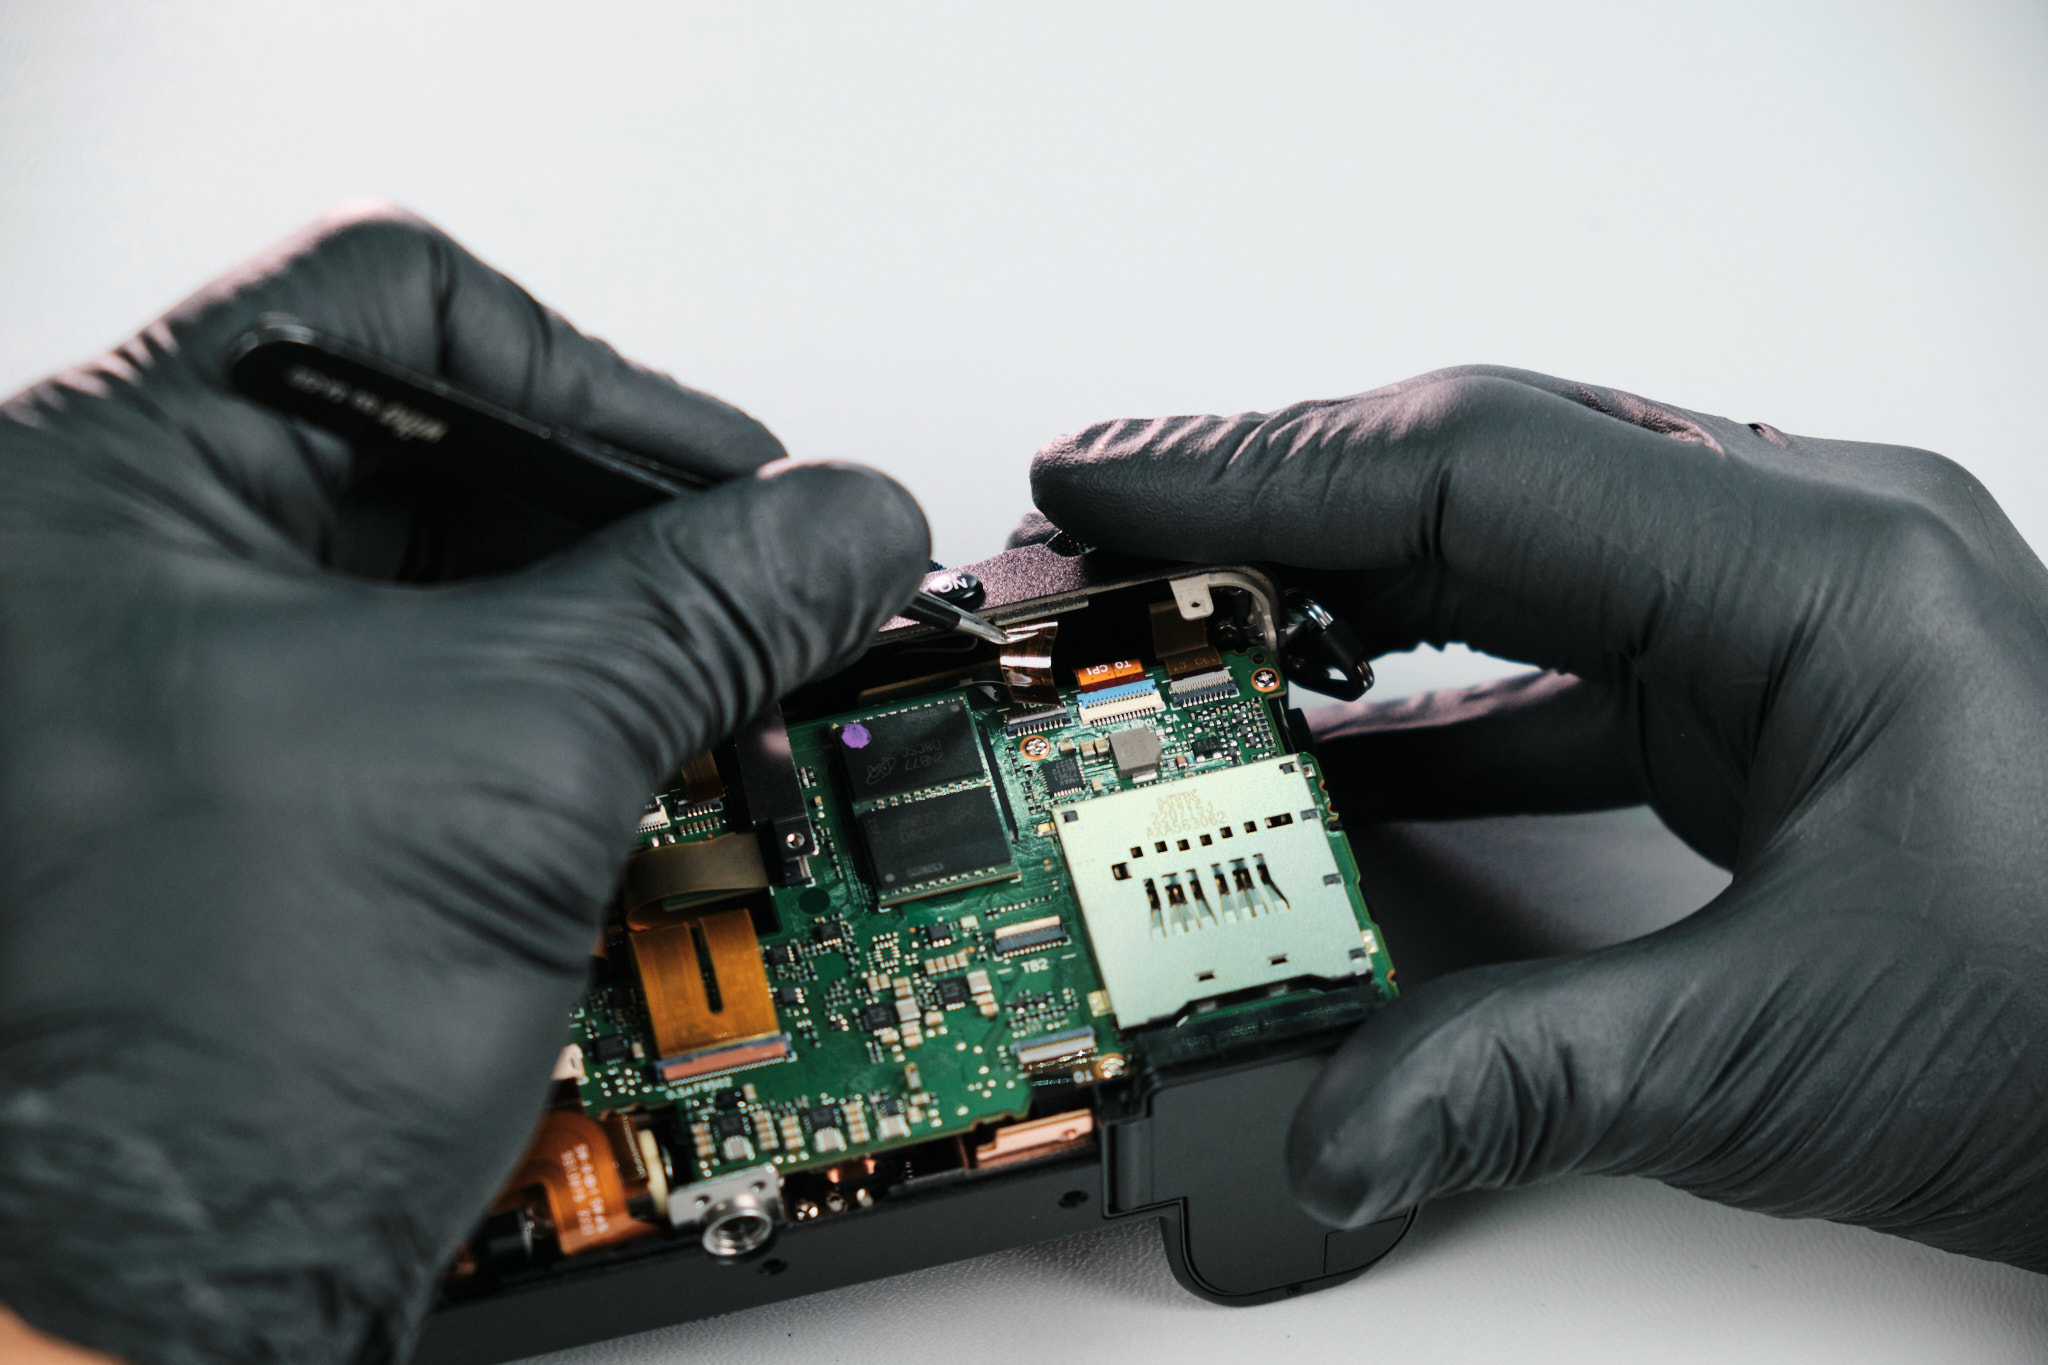
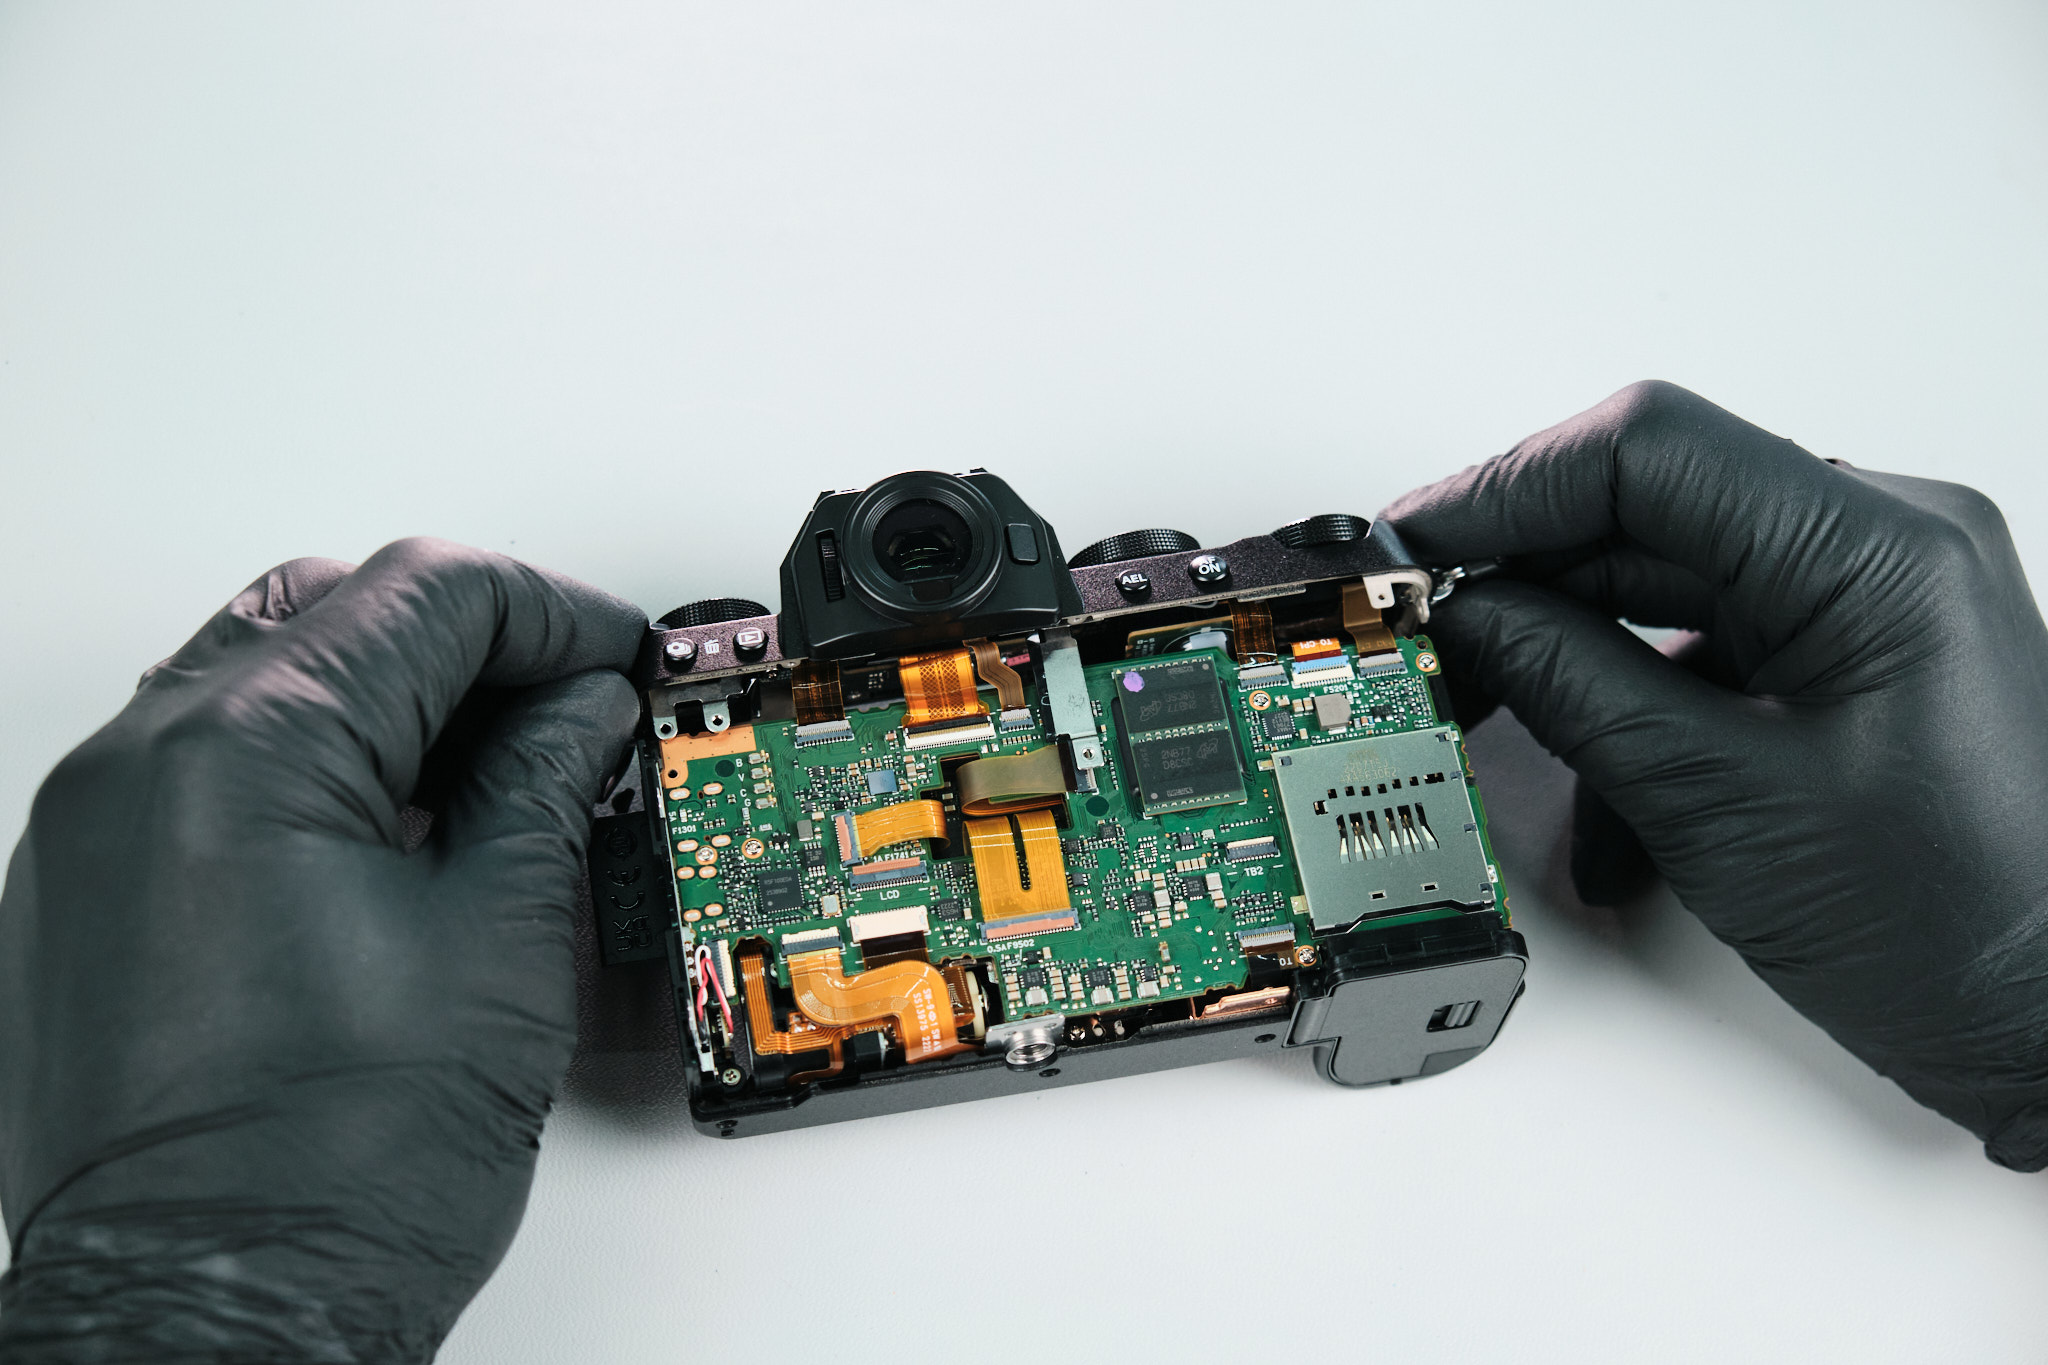
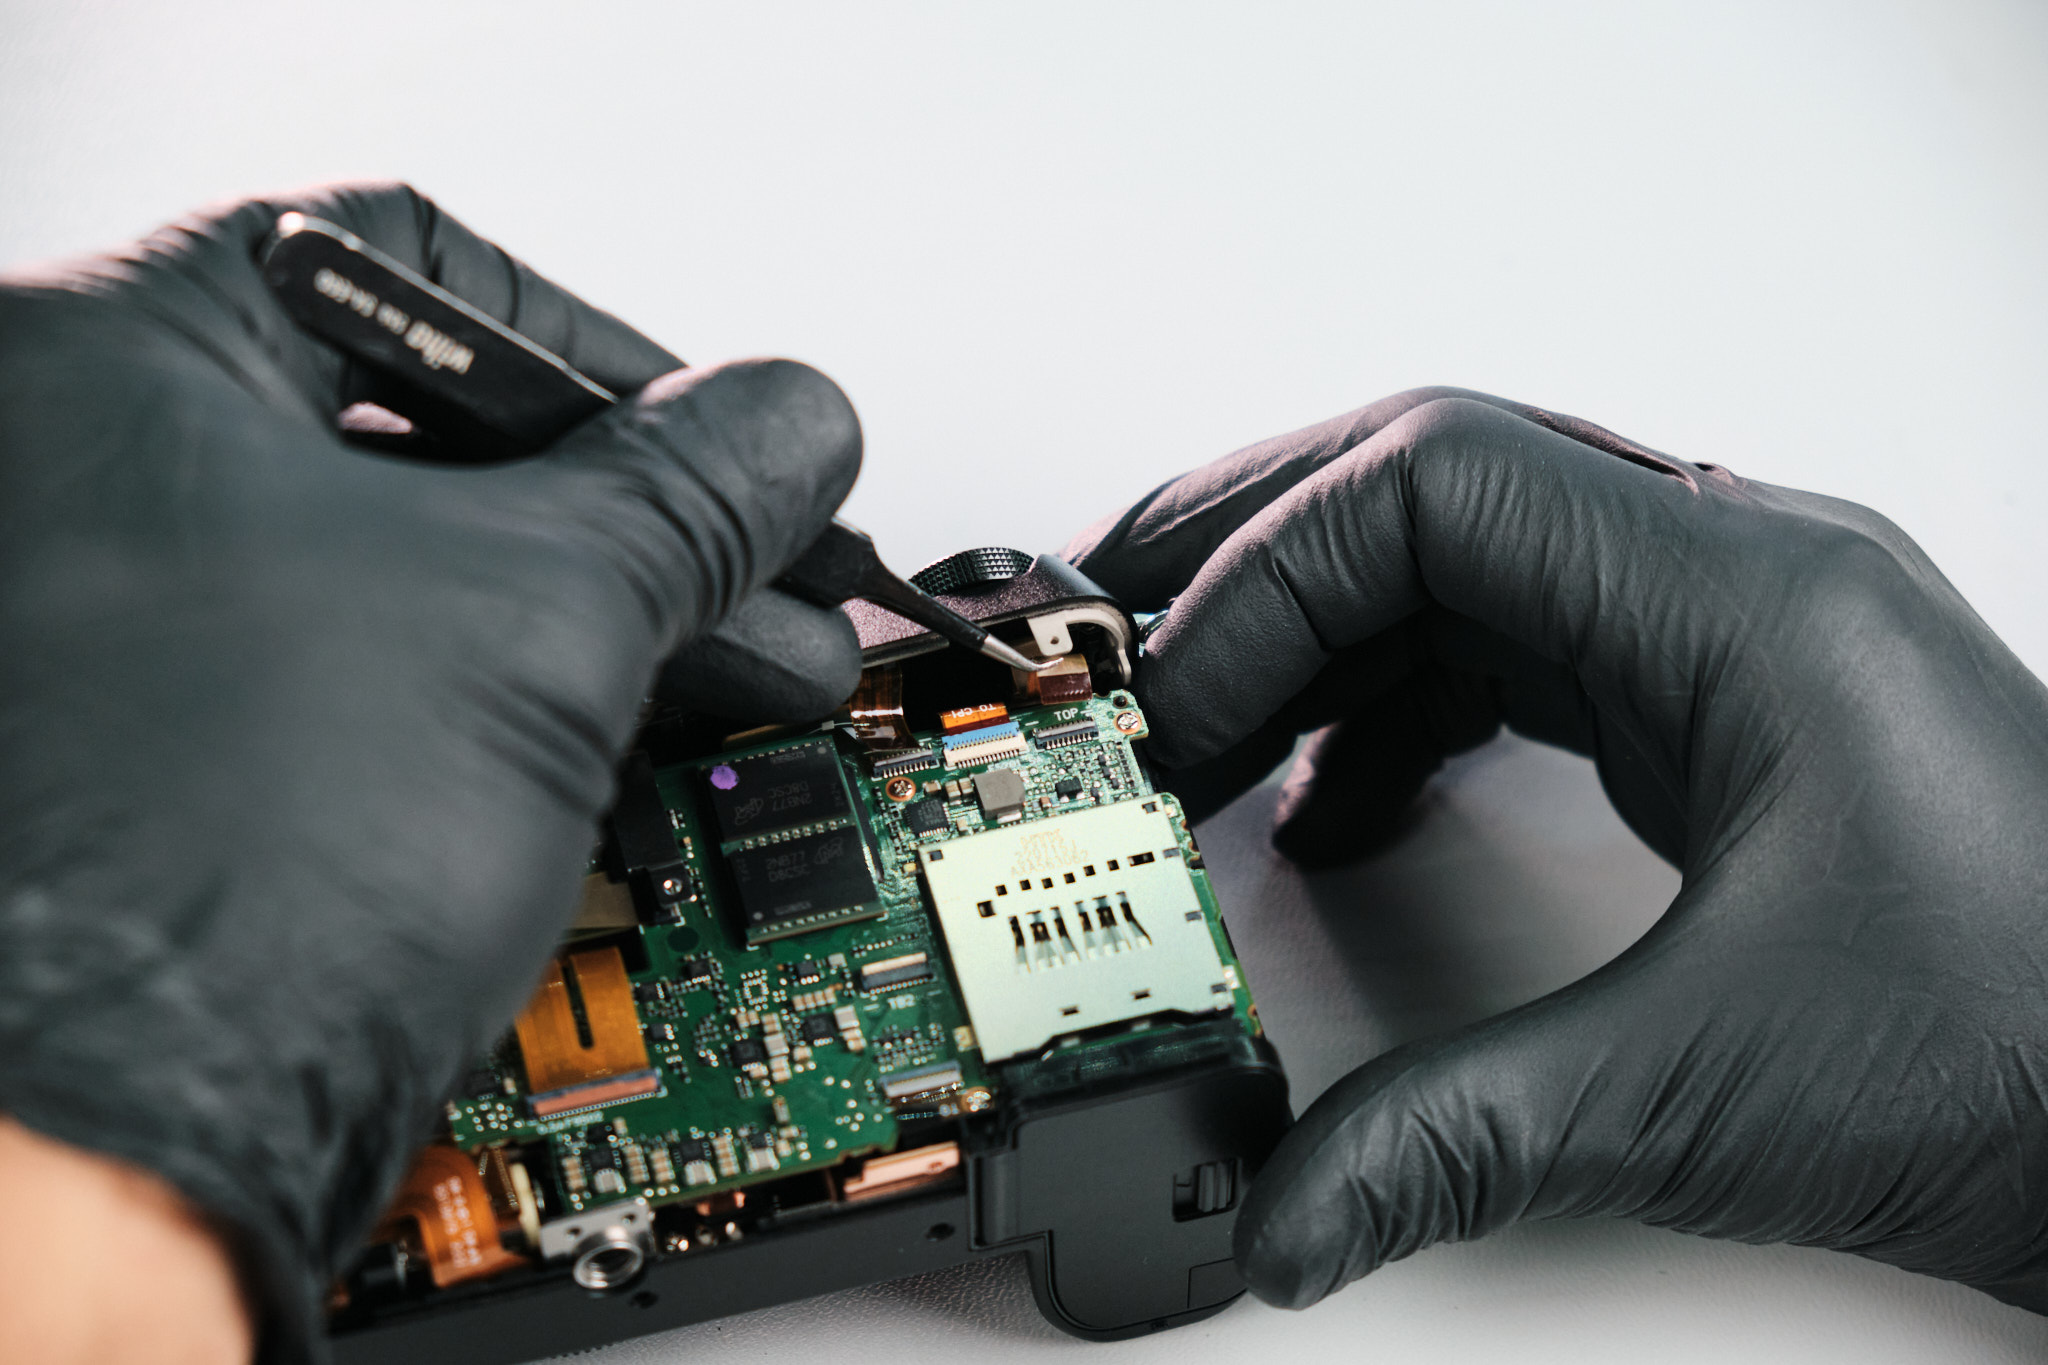
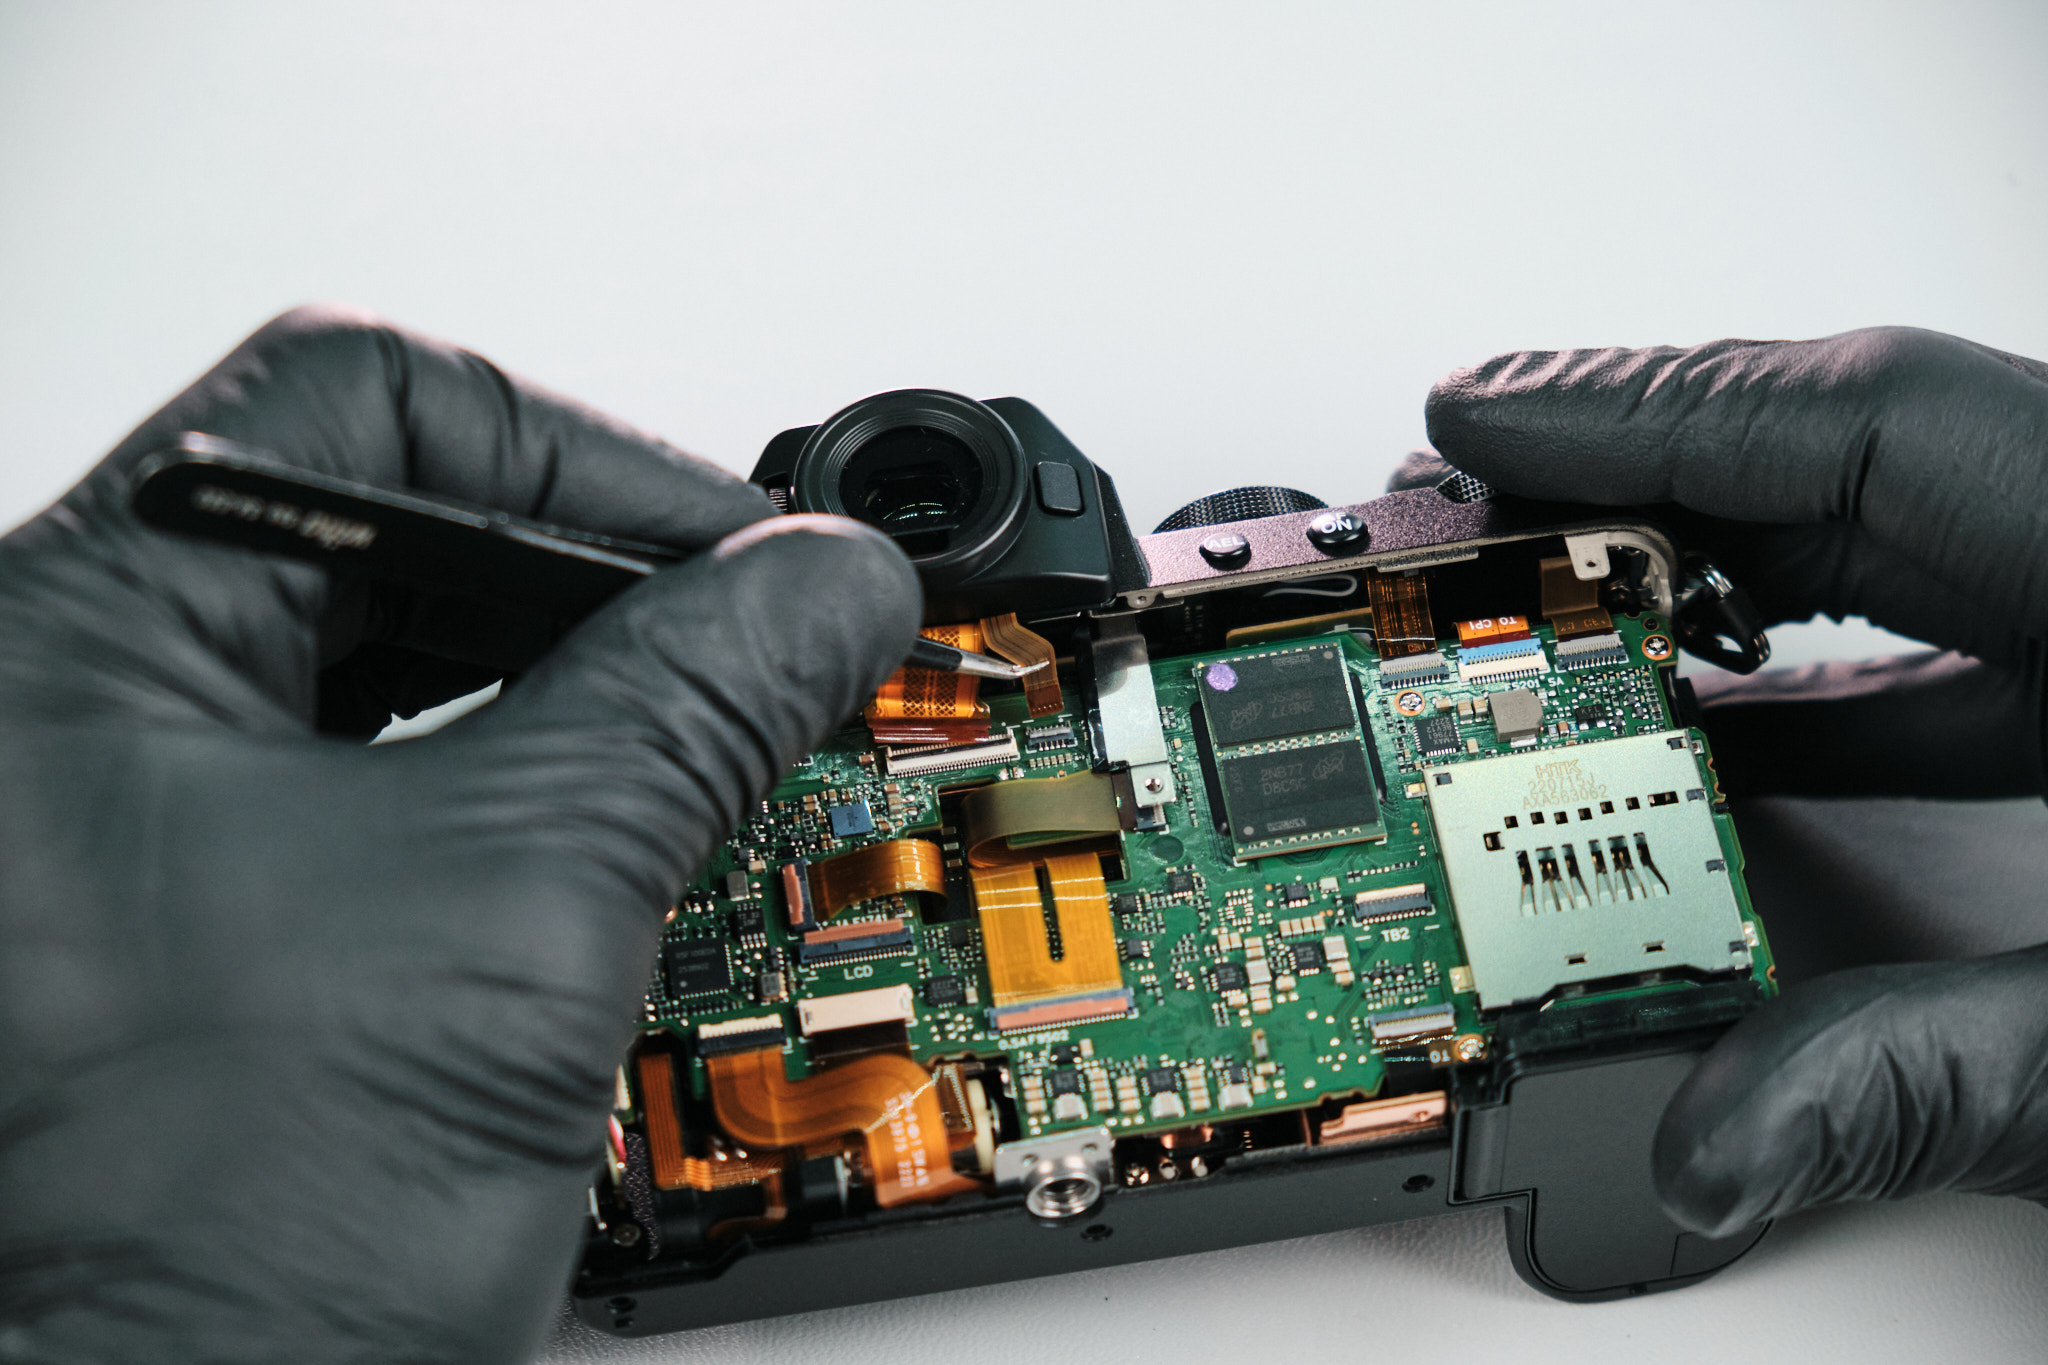
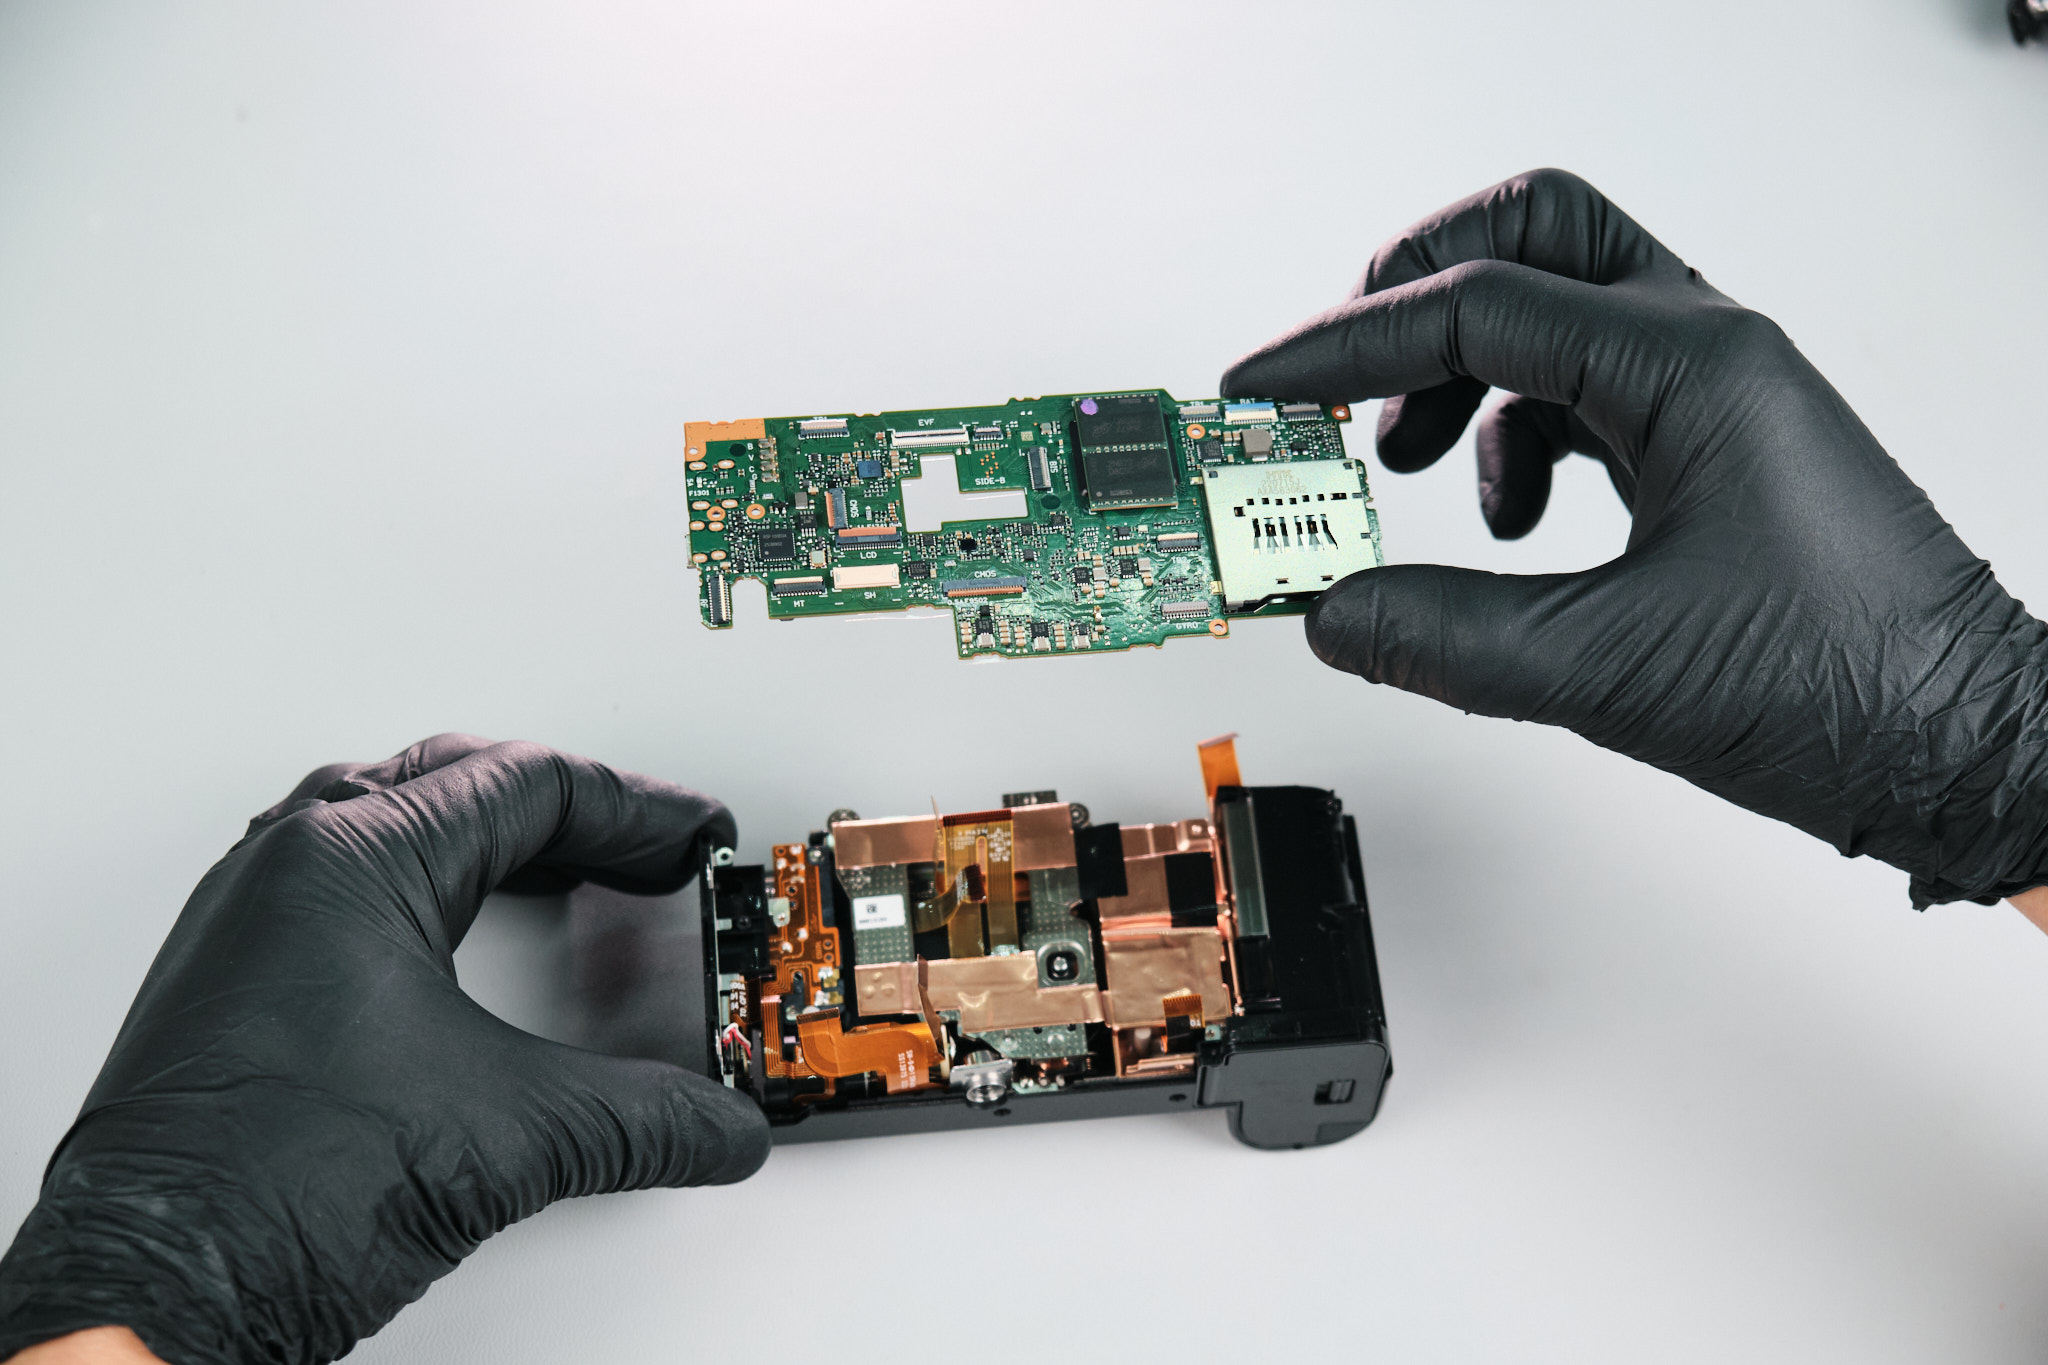
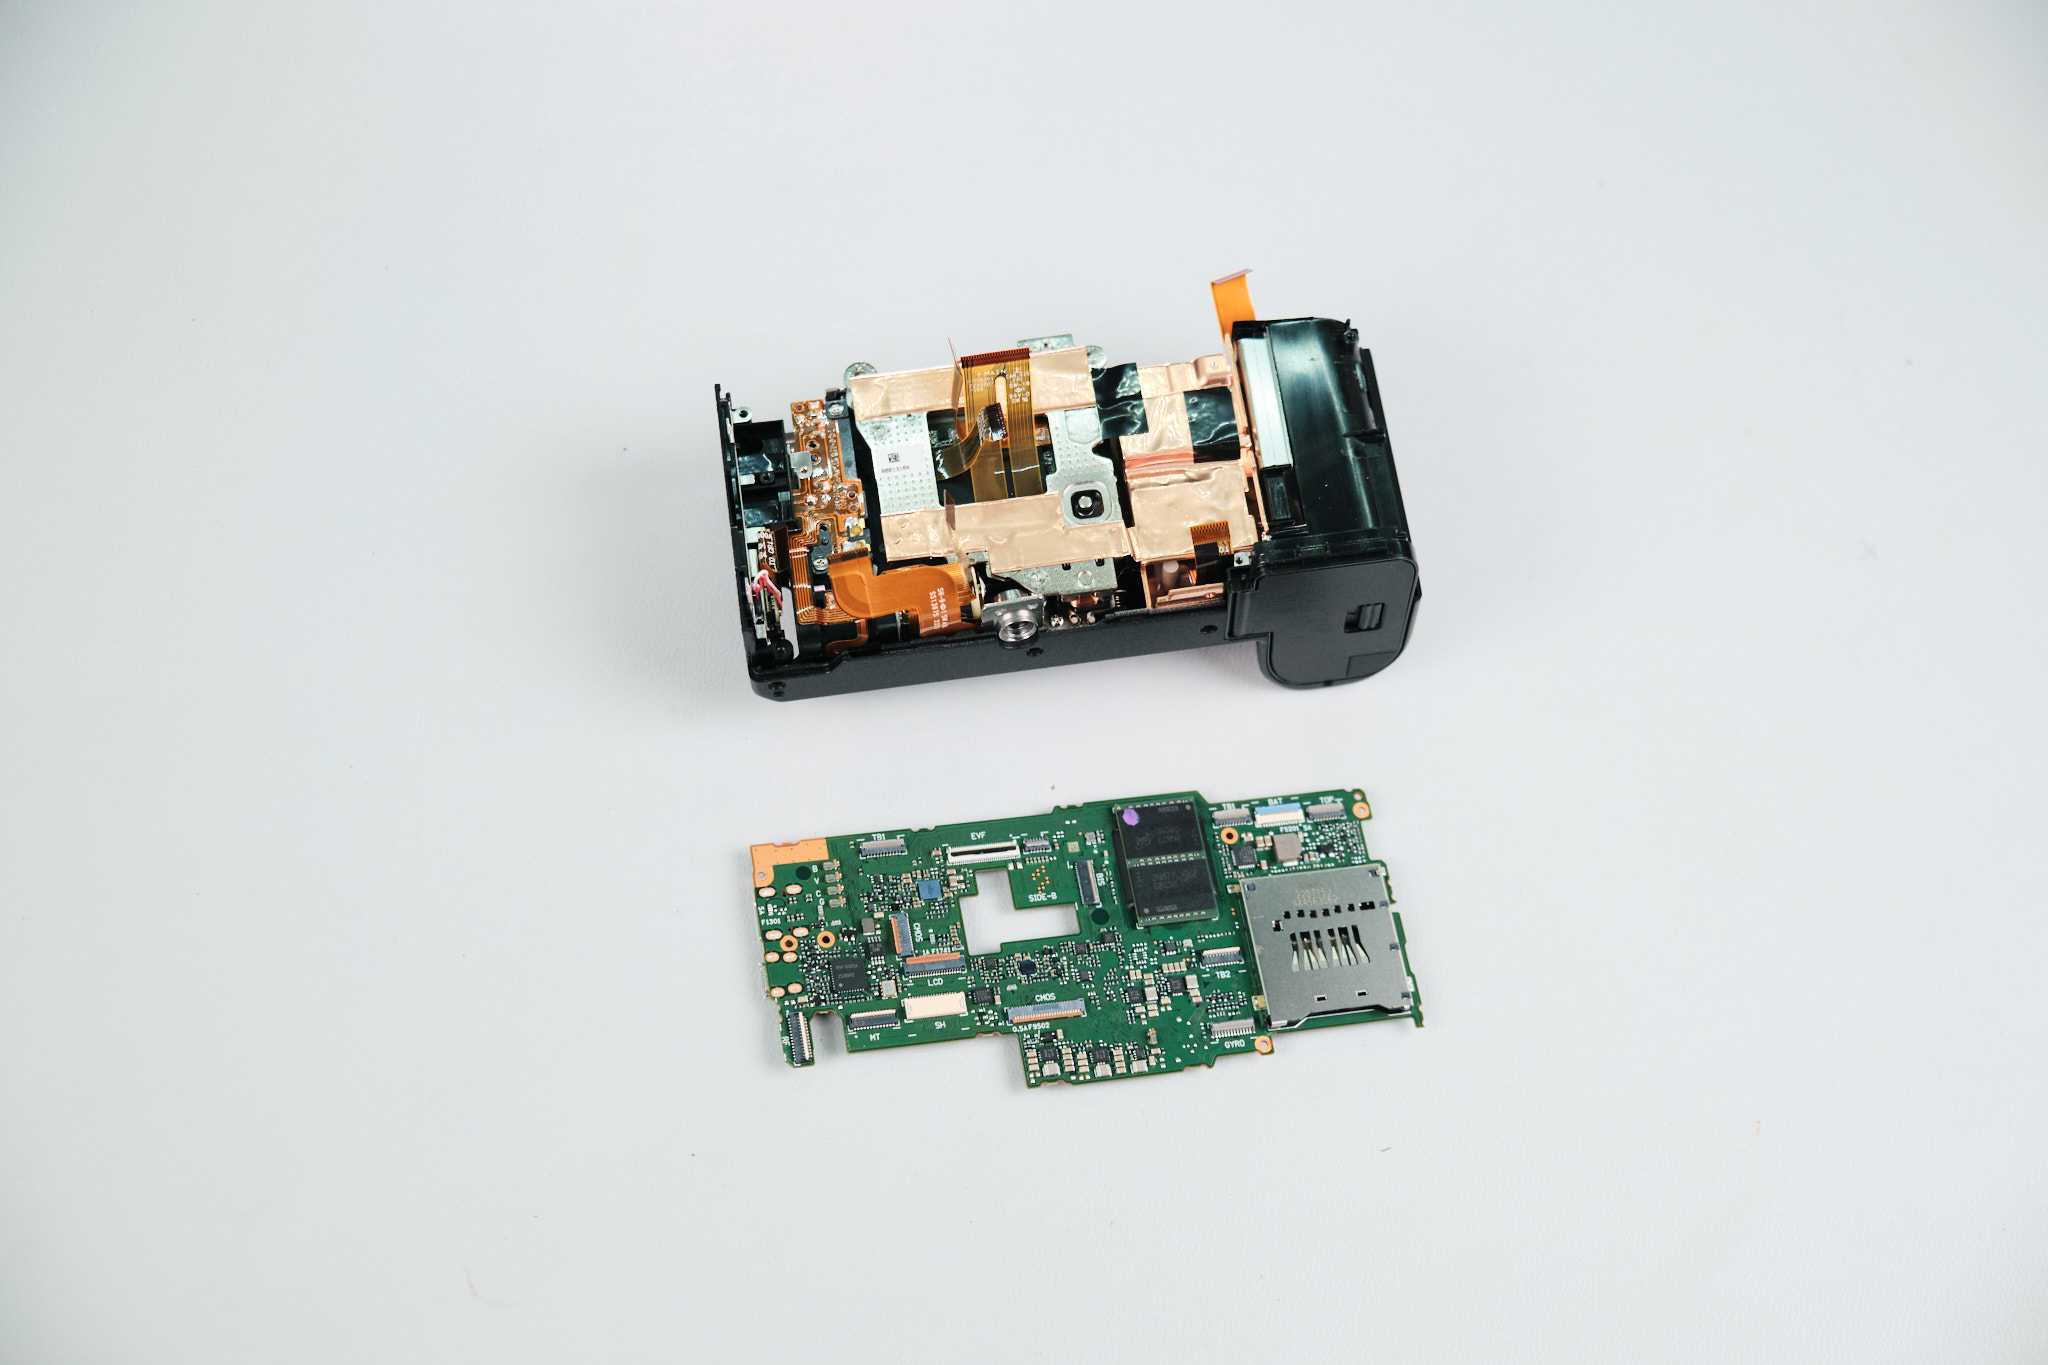
Like all Fuji cameras we work with, the top panel needed to be detached to access the sensor. One silver screw was unfastened from the circuit board, followed by the disconnection of five ribbon cables.
Next, seven more ribbon cables were disconnected from the circuit board.
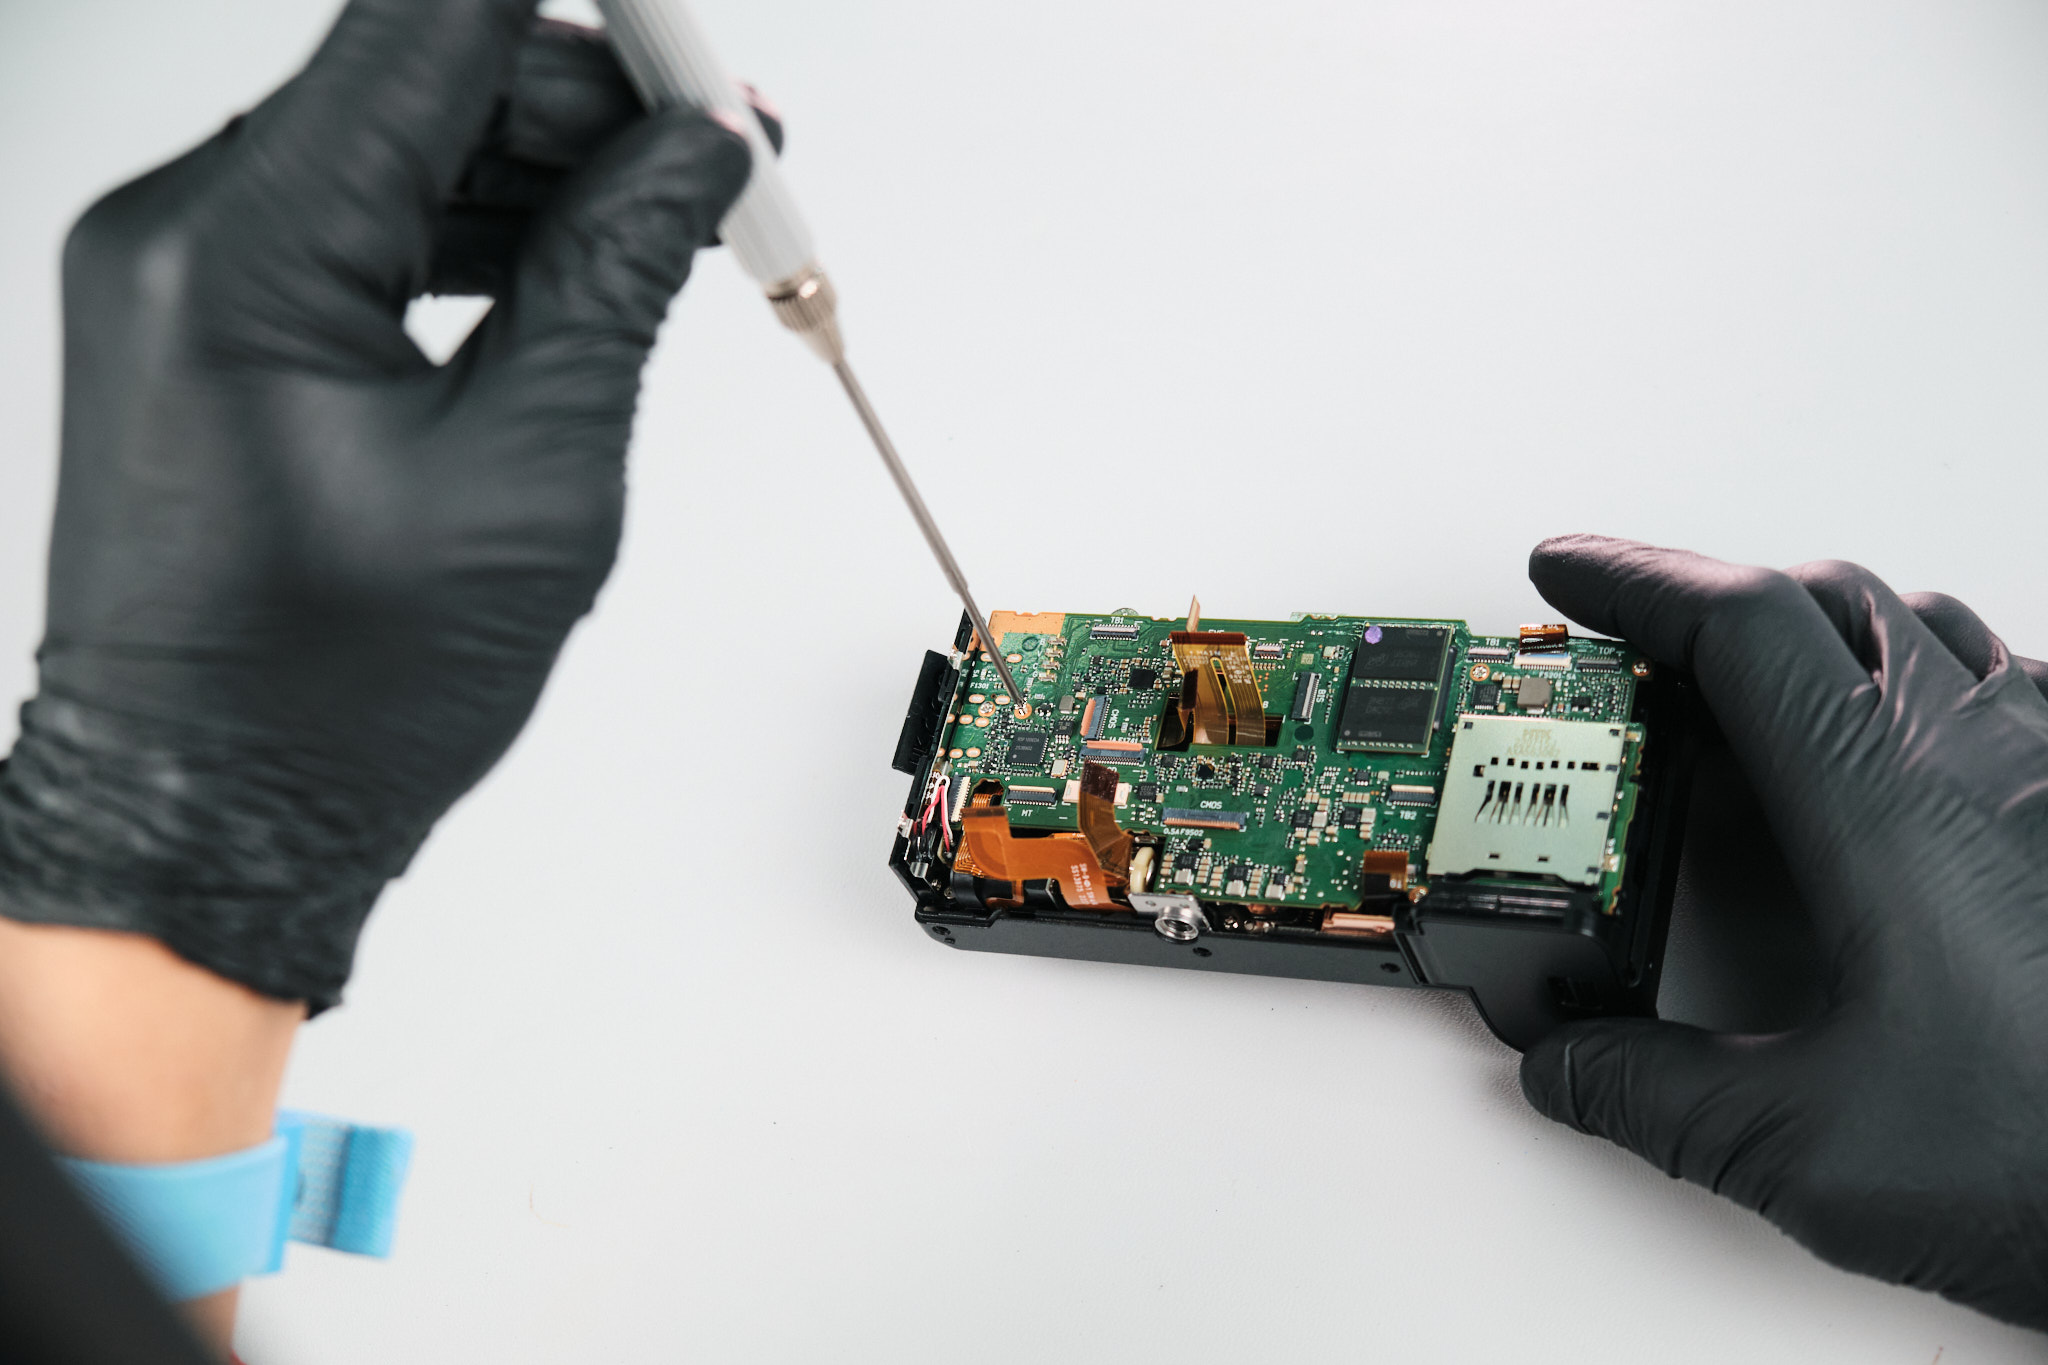
We unfastened six screws from the circuit board.
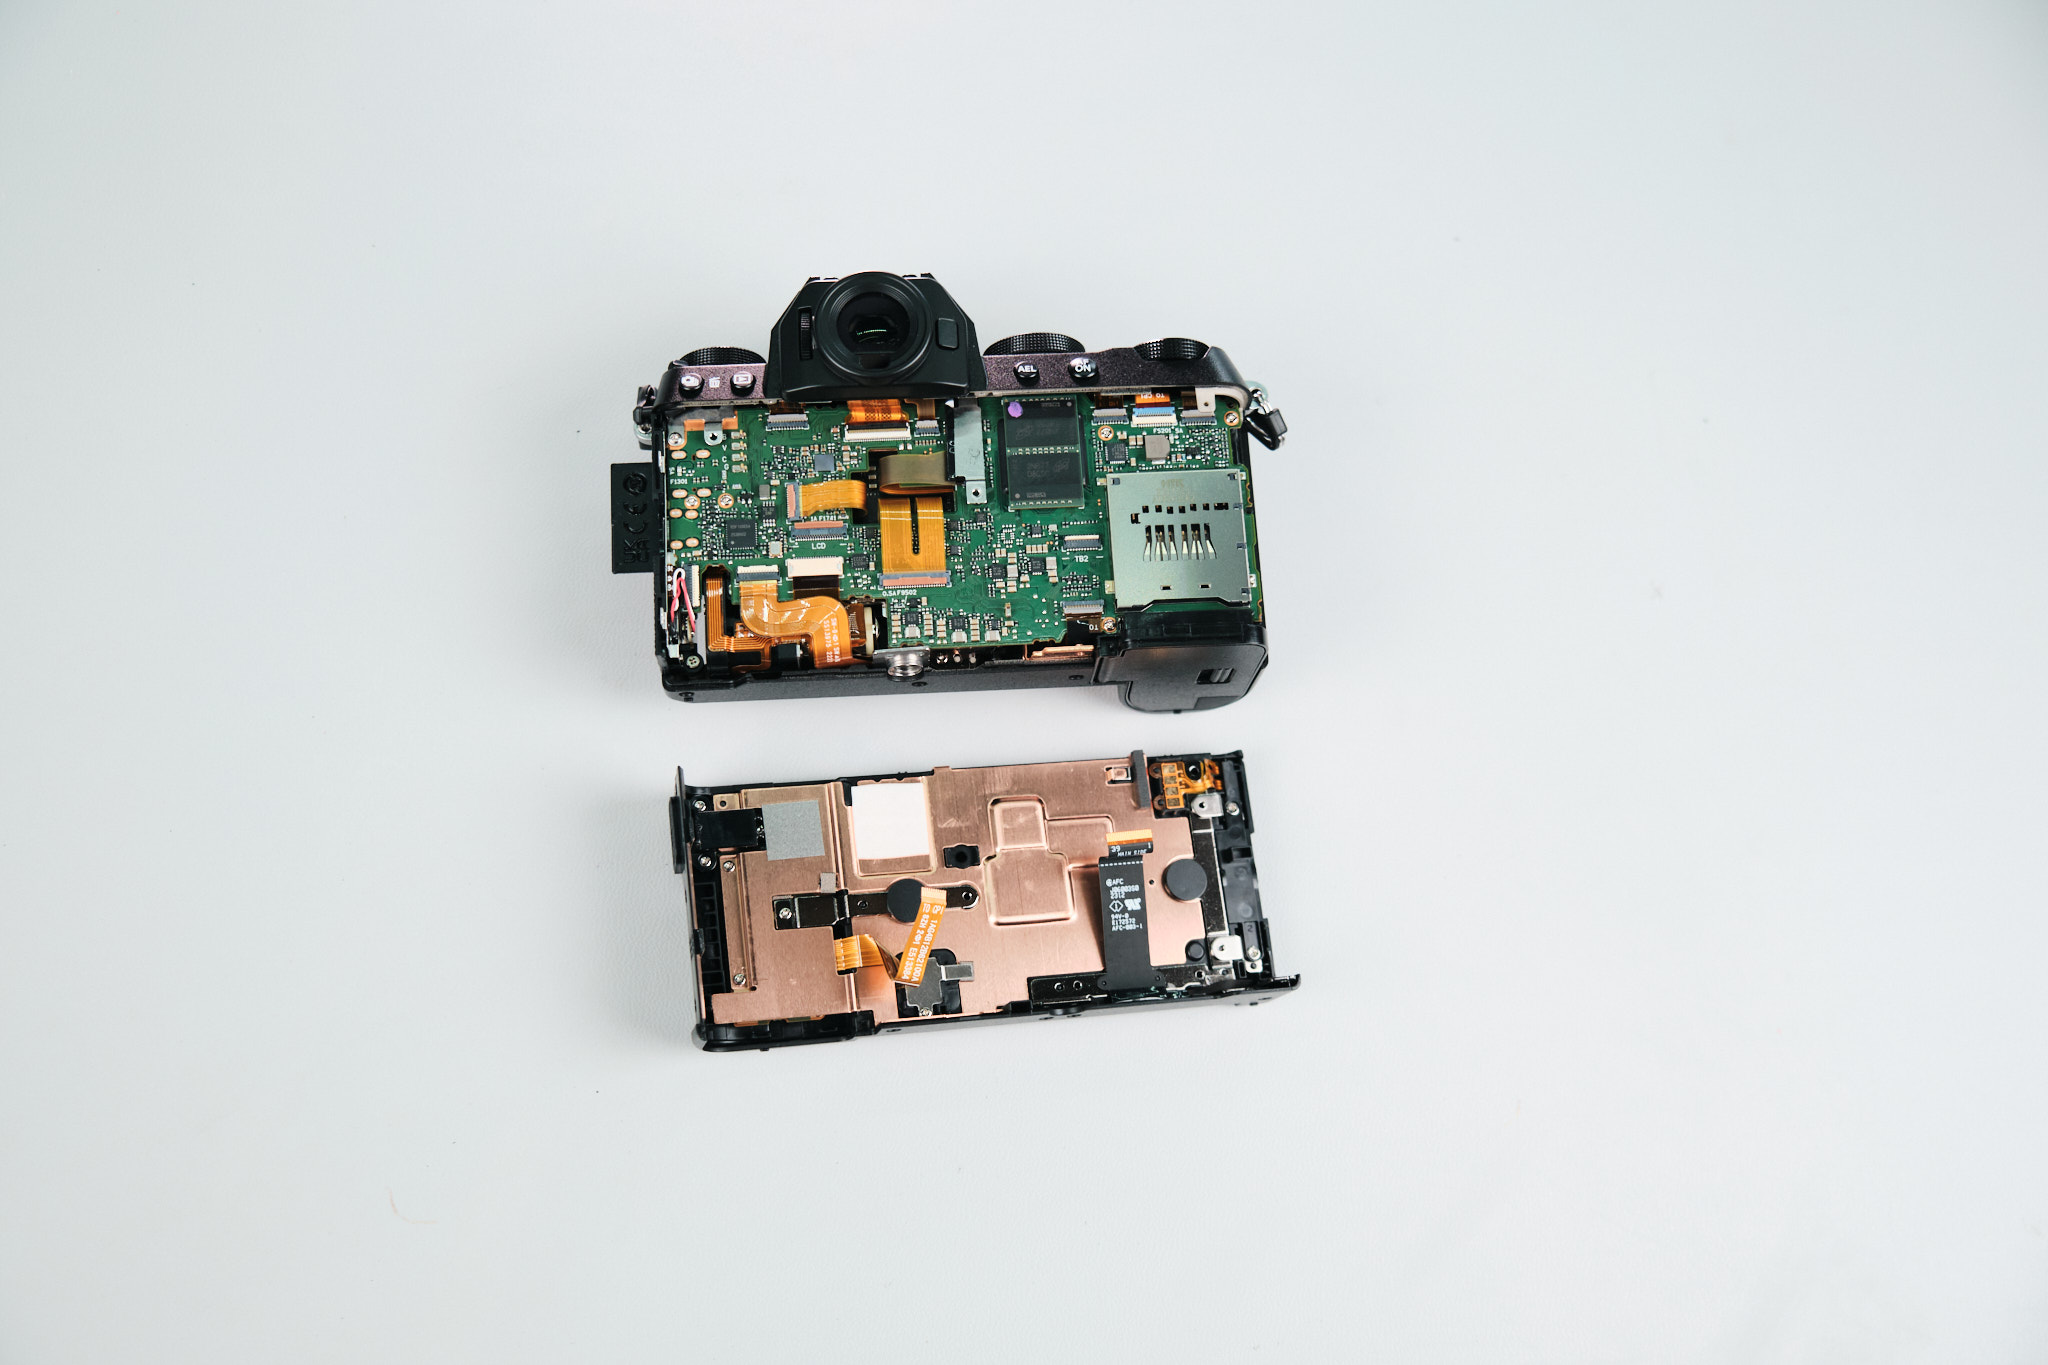
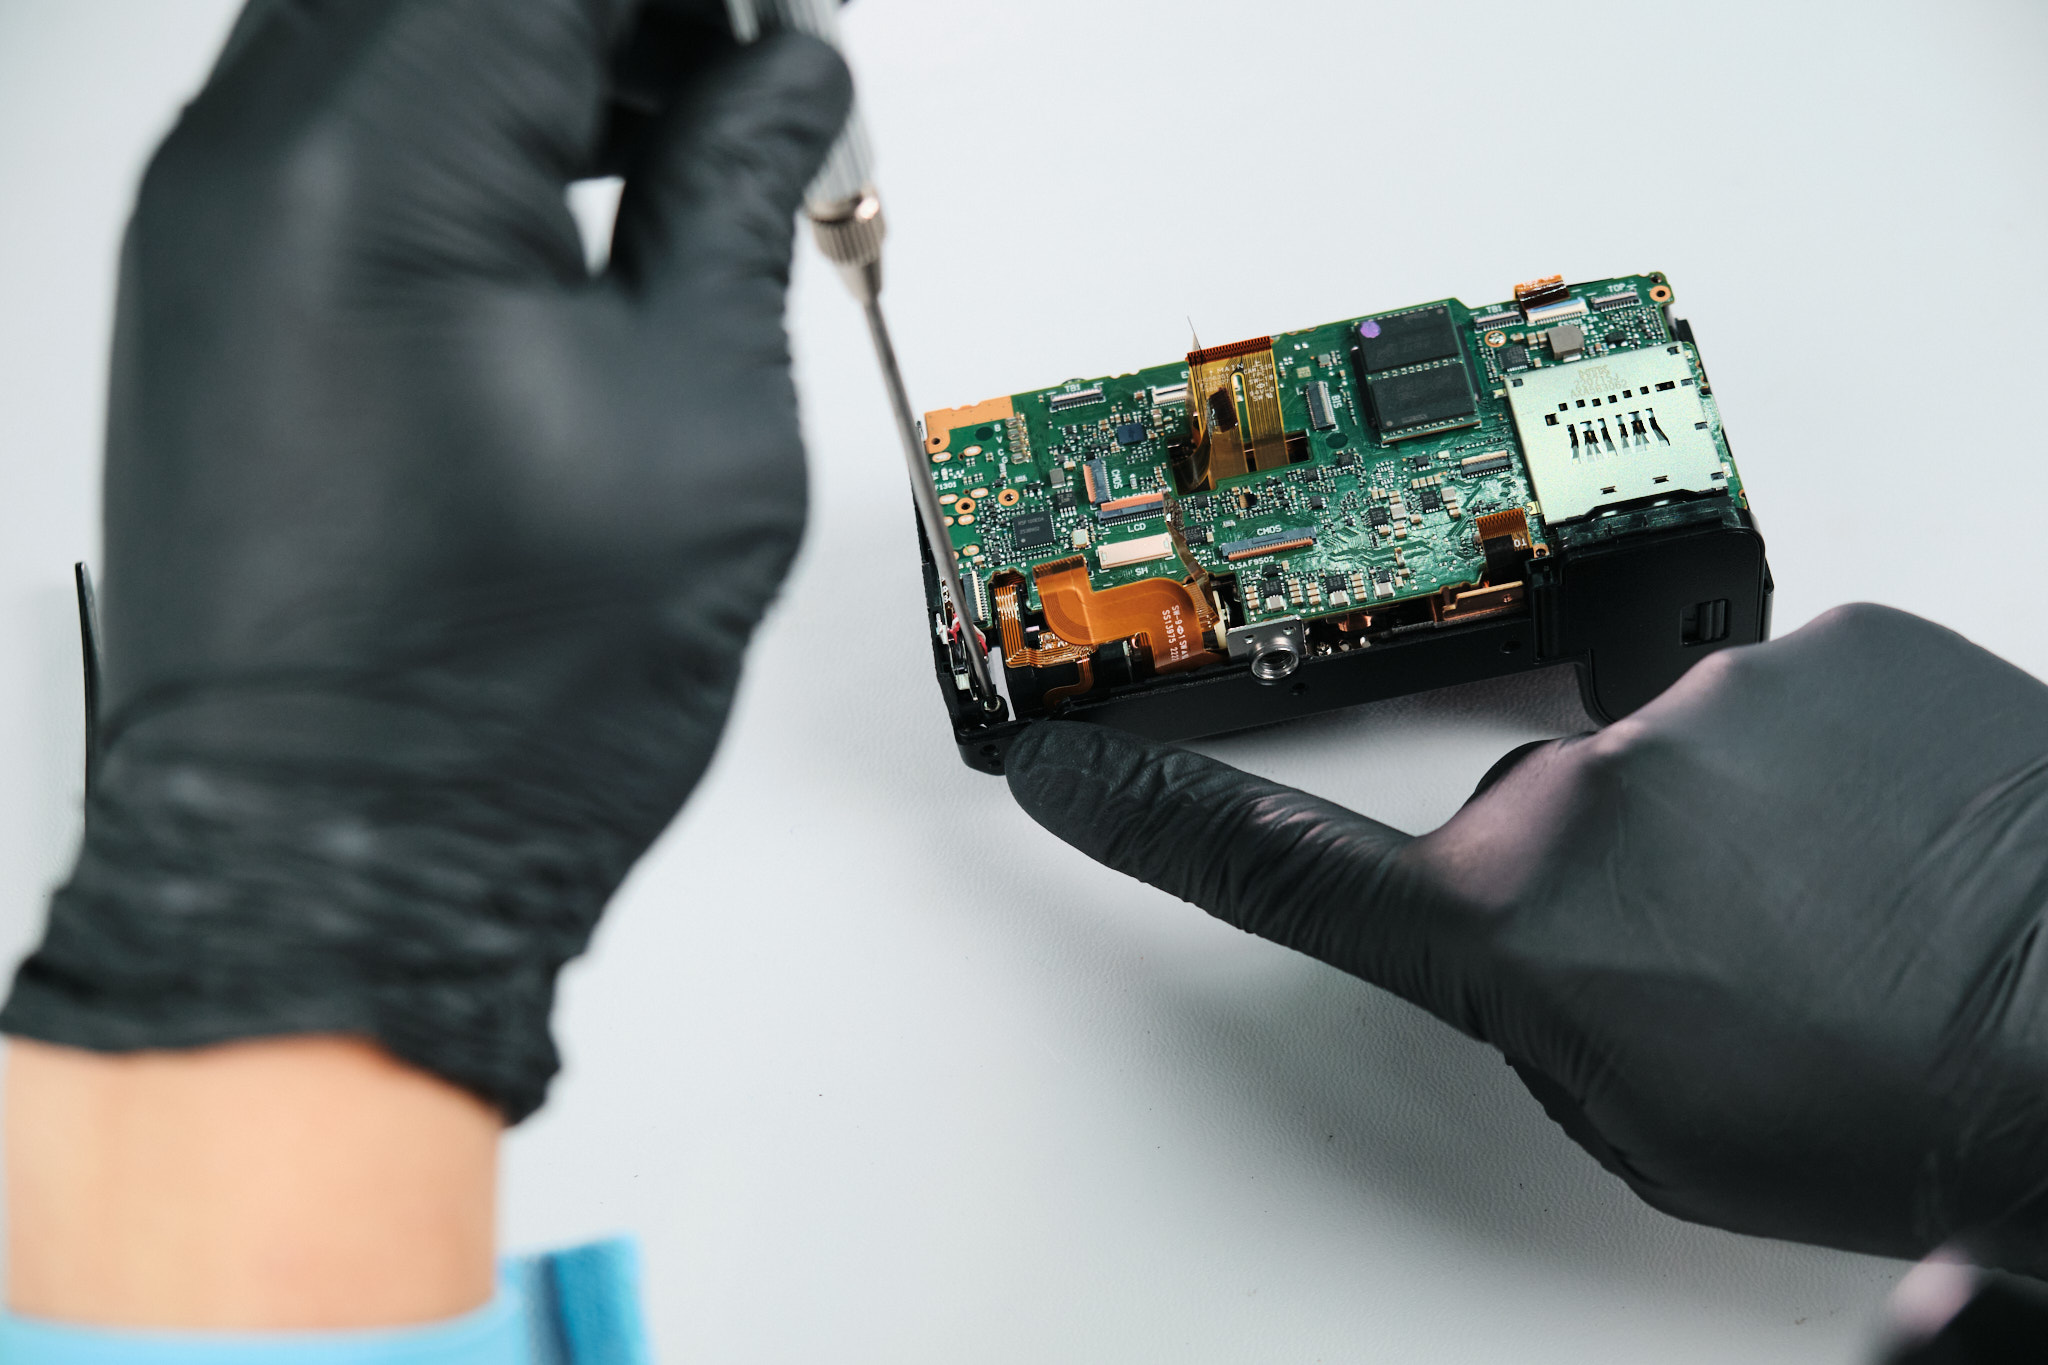
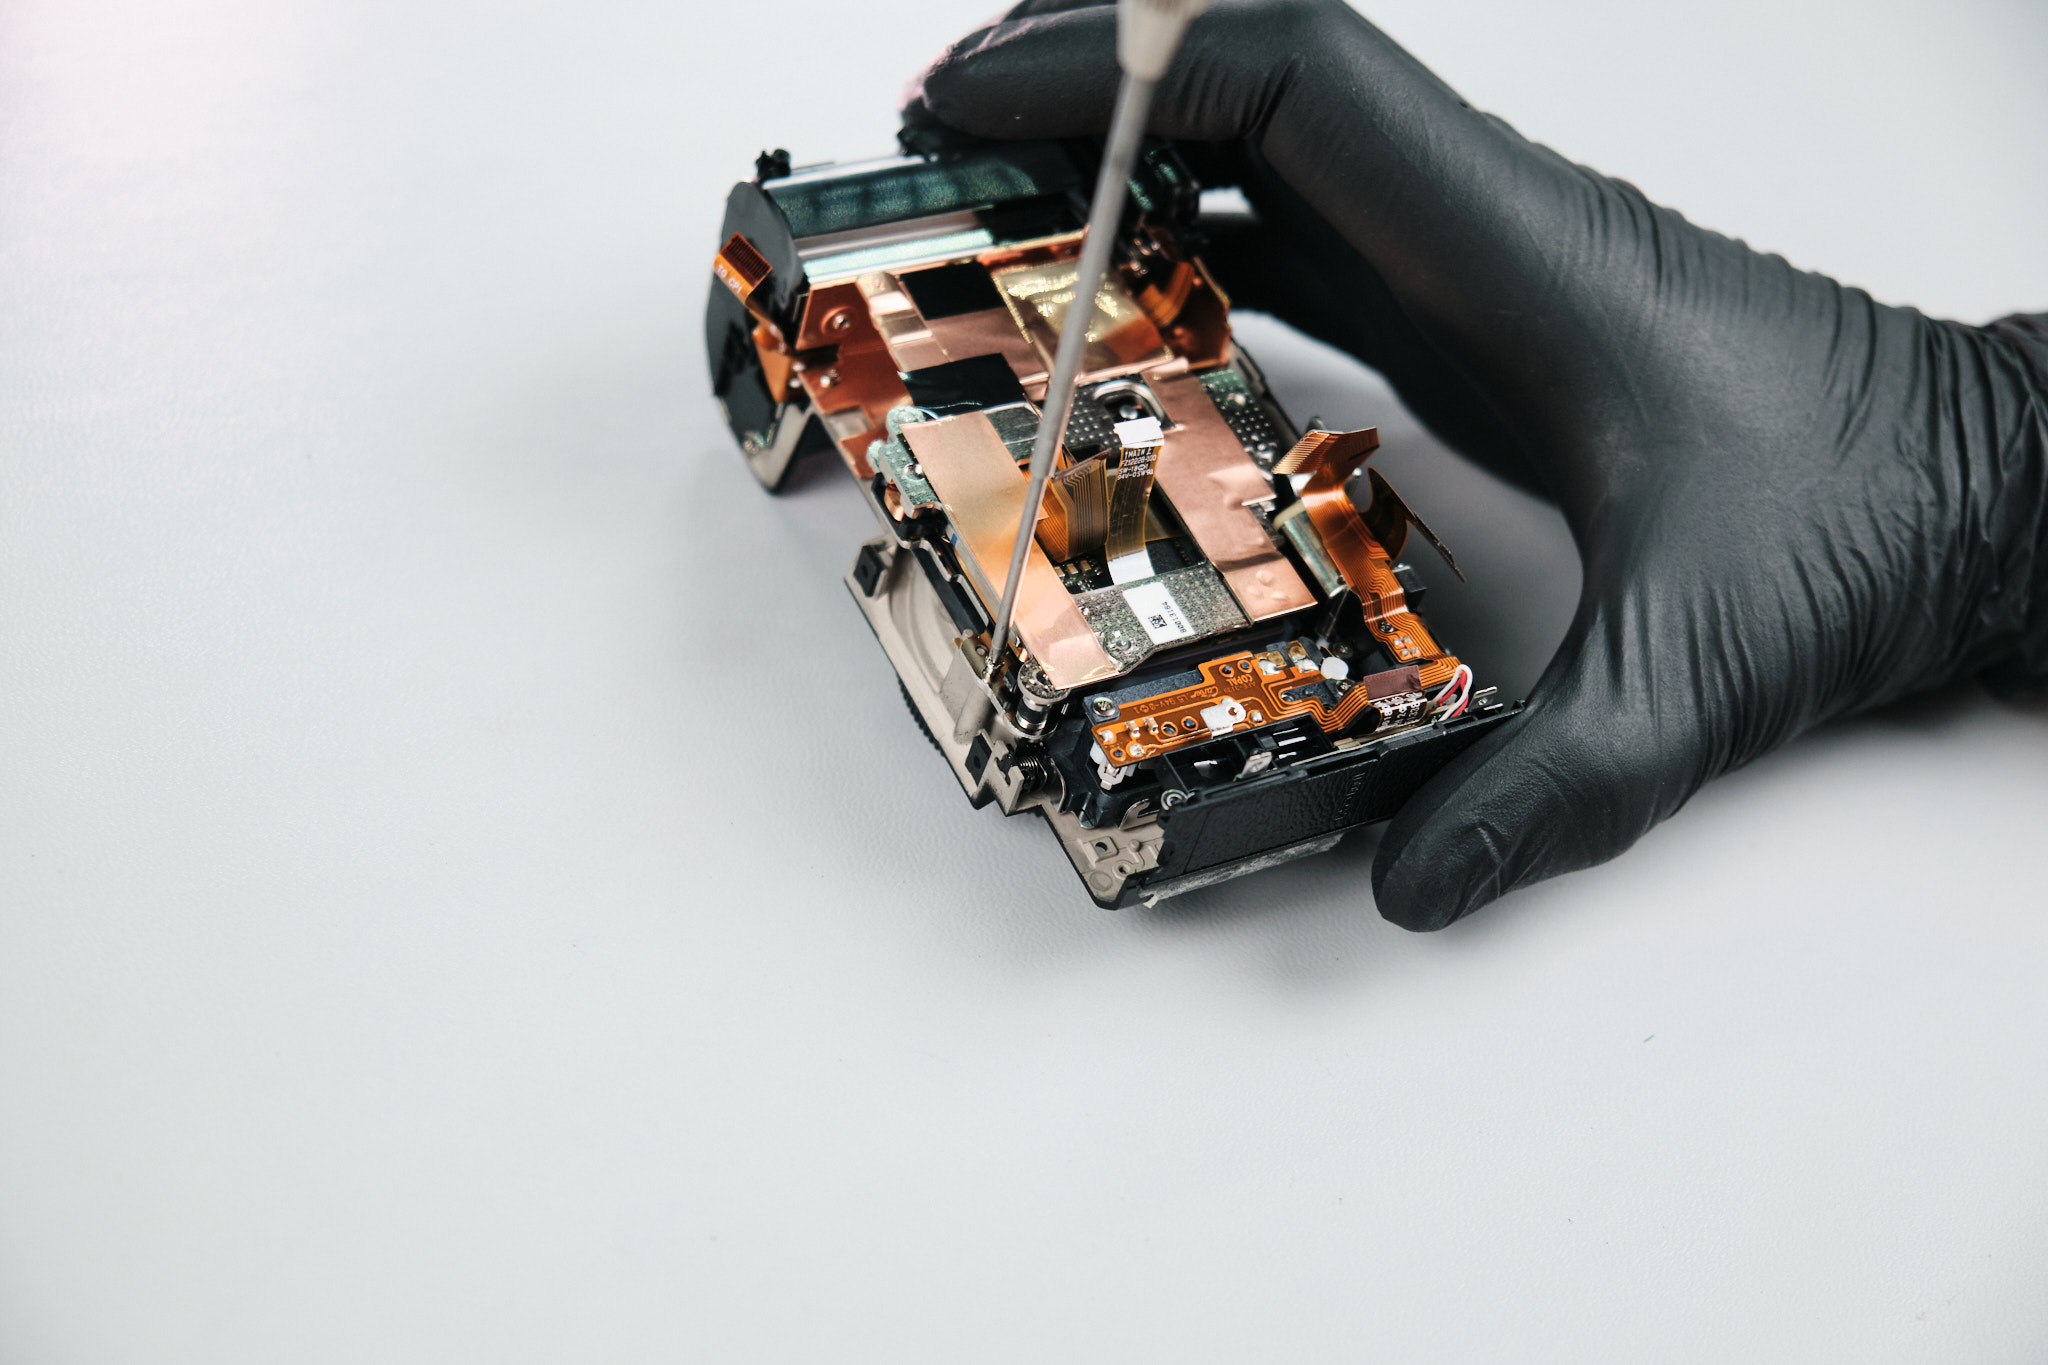
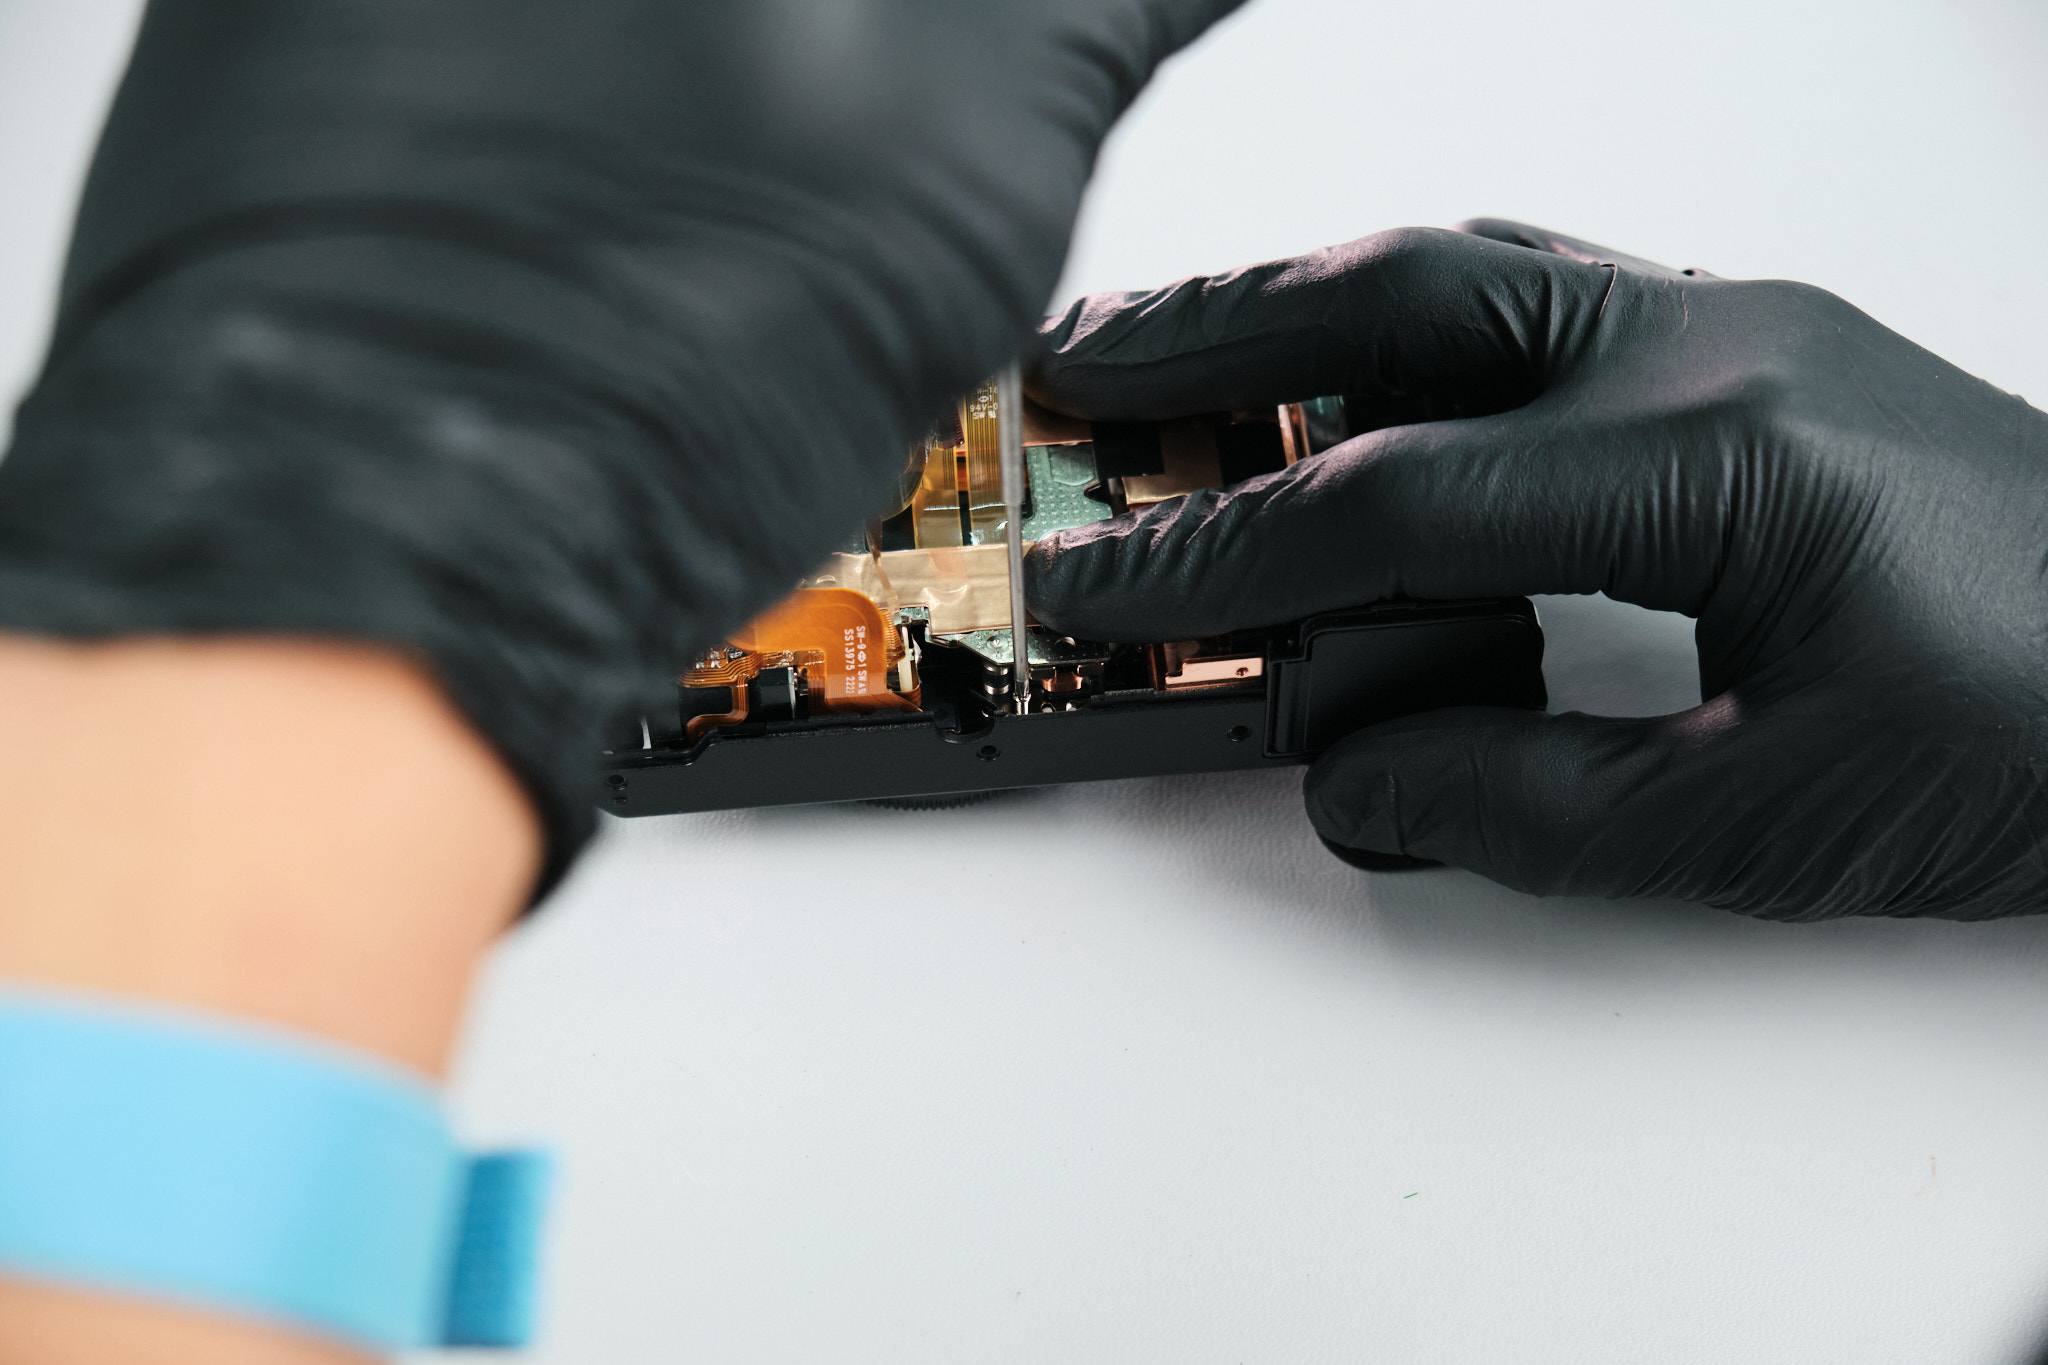
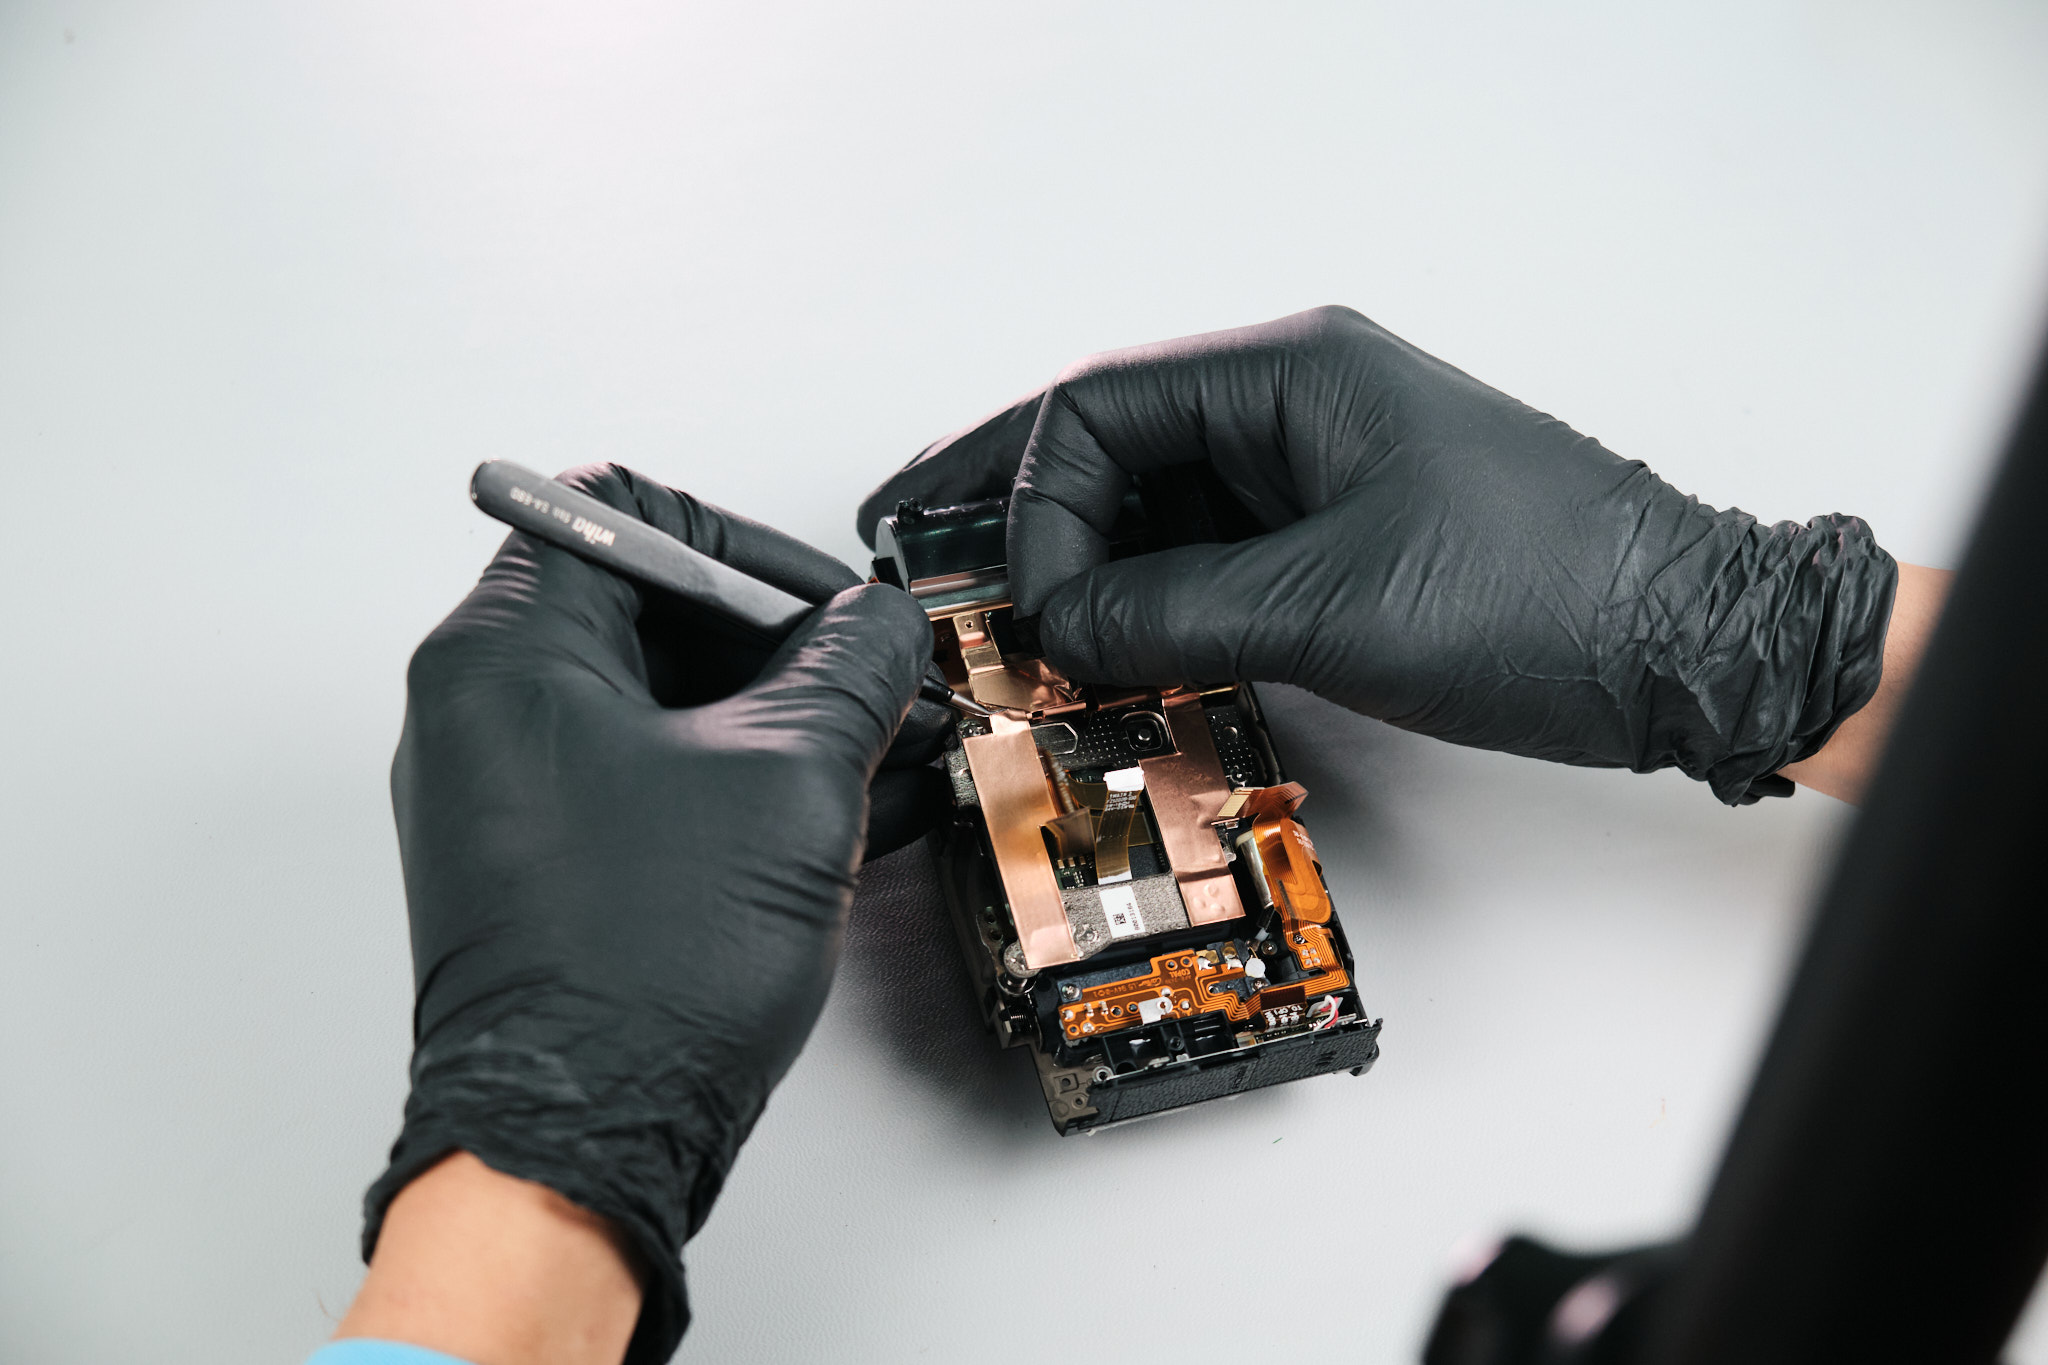
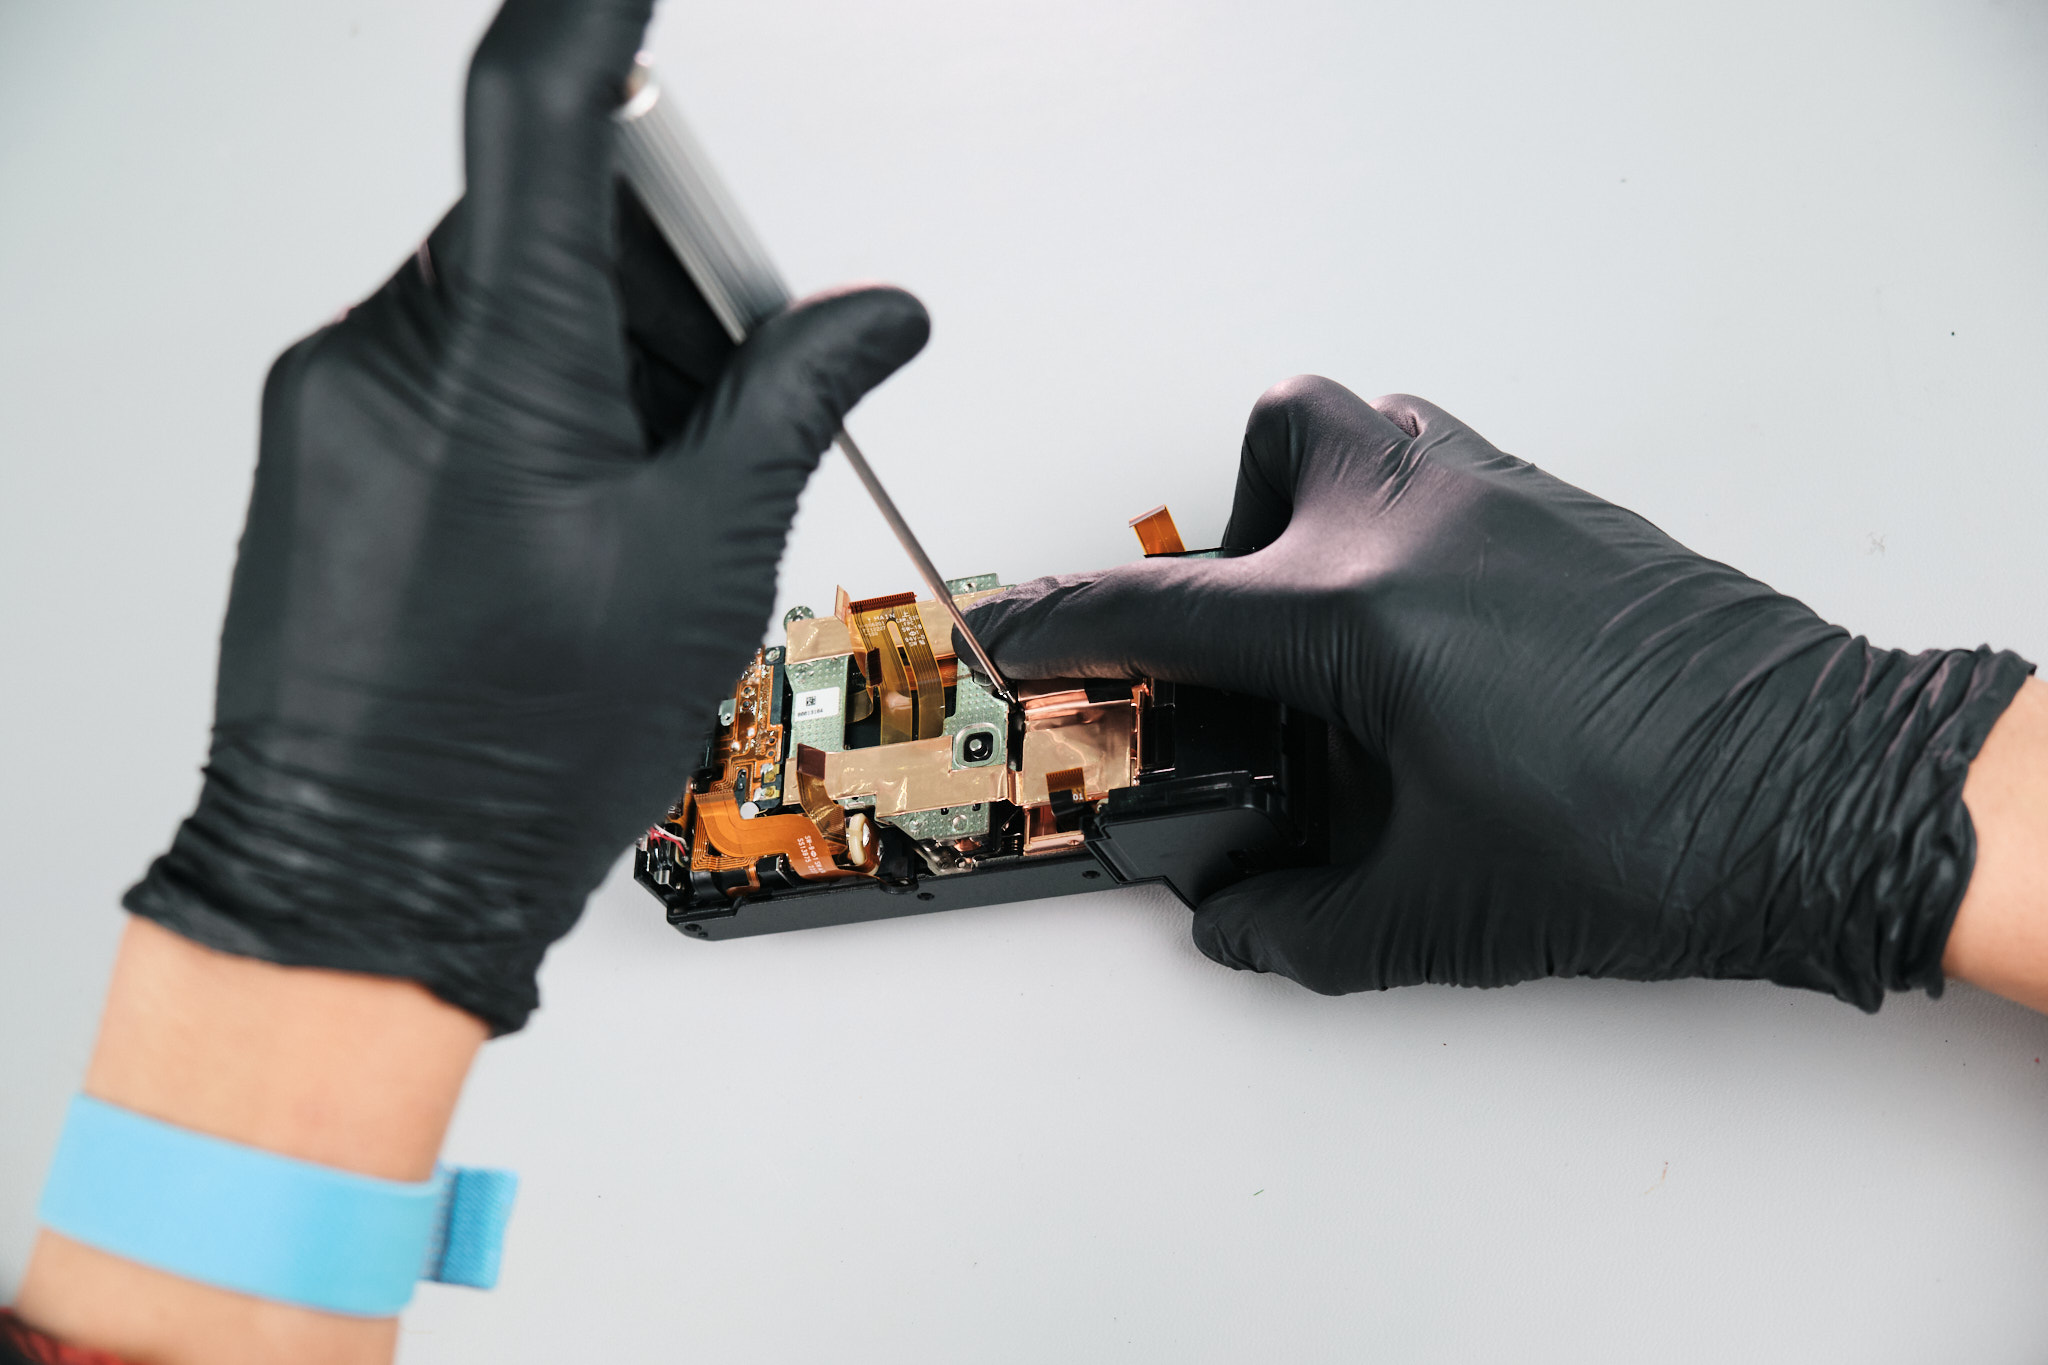
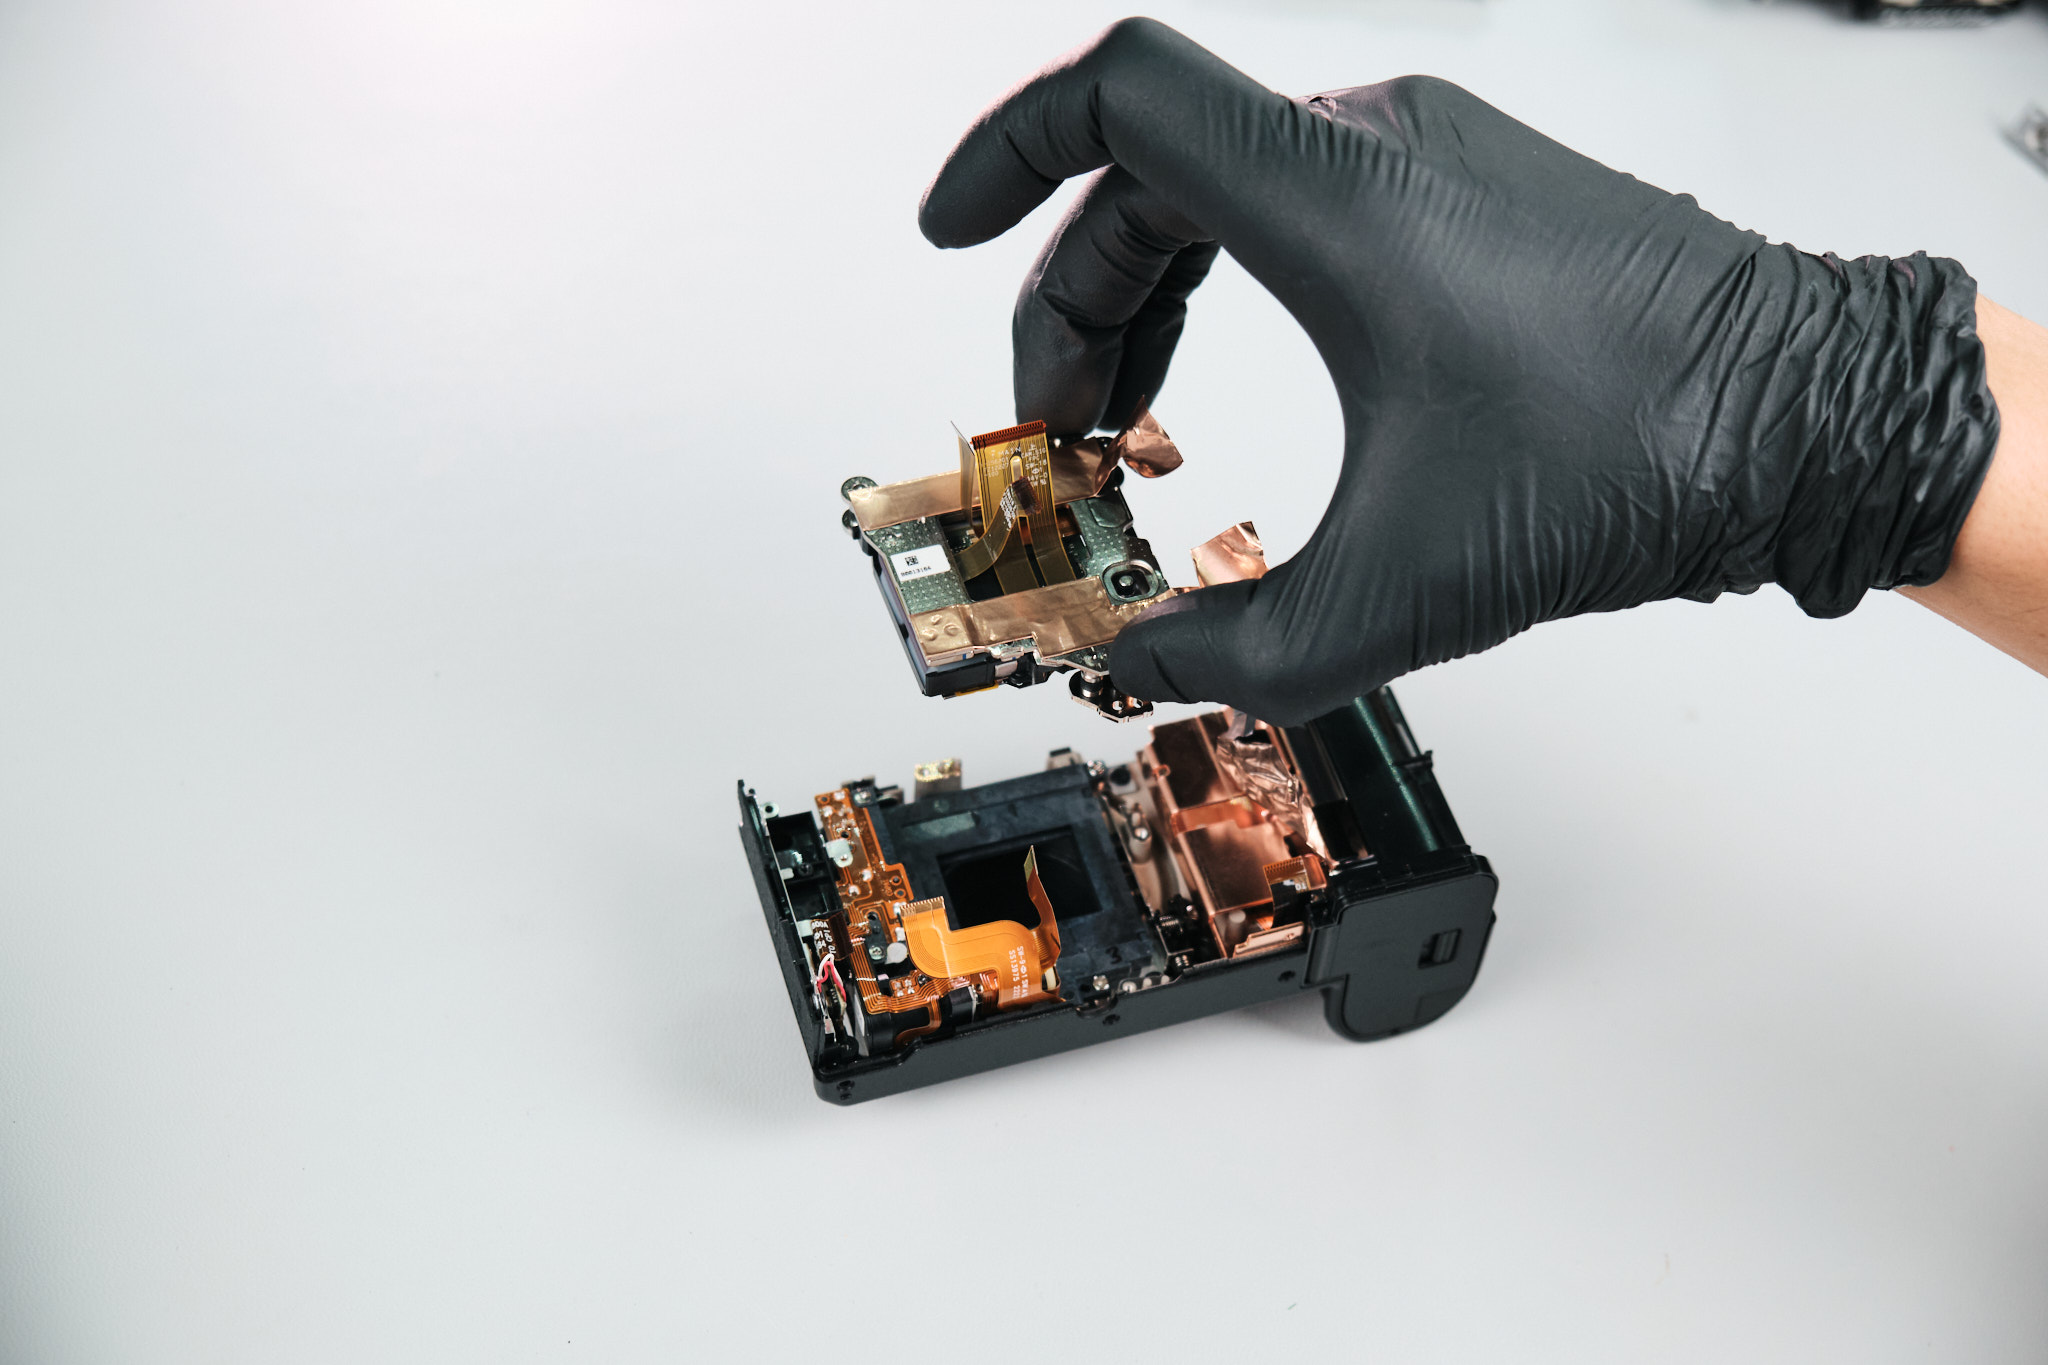
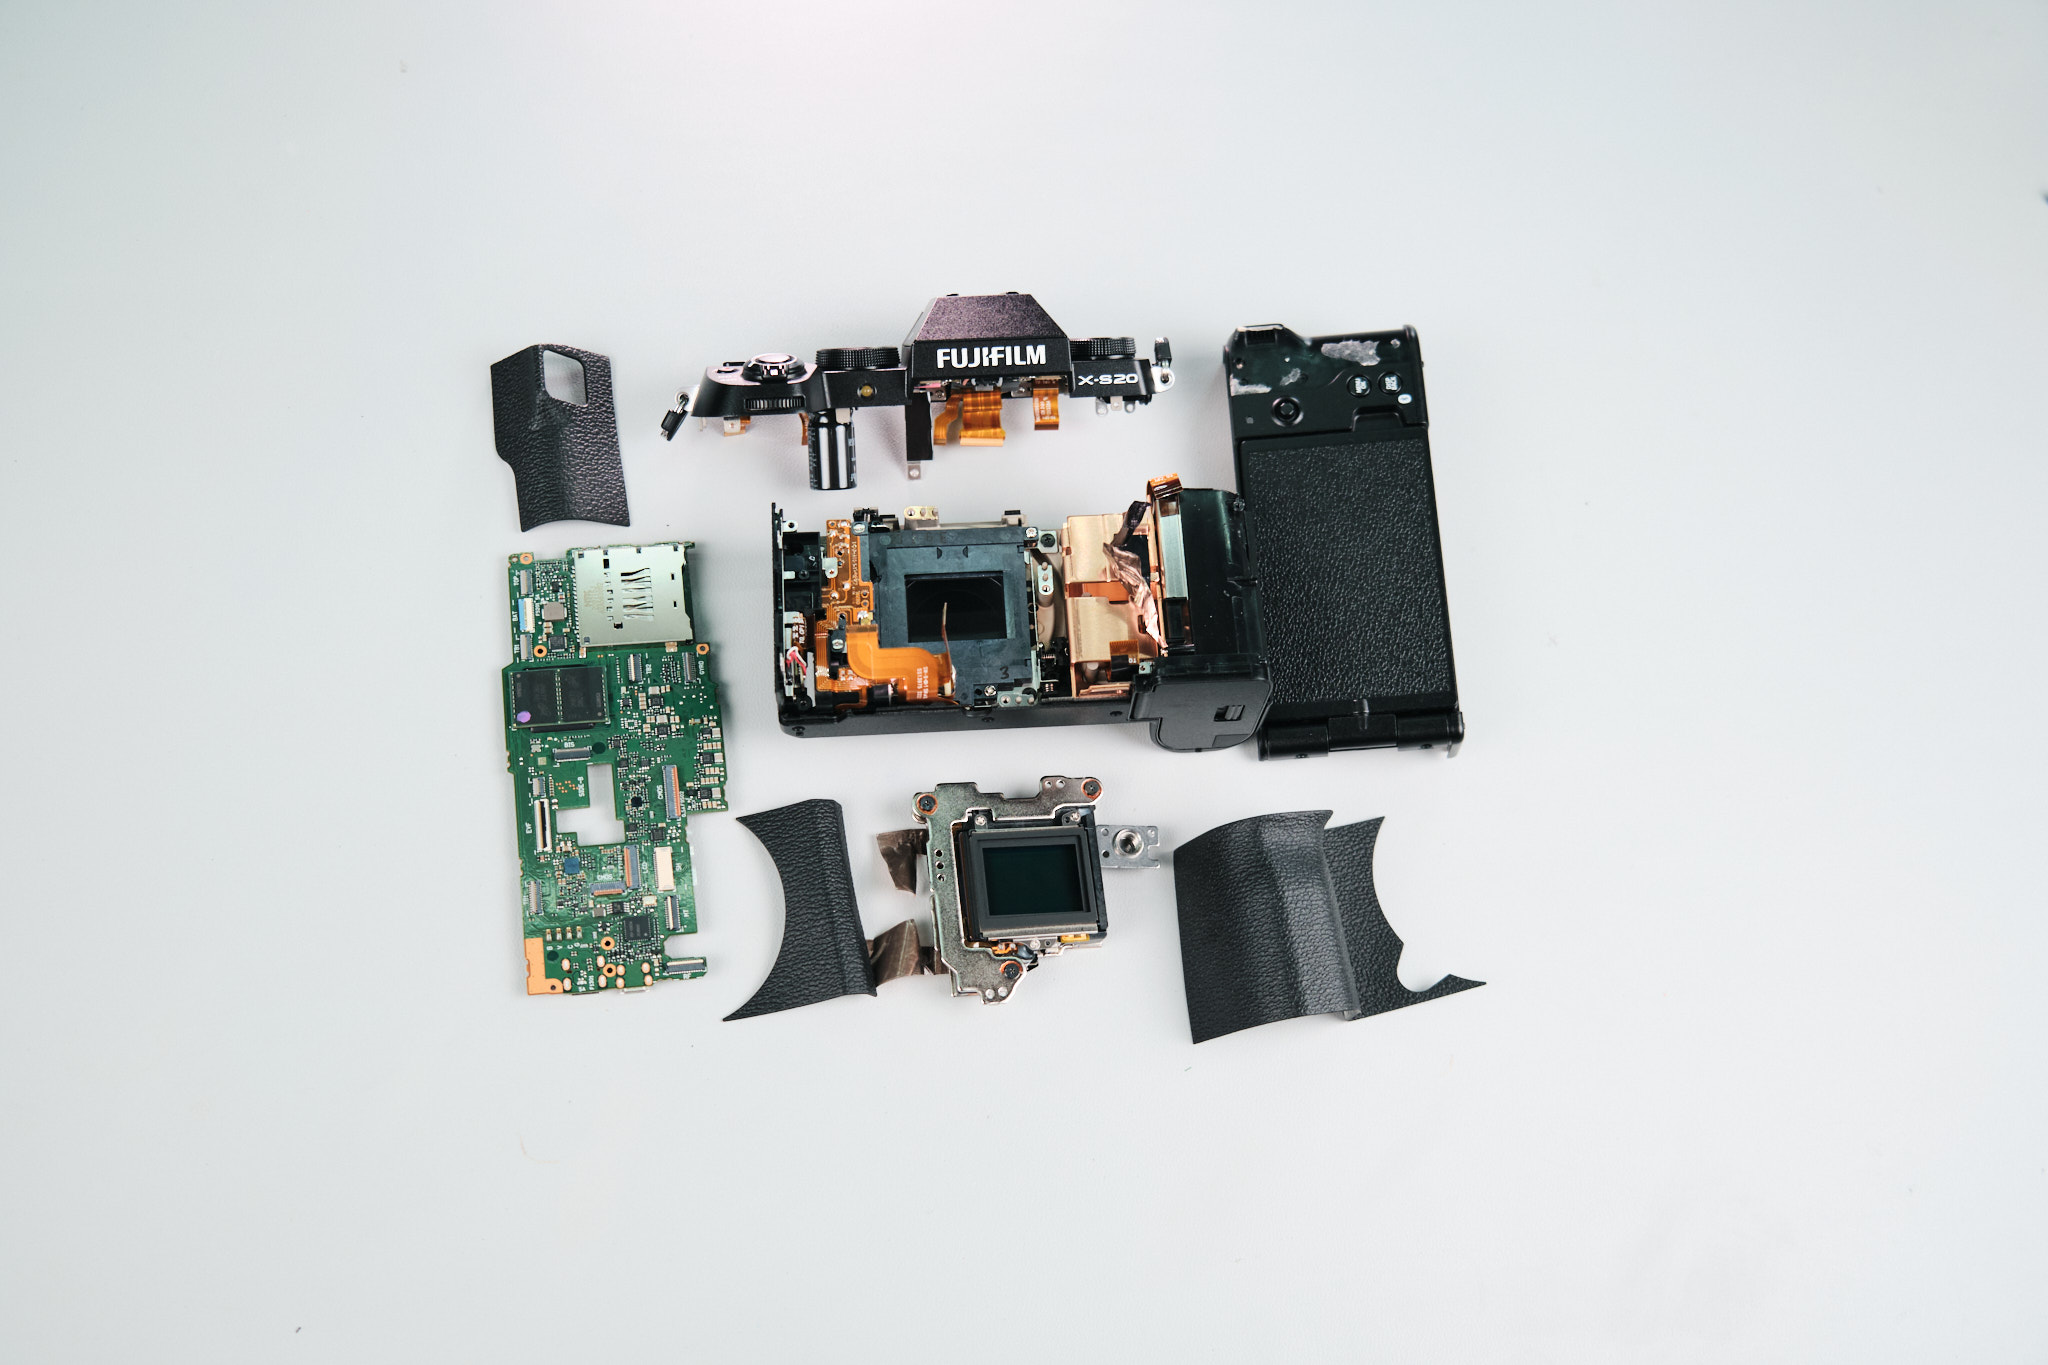
The X-S20 uses sensor shims for focus calibration. Three screws were extracted, and copper heat transfer tape was peeled back for the sensor’s removal.
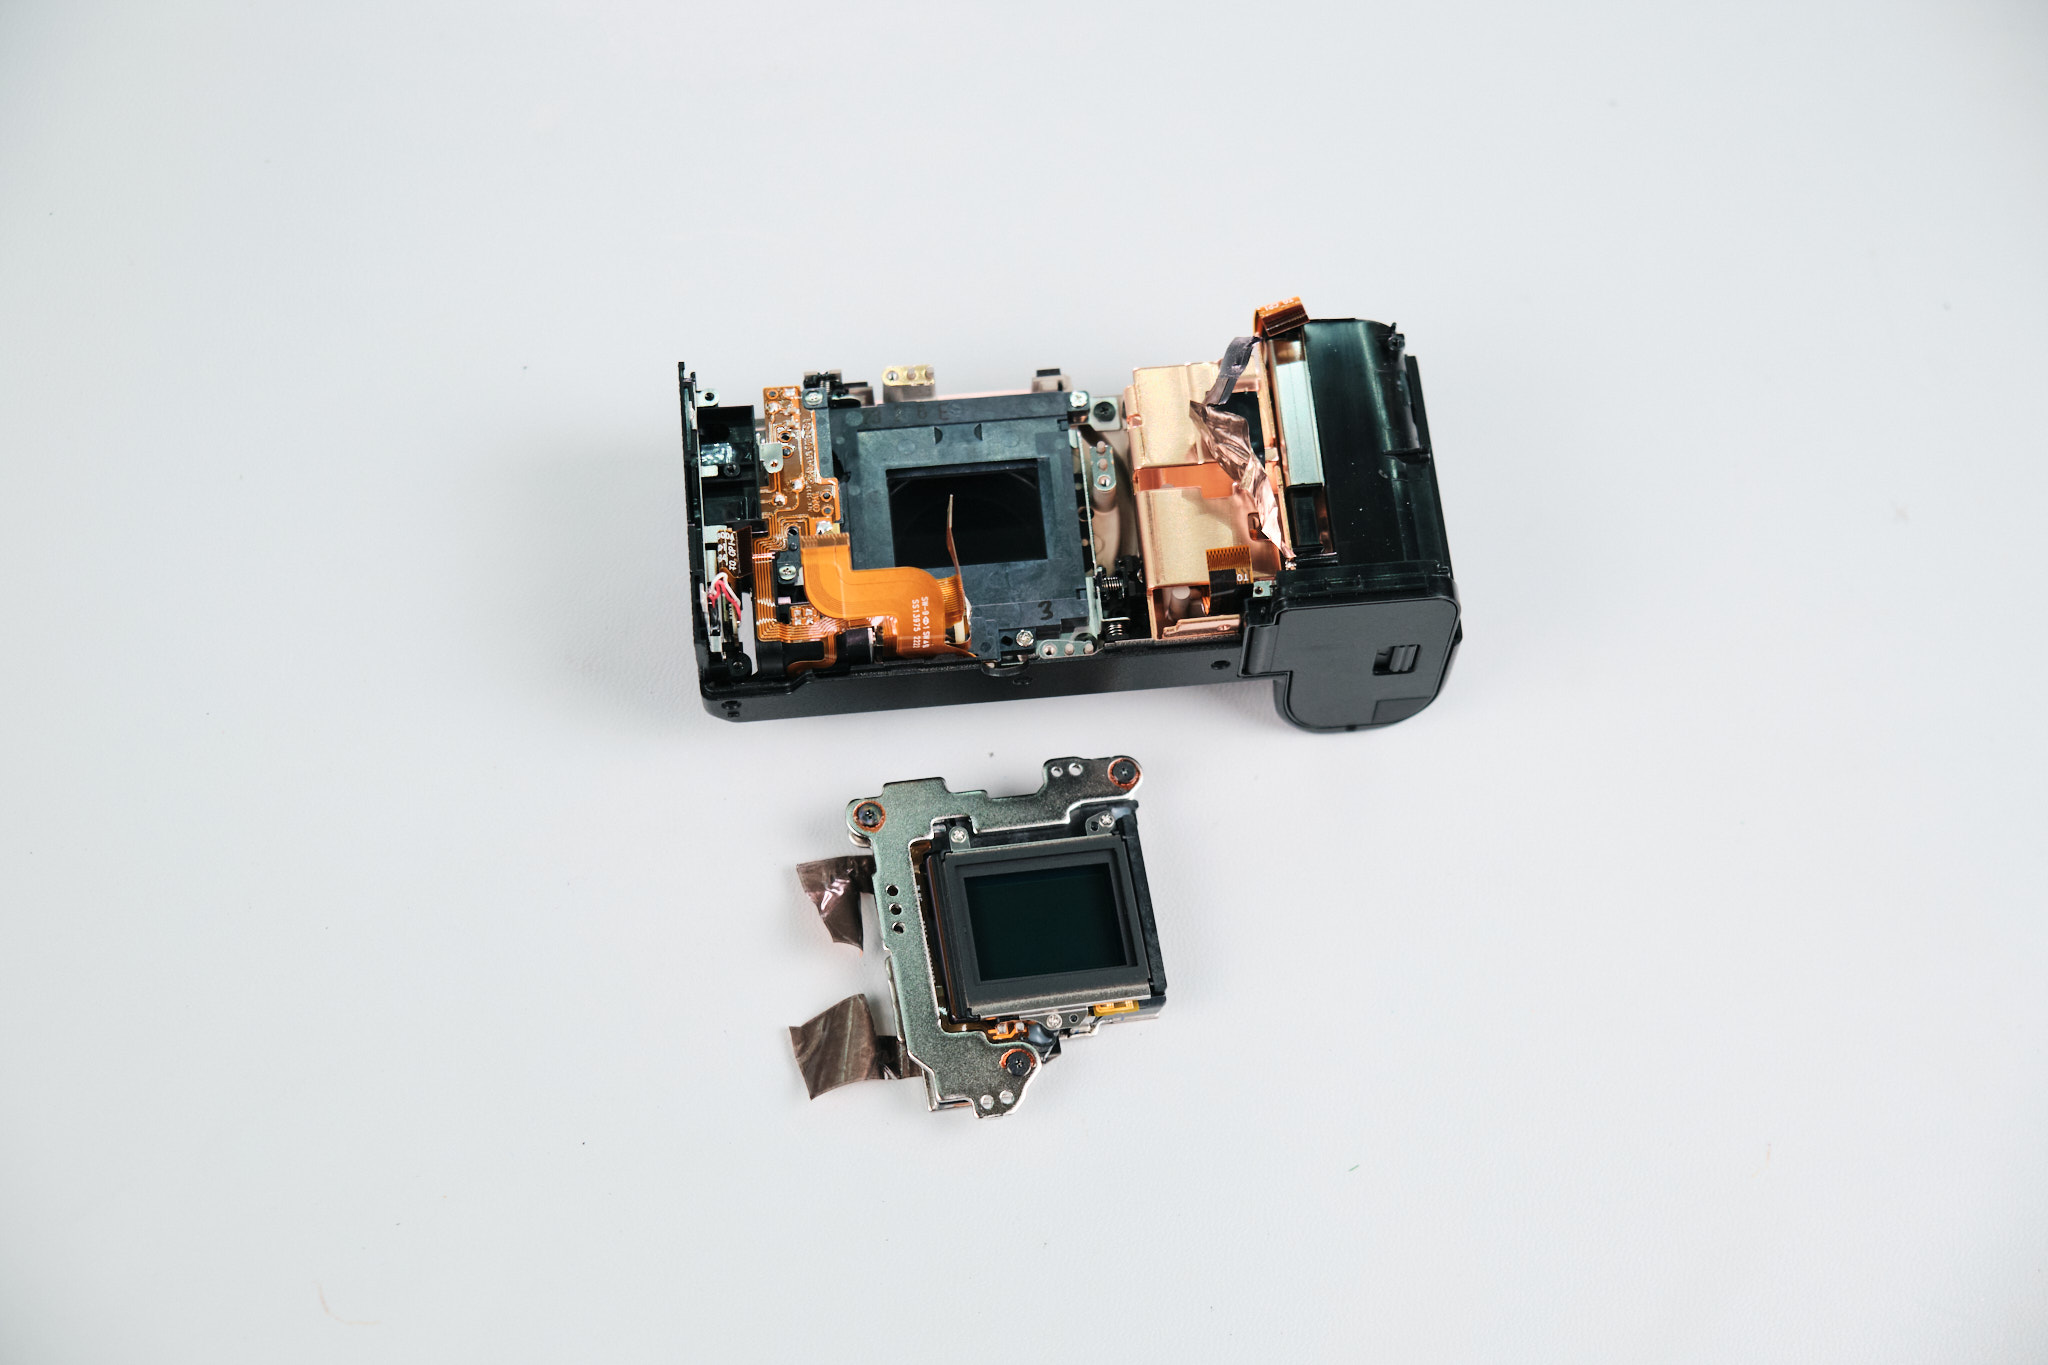
The sensor is out, and the camera is ready for a full-spectrum conversion!
The Fujifilm X-S20 was relatively easy for us to disassemble. Since the camera has a pretty small build, it doesn’t have too many parts to keep track of, according to our camera technician, Jared.
Thanks for reading. If you’re interested in more camera teardowns, we feature a new one every month. Be sure to sign up for our newsletter so you don’t miss them!