★★★★★ 5/5
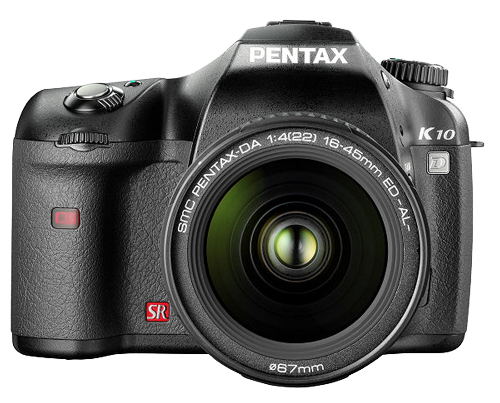
Pentax K10D Infrared Conversion DIY Tutorial and Disassembly Guide
Difficulty
Hard
Steps
13
Time Required
30 minutes
Small Phillips Screwdriver
Hex Screwdriver Set
Tweezers
Soft Pry Tool (optional but recommended)
Grounding Strap with current limit resistor
Grounded Work mat (optional but recommended)
Canned/compressed air
Sensor wet cleaning solution and tissue
Solder Iron & Solder
Capacitor Discharge Tool (optional but recommended)
***CAUTION*** Camera is not easy to do. High possibility of cutting cables, causing soldering or static damage to electronic components. Most conversion companies won’t even touch Pentax cameras!
Introduction
Welcome to the disassembly guide for Infrared Conversion DIY of the Pentax K10D, before you start please be sure you are grounded to avoid any static damage to electronic components.
1
Step 1
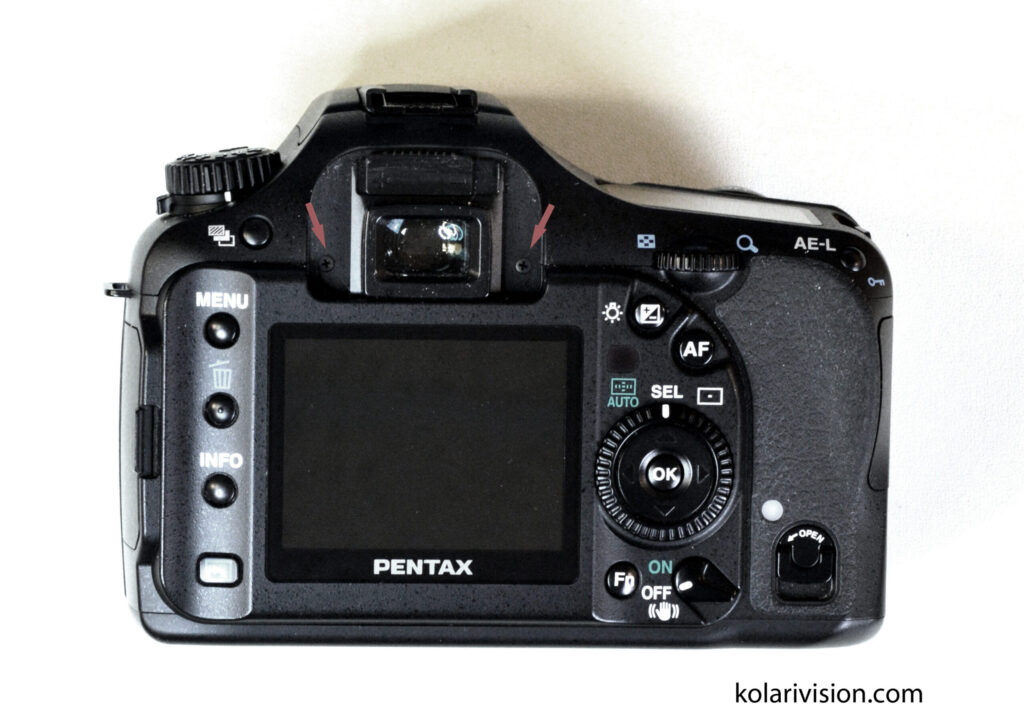
- Once you are ready please start by removing the EVF cover and remove the two screws.
2
Step 2
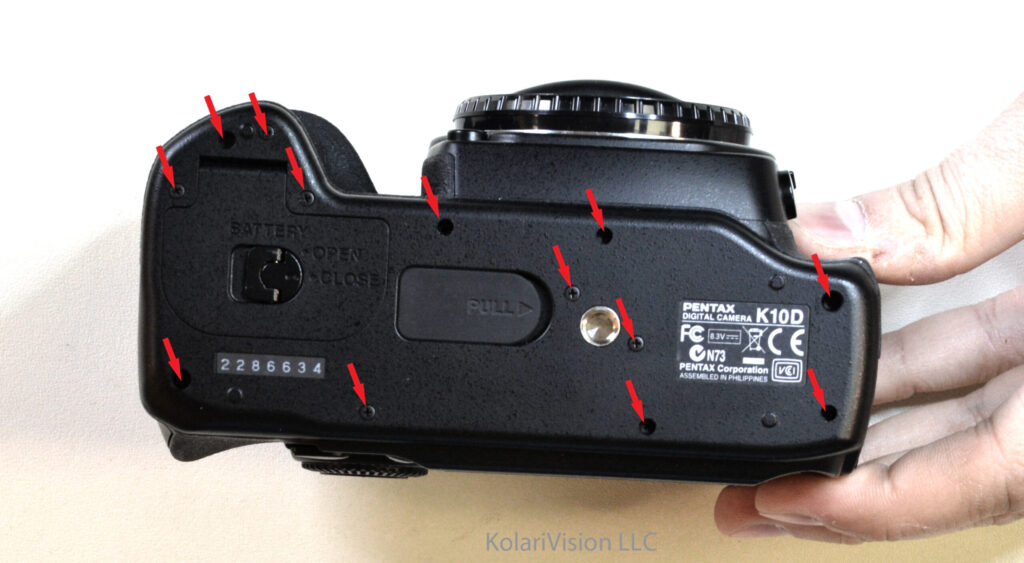
- Flip the camera so the bottom is facing you, and remove the 13 screws.
3
Step 3
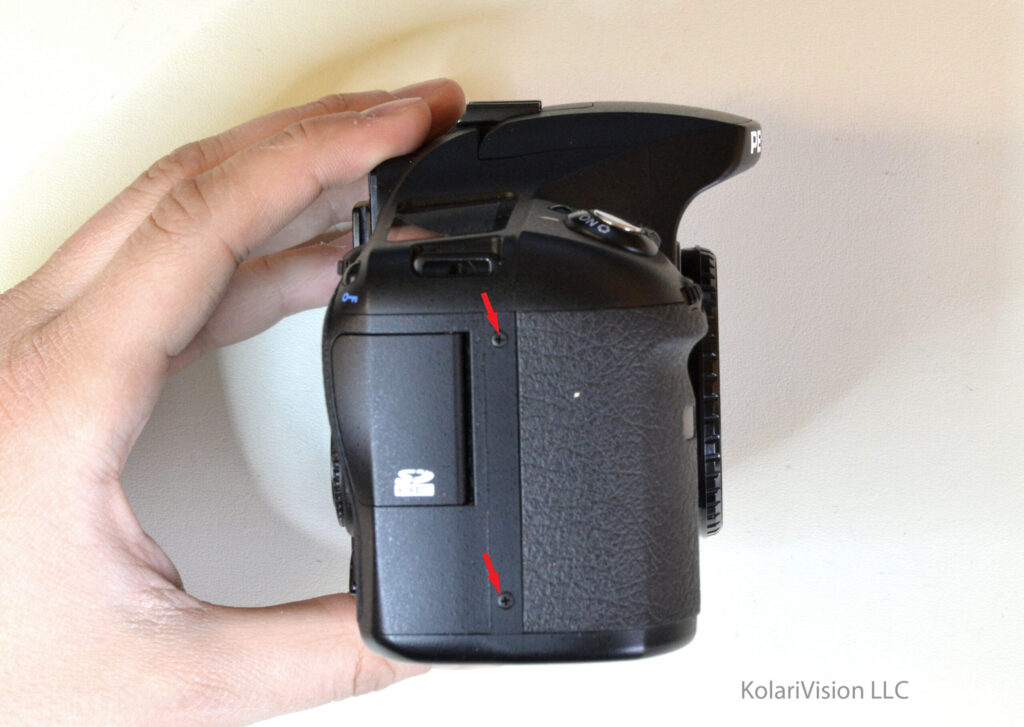
- Rotate camera to SD CARD side and remove the two screws as indicated.
4
Step 4
- On the AV OUT panel side remove the two screws underneath the rubber.
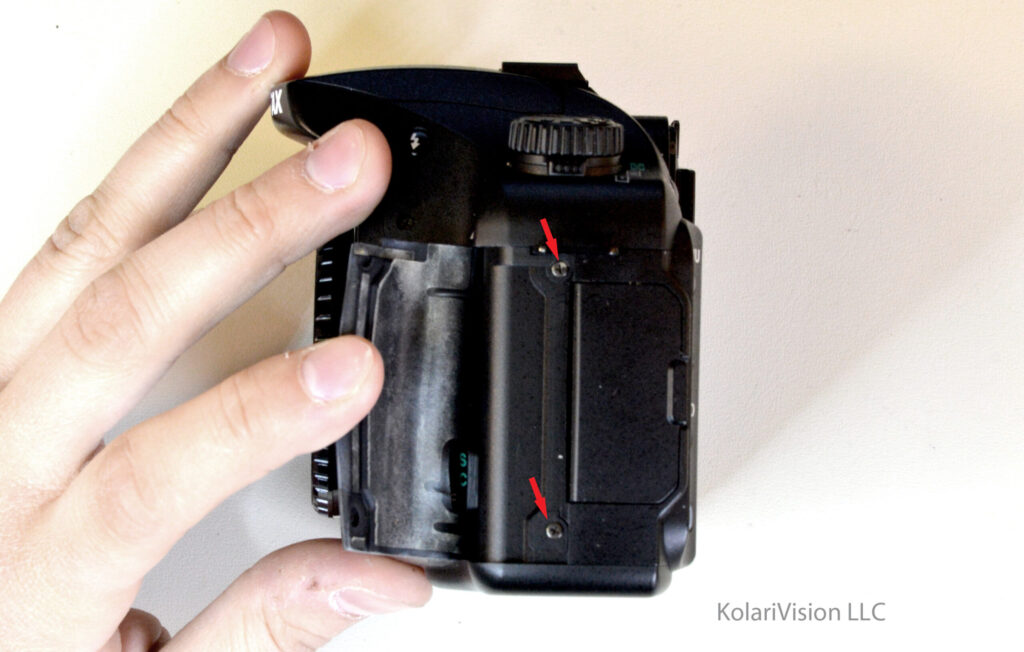
5
Step 5
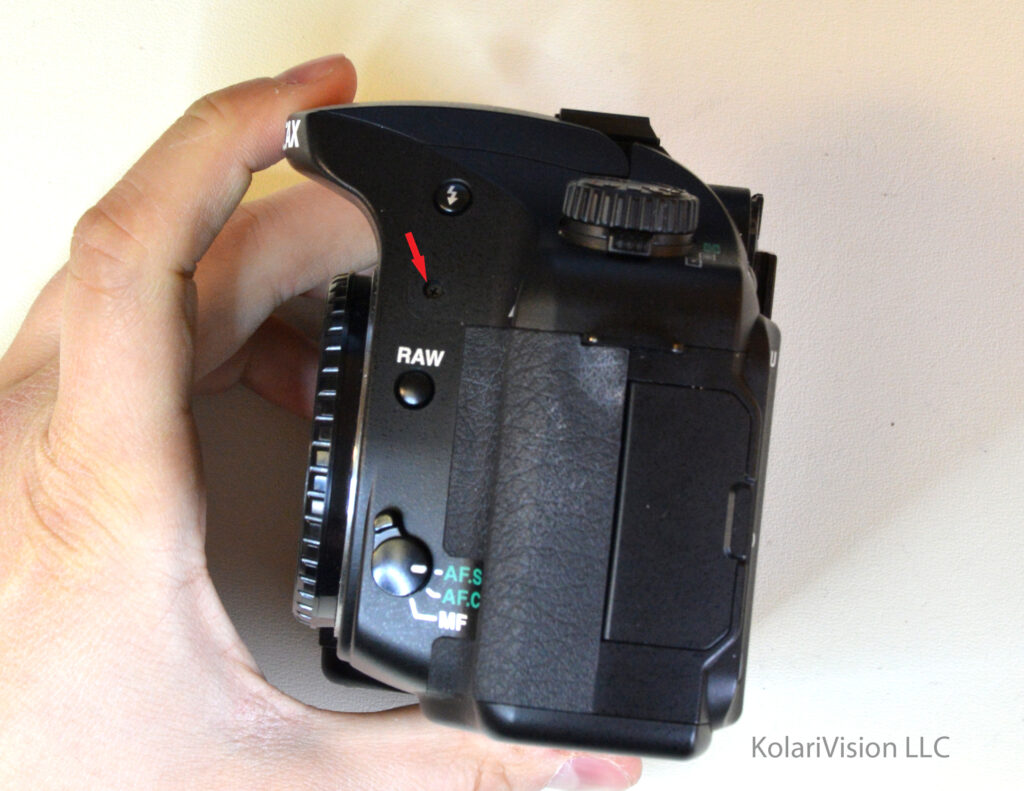
- Turn the camera to AV OUT side and remove the top screw.
6
Step 6
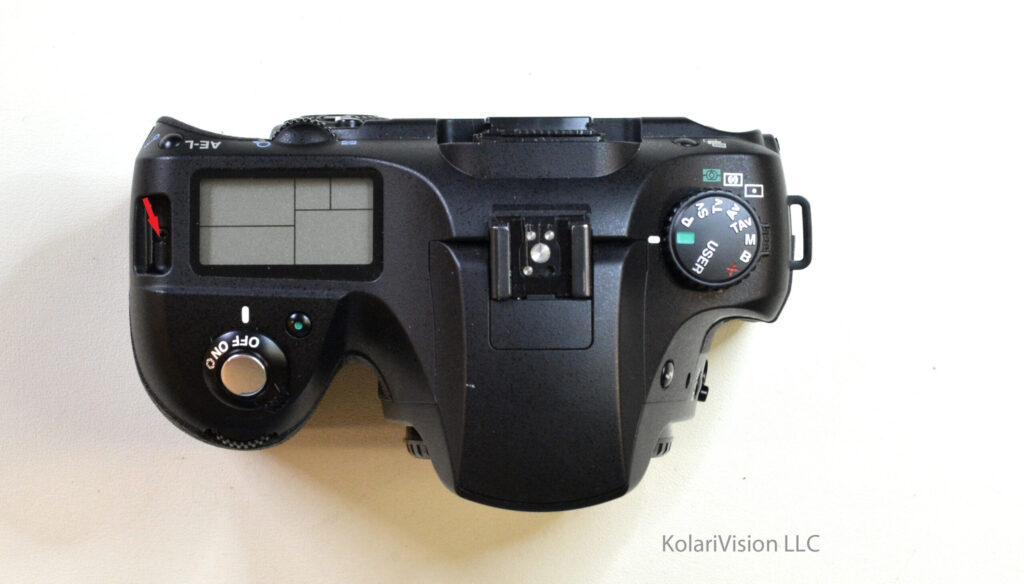
- Have the top facing you and remove the corner screw.
7
Step 7
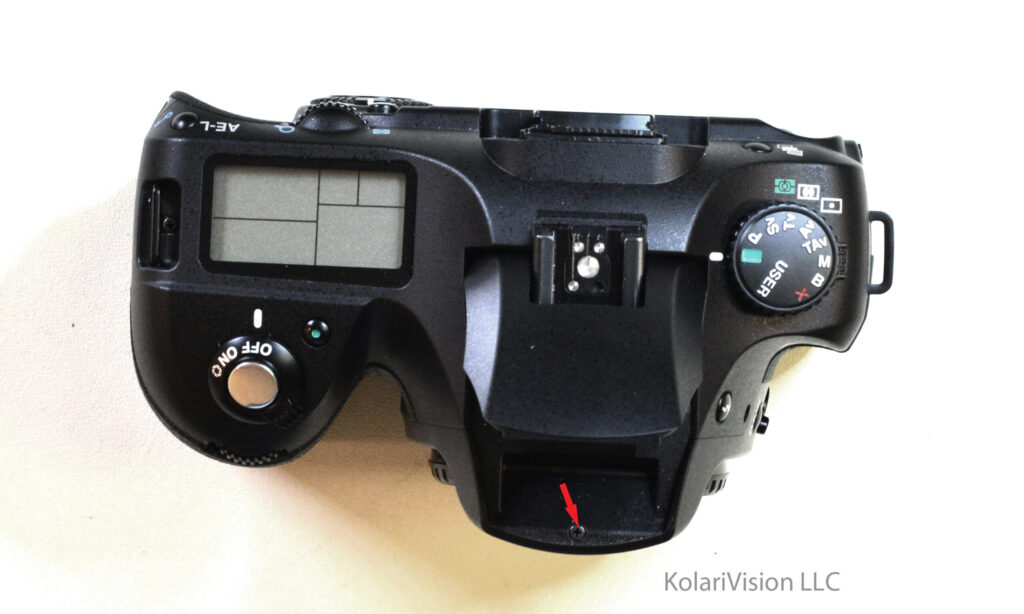
- Lift the flash up and remove the screw. This will now allow you to lift the top off when needed to.
8
Step 8
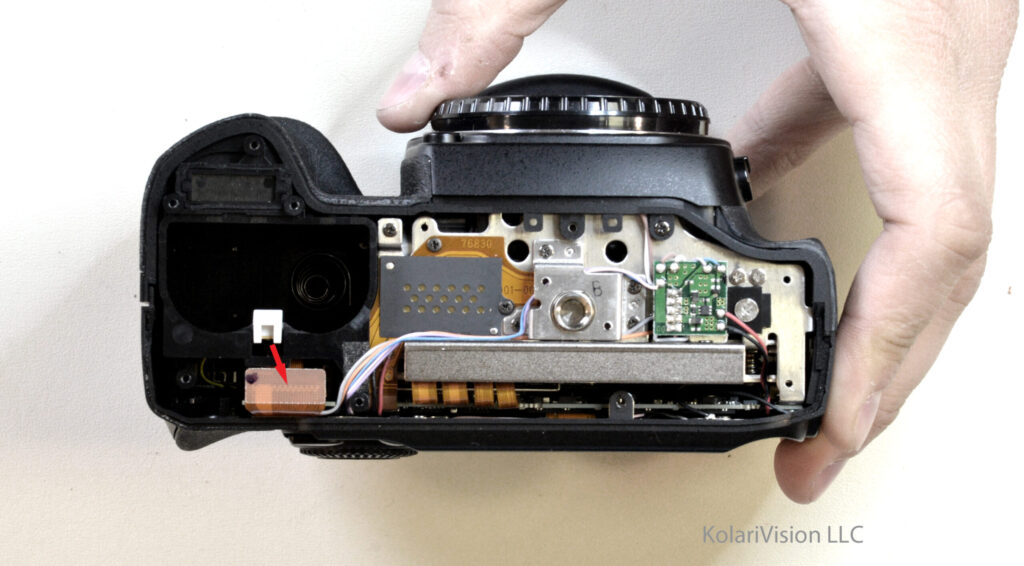
- Remove bottom panel and then lift up the cable as indicated. This cable is linked to the LCD back panel. Now you are in the clear to open the camera completely.
9
Step 9
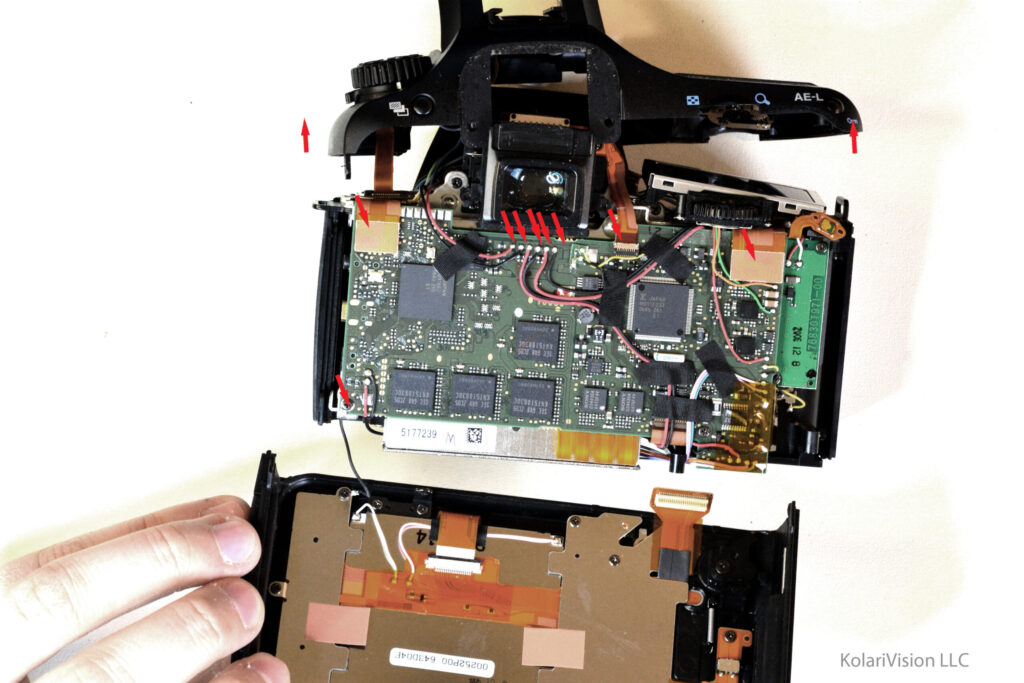
- Here you can carefully lift the top off and remove the back panel. Be careful since some cables and wires are still attached. Now you will need your soldering iron and unsolder the solder joints holding the wires. These wires do not have unique colors, so you may want to mark them to know where they go back. Remove the cables and screws as indicated.
10
Step 10
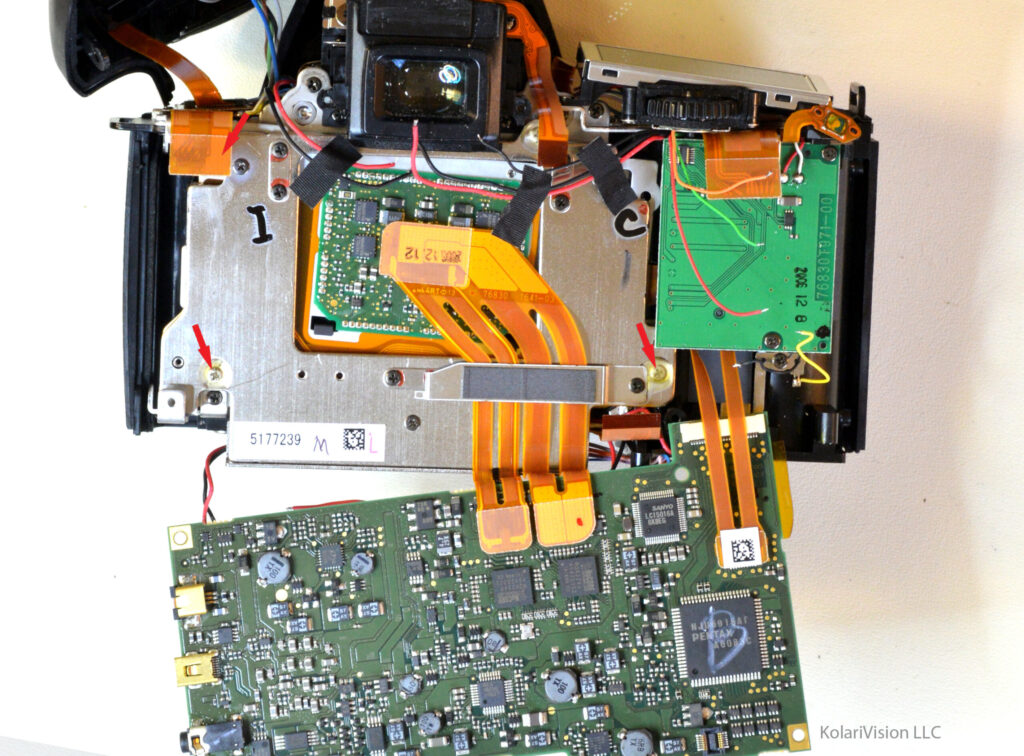
- Lift up the circuit board from one end and now you will see the shaker and sensor. The yellow glue over the sensor screws can be removed by a use of a scalpel and VERY CAREFULLY cut around it until you can chip the glue off. Here you have to be very patient.
11
Step 11
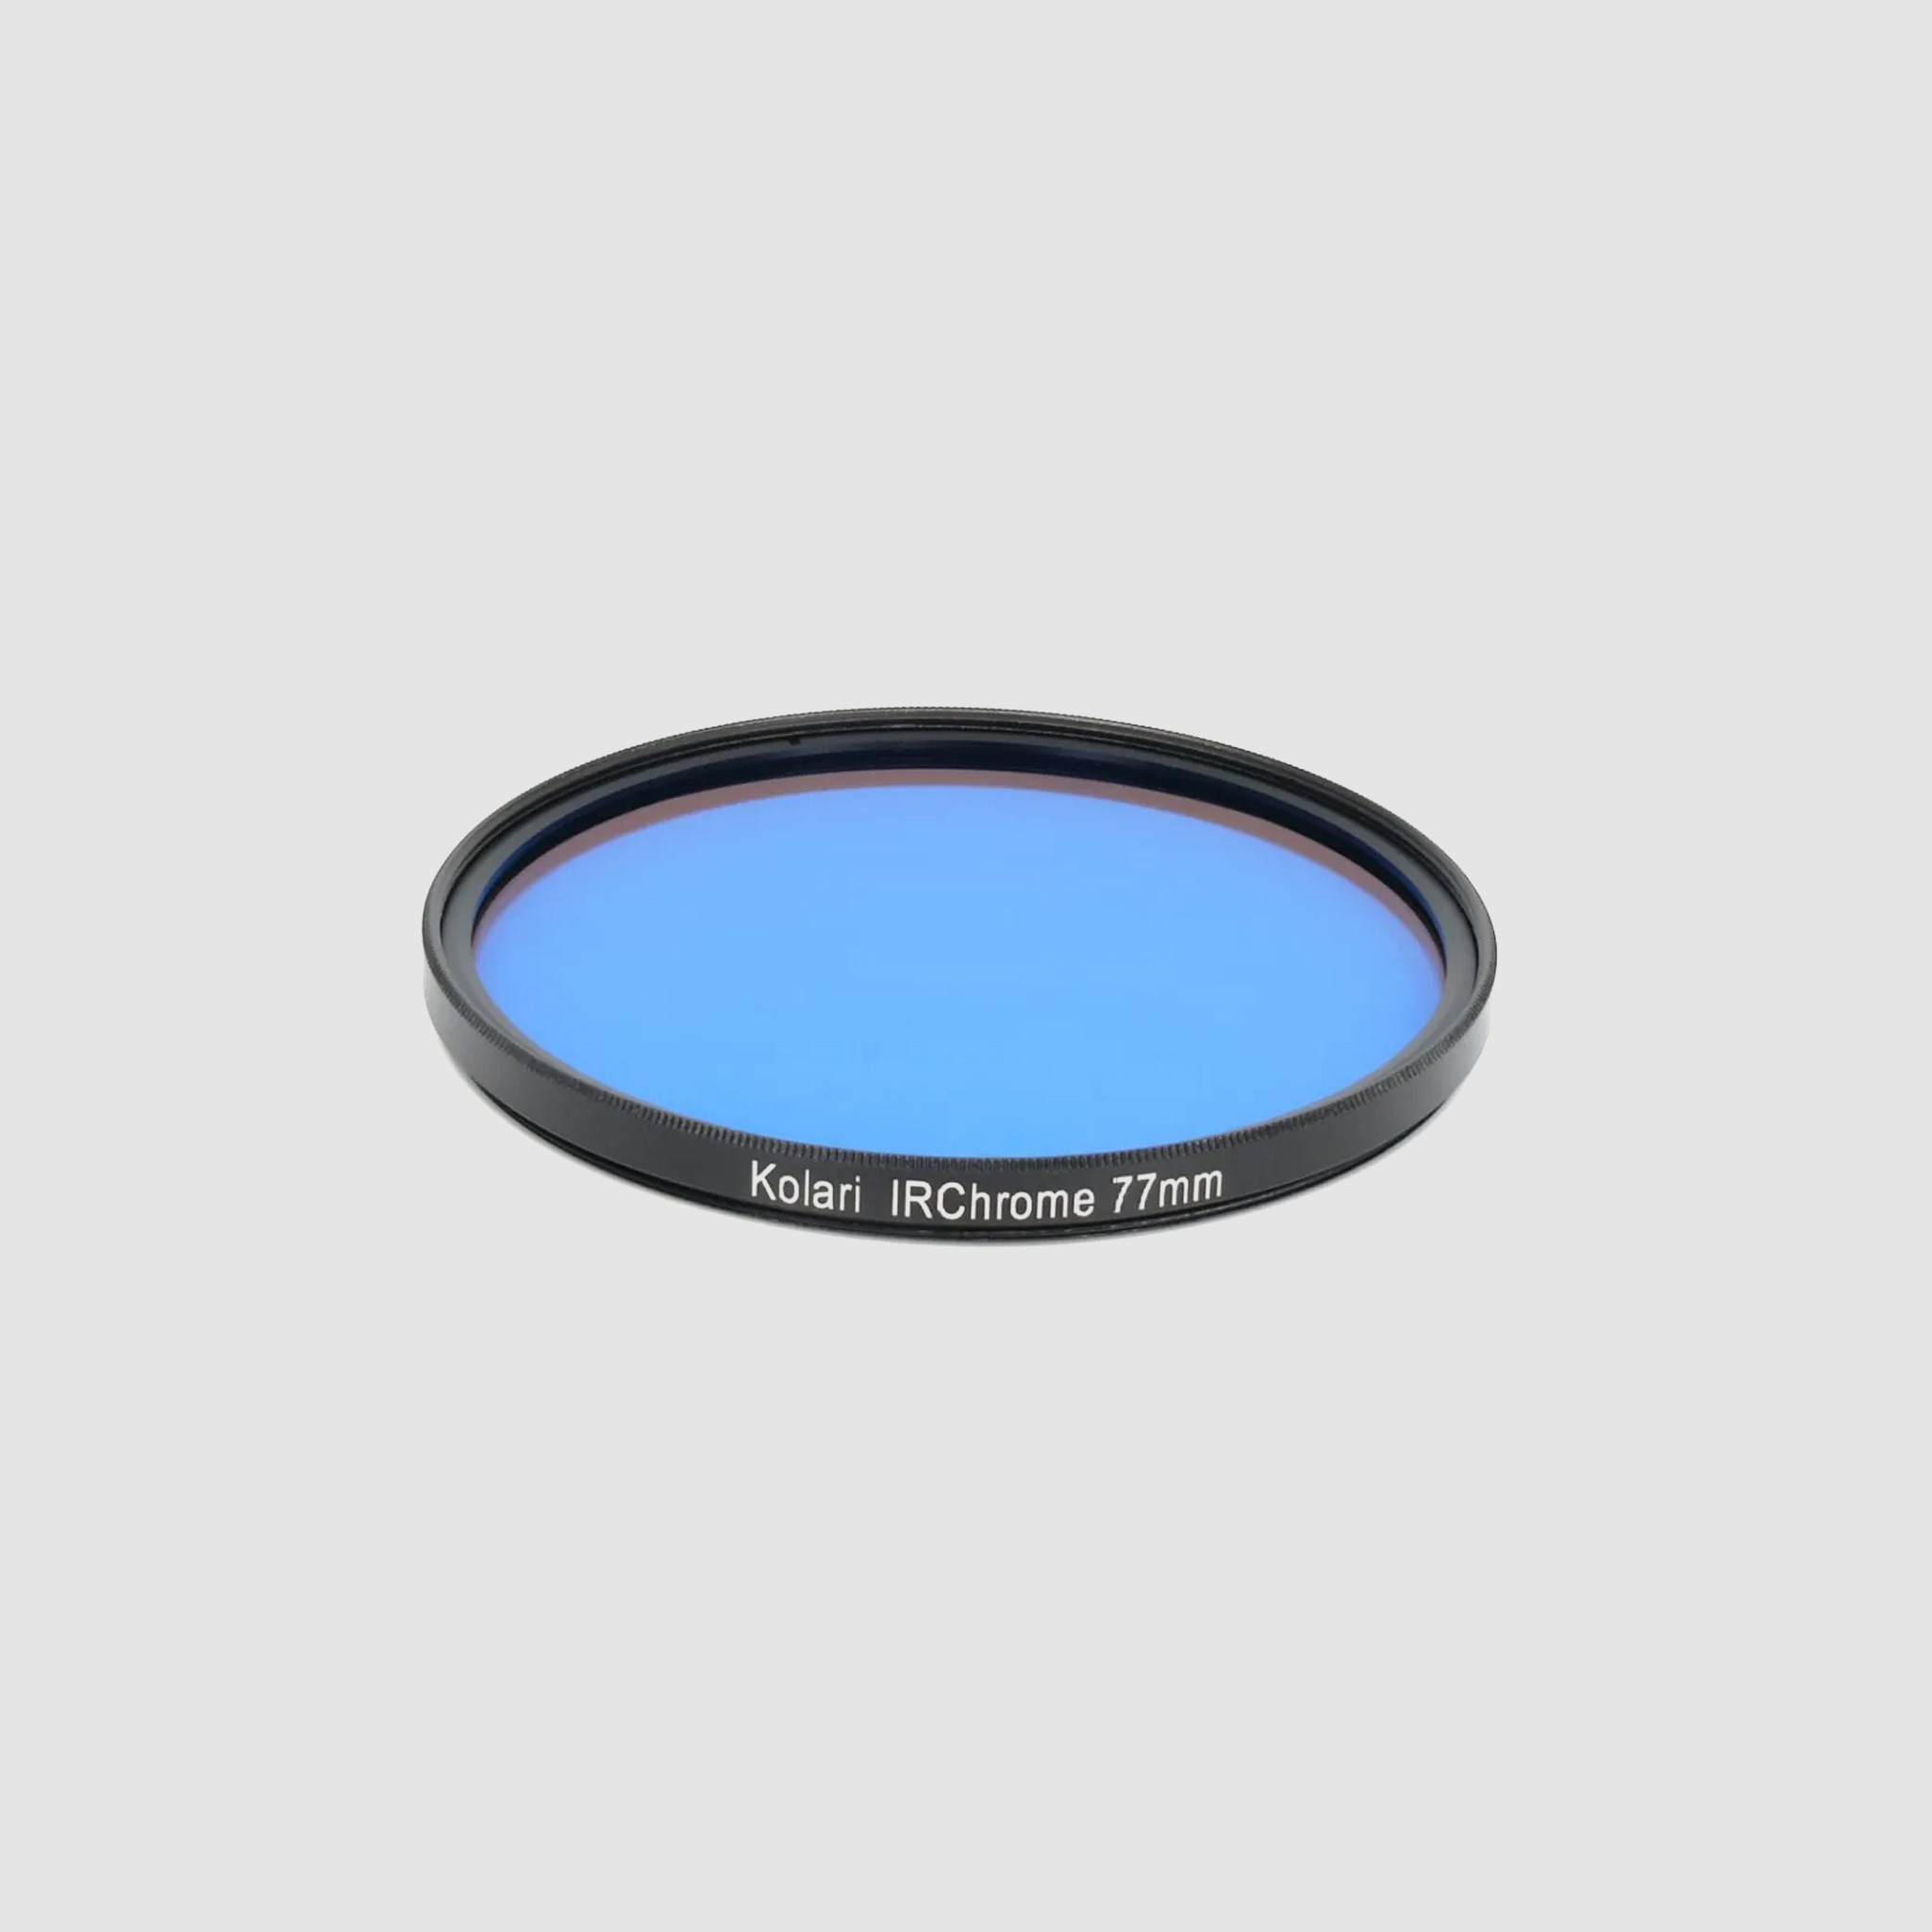
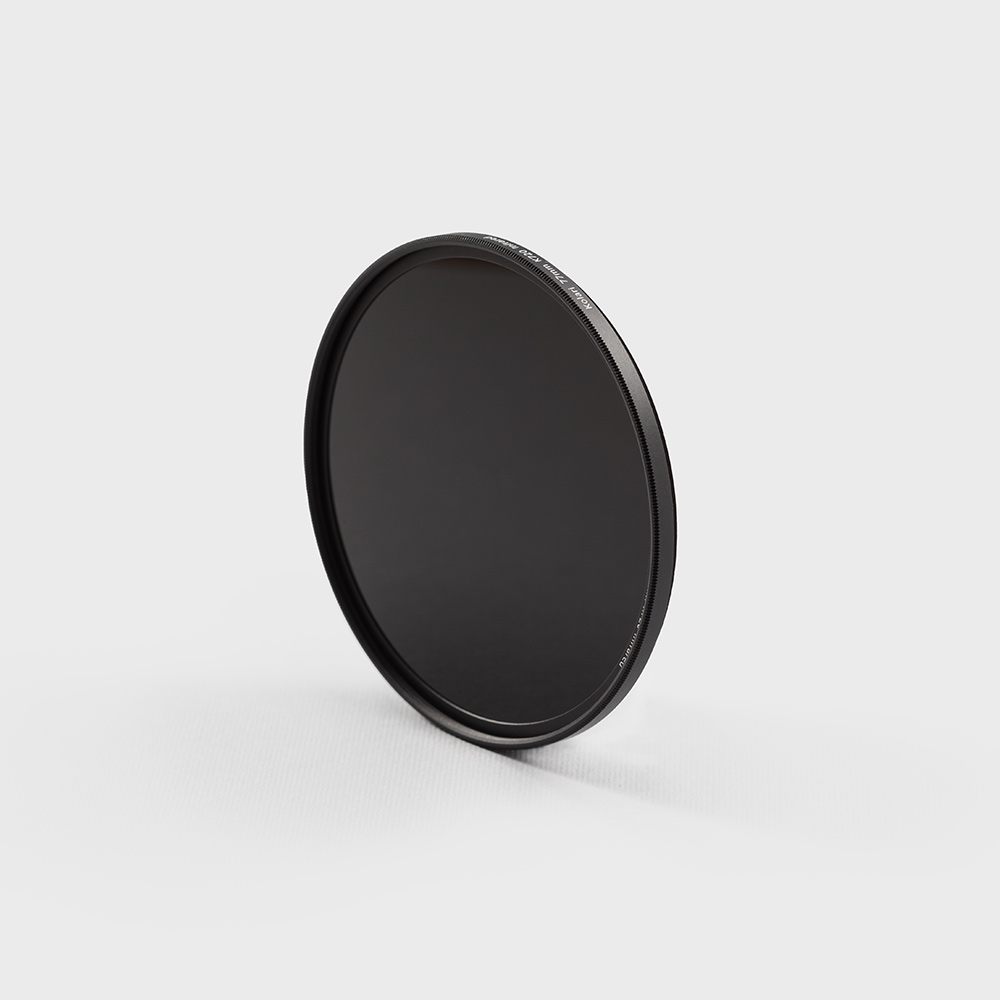
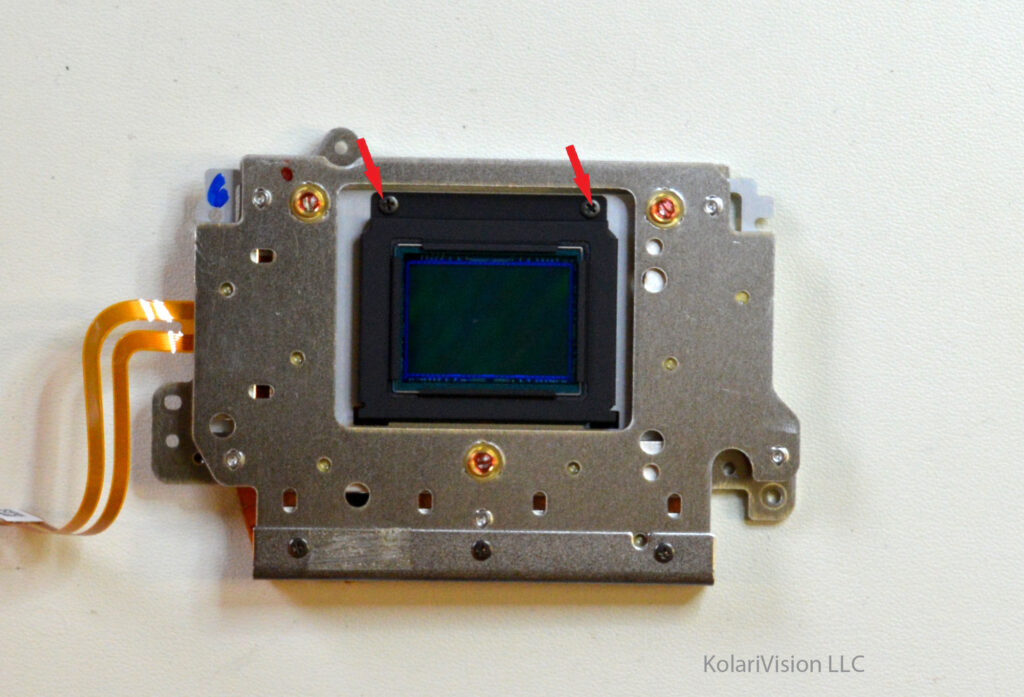
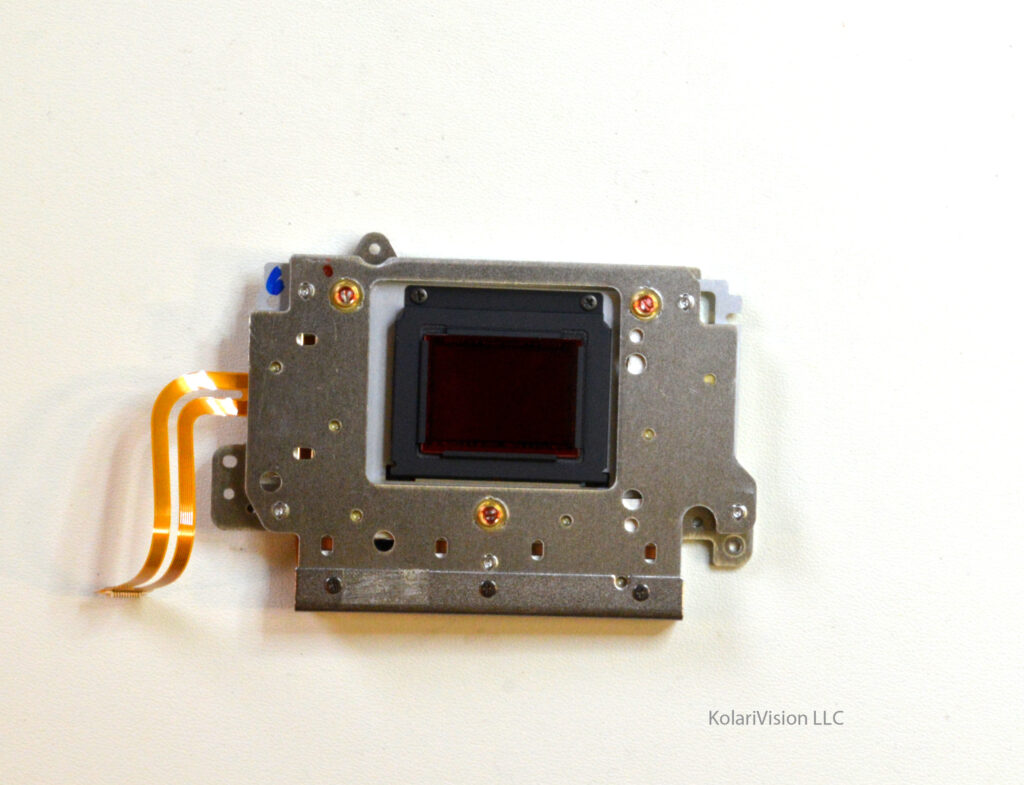
- Once you have the shaker out you can remove the two screws as indicated to release the frame holding the filter. Once you do that, can replace the original filter with our DIY filter.
12
Step 12
- Before placing down your filter be sure to check sensor of any dust and double check filter of any dust before placing. You don’t want to re-open this camera.
13
Step 13
- Congratulations! You have completed your Pentax K10D conversion! Now you have to work backwards to reassemble the camera.

